'Electromagnetic Awakening Party' Main Quest
Stats (Solo): Difficulty - 5/10, Est. Completion Time - 1 Hr to 1:30 Hr
- Unlock Pack-a-Punch.
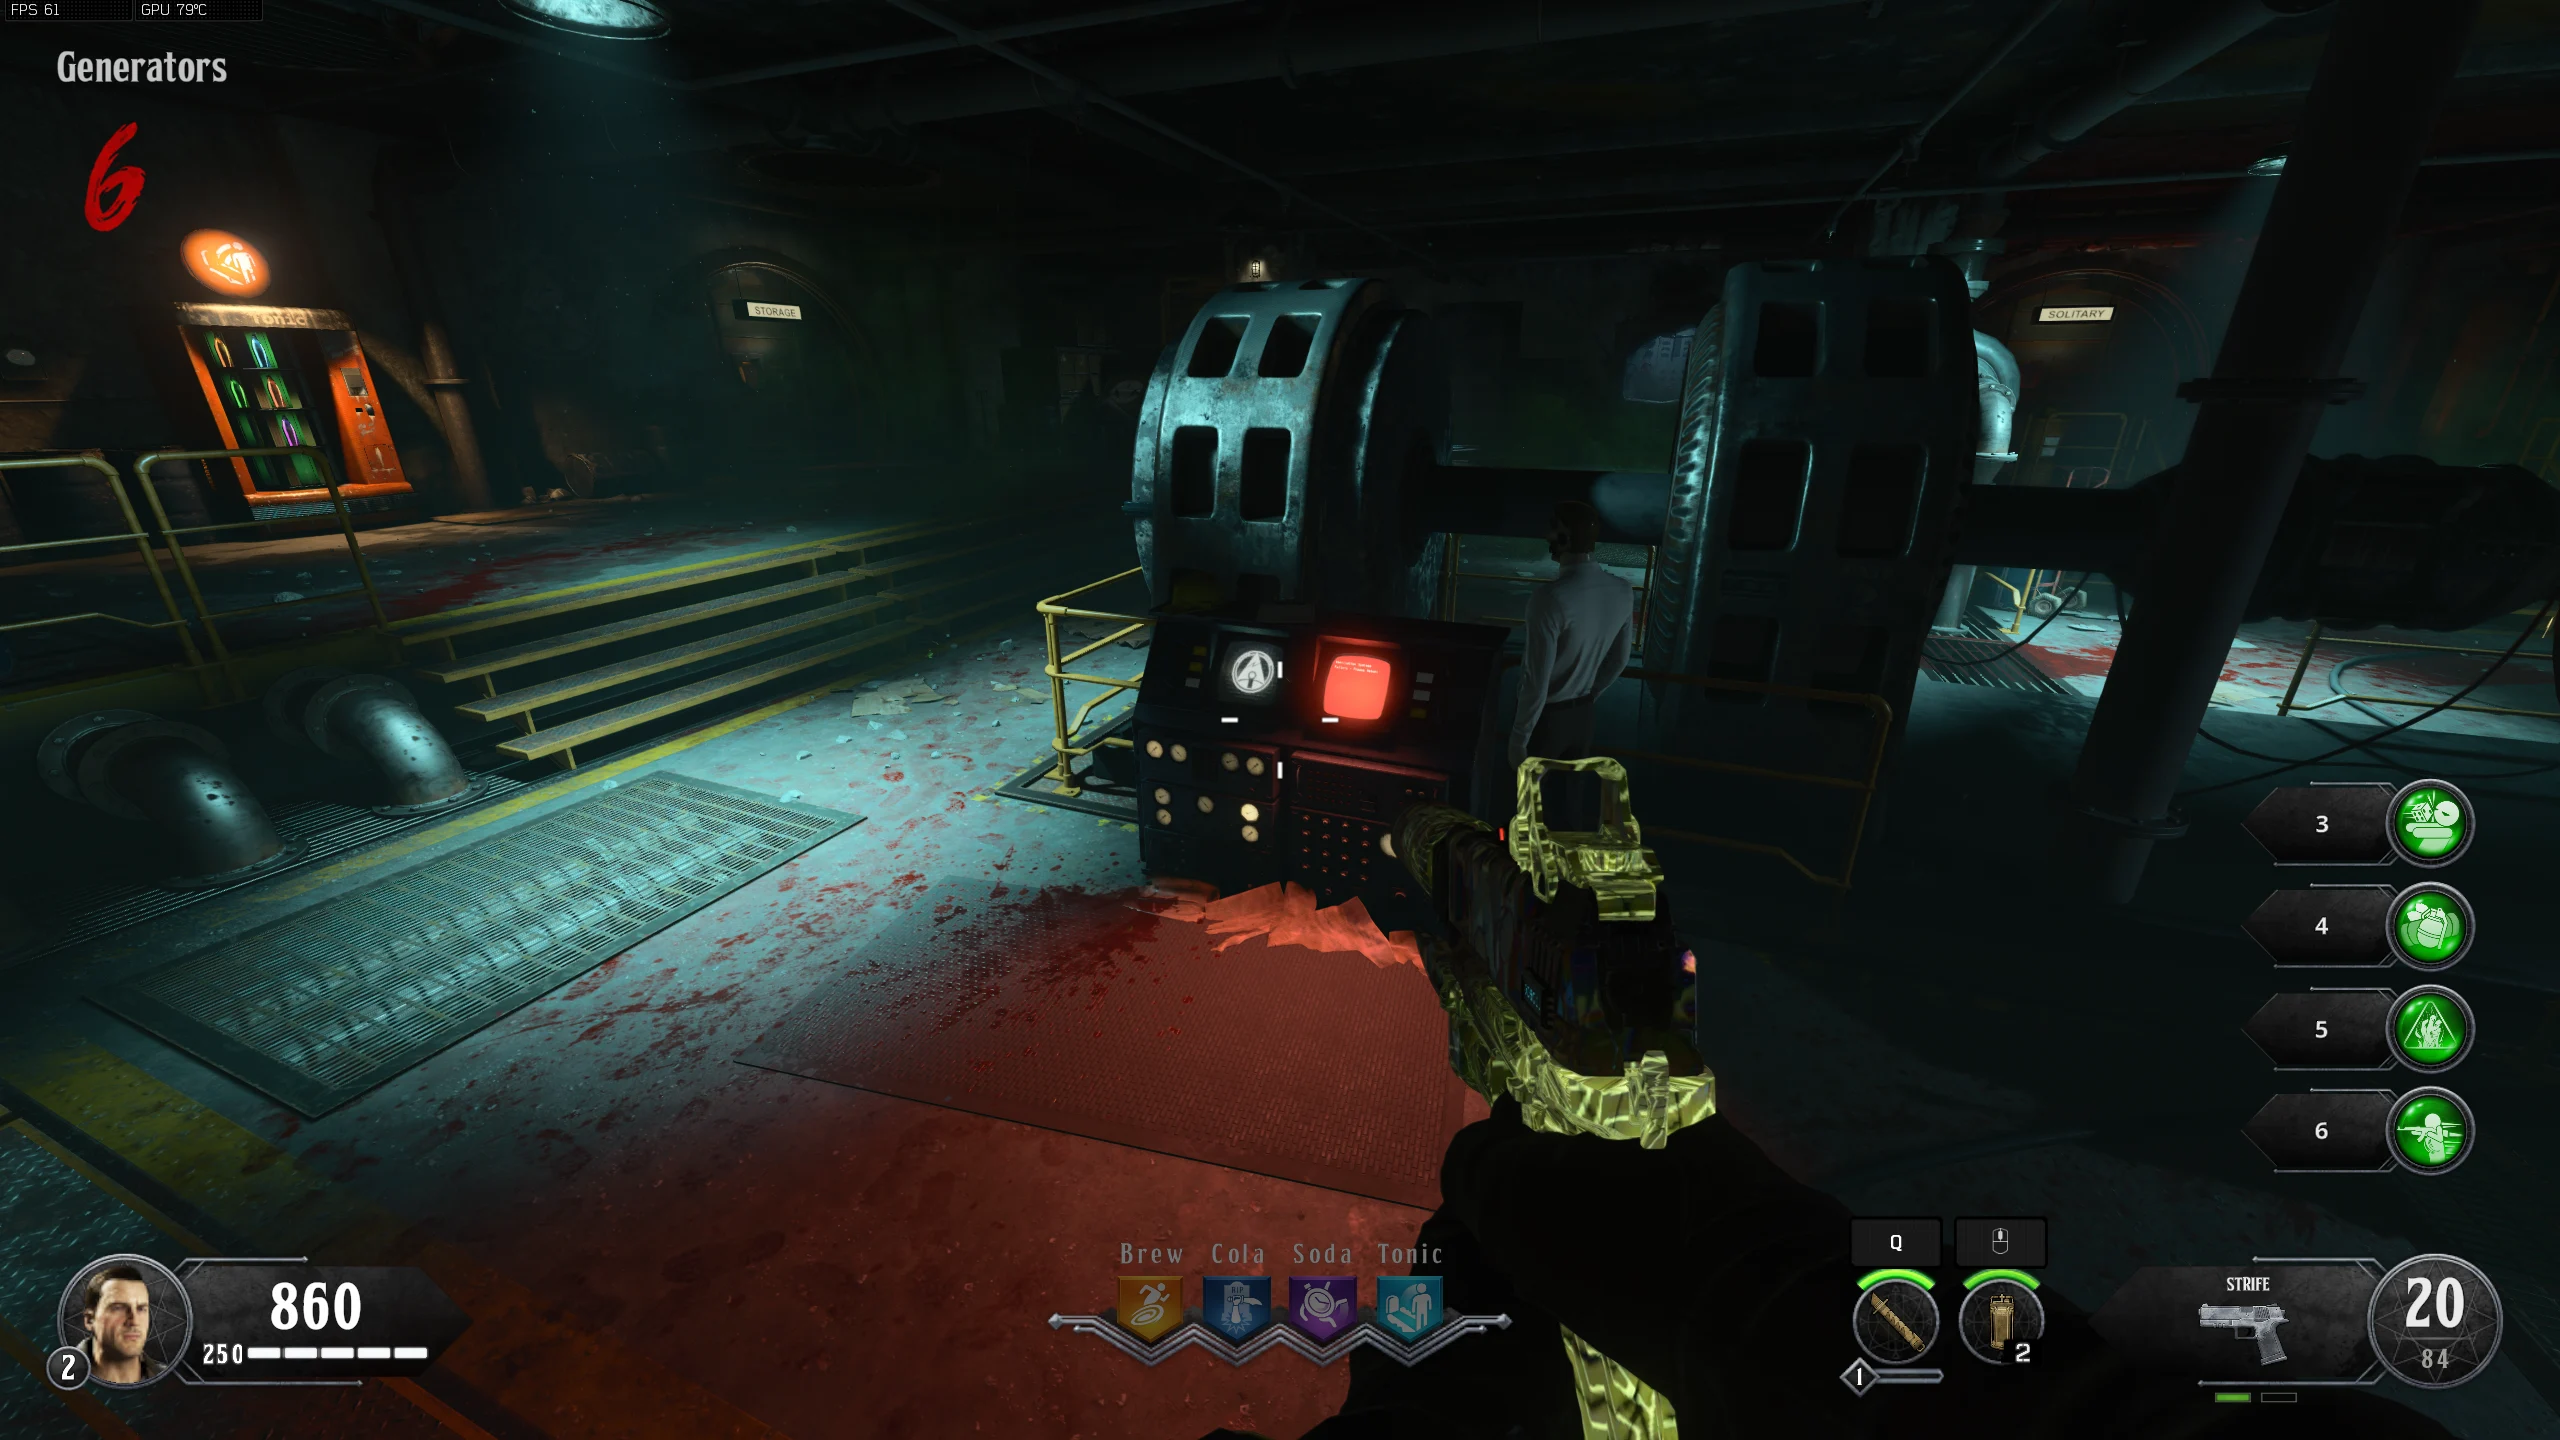
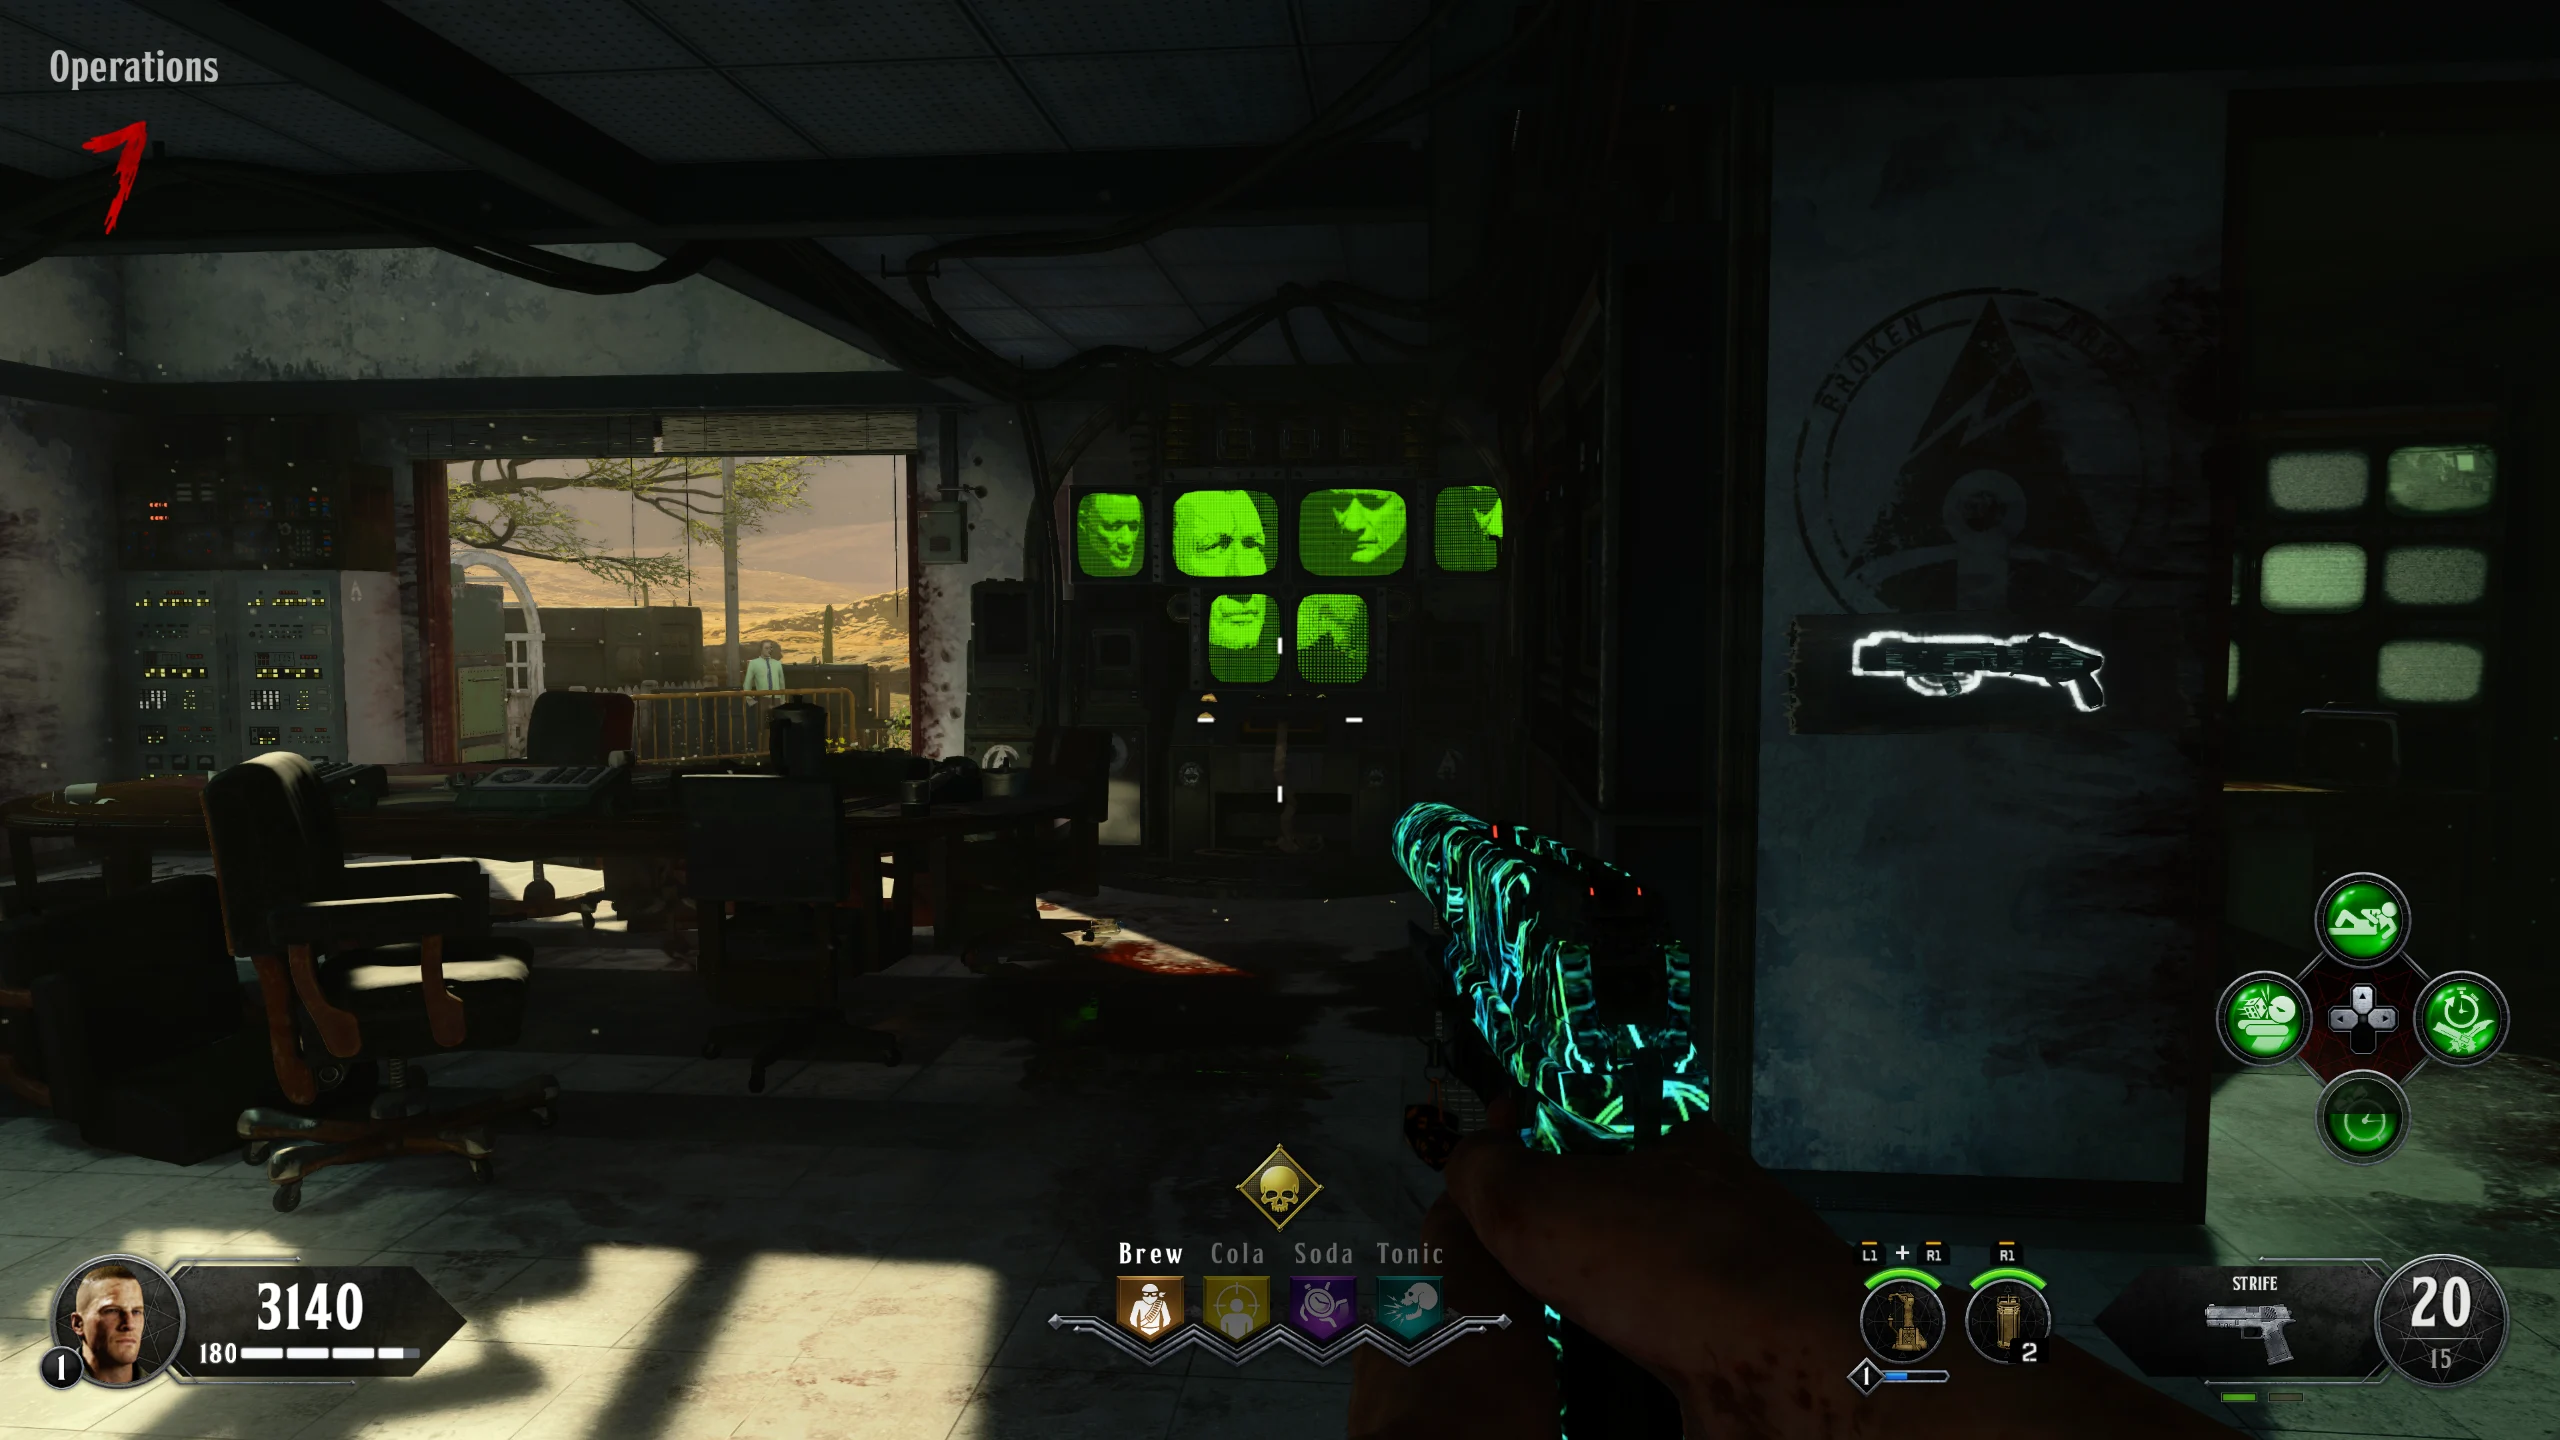
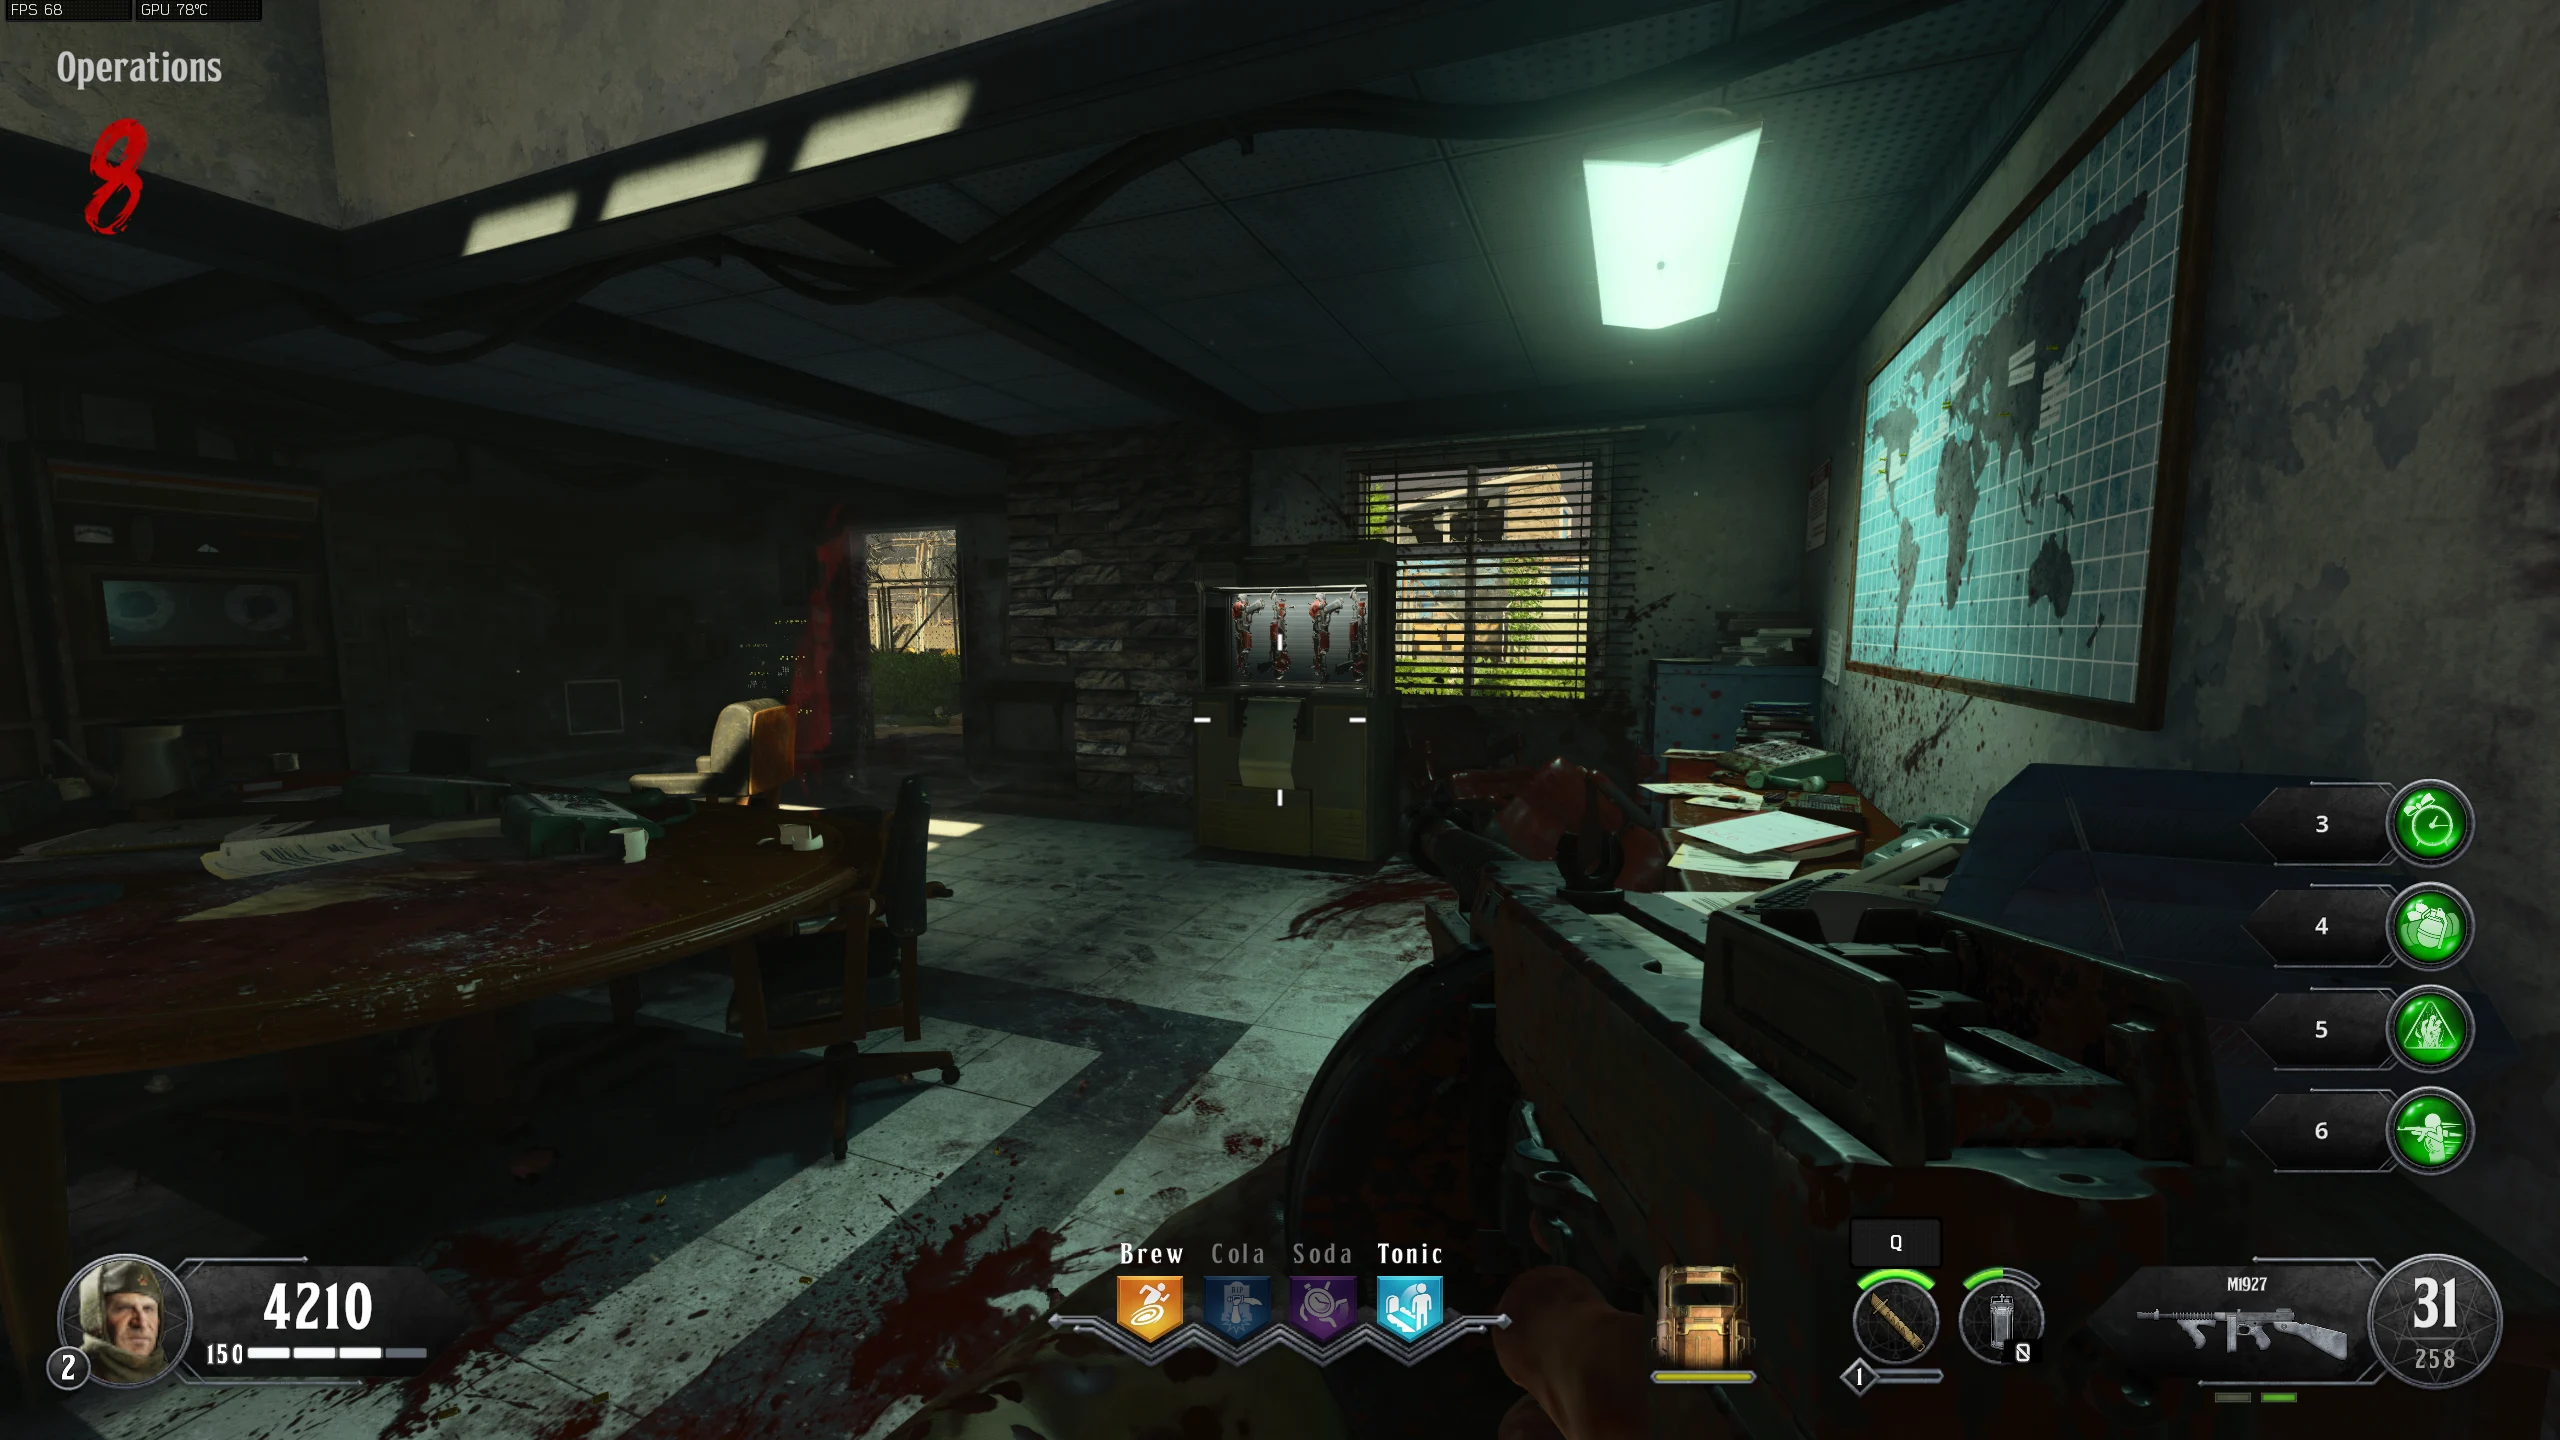
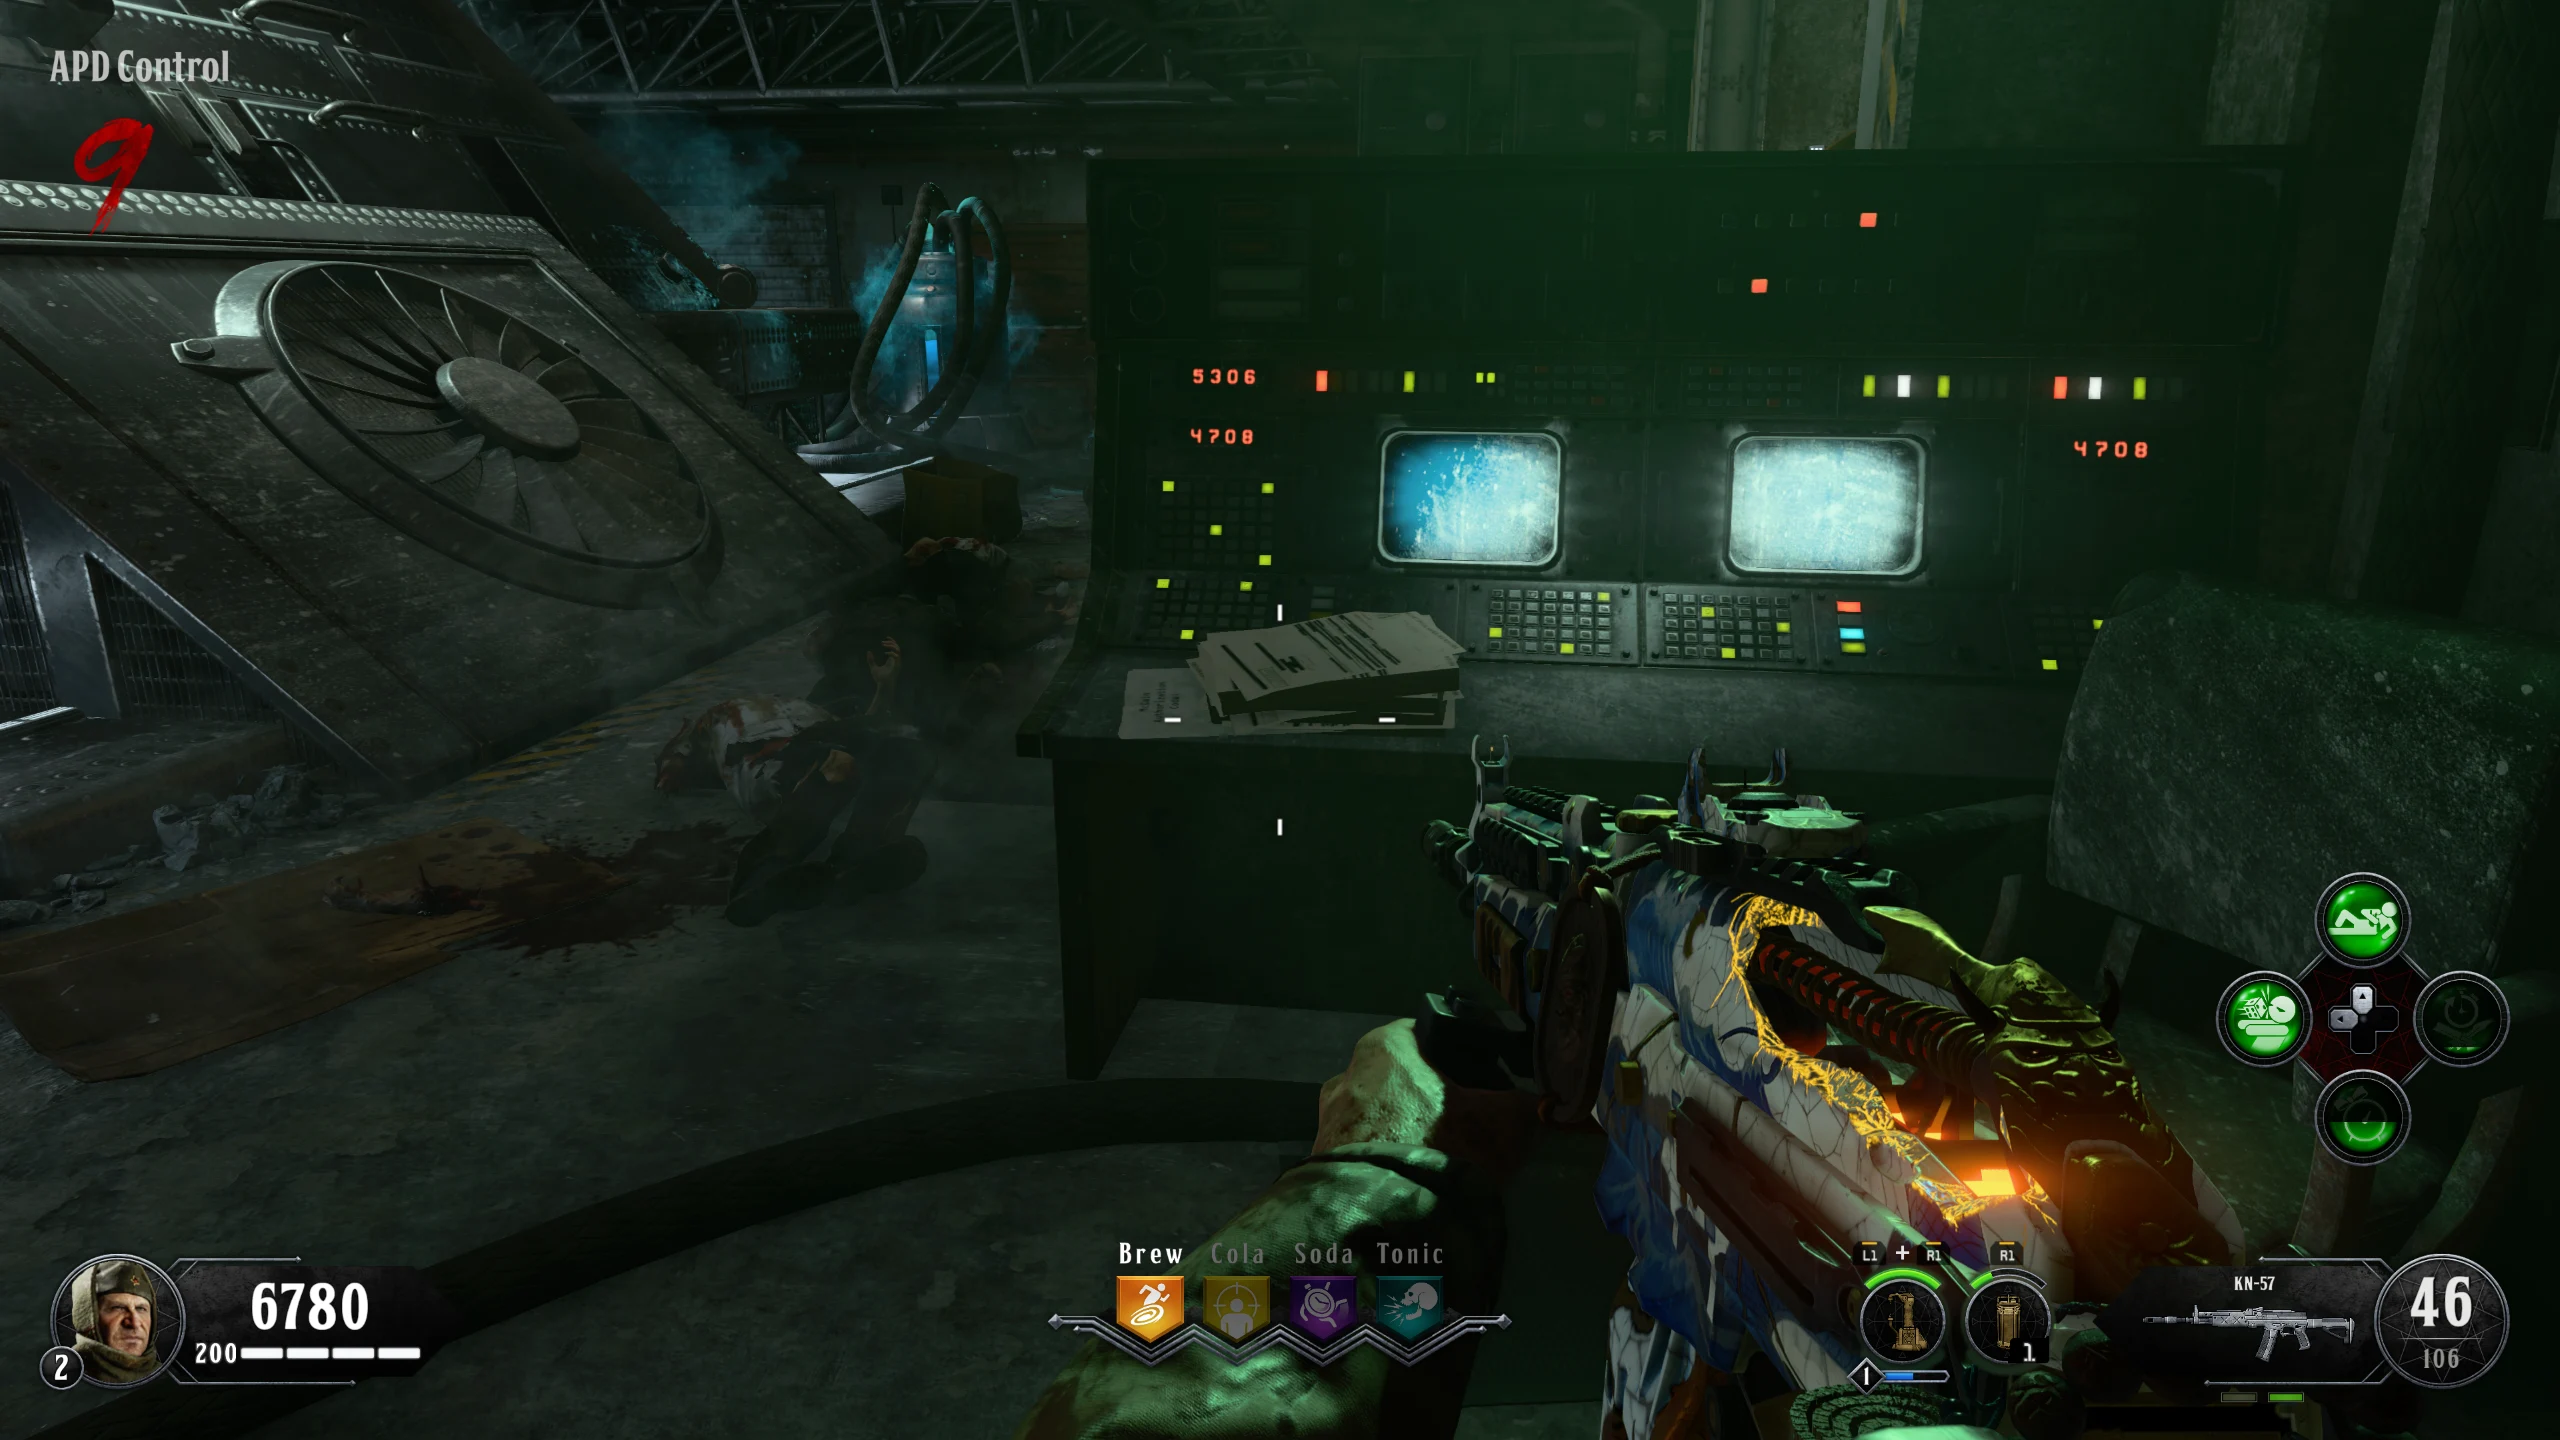
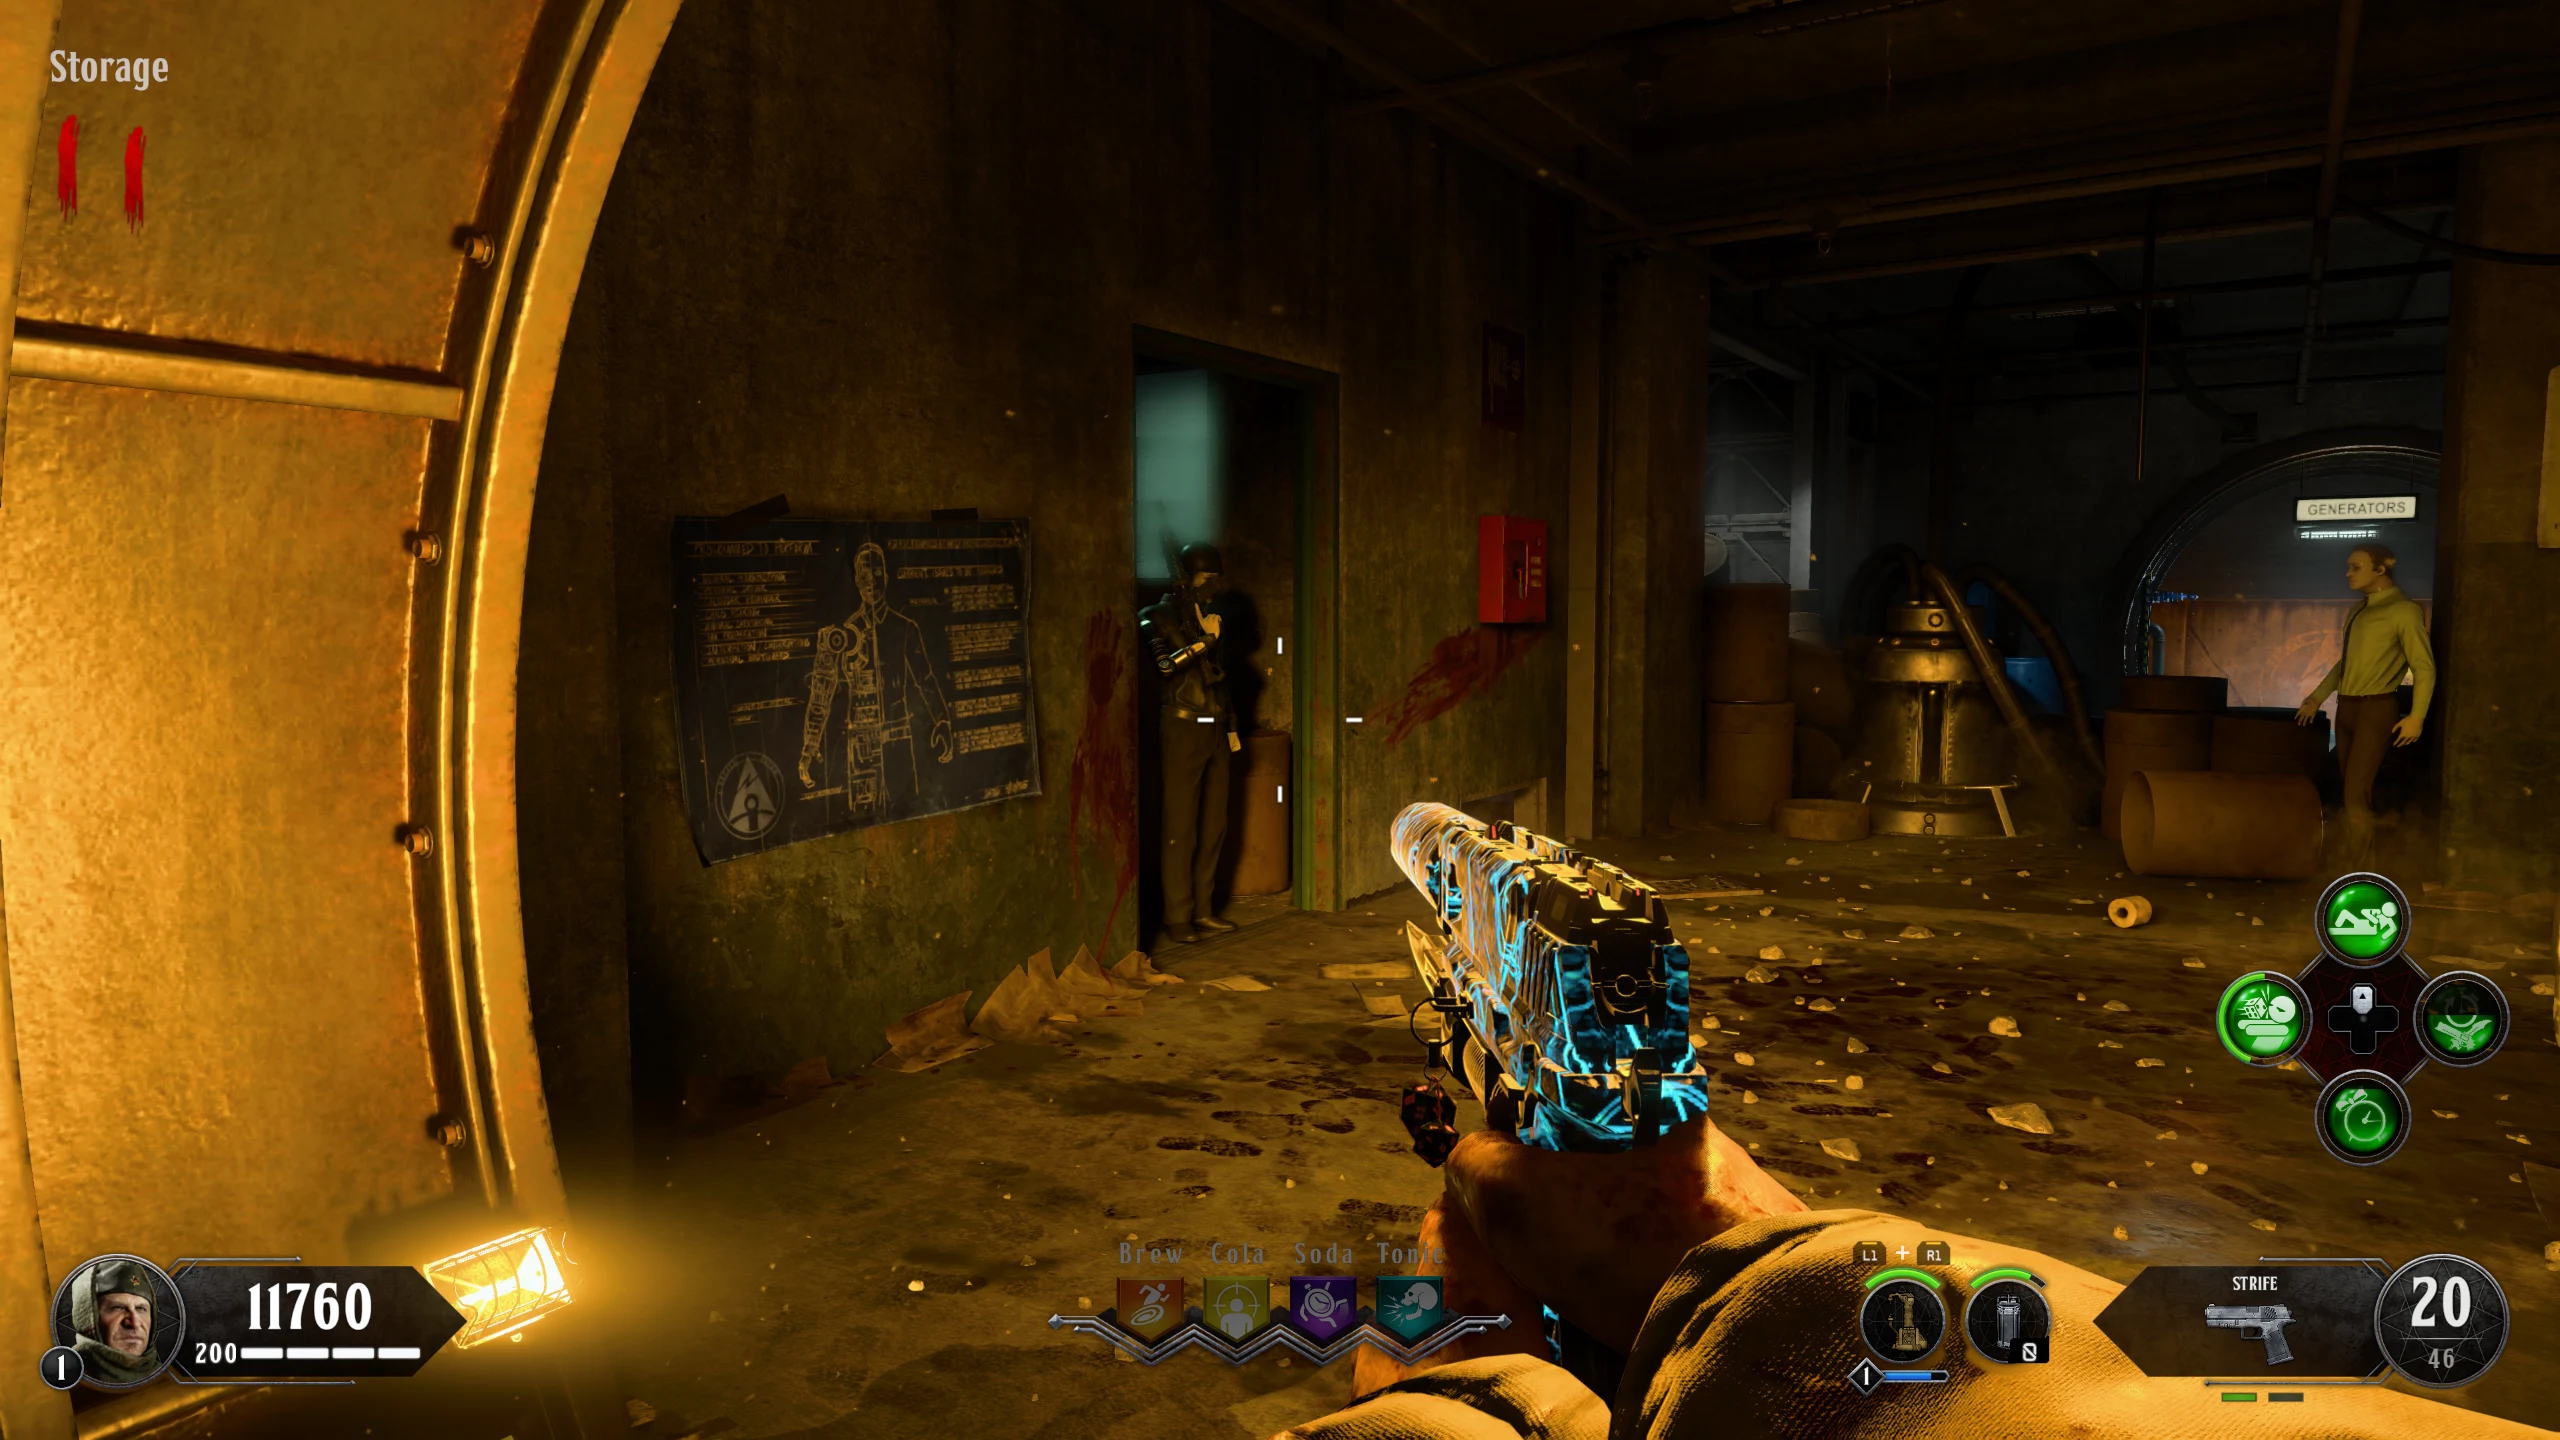
- Wait one round. Interact with the computer in 'Operations' to activate Rushmore.
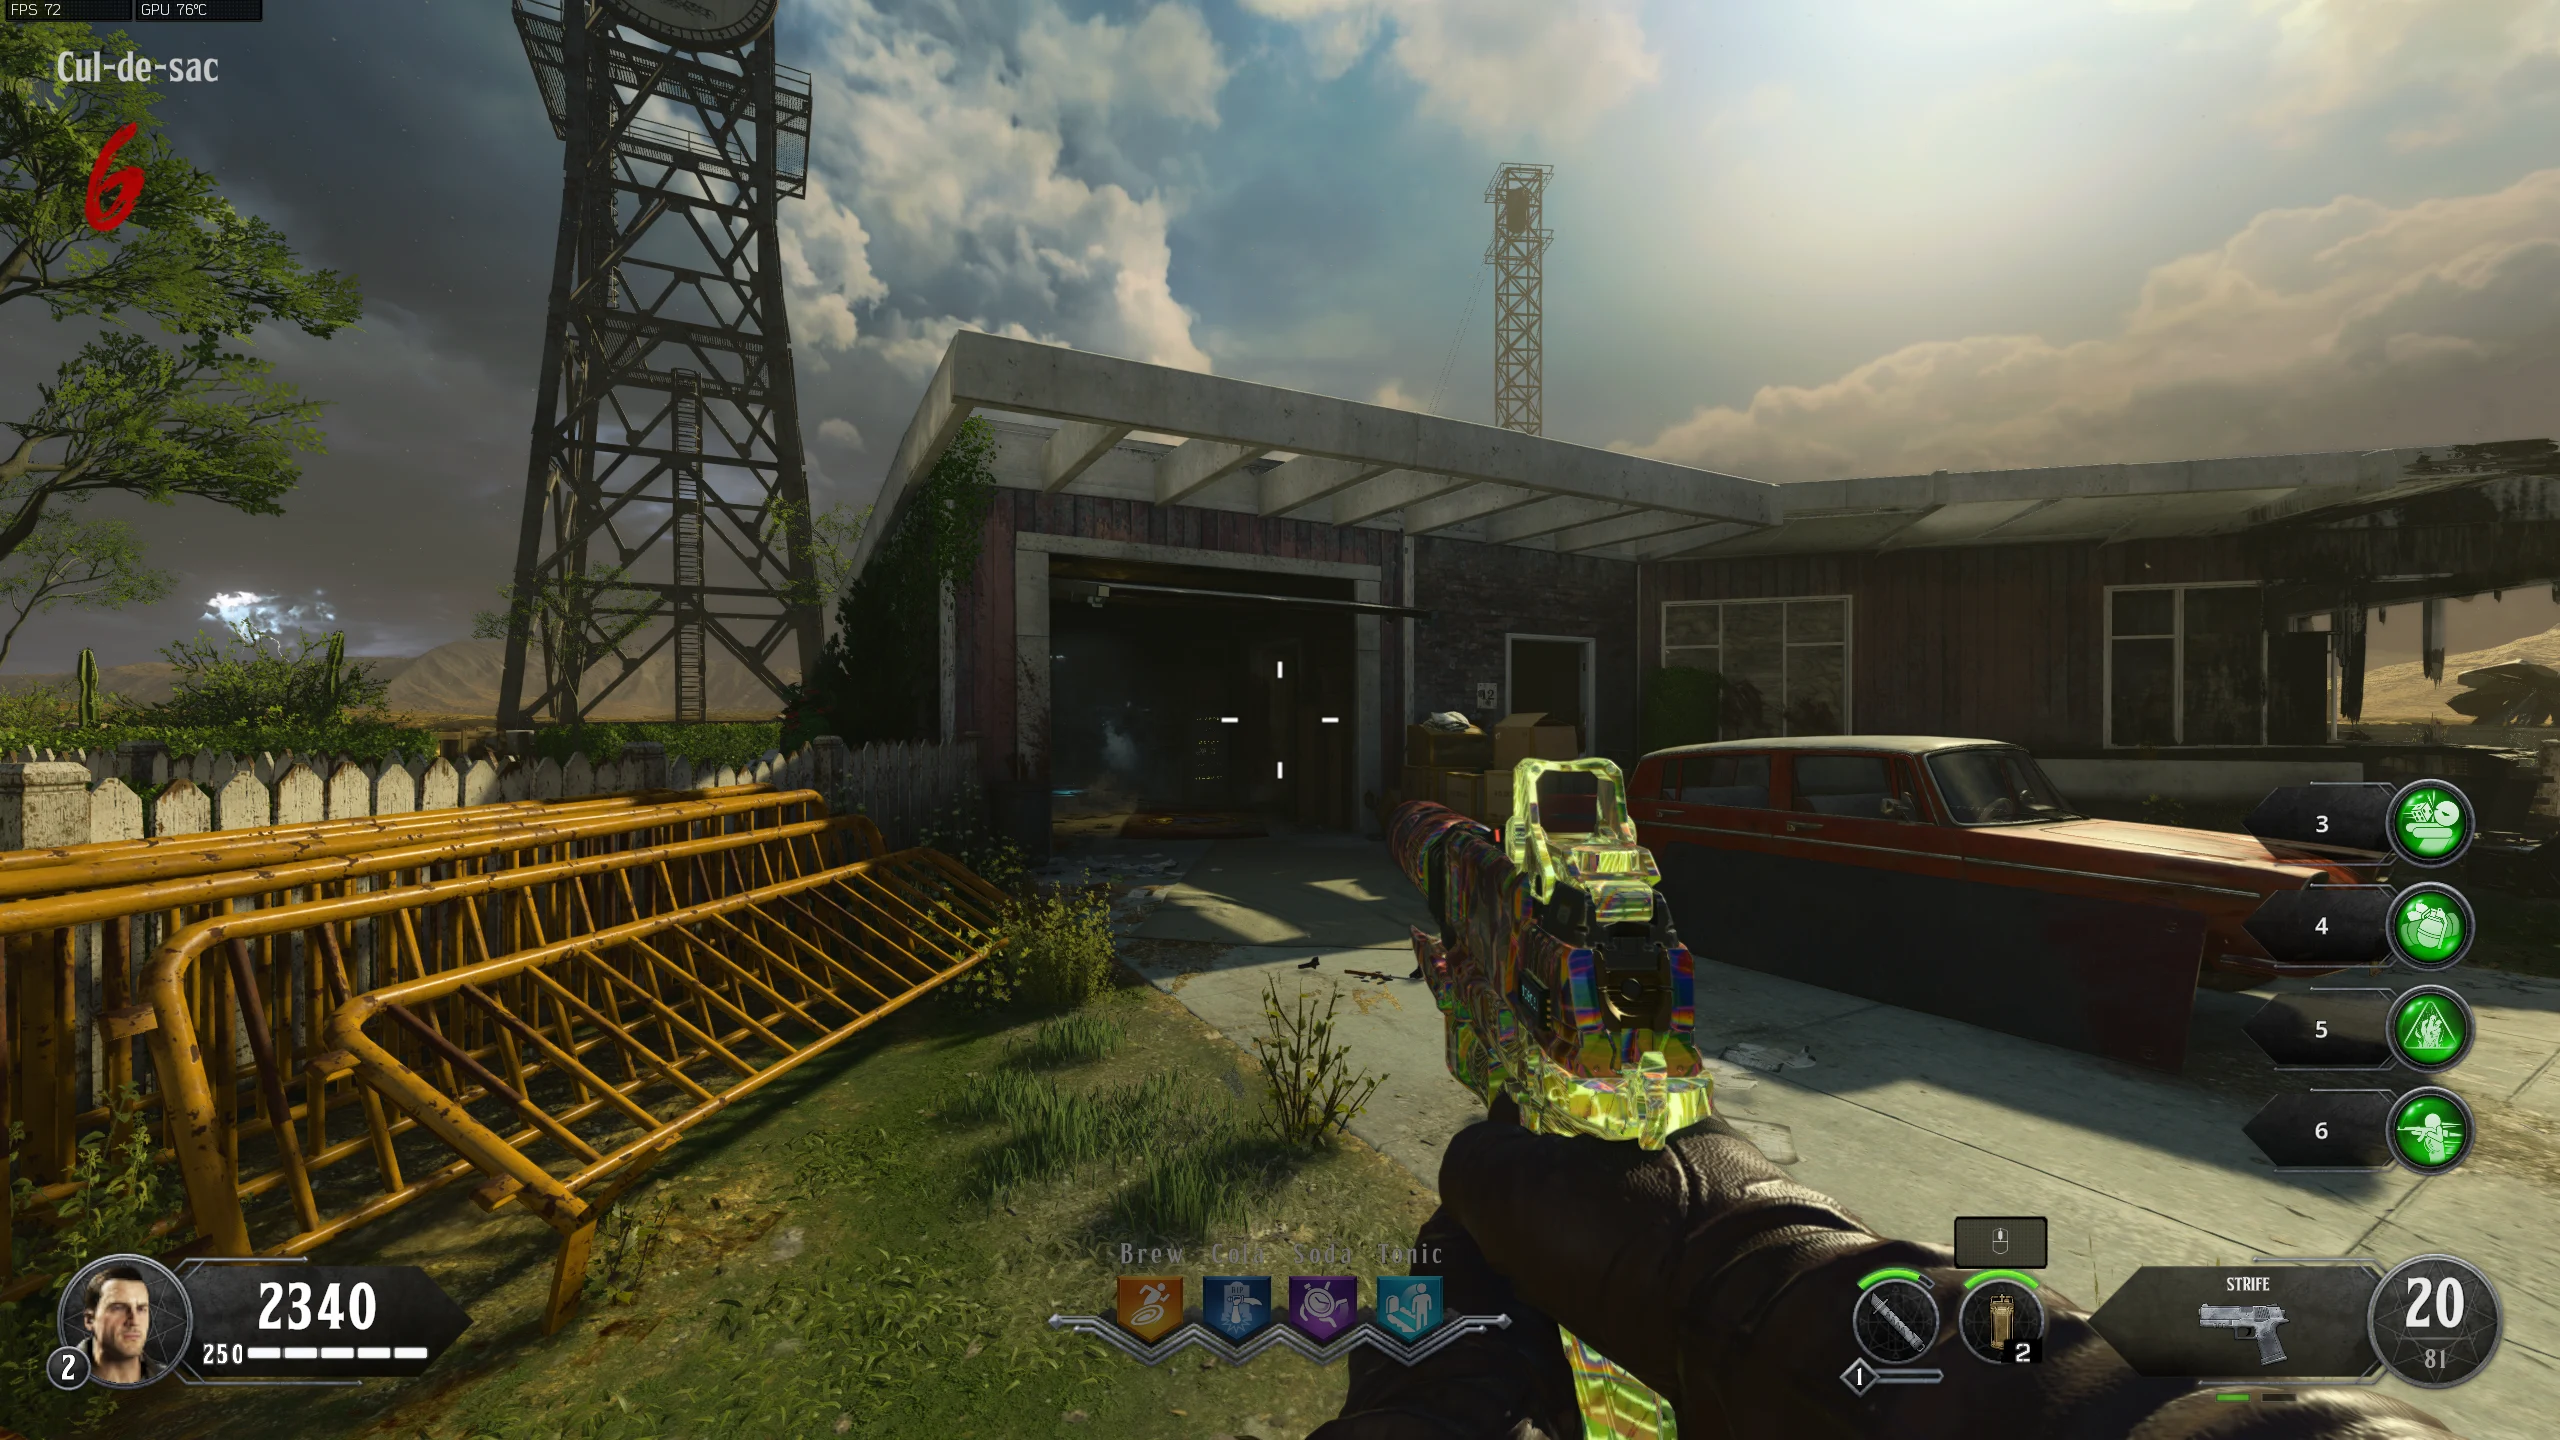
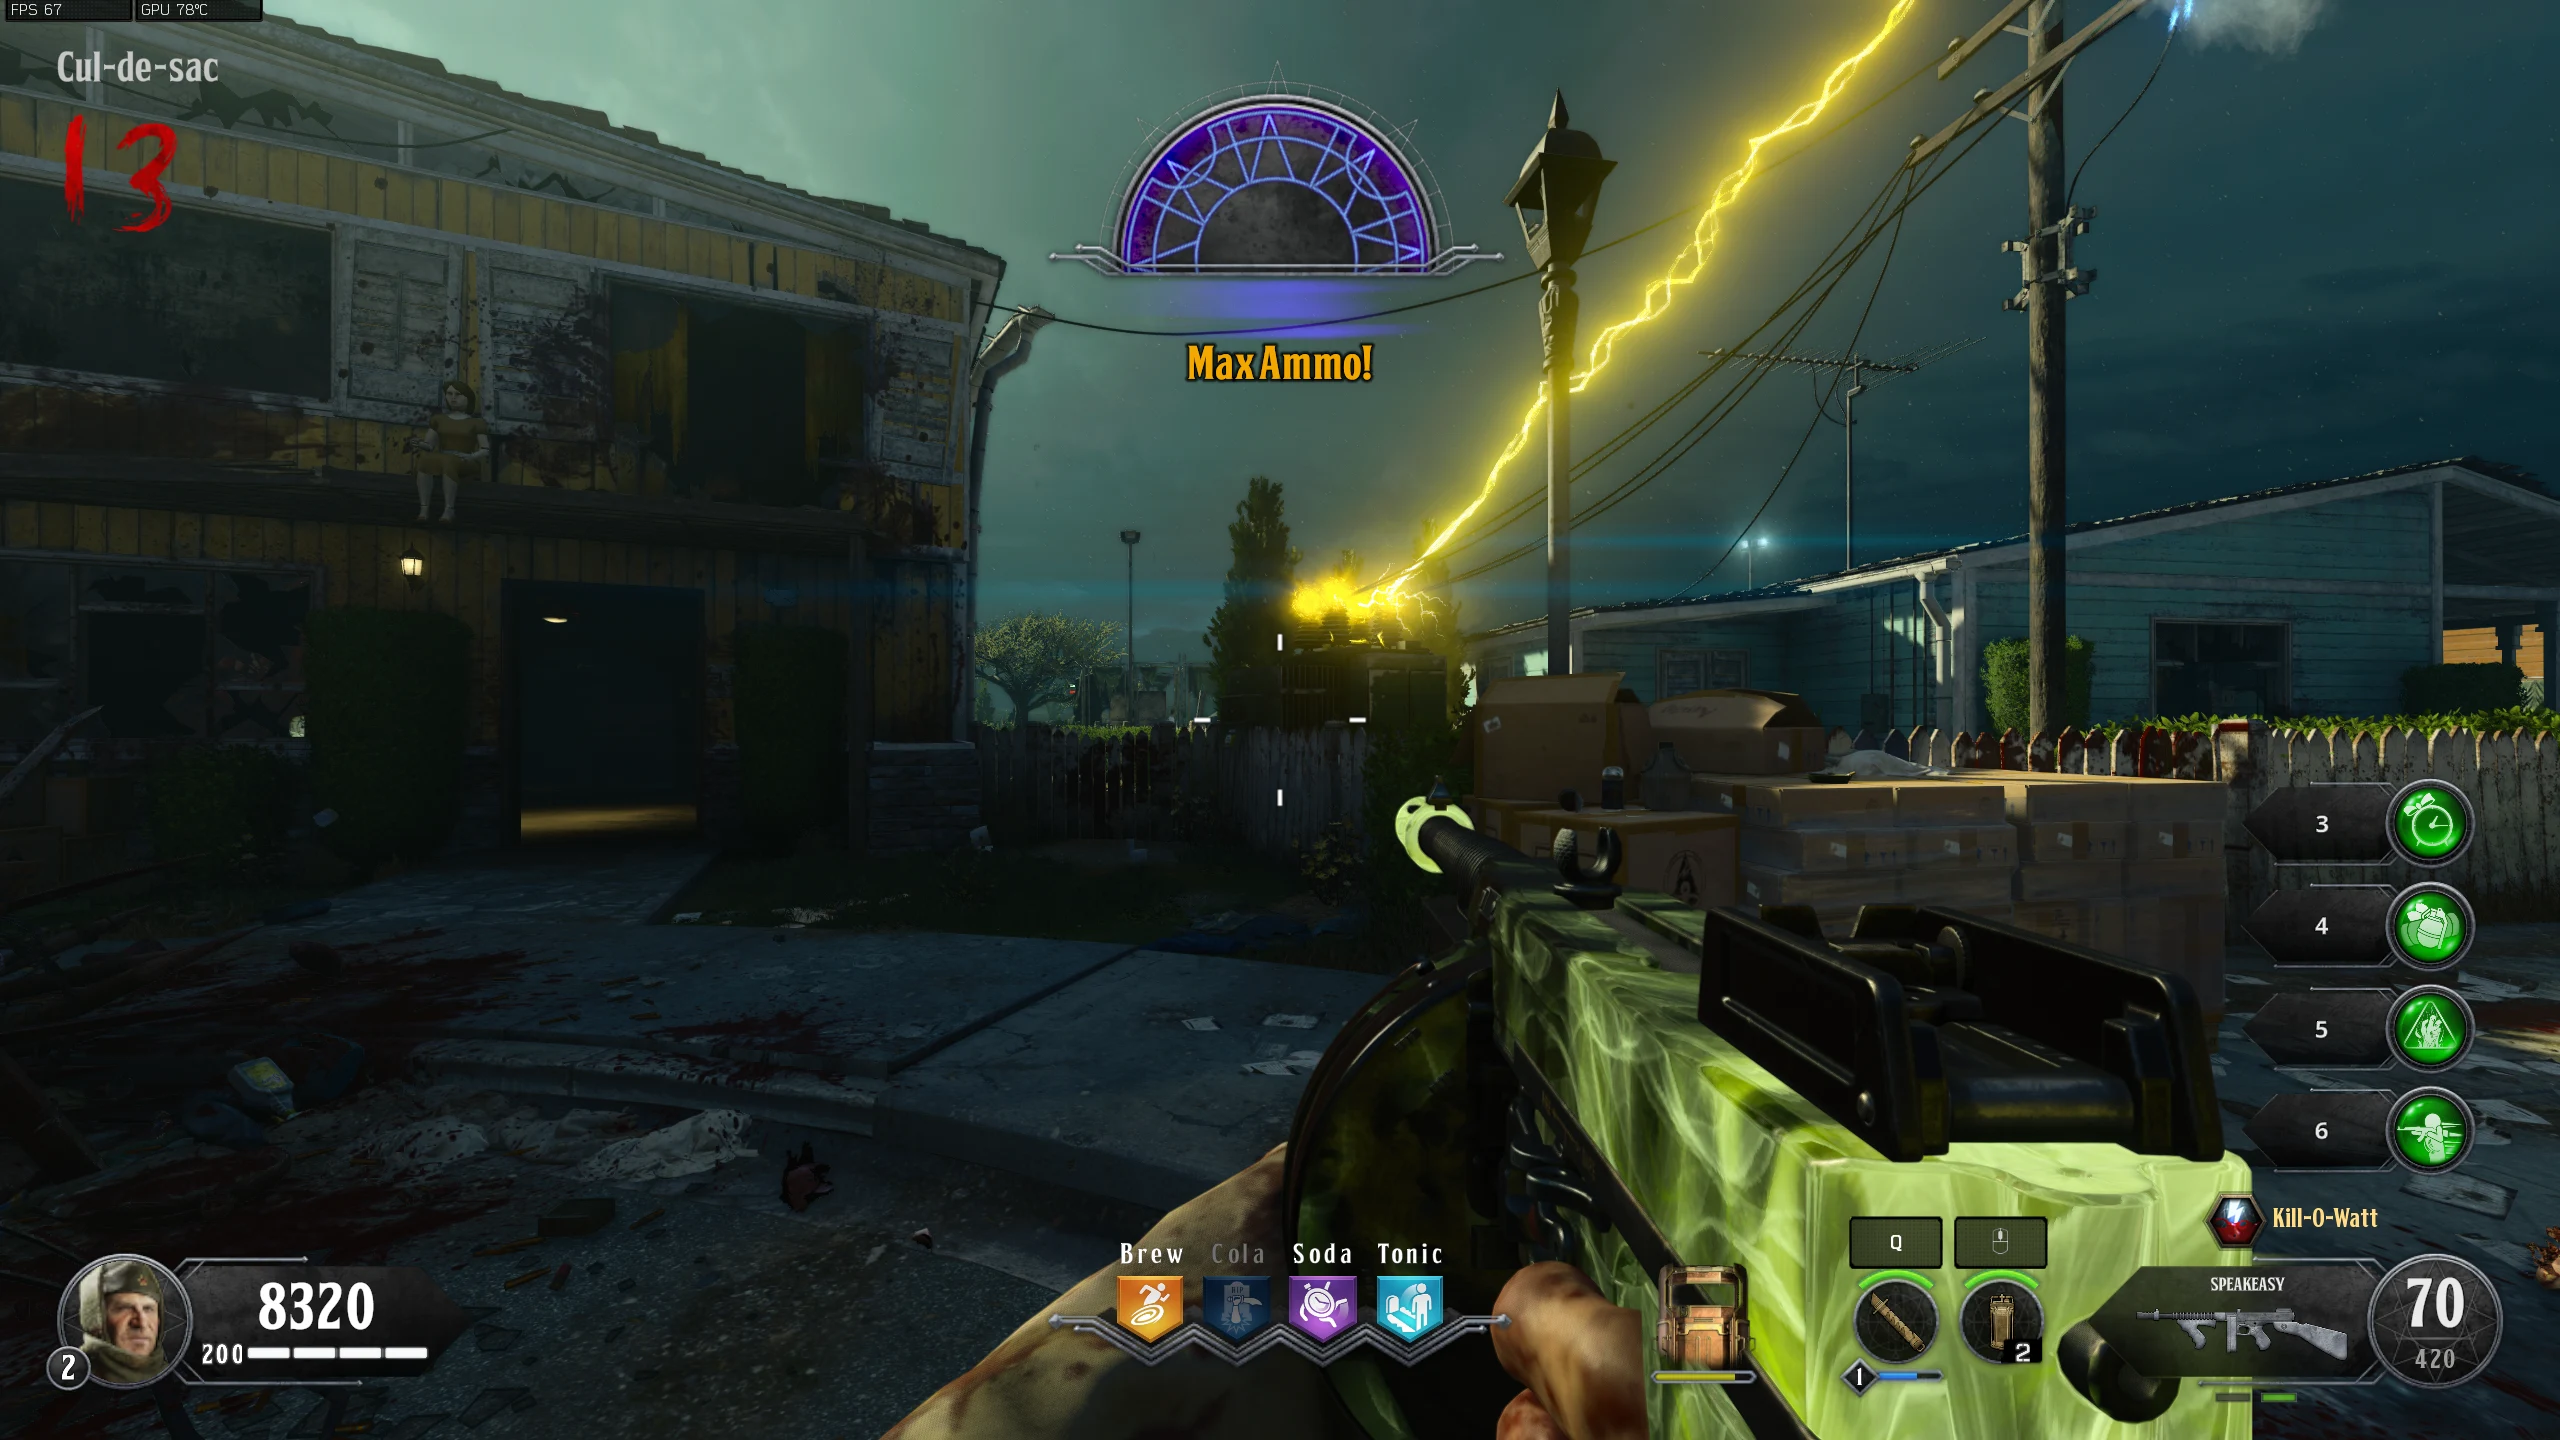
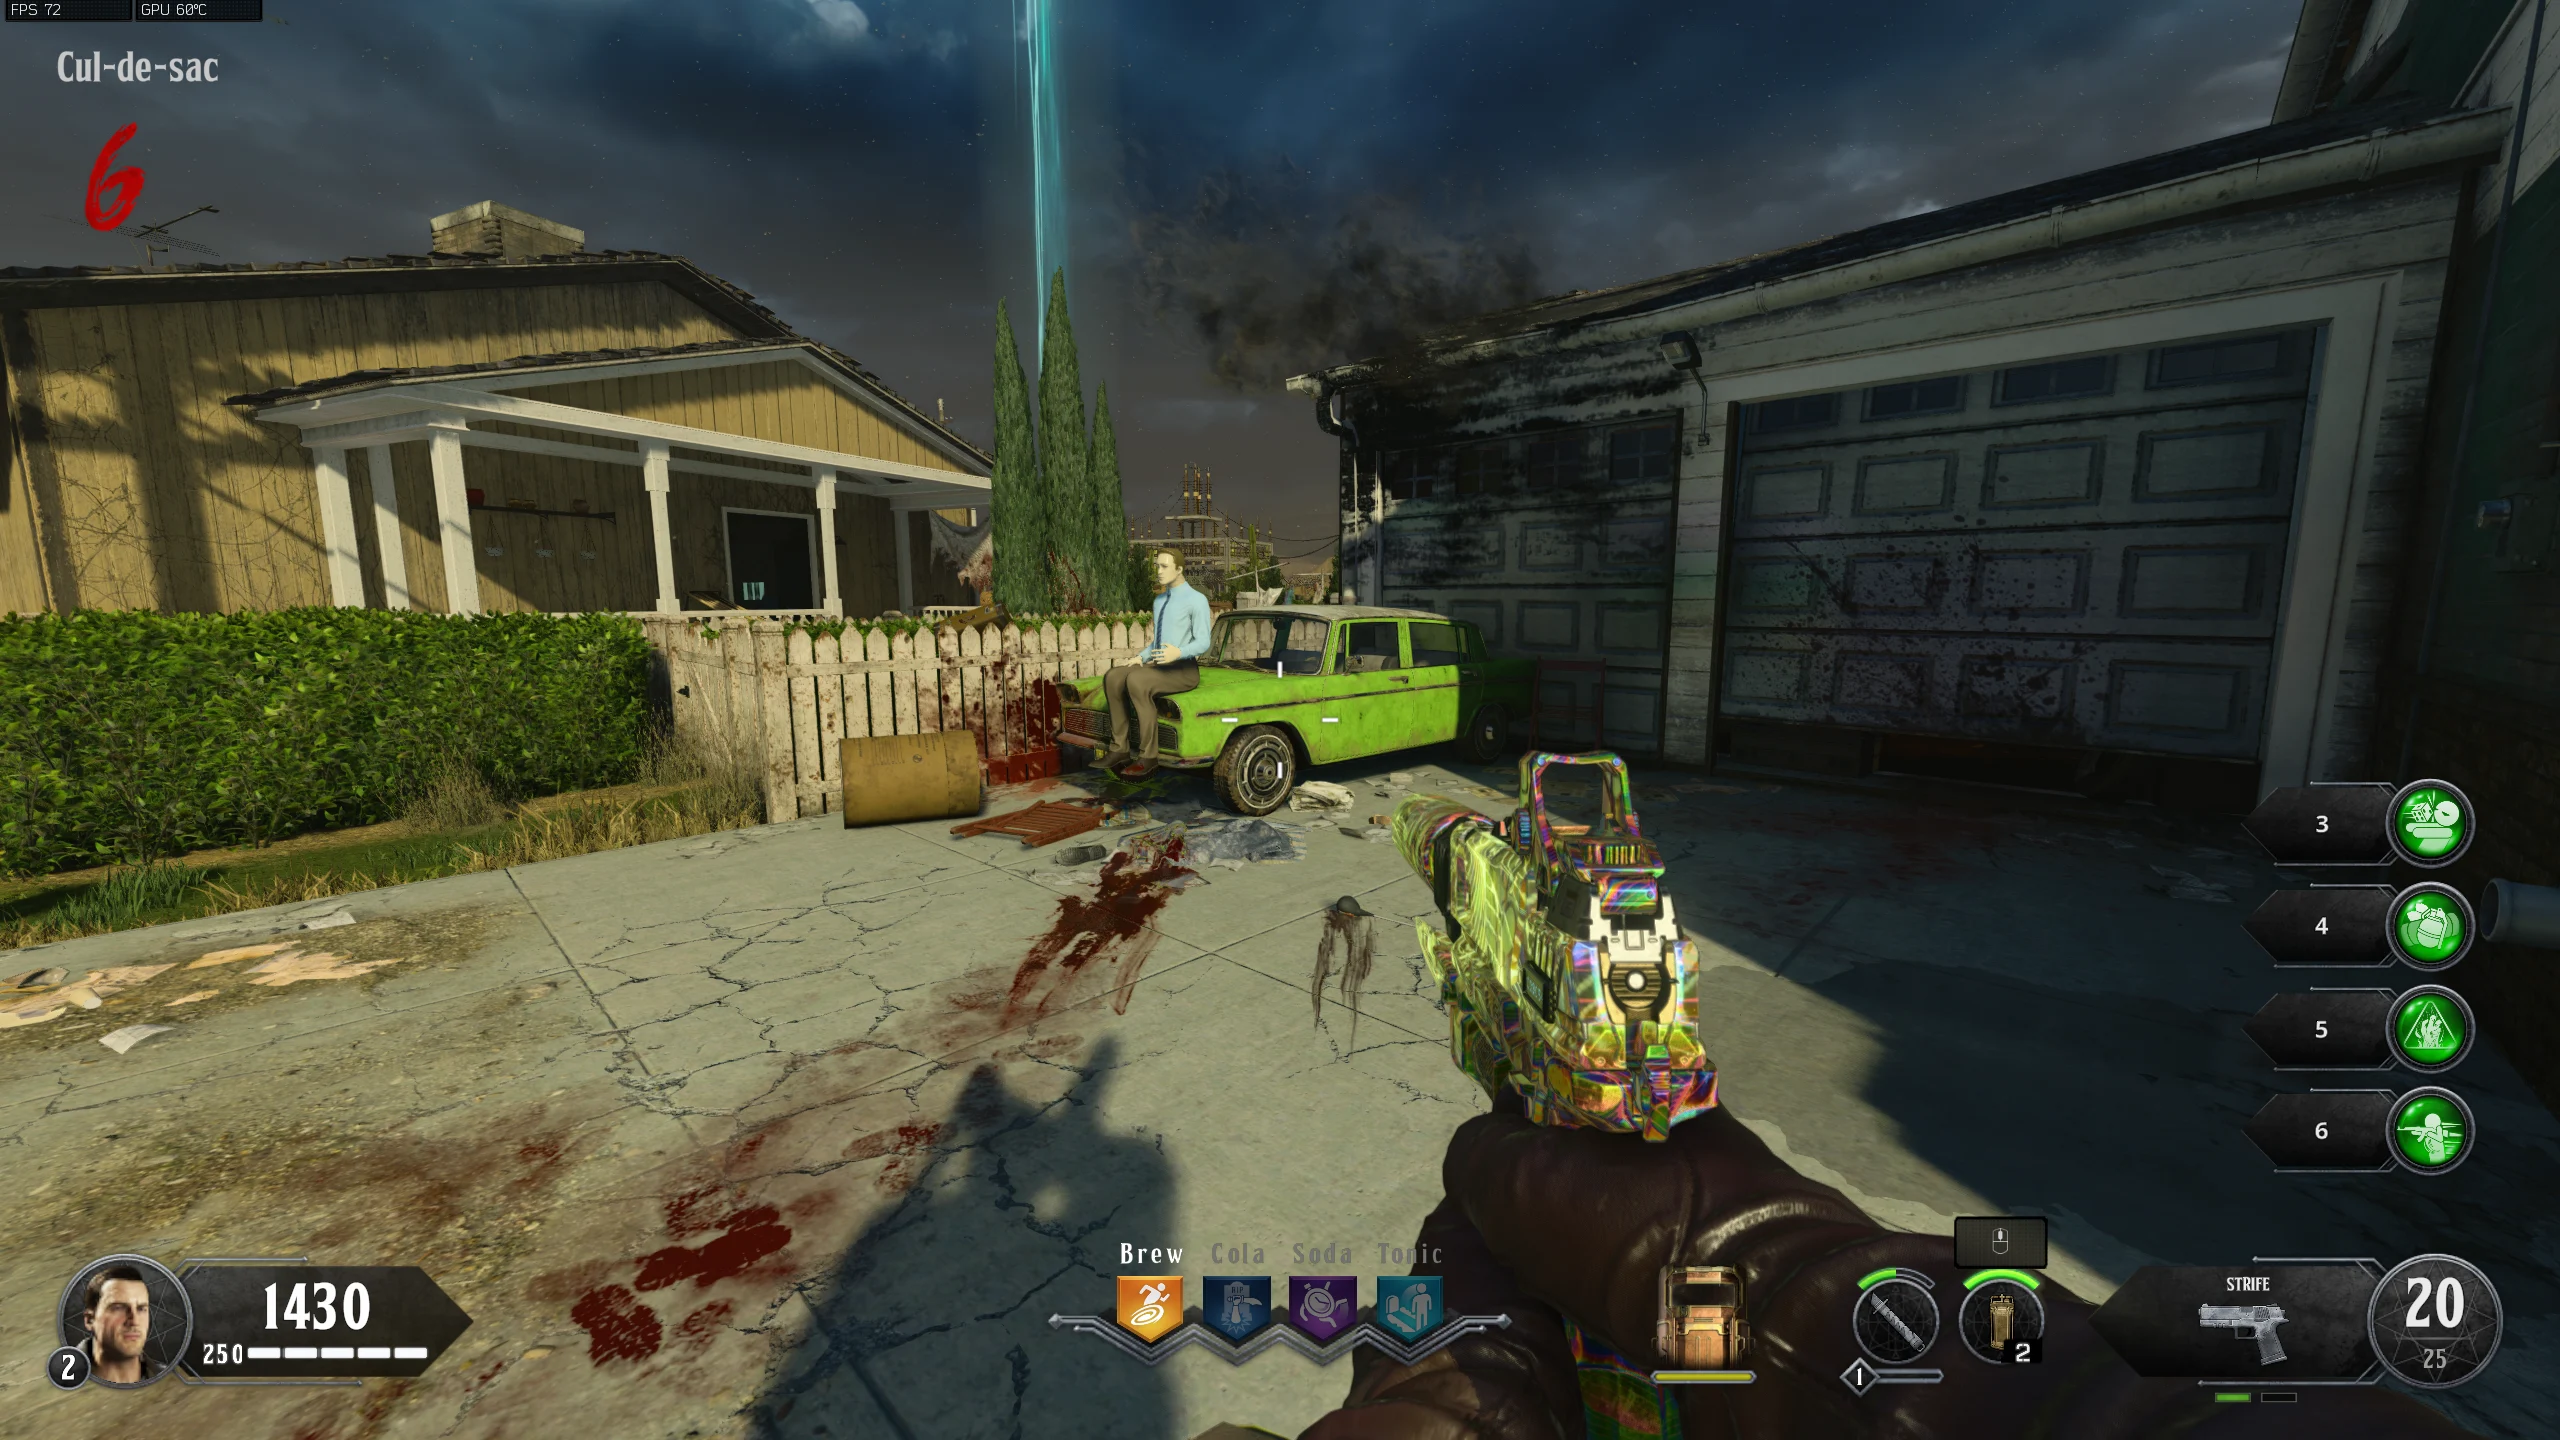
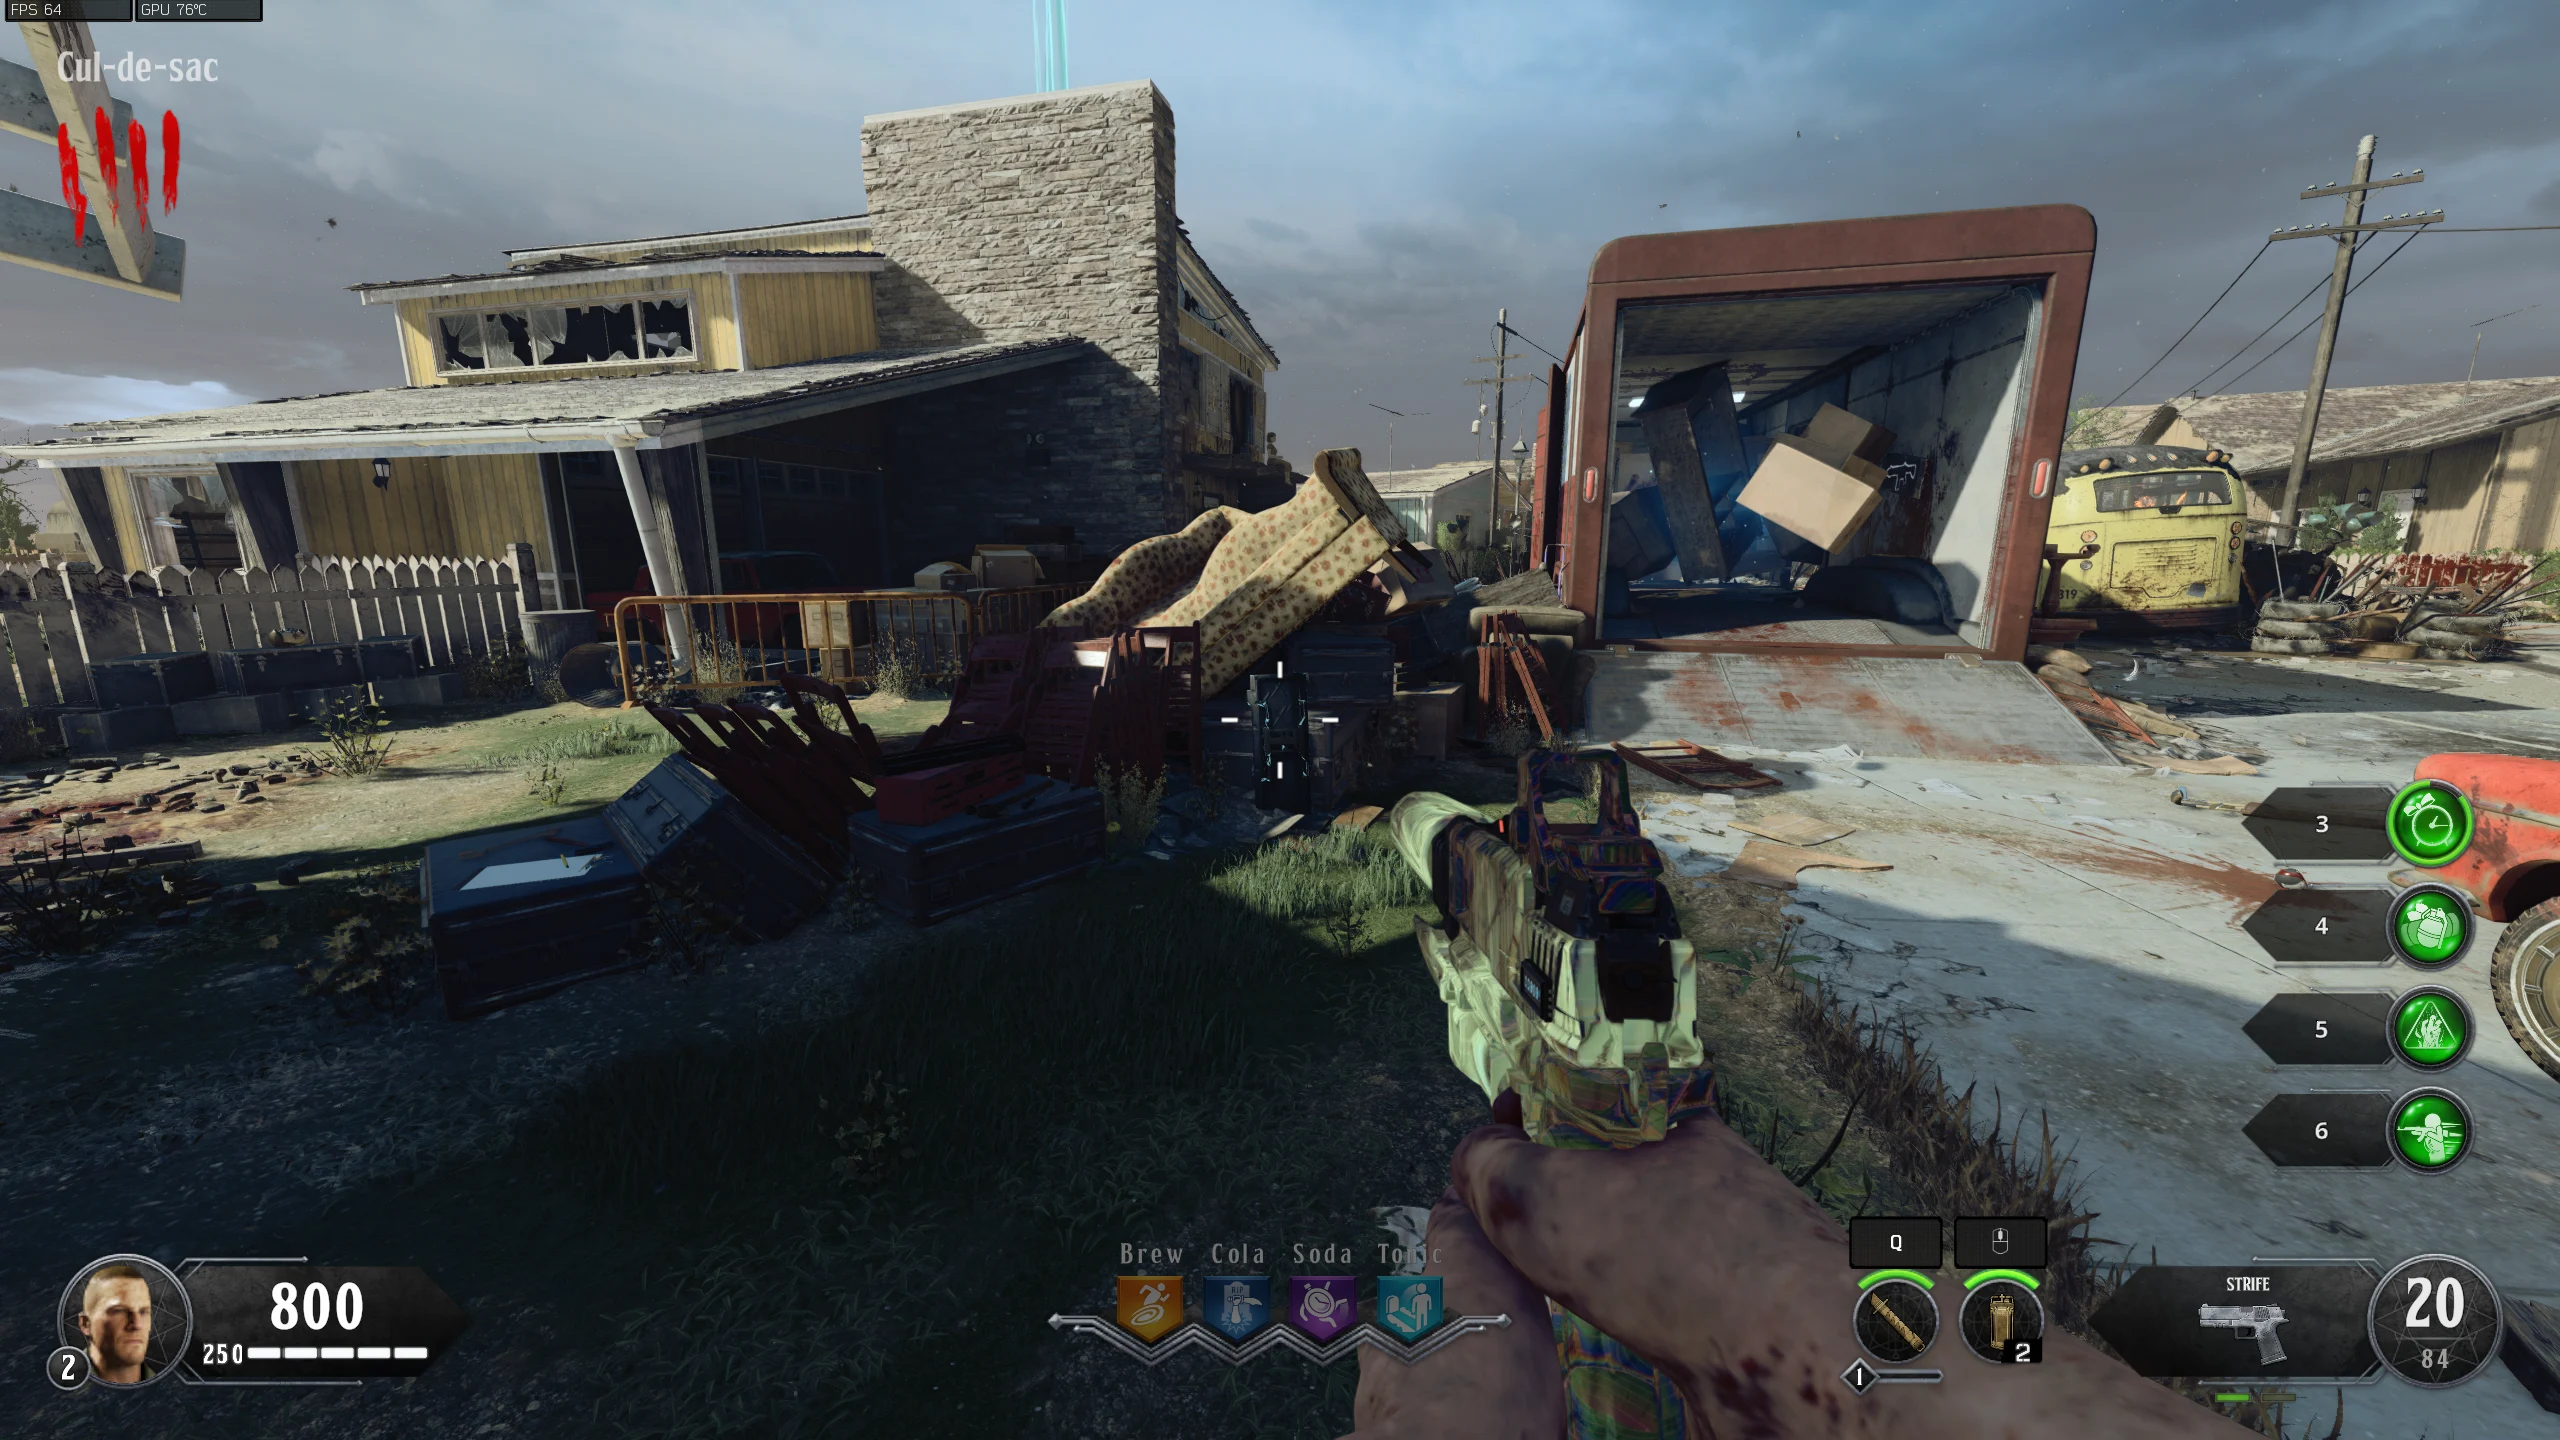
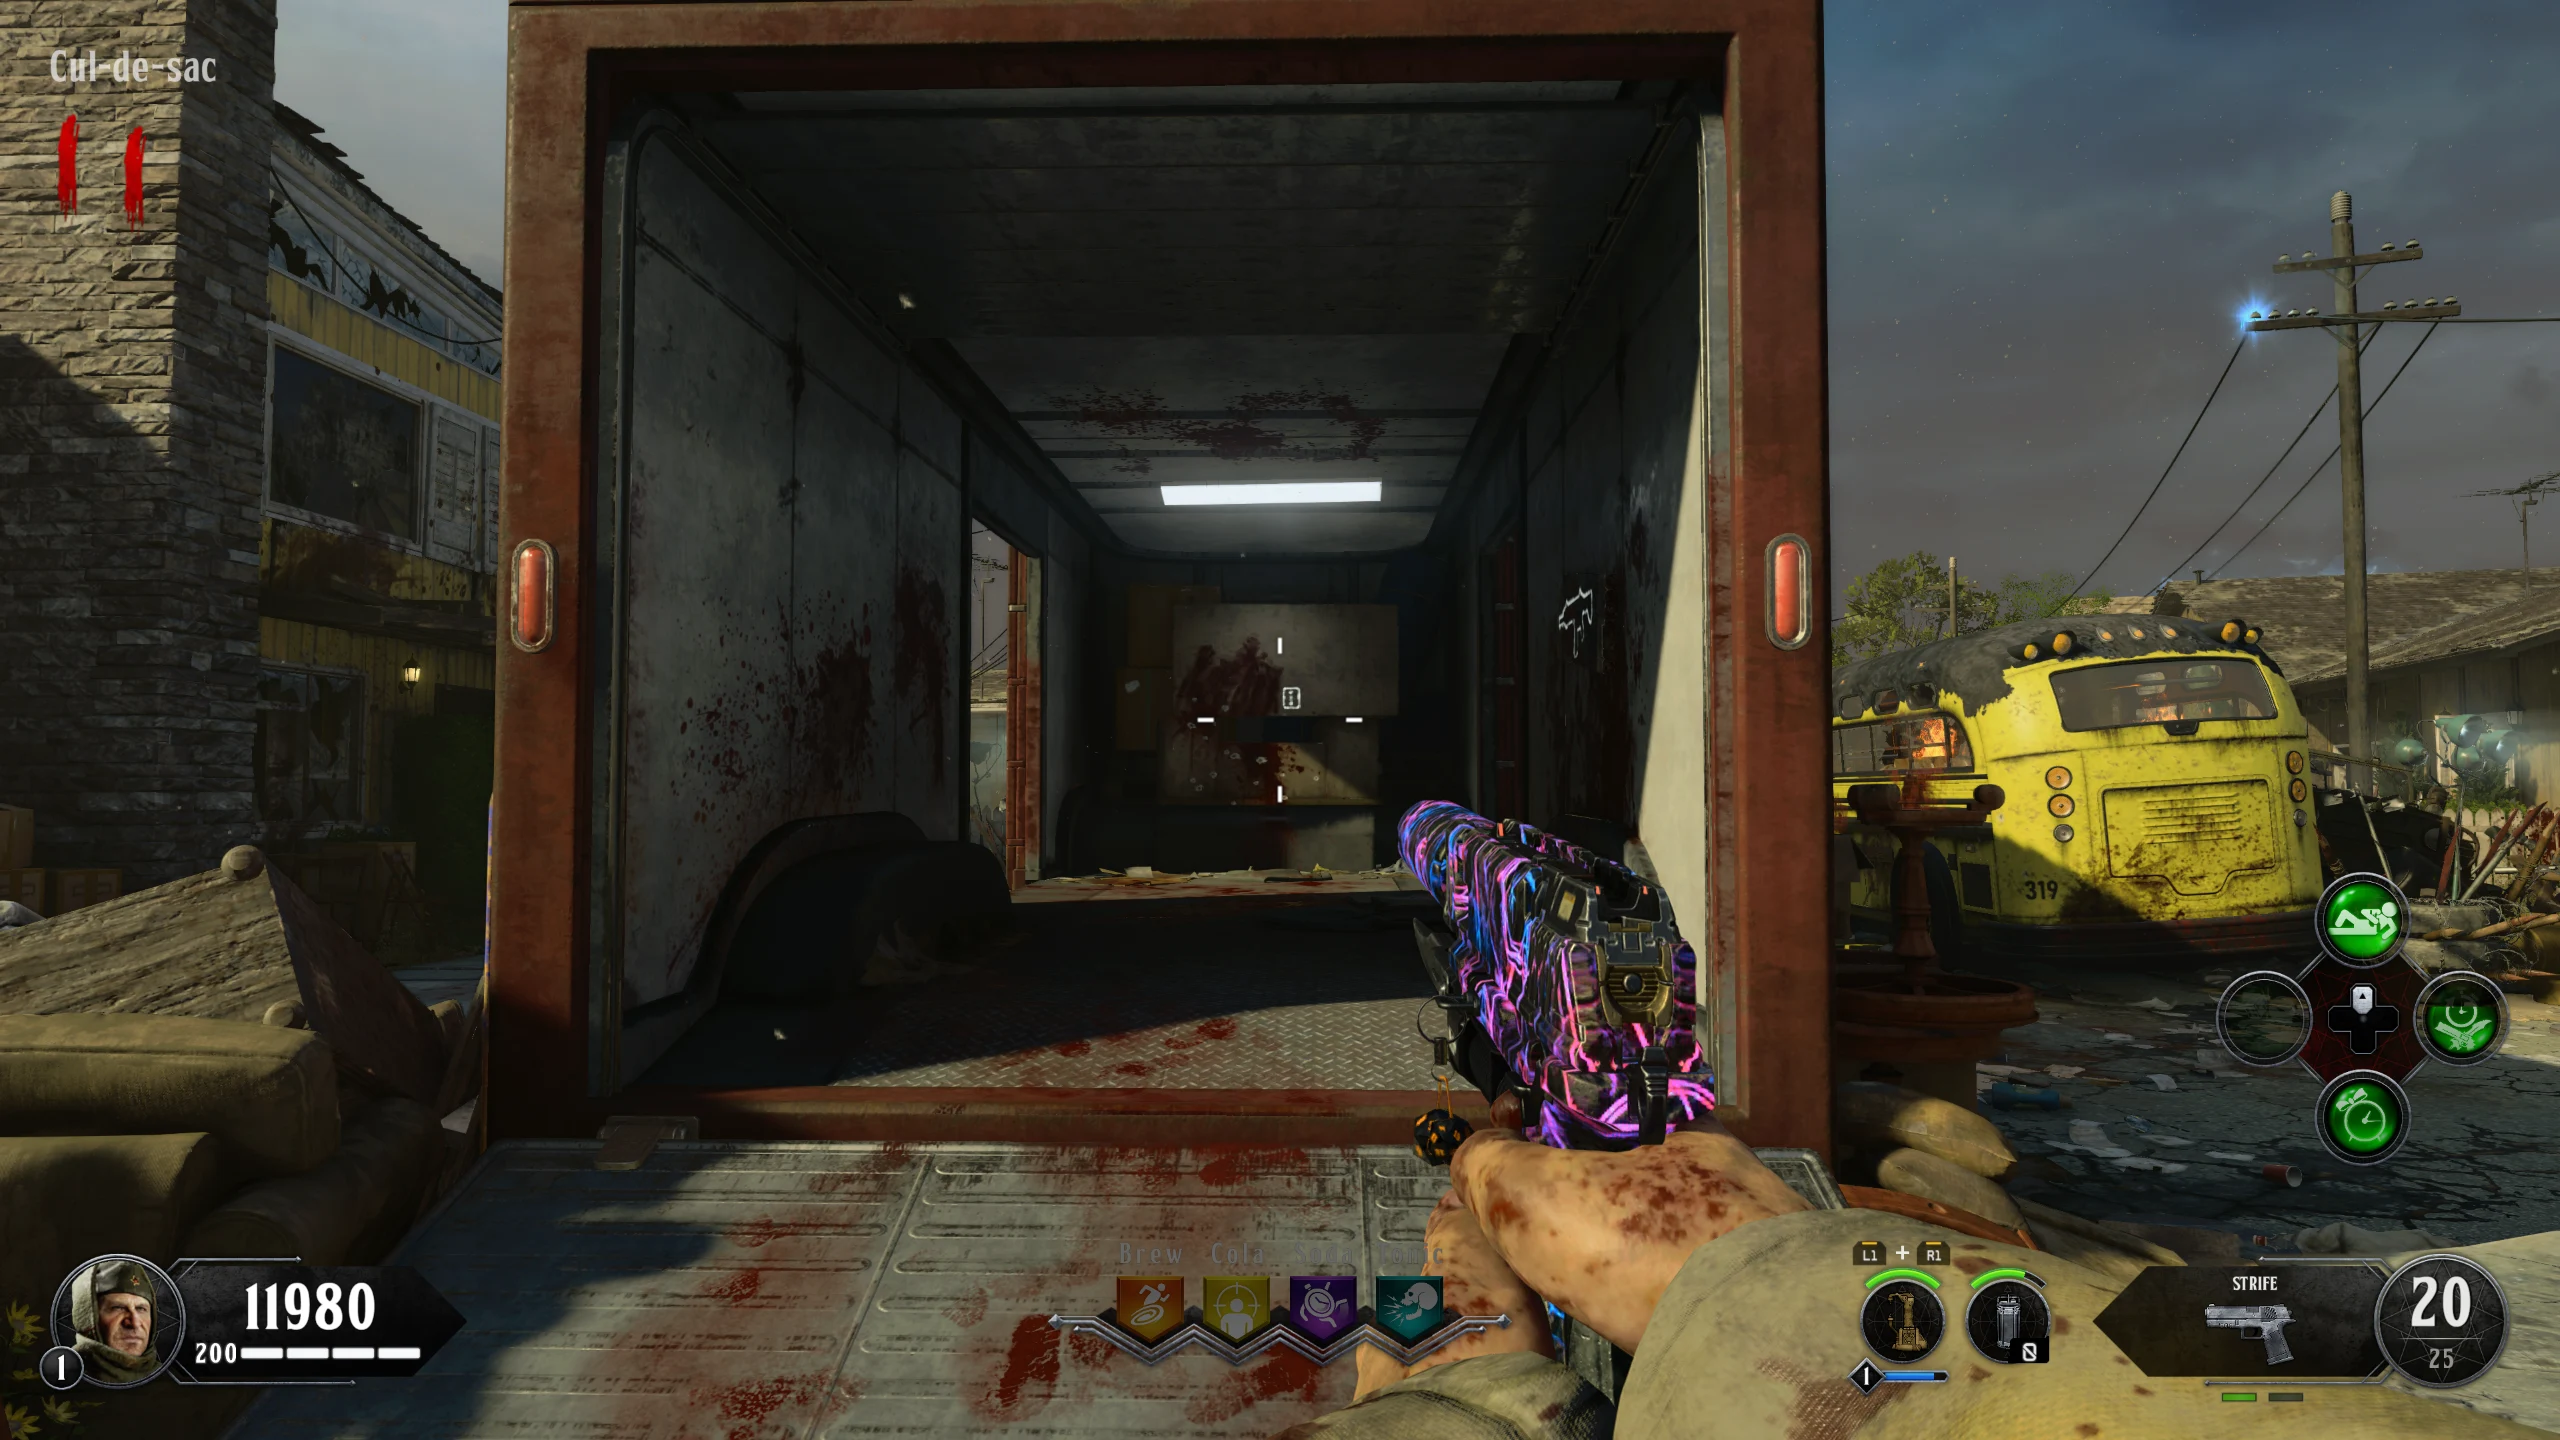
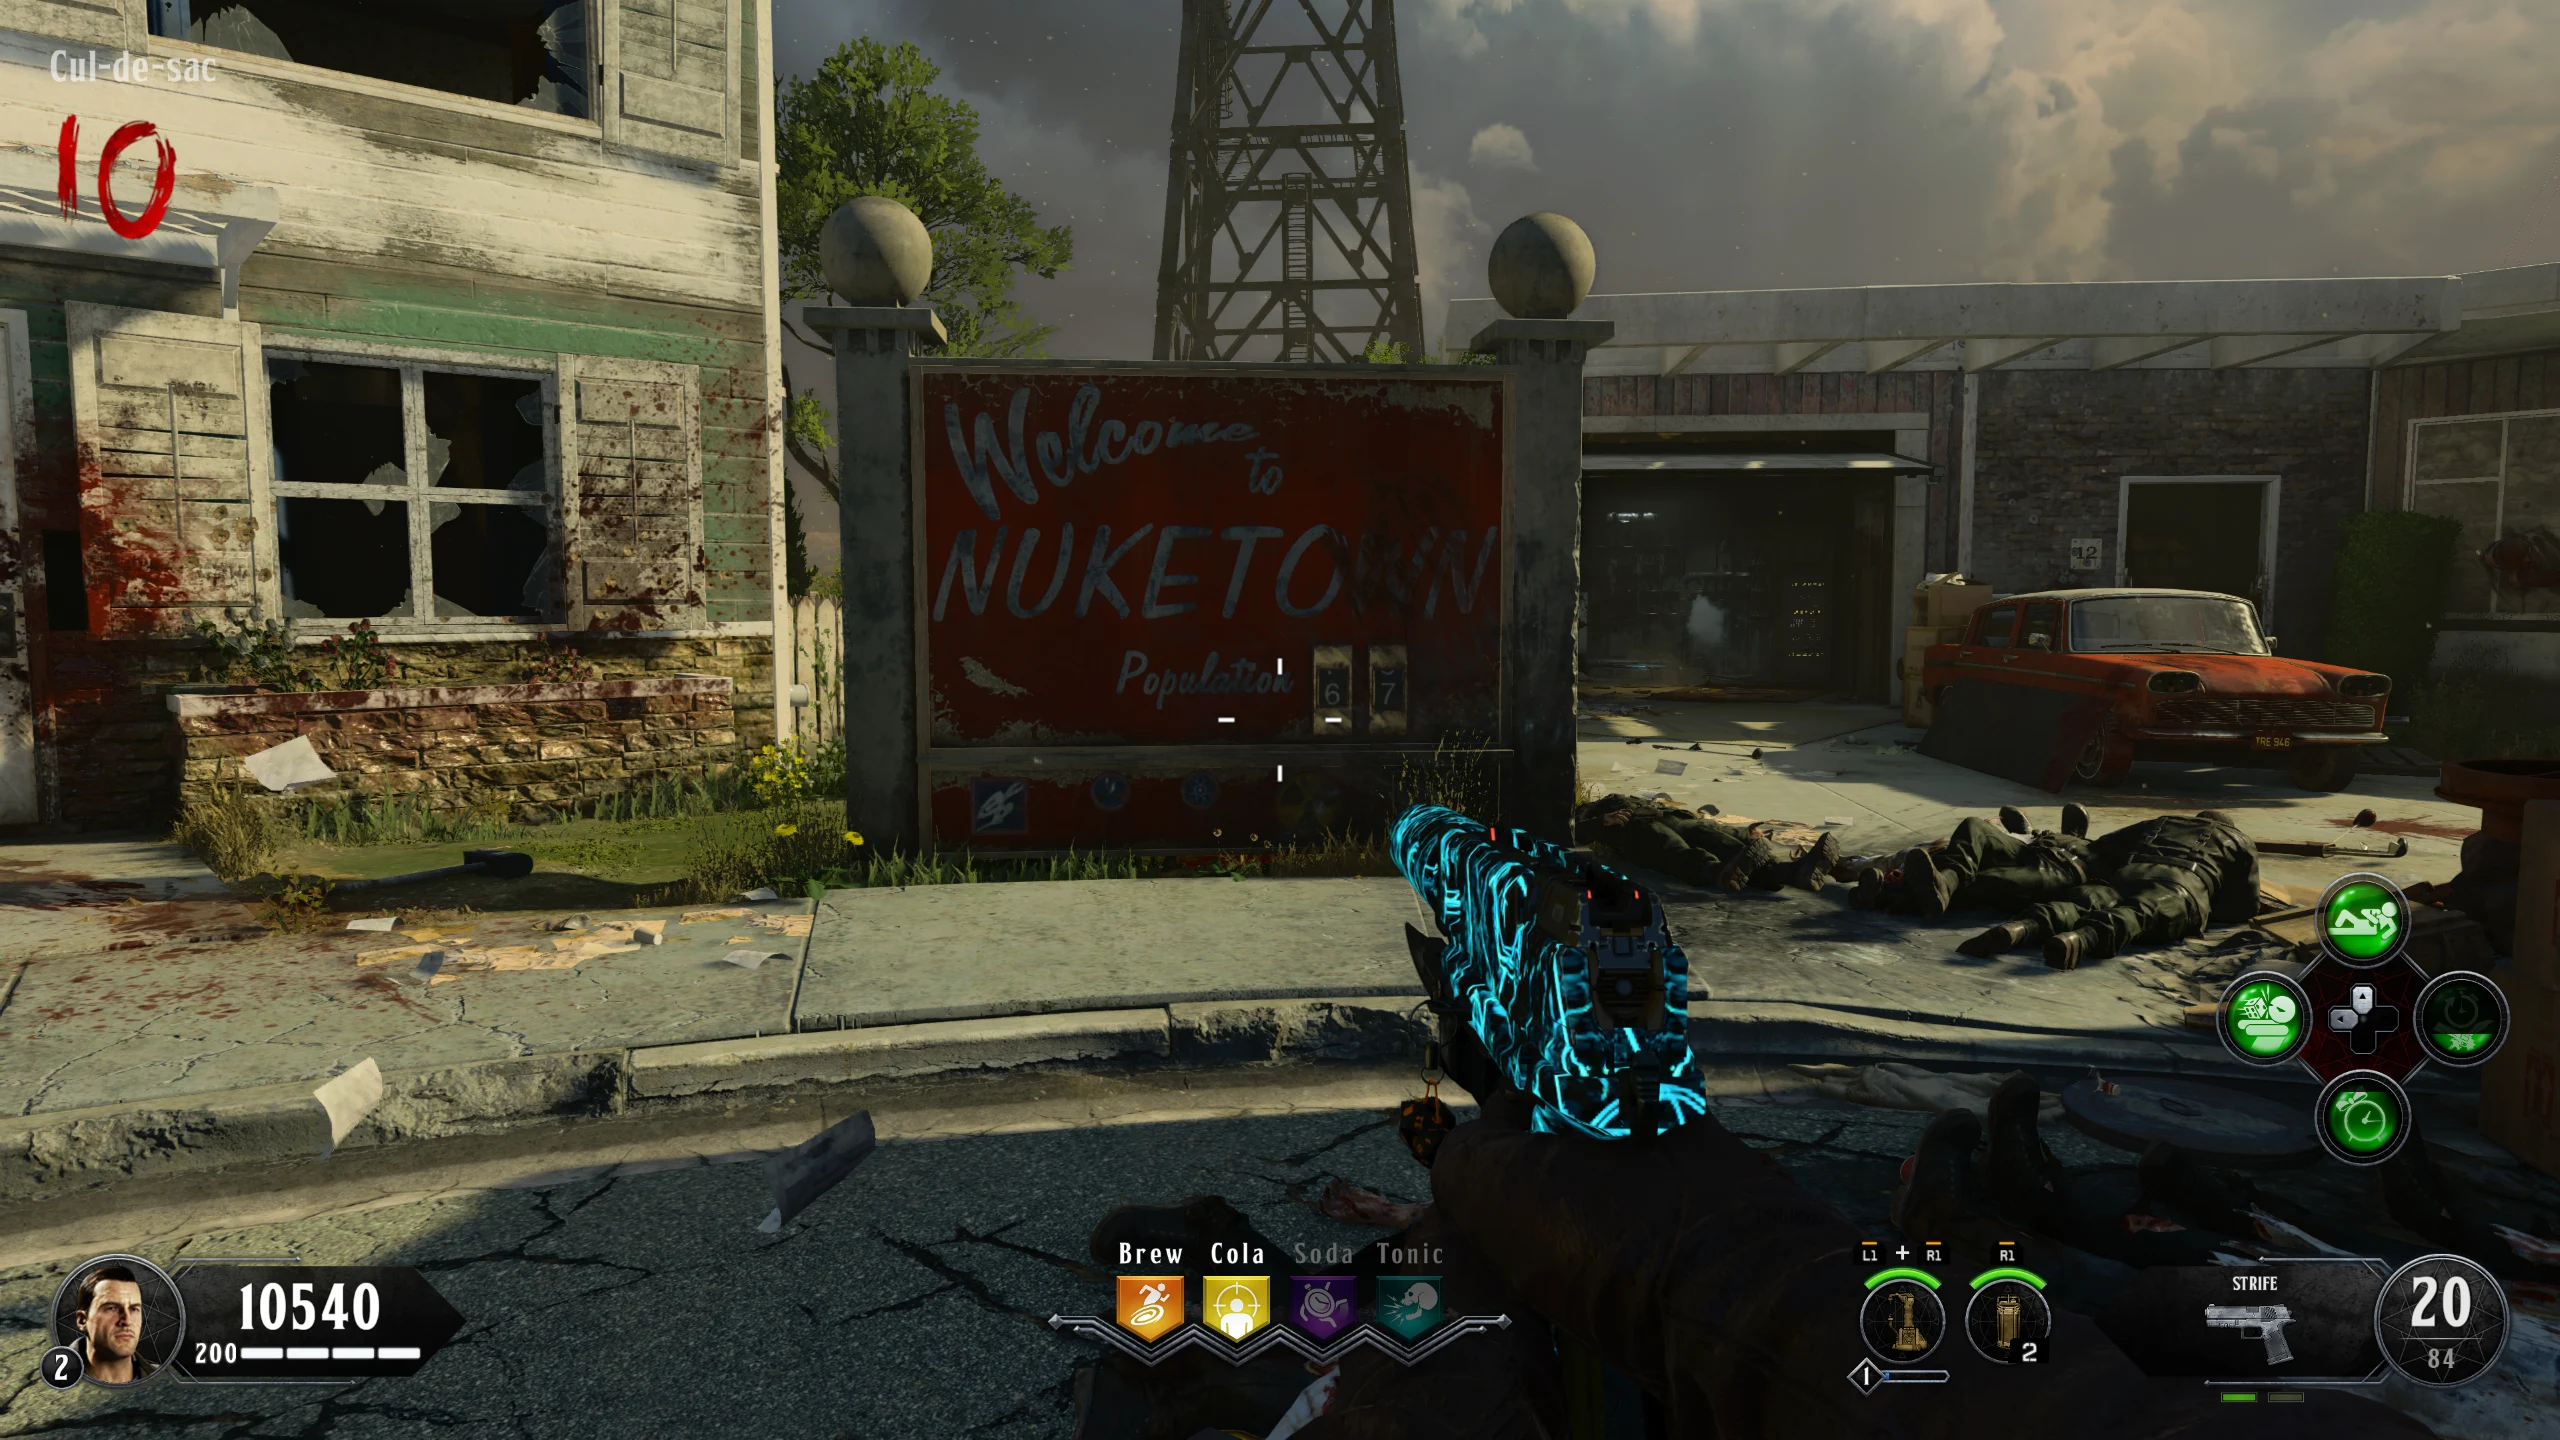
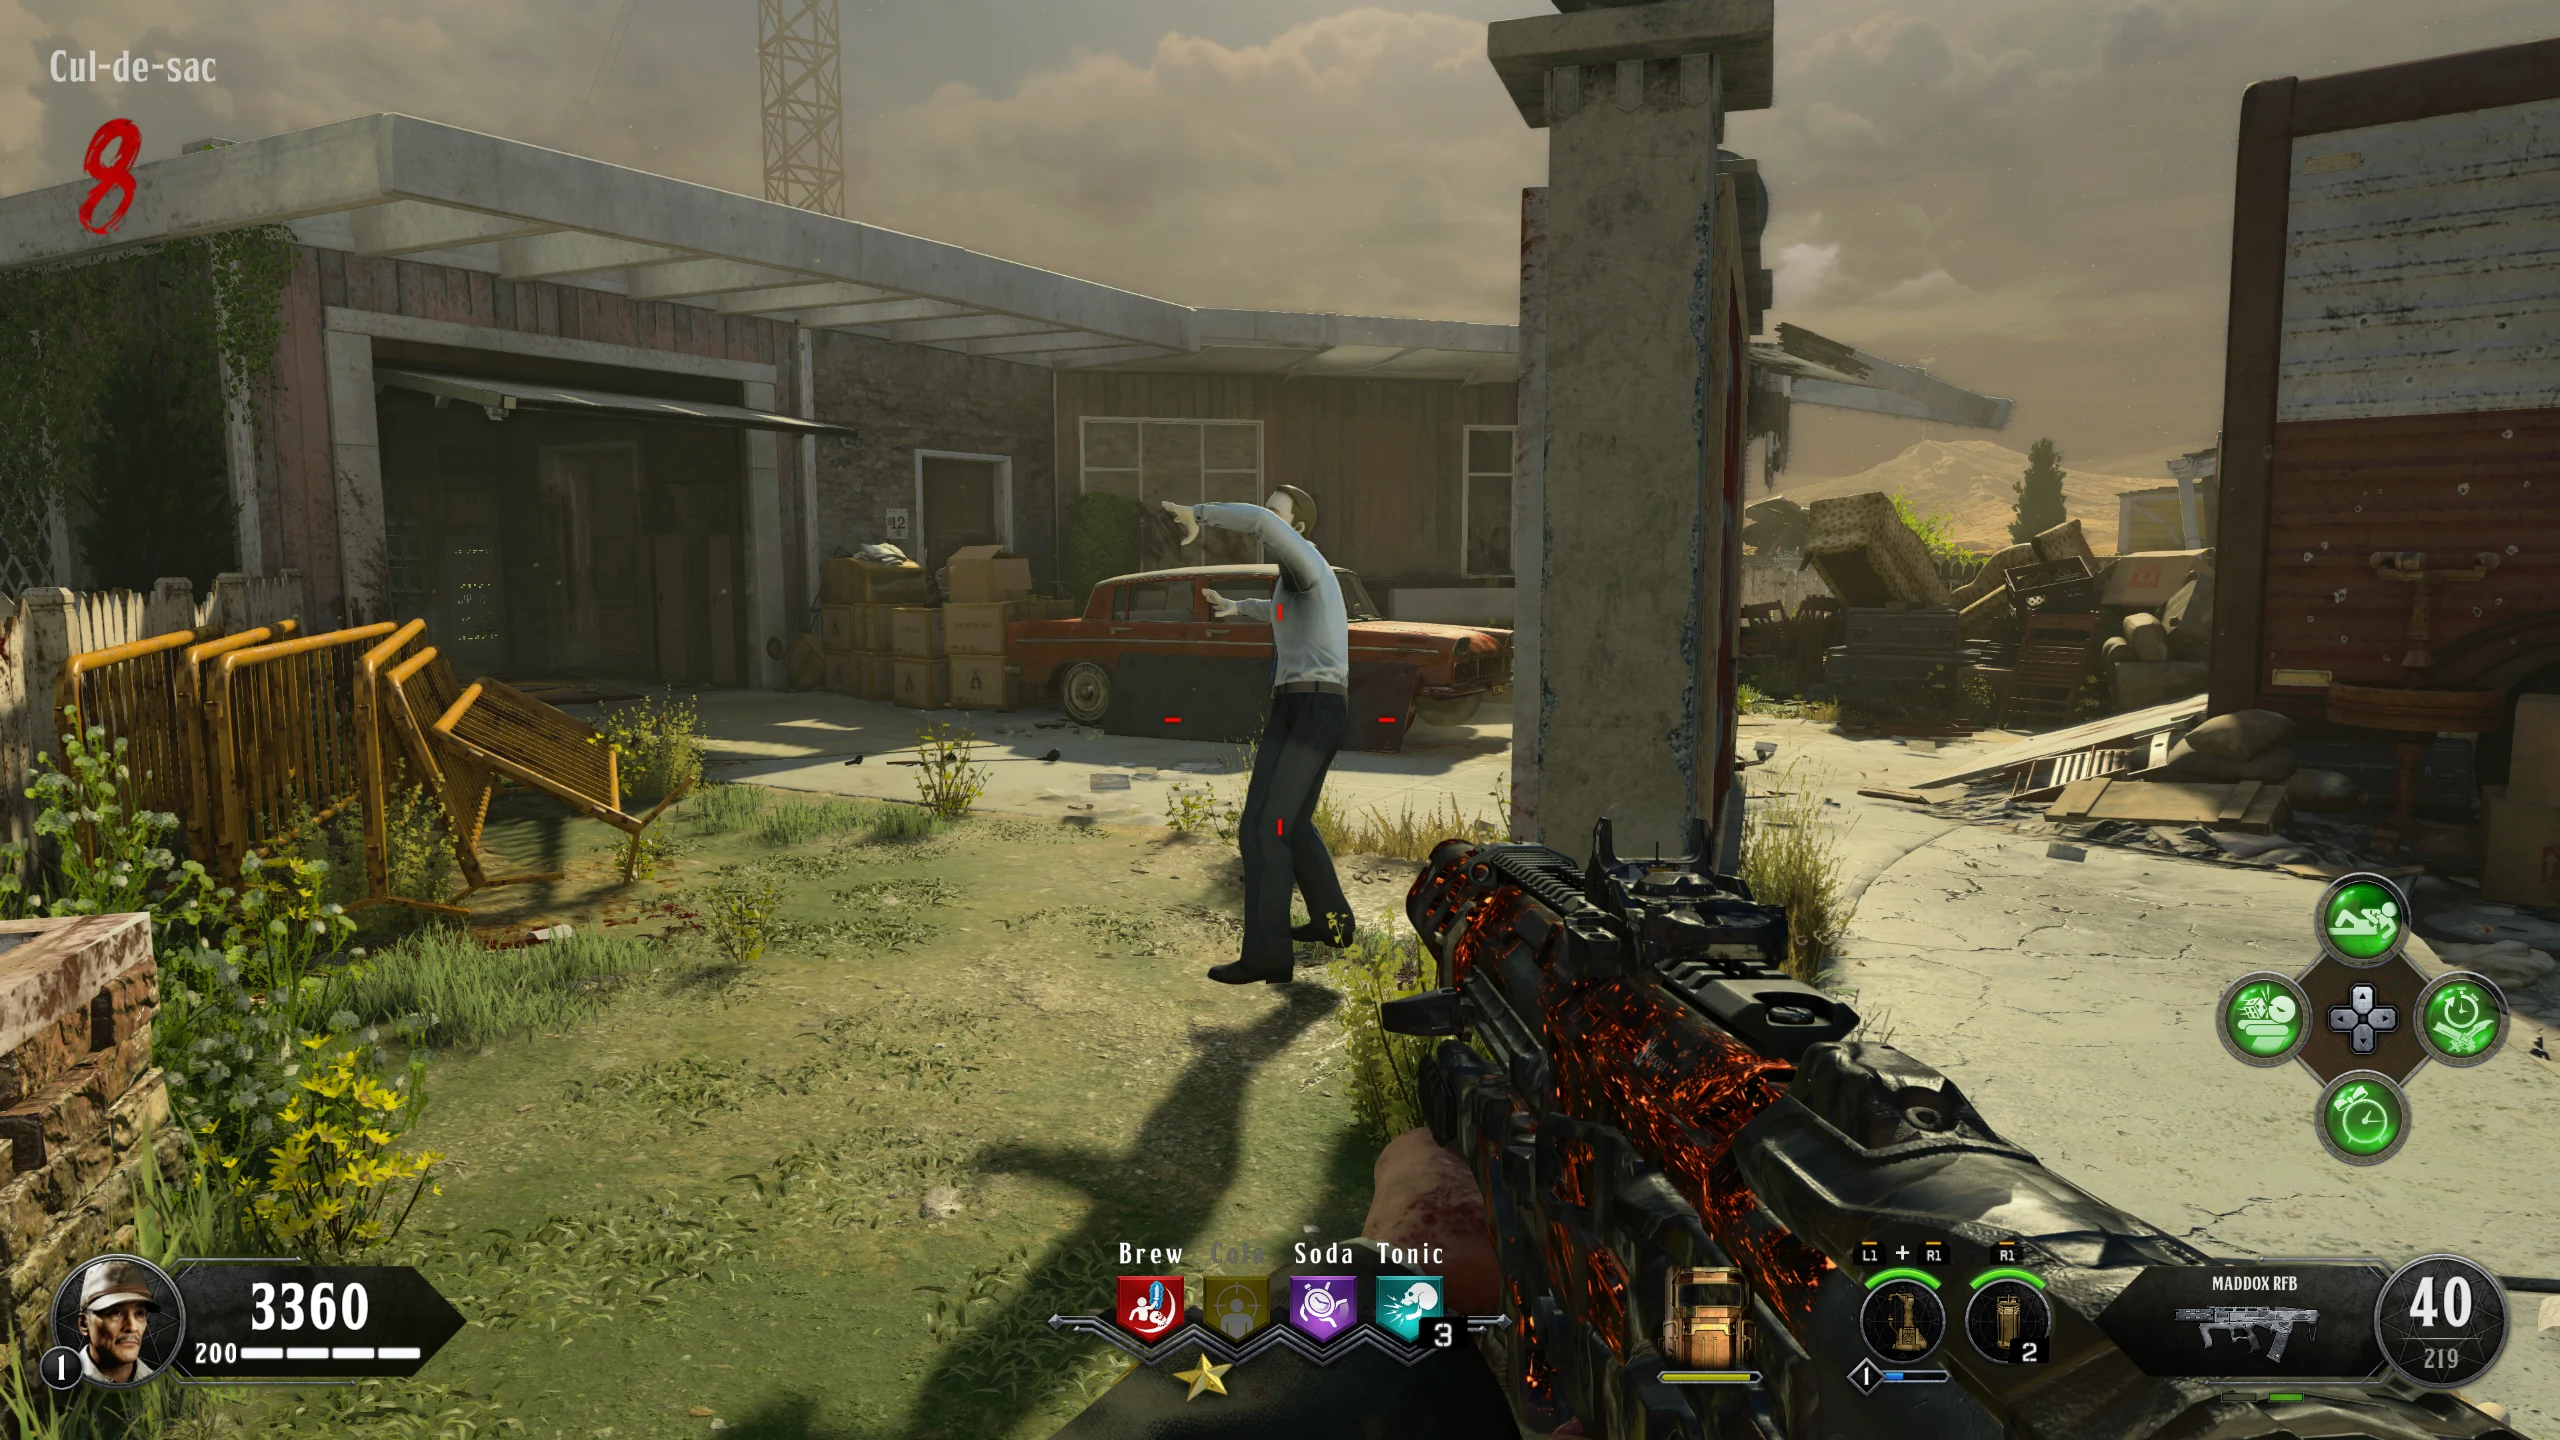
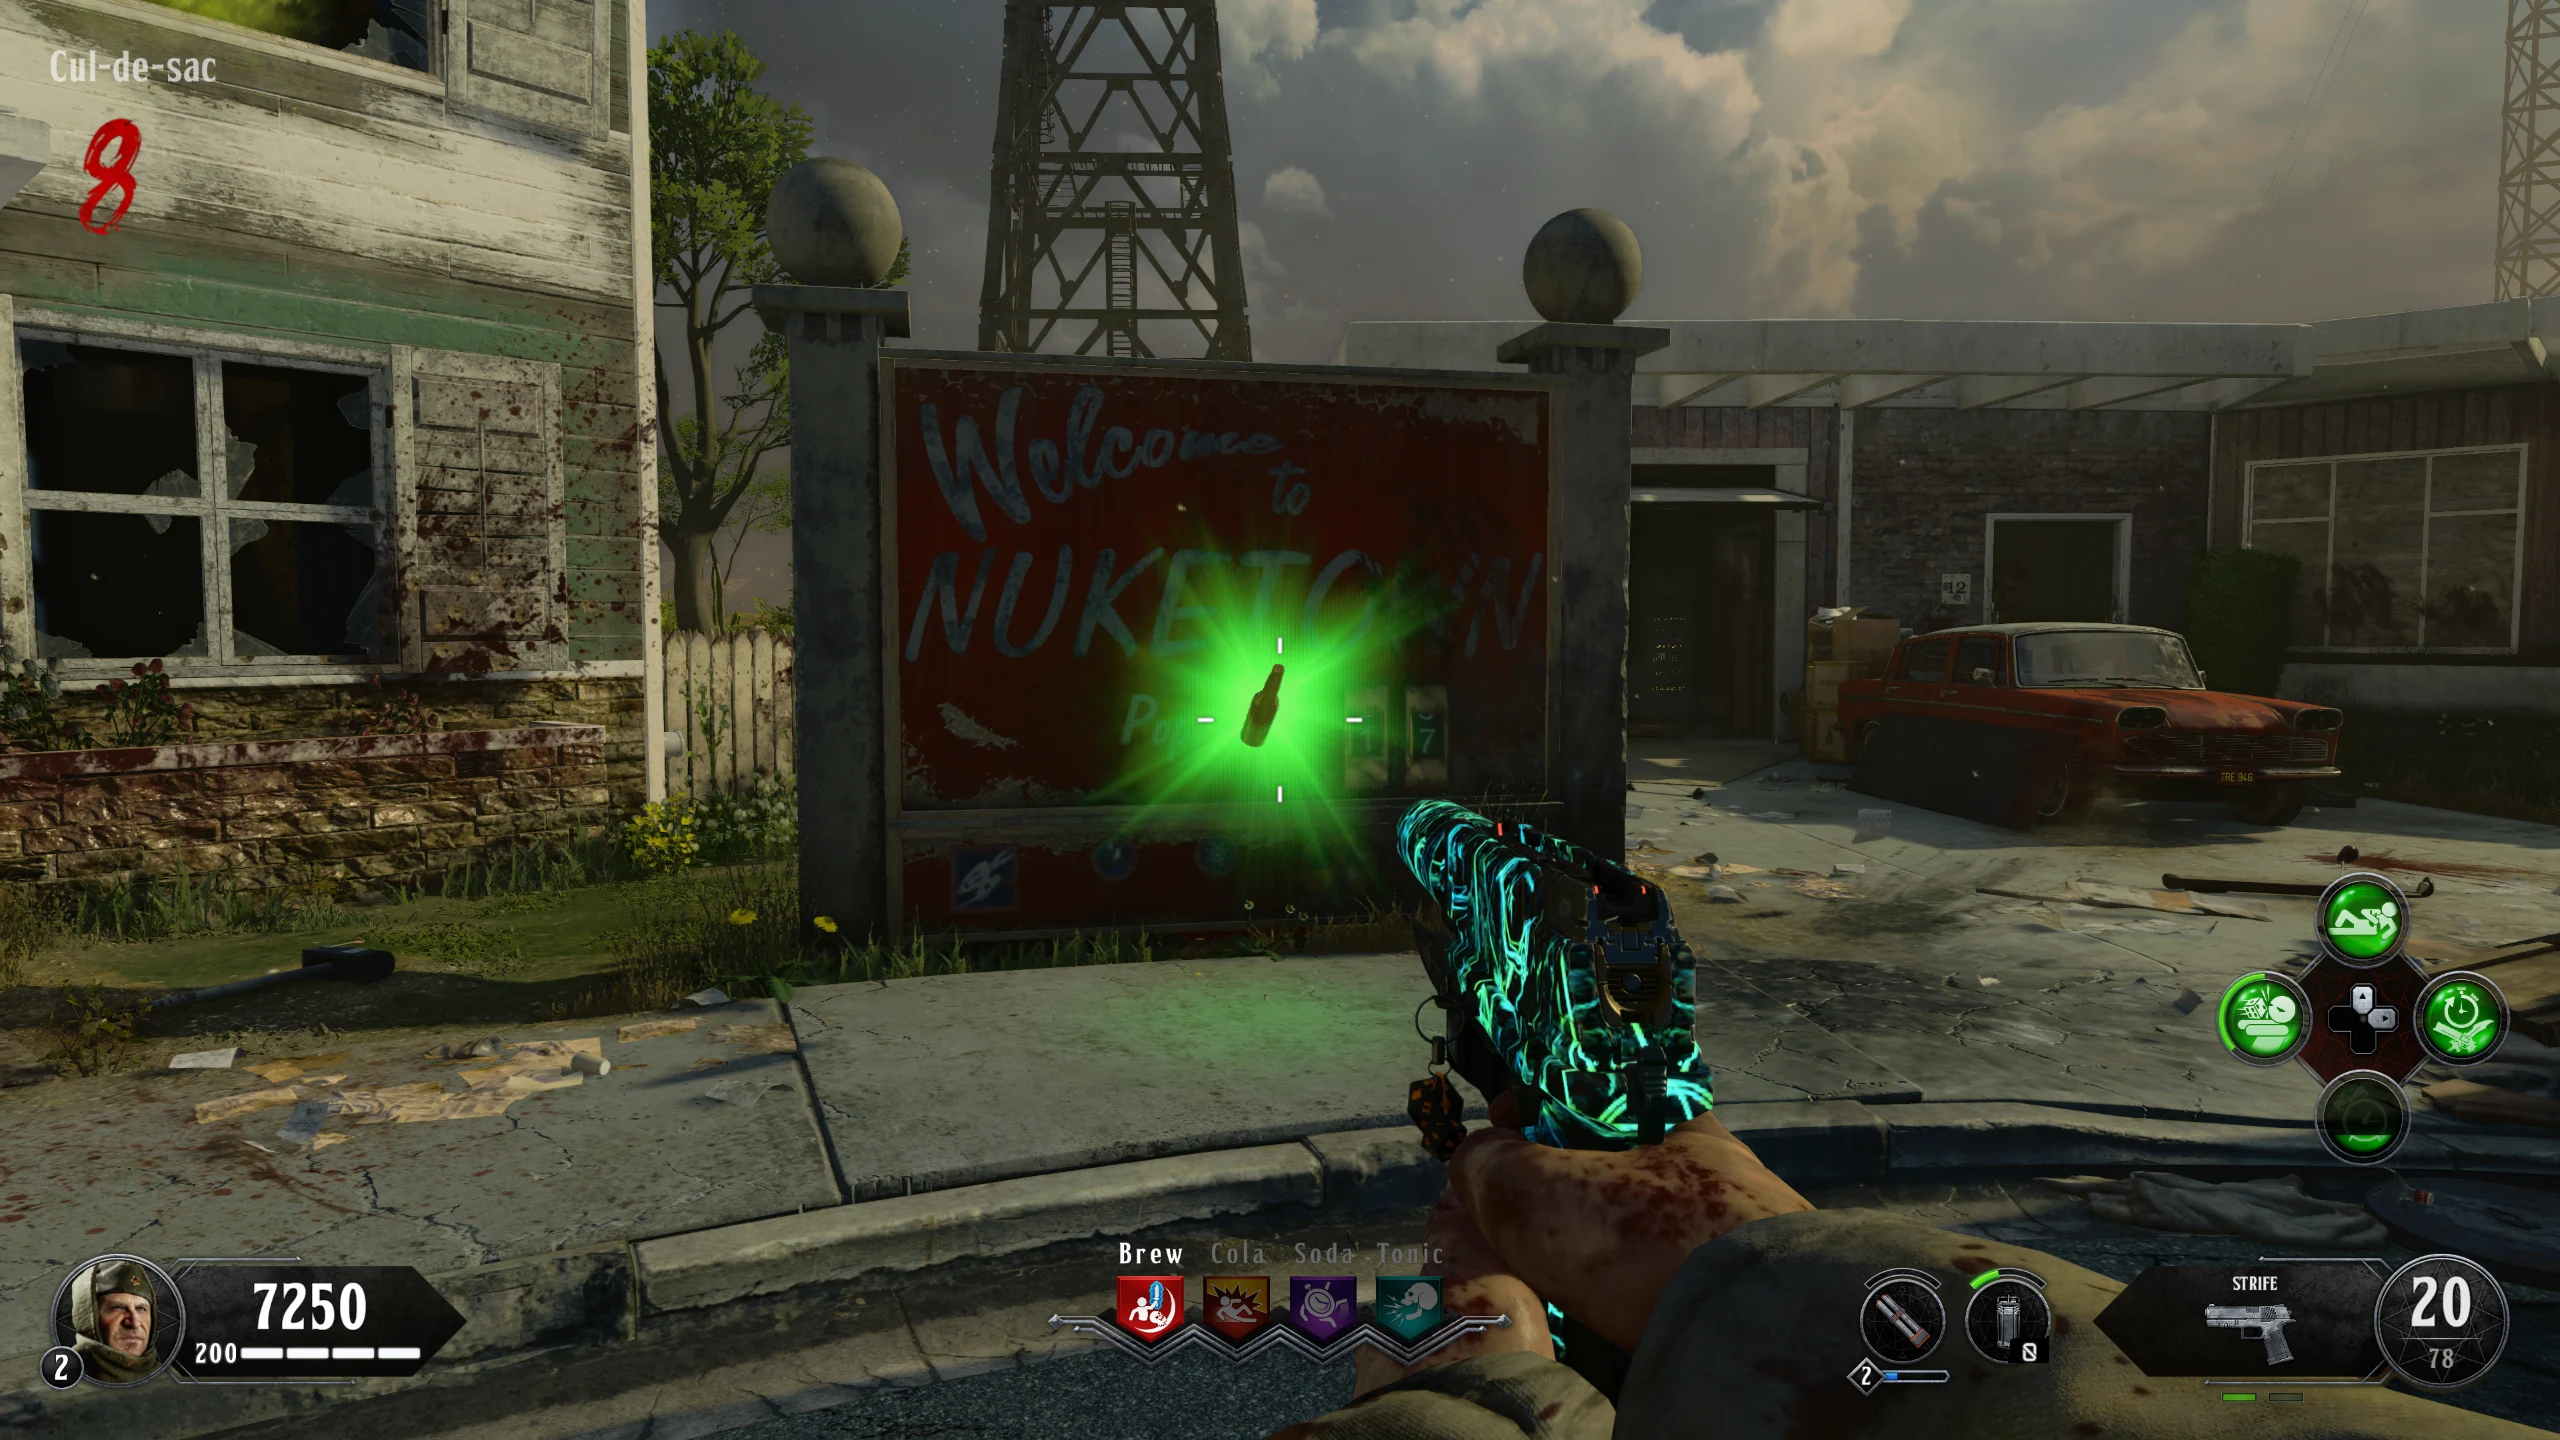
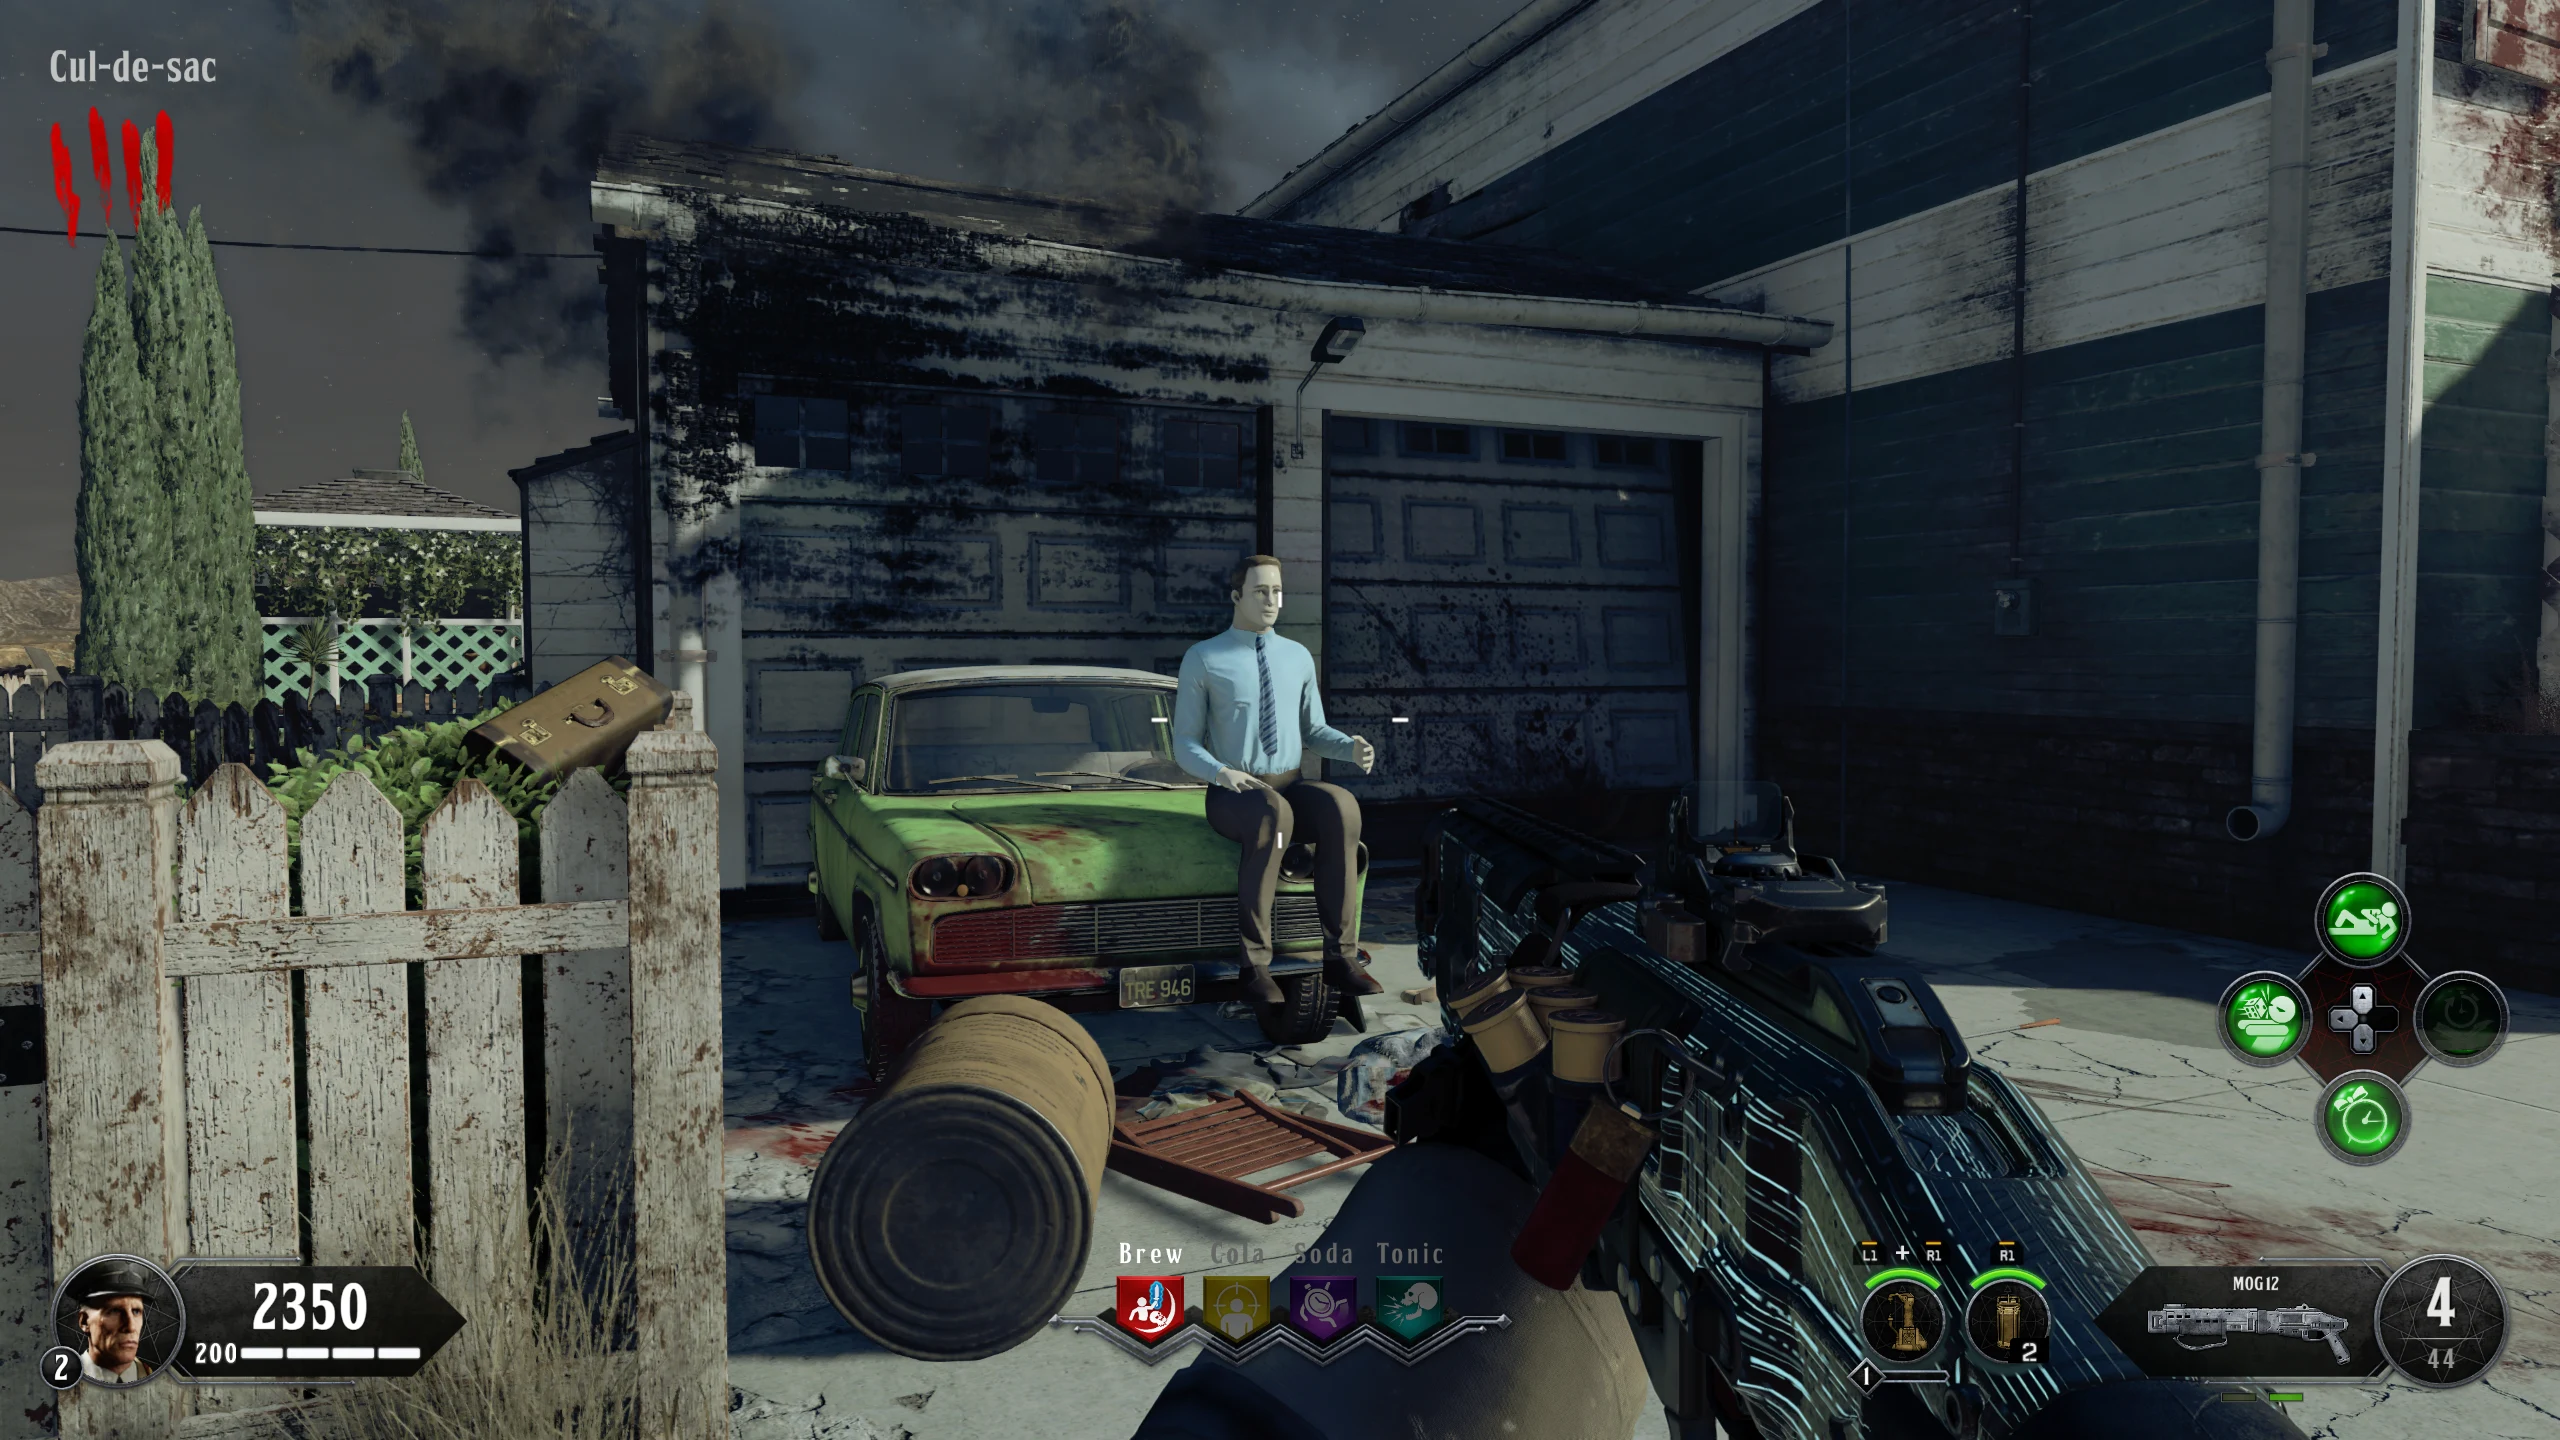
- Buy the Galvaknuckles from the wallbuy in the back of the truck in the 'Cul-de-sac.'
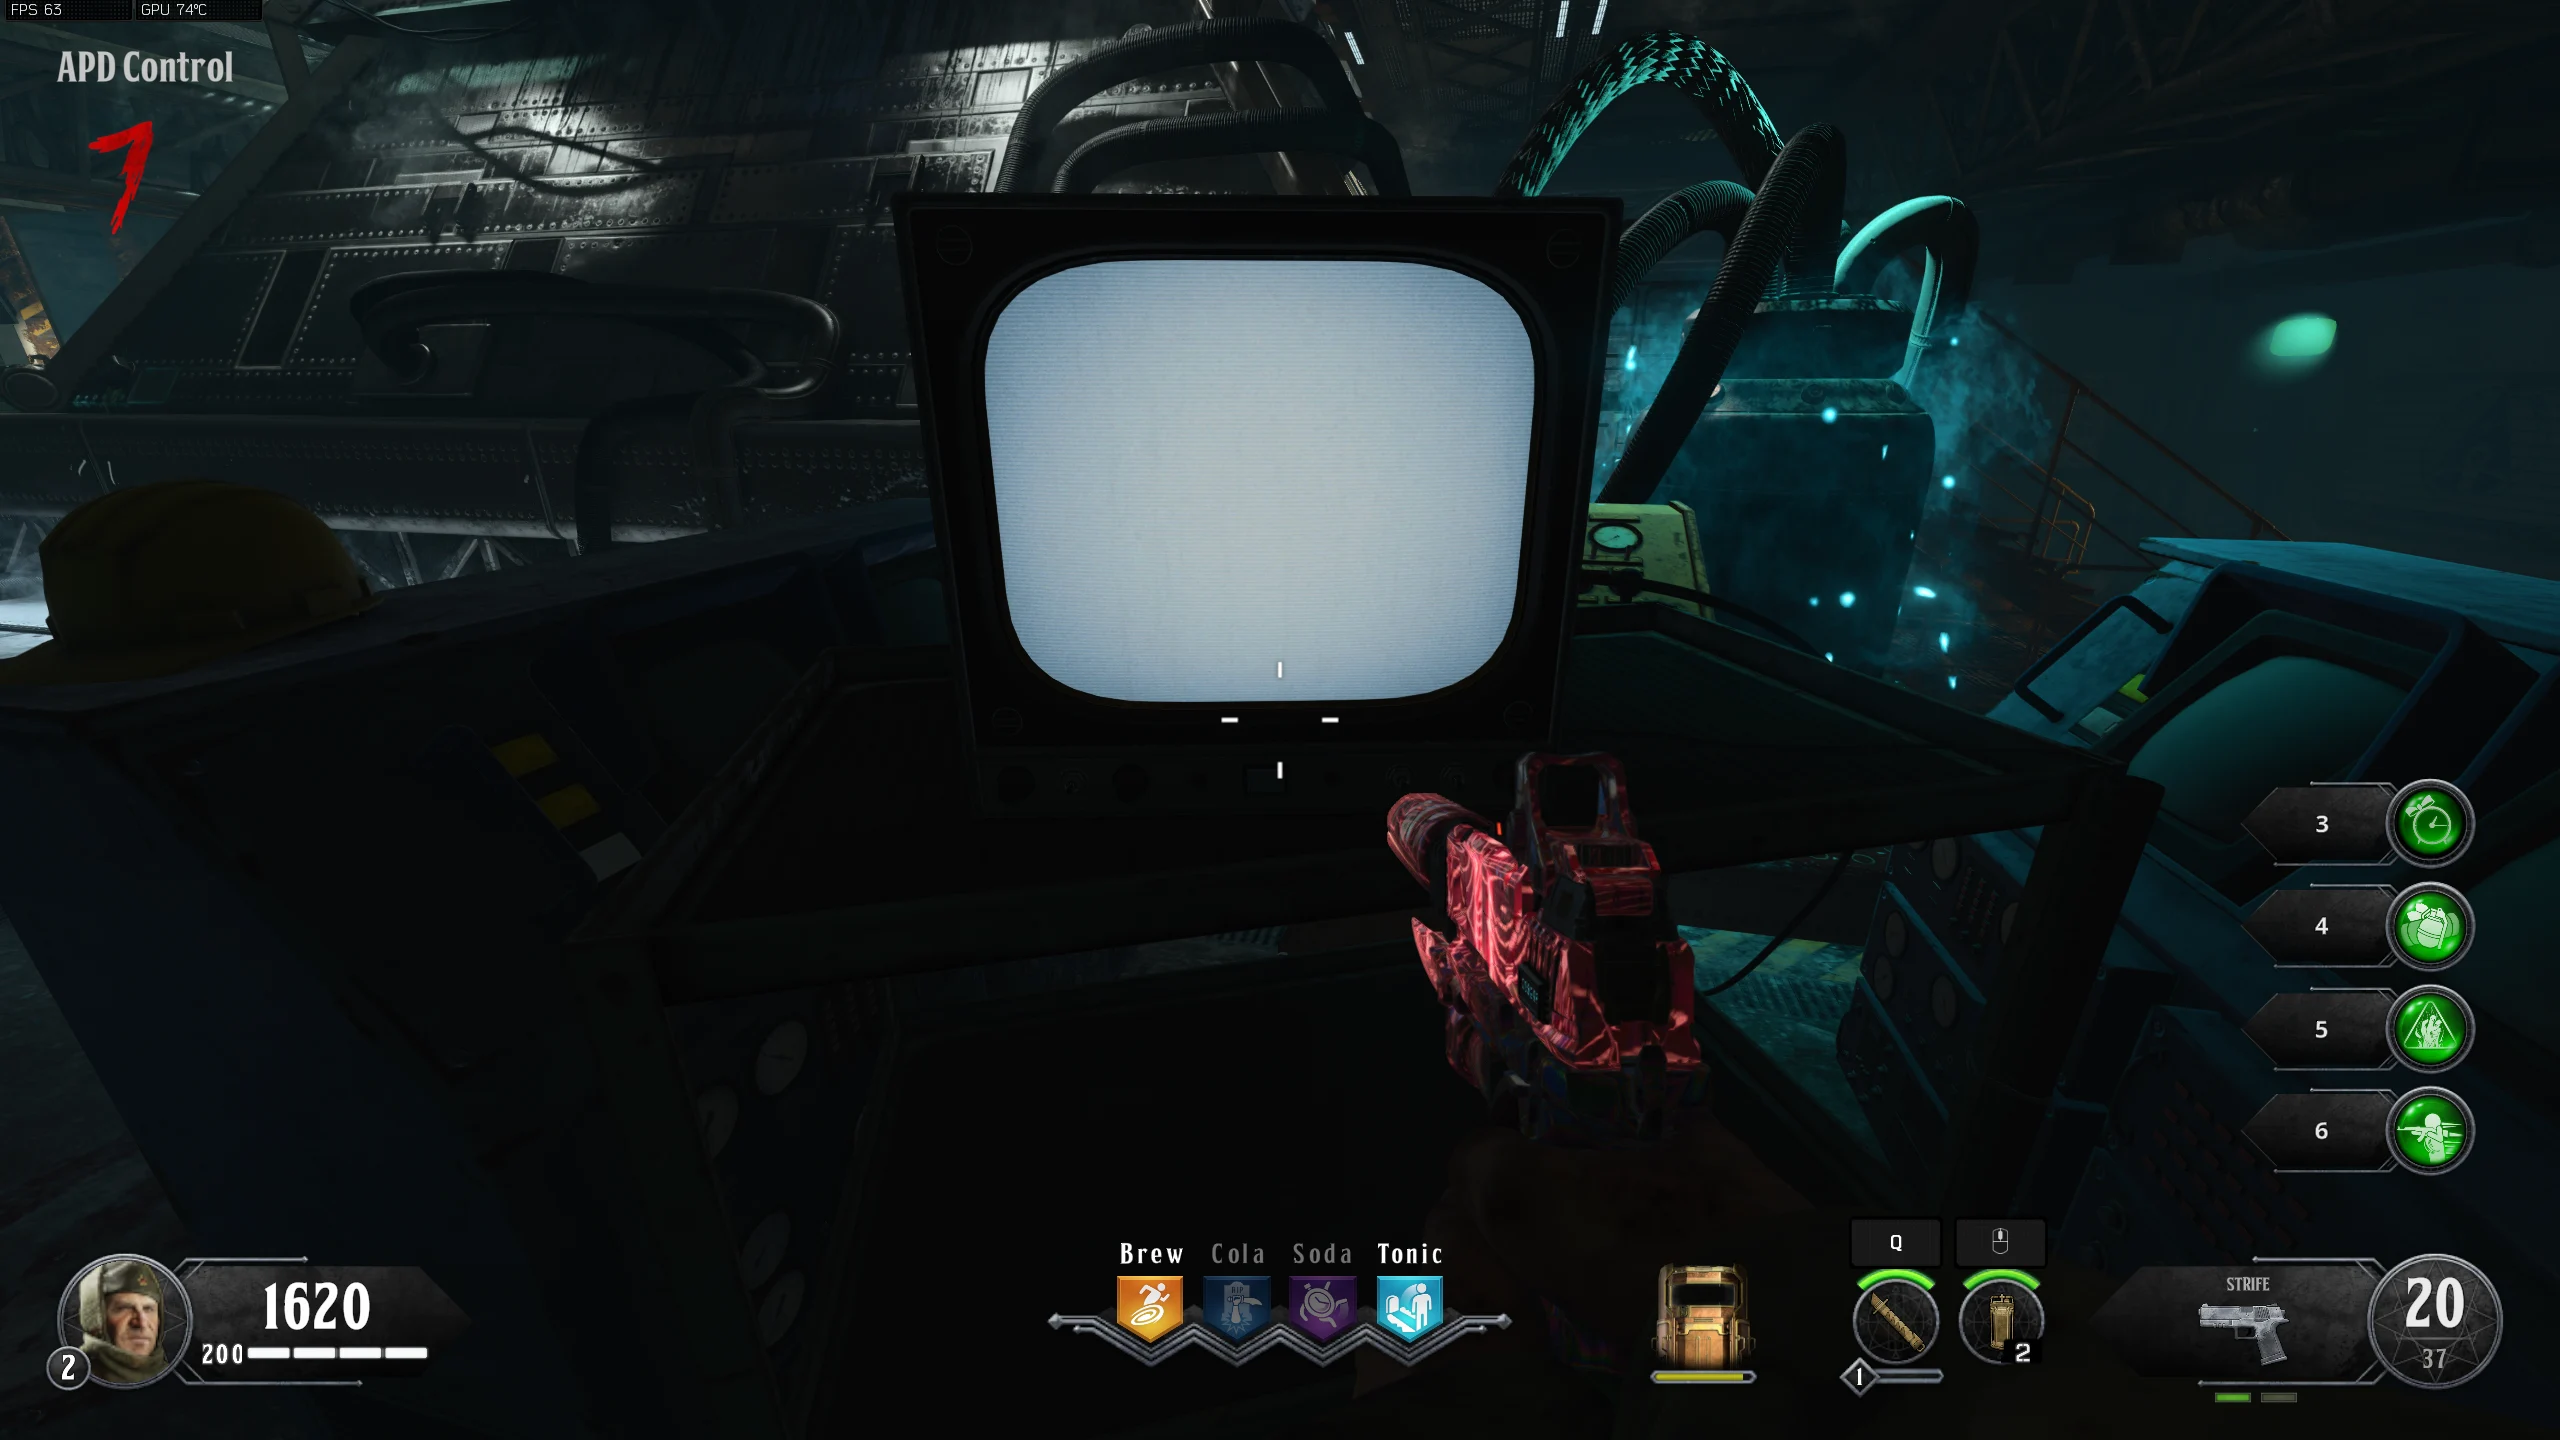
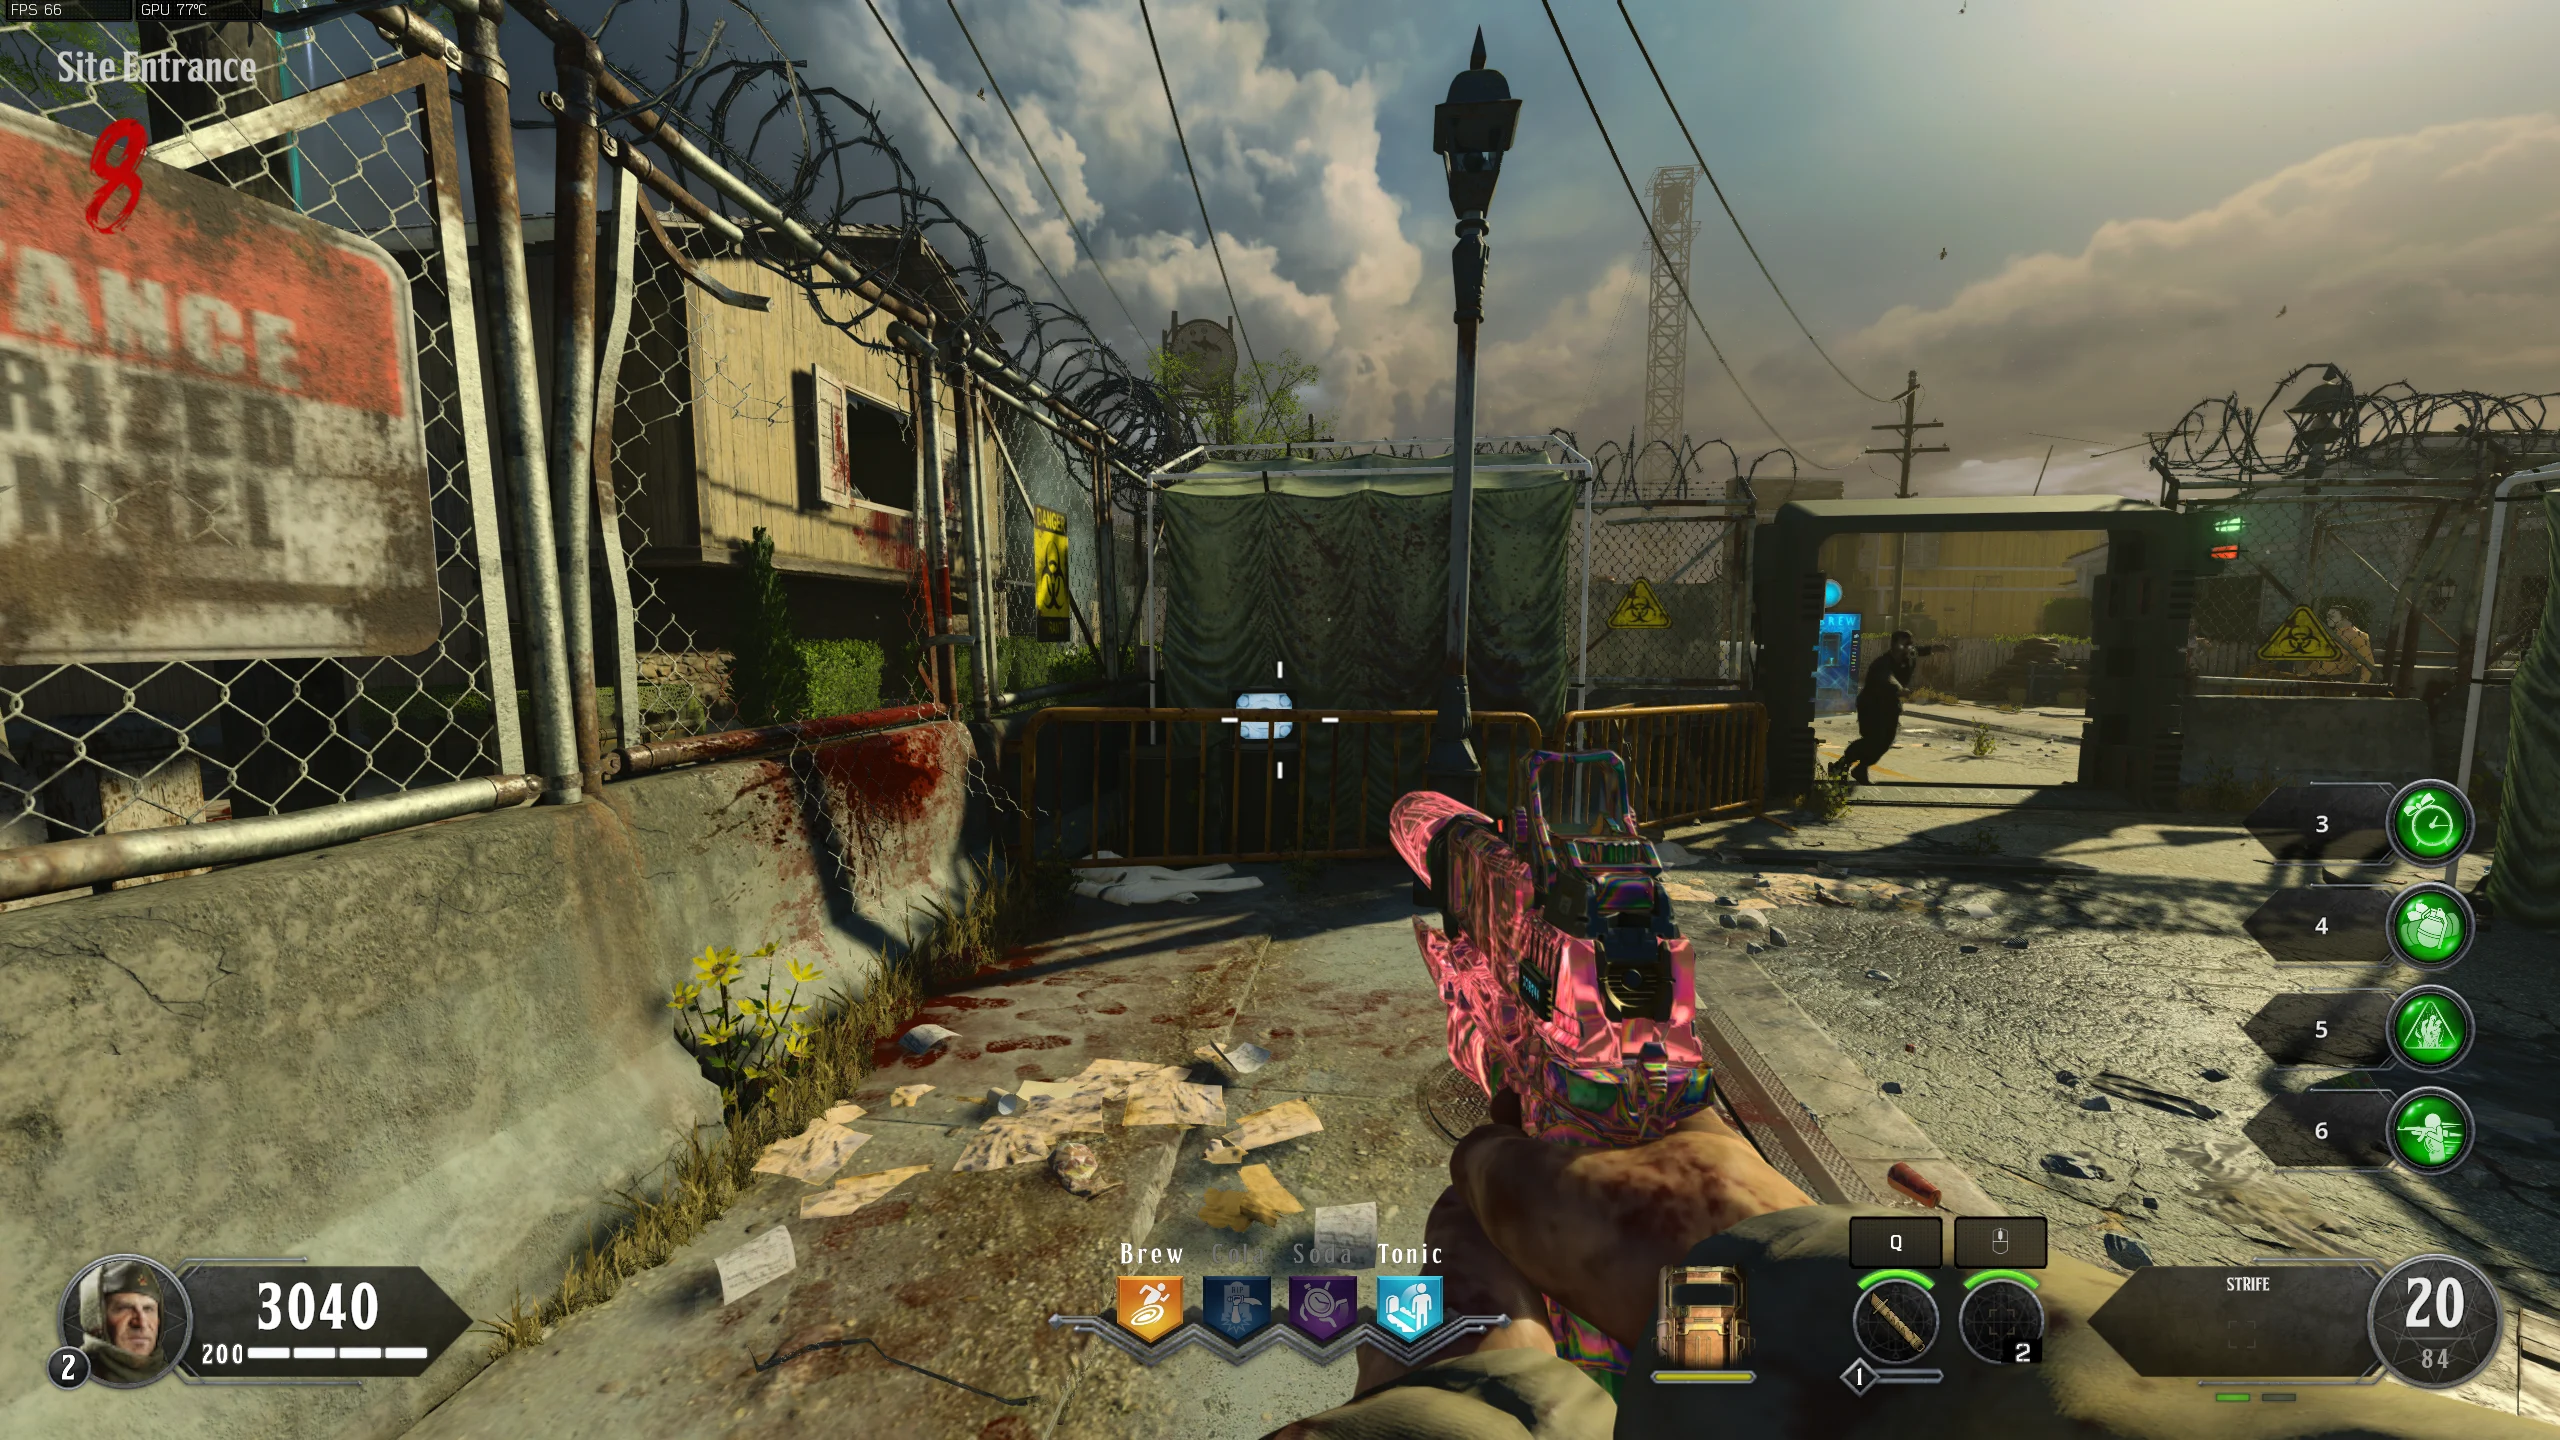
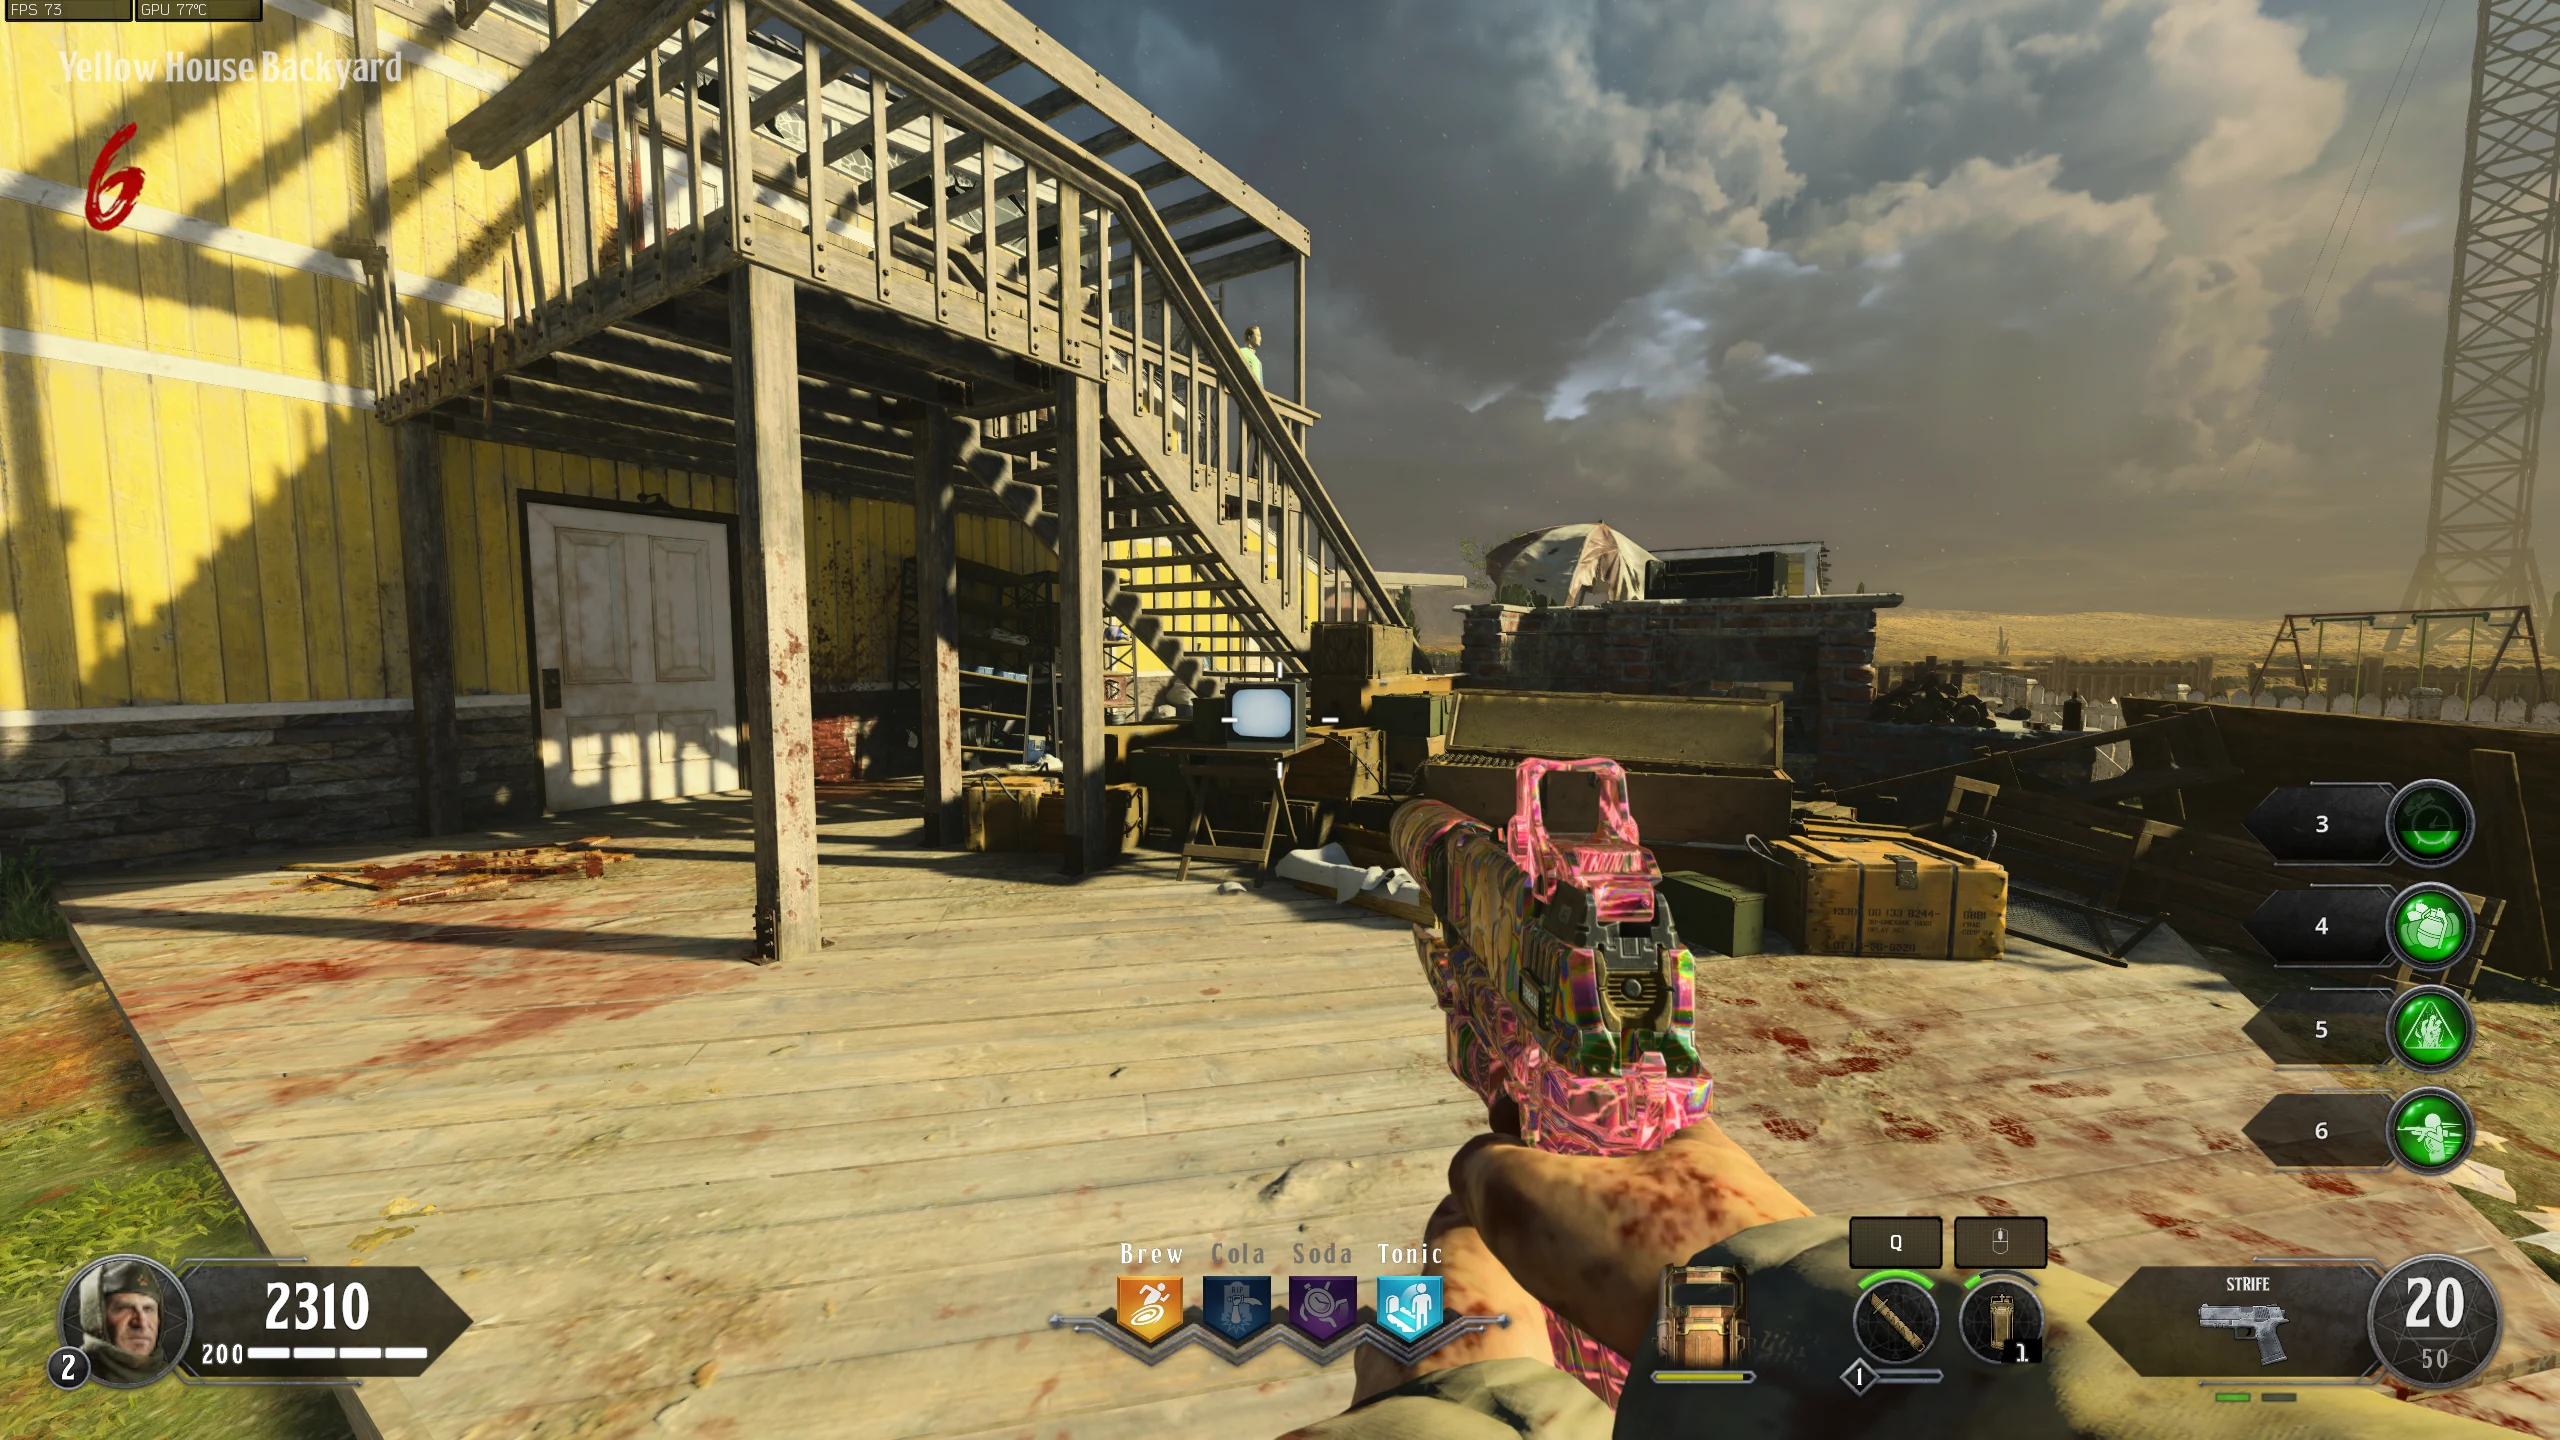
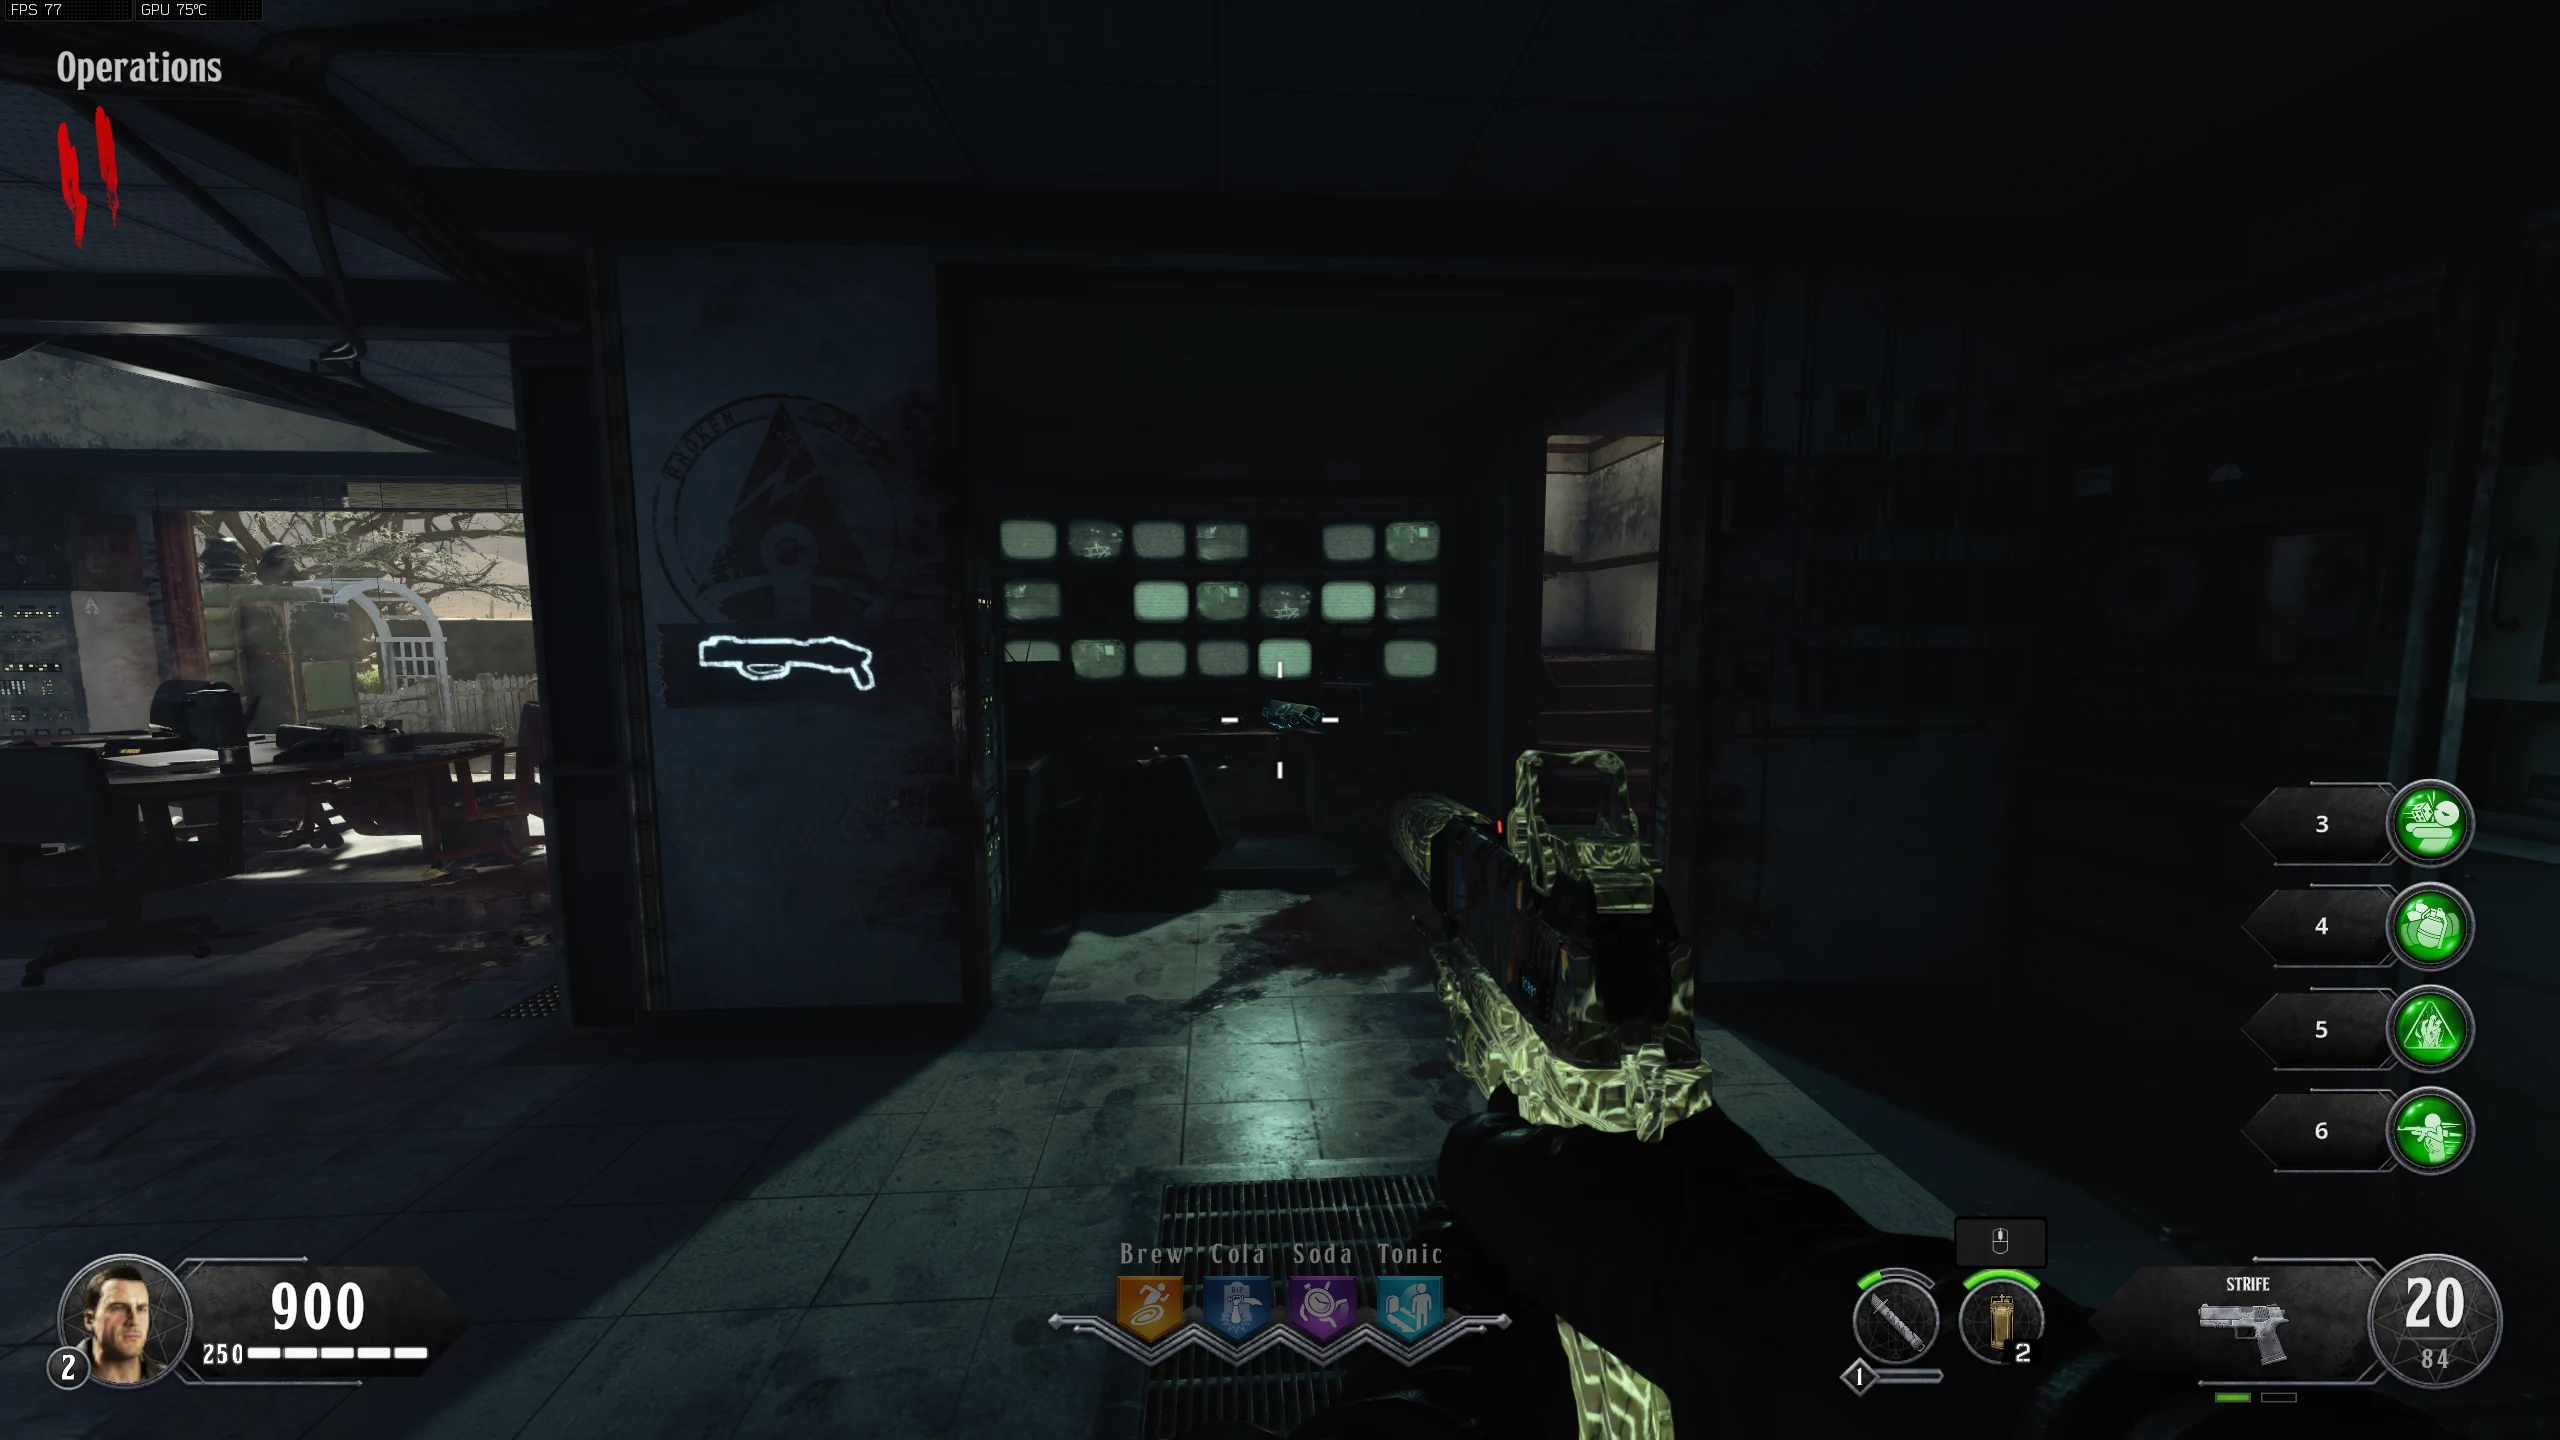
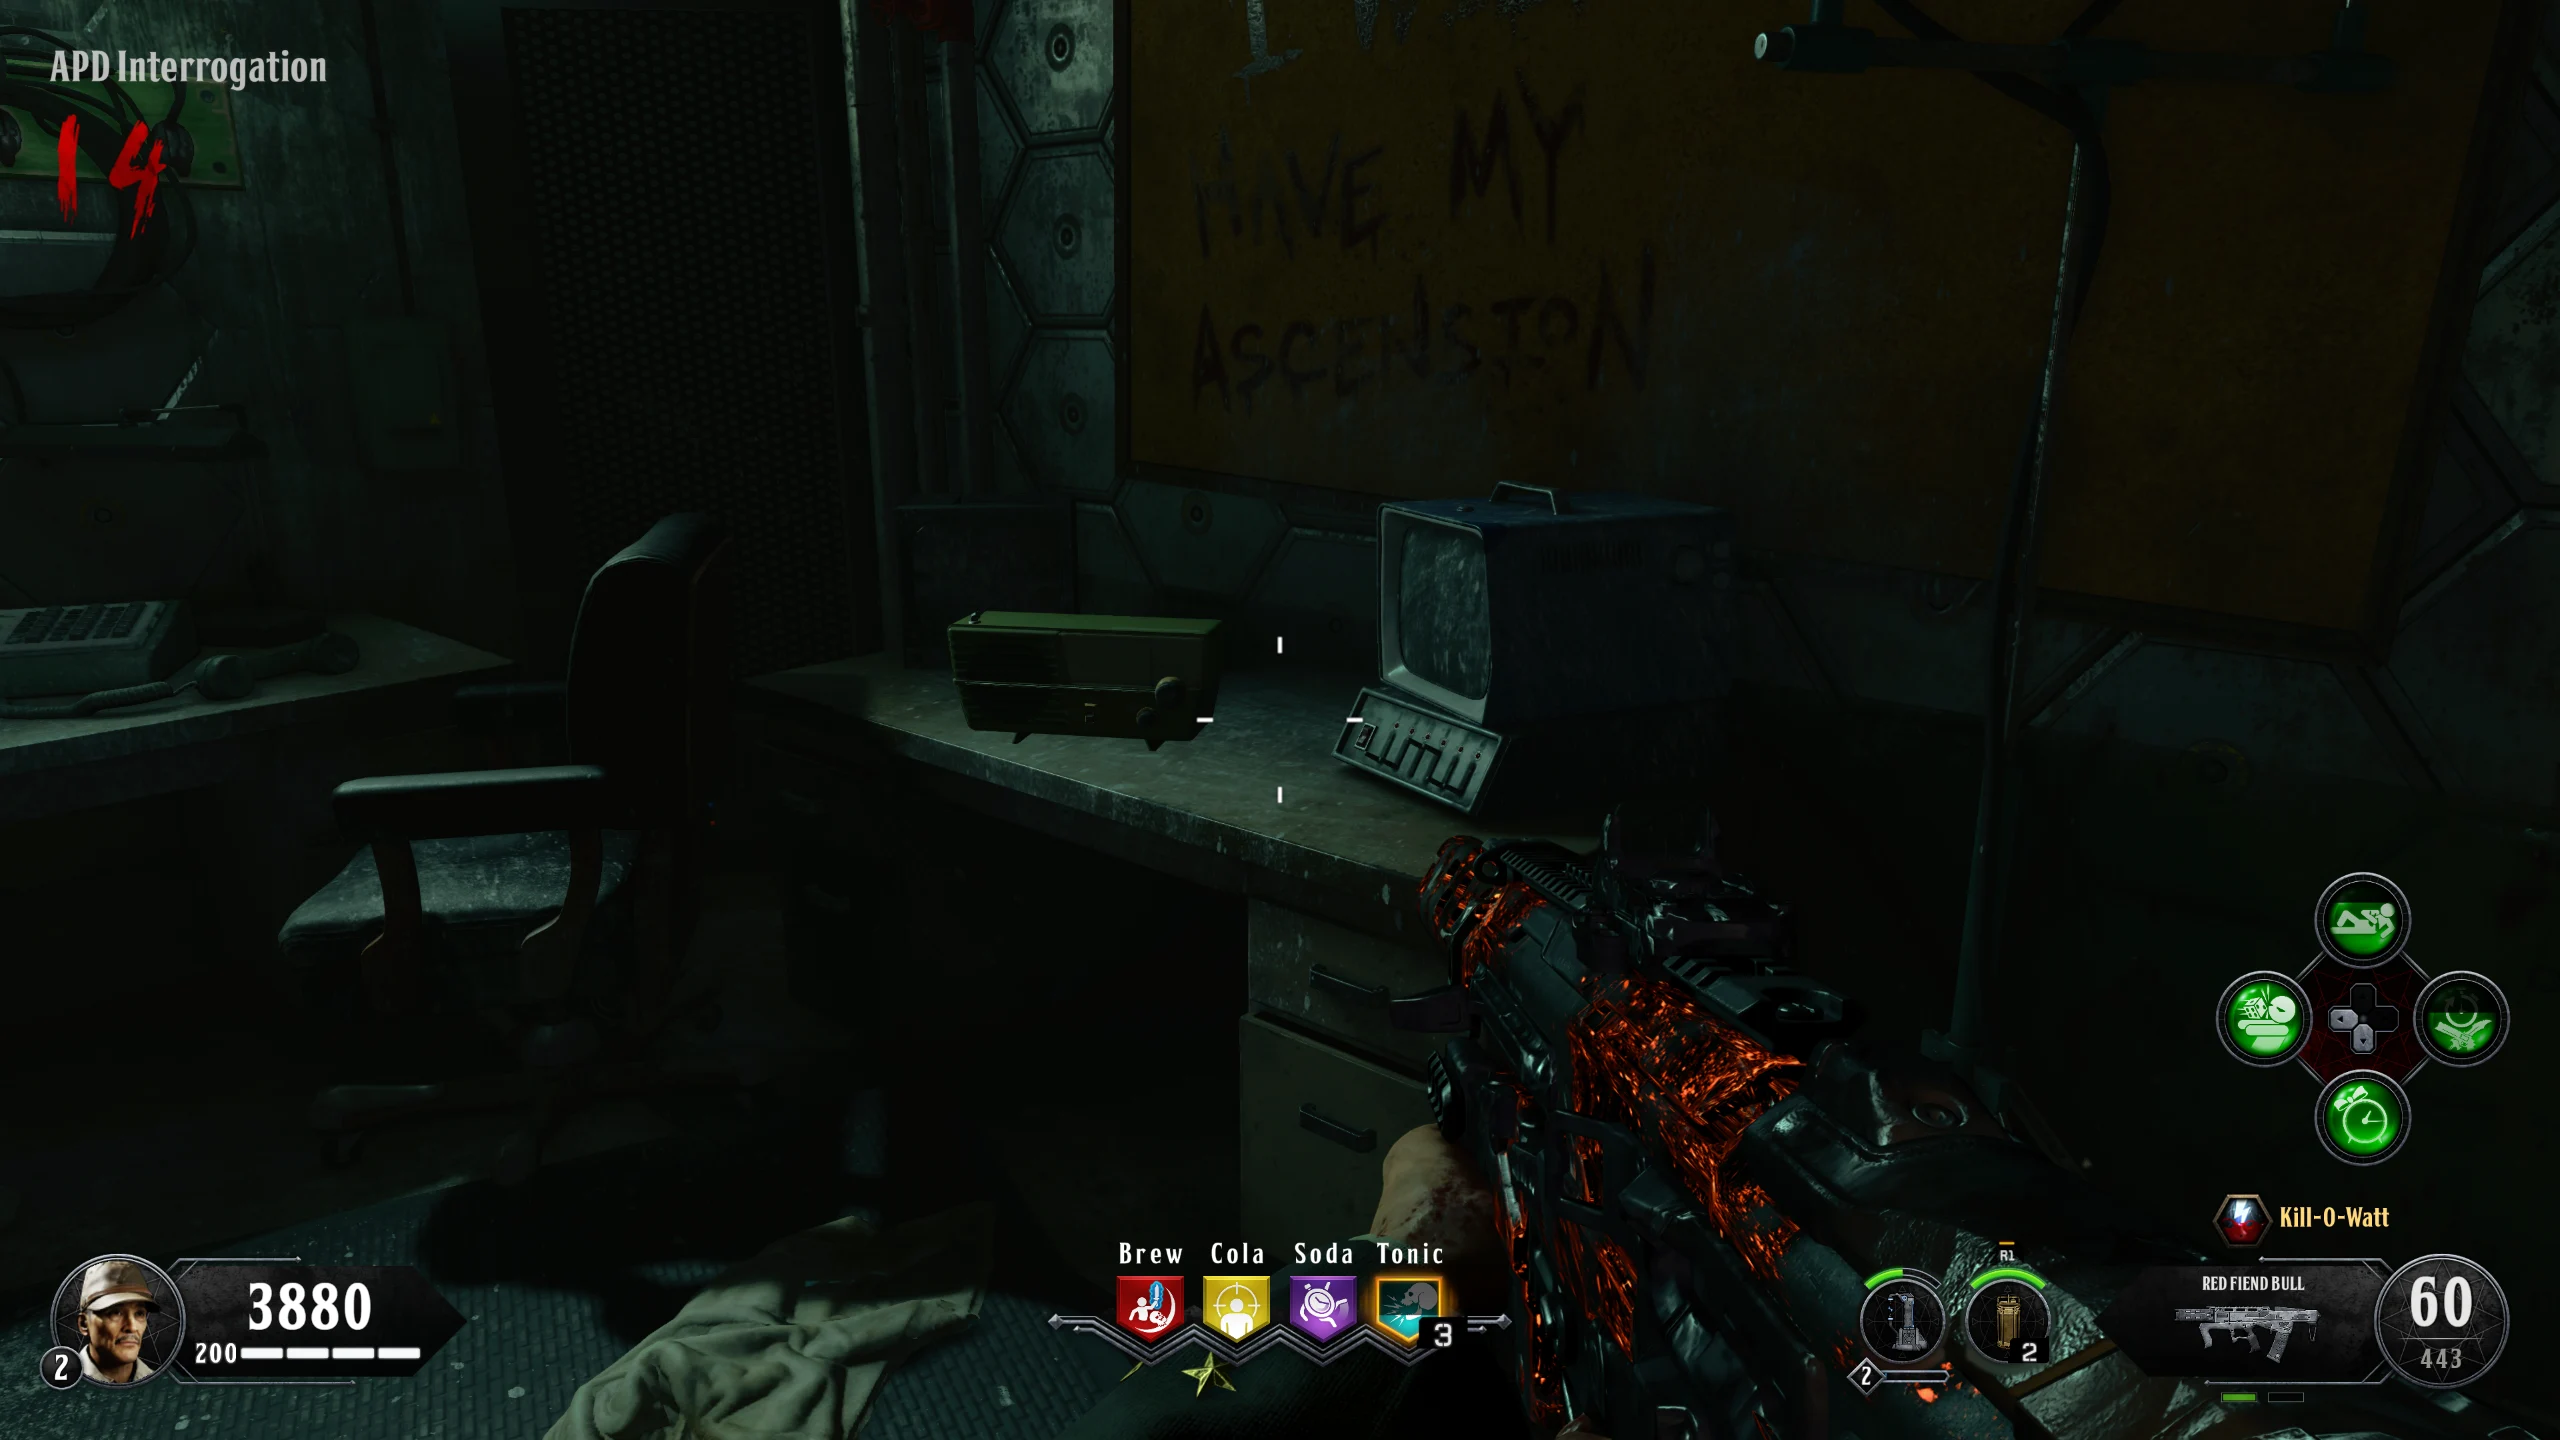
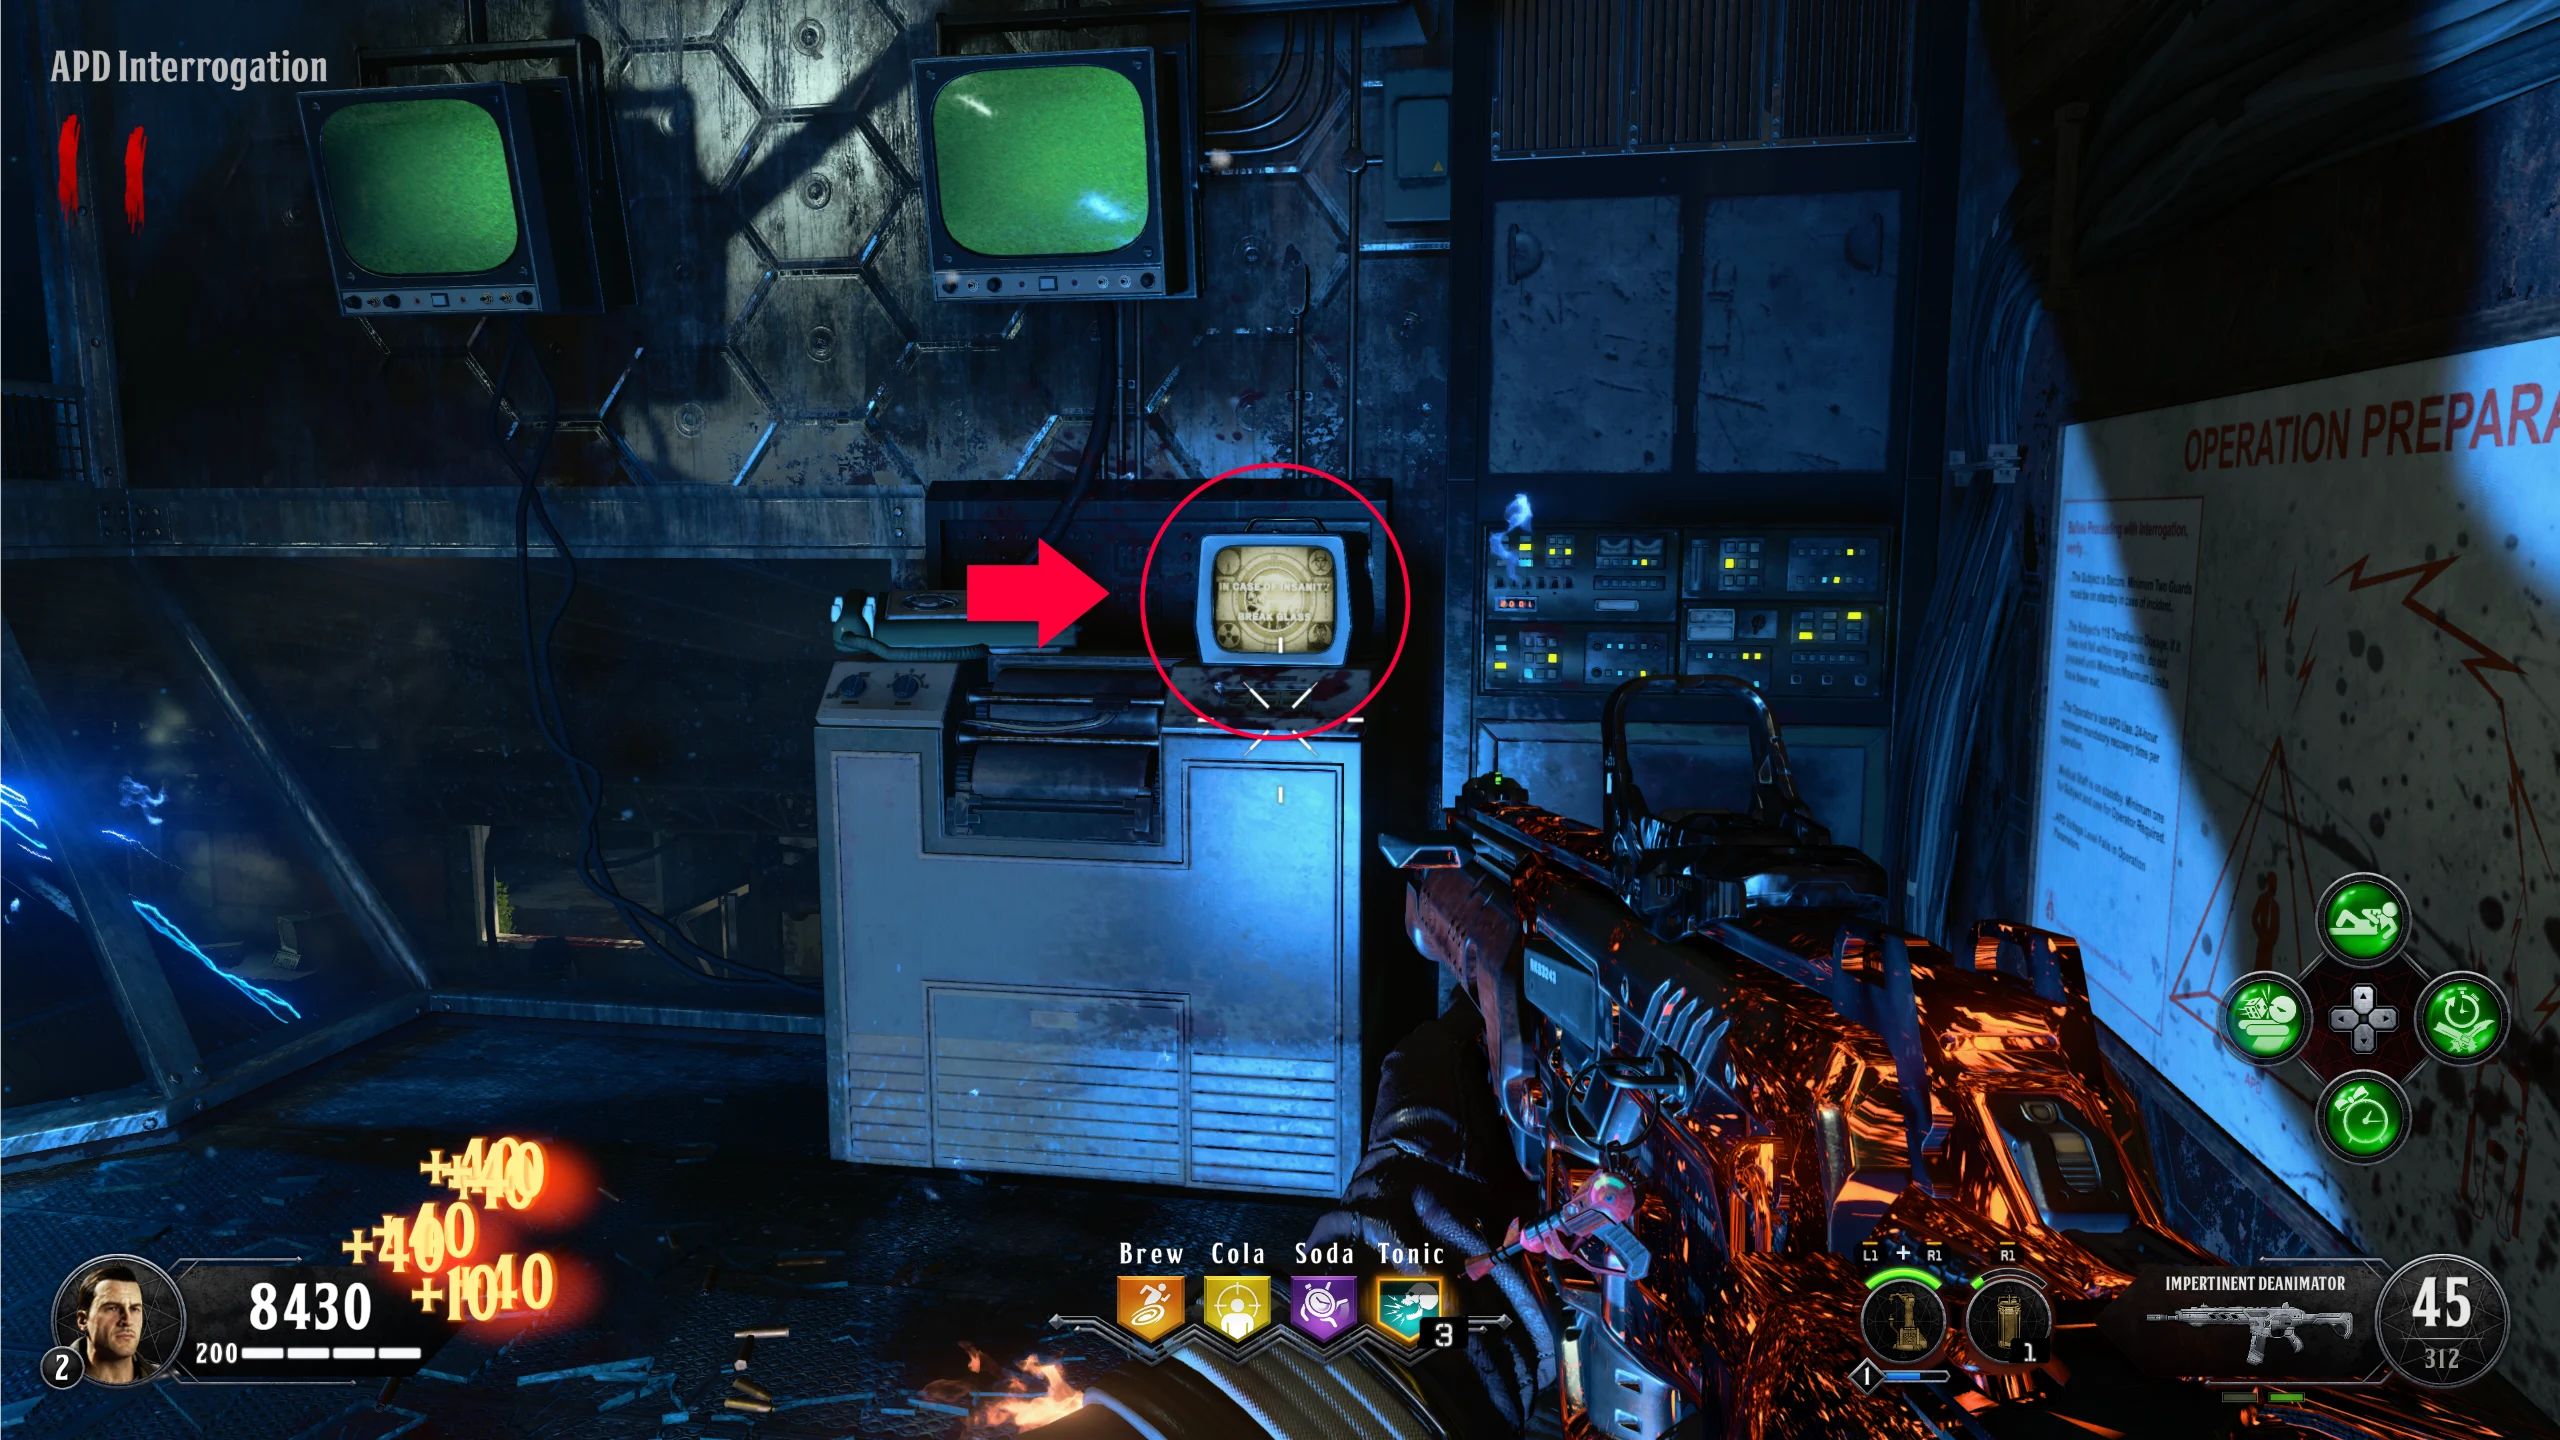
- TIP: Turn on subtitles to make the next step easier. One of the following TVs in the Bunker will have Static on the Screen. Kill a Zombie near the TV with the Galvaknuckles to activate it. TV Locations:
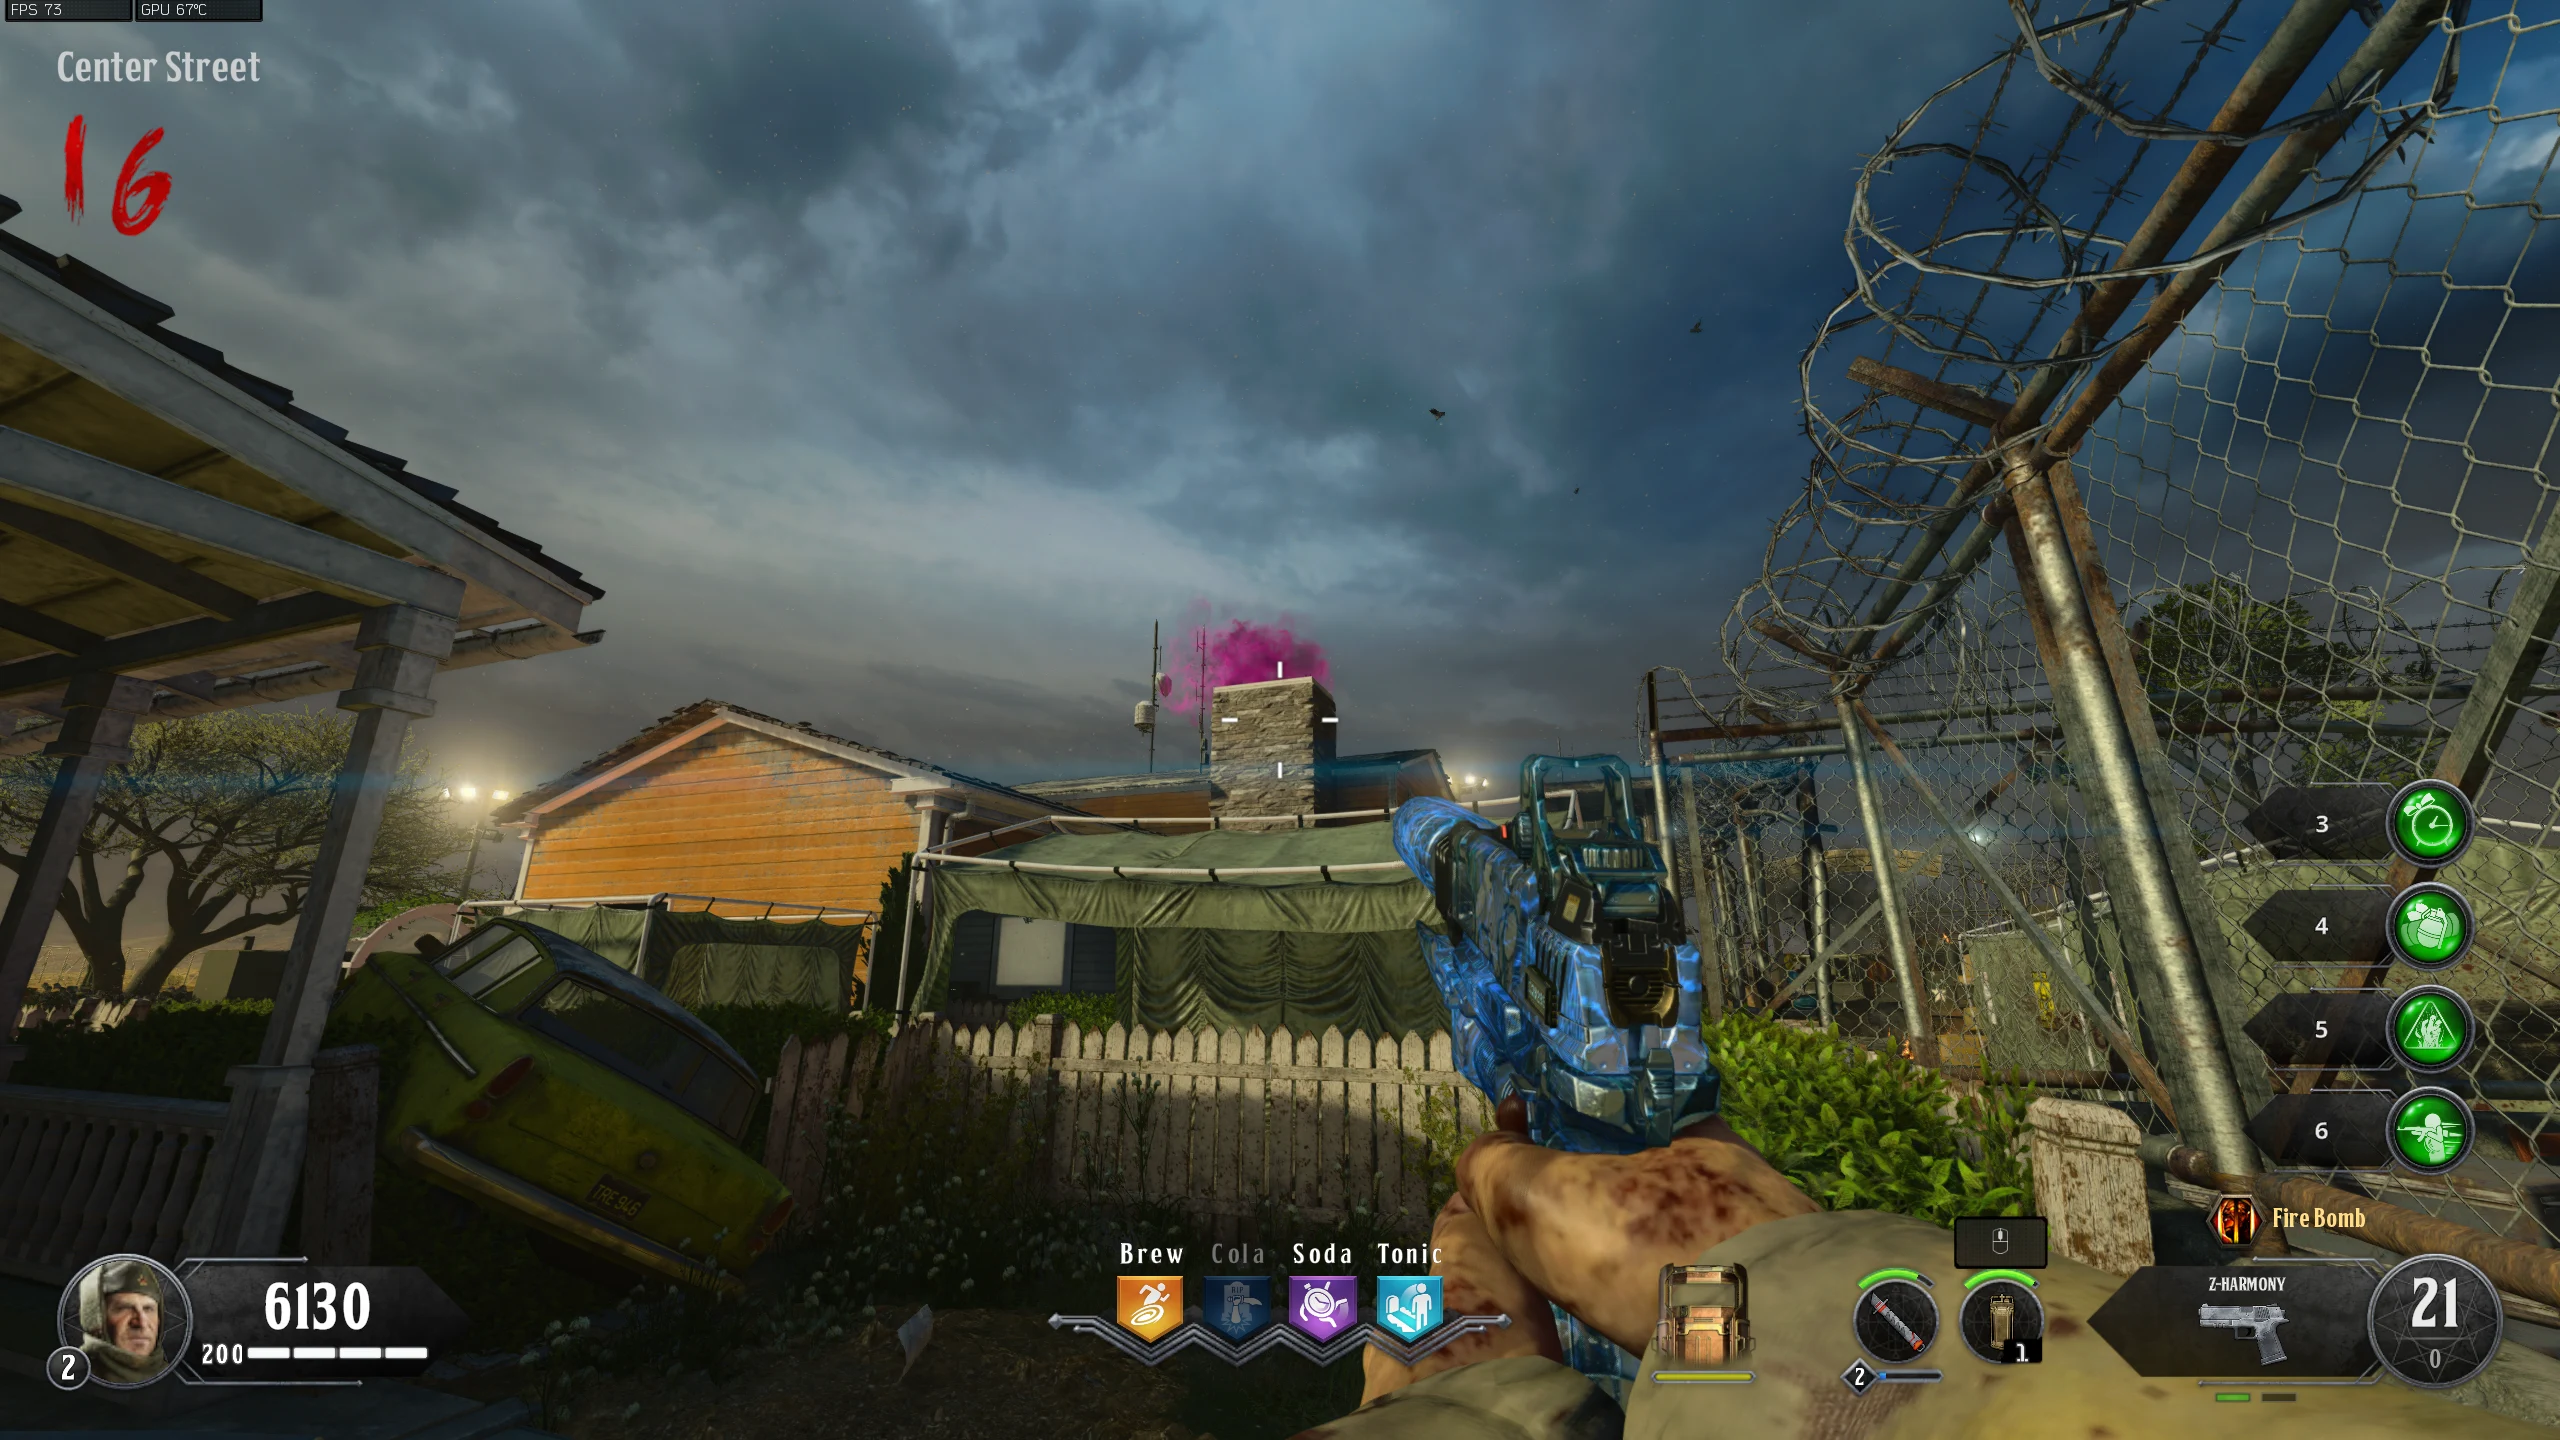
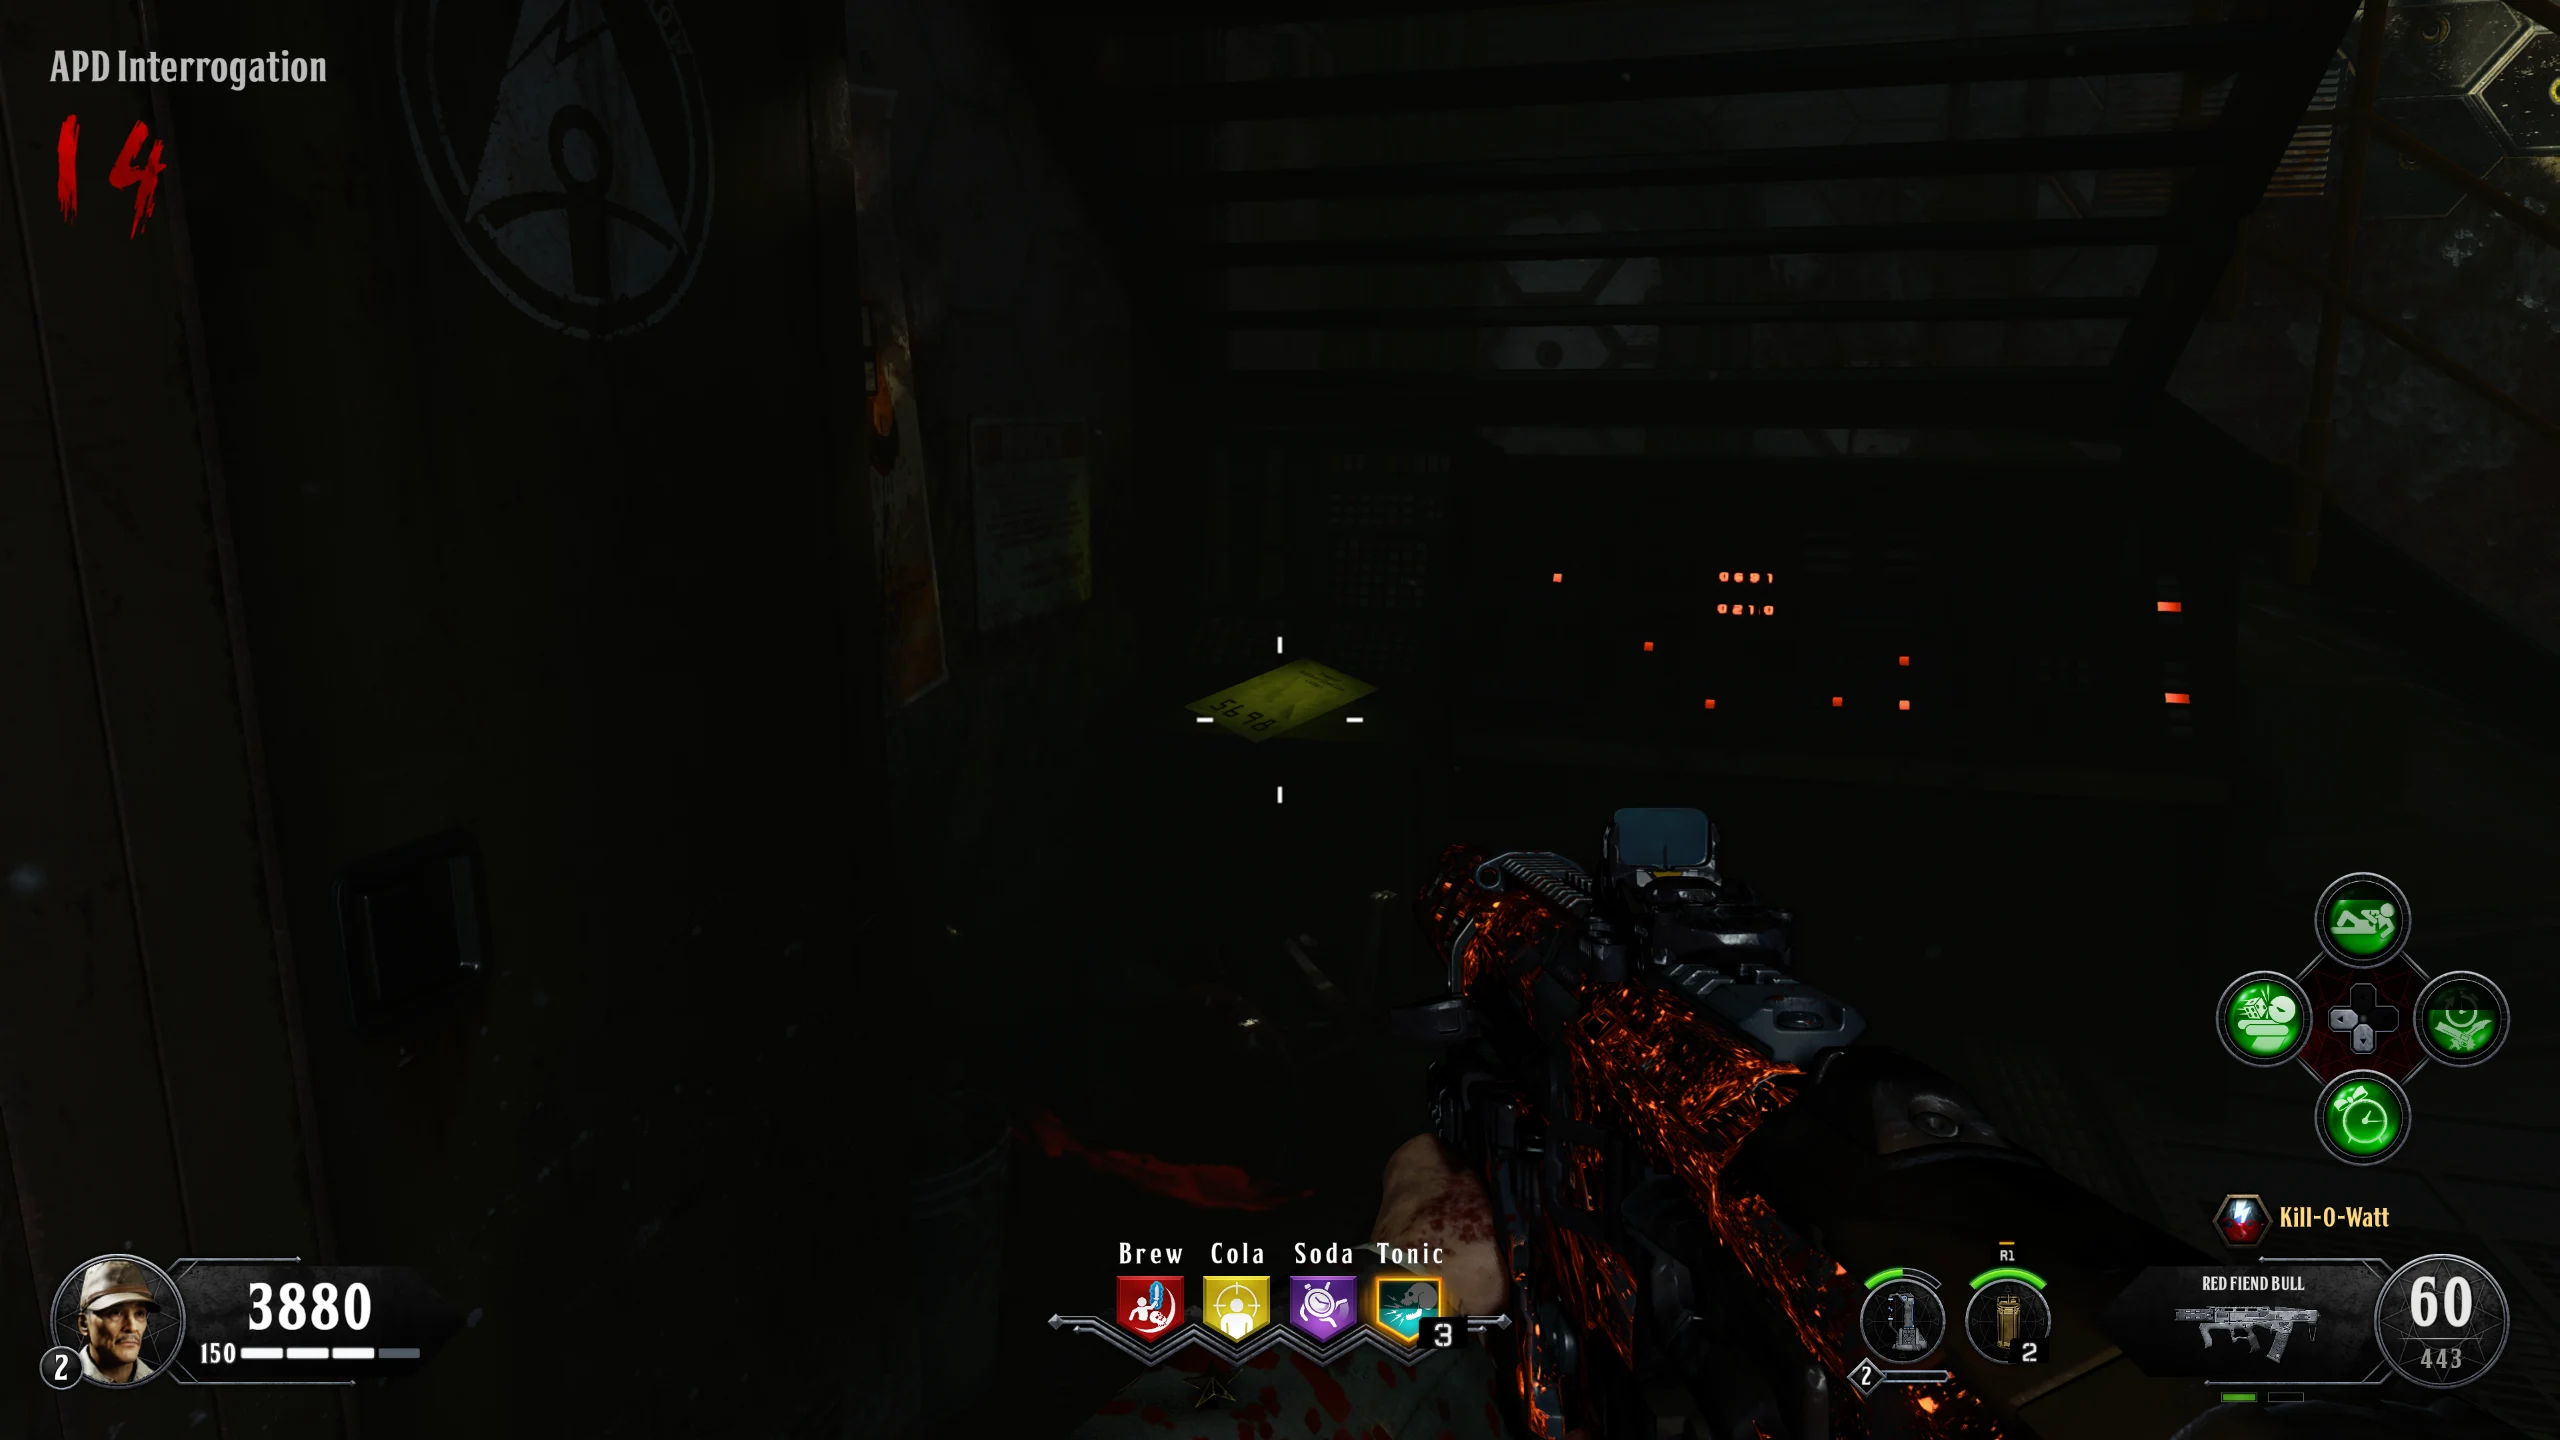
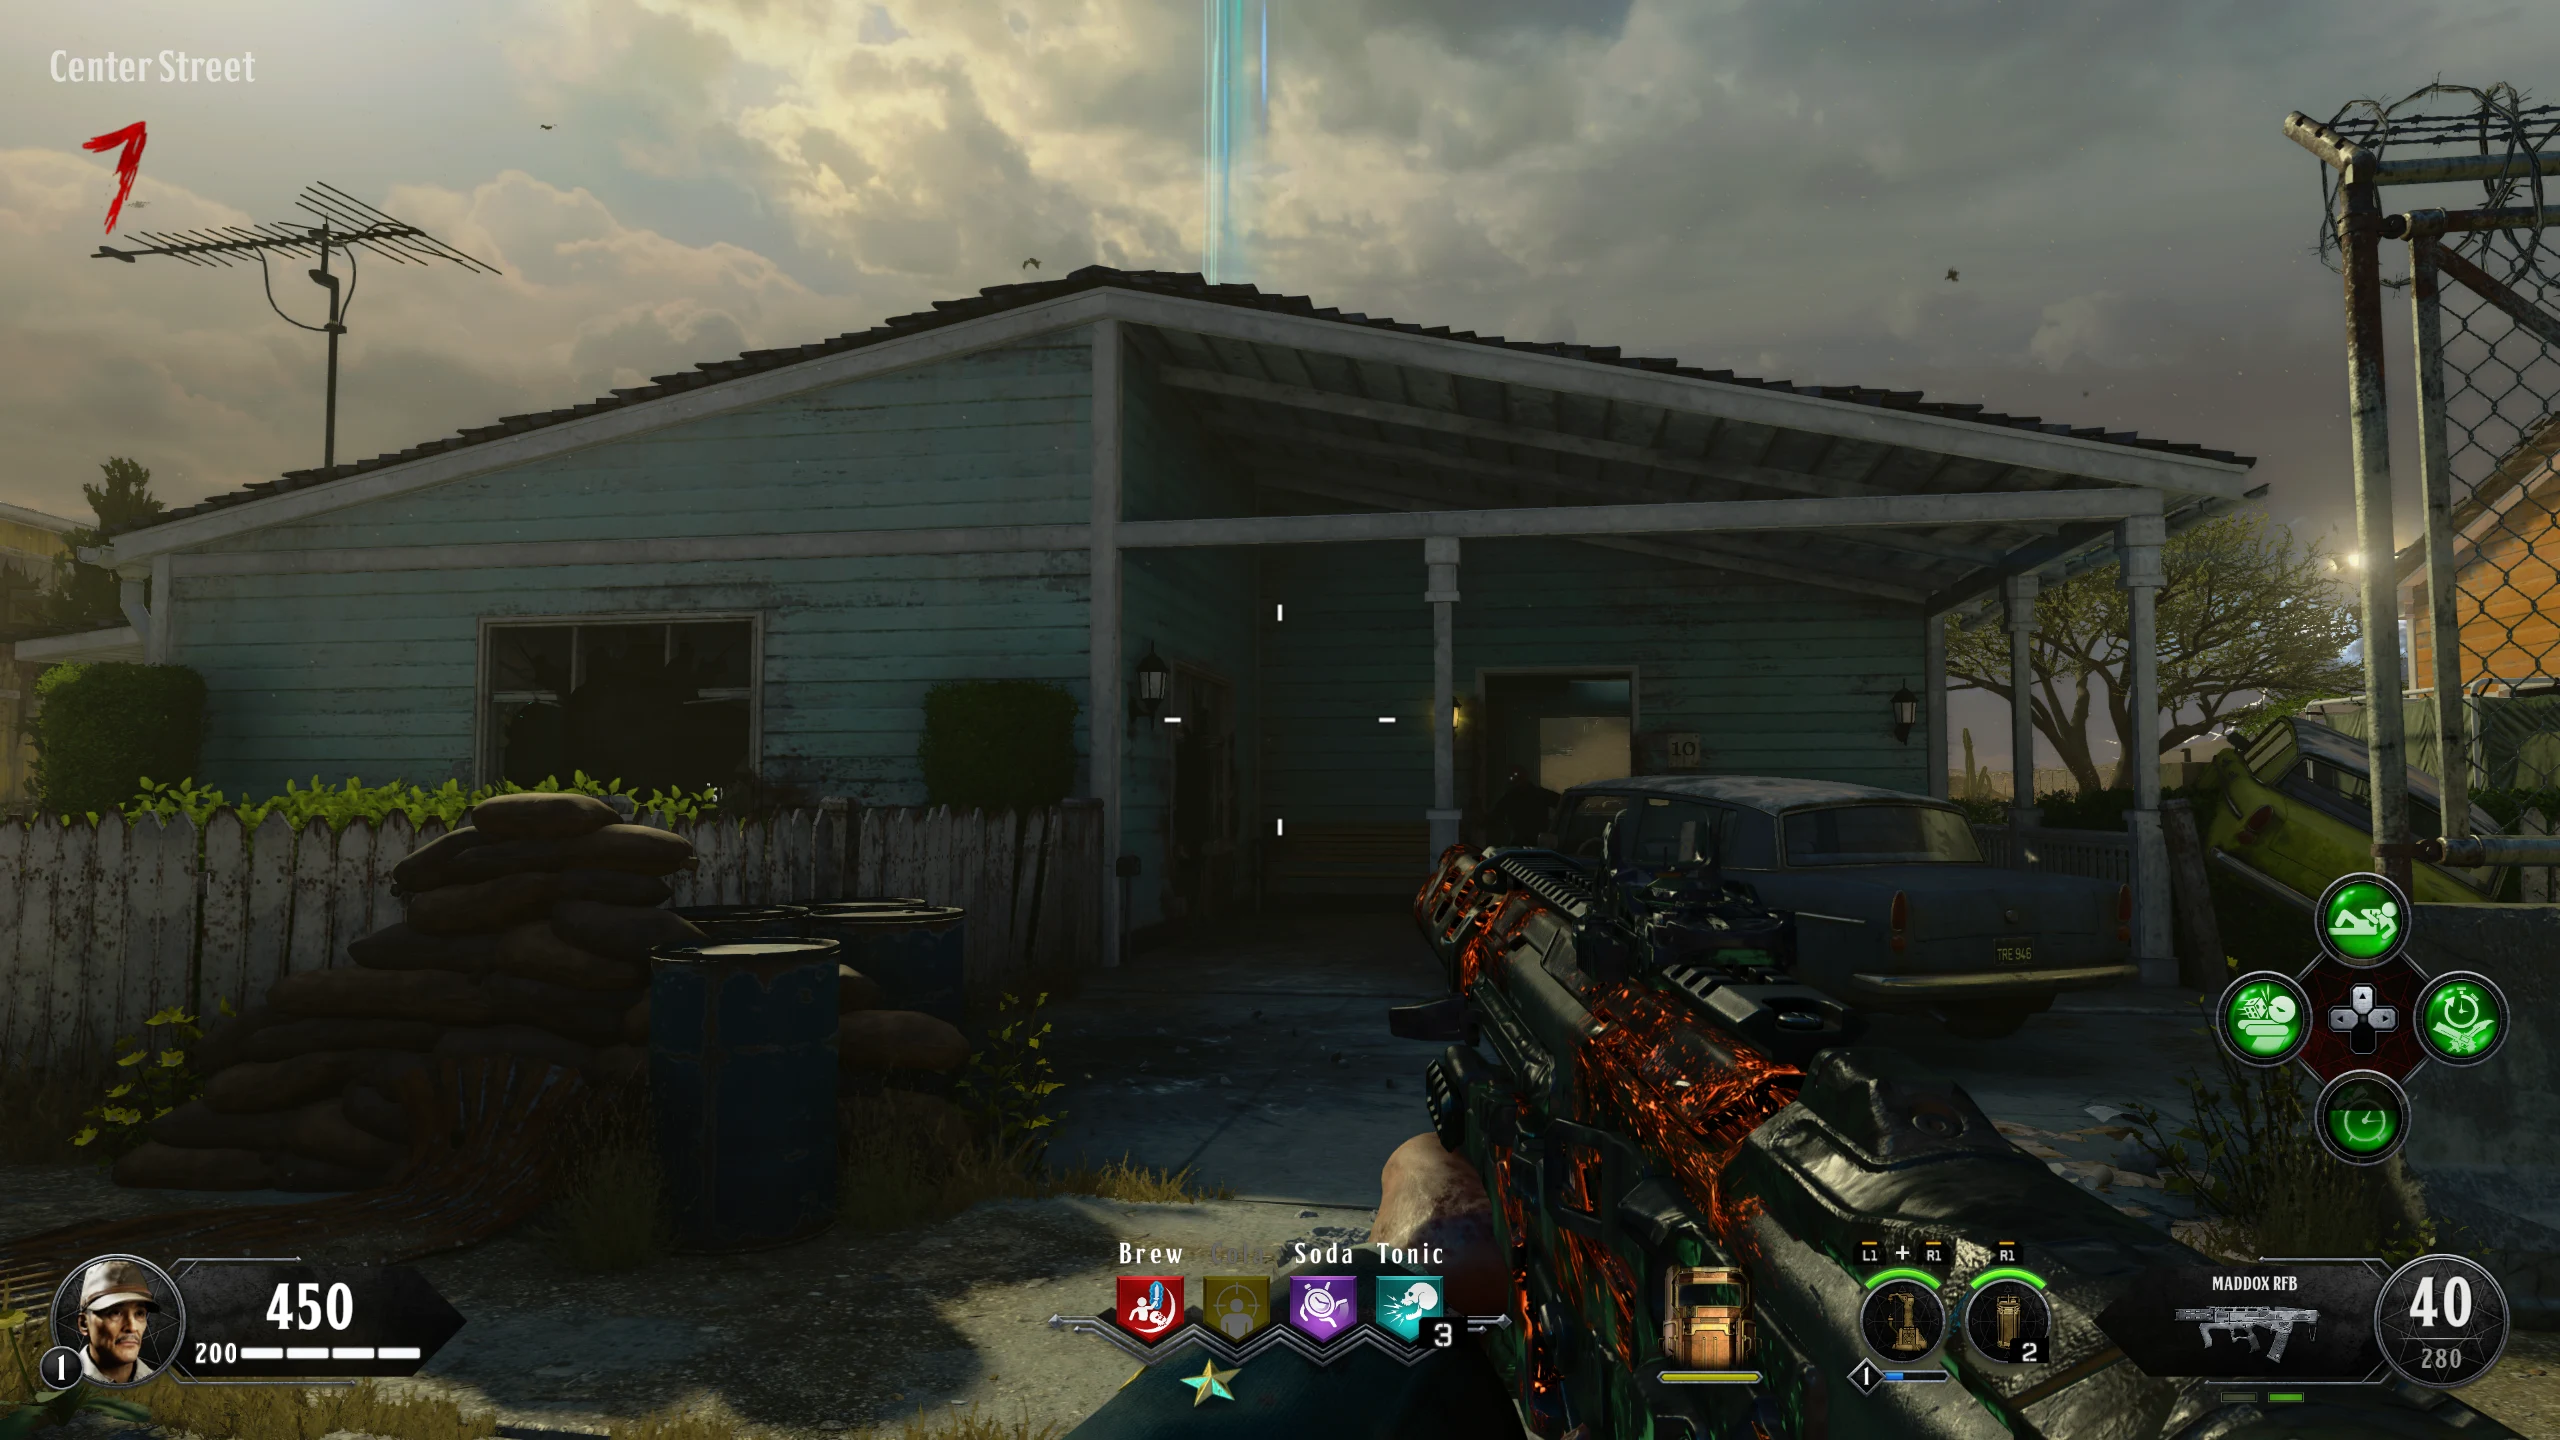
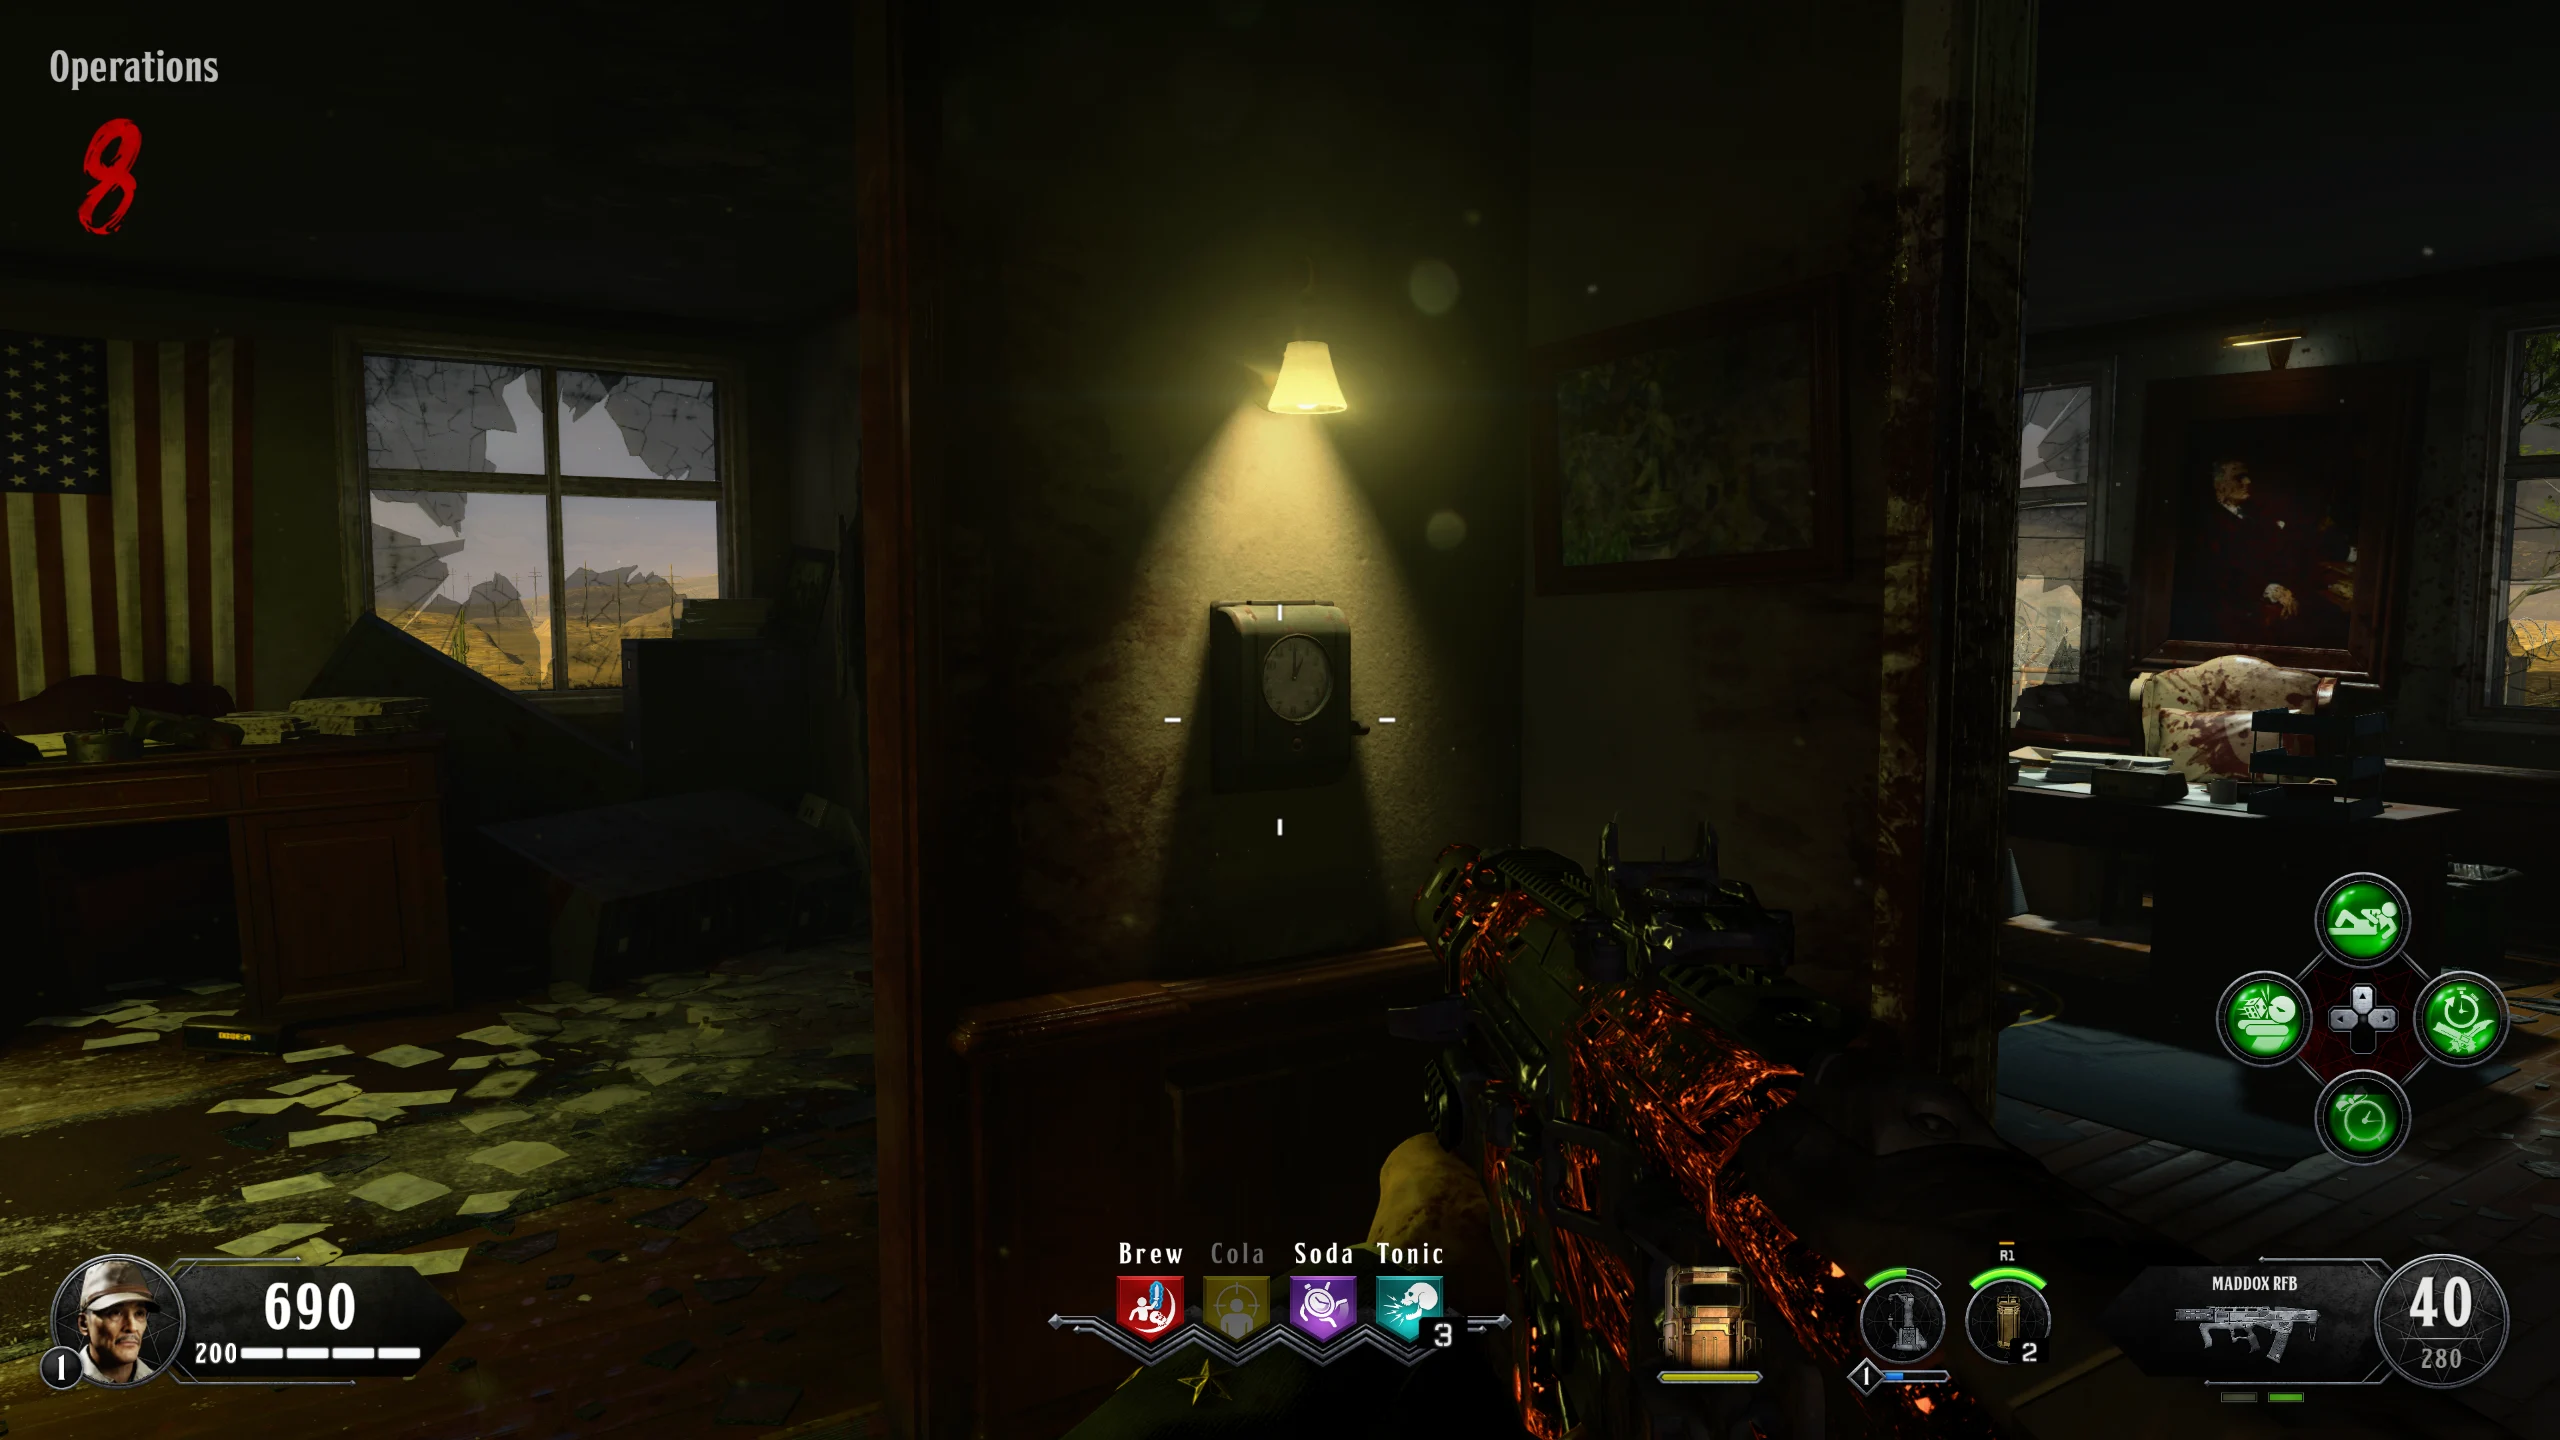
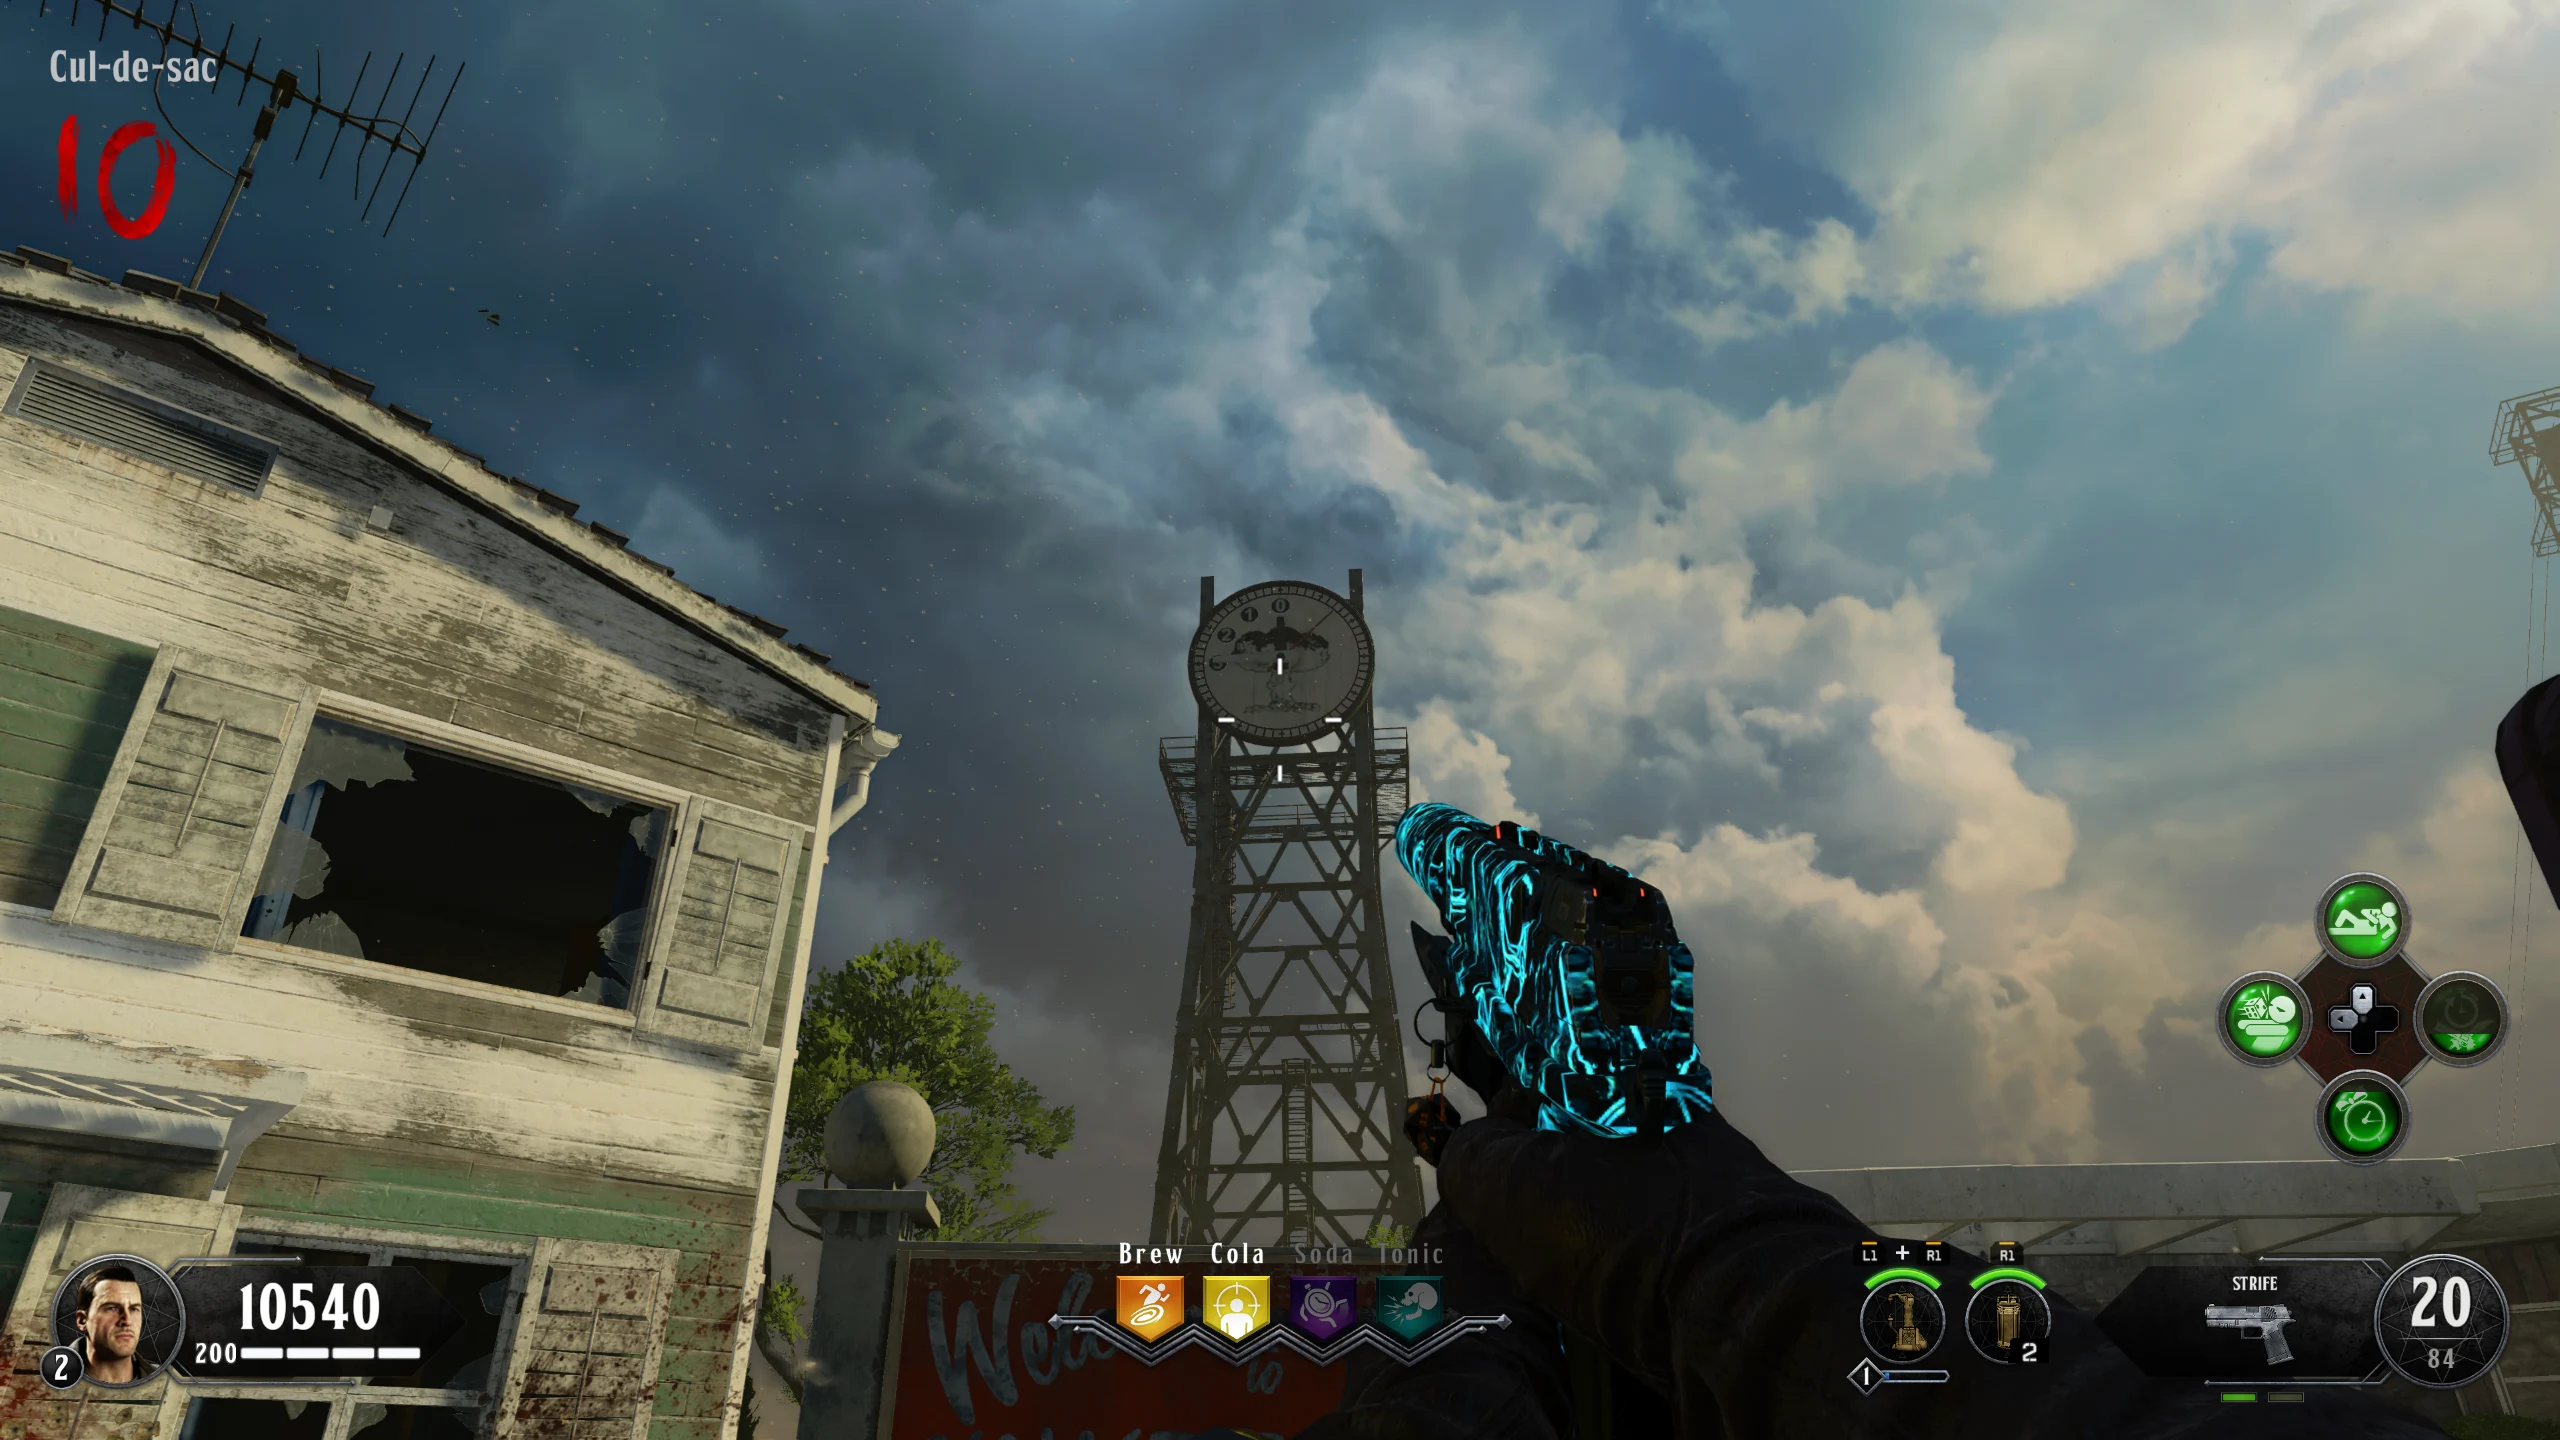
- Once the TV is activated, it will start announcing five combinations of one letter and four numbers (Example: D0745, C0615, etc.) Each letter corresponds to a house above ground, and the numbers are times to be input on a clock in that house (Example: House D - 7:45 and House C - 6:15).
- There are only six possible sets of letter/number combinations, so you only need to note down one combination and find the set your combo is in on the reference image shown earlier.
- Once you have your set of five letters and numbers, you must go to each house (in the order given) and set the clock inside to the given time. To set a clock, hold interact on the clock to increment it by 15 Minutes or melee the clock to increment it by 1 Hour.
- Once a clock has been set correctly, you will be rewarded with either the activation of a new trap in that house or a weapon (Rewards for each house below).
- If you set the times in the wrong order, you will have to wait till the next round to interact with the TV to get a new set of numbers.
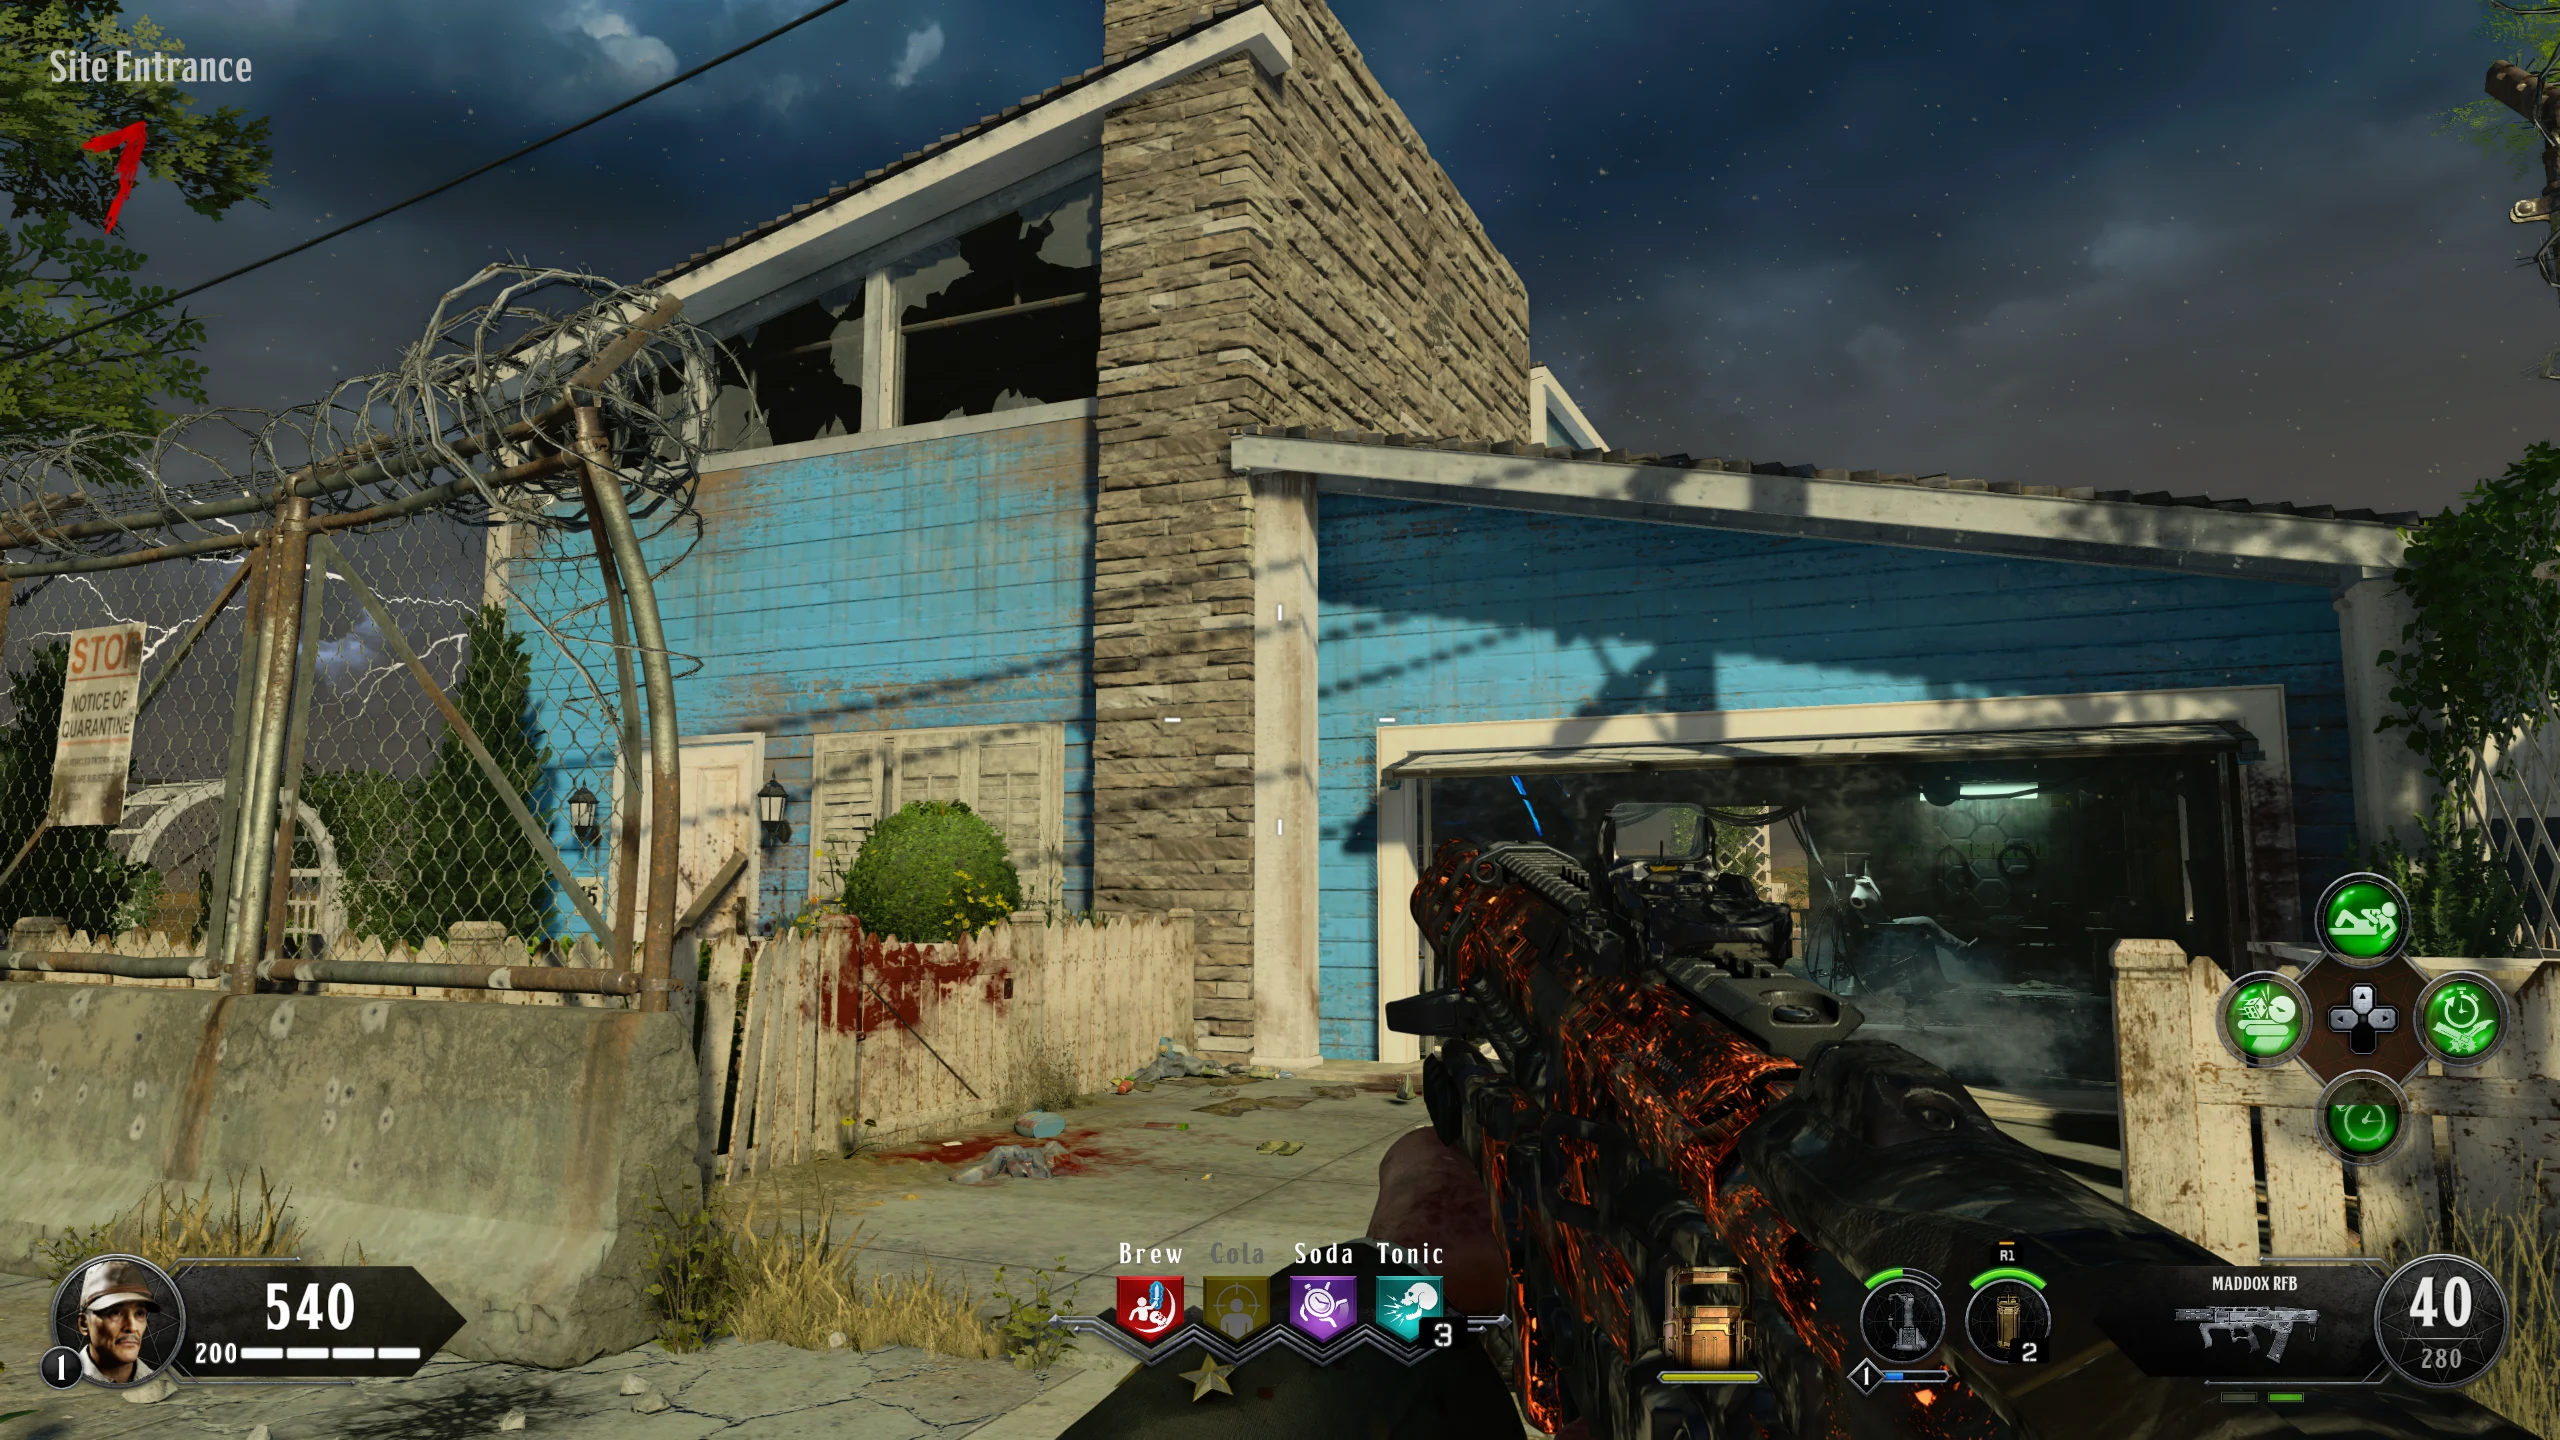
- The letter corresponding to each house can be found on a mailbox outside or in this image, with each house always having the same letter. House/letter combinations and clock locations:
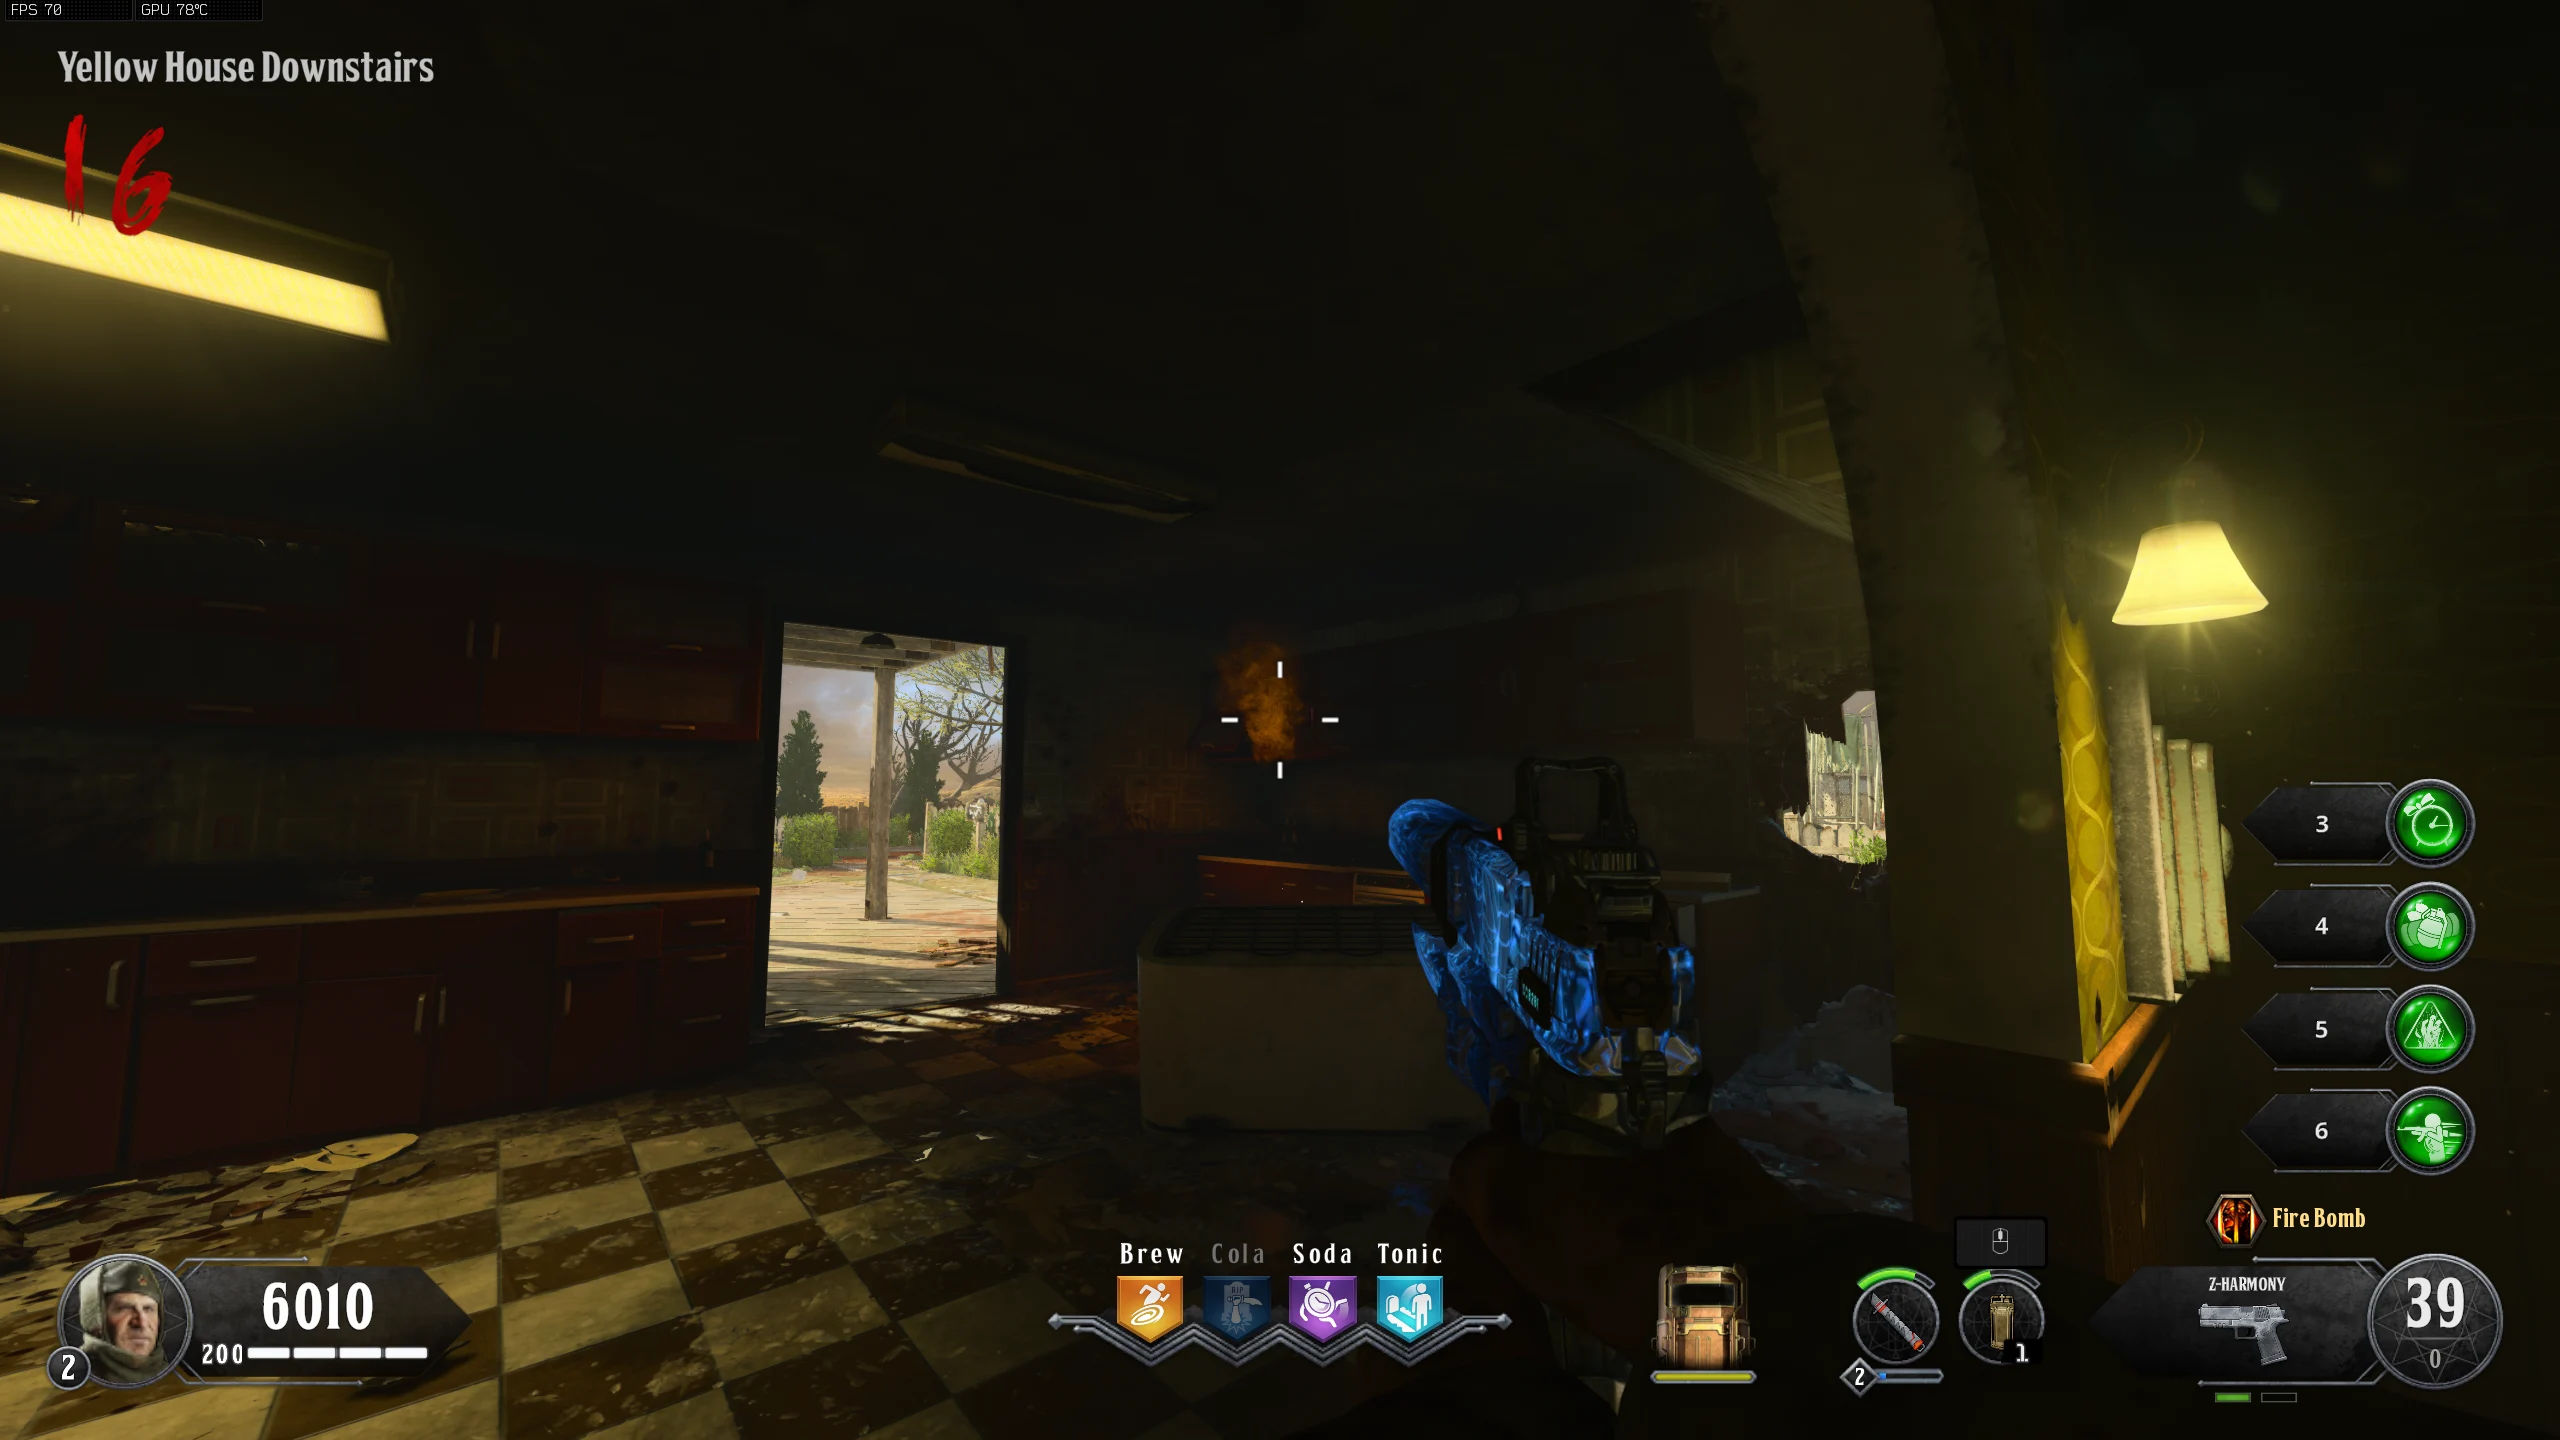
- Yellow House - Clock Location - Reward: Trap
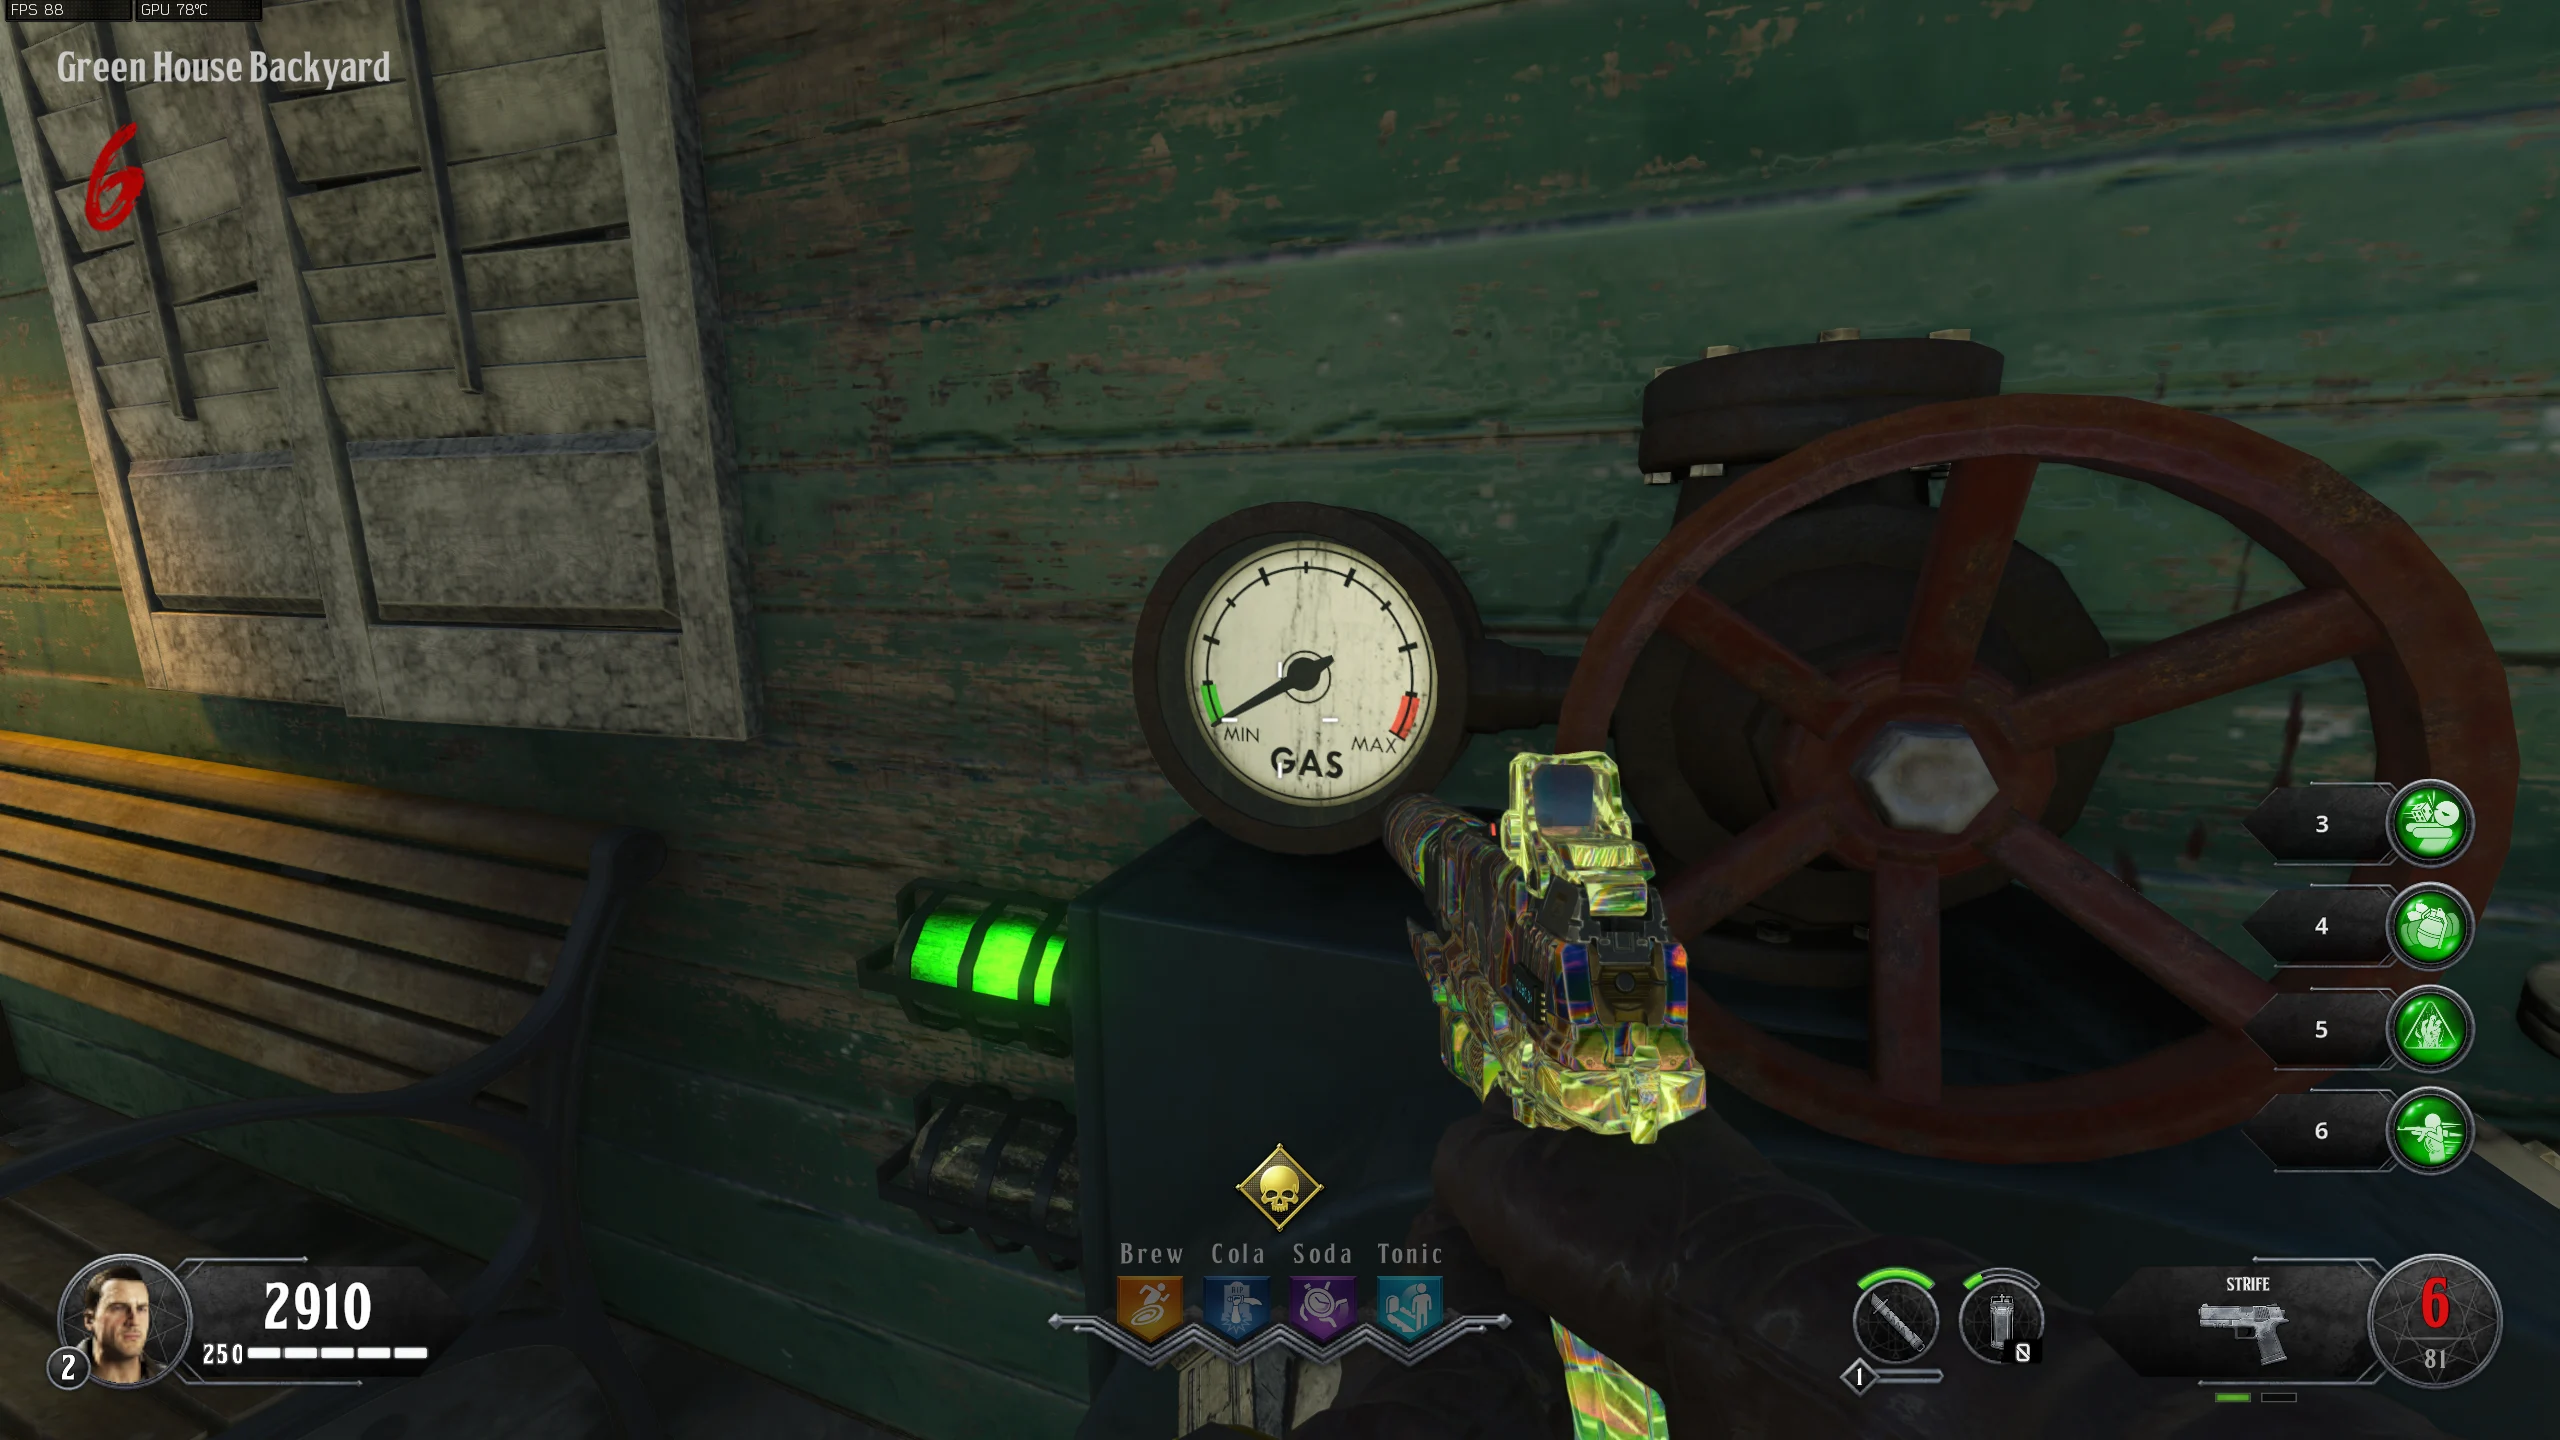
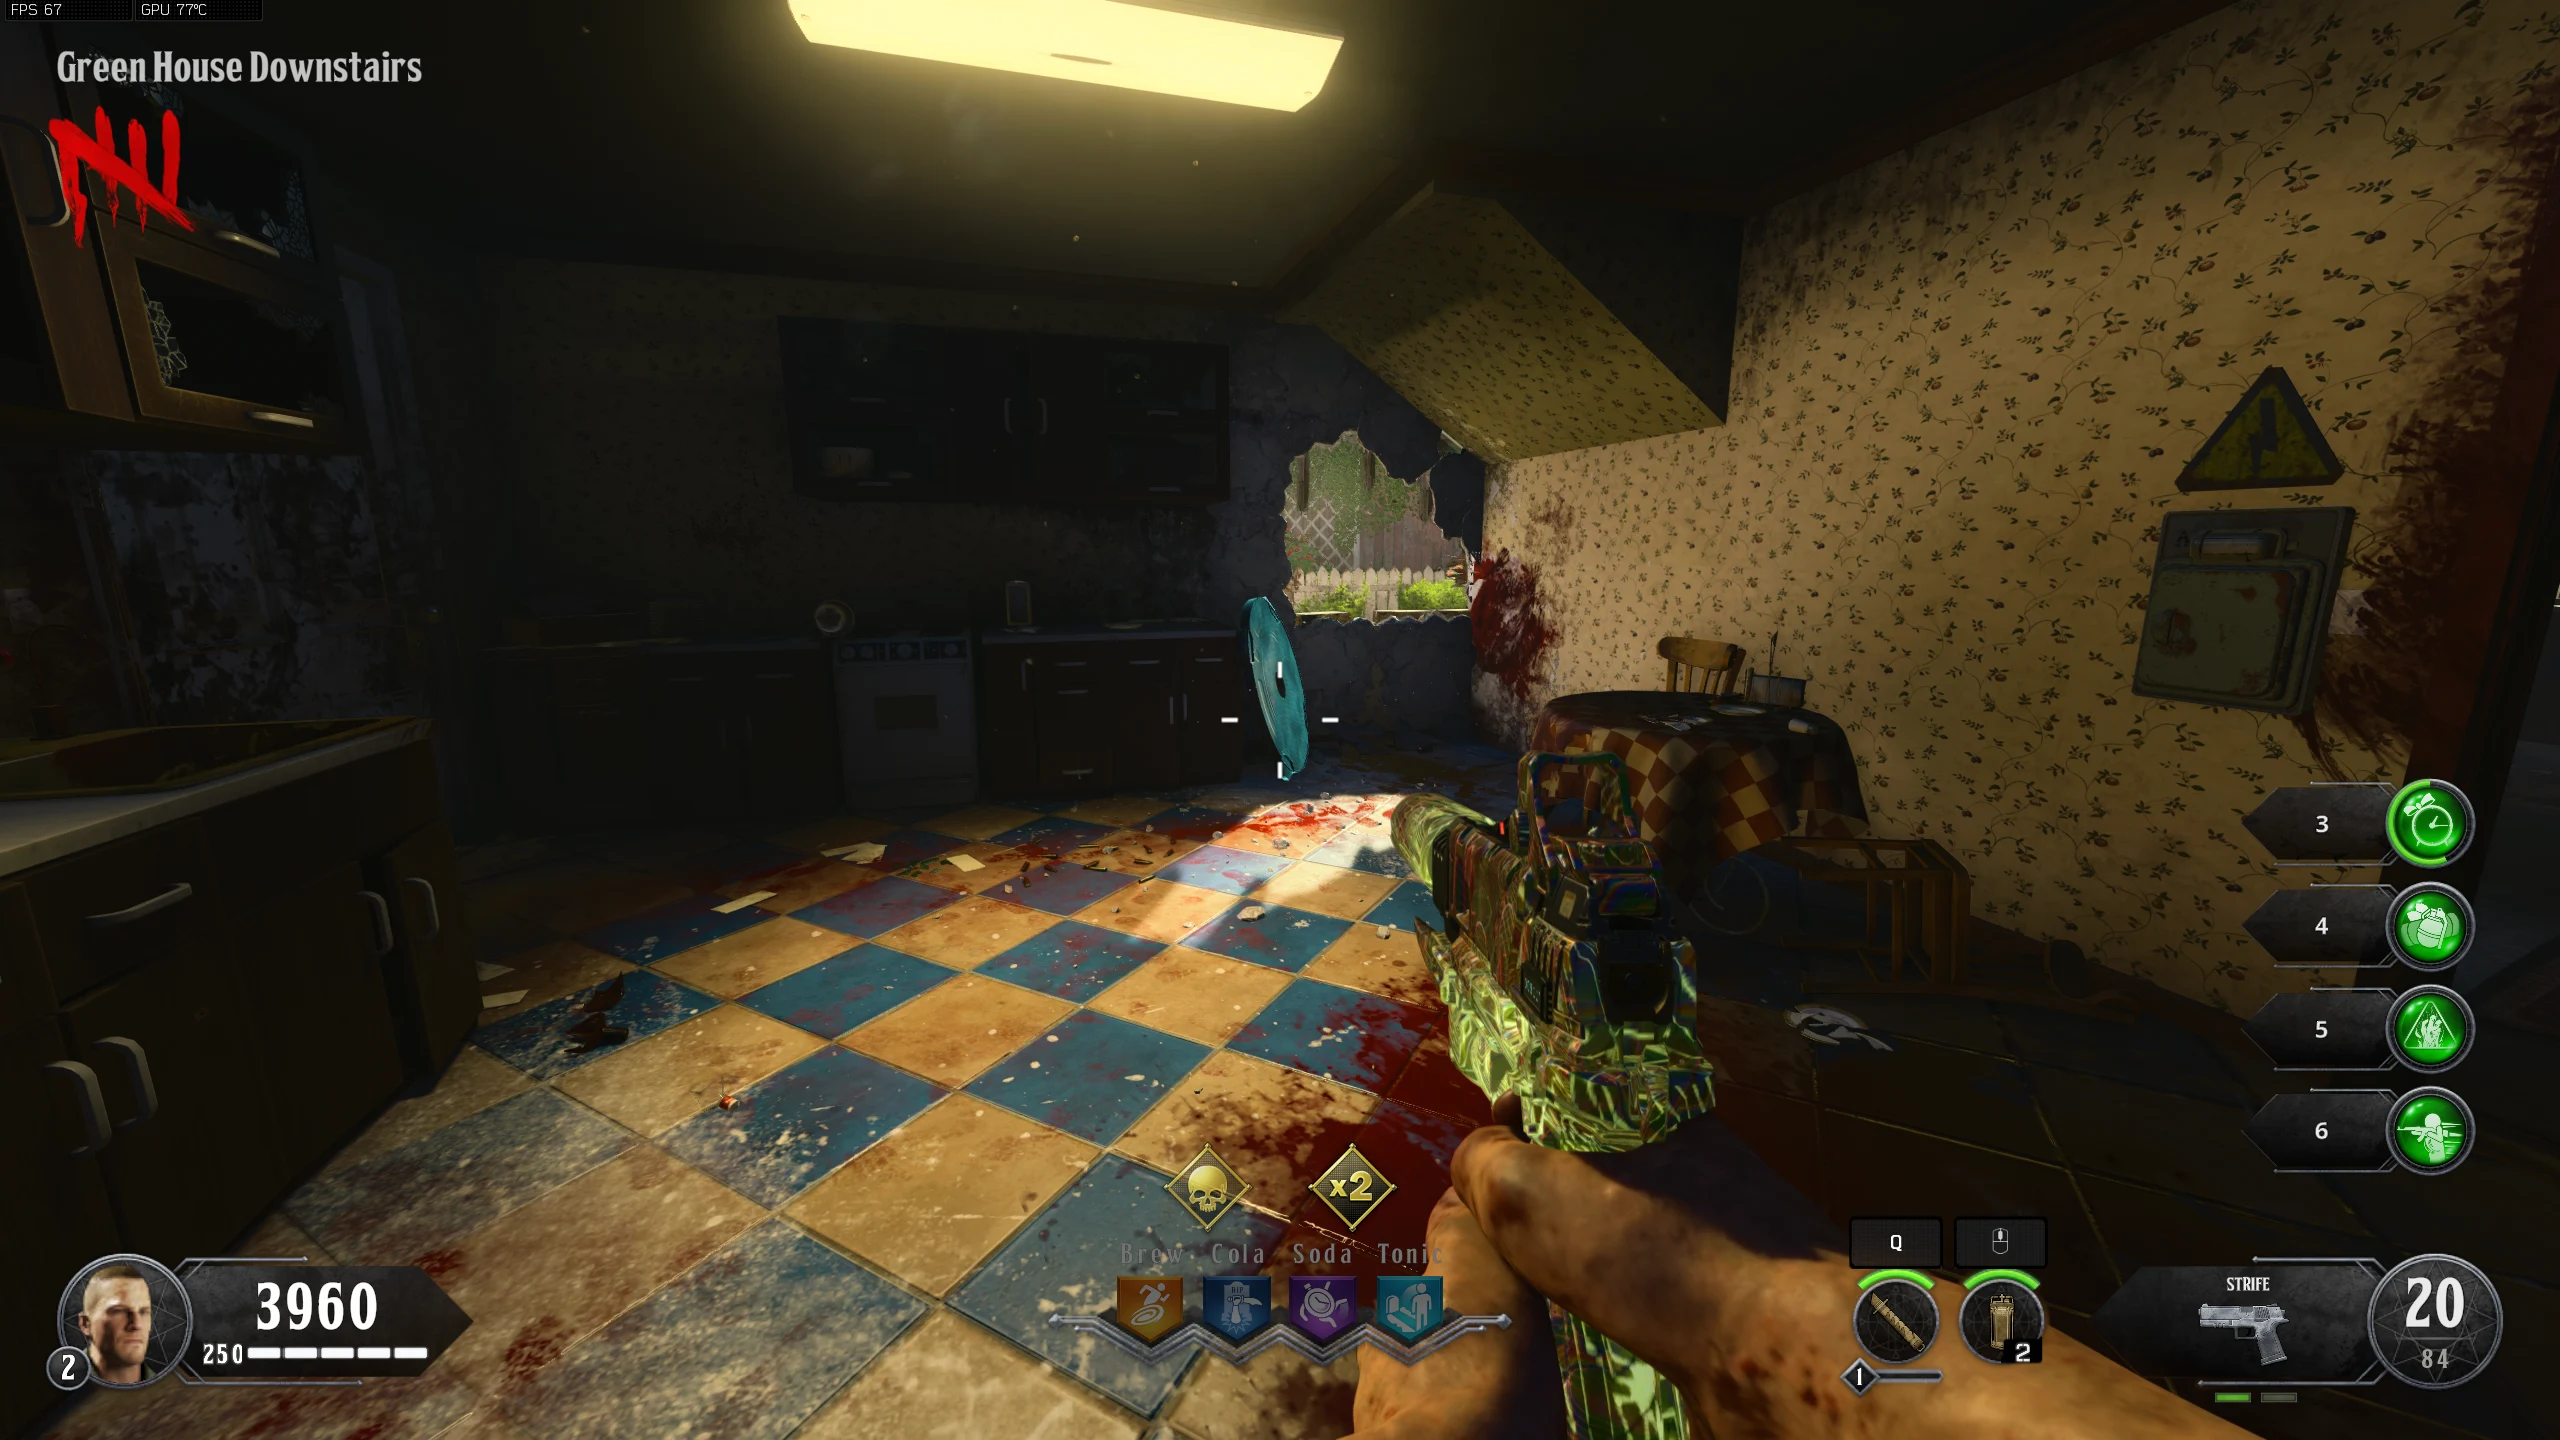
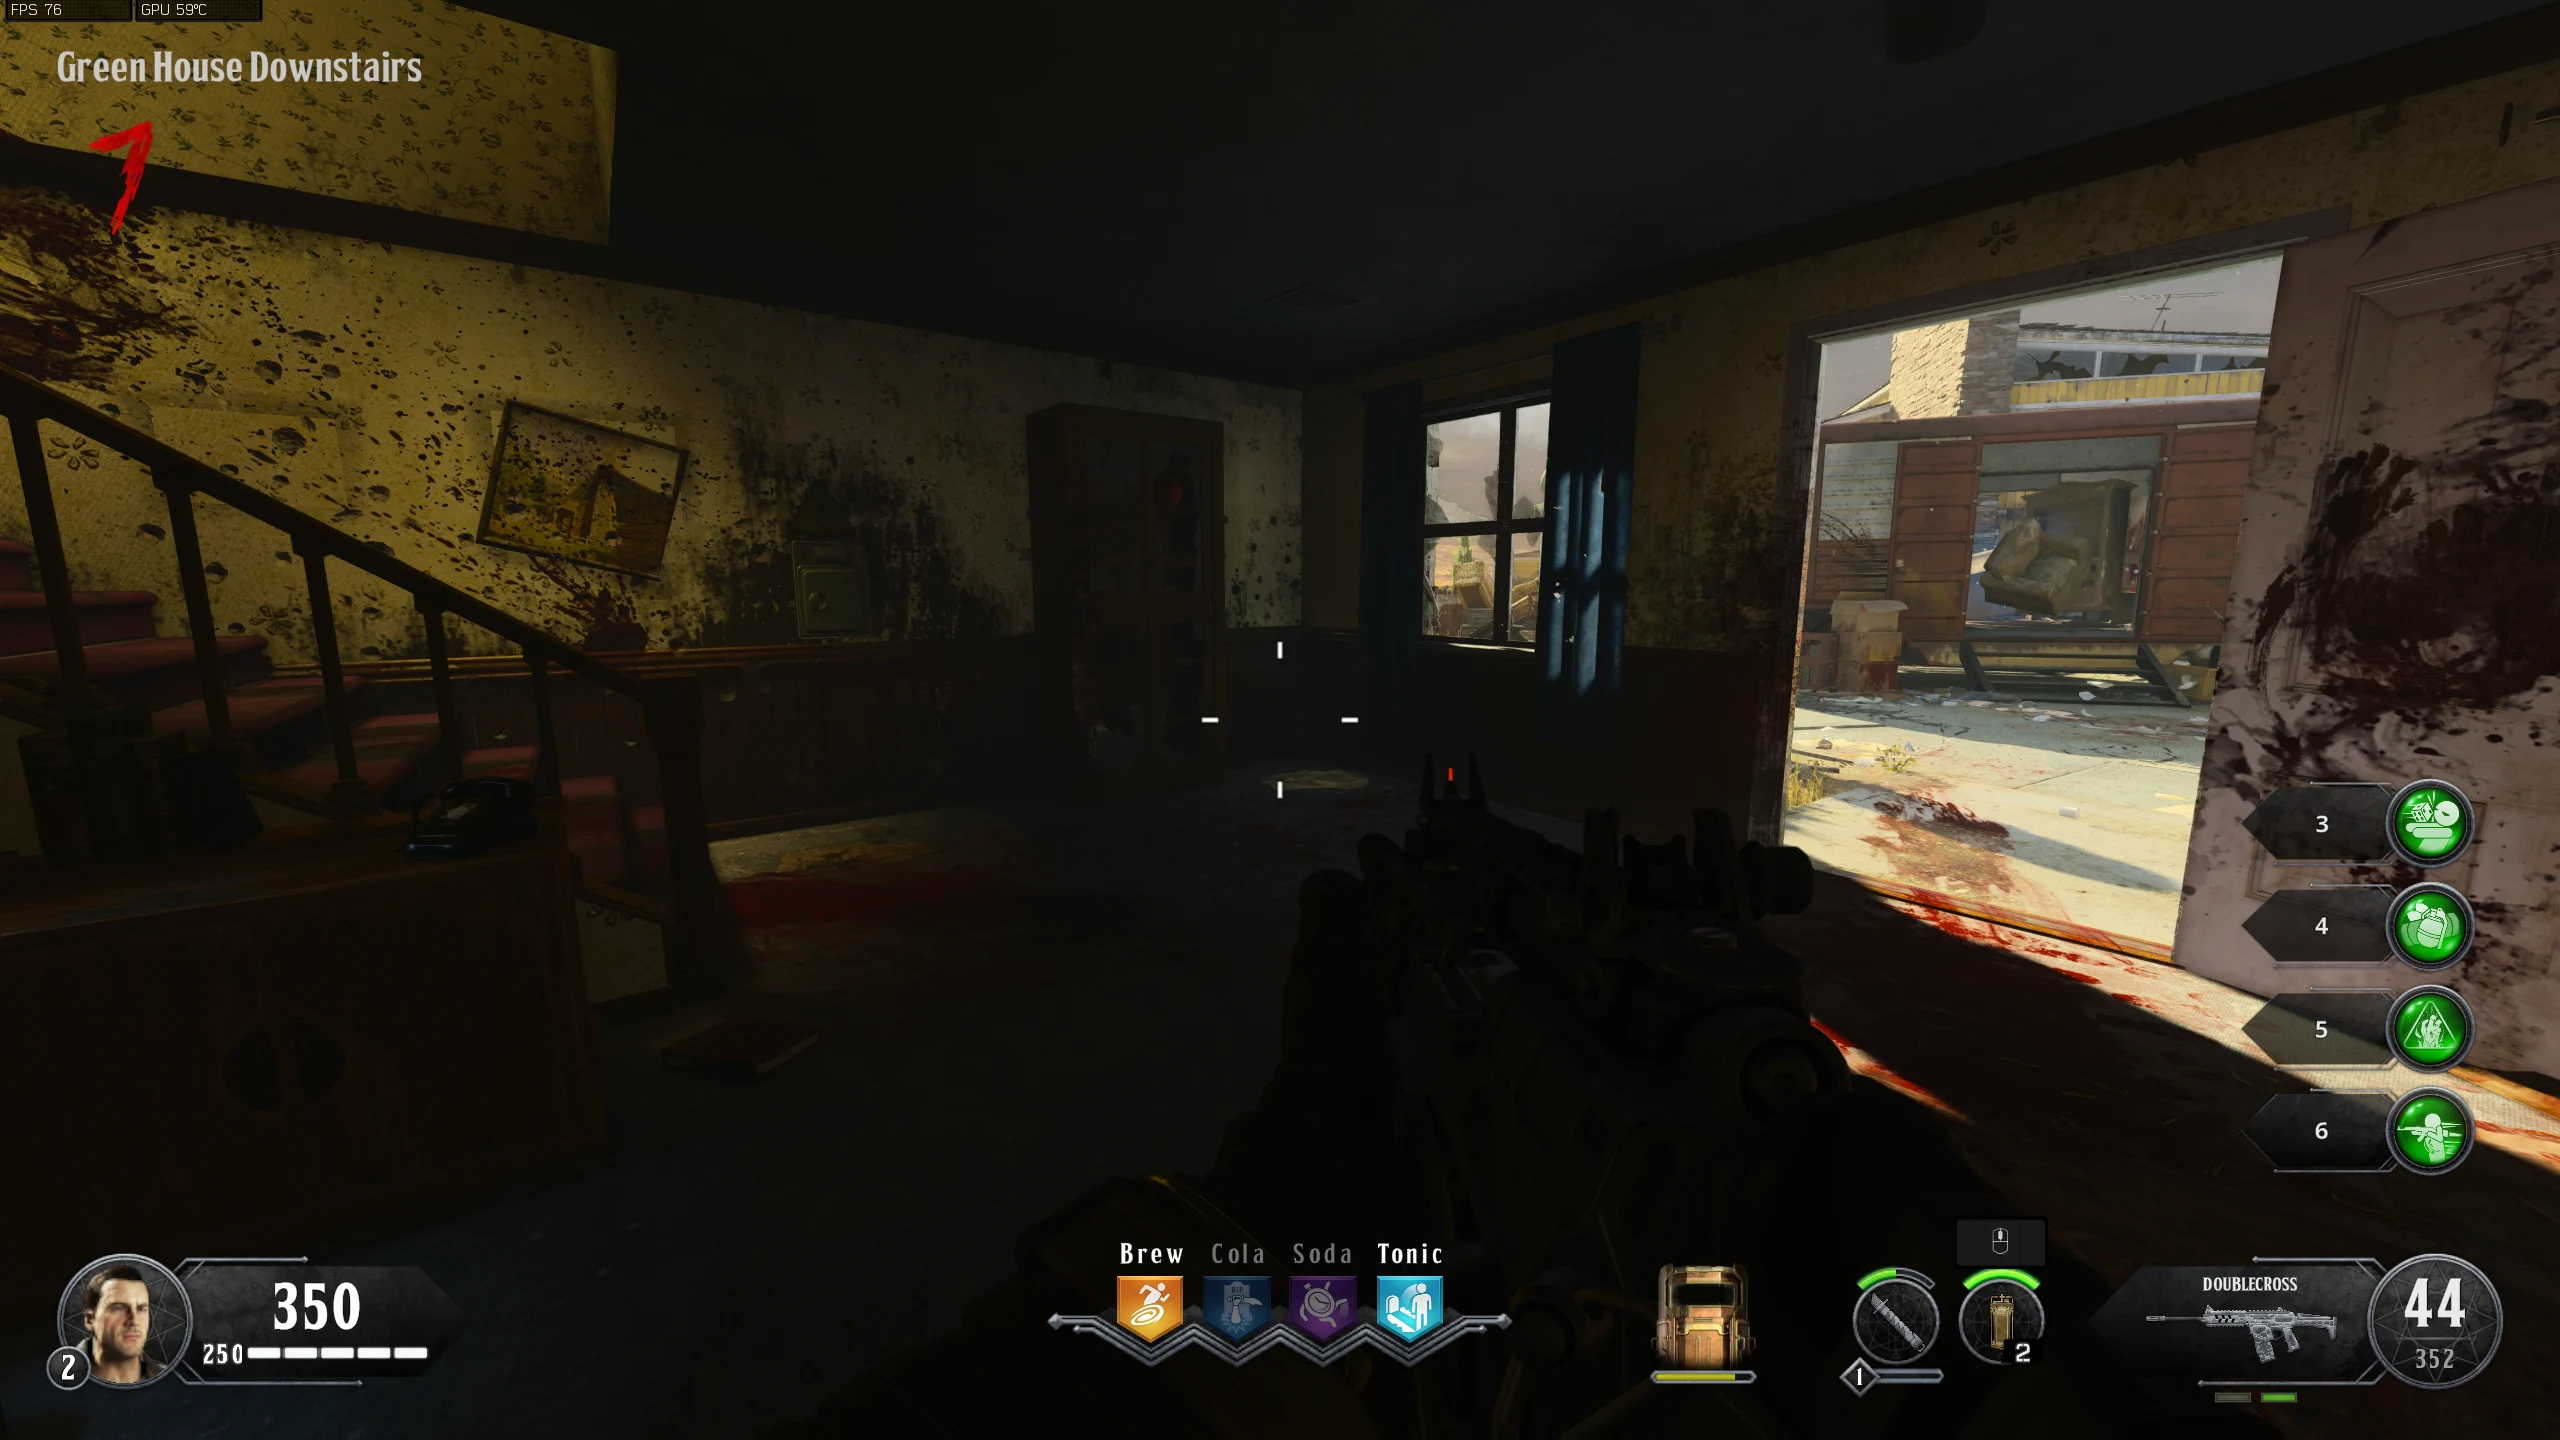
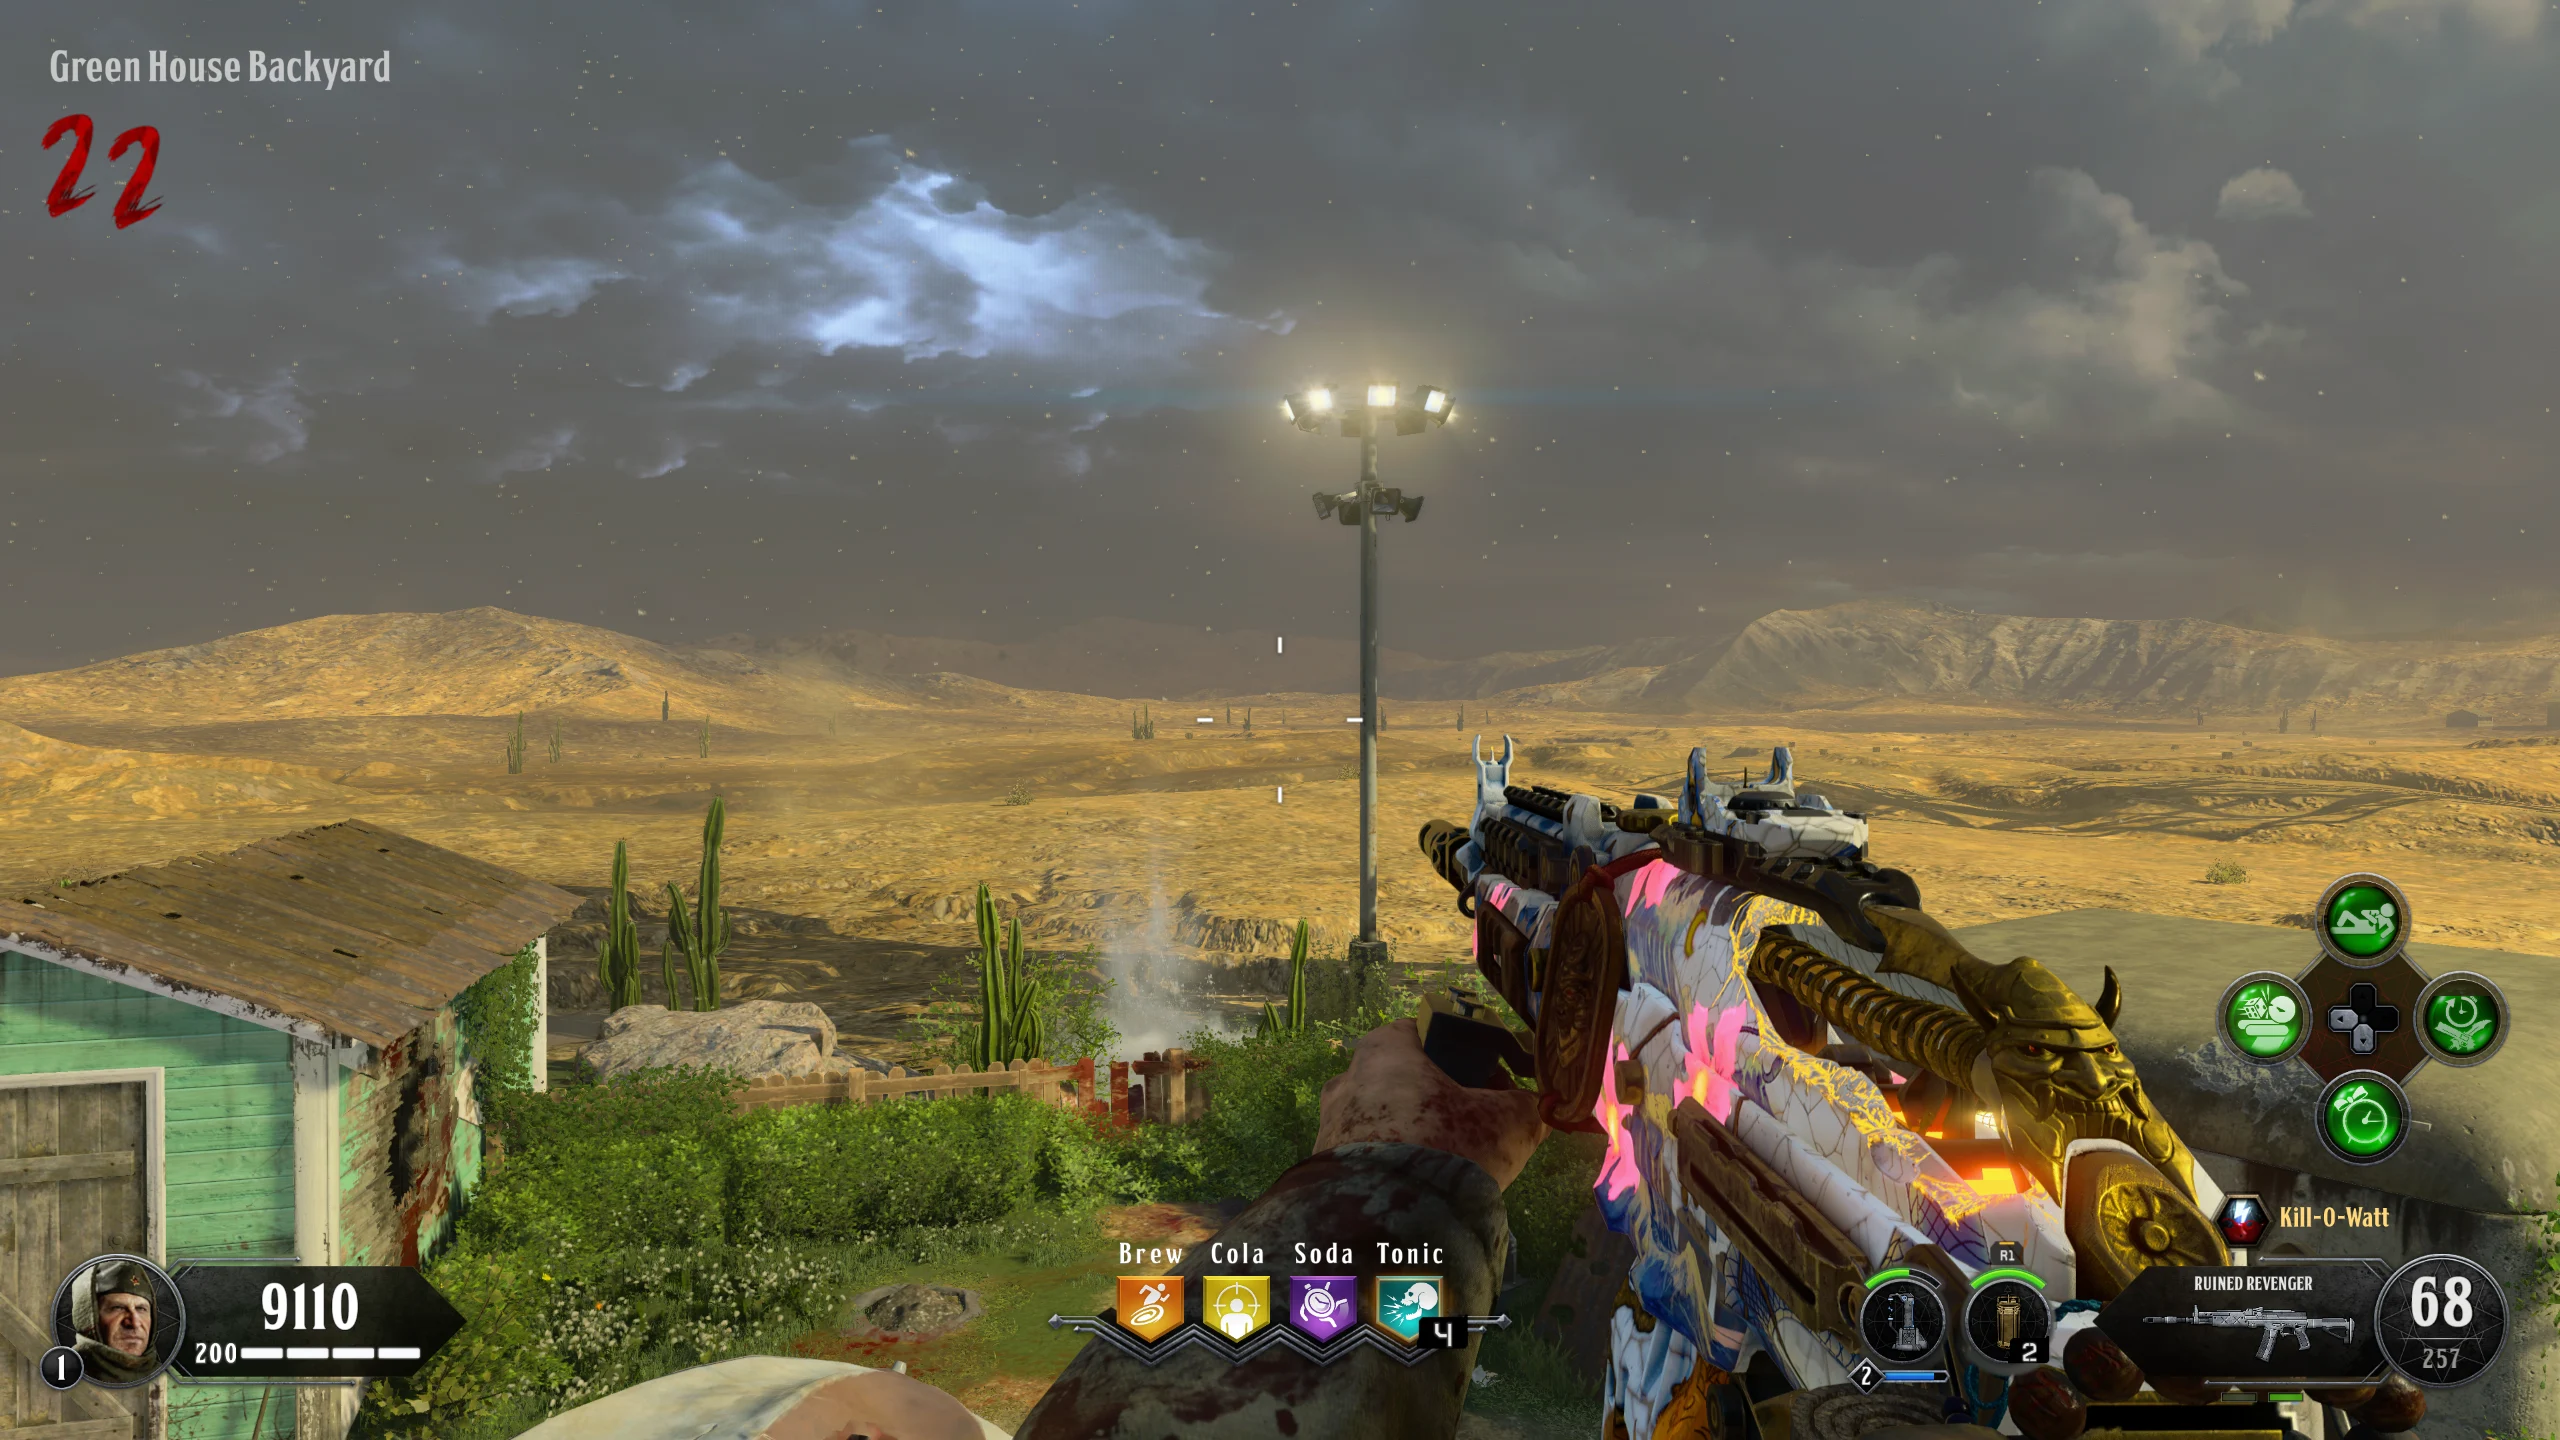
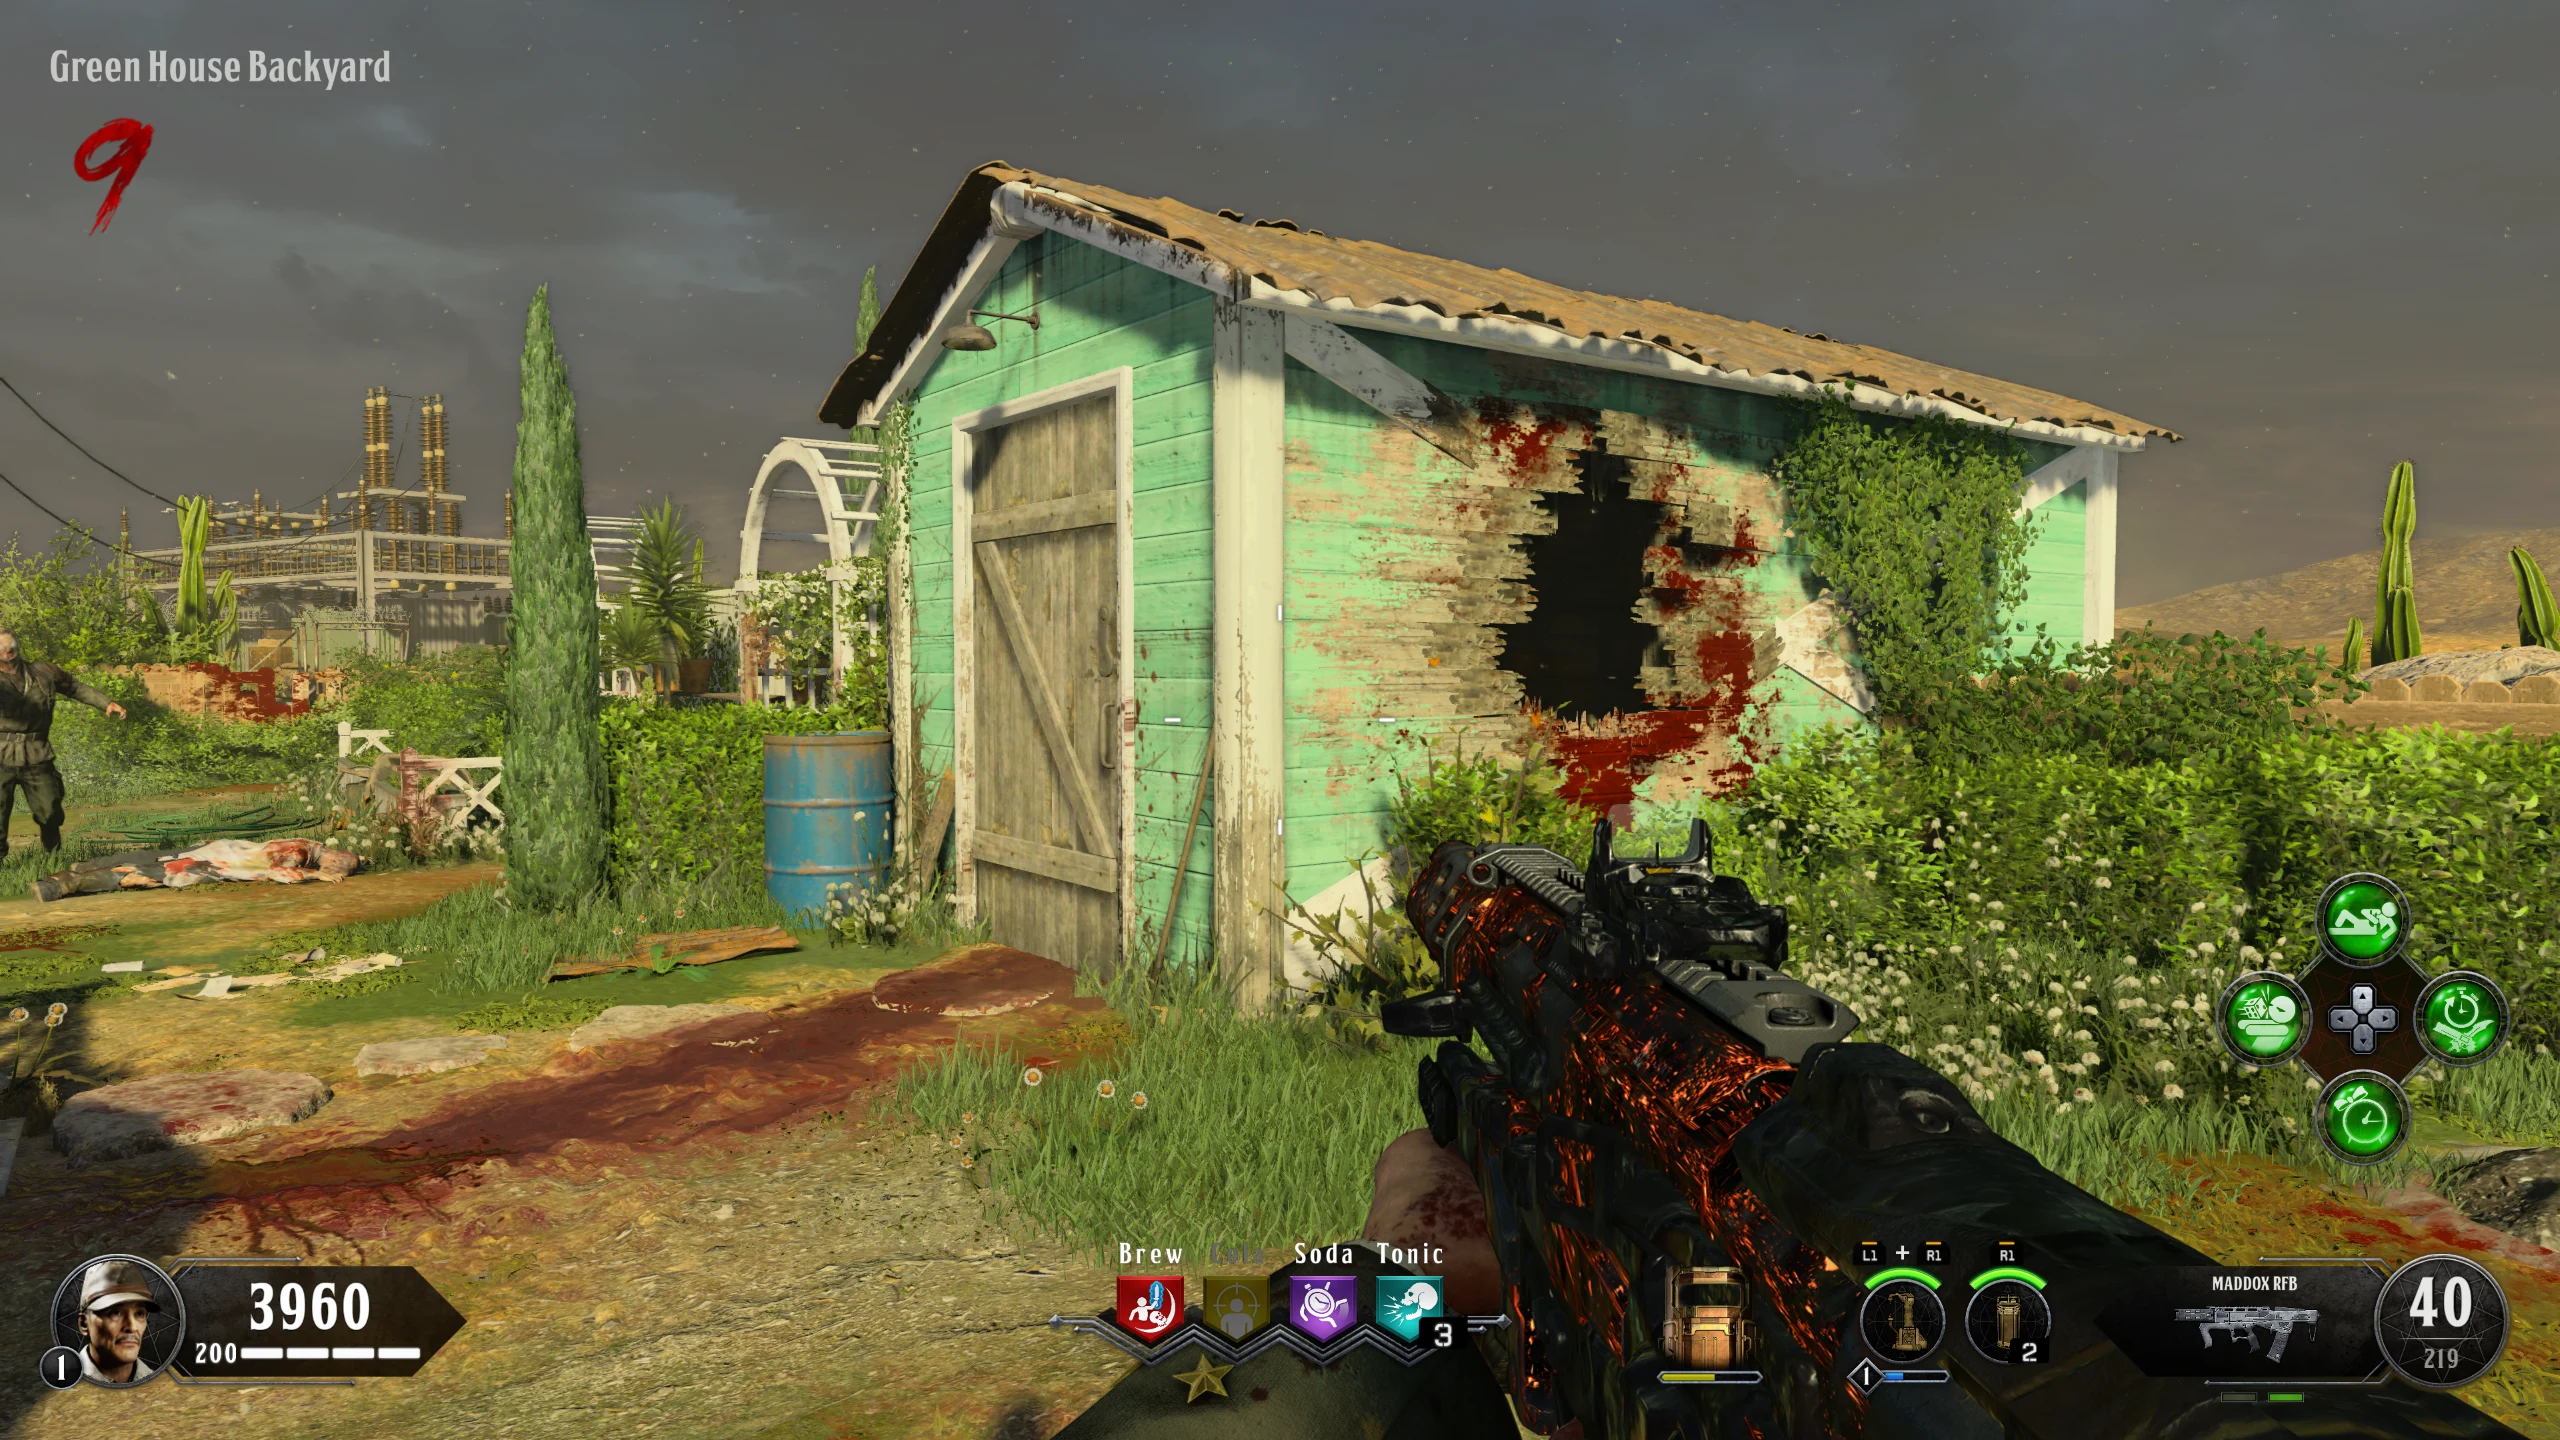
- Green House - Clock Location - Reward: Trap
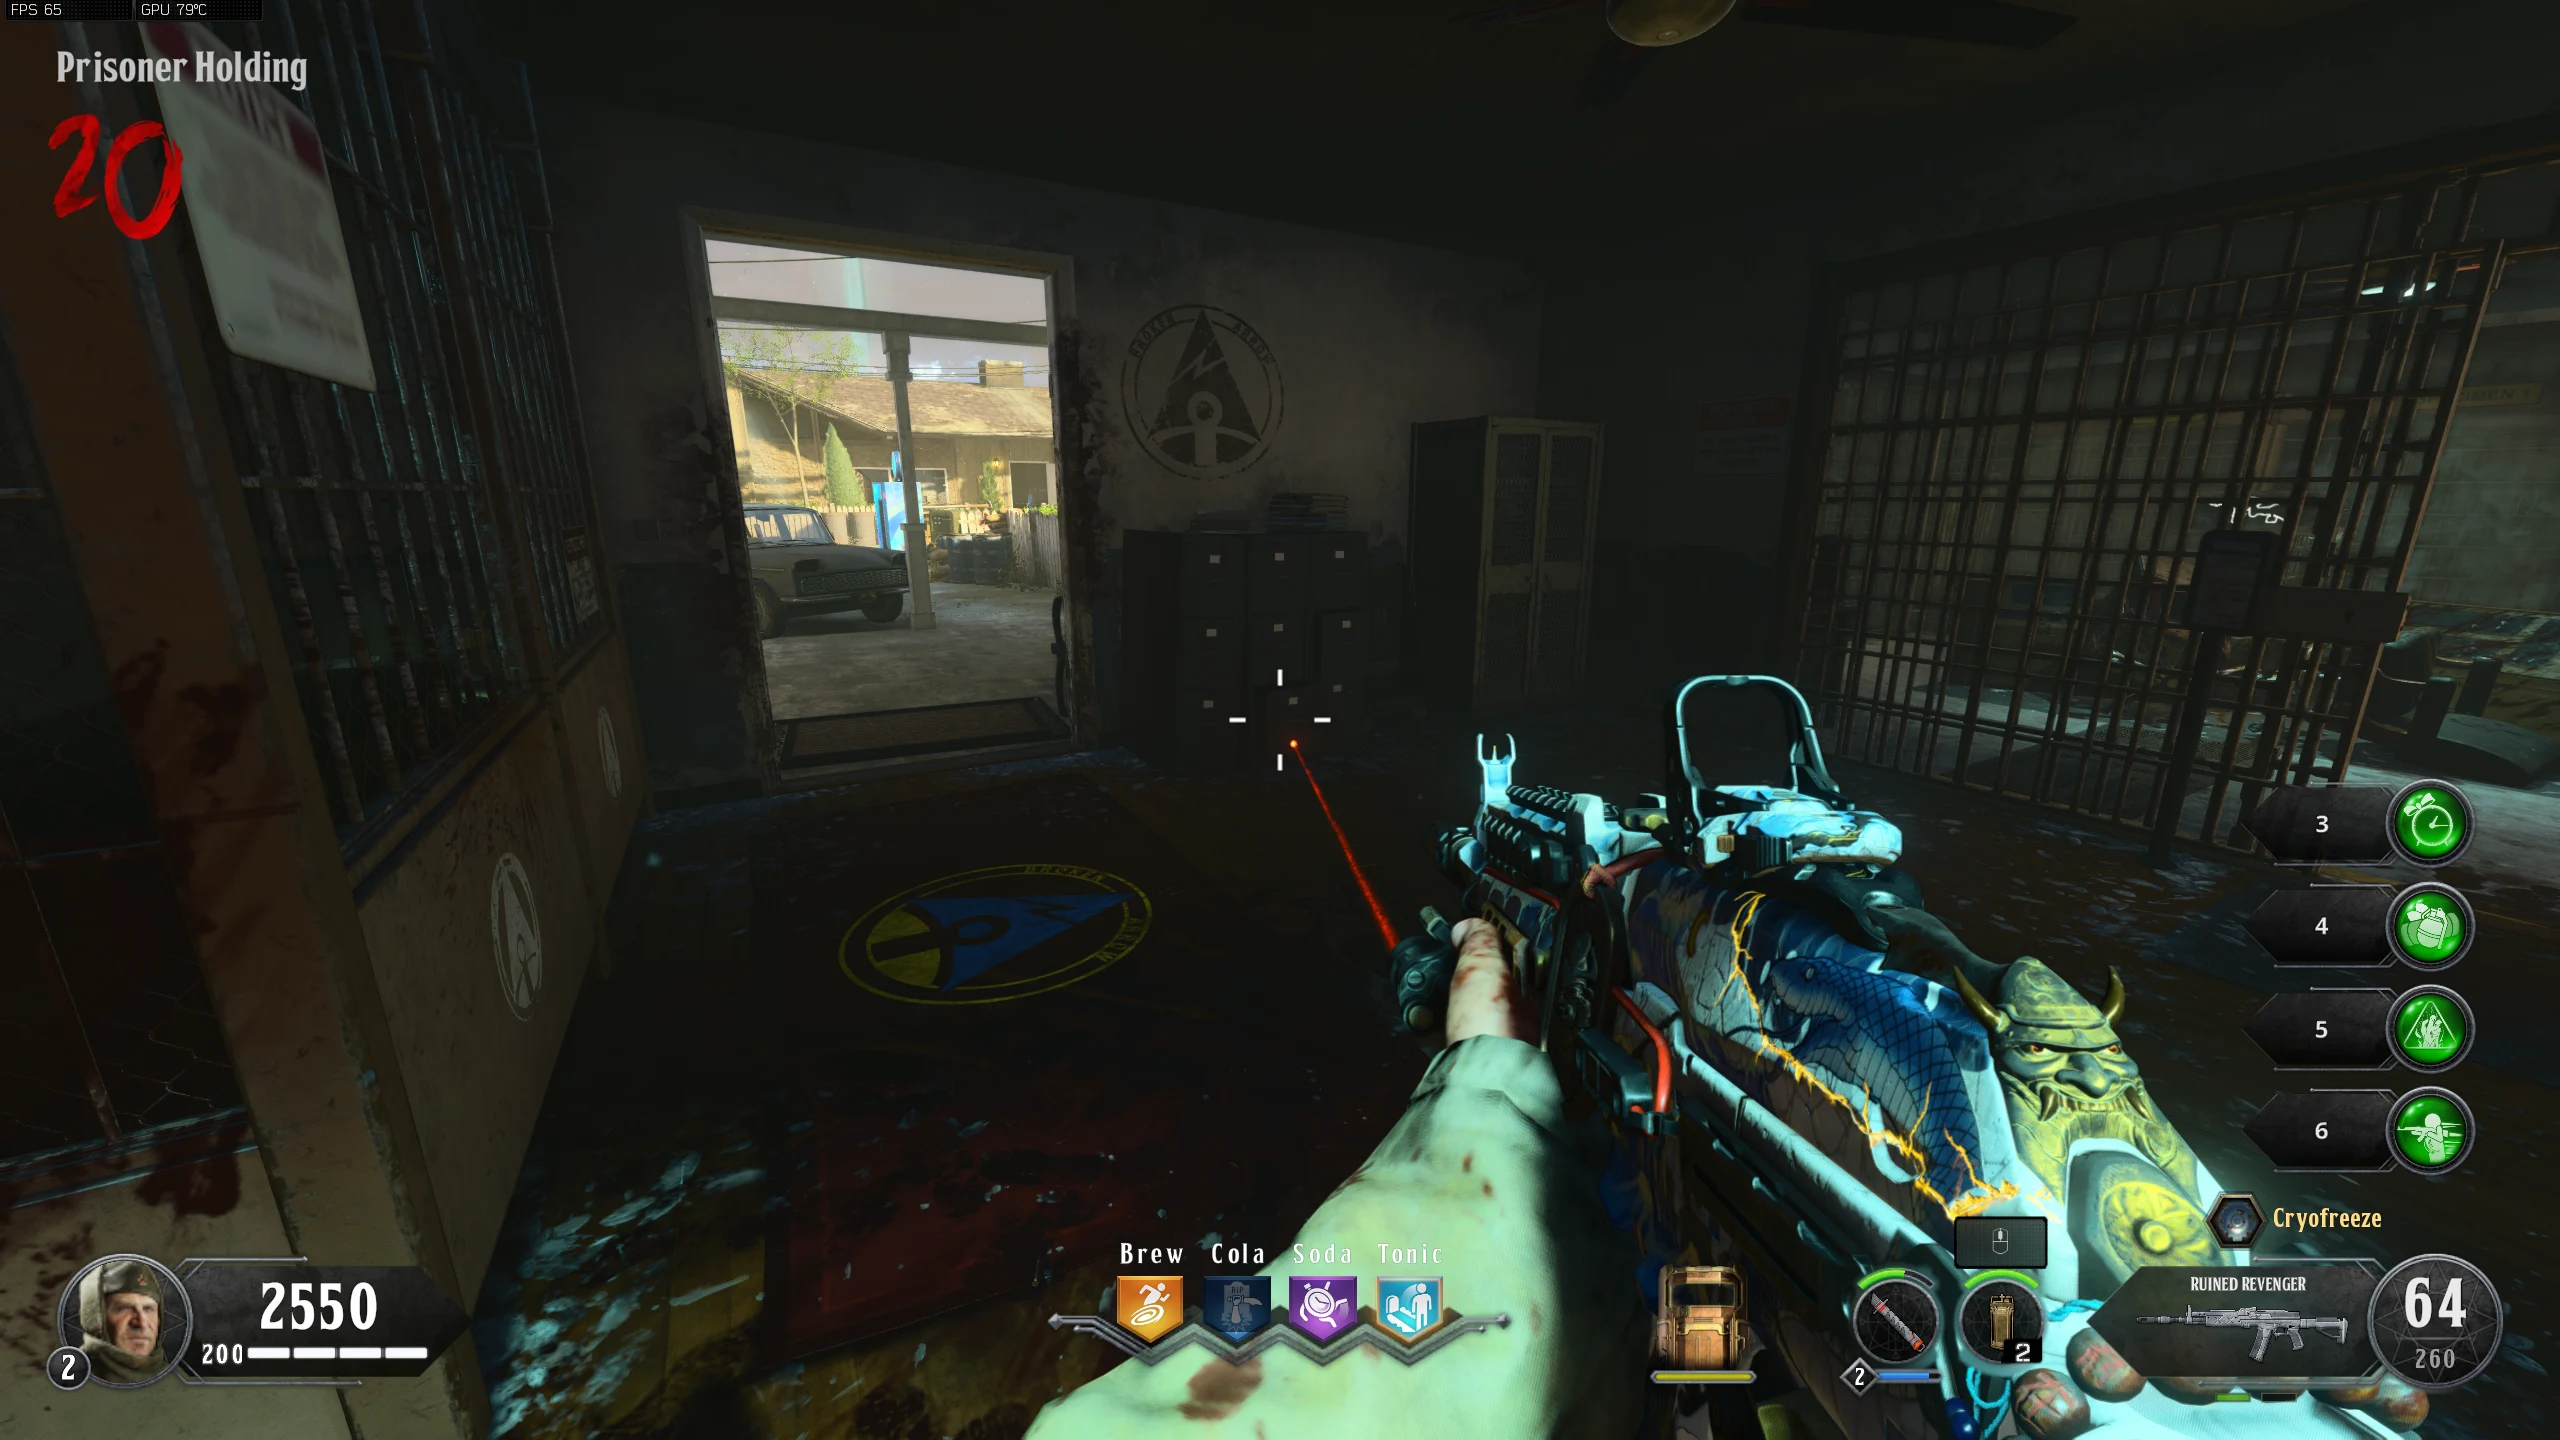
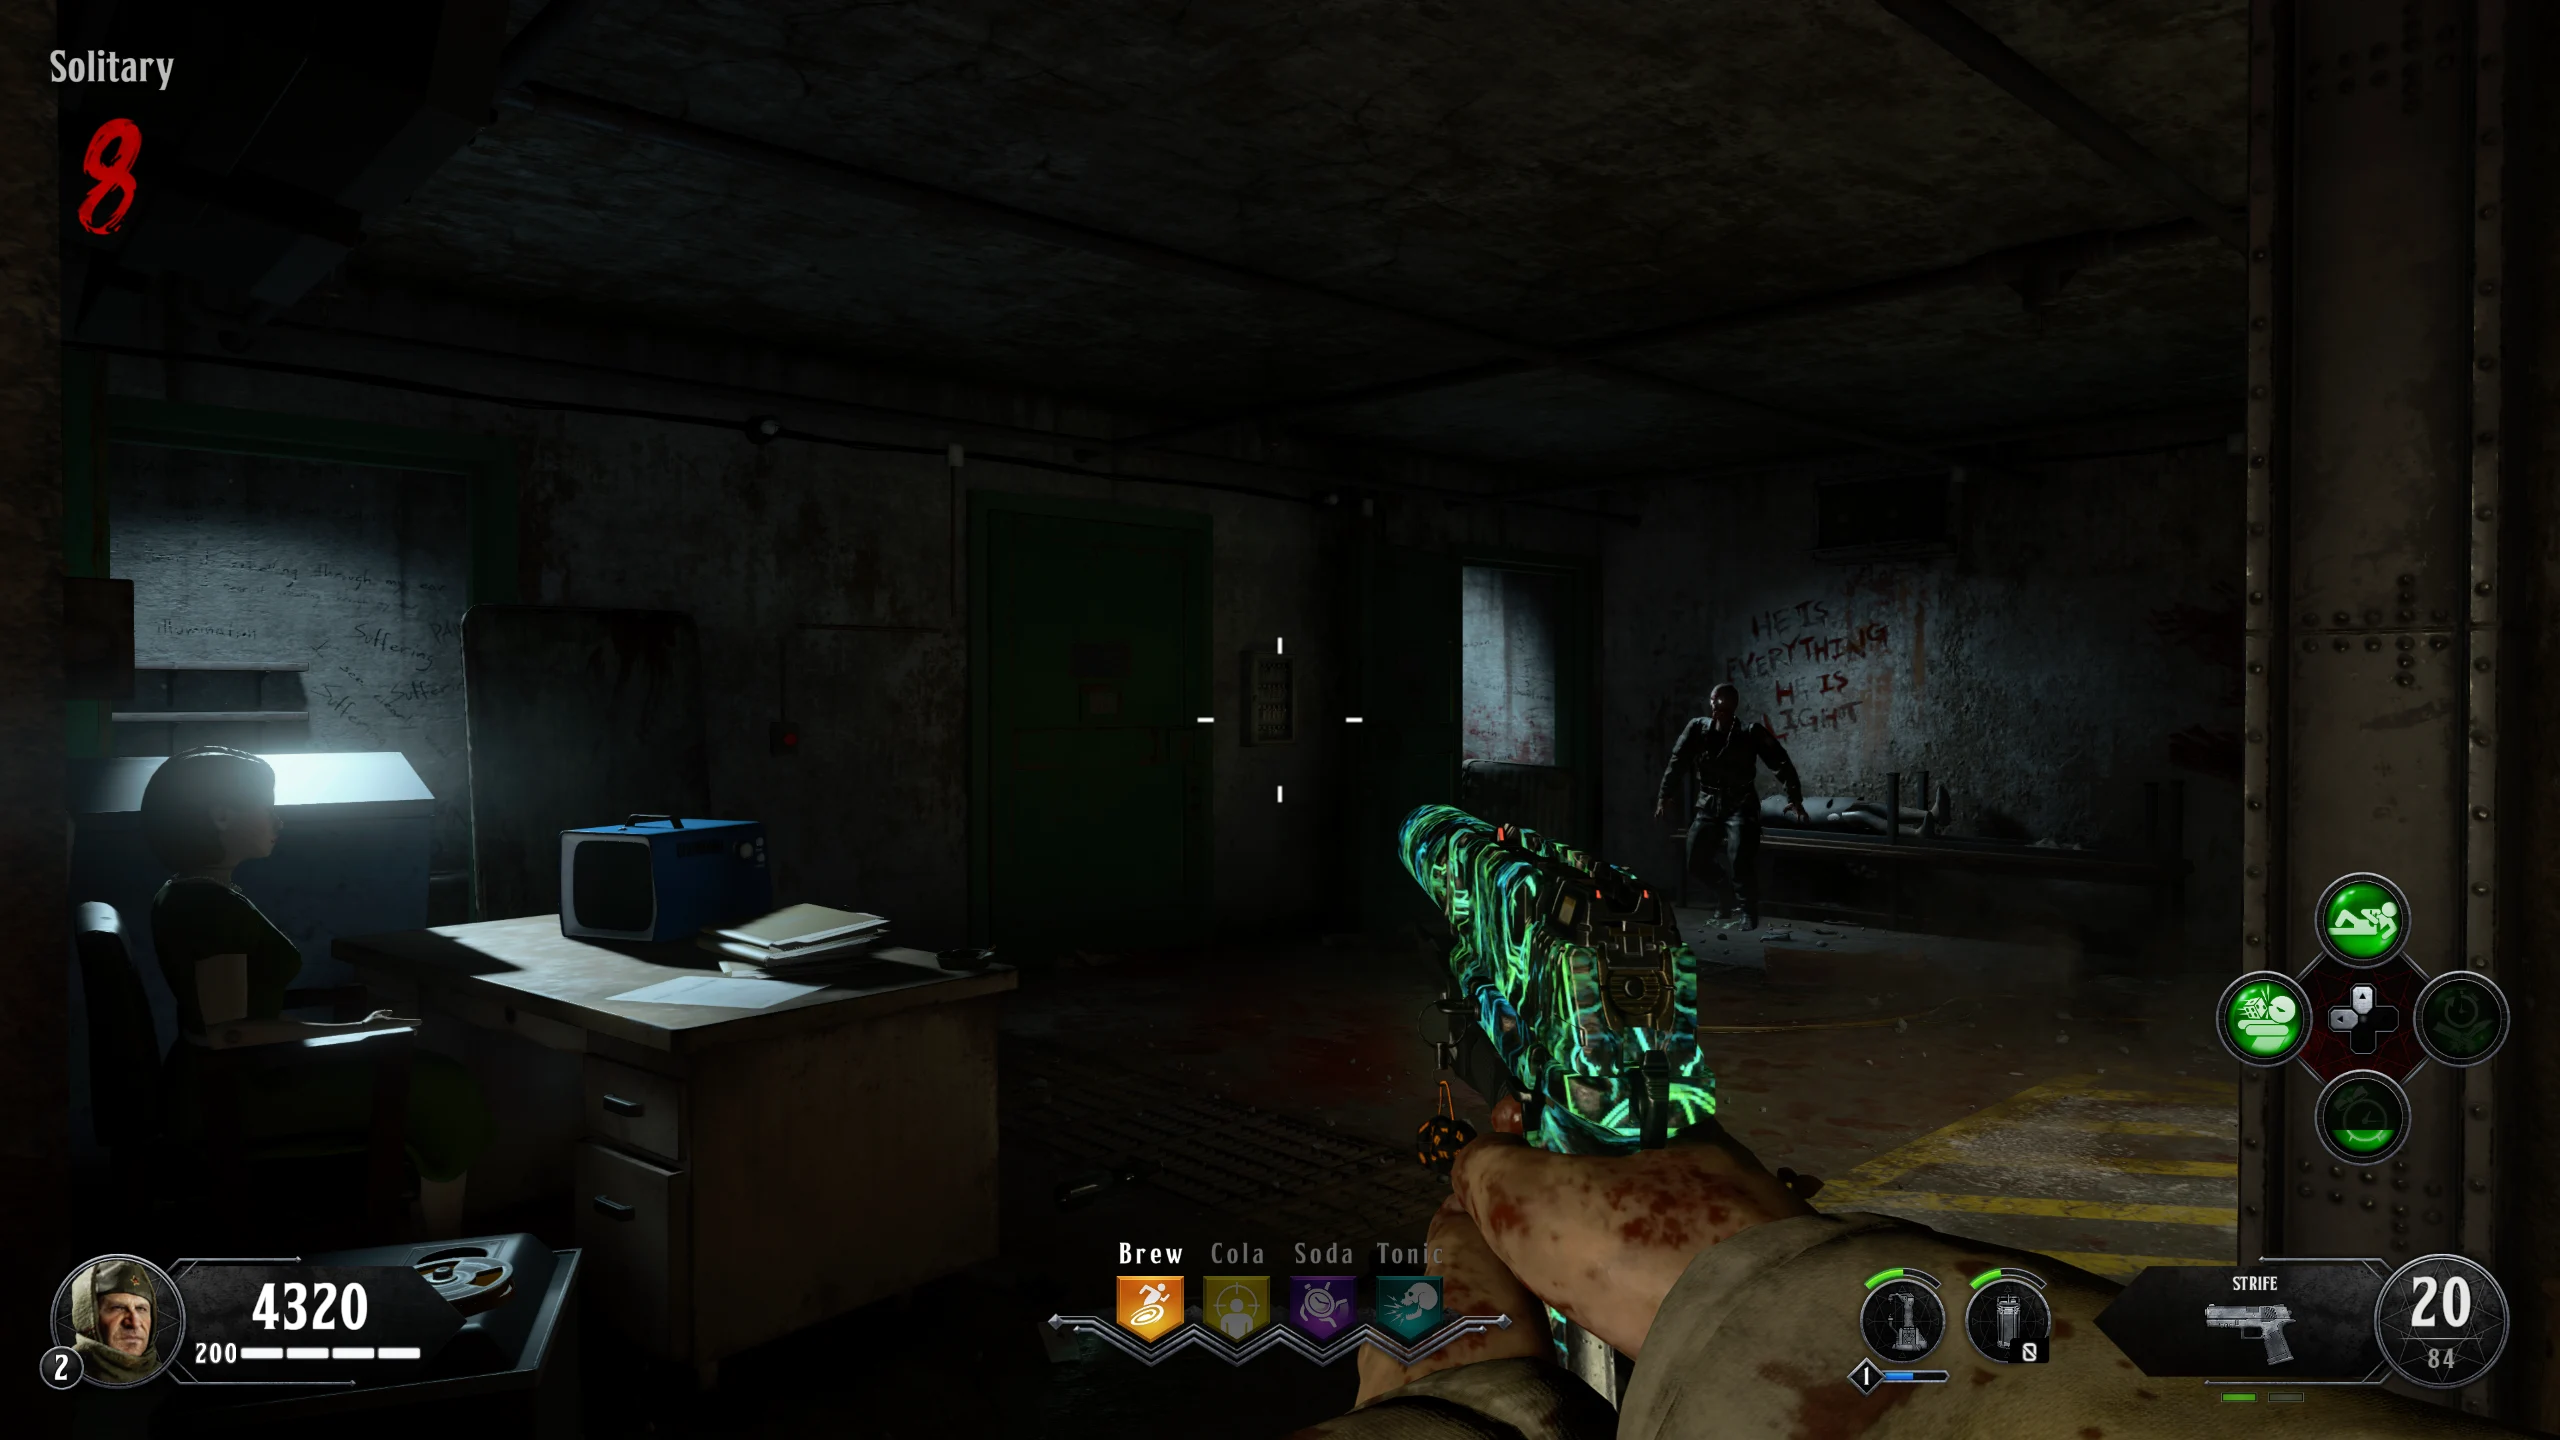
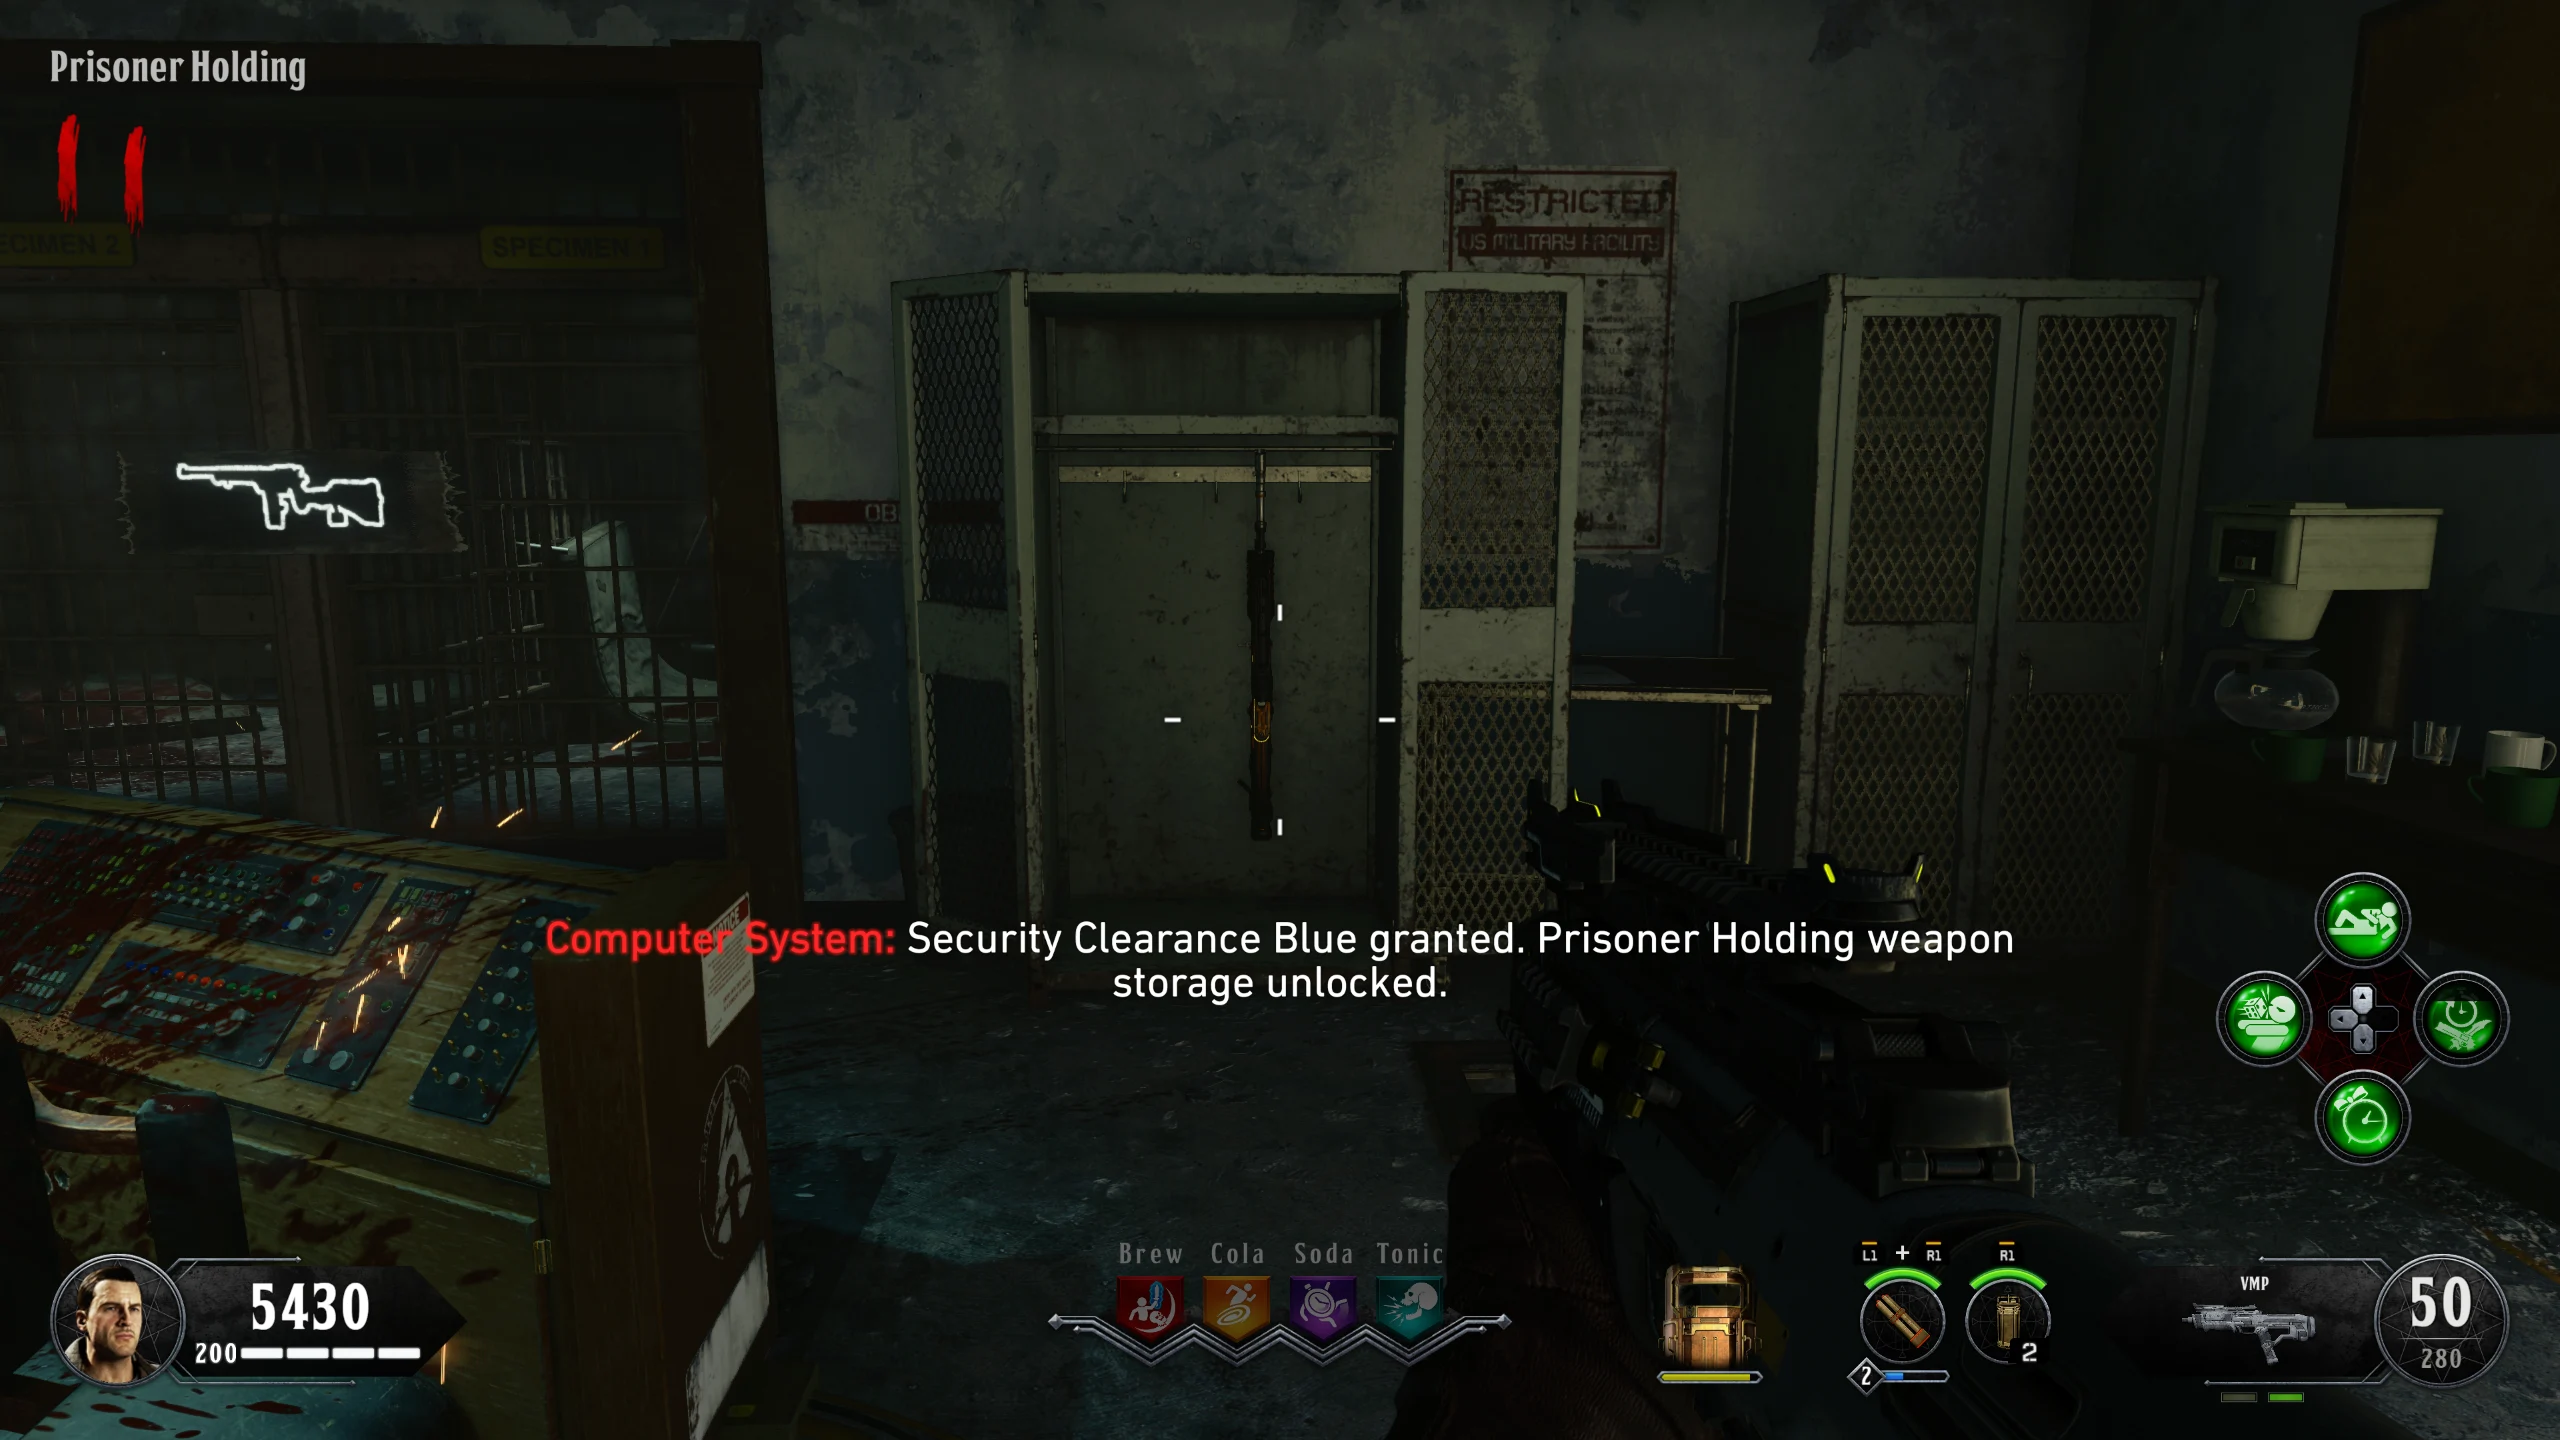
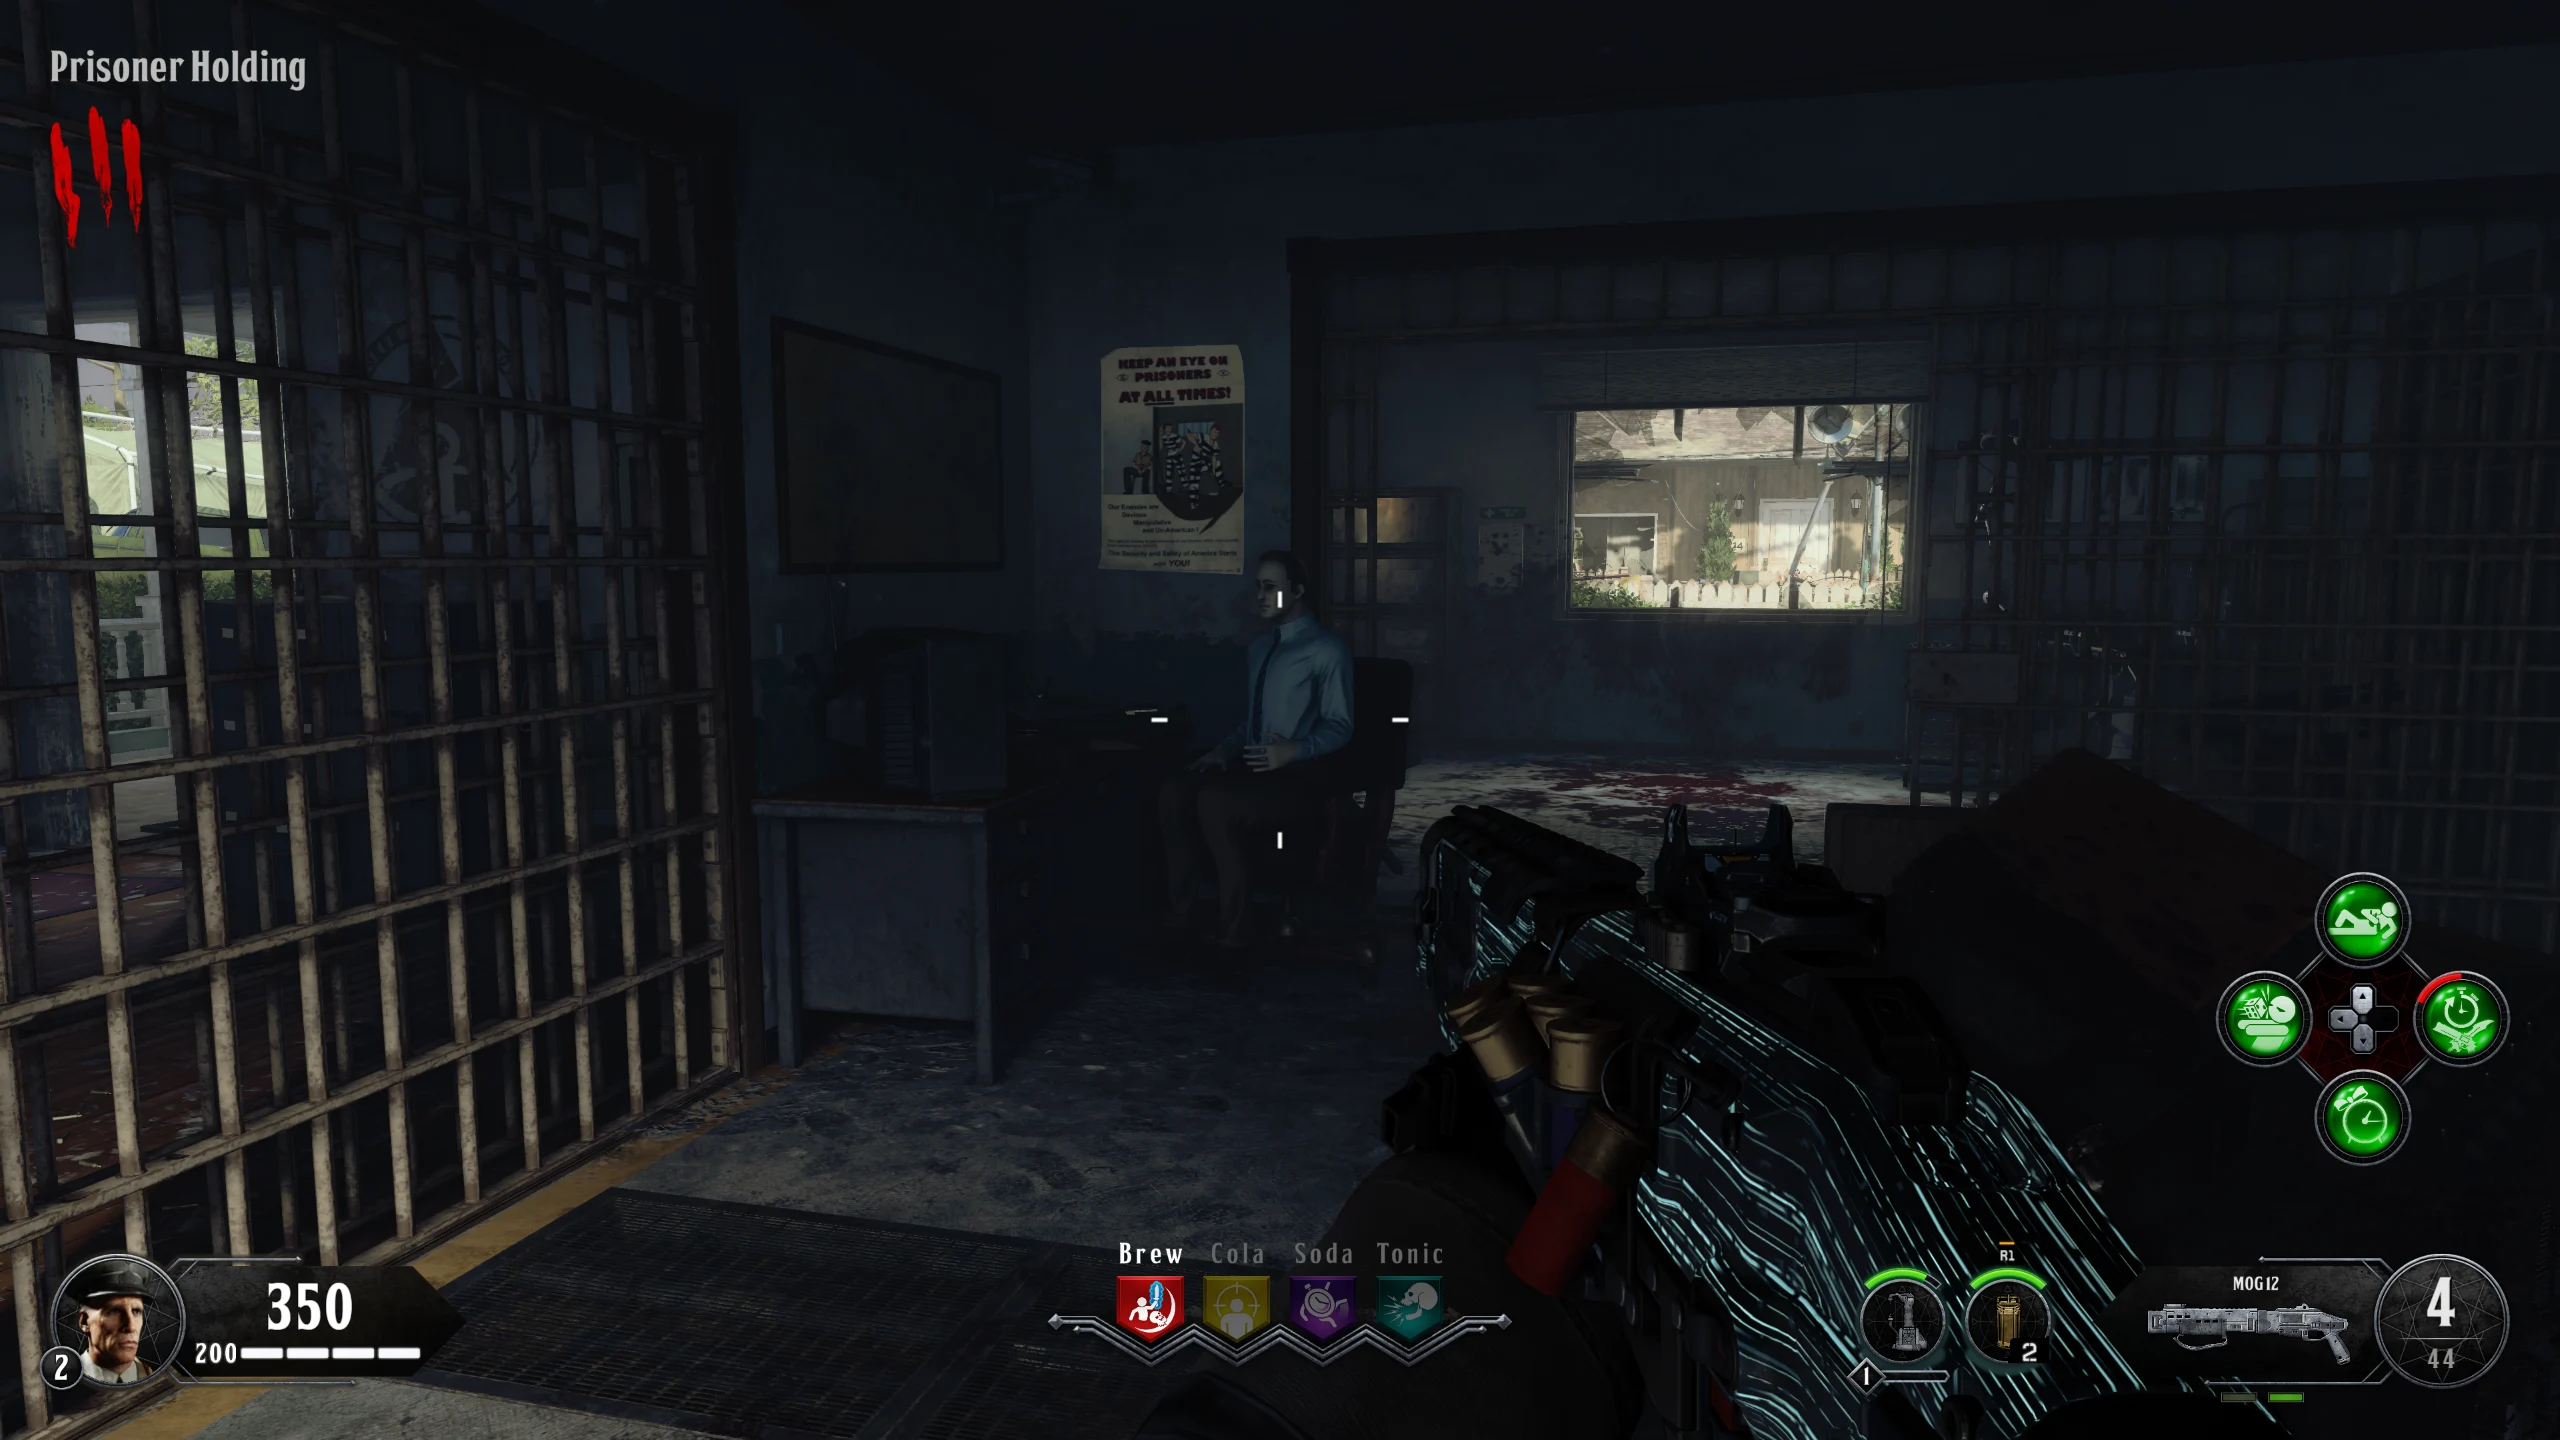
- Prisoner Holding - Clock Location - Reward: Free Random Pack-a-Punched Weapon
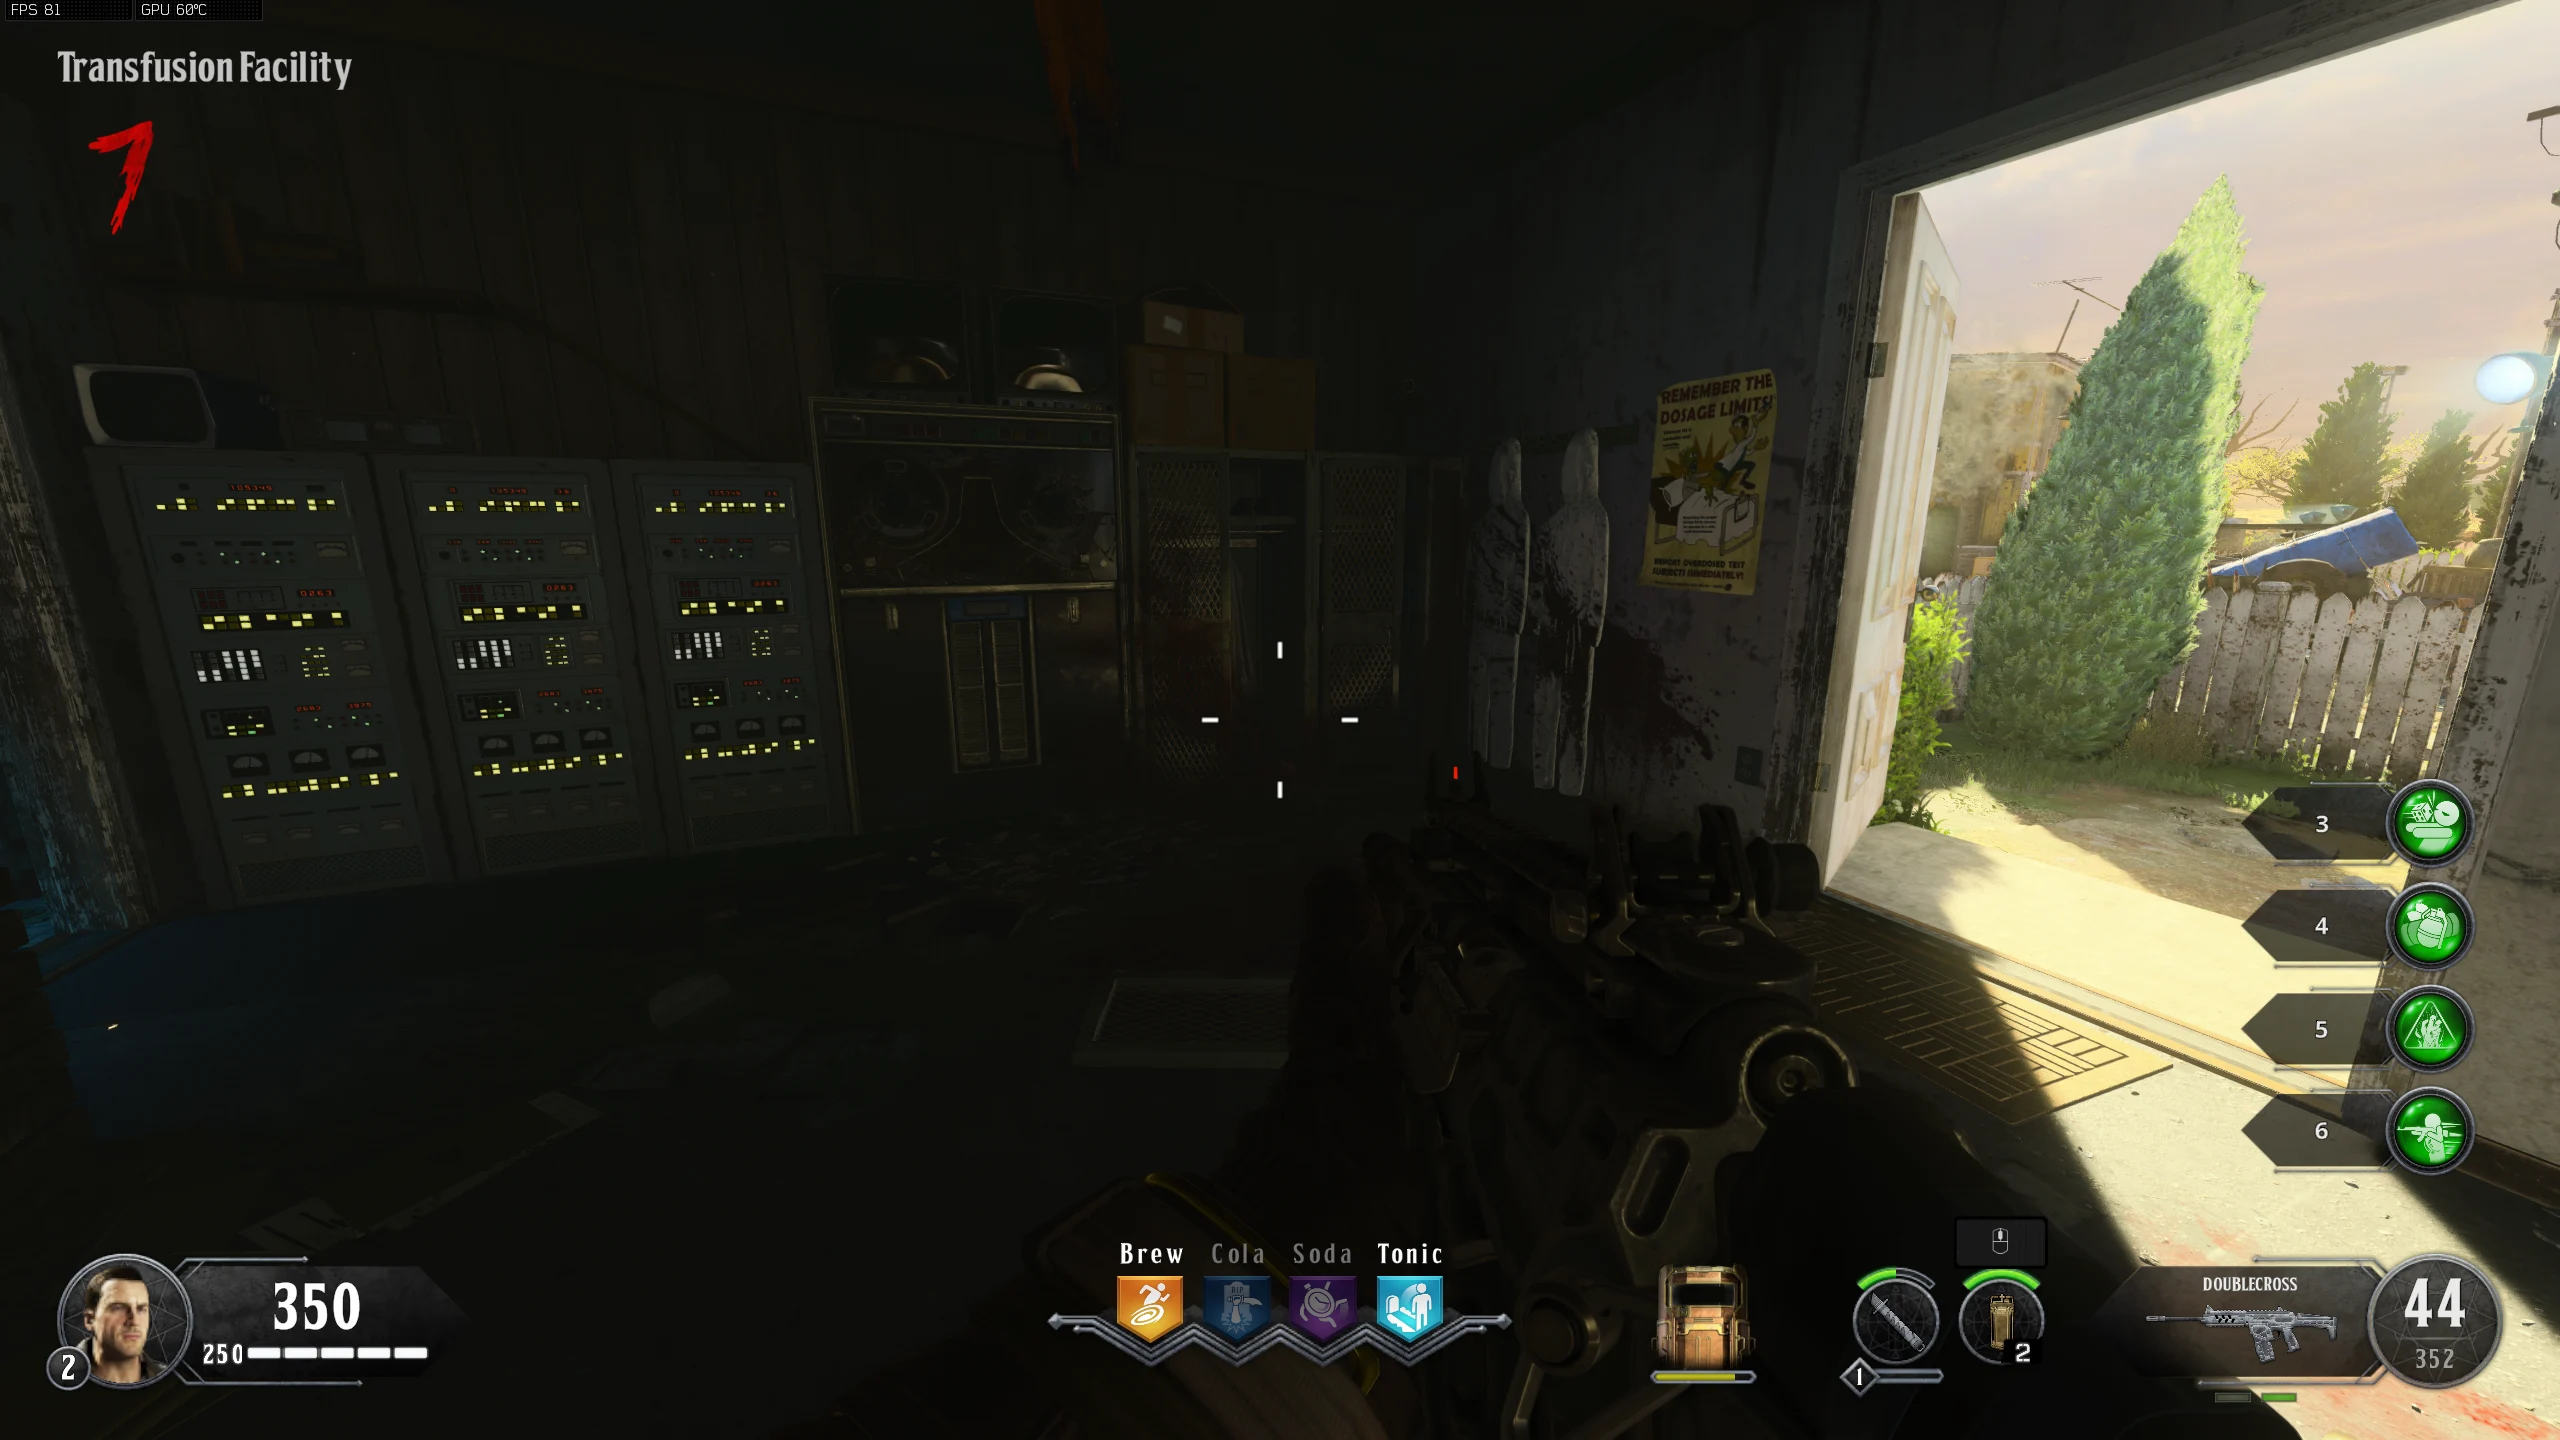
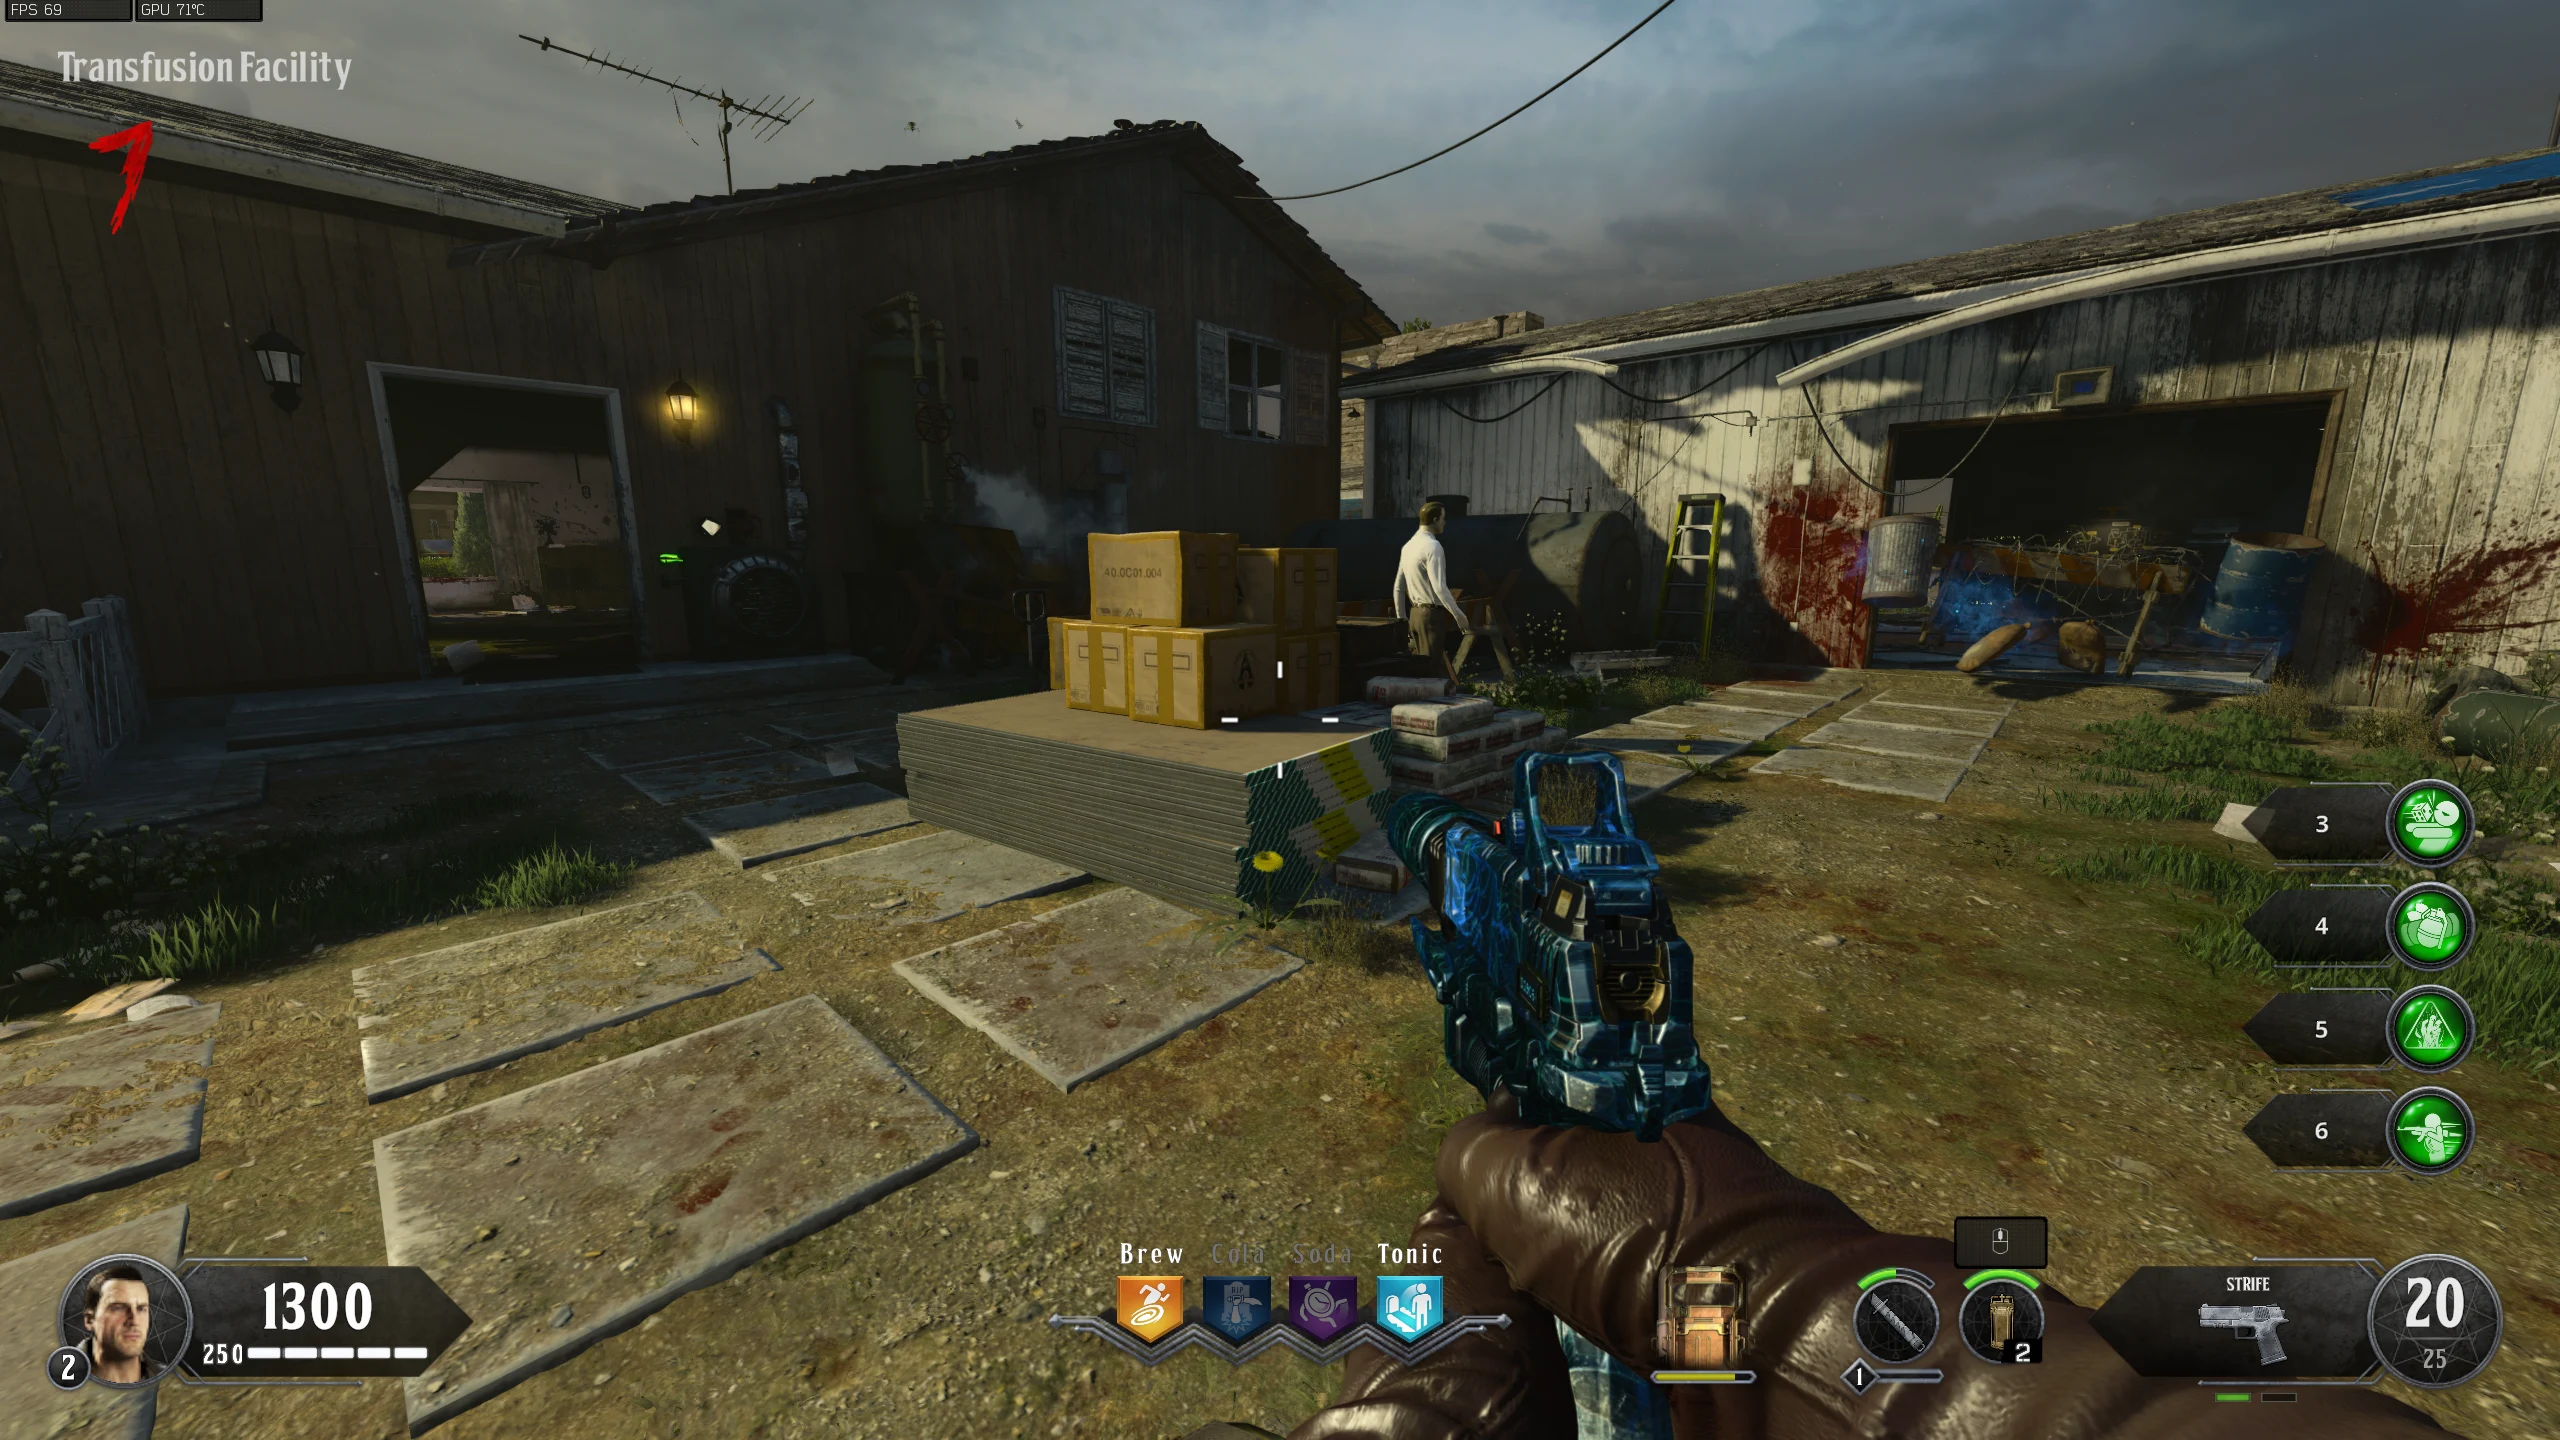
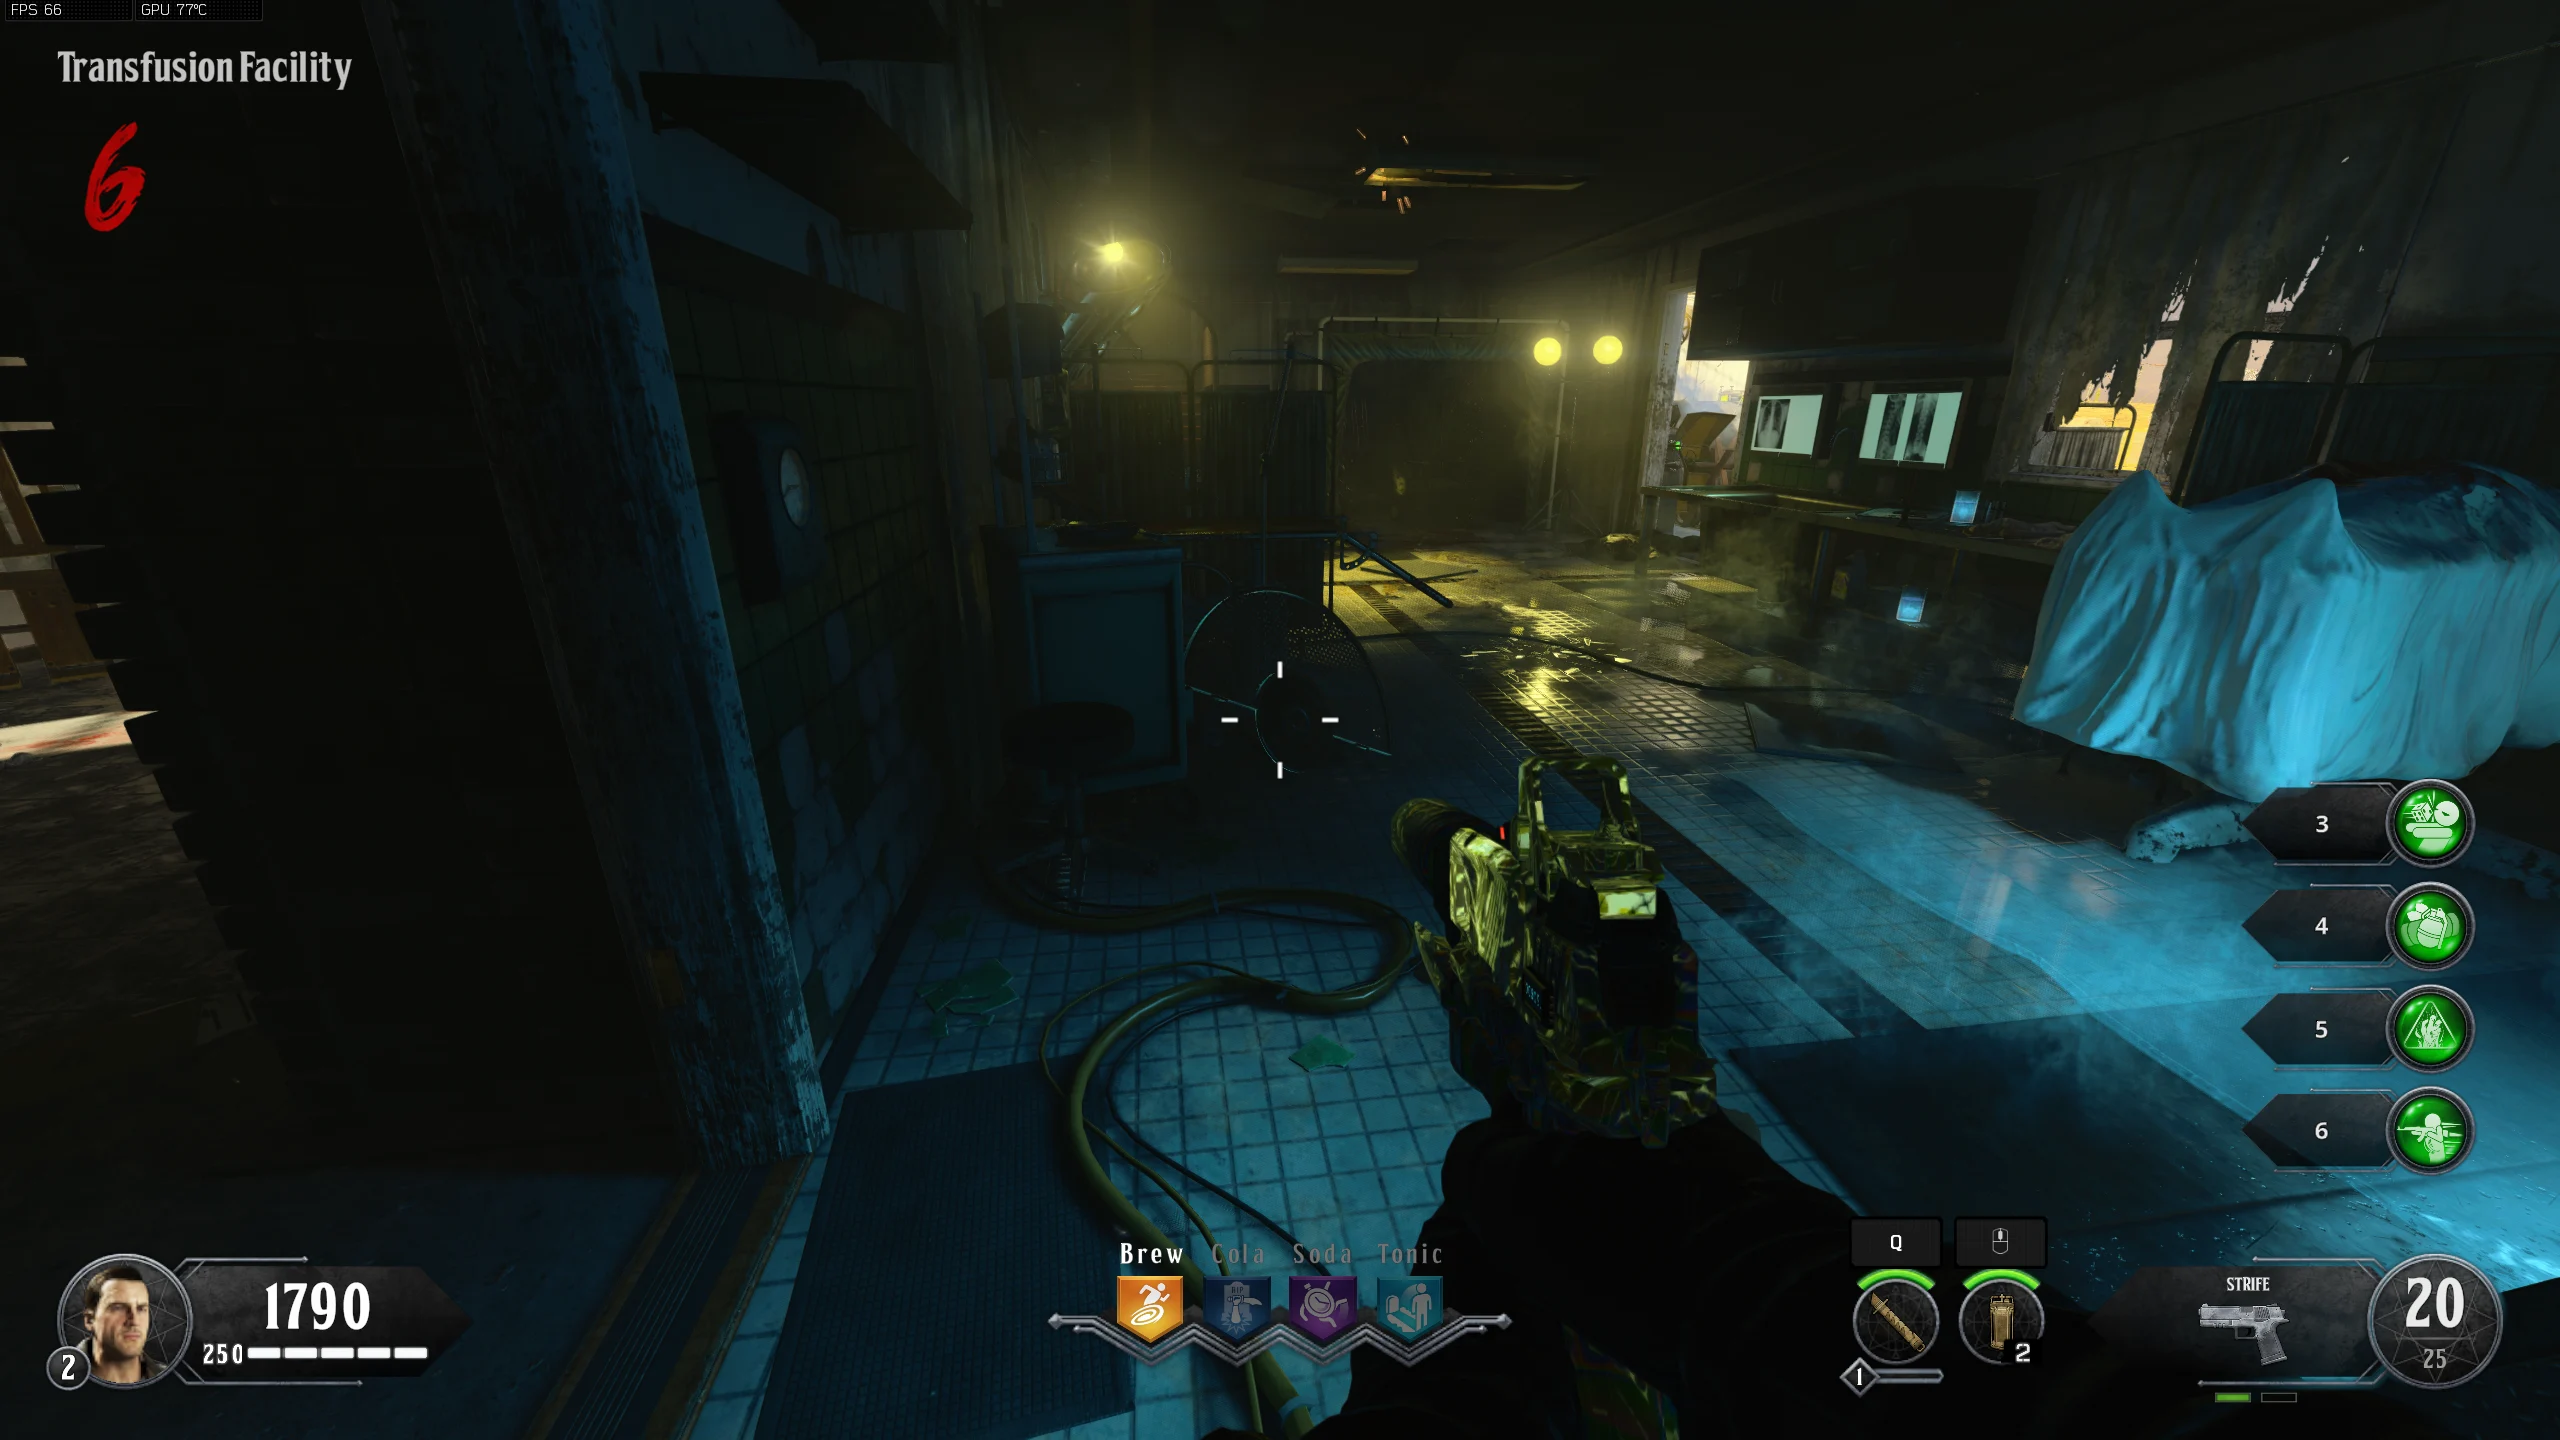
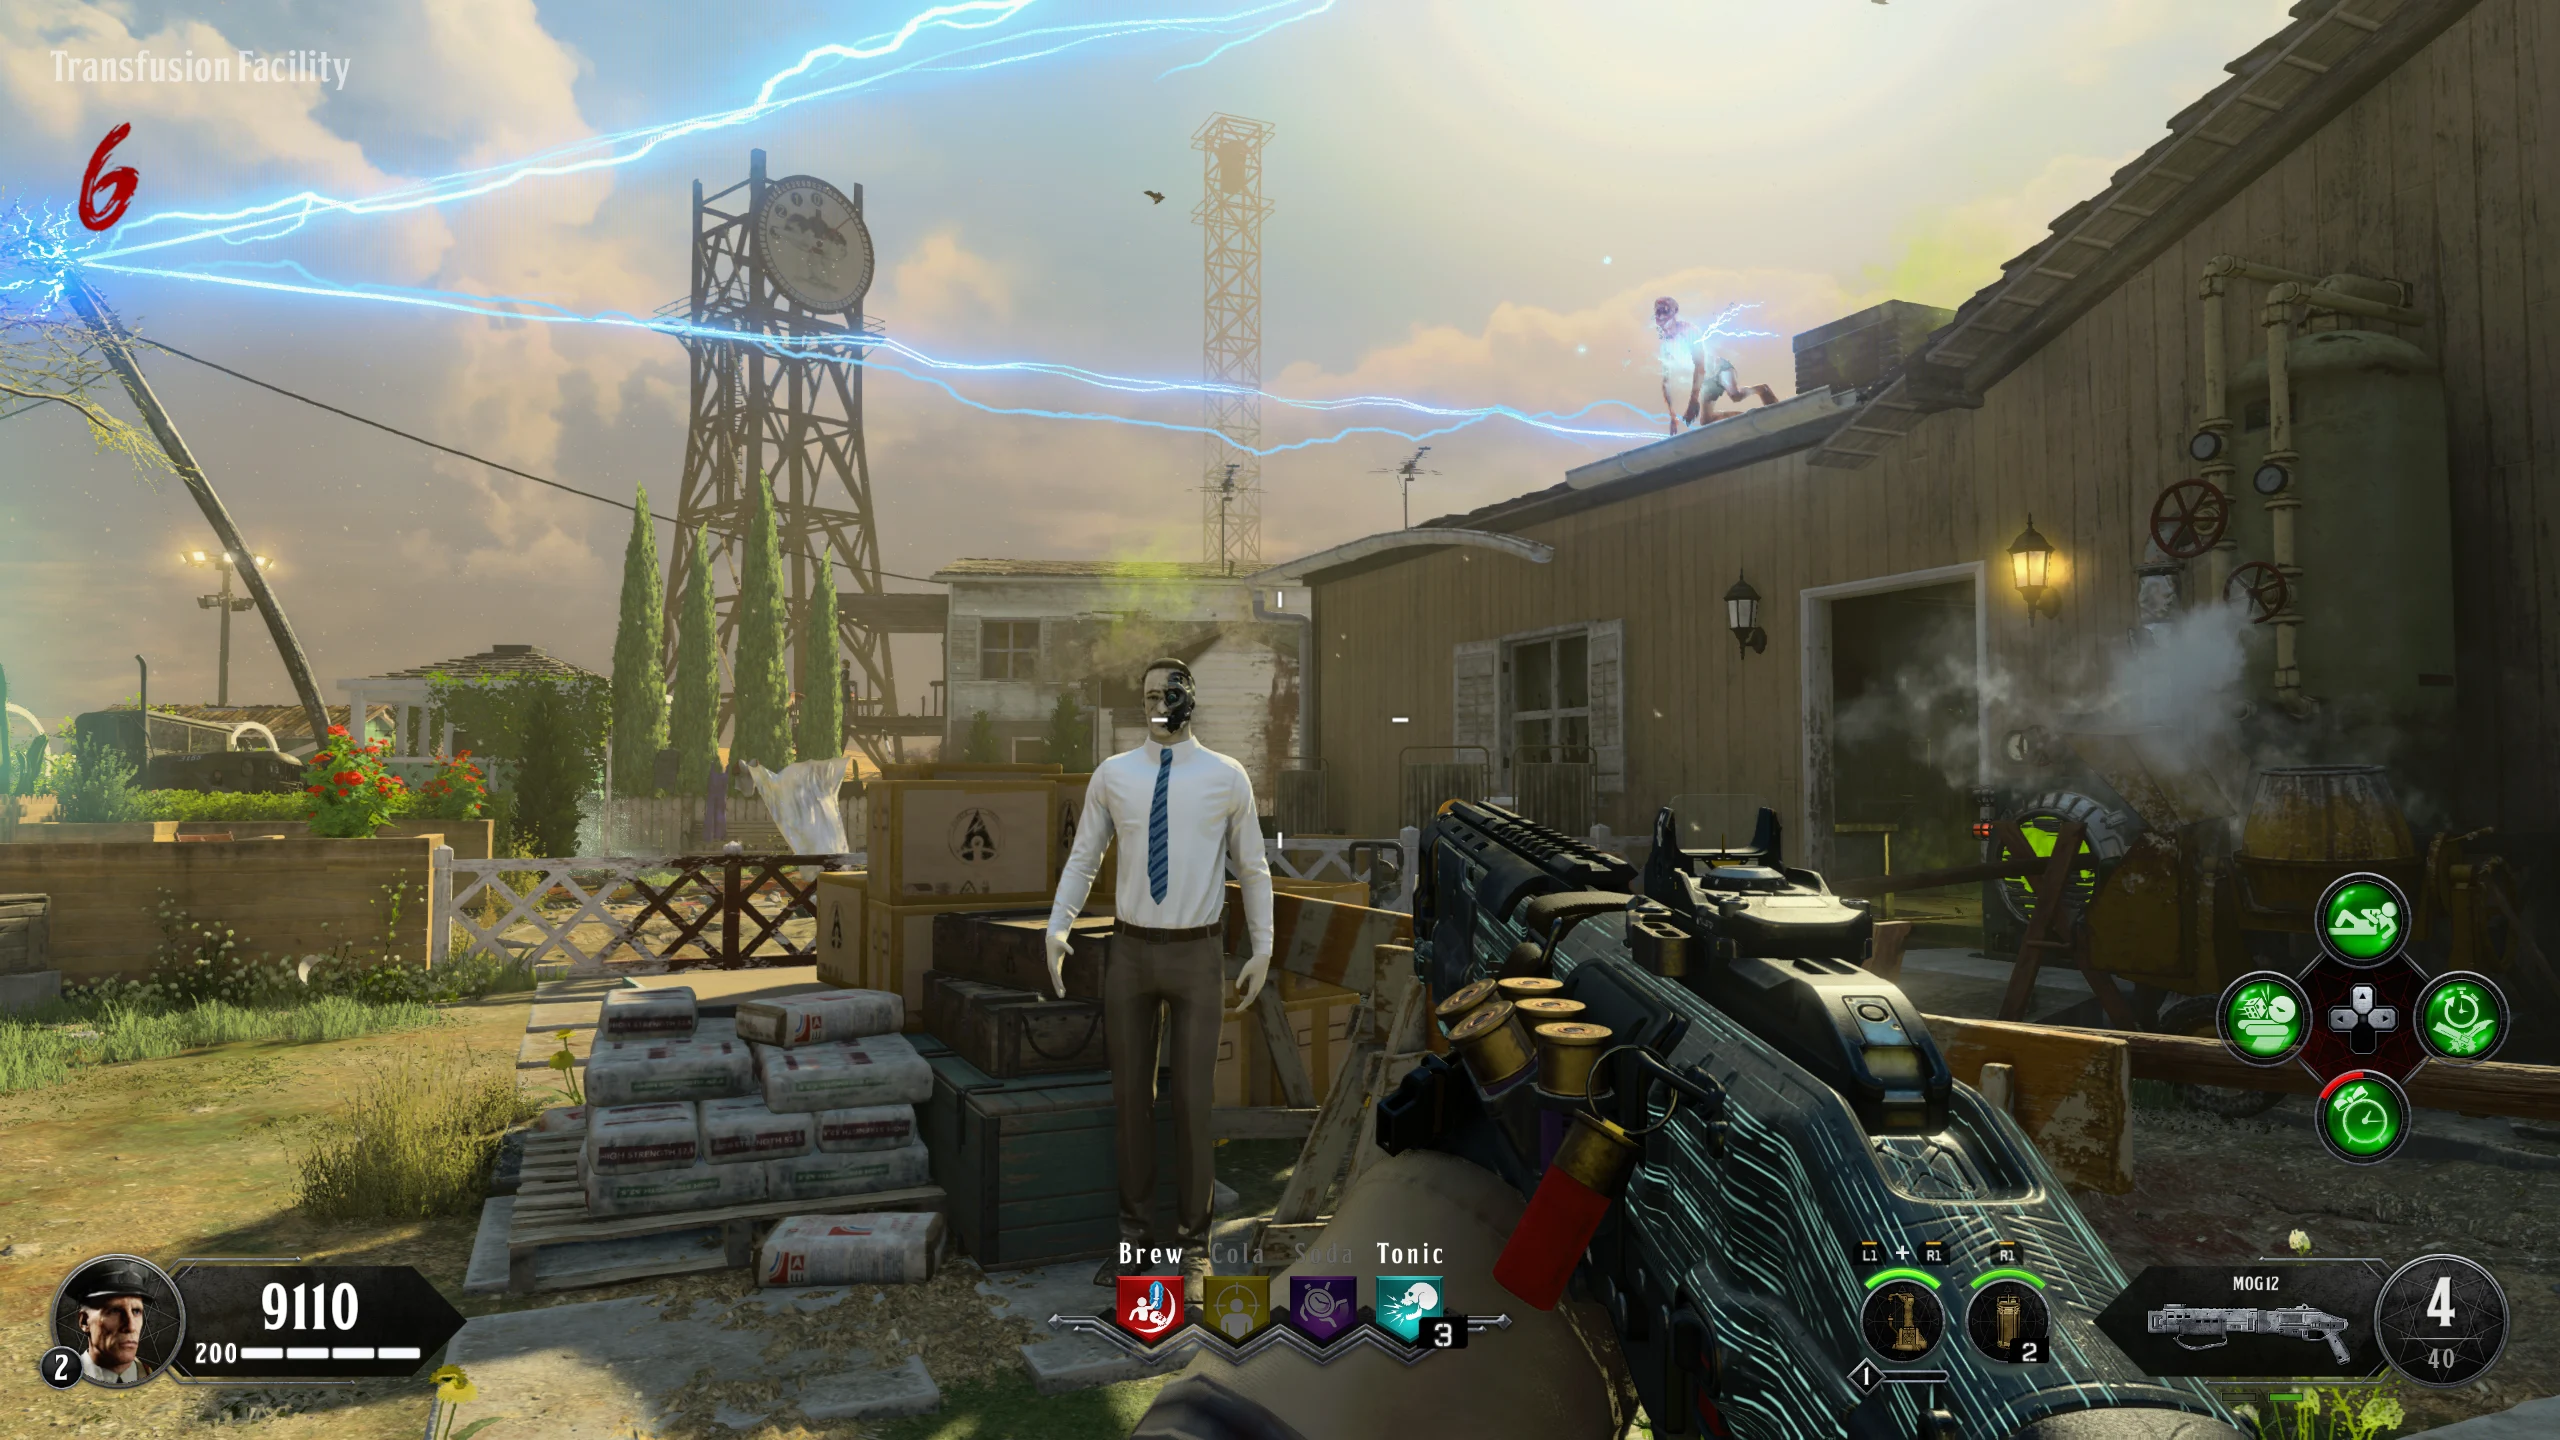
- Transfusion Facility - Clock Location - Reward: Trap
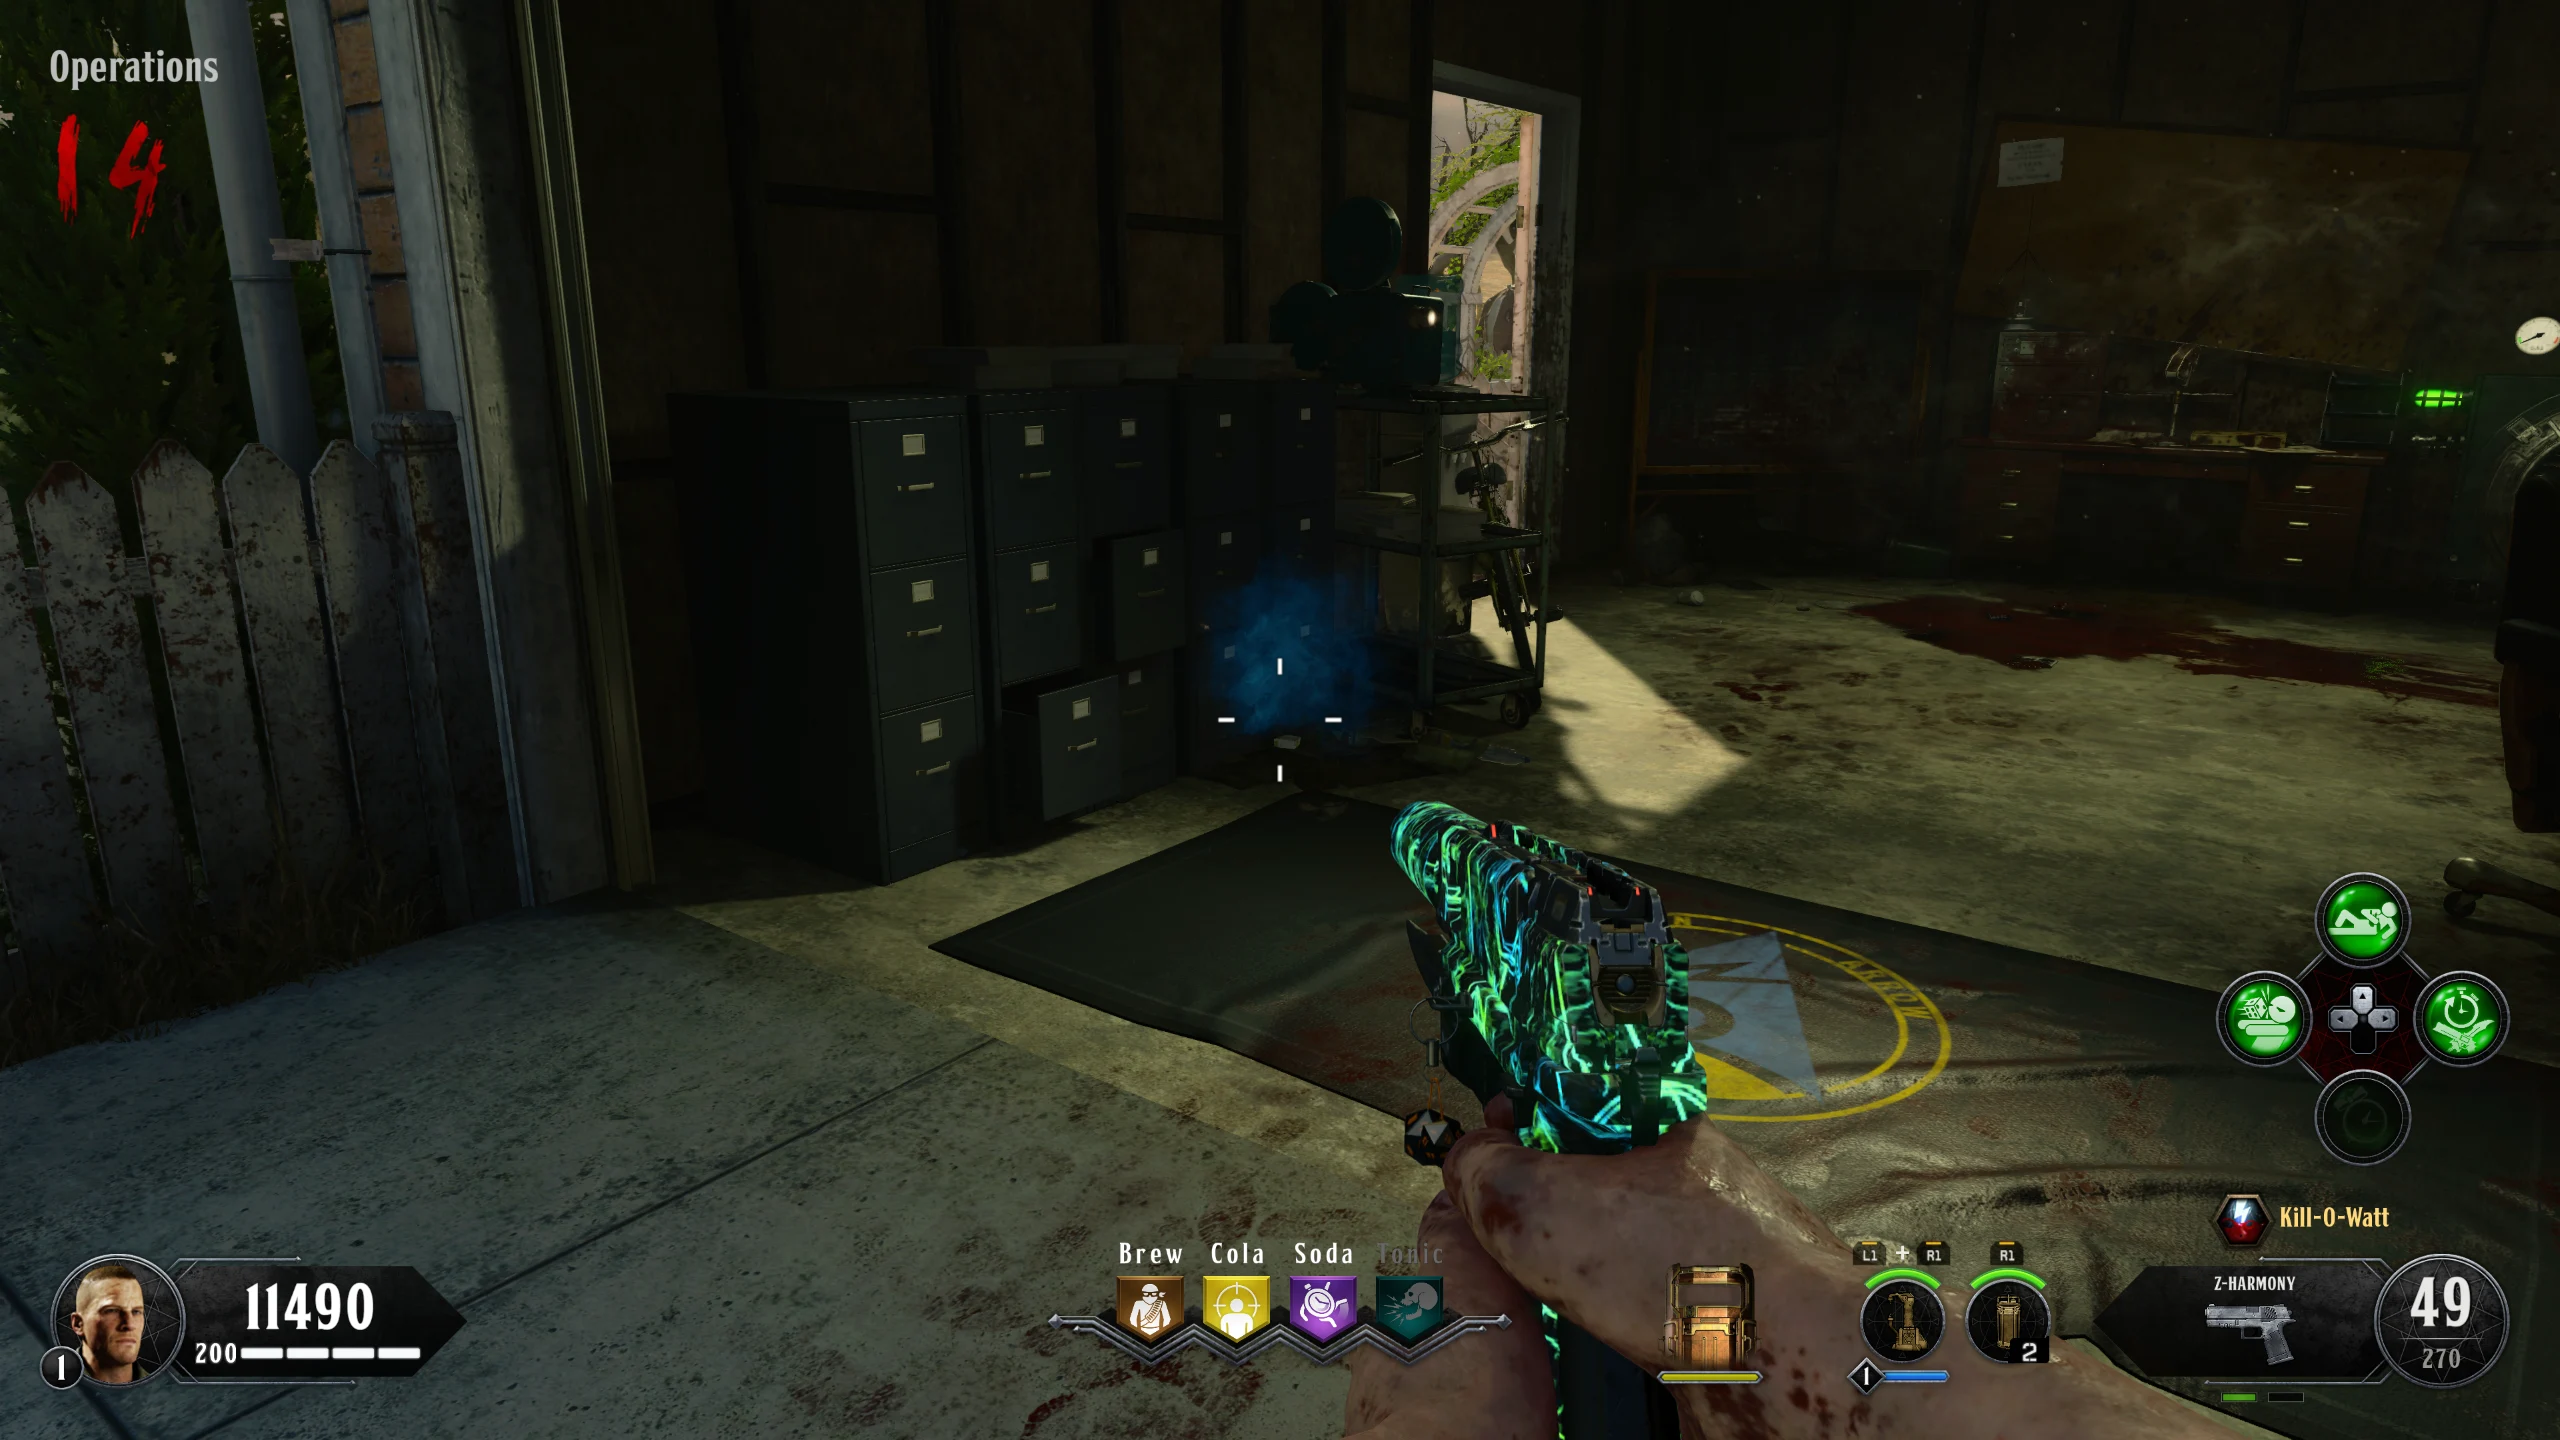
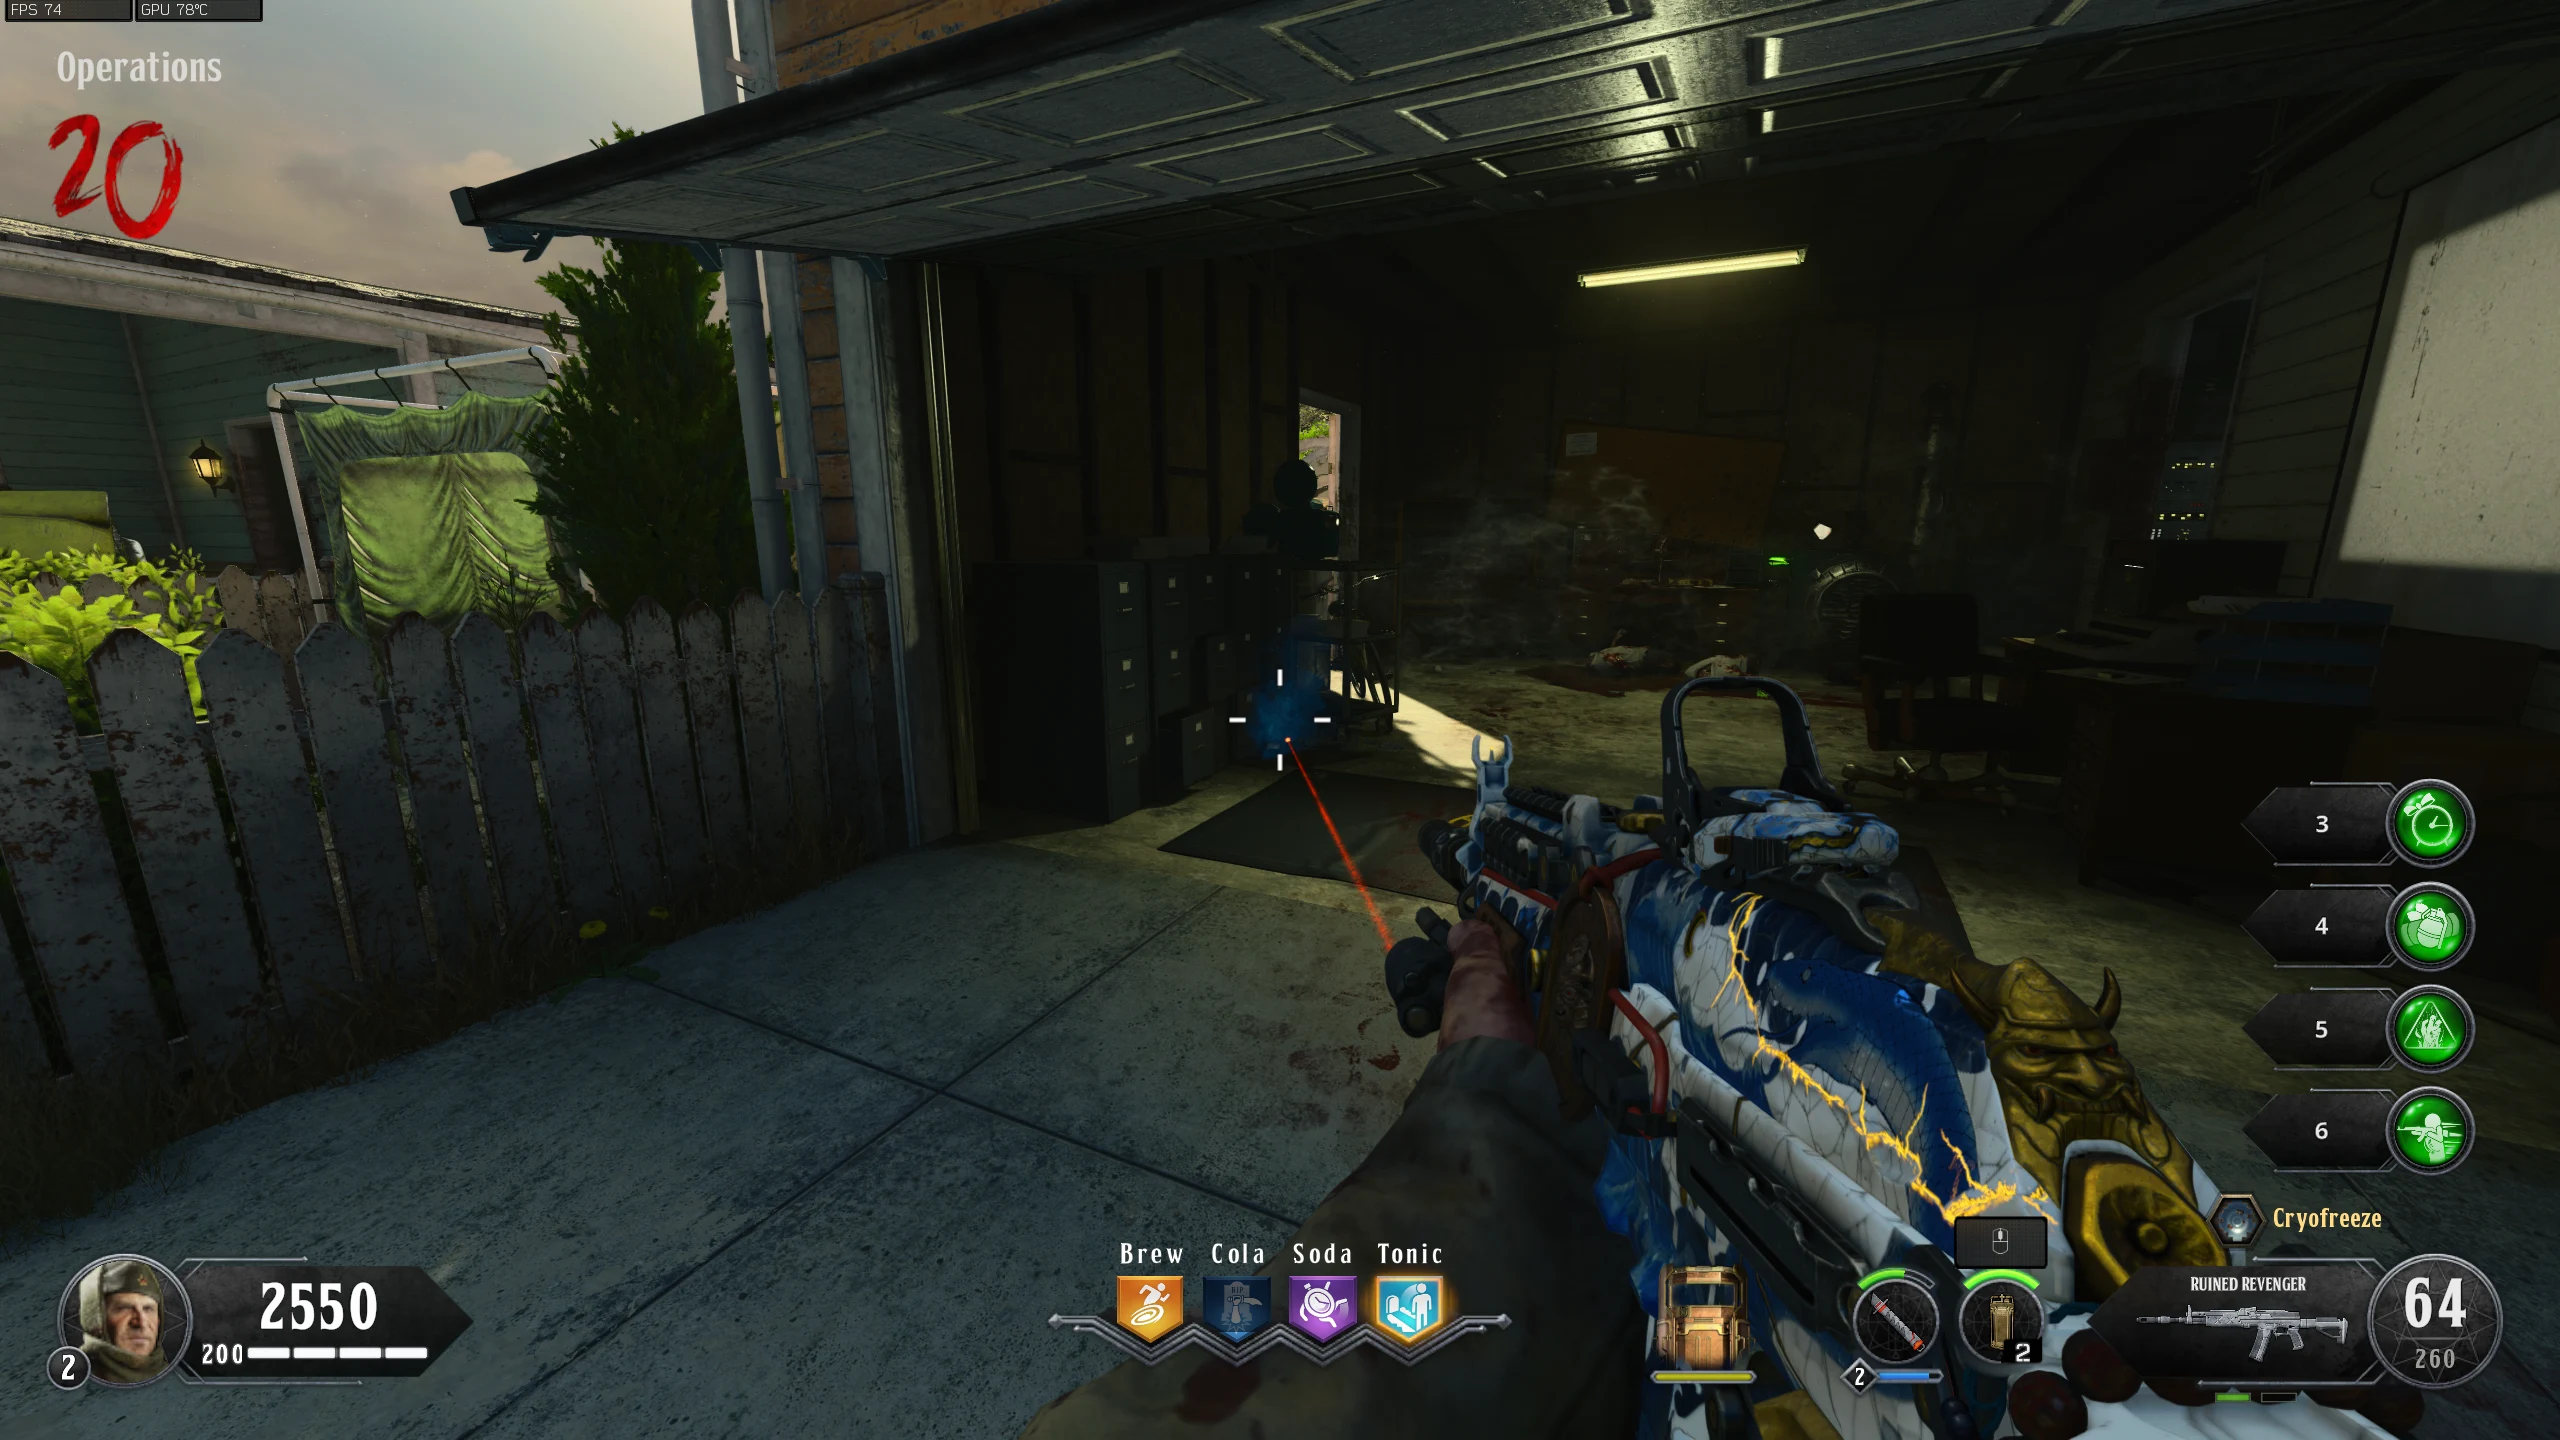
- Operations - Clock Location - Reward: Free Pack-a-Punched Ray Gun Mark II
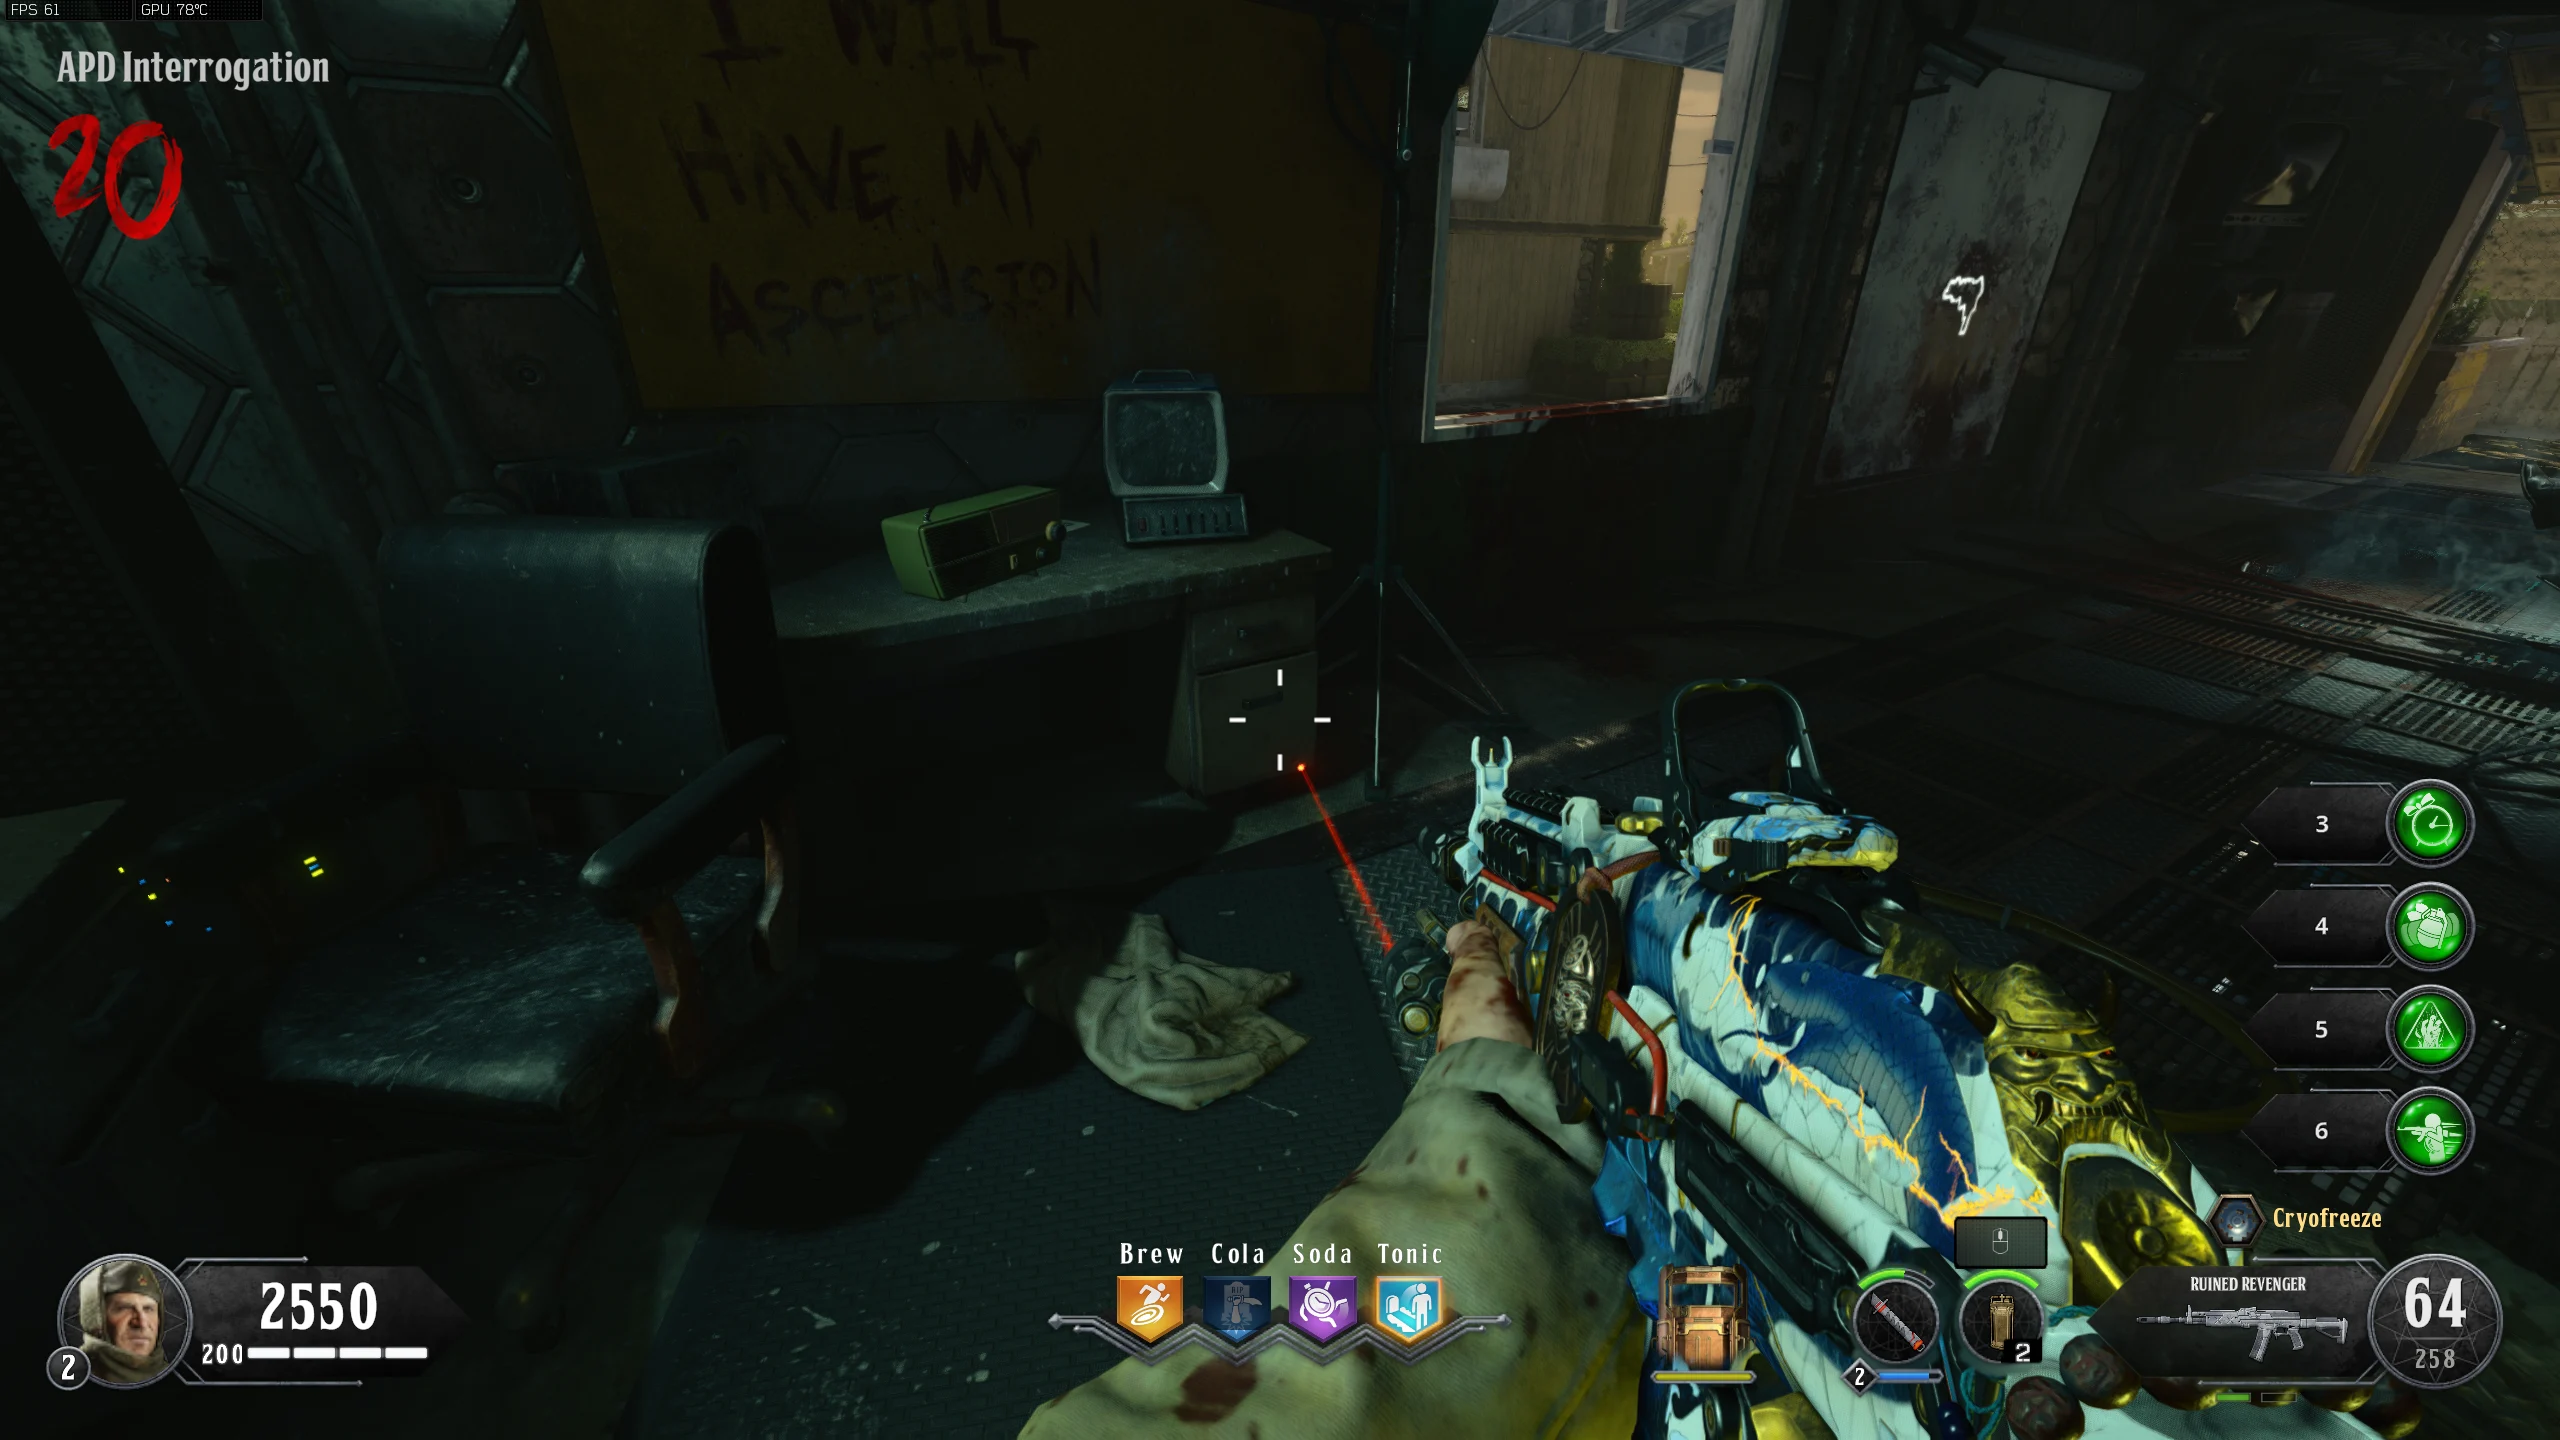
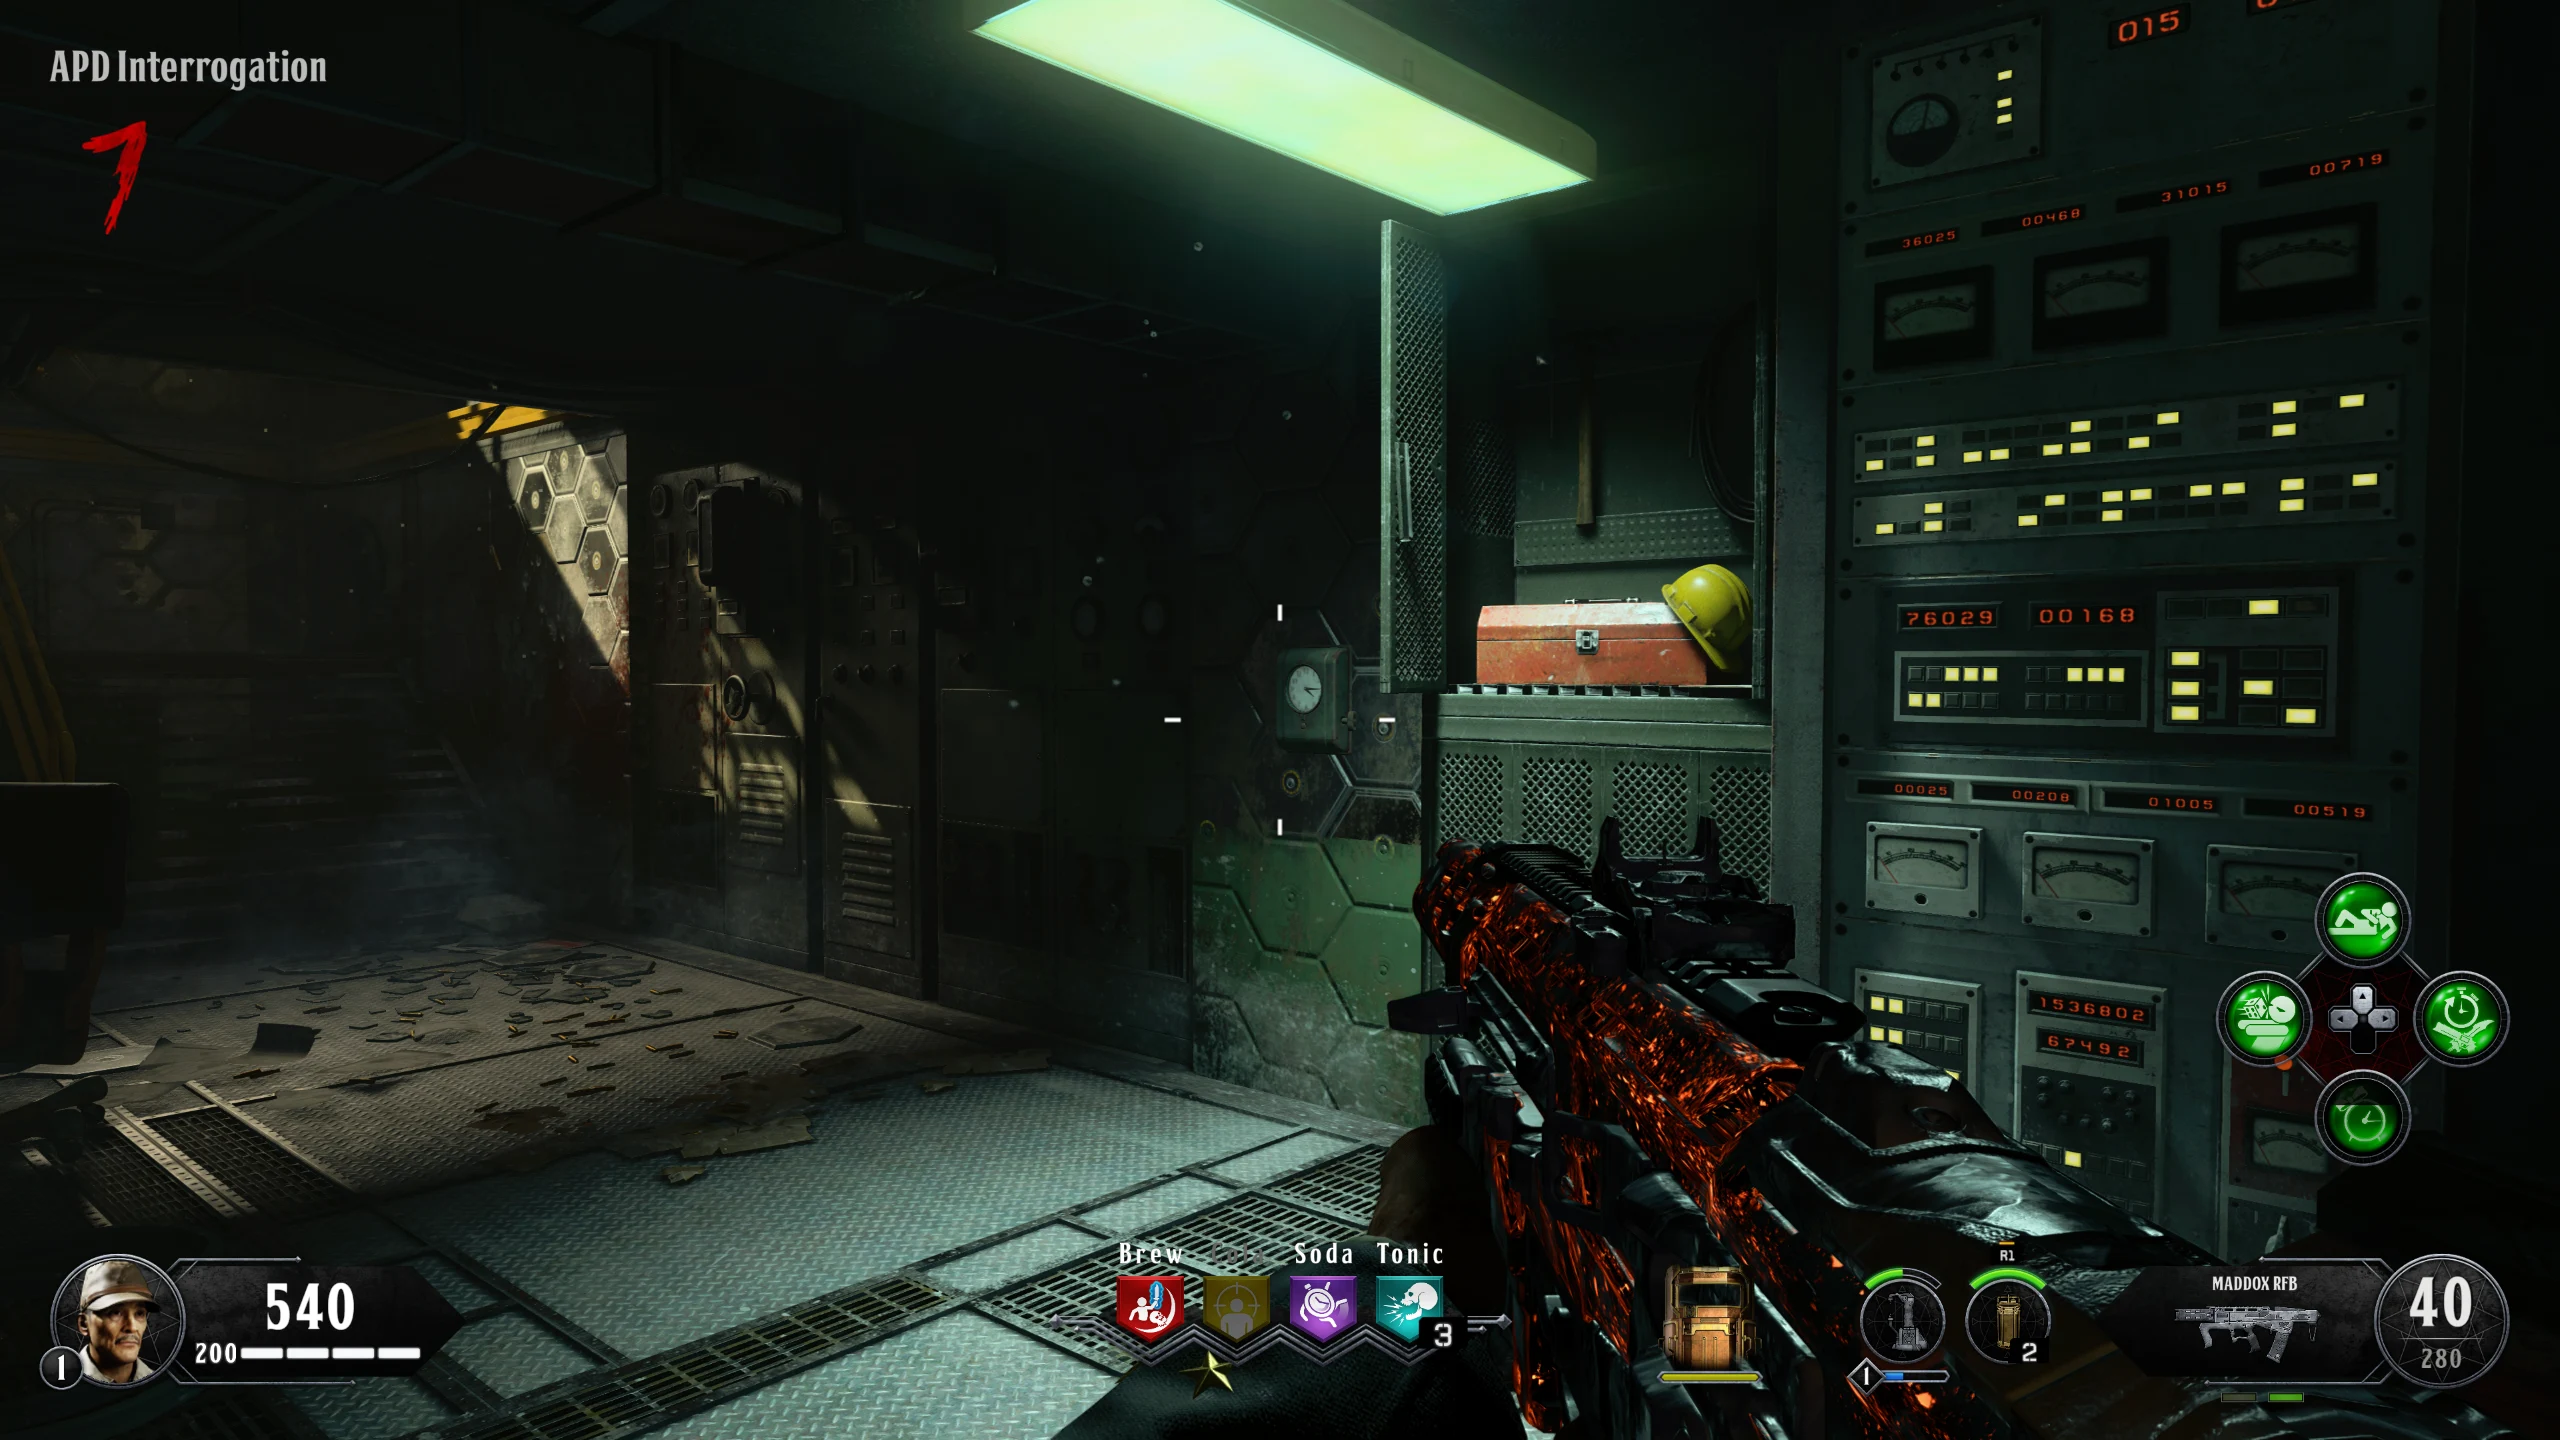
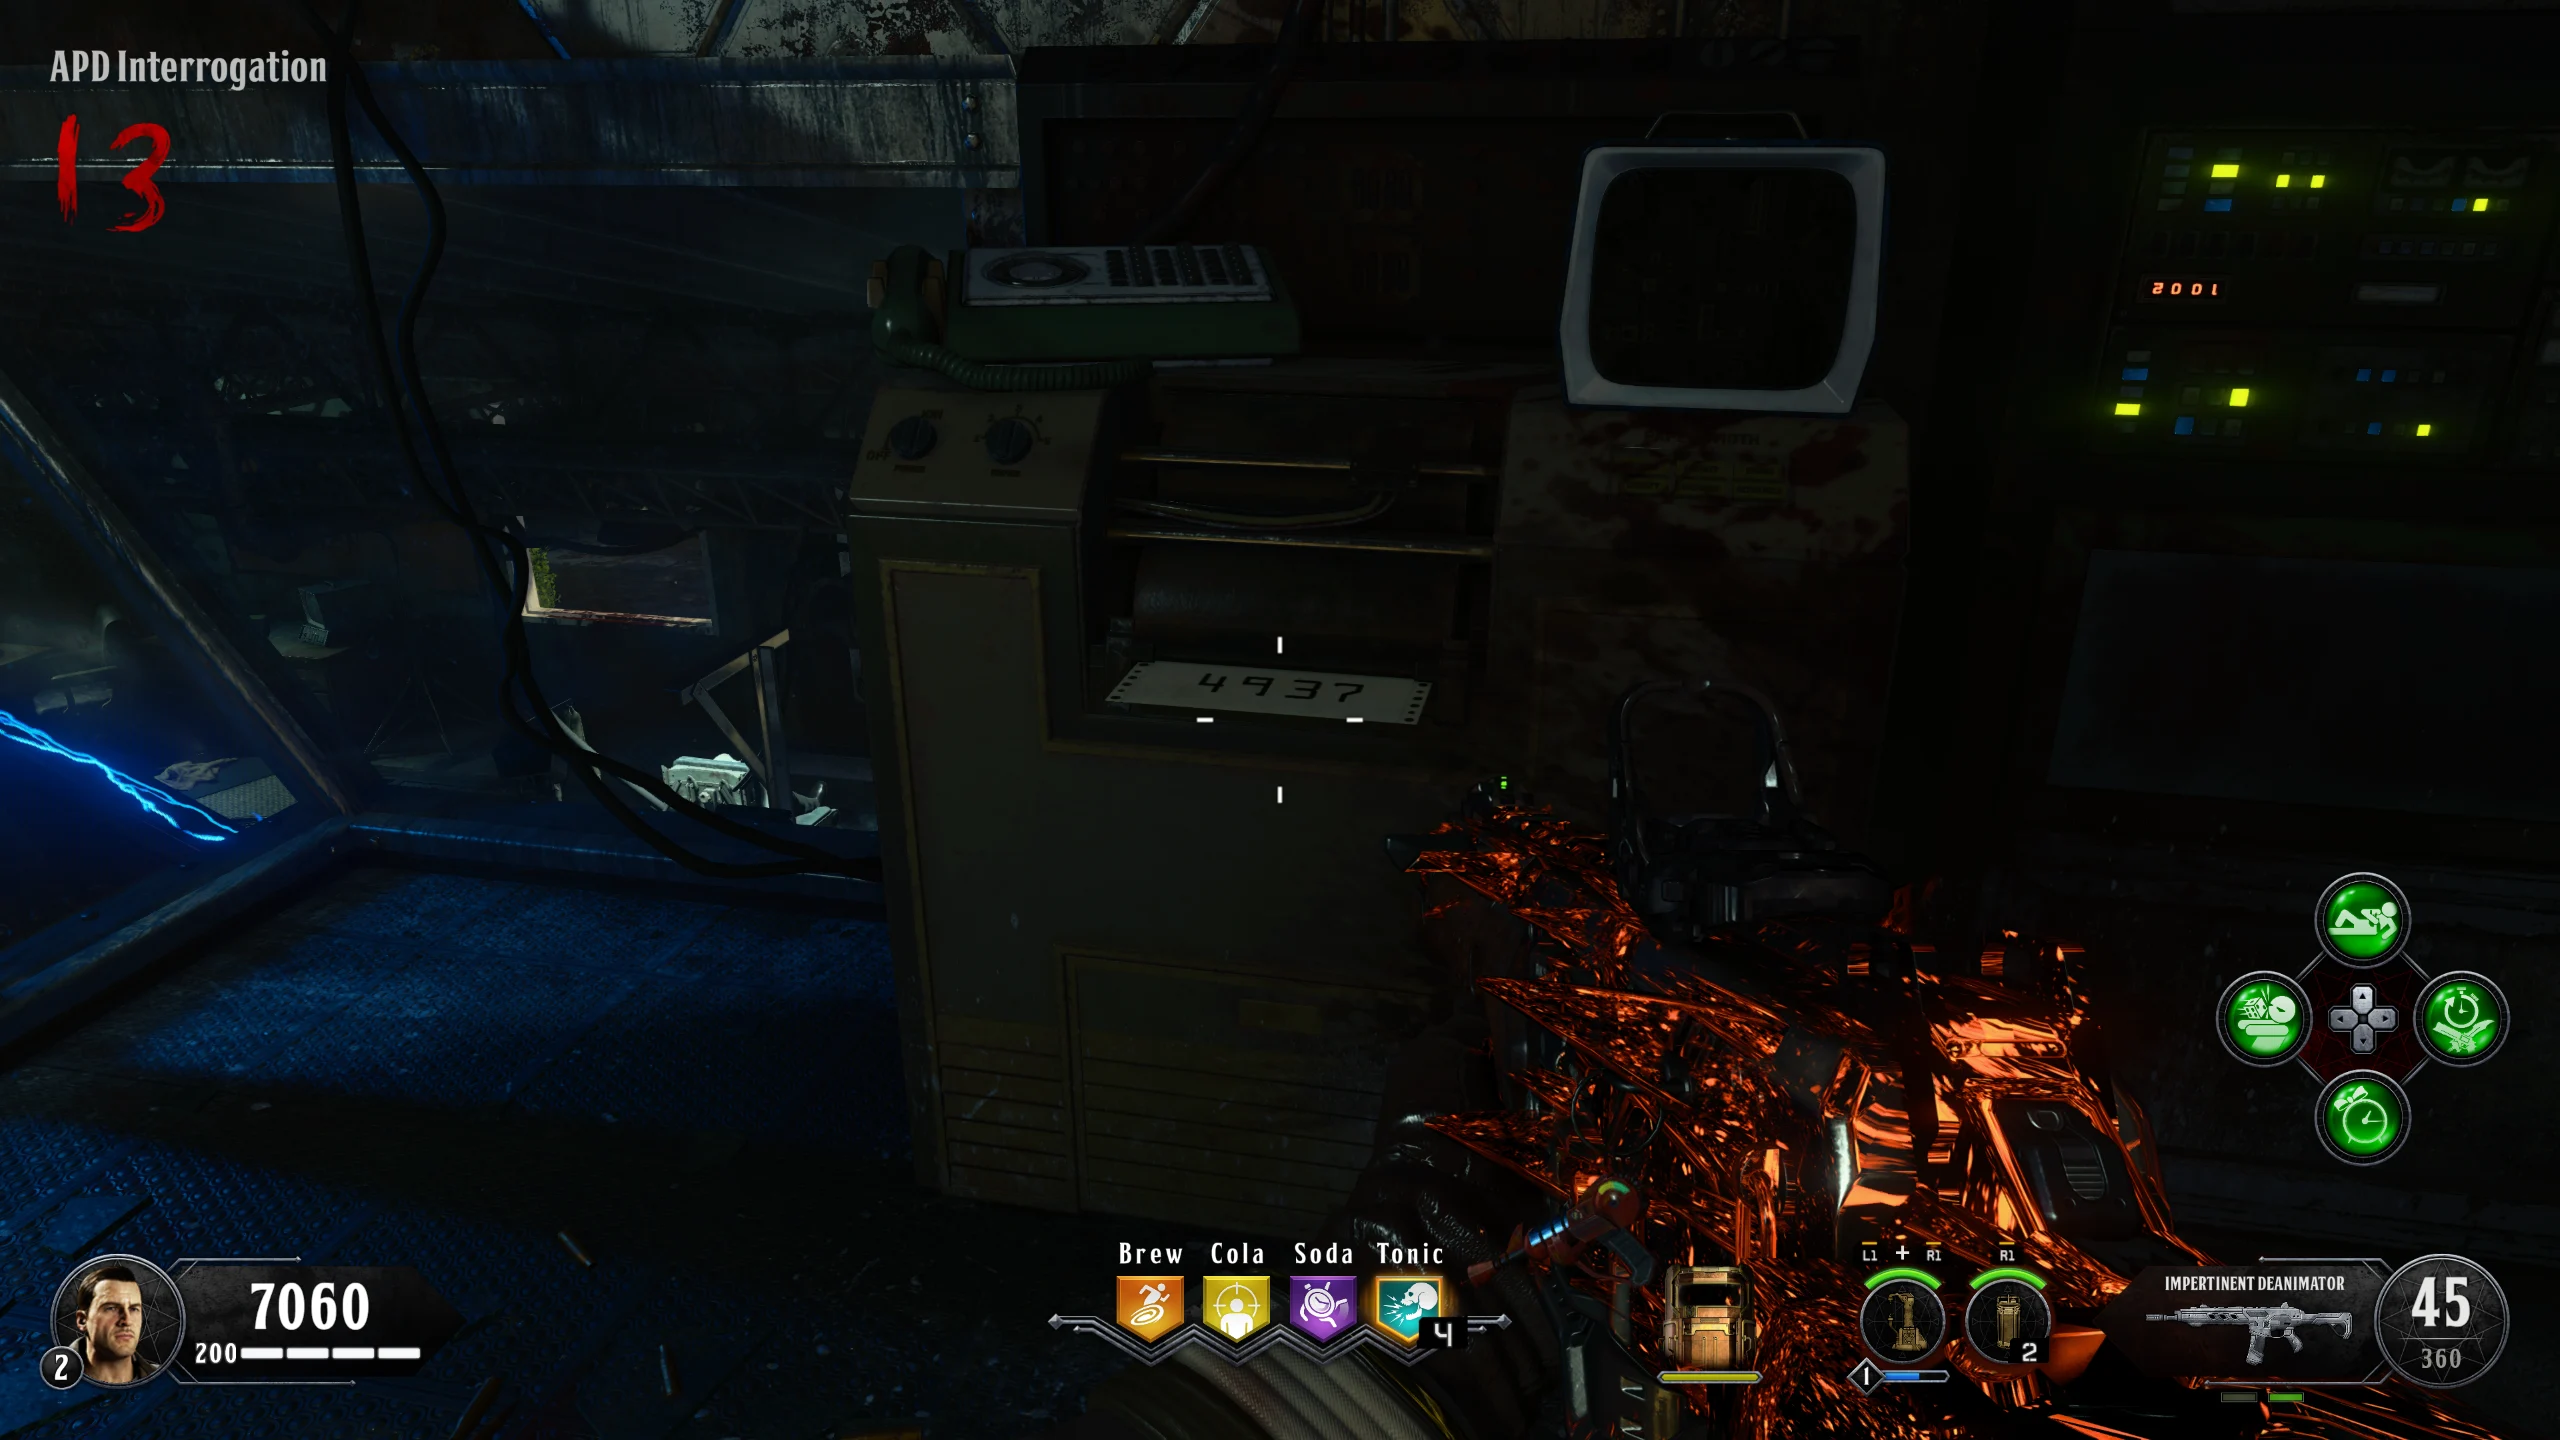
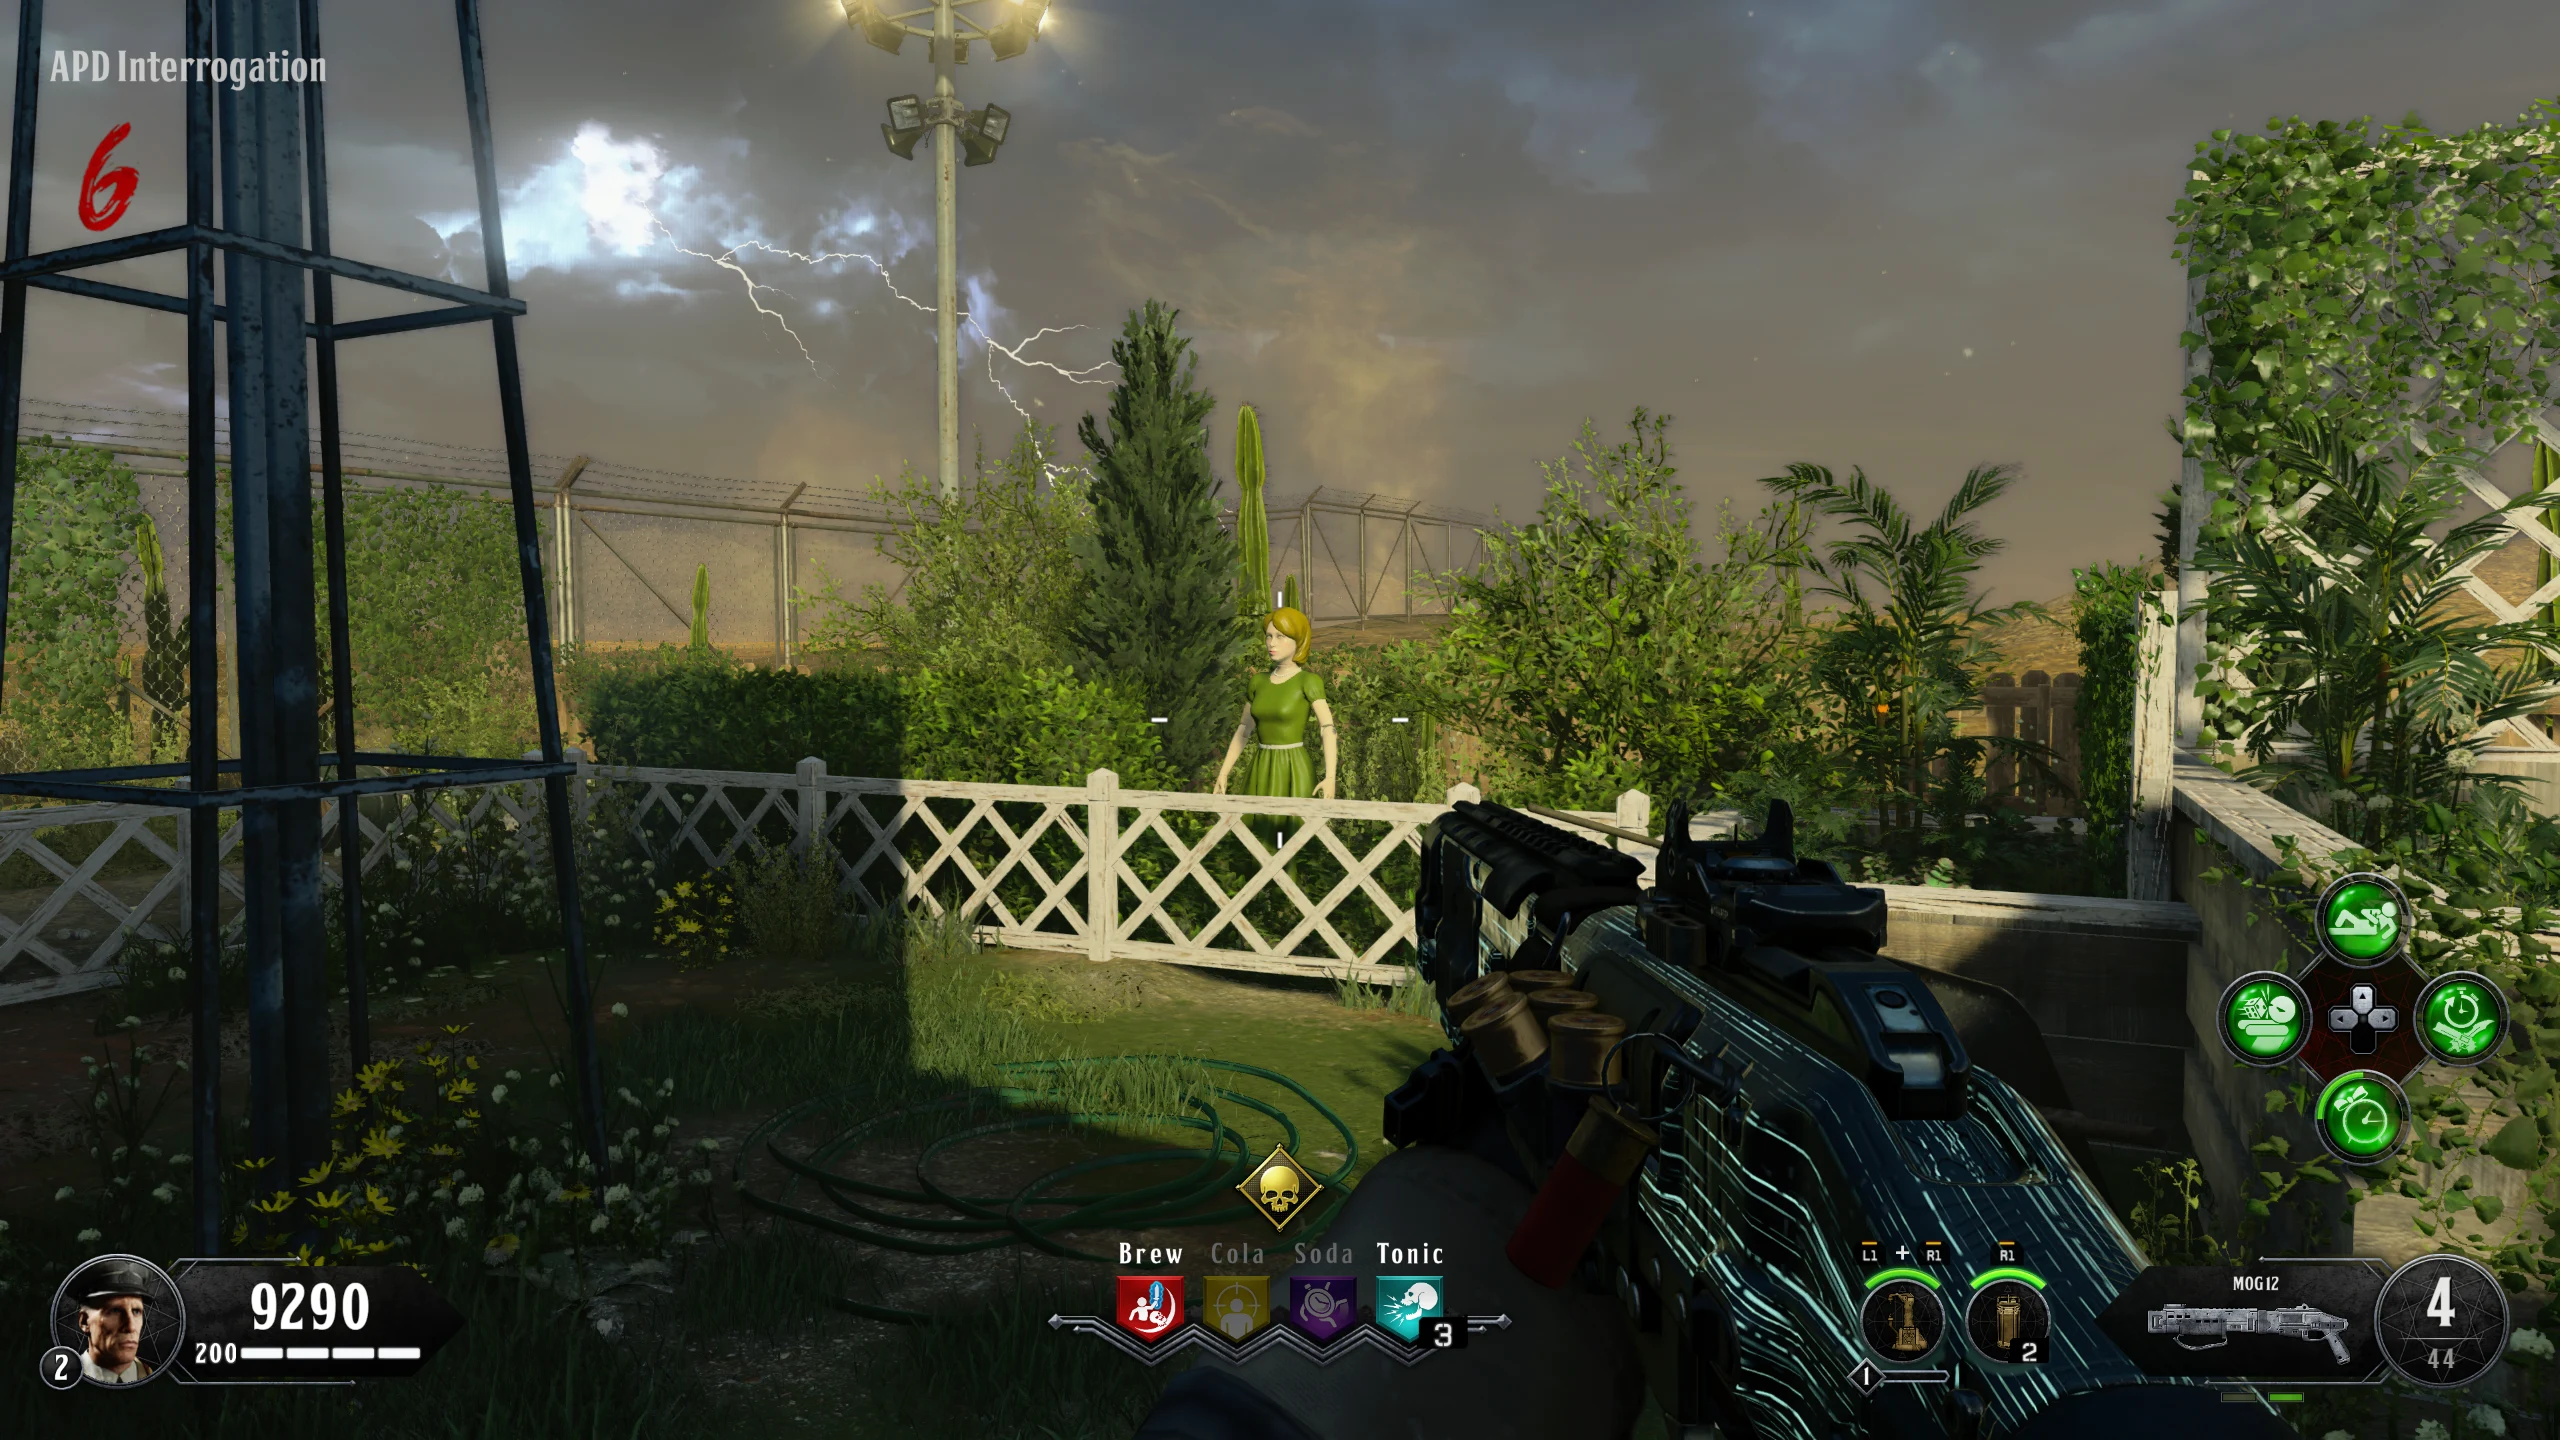
- APD Interrogation - Clock Location - Reward: Trap
- After all clocks have been set, interact with the clock in the house that you didn't set a clock in. The hands should spin wildly for a few seconds, before stopping. Note down the time the hands stopped and input that time into Rushmore (Example: The time the clock gives you is 6:15, input 0615 into Rushmore). After that, interact with Rushmore to complete the step; he should say "Nope! Still don't trust you...", this means you did it correctly.
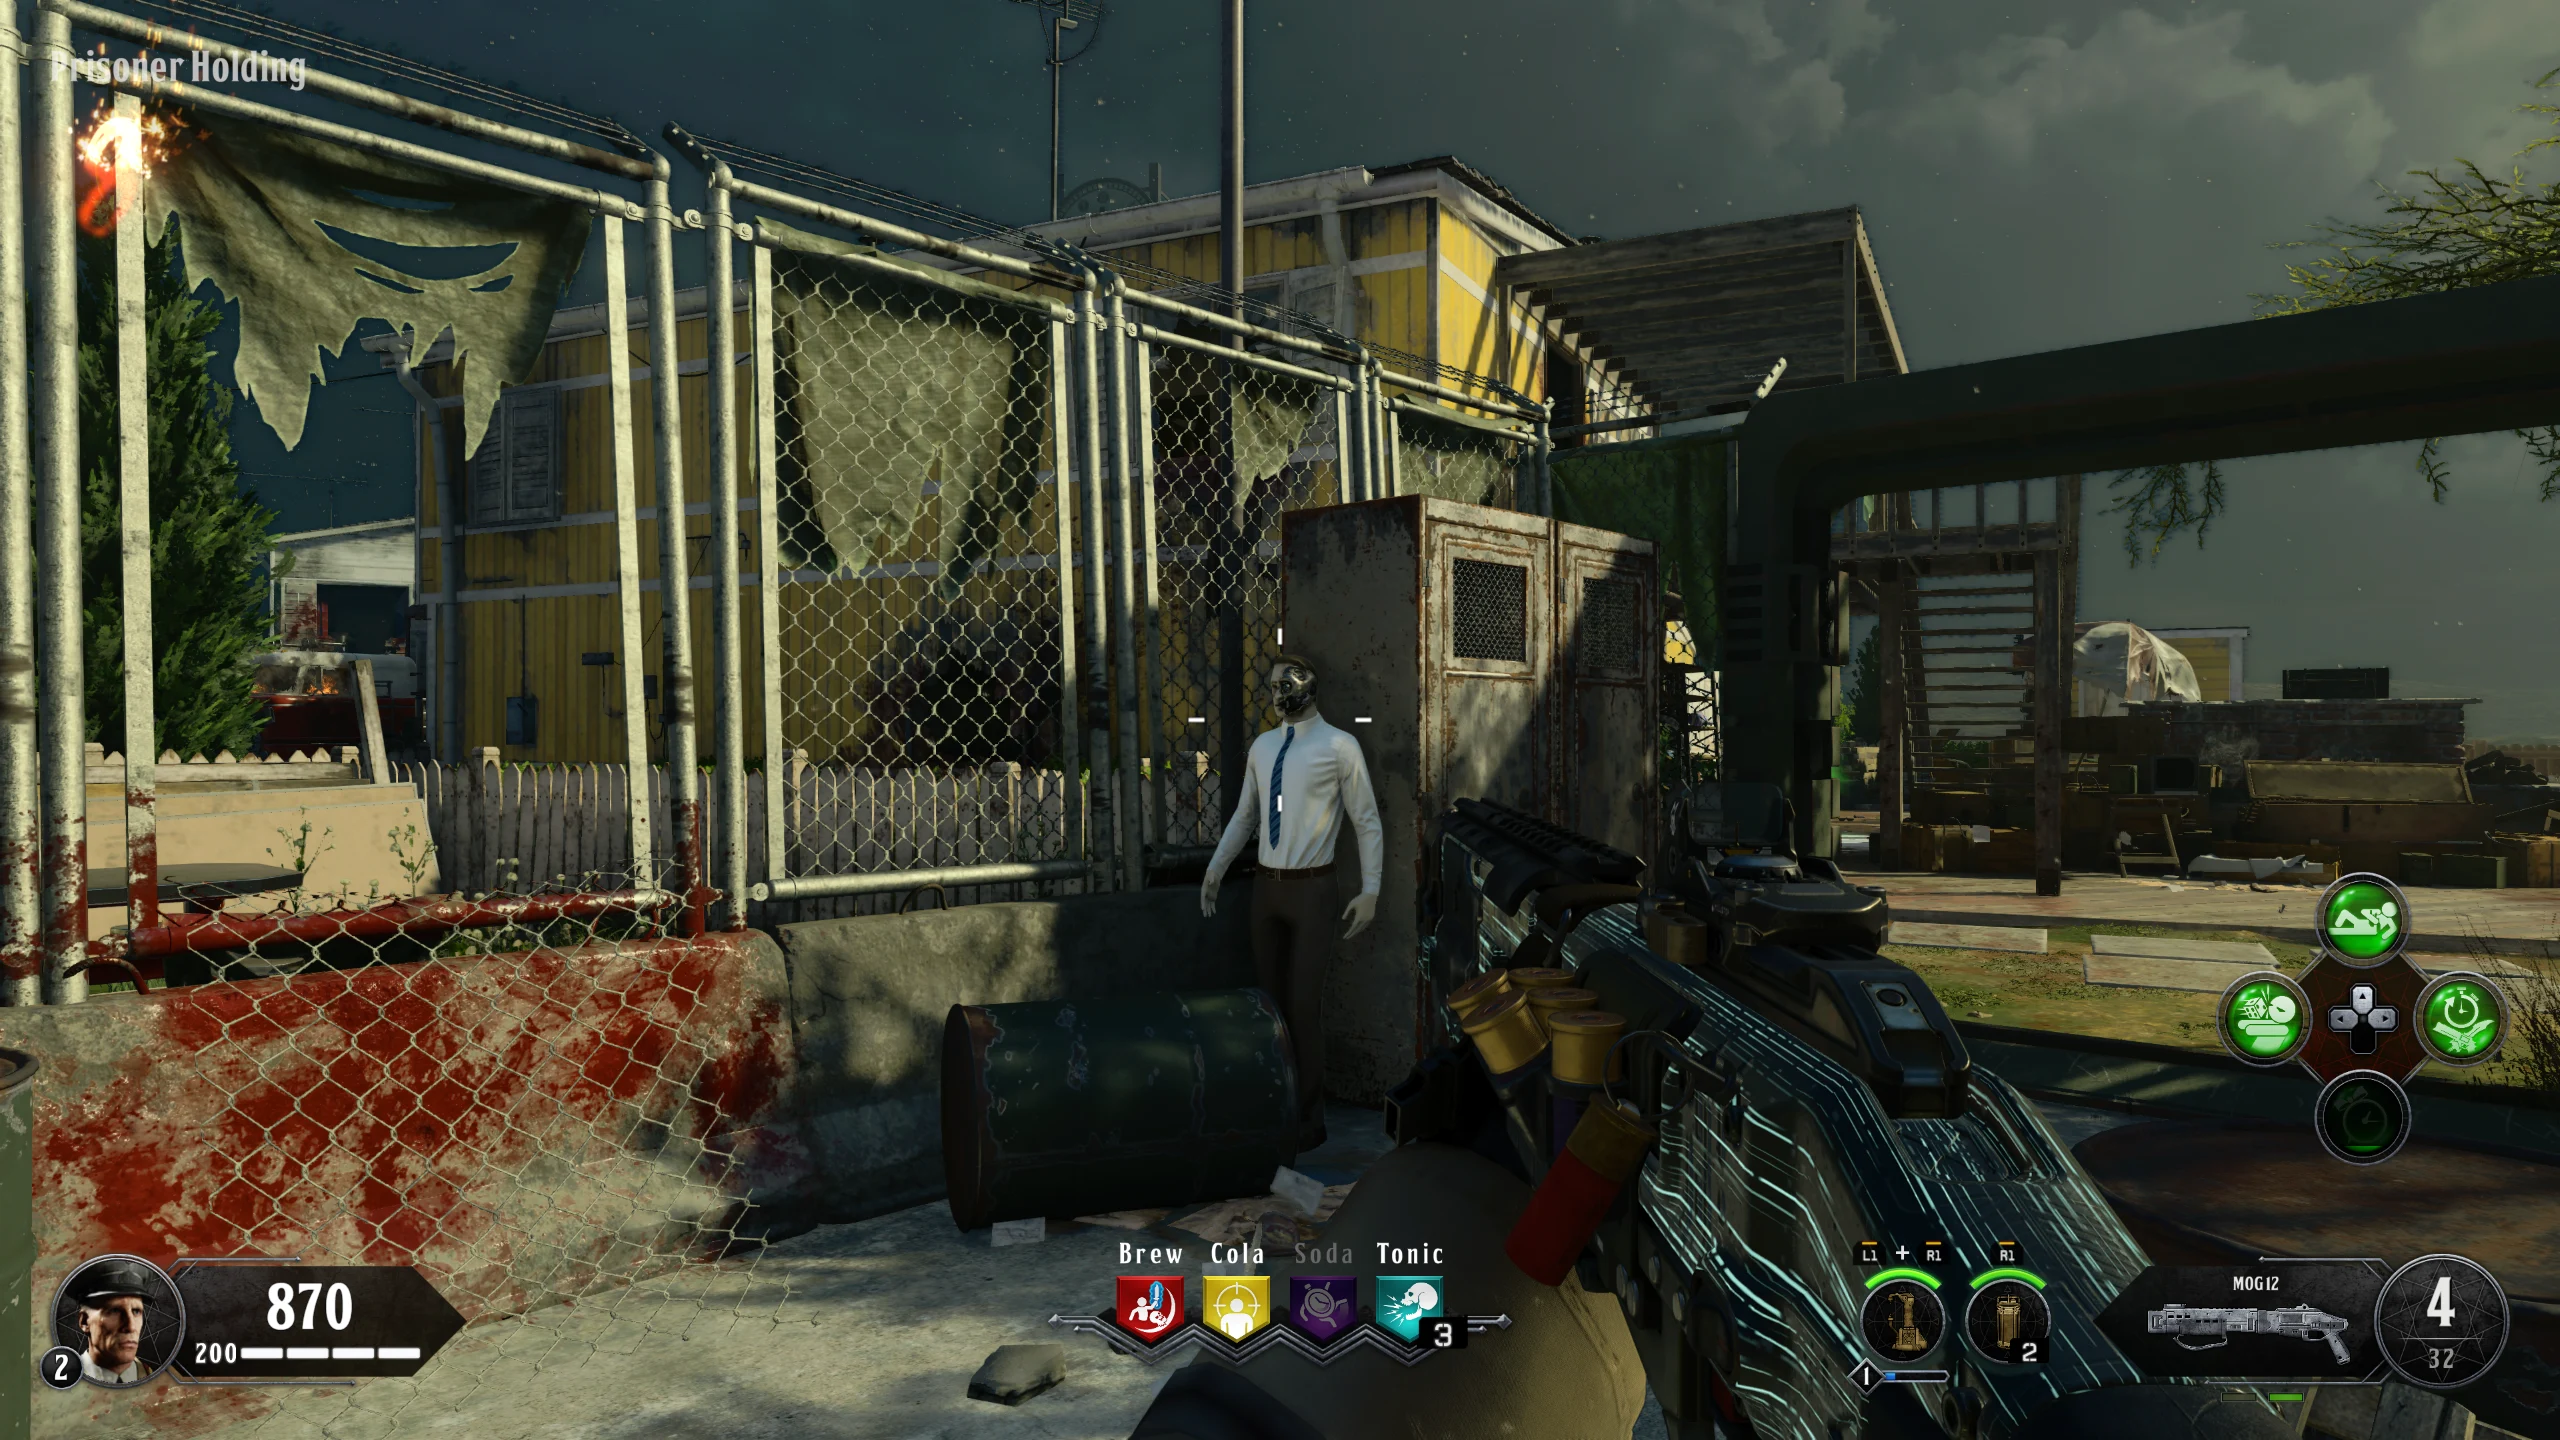
- Interact with Rushmore, he will now tell you to find a Red Nova Six Crawler somewhere in the underground area. Once you find the Nova Six Crawler, bring him to this barrier, right of RK7 Garrison wallbuy, in the 'Transfusion Facility.'
- While escorting the Crawler, Zombies will start spawning infinitely.
- If you get too far from the Crawler, it will start walking away from you and eventually die.
- You can (easily) kill the Crawler, so make sure to be careful while escorting.
- If you kill or lose the crawler, you'll have to wait till the next round for it to respawn.
- Once the Crawler has been successfully escorted, go back to 'Operations' and interact with Rushmore.
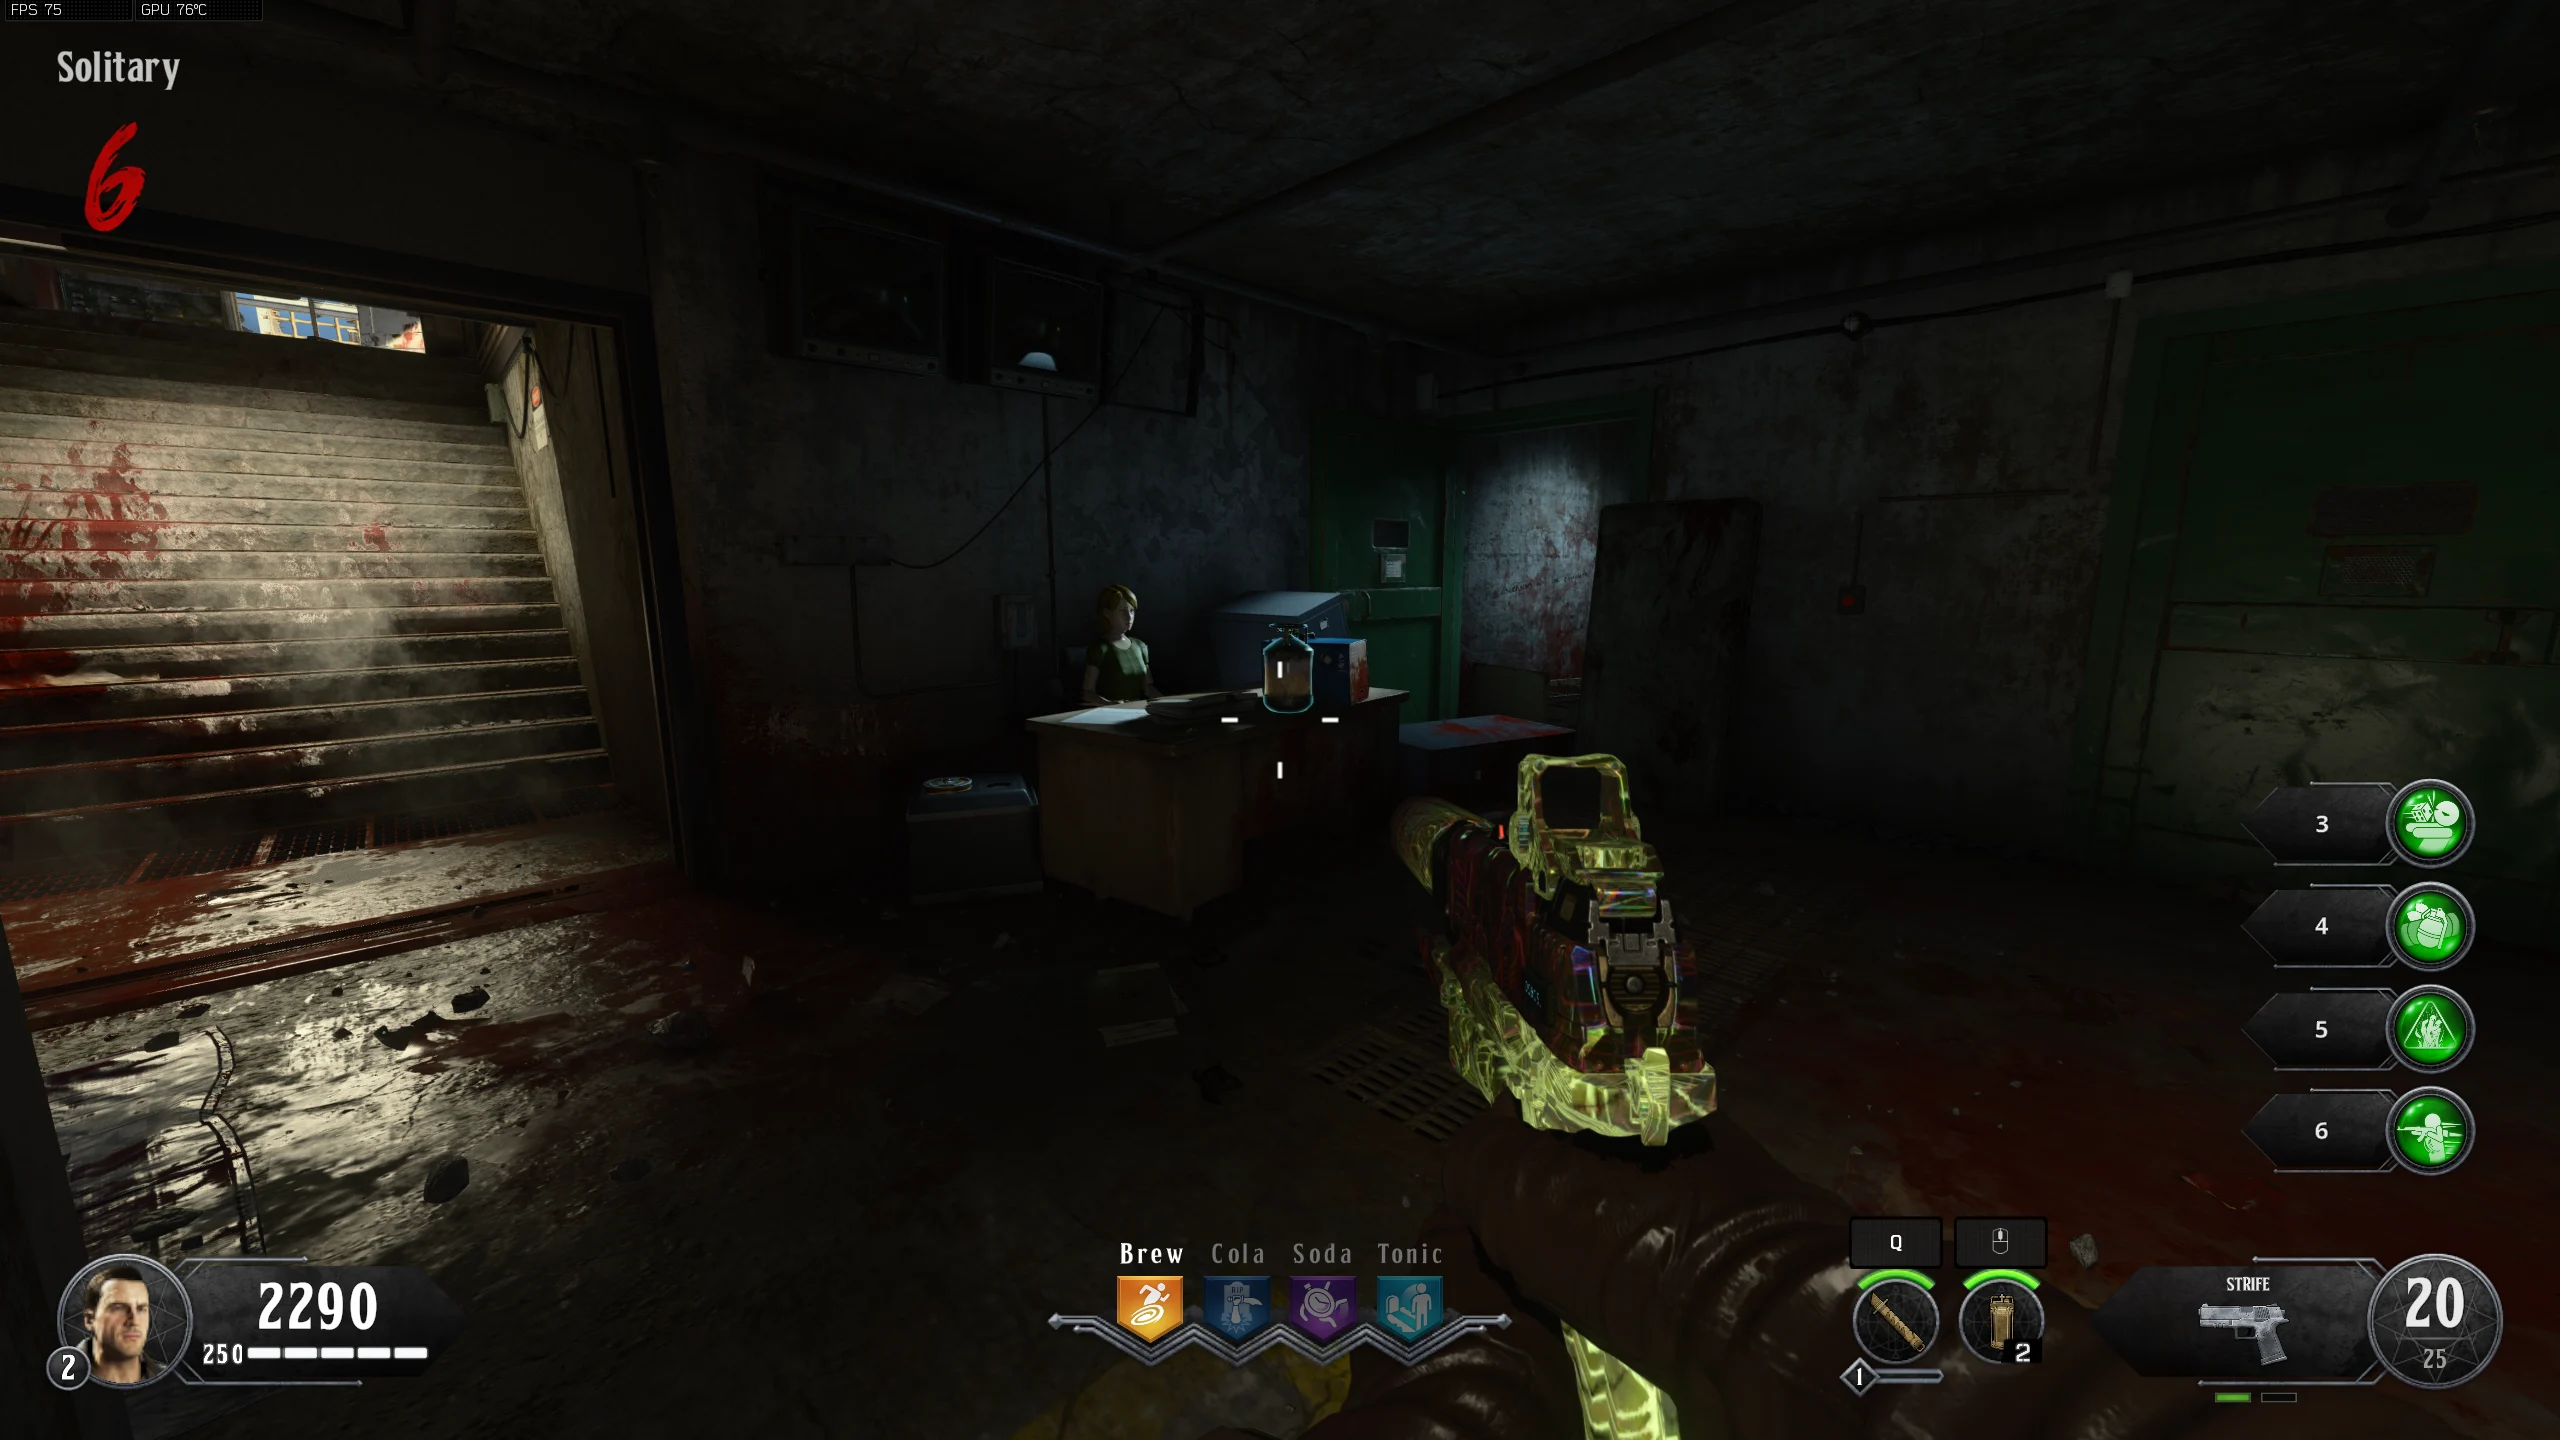
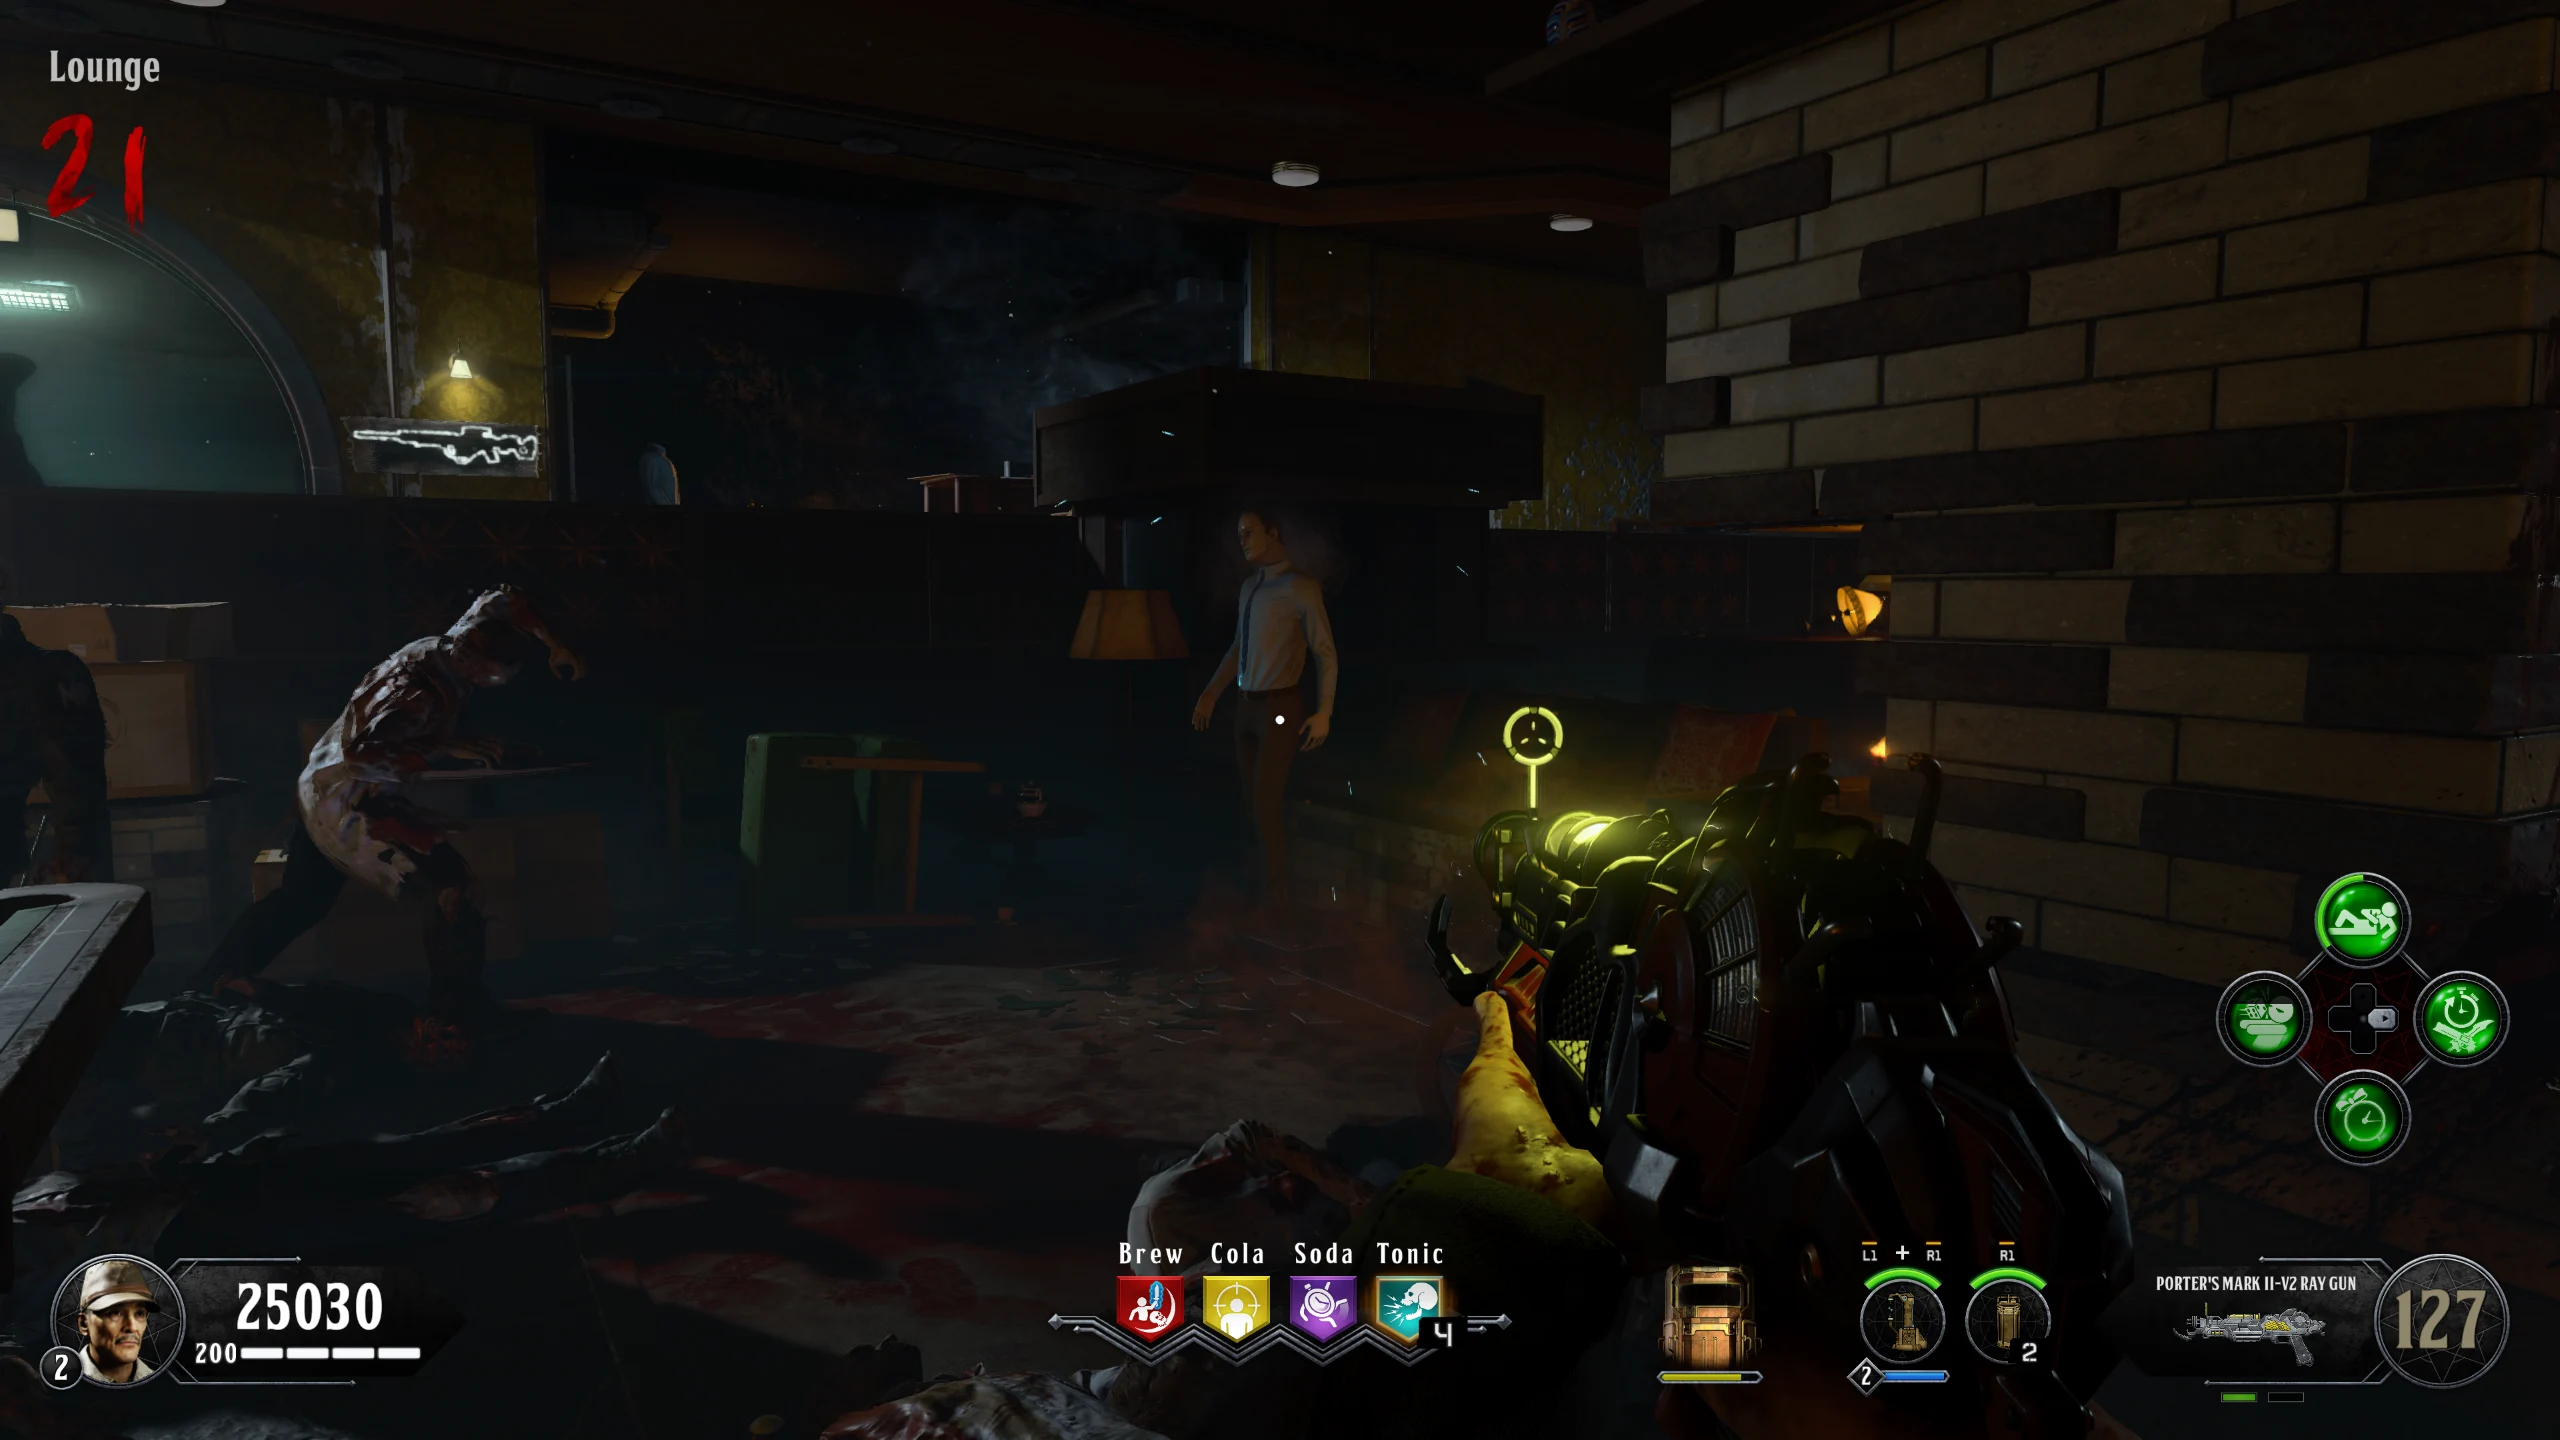
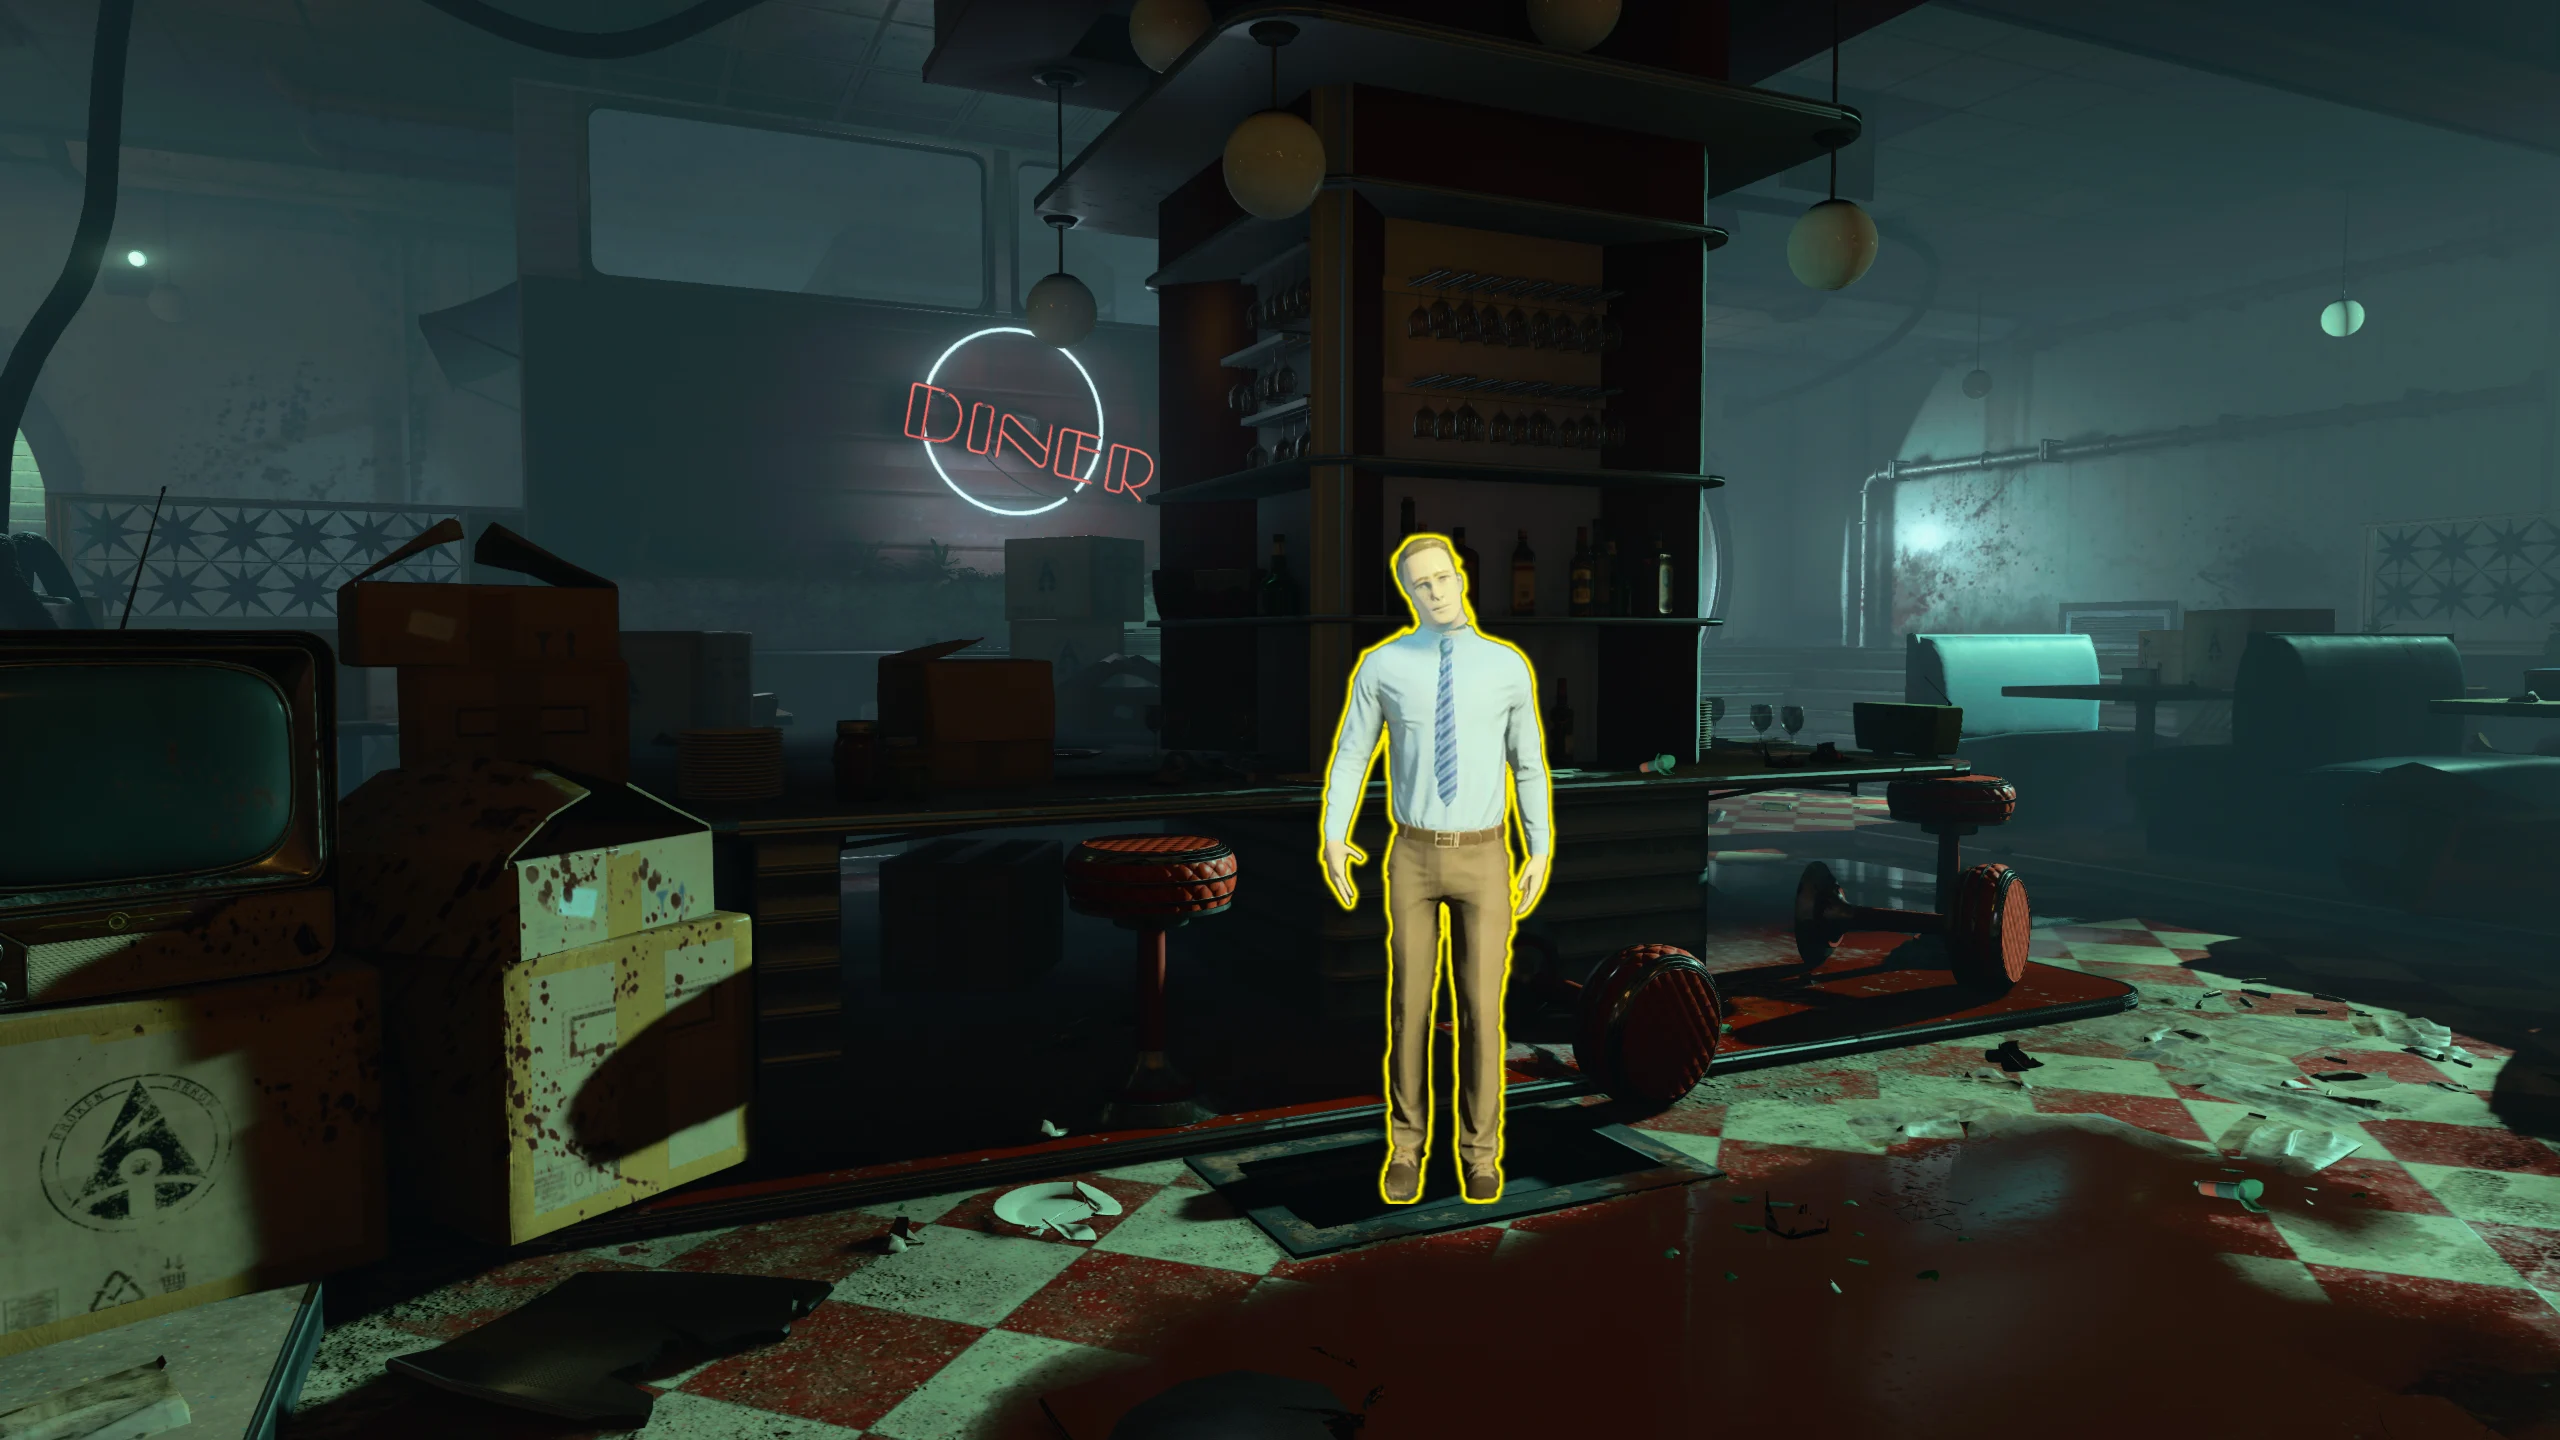
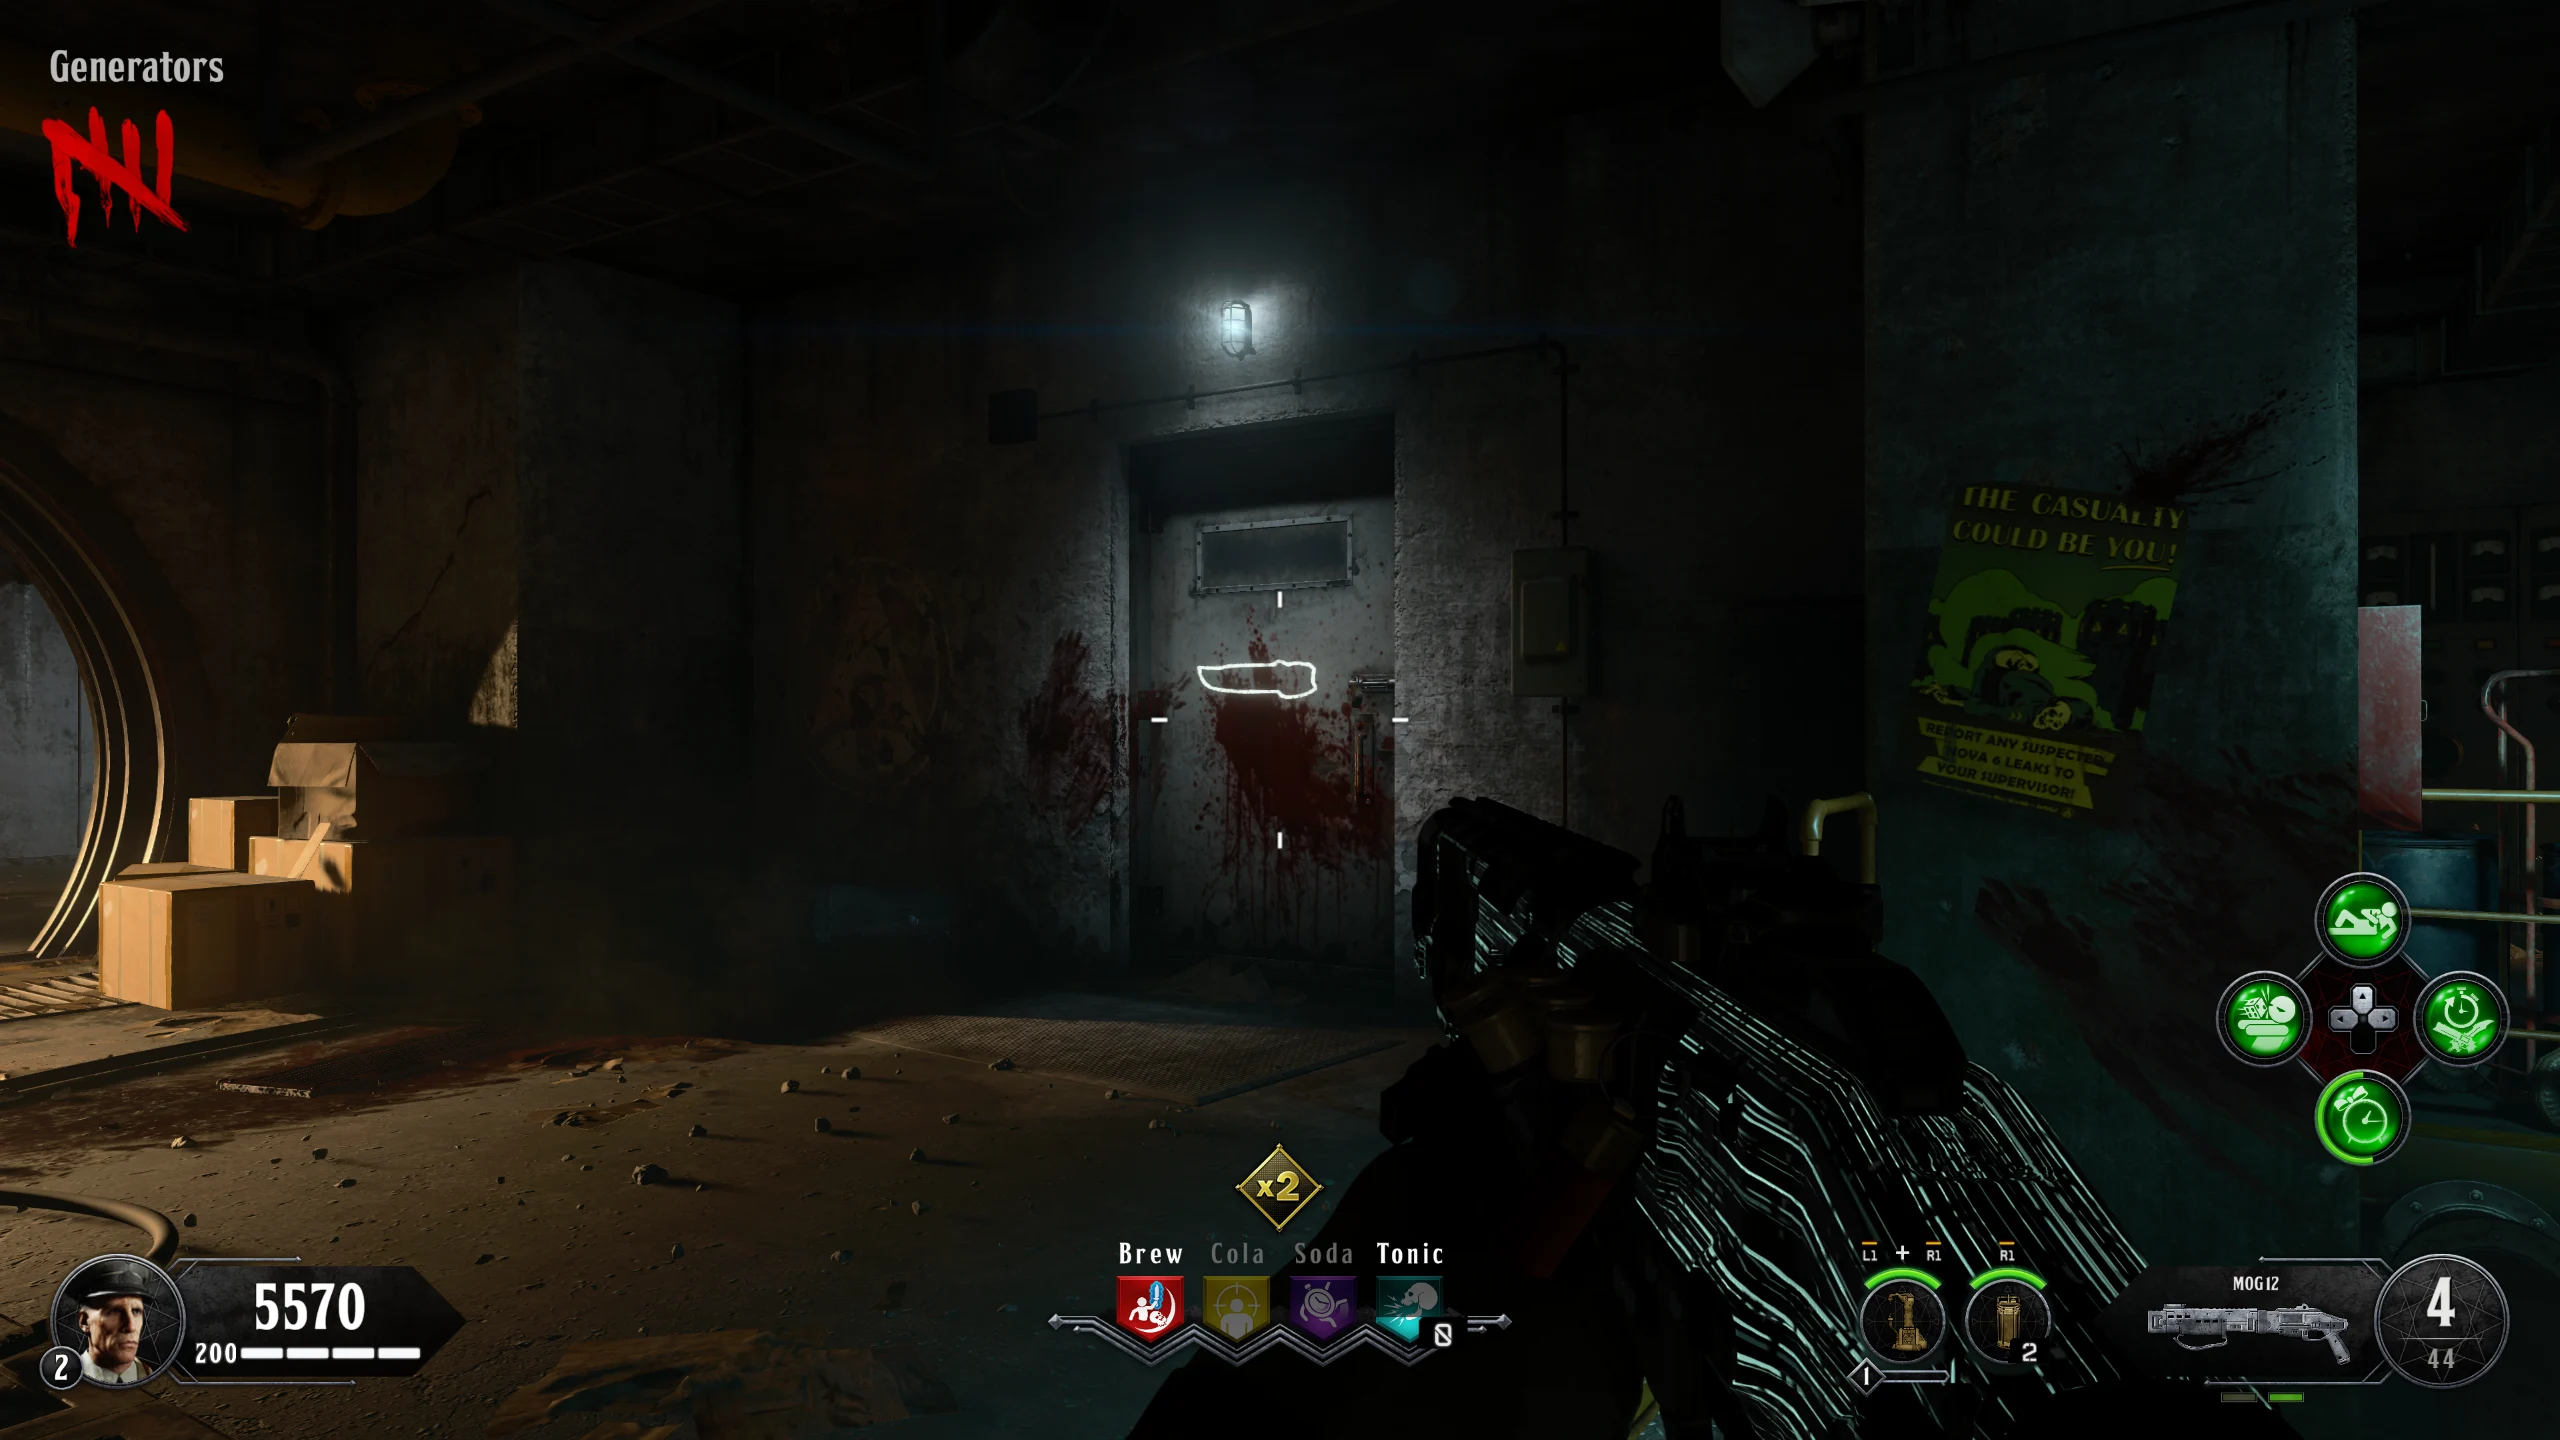
- Melee this door on the stairs between the 'Green House Backyard' and 'Diner' to cause Marlton to speak to you.
- Activate Sergeant A.D.A.M.
- Bring Sgt. A.D.A.M. to the door; Marlton will react to his presence and throw a 115 Canister out onto the floor.
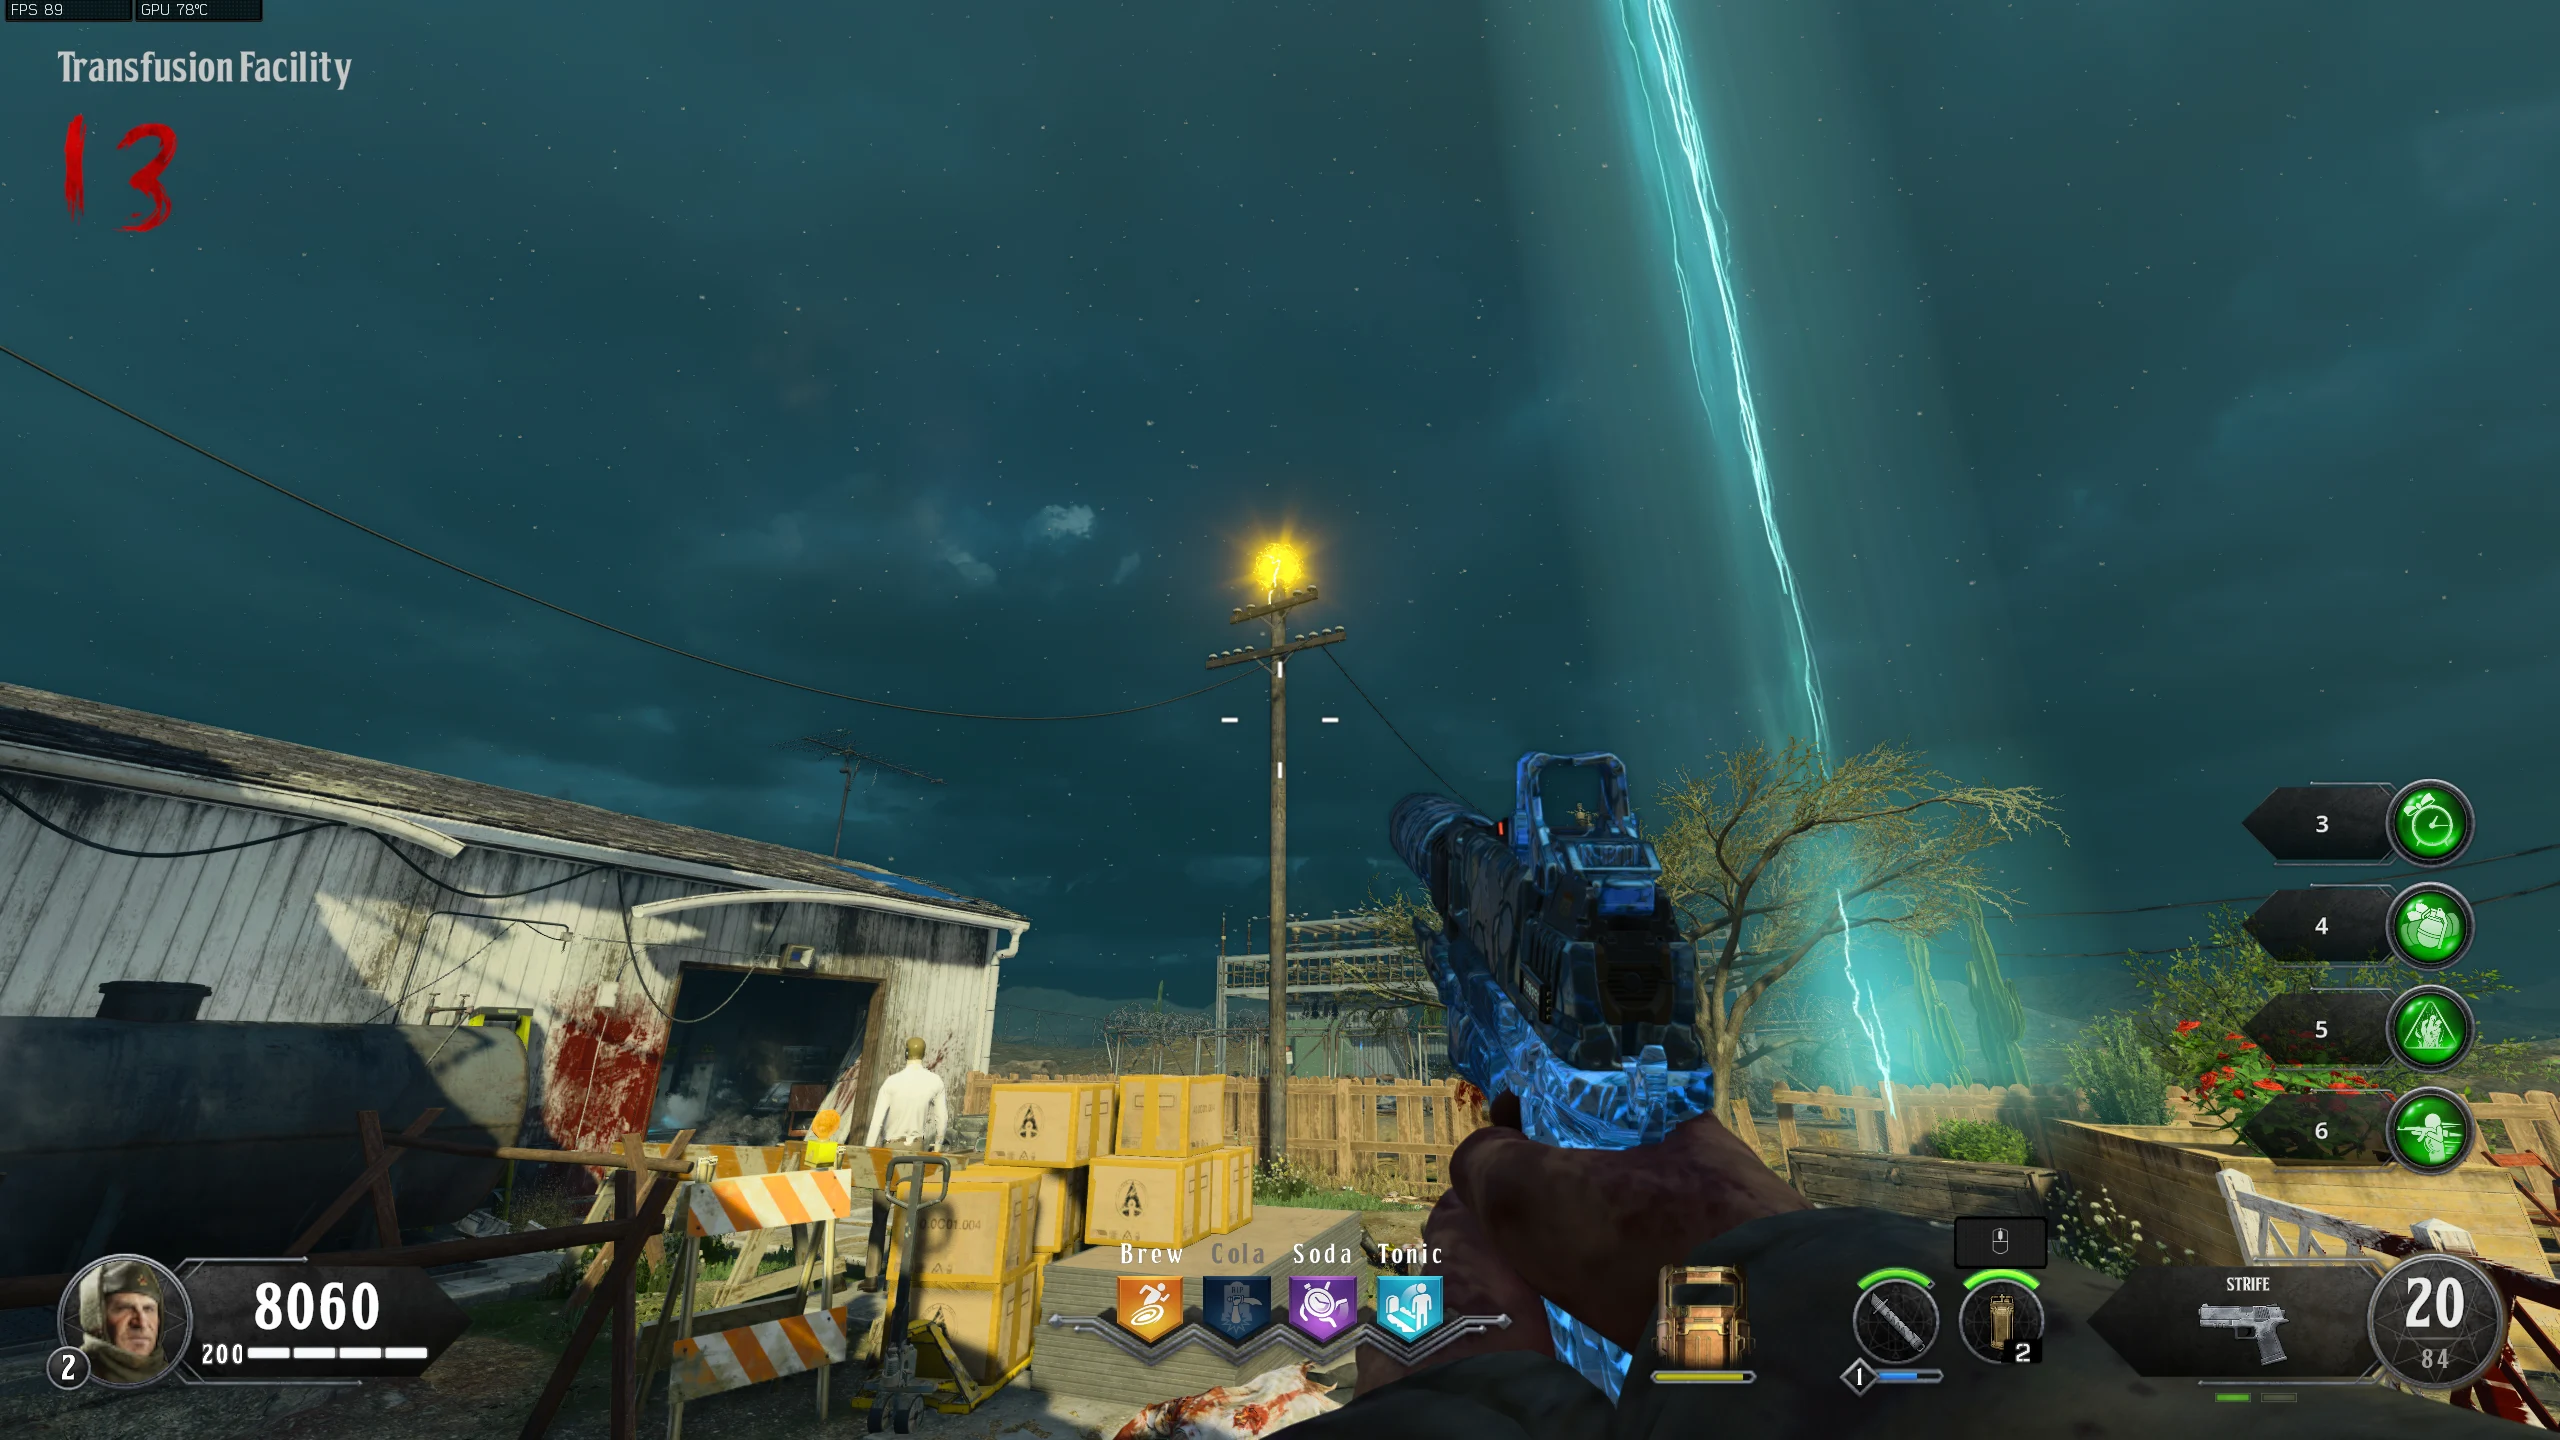
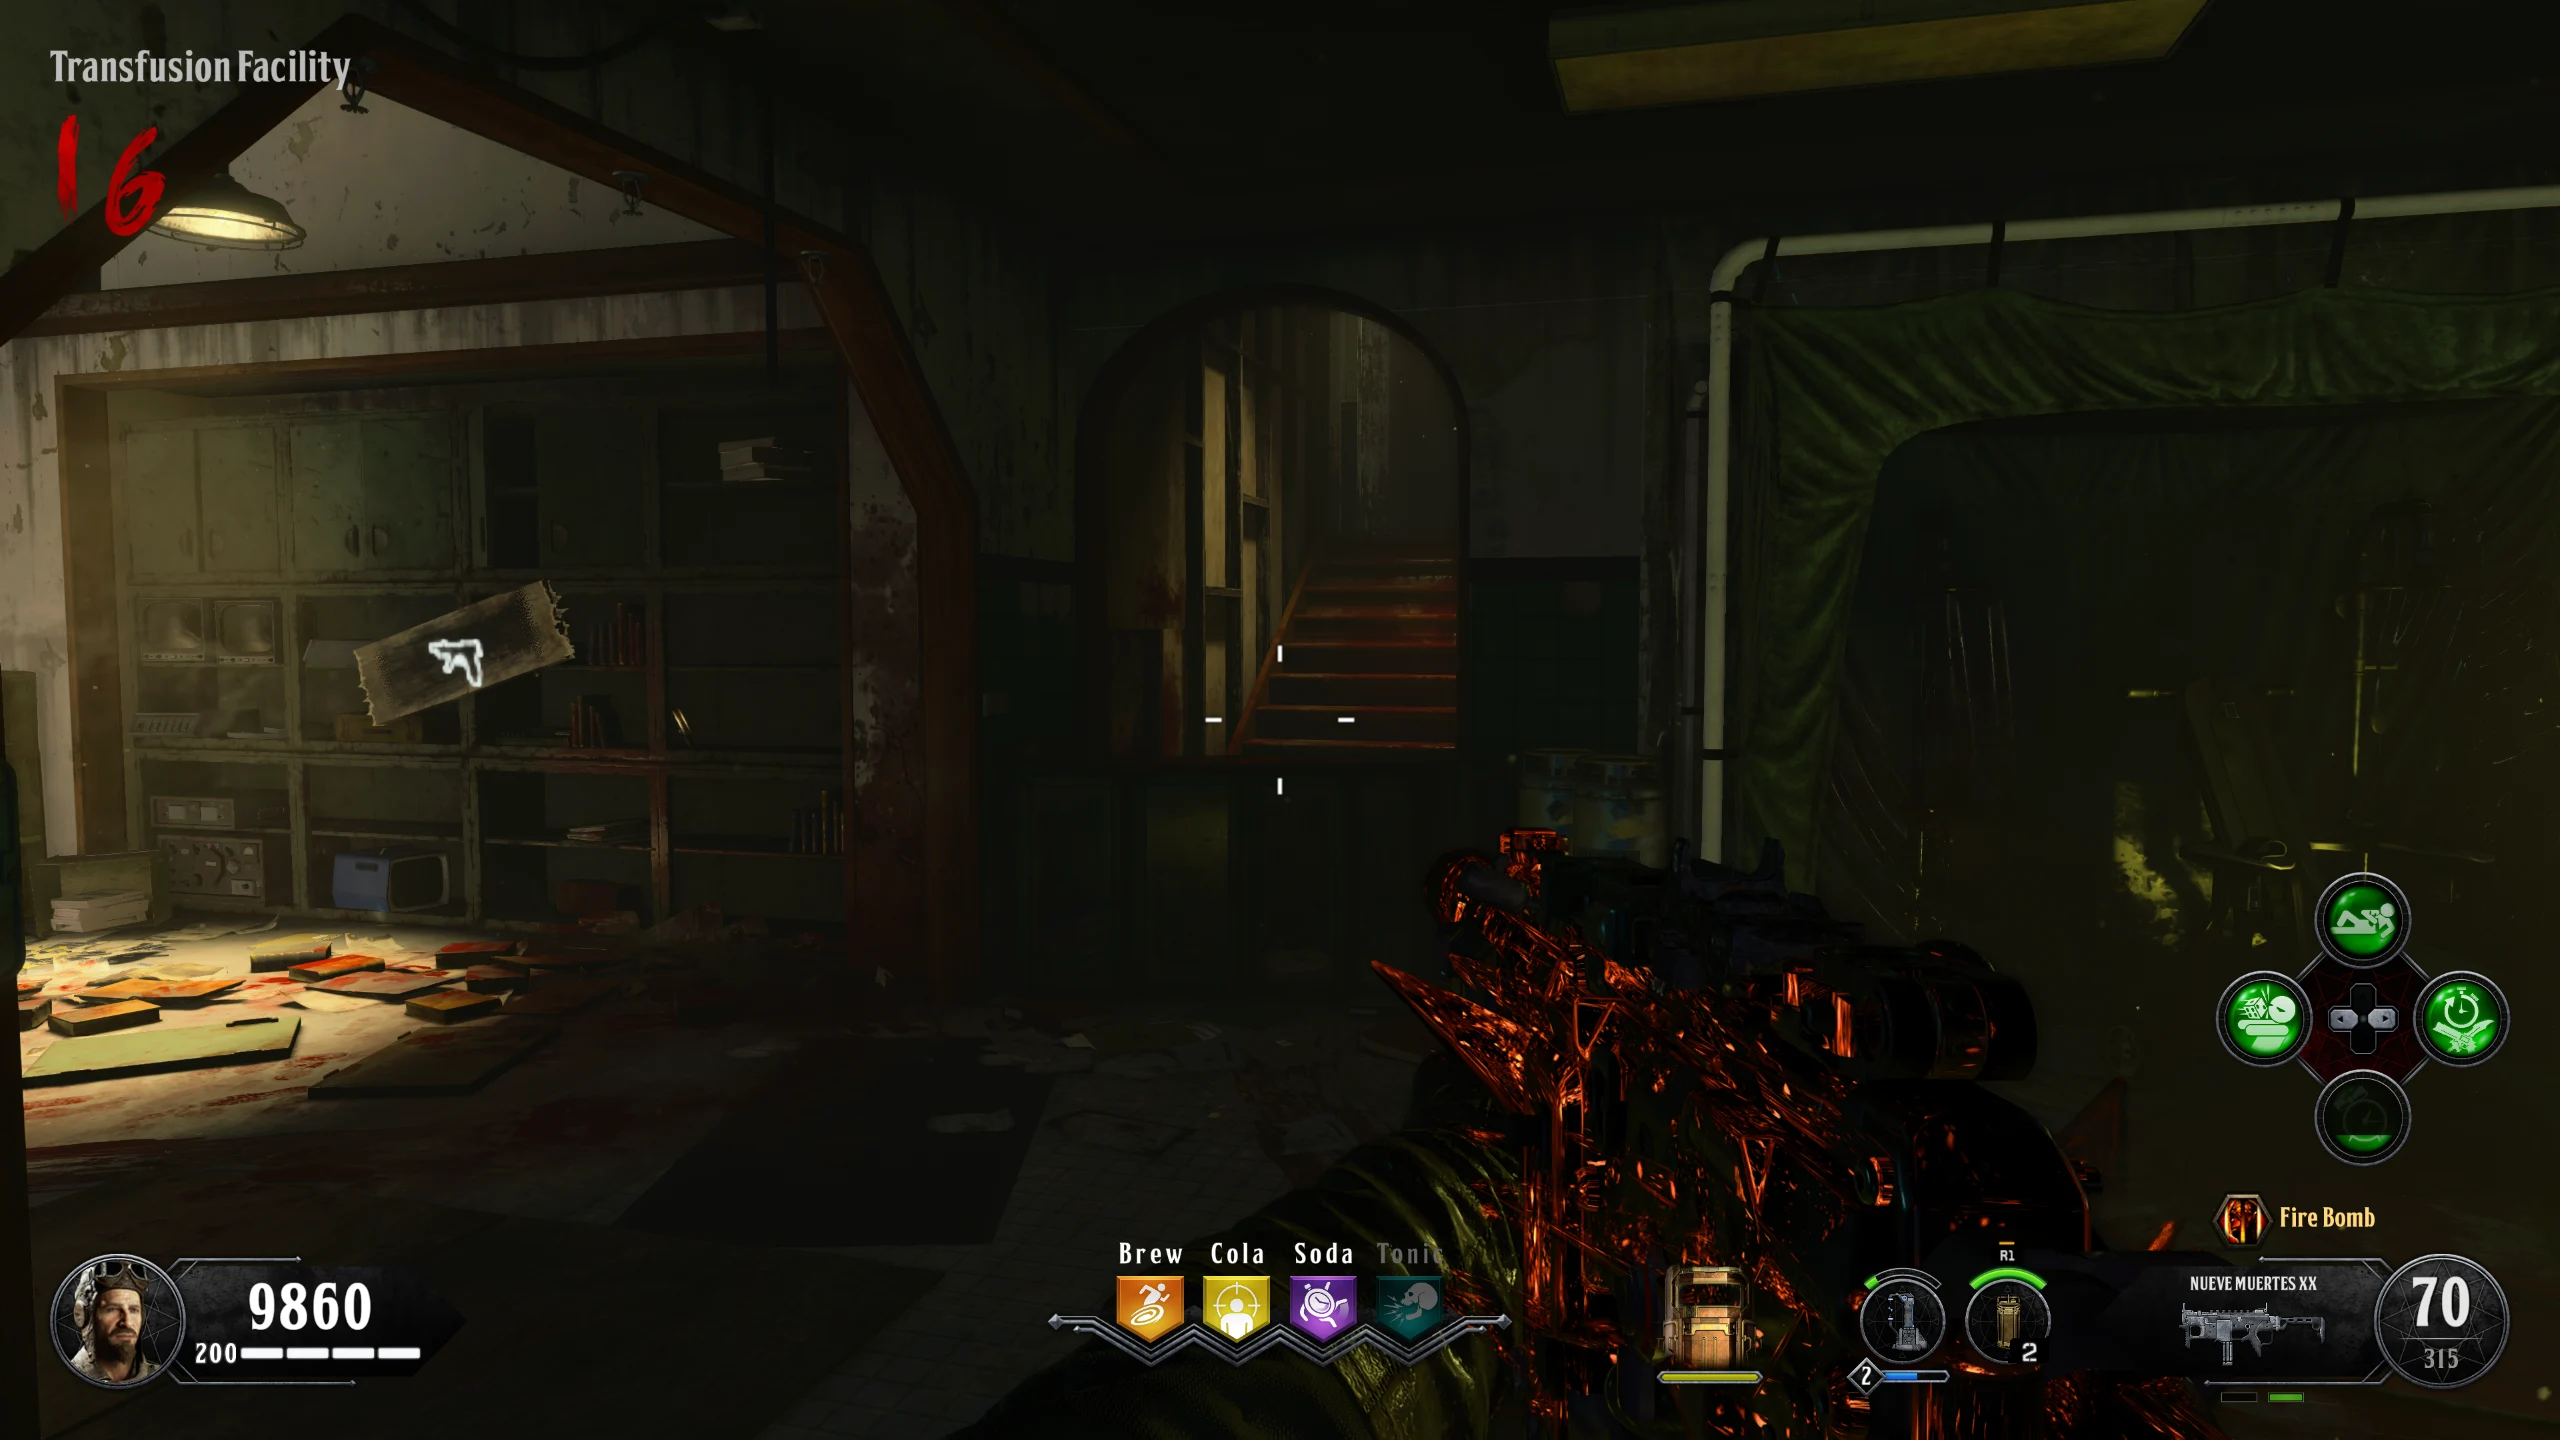
- Pick up the canister and place it on the shelf, left of the doorway to the 'Green House Backyard,' in the 'Transfusion Facility.'
- Once it's placed, head back to 'Operations' and interact with Rushmore.
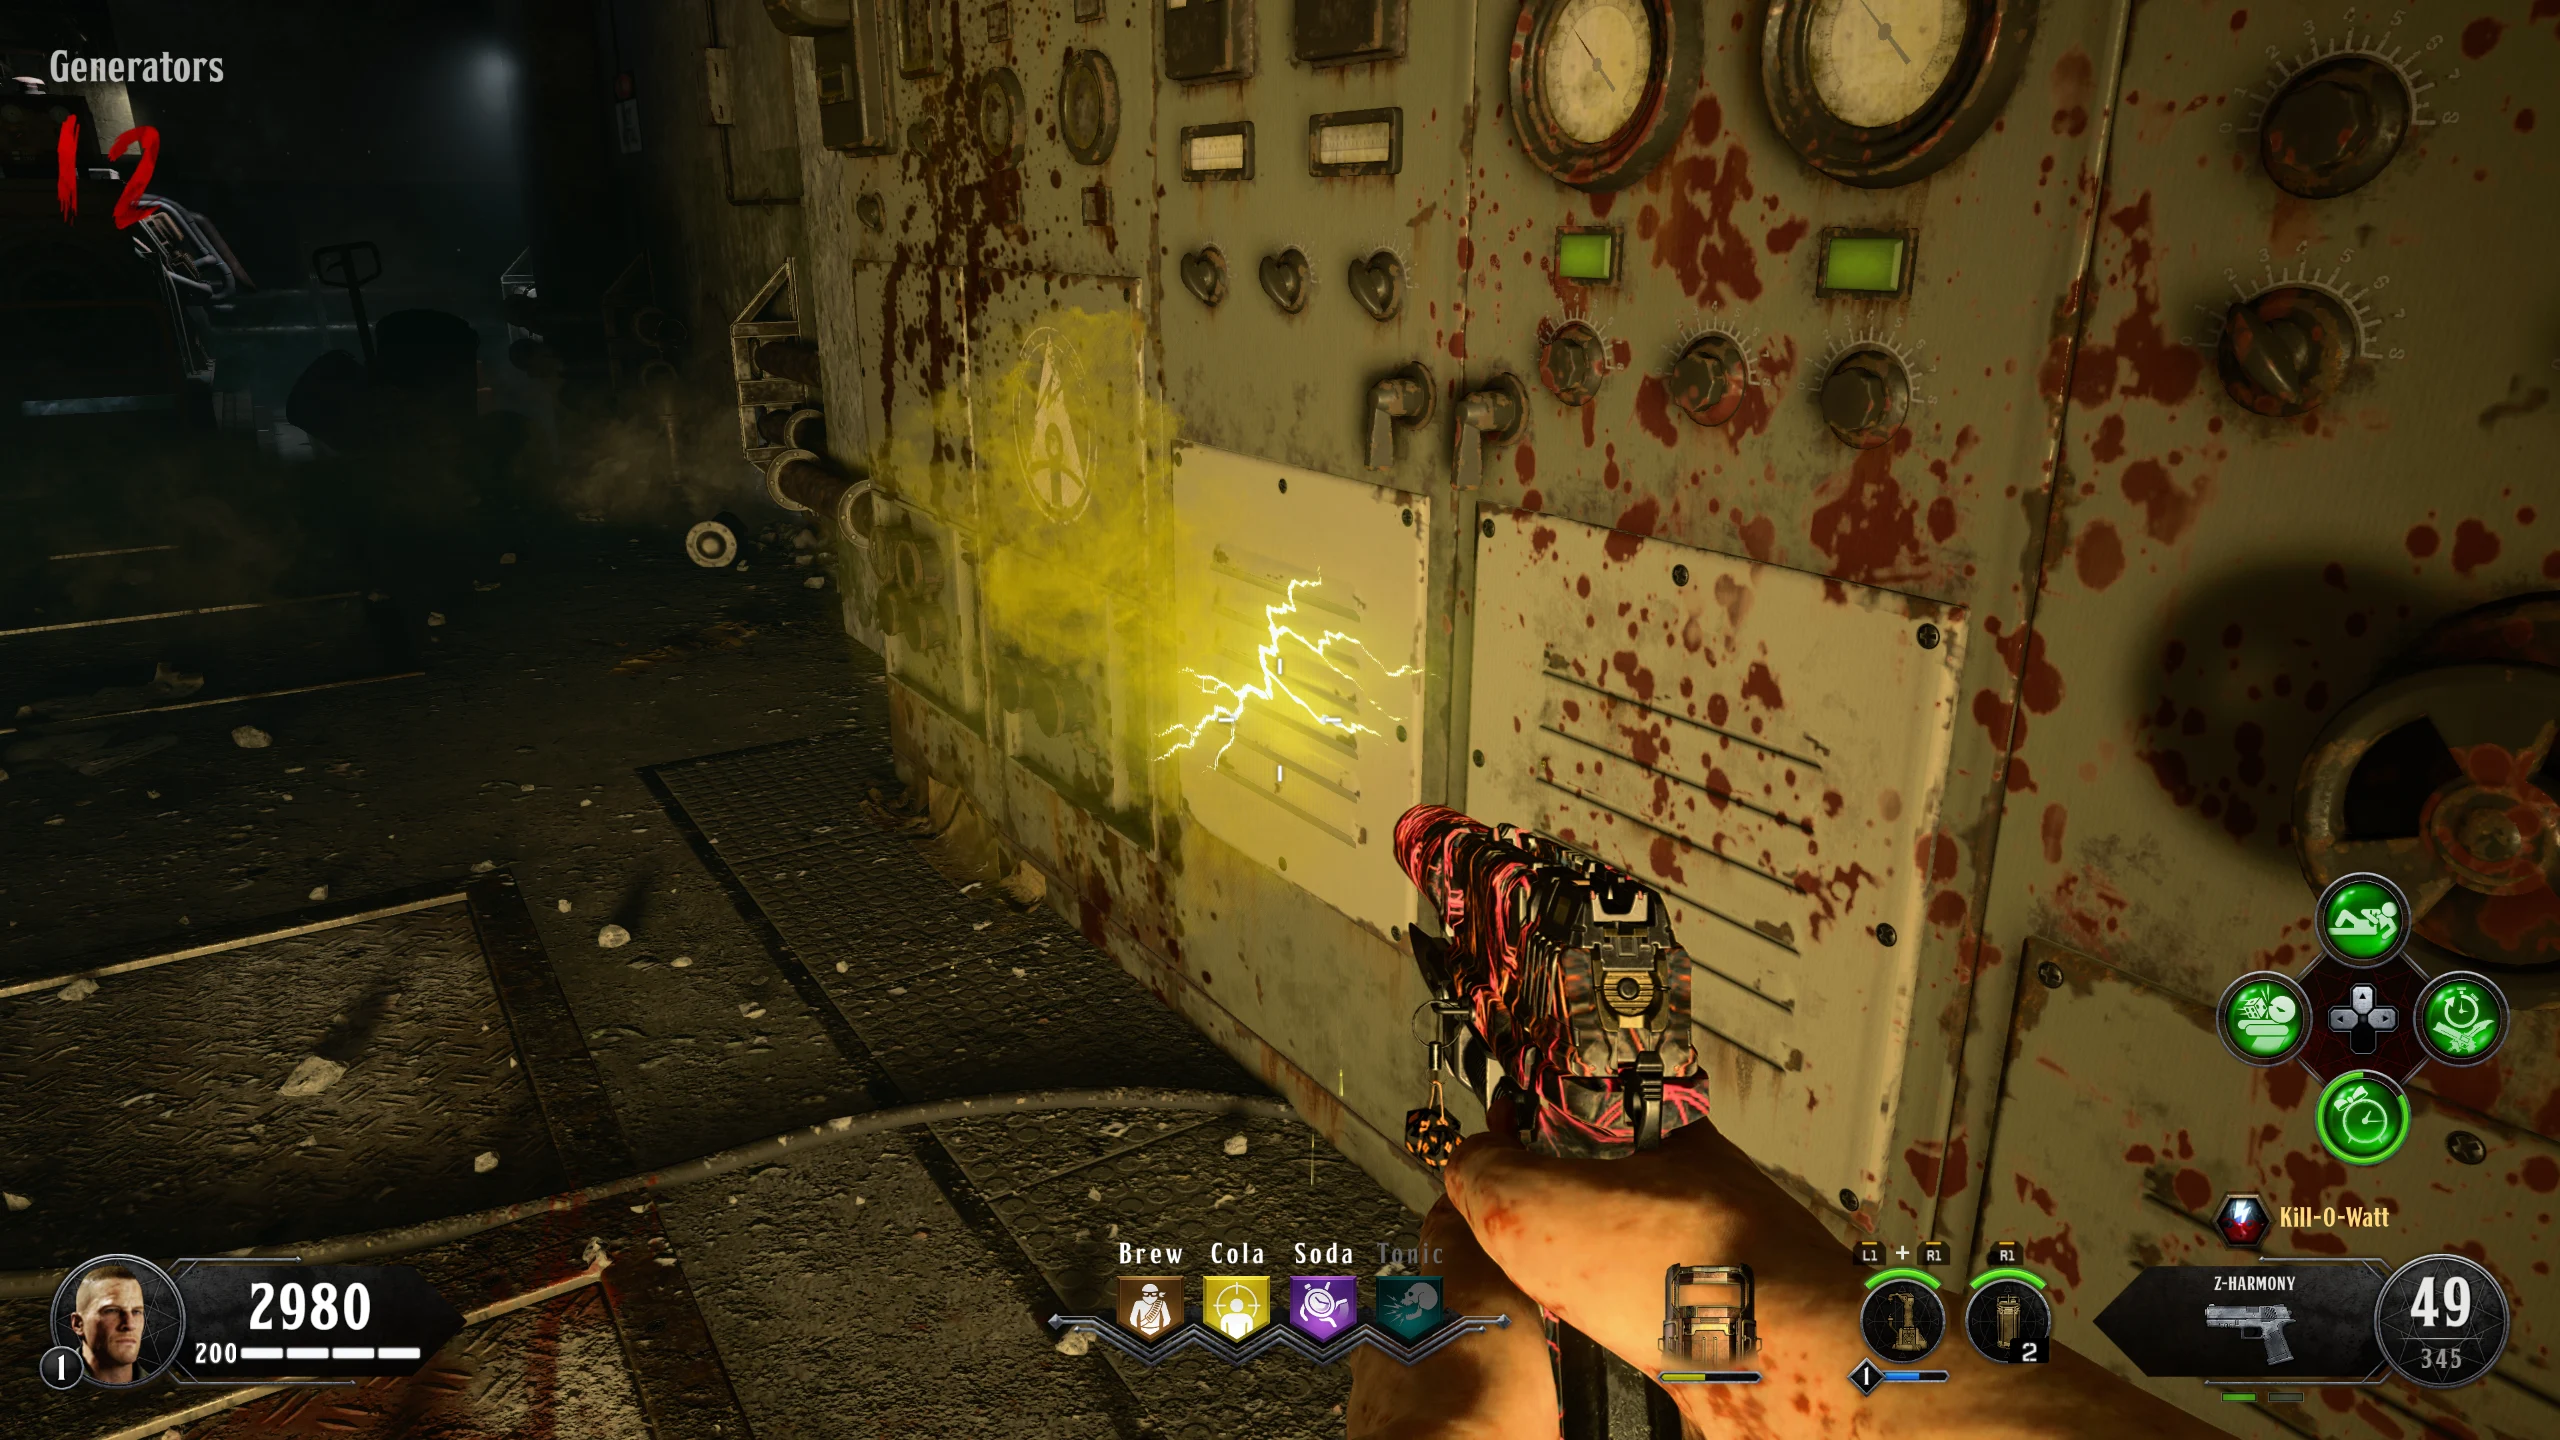
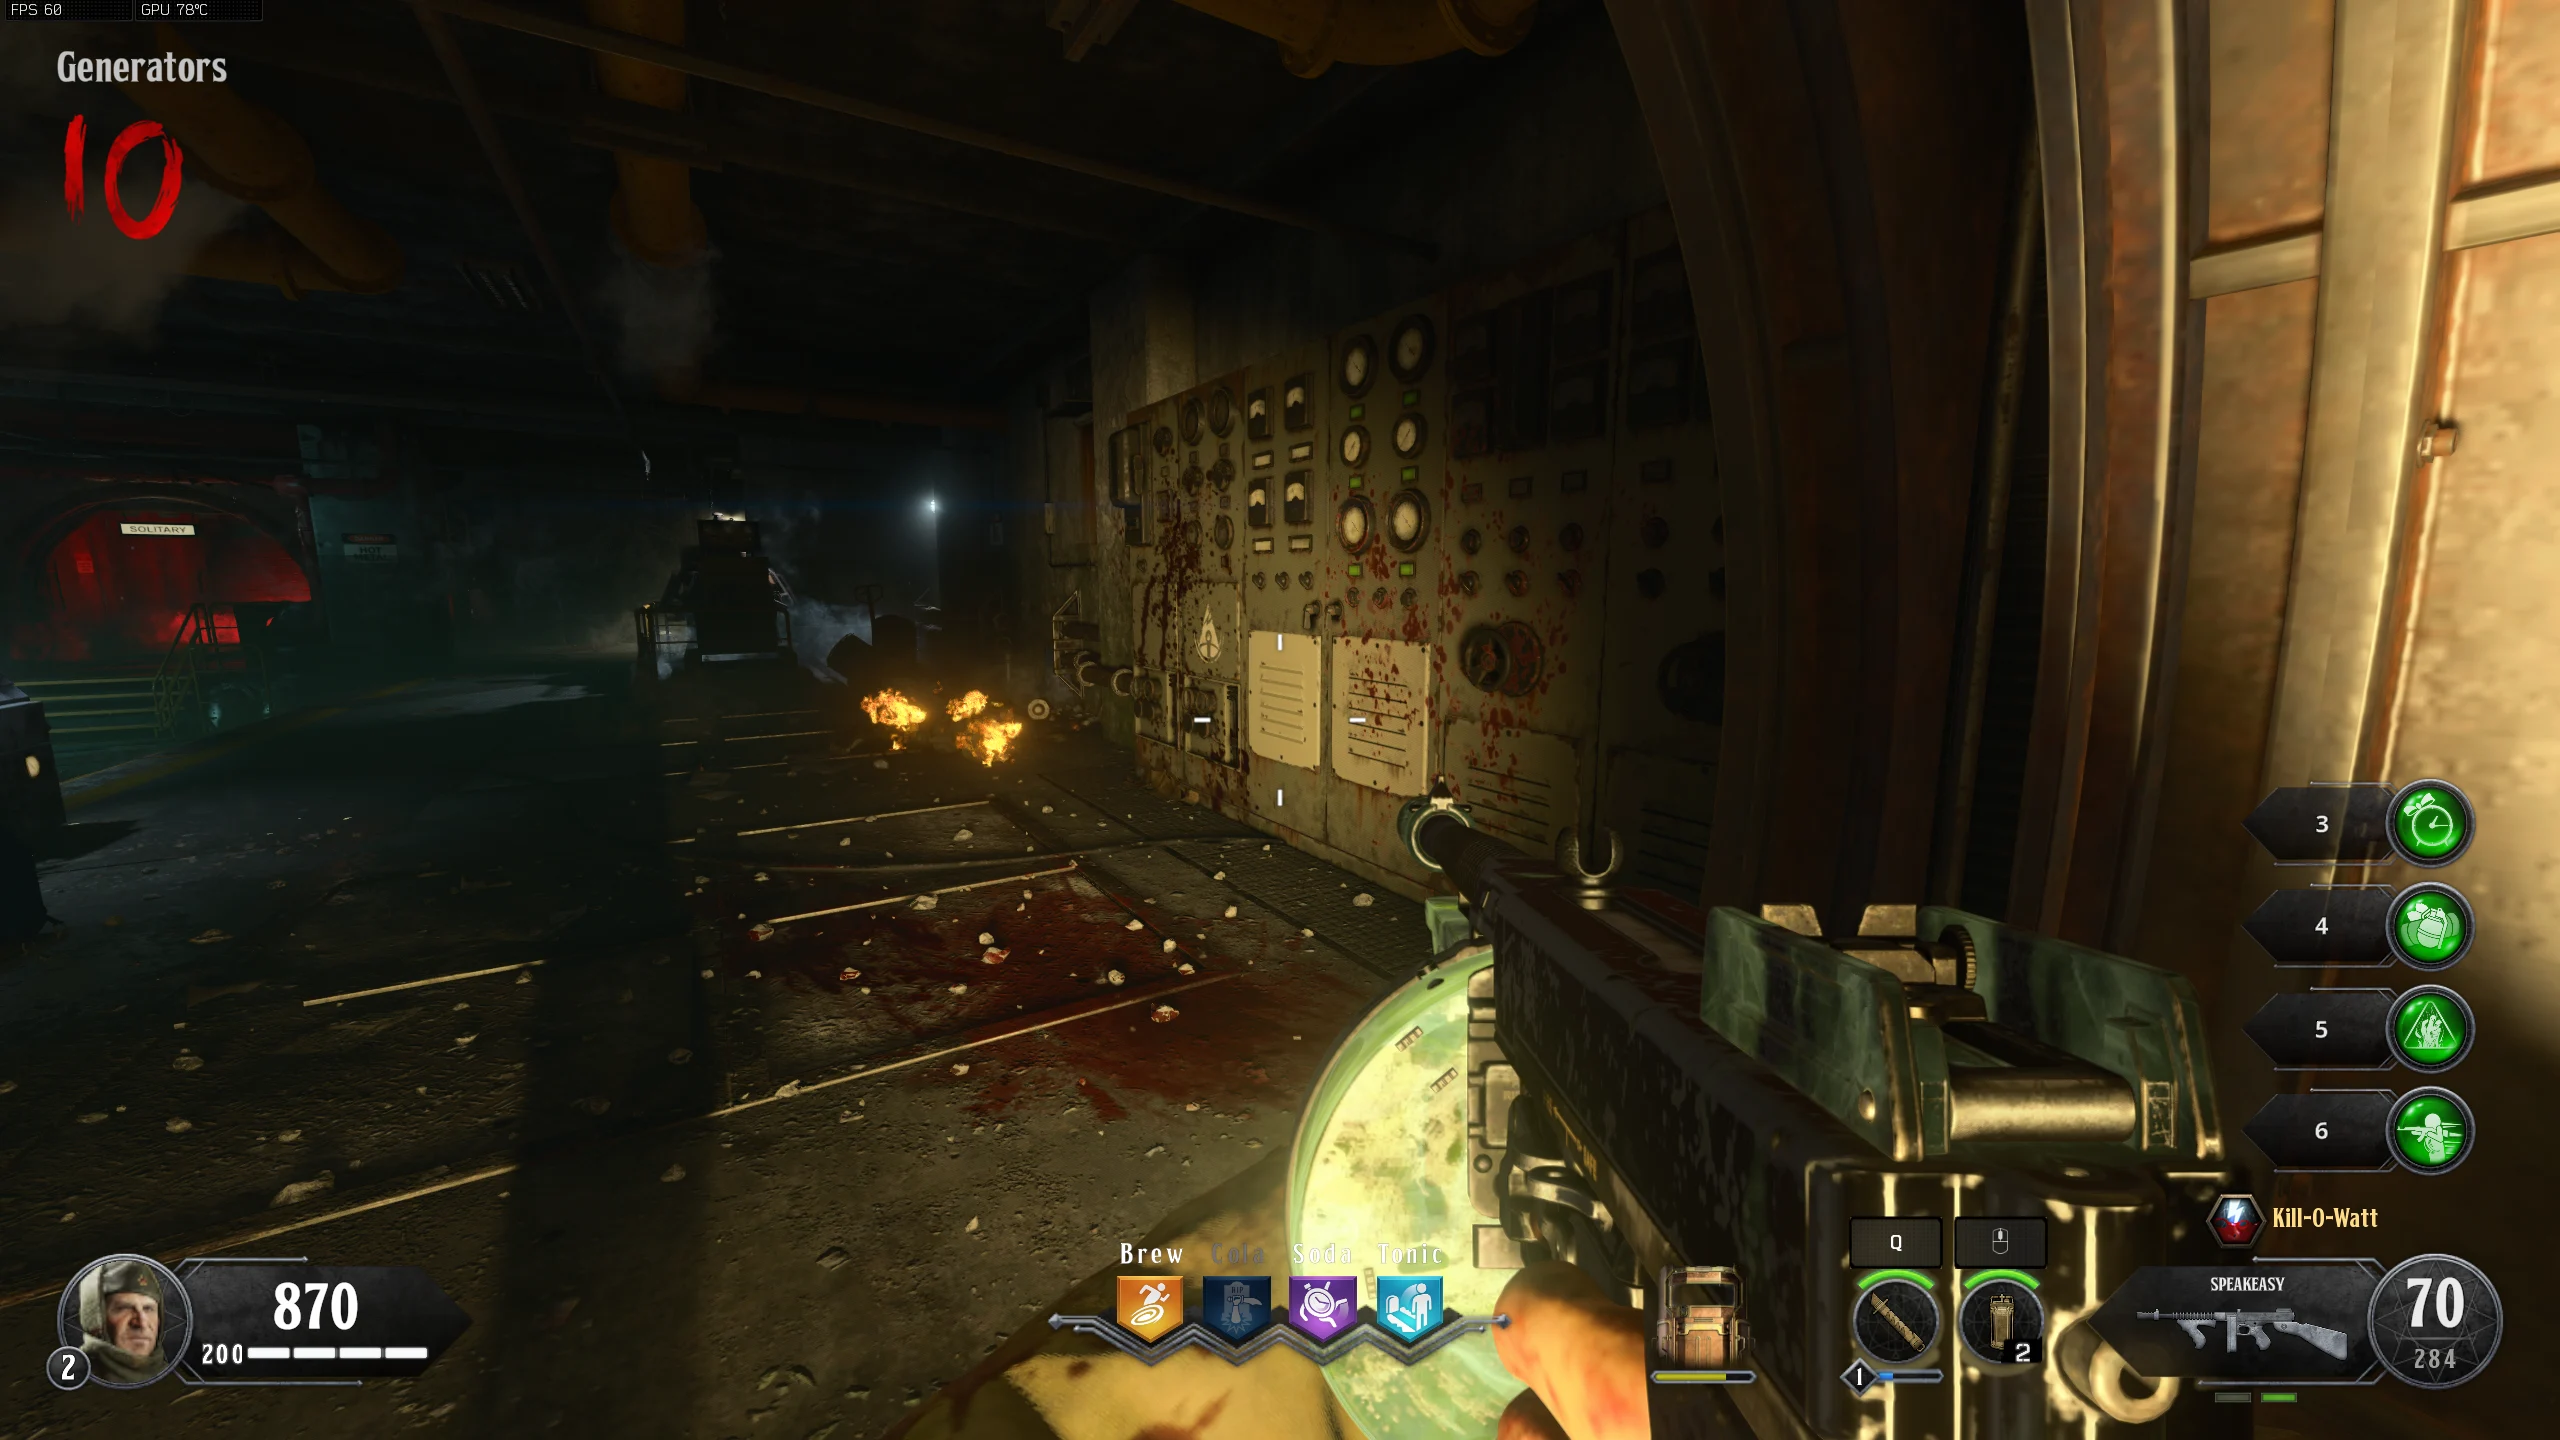
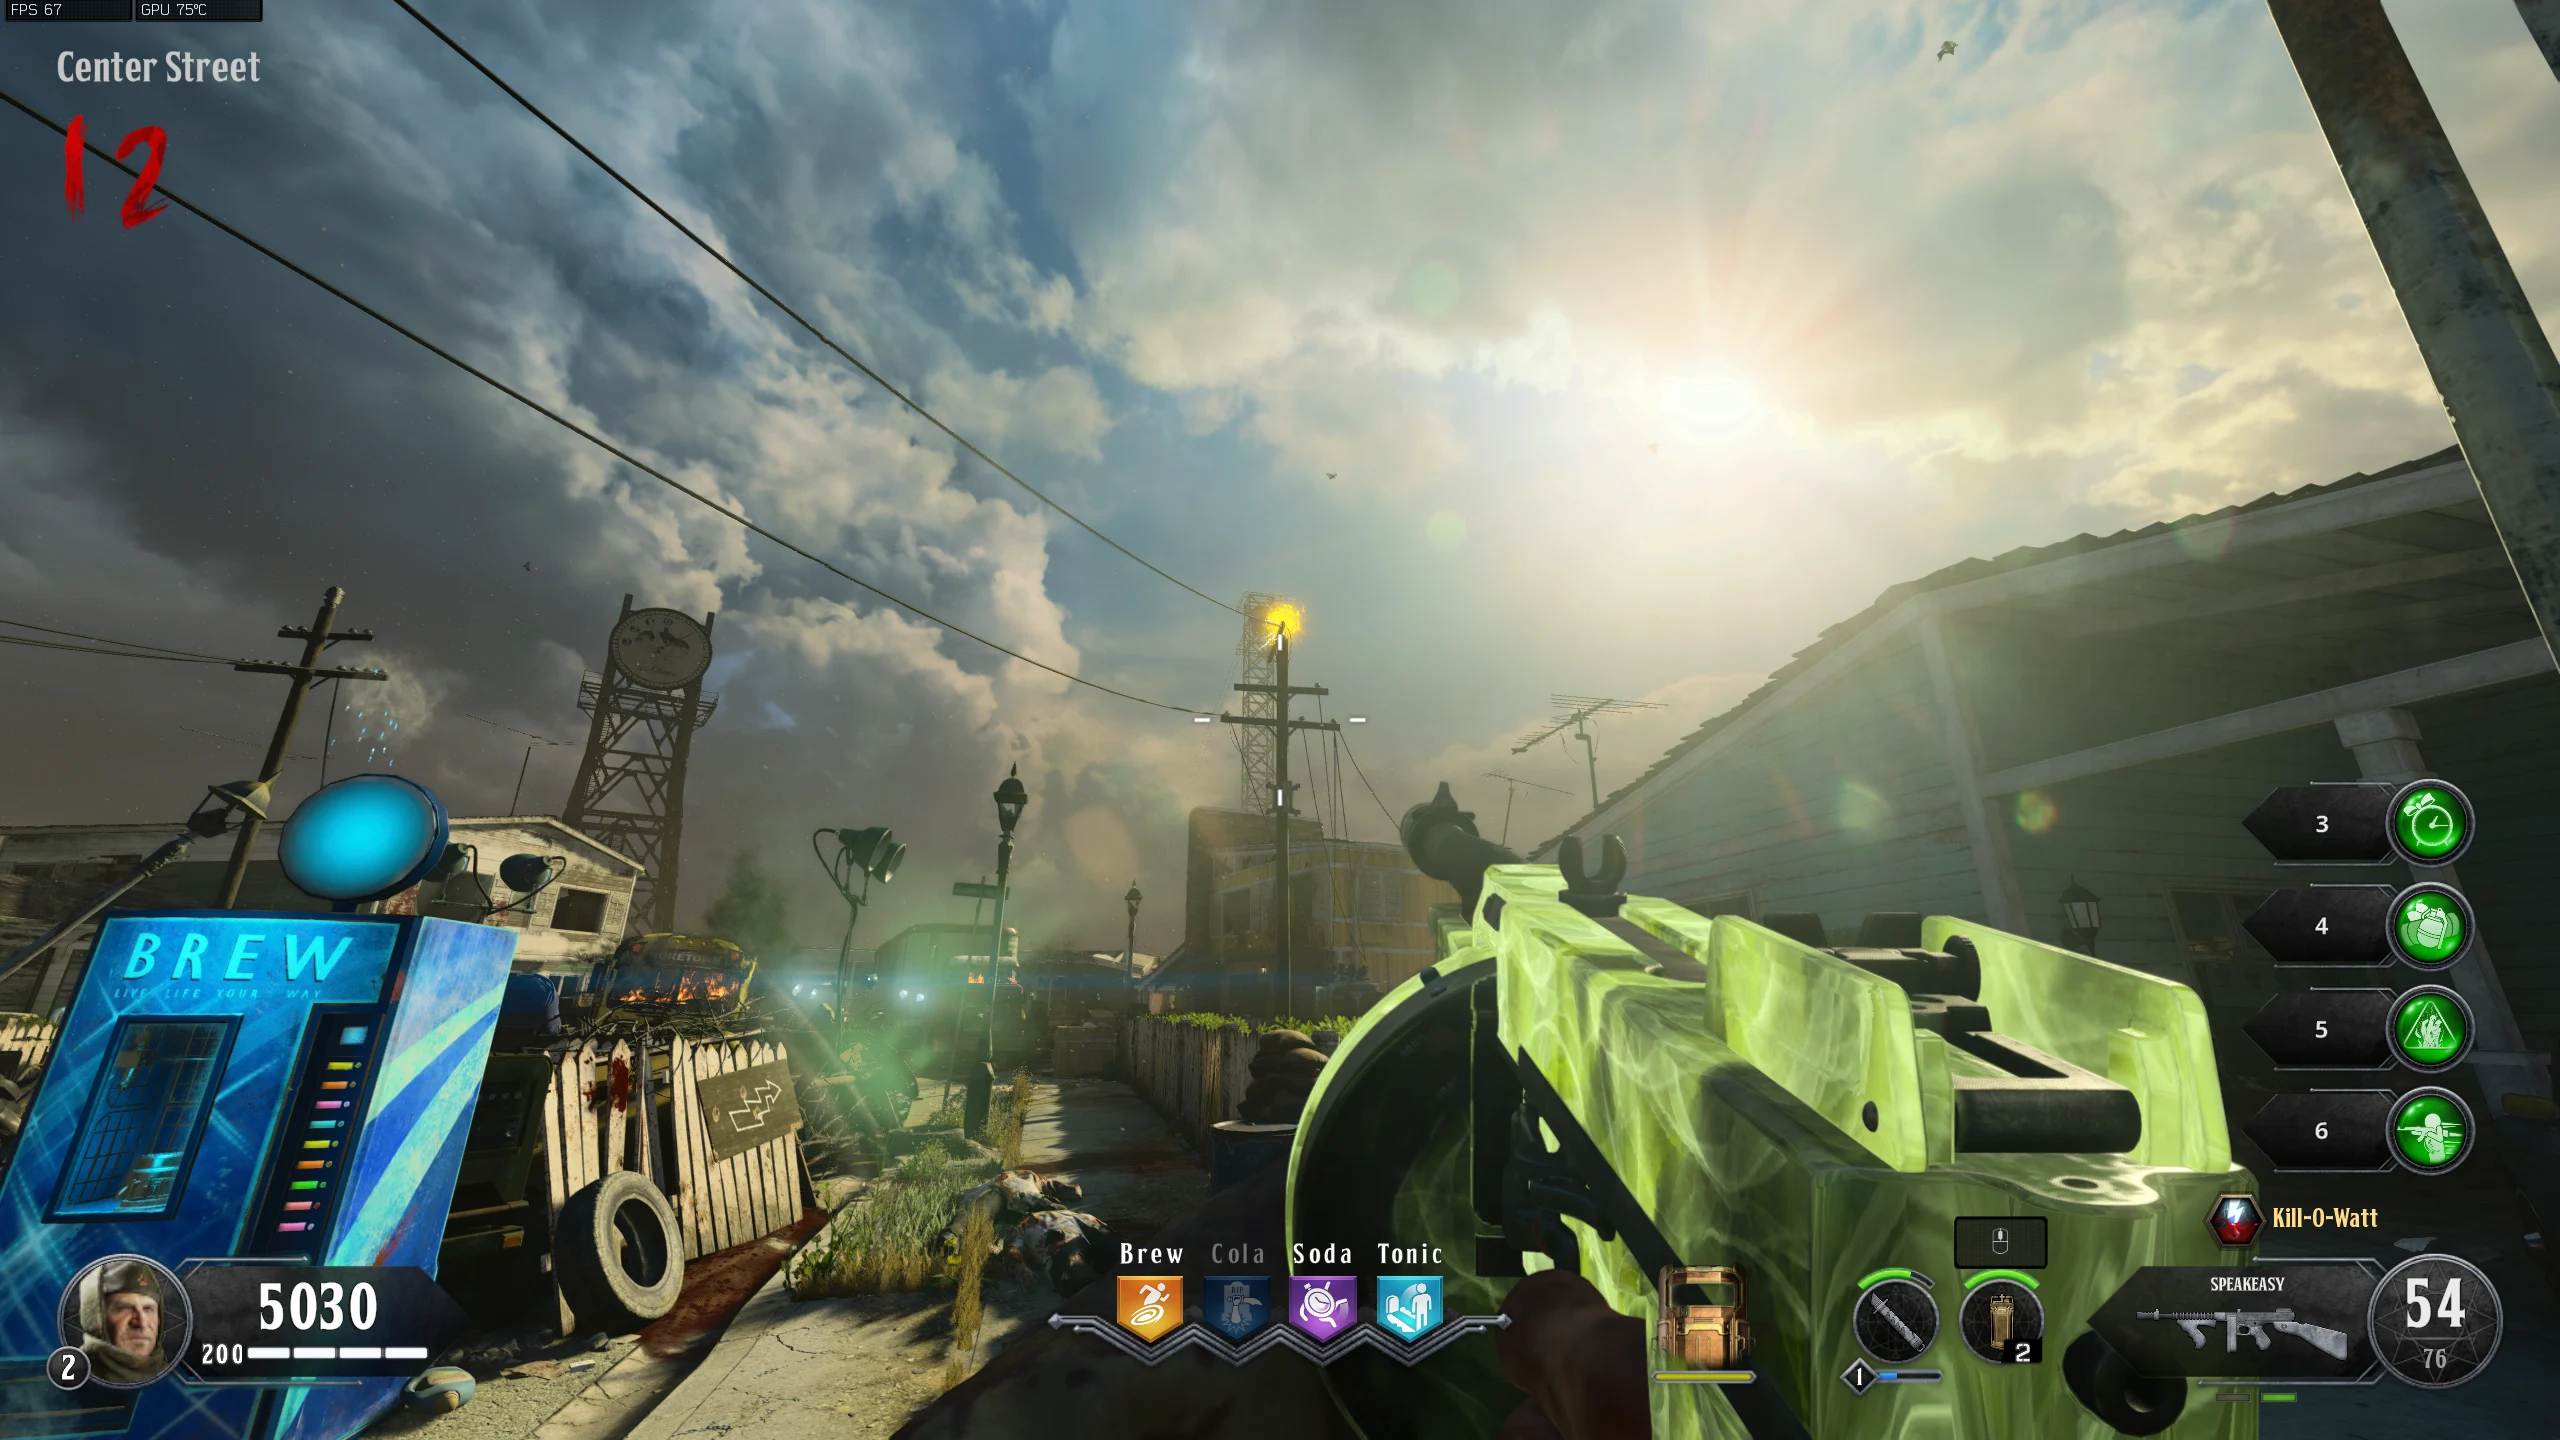
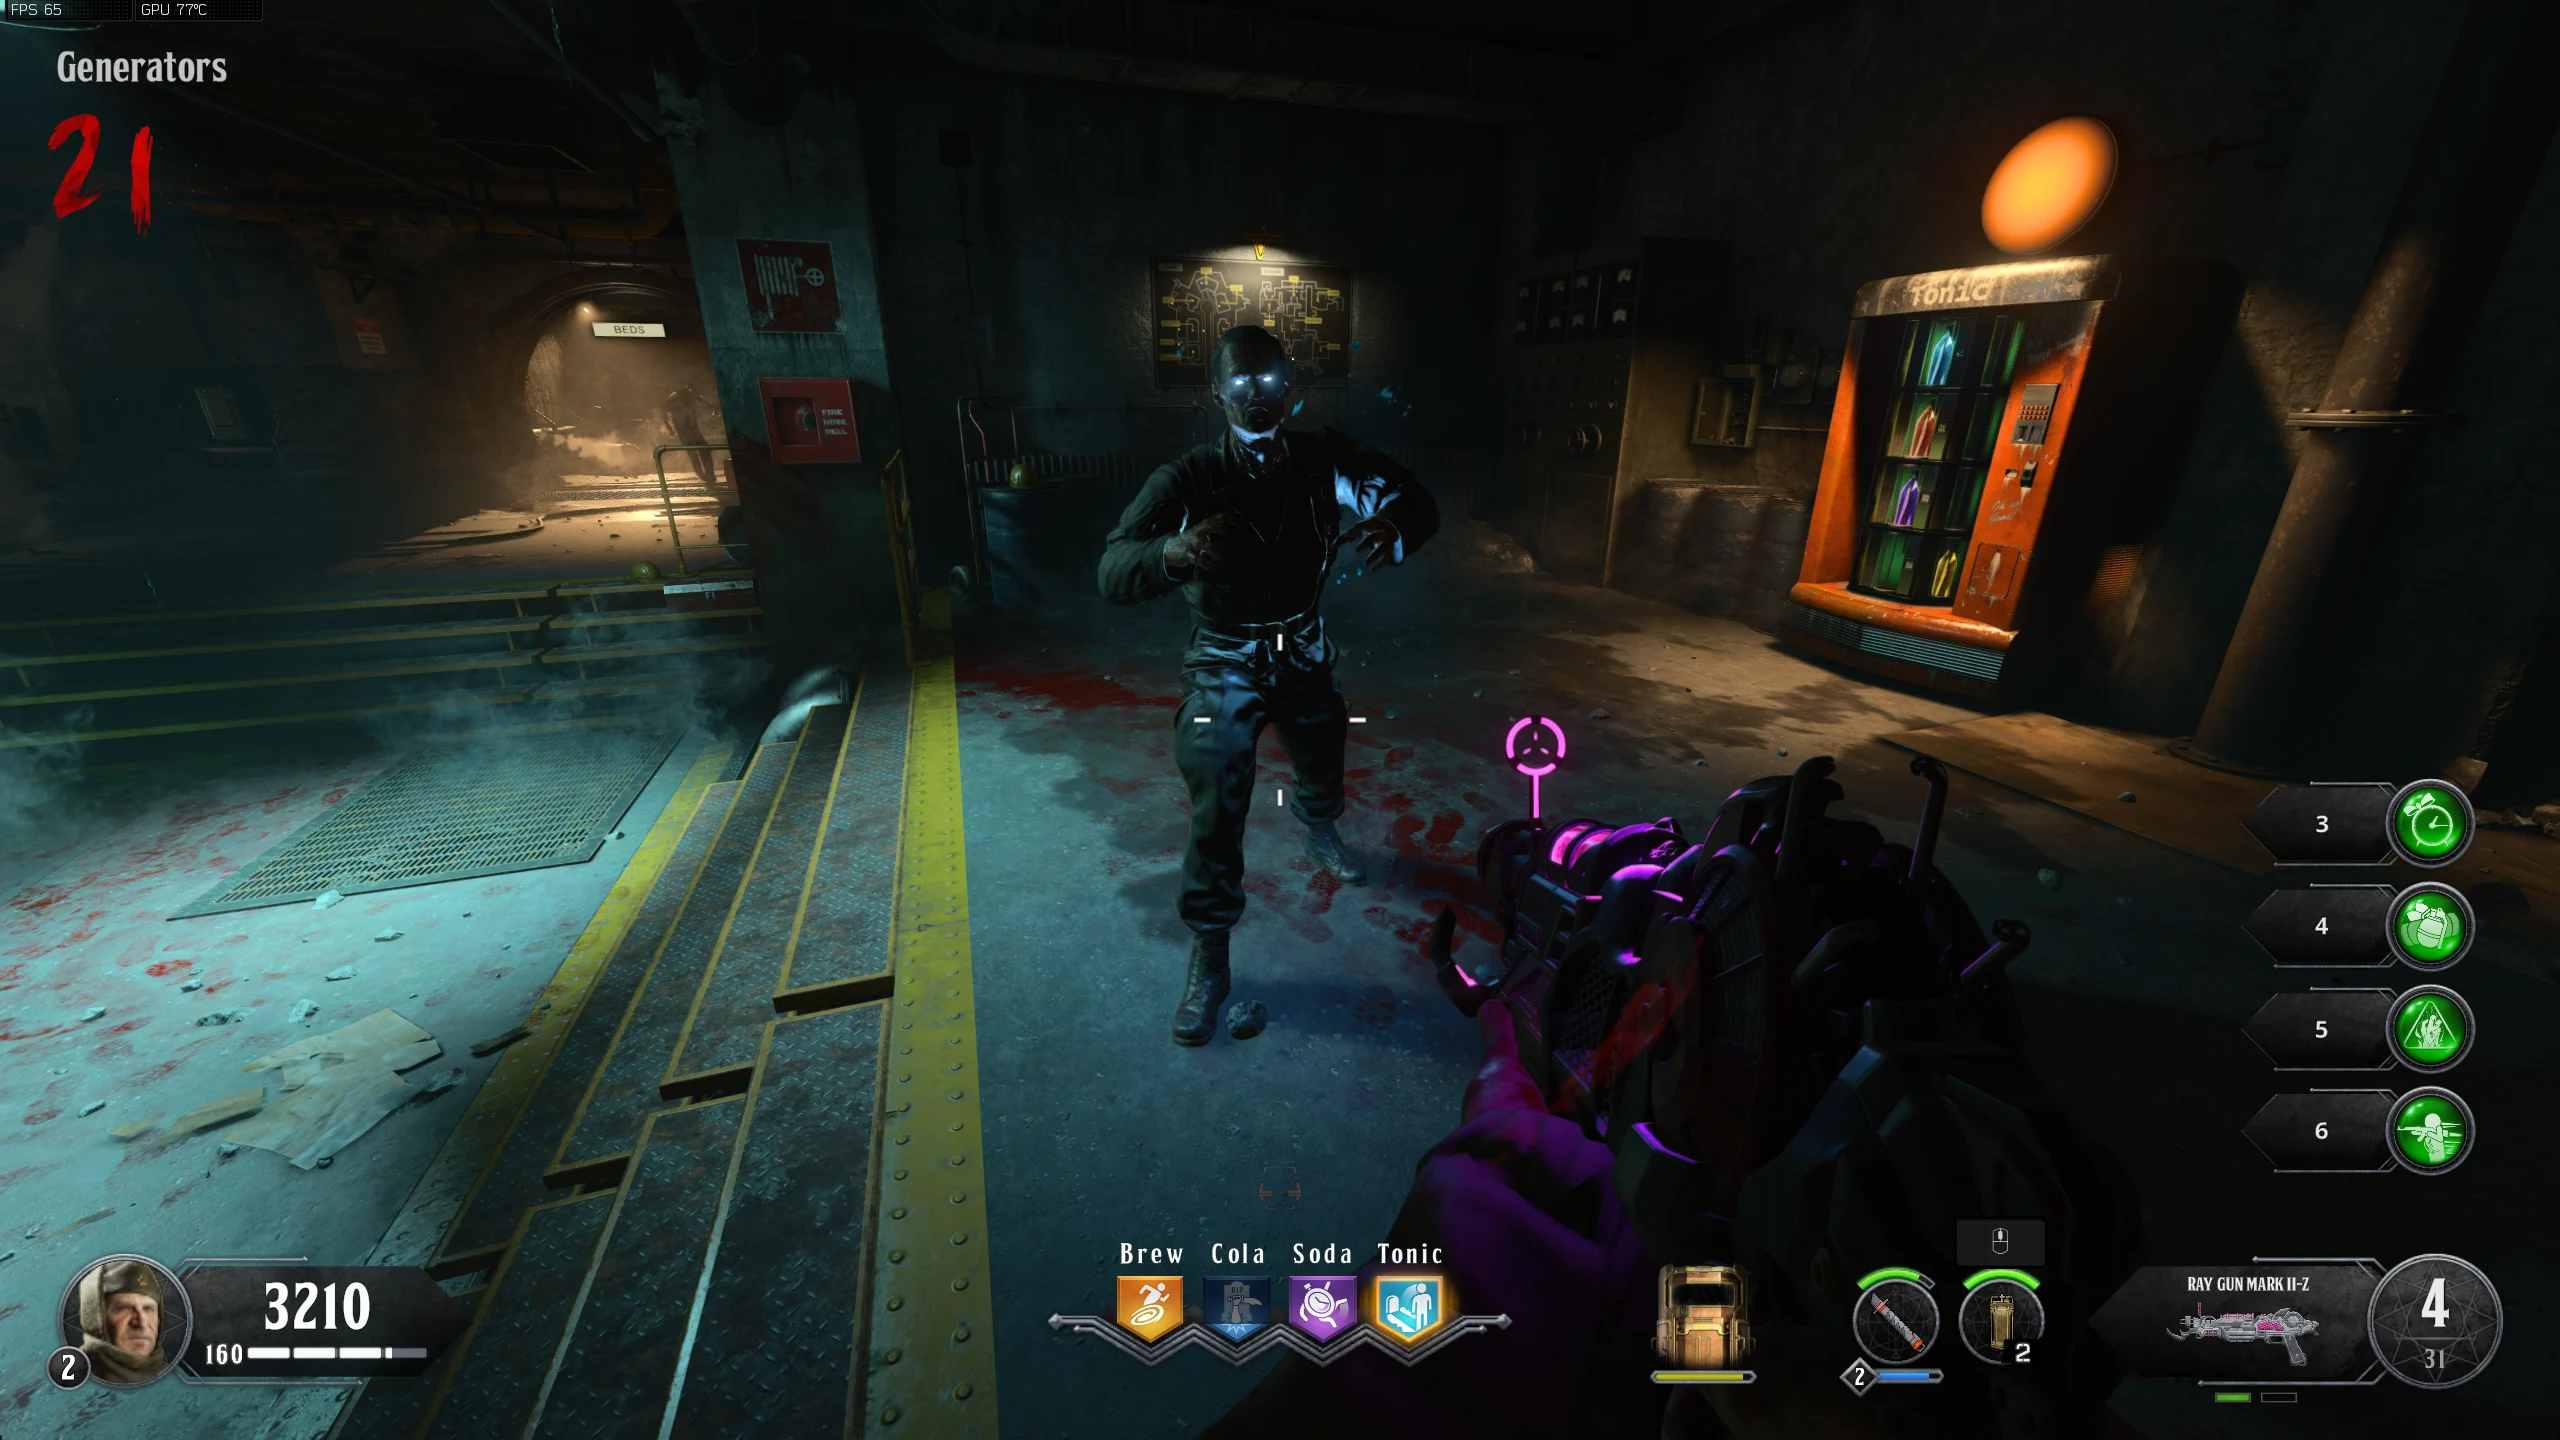
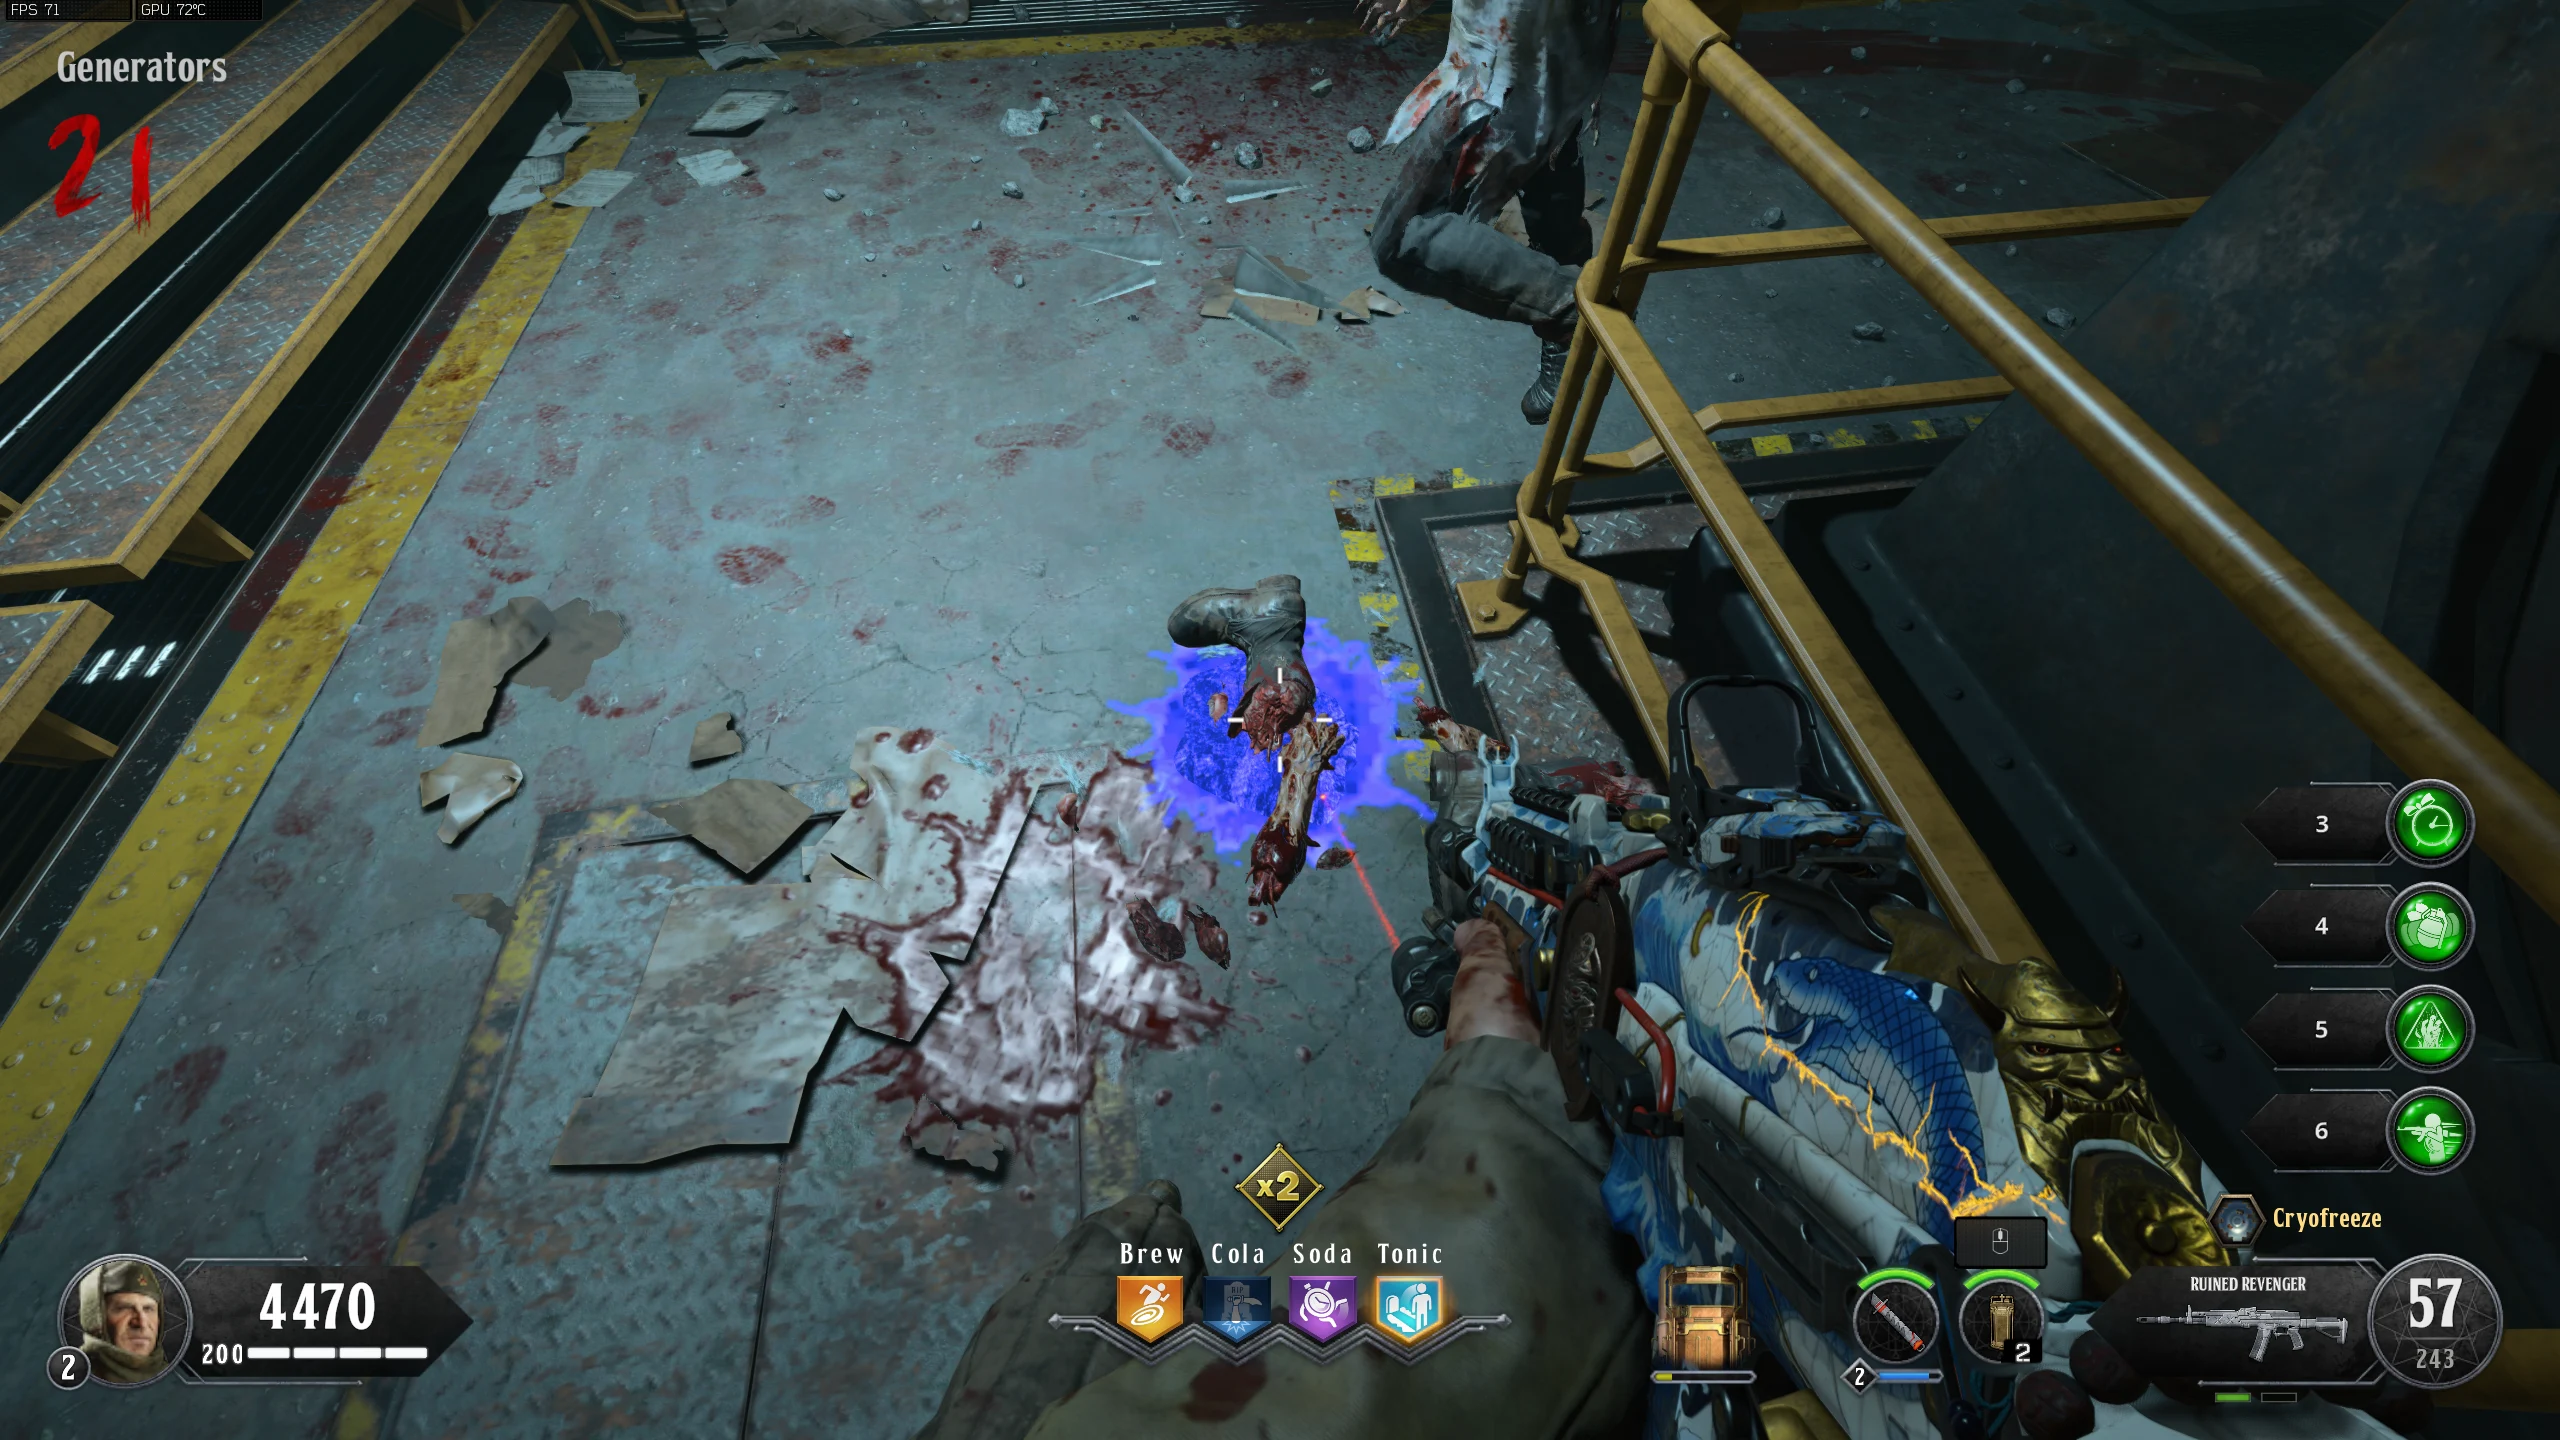
- In the 'Power House,' bait a Jolting Jack into firing an electric blast at the server core, left of the Telepad location. If done correctly, the window on the Server will open and allow you to interact with the core.
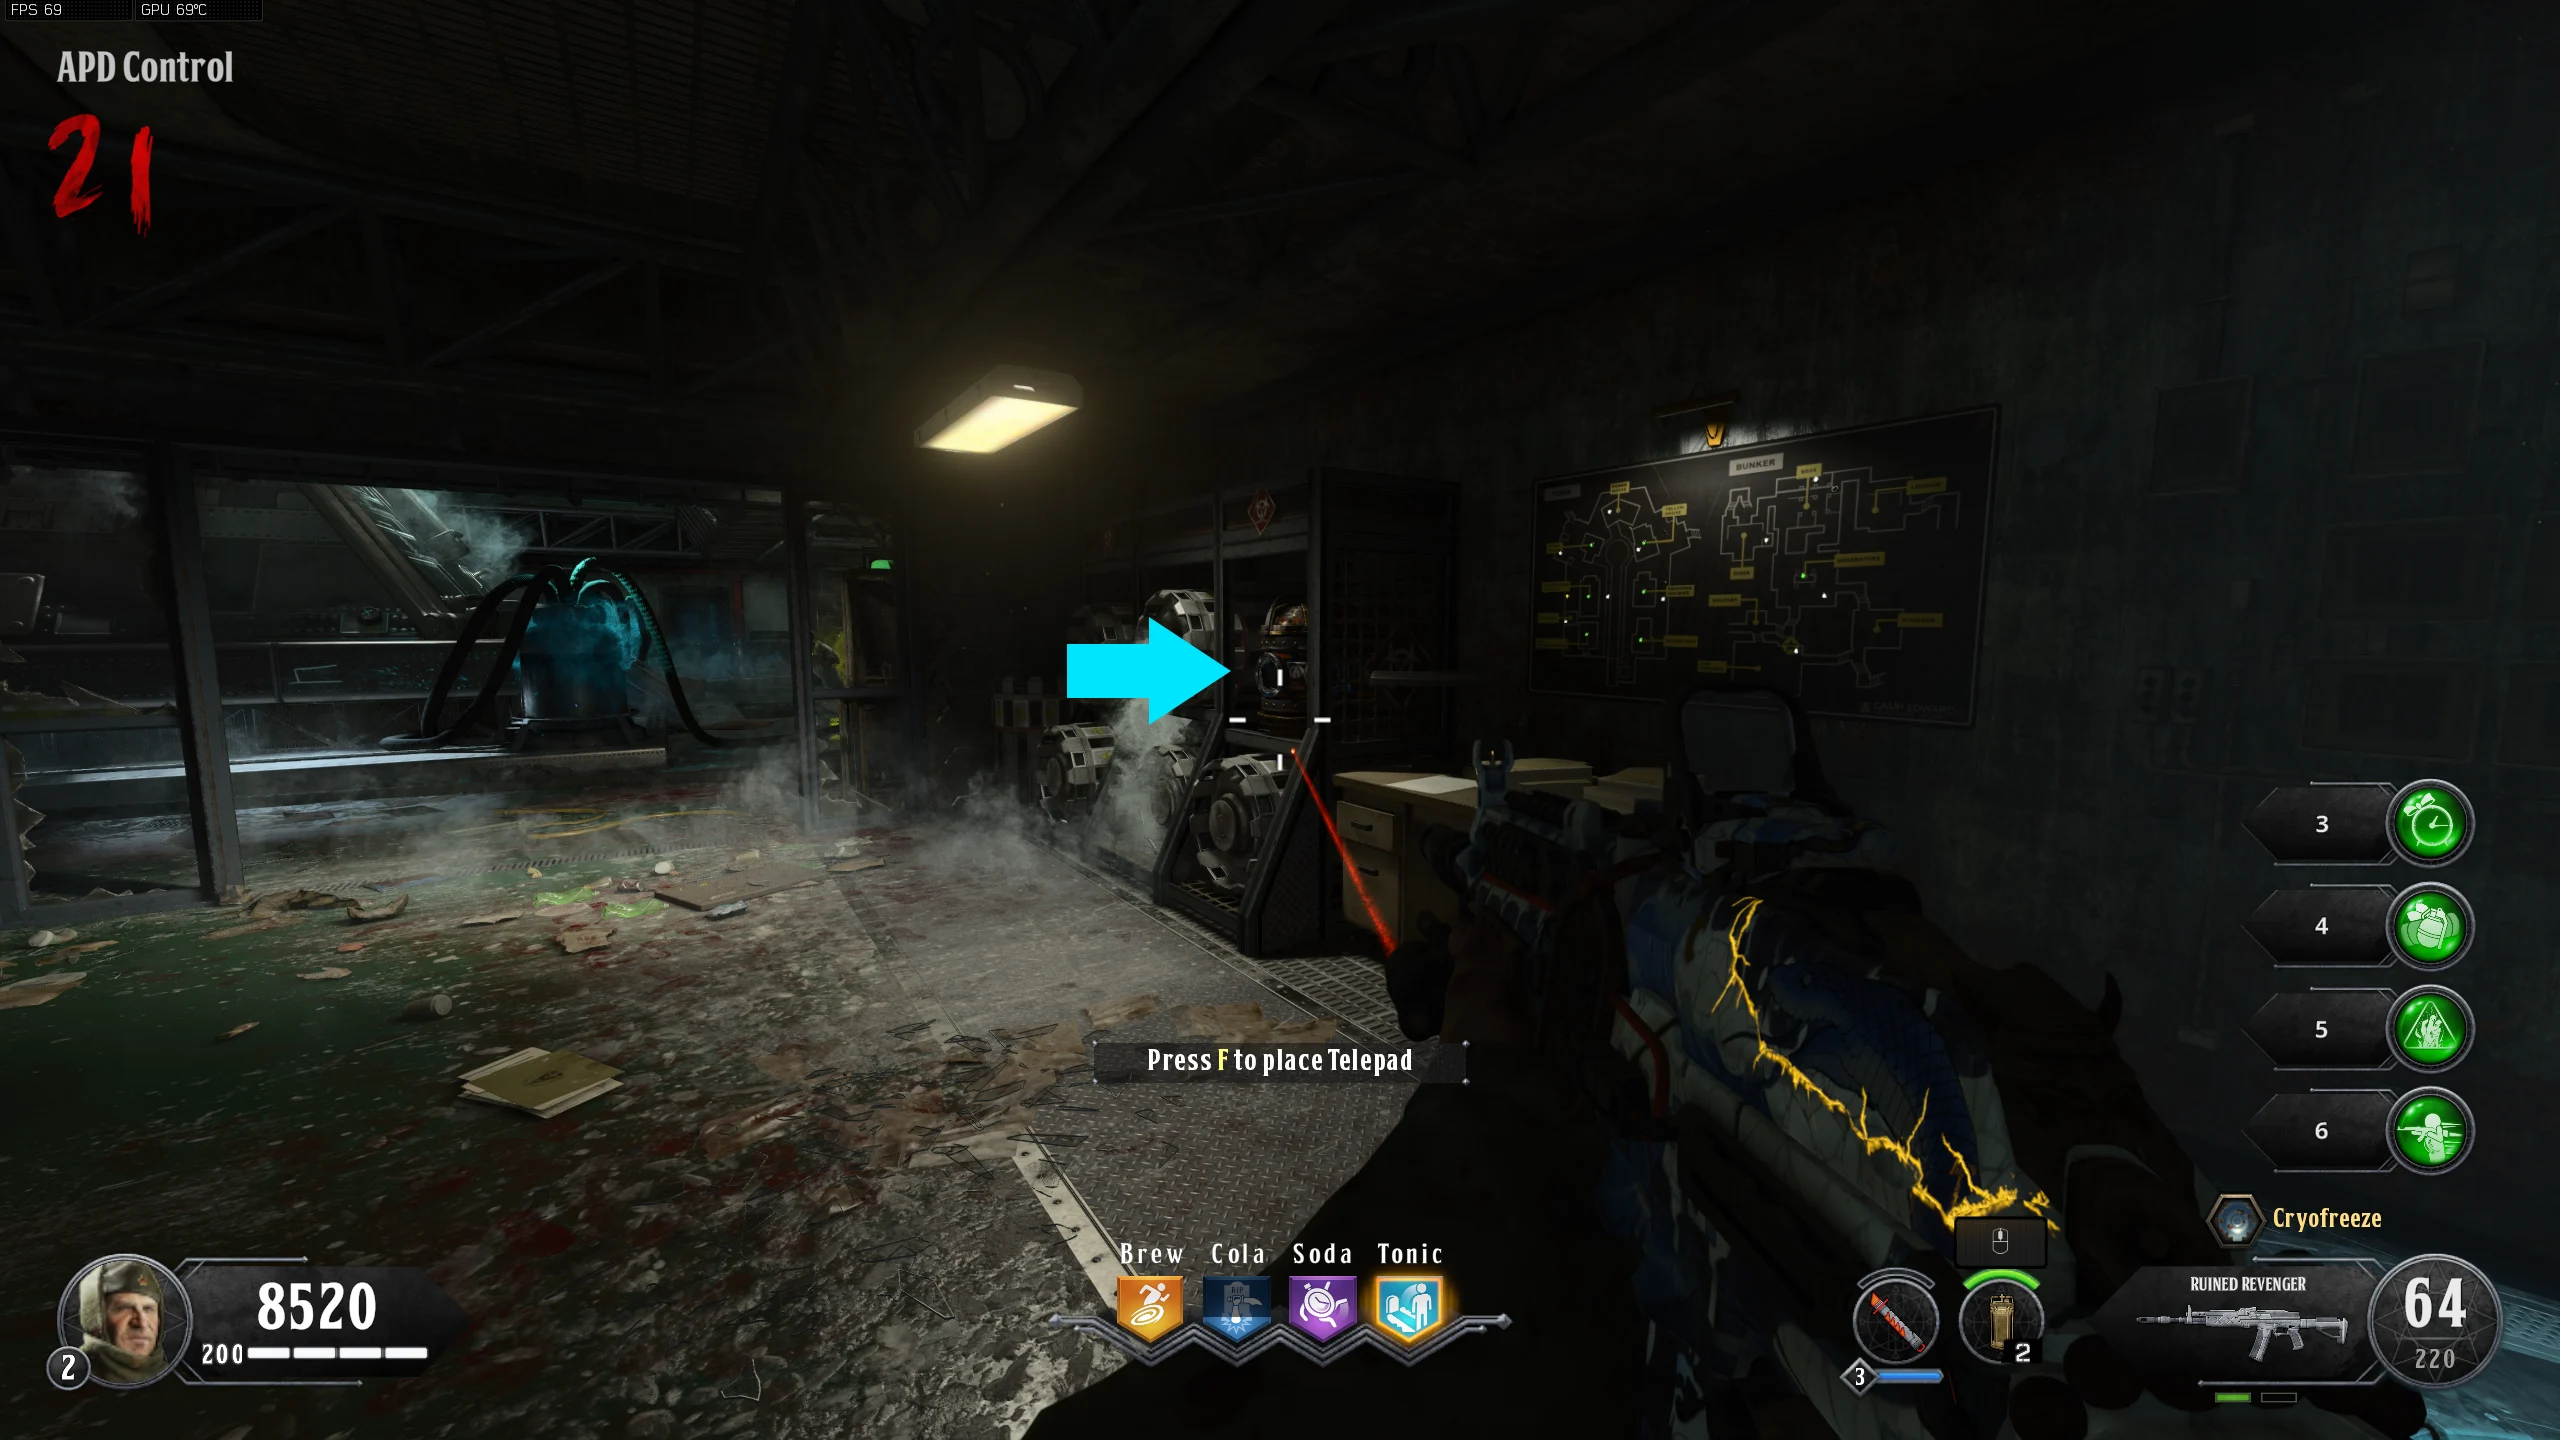
- You must deliver the core to the server in 'Operations' within a tight time limit. The only way to make it in time is to use the Telepads. Place one telepad in the 'Power House' and the other in the backyard of the 'Prisoner Holding' house. Grab the power core and use the telepads. Once you are teleported, run to the 'Operations' server and interact with it to insert the core.
- If you have the Path of Sorrows Specialist Weapon, it's recommended to use it after teleporting, as it makes you run faster.
- If you fail to deliver it in time, you'll be able to immediately grab another core back at the 'Power House' and try again.
- Once the core has been placed, Rushmore will speak to you.
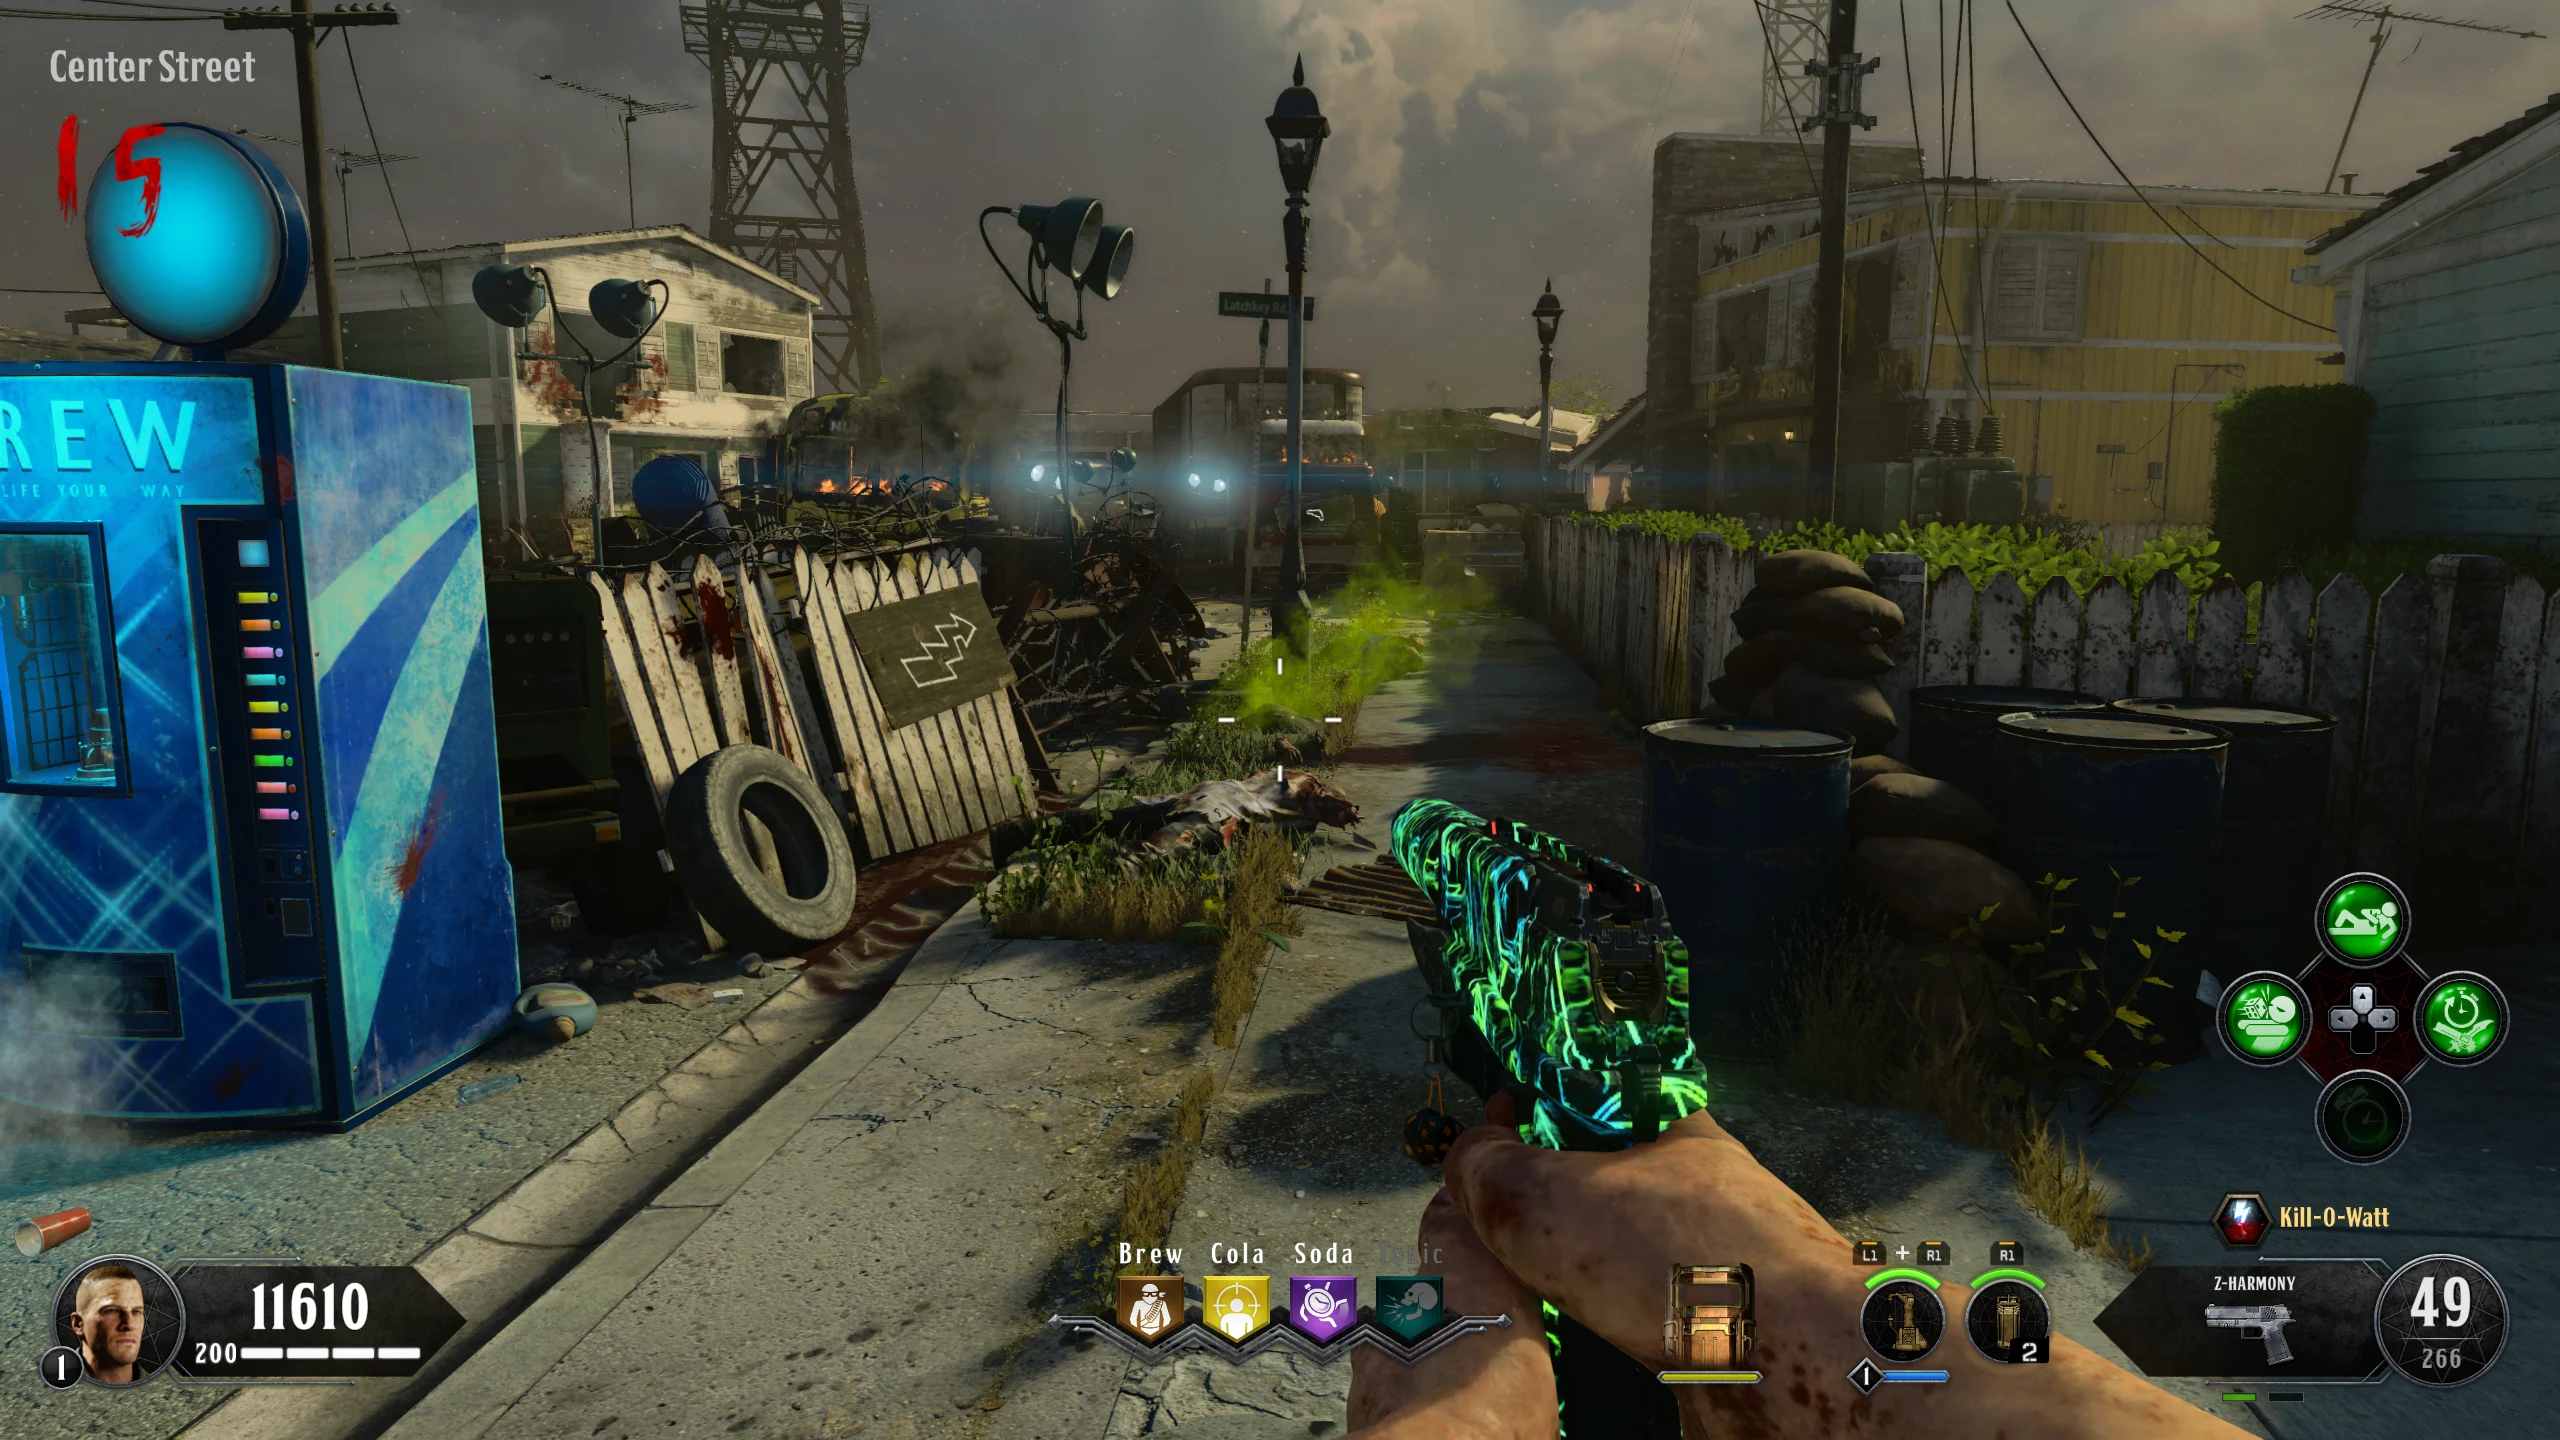
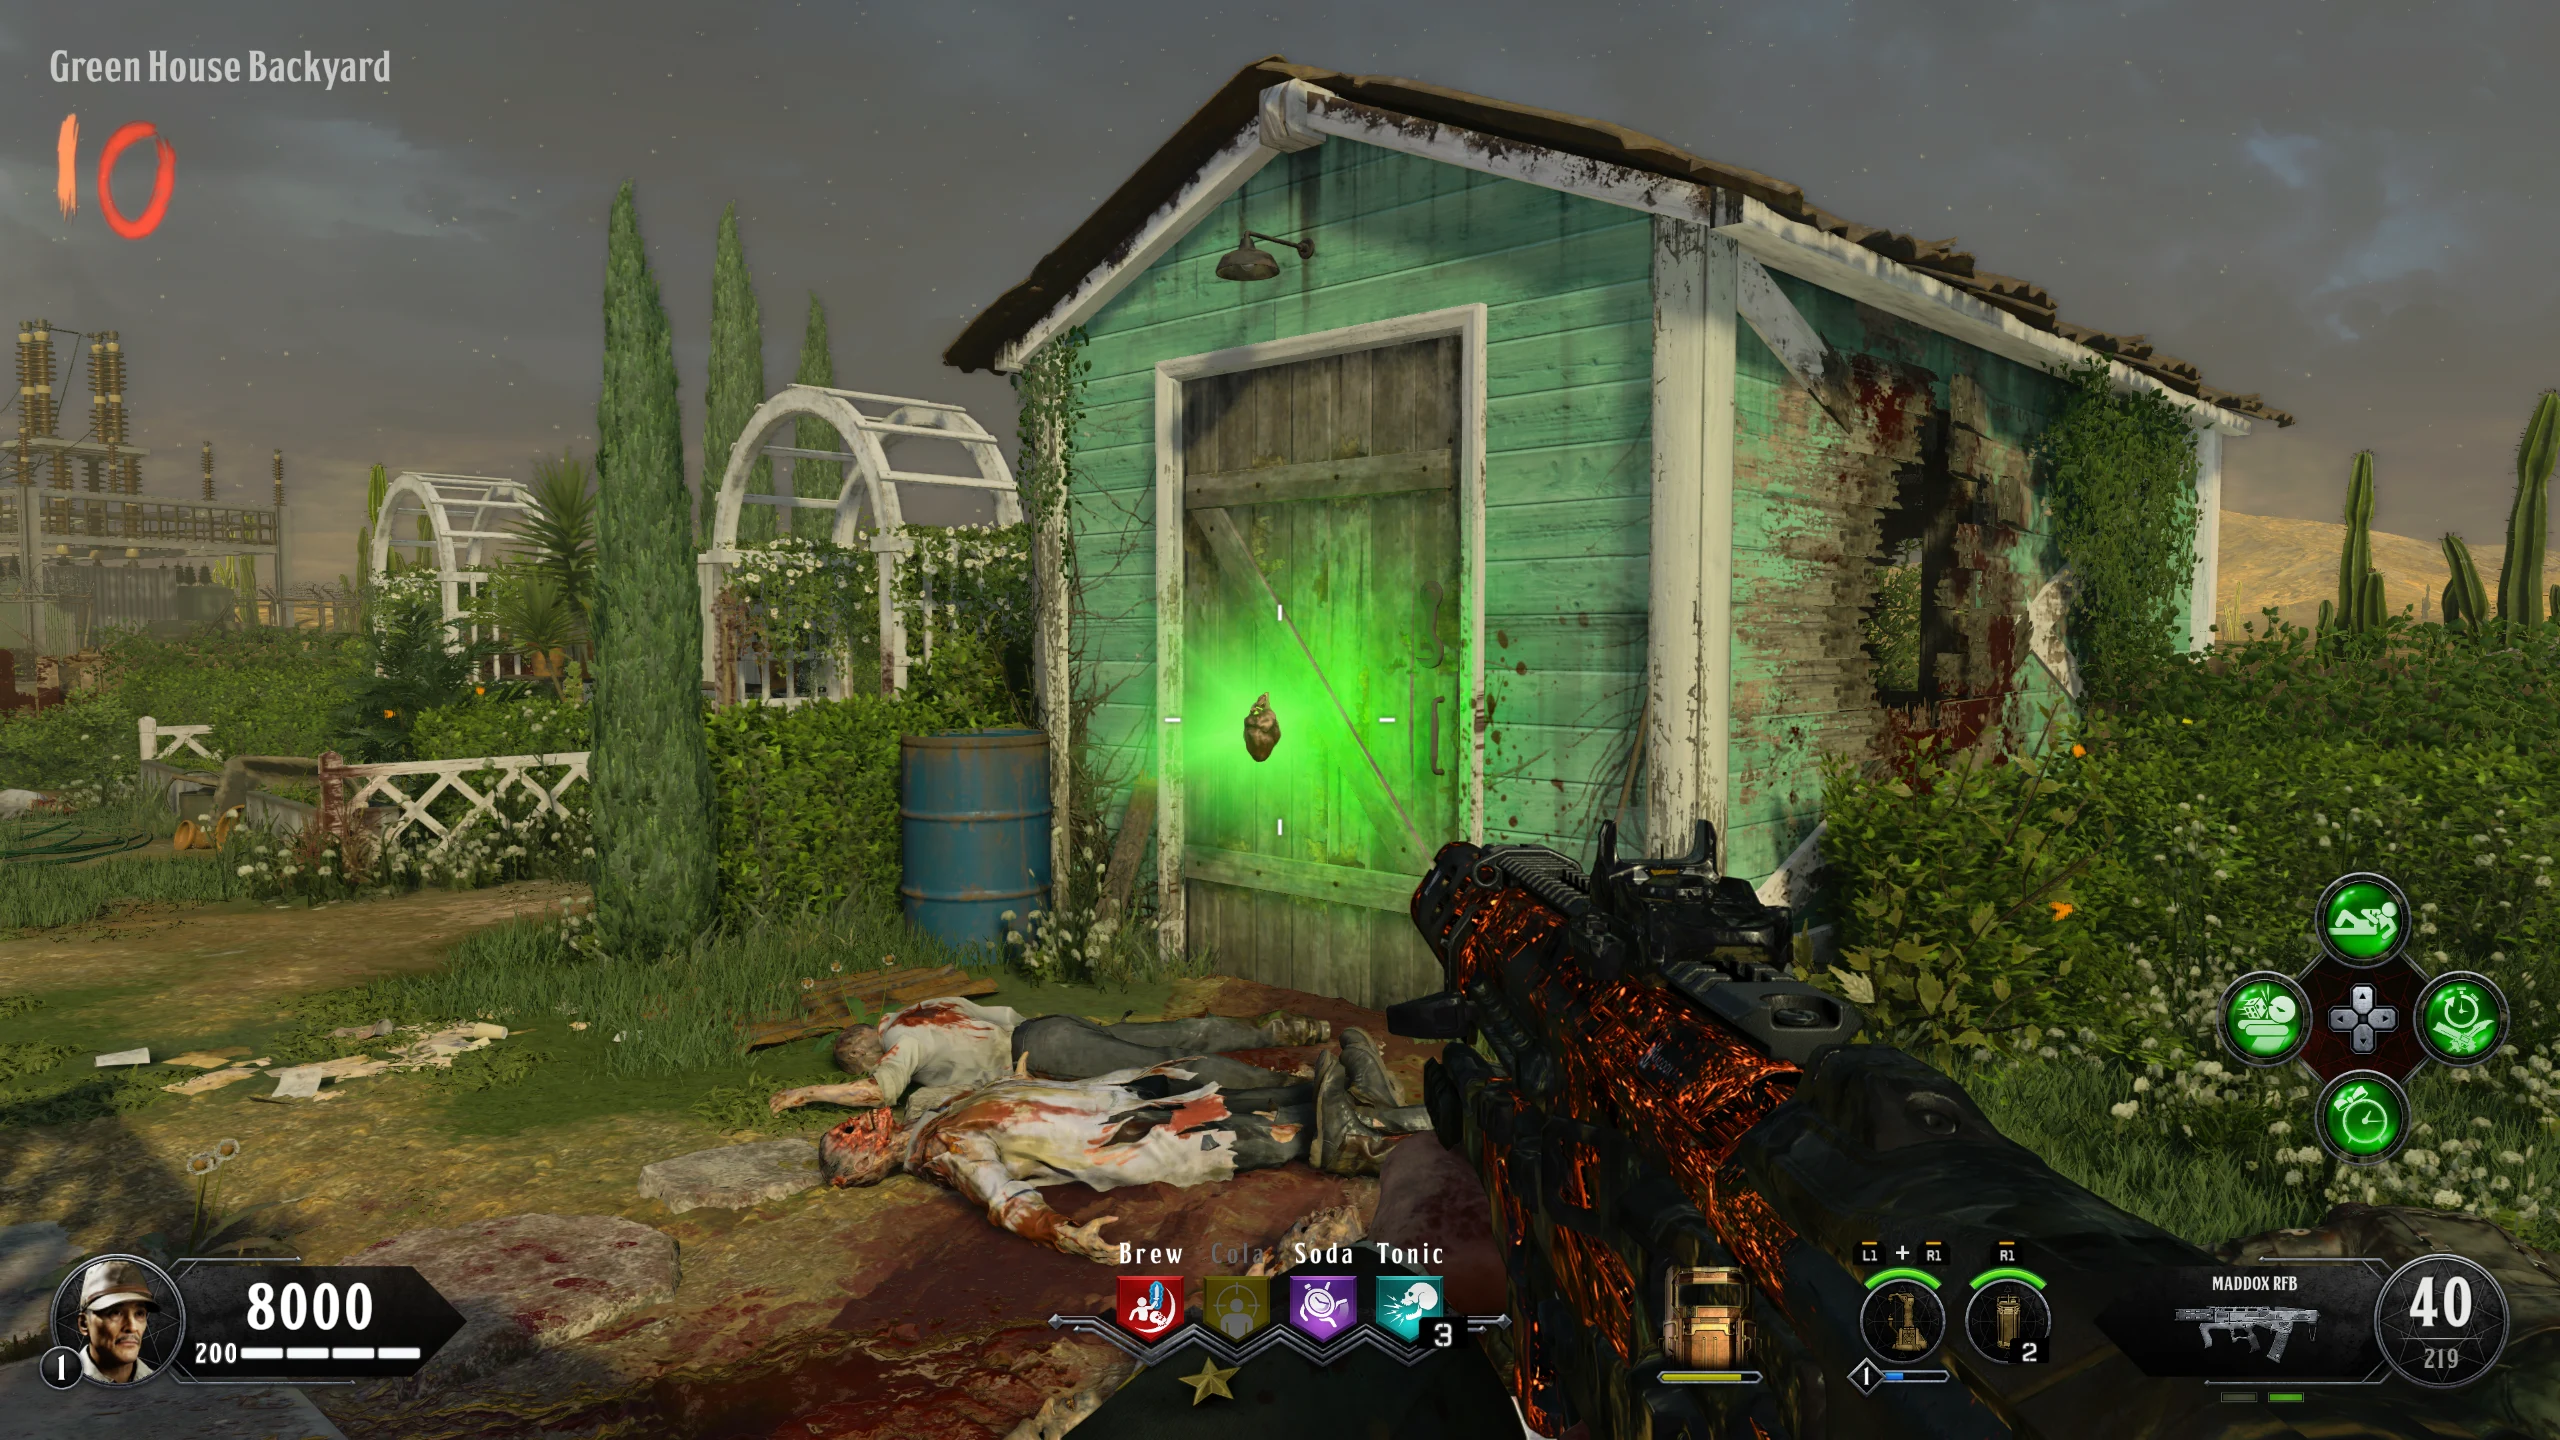
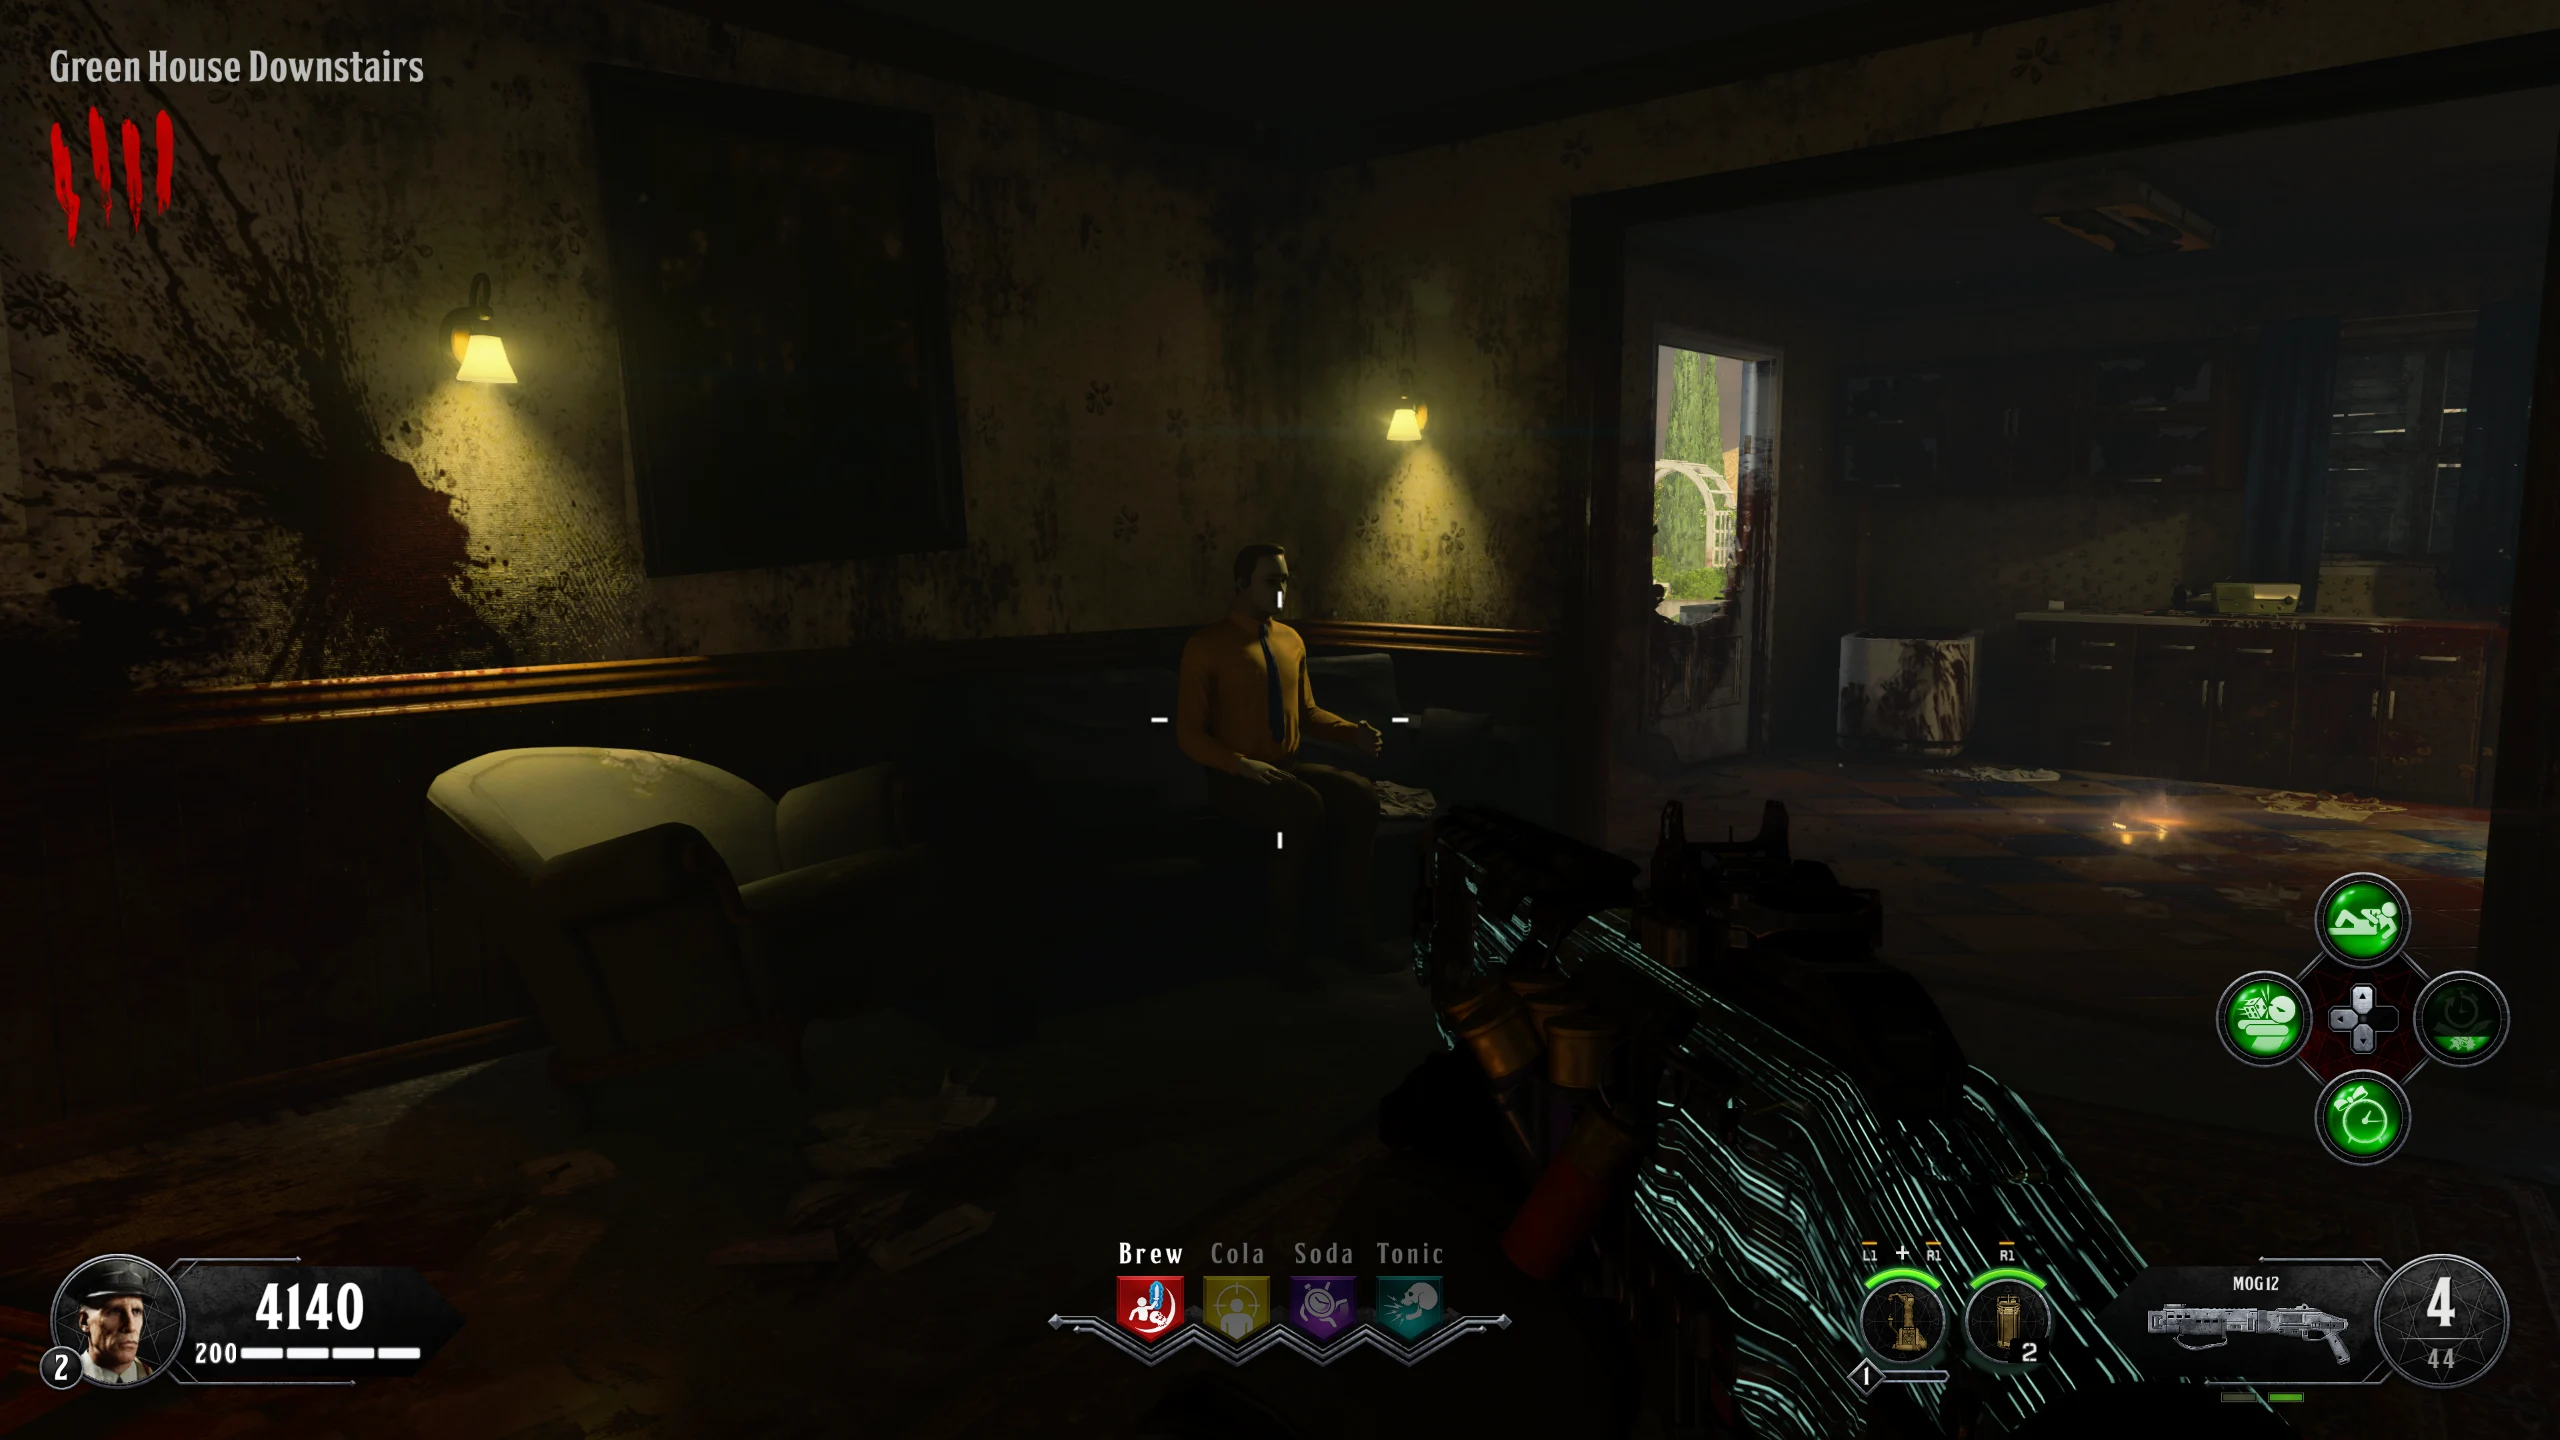
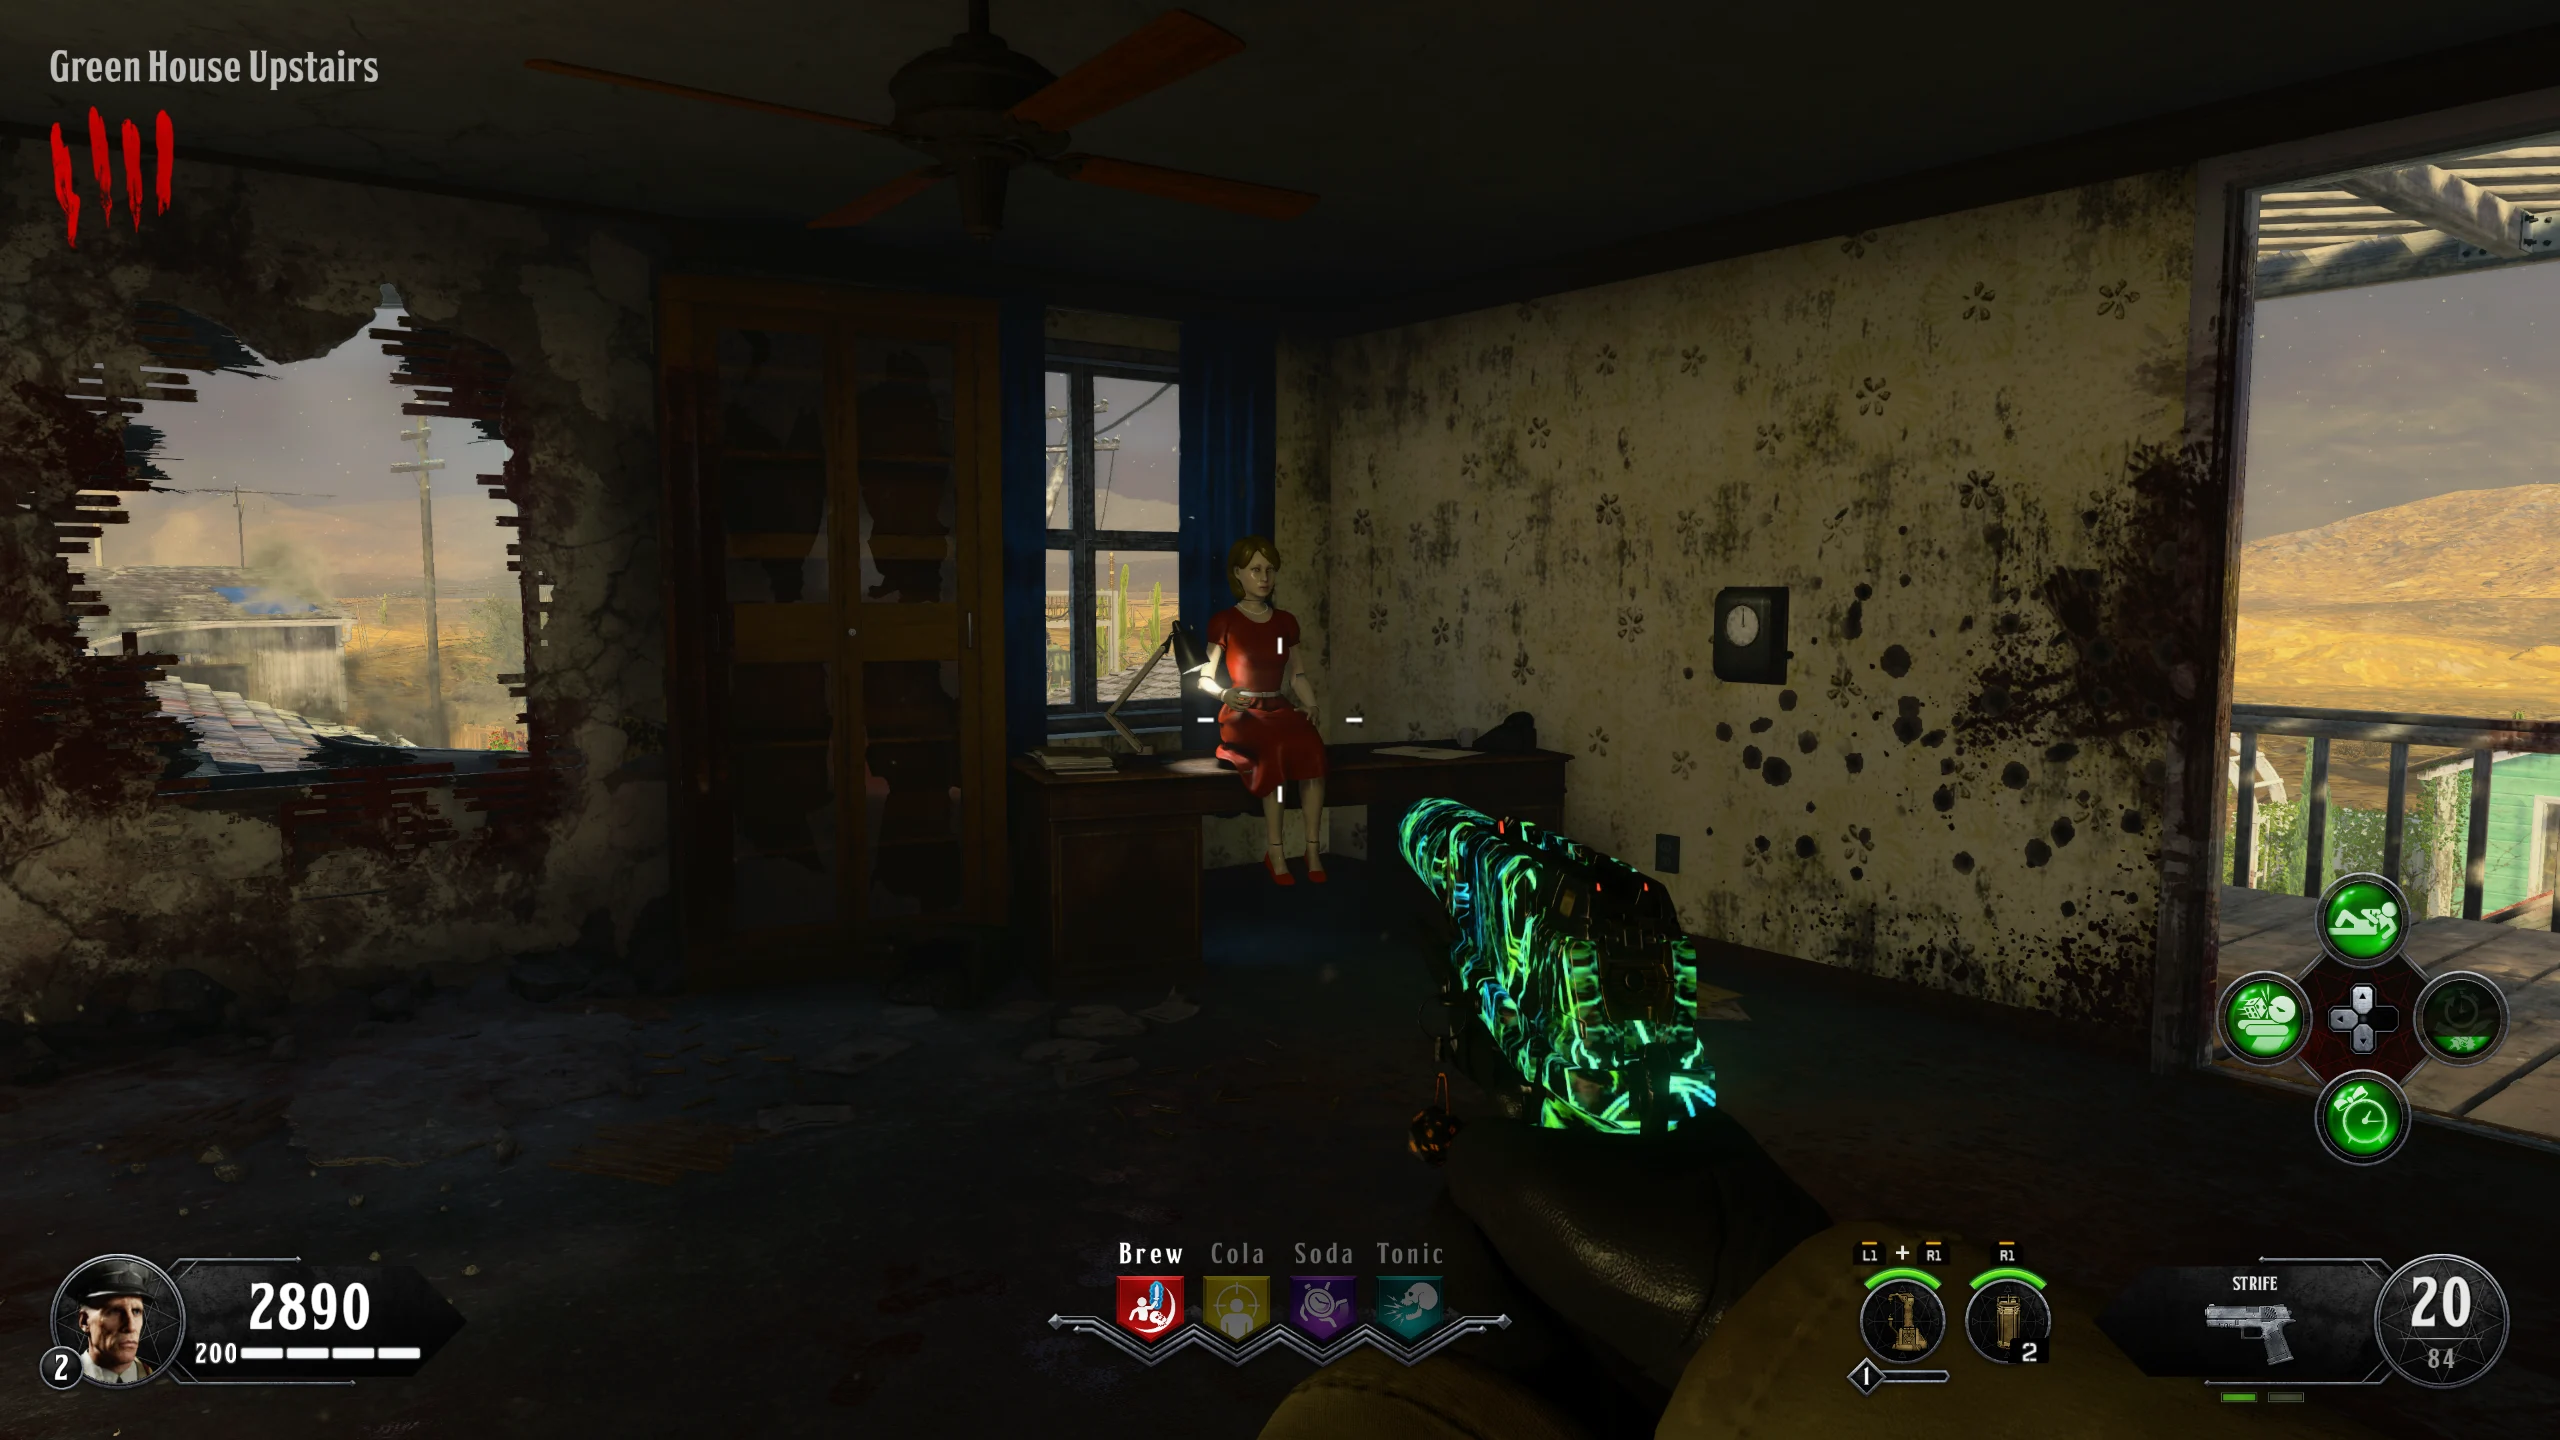
- Obtain a weapon with the Brain Rot Ammo Type.
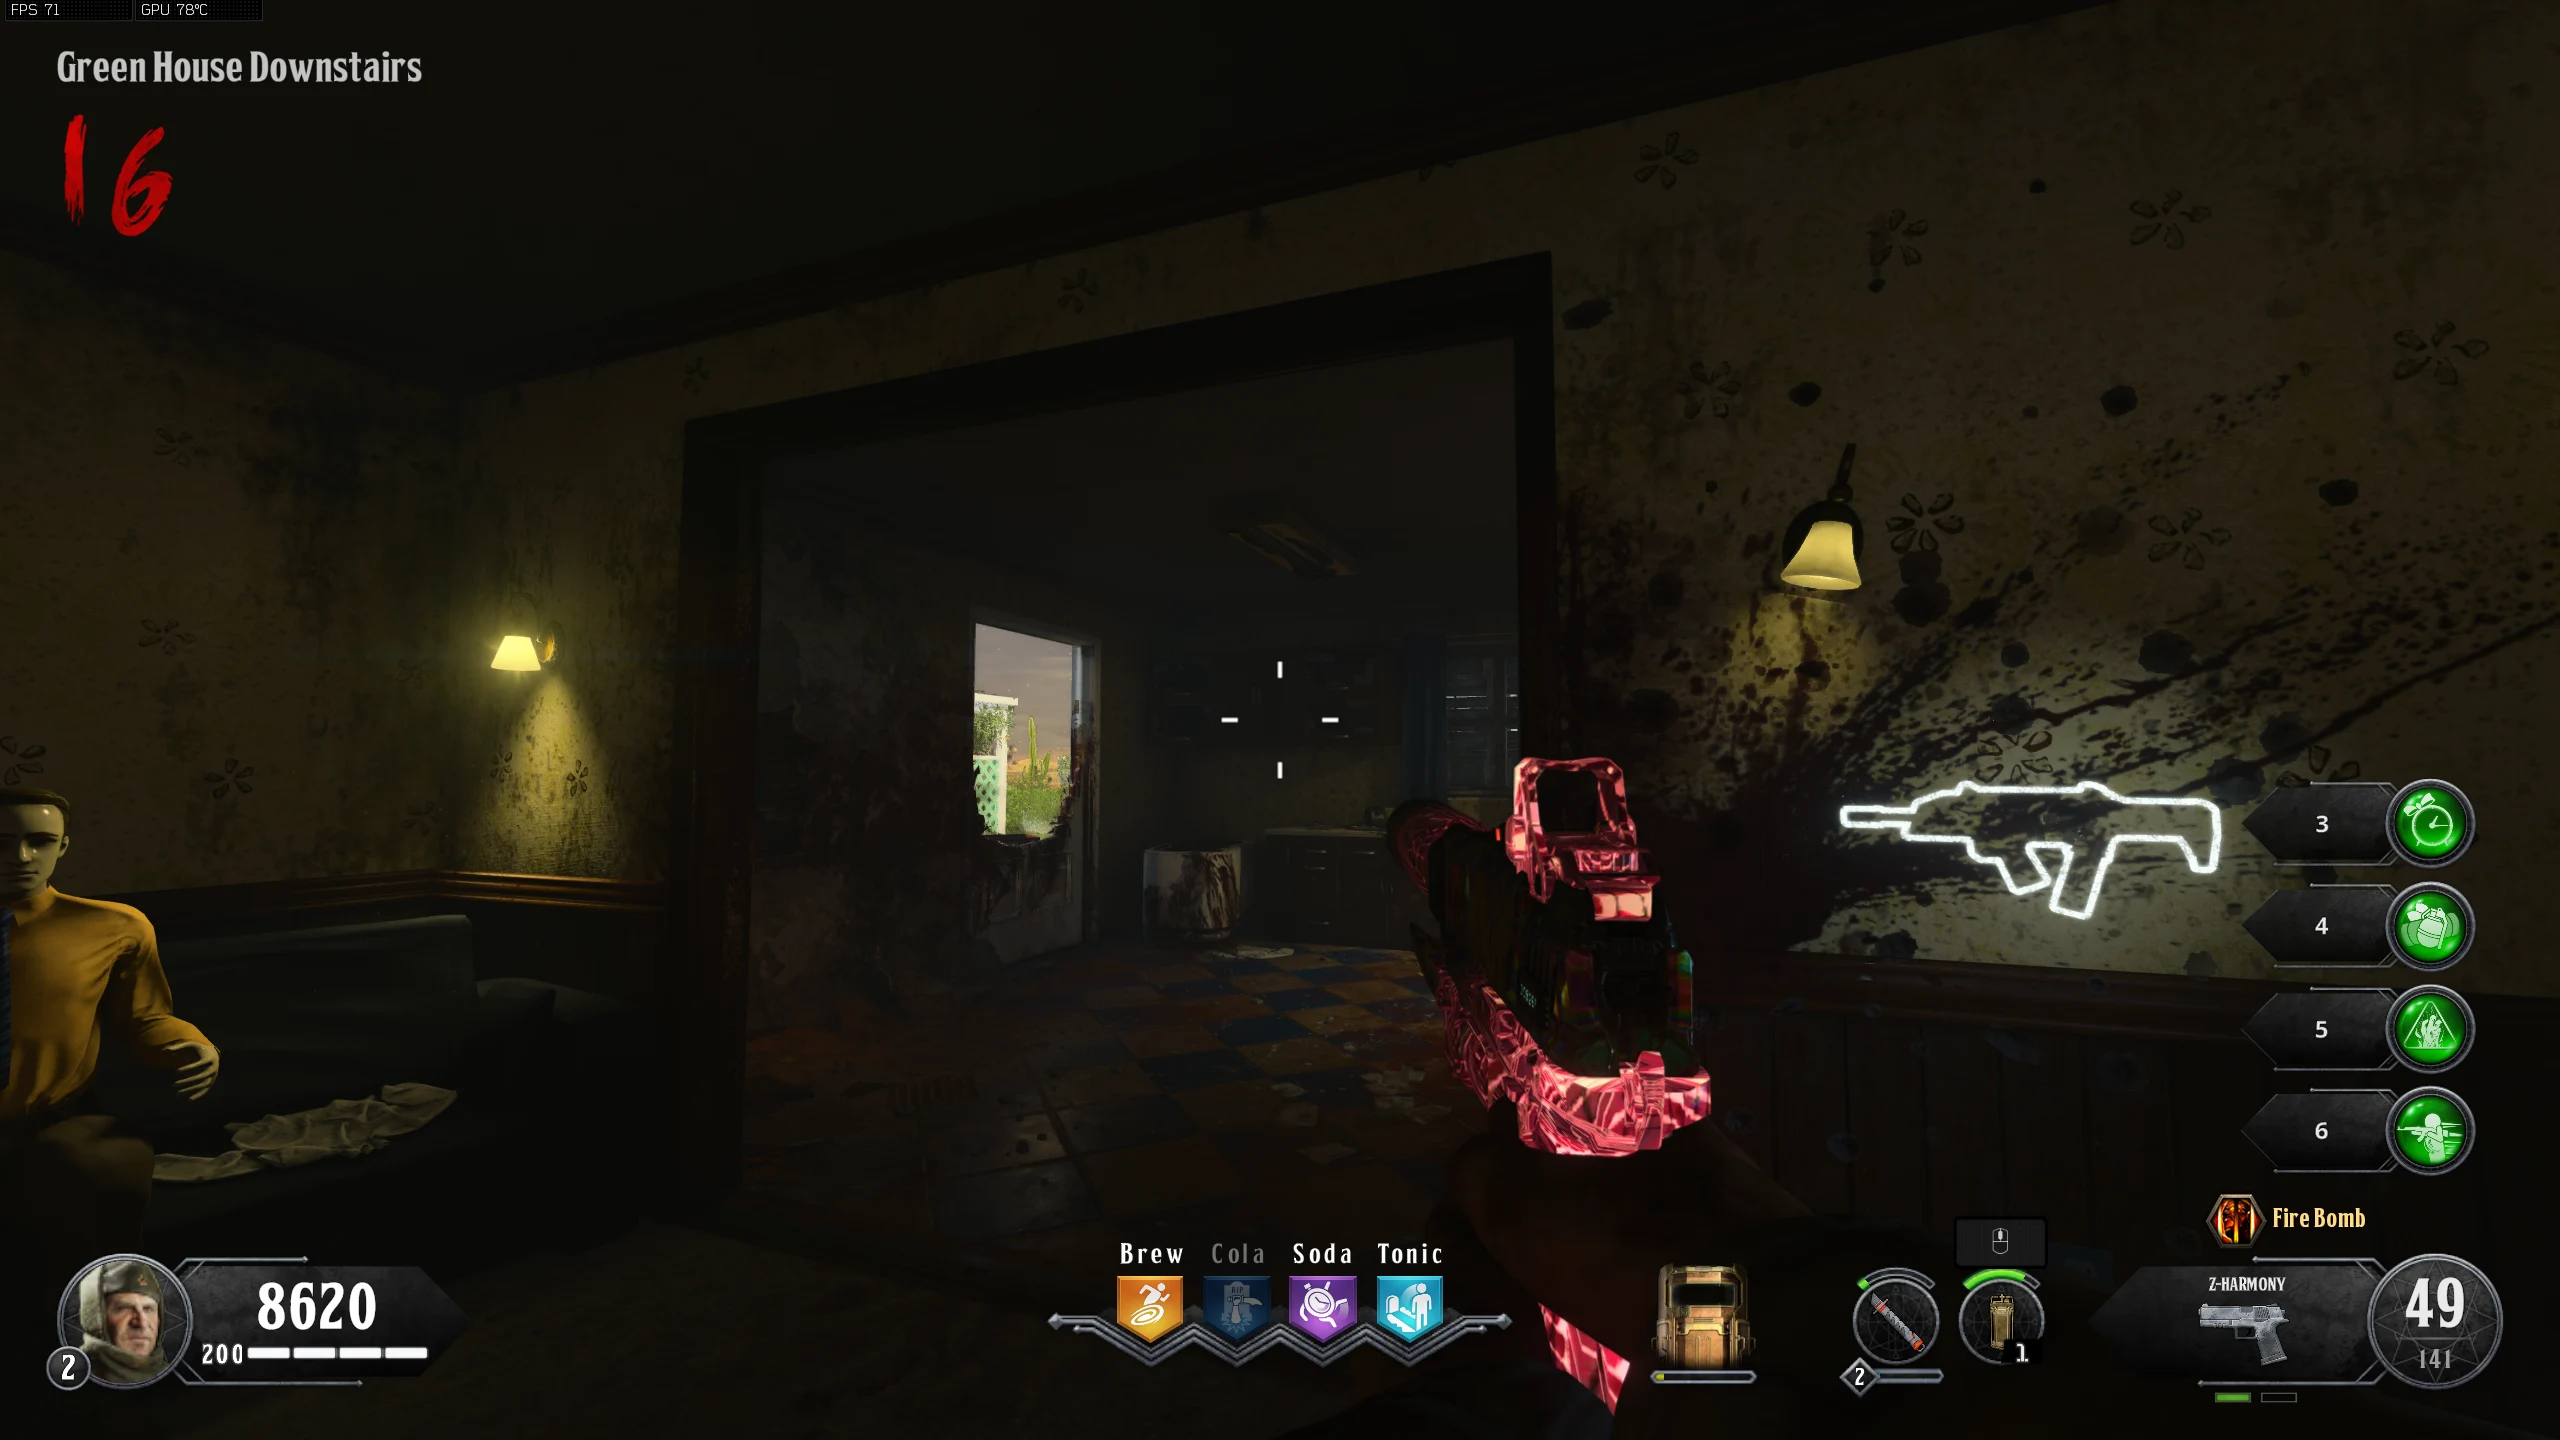
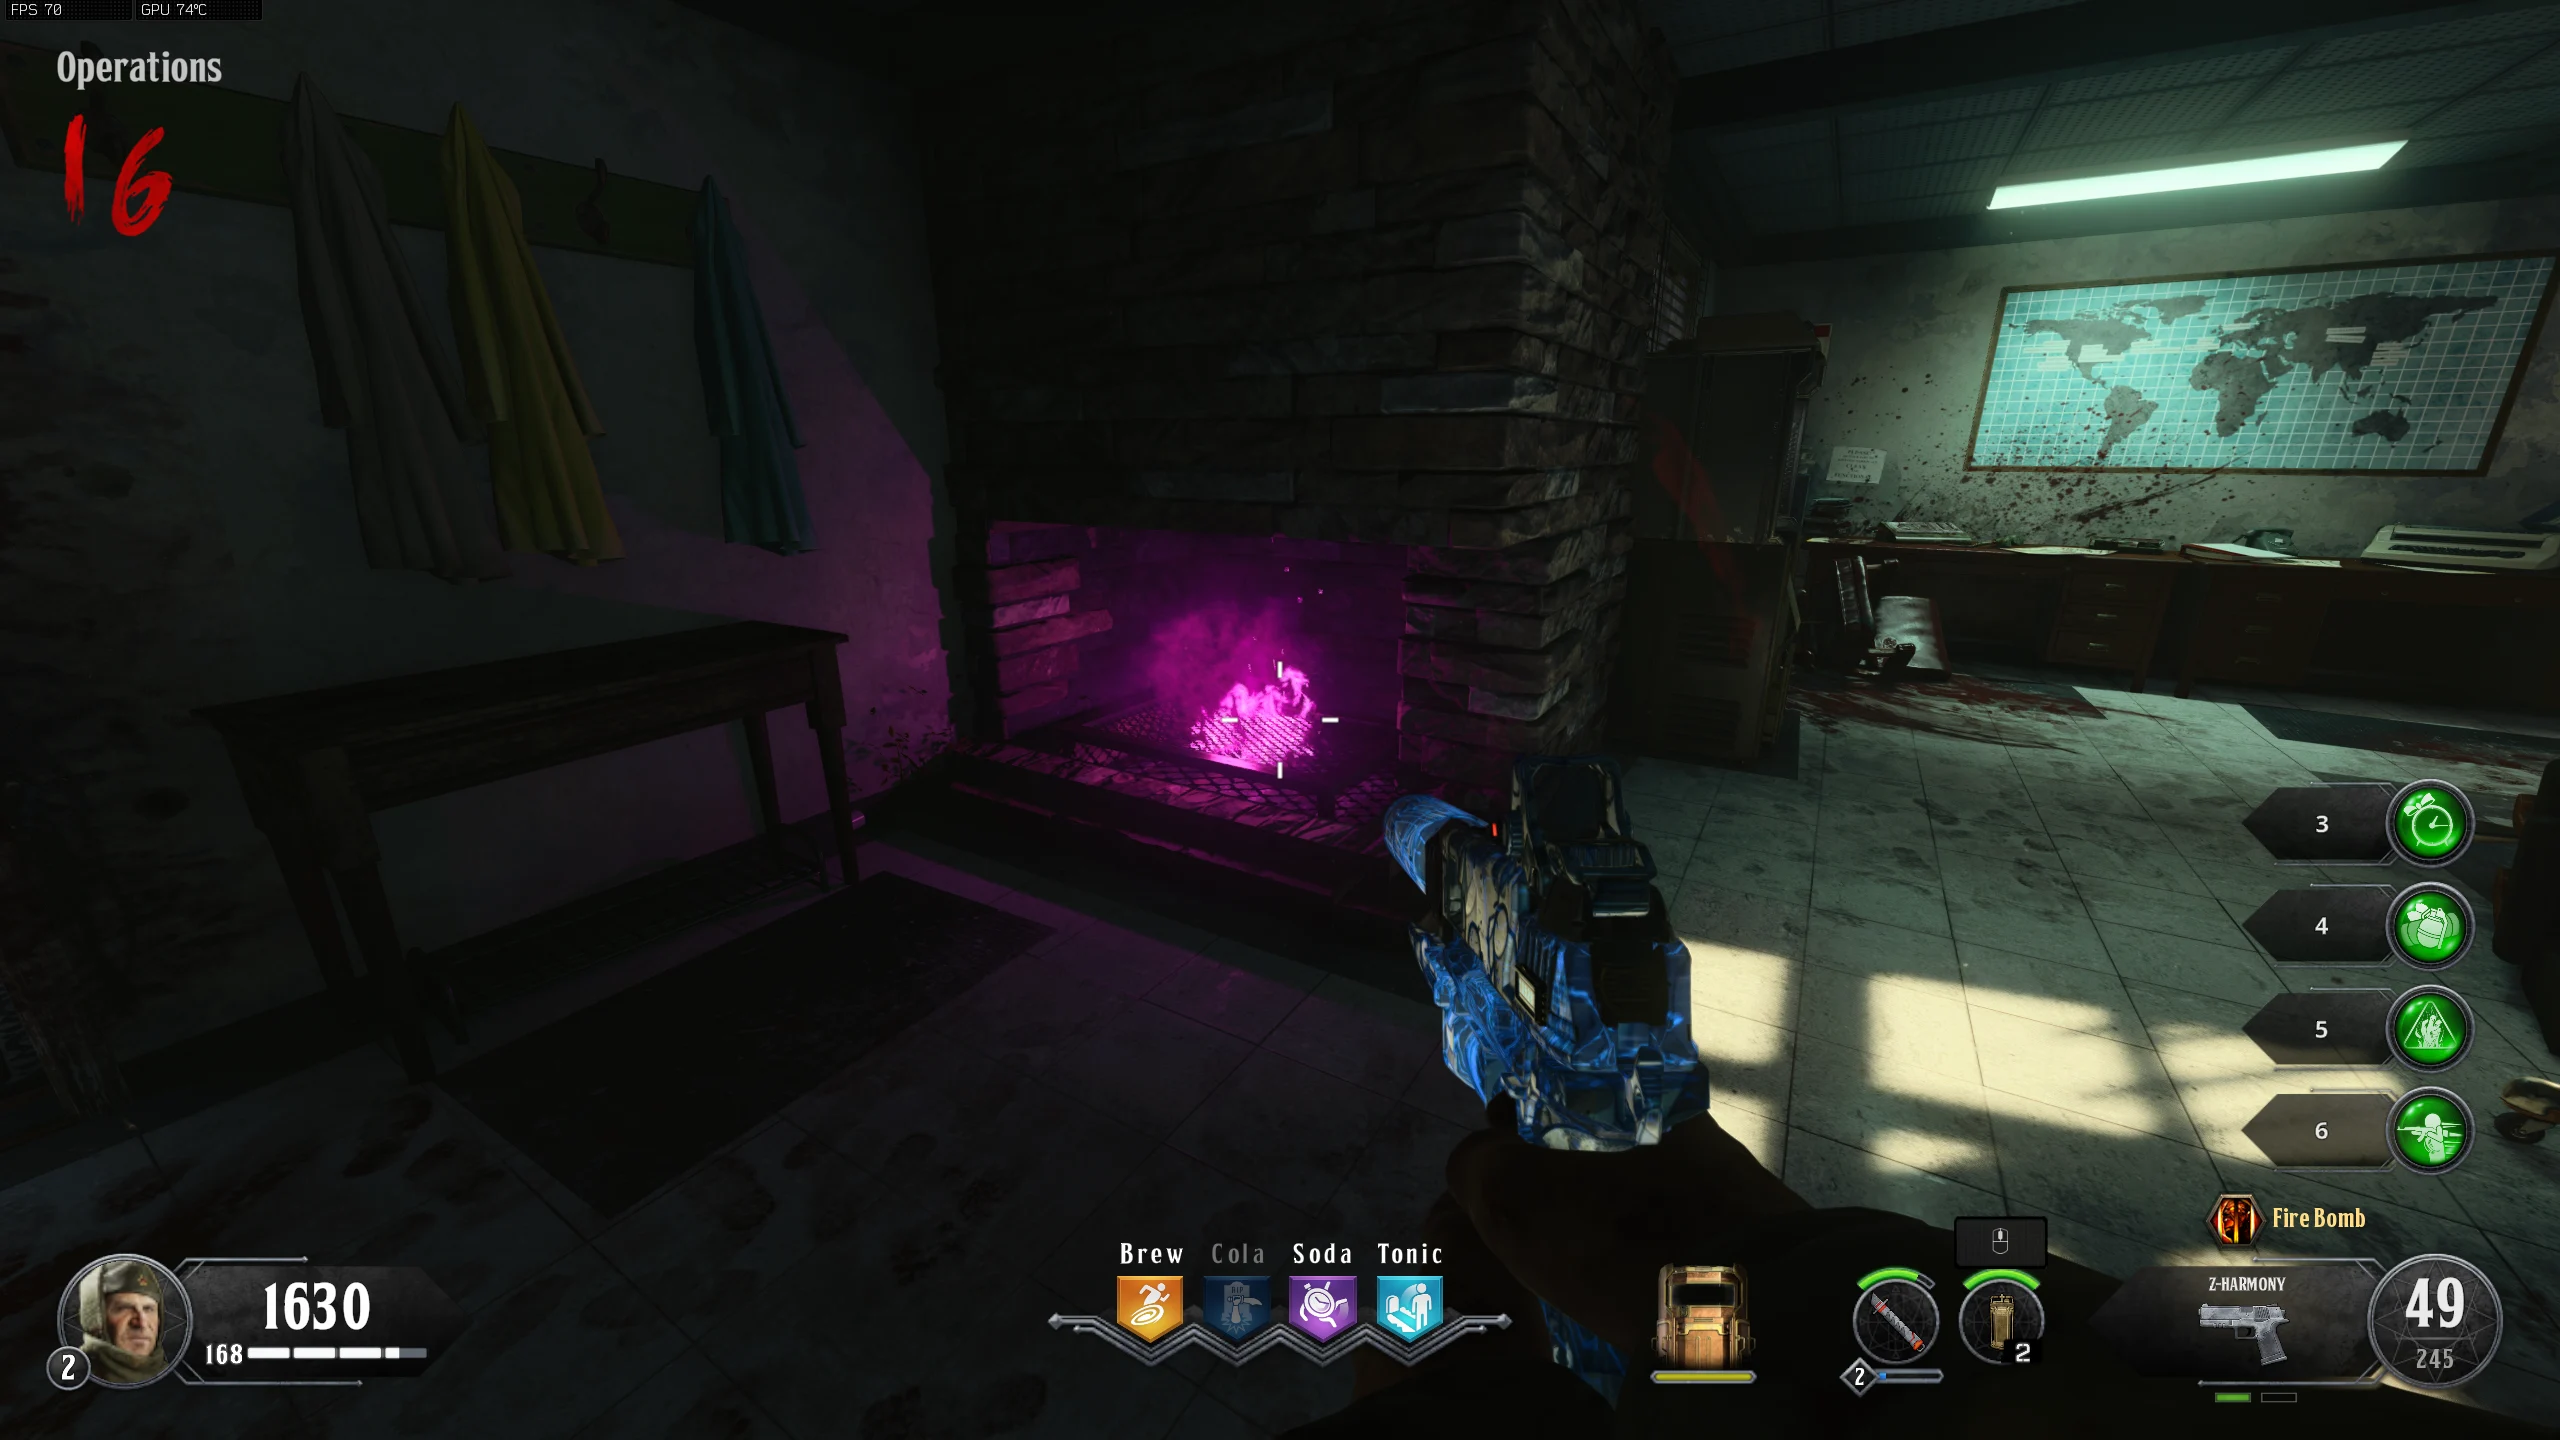
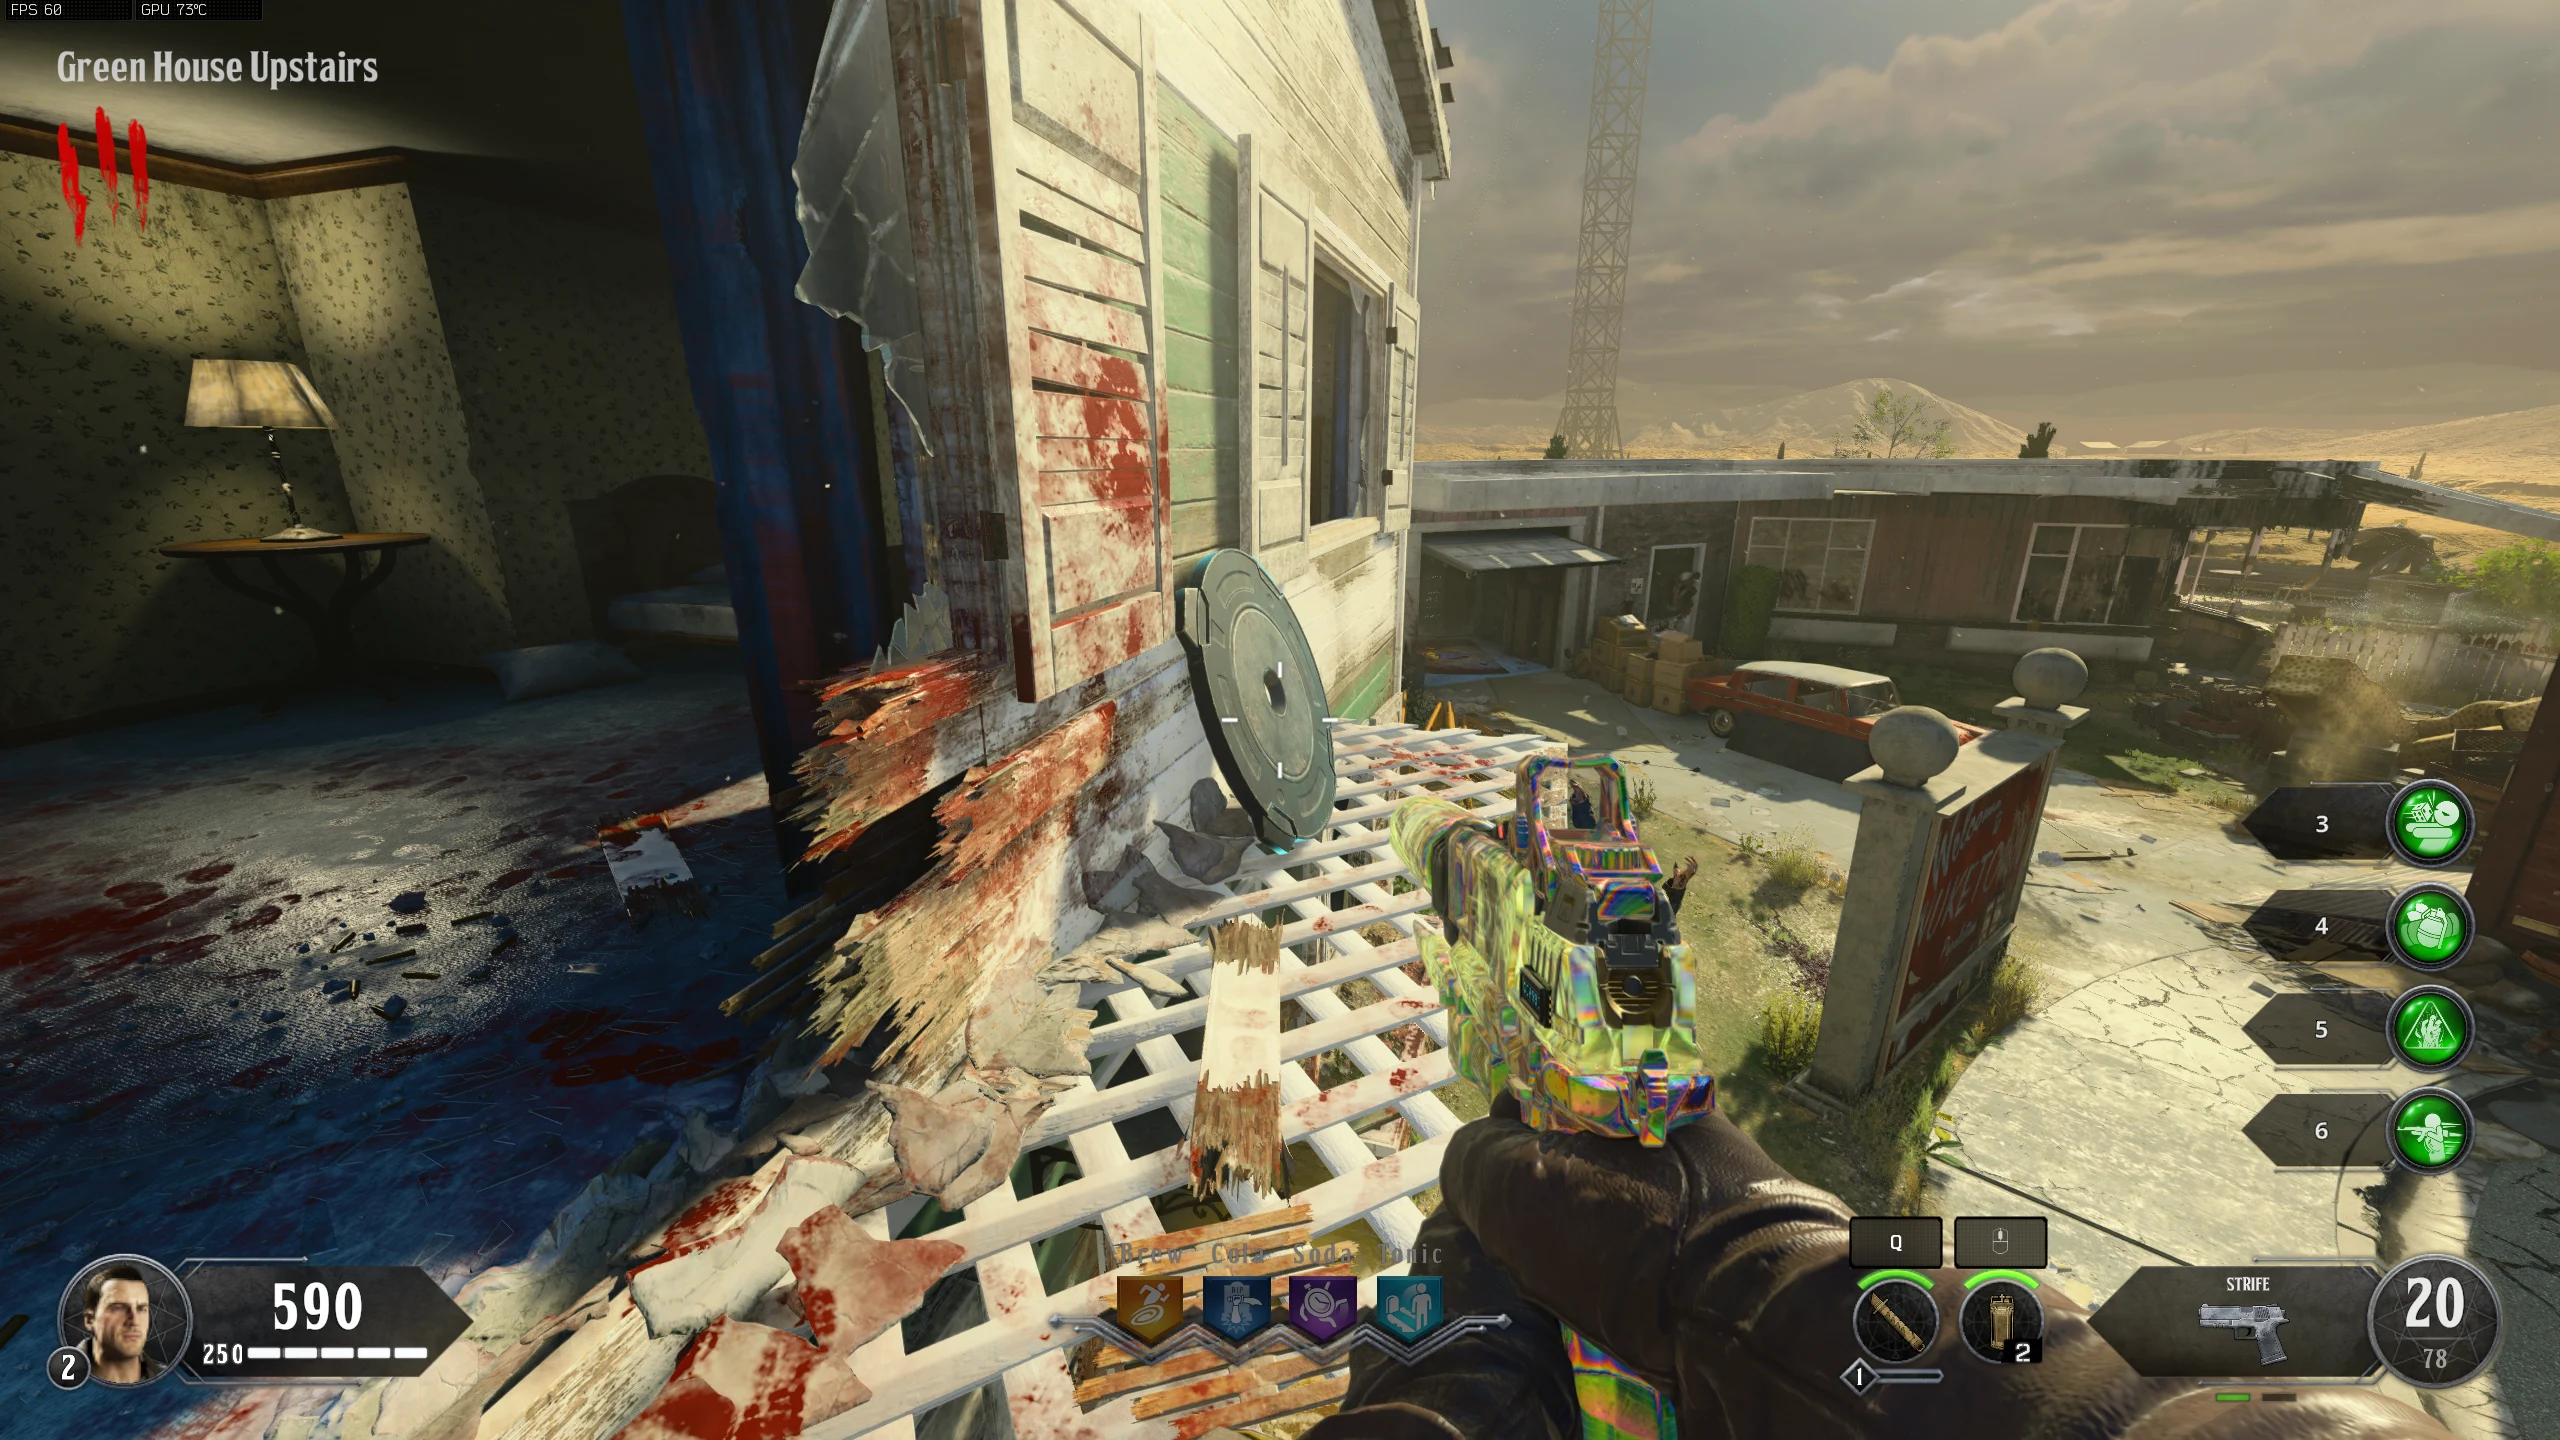
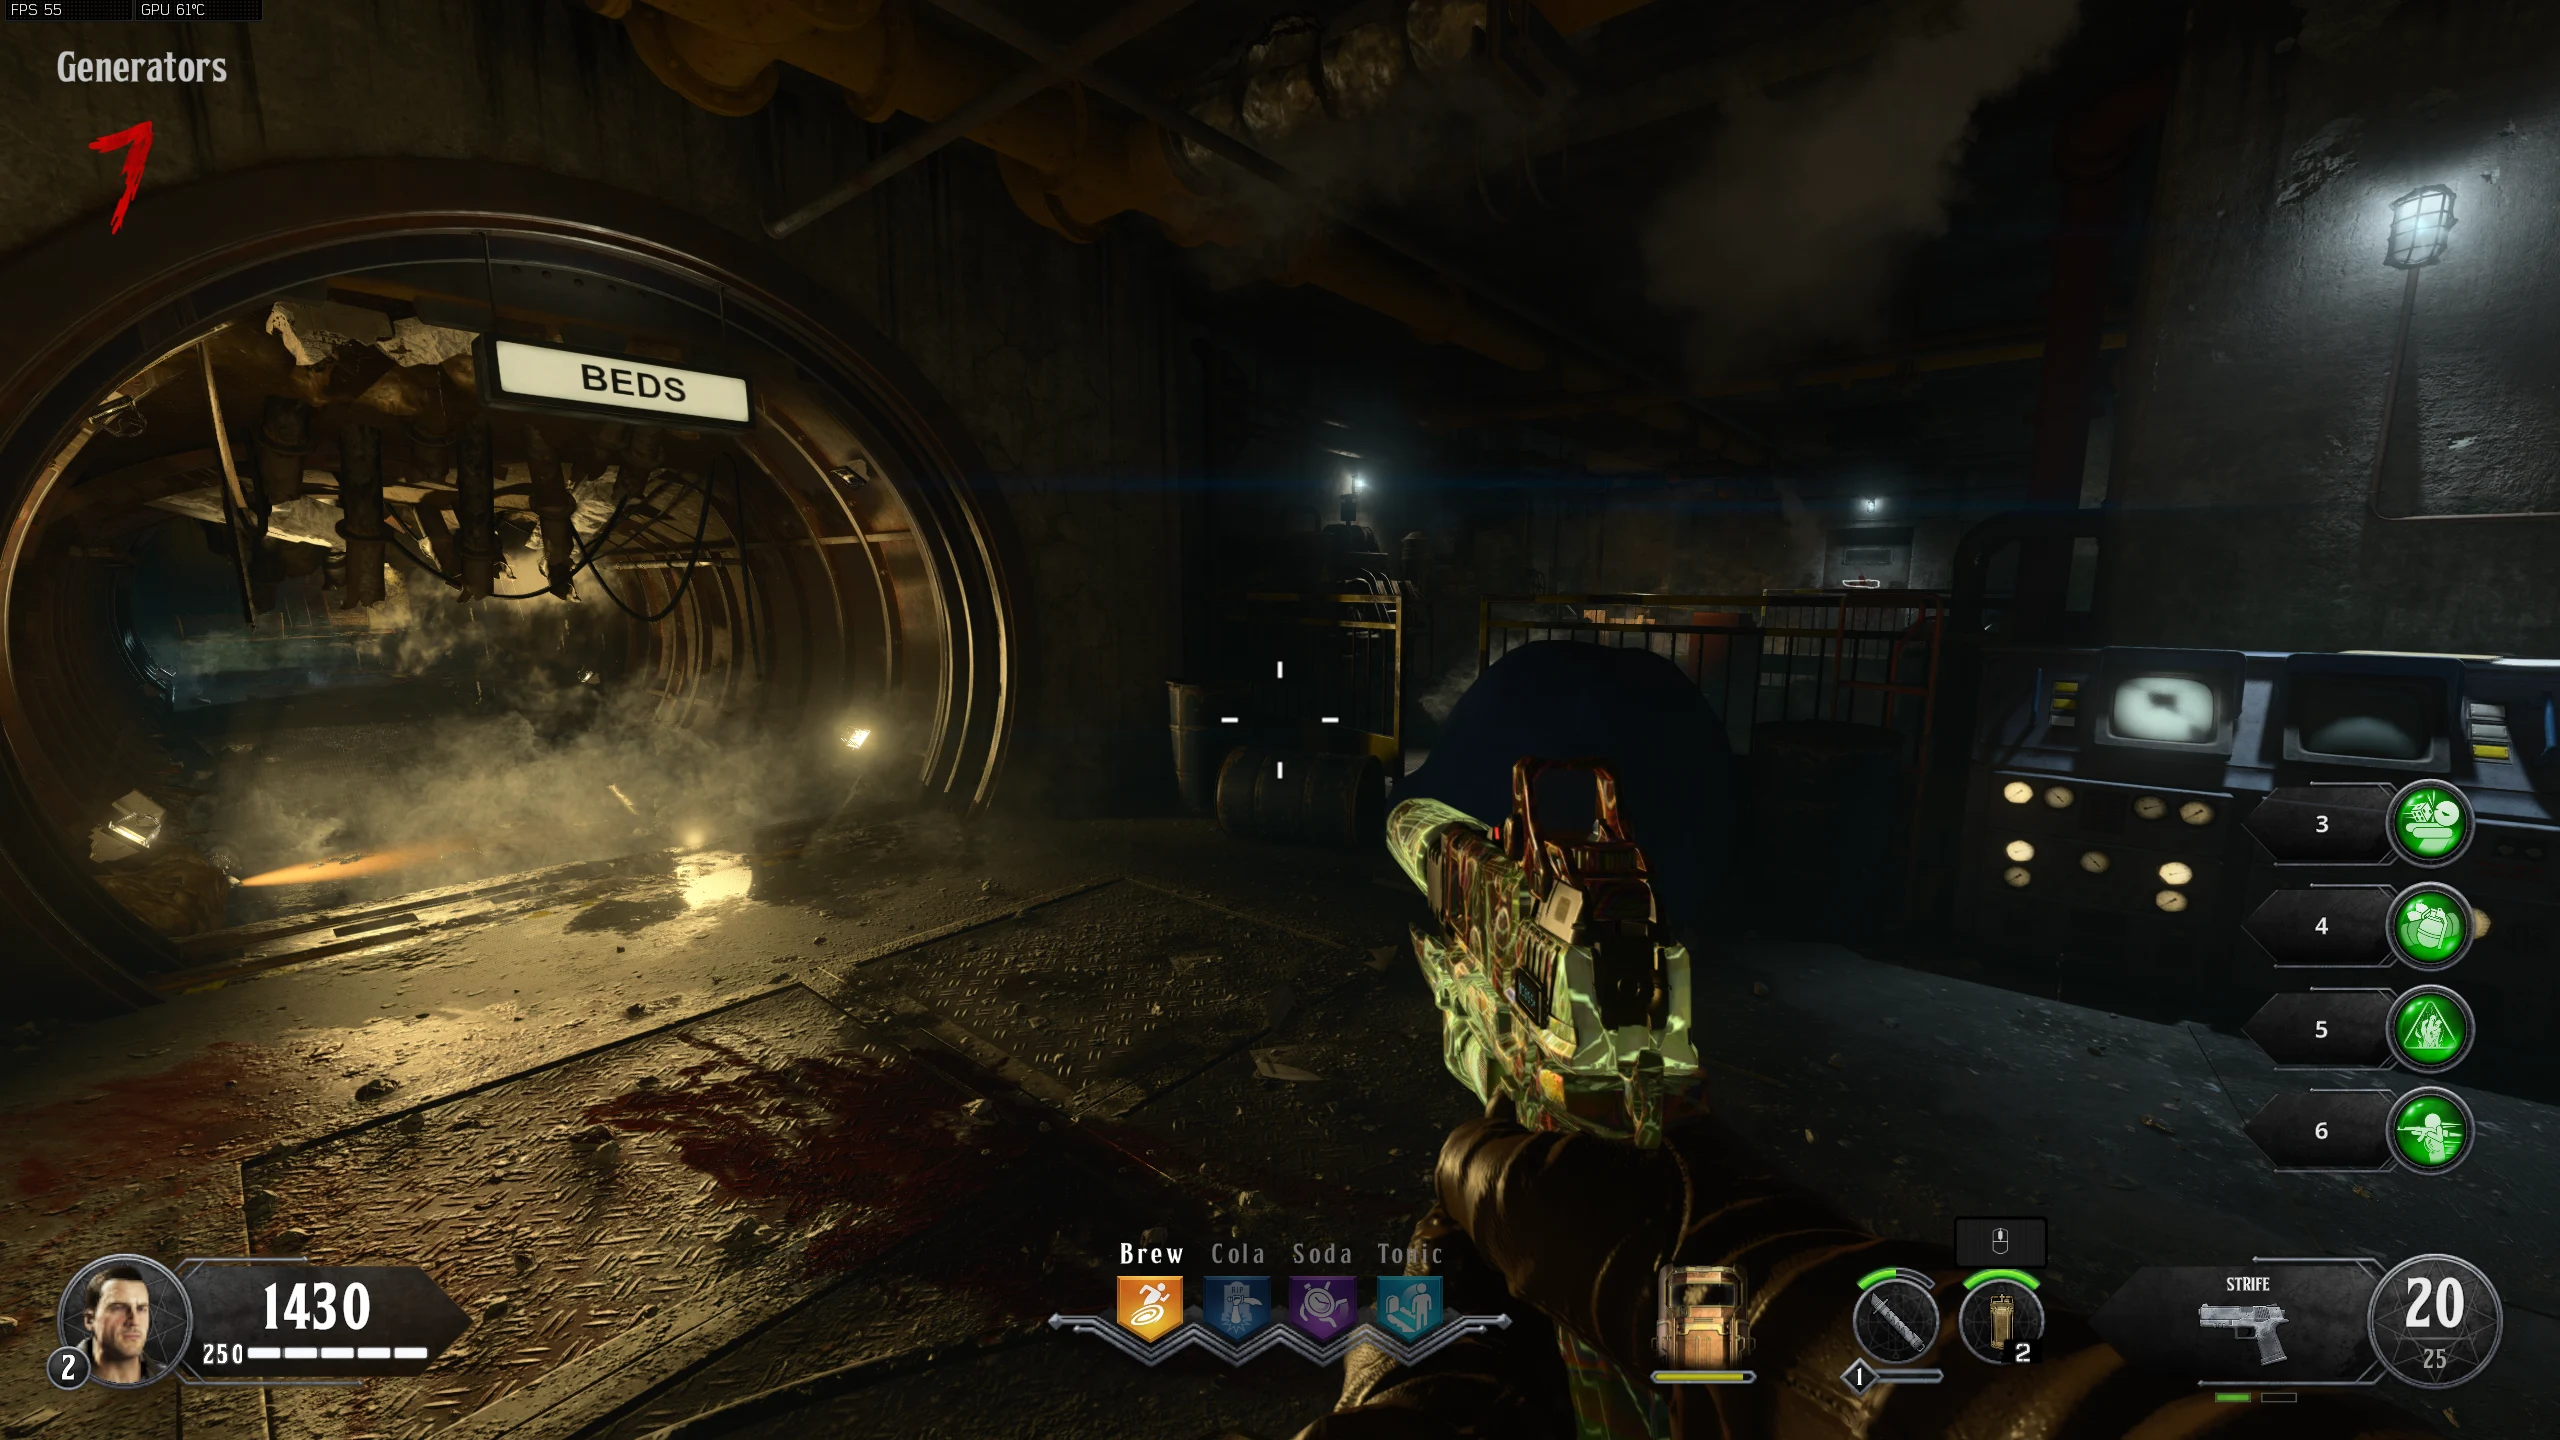
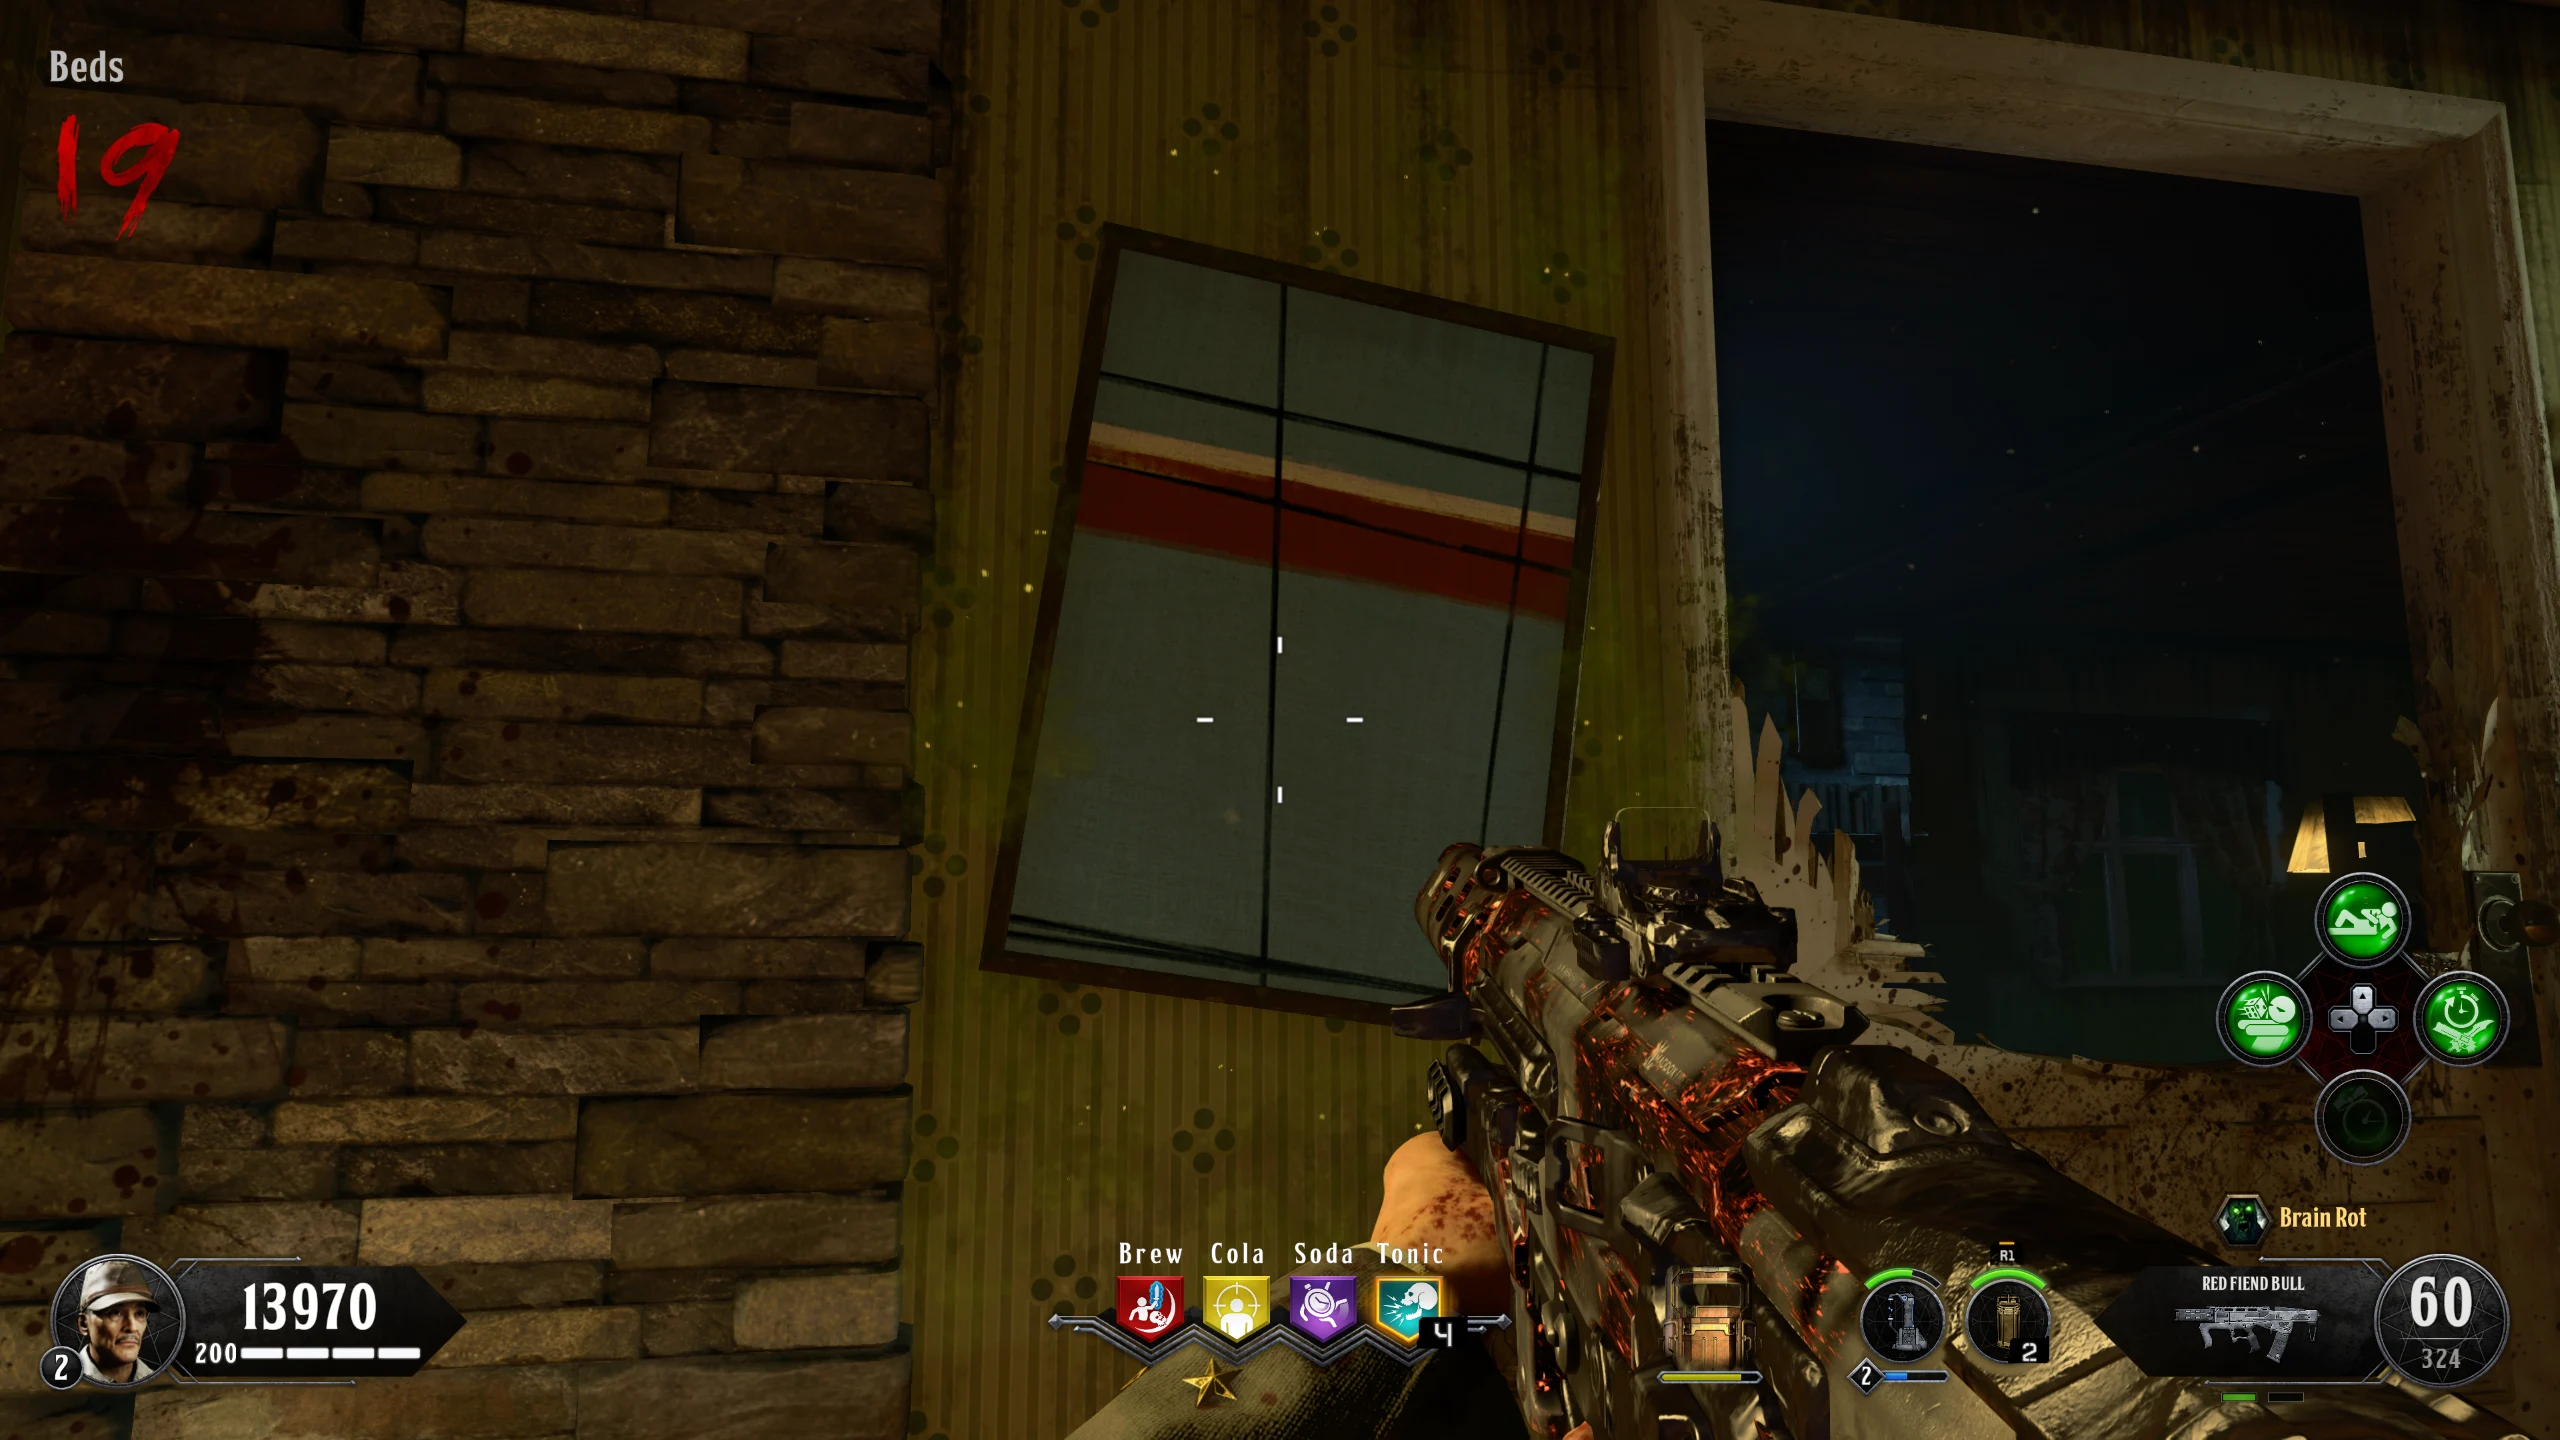
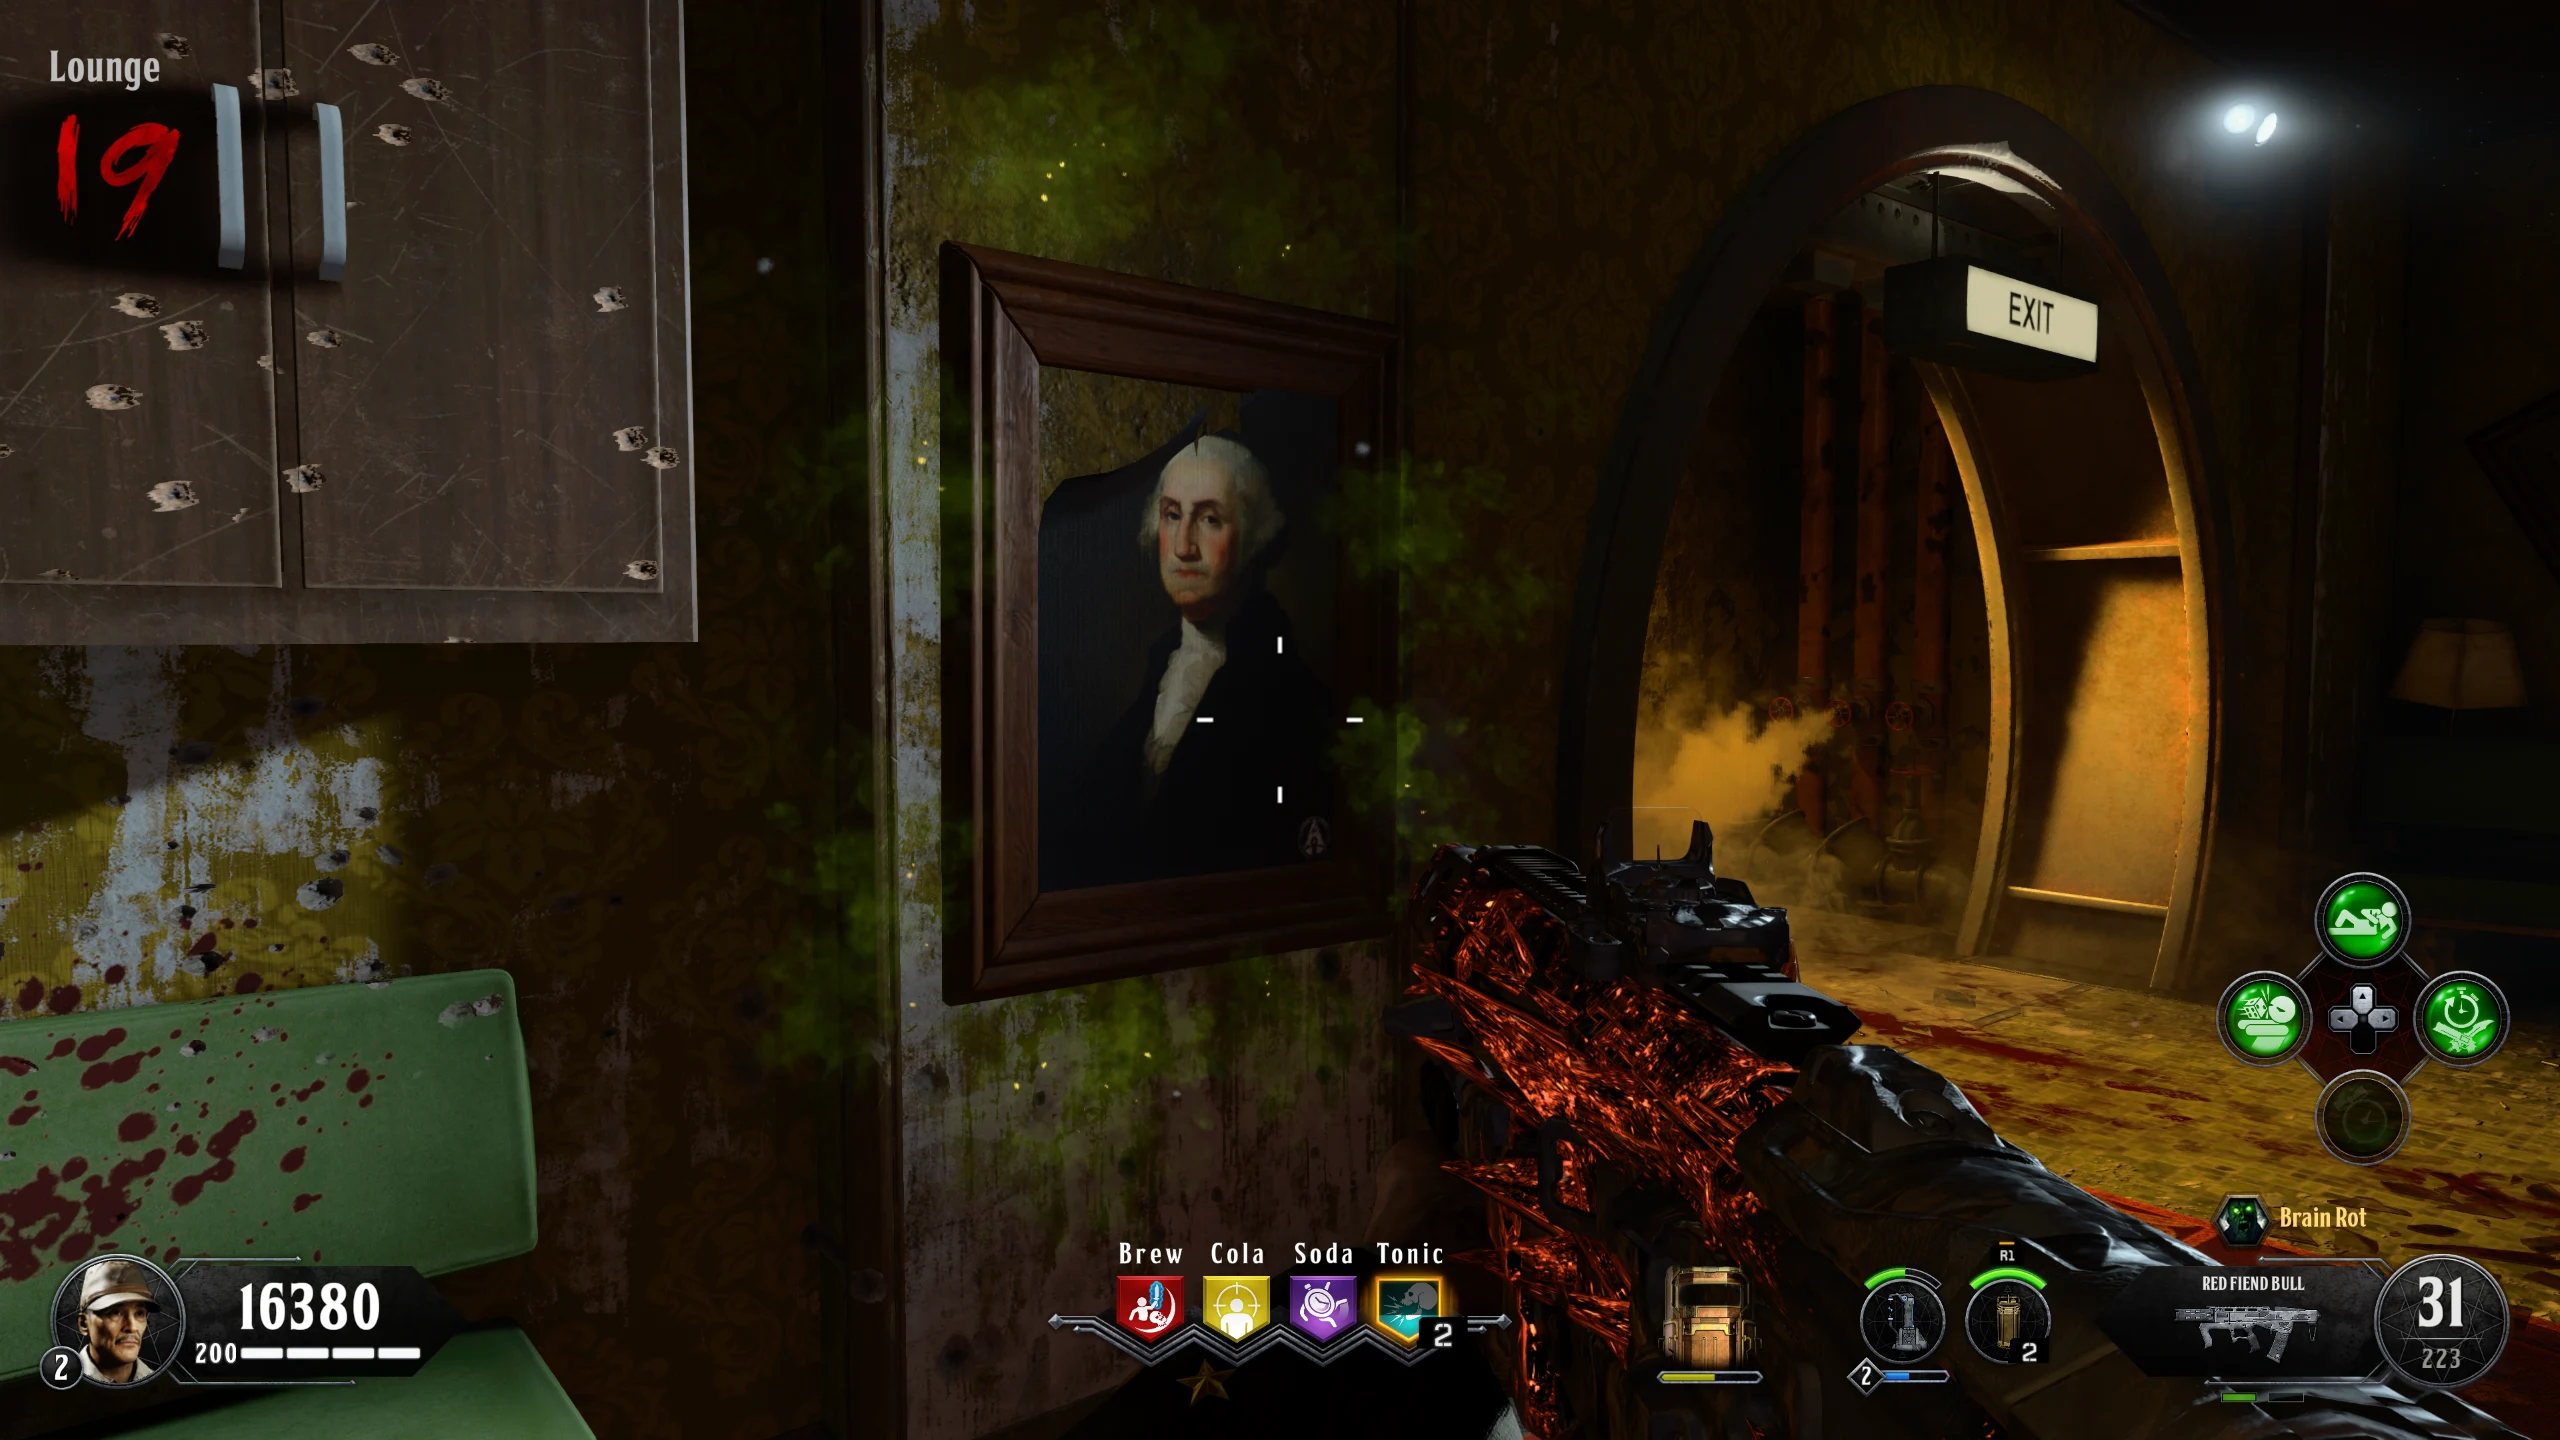
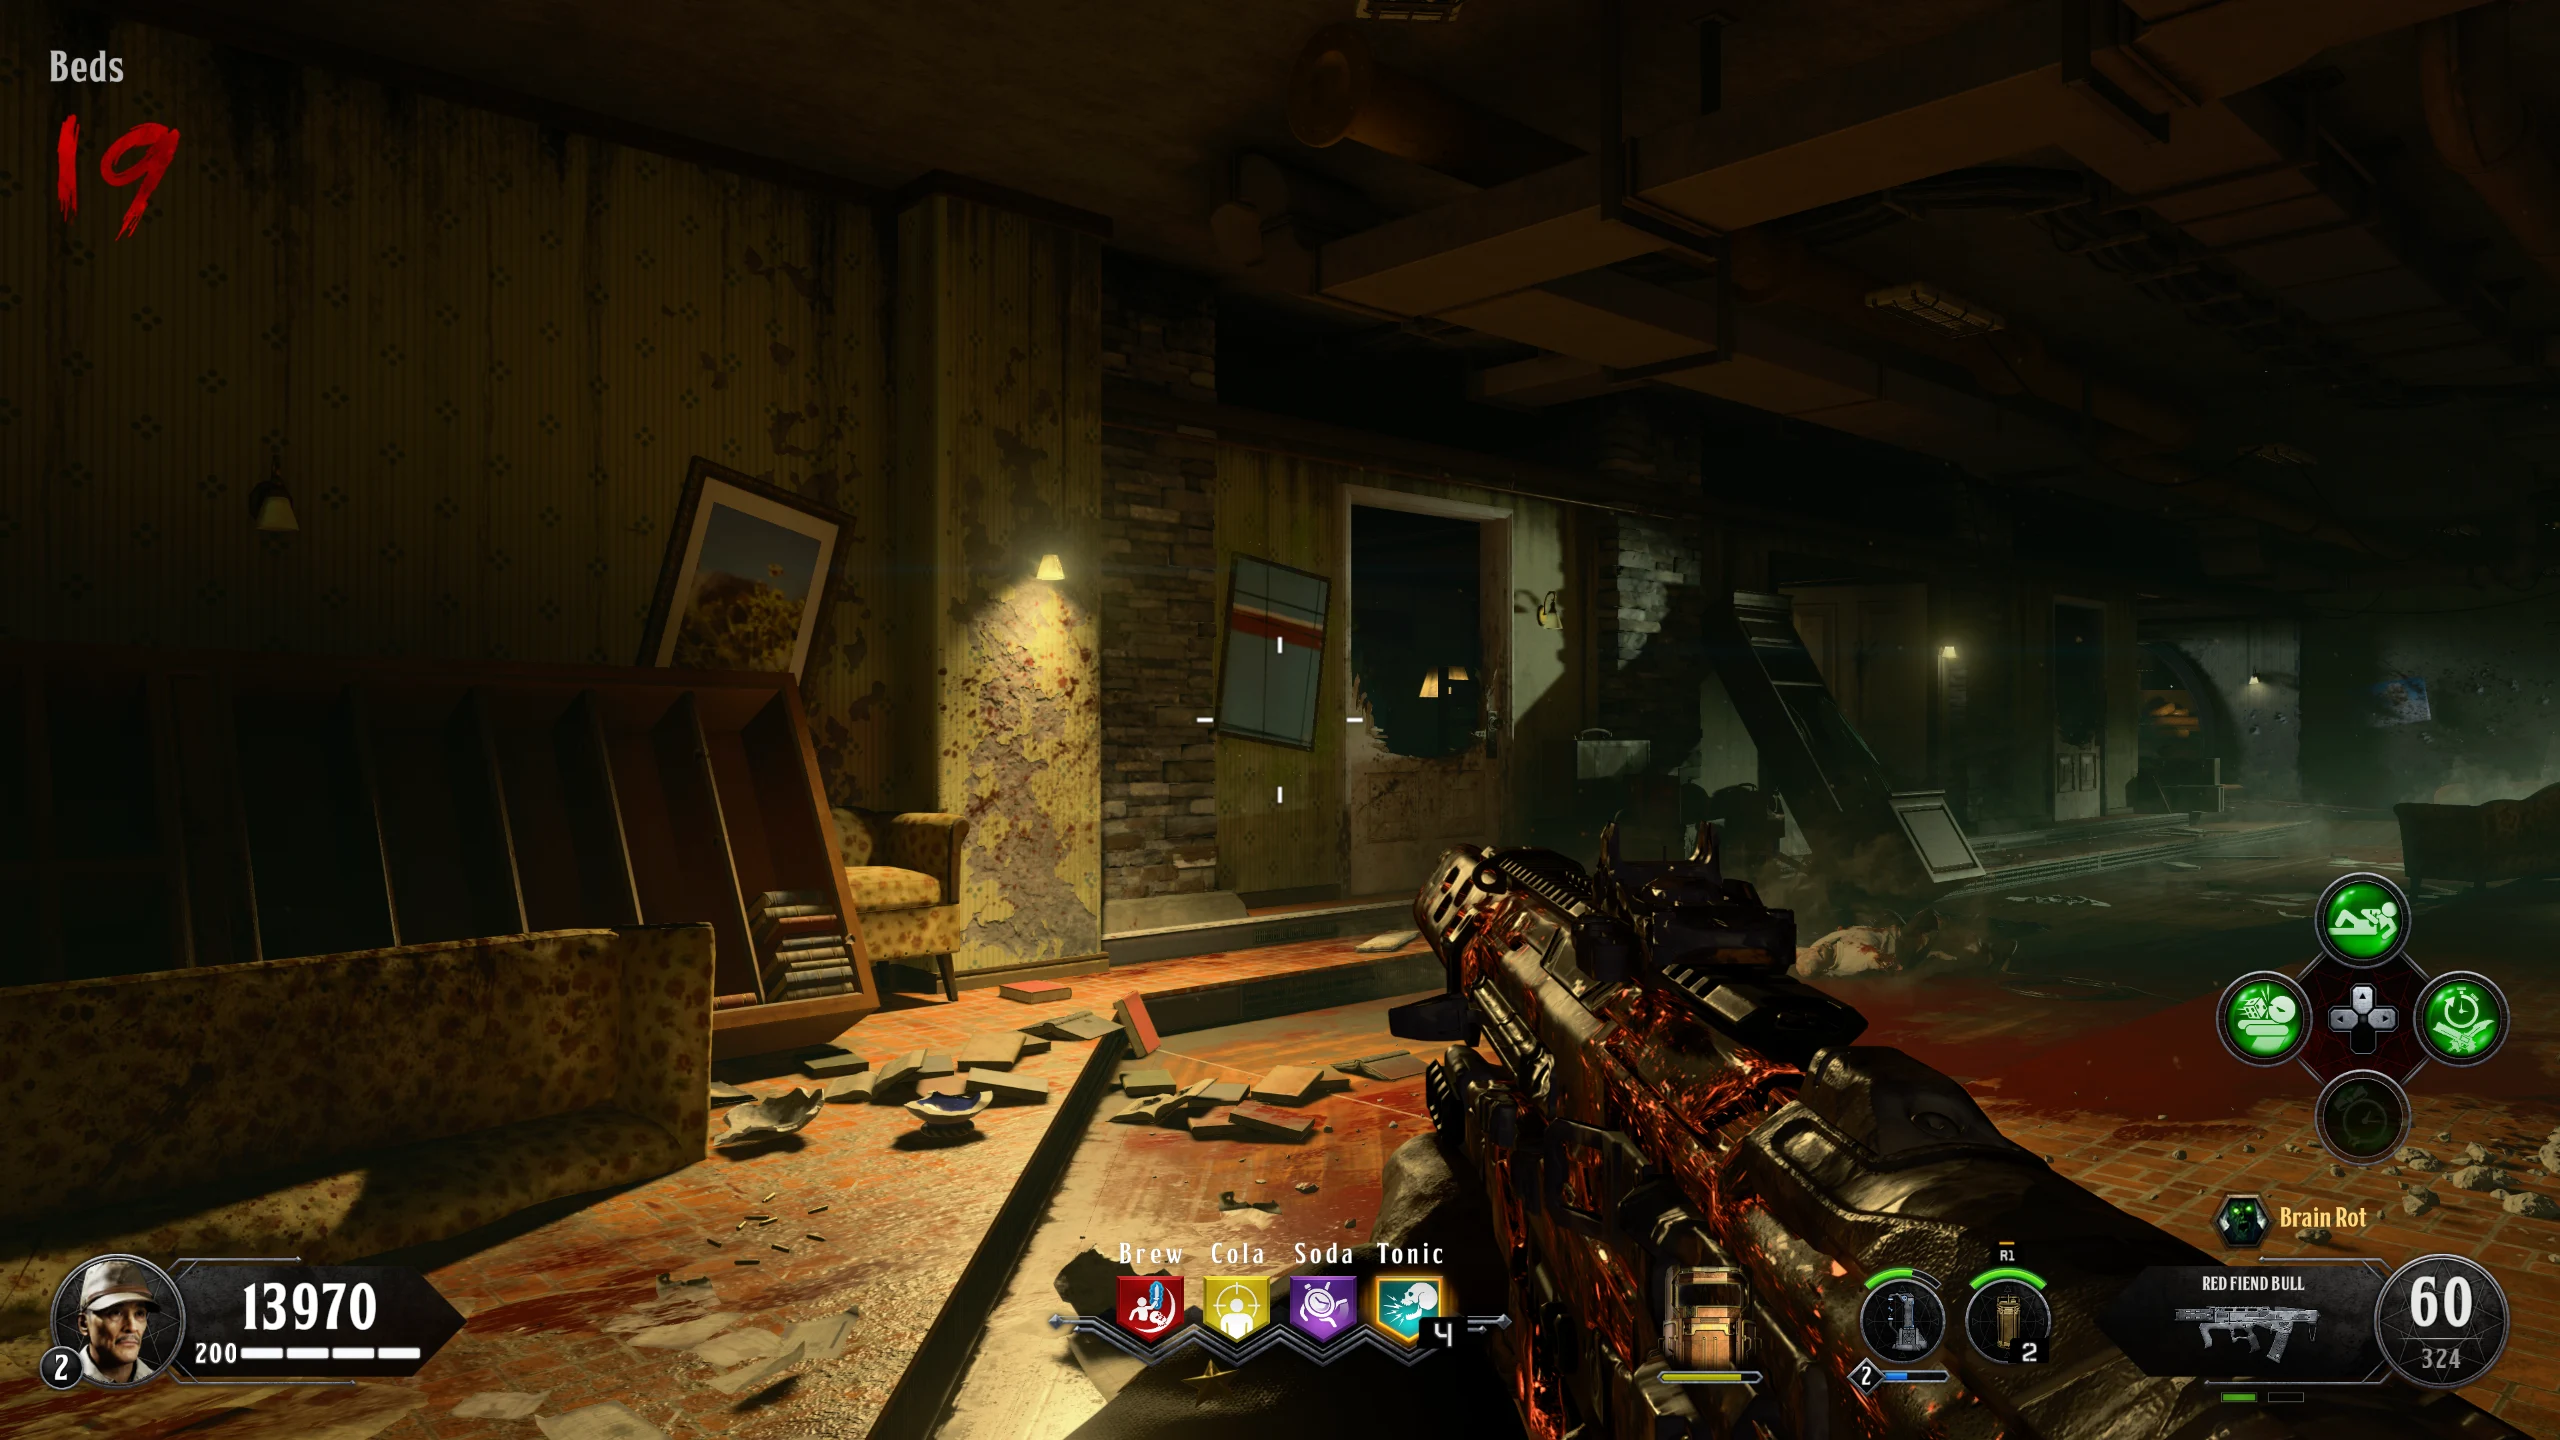
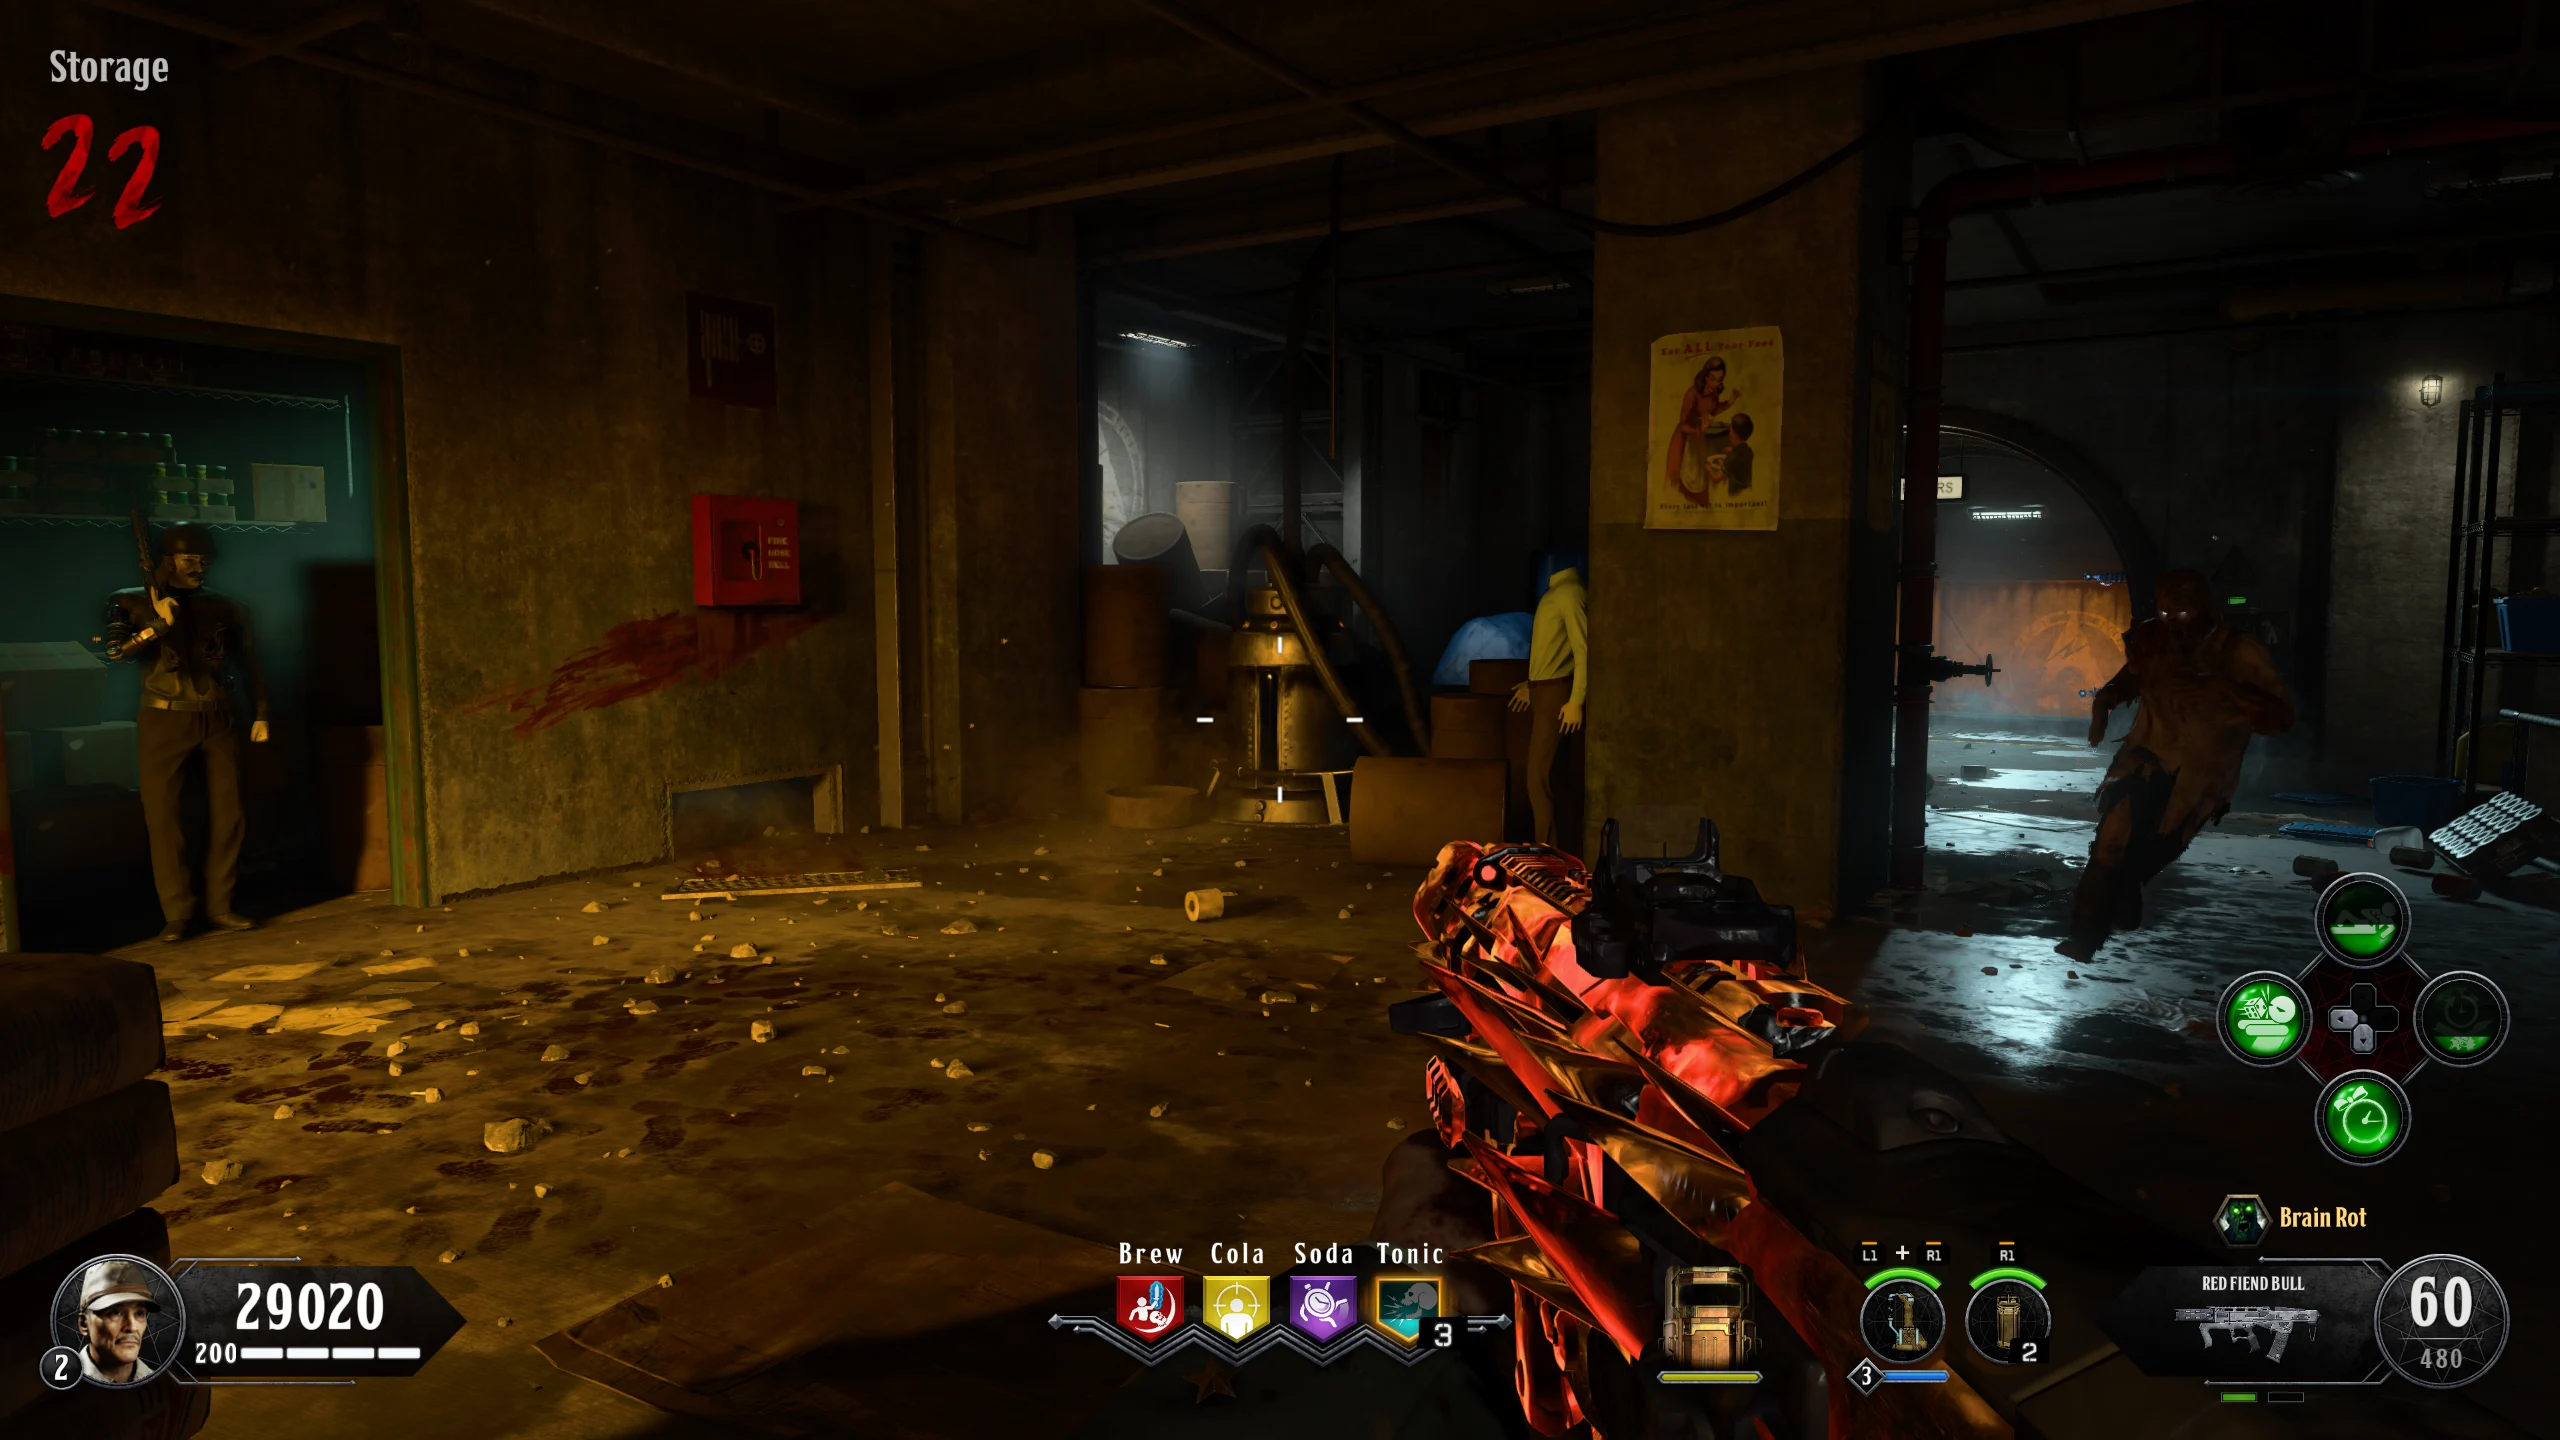
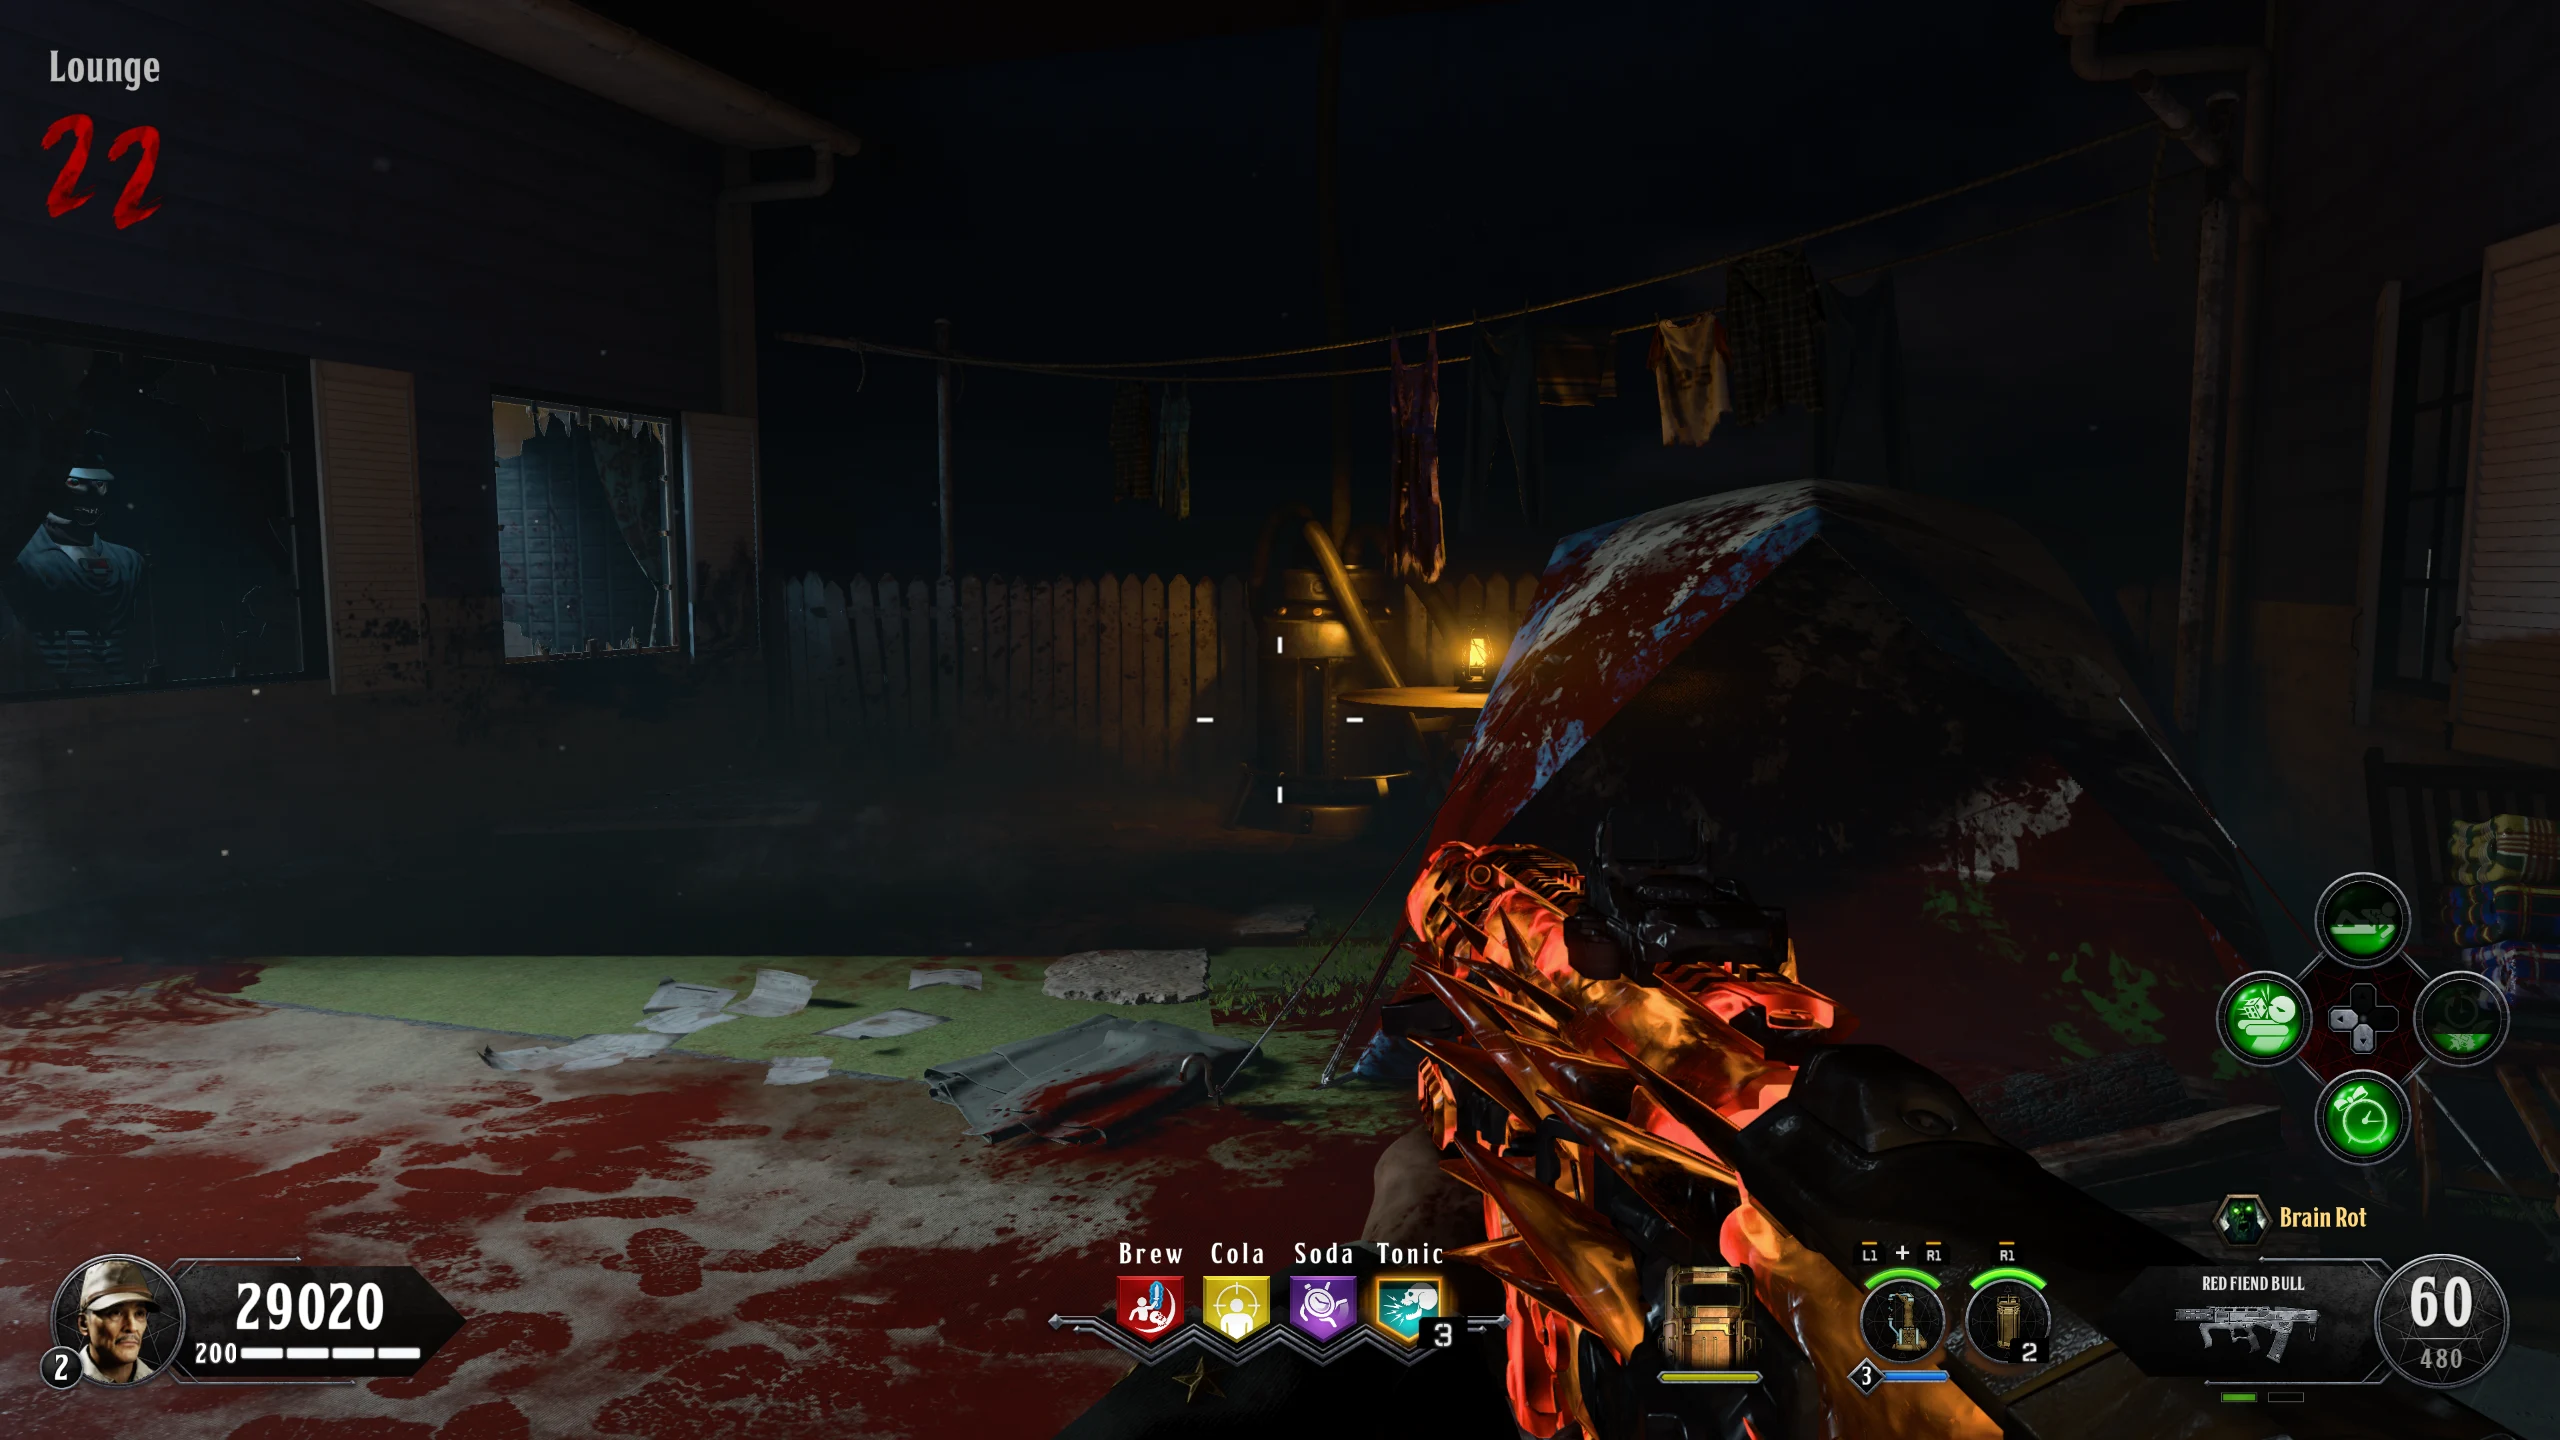
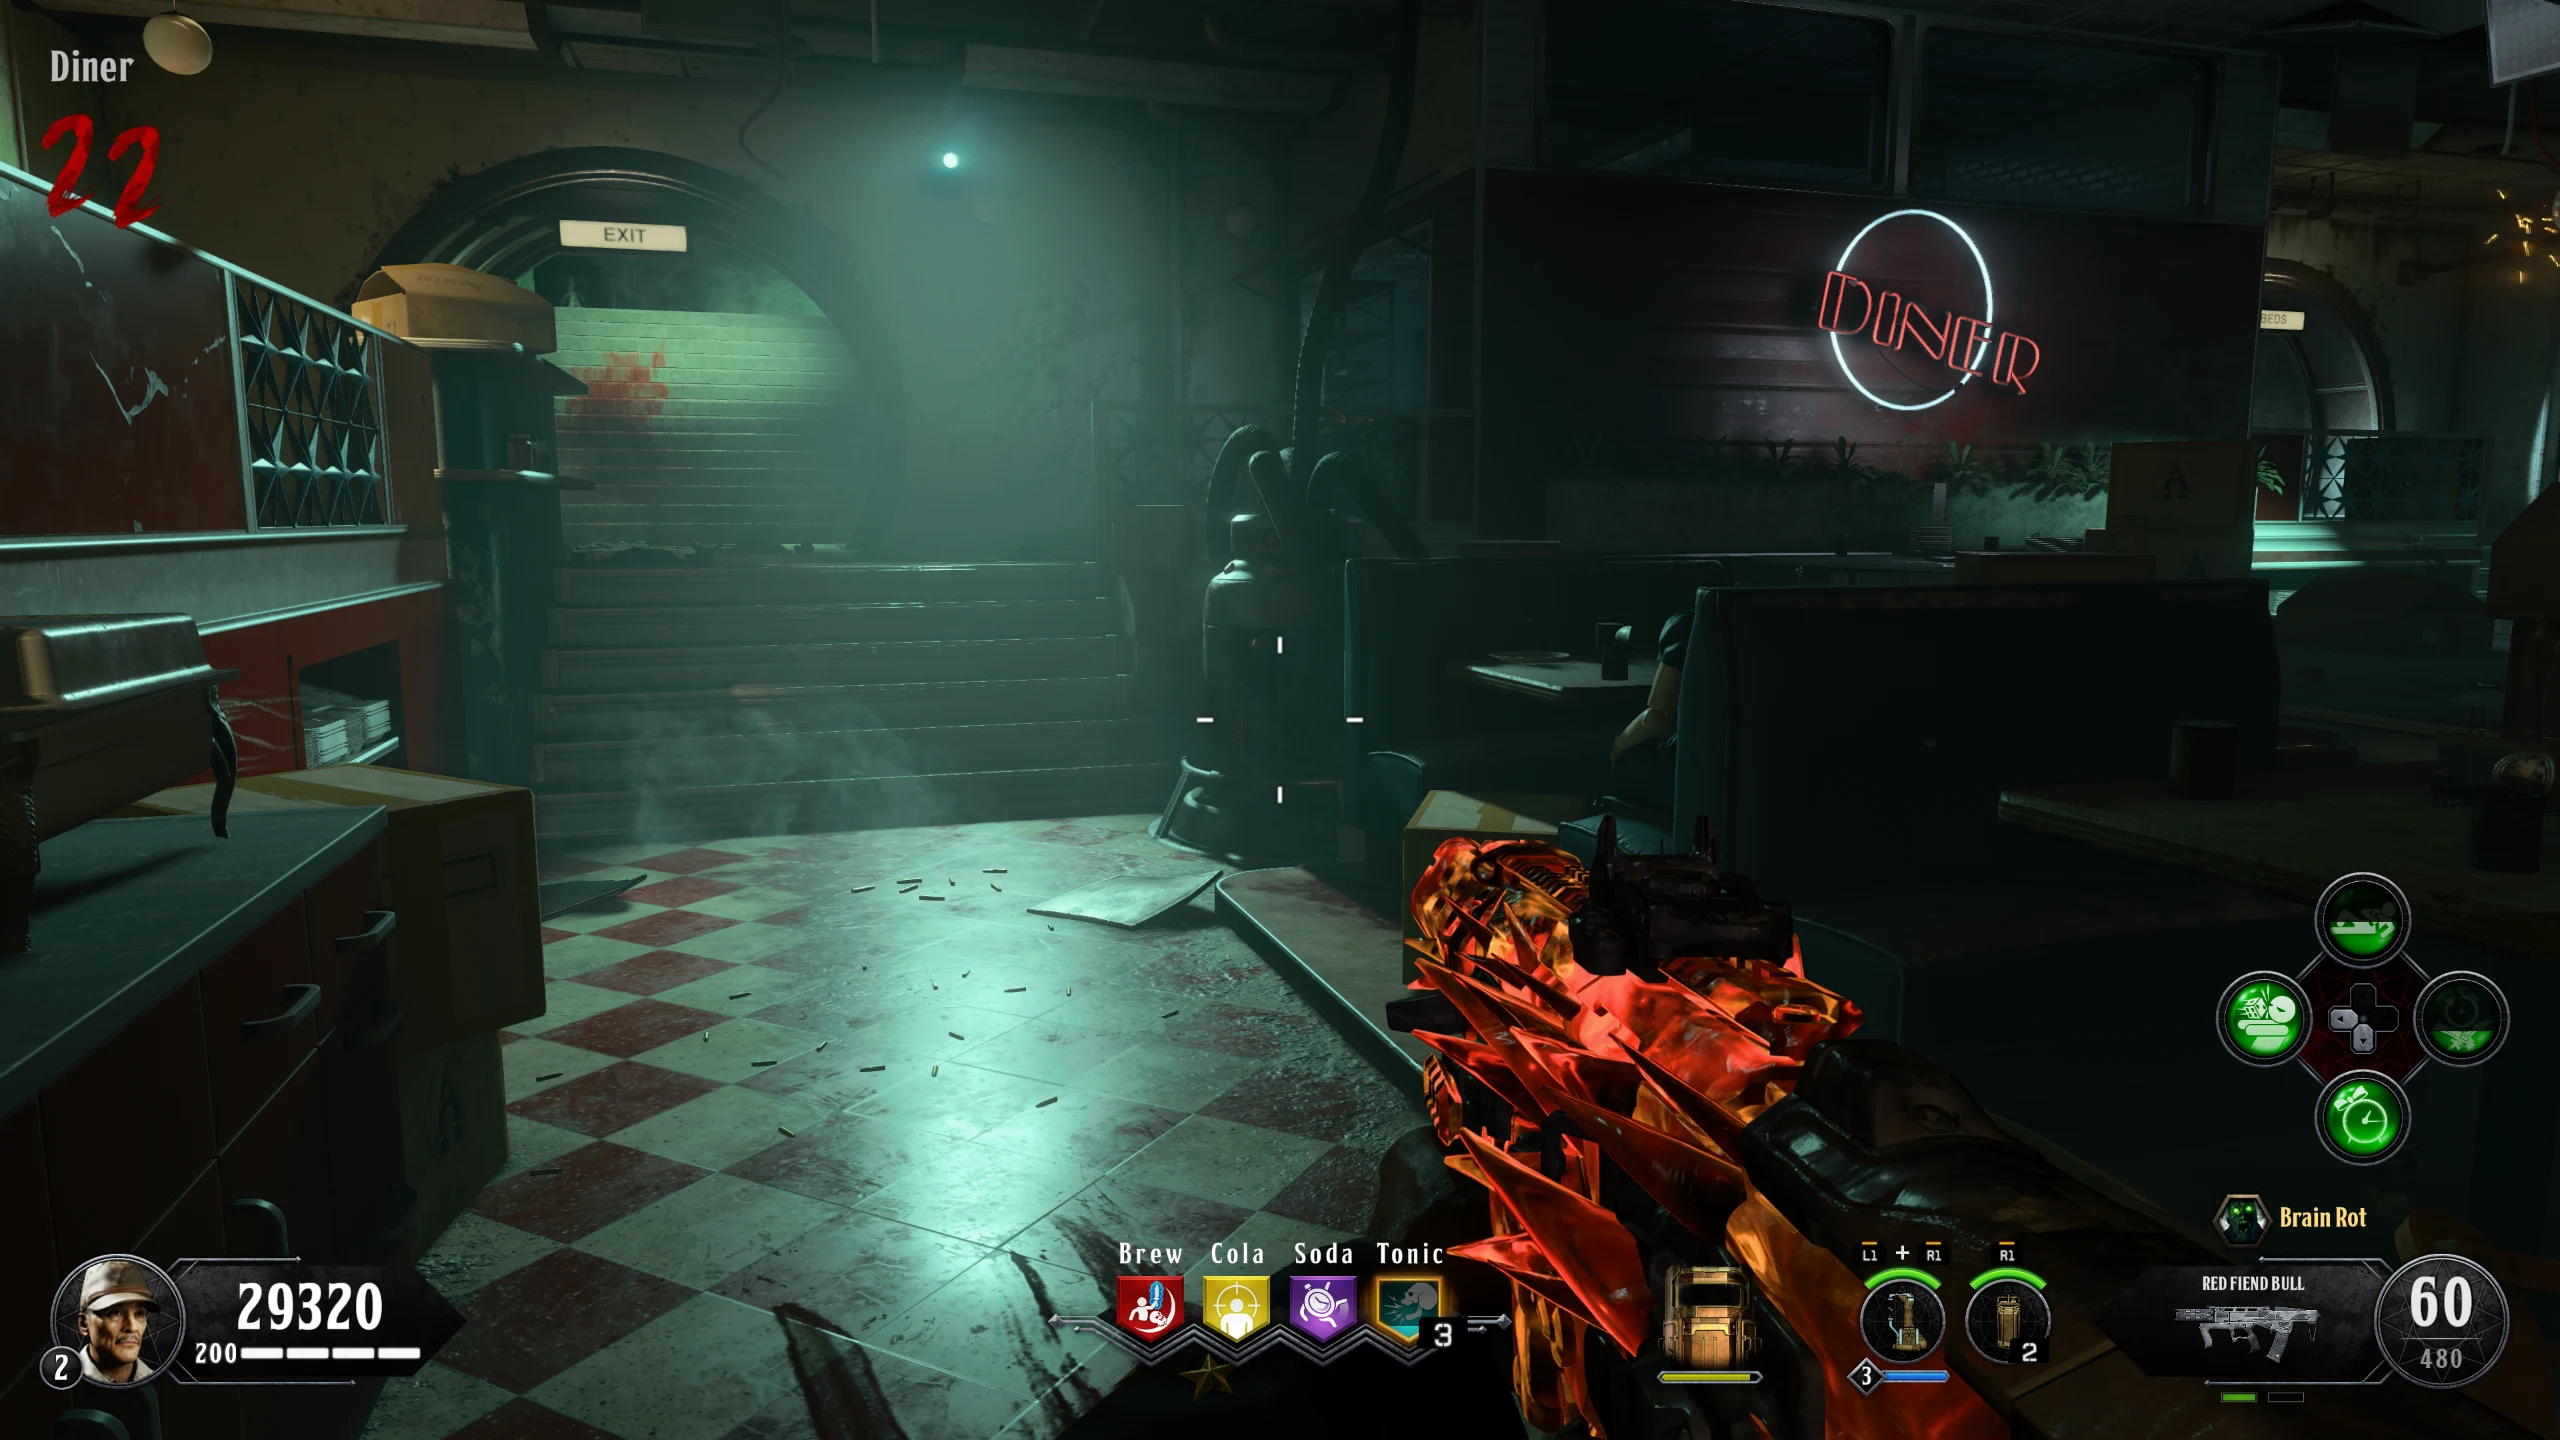
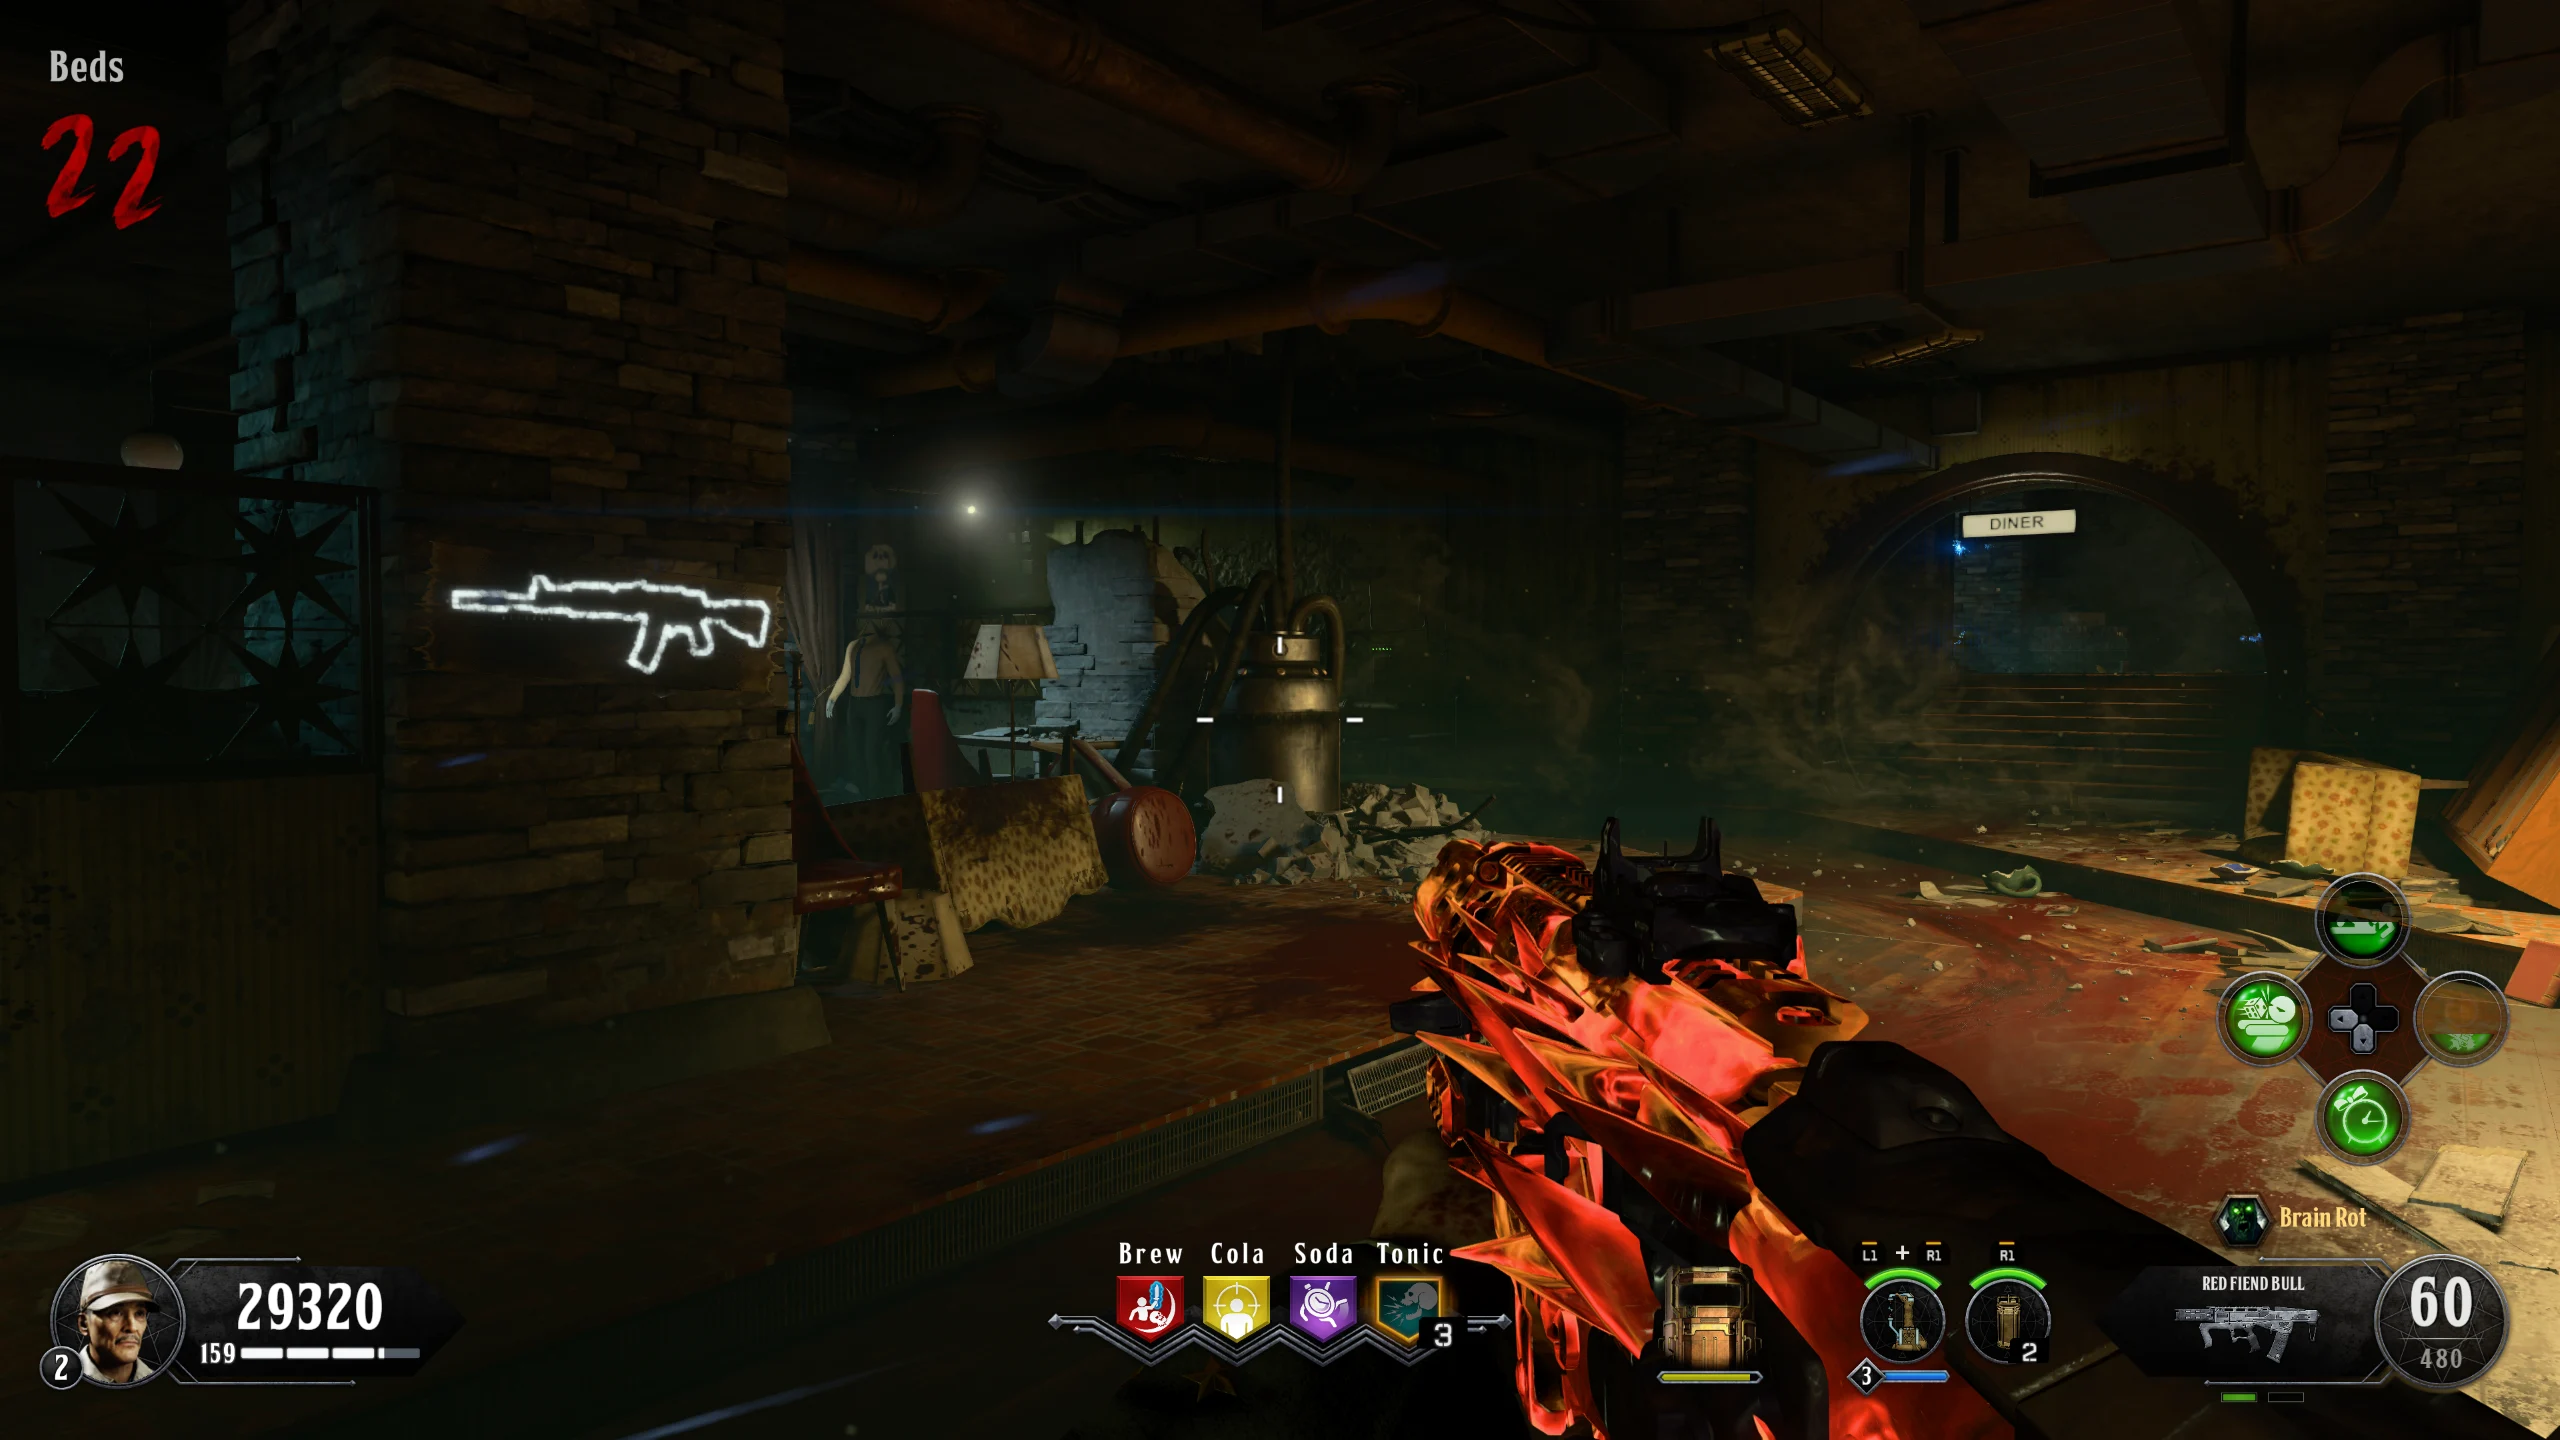
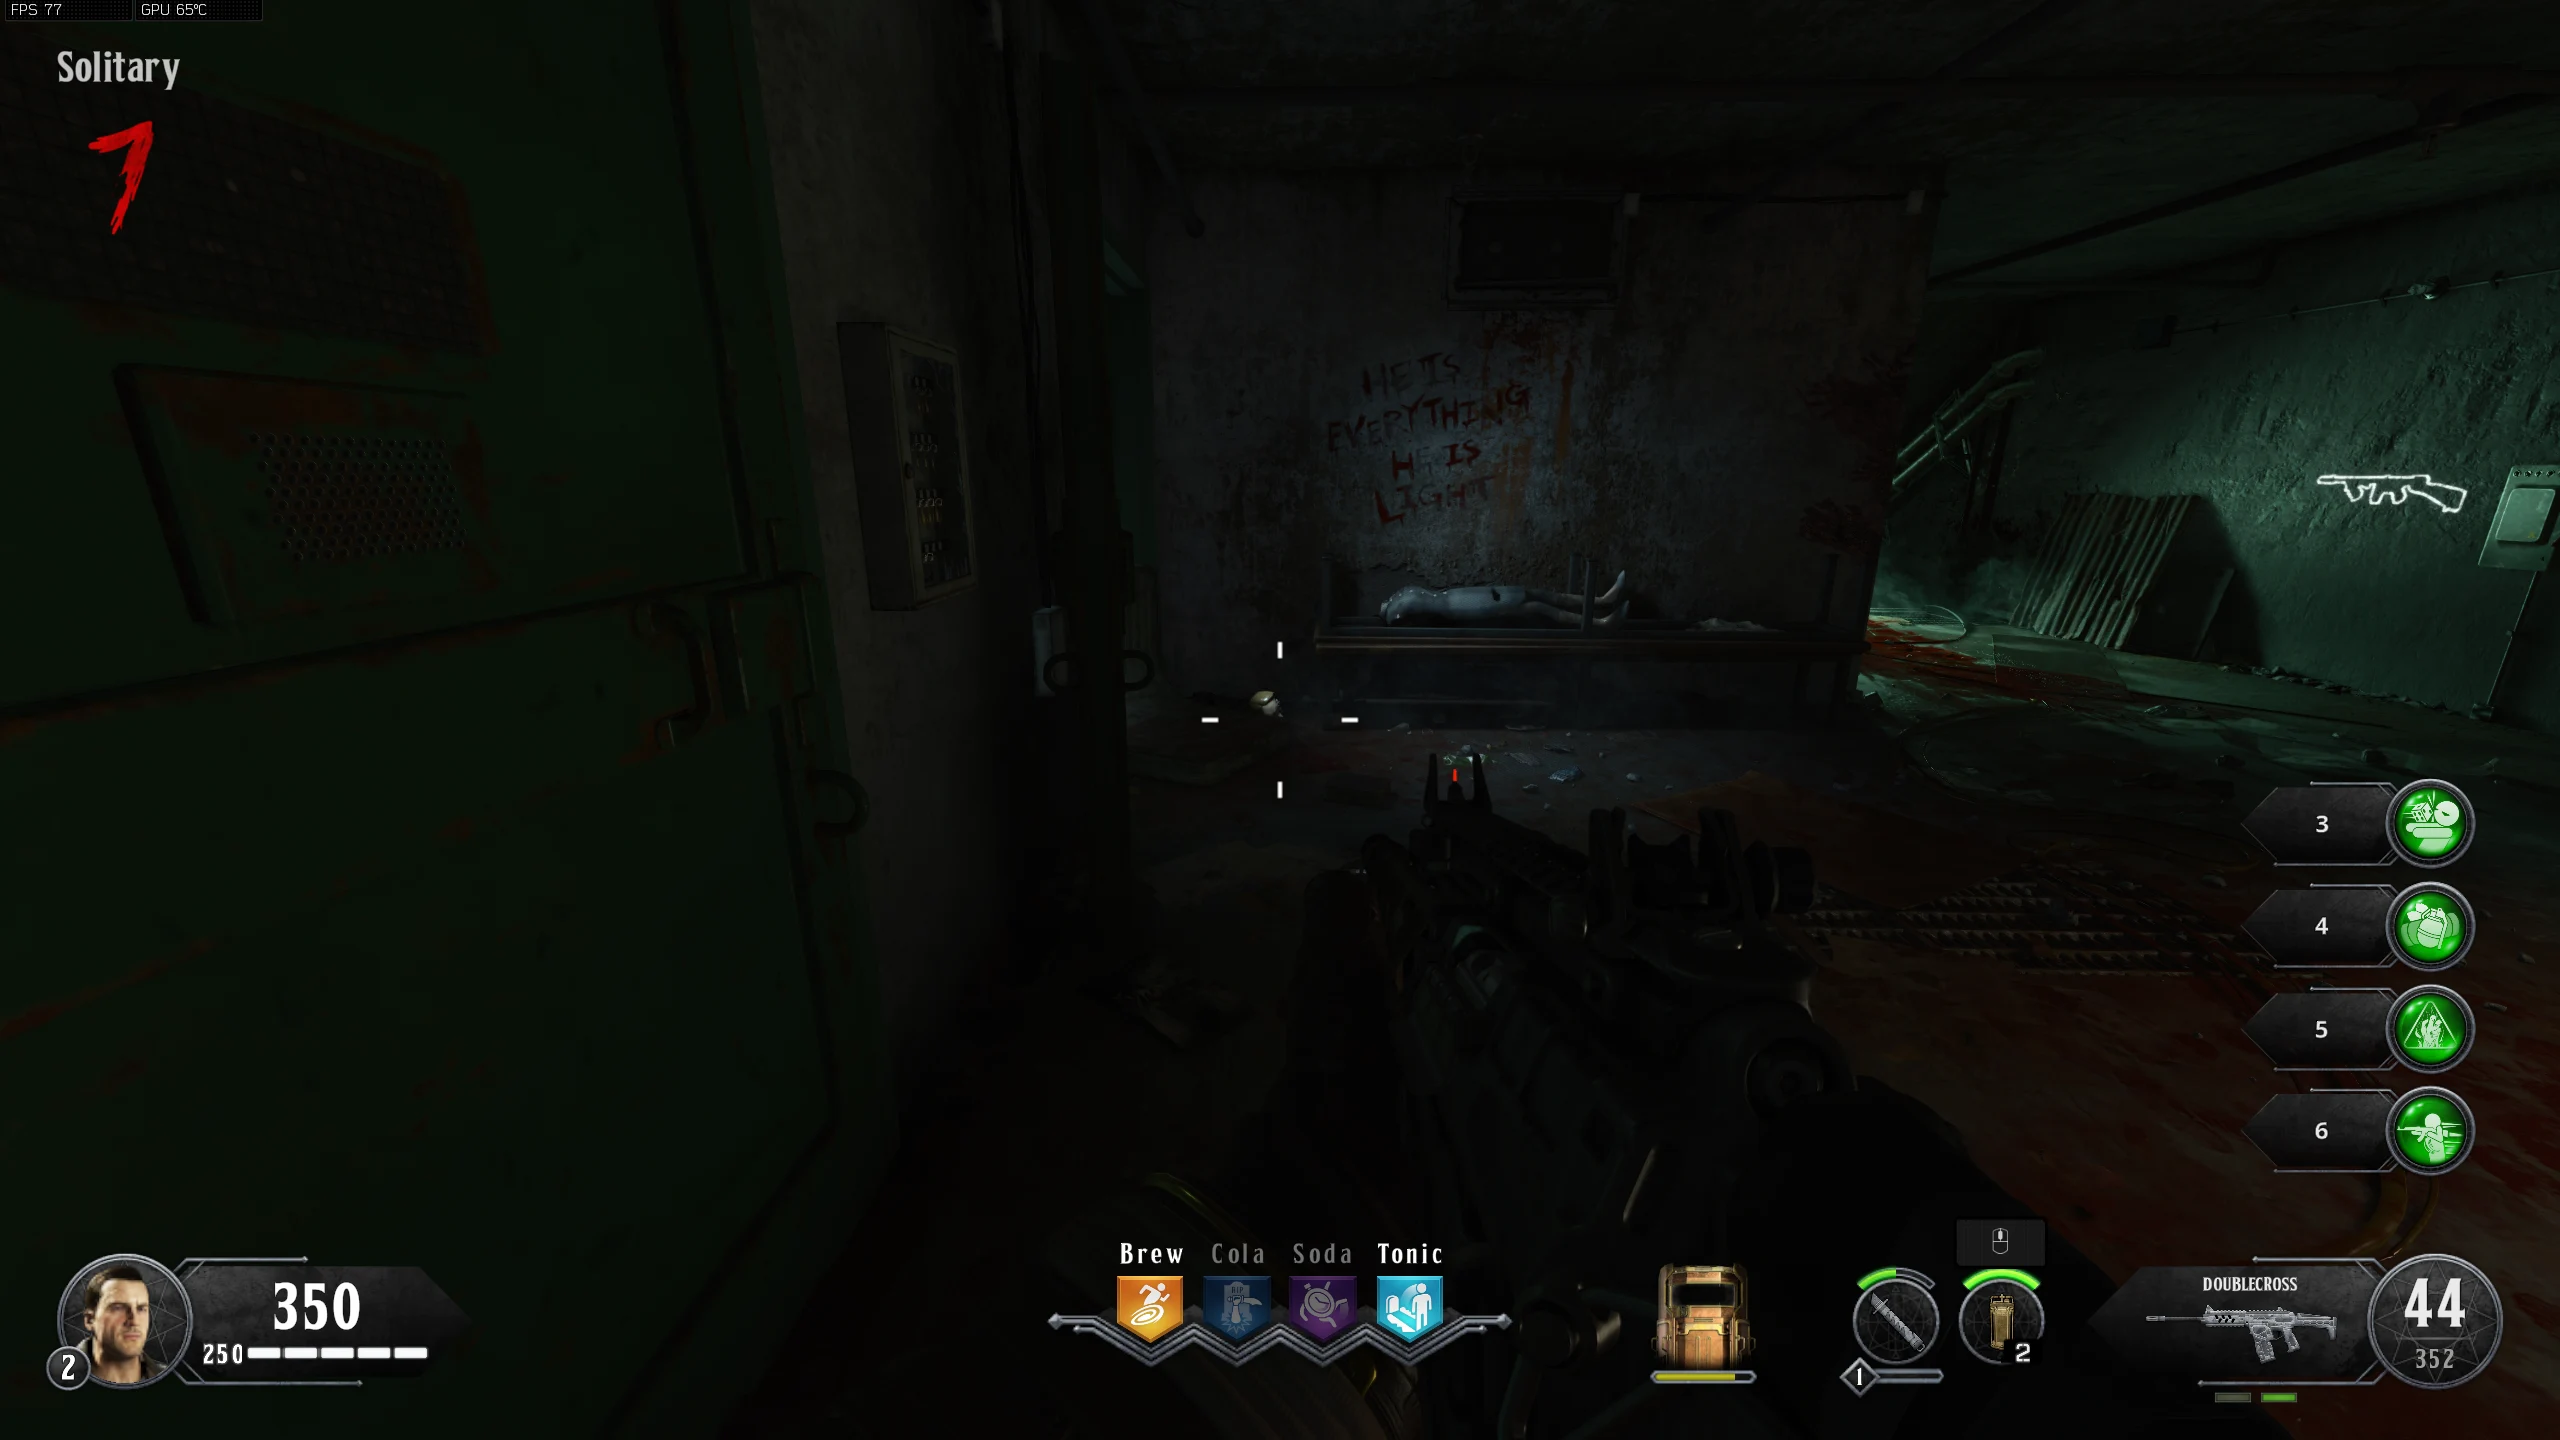
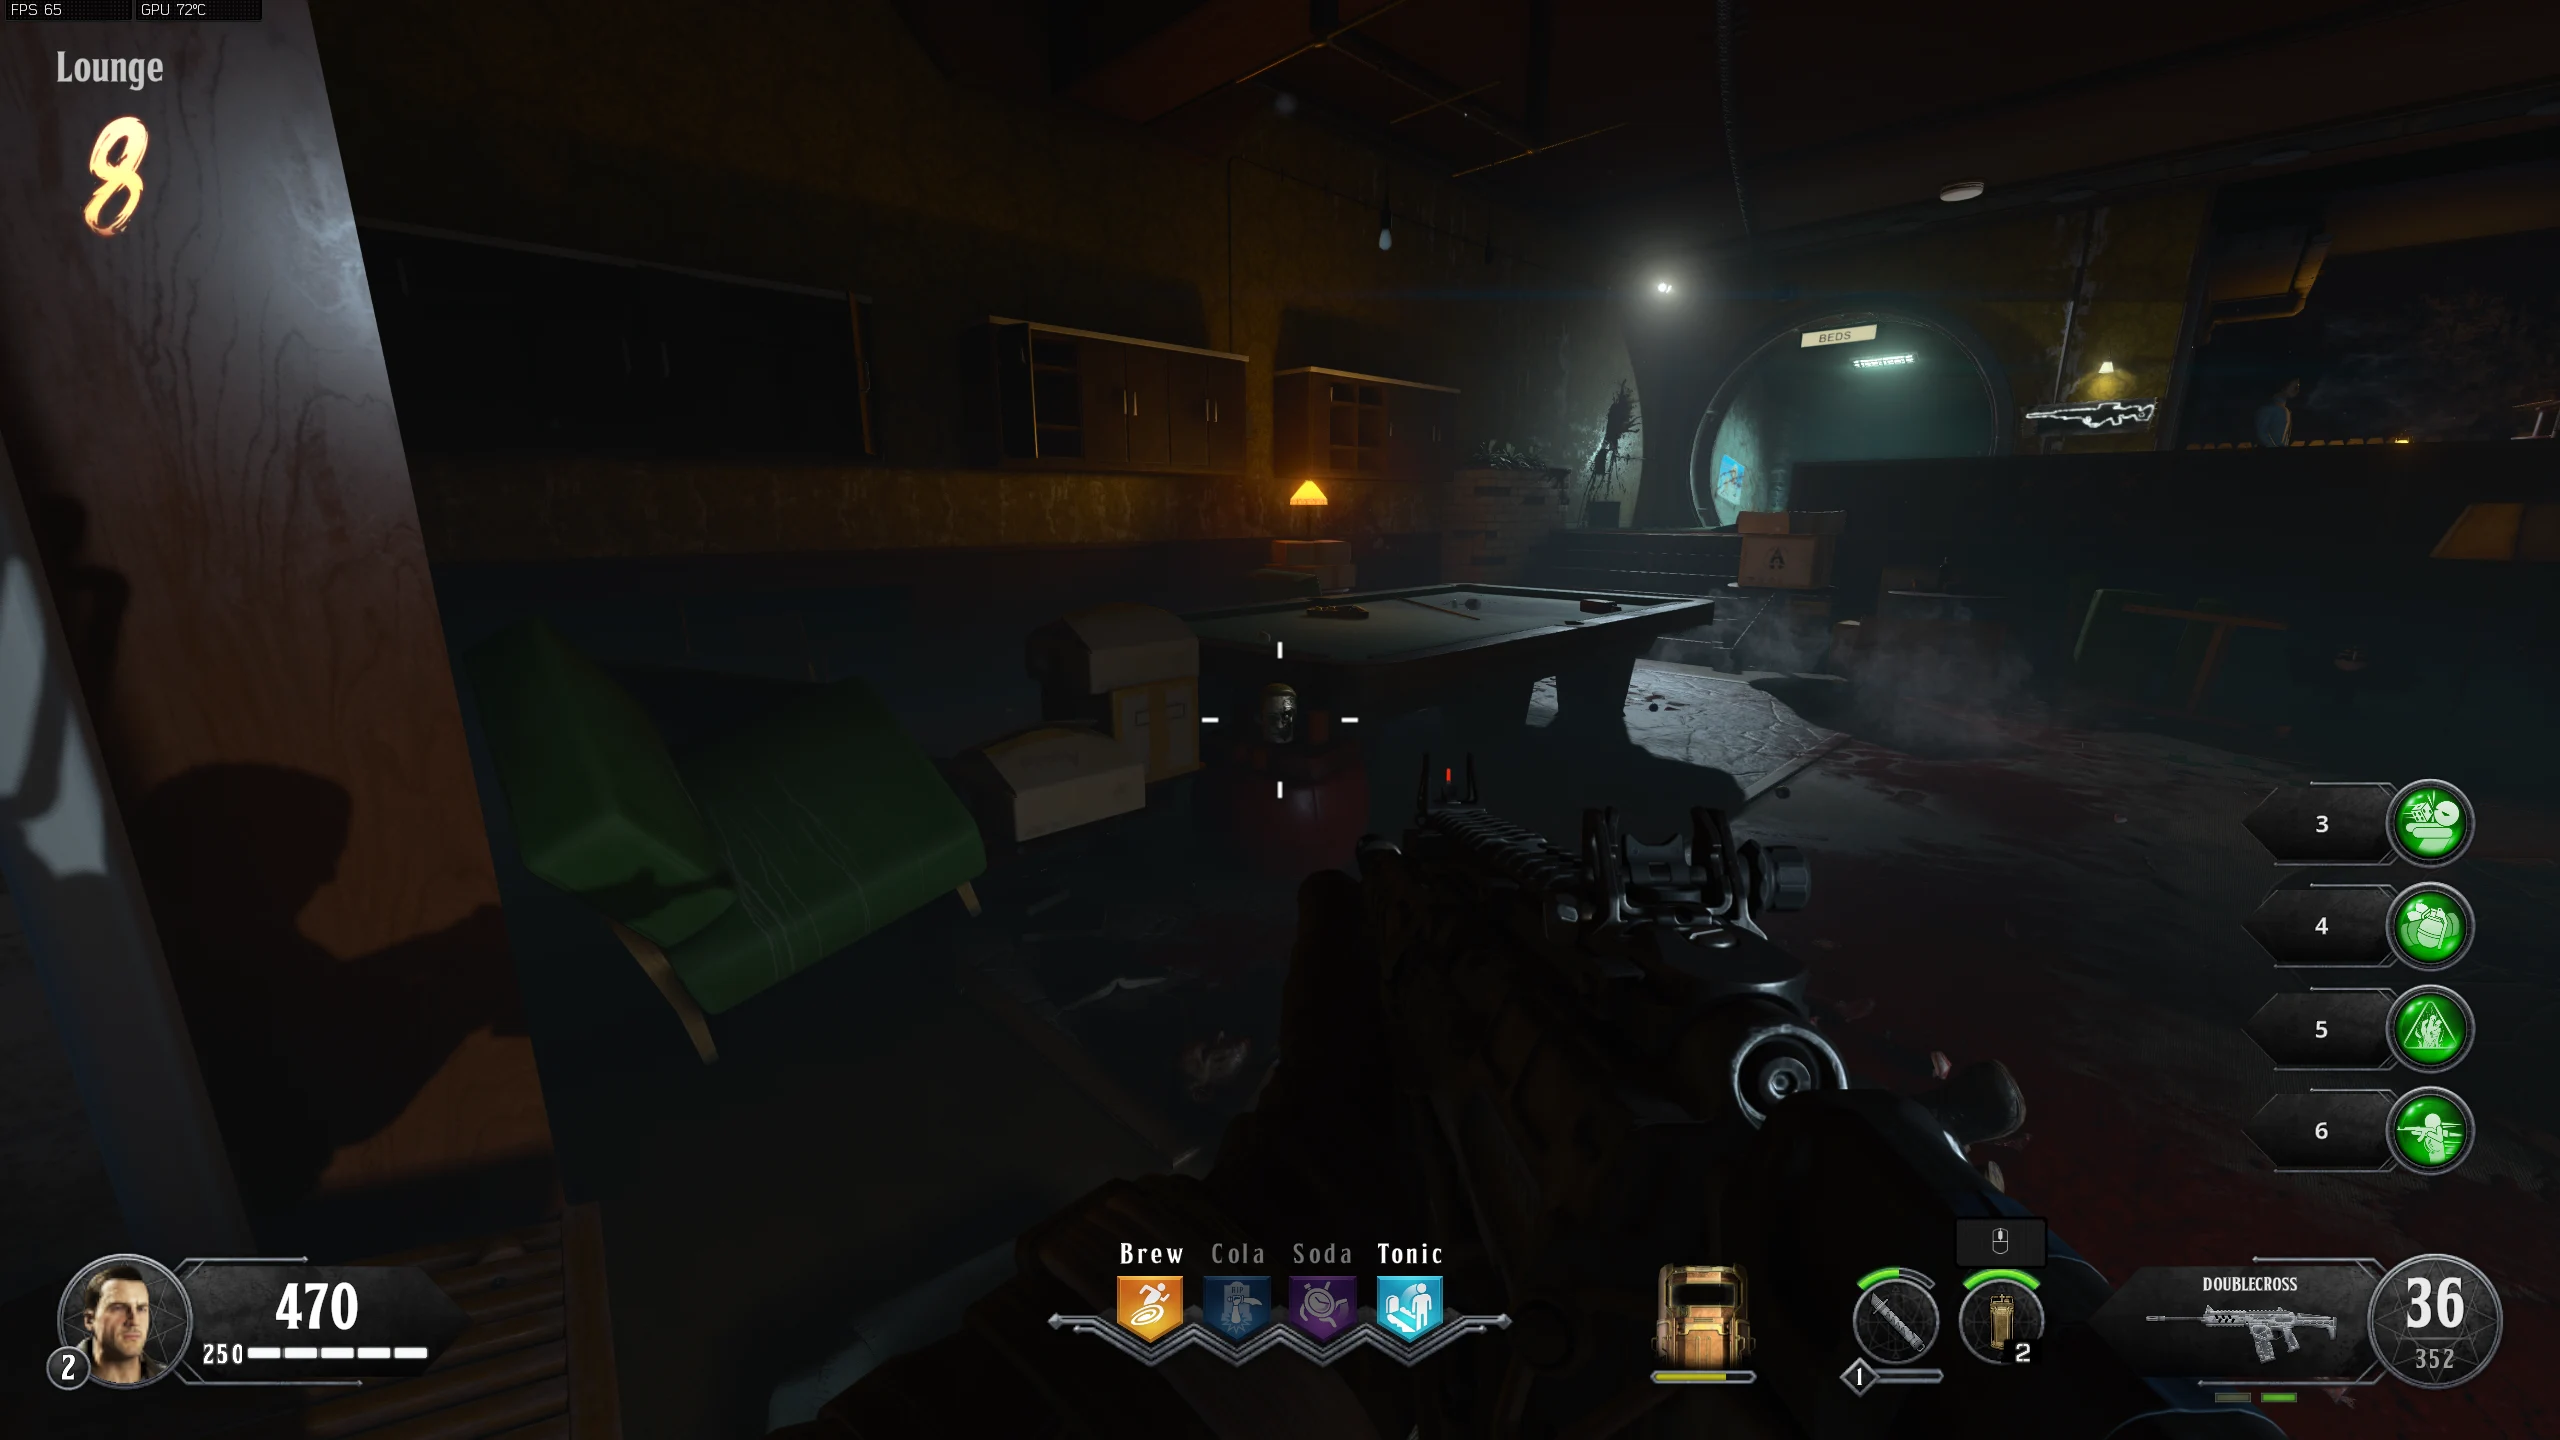
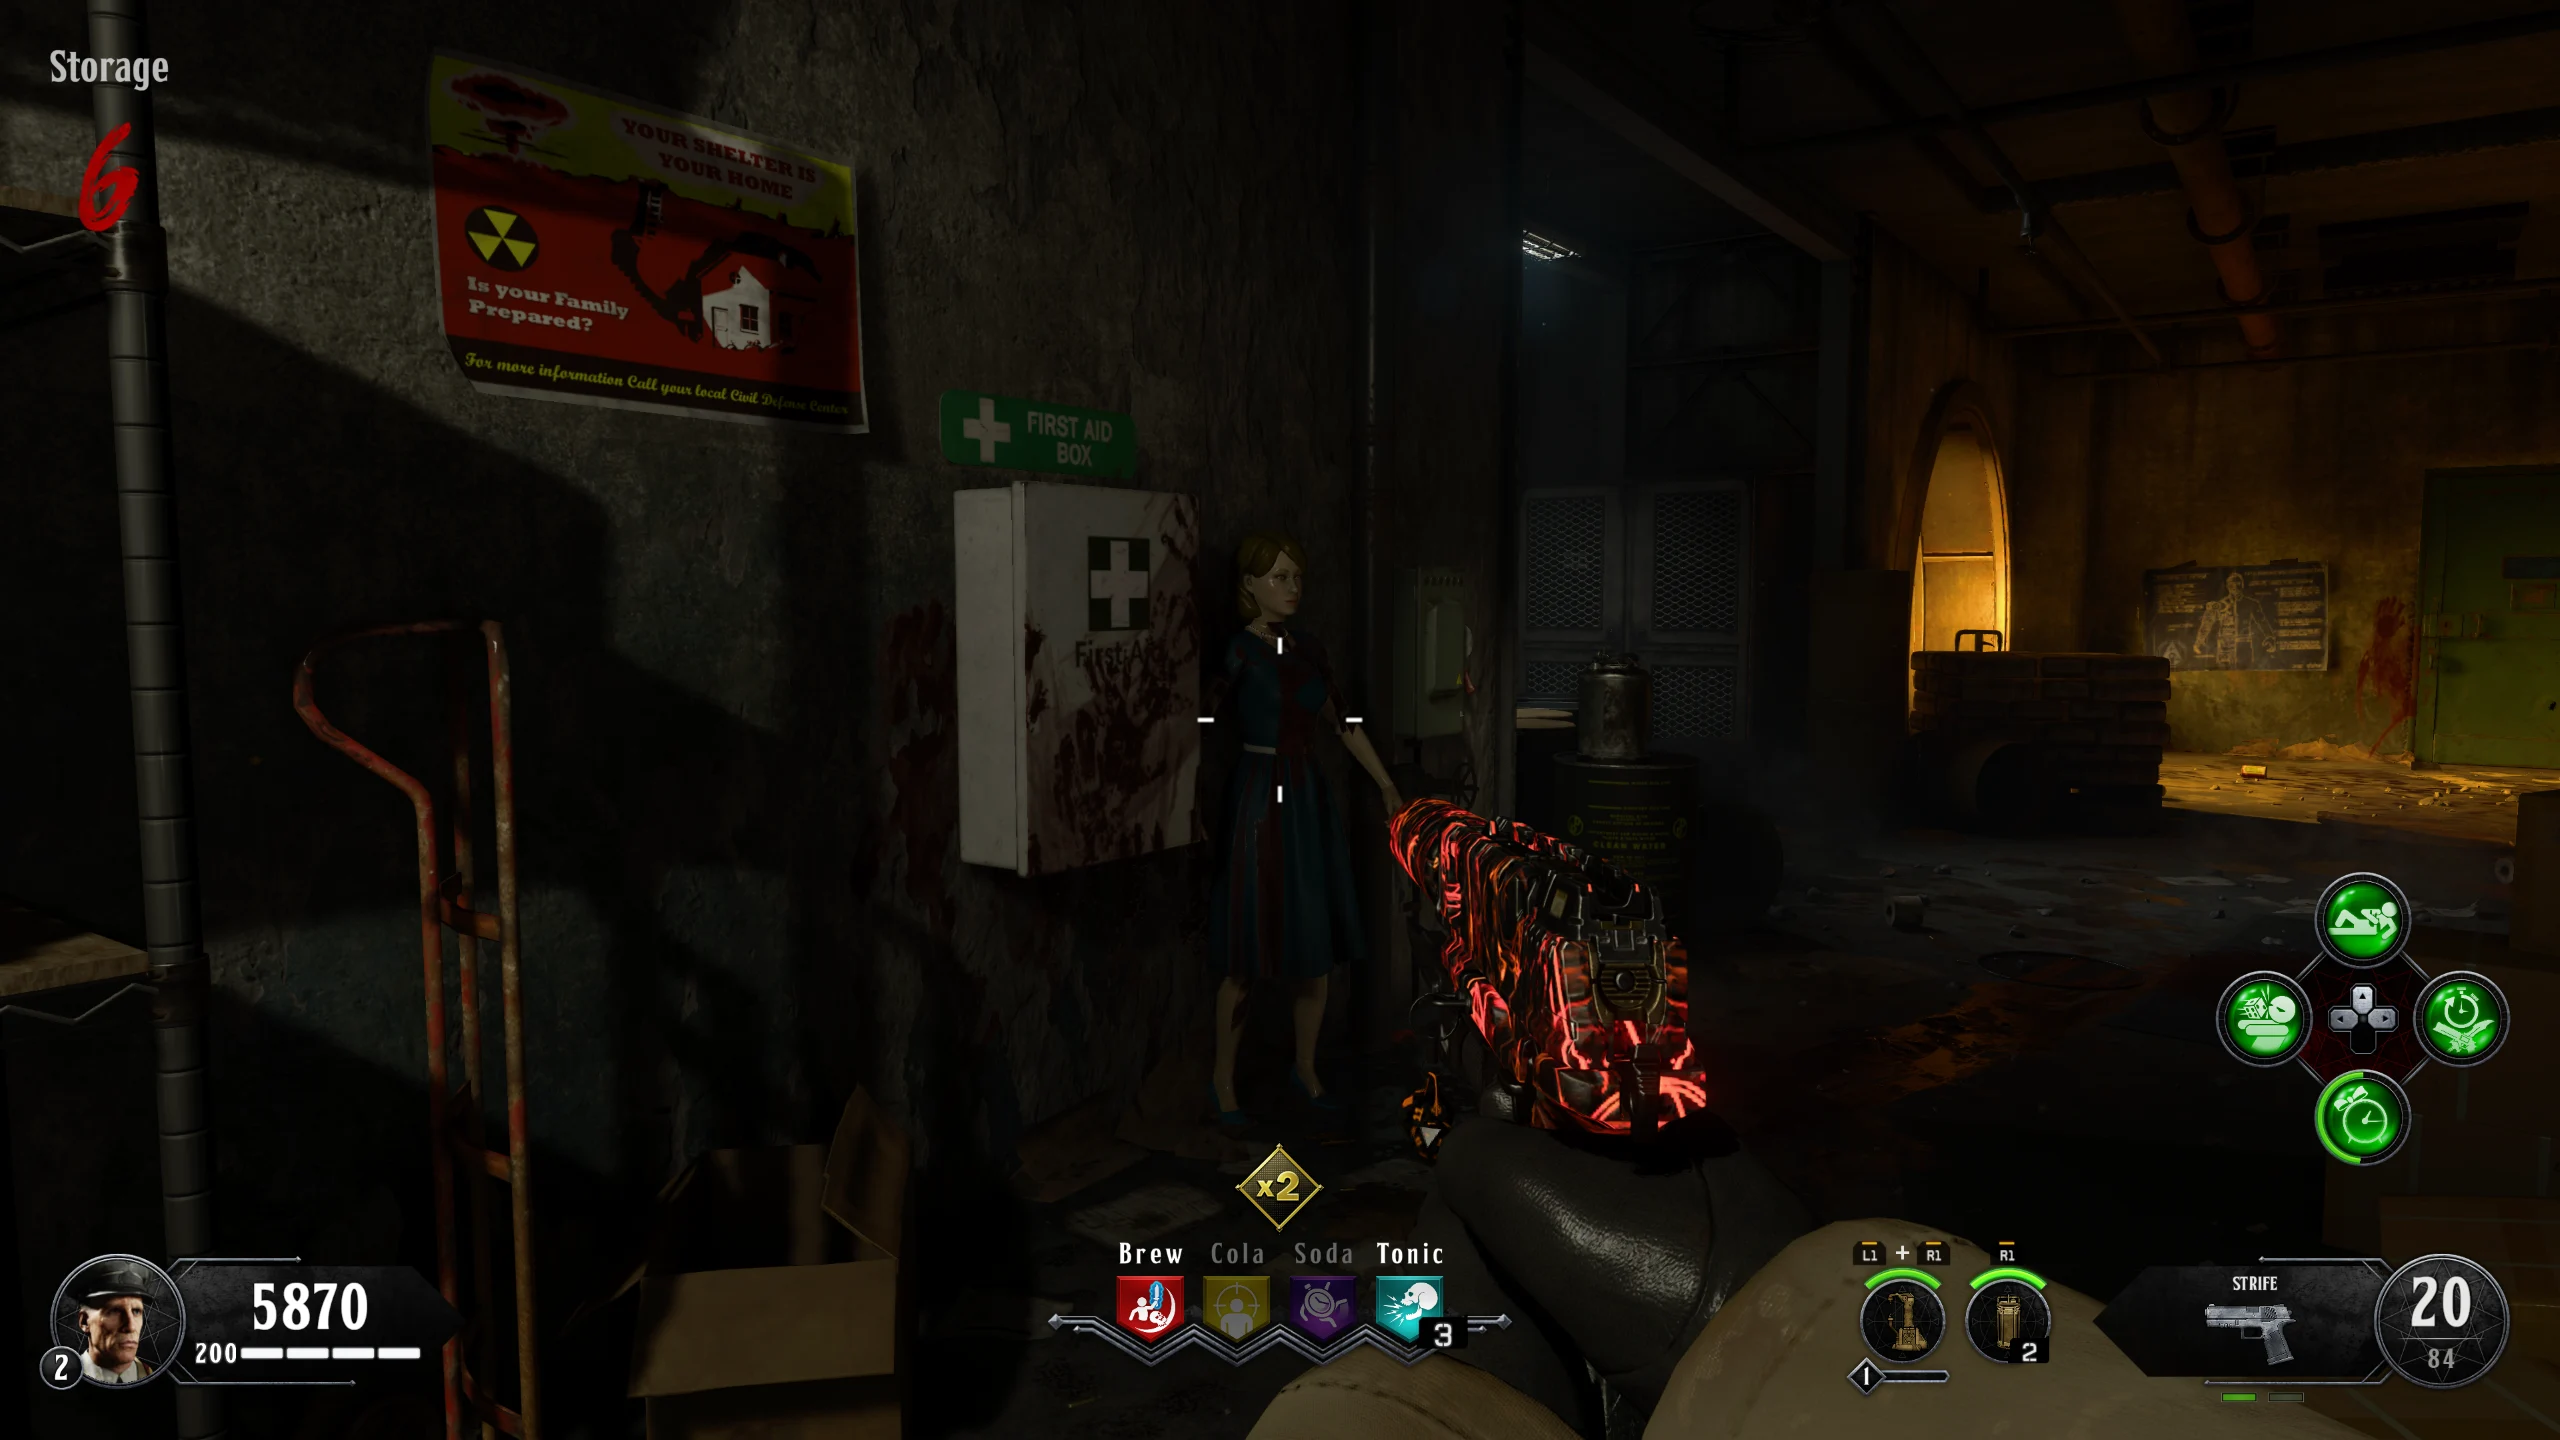
- Around the Bunker, there will be three Pictures with Green Mist coming from them. You need to Brain-Rot a Zombie near each picture to knock it down, revealing a 4-digit code on the wall. Write down all three codes. The pictures are located in the following places:
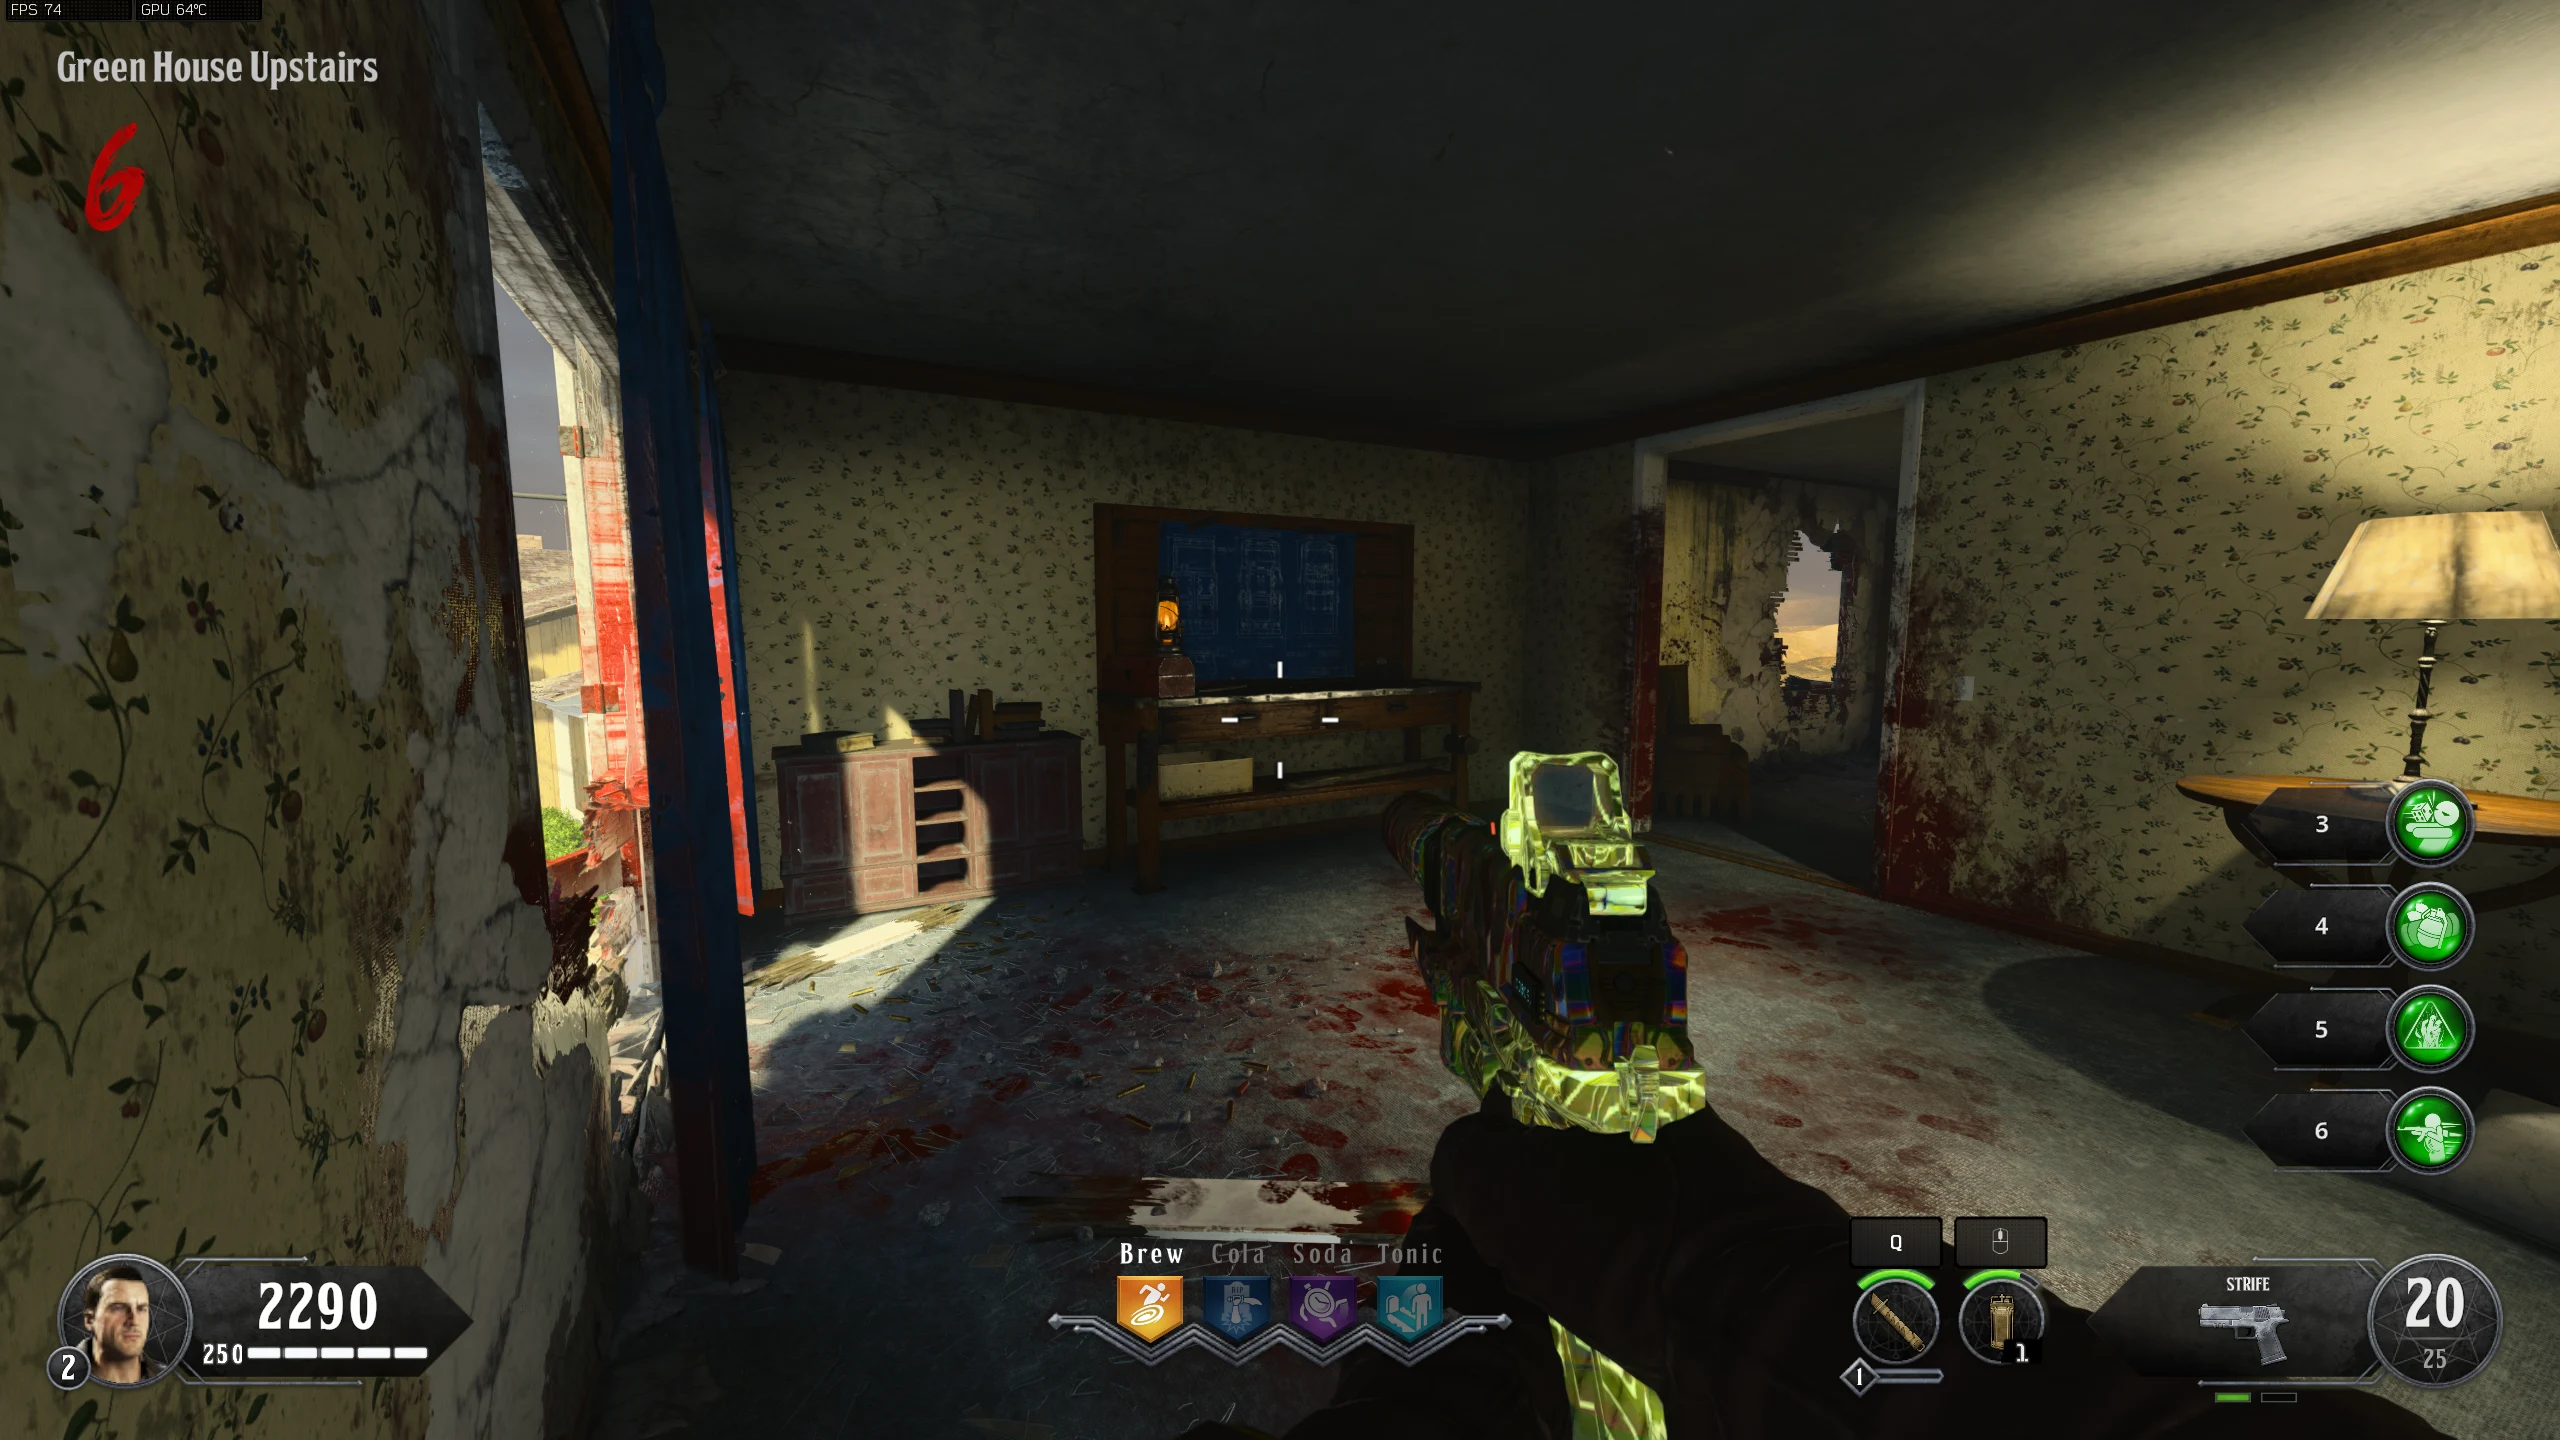
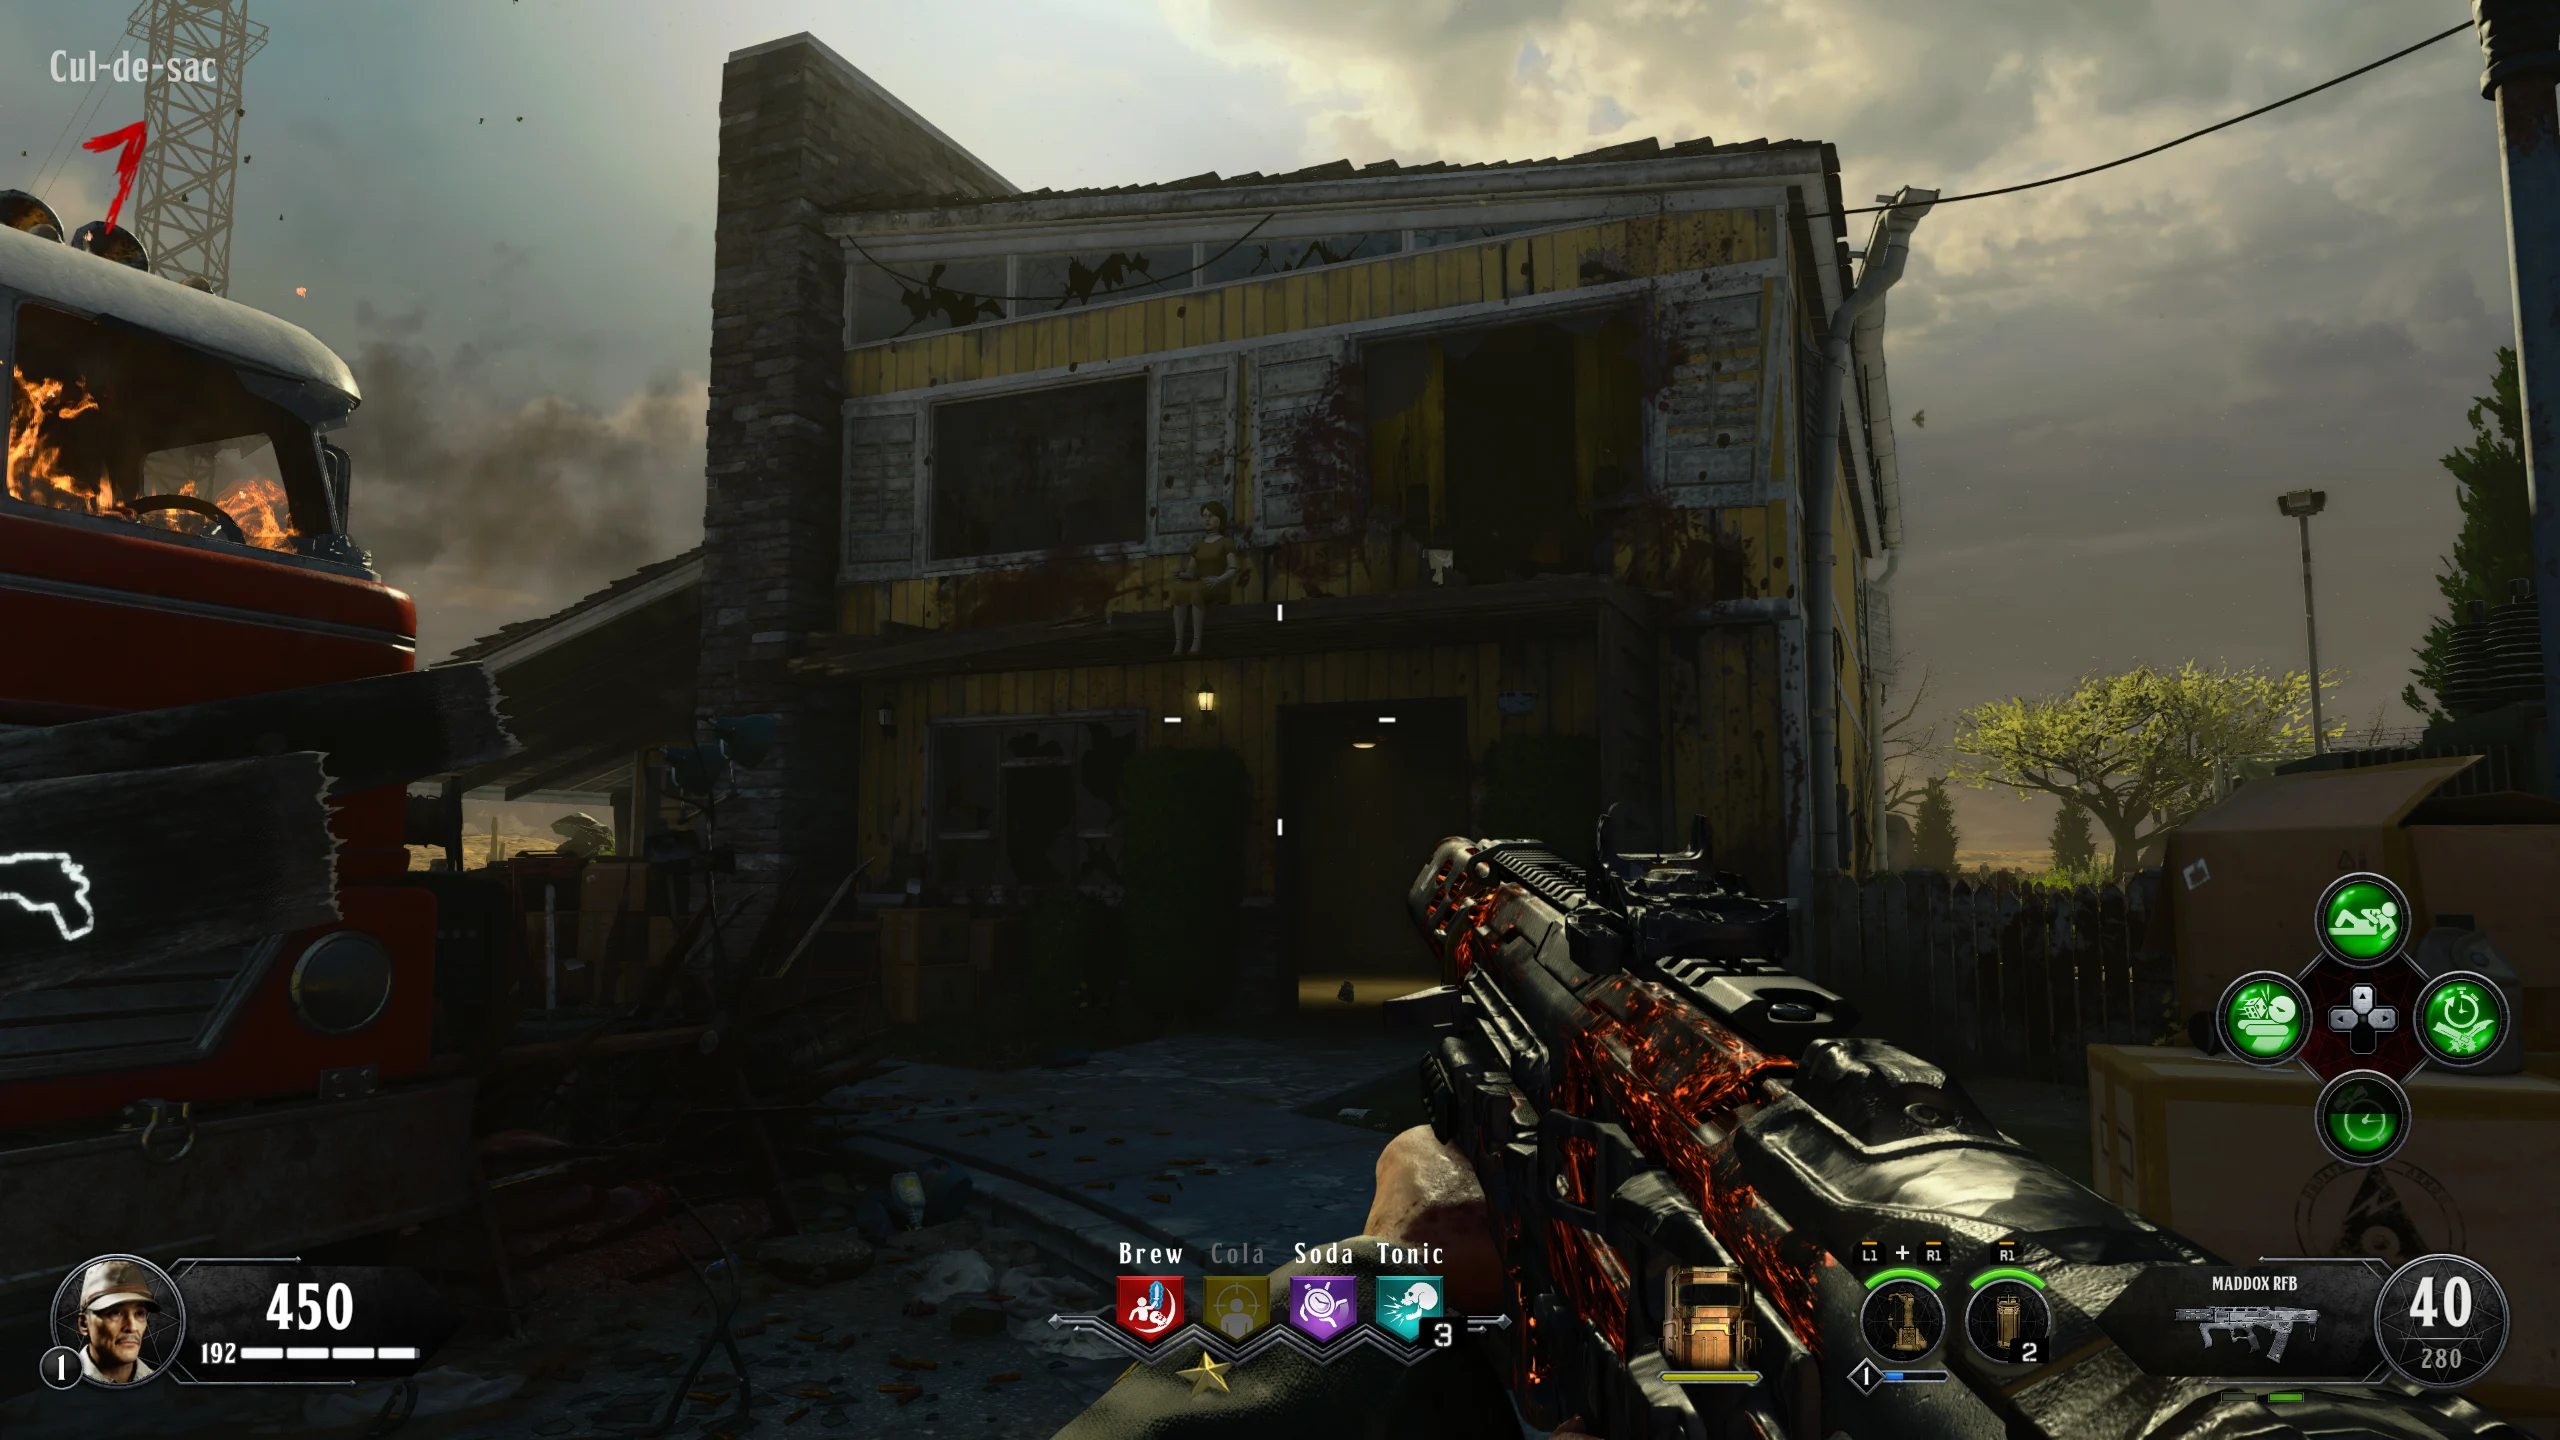
- Green House Upstairs - At the top of the stairs
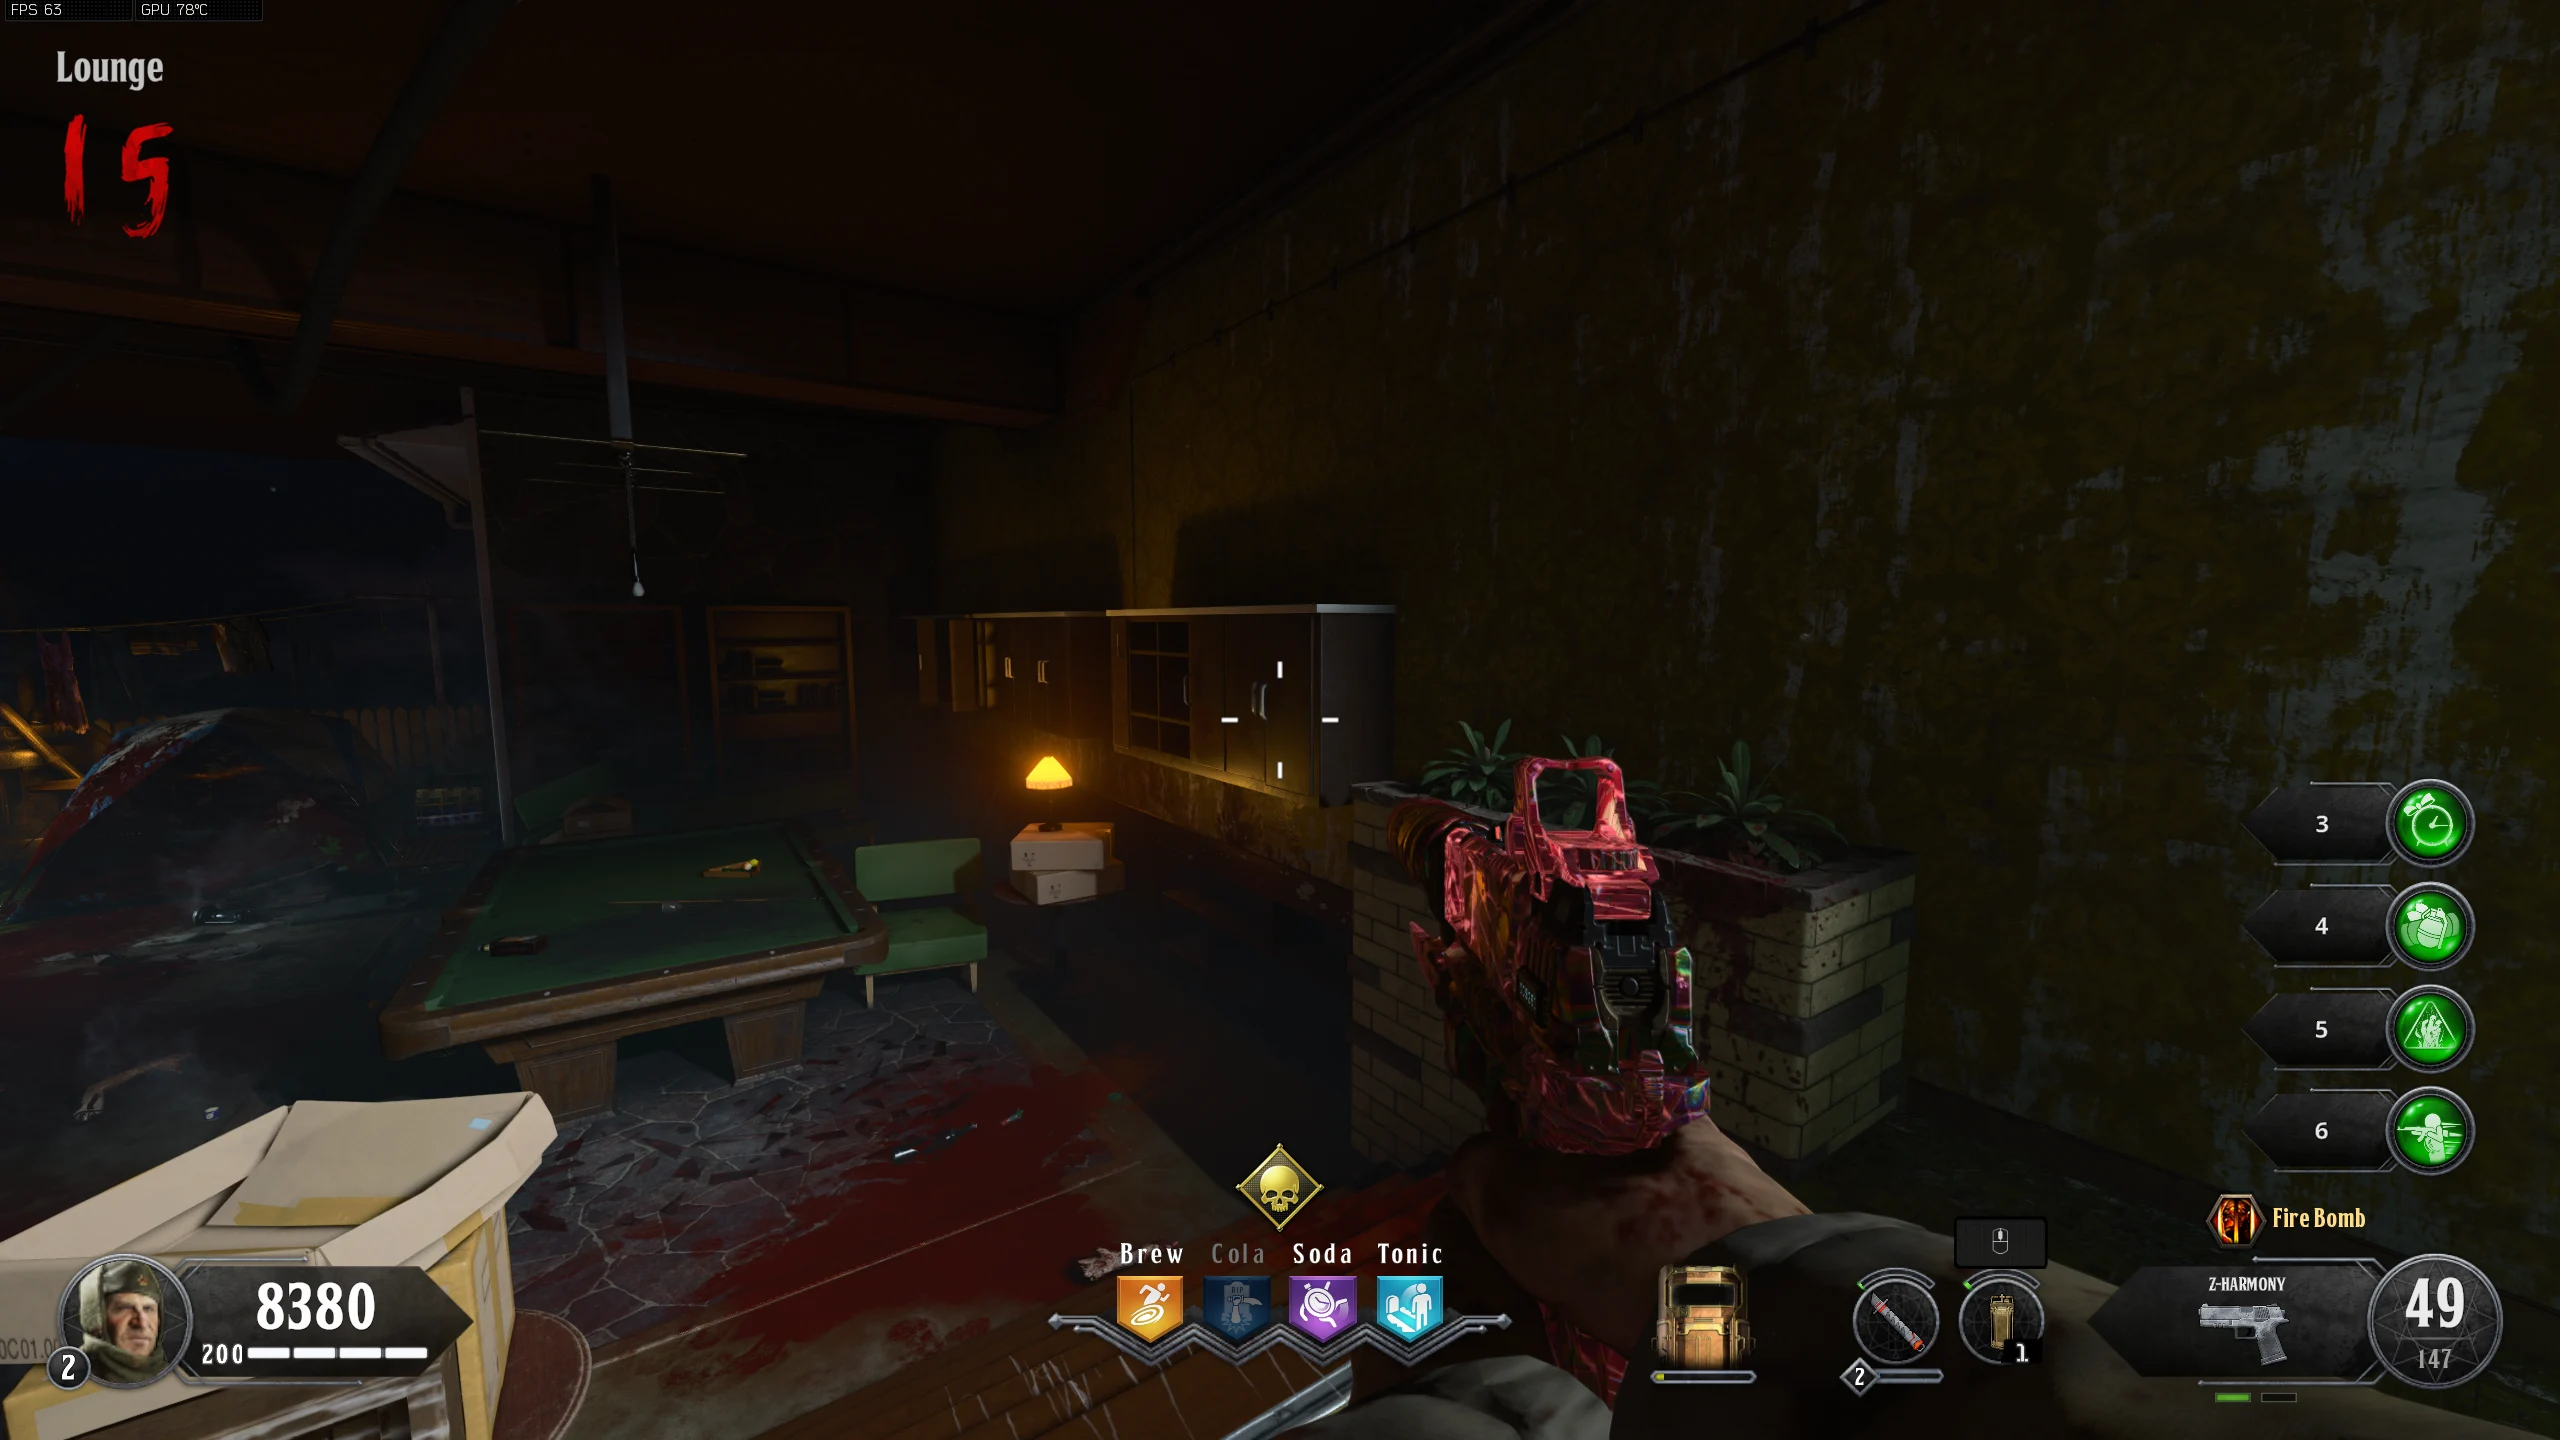
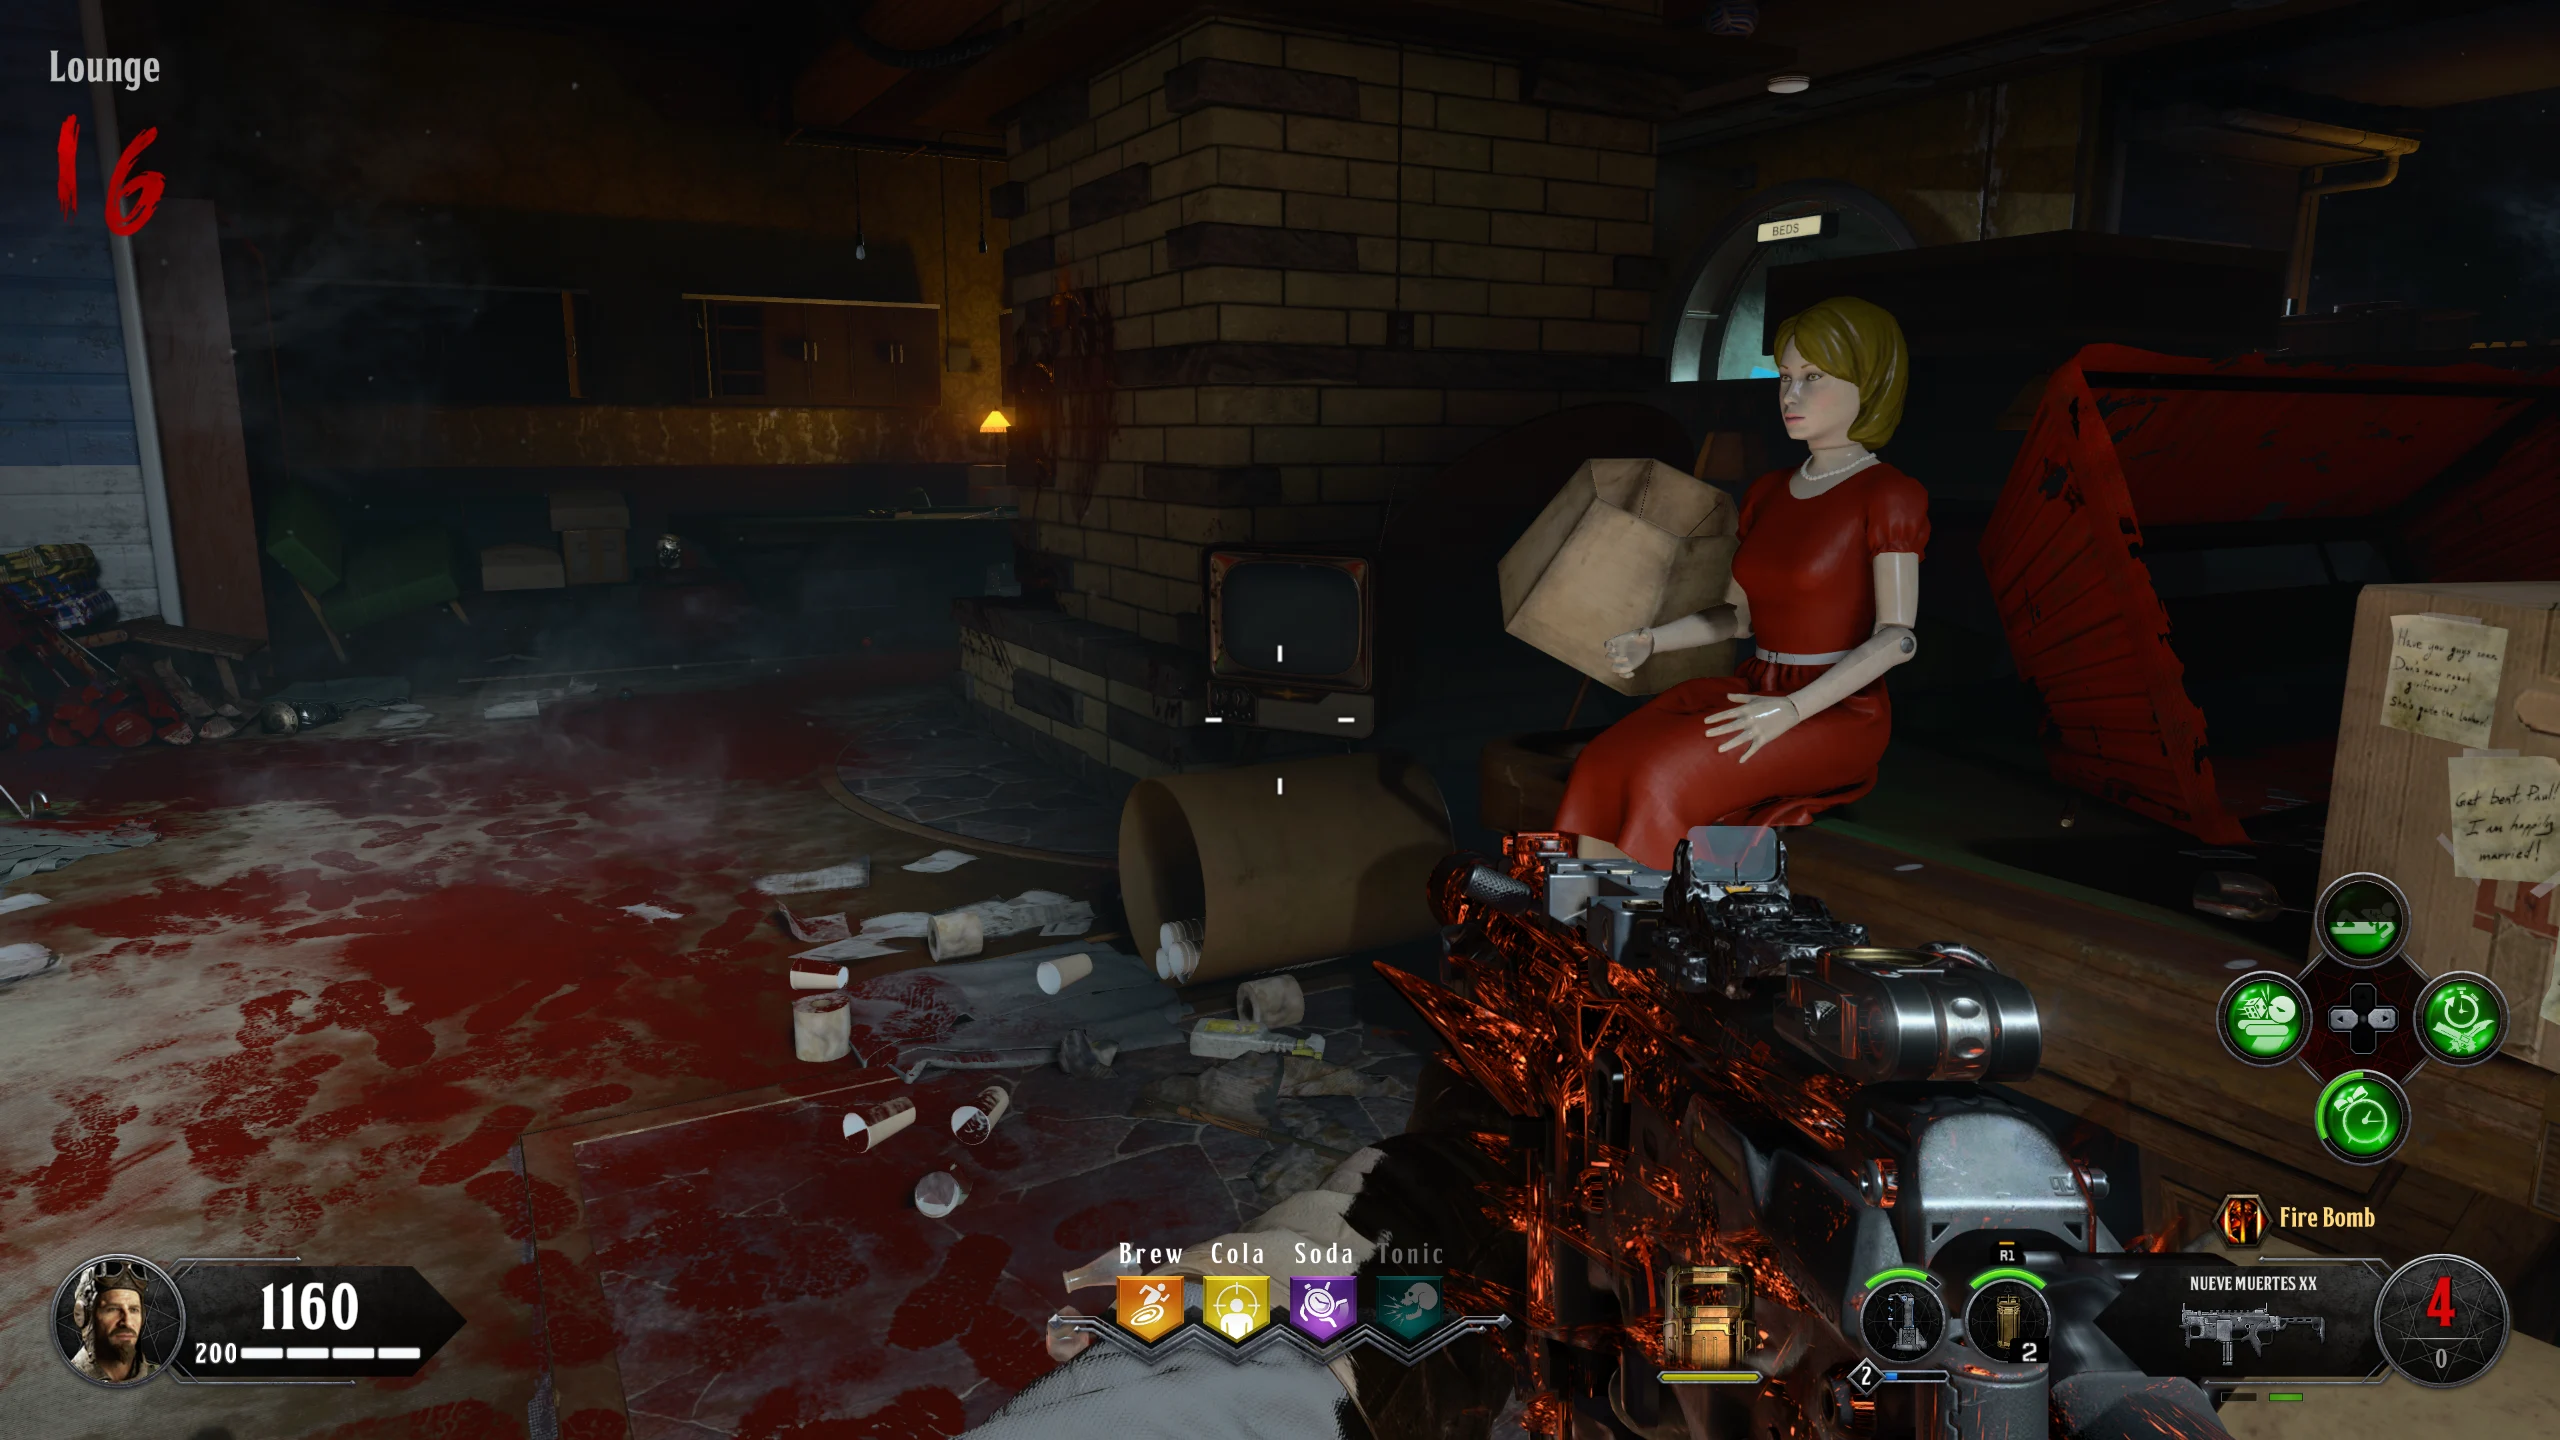
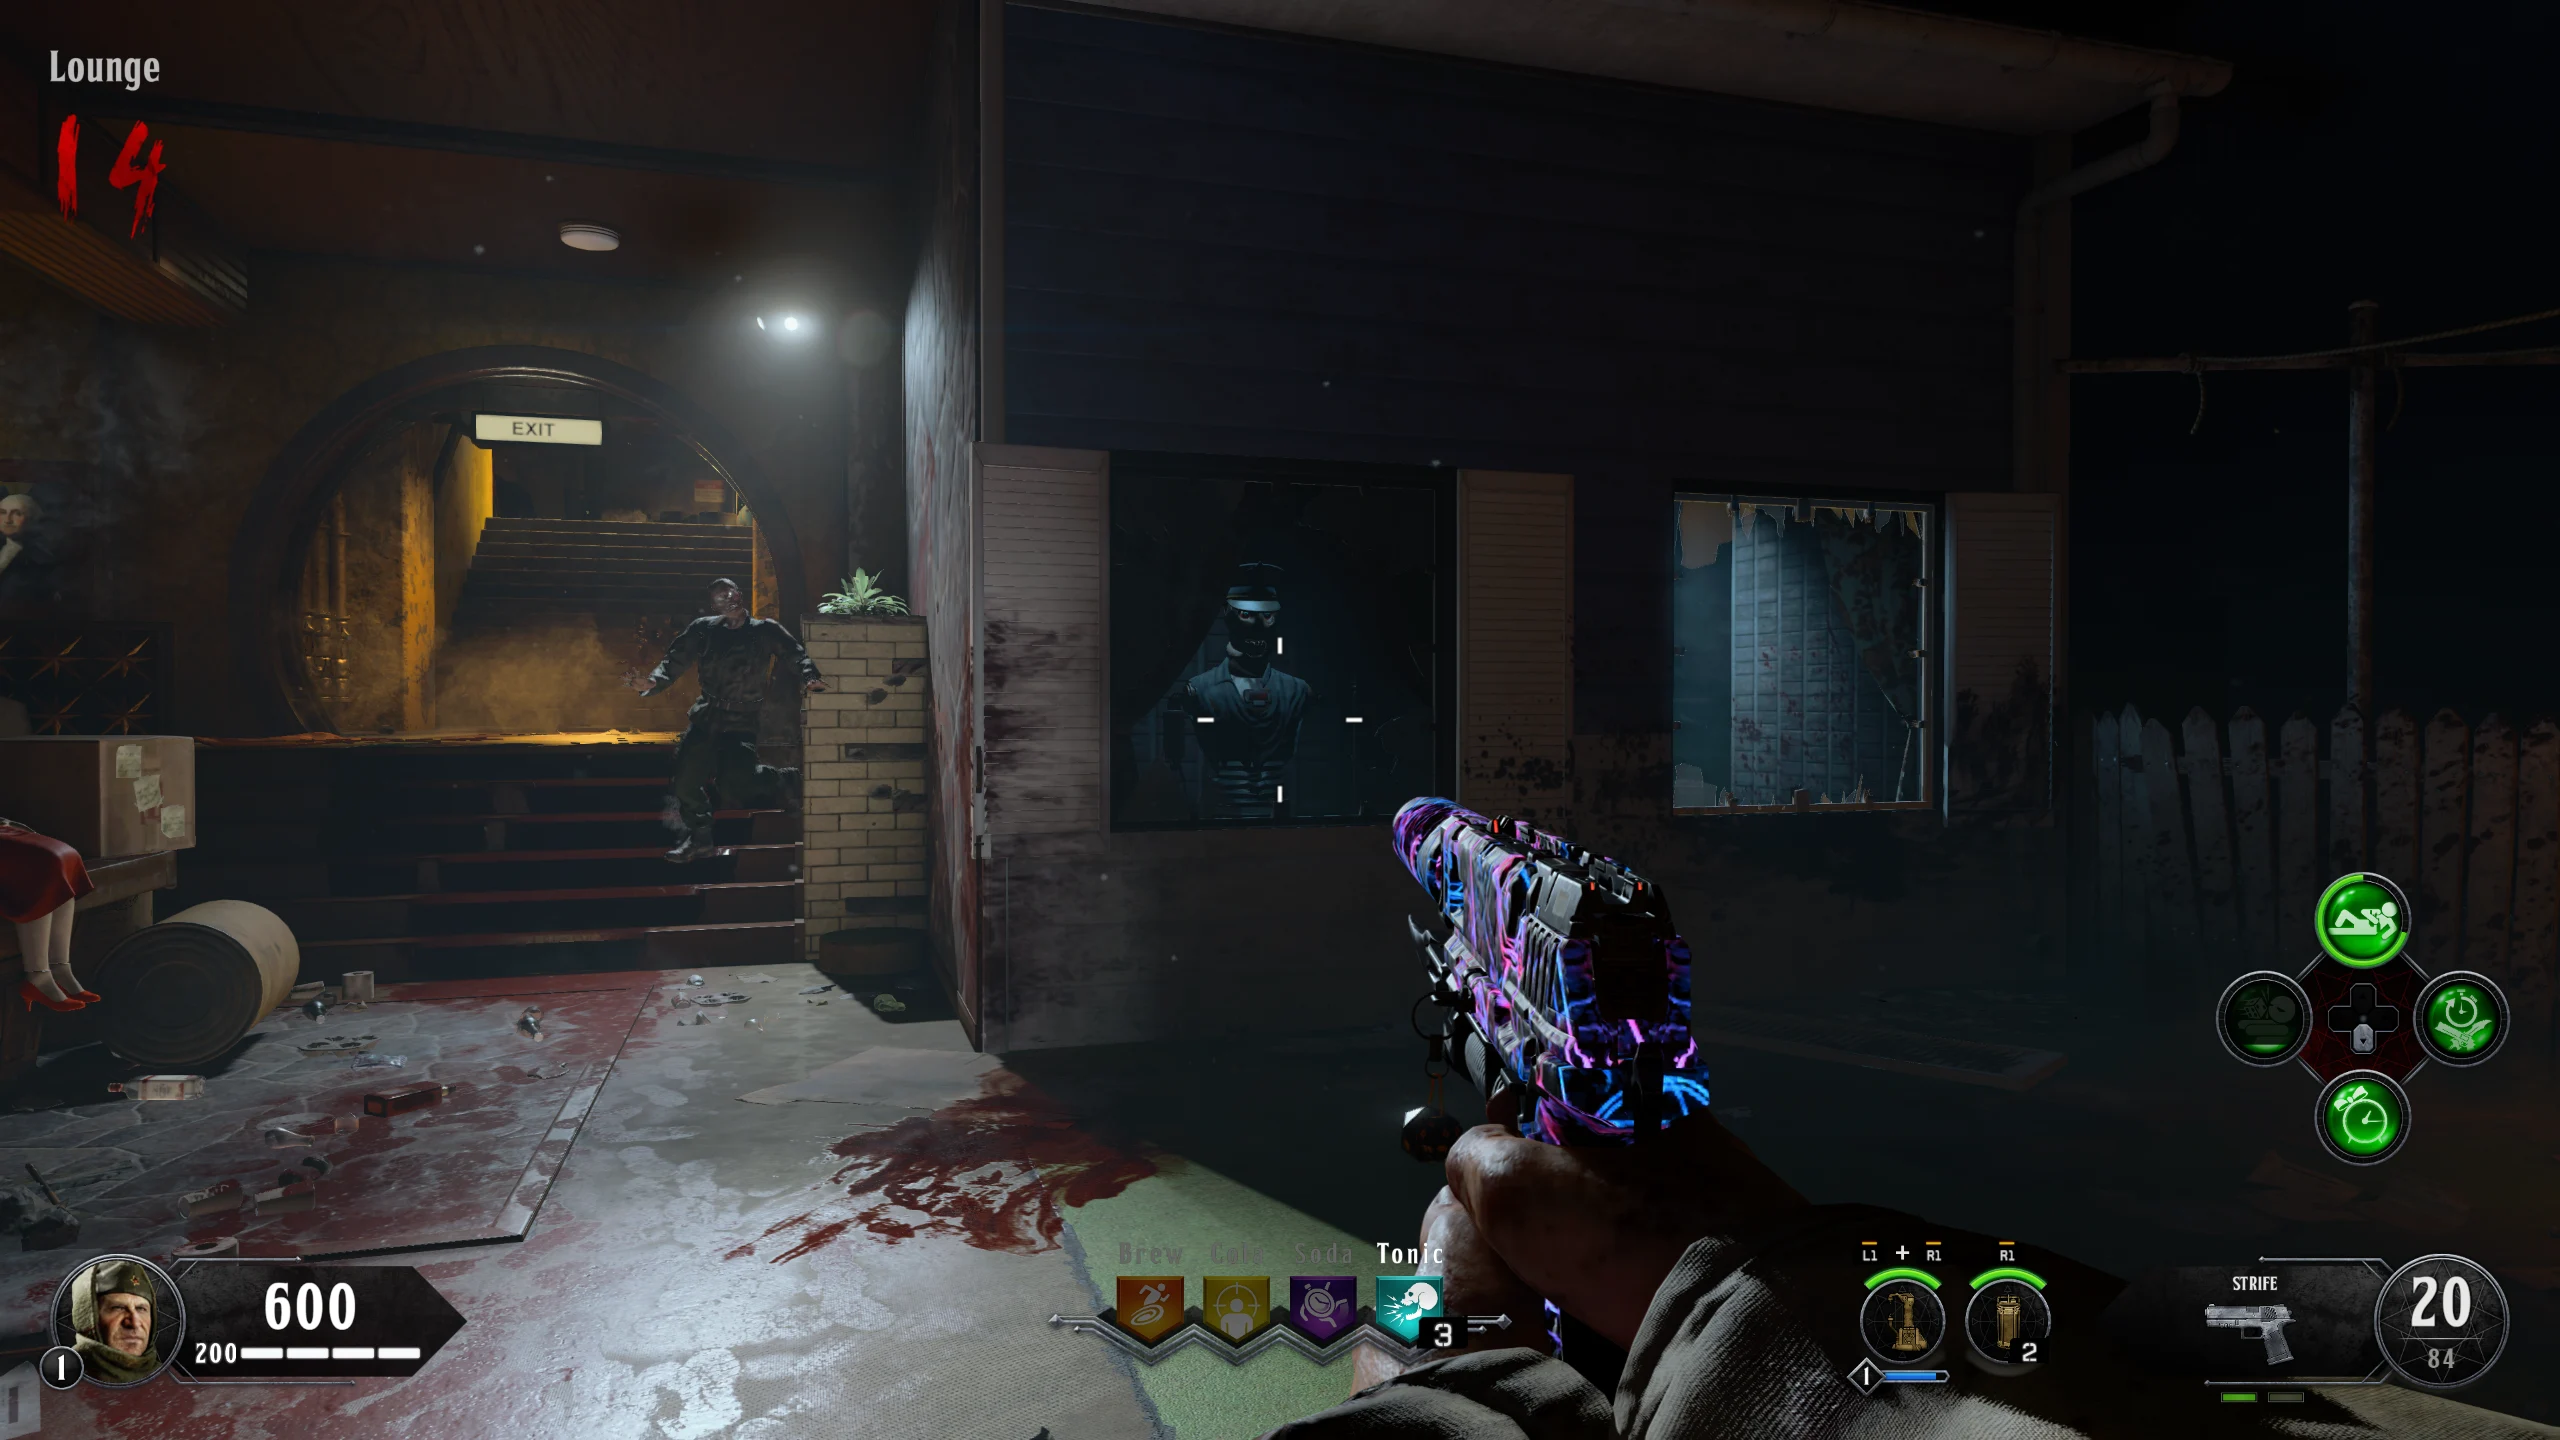
- Lounge - Left of the exit from the Bunker
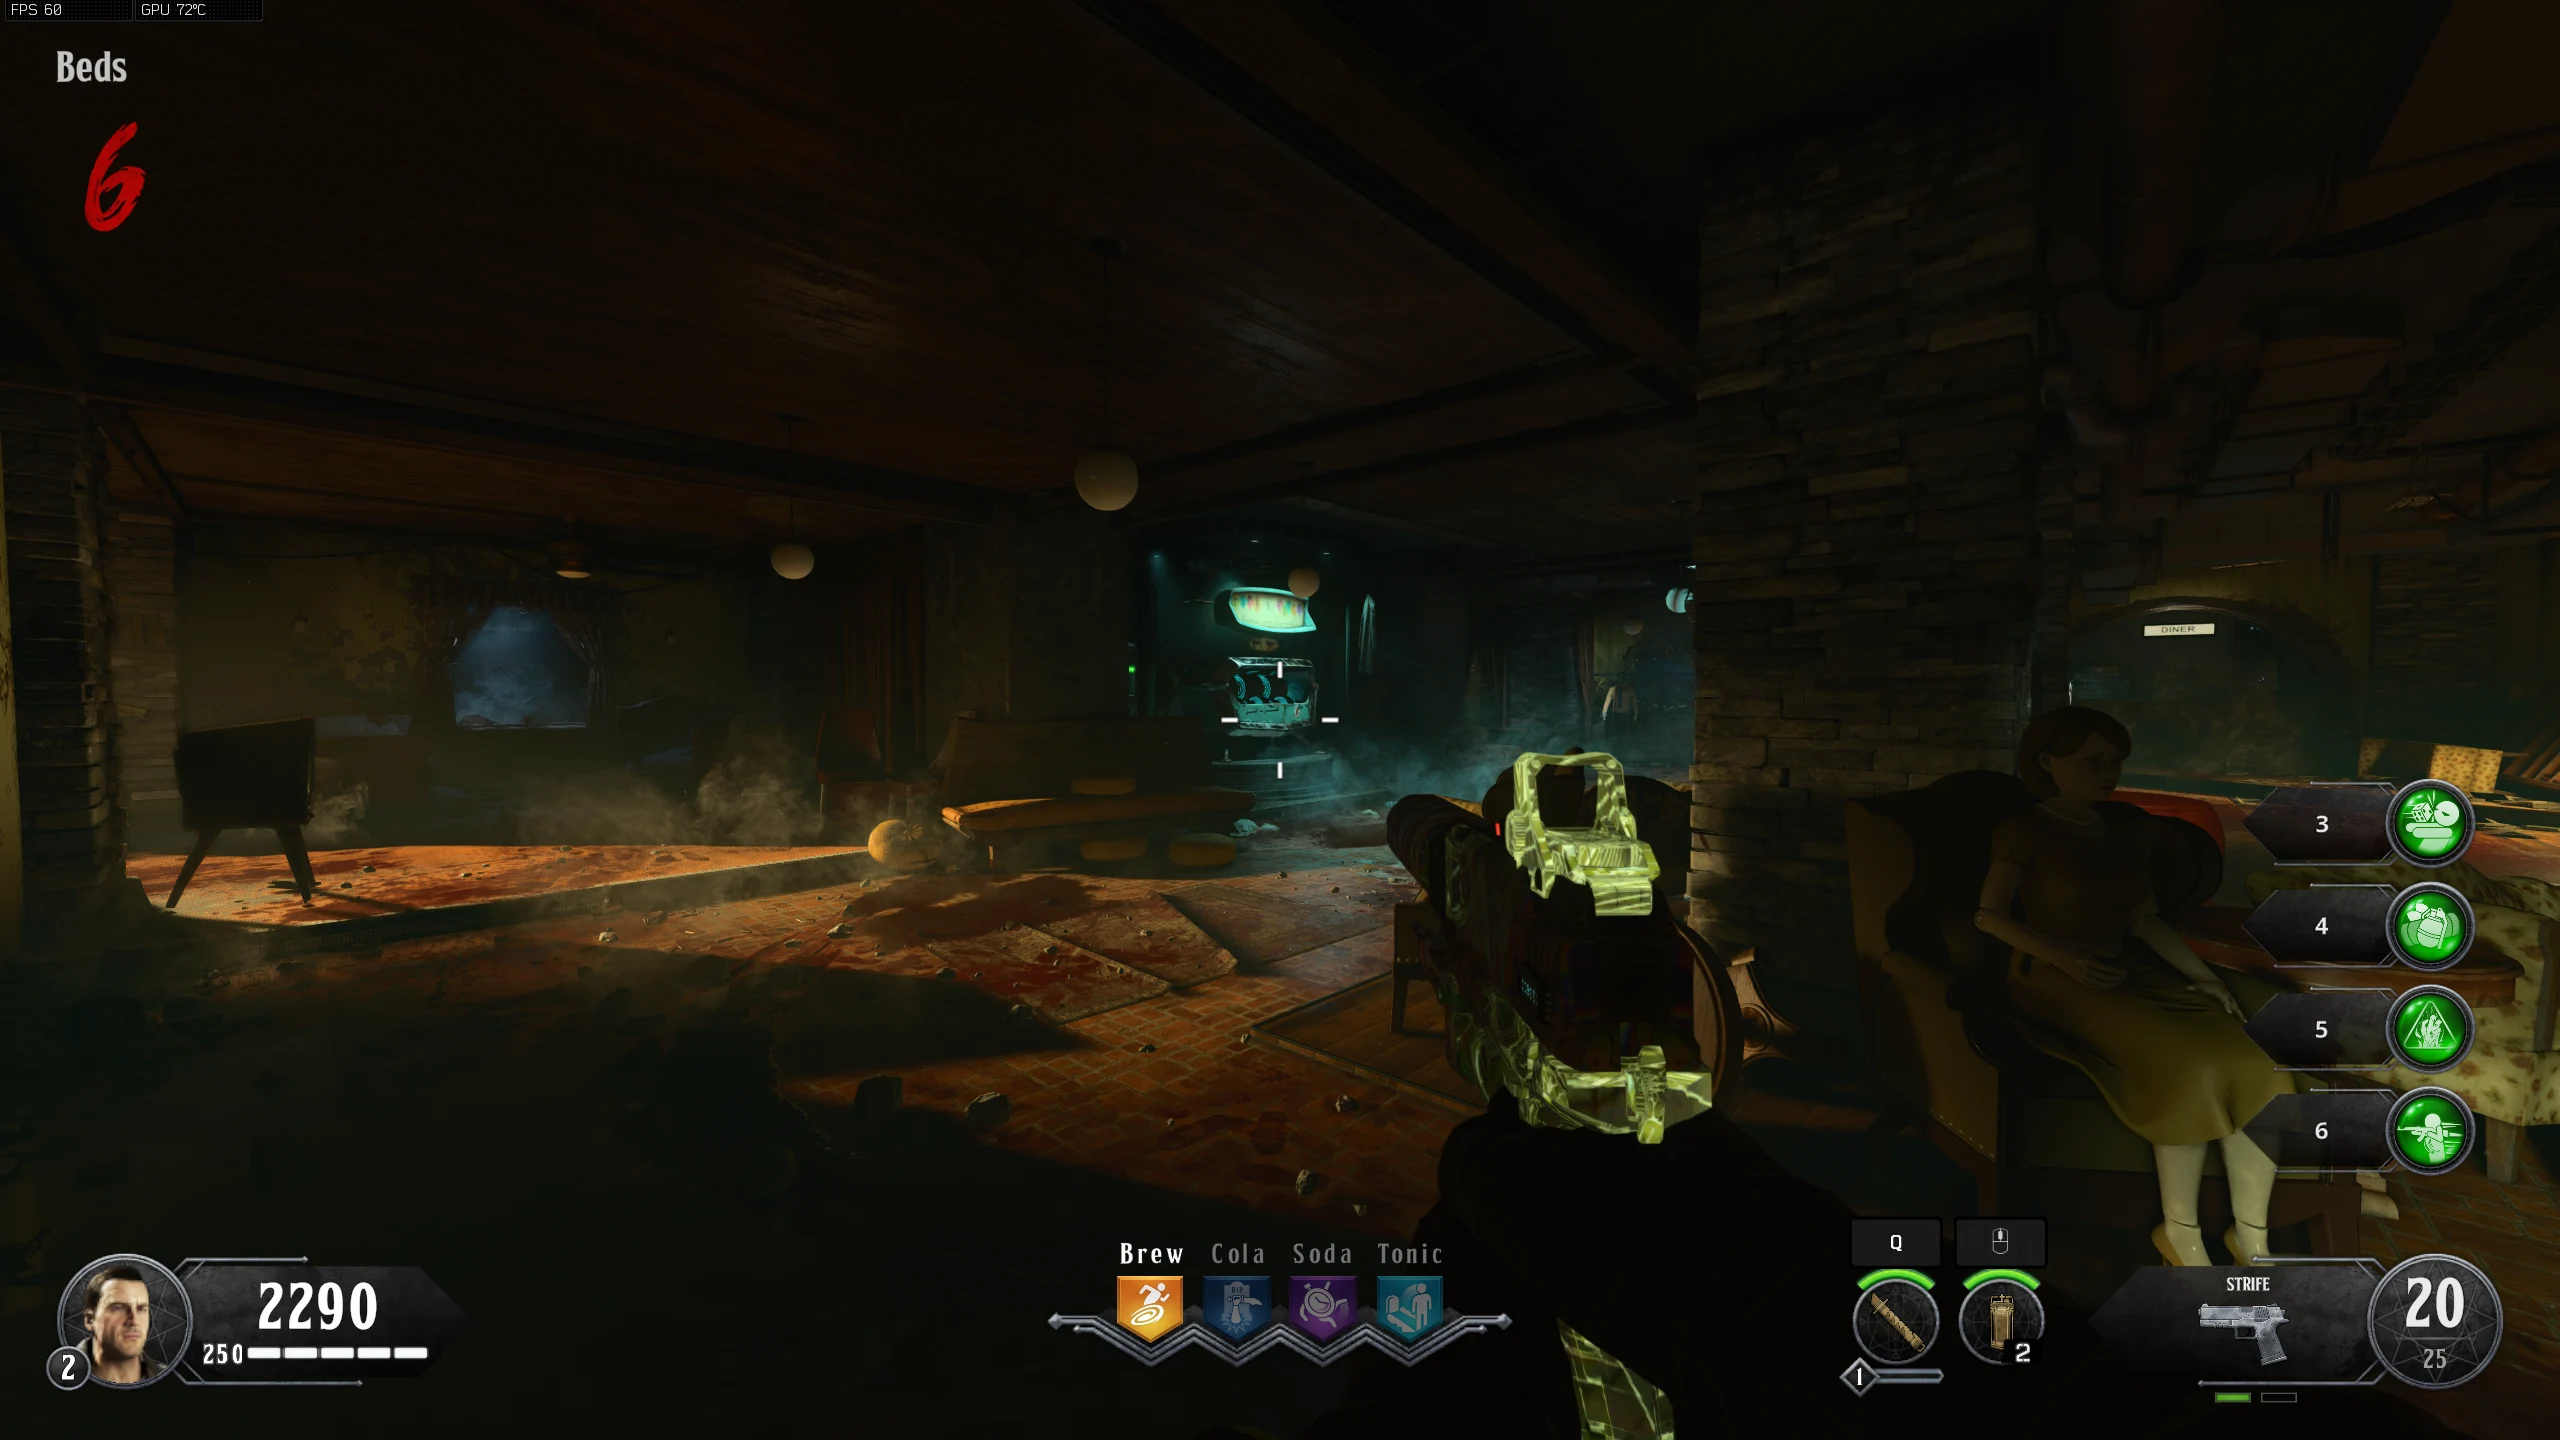
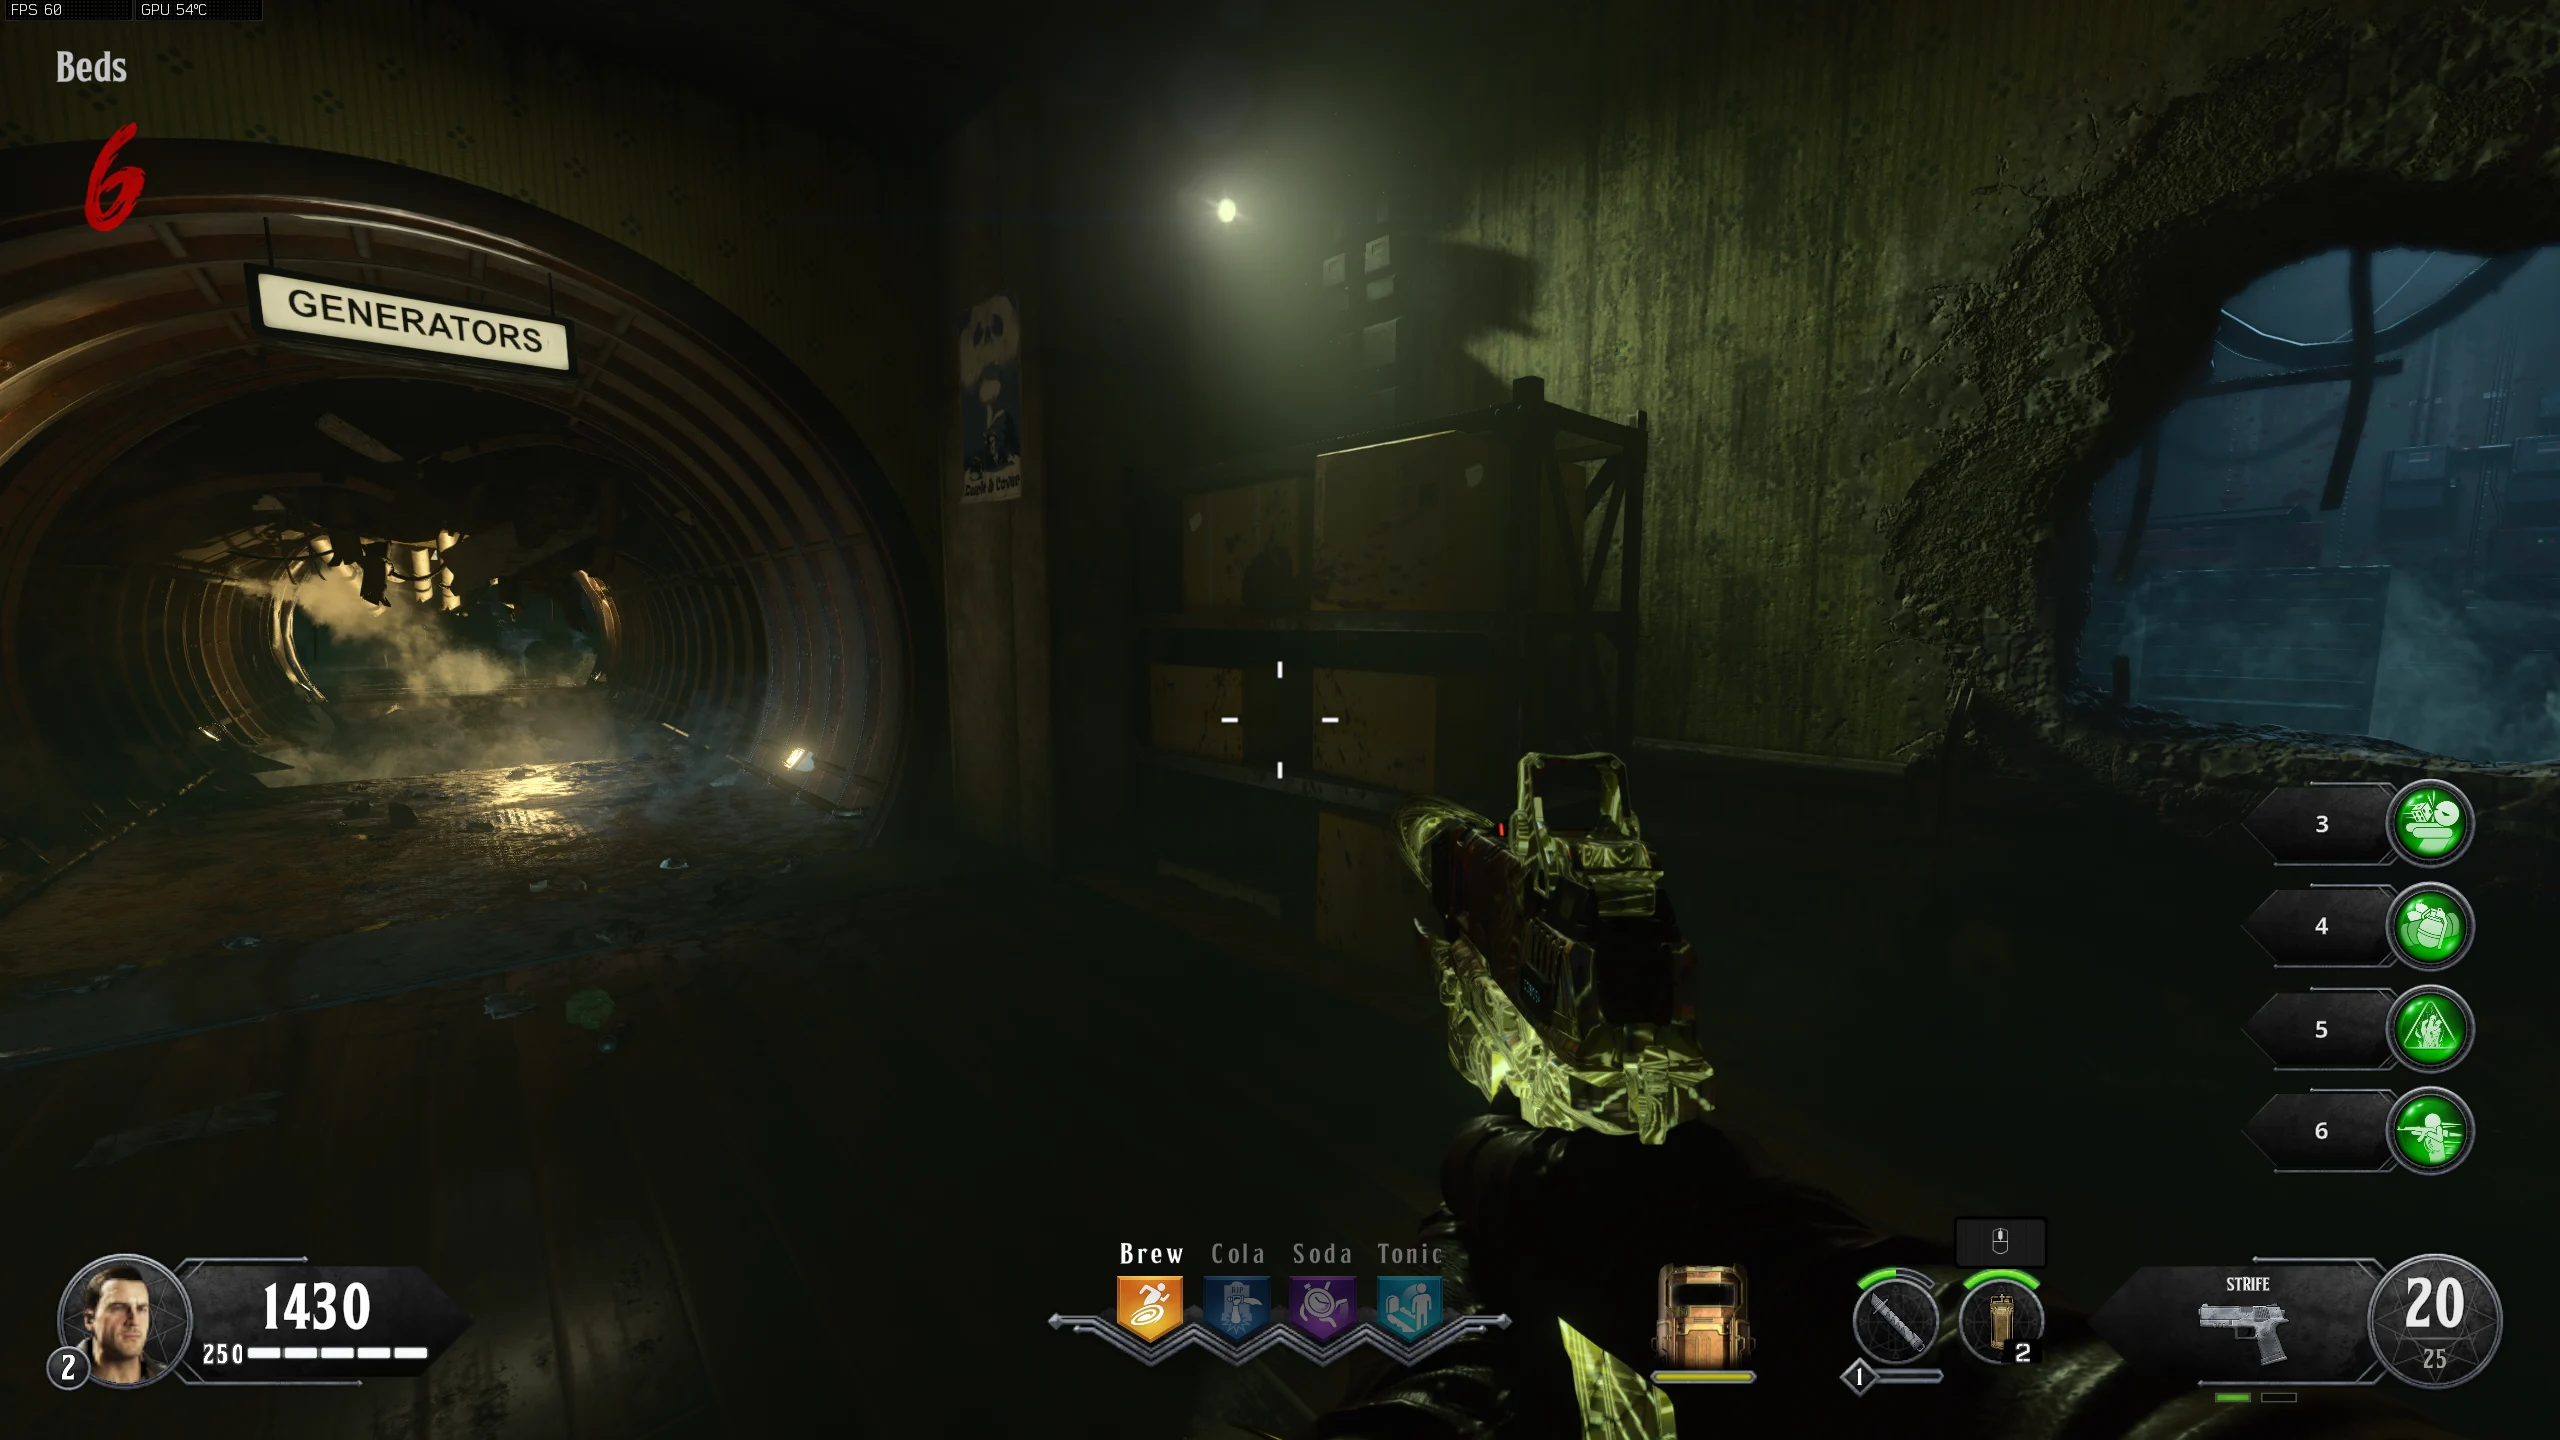
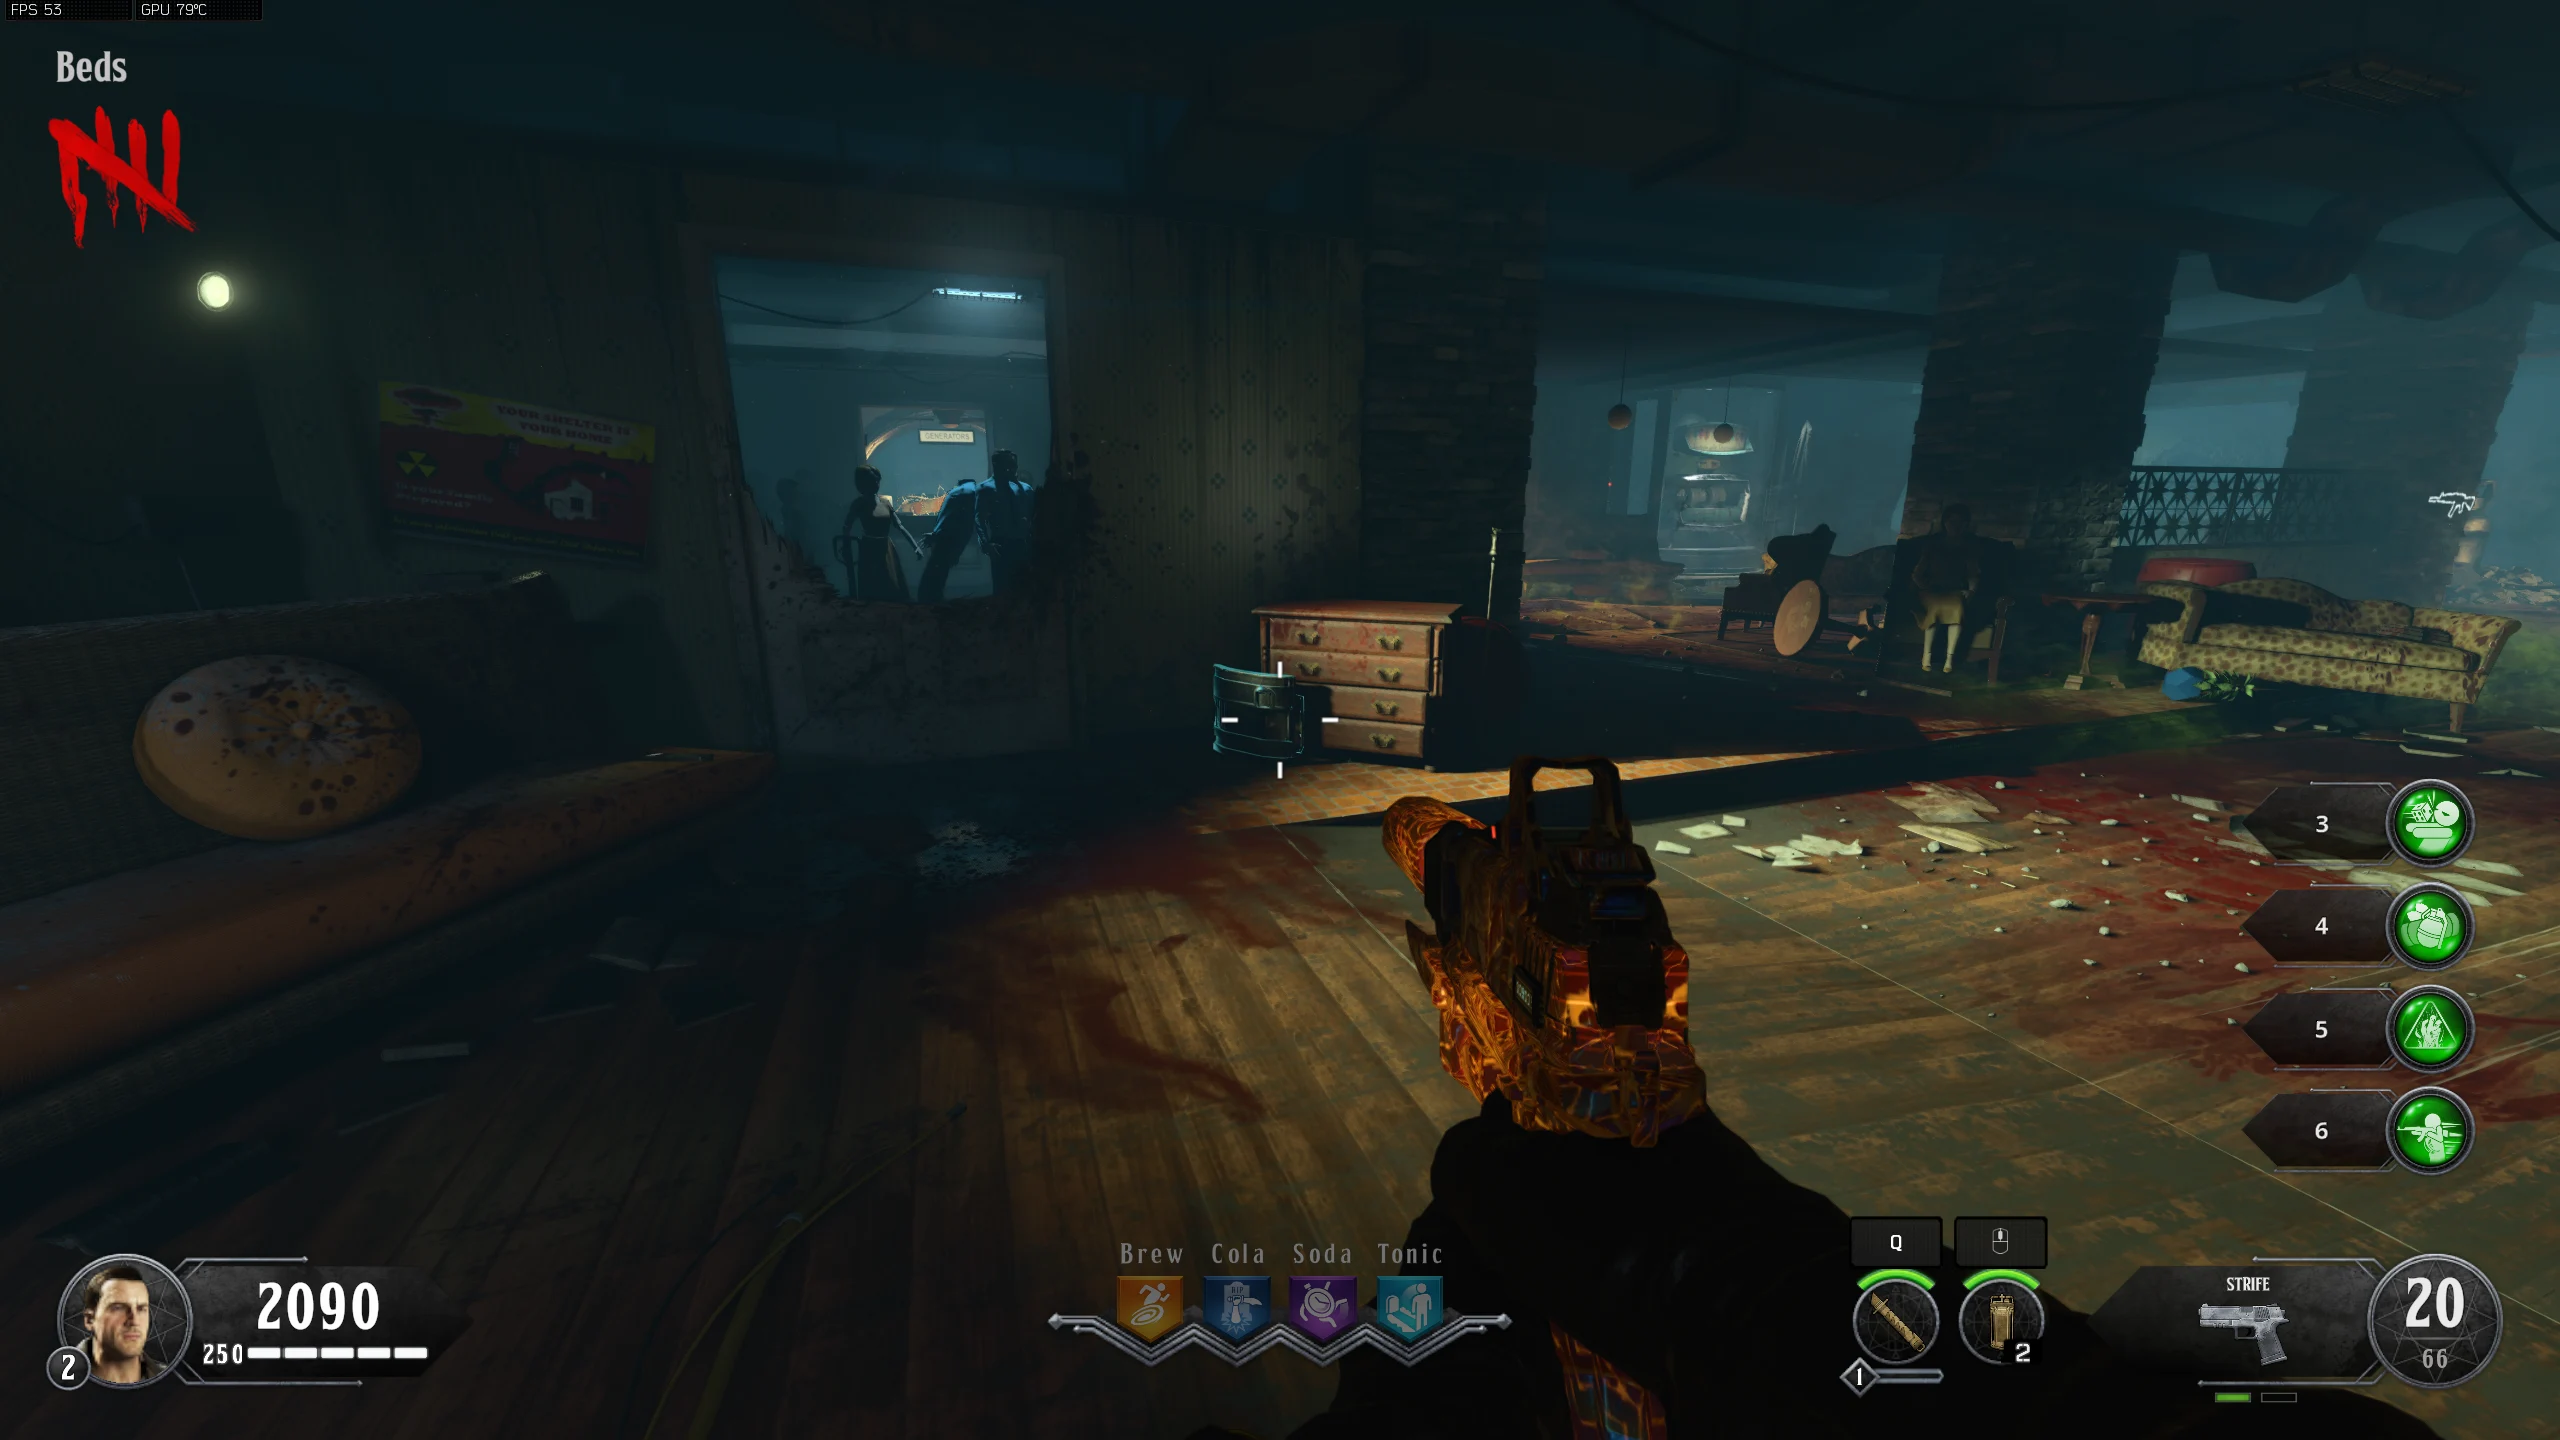
- Beds - Across from the KN-47 Wallbuy
- Once you have all three codes, input them into Rushmore within a minute of each other. After you have done so, interact with Rushmore.
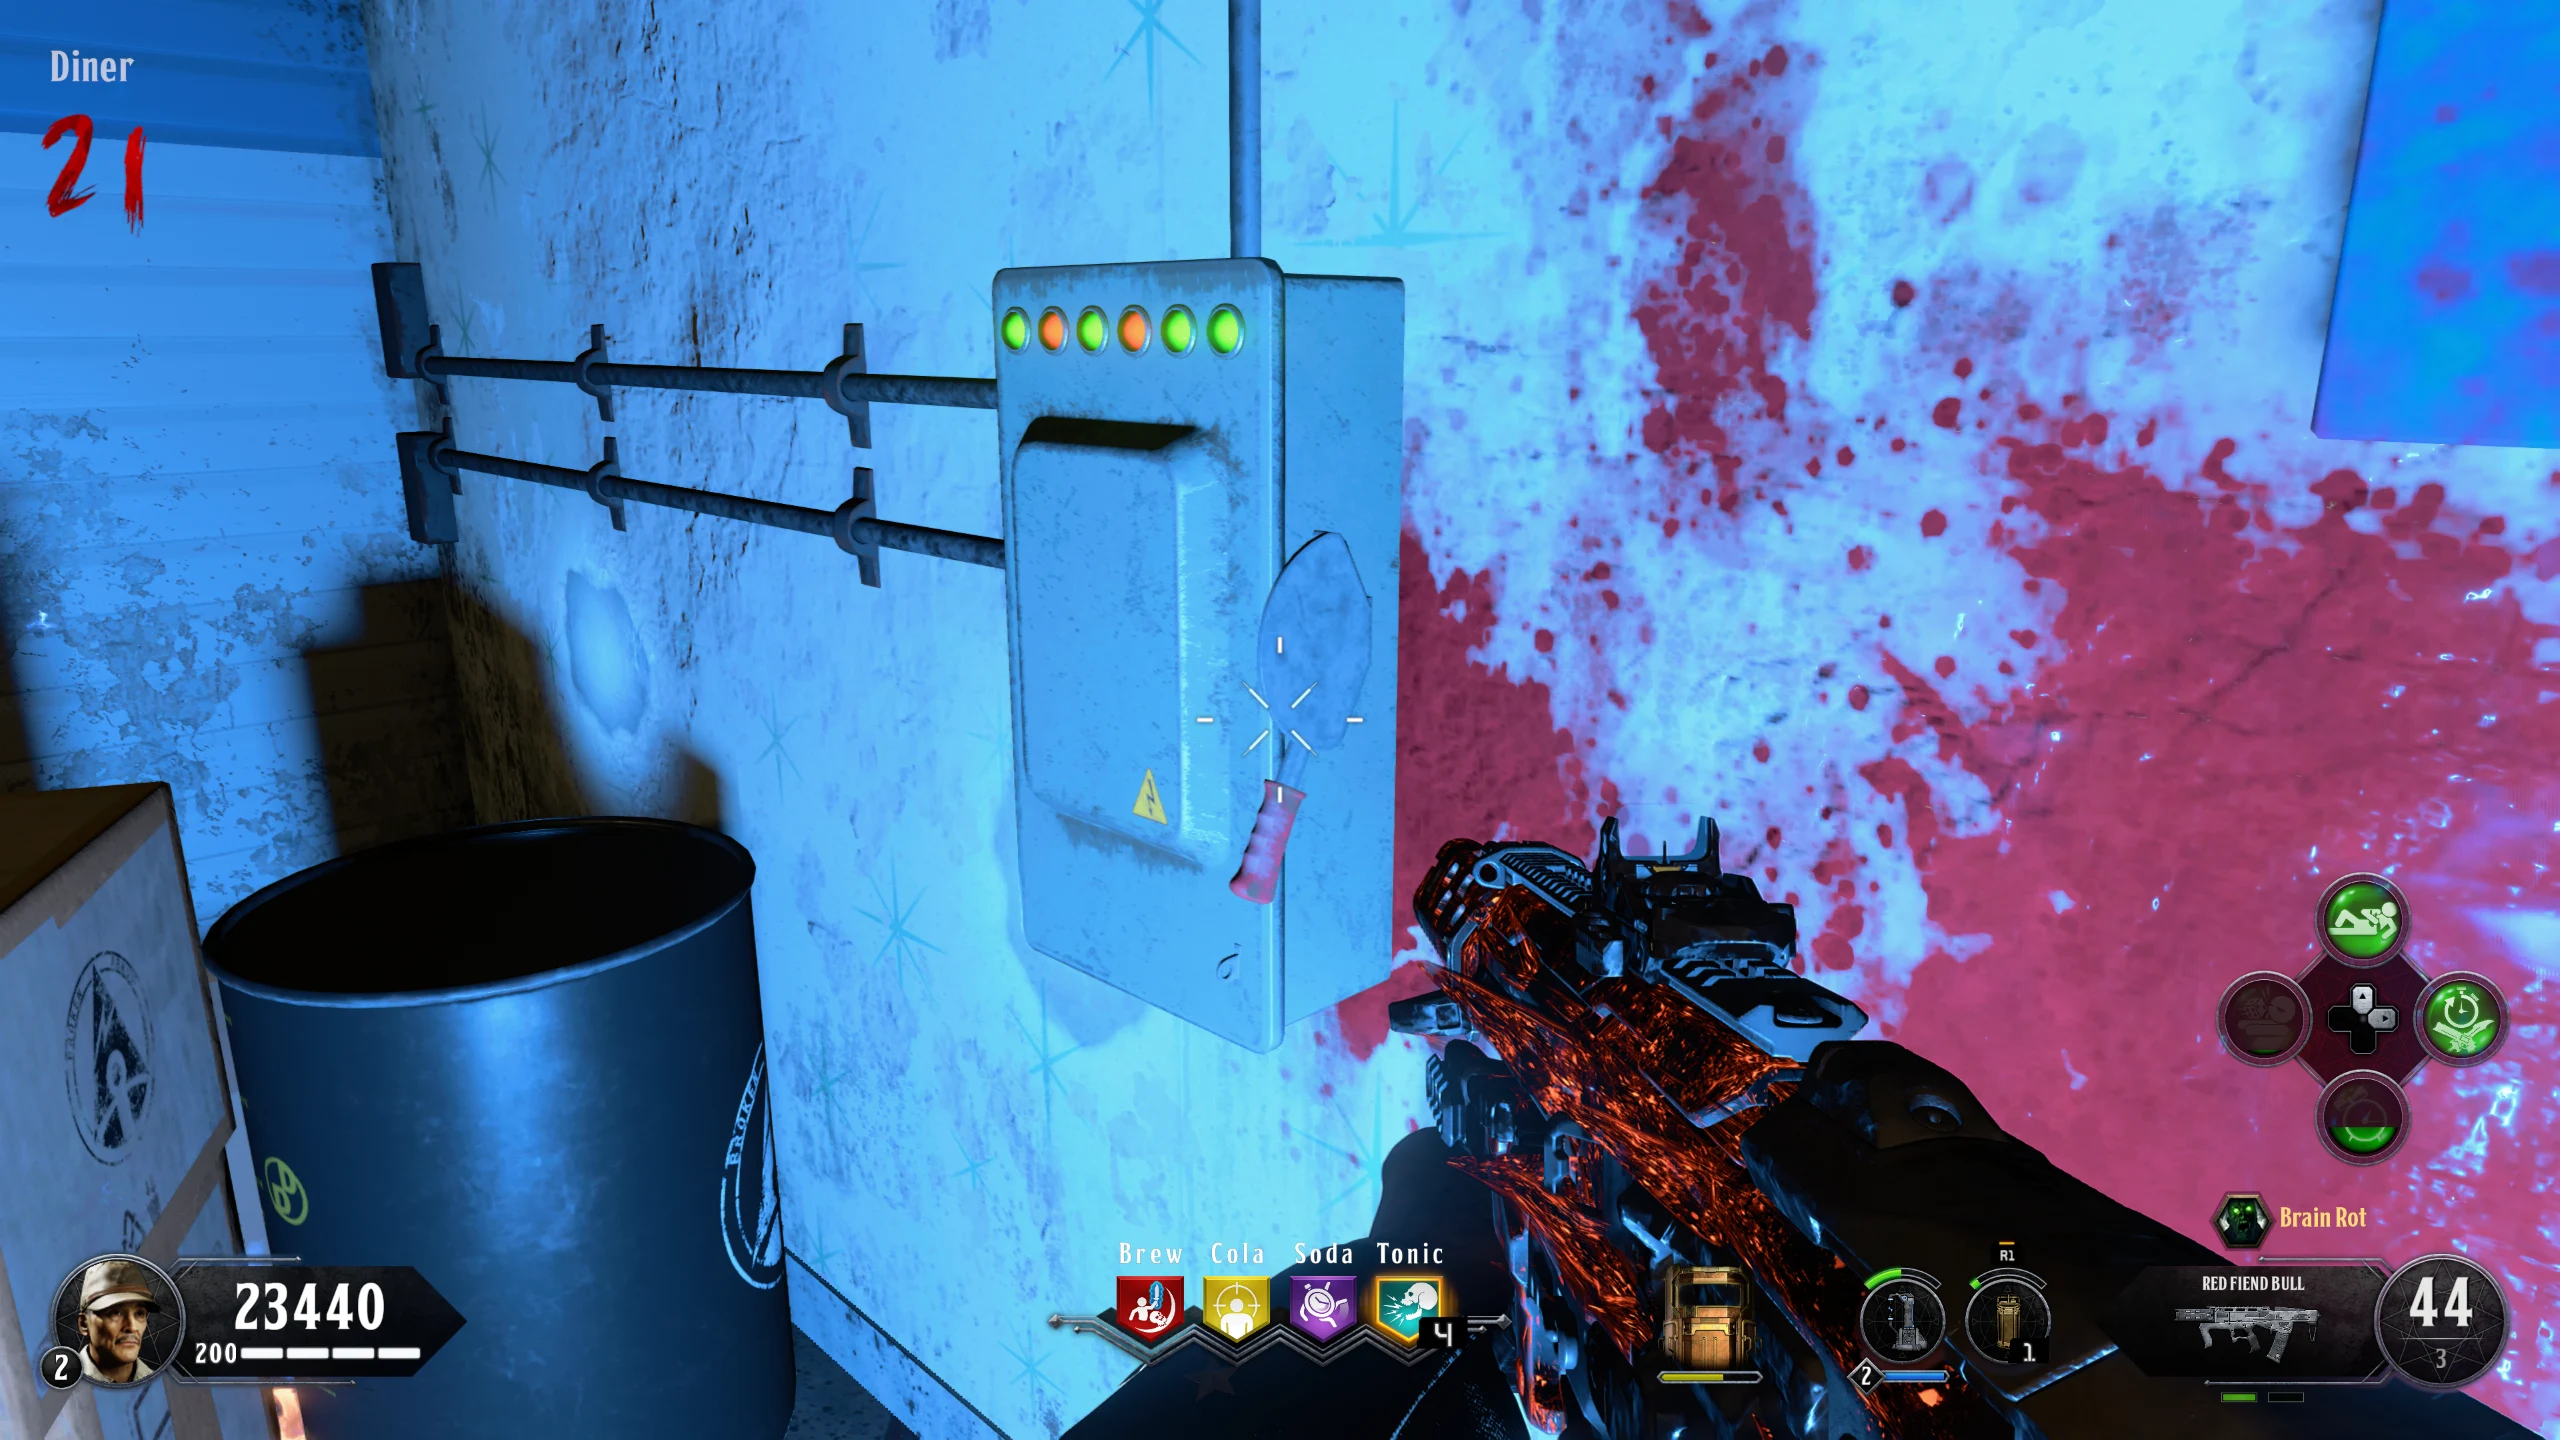
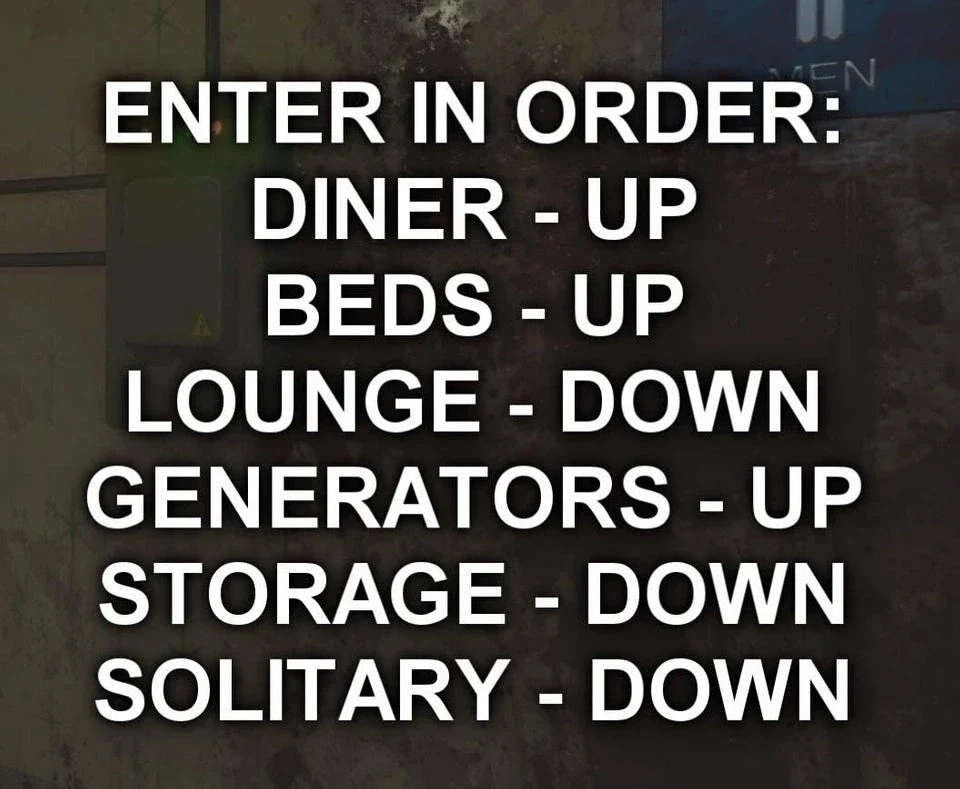
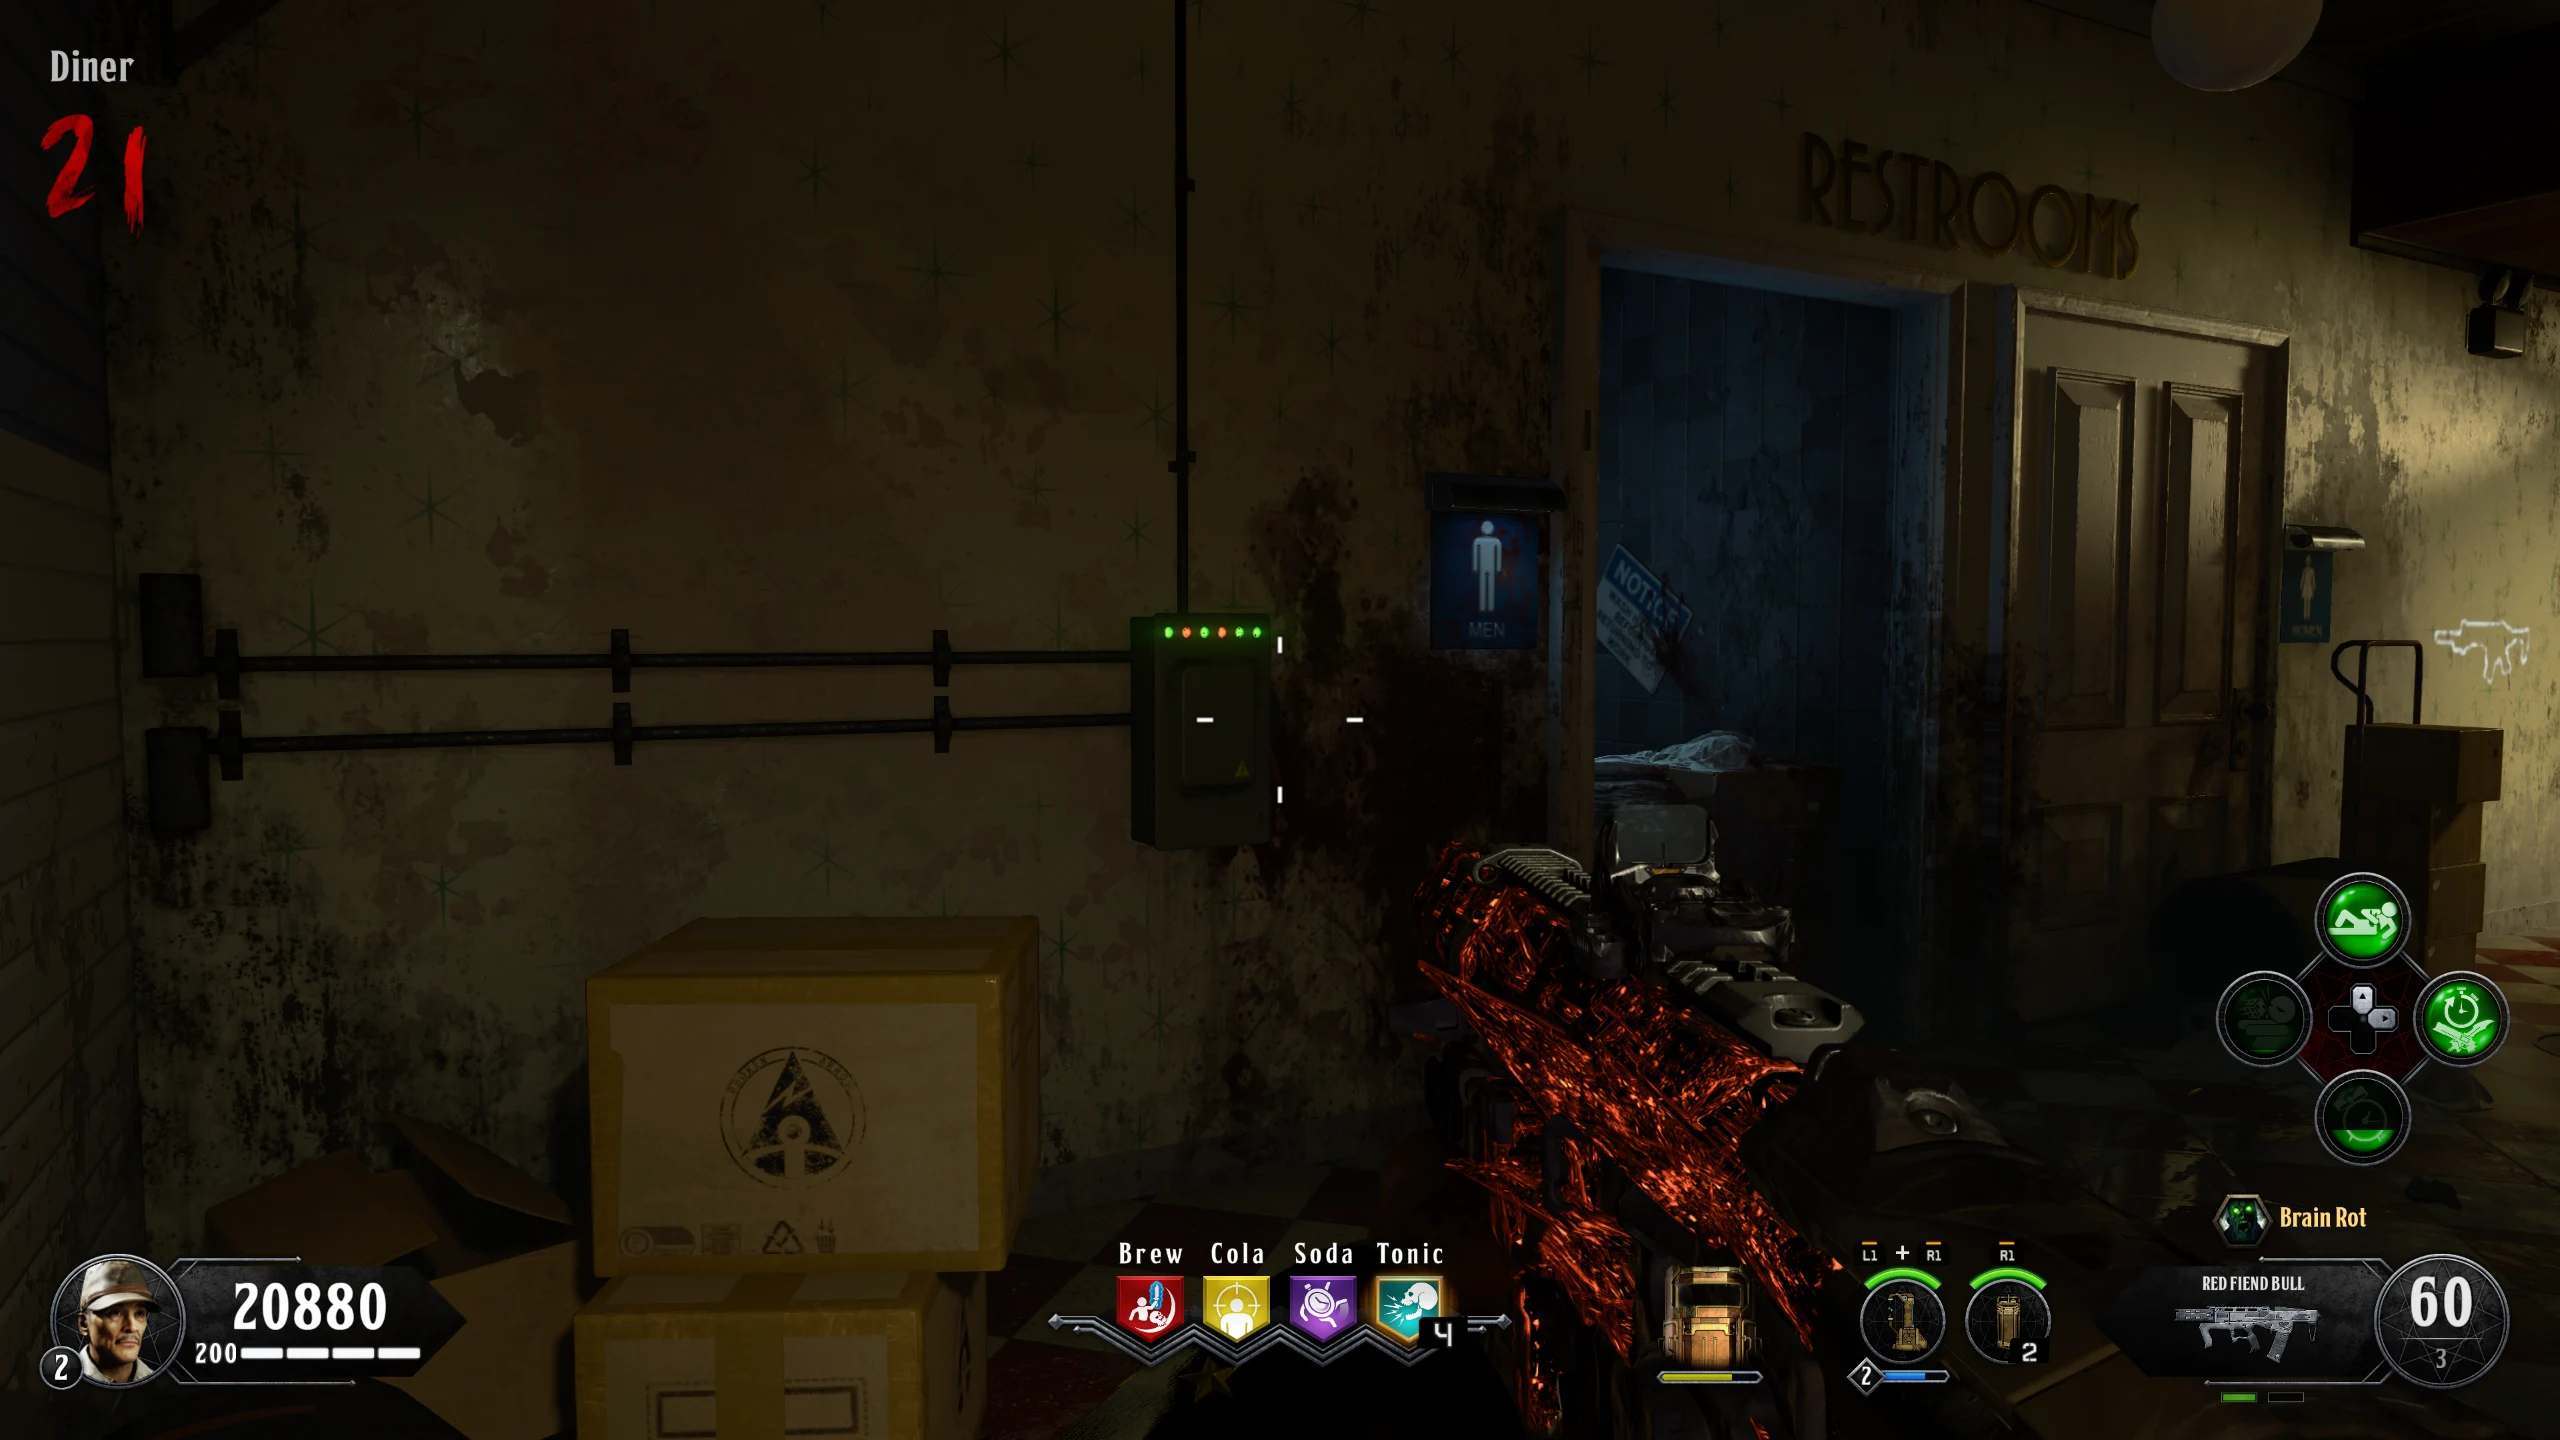
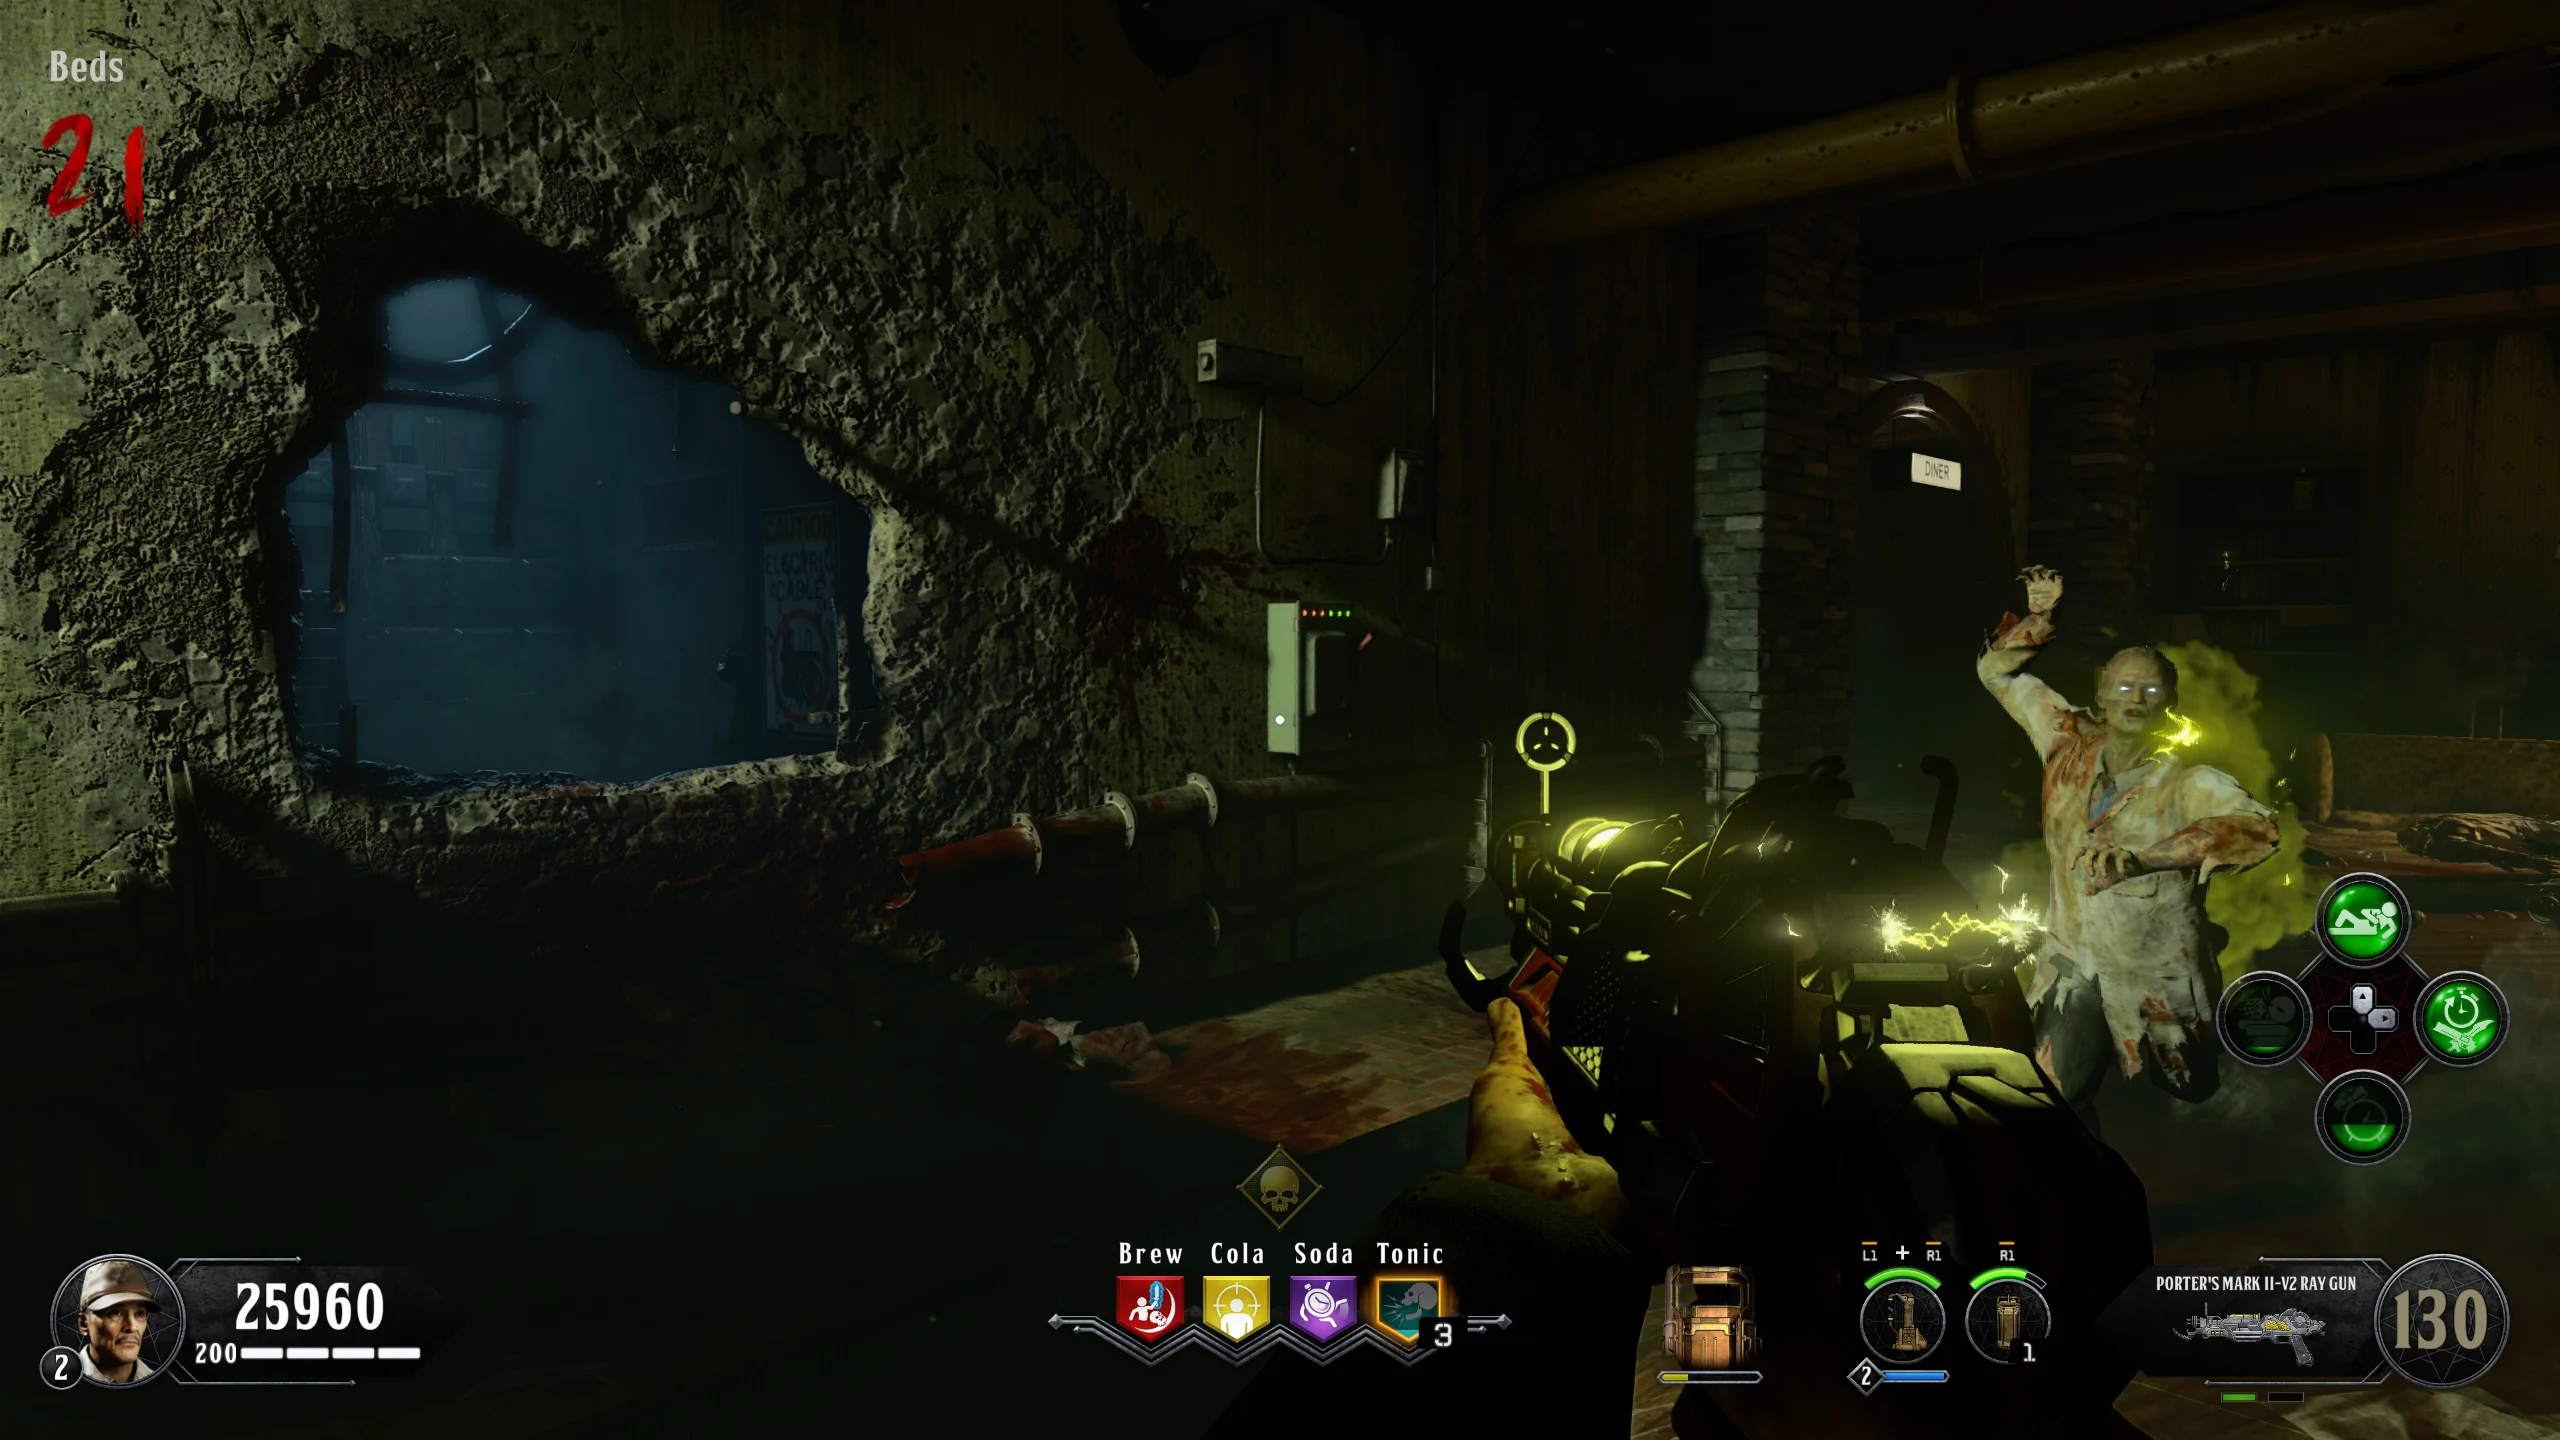
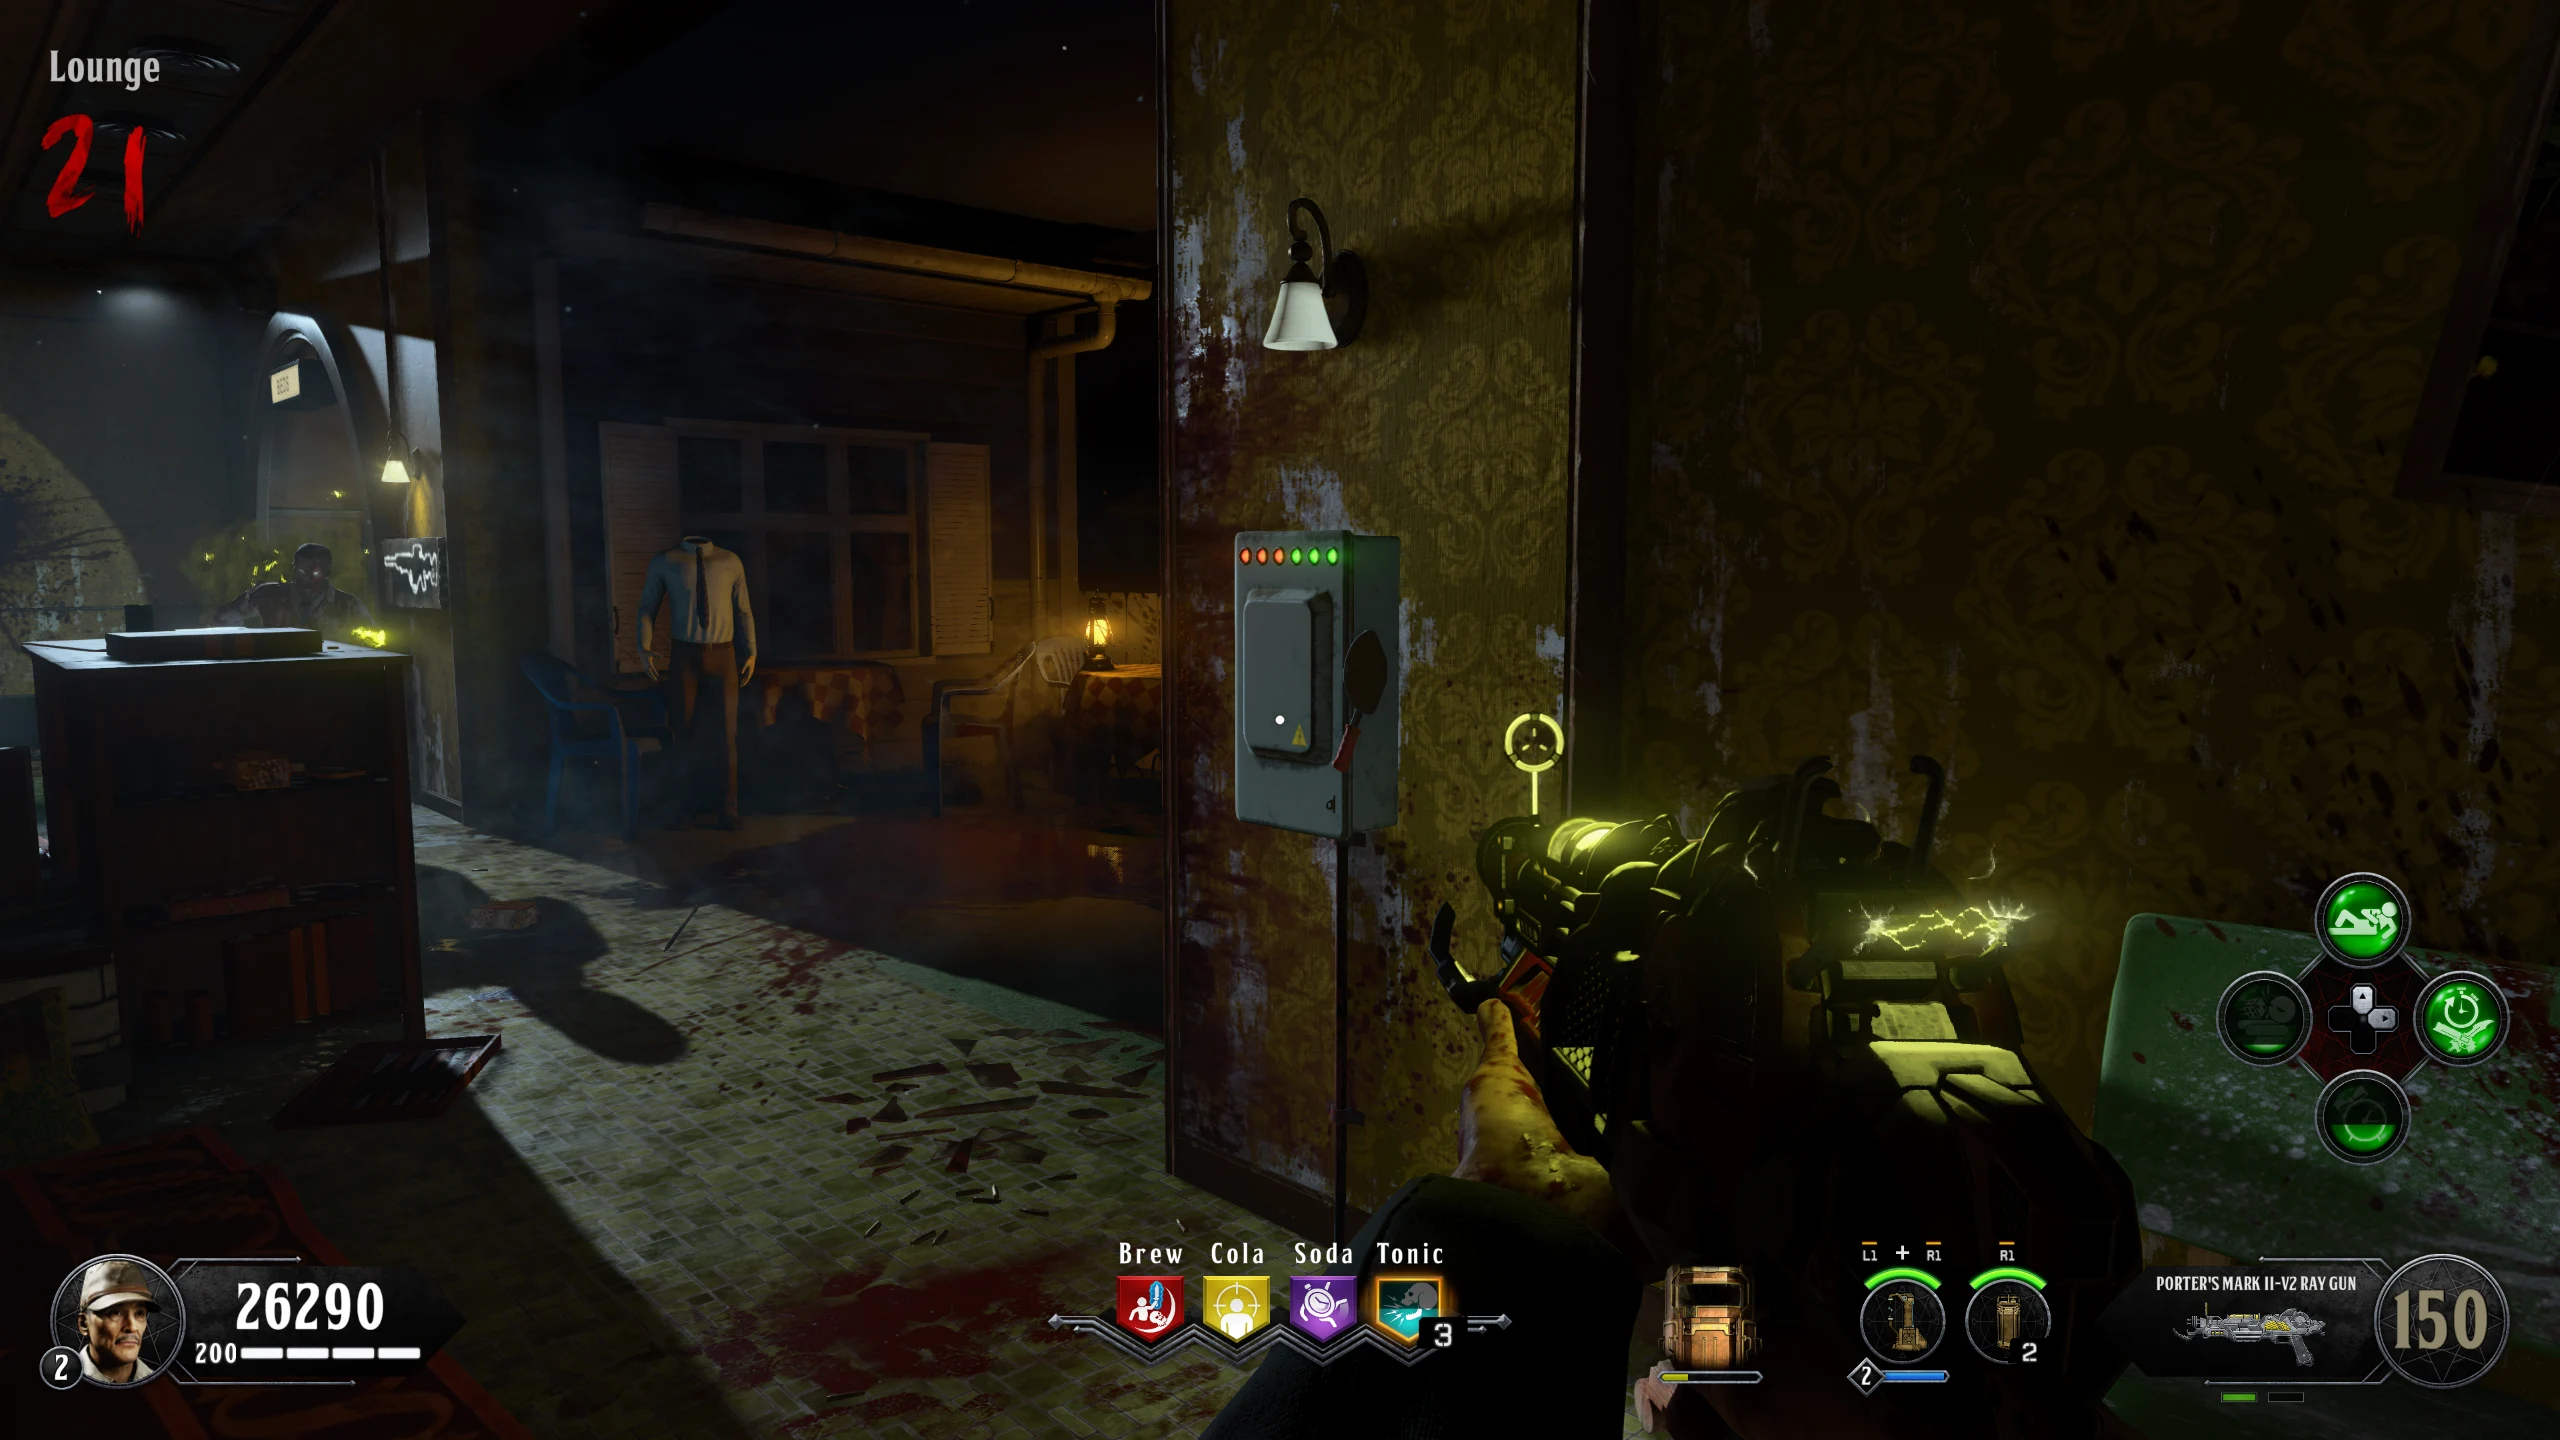
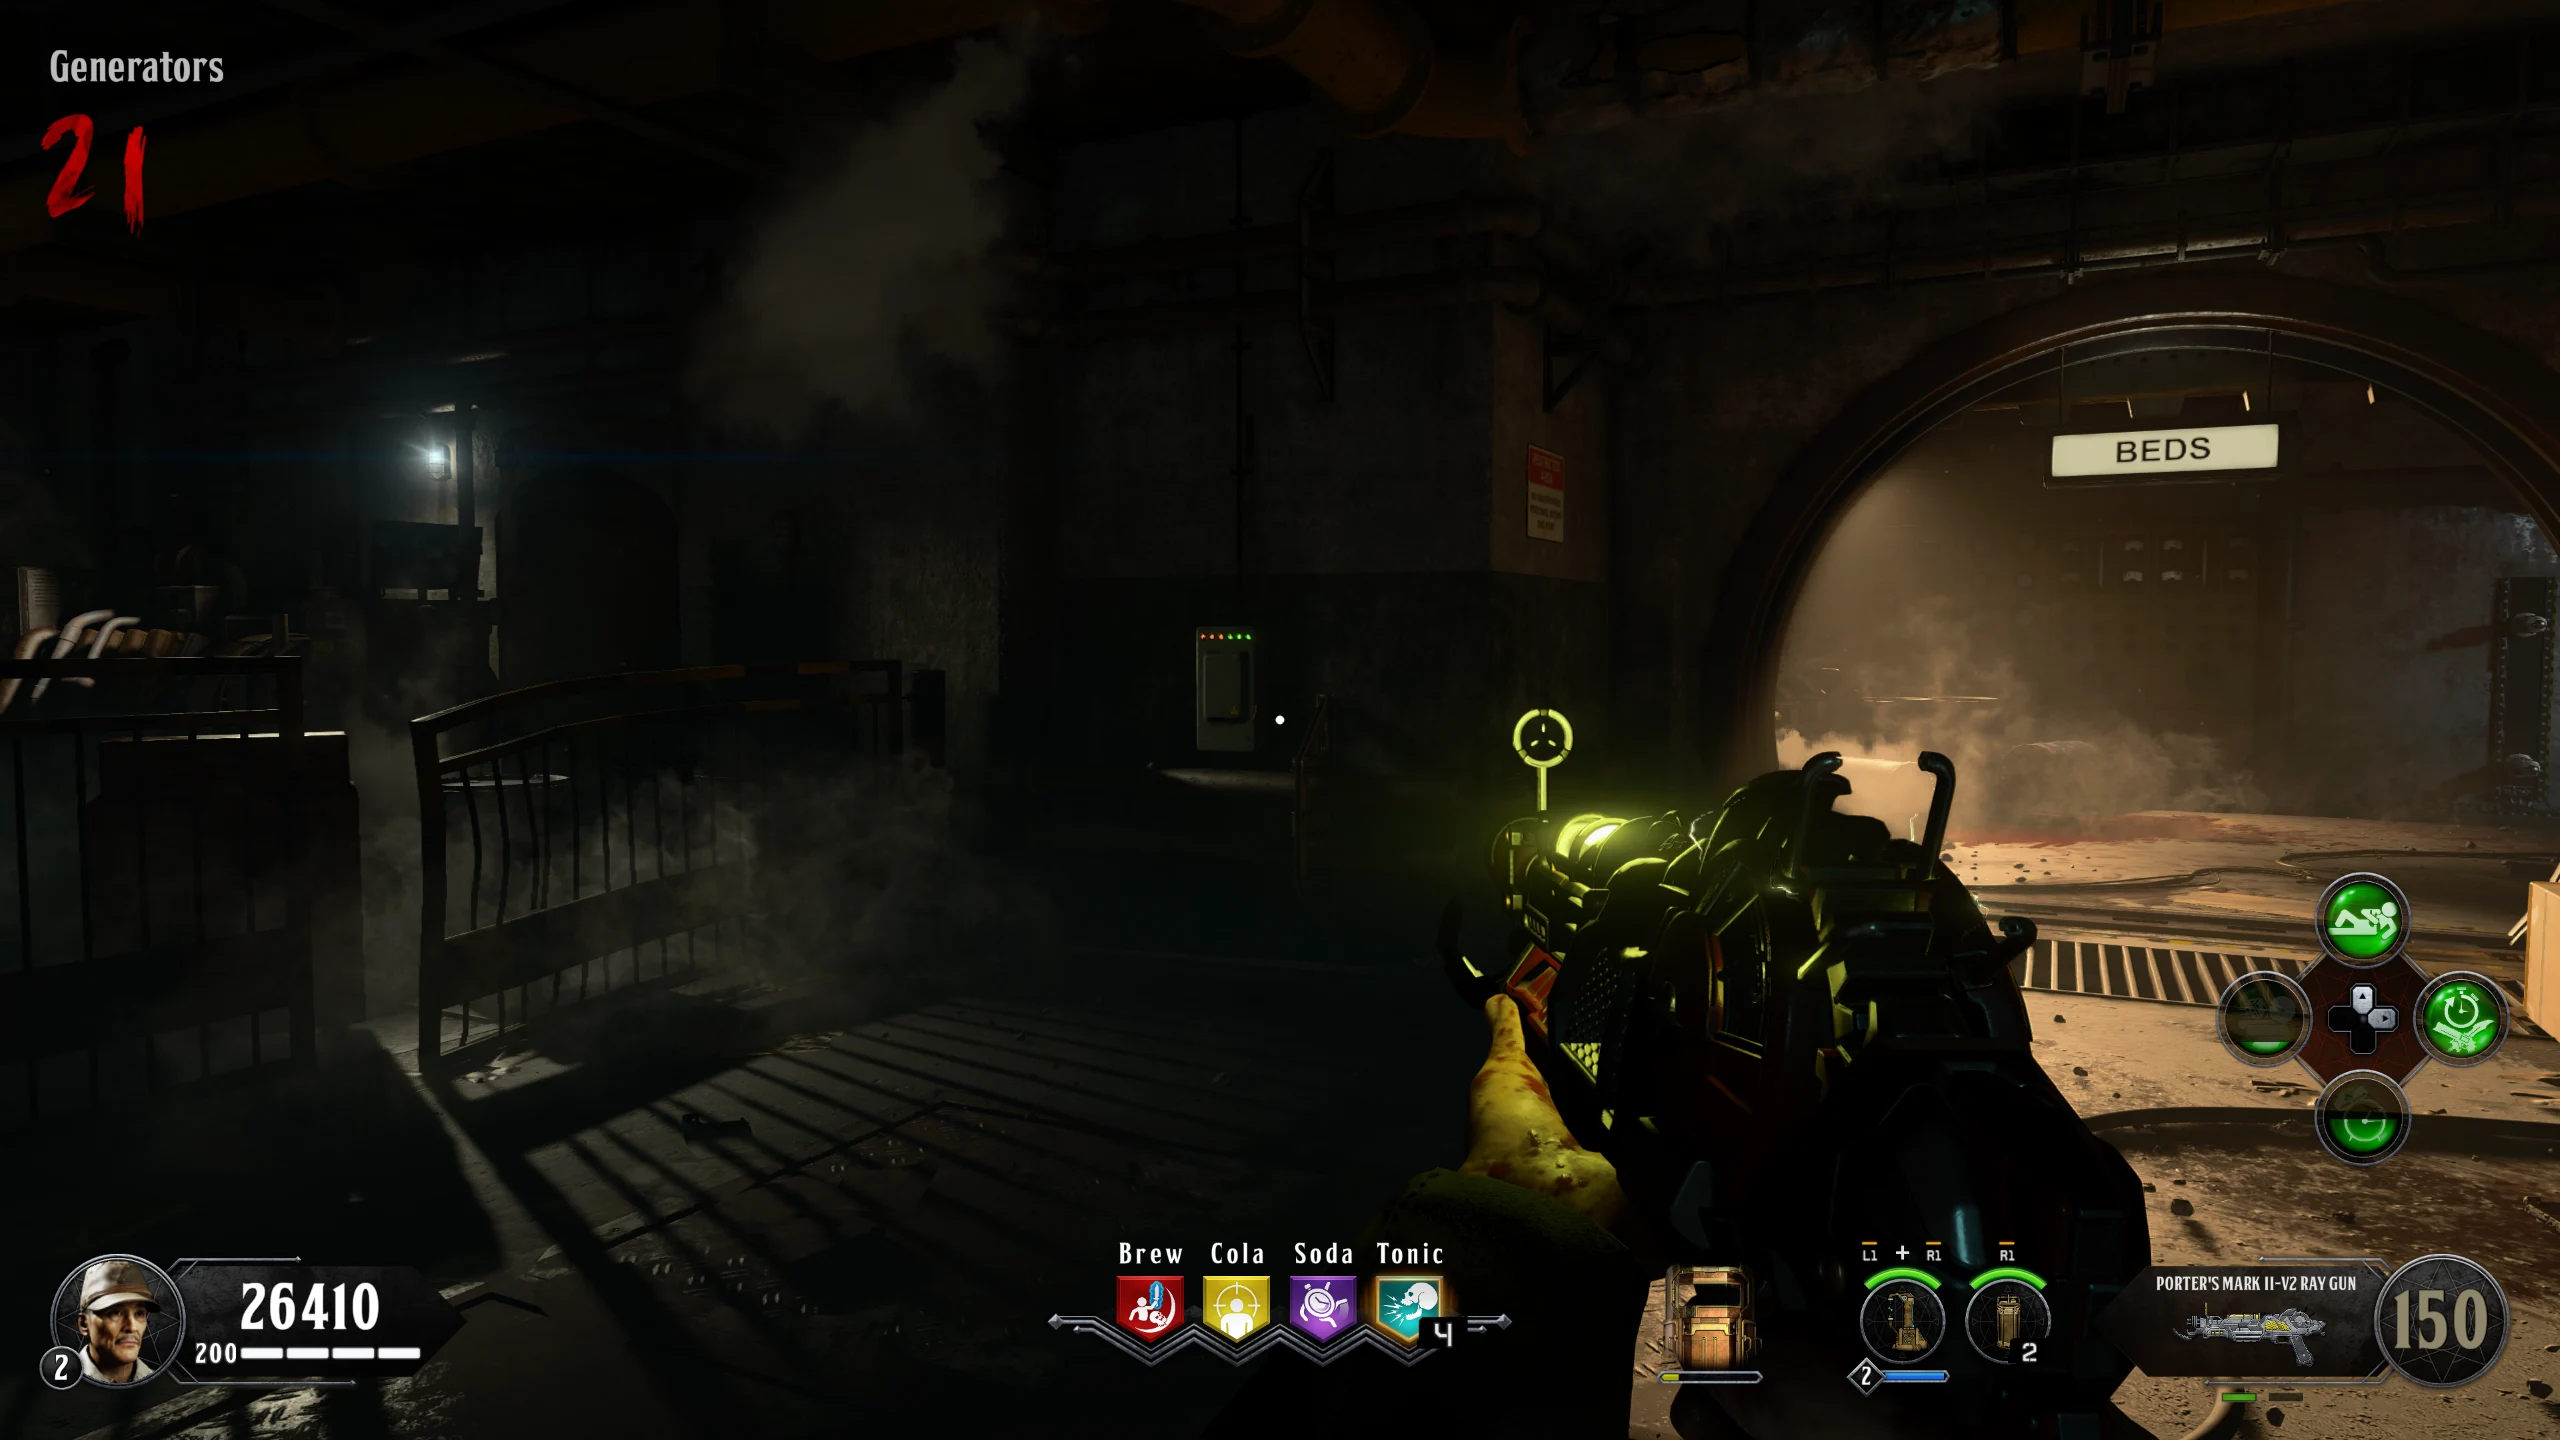
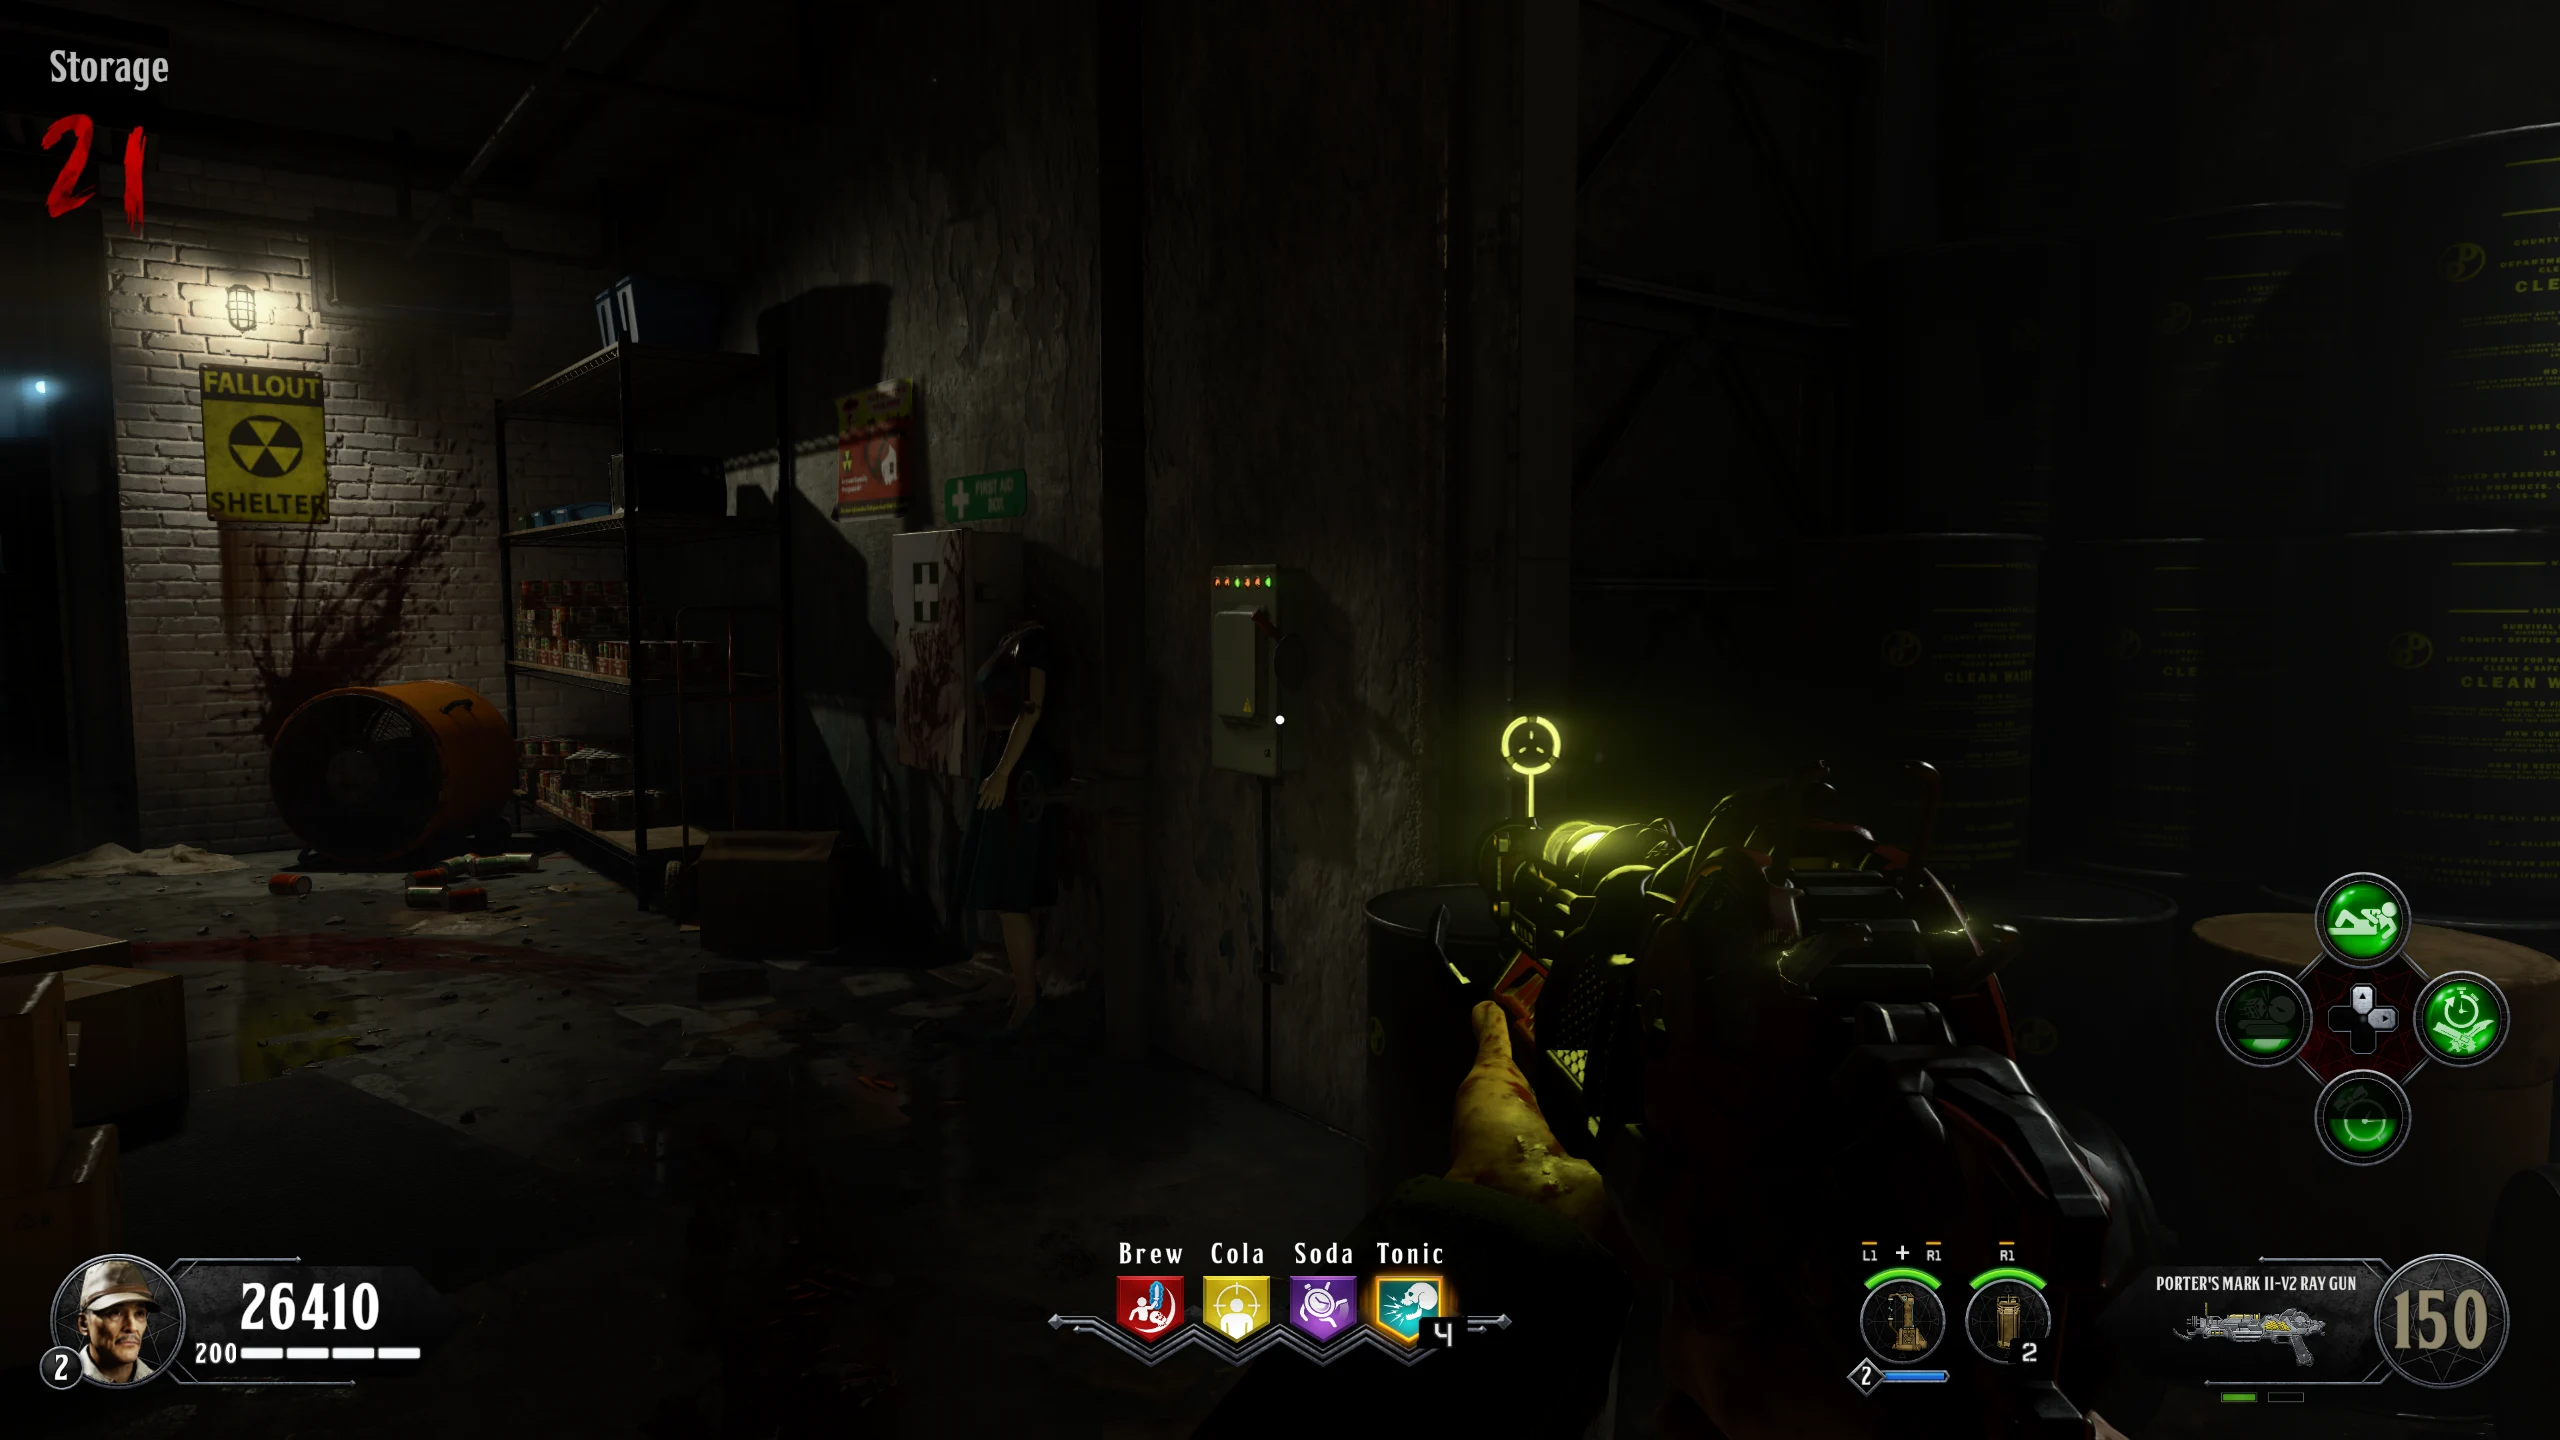
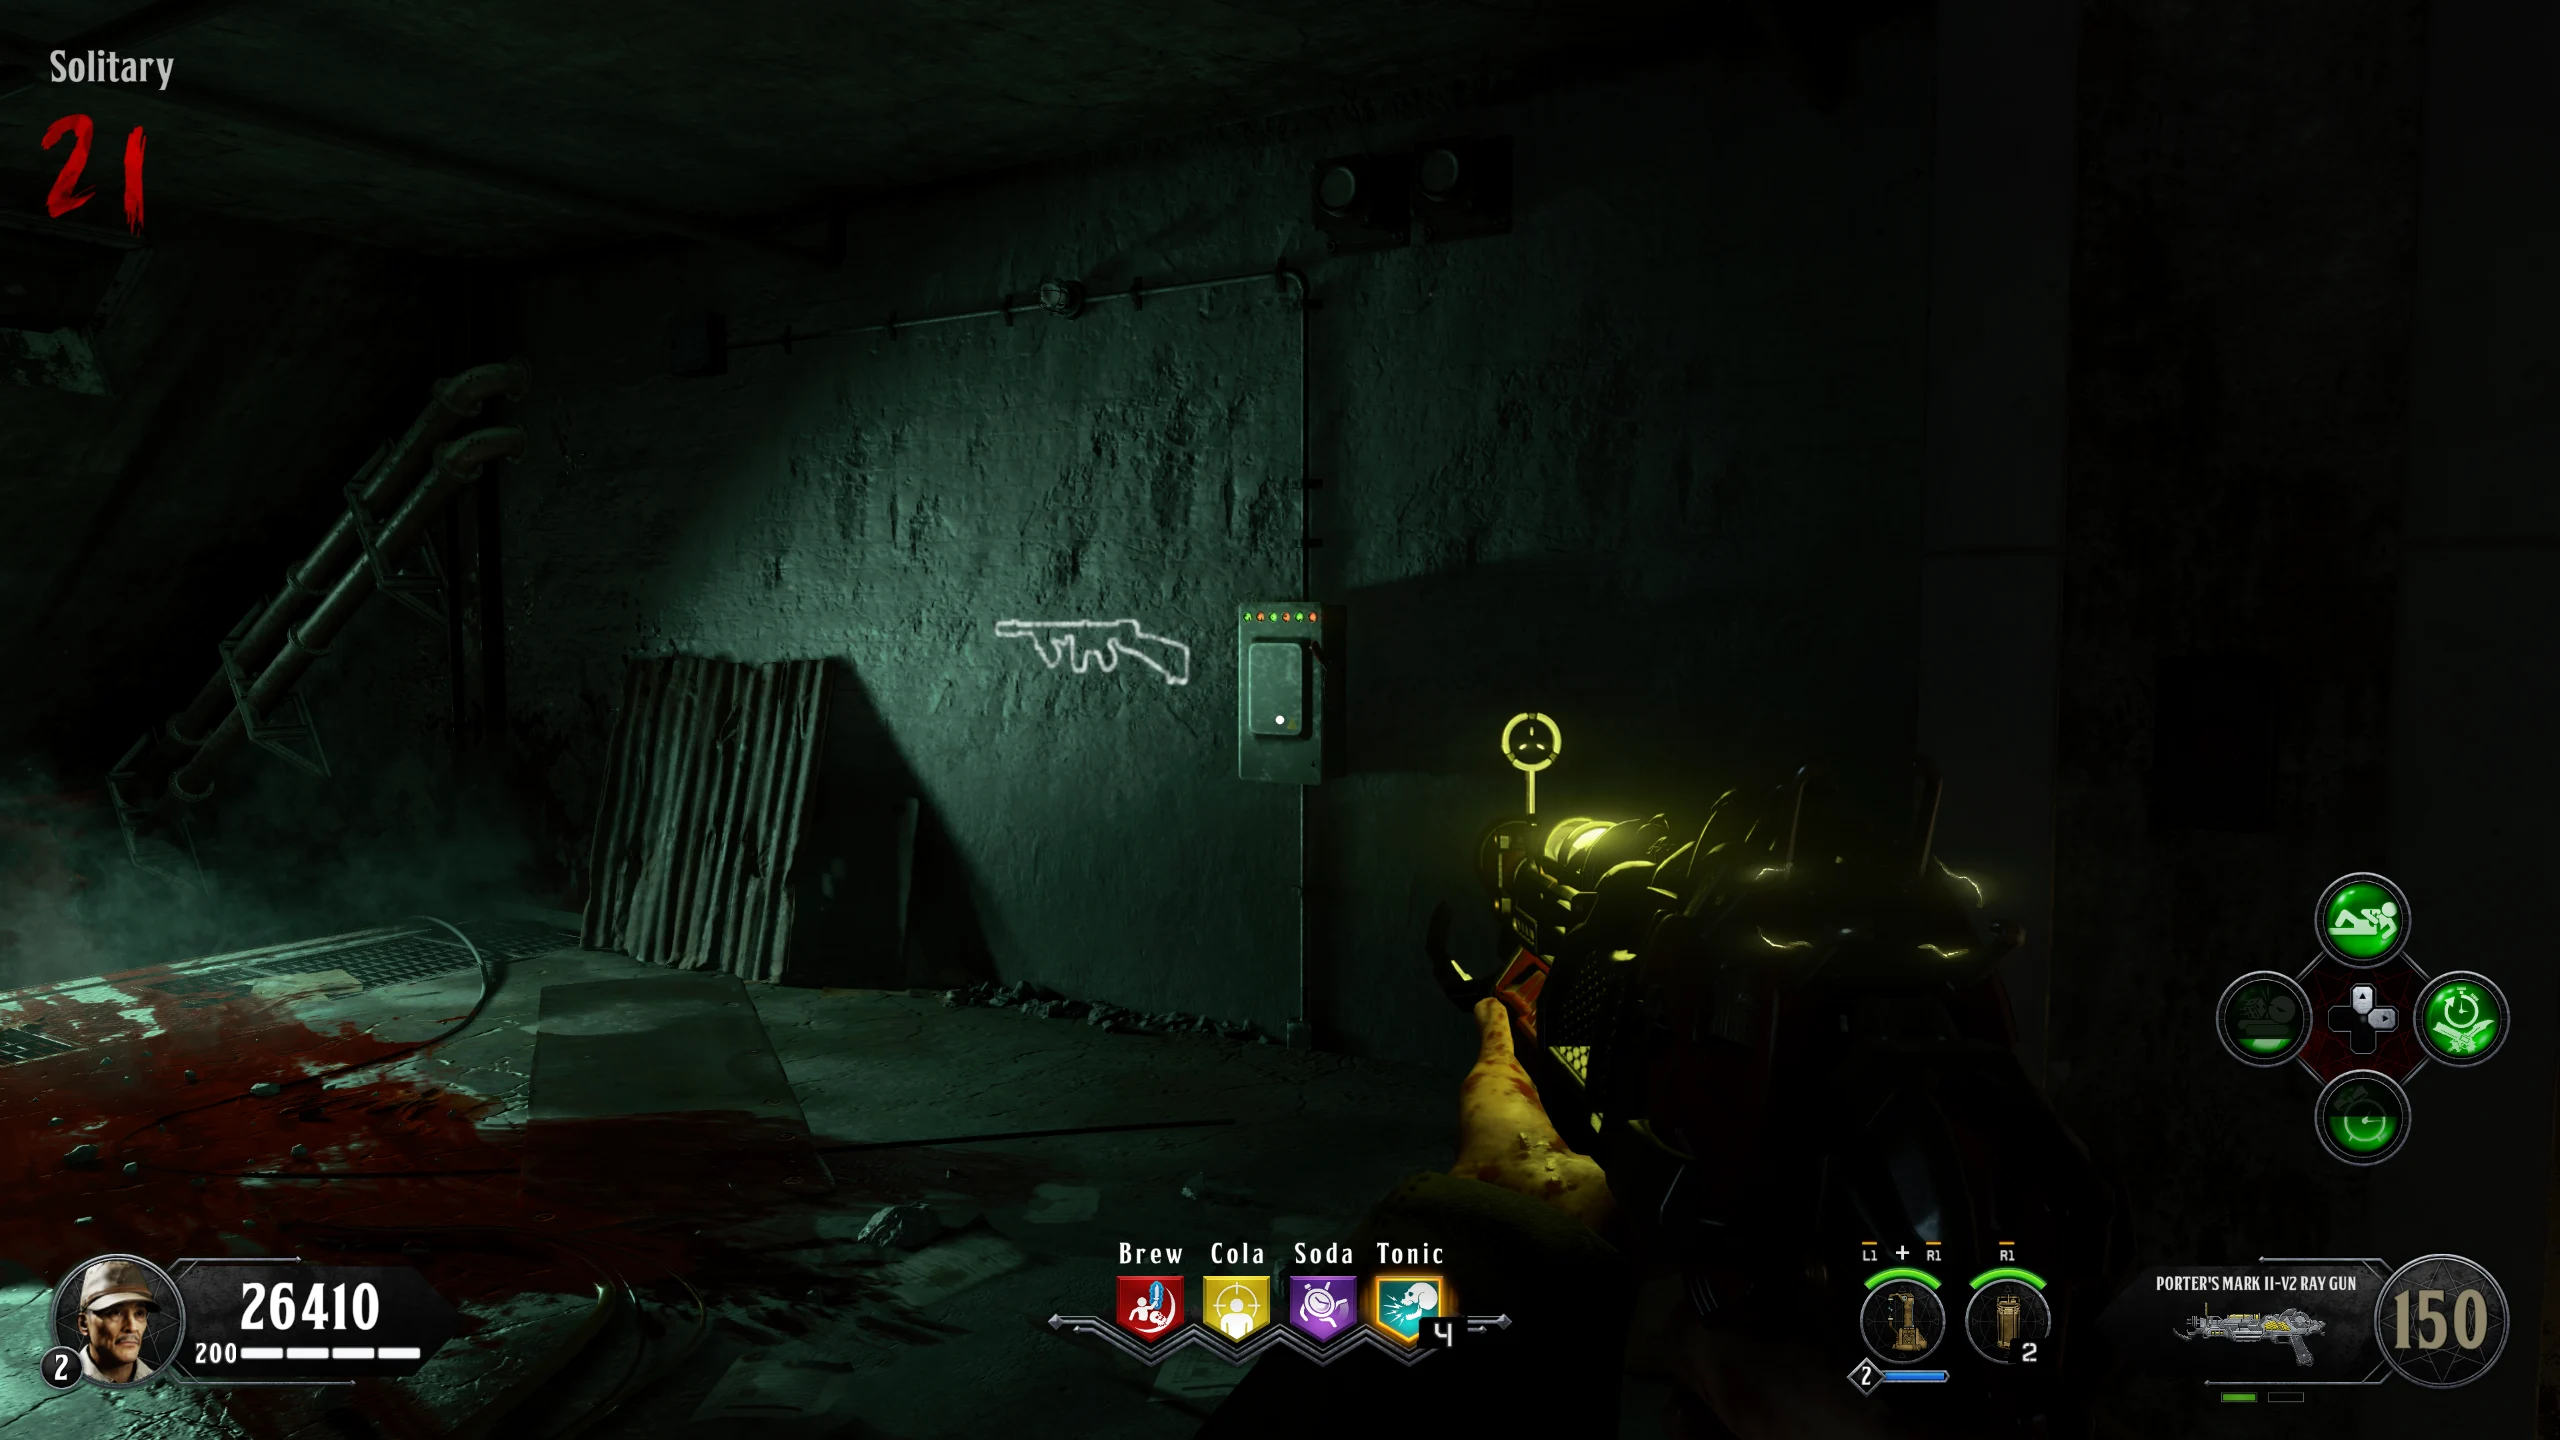
- The power will now go out around the map. There are six power switches around the Bunker, which you must set to their correct orientations. The correct orientation of each switch's handle is always the same. The handle, on the right side of the box, can either be set to "Up" or "Down". Quick Reference Graphic, or locations and correct switch orientations:
- Once the switches are set correctly, the lights on the switches will all be green, and you'll be able to reactivate the main power switch inside the 'Power House.' Once power is restored, go to 'Operations' and interact with Rushmore.
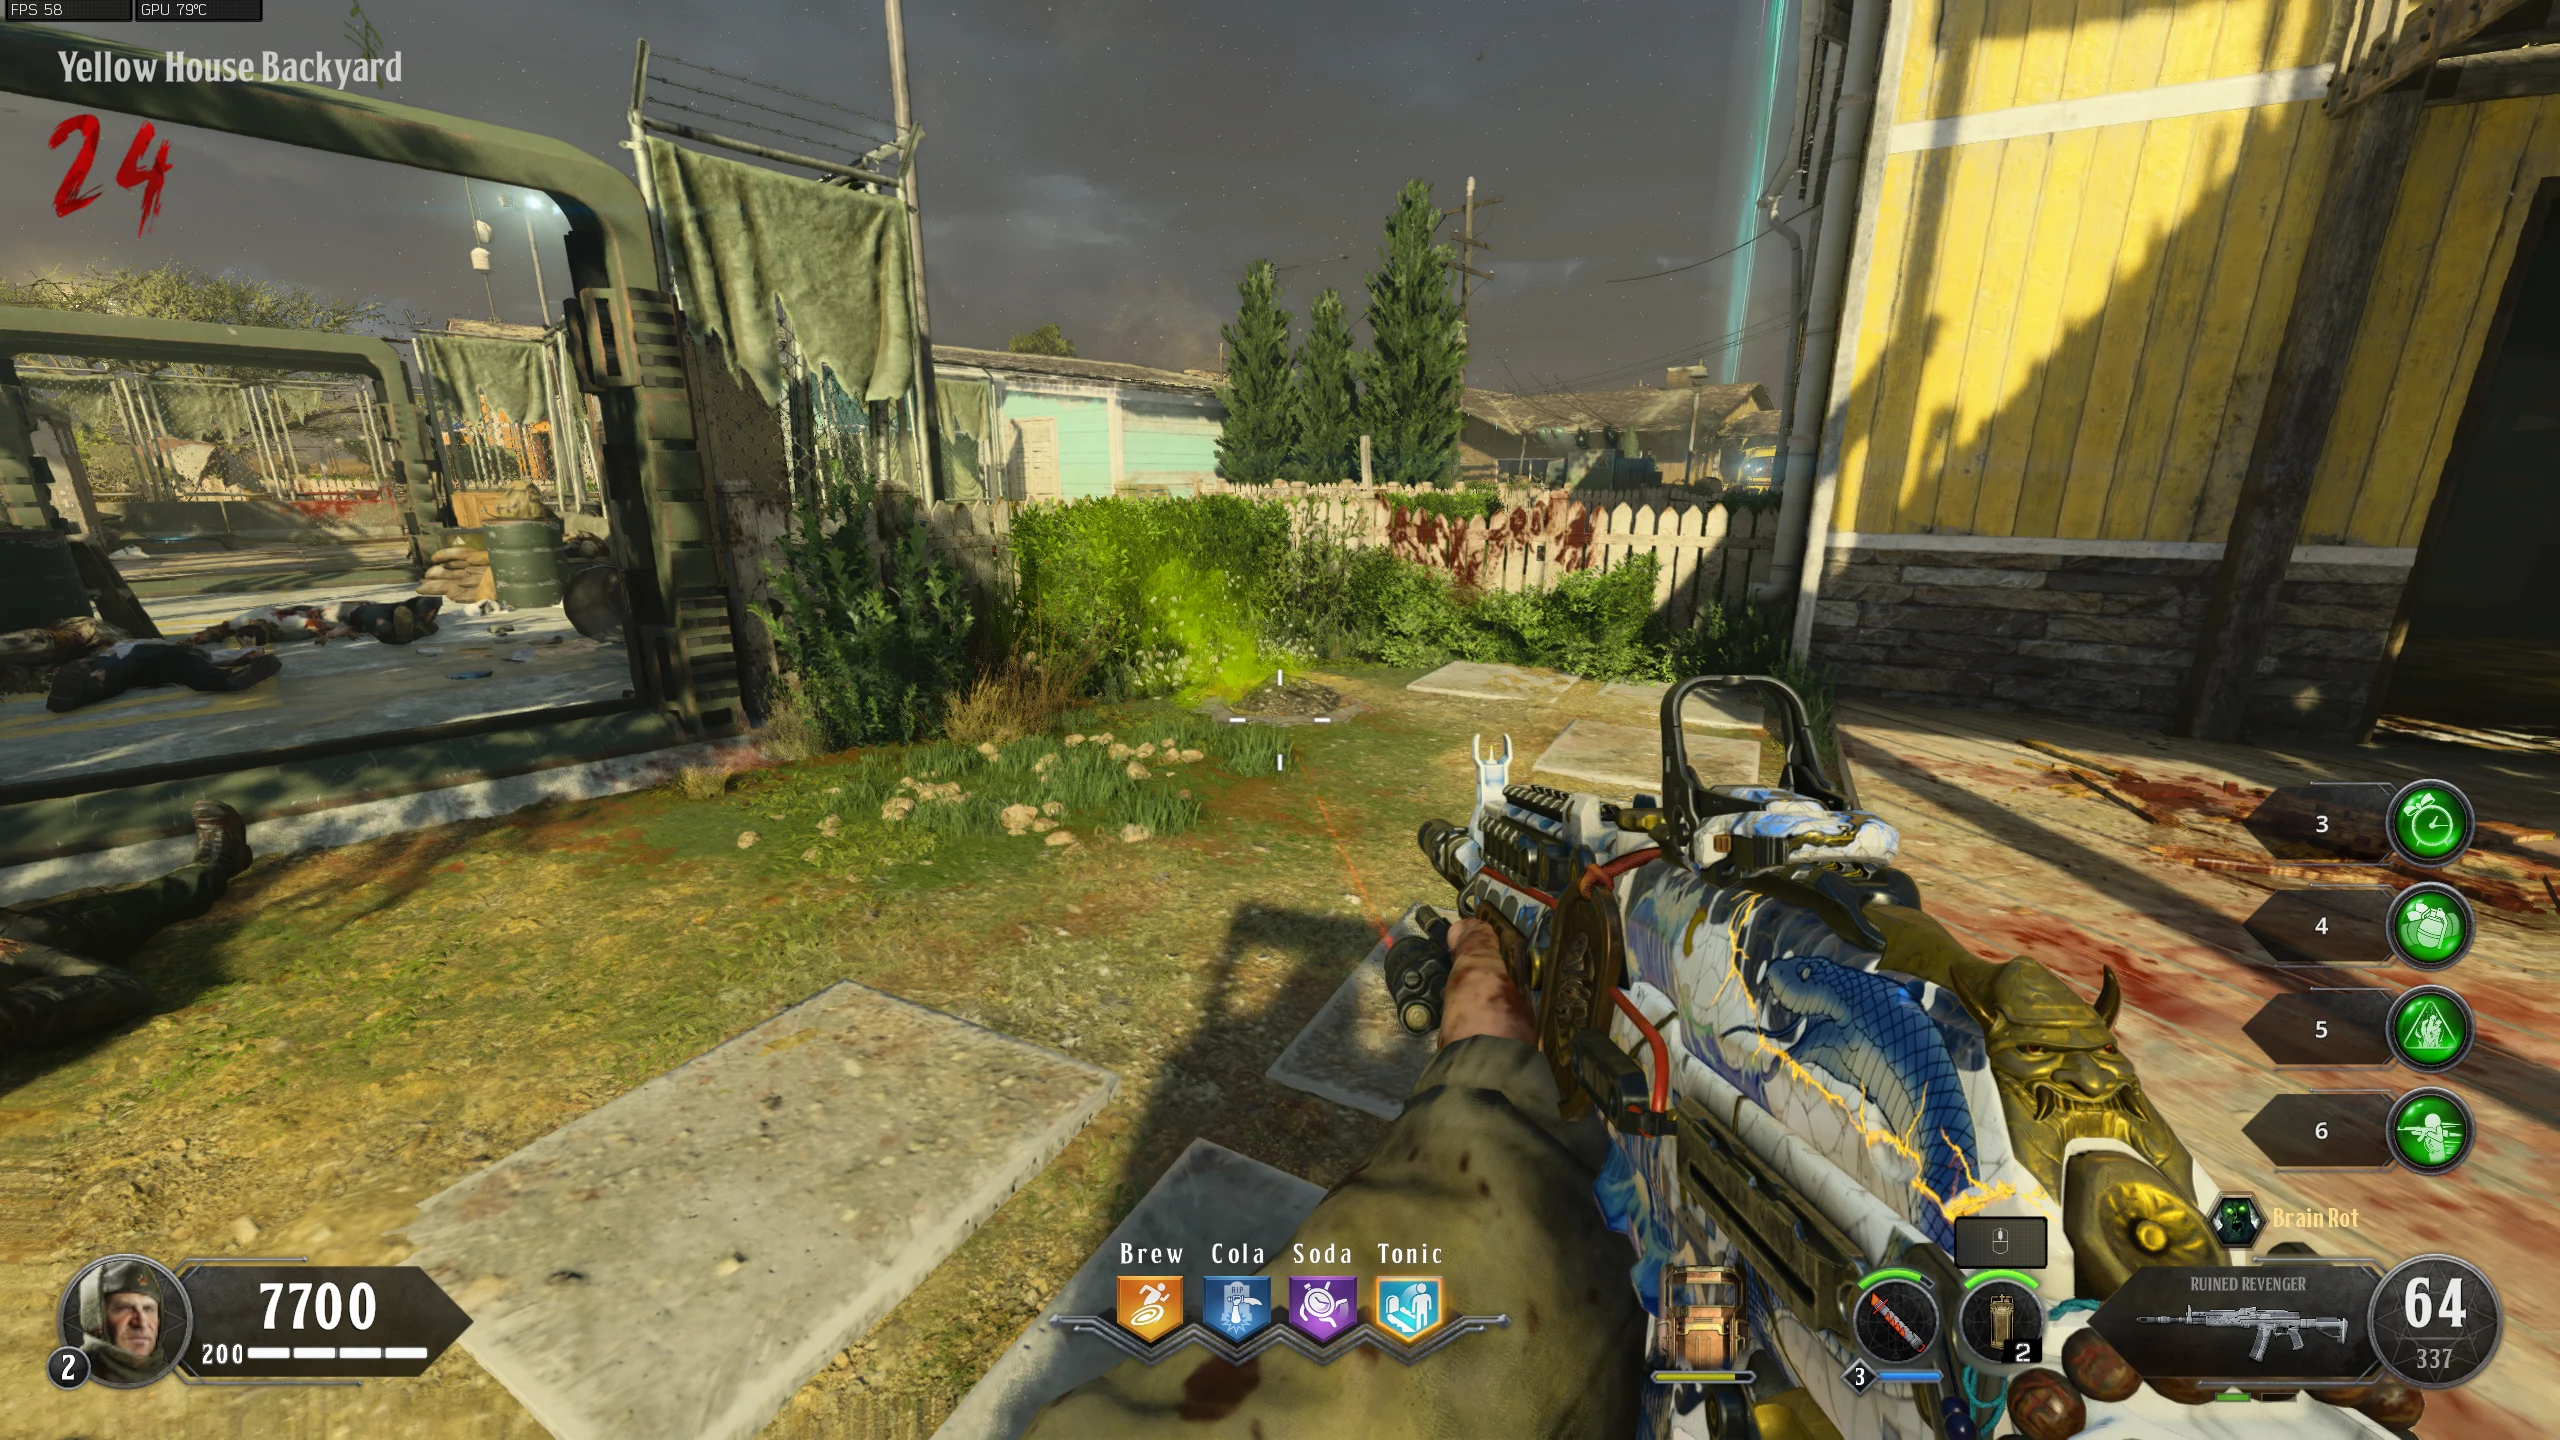
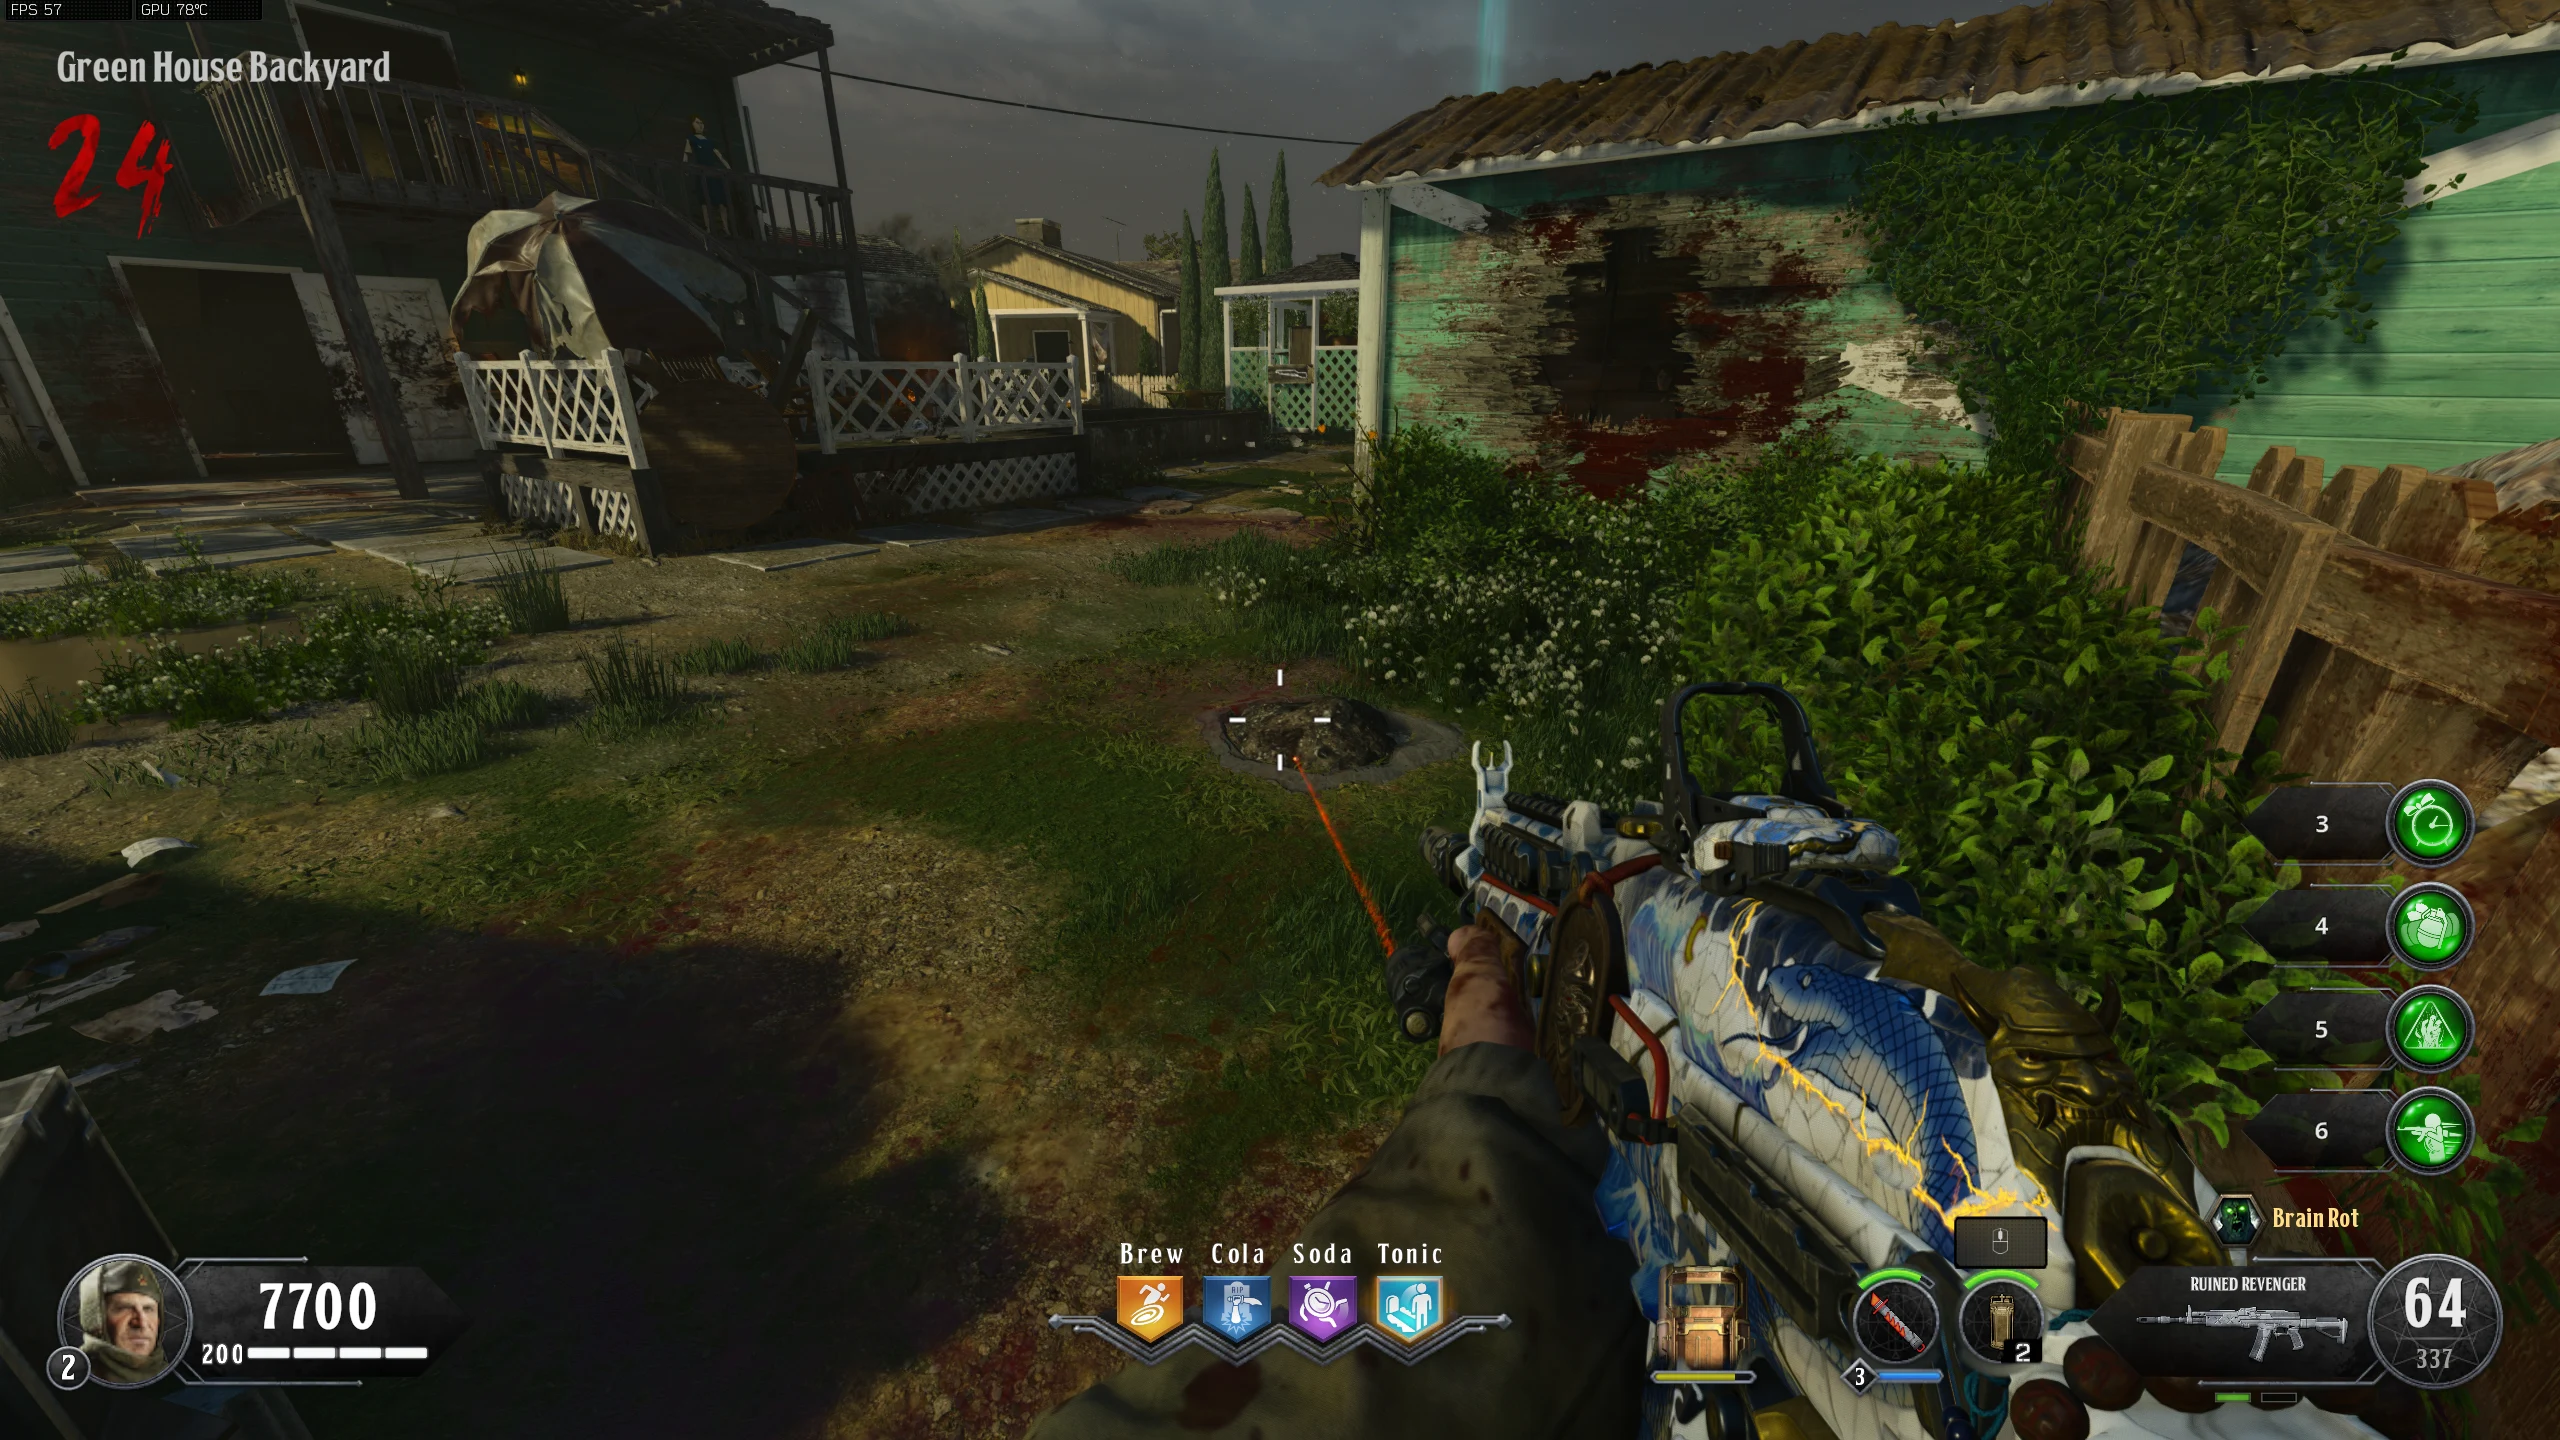
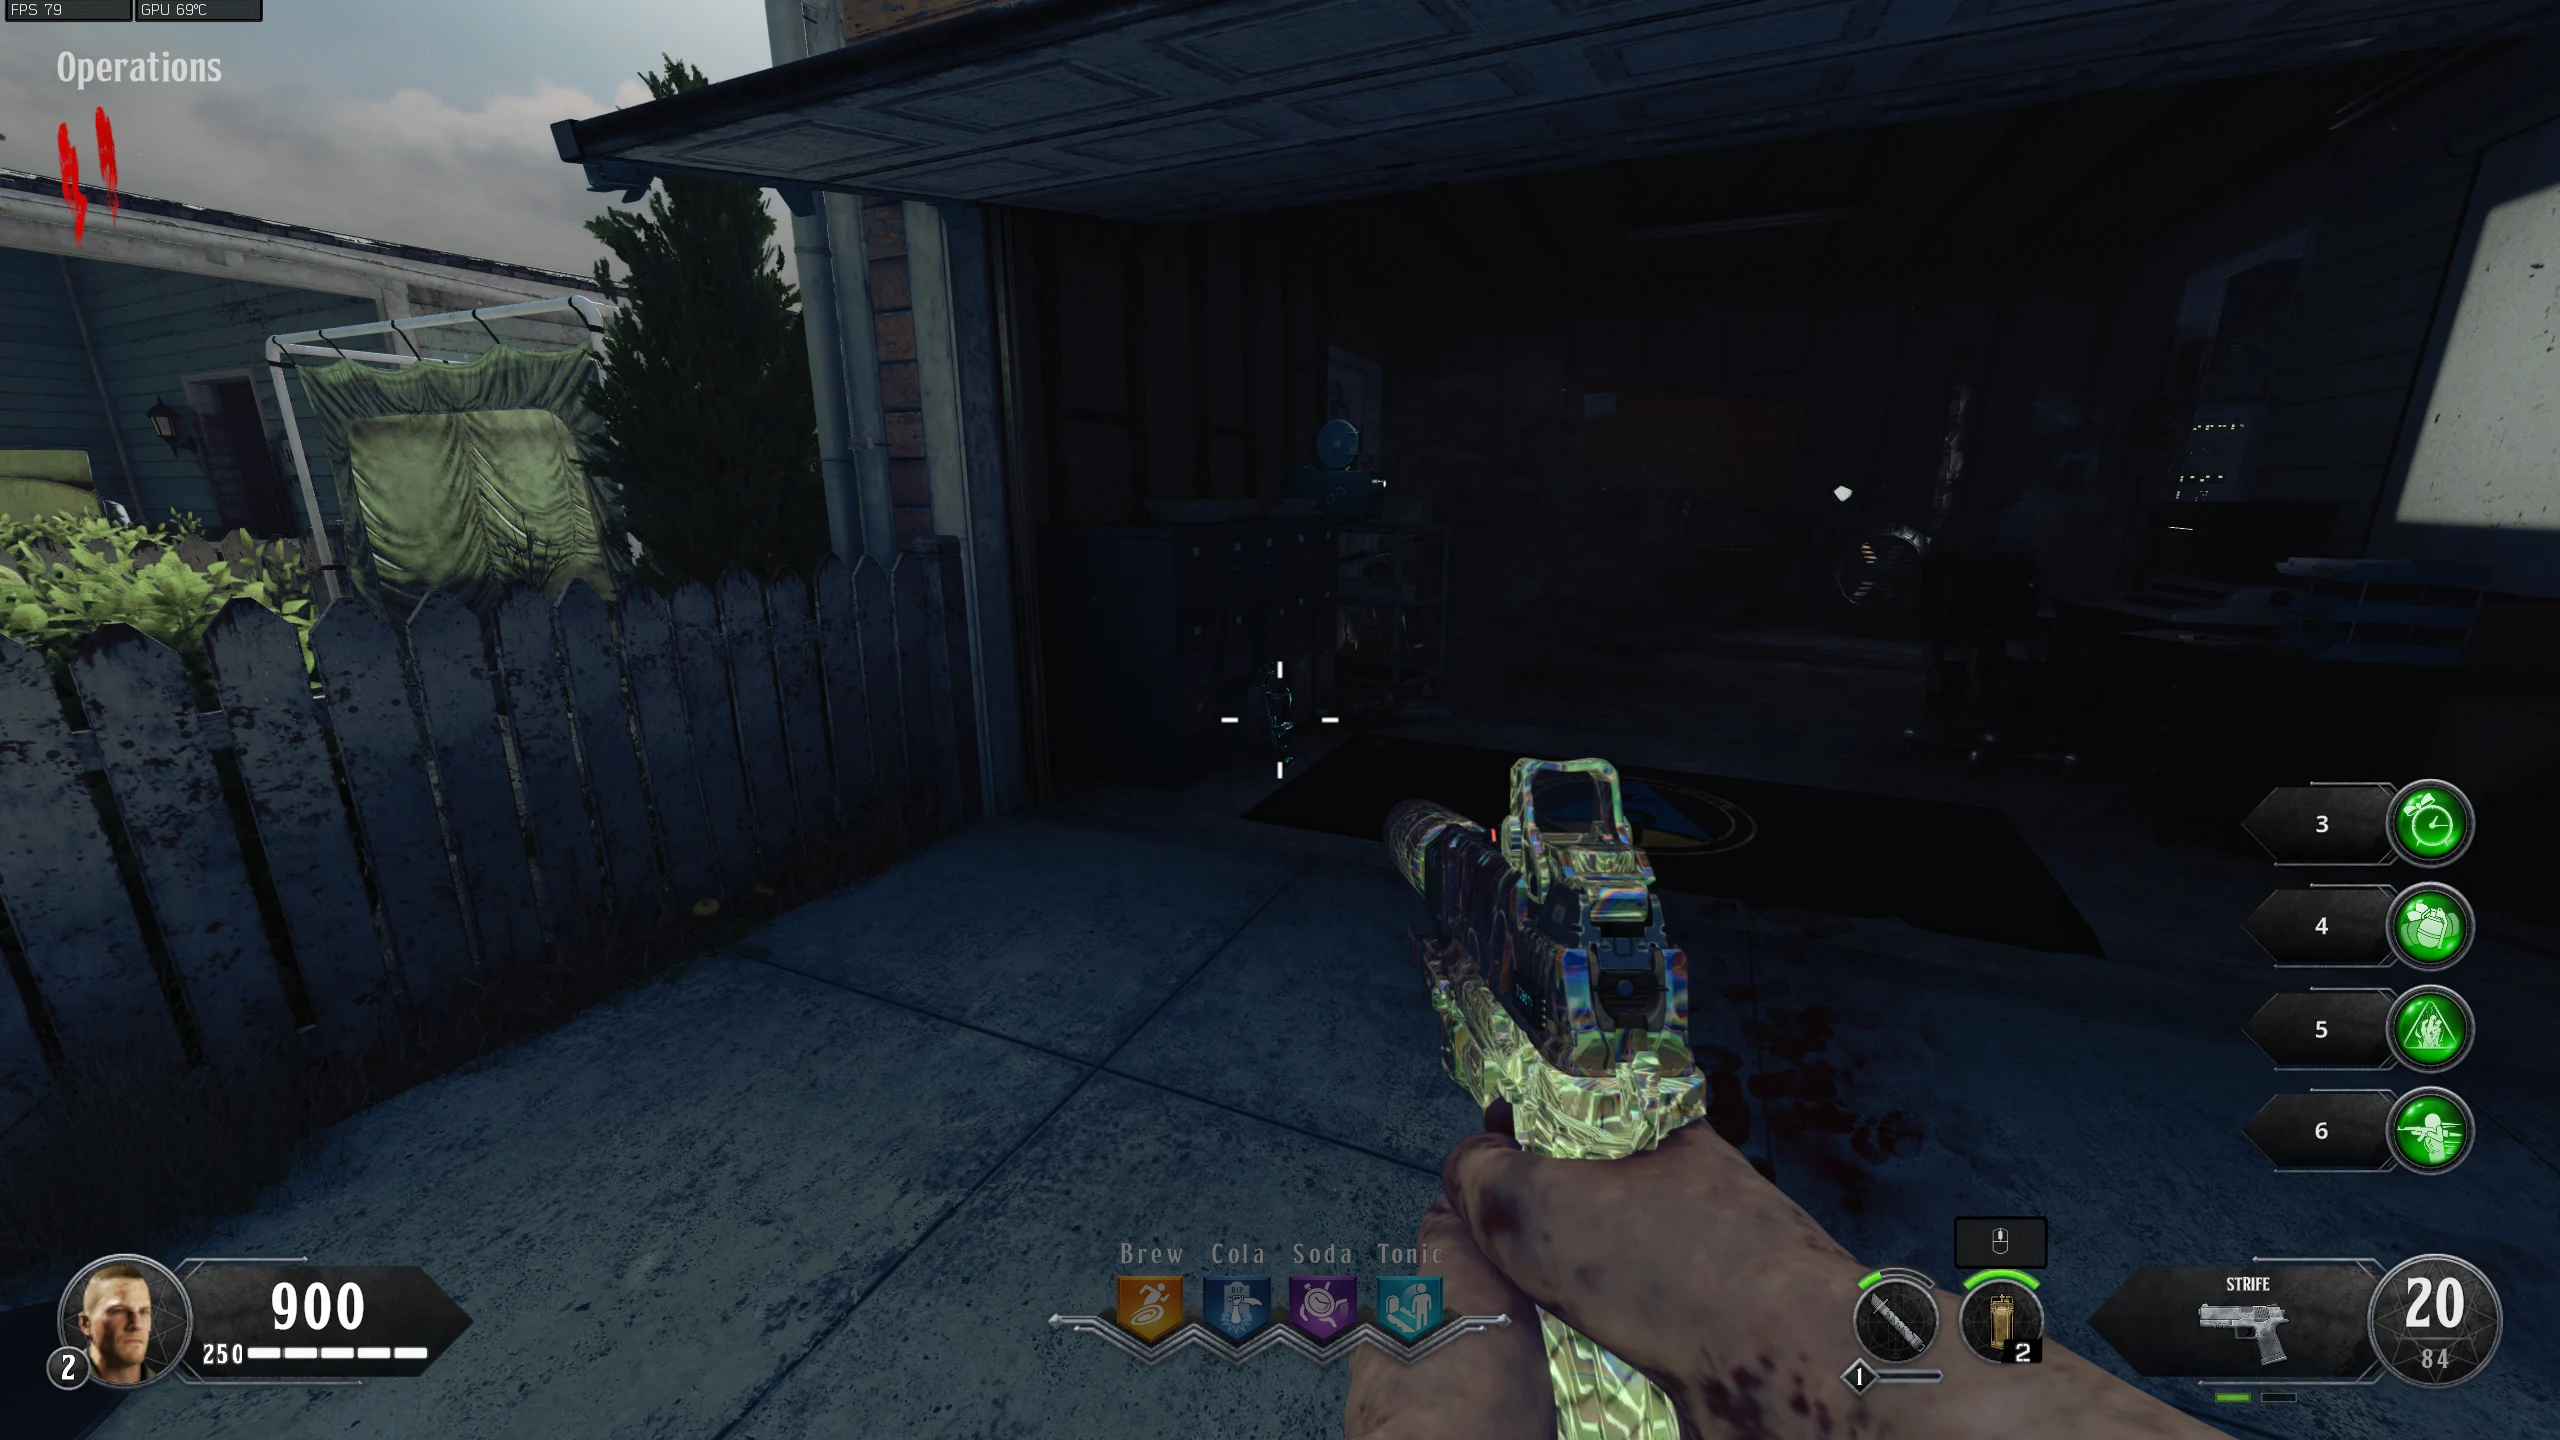
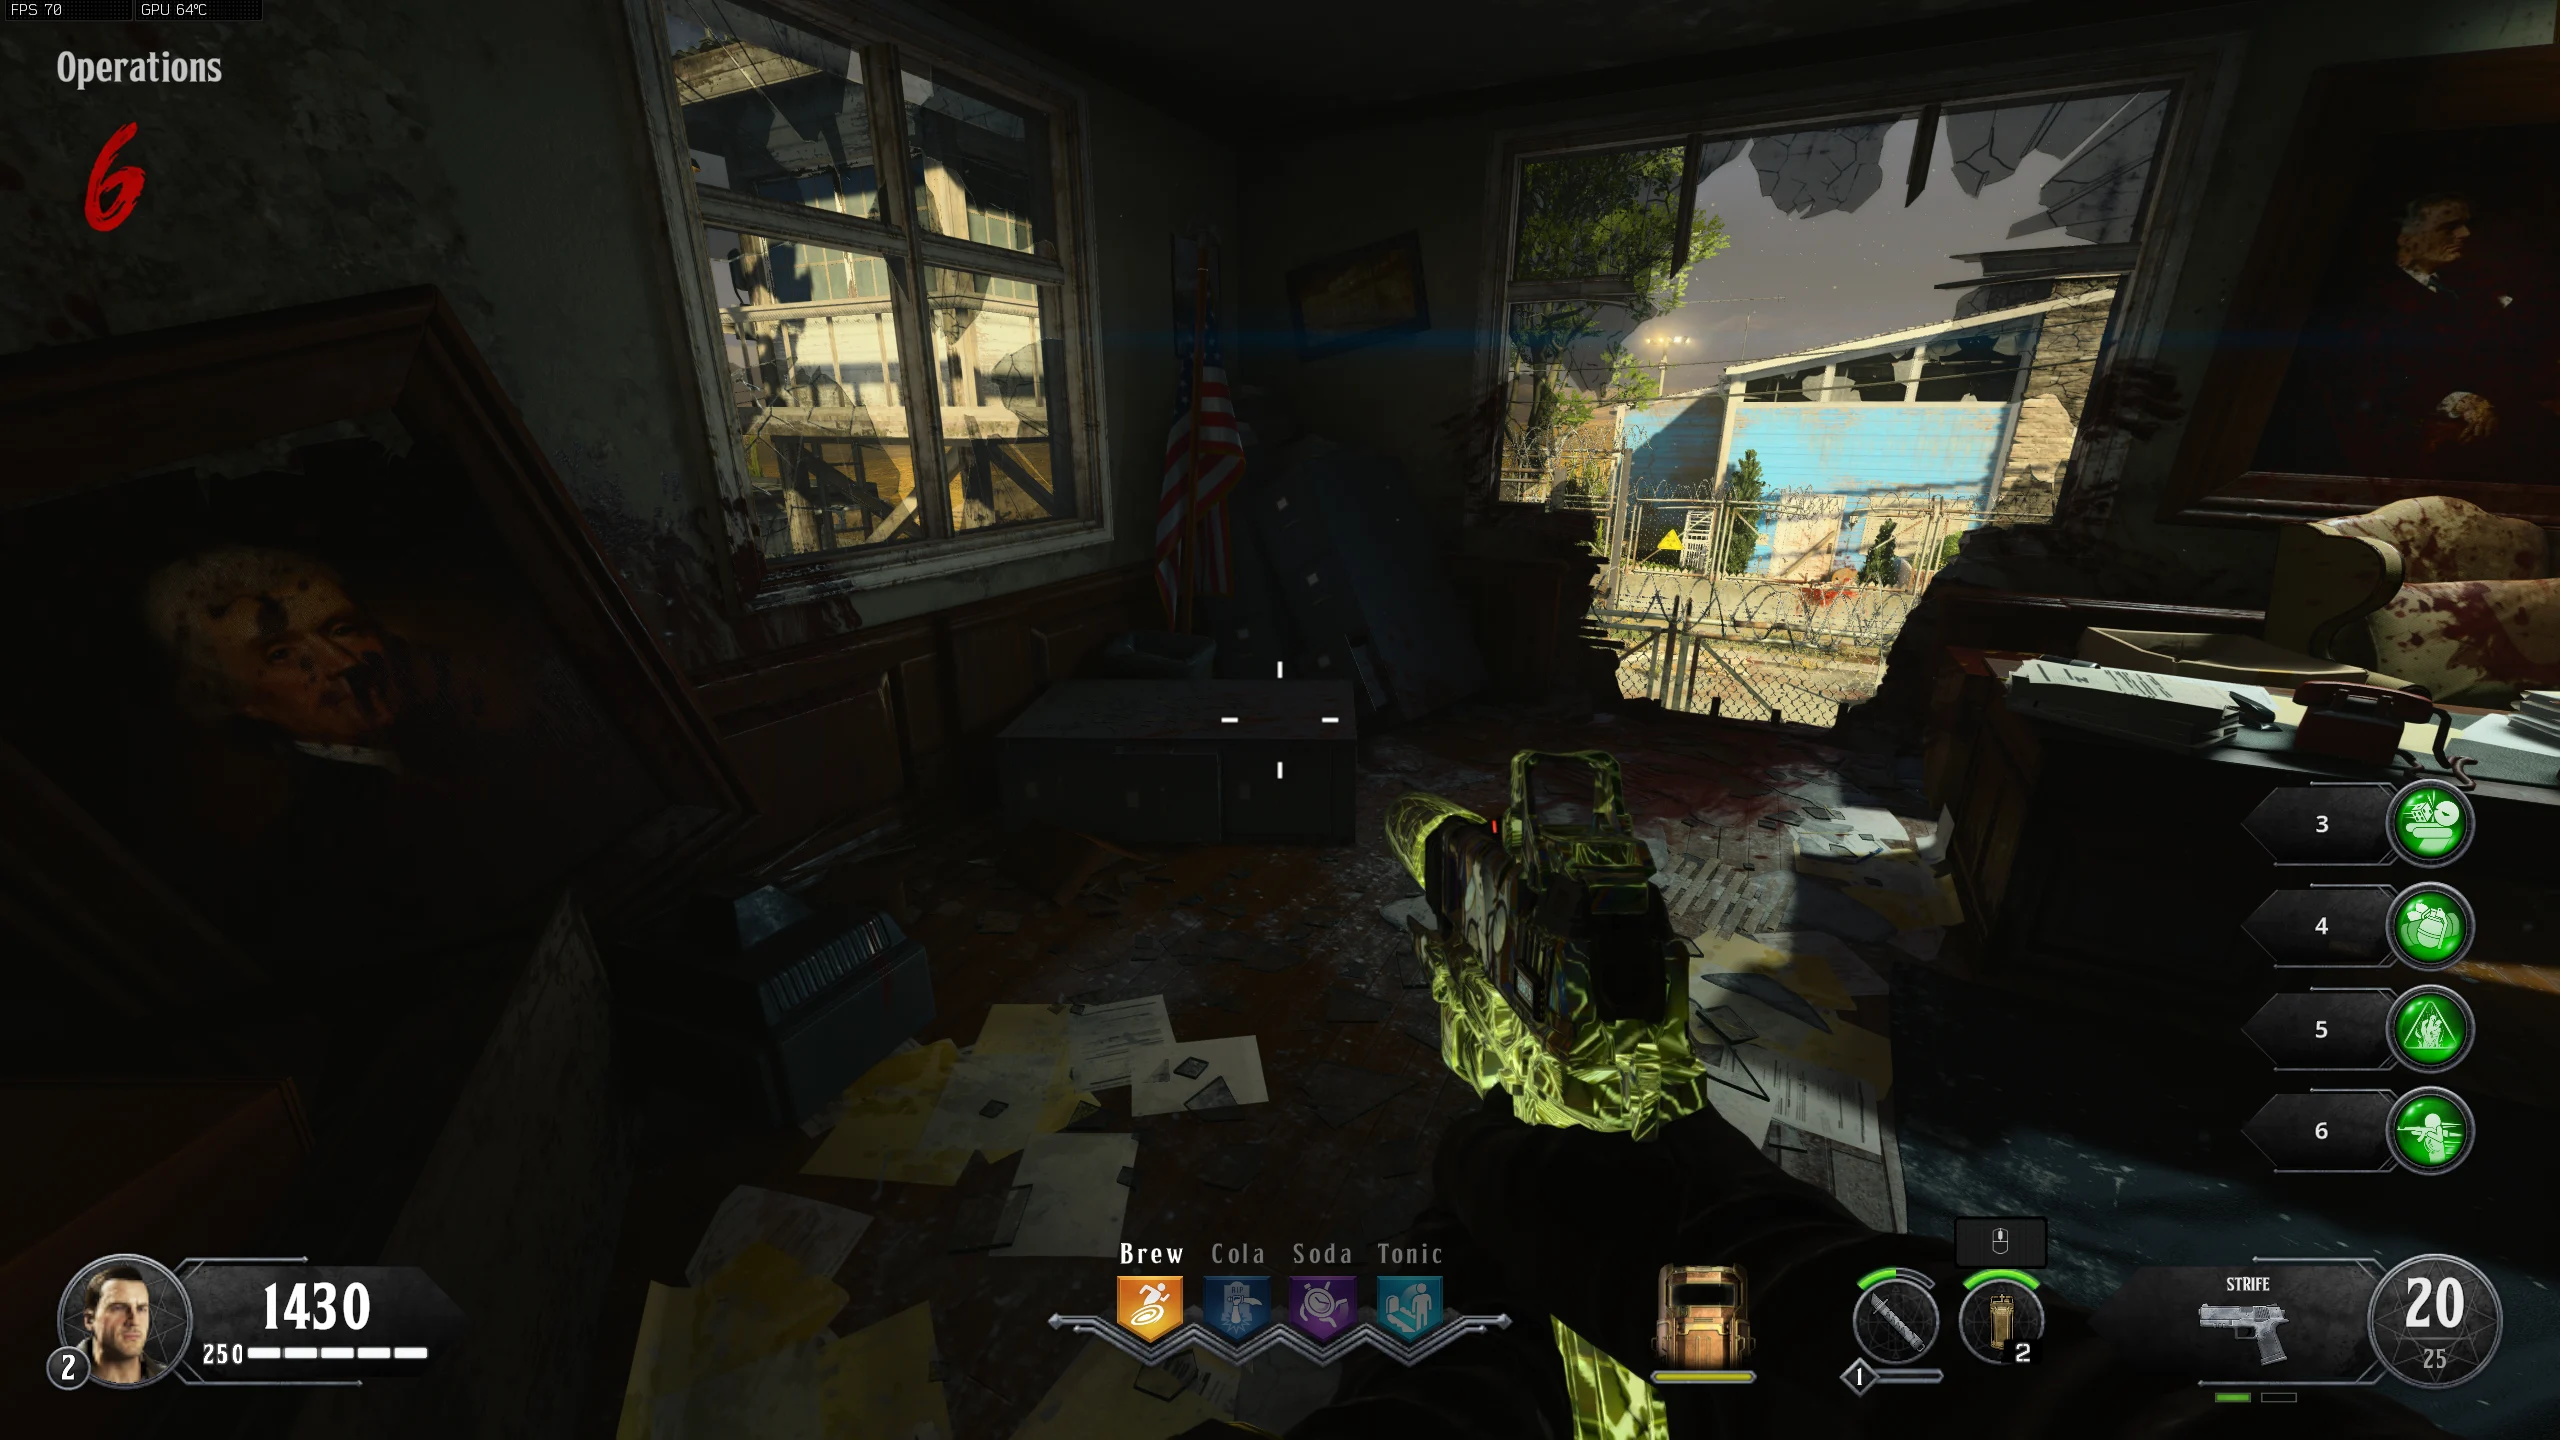
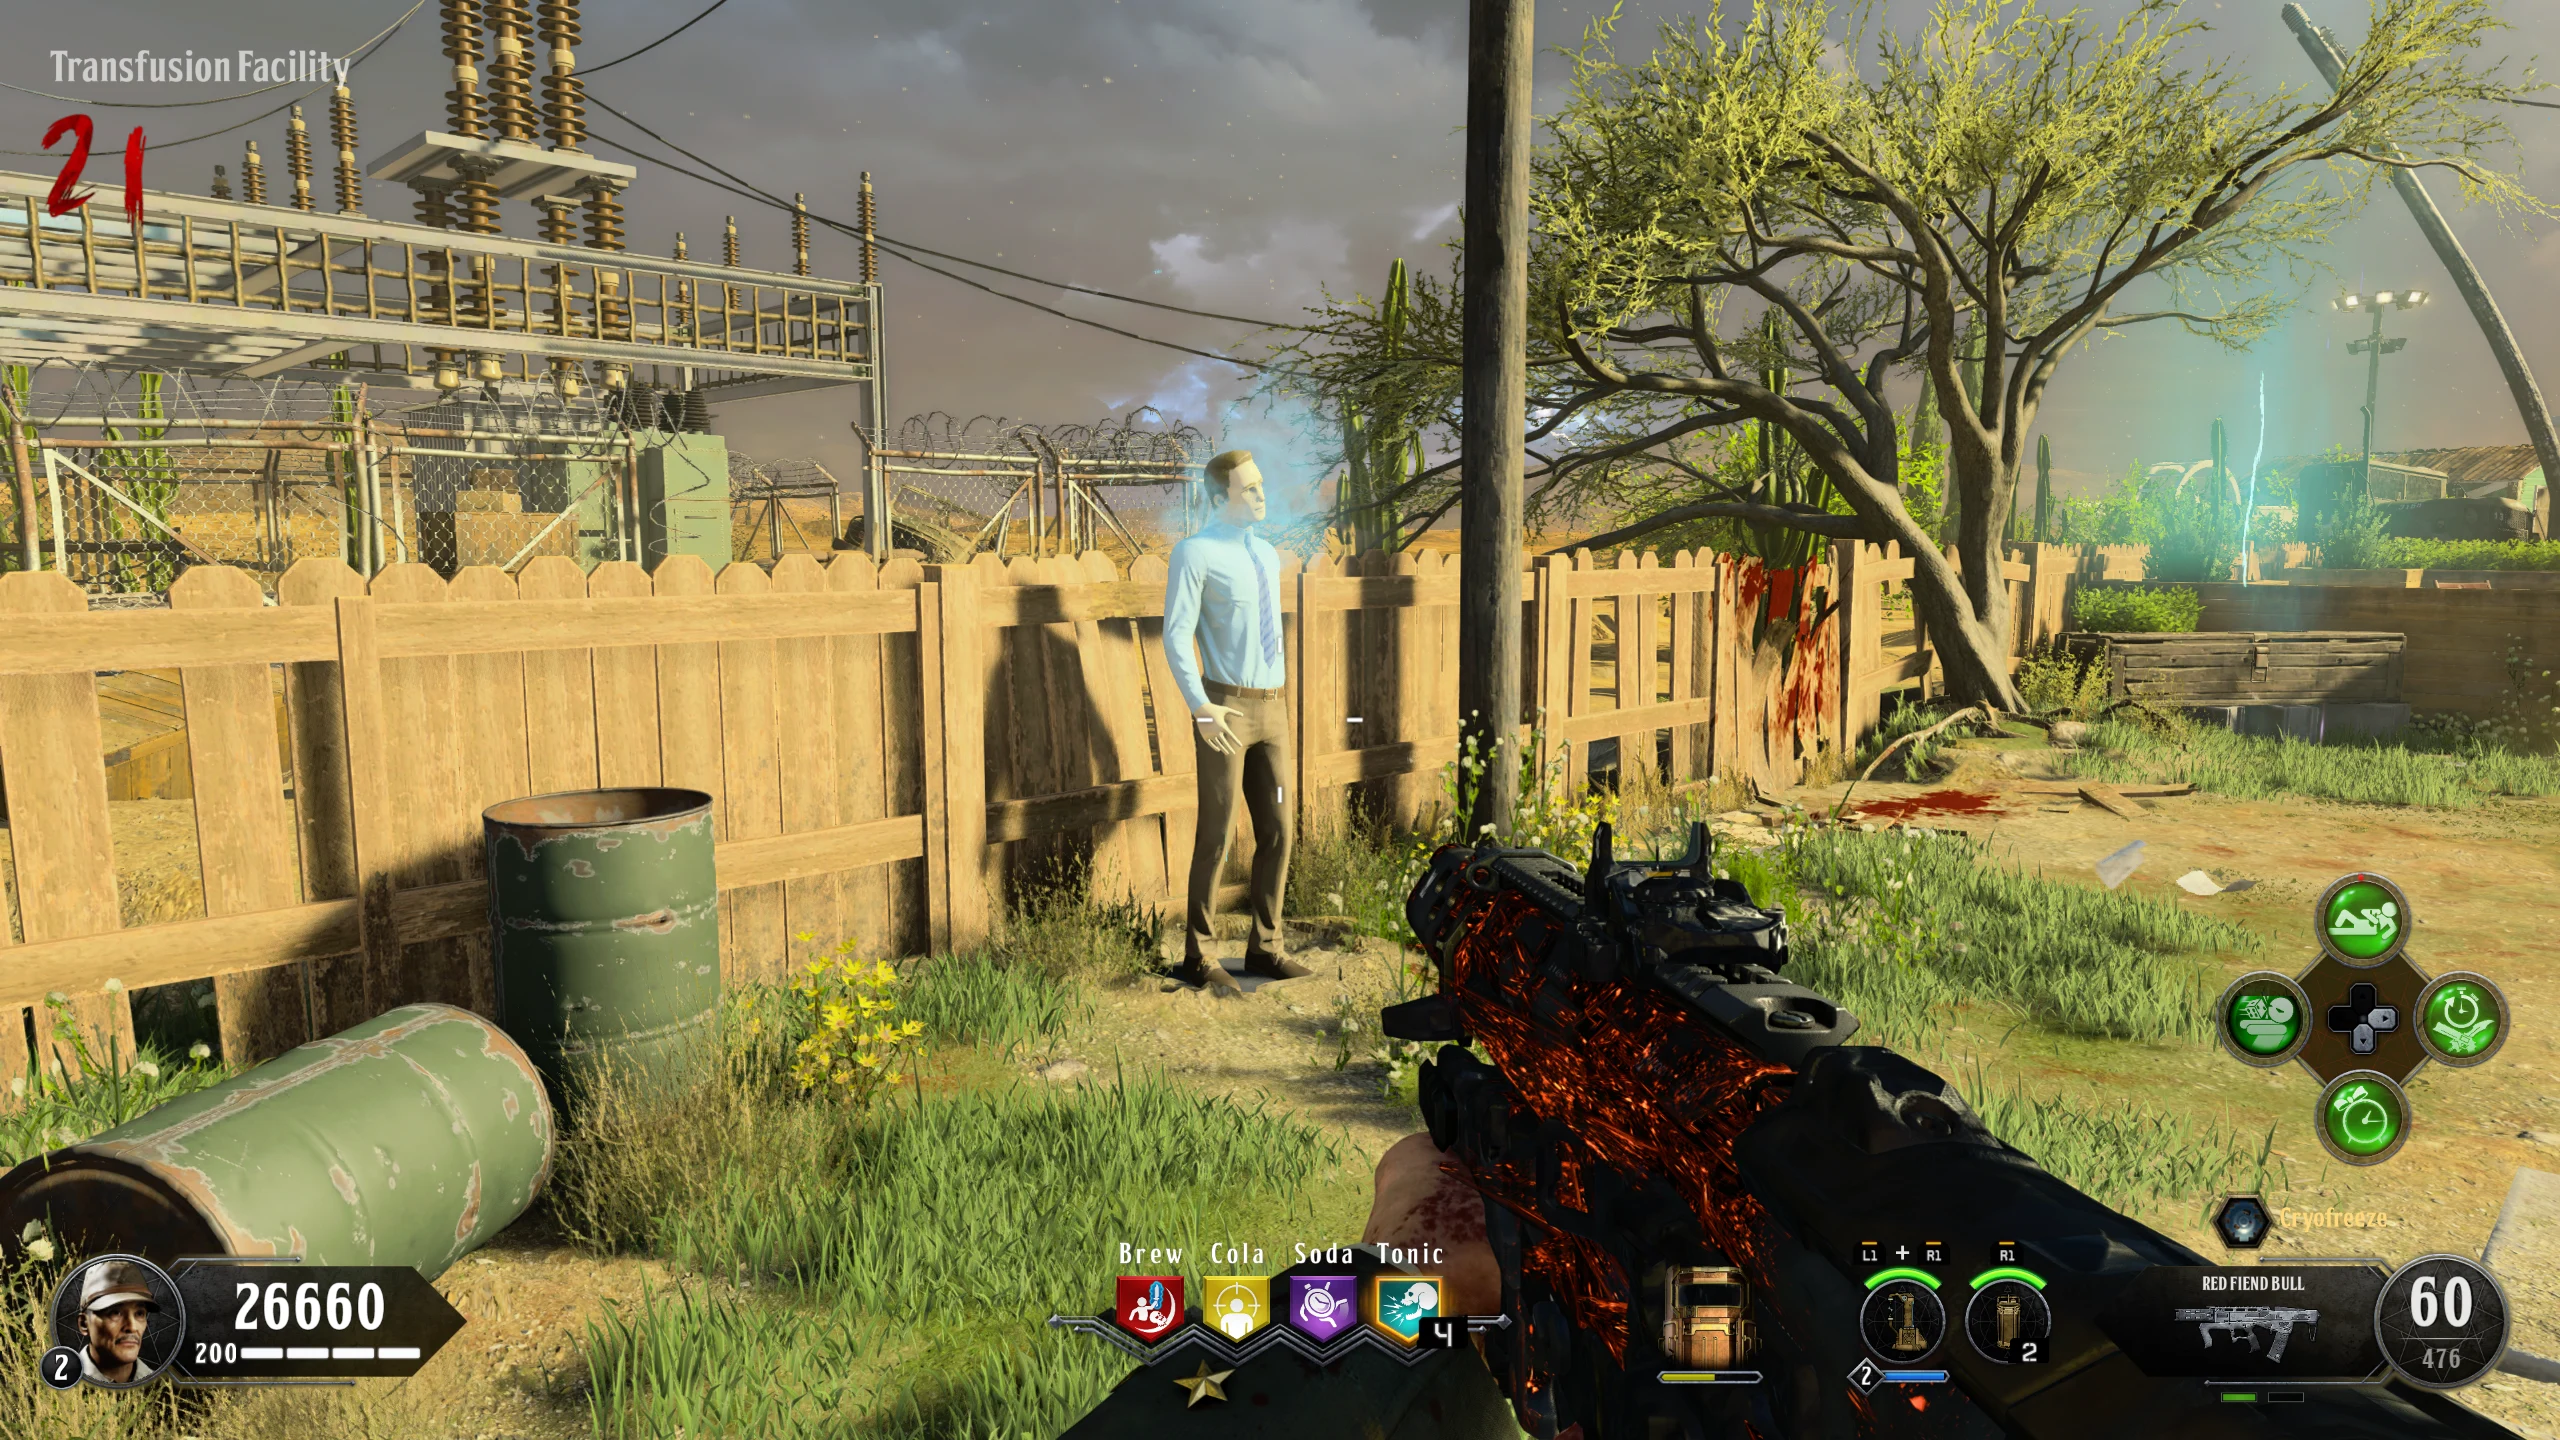
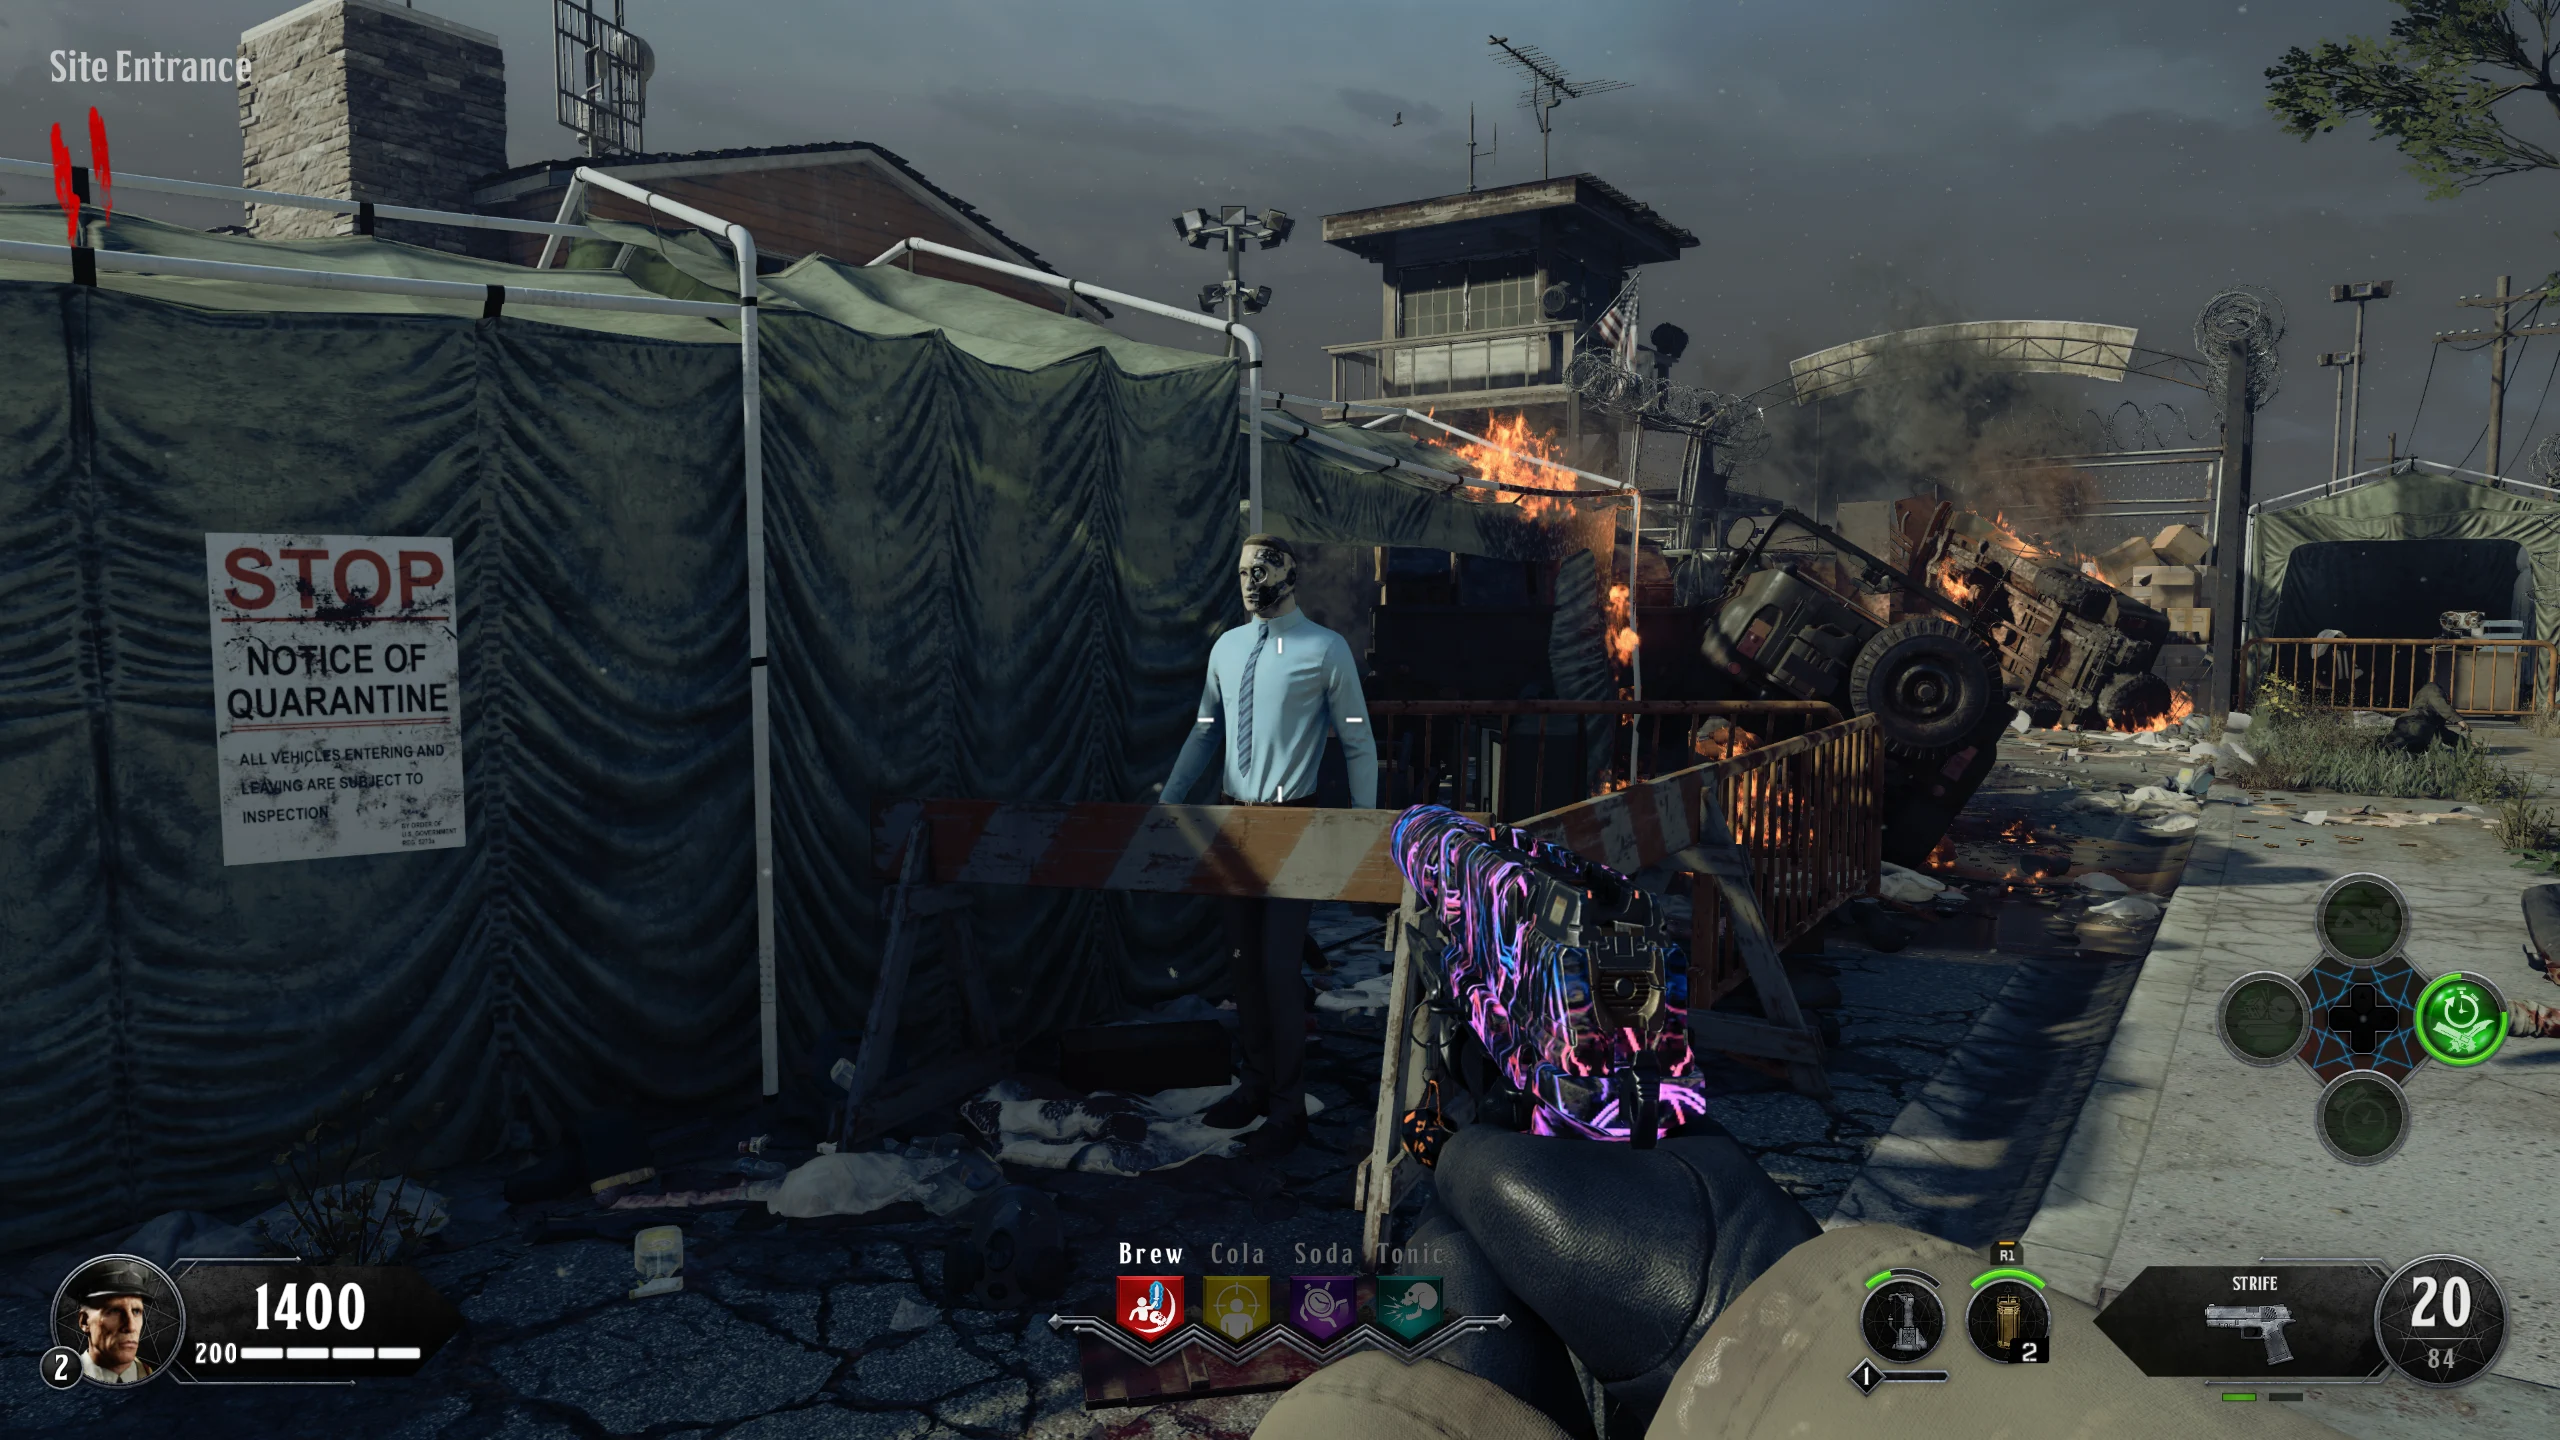
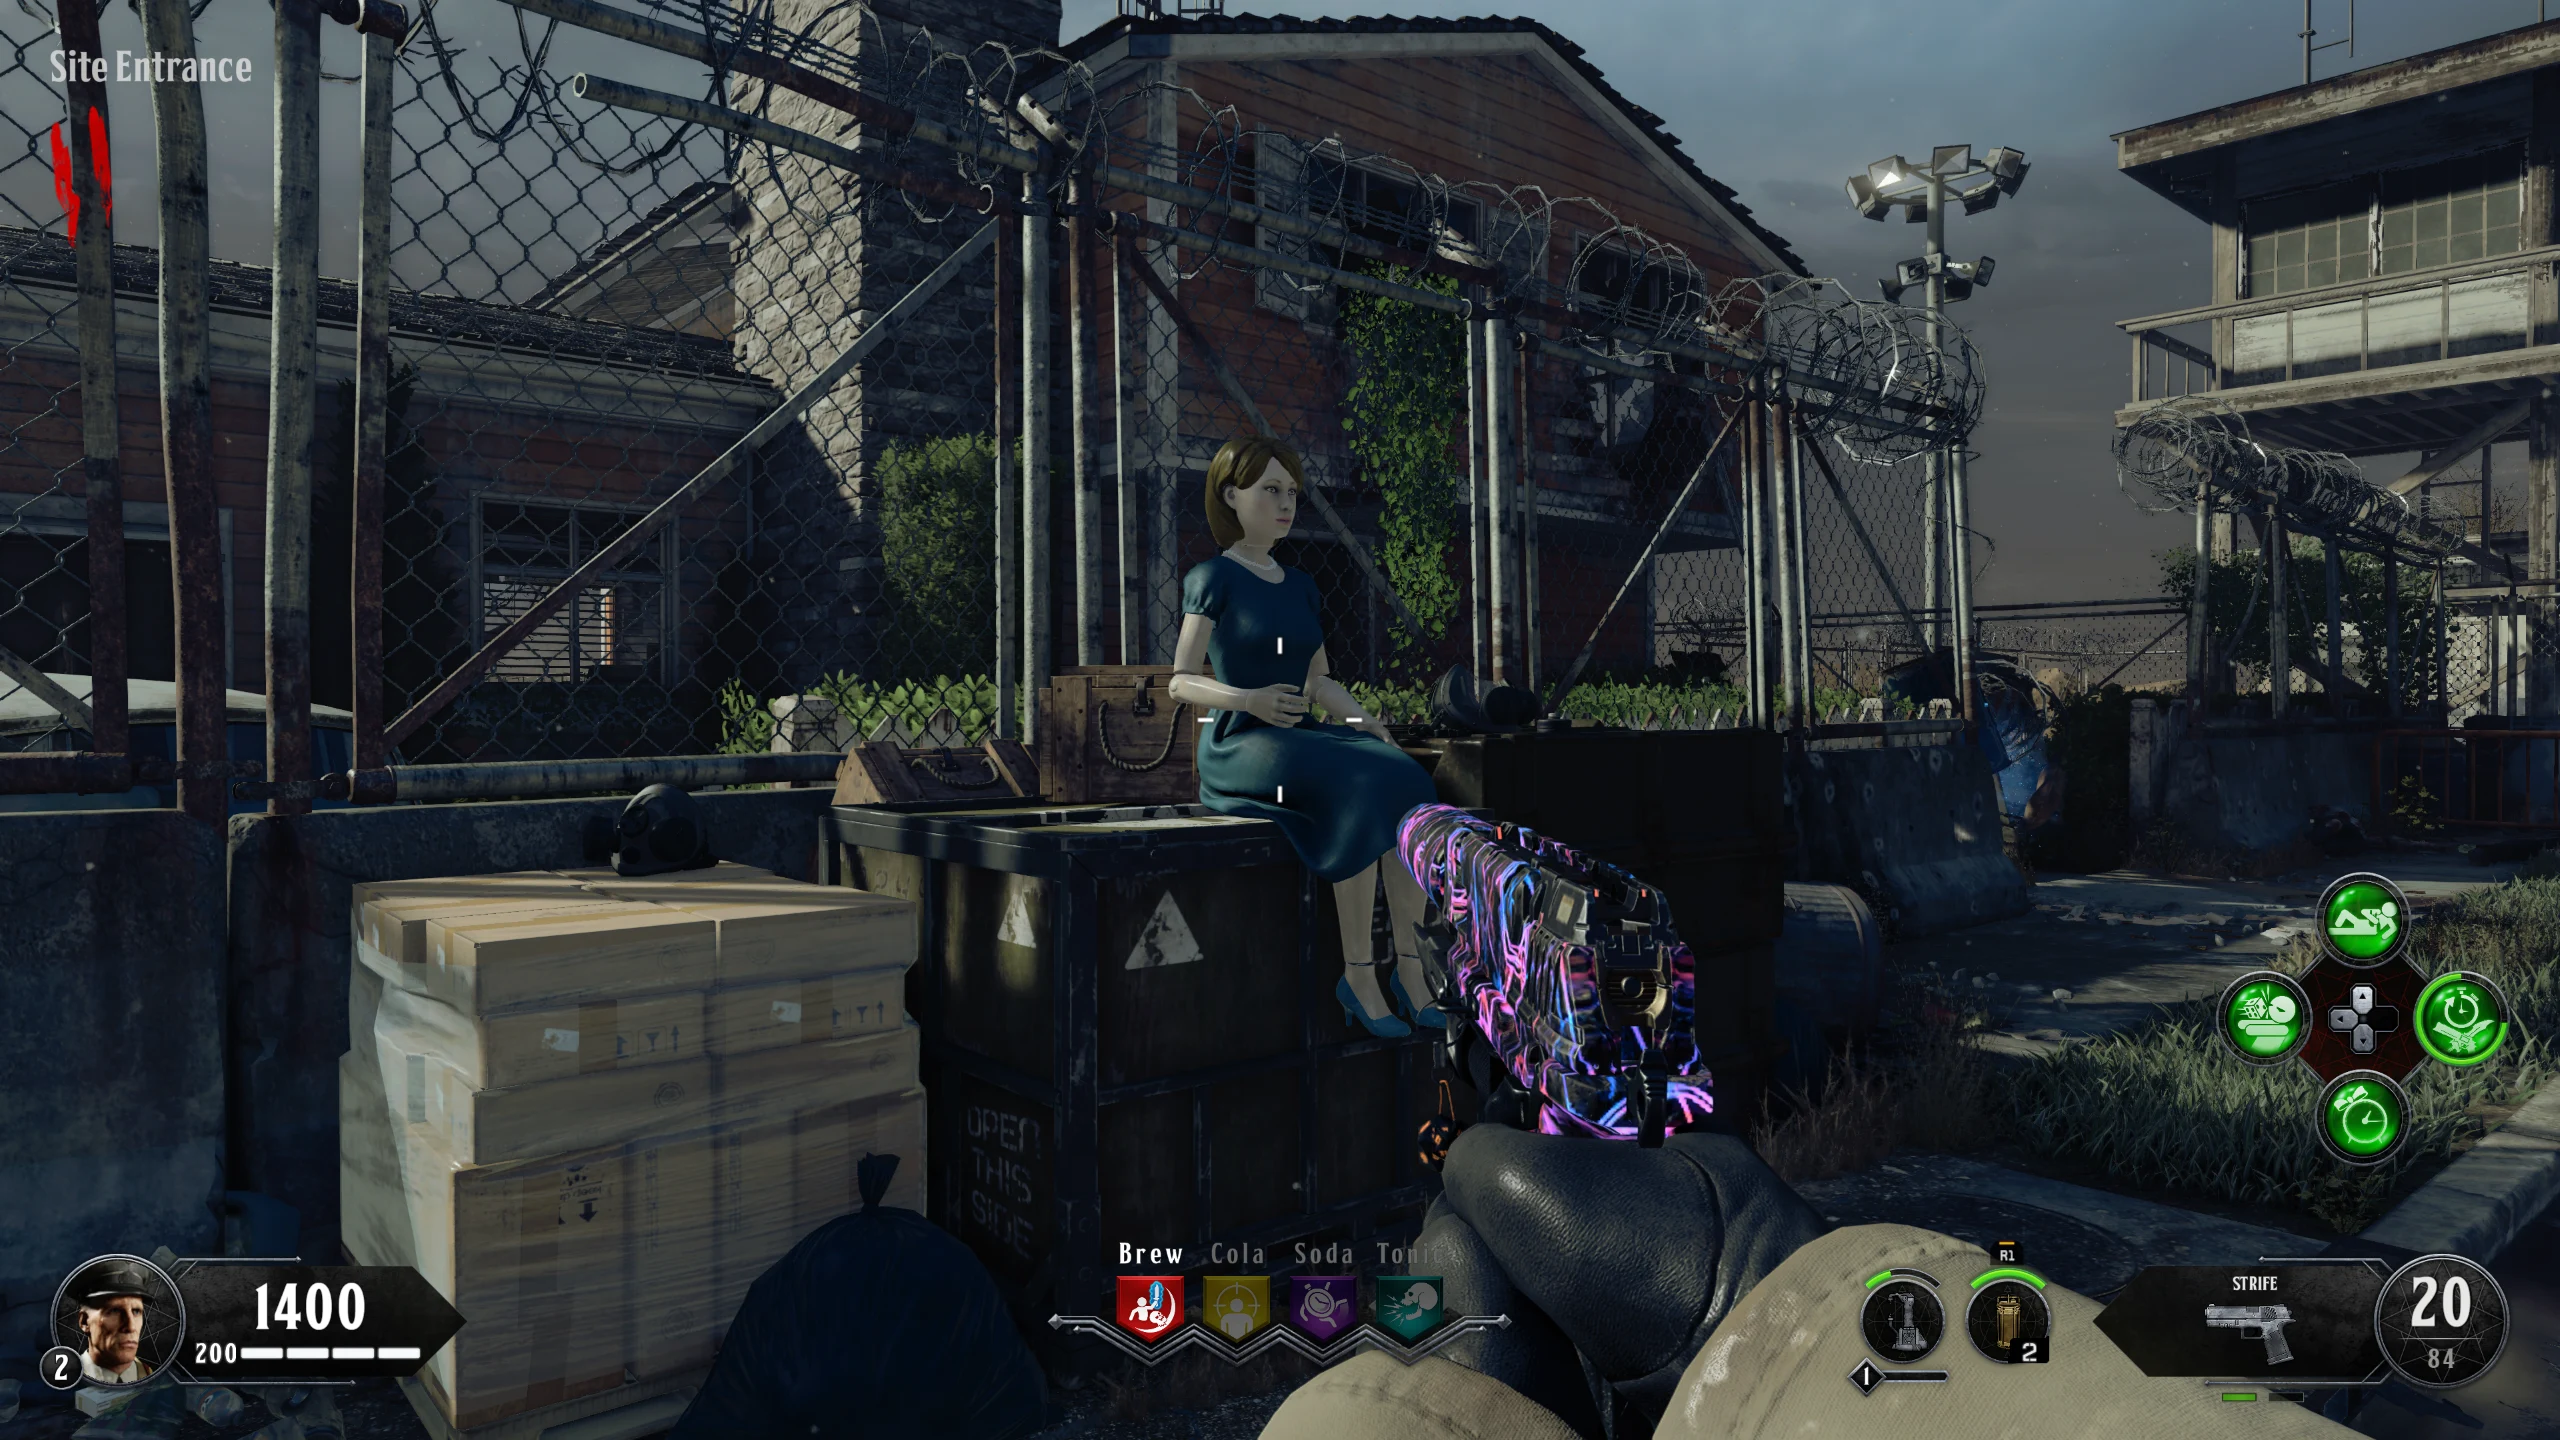
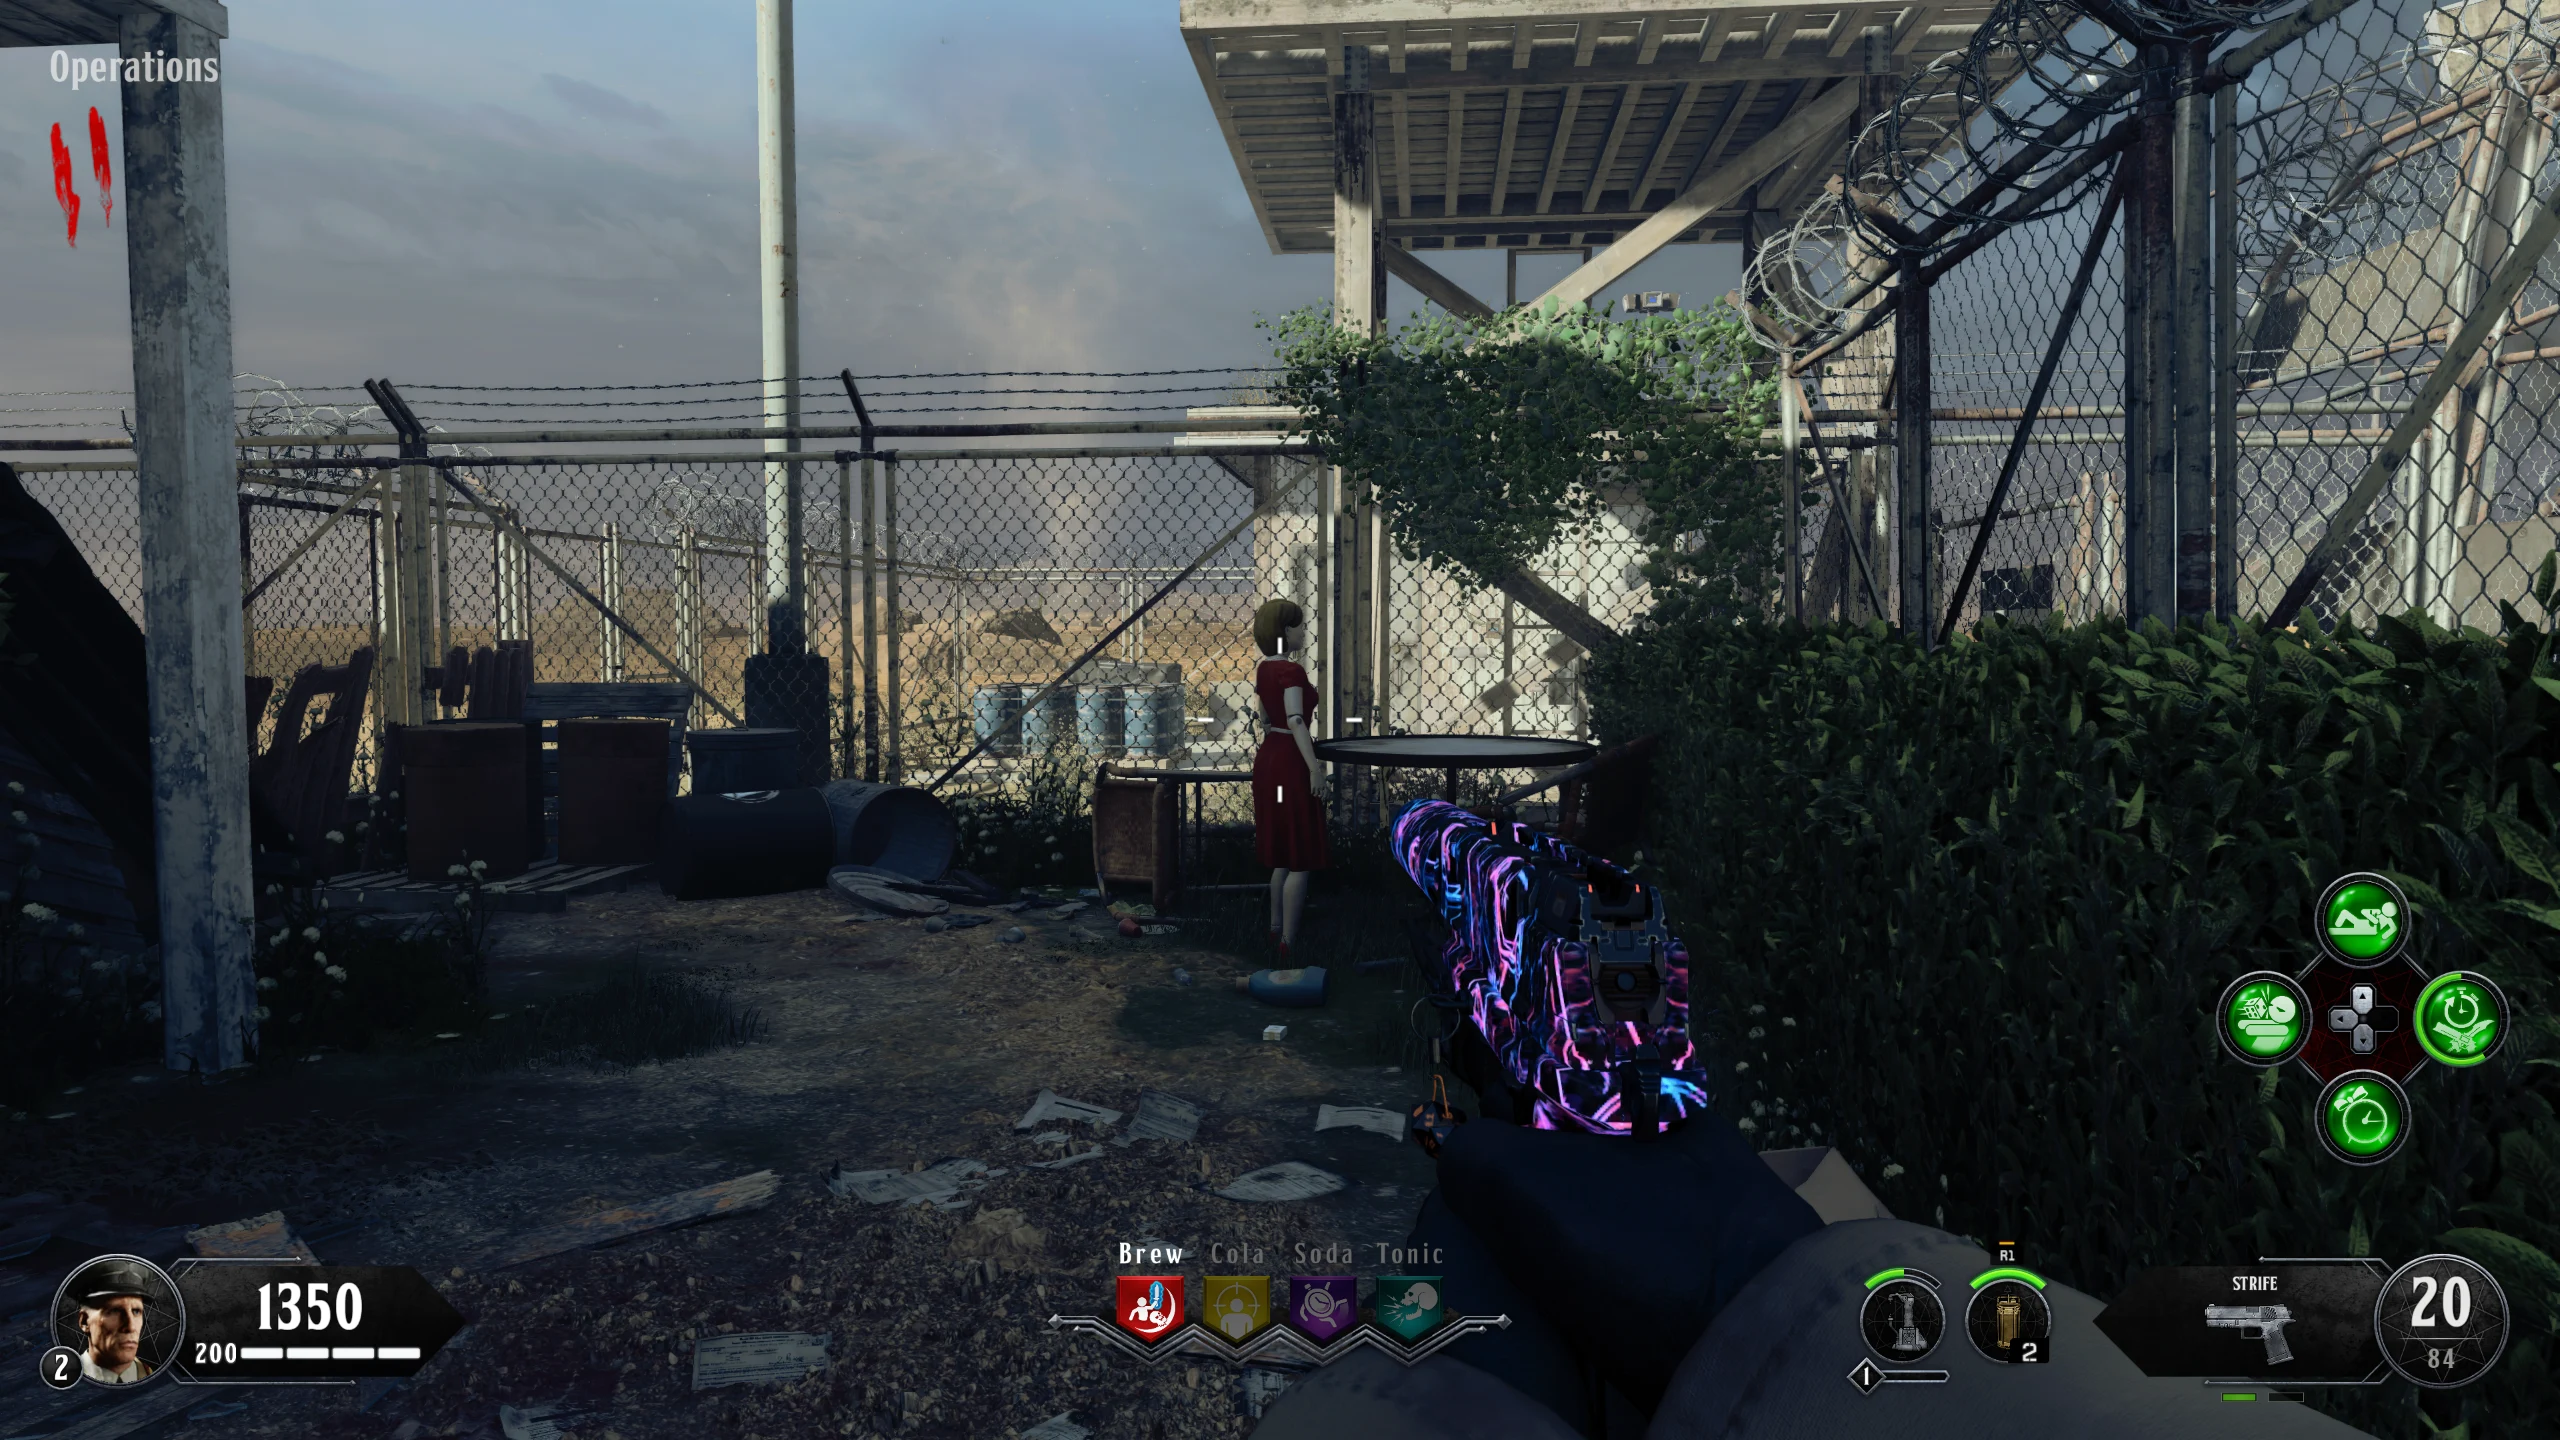
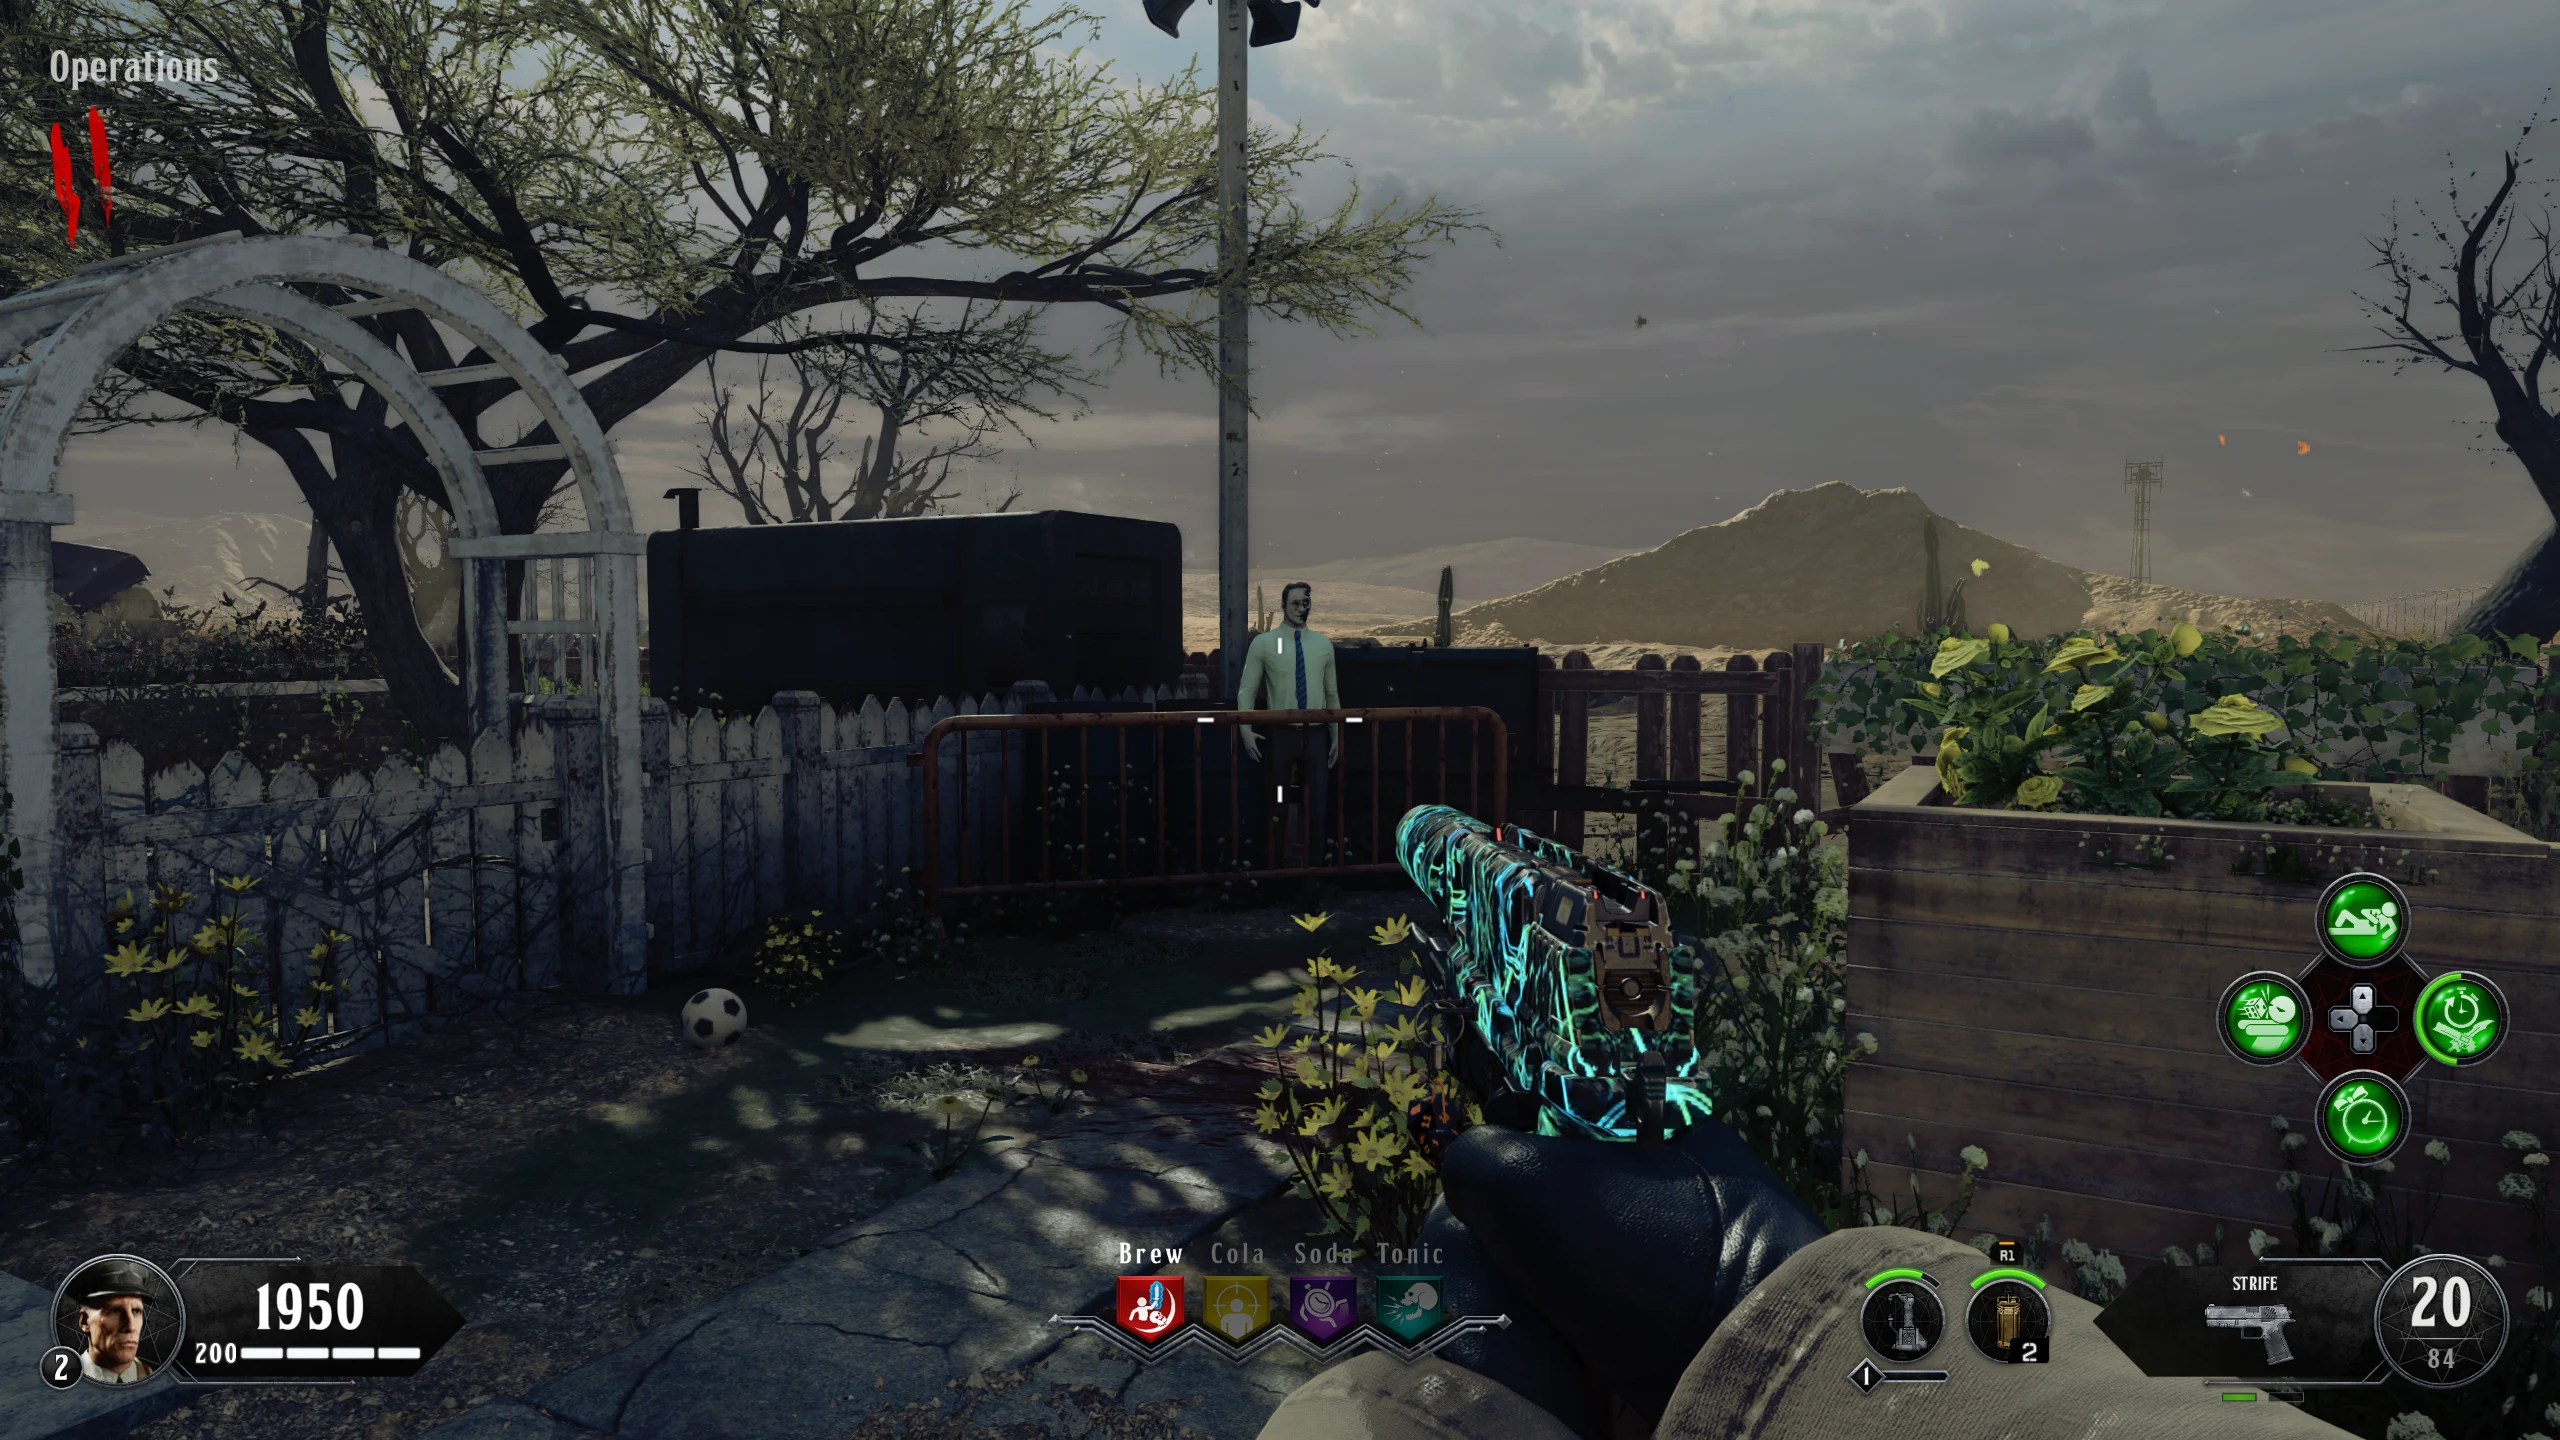
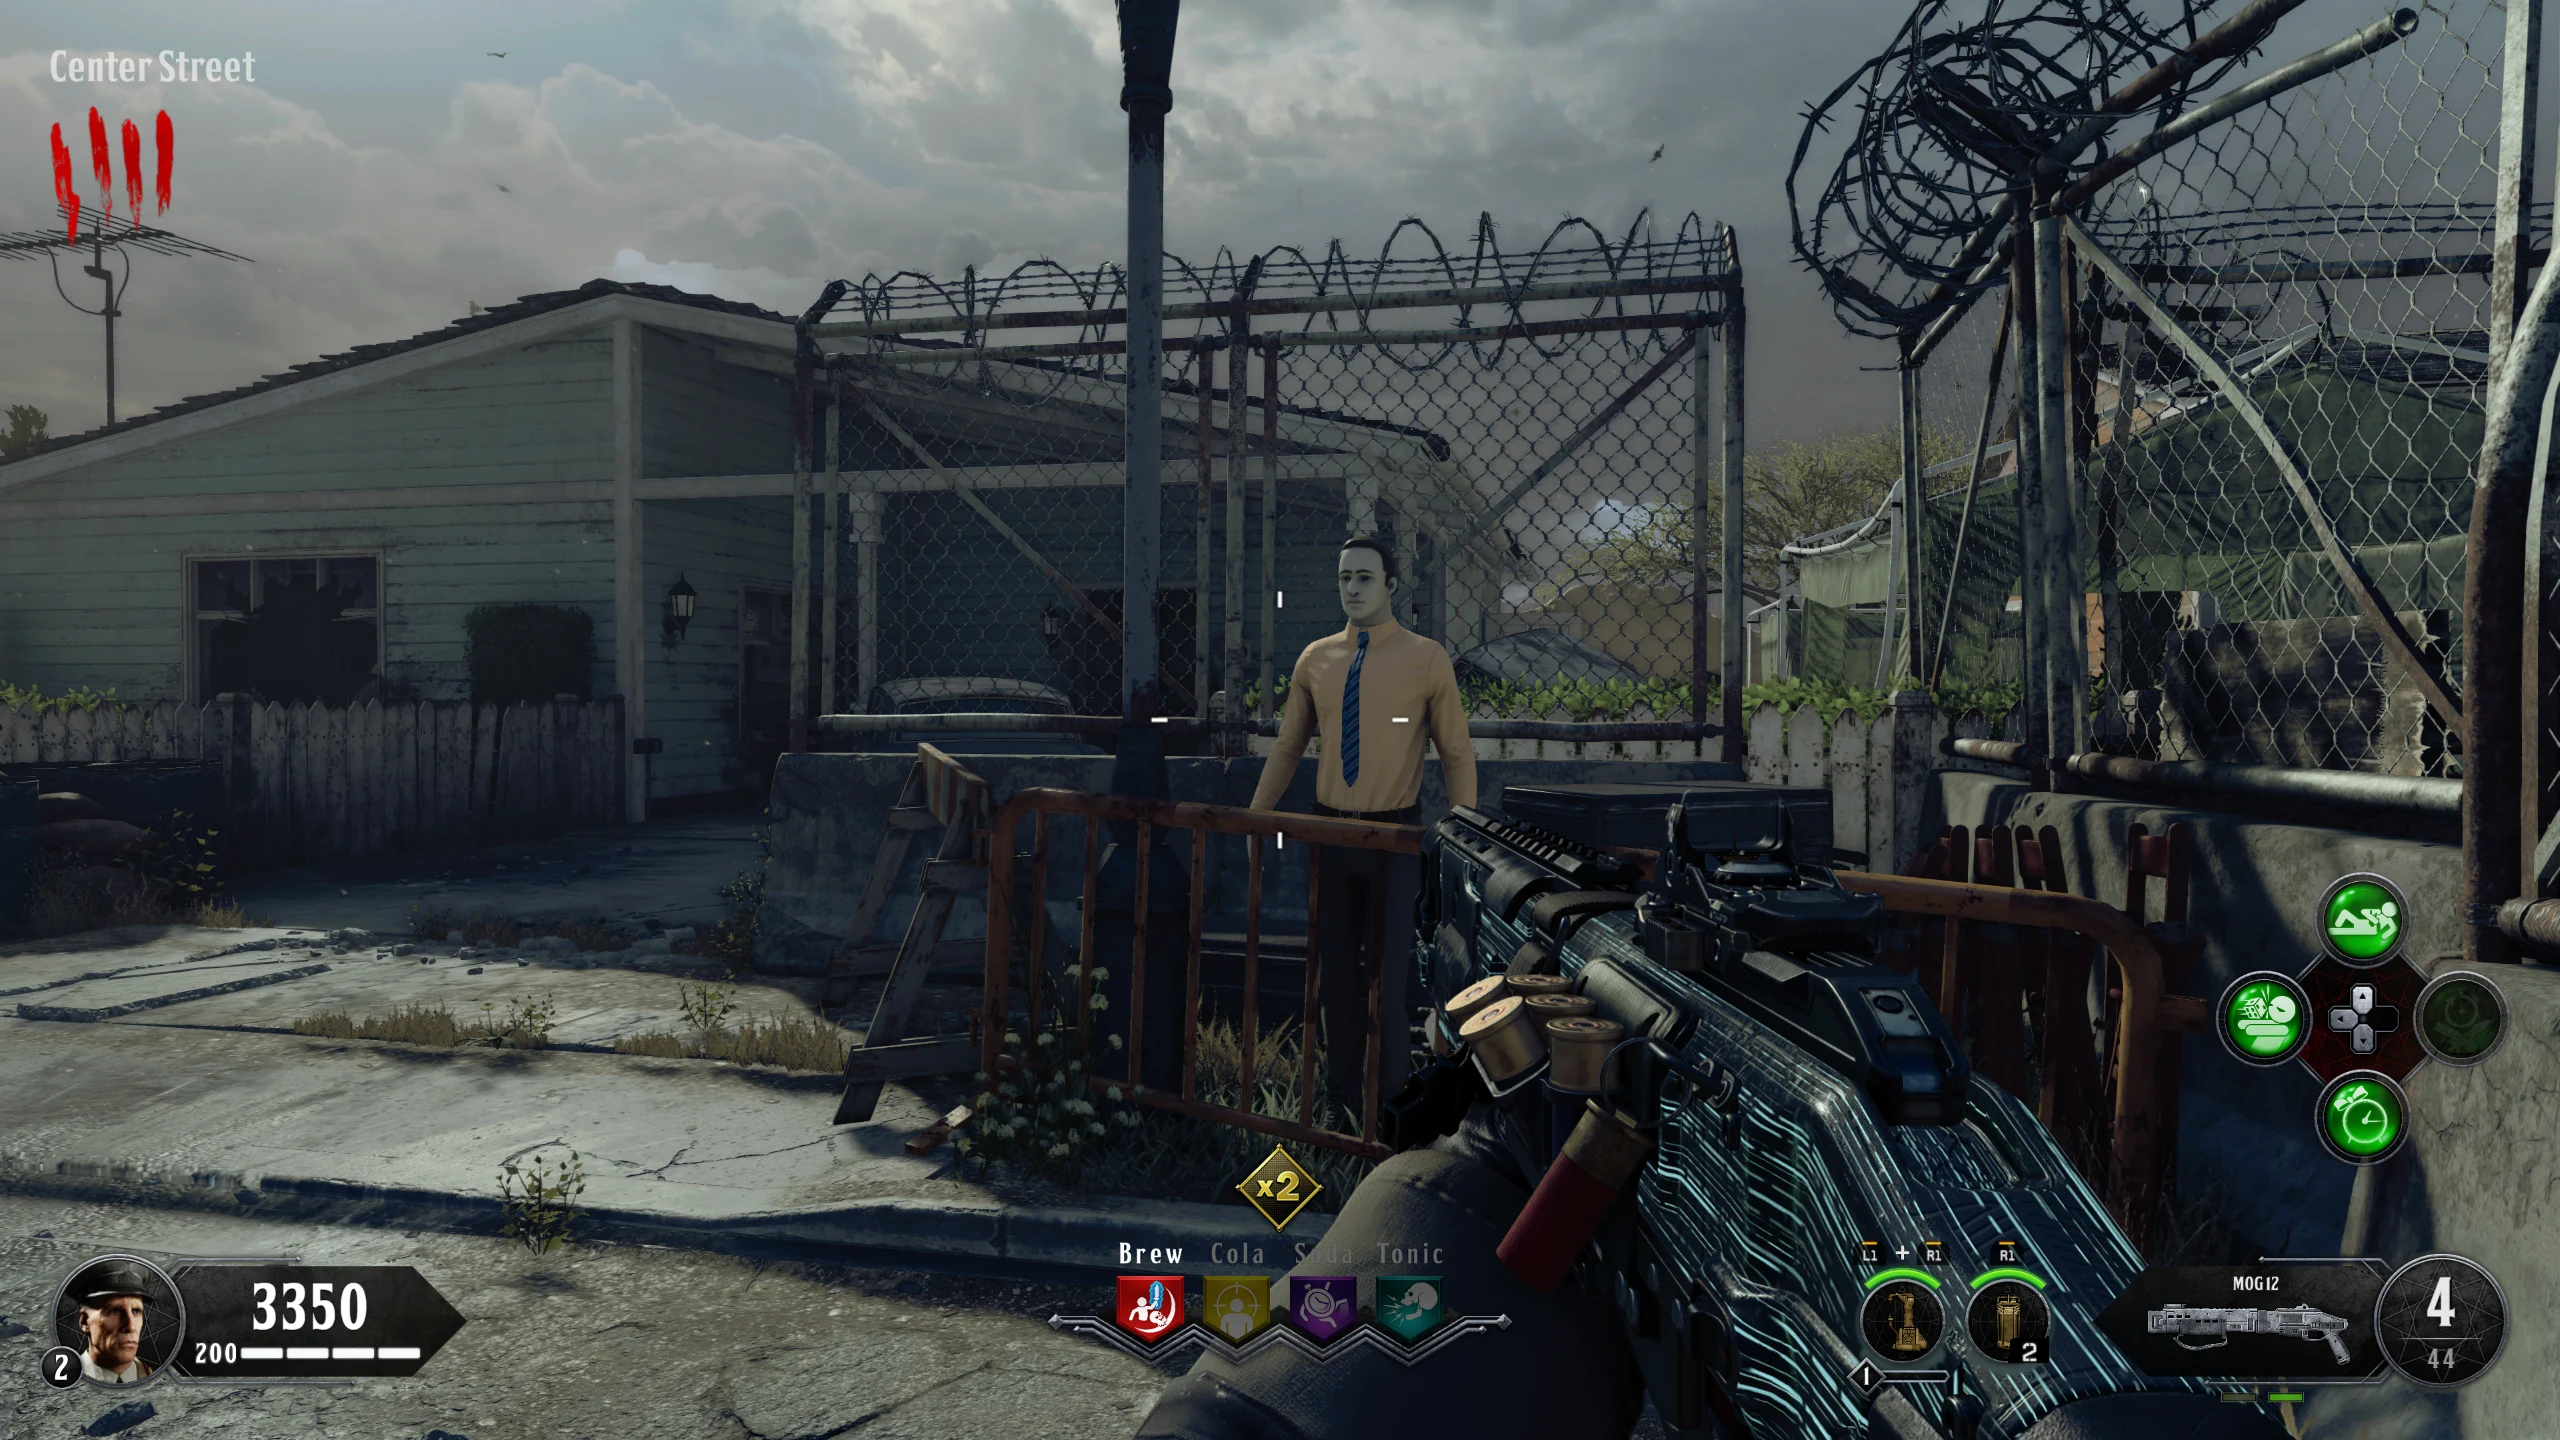
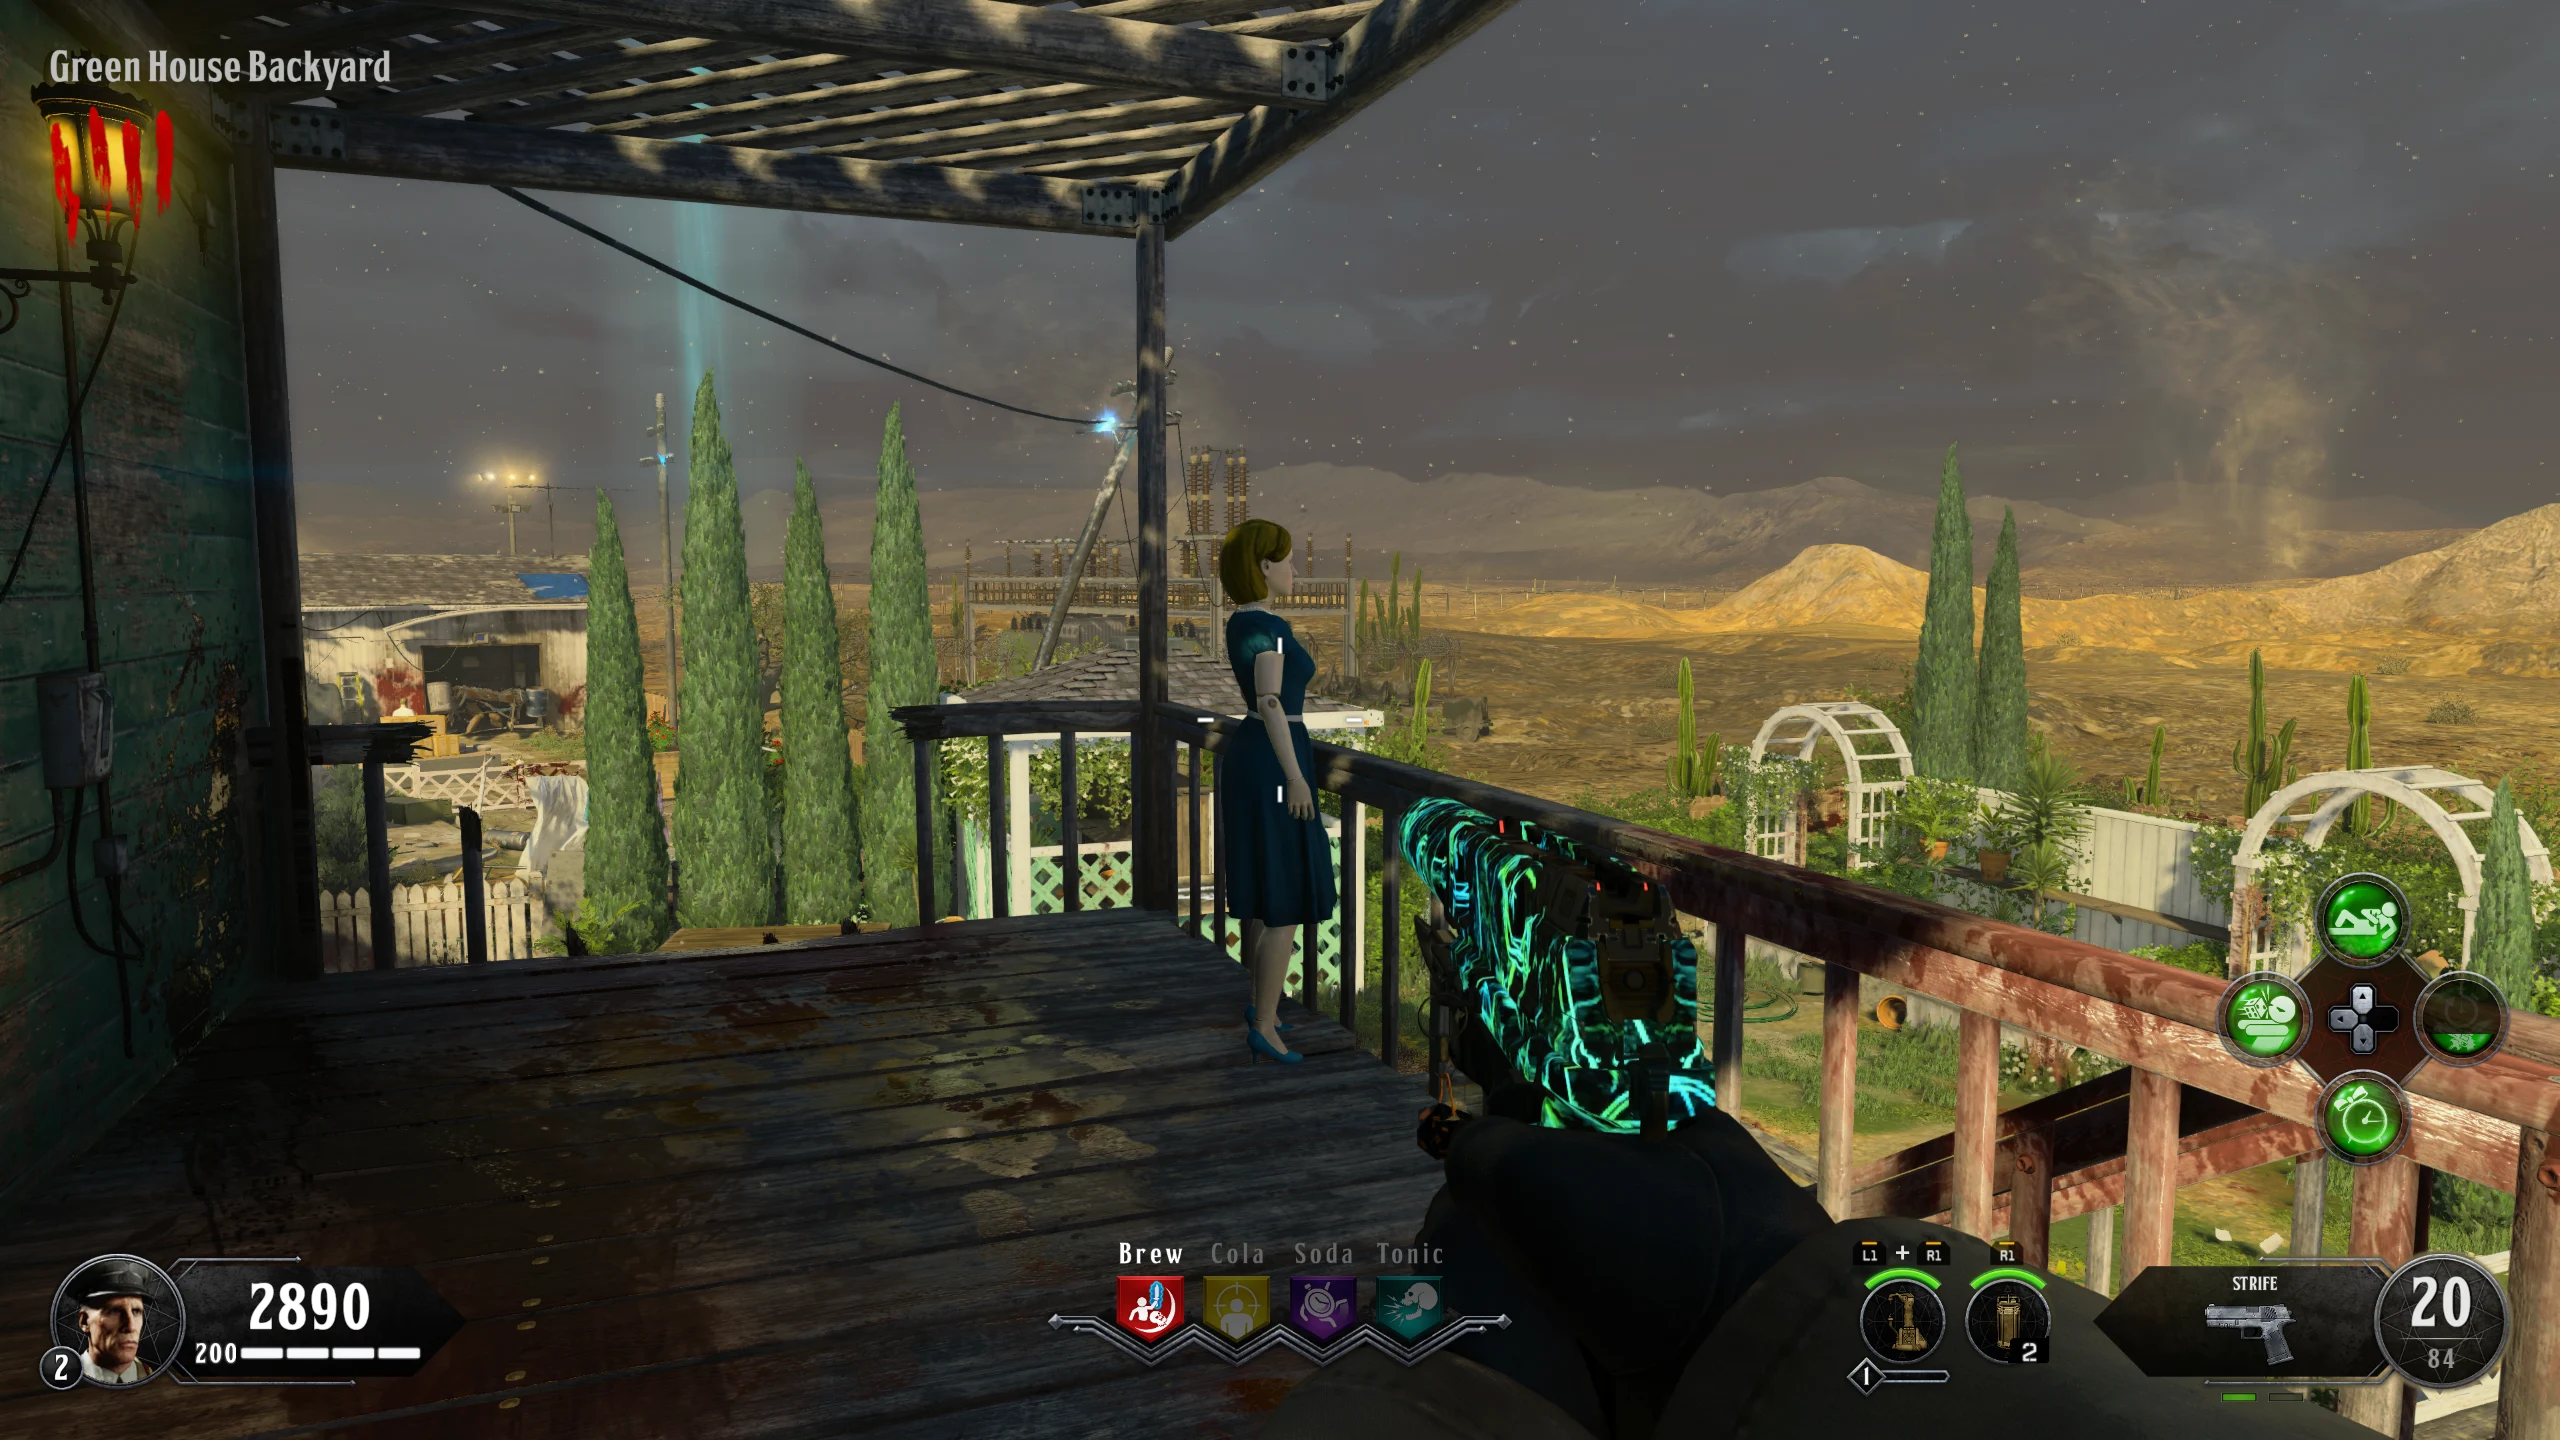
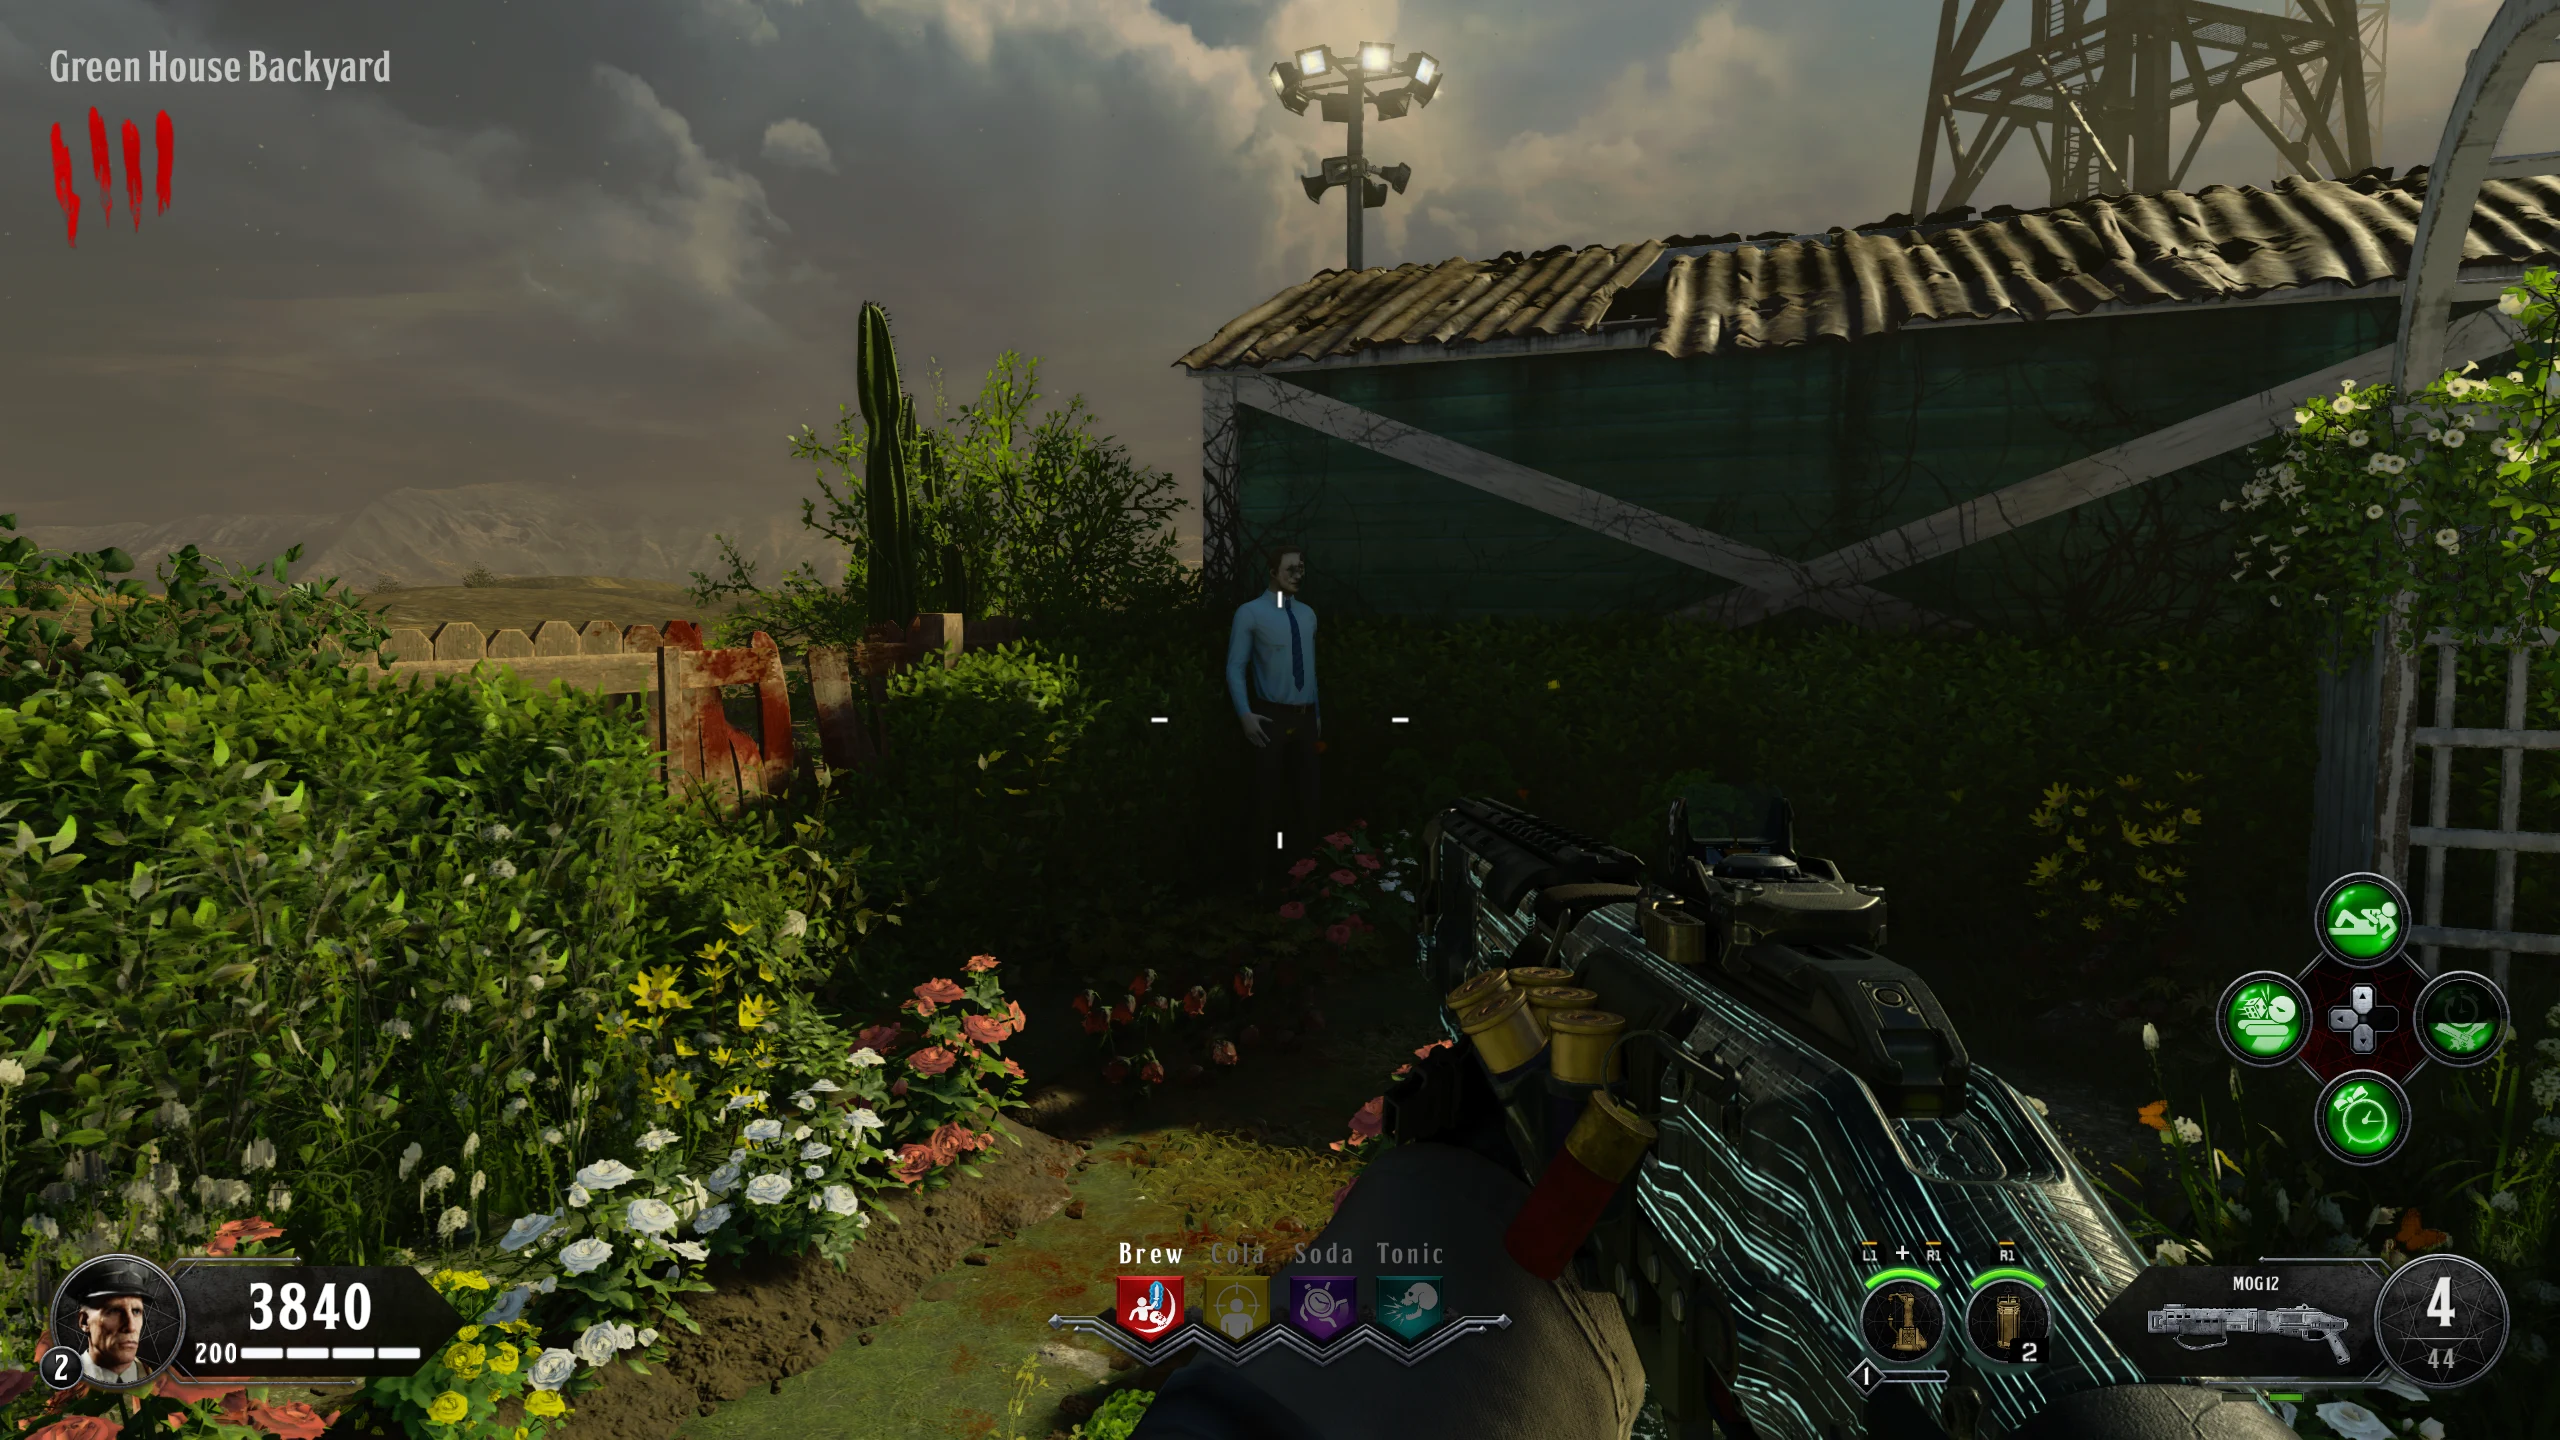
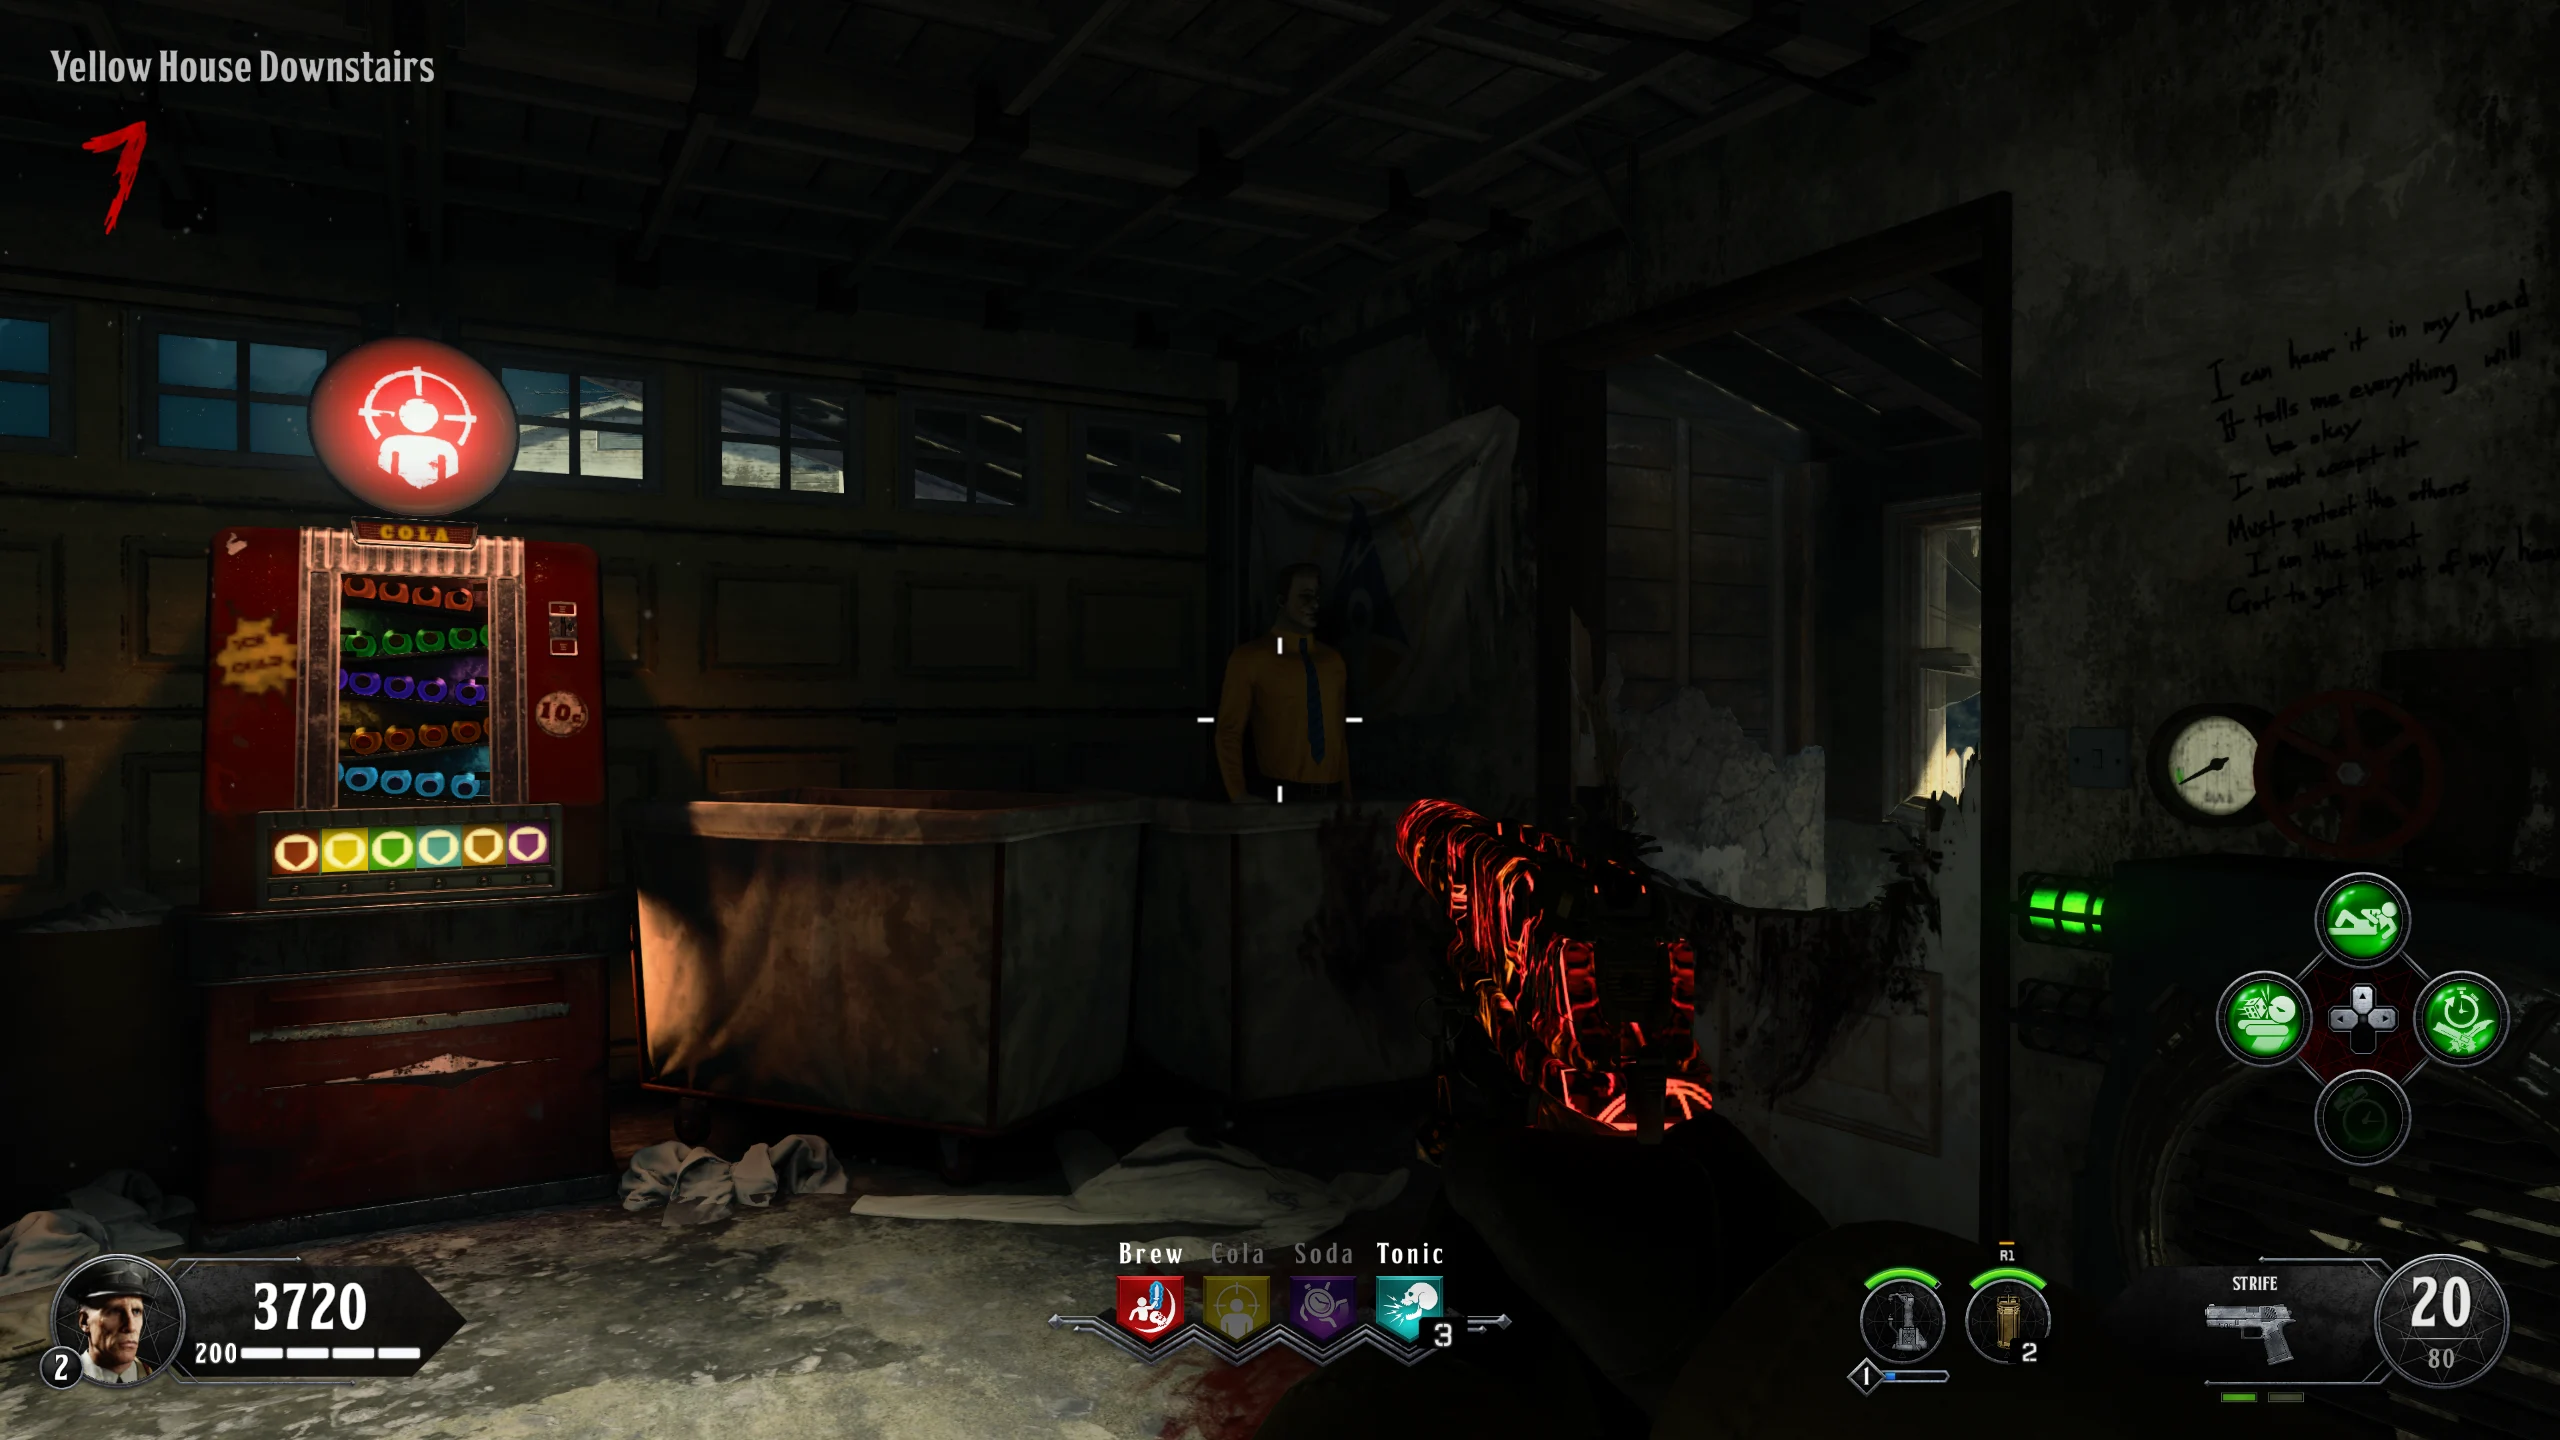
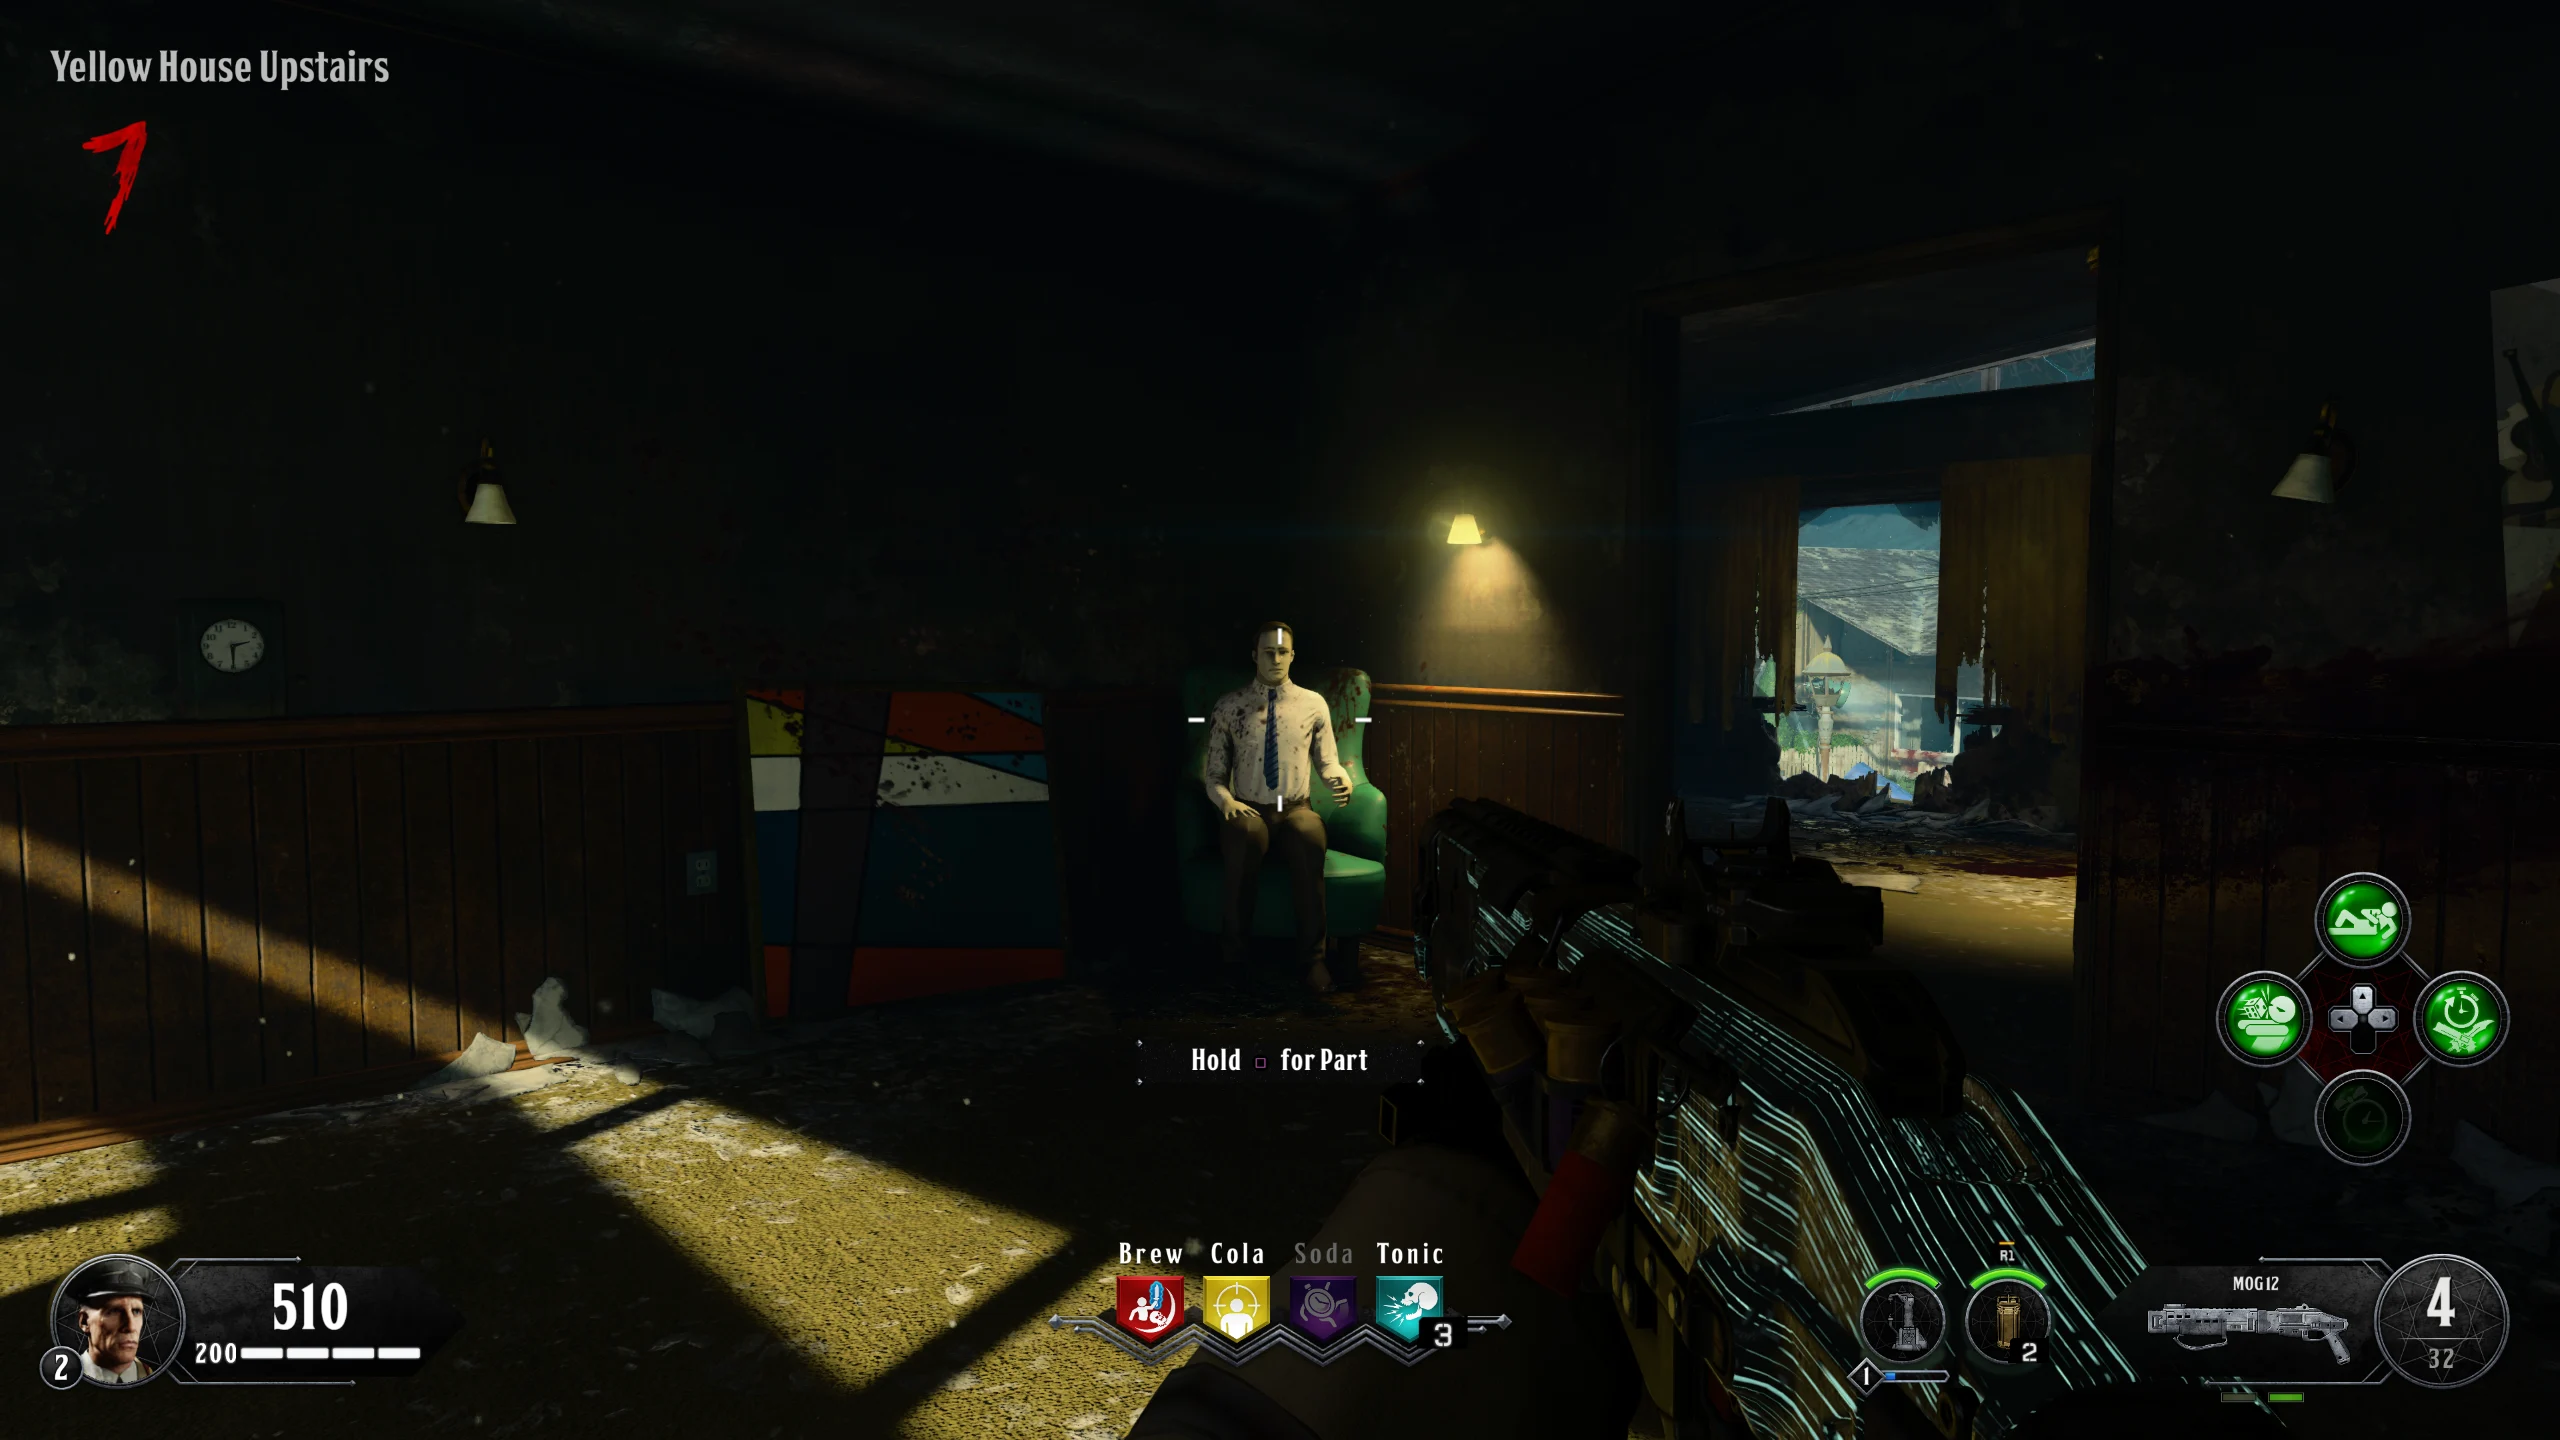
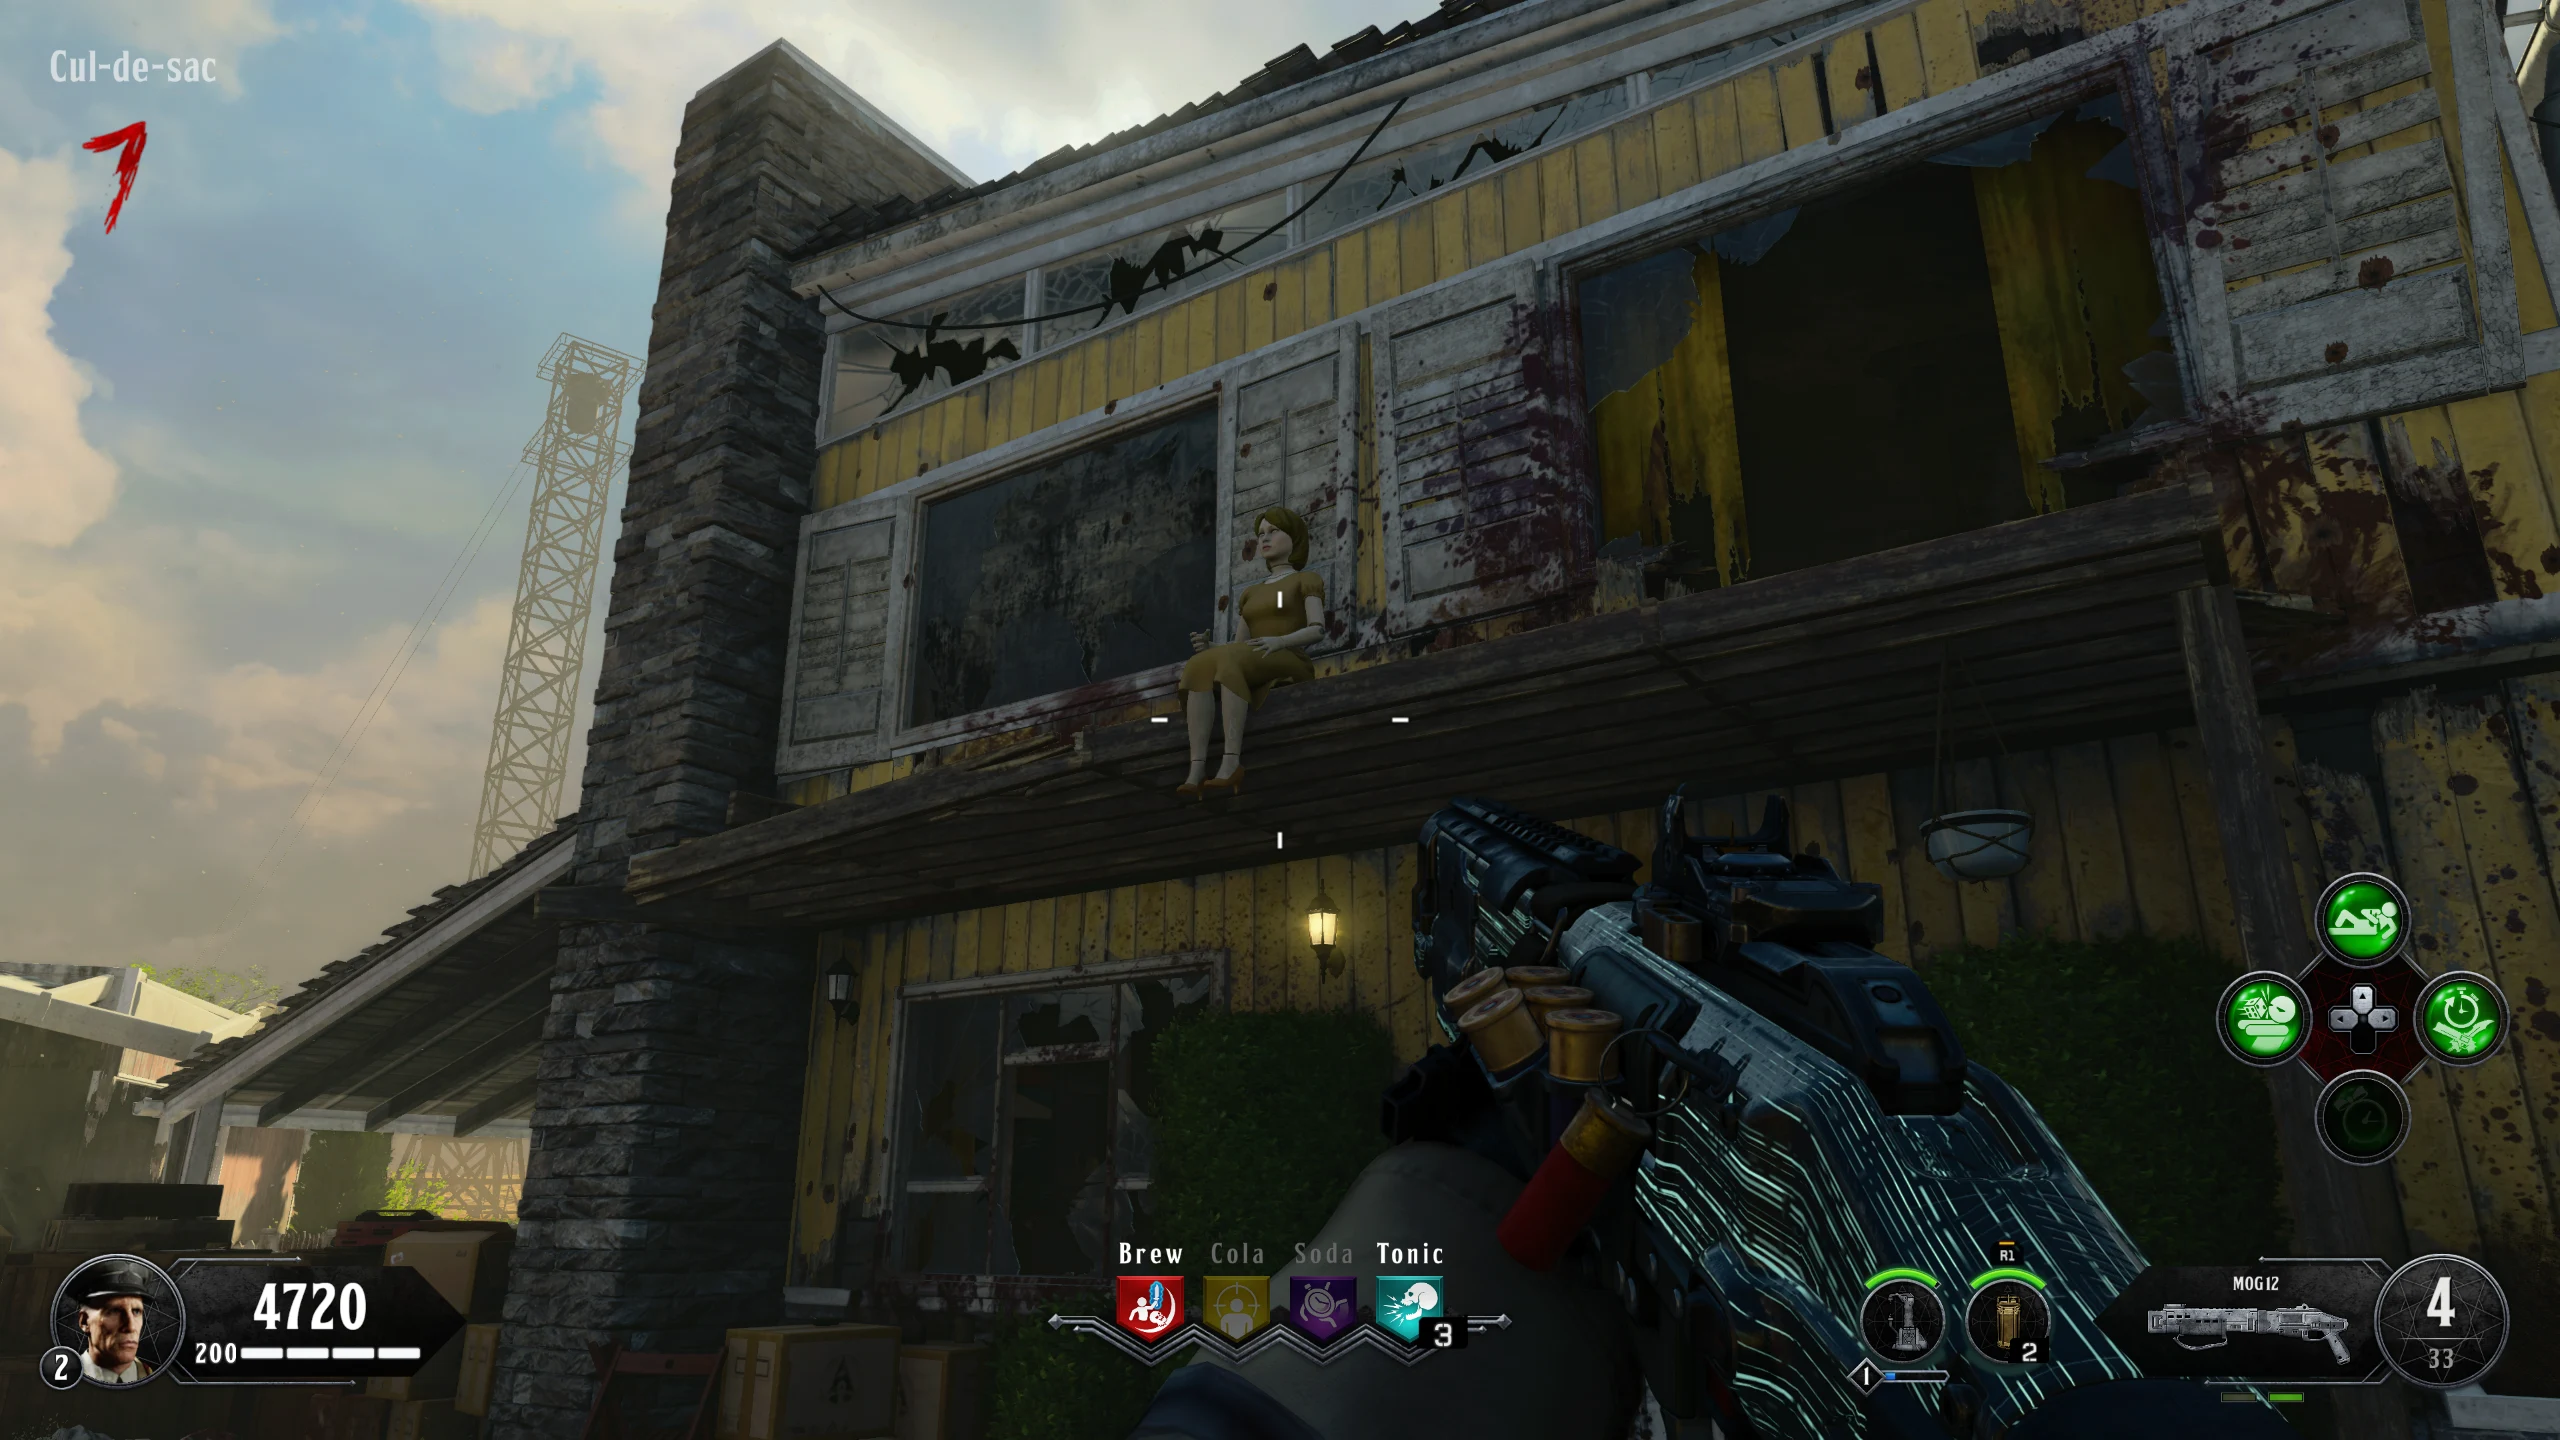
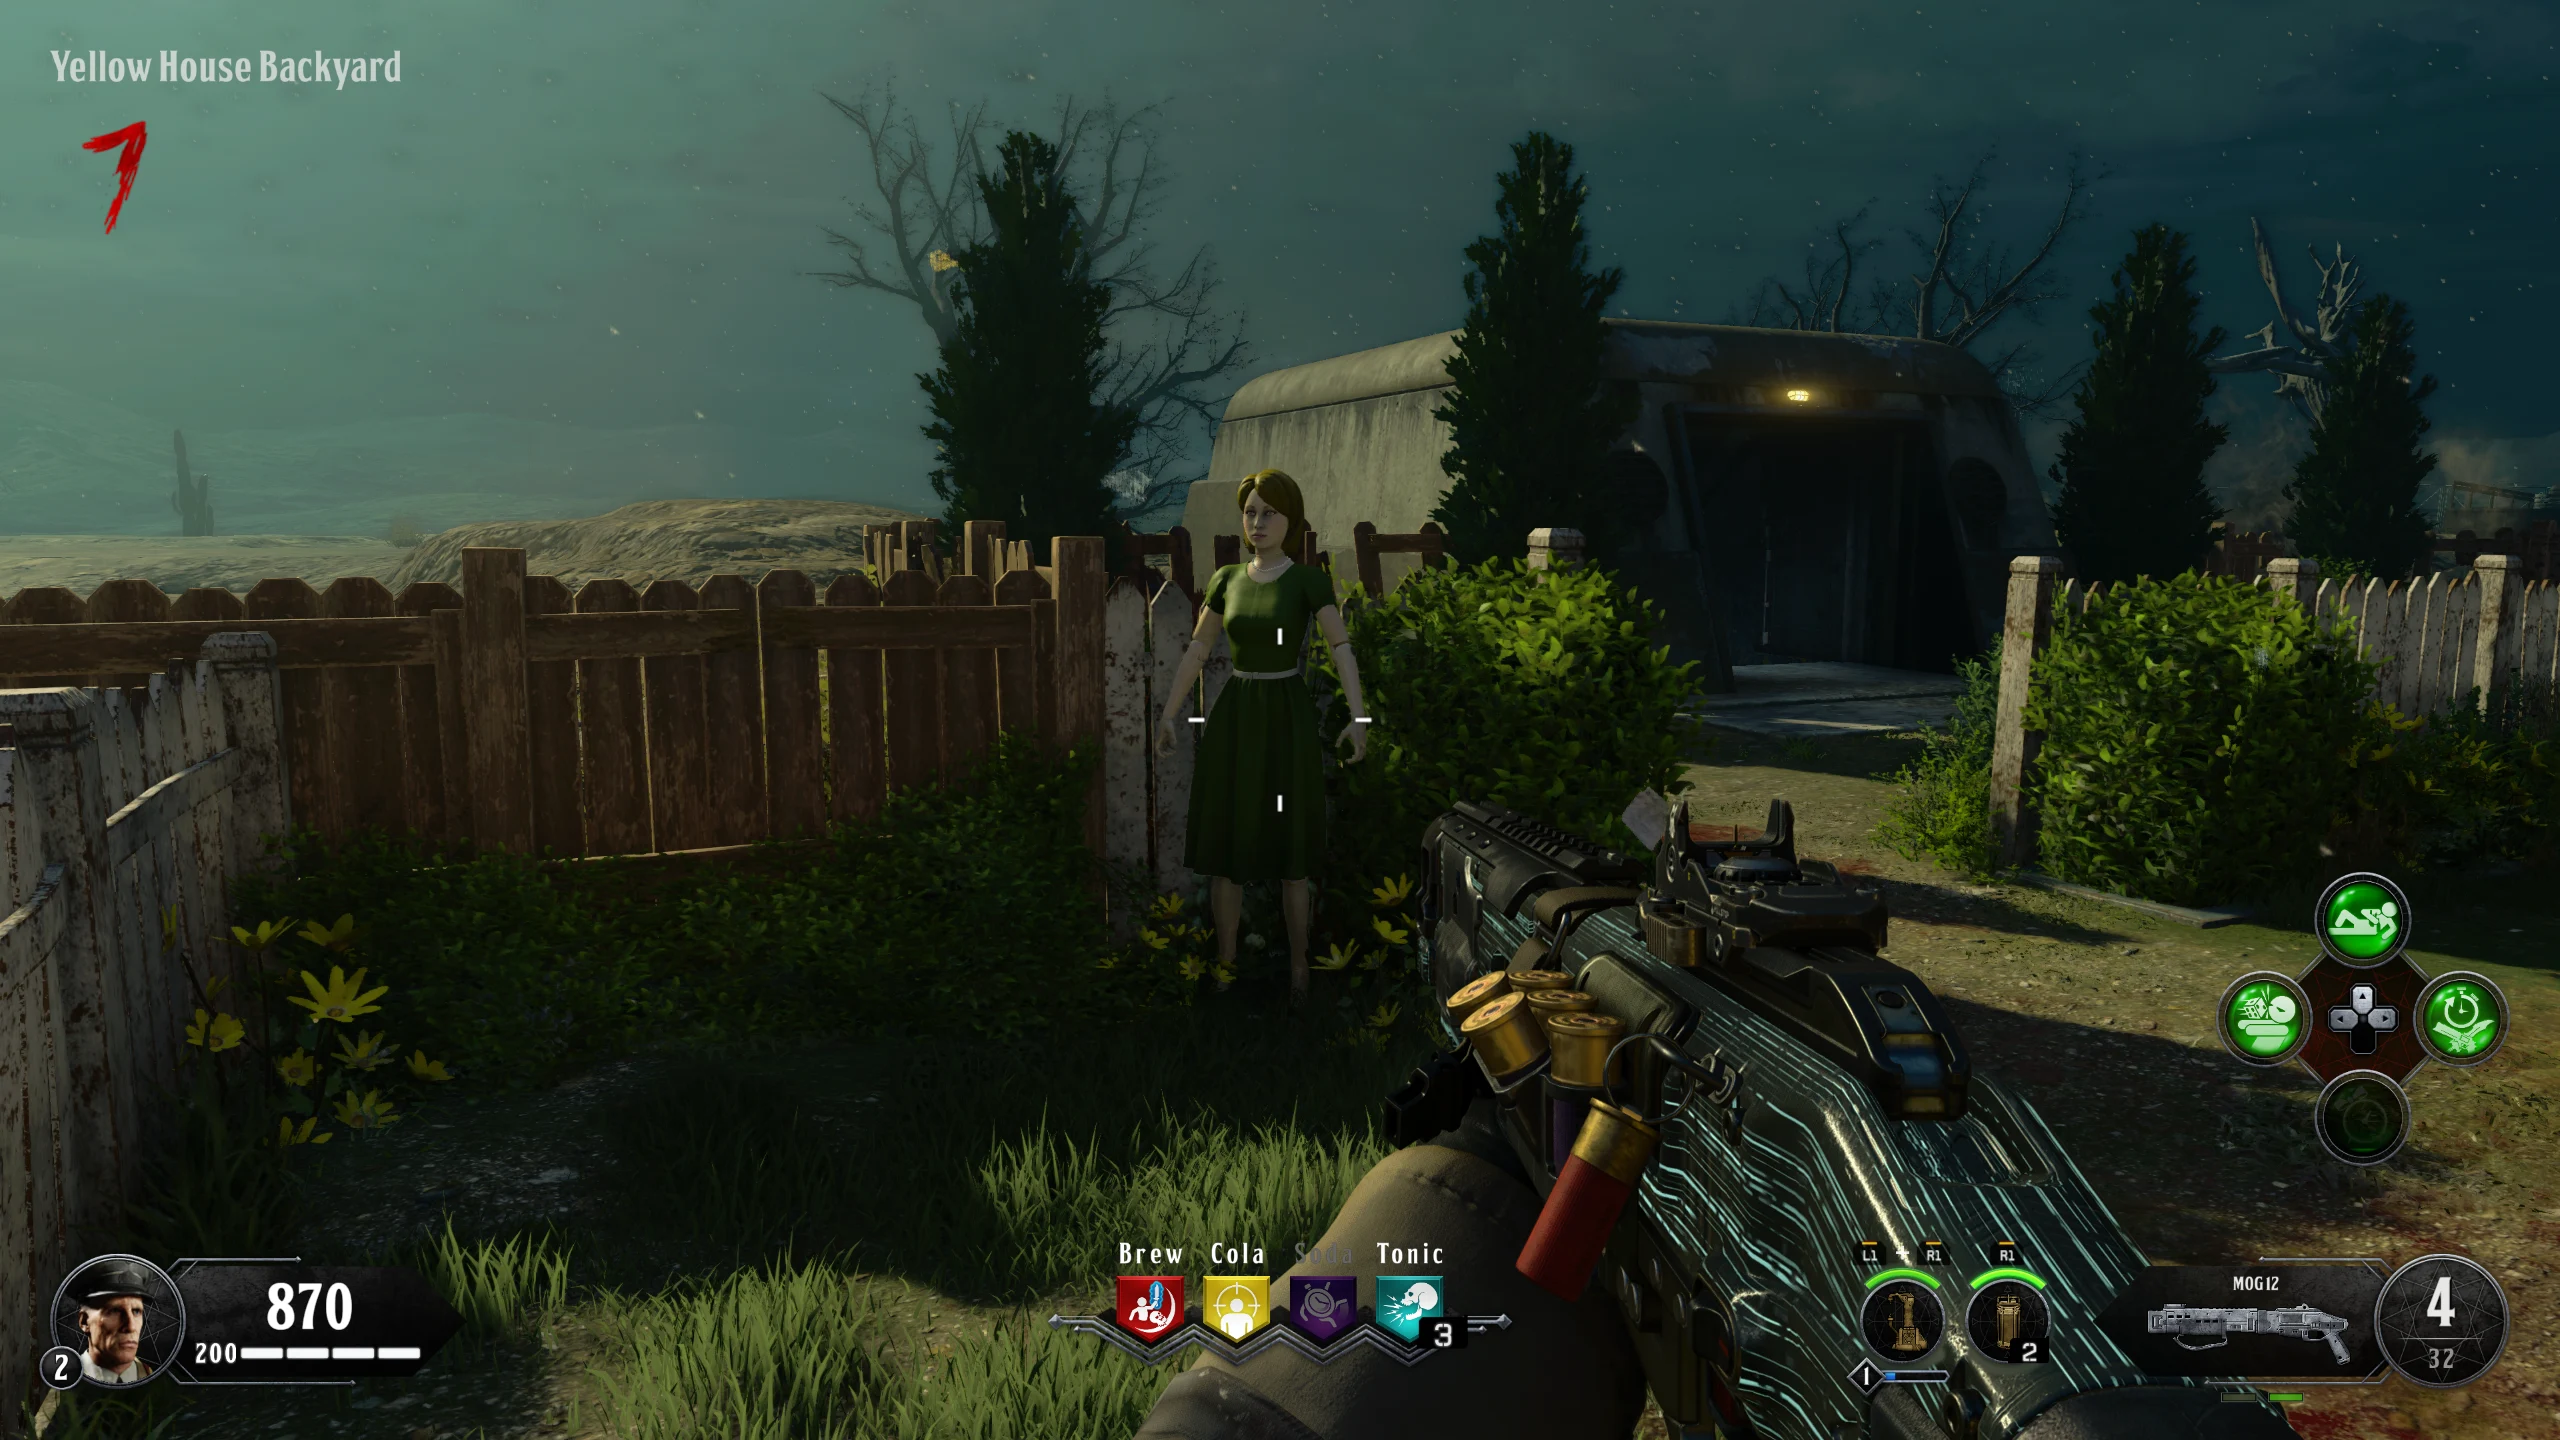
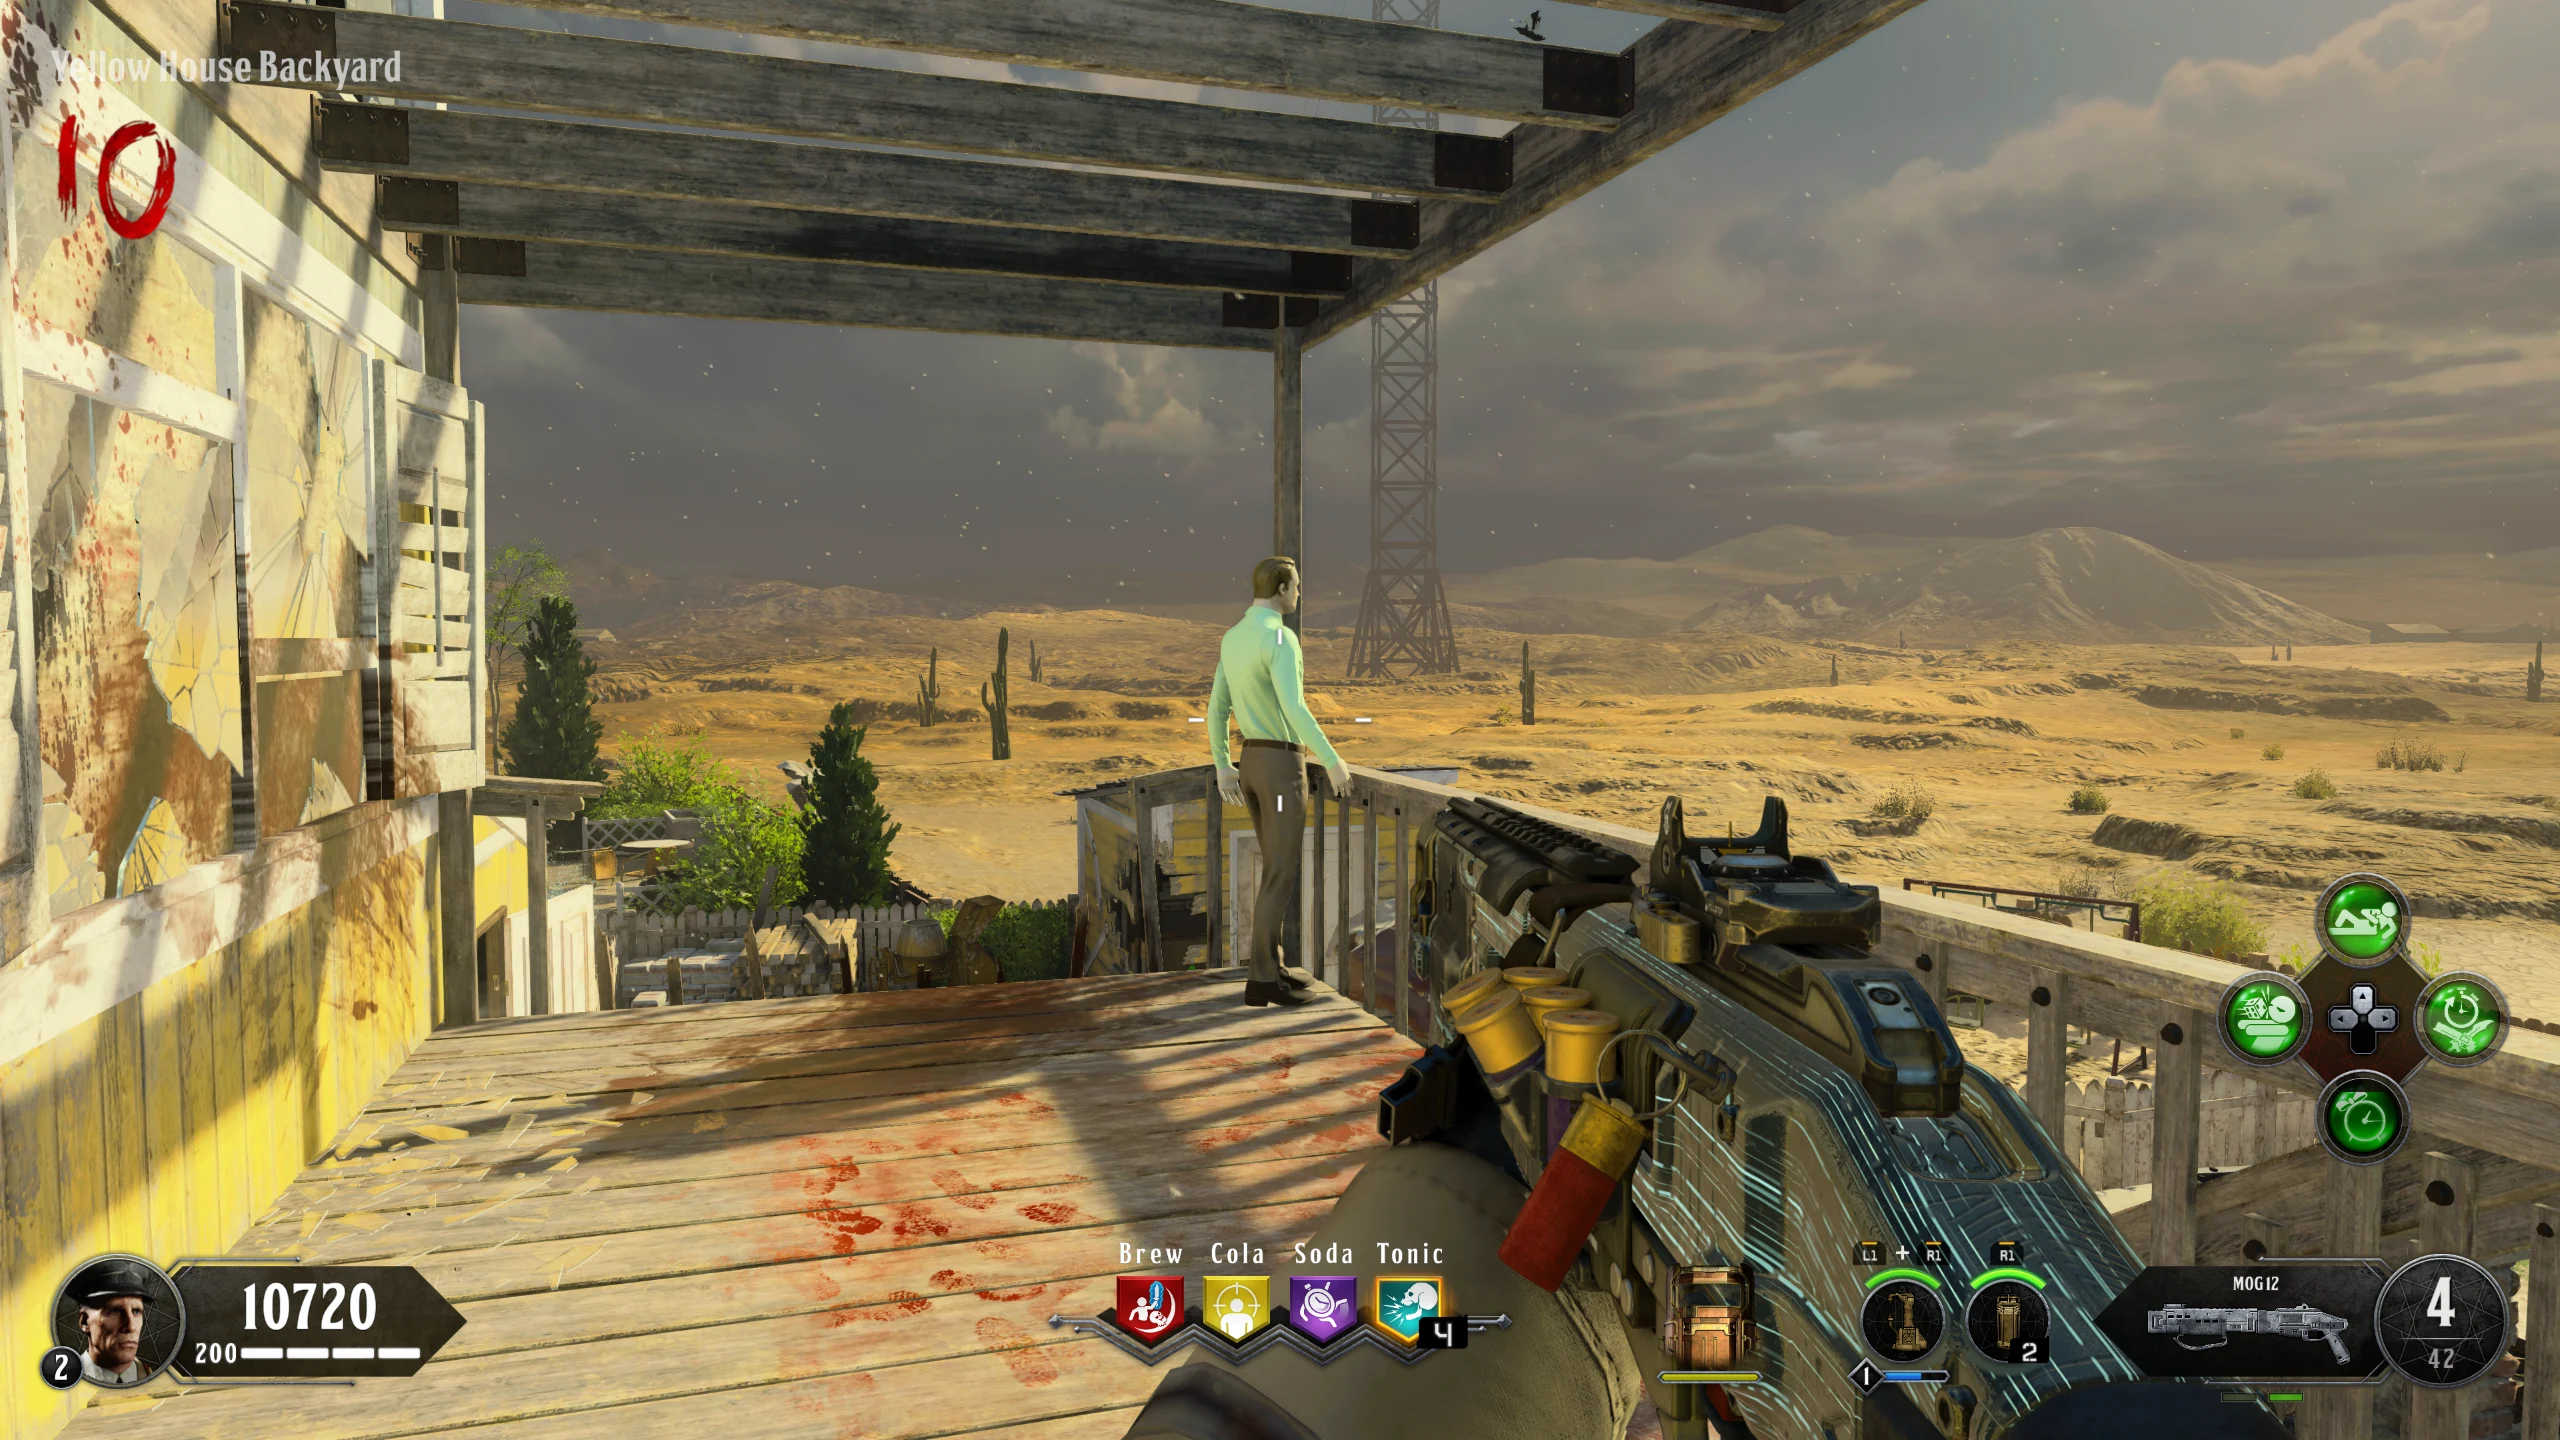
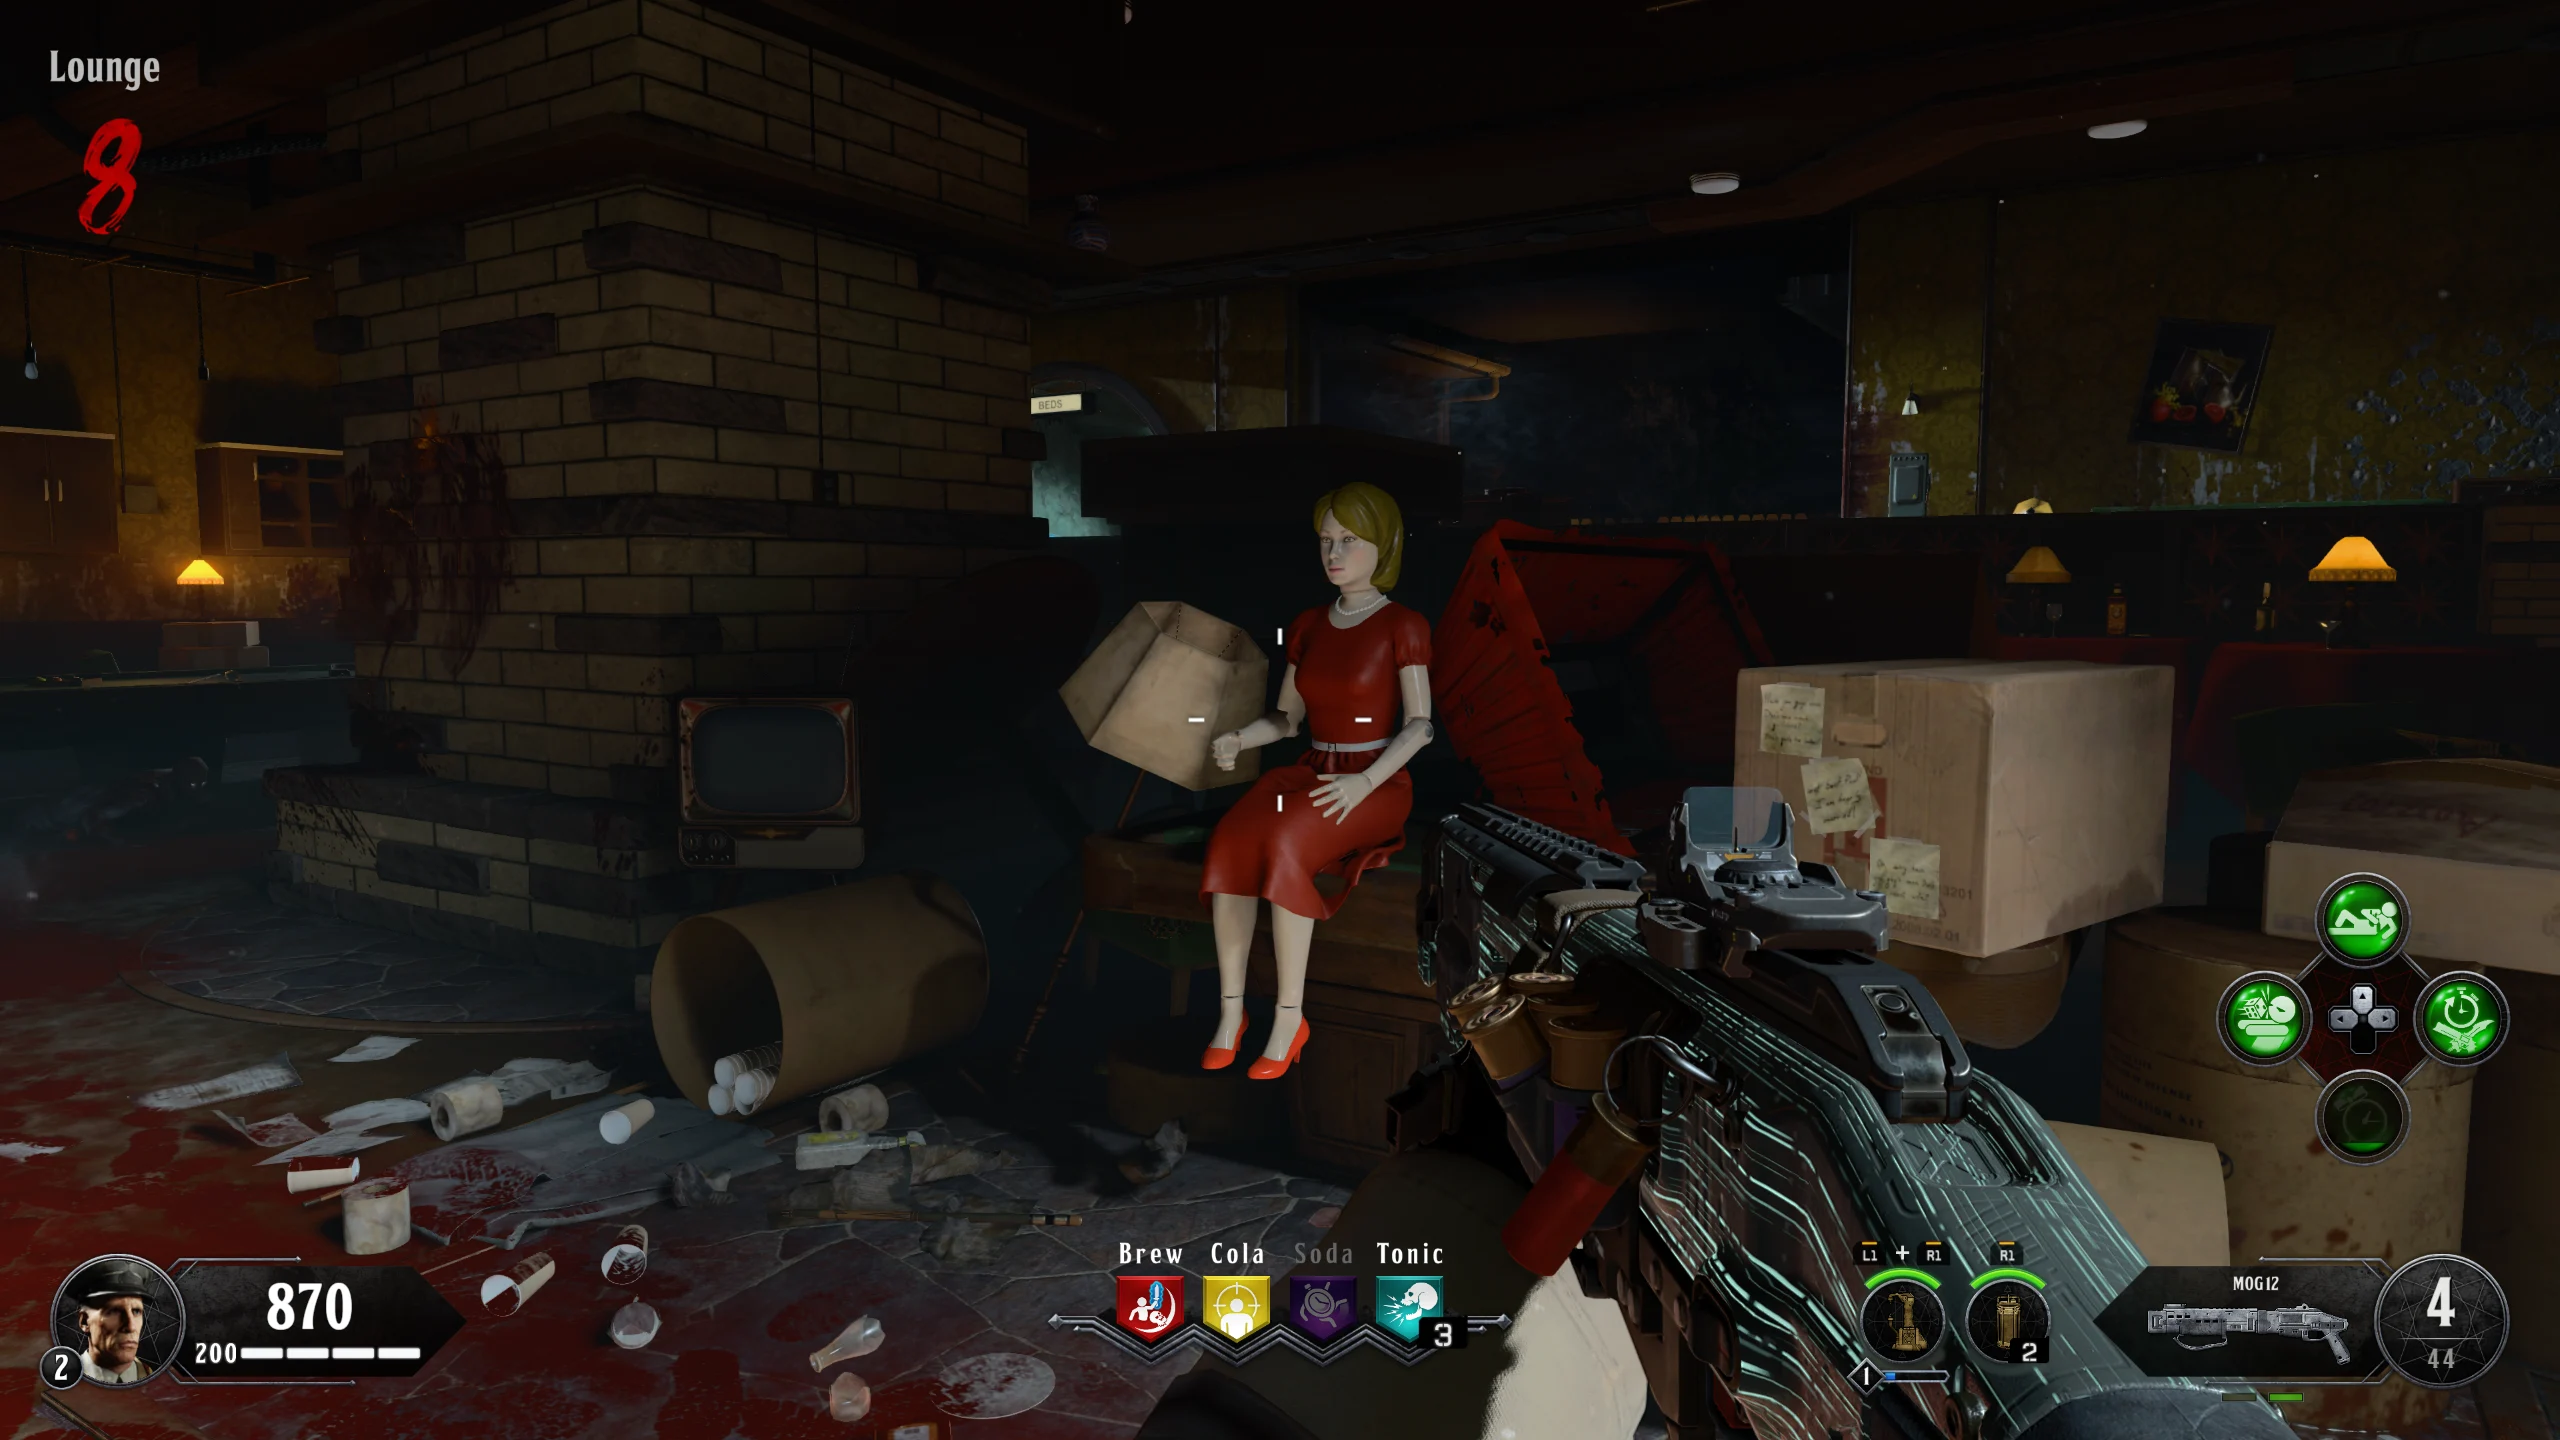
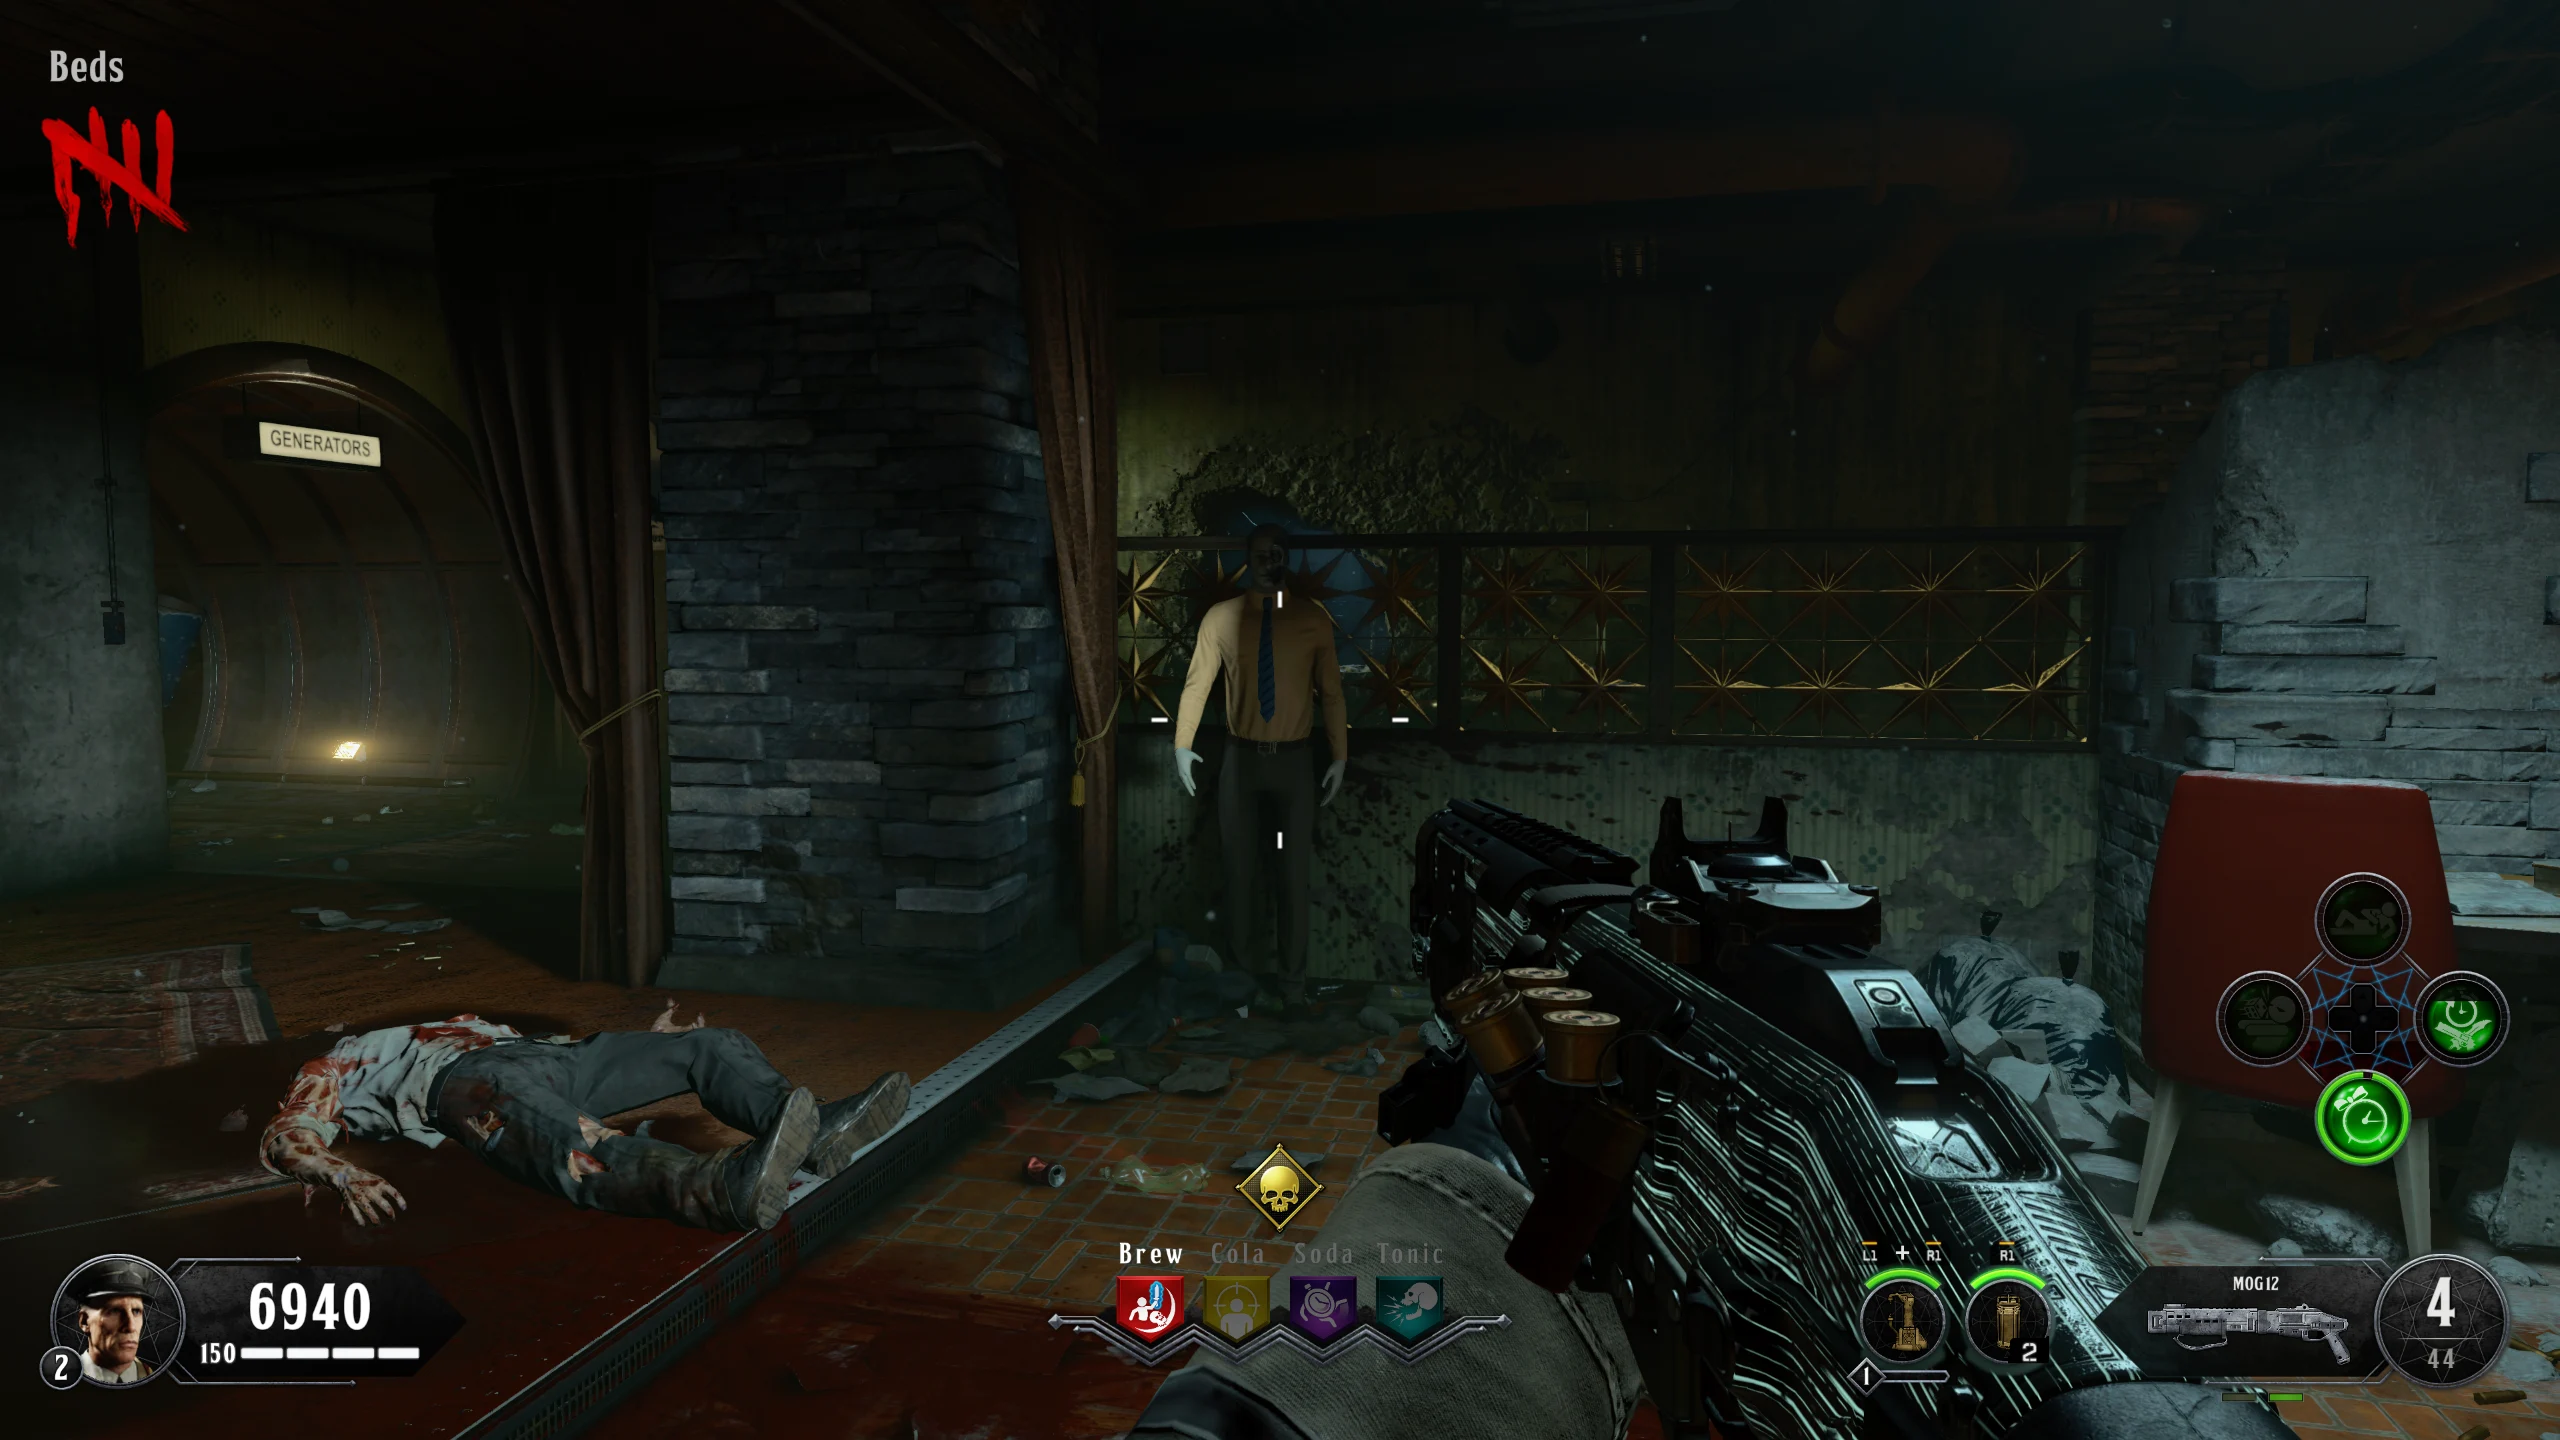
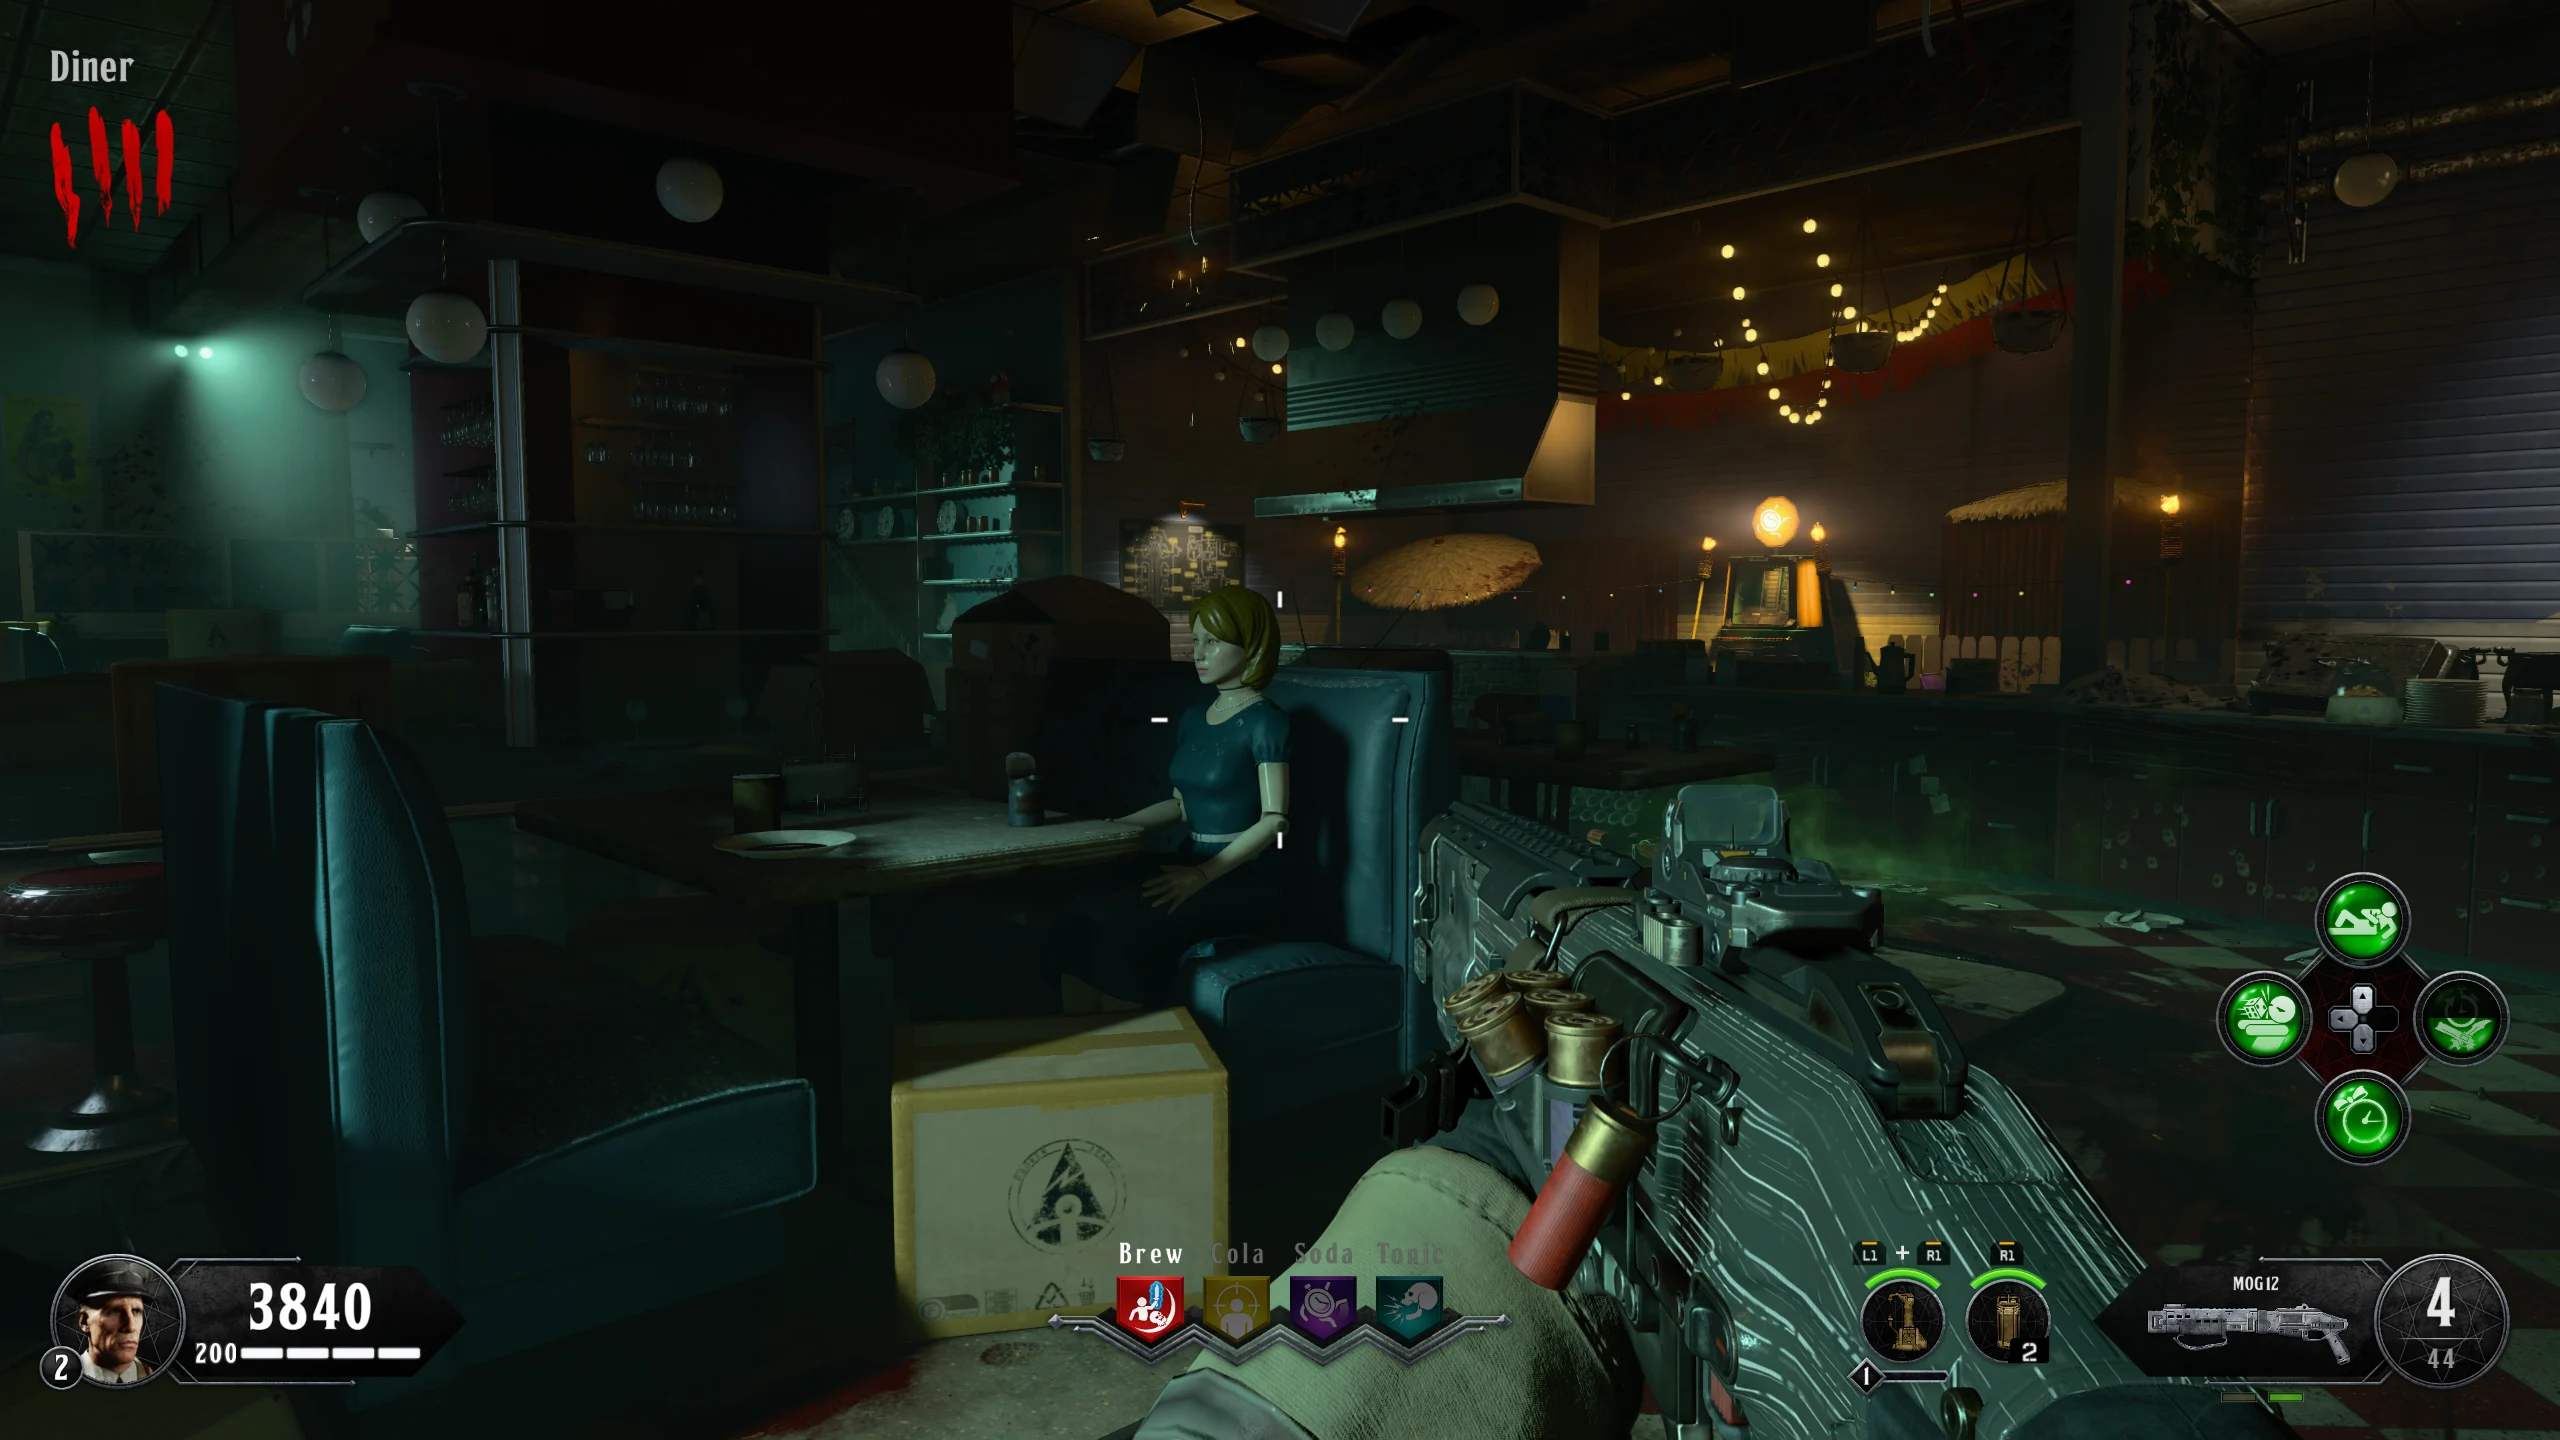
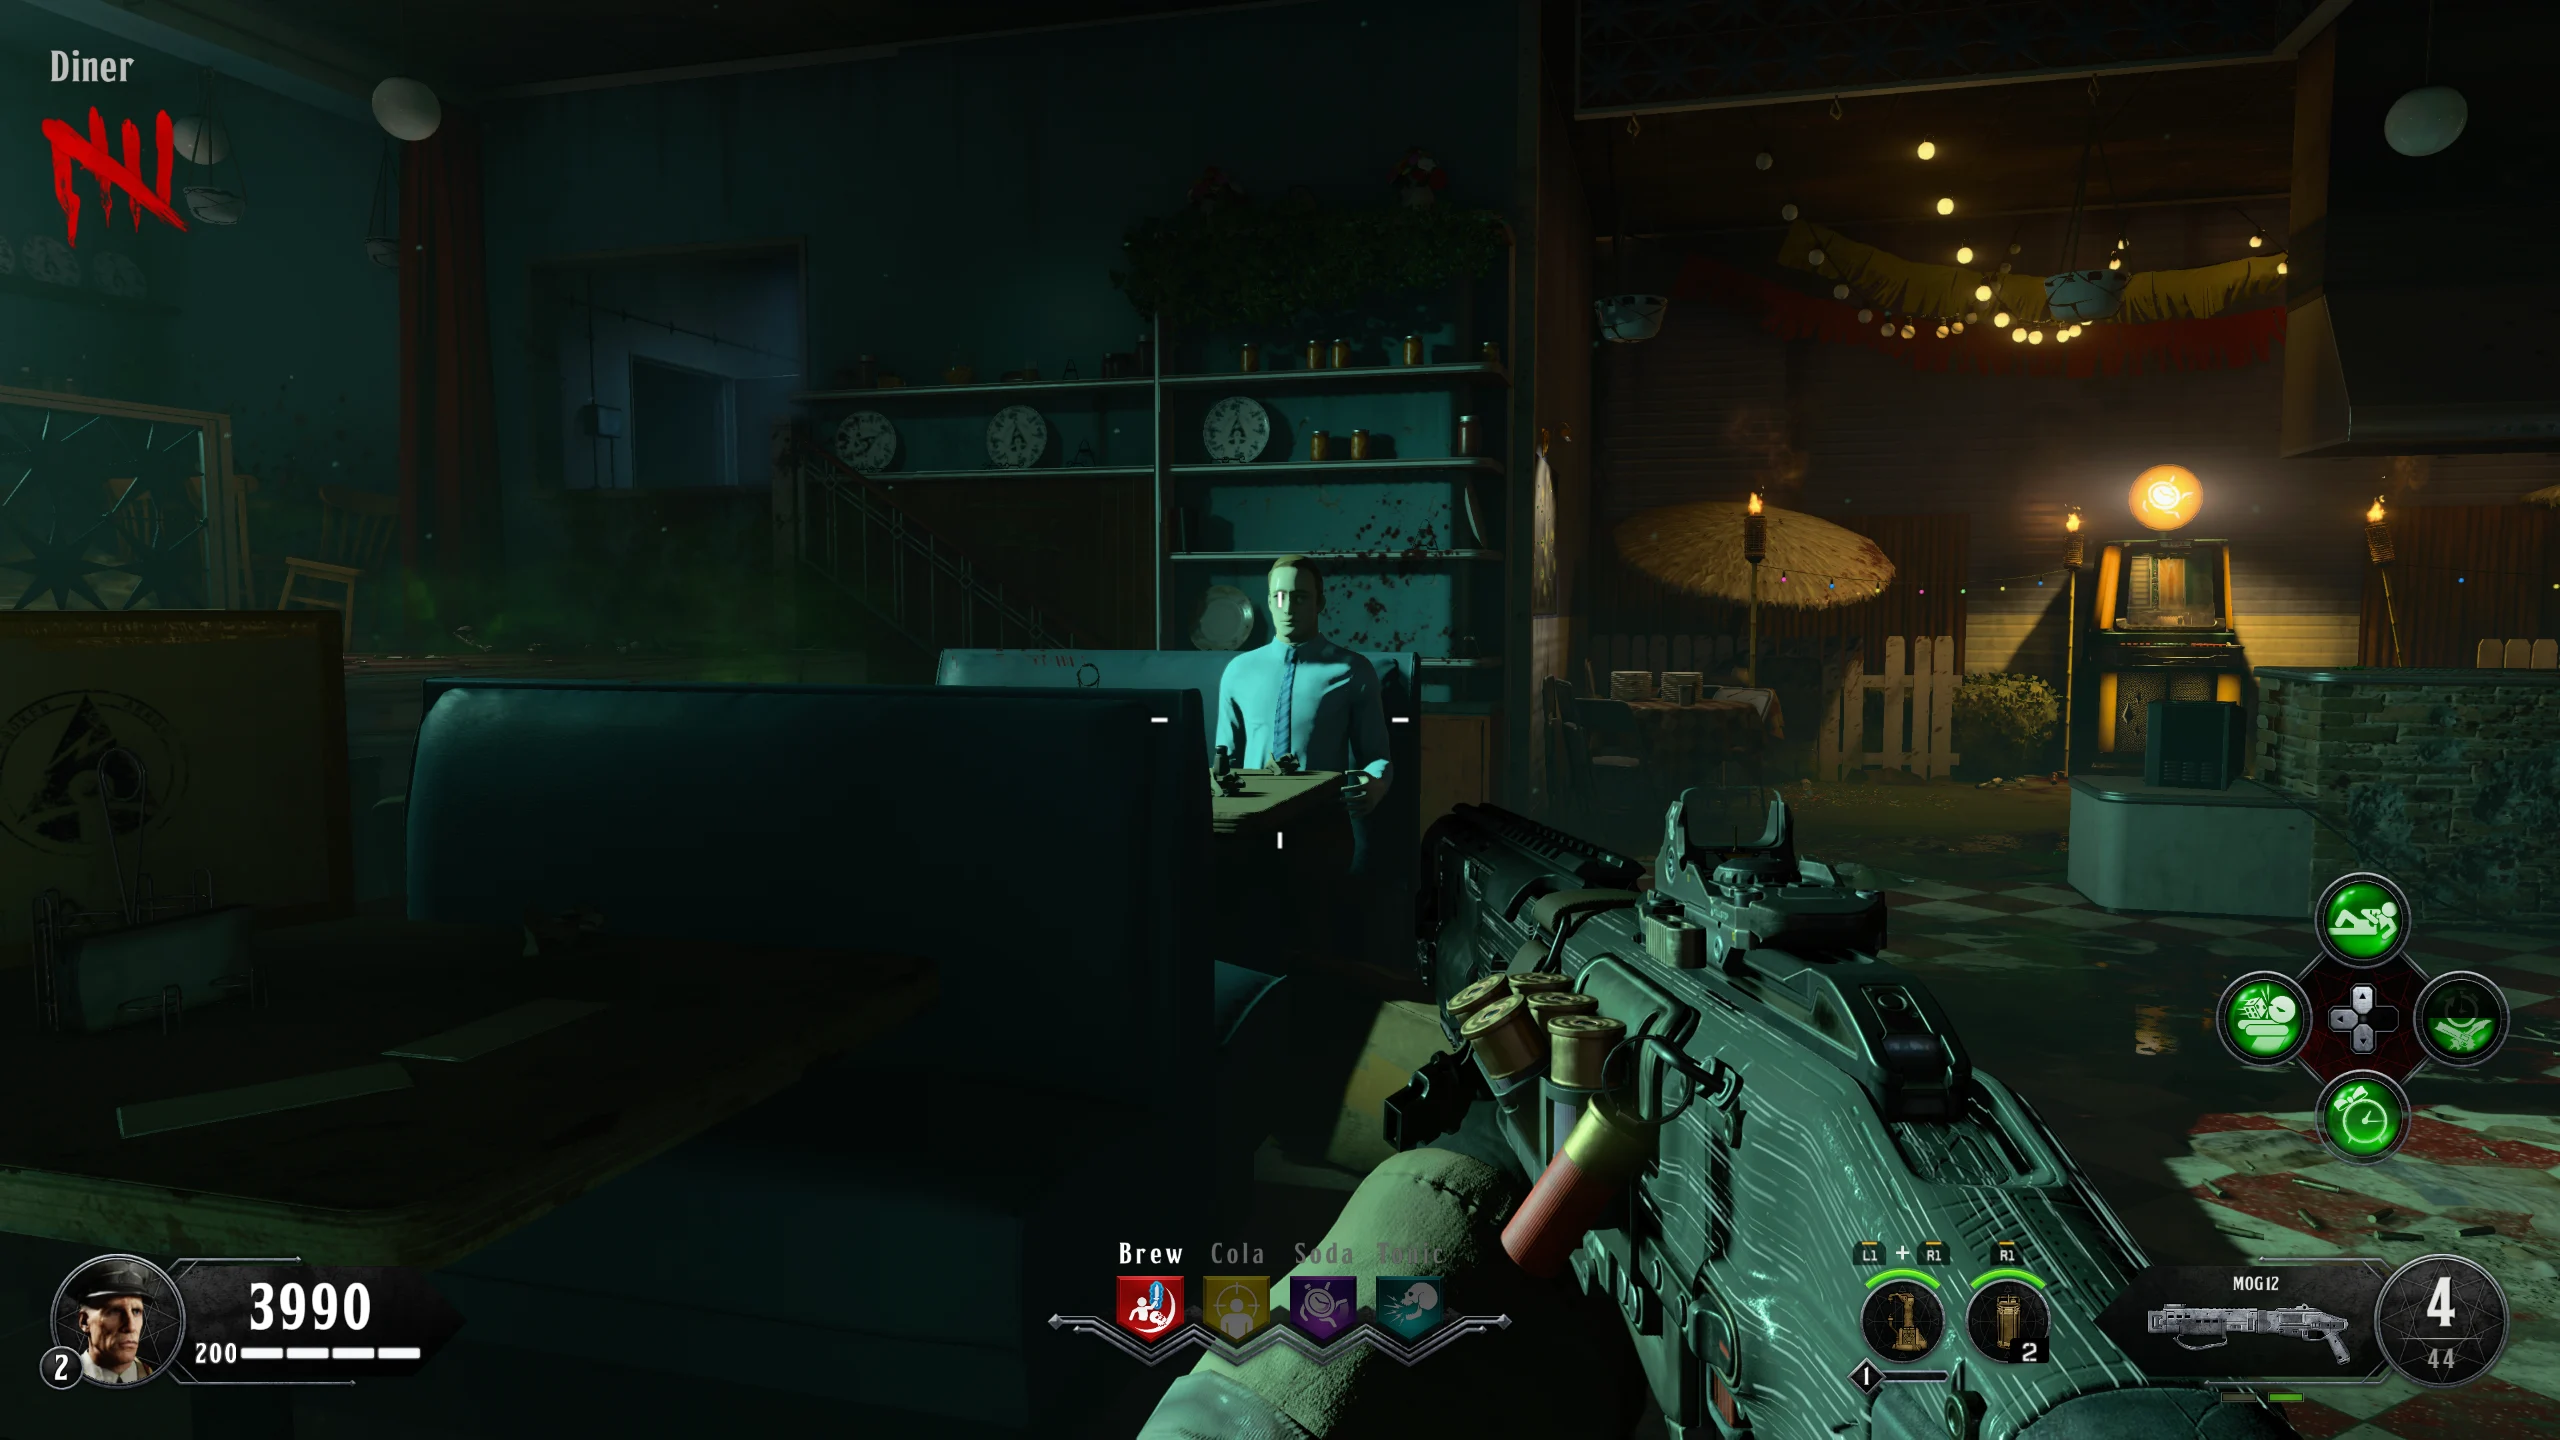
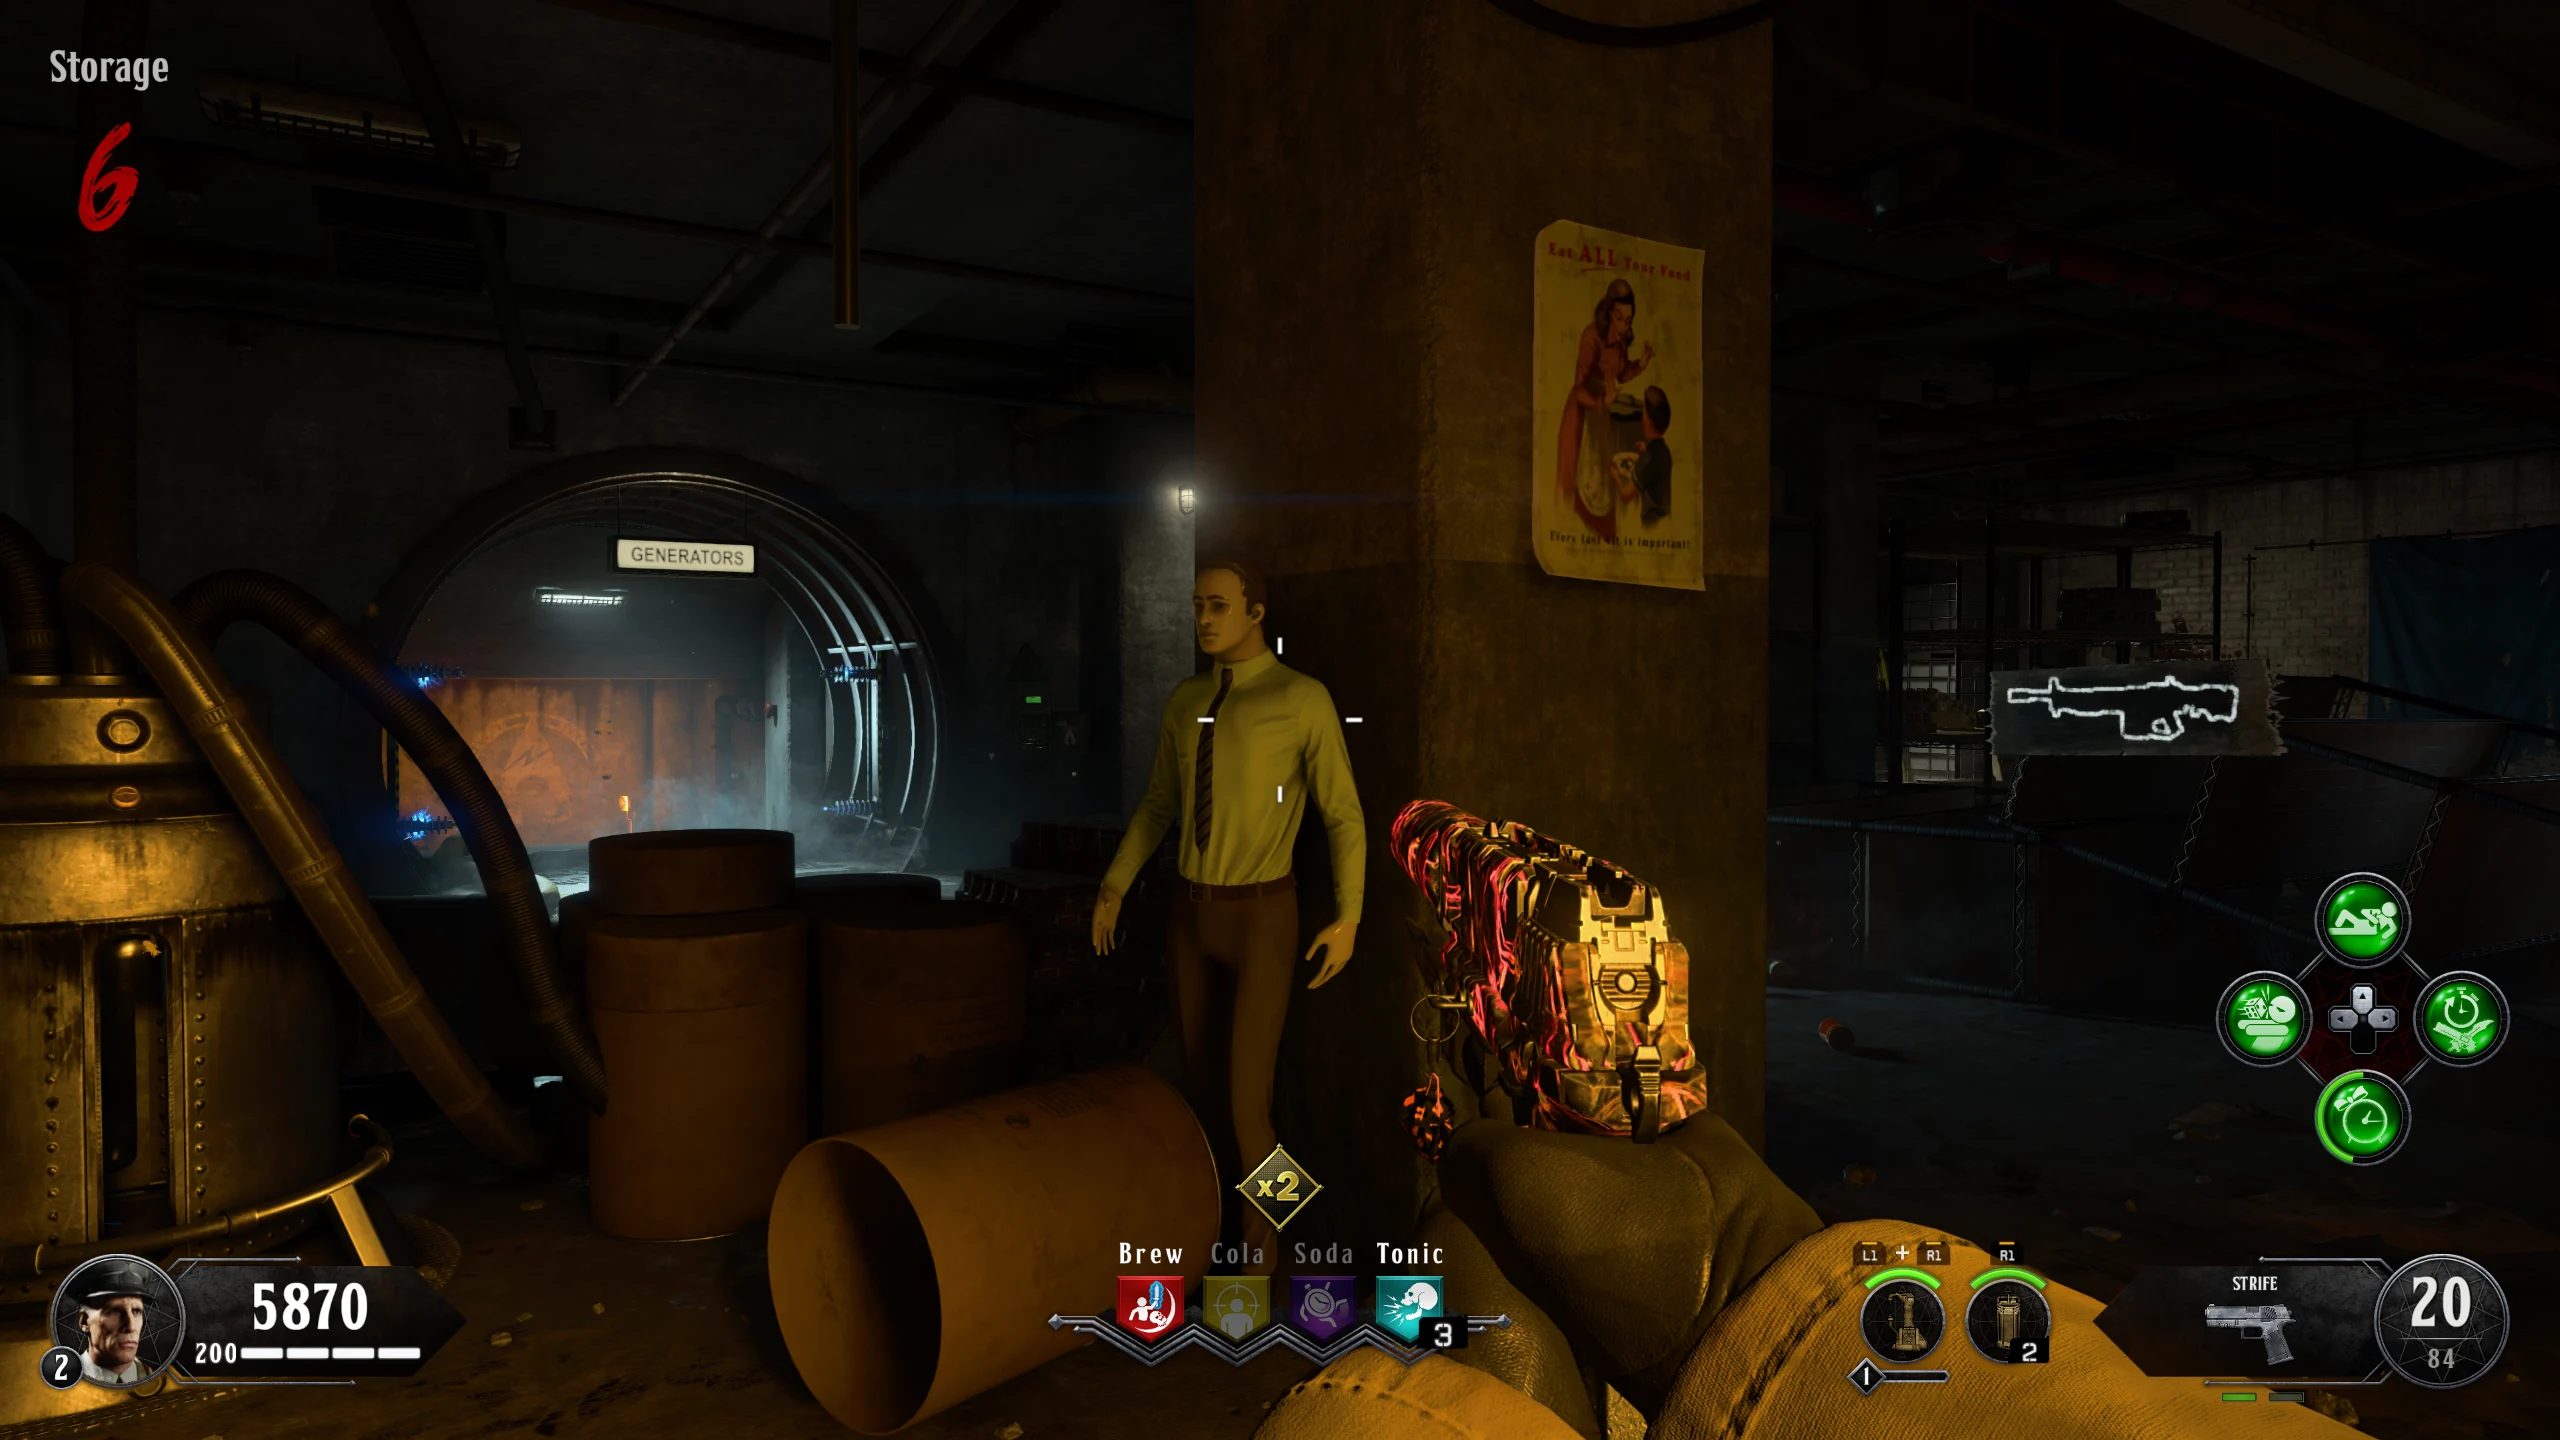
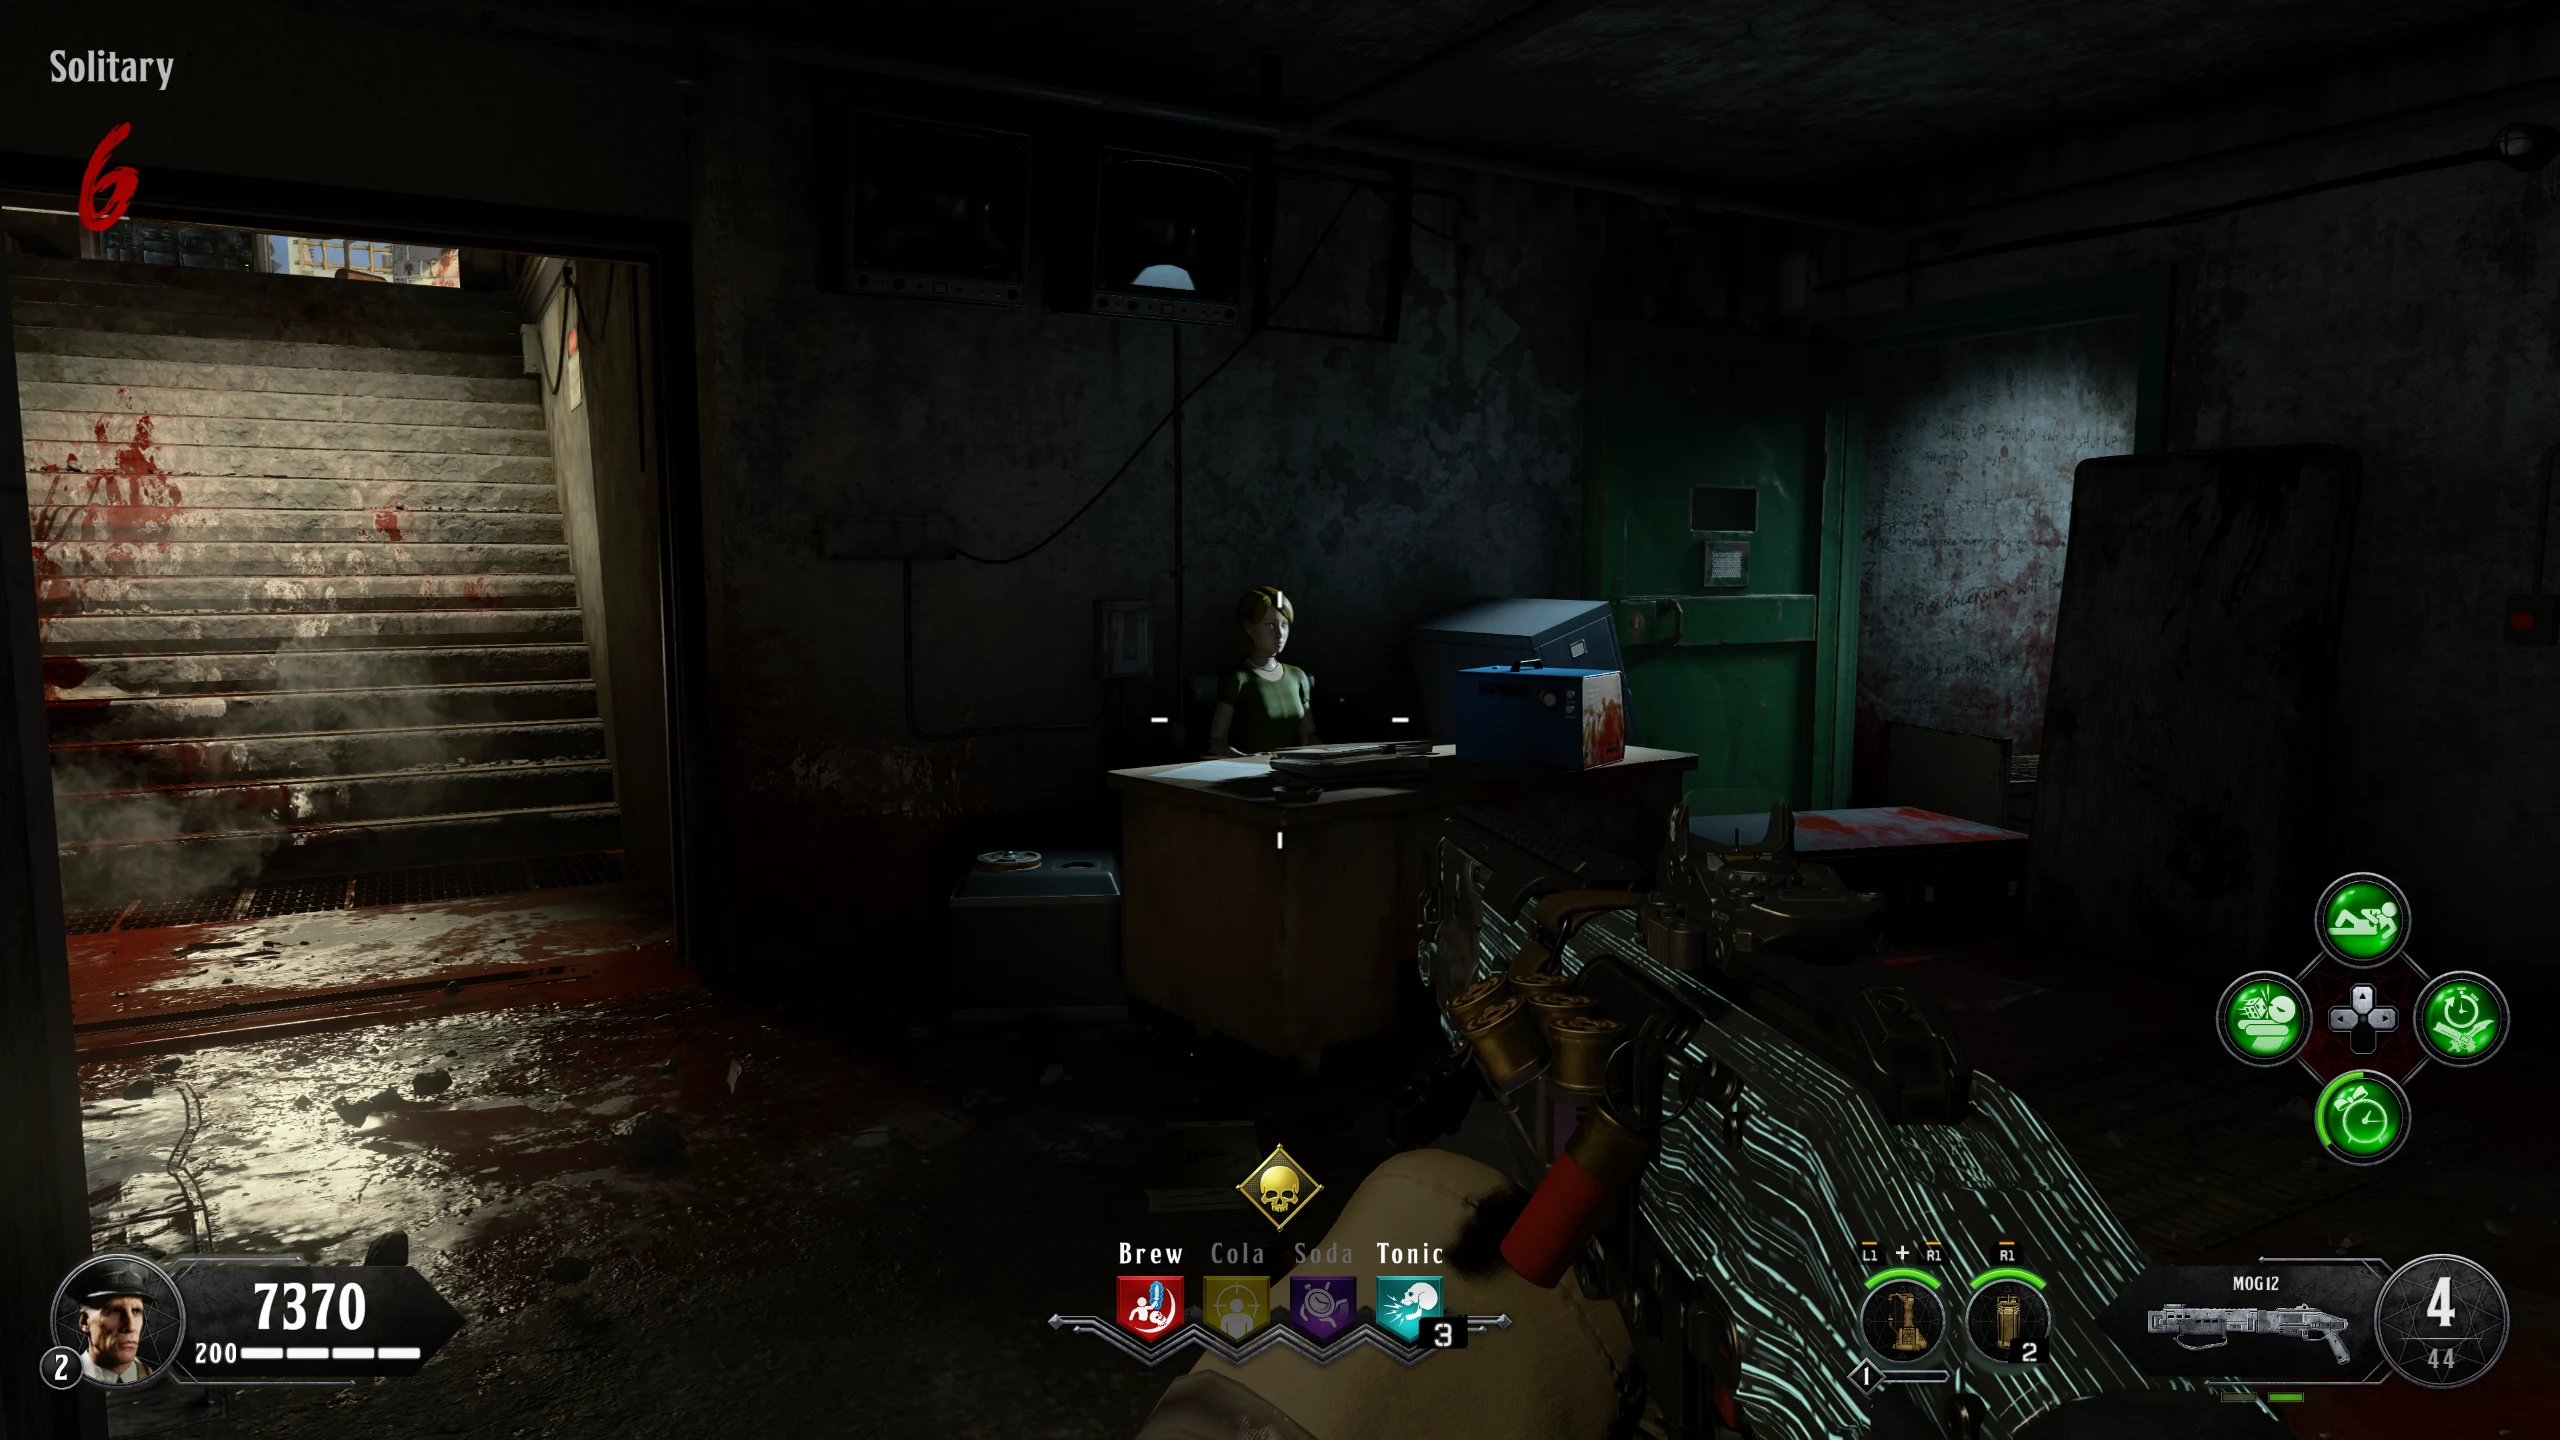
- Around the map, there will be three newly spawned Mannequins, one of which will be glowing blue. Every player must interact with the glowing mannequin to start a lockdown. After defending for about a minute (kills are not required), the mannequin will break, dropping a body part for you to pick up. The possible locations for the Mannequins are:
- Green House Backyard - Right of the Bunker entrance
- Yellow House Backyard - By the fence, in front of the Bunker entrance
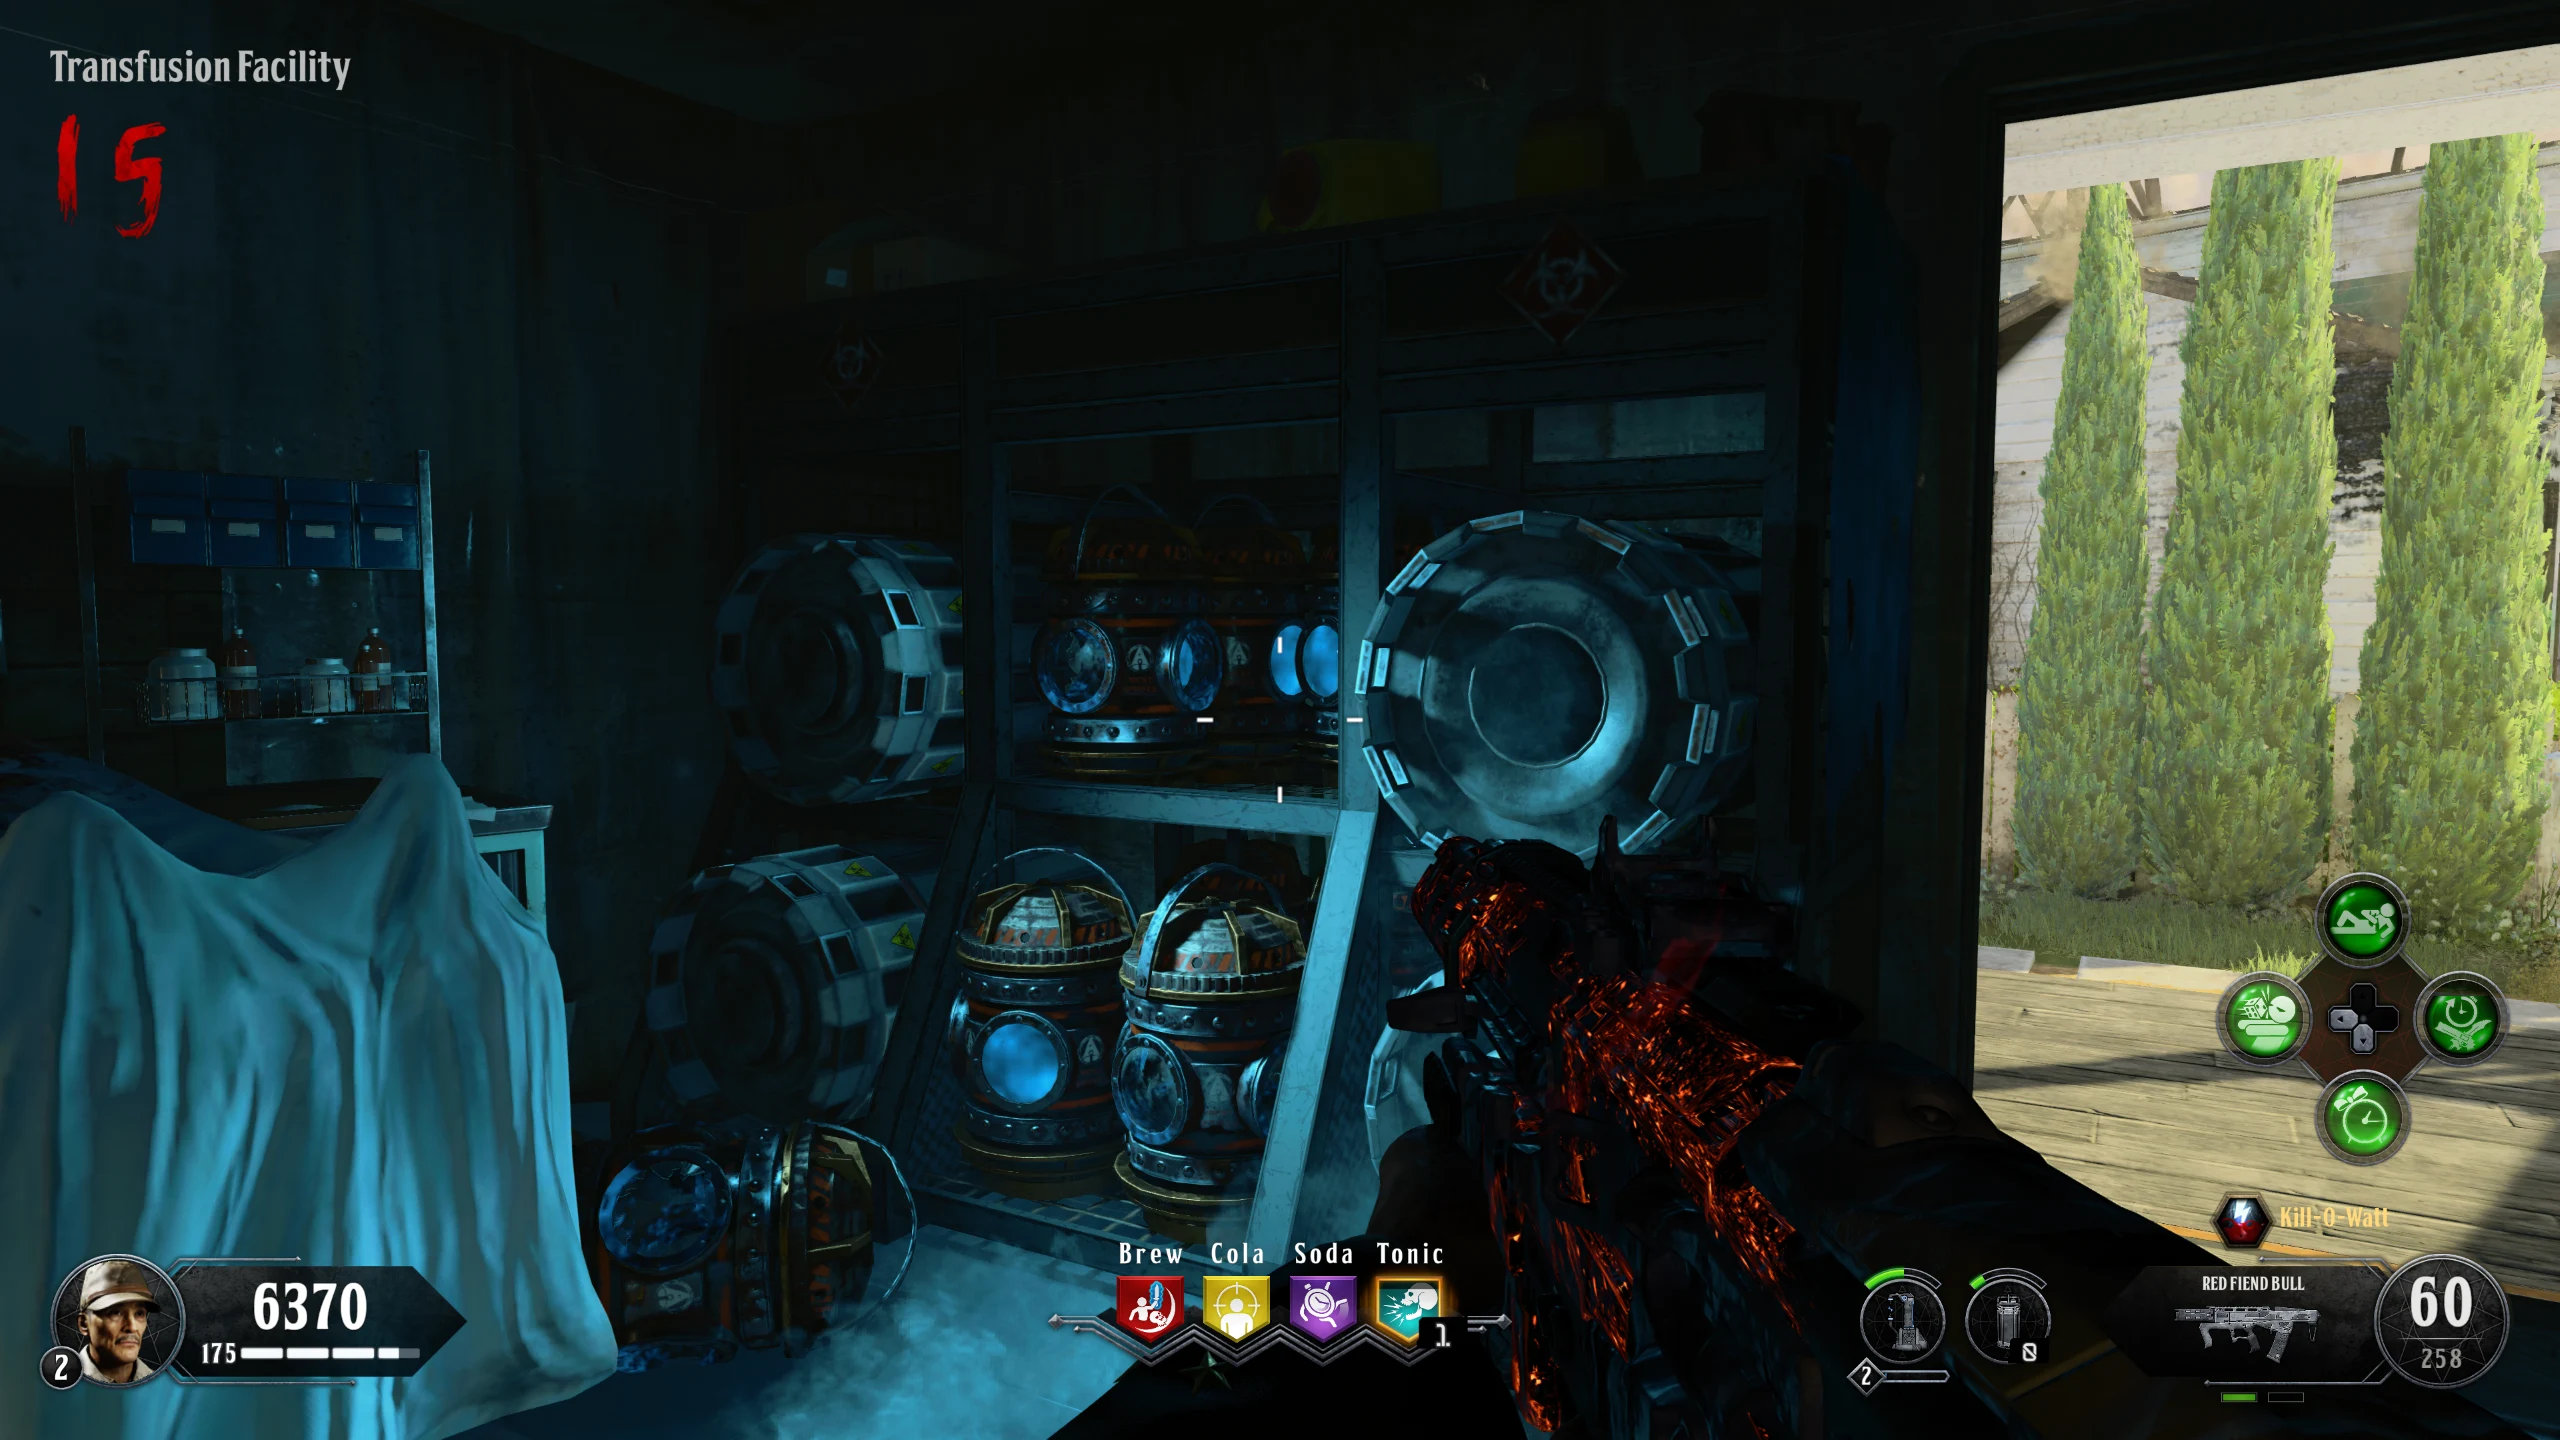
- Transfusion Facility - In the backyard, between the Mystery Box location and the Bunker entrance
- Prisoner Holding - In front of the weapon lockers, right of the Escargot wallbuy
- Lounge - In the middle of the room, near the doorway to the 'Beds' area
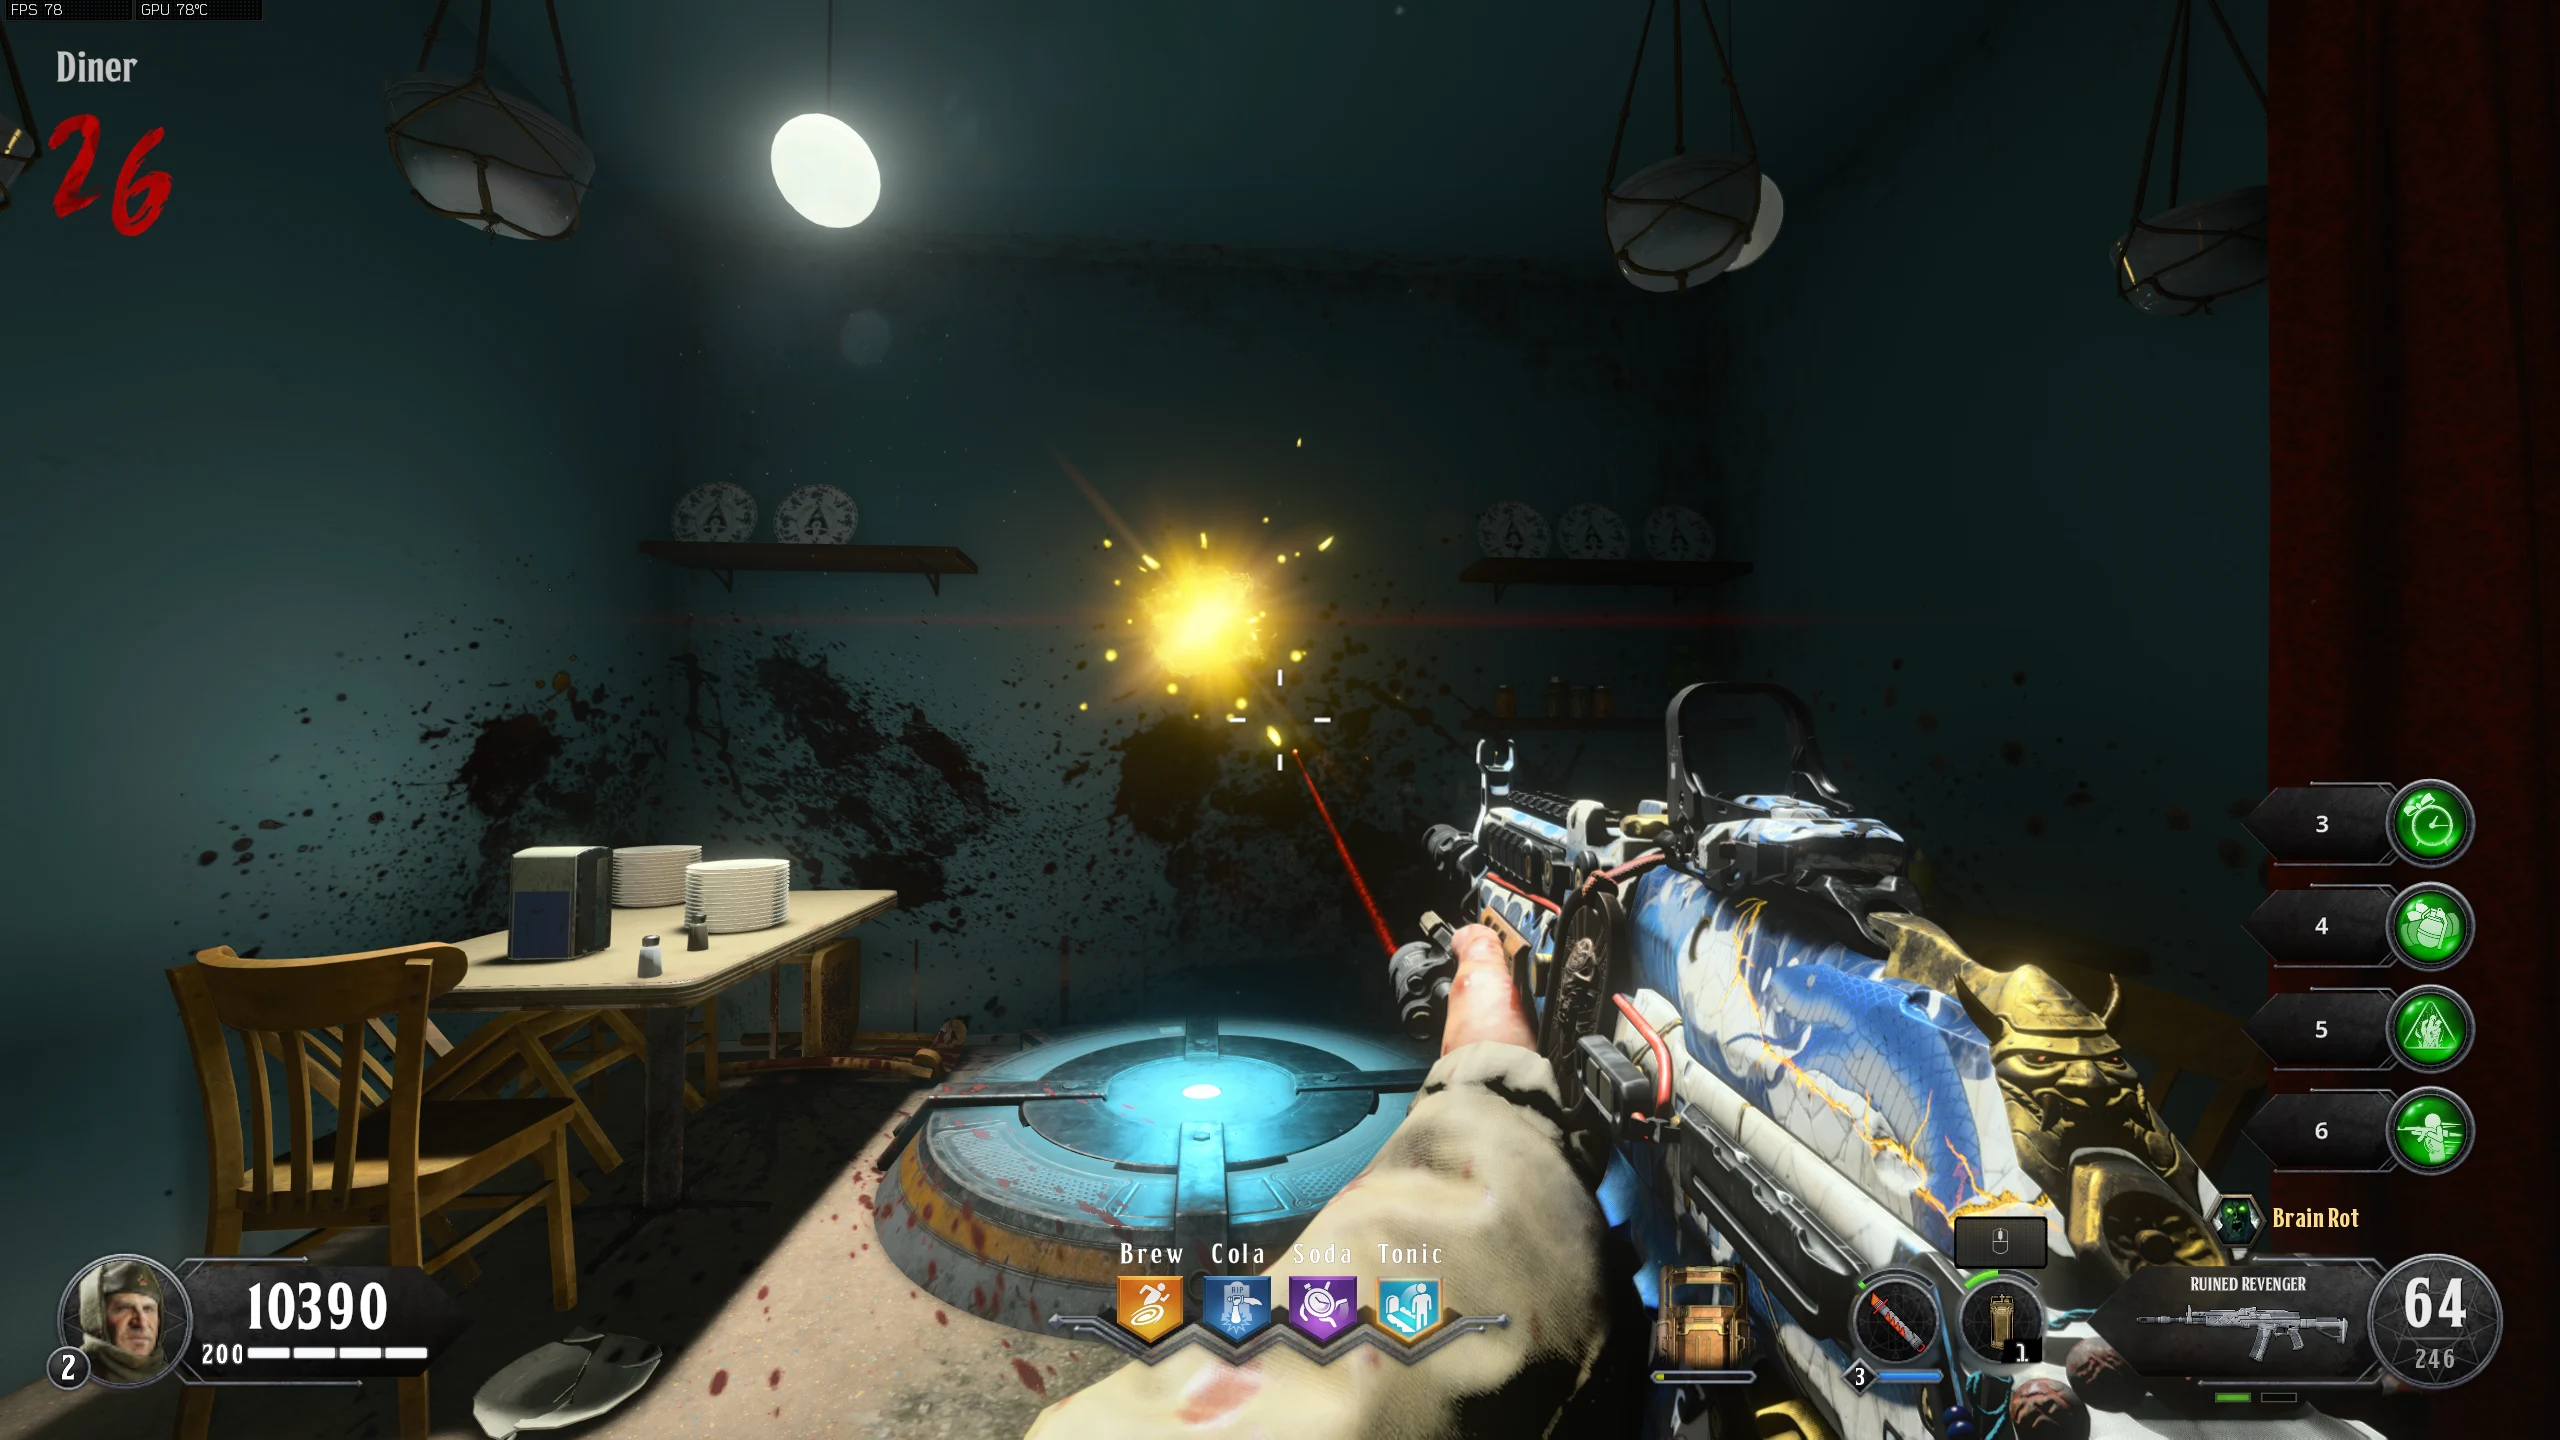
- Diner - In the middle of the room across from the Soda Perk Machine
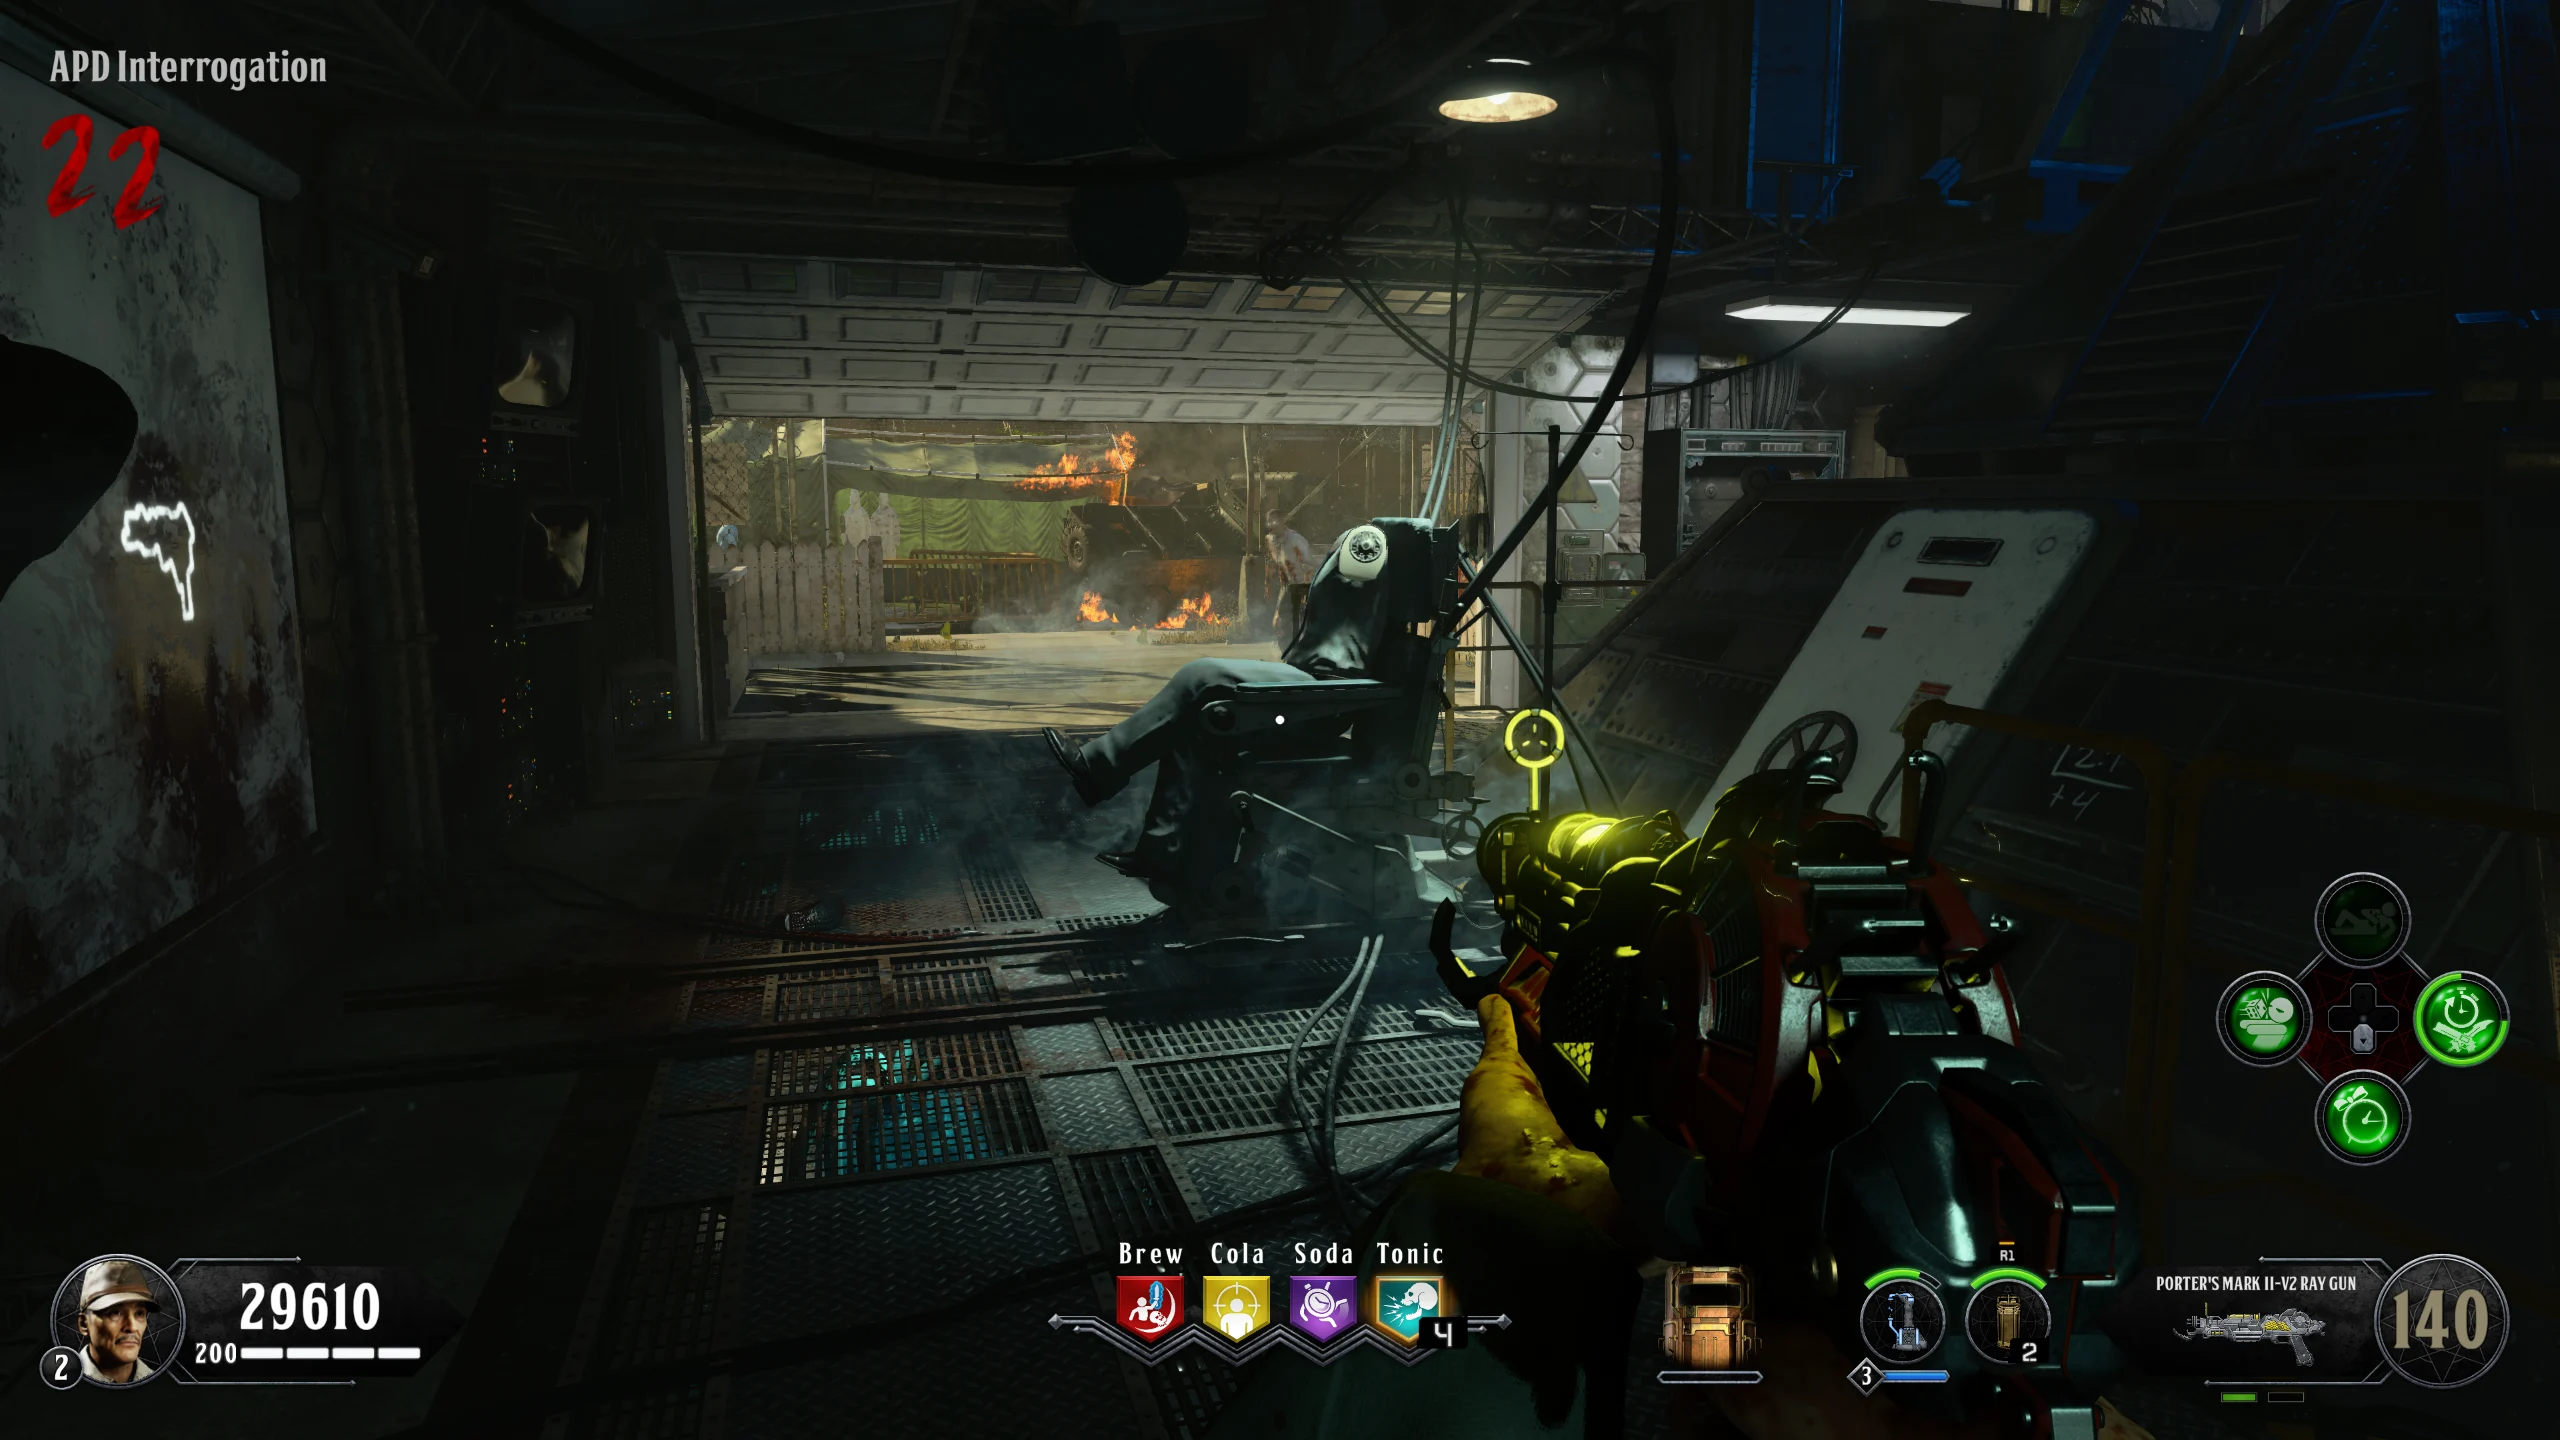
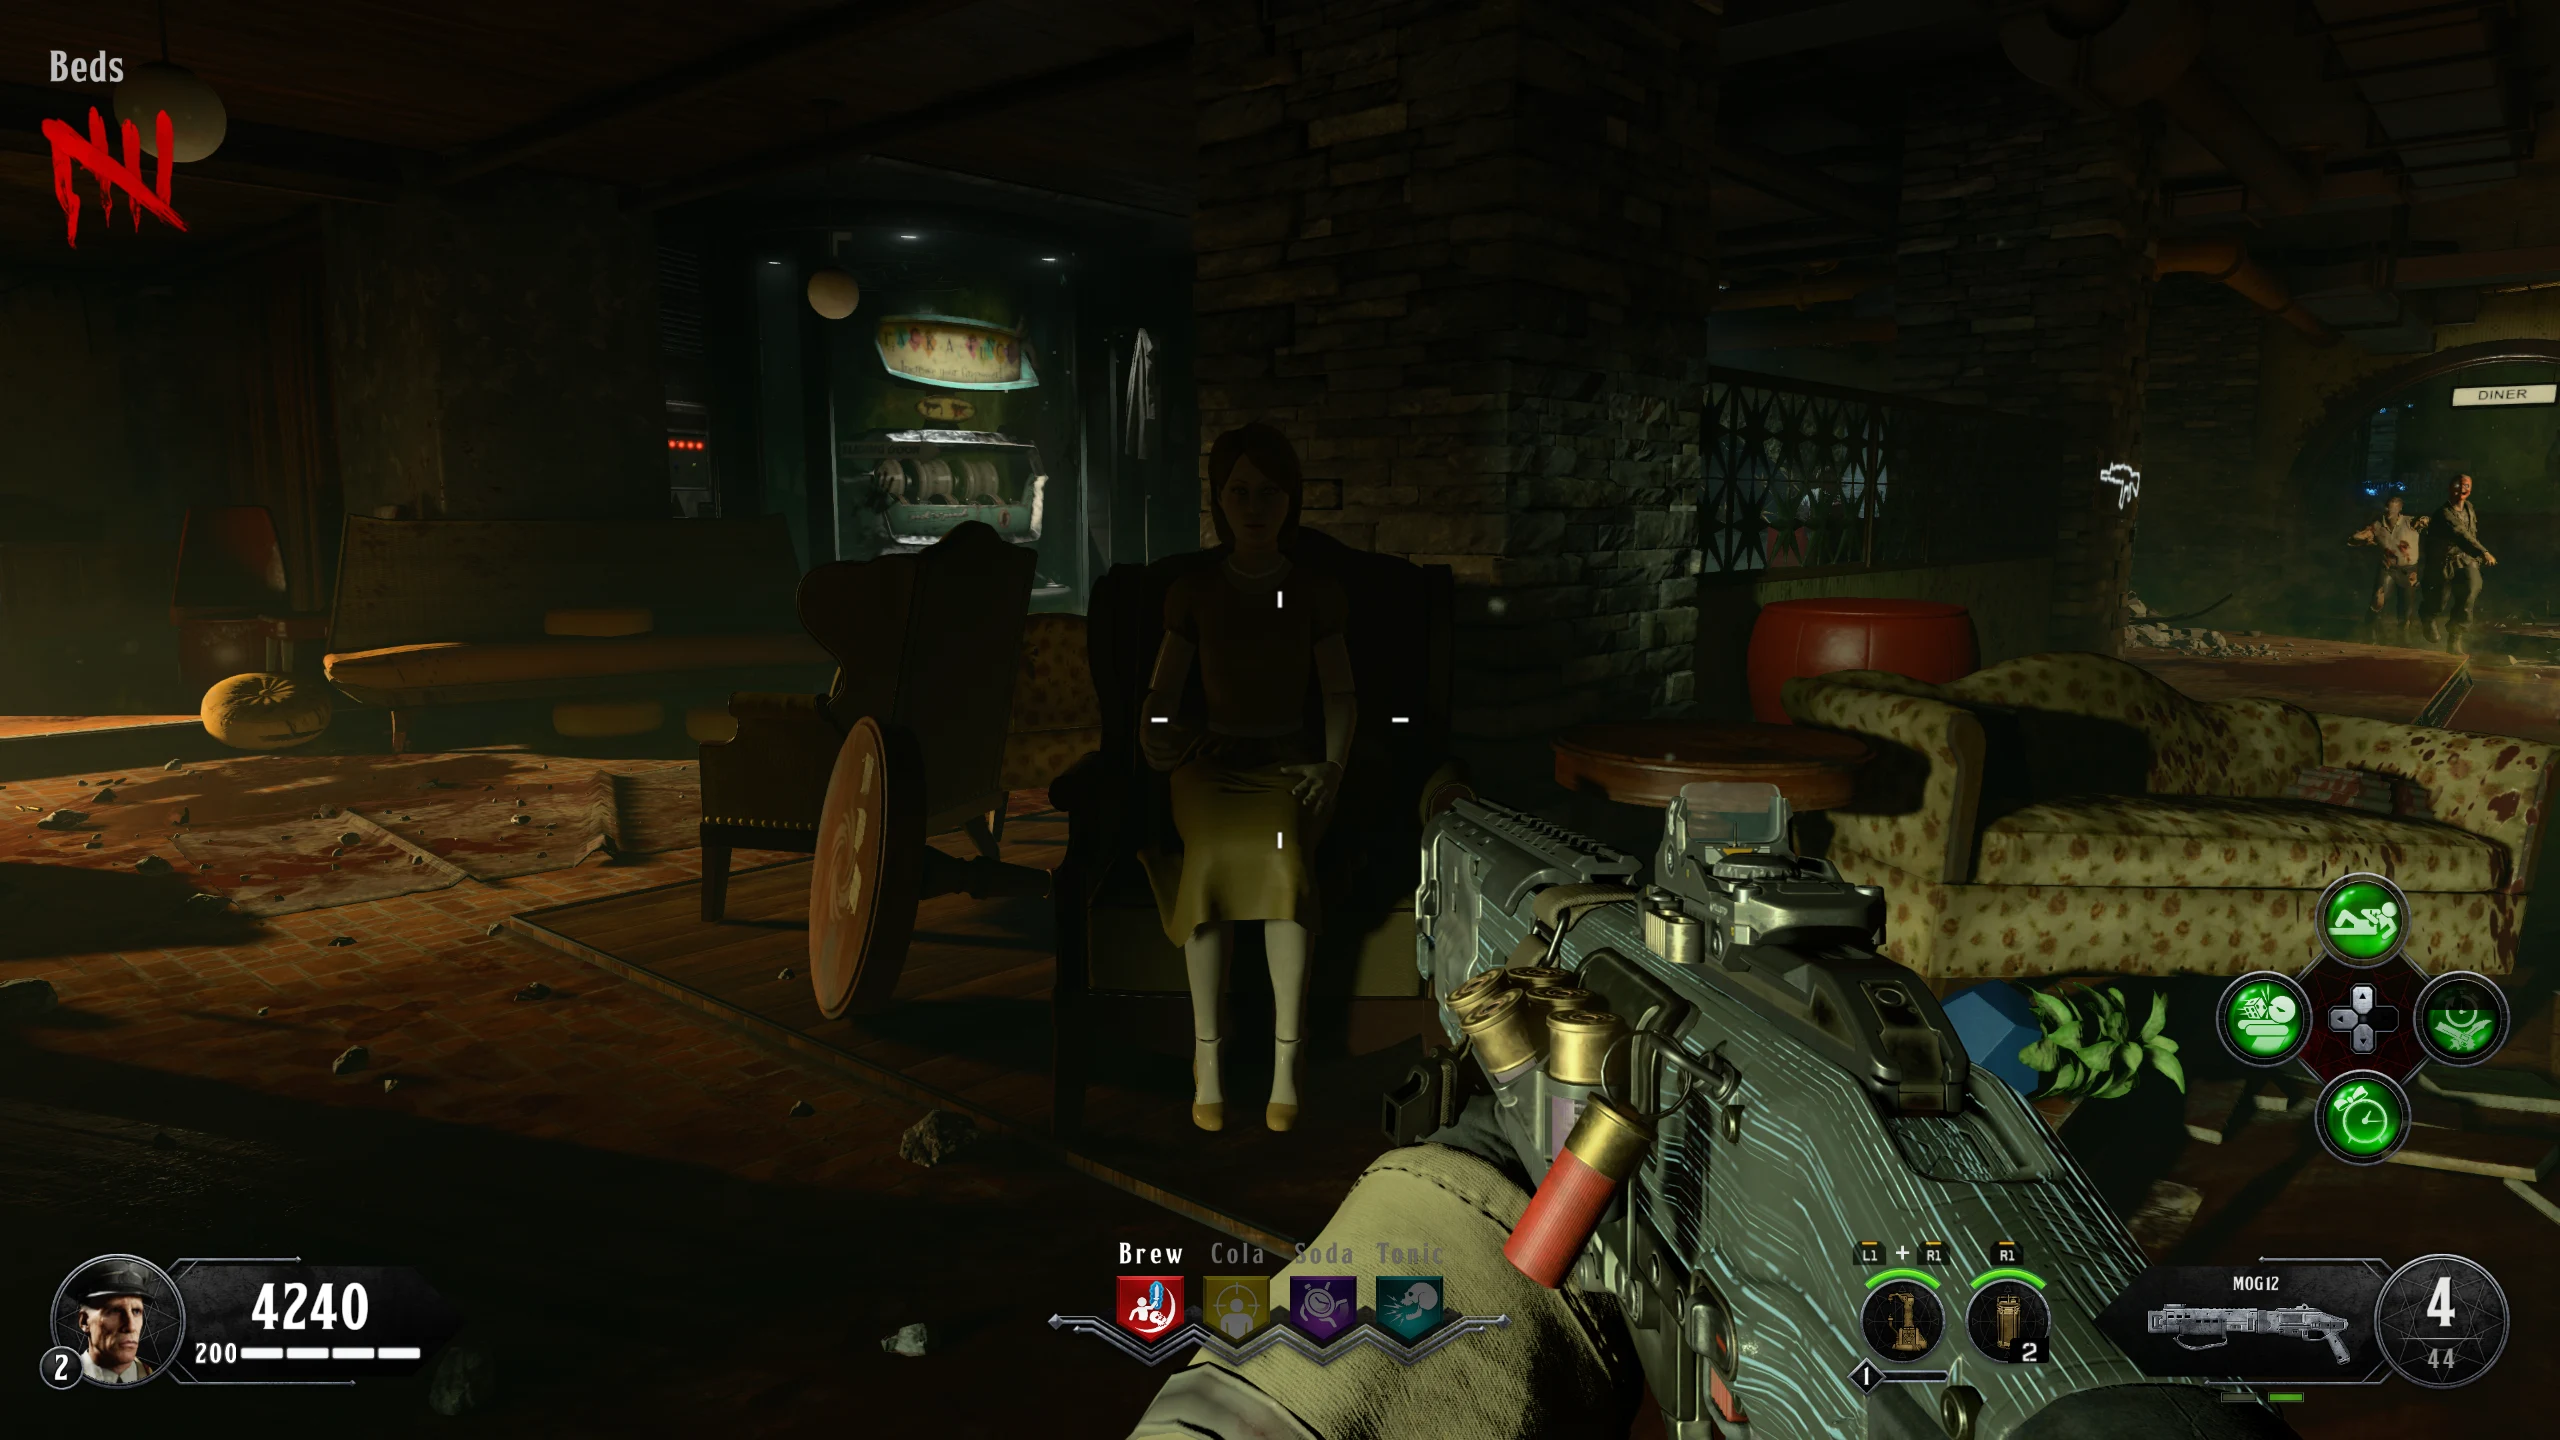
- You must then repeat this process two more times. Once three parts are obtained, bring them to the Broken Mannequin in the Chair in the 'APD Interrogation.'
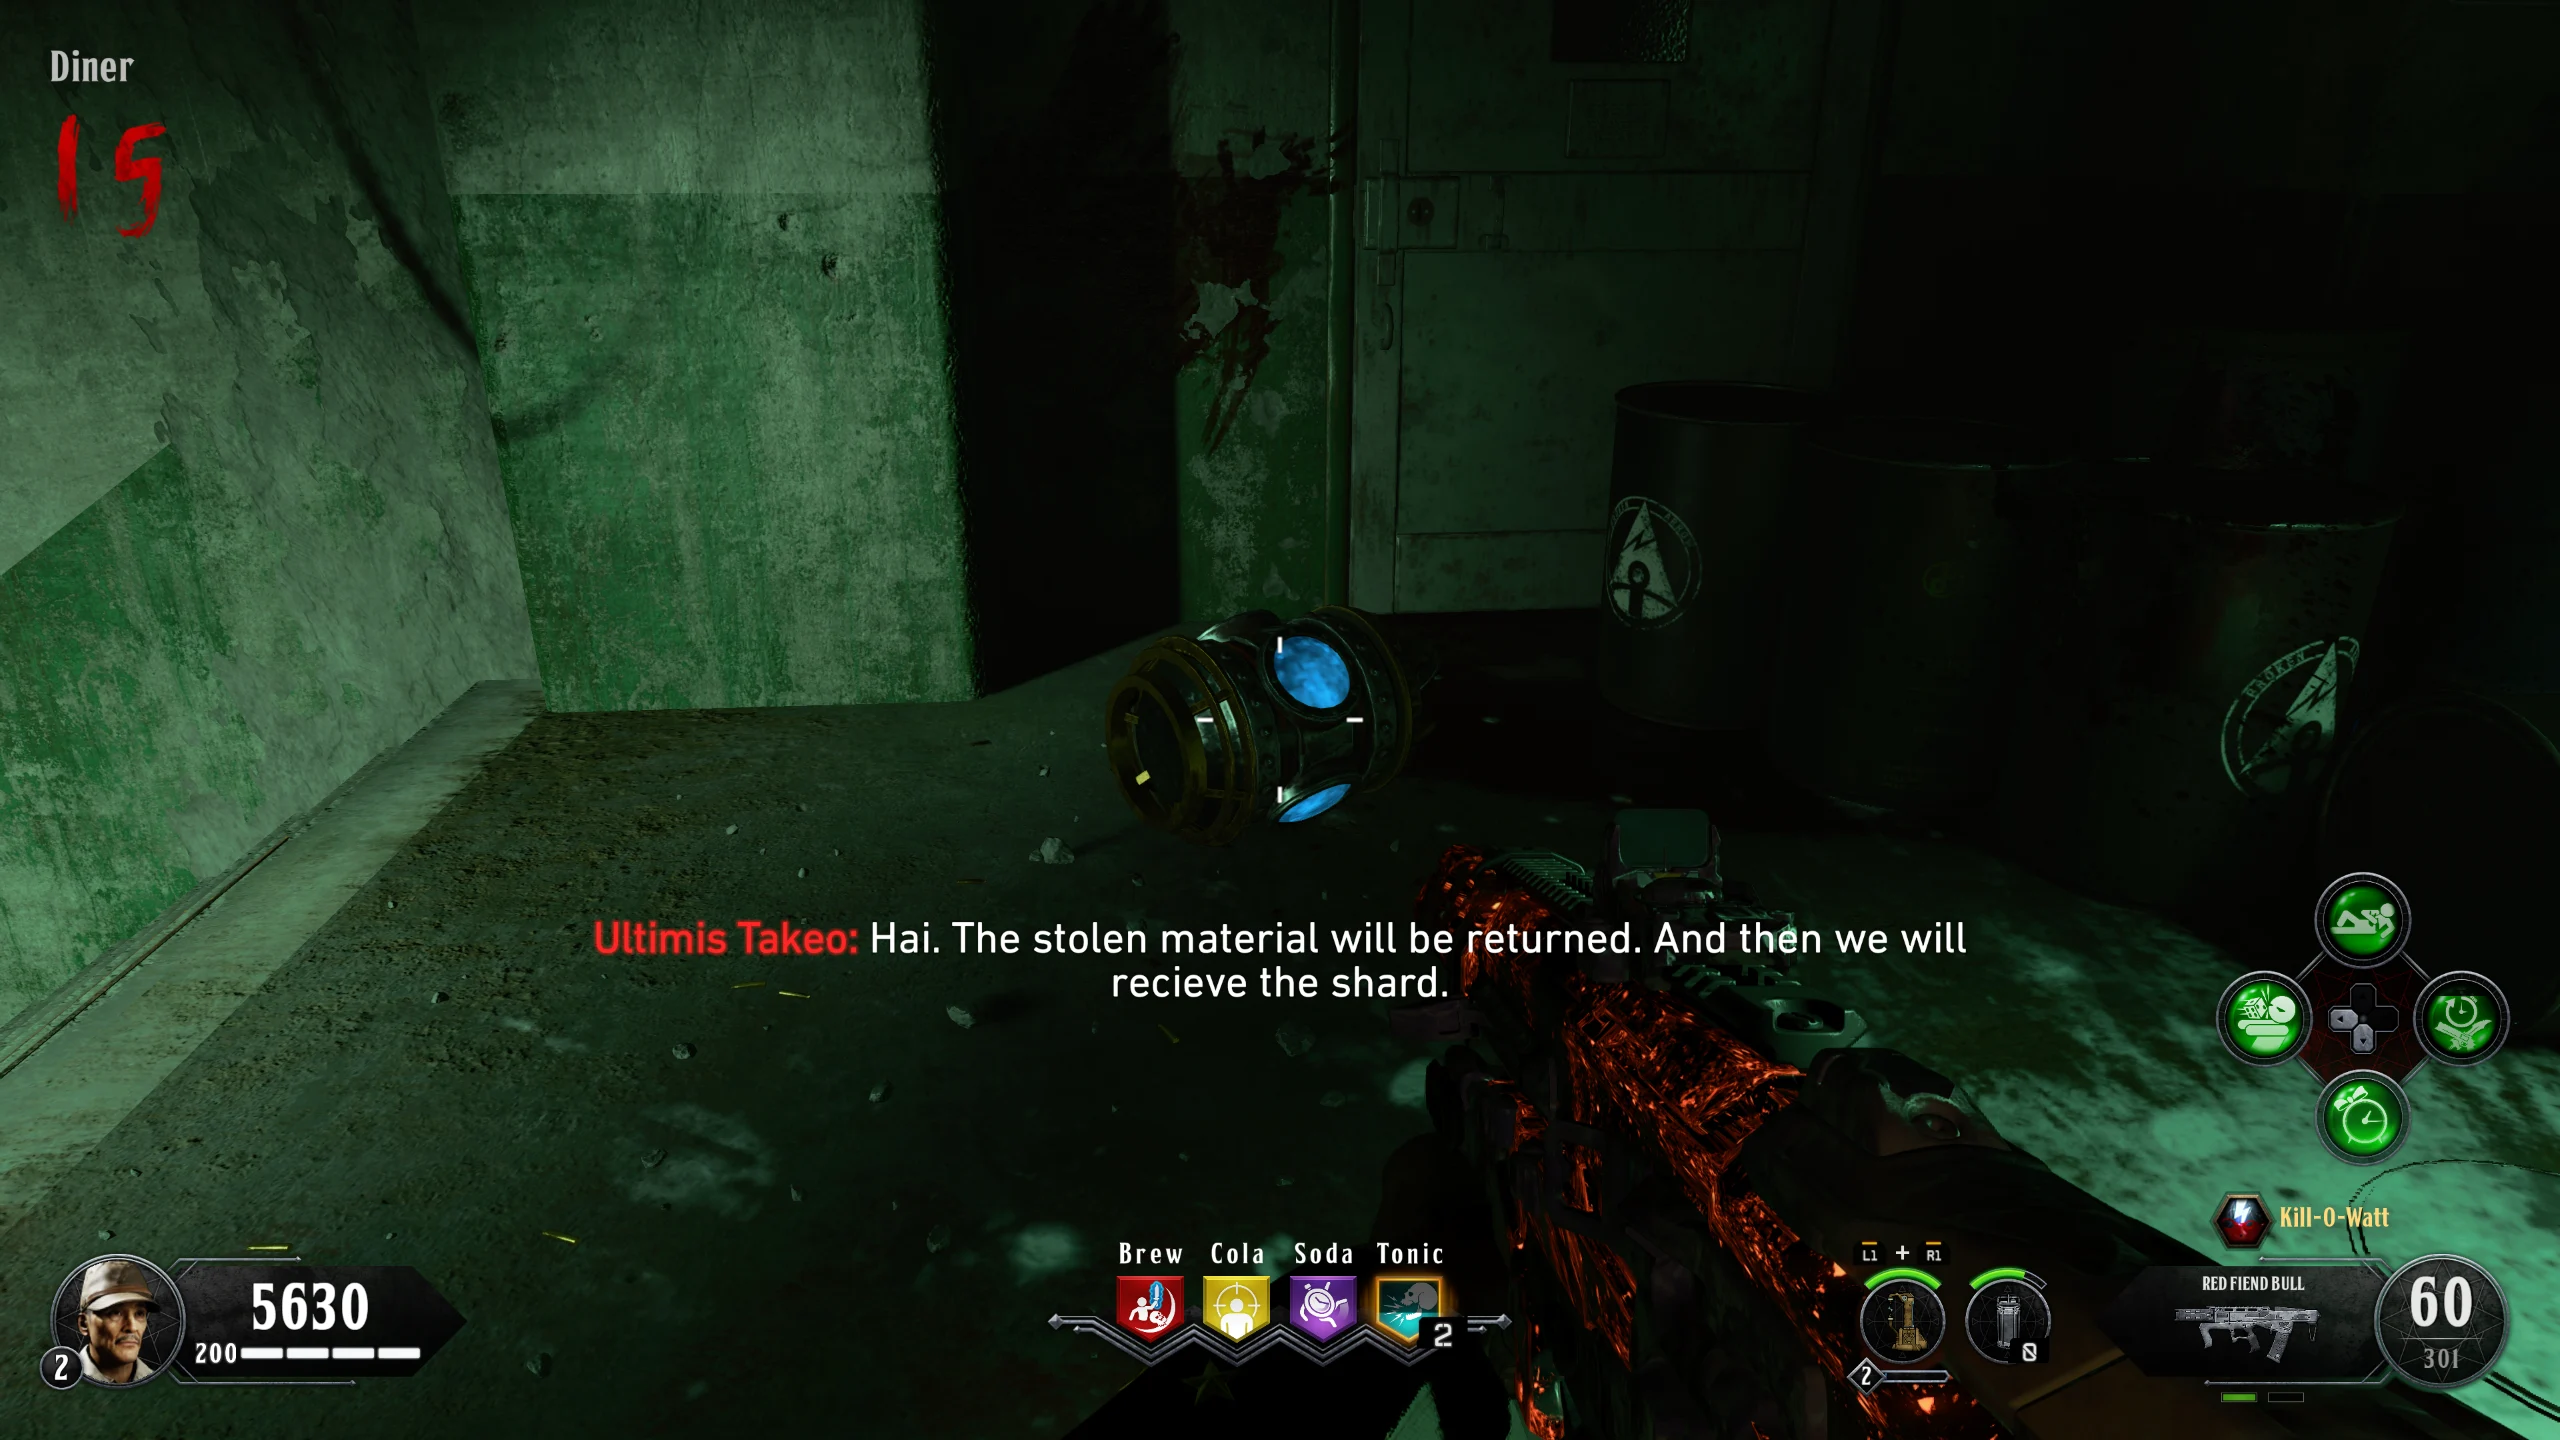
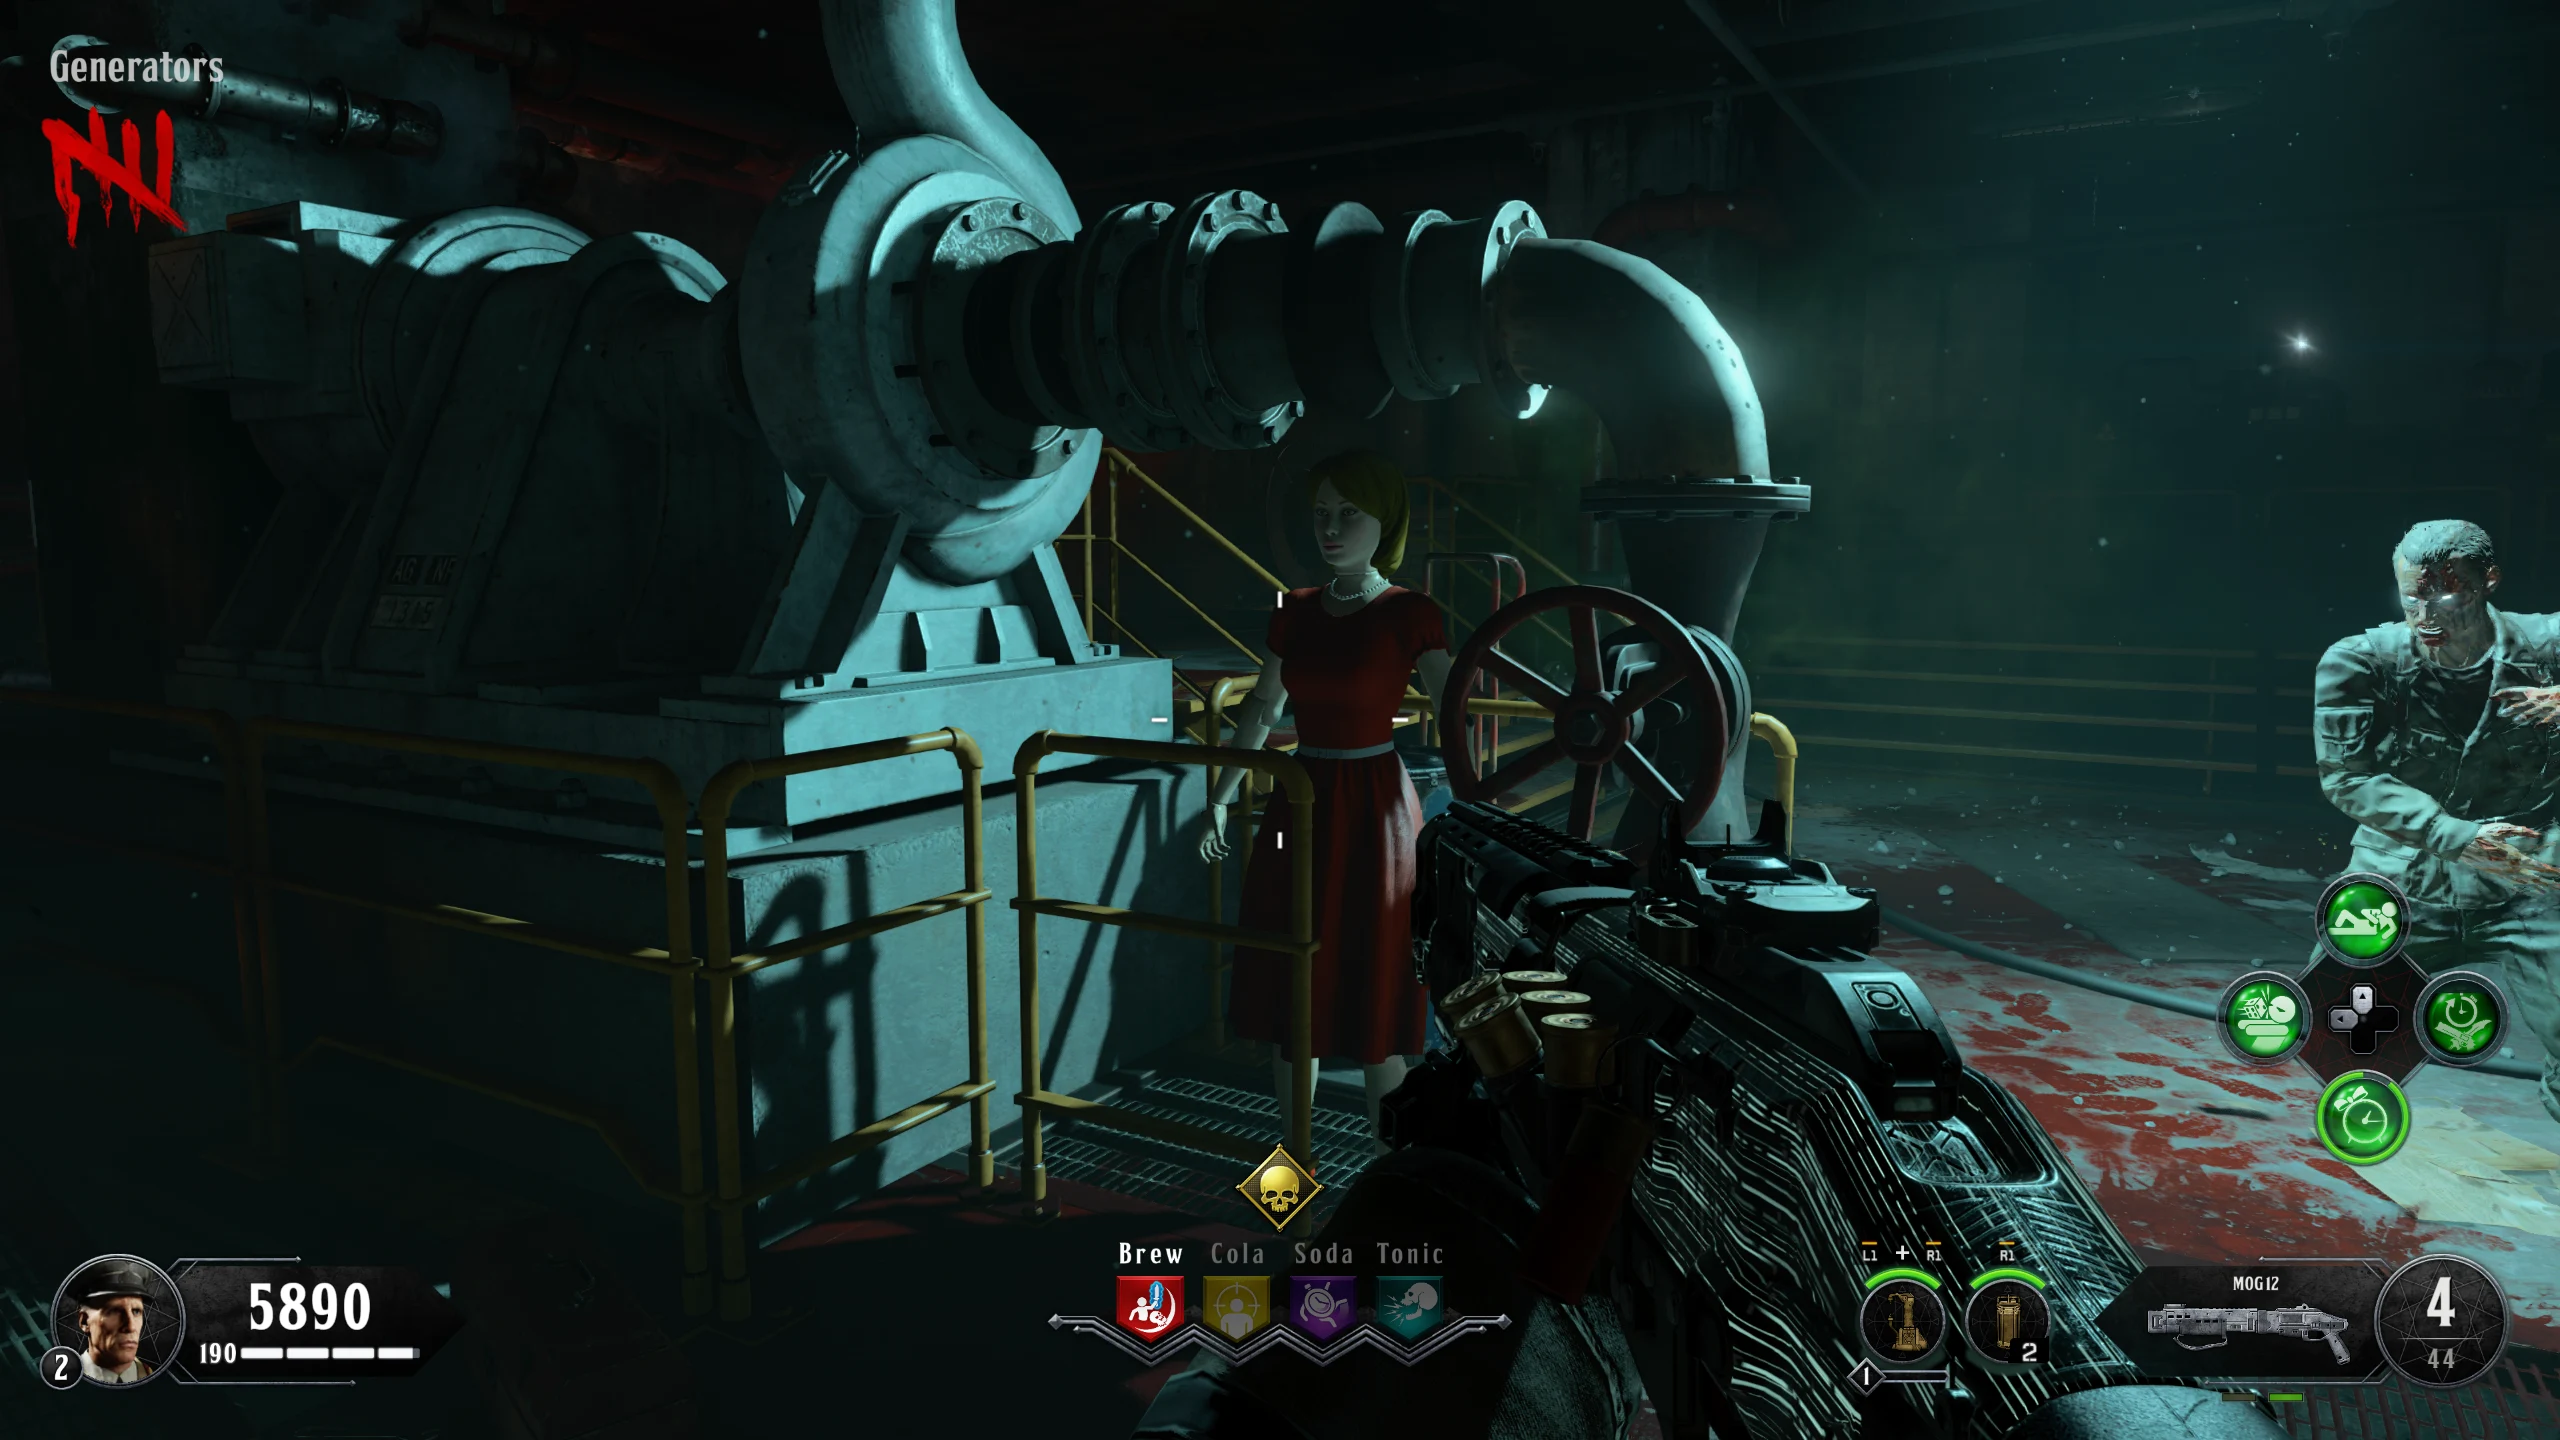
- Once the mannequin has been revived, Rushmore will then tell you to go find an Elemental Orb around the map which you must escort until it reaches the mannequin in 'APD Interrogation.'
- If you get too far from the Orb while escorting it, it will despawn, and you will have to end the current round to respawn it.
- Tip: Enter 3279/6662 into Rushmore. This makes all Zombies walk at their slowest speed for 5 minutes, making this step trivial.
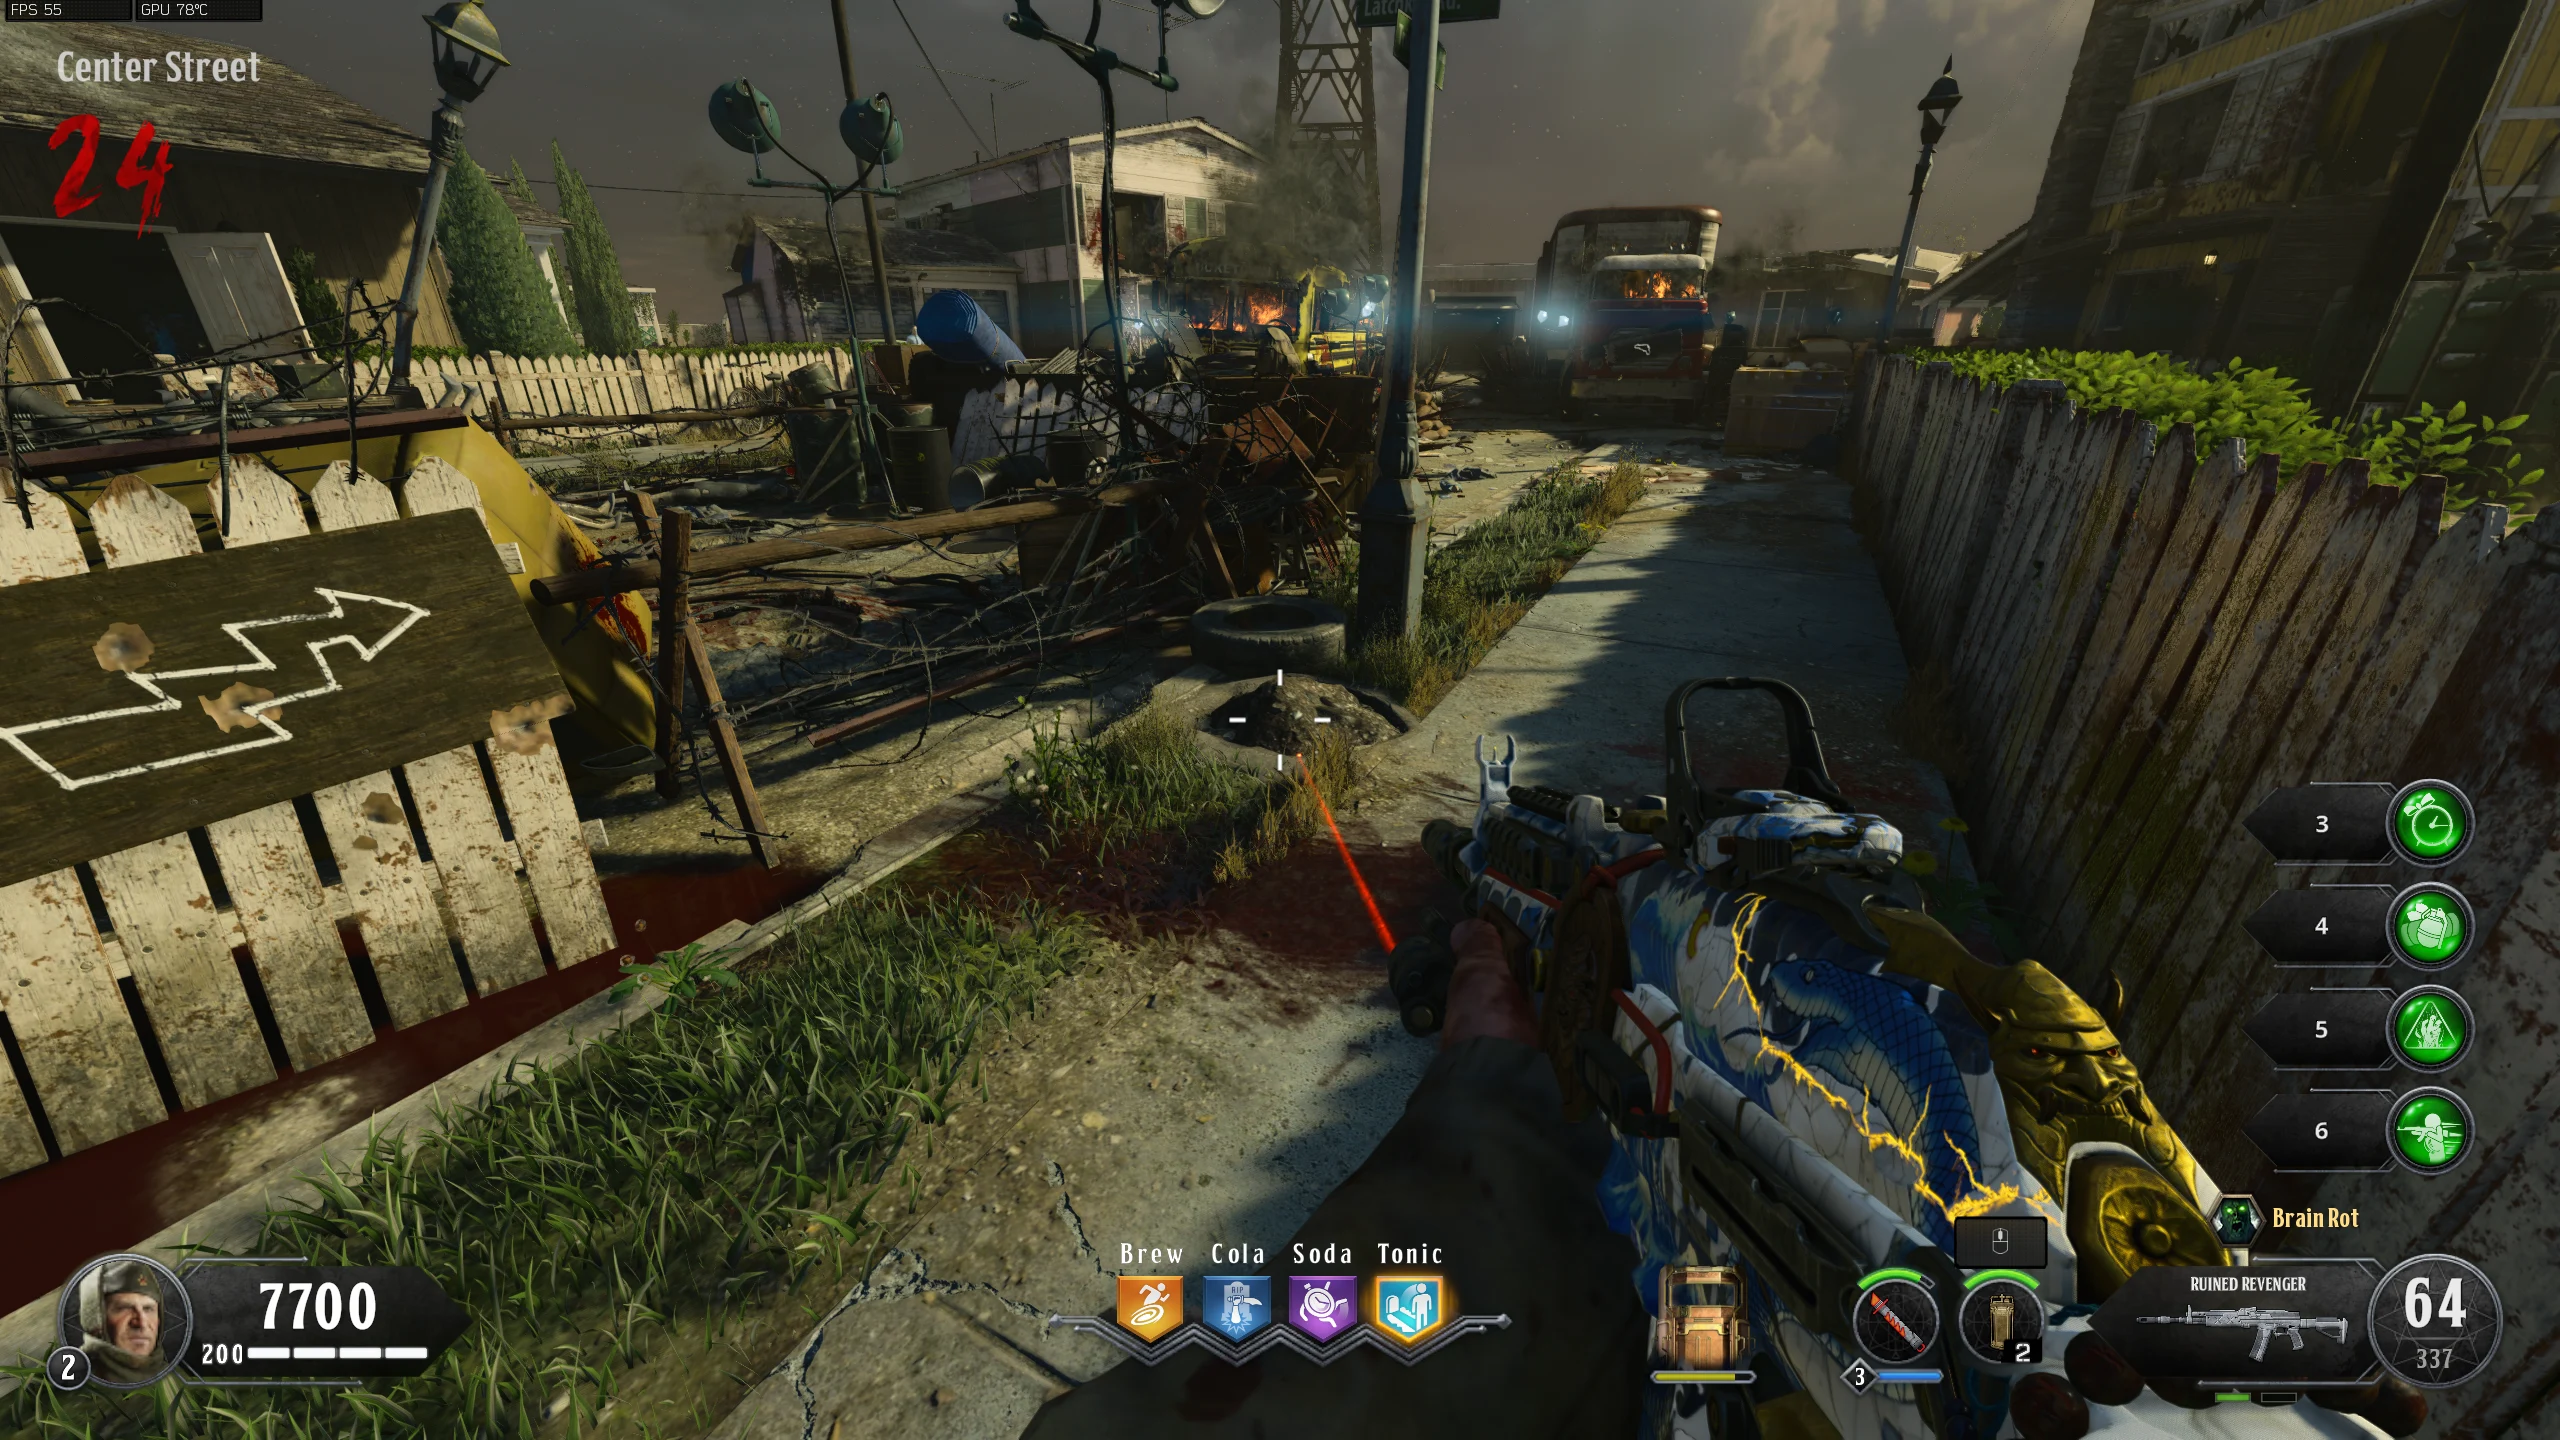
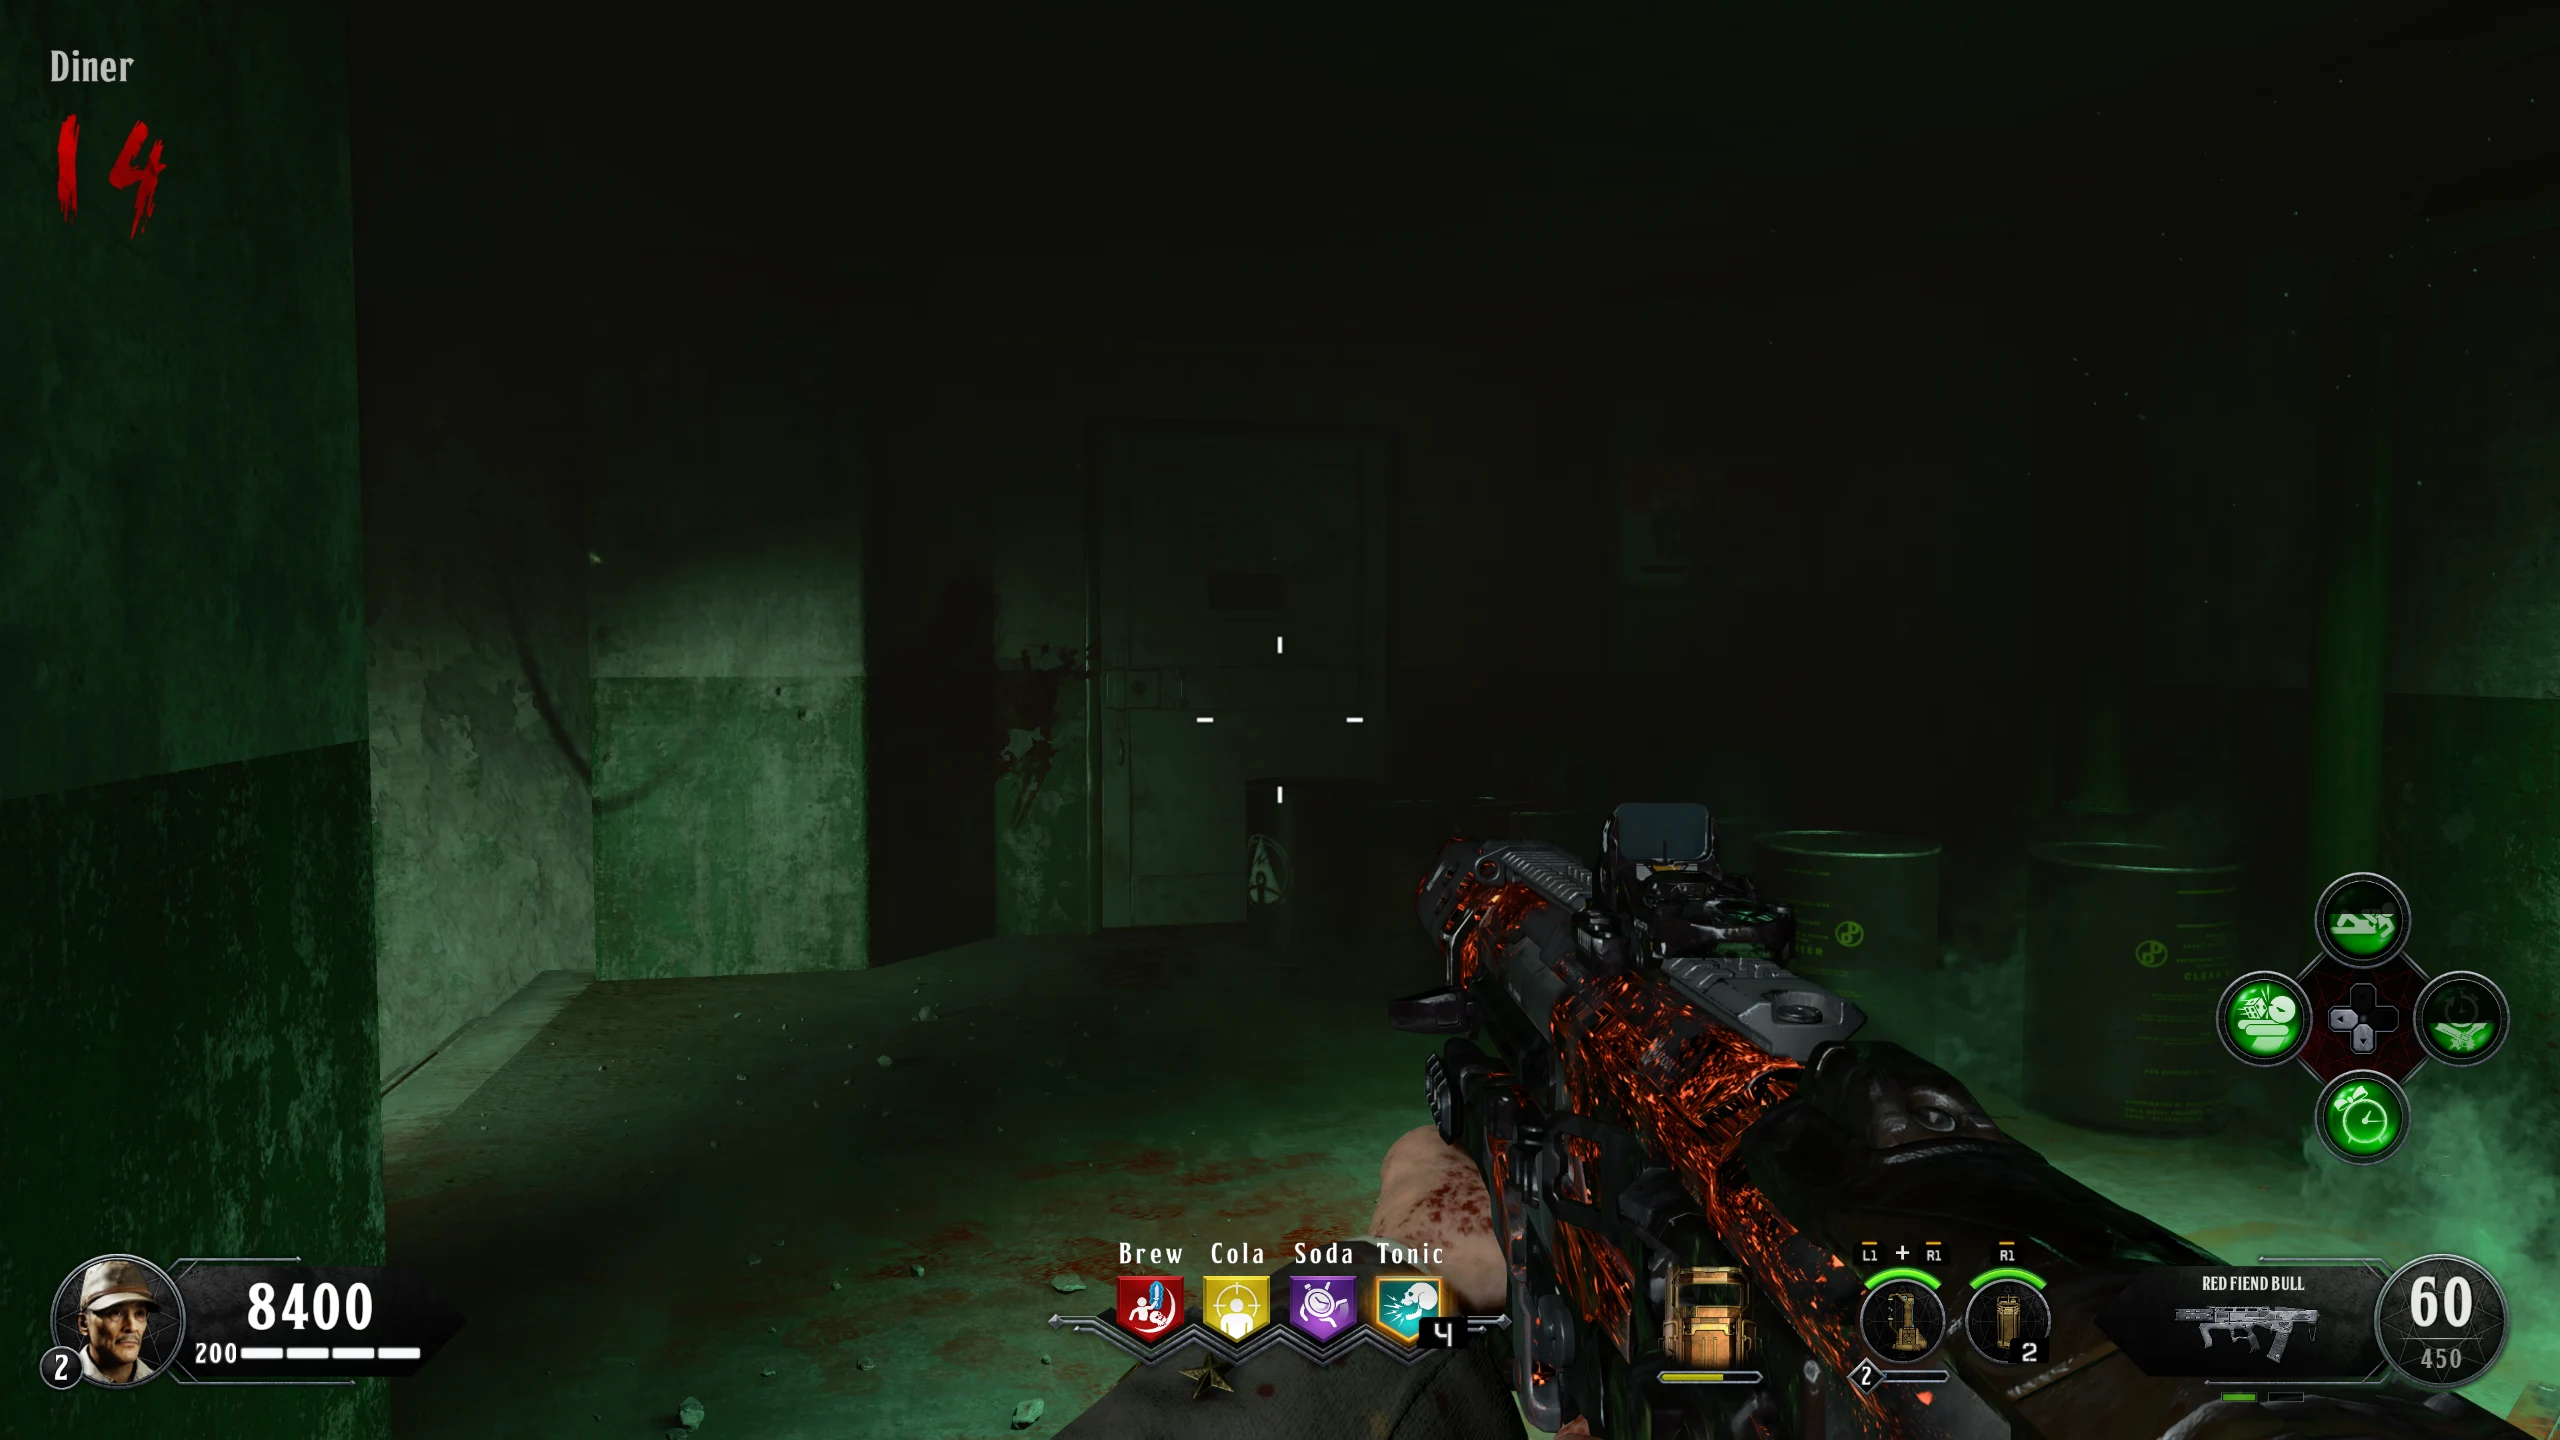
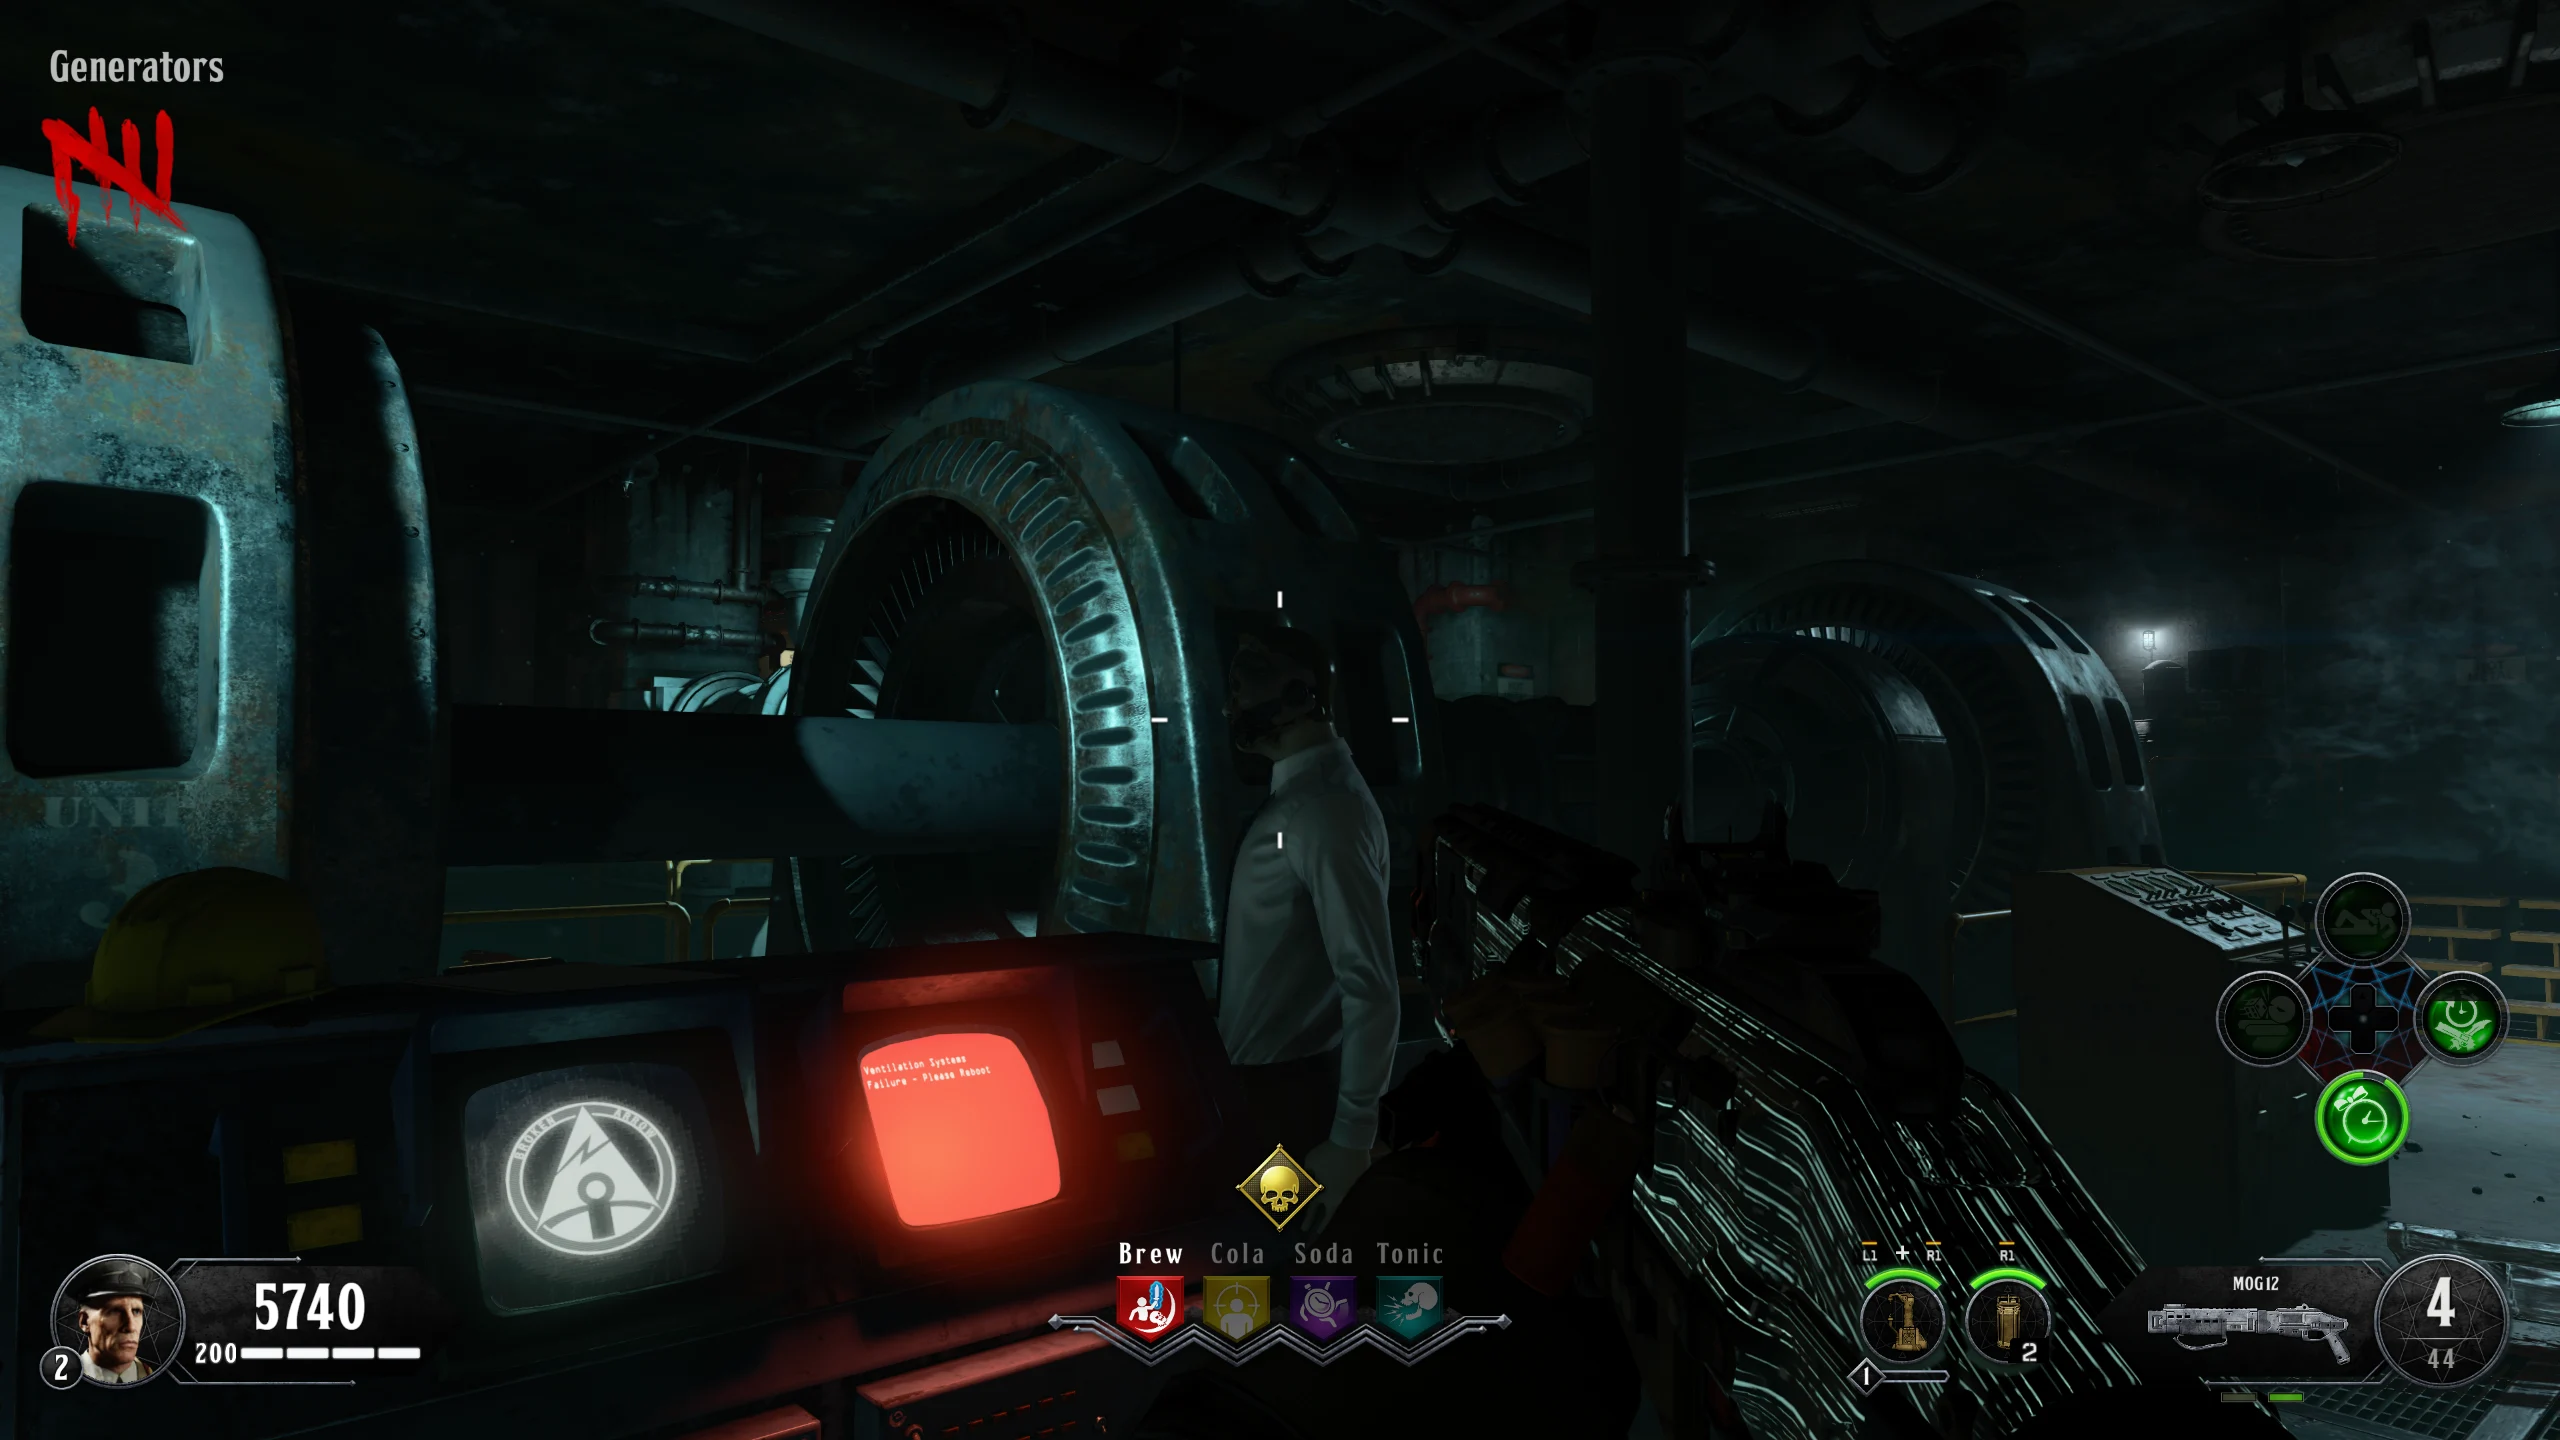
- The Orb will spawn in a Zombie spawn in one of the following three locations:
- Once the Orb has been escorted successfully and the voice lines are finished, interact with Rushmore.
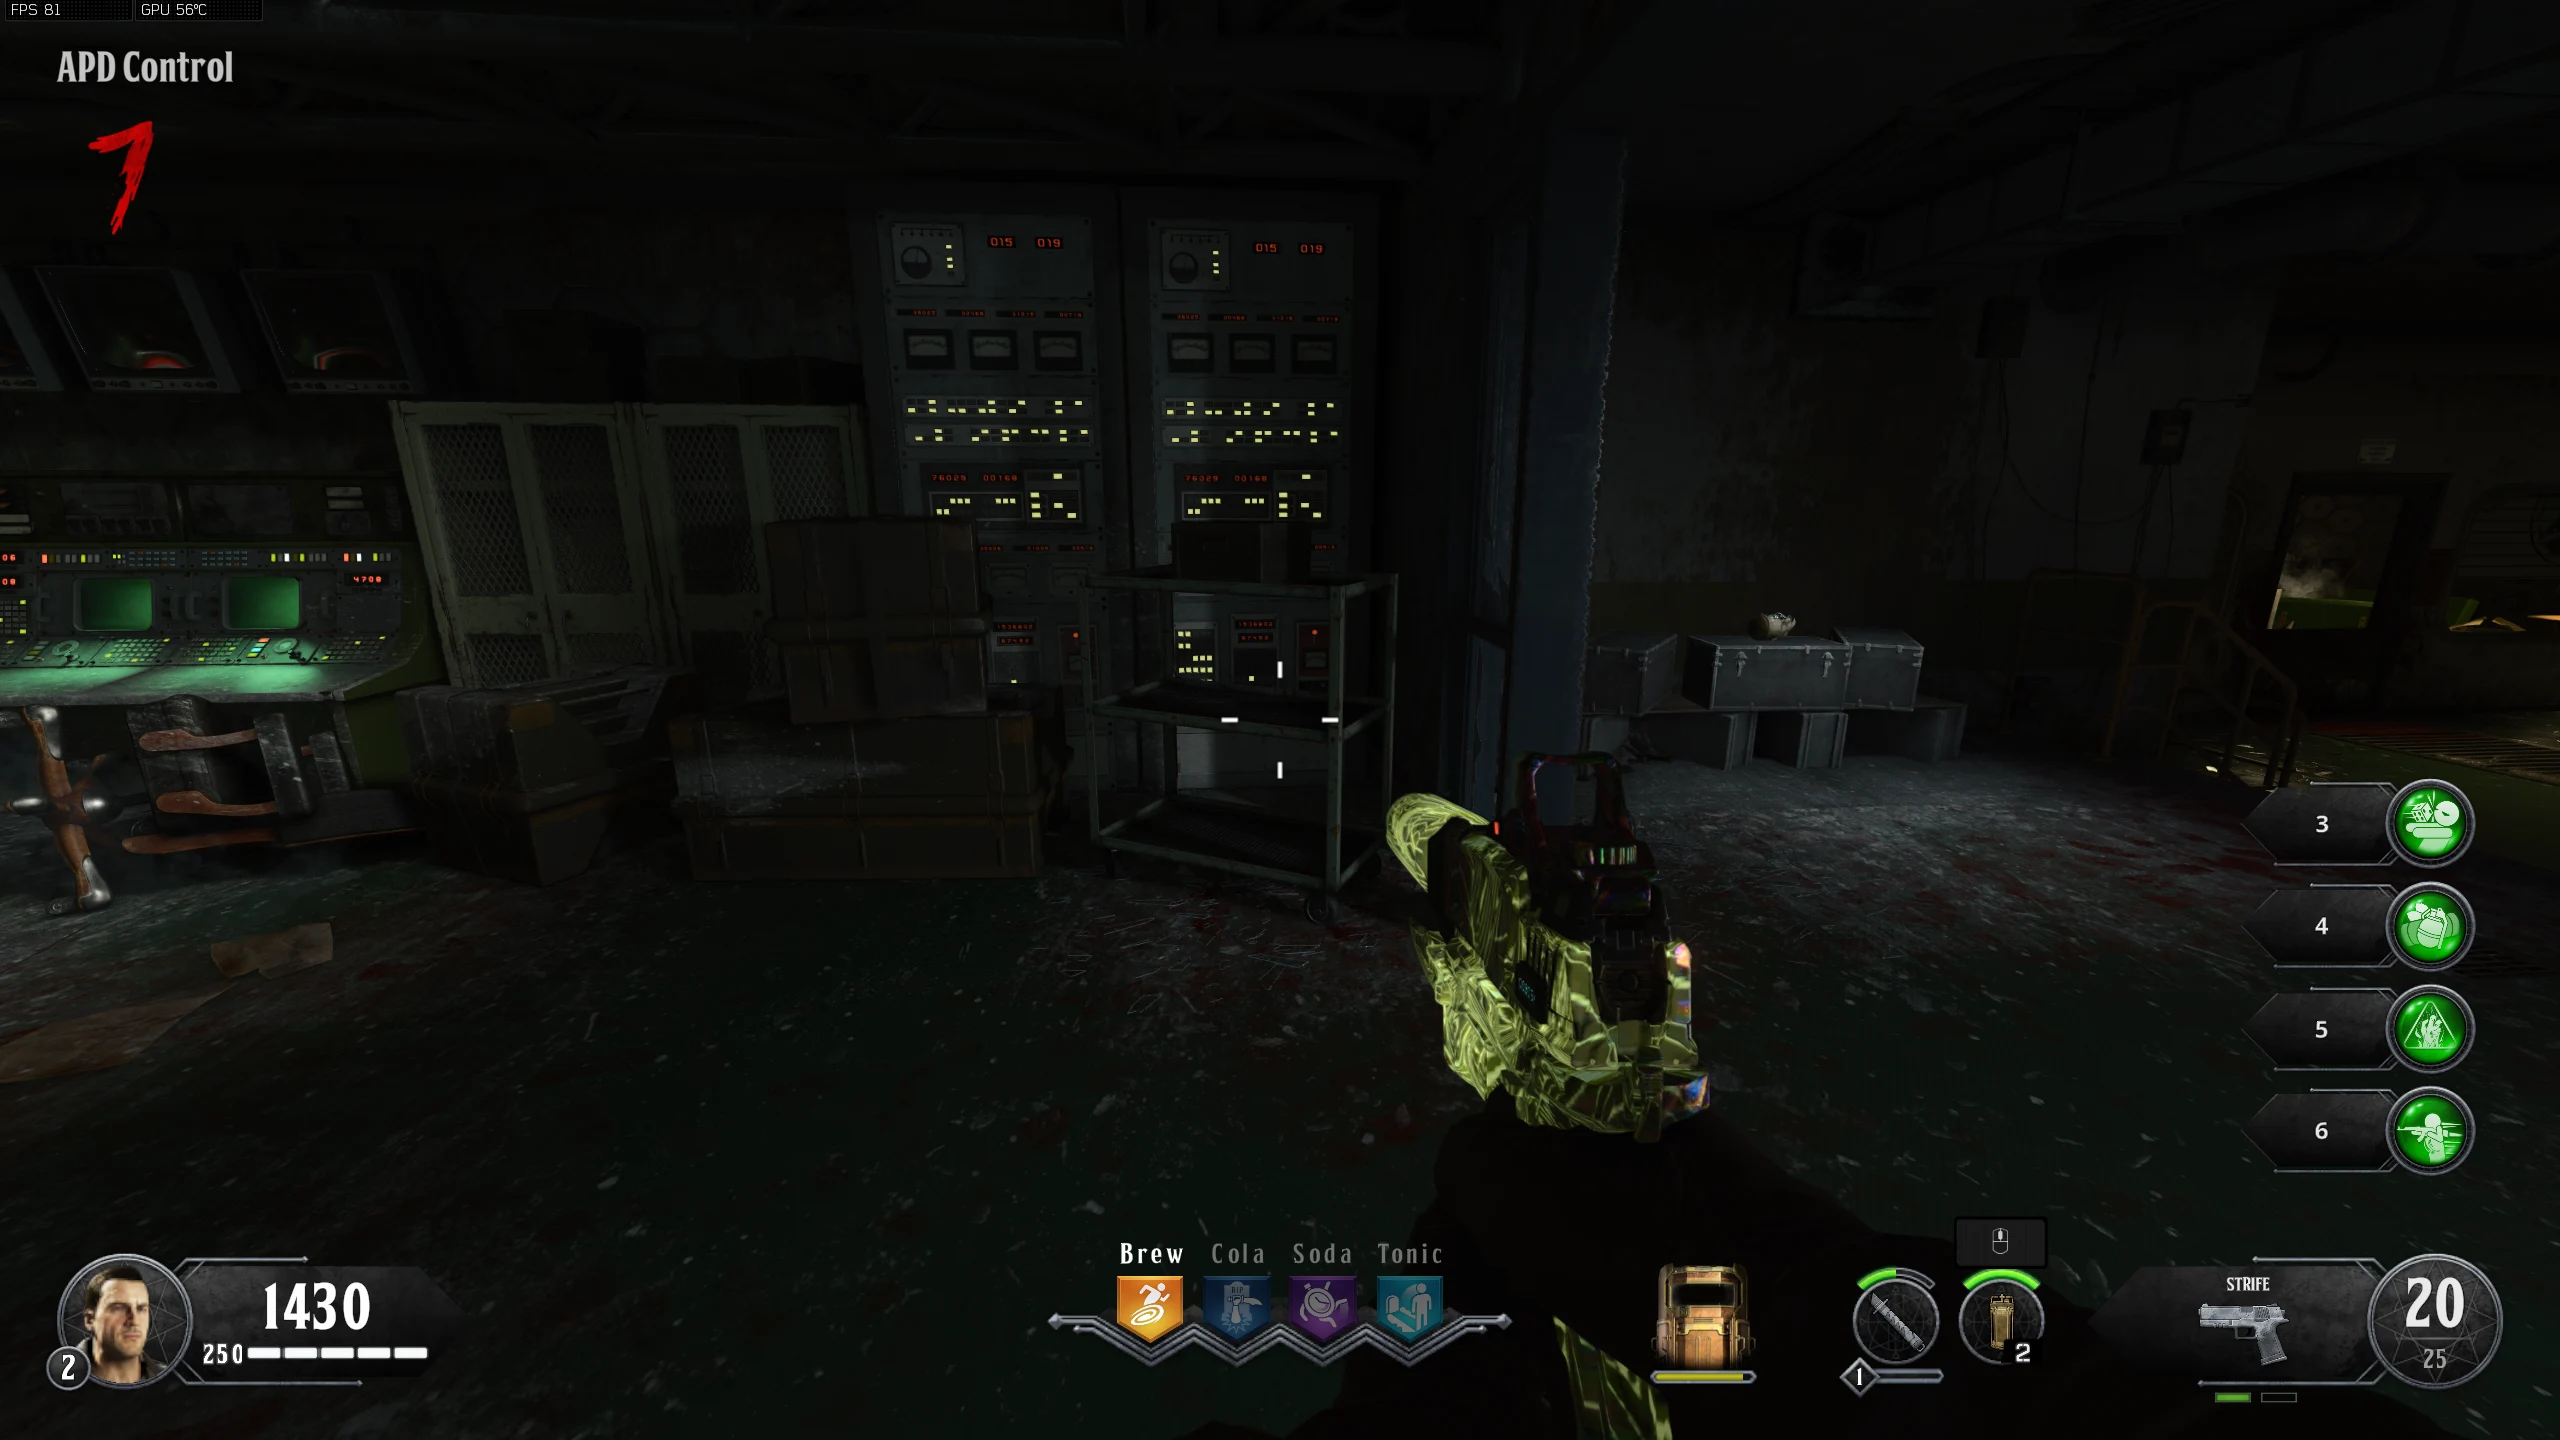
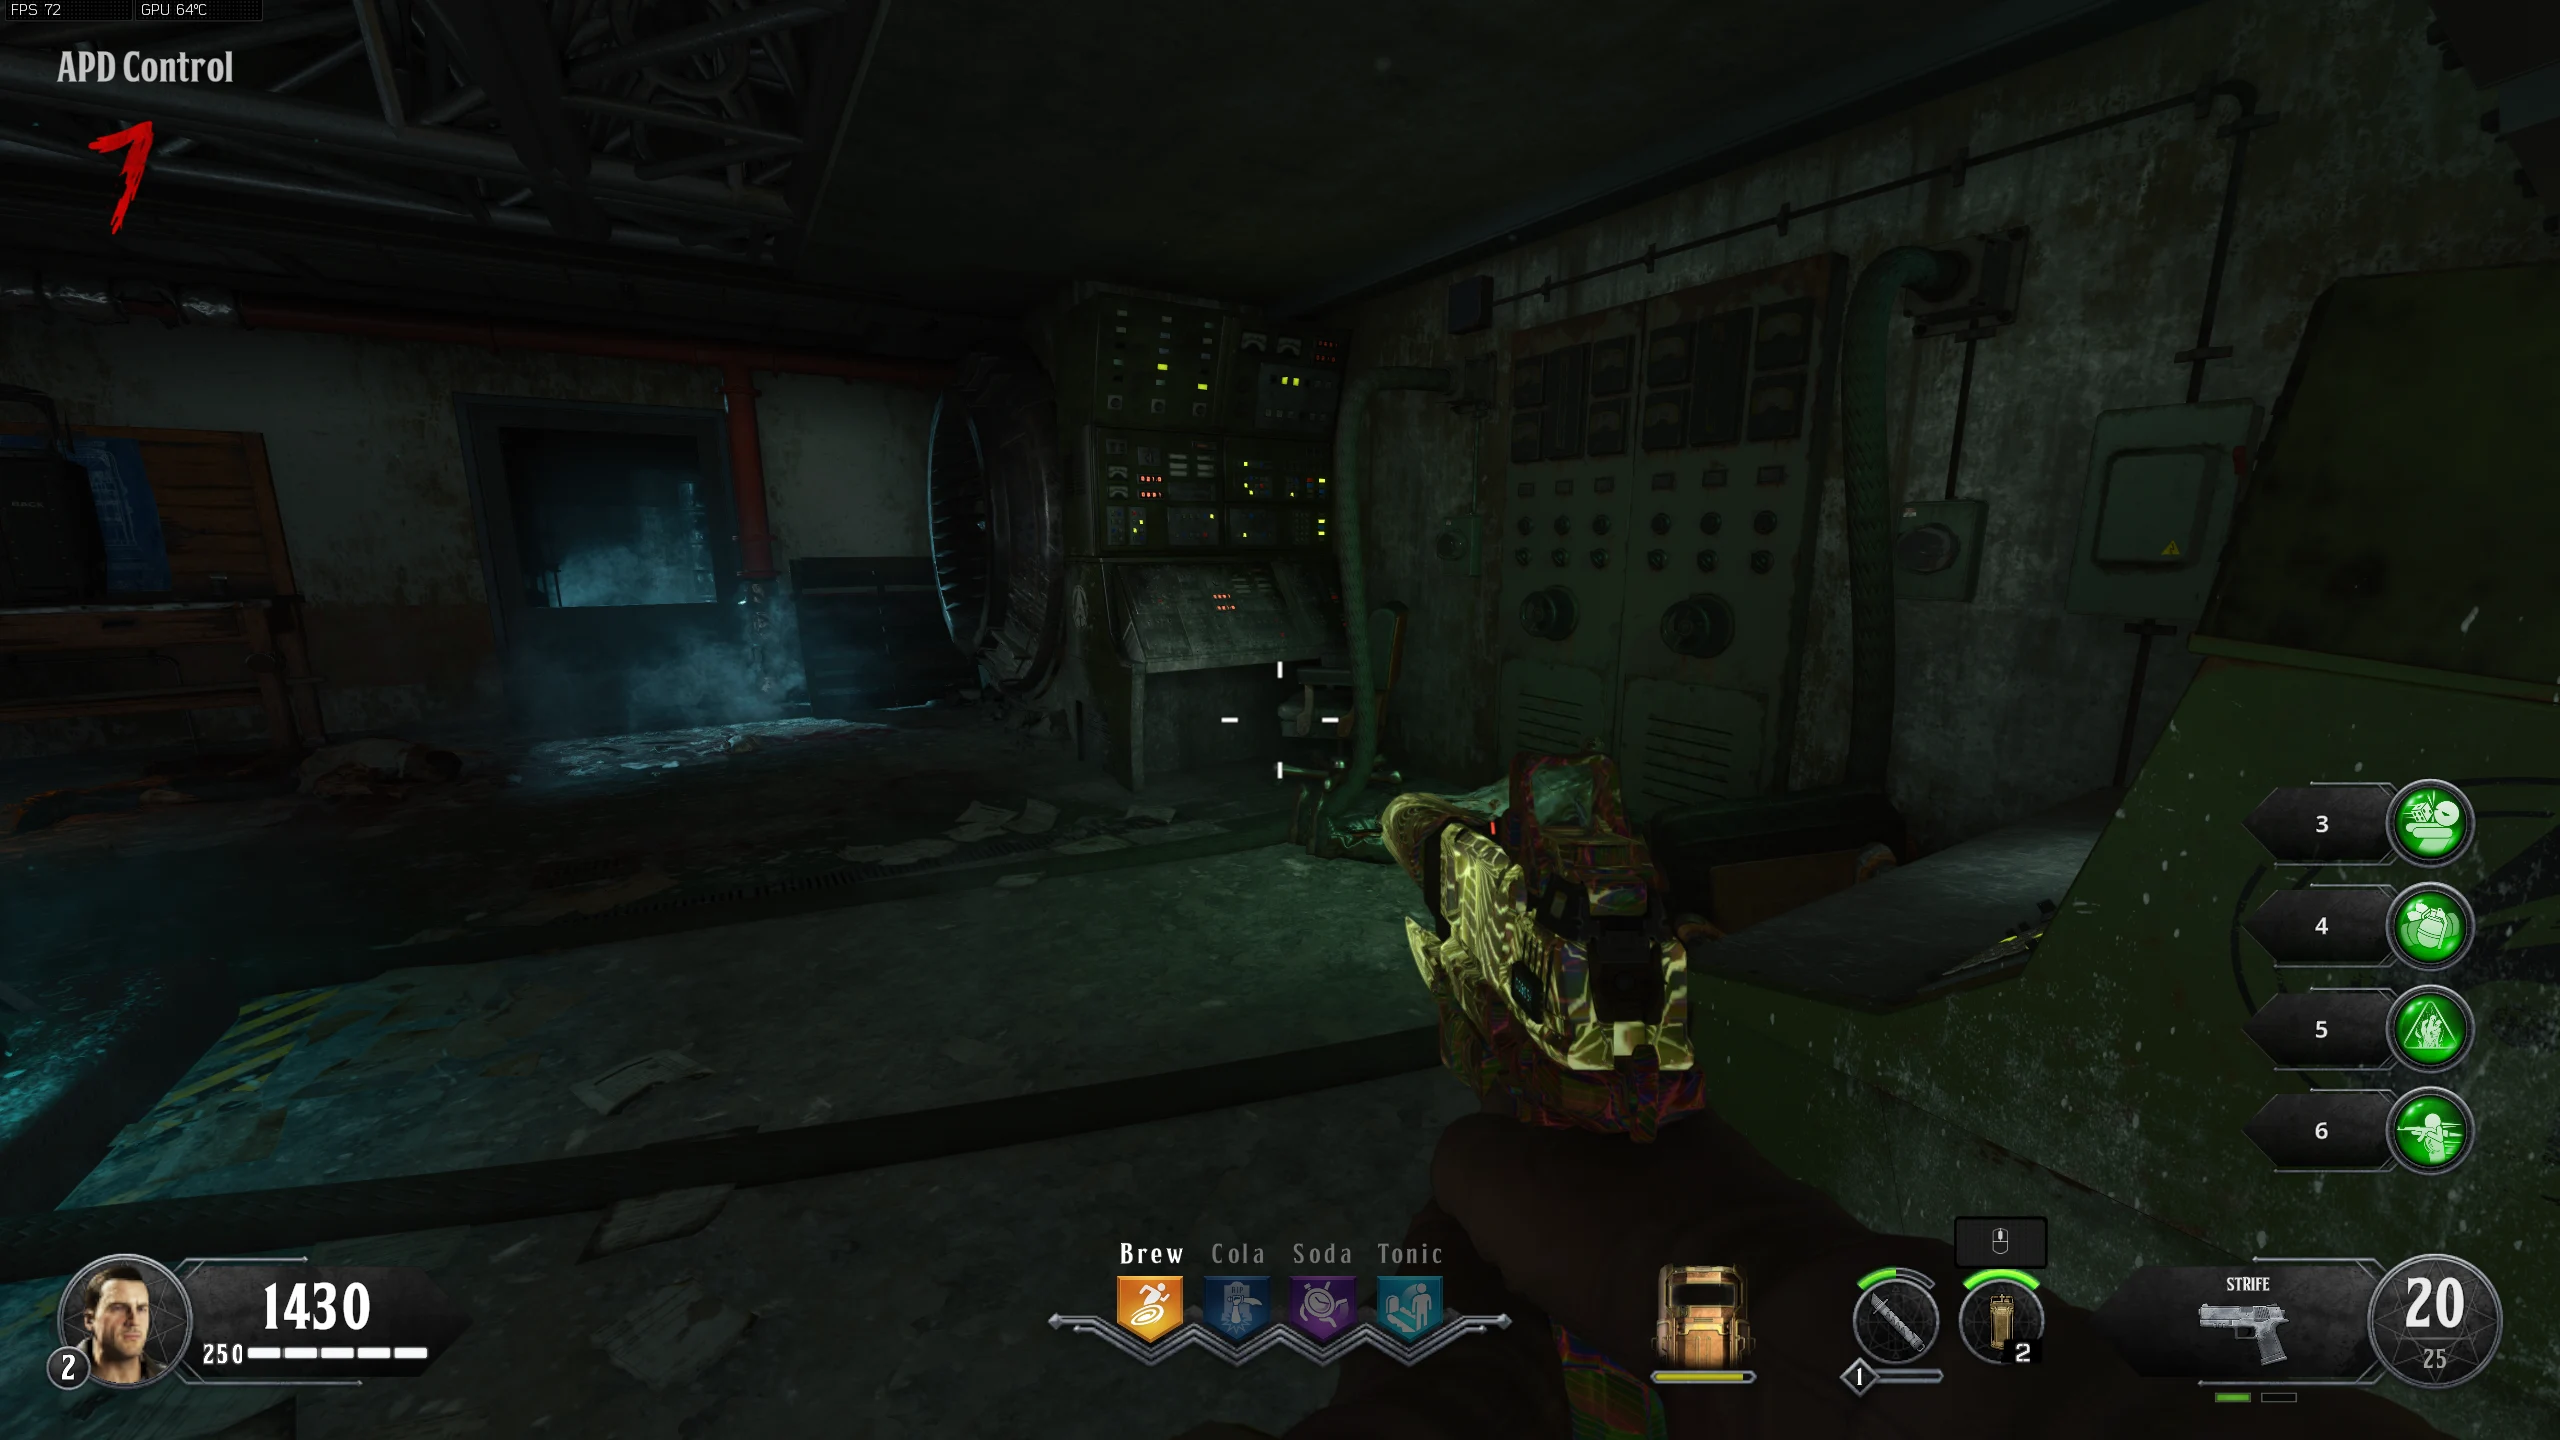
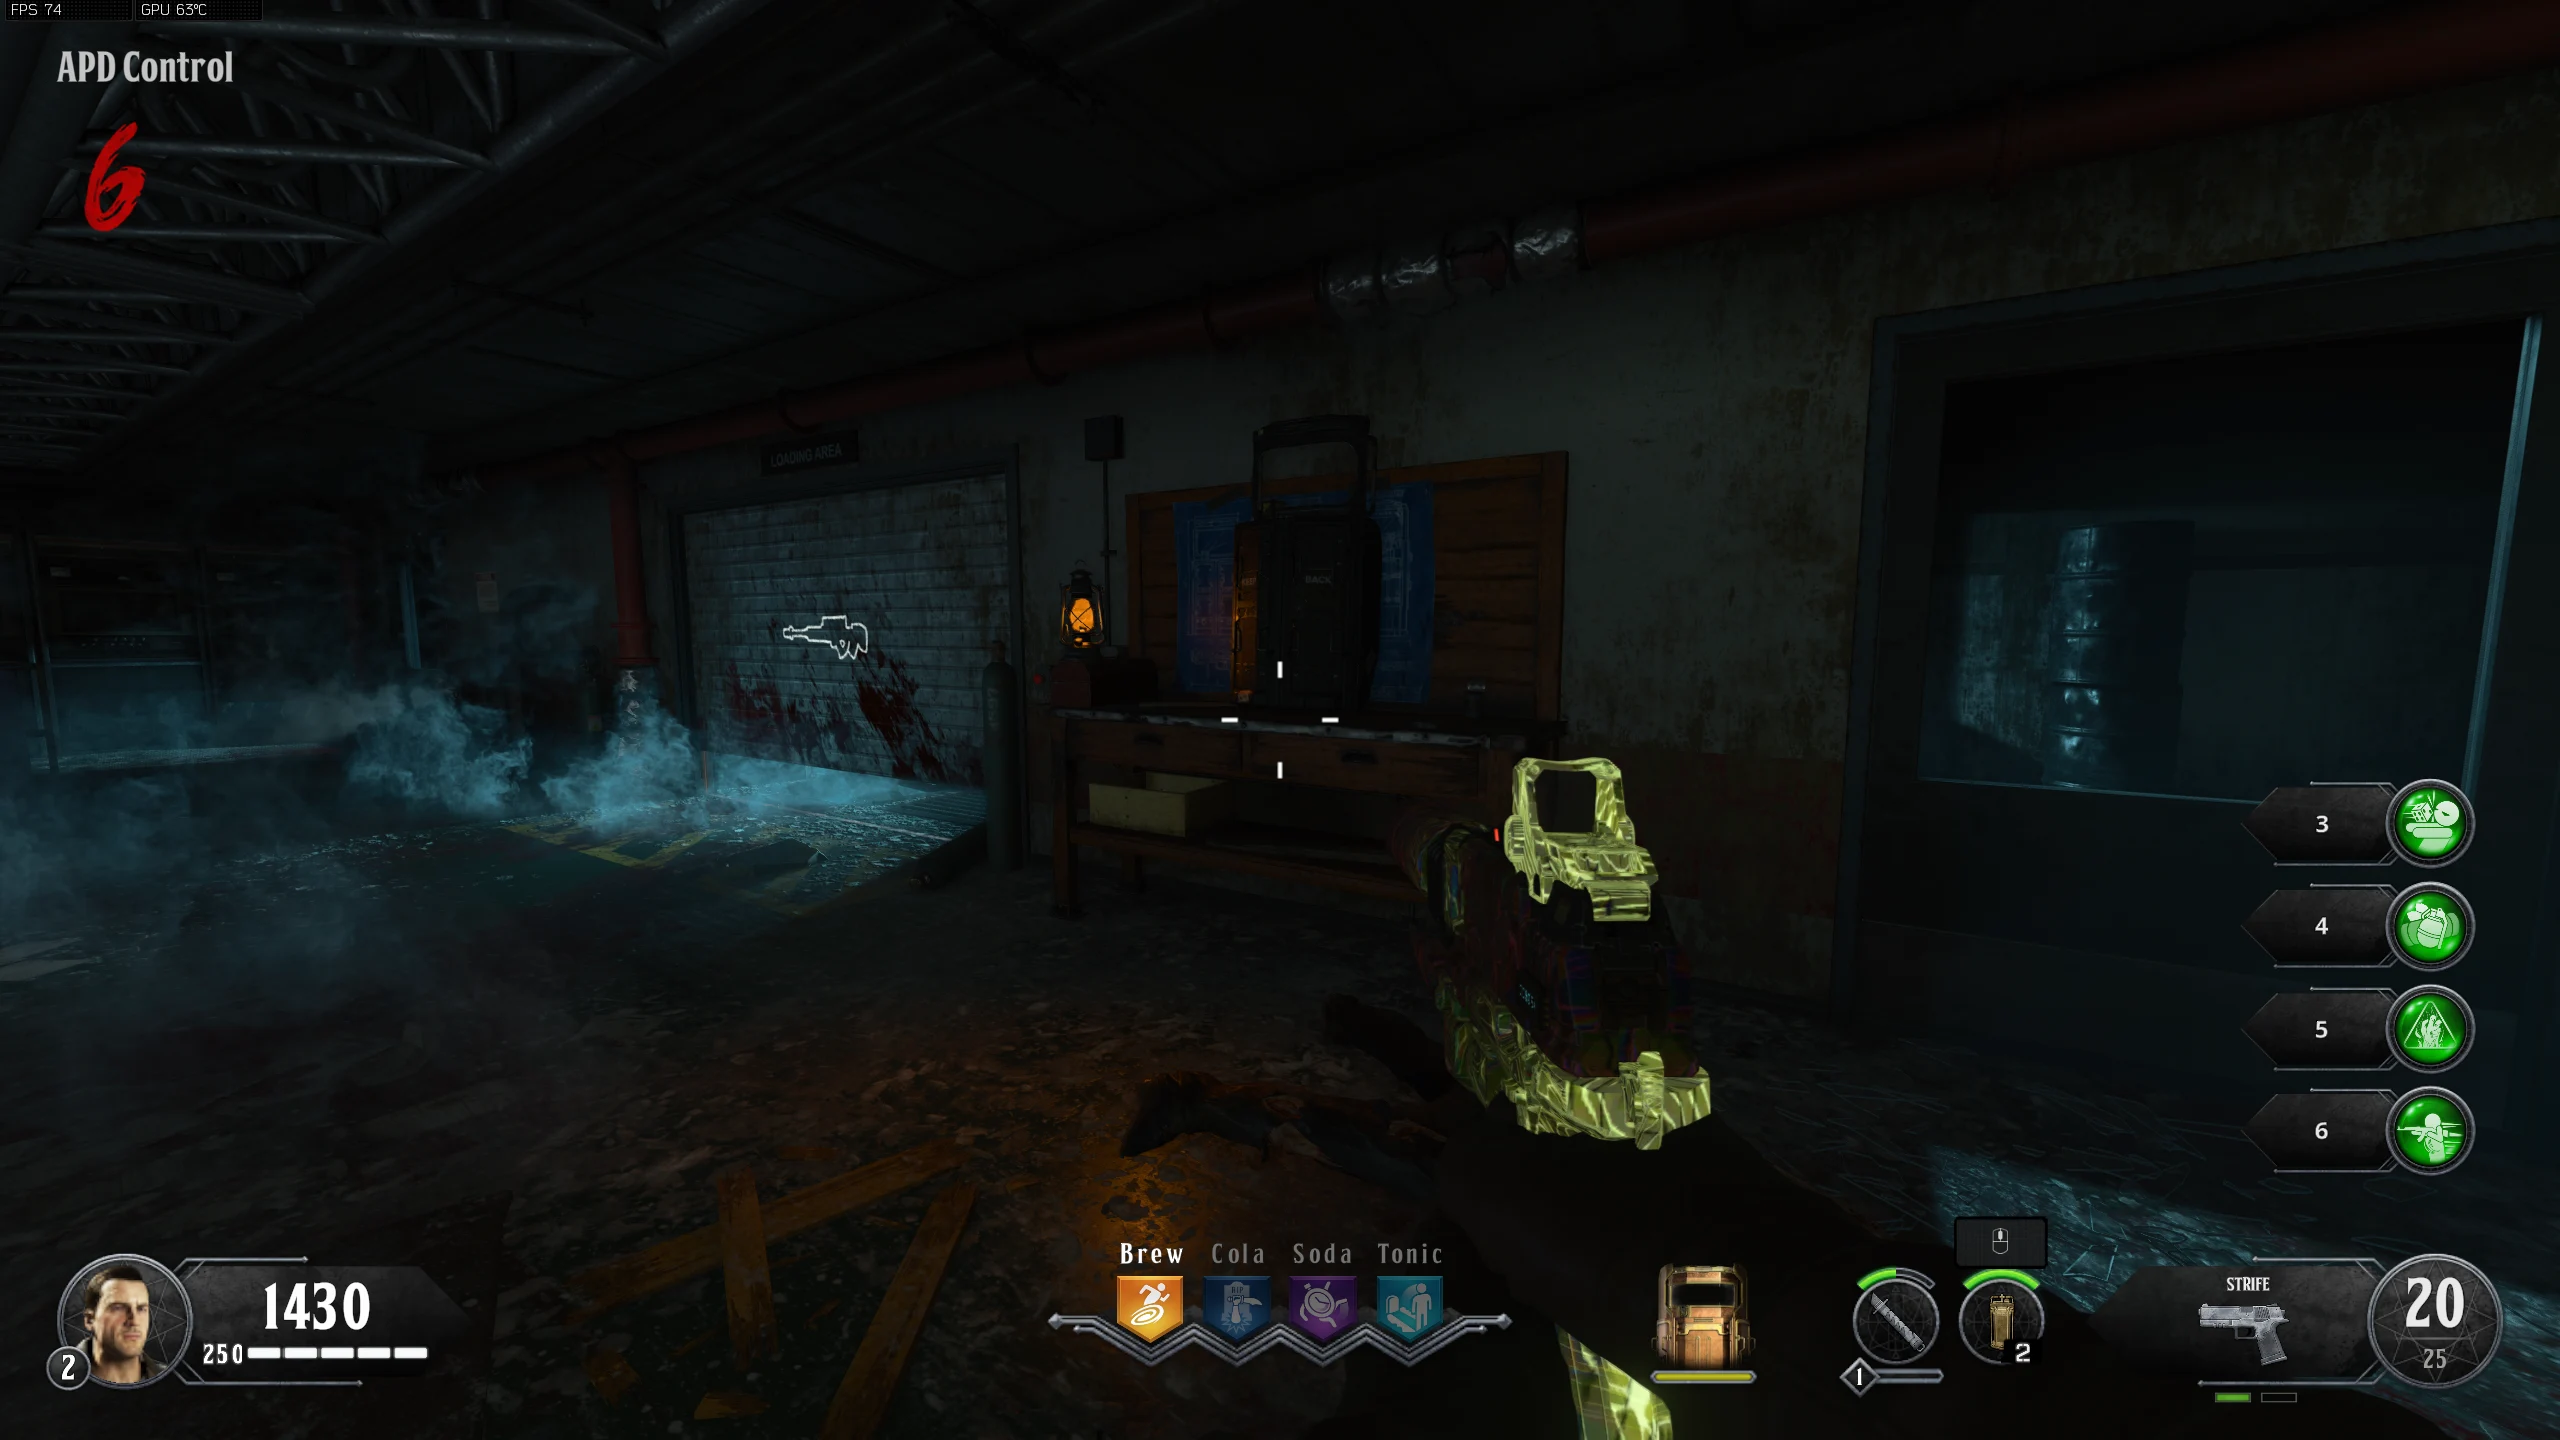
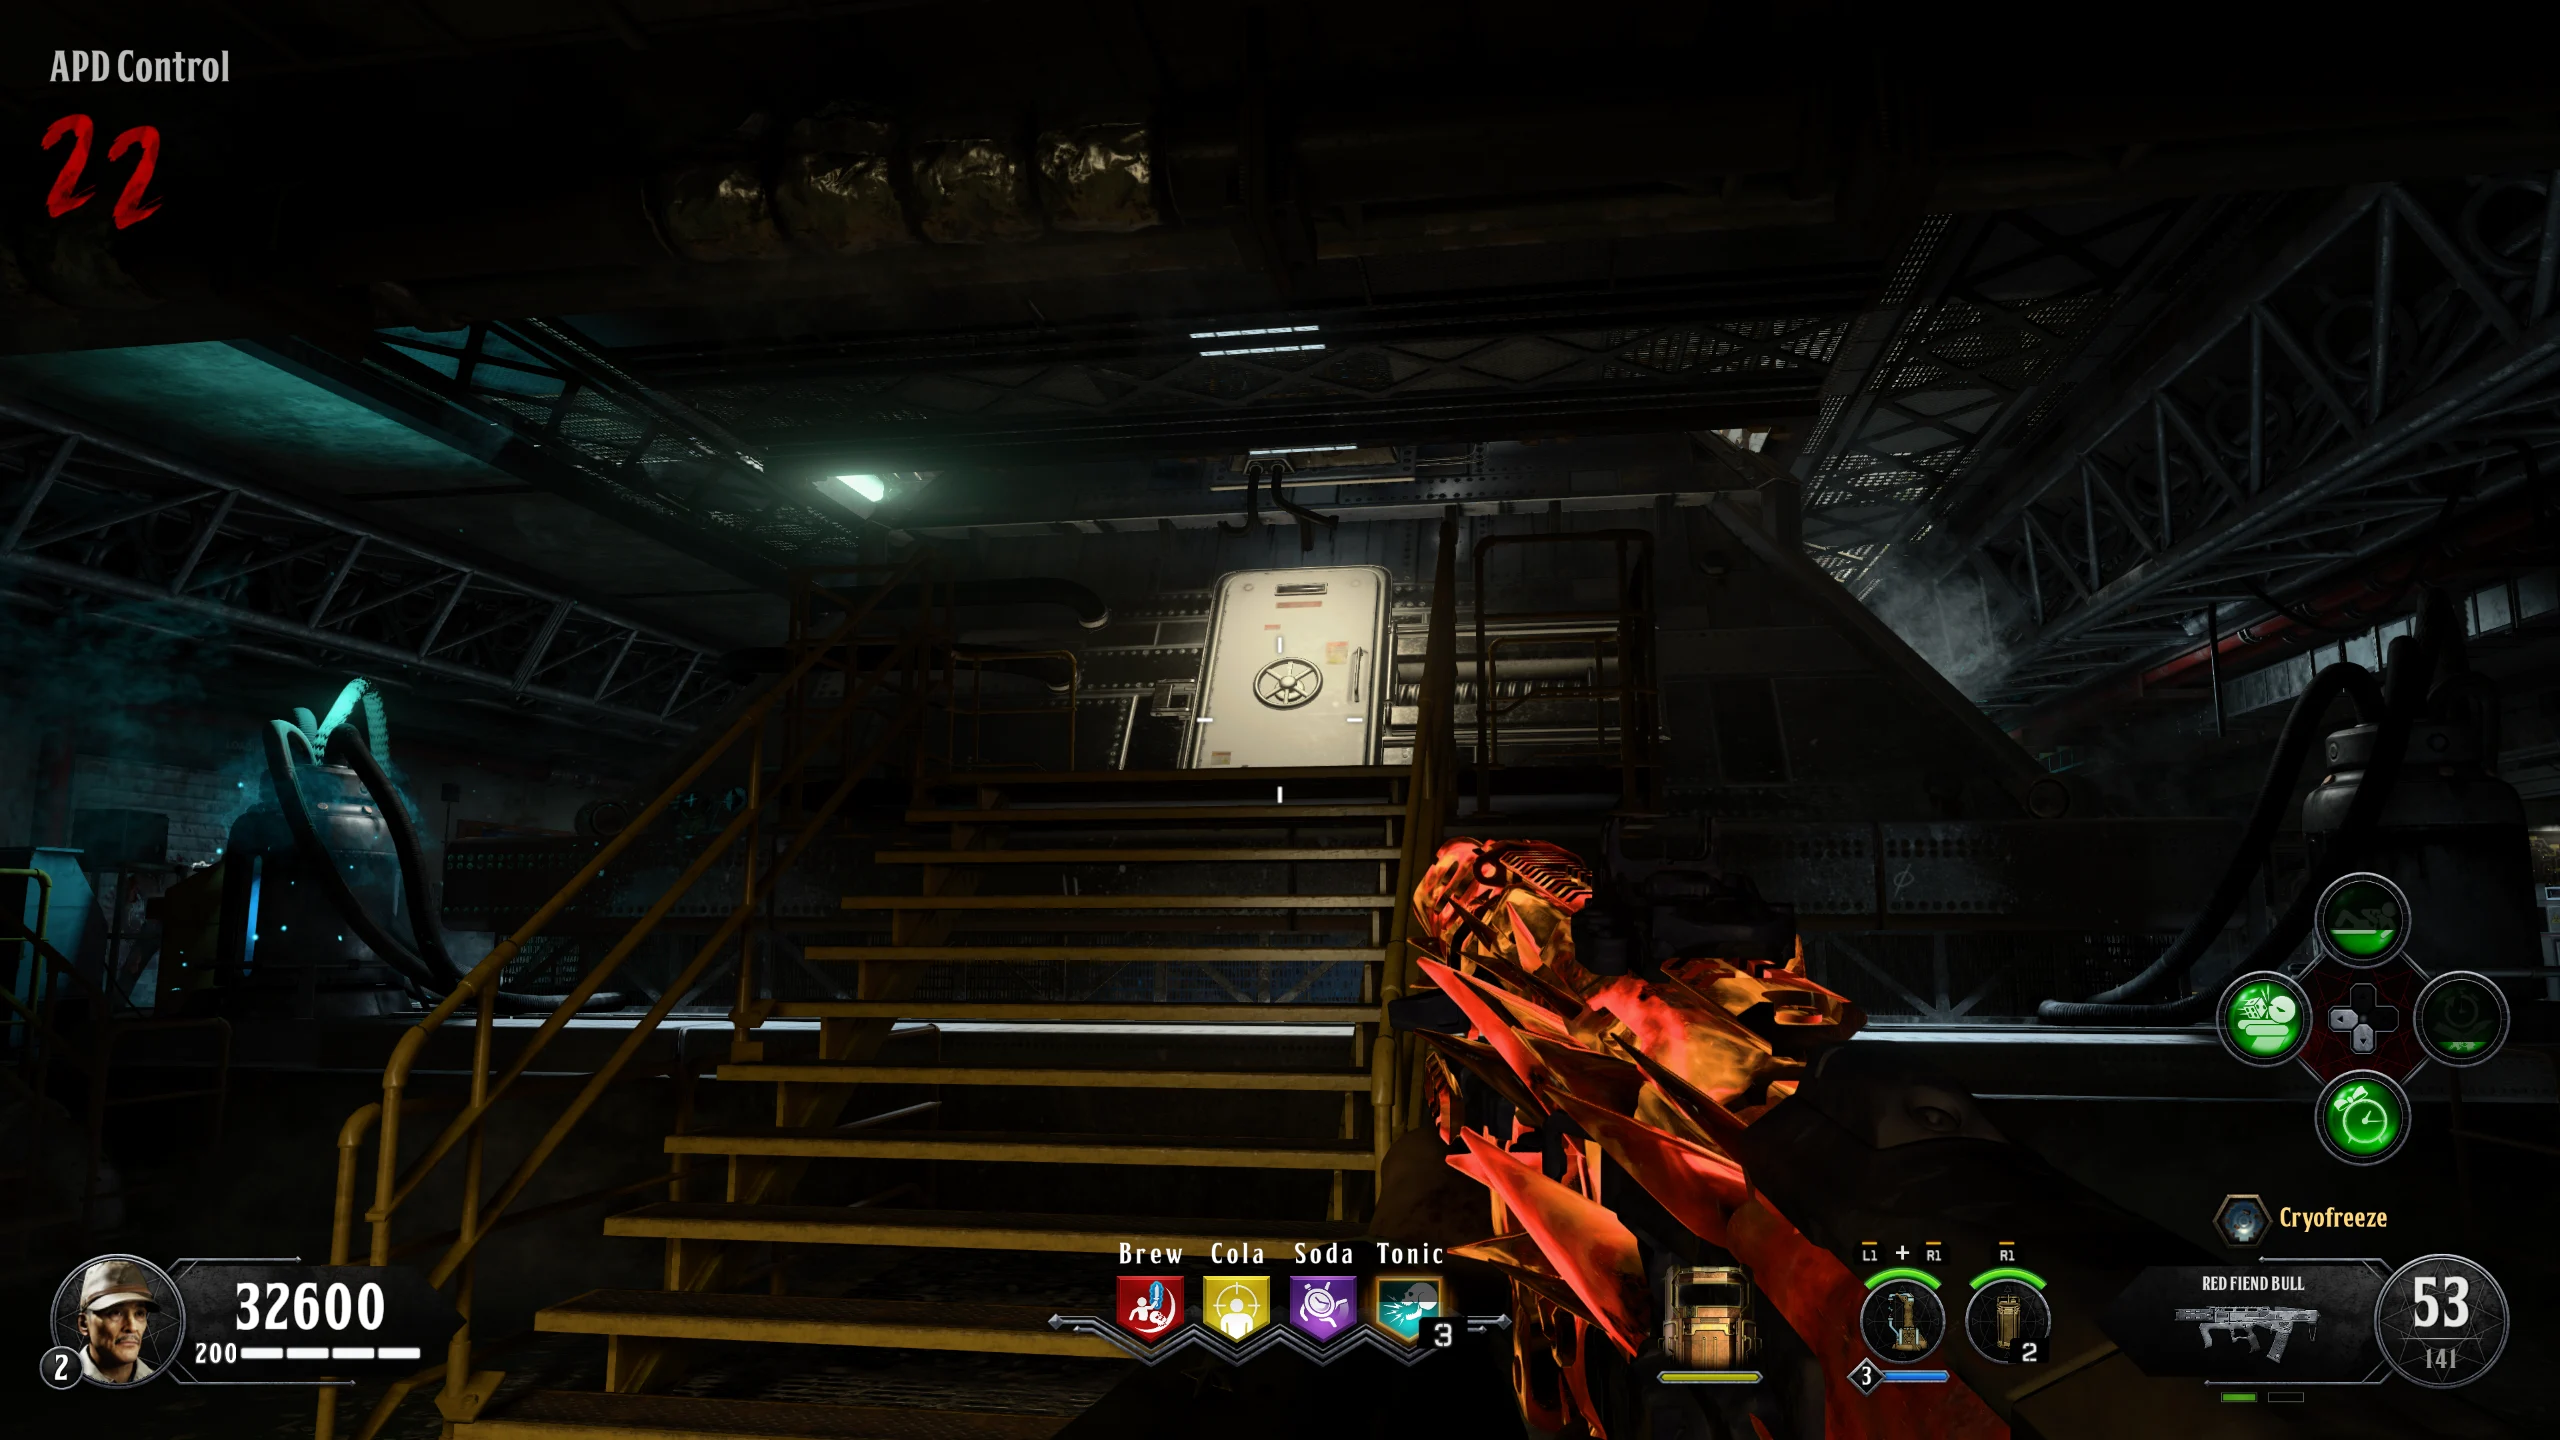
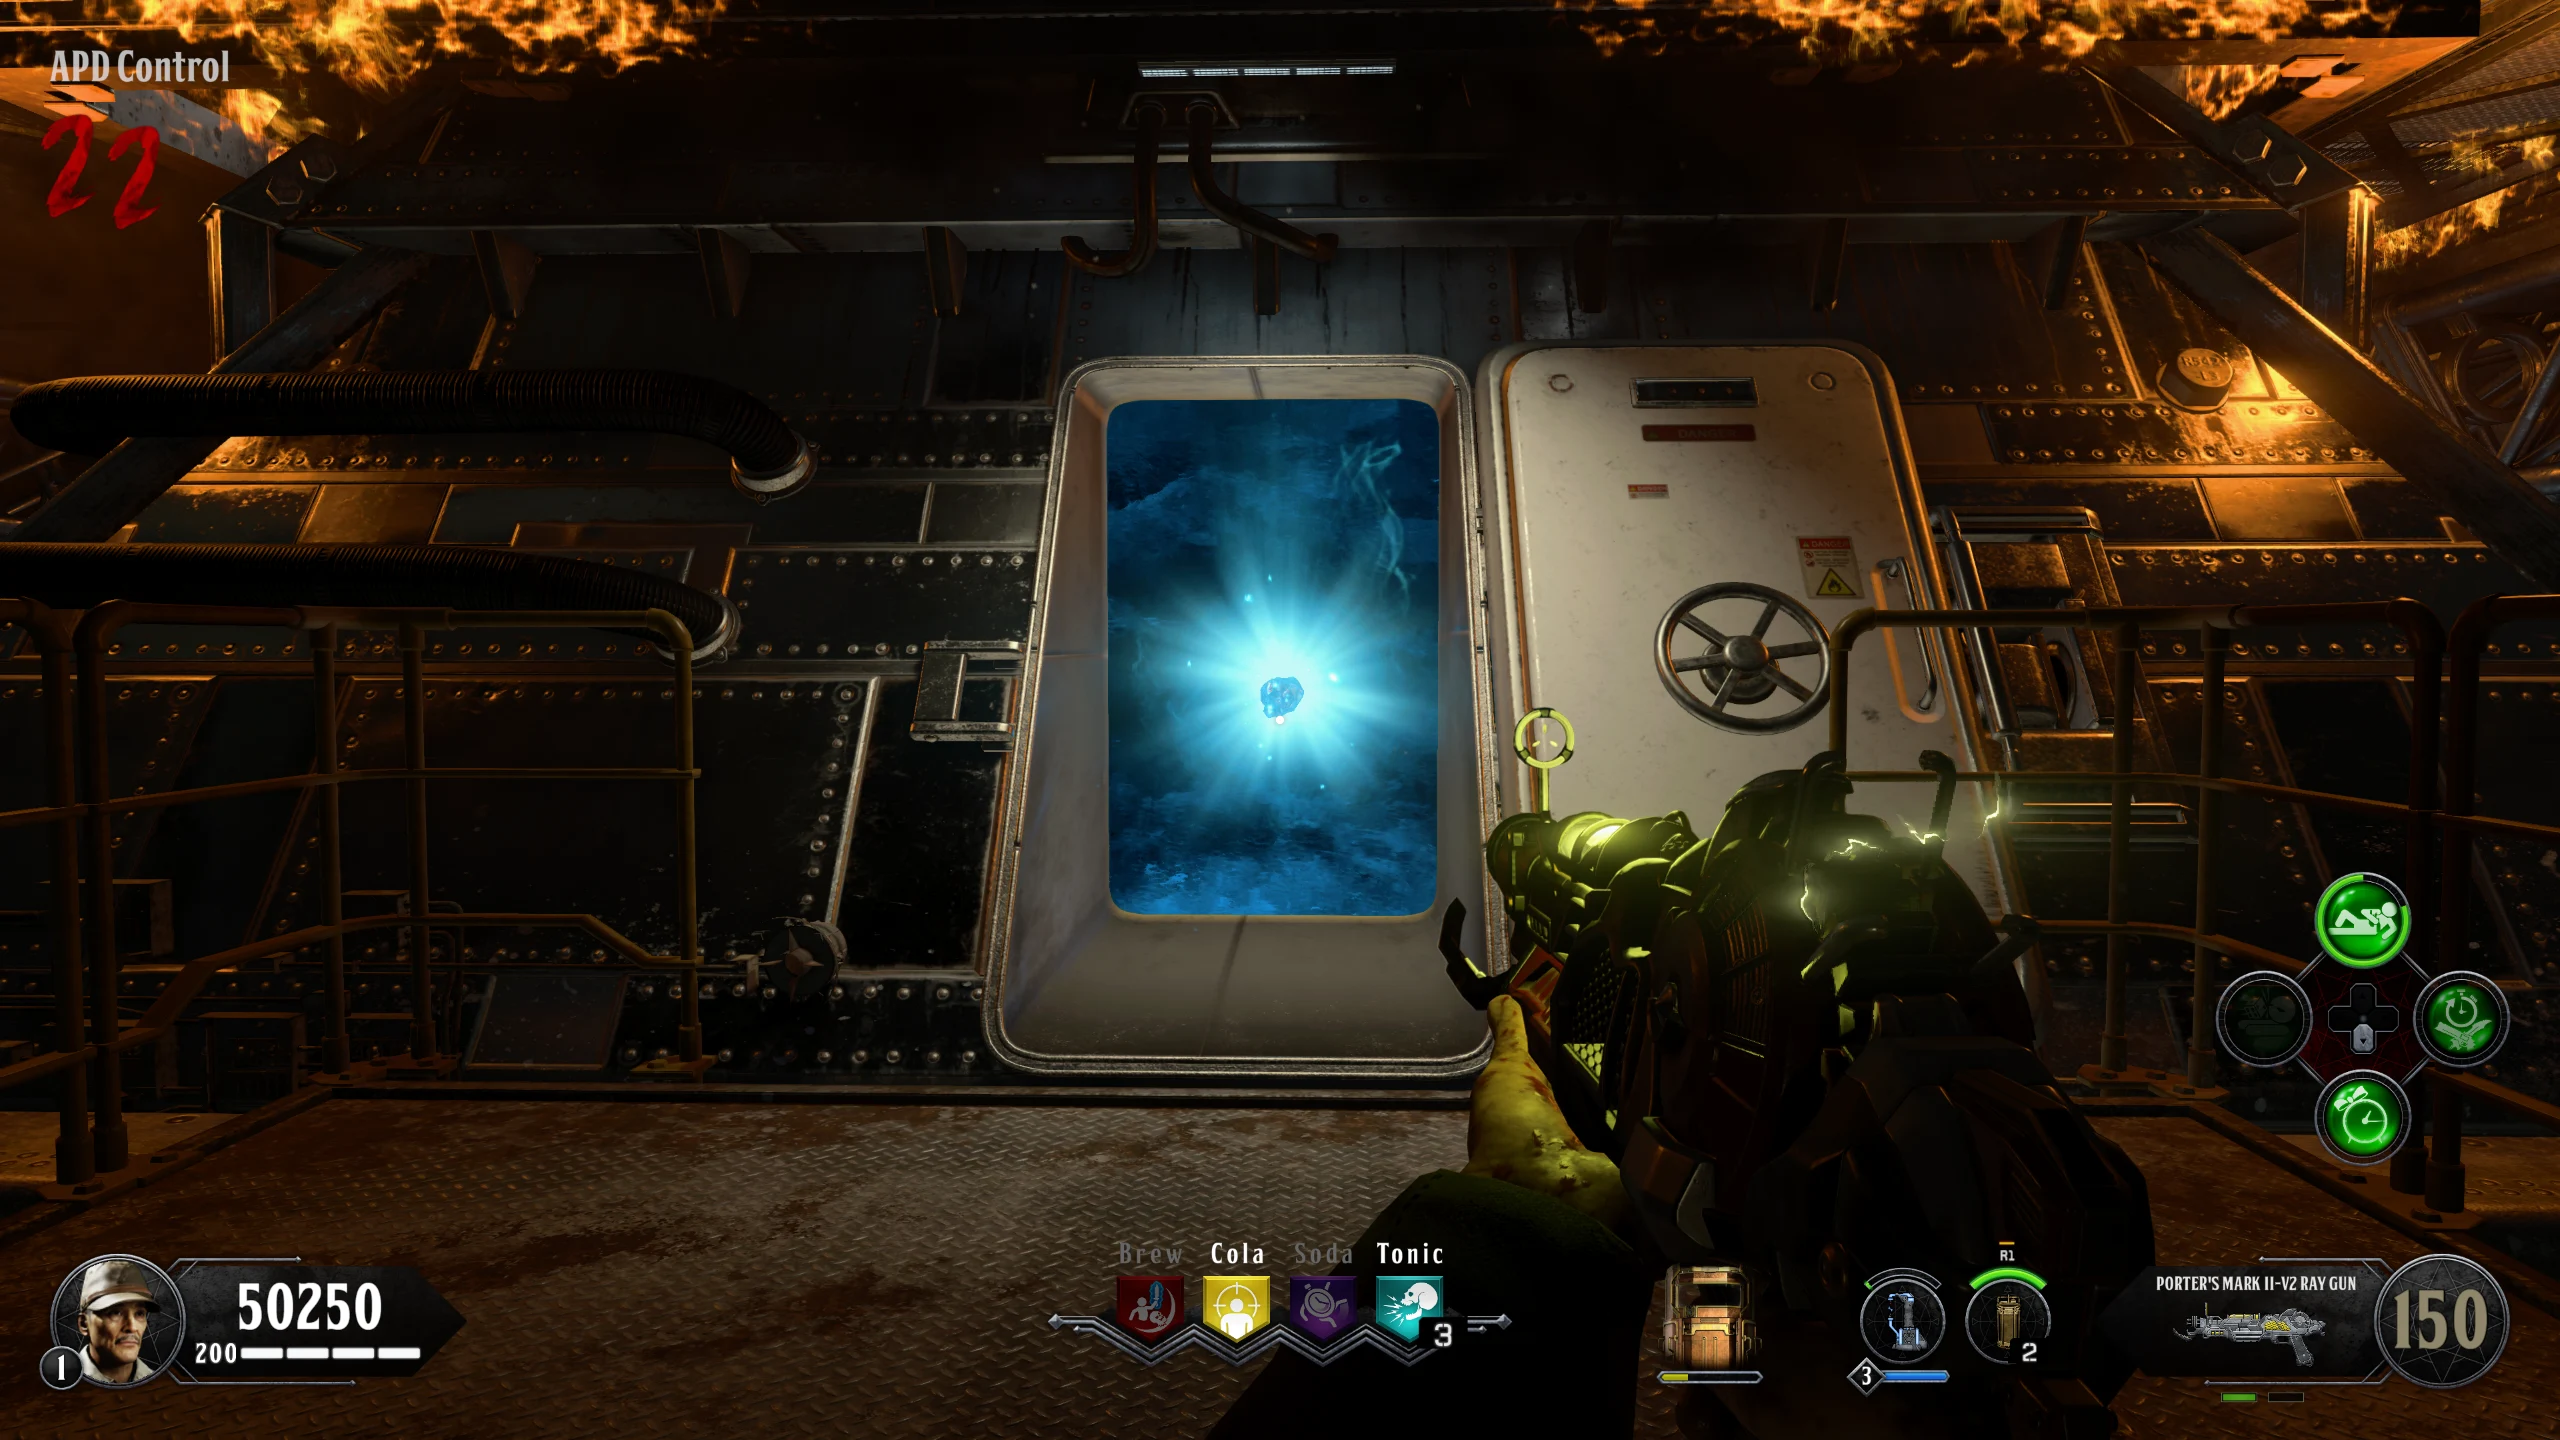
- All players must interact with this Computer in 'APD Control' at the same time to start the boss fight.
- Kill mannequins around the Pyramid in 'APD Control' to fill up the empty soul canister. Once full, the door of the APD will open, revealing the Avogadro and the start of a dialogue exchange followed by a nuke going off.
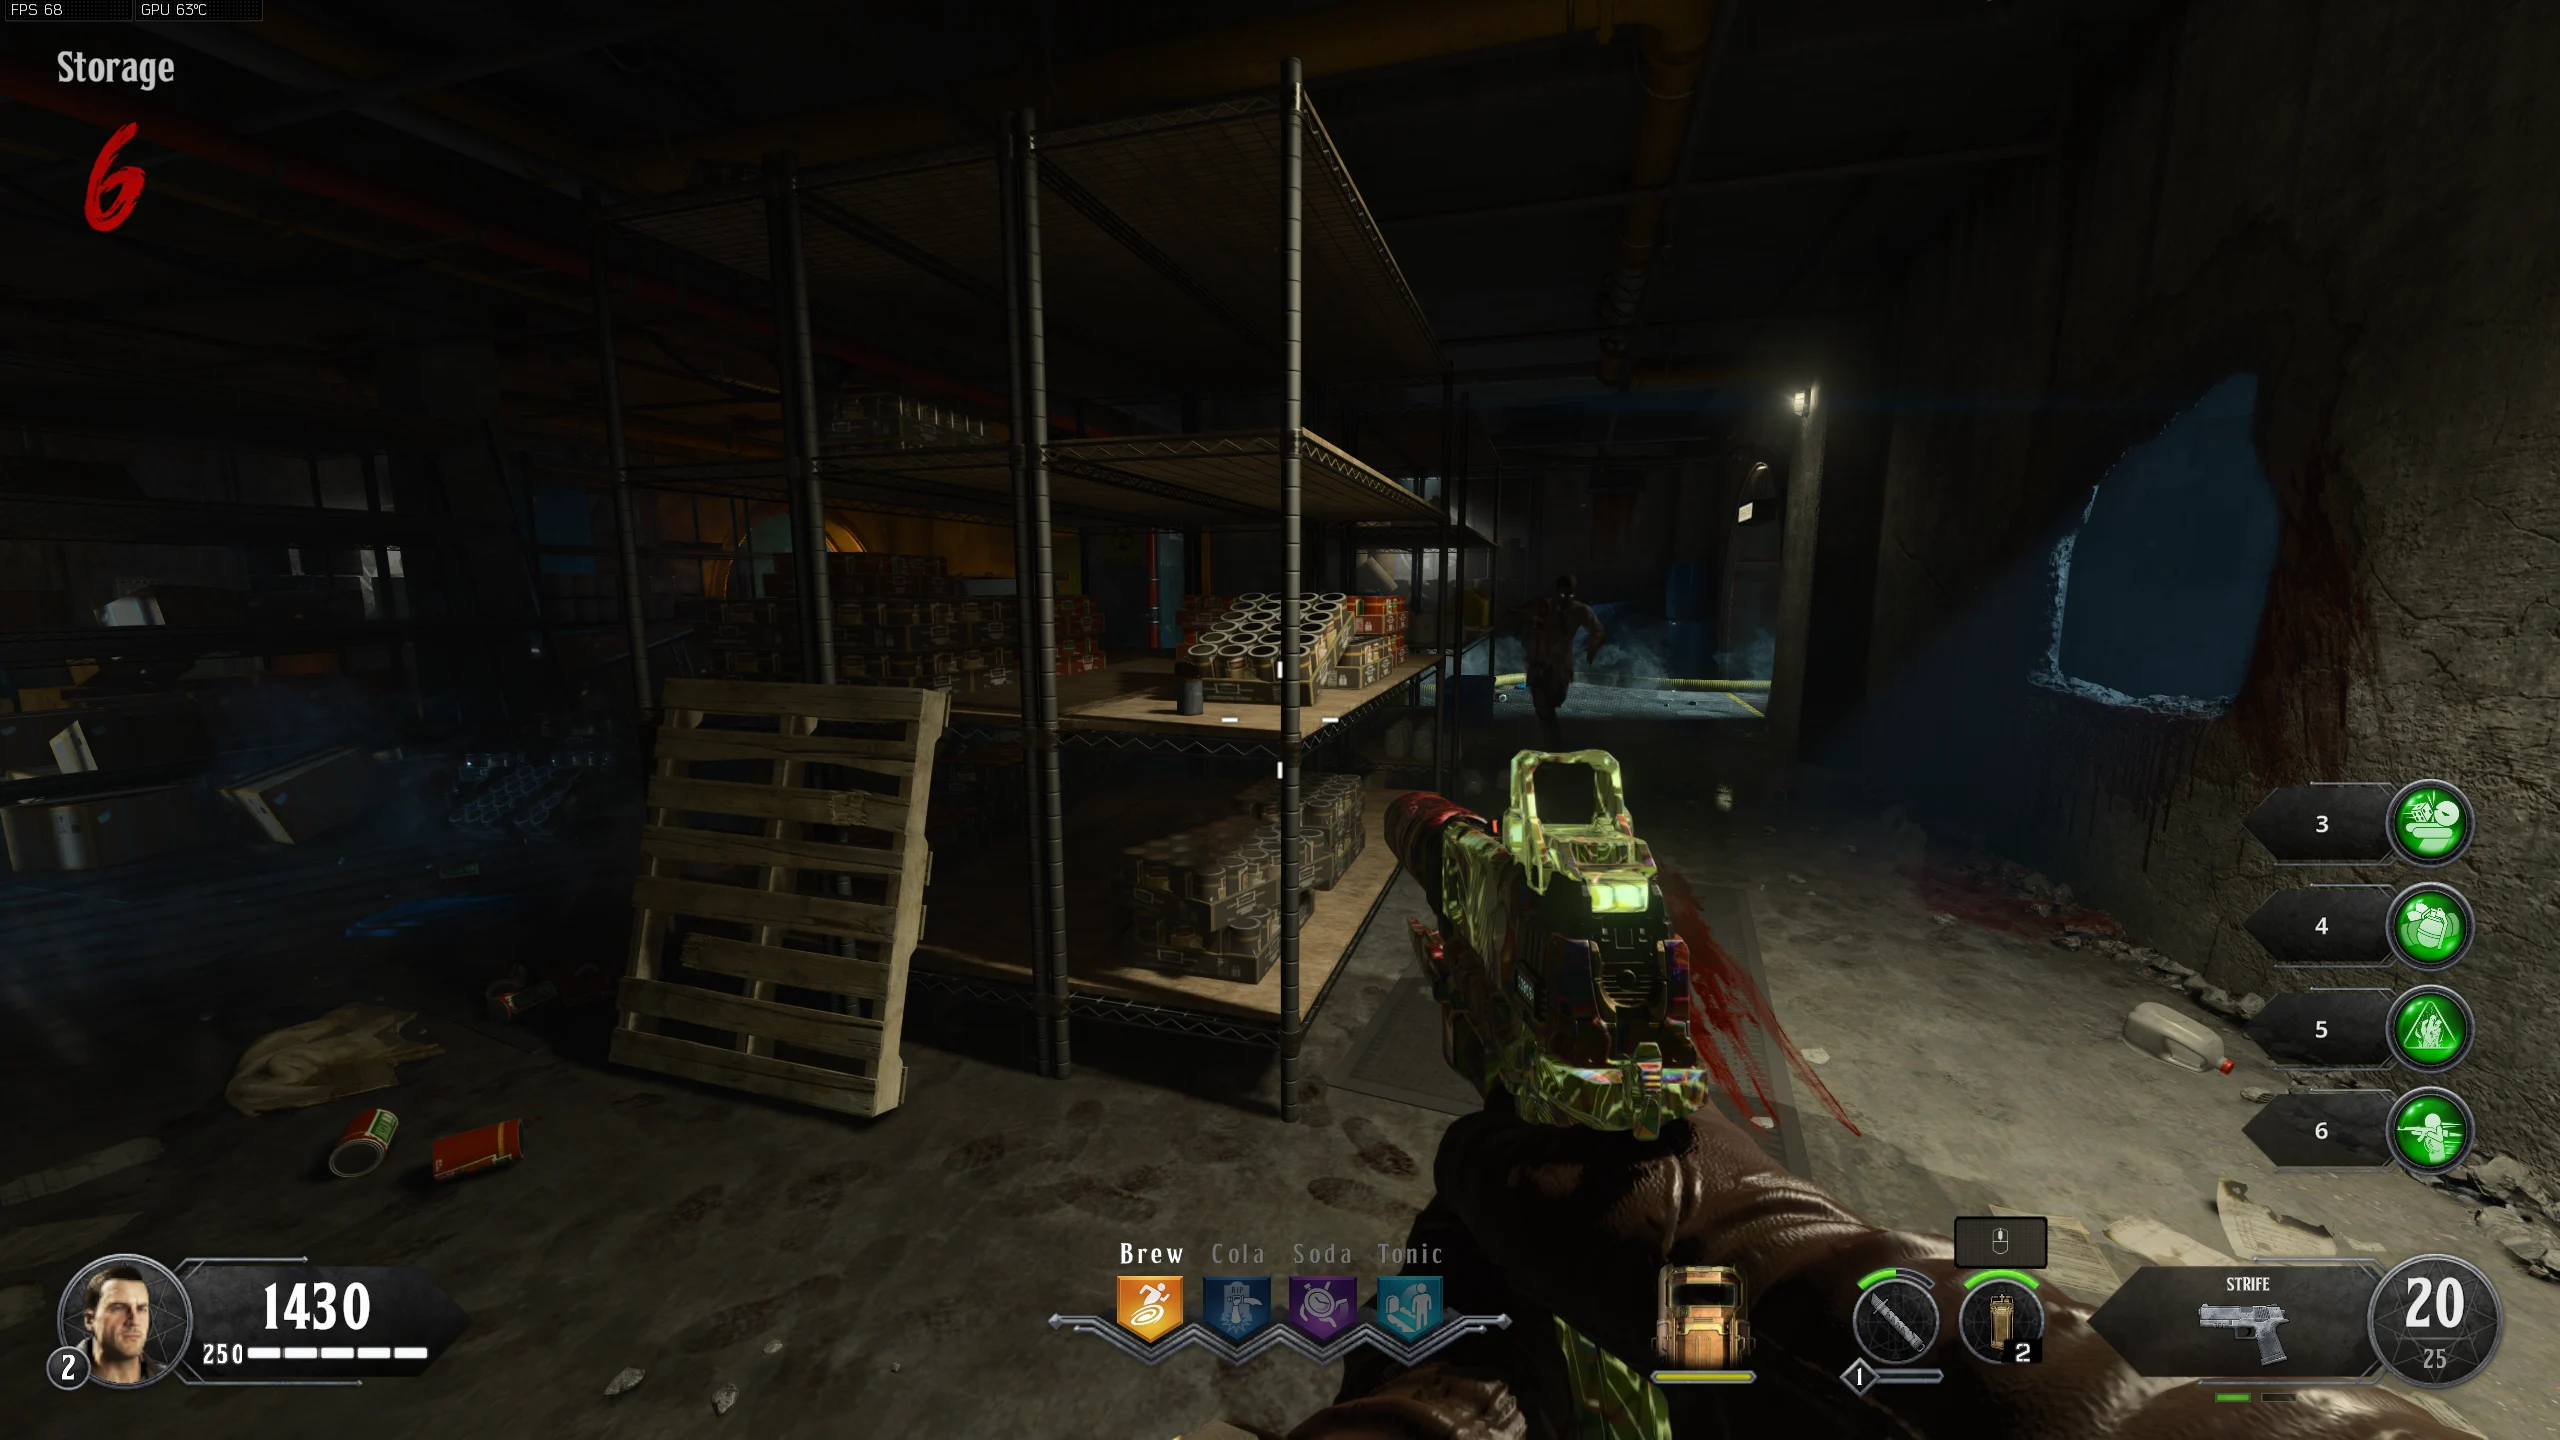
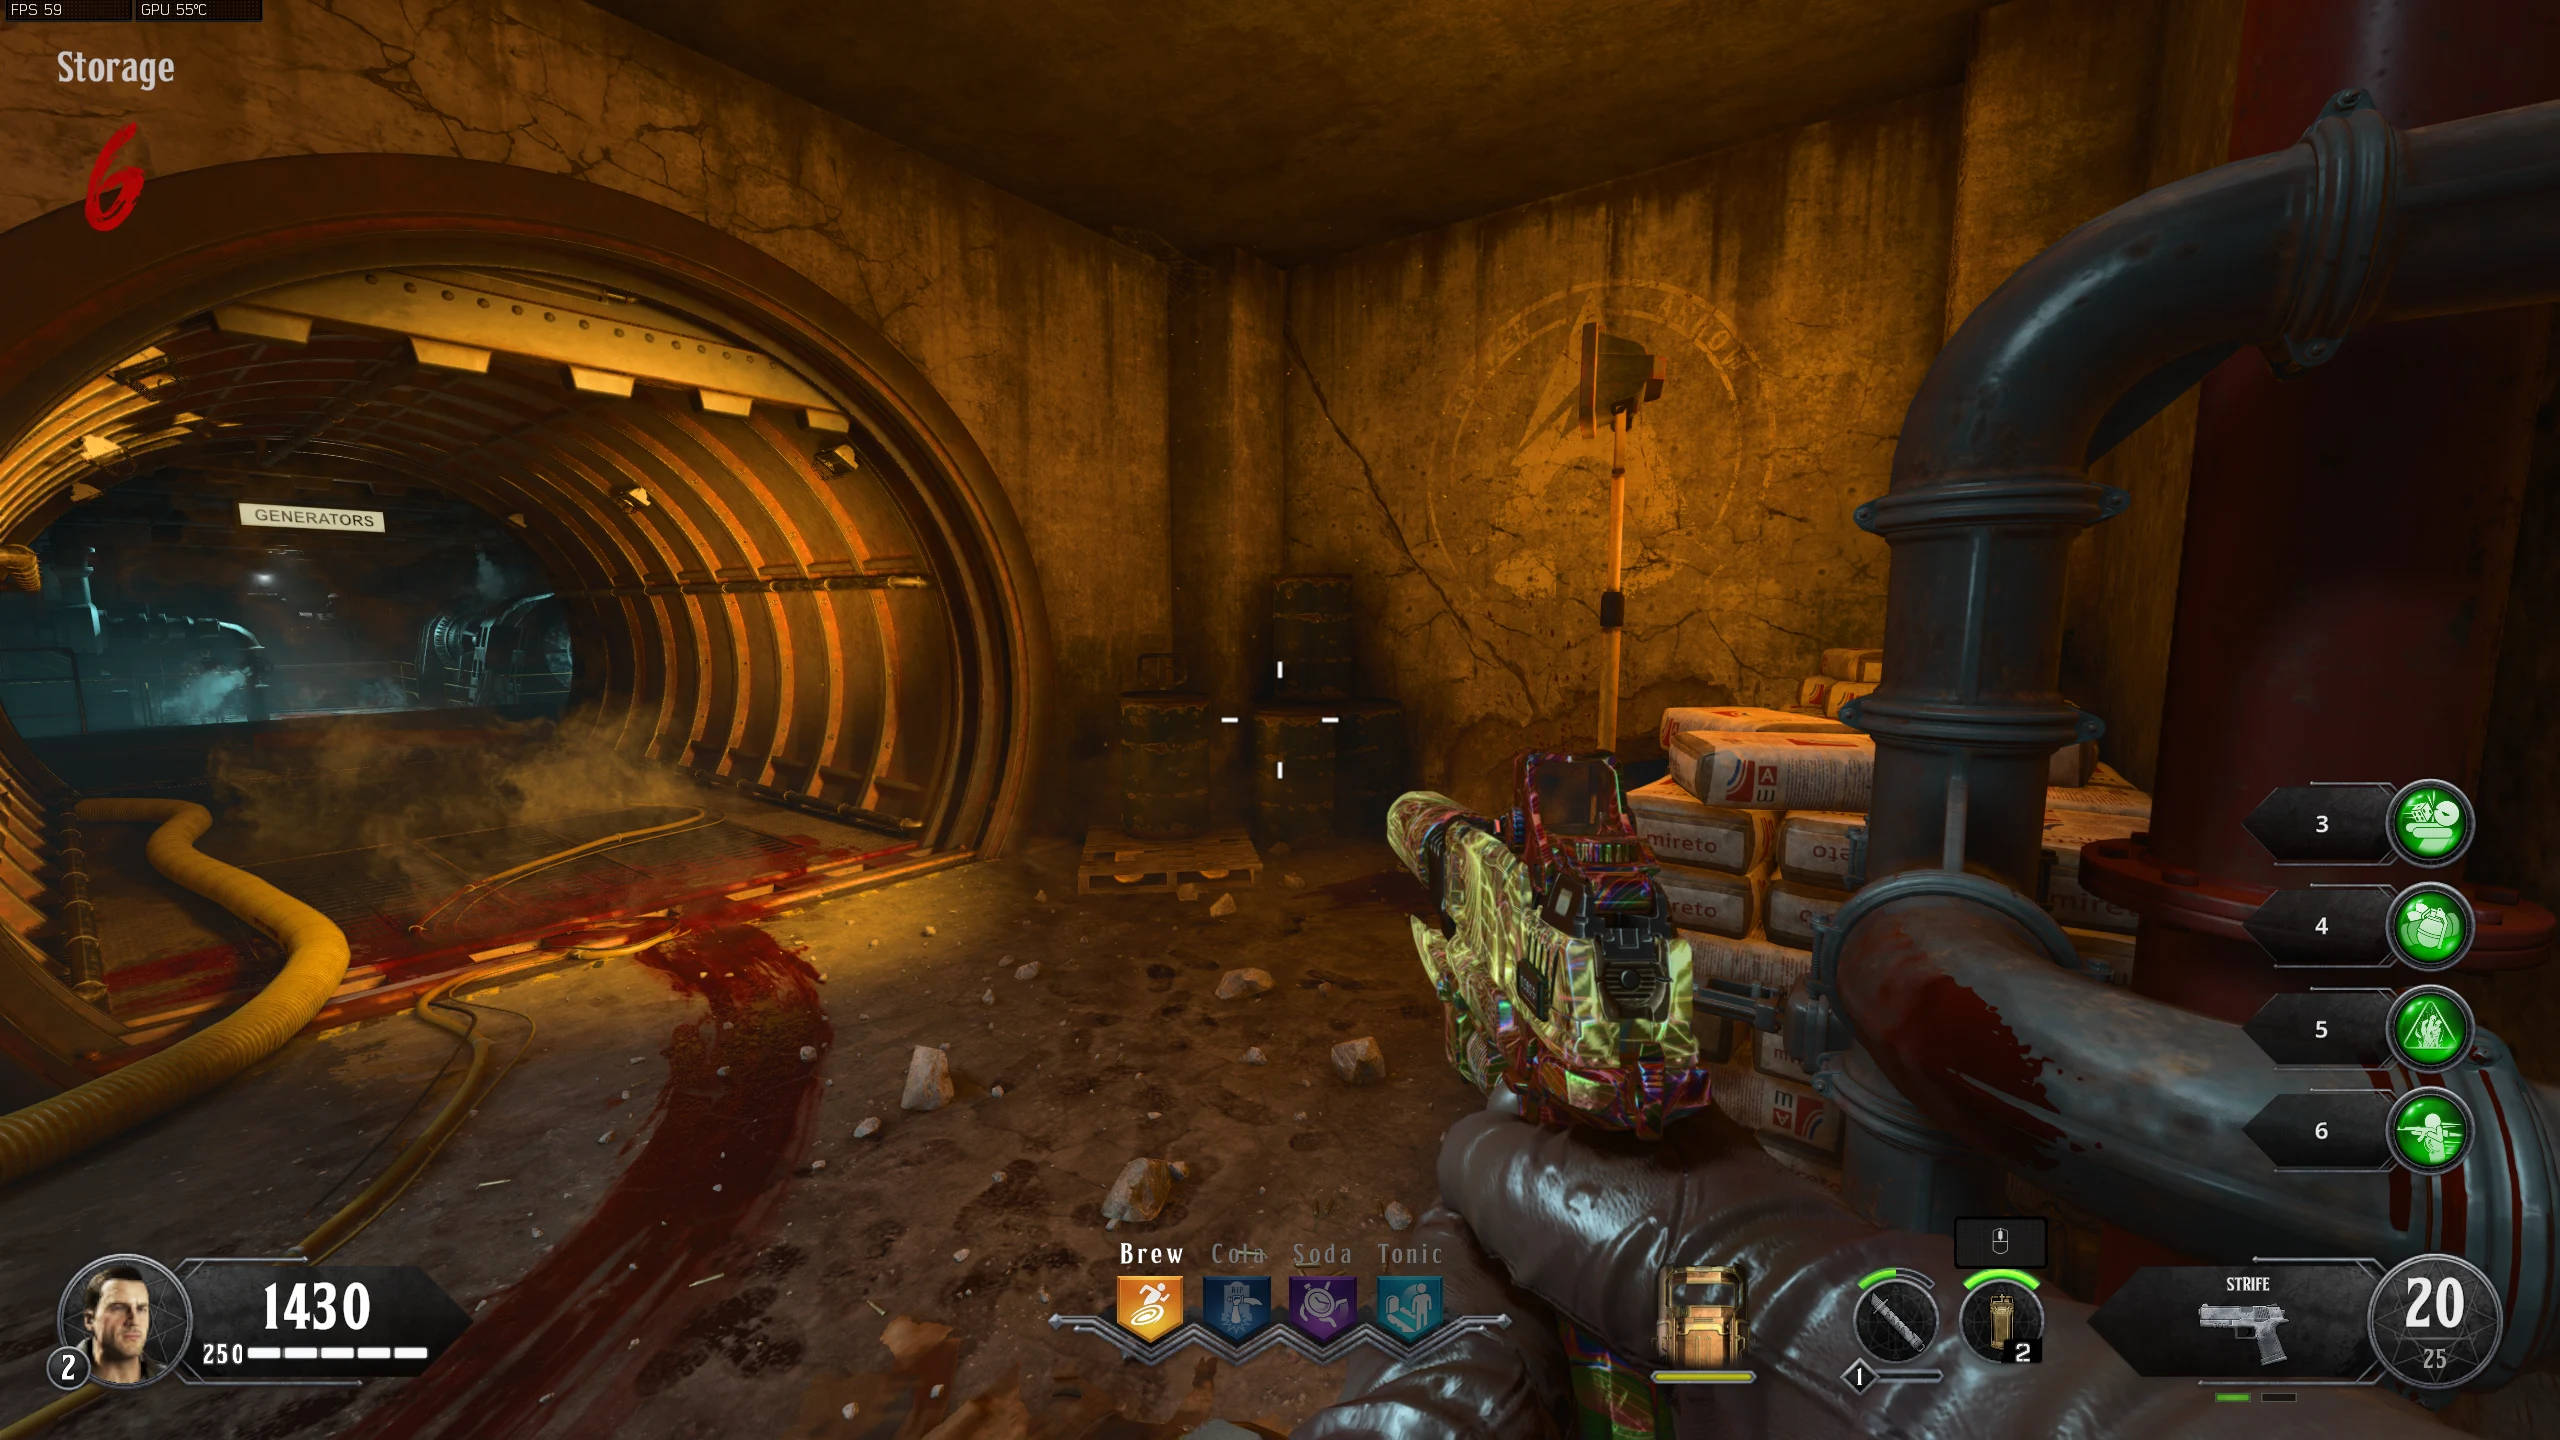
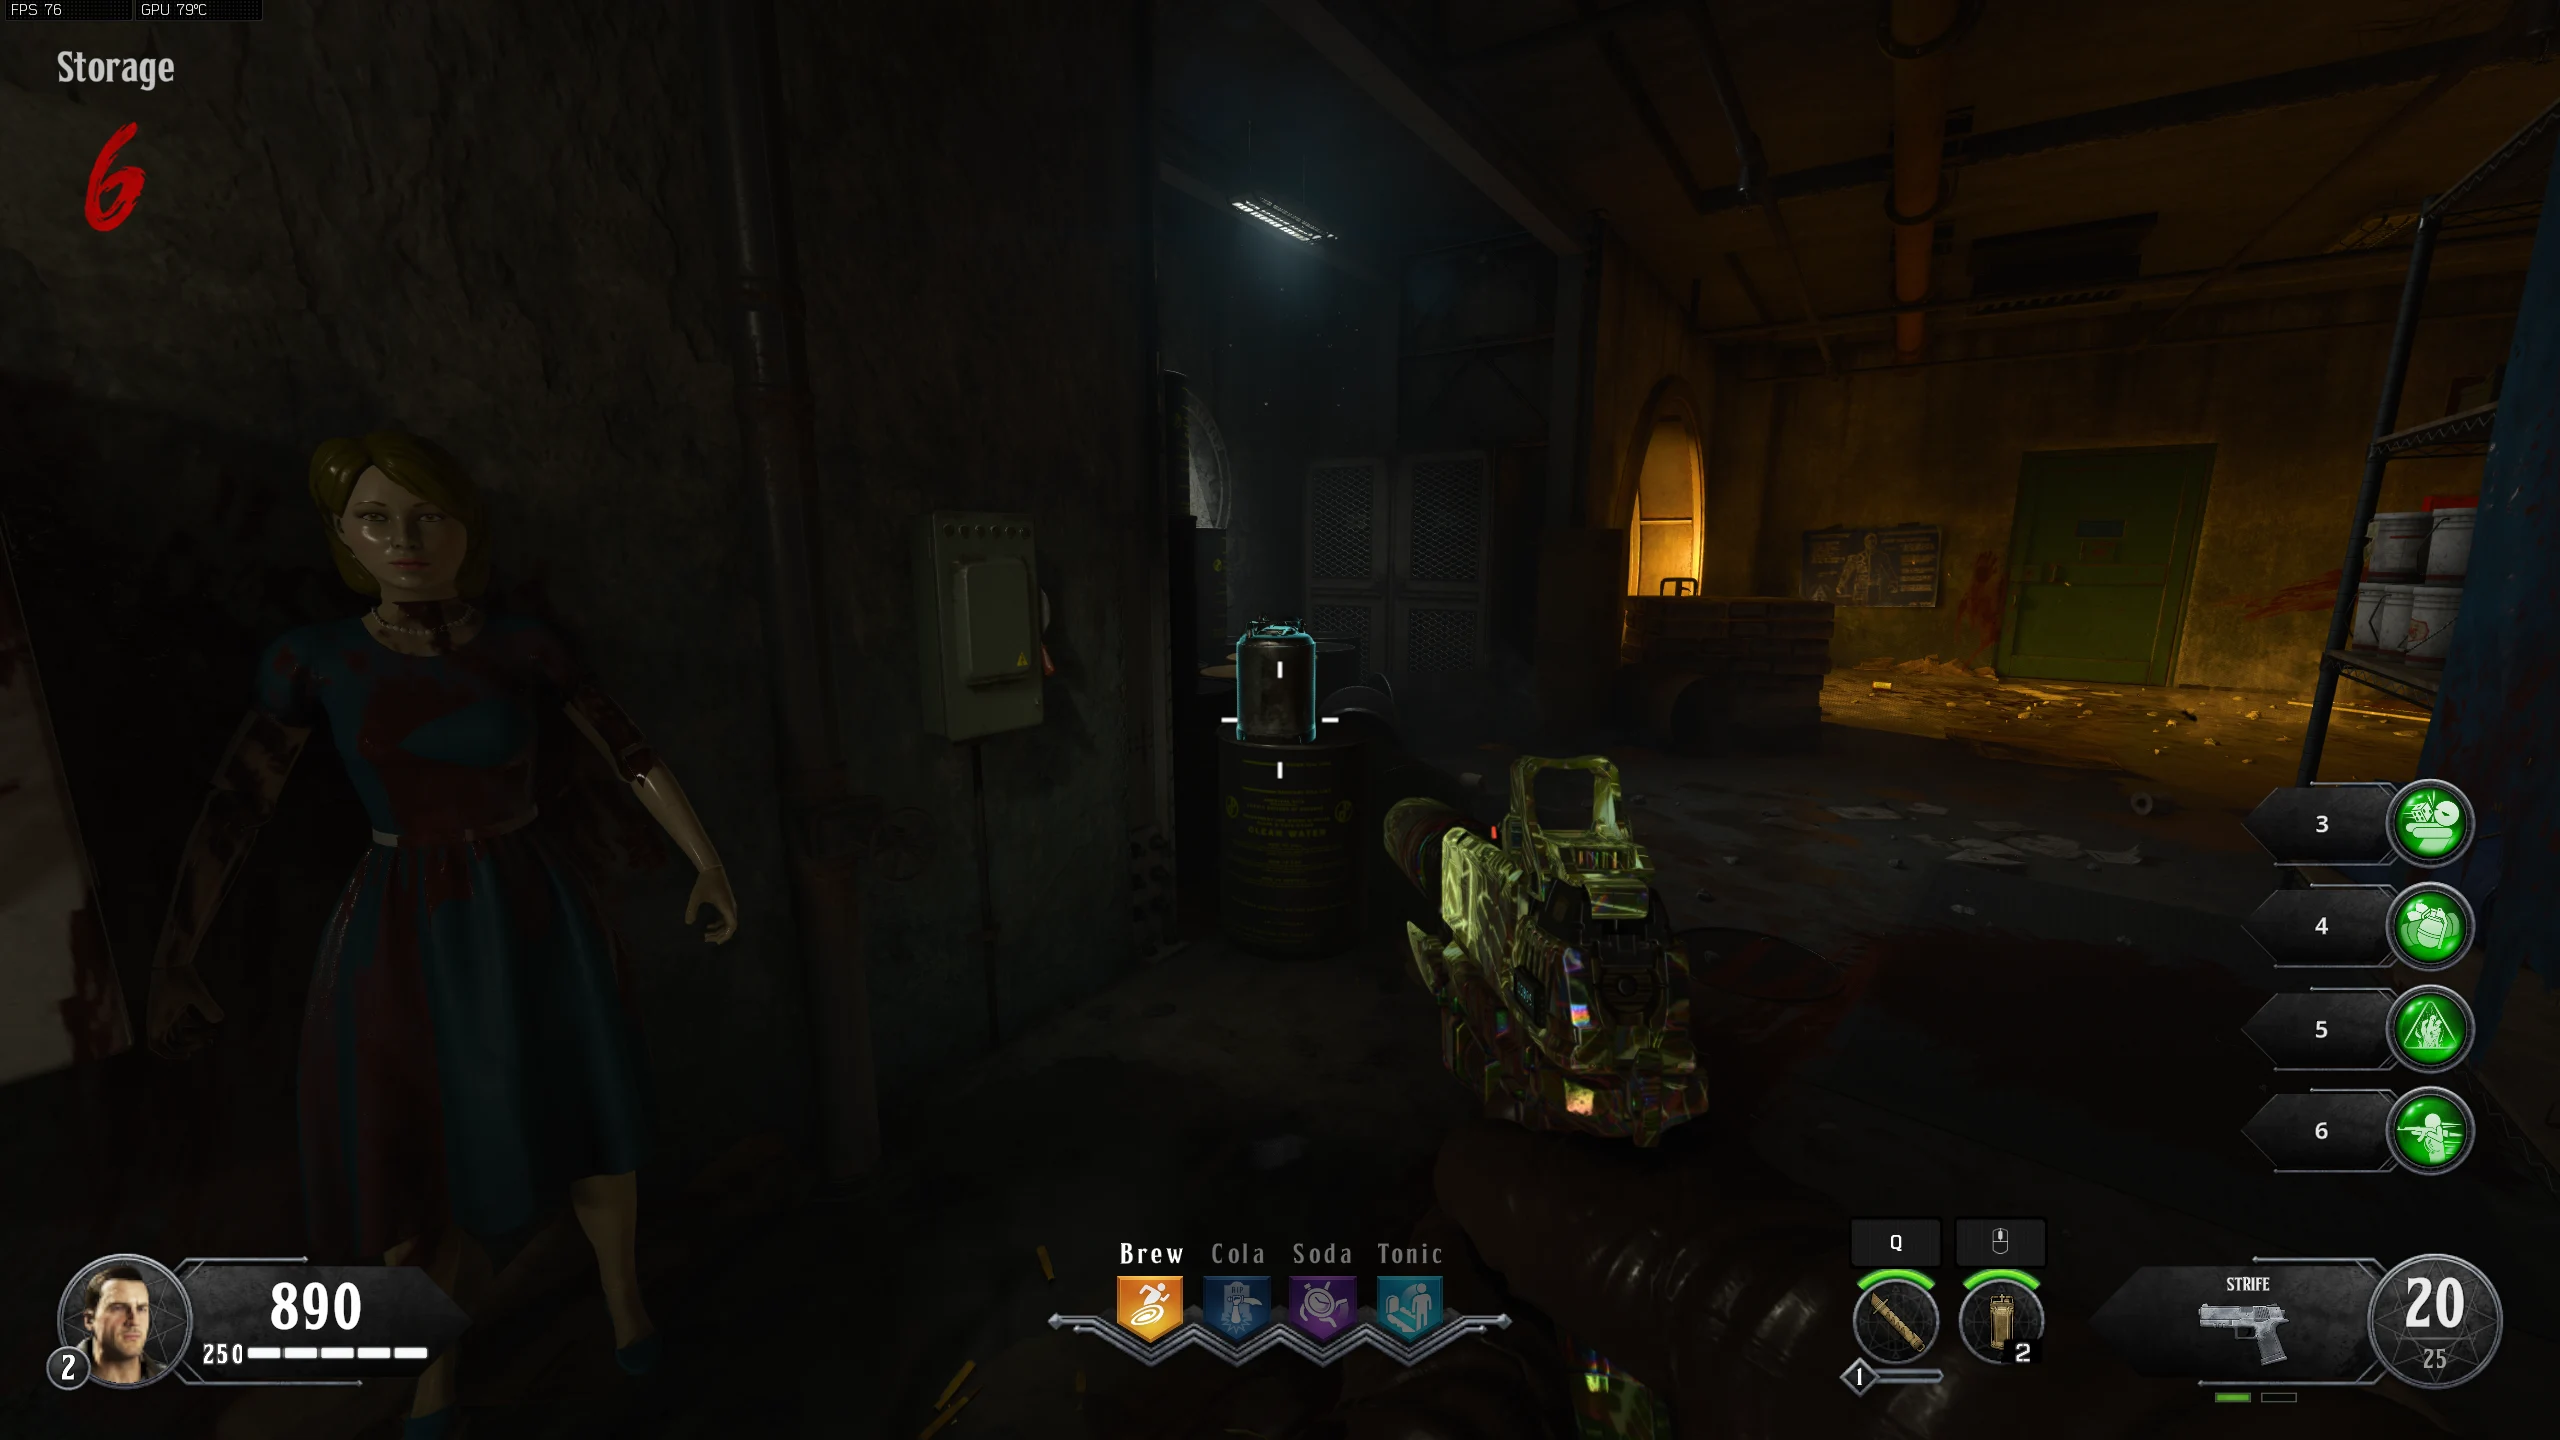
- Once the Nuke has gone off and more dialogue has played, leave 'APD Control' and find one of four backup soul canisters around the bunker. When you find a canister, all players must be in that area and one player must interact with the canister to allow it to be filled with souls. While you are attempting to fill the canisters, the Avogadro will slowly float around the room, attacking you. Always watch the Avogadro, because if you lose track of him or get distracted with the other enemies, he can easily sneak up on you.
- Once you have filled the canister with enough souls, you will hear a quote. Leave that room as quickly as possible, as electricity will quickly fill the room, killing anyone inside and blocking access to it. Canister locations and recommended order:
- Once all four canisters have been filled, head back to 'APD Control.' Shoot at the Avogadro to push him in the direction you are shooting. You must push him so that he gets in front of the APD door.
- Once he is in front of the stairs up to the door, he will be sucked into the APD. When prompted, interact with the Computer in 'APD Control.'
- After all the audio quotes are finished, the APD door will open, revealing the Elemental Shard for you to pick up. After you pick up the Shard, the ending cutscene will play and the game will end.
Contain the Gas Leak
Test the Emergency Broadcast System
Pursue all Avenues of Science and Invention
Preserve the Integrity of Our Mission
Prevail over the Impossible to Open New Worlds
Protect the Values of the American Dream
Prepare for Tomorrow and Humanity's Future
Overwhelm our Enemies with Shock and Awe
Warning: Point of No Return. Once the computer is interacted with, the Boss Fight will start.
Avogadro Boss Fight
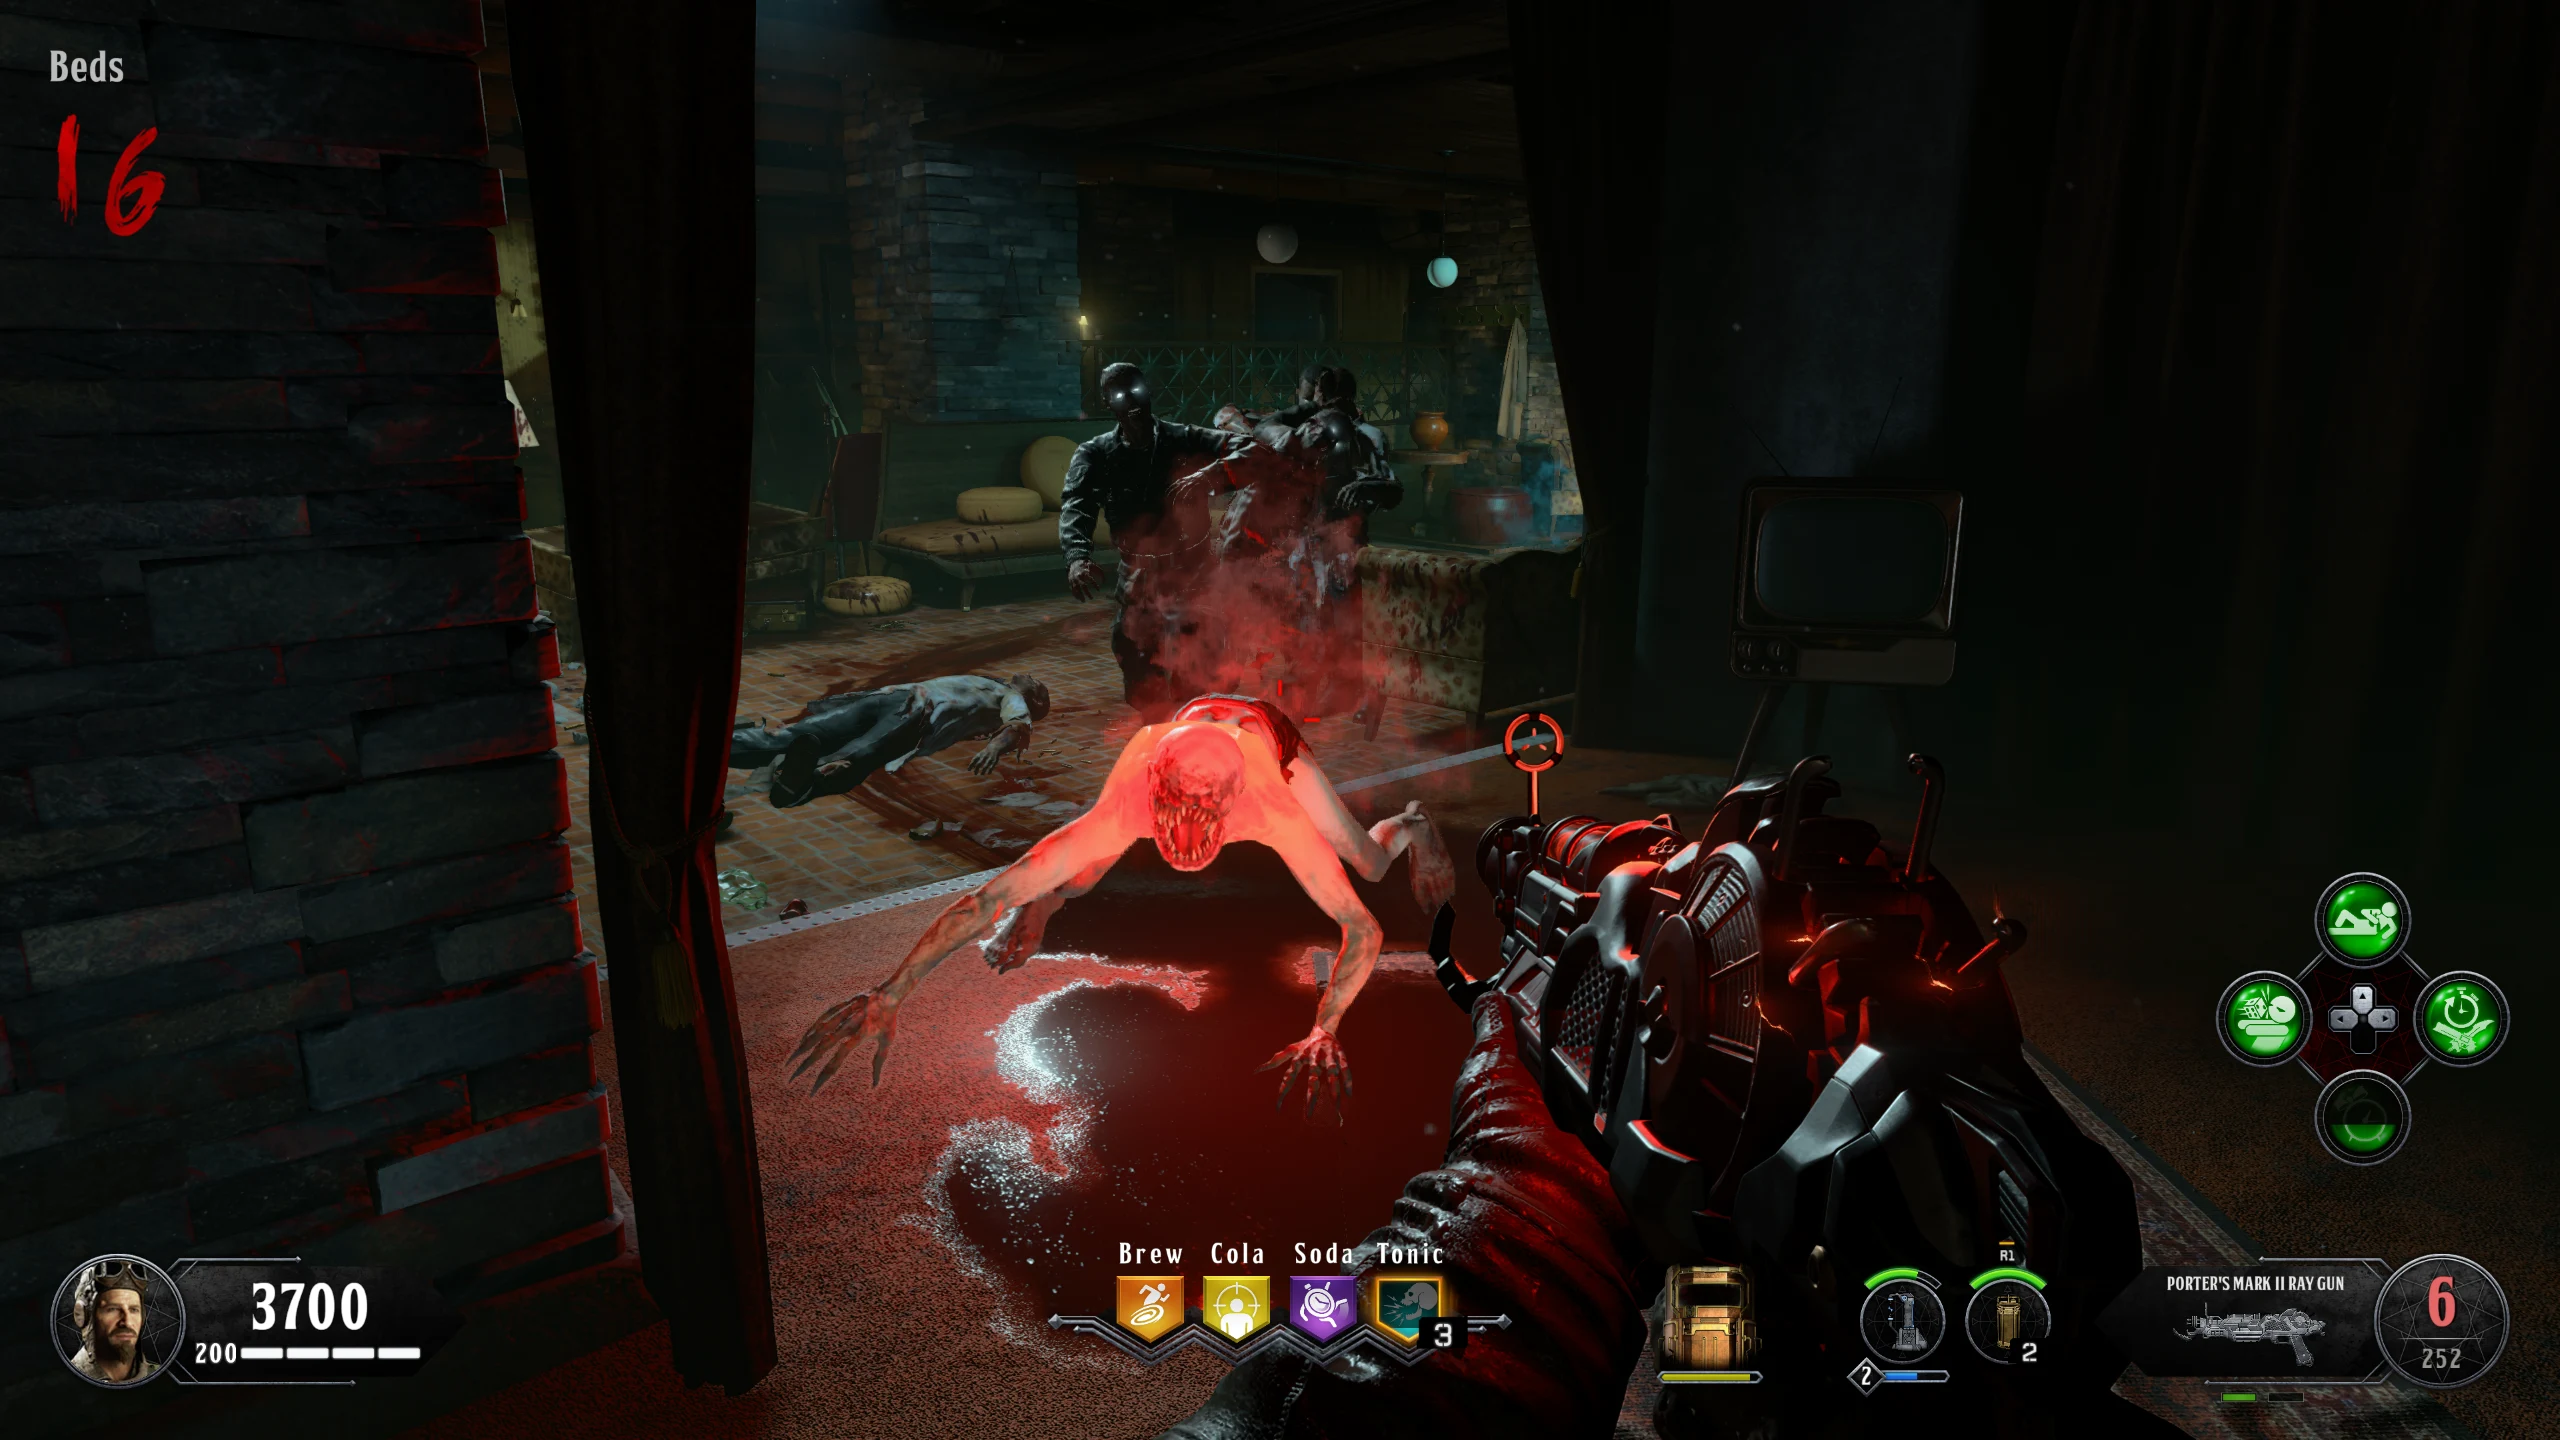
Recommended Weapons: Any Ray Gun Mark II Version and a Med-High fire rate Bullet-Based Weapon
To Preserve the Future, Empower the Past