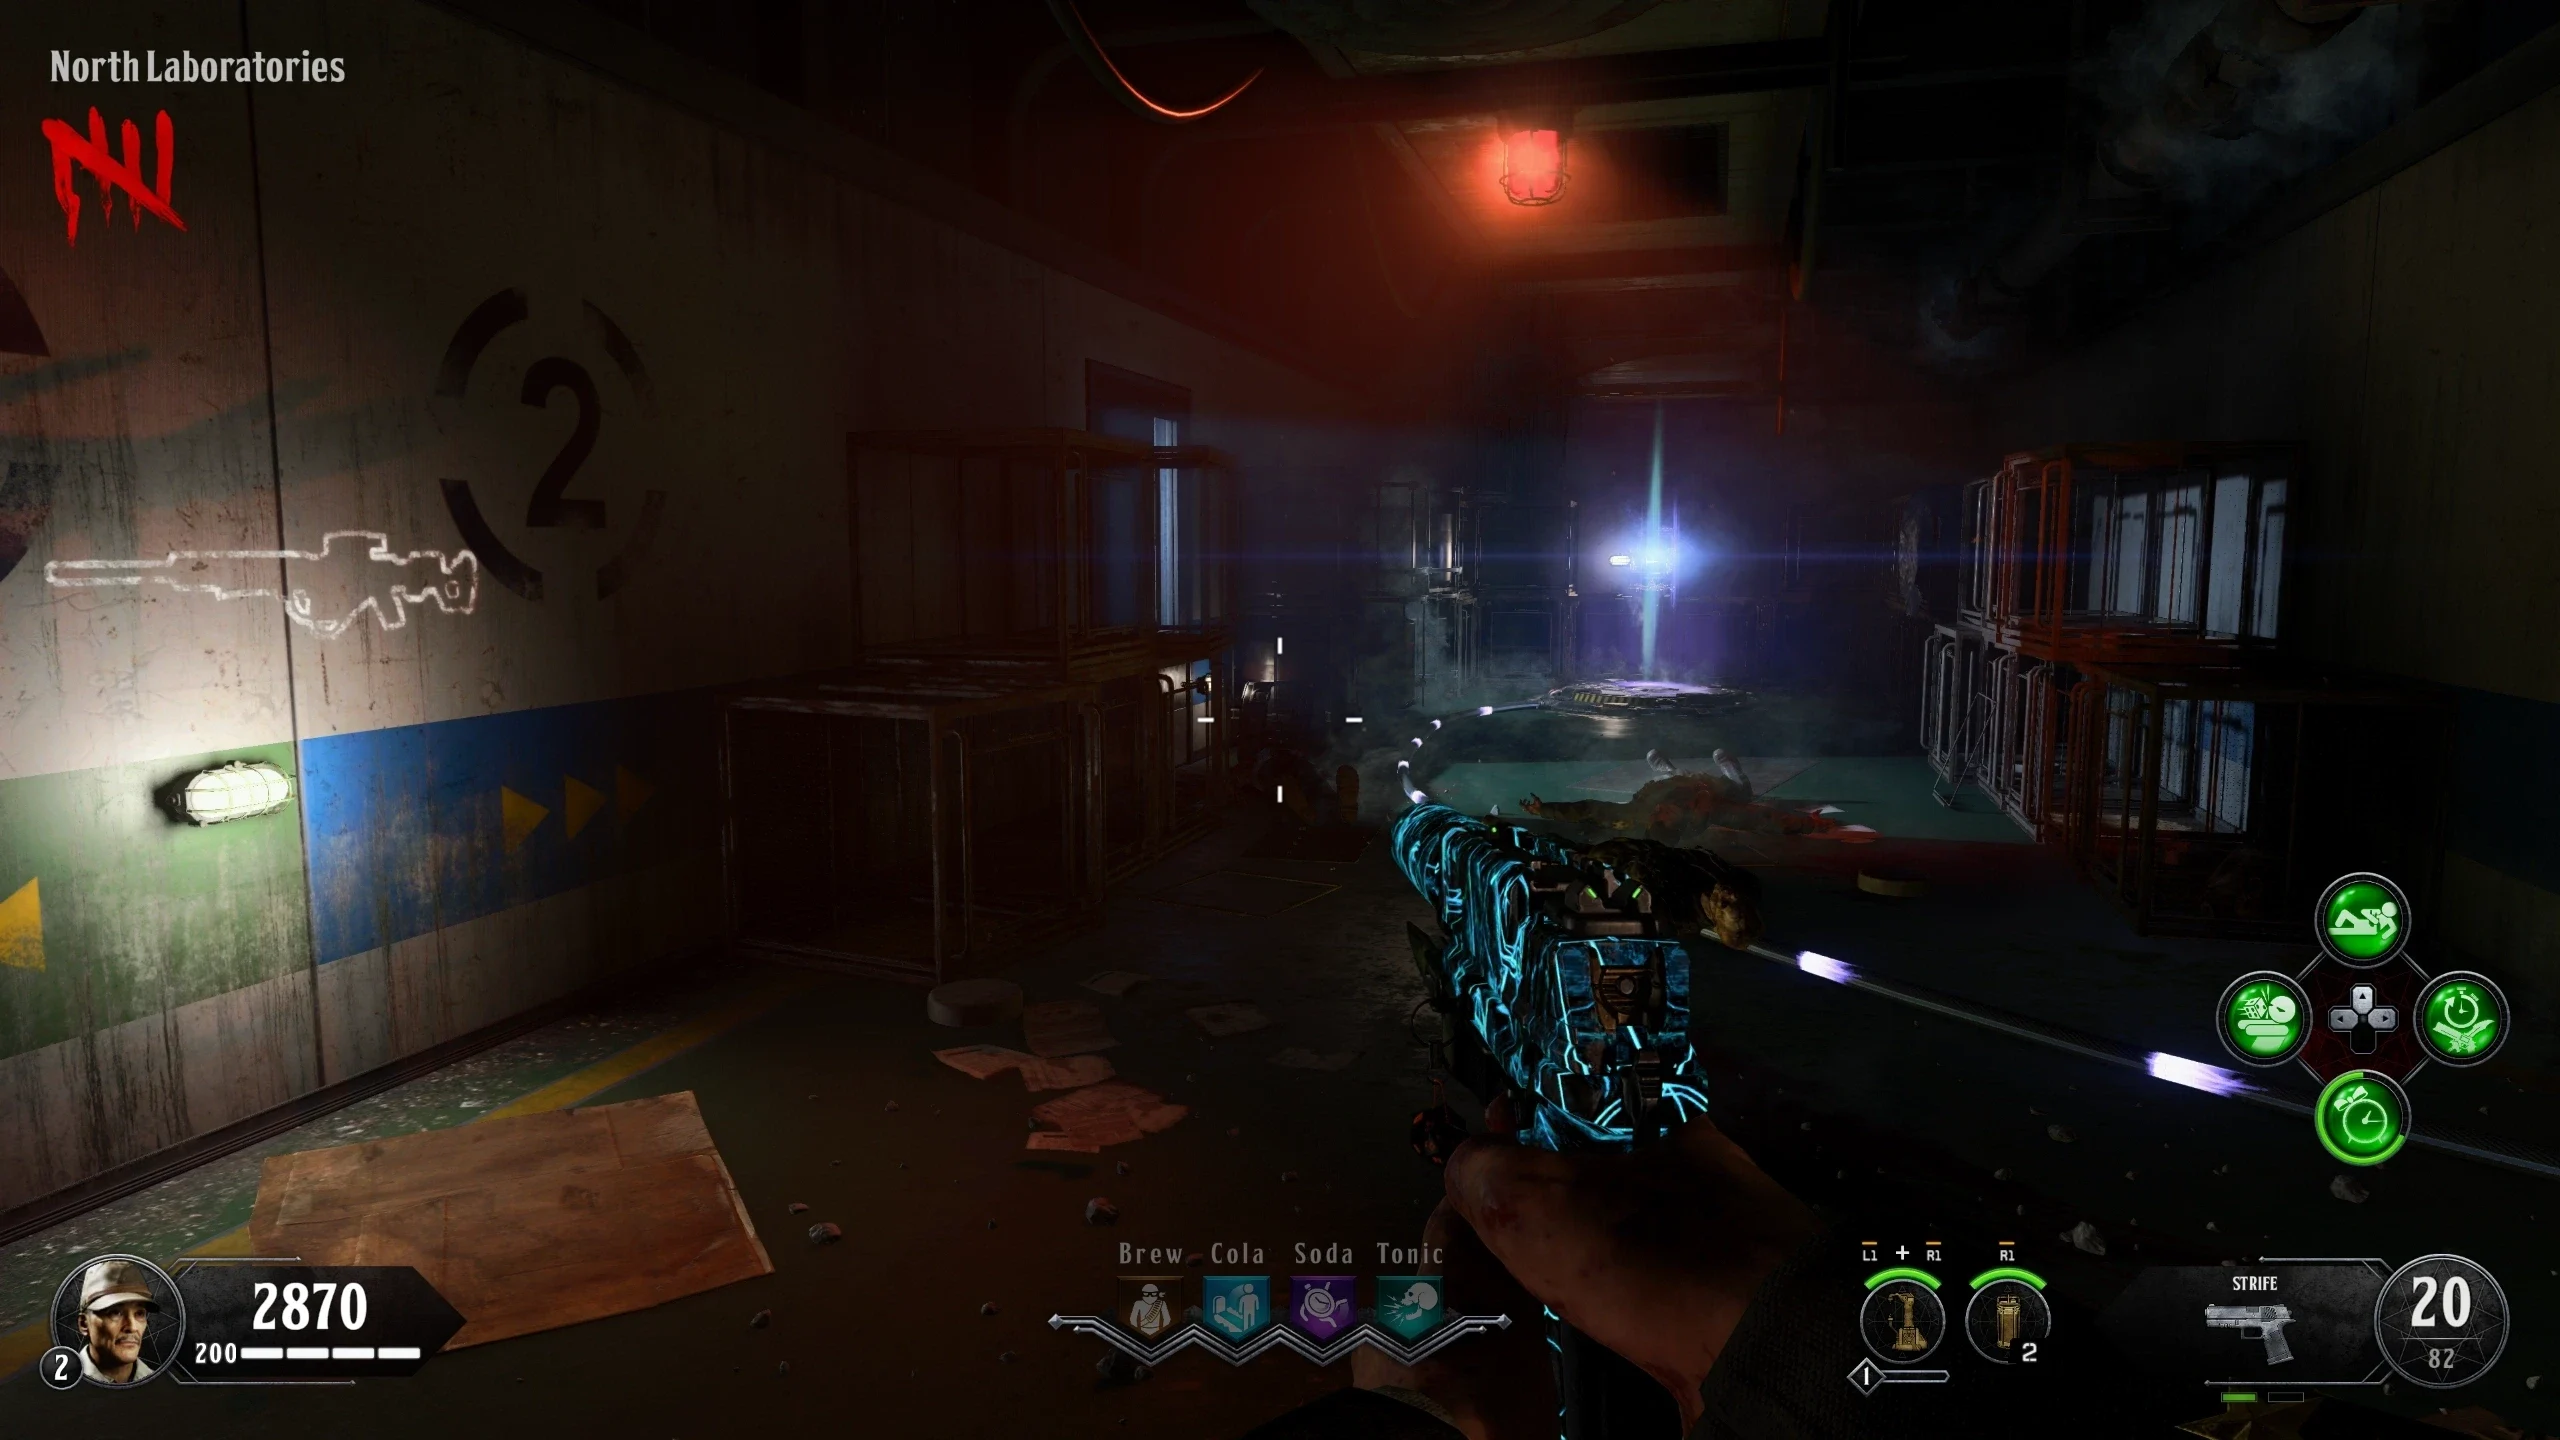
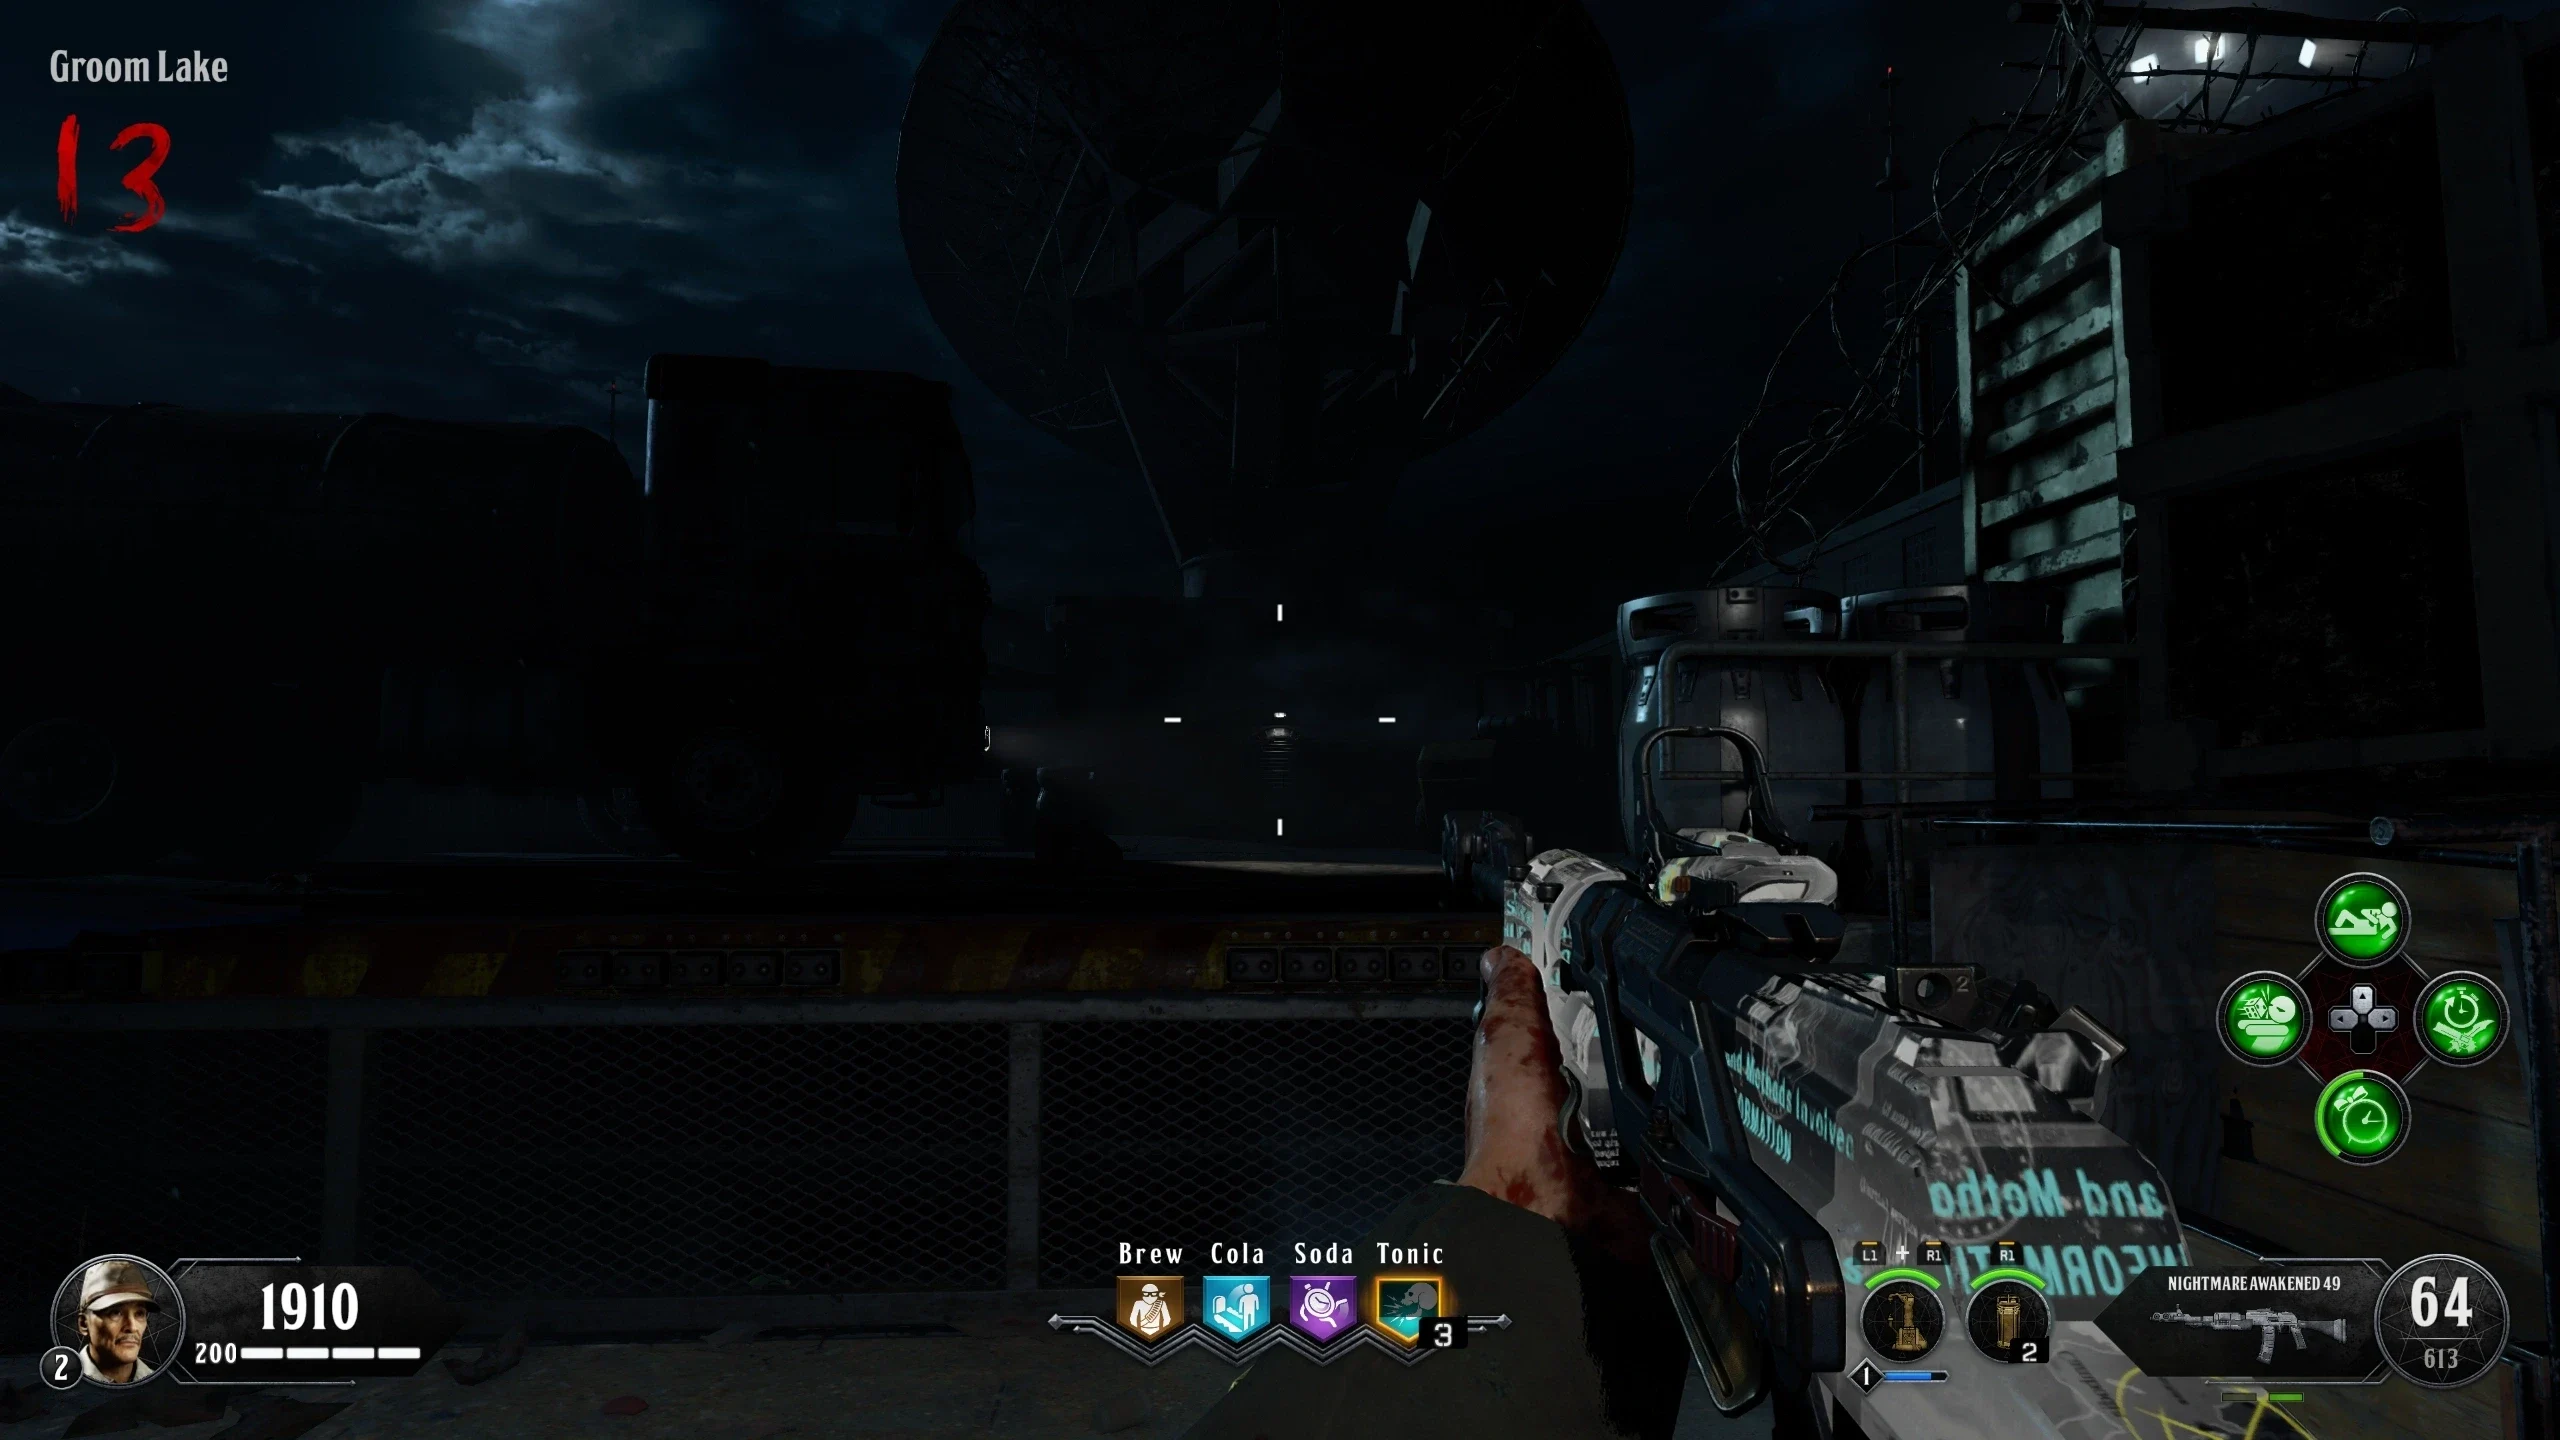
Pack-a-Punch
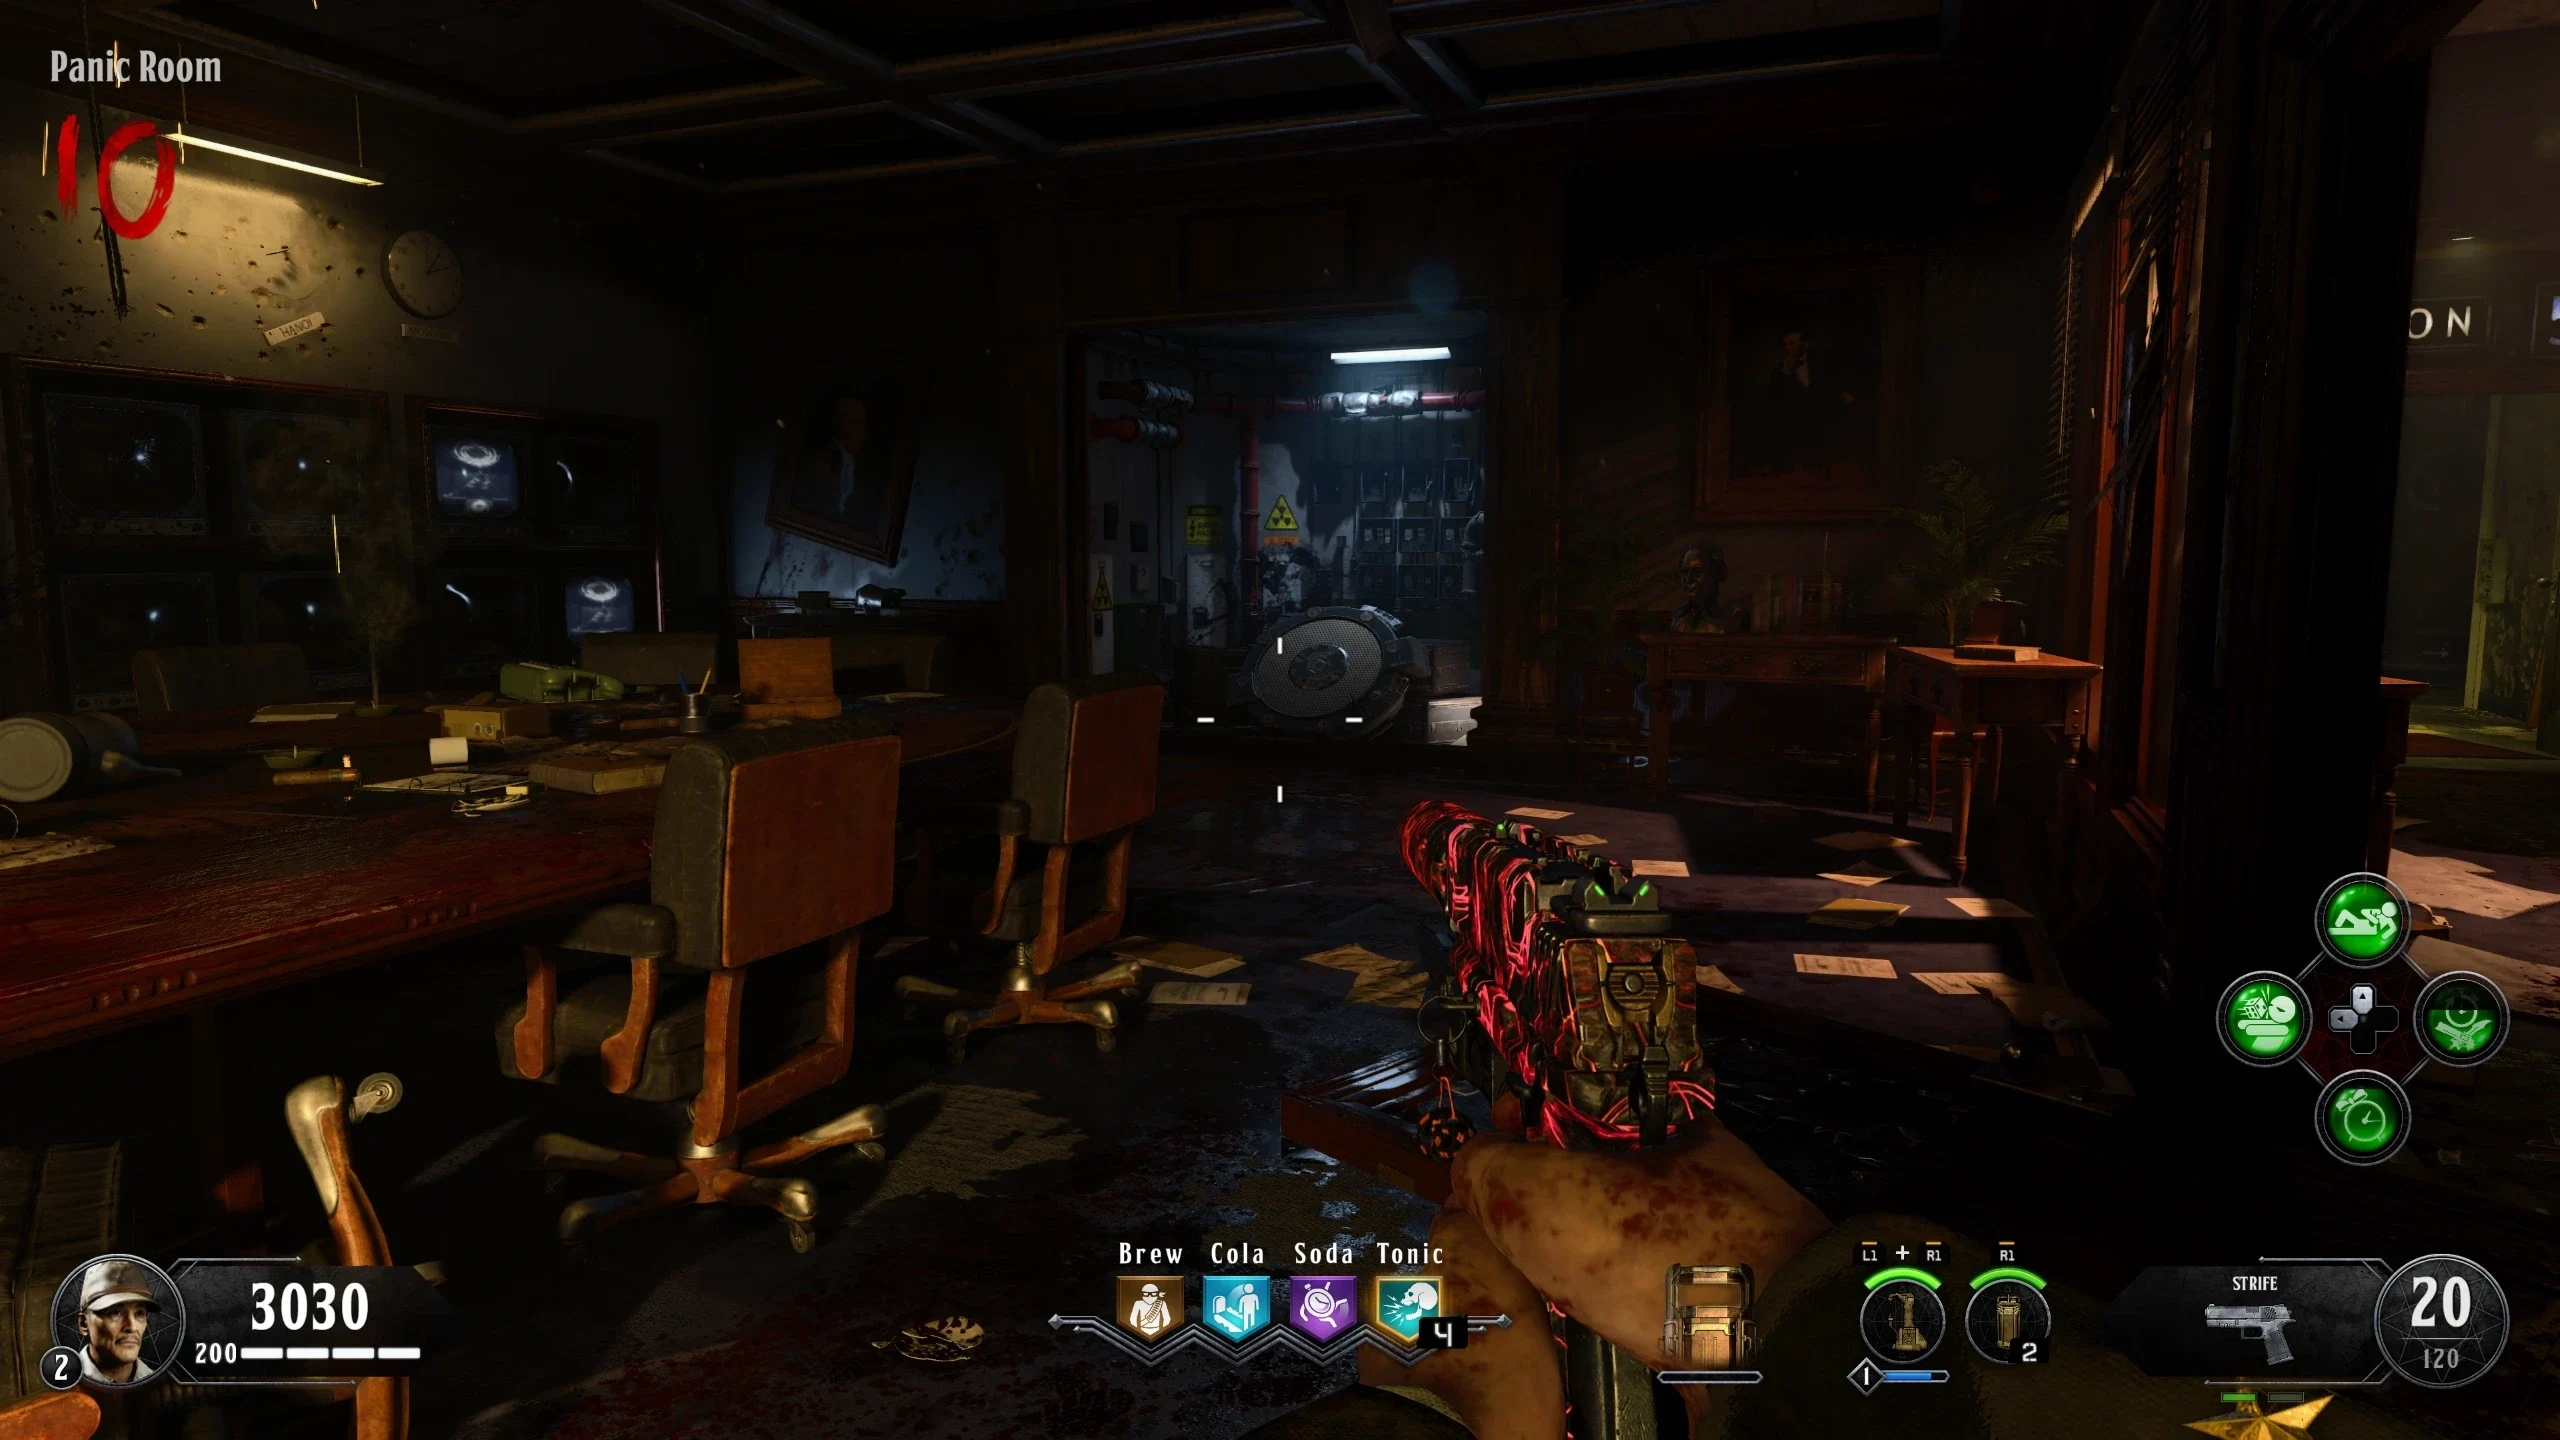
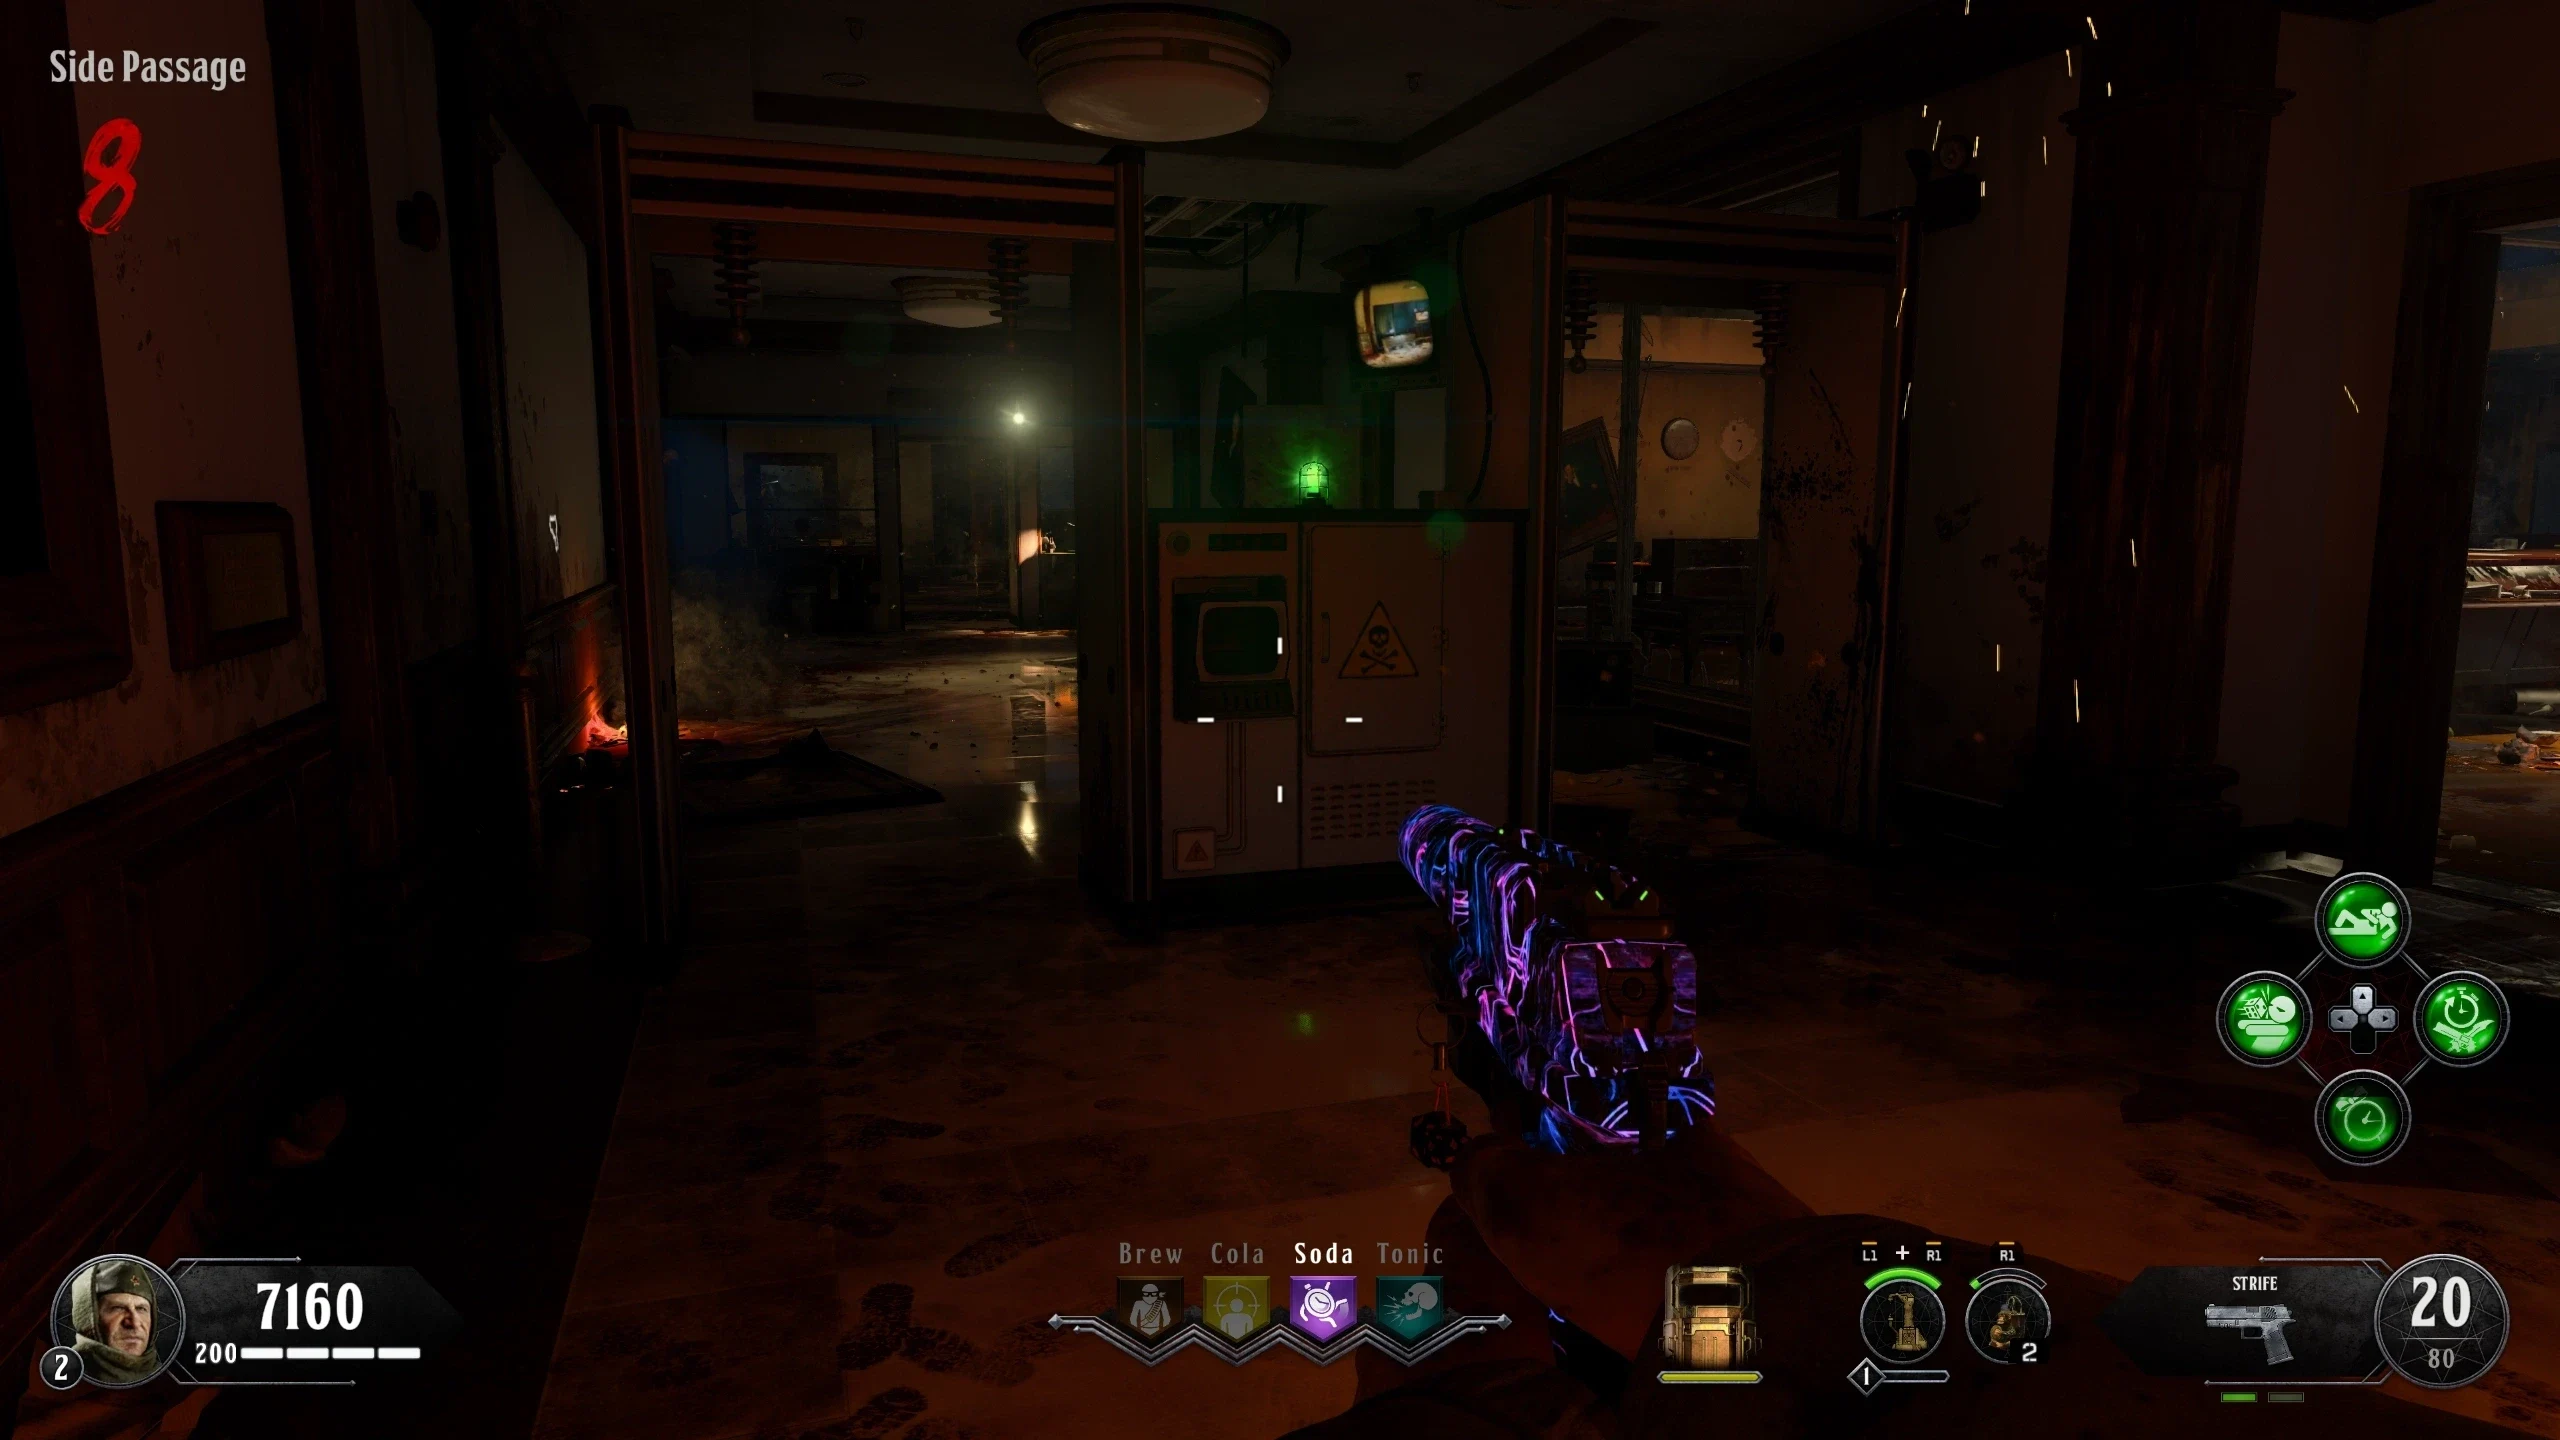
You can still enter the 'Panic Room' after placing the Teleporter Signal Amplifier by activating the Defcon switches and then entering the teleporter at the back of the 'Server Room.'
- Craft the Teleporter Signal Amplifier, three parts are required:
- Teleporter Pad:
- Amplifier:
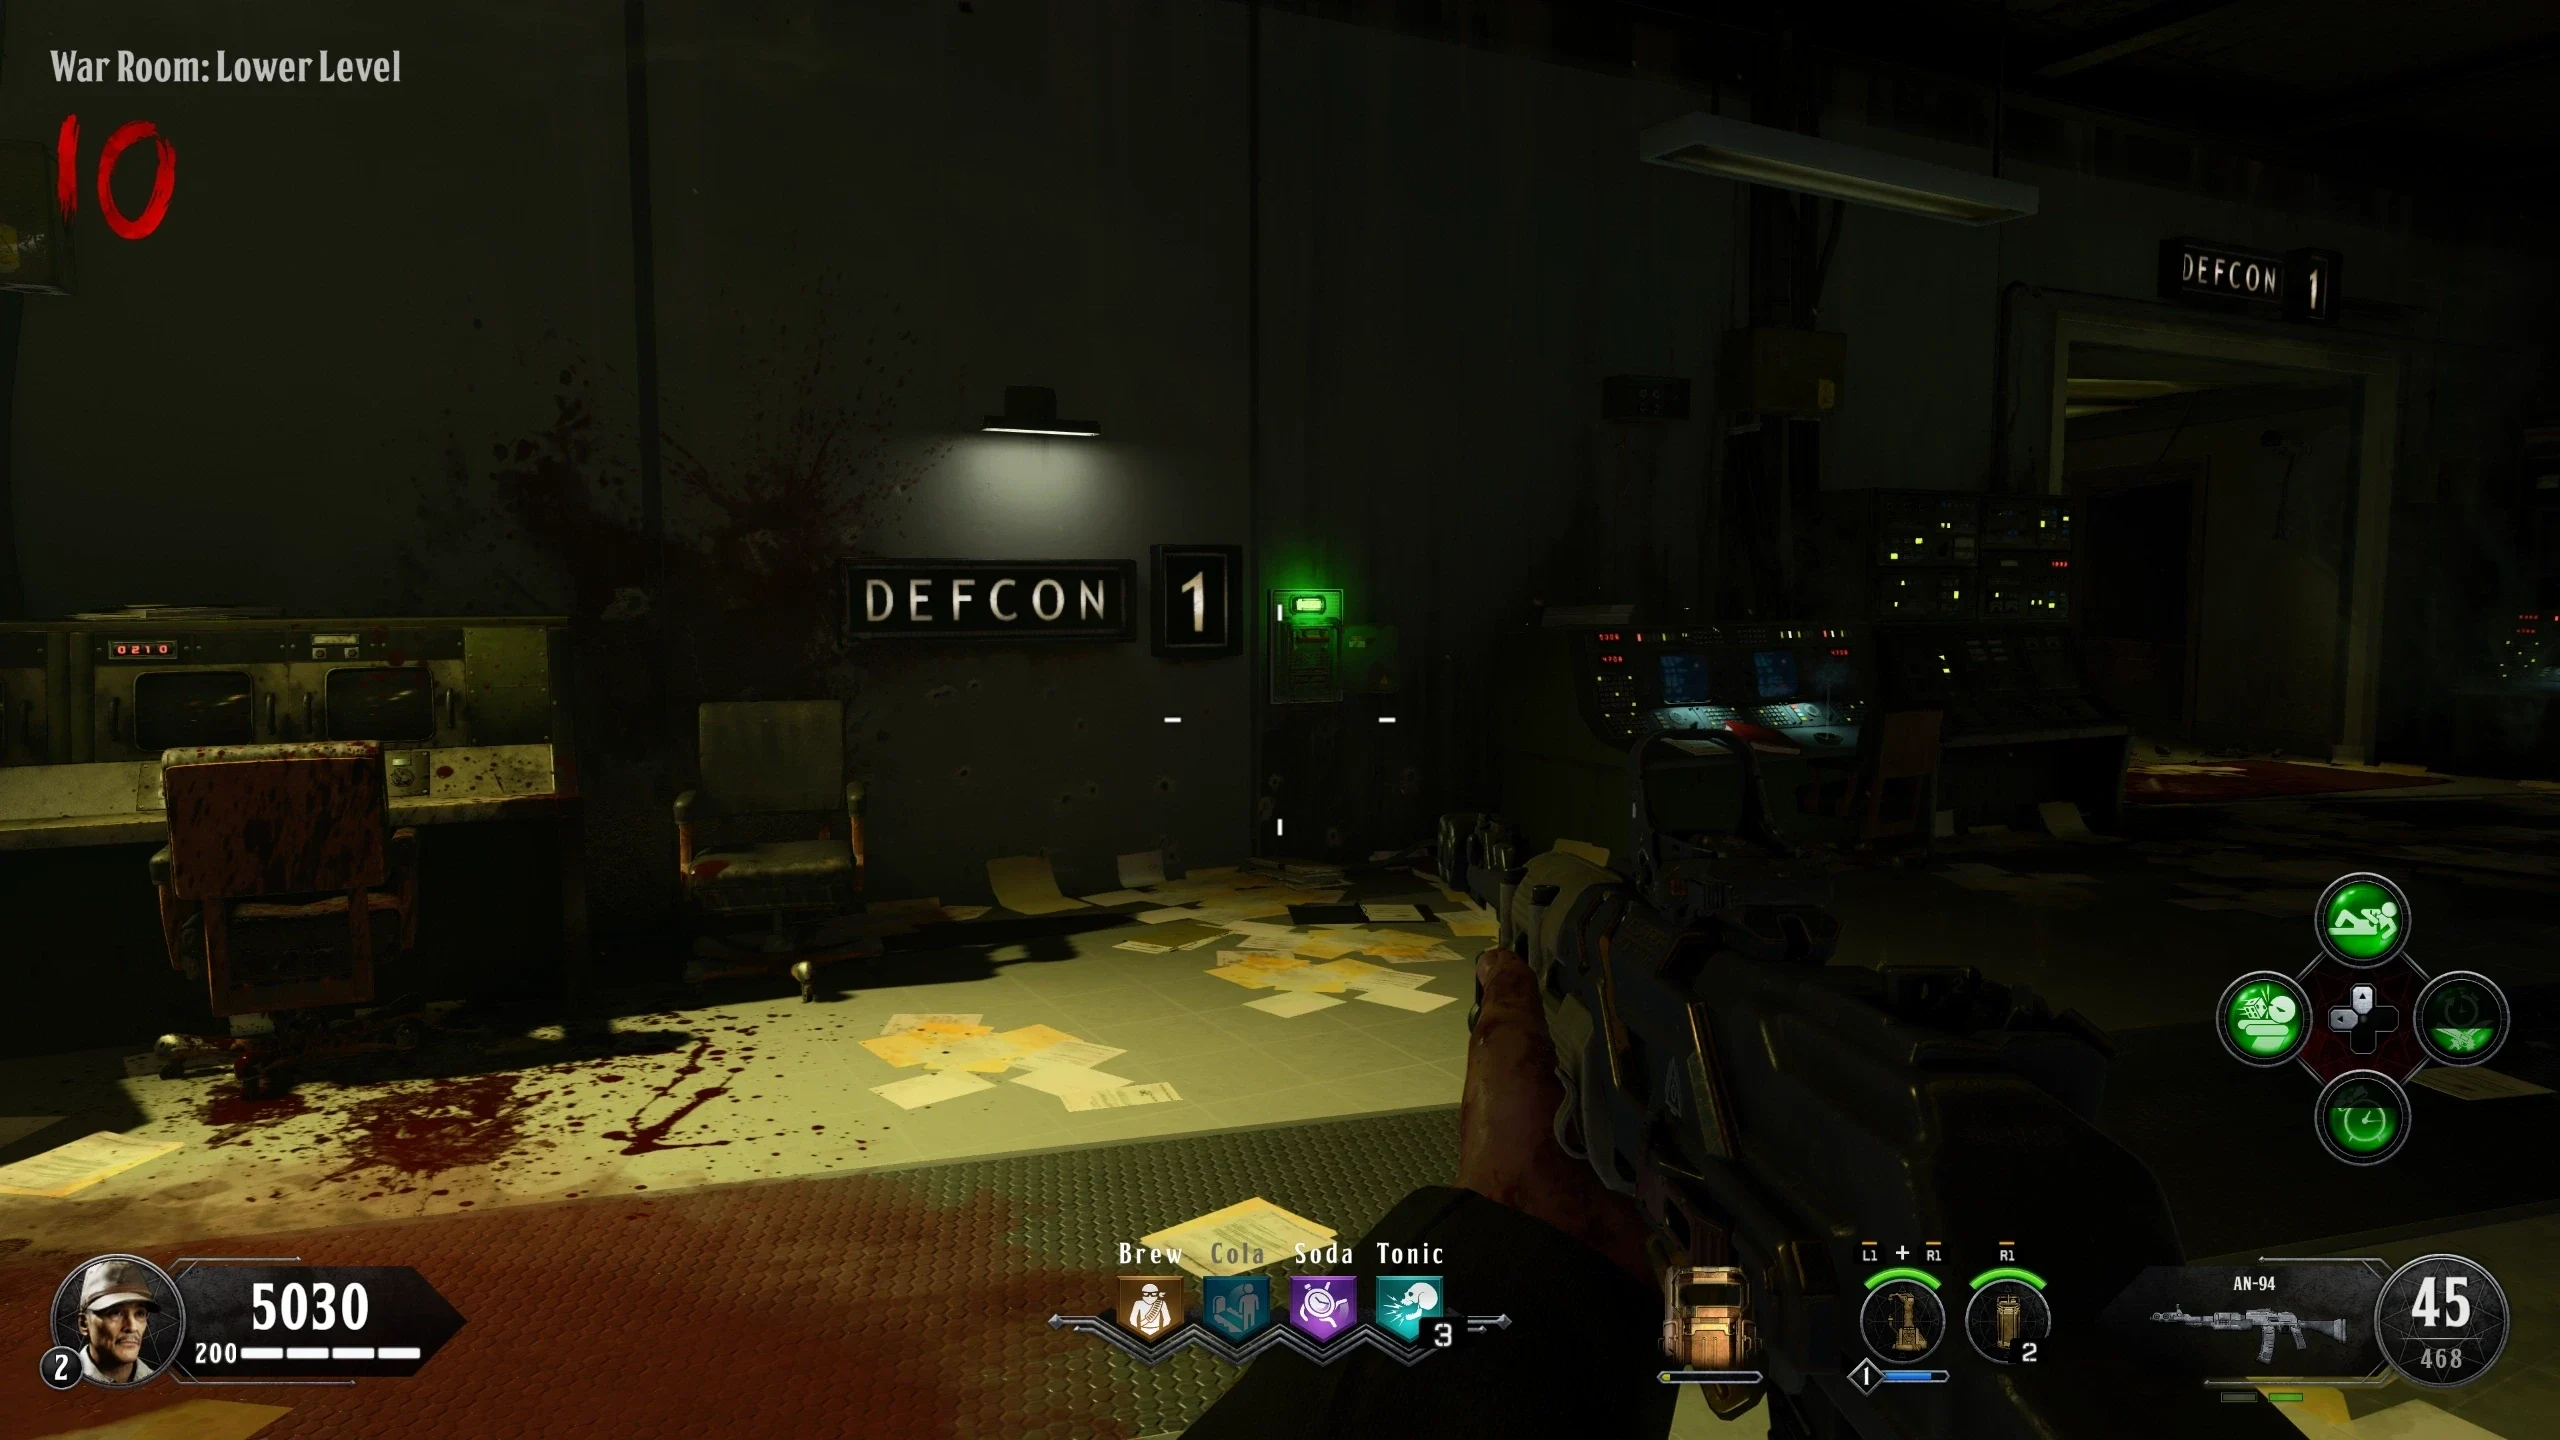
- Activate the four Defcon switches in any order:
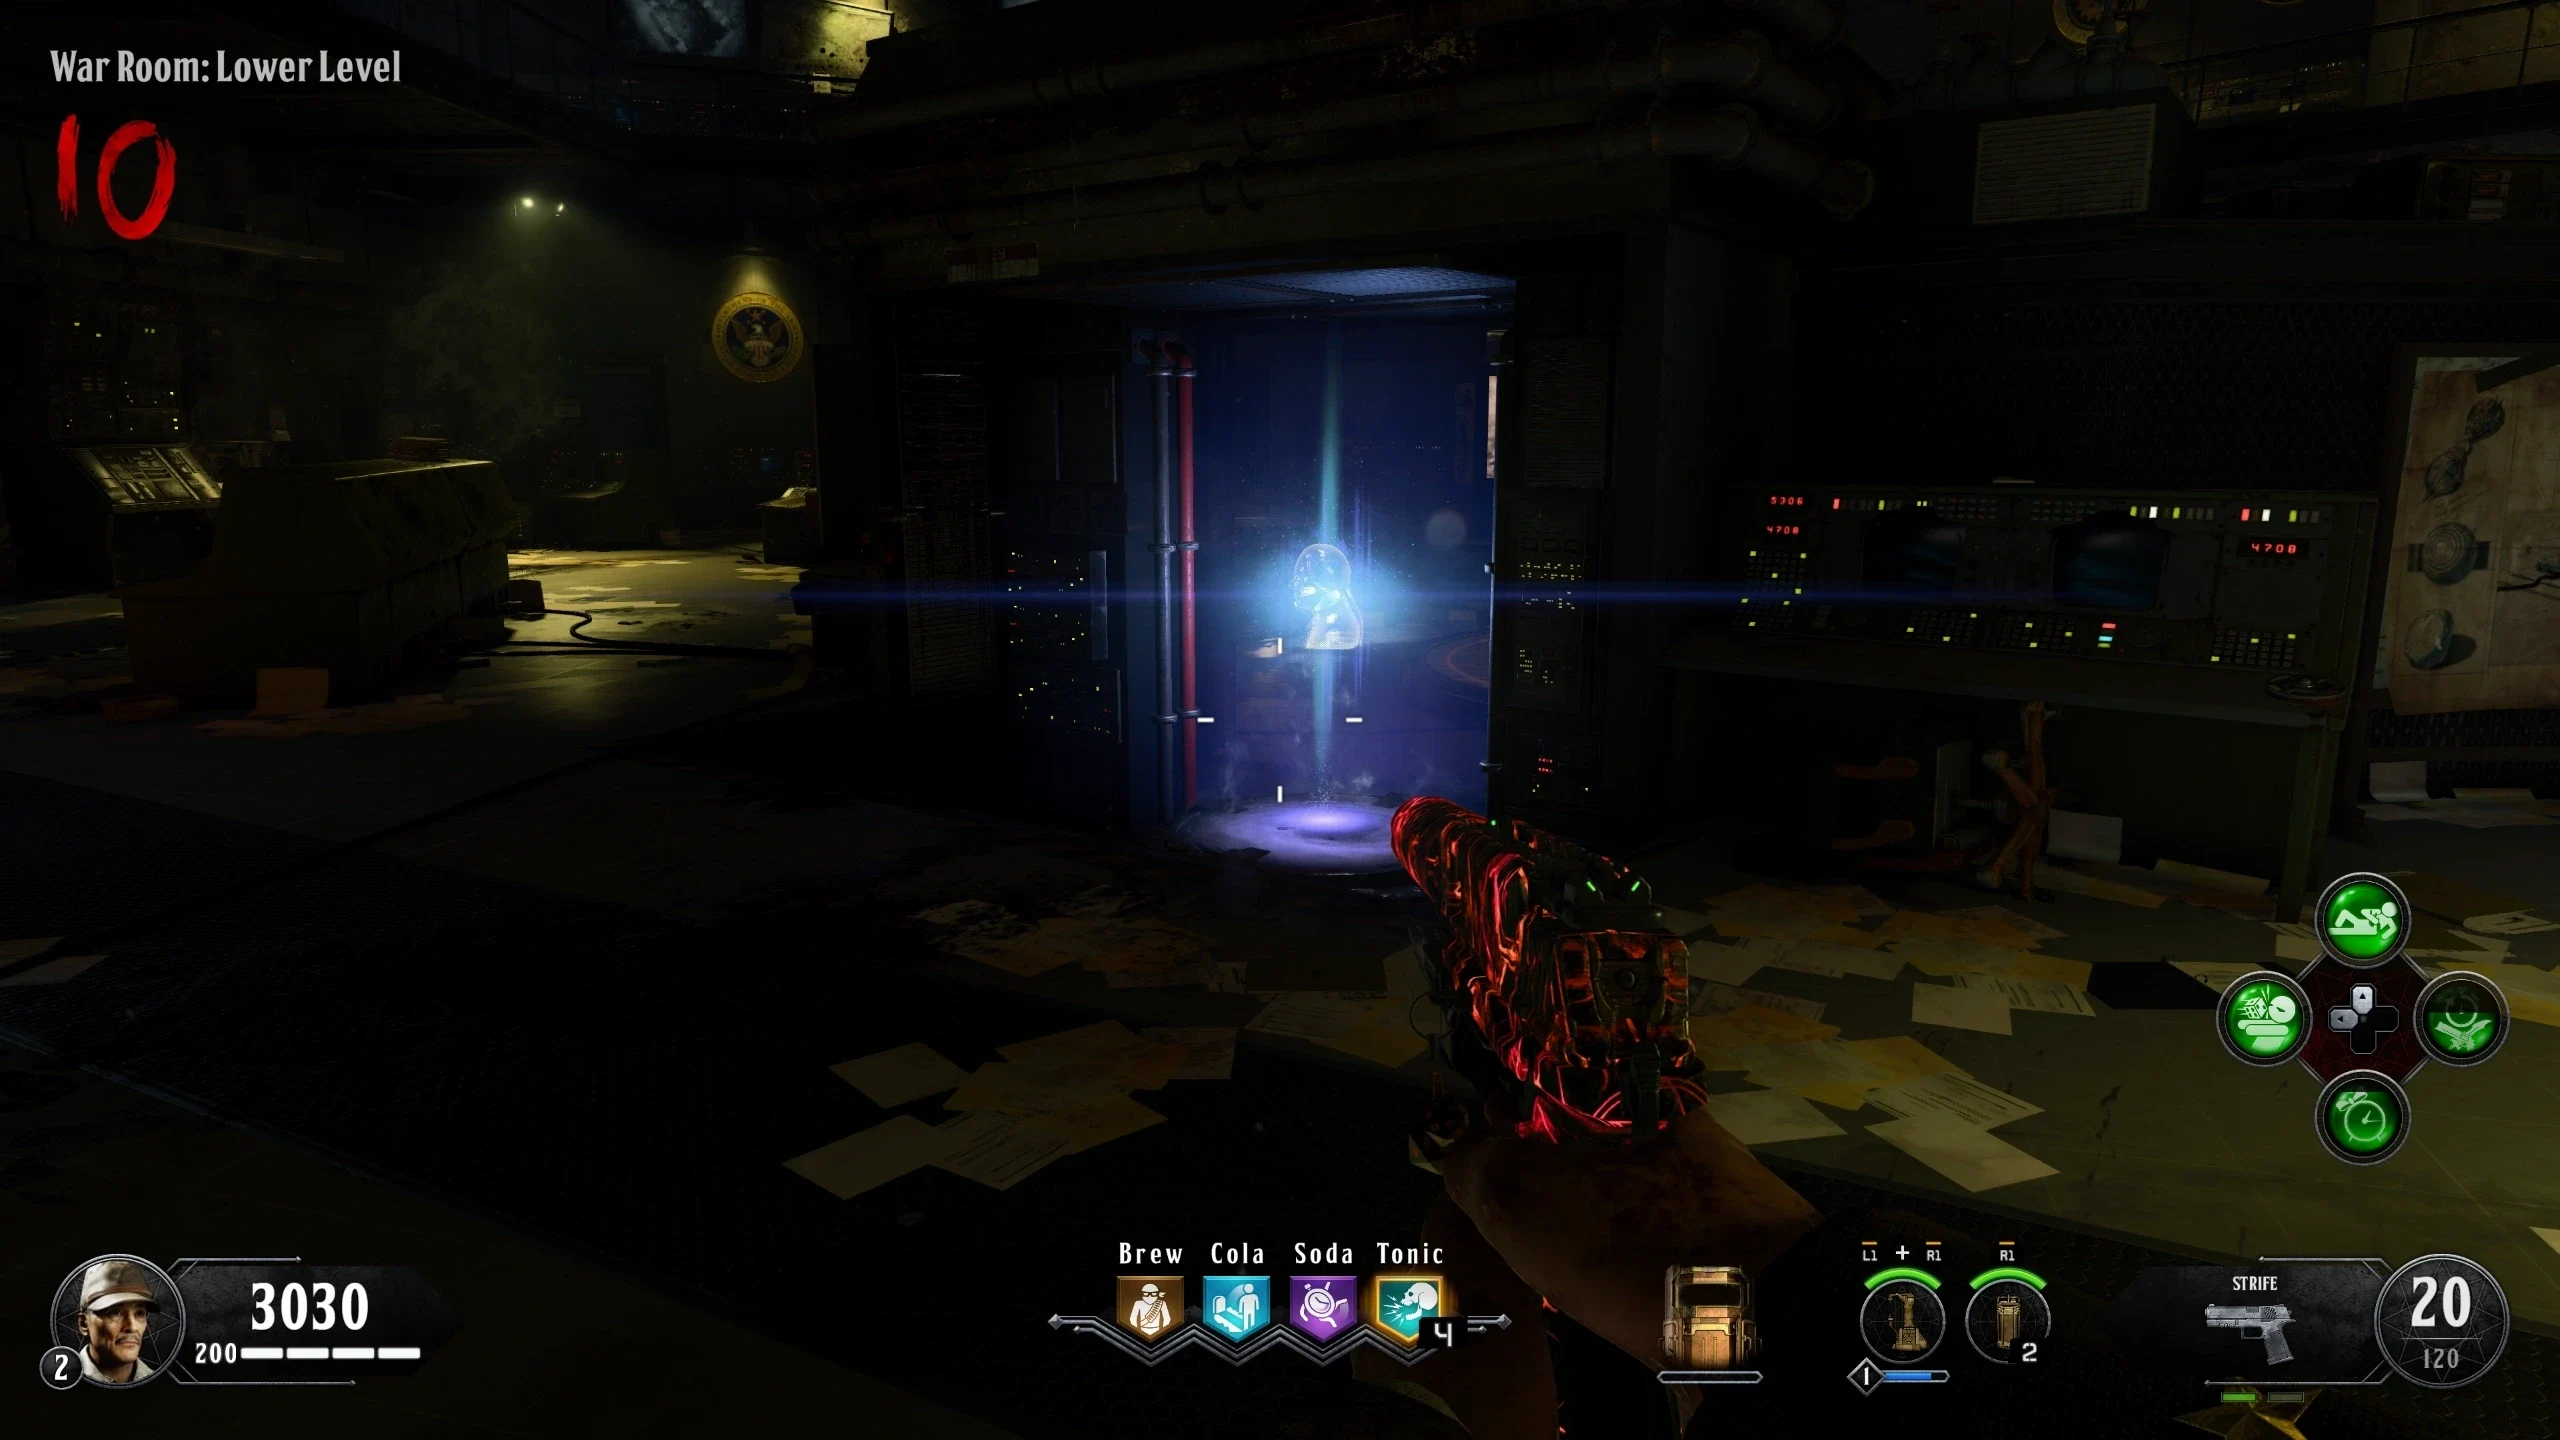
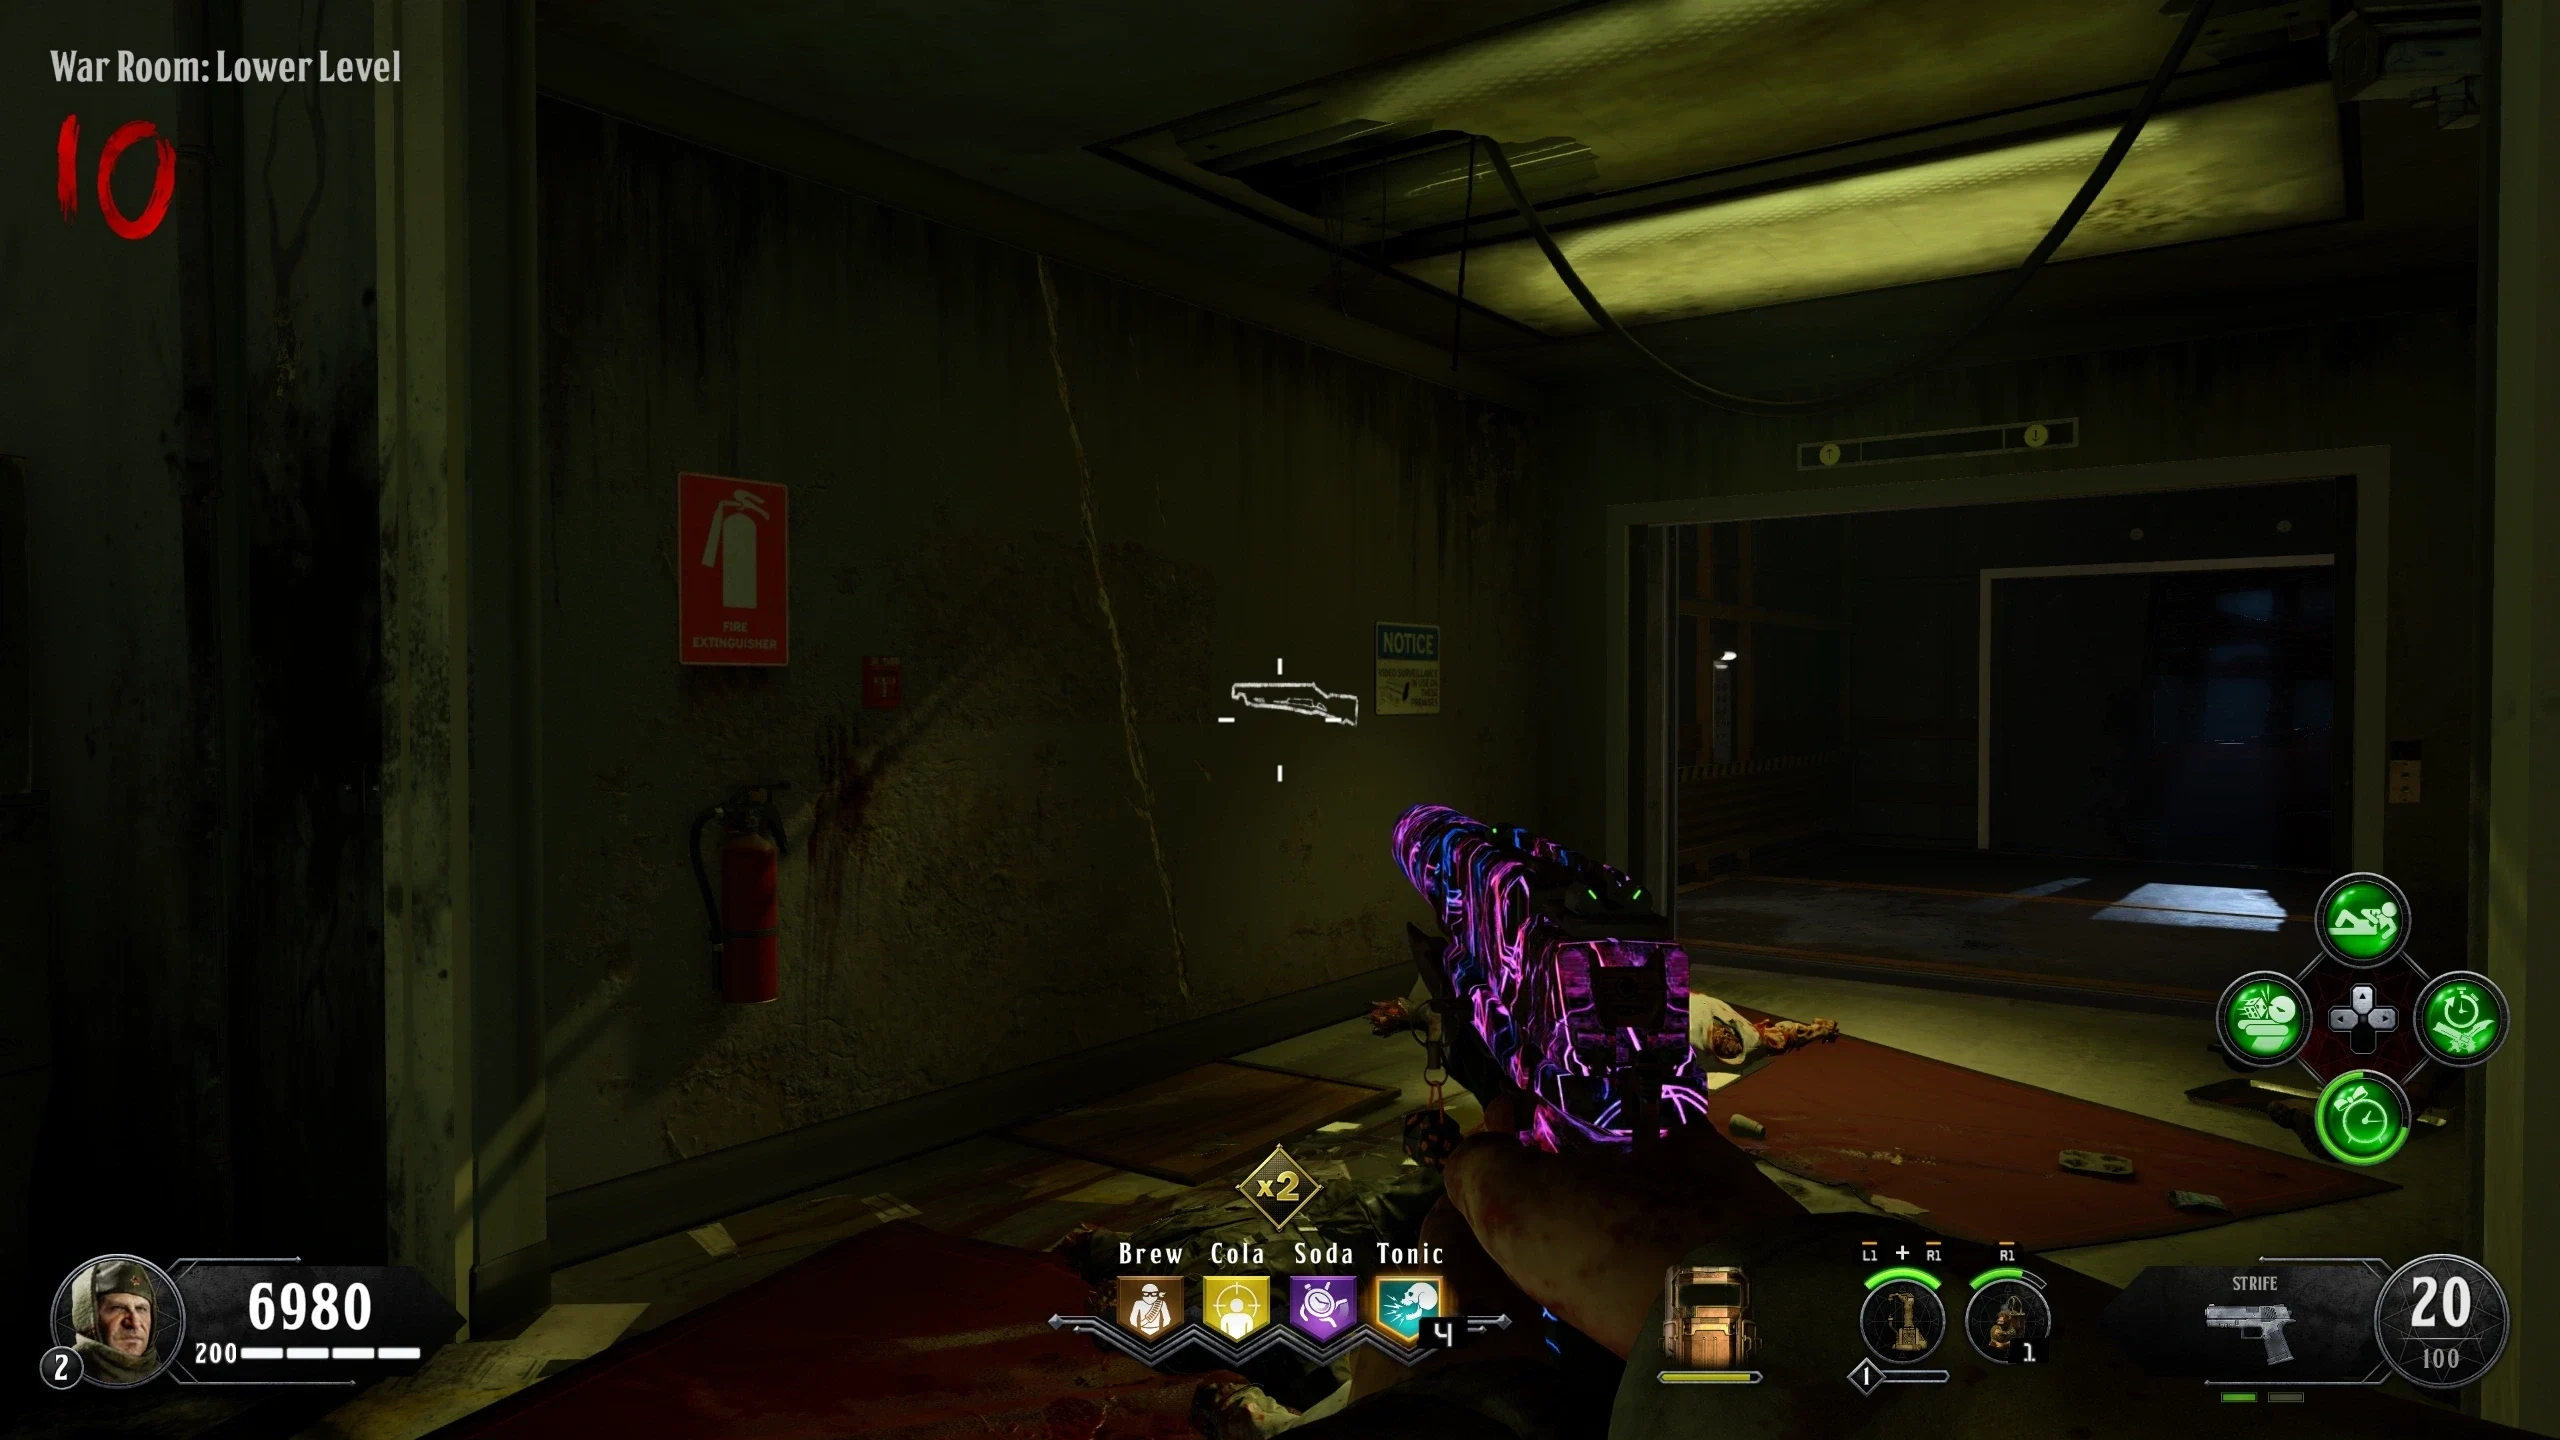
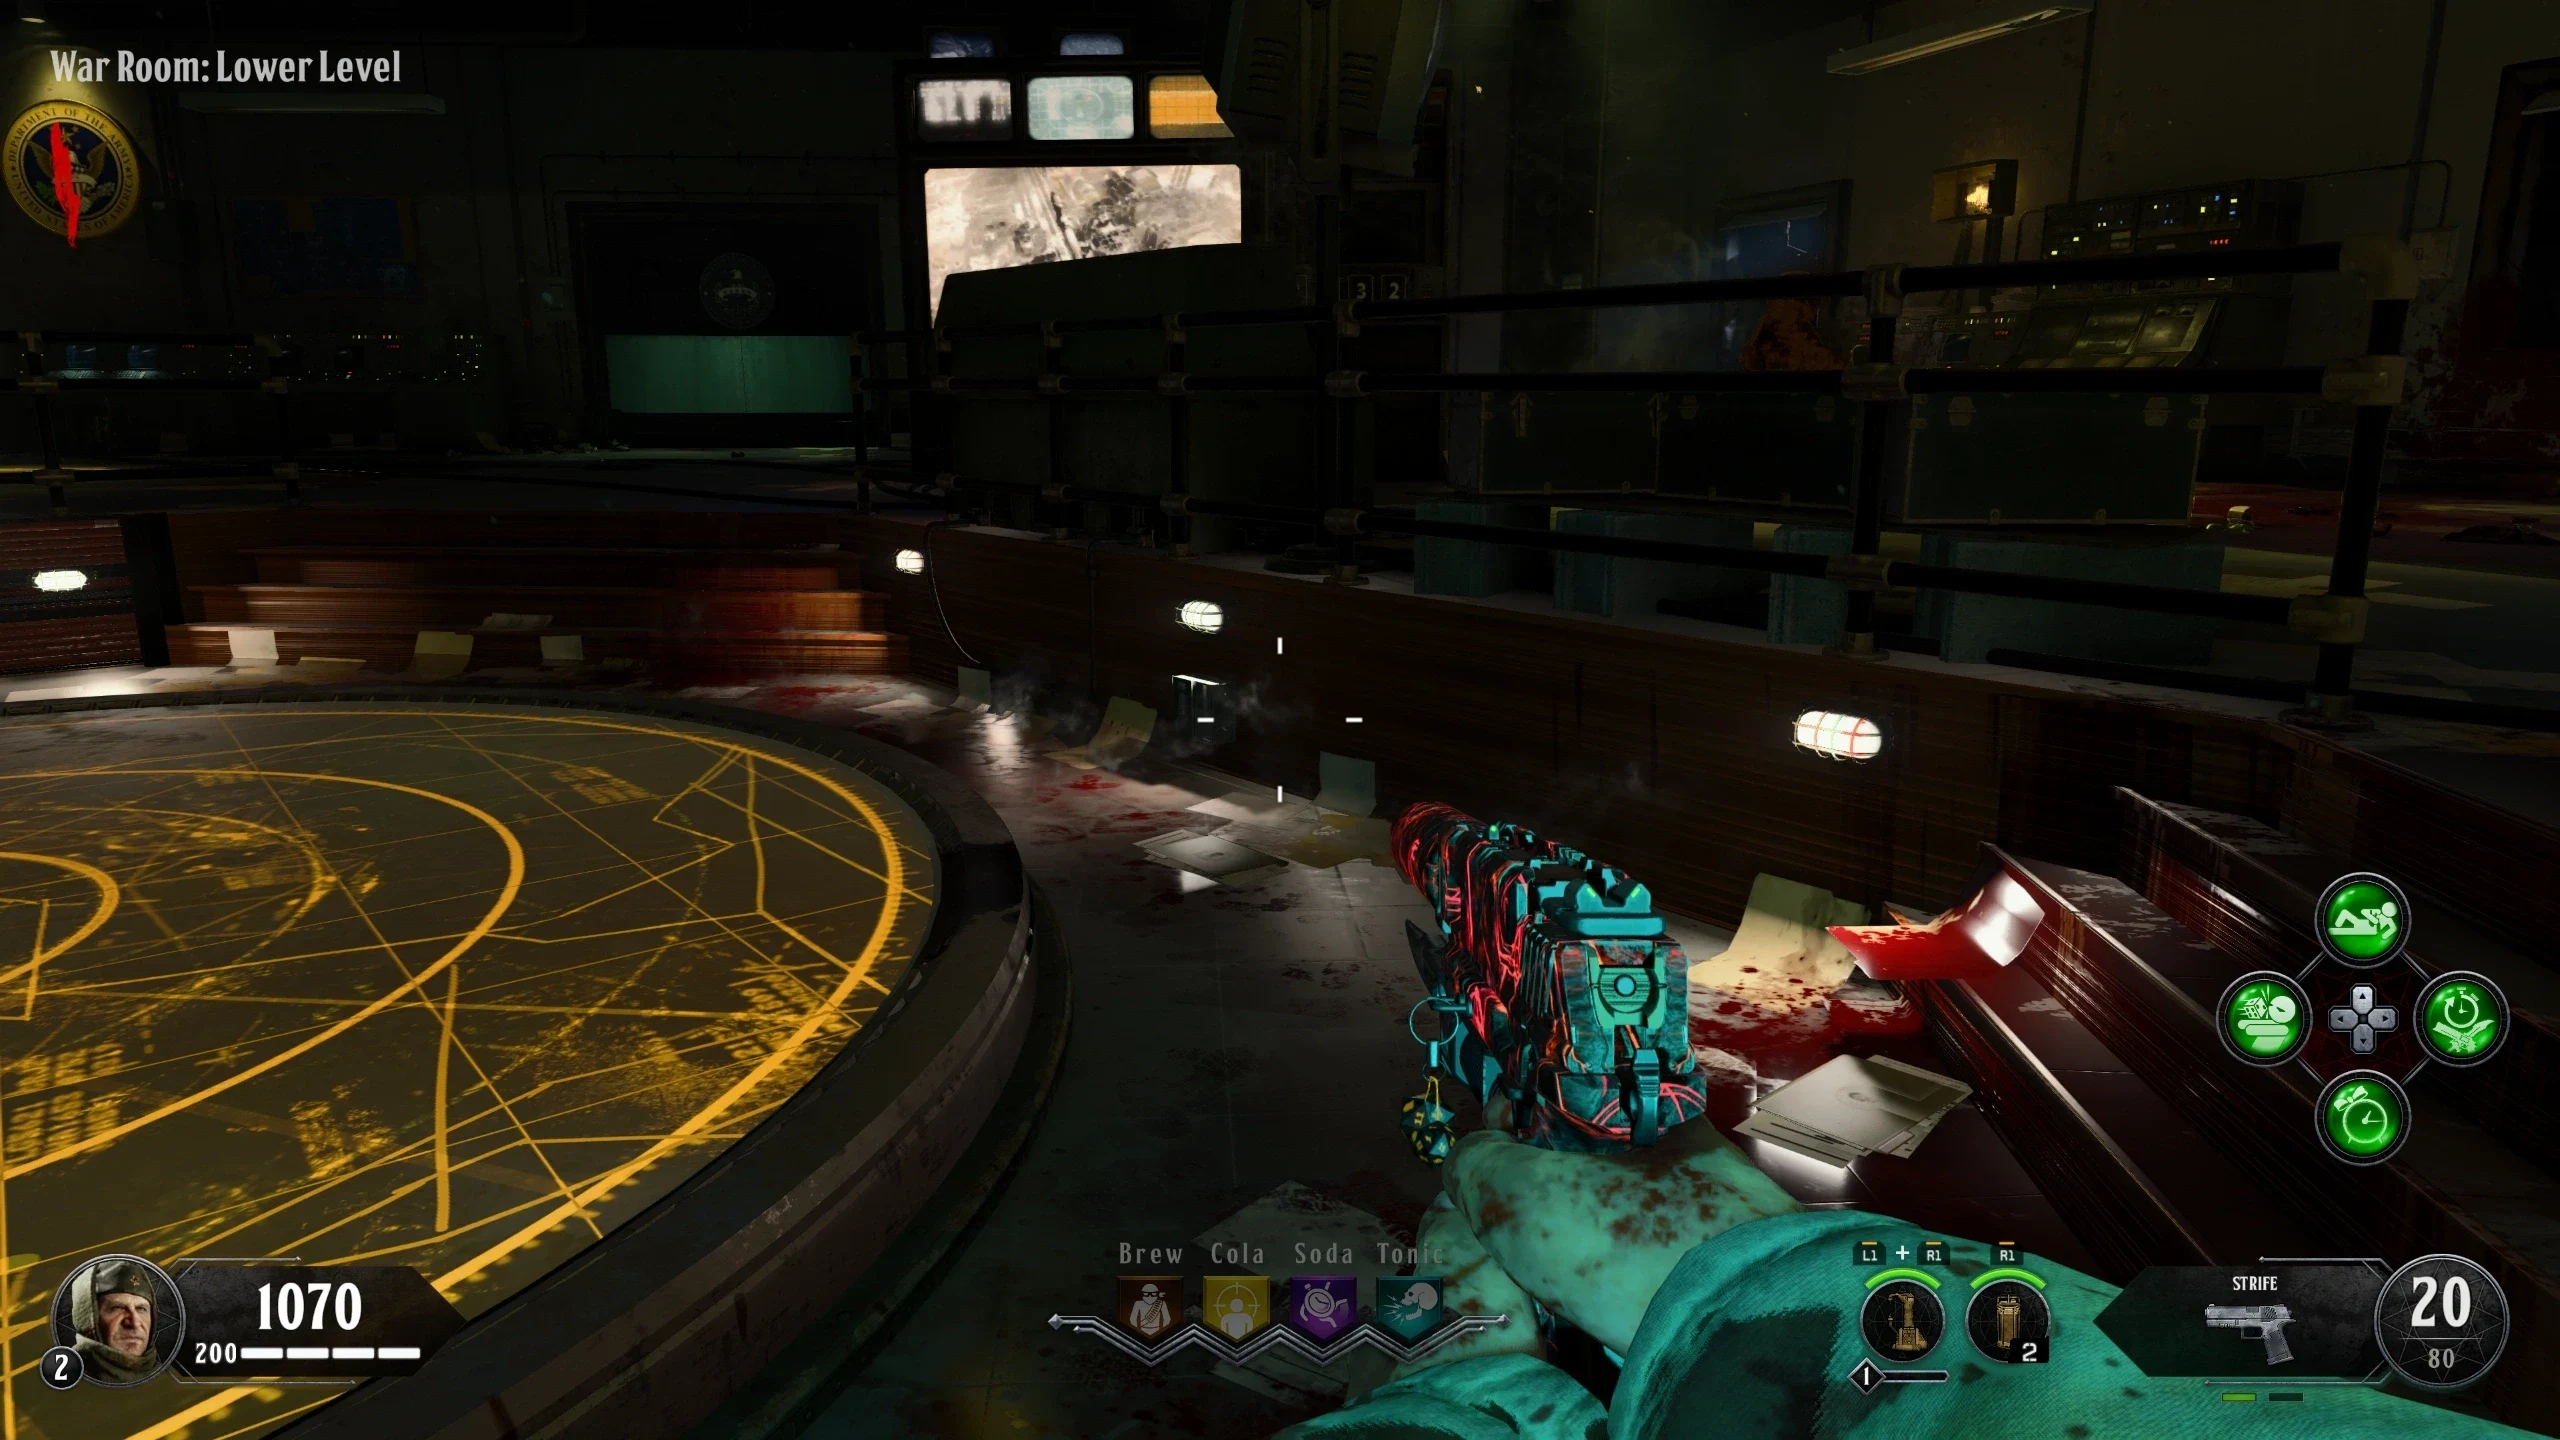
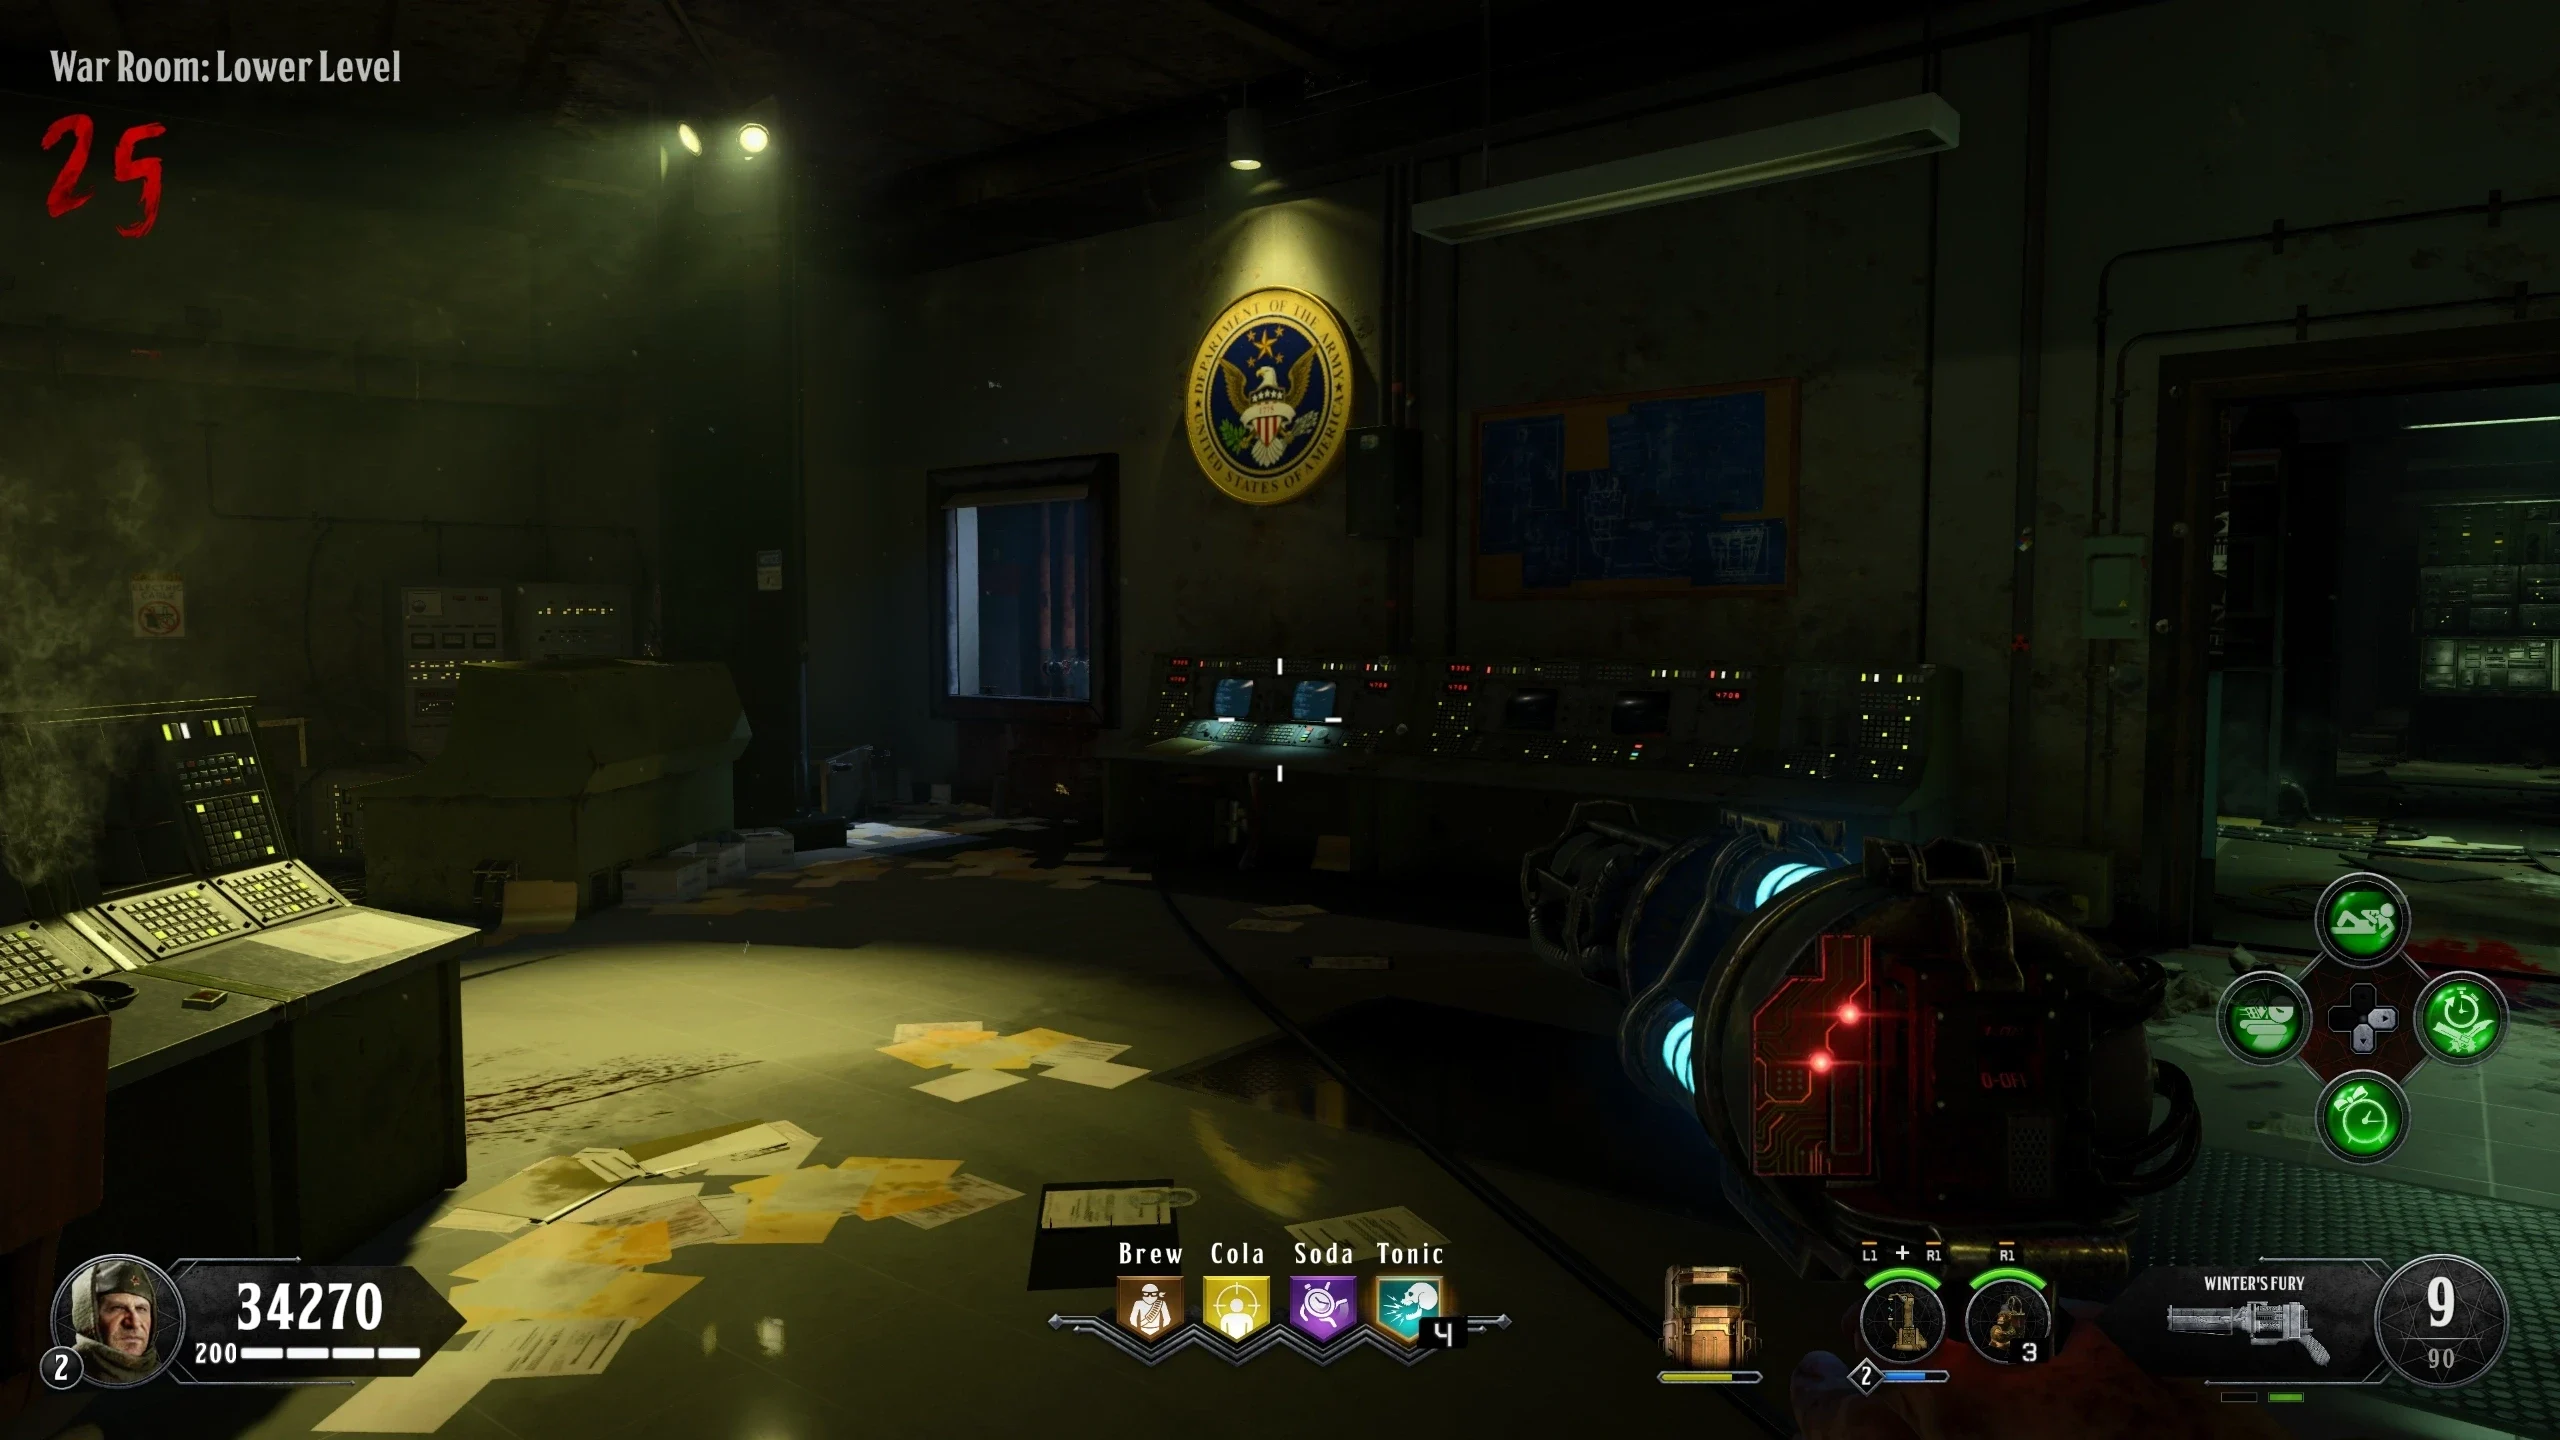
- Enter the teleporter in the 'War Room: Lower Level' to go to the 'Panic Room.'
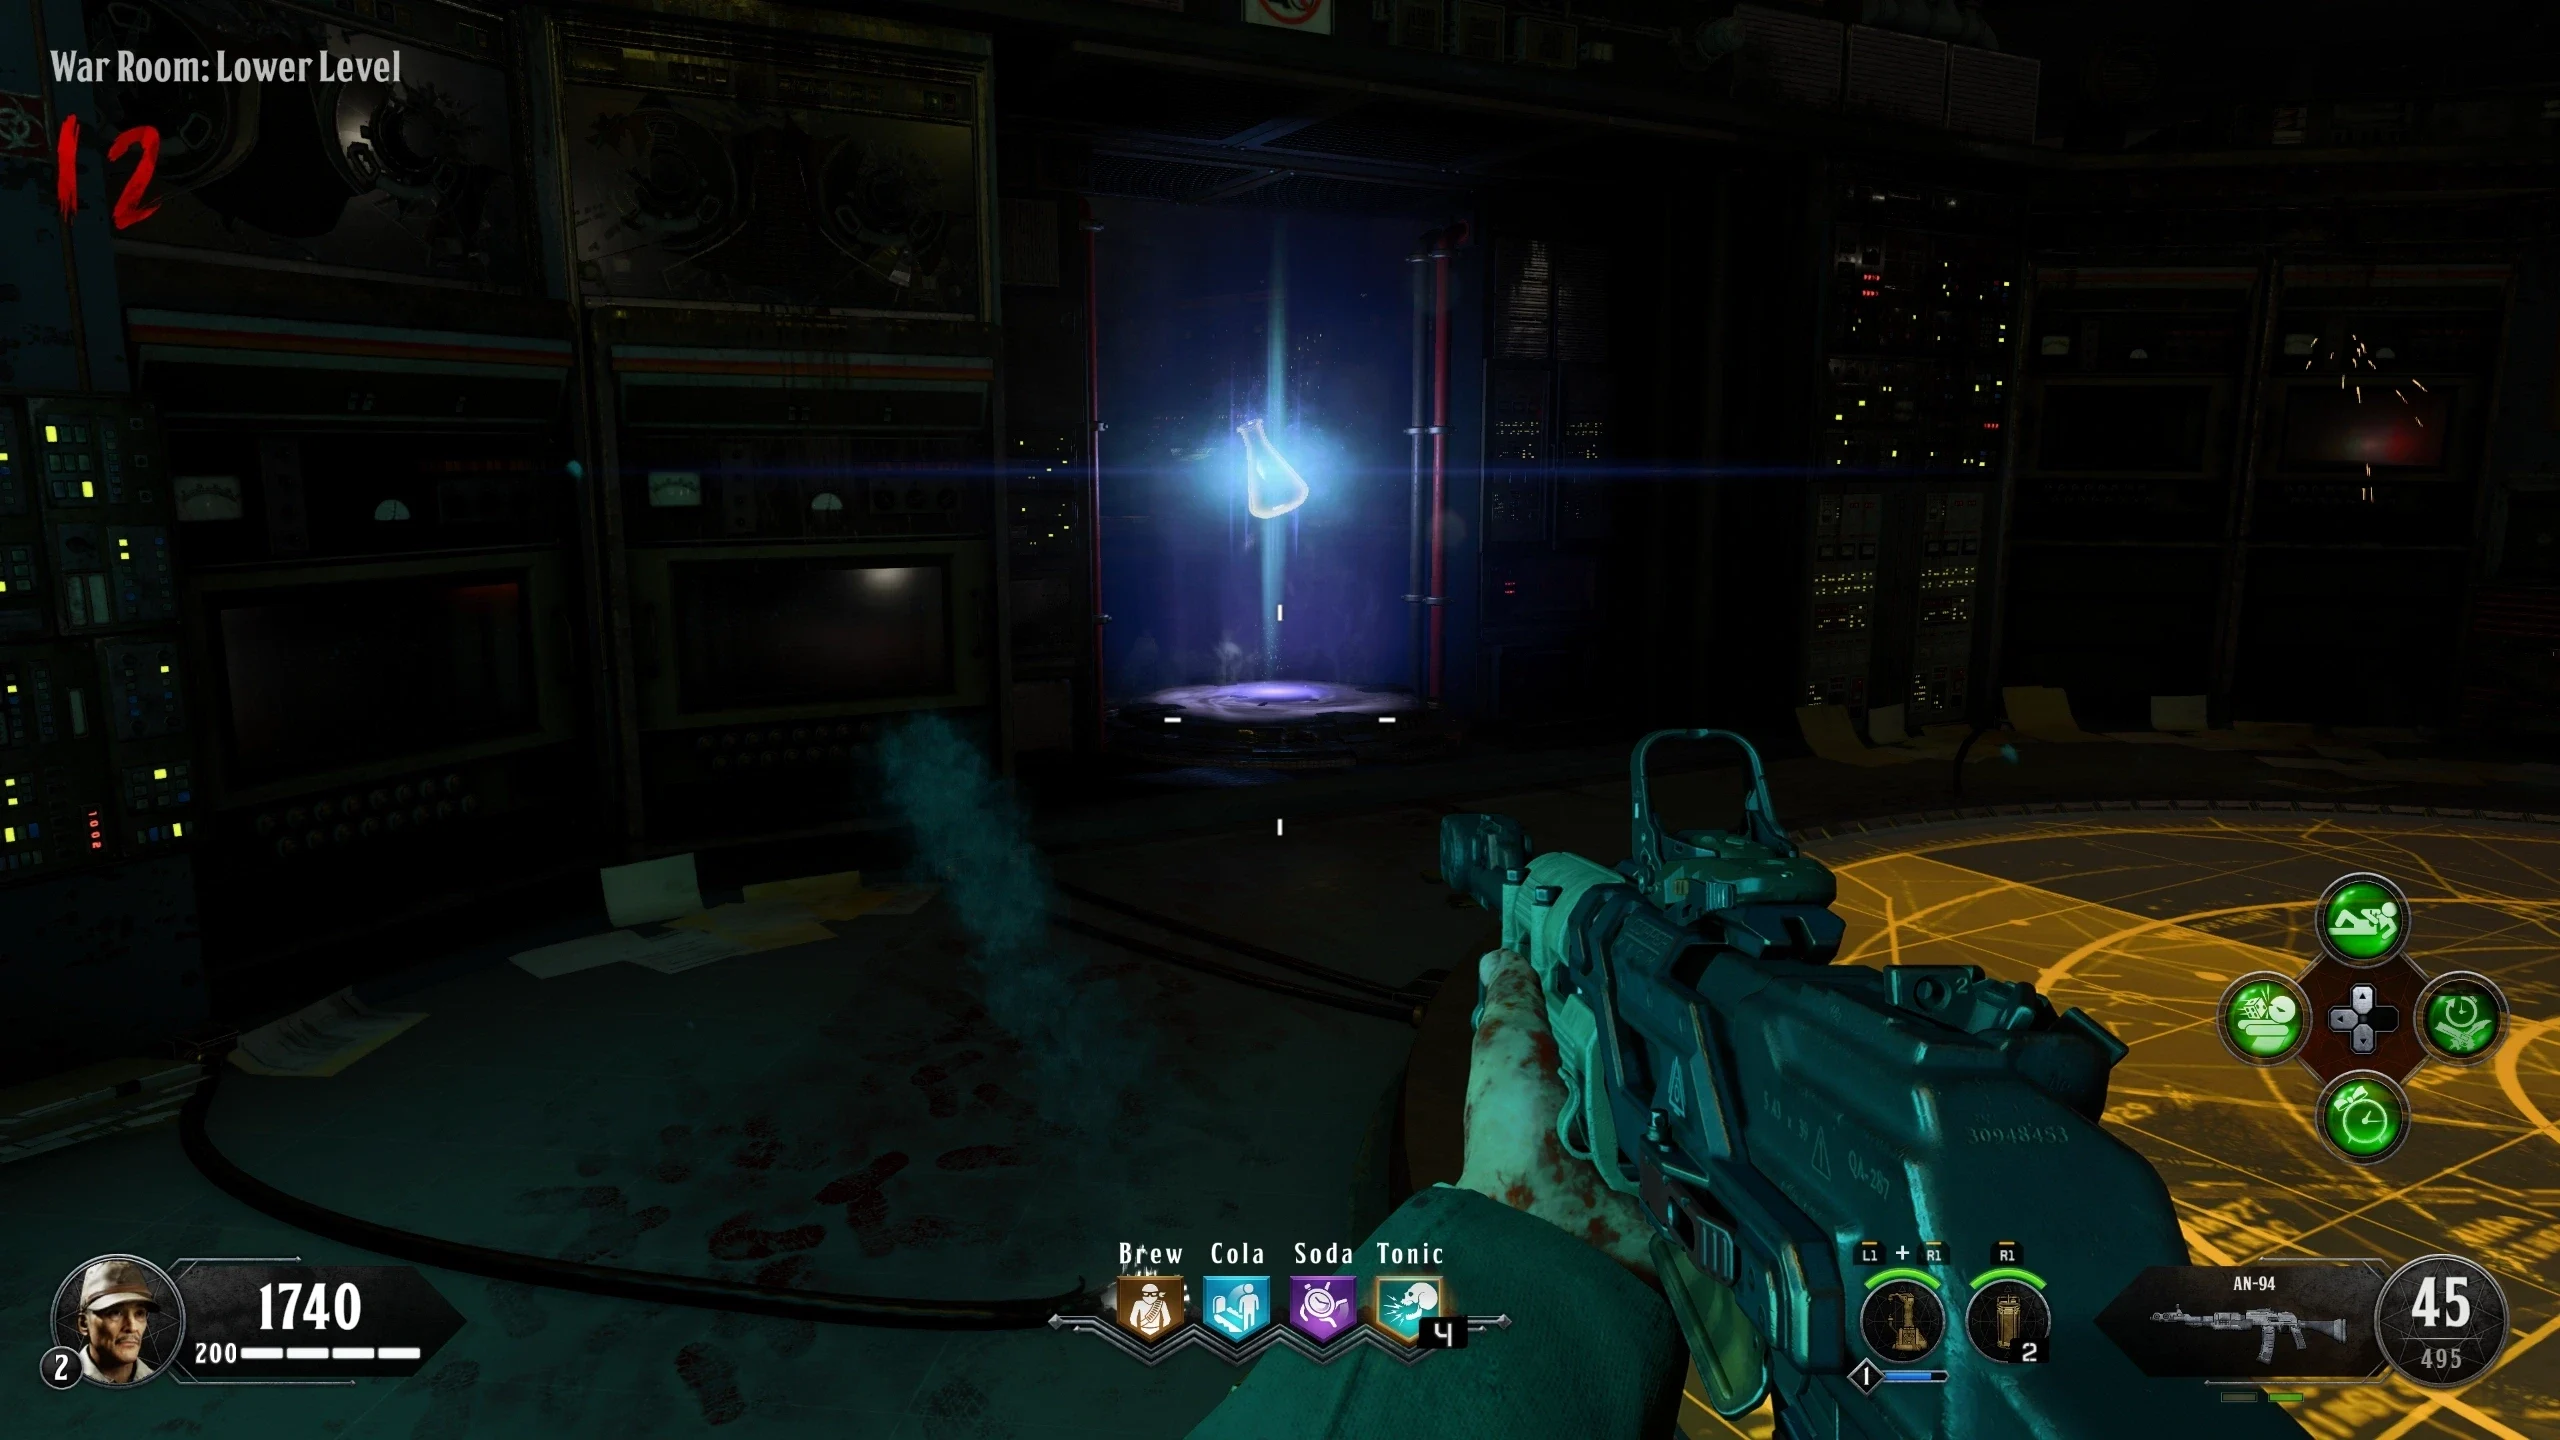
- Collect the Amplifier.
- Wires:
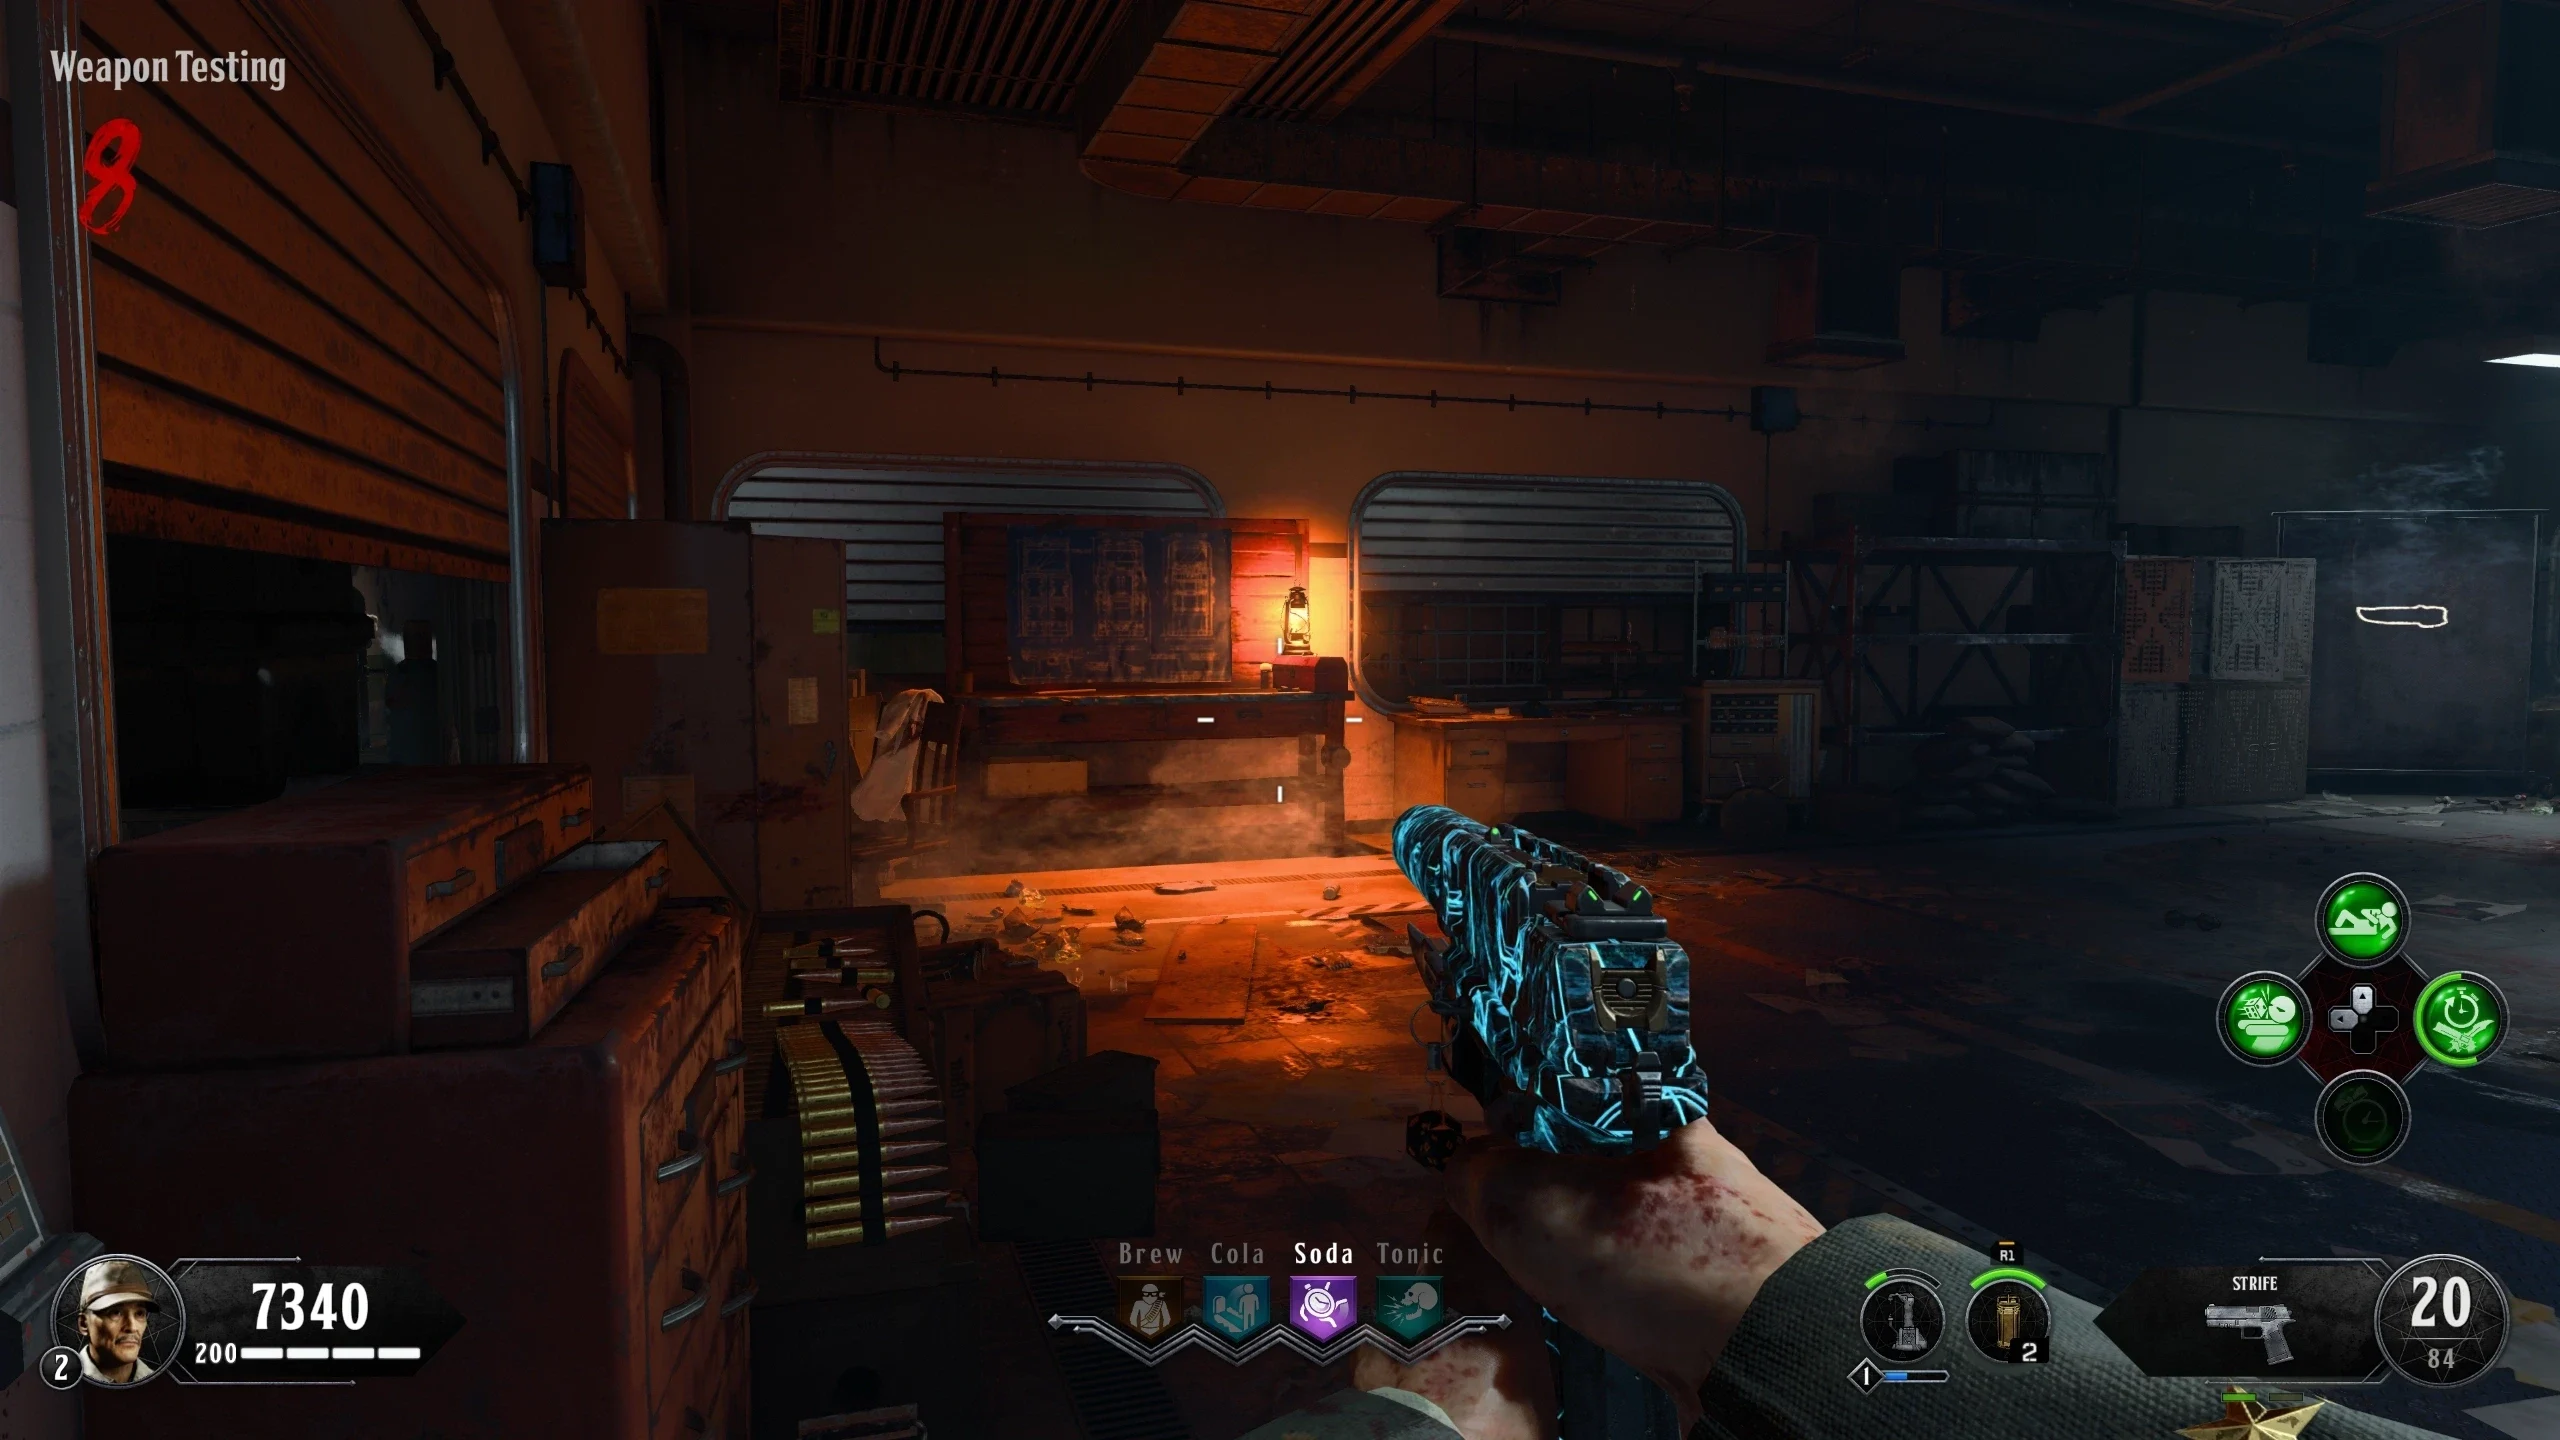
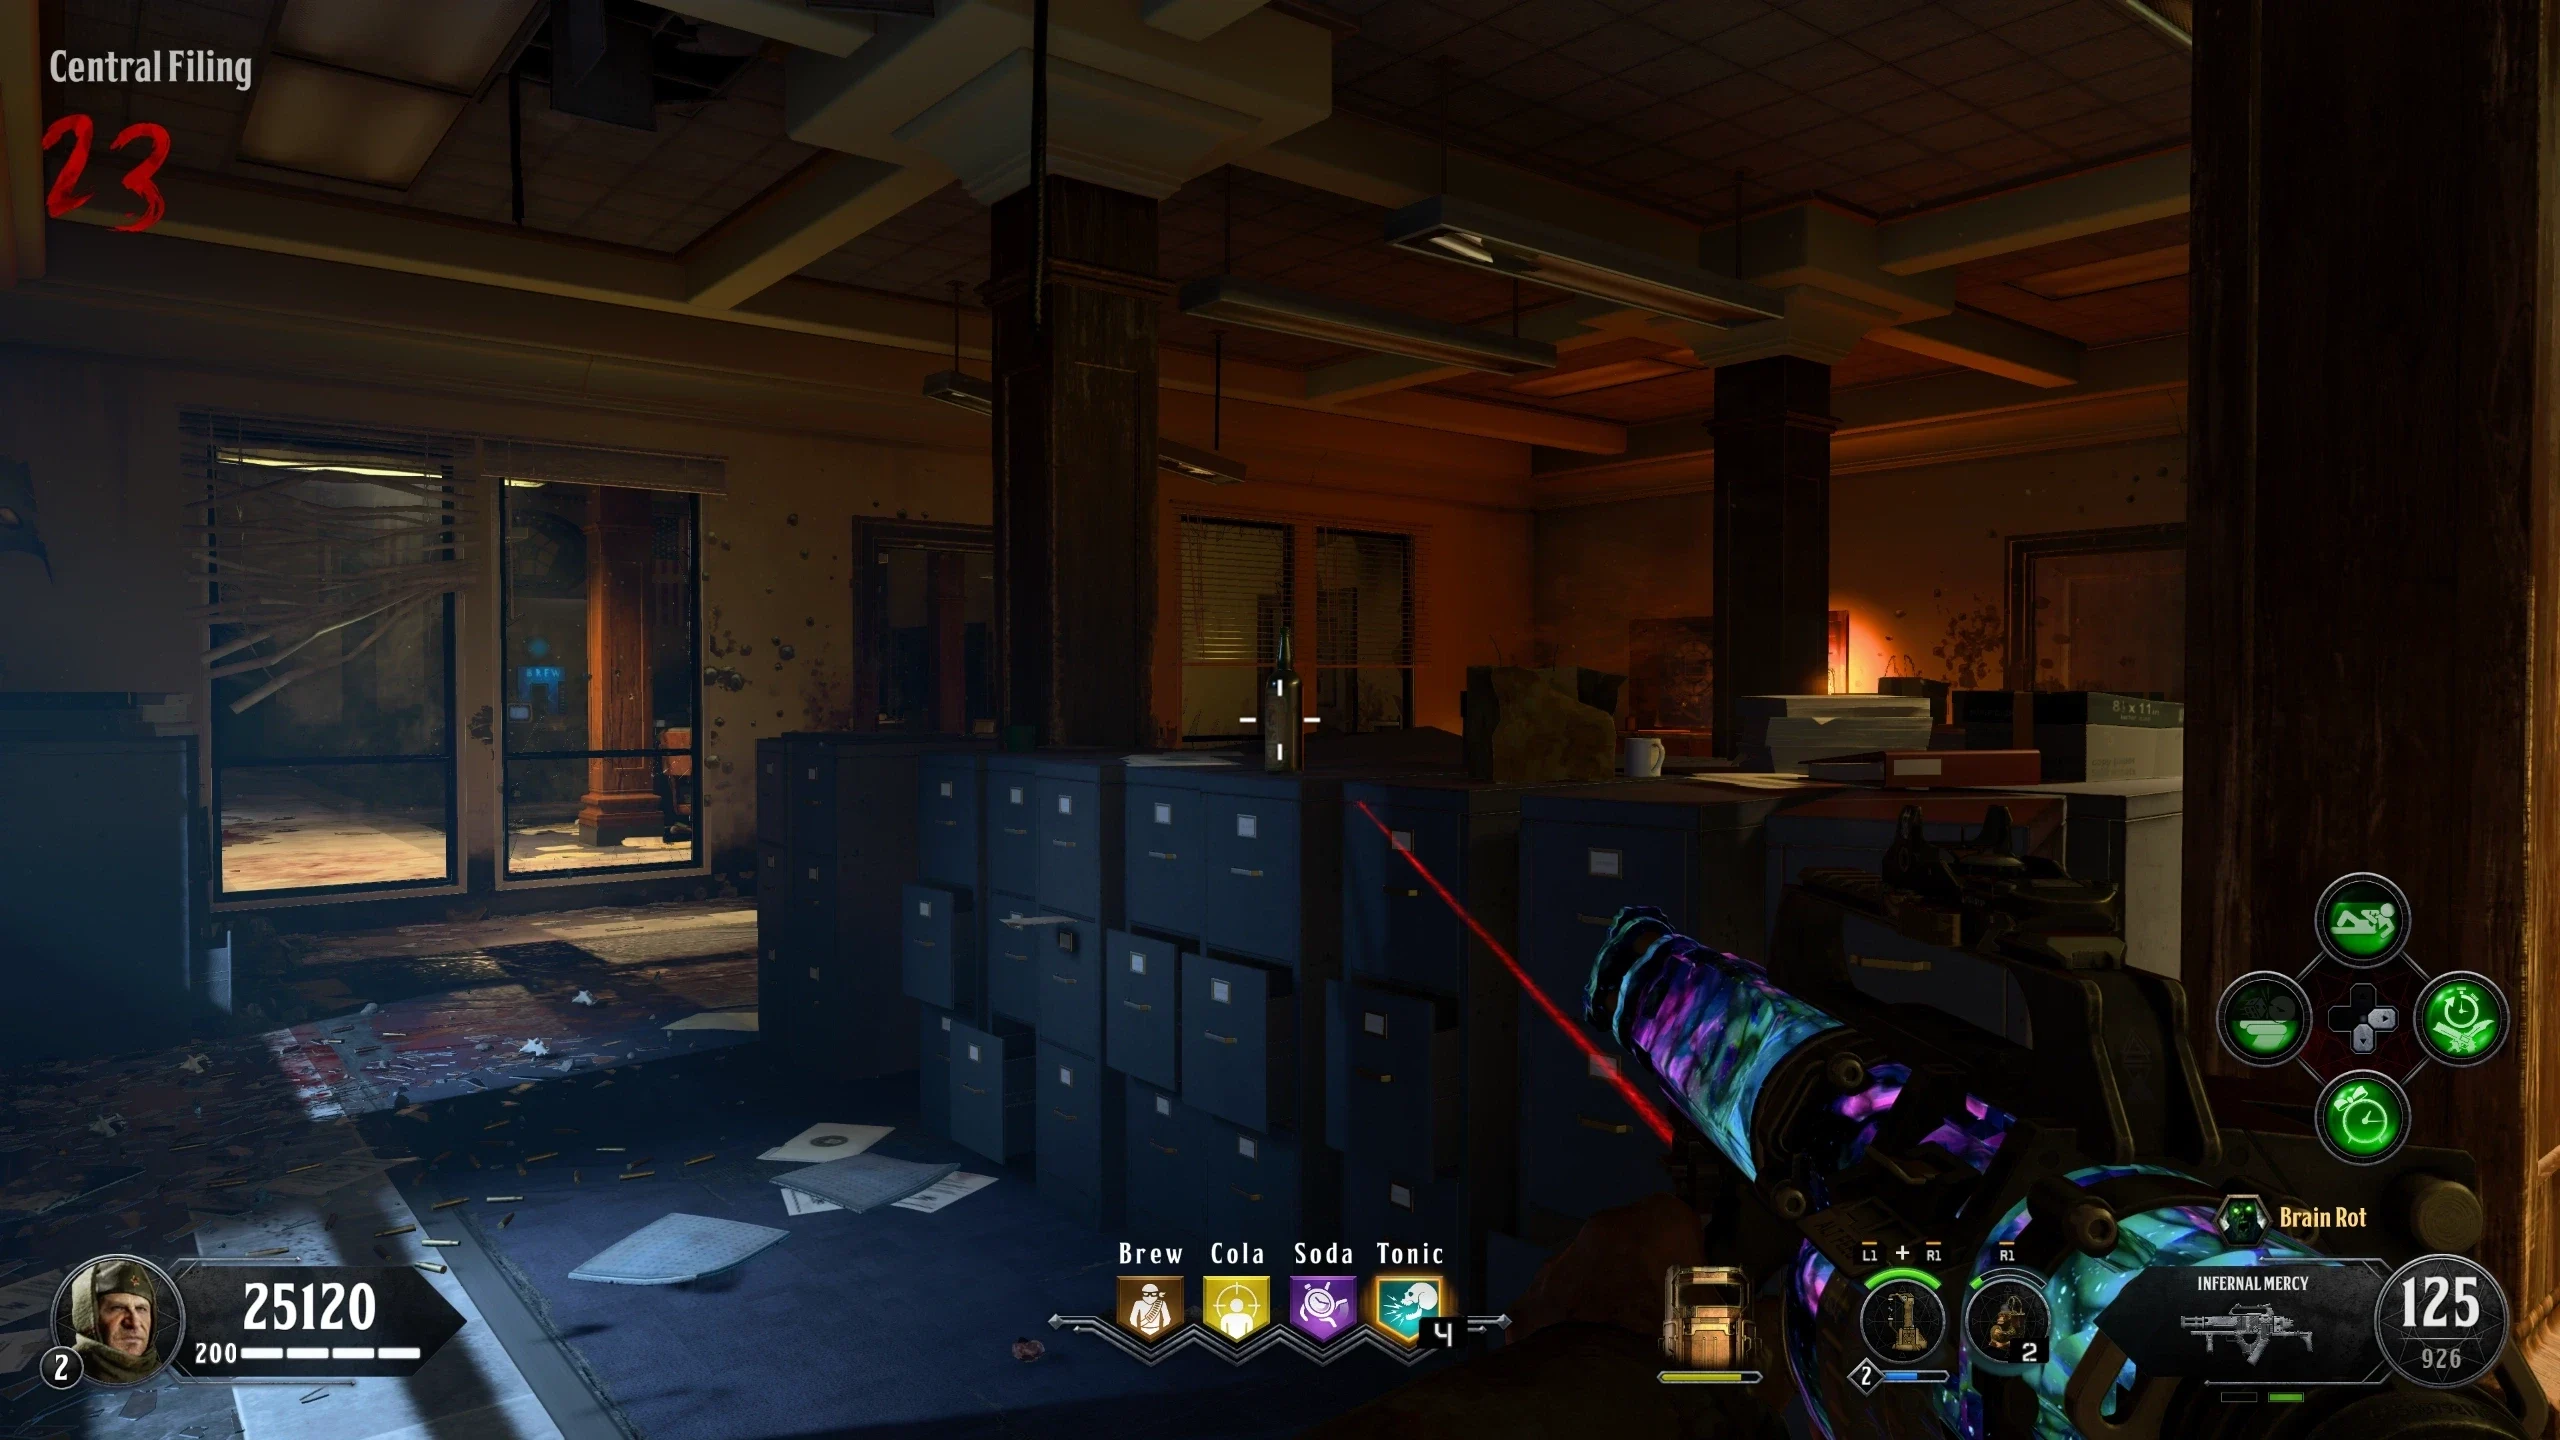
- Craft the Teleporter Signal Amplifier at Central Filing or Weapon Testing.
- Place the Teleporter Signal Amplifier on the small teleporter in the 'War Room: Lower Level.'
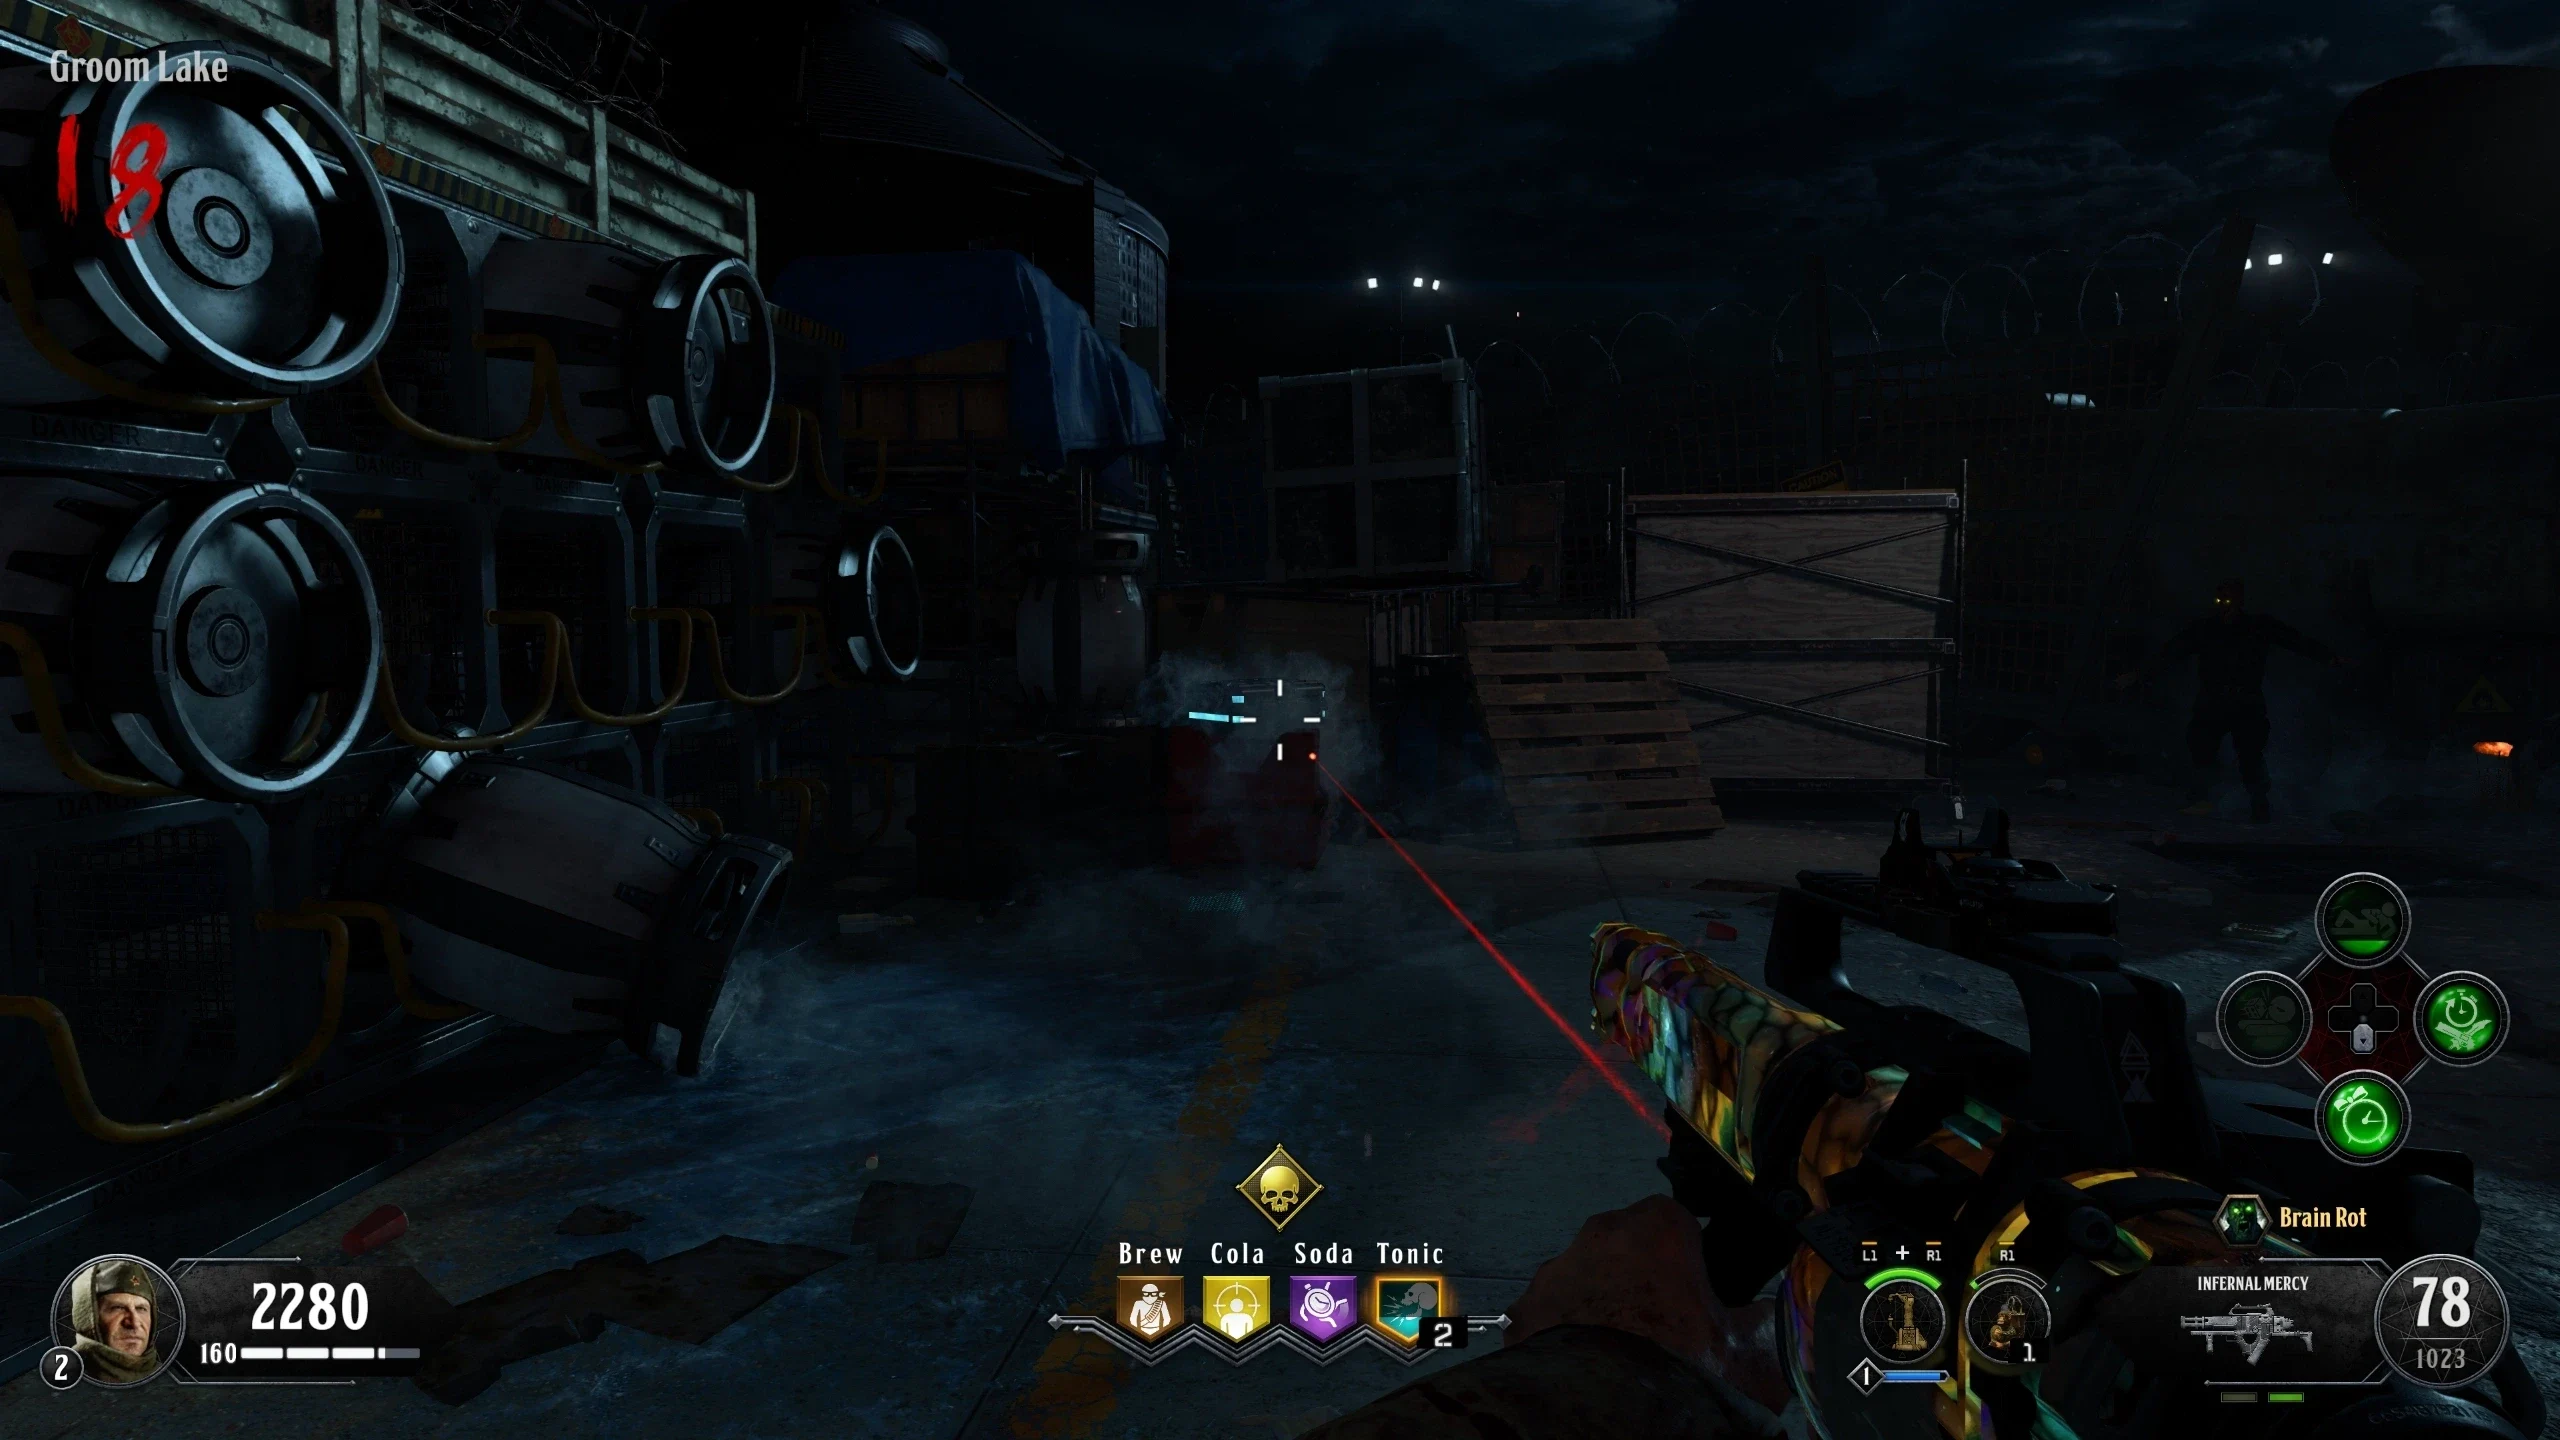
- Now when the Defcon level is set to five, the big teleporter in the middle of the 'War Room: Lower Level' will teleport the player to 'Groom Lake' where Pack-a-Punch is.
Winter's Howl (Project Skadi)
The Winter's Howl can be Pack-a-Punched and doesn’t require an Easter Egg to do so. The Winter's Howl is available through the mystery box and via the following quest:
- Recommended: Equip a Frag Grenade and complete the Nova Crawler Easter Egg on Round 1 to get 6000 points for free.
- To obtain the Winter's Howl, you need to get four sets of numbers which correspond to four previous maps. These numbers can be obtained in any order.
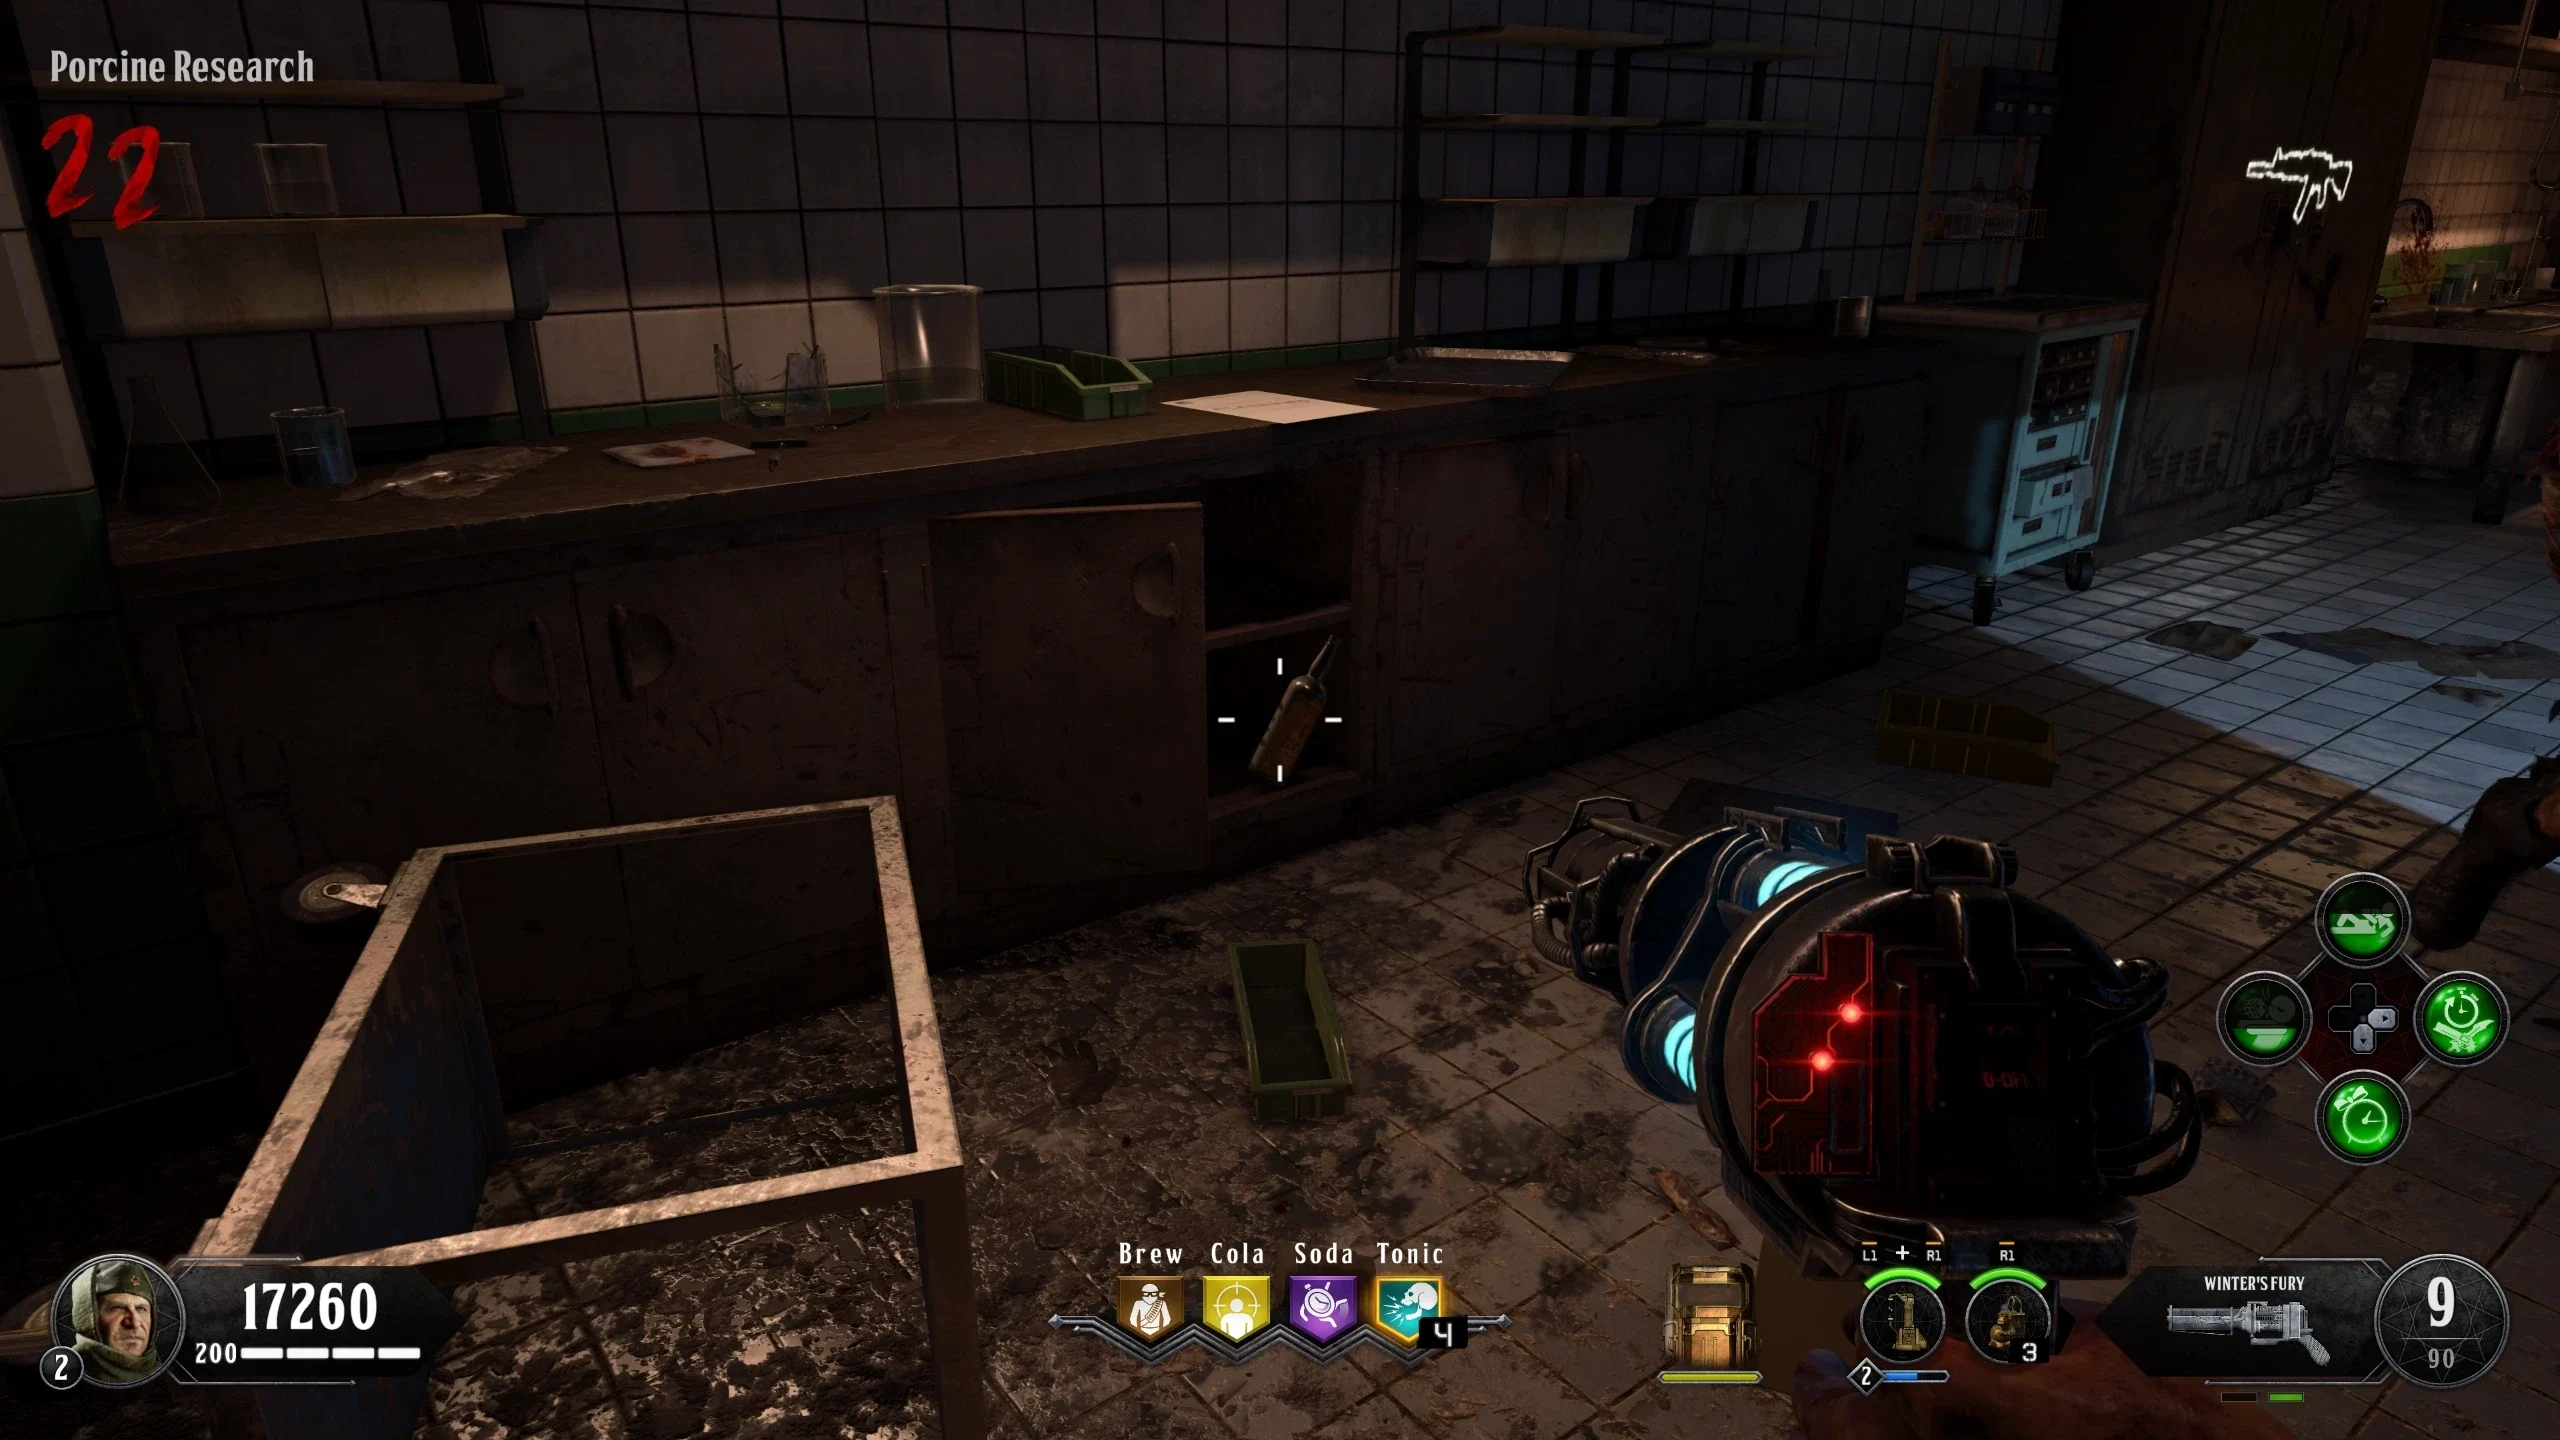
Der Riese Numbers
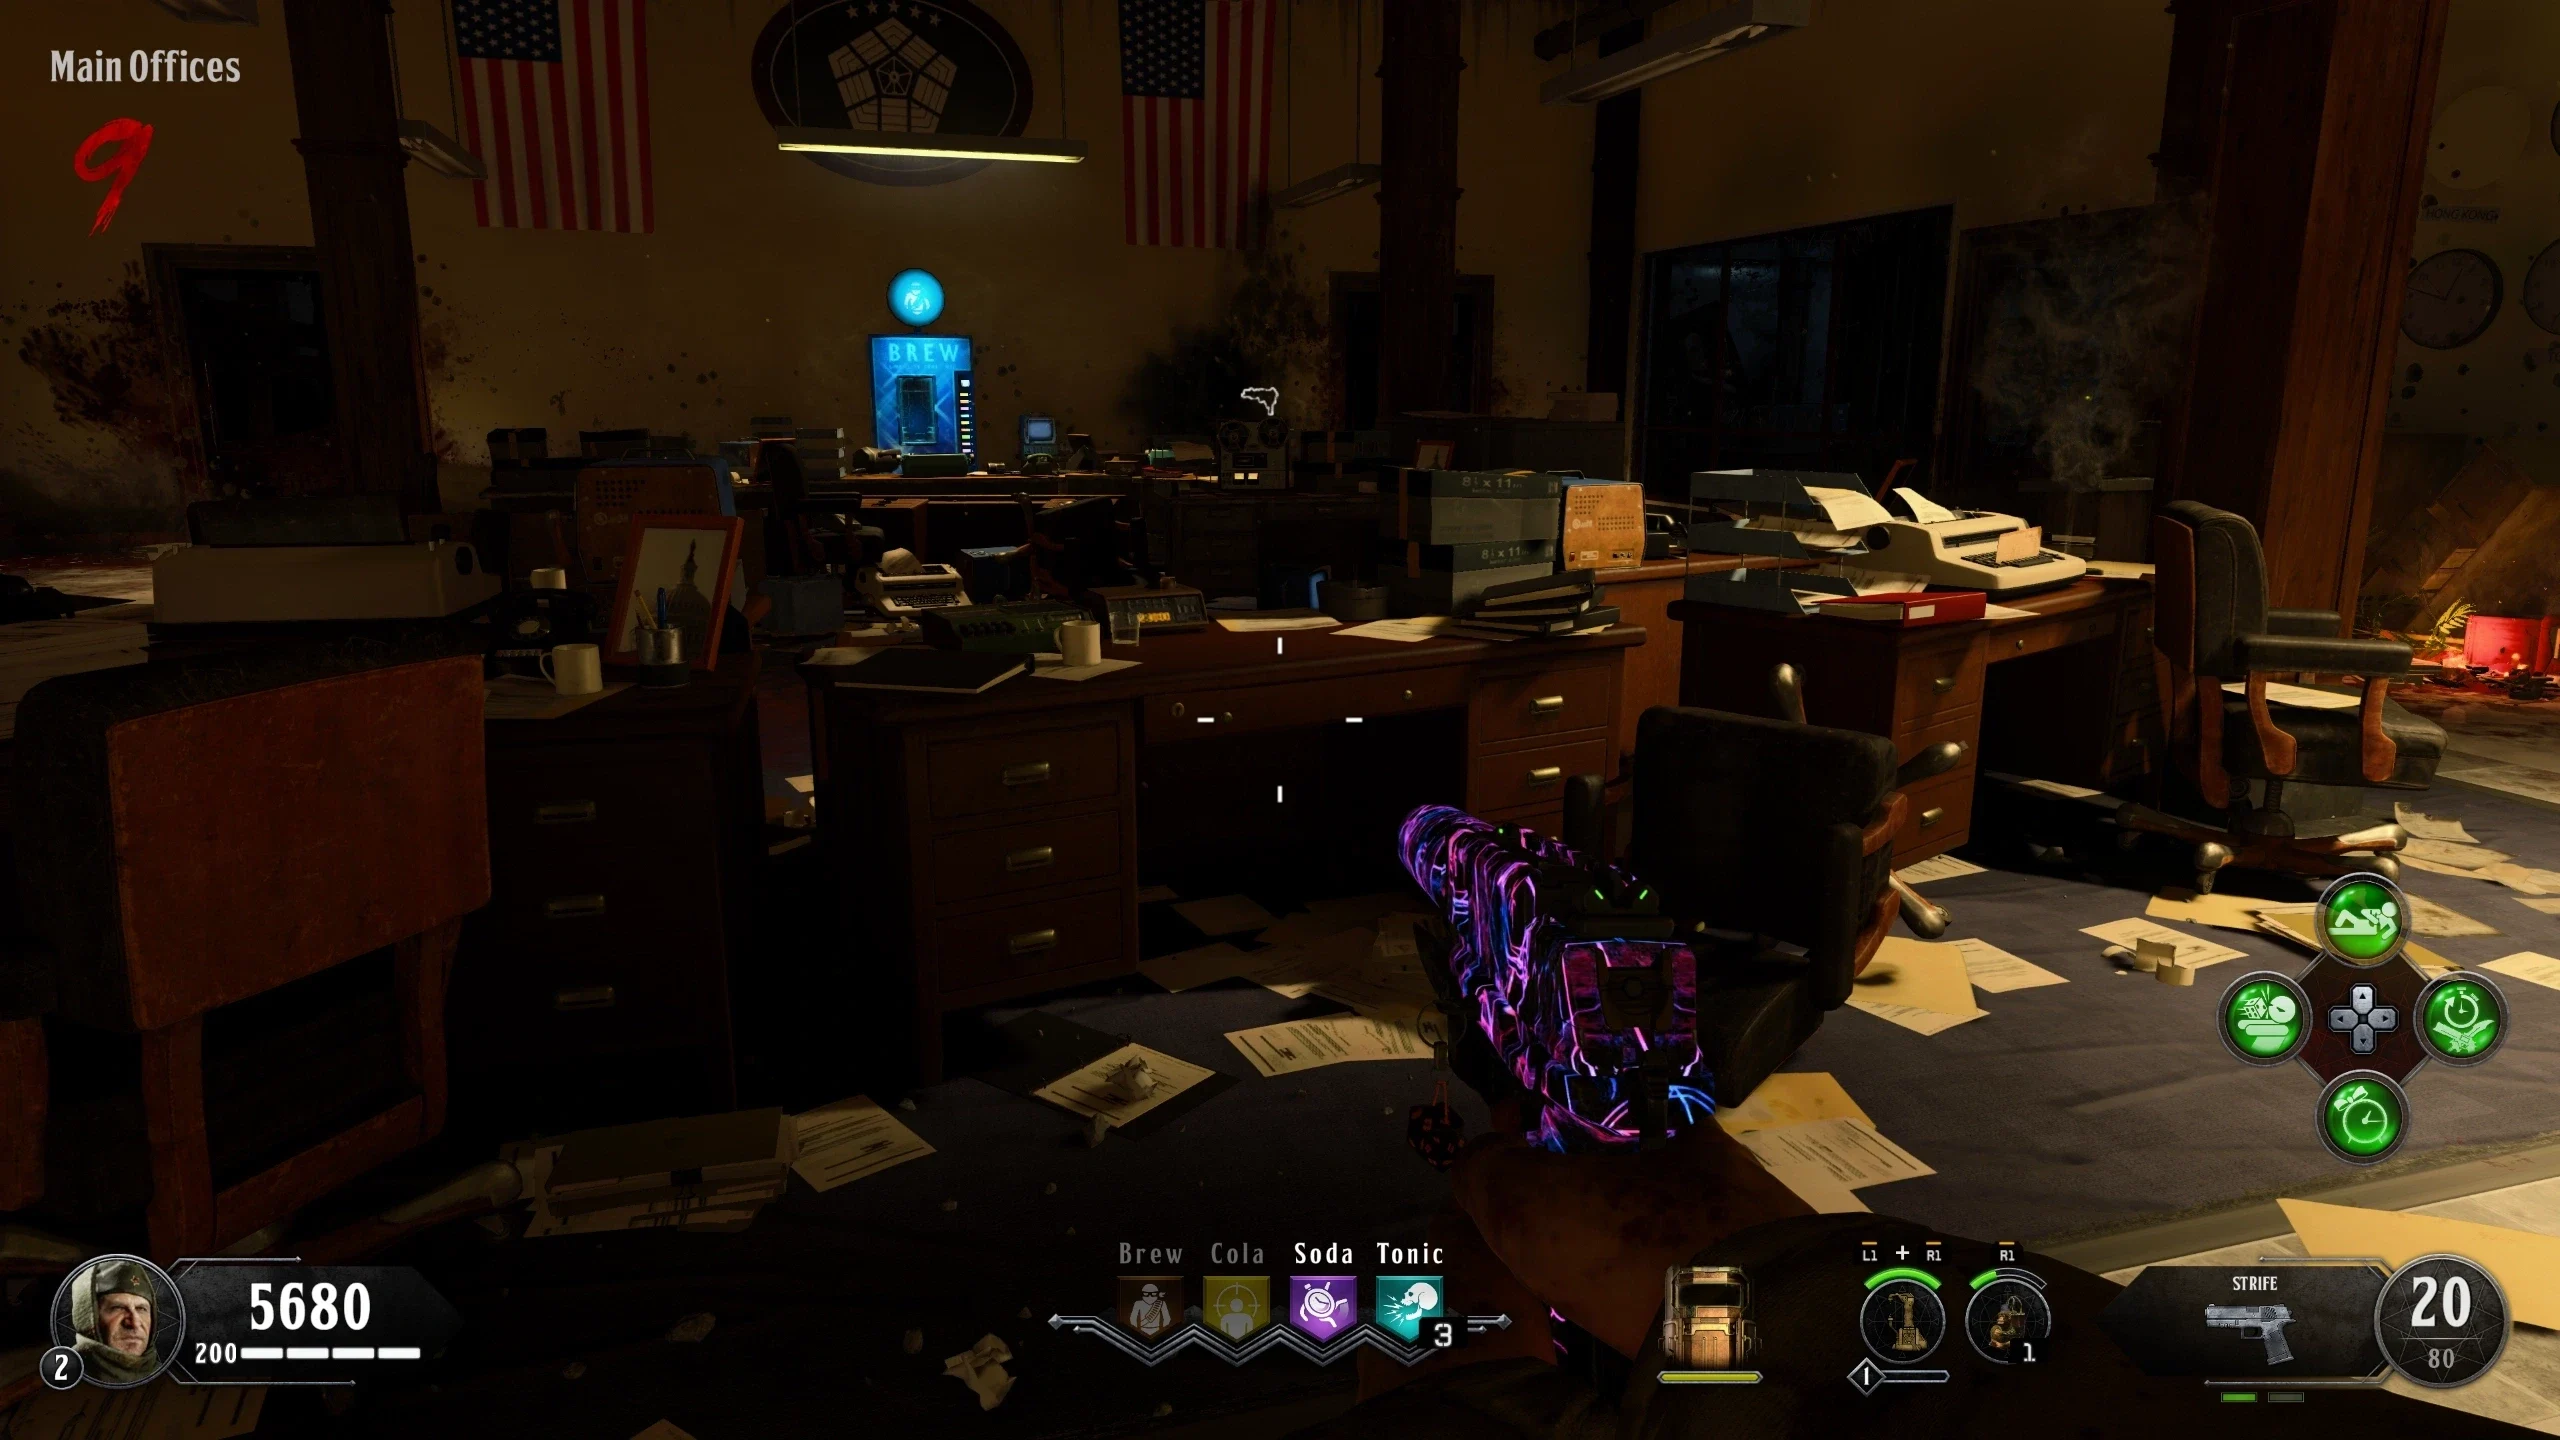
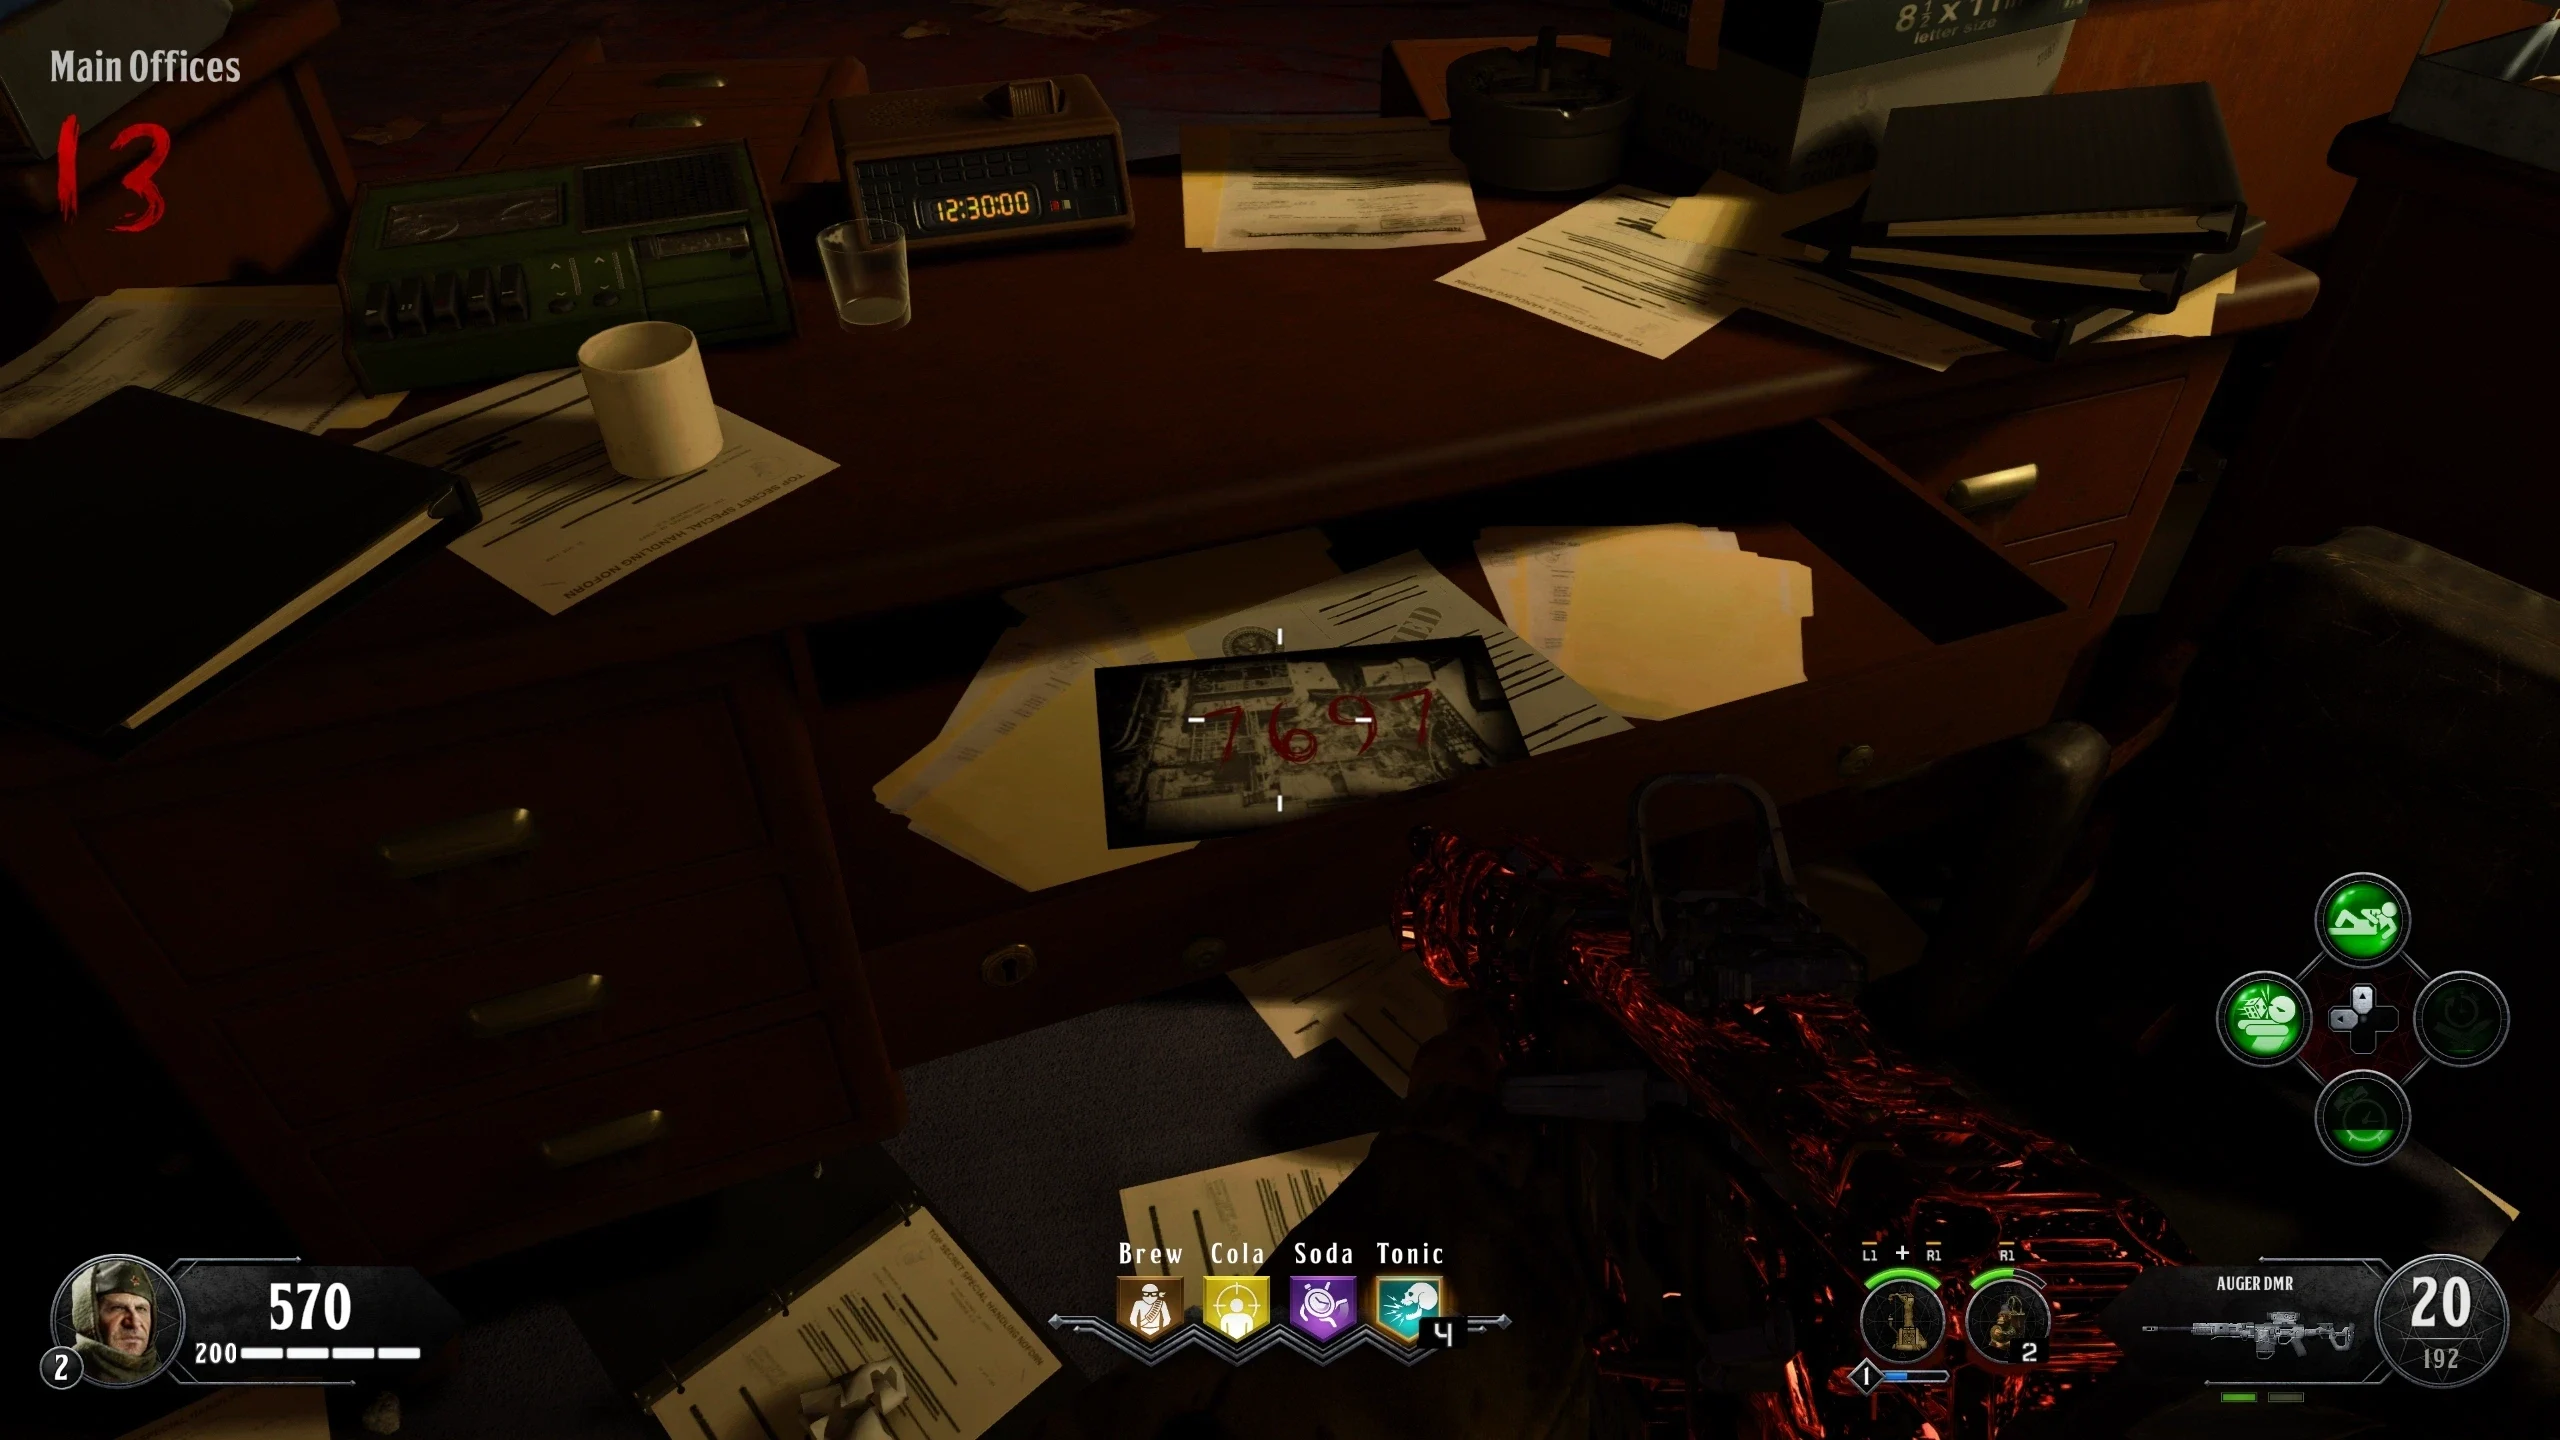
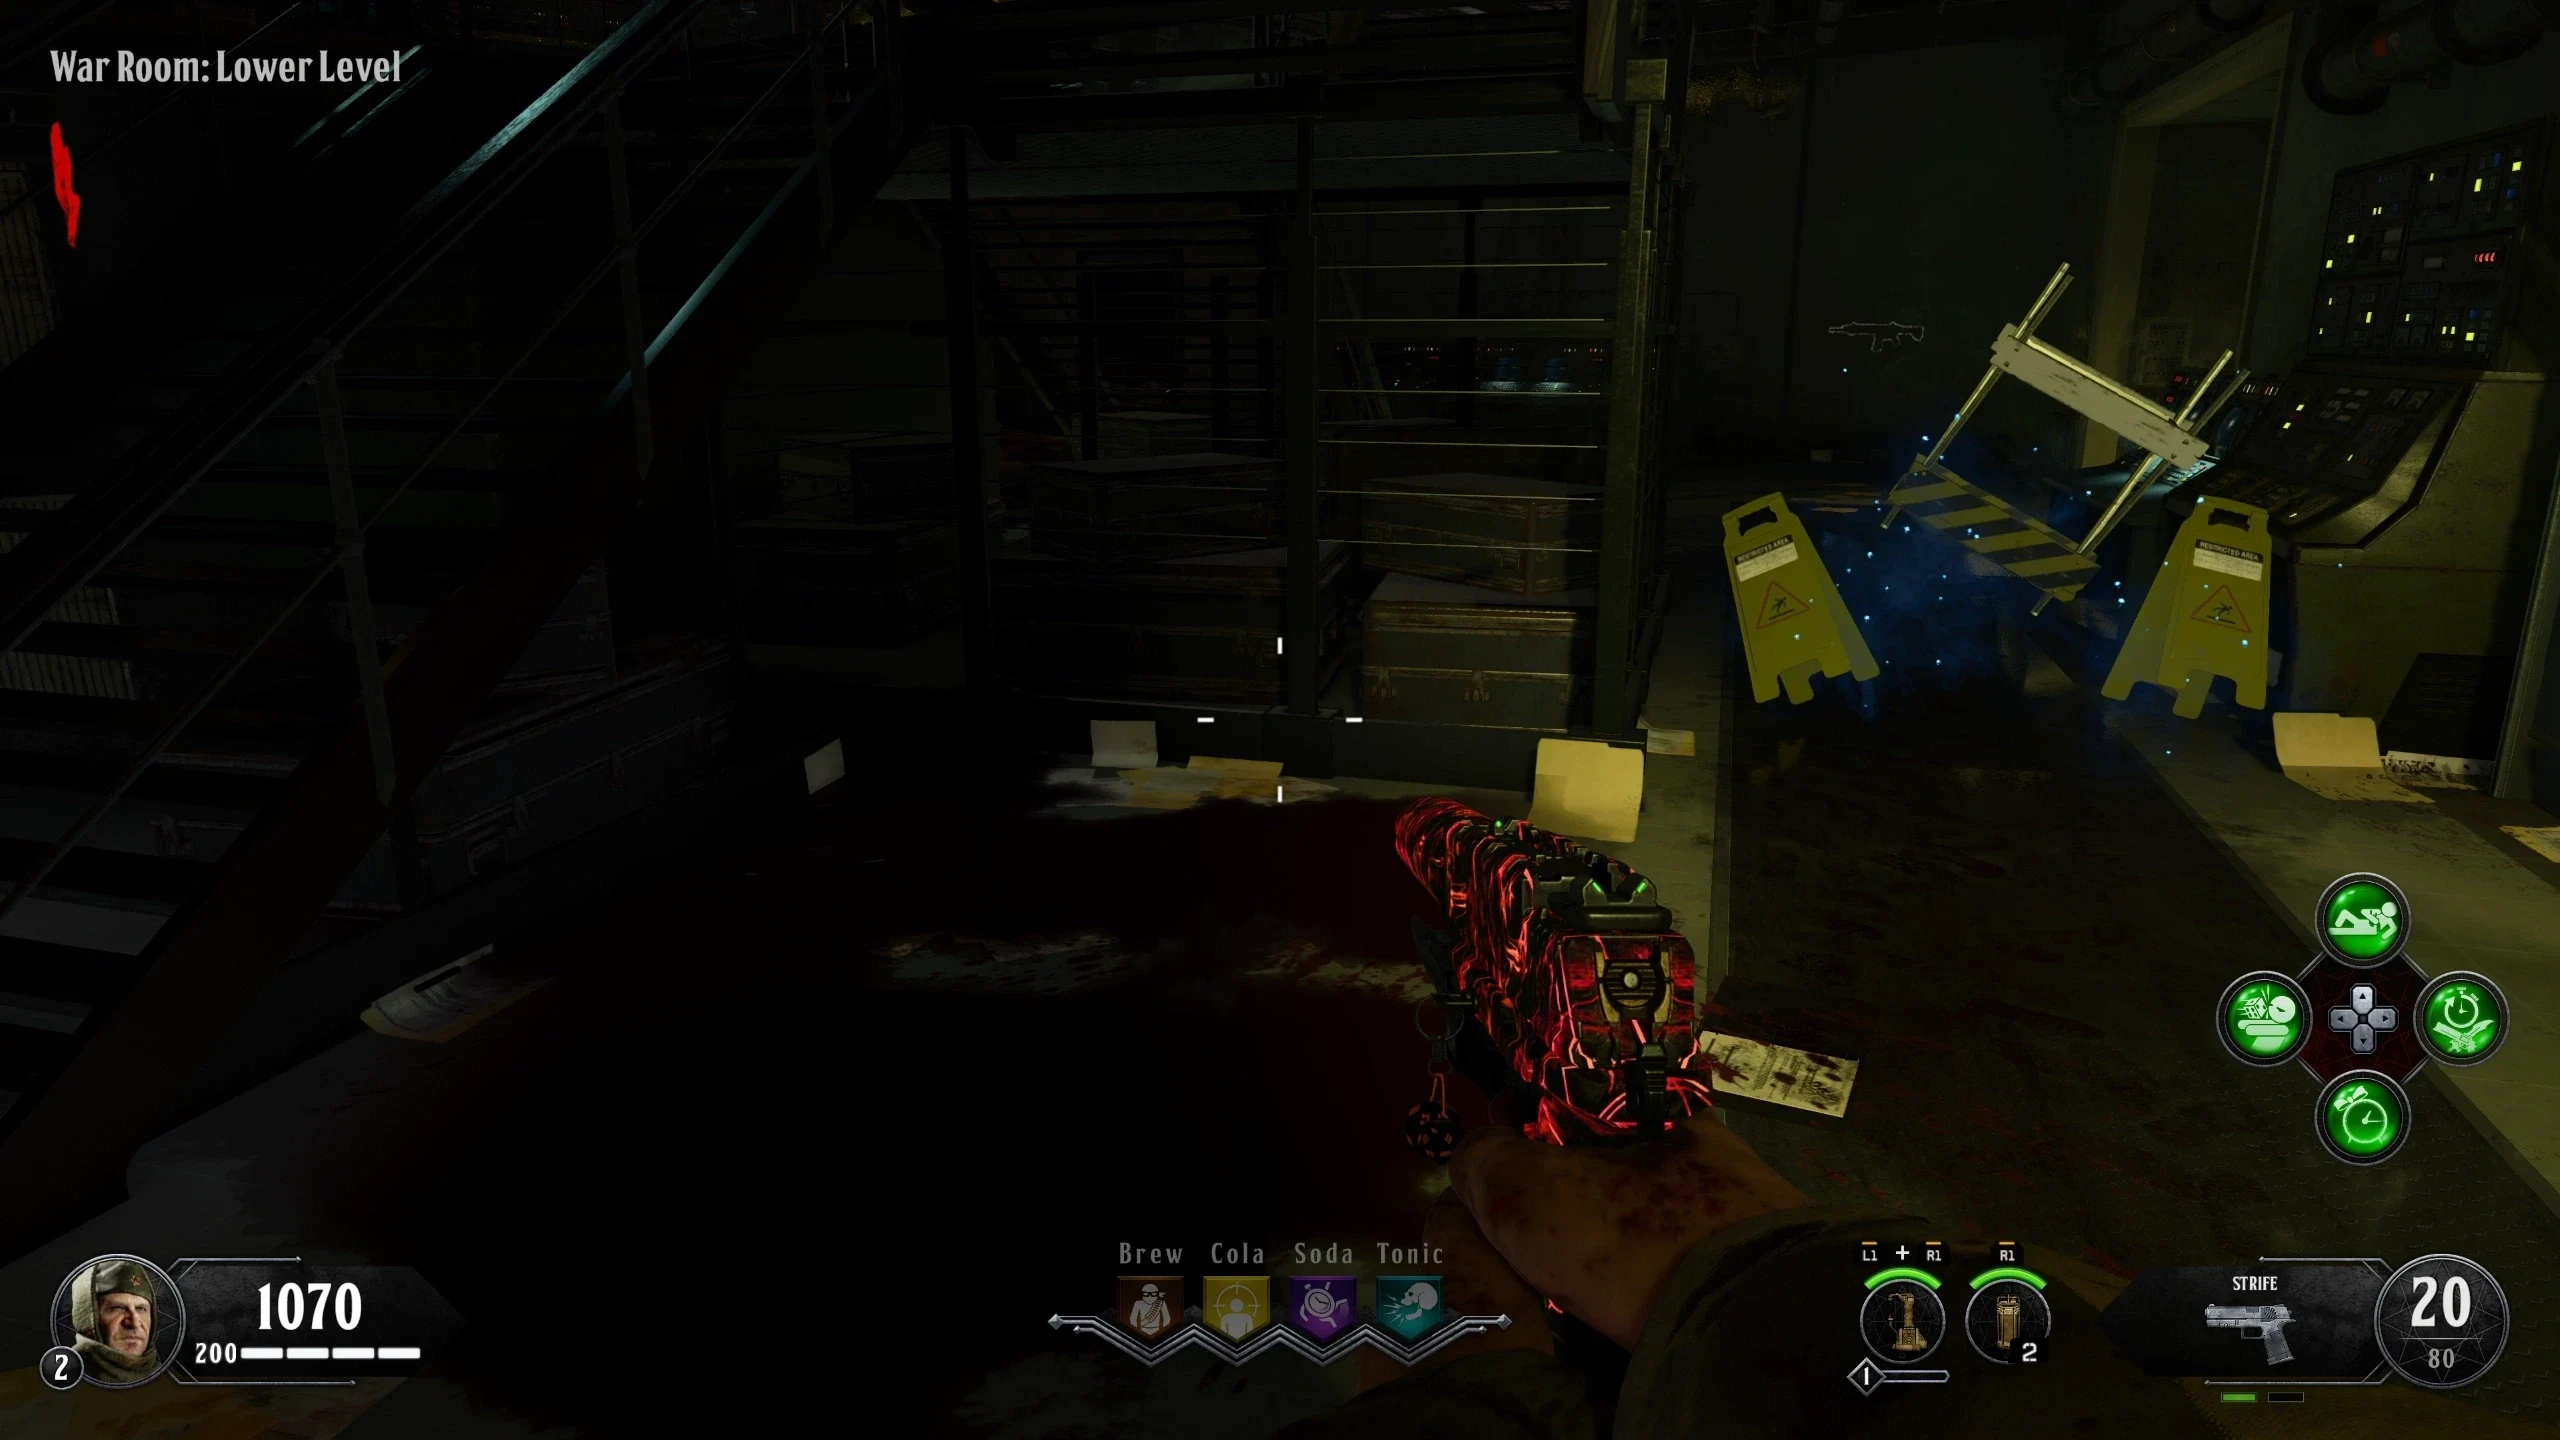
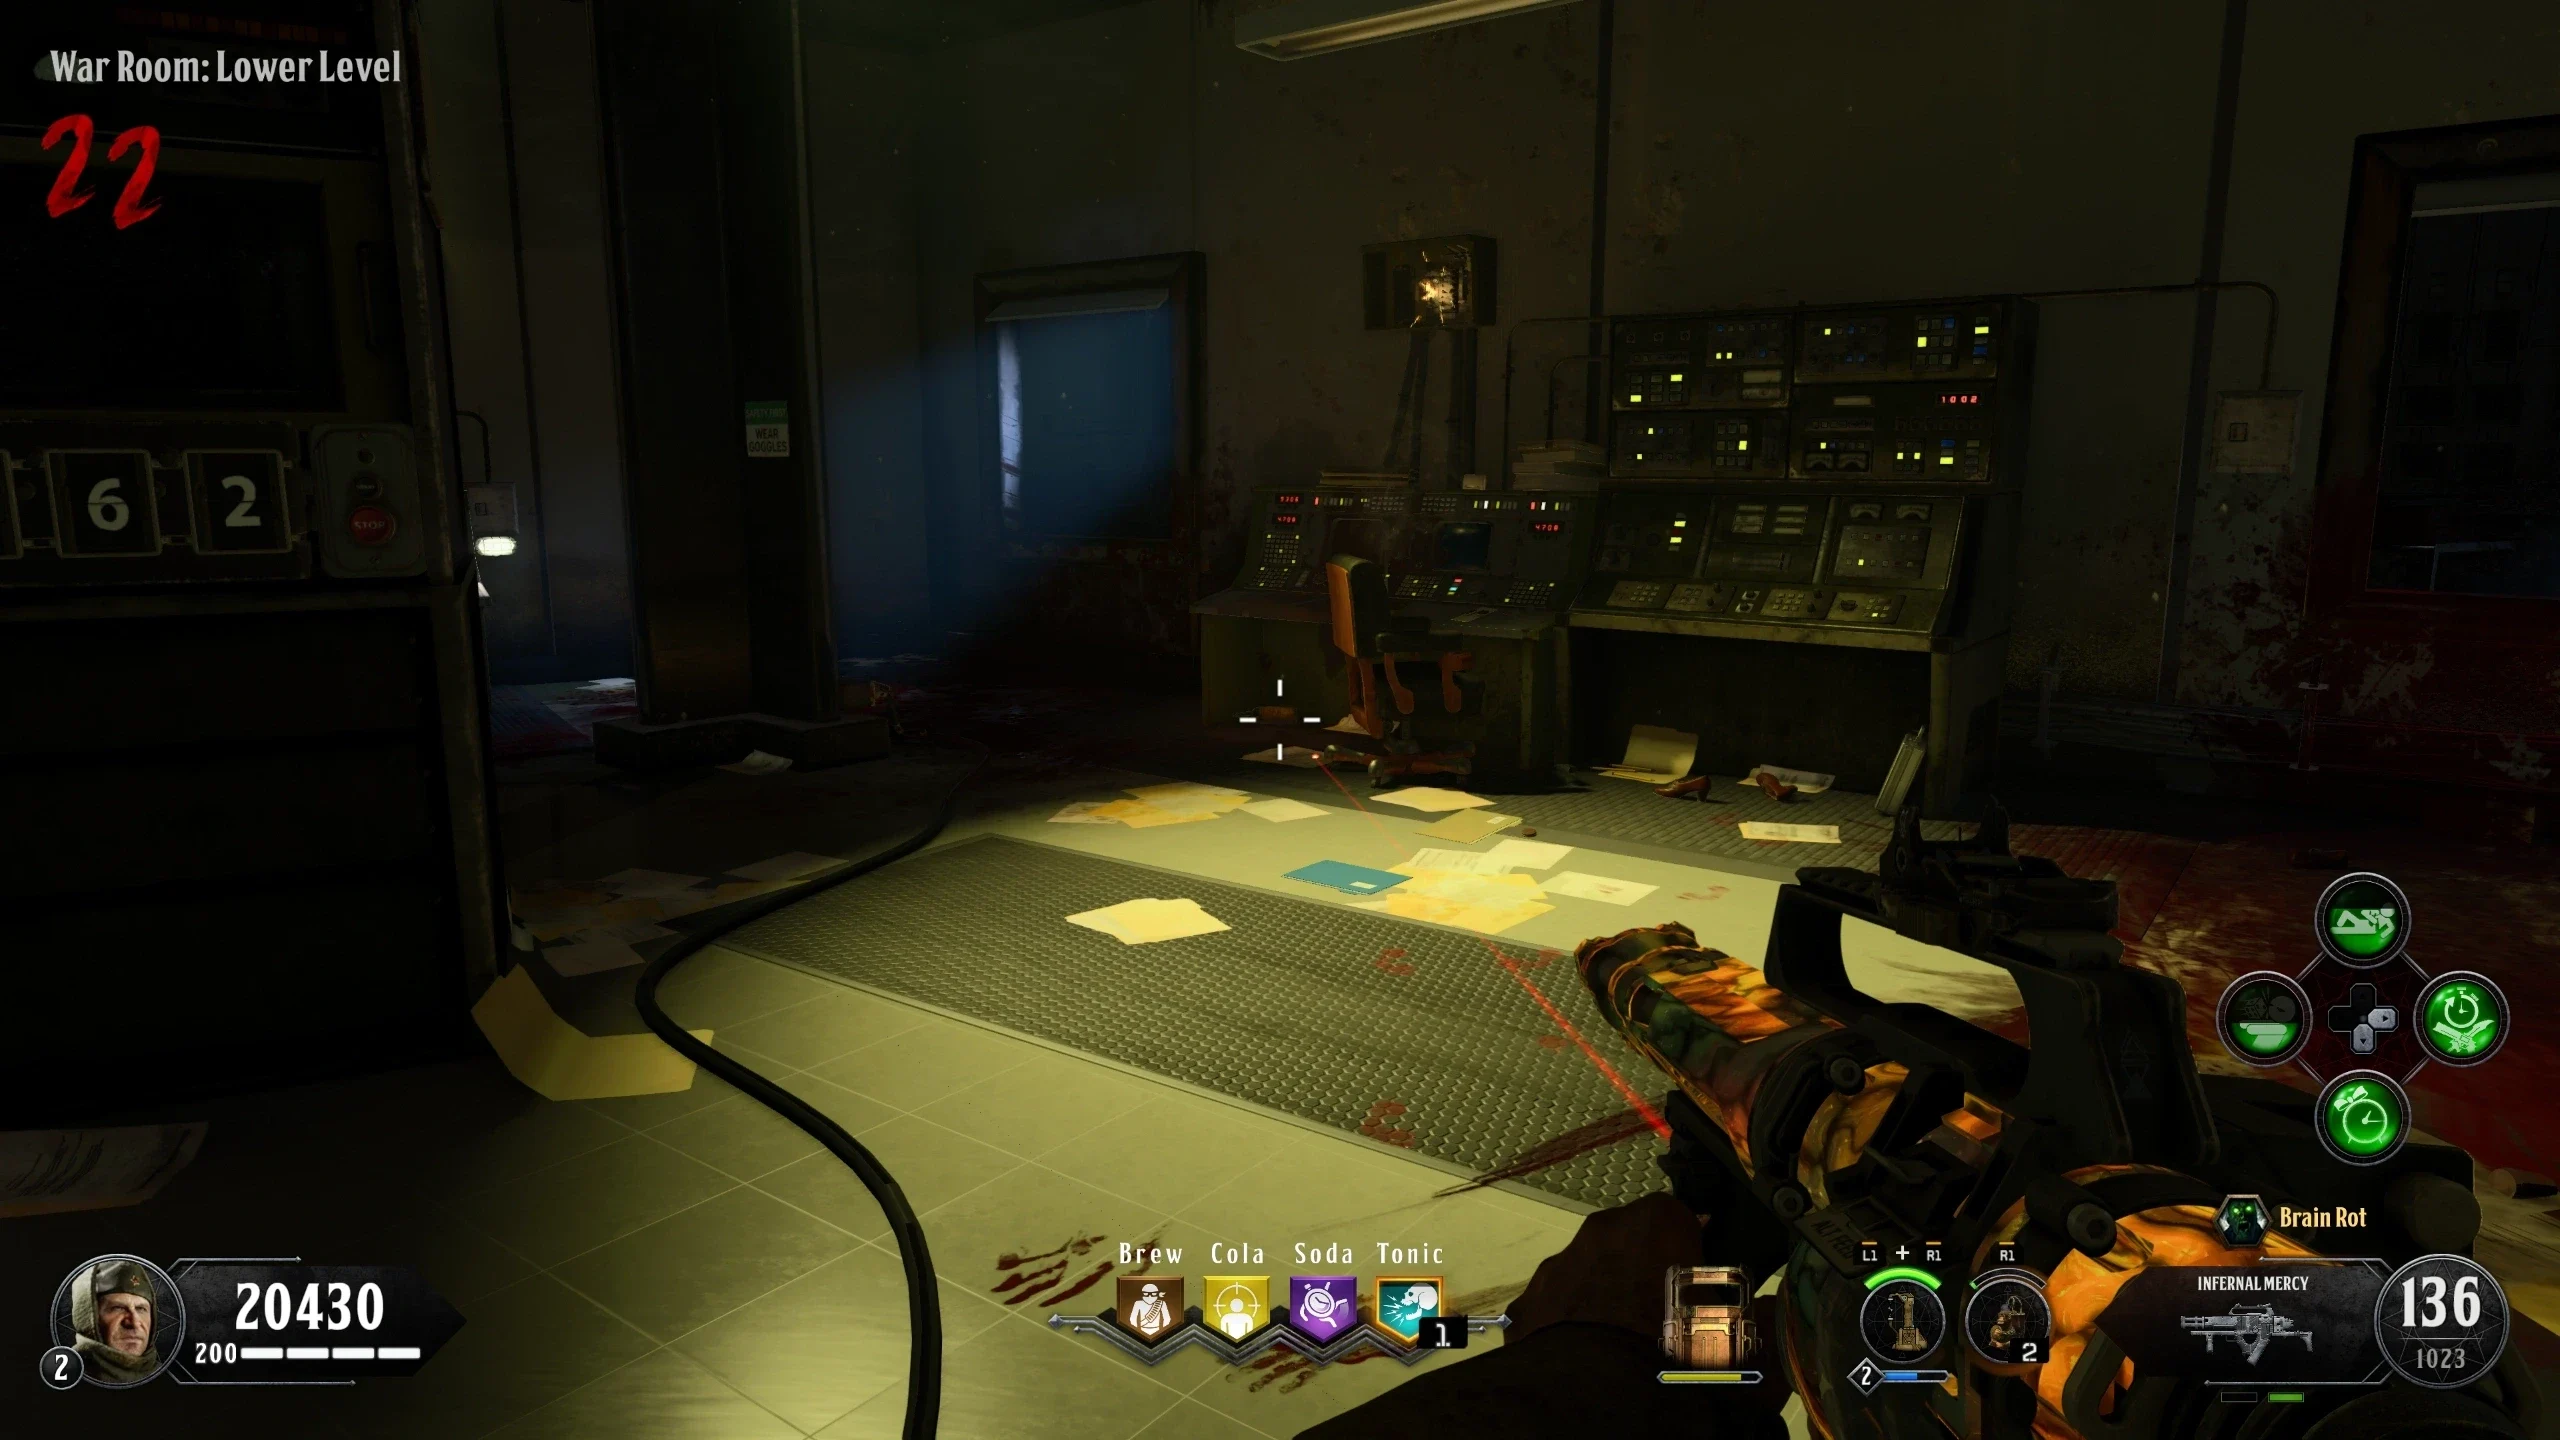
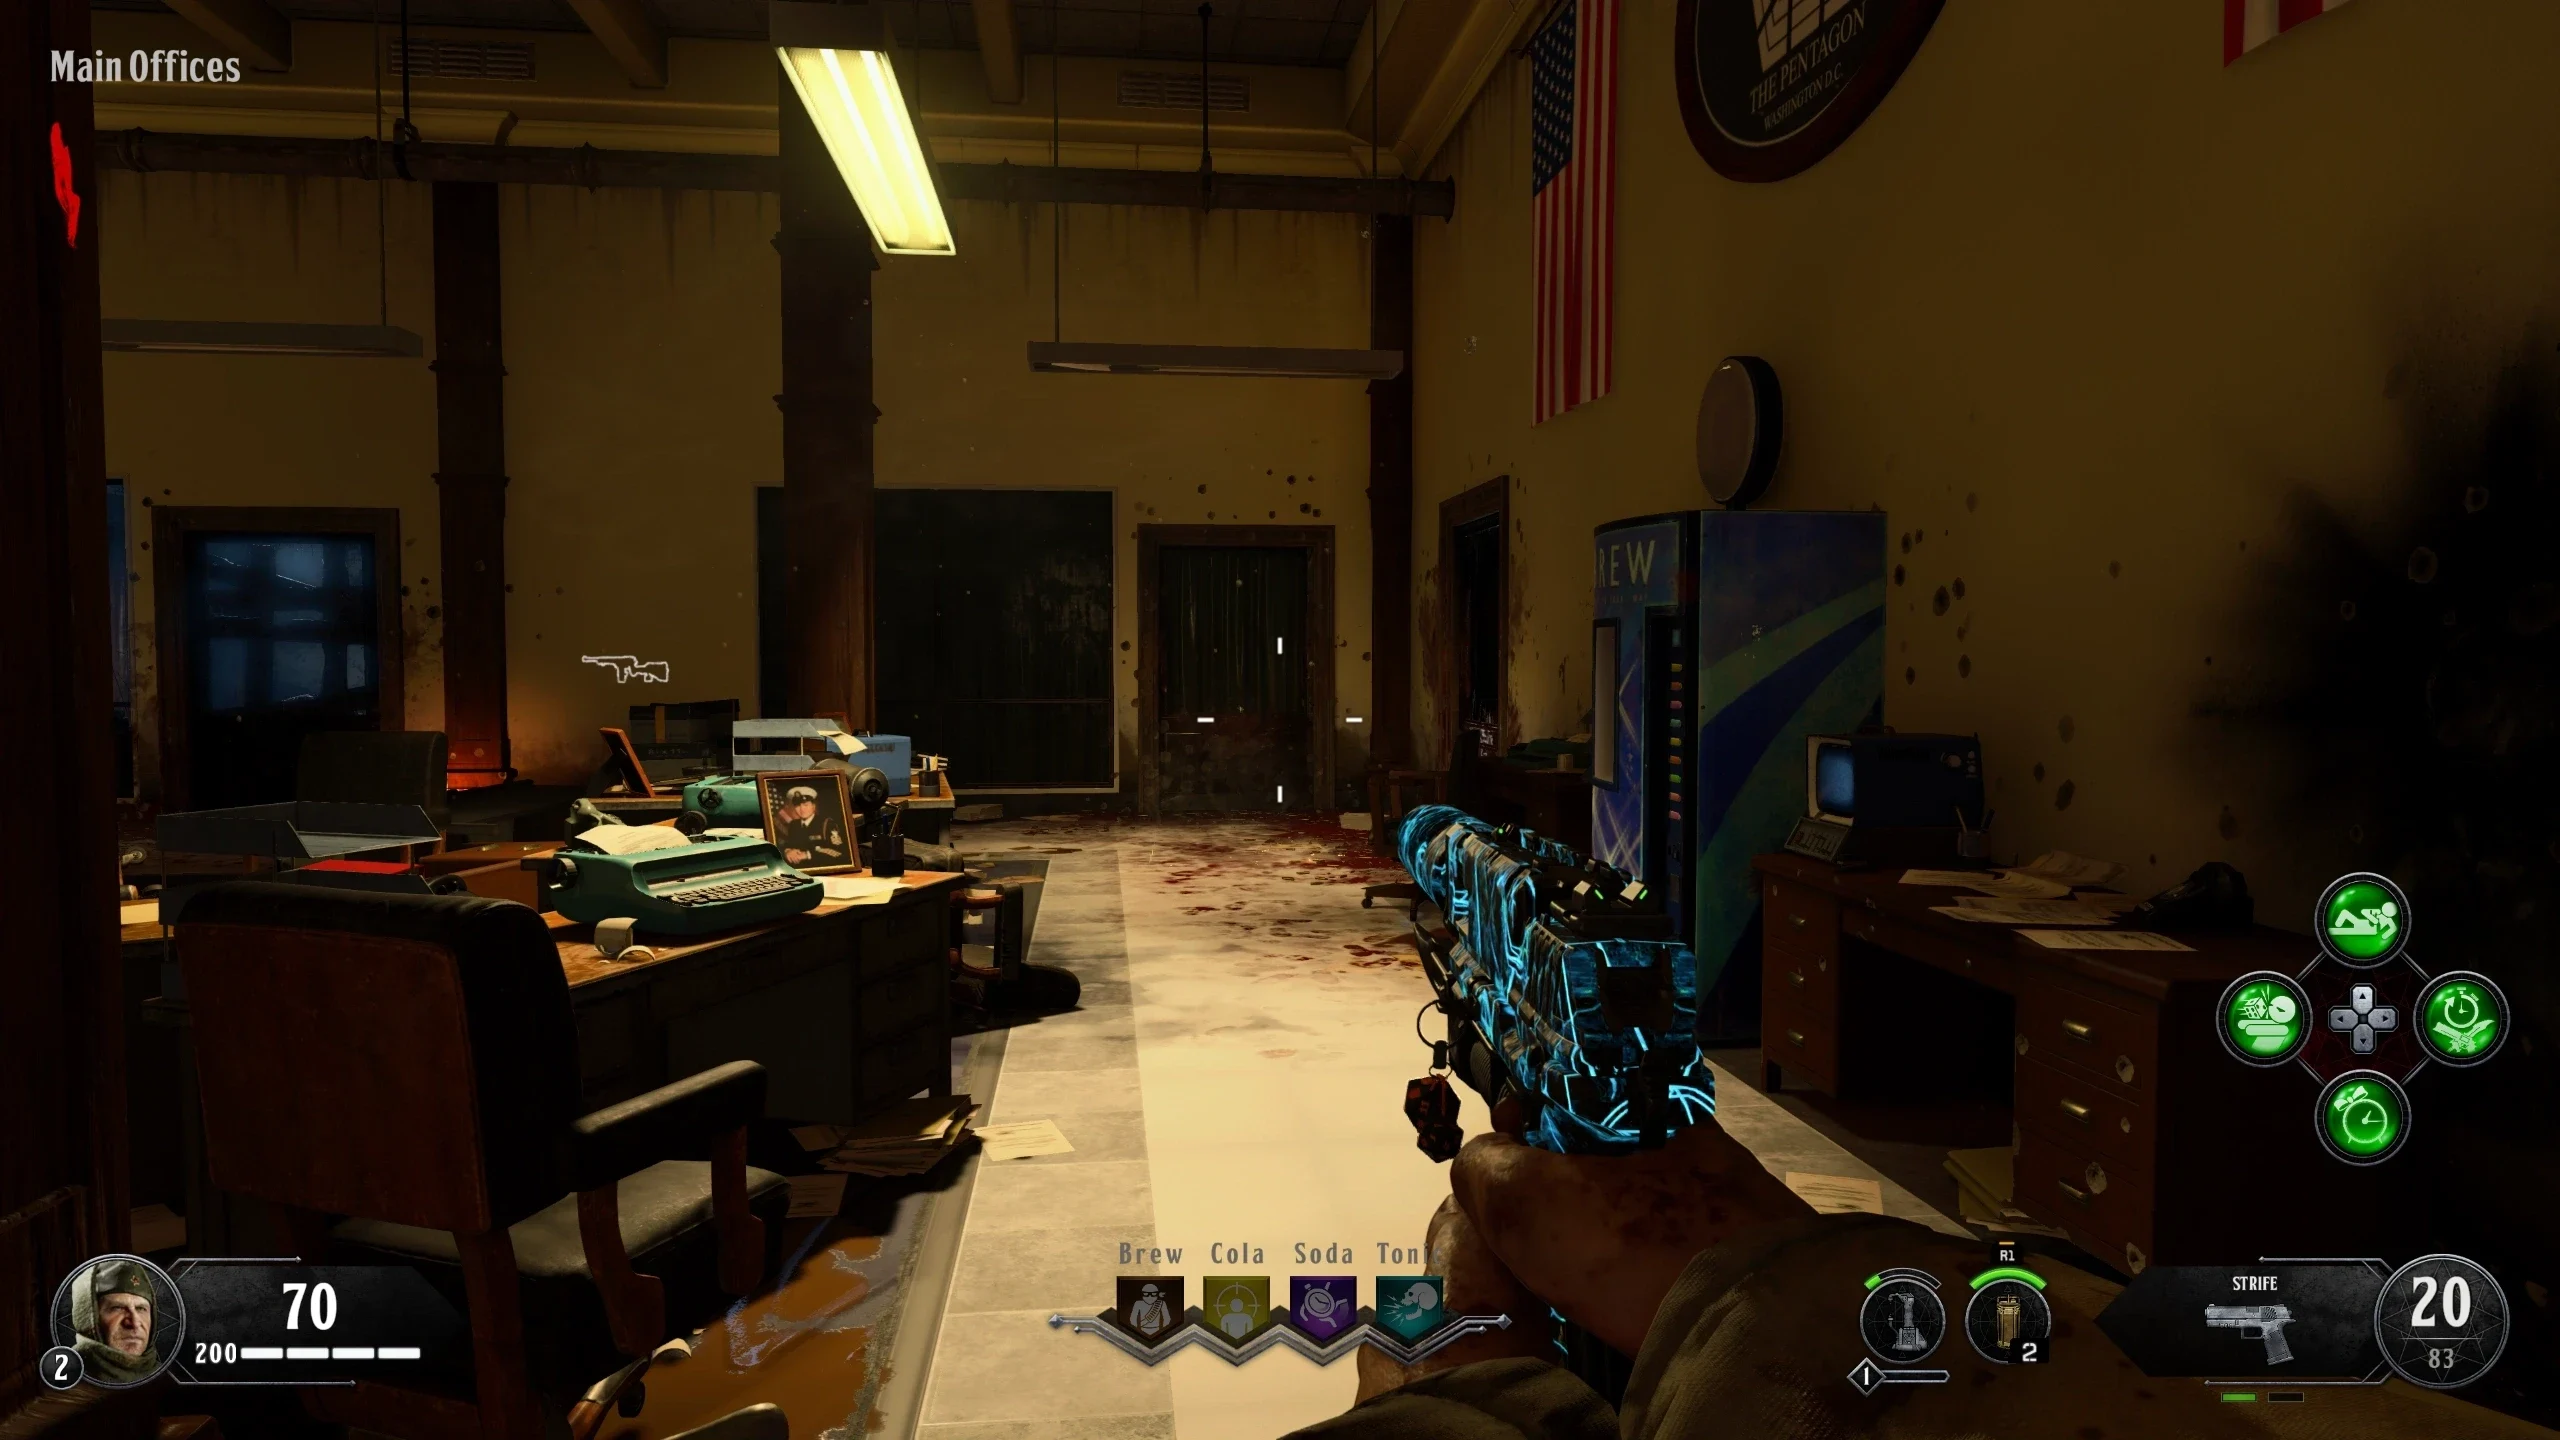
- Pick up the Key in the box opposite the Cola Perk, in the 'War Room: Lower Level.'
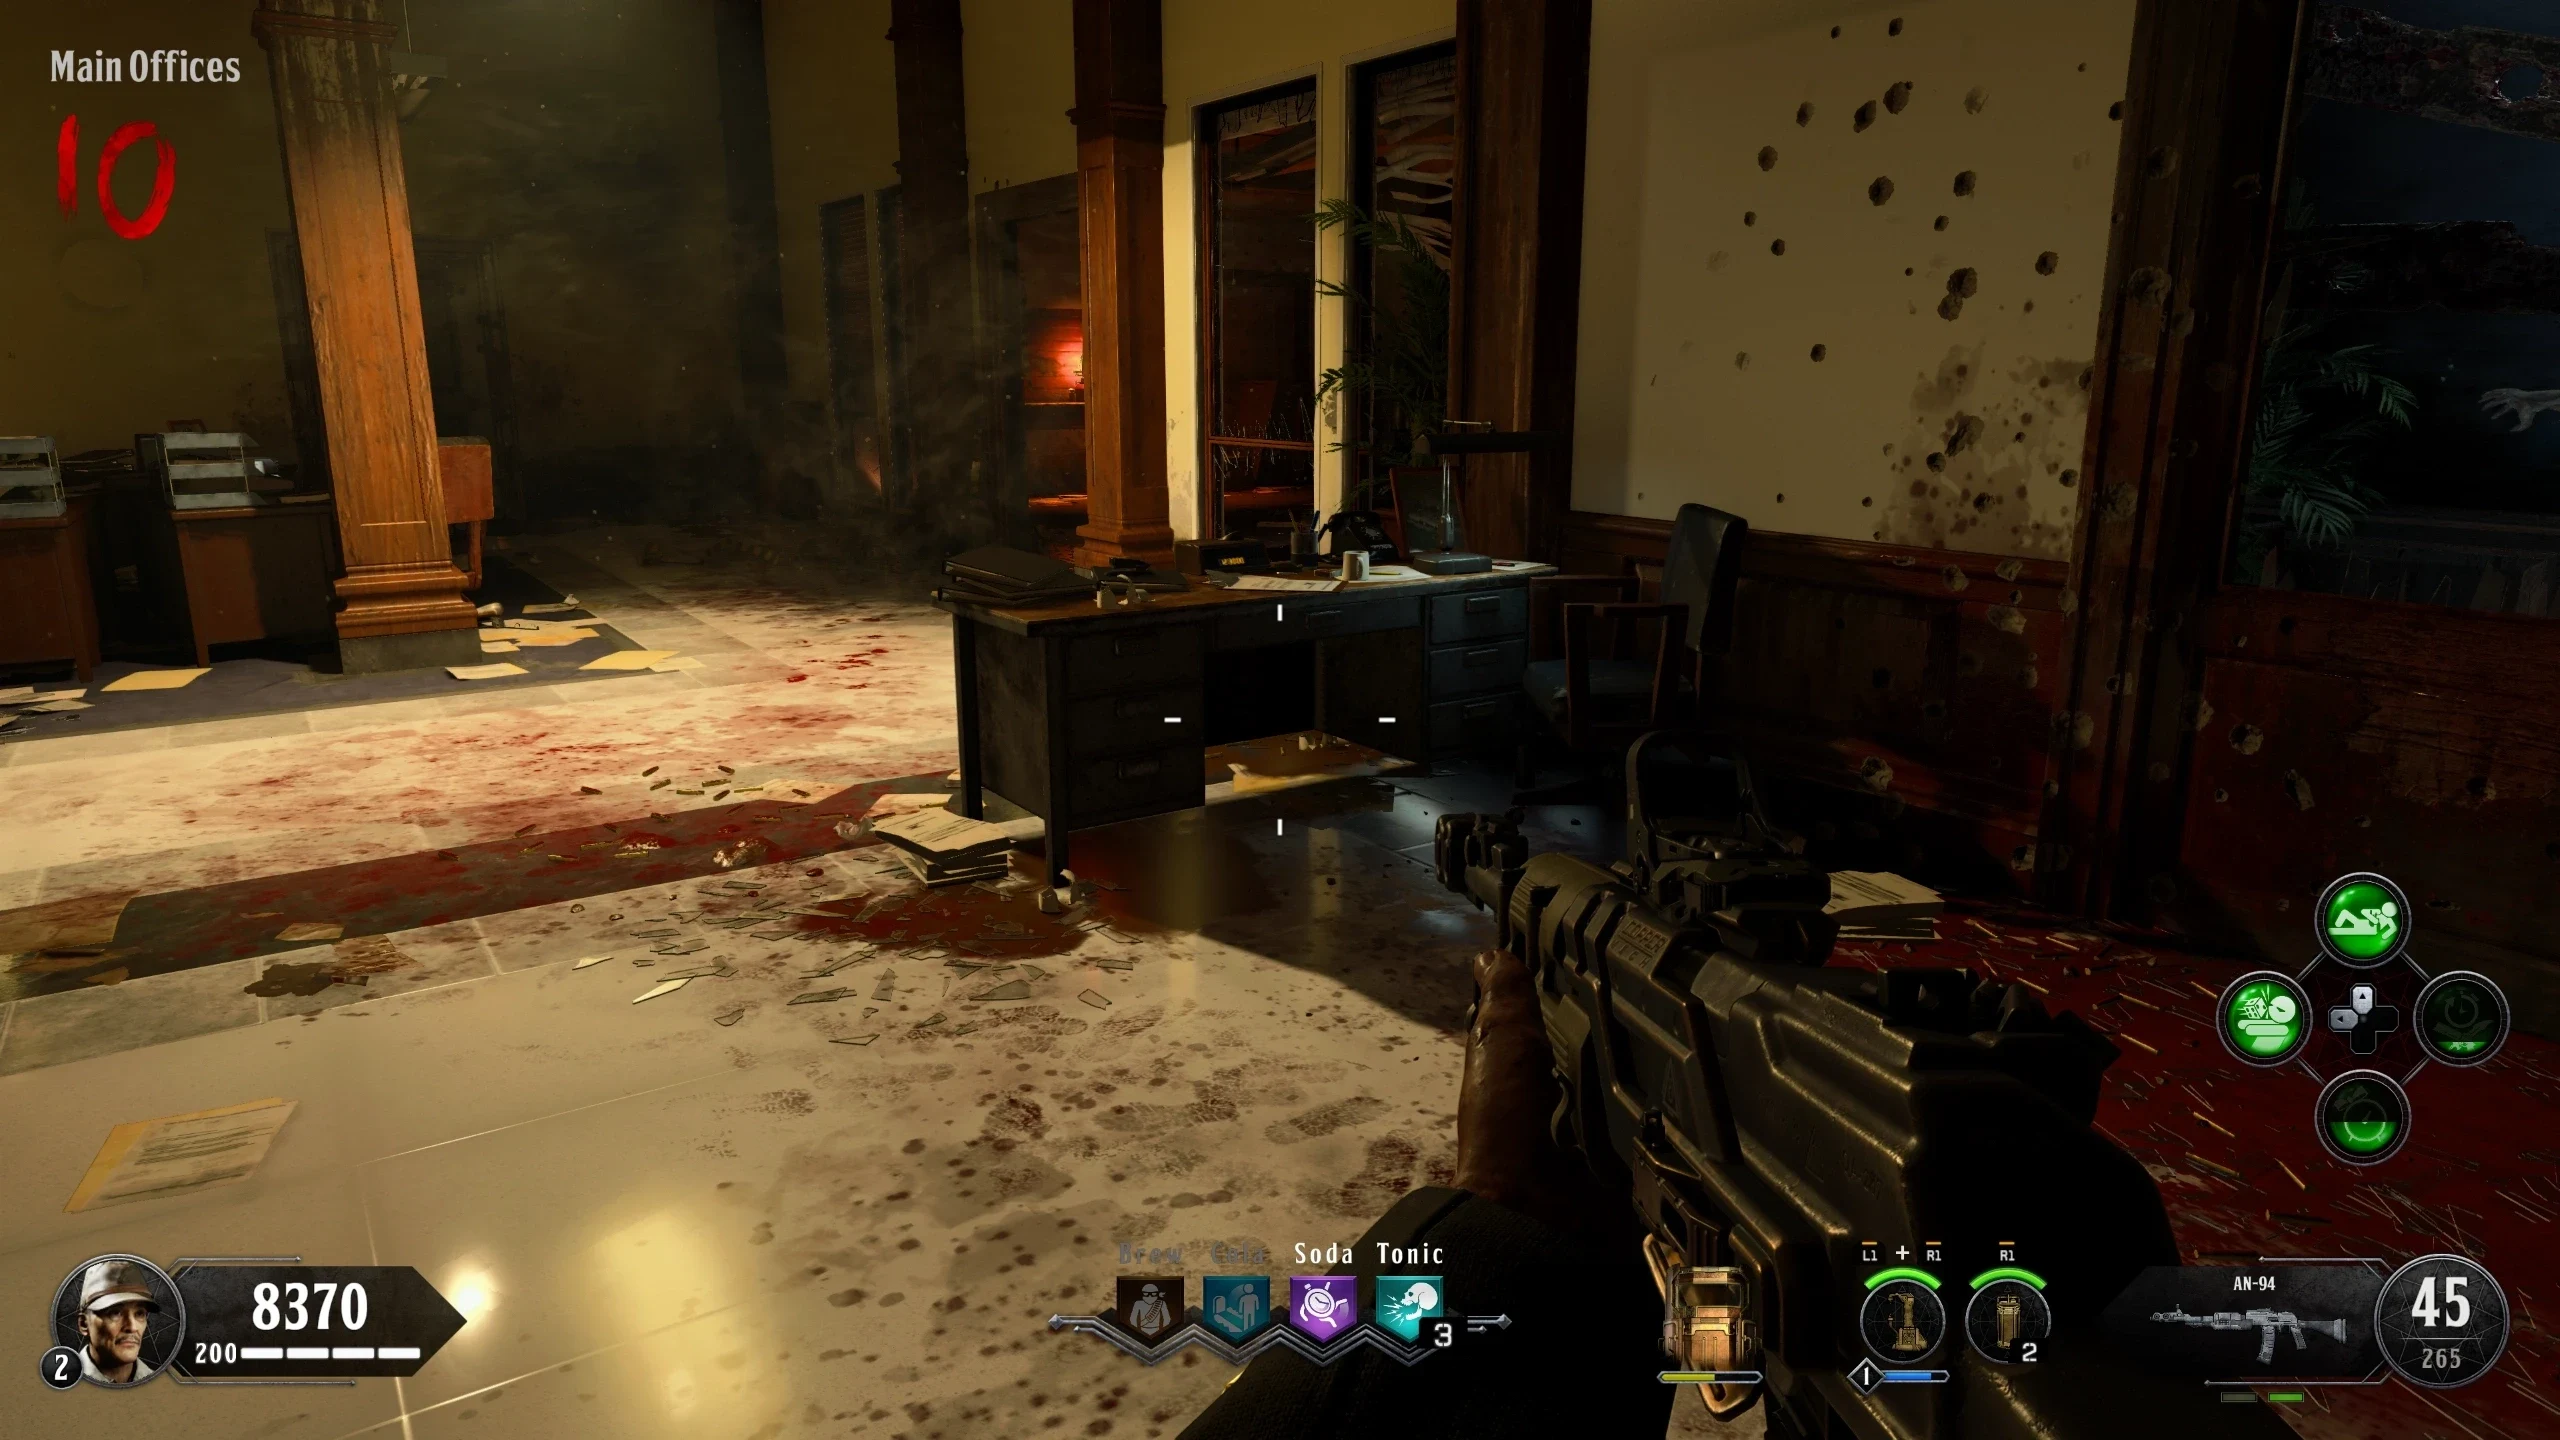
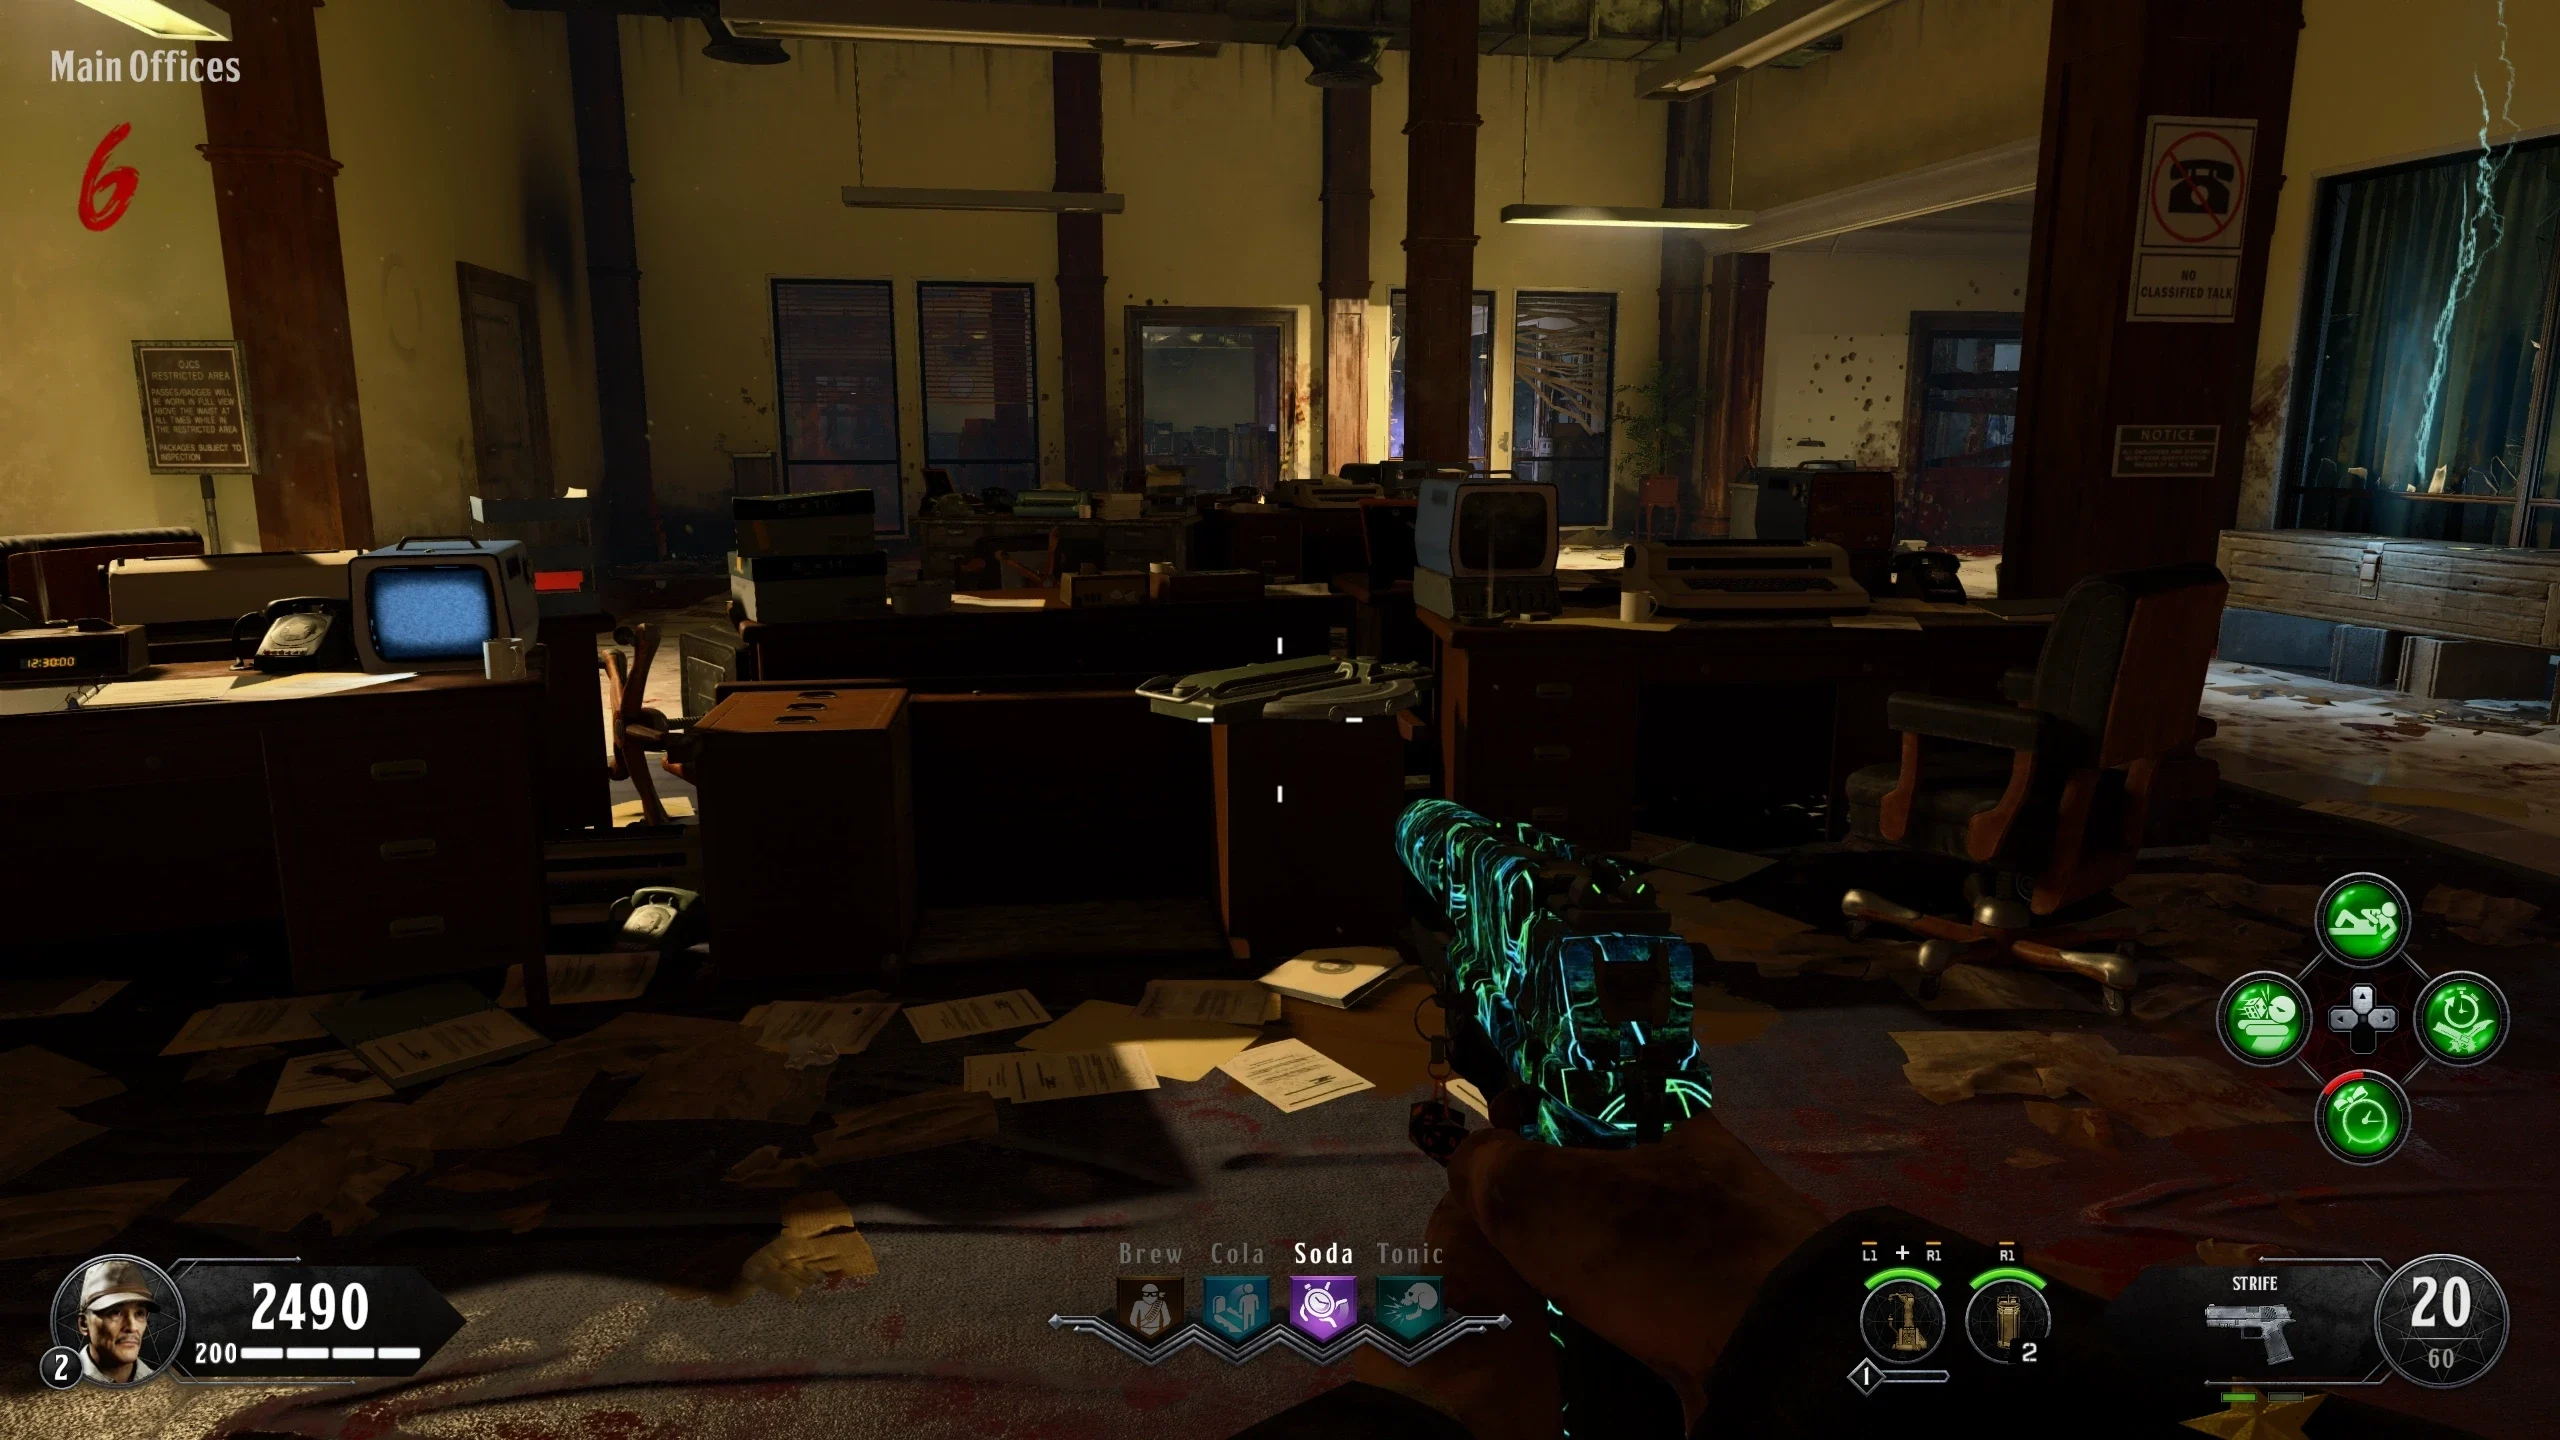
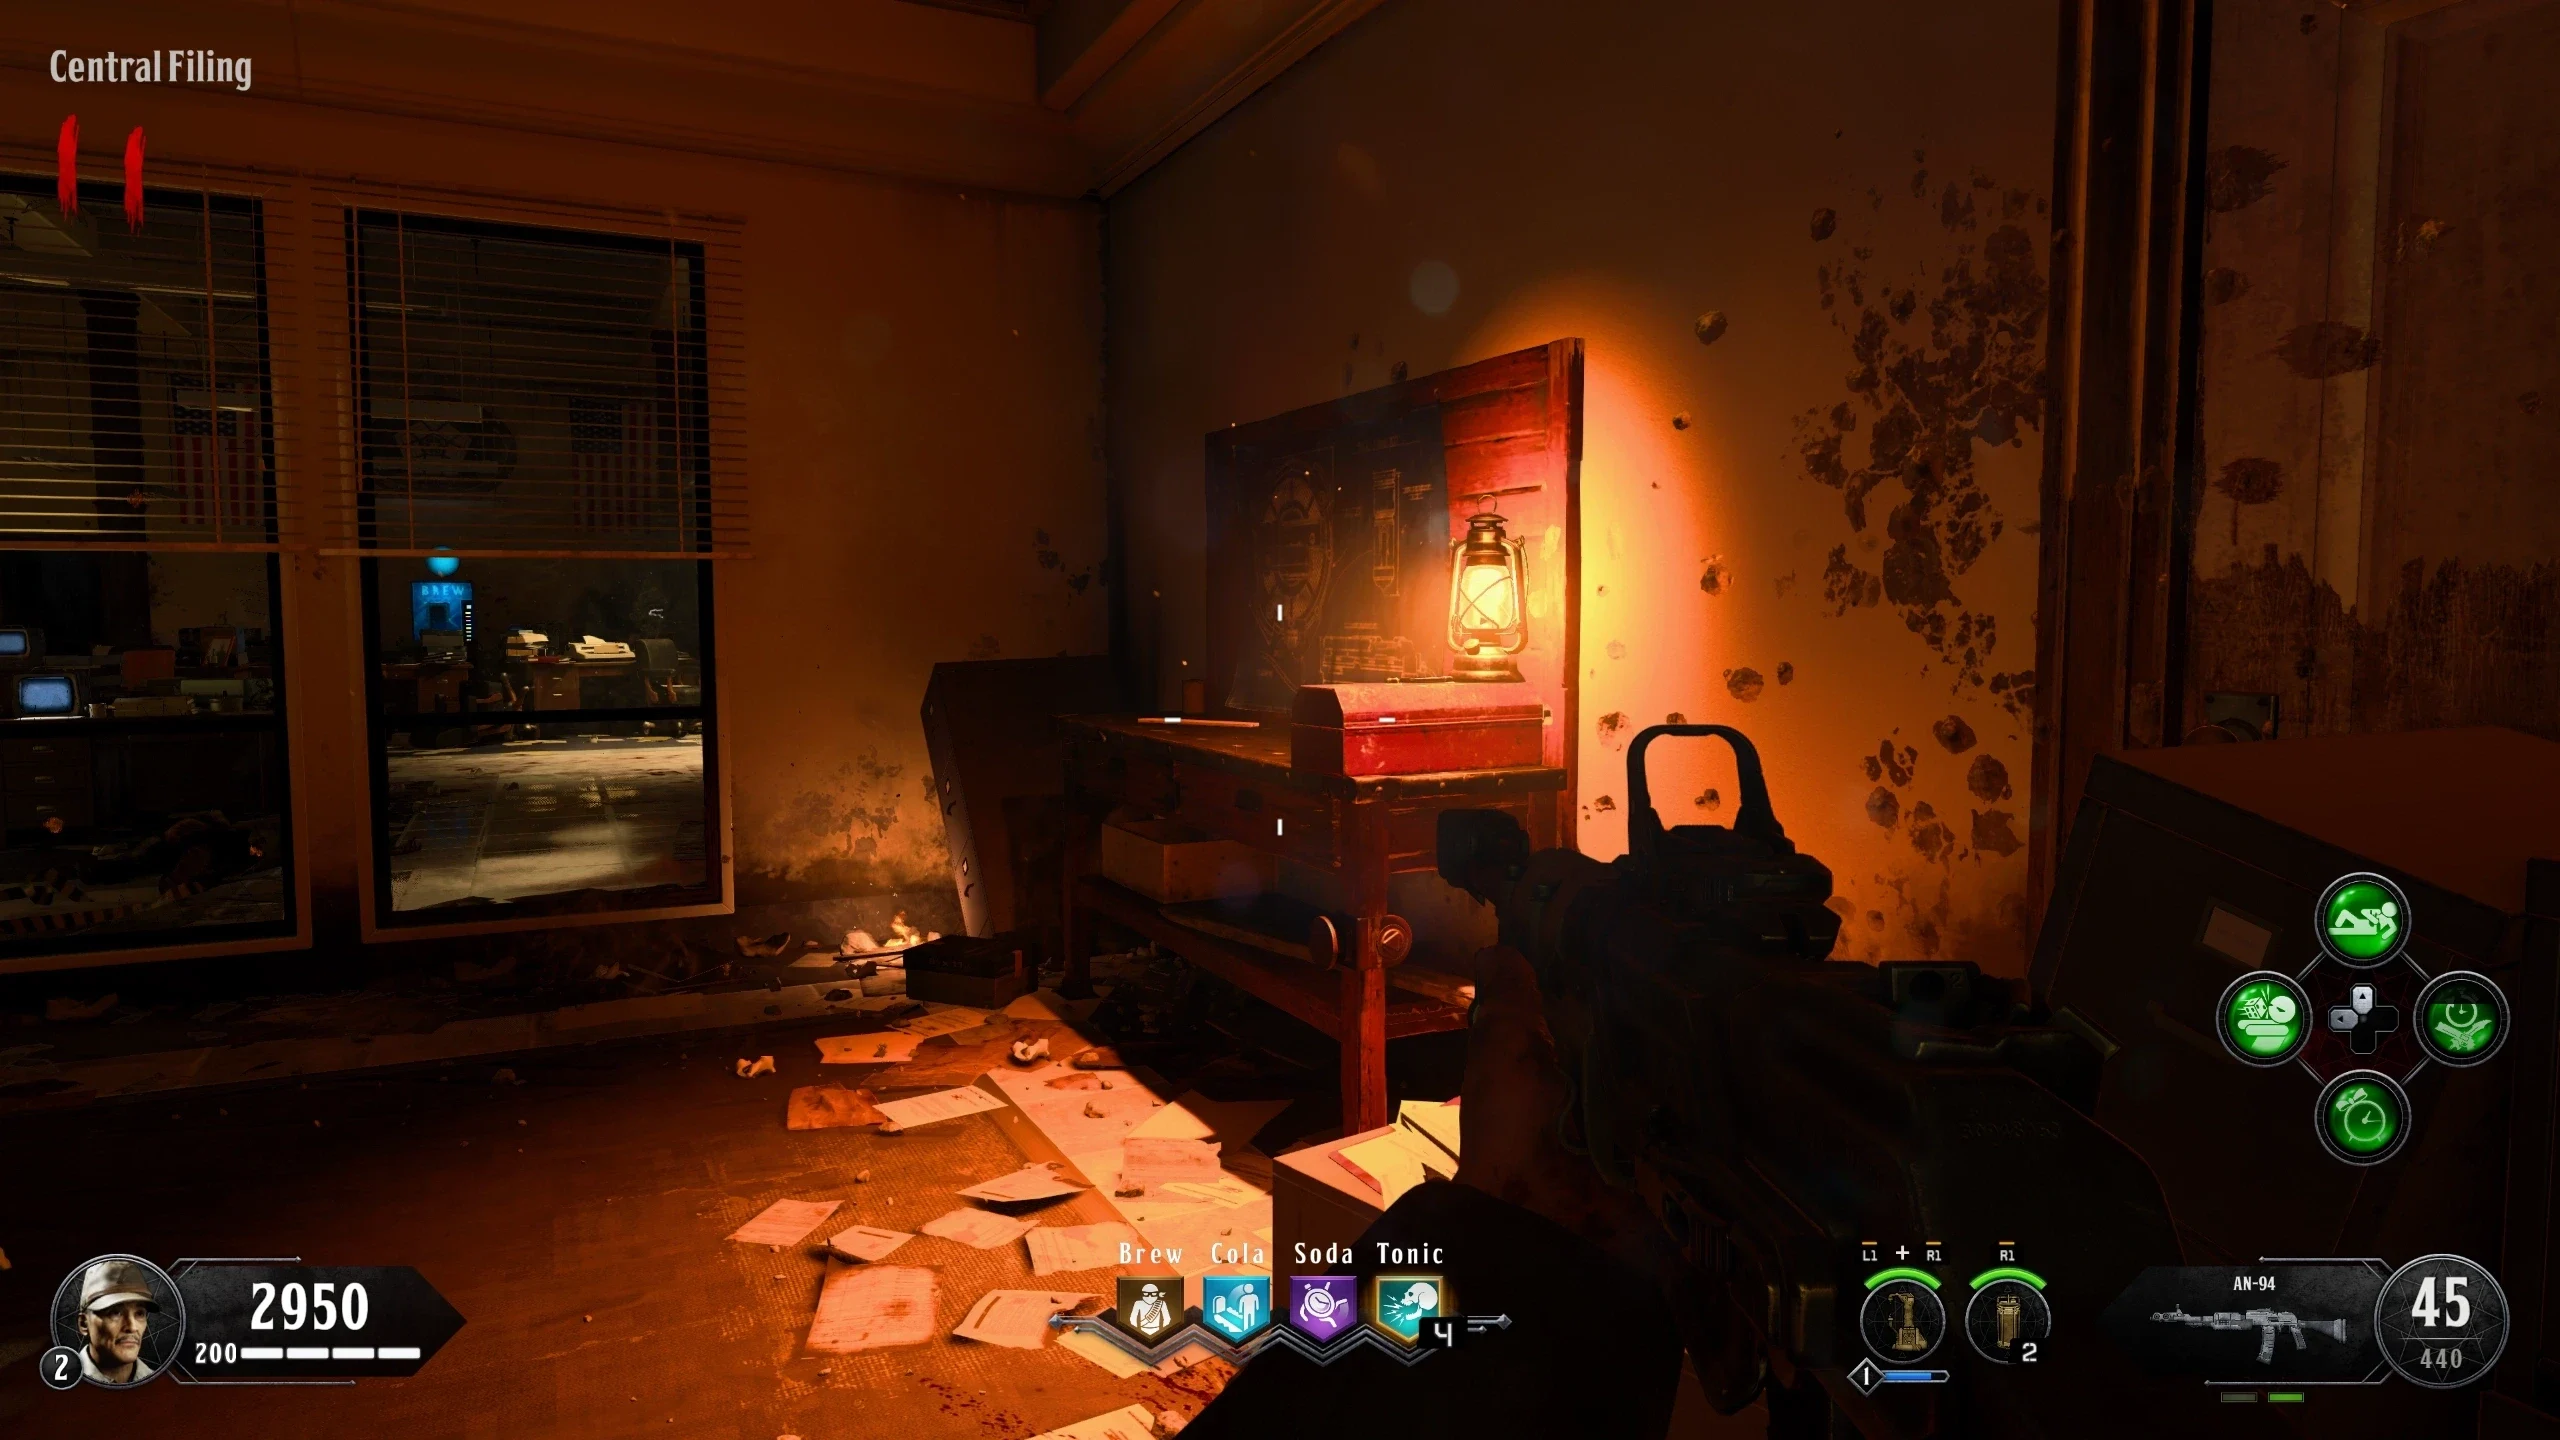
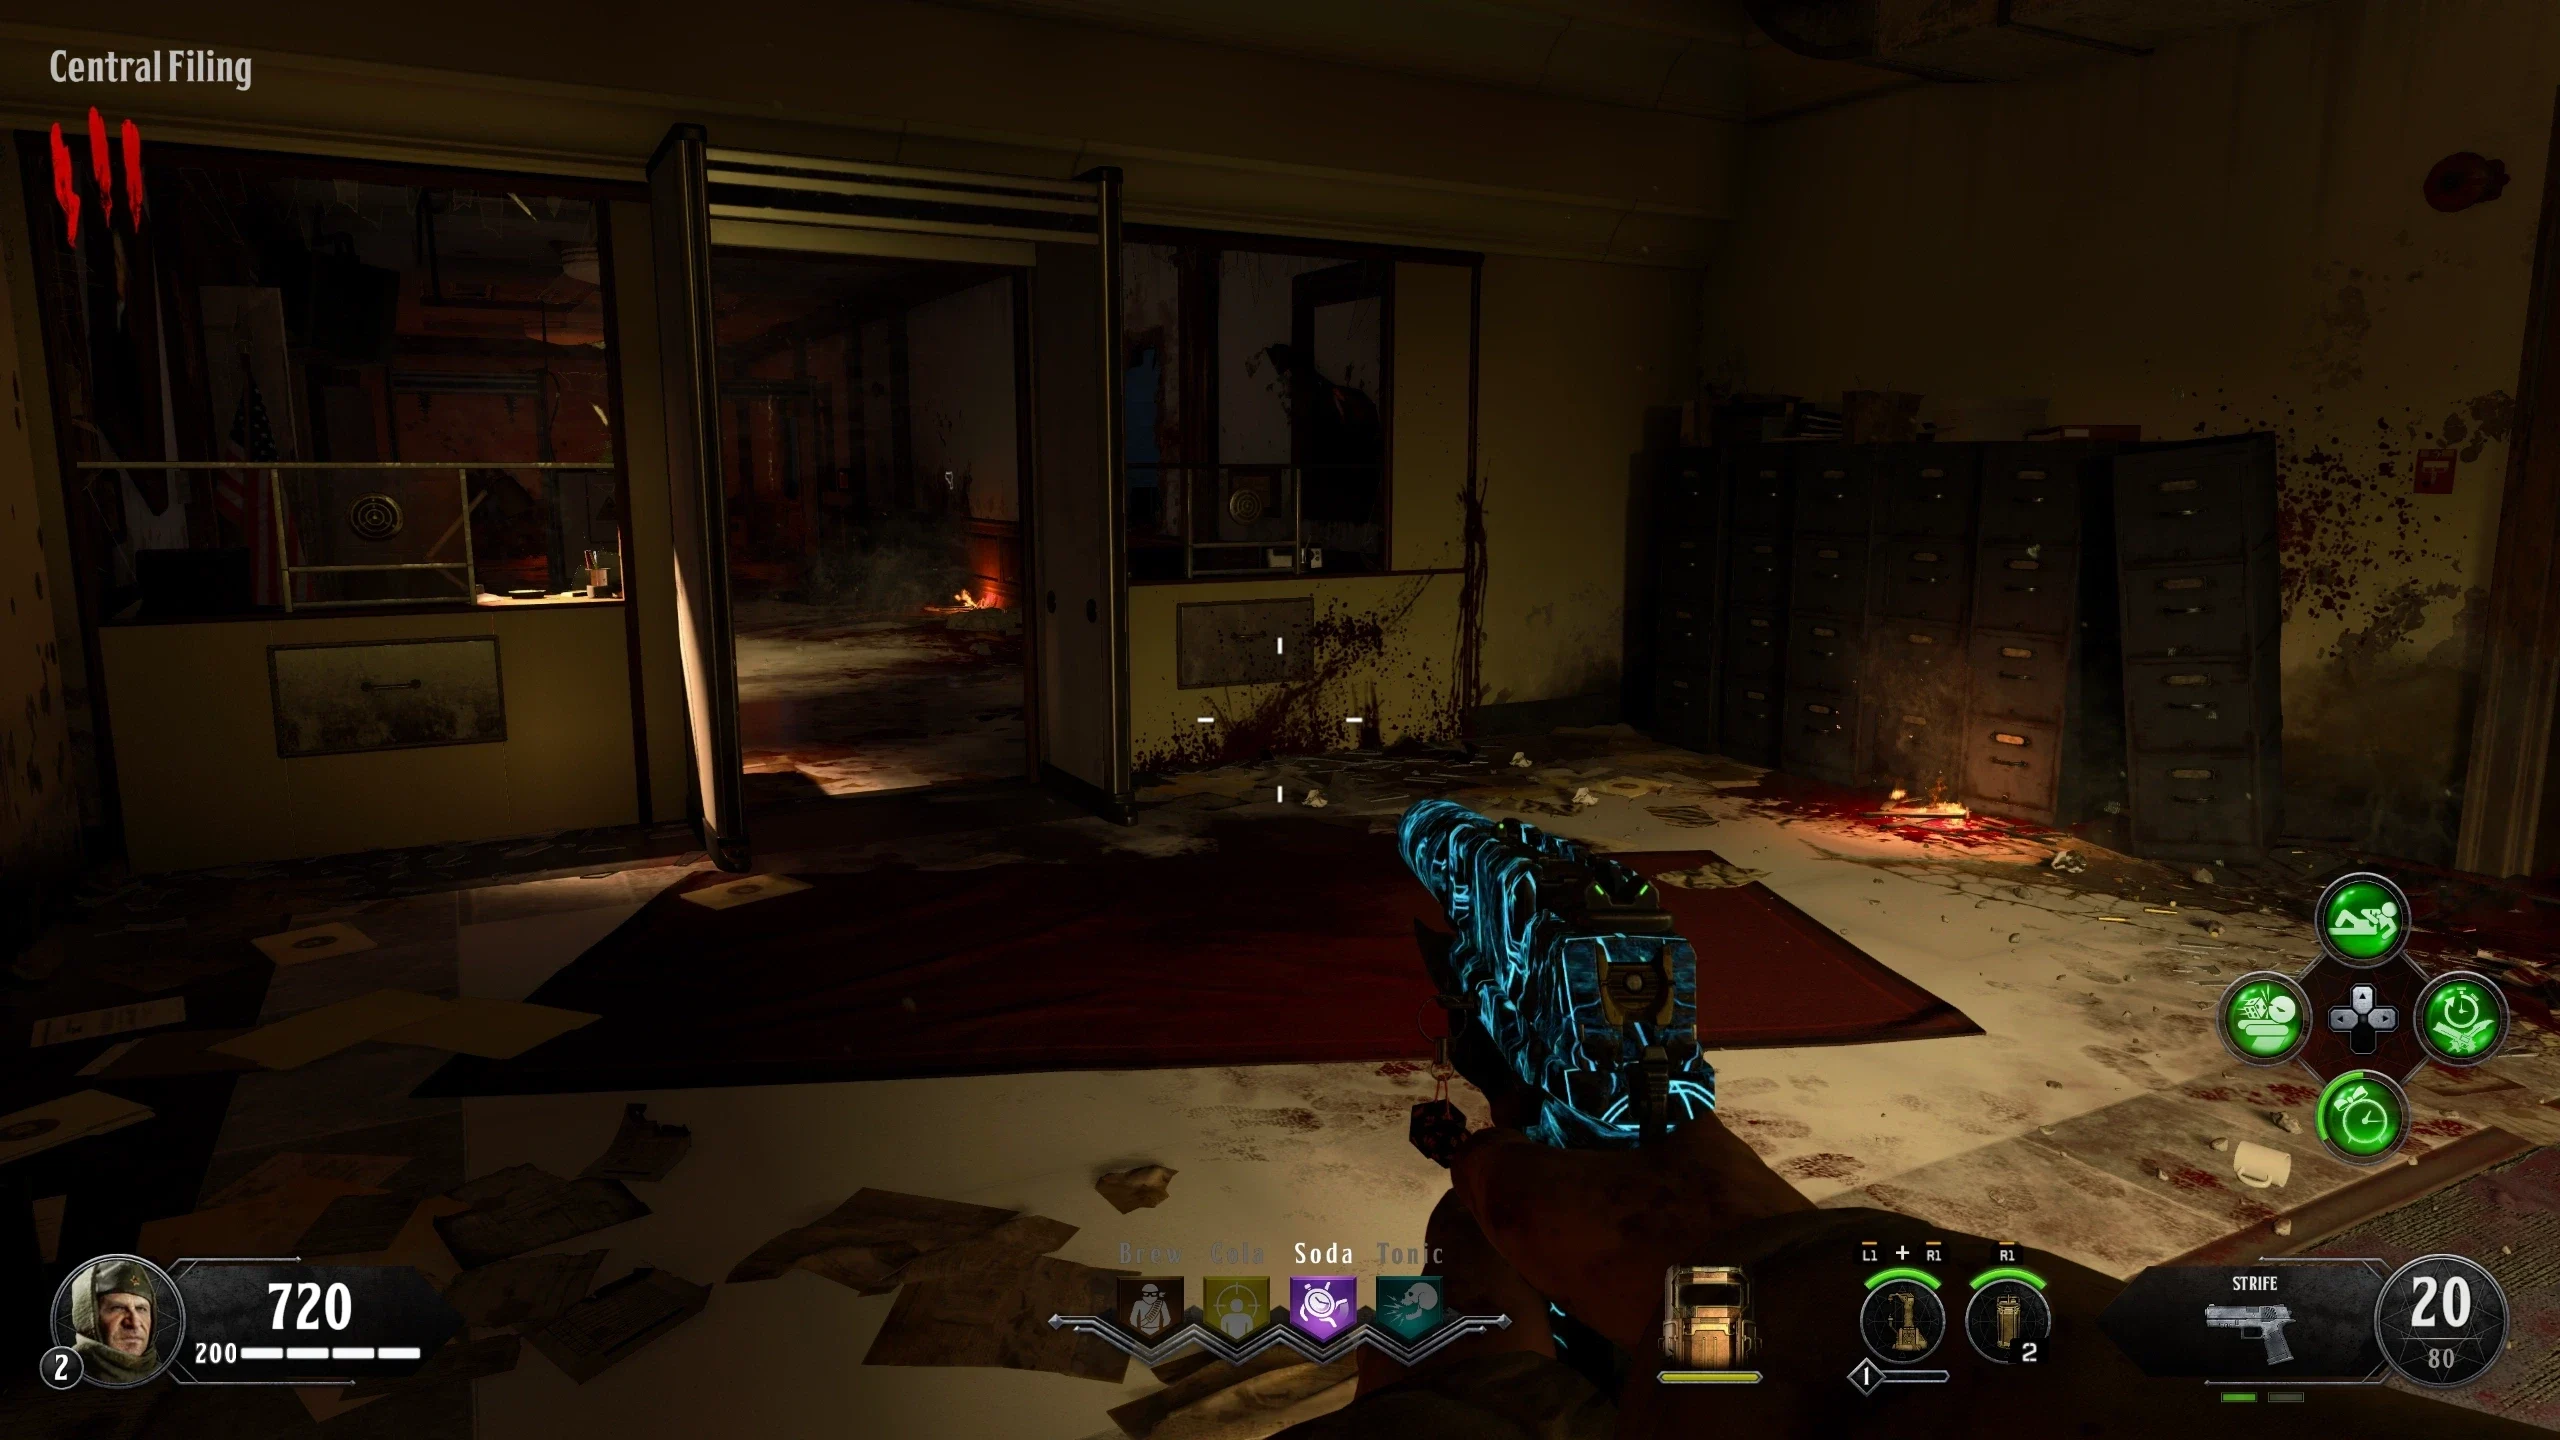
- Navigate to the 'Main Offices' and interact with the desk in the center of the room to open the drawer to reveal a picture of Der Riese with numbers on it. Note the numbers.
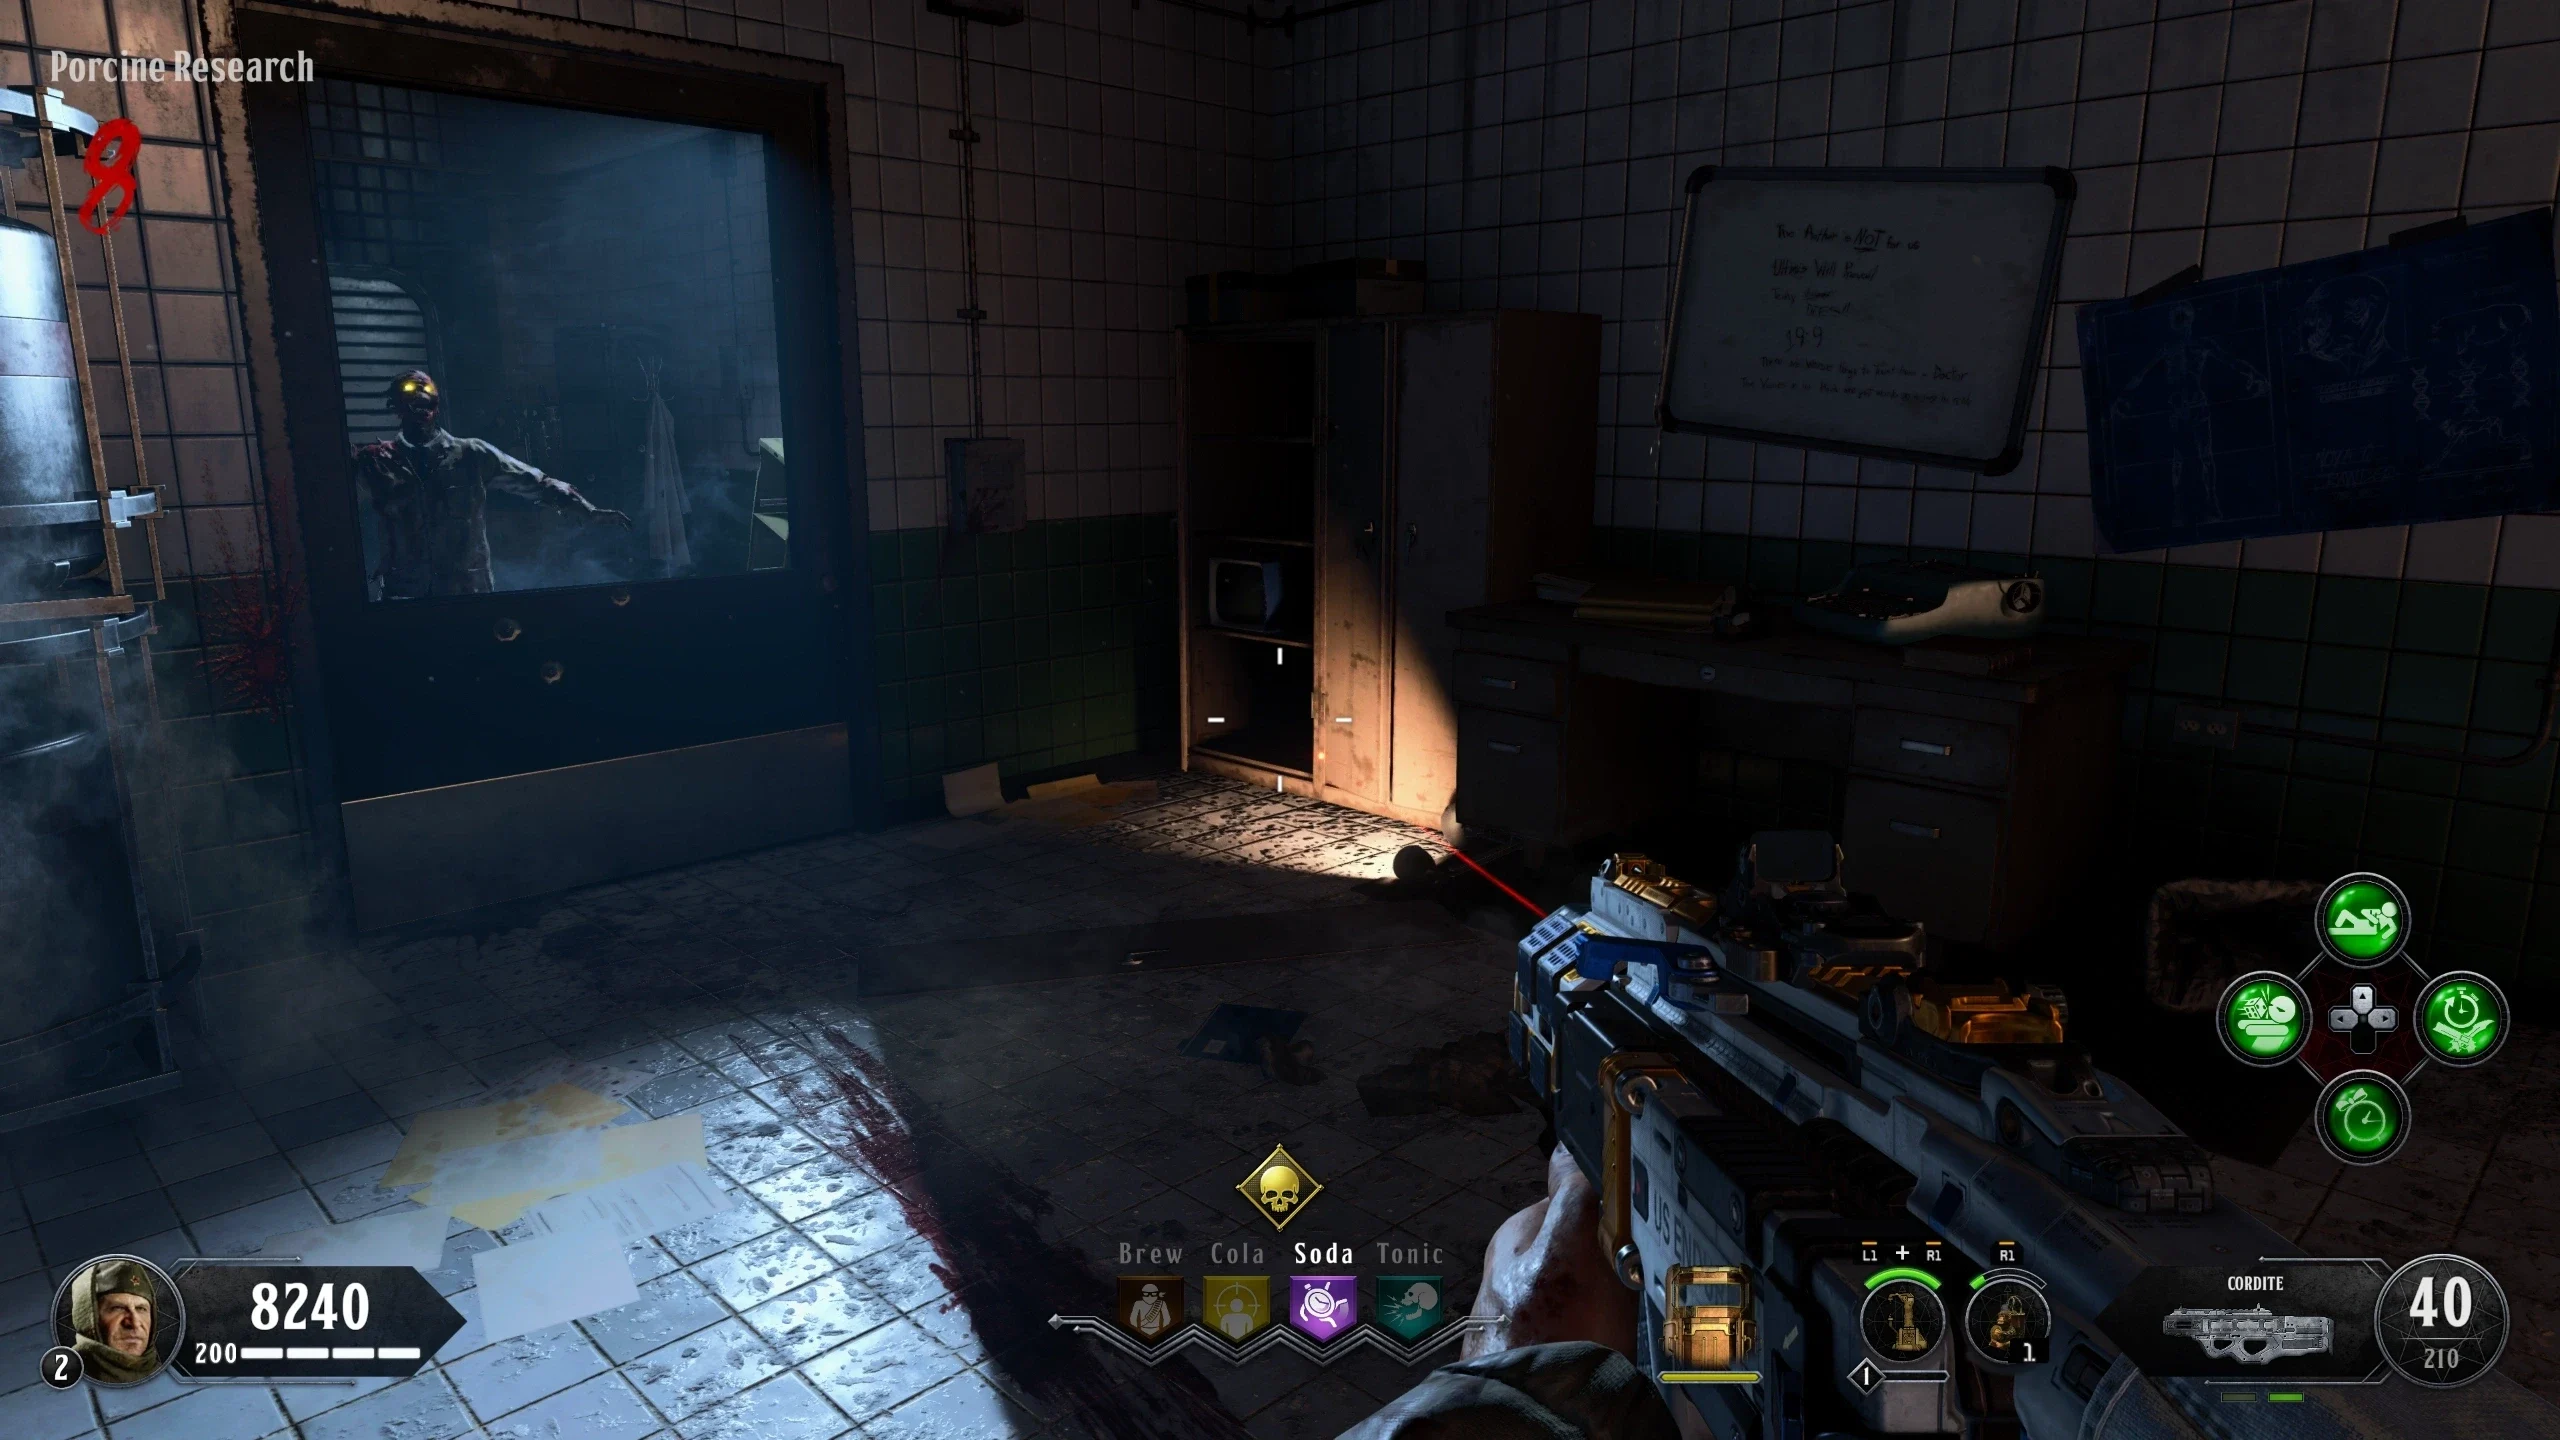
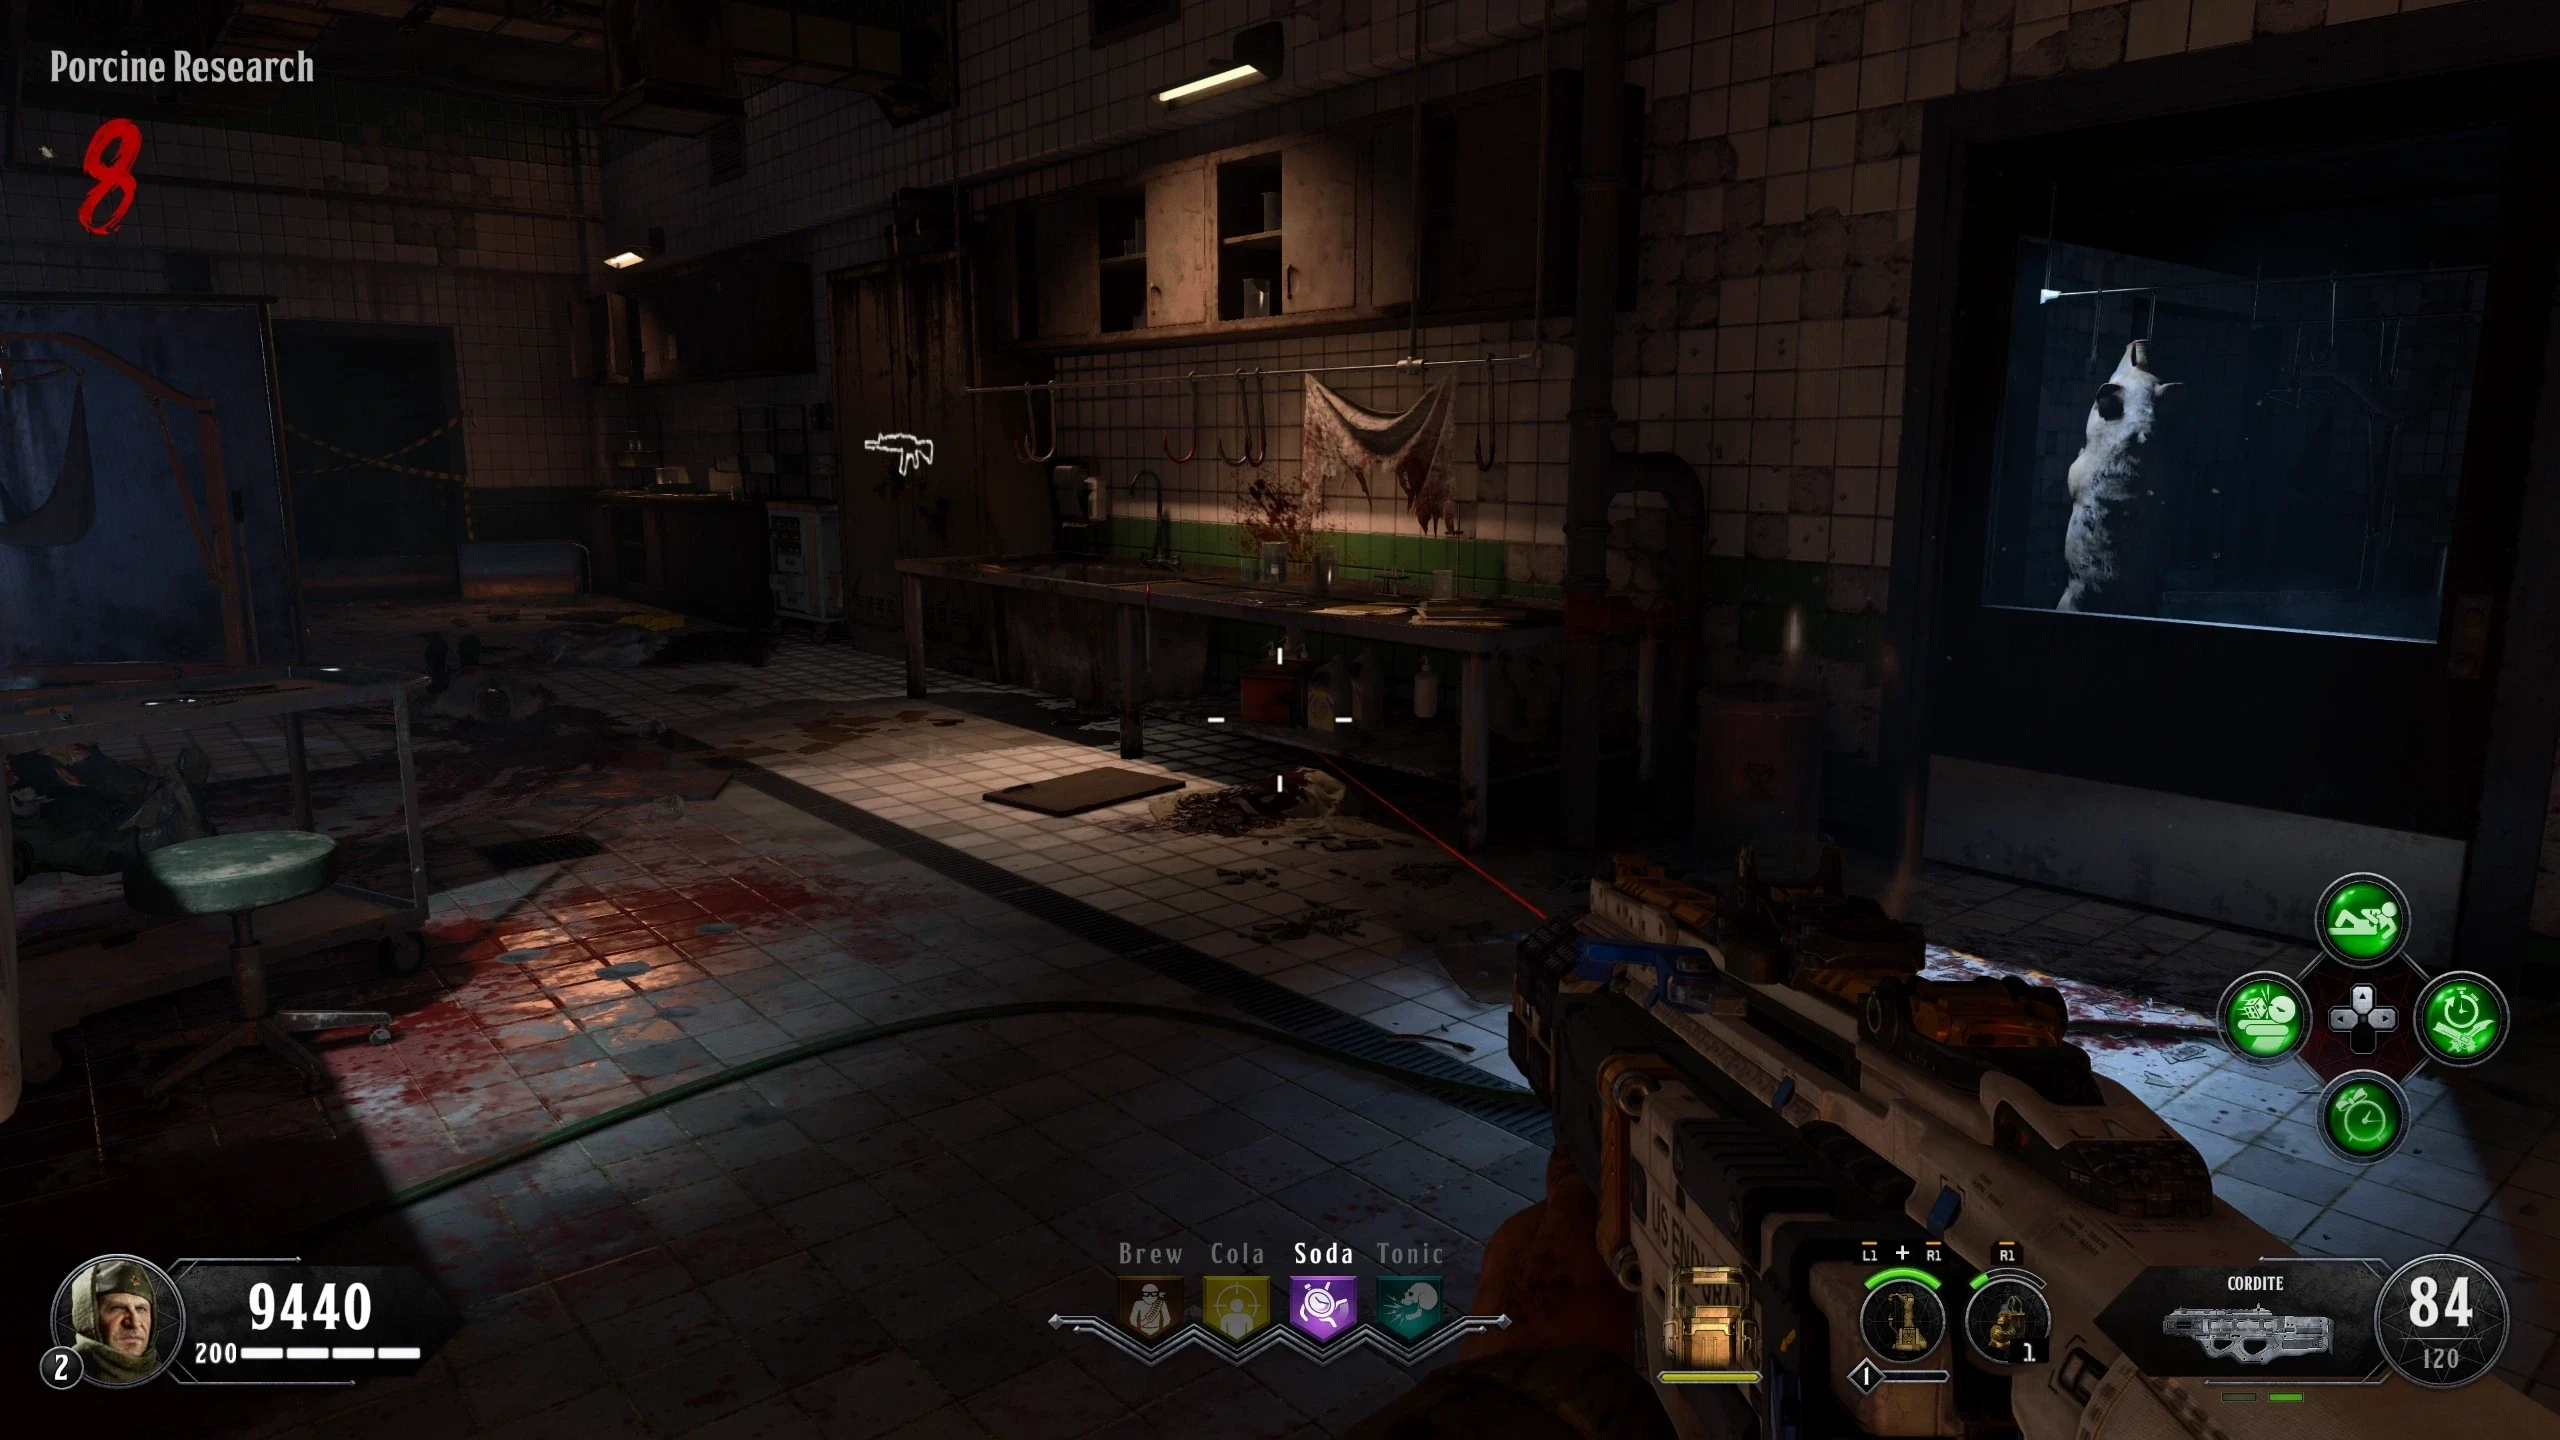
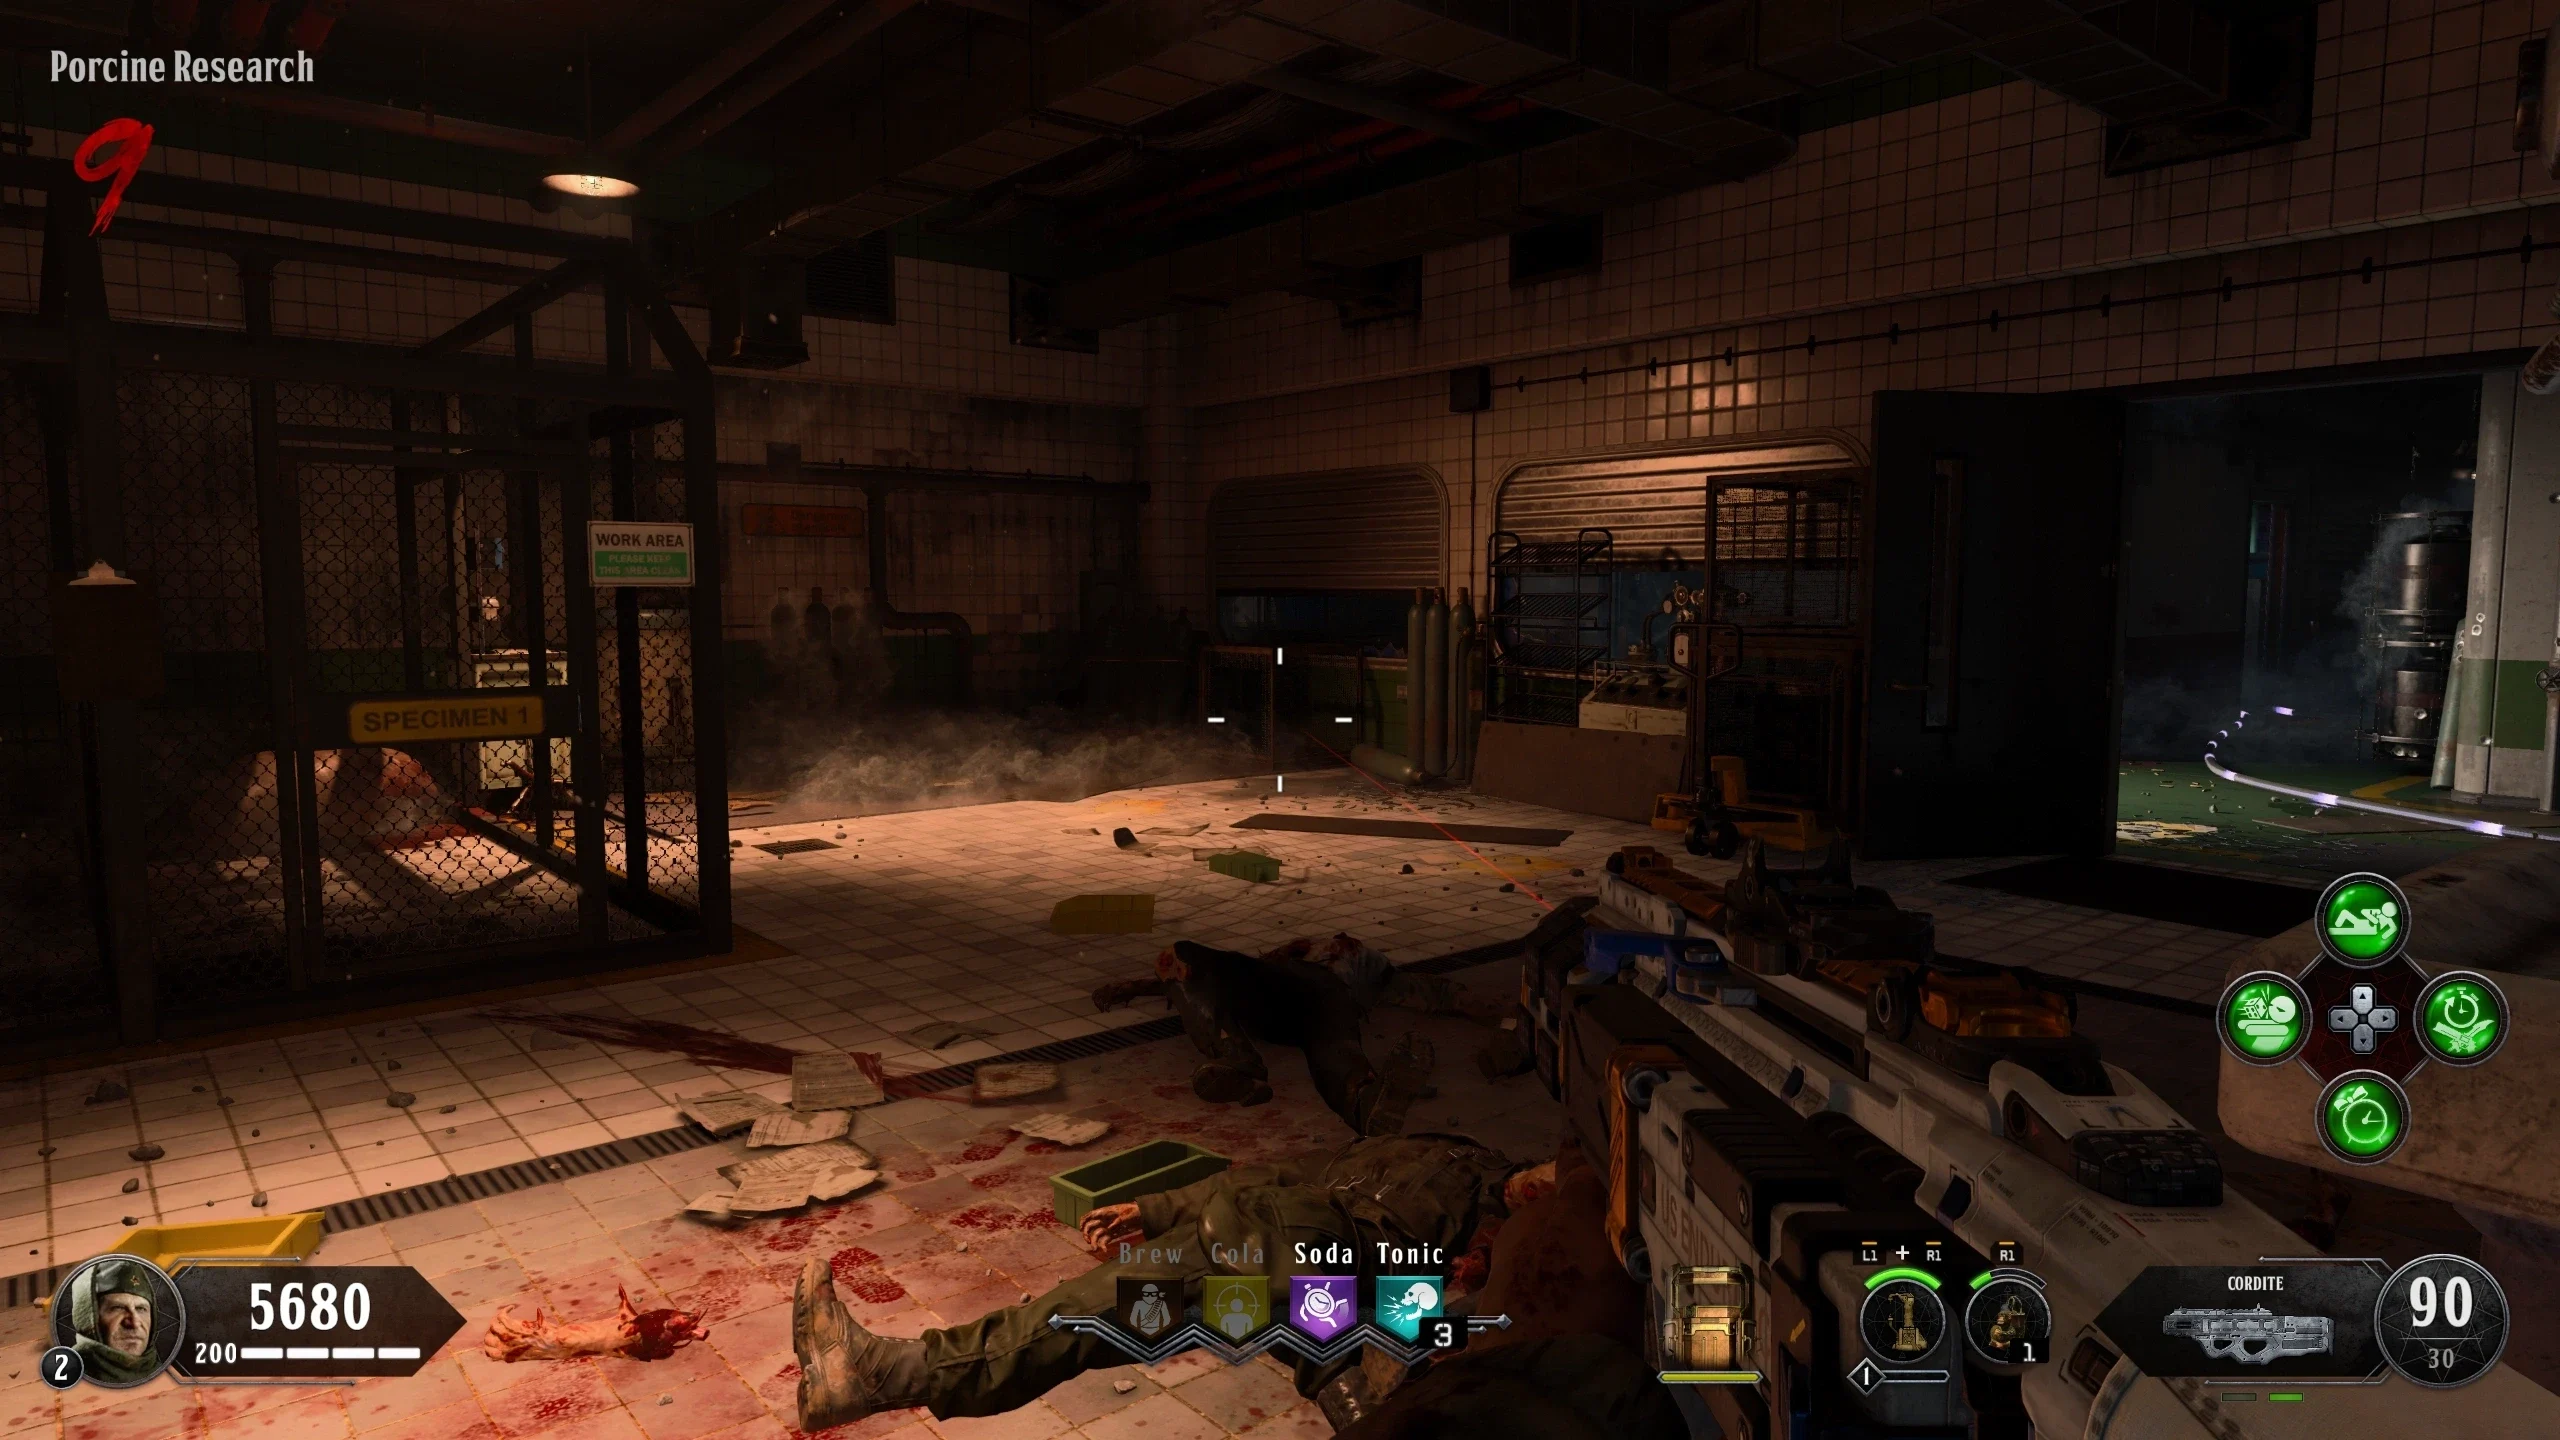
Shangri-La Numbers
- Activate Power.
- If you don't have Frag Grenades equipped, purchase and Pack-a-Punch the M1897 Trebuchet from the wallbuy in the 'War Room: Lower Level' near the lower elevator.
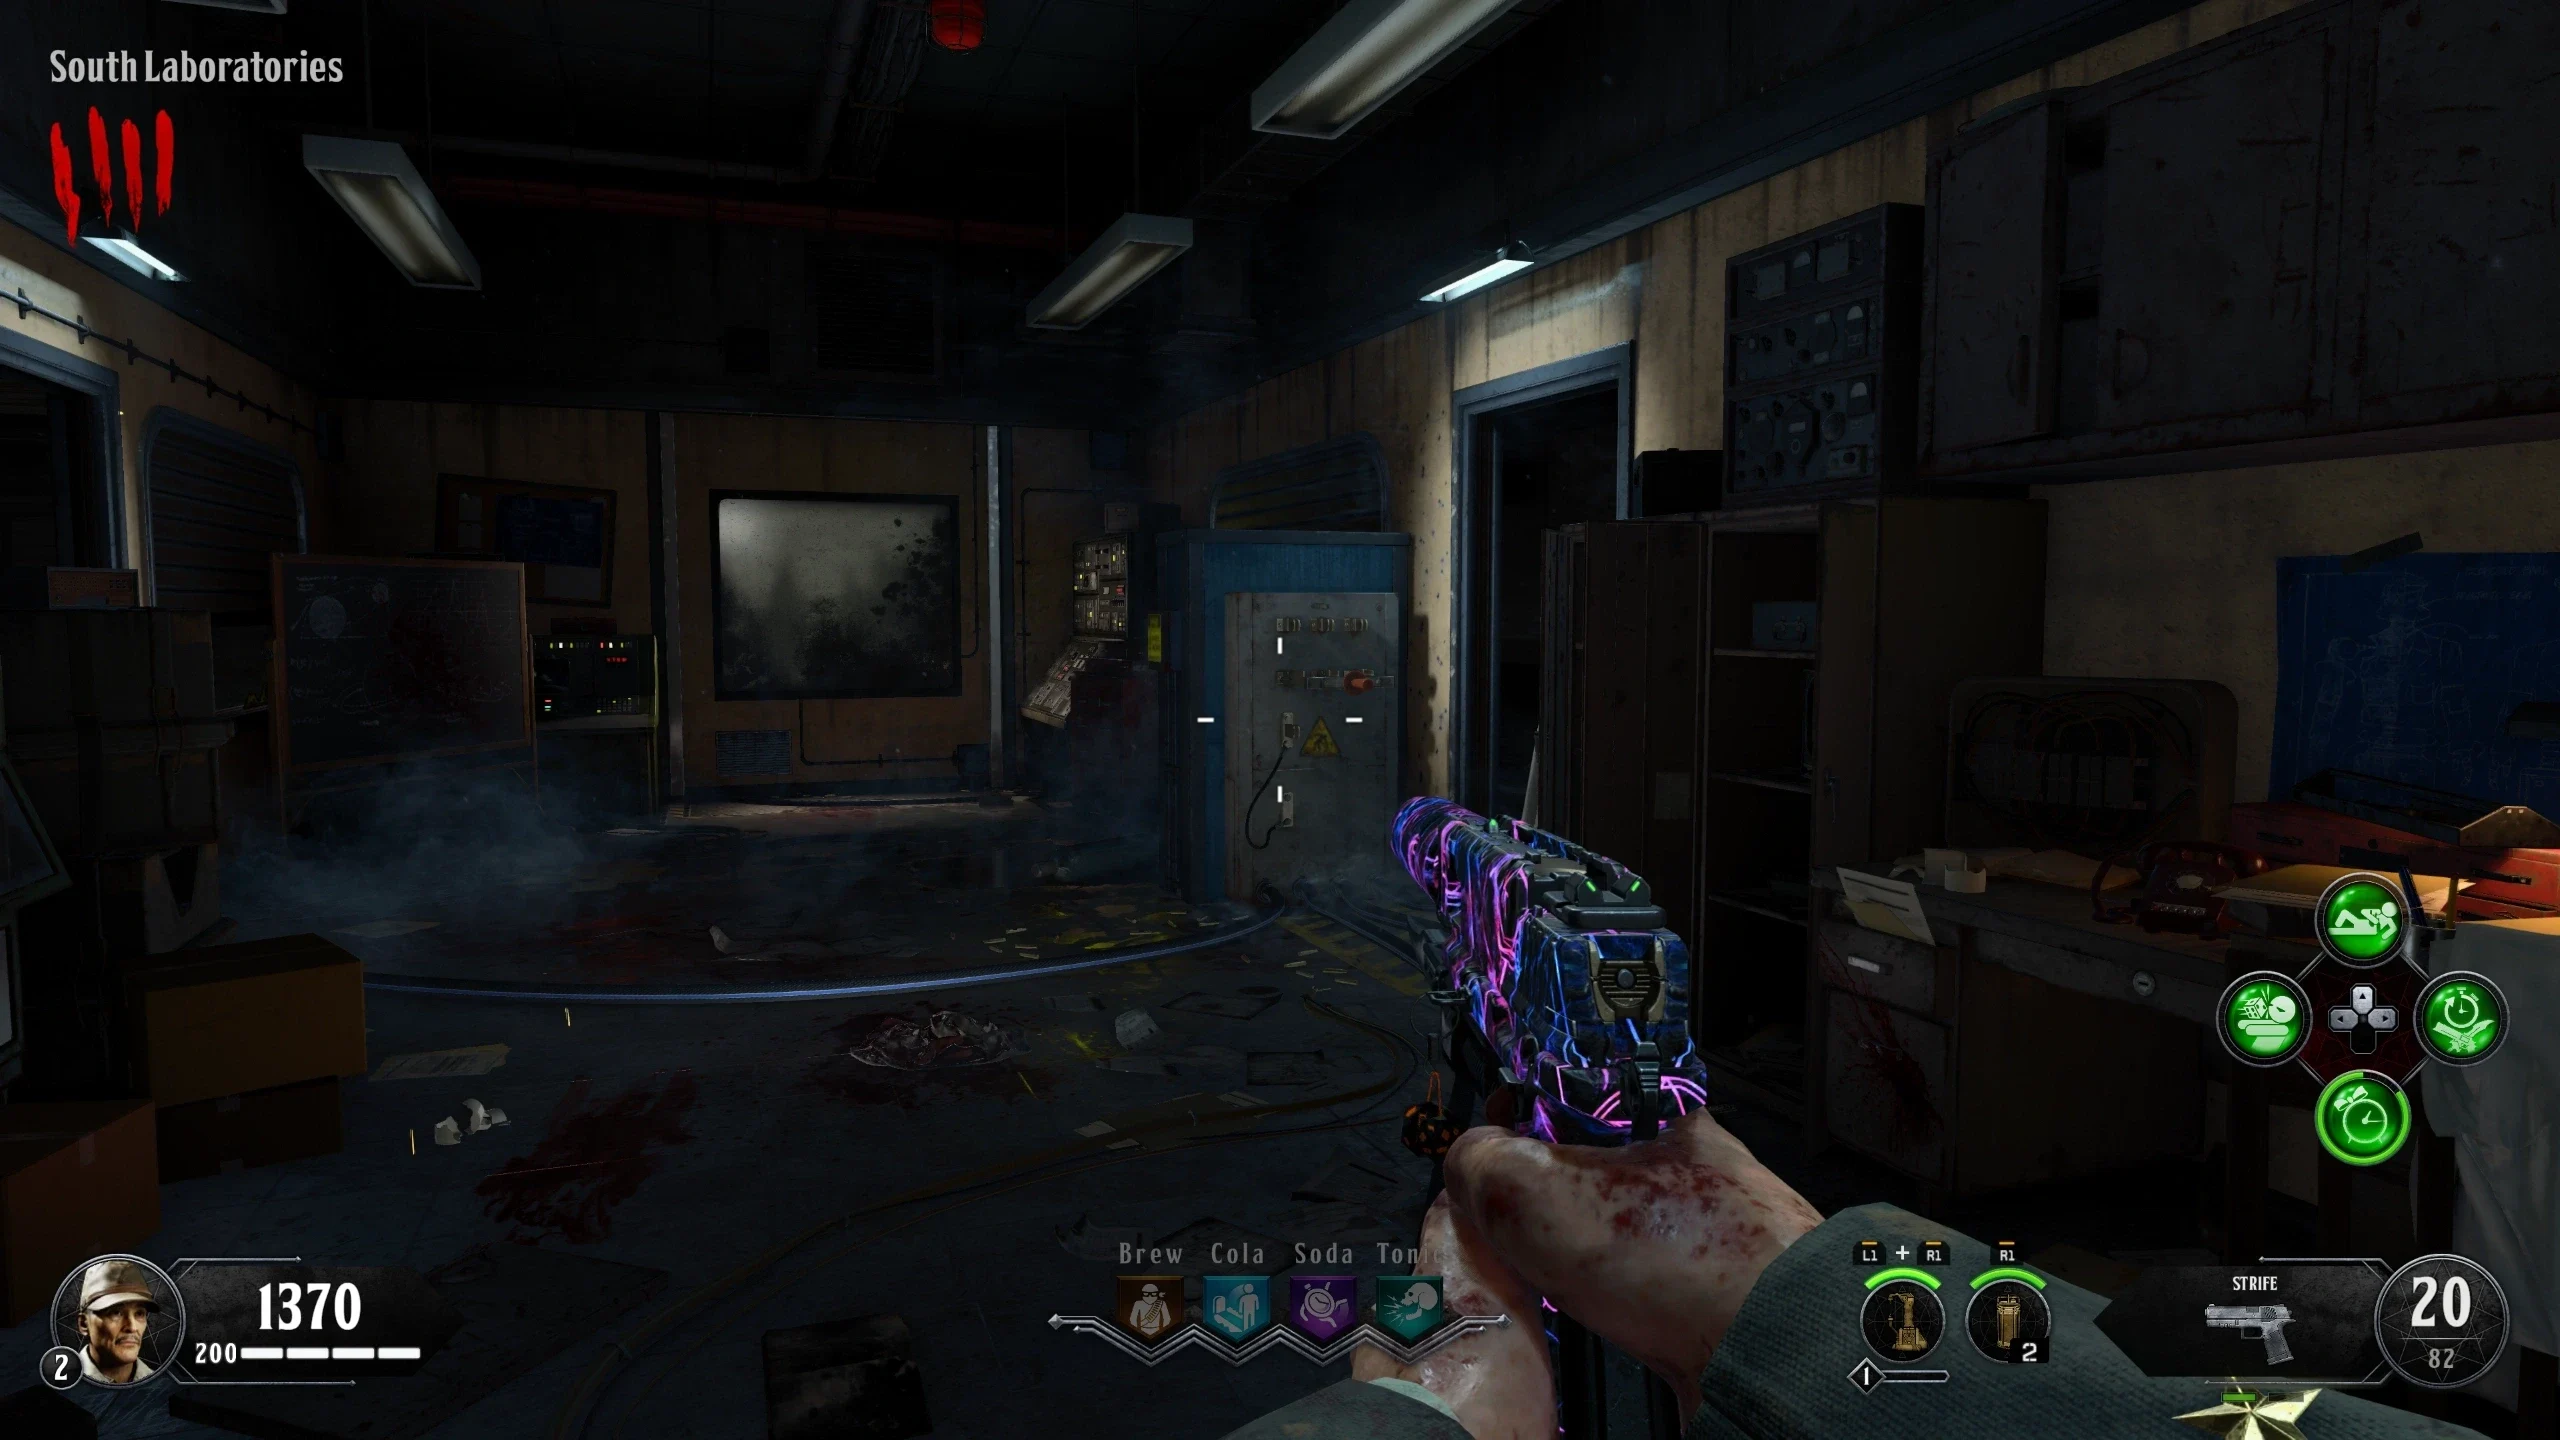
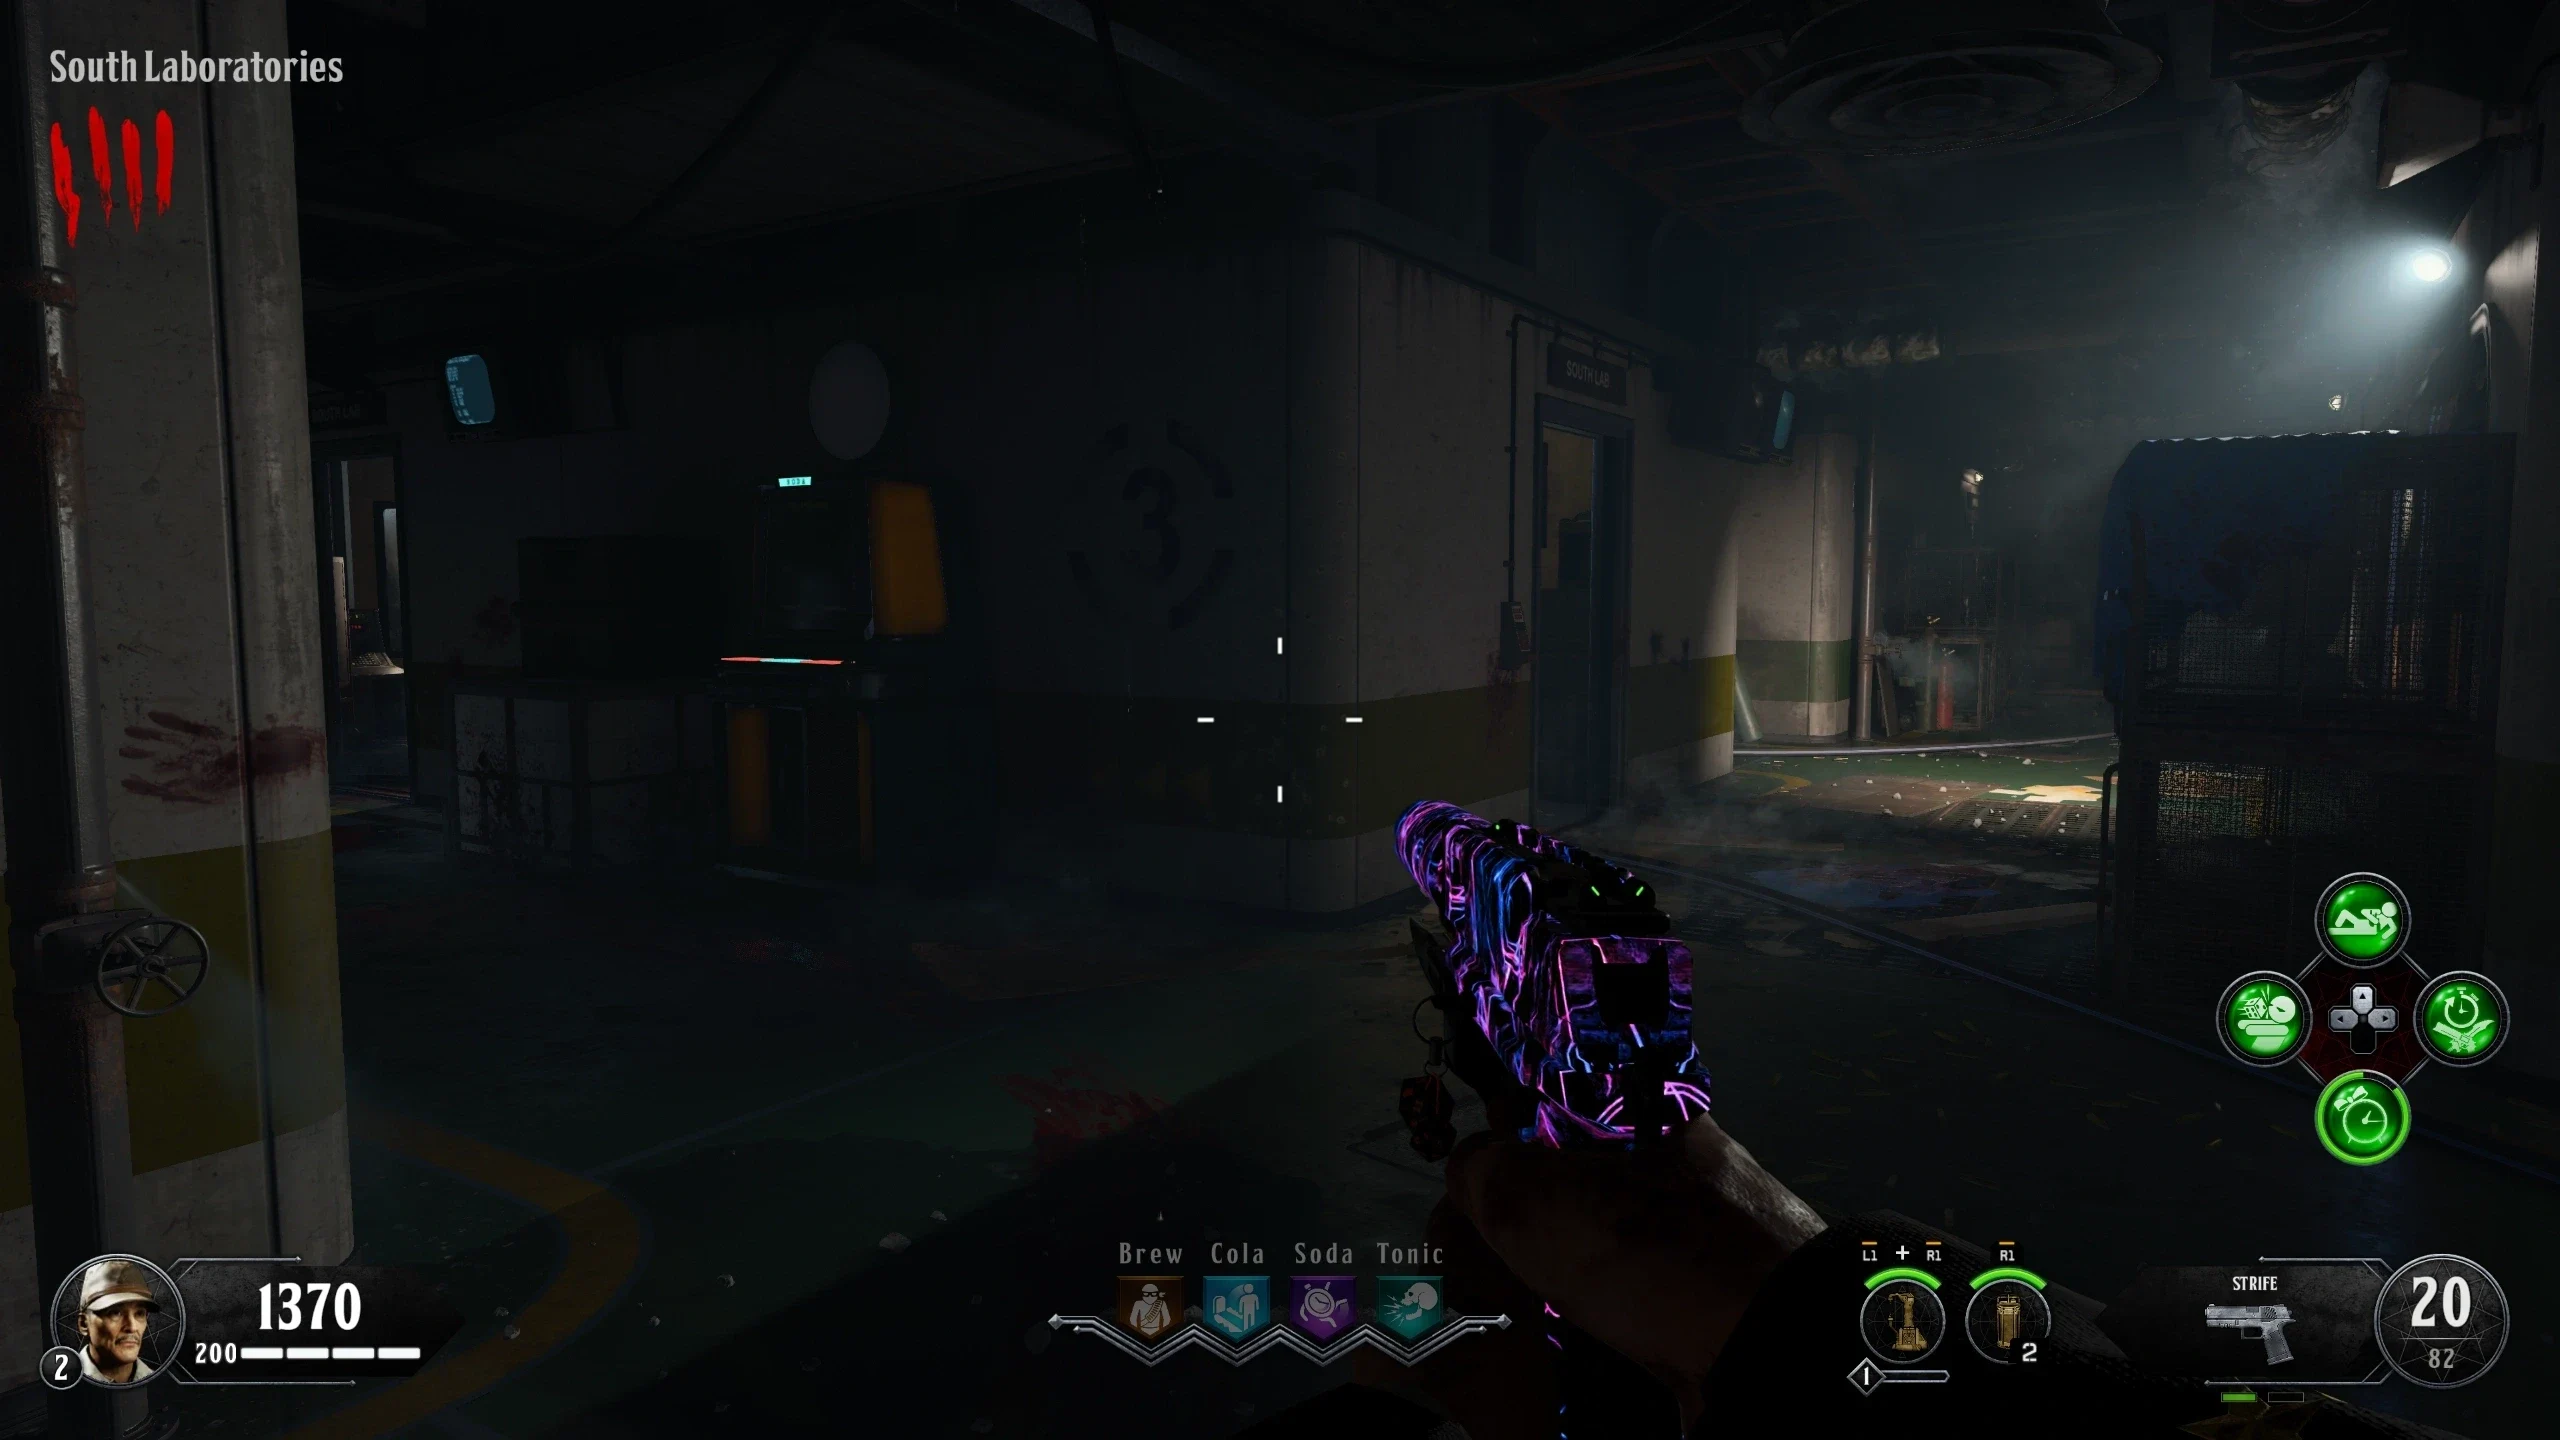
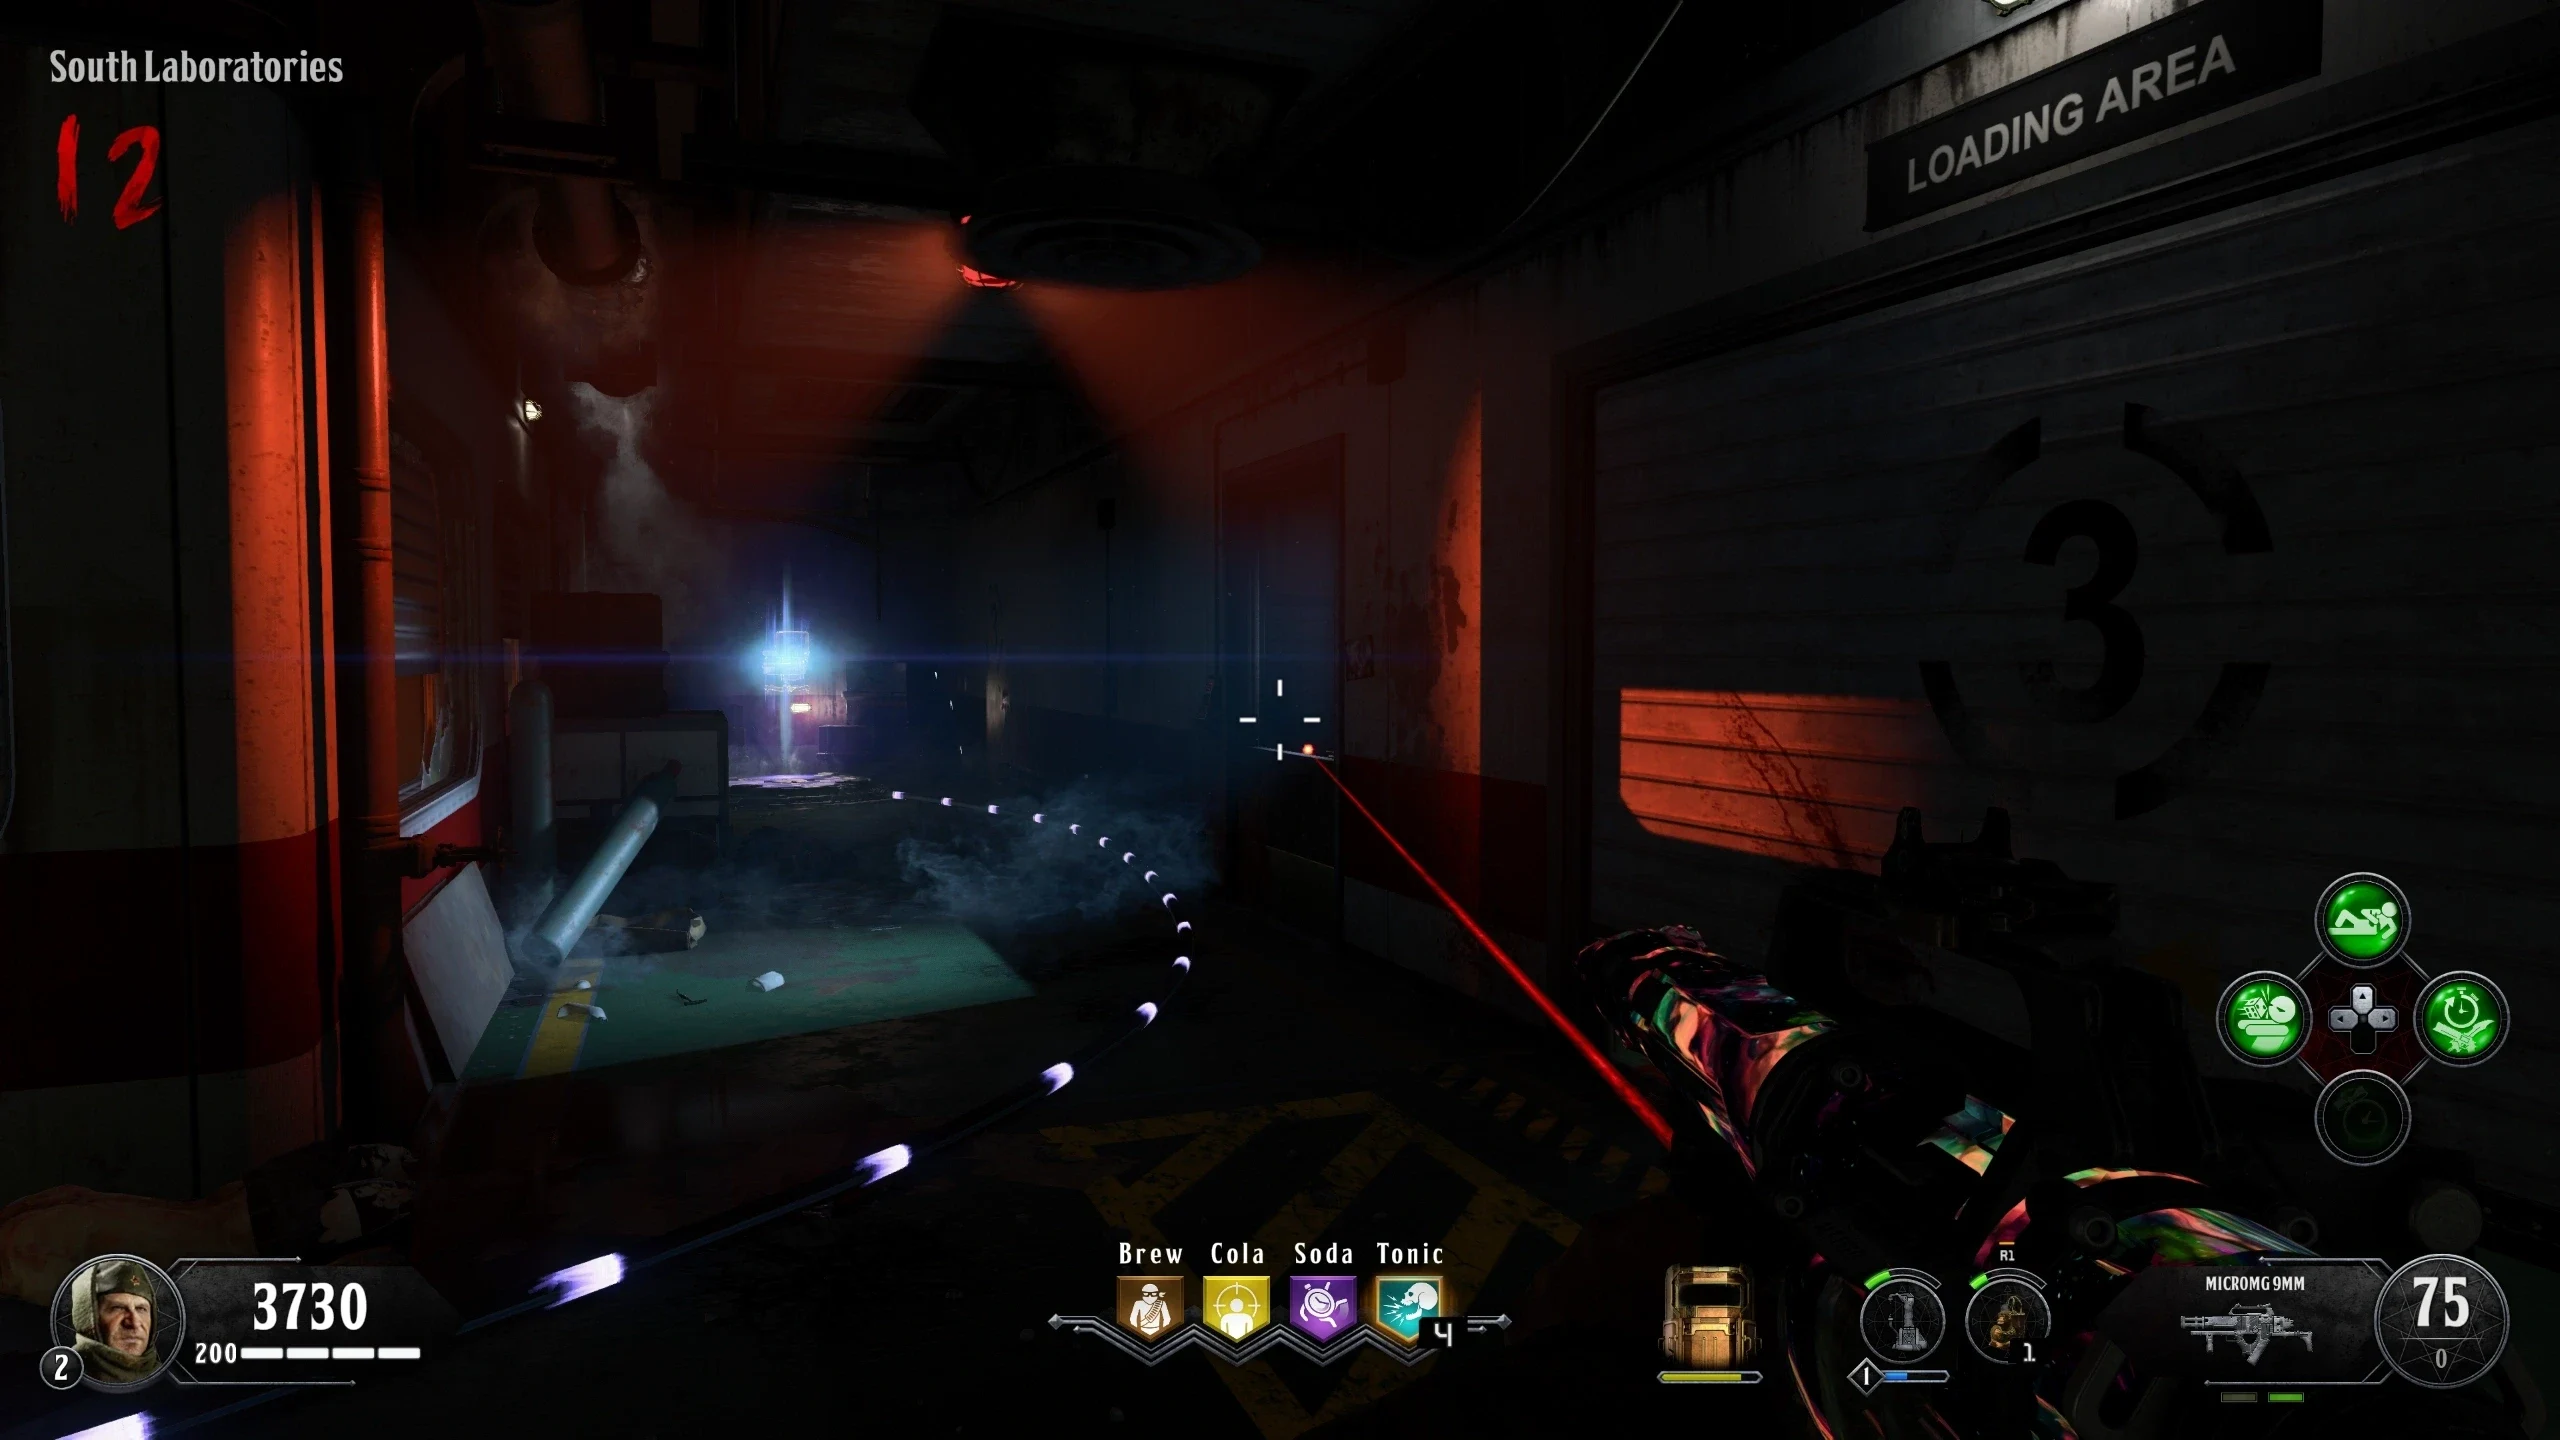
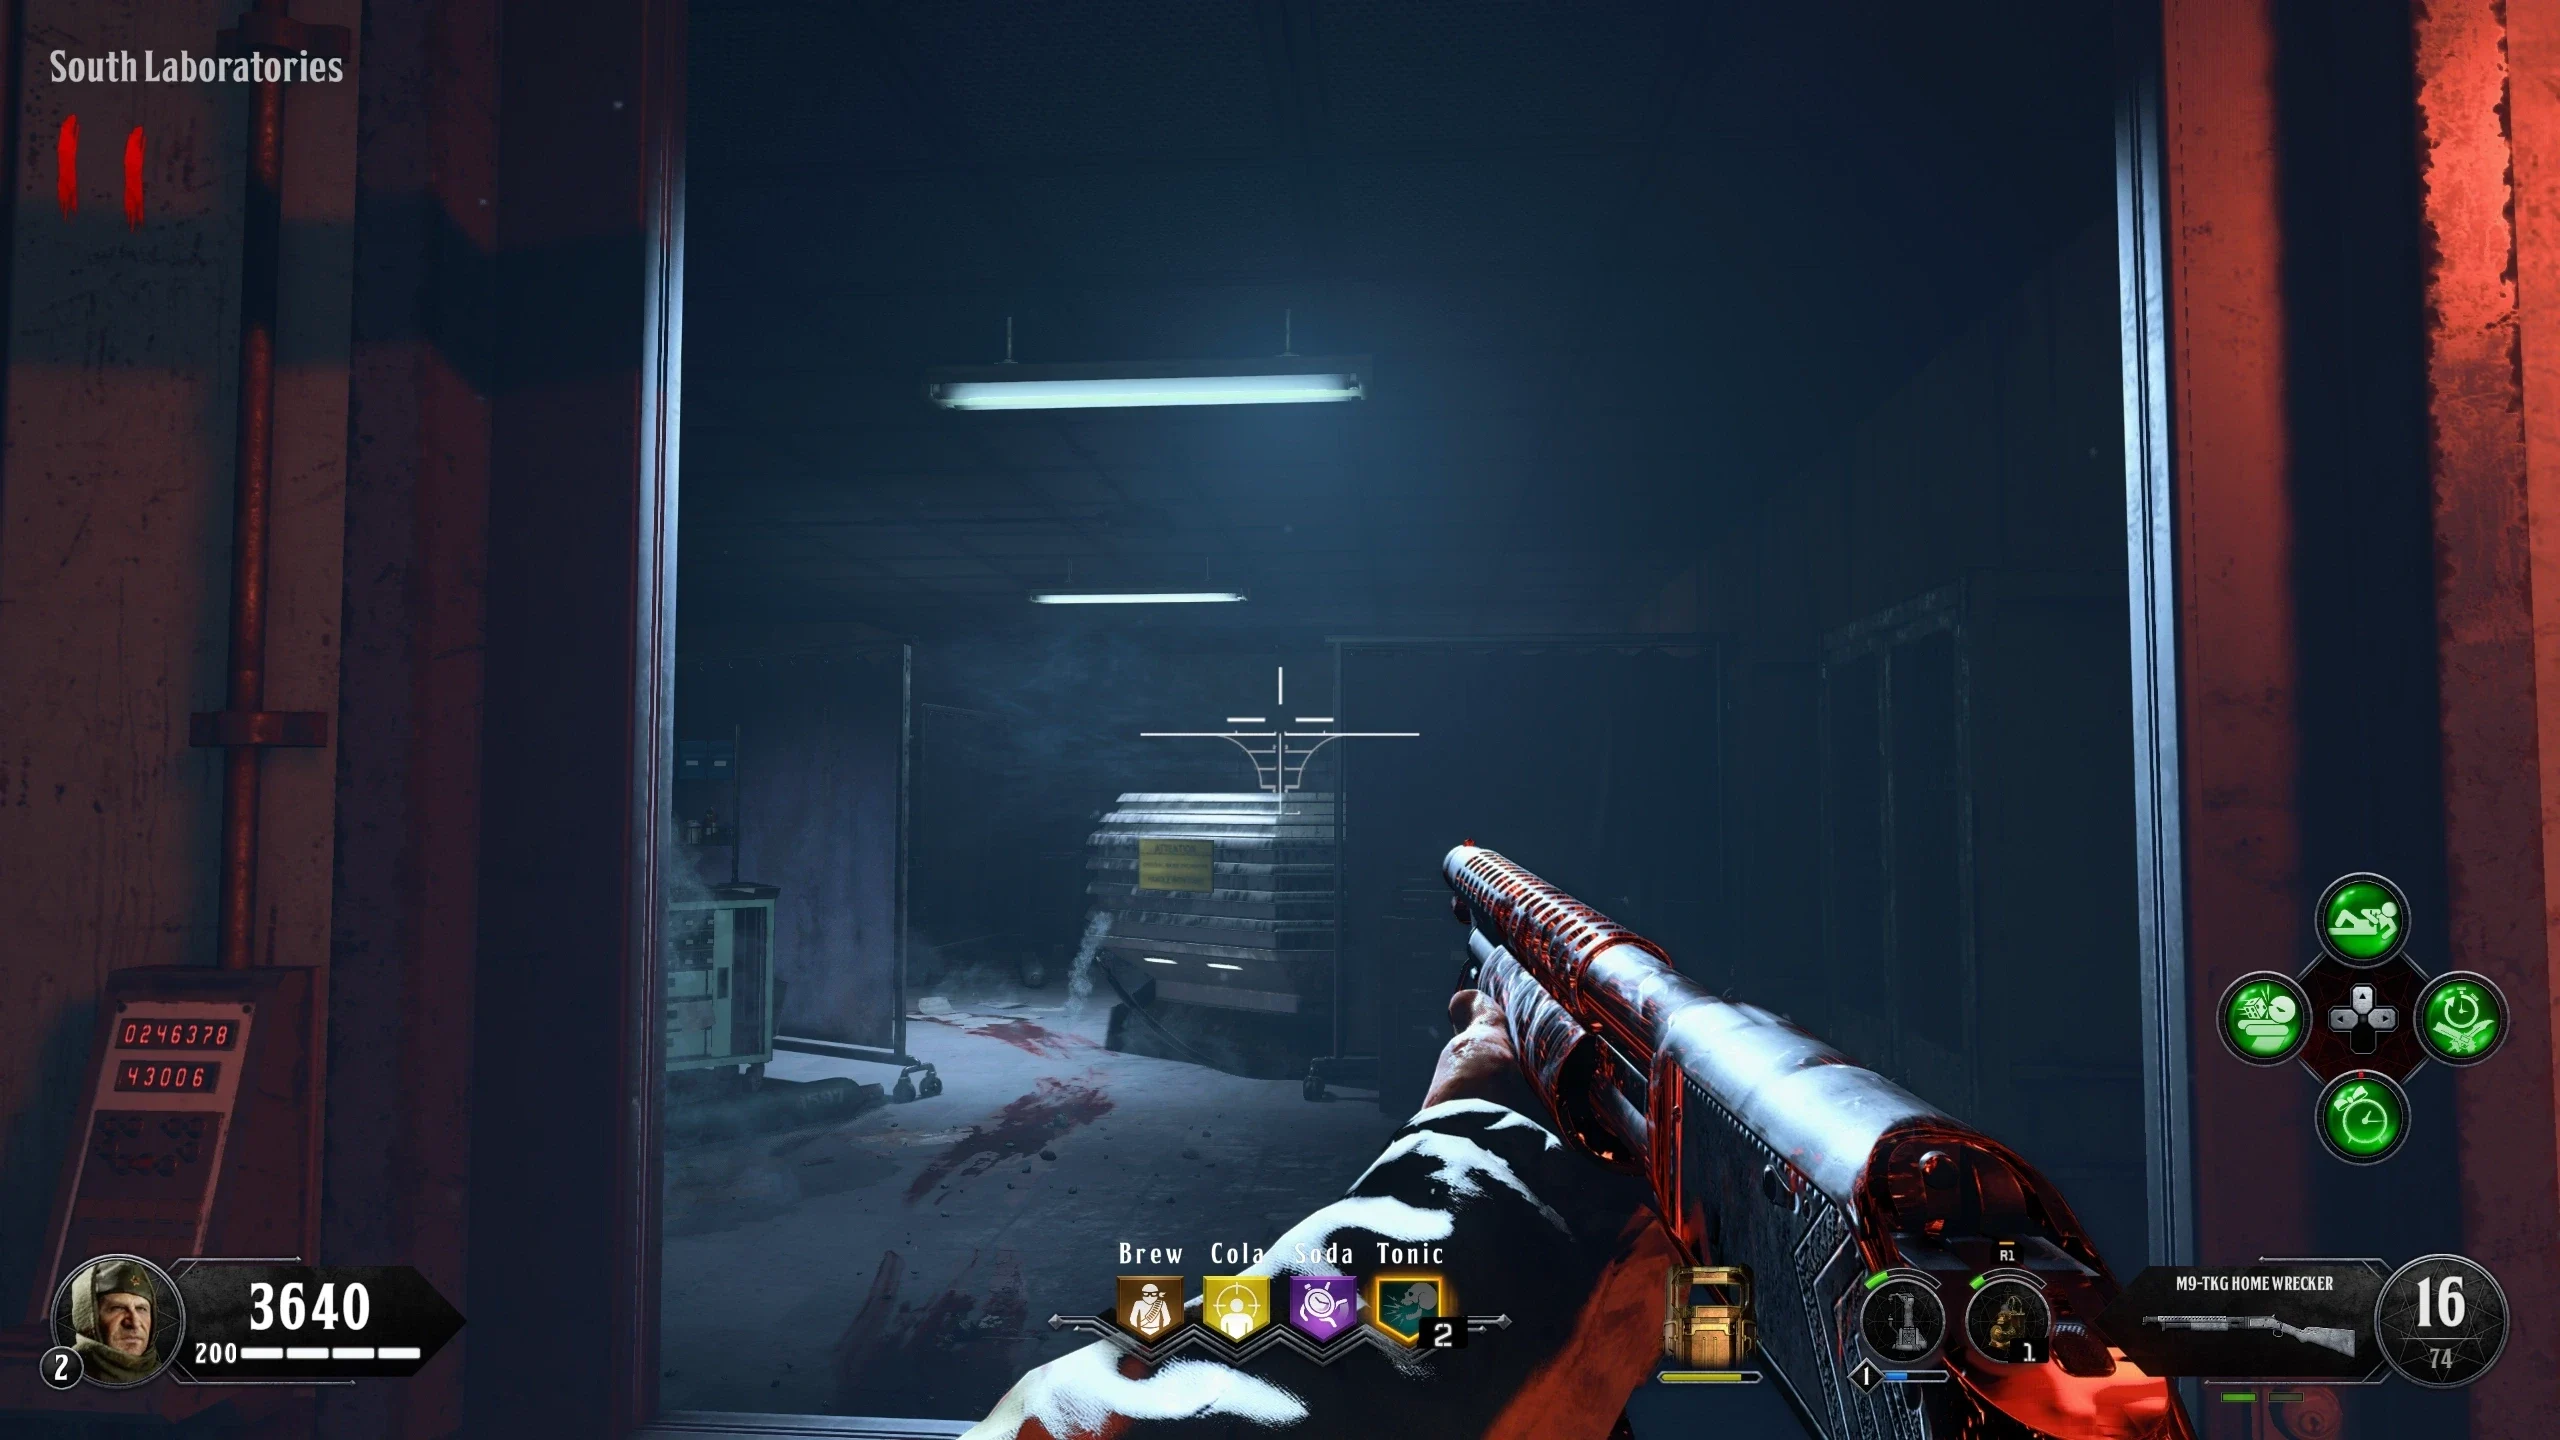
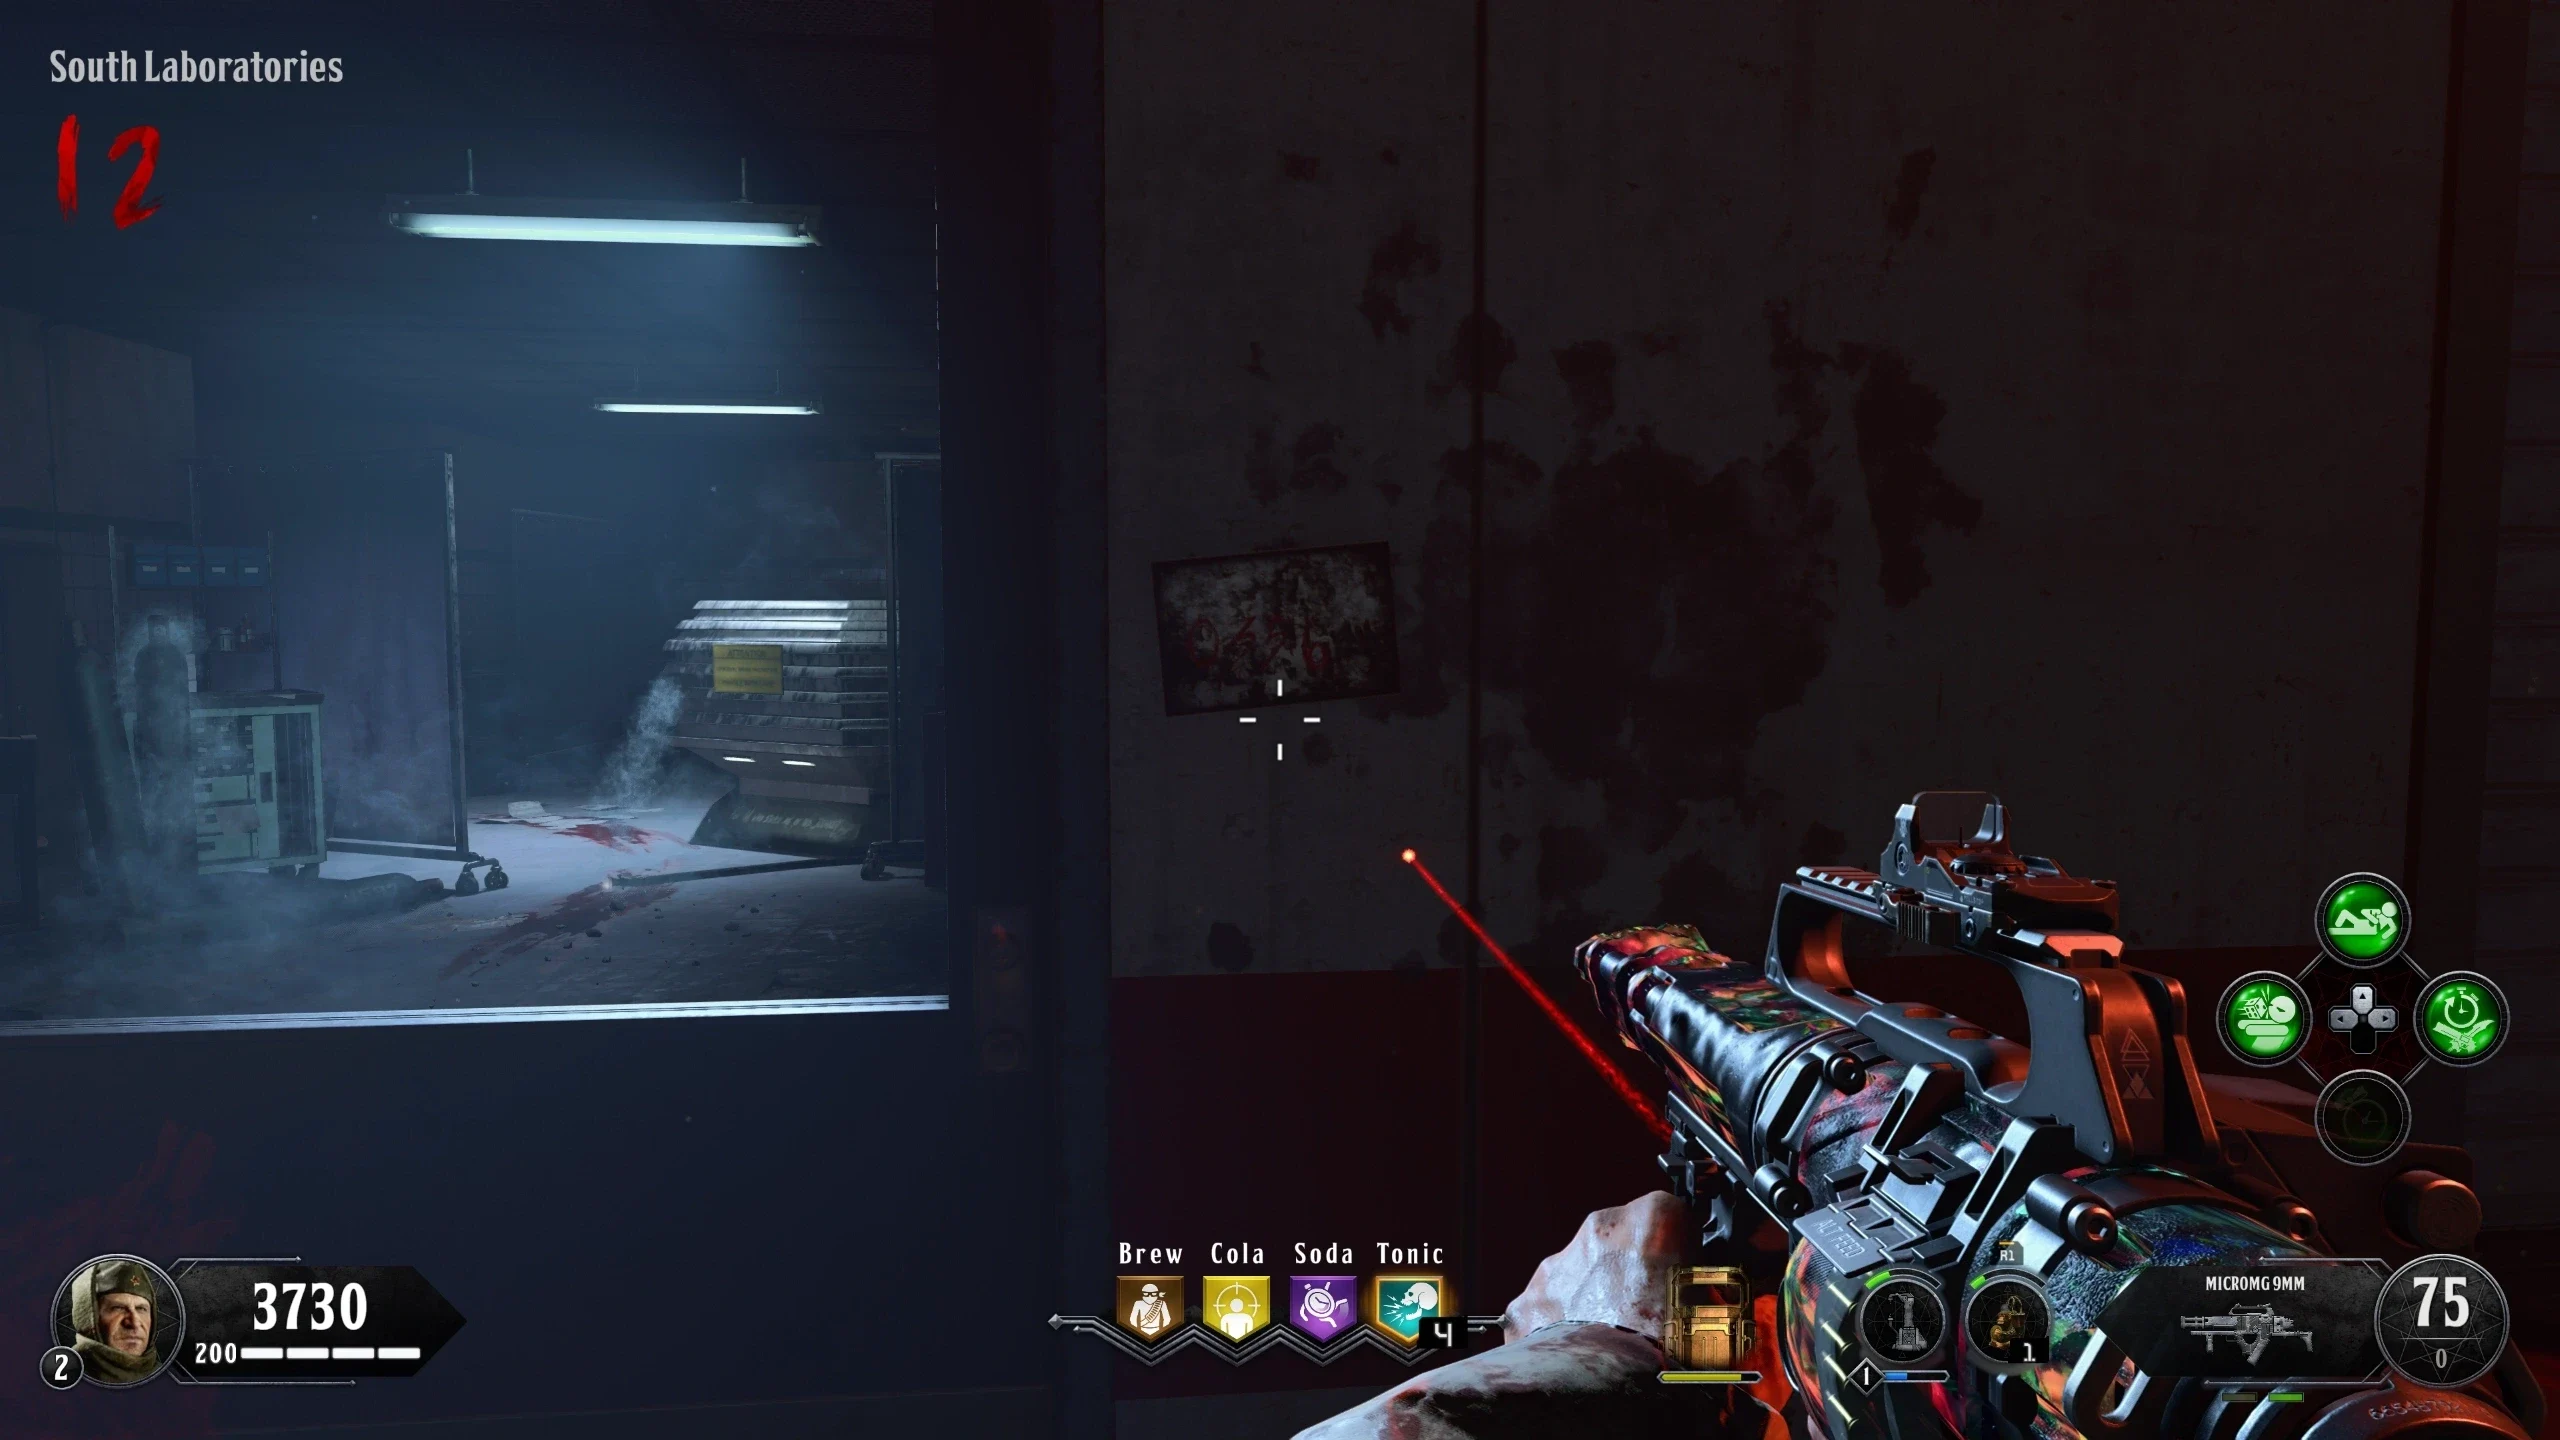
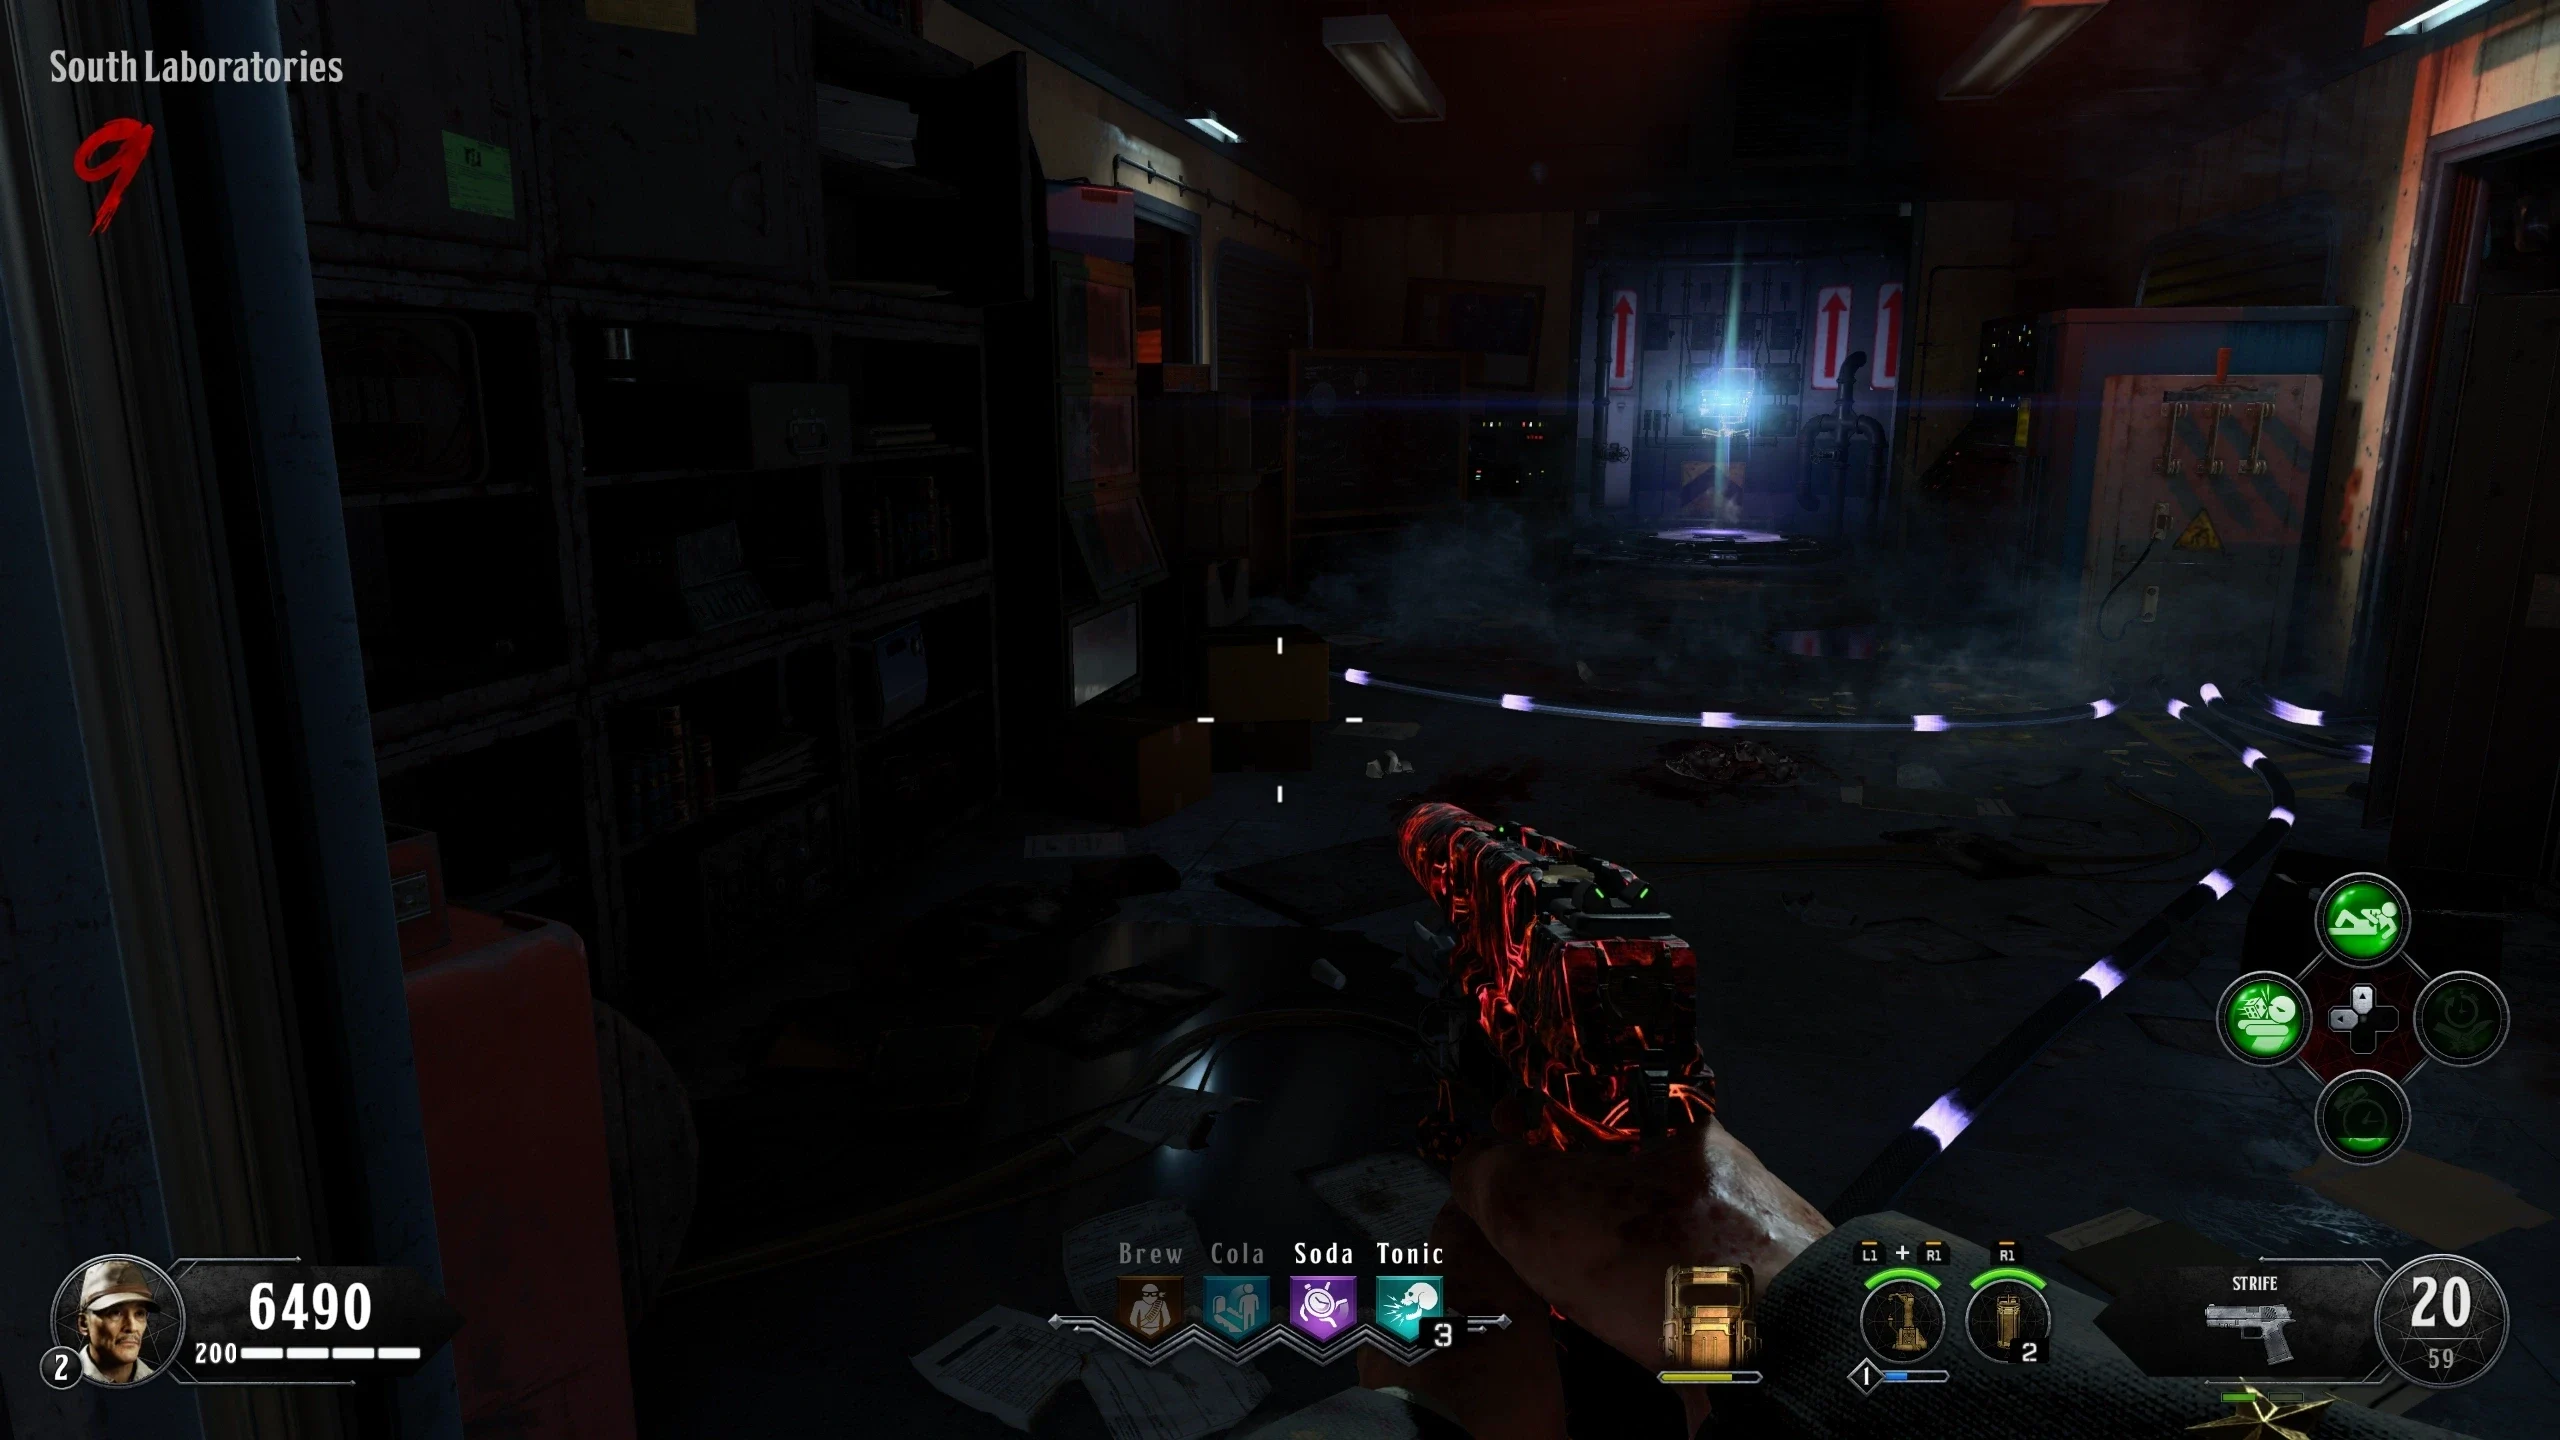
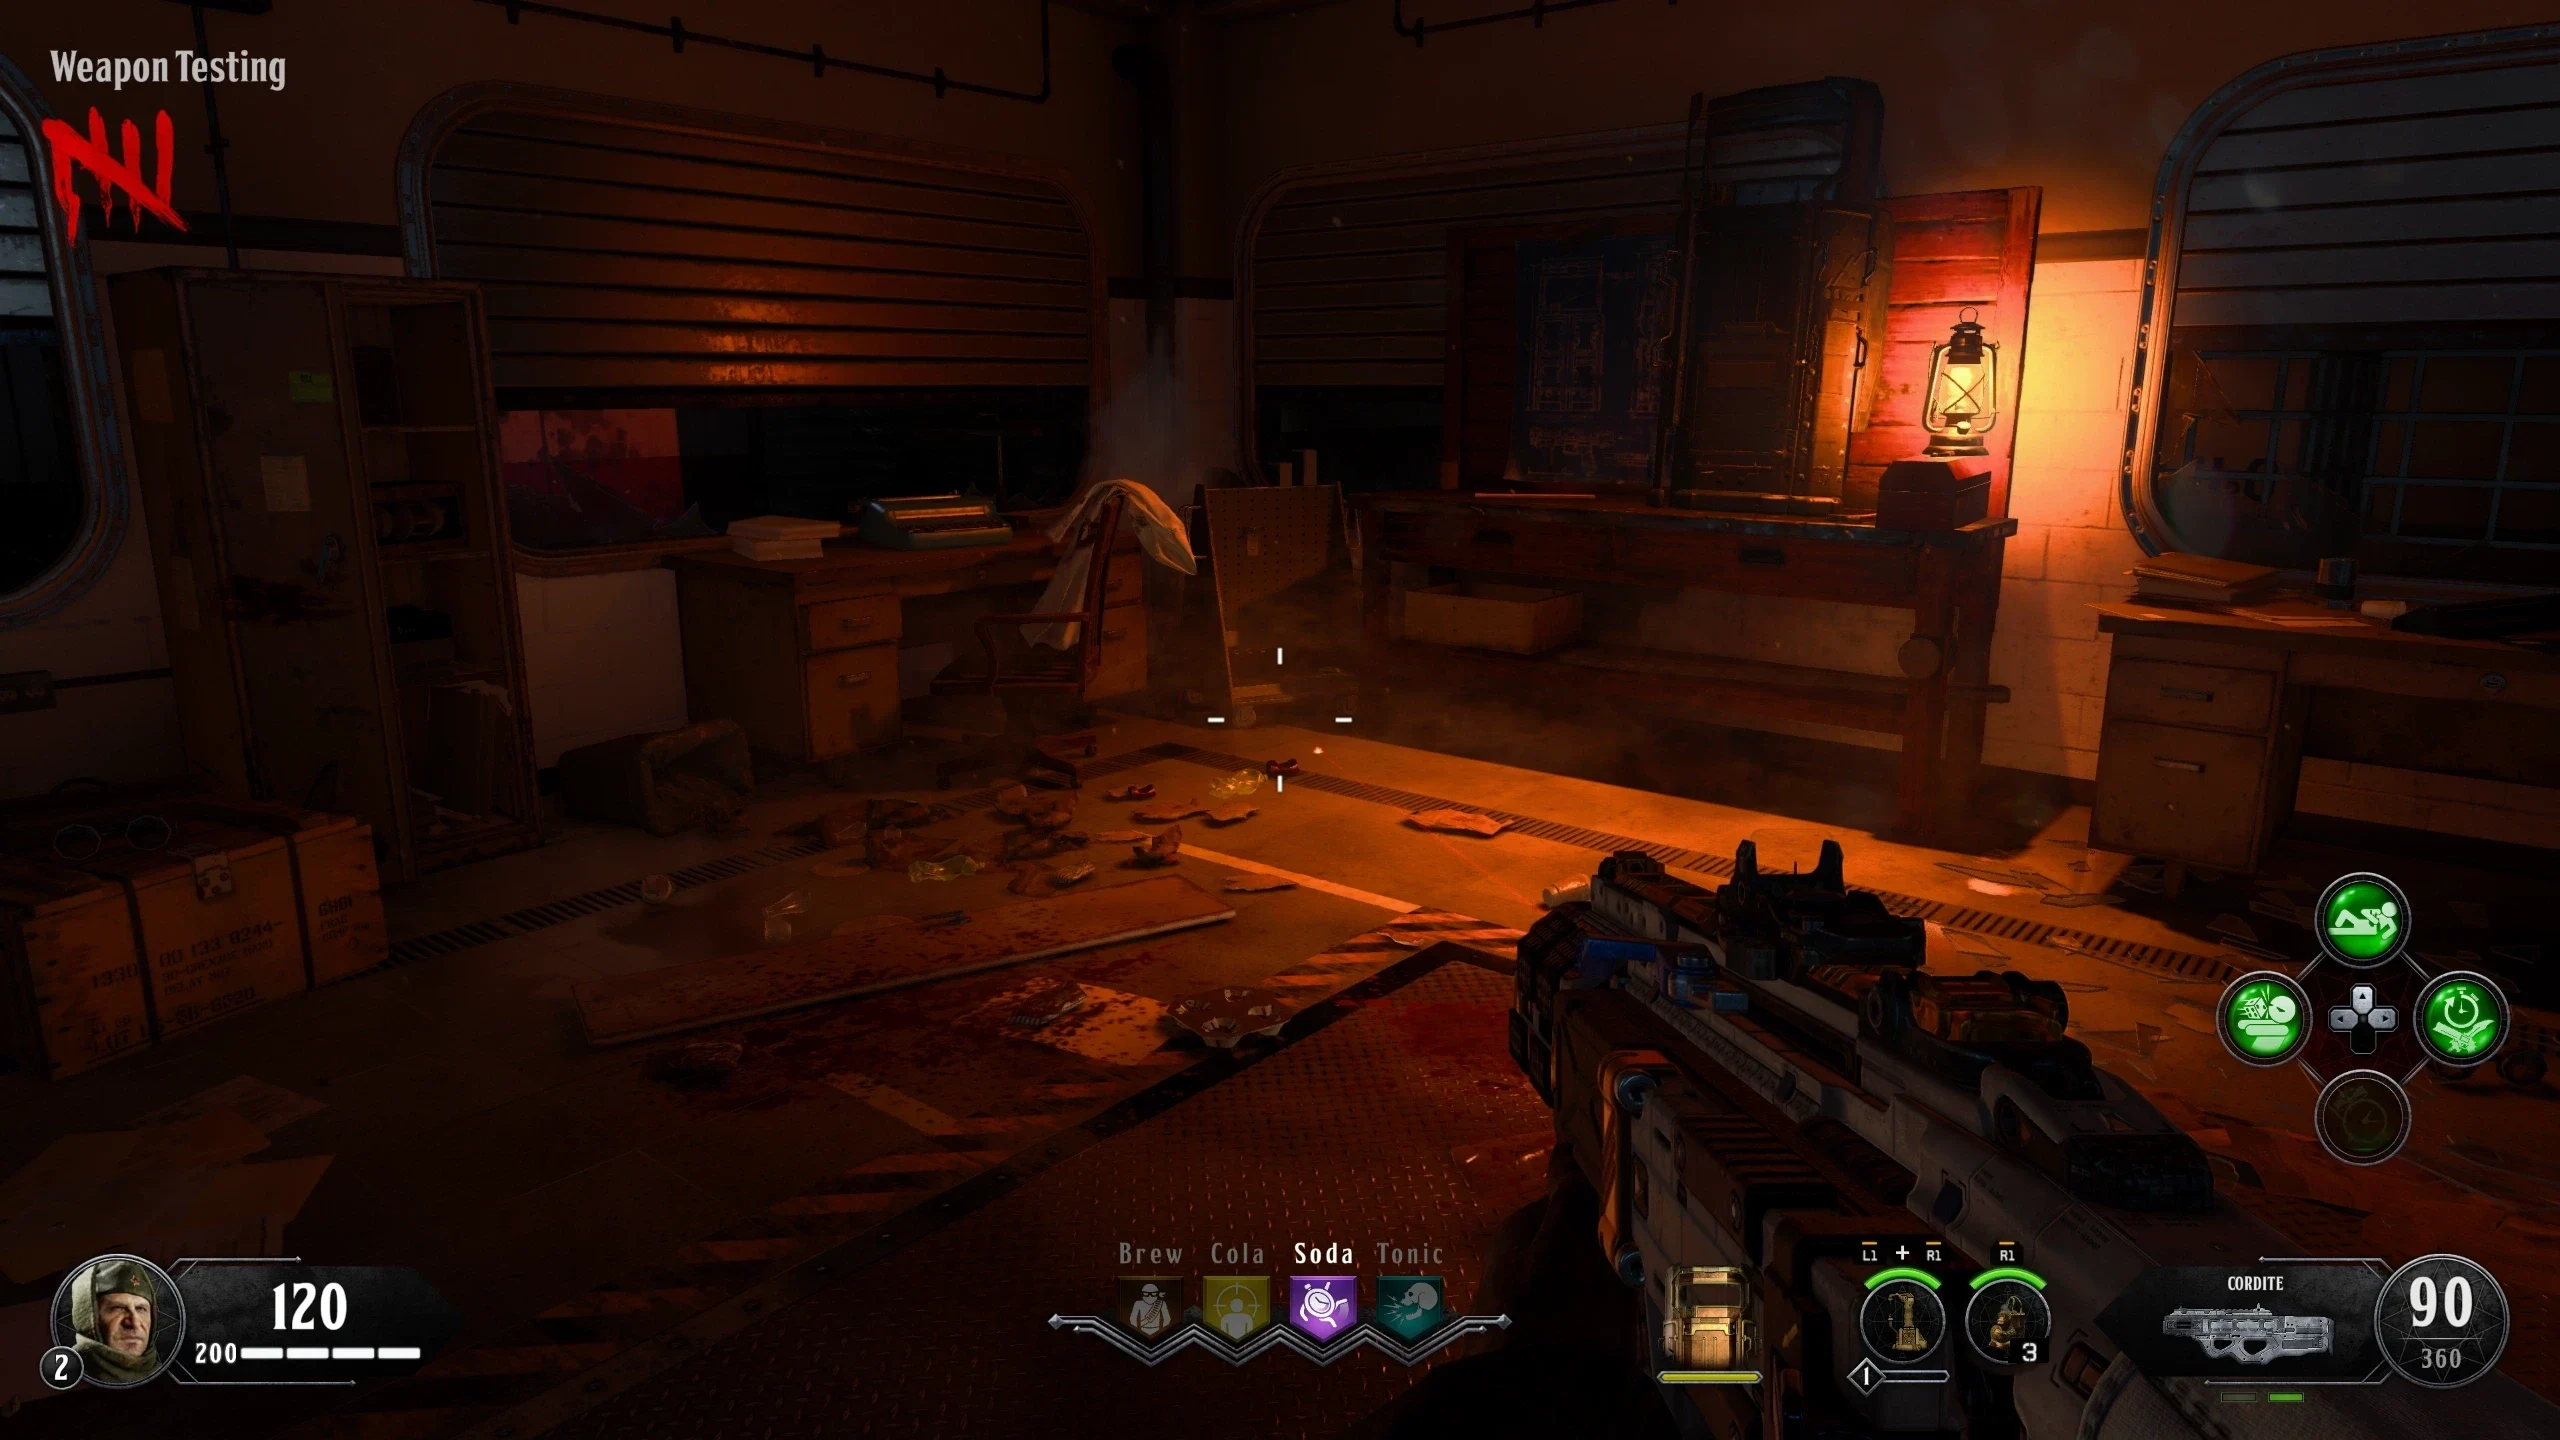
- In the 'South Laboratories,' navigate to the barrier near 'Weapon Testing.' Throw a Grenade/Shoot a Trebuchet shot behind this machine.
- If done correctly, a sound will play and the Shangri-la picture will spawn on the right side of the barrier.
Kino der Toten Numbers
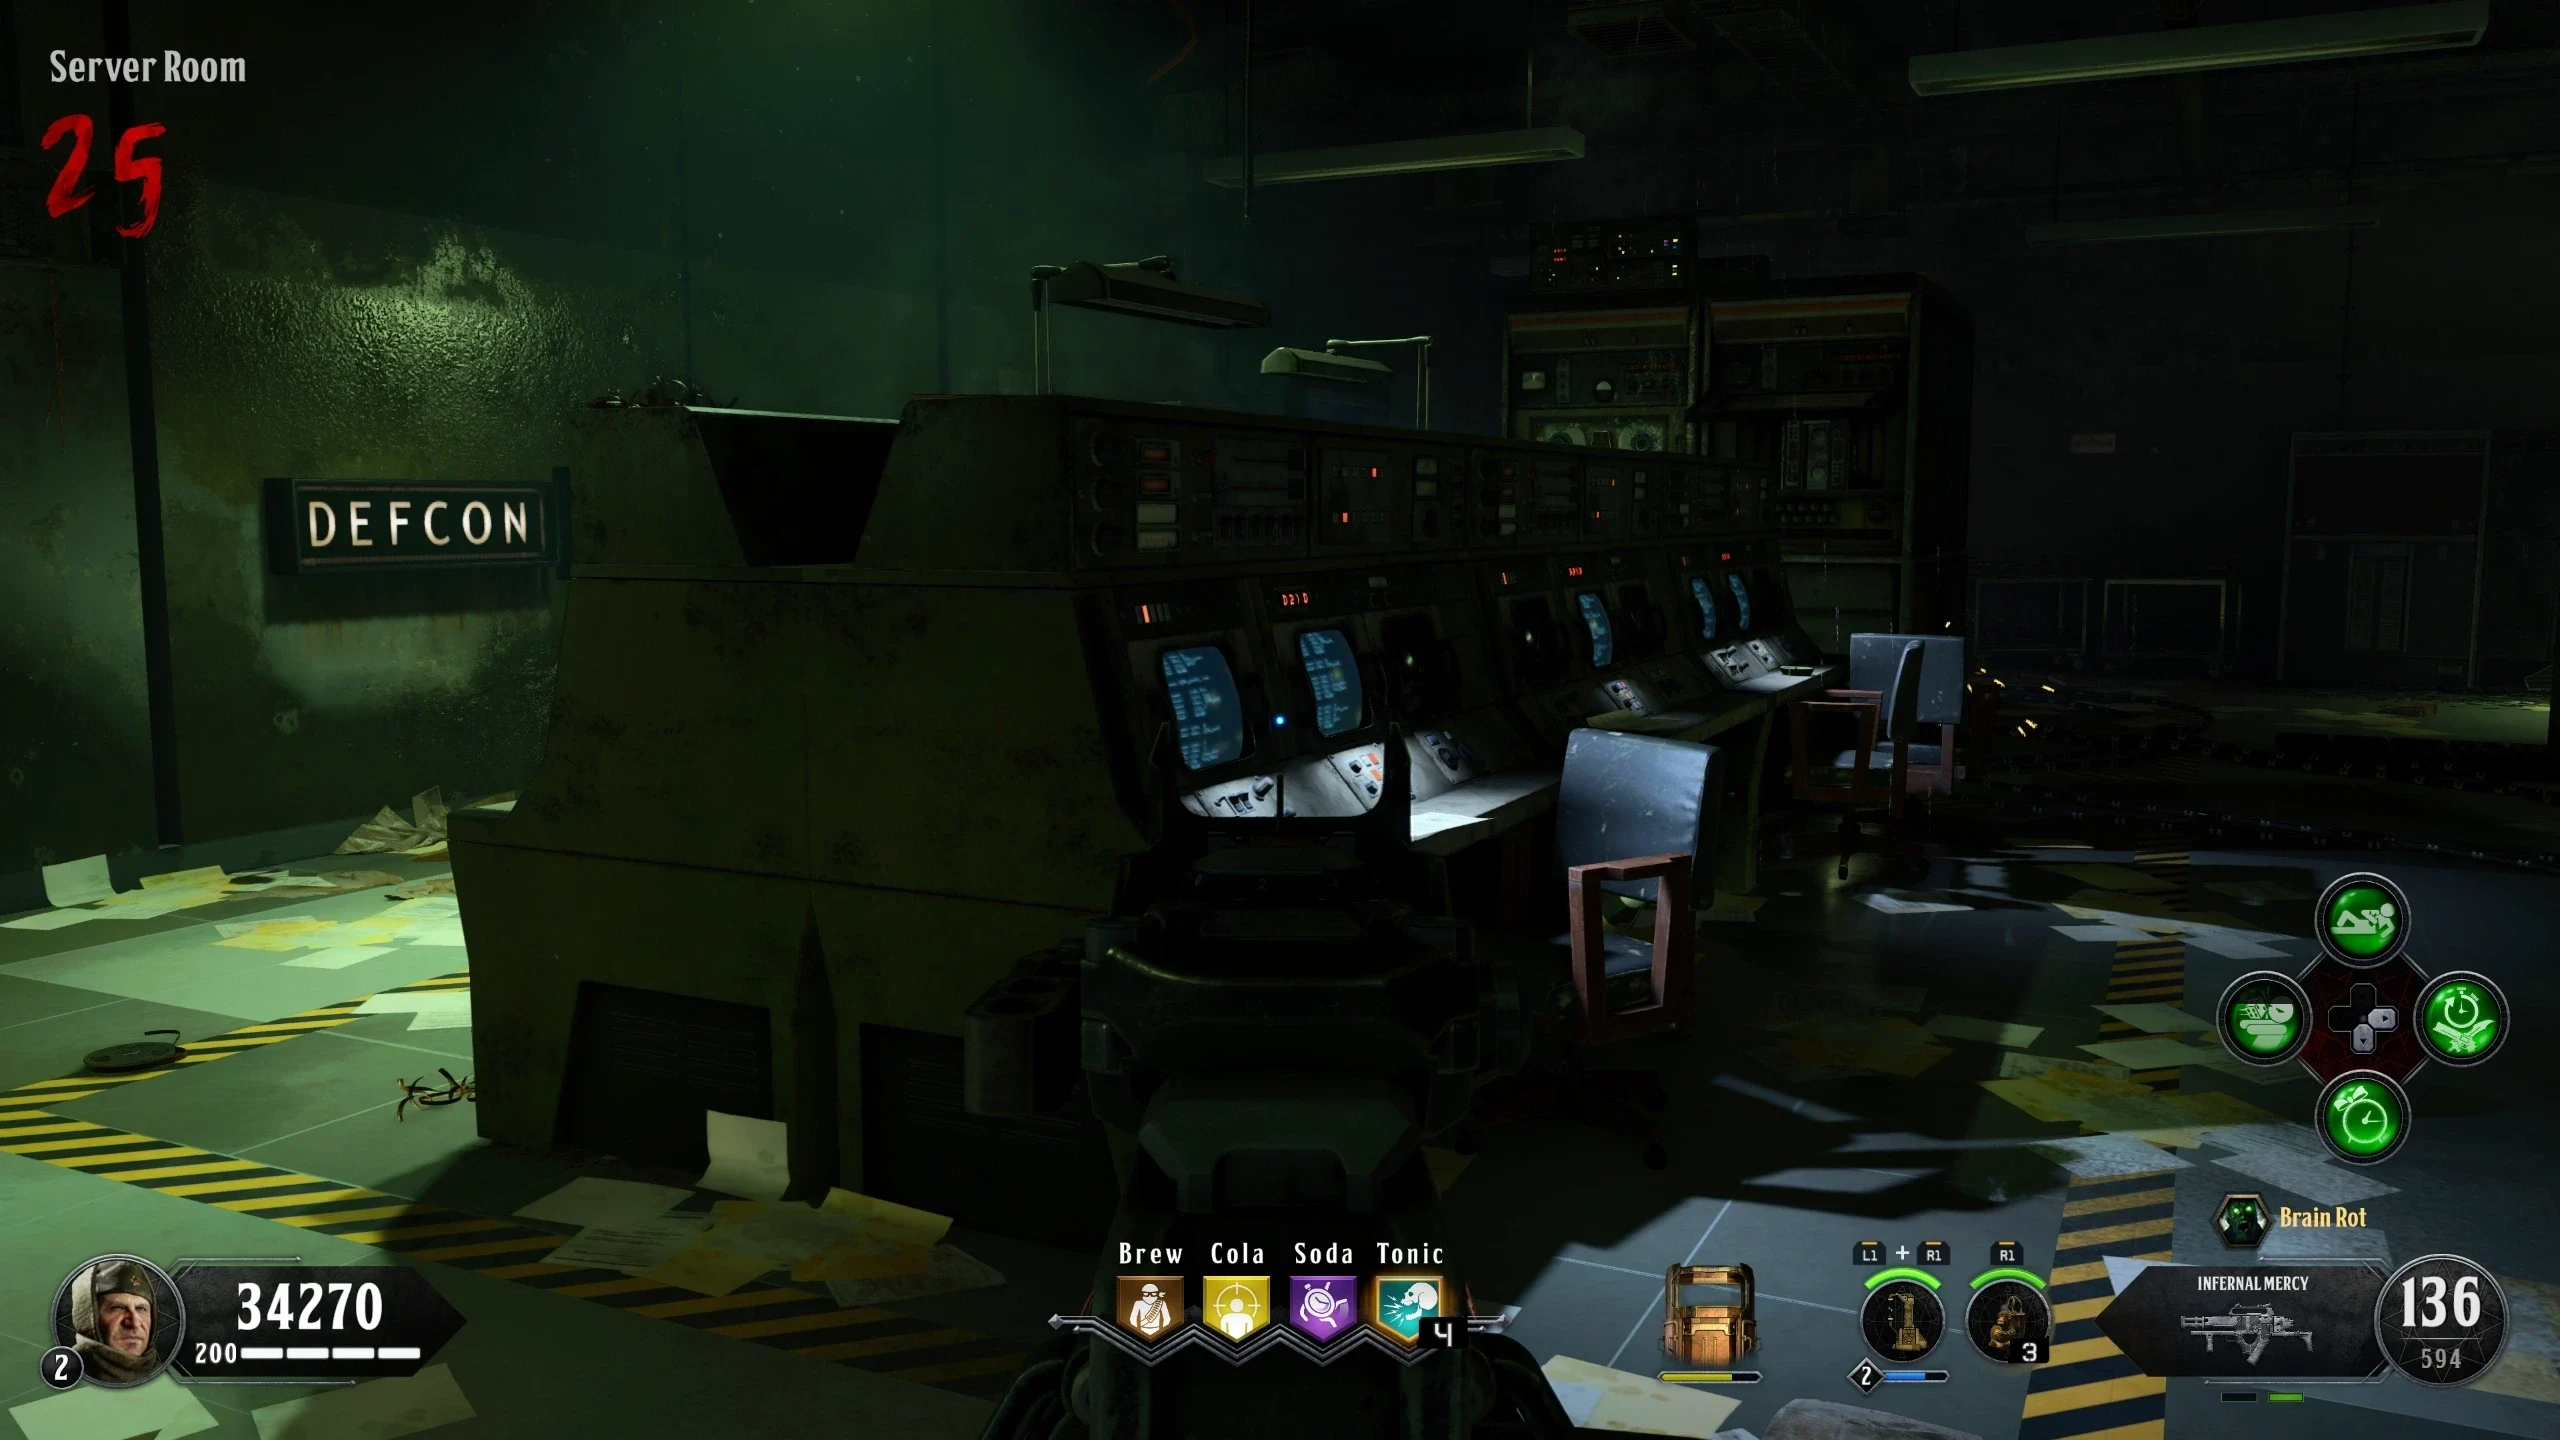
- Open Pack-a-Punch.
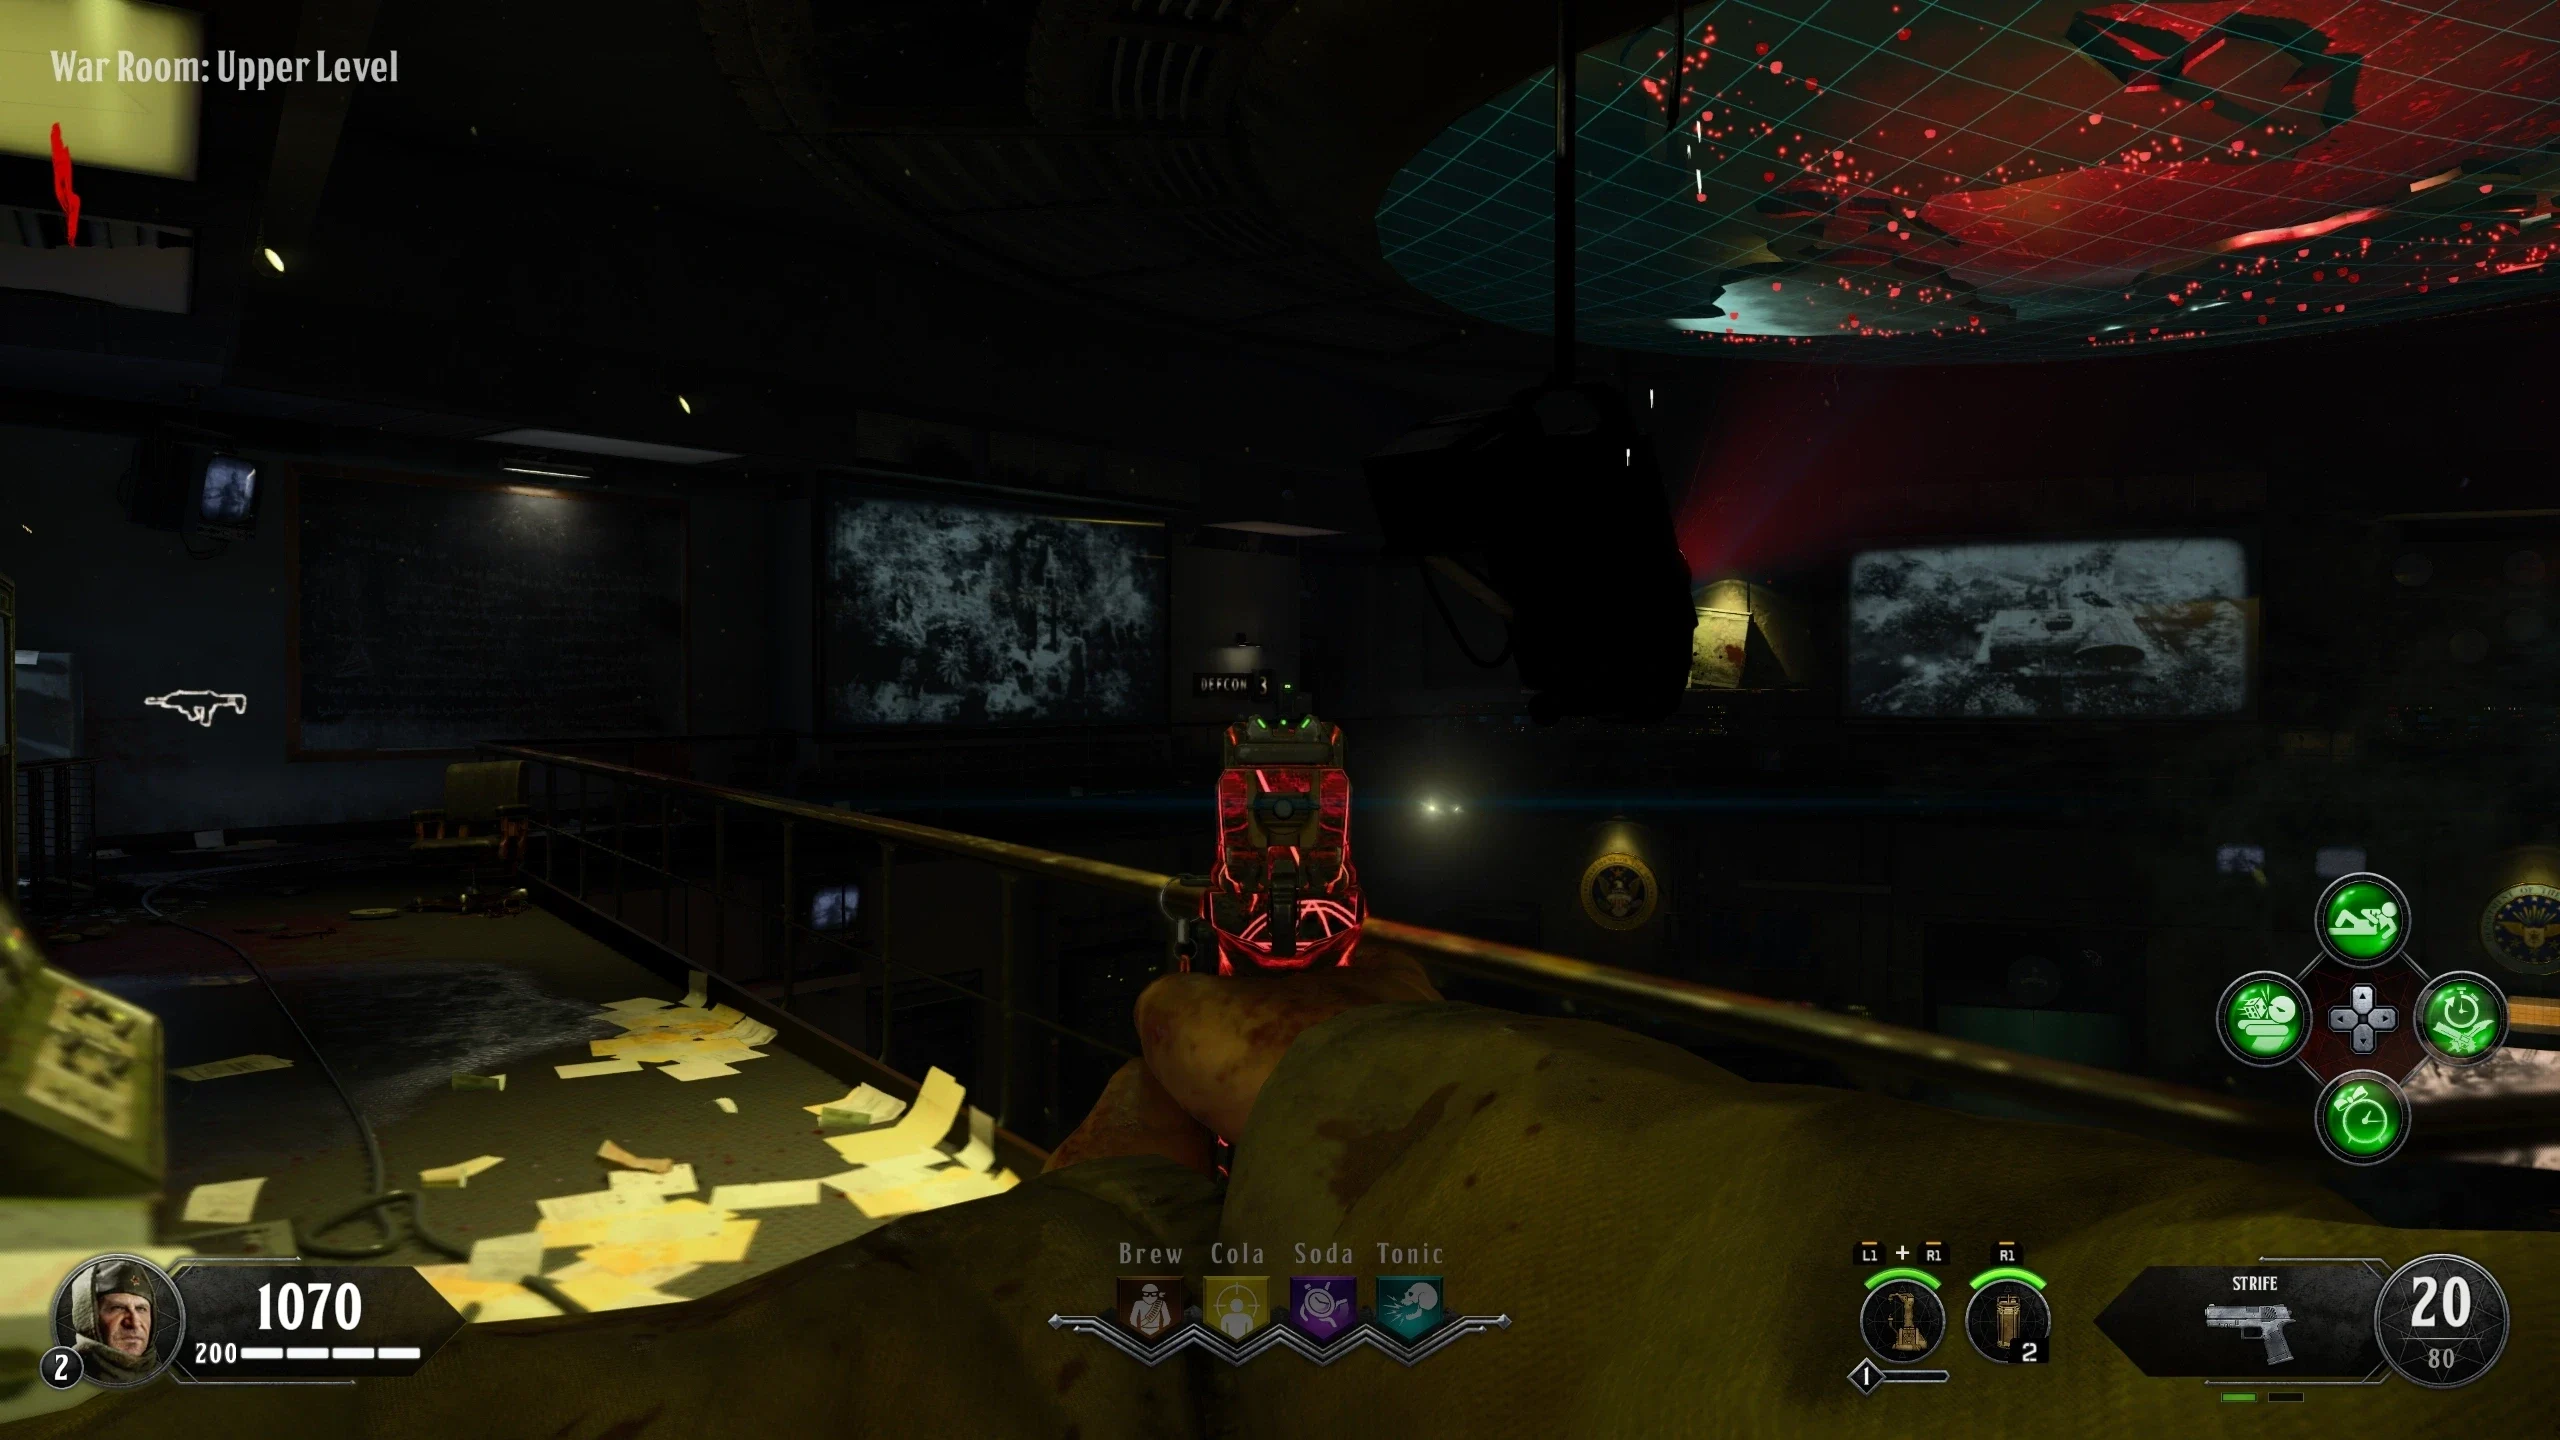
- Activate the Defcon Switches in the following order:
- War Room: Upper Level - Right of the Spitfire wallbuy
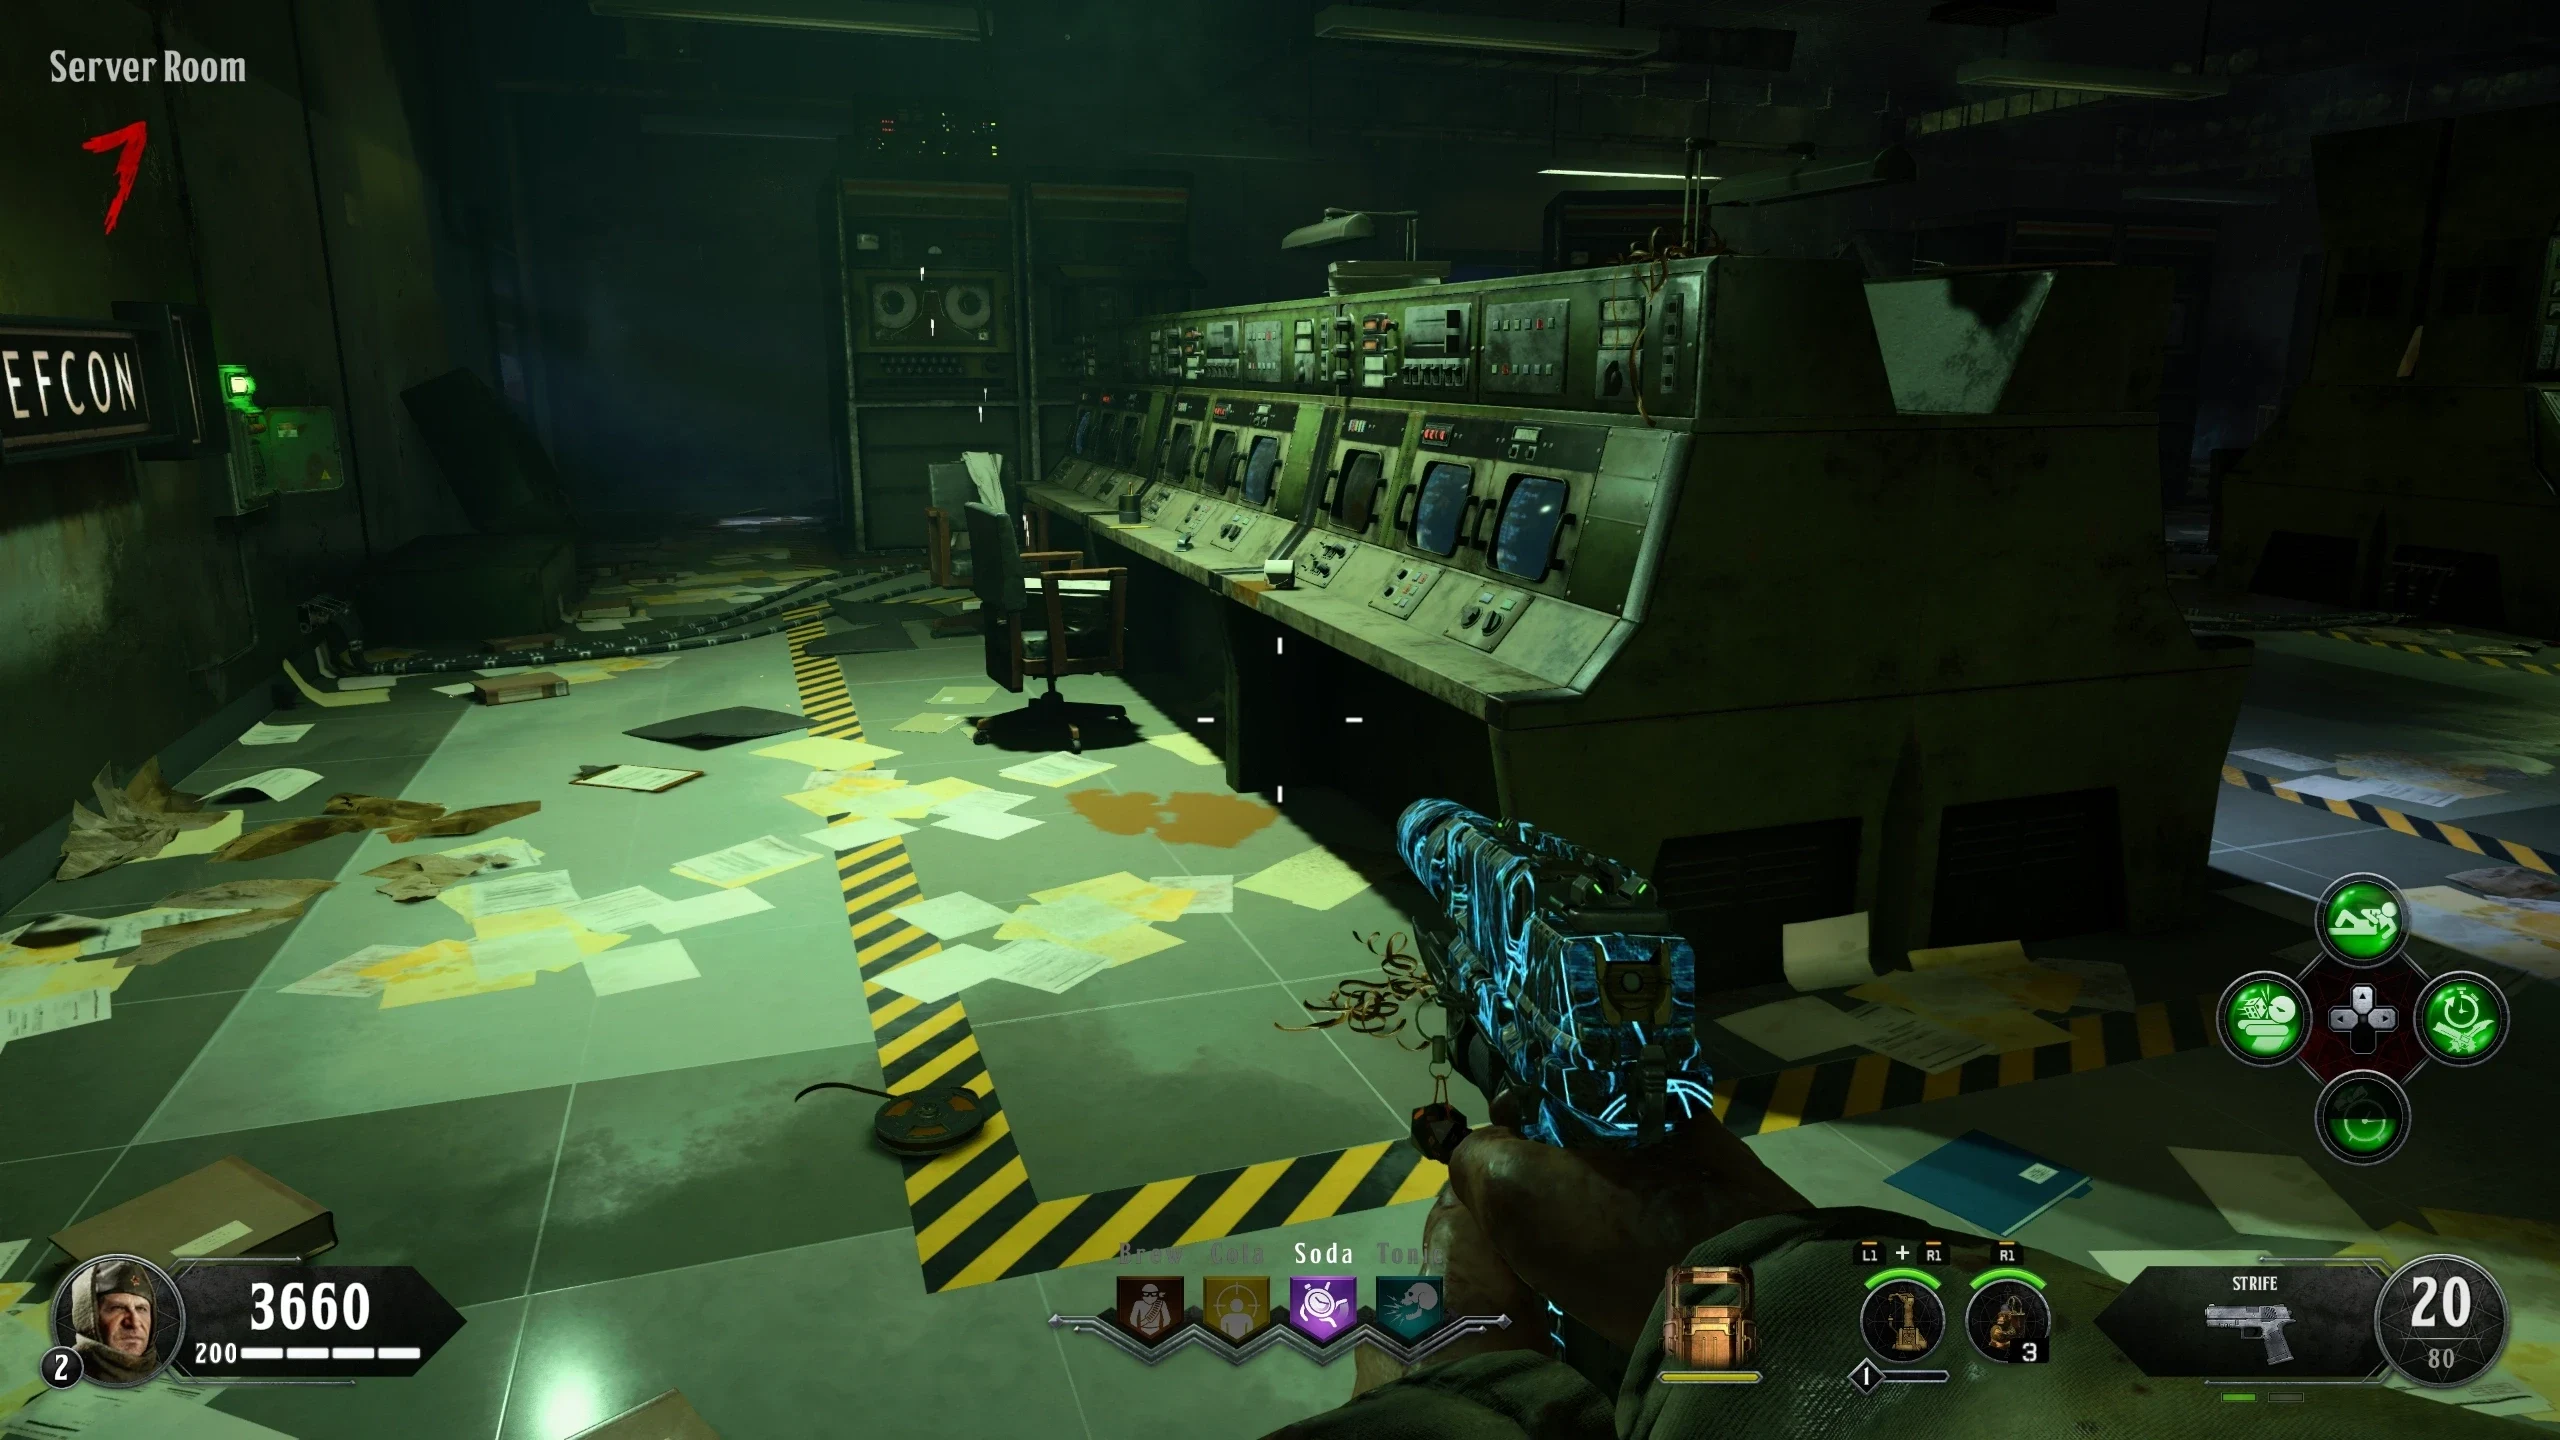
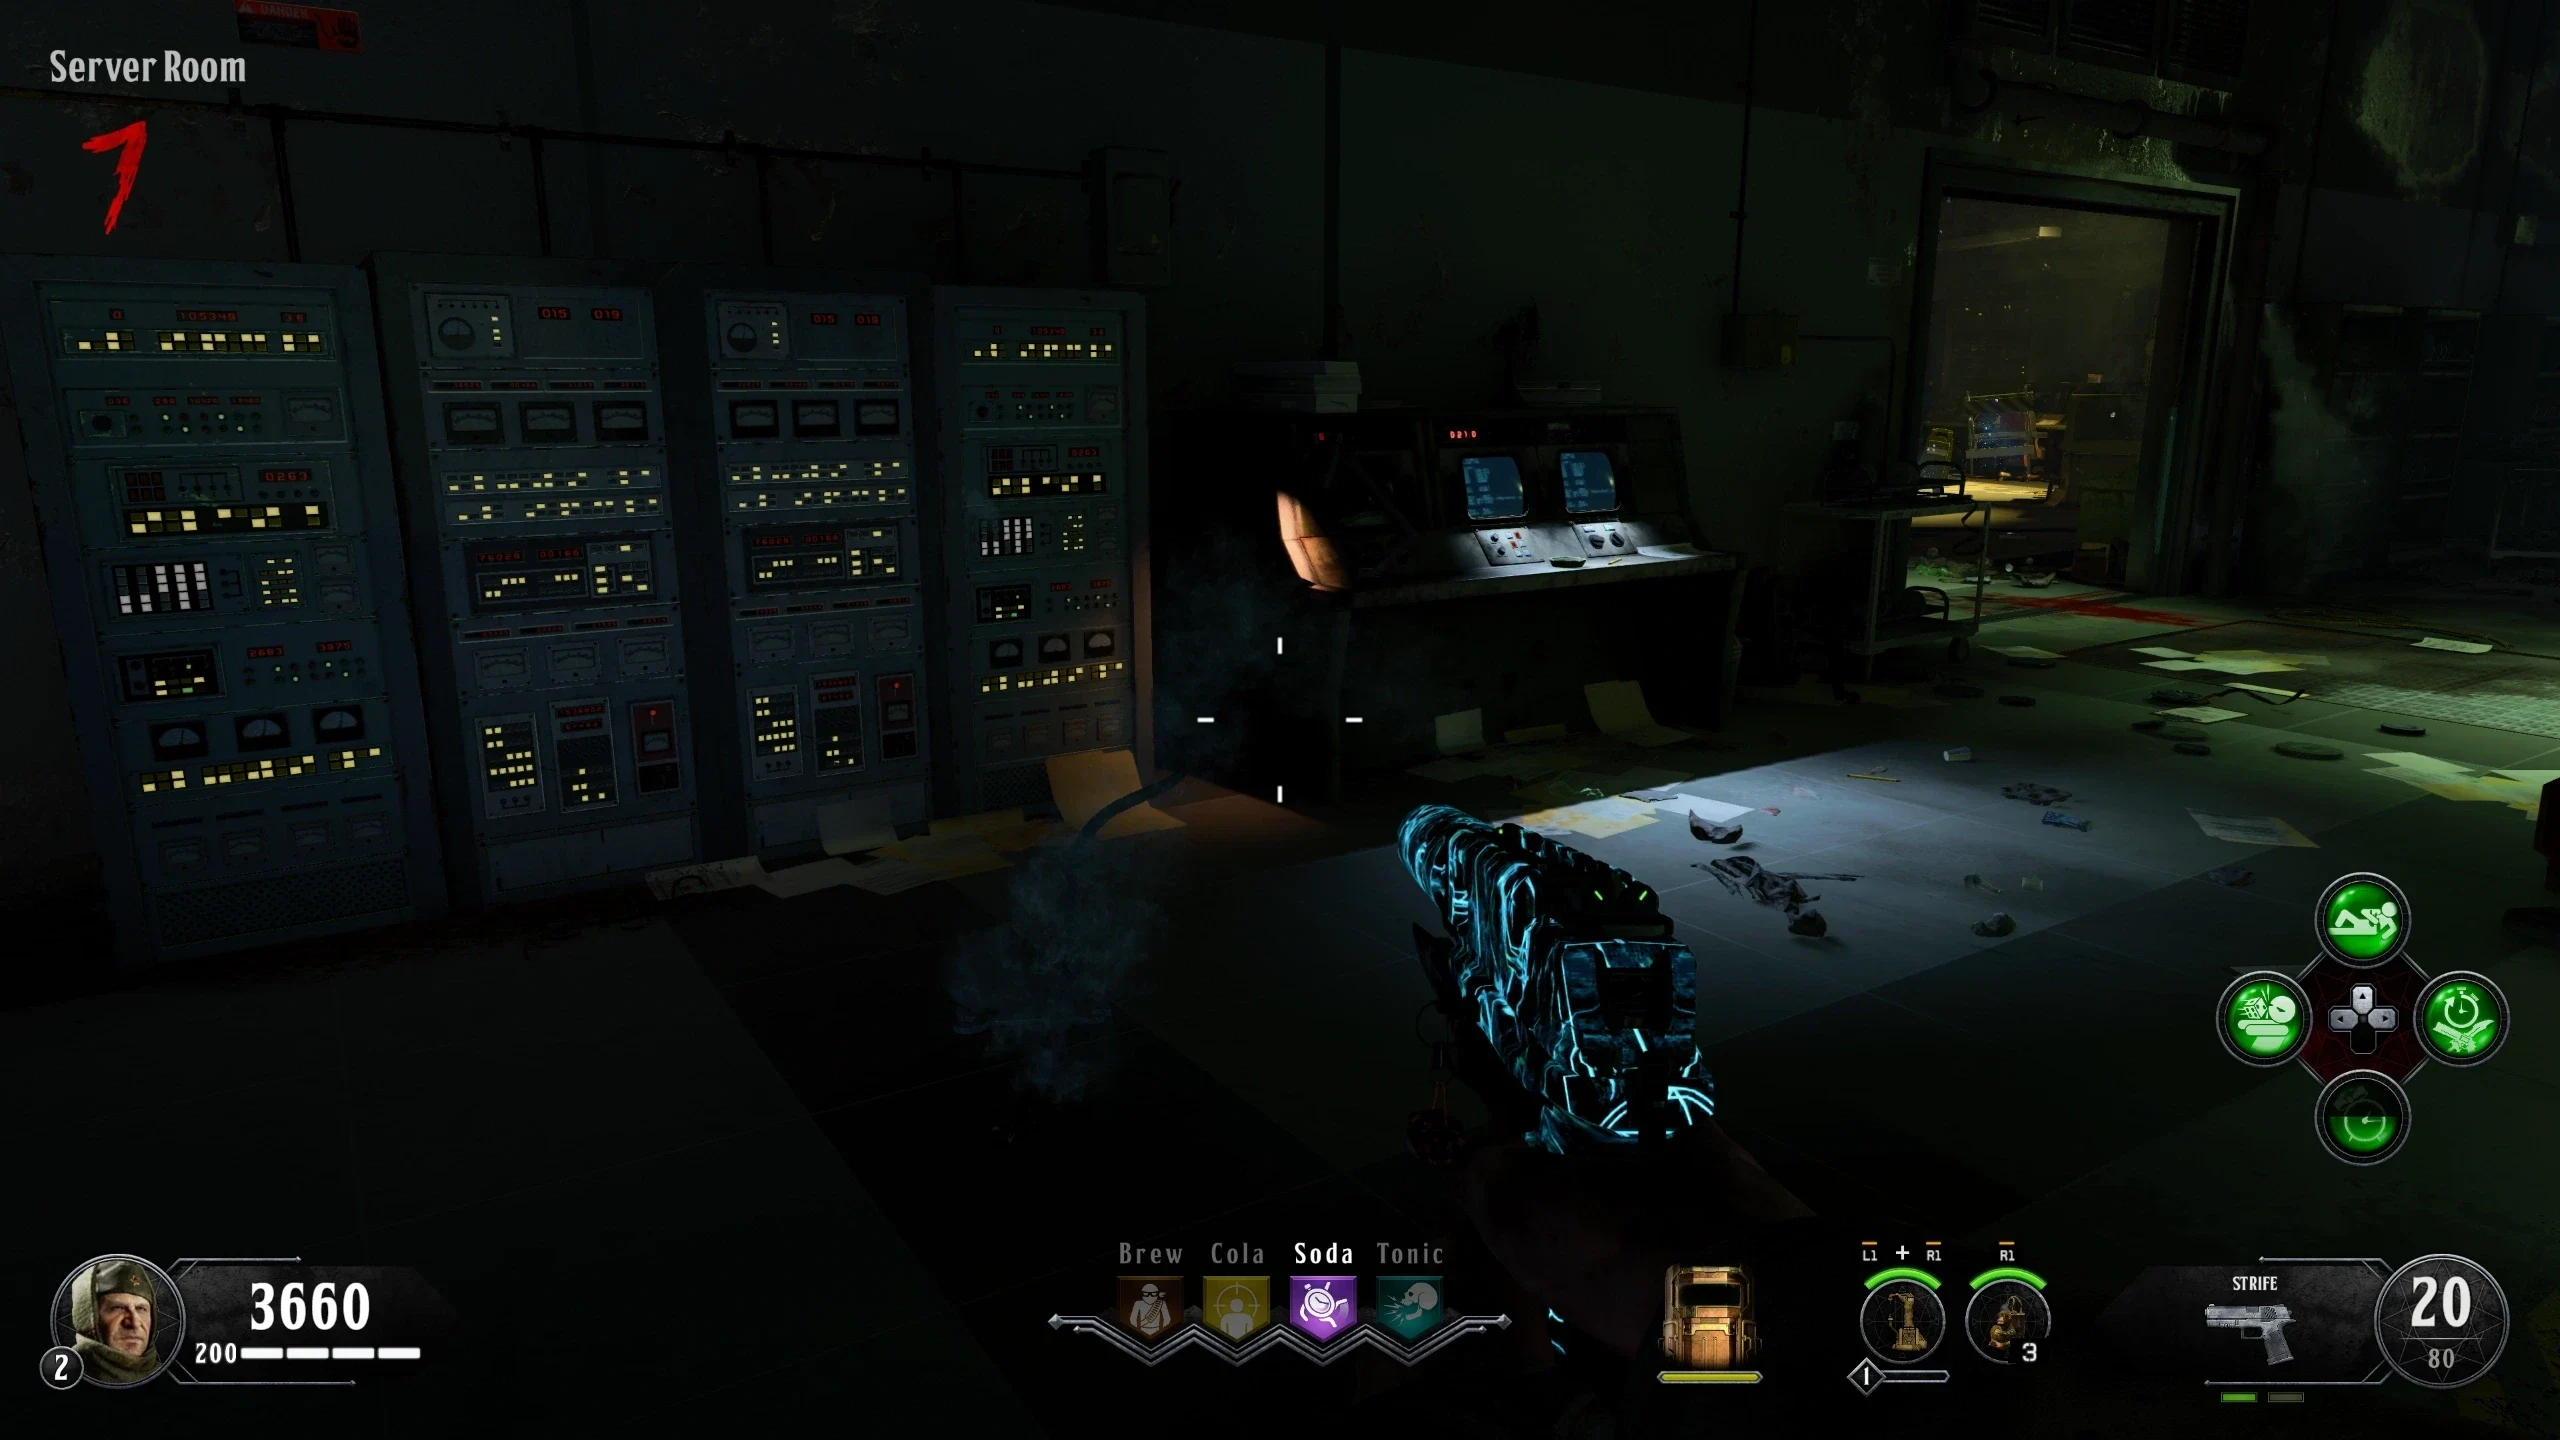
- Server Room - Left of the Room
- War Room: Upper Level - Right of the elevator to the Offices
- War Room: Lower Level - Left of the elevator to the Labs
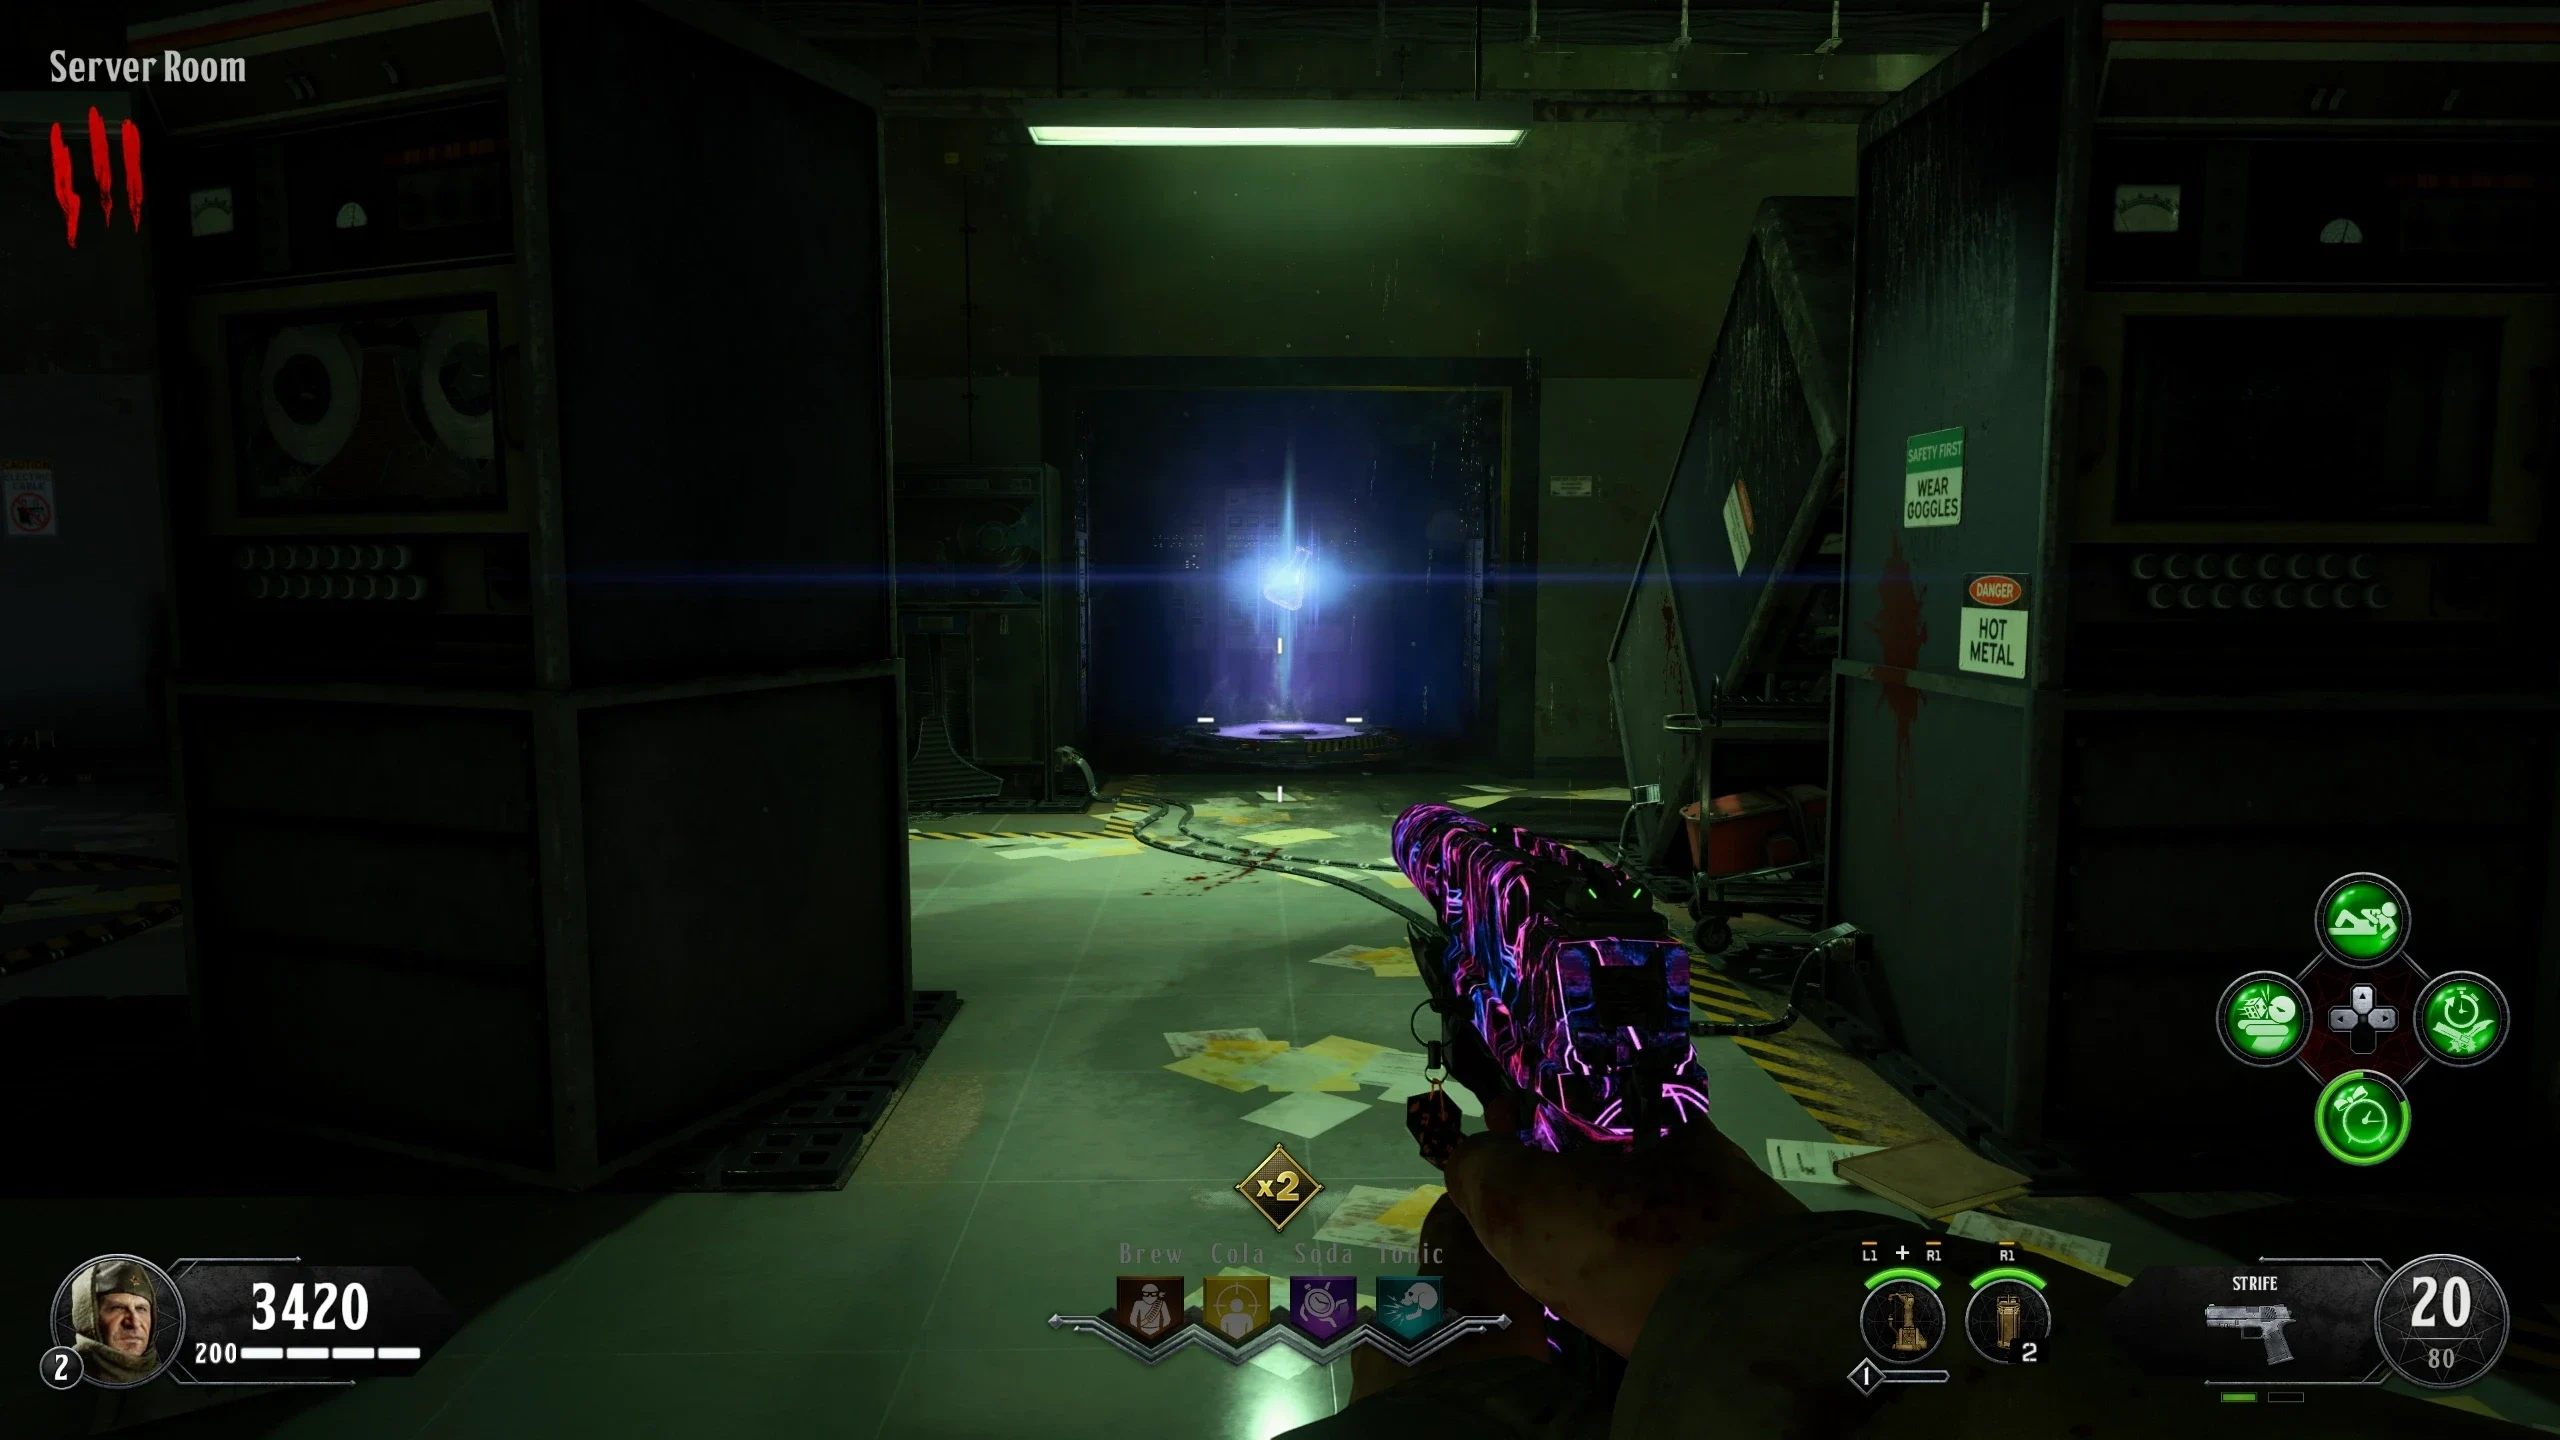
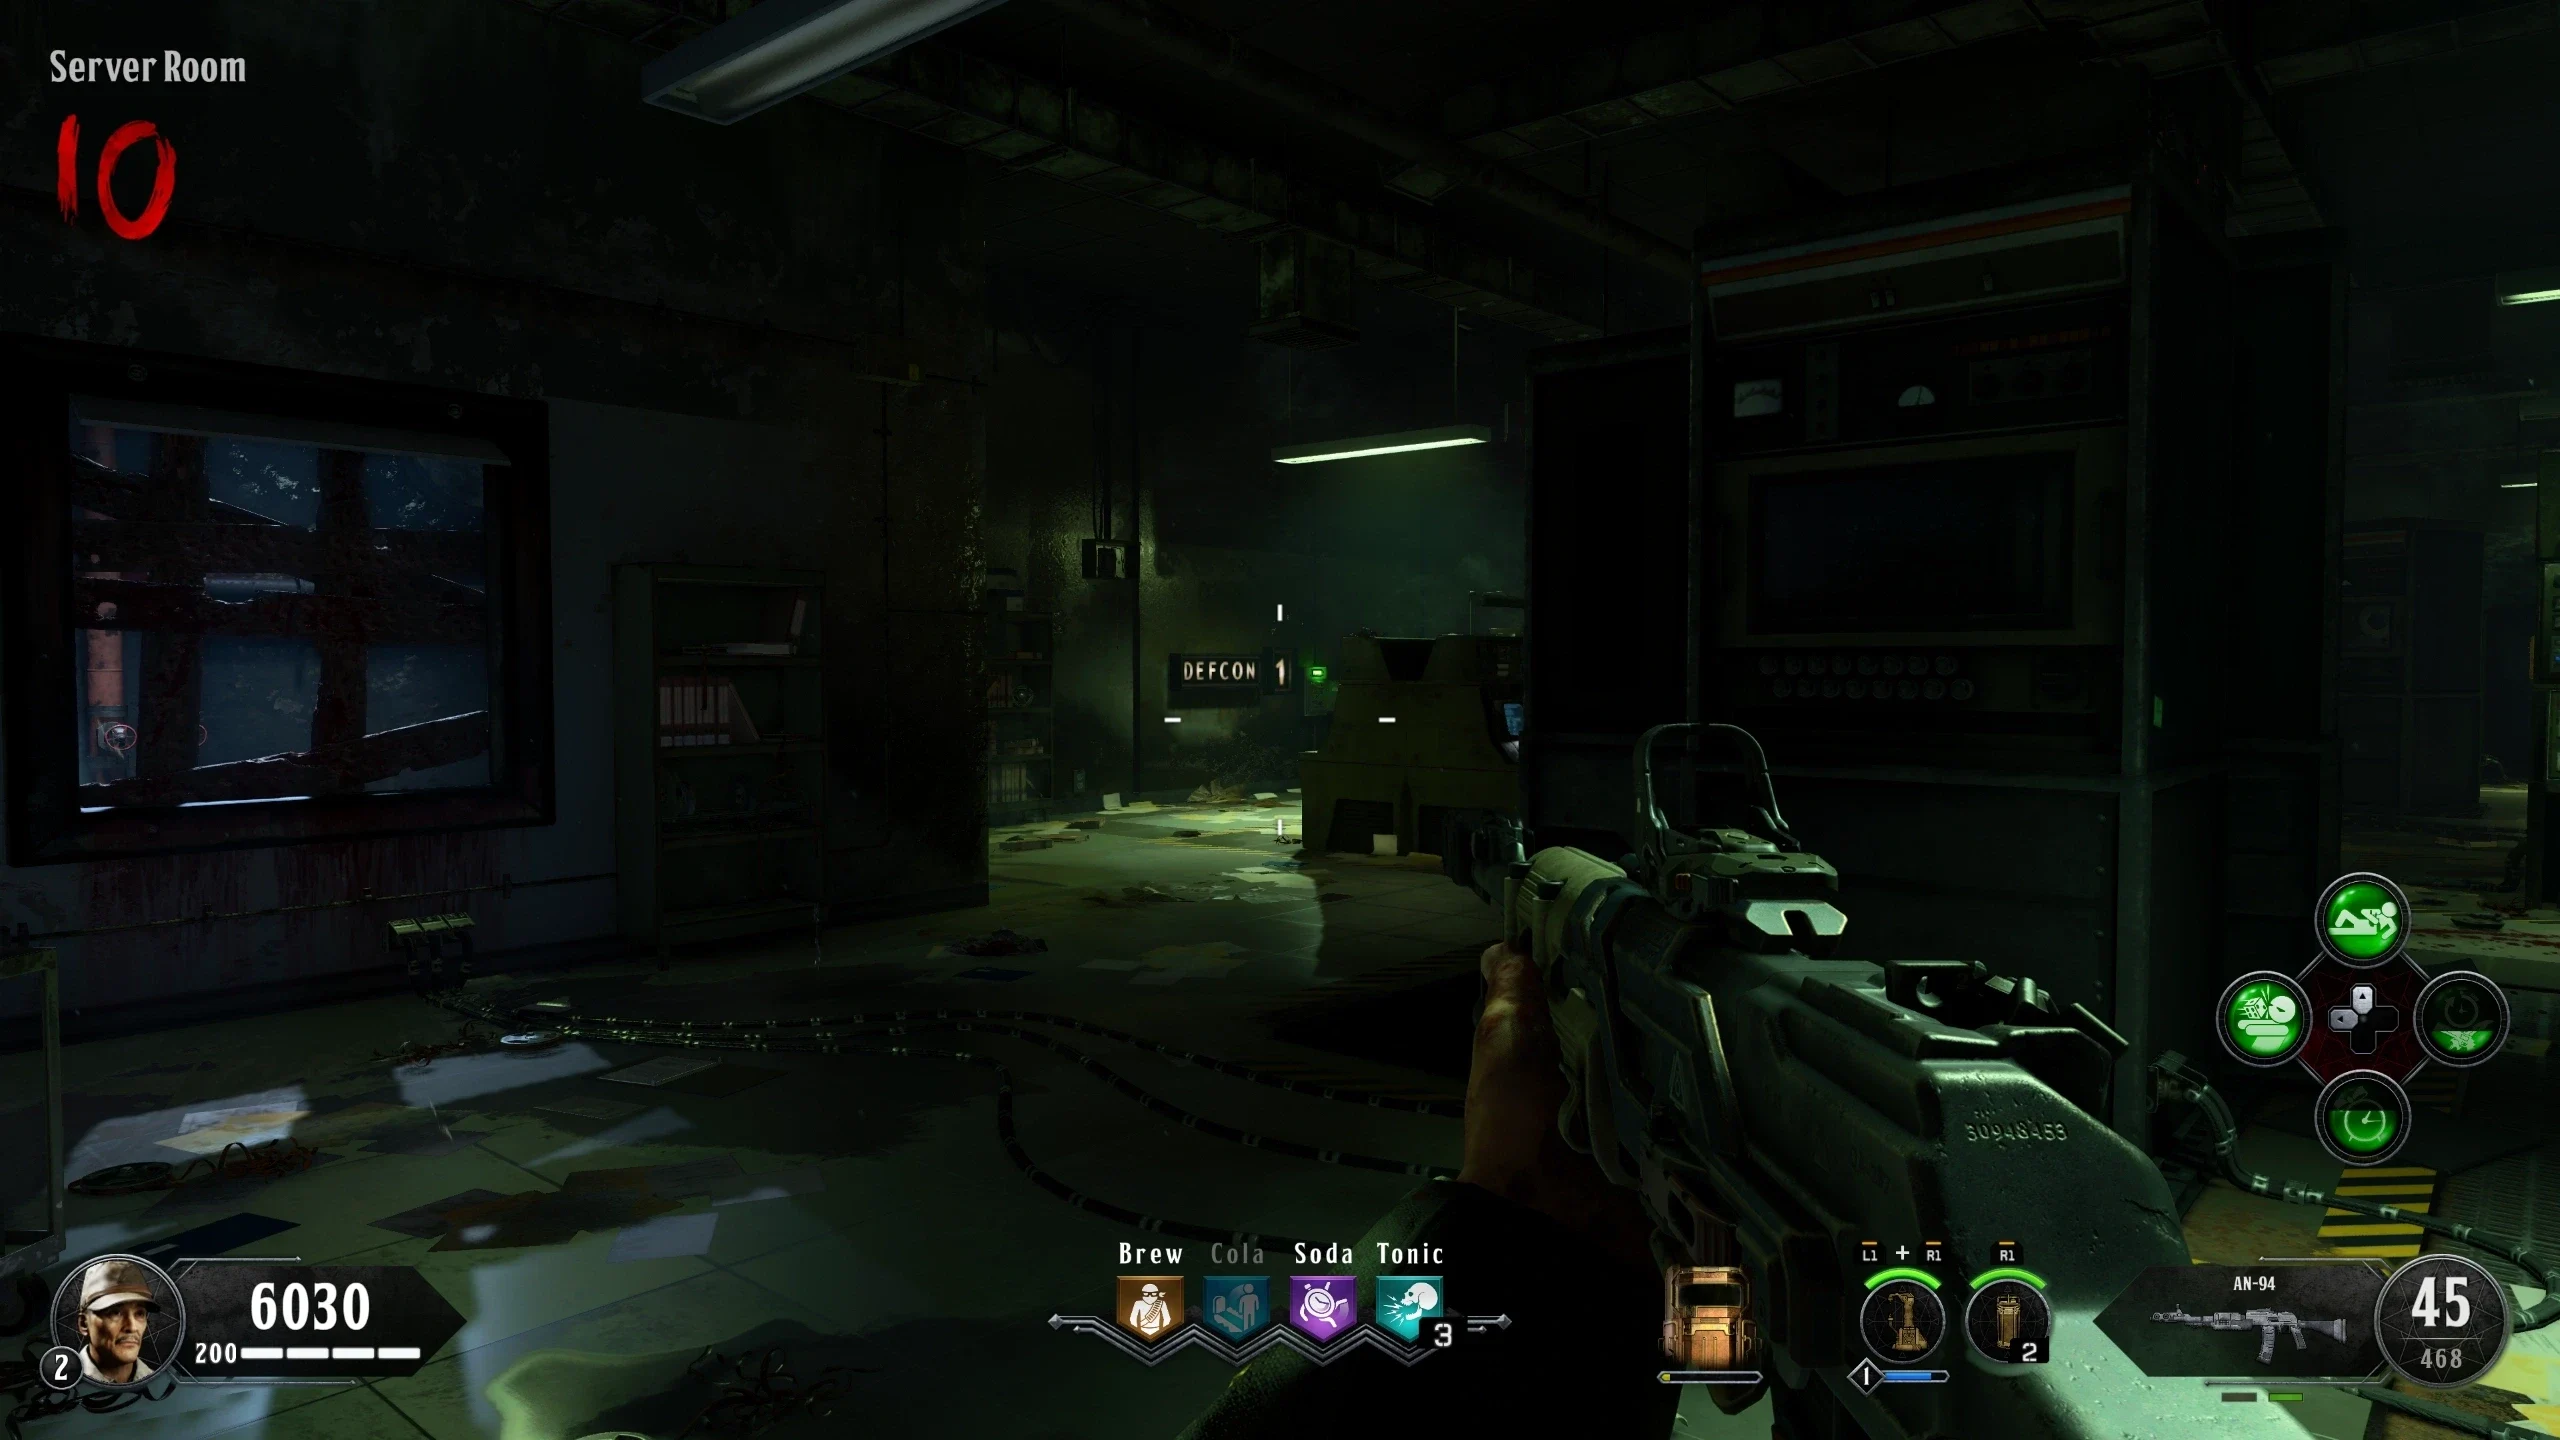
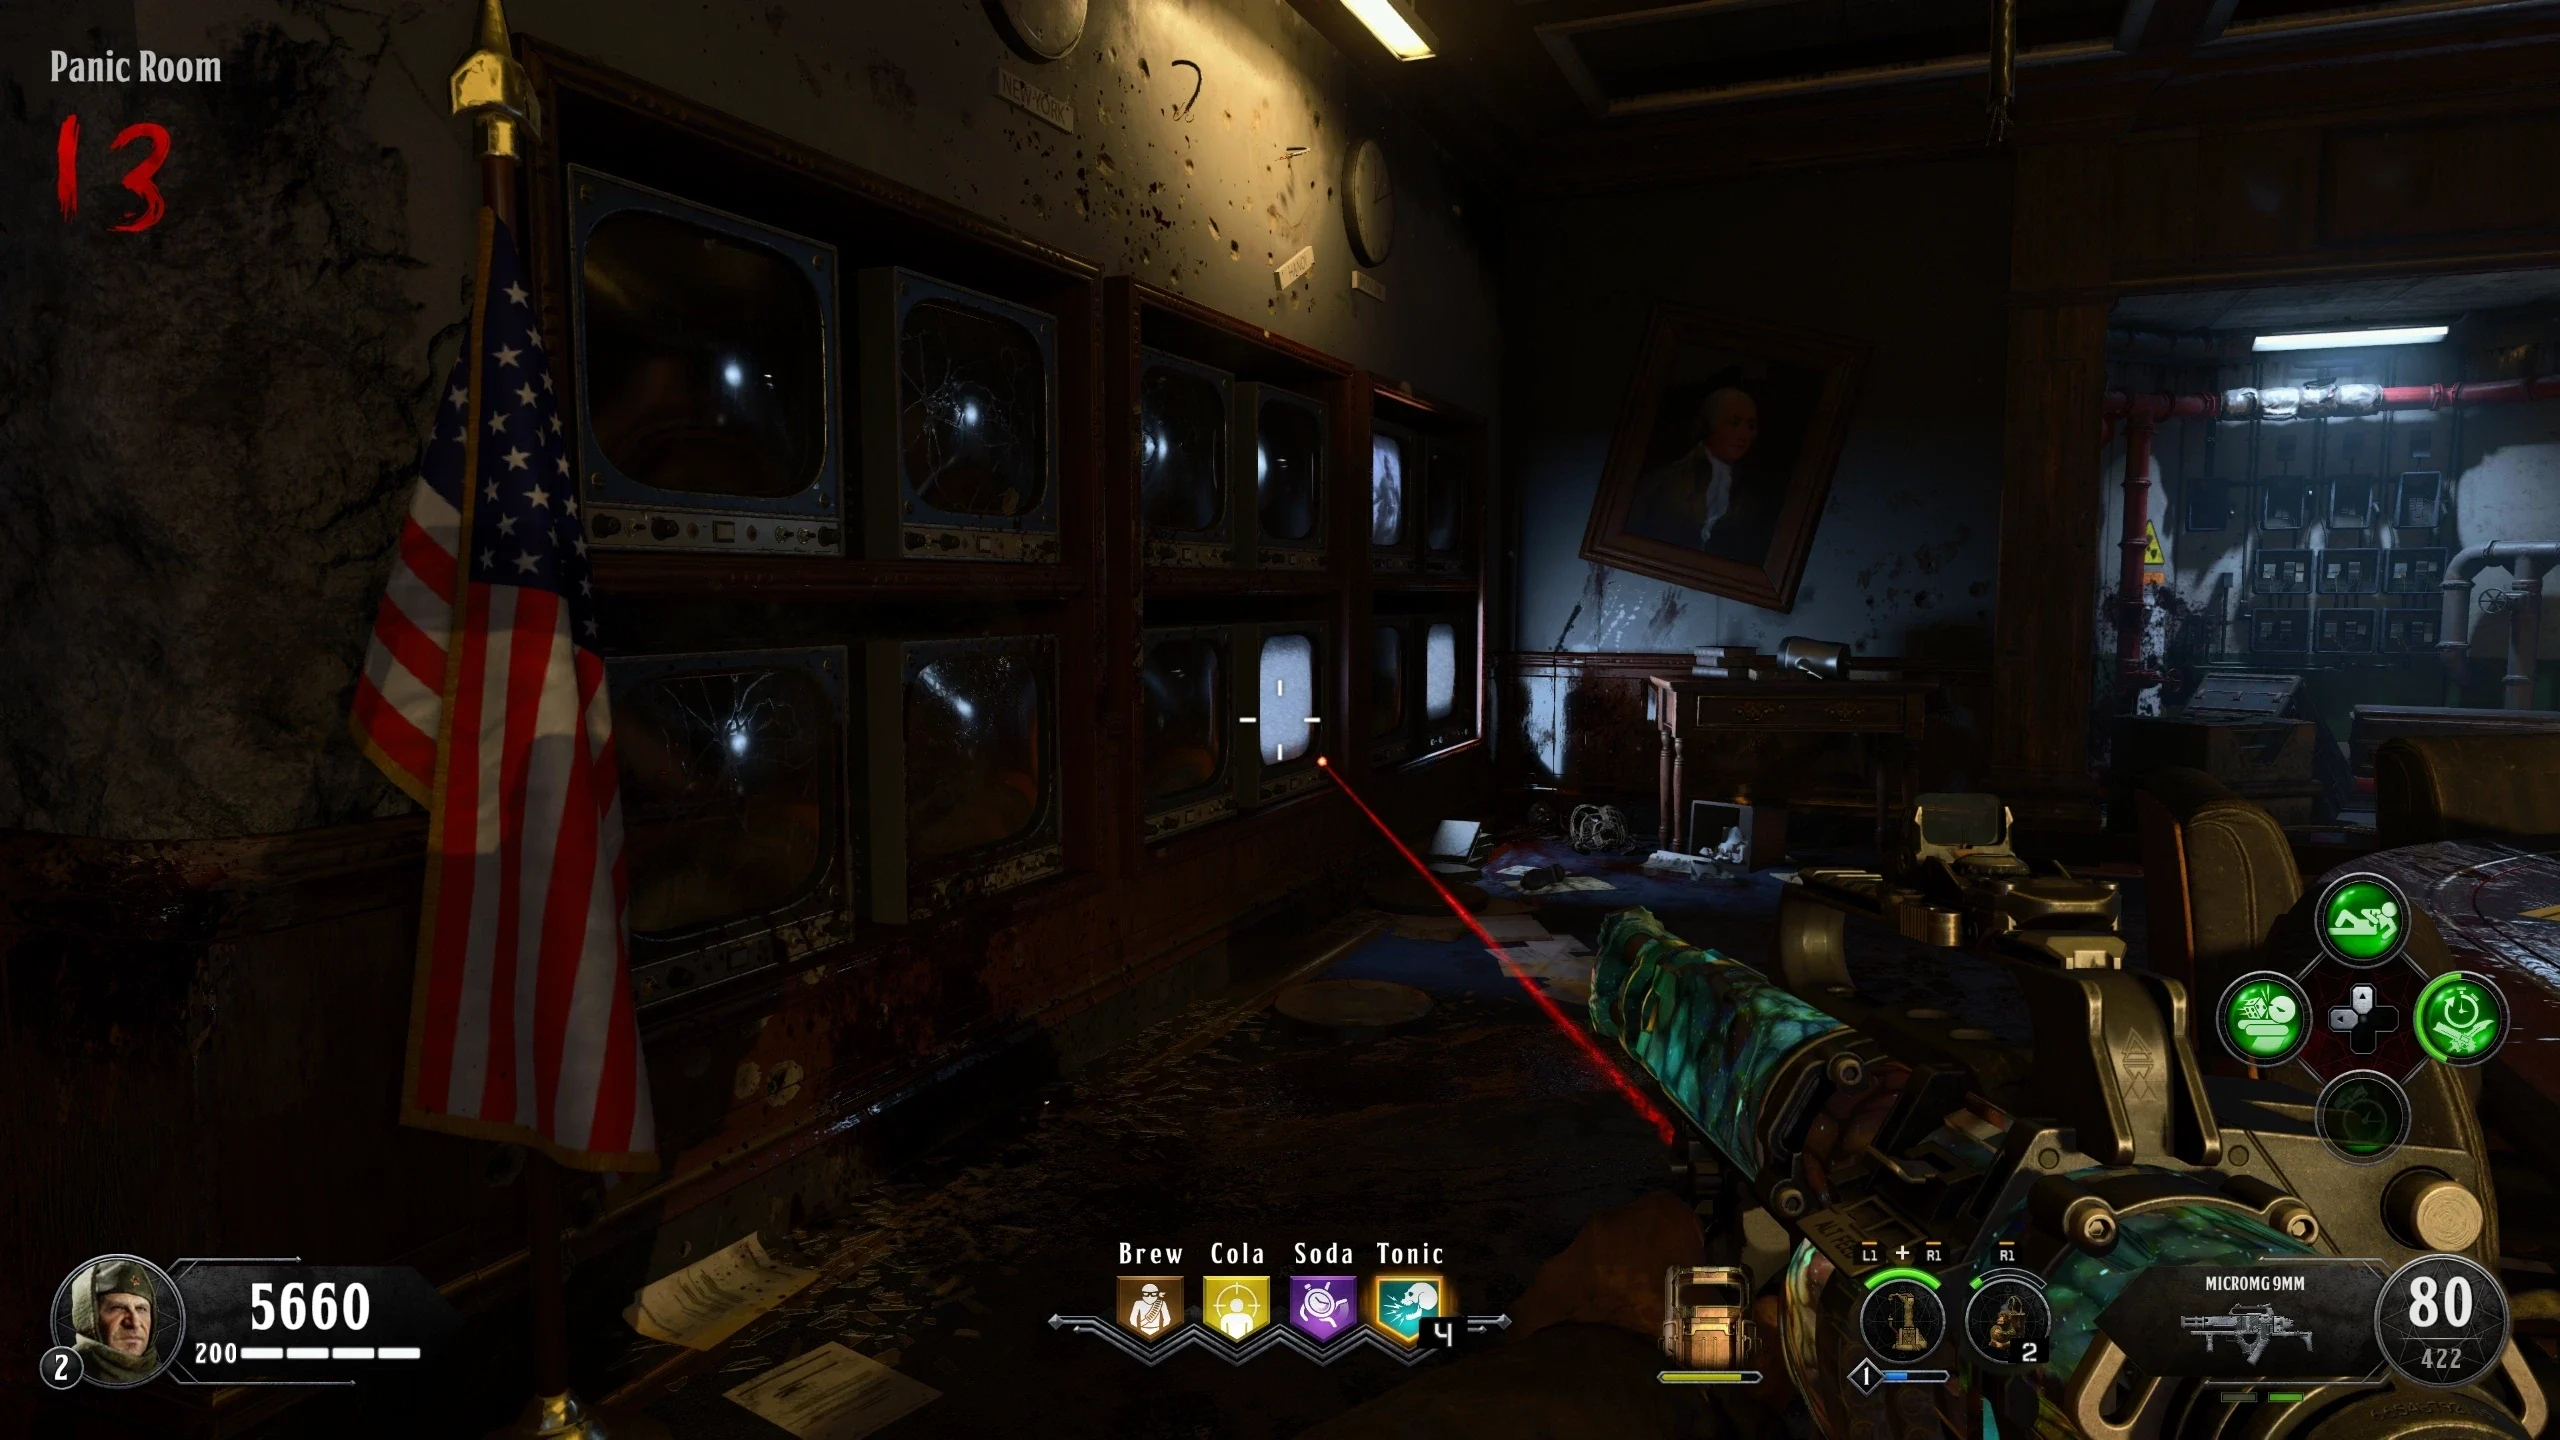
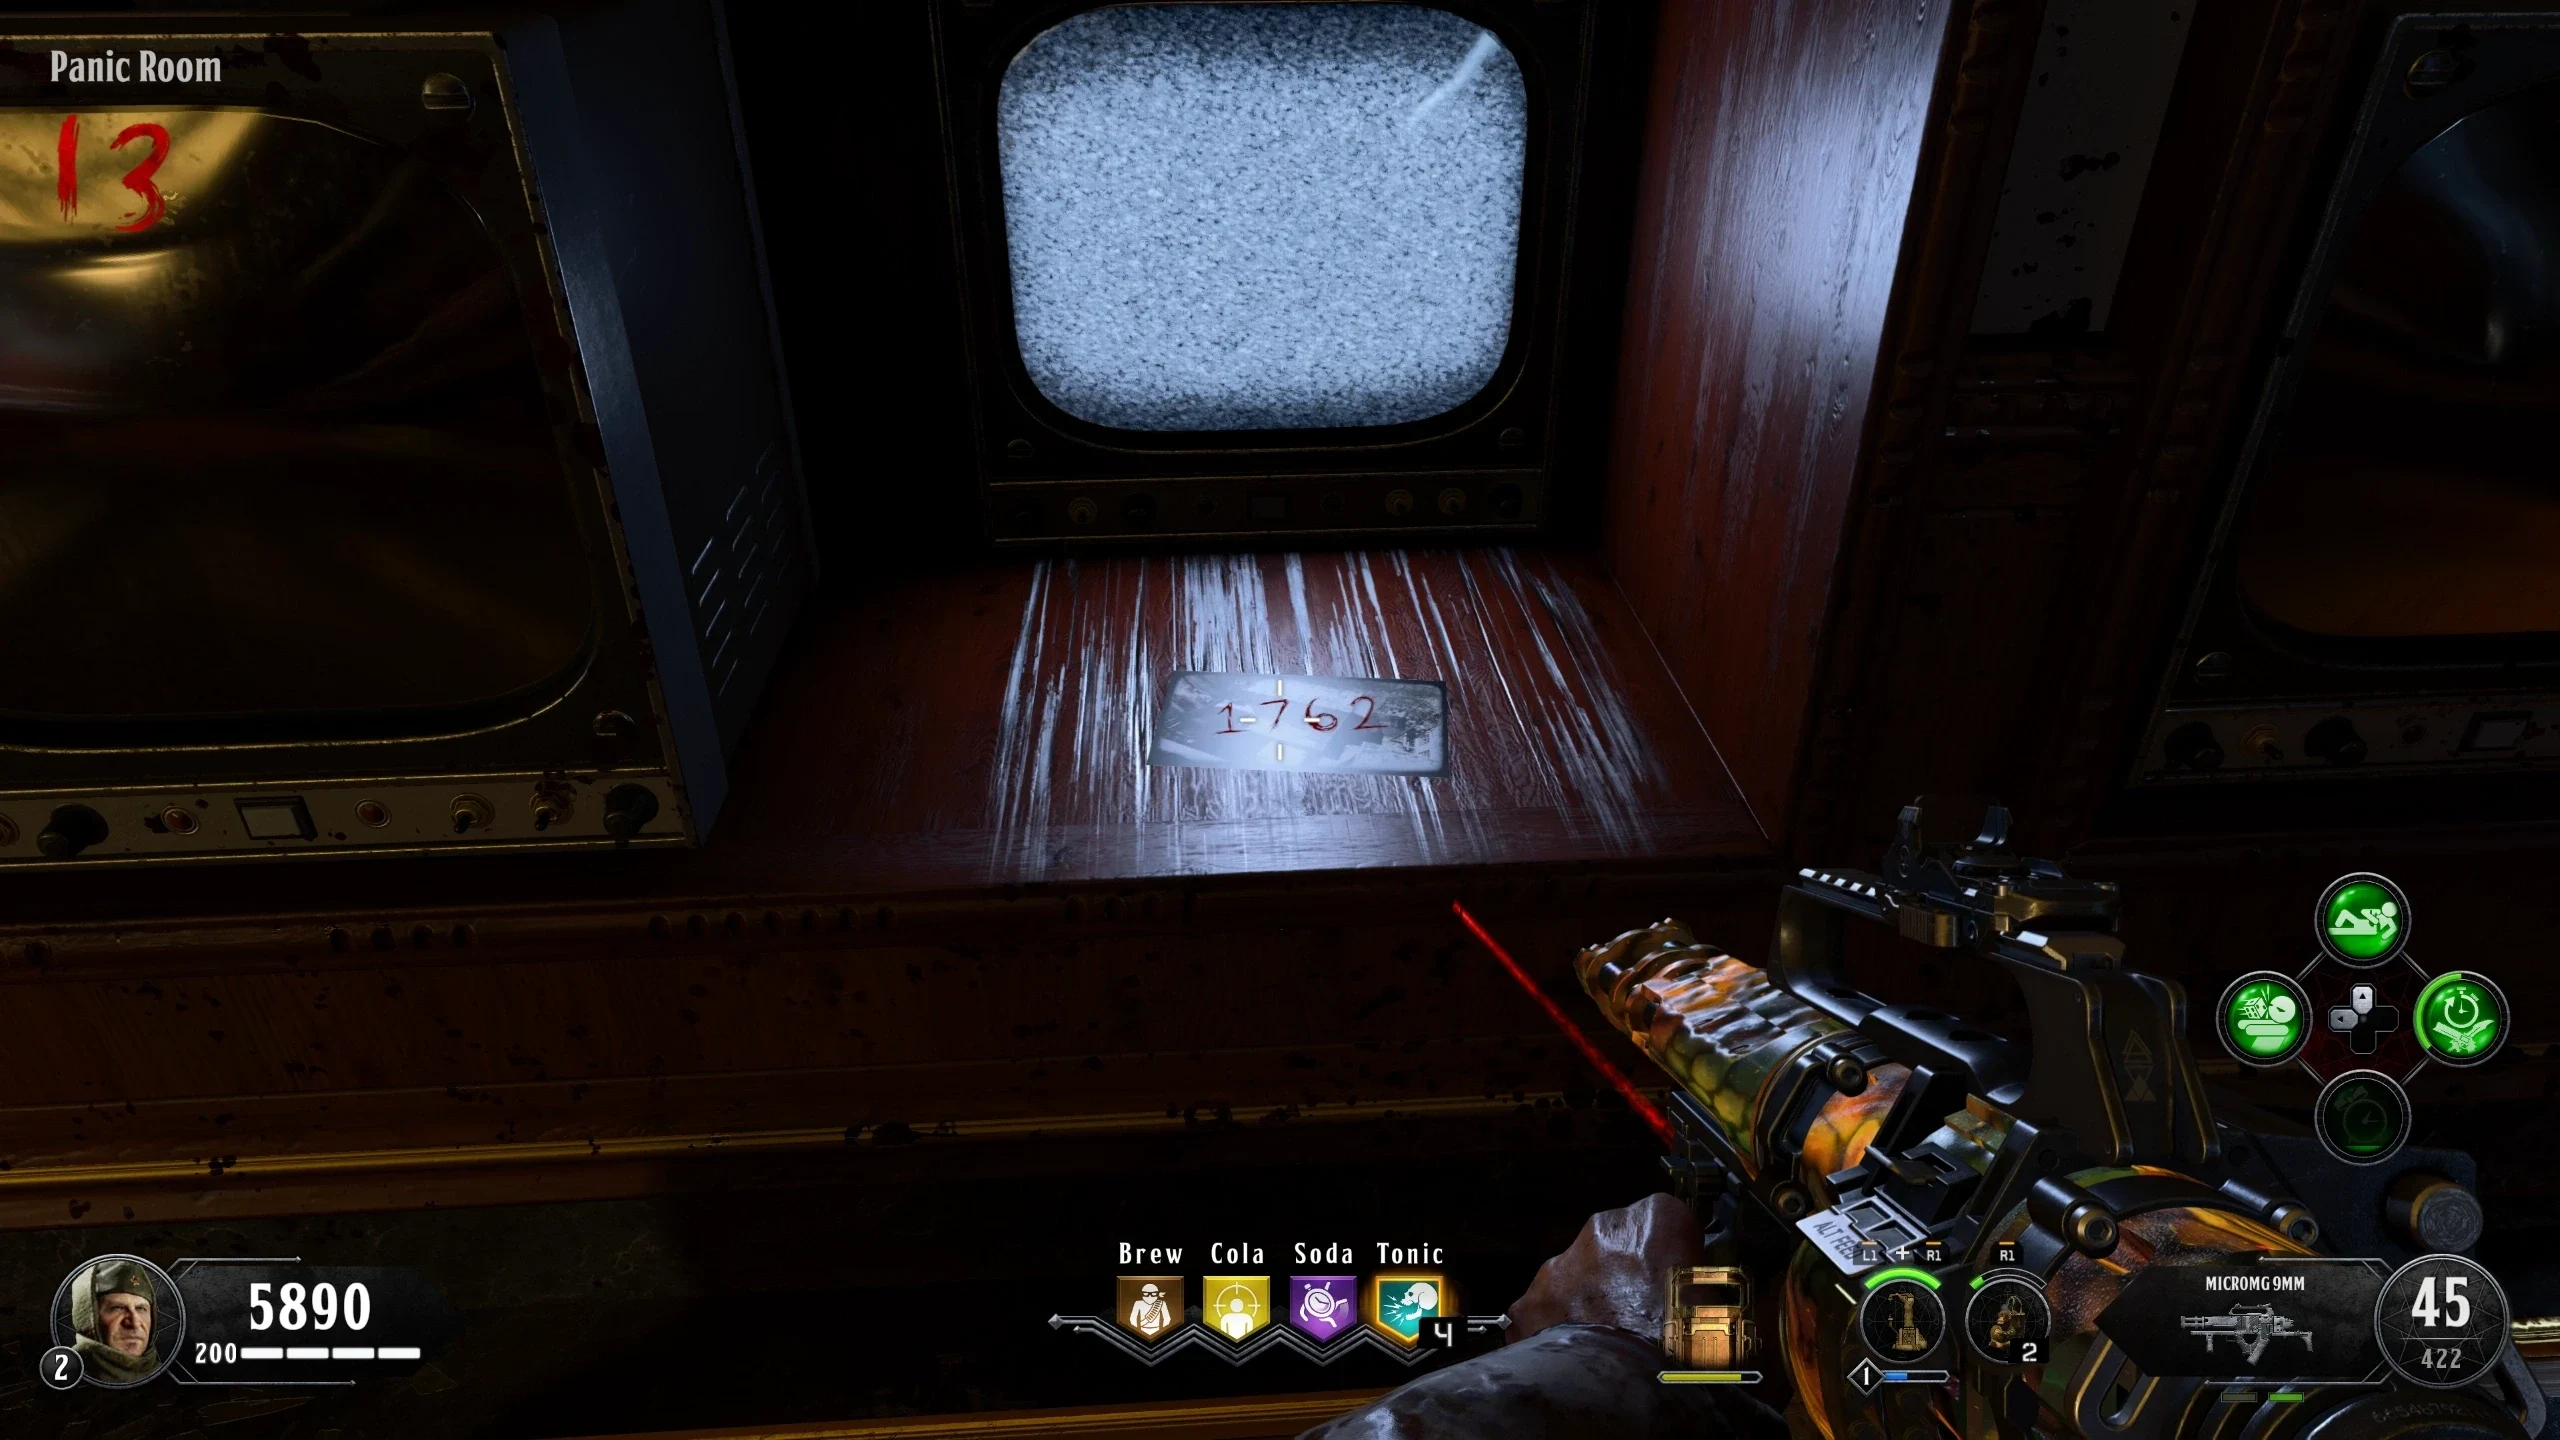
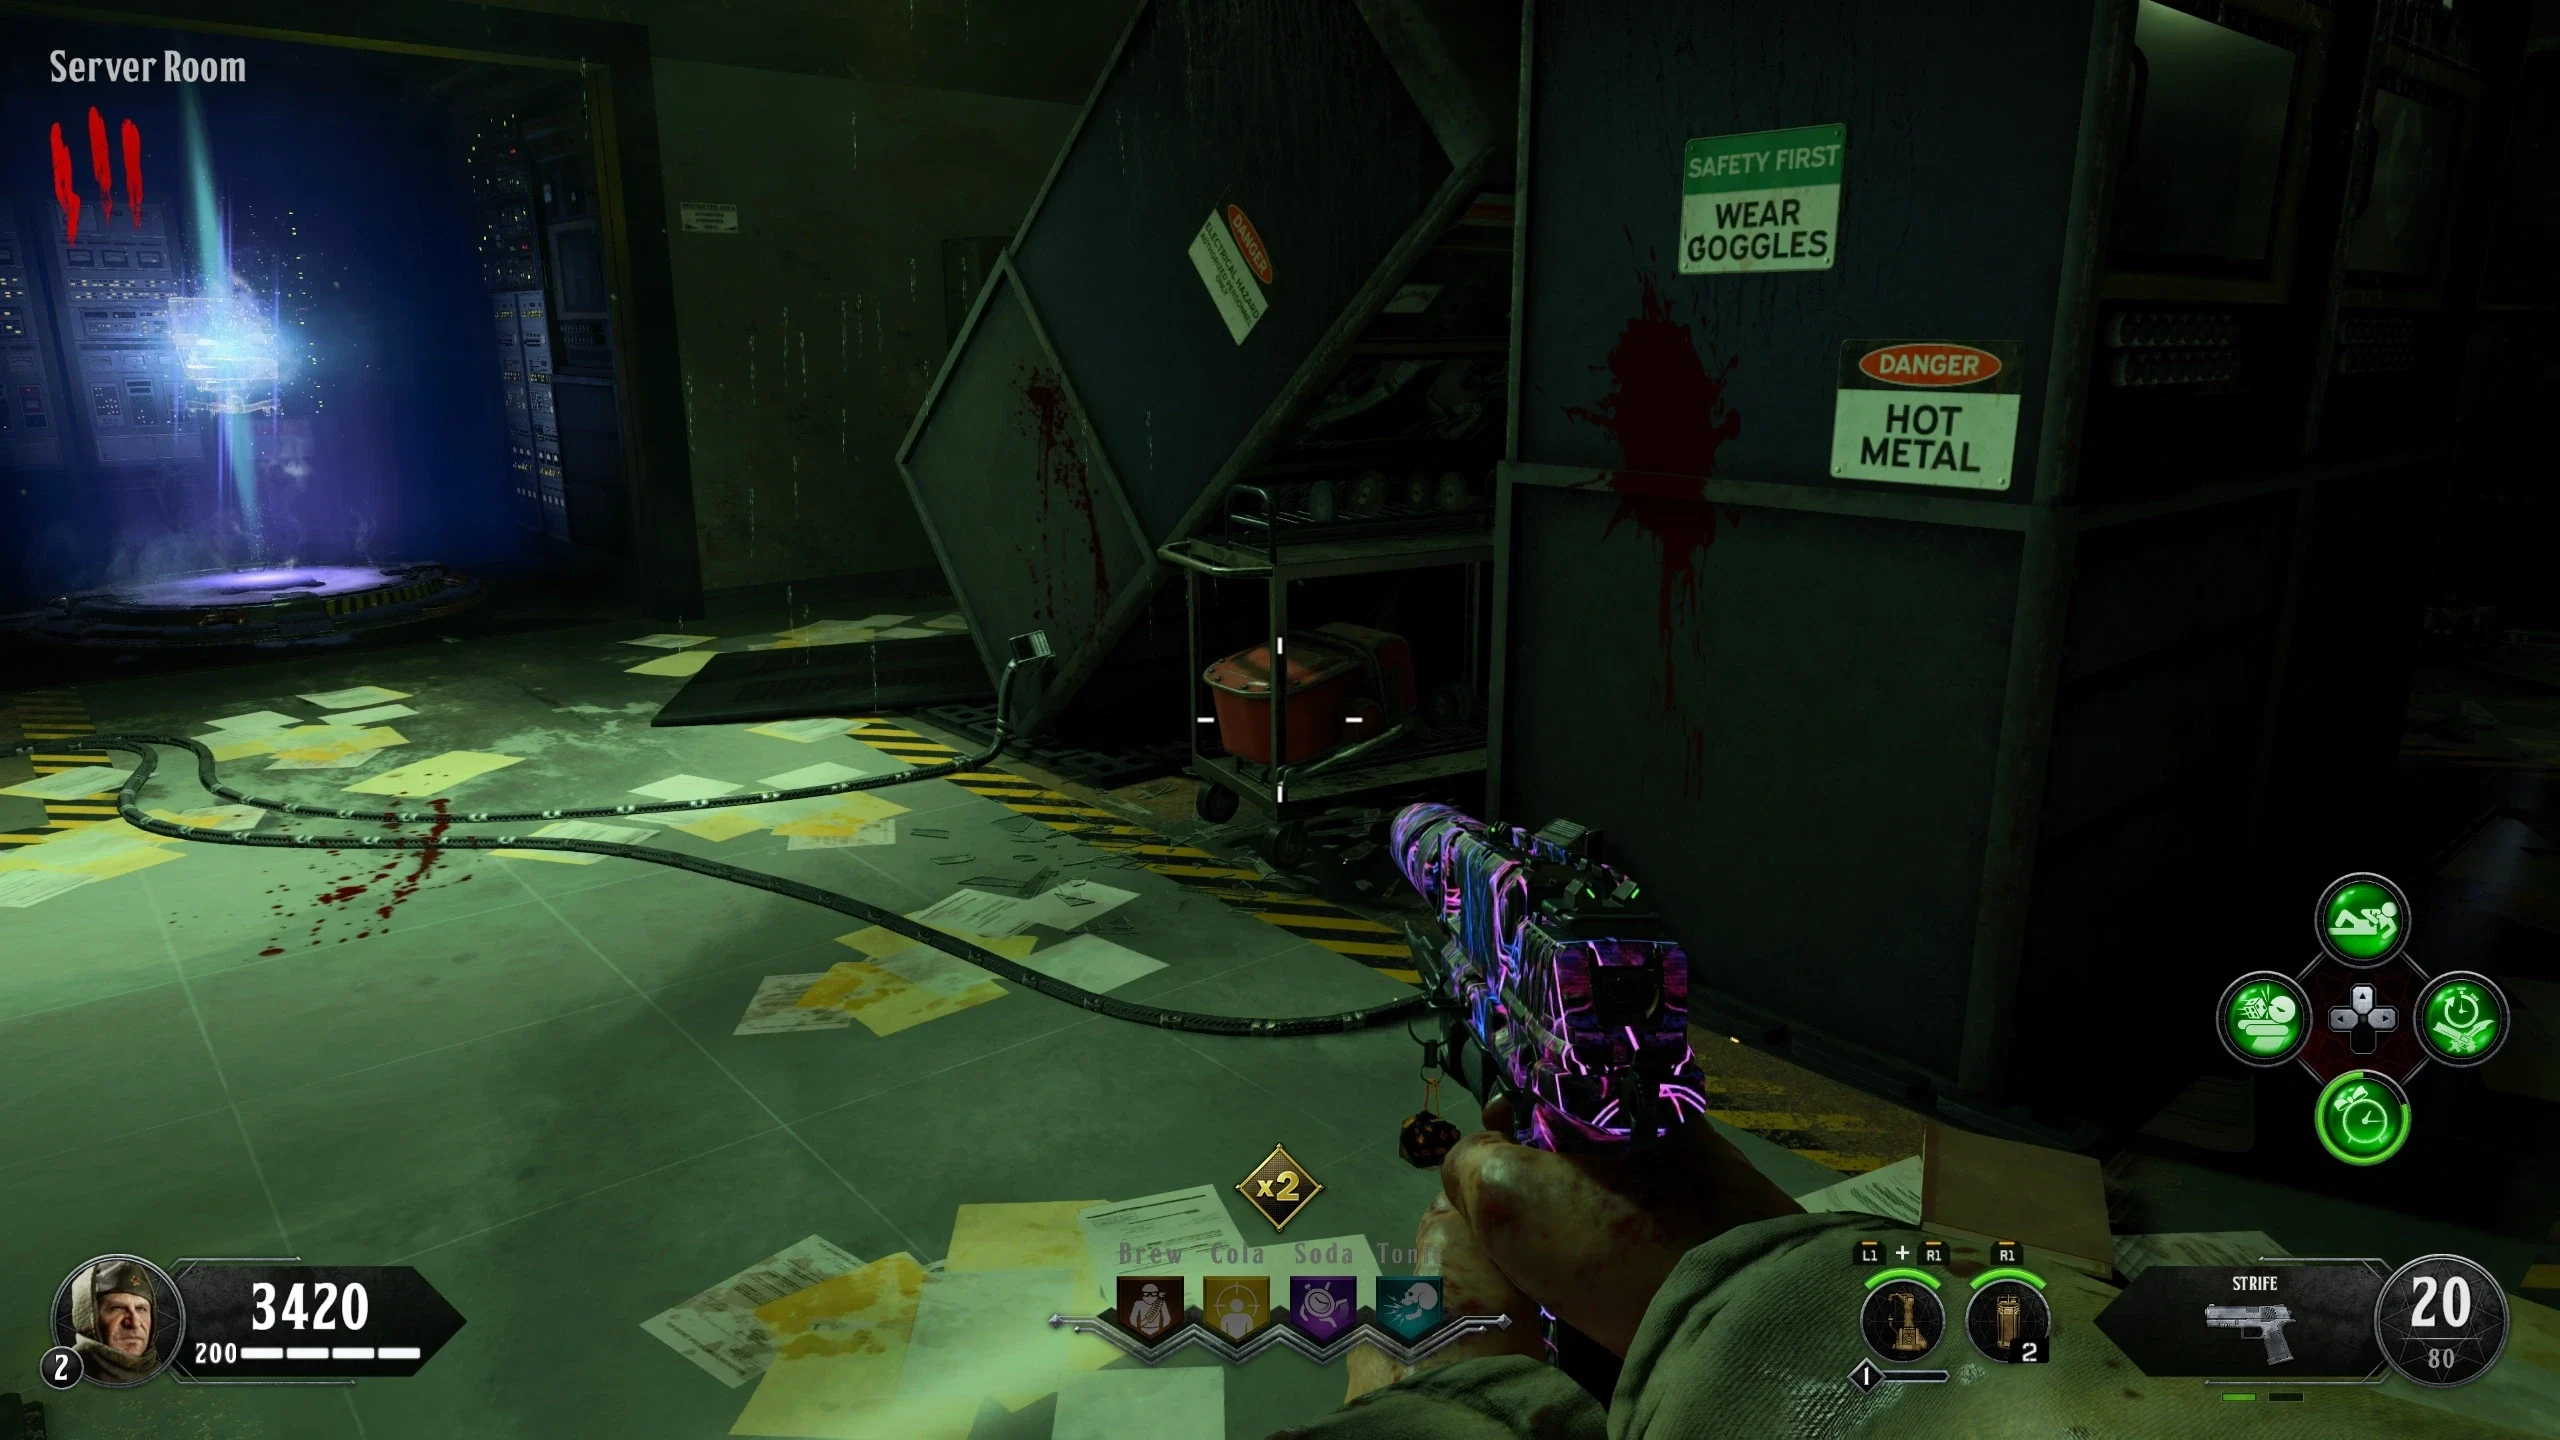
- Enter the 'Panic Room' via the teleporter in the 'Server Room.'
- Interact with this TV to make it slide back, revealing the Kino der Toten numbers below where it was.
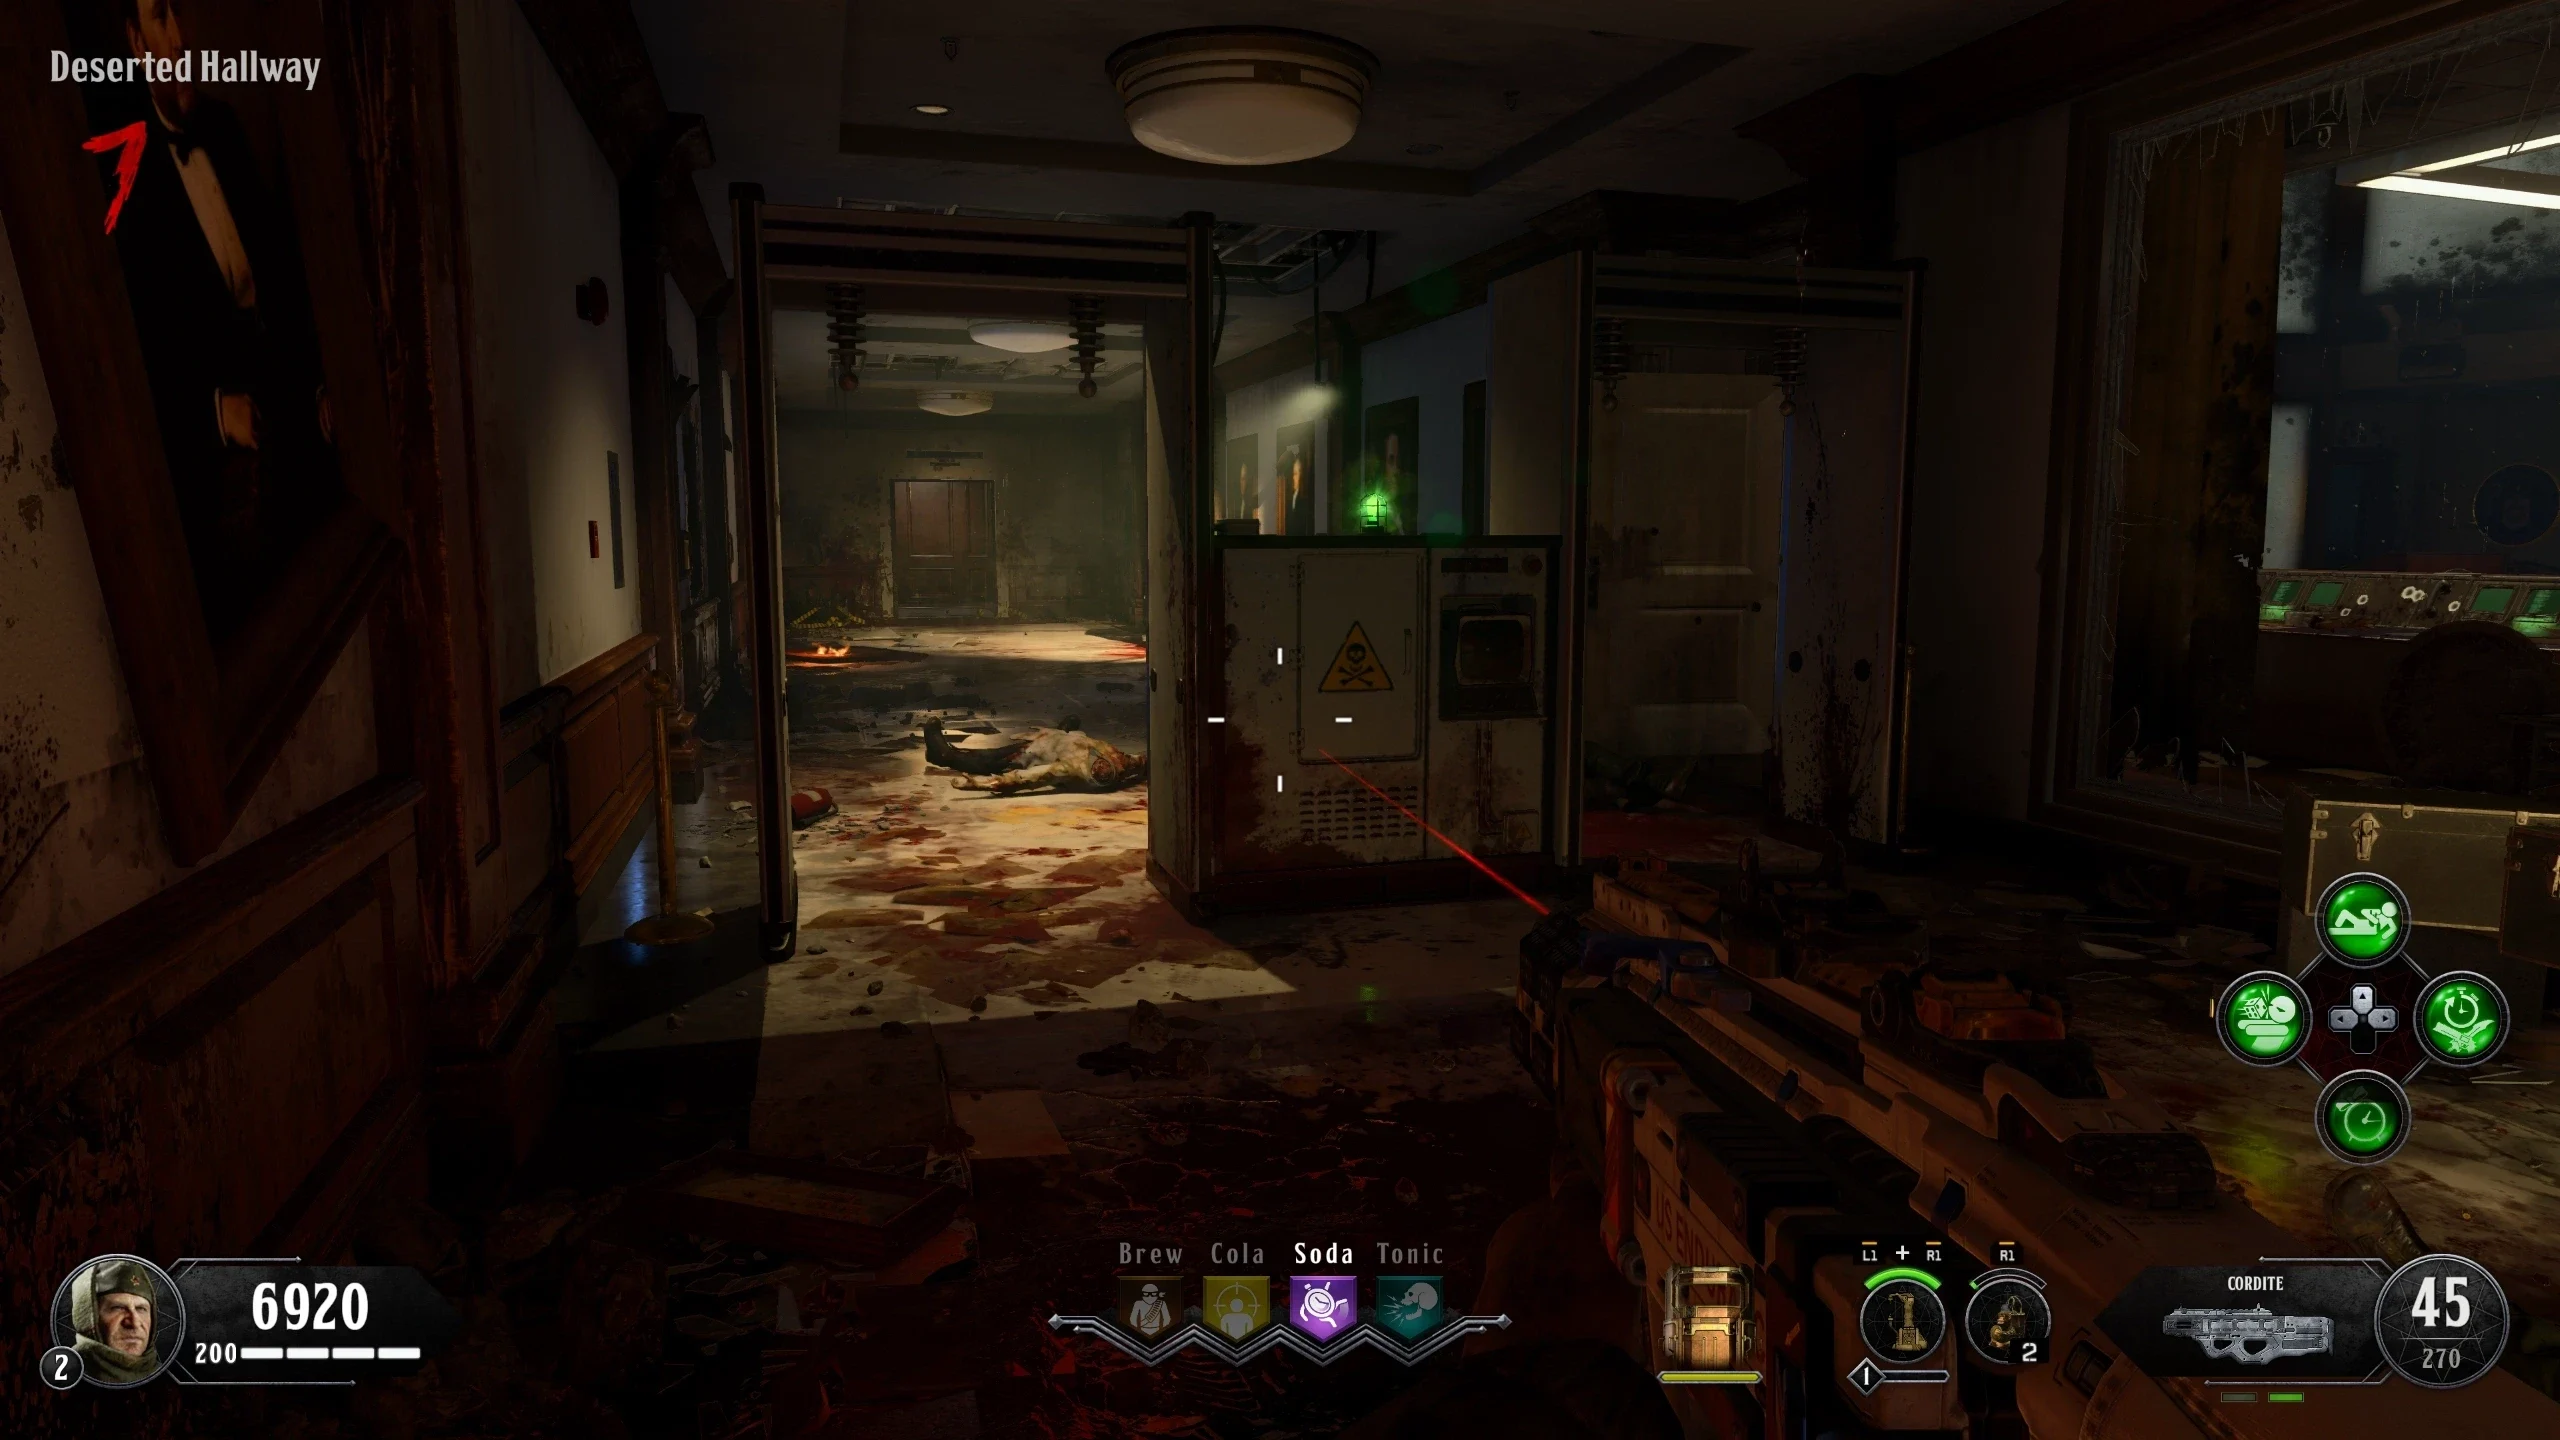
Shi No Numa Numbers
- Obtain any Pack-a-Punched weapon (the Pack-a-Punched Welling that the player receives while down on solo works).
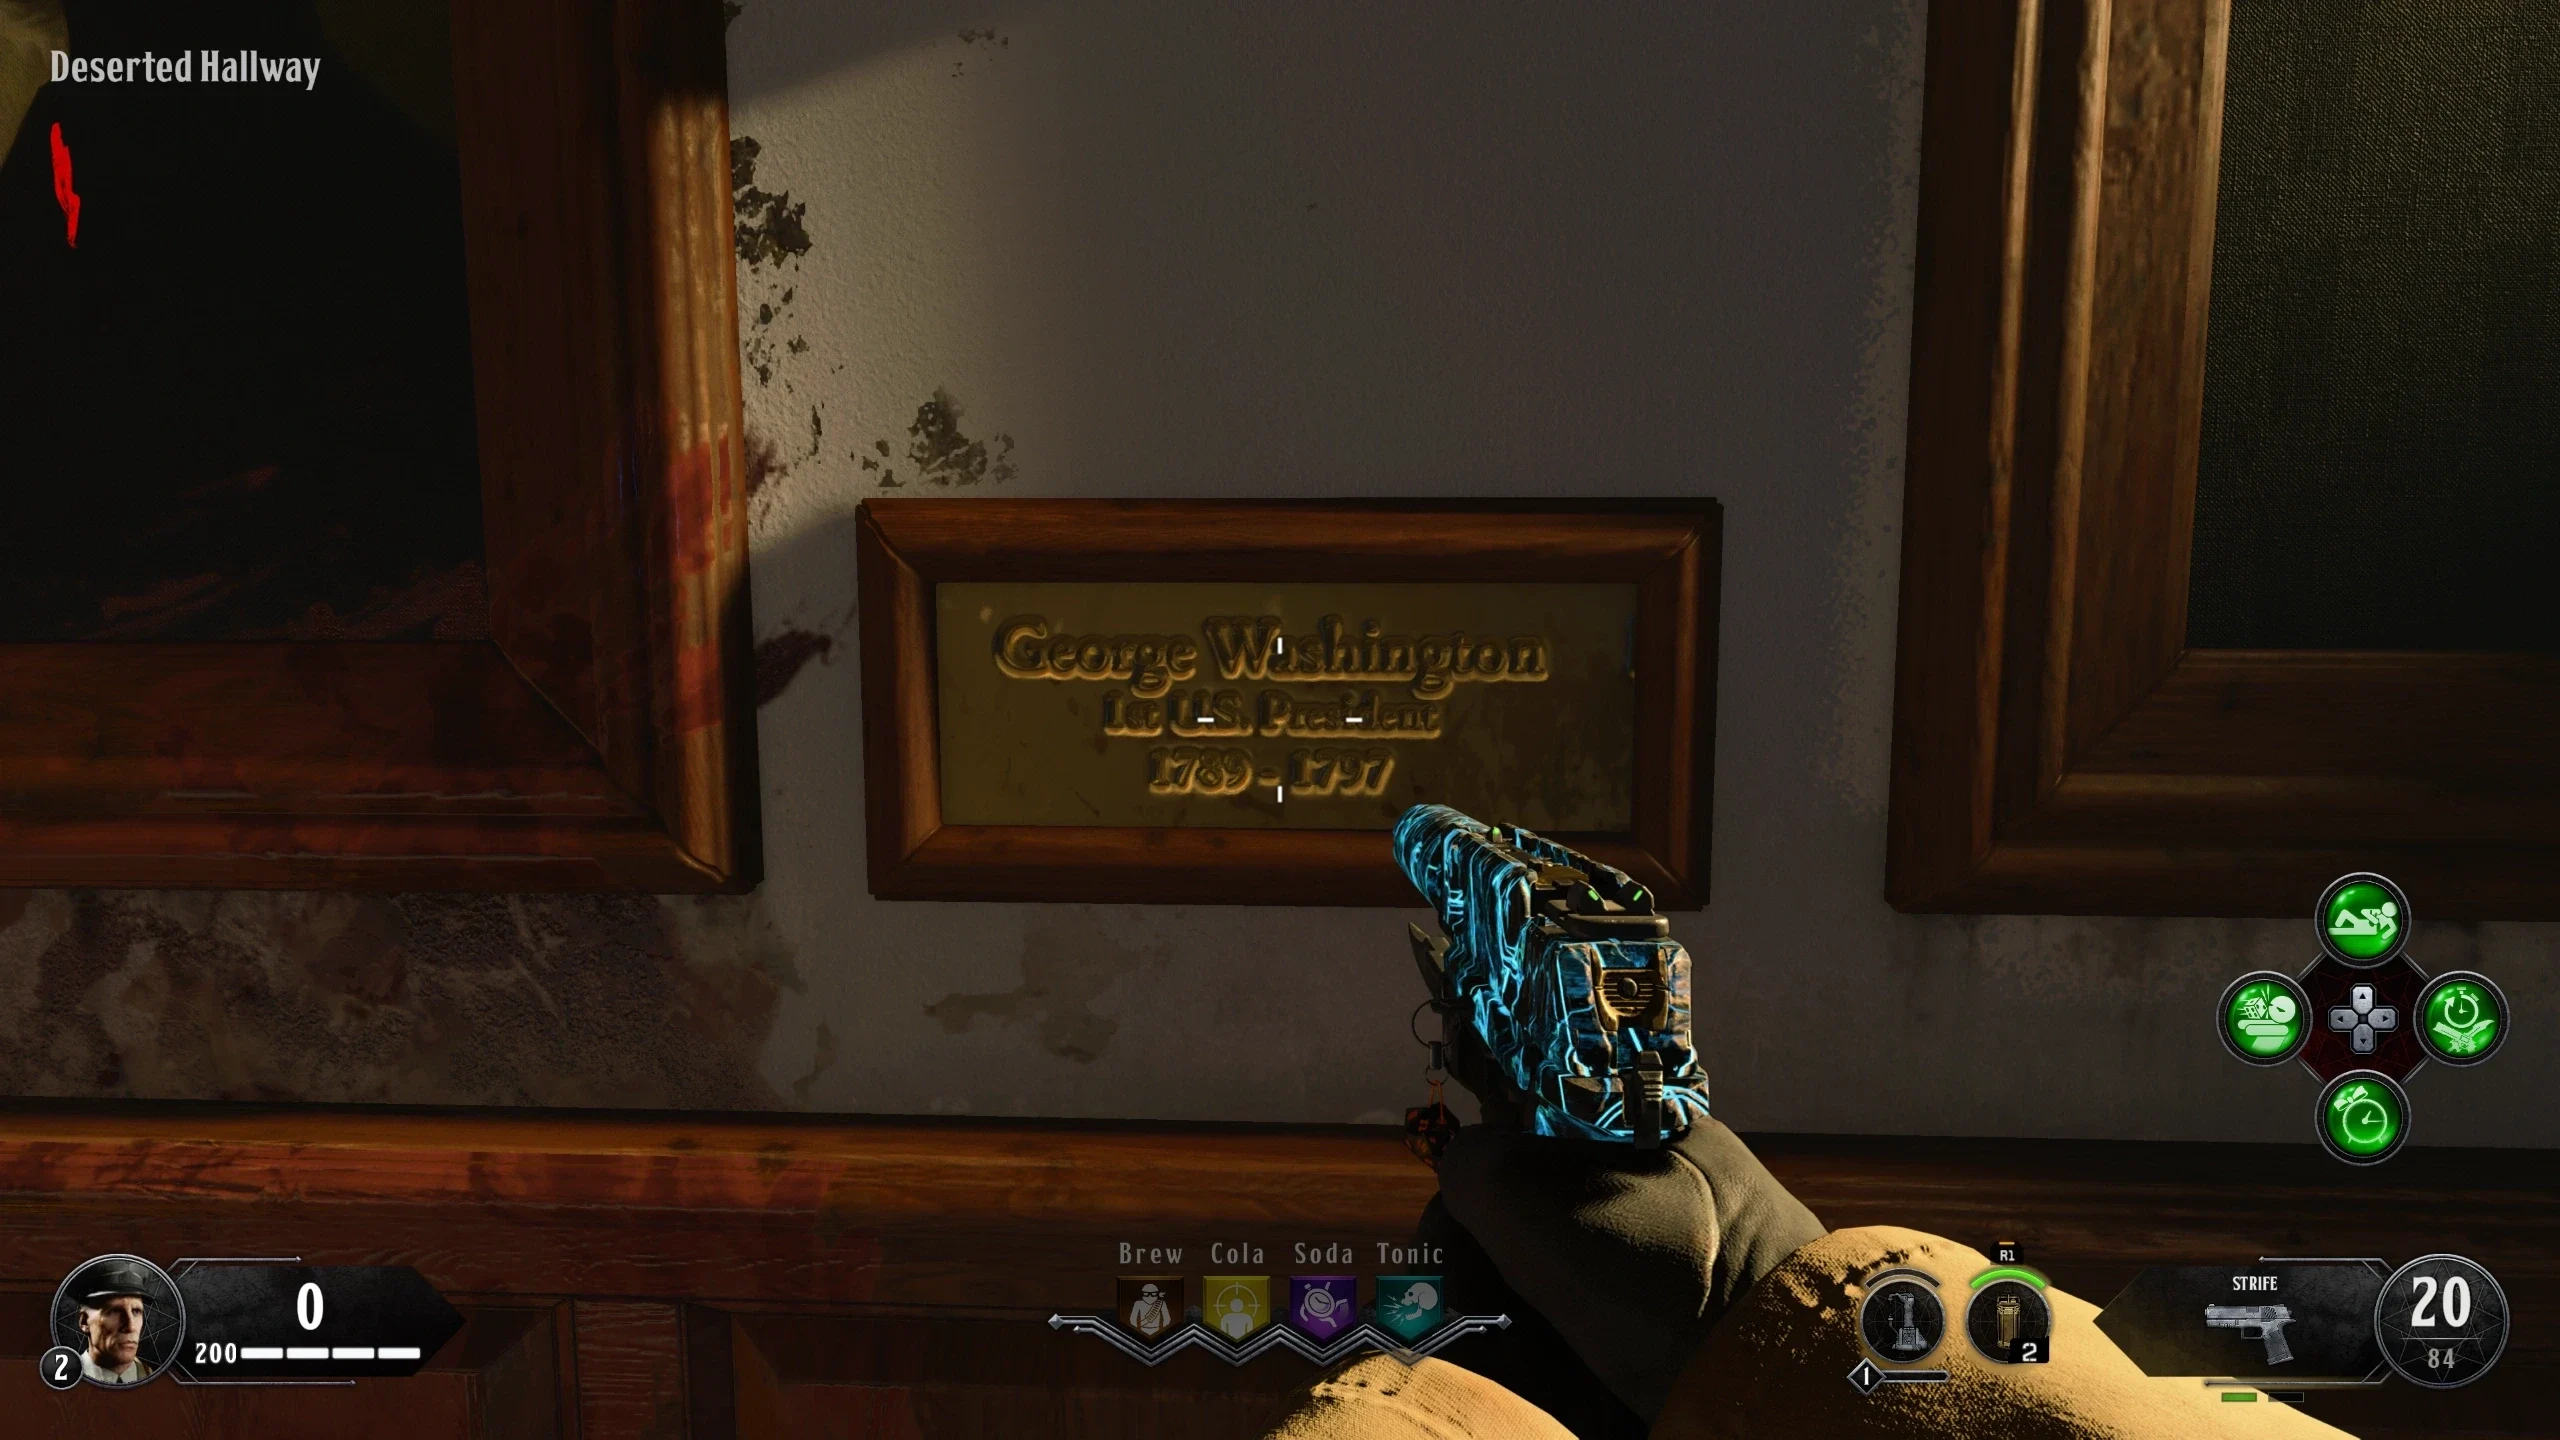
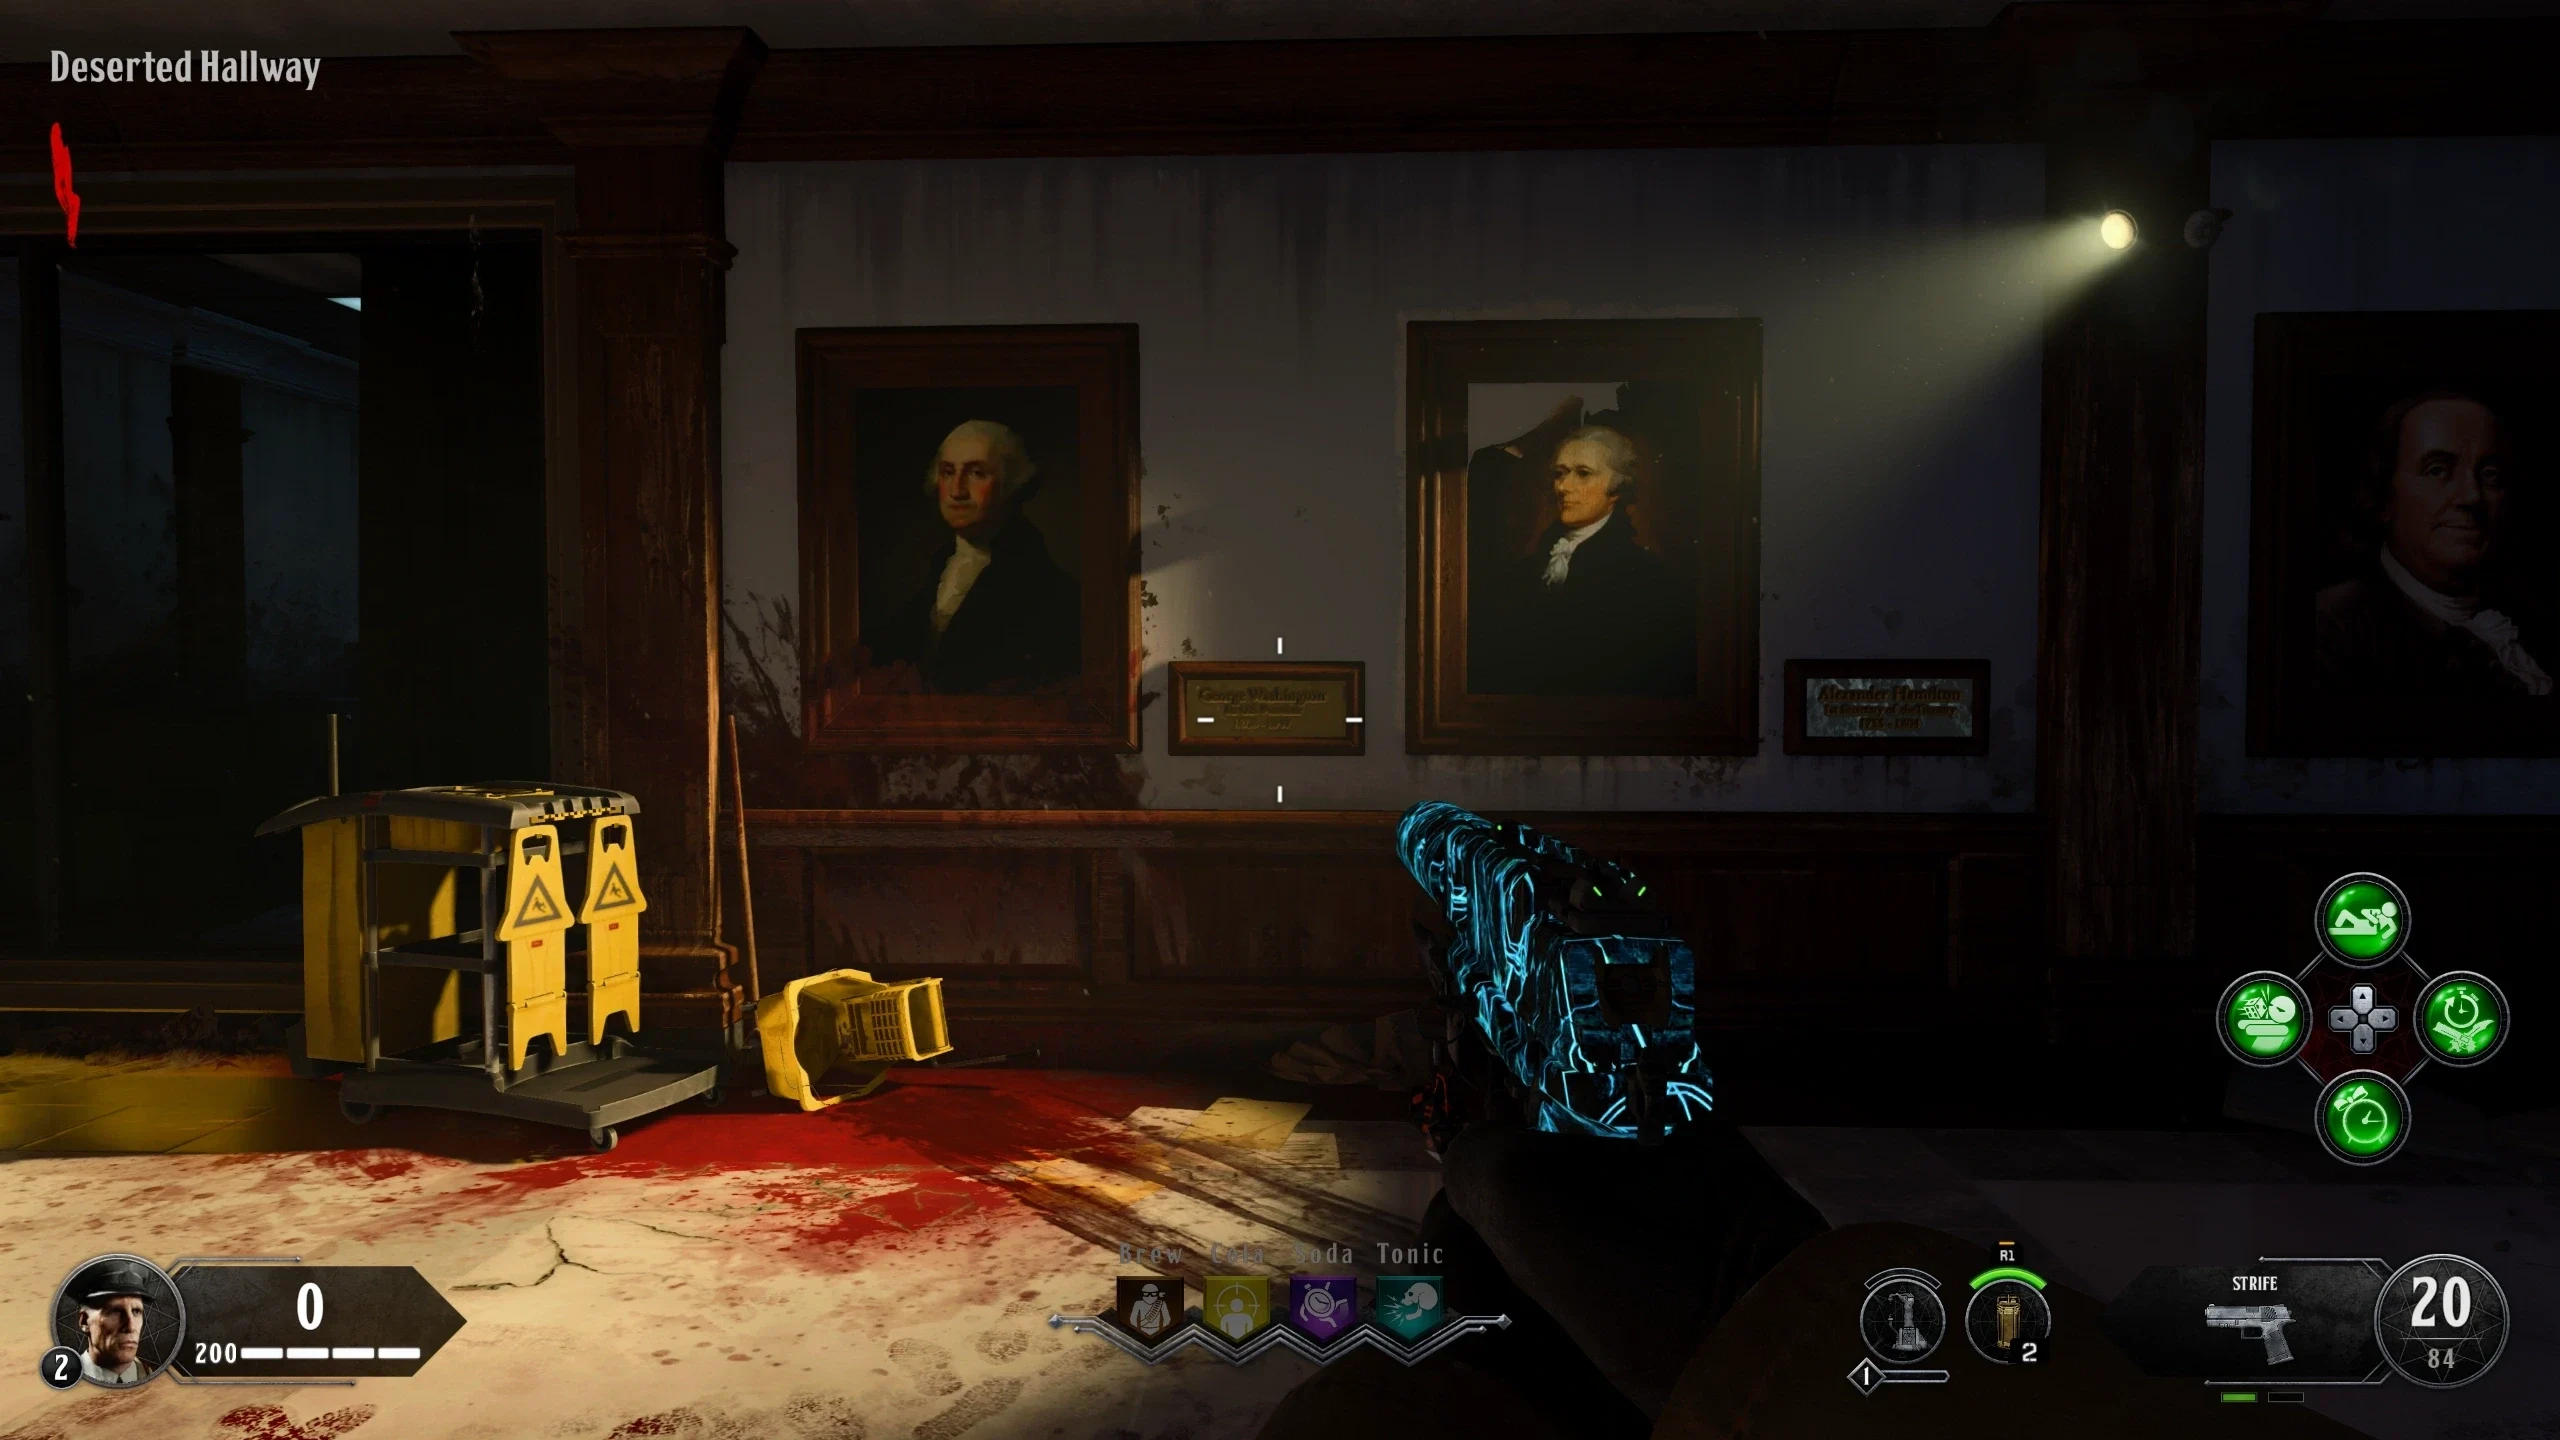
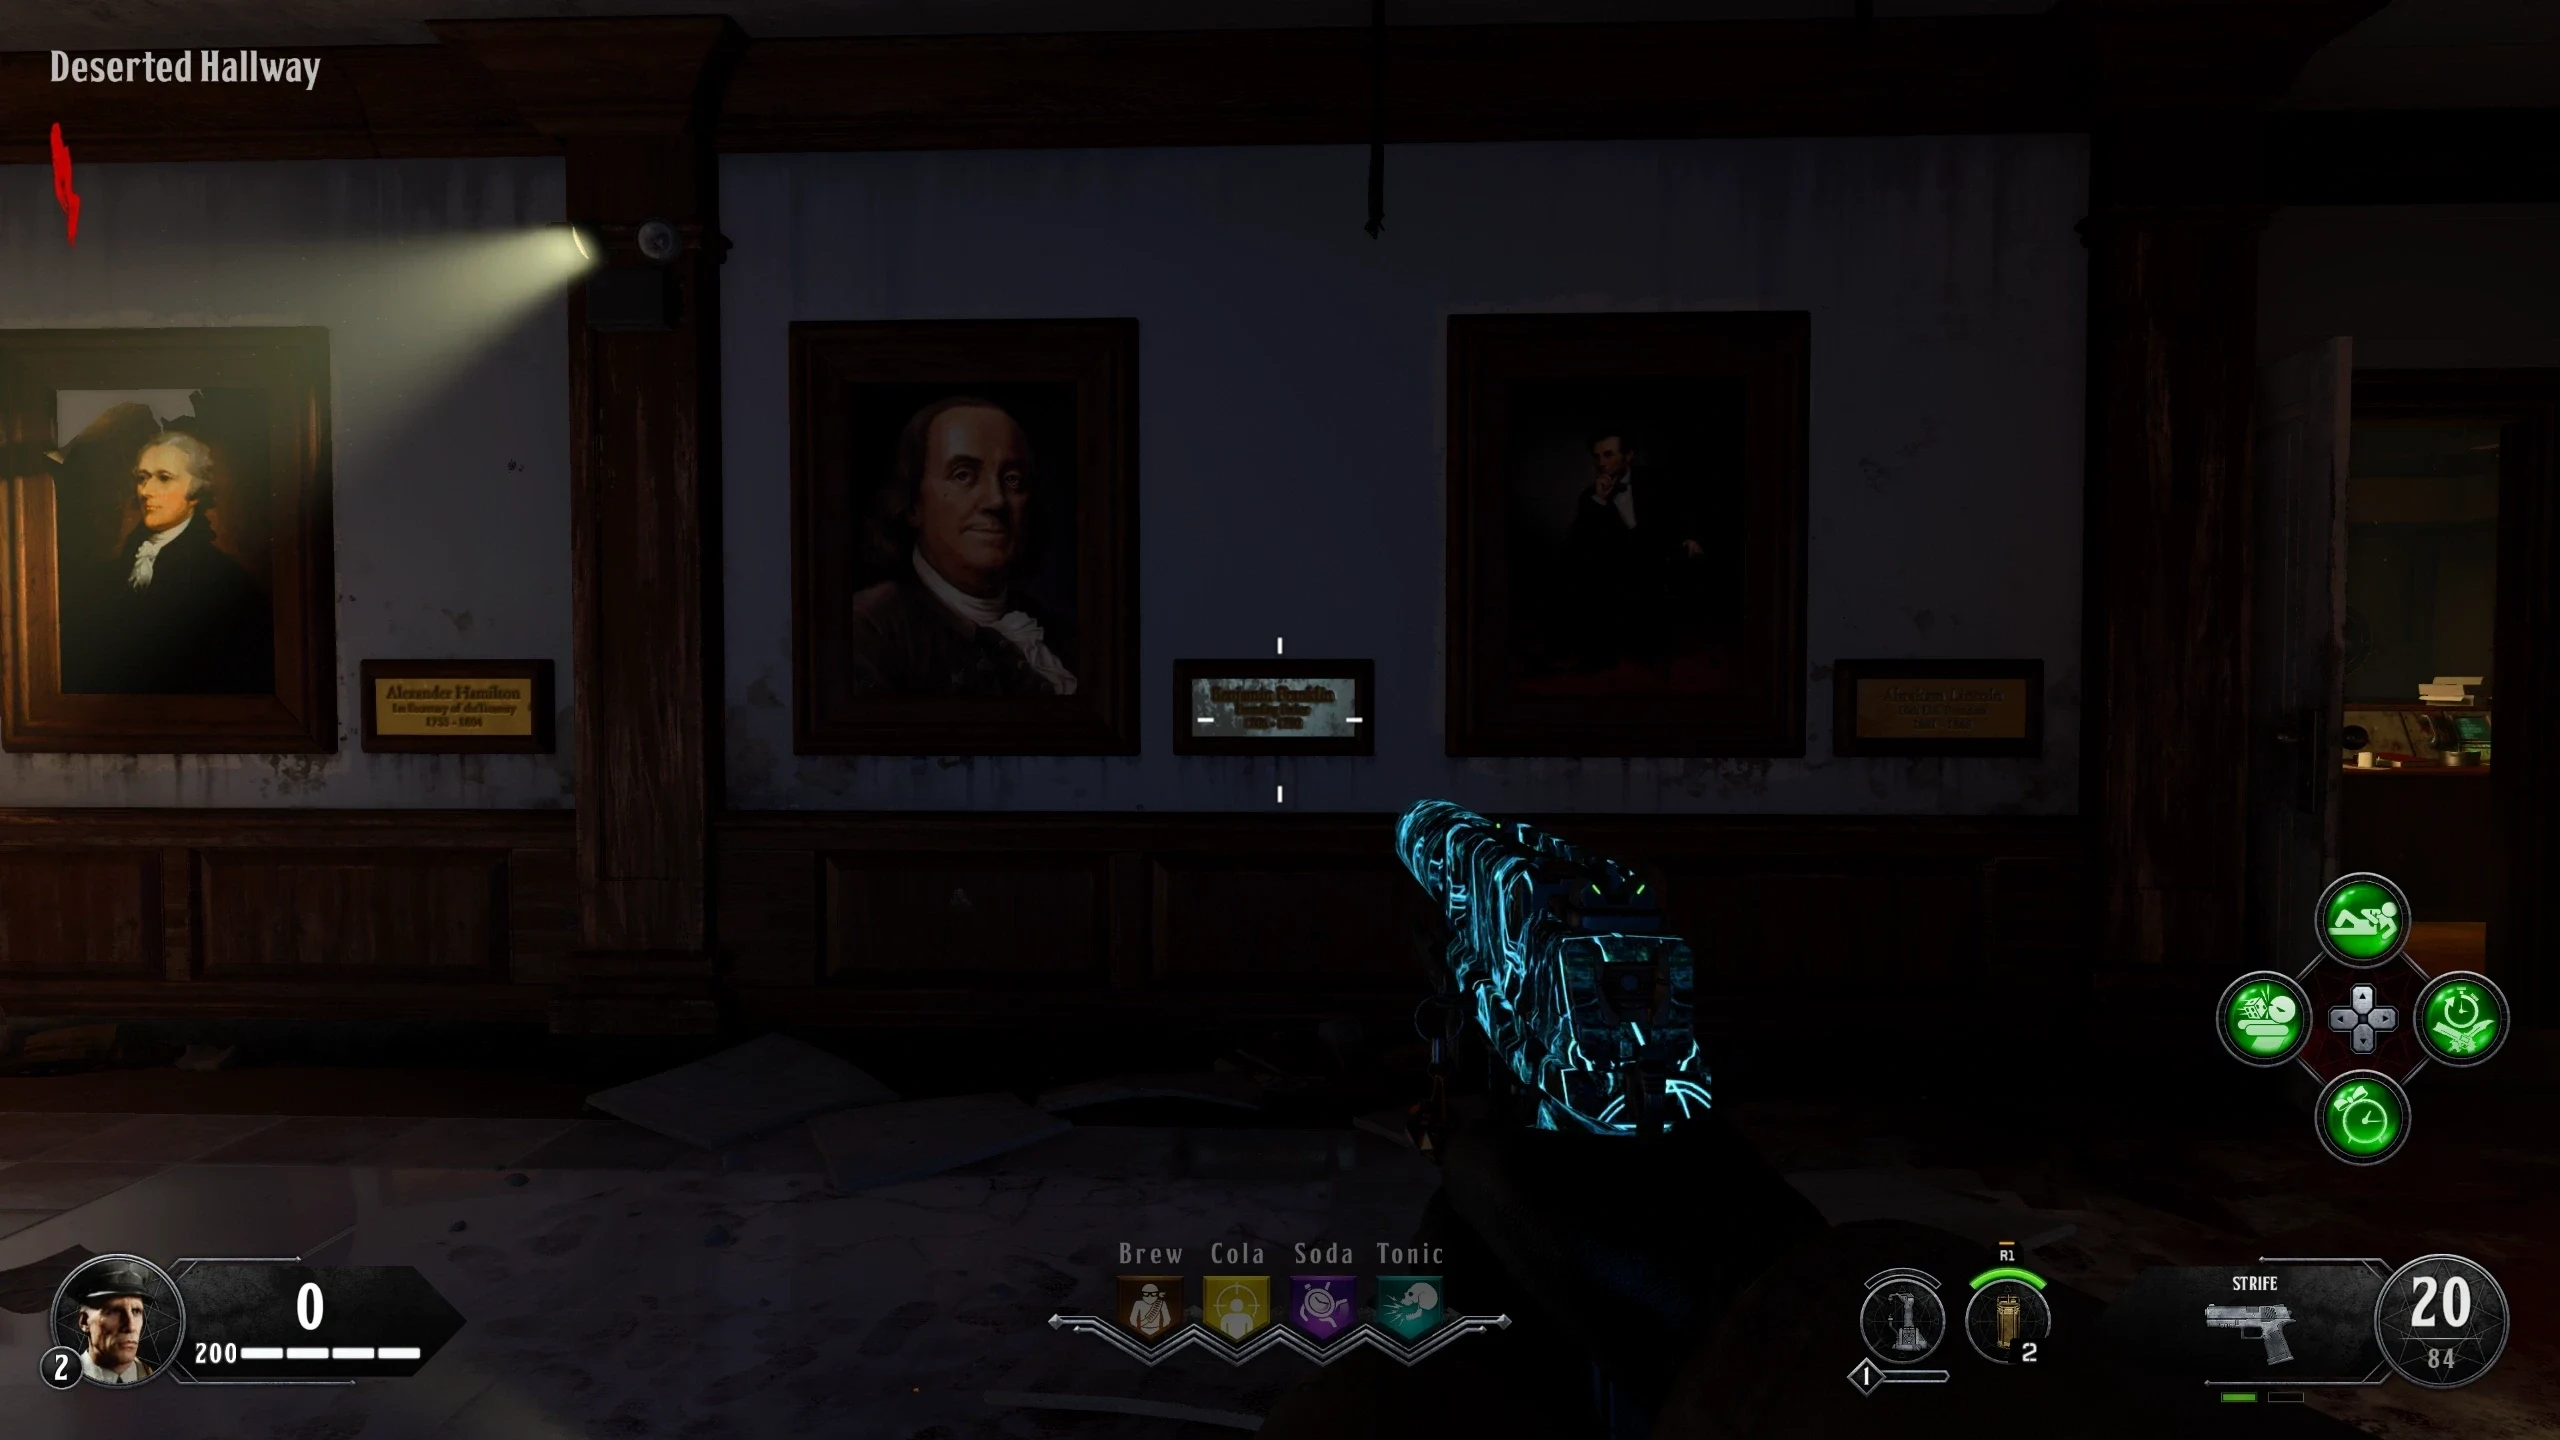
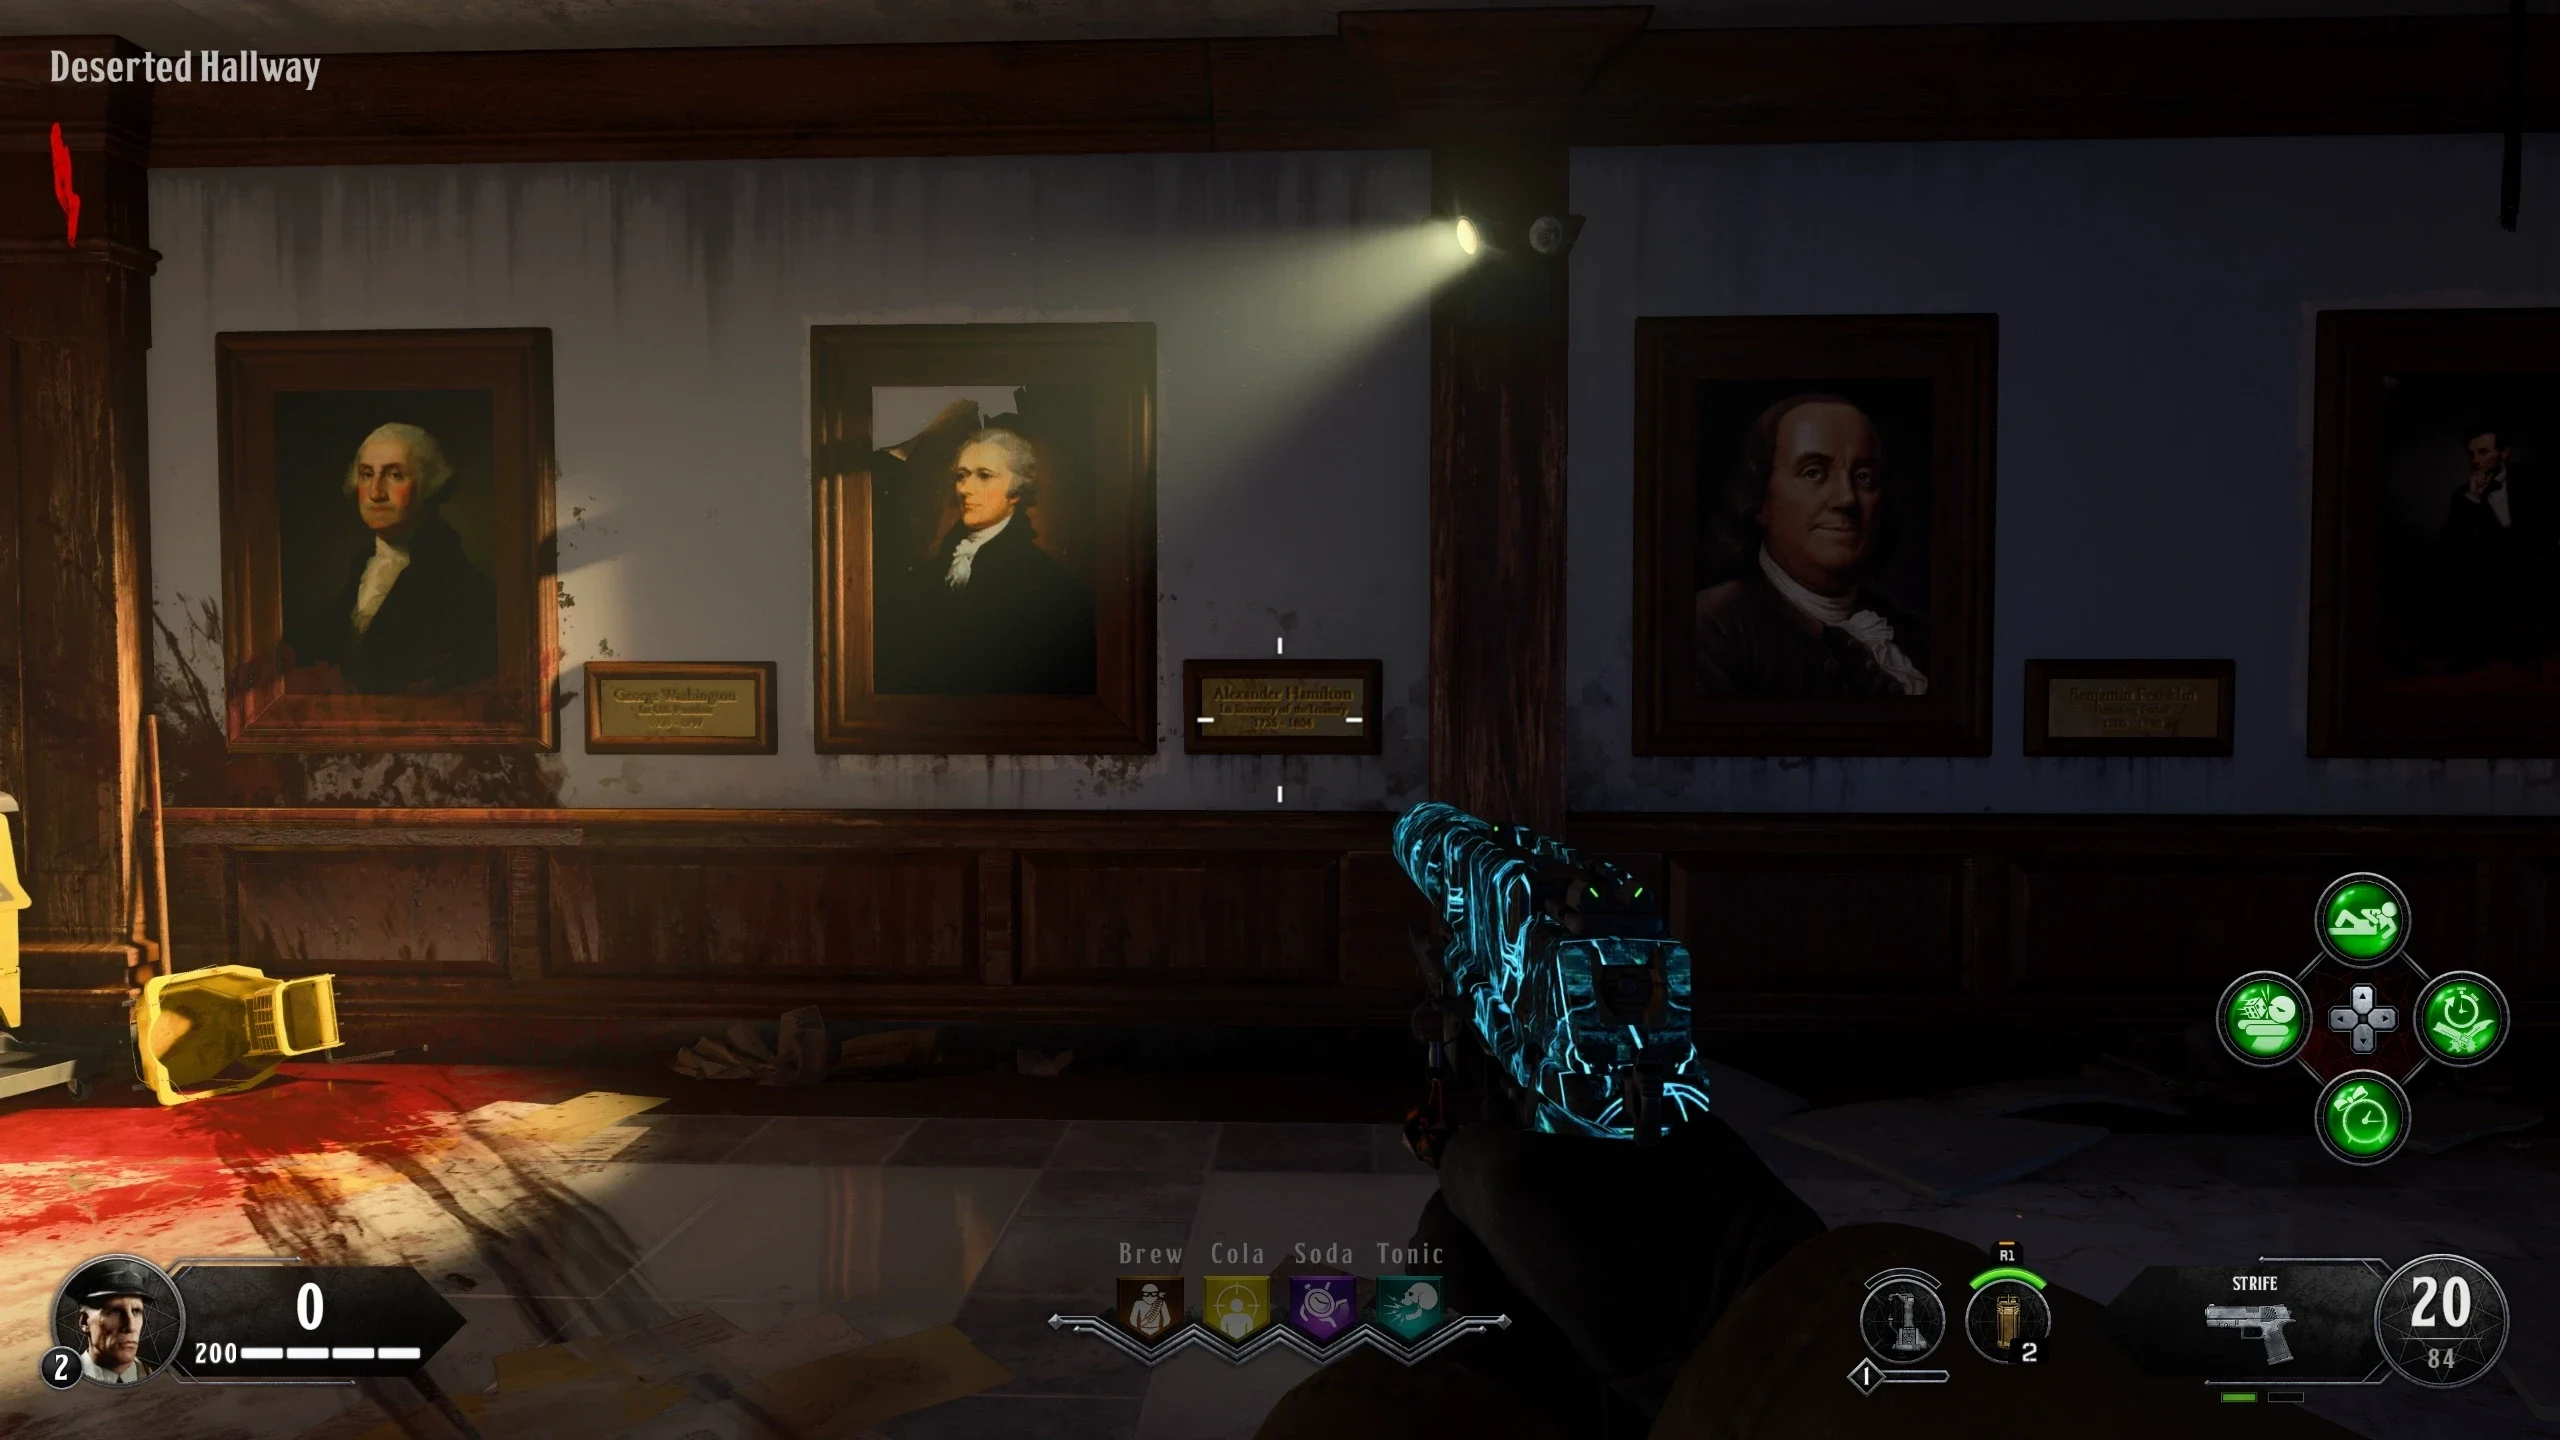
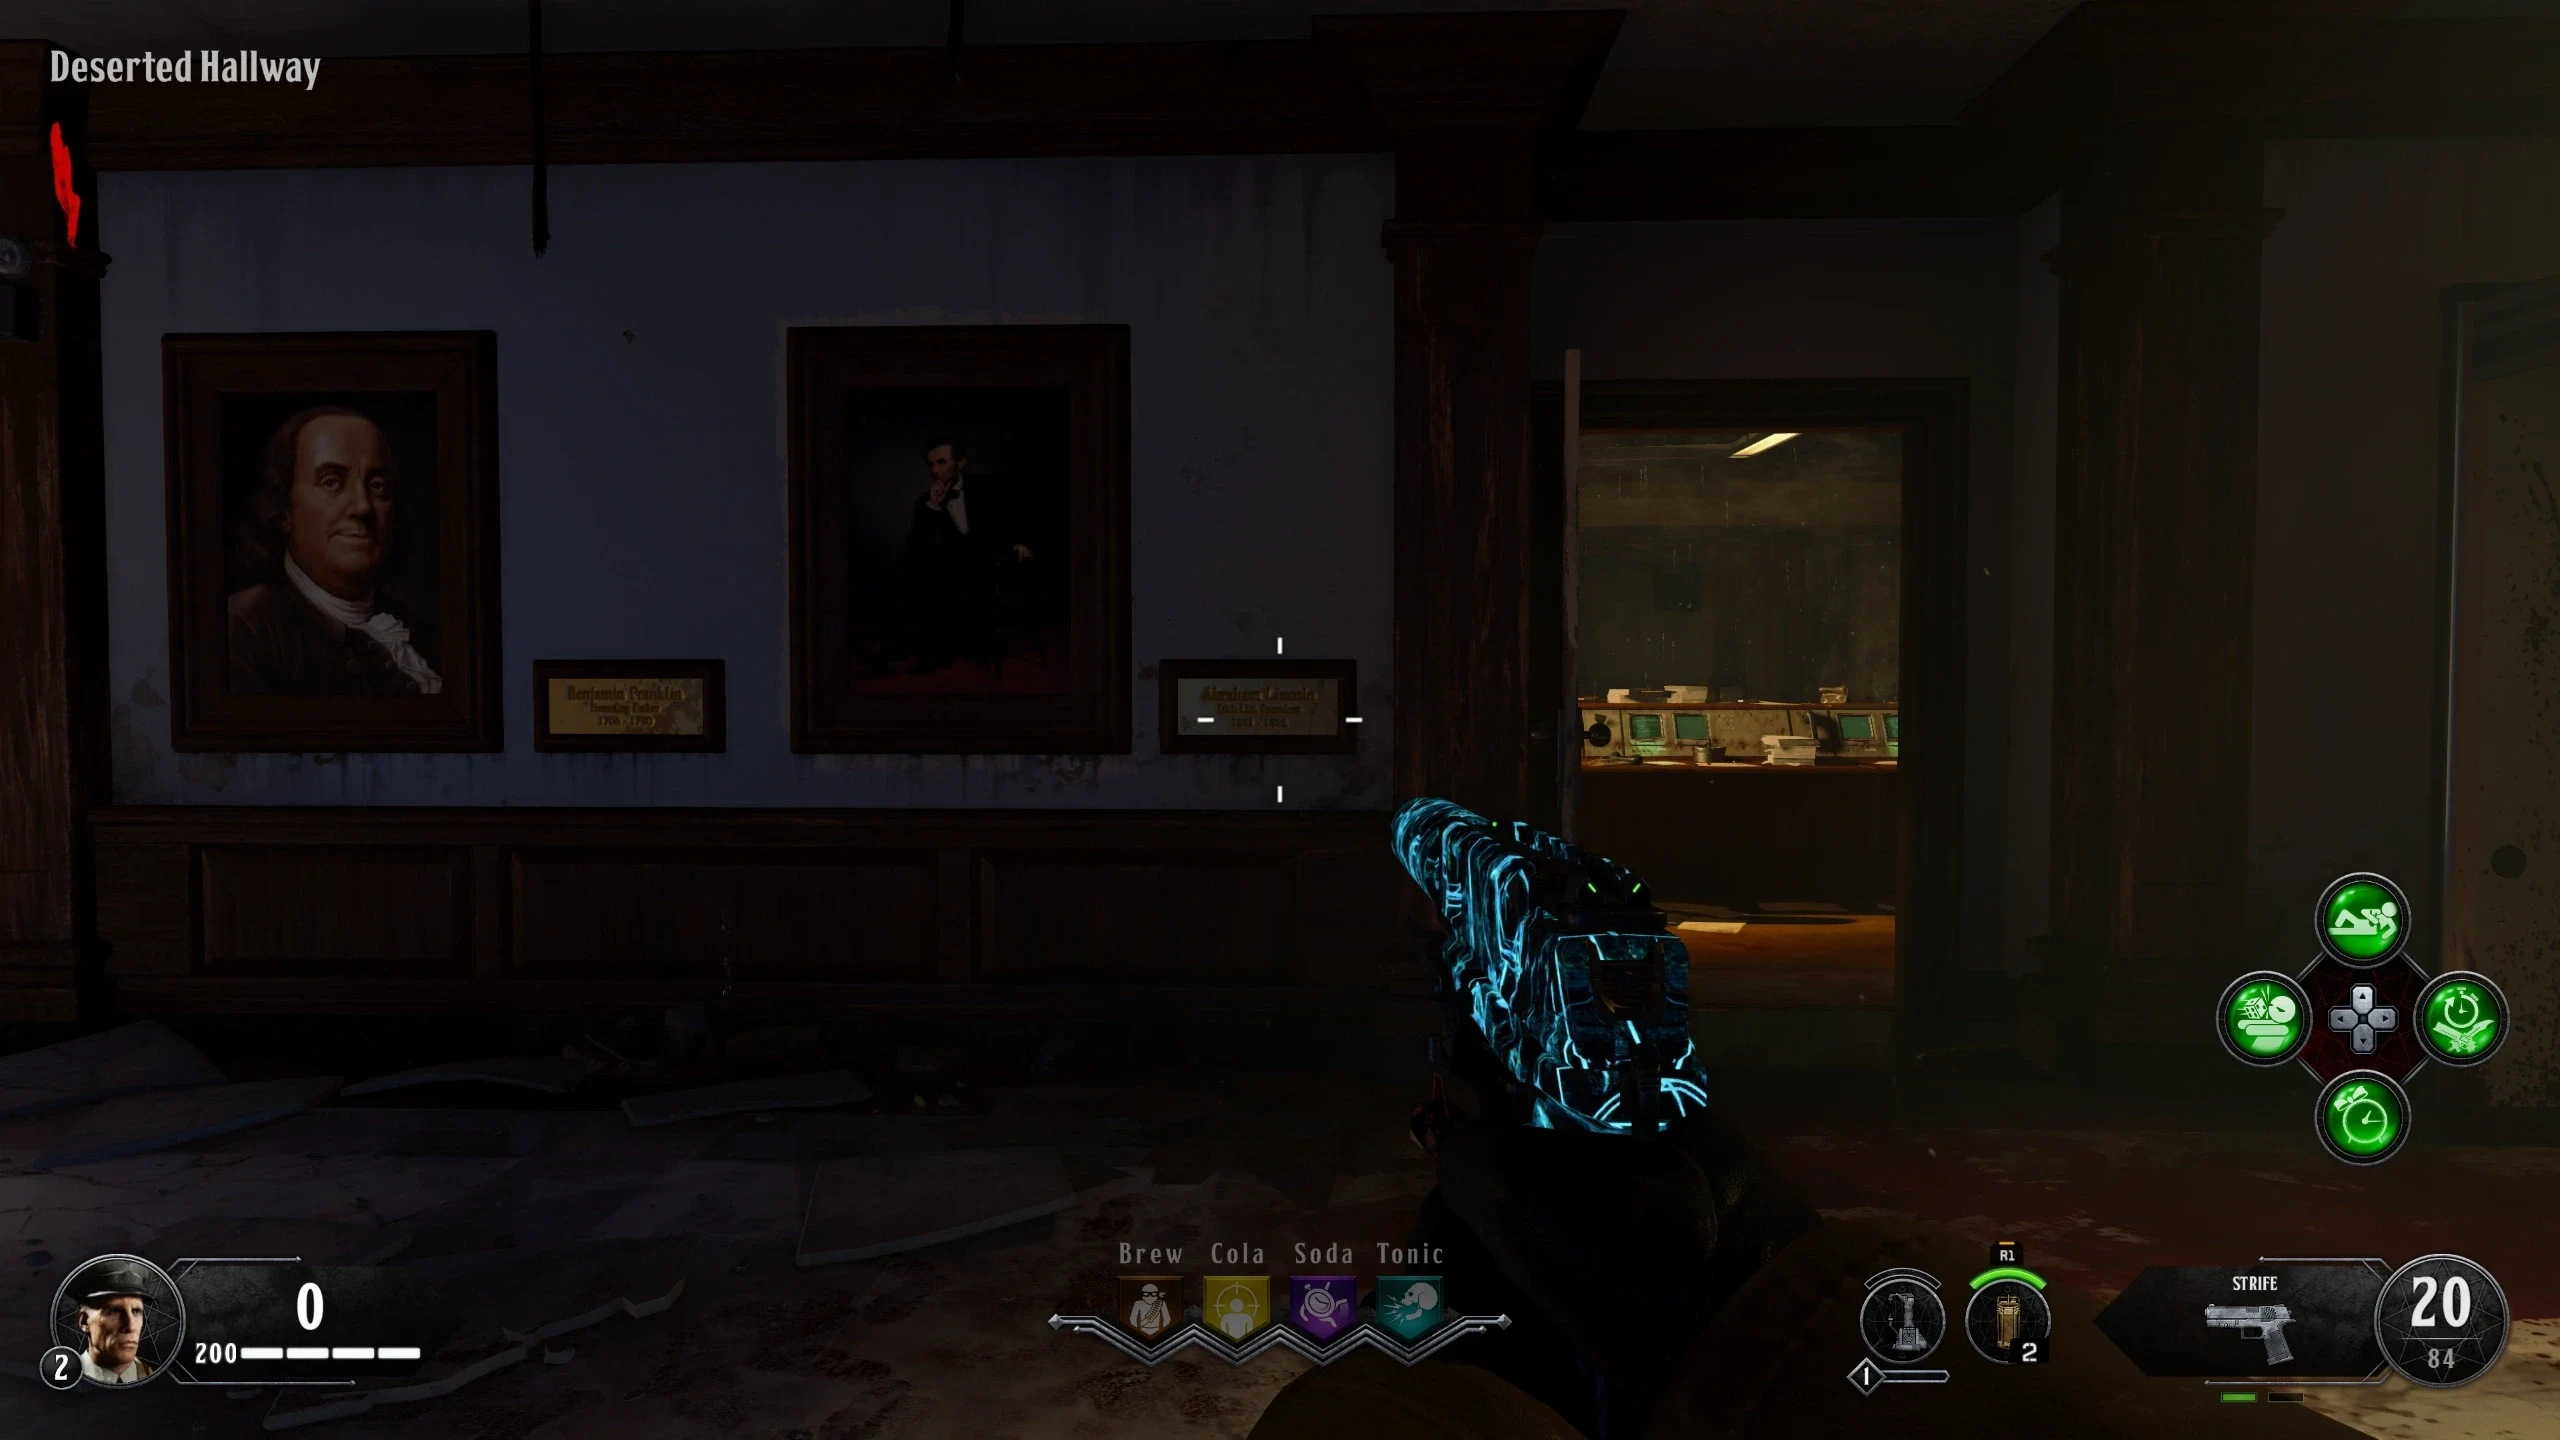
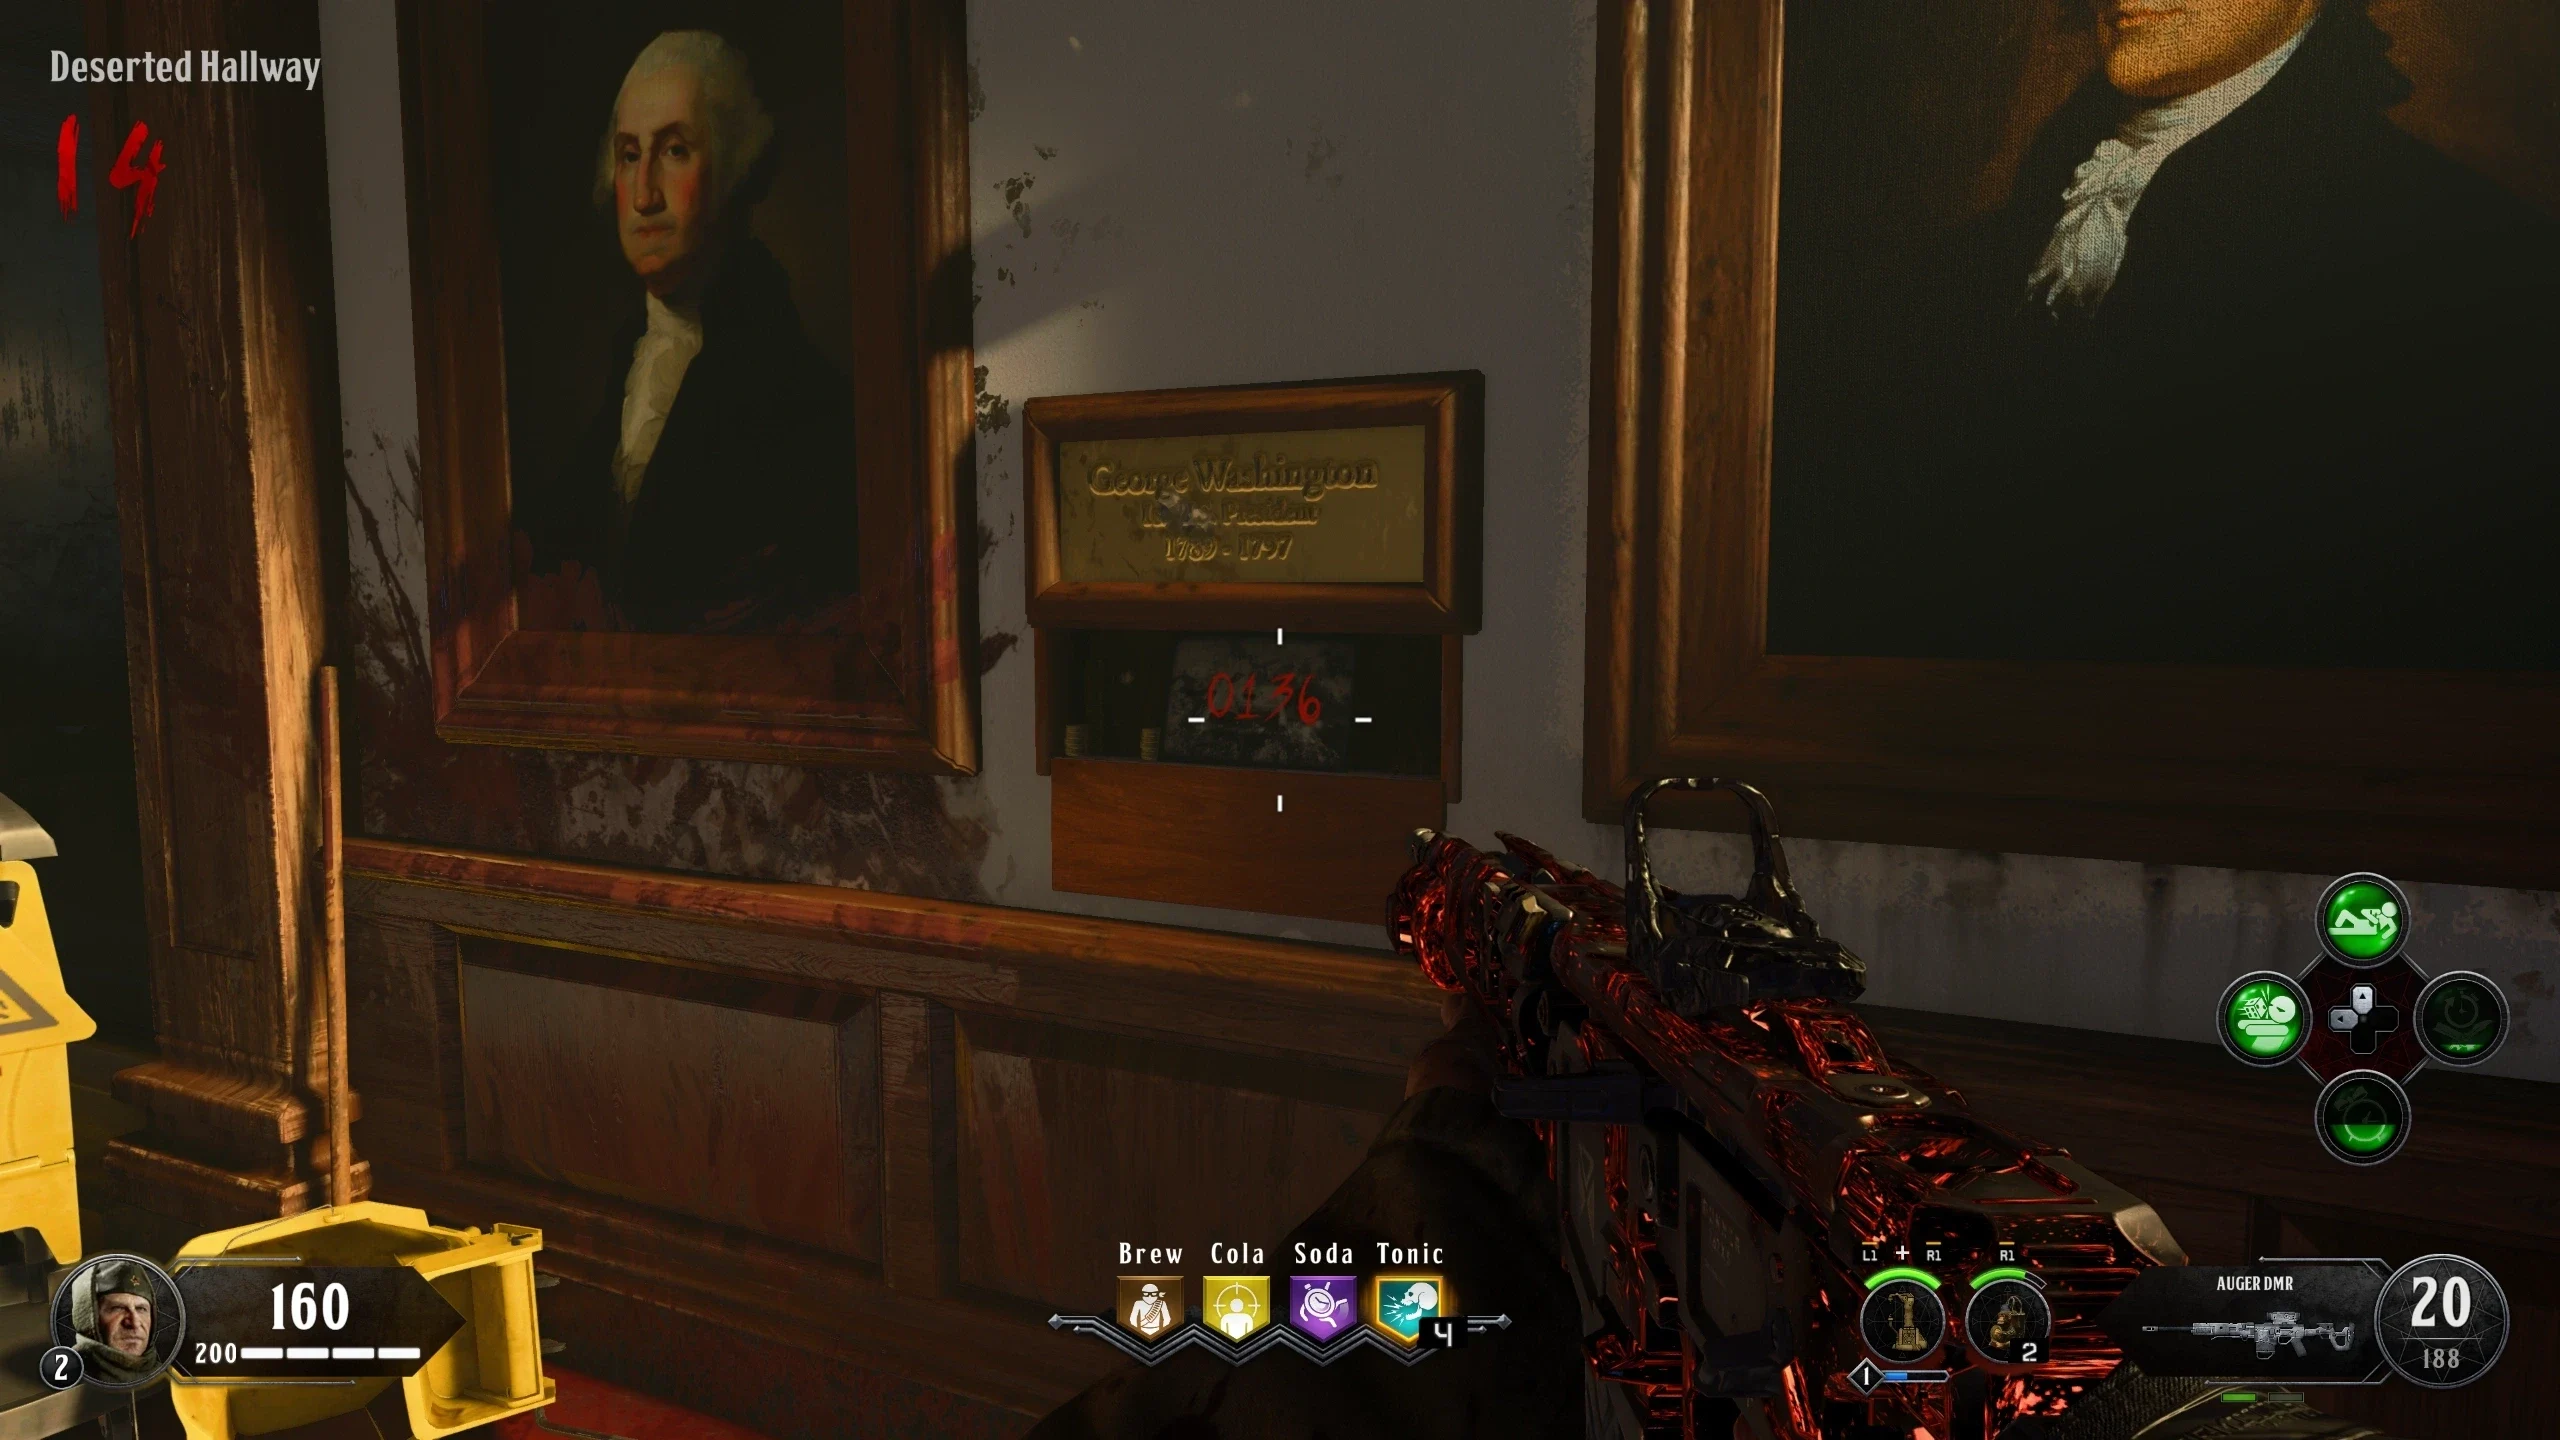
- In the 'Deserted Hallway,' there are four pictures of historical American Figures. Shoot their nameplates in the following order:
- George Washington (1st from left)
- Benjamin Franklin (3rd from left)
- Alexander Hamilton (2nd from left)
- Abraham Lincoln (4th from left)
- If done correctly, George Washington's nameplate will rise, revealing the Shi No Numa Numbers.
Input the Numbers
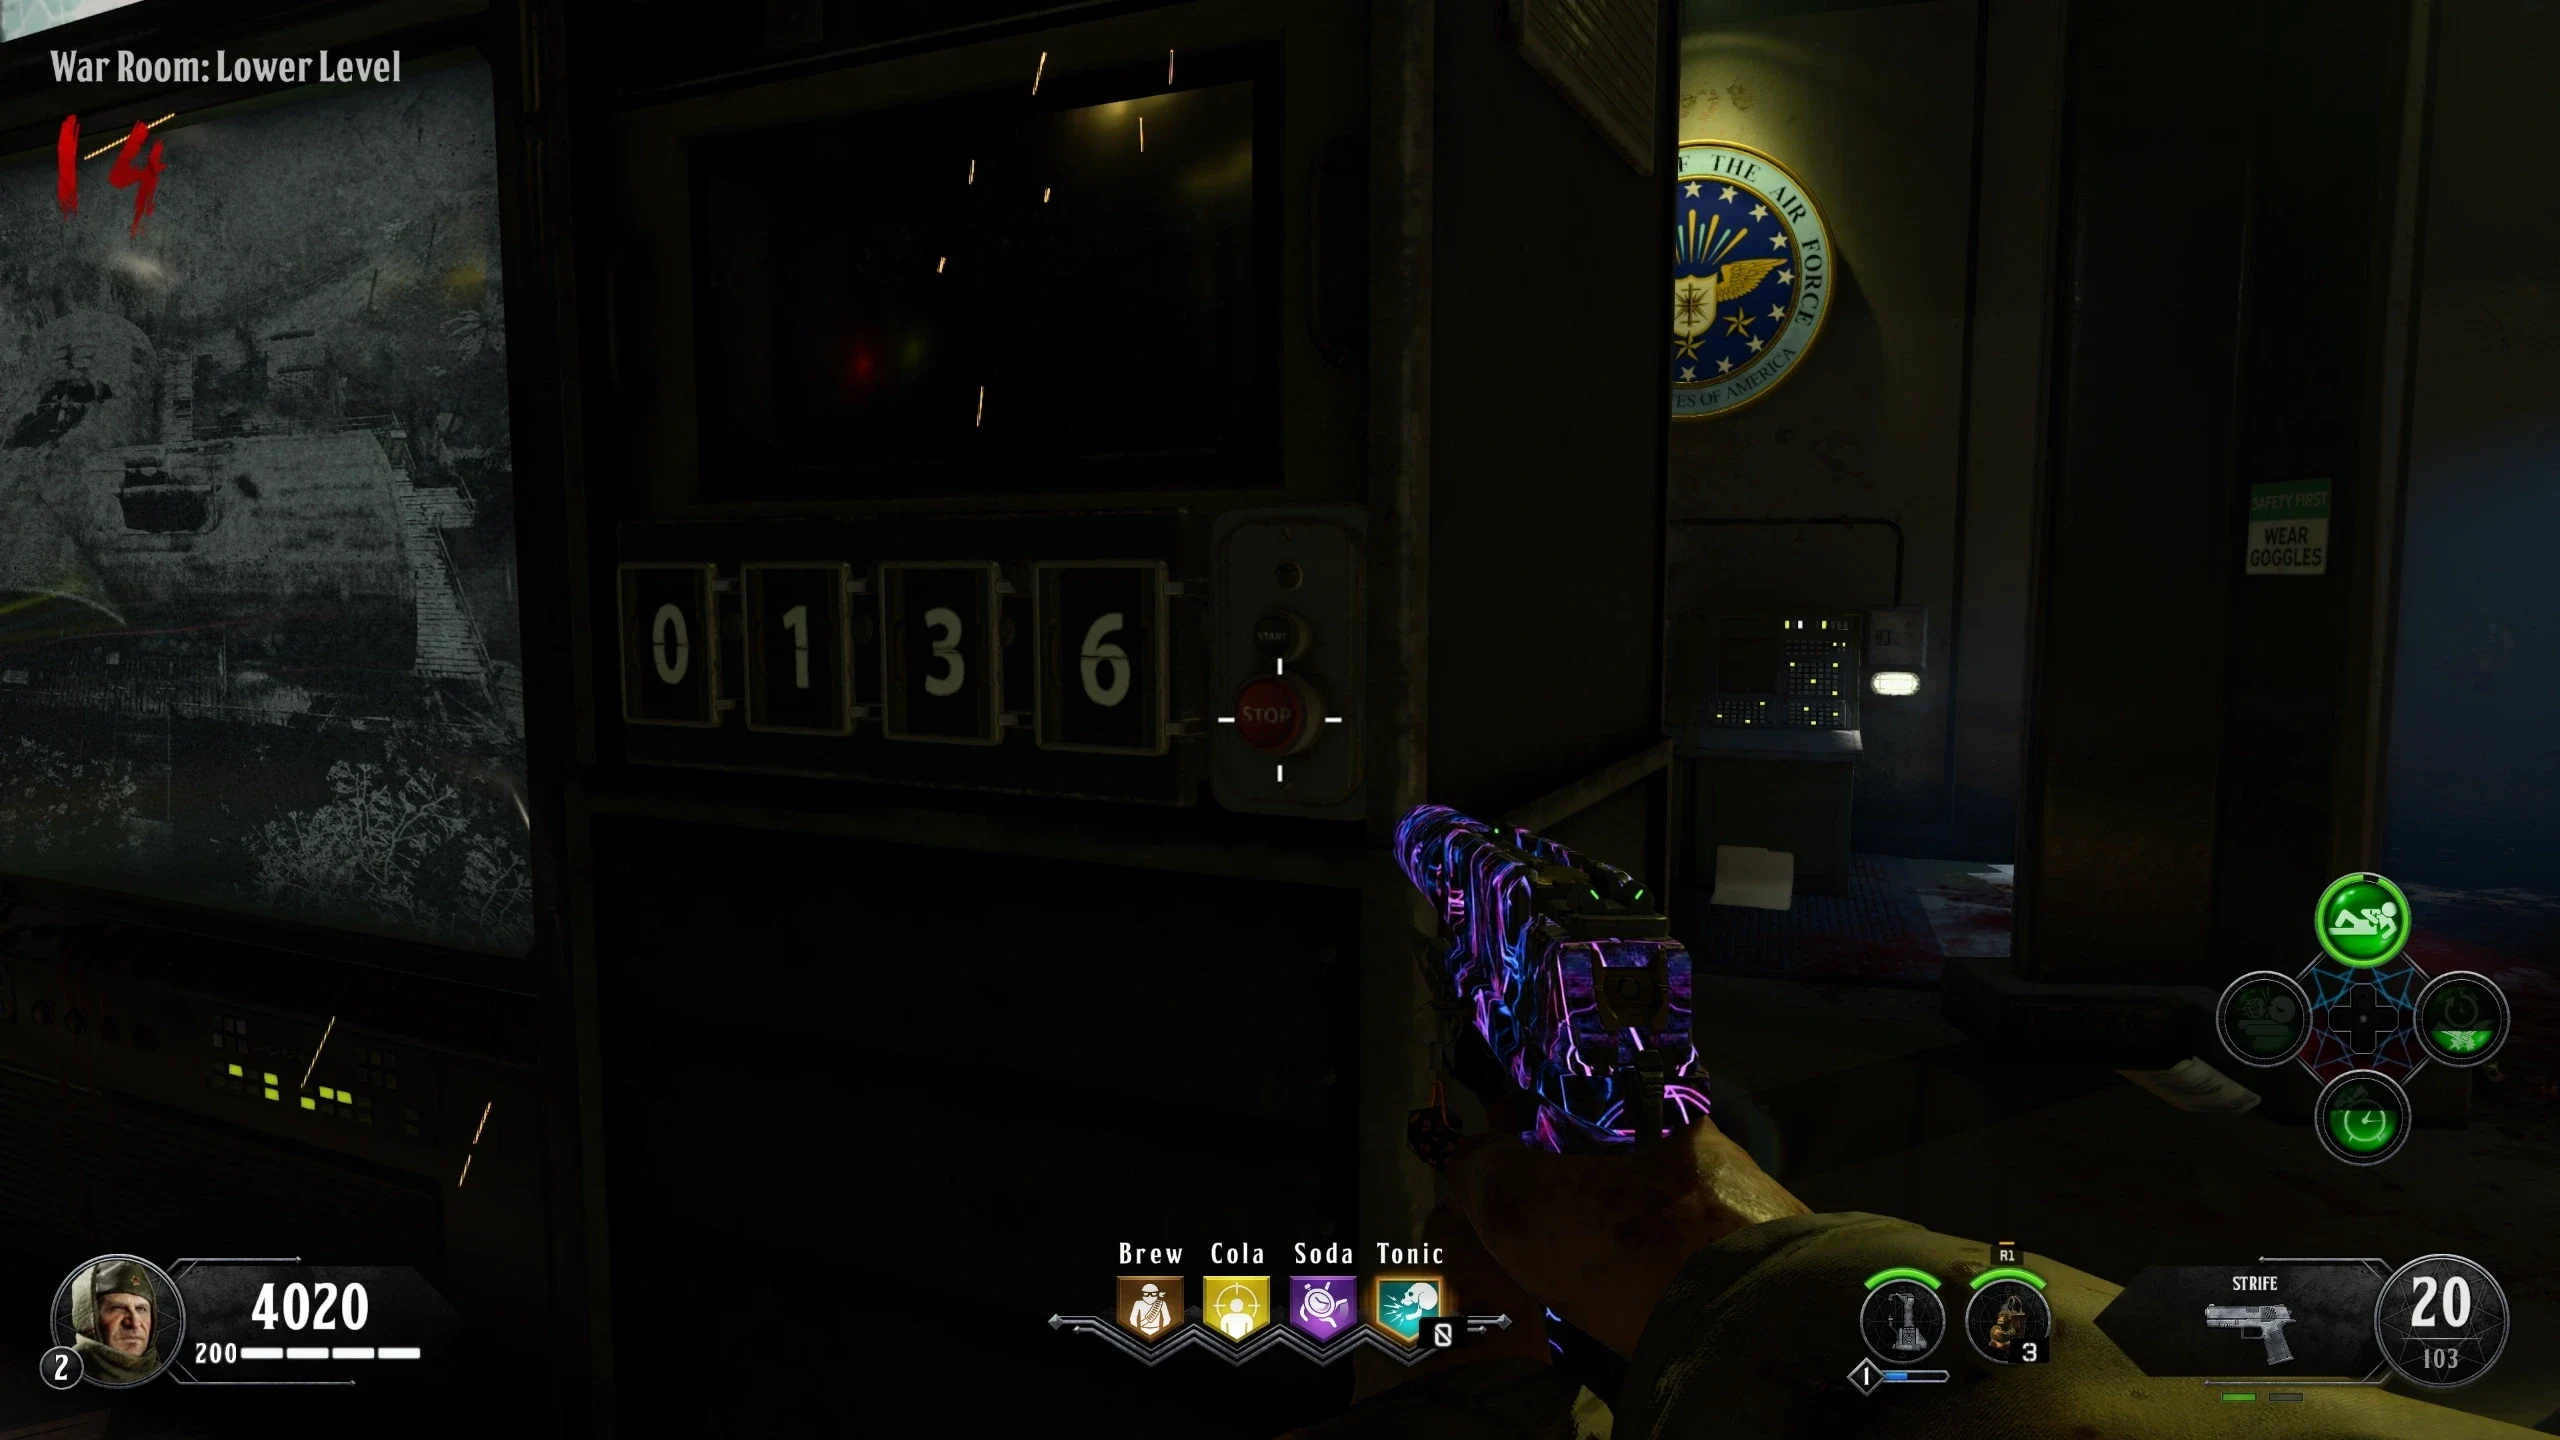
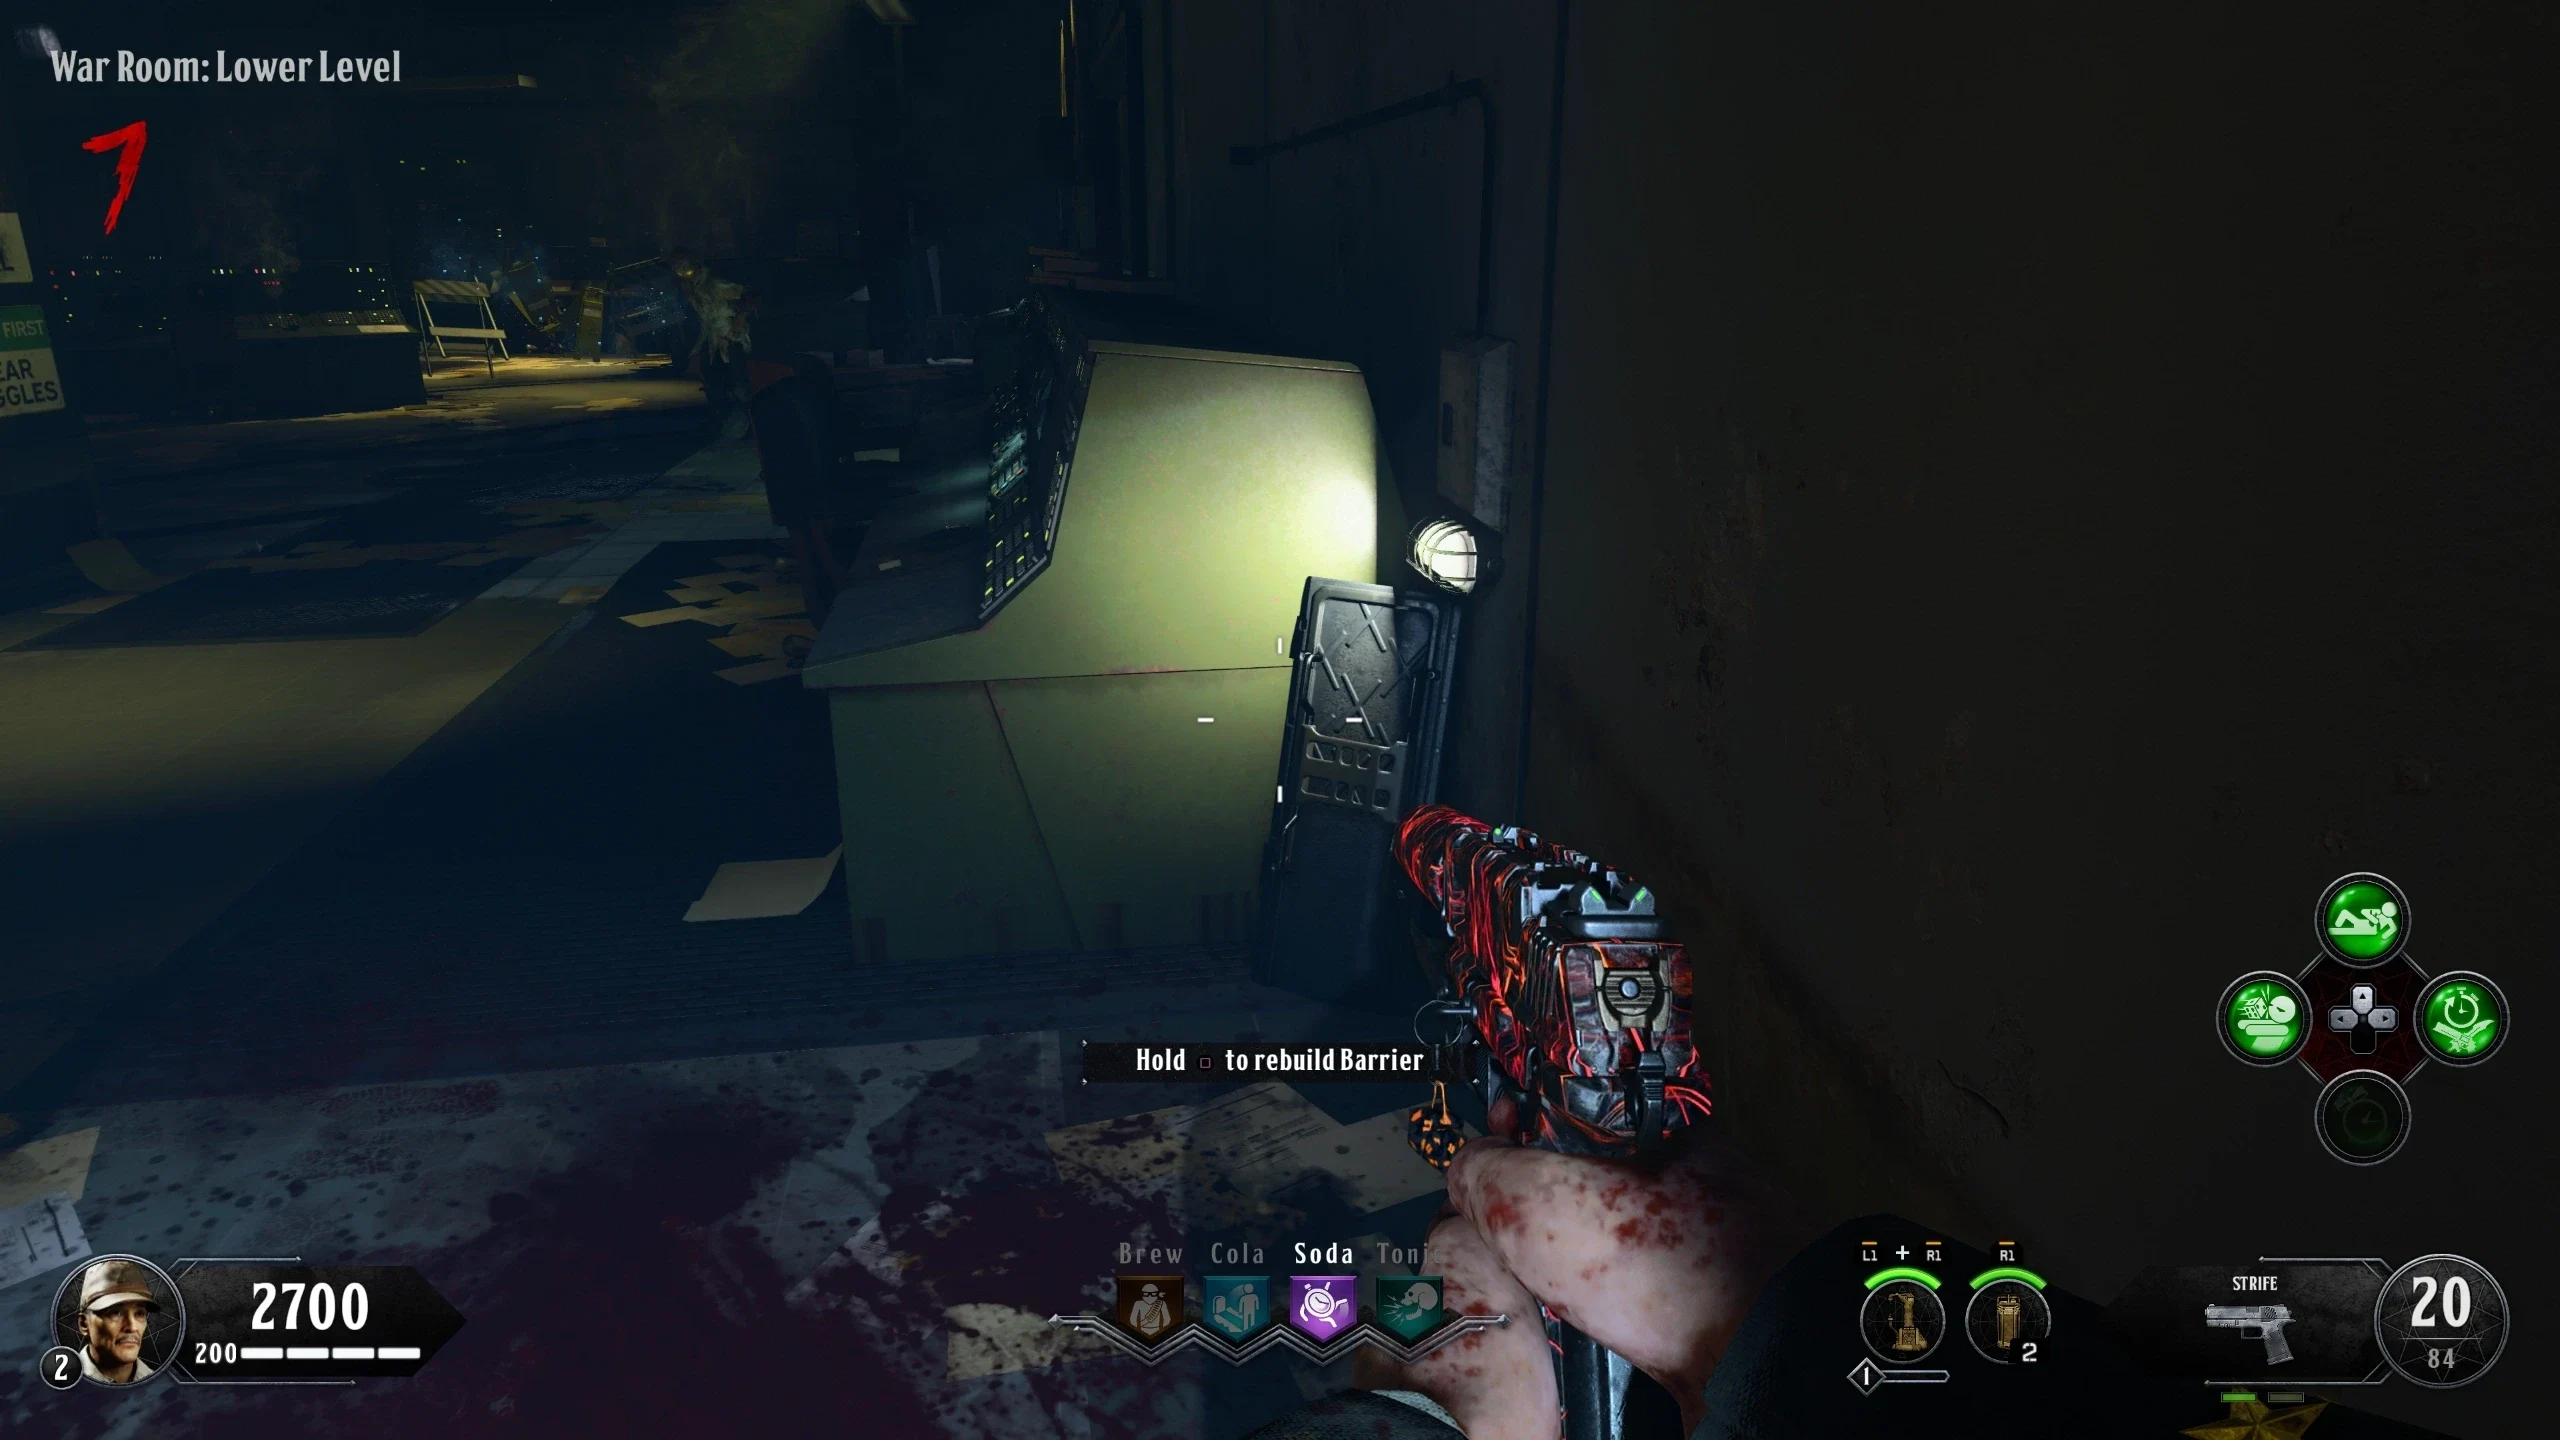
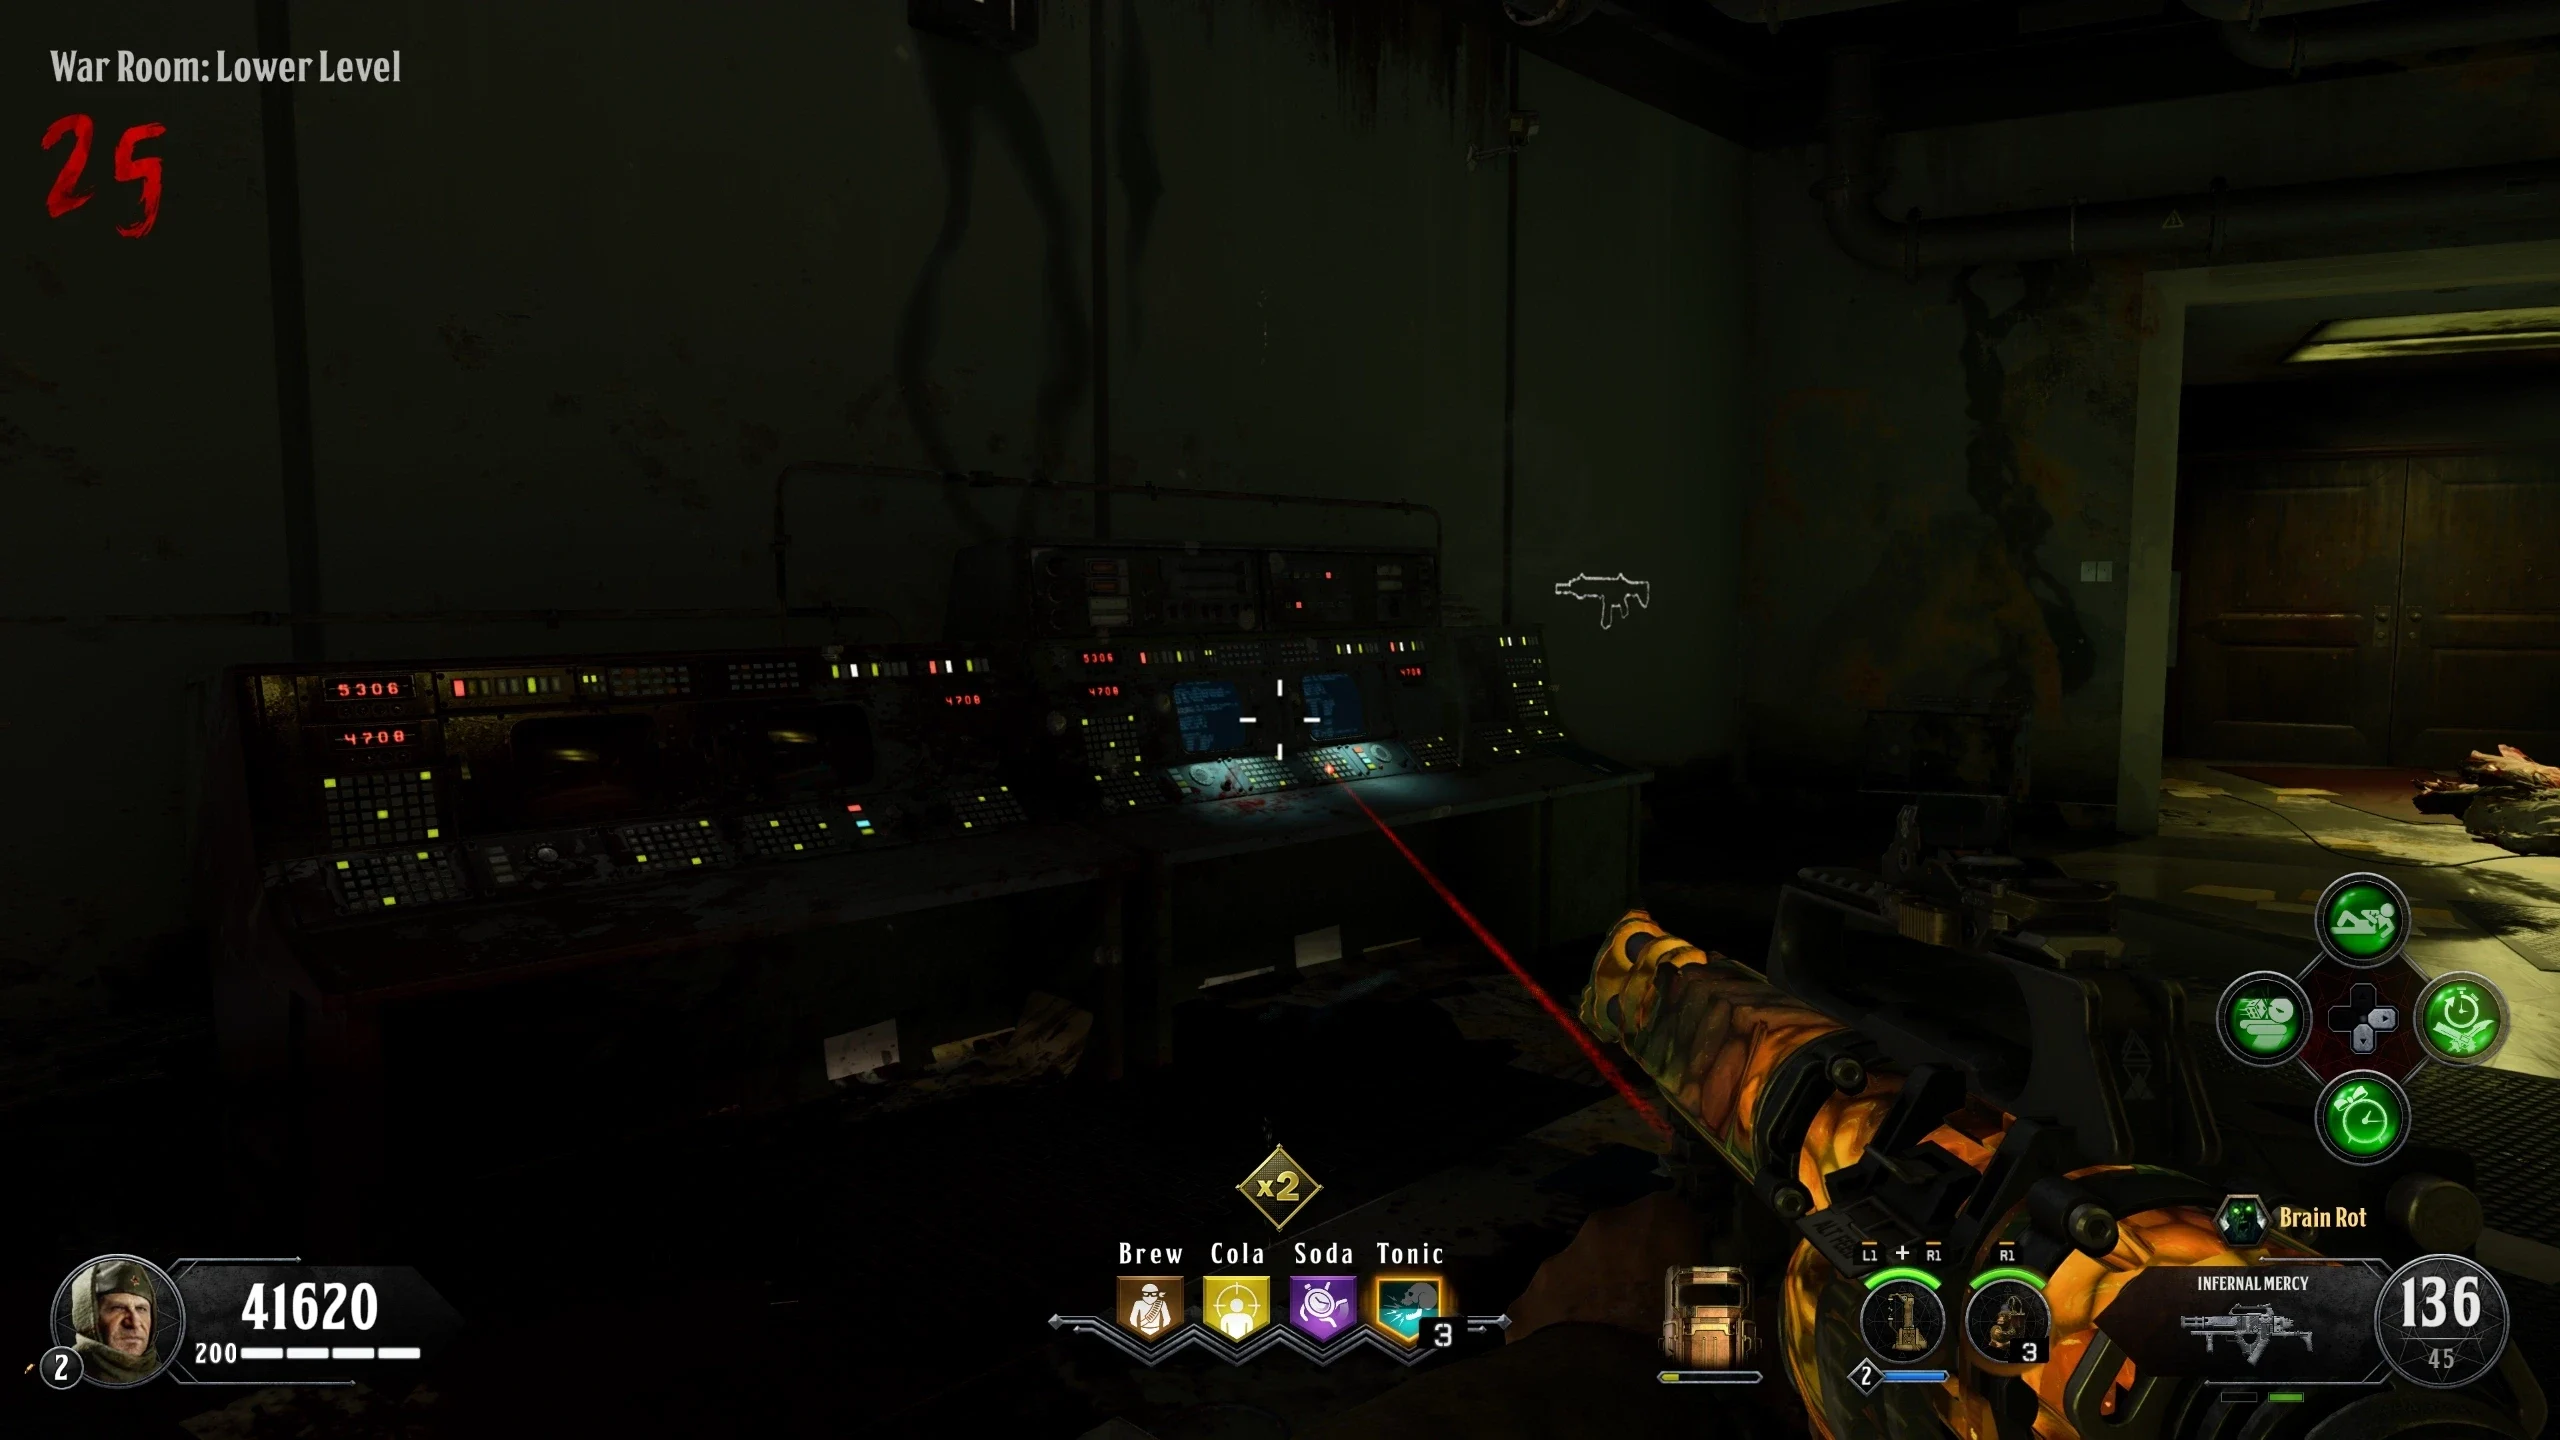
- In the 'War Room: Lower Level,' there is a machine with flashing pictures and a number pad.
- Shoot the numbers to change them, then interact with the button on the right to enter the code. After each correct number is input the light above the button will light up green, and the picture of the map will appear on-screen.
- You must enter the numbers from the pictures in the following order:
- Deserted Hallway Paintings (Shi No Numa)
- Main Offices Drawer (Der Riese)
- South Laboratories Barrier (Shangri-La)
- Panic Room TV (Kino der Toten)
- If you enter the wrong number, you must restart with the Shi No Numa code.
- If done correctly, after a few seconds, a voice and the screen on the machine will say "Project Skadi Retrieved."
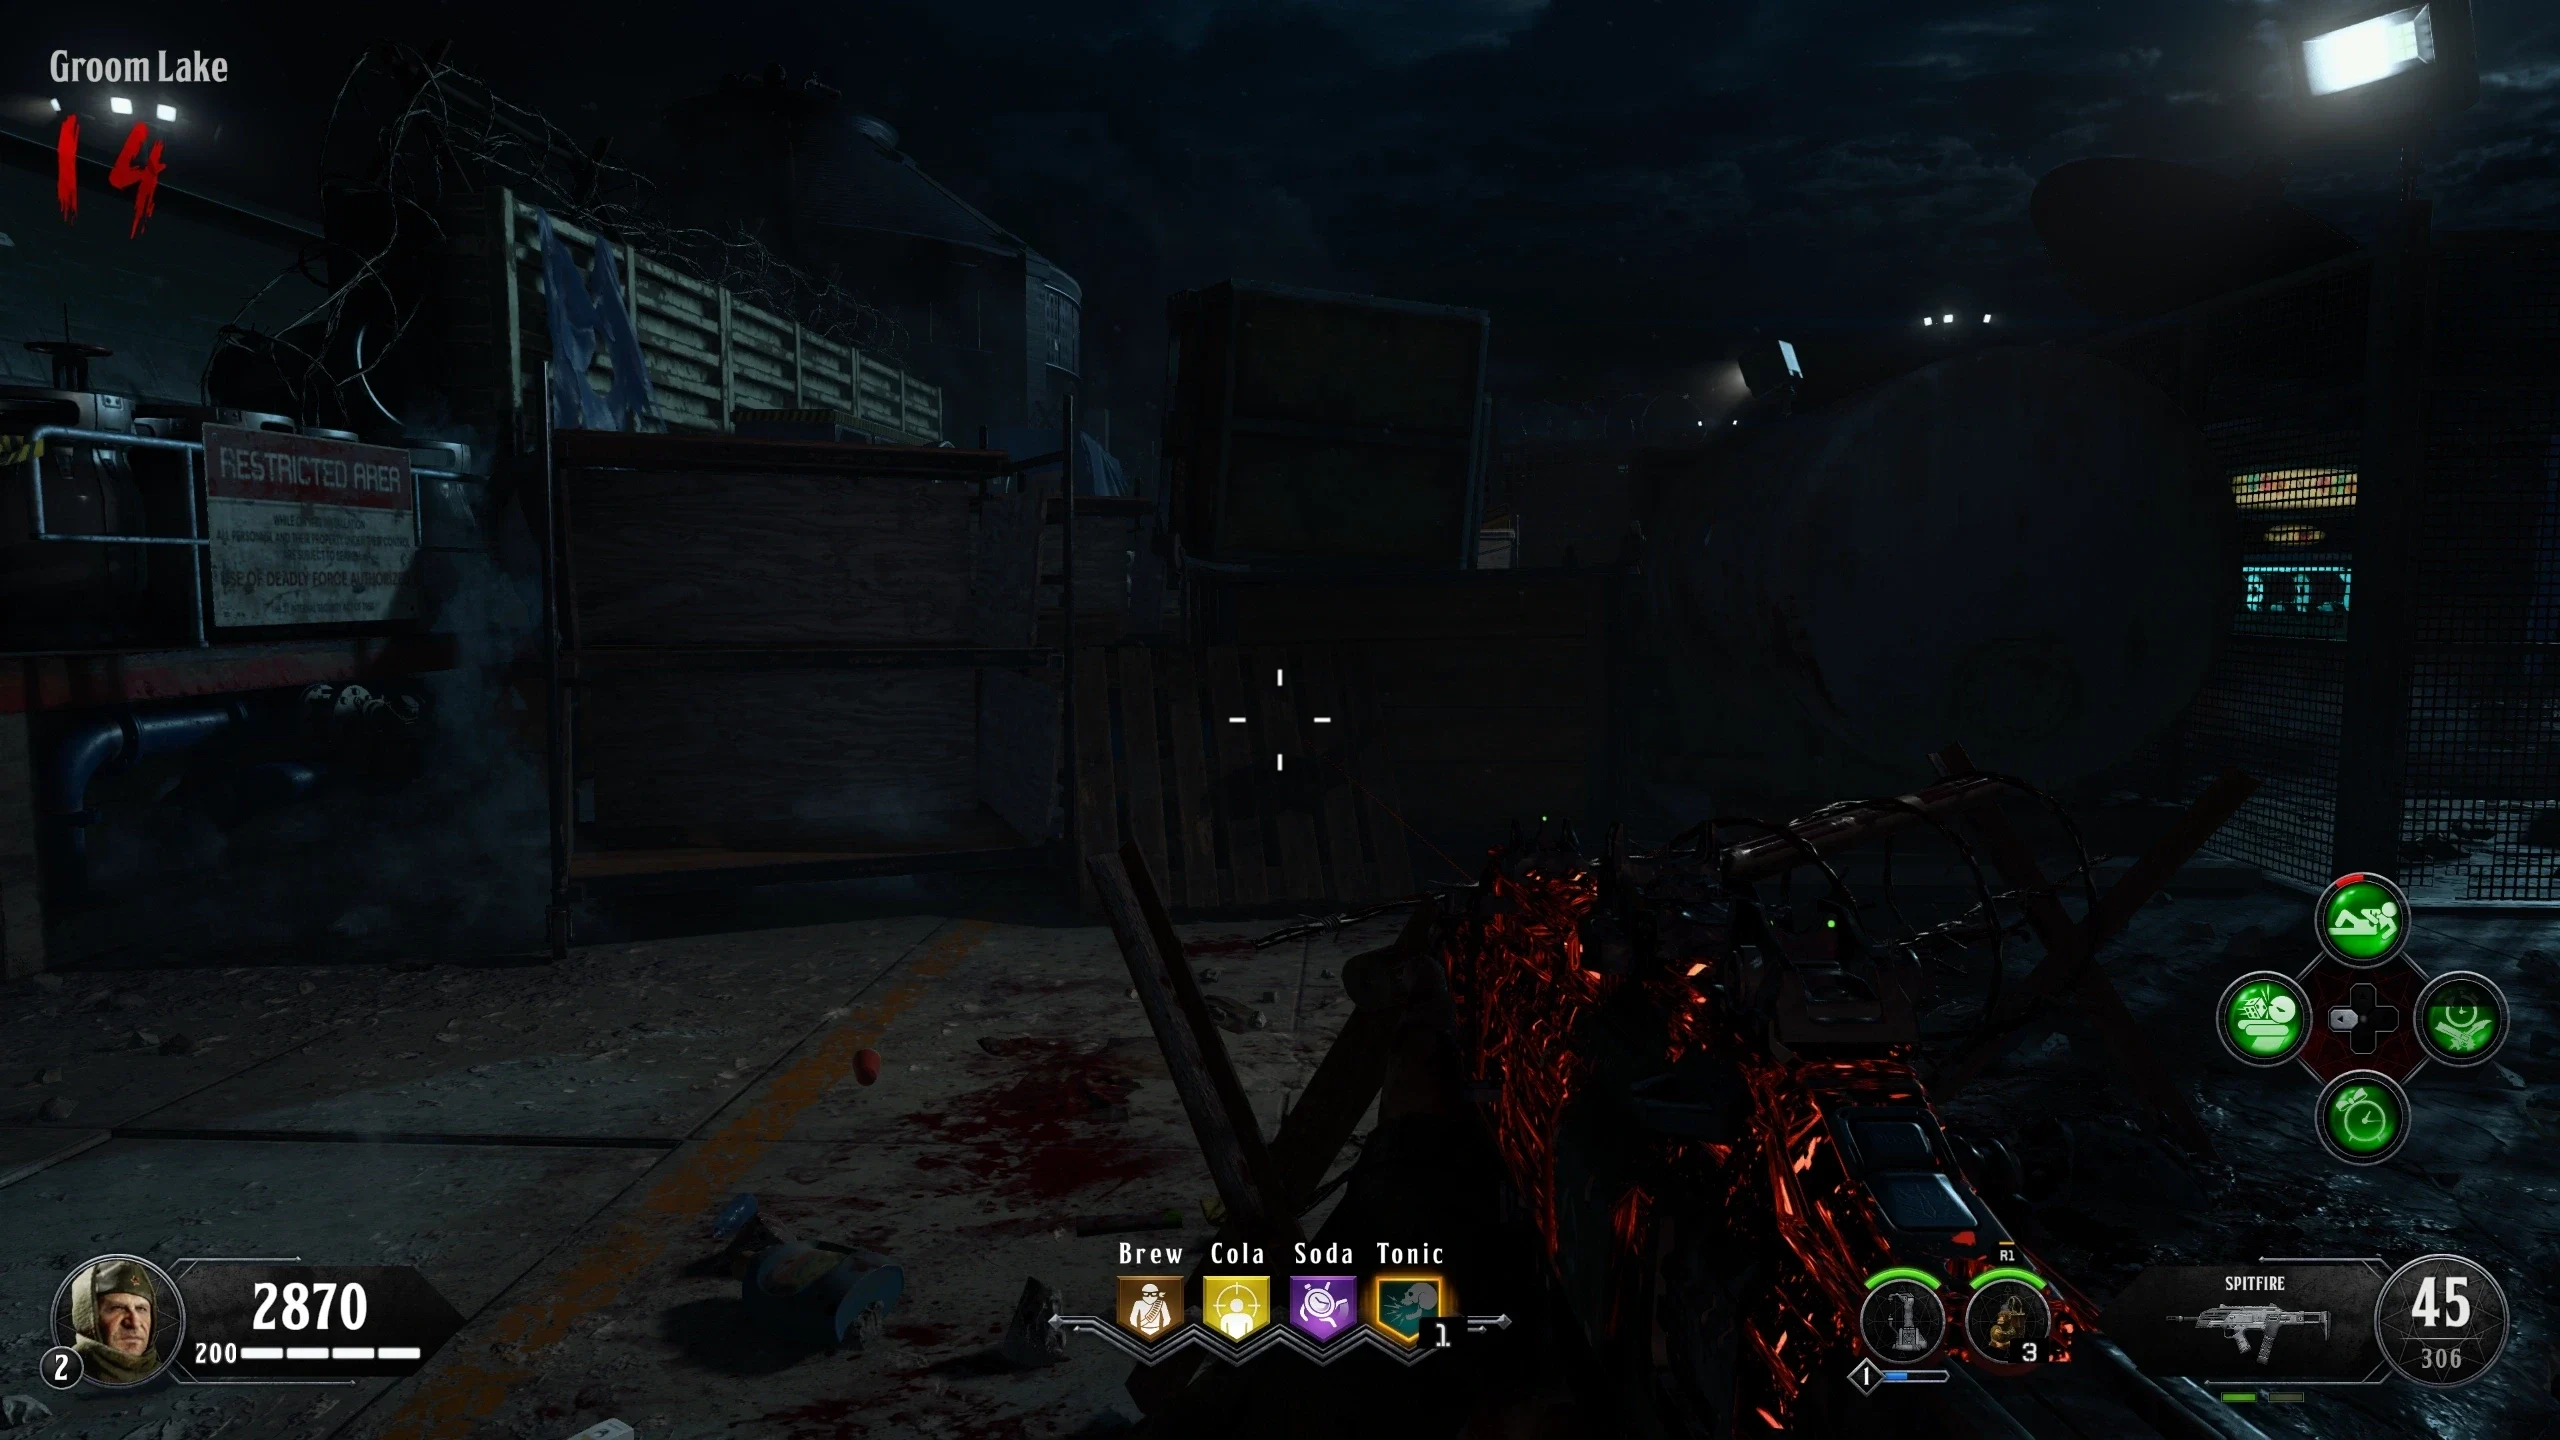
- Teleport to 'Groom Lake' and survive three full rounds without leaving. This will open the barriers on the left of Pack-a-Punch.
- The Winter's Howl can be picked up from the blue glowing case.
Main Quest
Stats (Solo): Difficulty - 9/10, Est. Completion Time - 4 Hrs to 6 Hrs
Recommended Loadout (Anything not listed is Player's Choice)
| Perks |
Special Weapons |
Elixirs |
Equipment |
- Victorious Tortoise
- Secret Sauce (if you get the Hellion Salvo get PhD otherwise use Dying Wish)
- Stonecold Stronghold
- Timeslip (Modifier)
|
|
- 'Temporal Gift'
- 'Equip Mint'
|
|
- Unlike every other Main Quest, there's only one step: Reach Round 150. The cutscene will start upon finishing Round 149. Round 150 Strategy:
- Build the Riot Shield in 'Weapon Testing.' You will be using the Shield, Wraith Fire and the Ragnarok DG-5 to get kills.
- Stand in this corner next to the Shield workbench while holding your shield out.
- Plant your Ragnarok DG-5s as soon as they’re ready. Otherwise, throw a Wraith Fire at your feet.
- When your Wraith Fires and Ragnaroks aren’t ready, shoot the zombies with the Shield gun until a Wraith Fire or the Ragnaroks recharge.
- Use Equip Mint whenever you have it and you run out of Wraith Fires.
- Try to not let your Shield break, keep buying a new Shield from the bench as the current one gets low on health or ammo.
- If you'd rather use the Hellion Salvo, swap Dying Wish for PhD Slider and shoot the Hellion at your feet until the Ragnaroks recharge. Return to using the Shield when the Hellion runs out of ammo.
'Shockwave' Song
Link to song on streaming here.
- Three bottles need to be interacted with to start the song:
- Once all three bottles are interacted with, the song will start.