'Trial by Ordeal' Main Quest
Stats (Solo): Difficulty - 6/10, Est. Completion Time - 1:10 Hr to 1:40 Hr
- Activate the Sentinel Artifact.
- Activate Pack-a-Punch.
Prerequisites
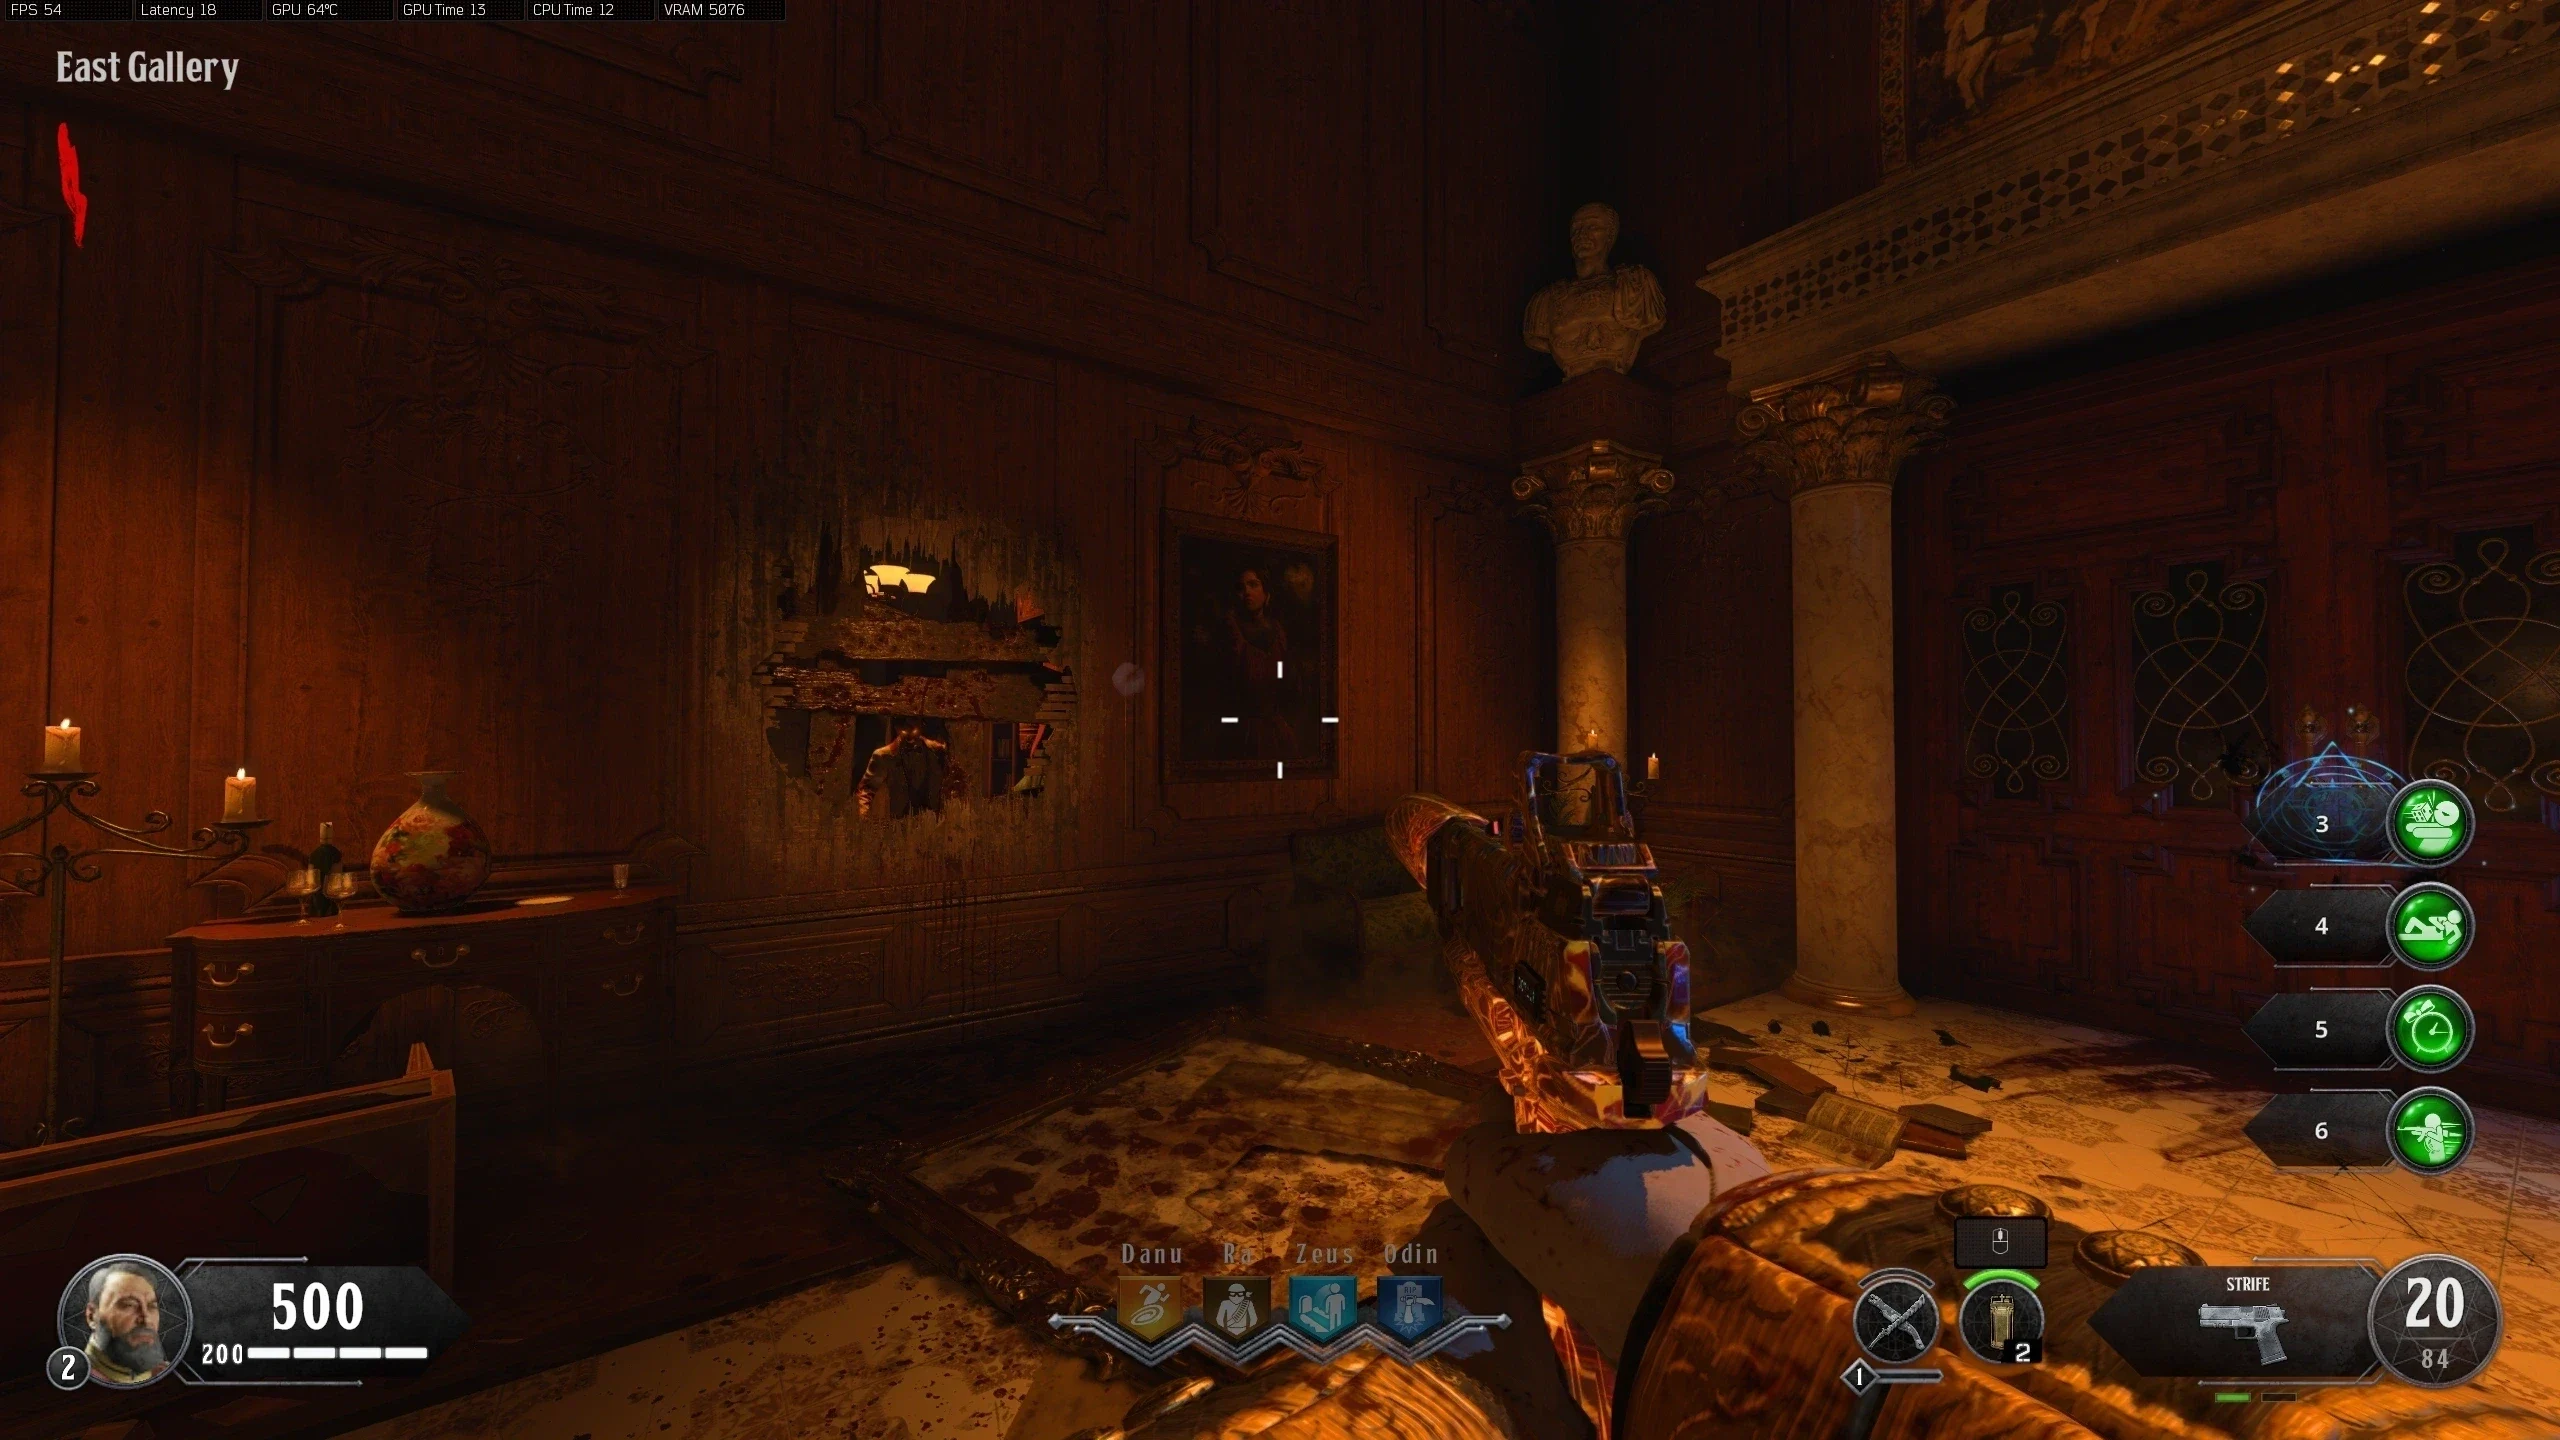
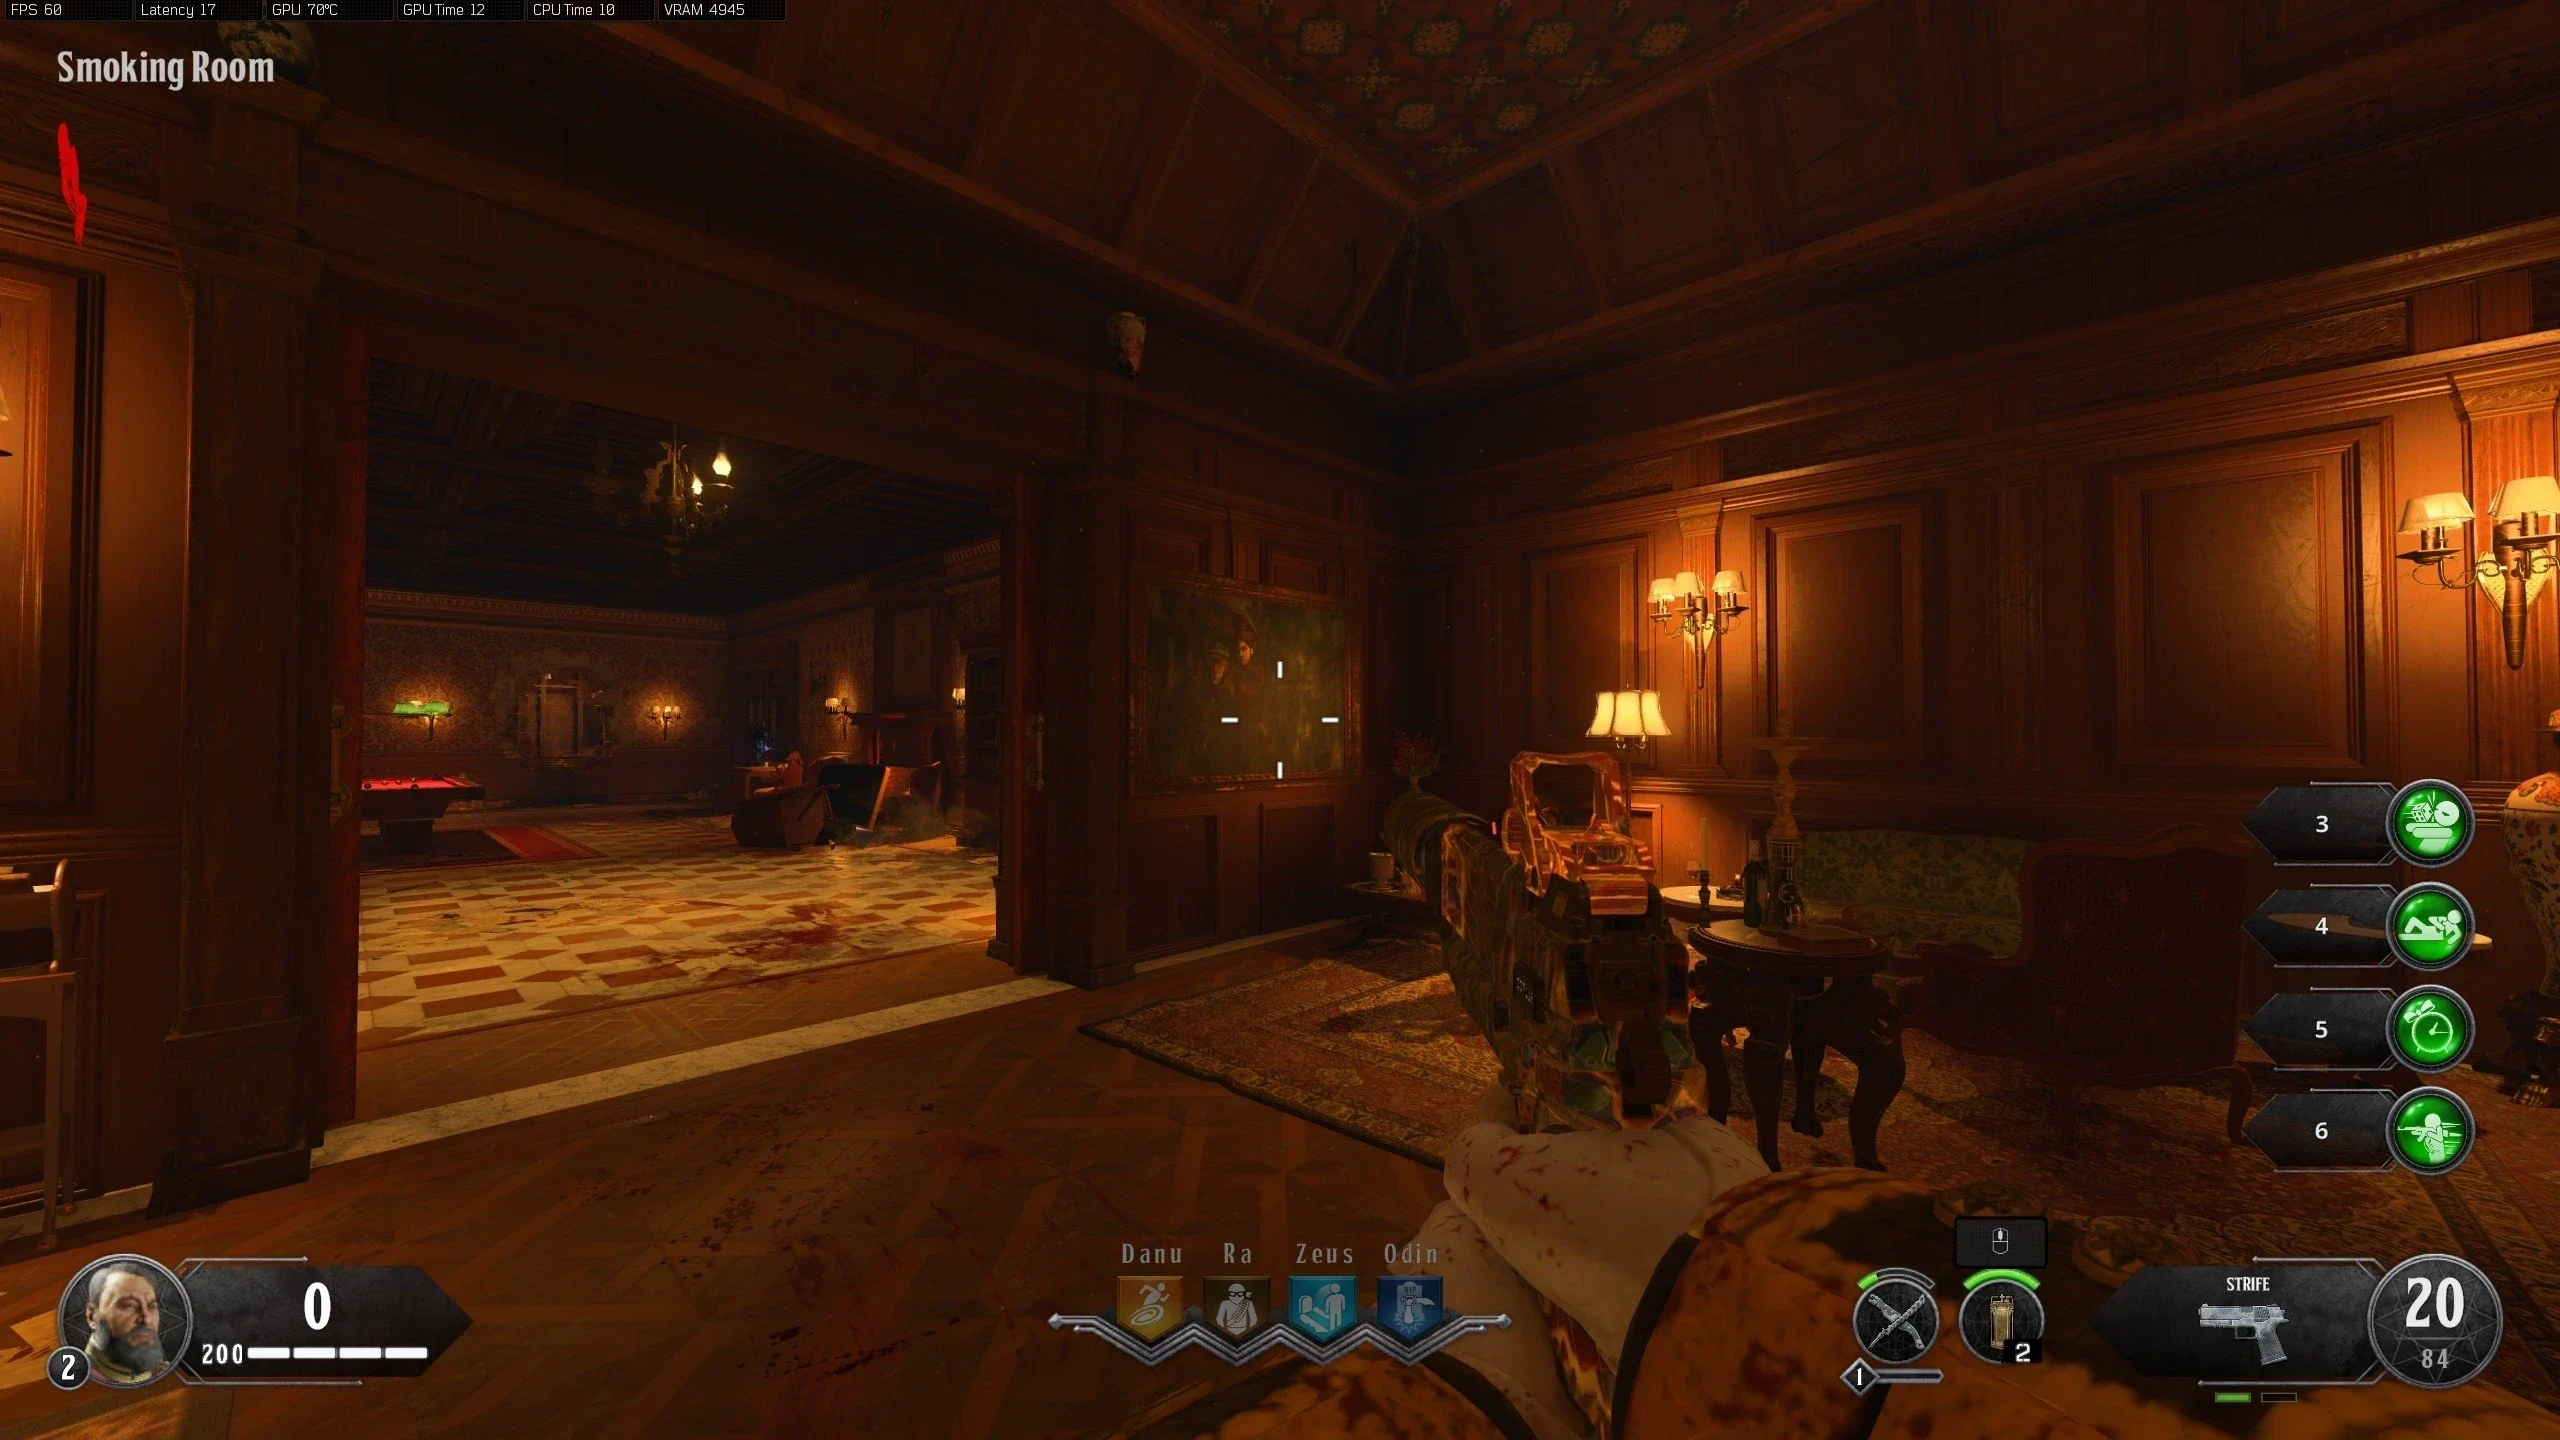
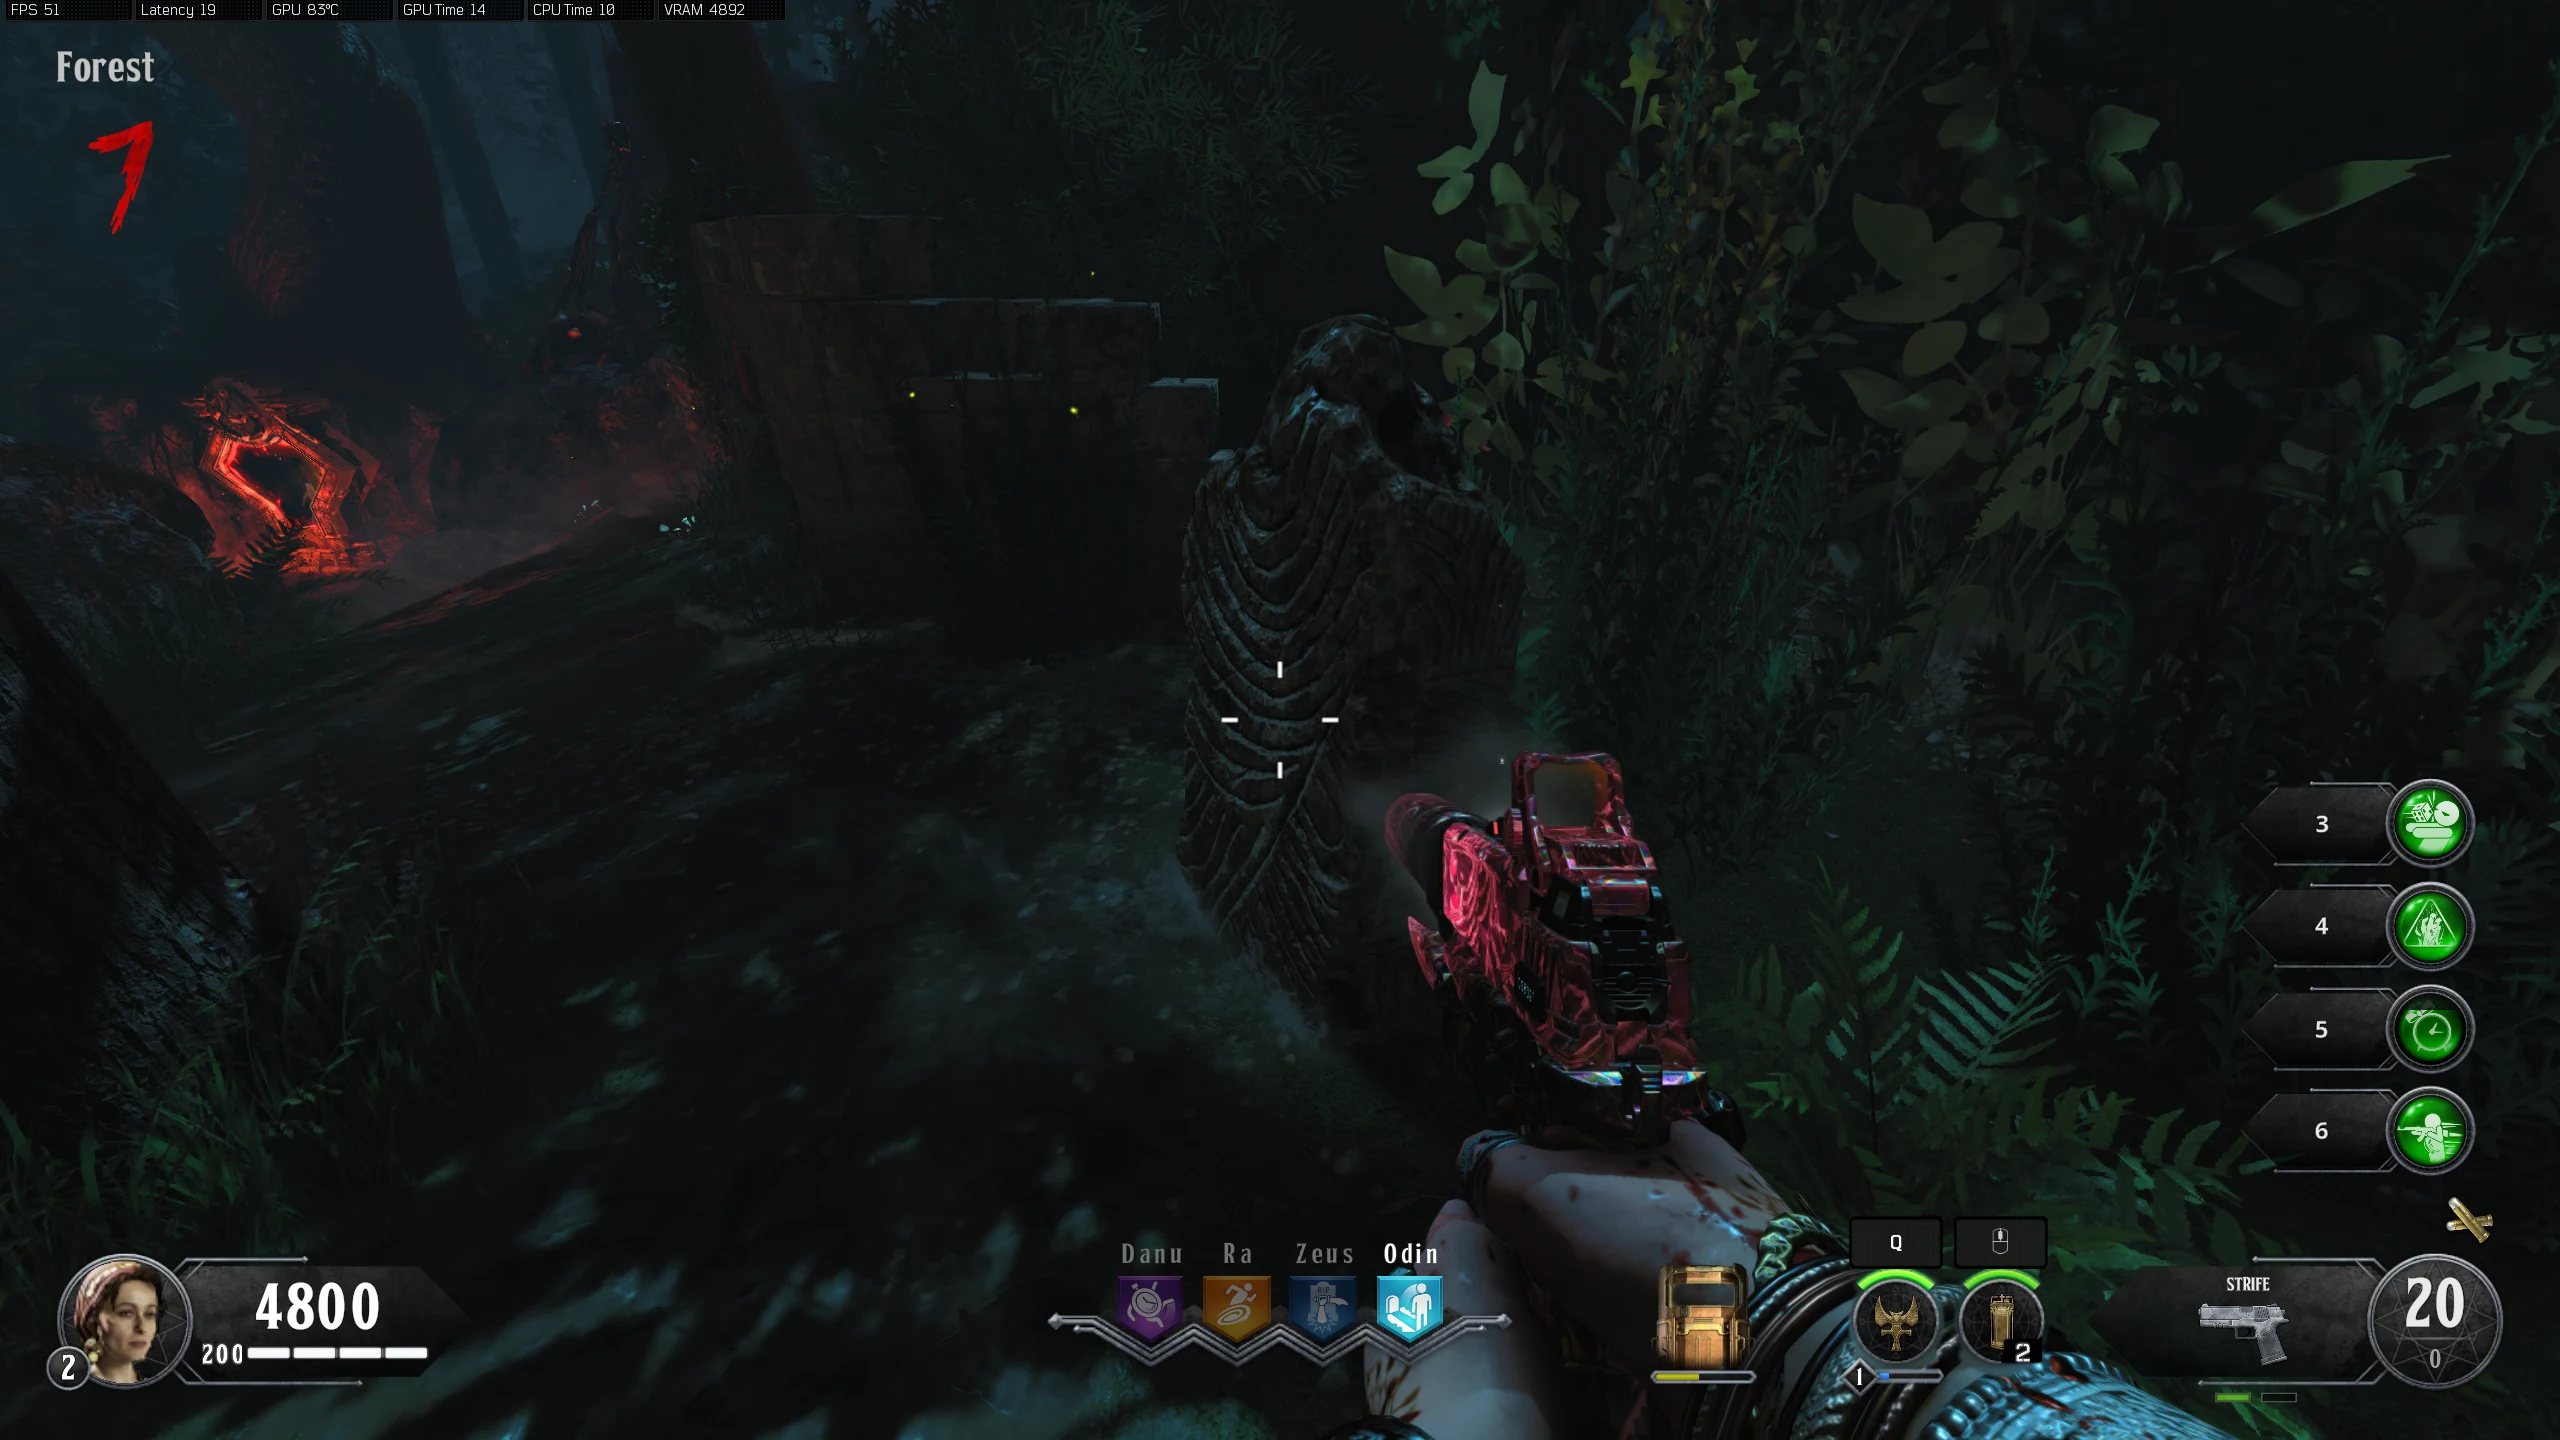
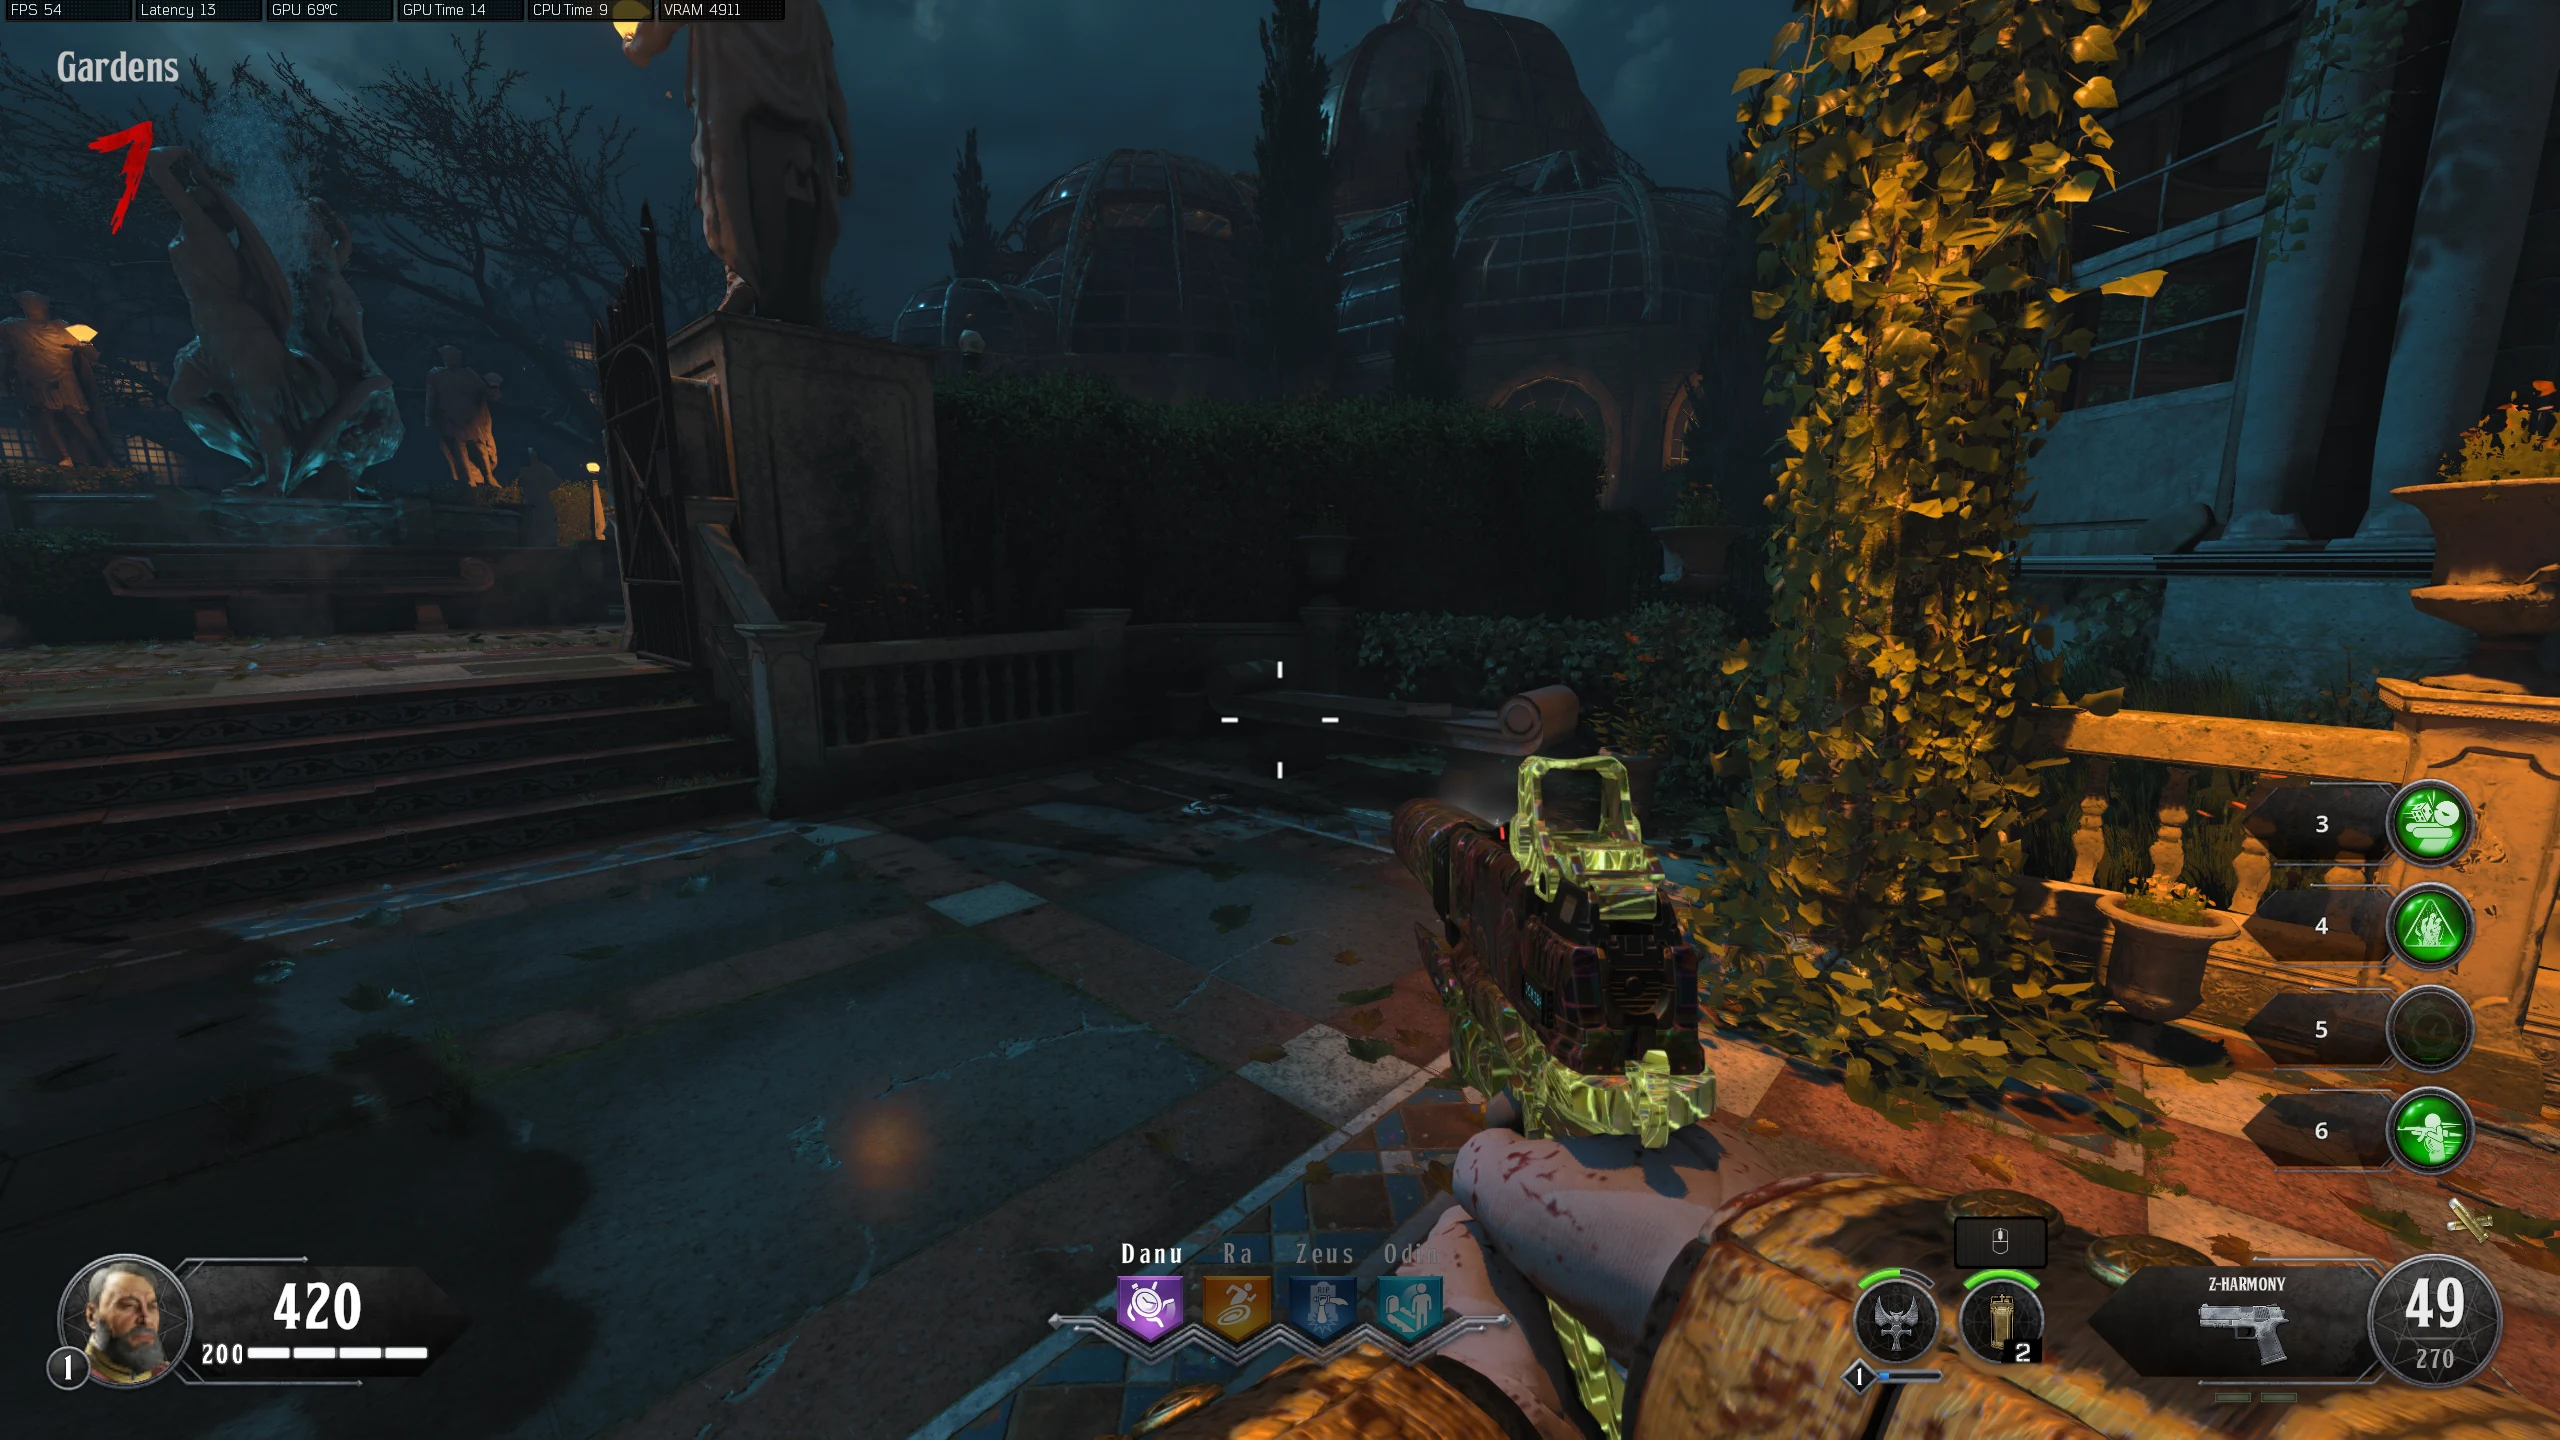
This Easter Egg consists of three Quest Lines (Telescope, Effigy, and Knight), that can be completed simultaneously (except for one specific case outlined below). Unlike other Easter Eggs in Black Ops 4, there is no text in the HUD to indicate the current step, instead, the Sentinel Artifact in the HUD will have 12 Zodiac Symbols that light up when some steps are completed. These will be listed throughout the steps; the steps after the name will indicate how to make it light up in the hud.
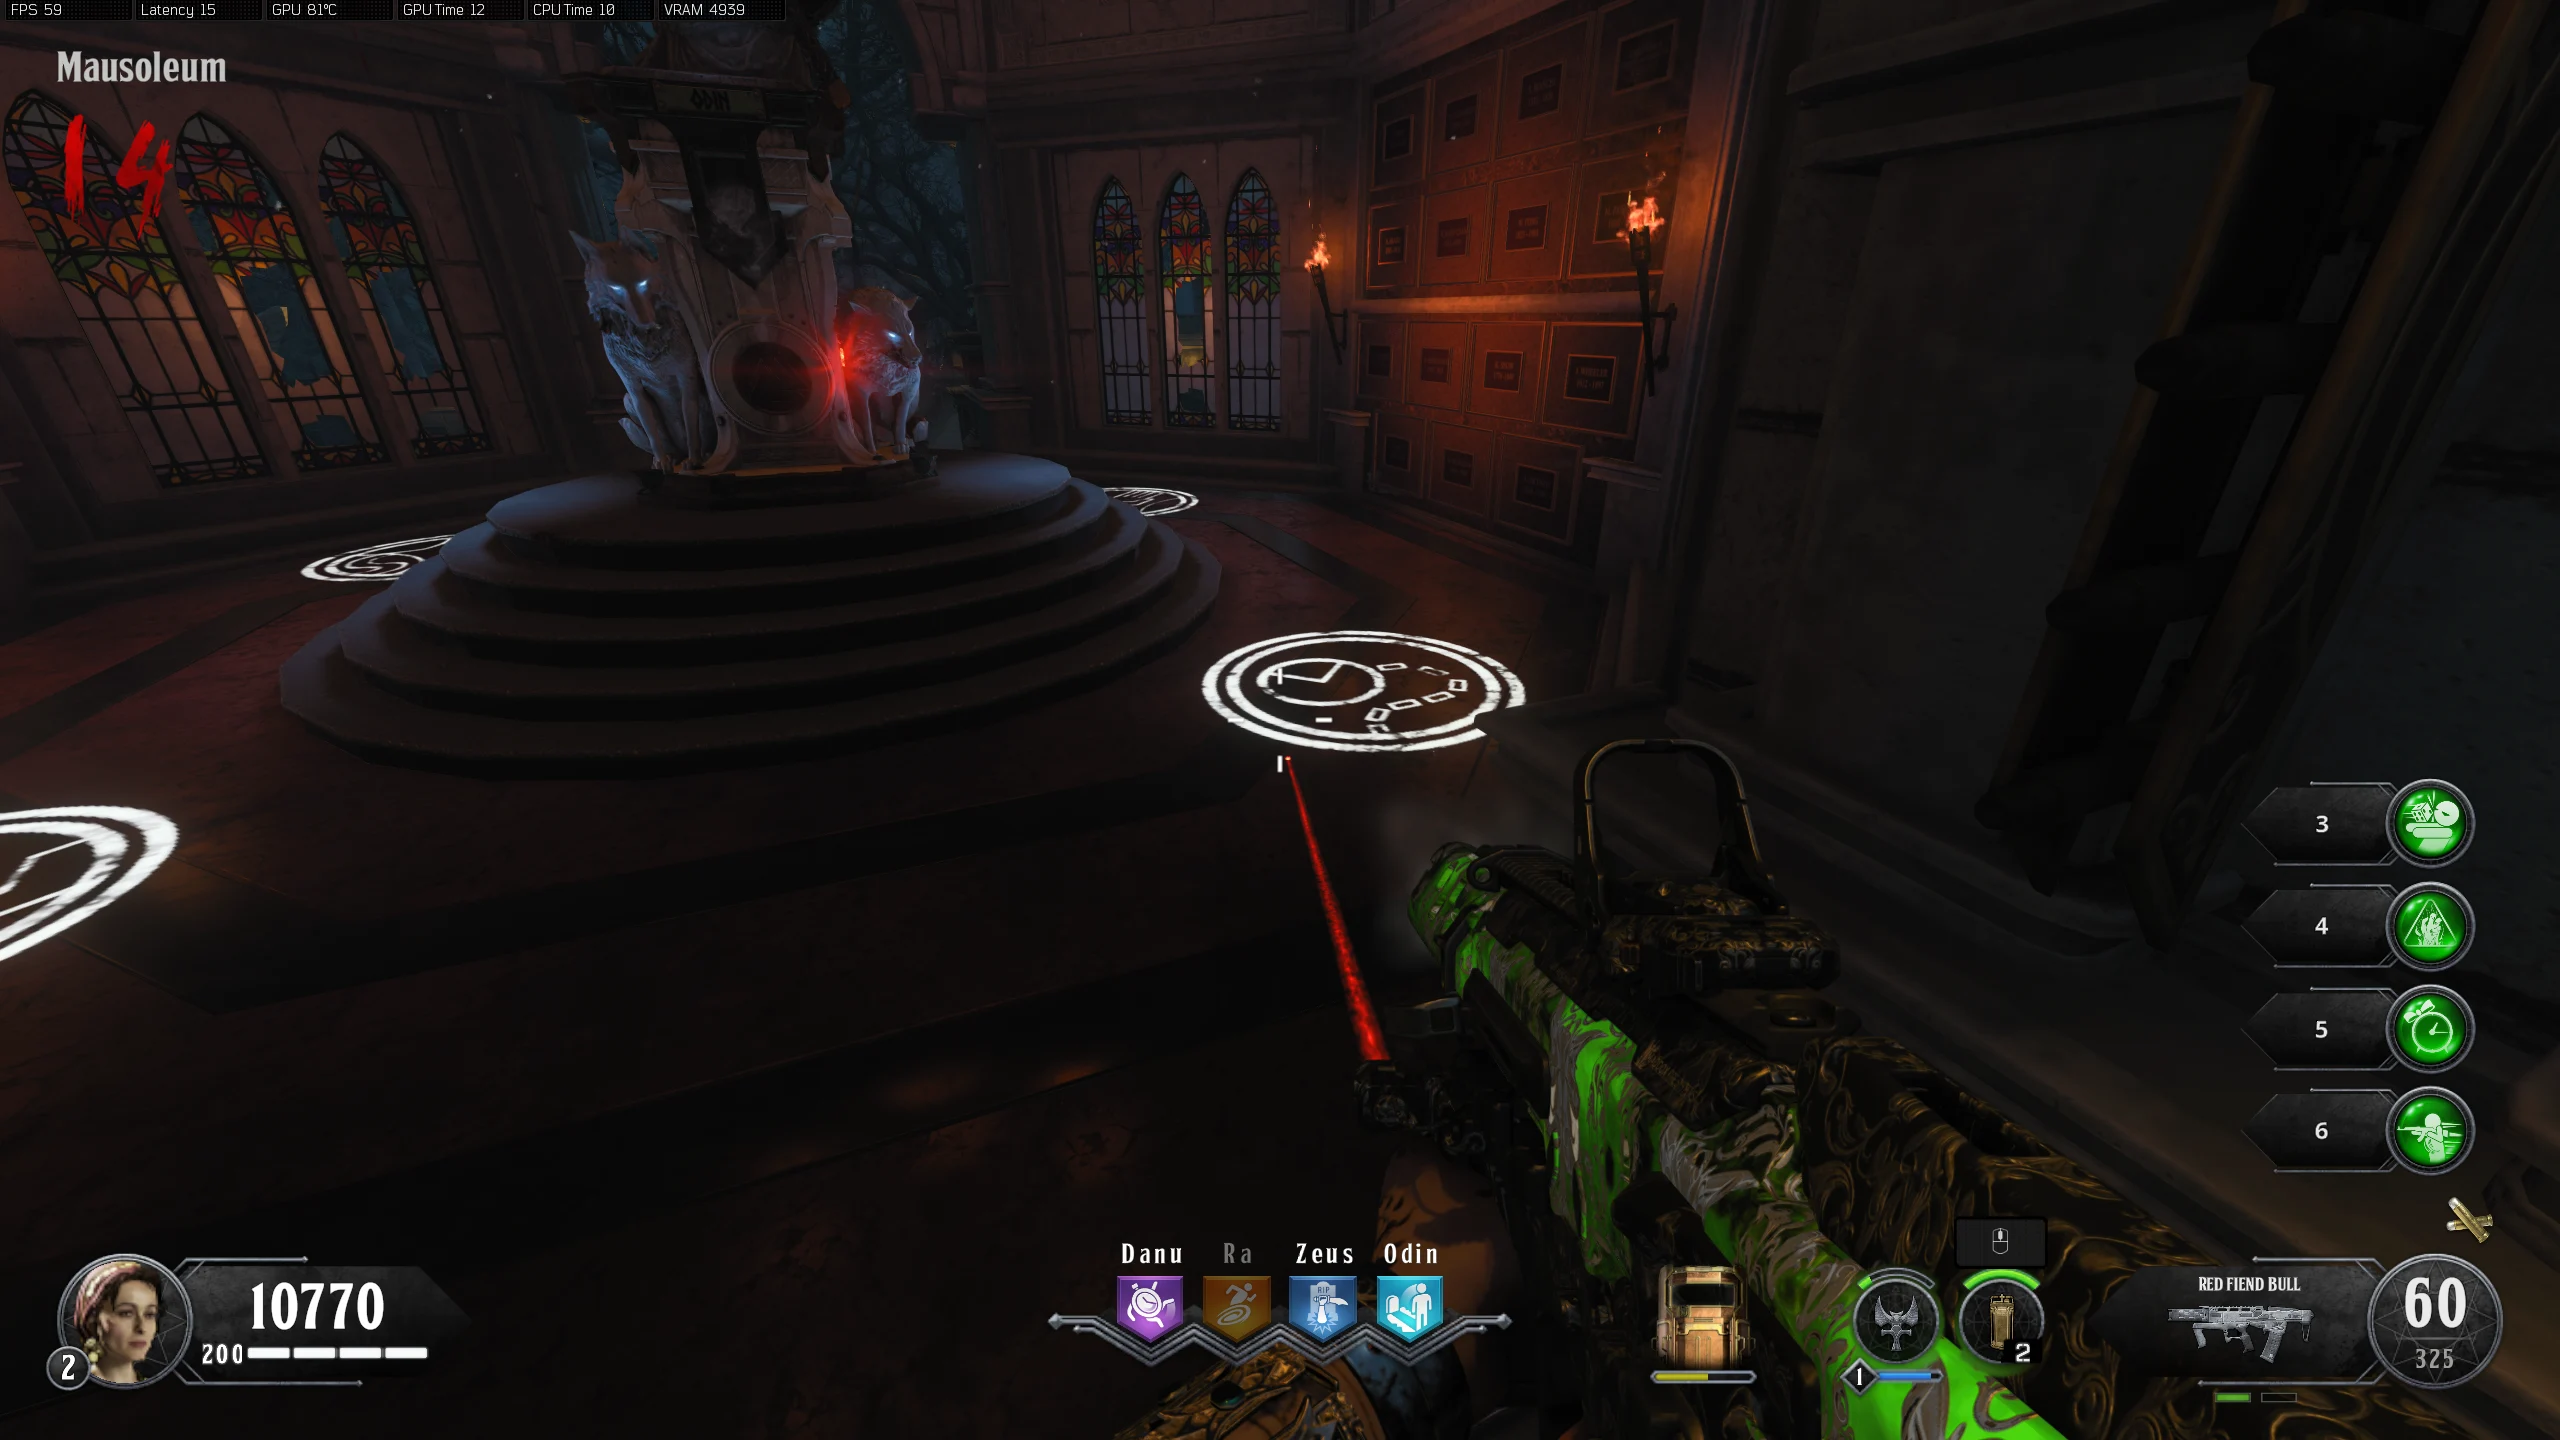
- Interact with each stone until you see the Telescope to activate the Telescope Quest Line.
- Obtain Silver Bullets.
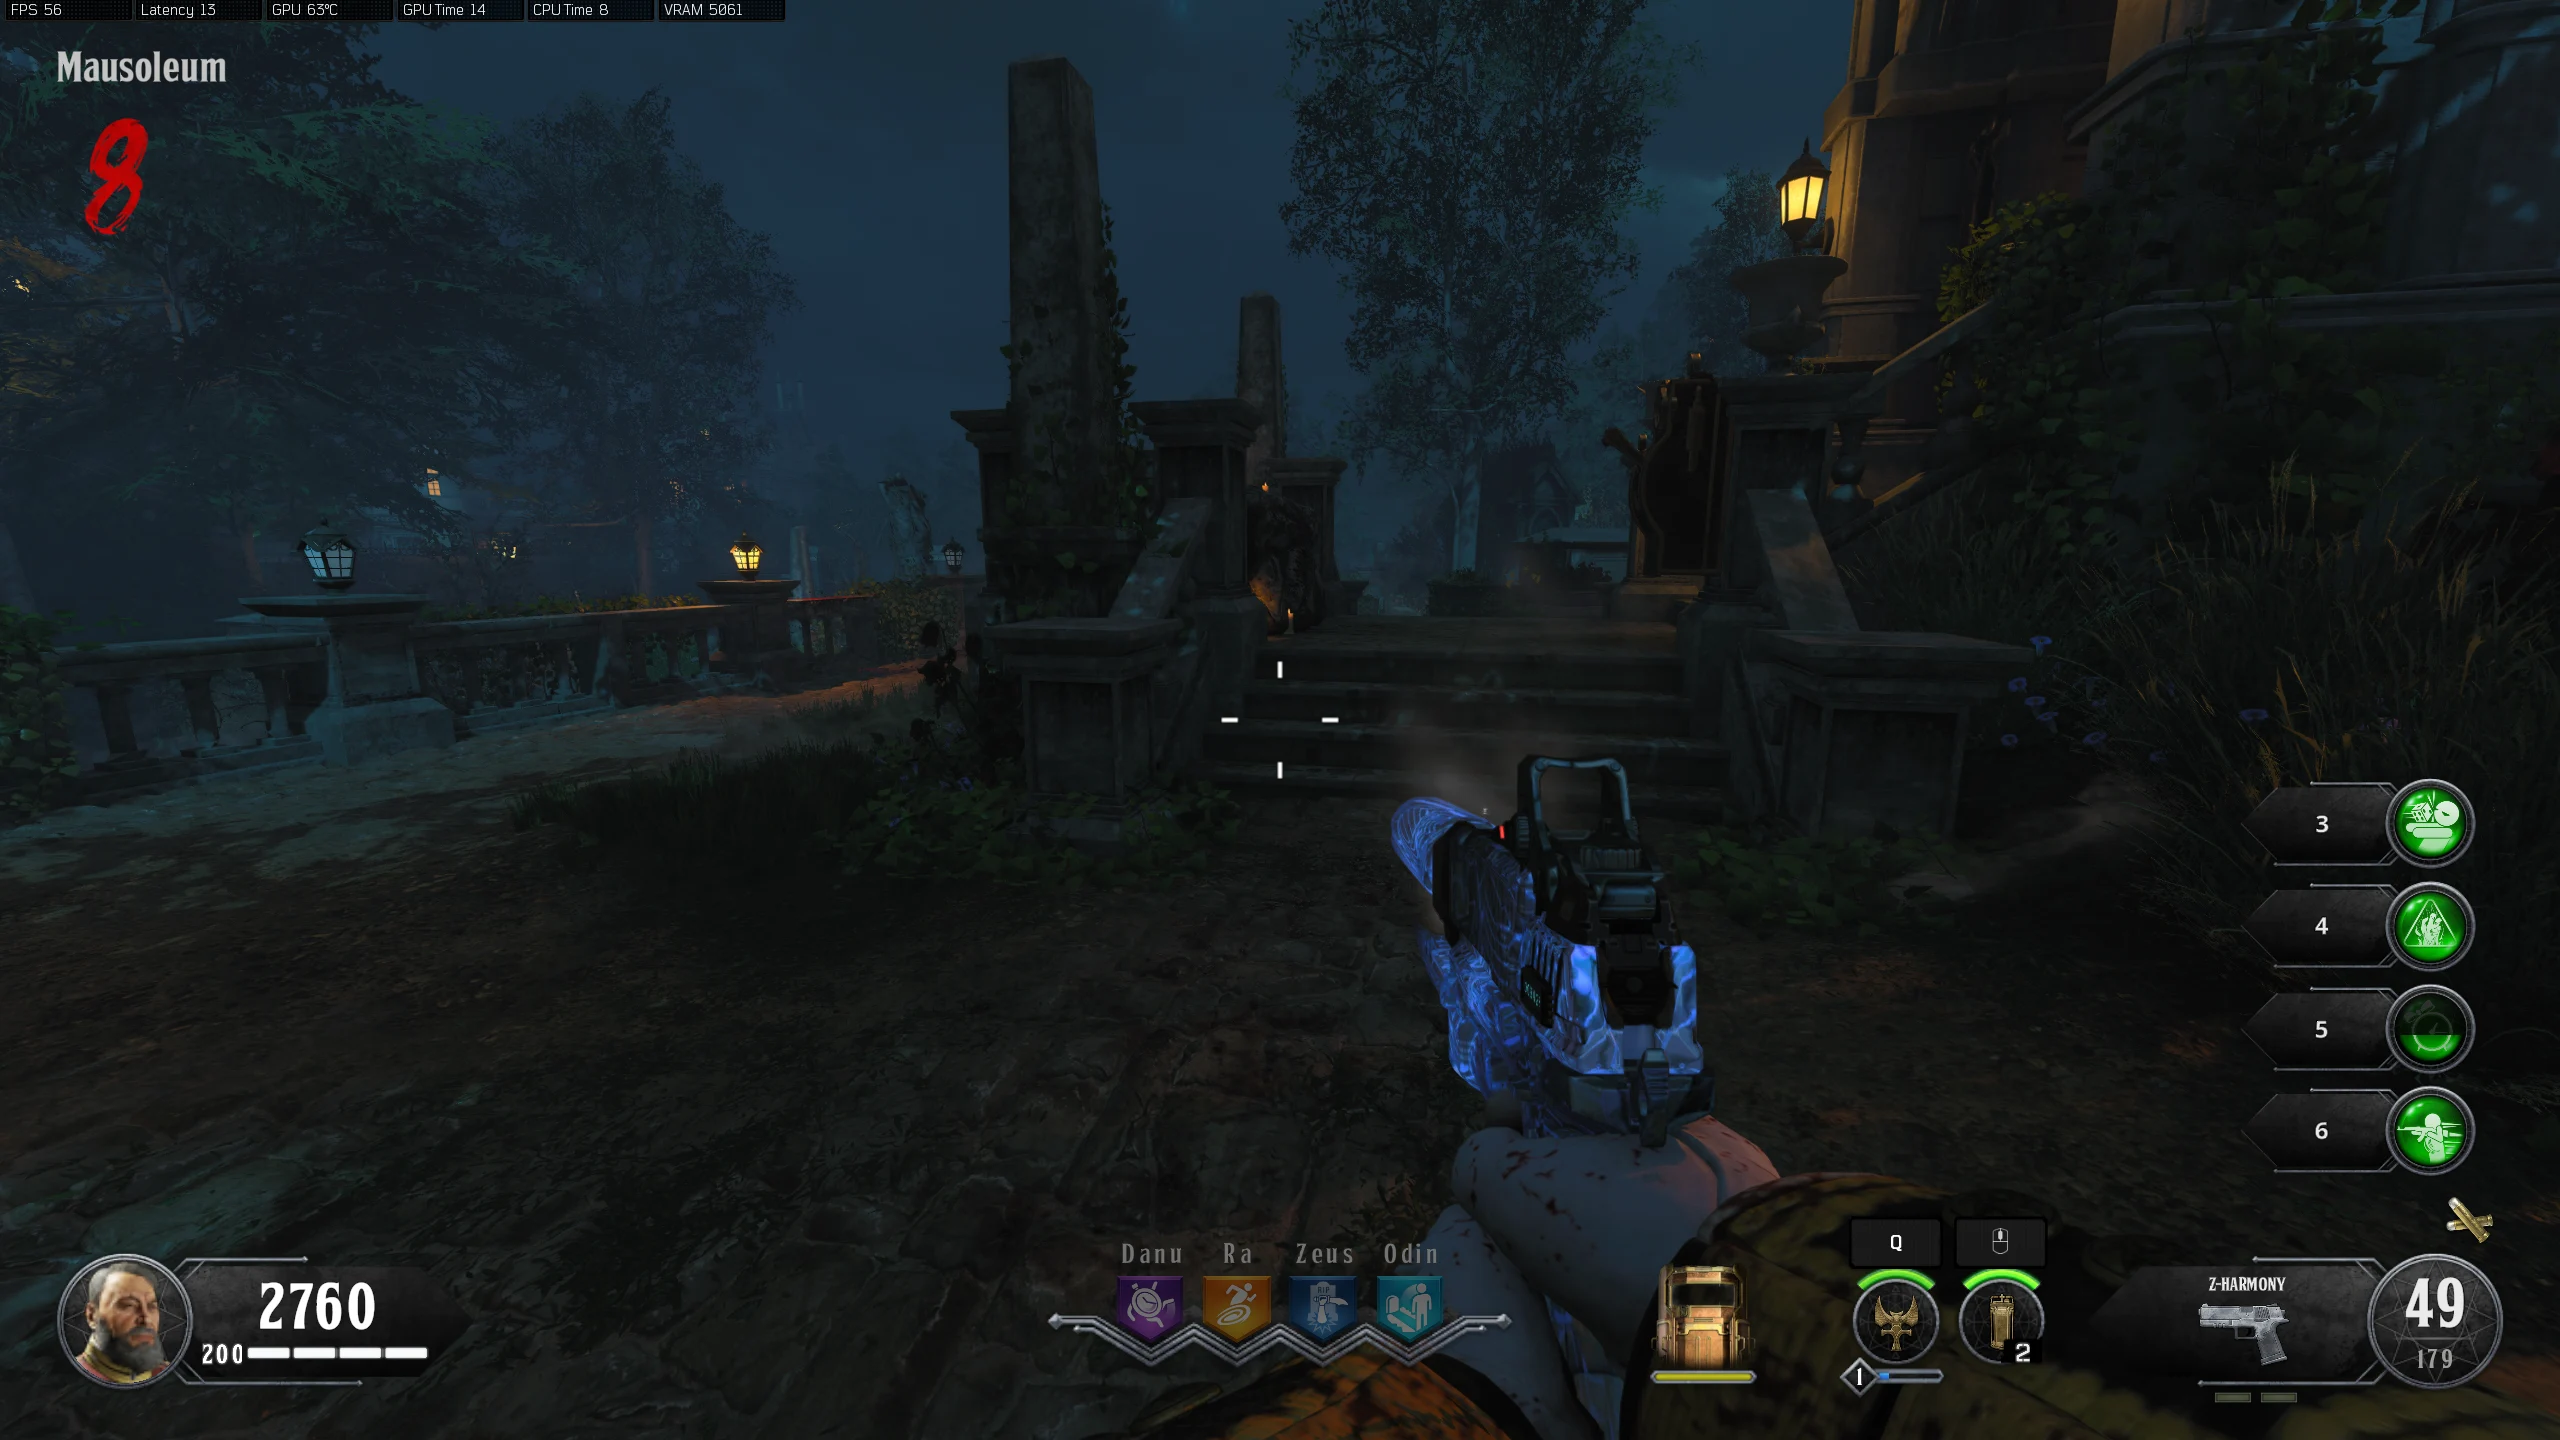
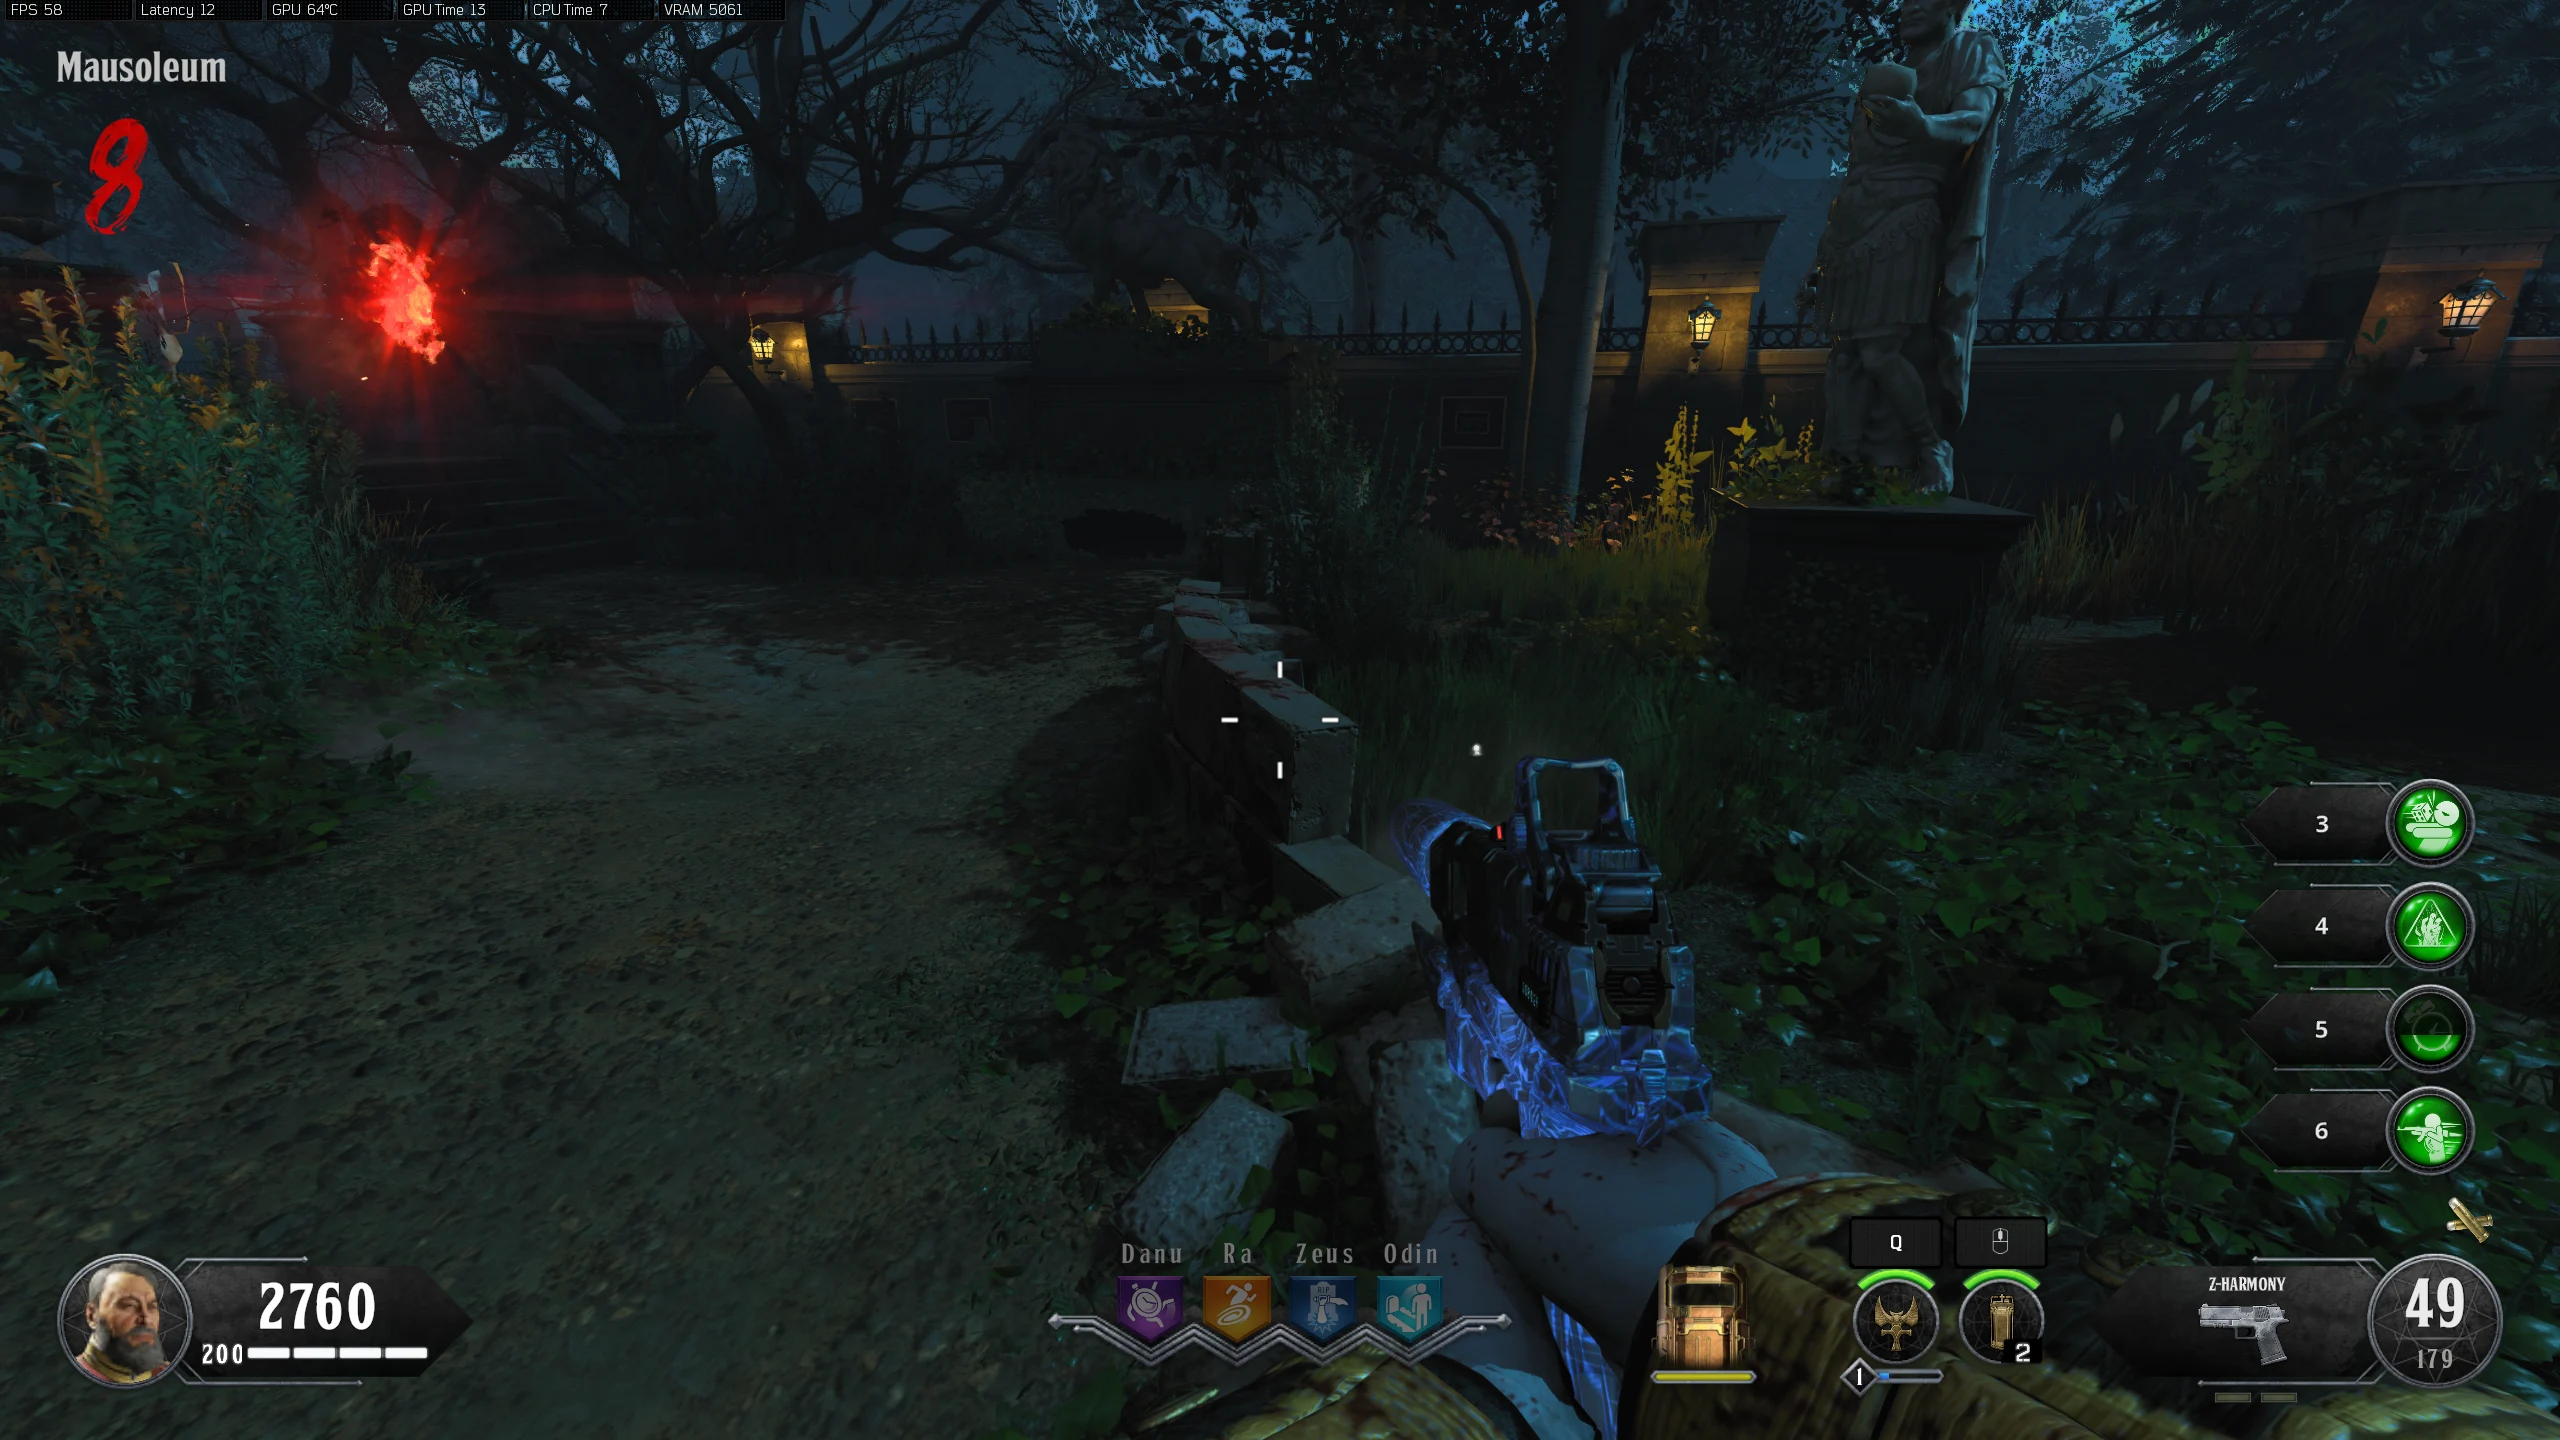
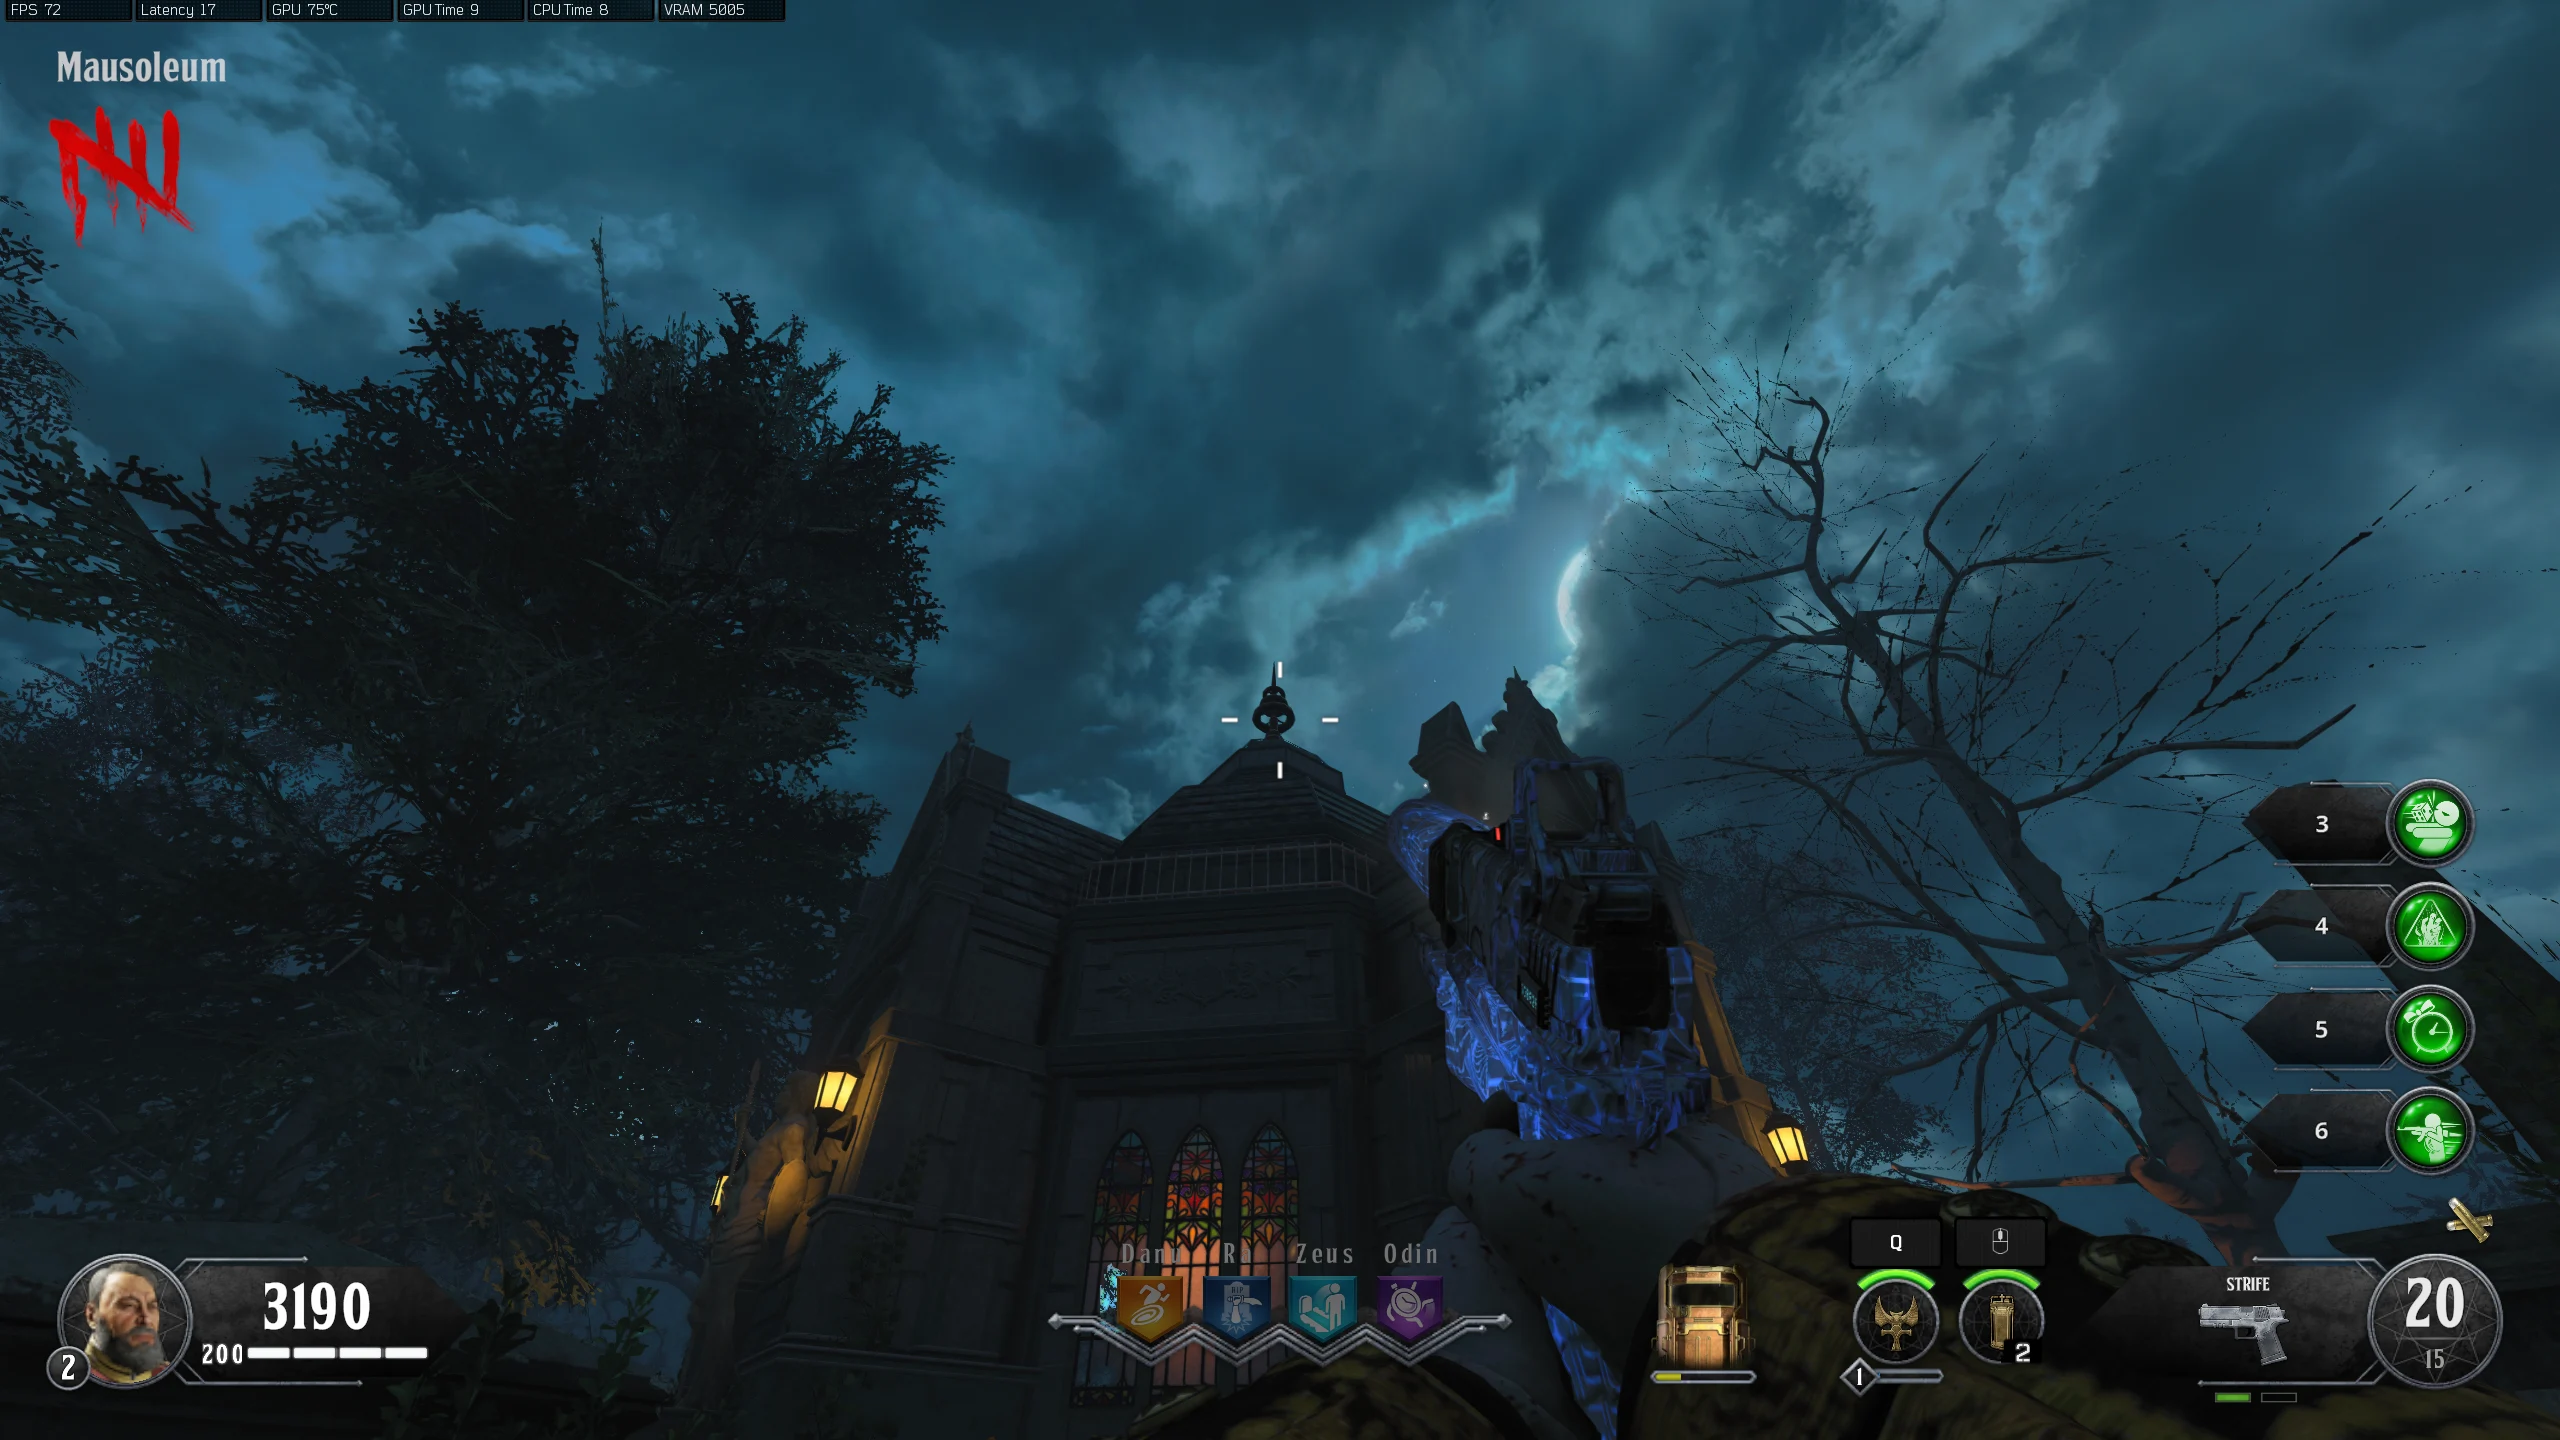
- All players must shoot the Lightning Rod above the Mausoleum at the same time with Silver Bullets.
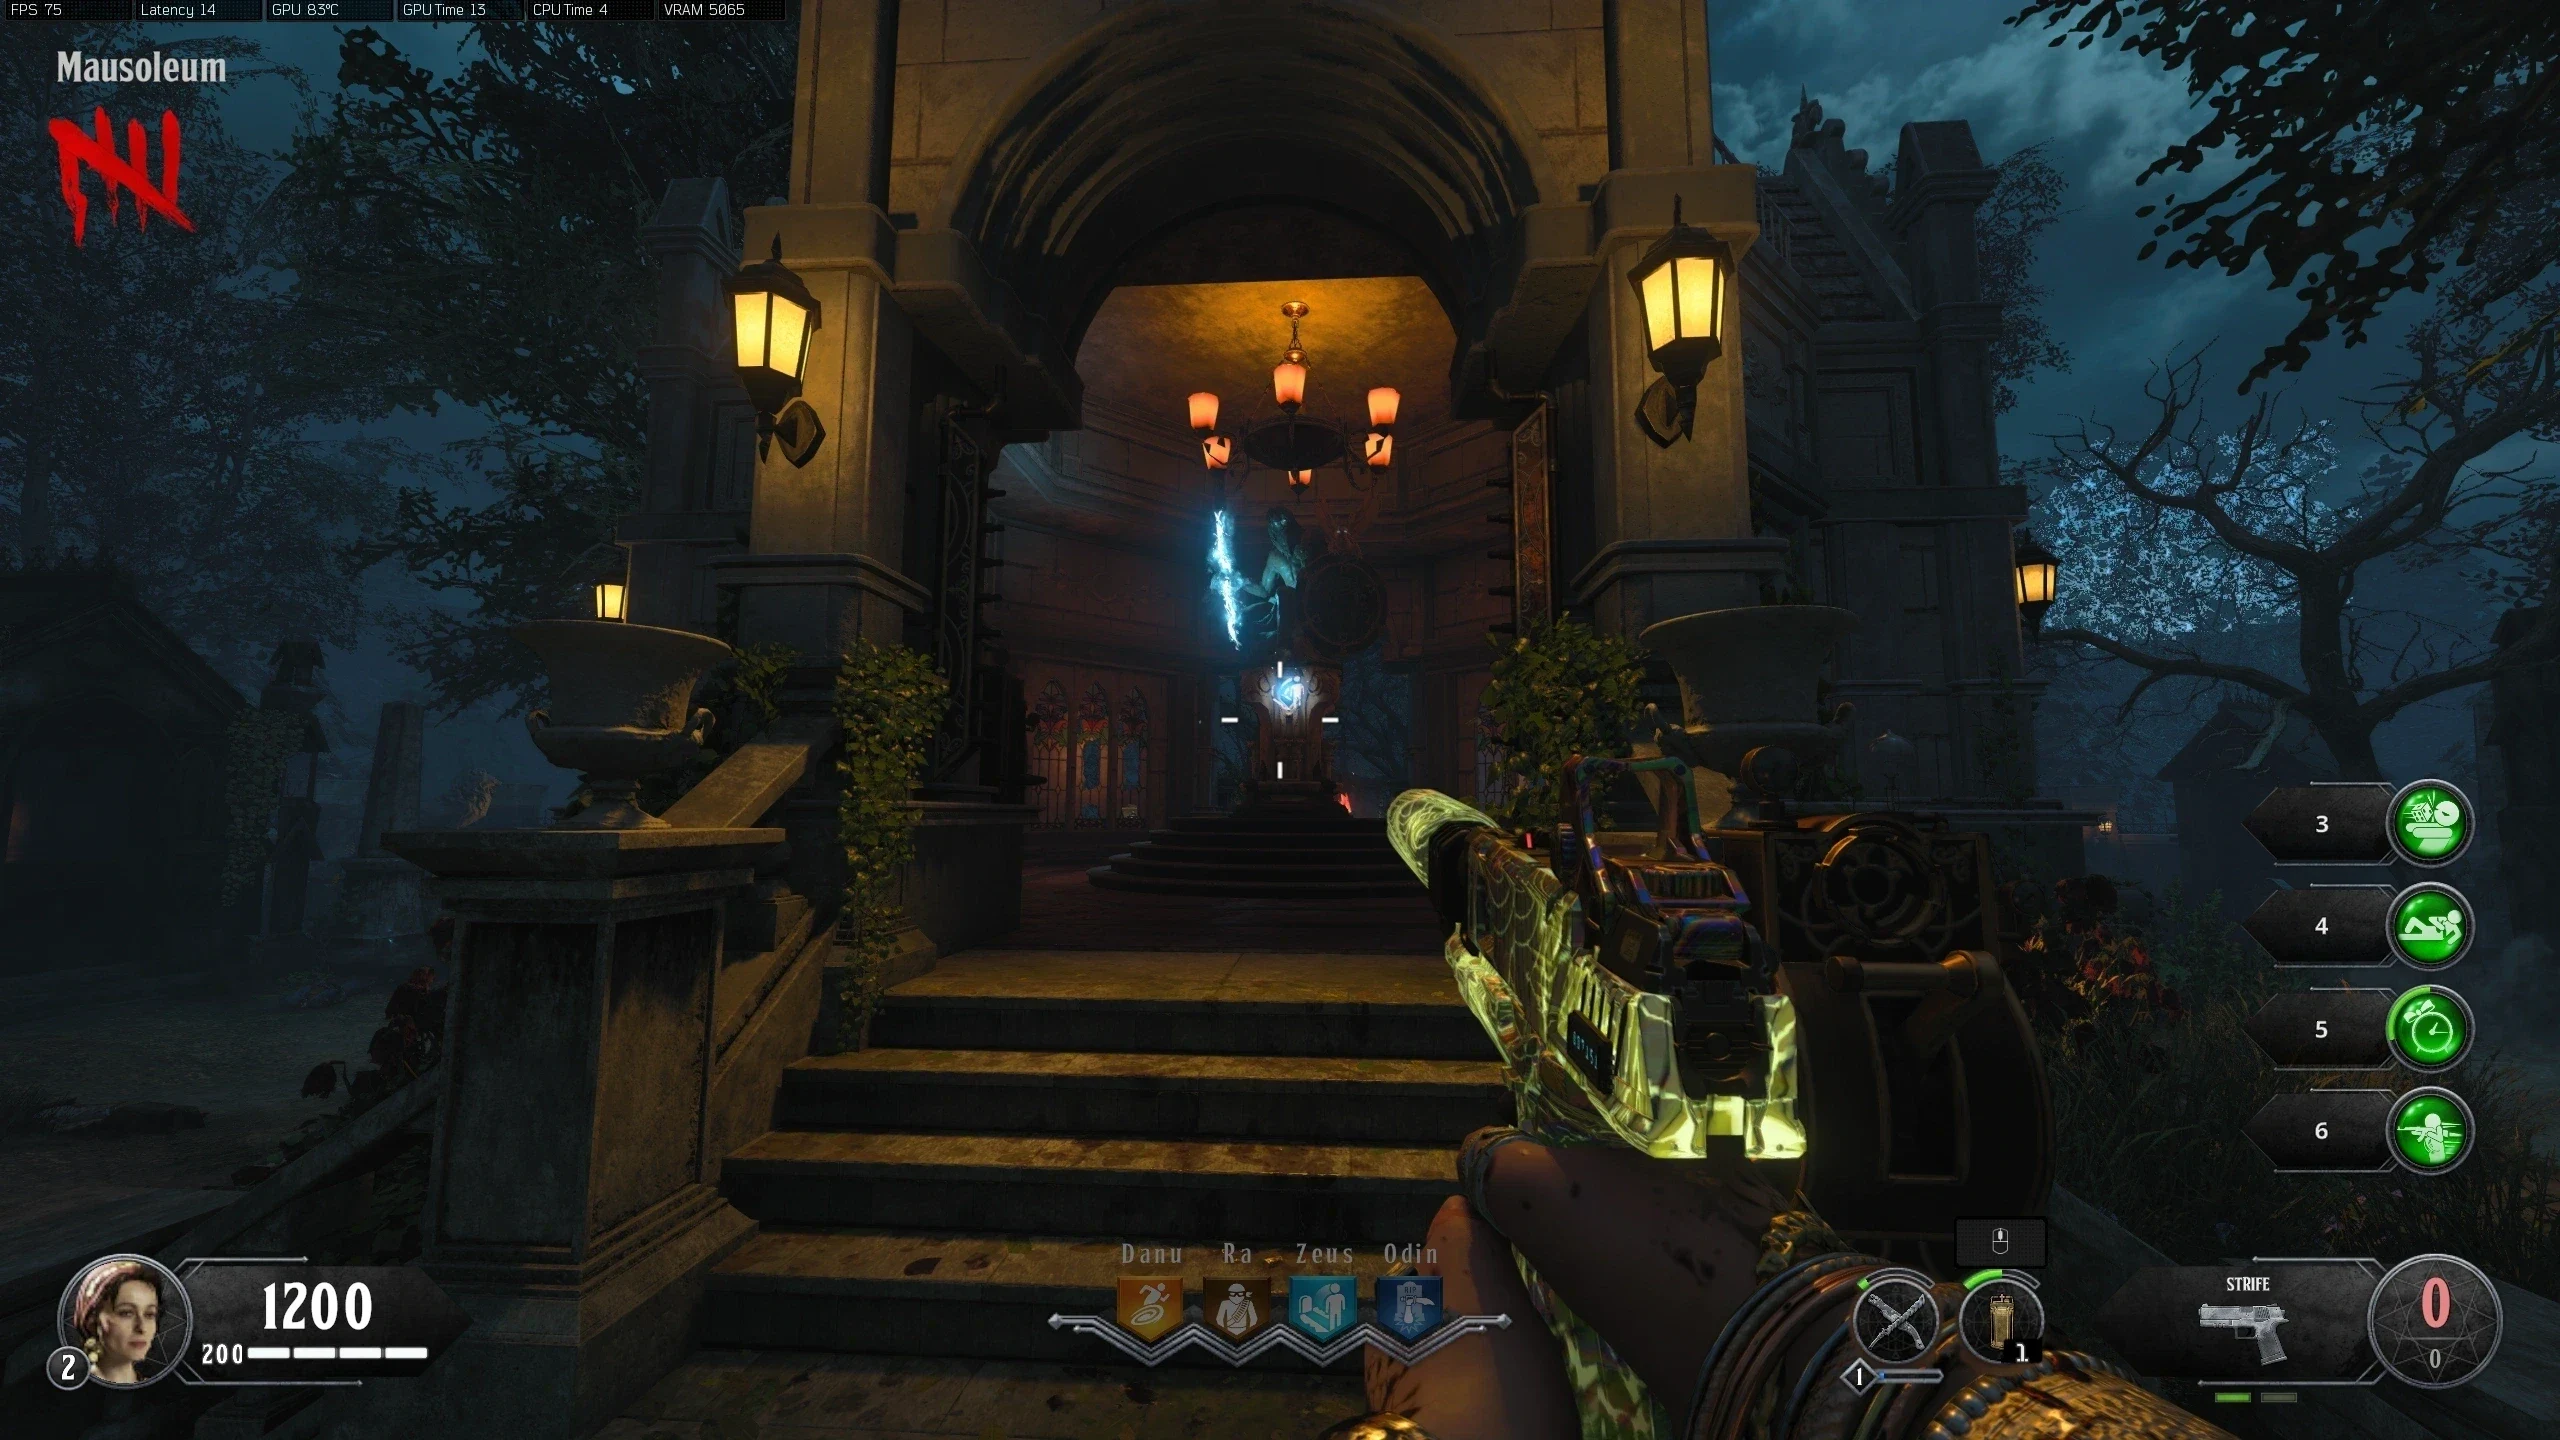
- If done correctly, it will sink into the Mausoleum and a telescope will take its place. The telescope should shoot a beam of light toward the Atlas Statue in the Mansion.
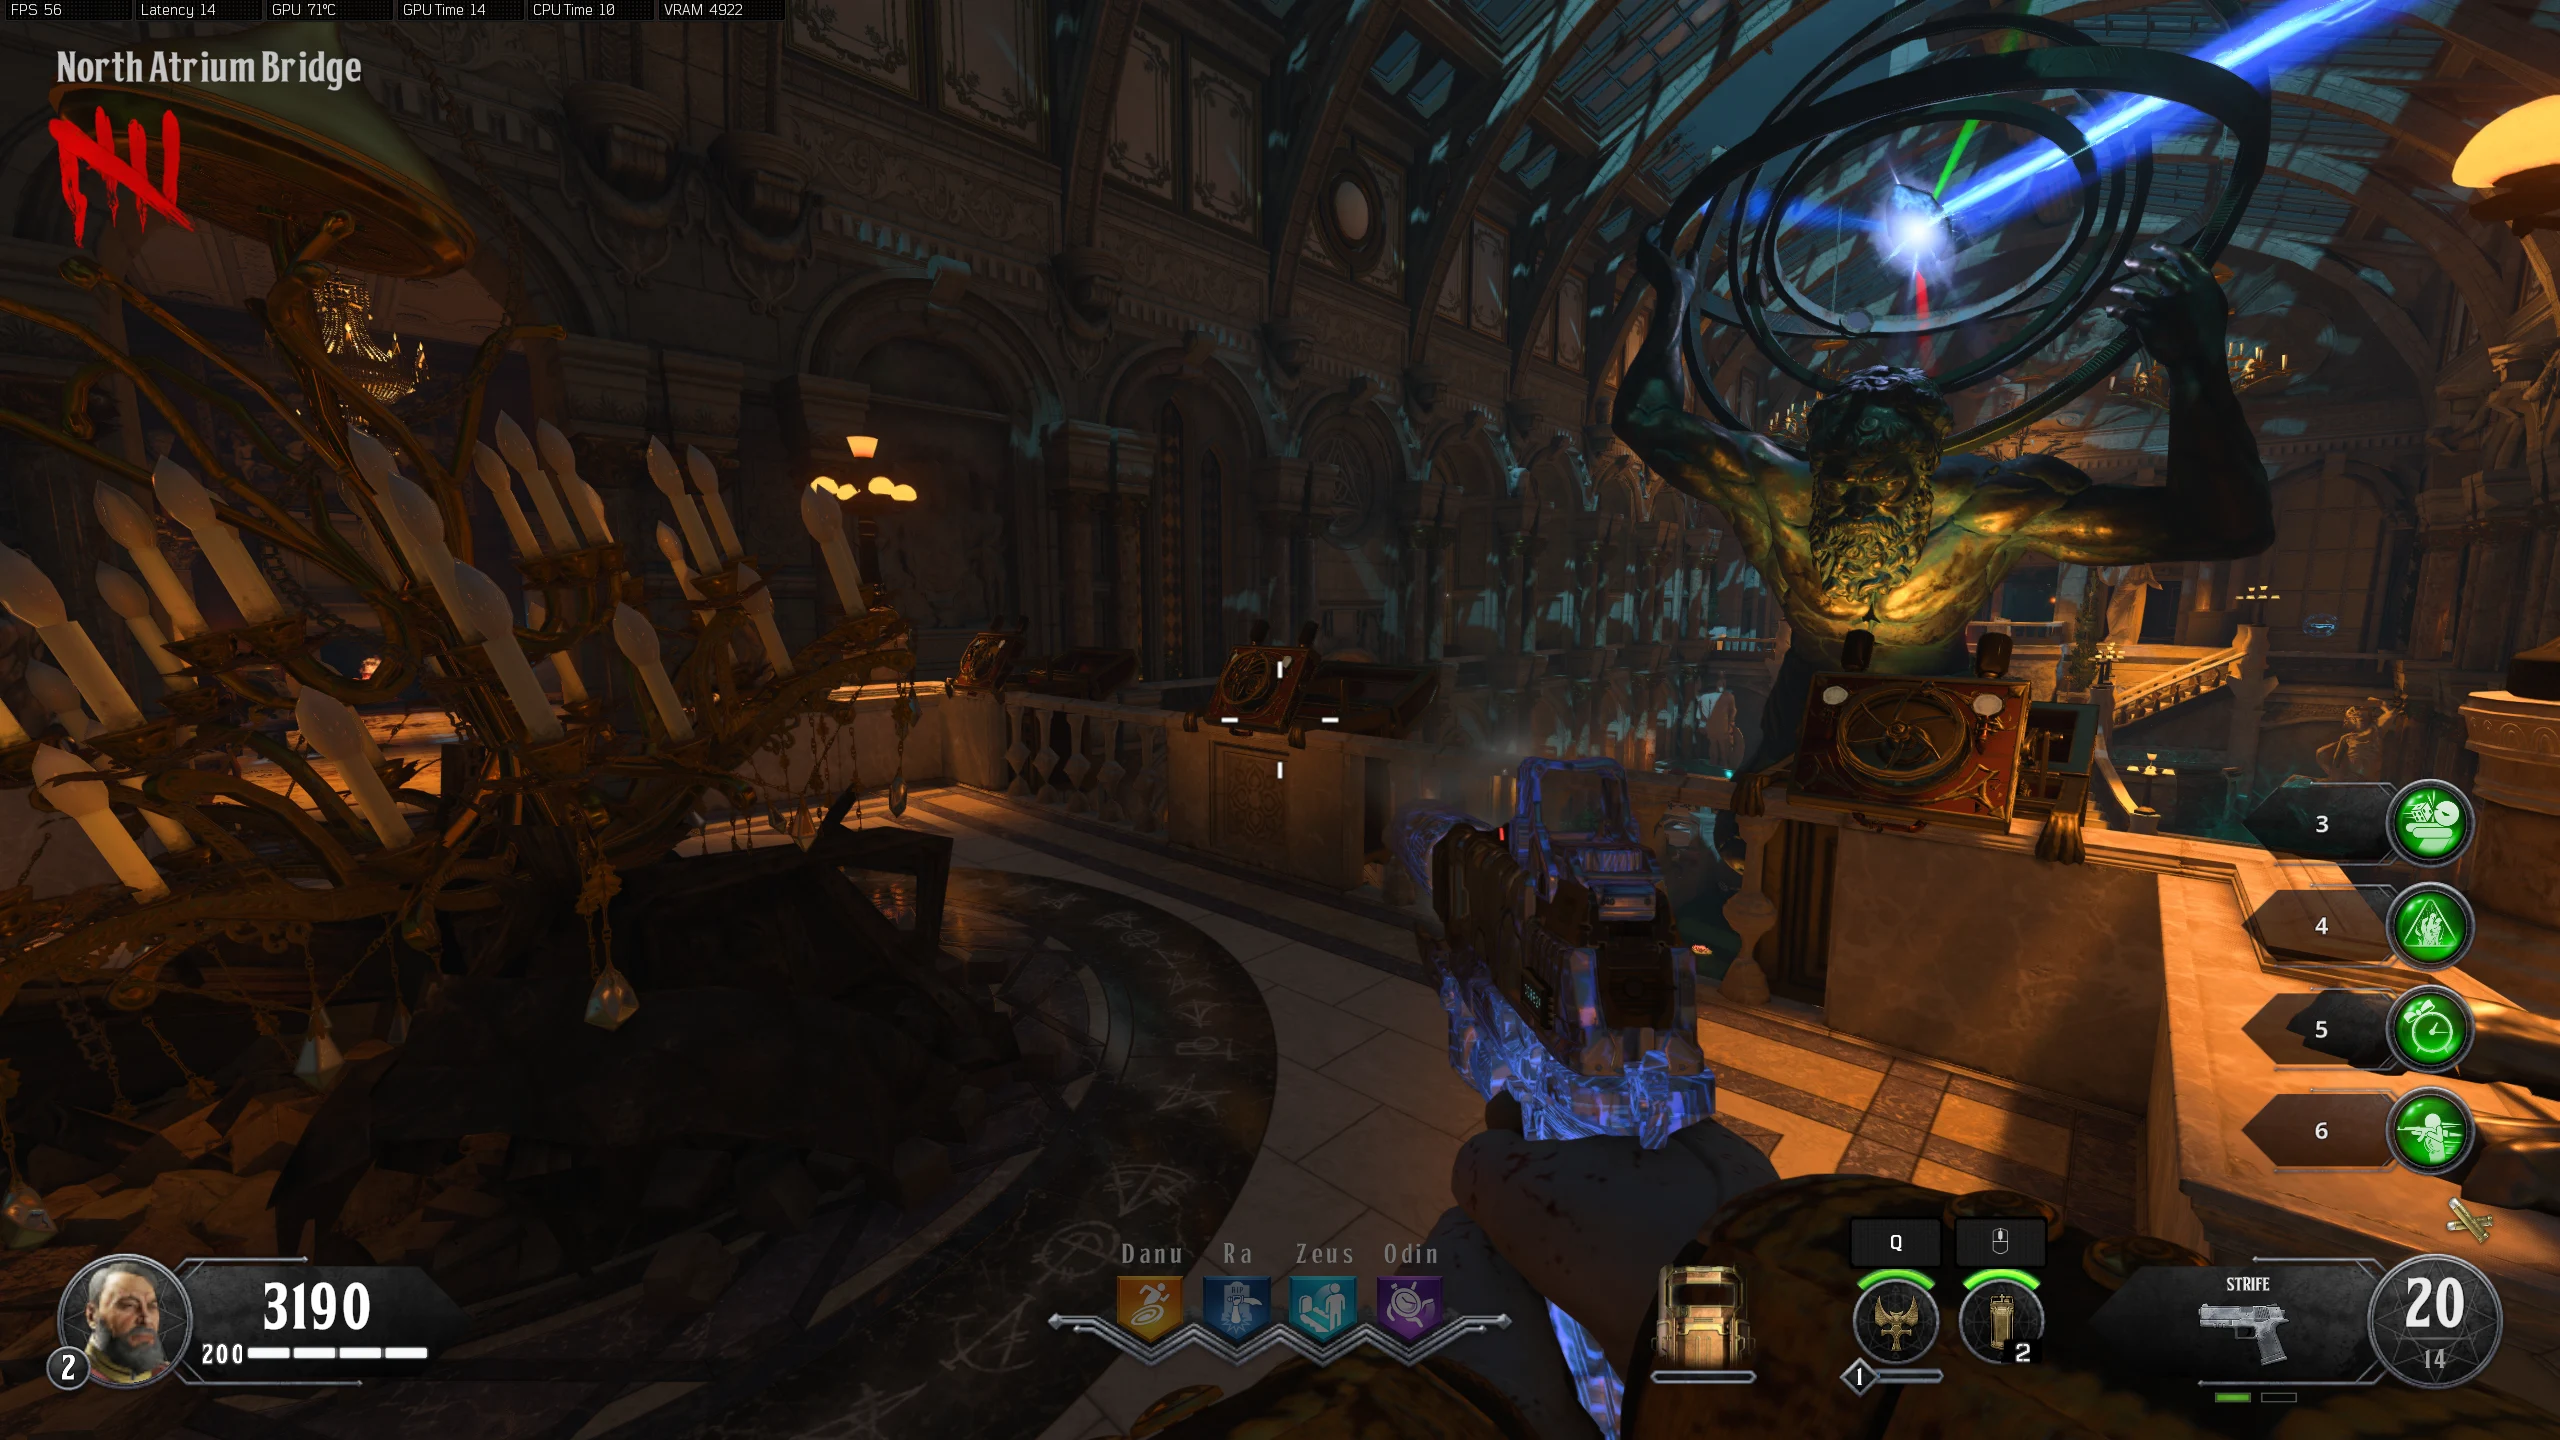
- On the 'North Atrium Bridge,' there will be three boxes on the railing facing the Atlas Statue that will open when a player gets close to them. Open all the boxes to reveal the wheels inside.
- The goal is to block the three coloured beams coming from the crystal in the middle using the circular part of the rings. The wheels can be spun left by interacting with the left side, or to the right by interacting with the right. When the wheels are spun, the rings Atlas is holding will spin. The easiest way to block all beams is:
- Spin the Middle Wheel to the Left until the Green light is covered
- Spin the Left Wheel to the Left until the Blue light is covered (this will uncover the green light)
- Spin the Right wheel to the Left until the Red light is covered
- Repeat Steps 1–3 until all lights are covered
- Once all lights are covered, the beams will melt the statue's head off.
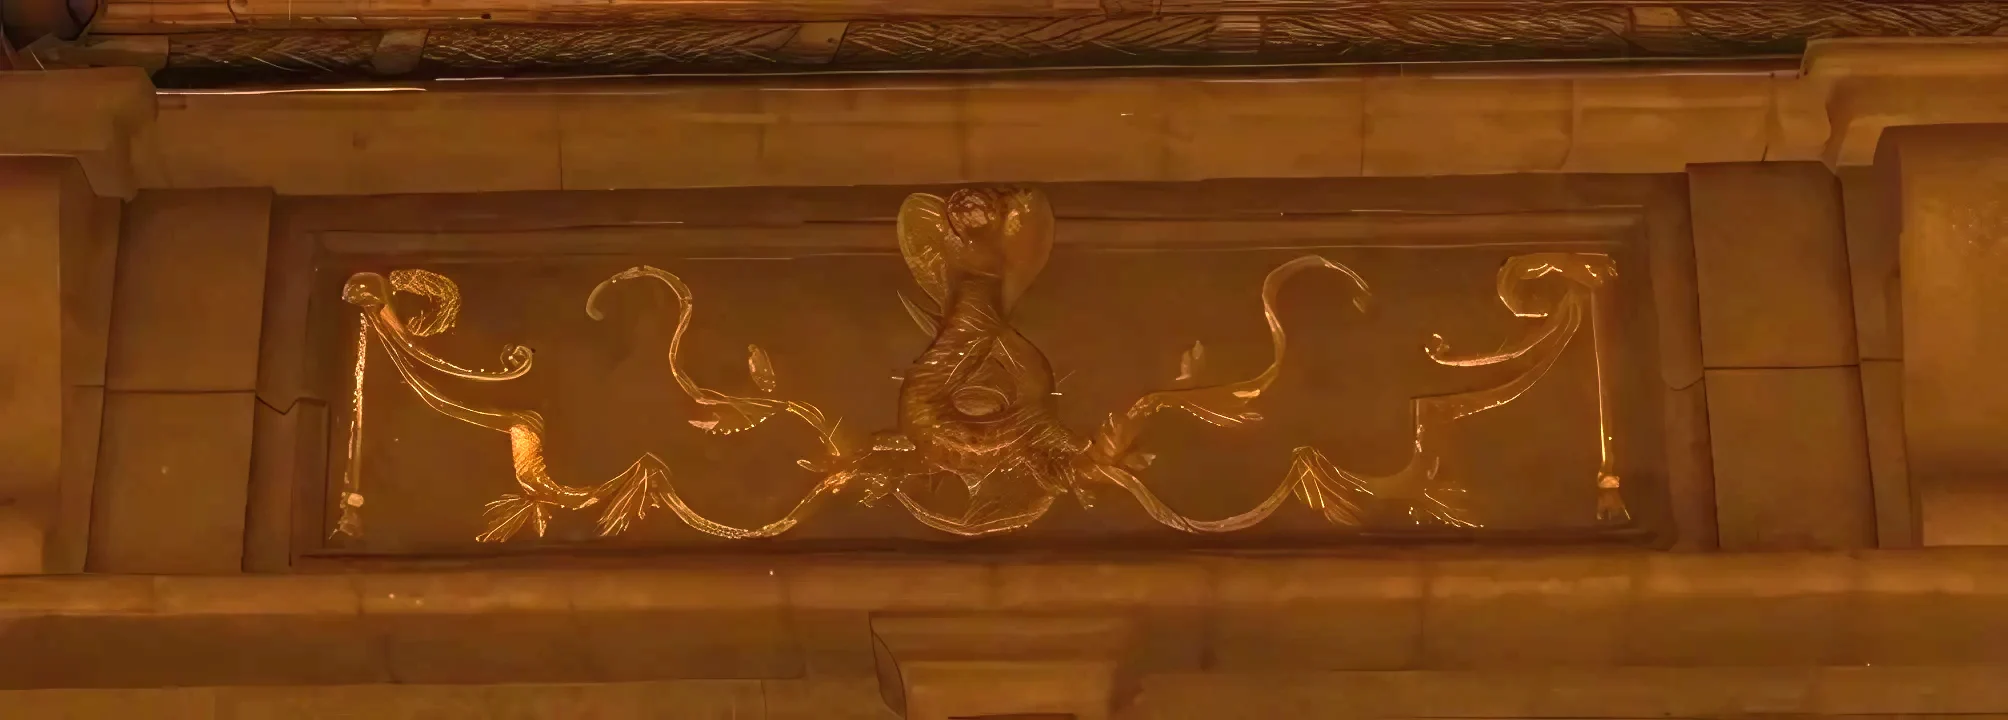
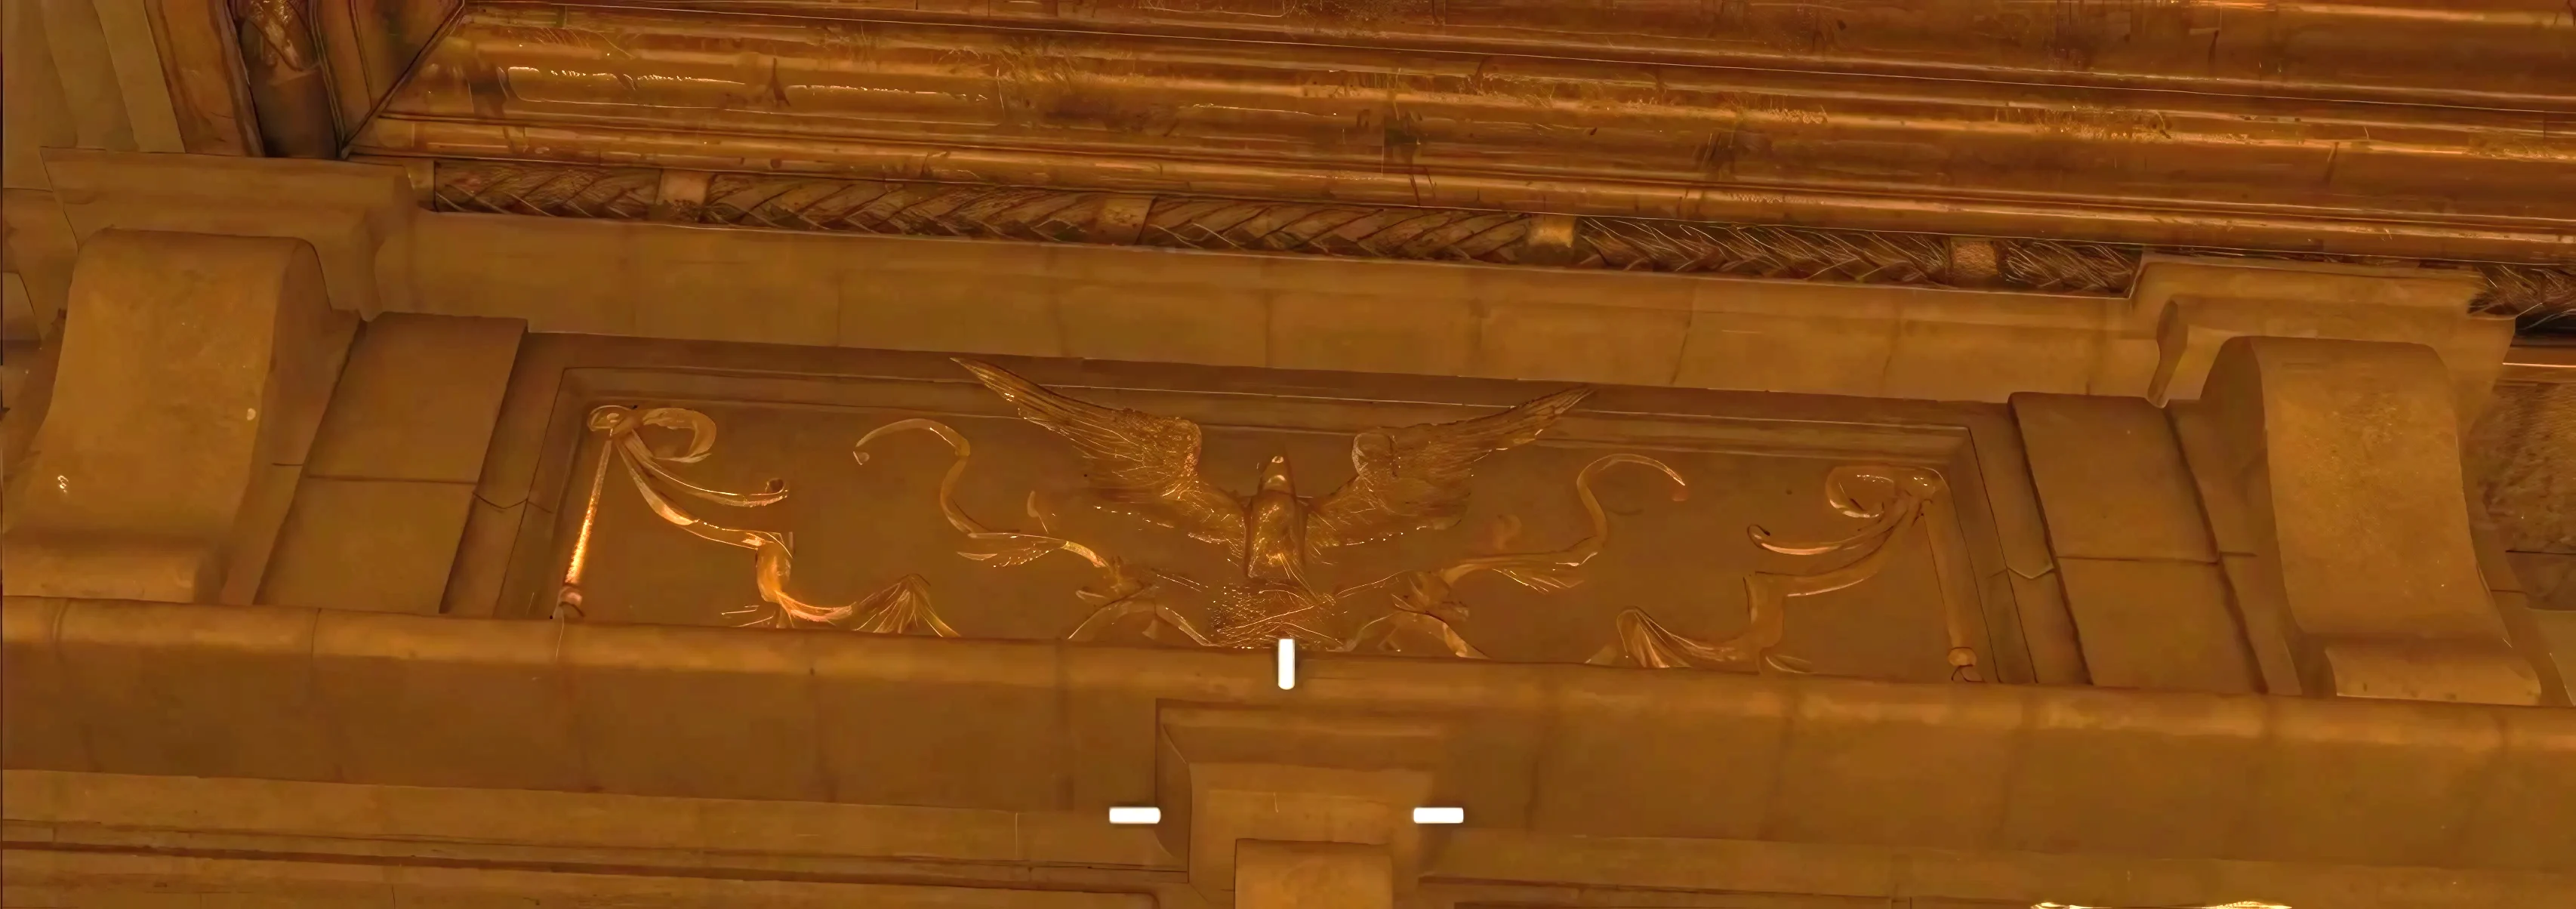
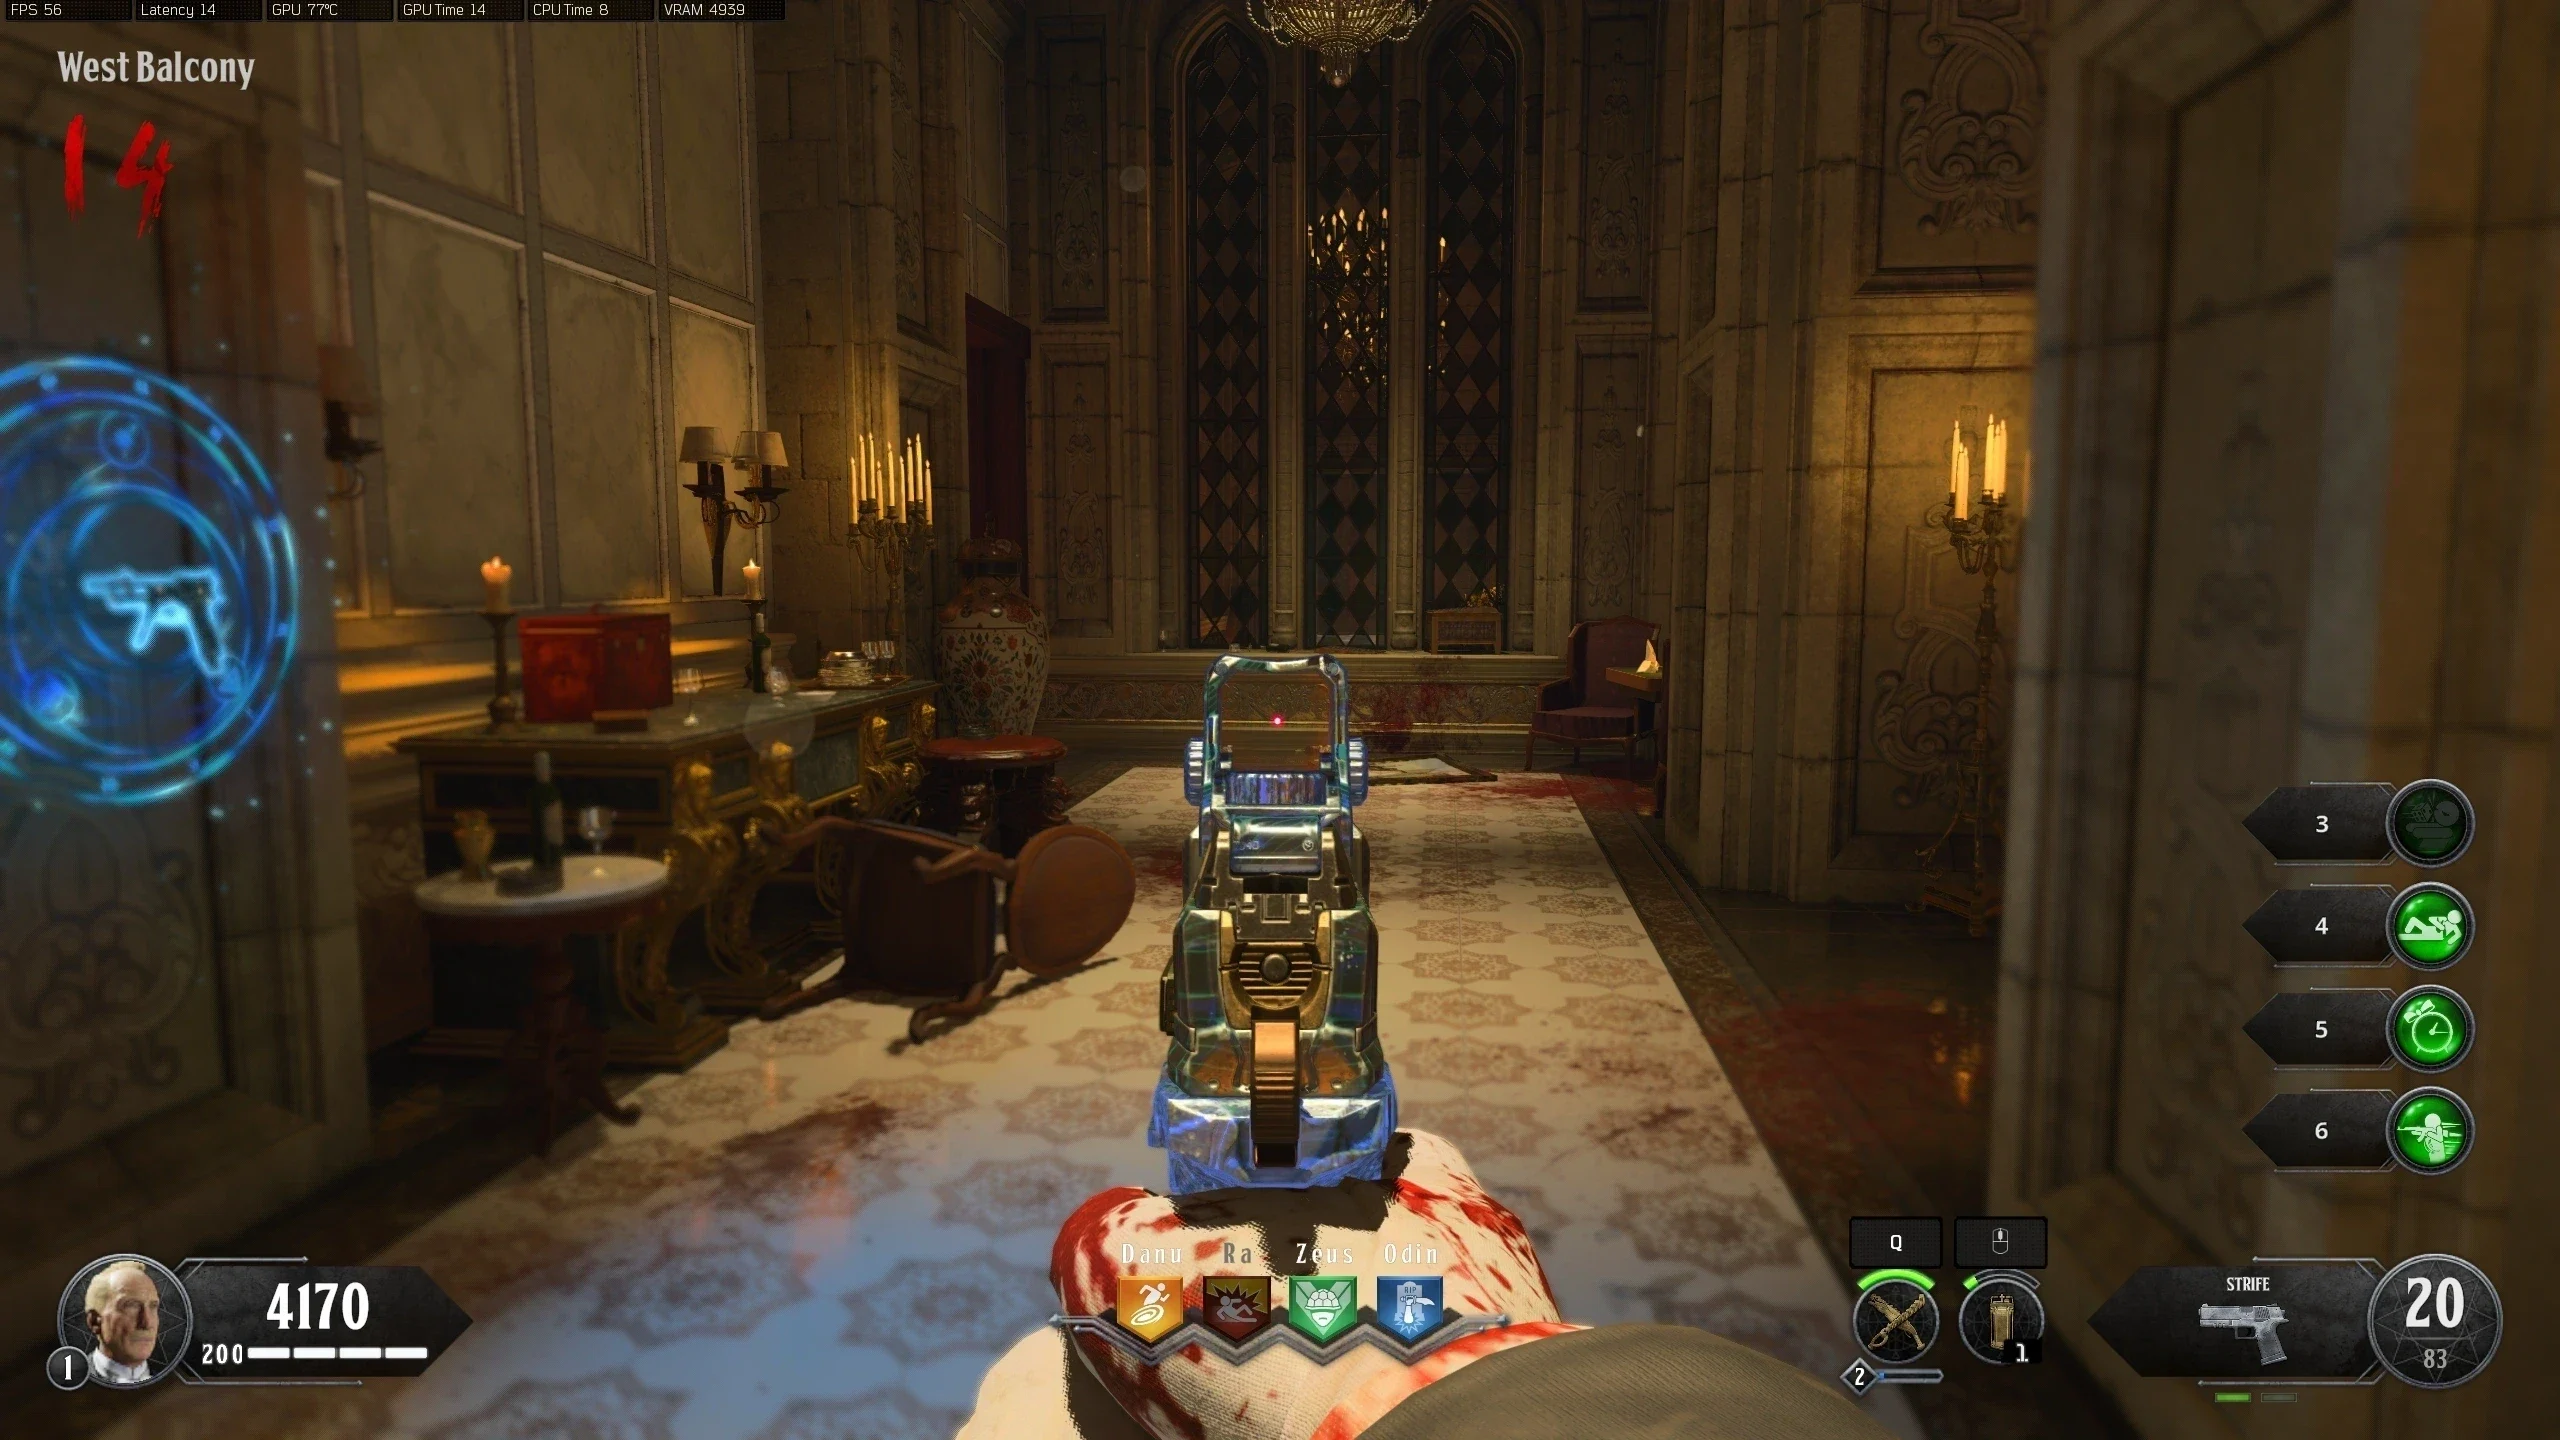
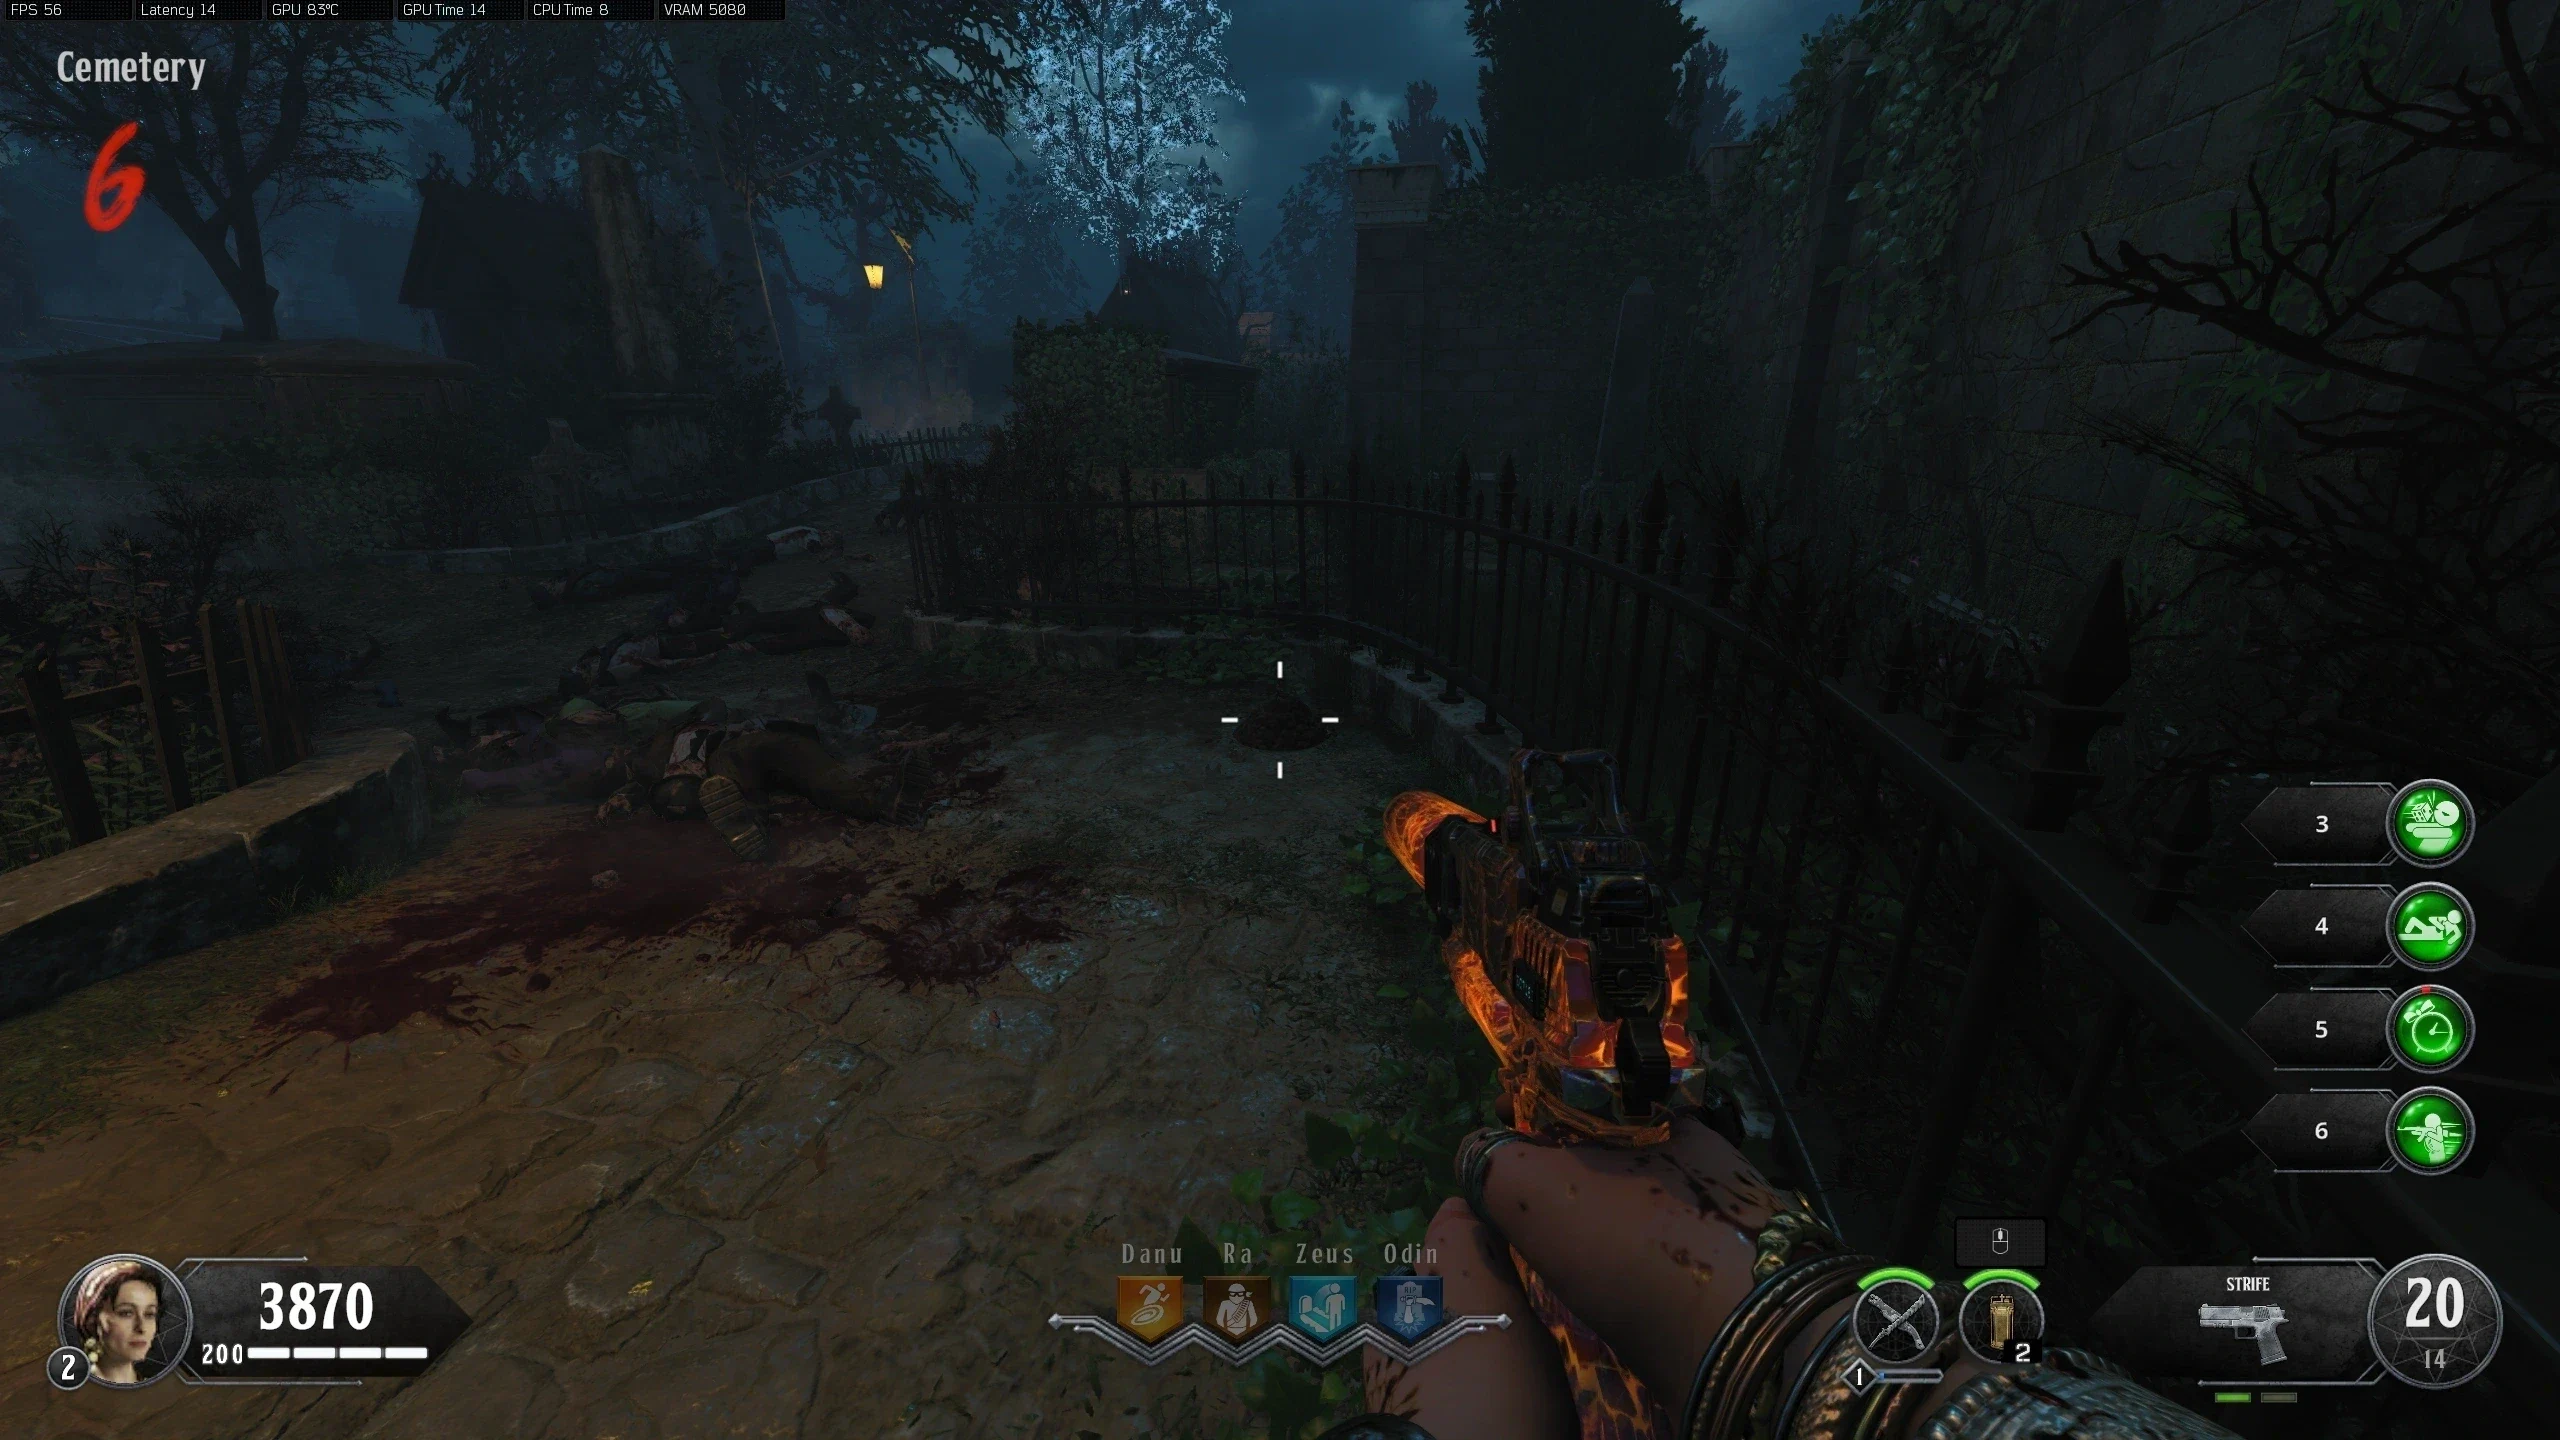
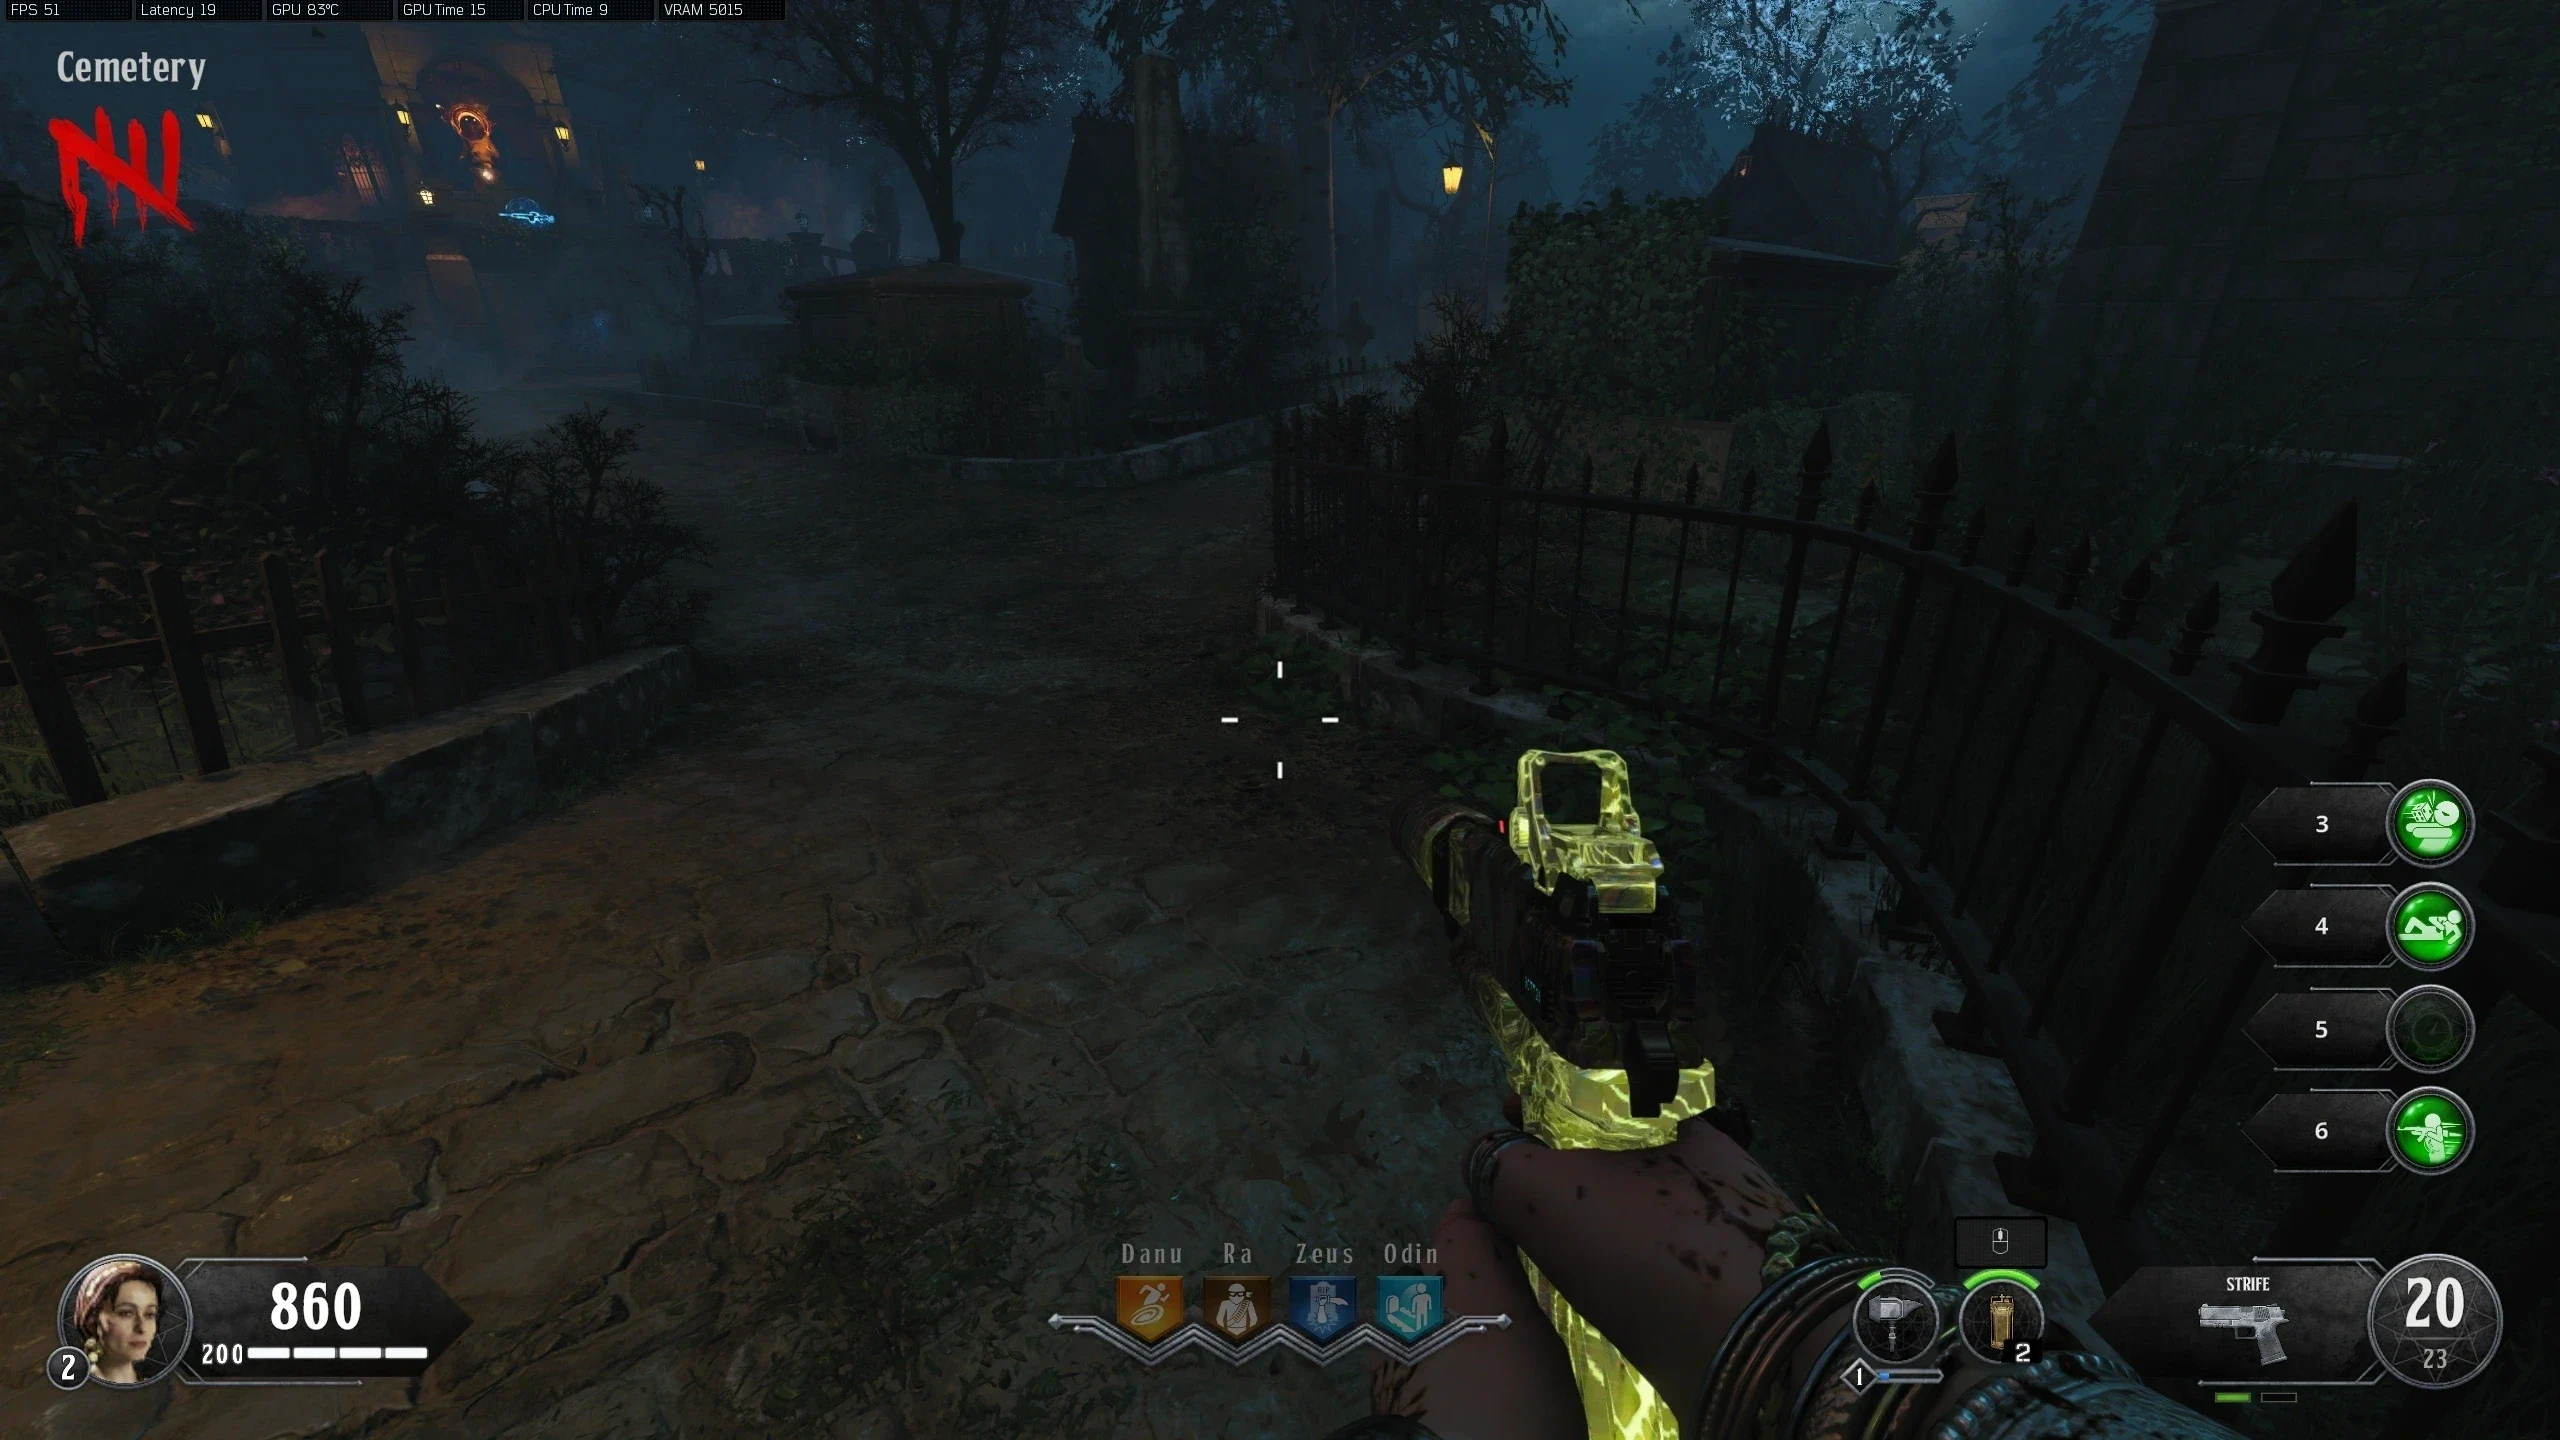
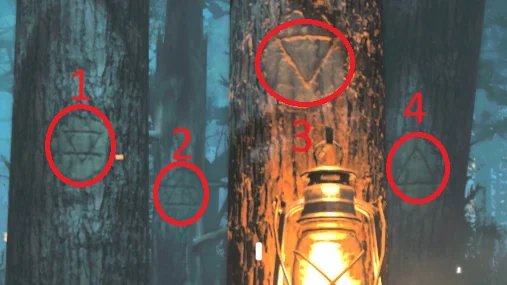
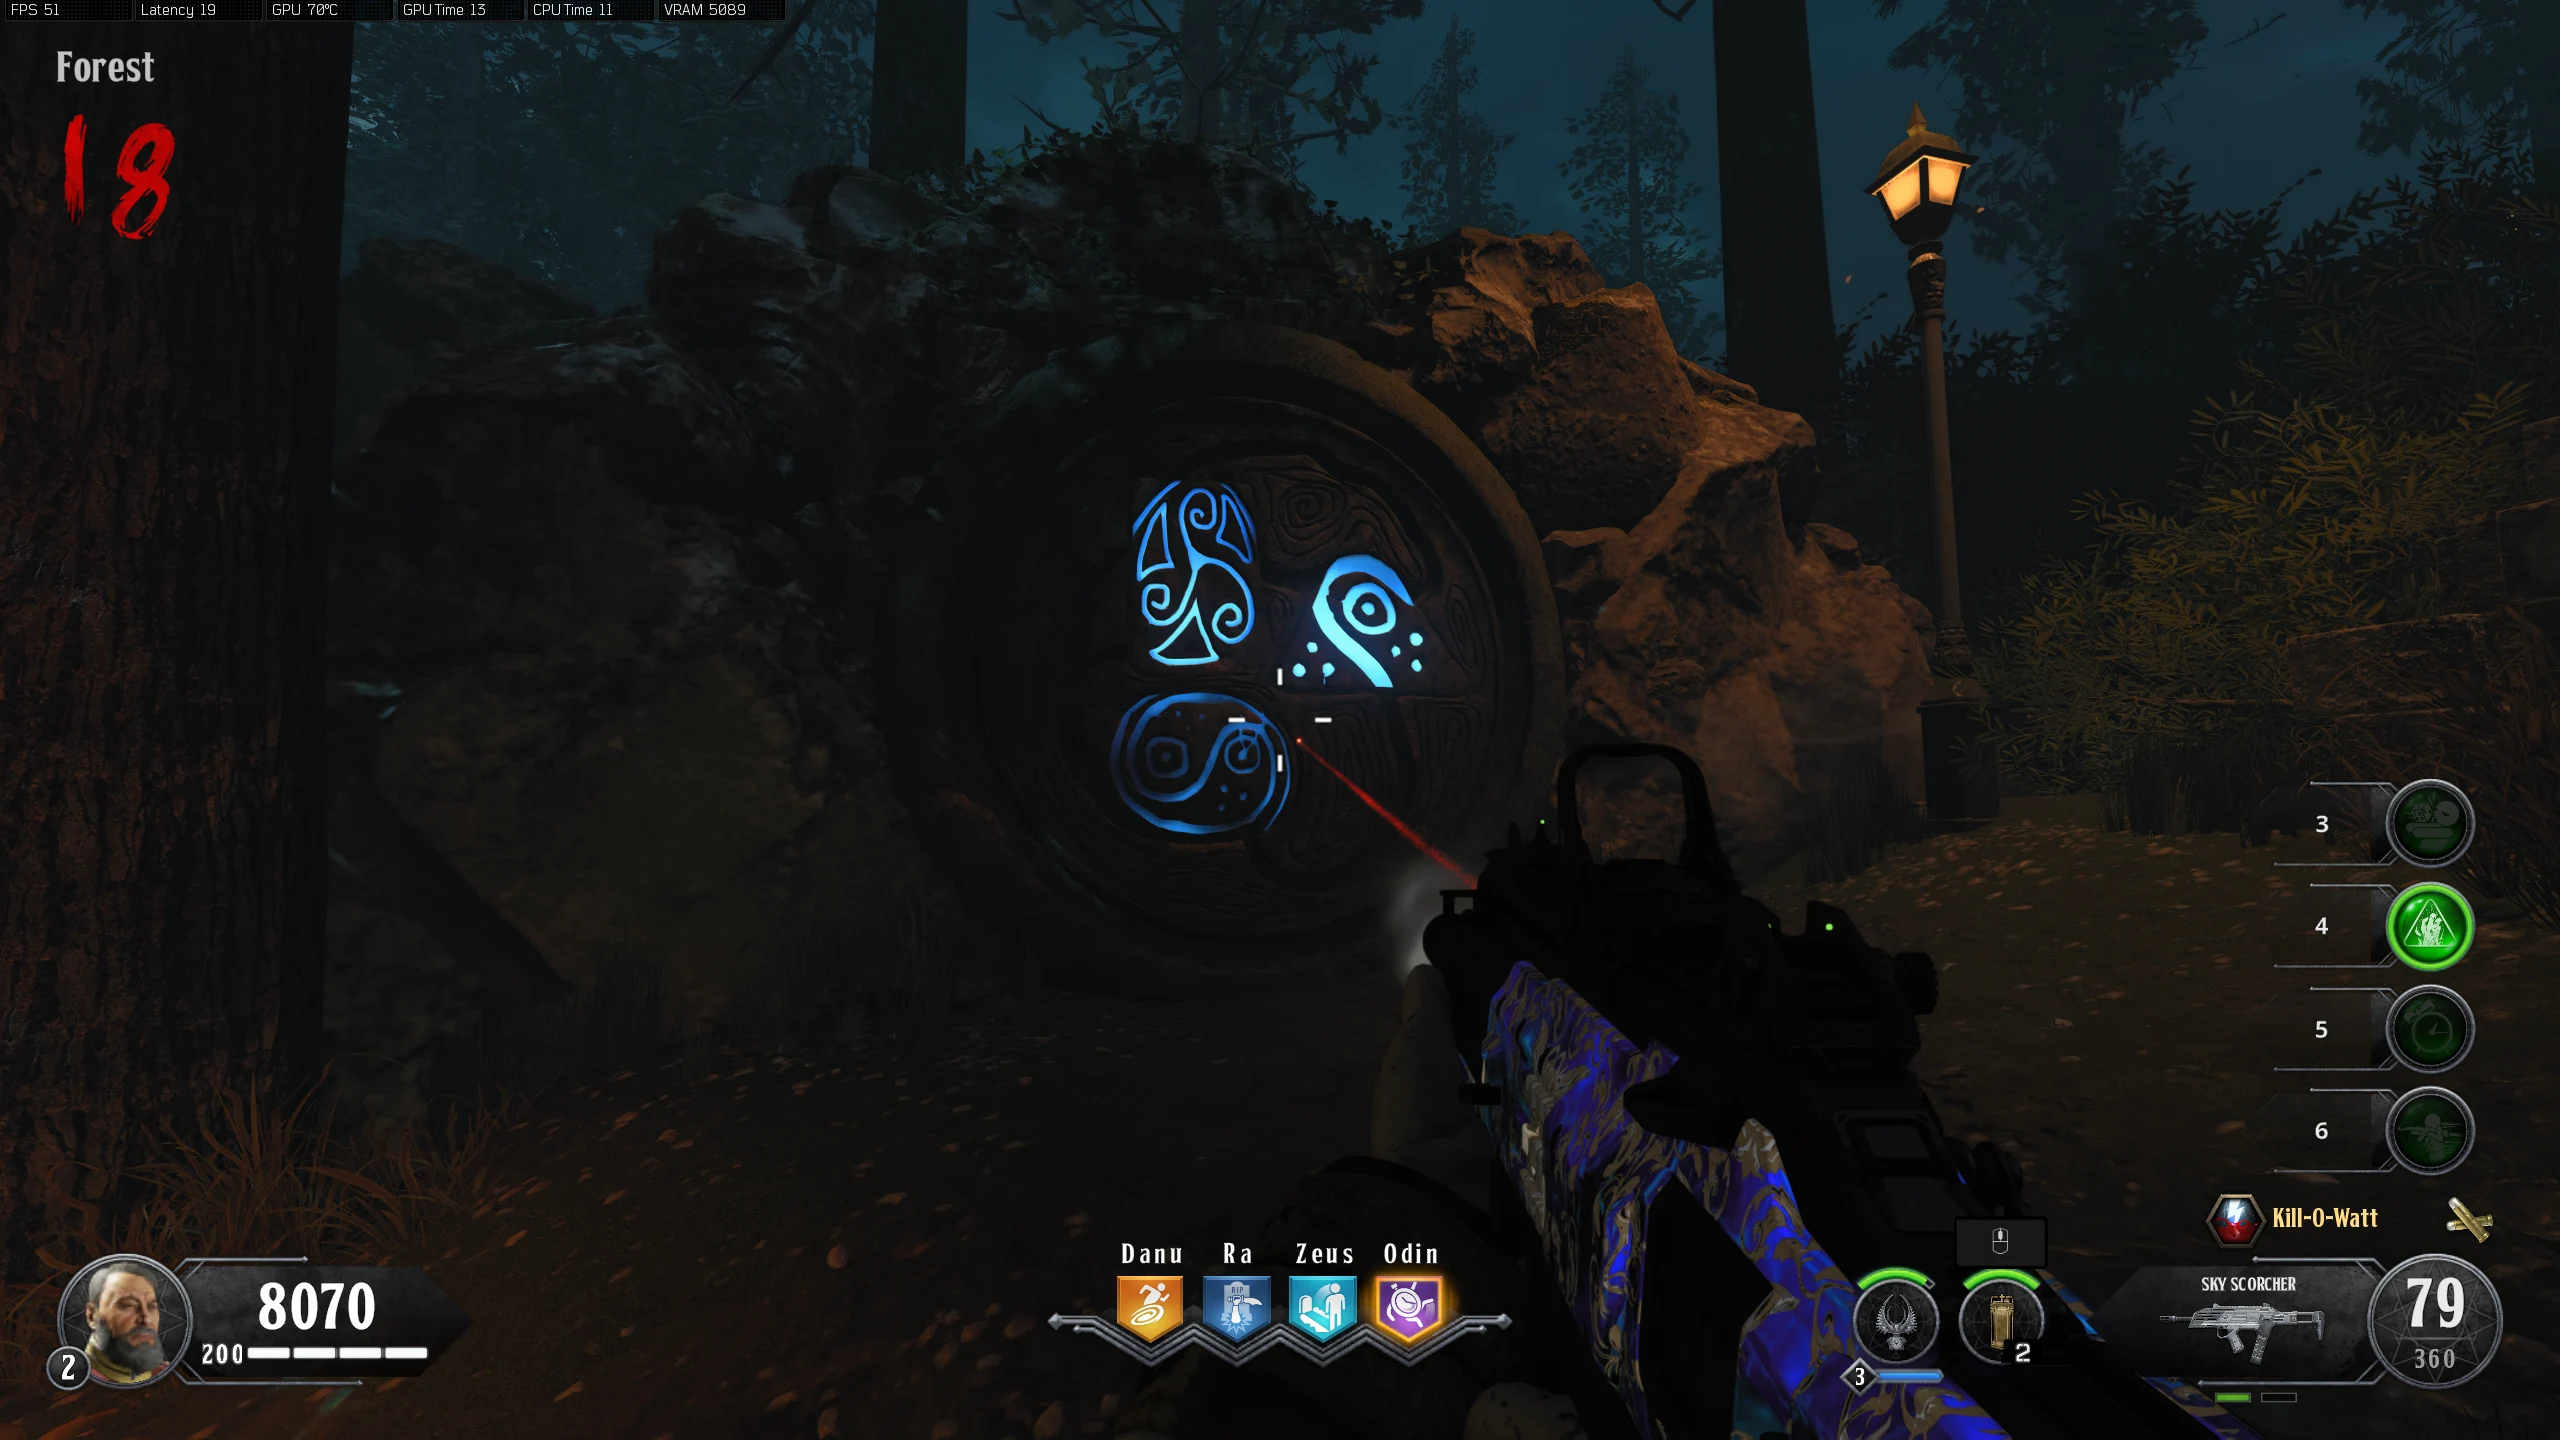
- Around the map, Zodiac Symbols will spawn in three of the following seven locations (Note: Capricorn on this image looks nothing like the one in-game). Each symbol has three sets of scratch marks associated with it. The scratch marks need to be added up to get the number for the Zodiac symbol (e.g. Aries - 3 Scratches, 5 Scratches and 2 Scratches would be Aries - 10).
- What a symbol means is irrelevant, you only have to remember what the symbol looks like, and its associated number of scratches.
- Sometimes the Zodiac symbols take a few seconds to load in, so stare at every location for a few seconds to make sure it loads.
- If only two sets of scratches are visible for one symbol, consider the third (invisible) set of scratches to be zero.
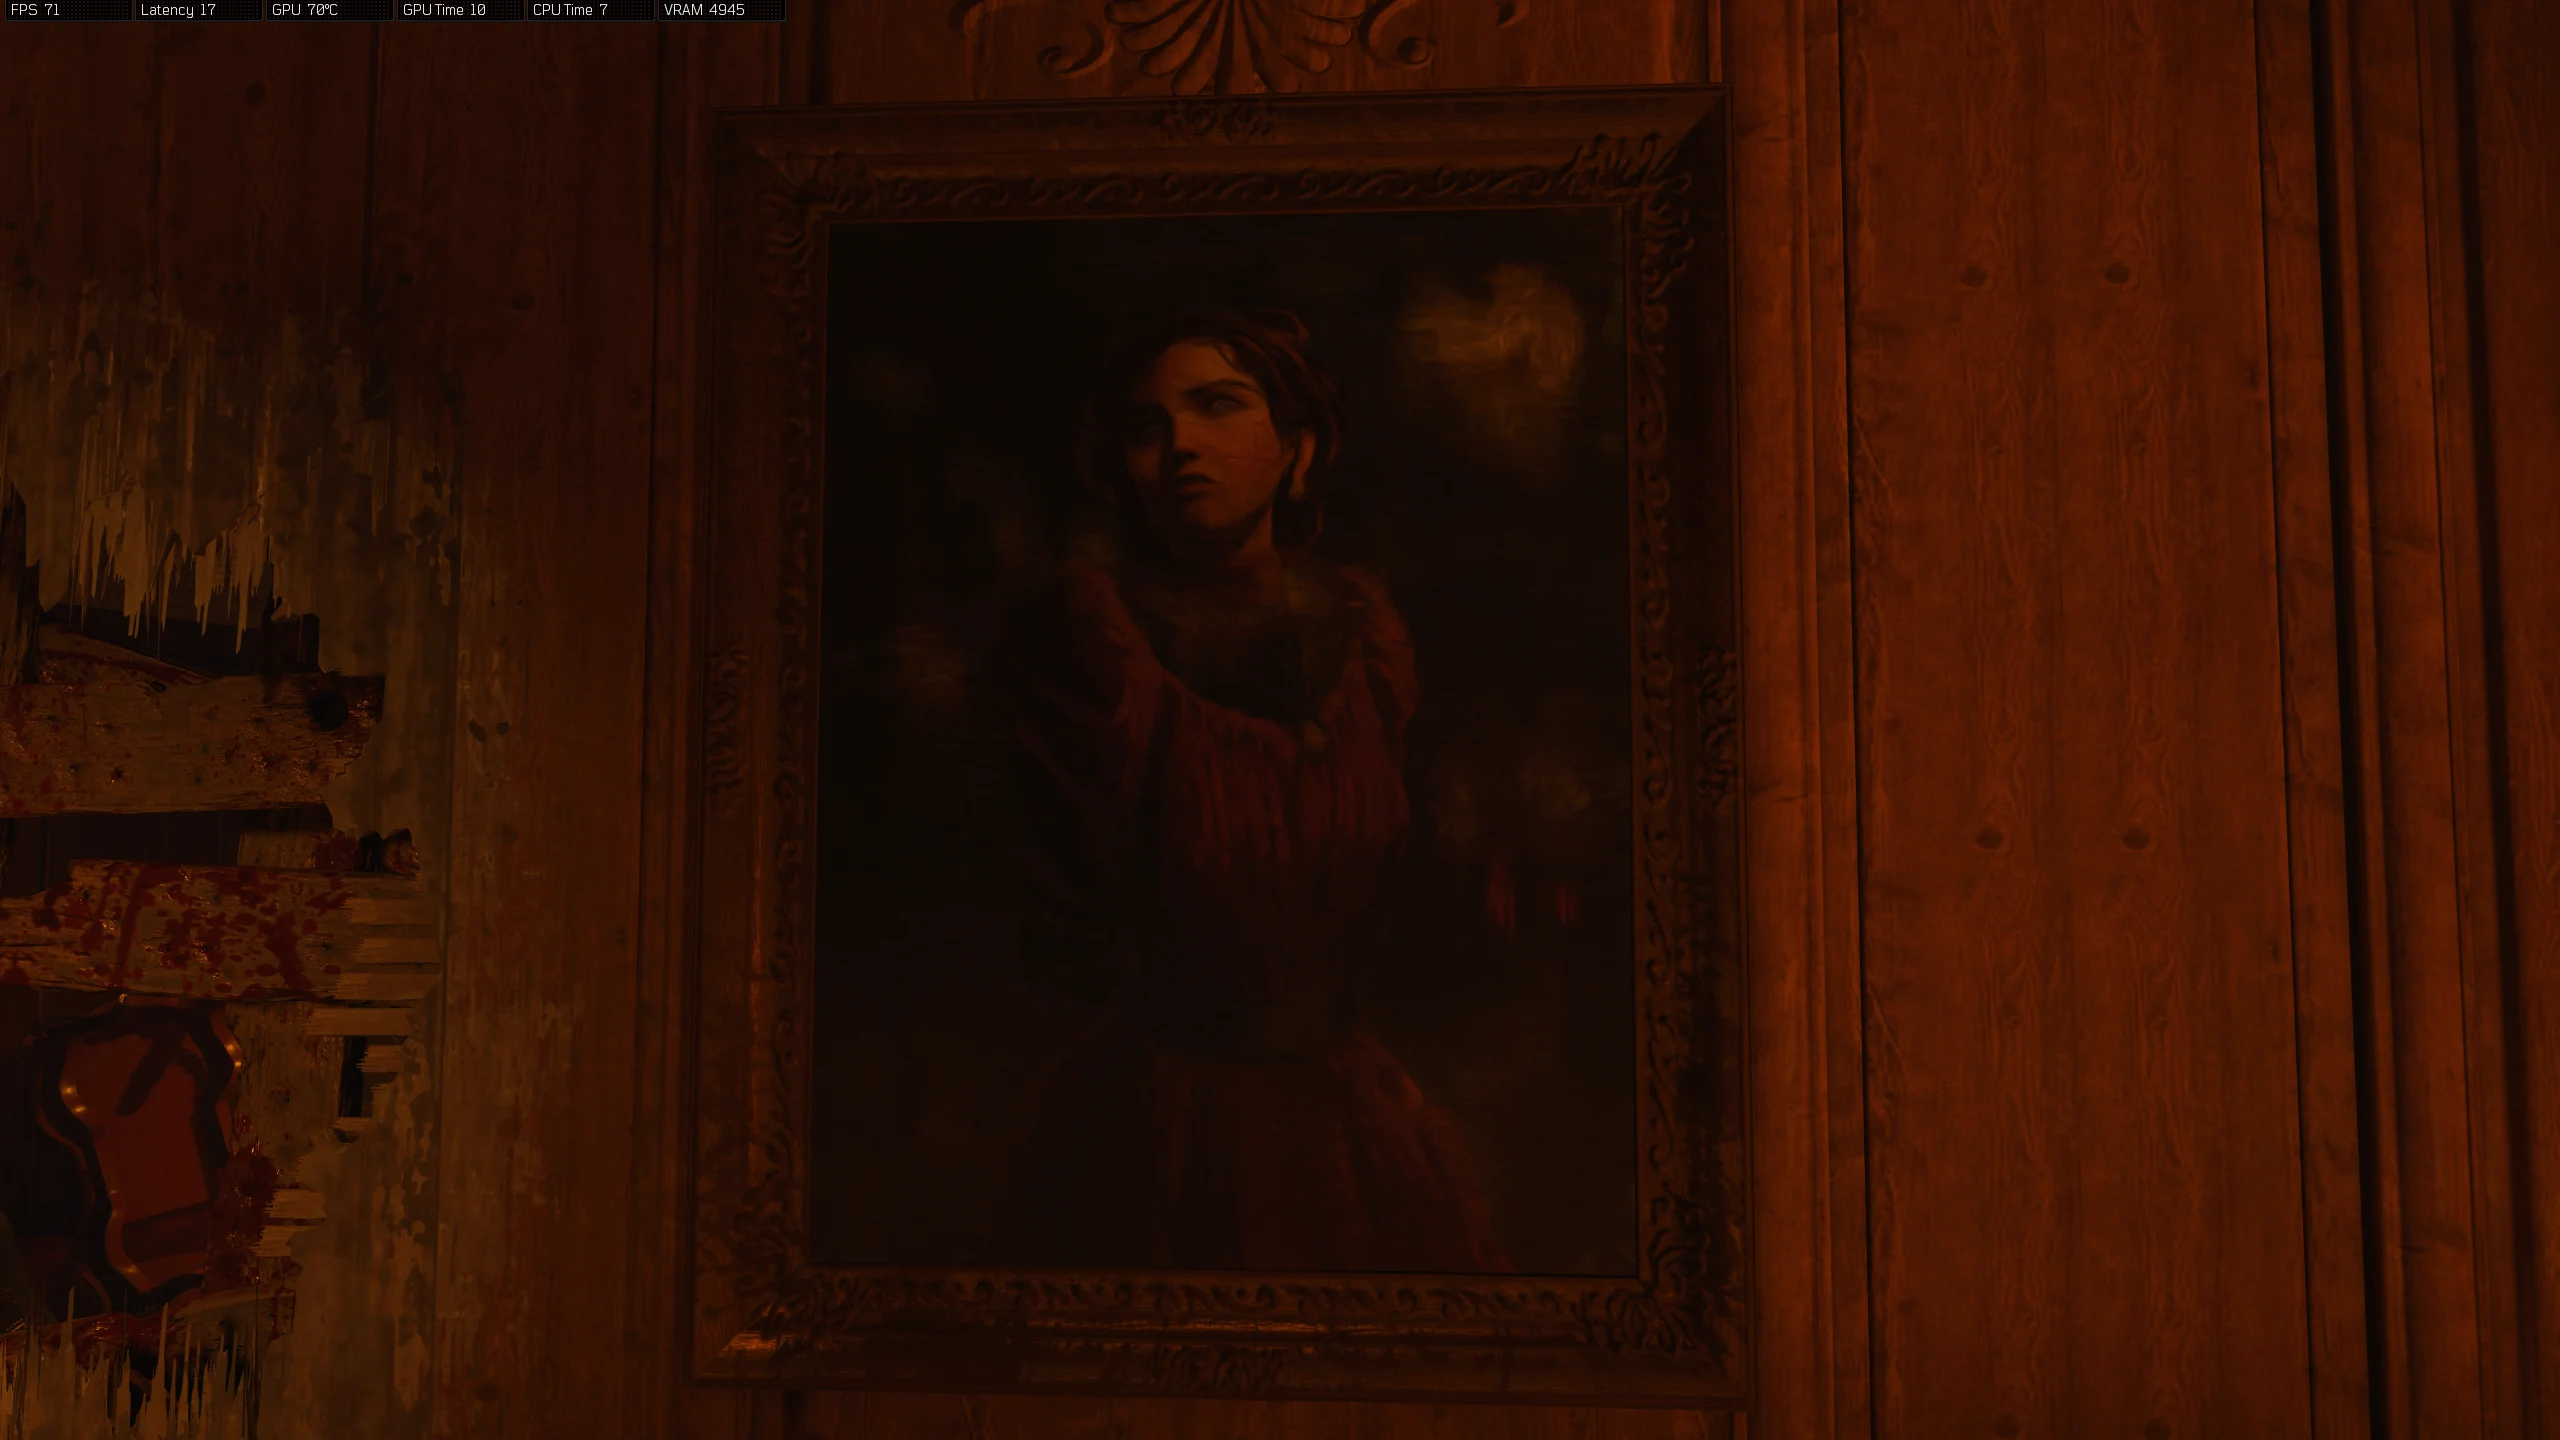
- Symbols and Scratches Locations:
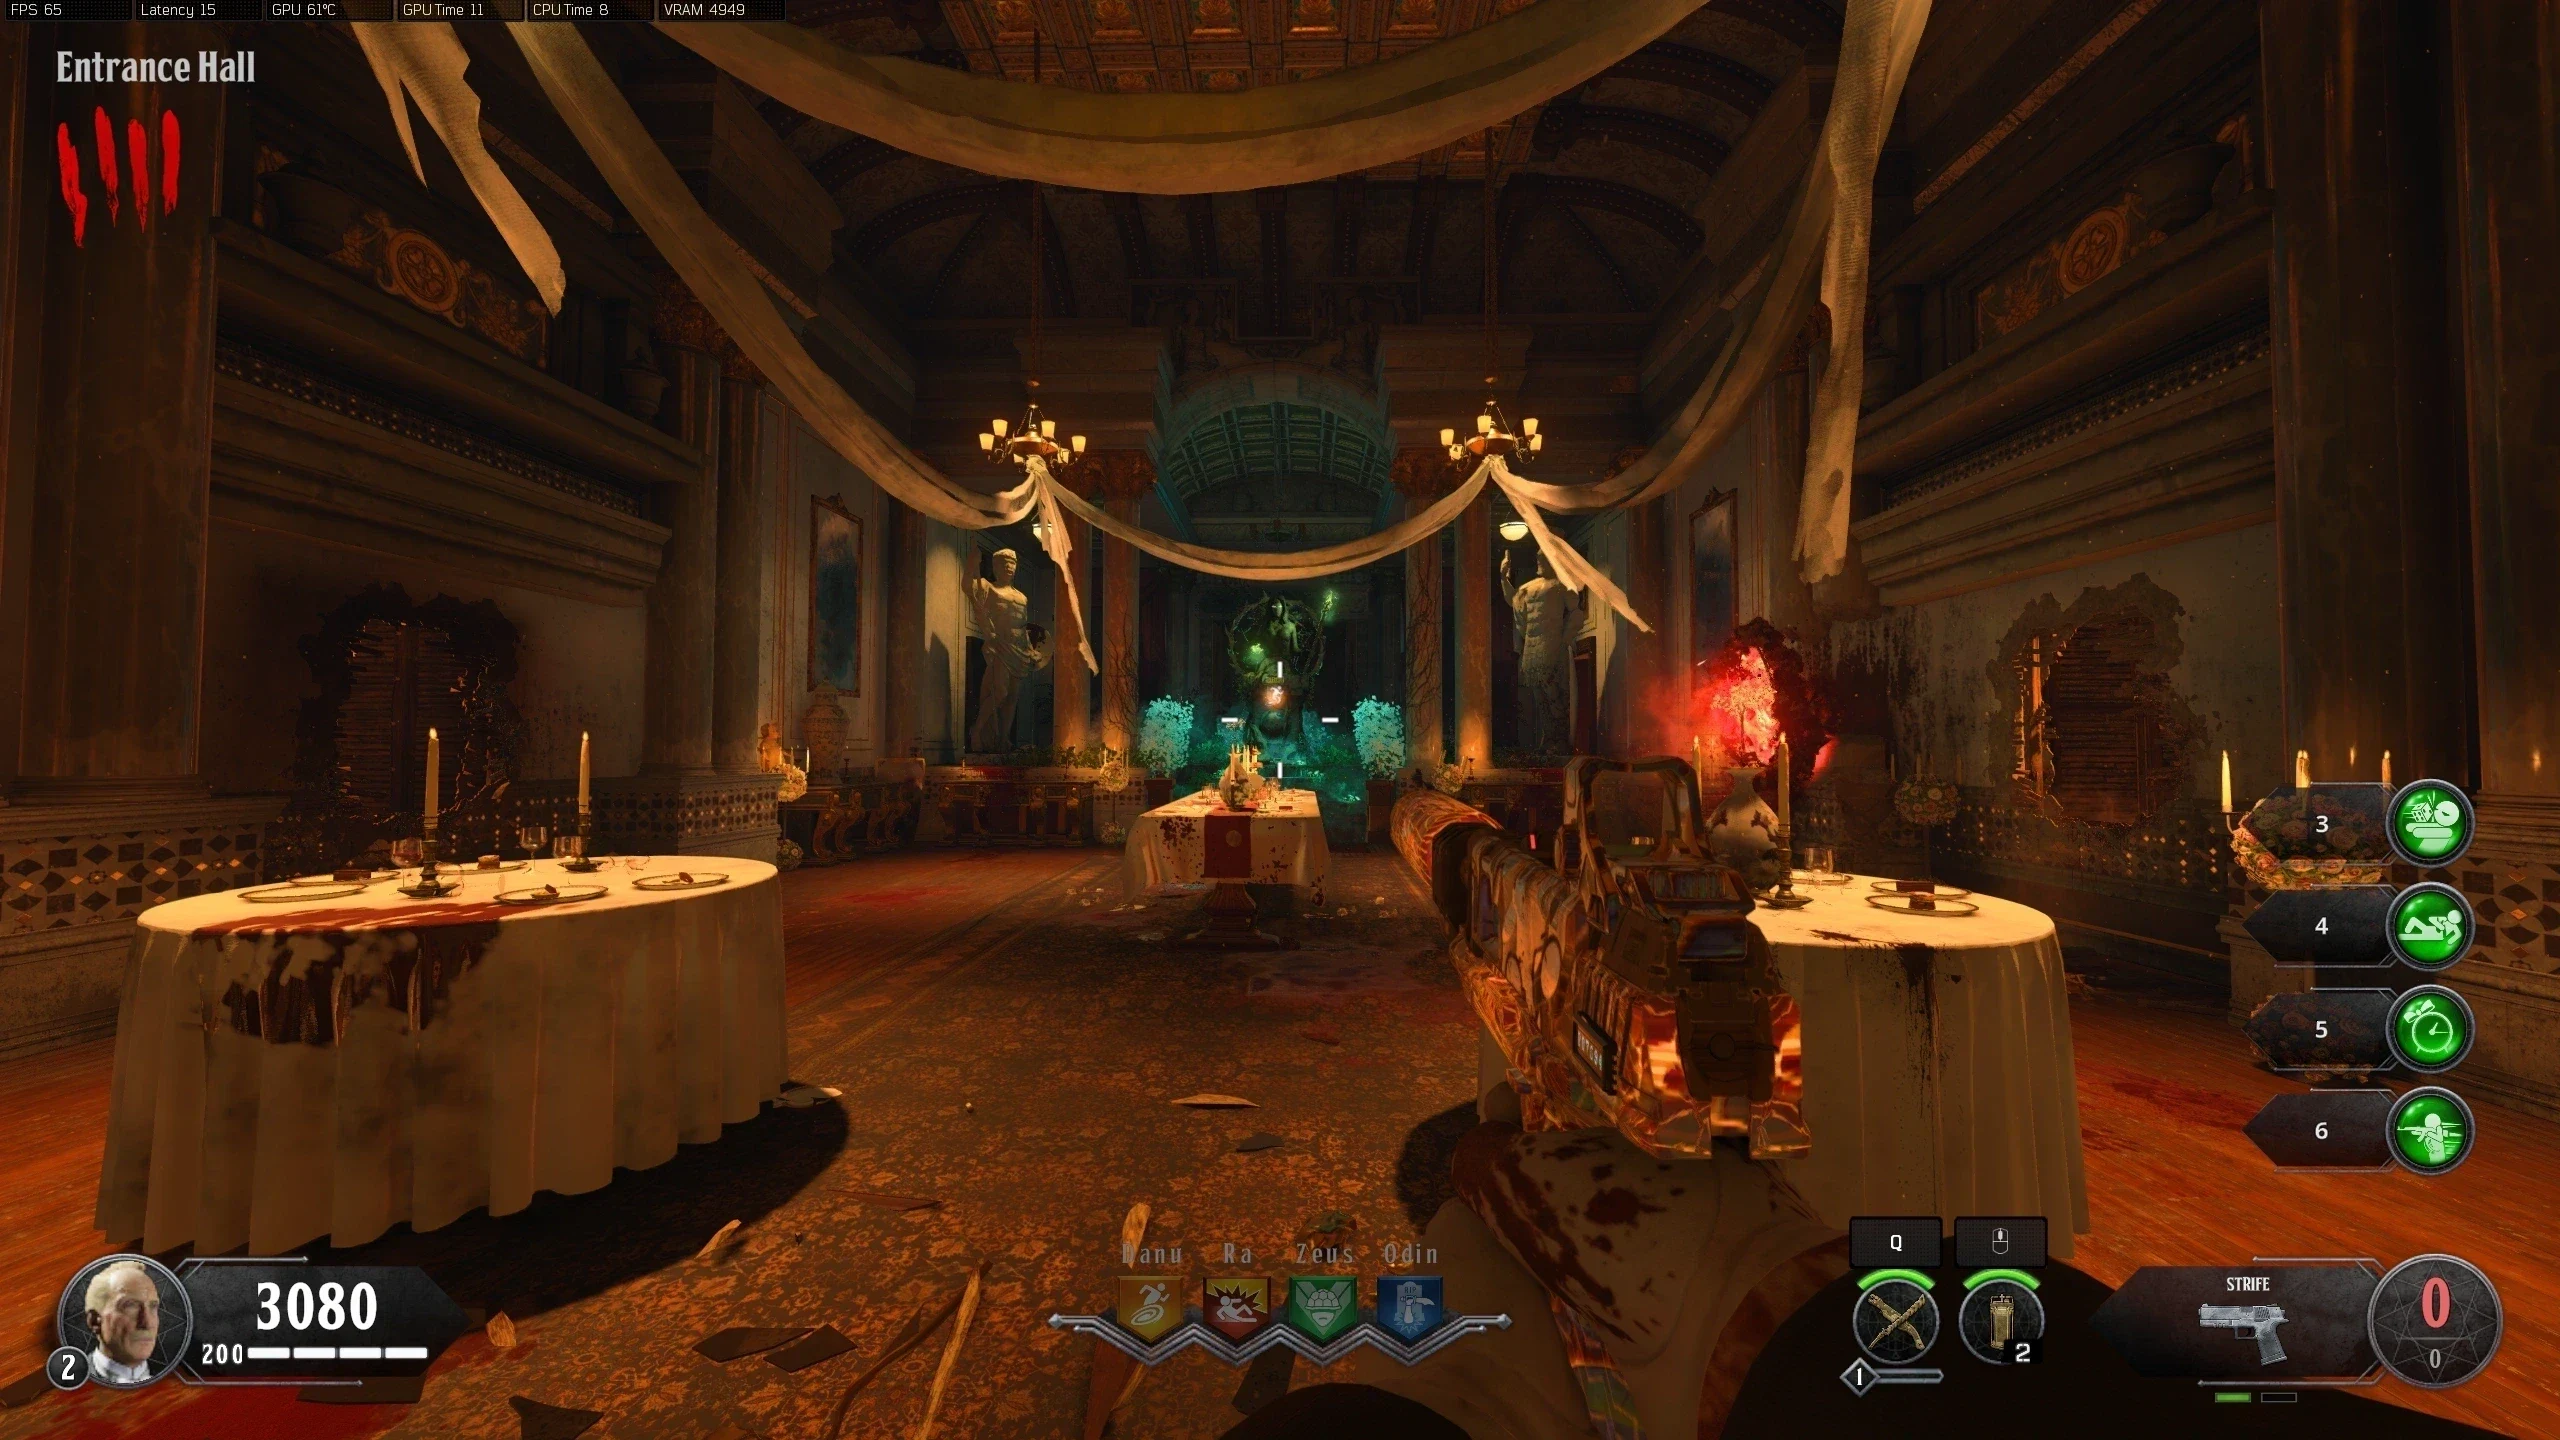
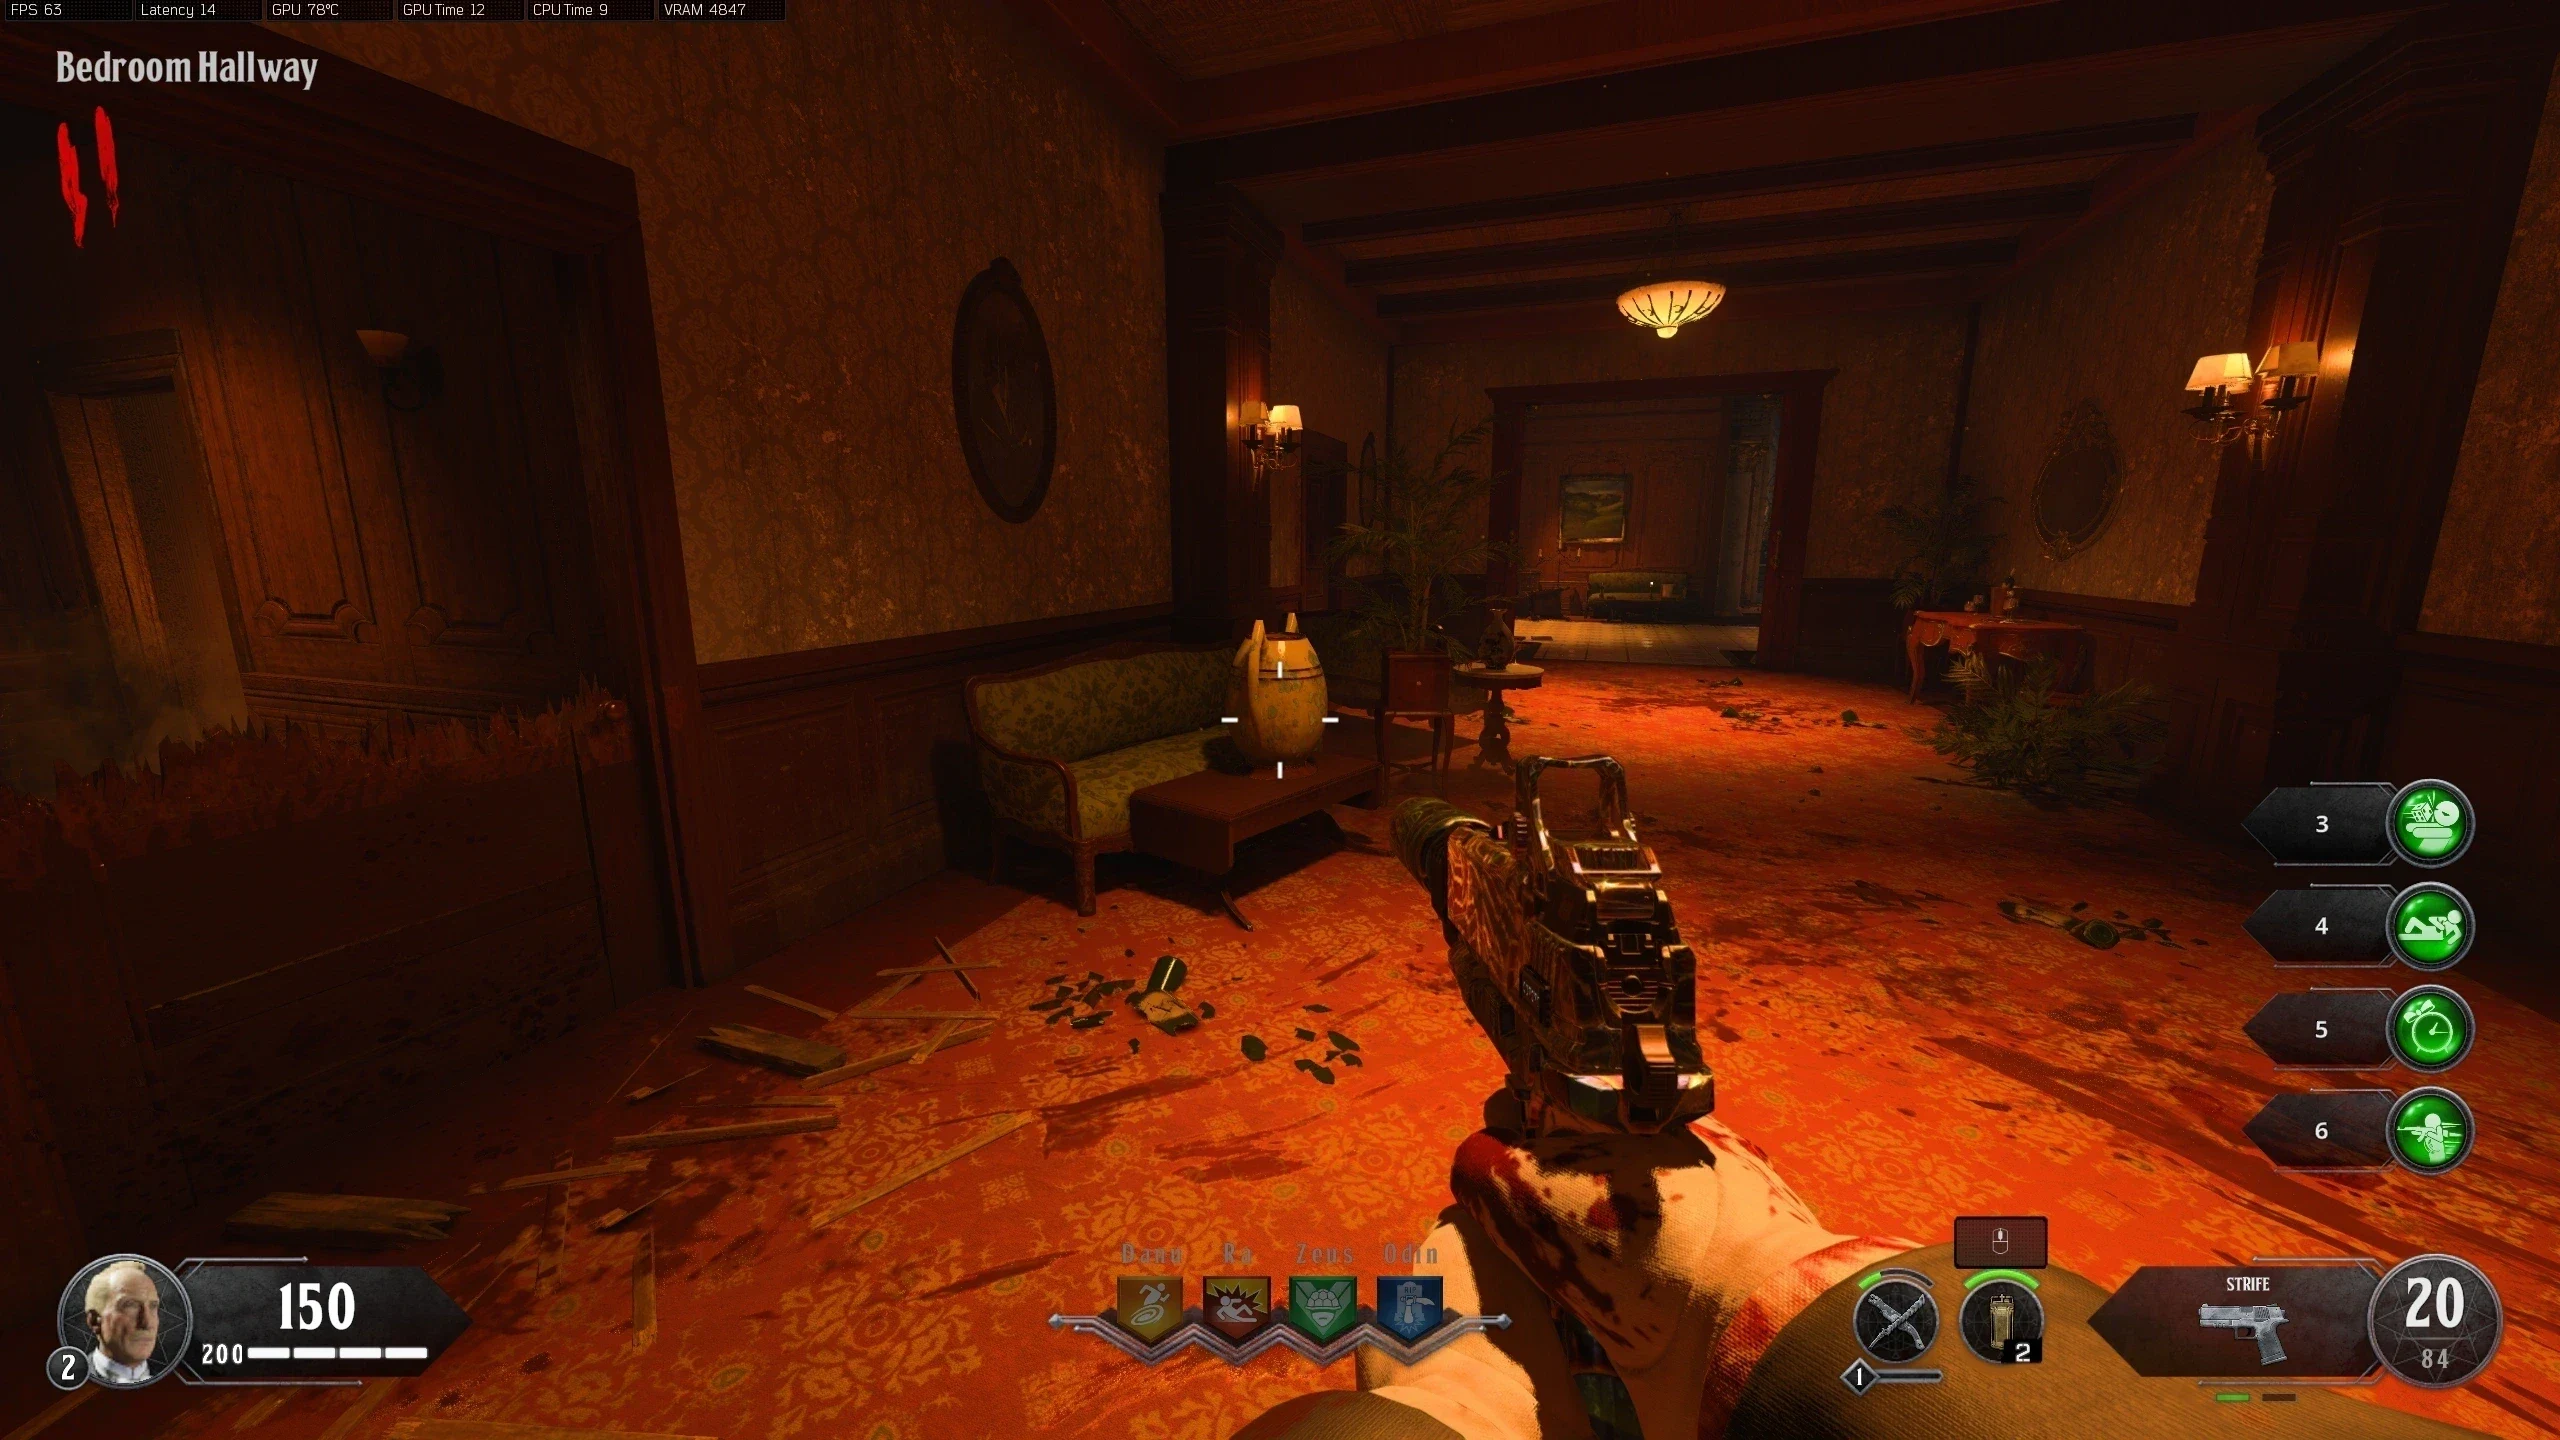
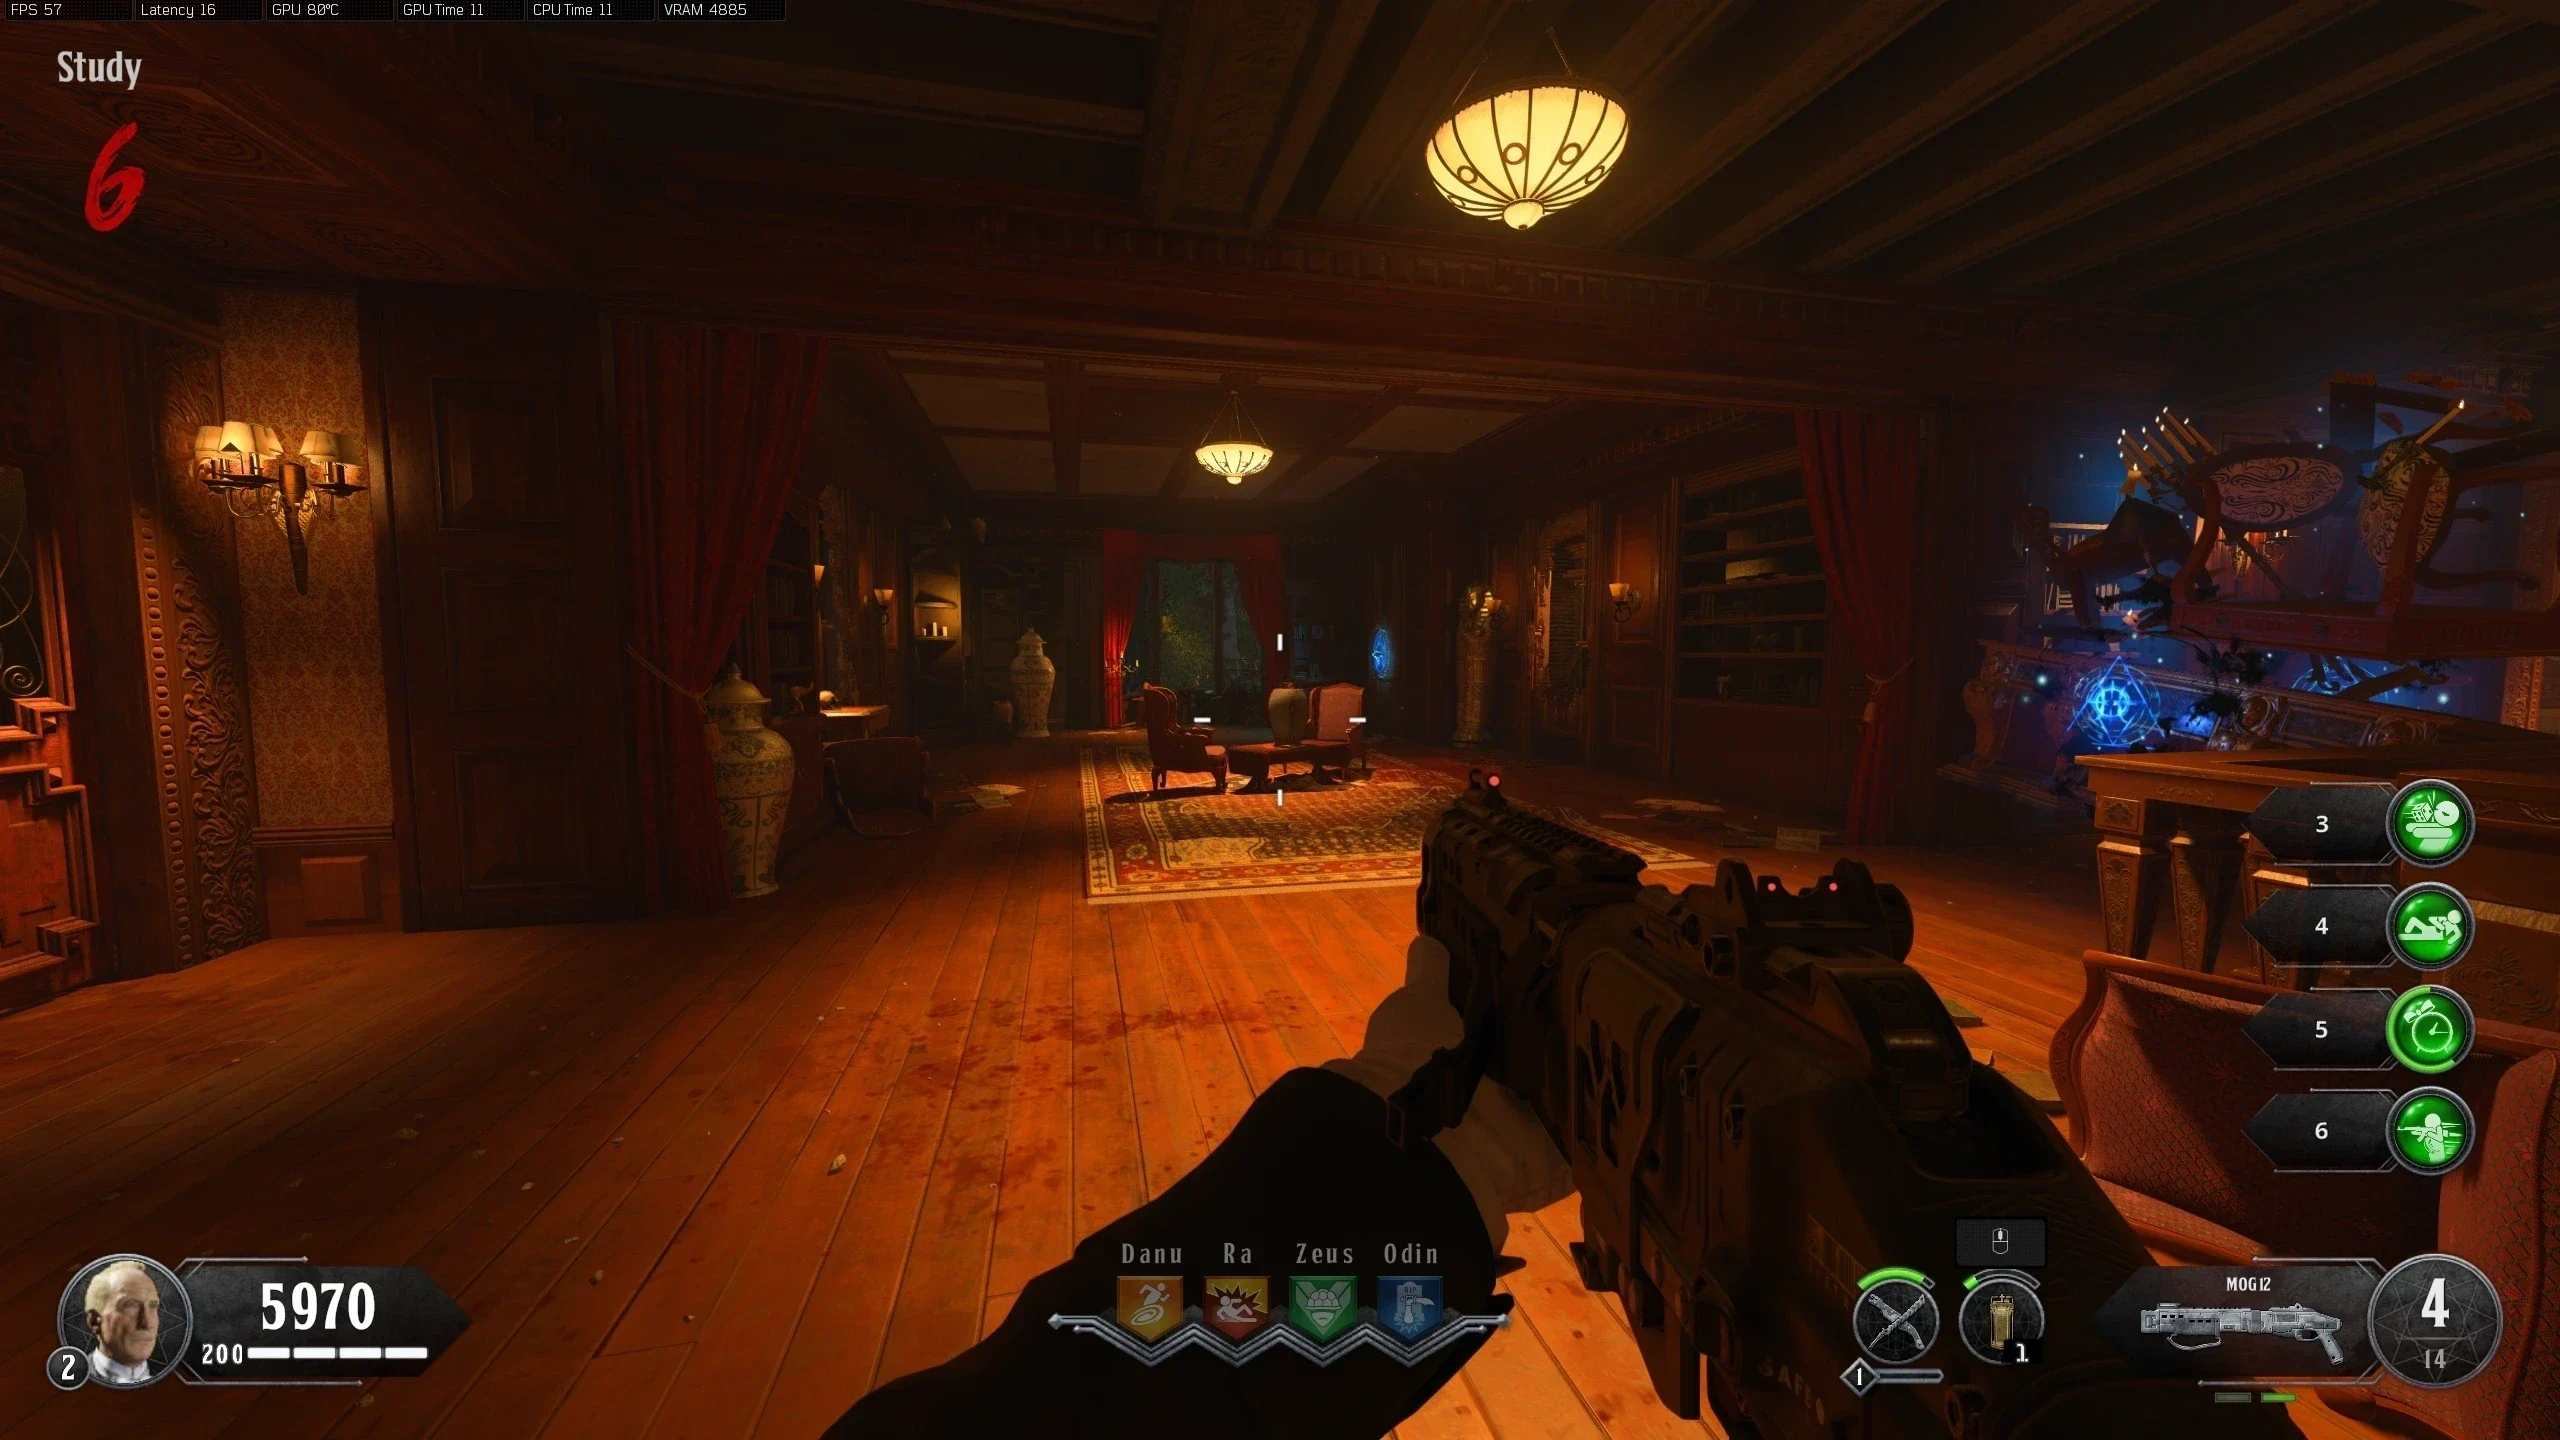
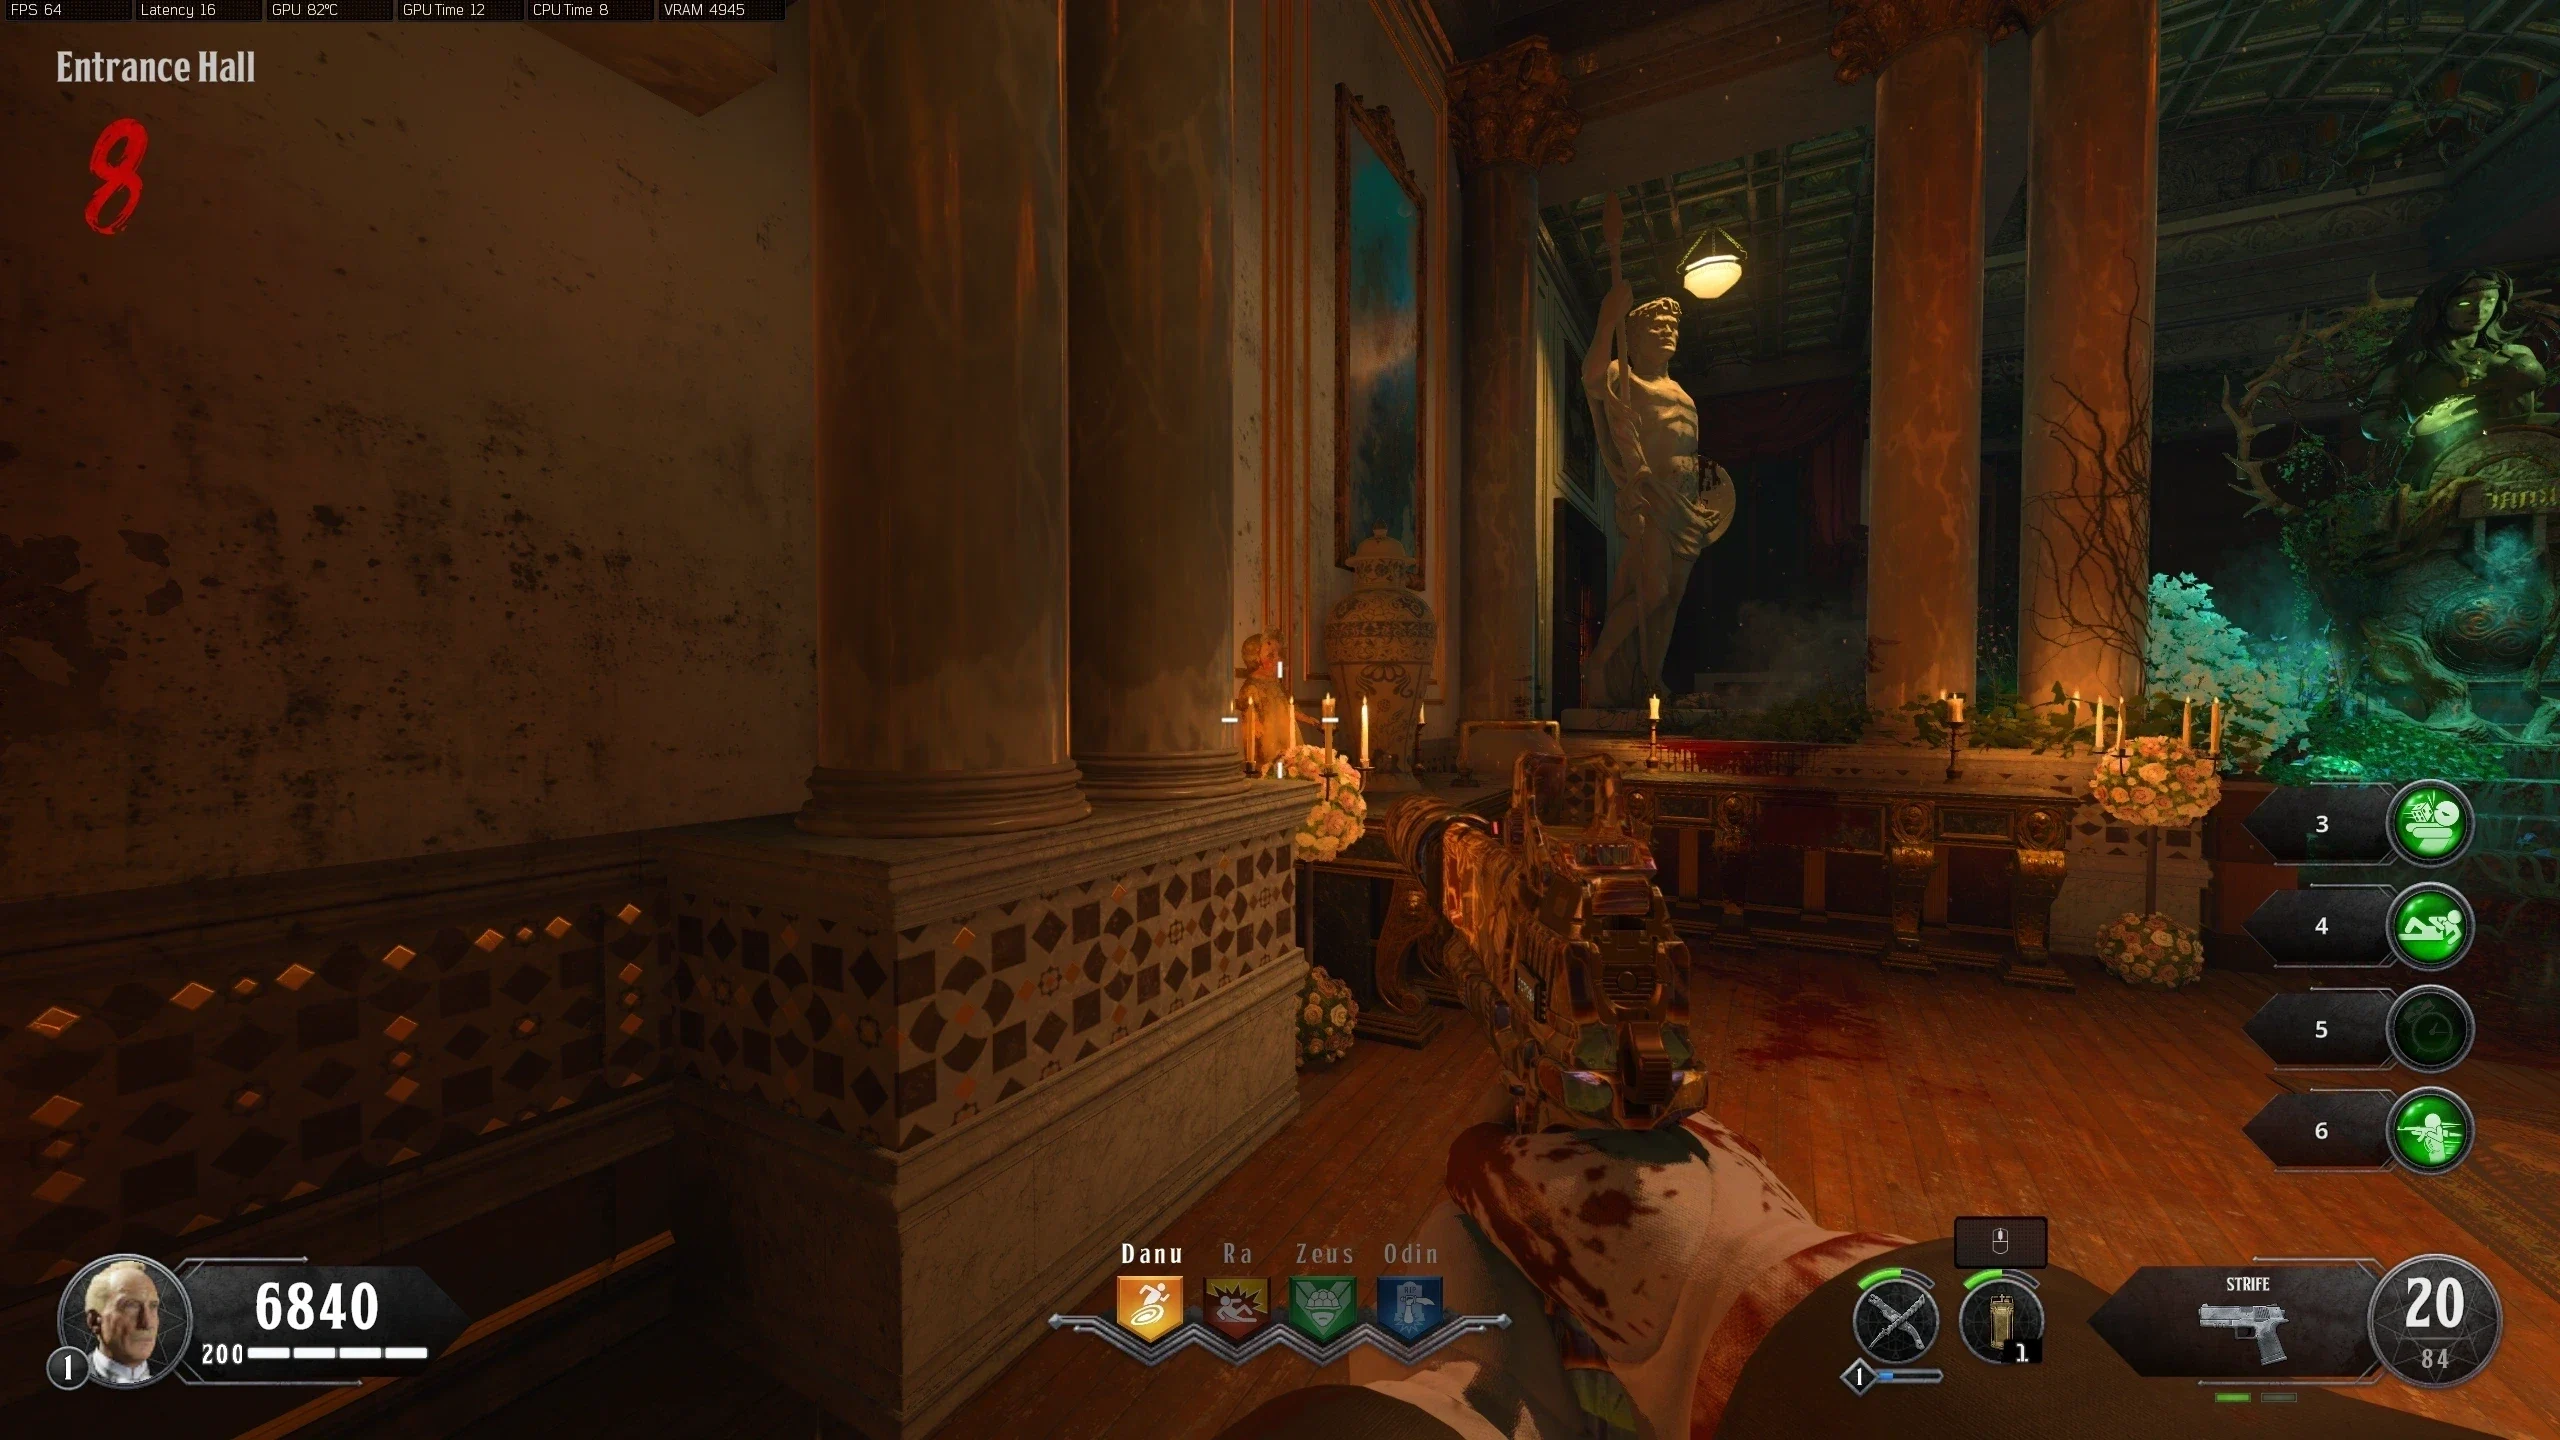
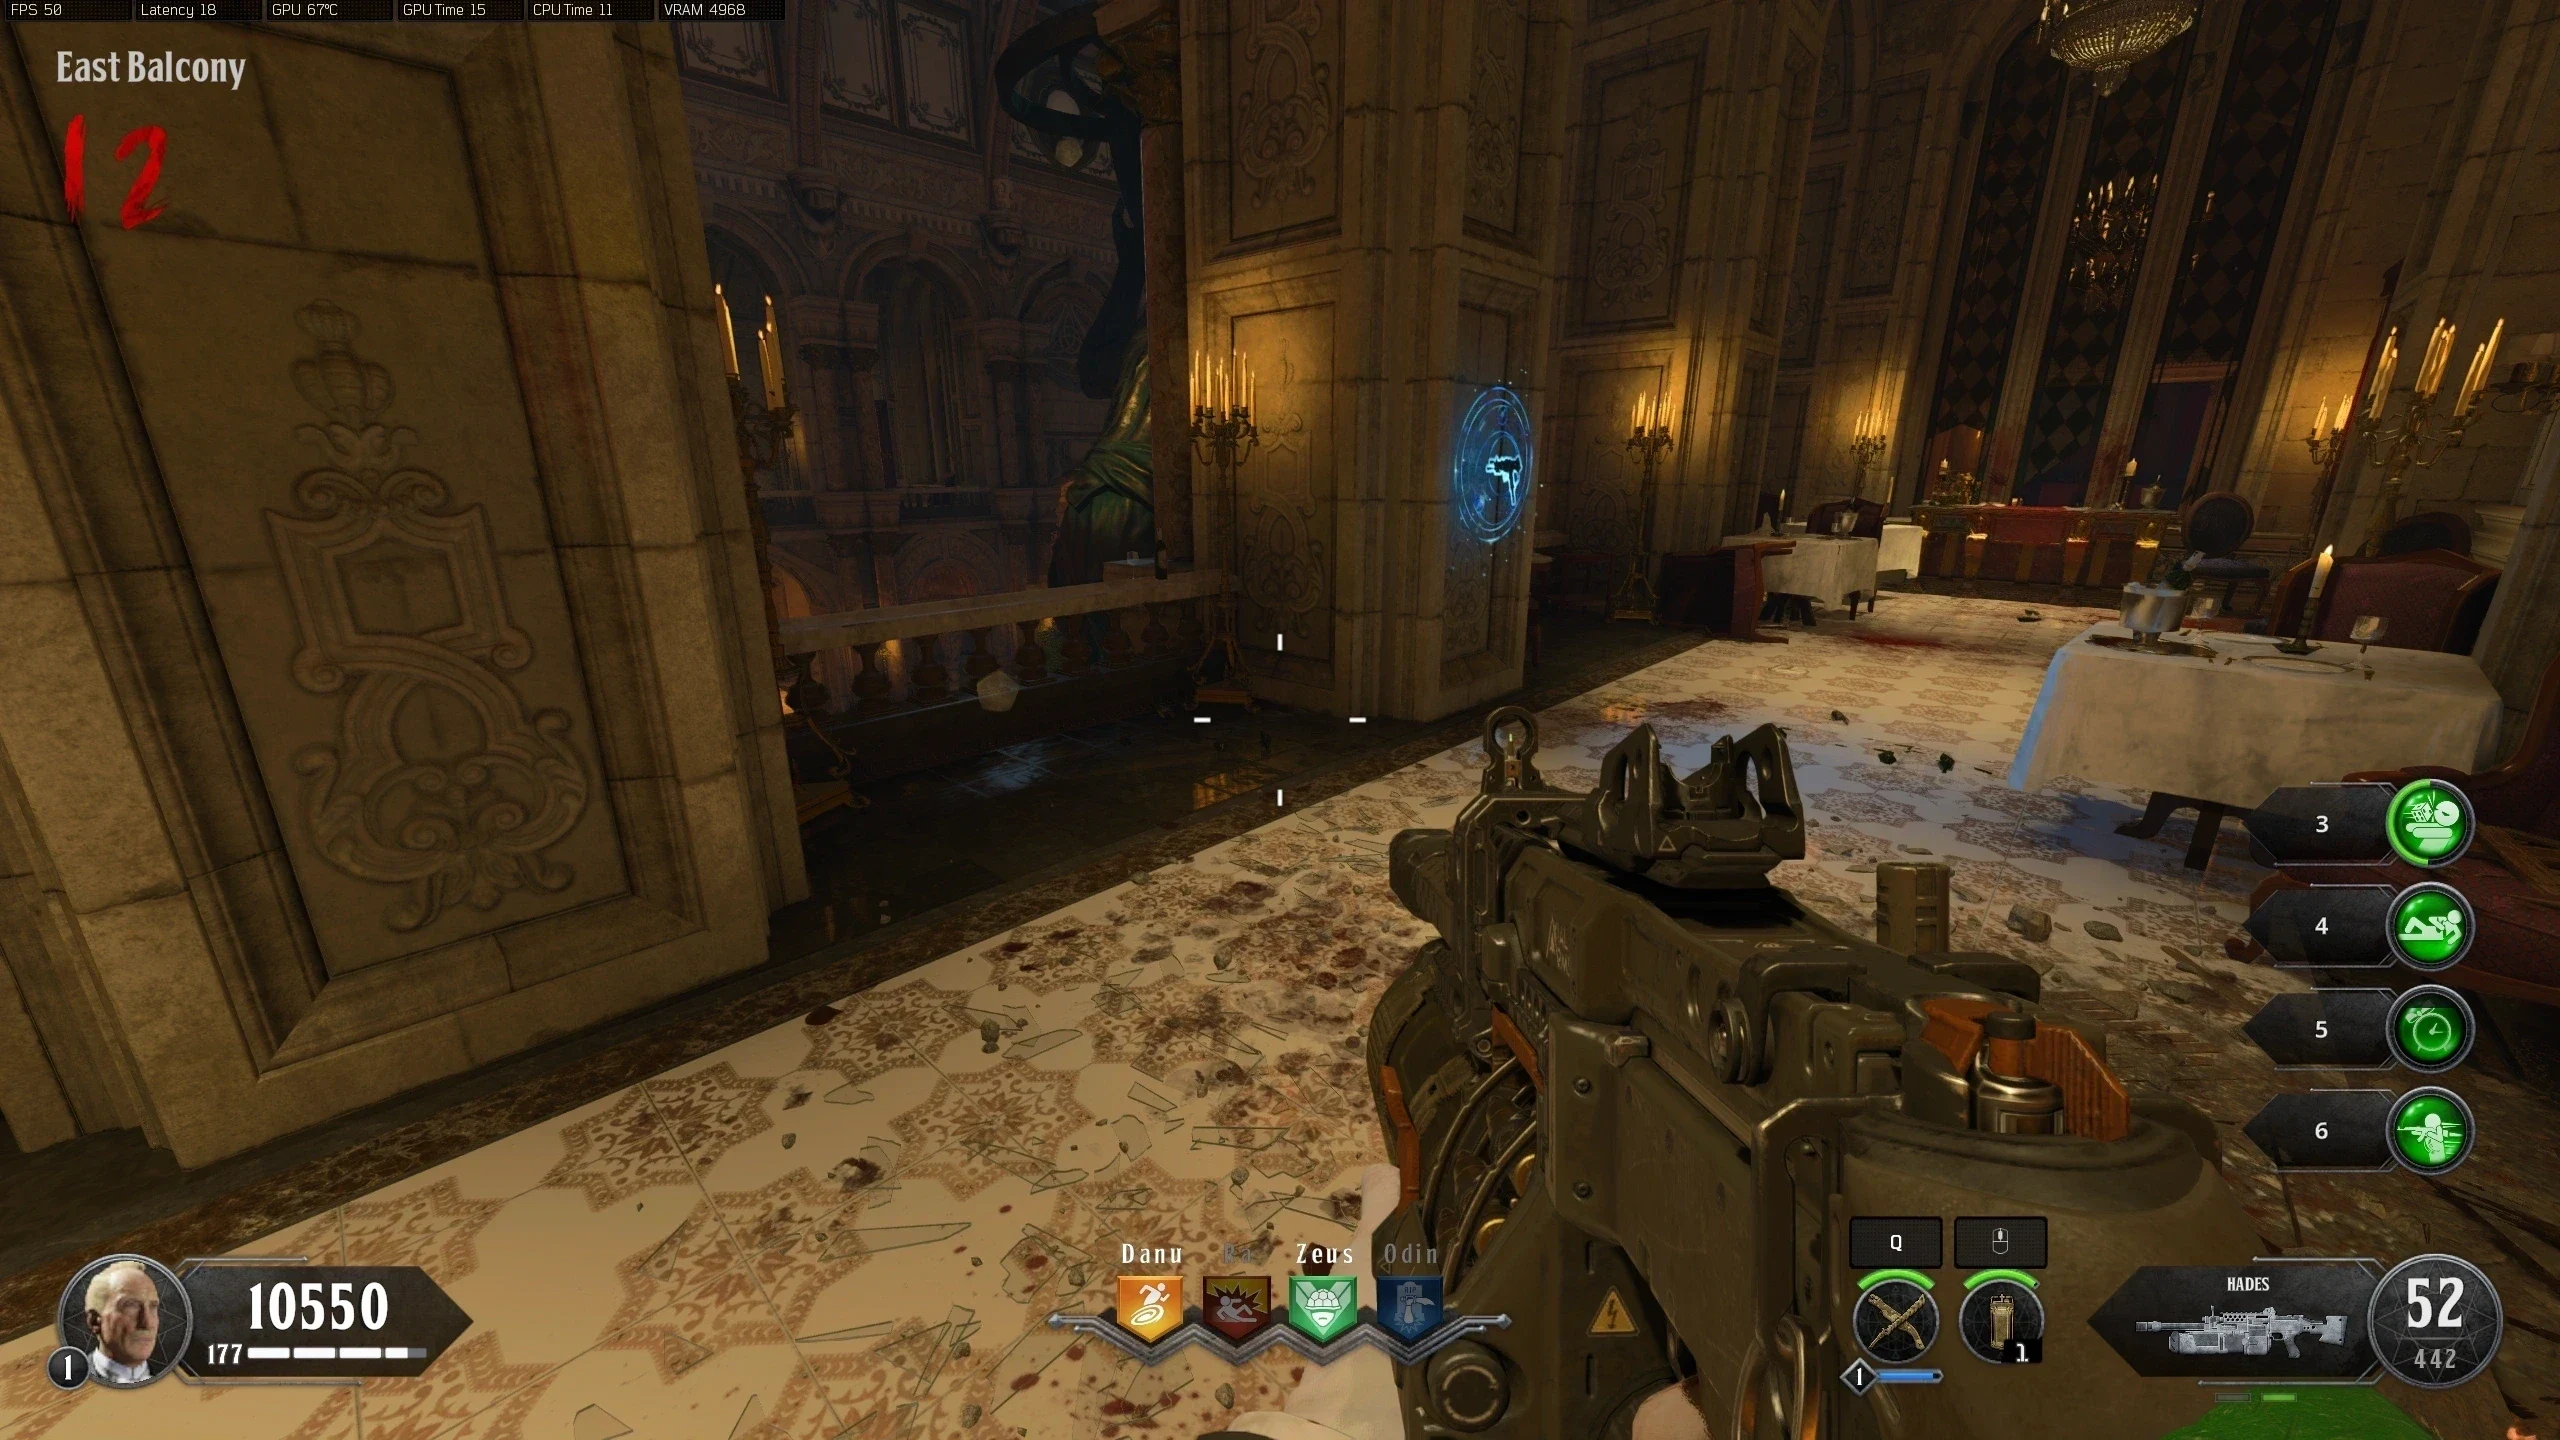
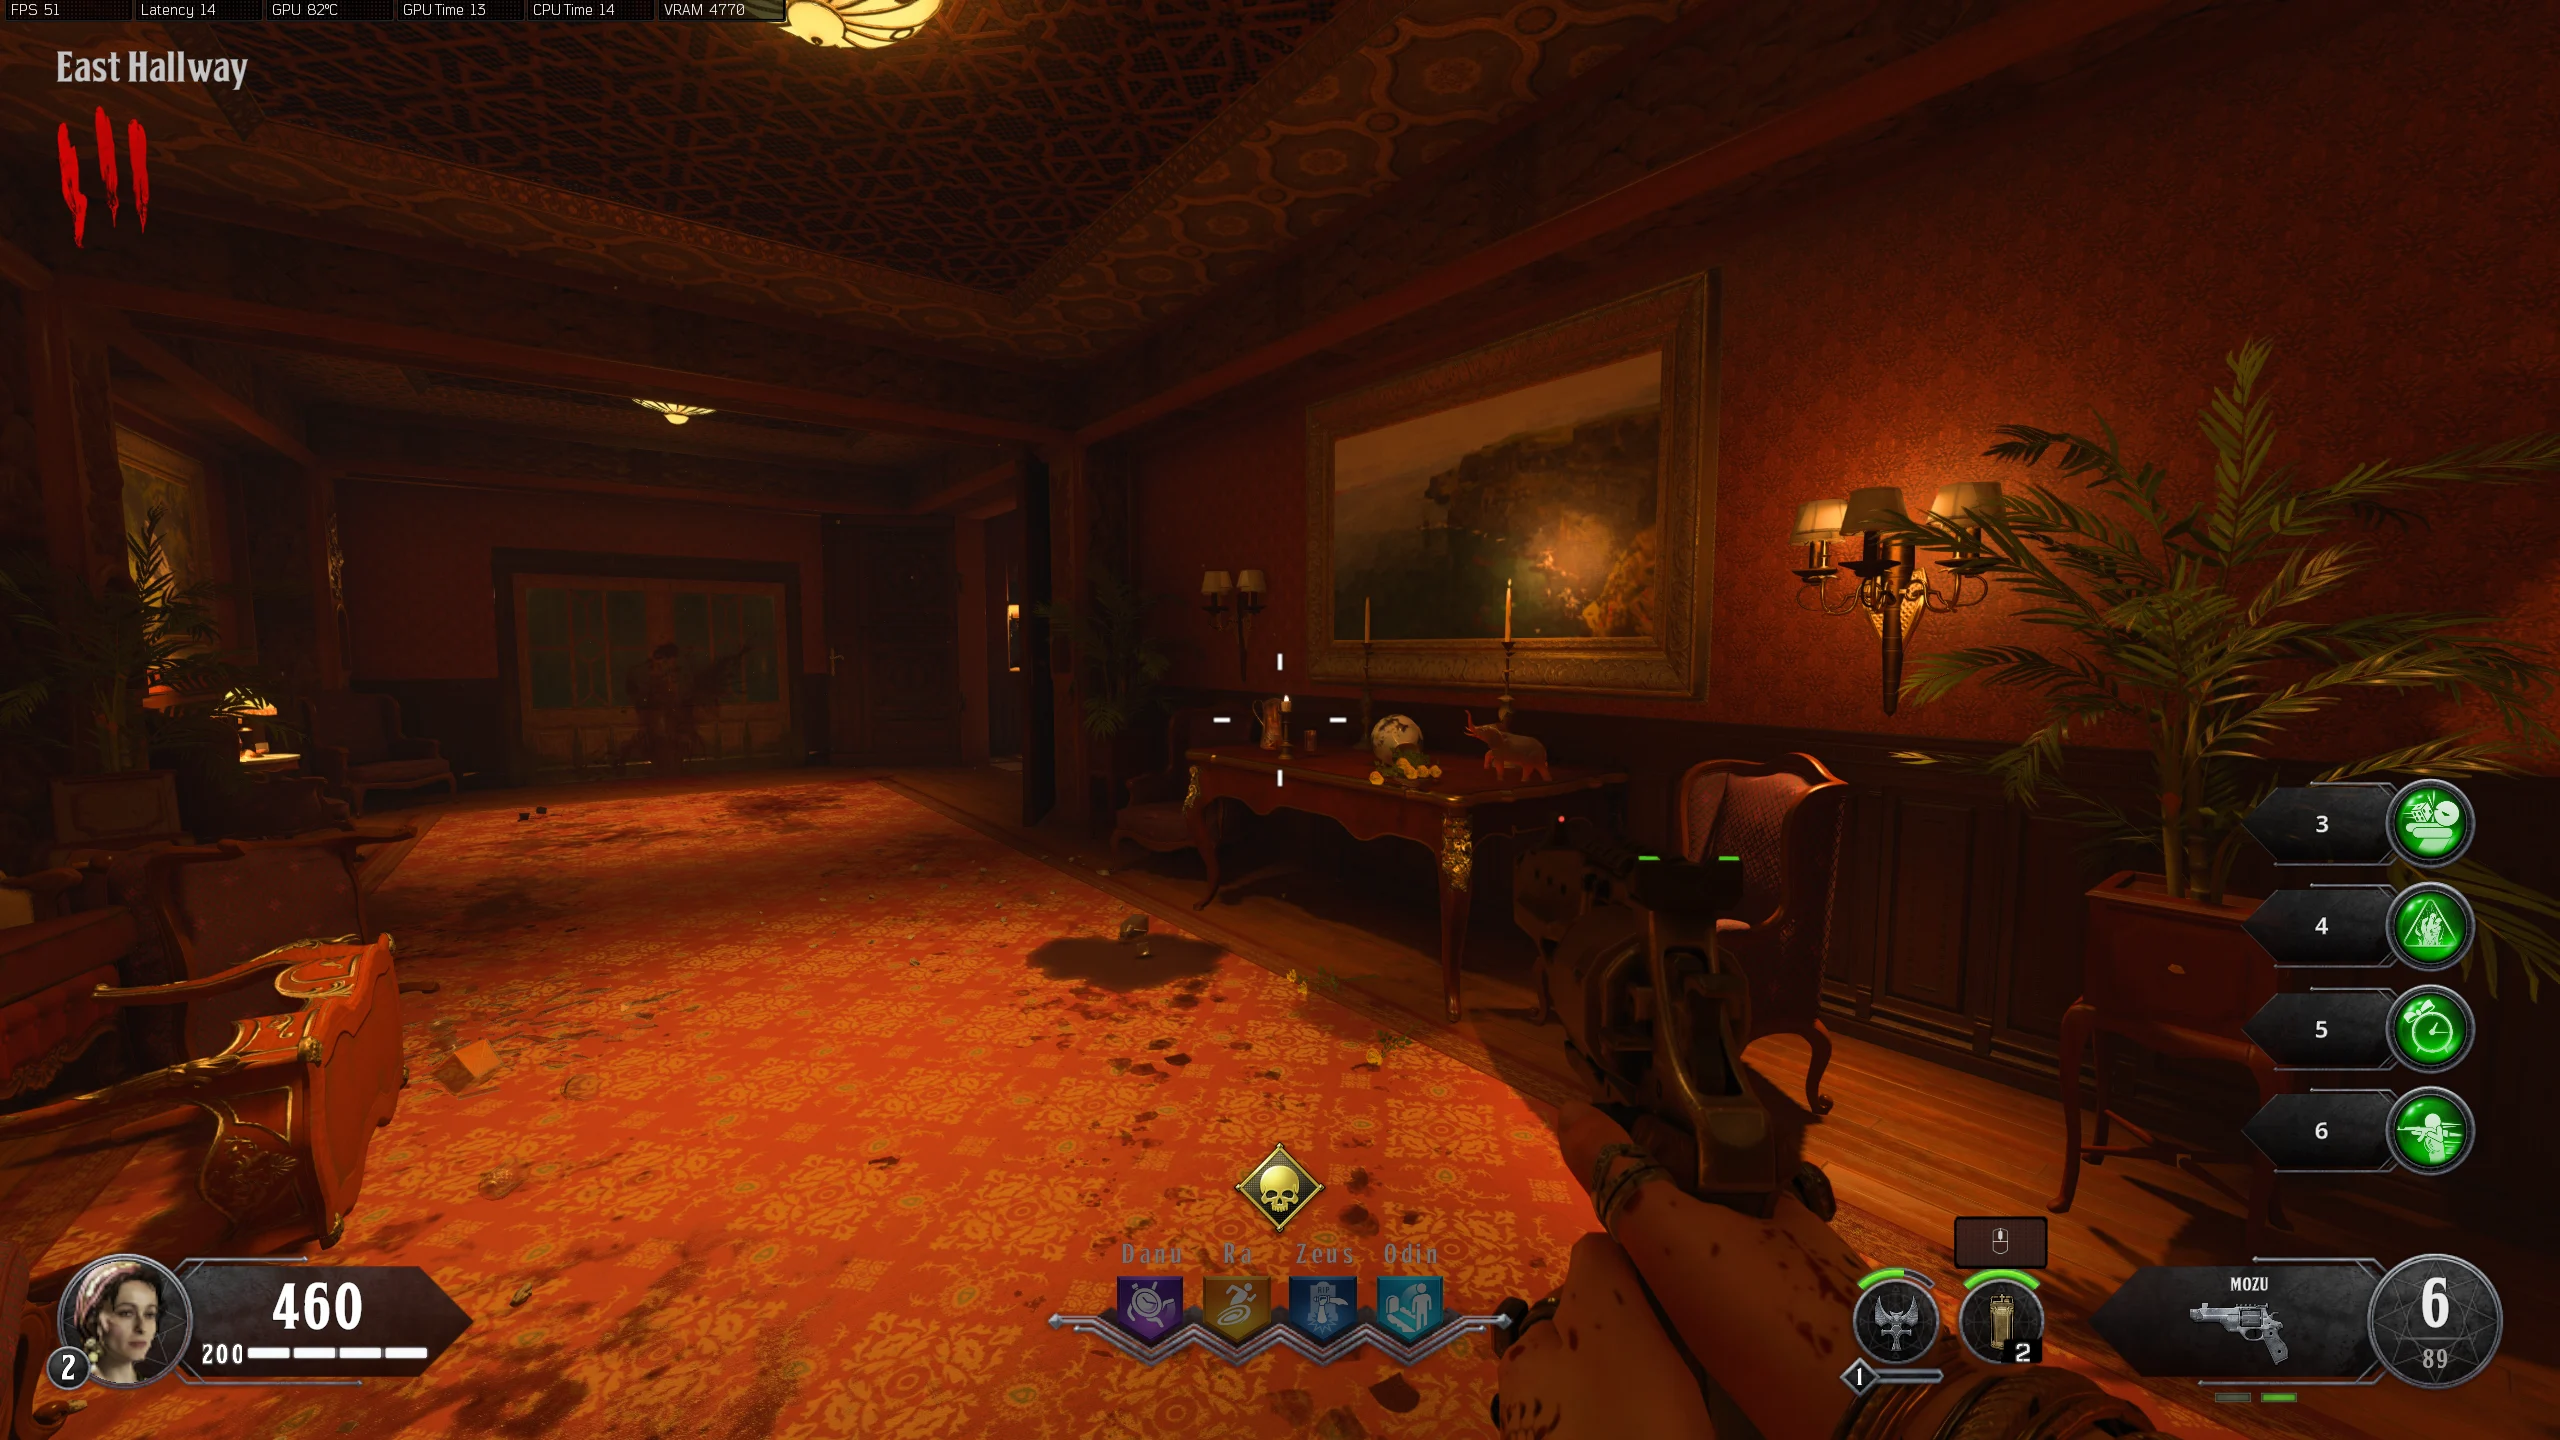
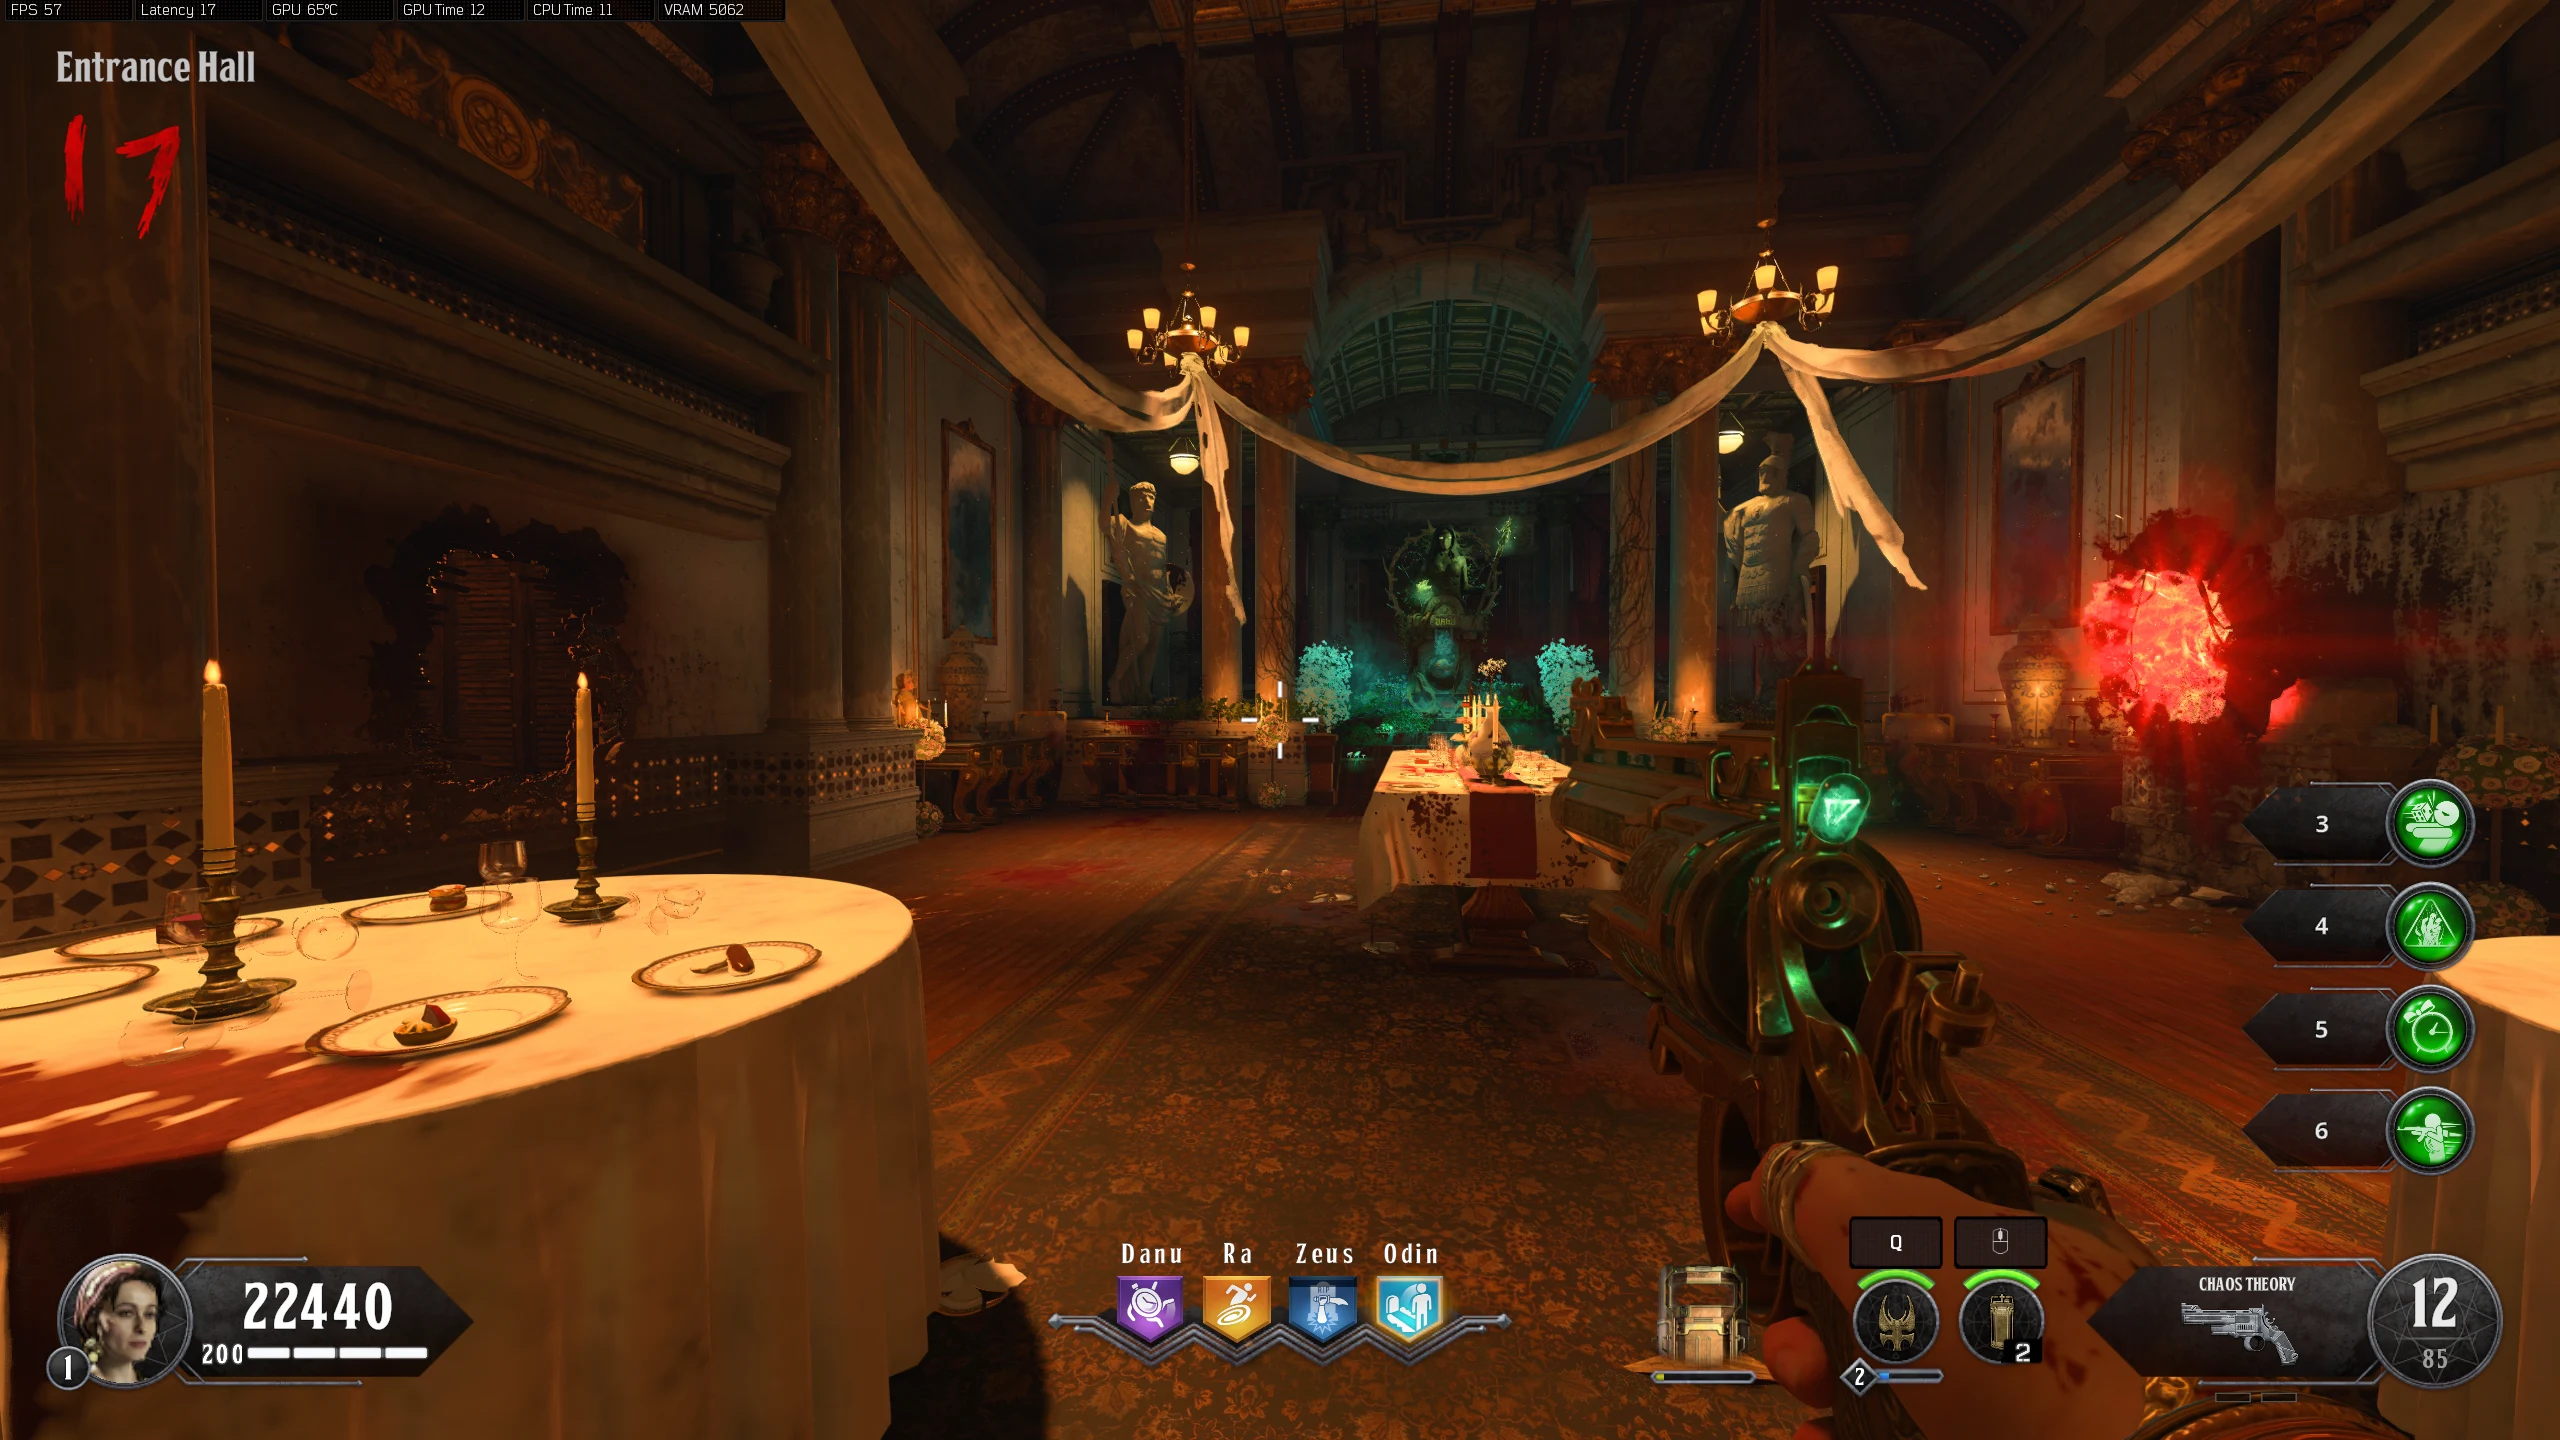
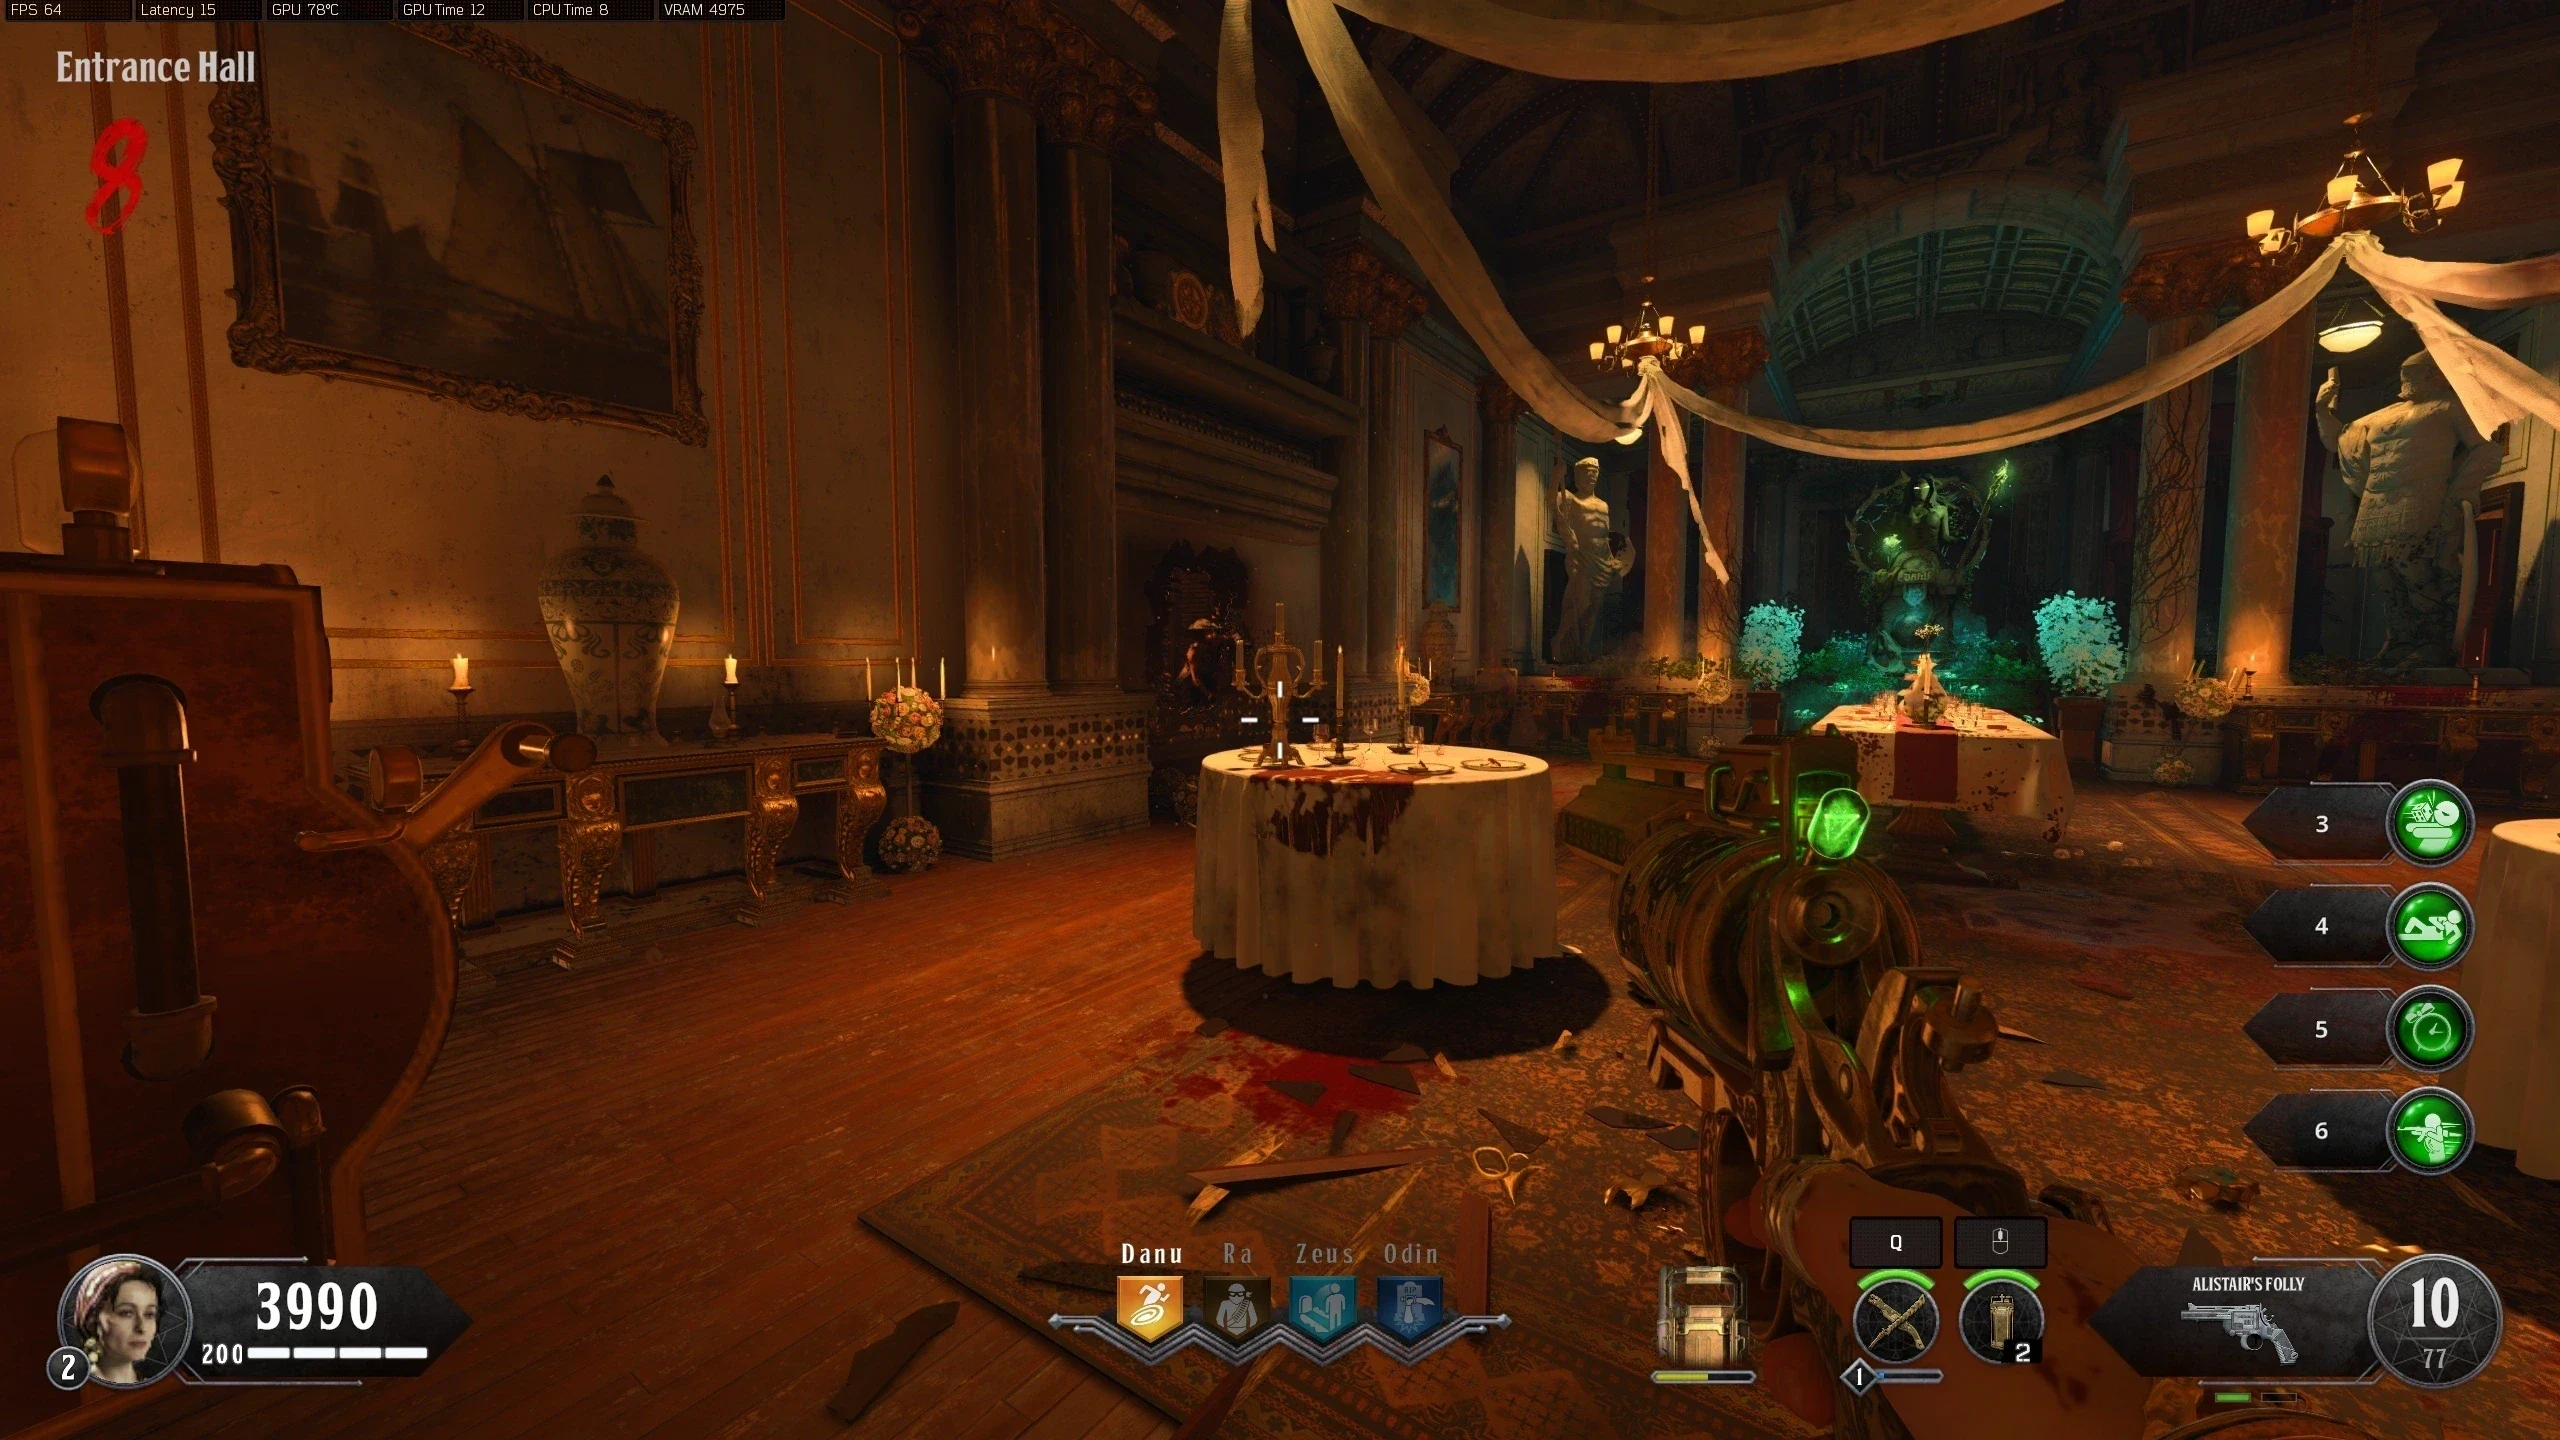
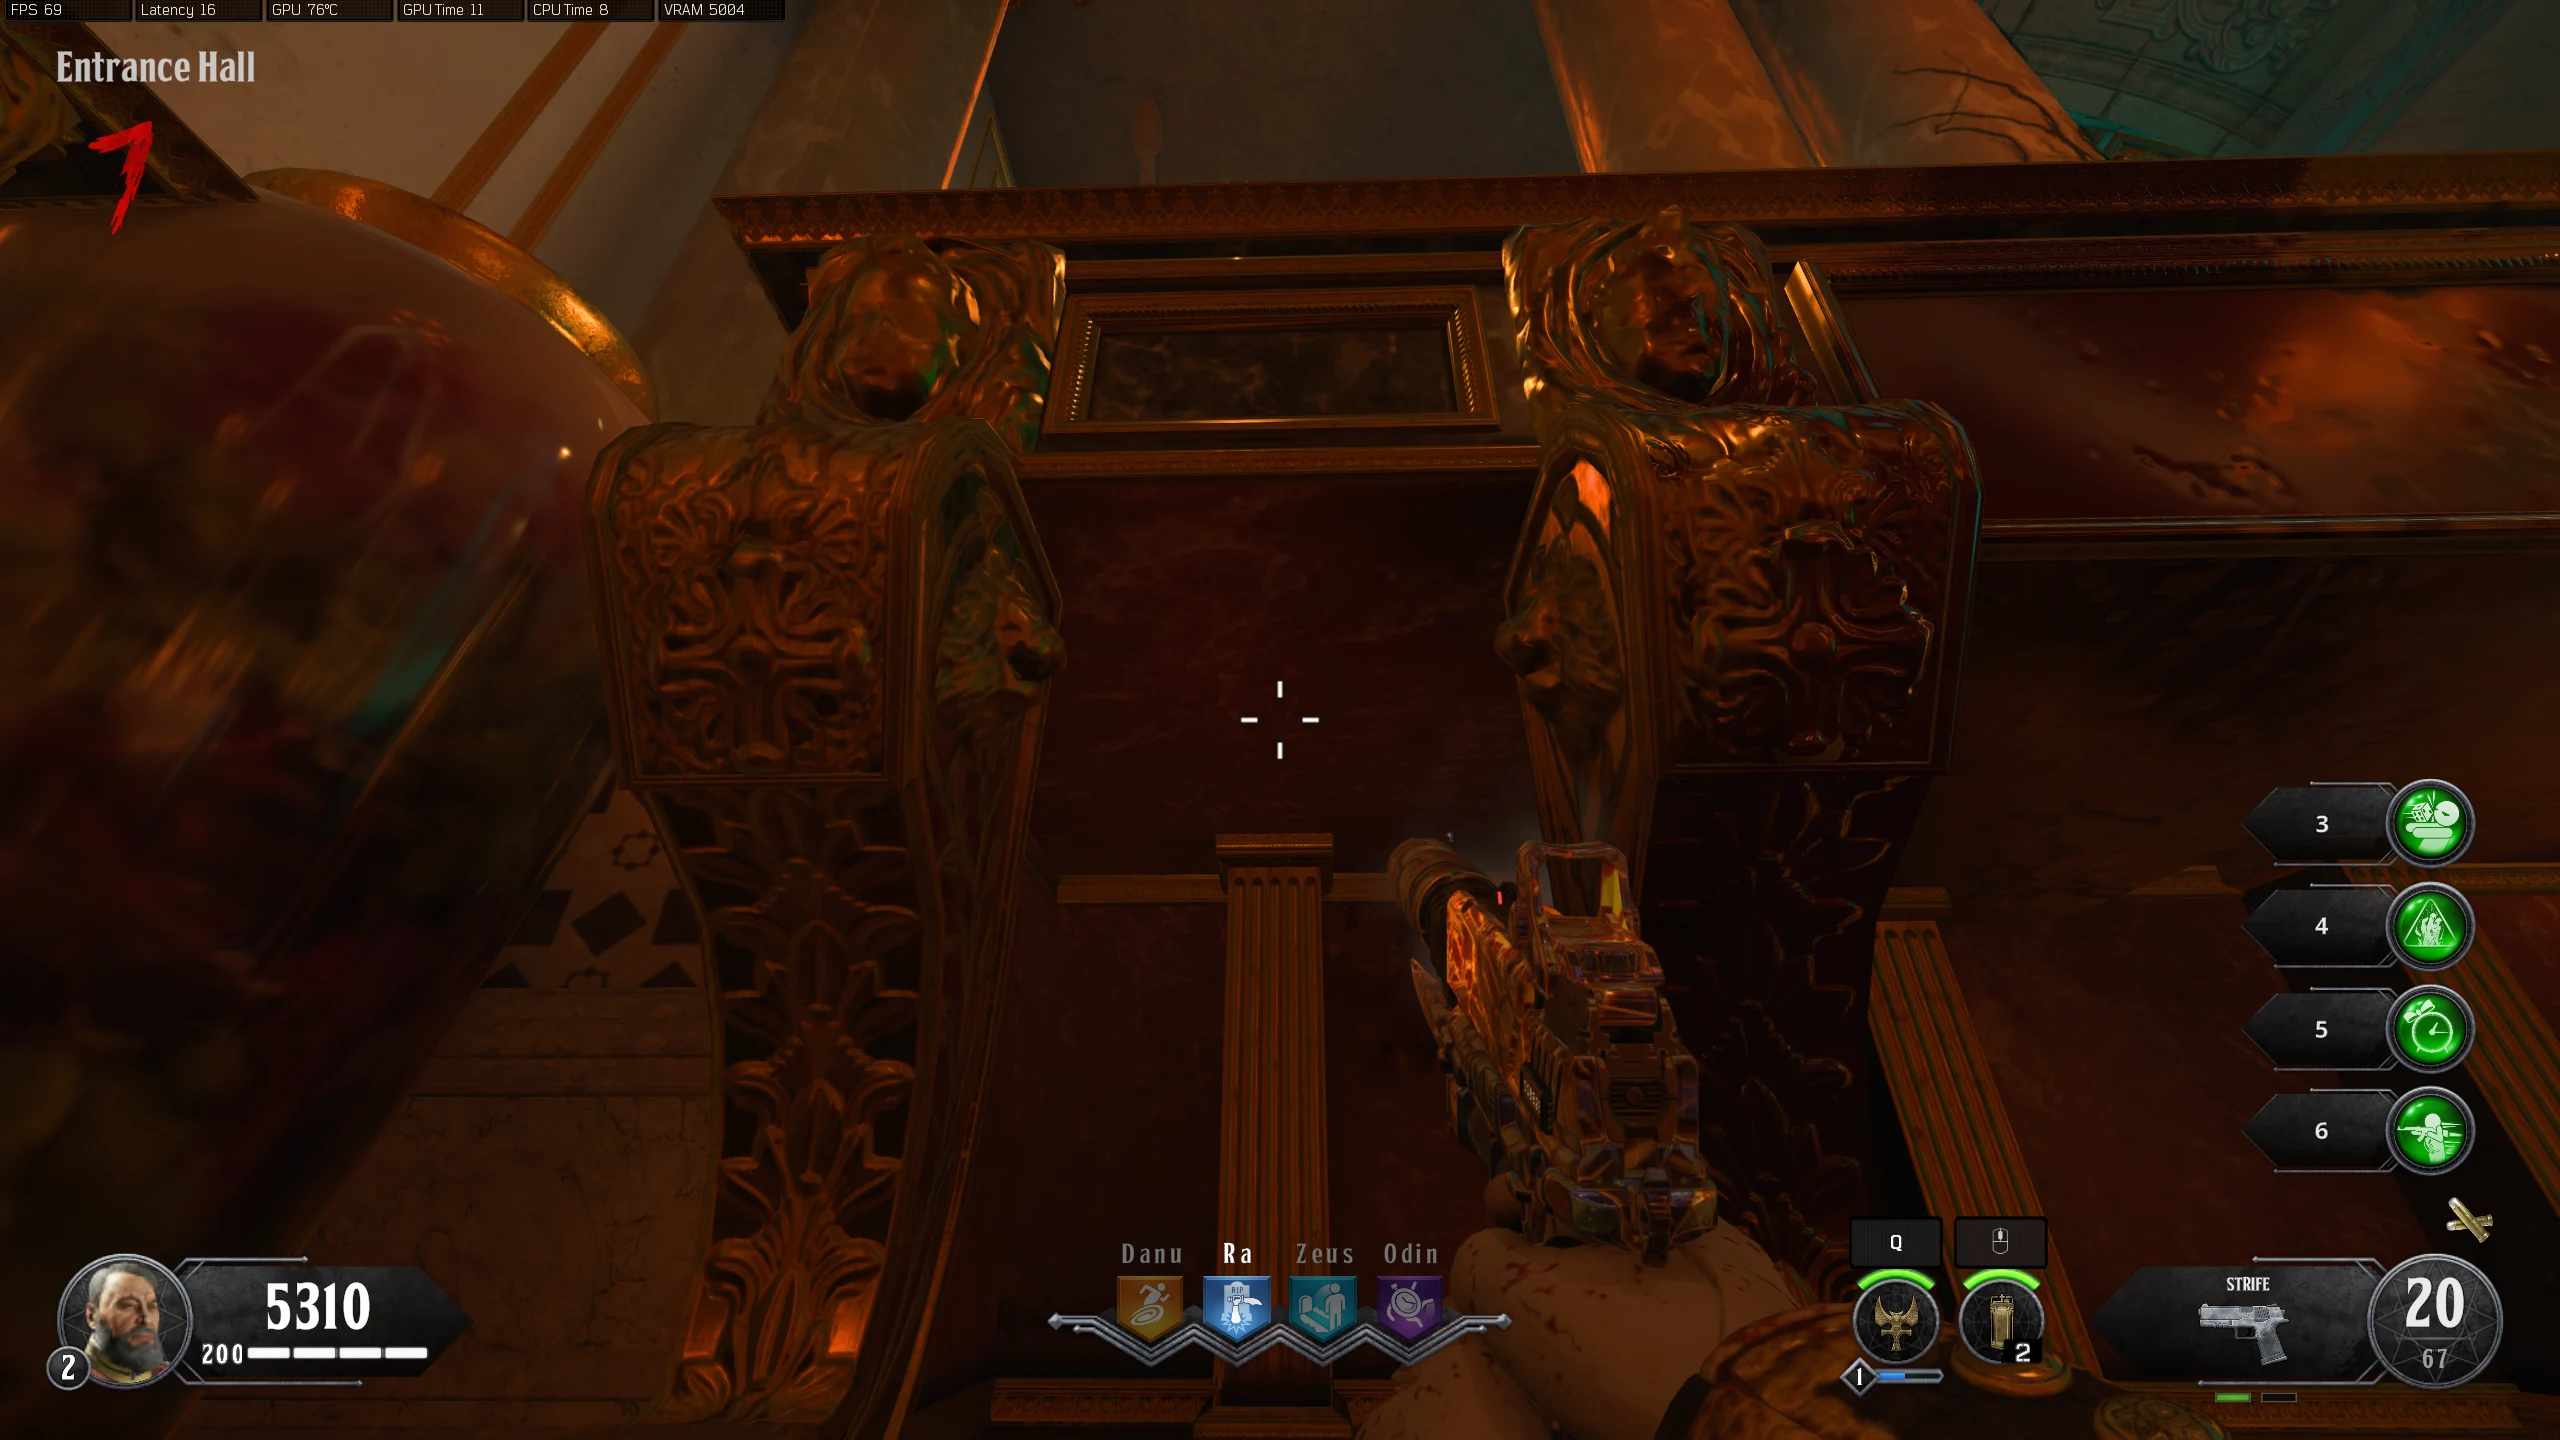
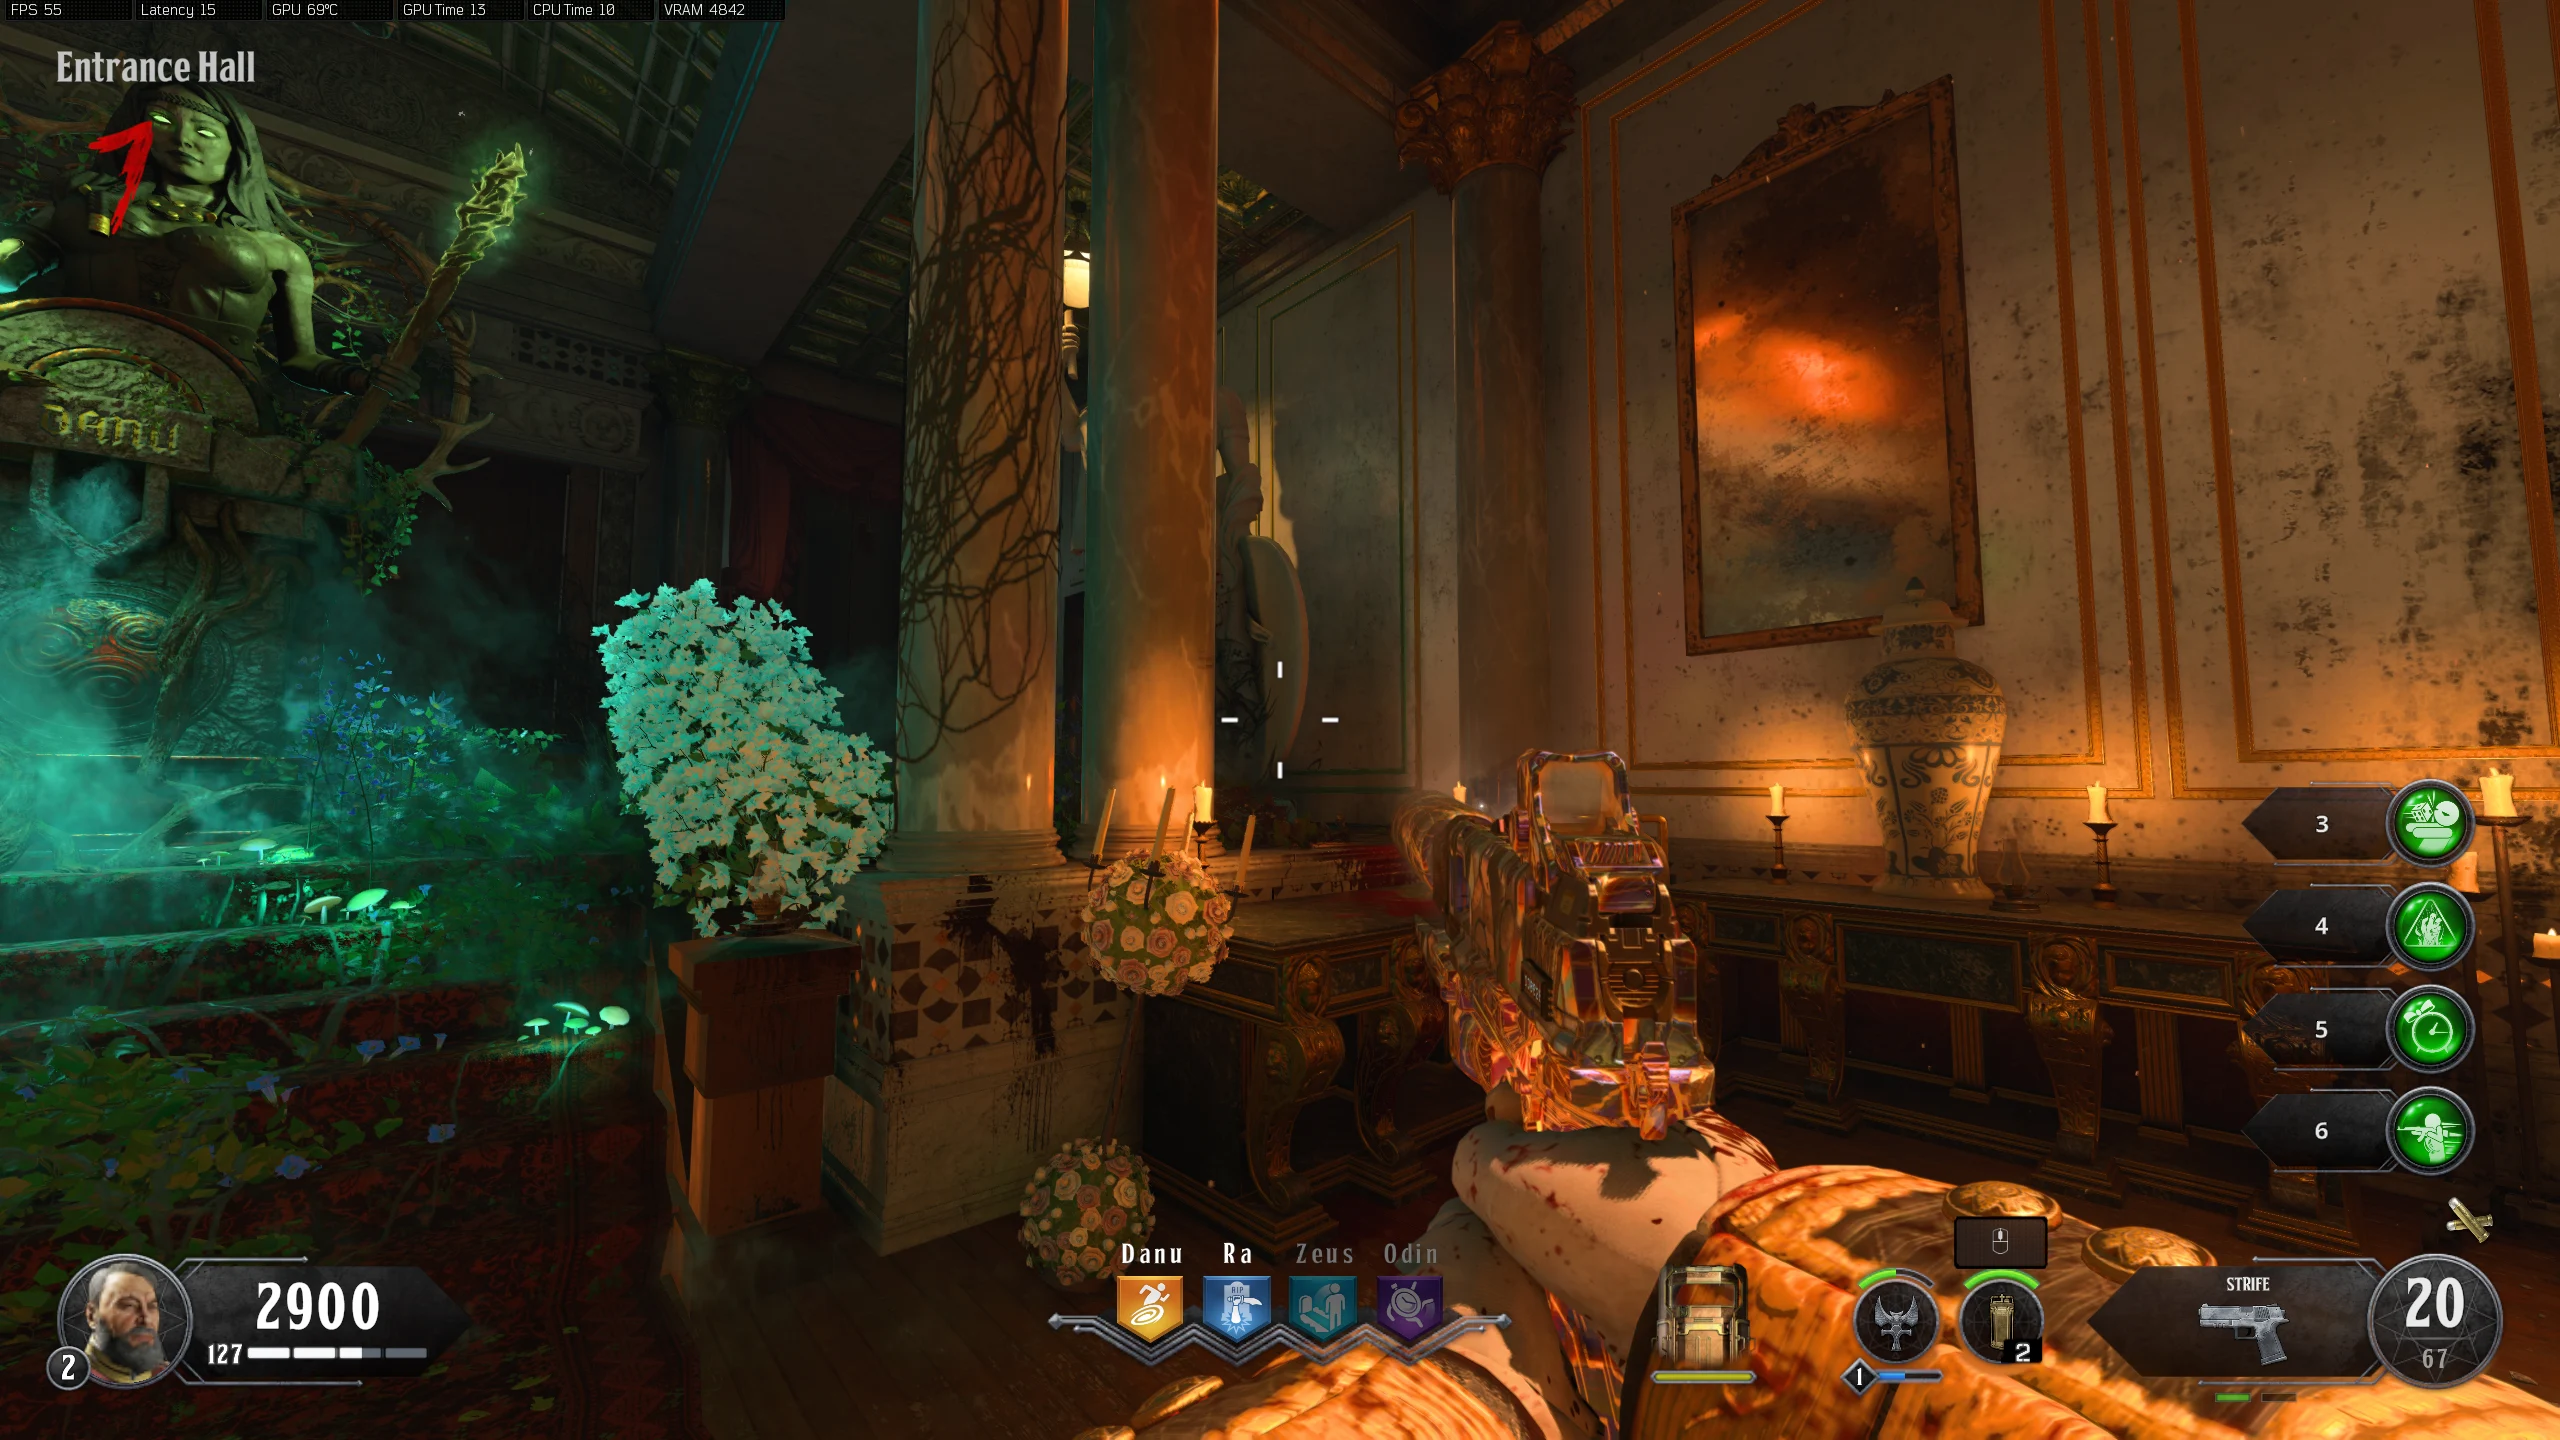
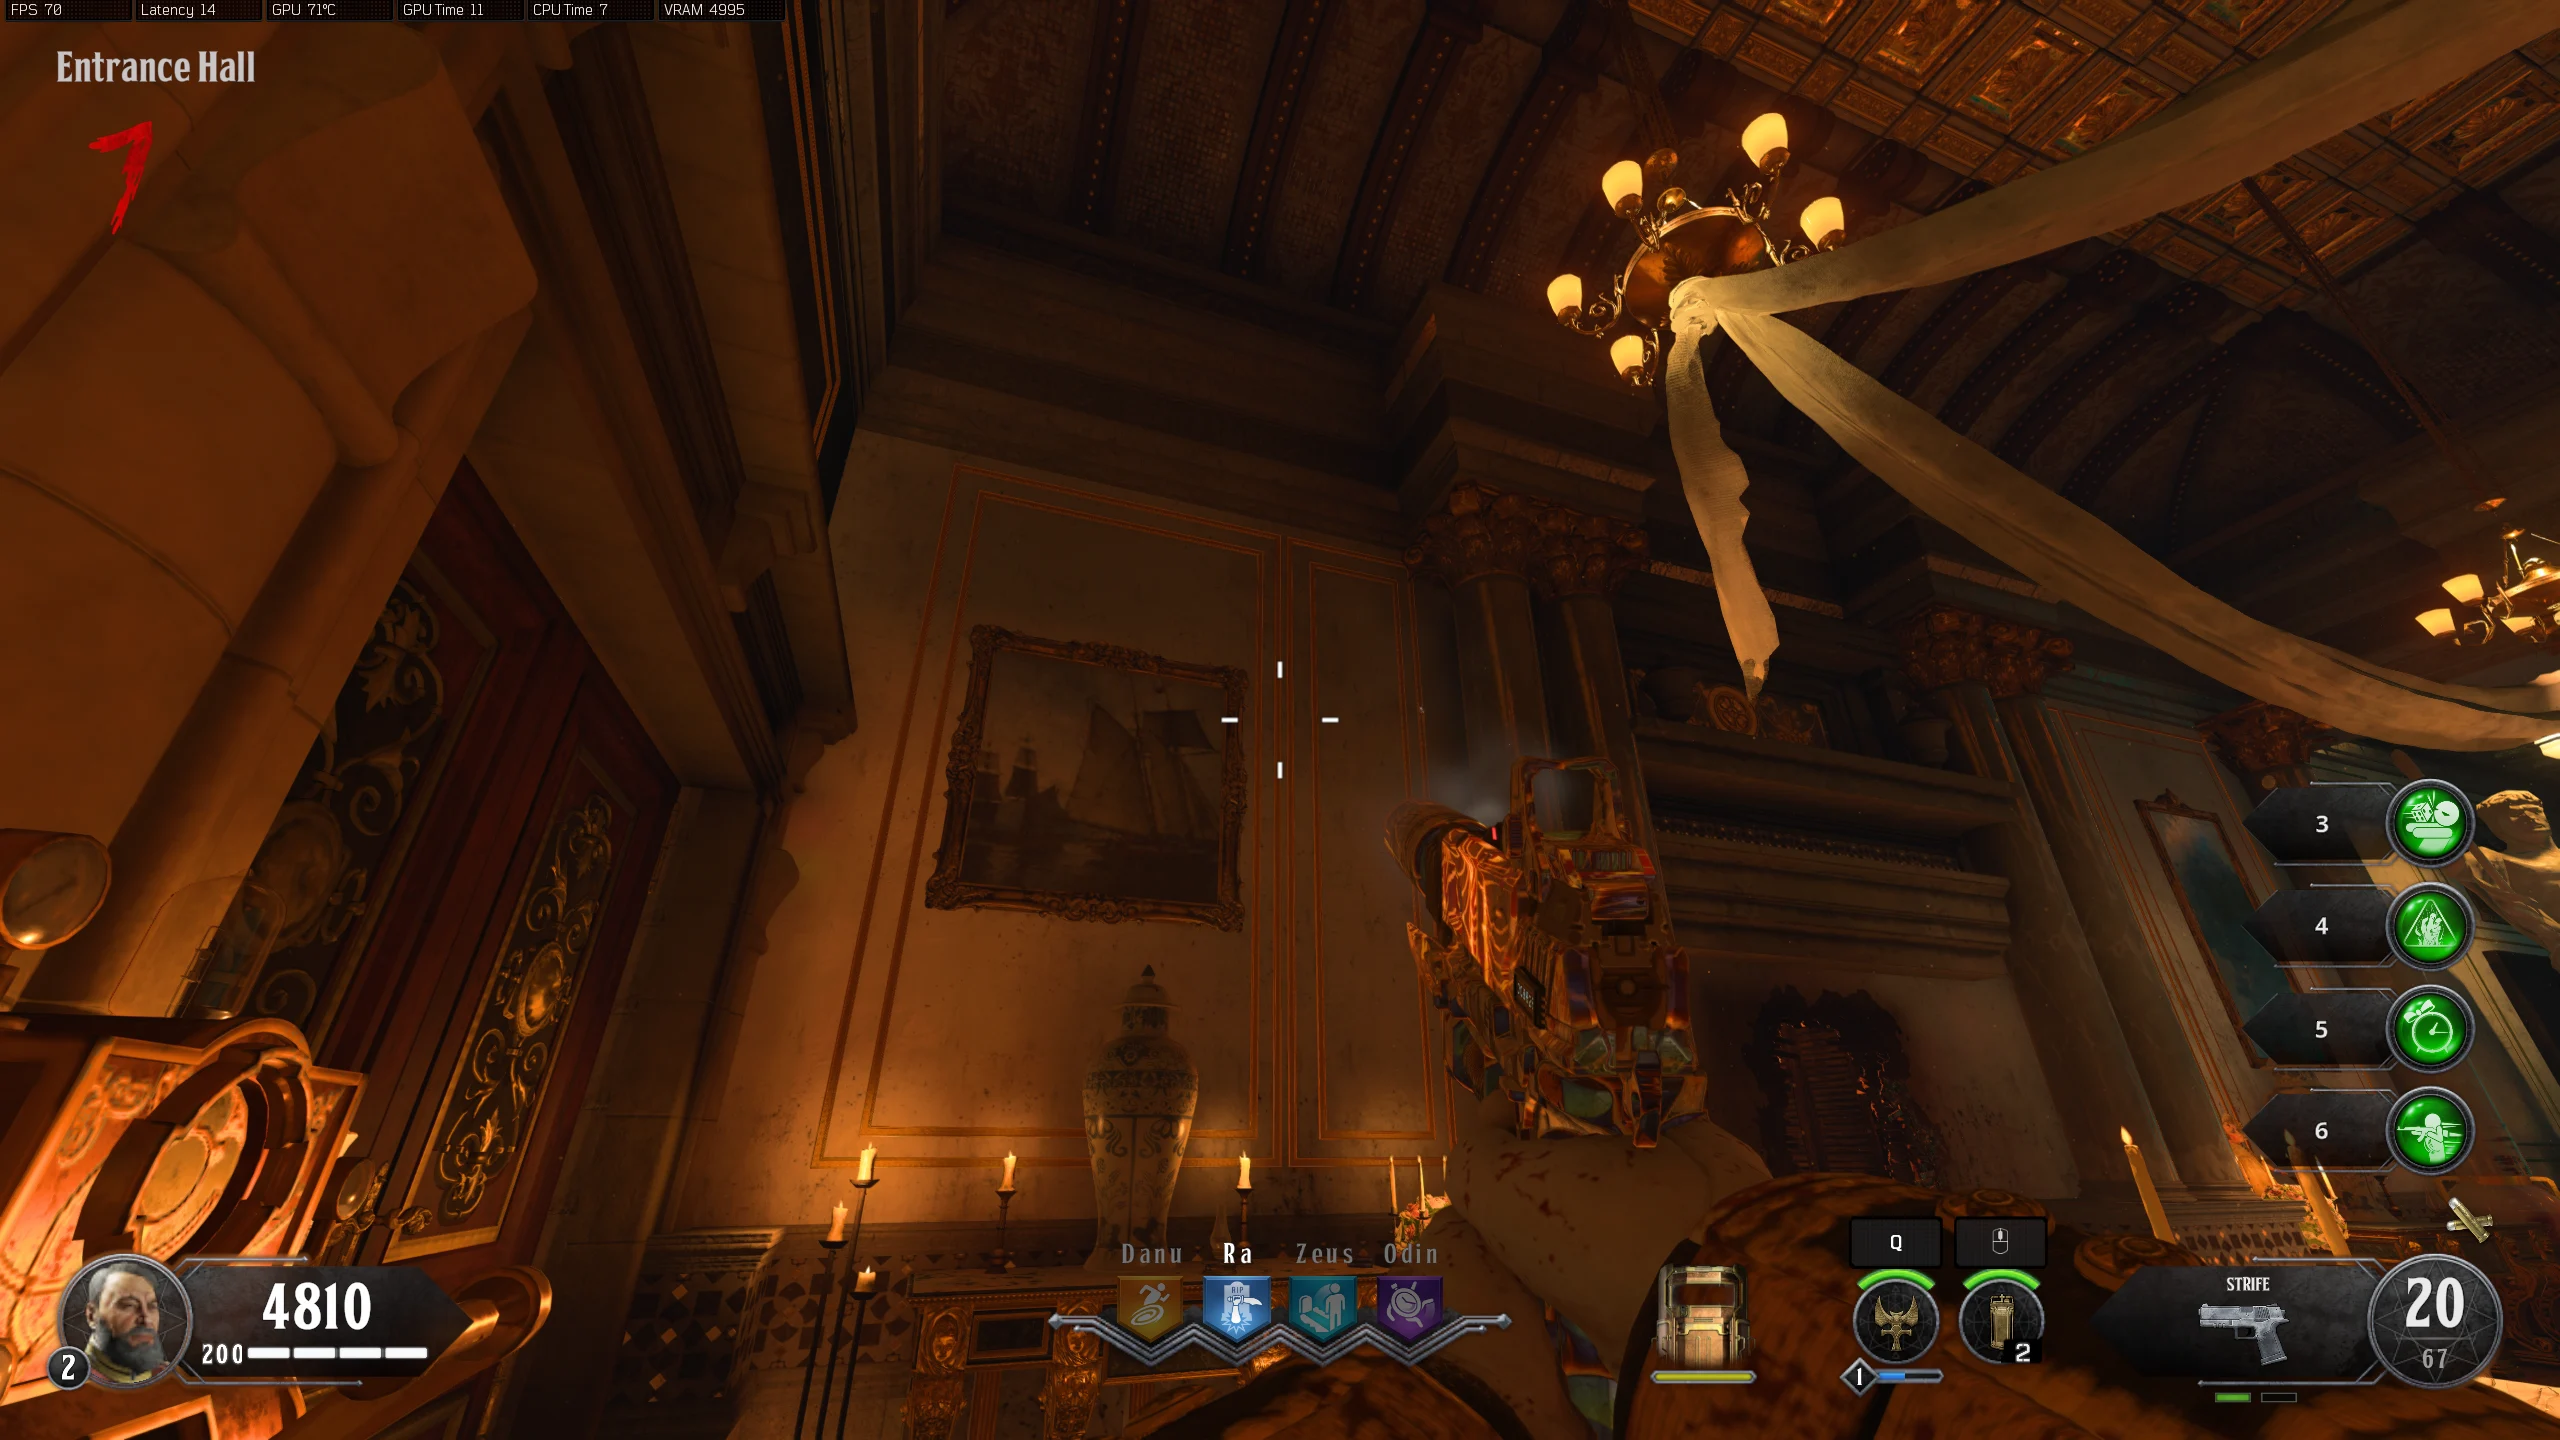
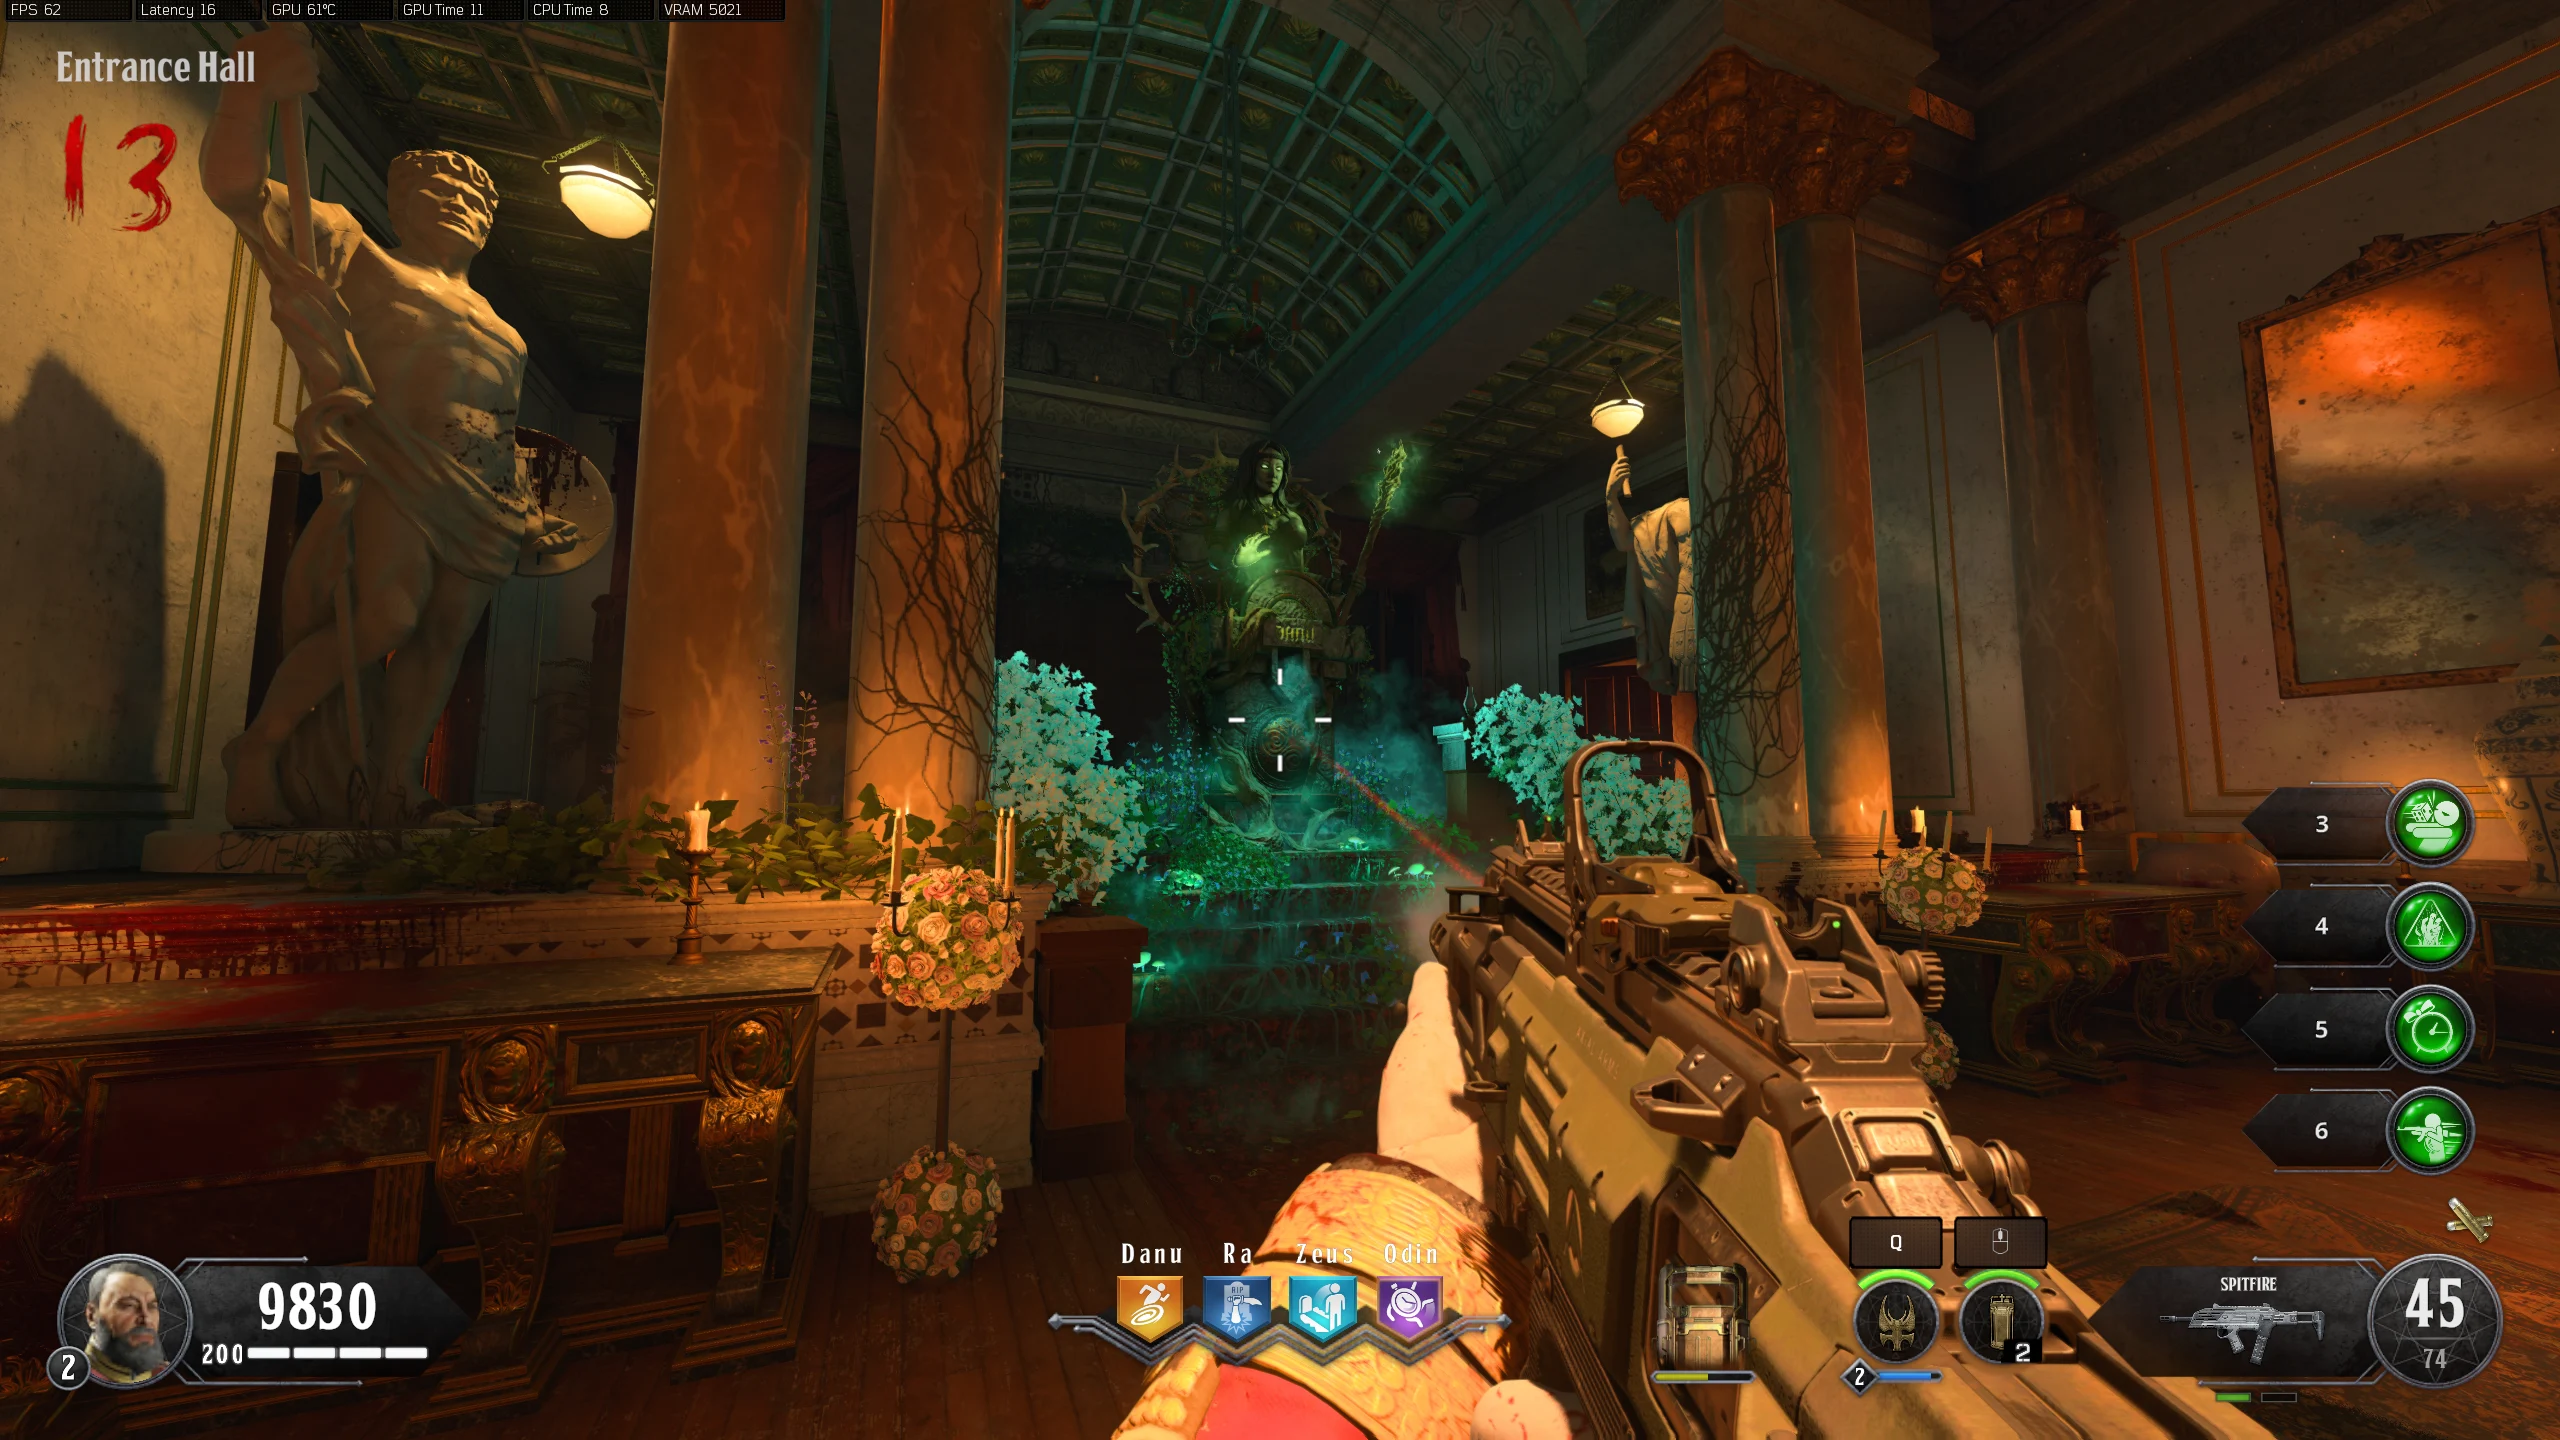
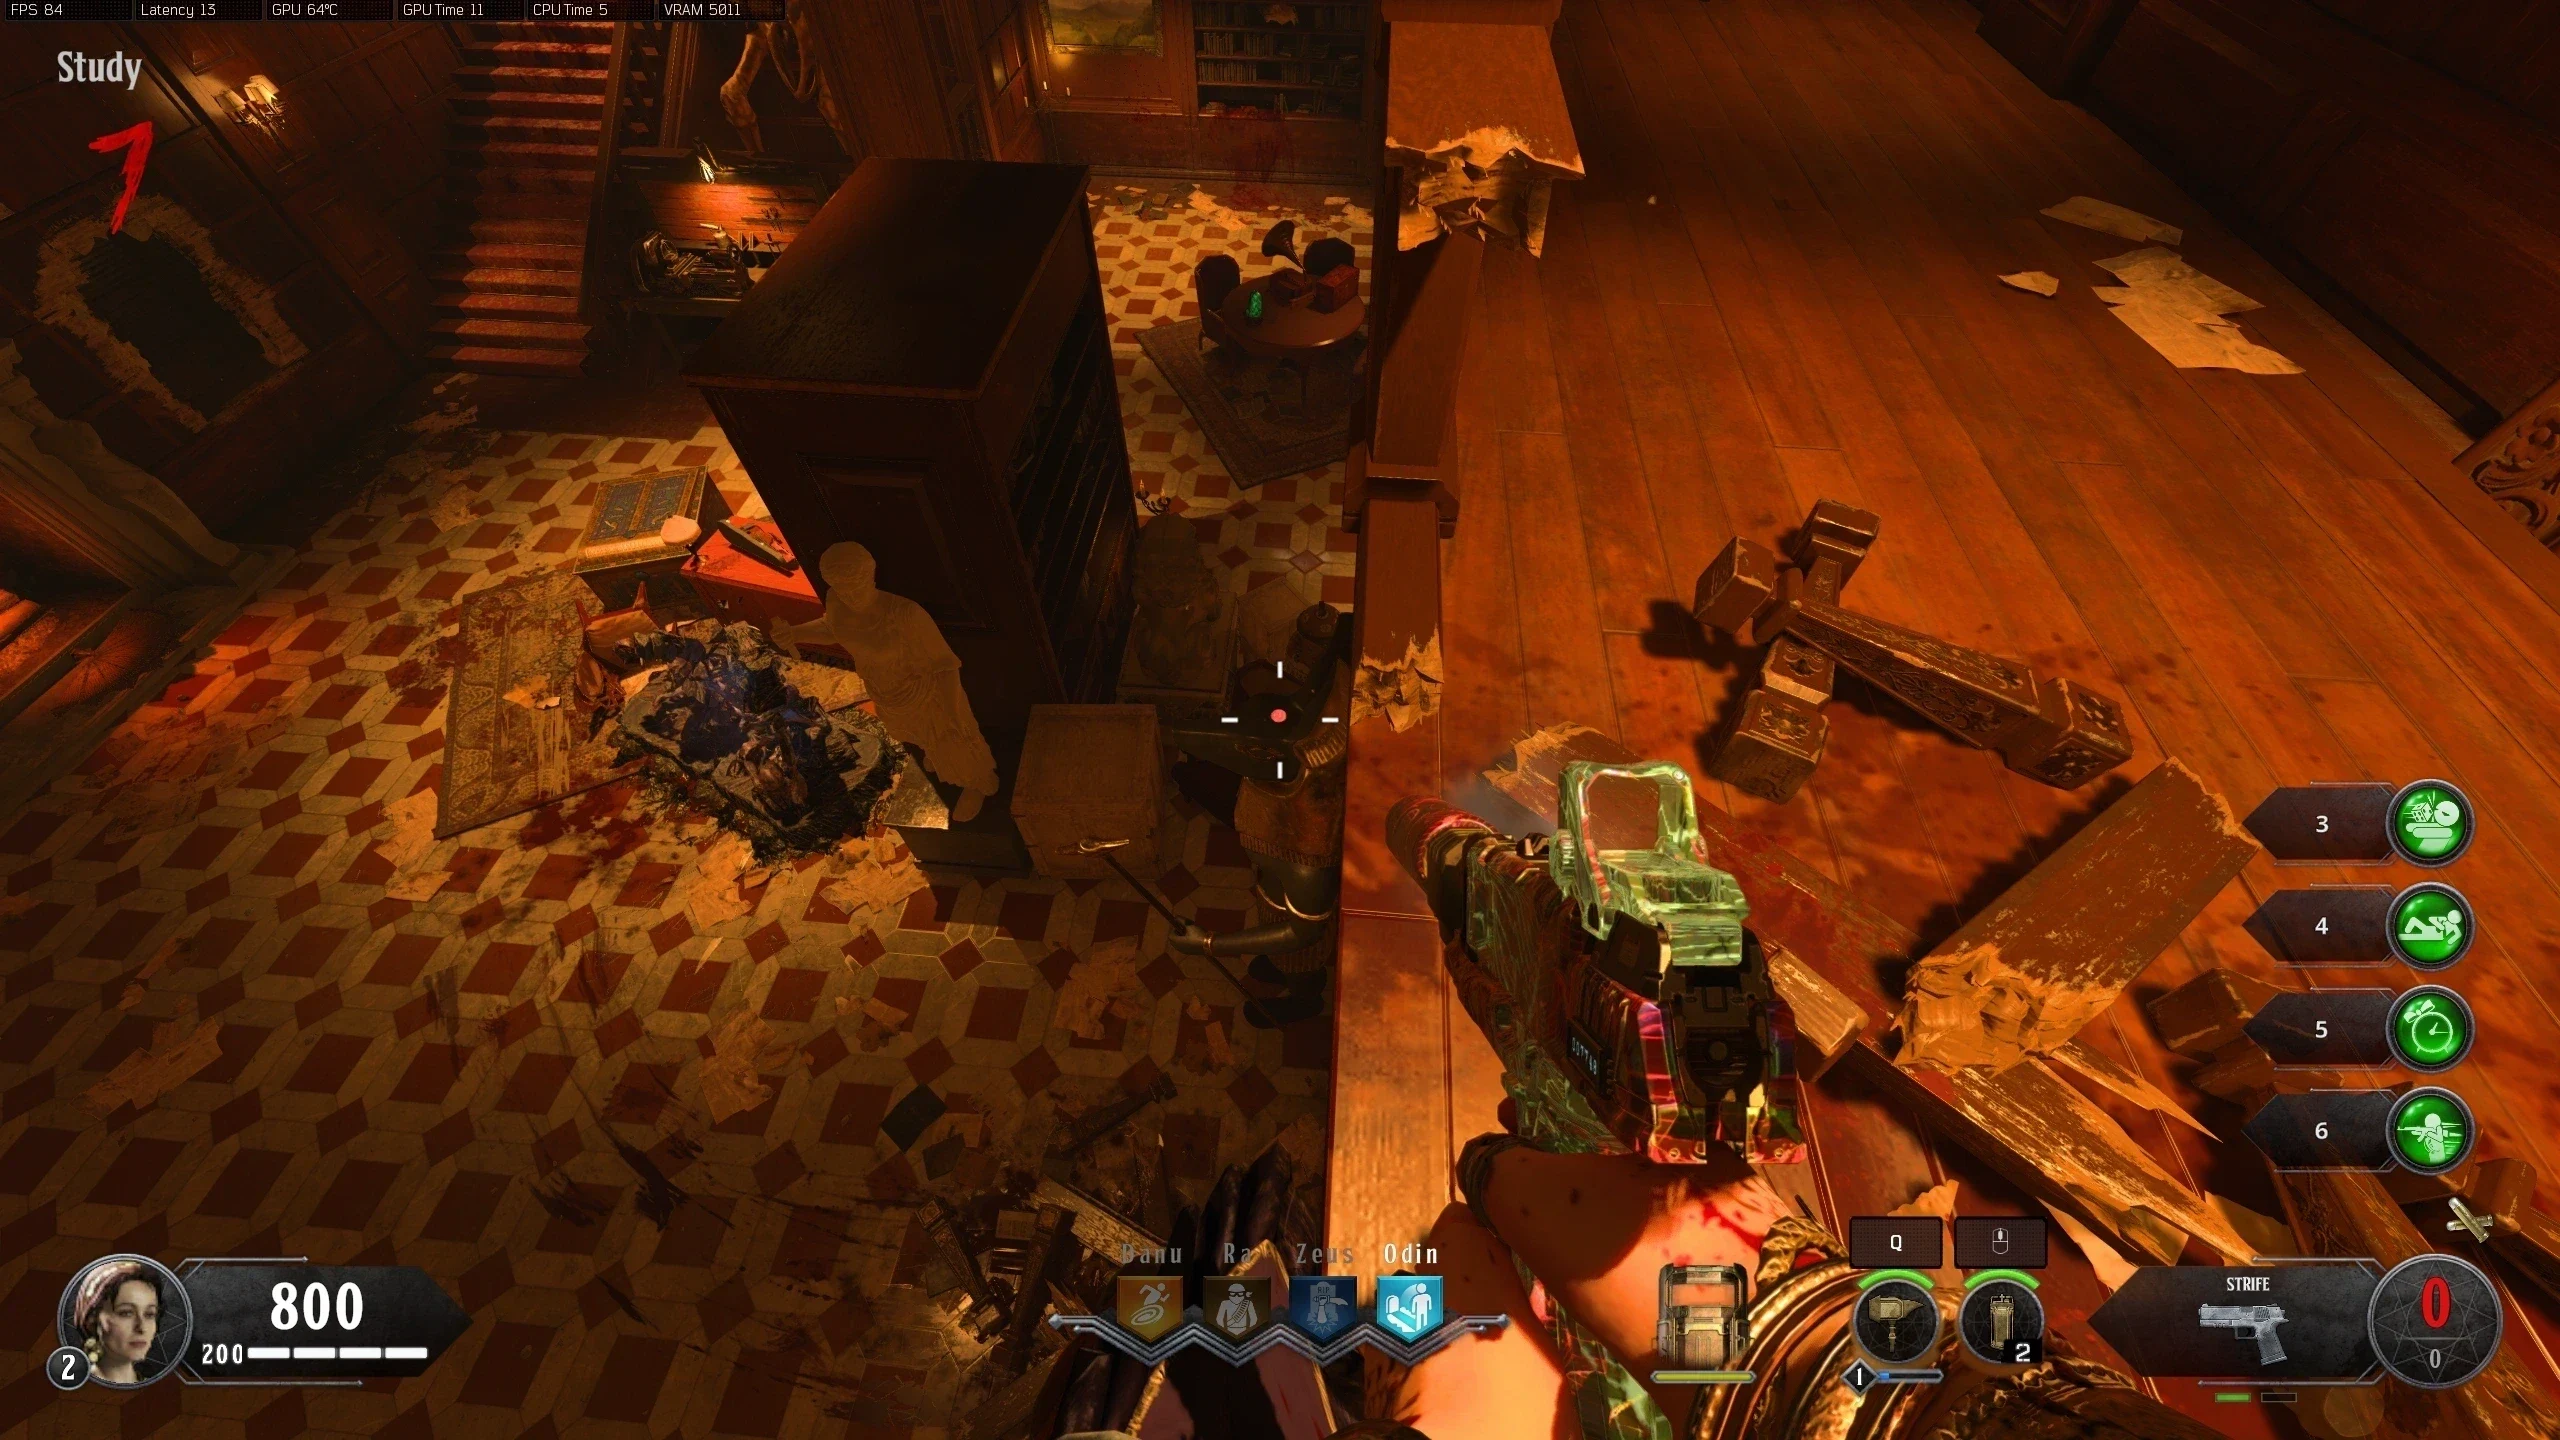
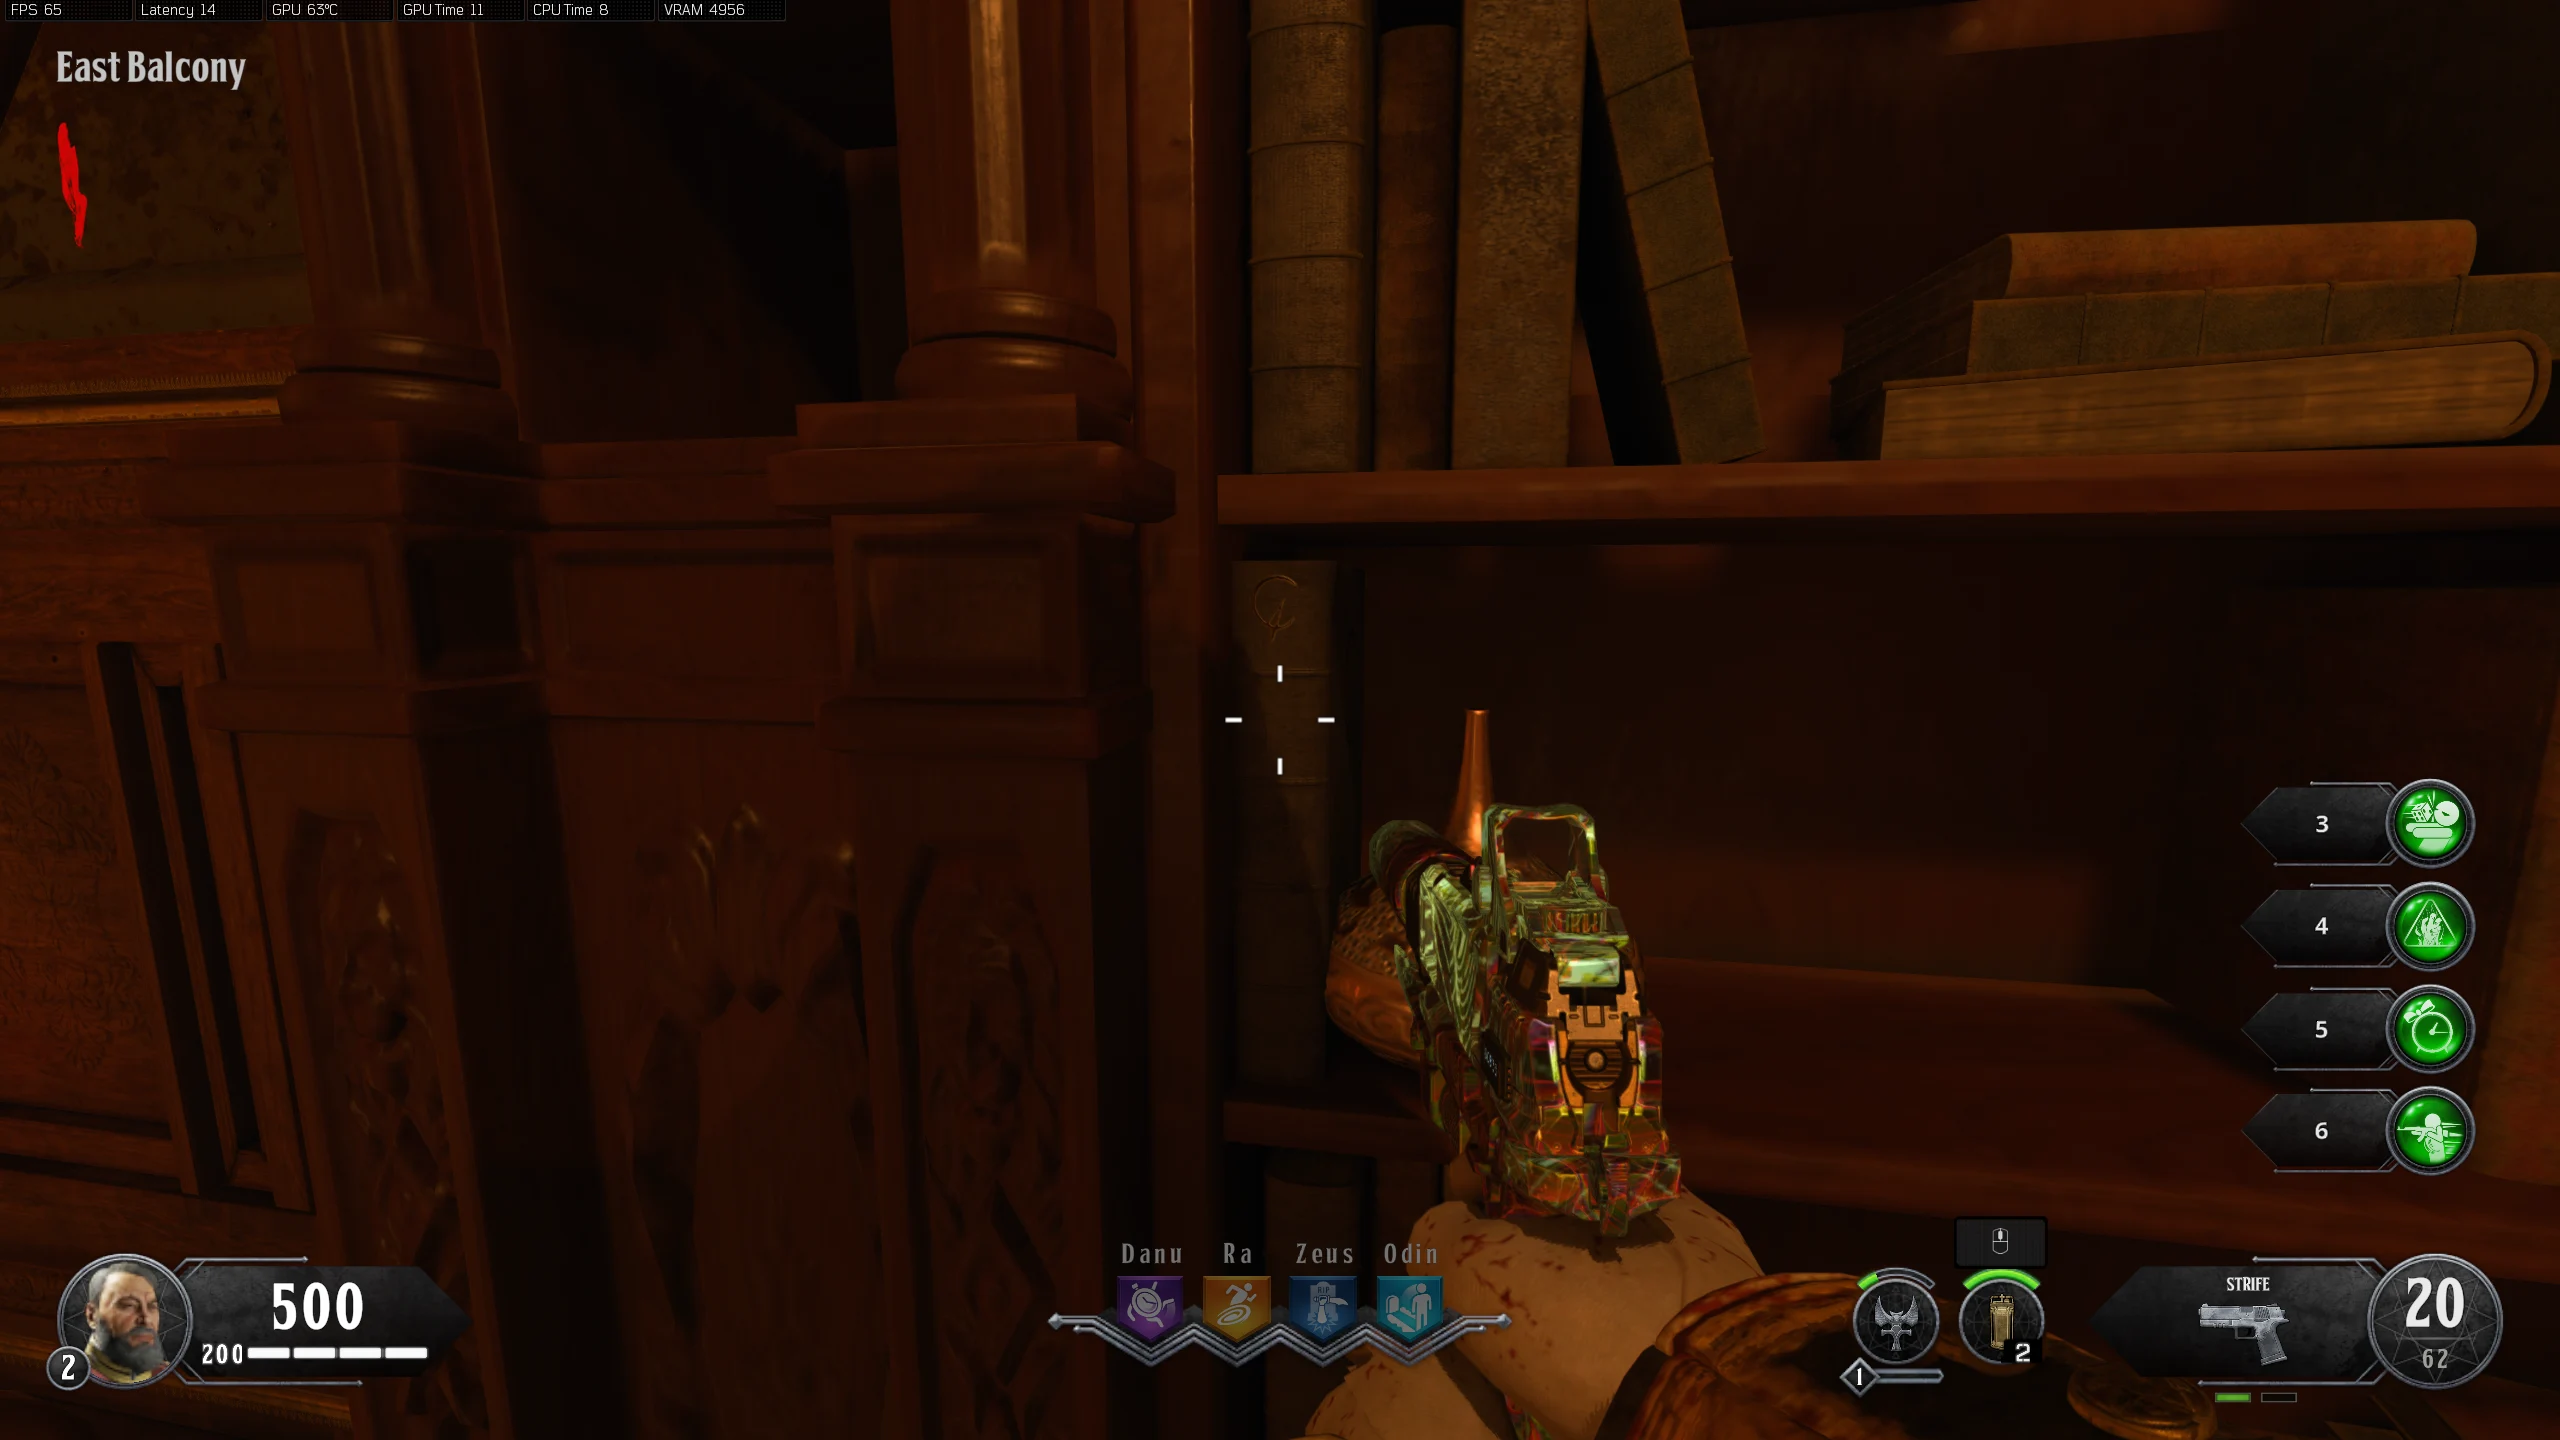
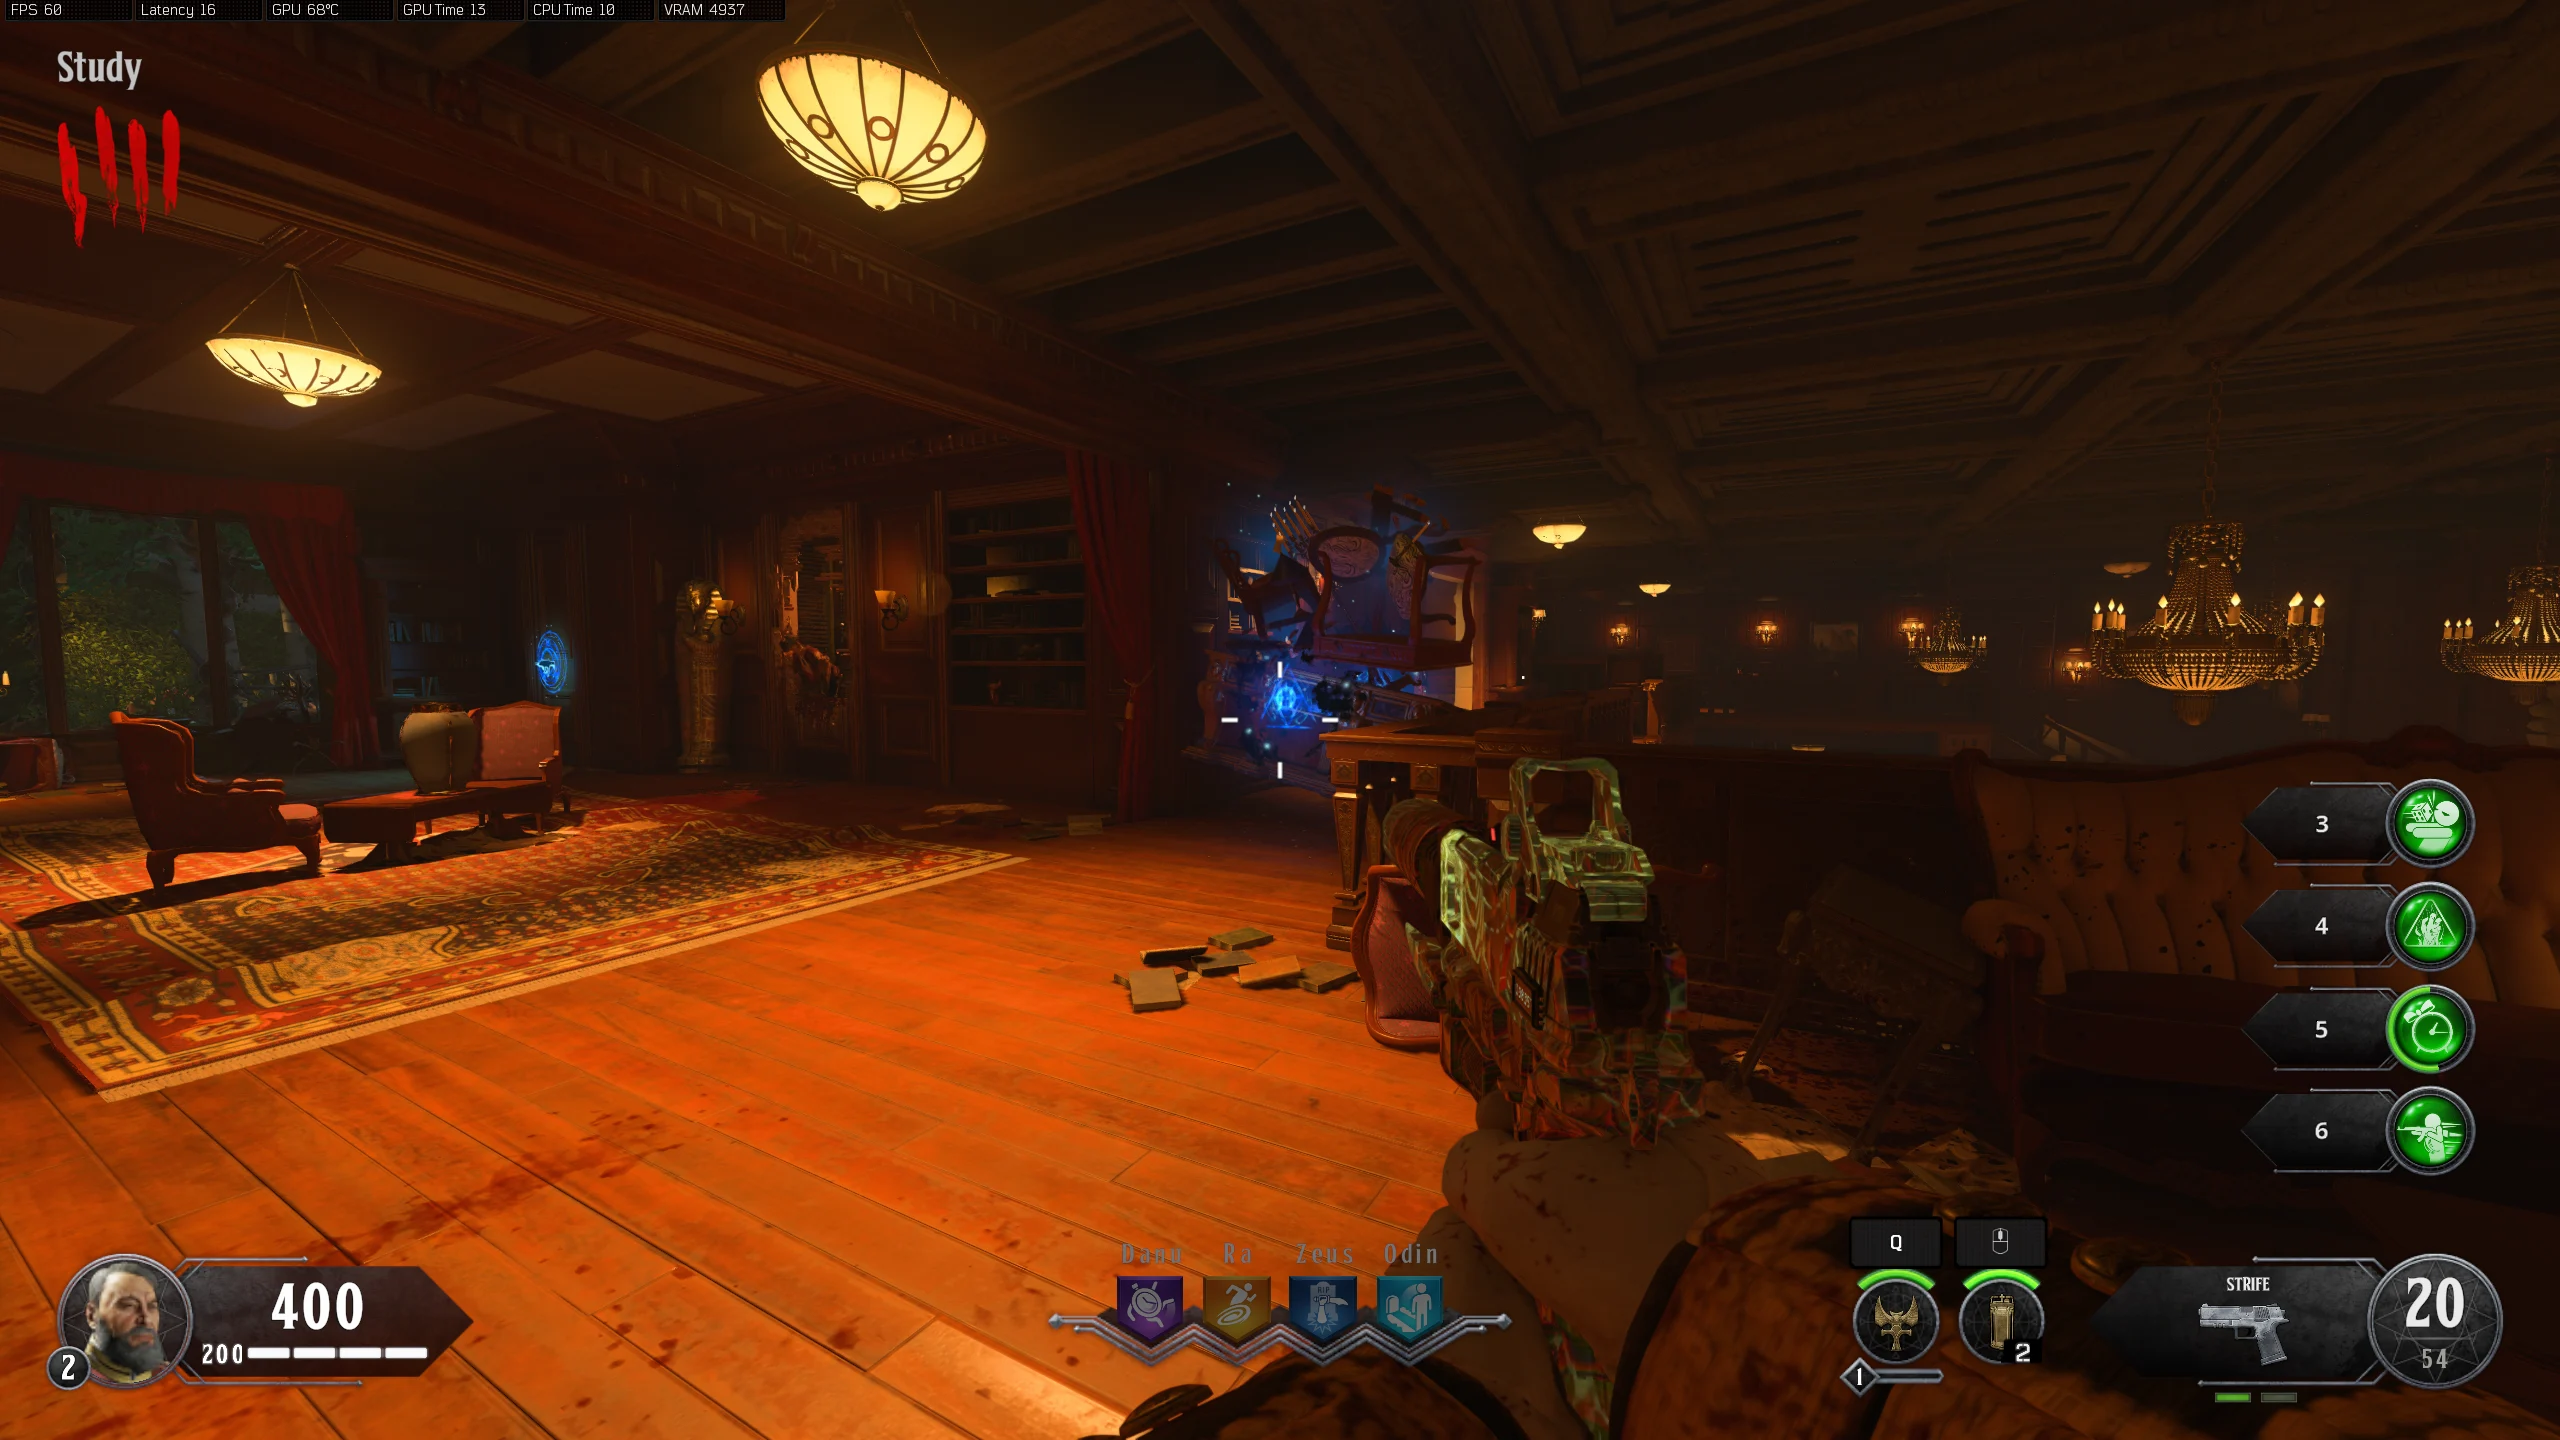
- Entrance Hall
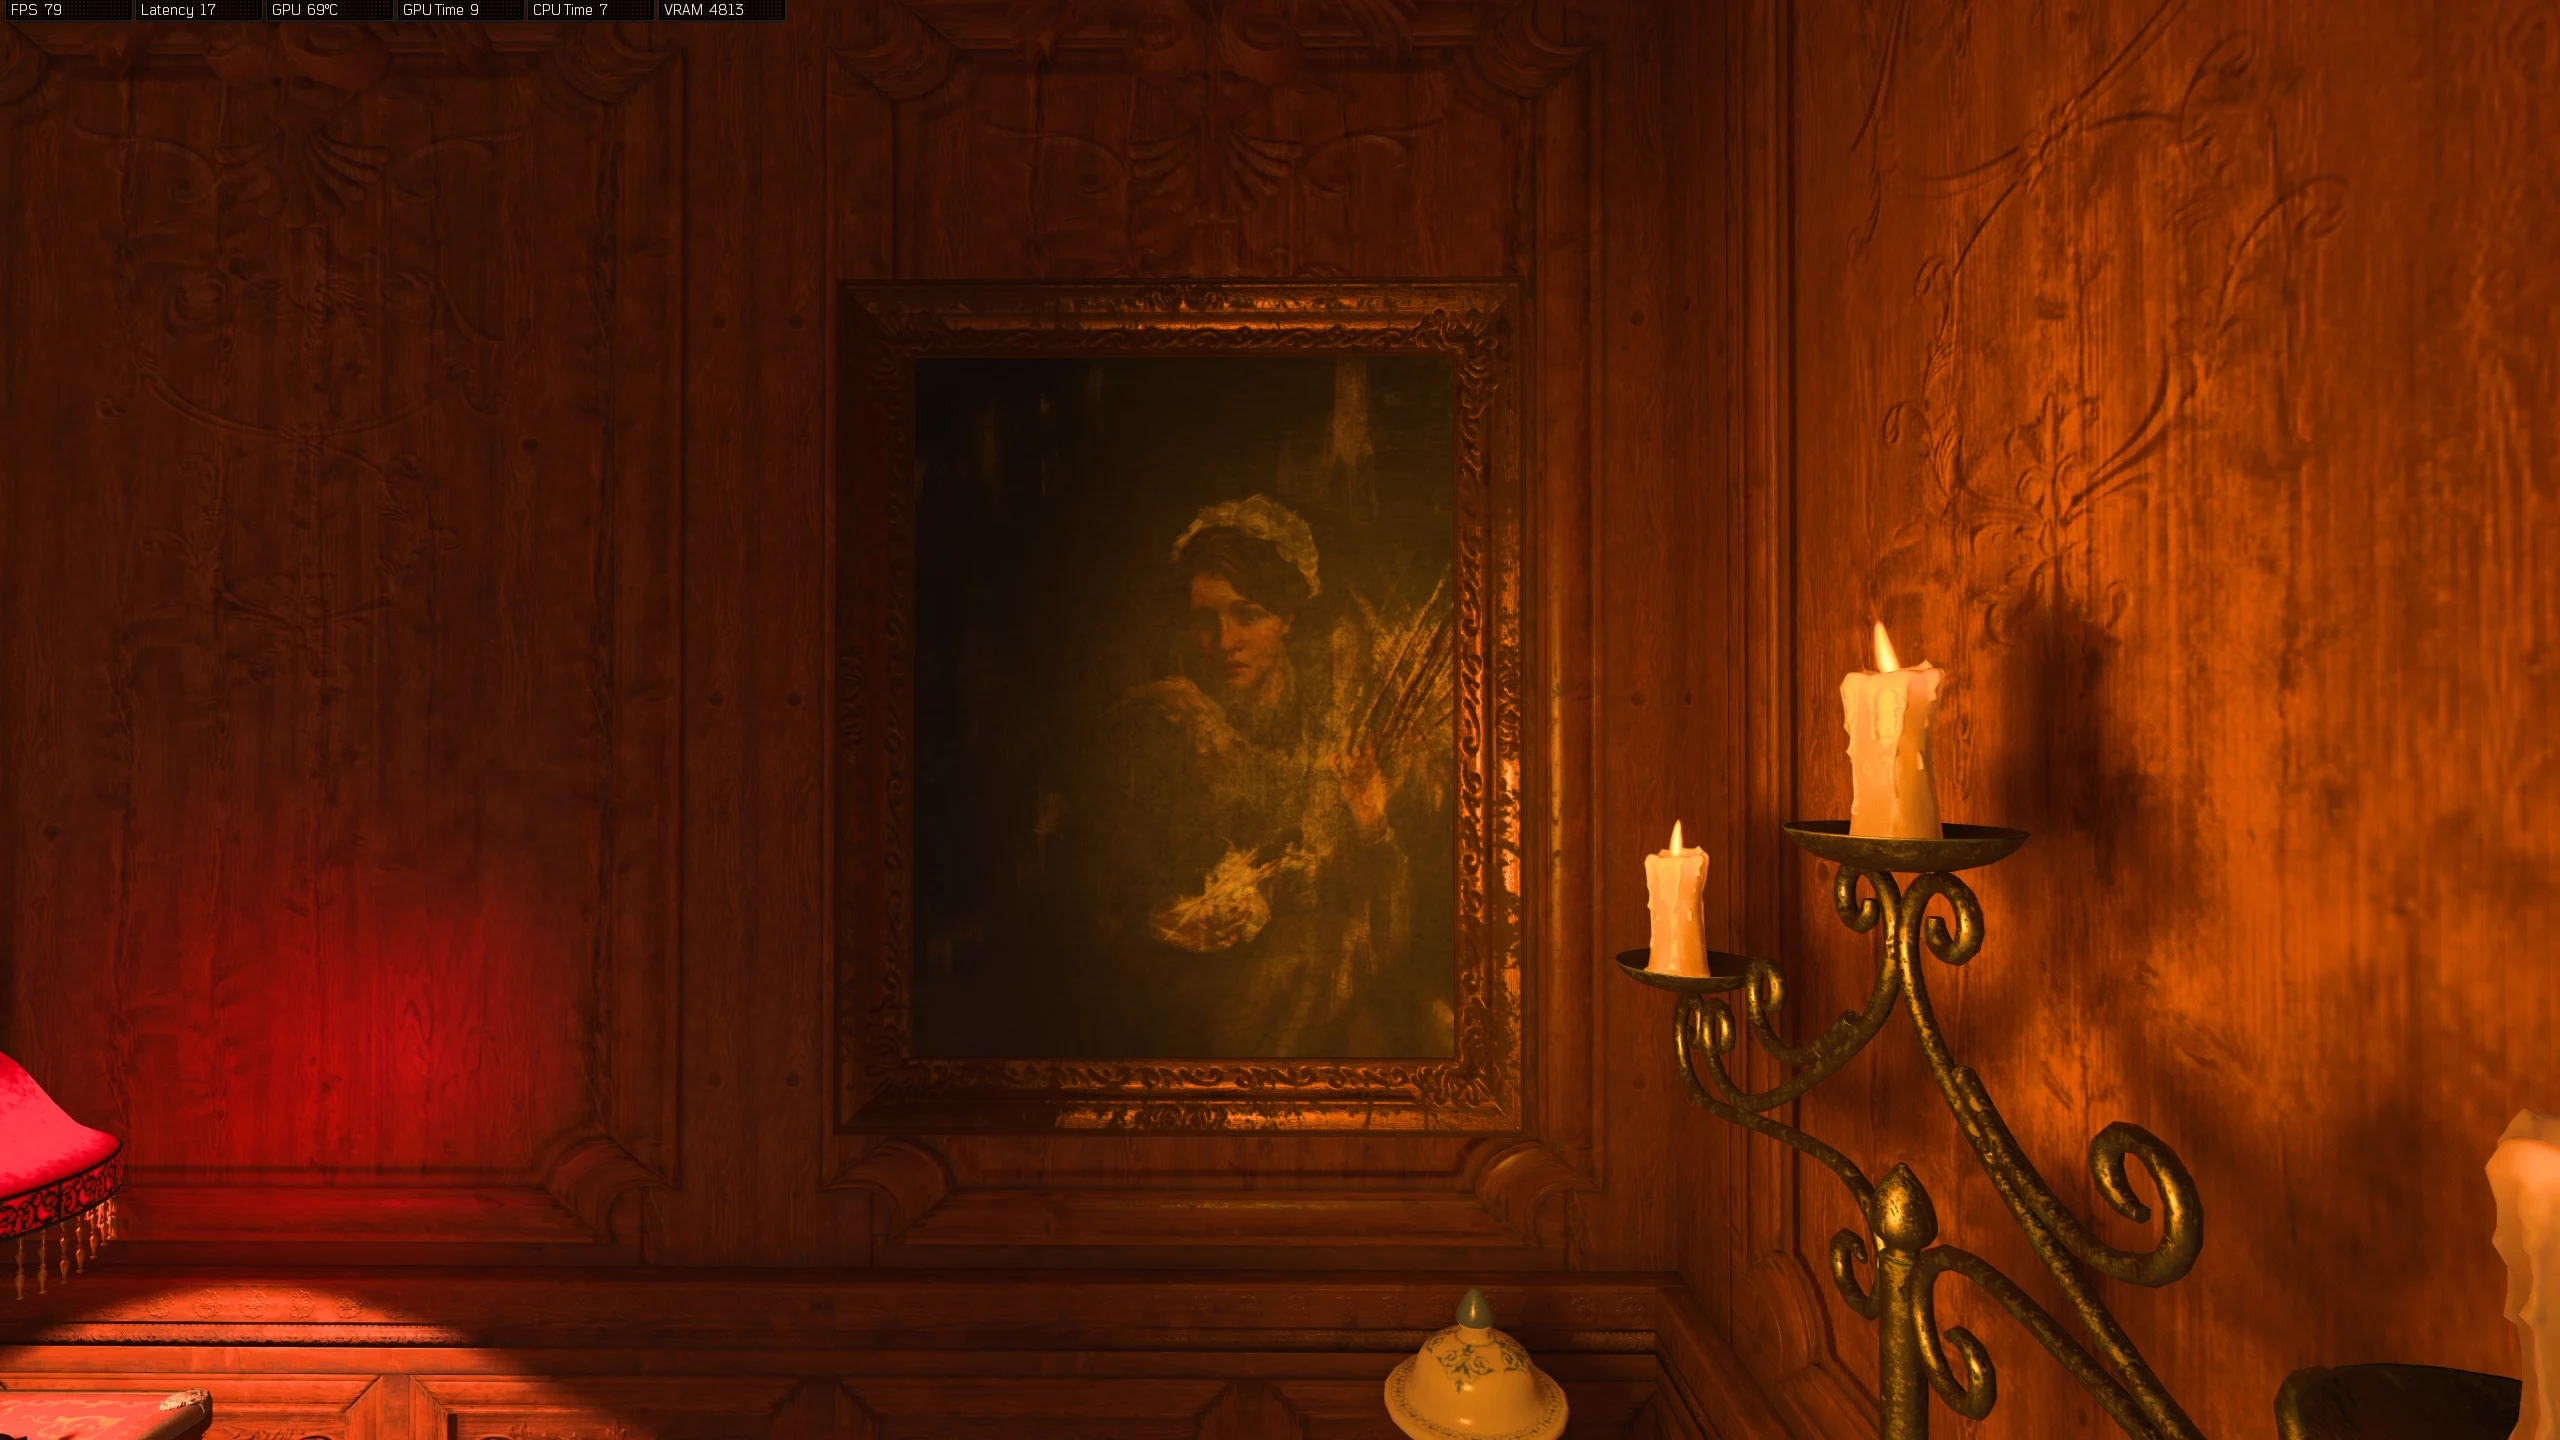
- Zodiac - Under a table, left of the Danu Statue --- Room View
- Scratches - On the shield, right of the Danu Statue
- Scratches - At the base of a column, right of the fast travel
- Scratches - Right of the ship painting
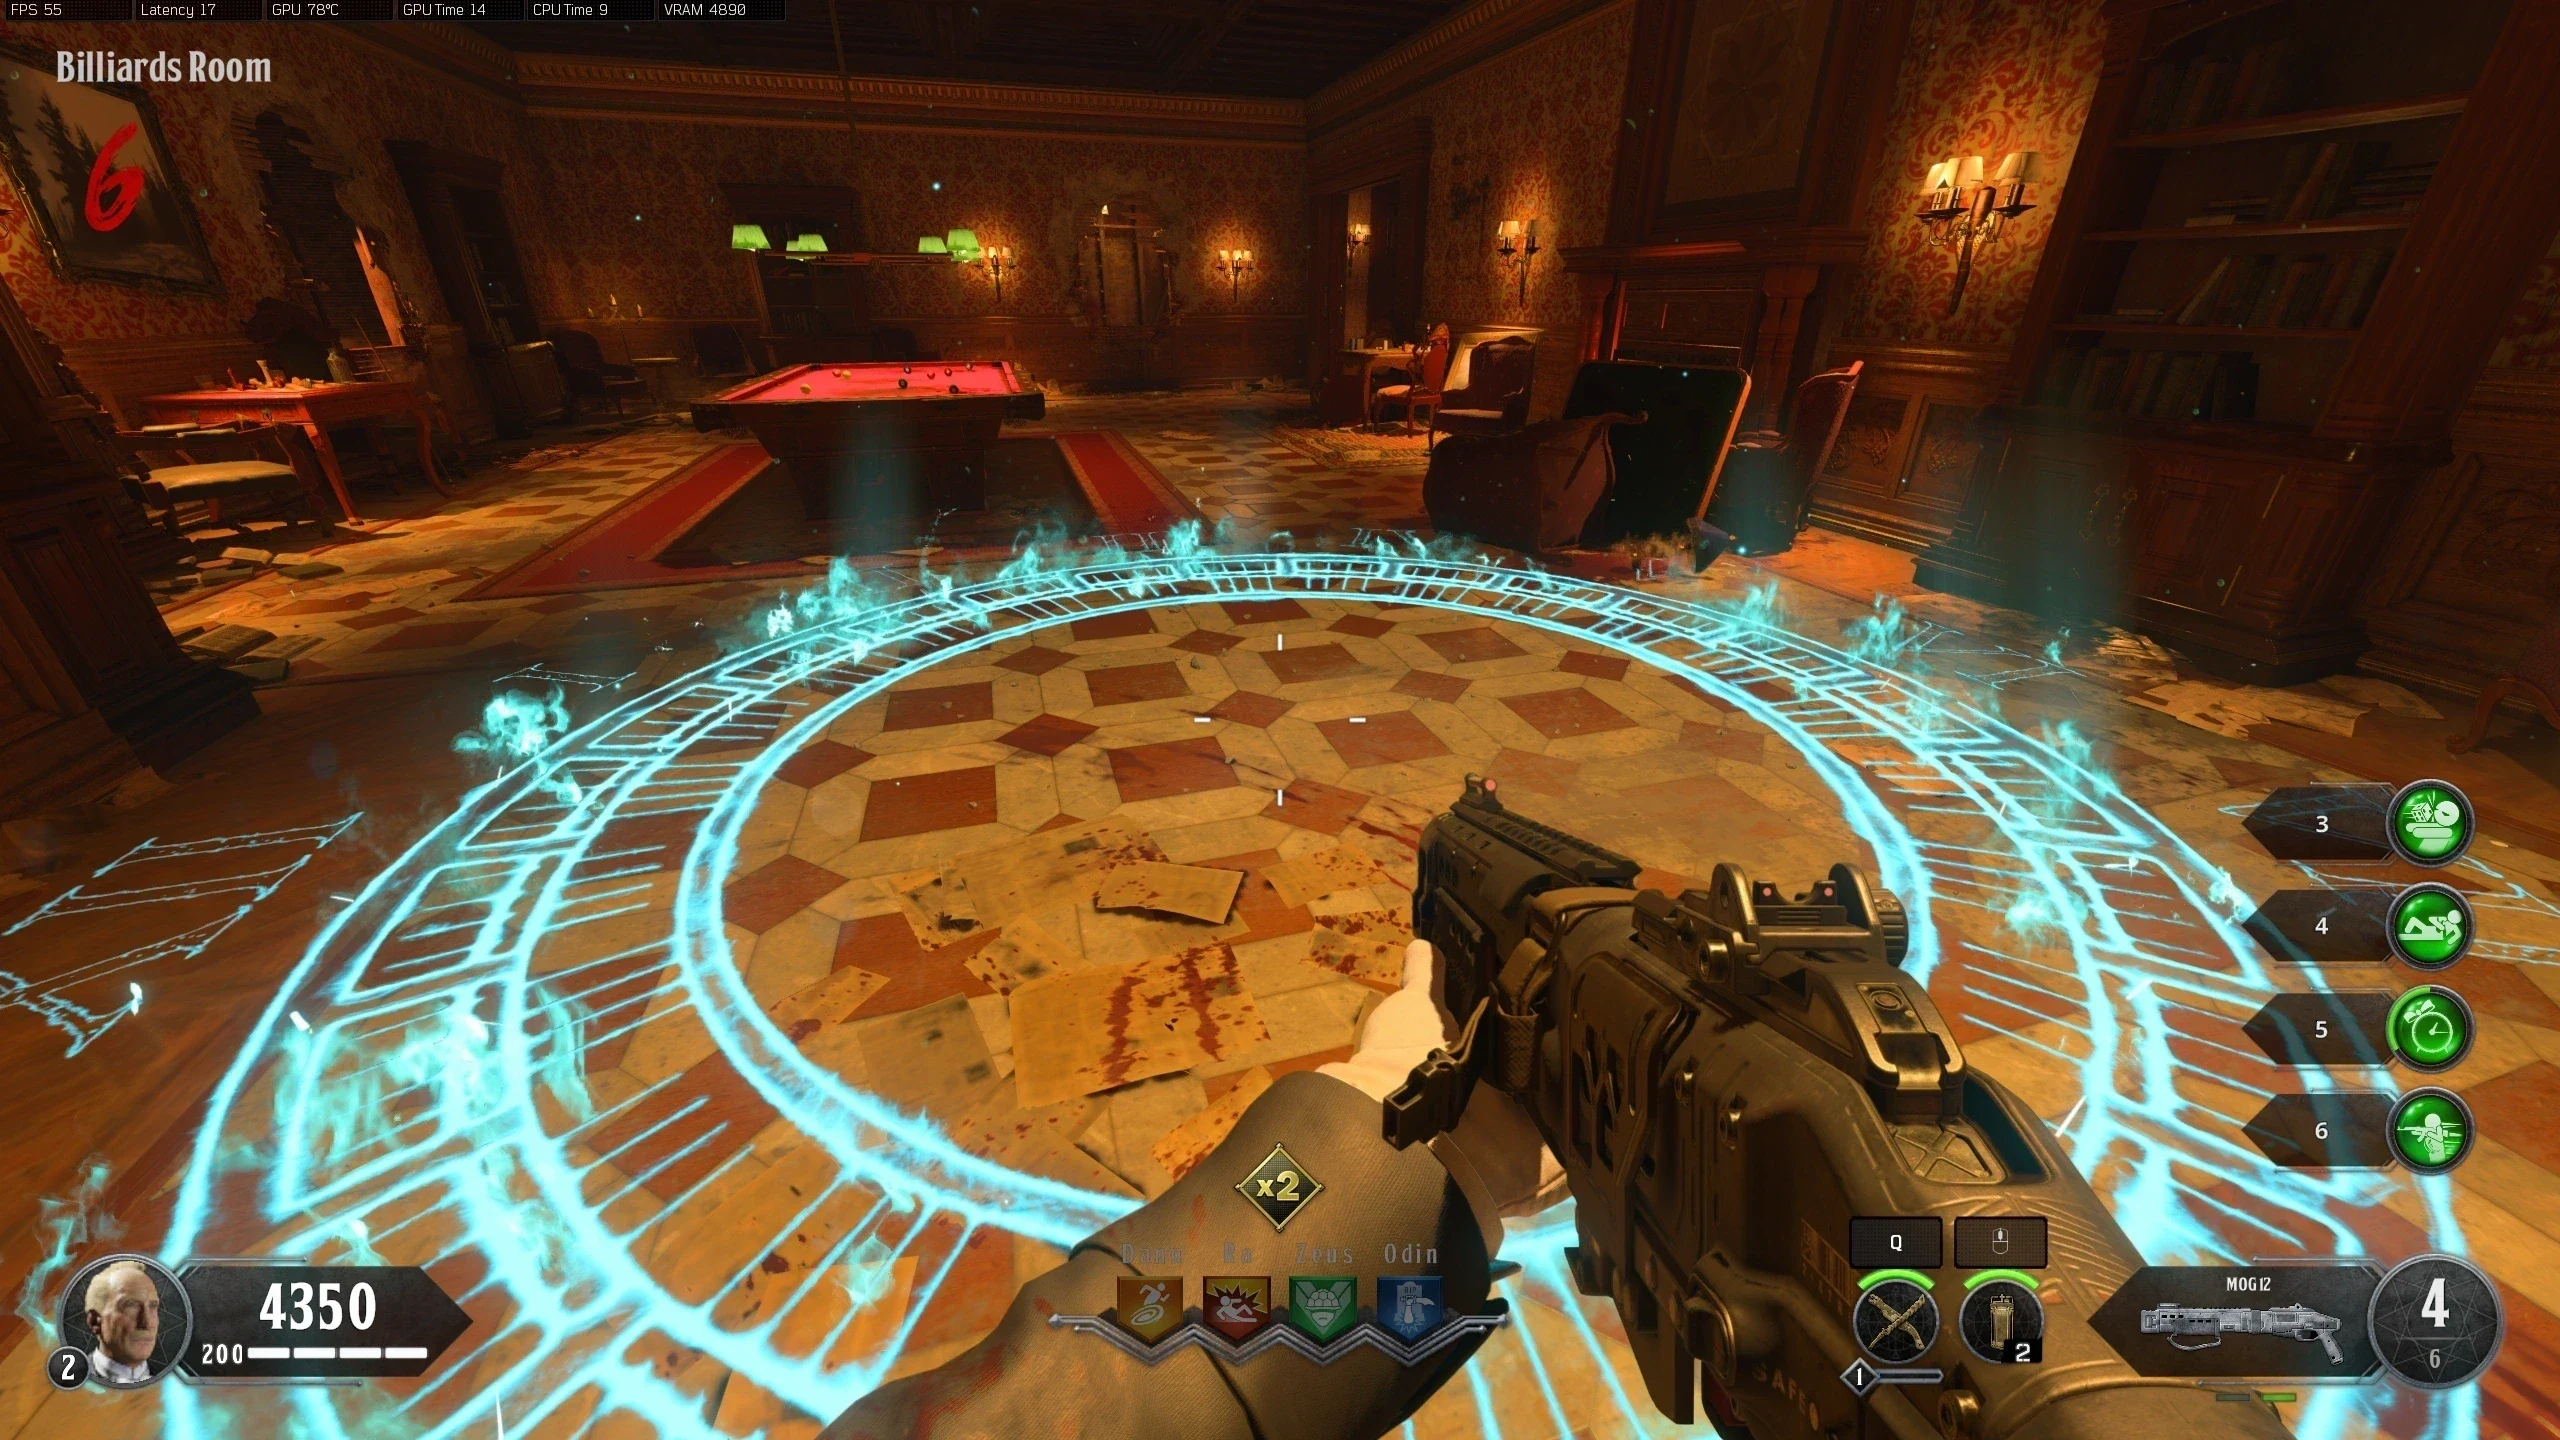
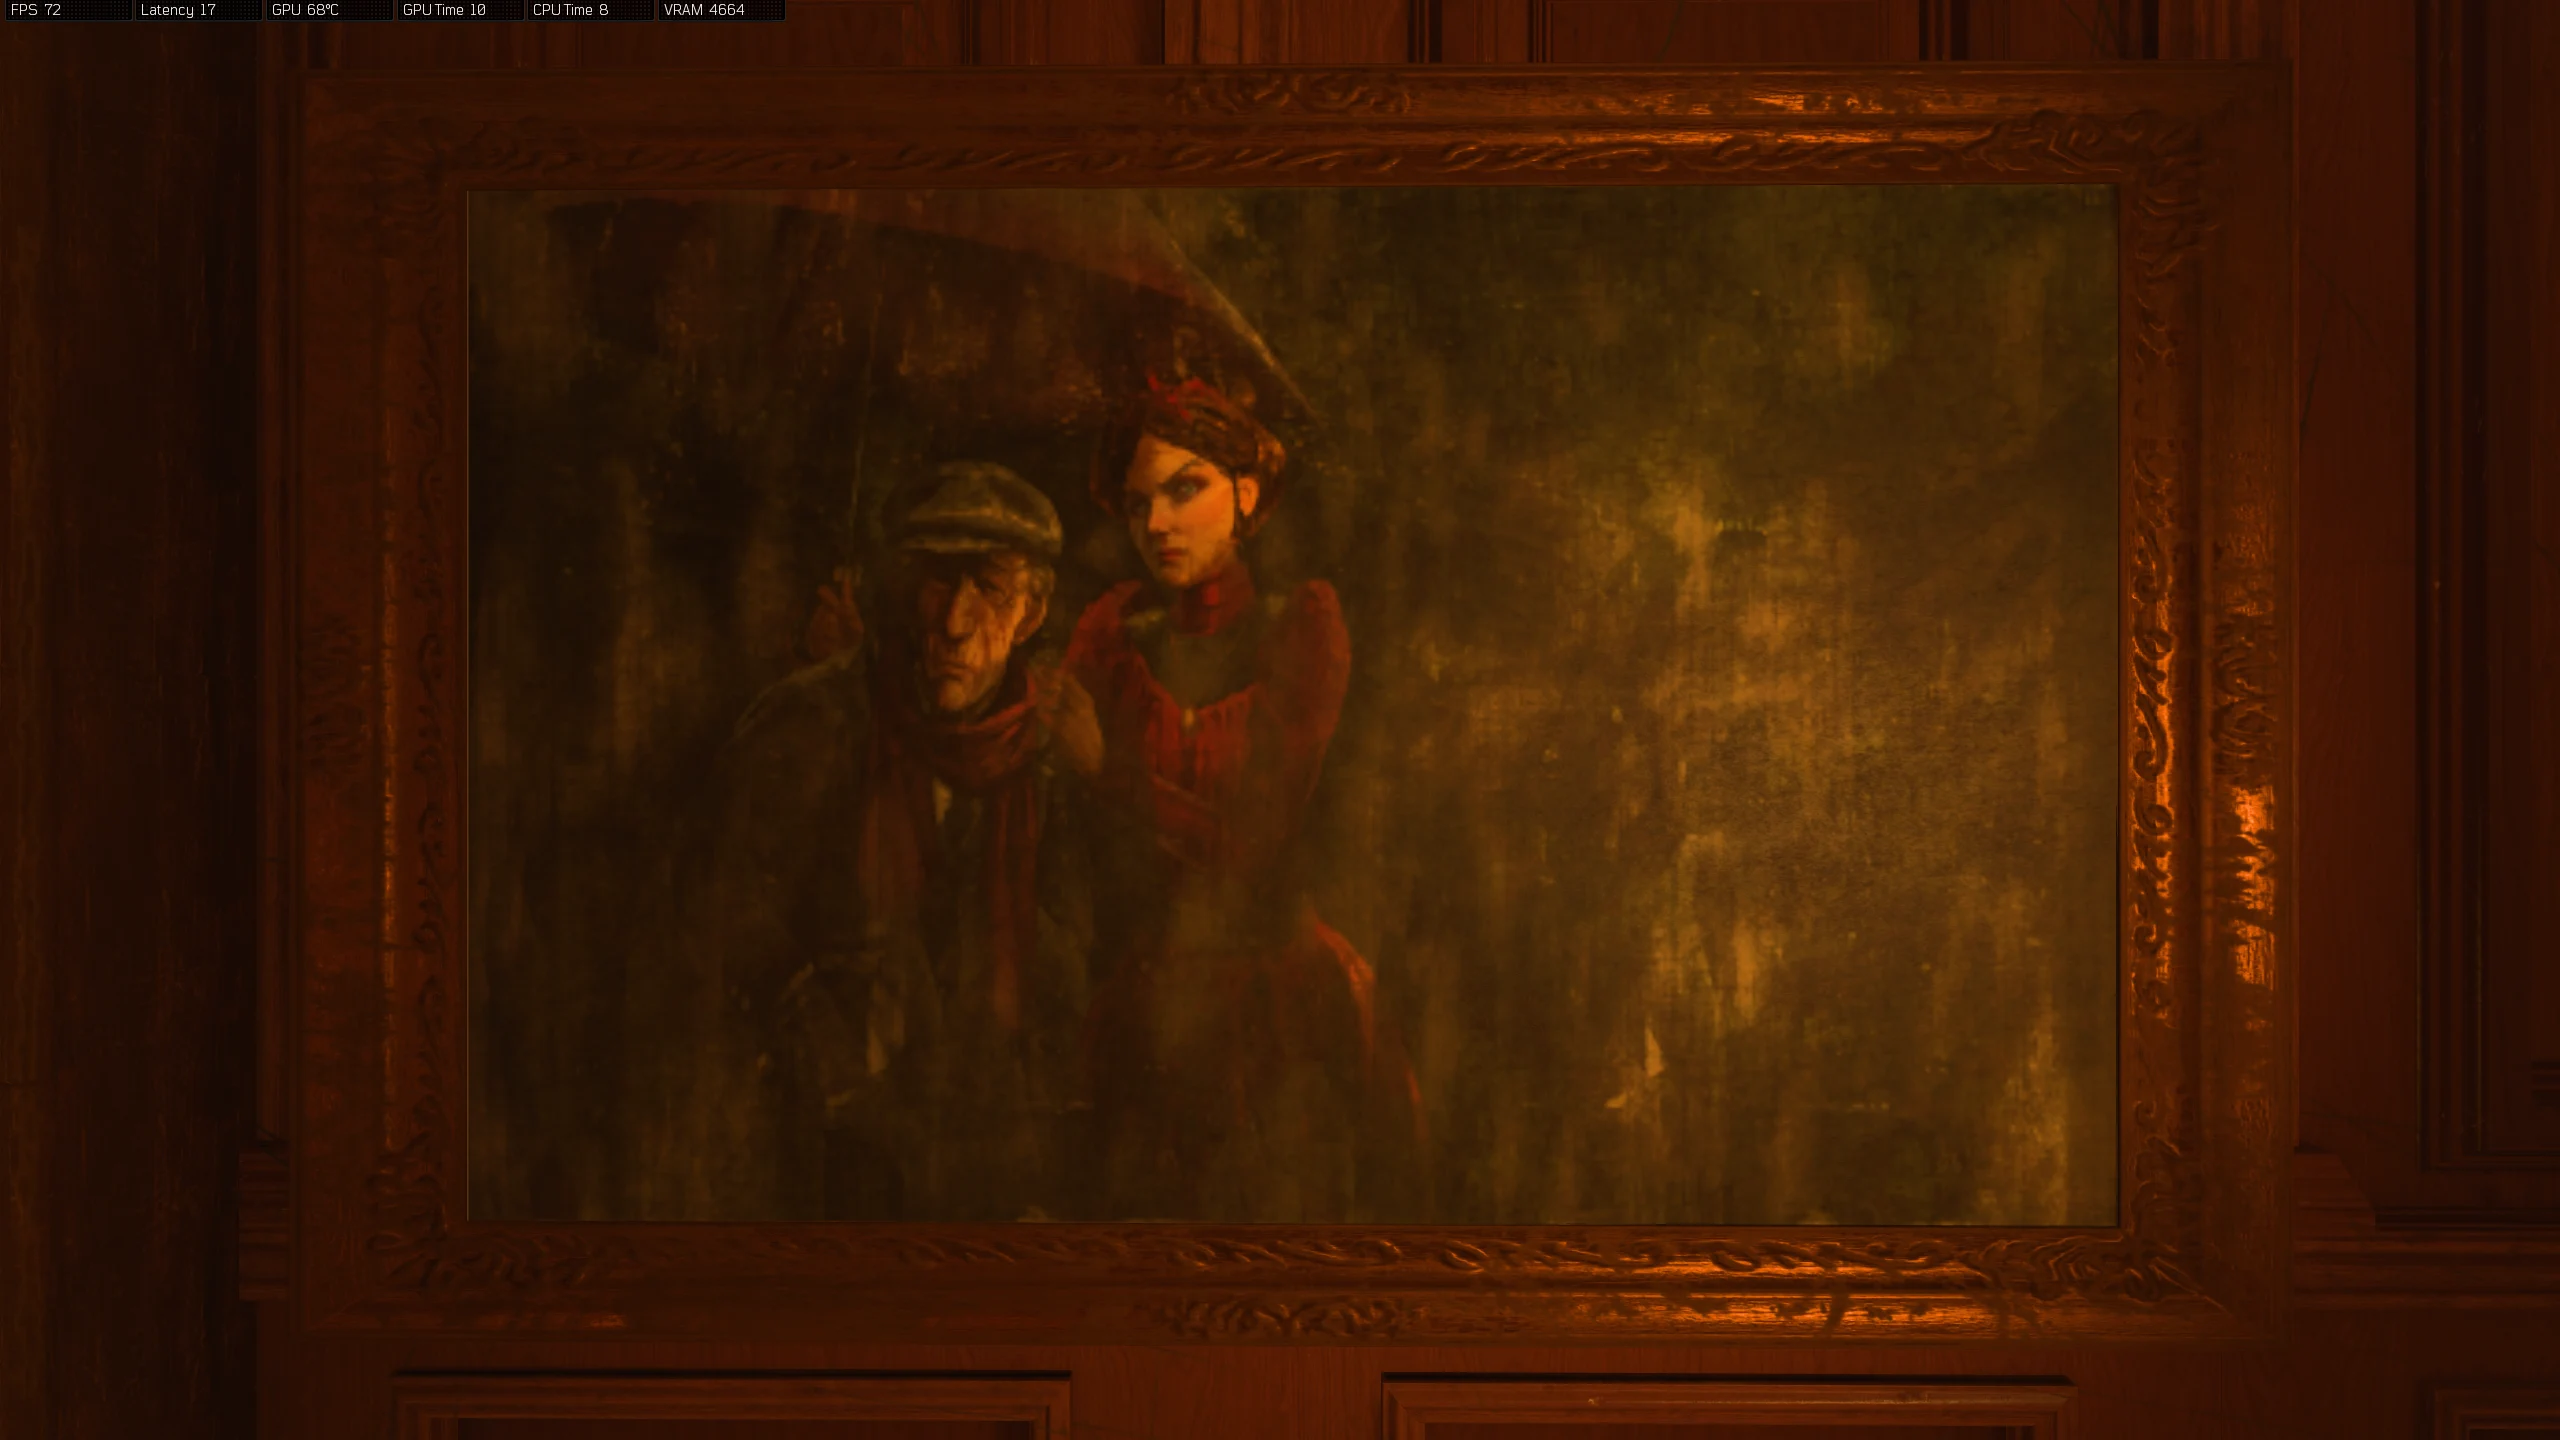
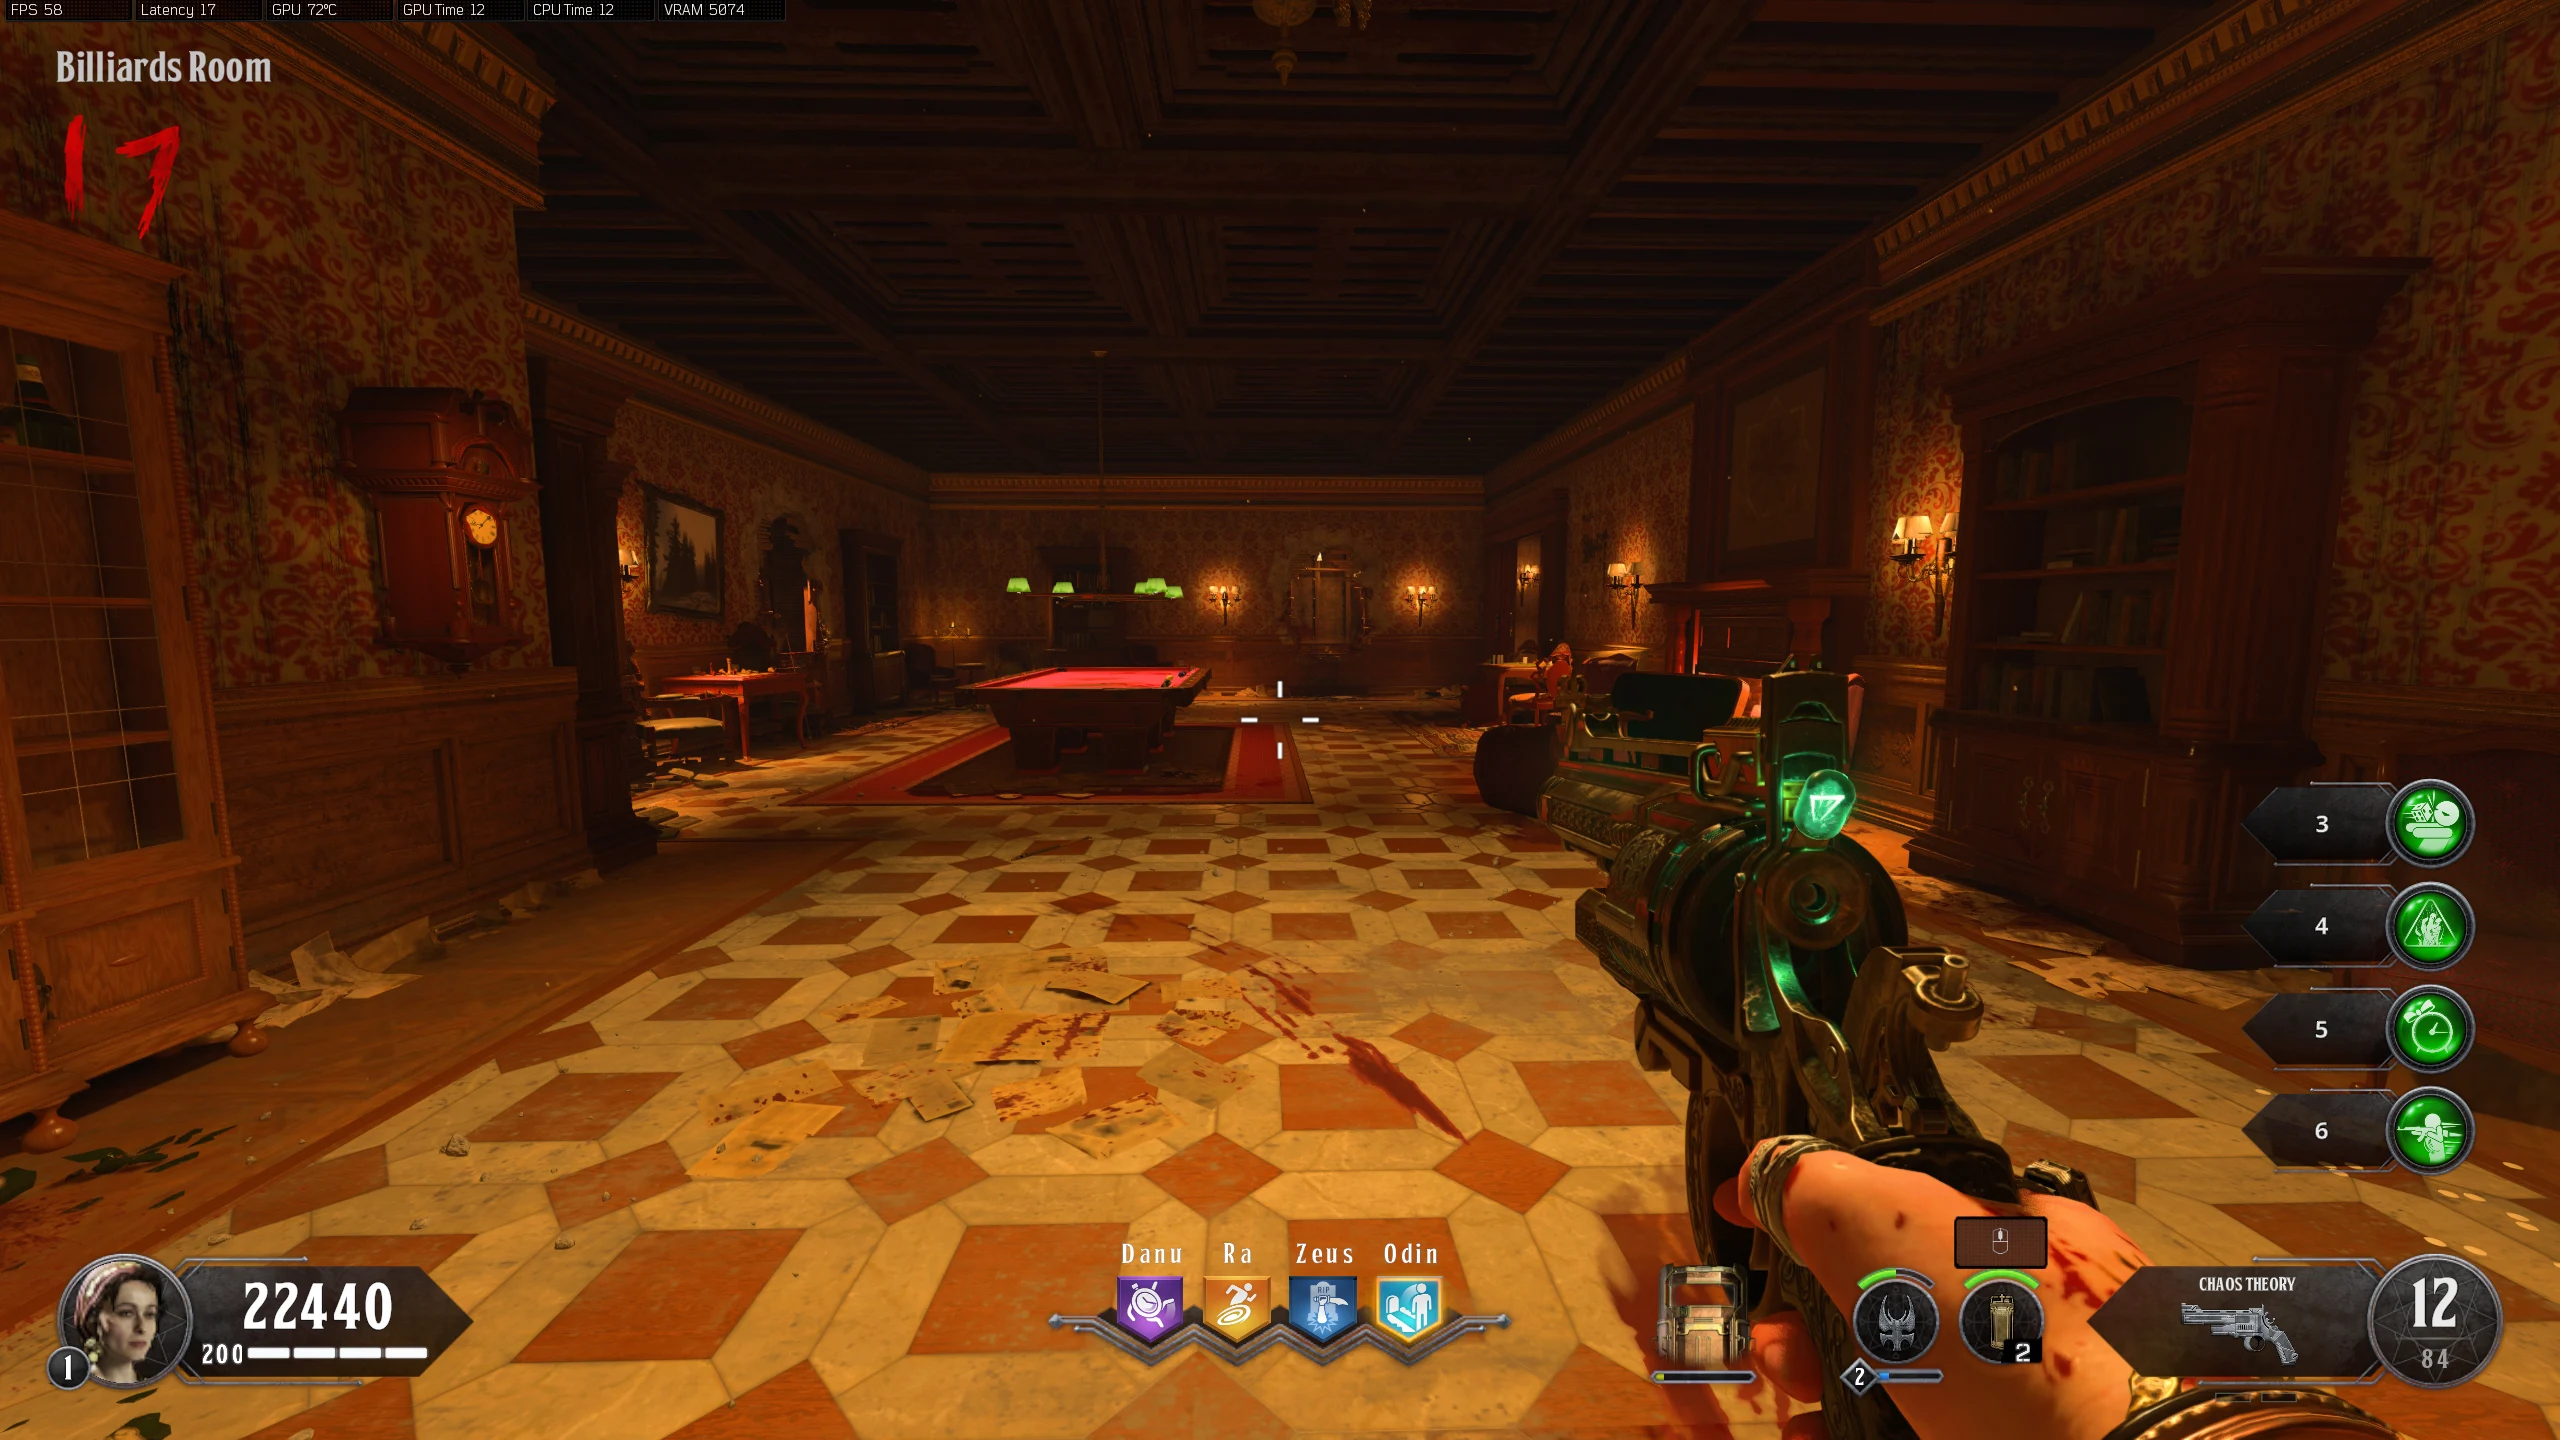
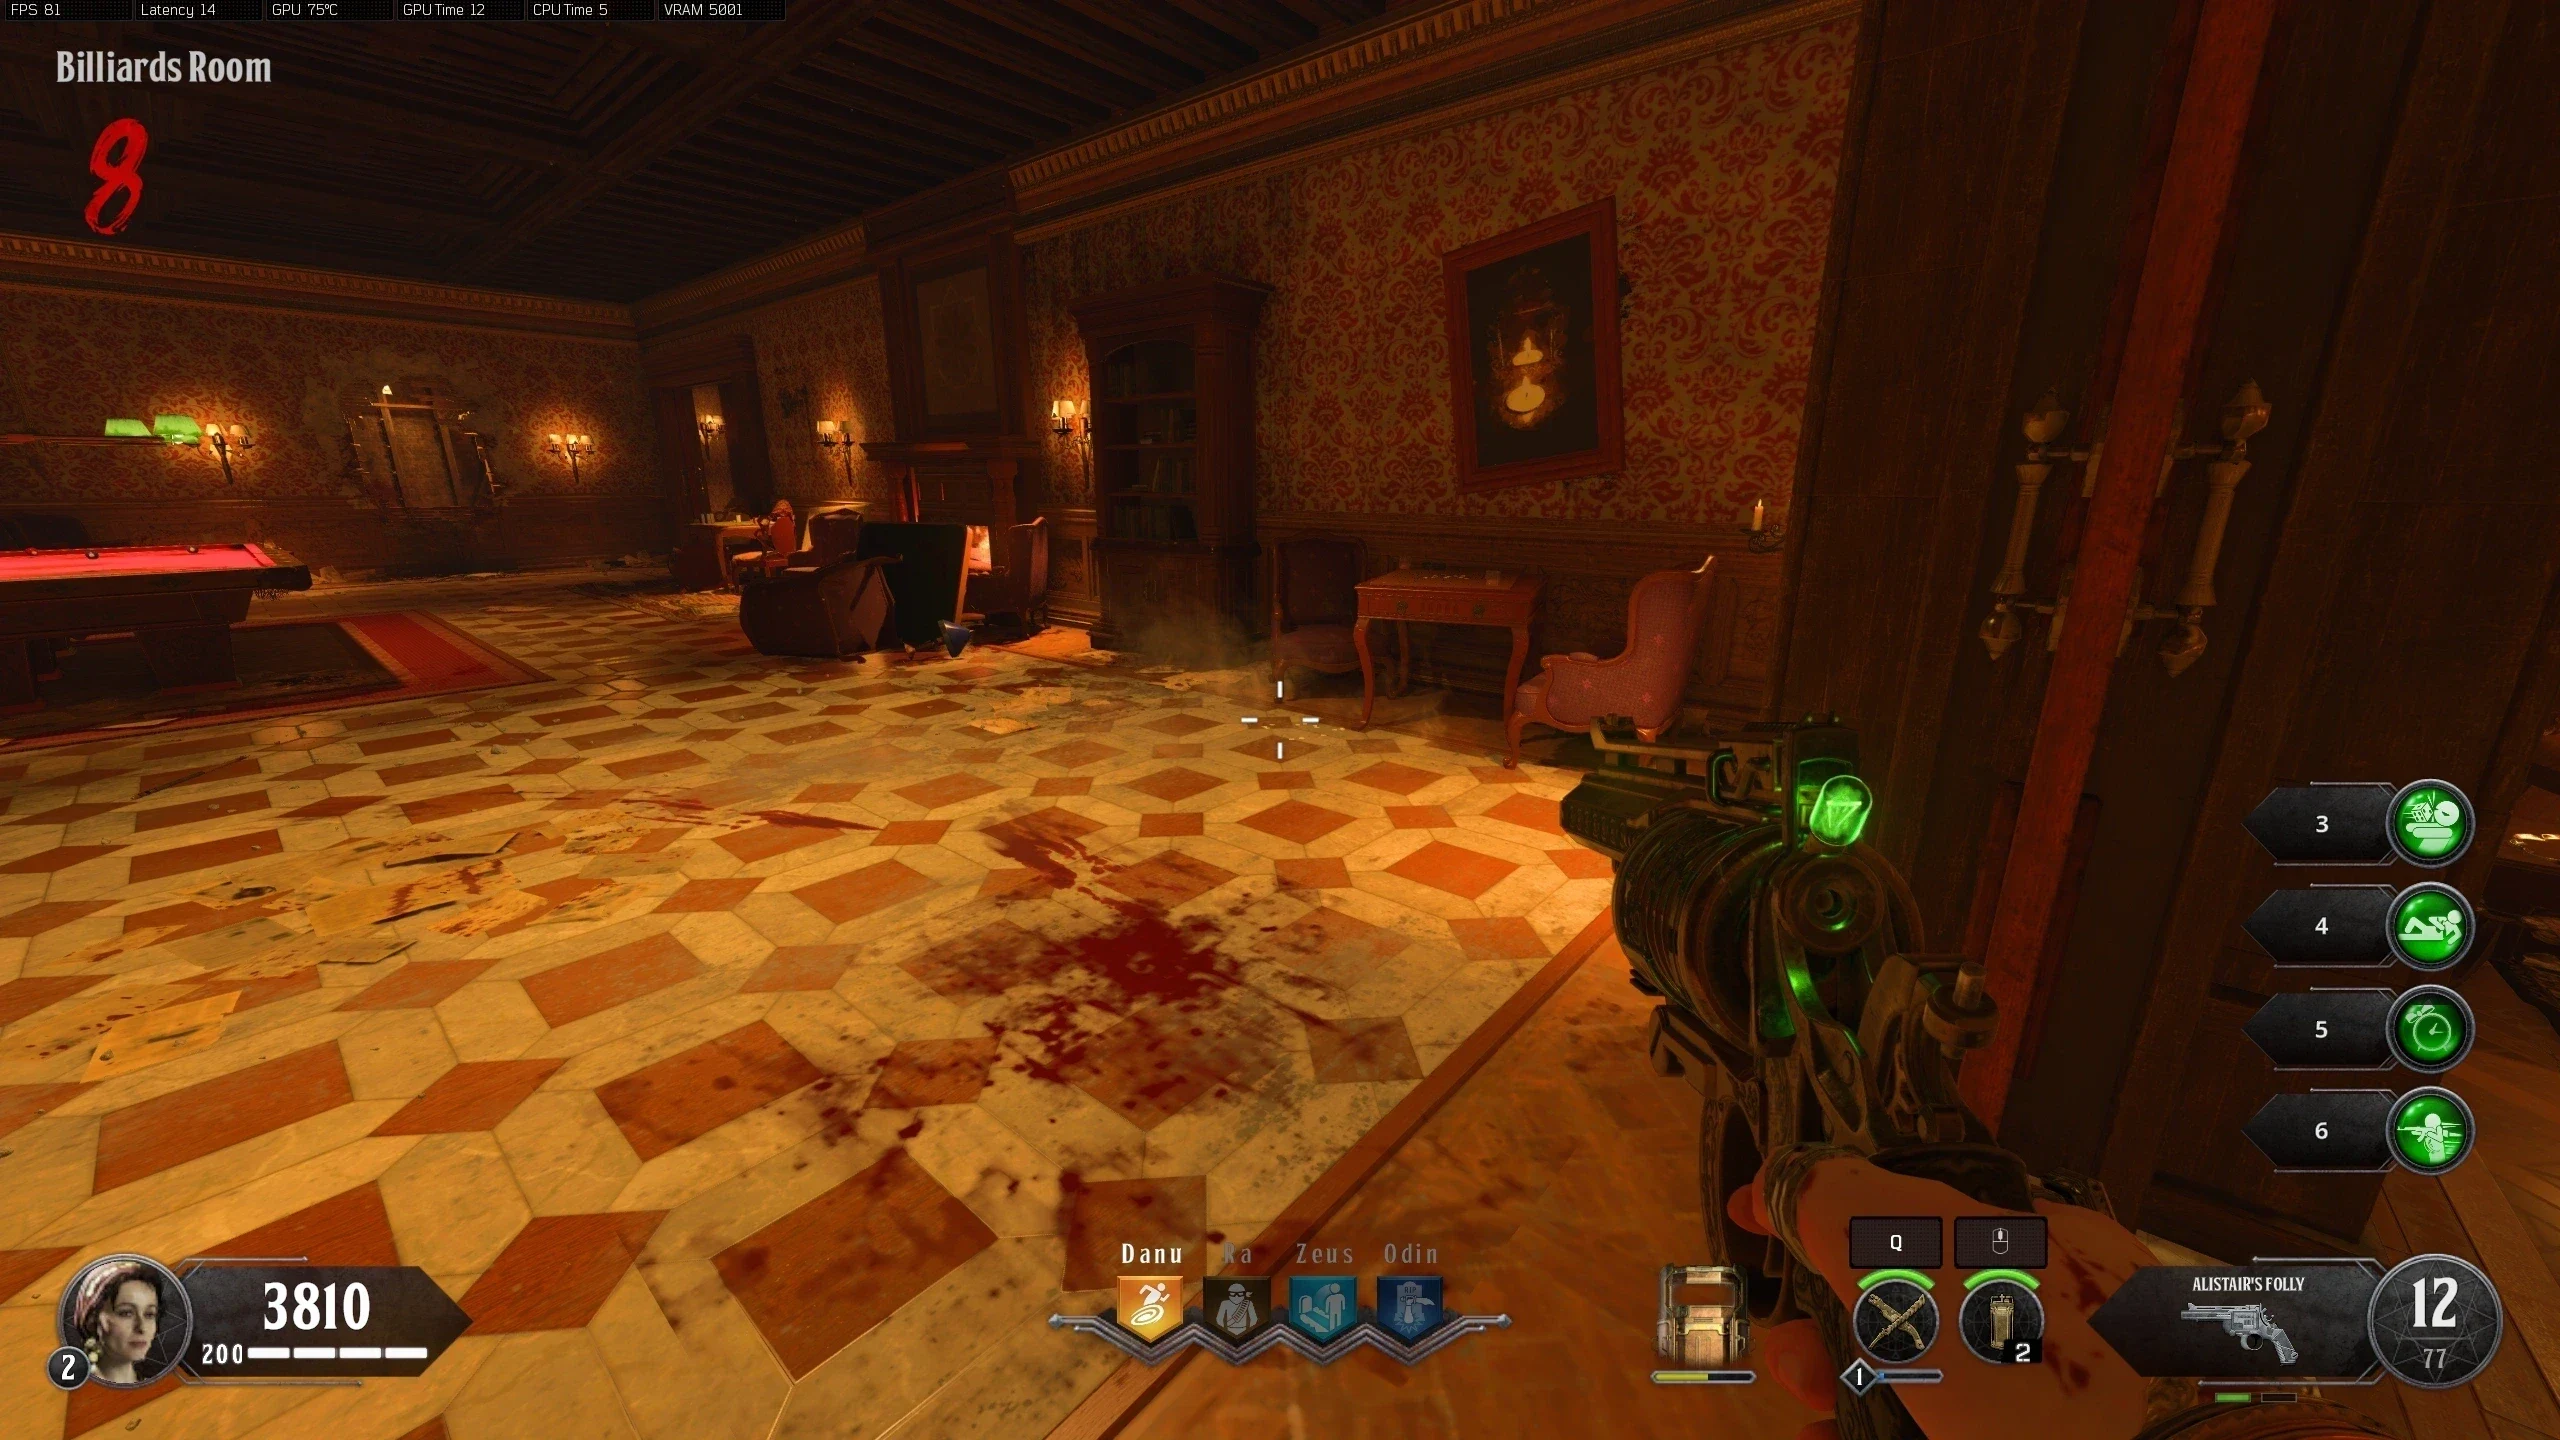
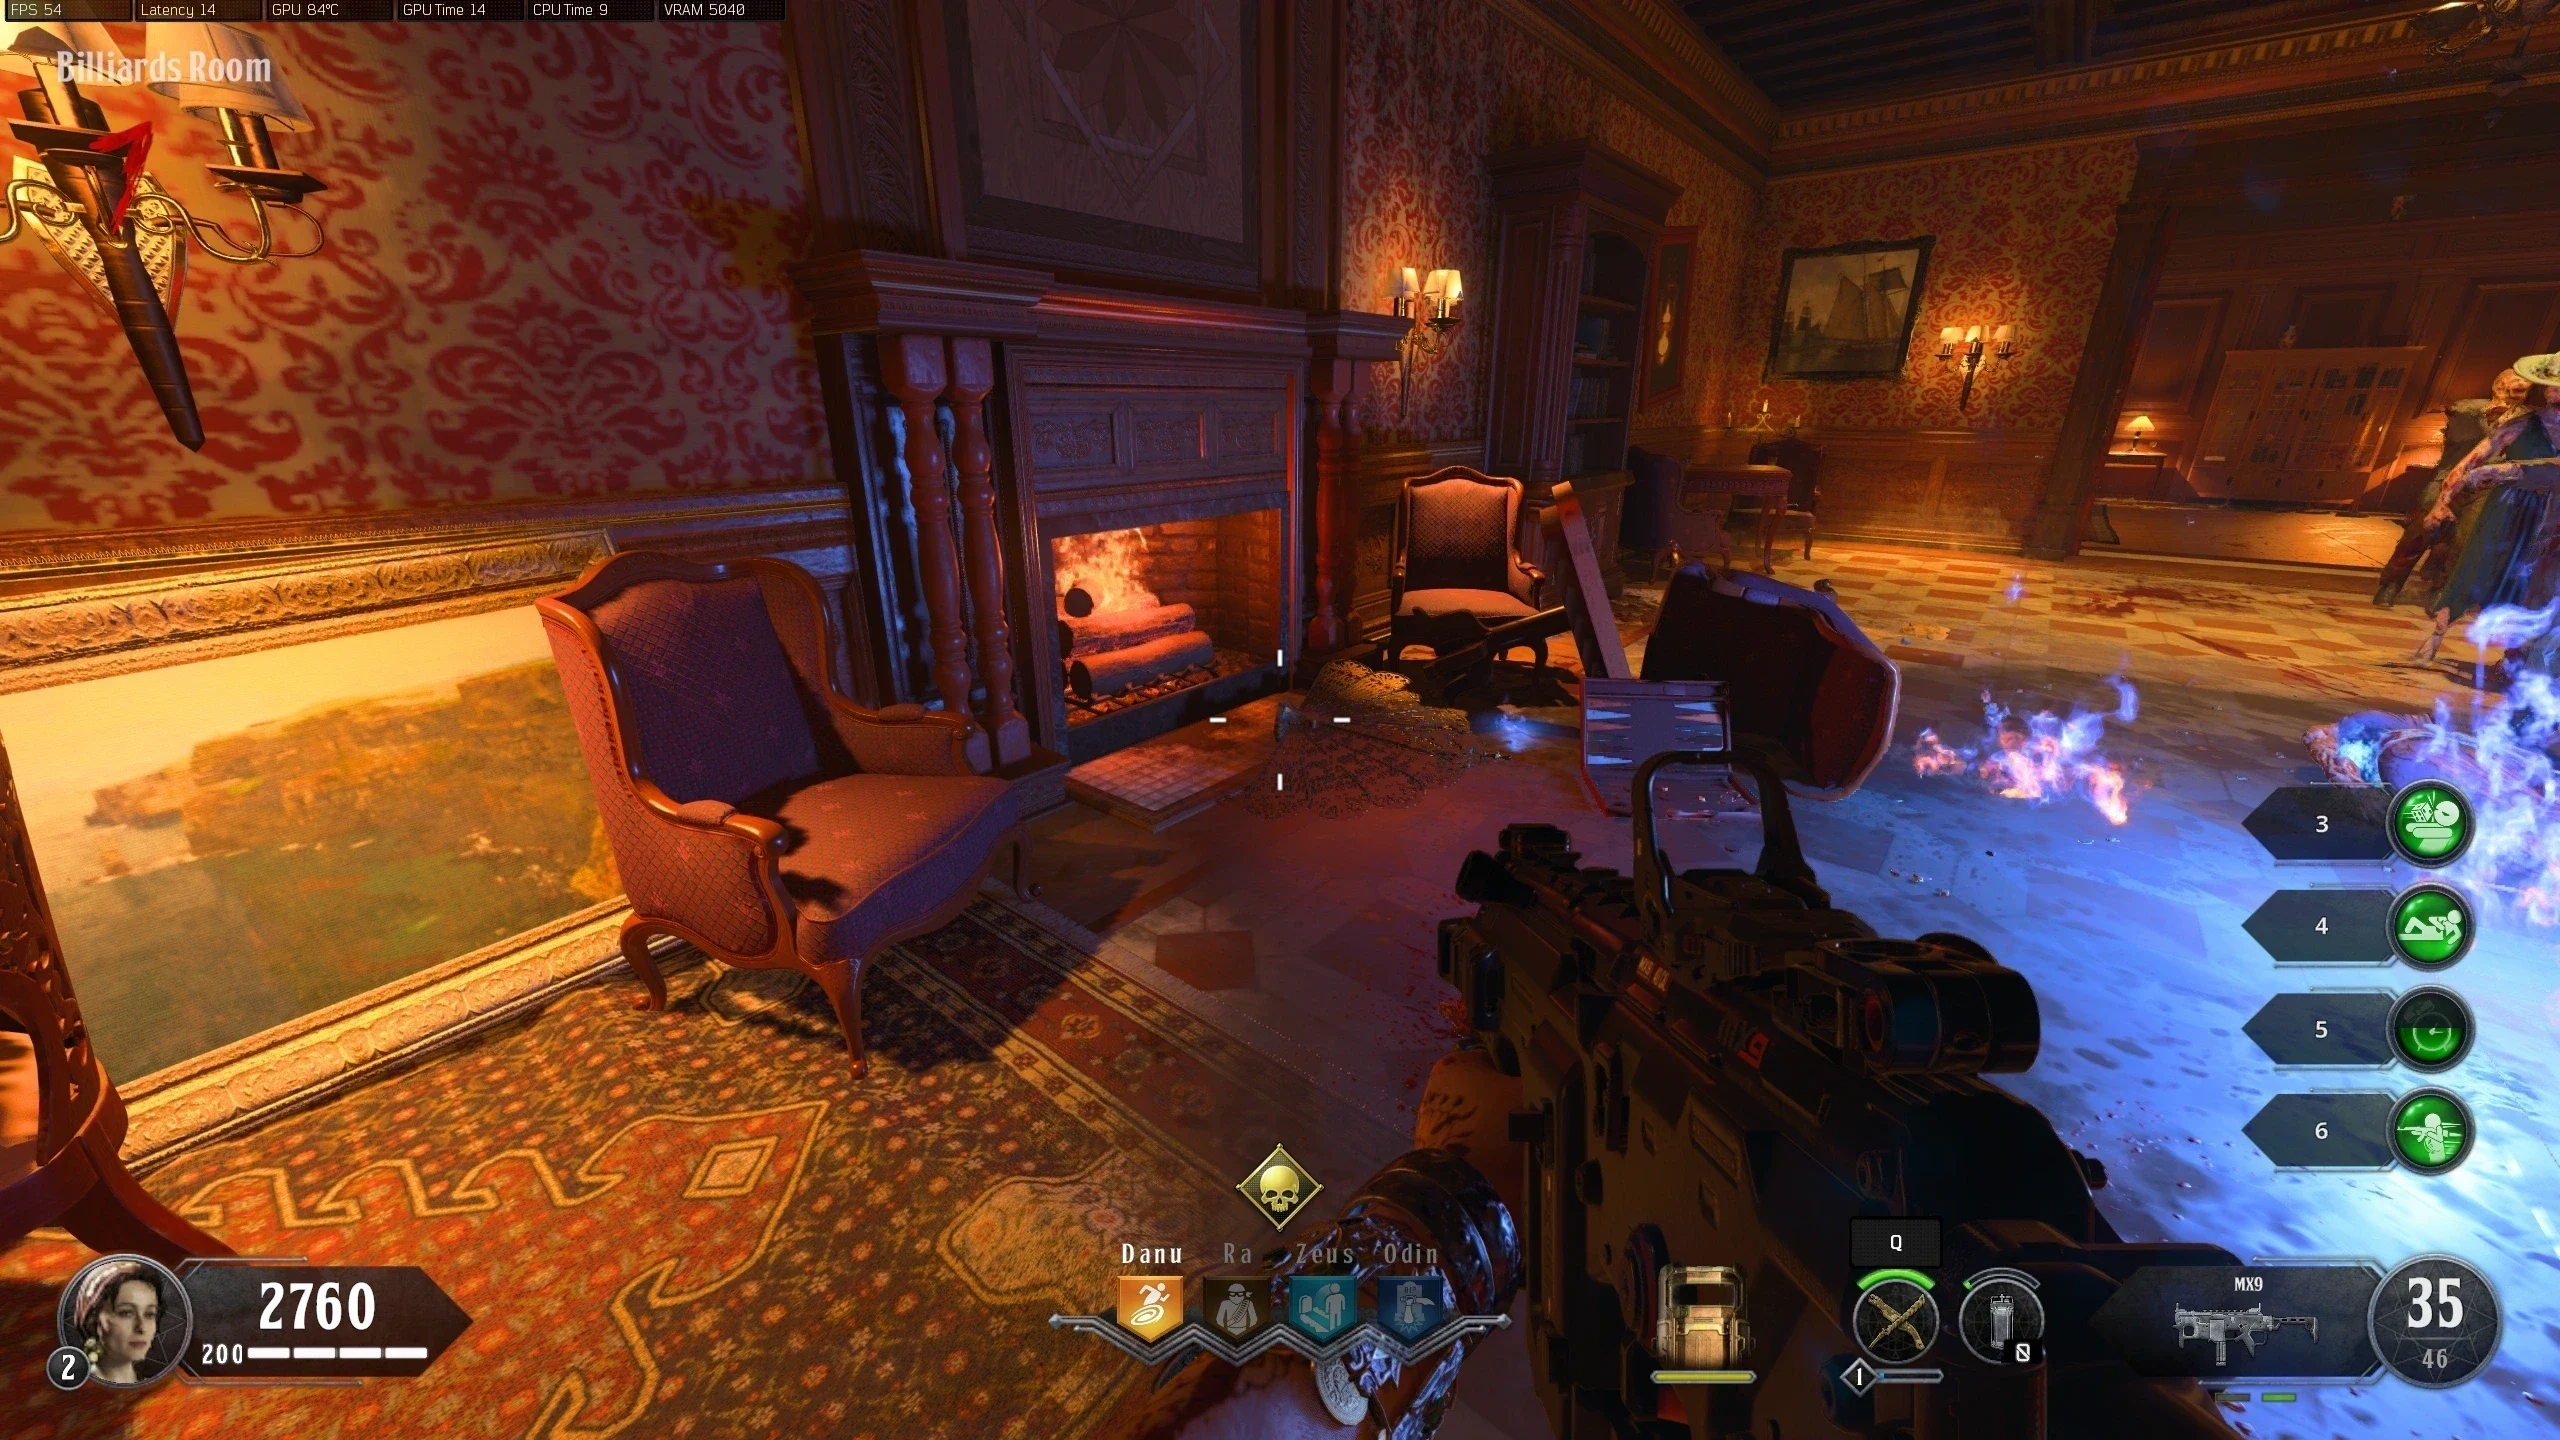
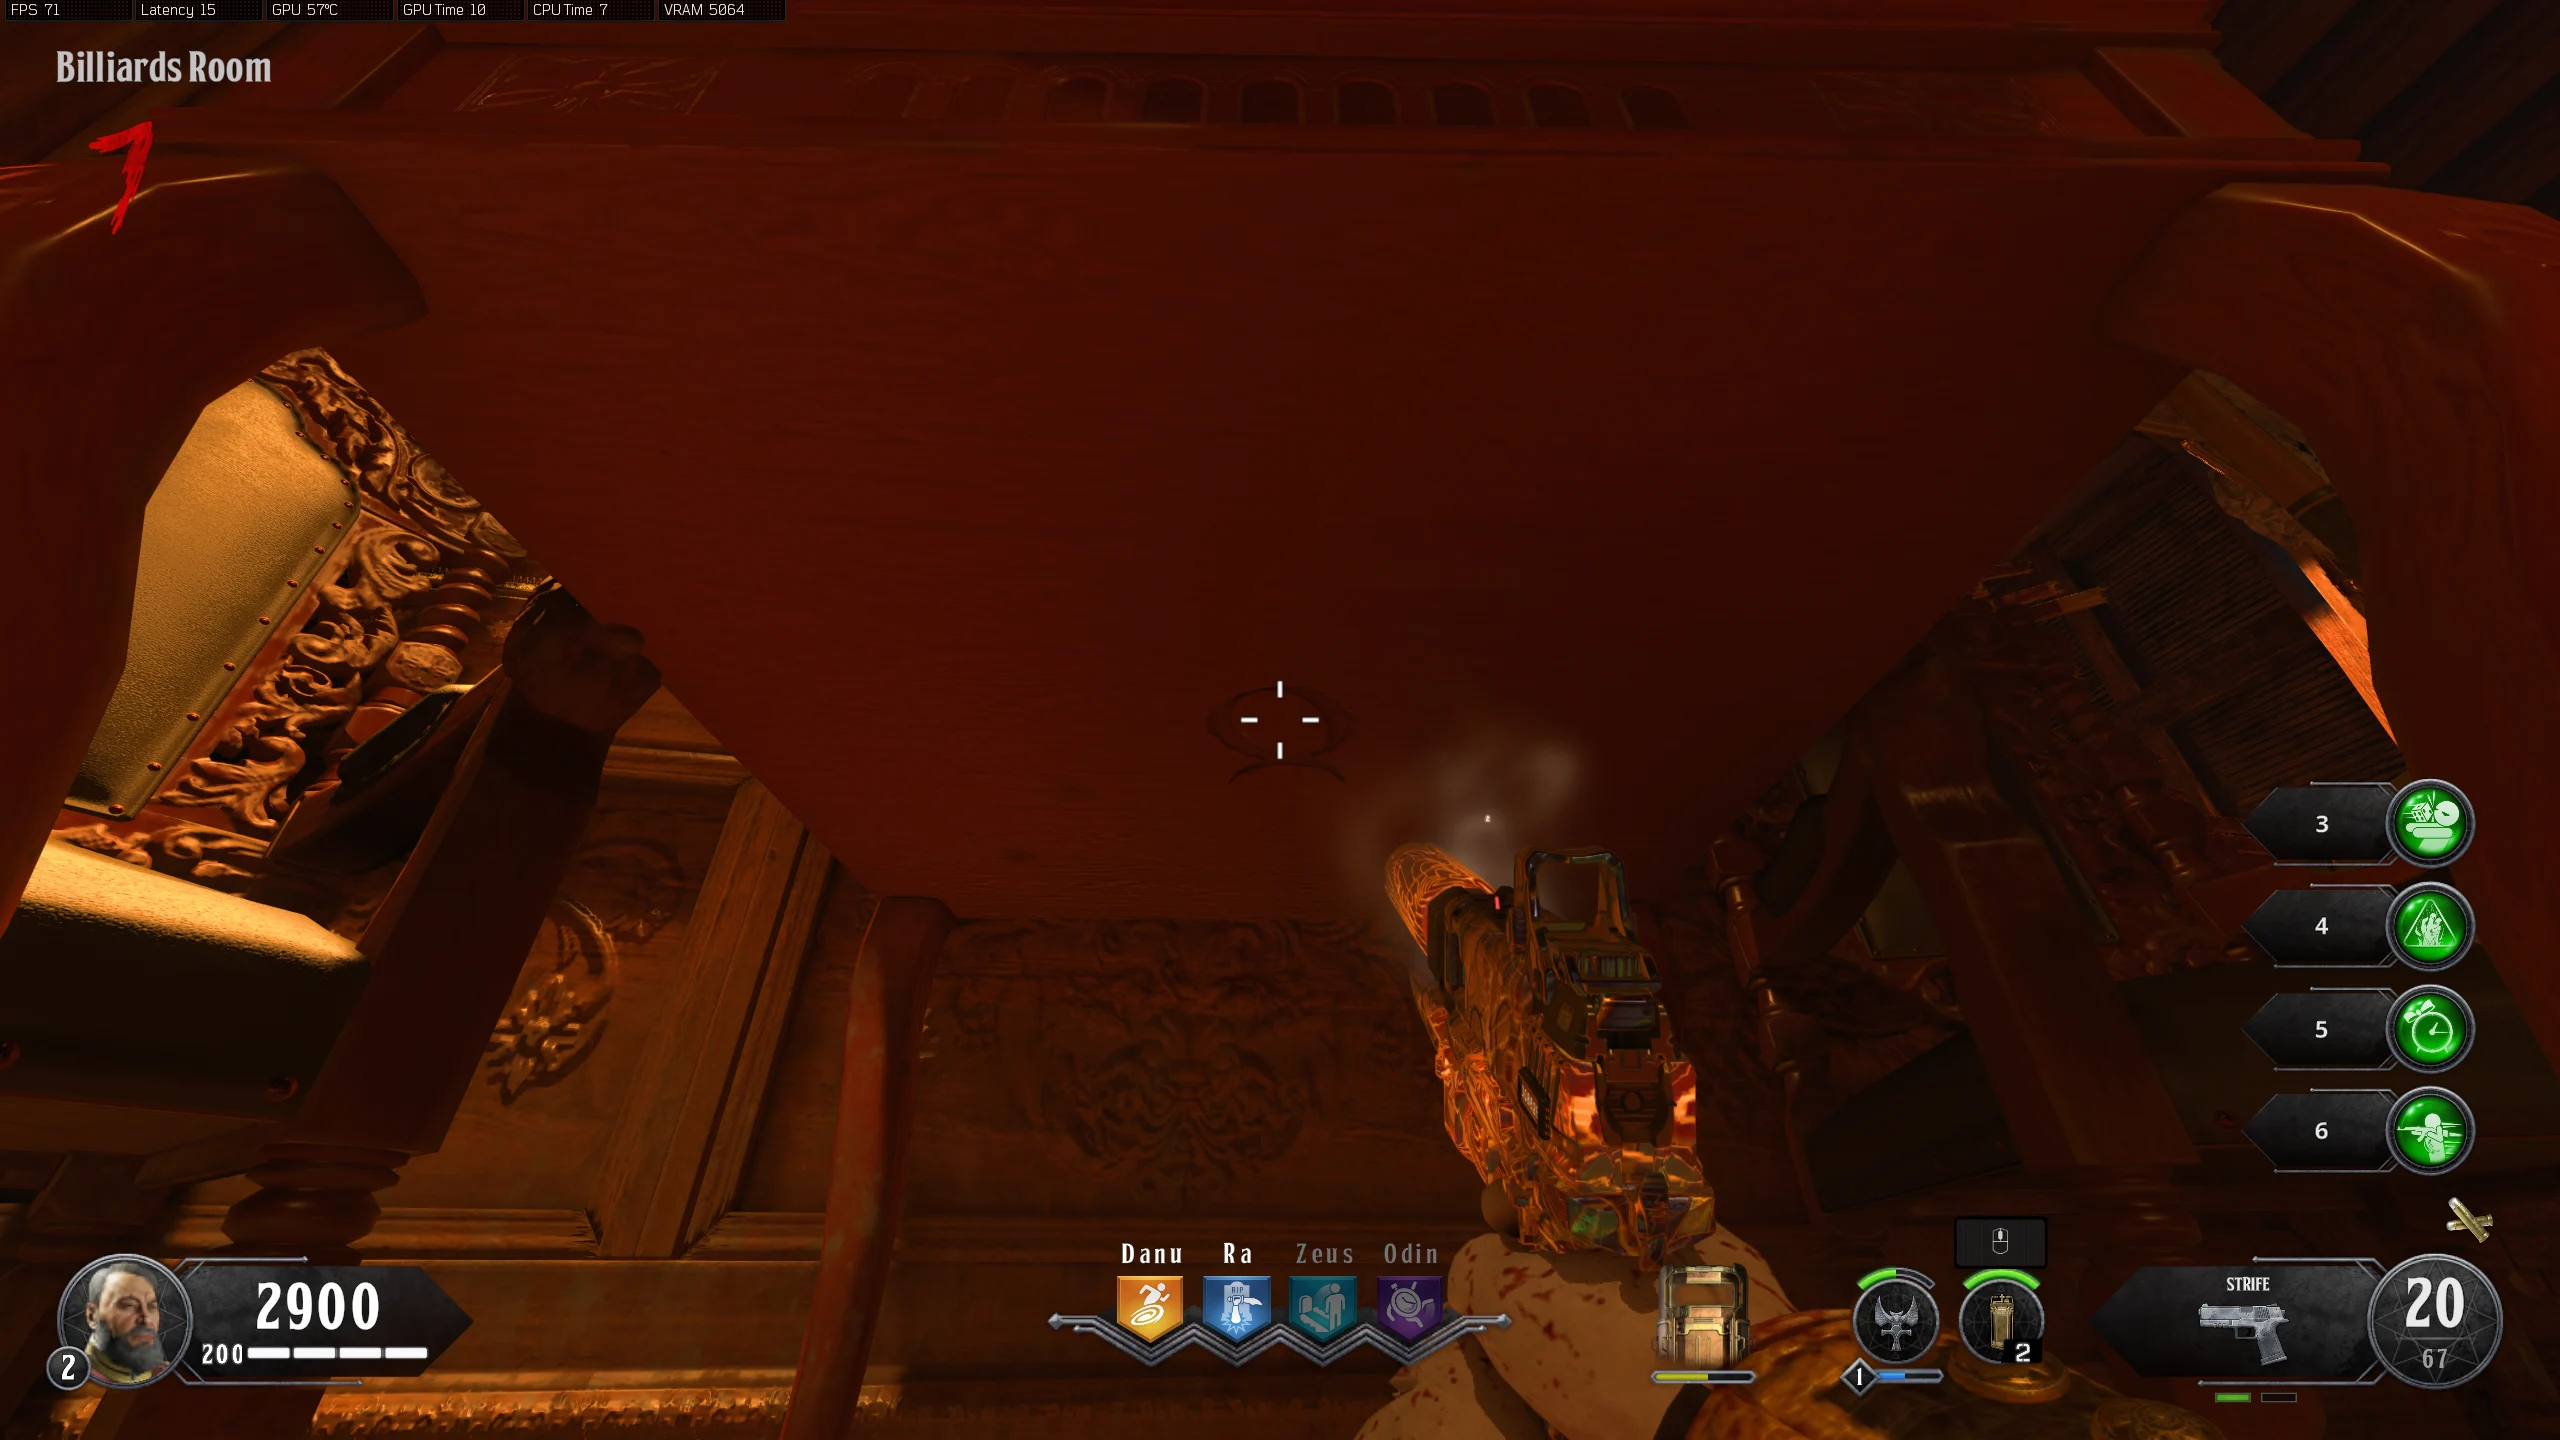
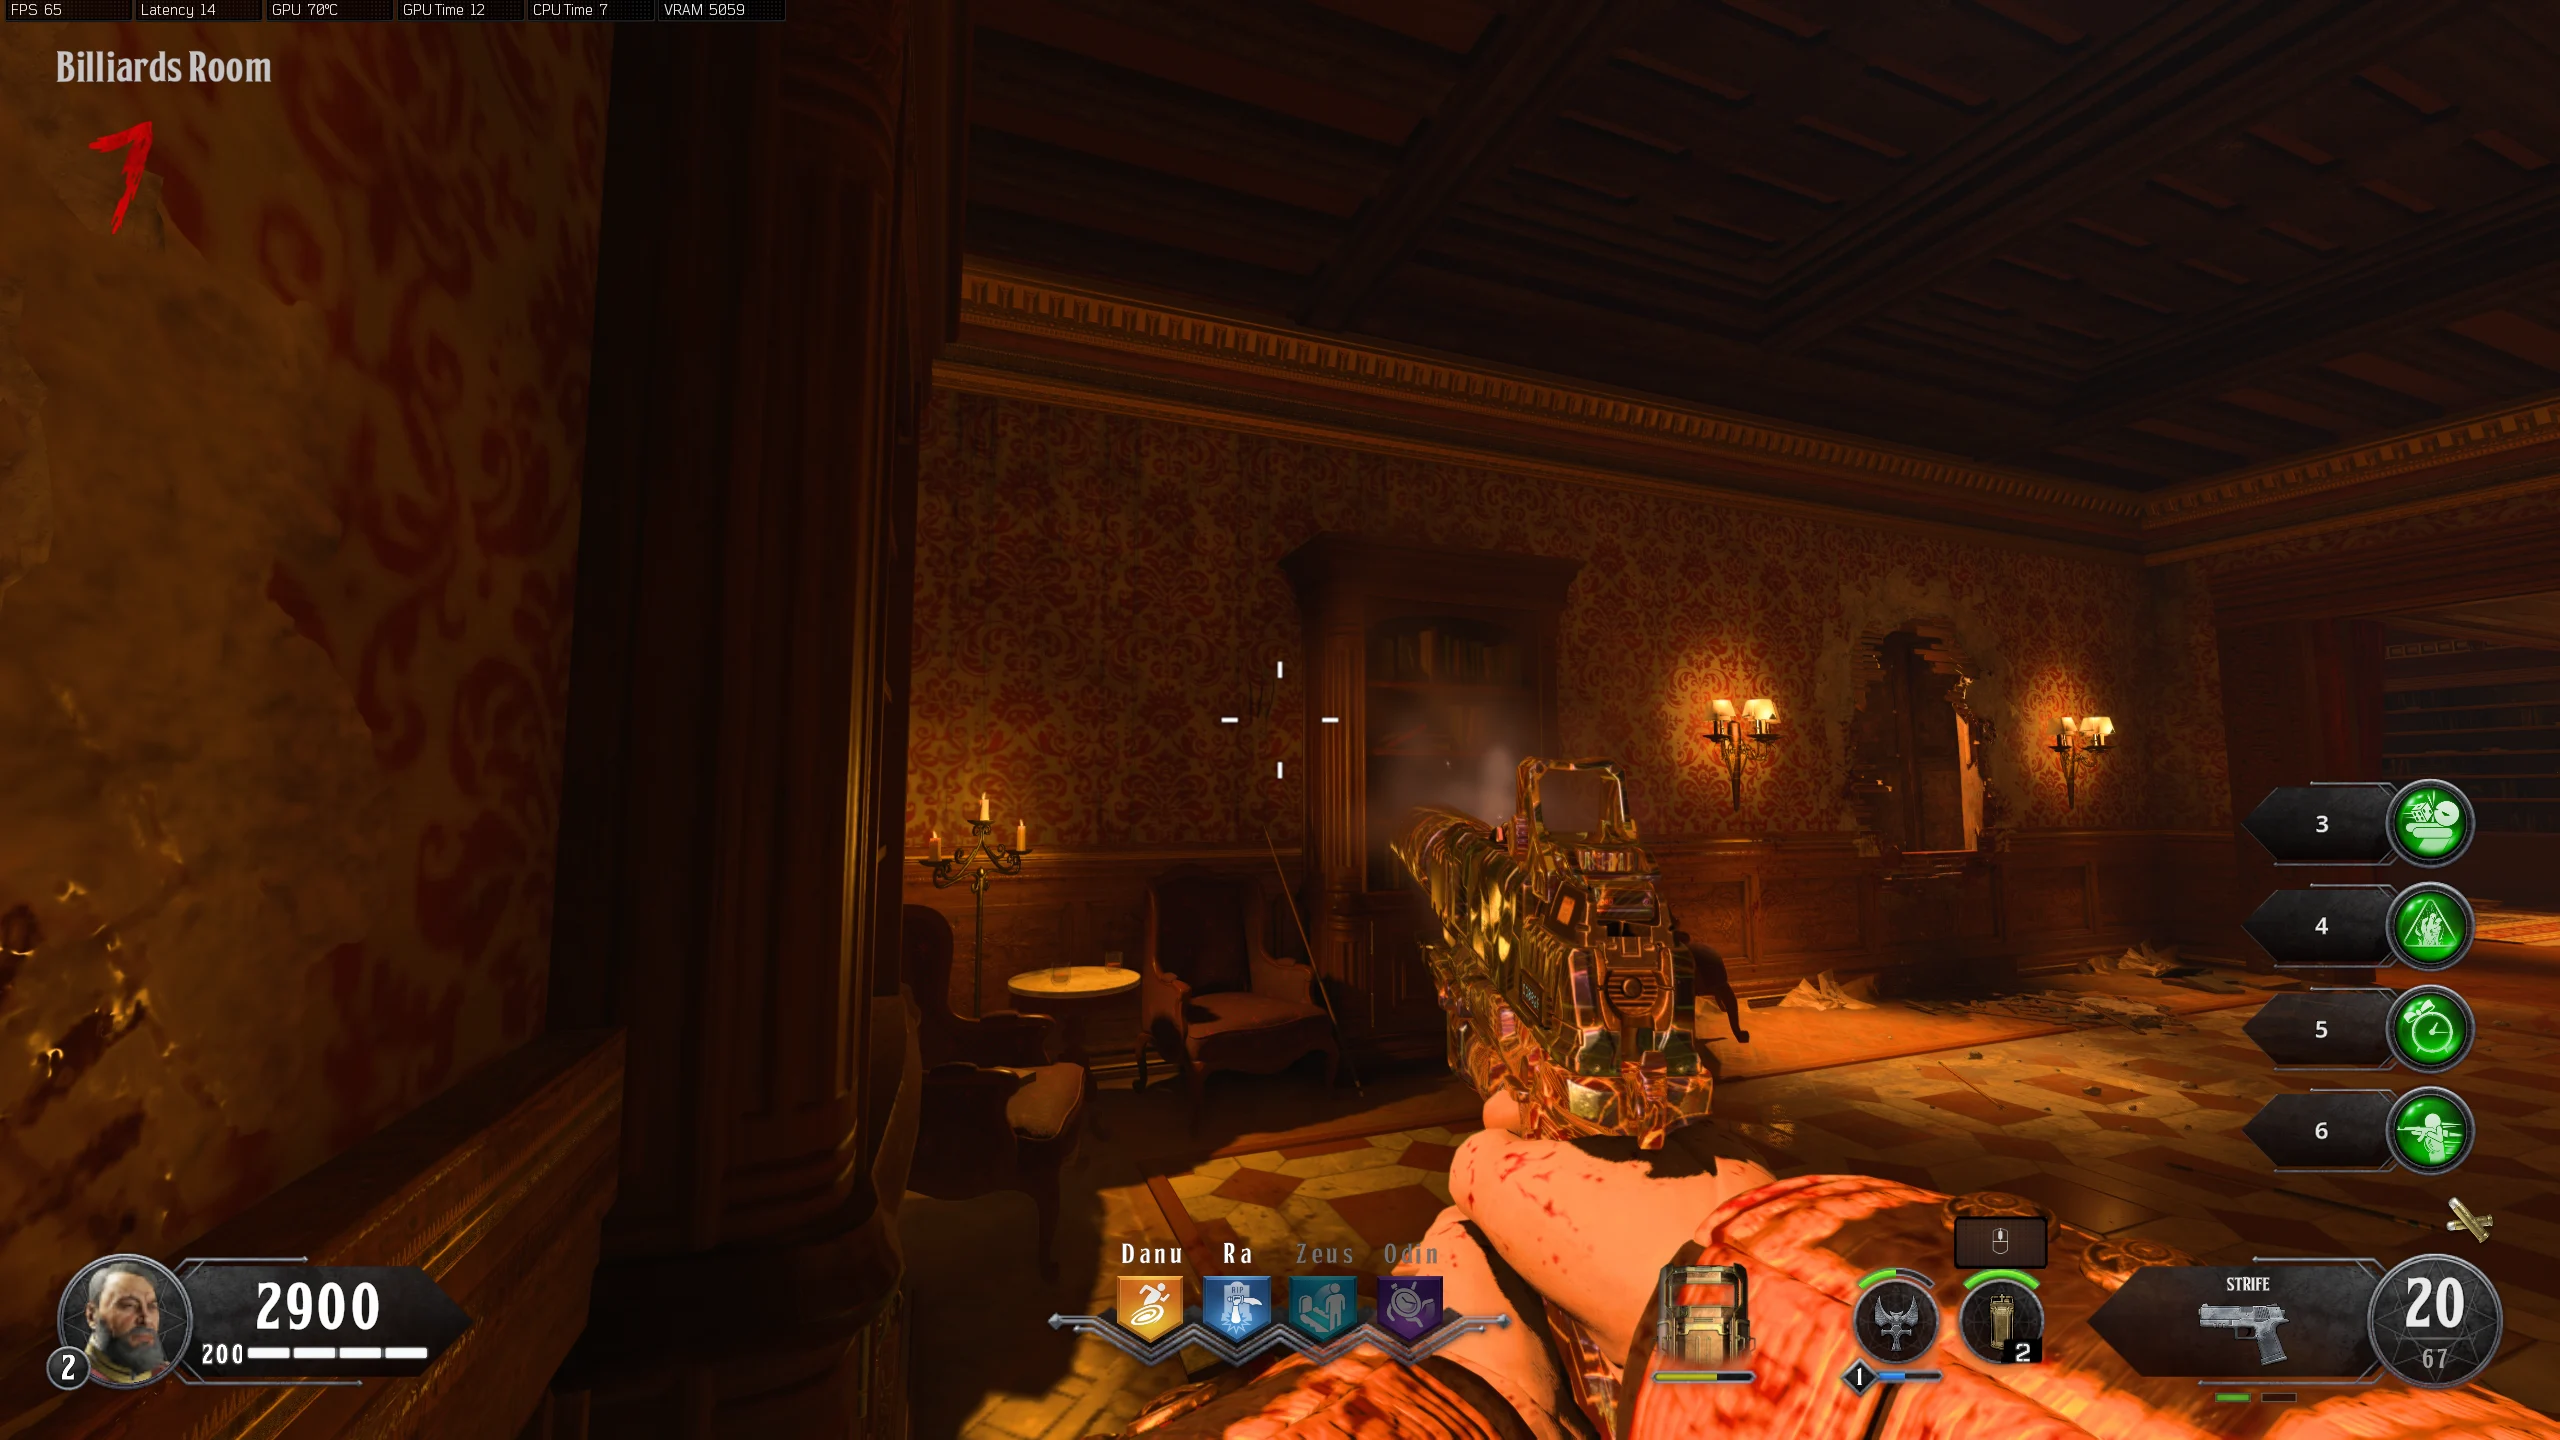
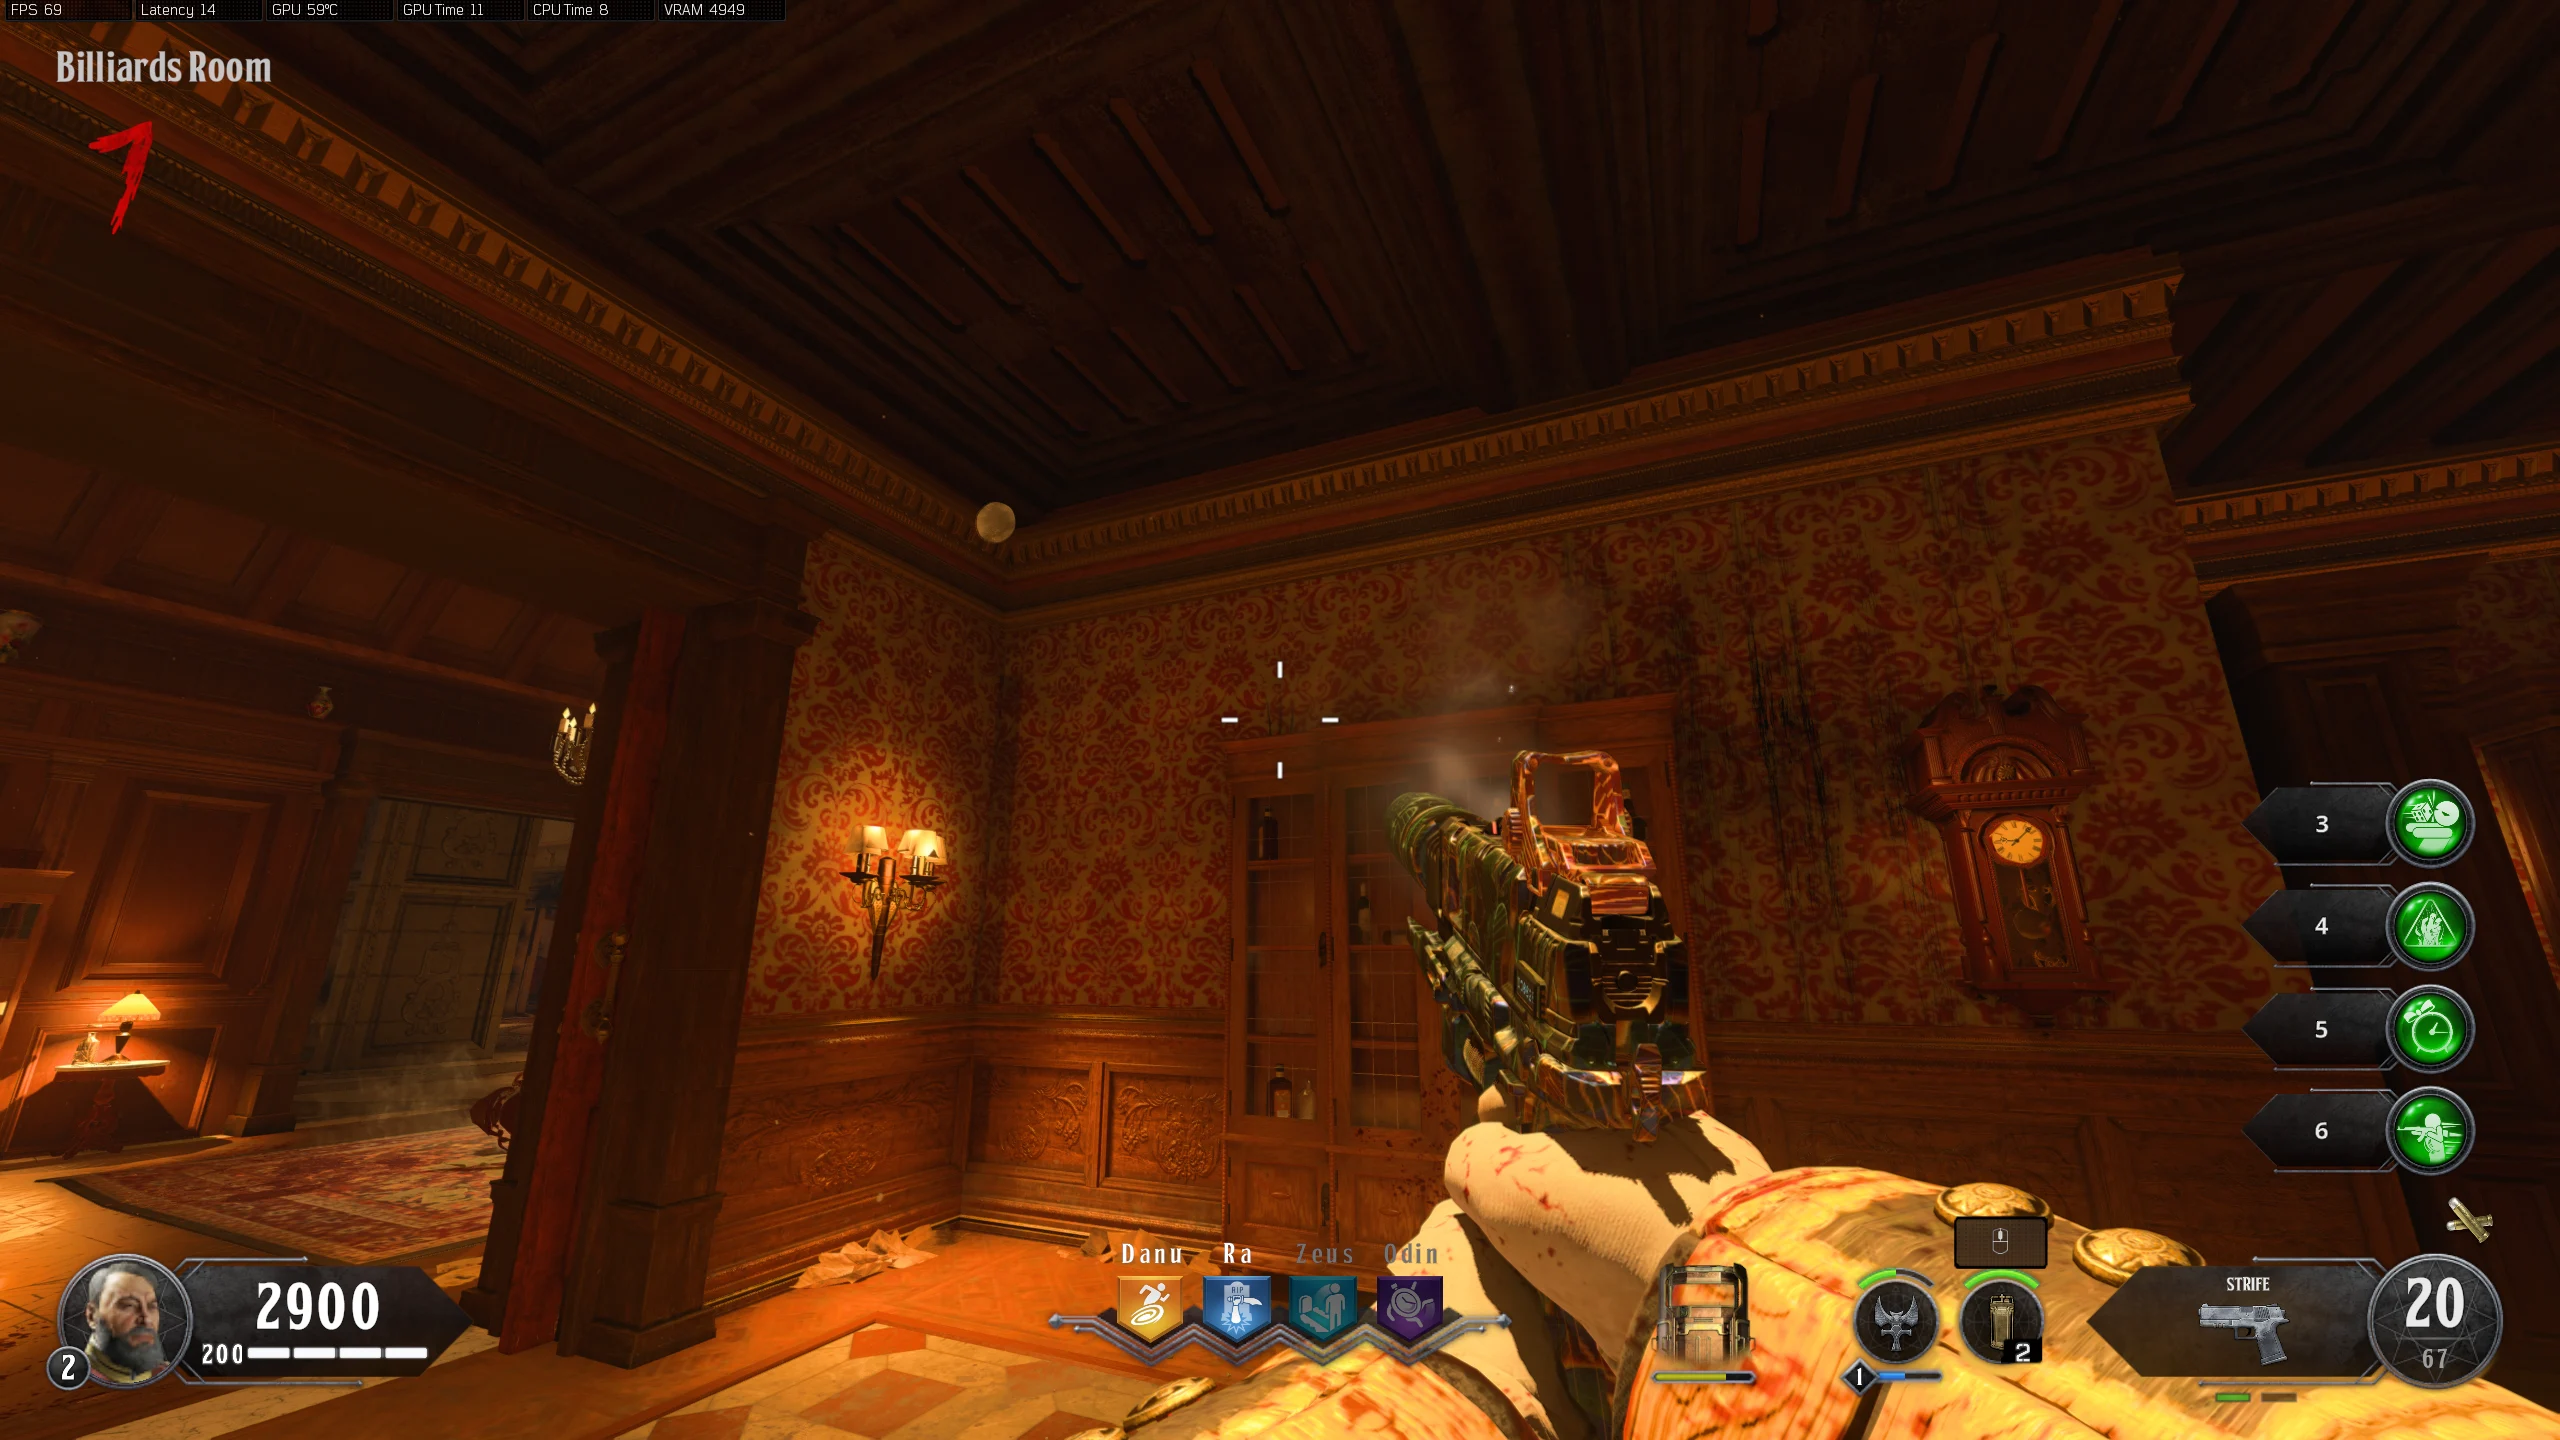
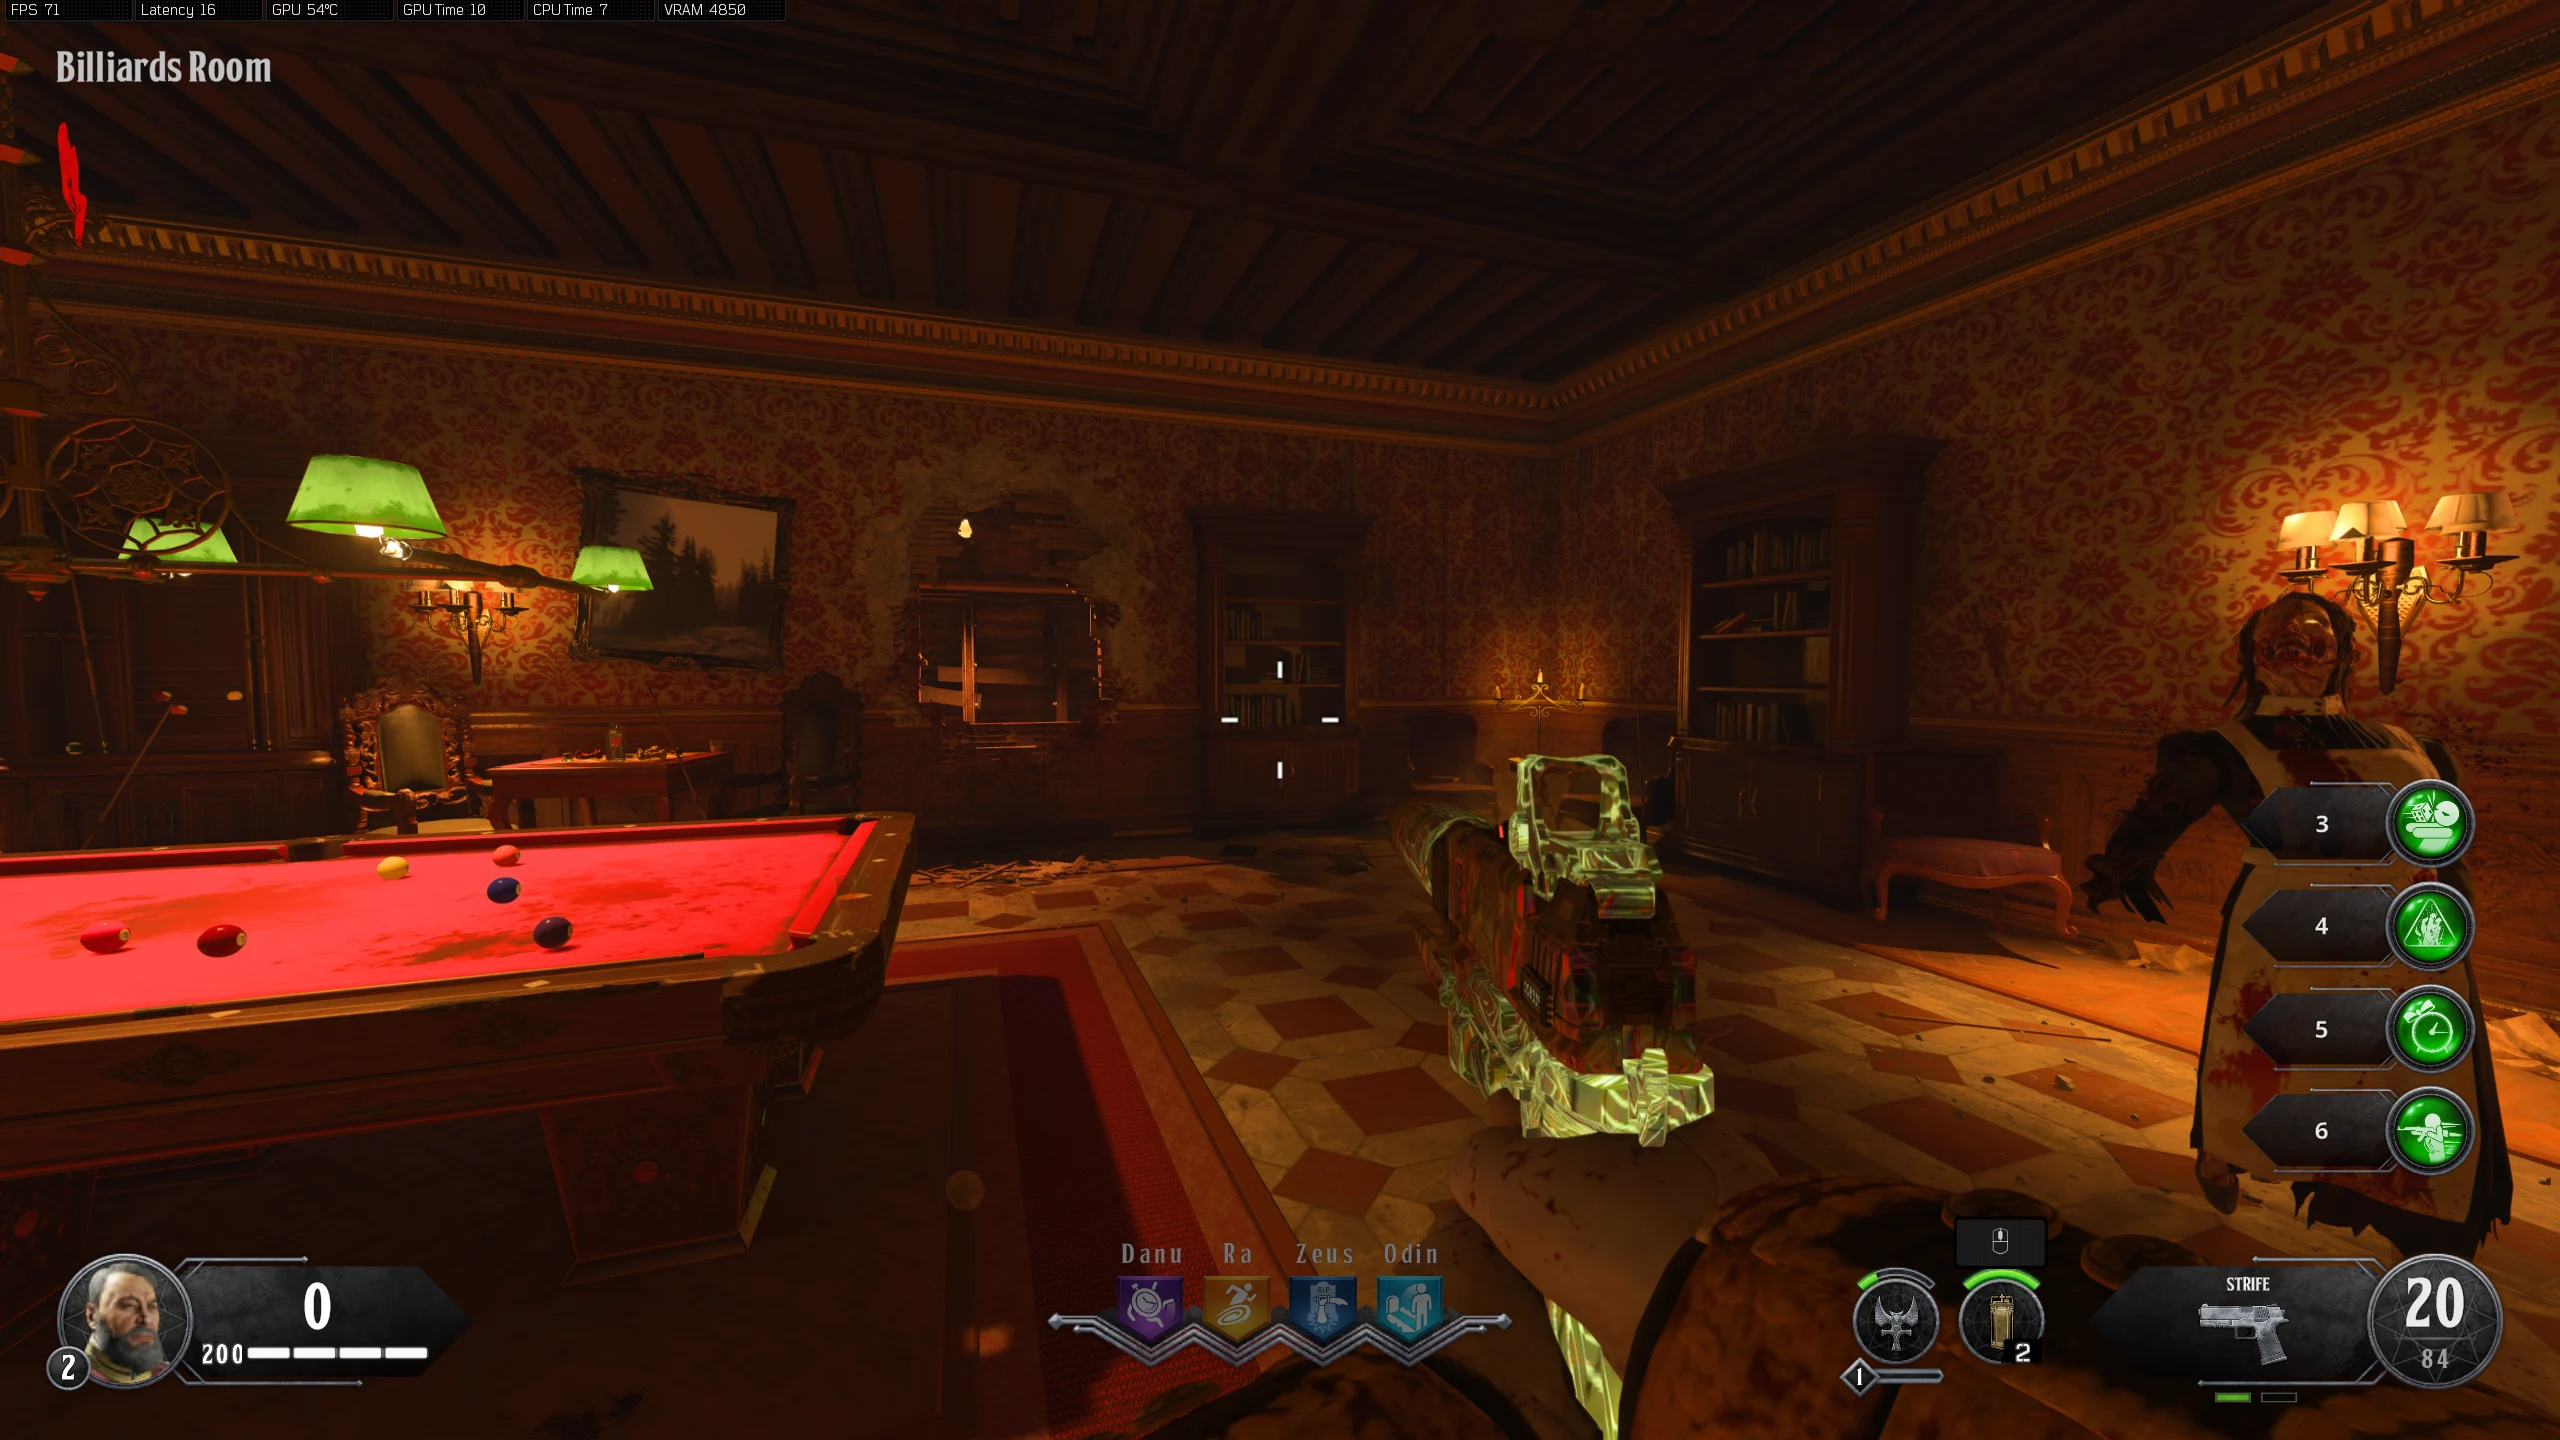
- Billiards Room
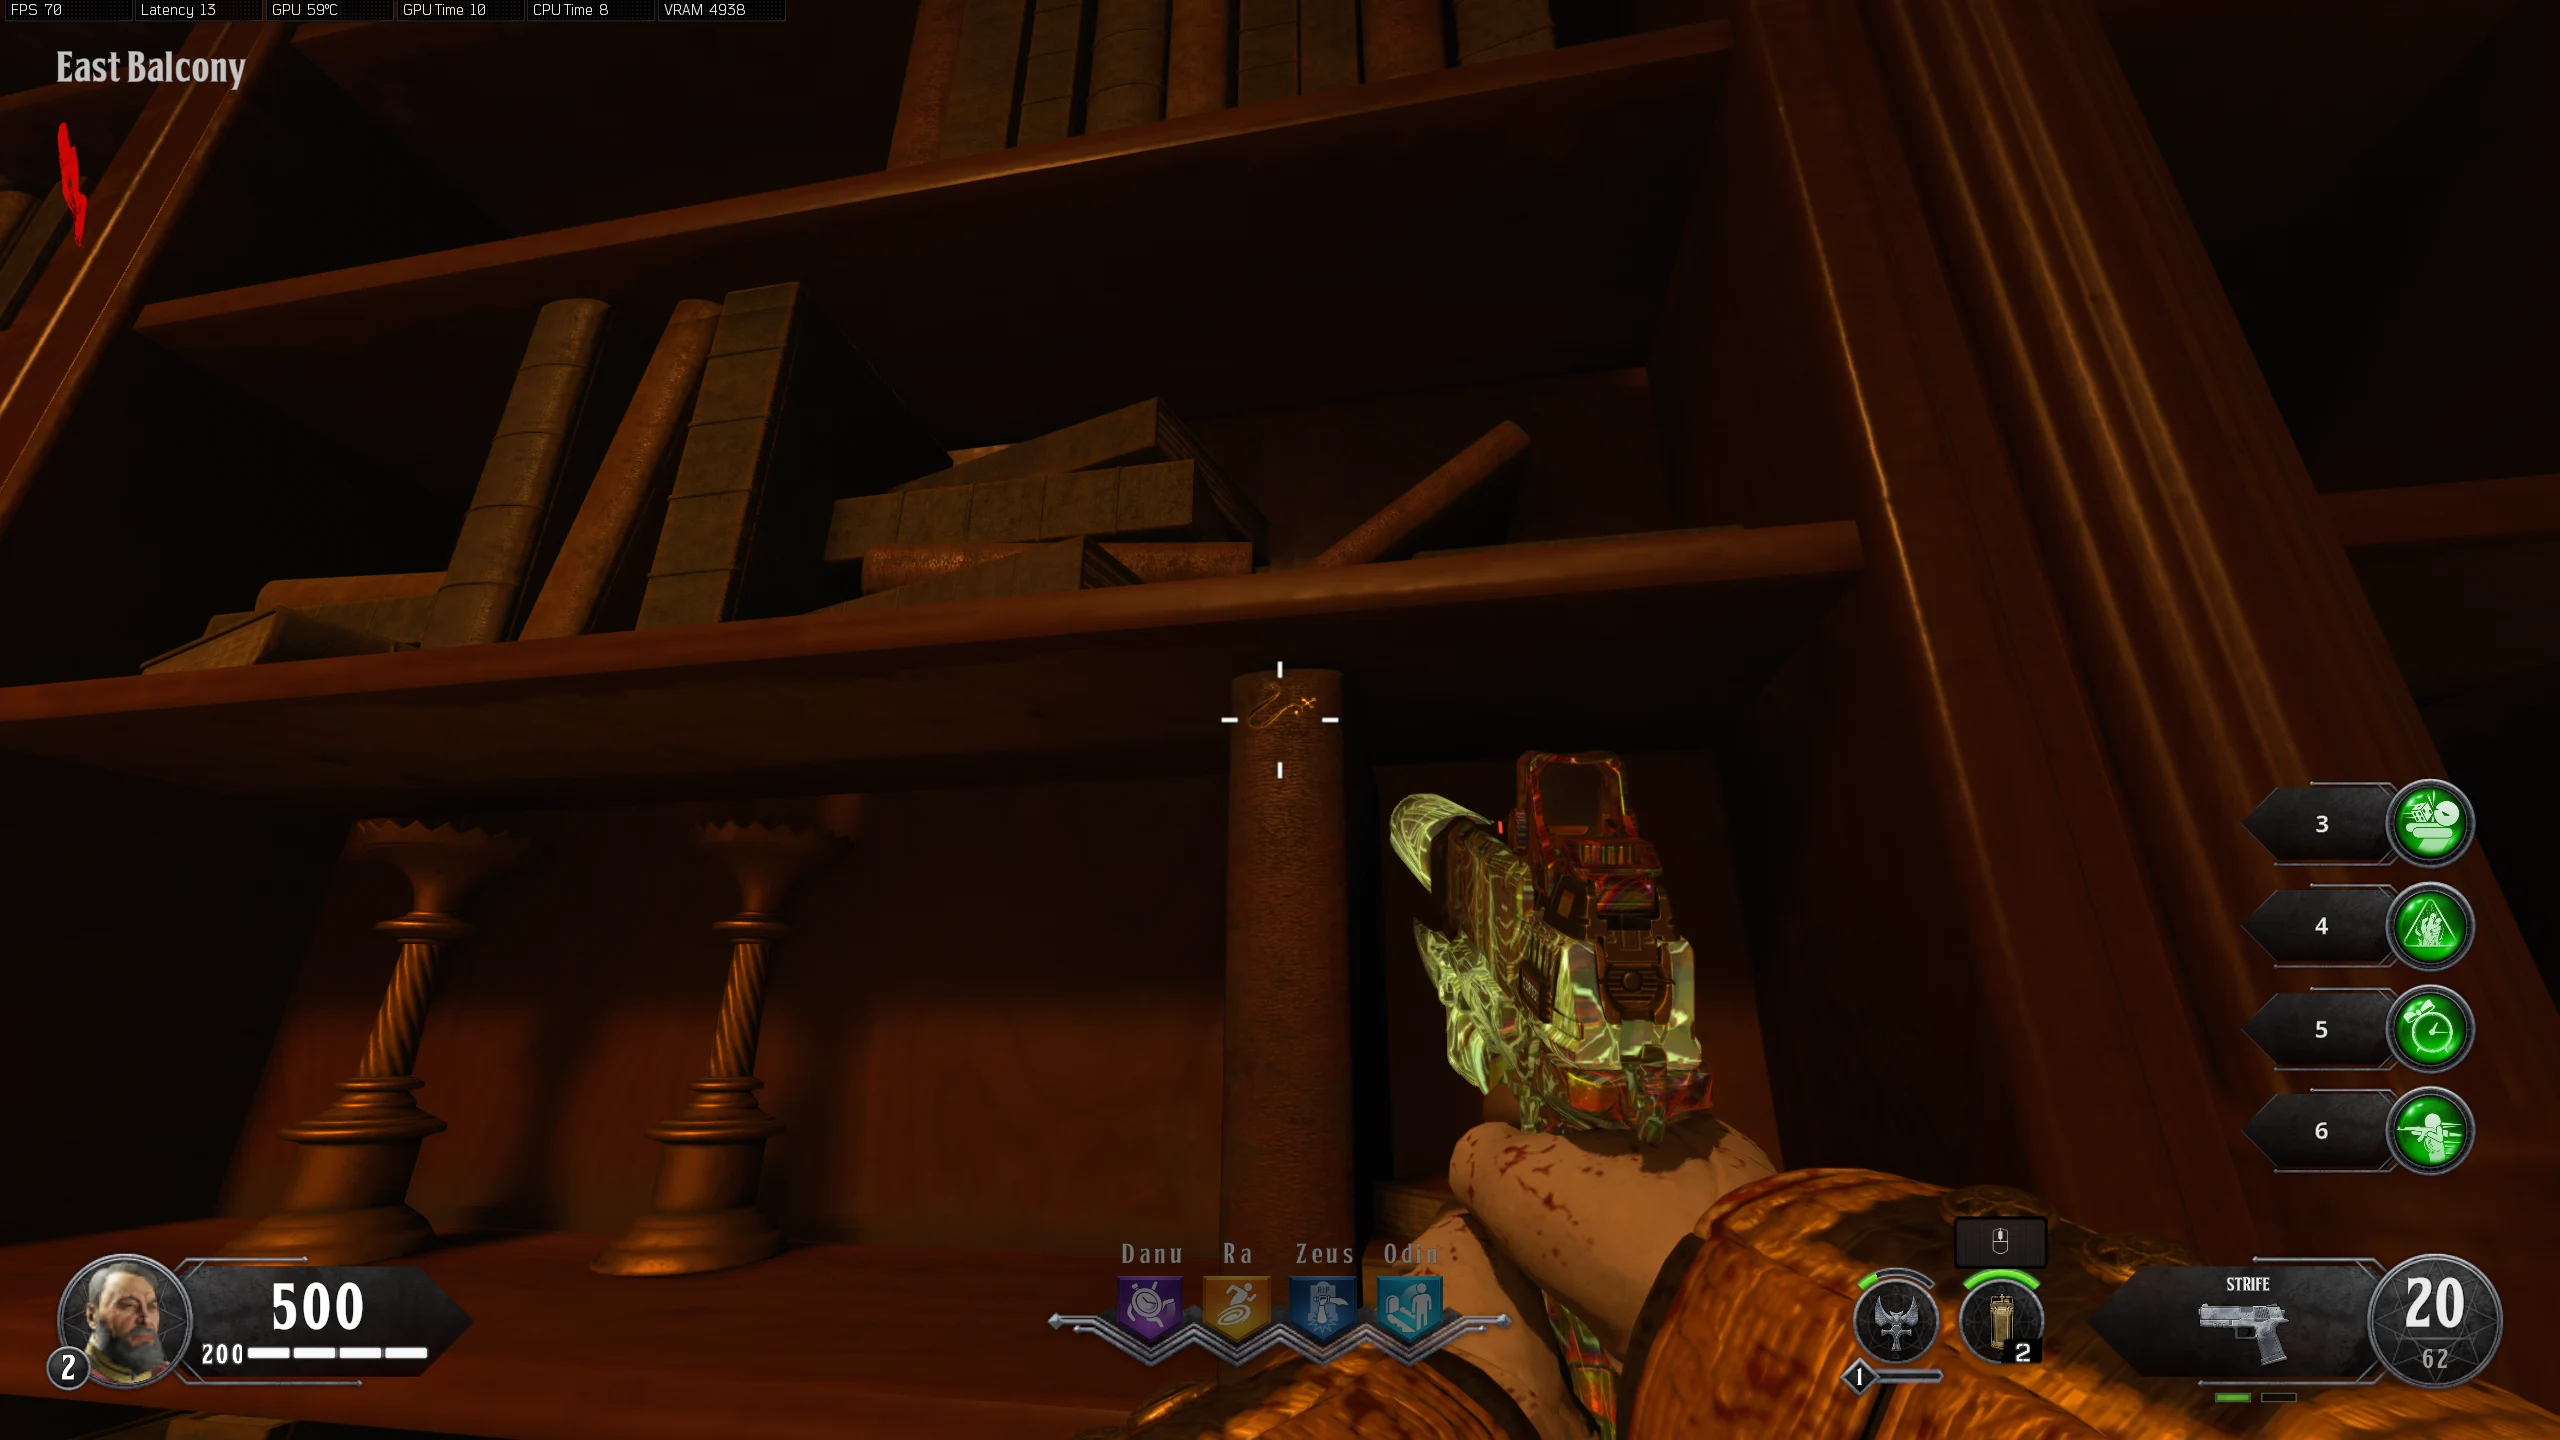
- Zodiac - Under the table with the Chess Board --- Room View
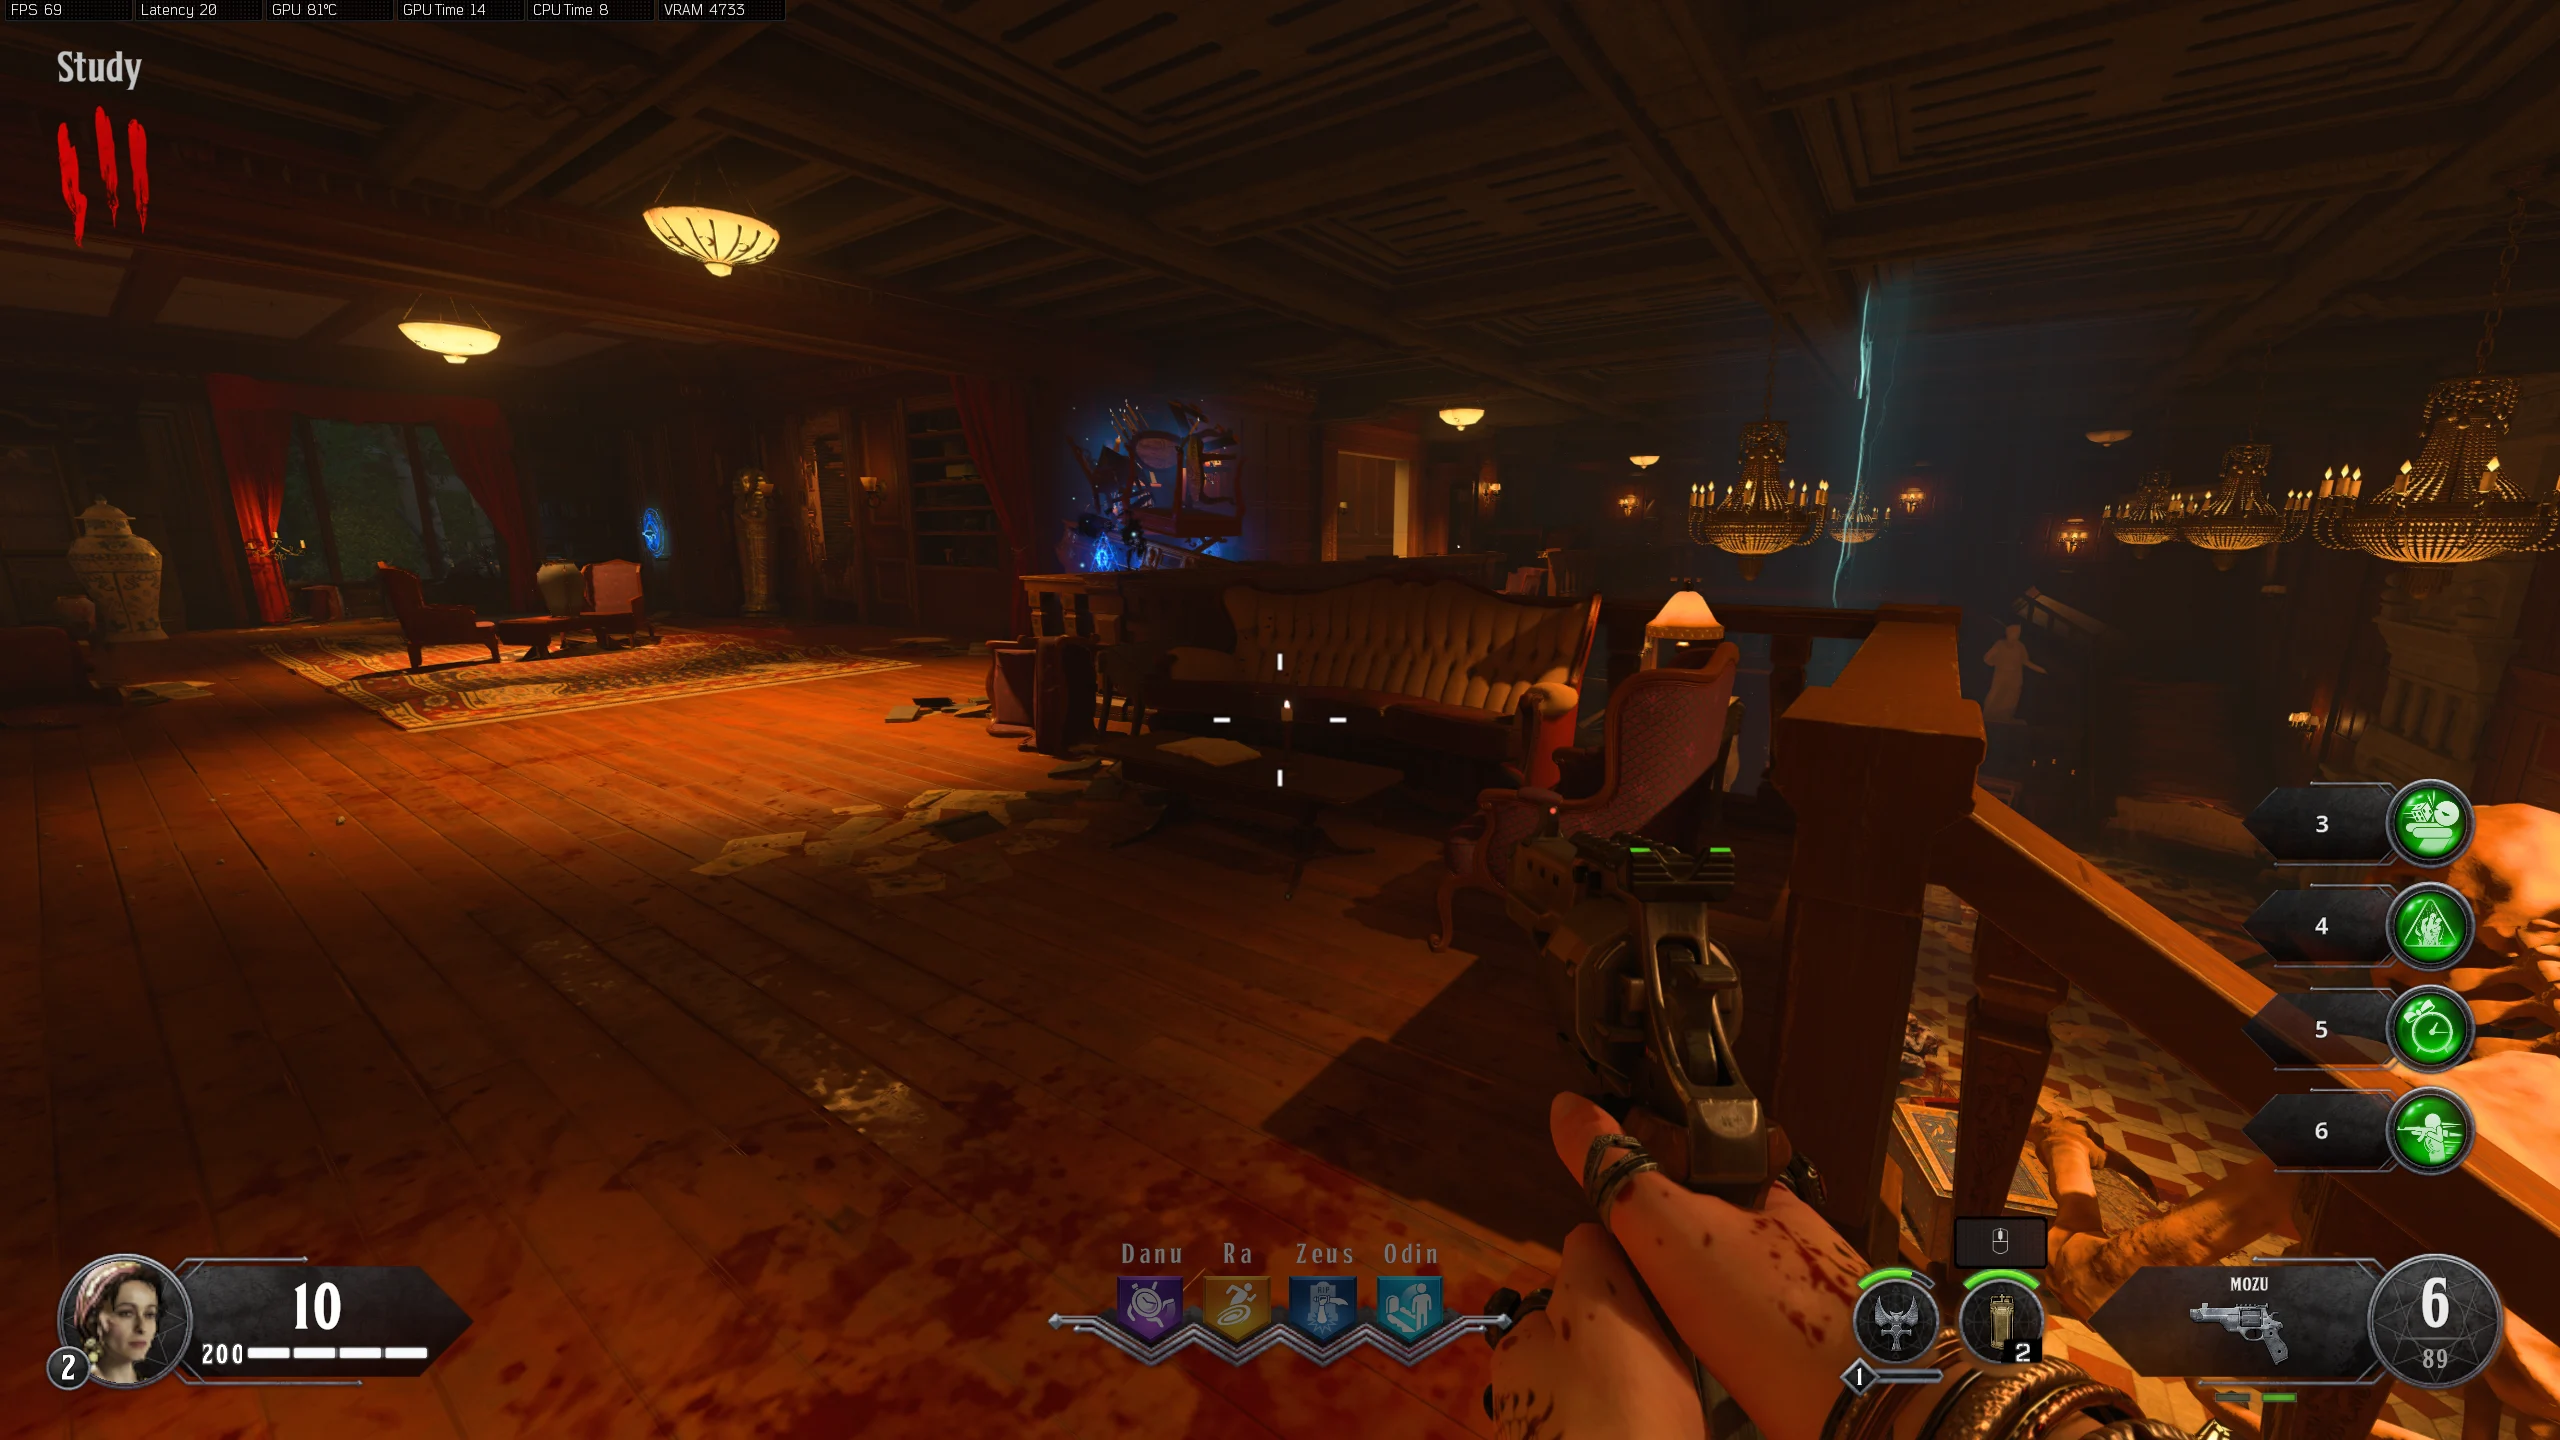
- Scratches - Left of the Bookcase closest to the 'Study'
- Scratches - Above the cabinet, left of the clock
- Scratches - Under the table, opposite the clock
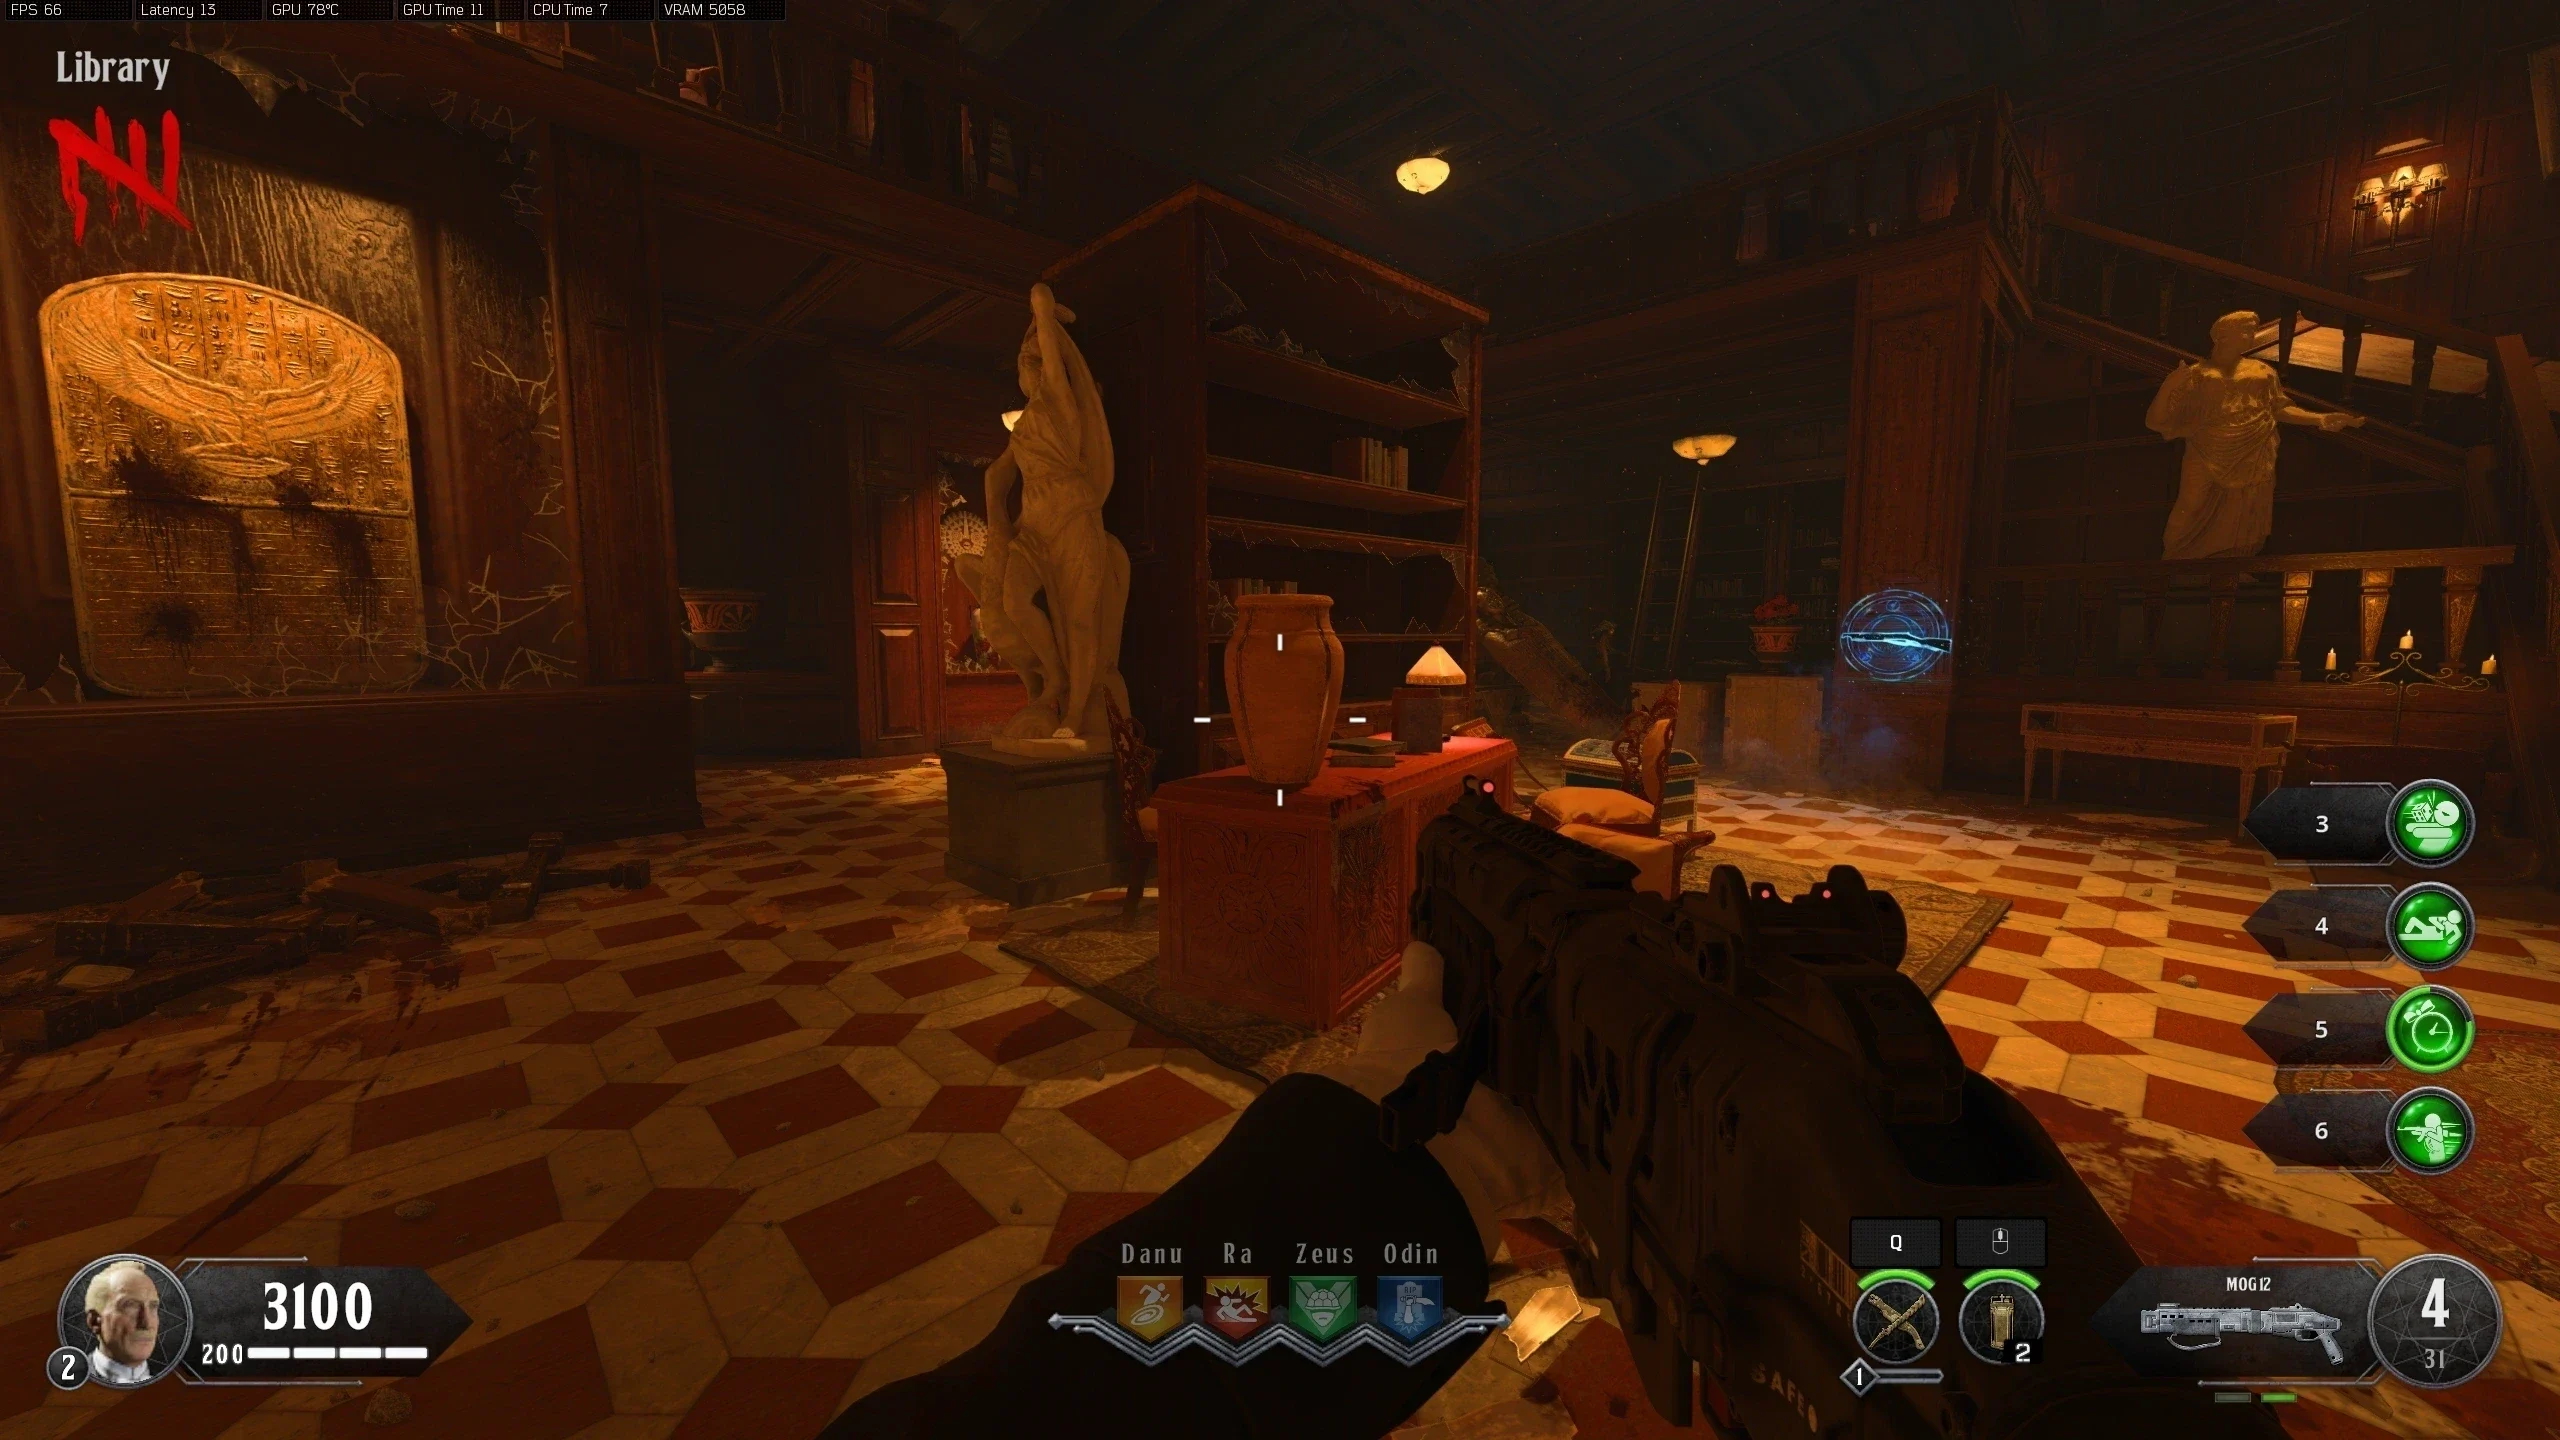
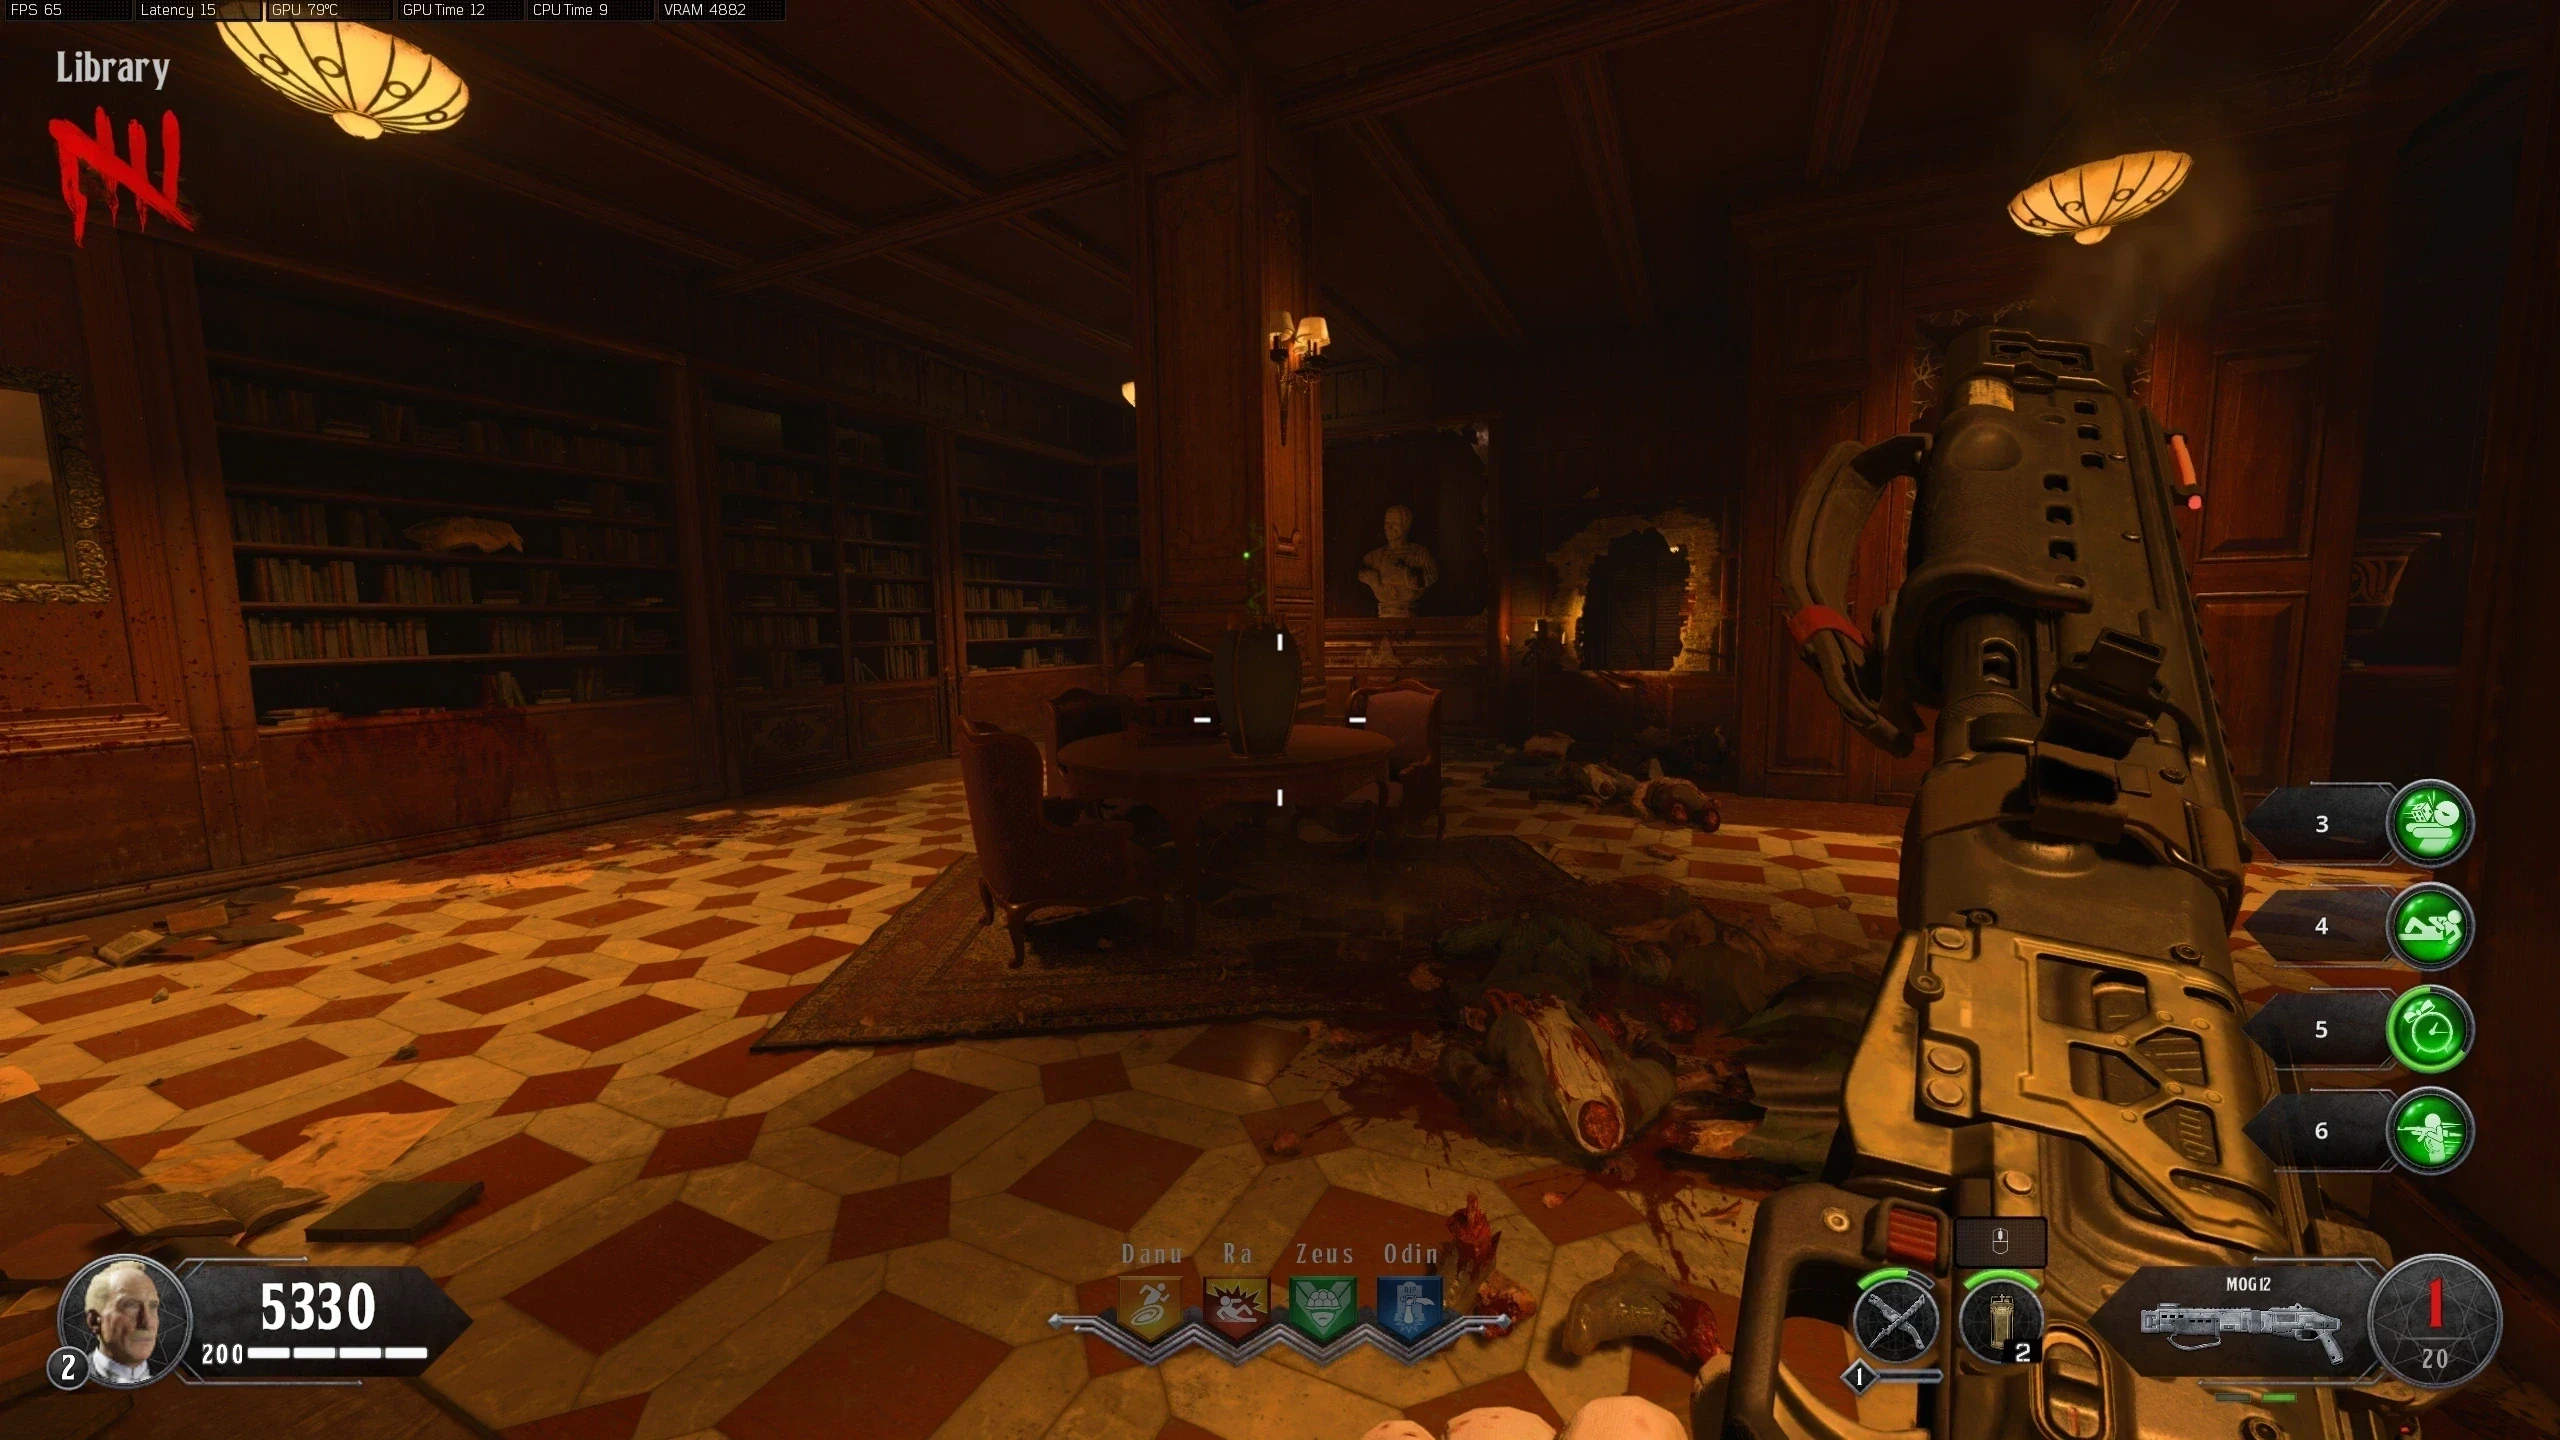
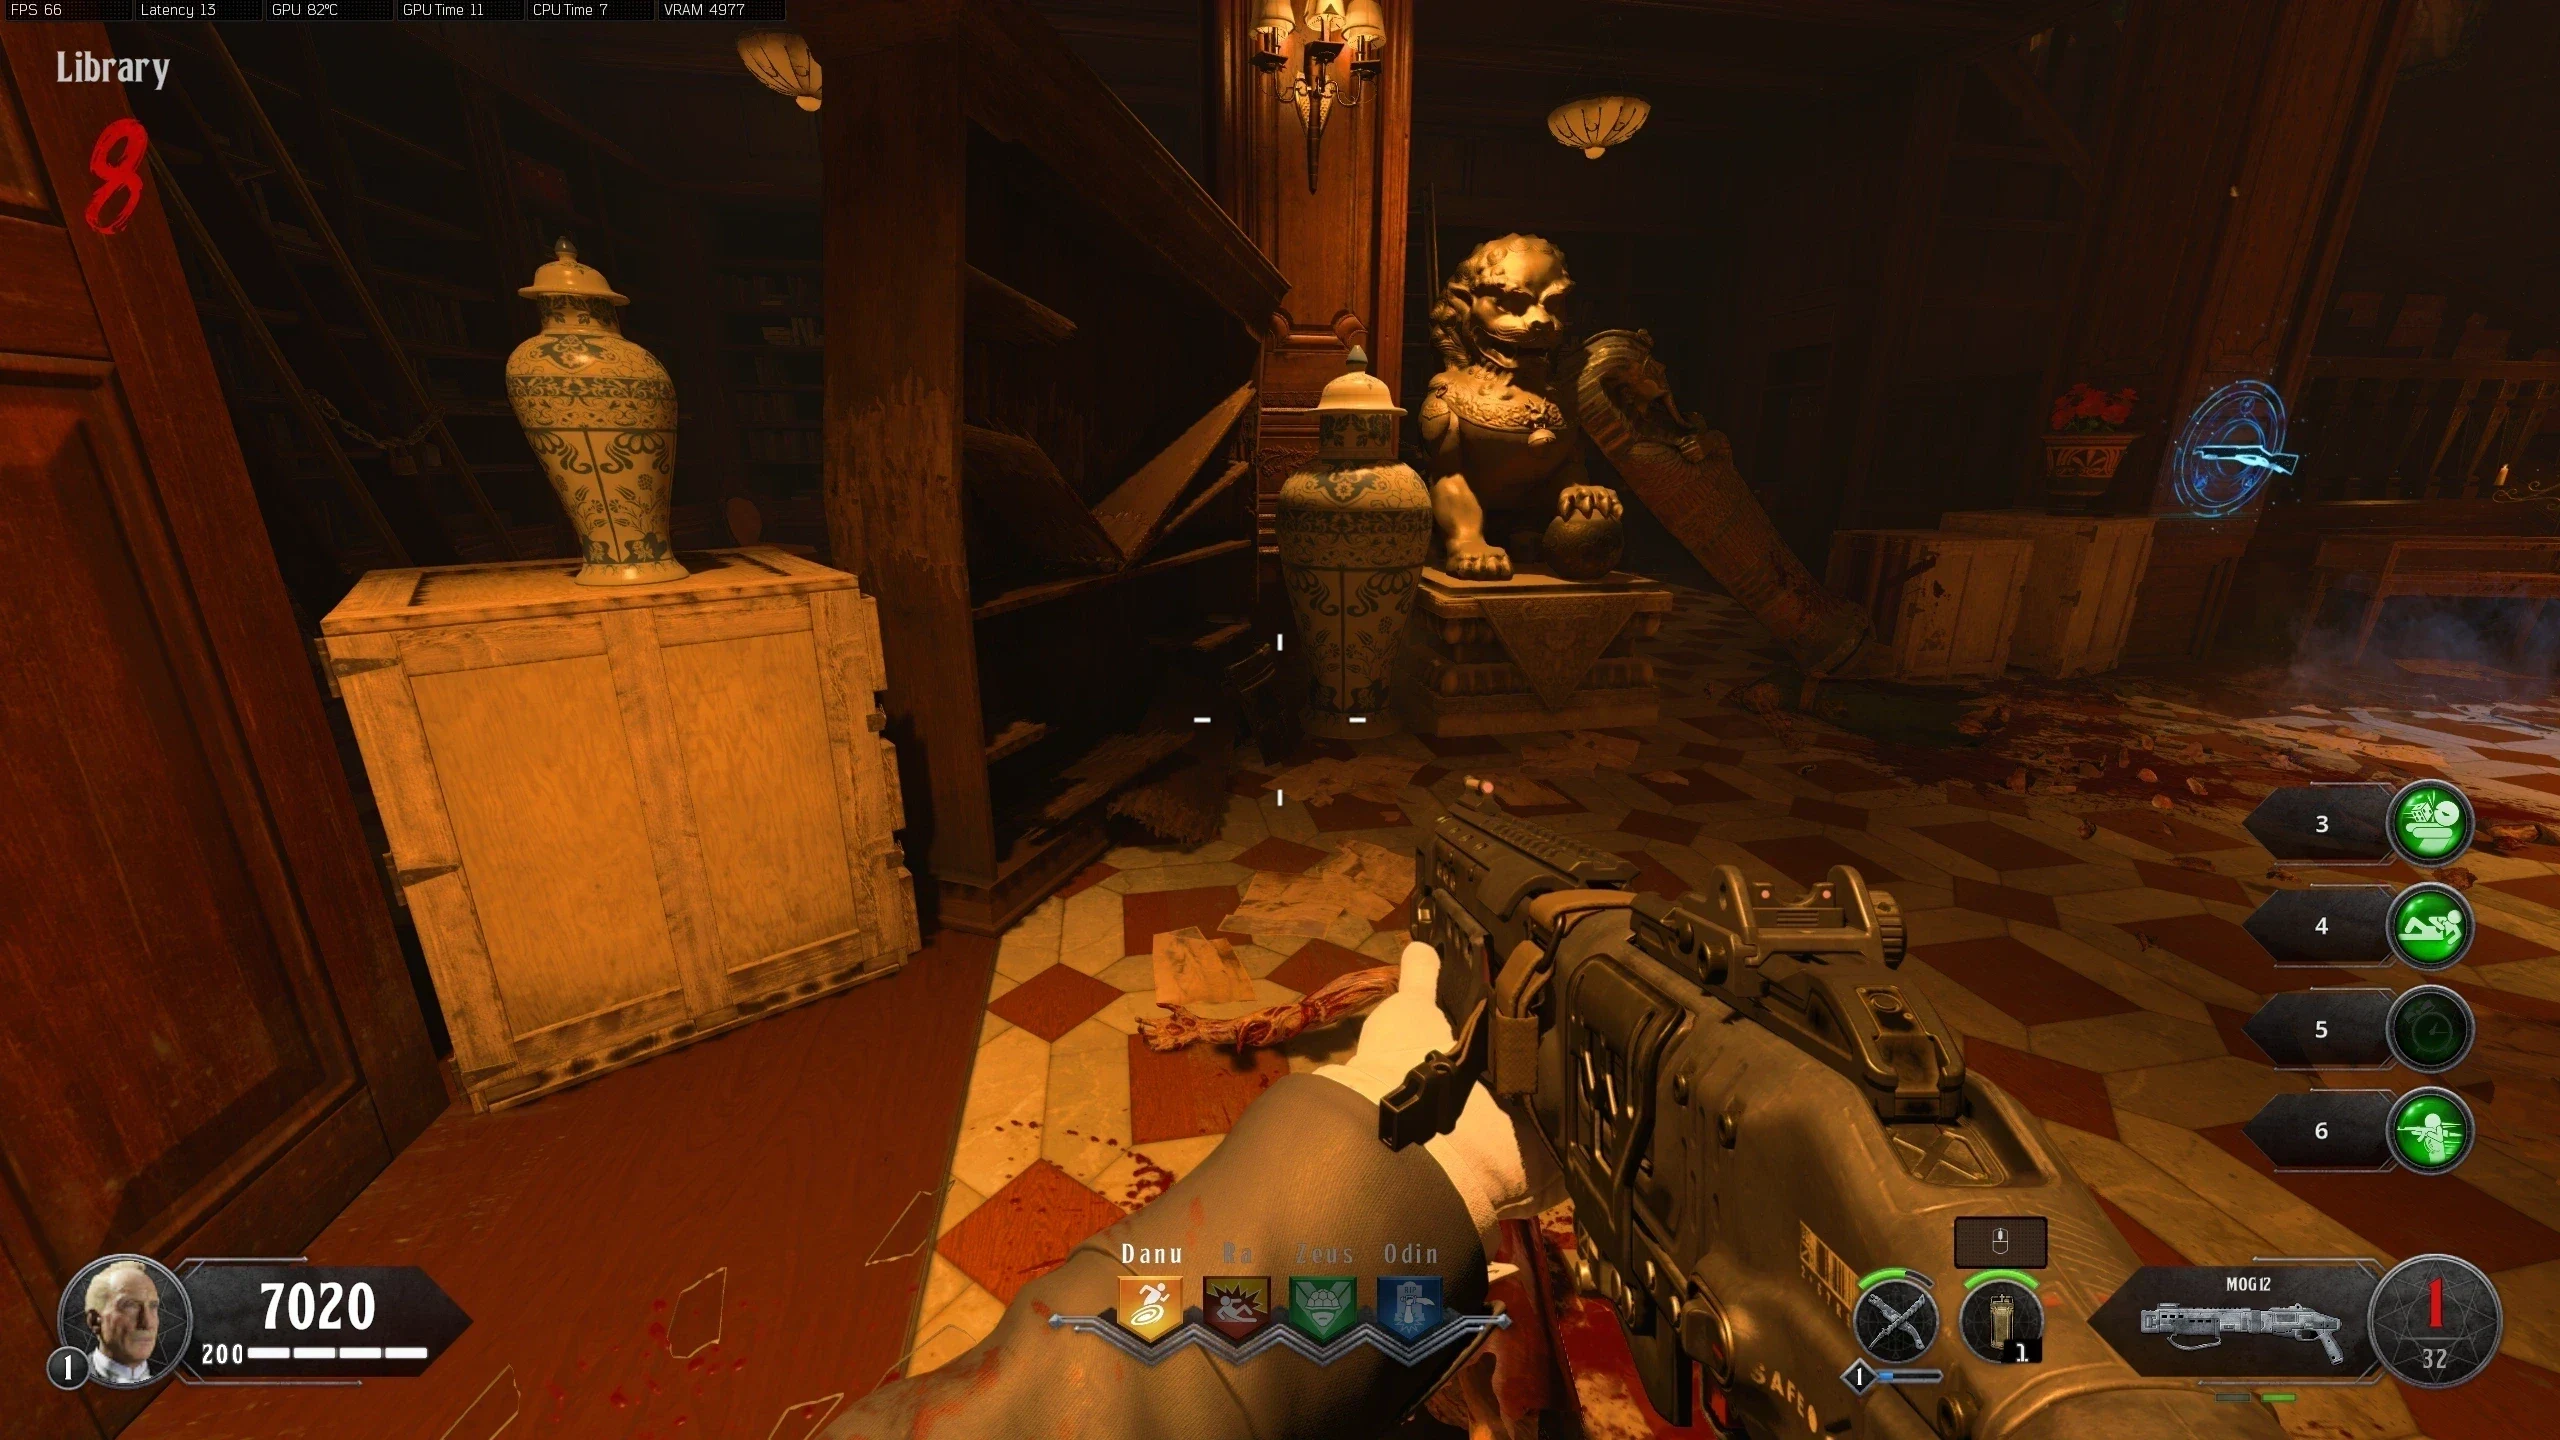
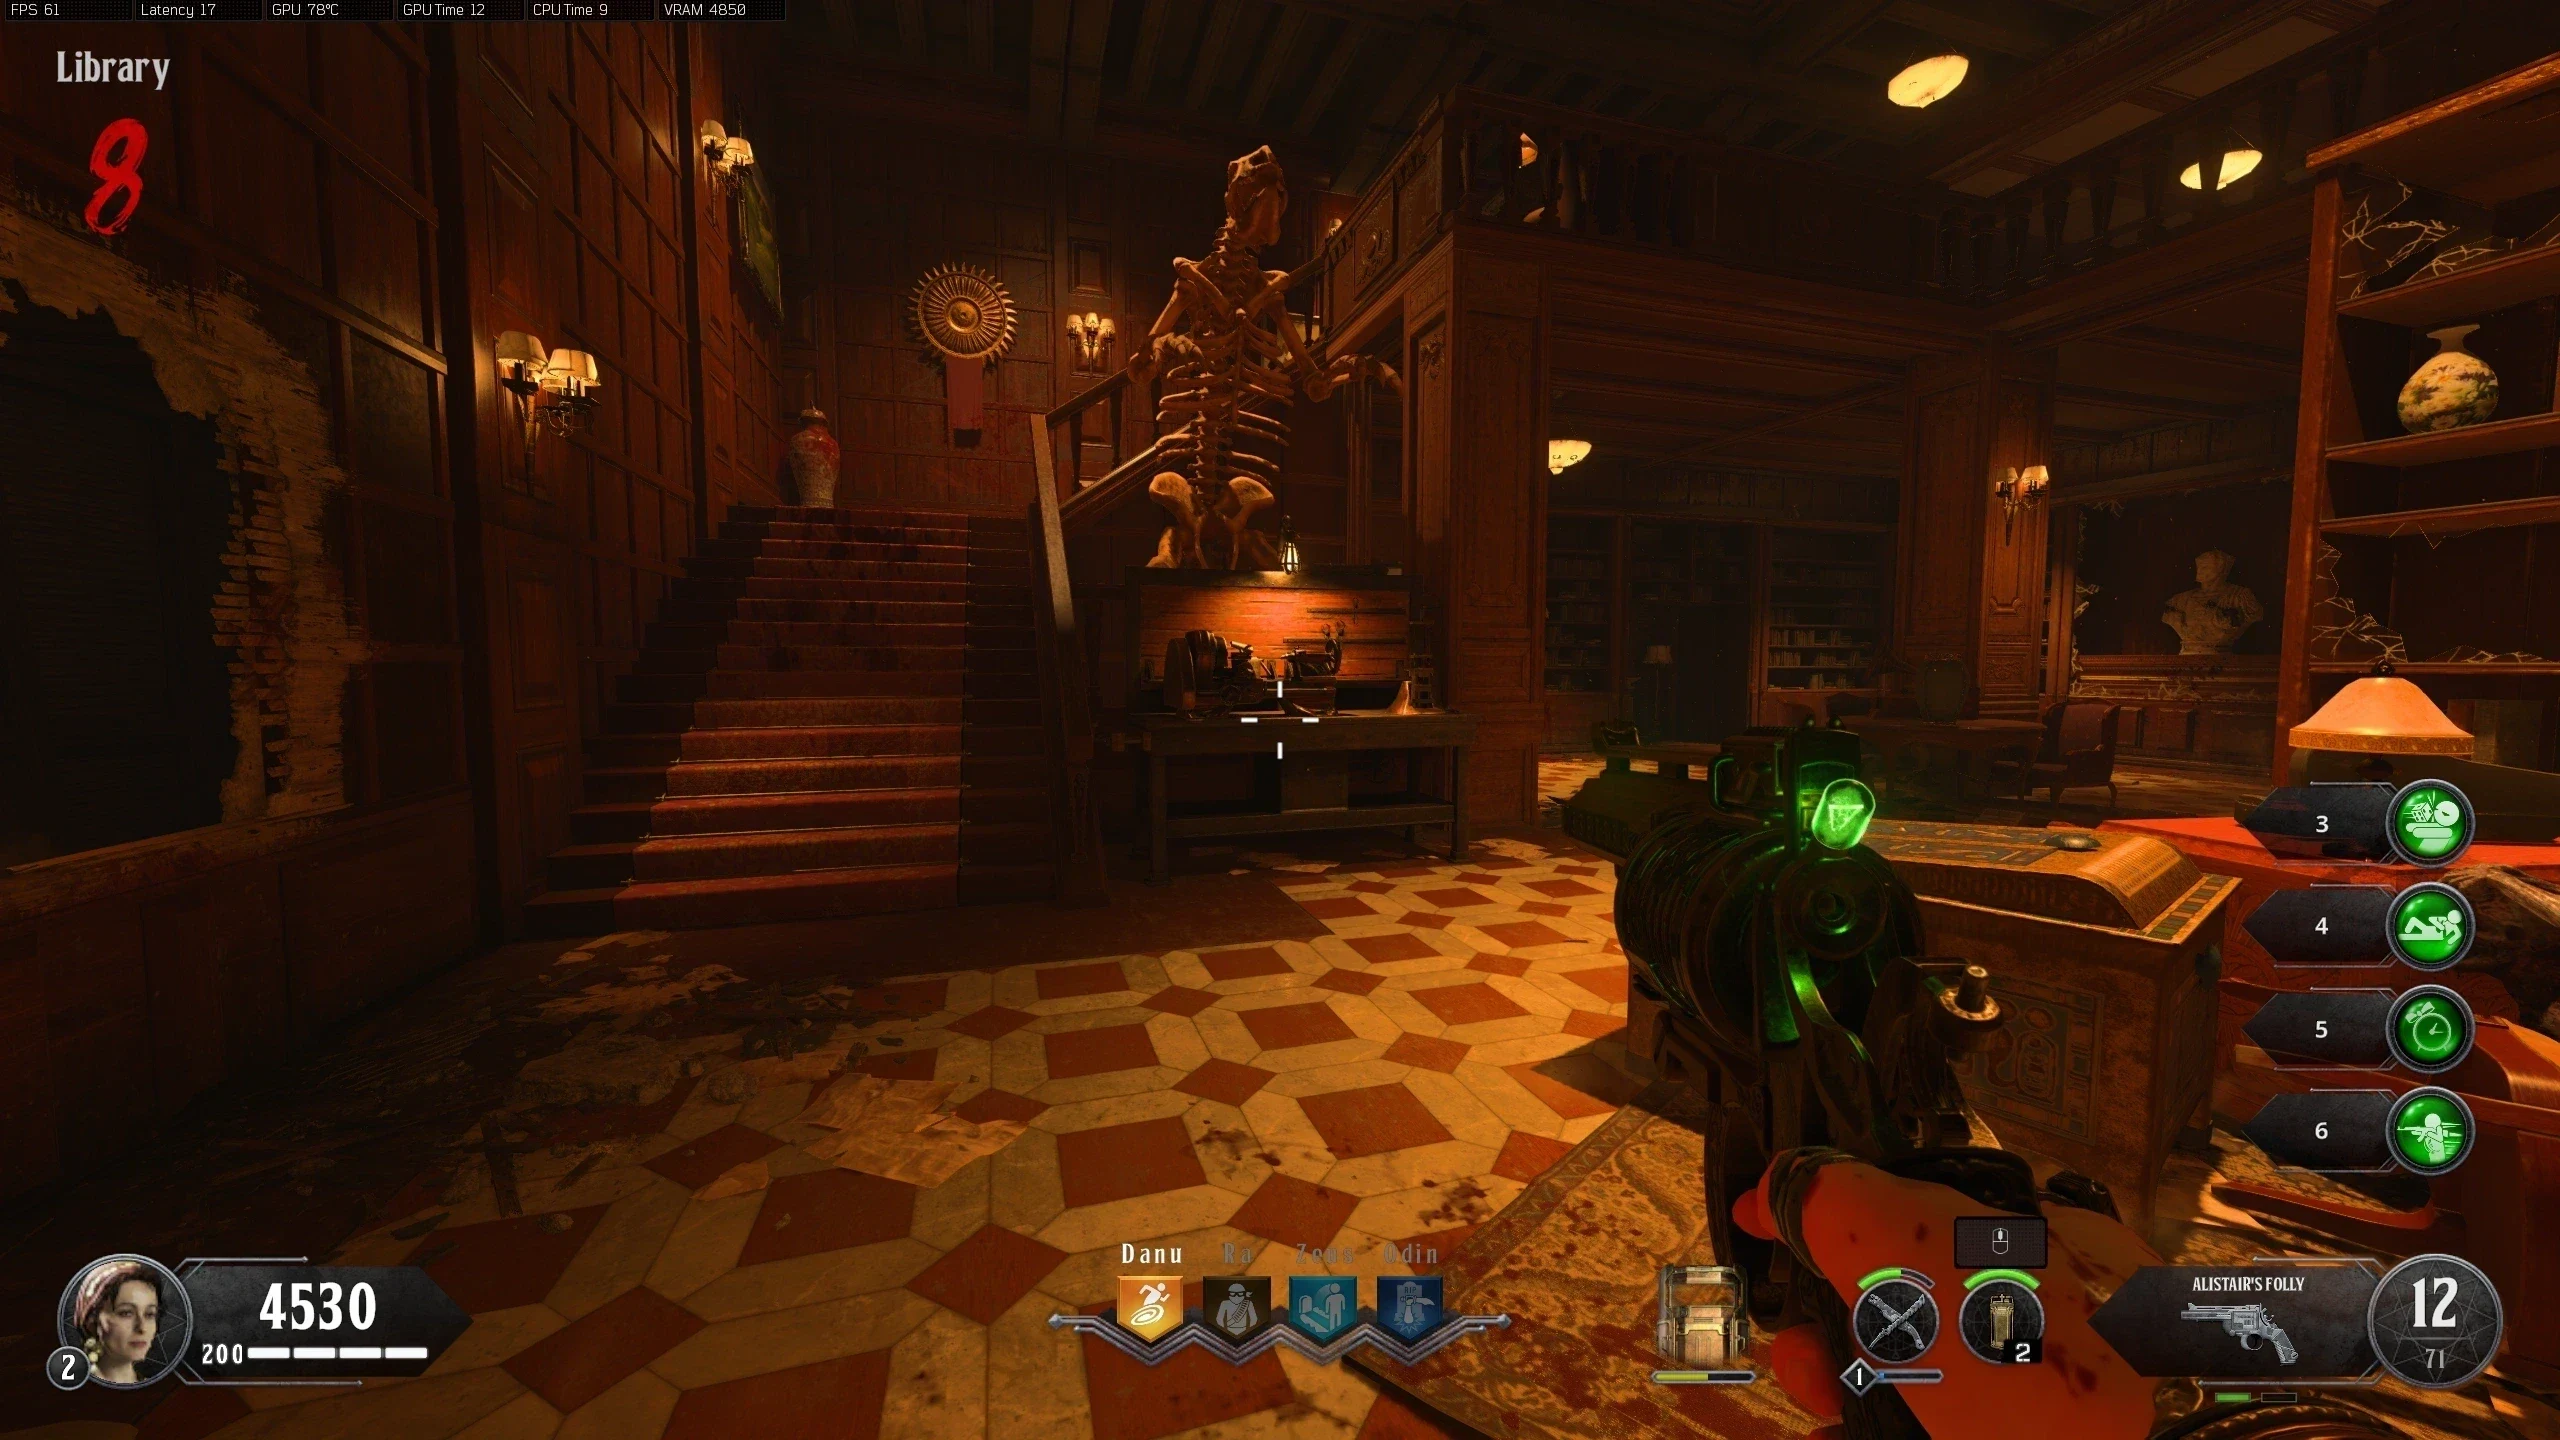
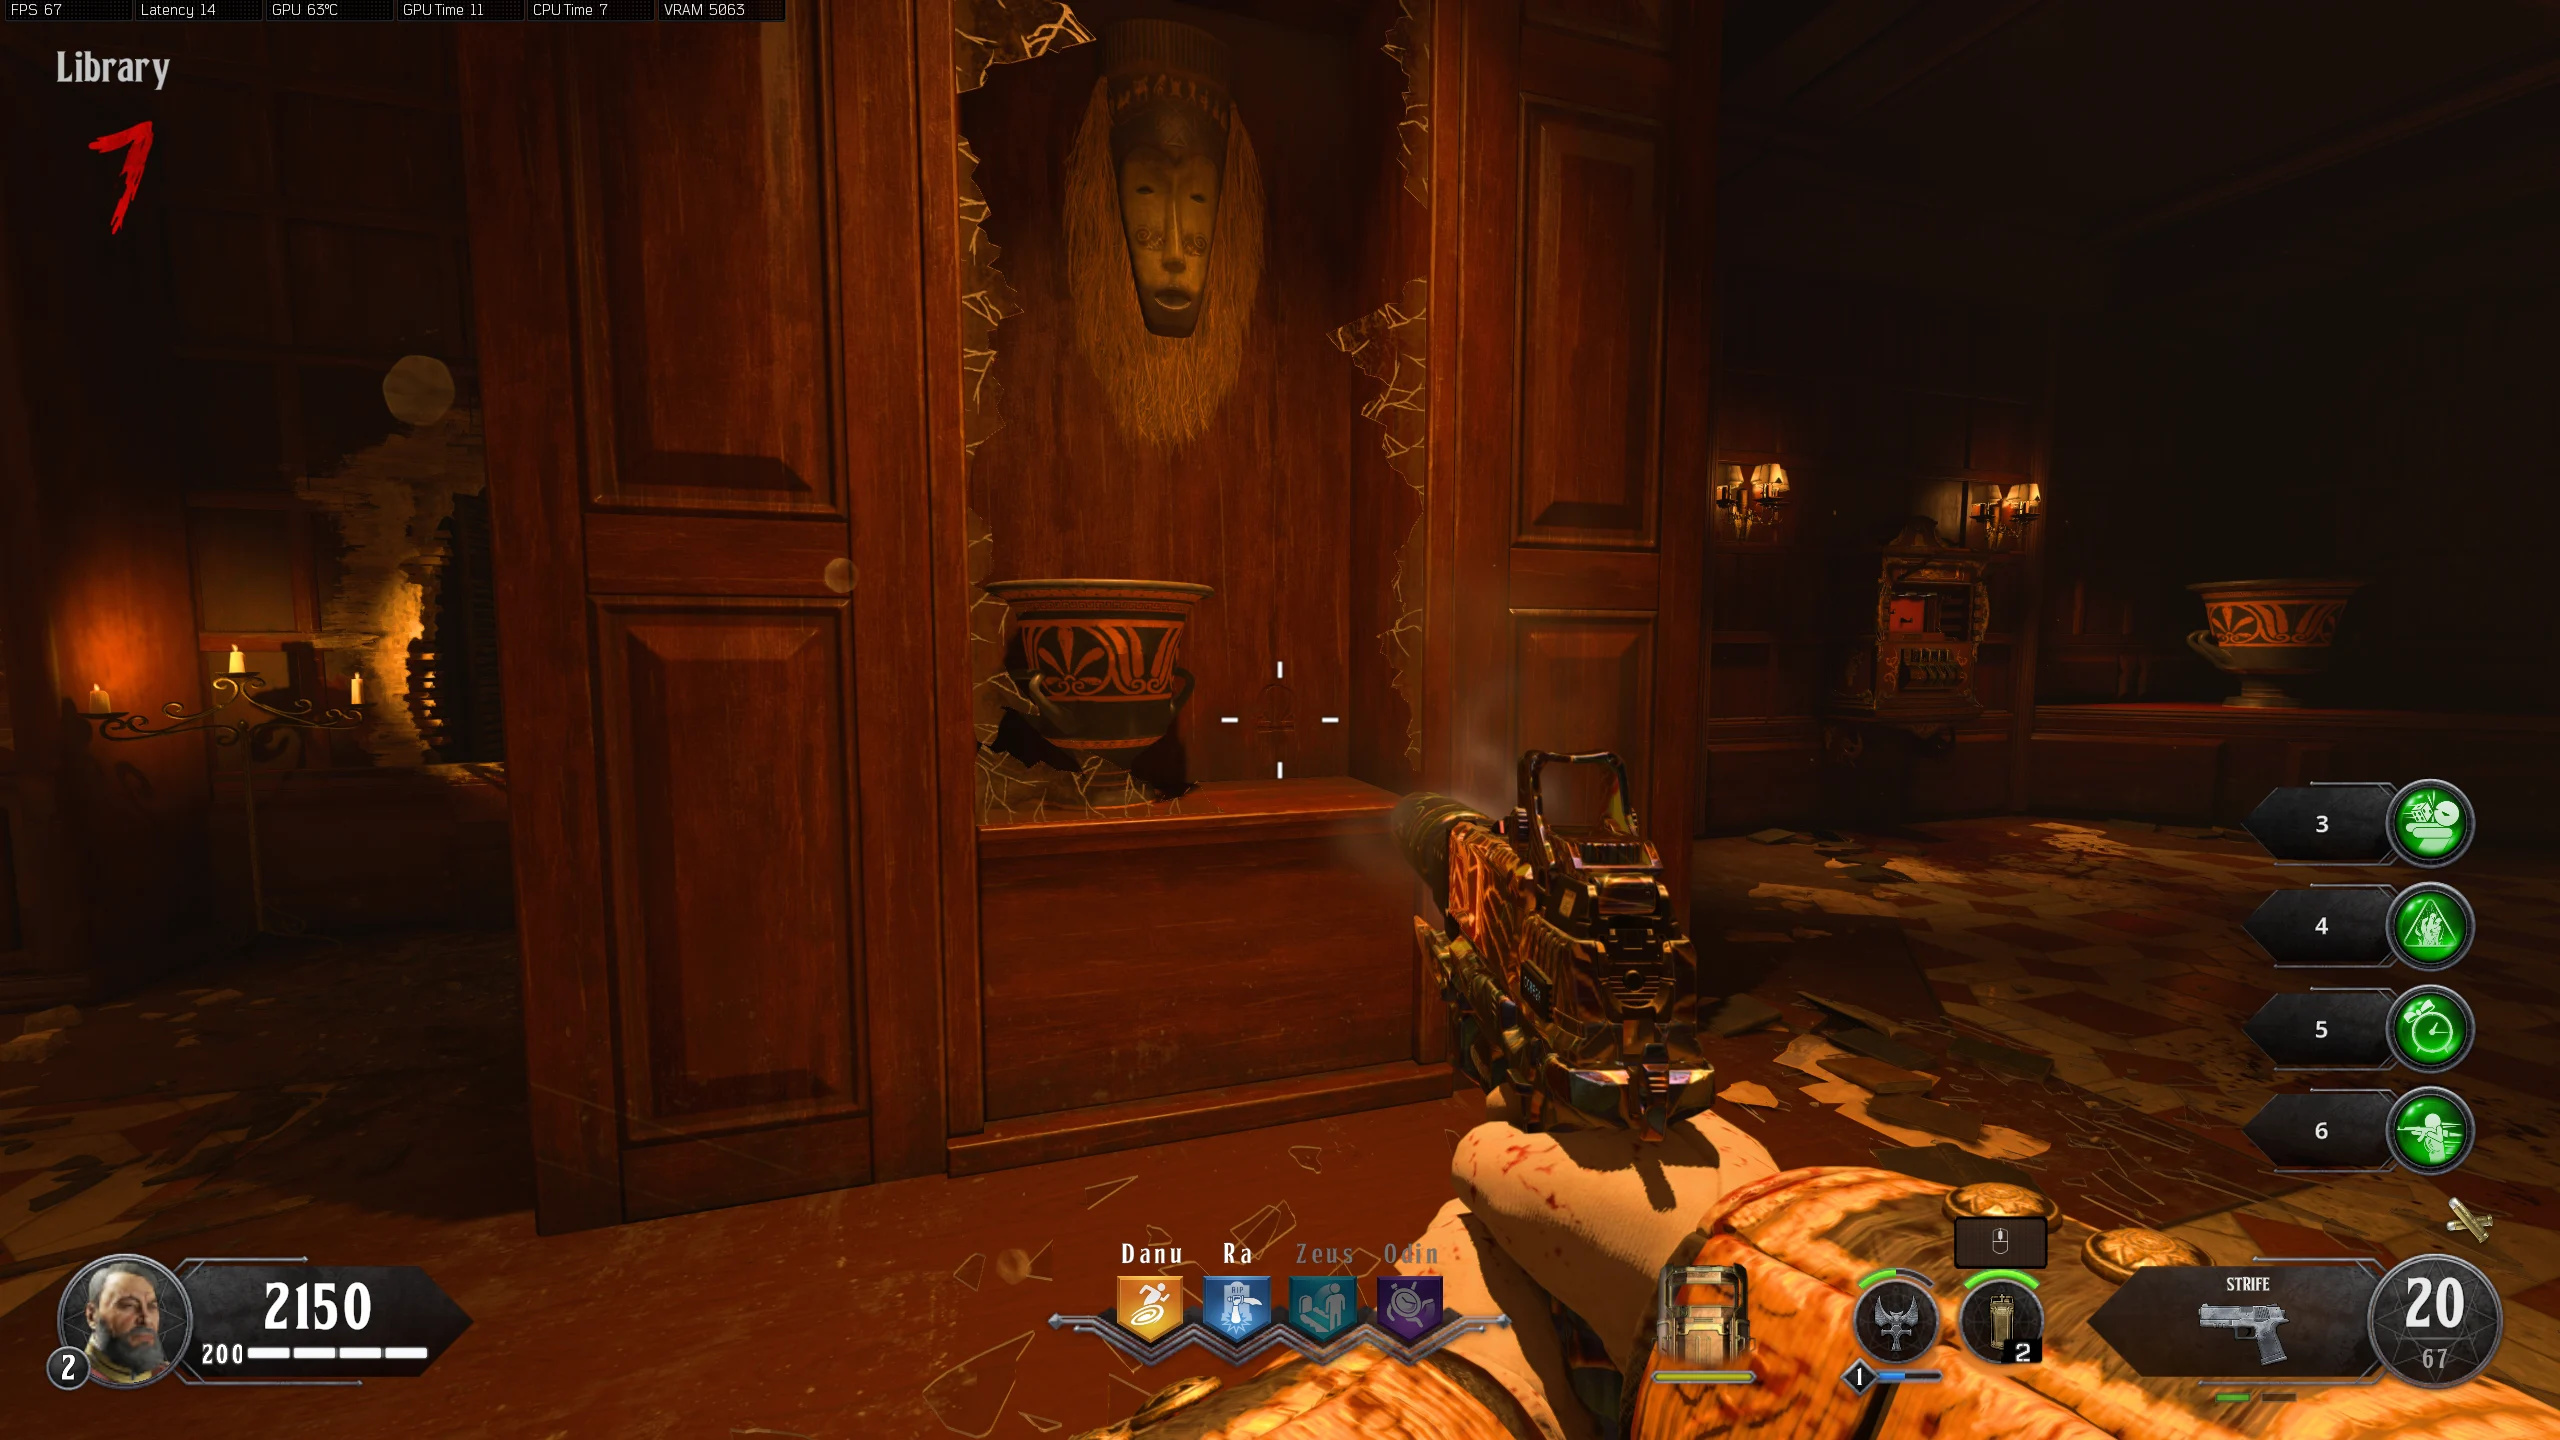
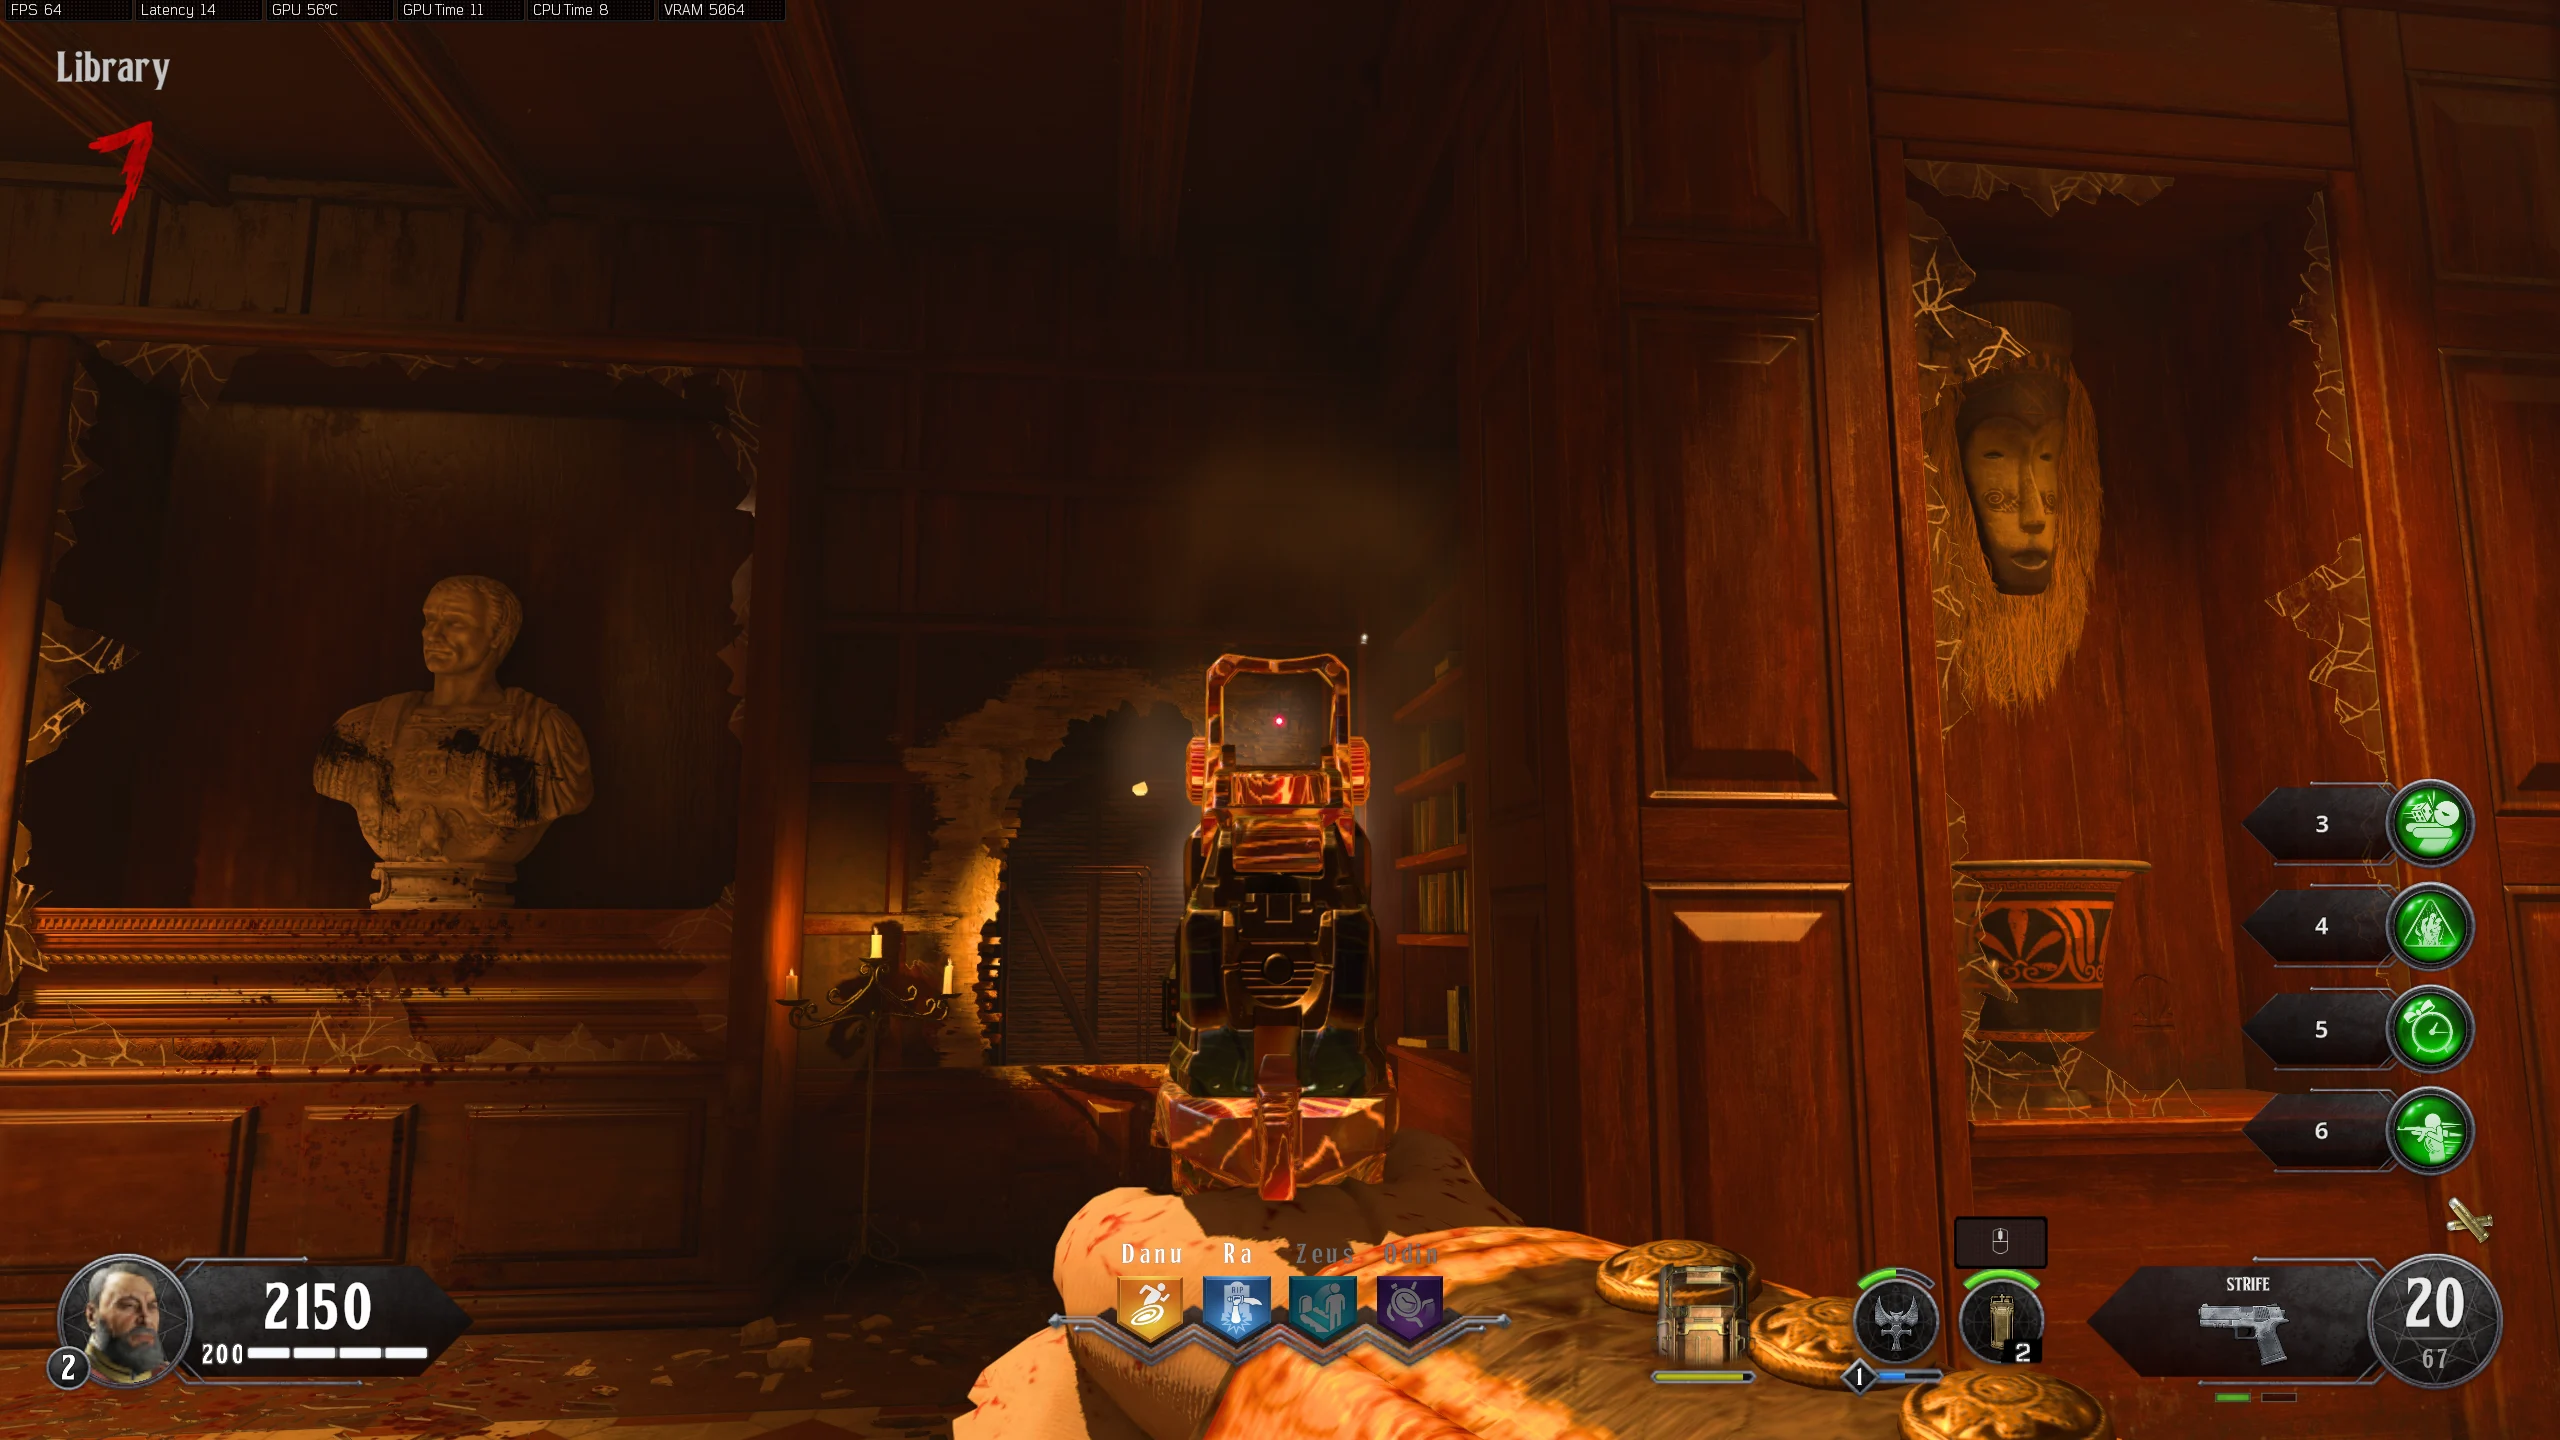
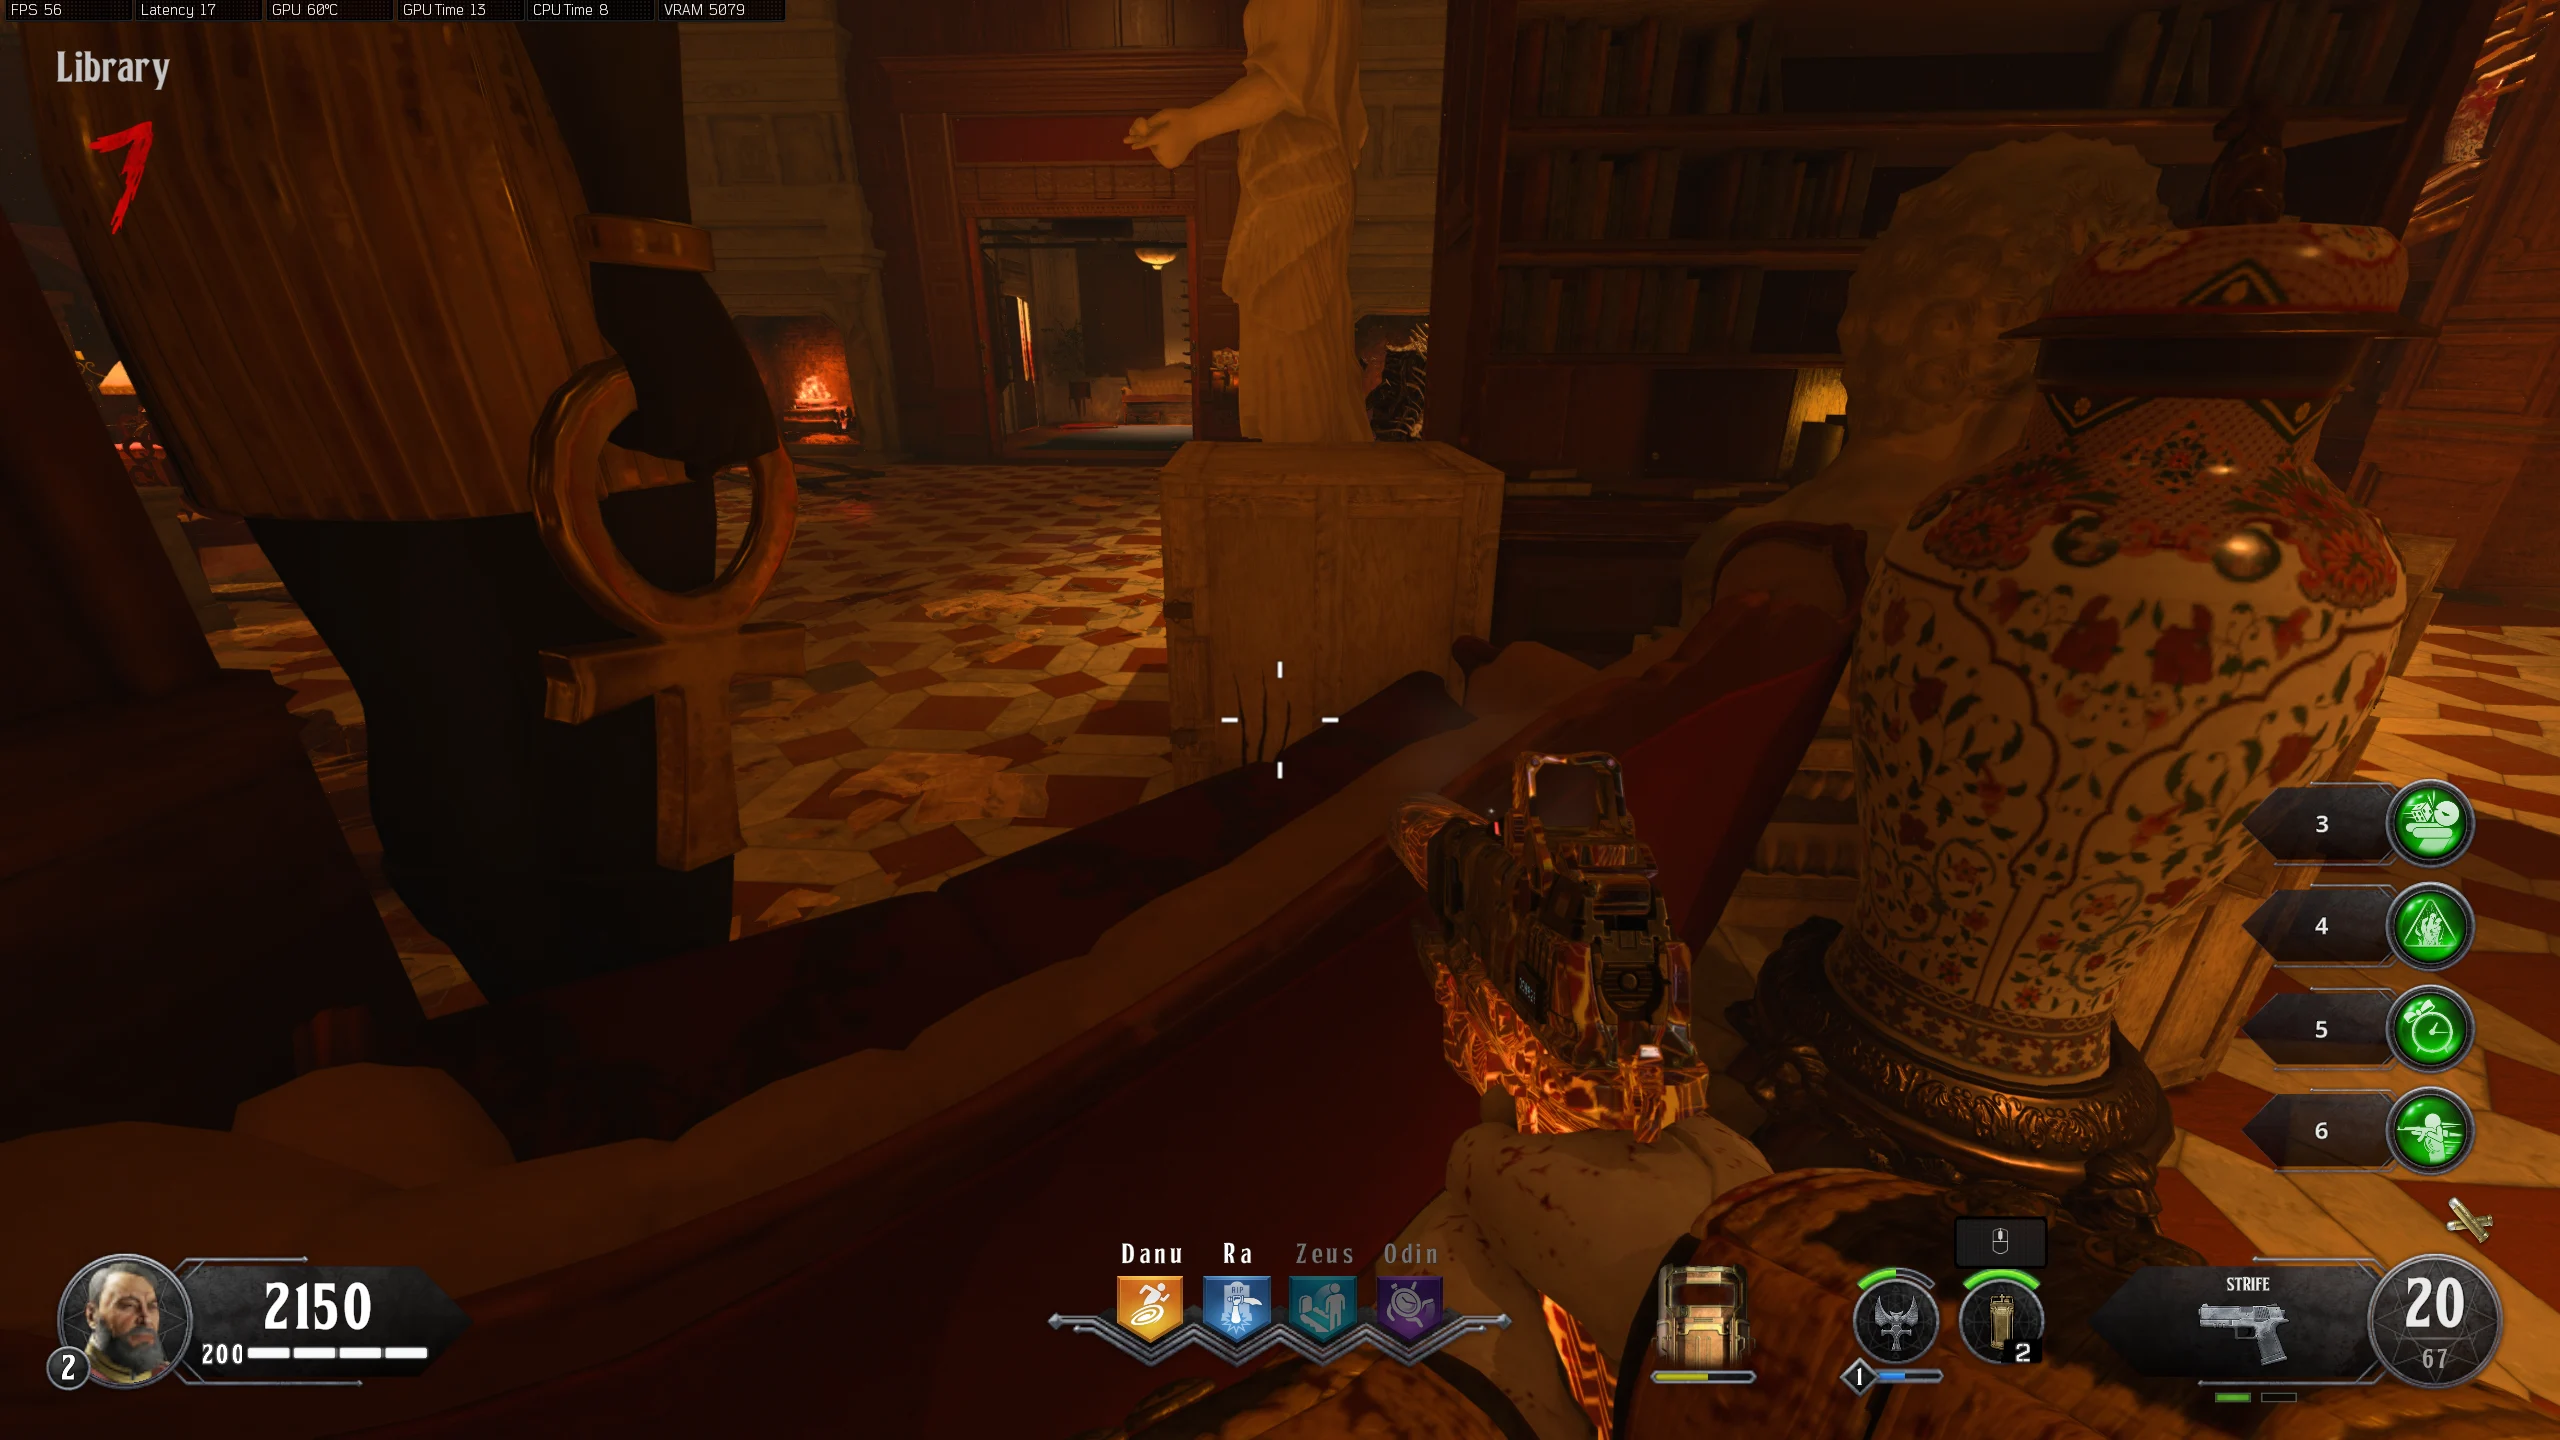
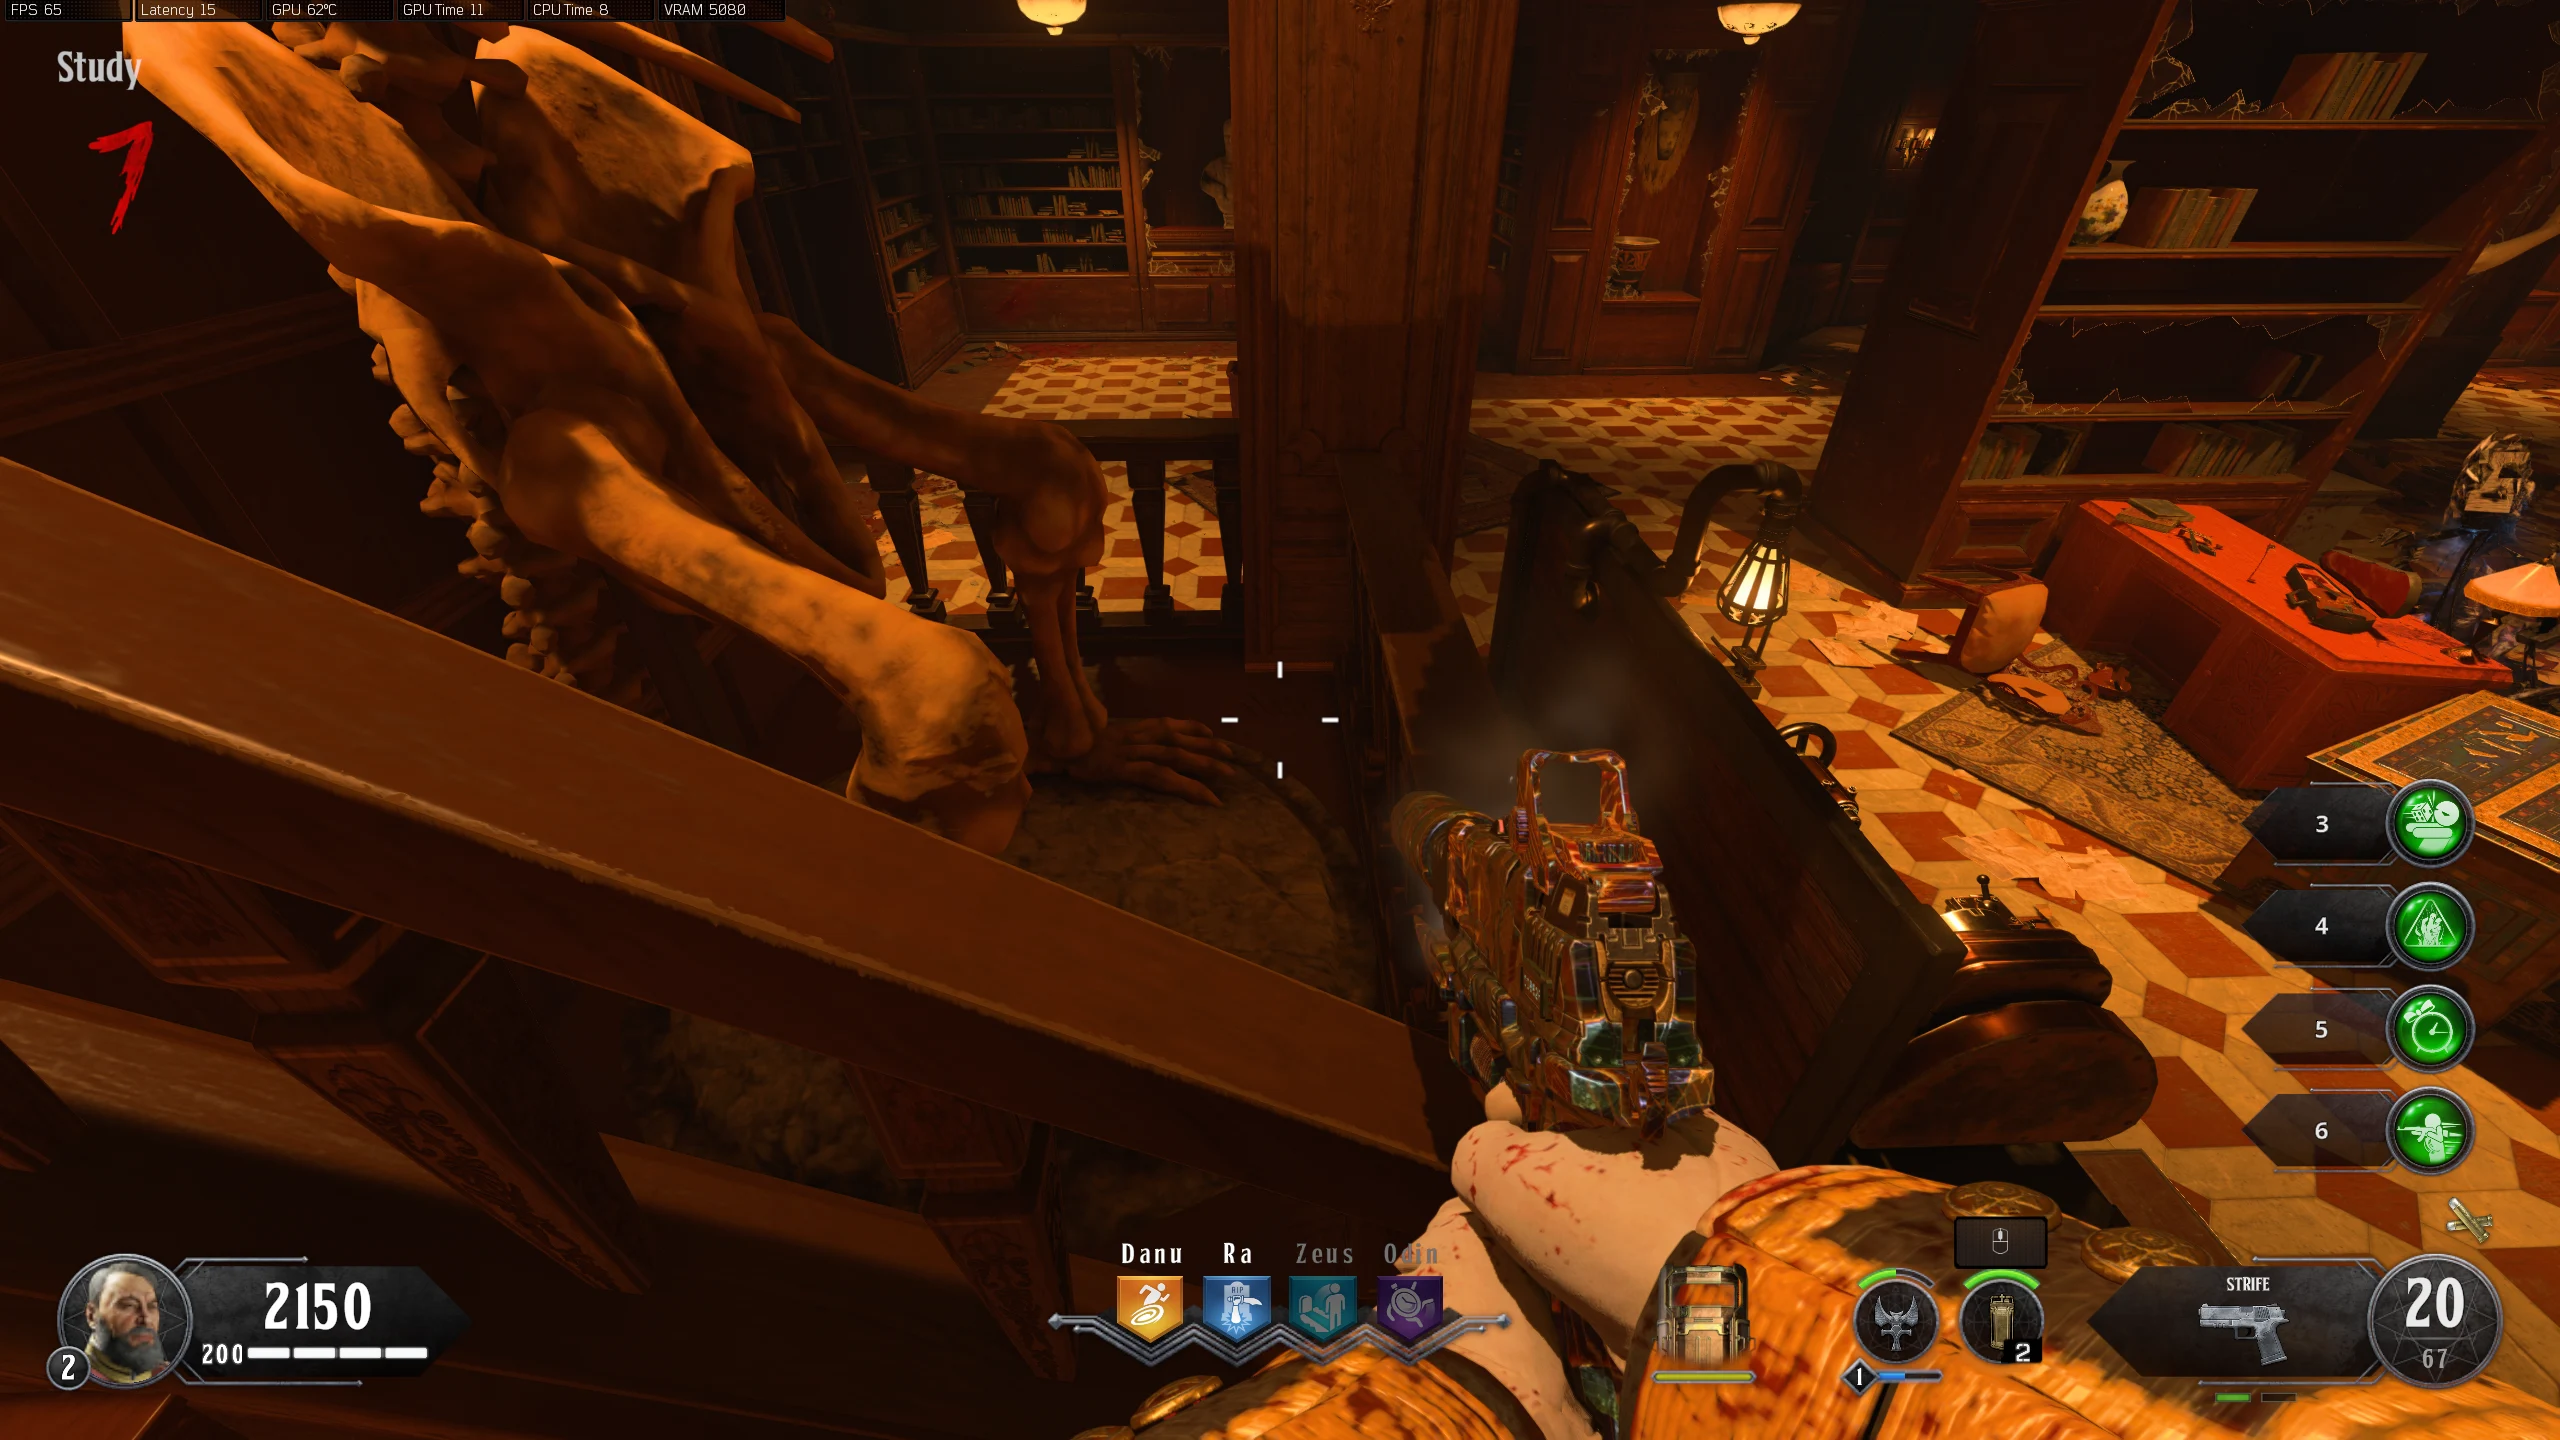
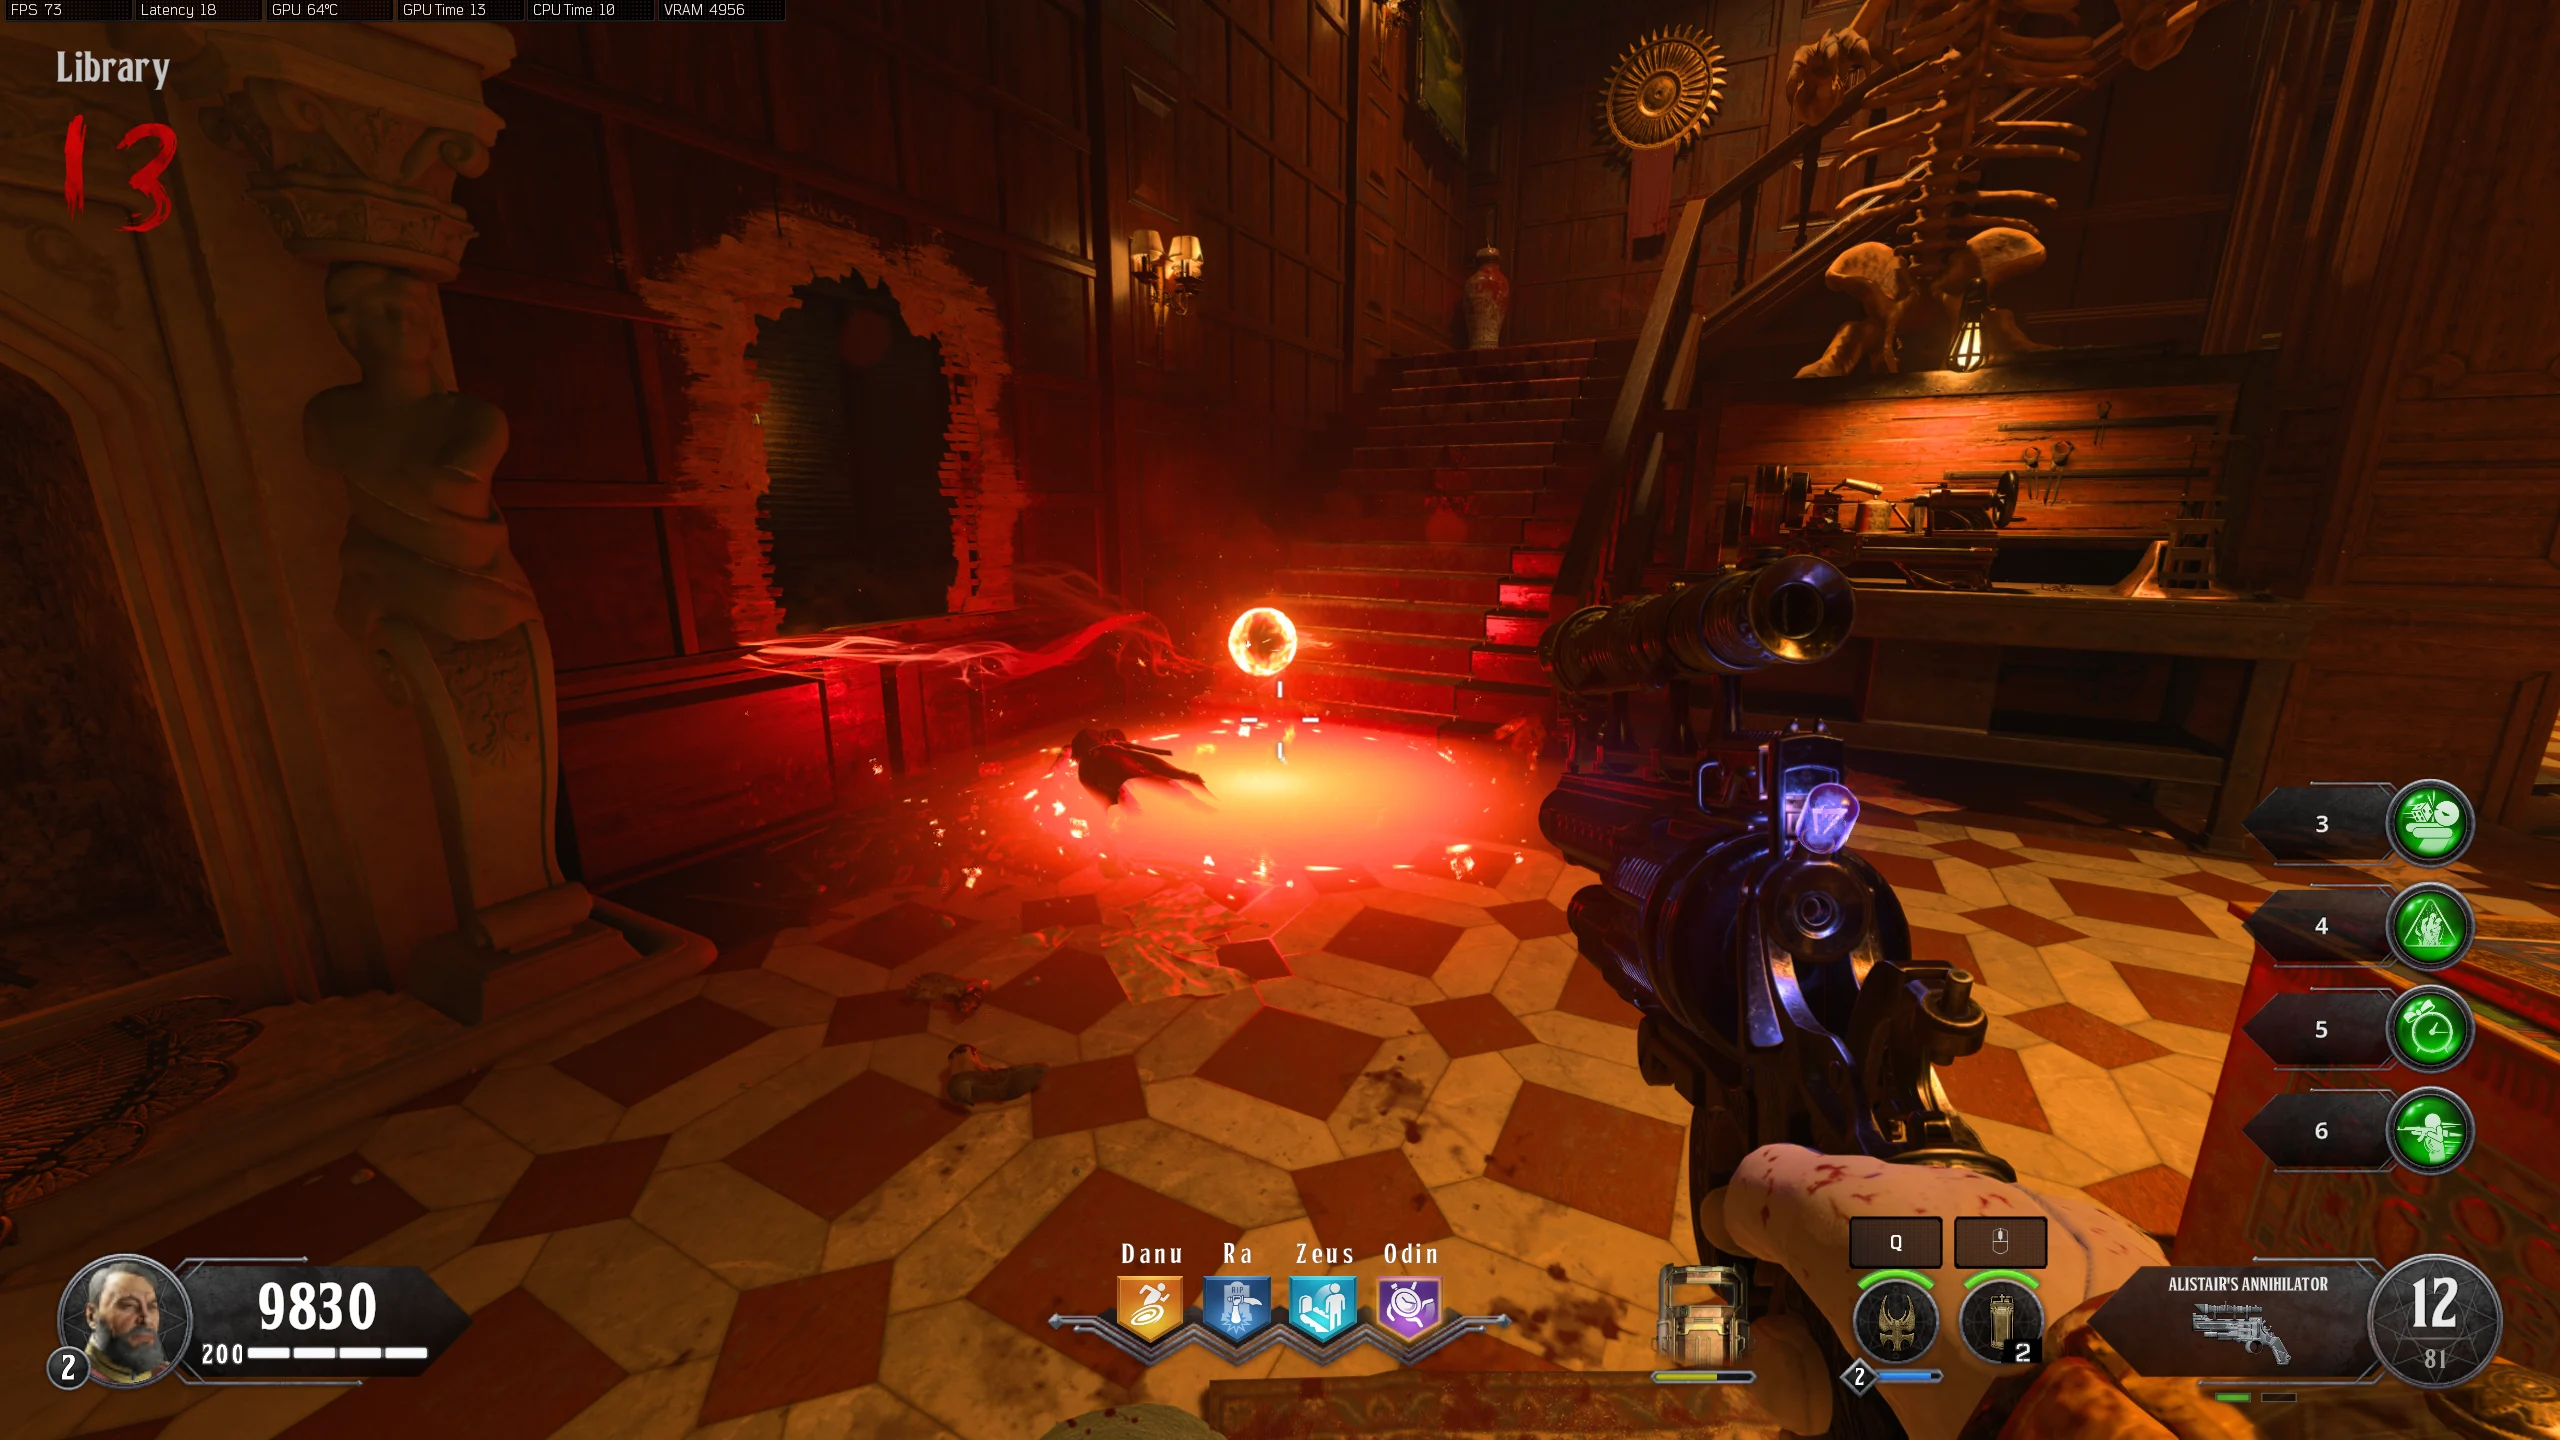
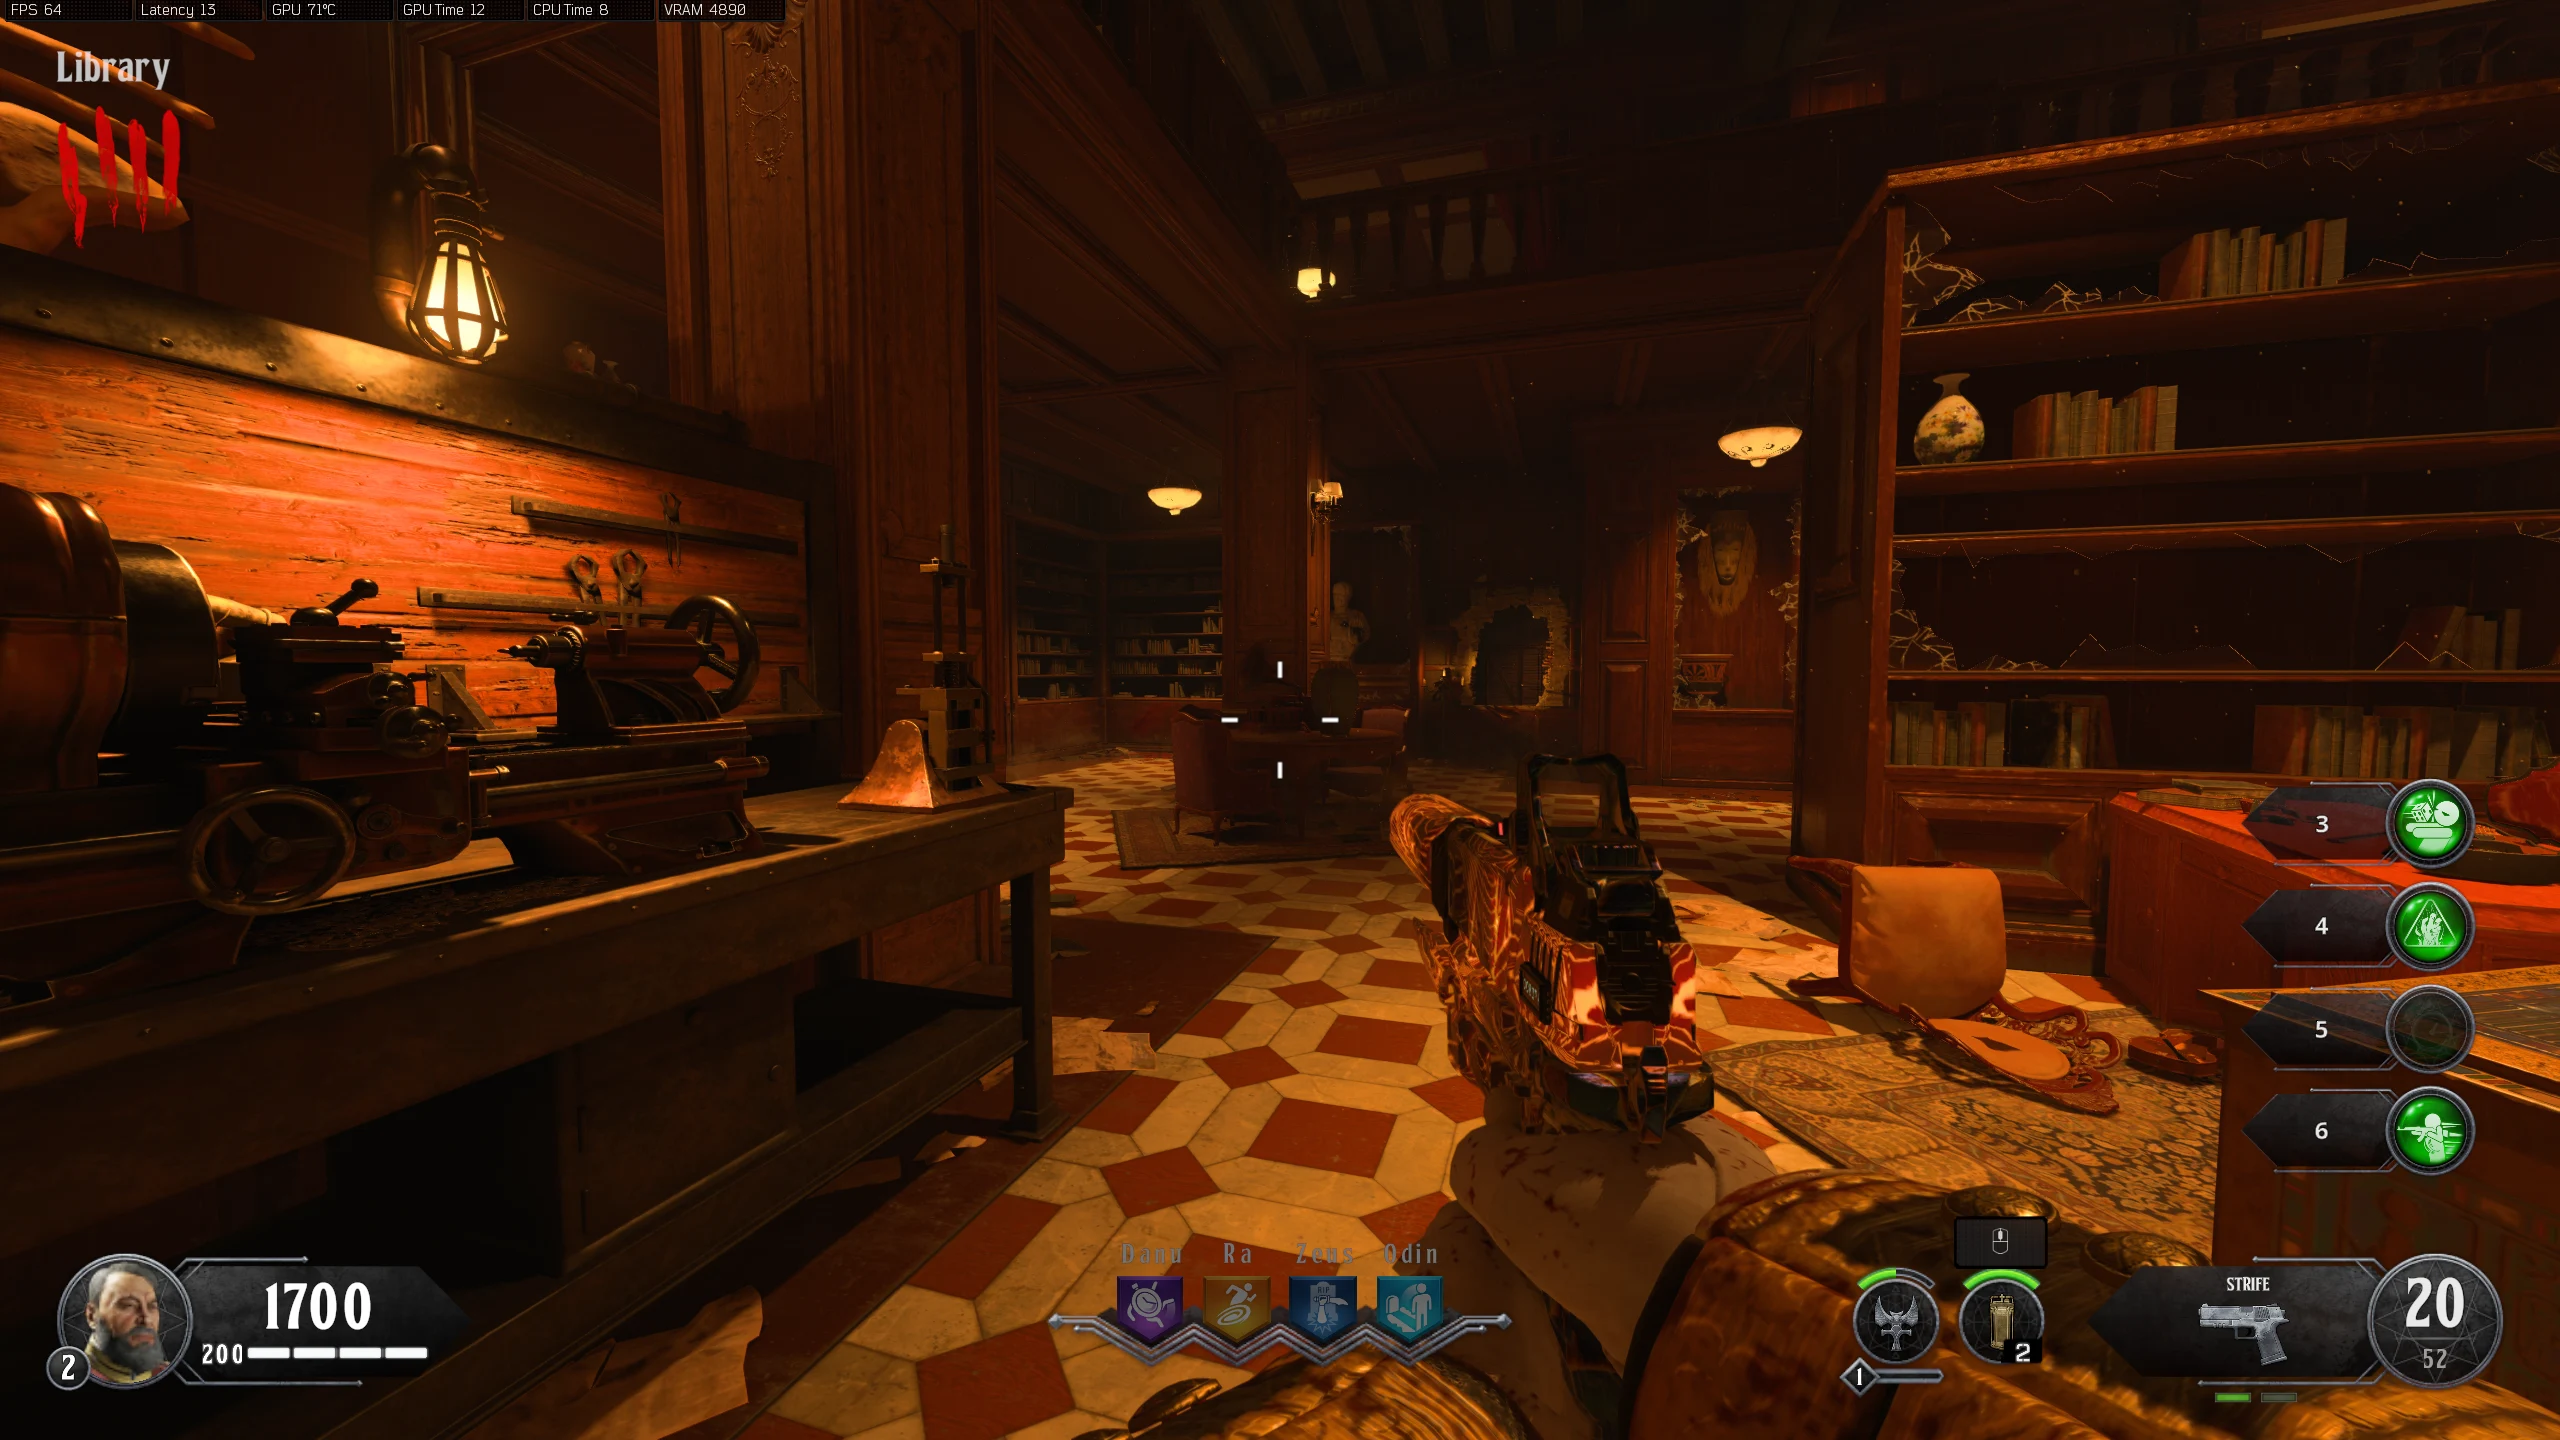
- Library
- Zodiac - Beside a vase, left of the Lock Box
- Scratches - Top right corner of Zombie spawn, left of the Zodiac symbol
- Scratches - On a wooden box, right of the Ra statue
- Scratches - At the base of the Skeleton, behind the Silver Bullets workbench
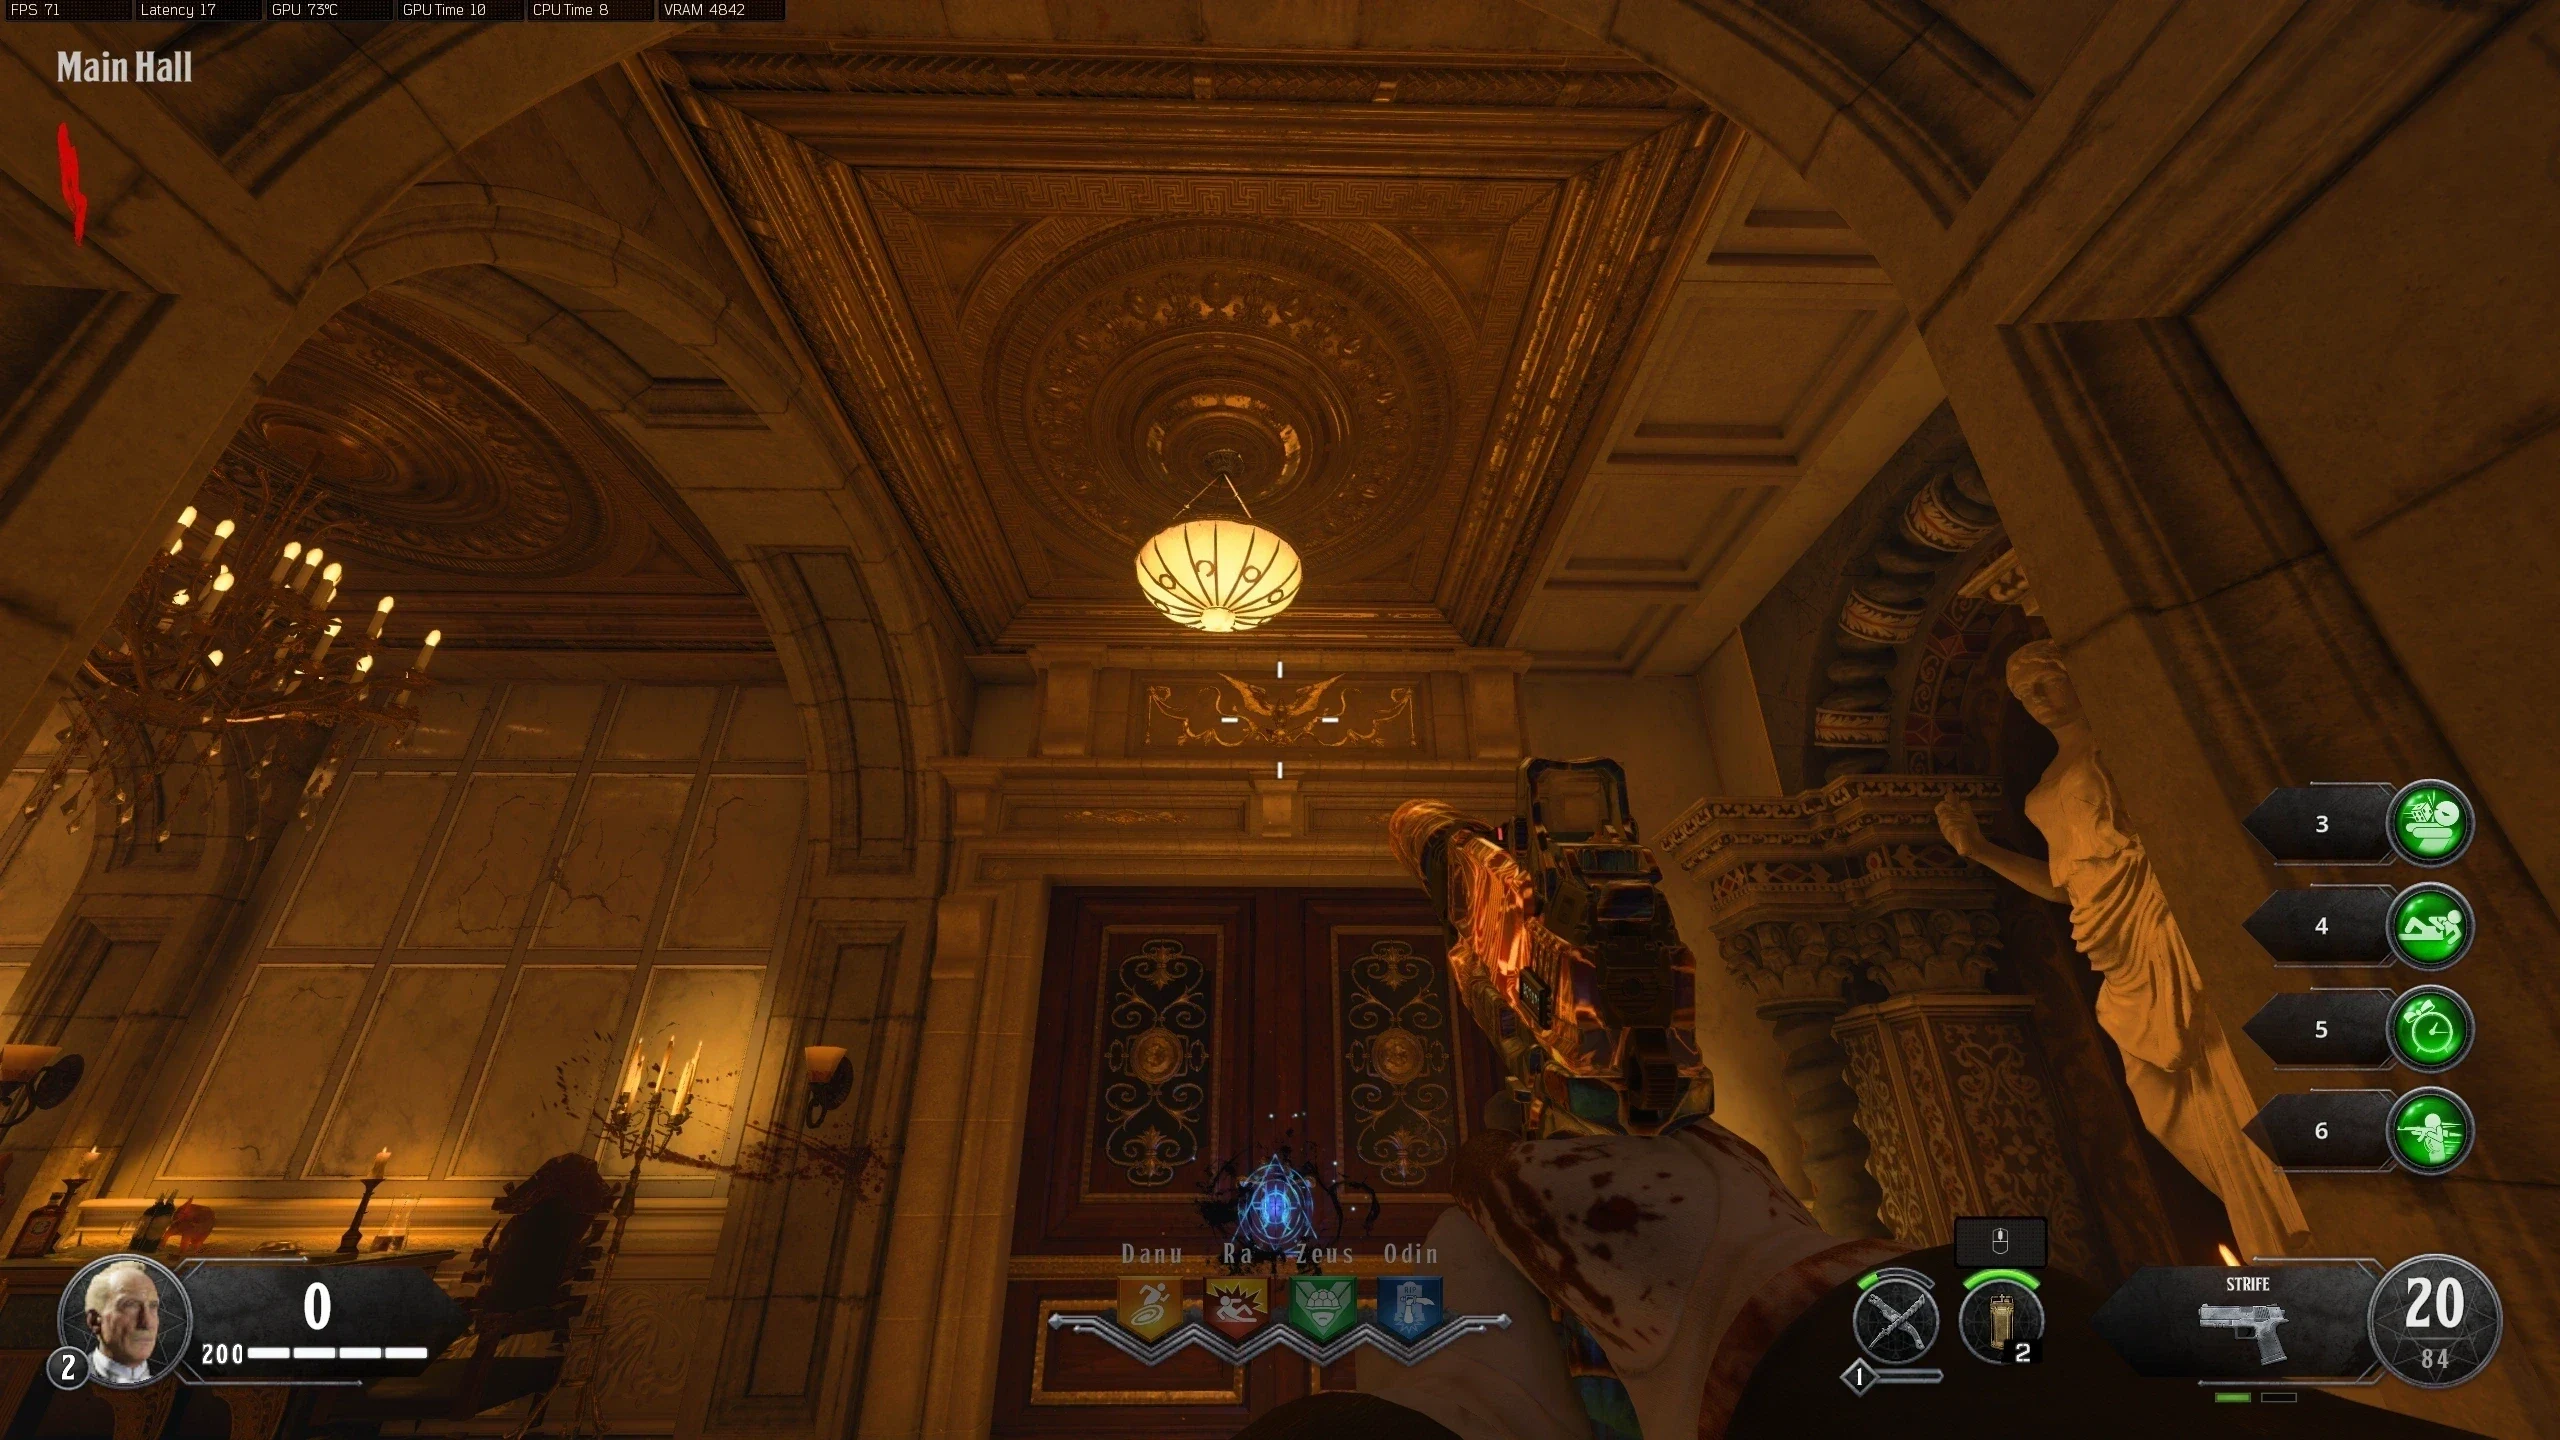
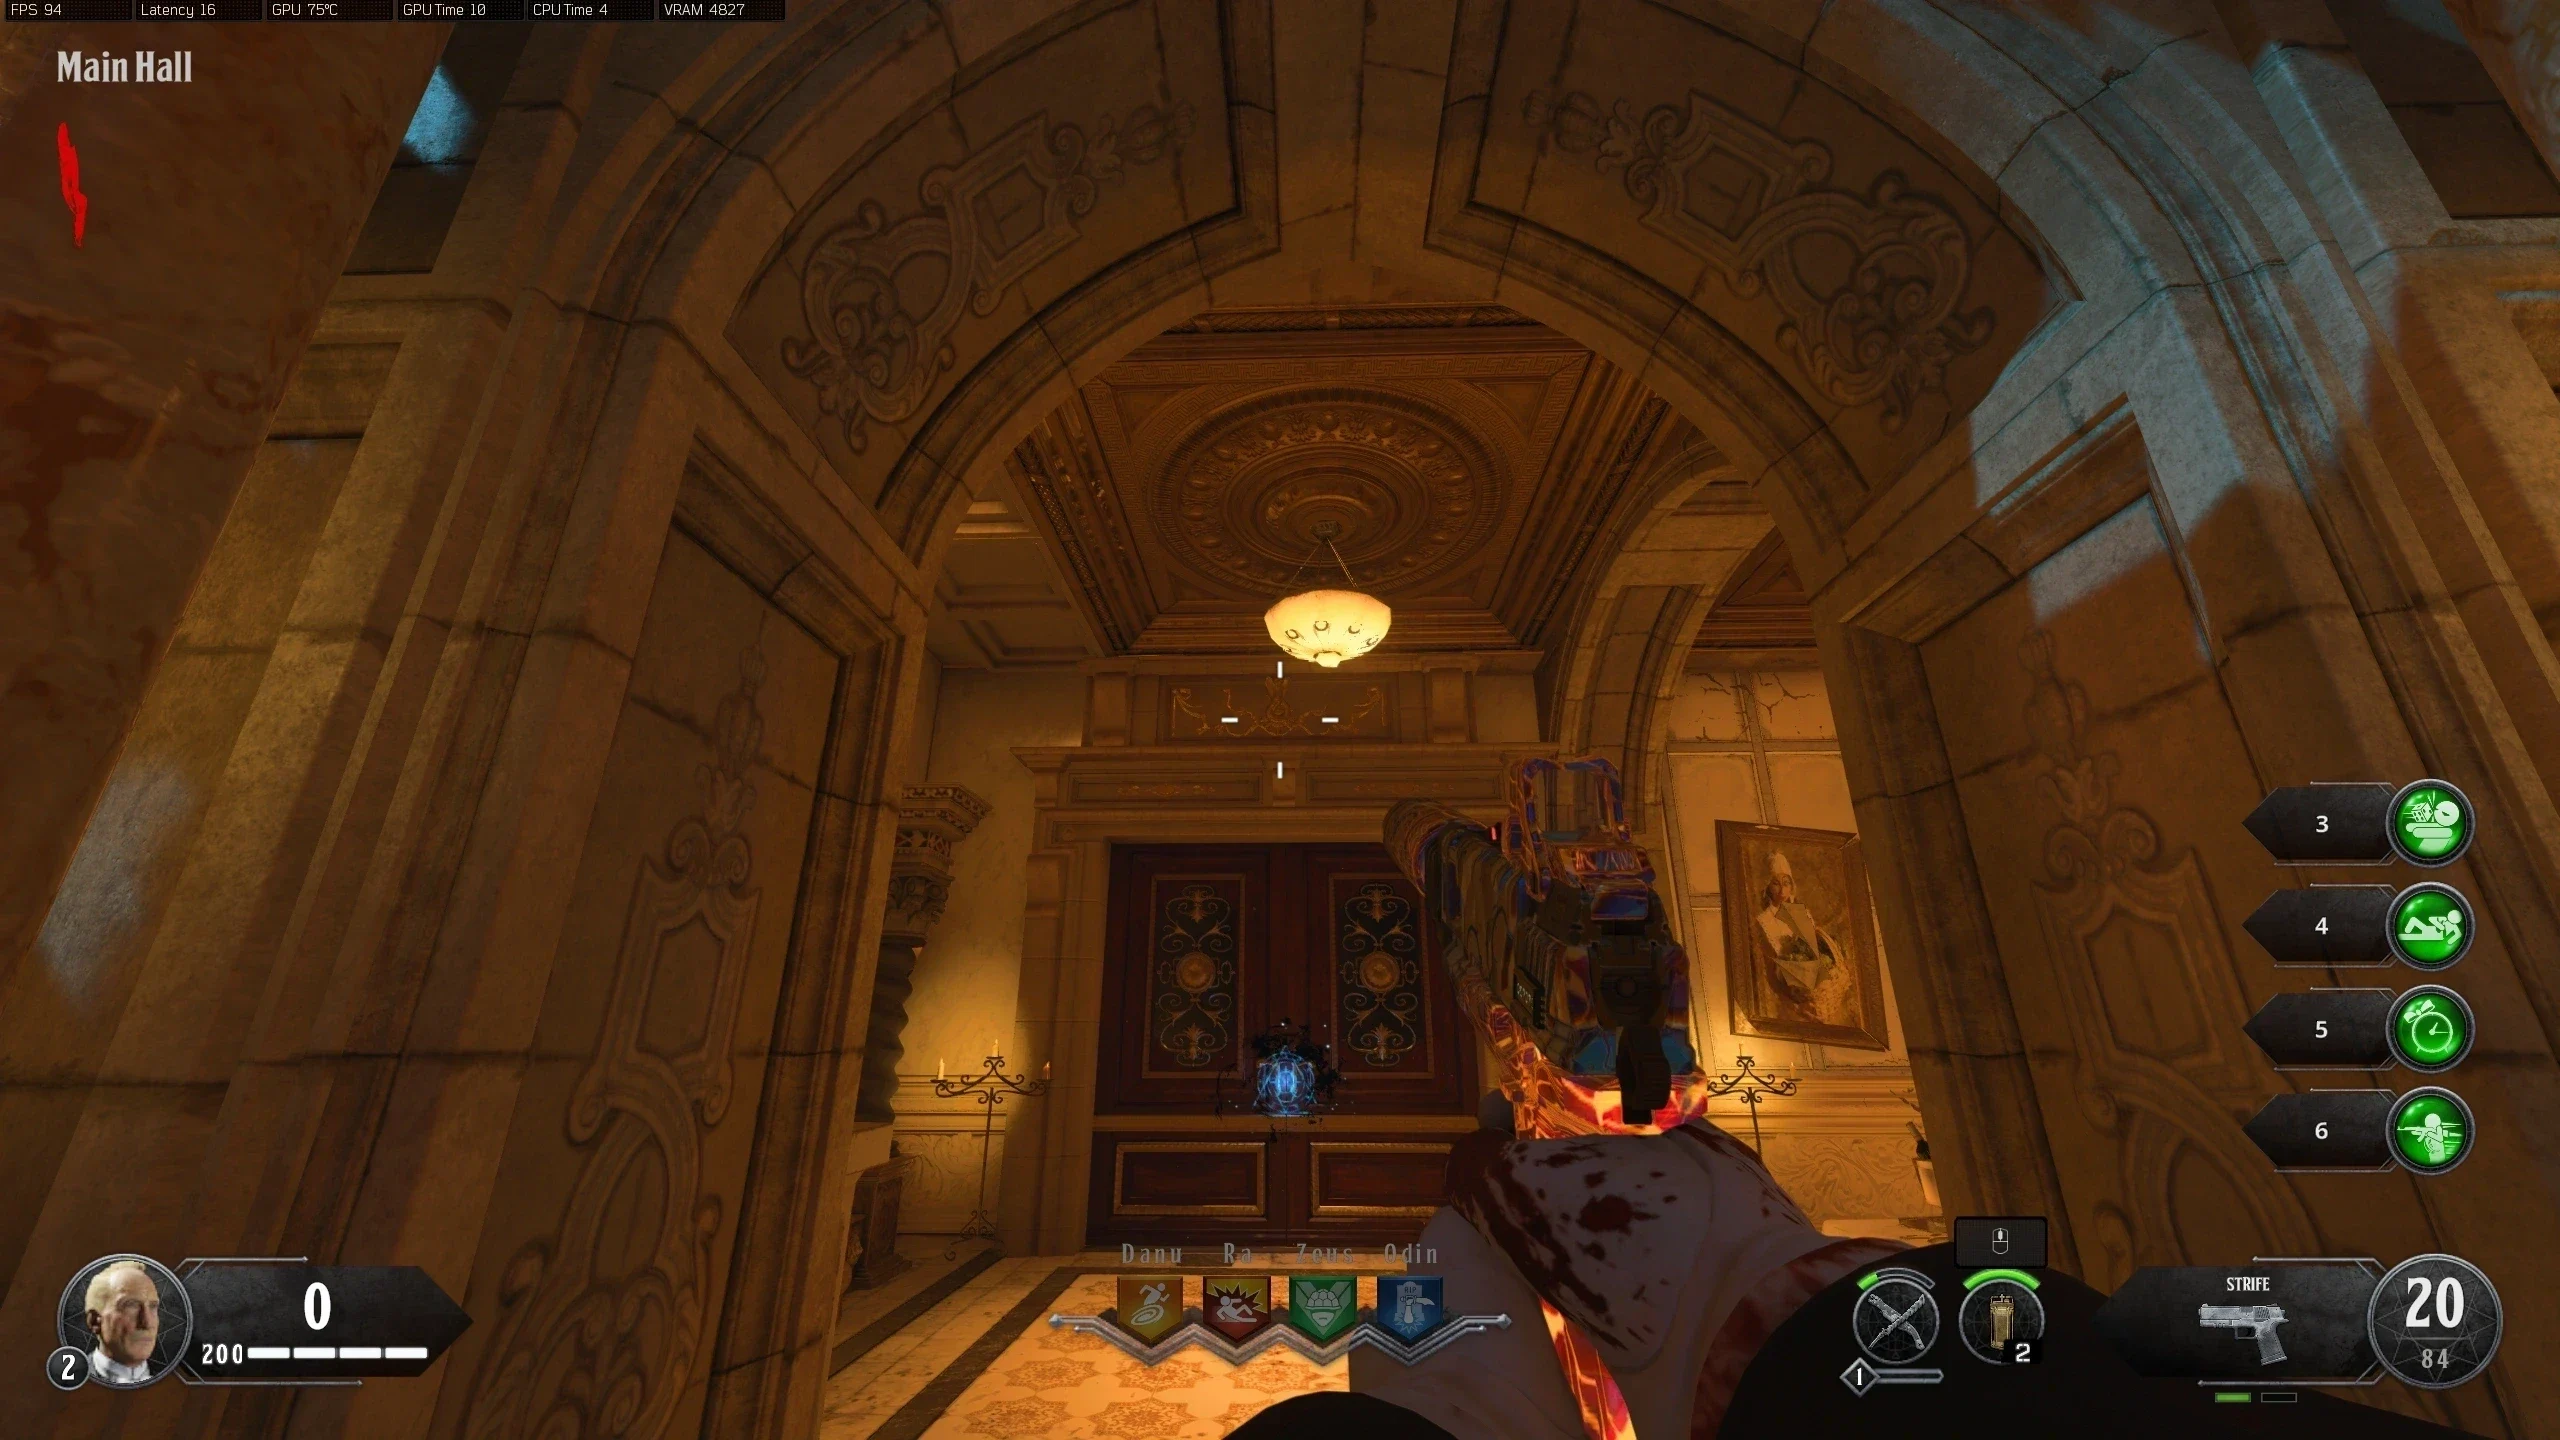
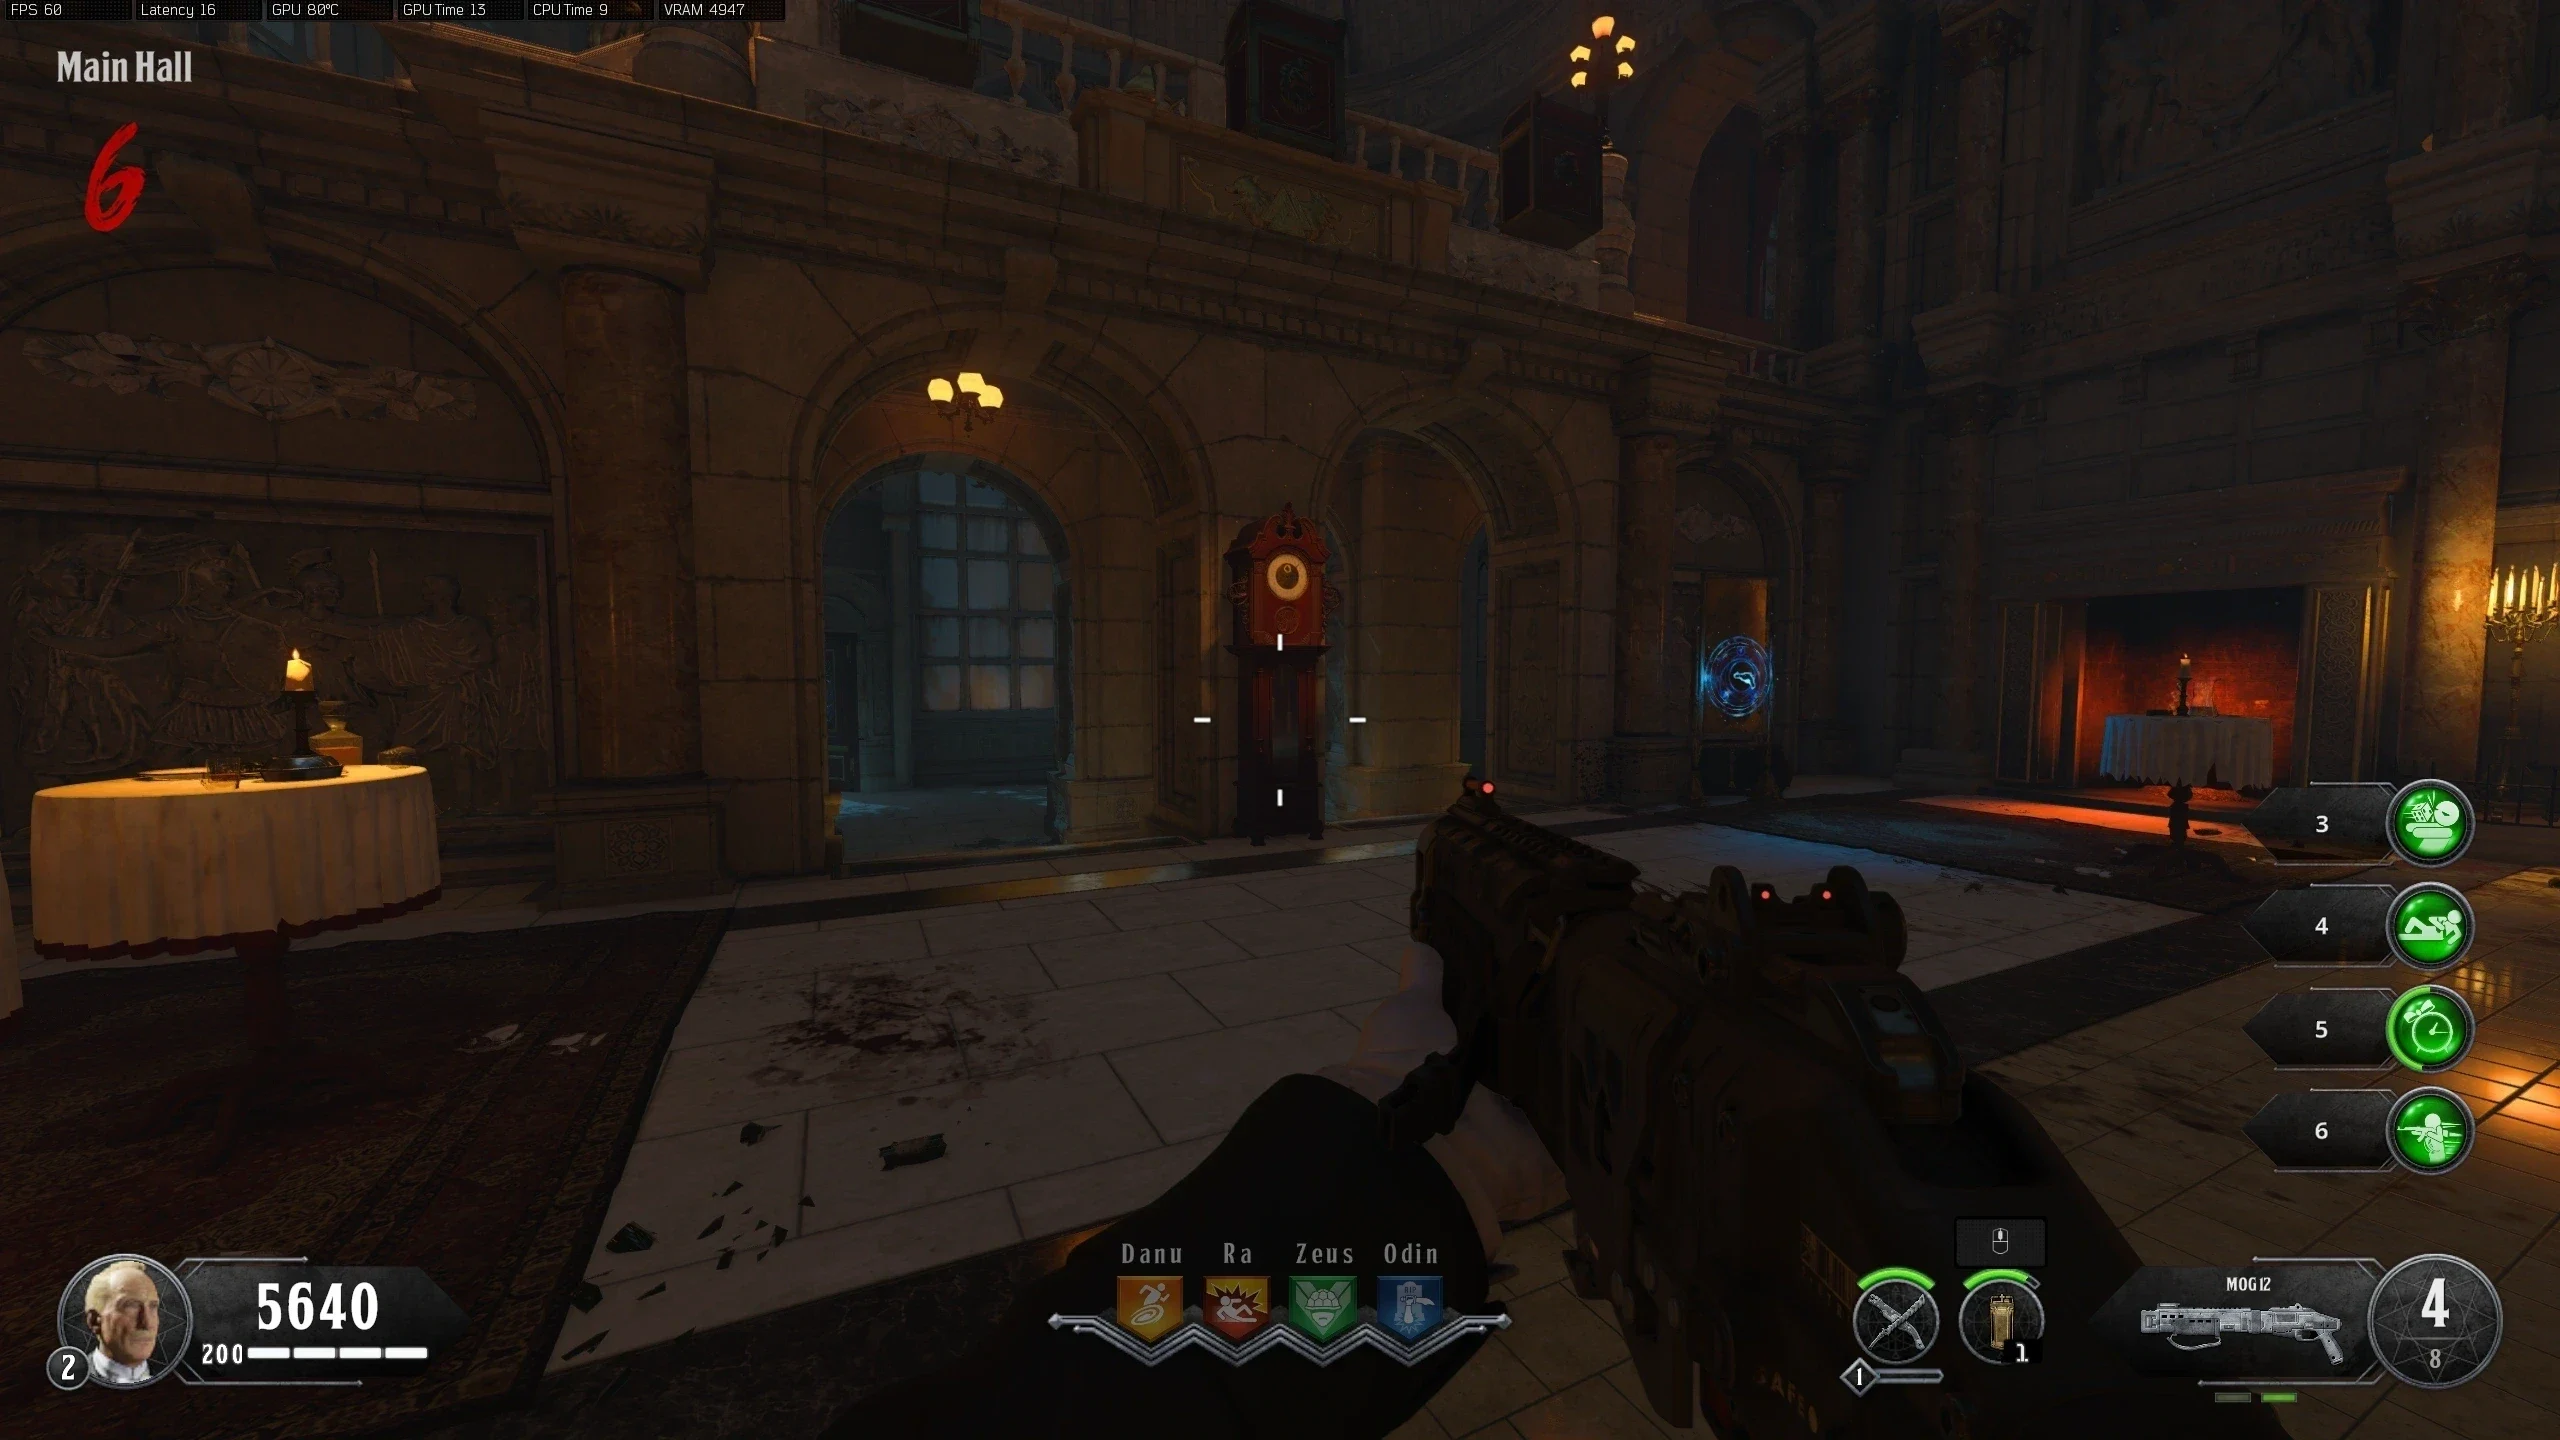
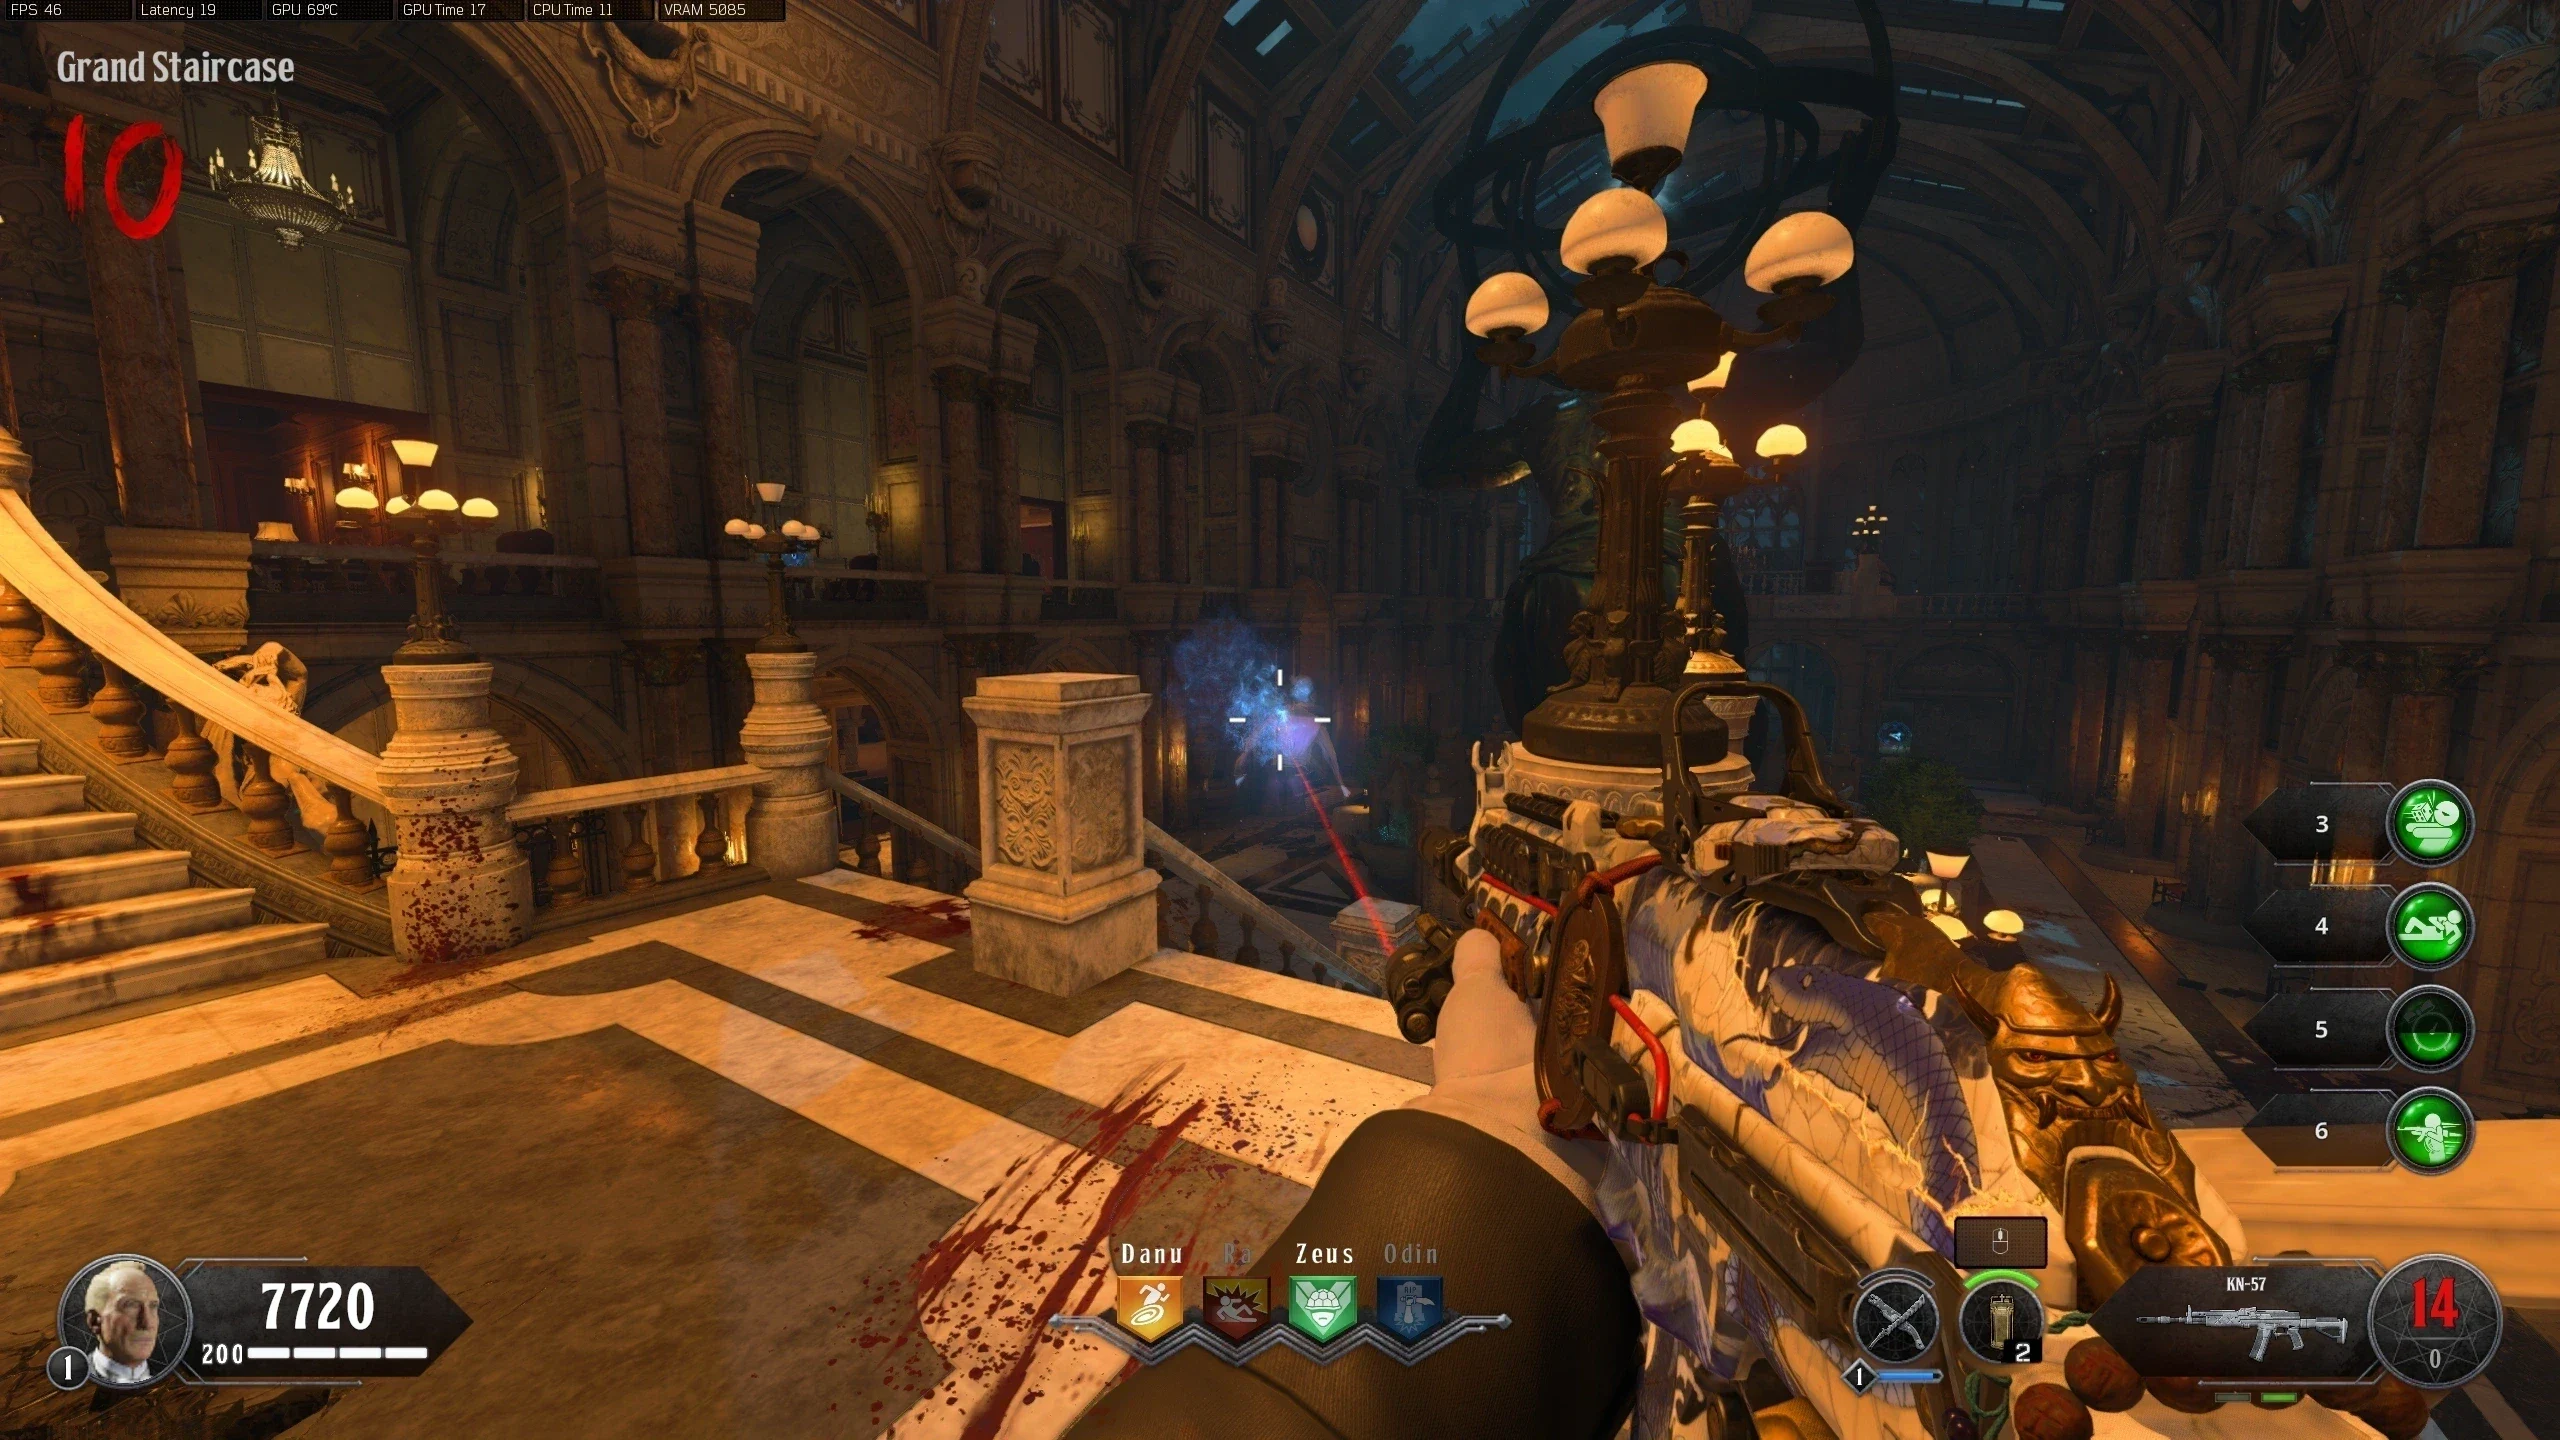
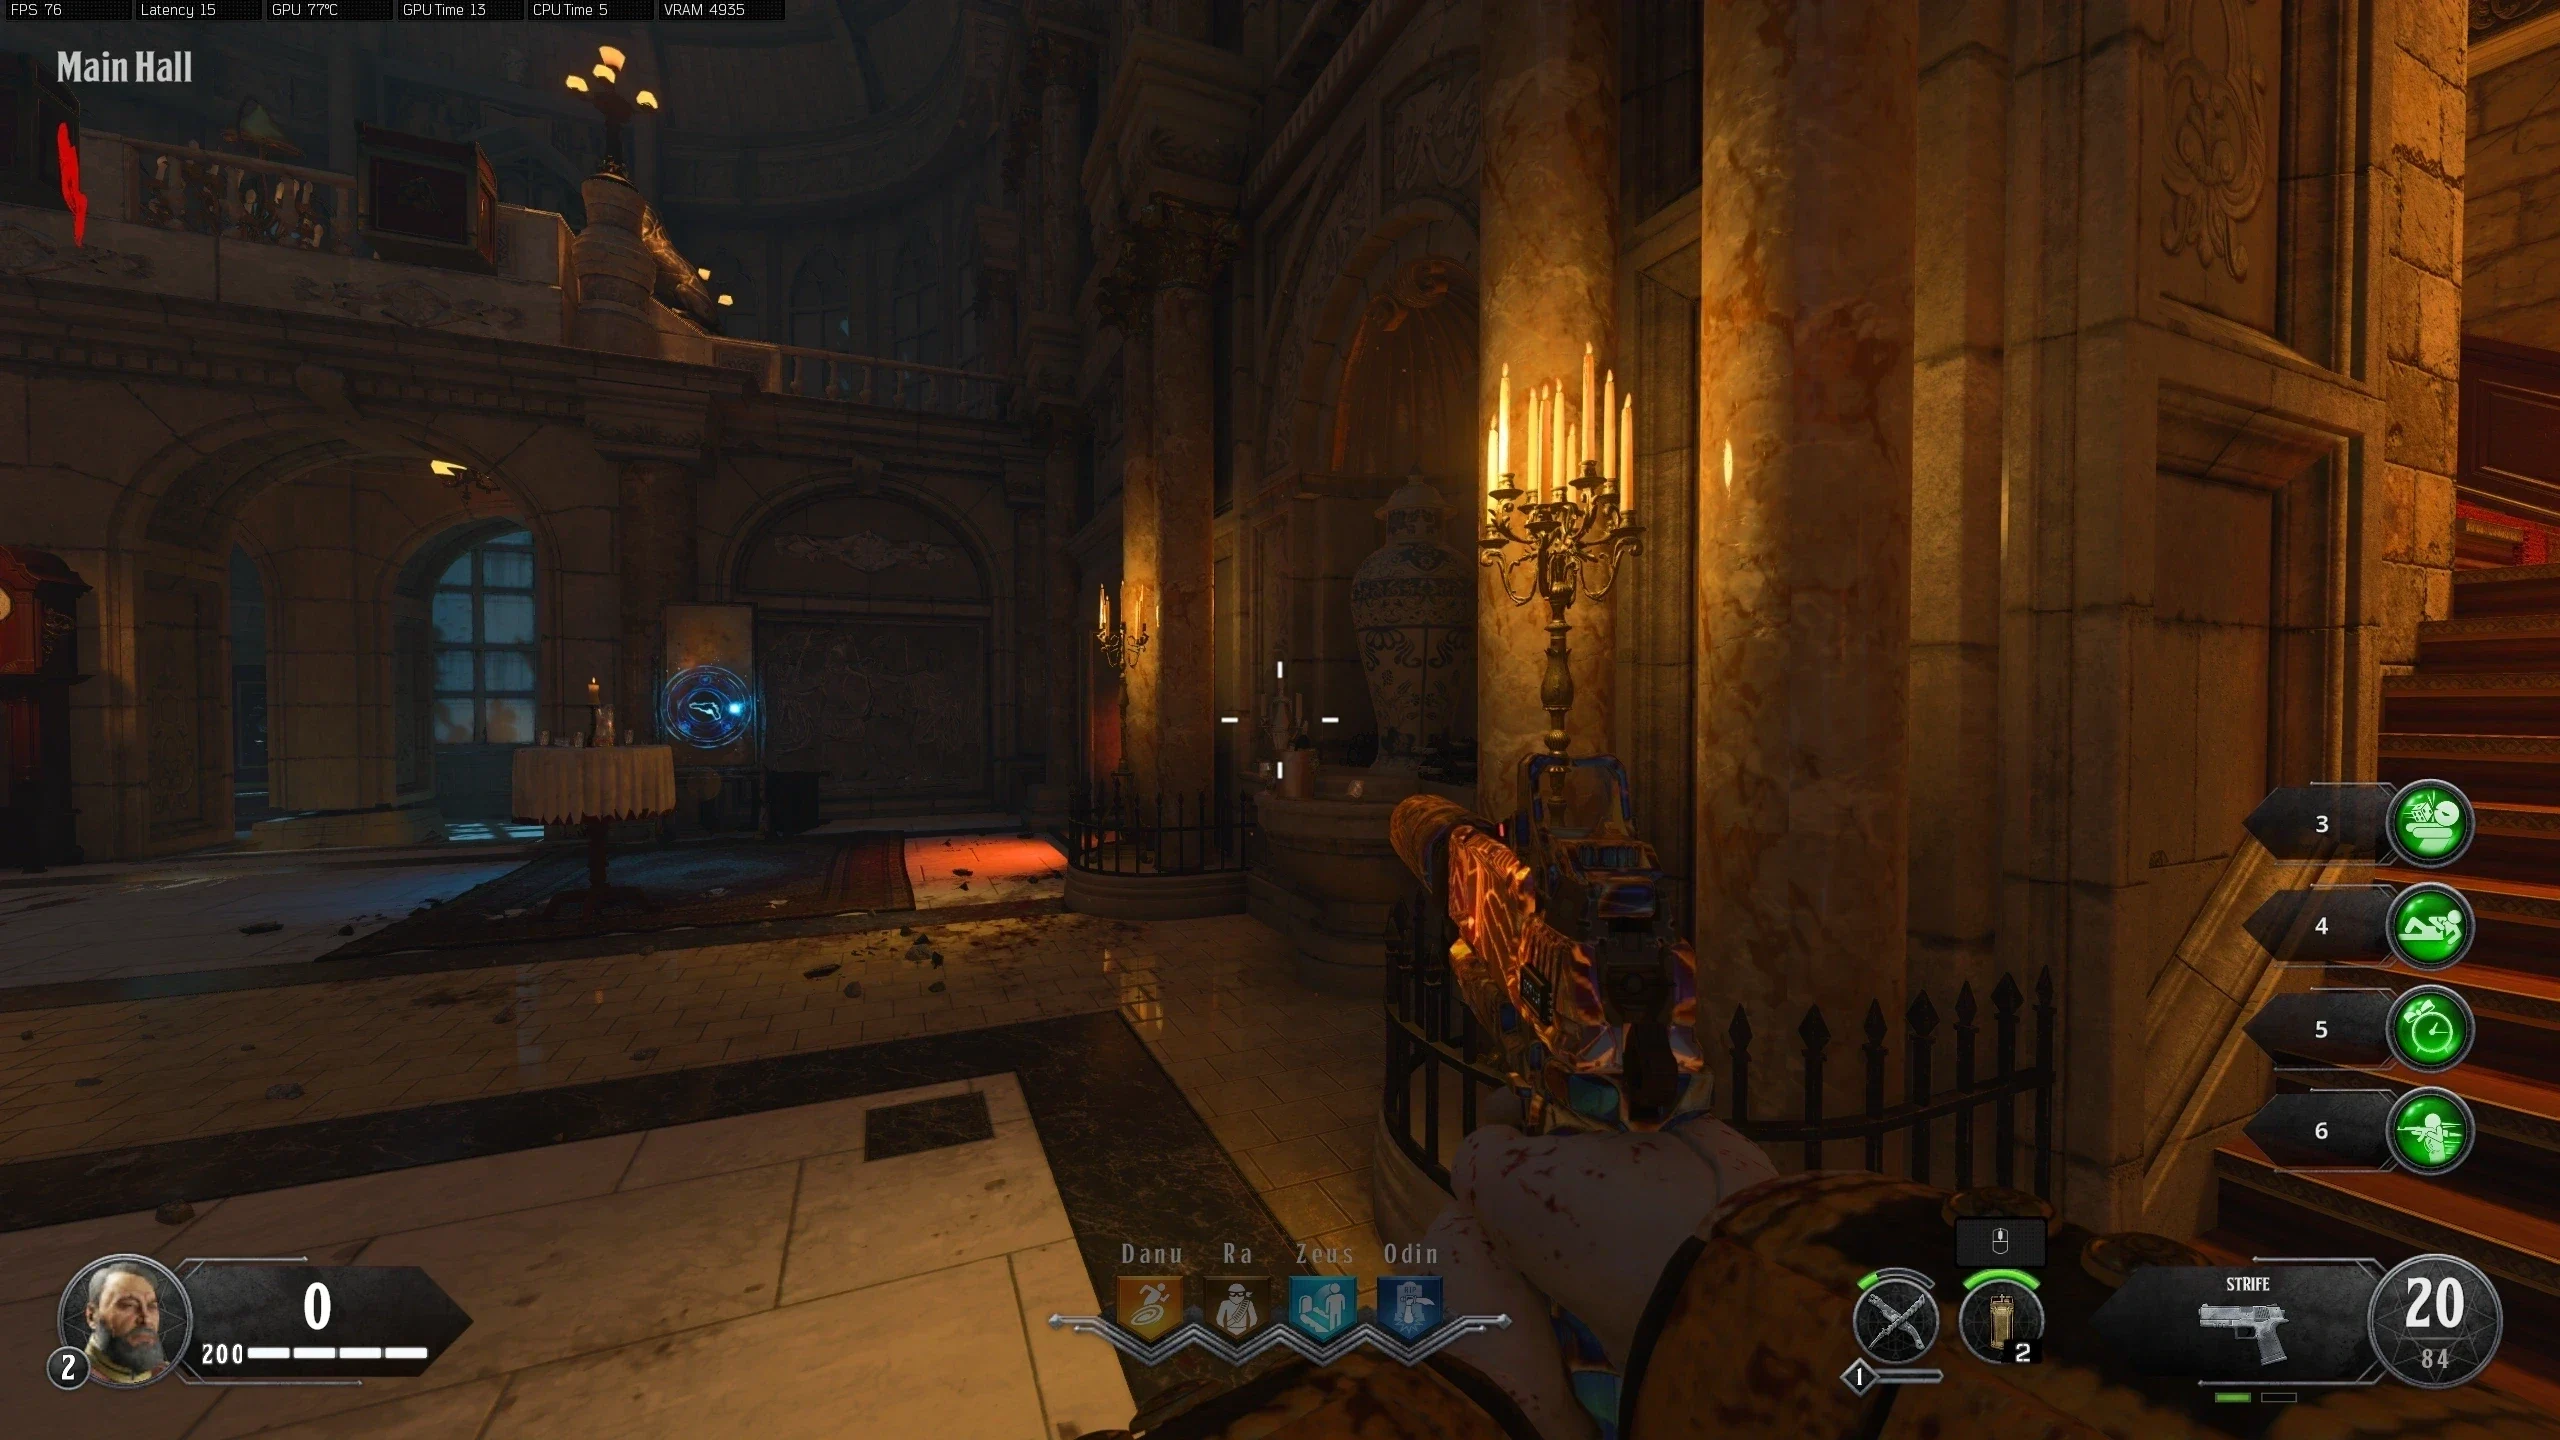
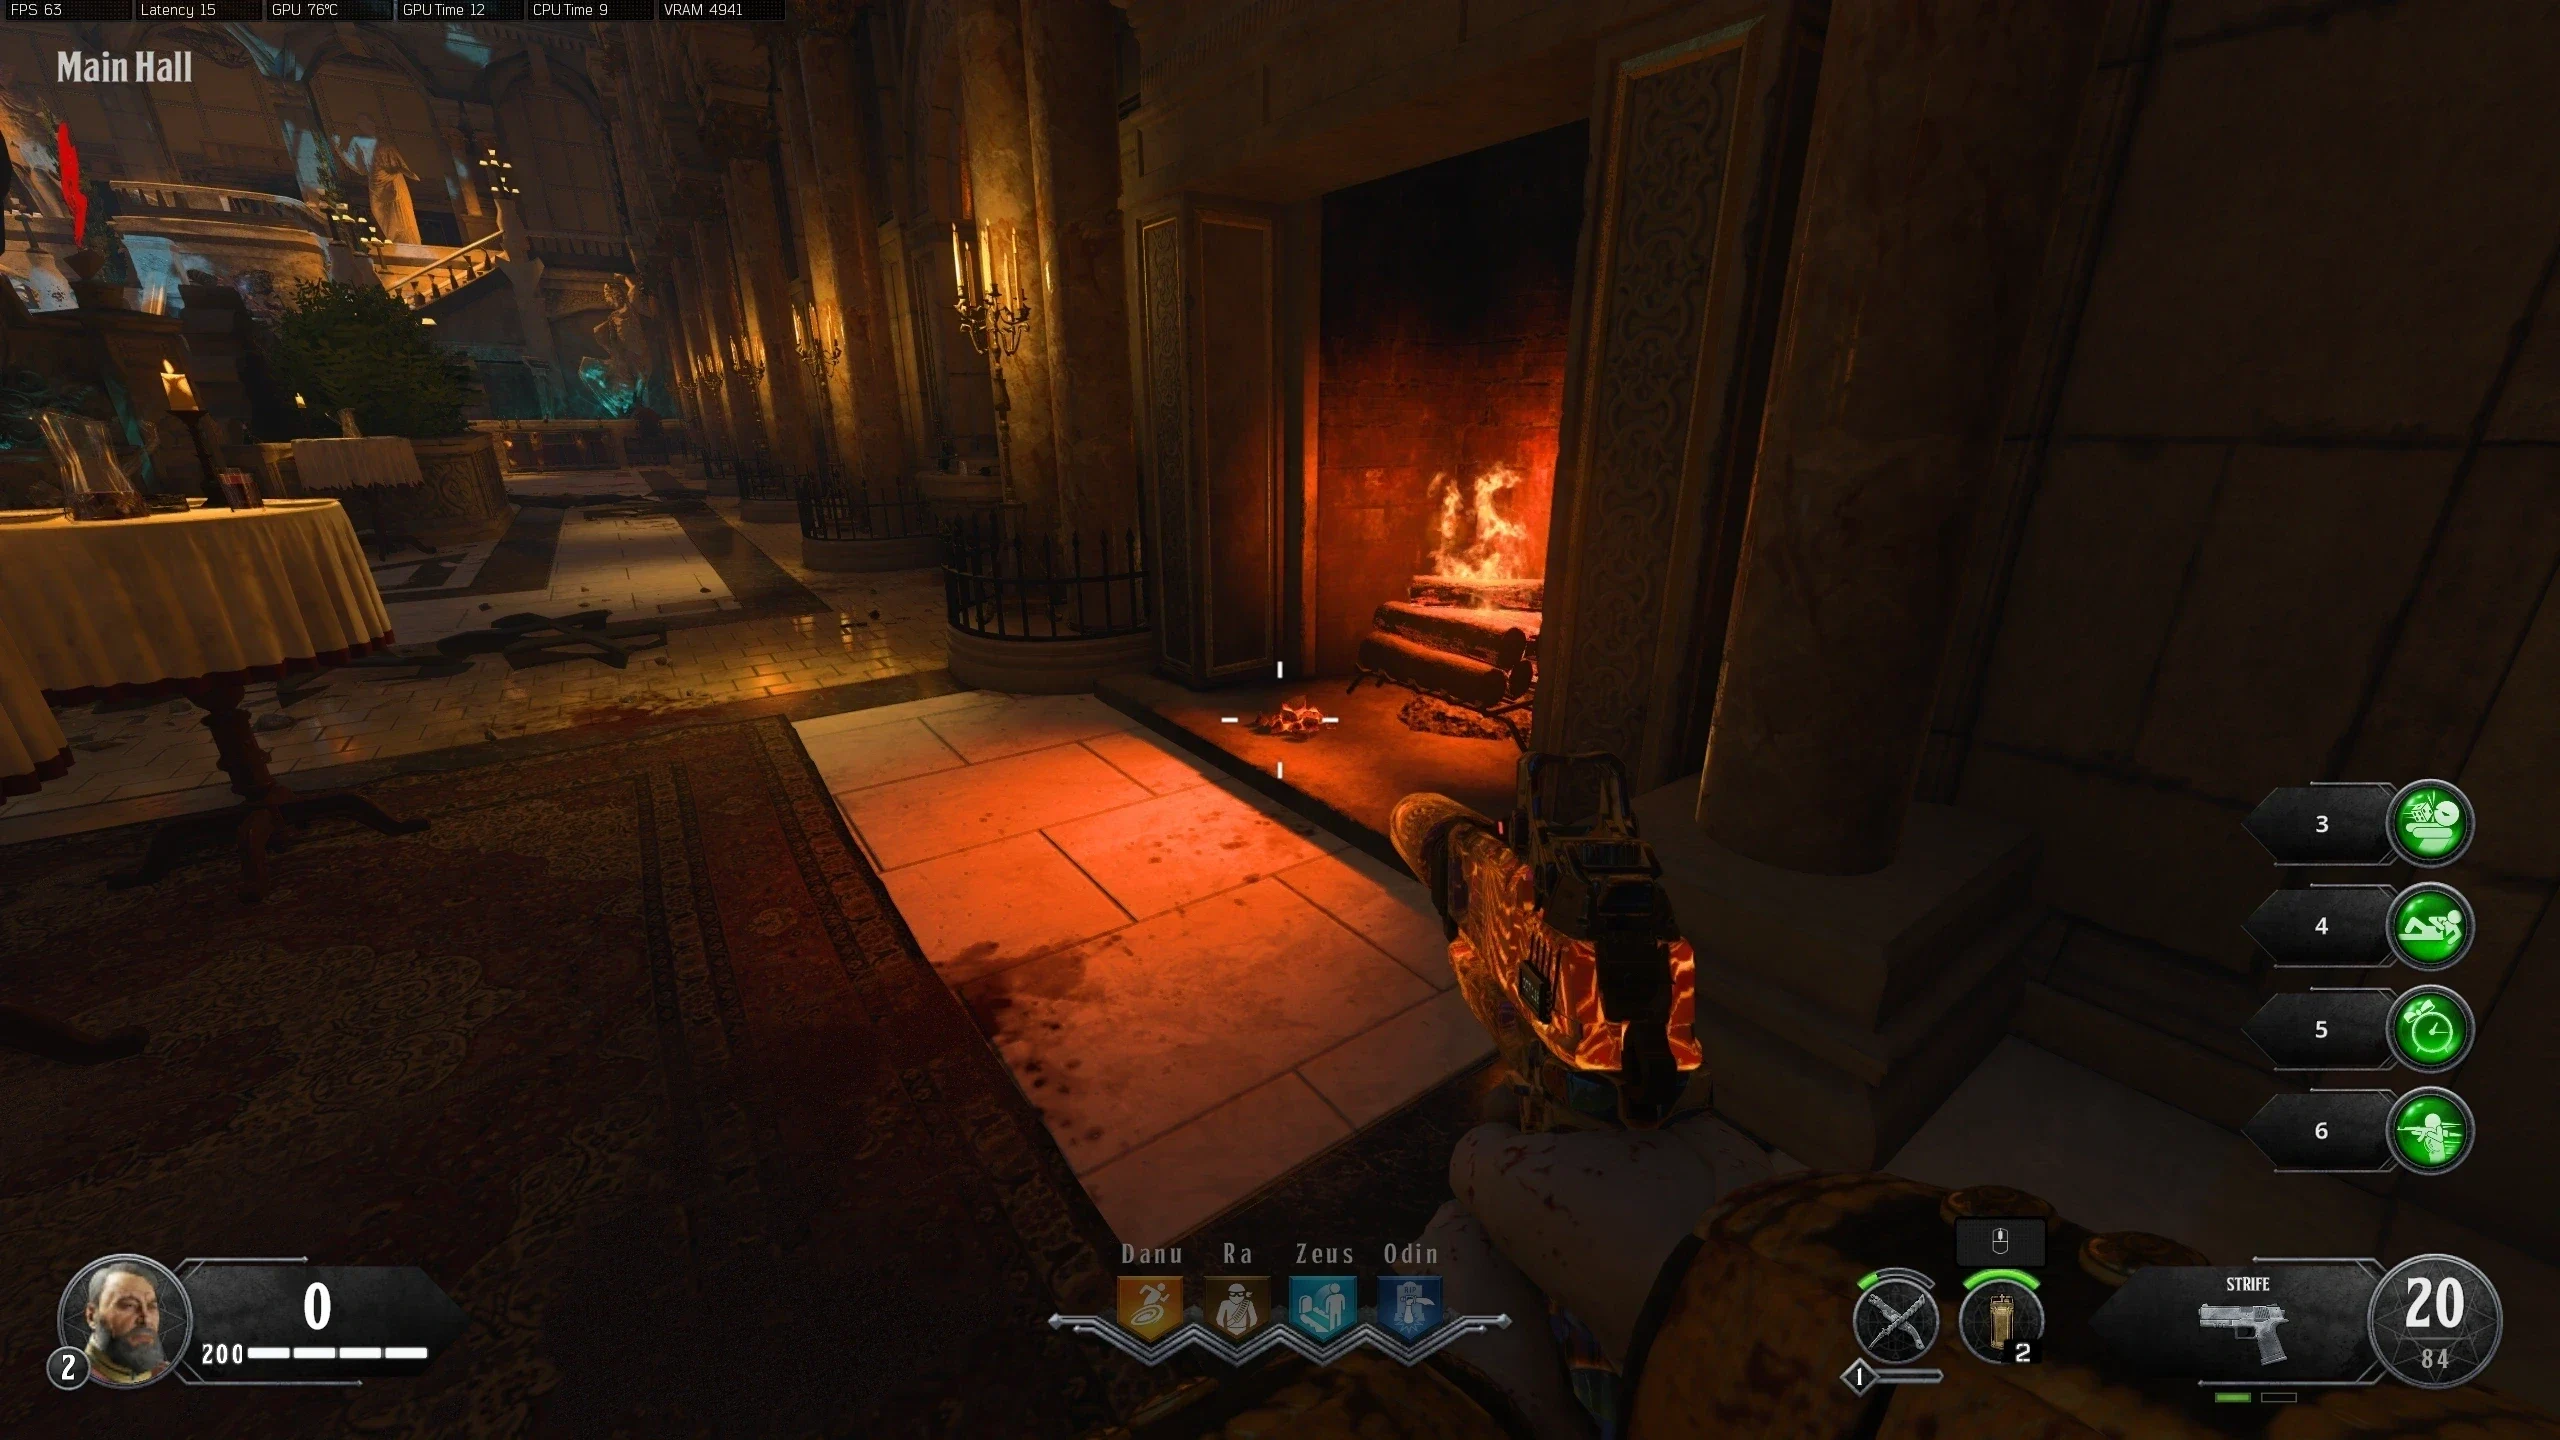
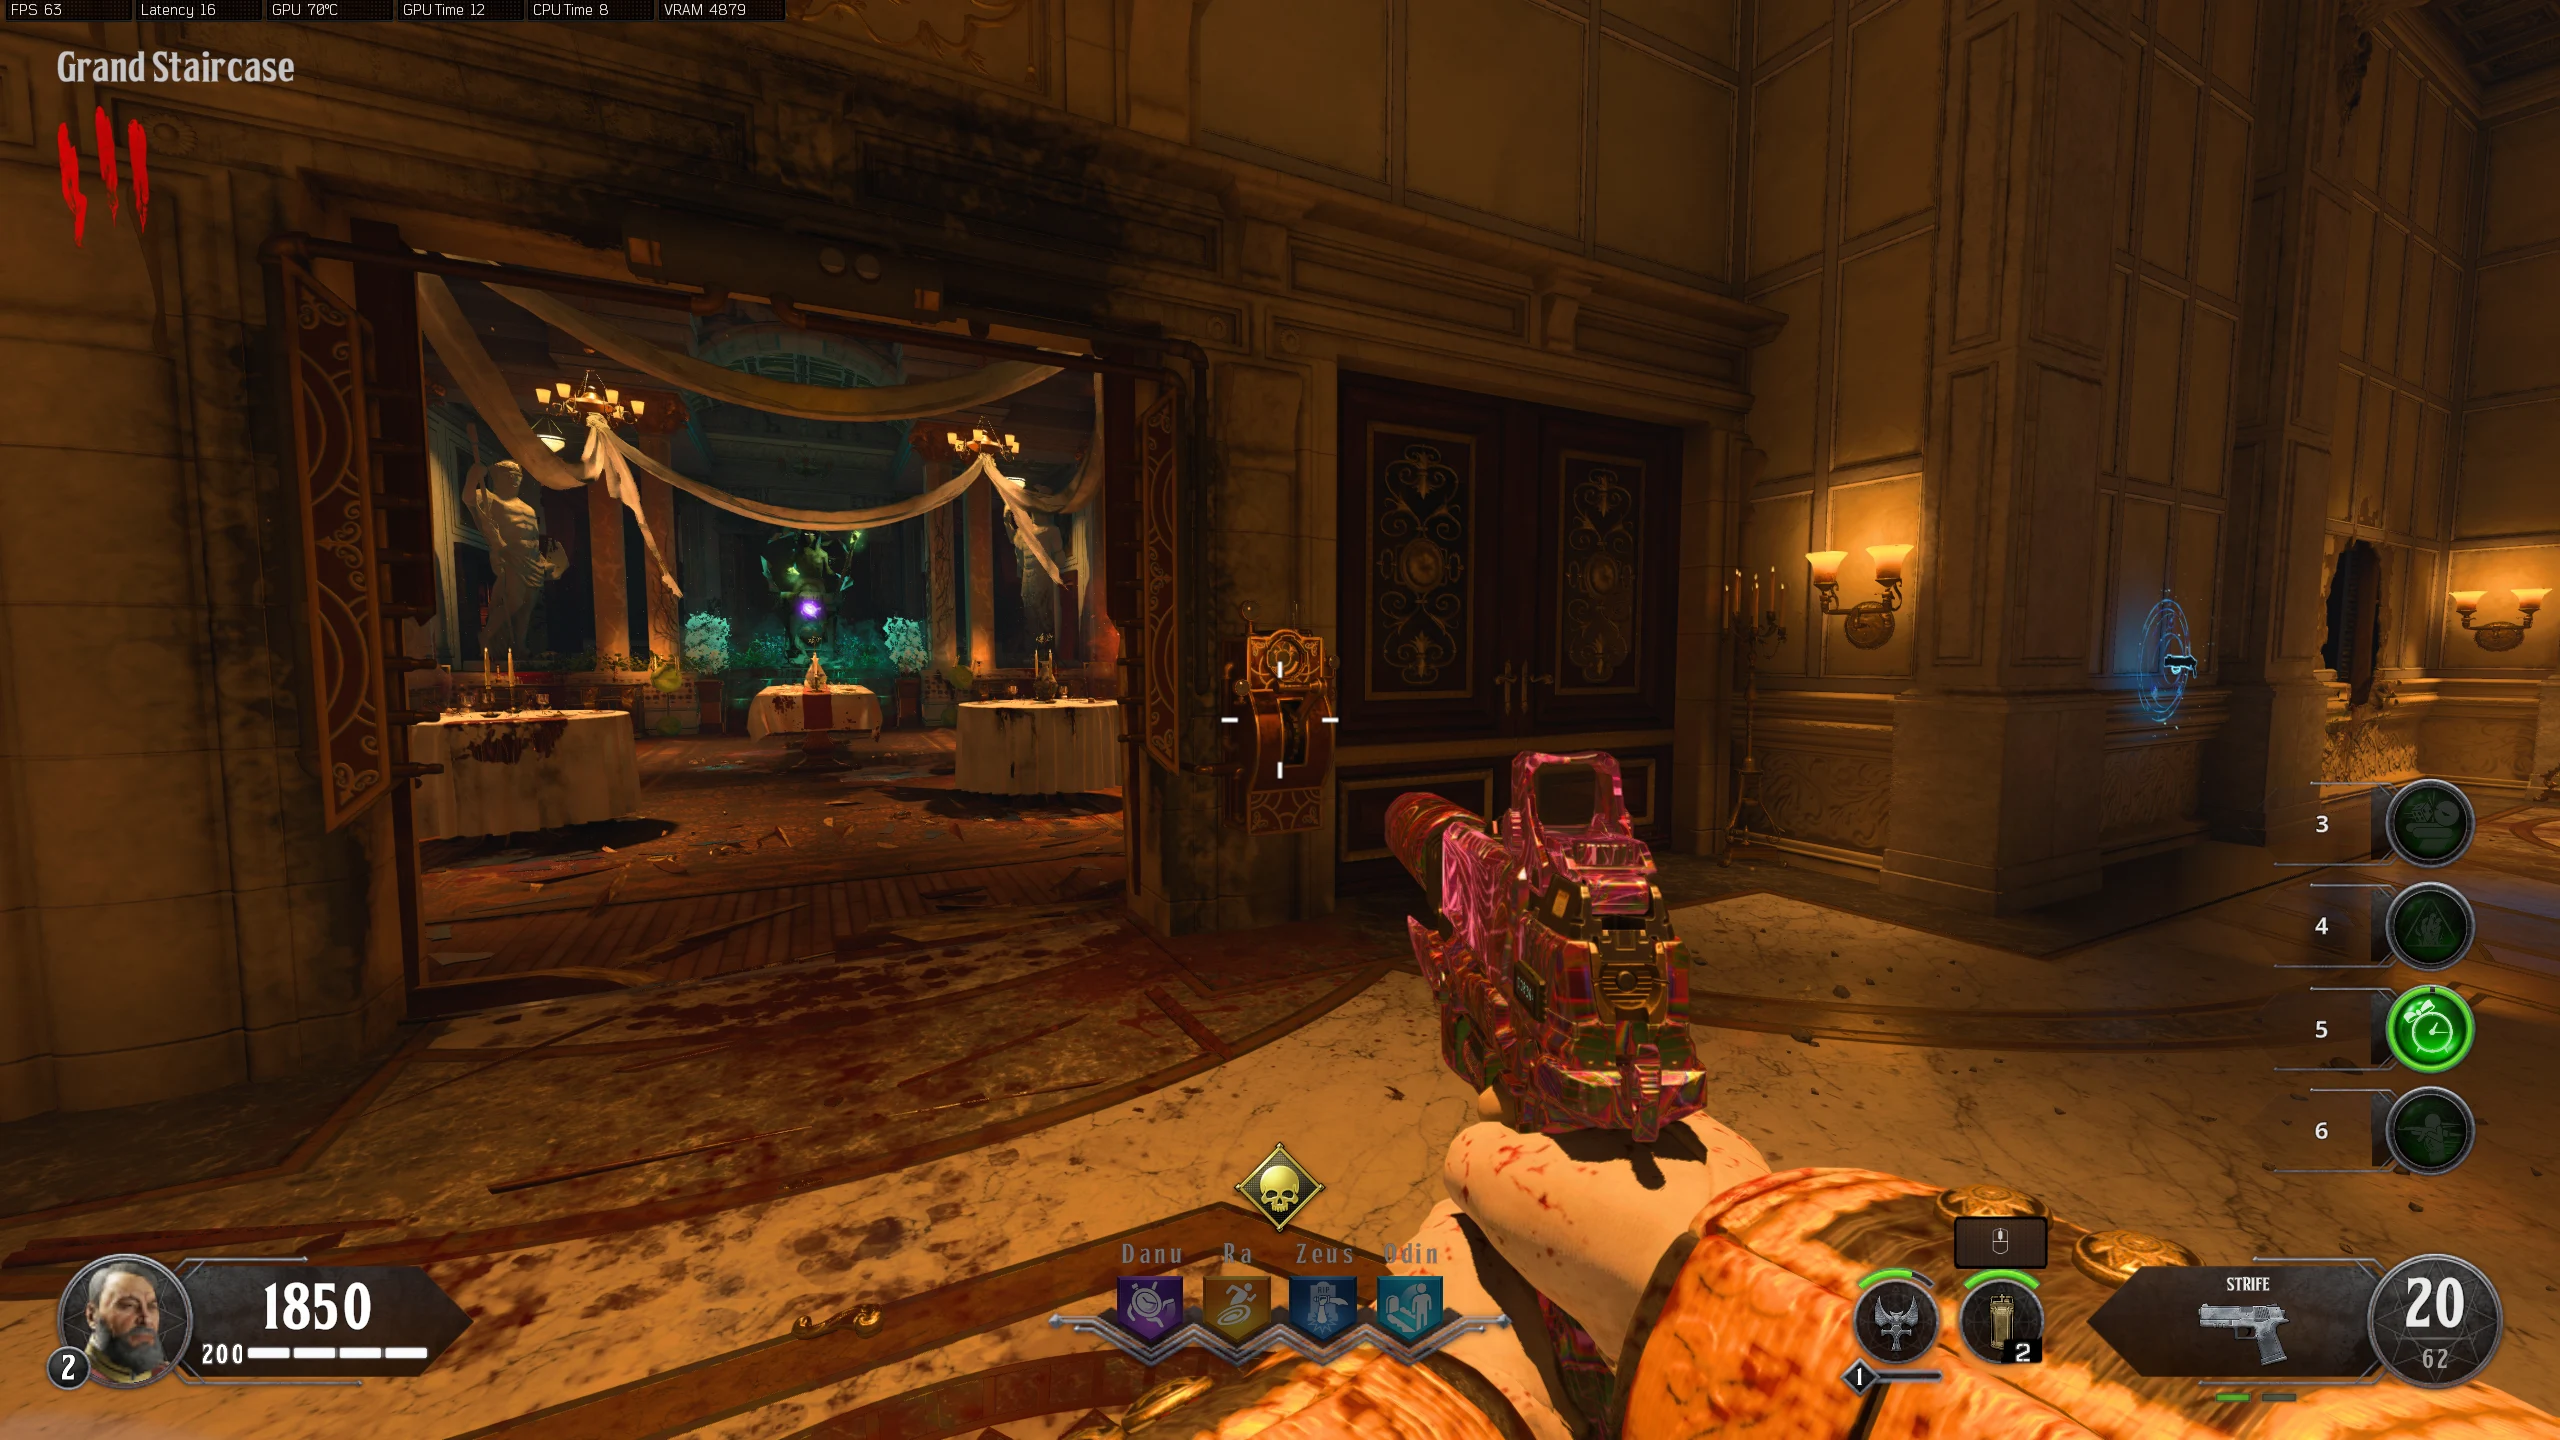
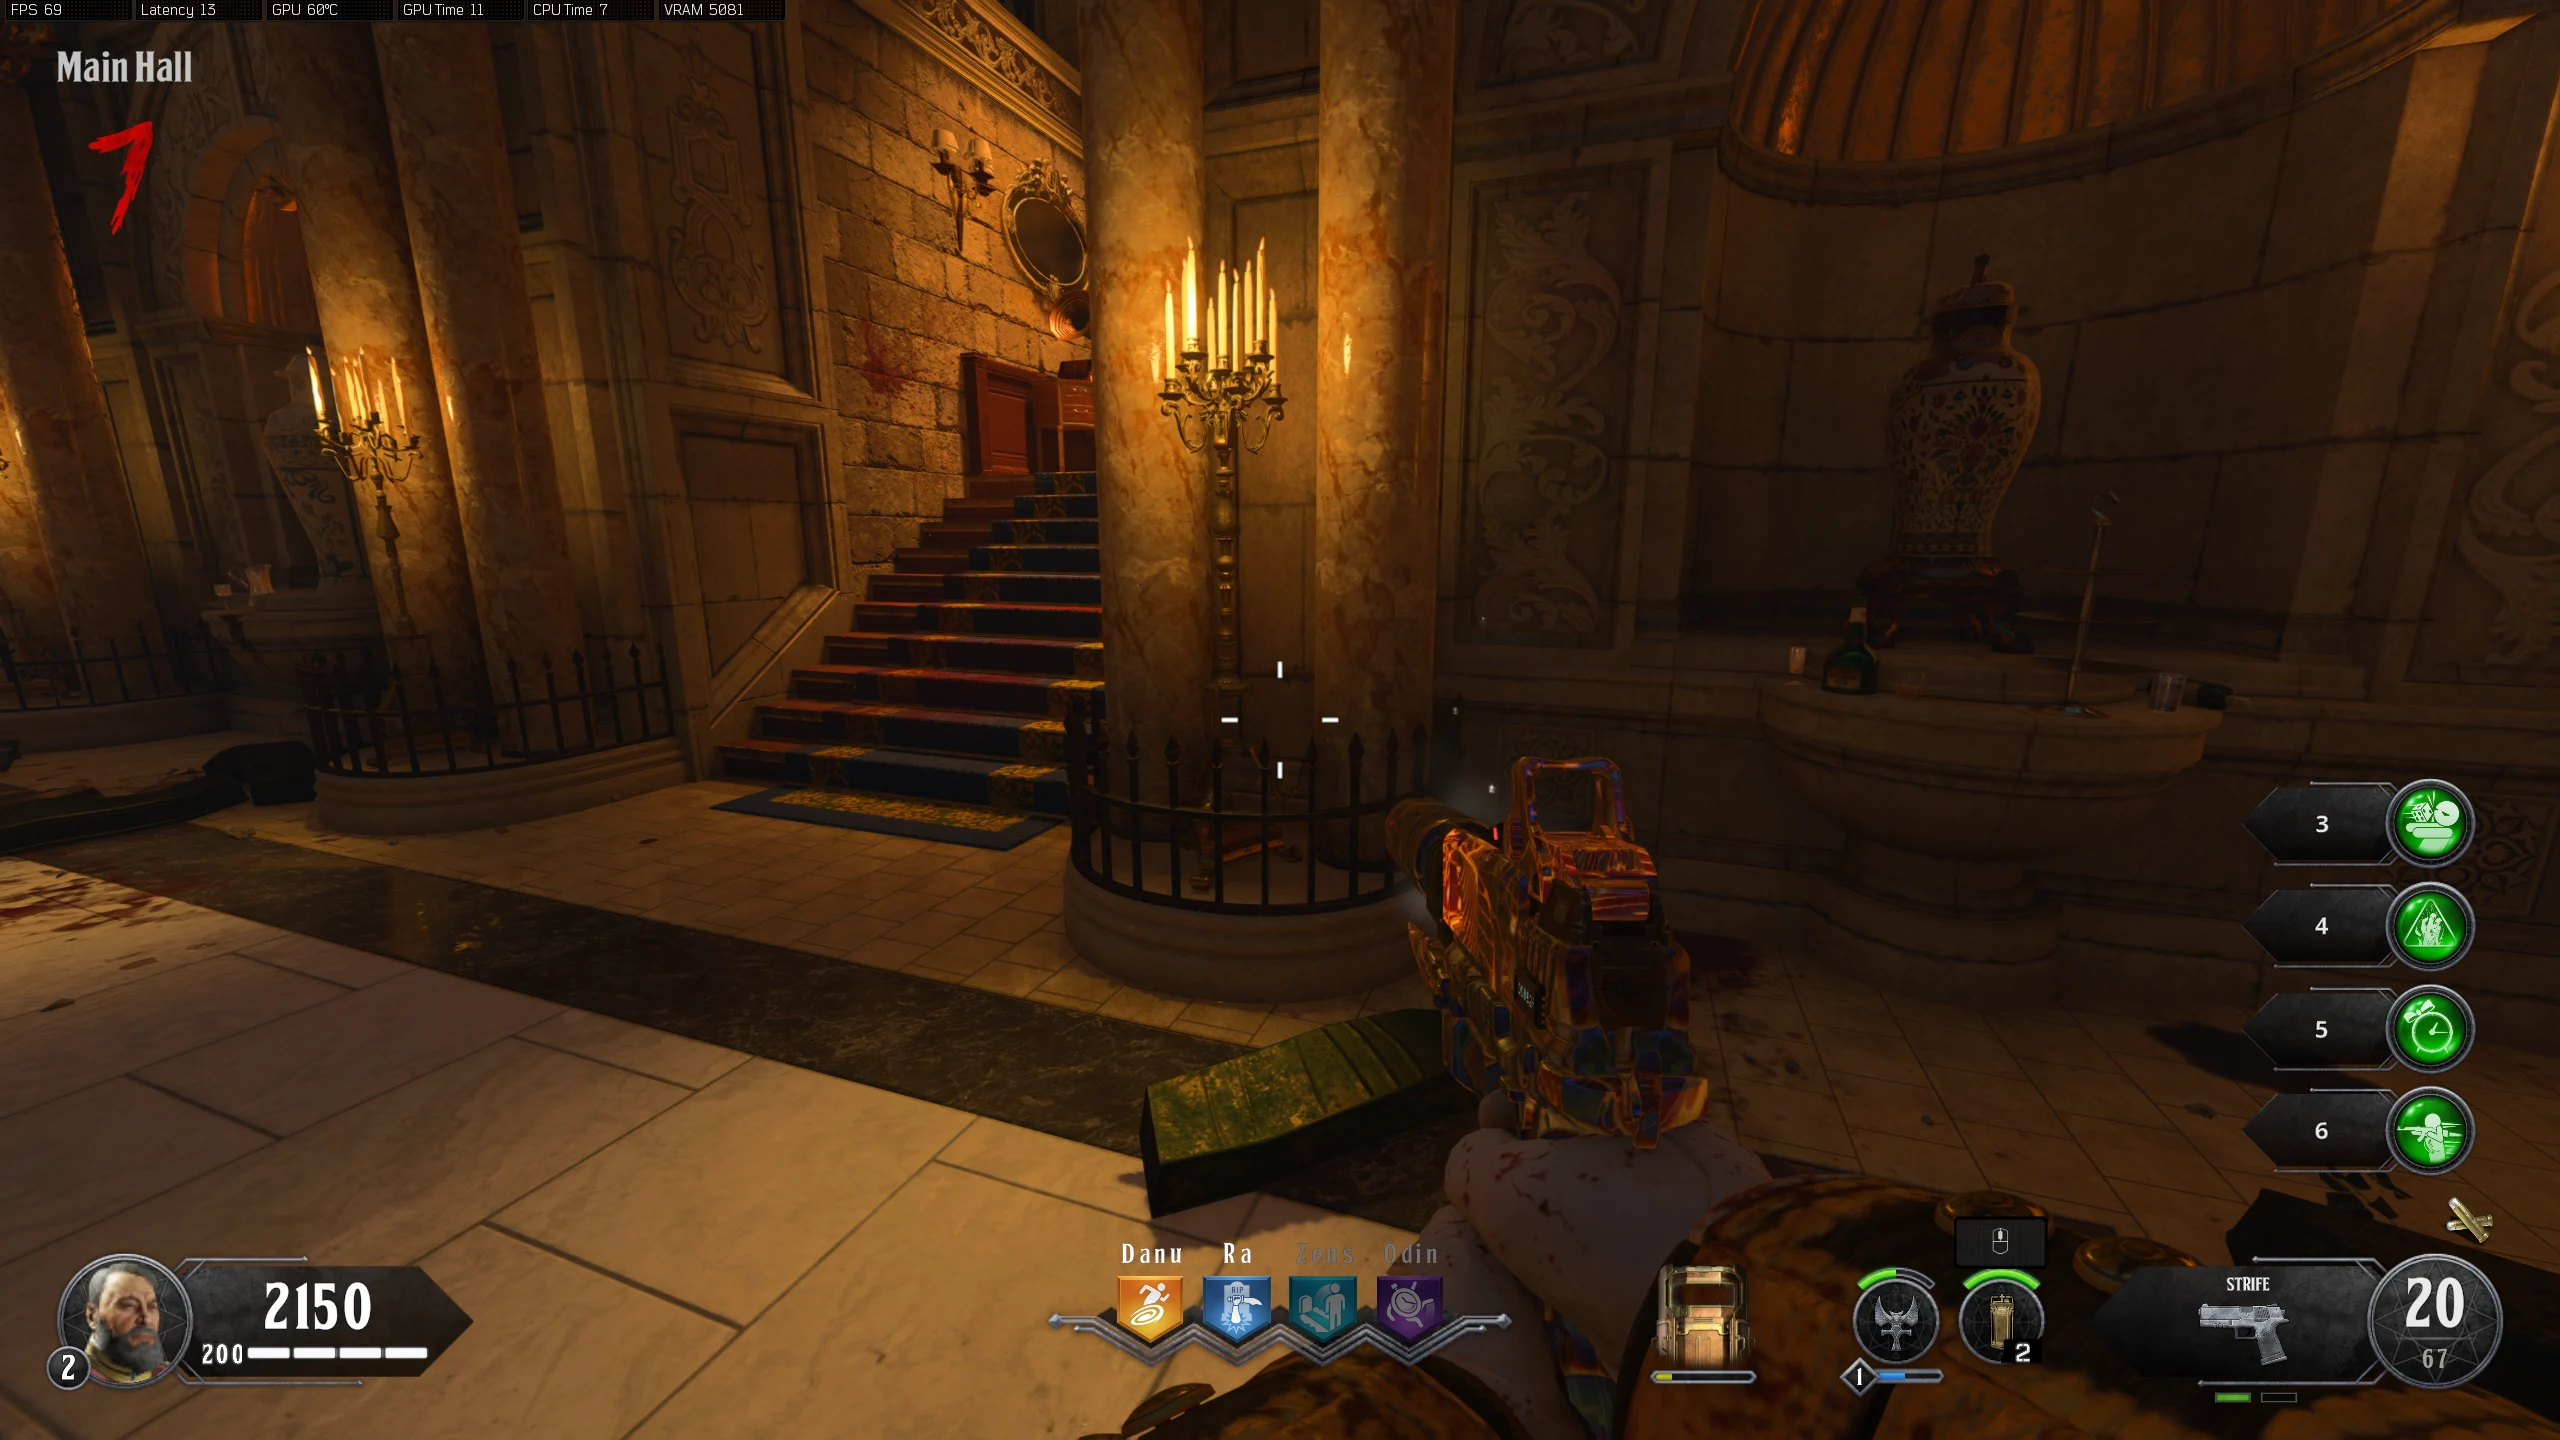
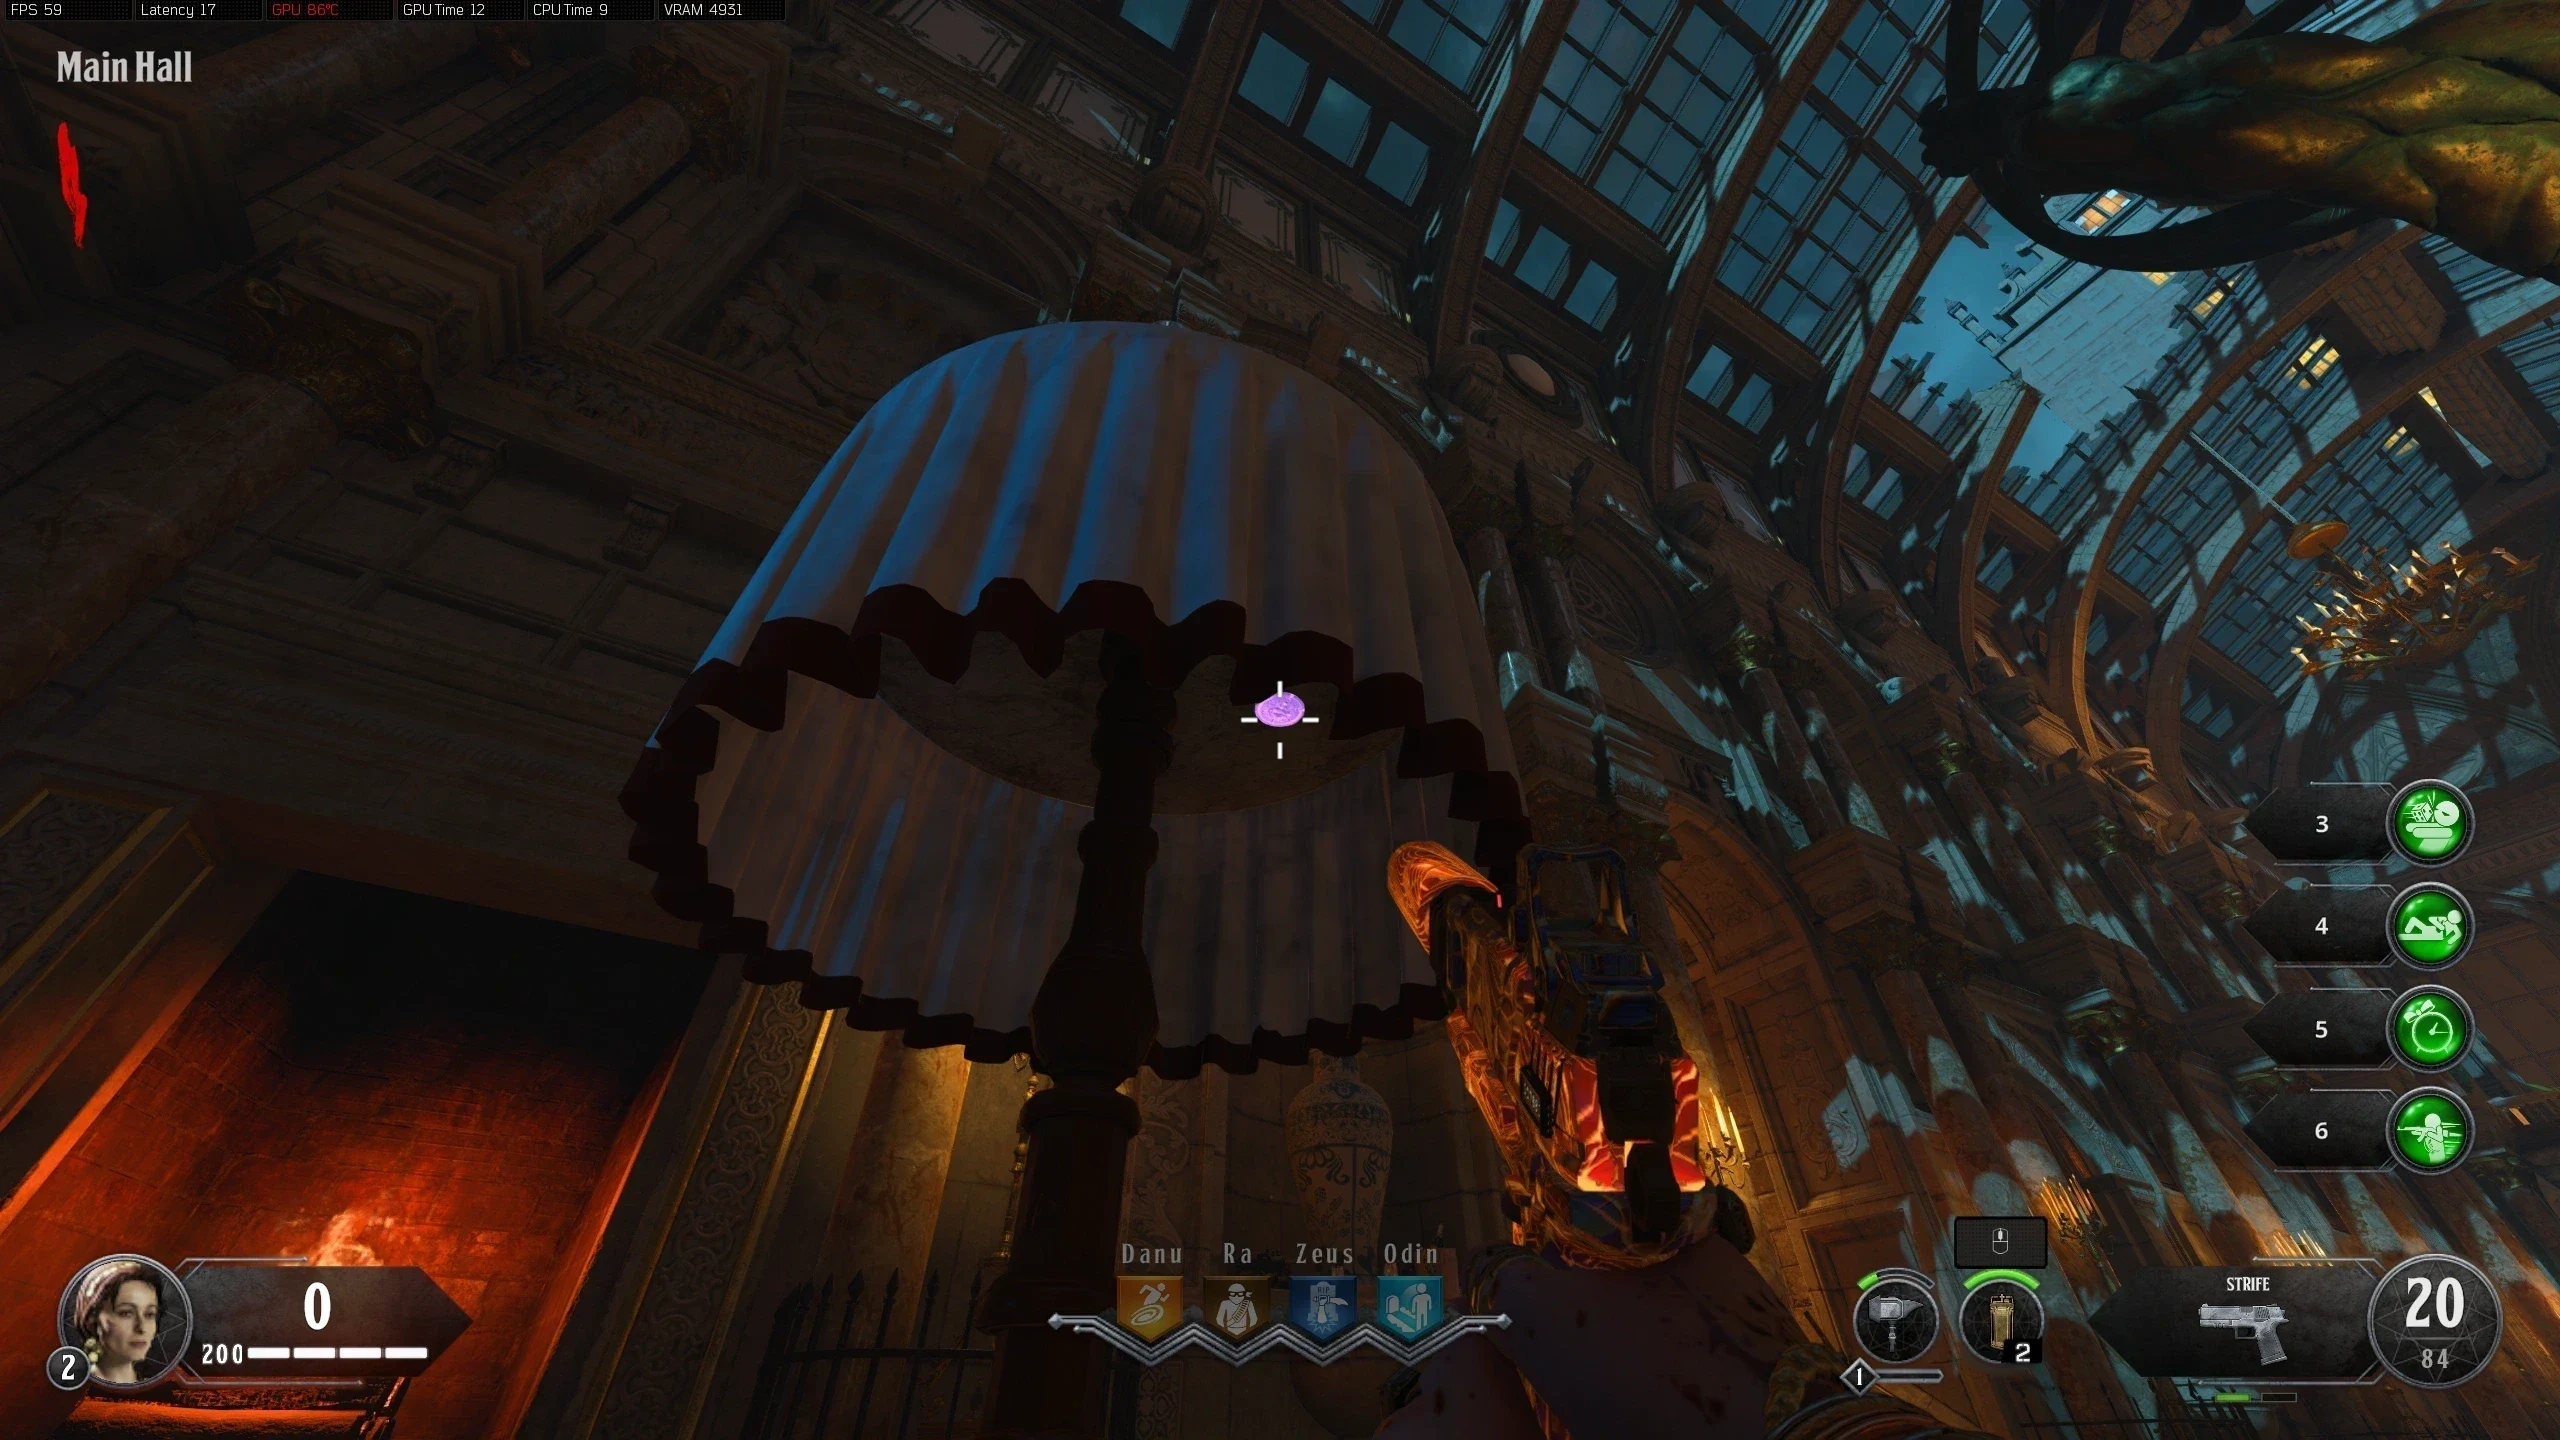
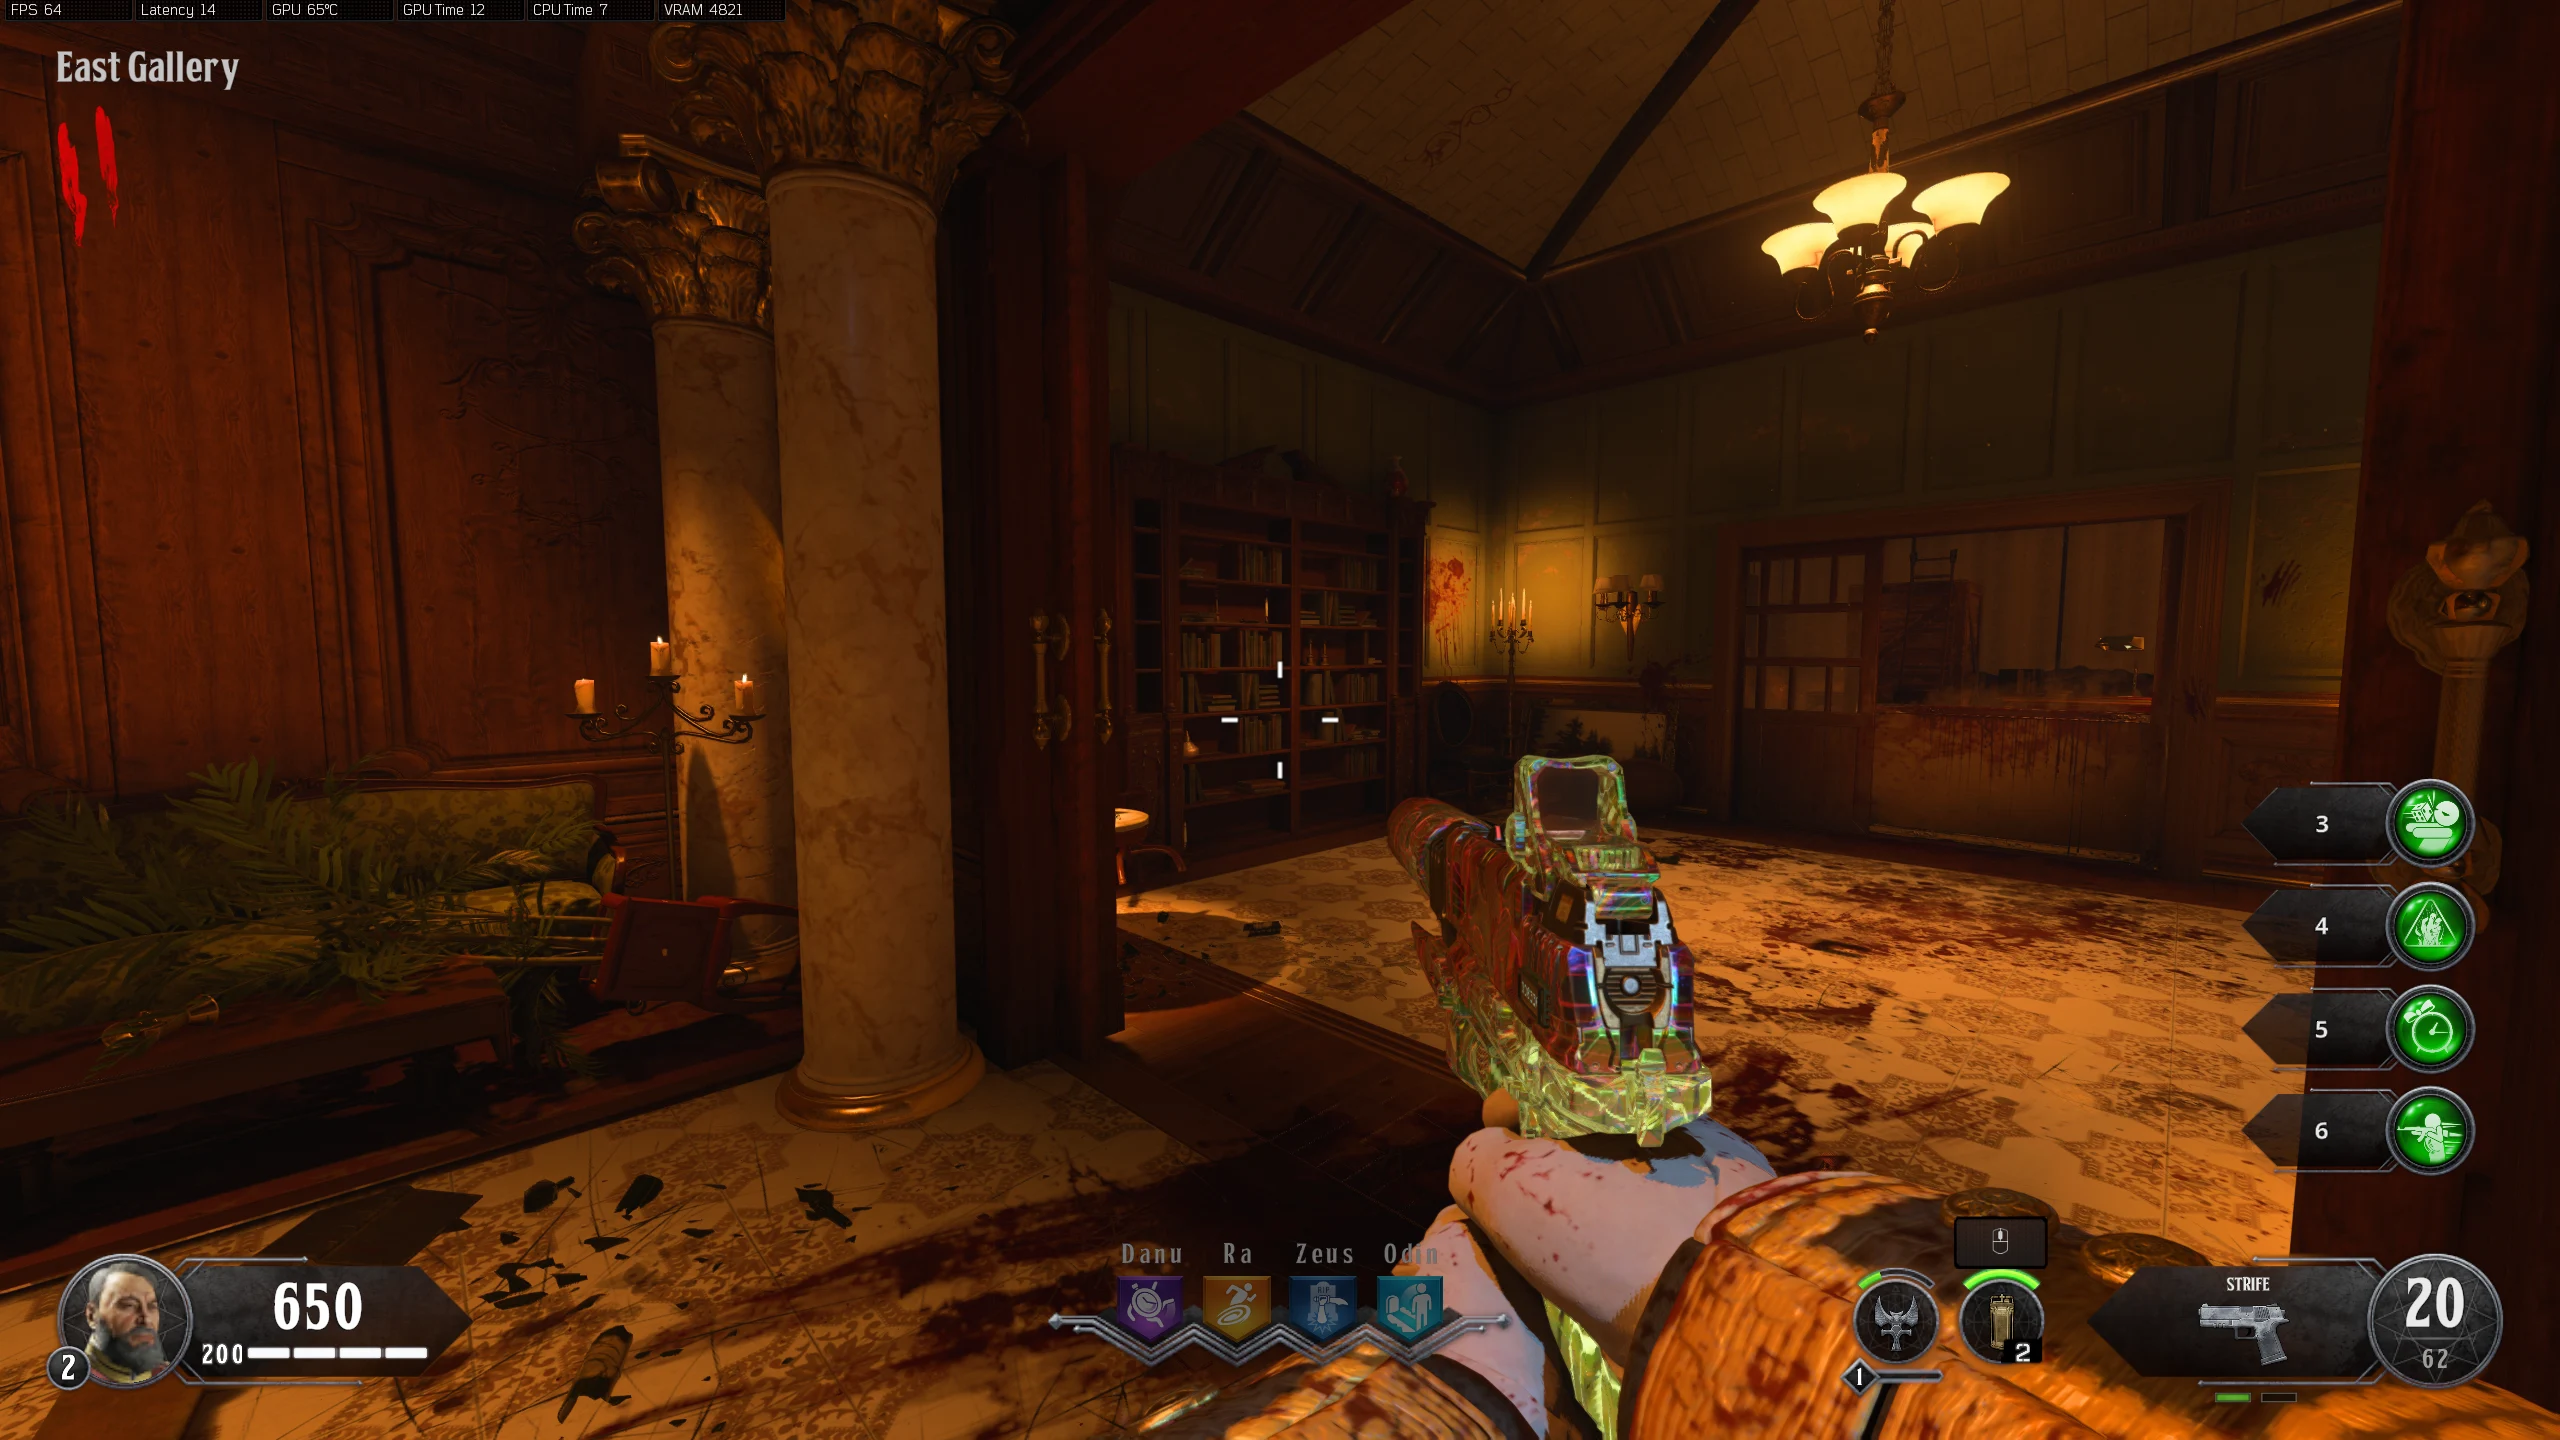
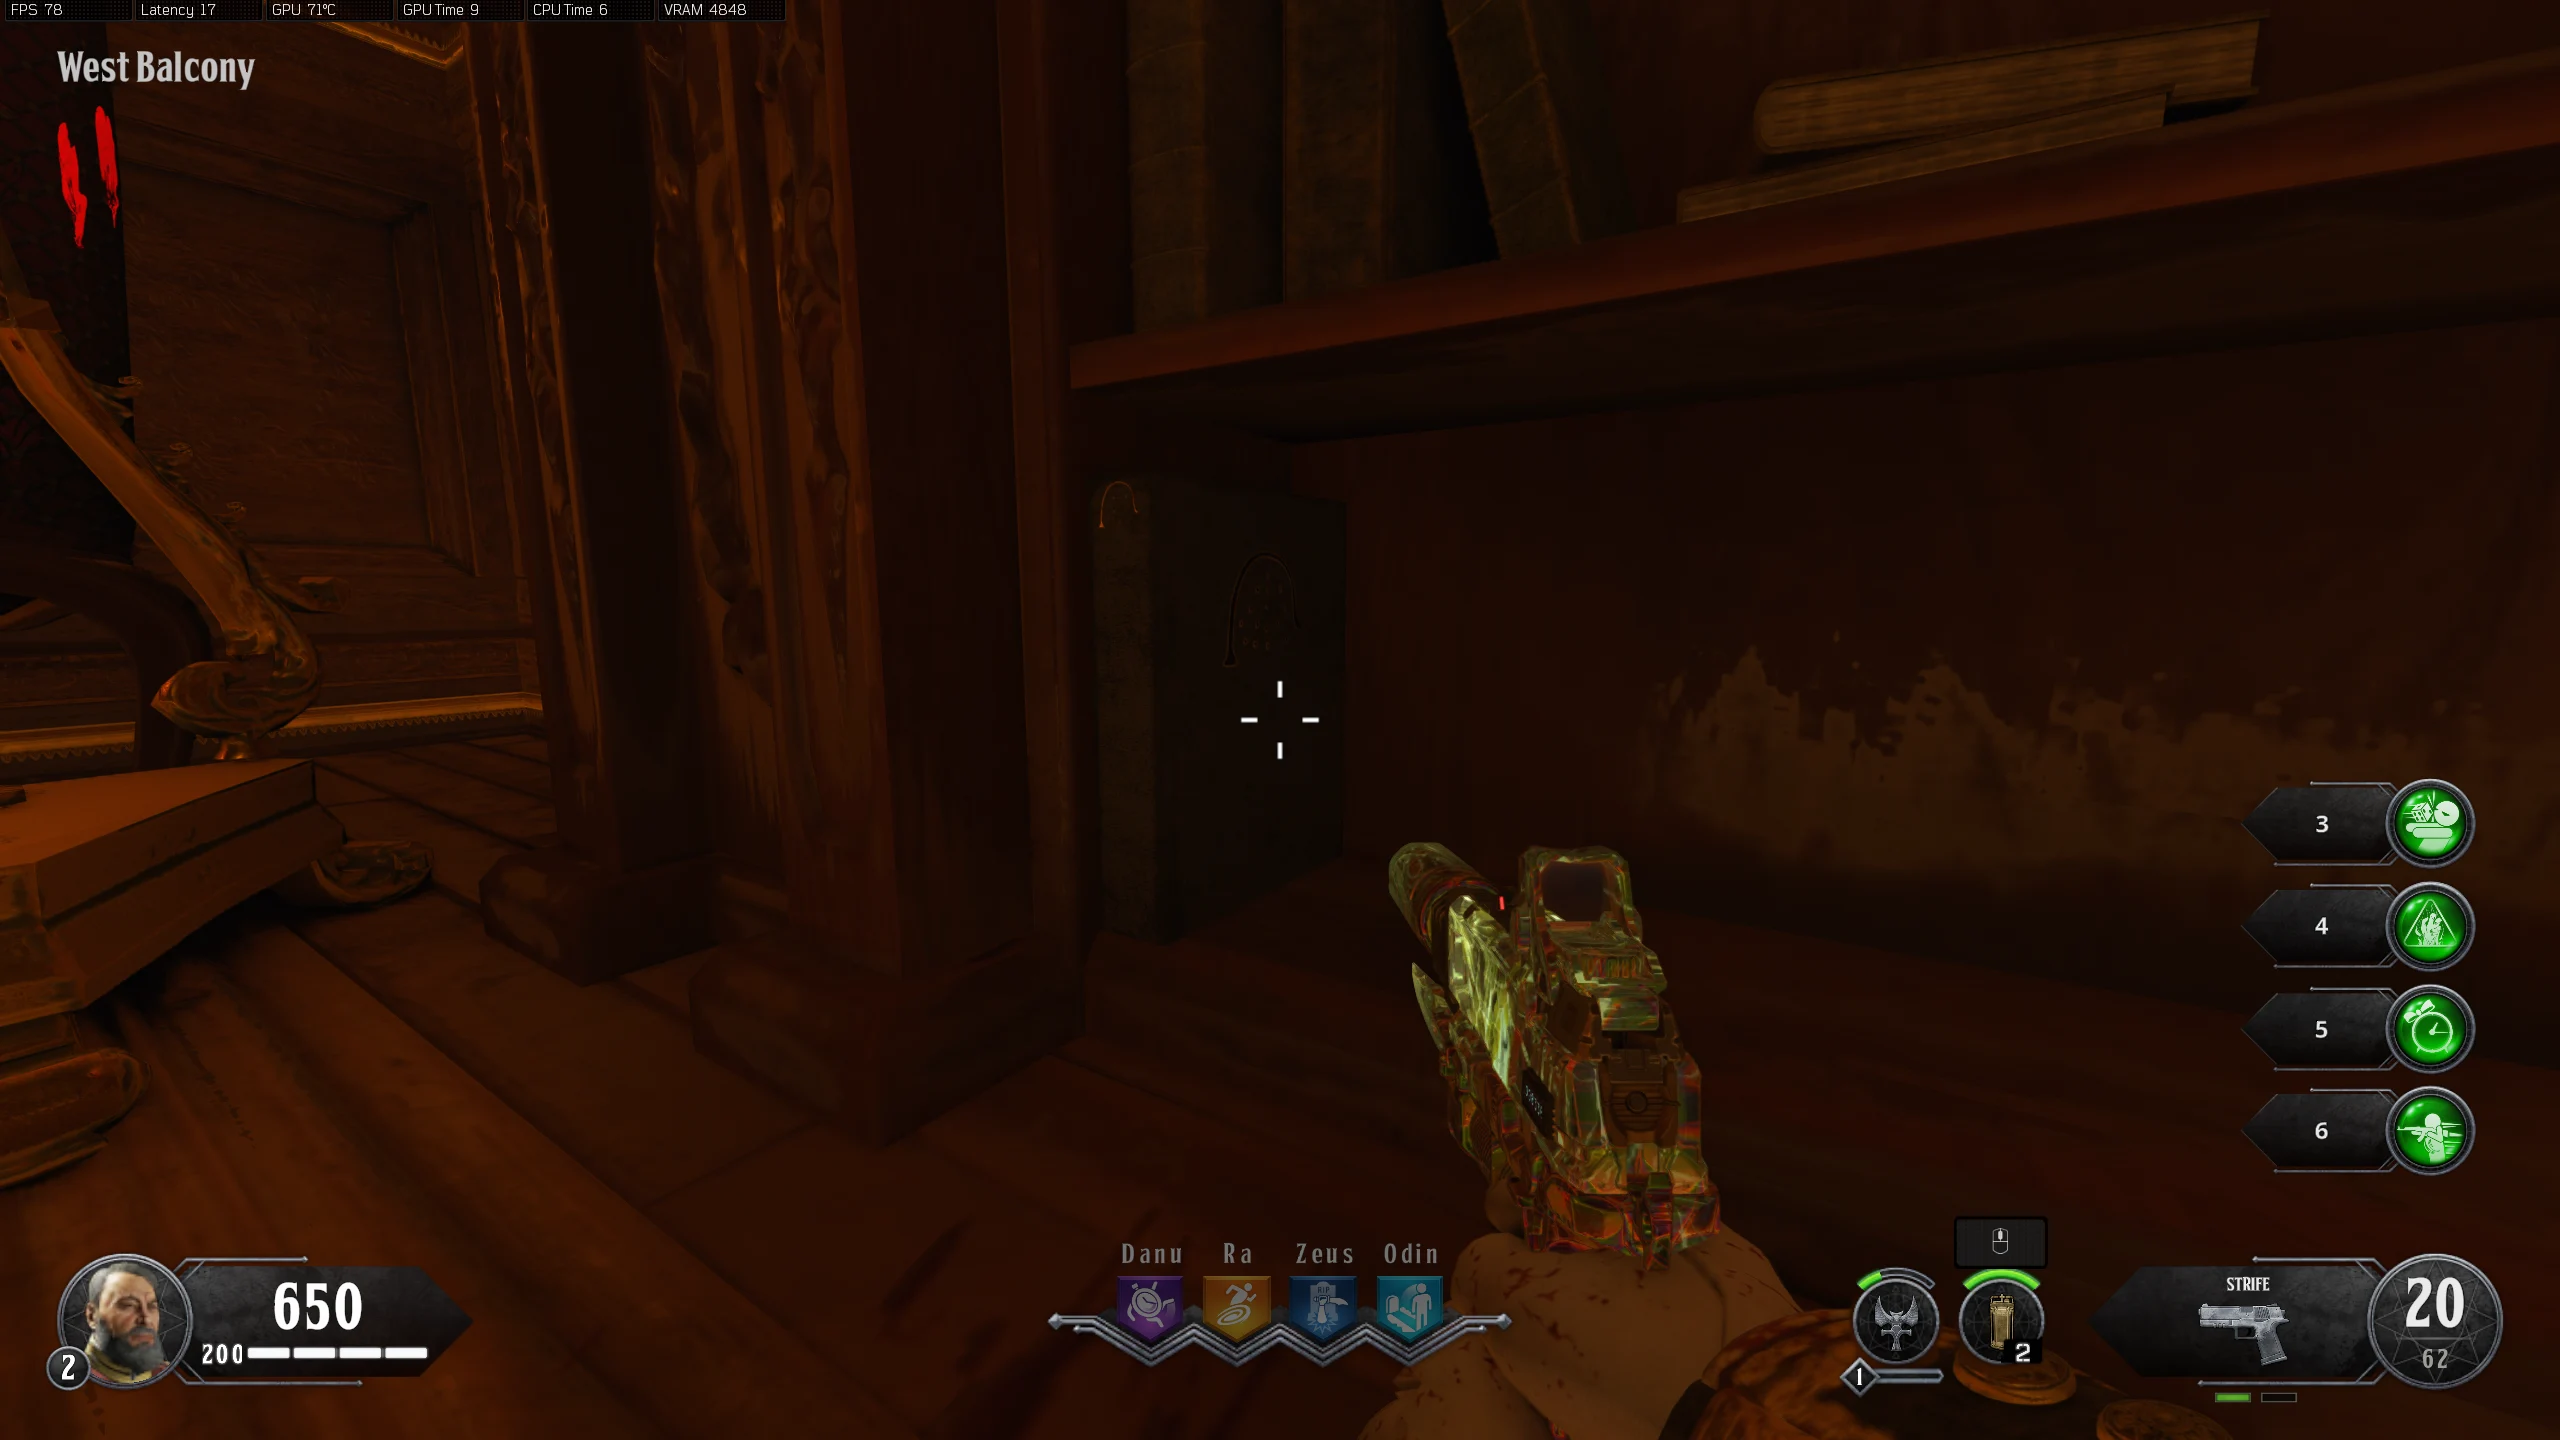
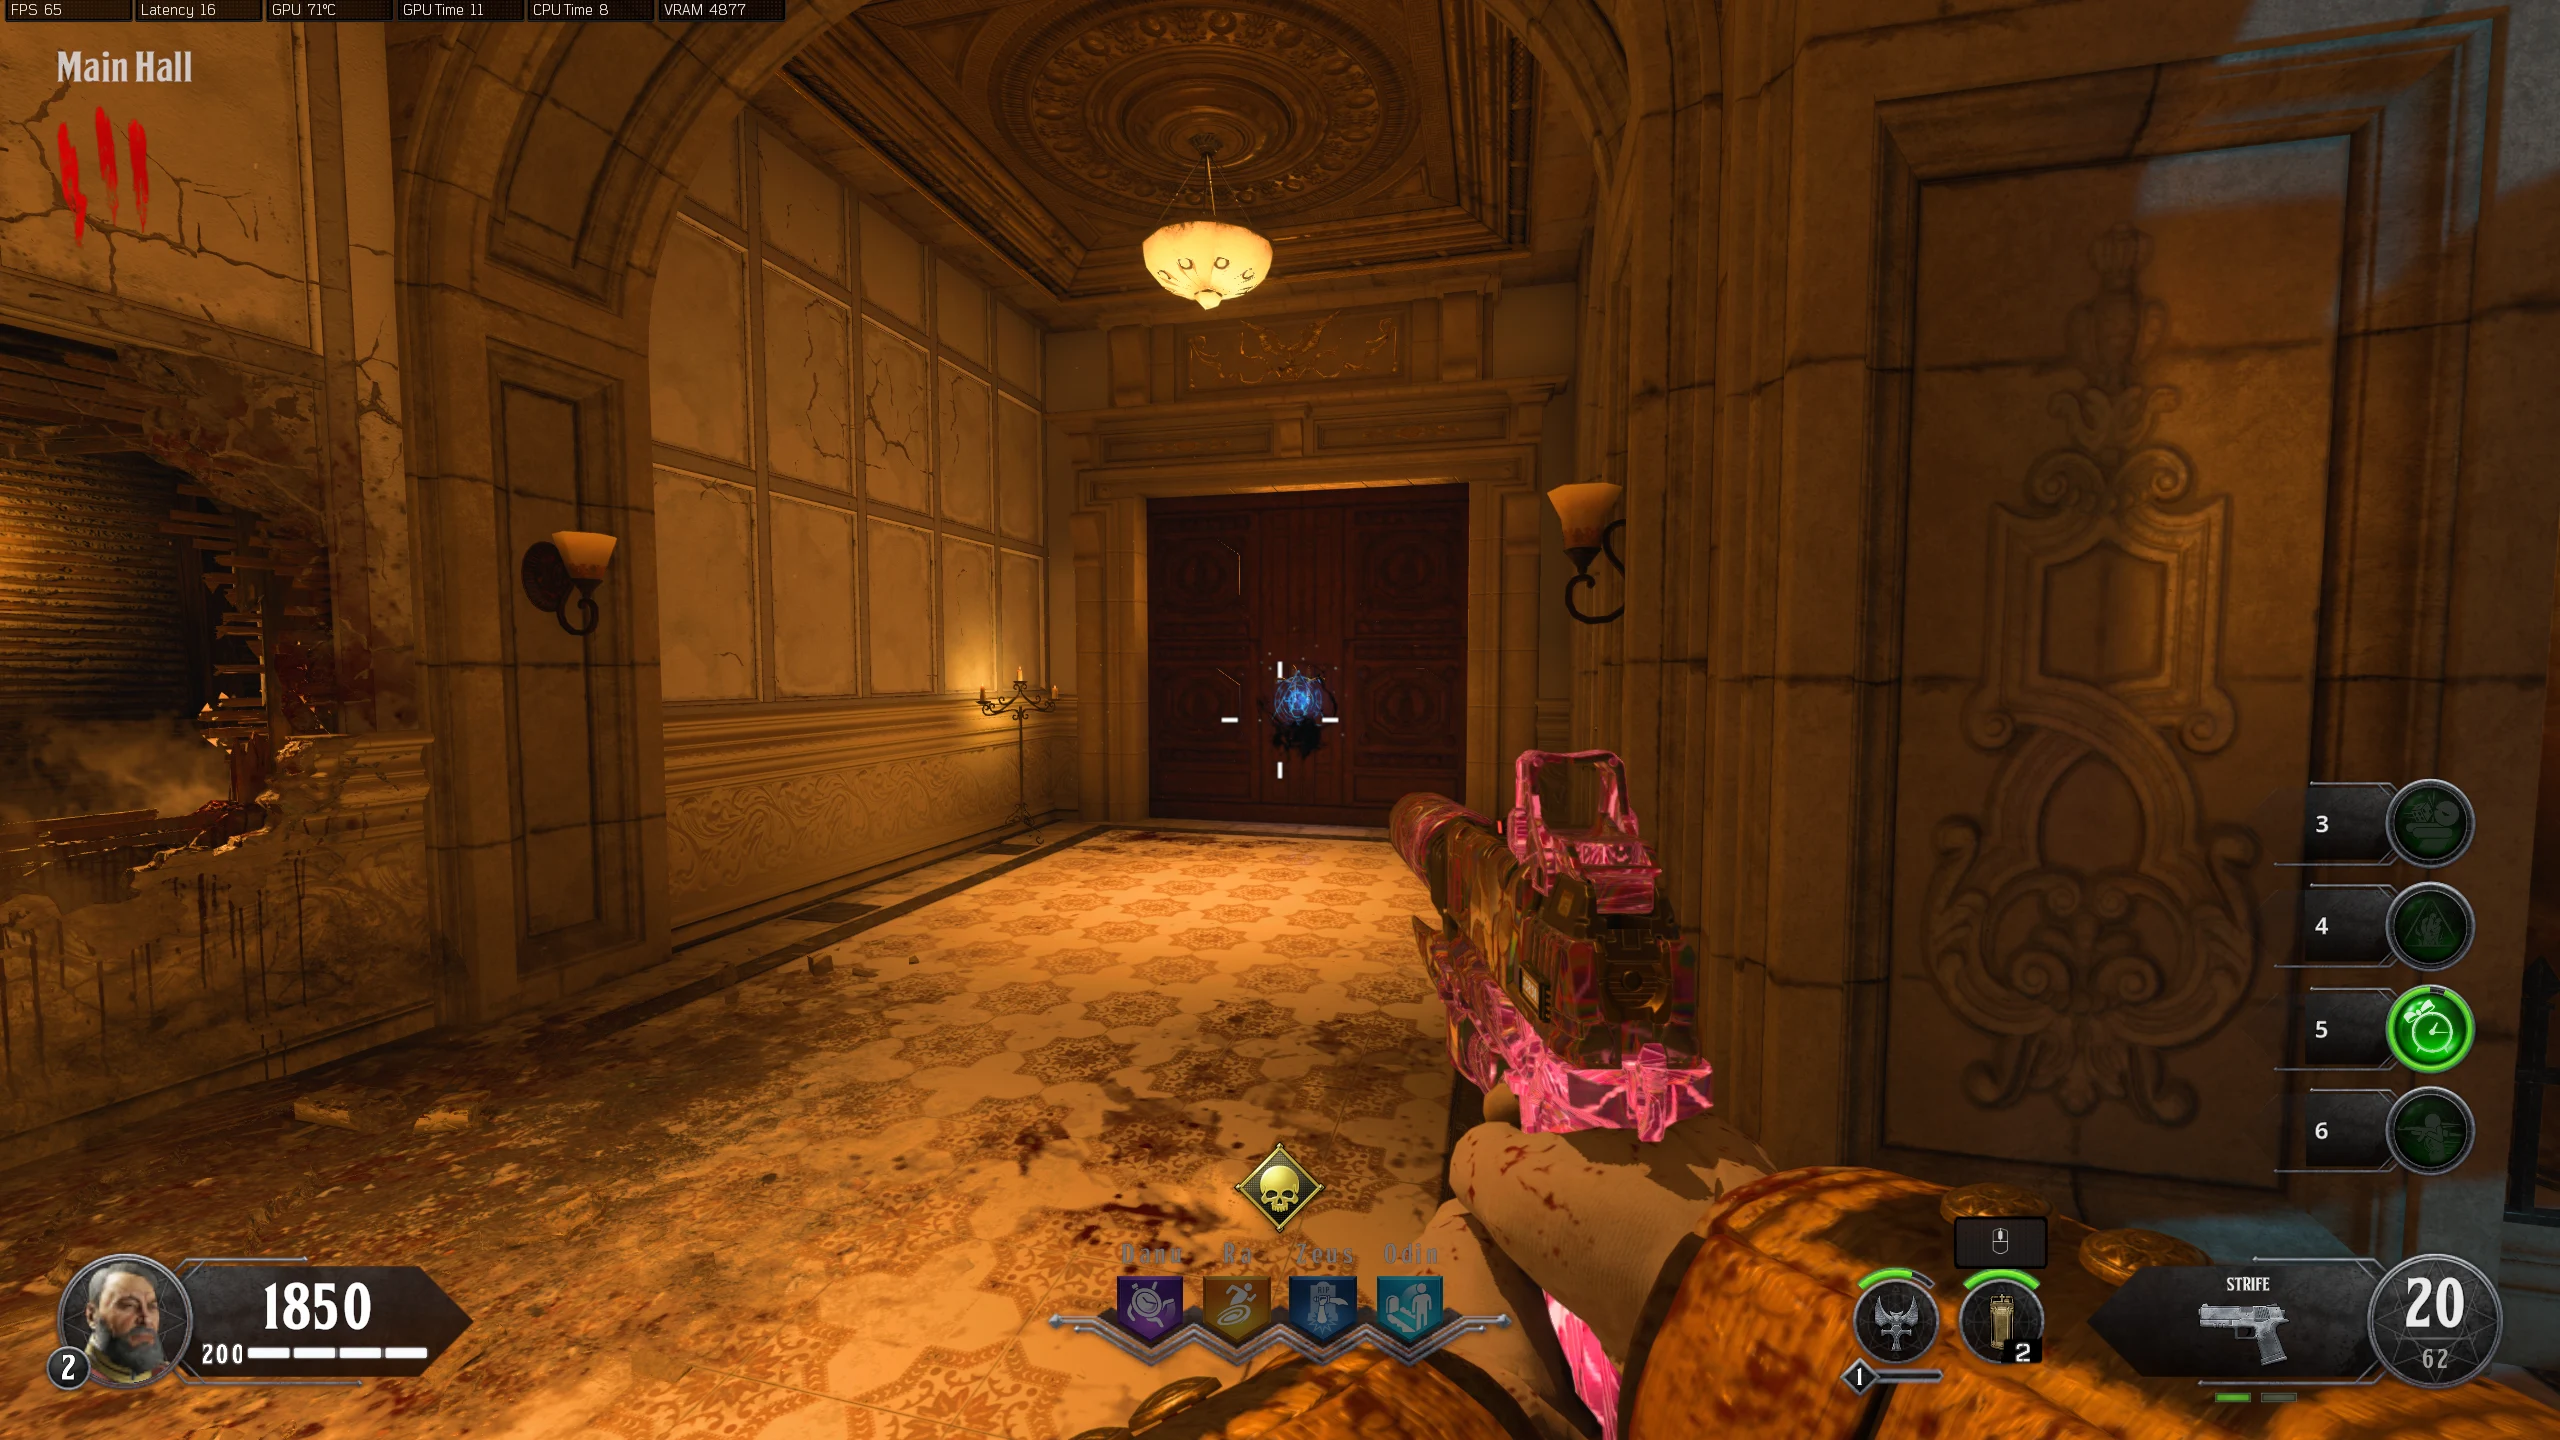
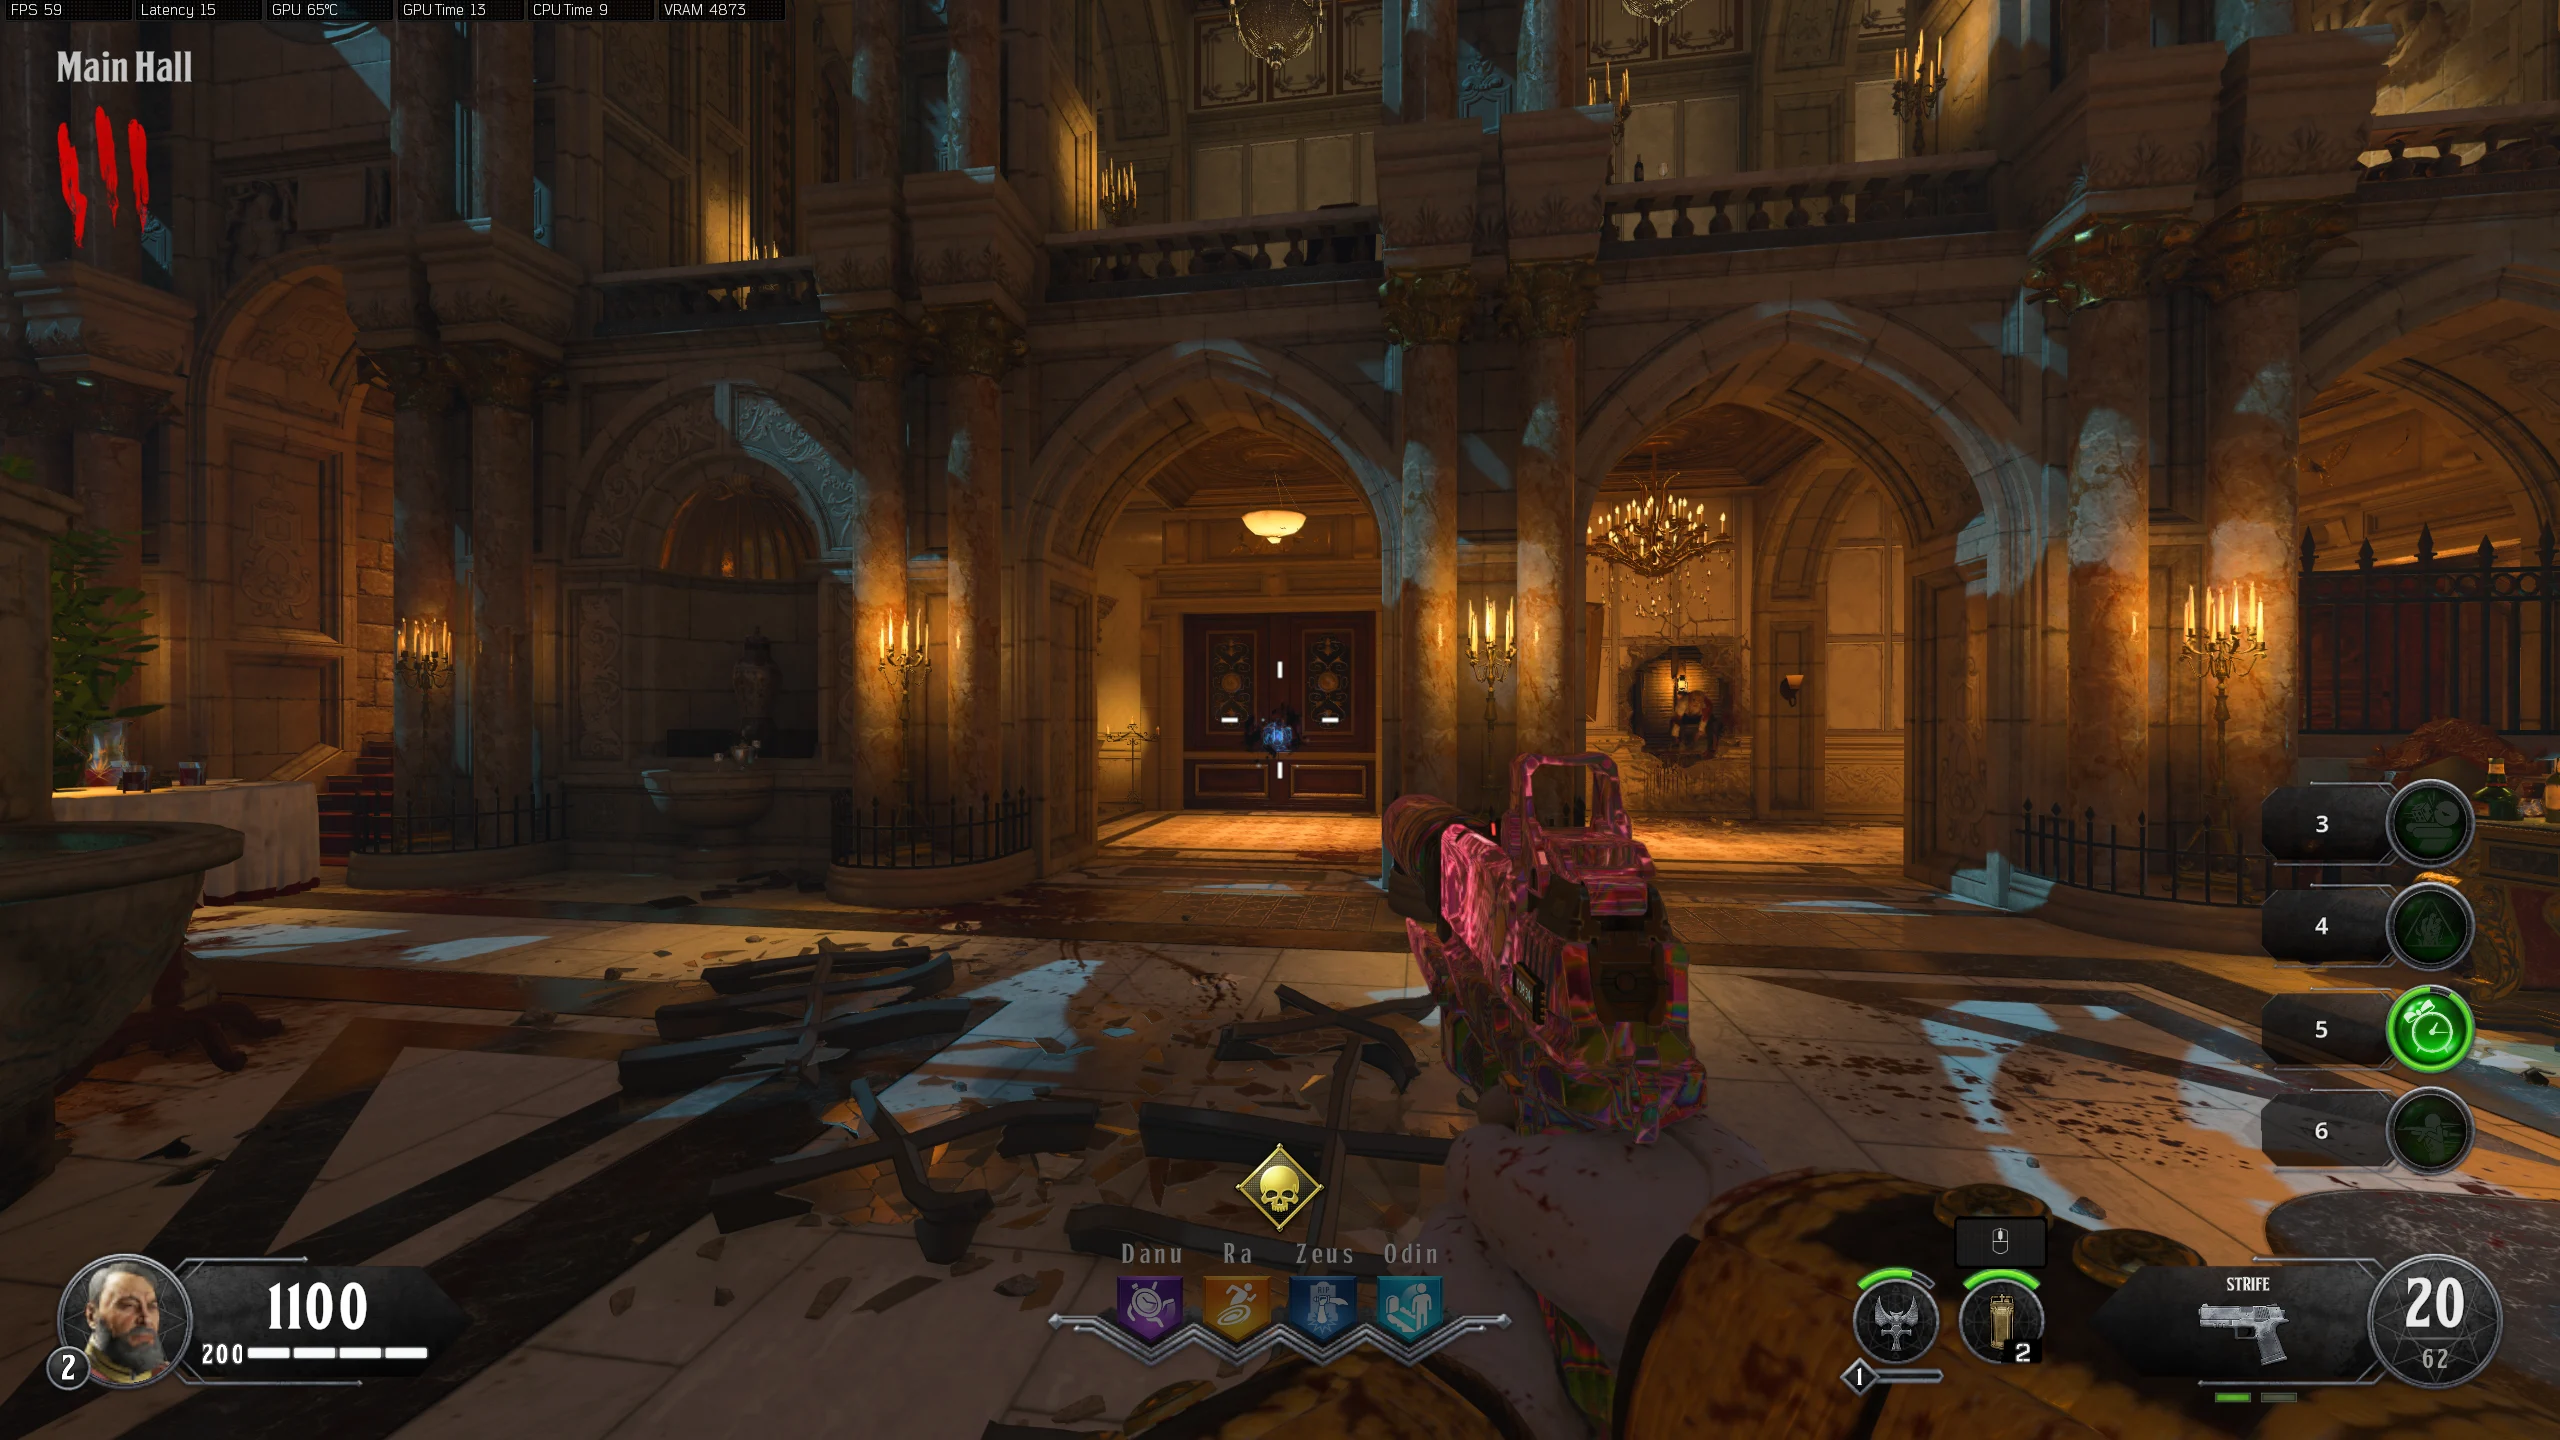
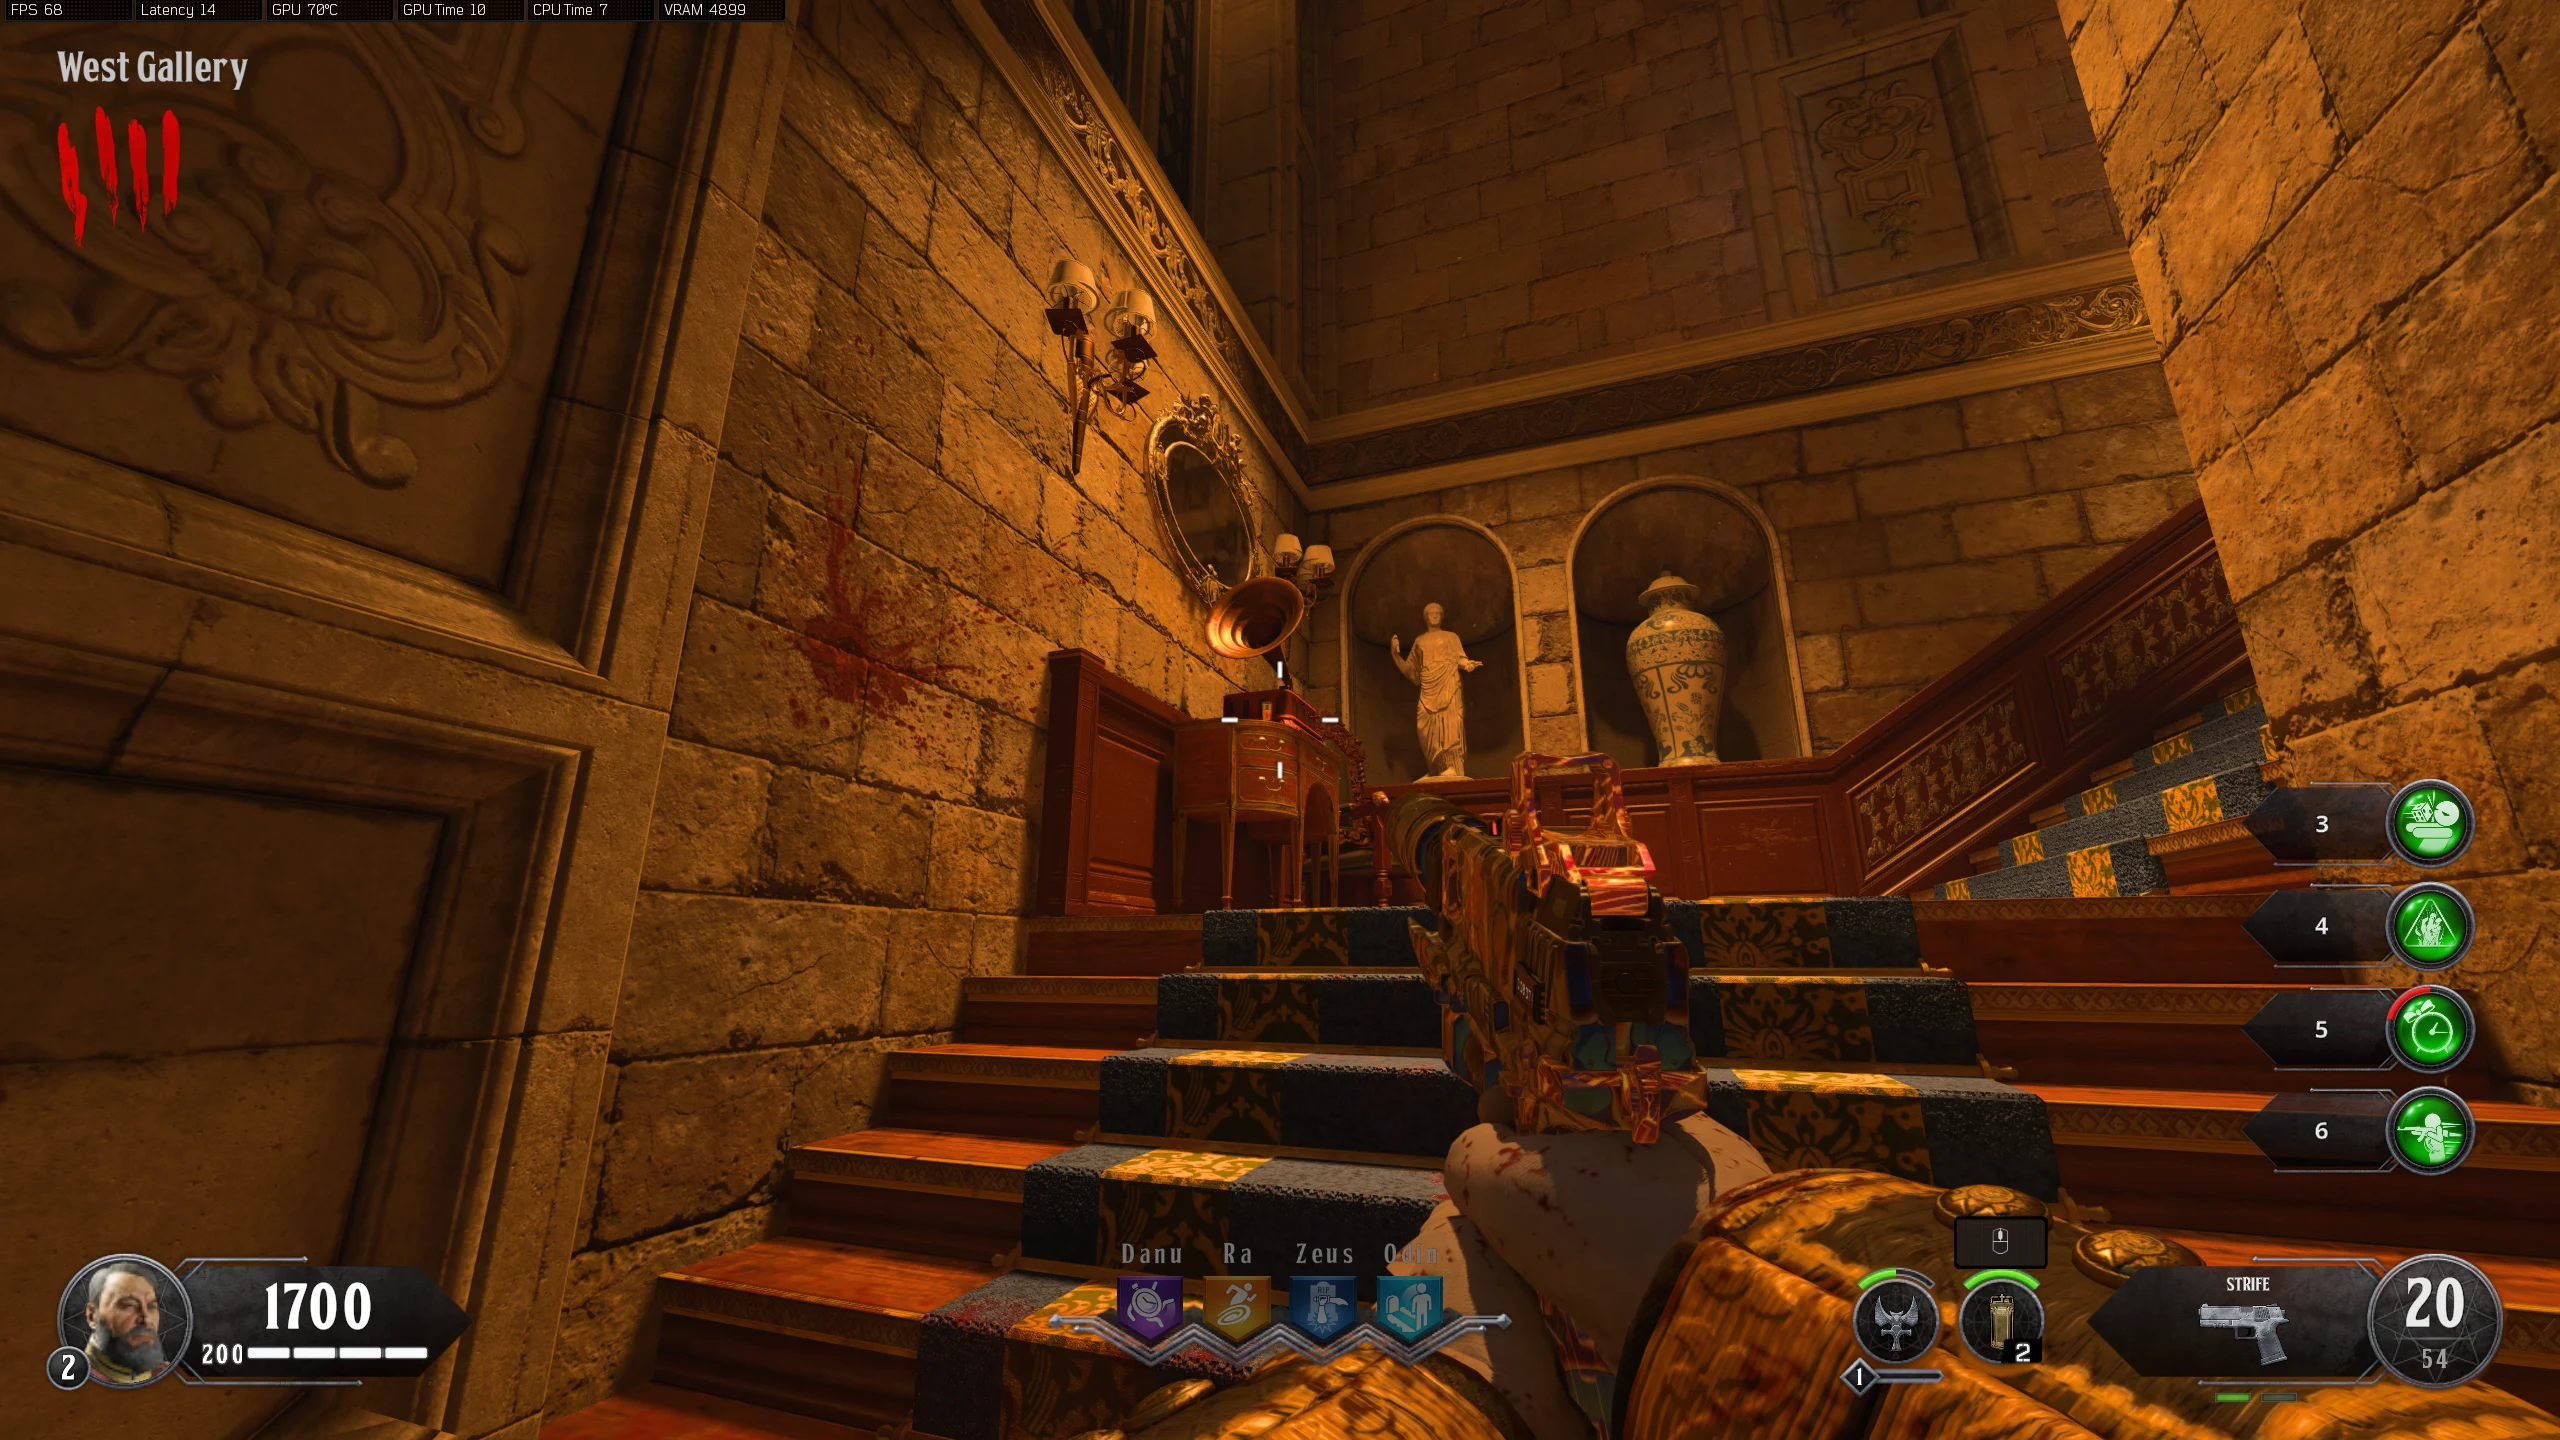
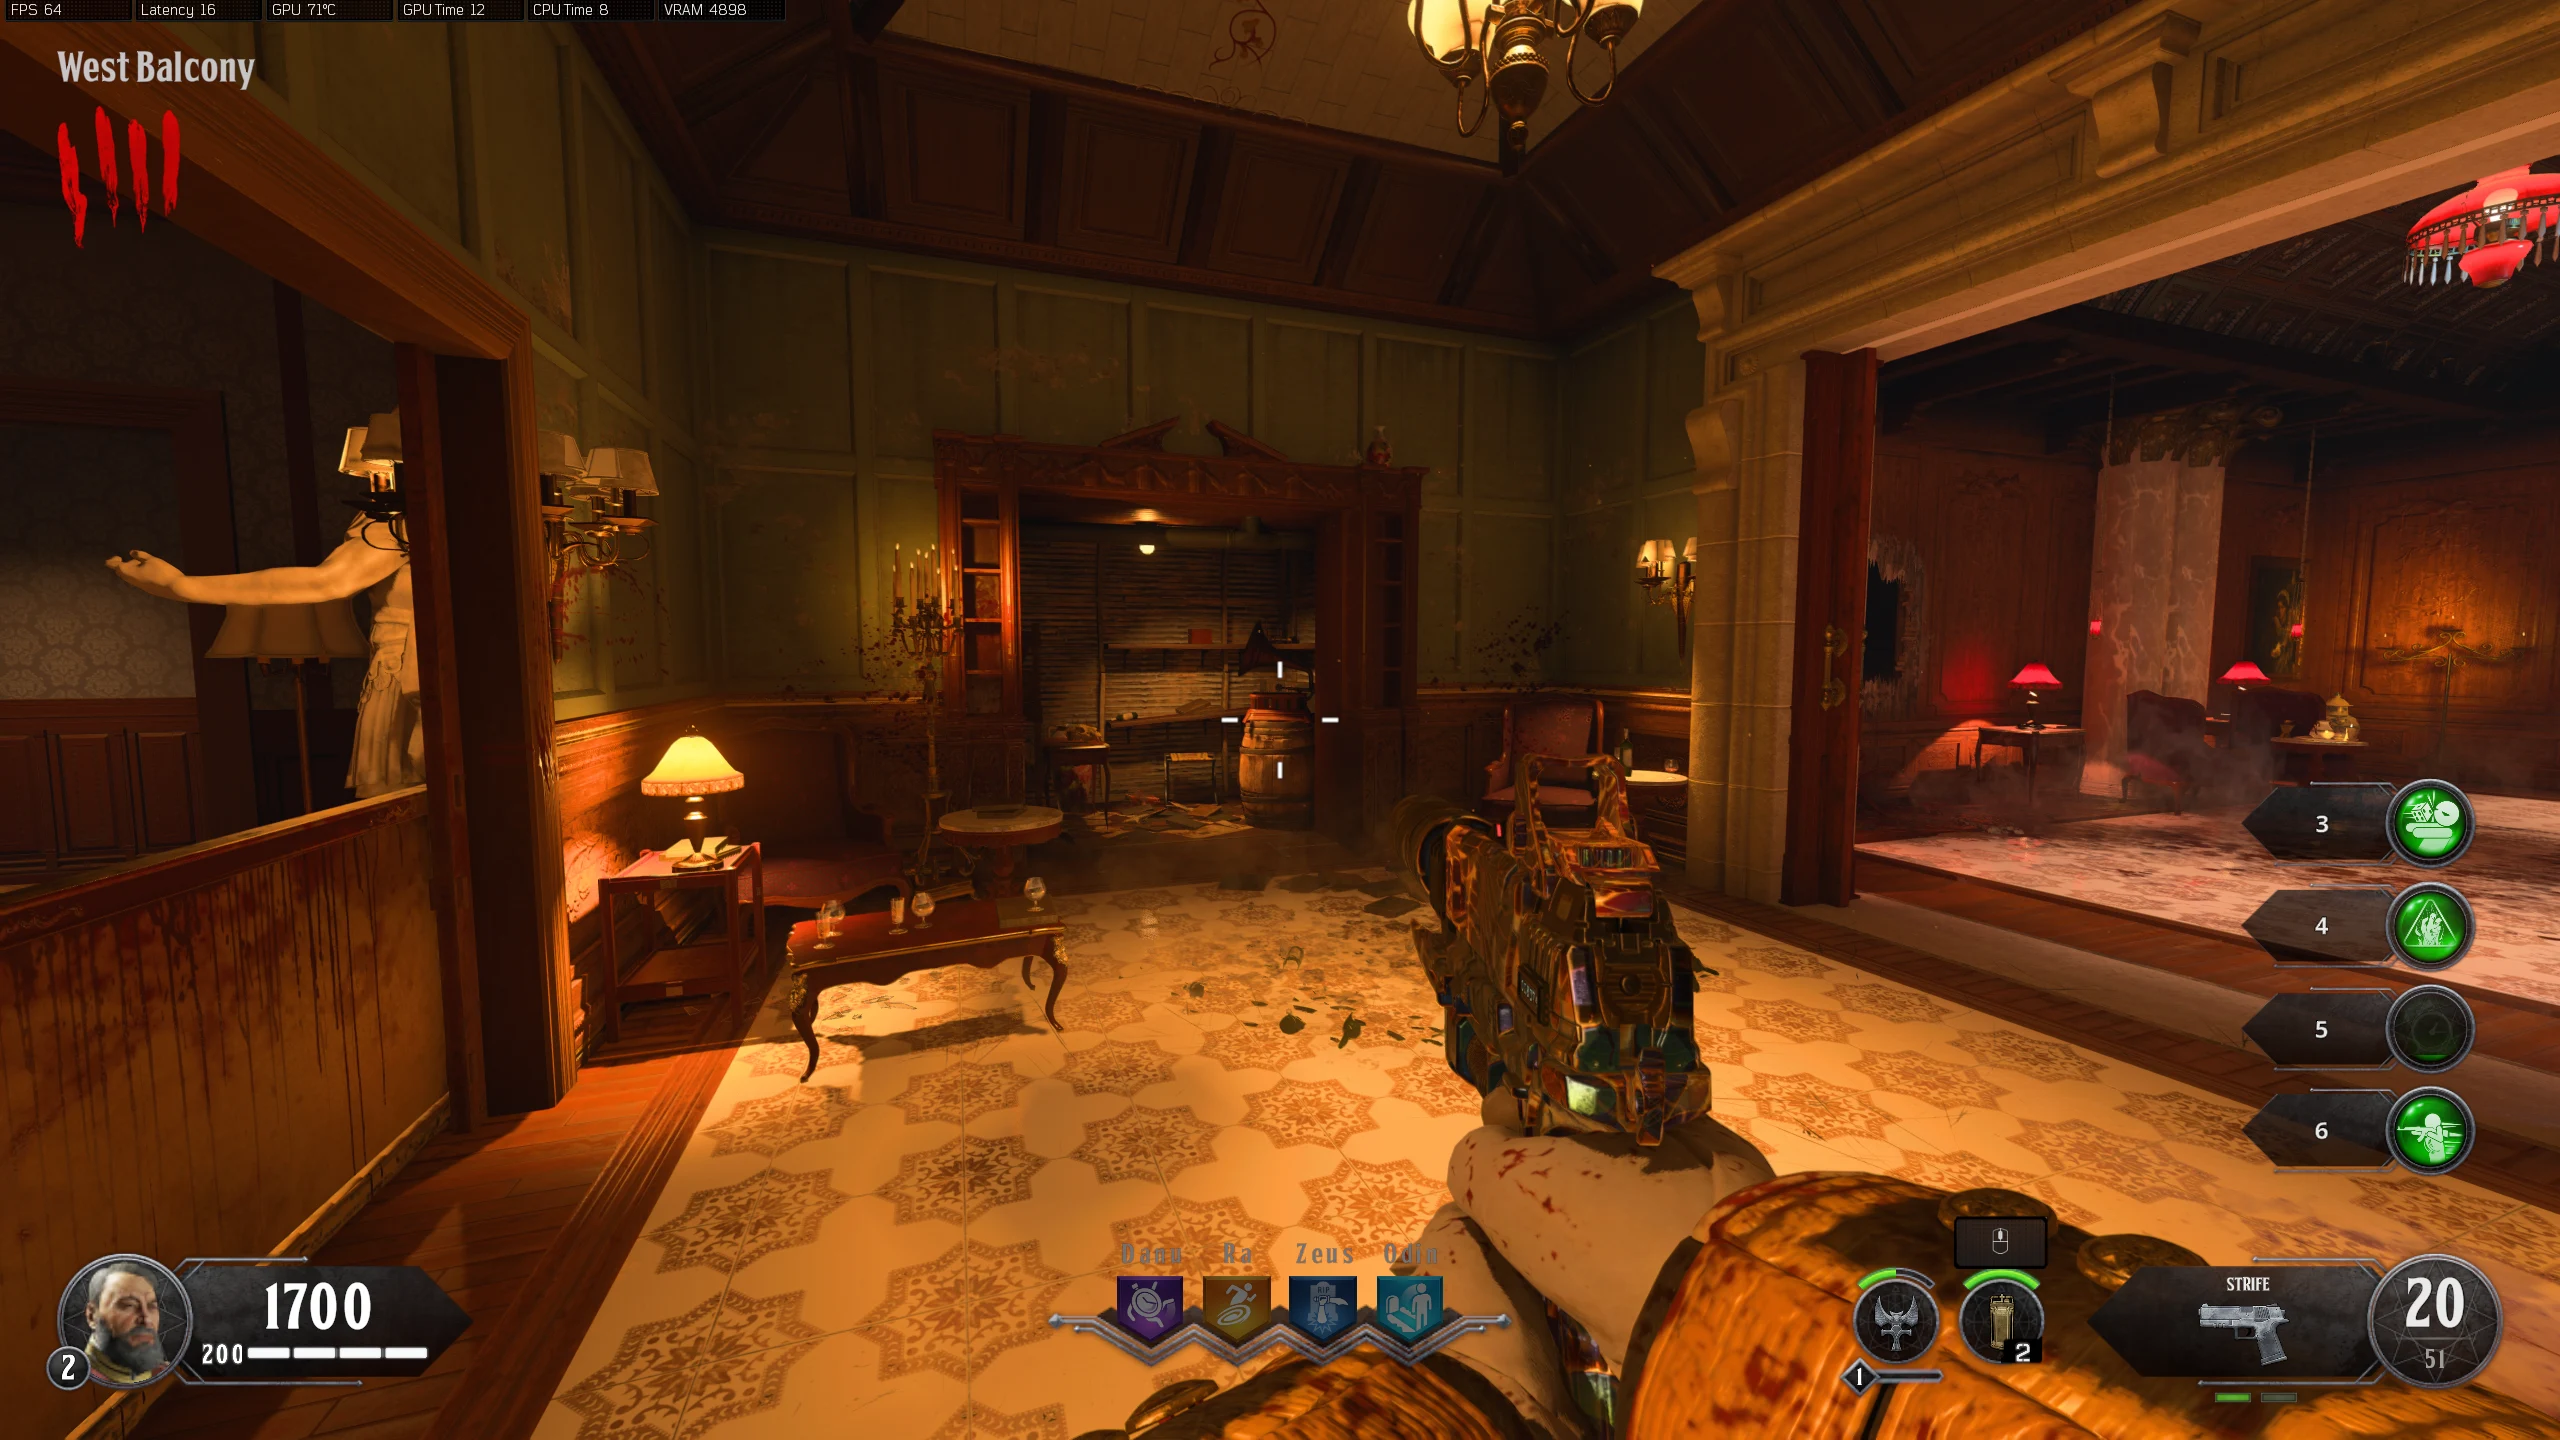
- Main Hall
- Zodiac - Behind a candle at the base of the stairs coming from the 'West Gallery'
- Scratches - On the wall in the right fountain
- Scratches - Above the fireplace closest to the Mozu
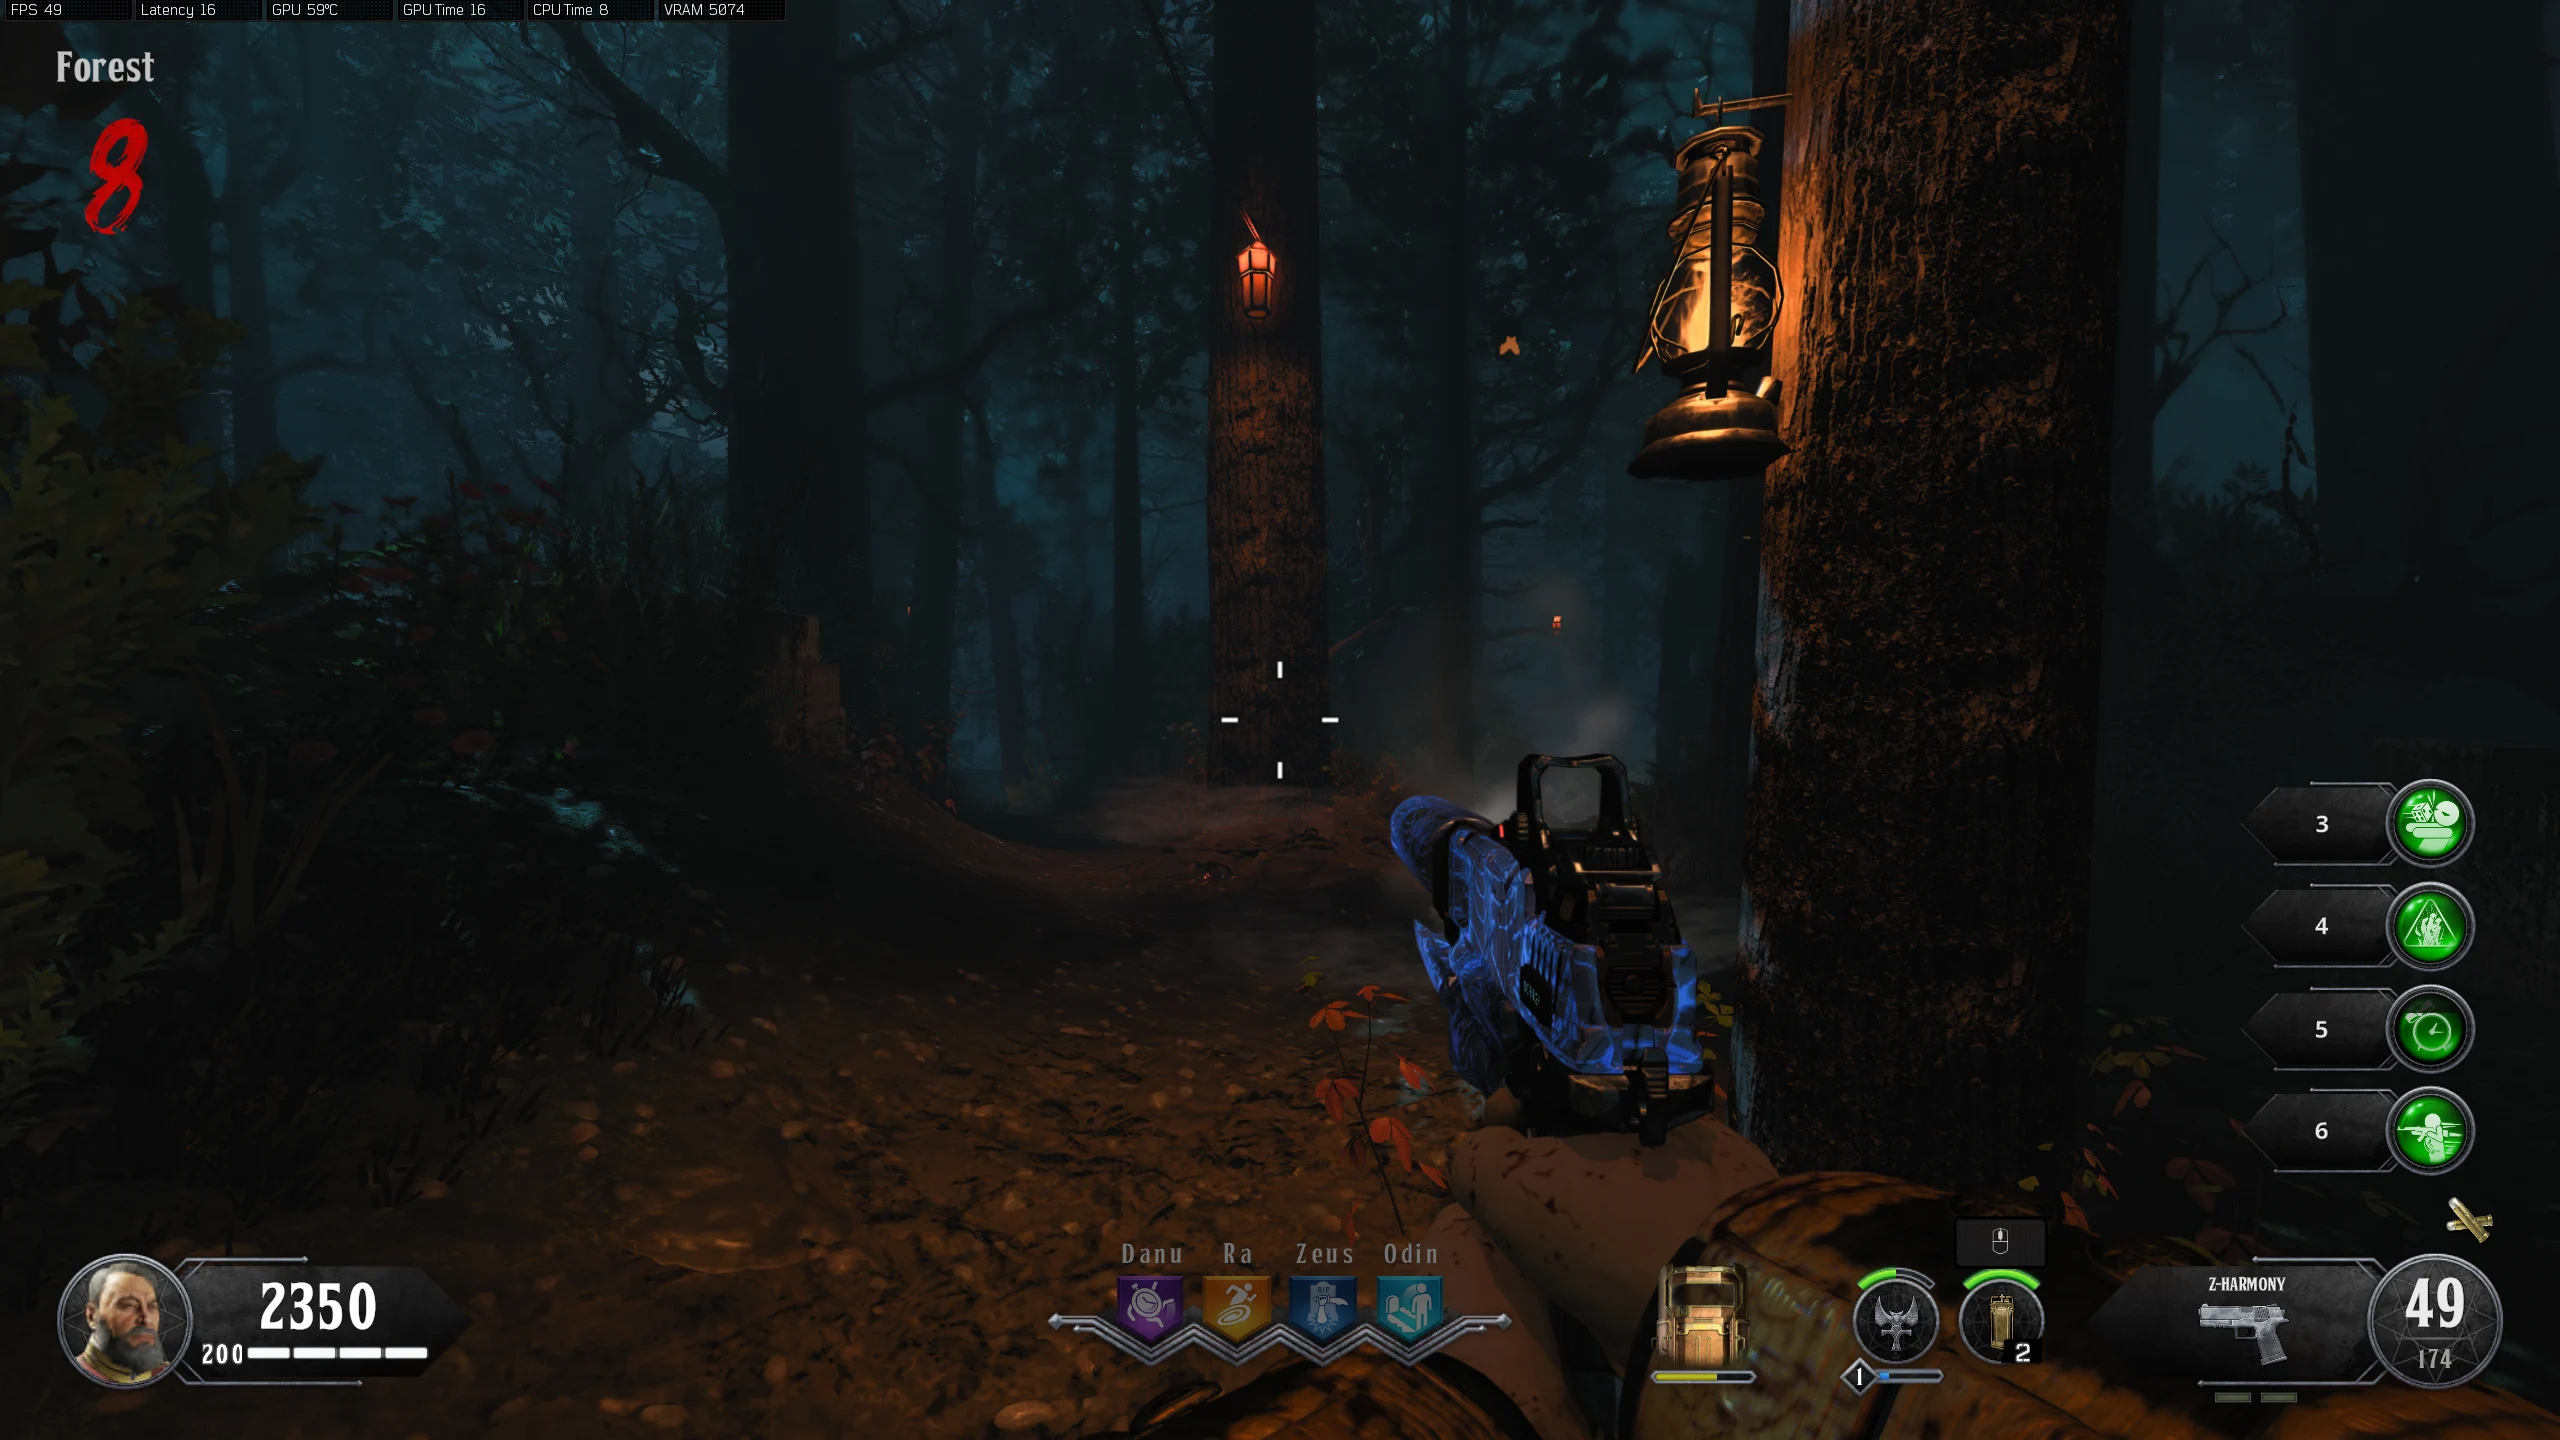
- Scratches: North Atrium - When coming from the 'Forest,' in the top left corner
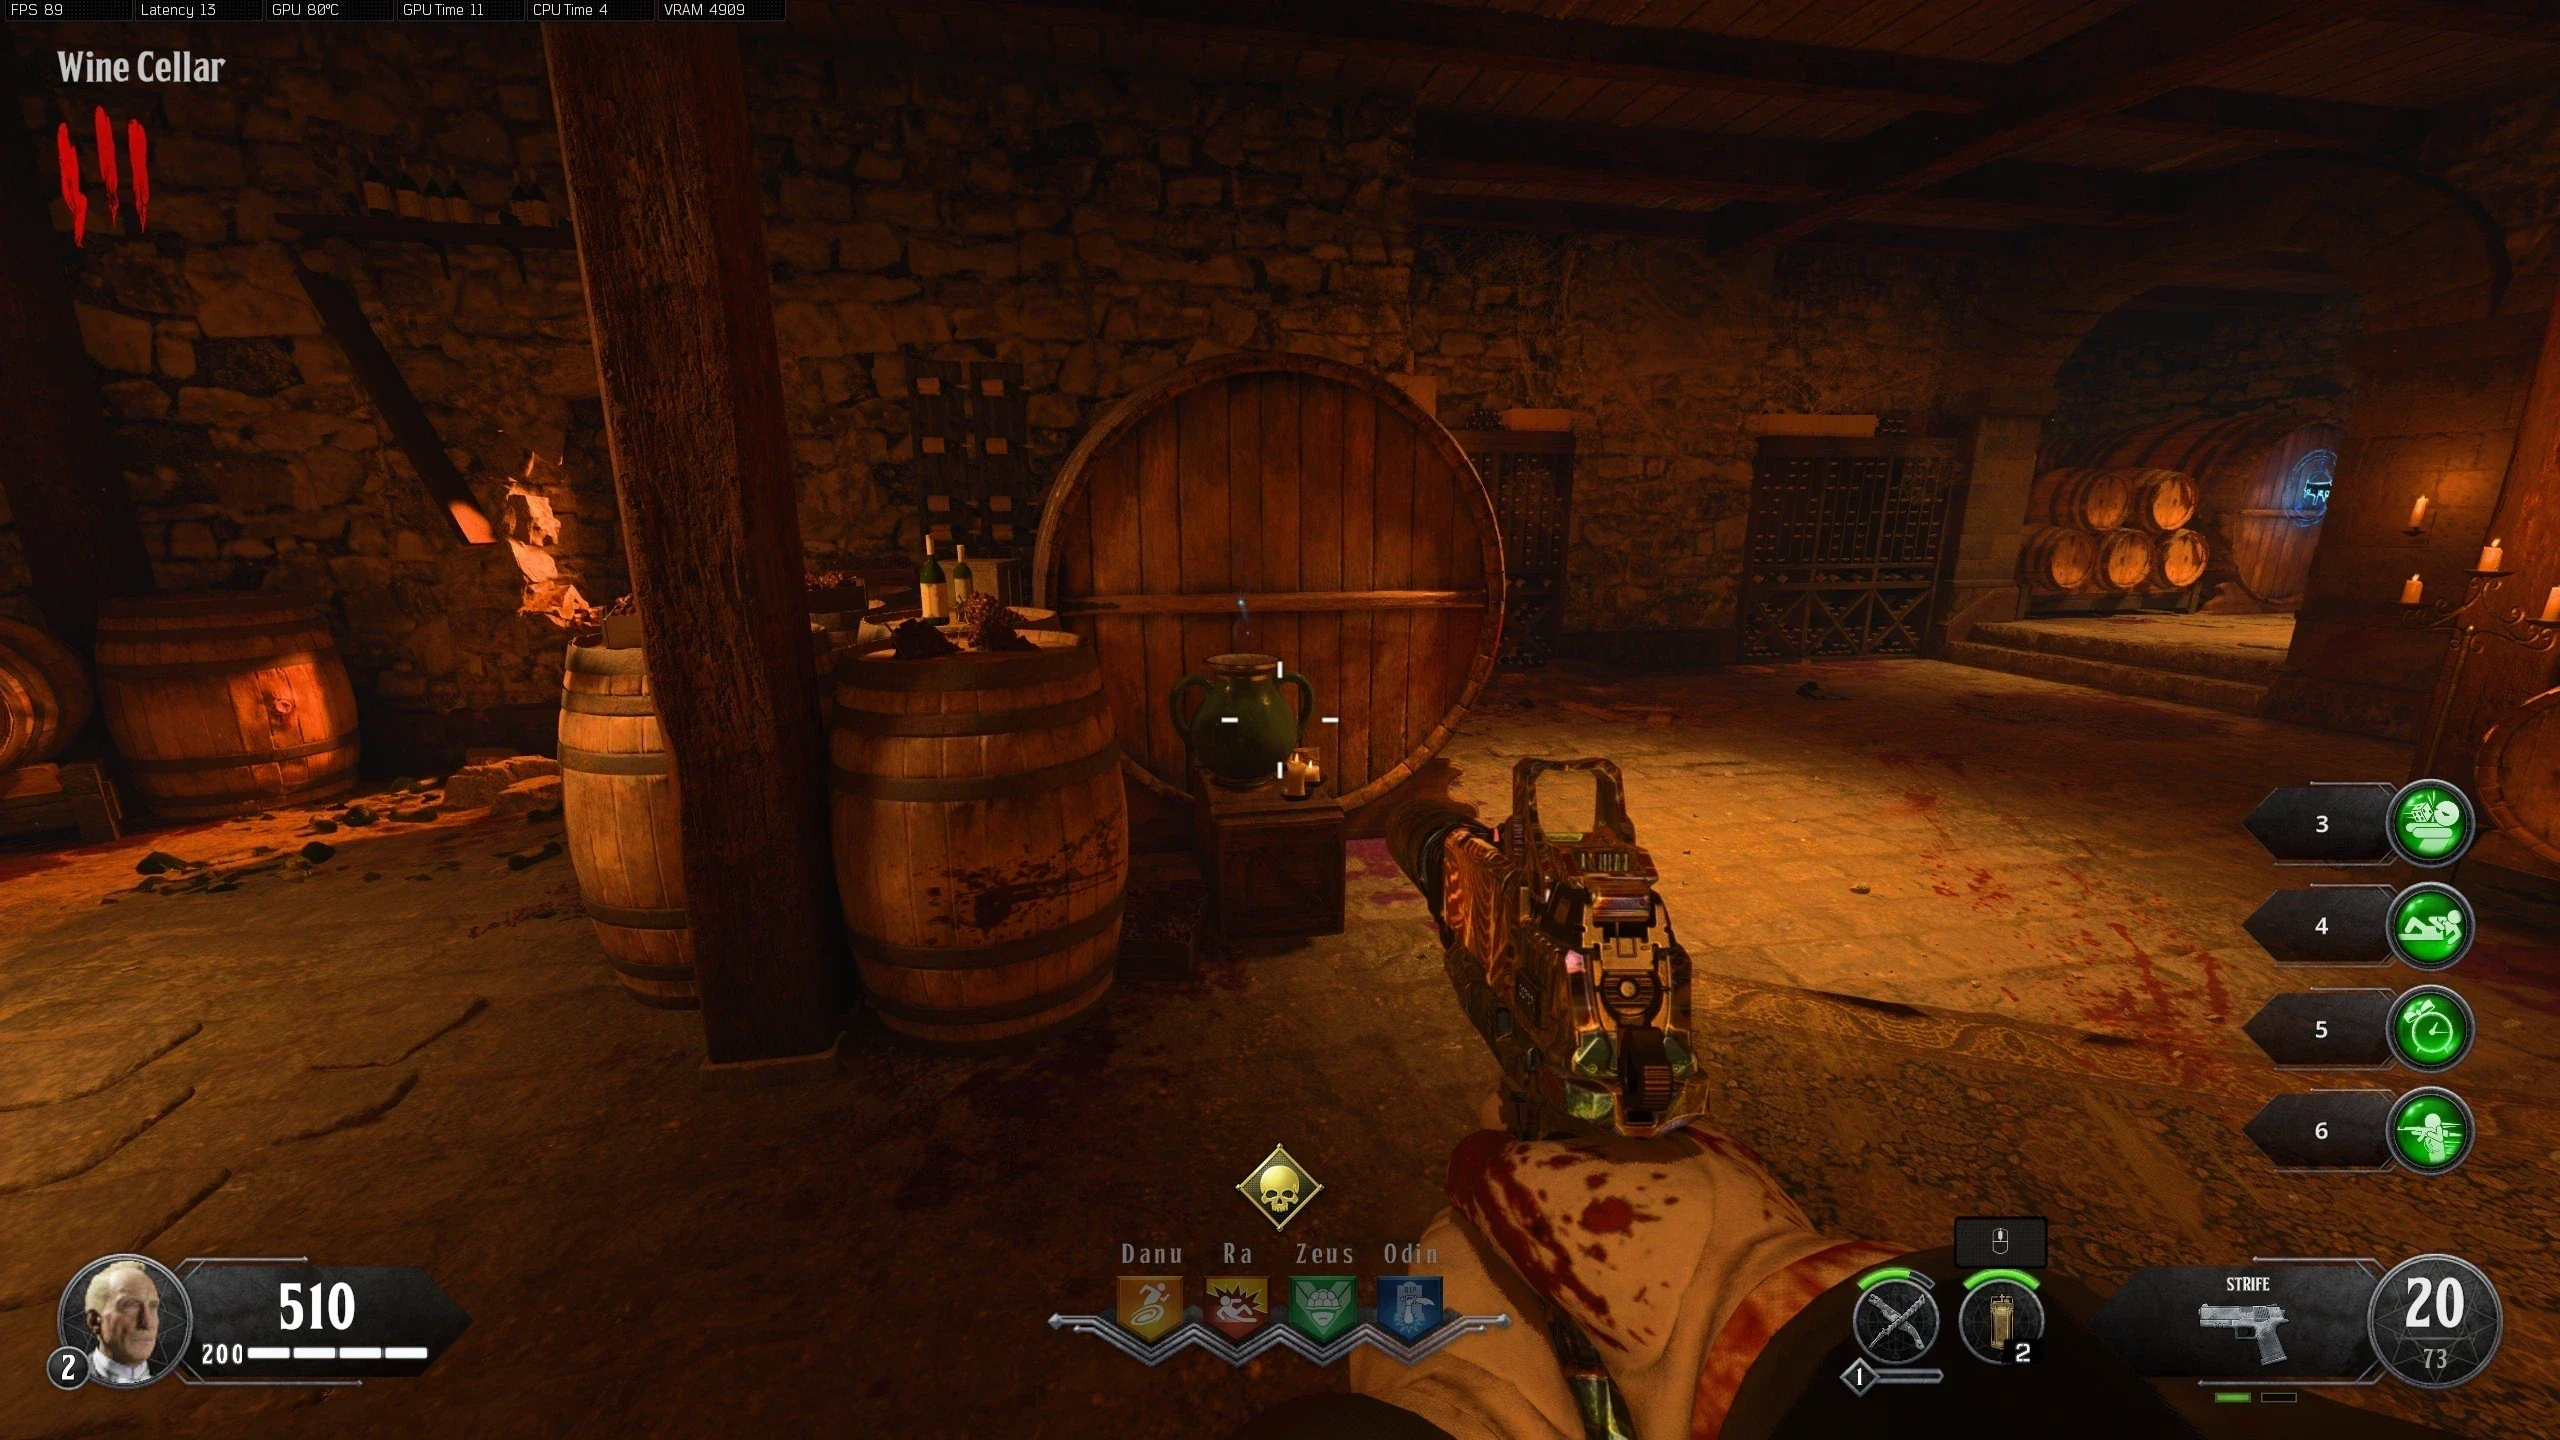
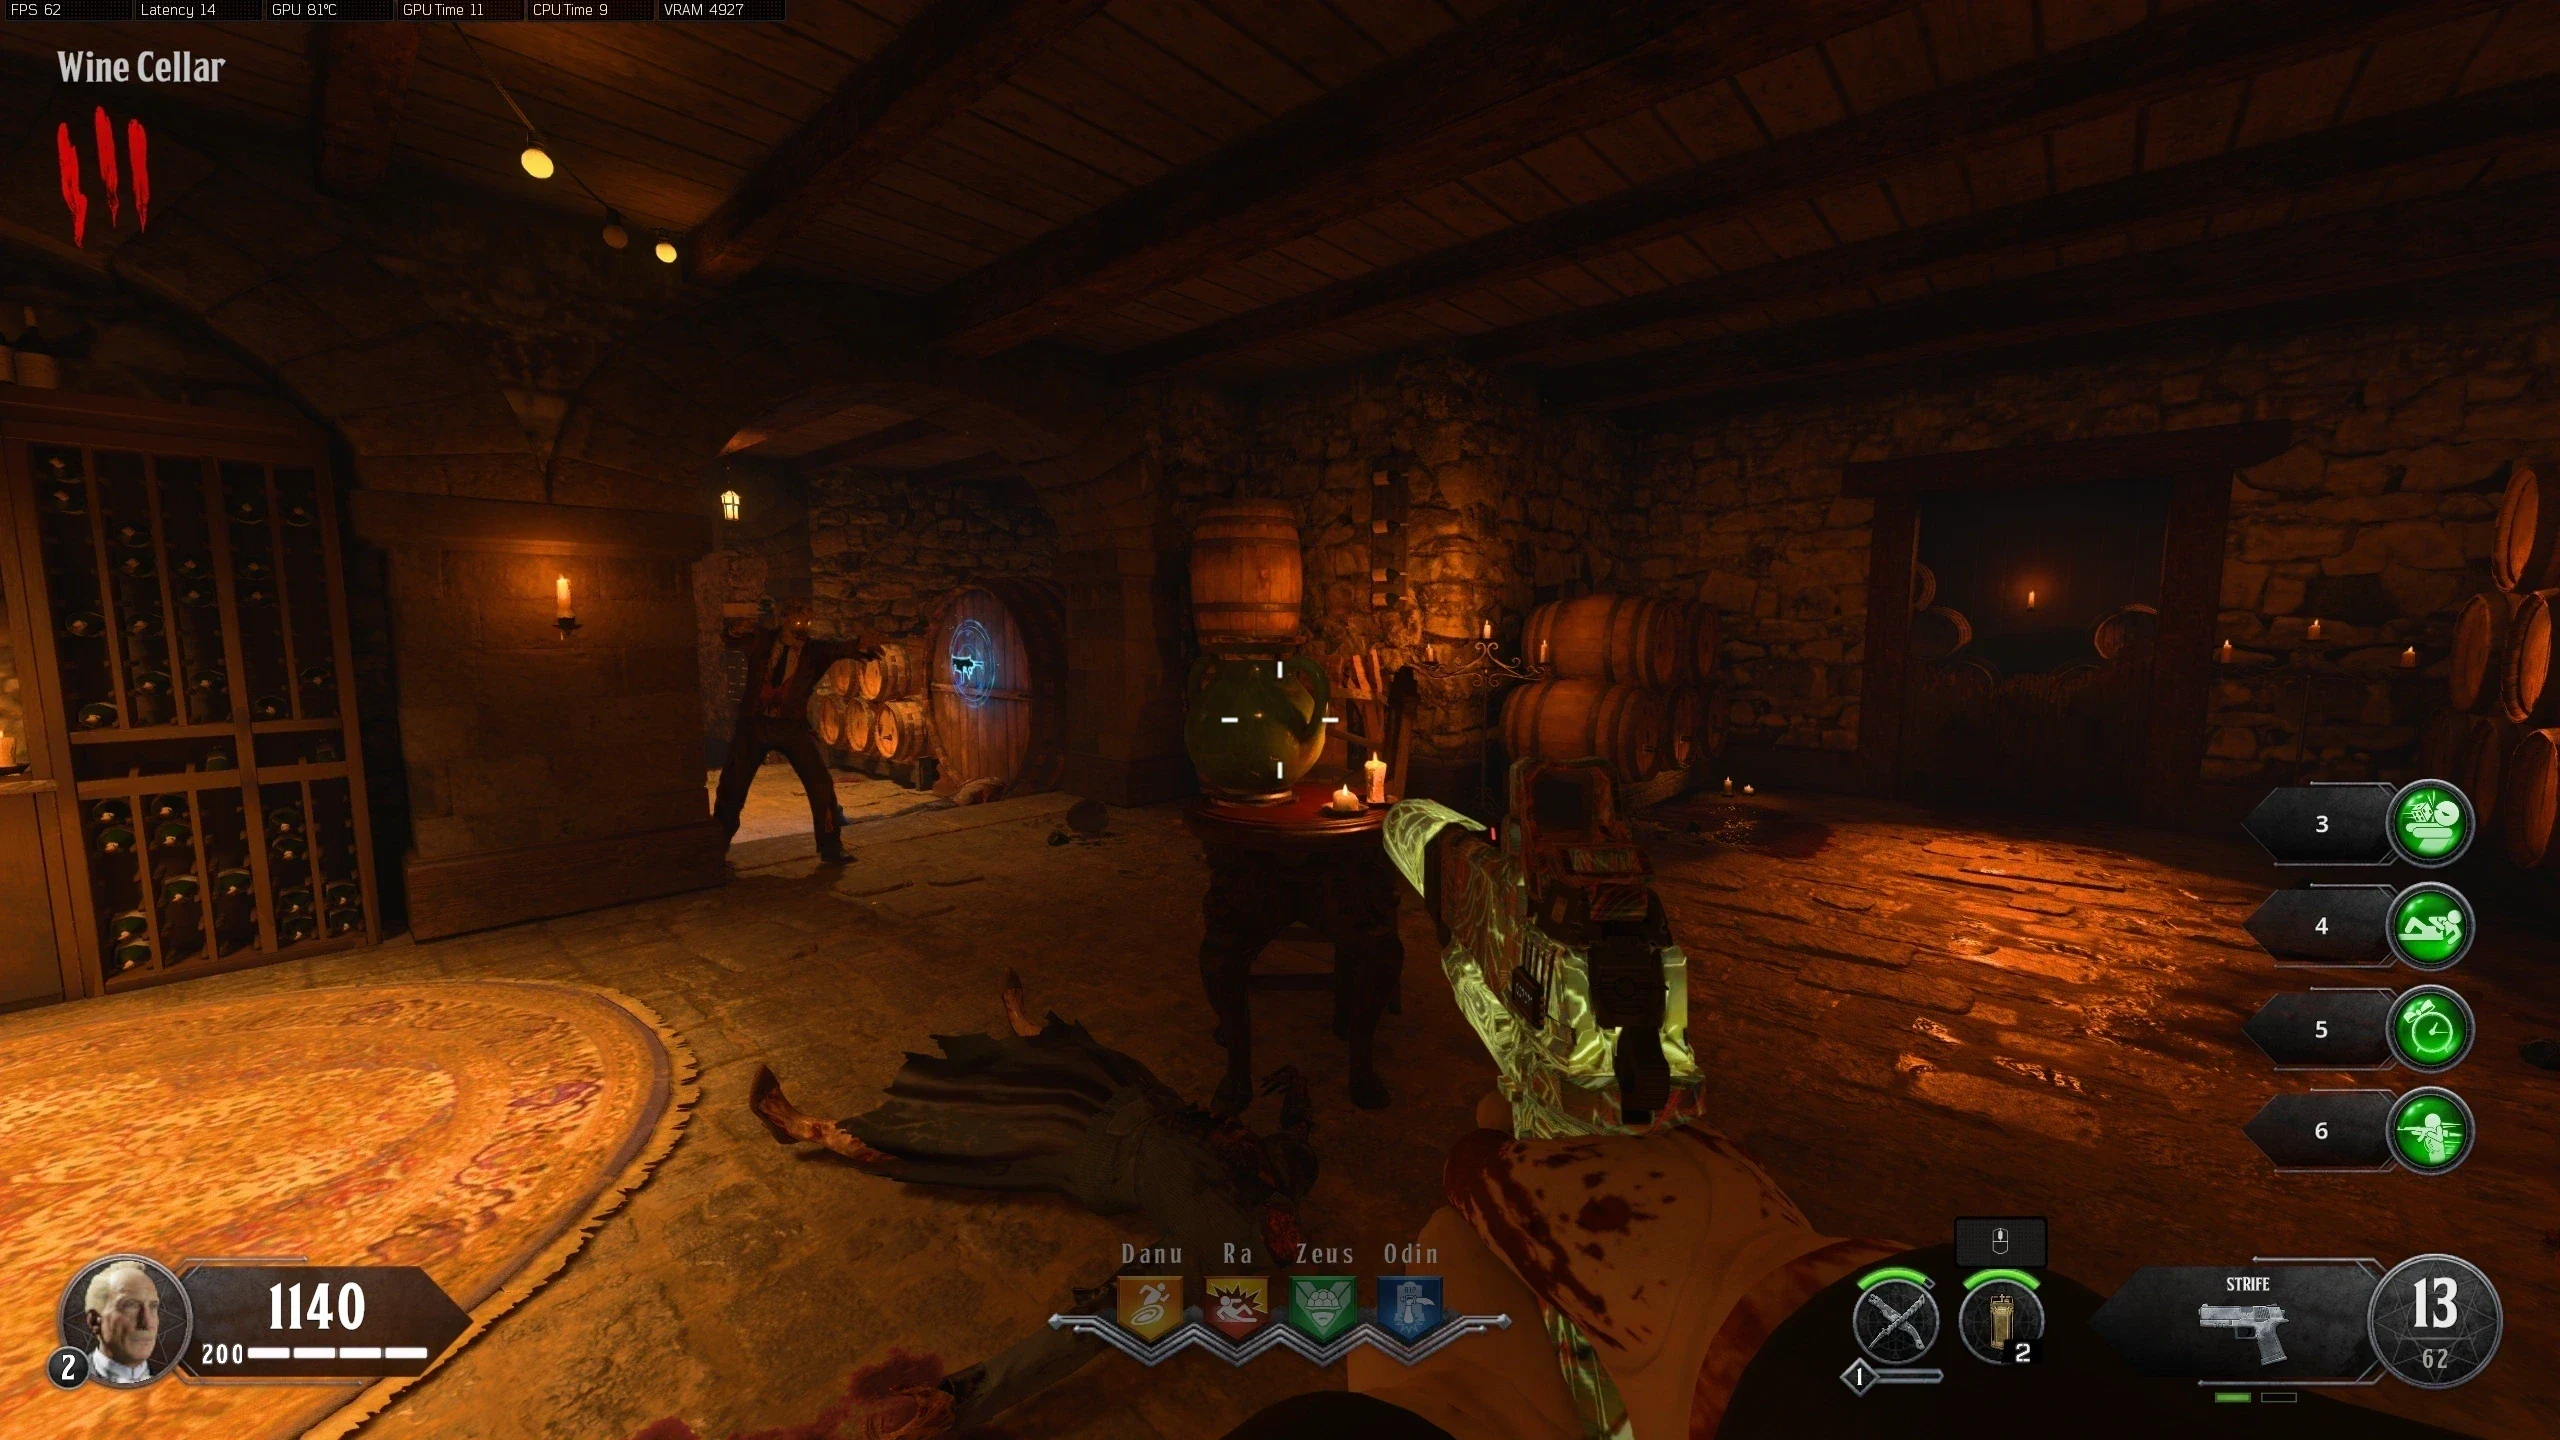
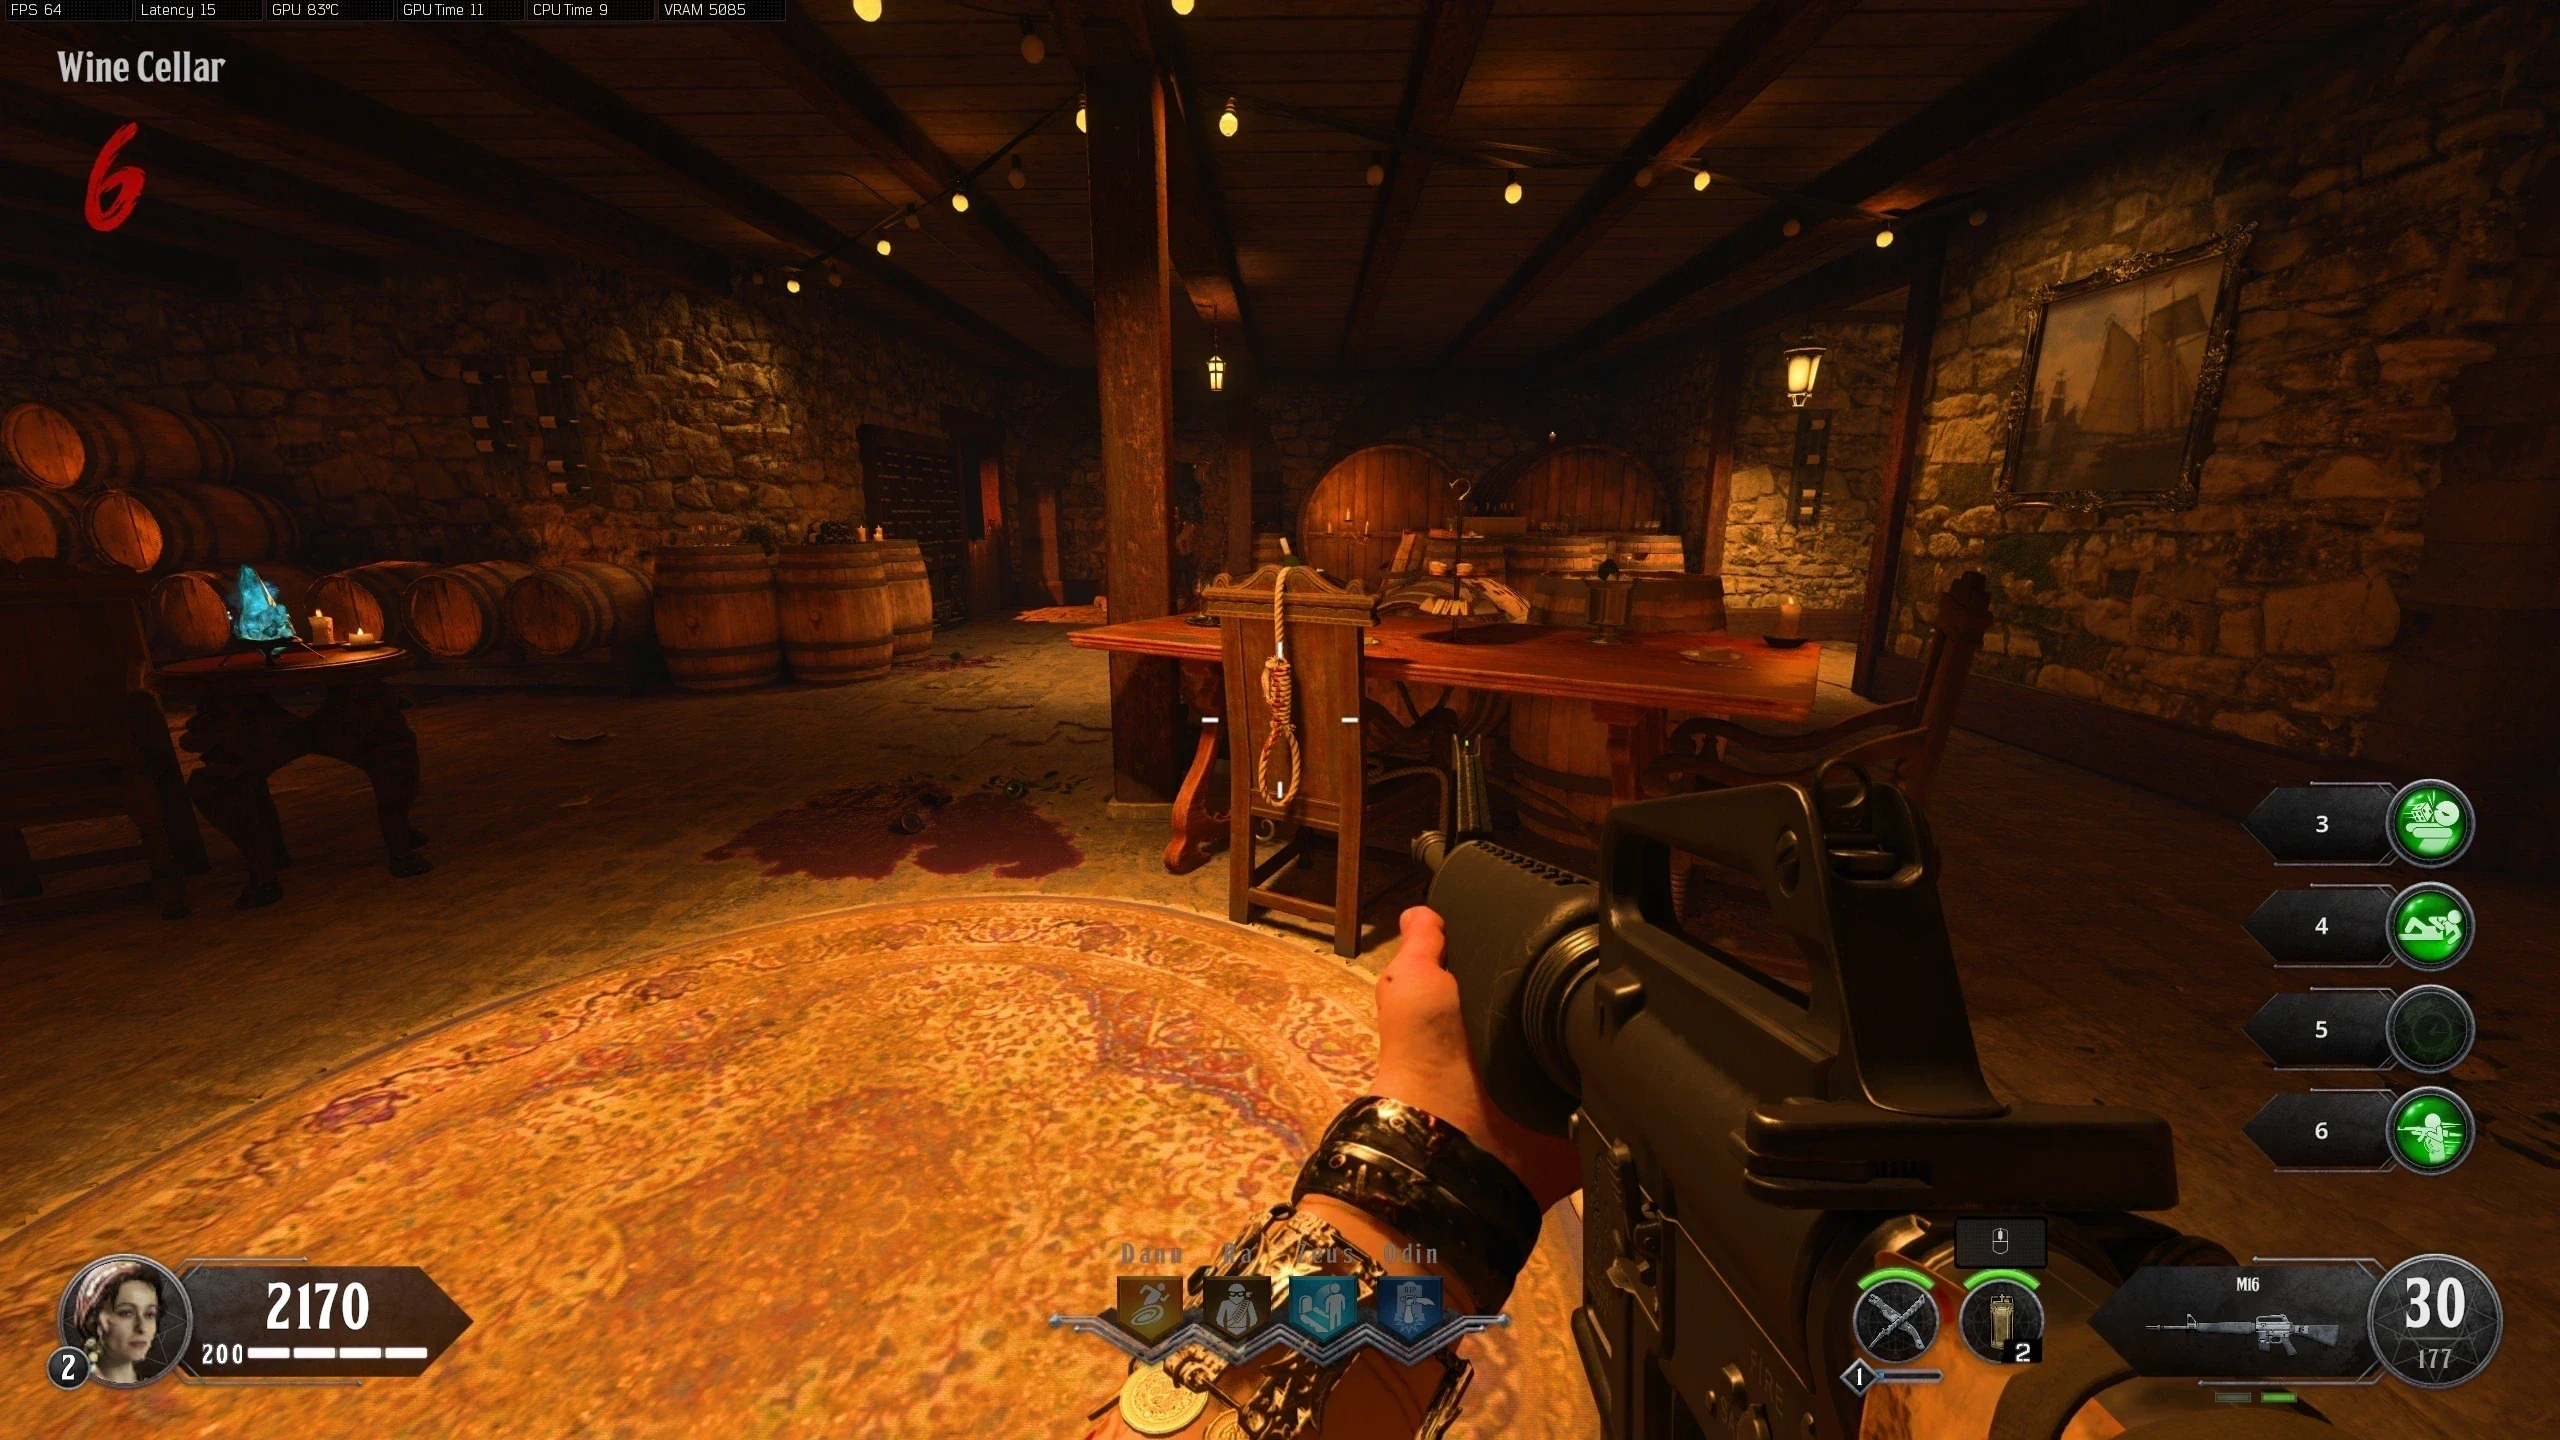
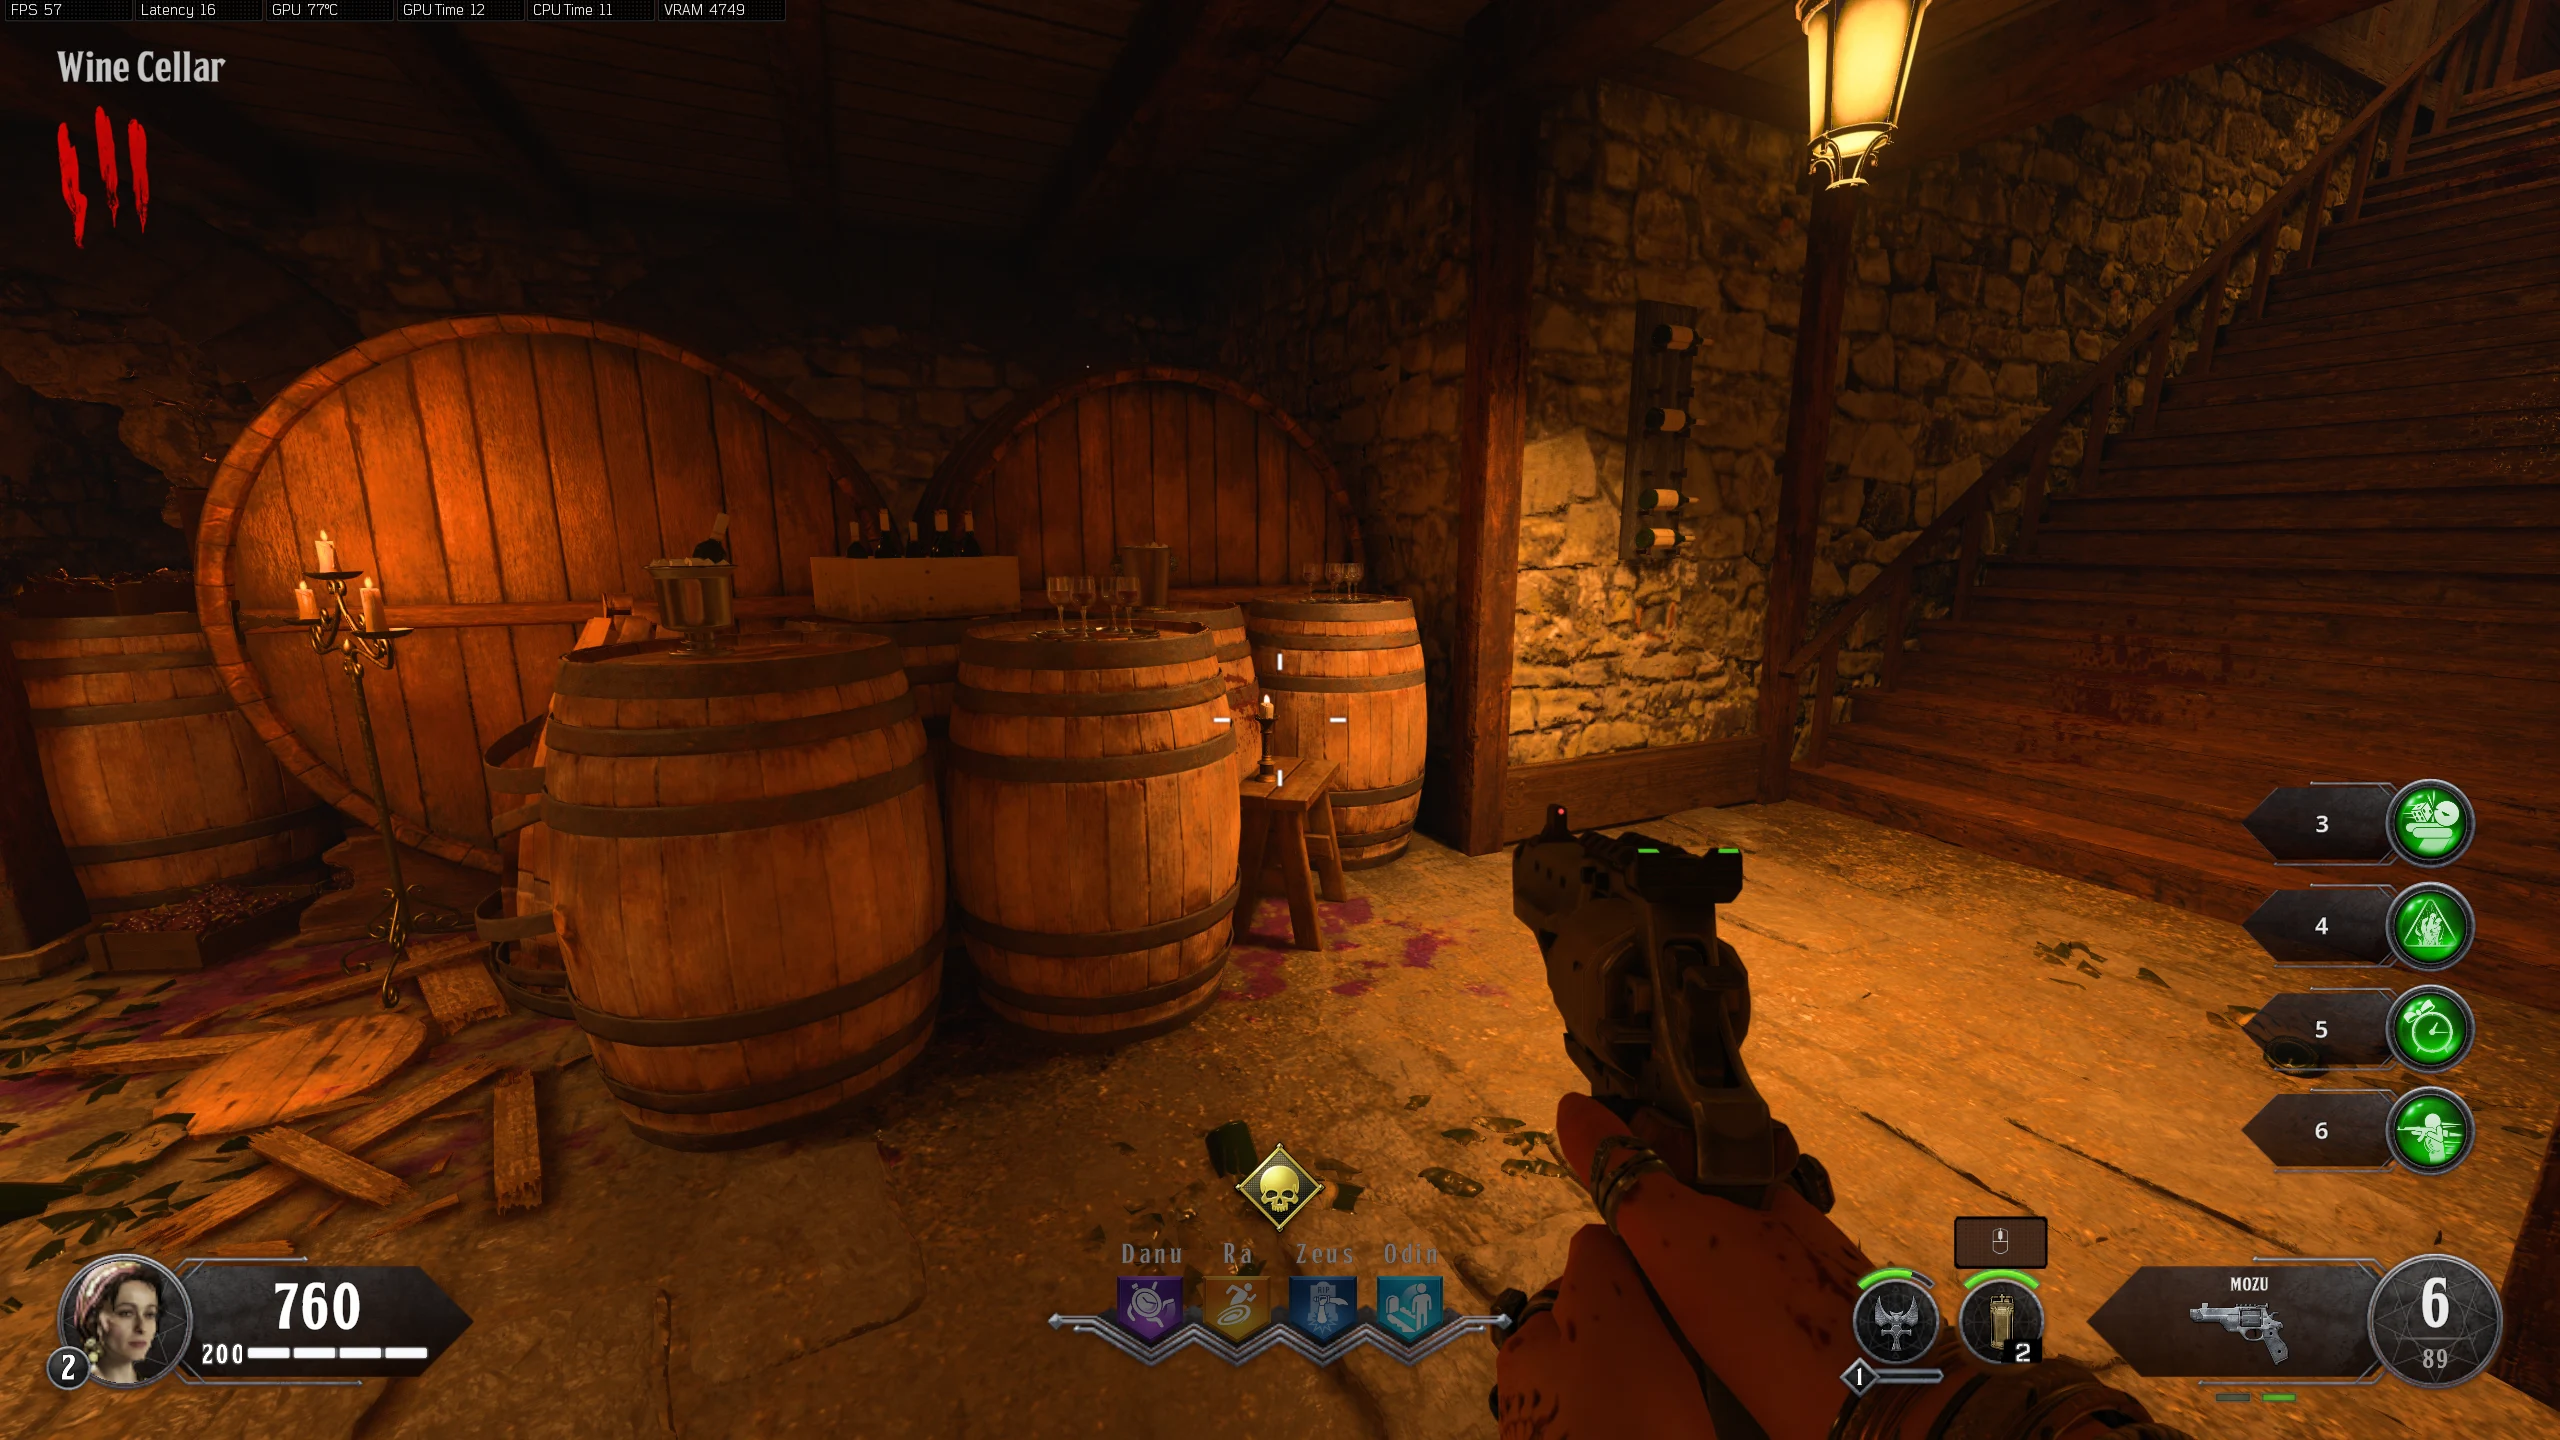
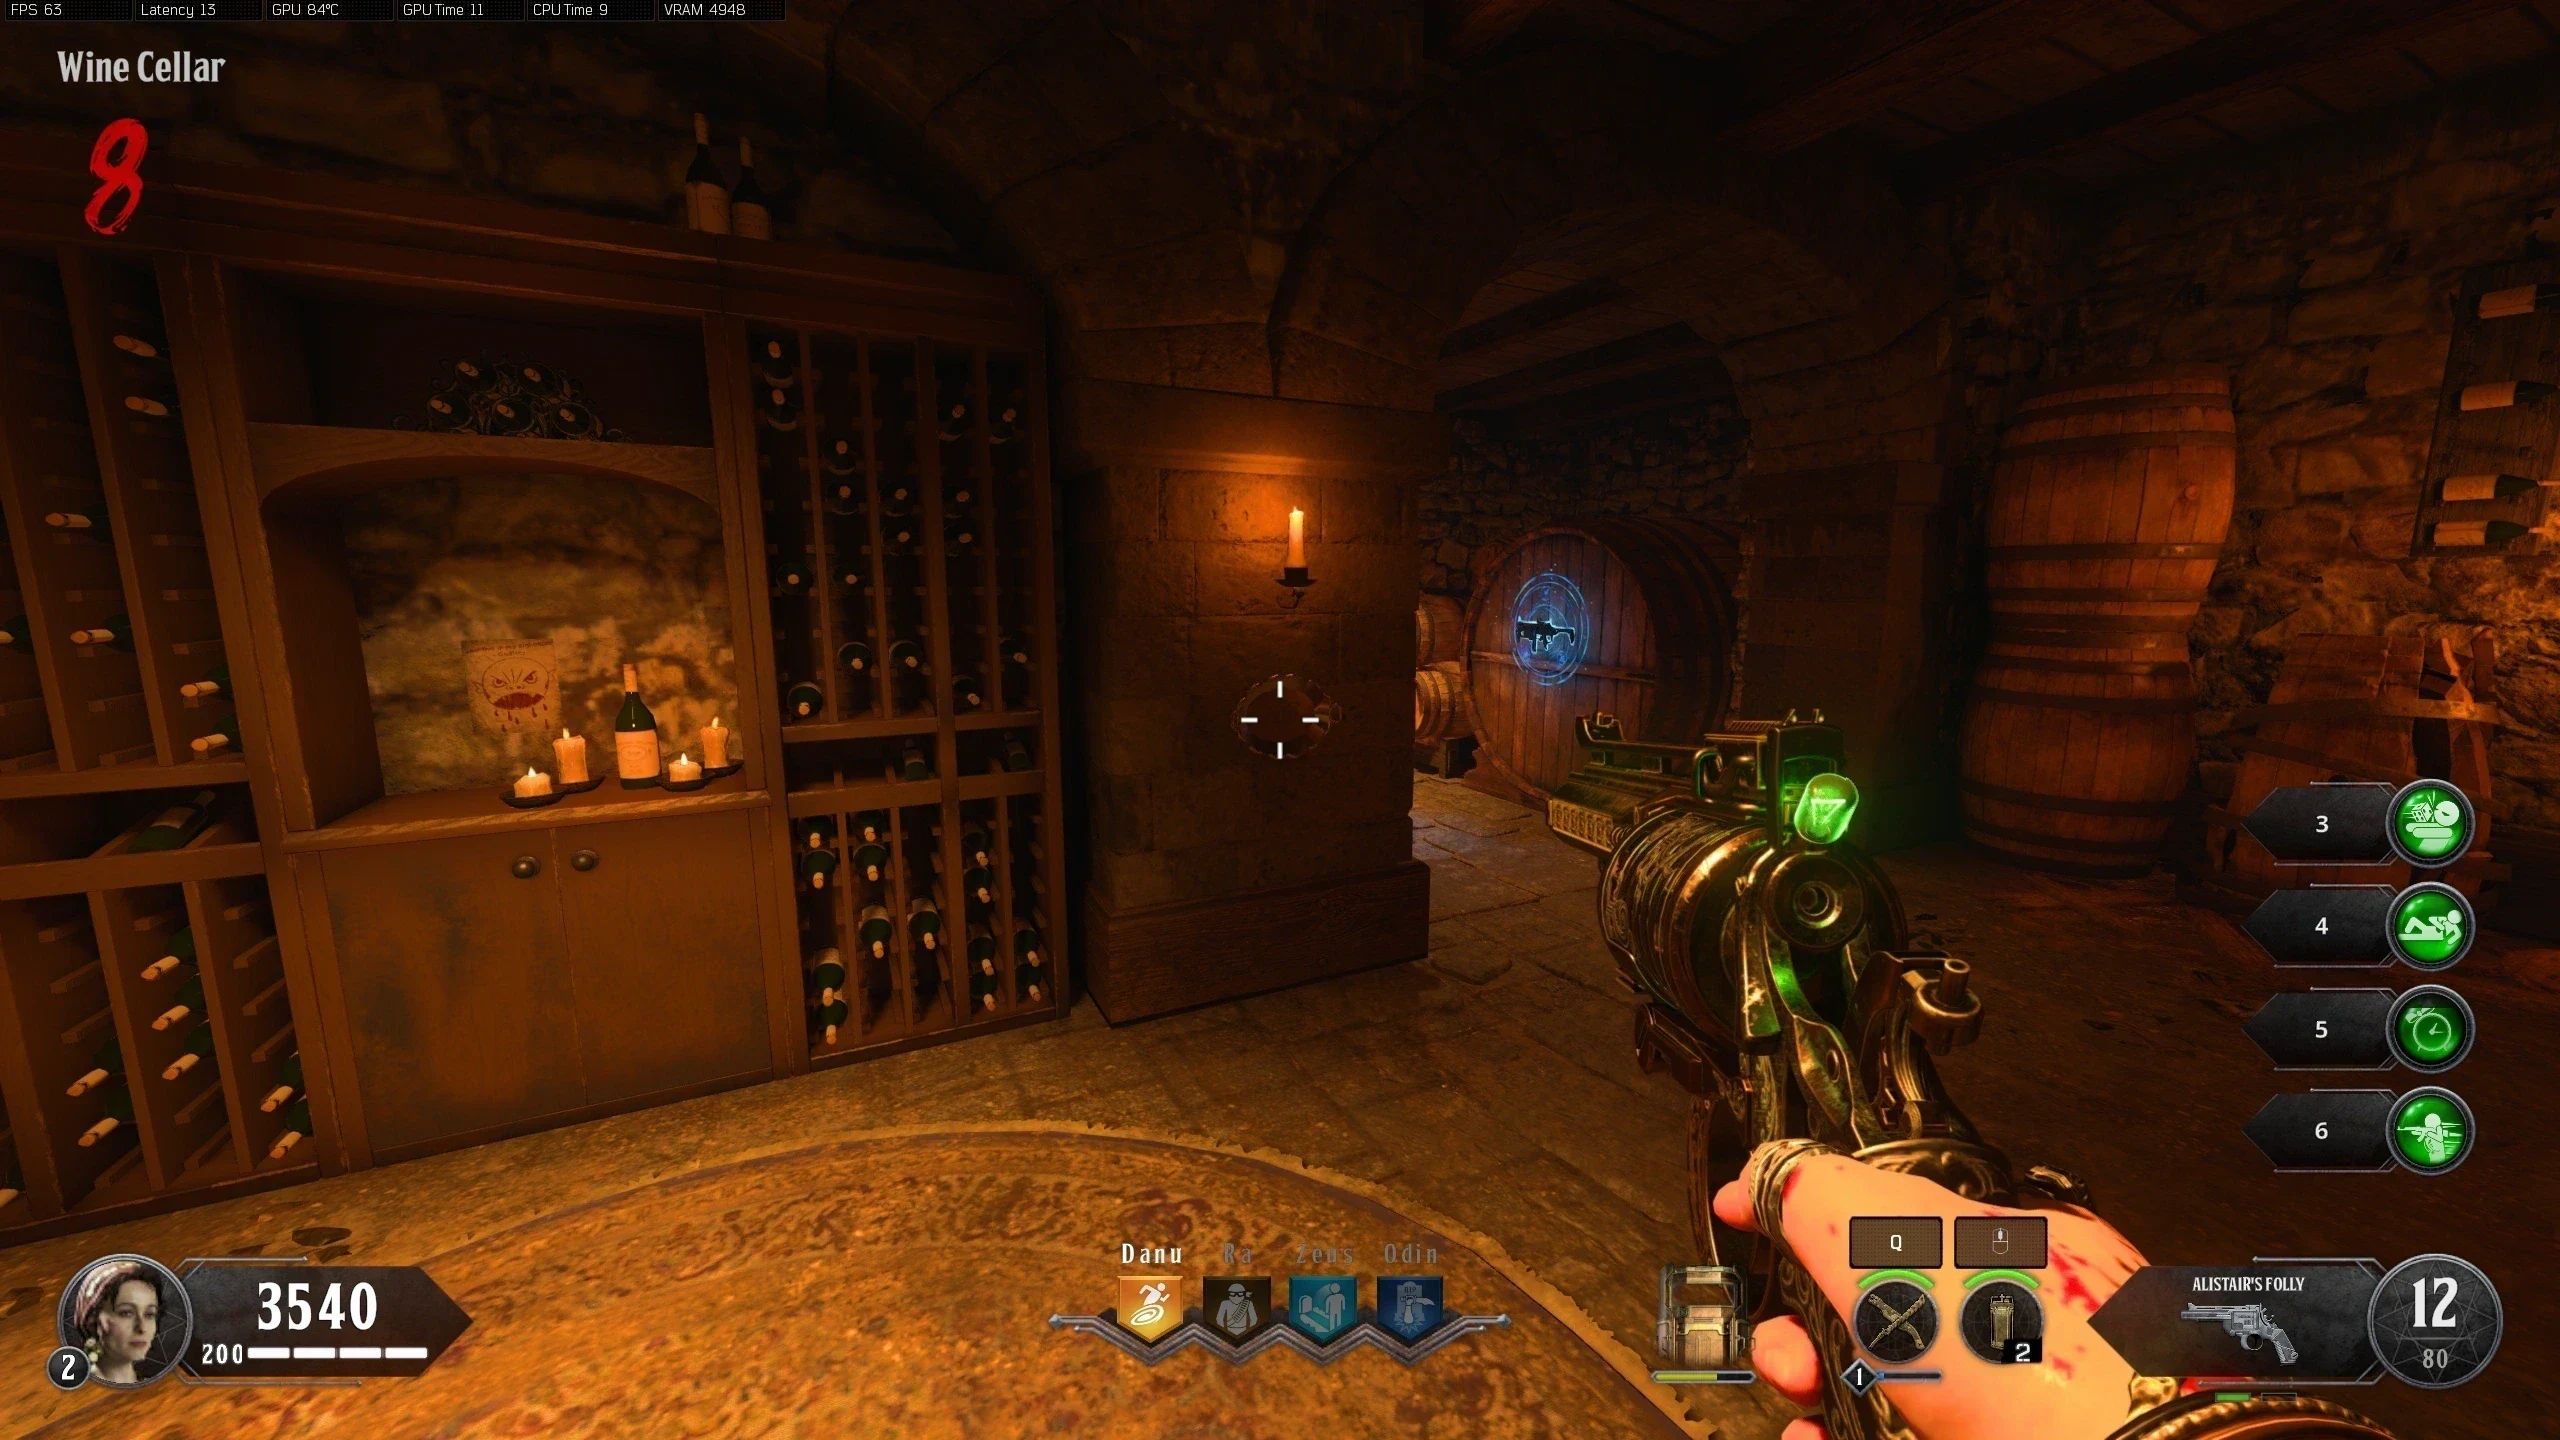
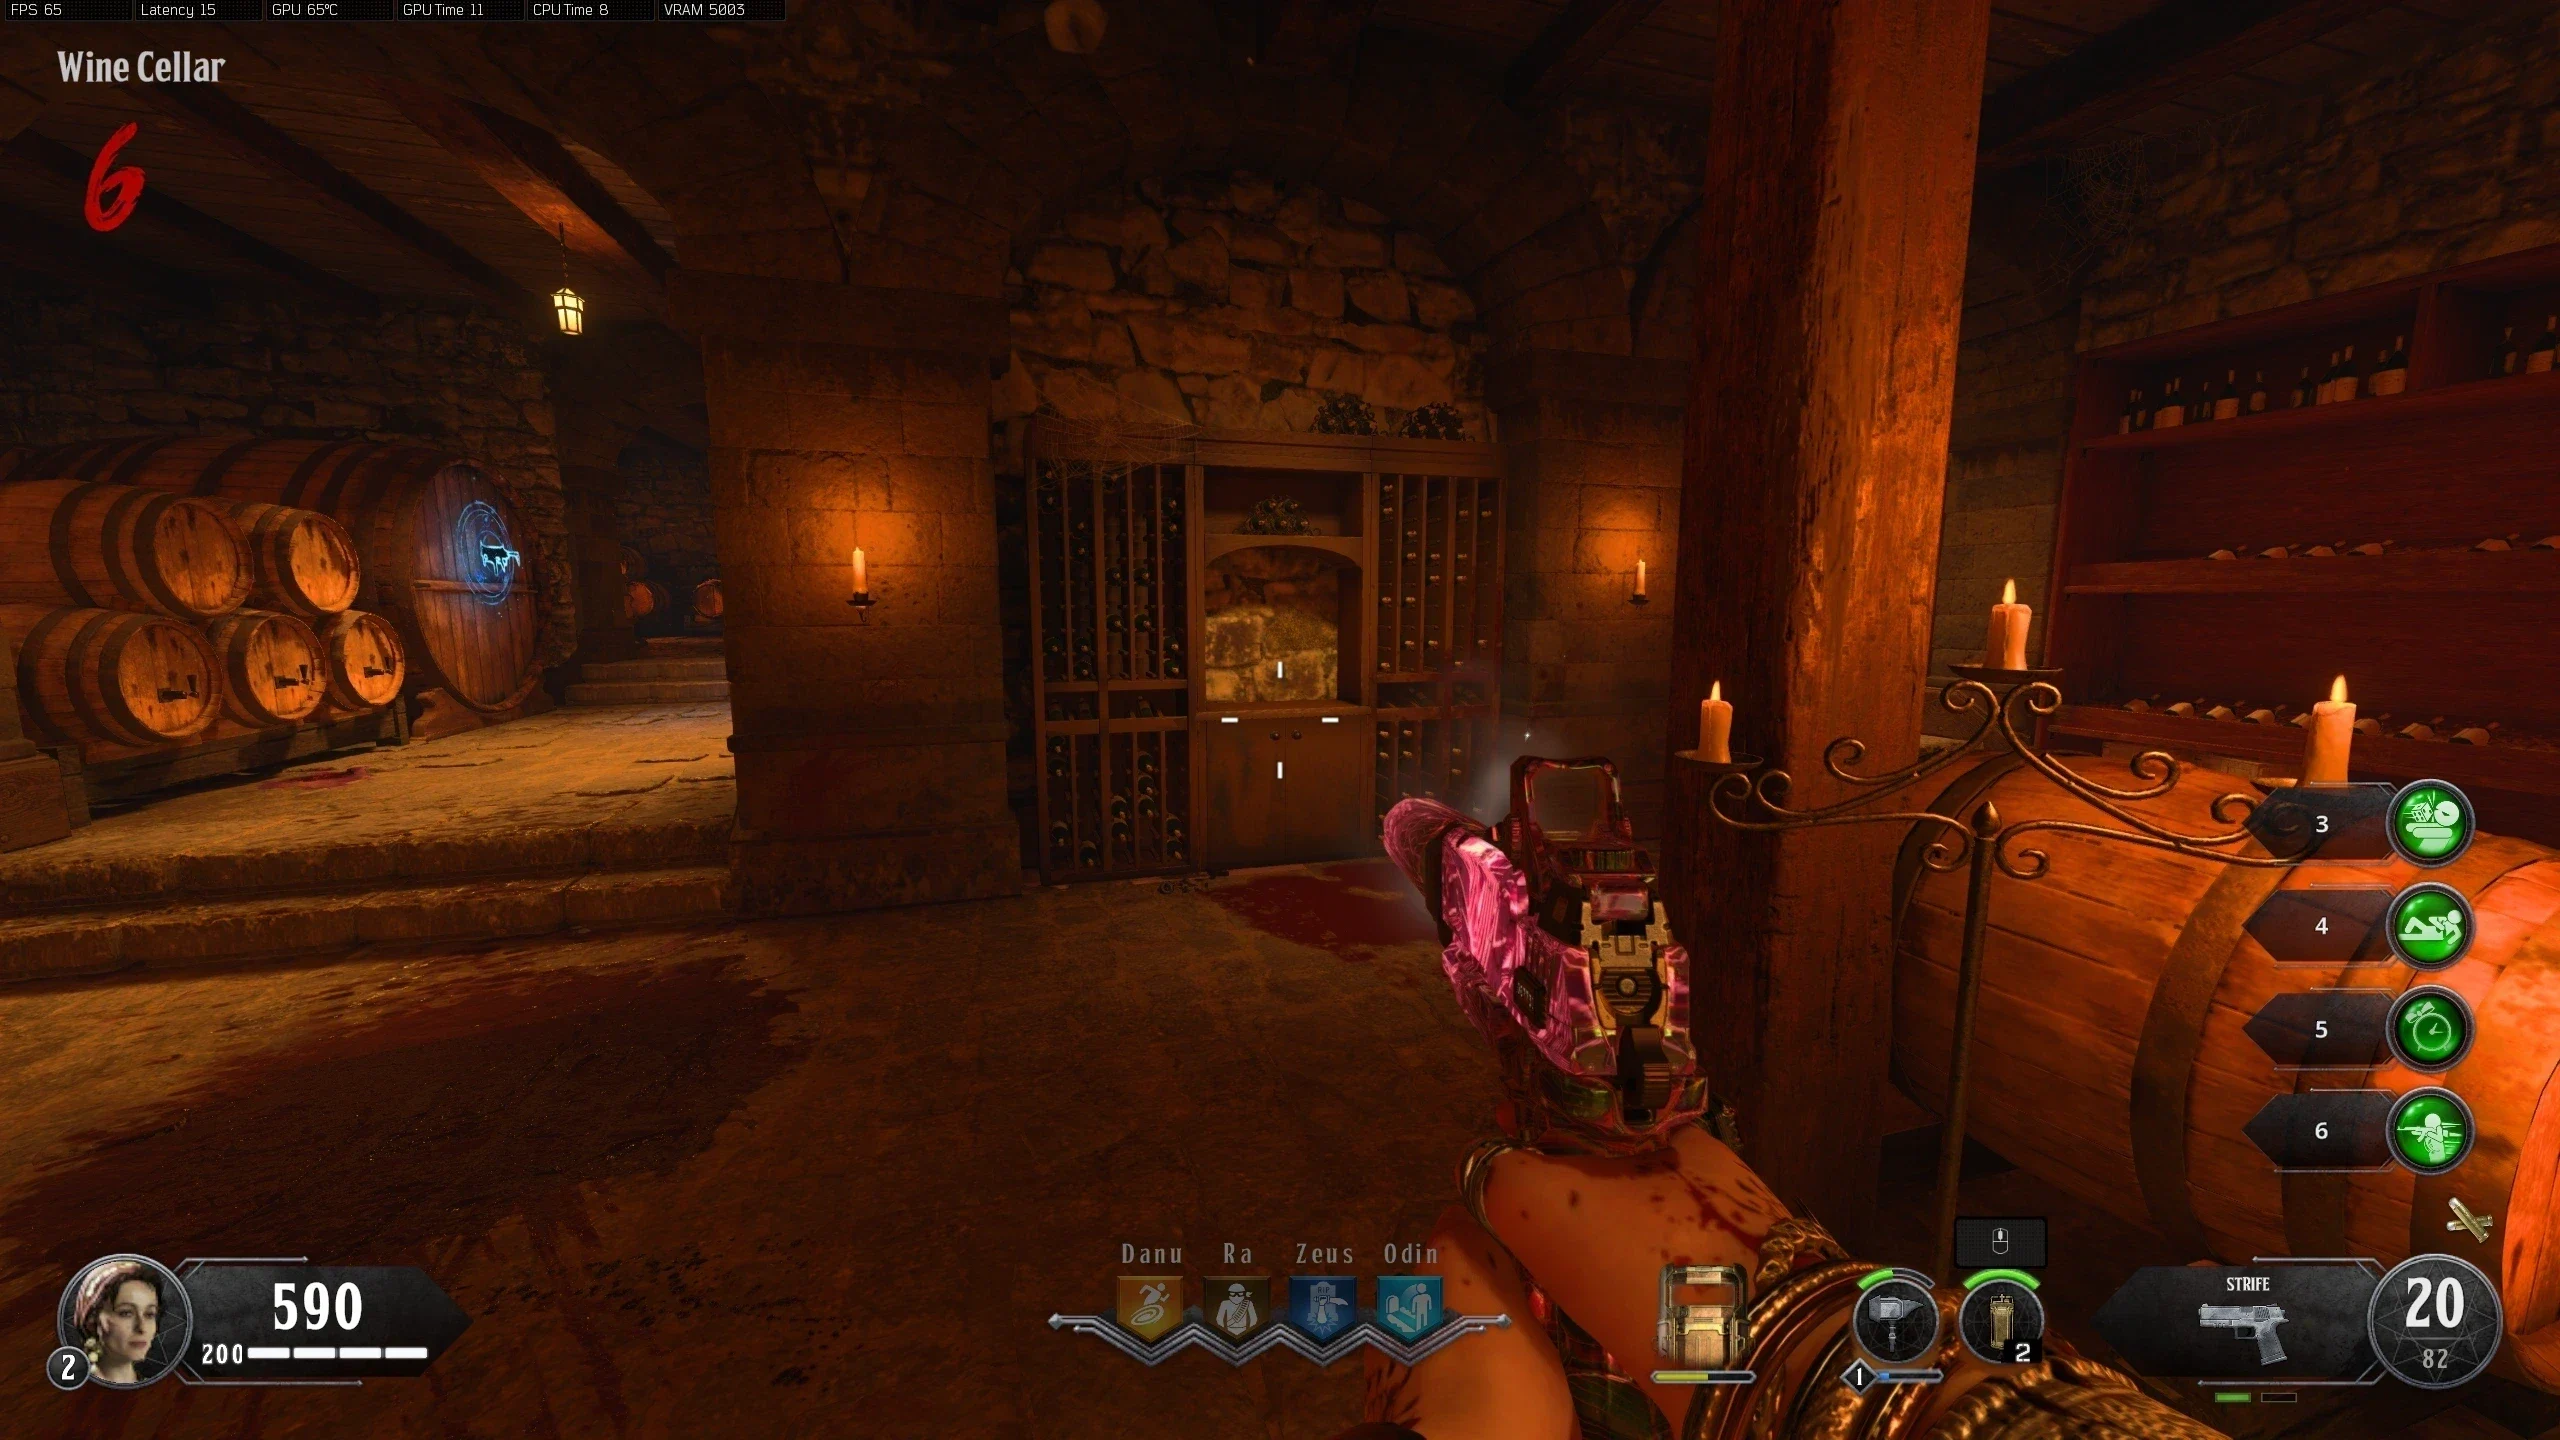
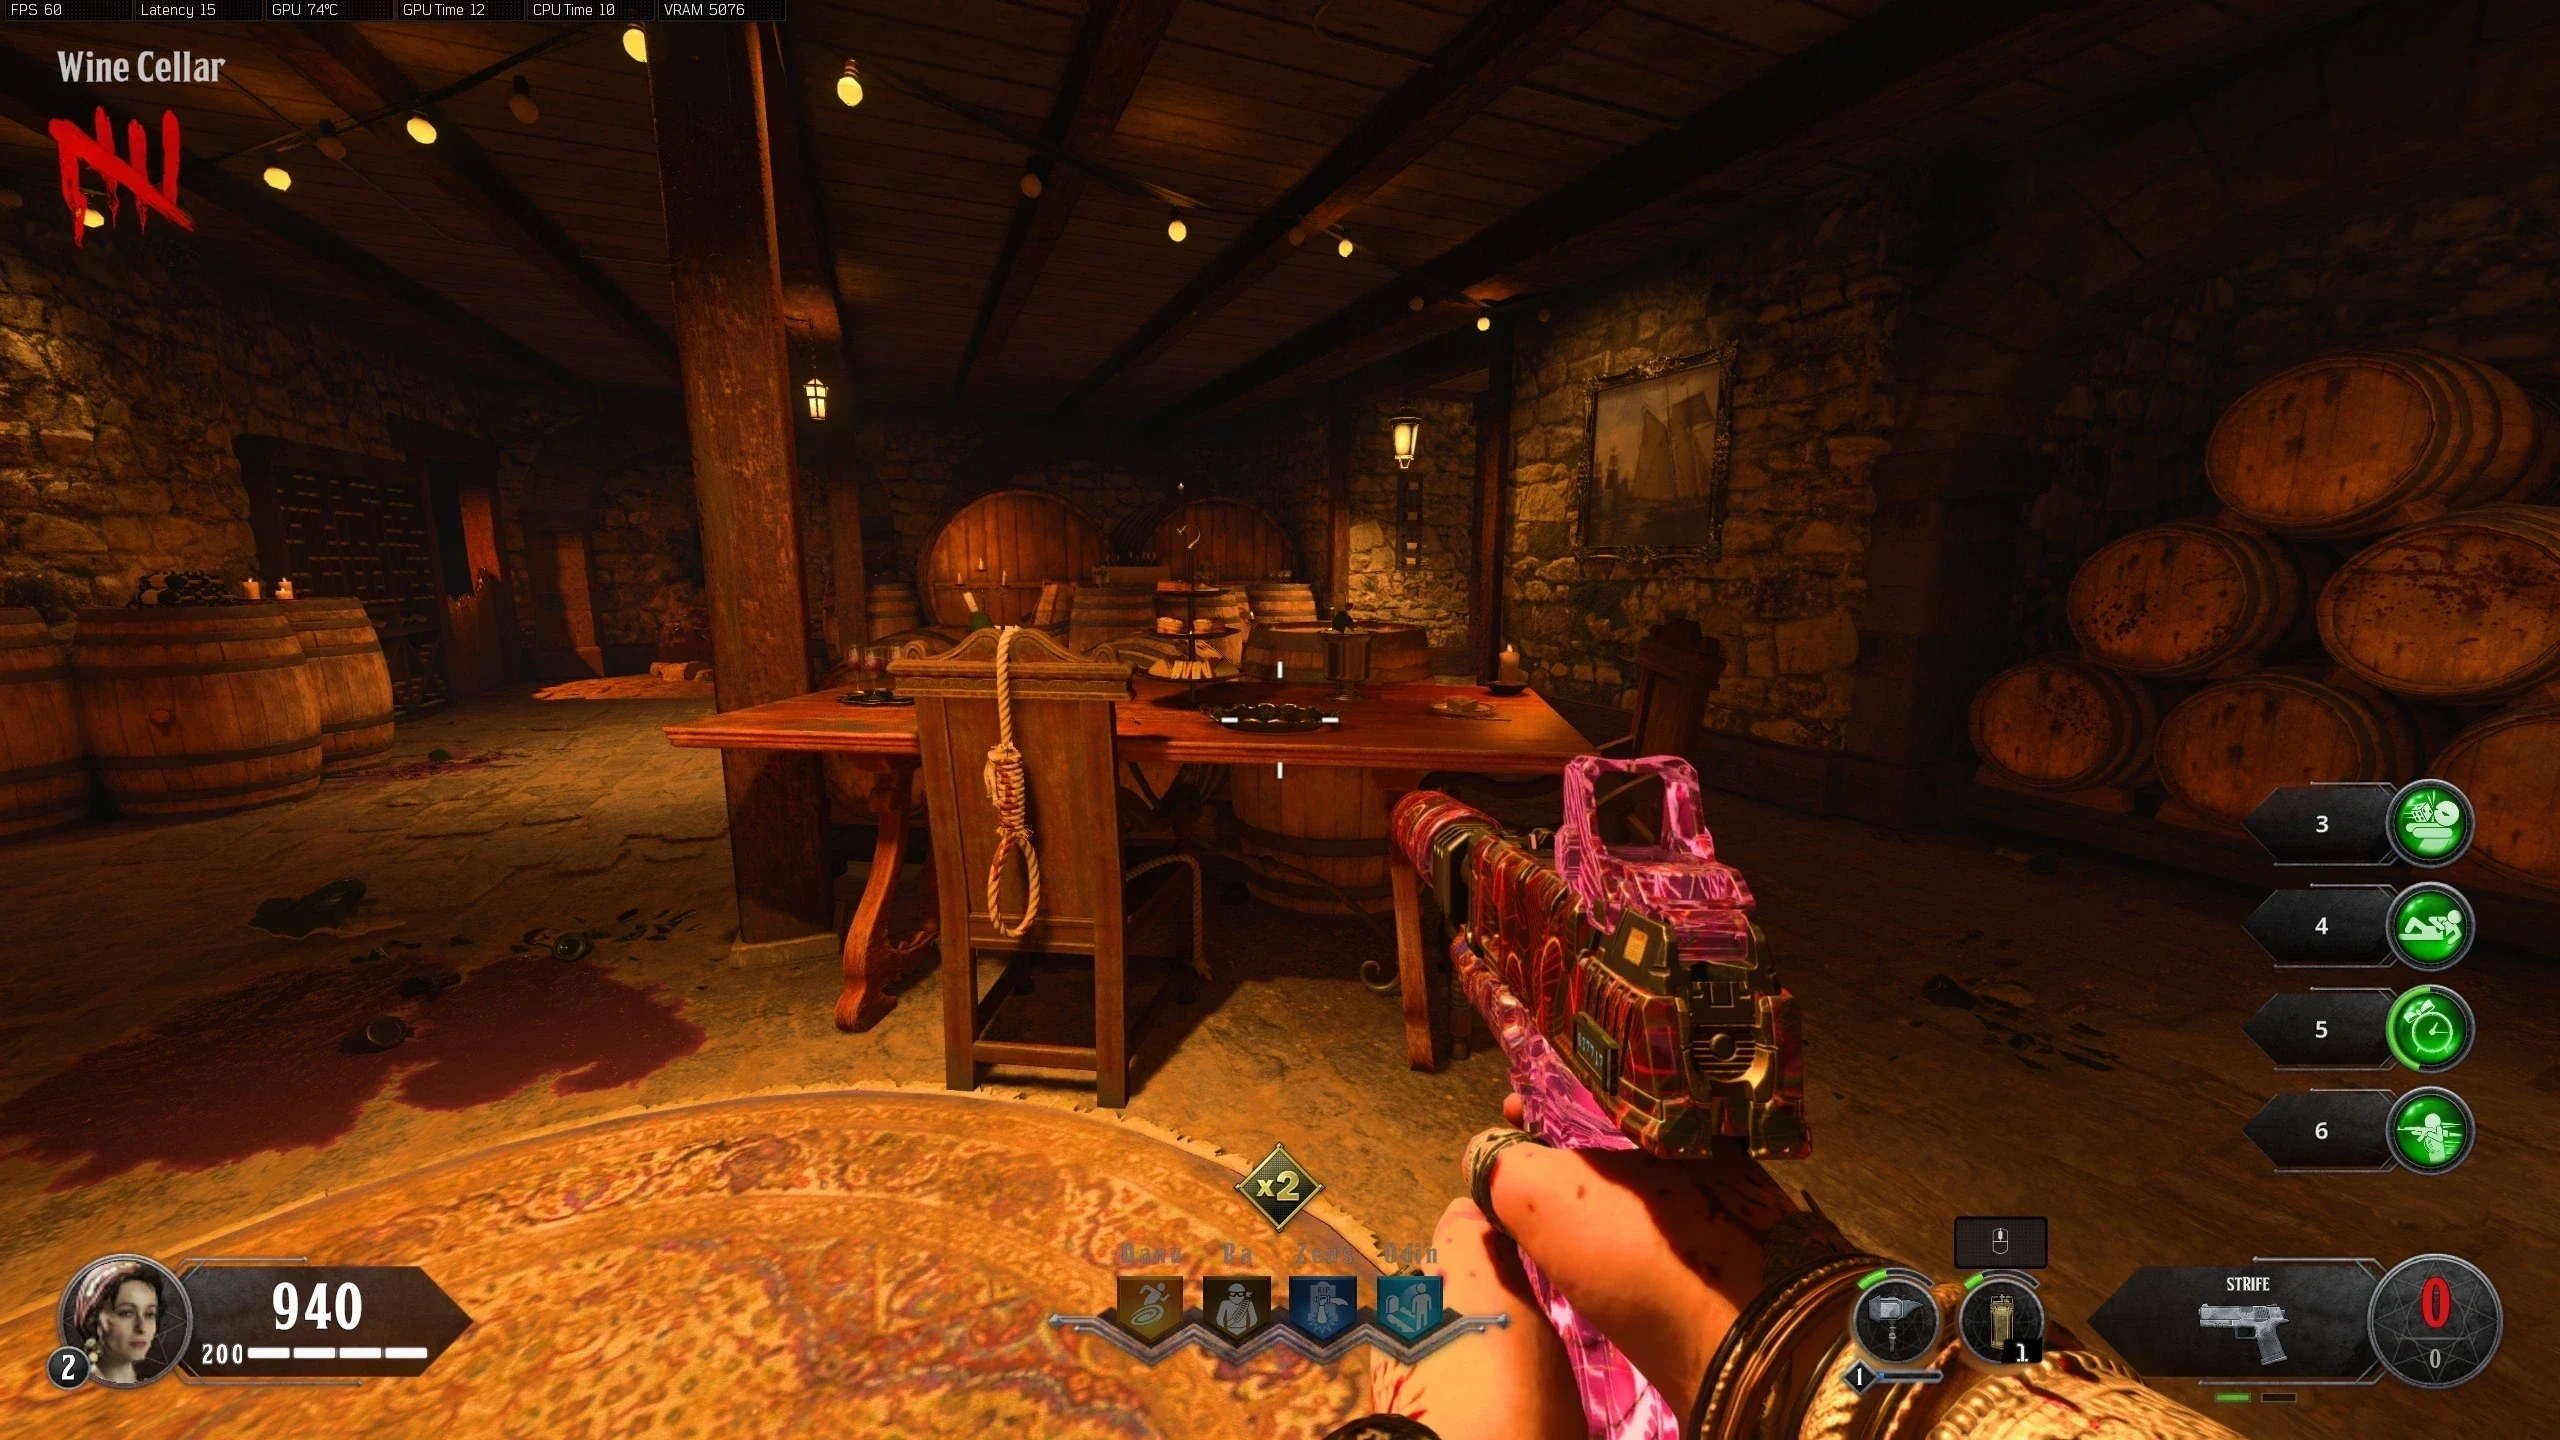
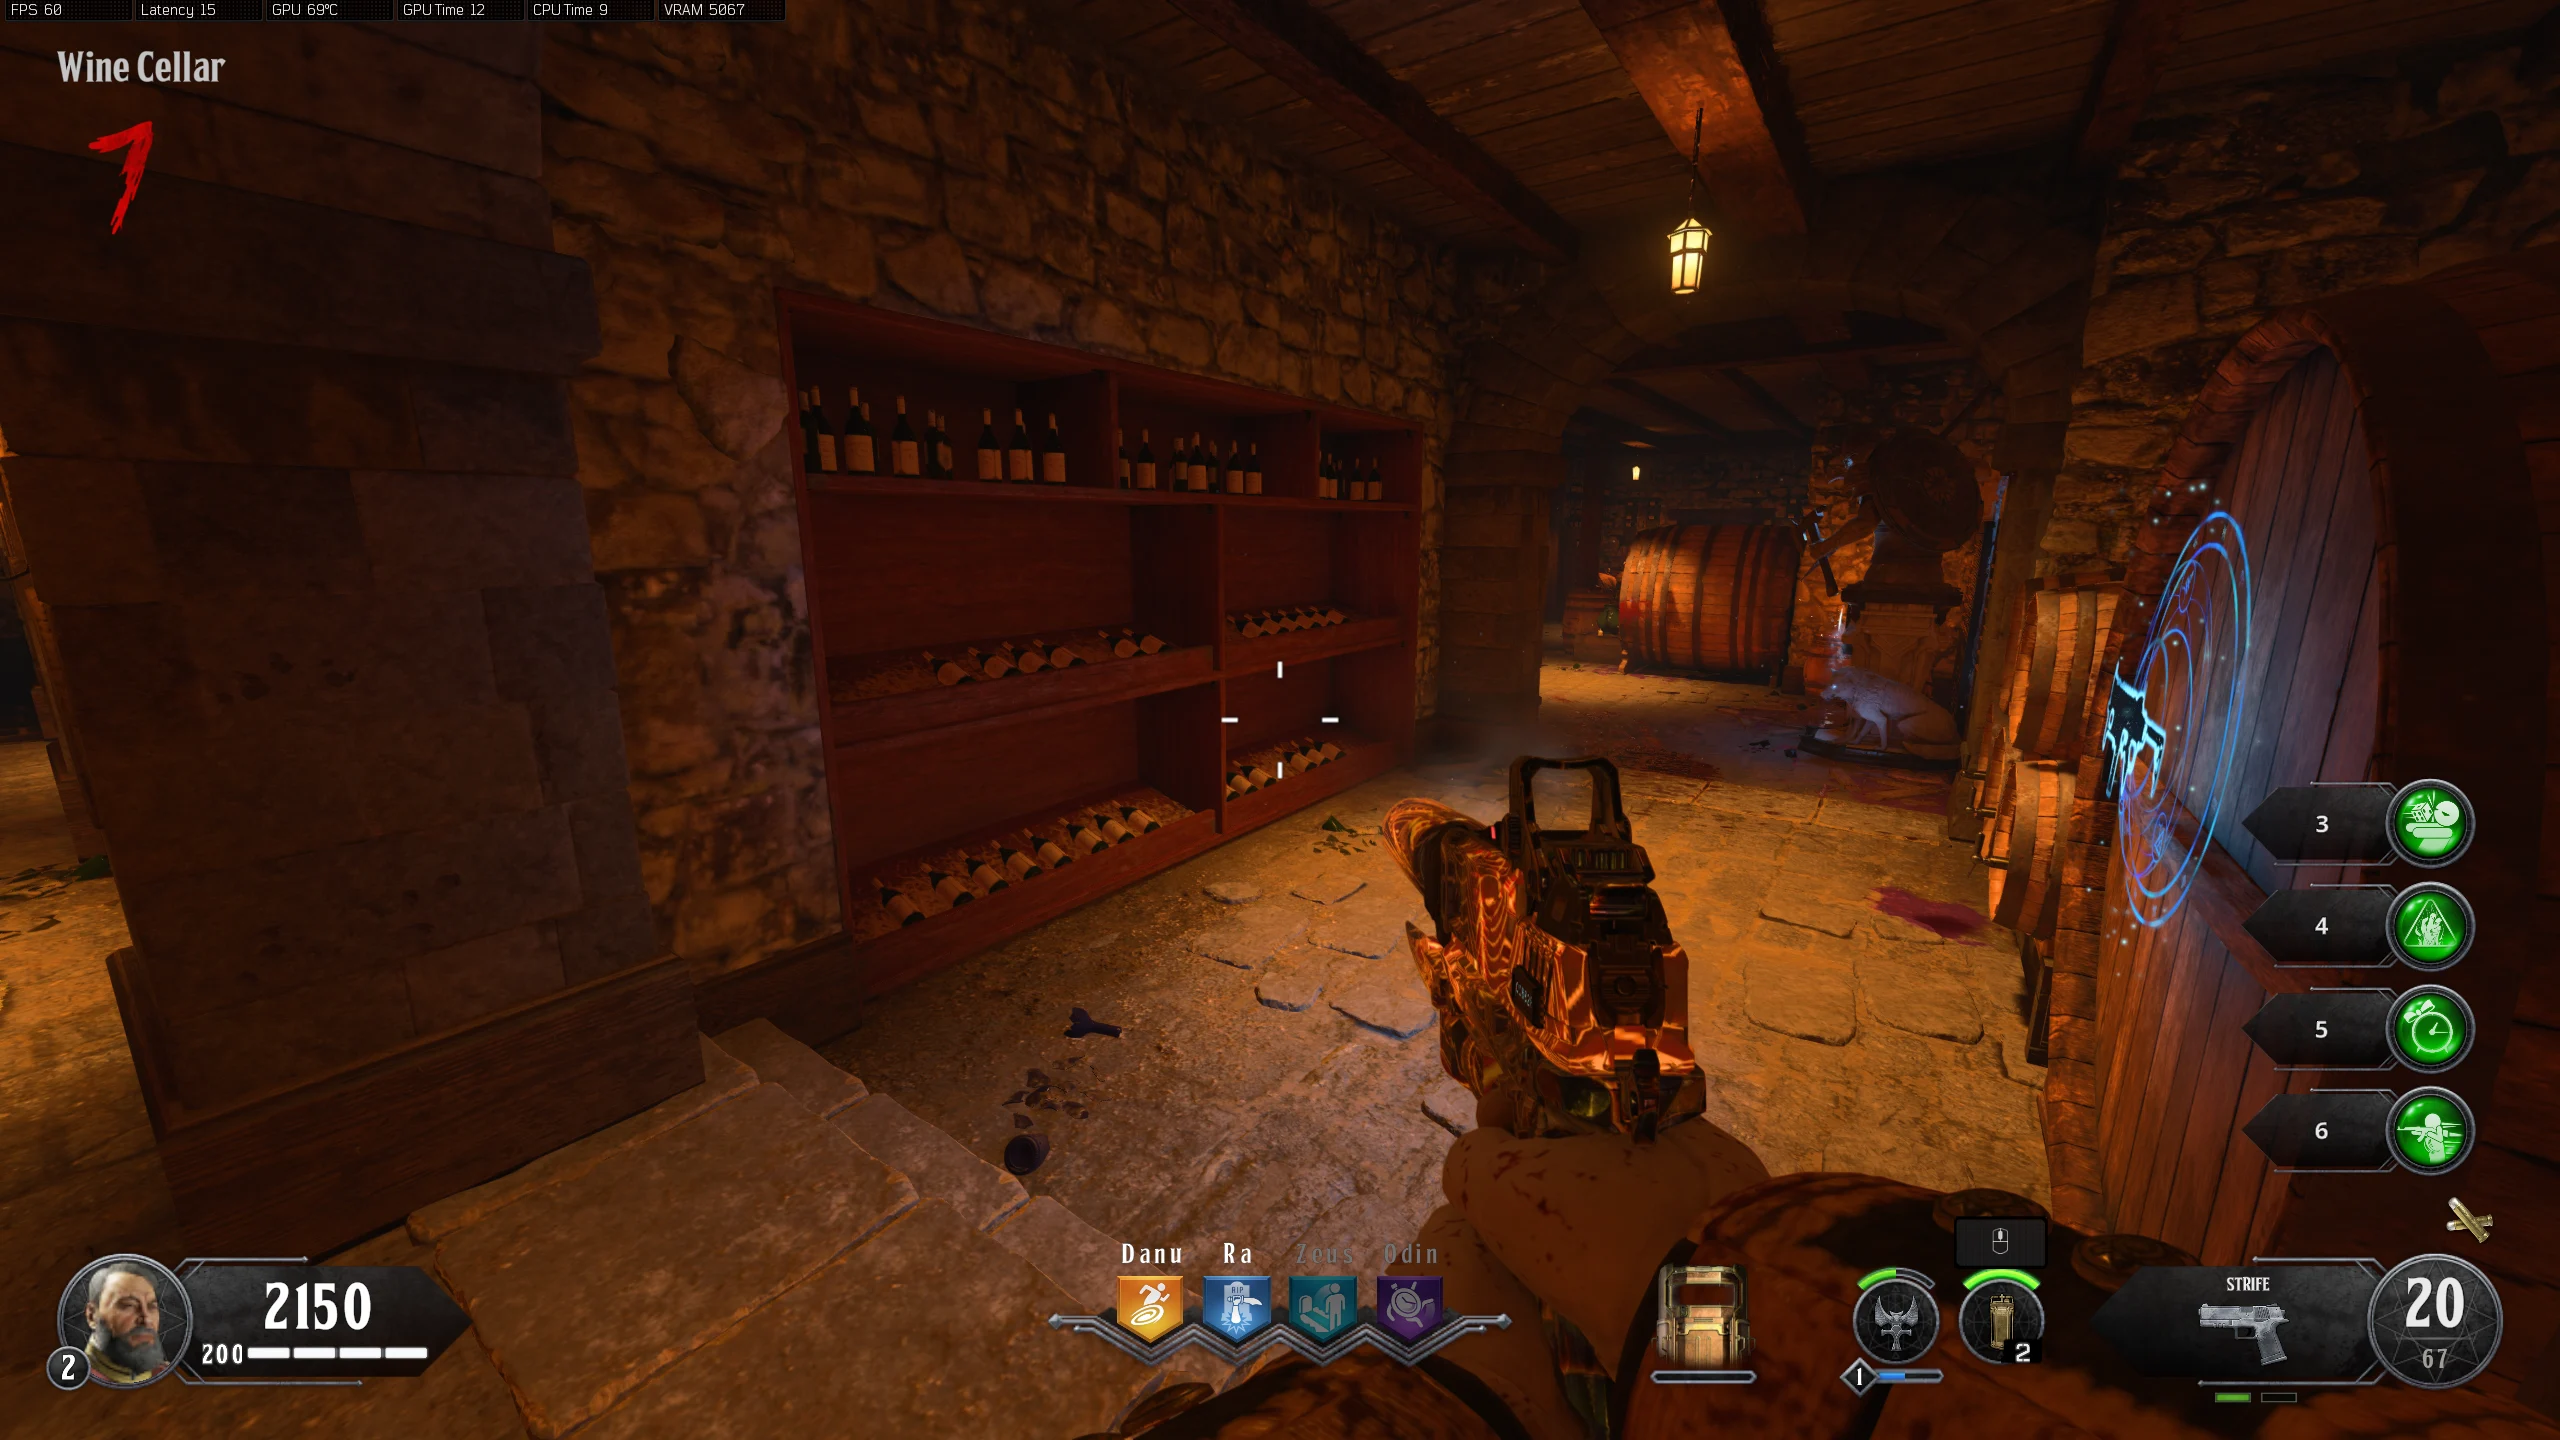
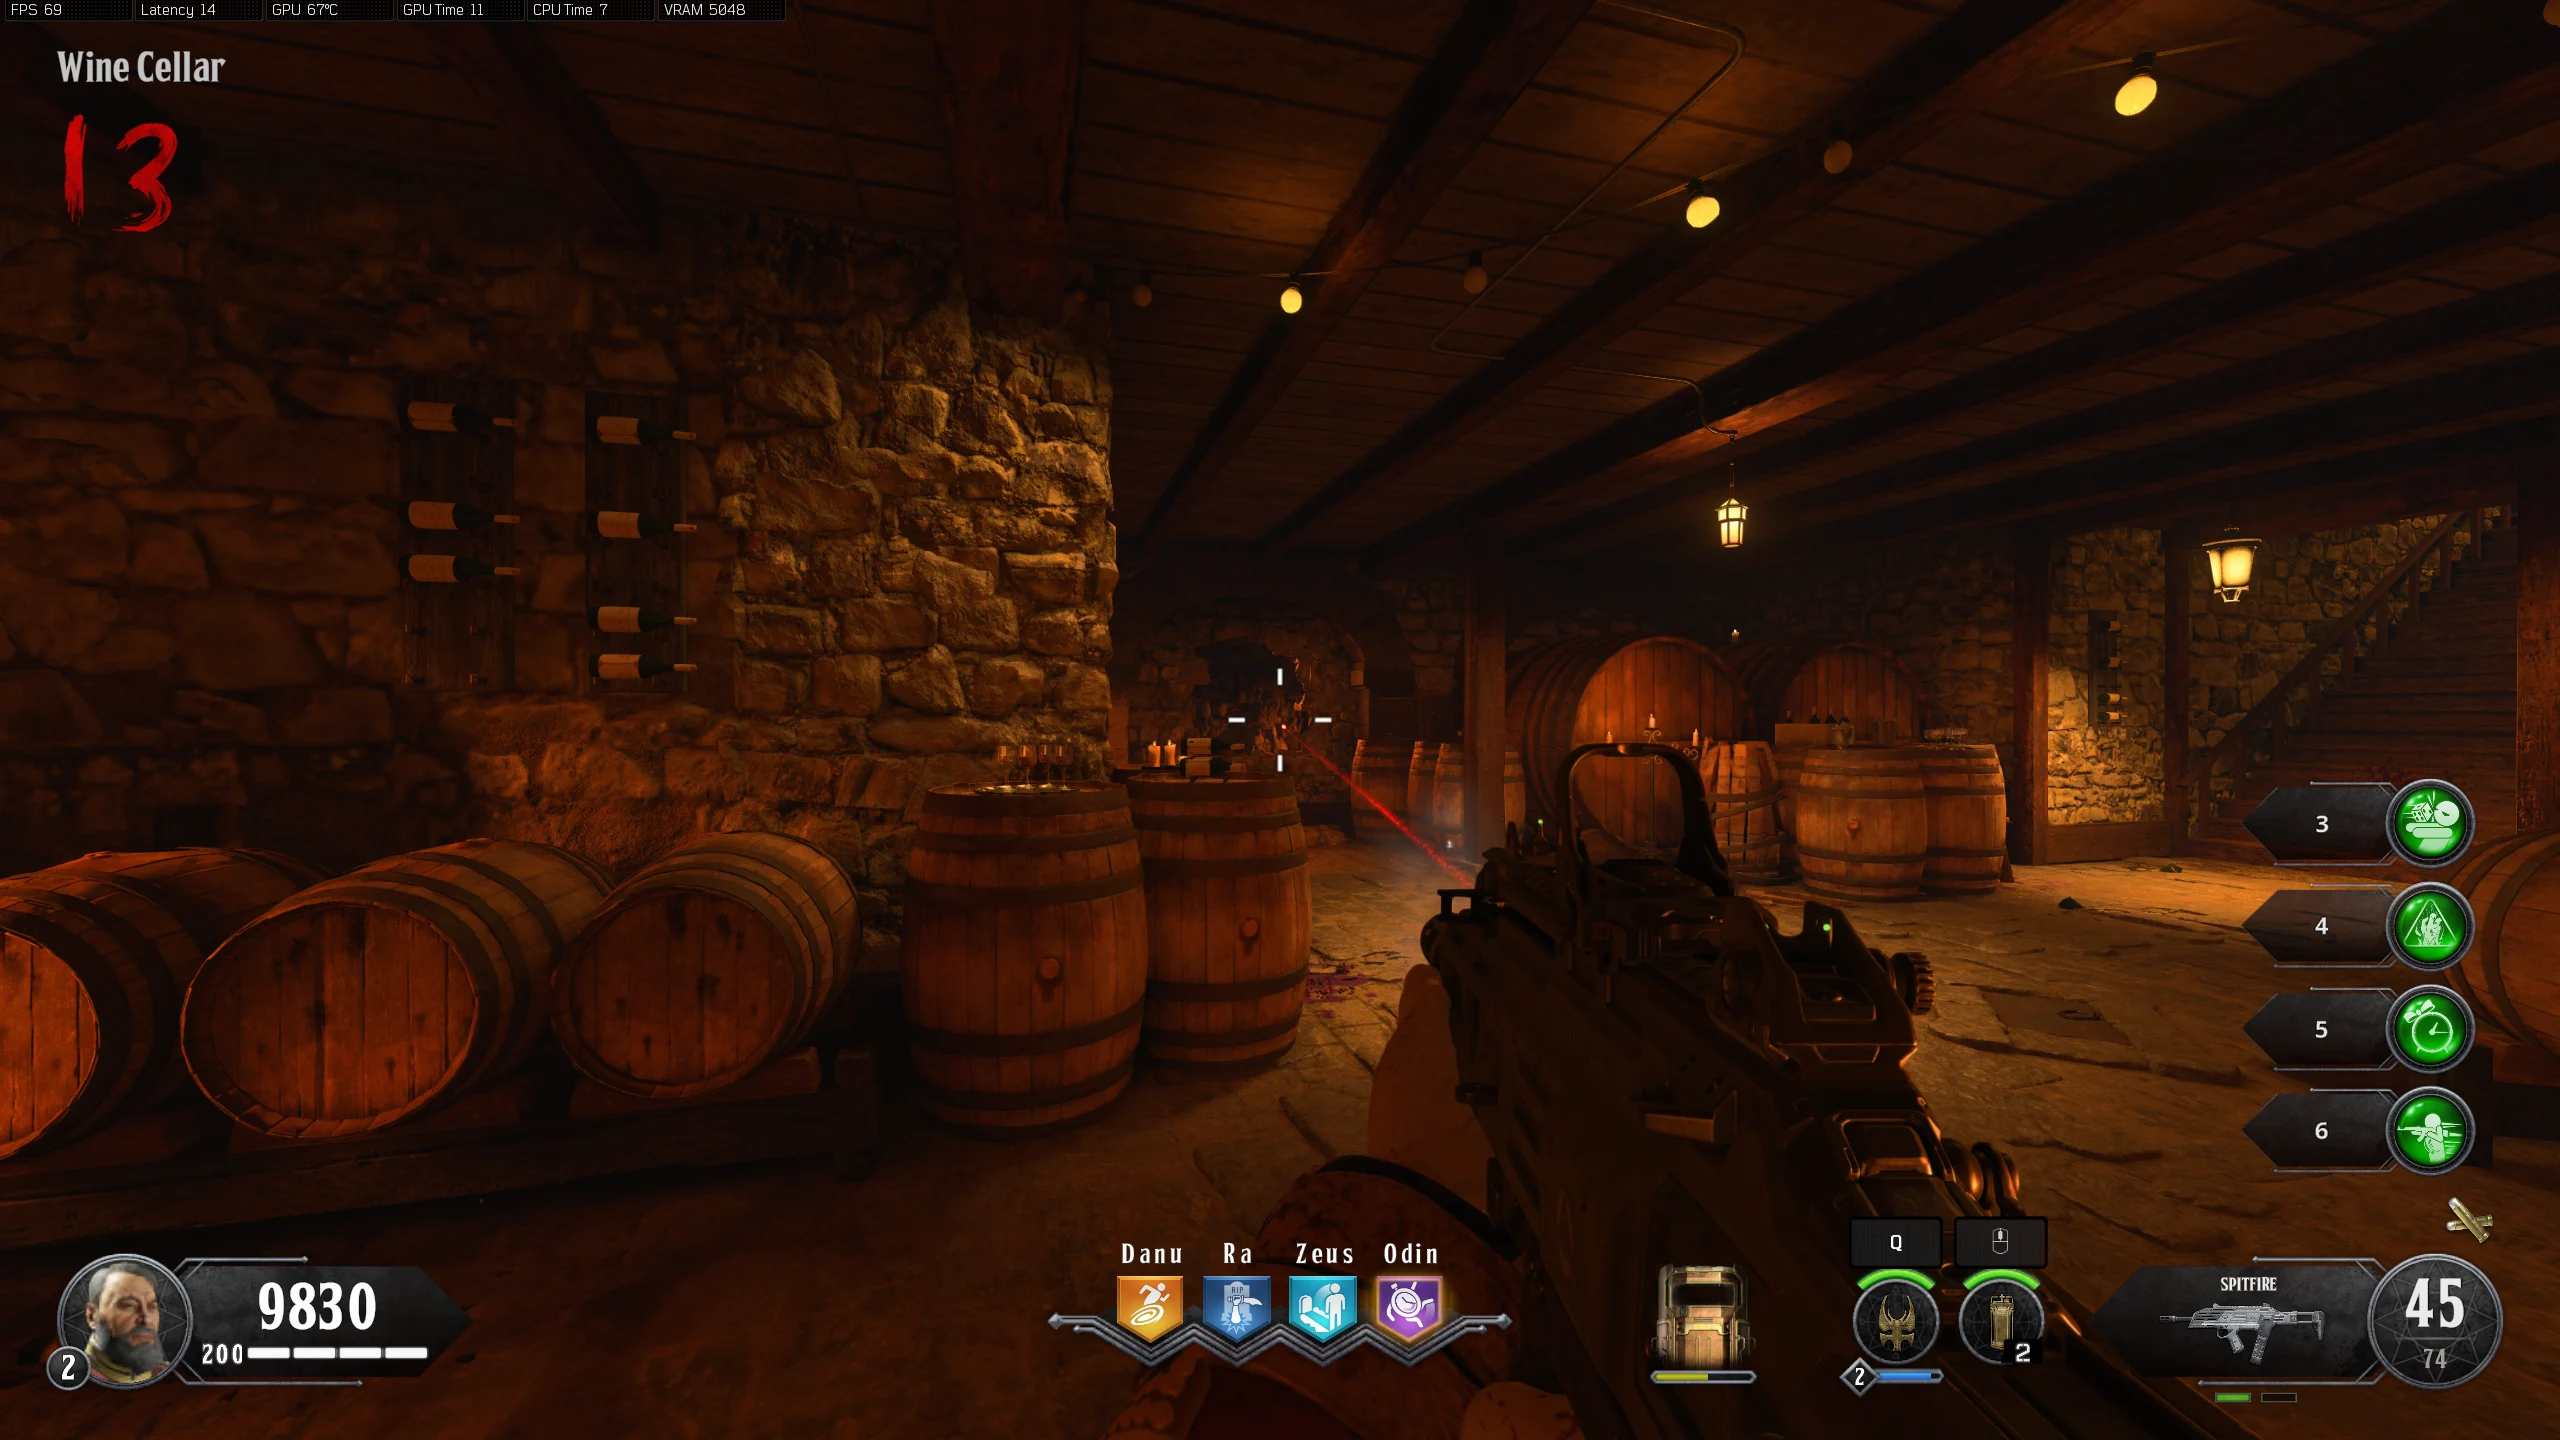
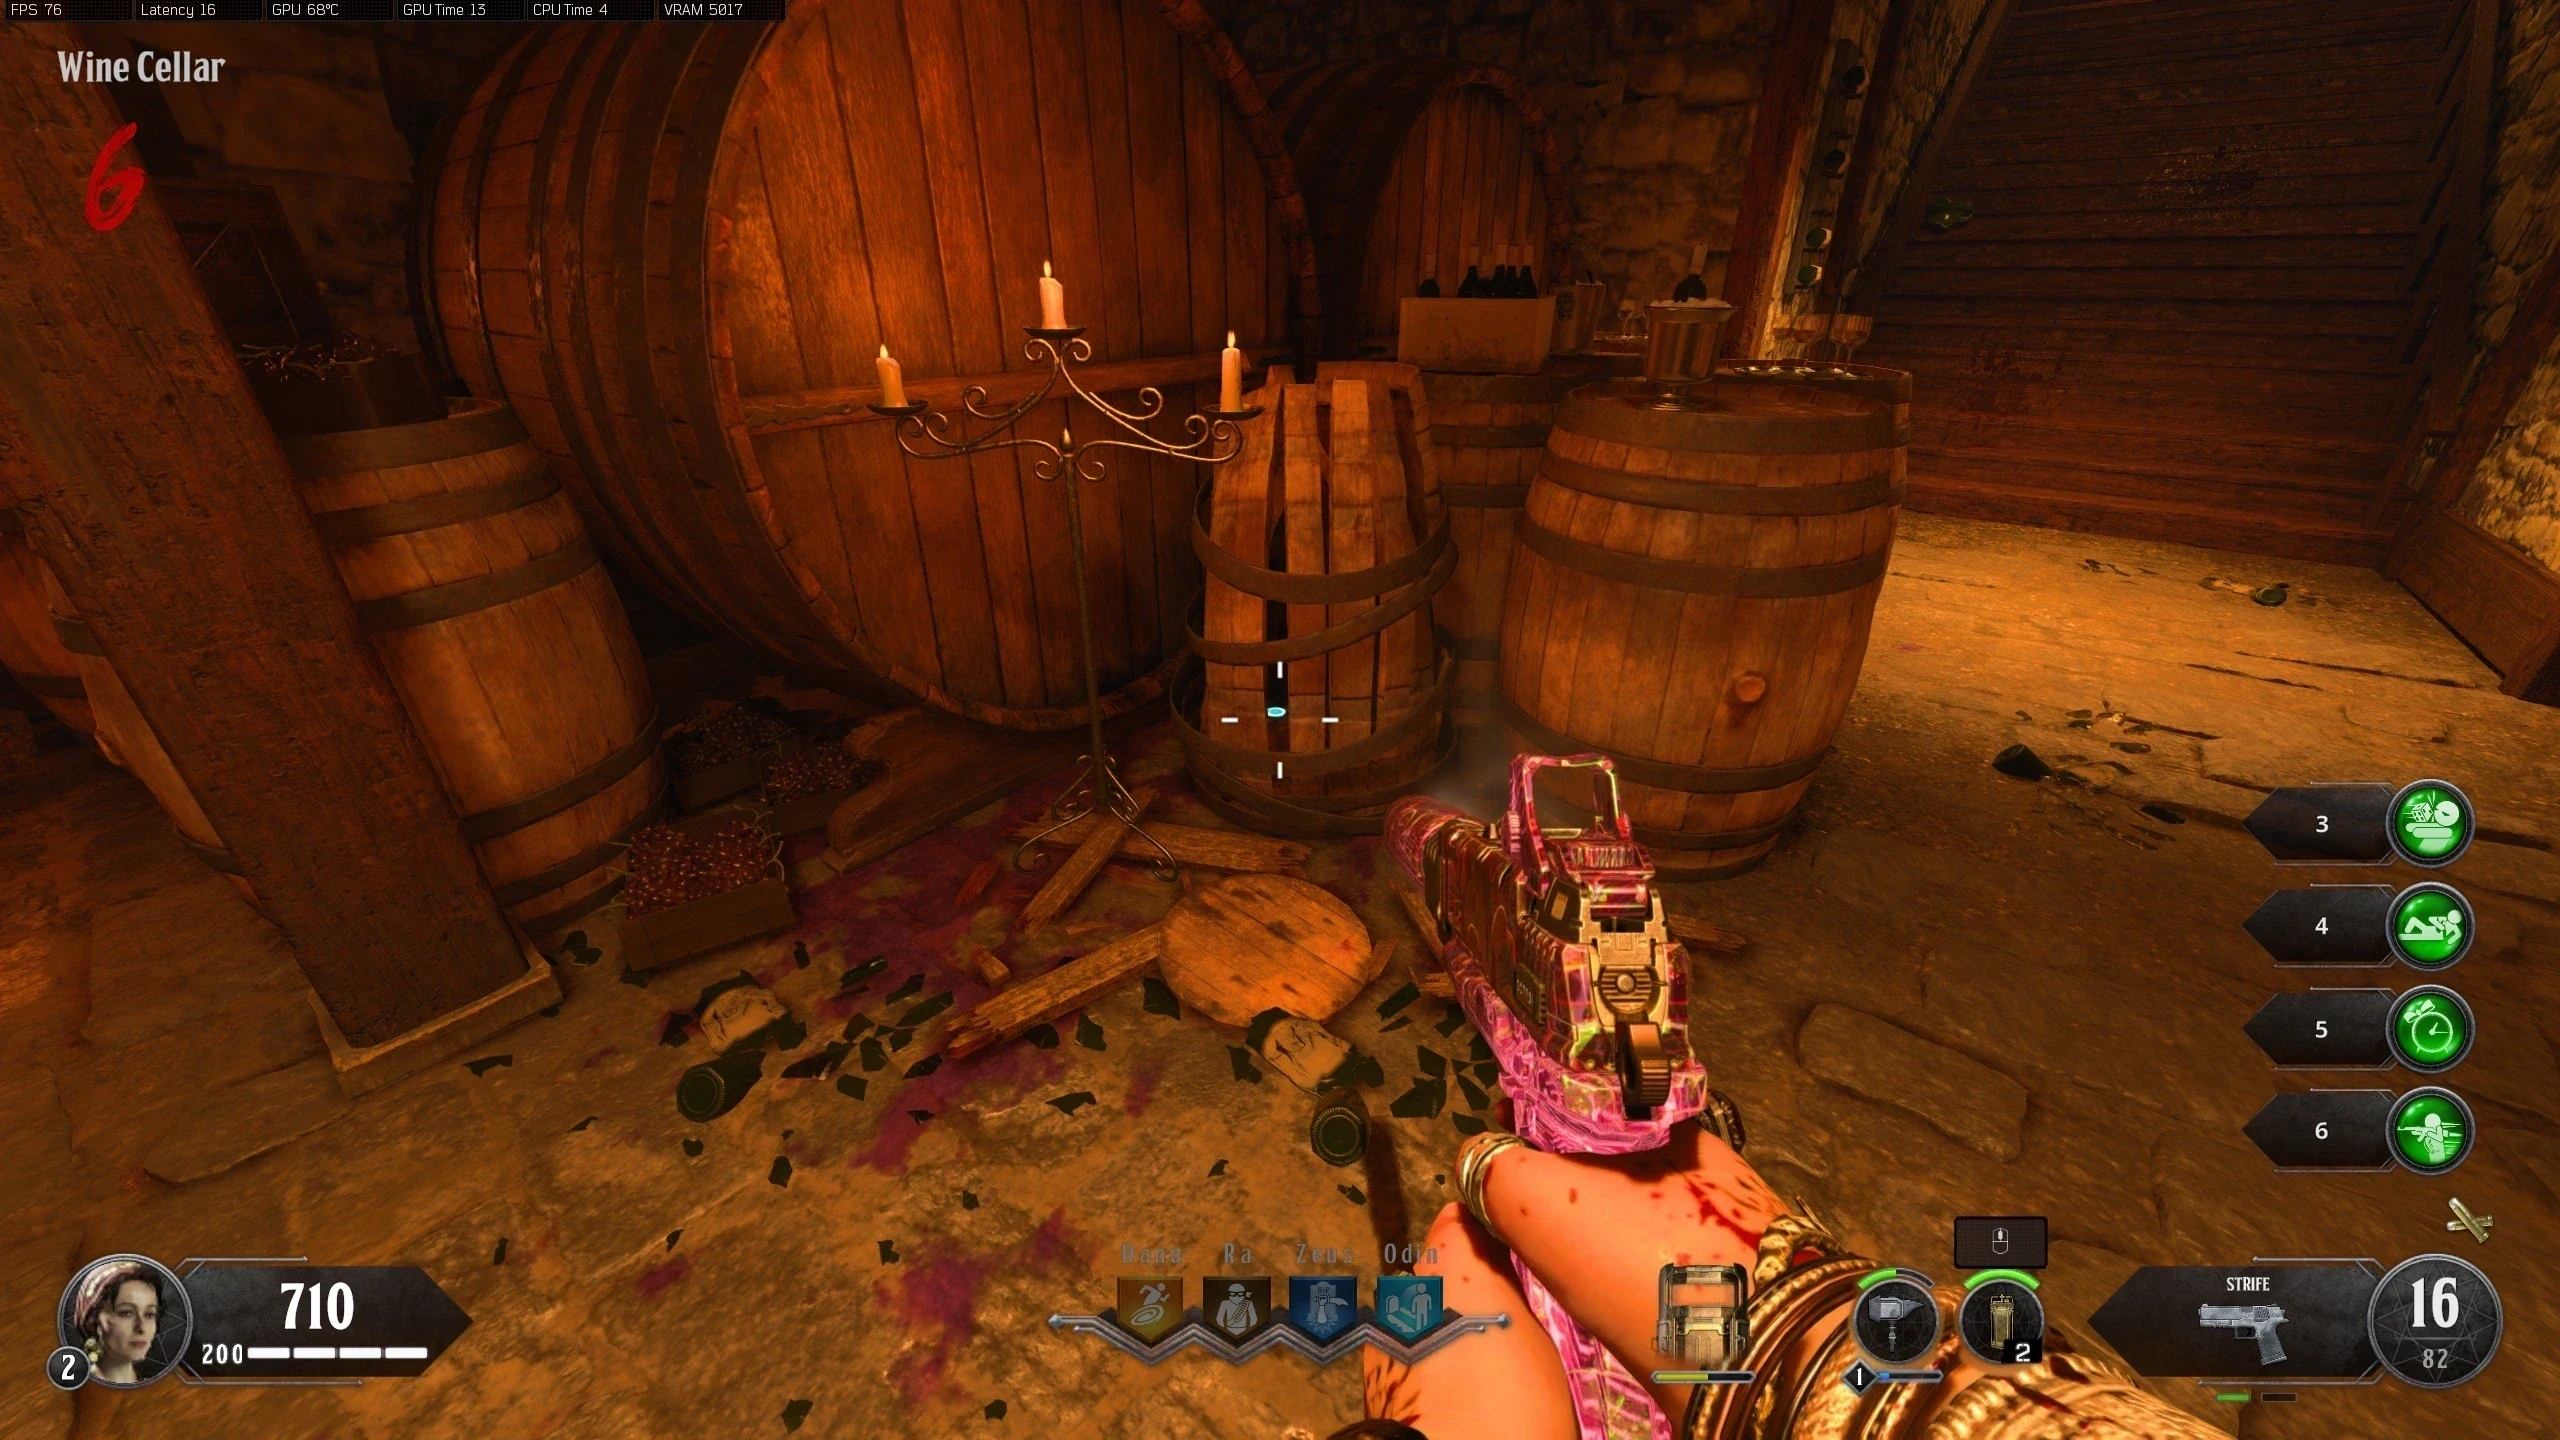
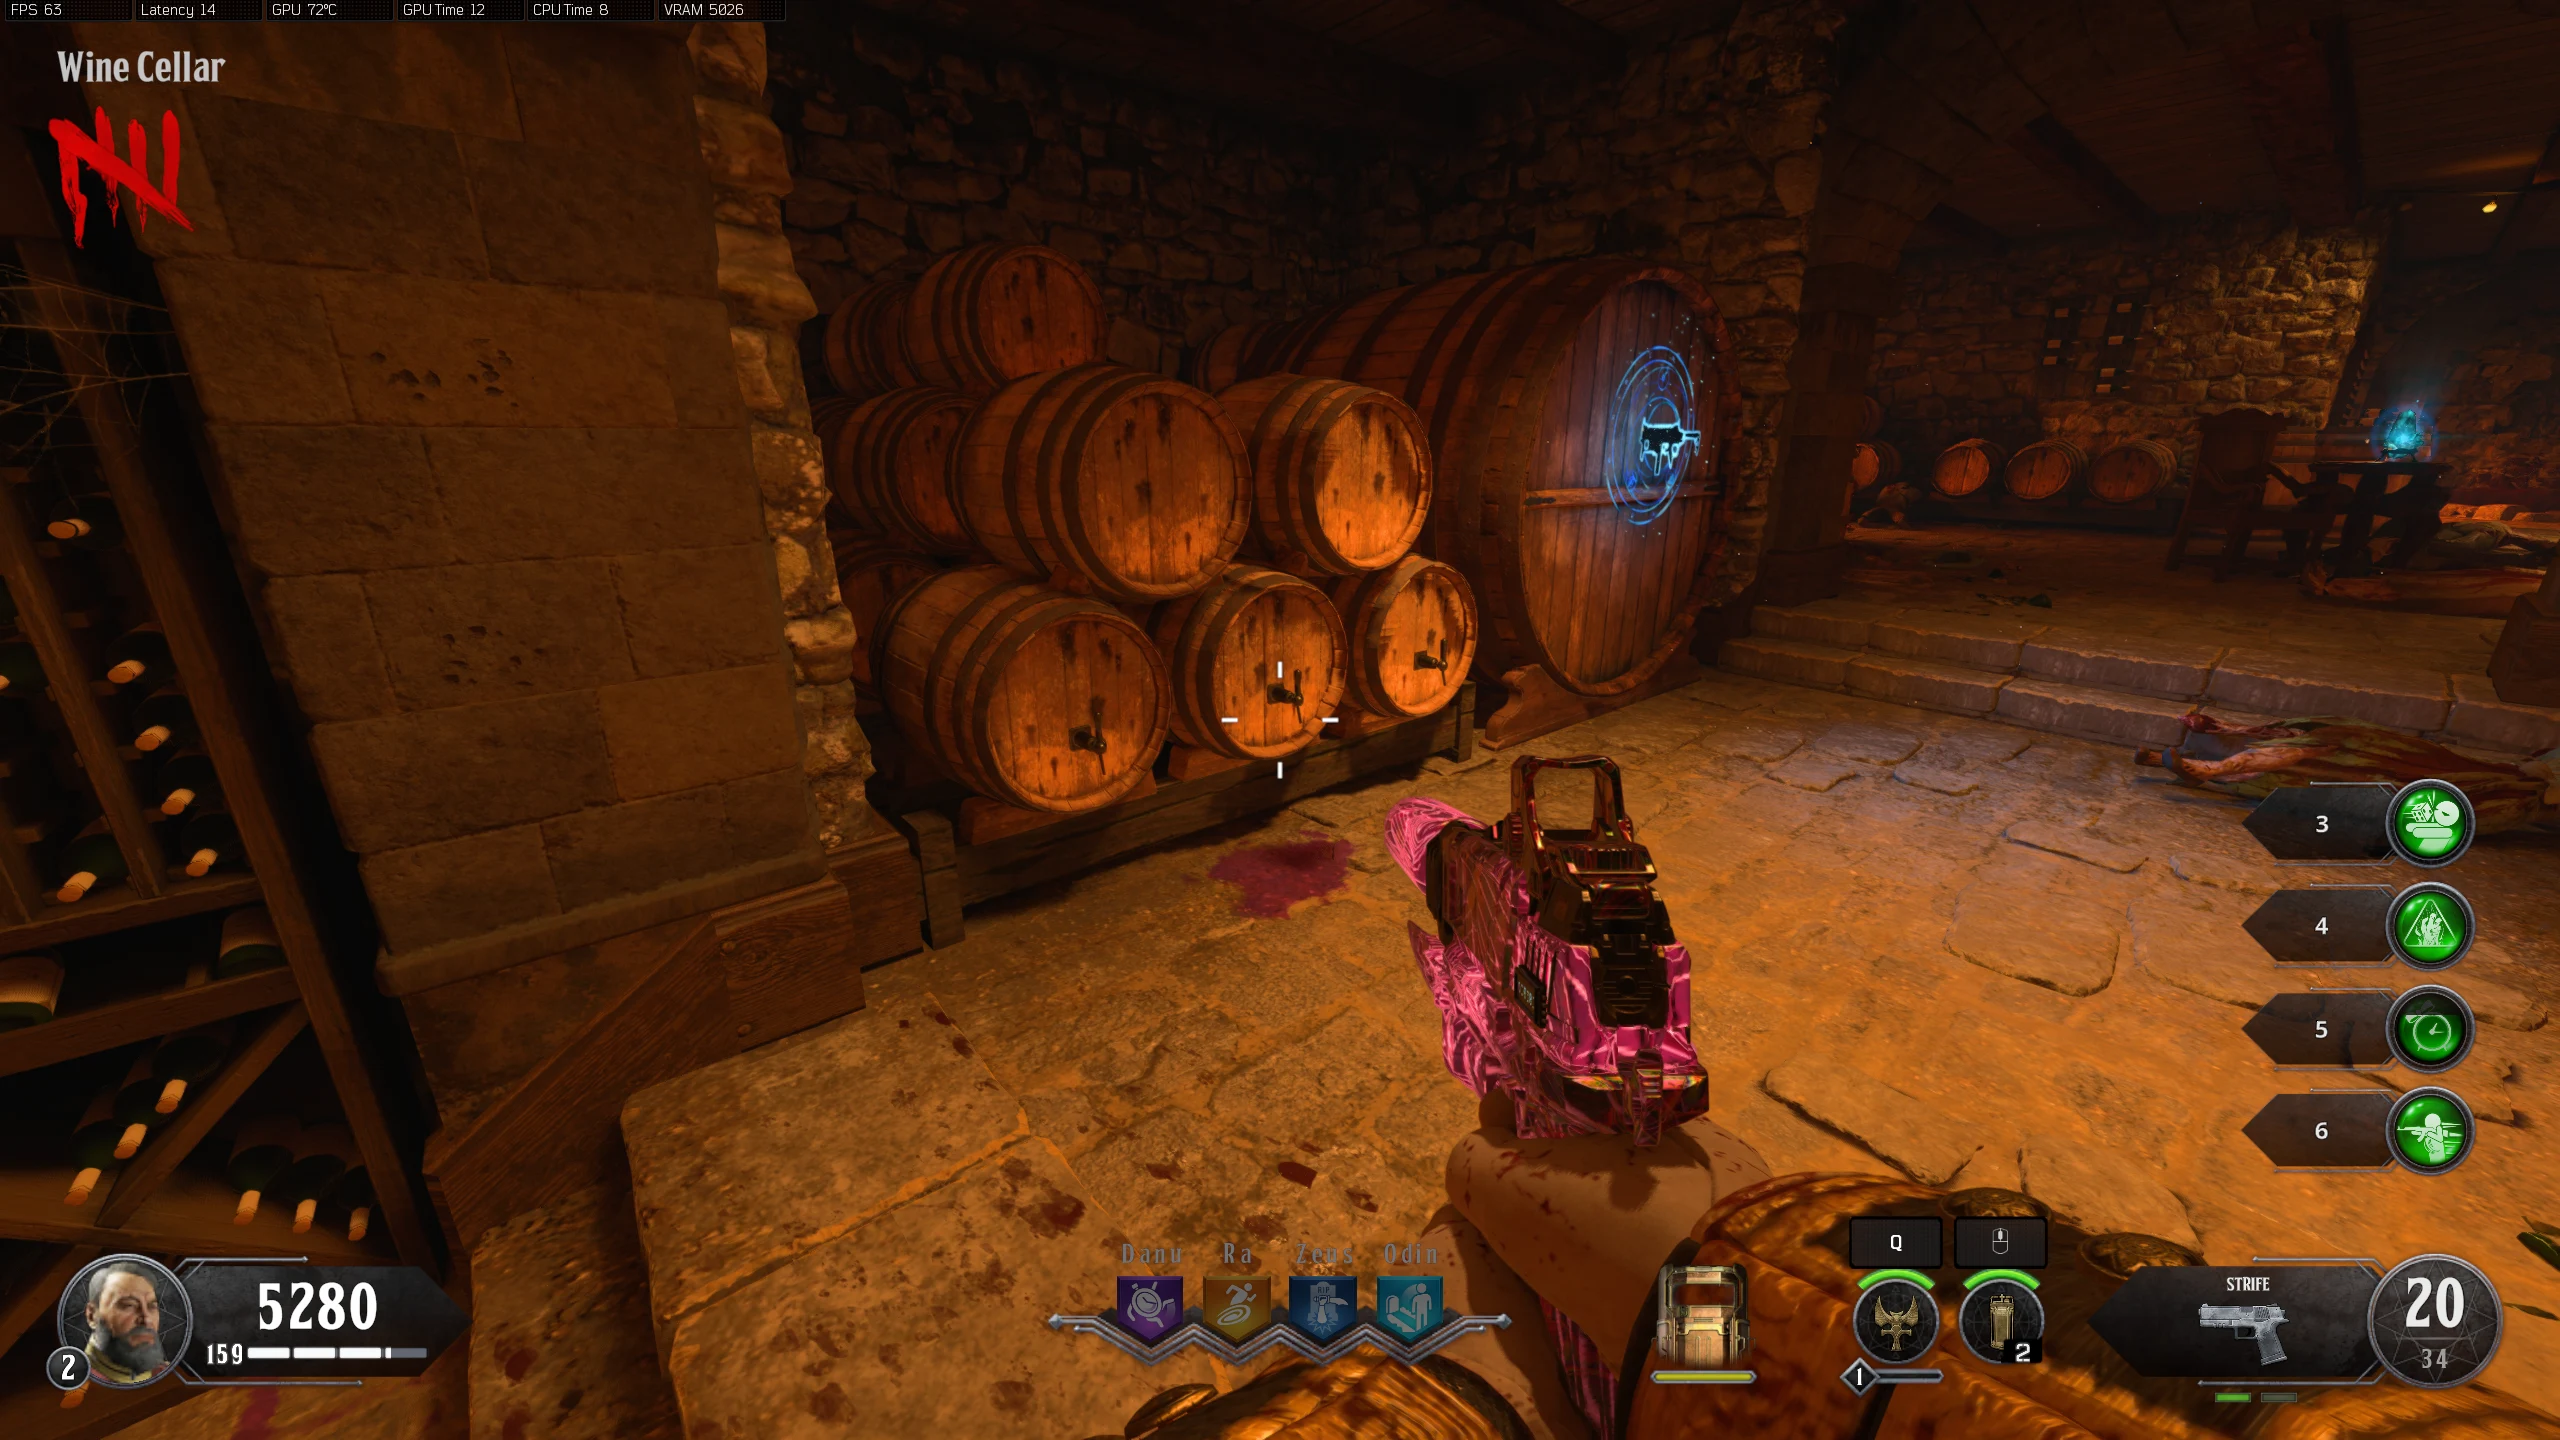
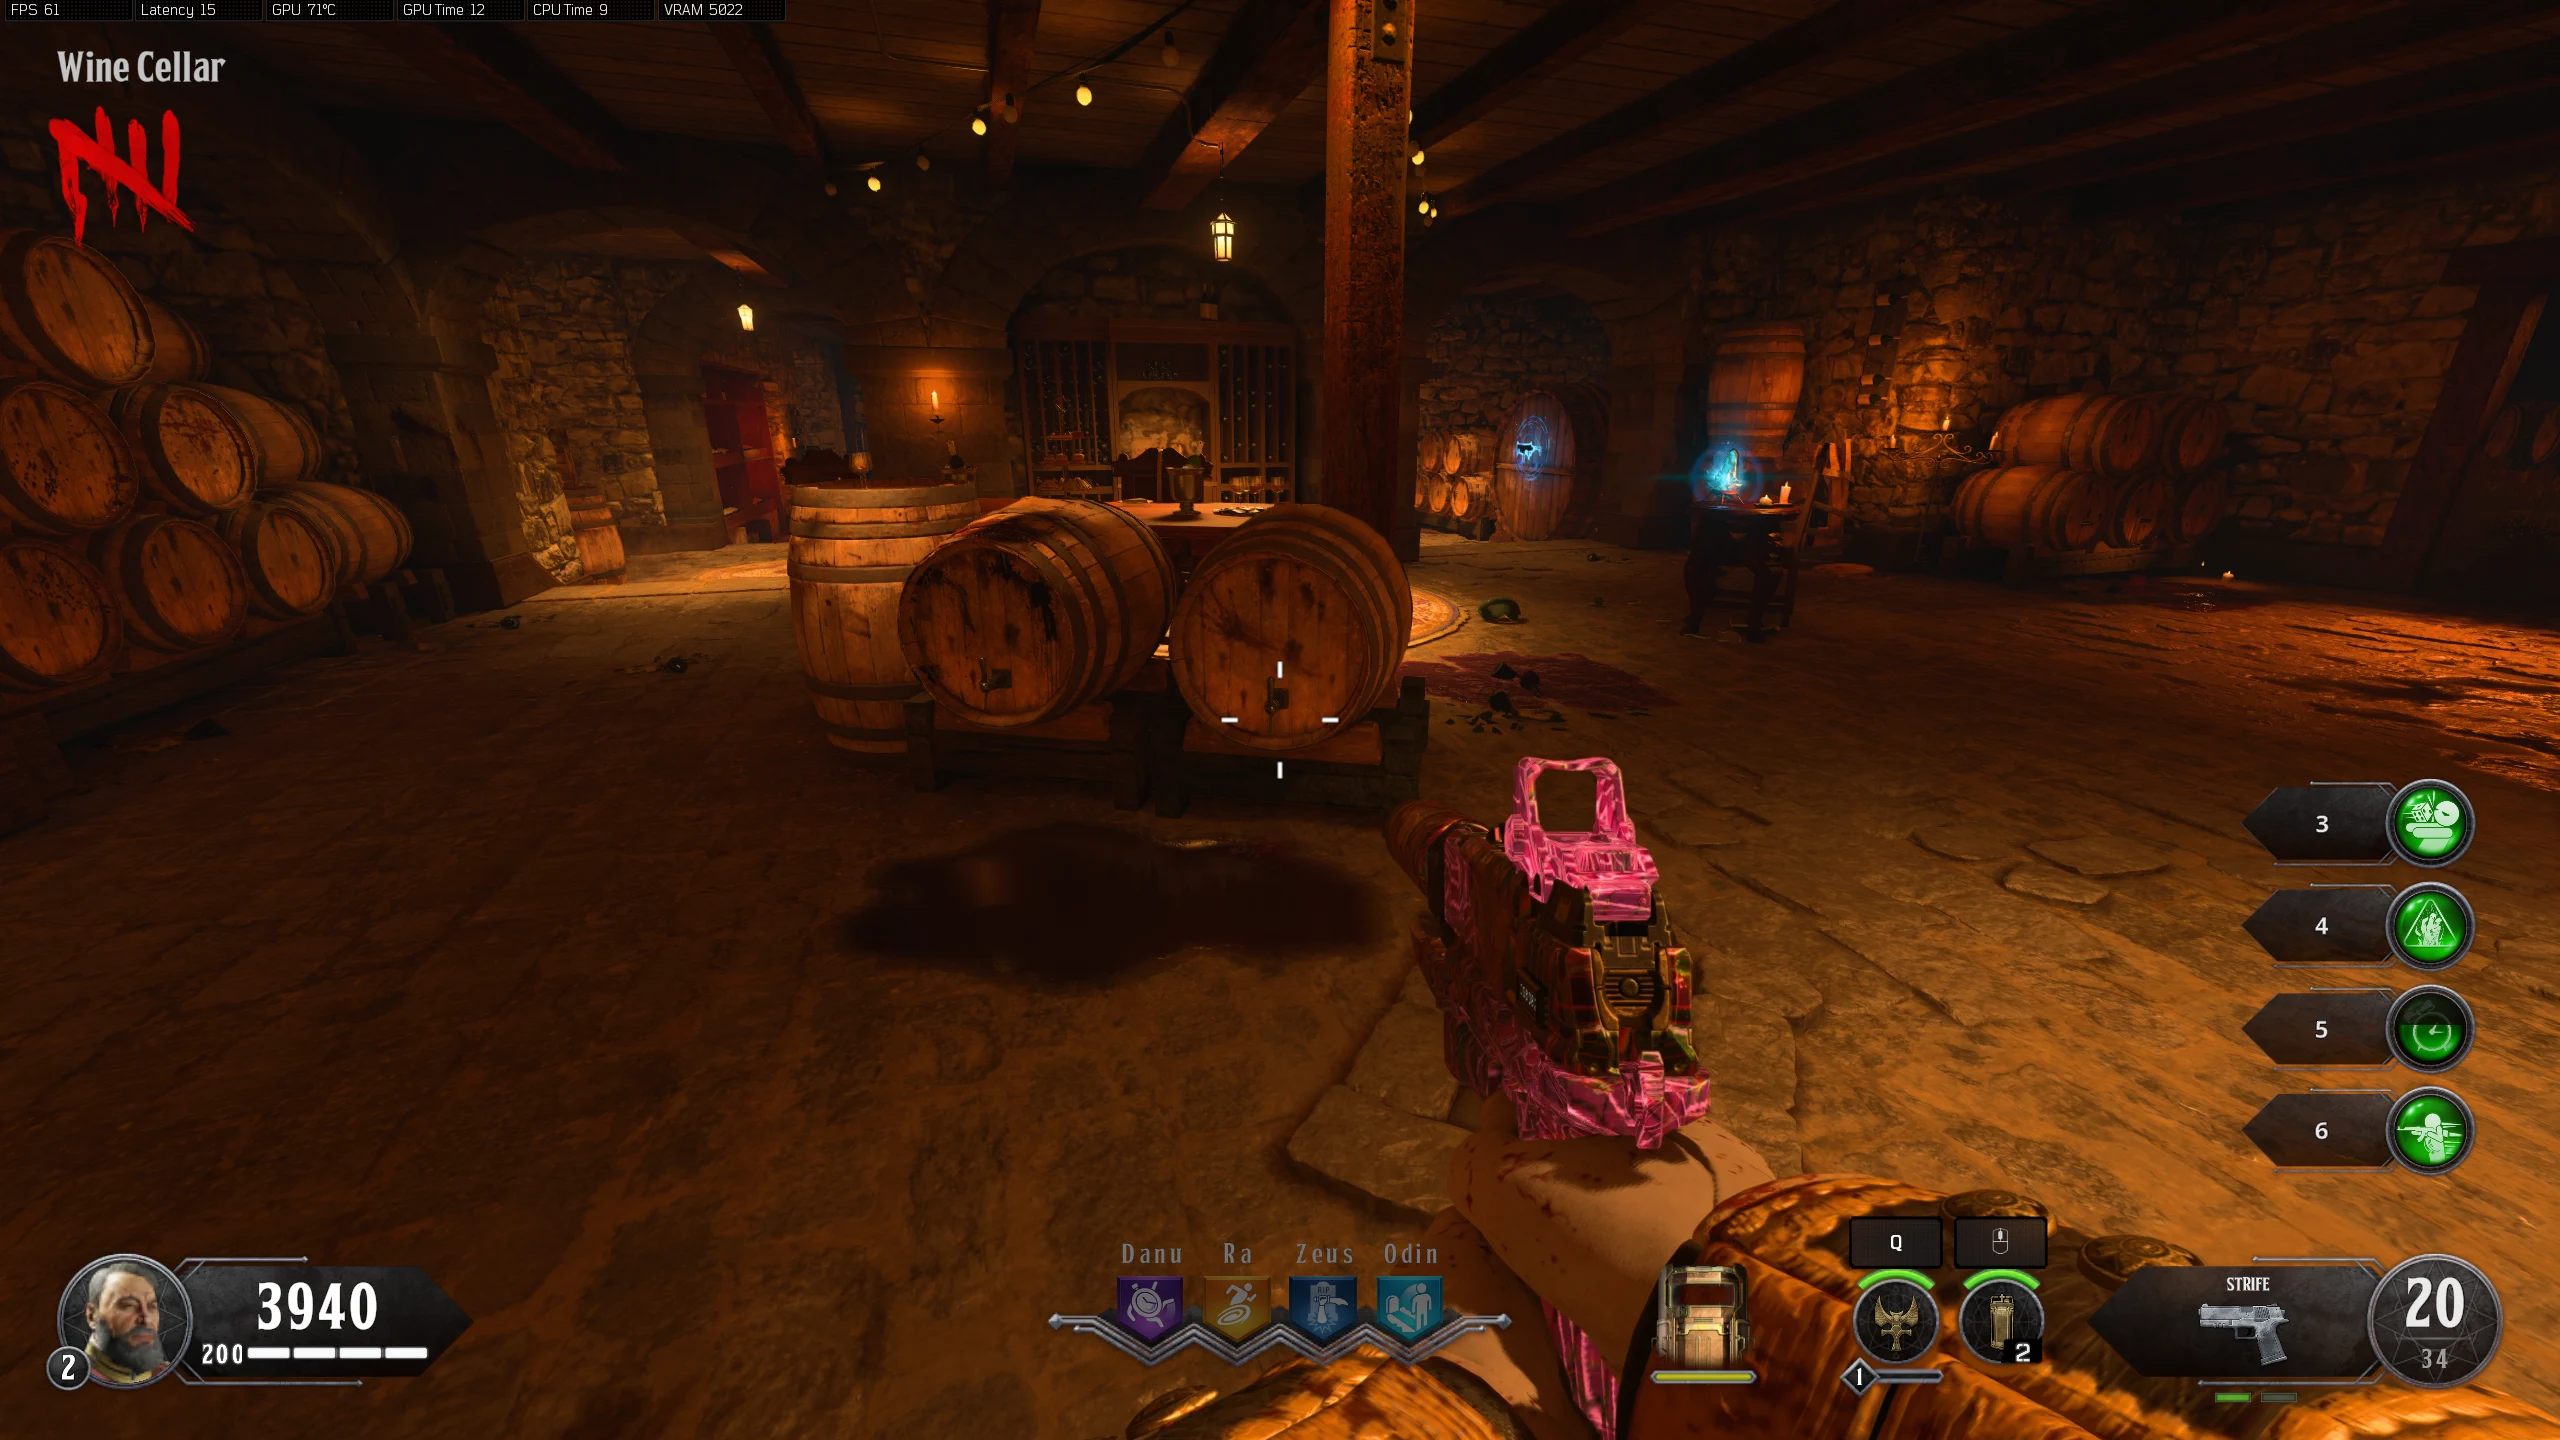
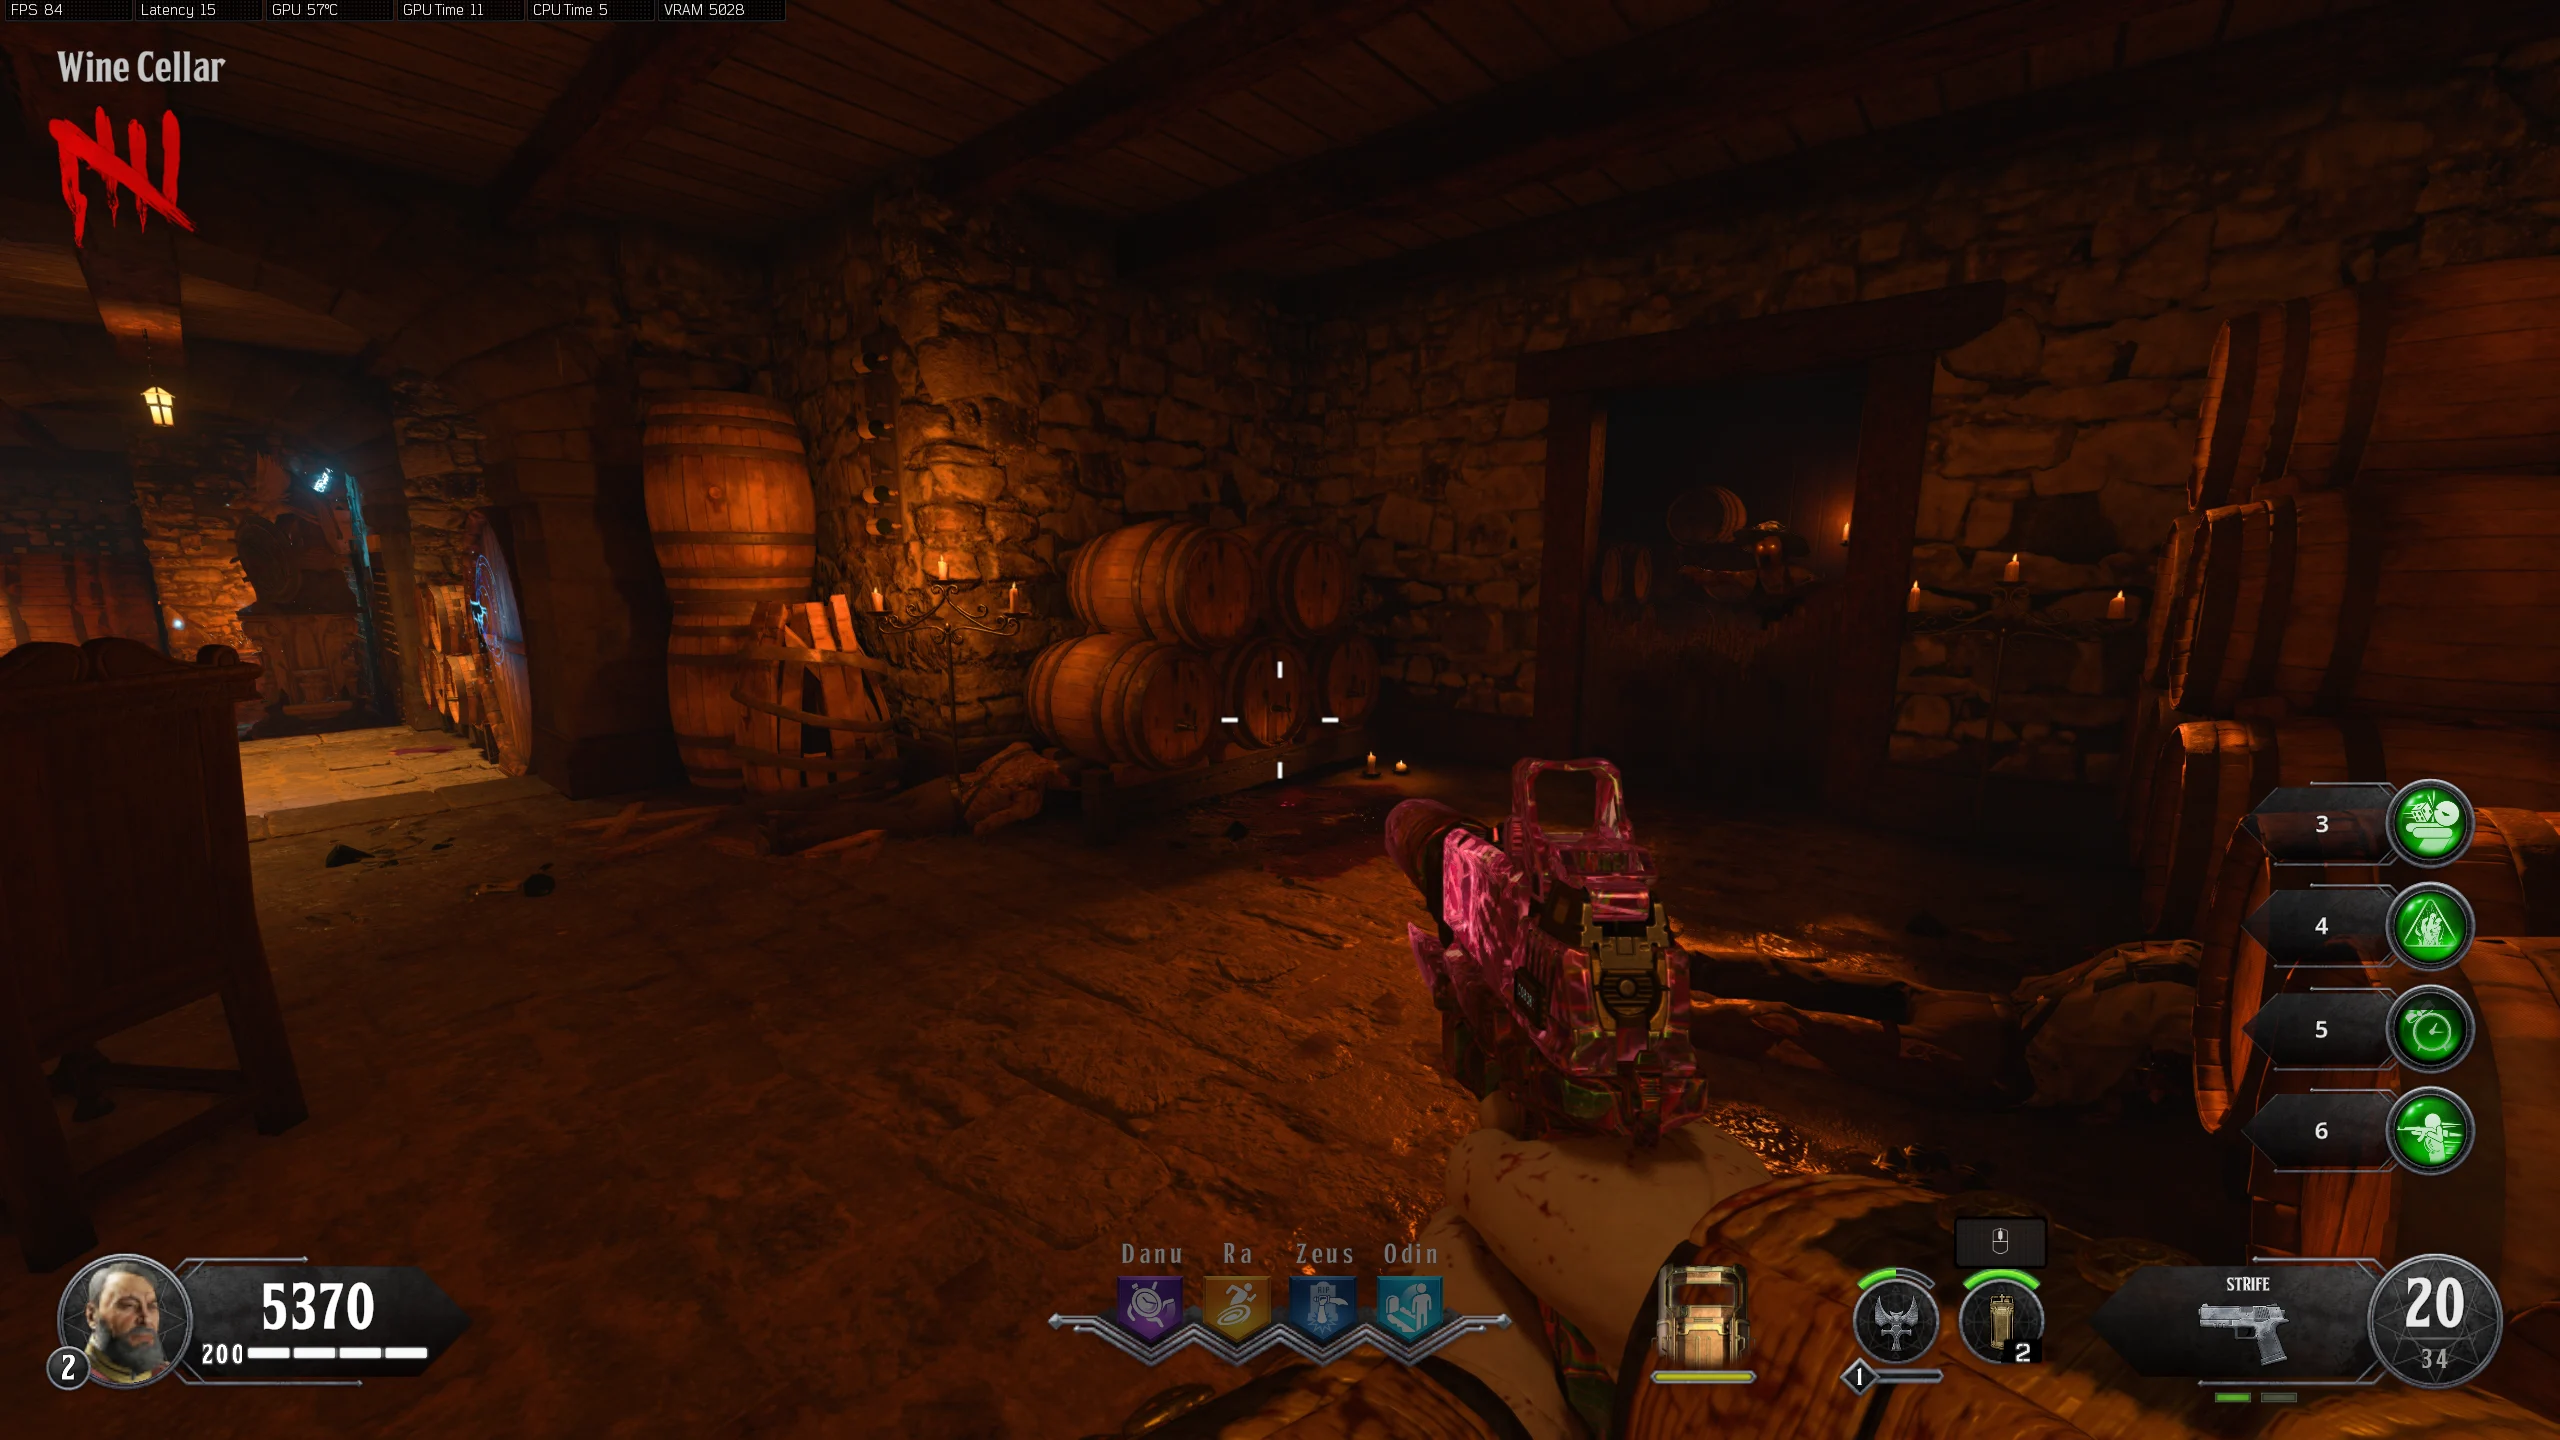
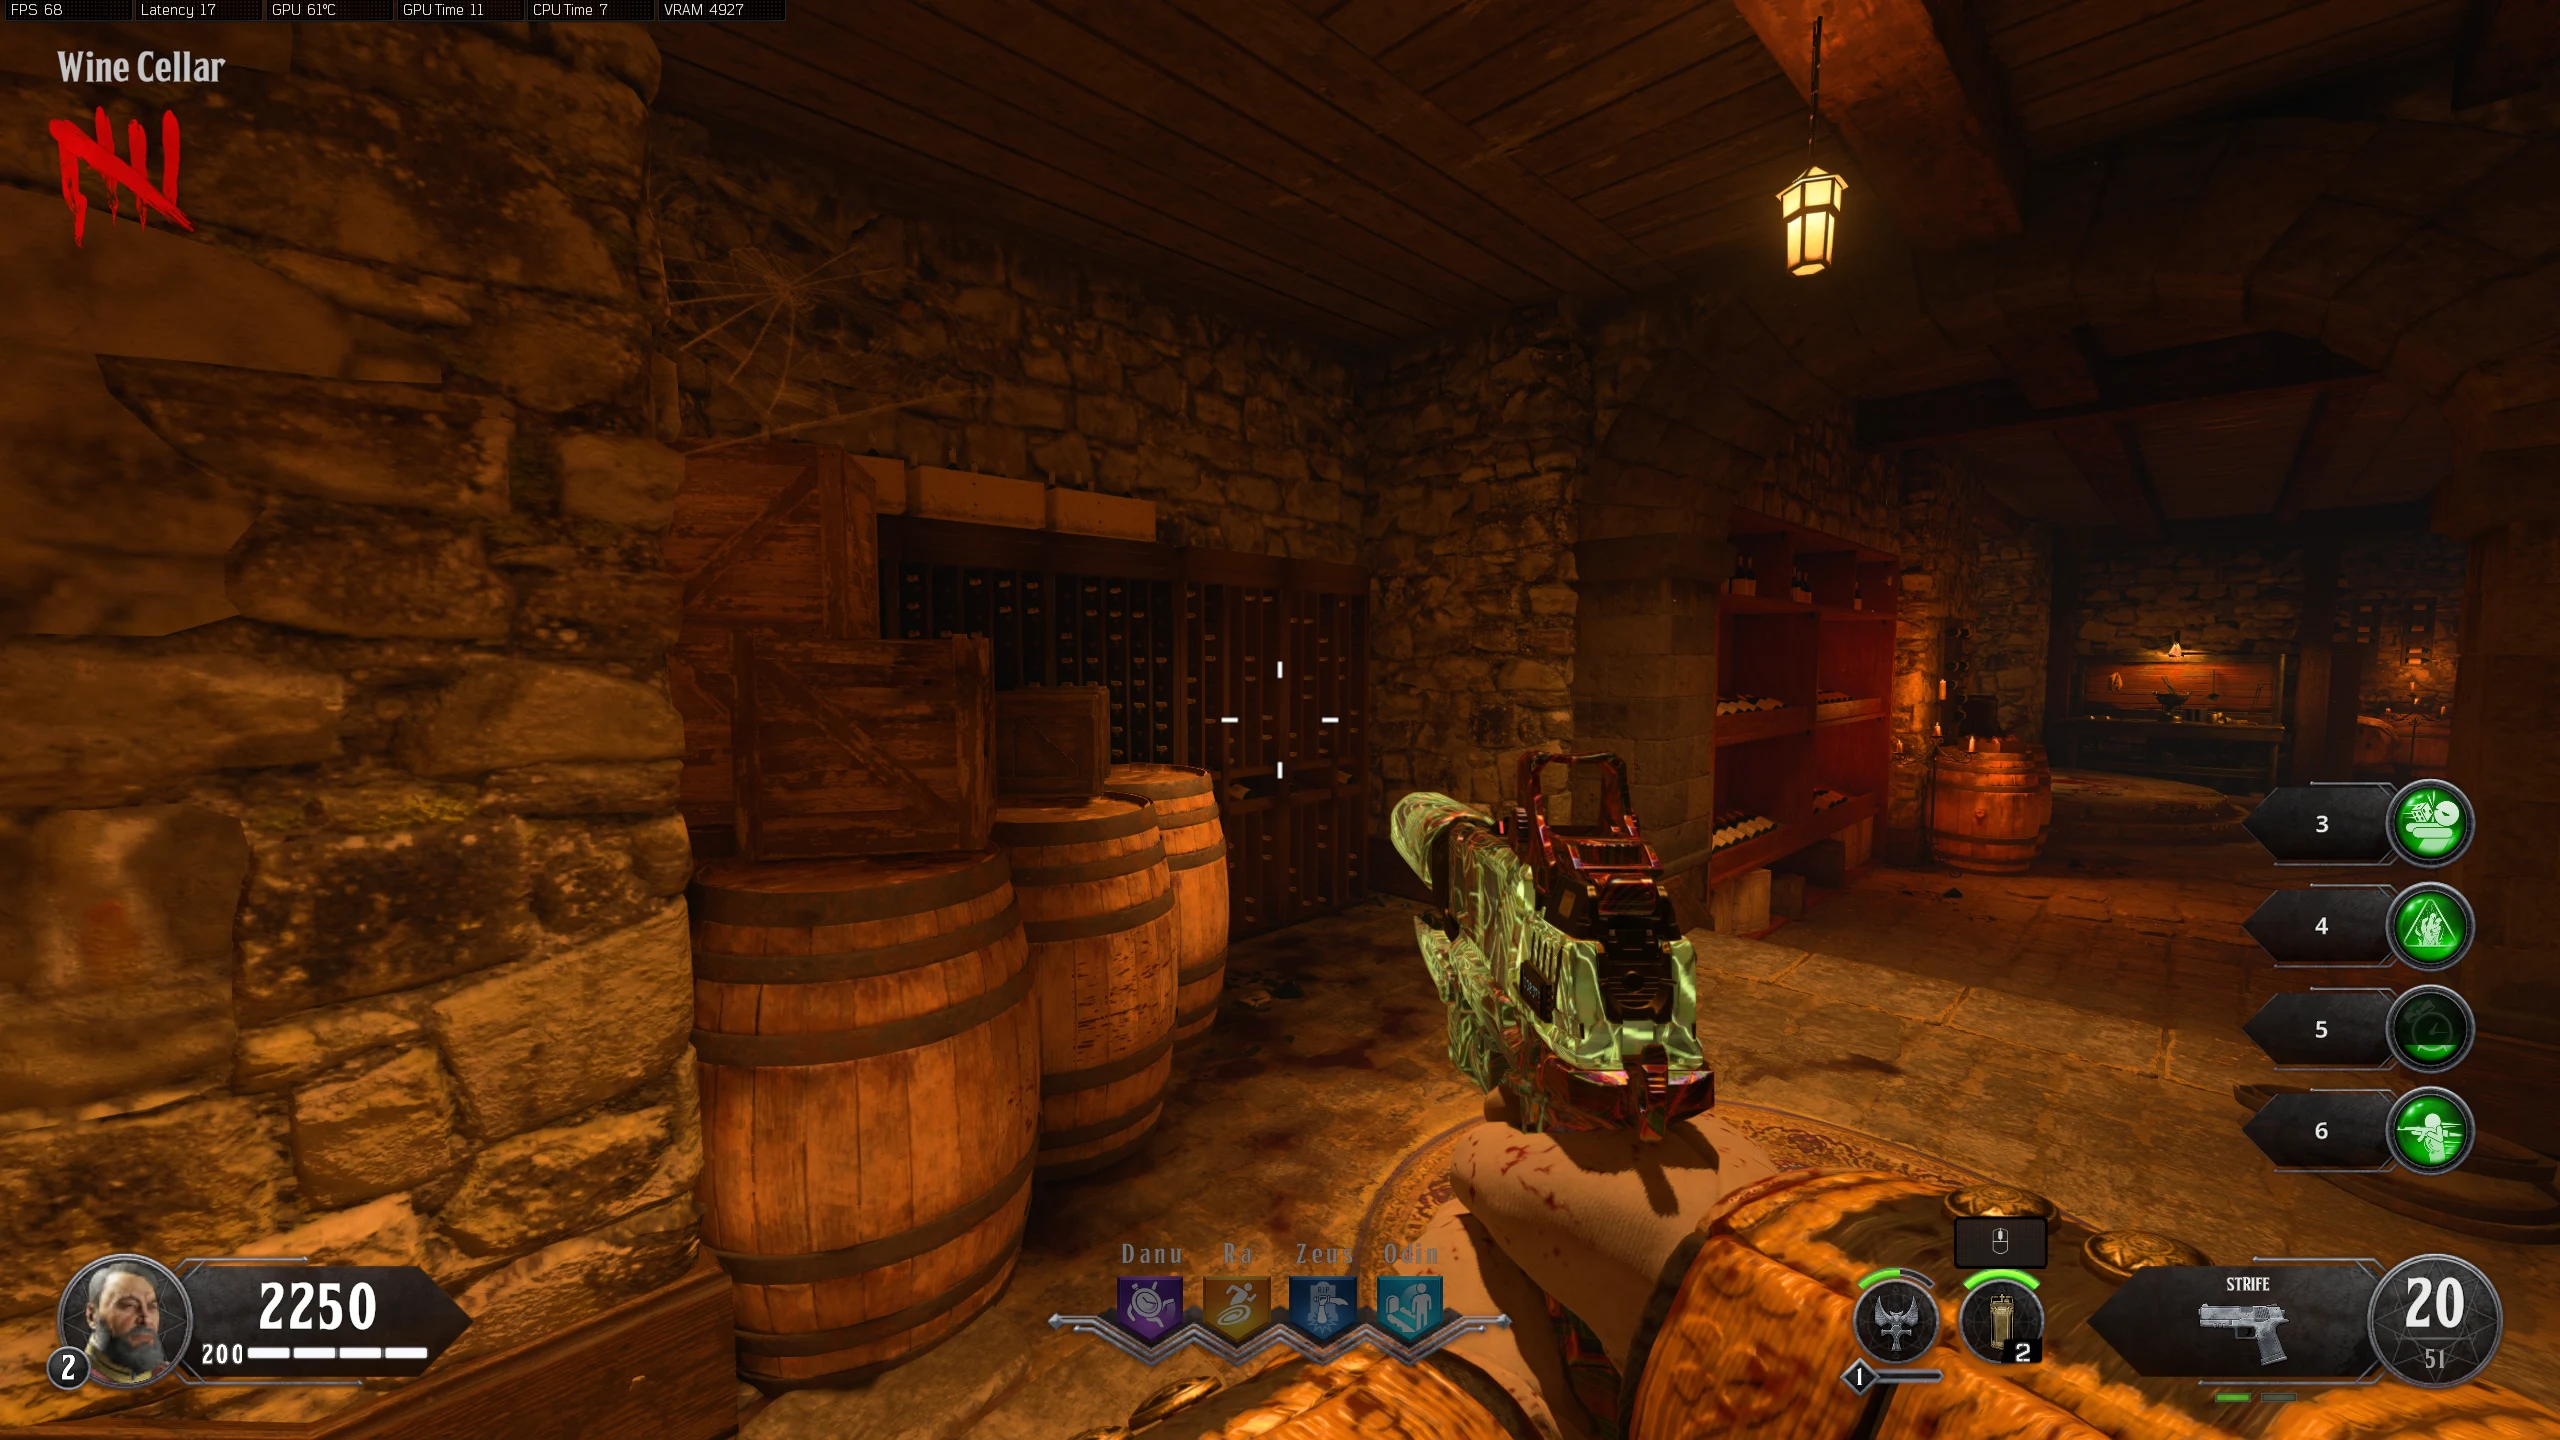
- Wine Cellar
- Zodiac - On the bottom shelf of the wine shelf, opposite the MX9 wallbuy
- Scratches - On the big barrel at the bottom of the right stairs
- Scratches - On the cabinet in the middle of the room, right from the left stairs
- Scratches - On the top of a barrel, right of the workbench
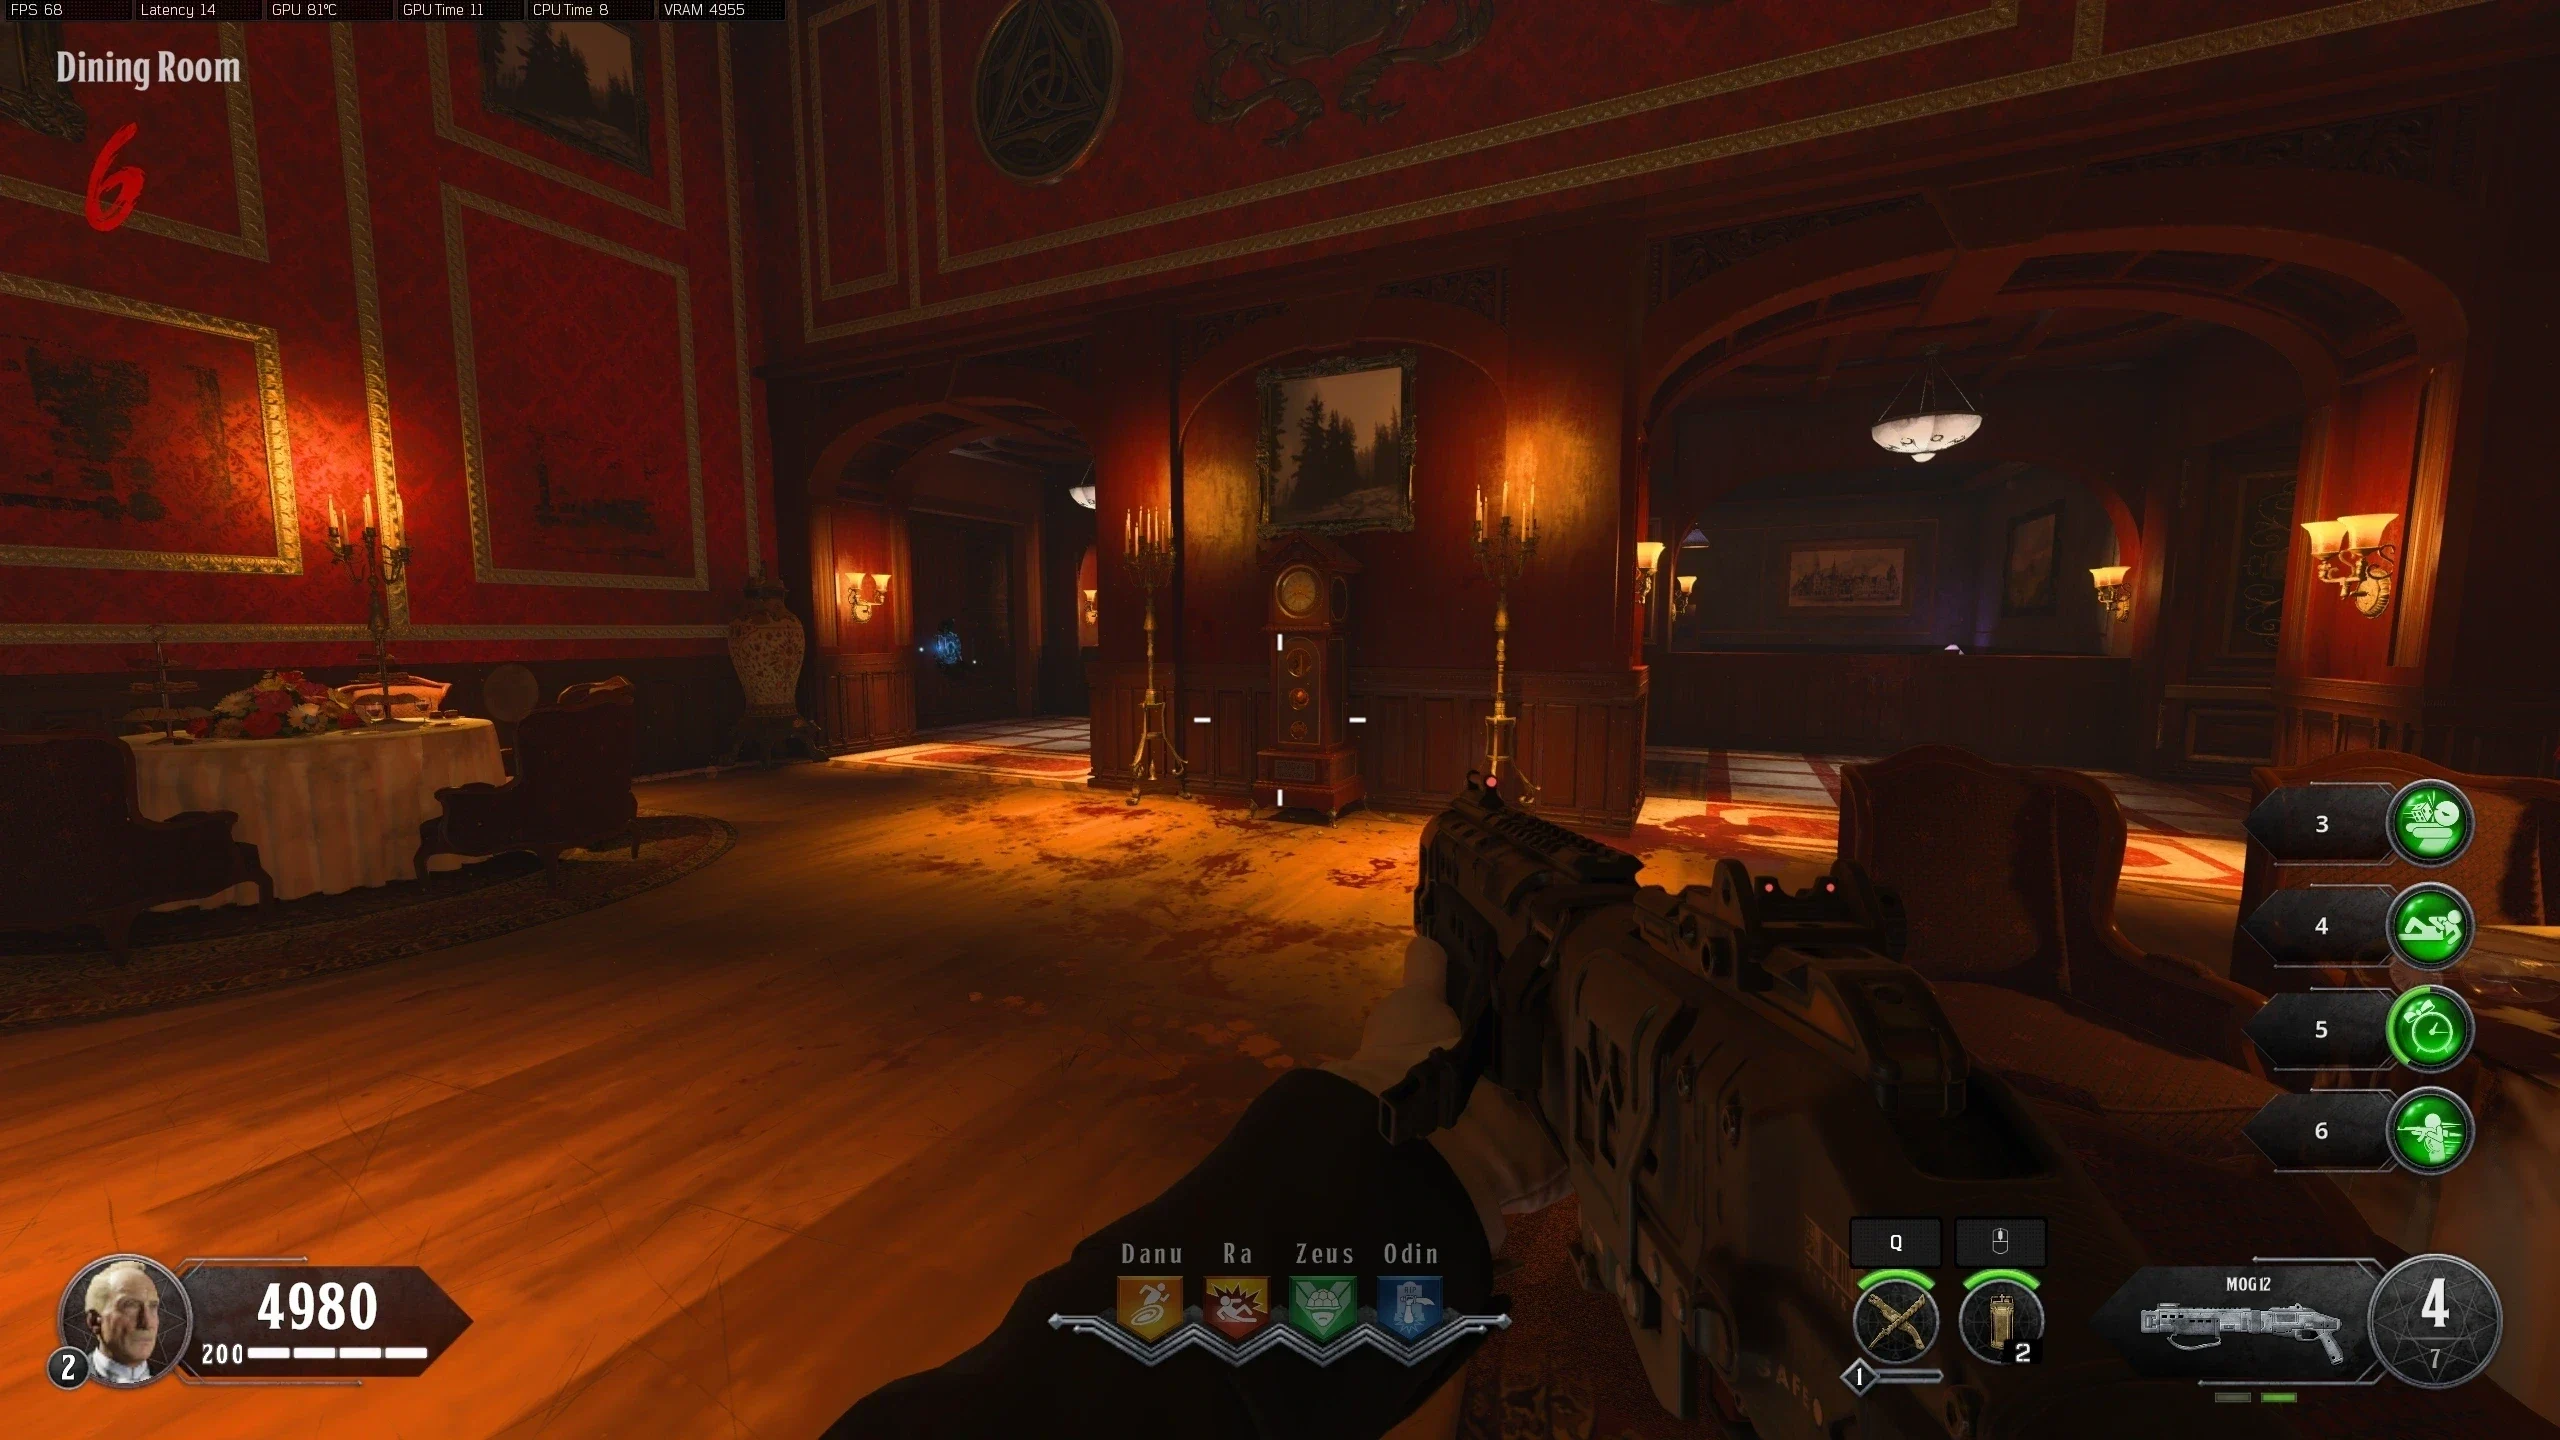
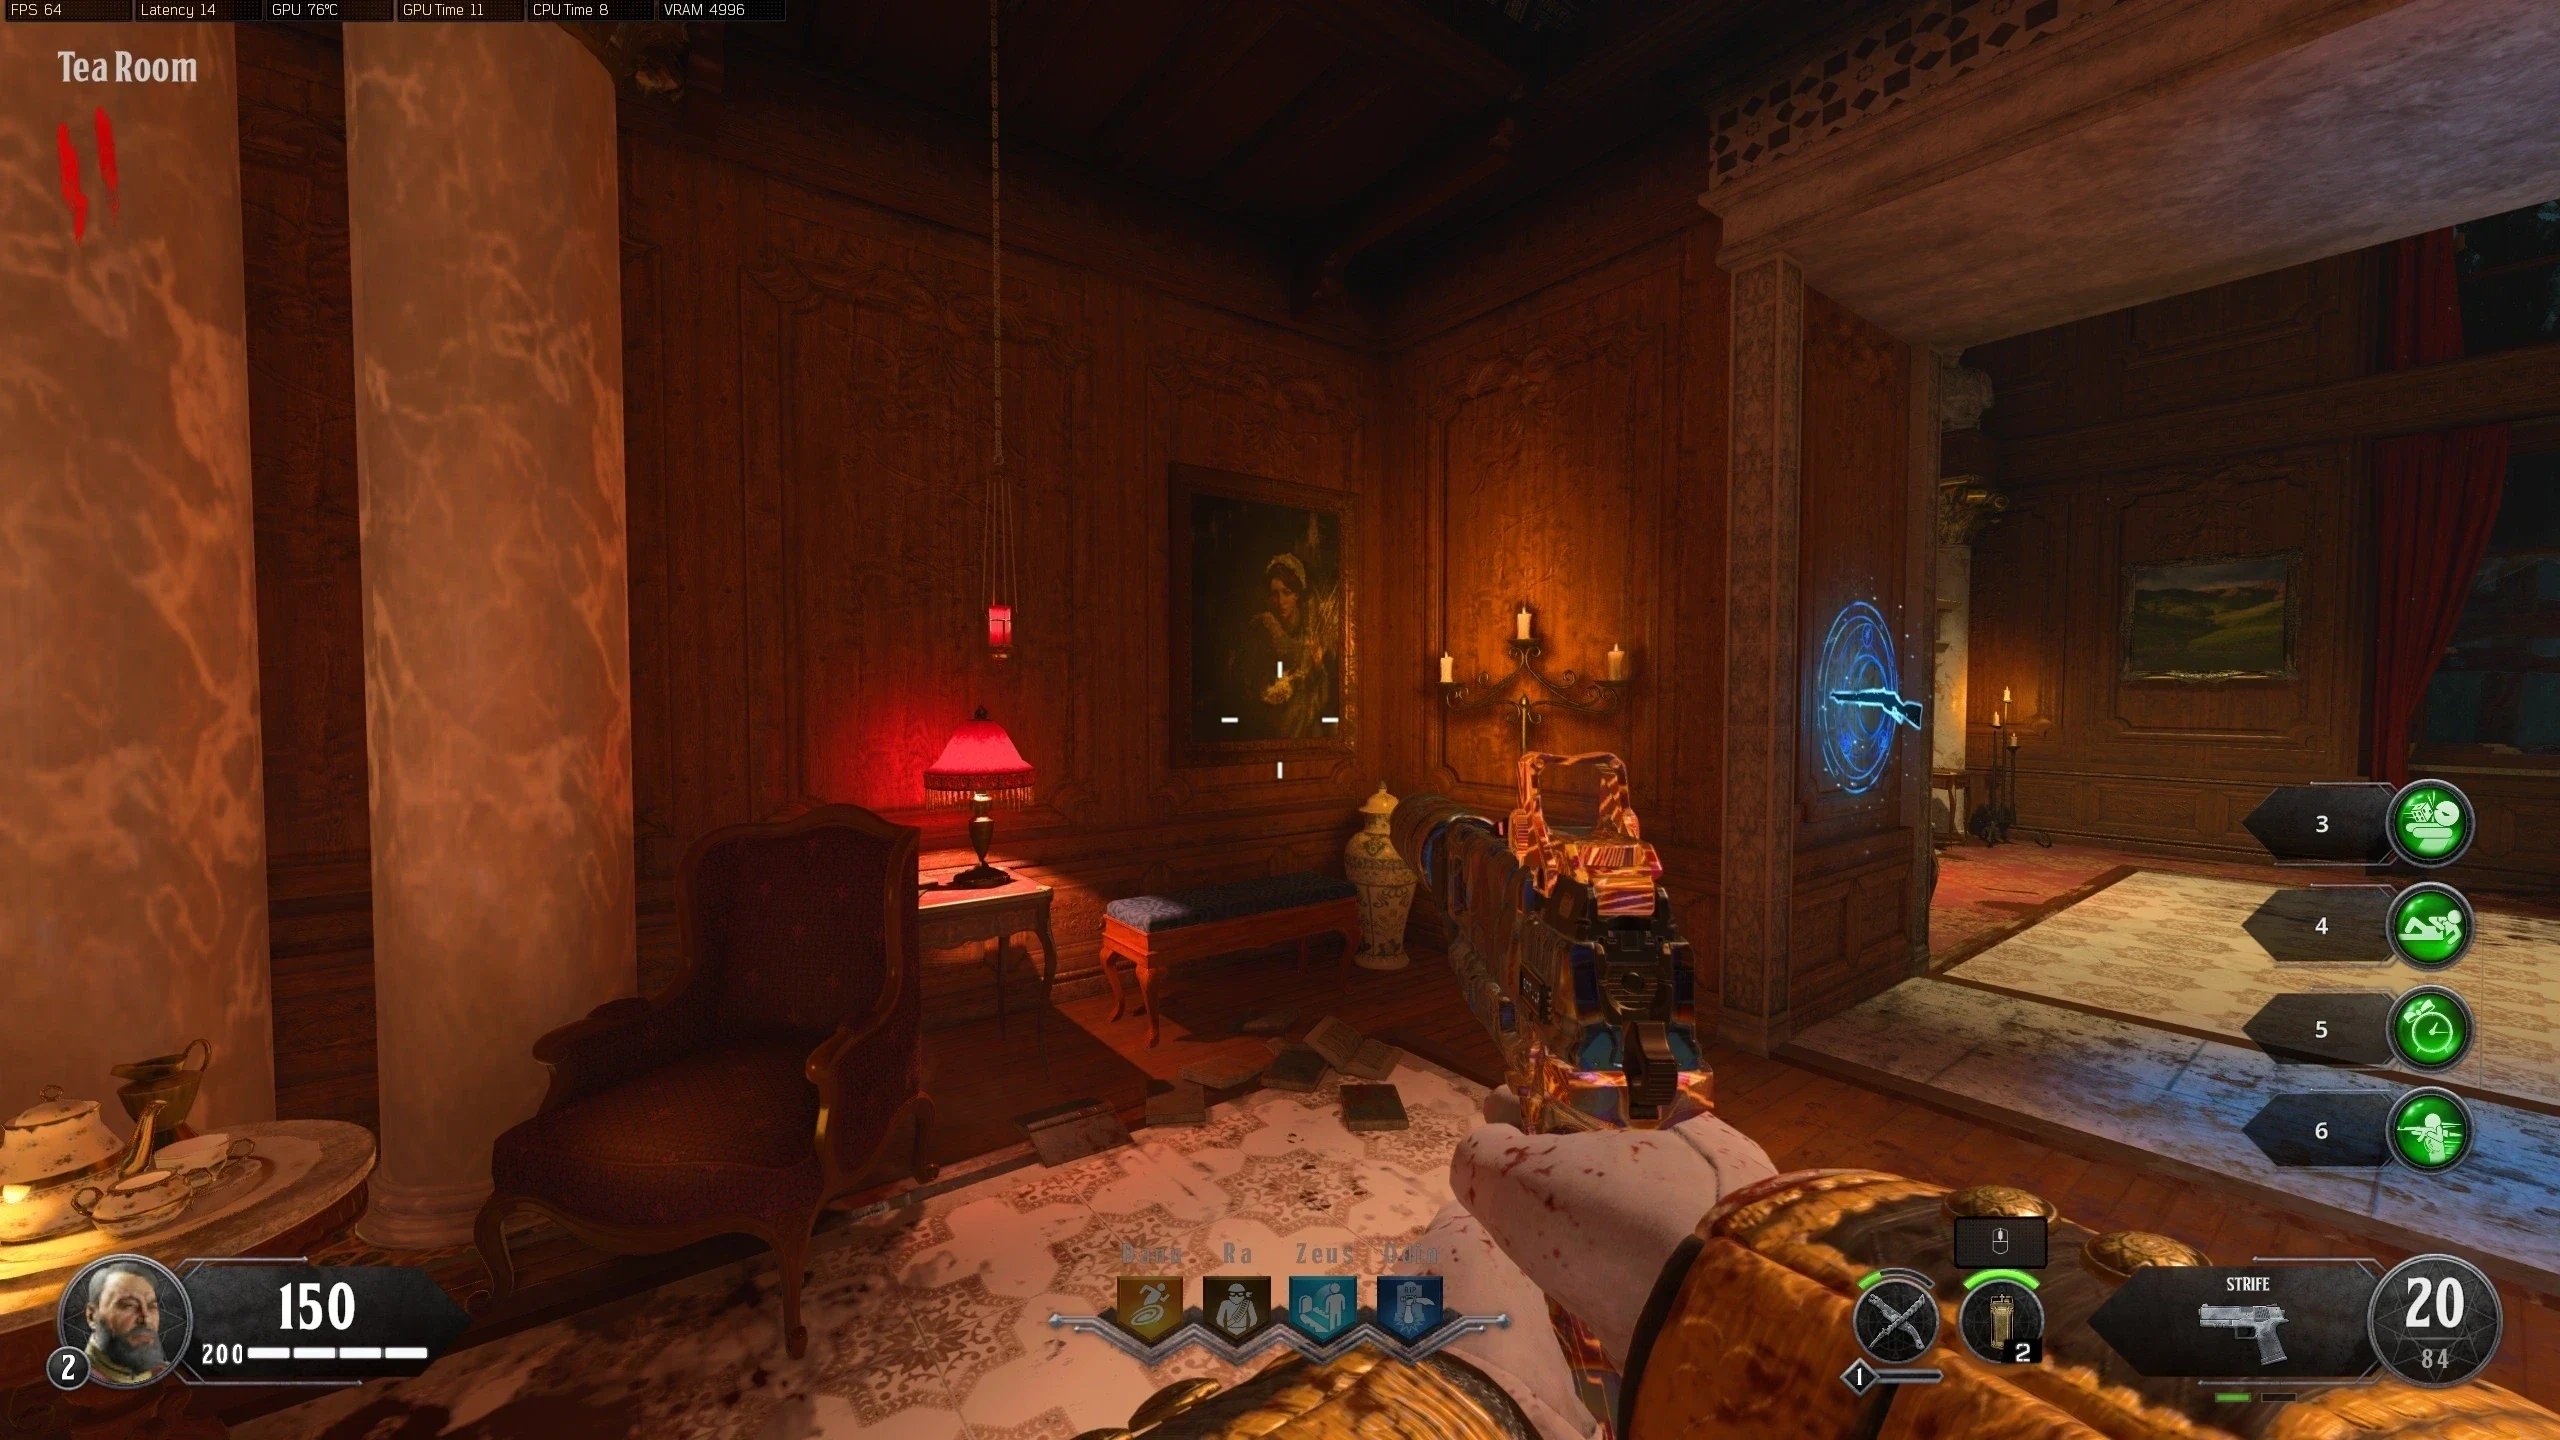
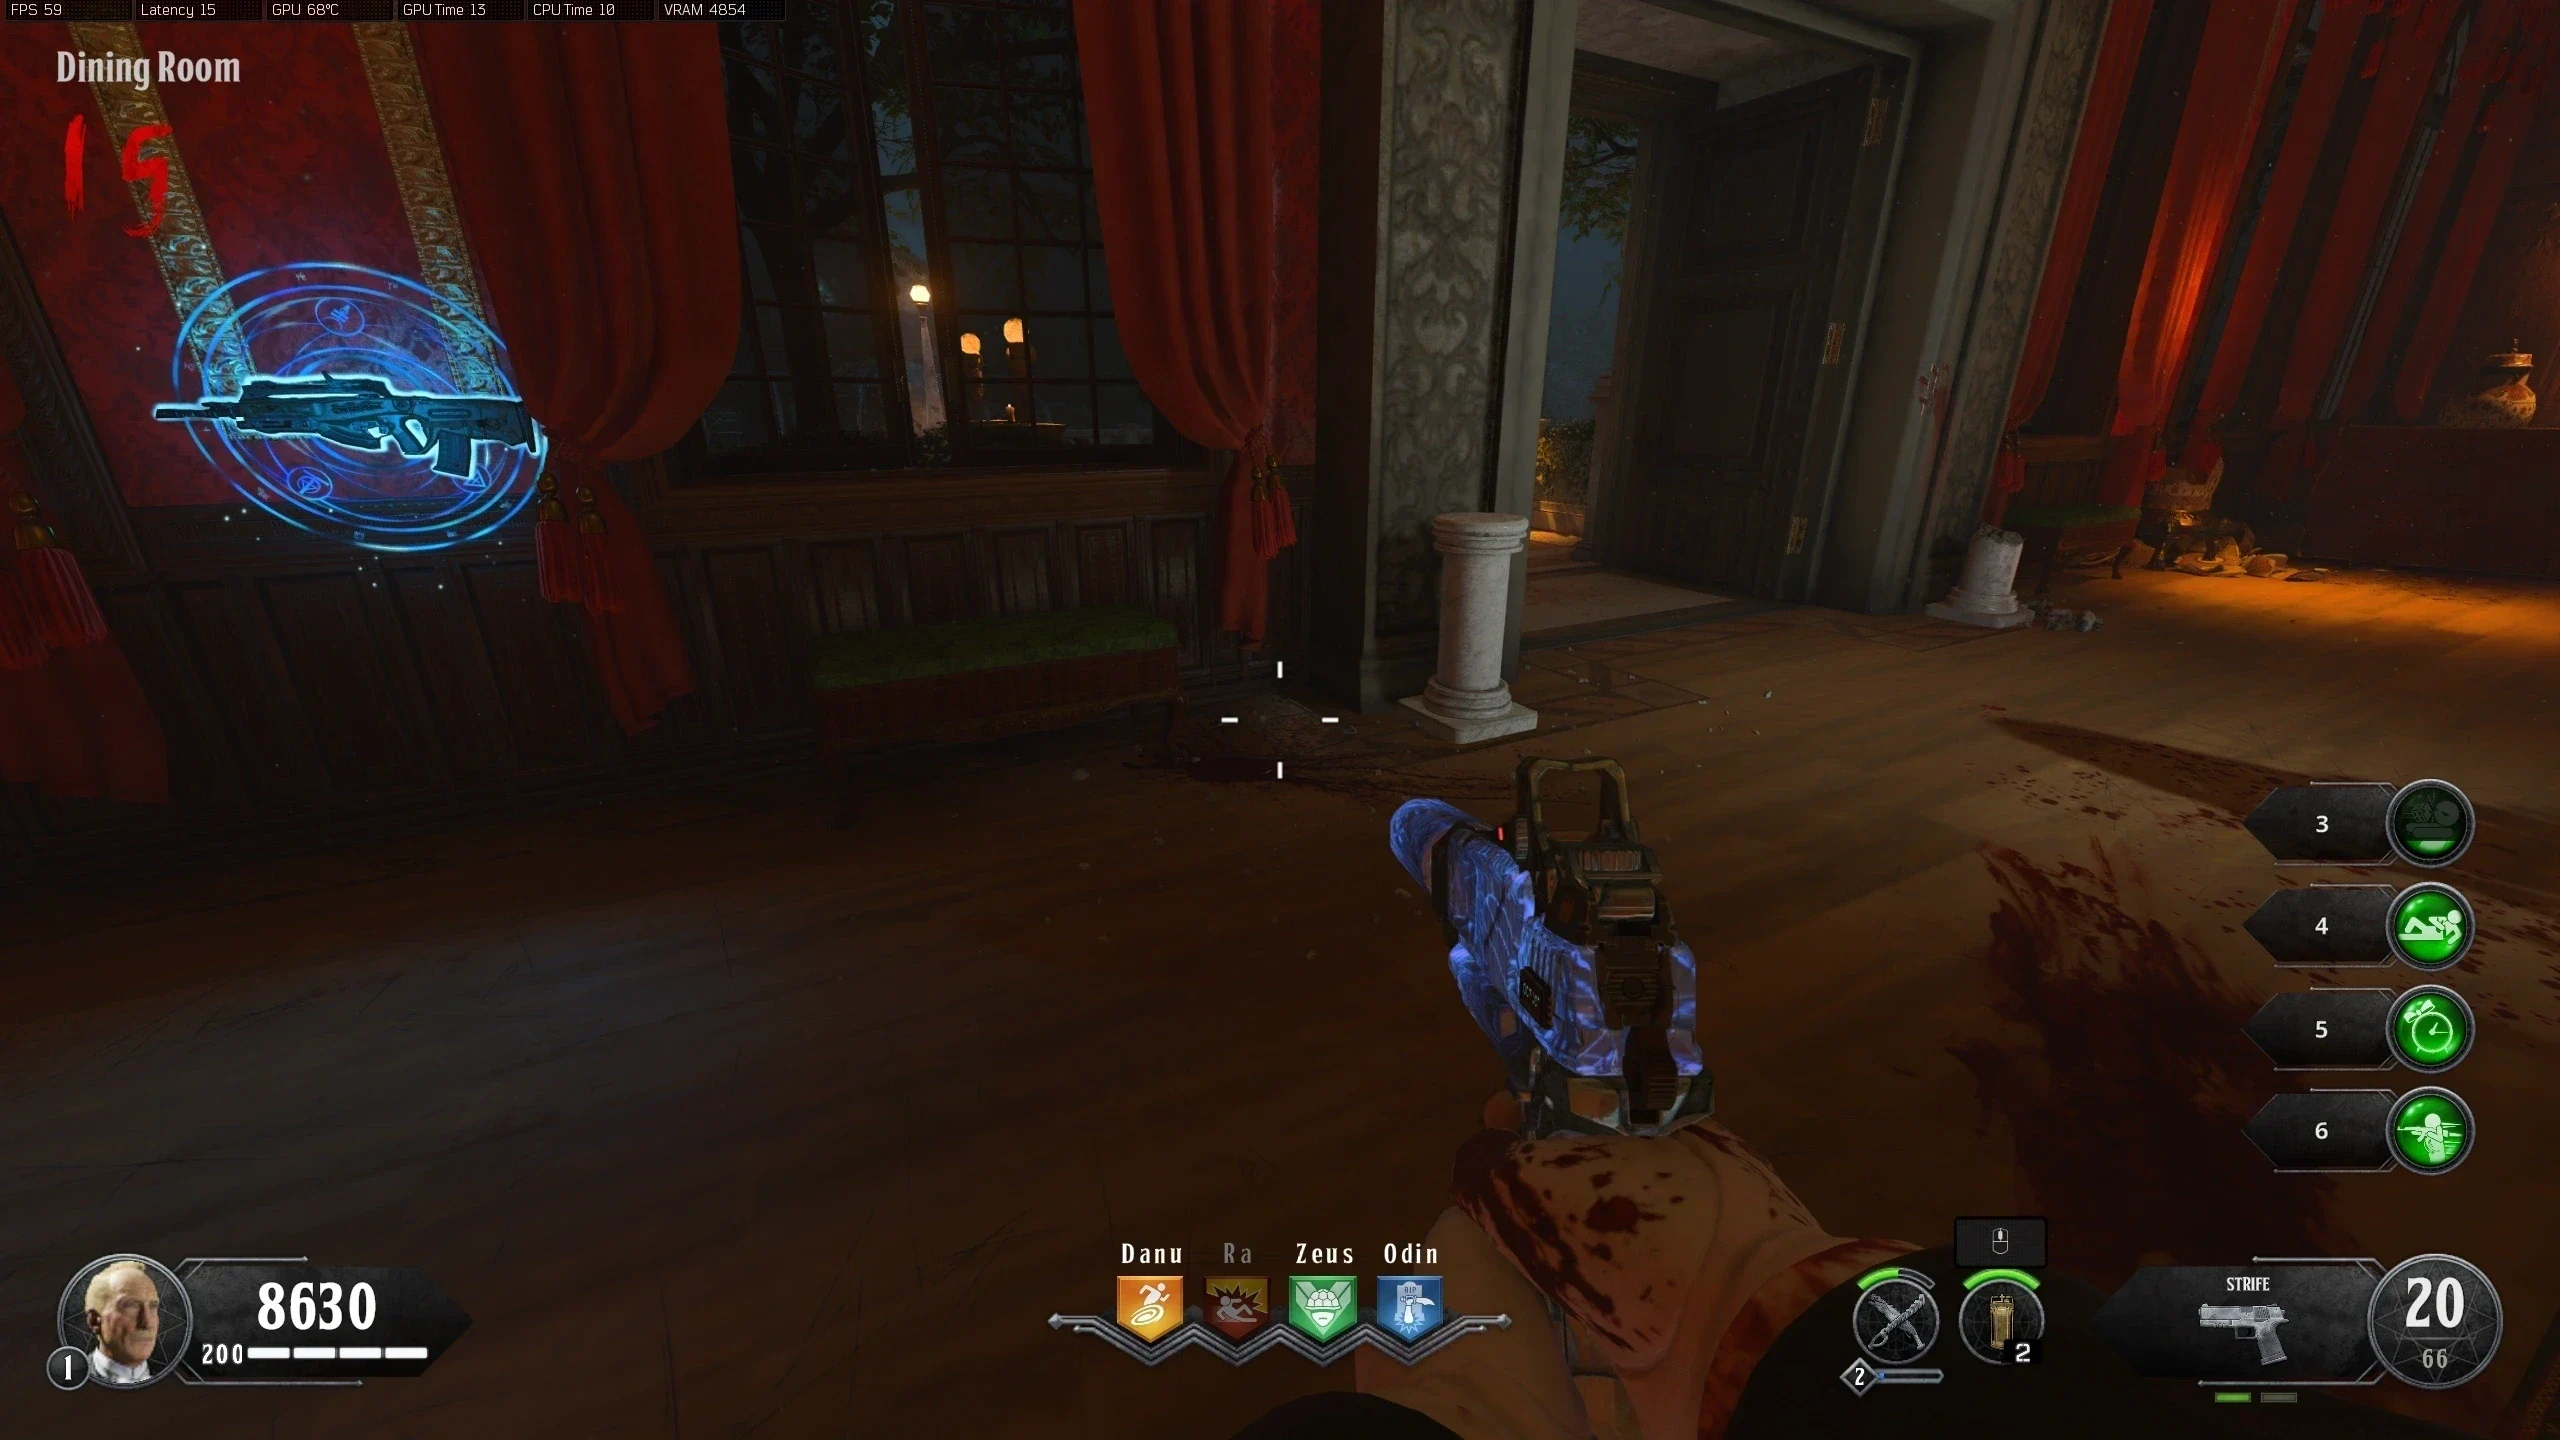
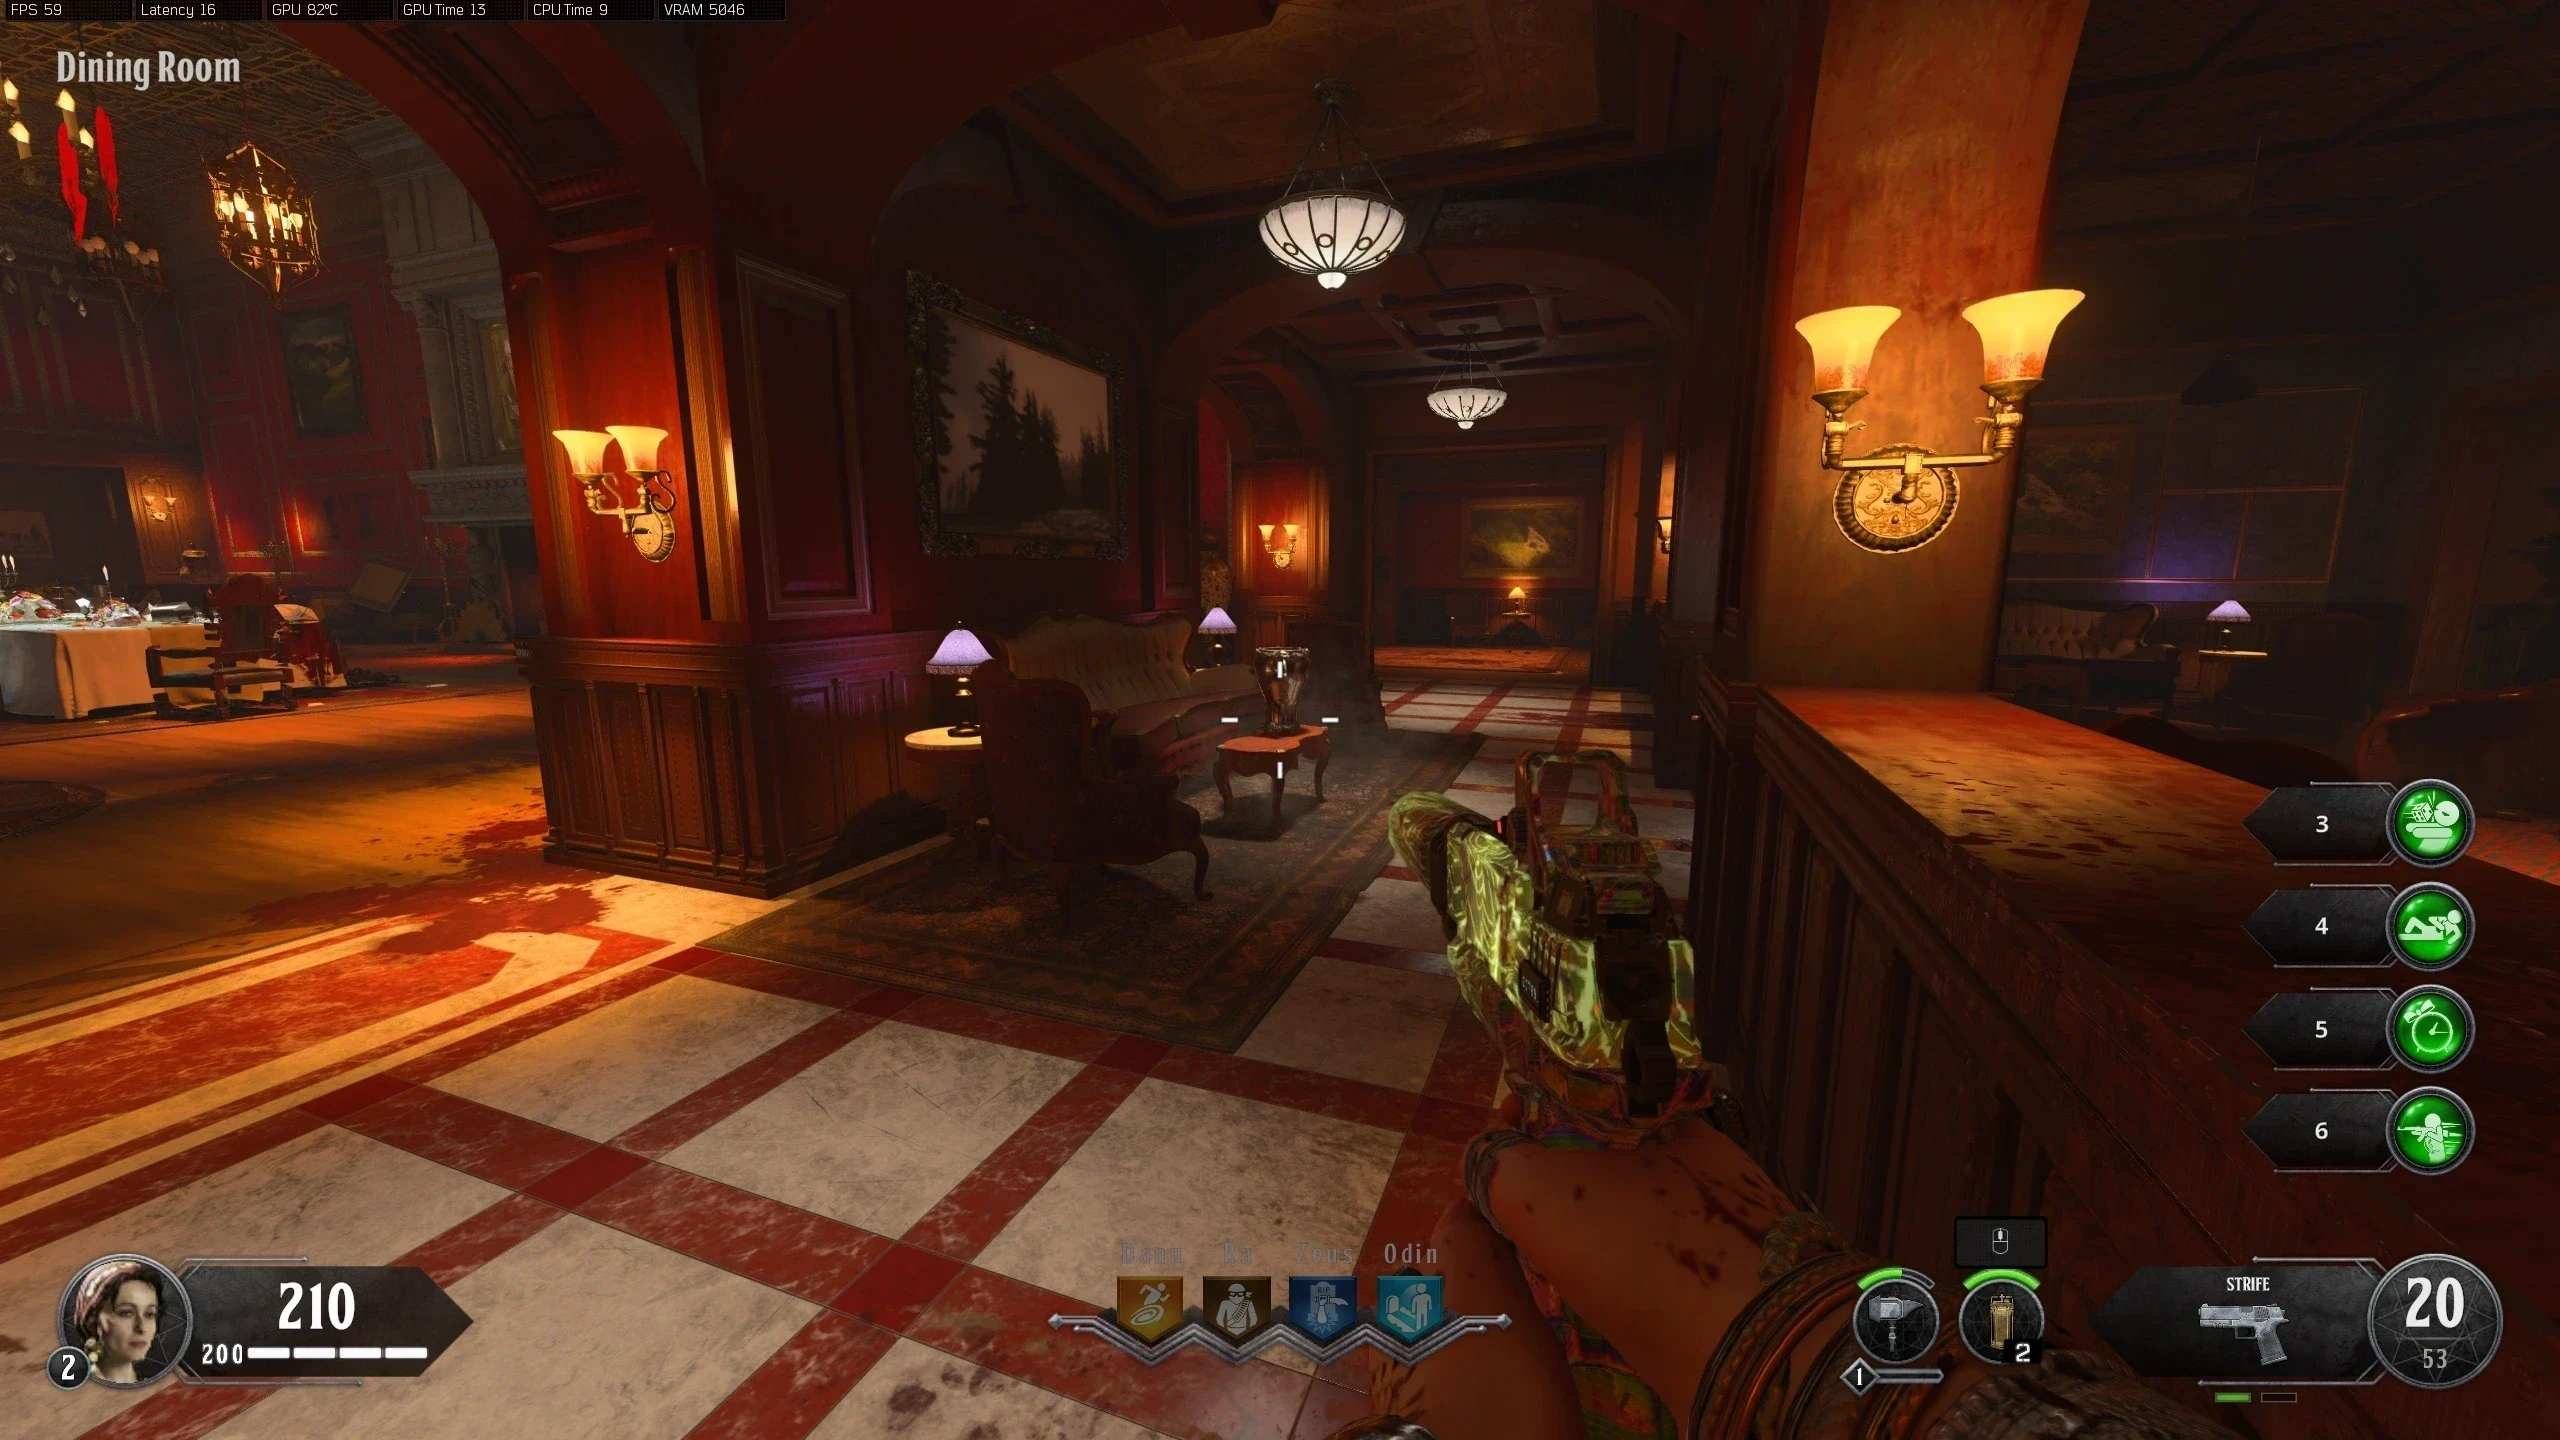
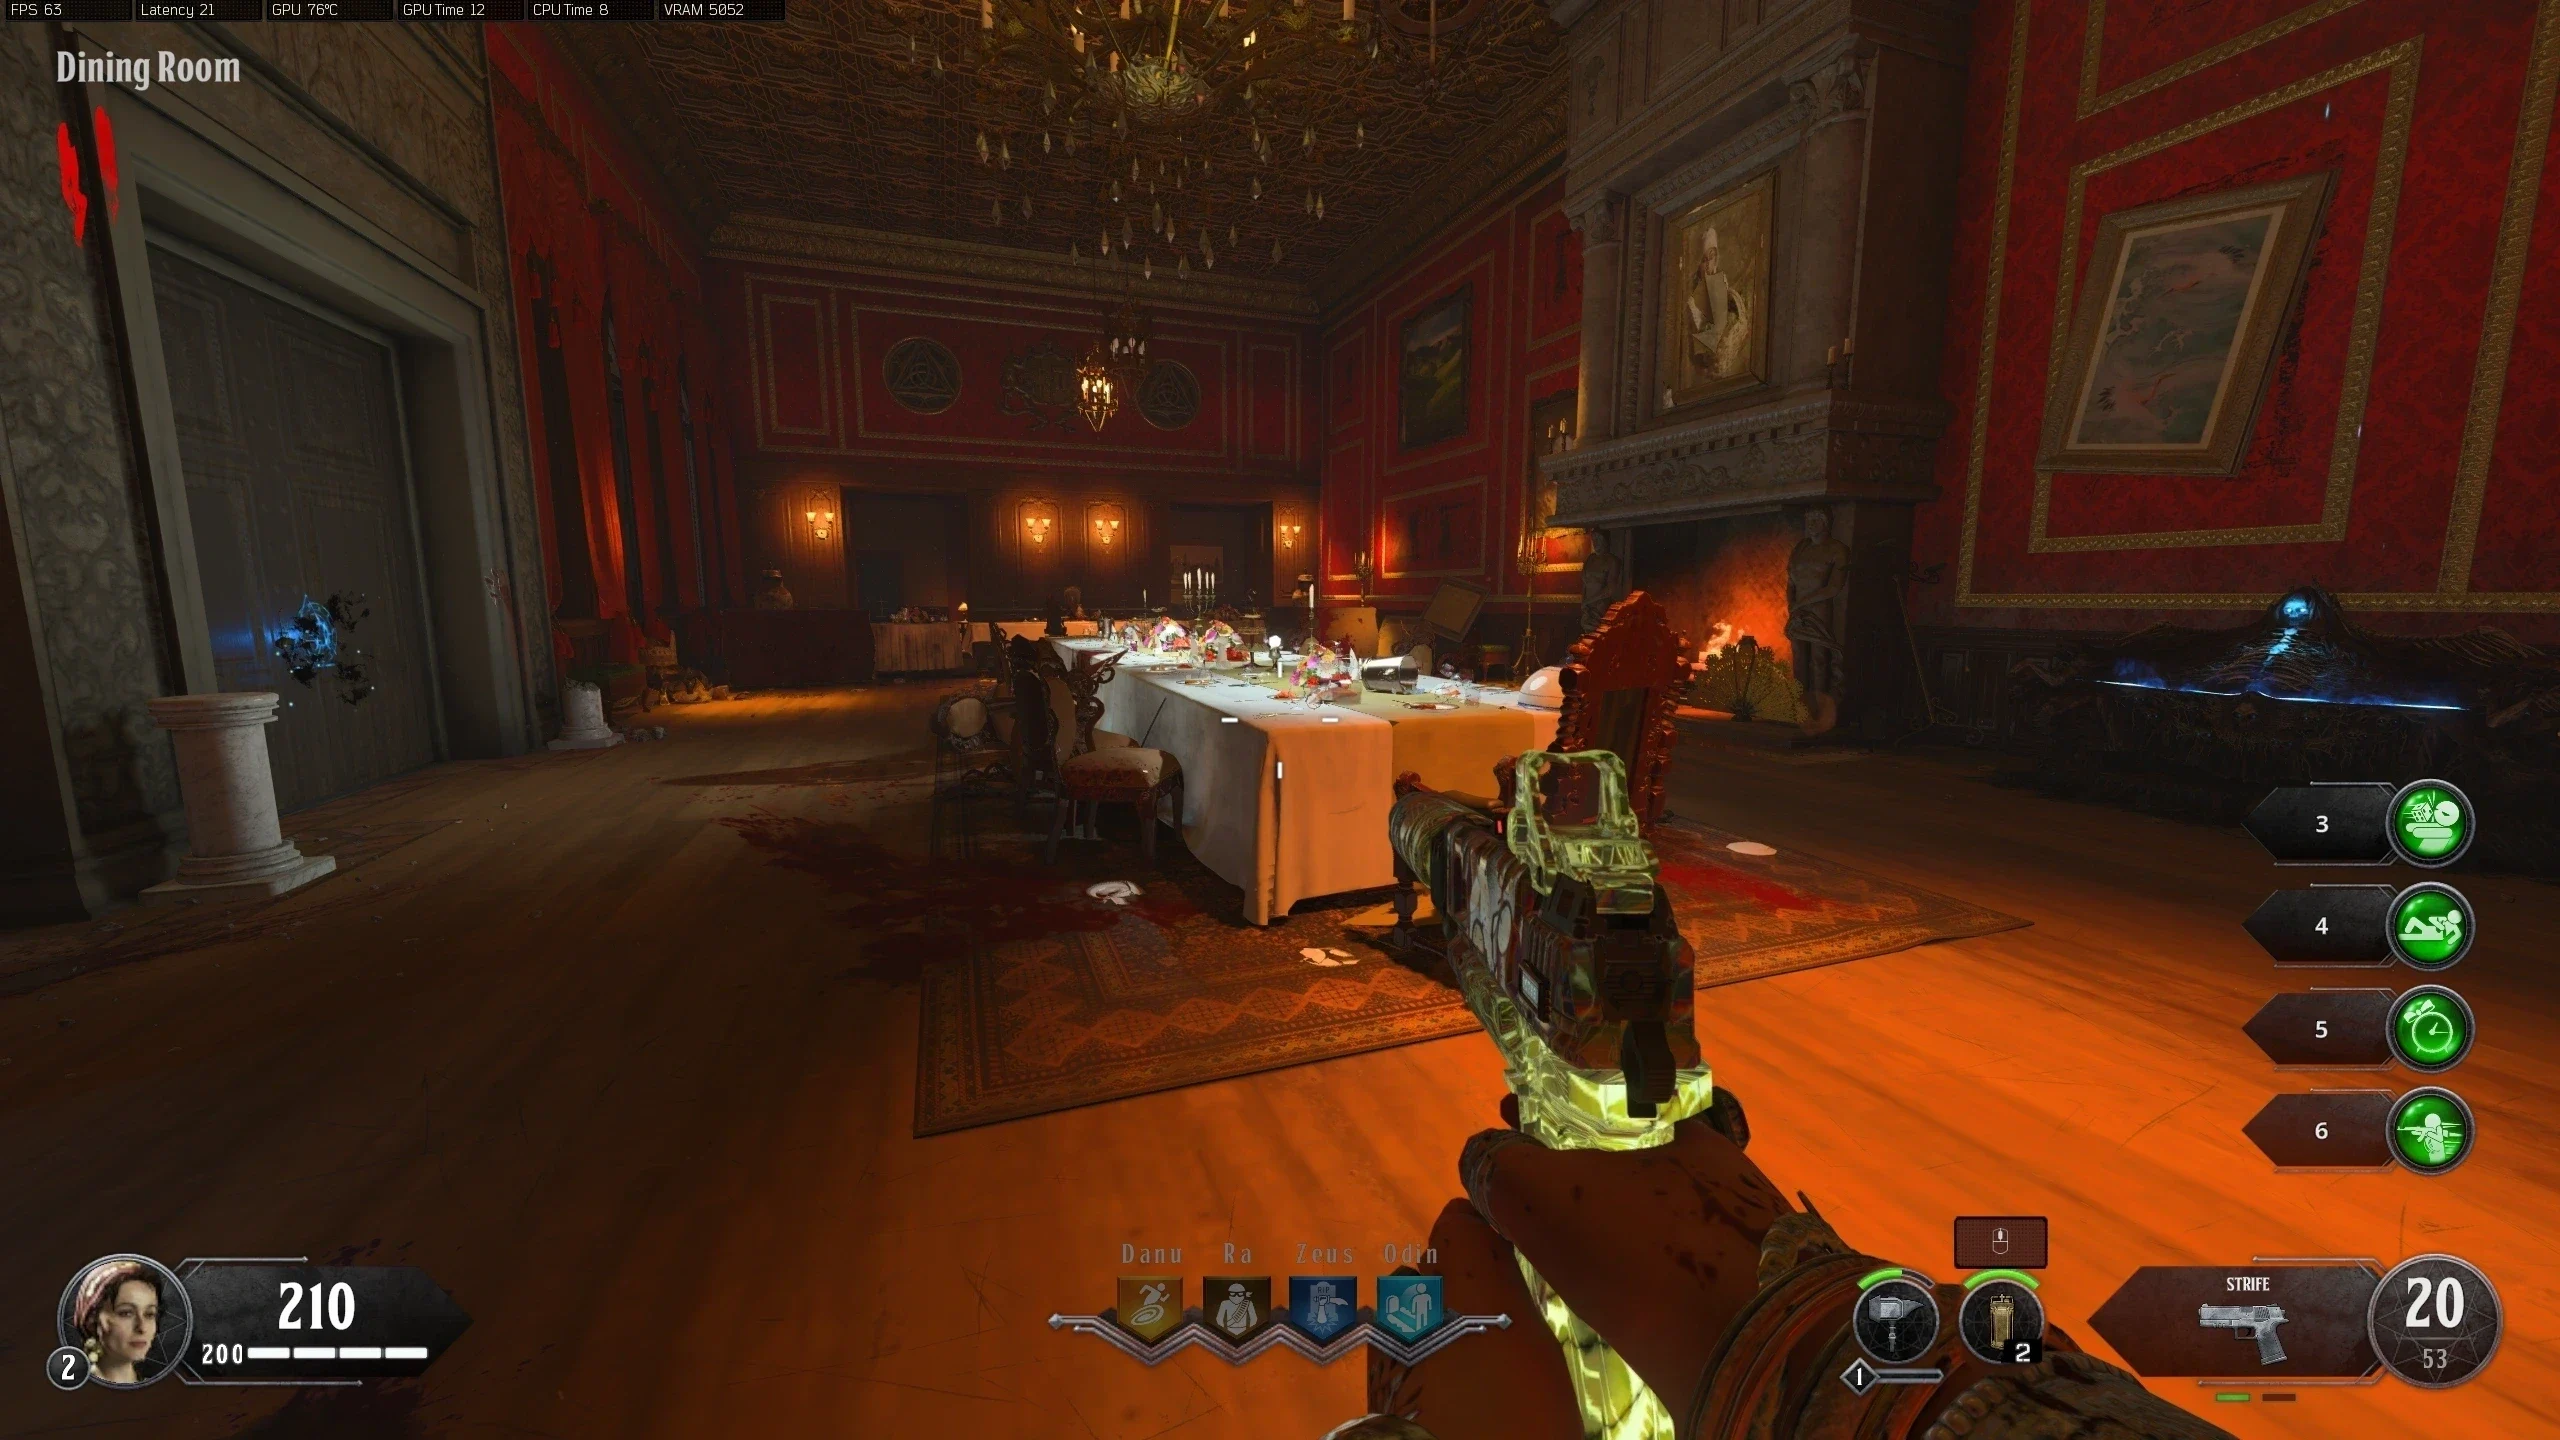
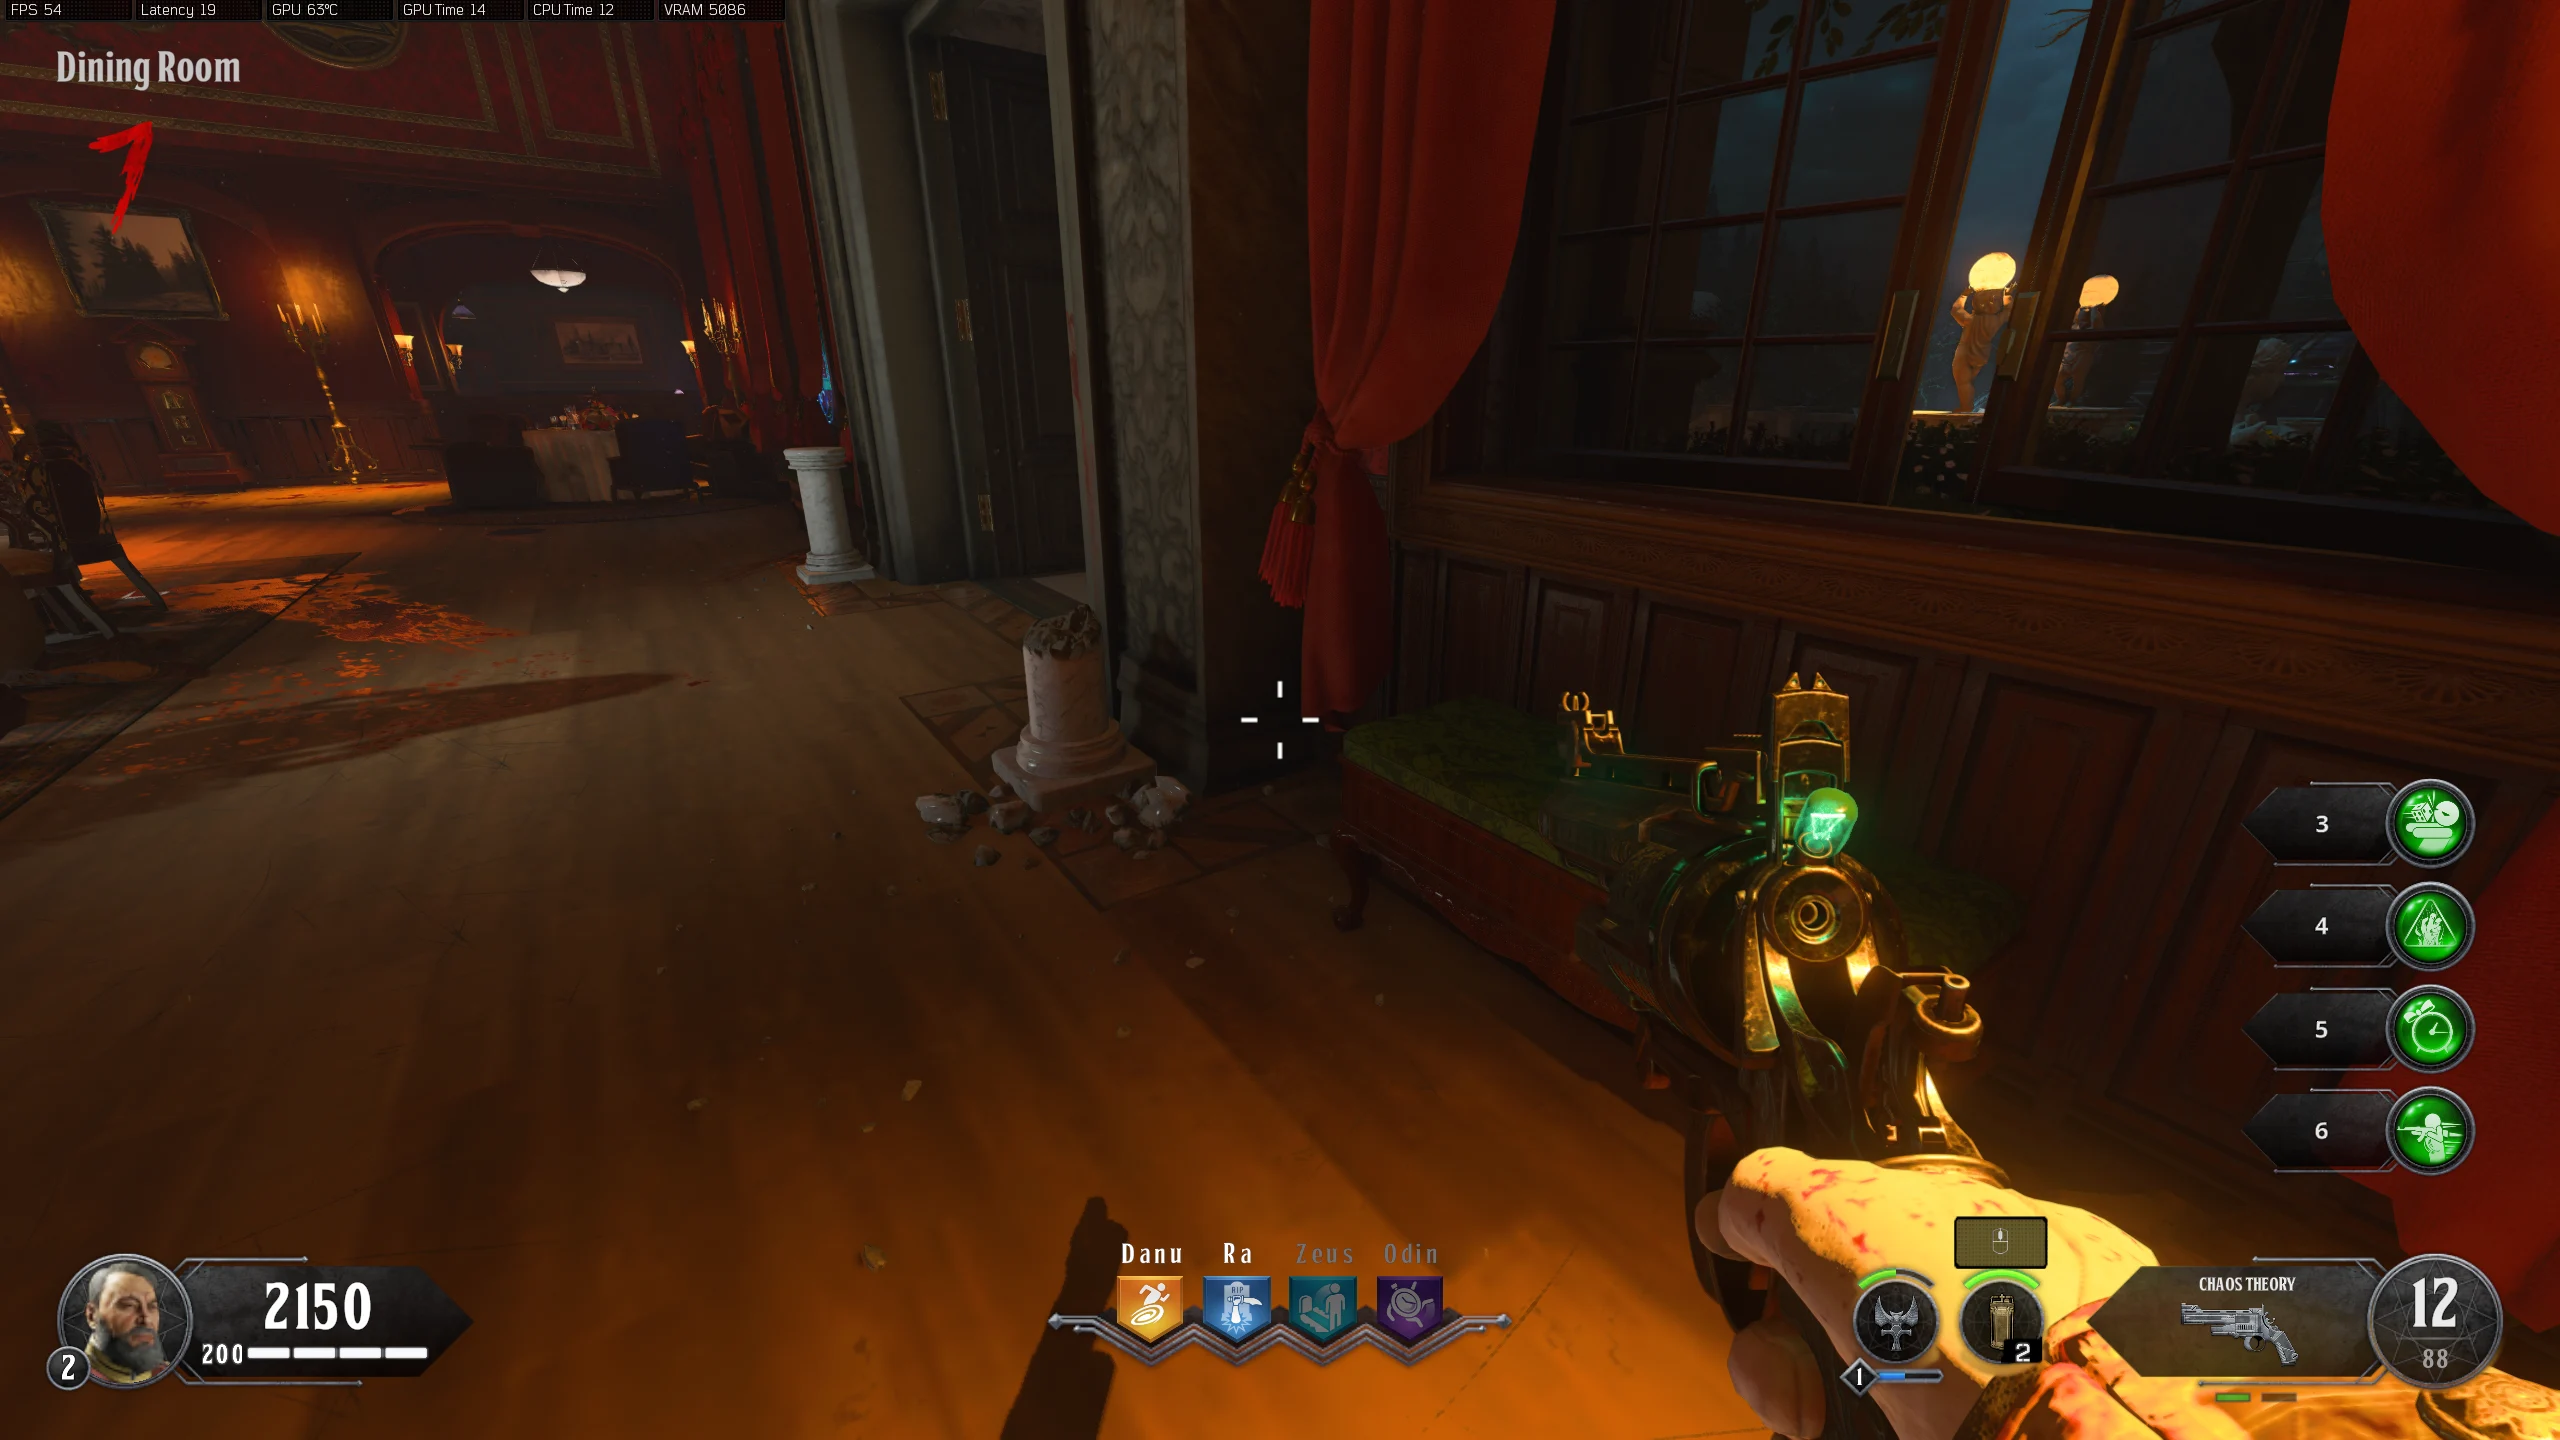
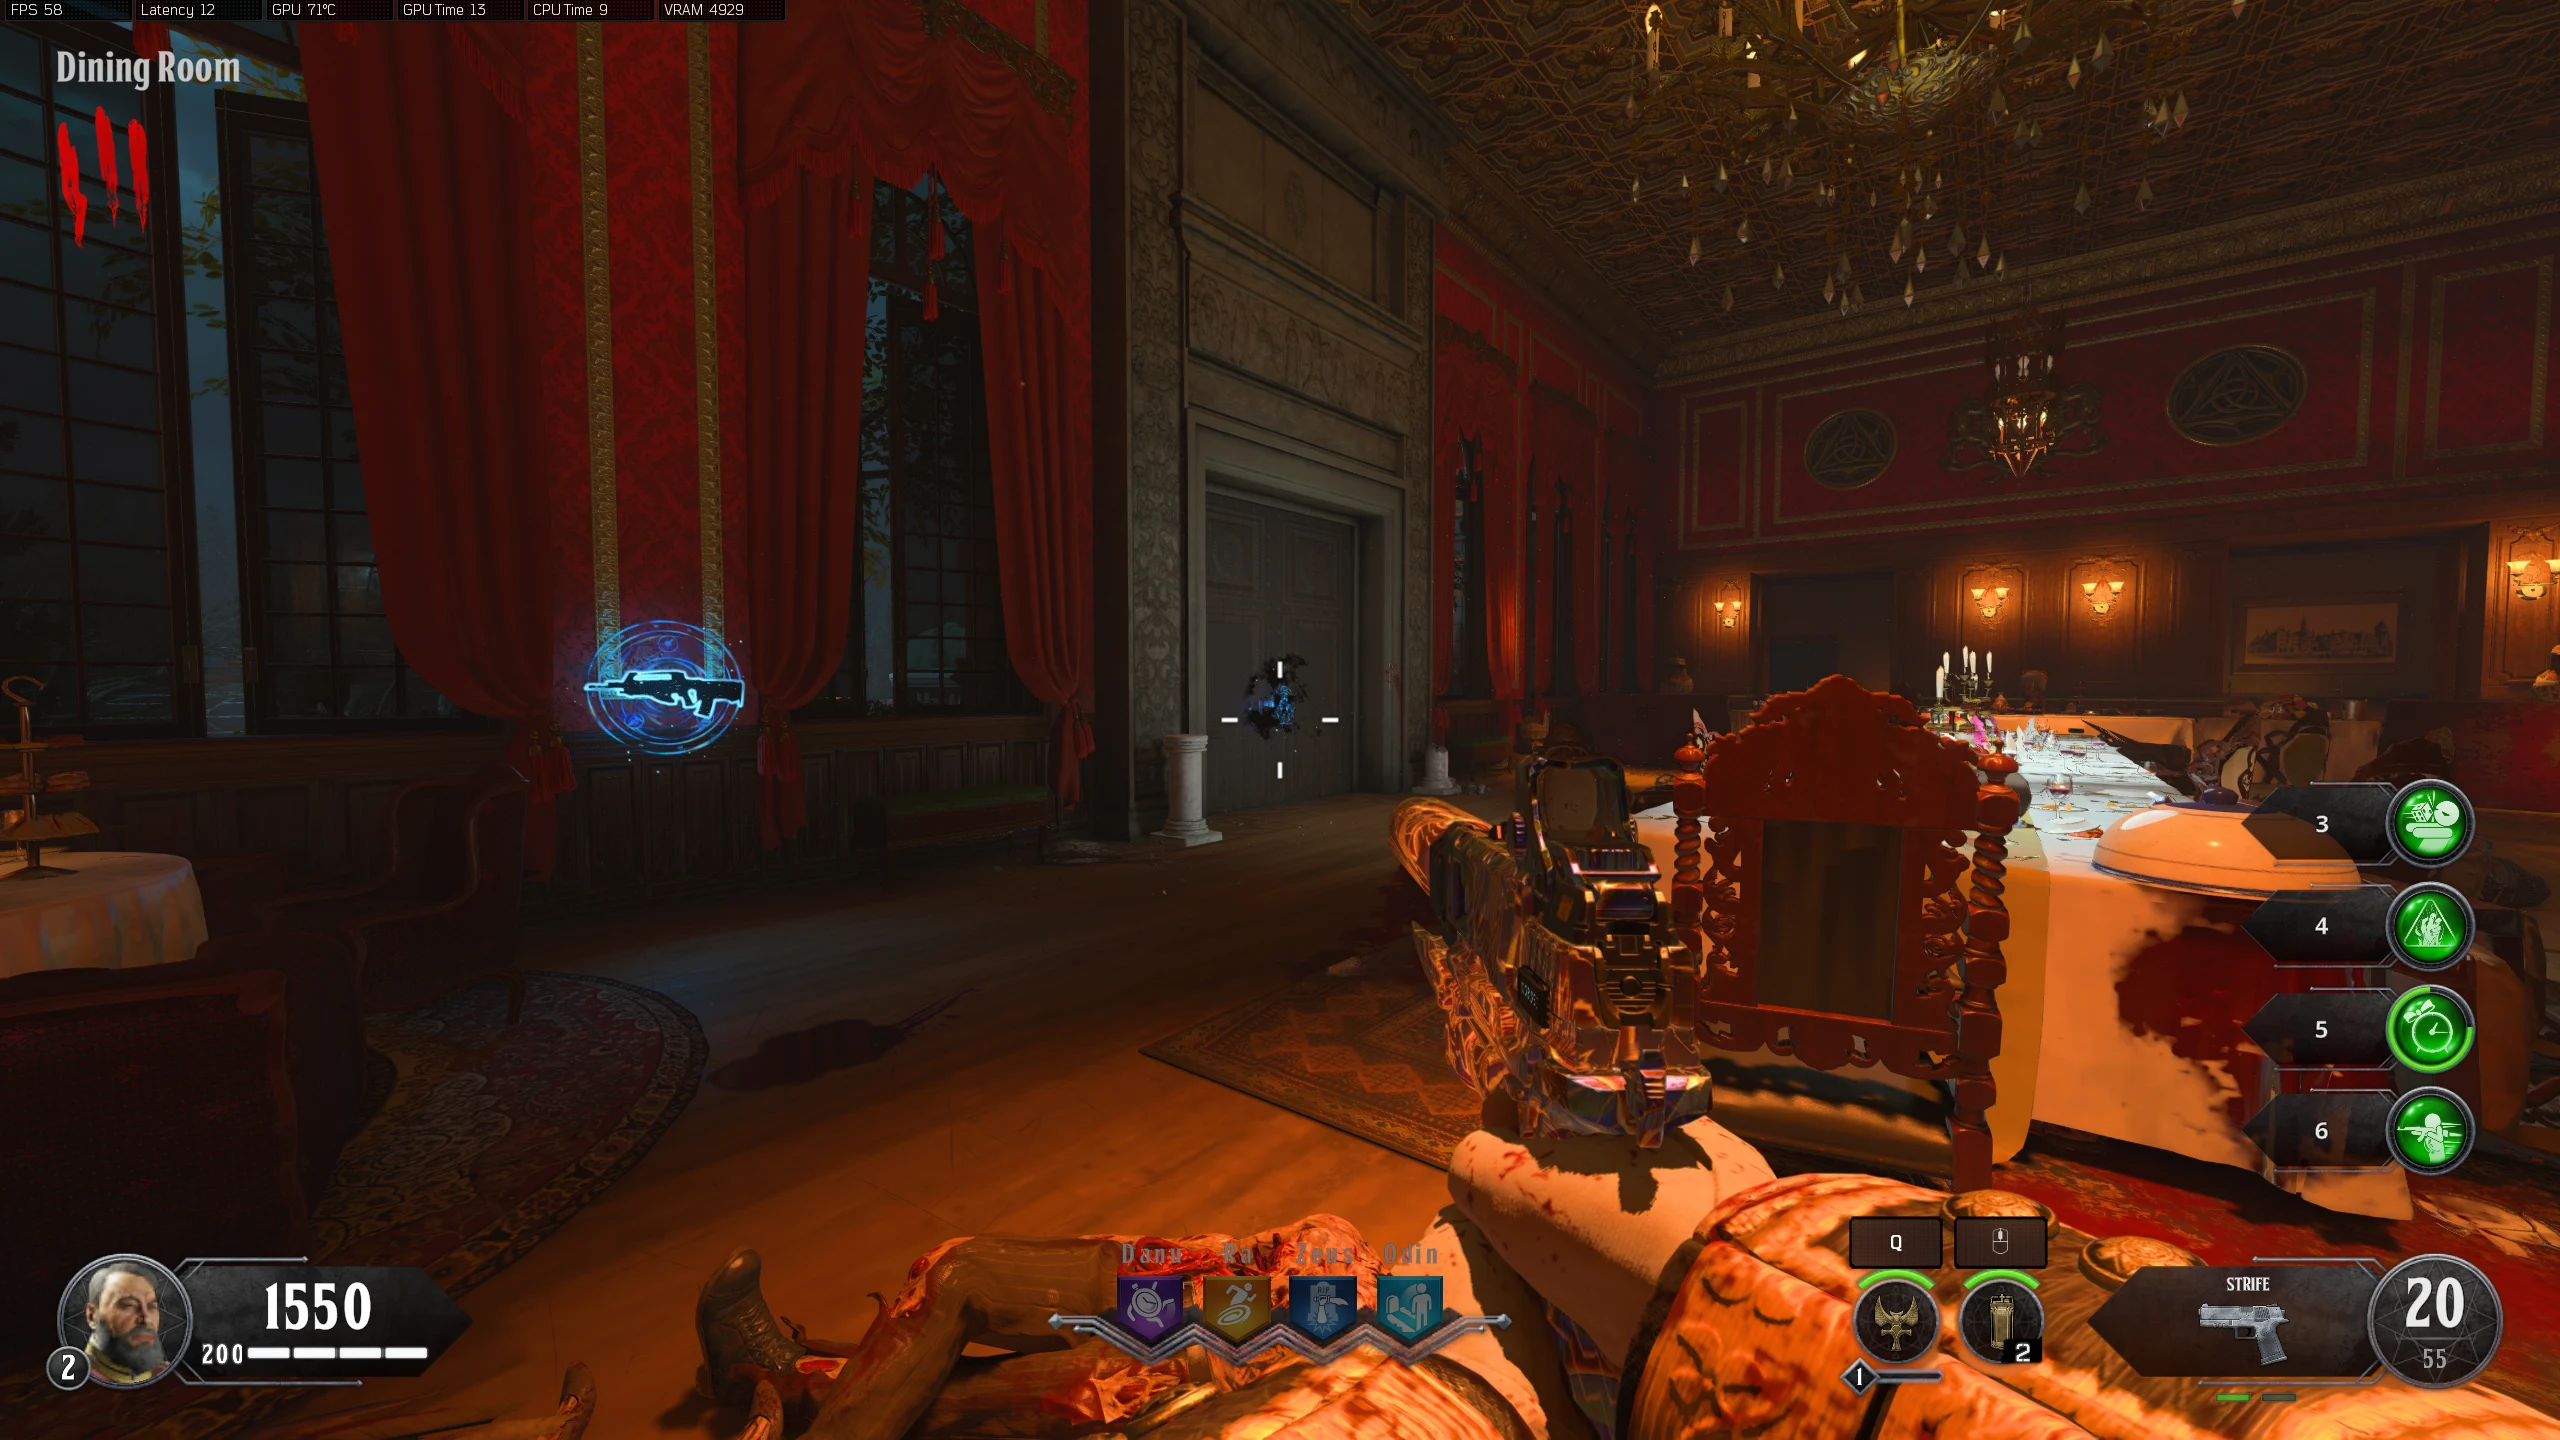
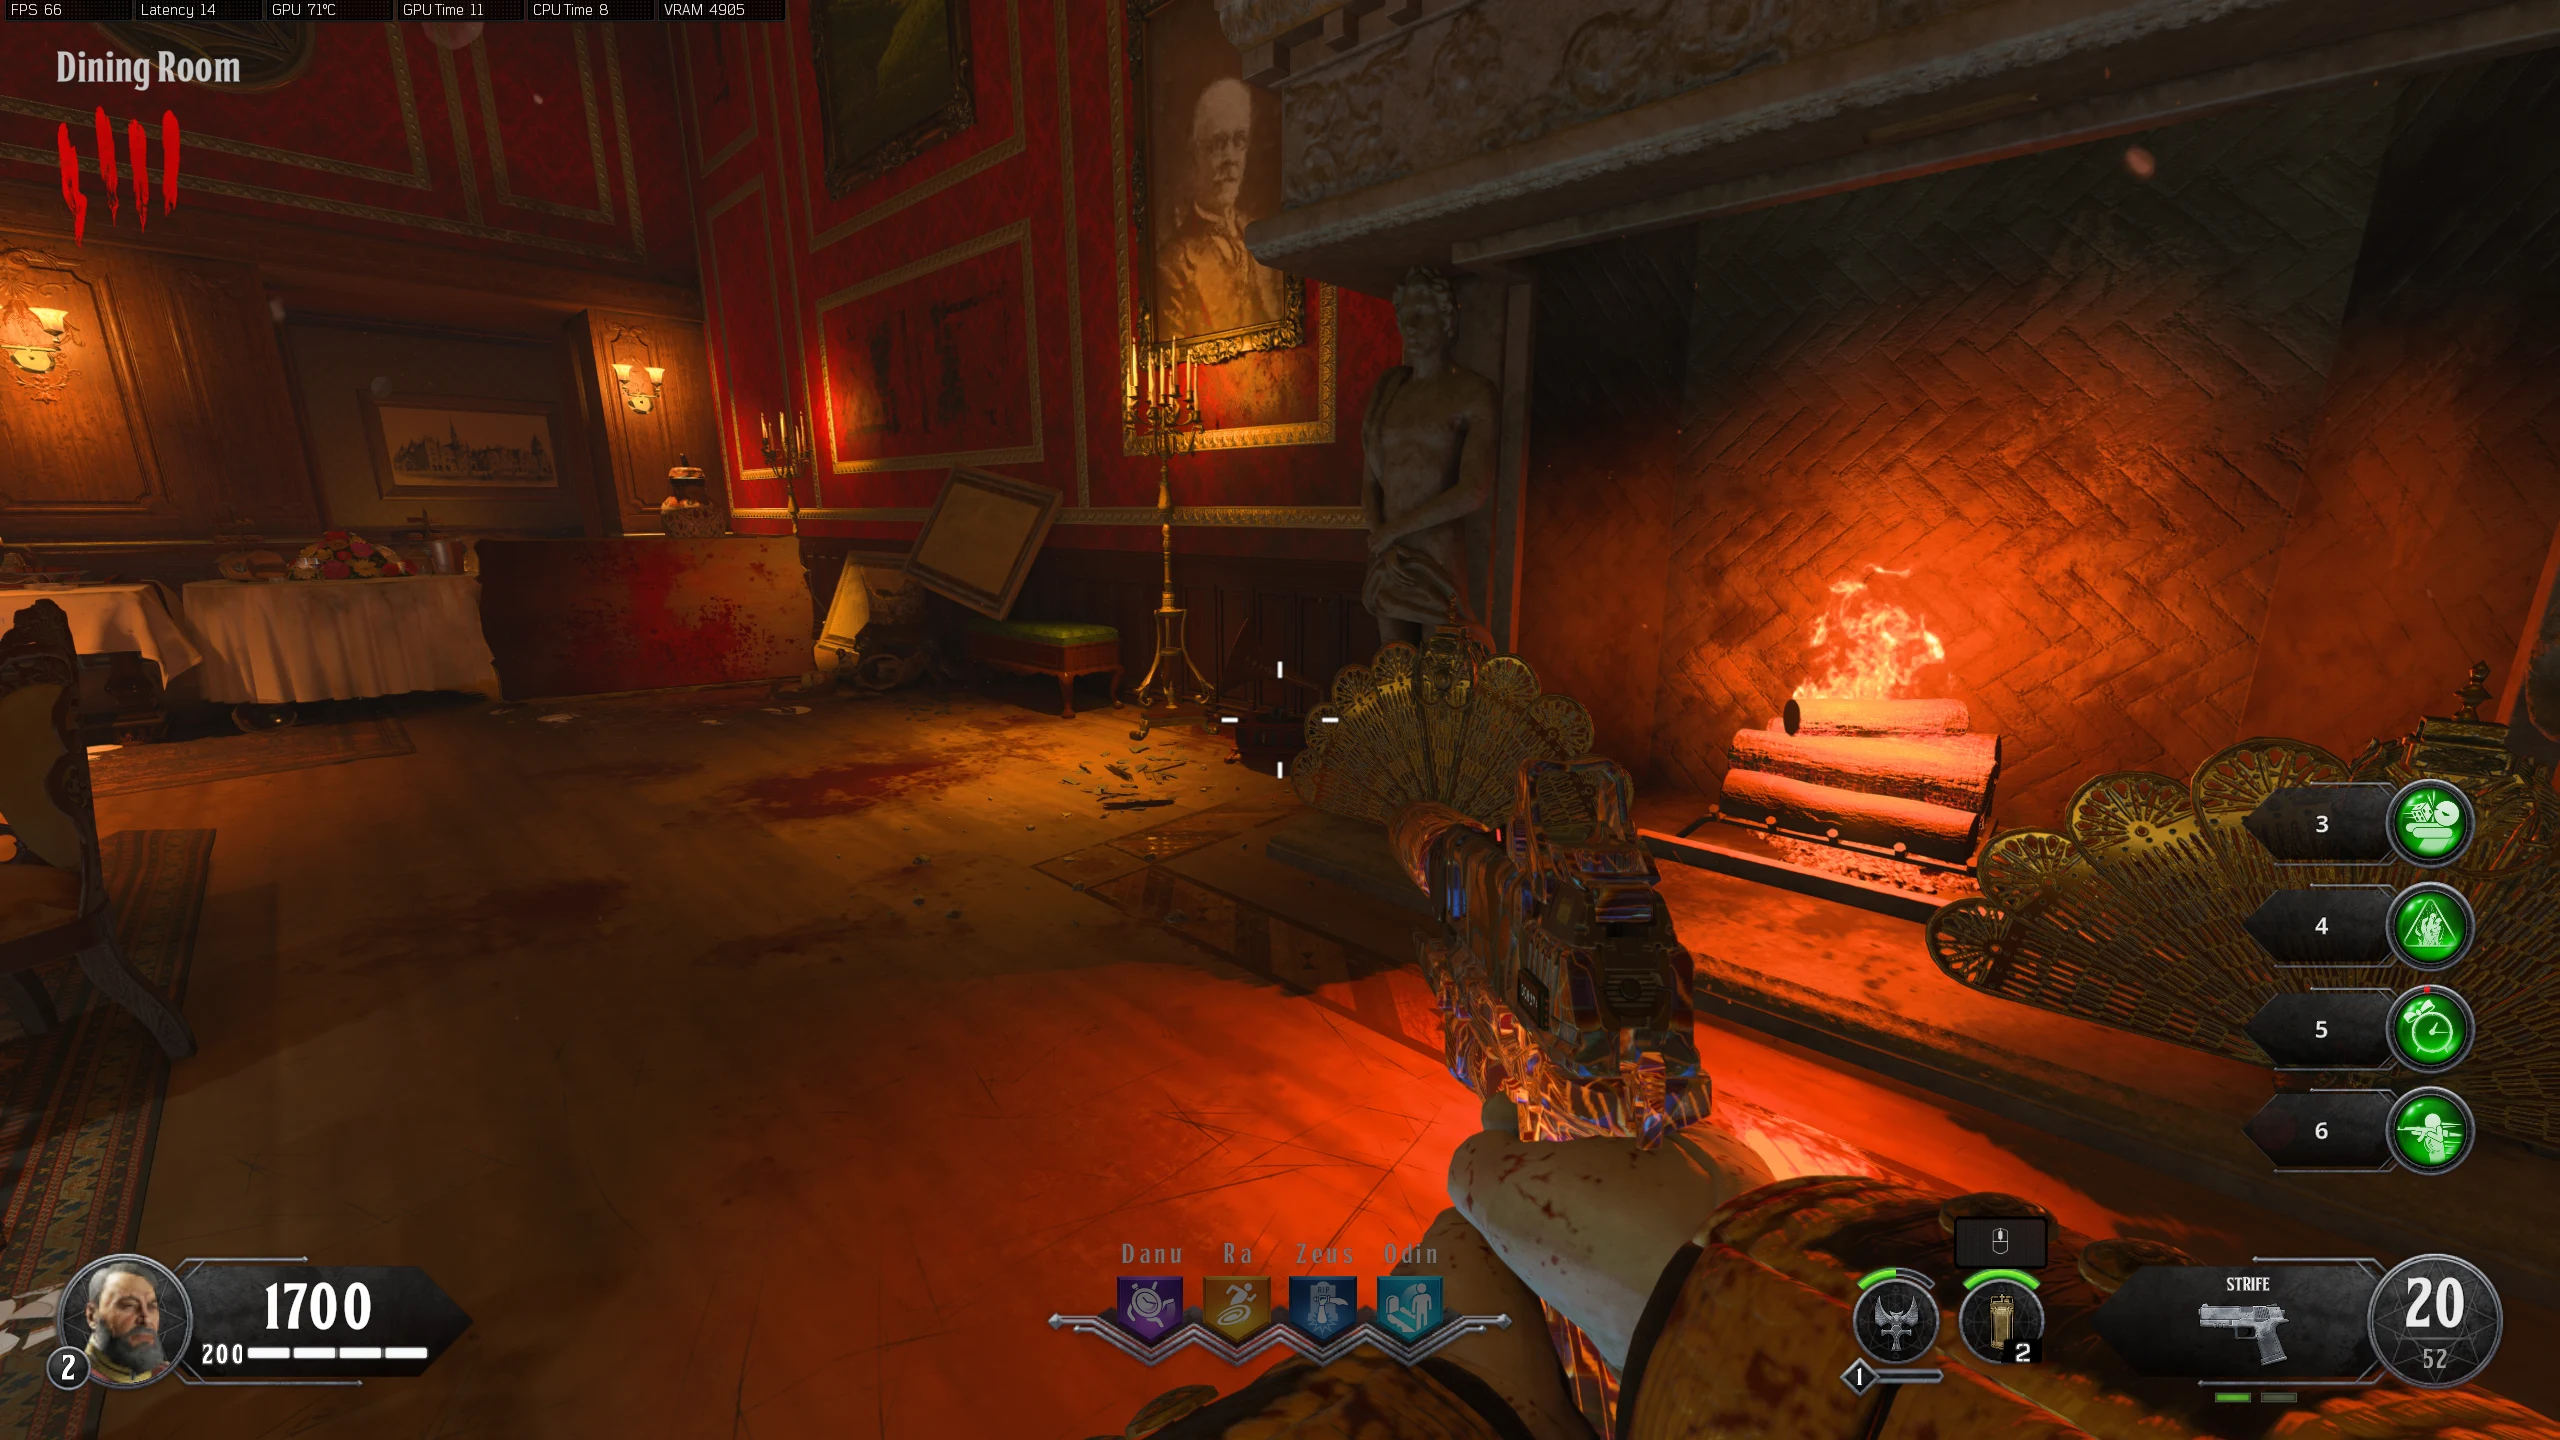
- Dining Room
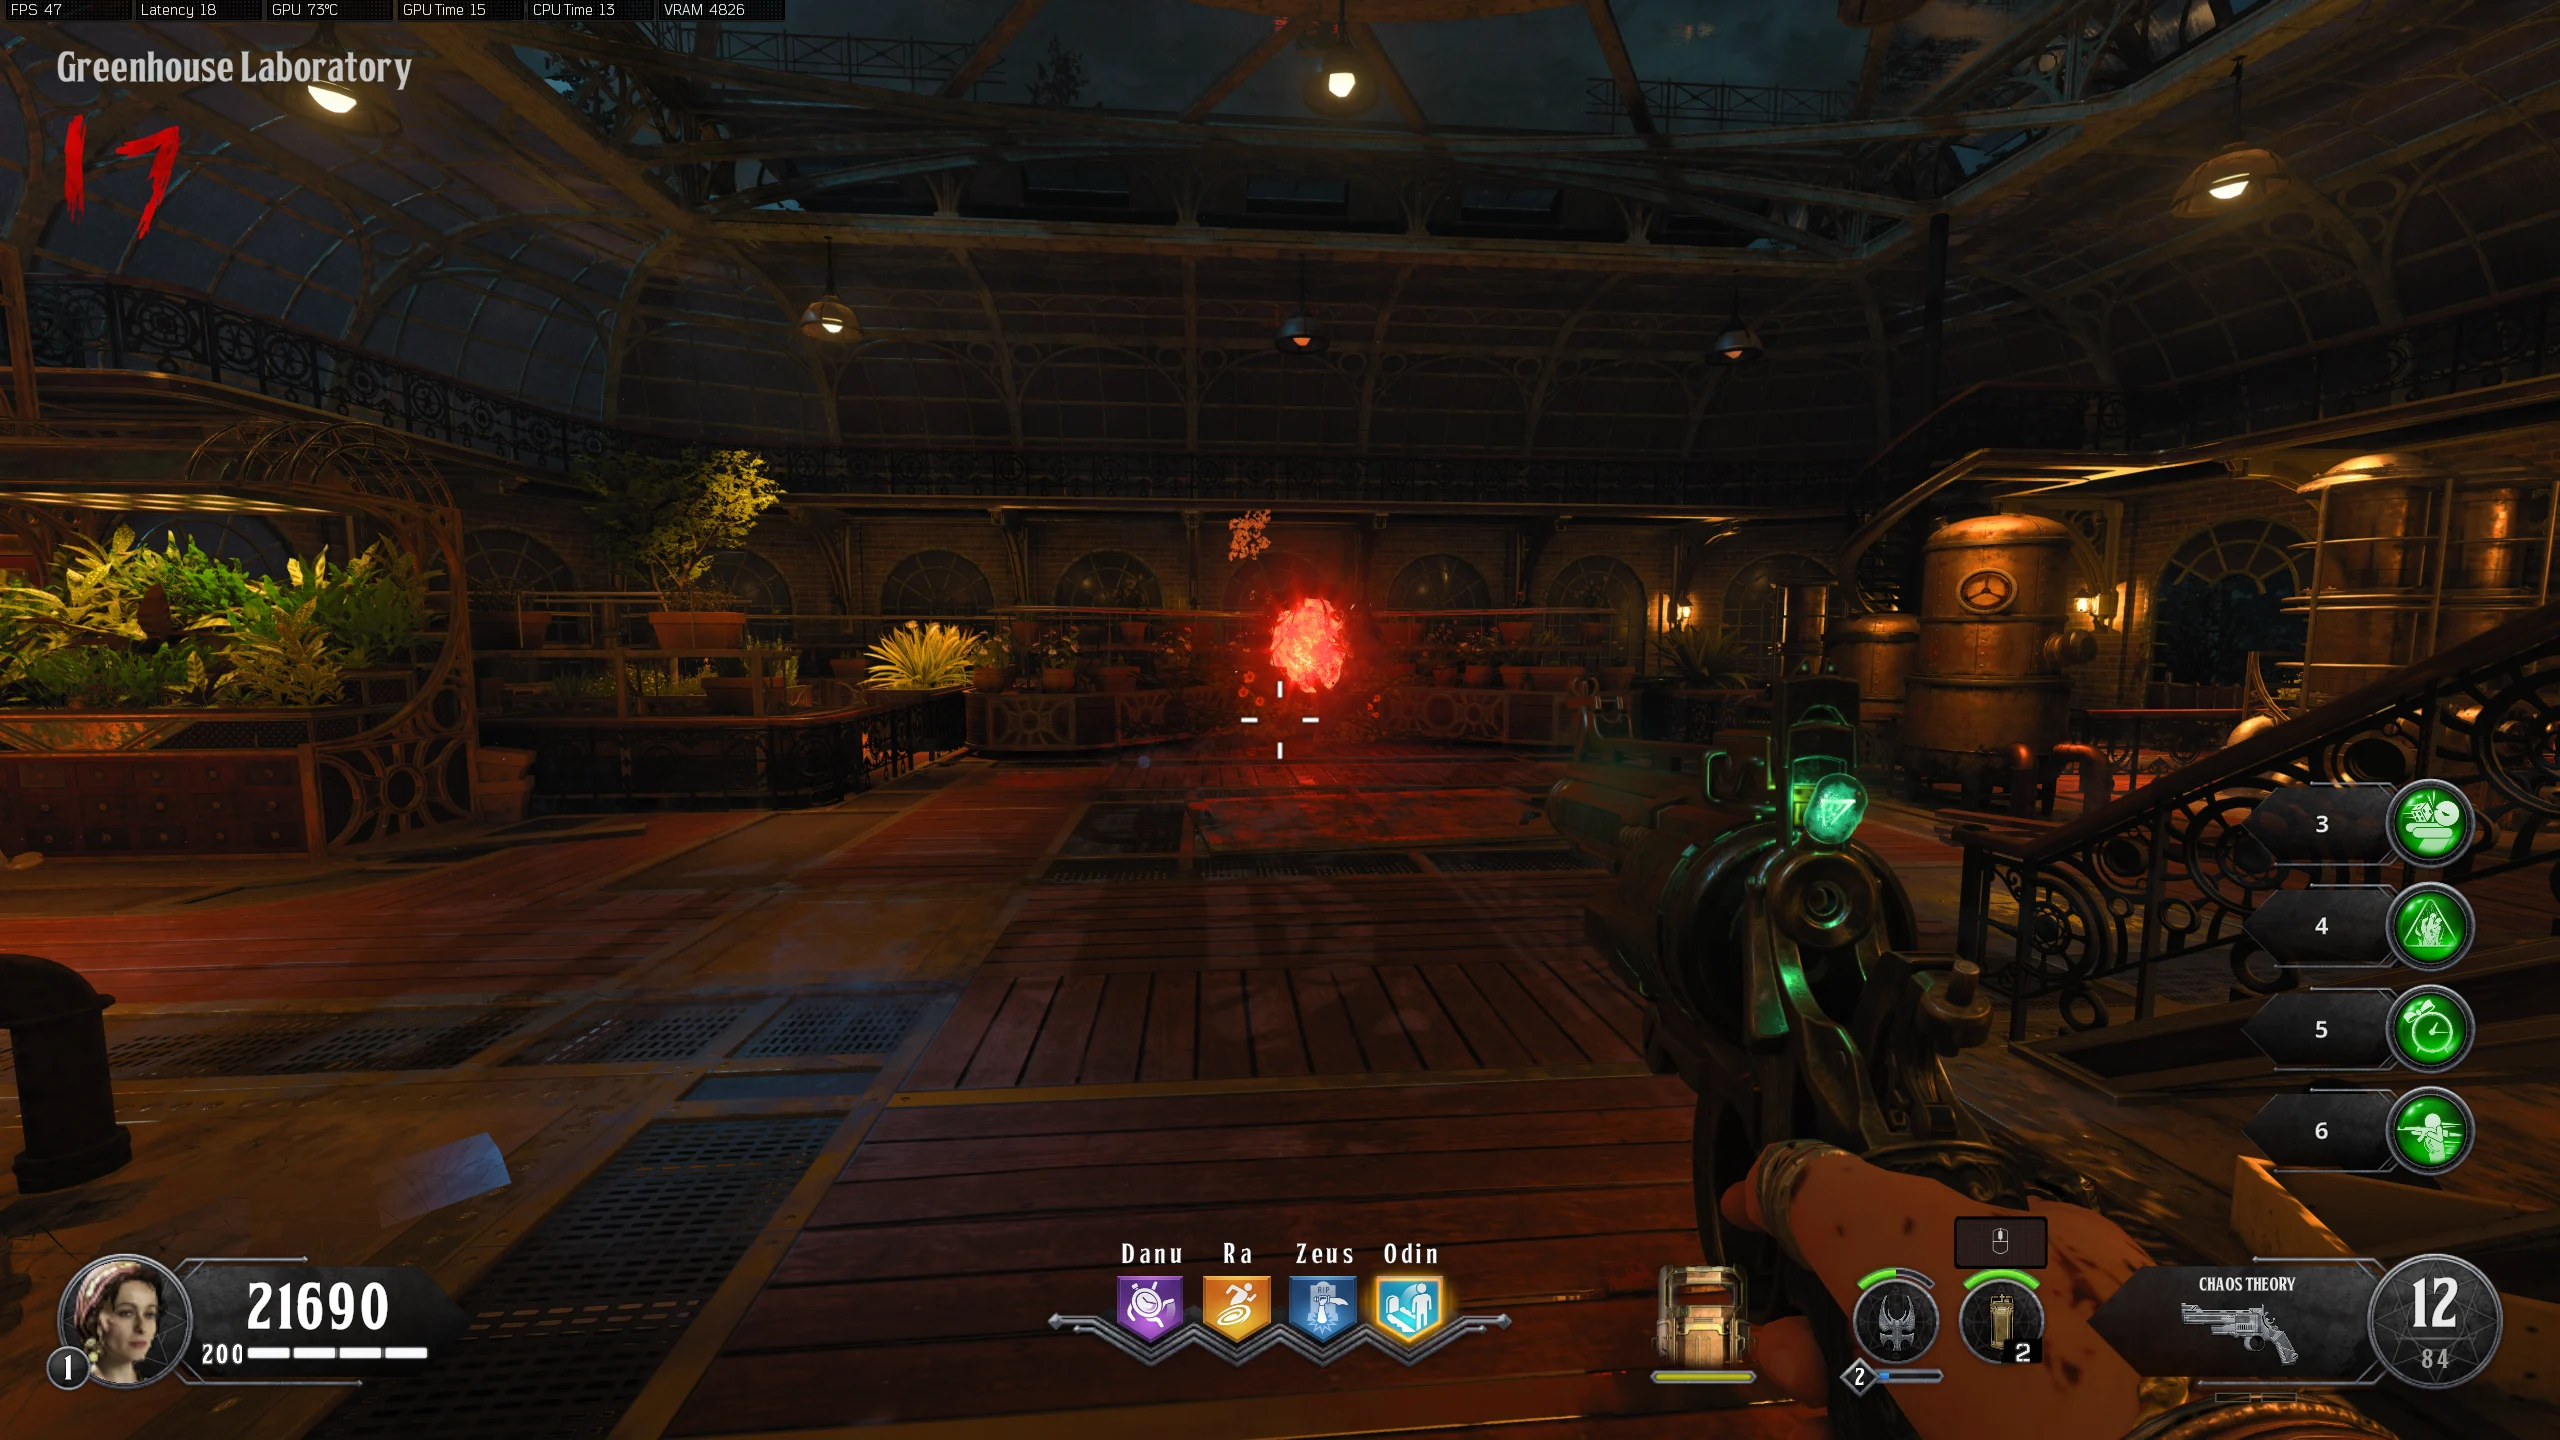
- Zodiac - On the door frame leading to the 'Greenhouse Laboratory'
- Scratches - On the wall at the far end of the room
- Scratches - On the end of the table, closest to the Clock
- Scratches - On the ceiling on the other side of the wall from the Clock
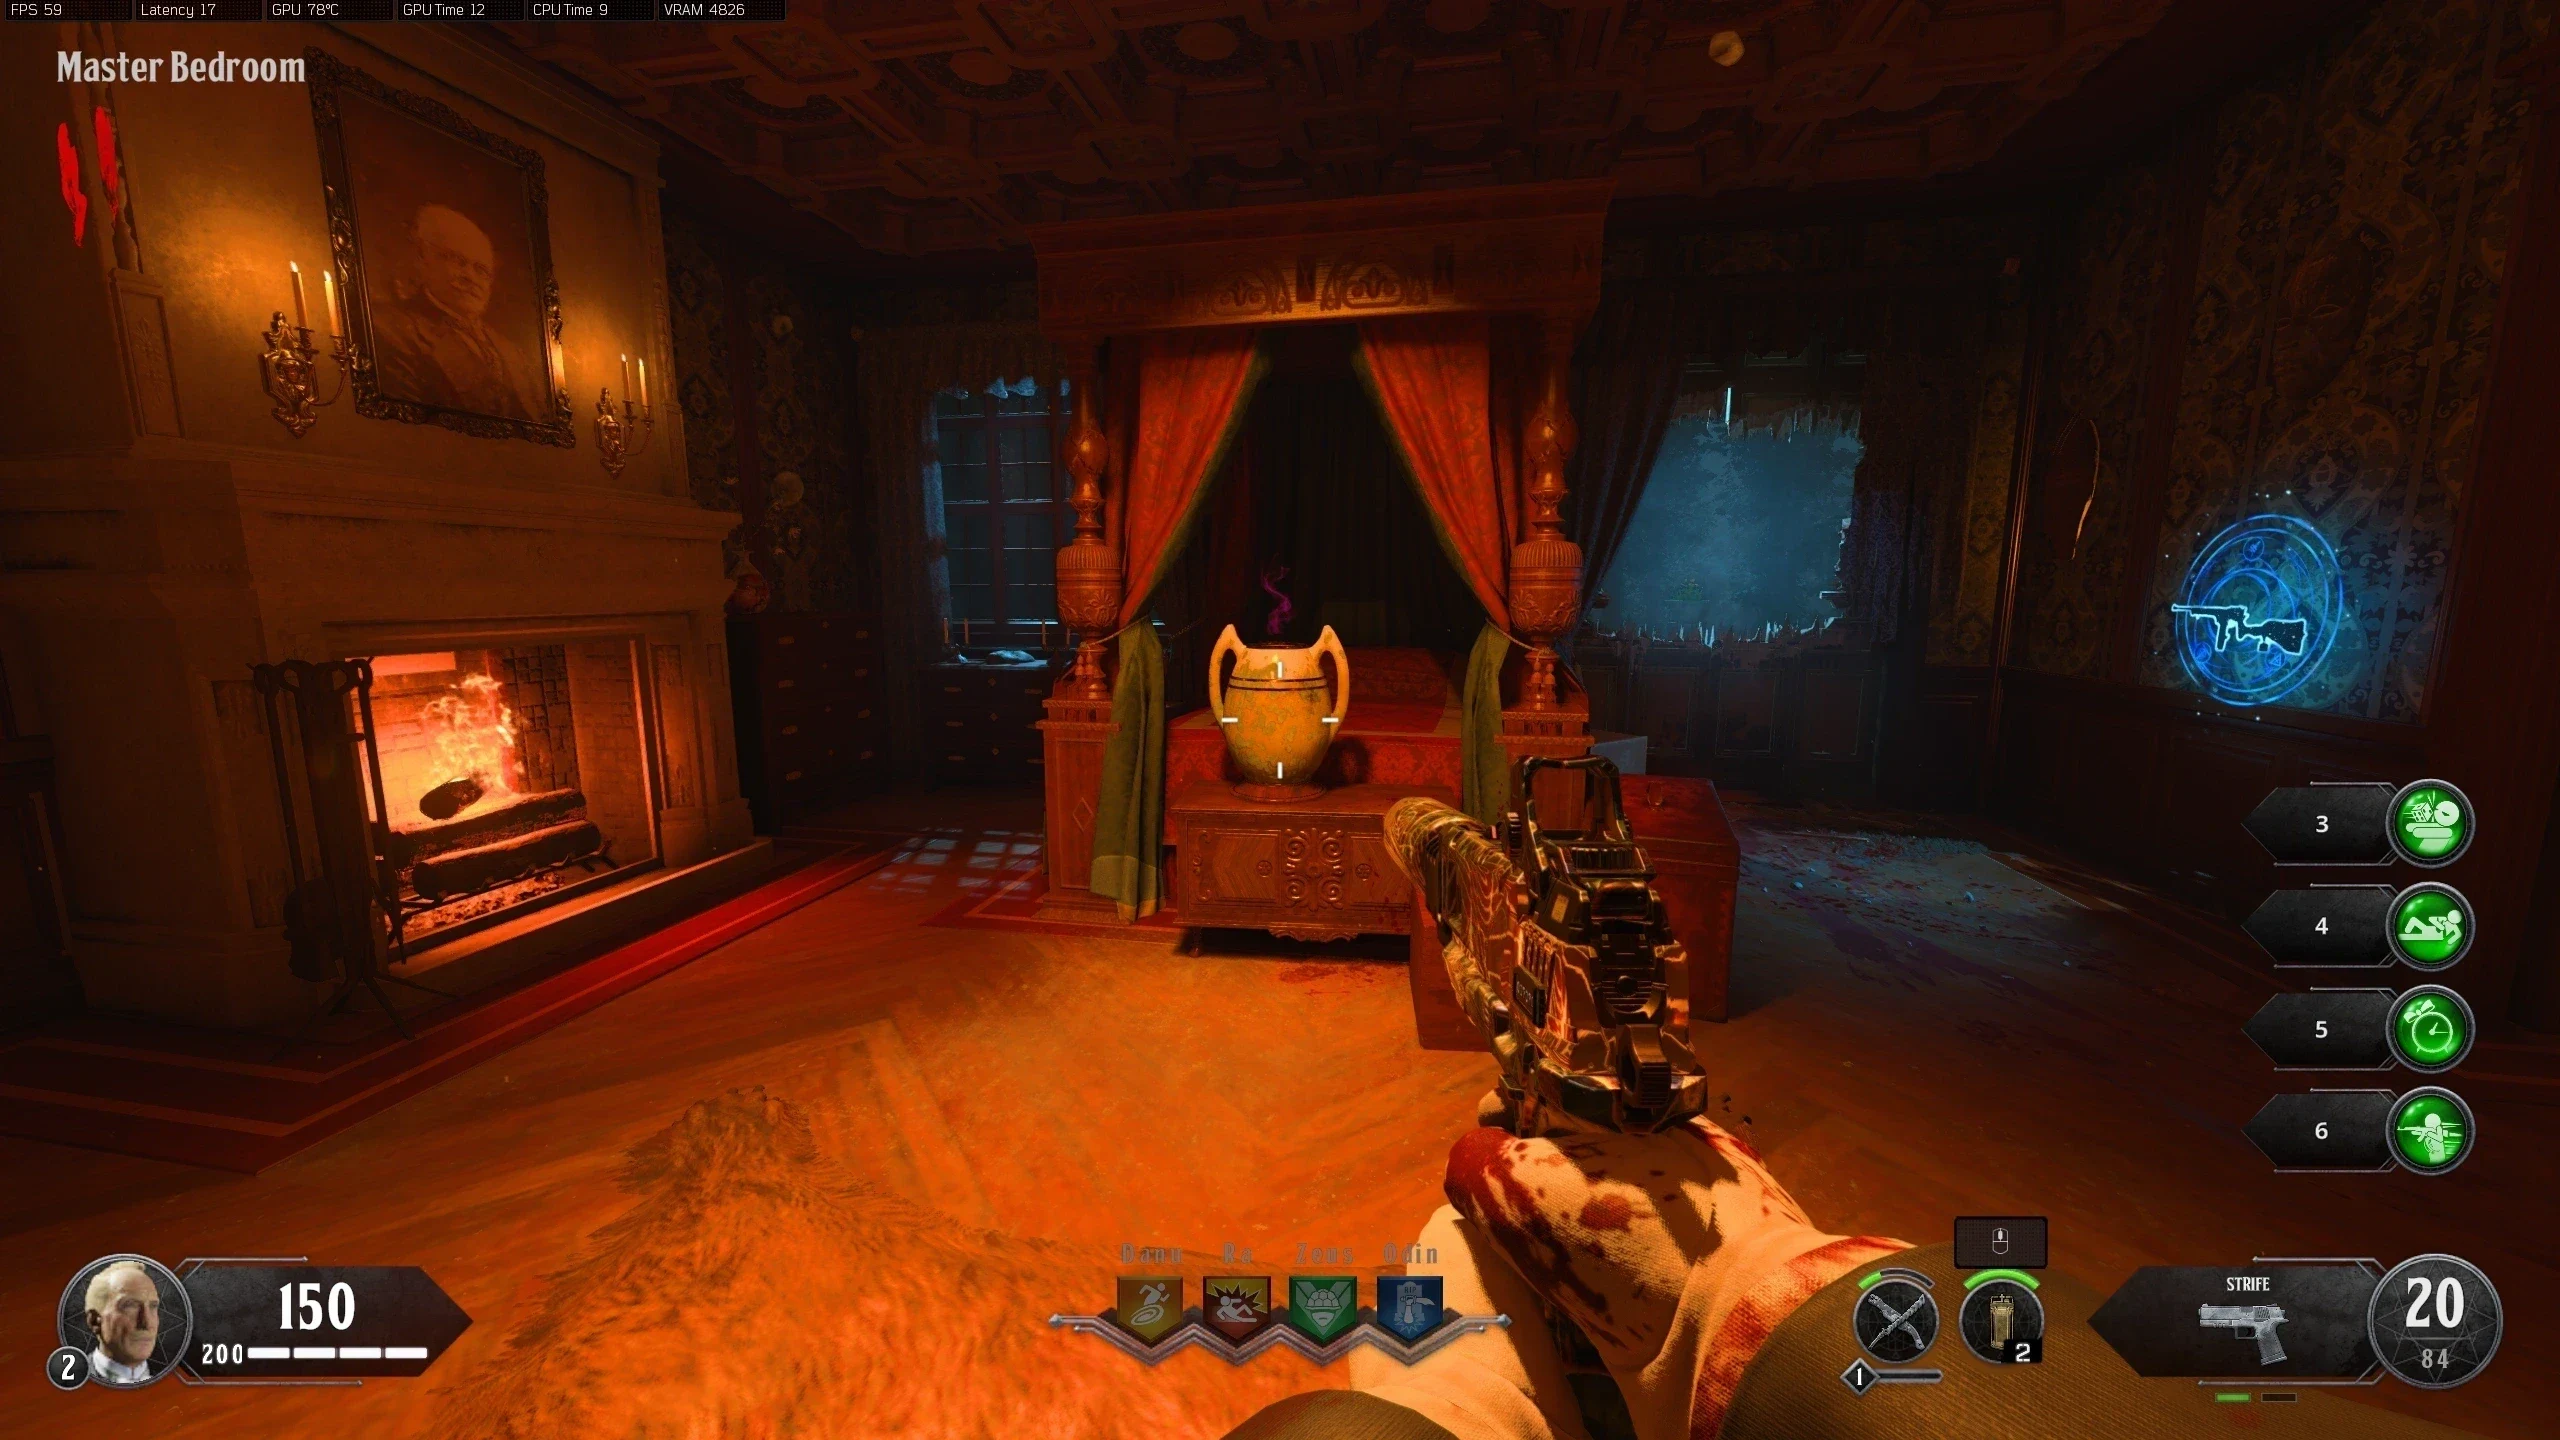
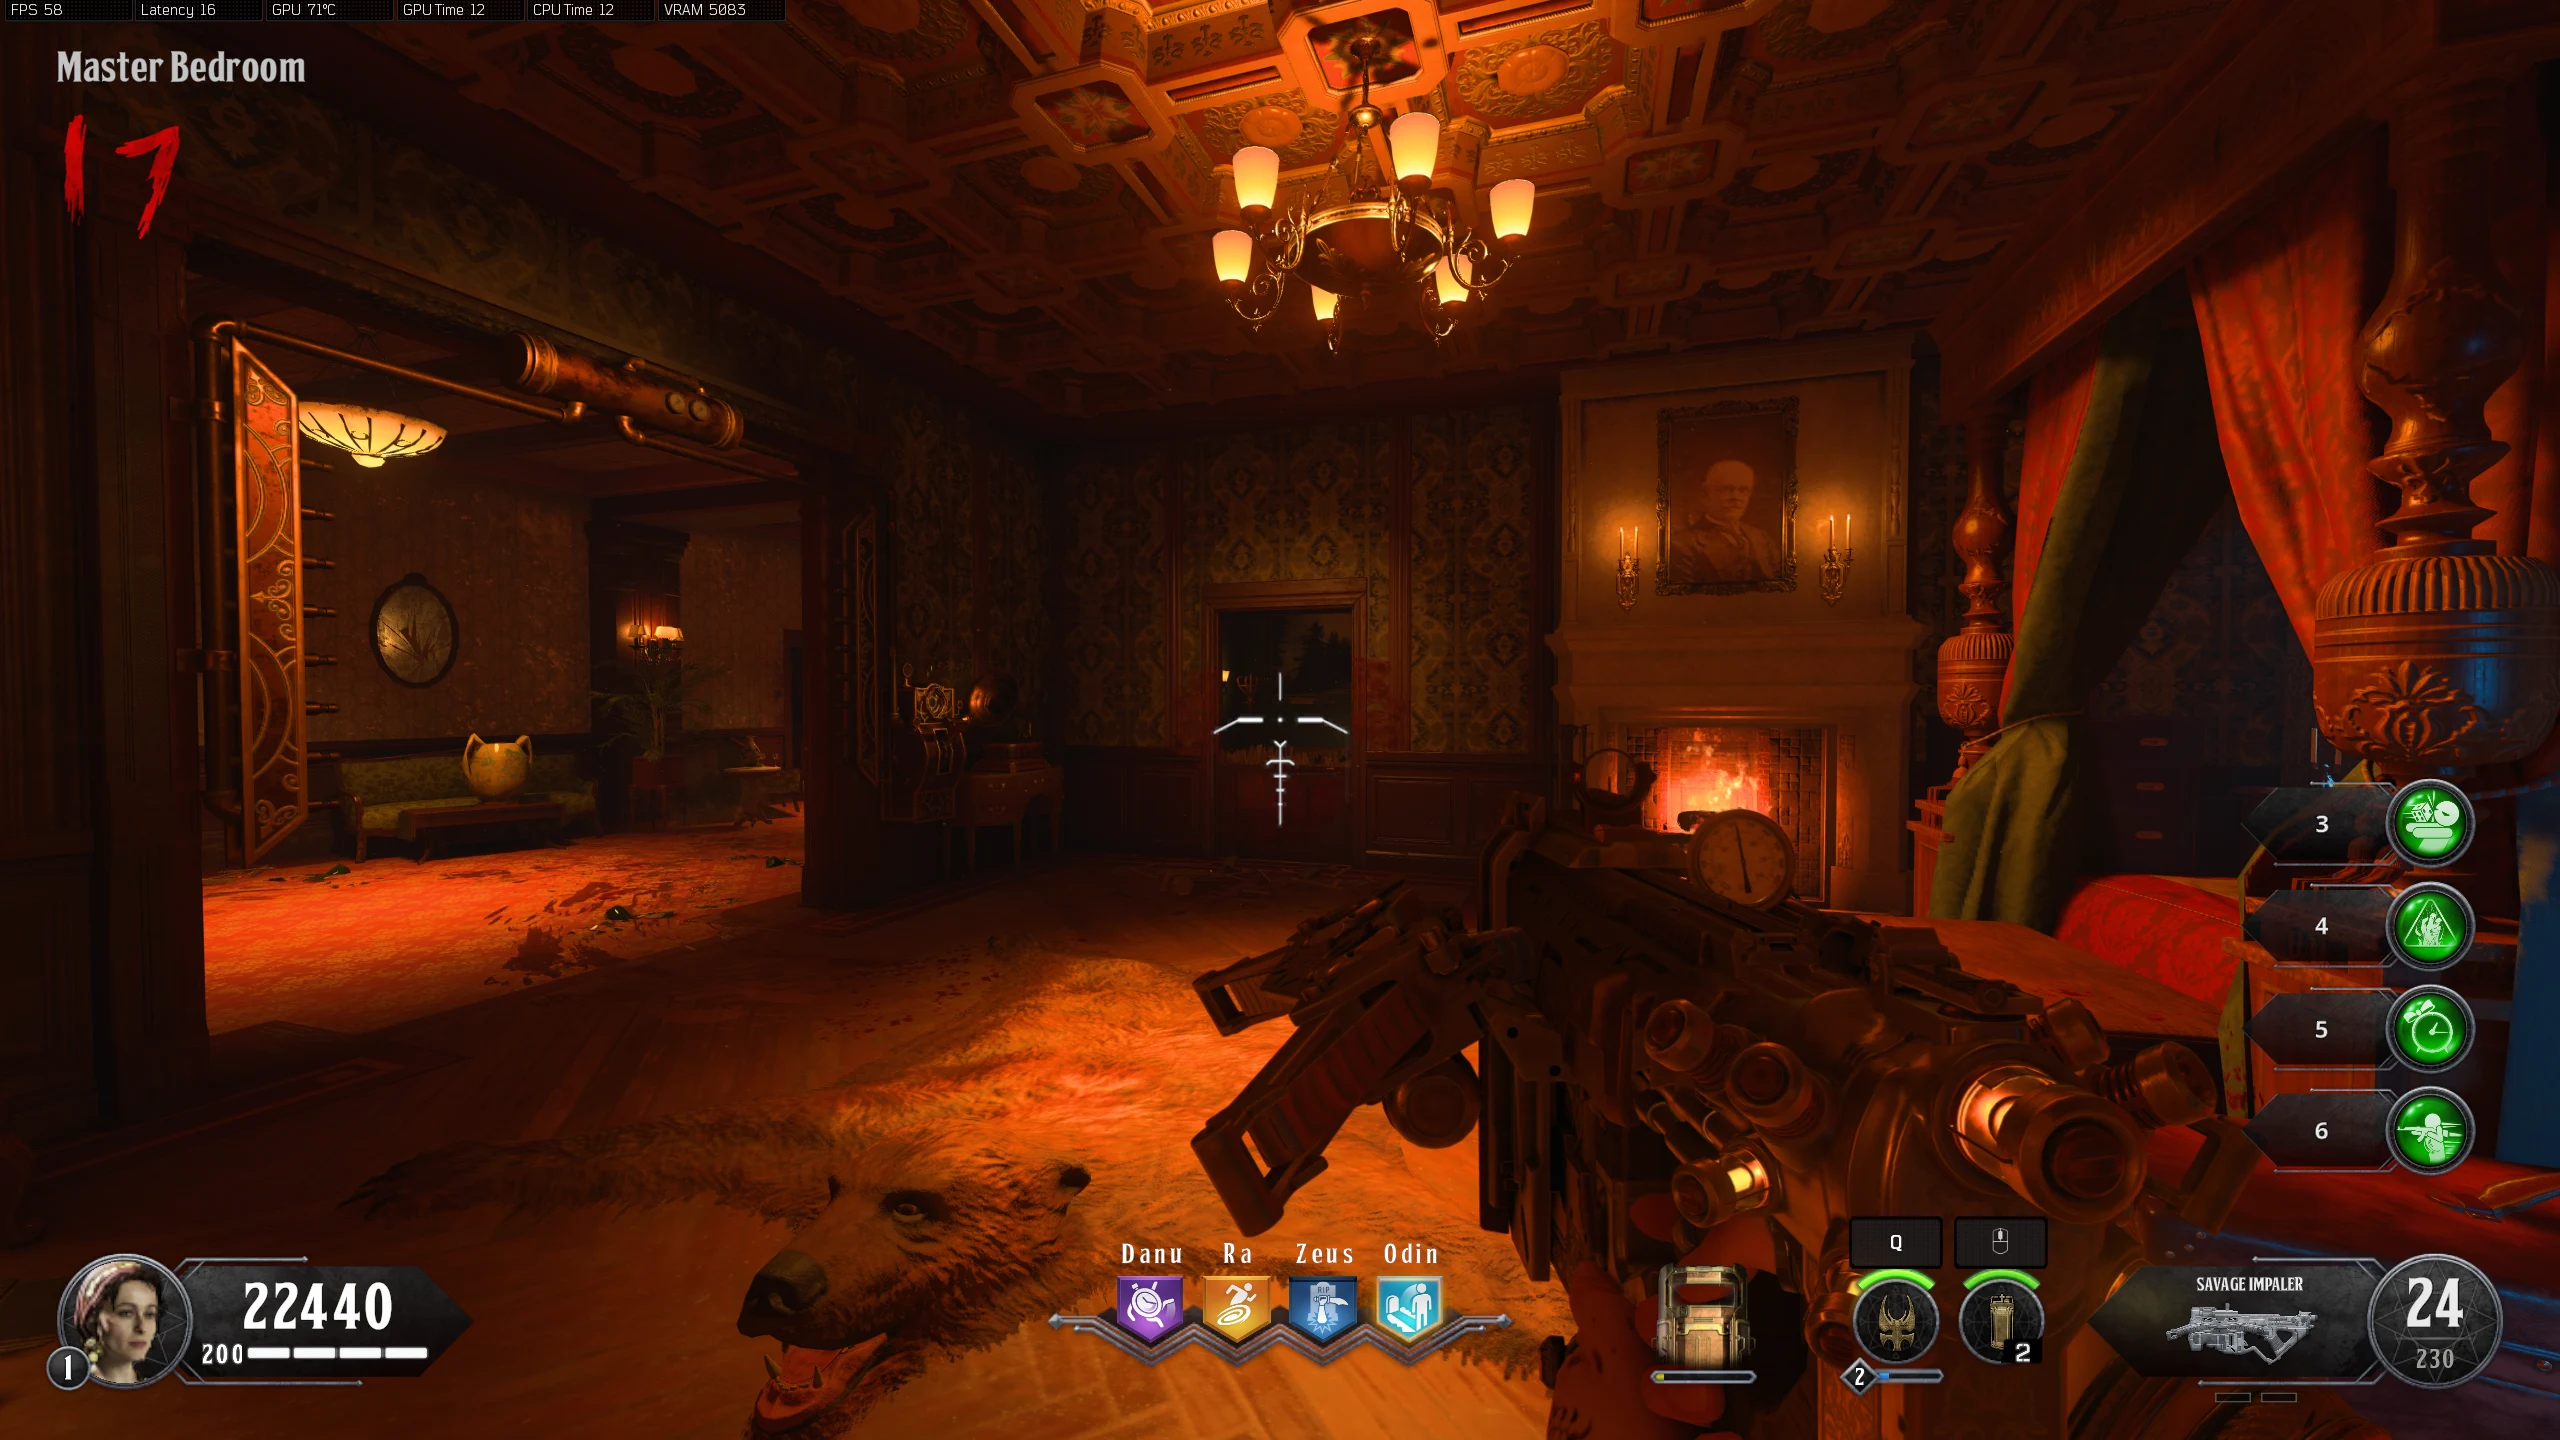
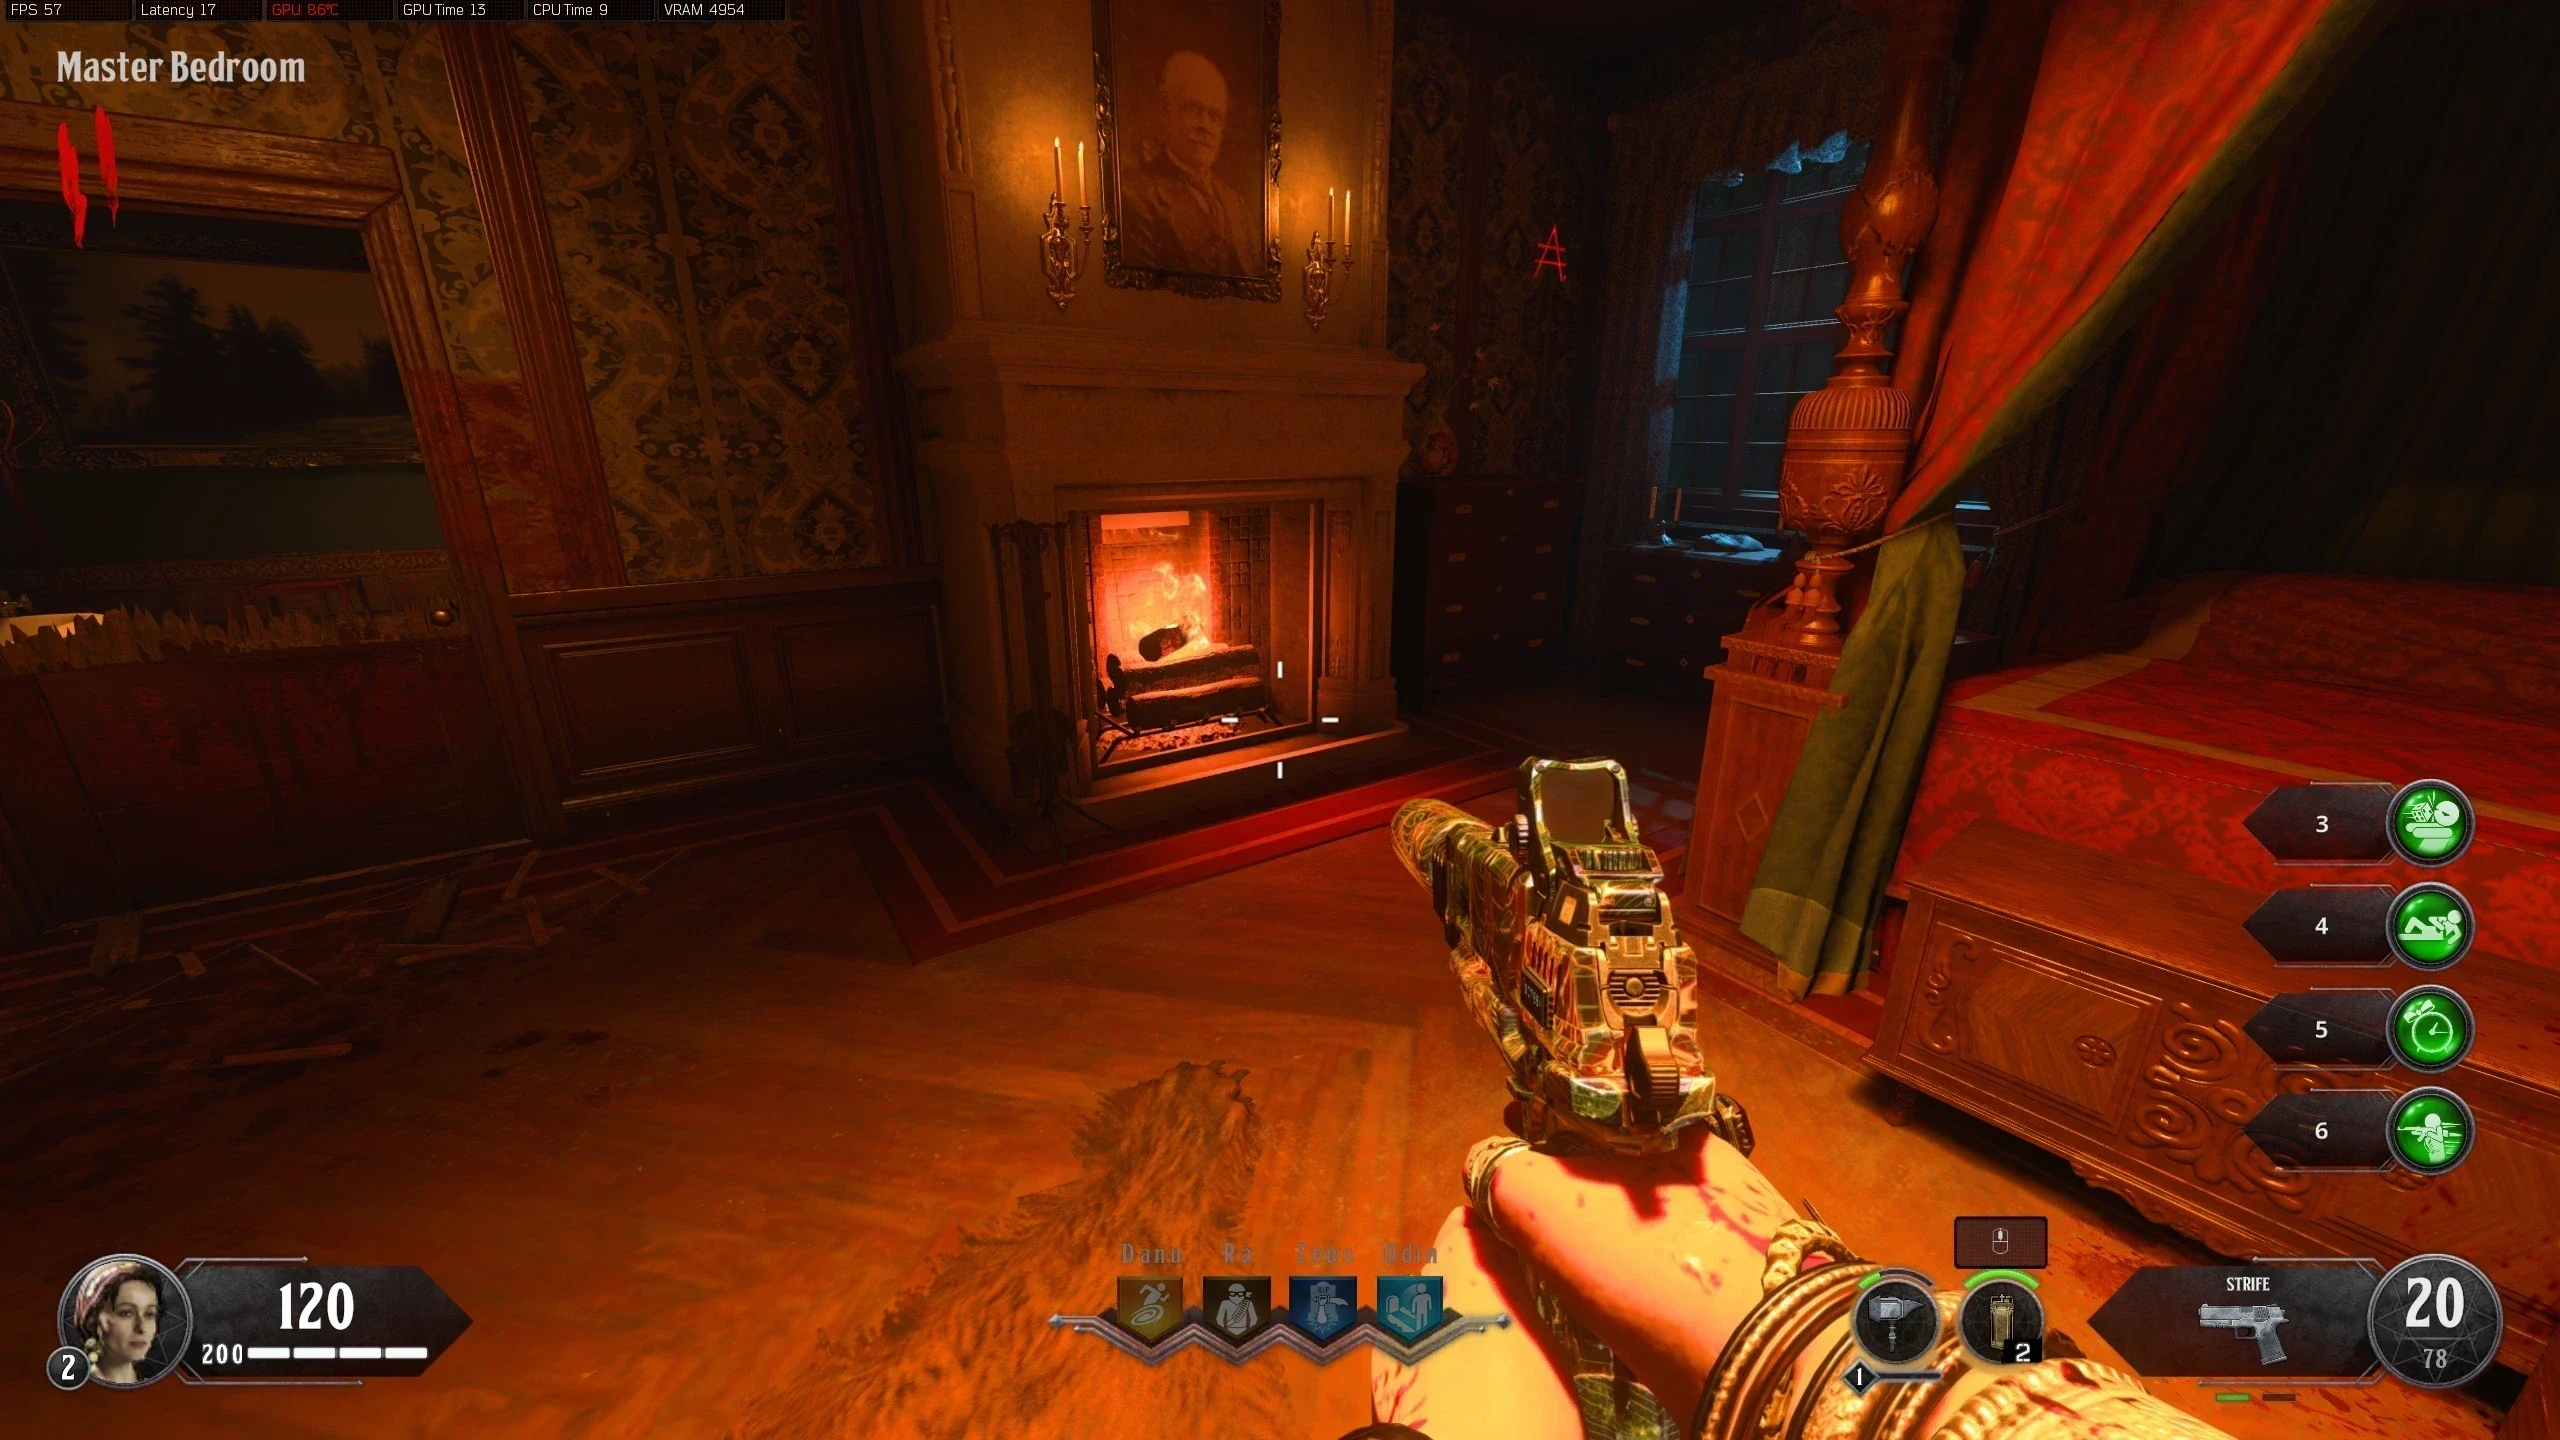
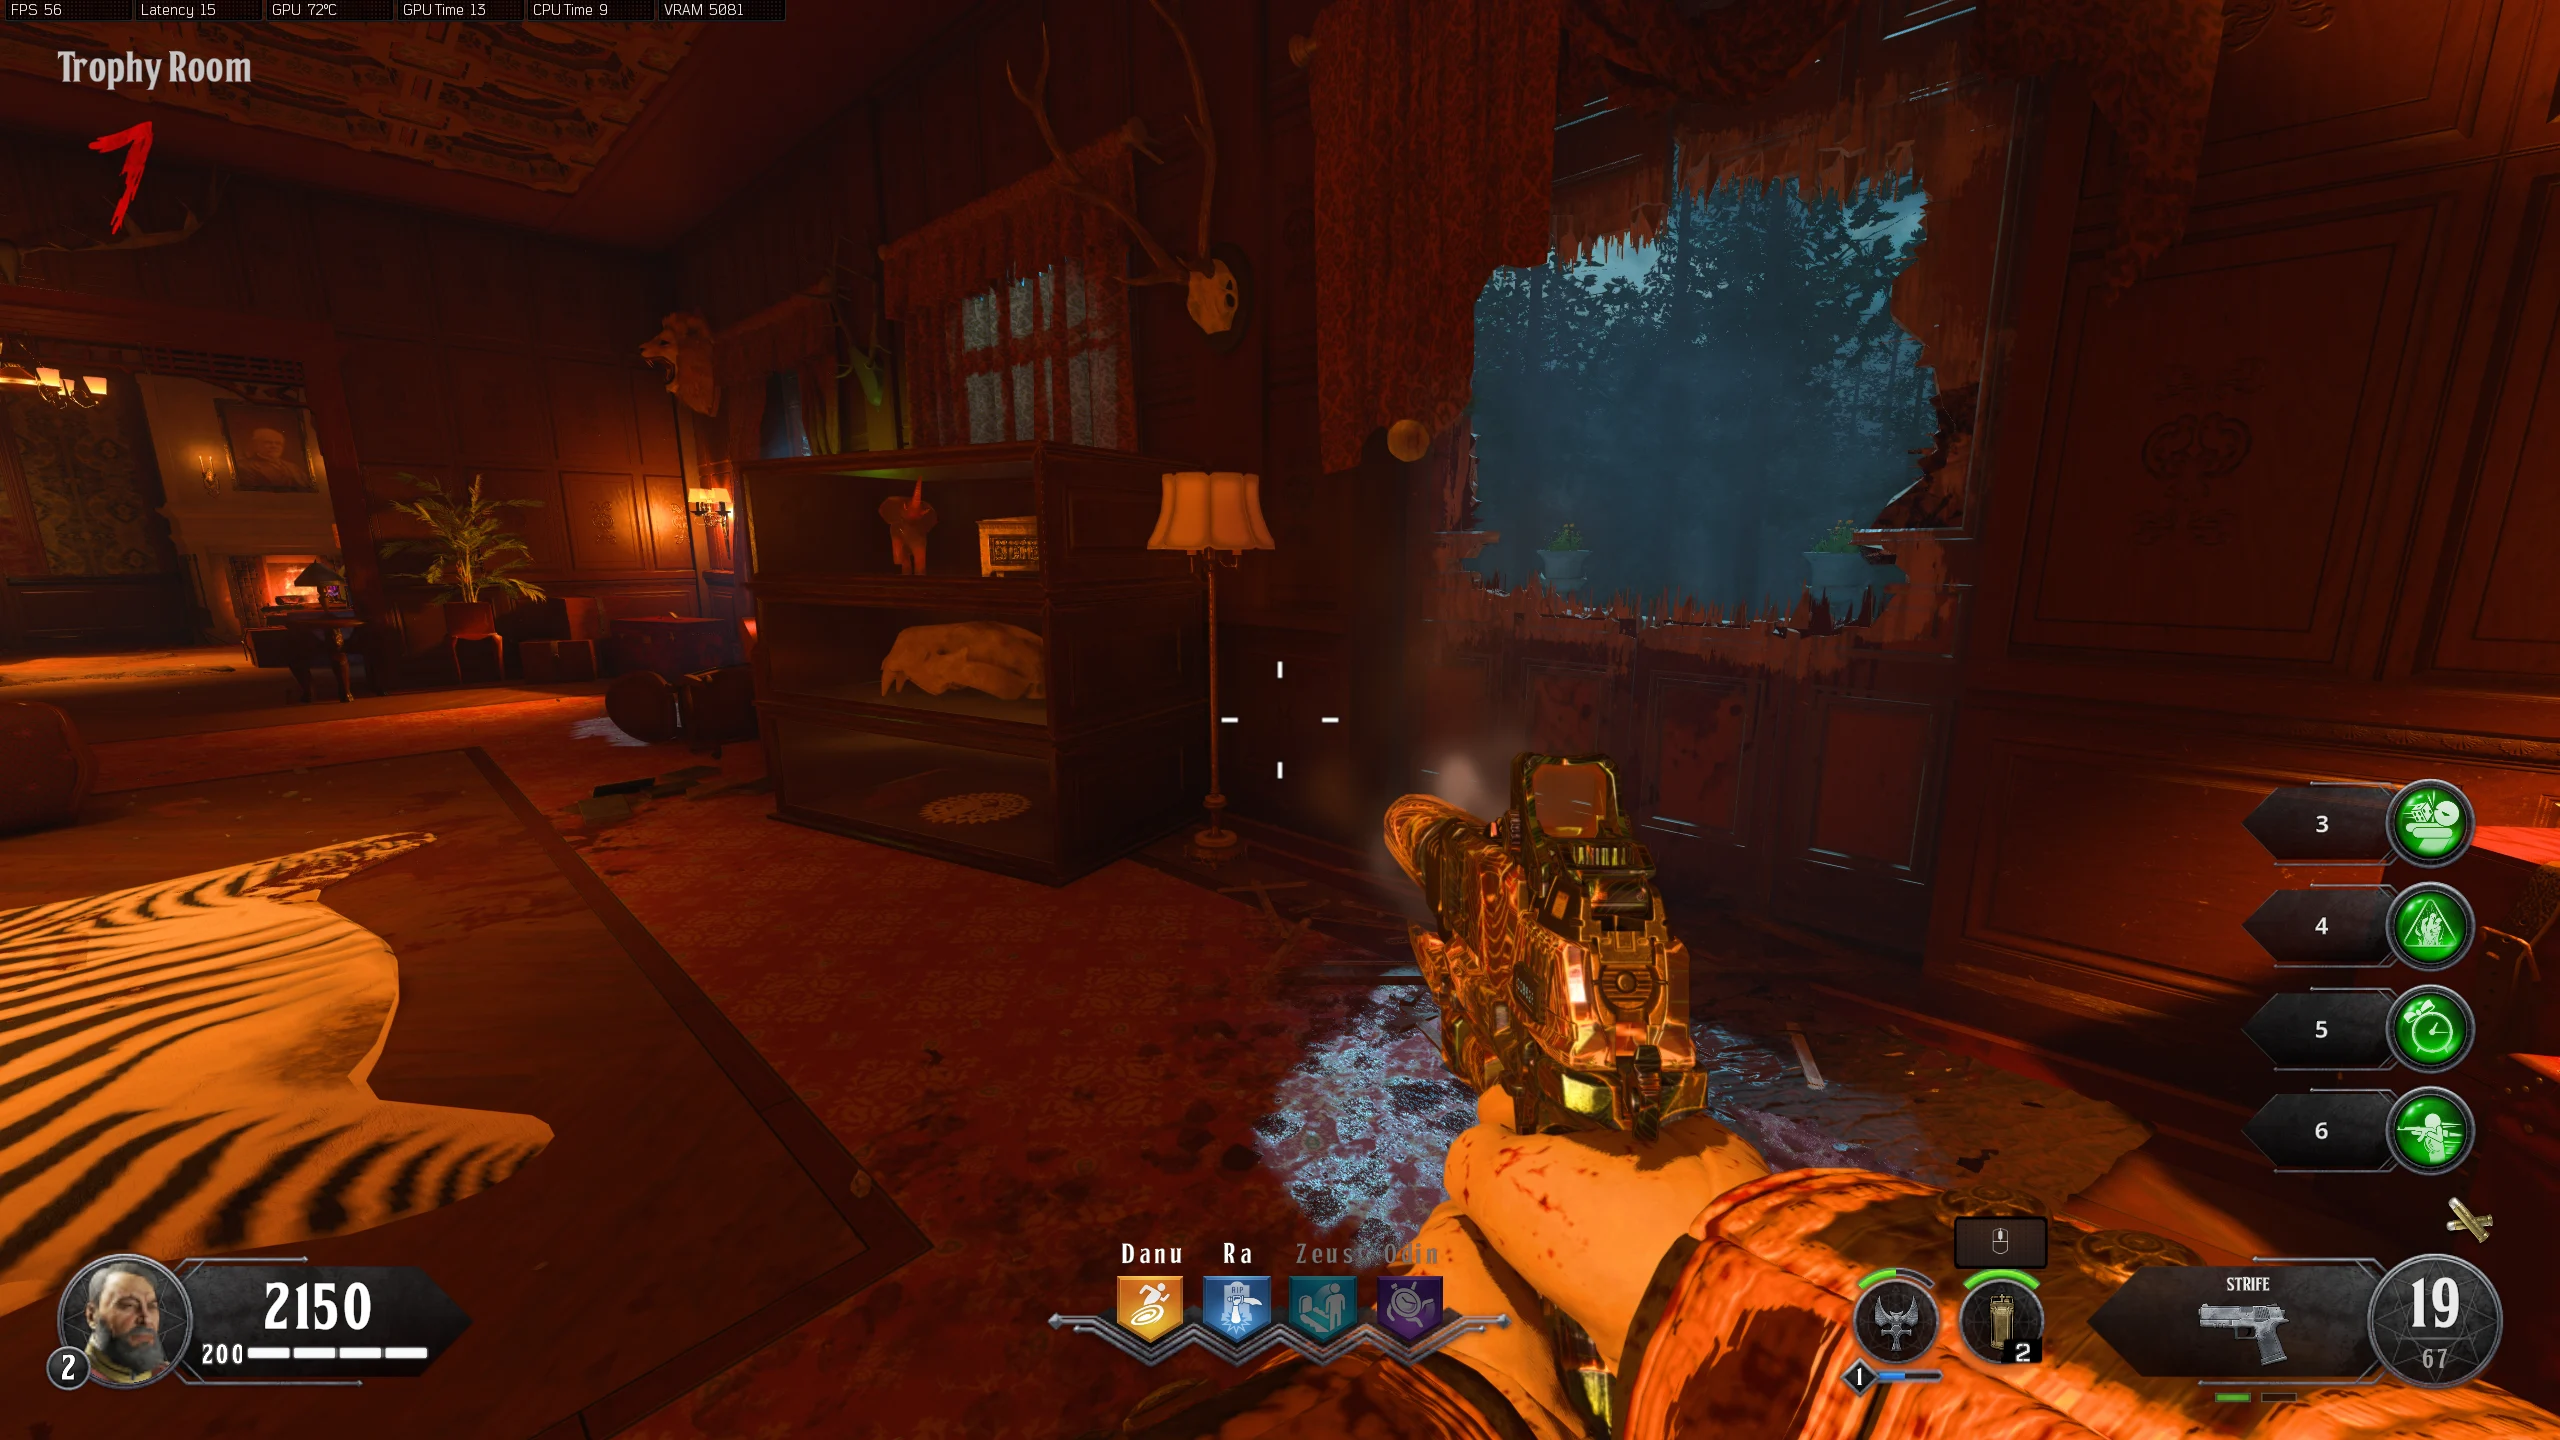
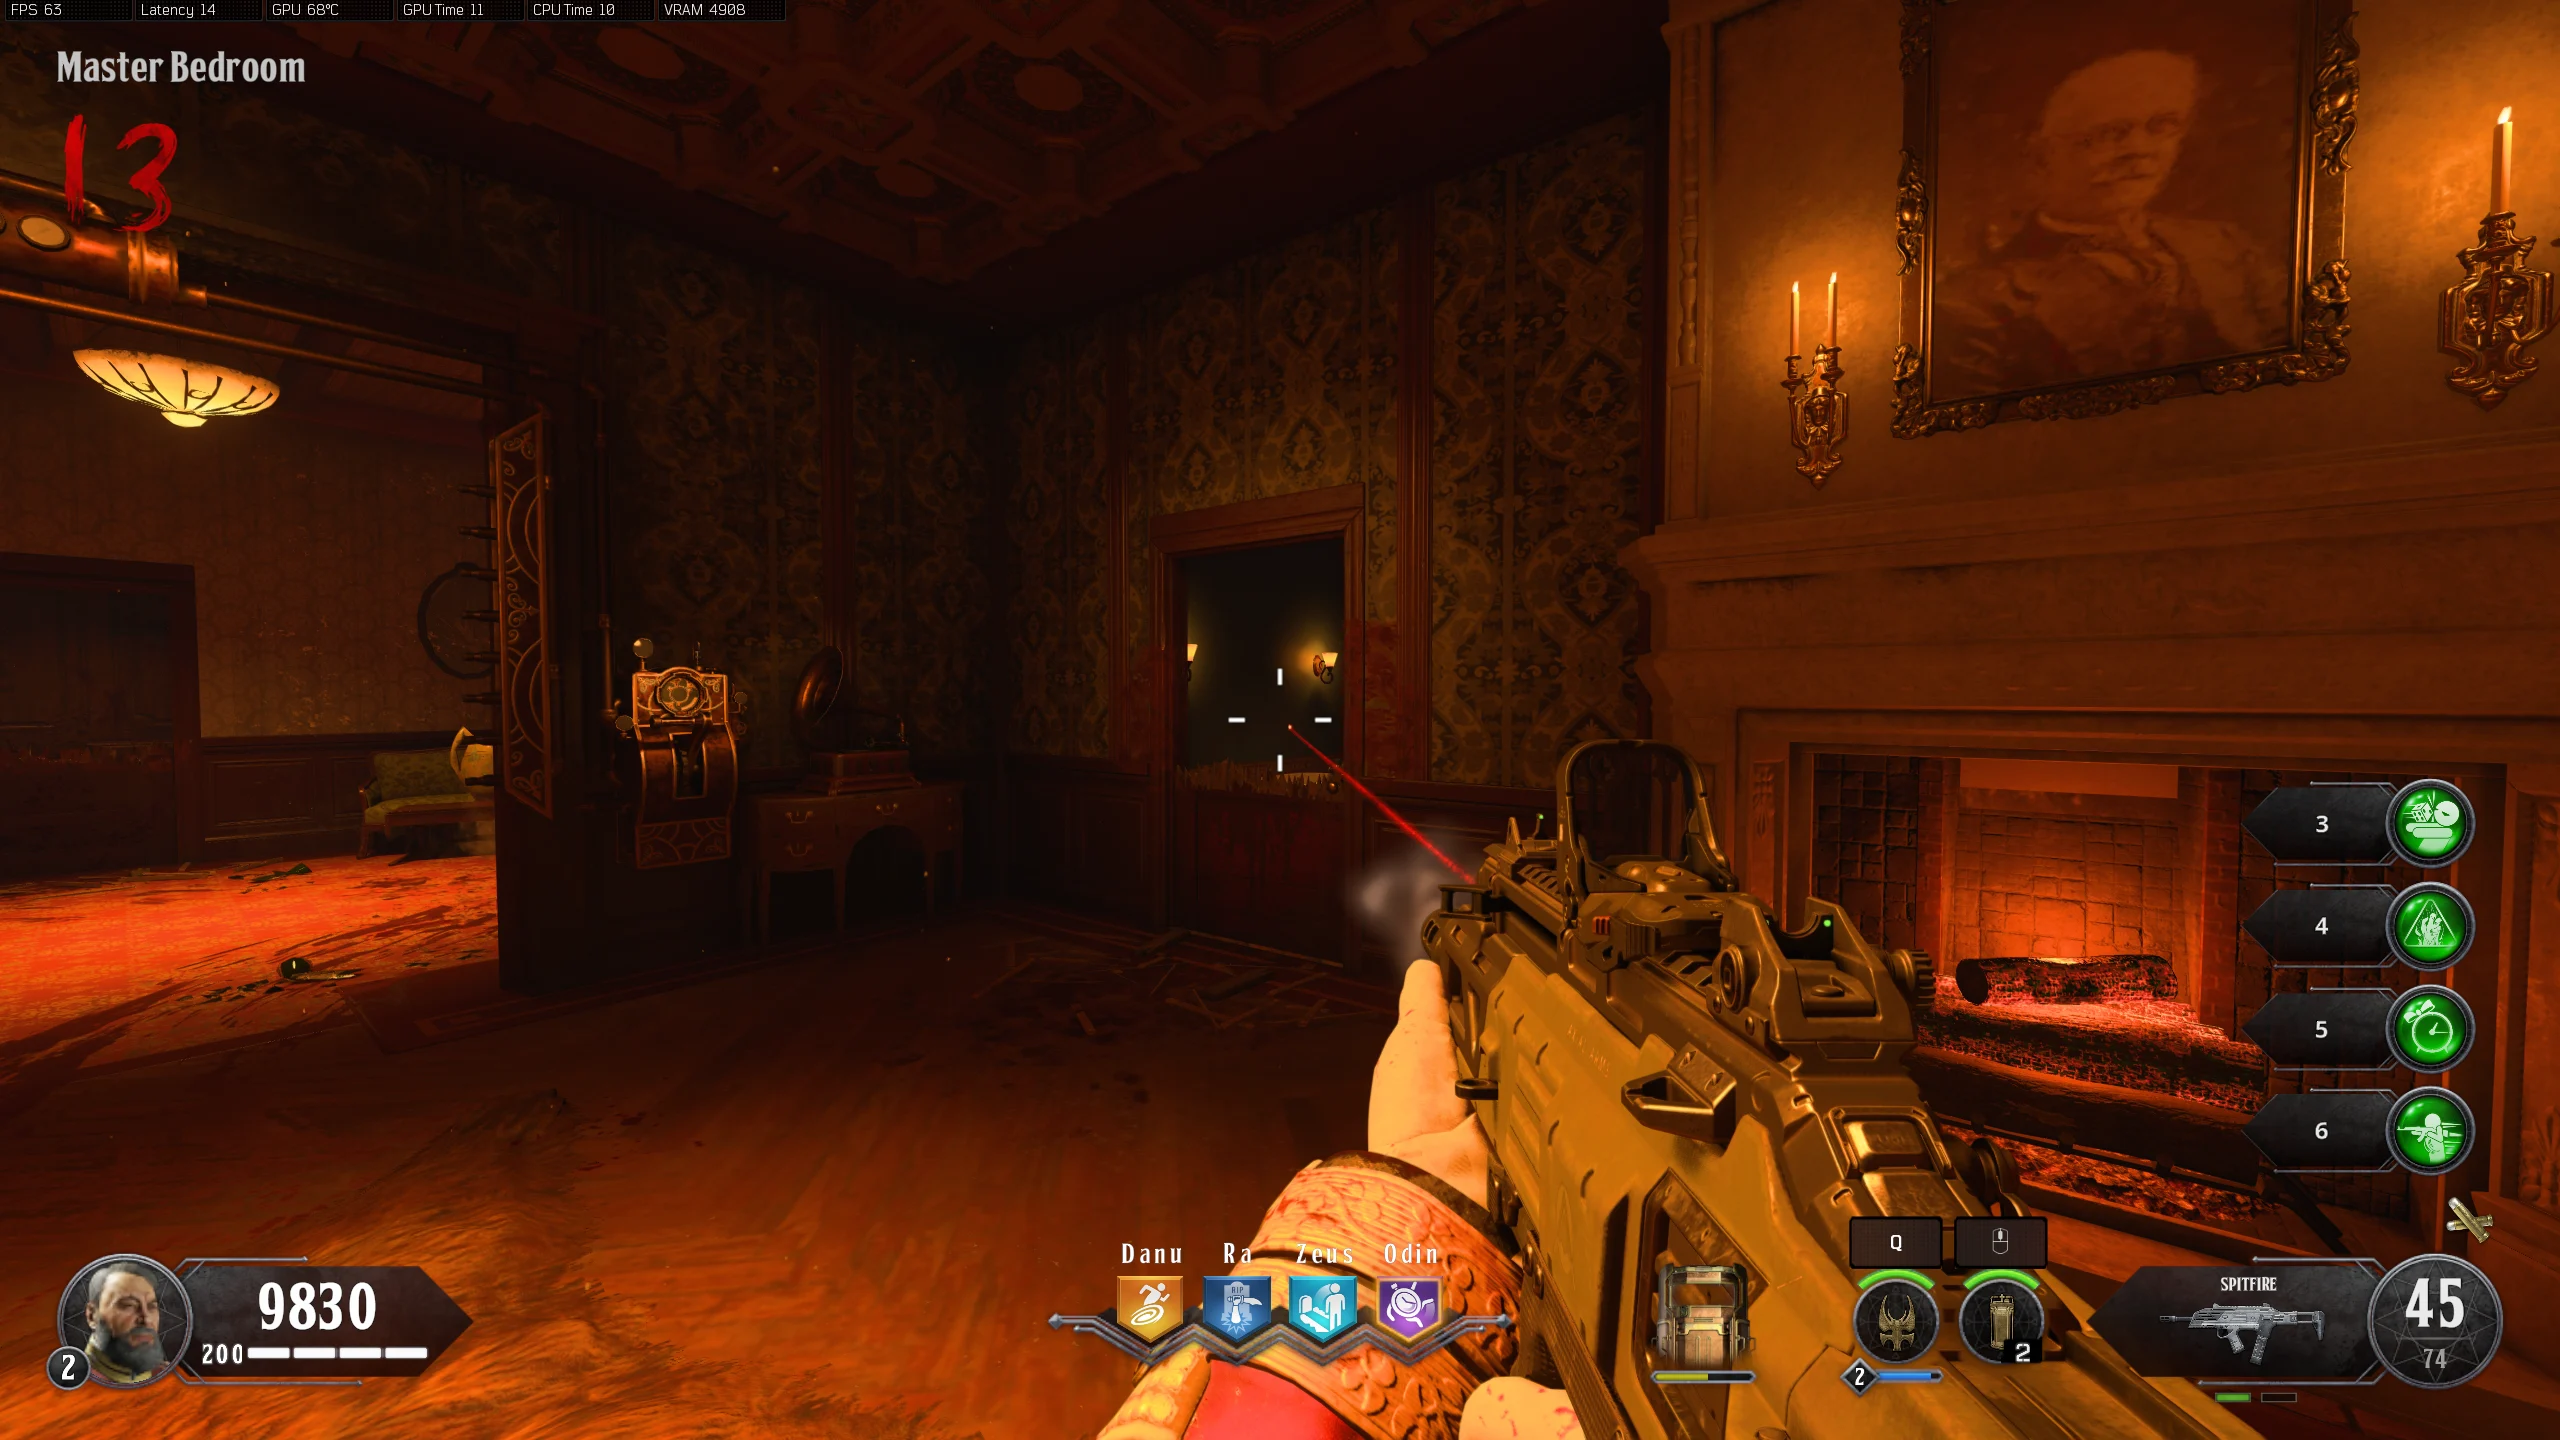
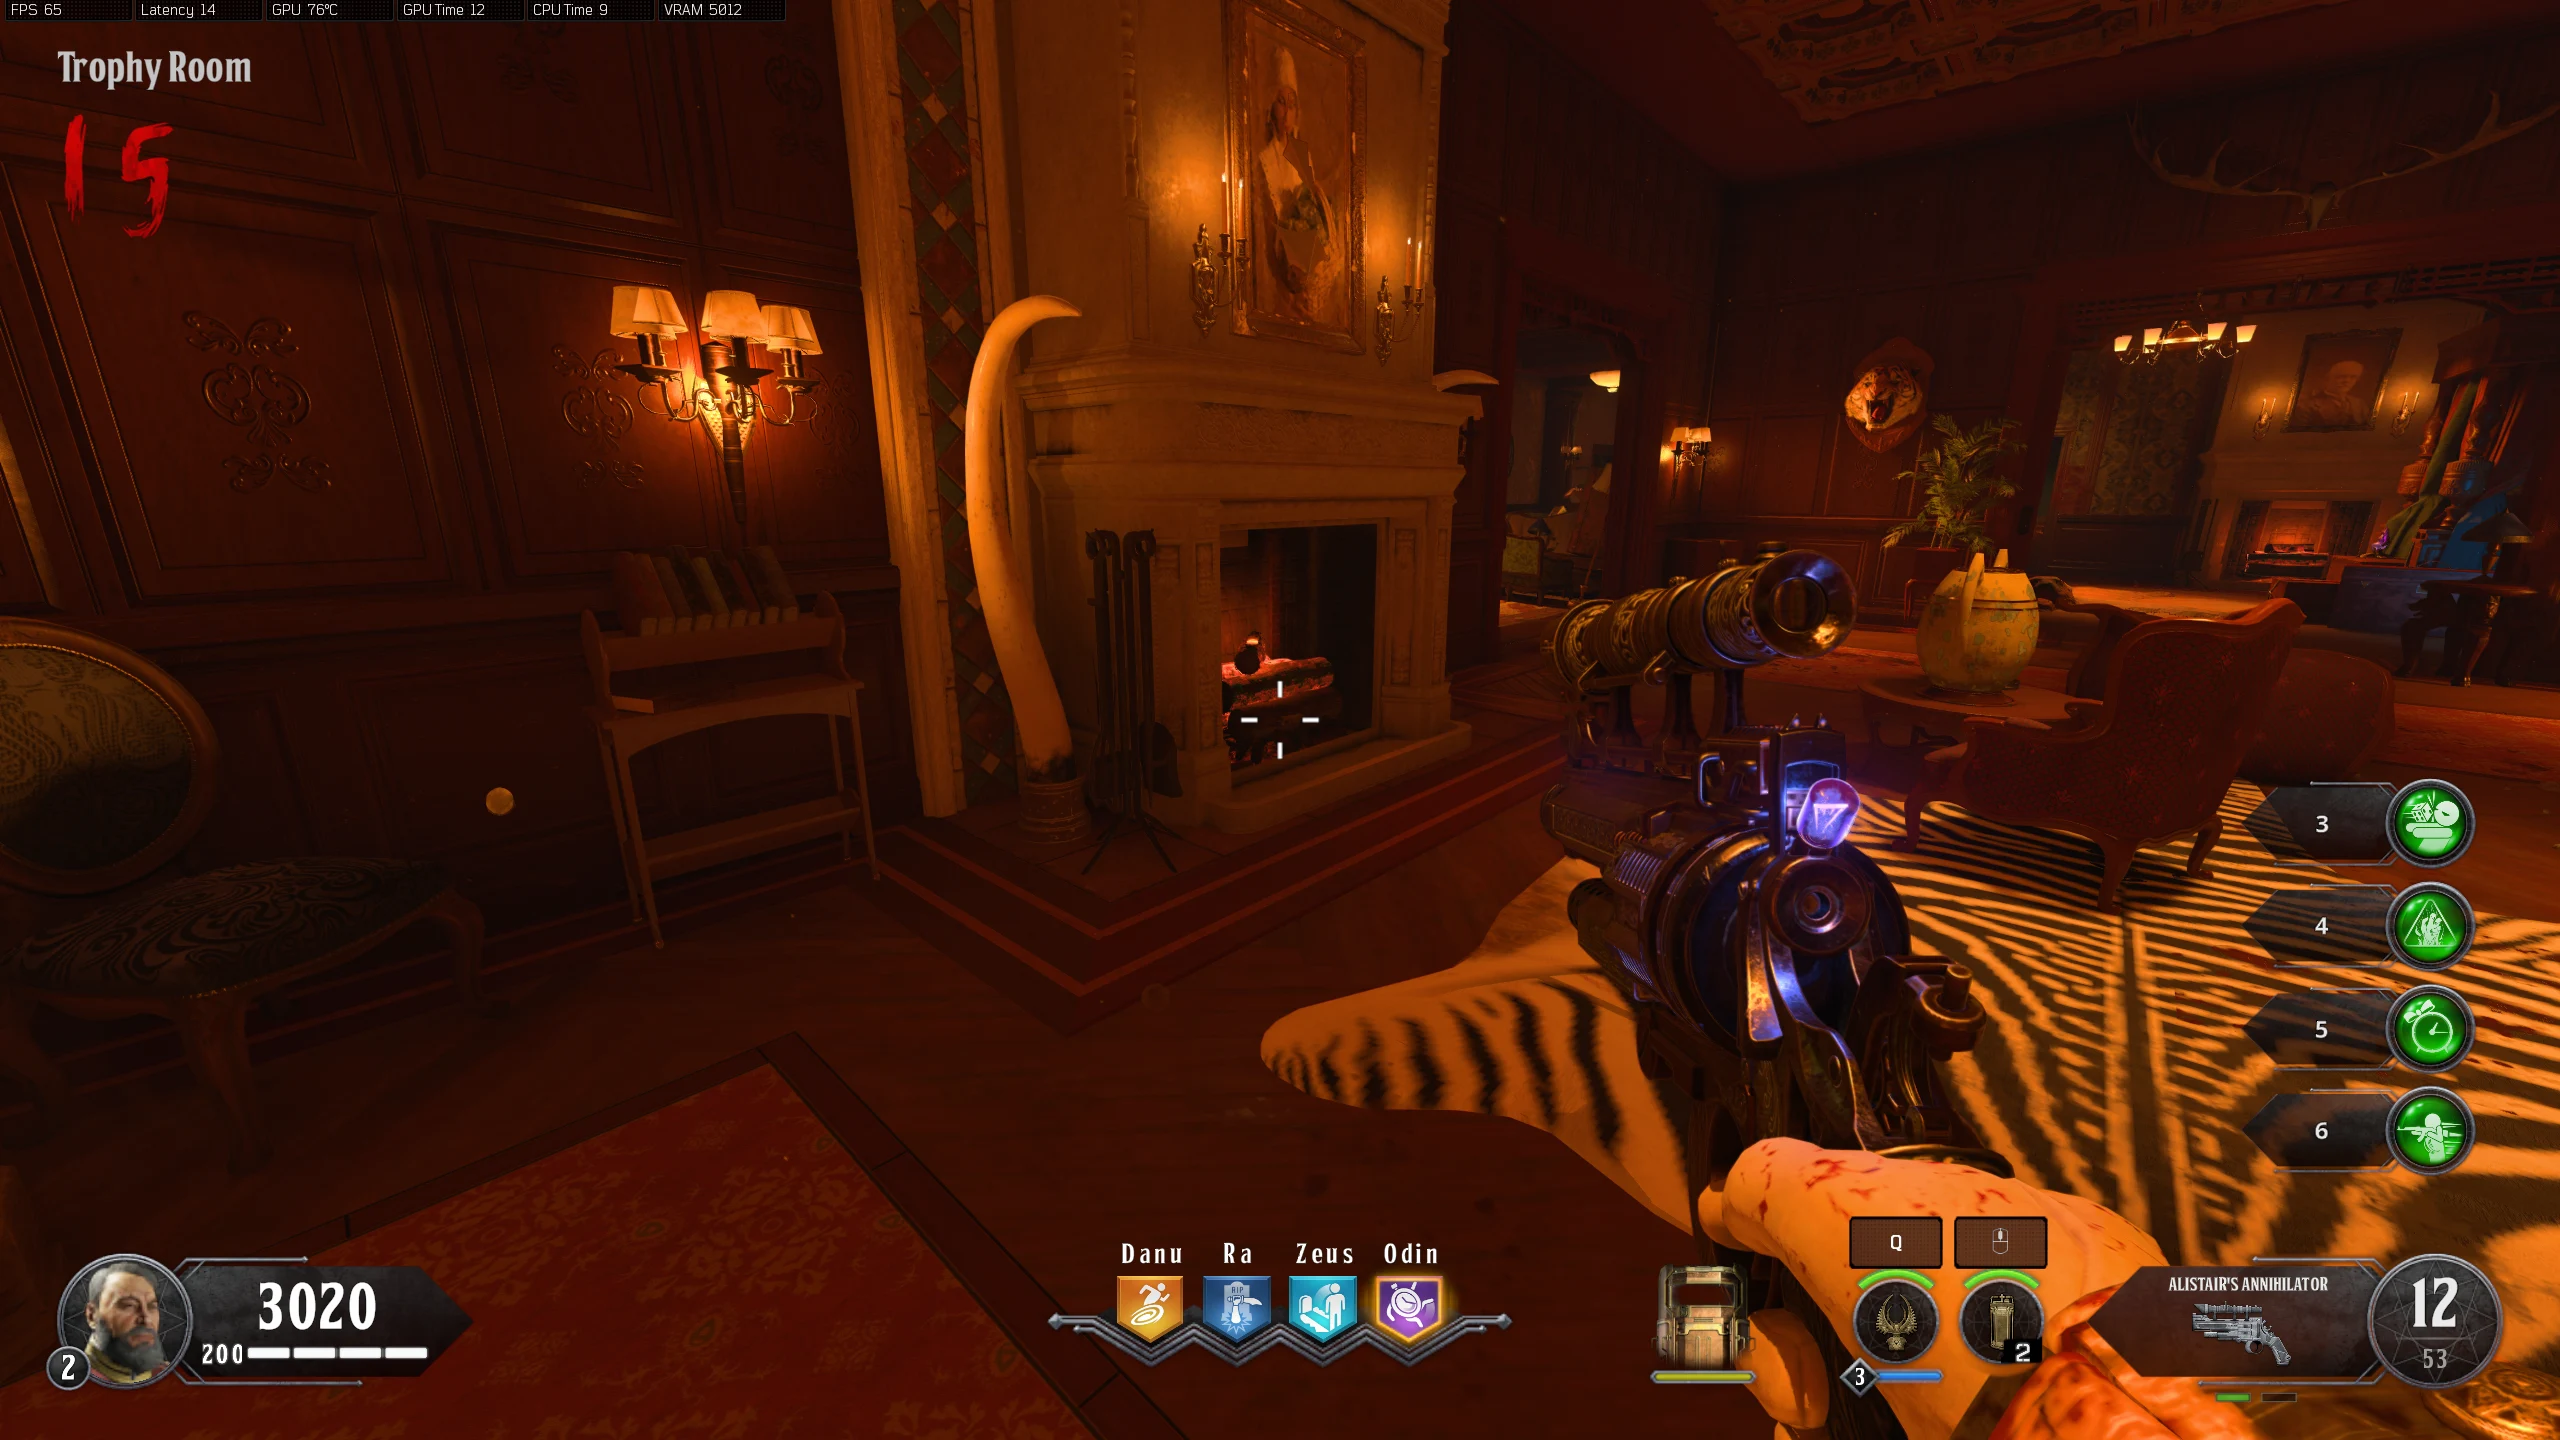
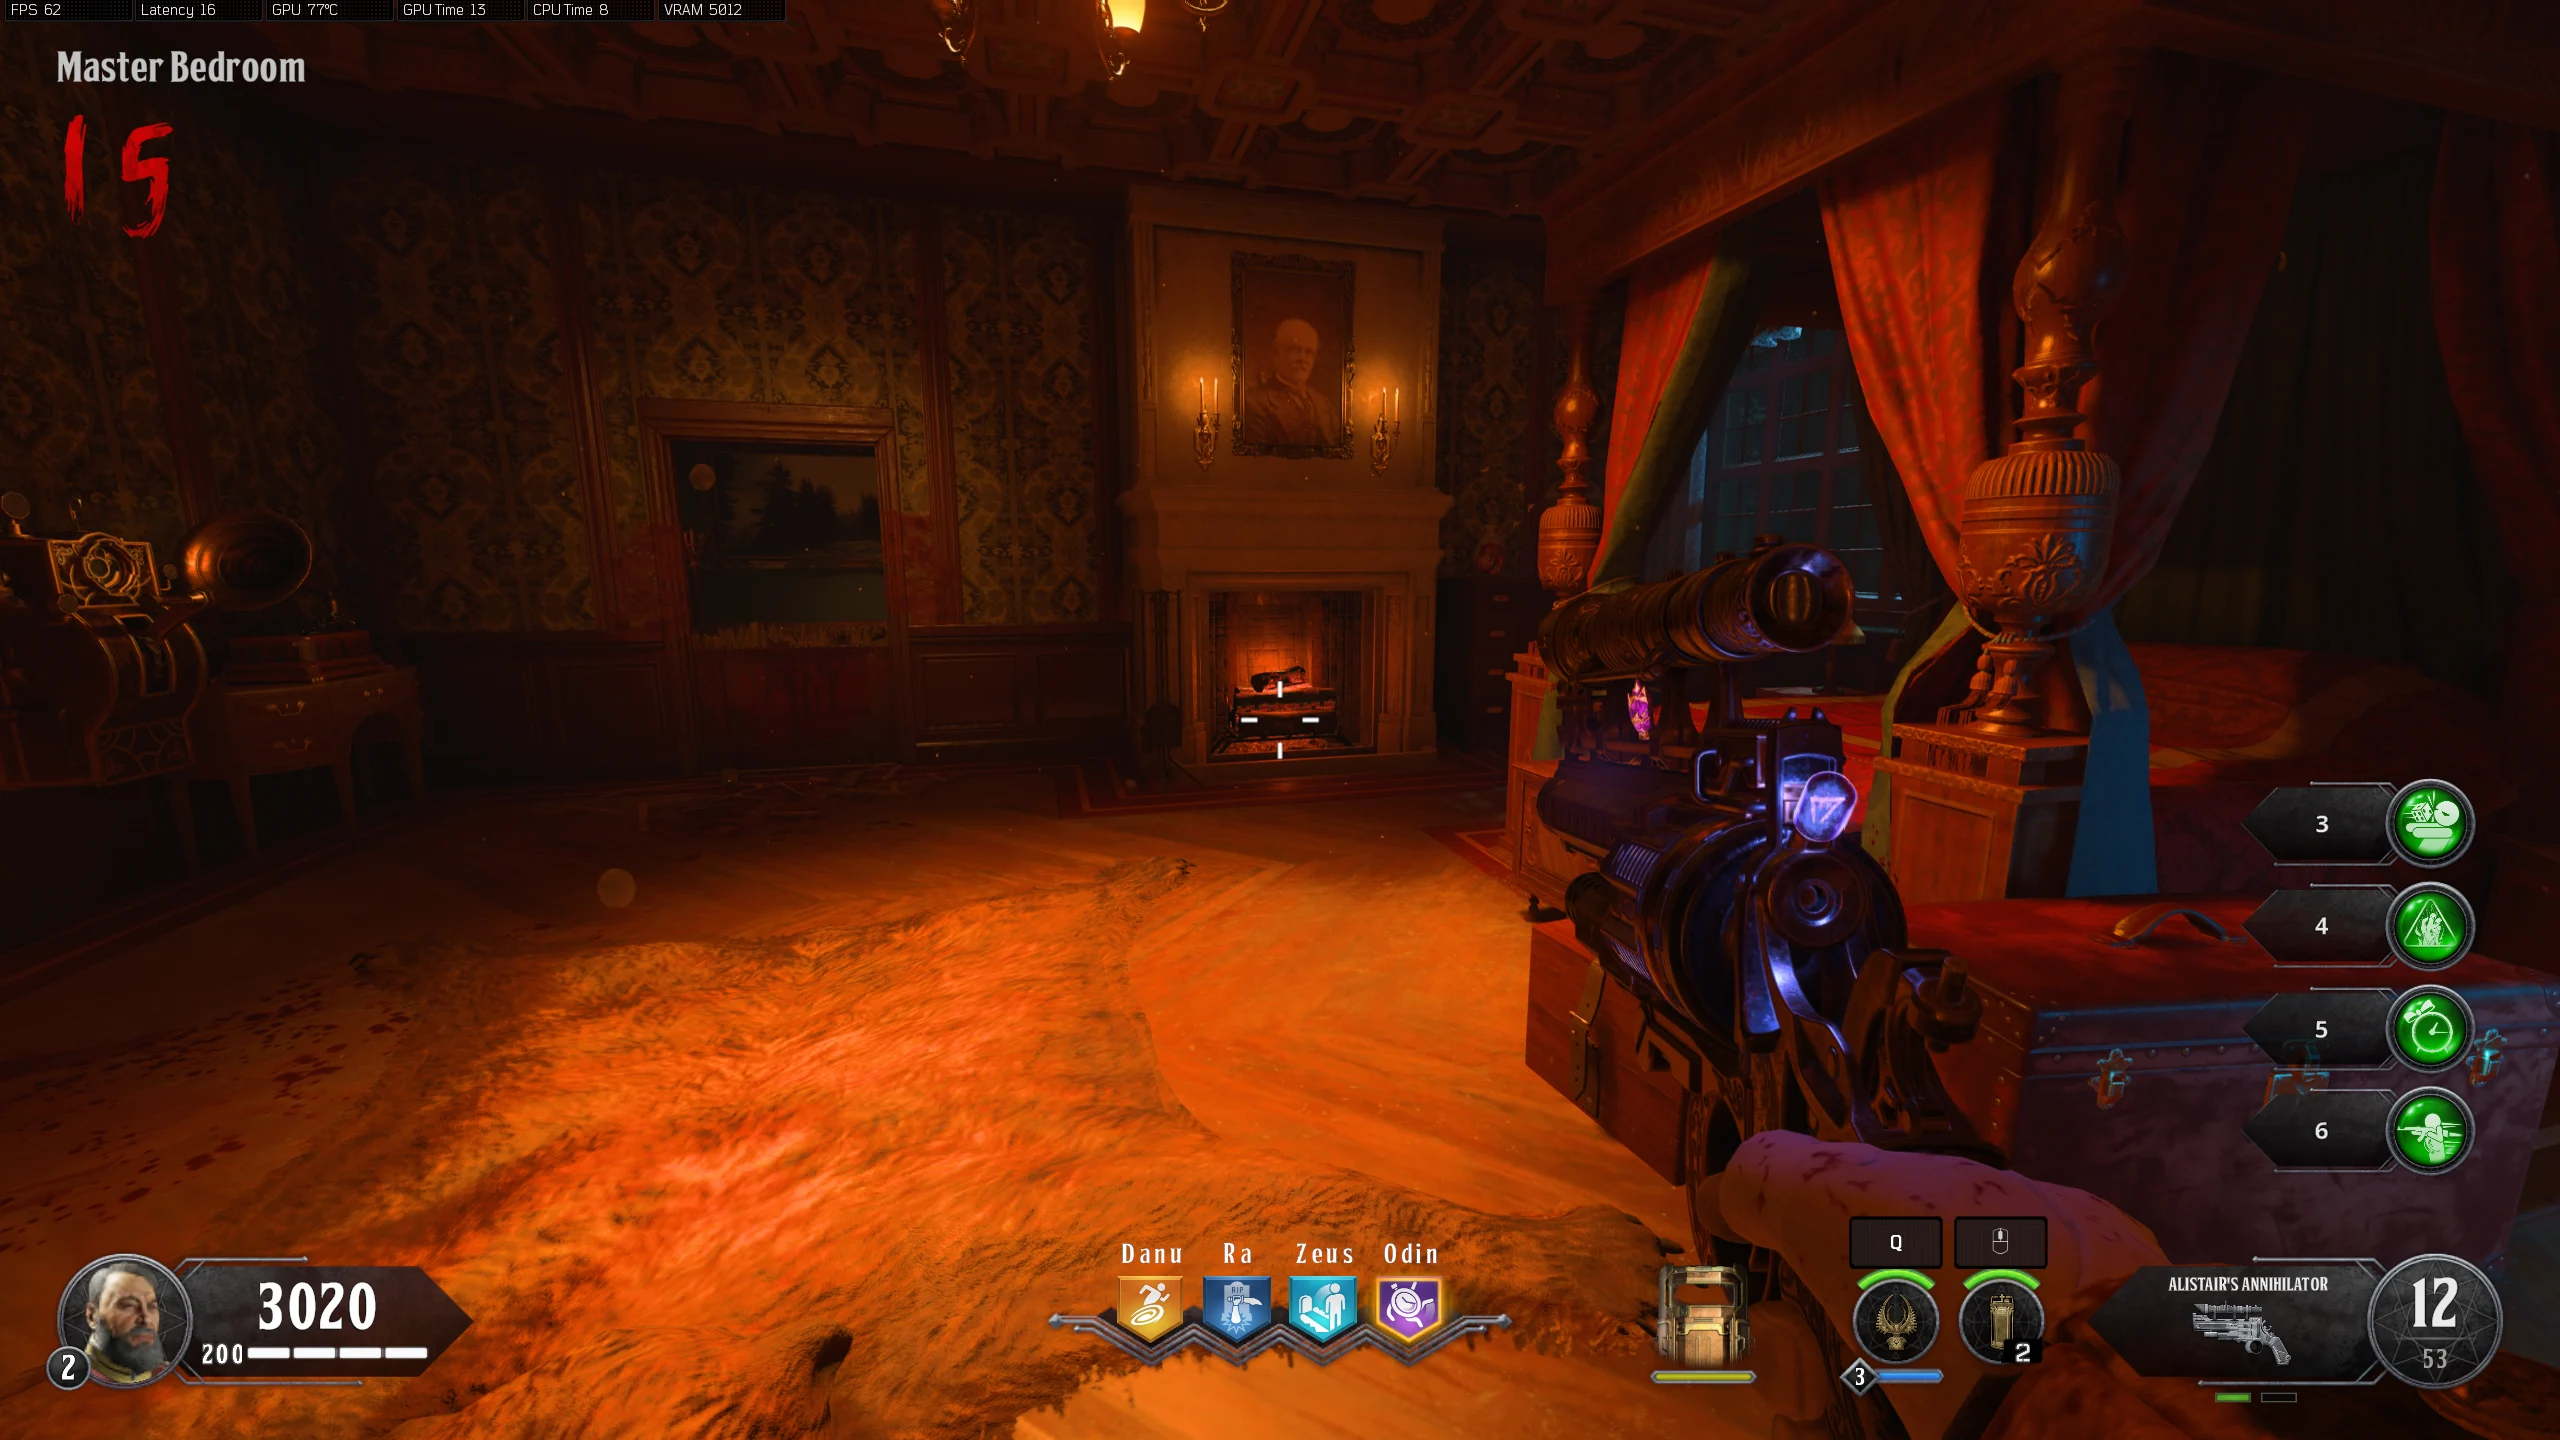
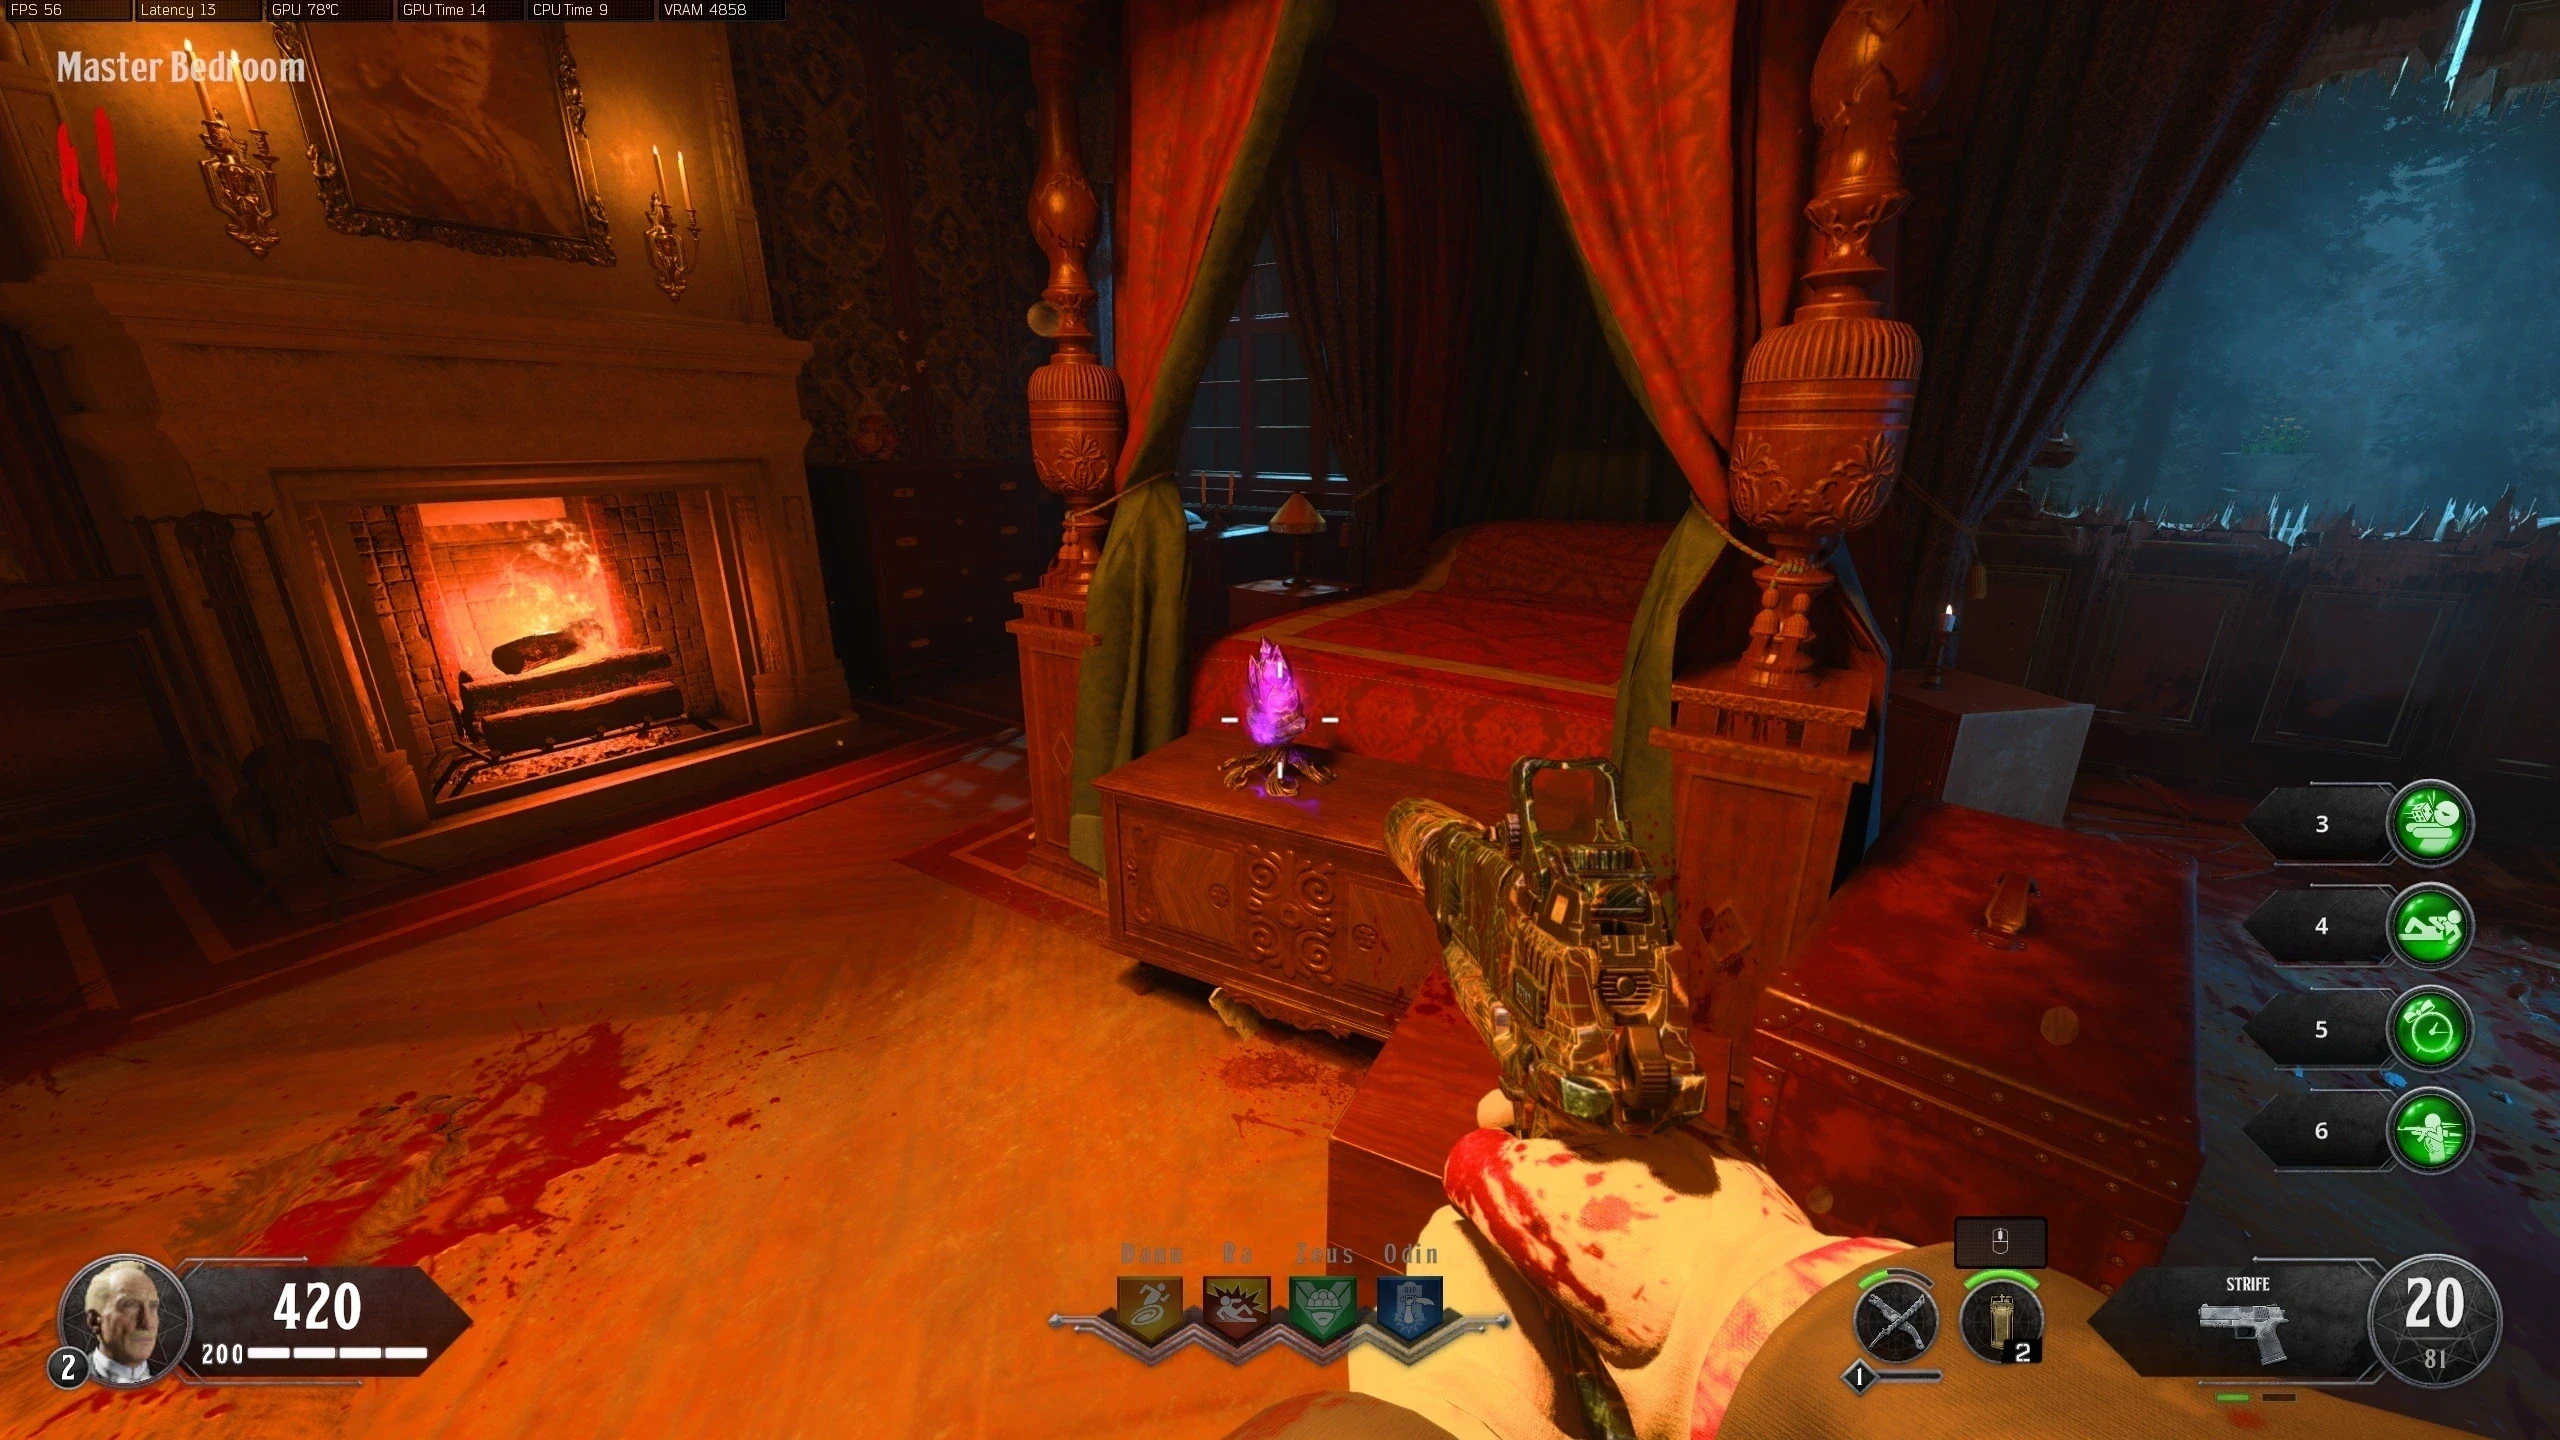
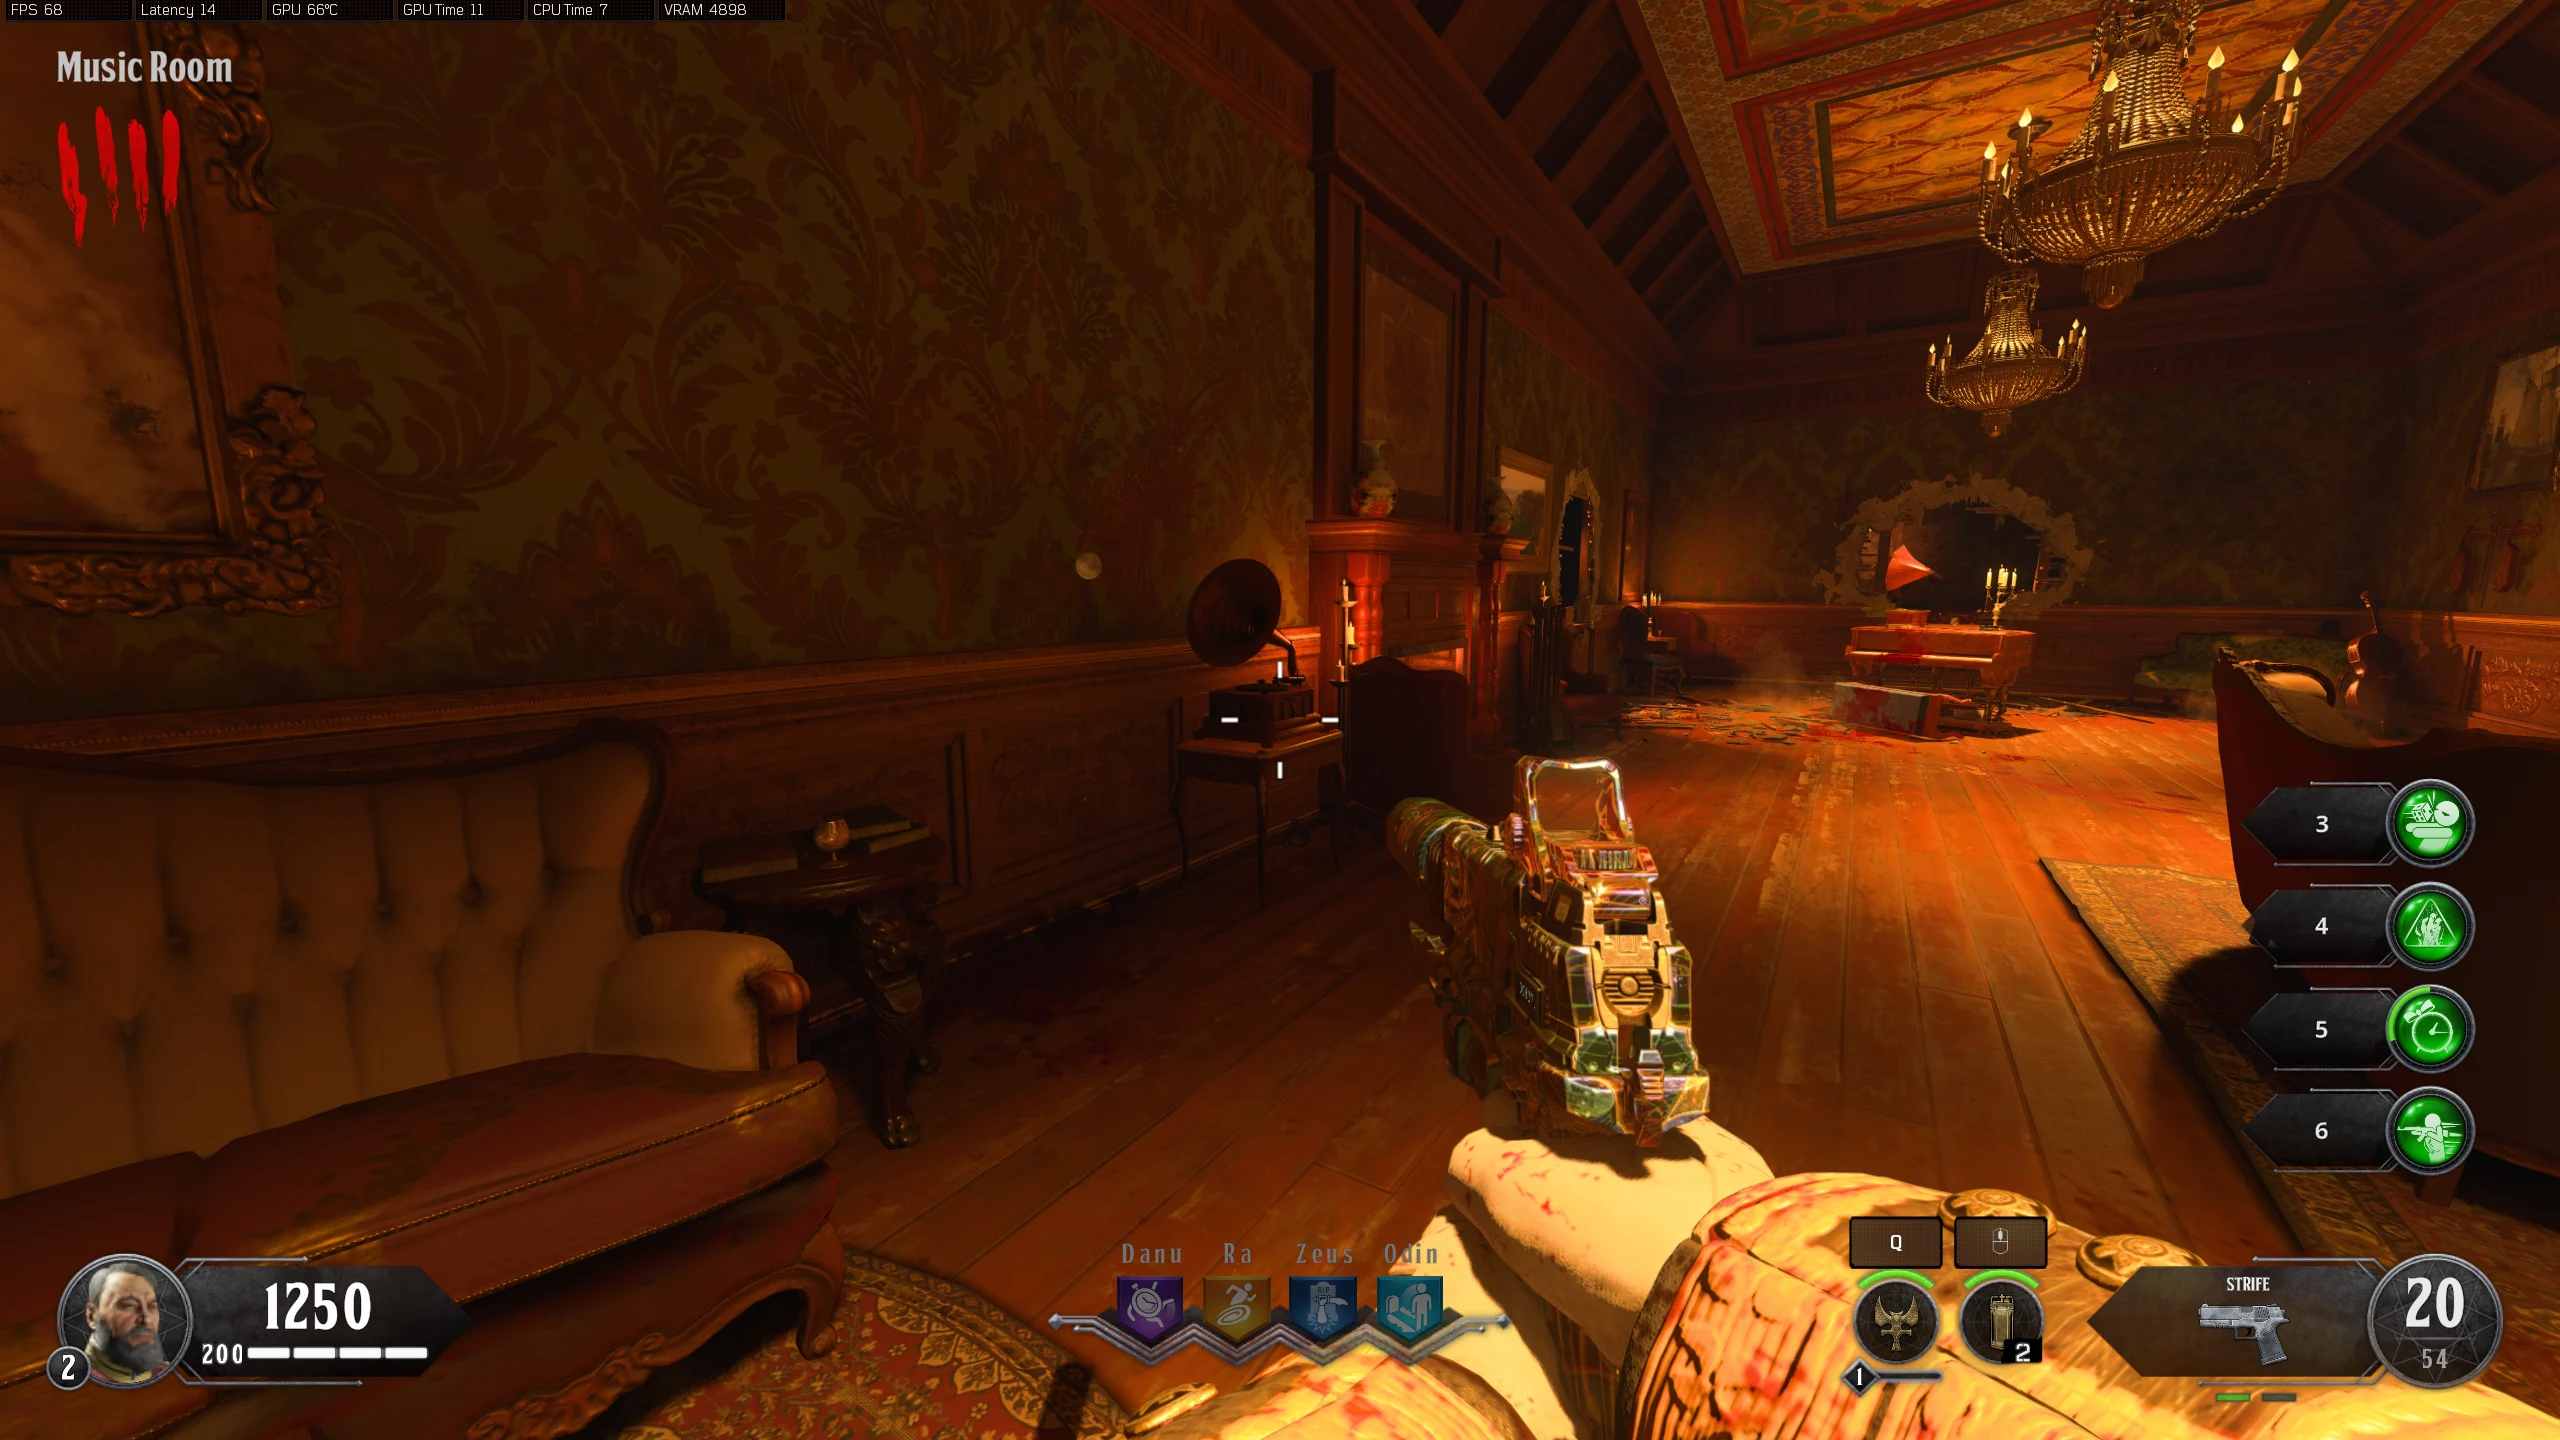
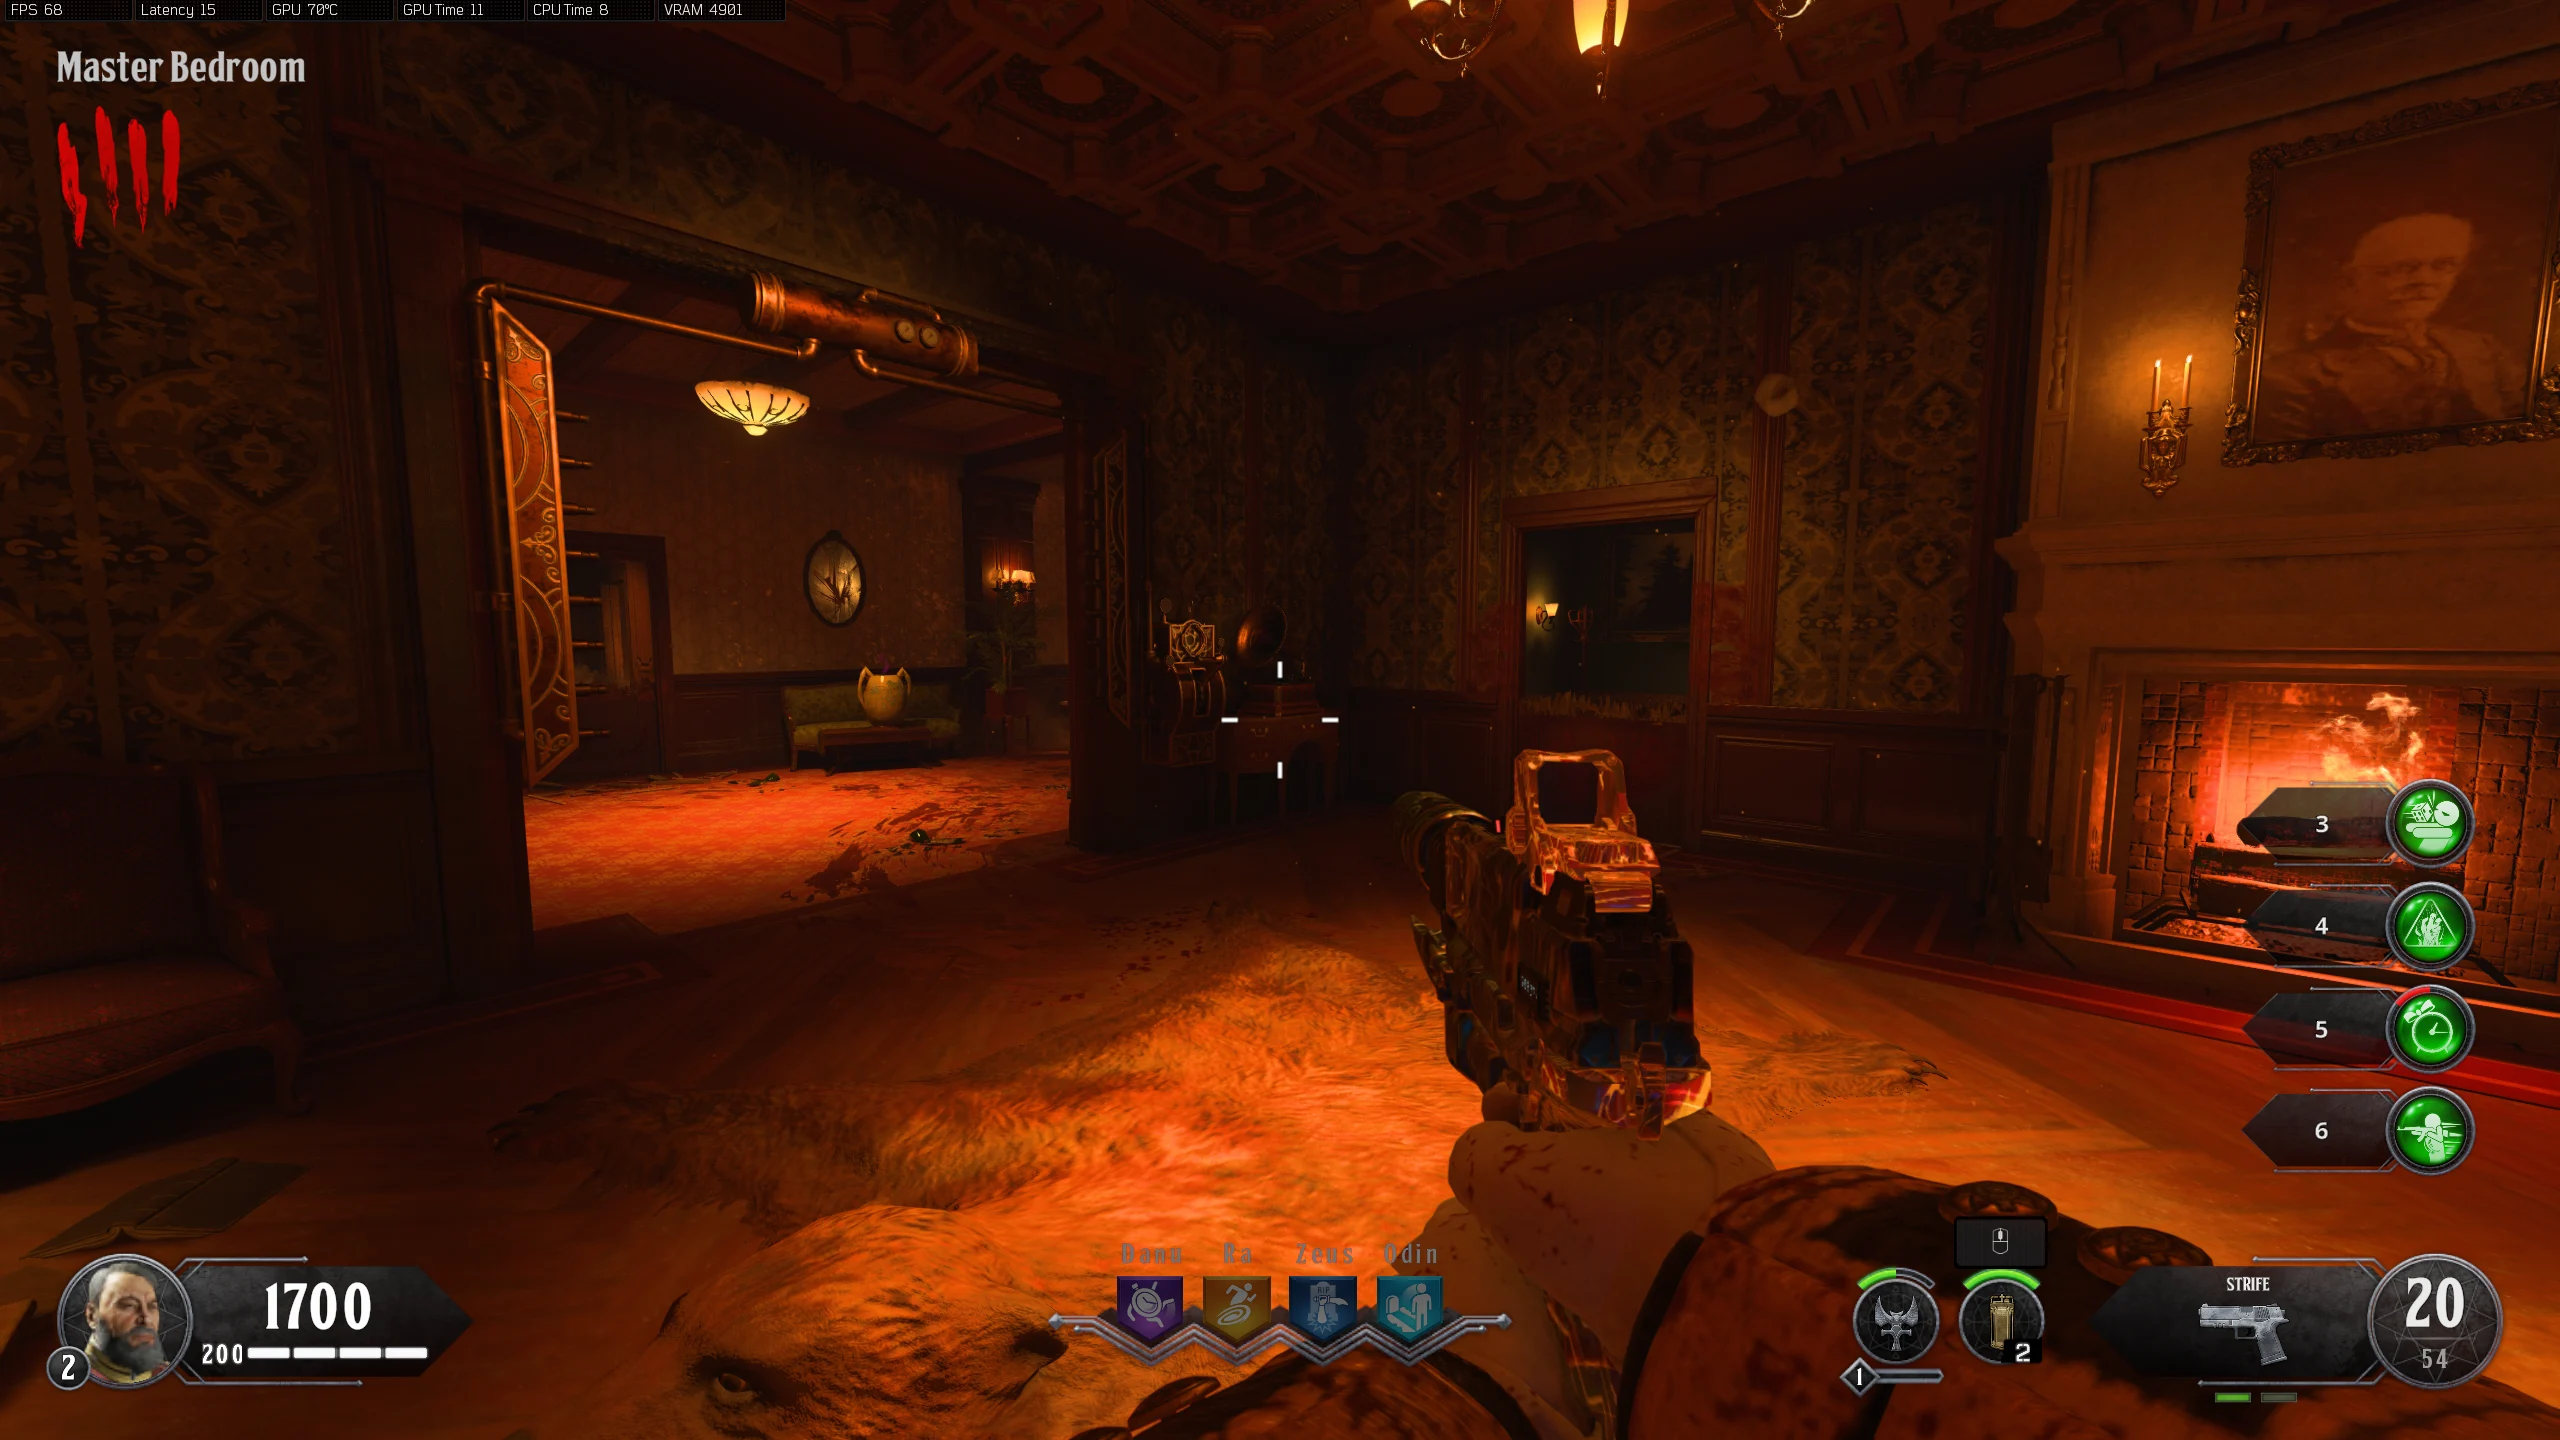
- Trophy Room
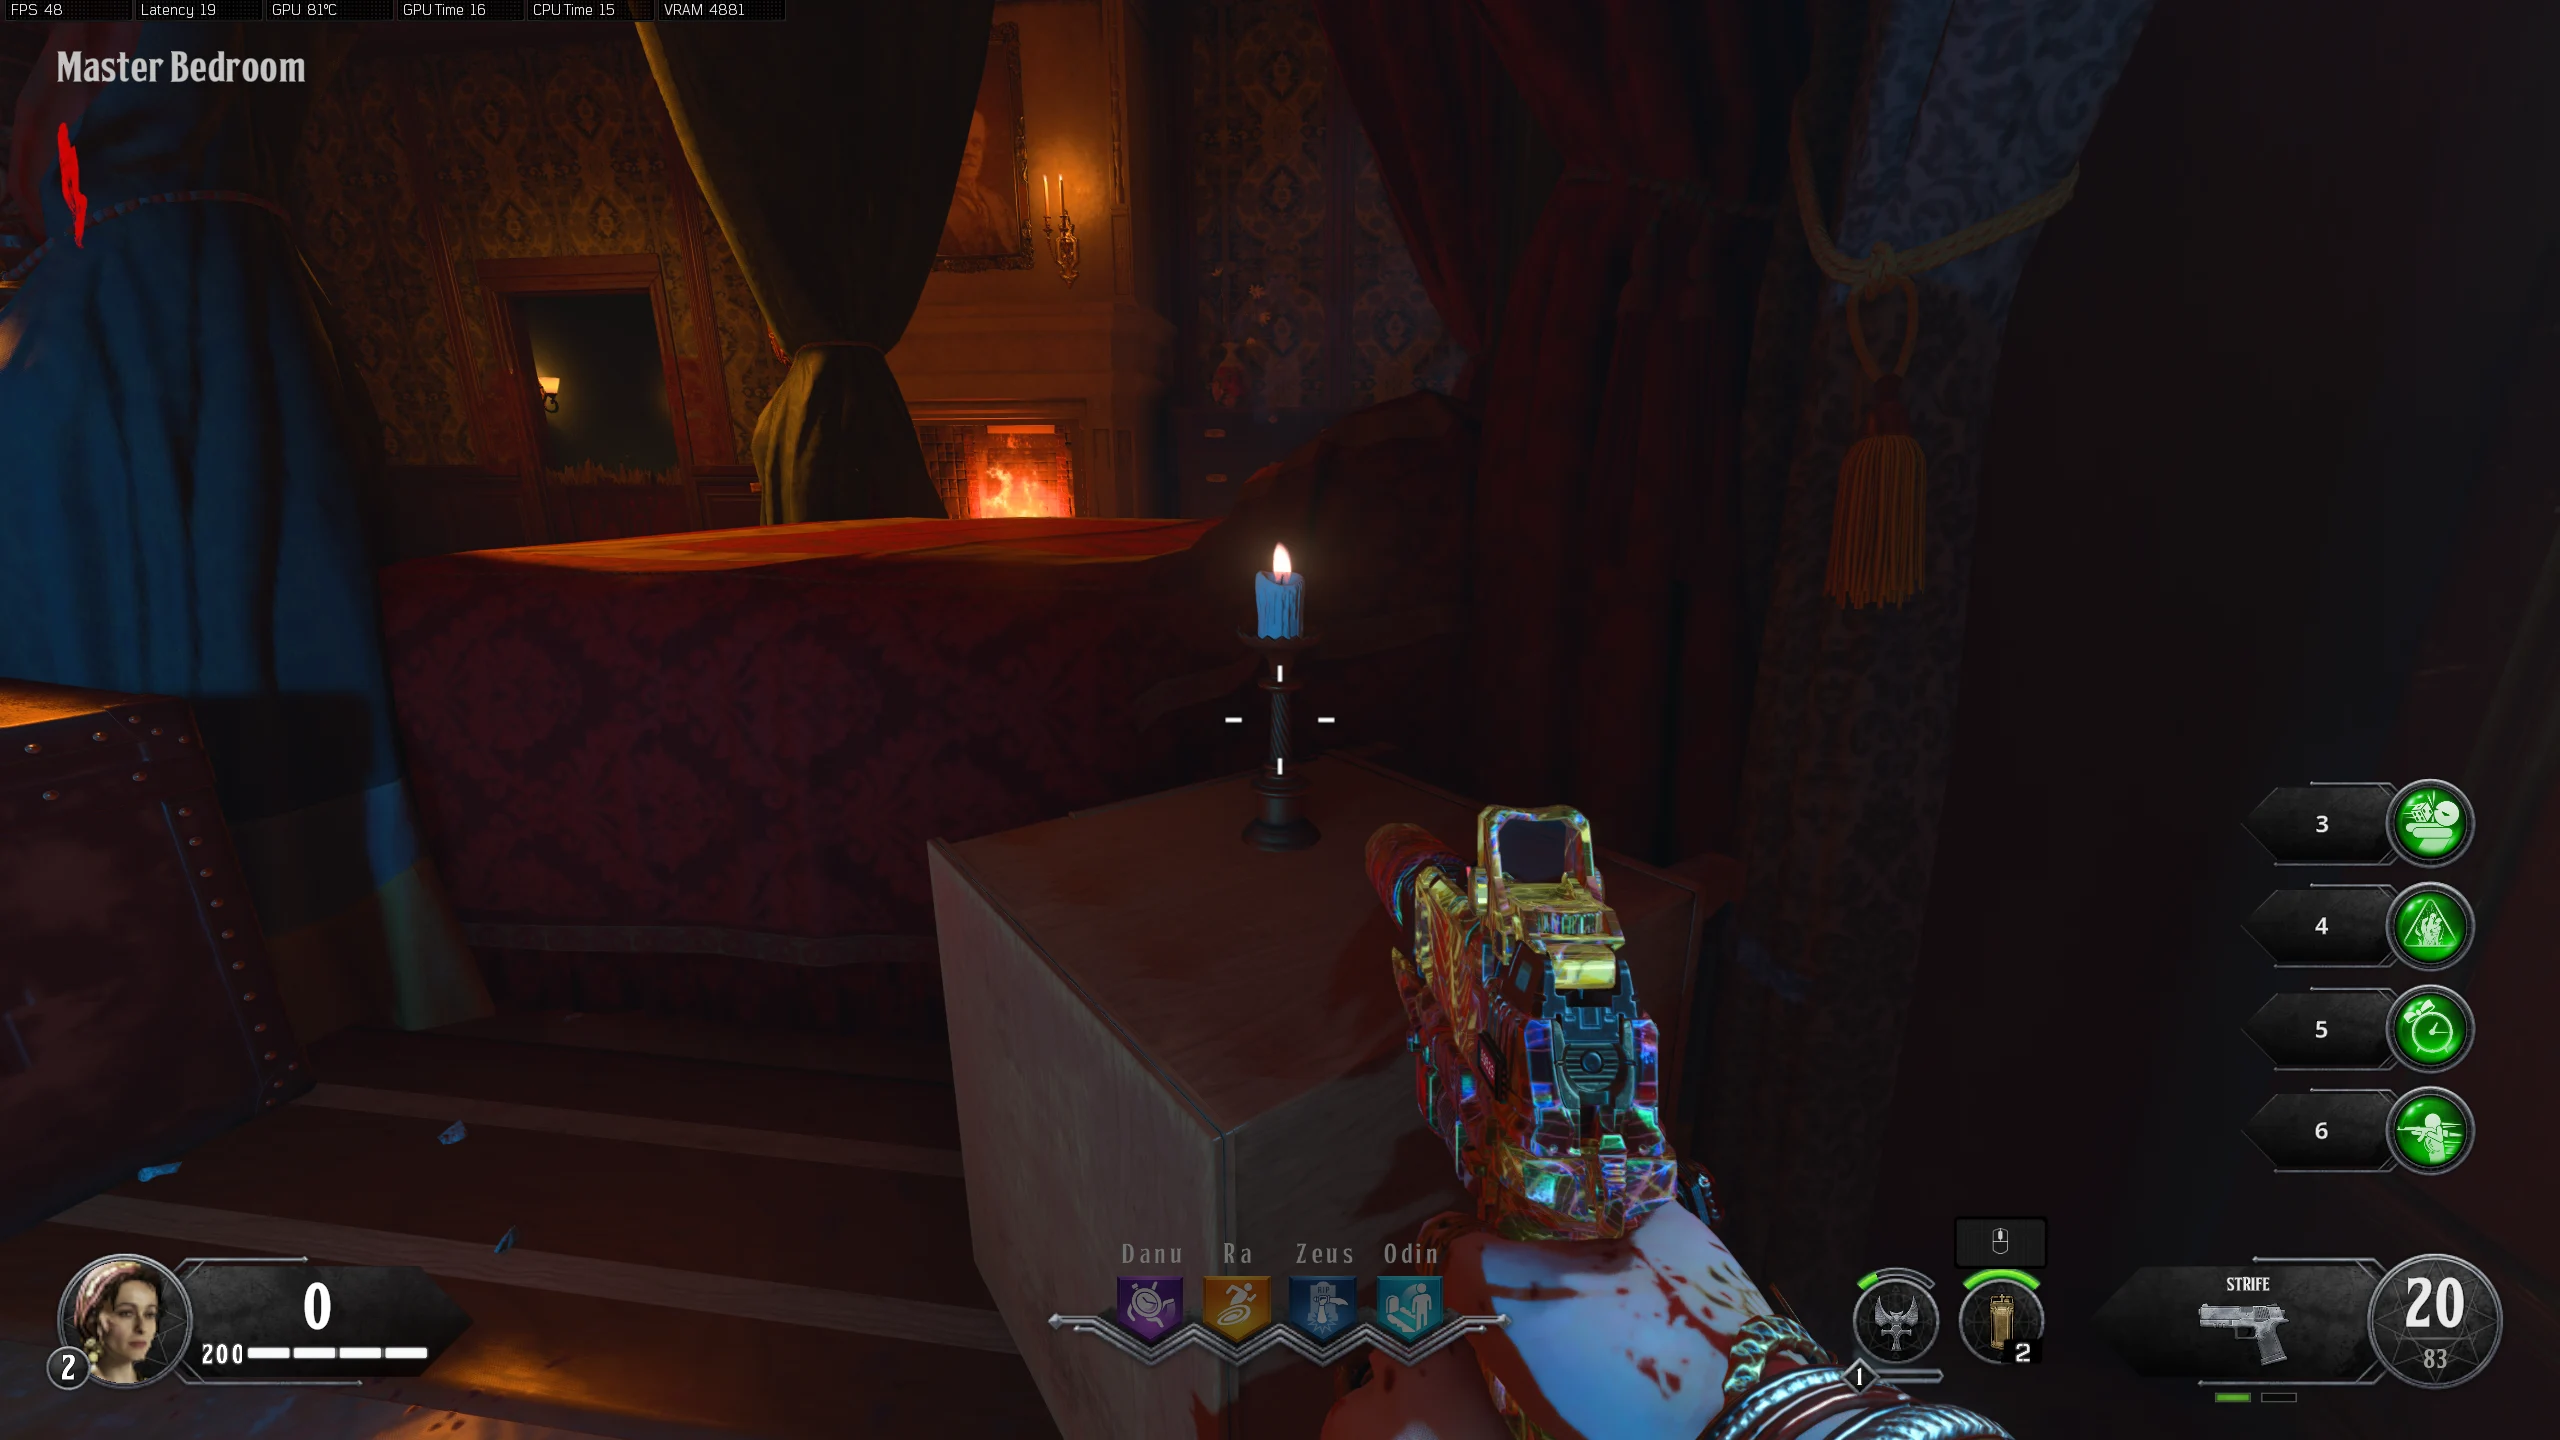
- Zodiac - On the wall, right of the Case with Skulls inside
- Scratches - Left side of the fireplace
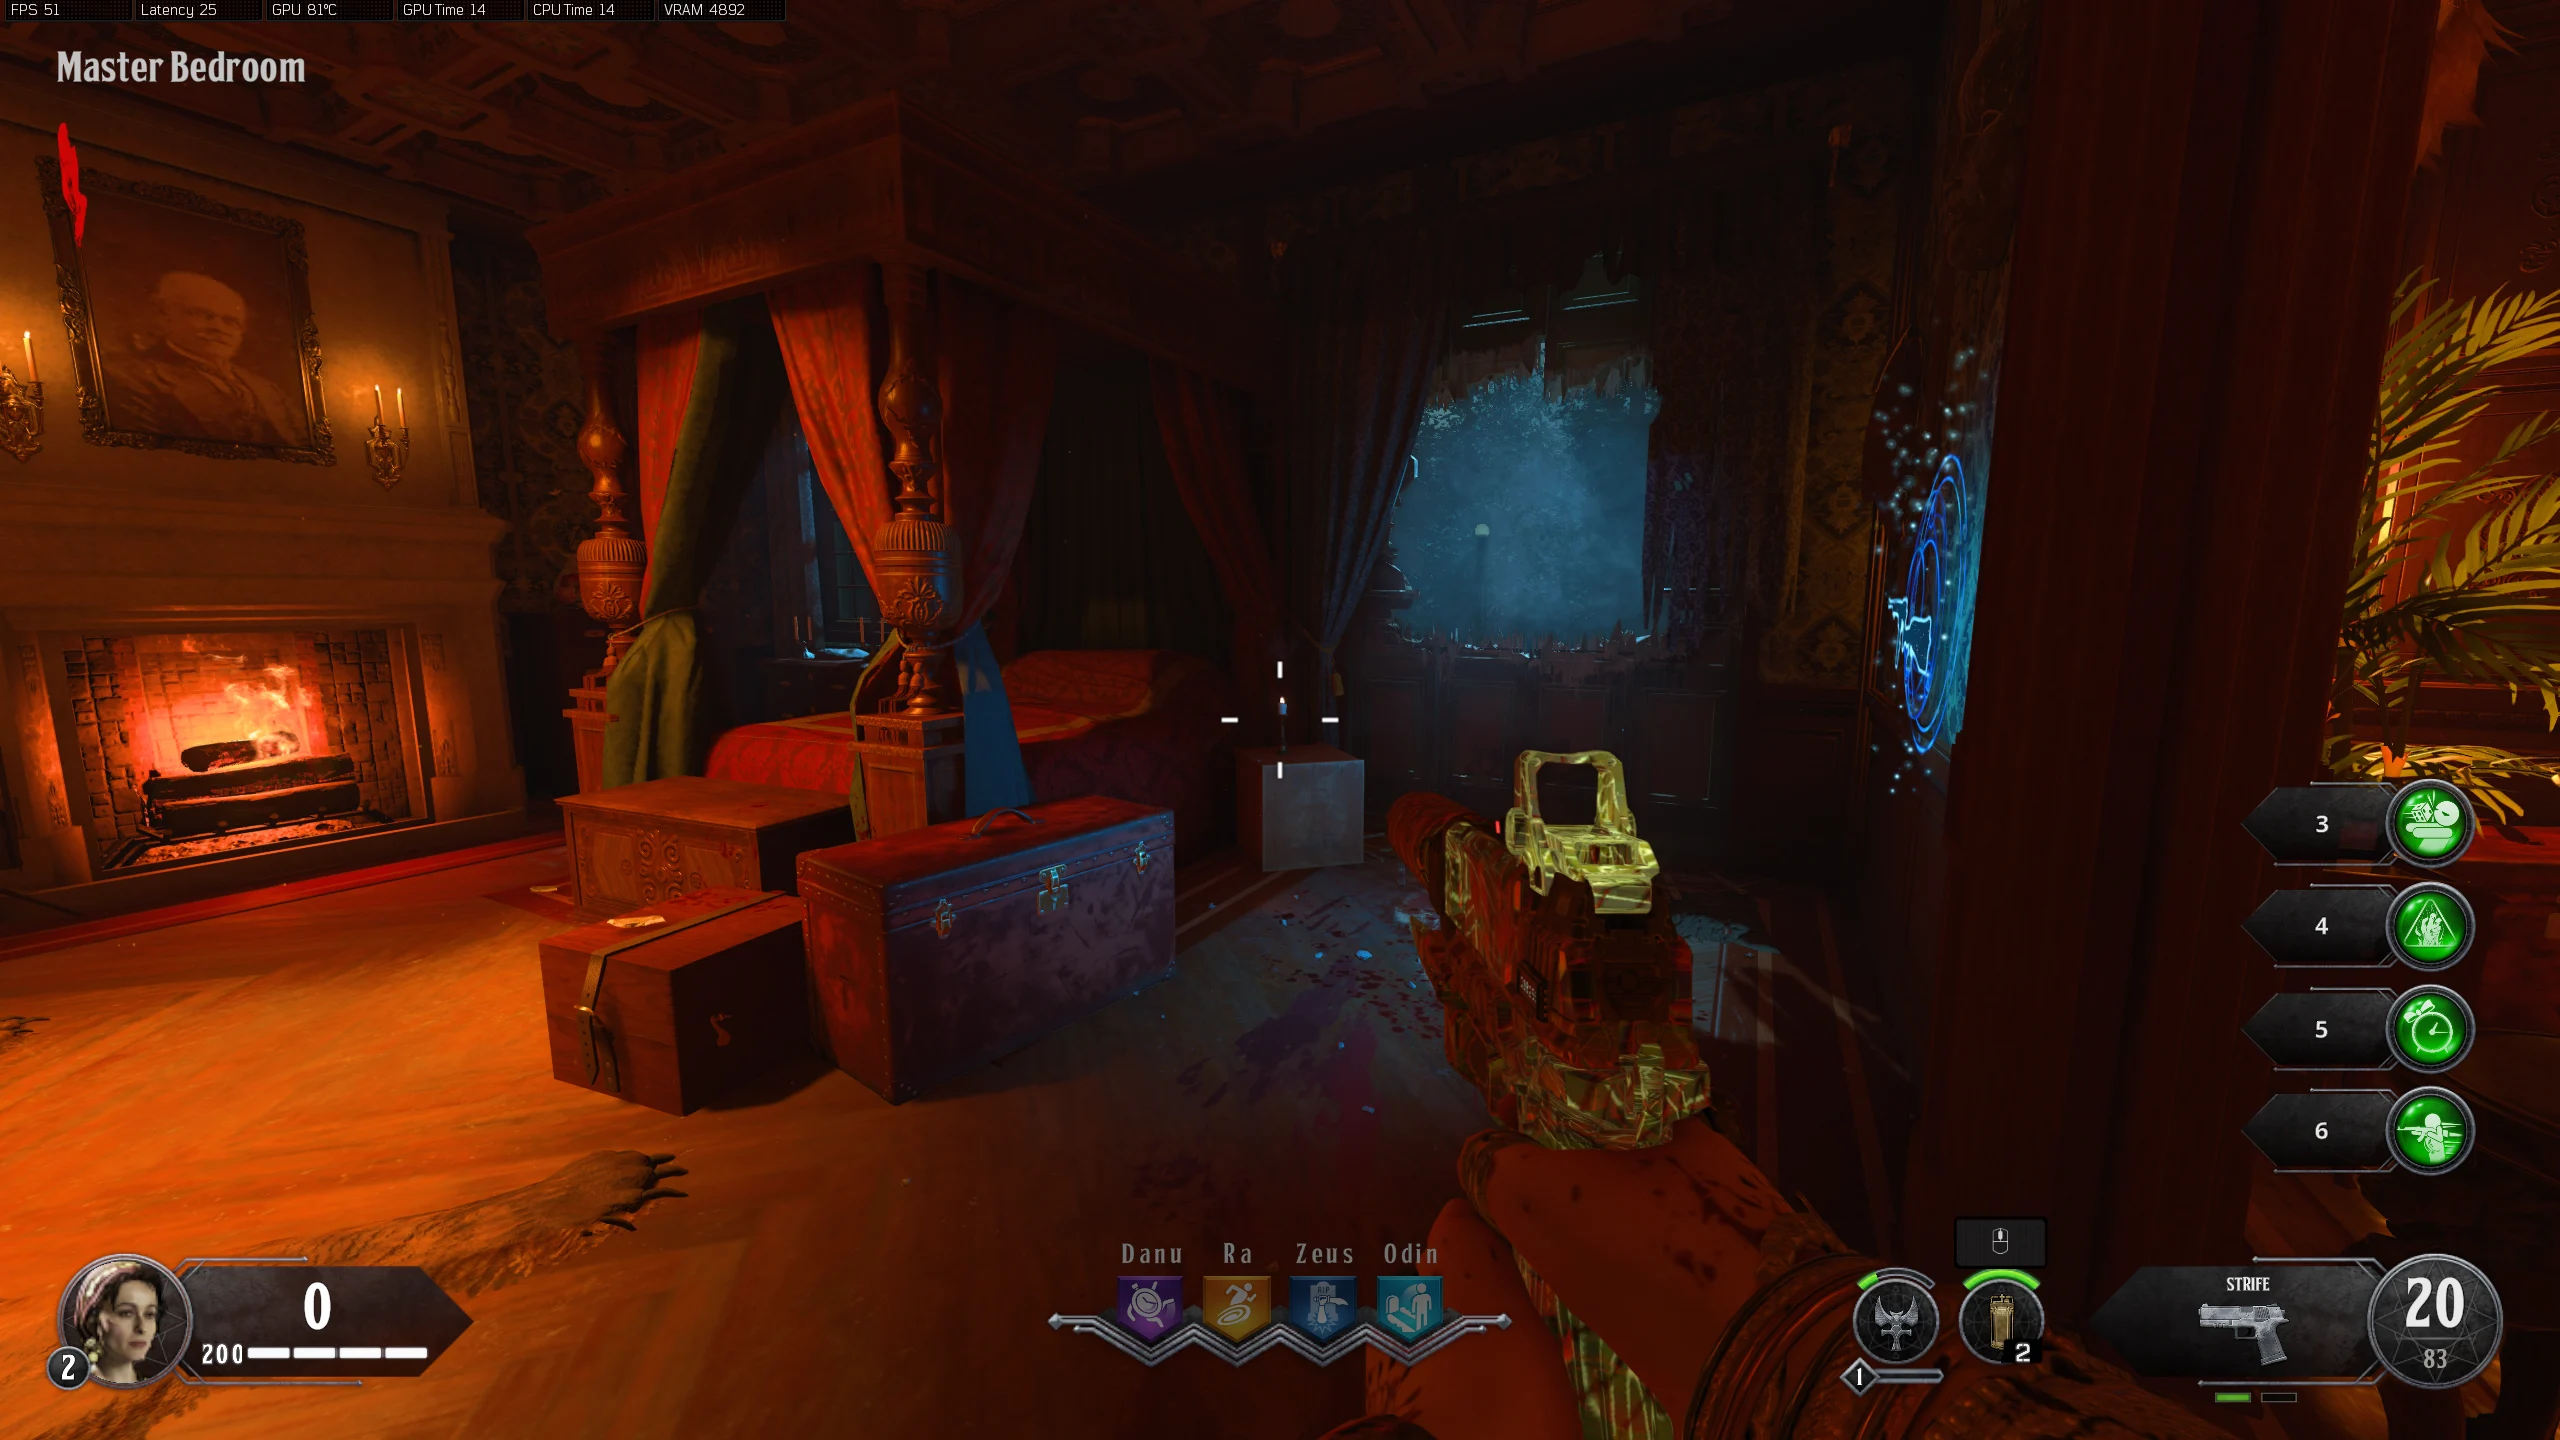
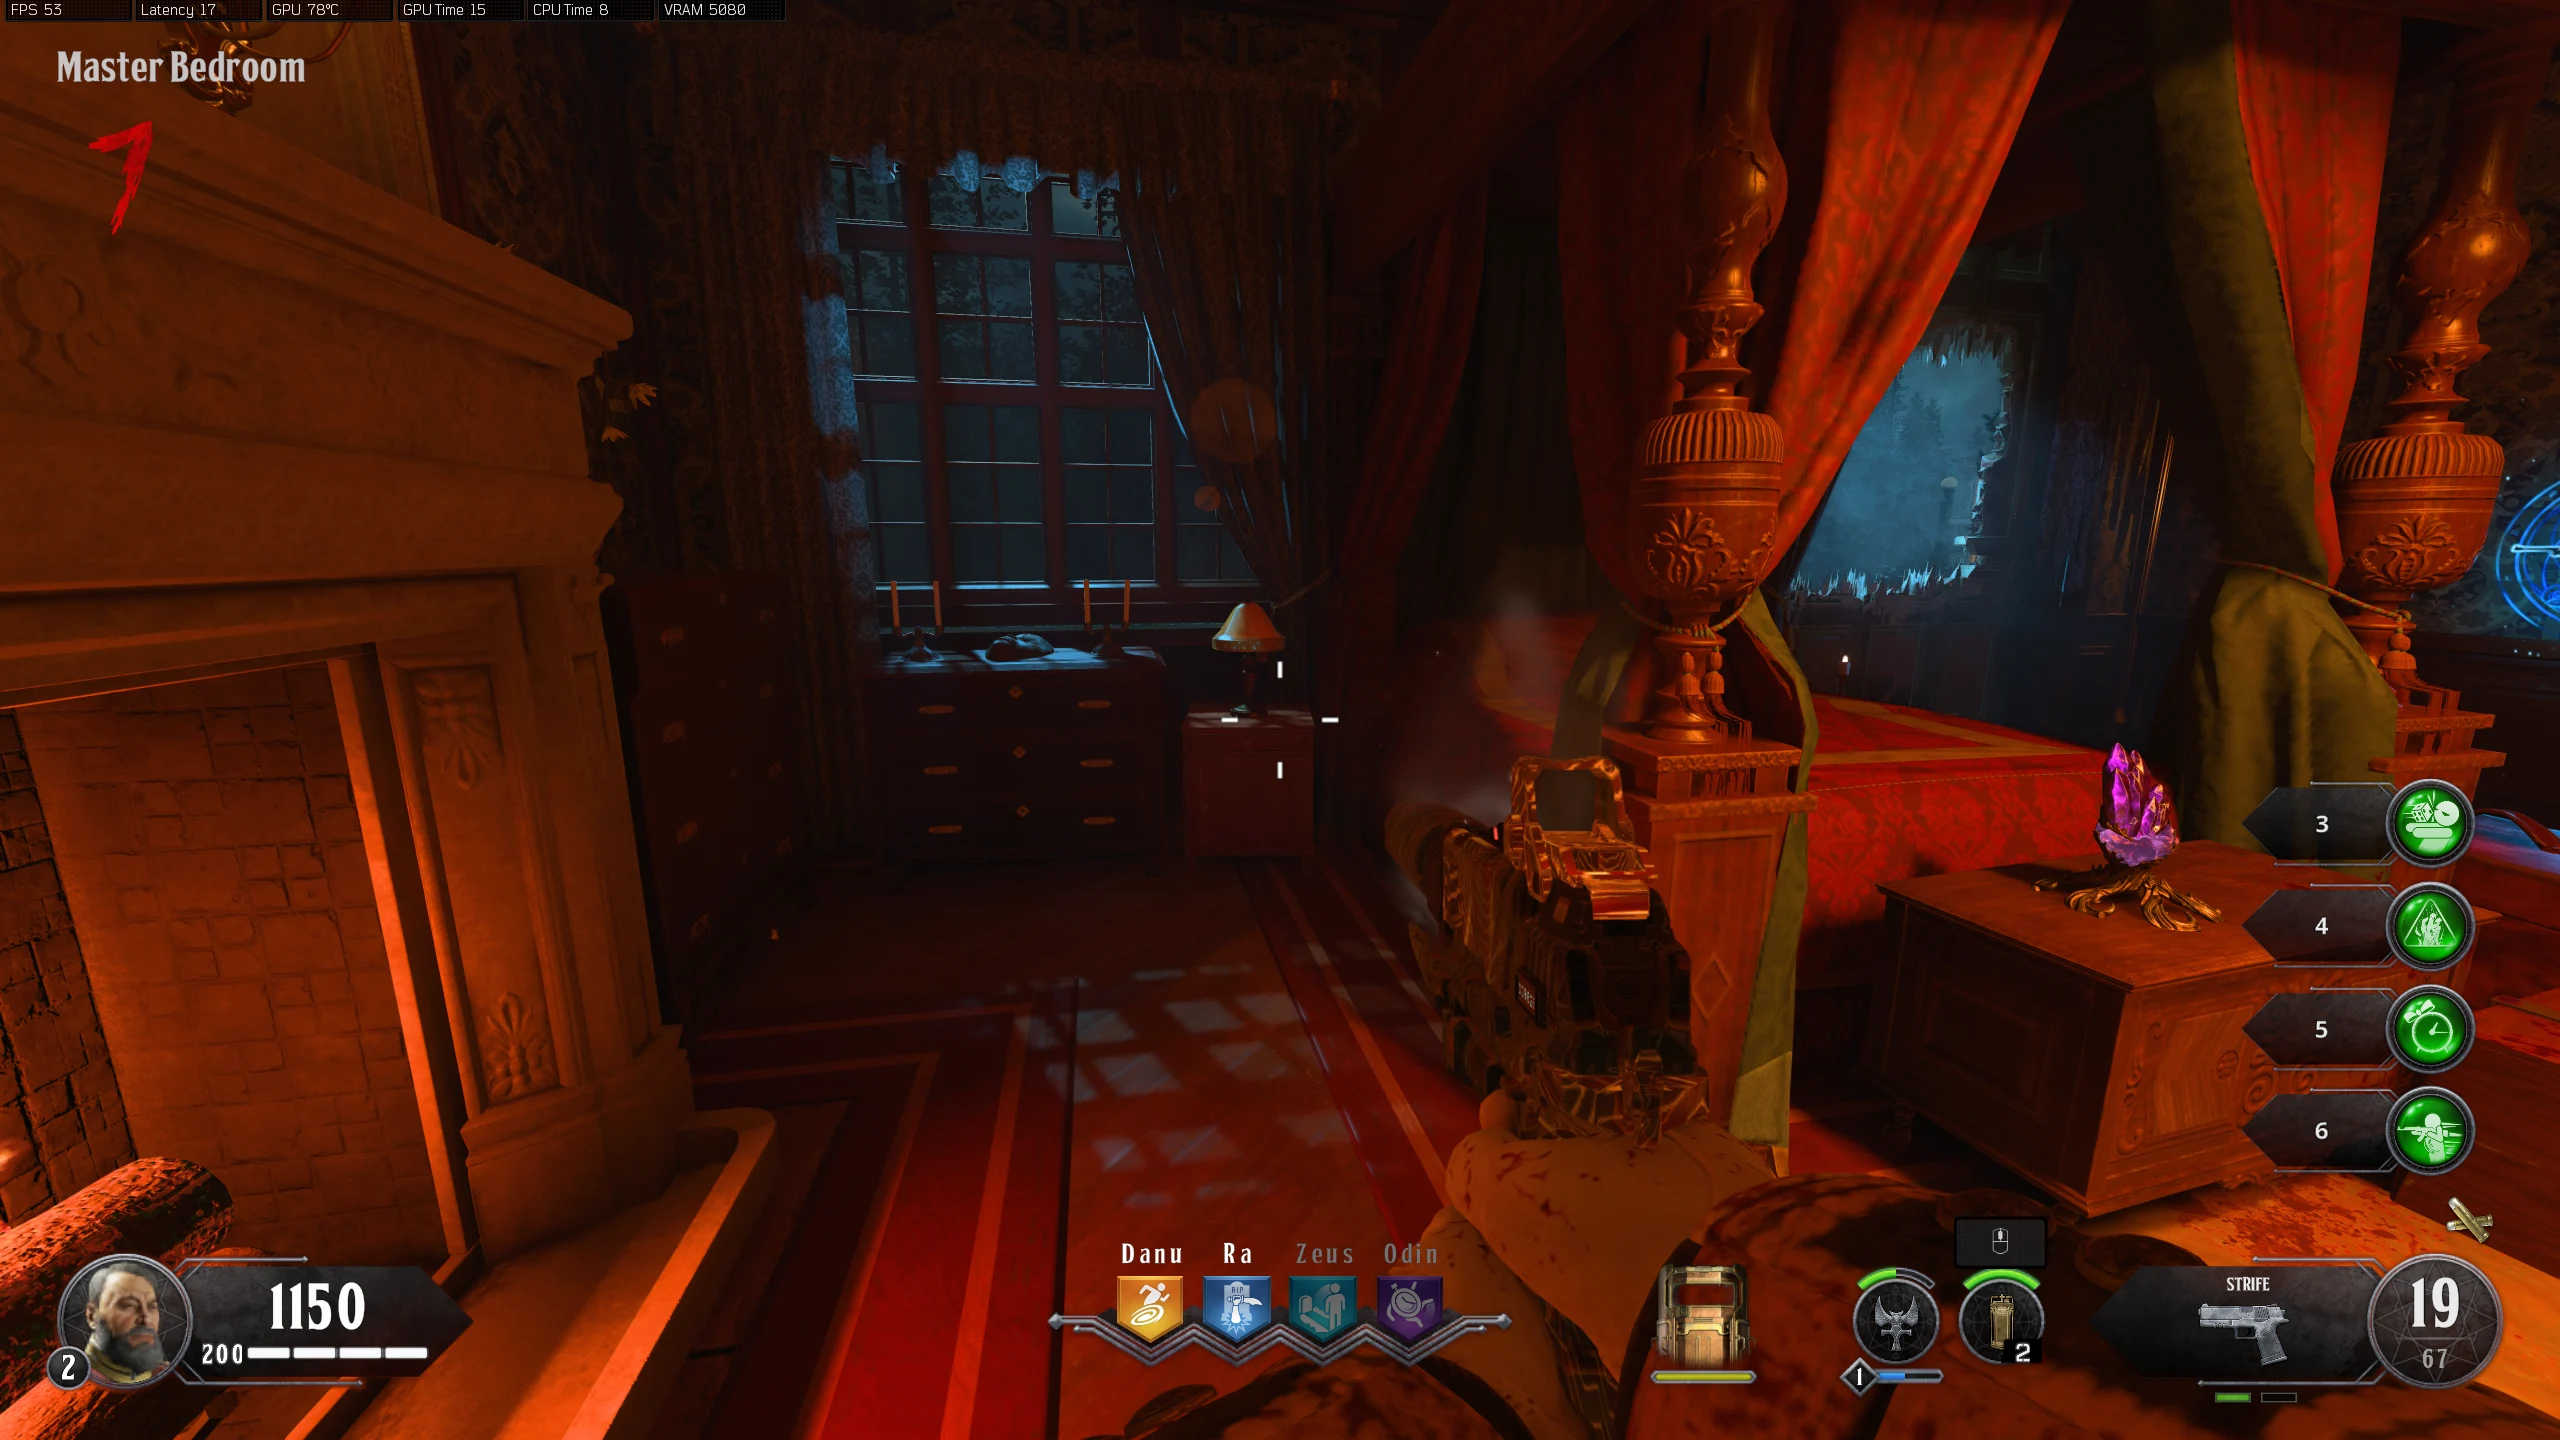
- Scratches: Master Bedroom - On the nightstand, left of the Bed
- Scratches: Master Bedroom - Above the bathtub, outside the spawn window
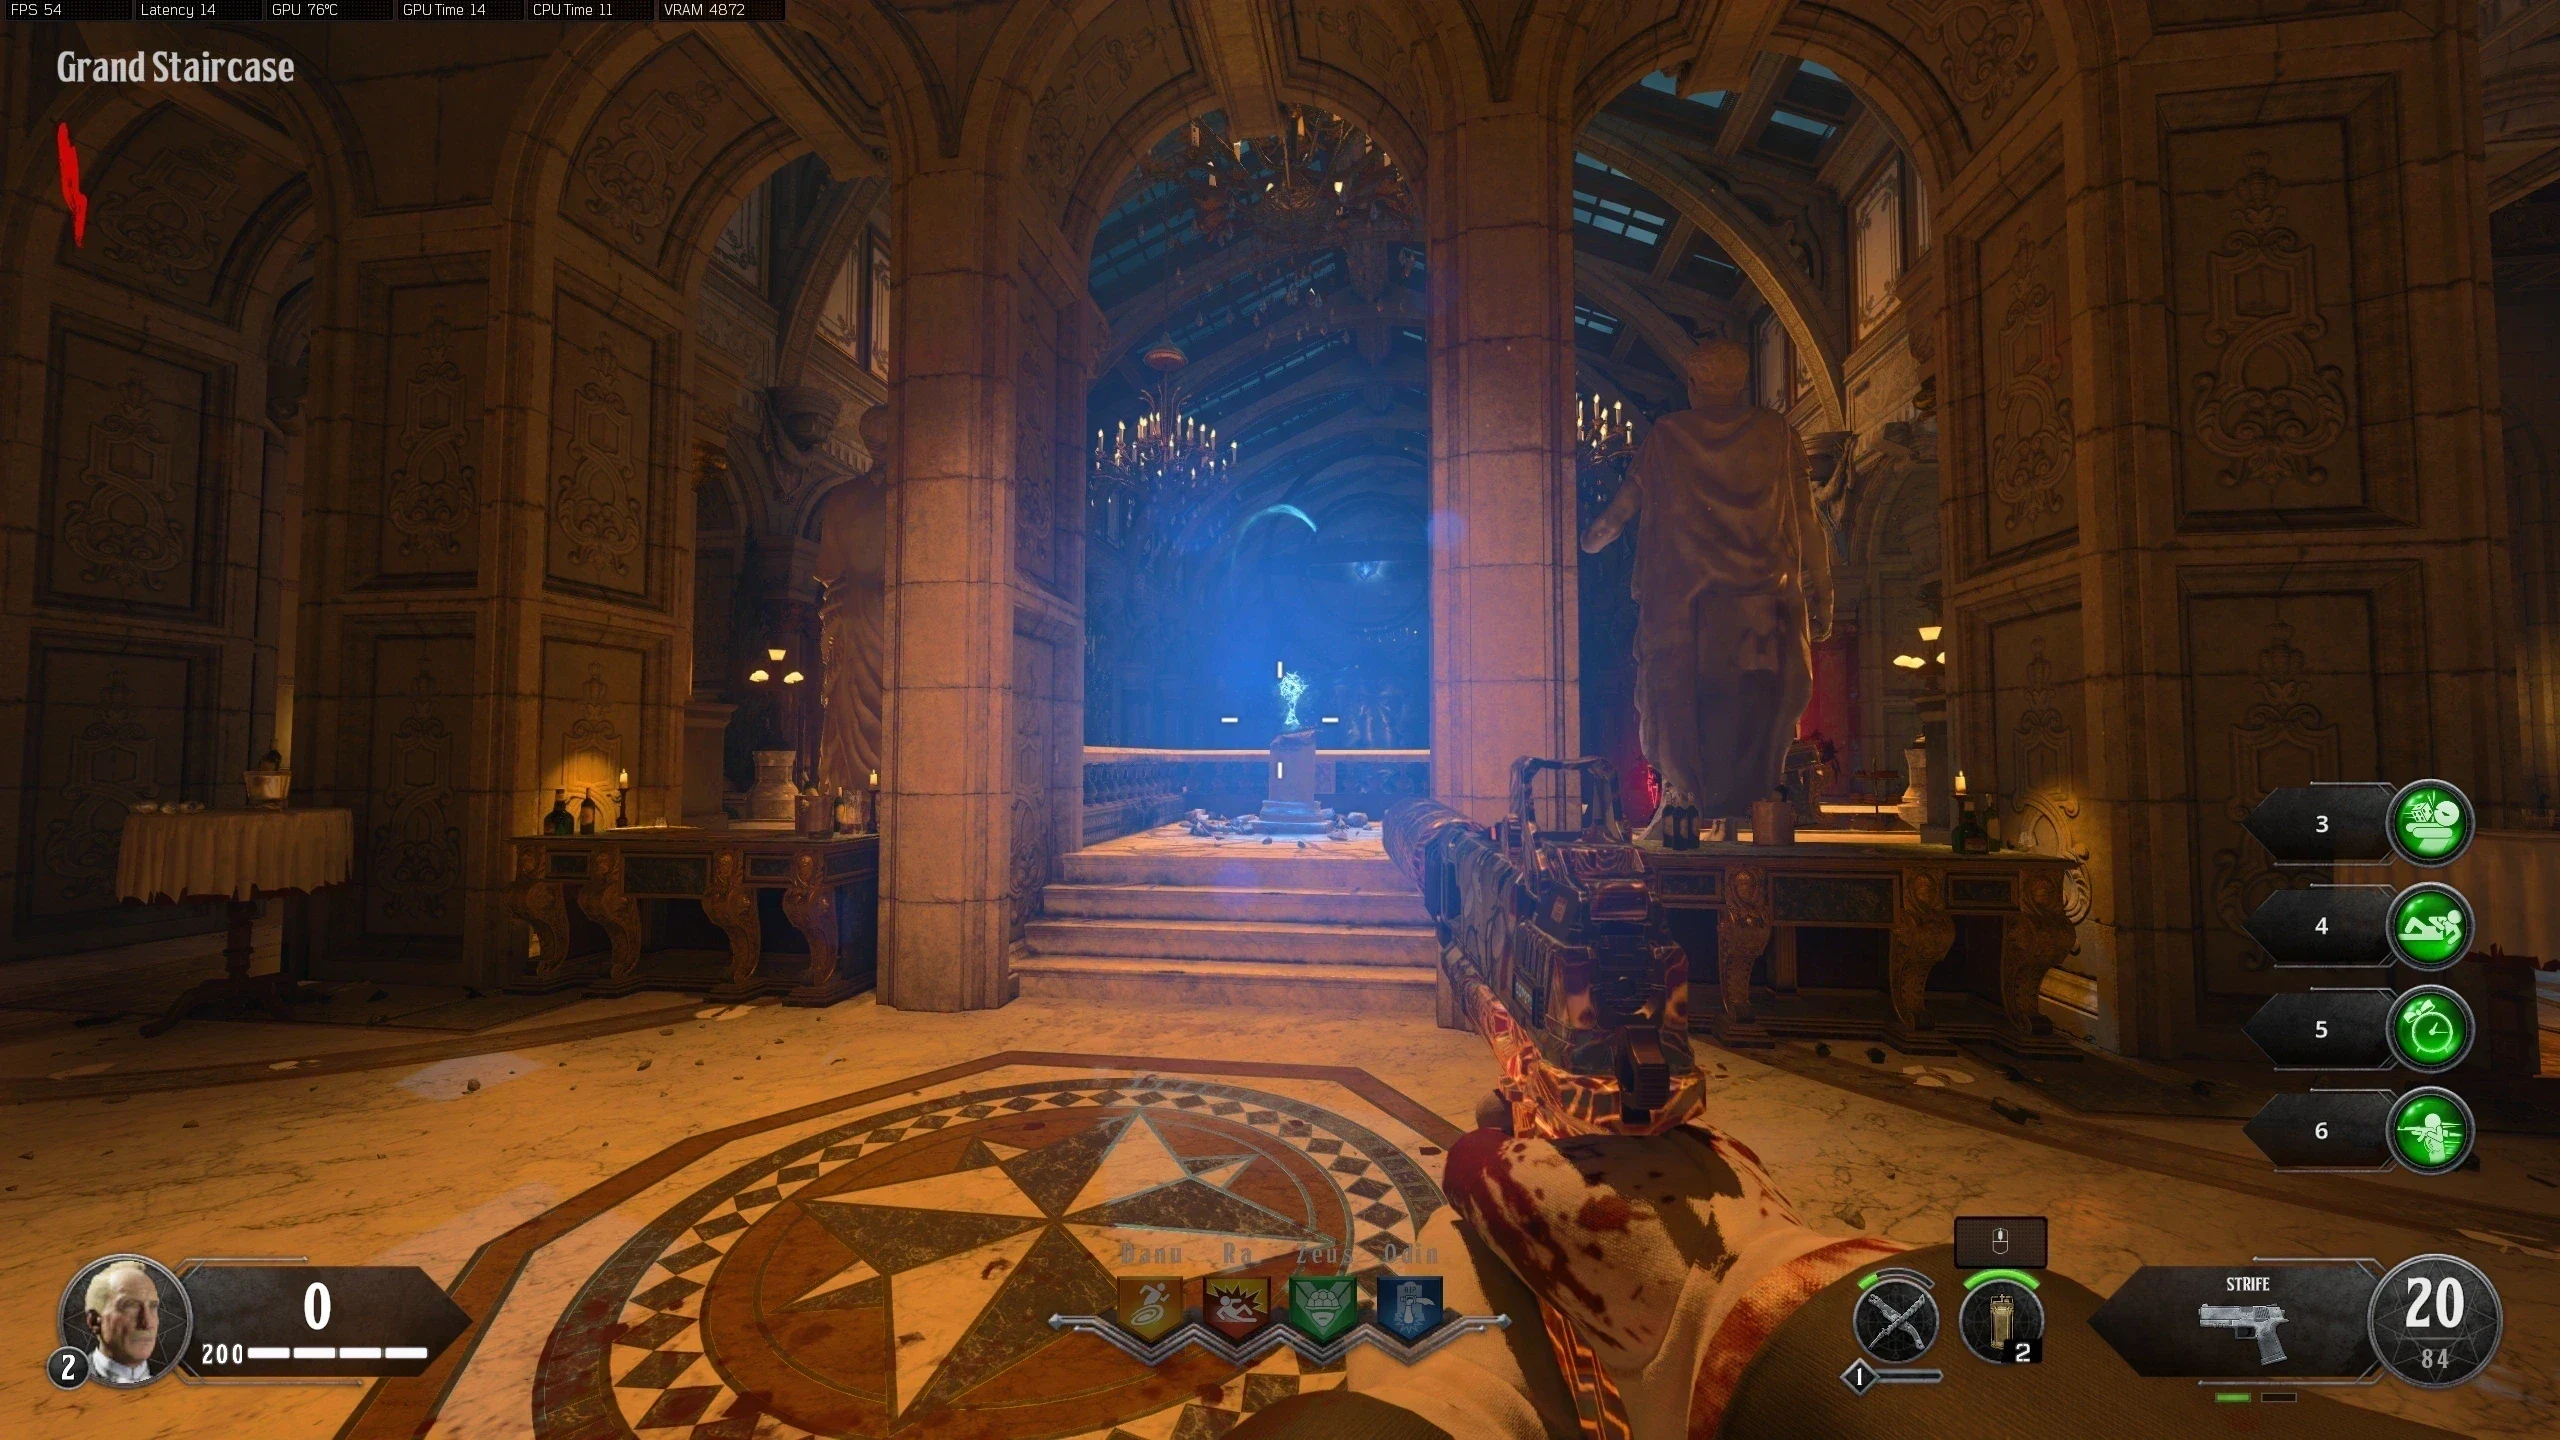
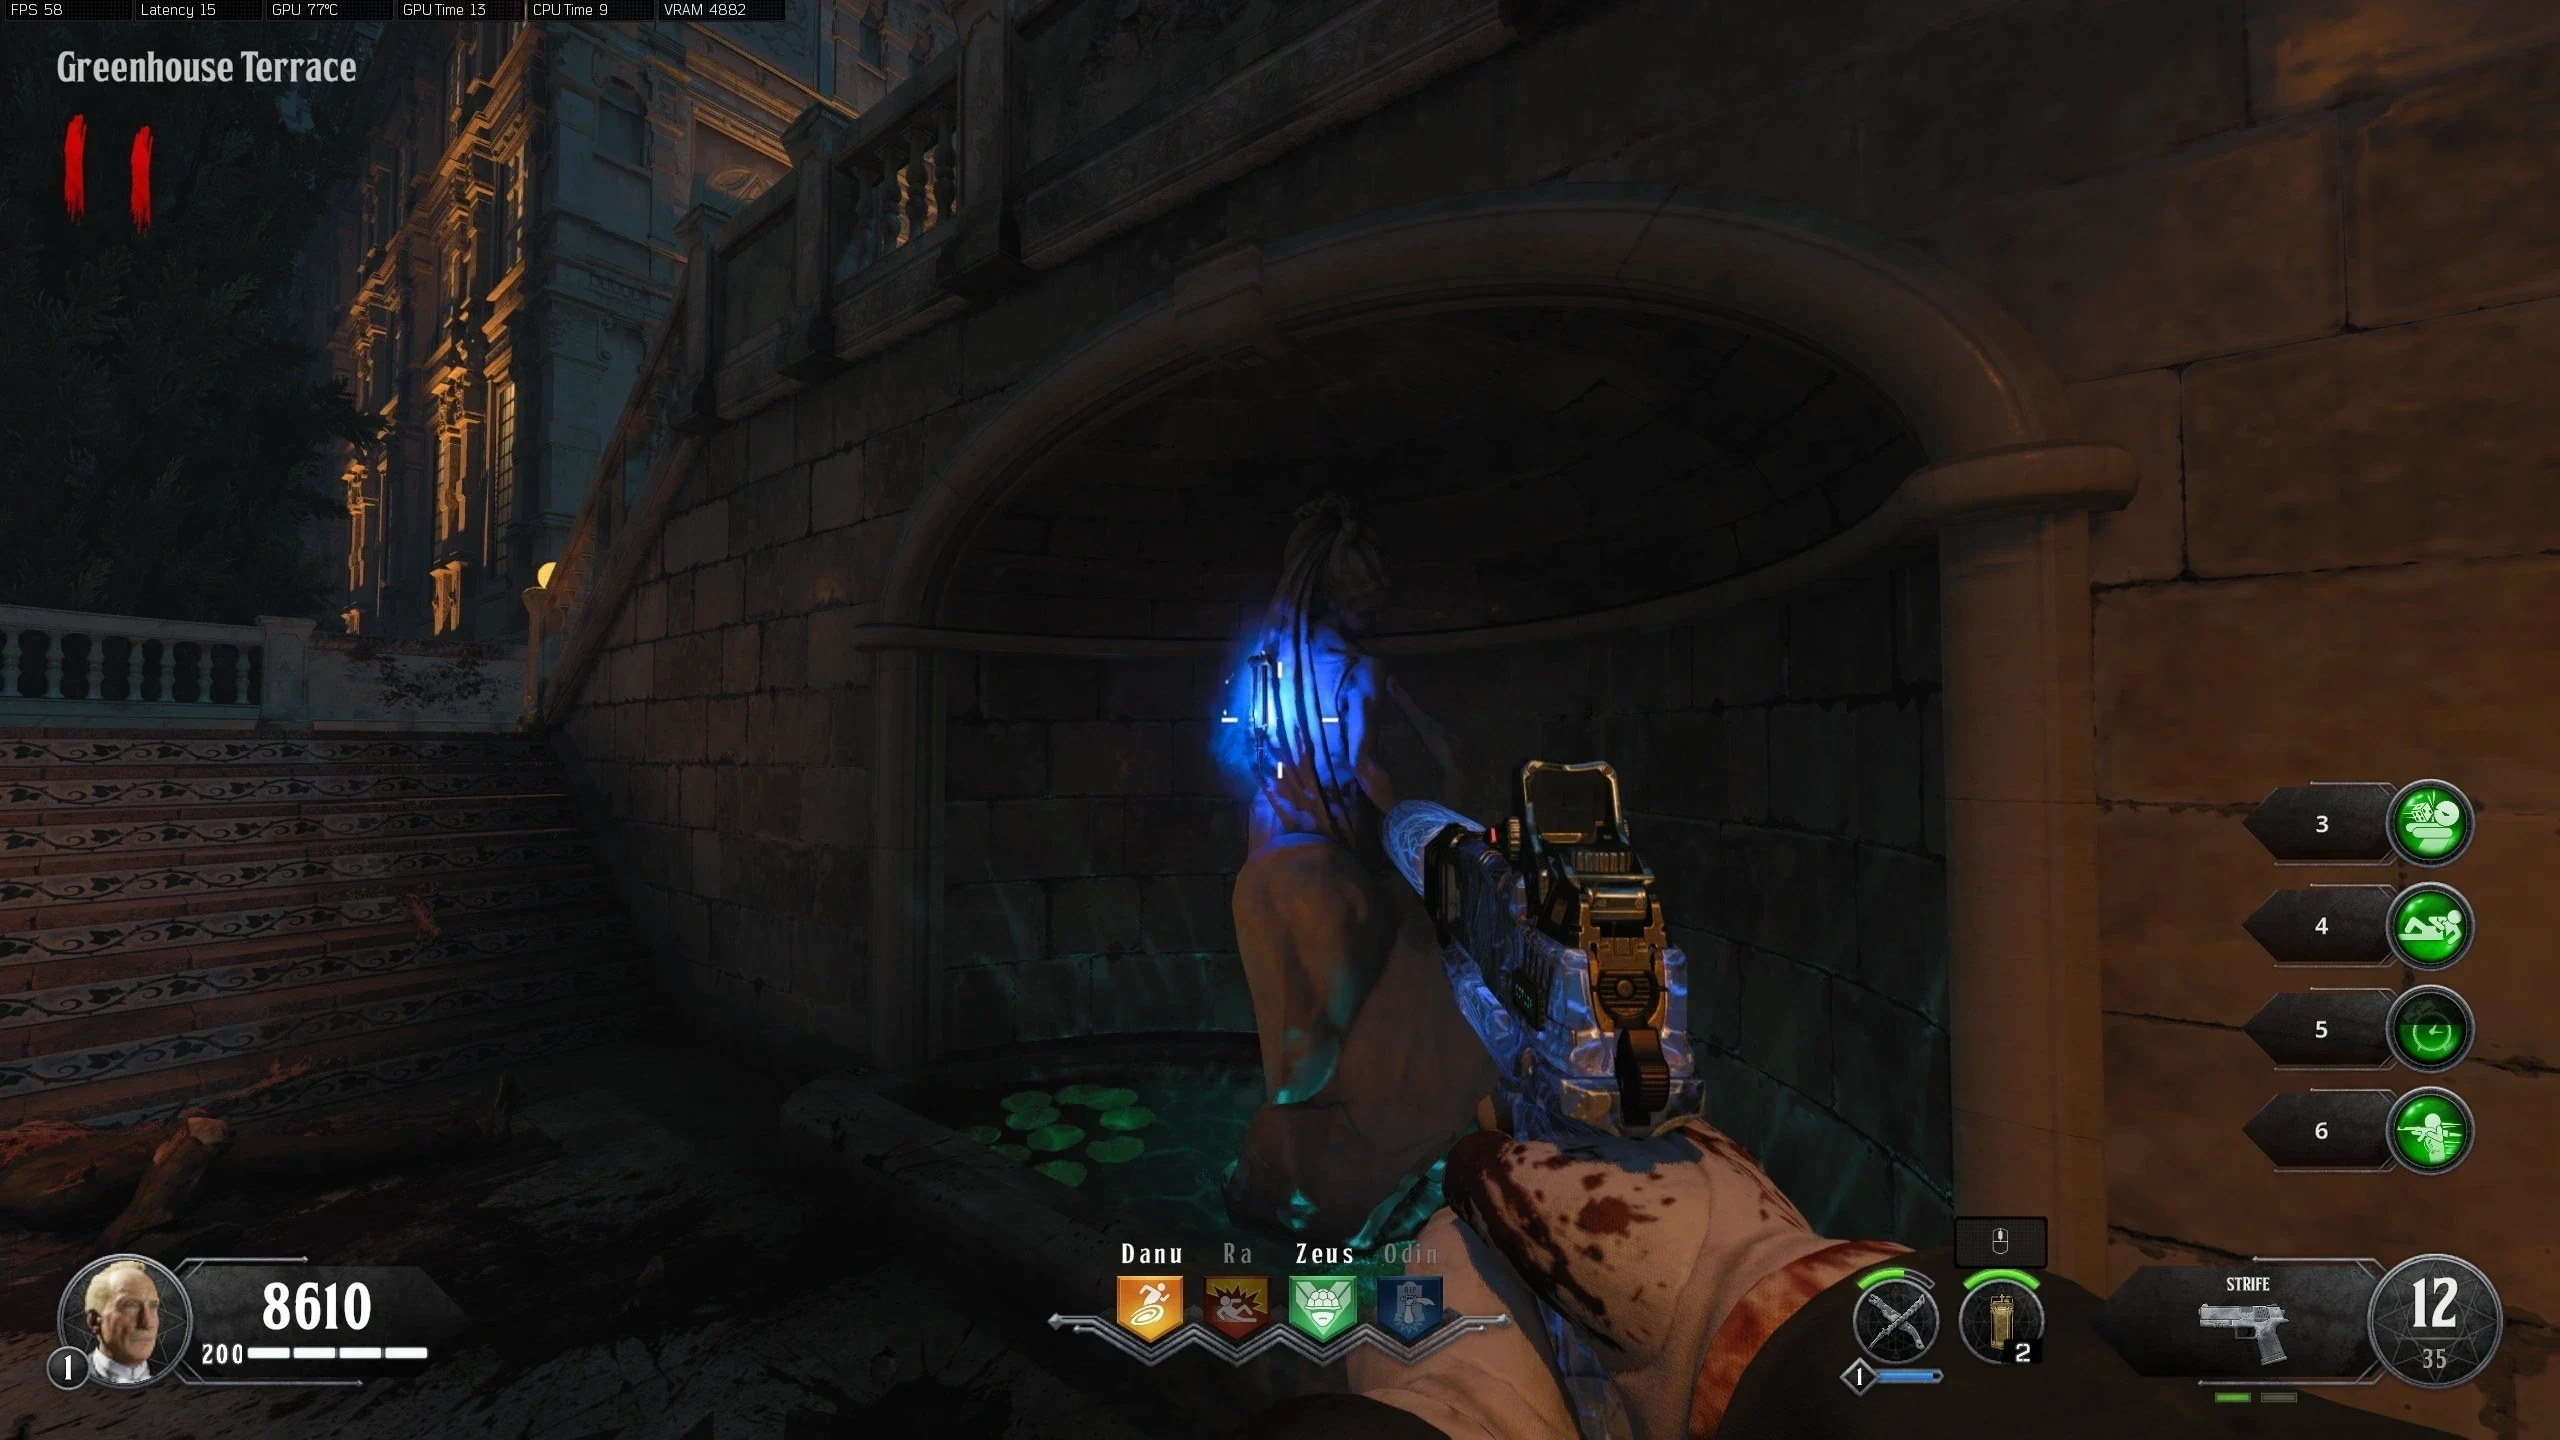
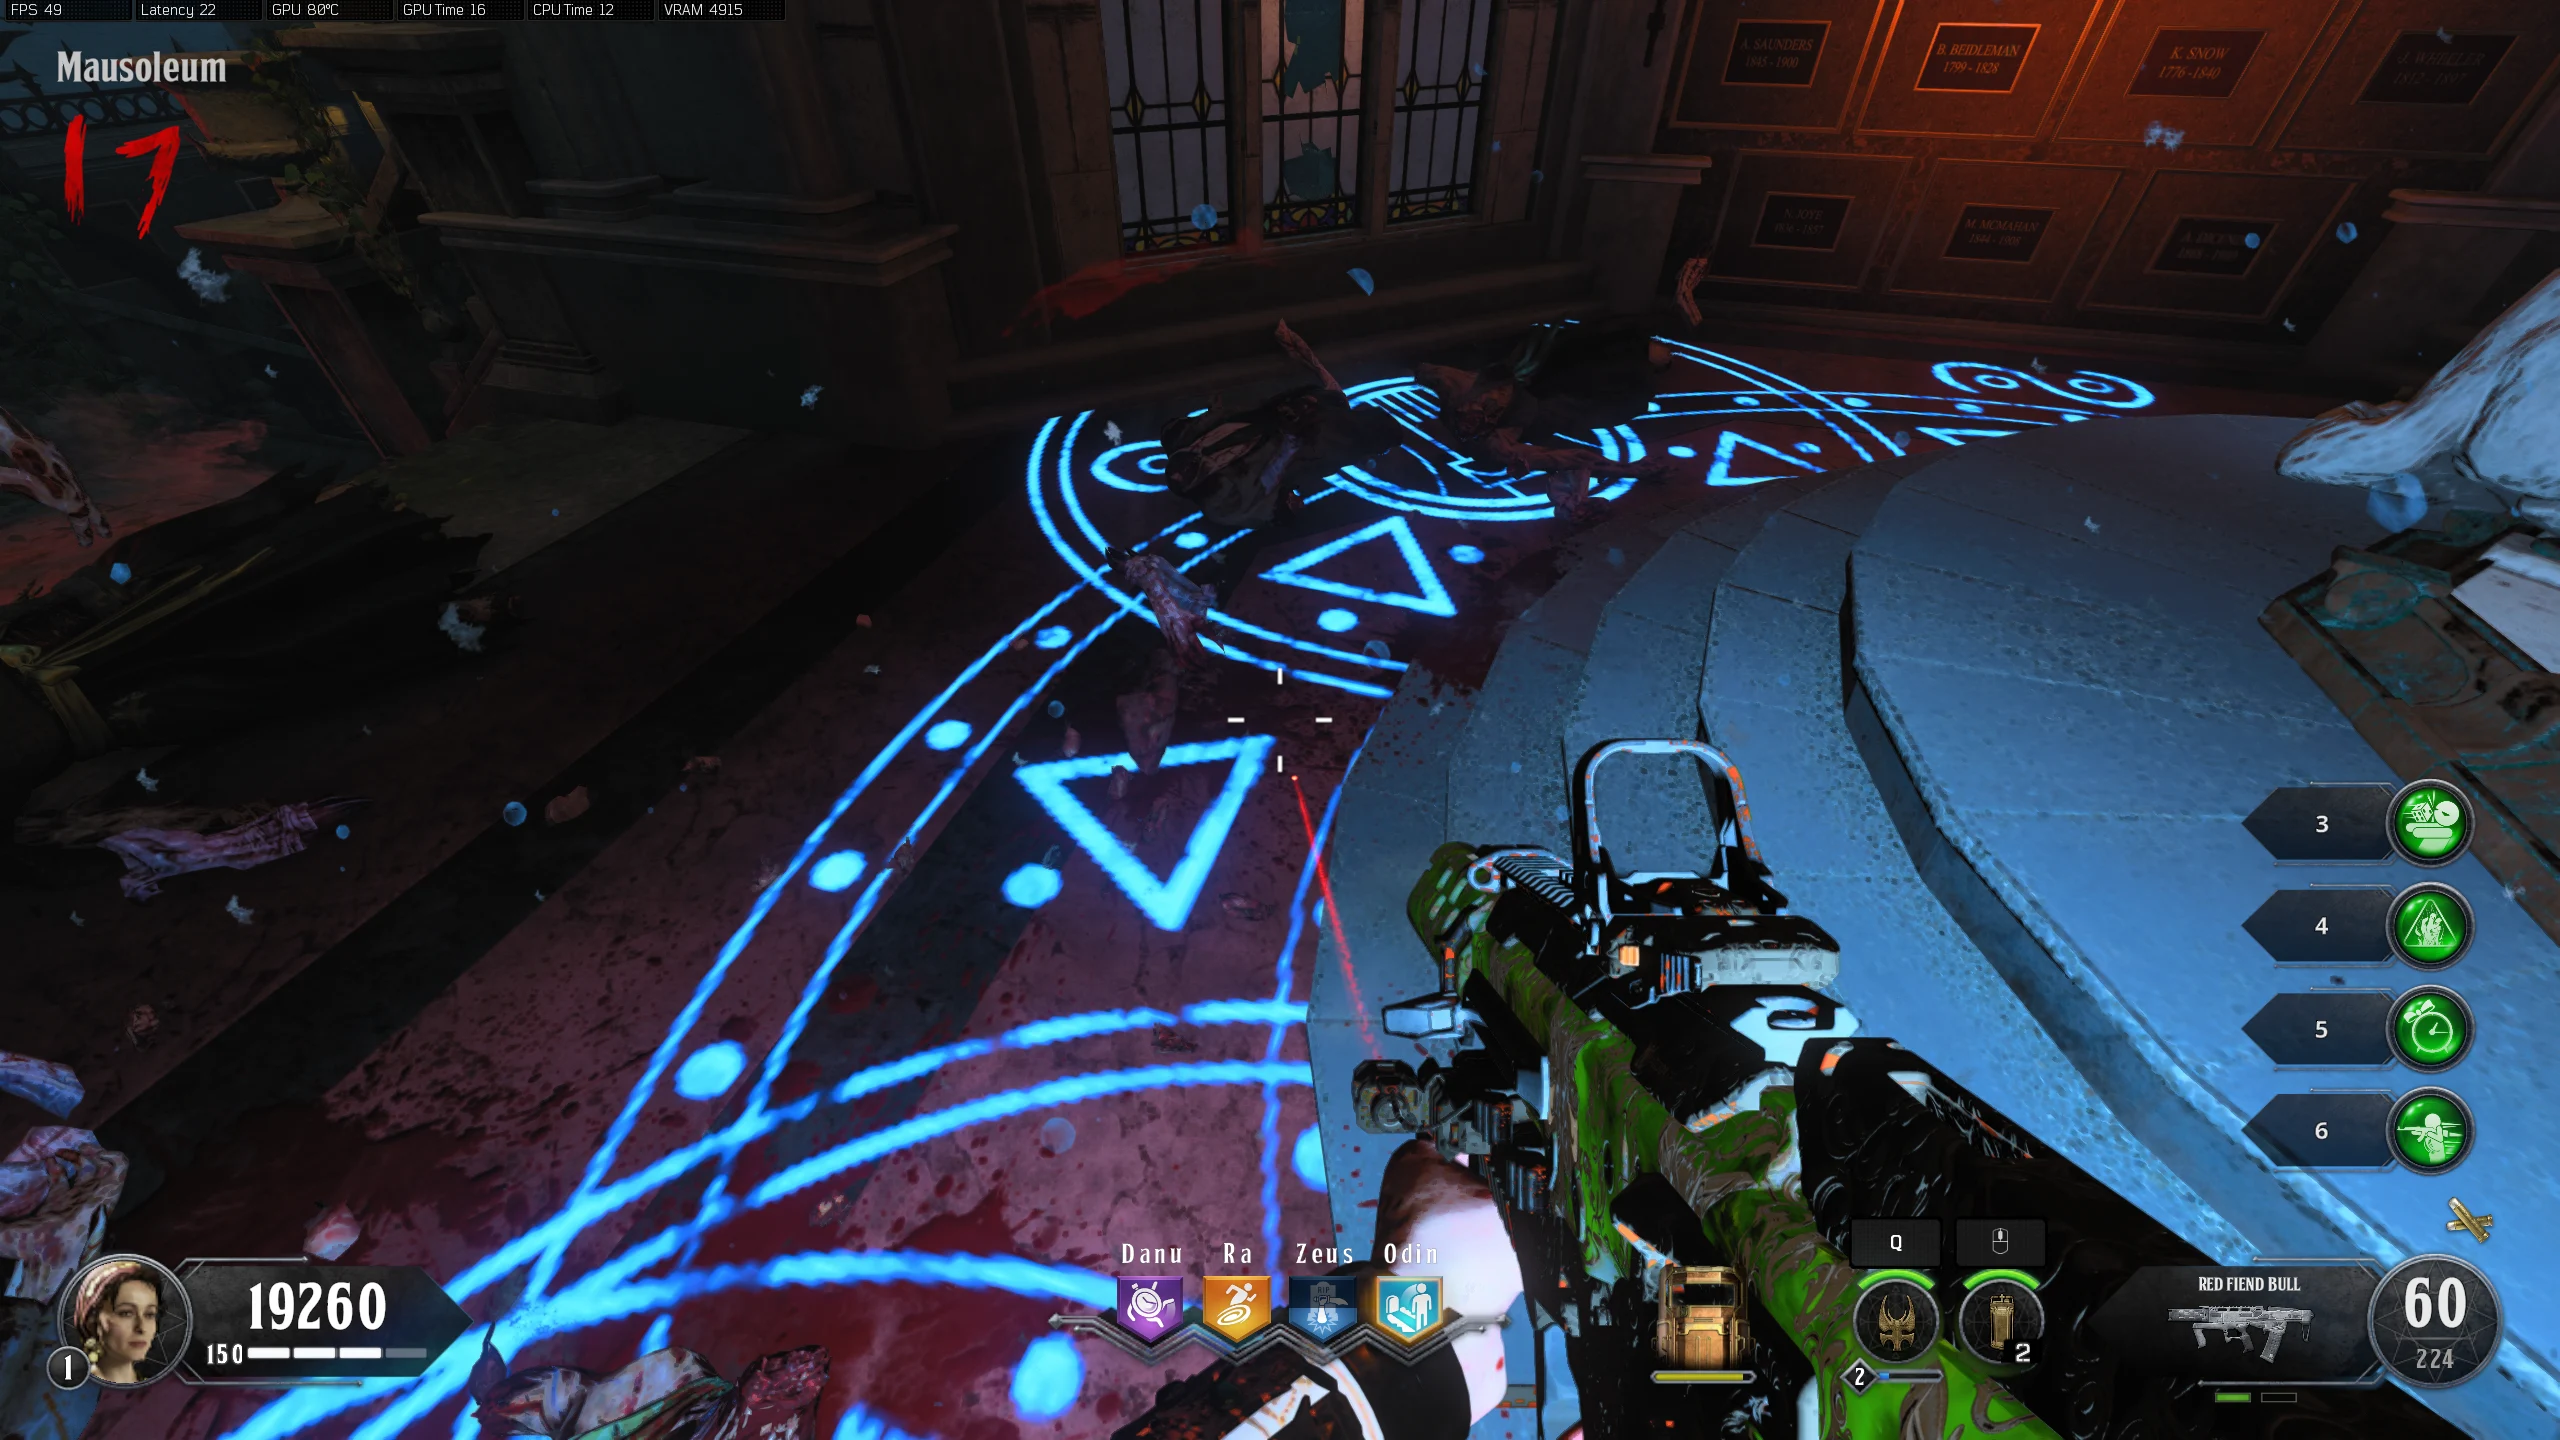
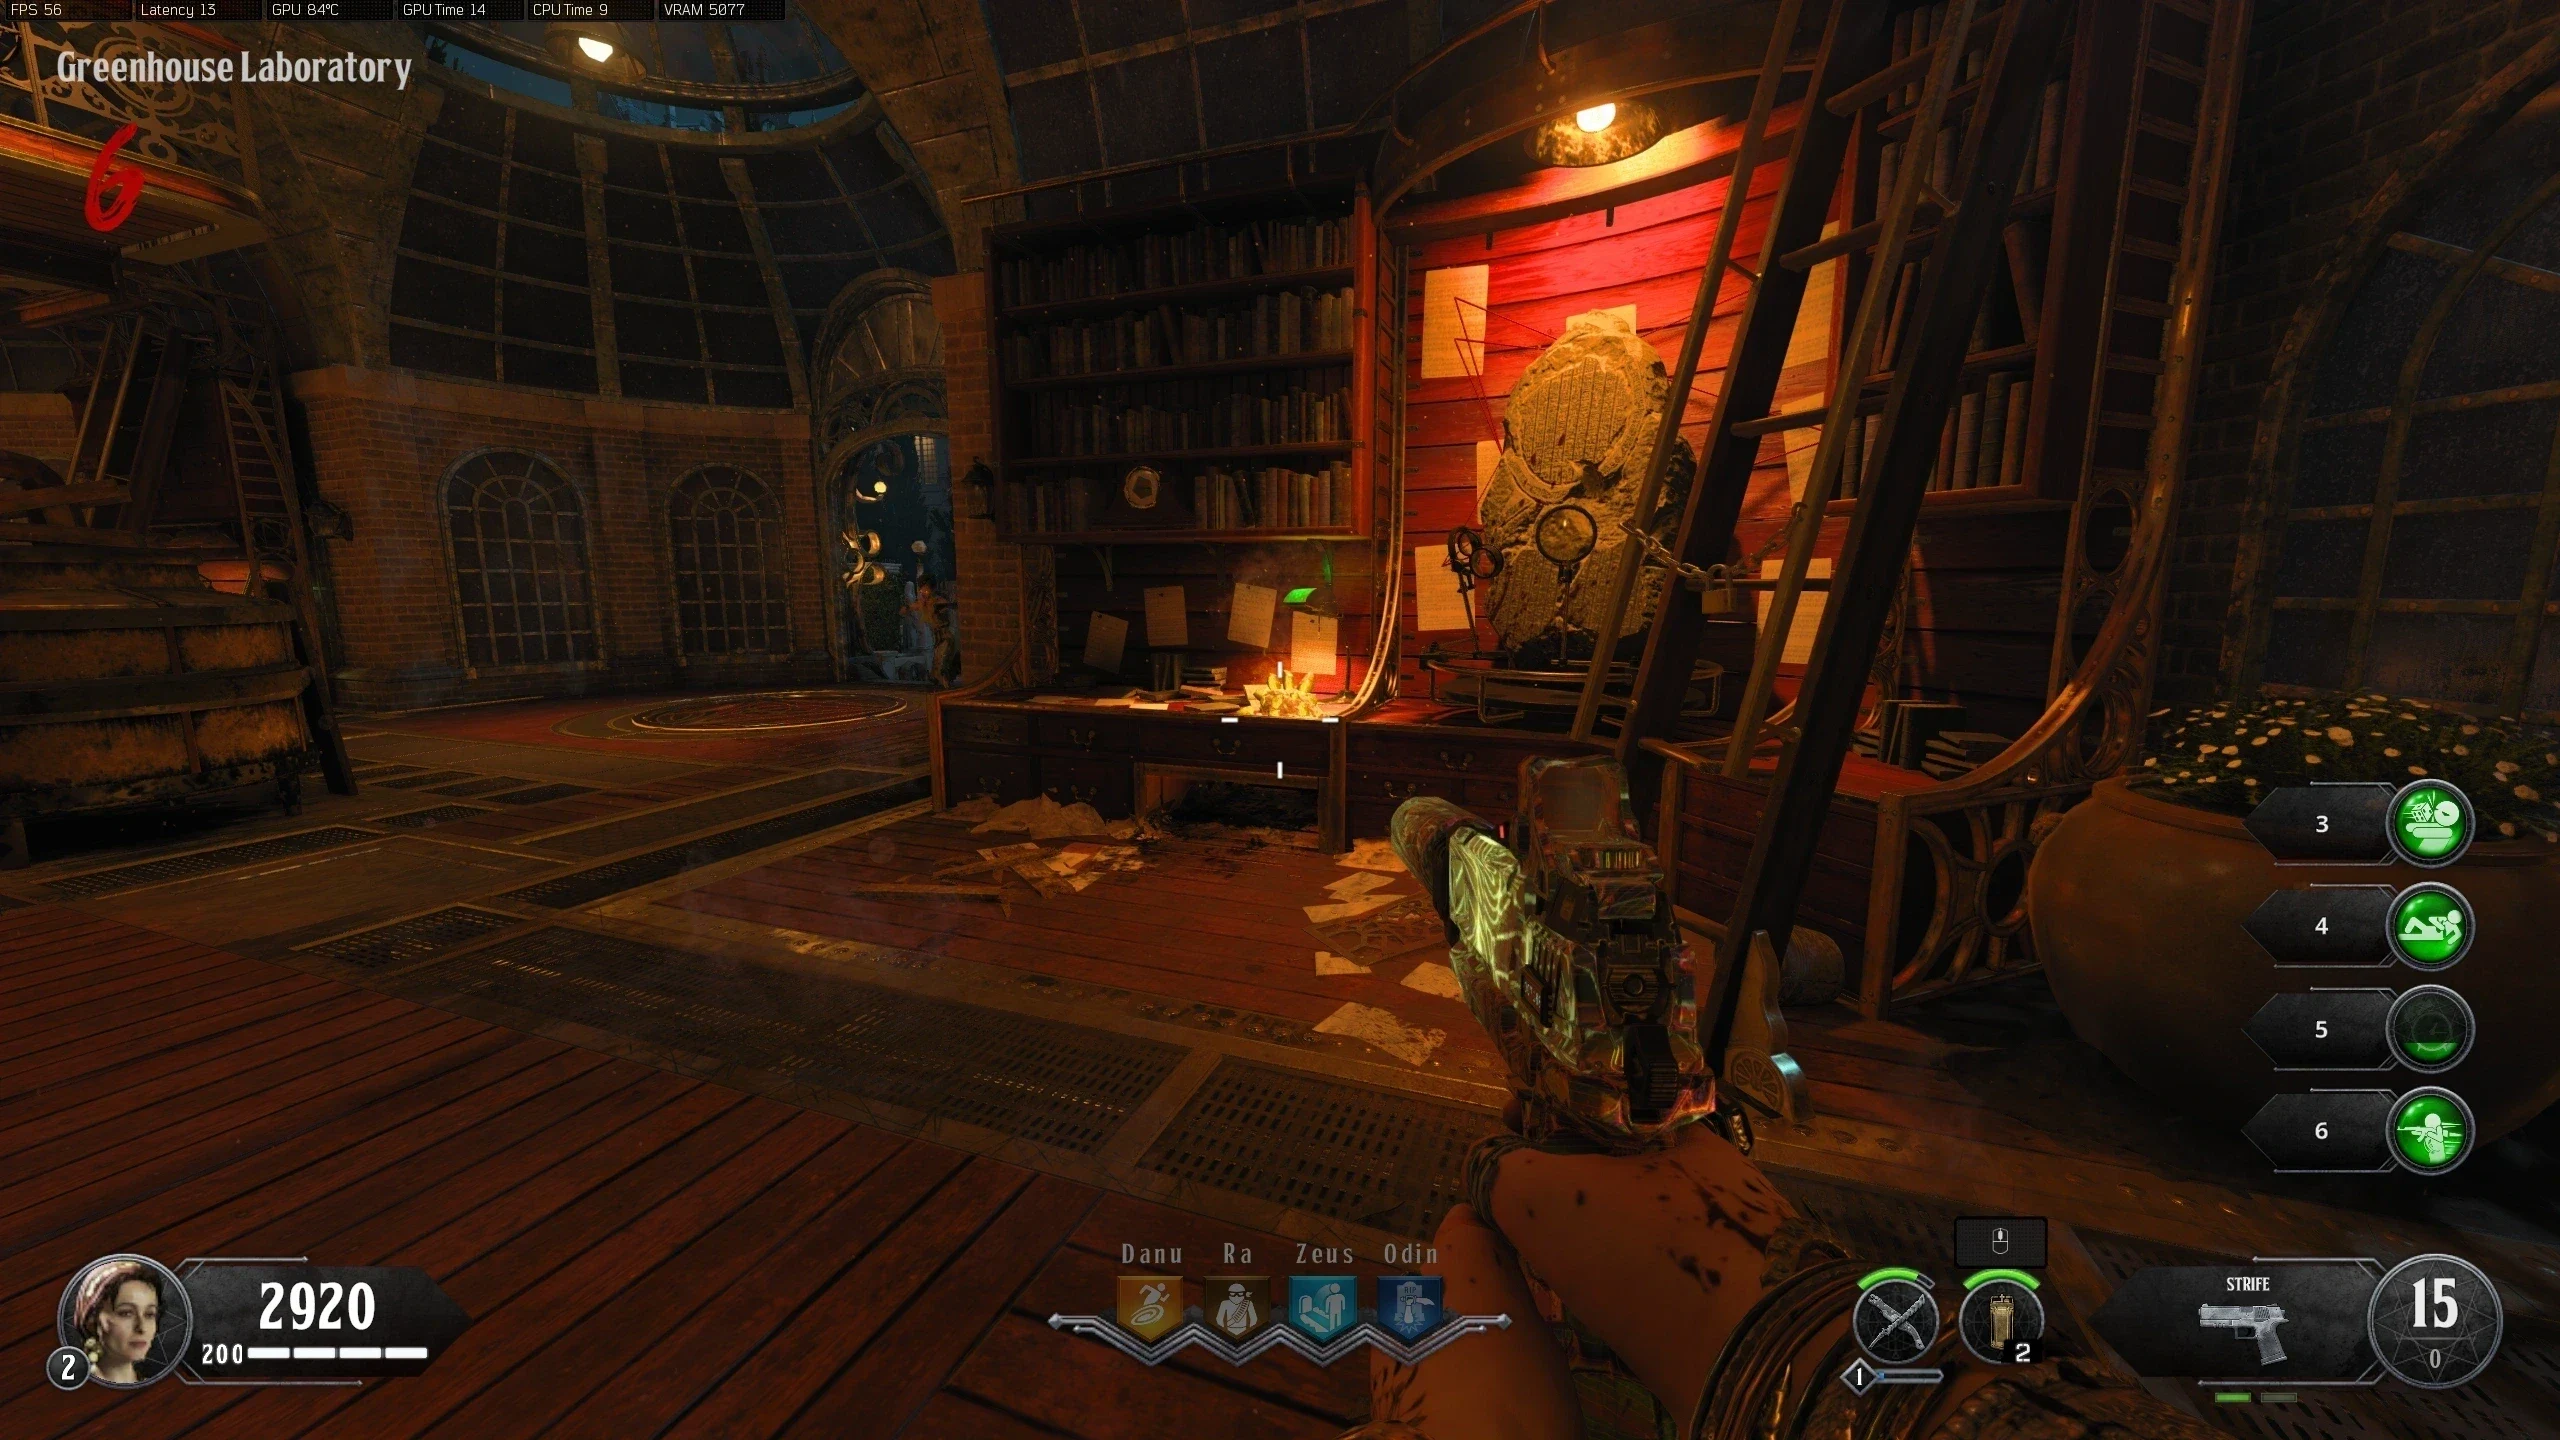
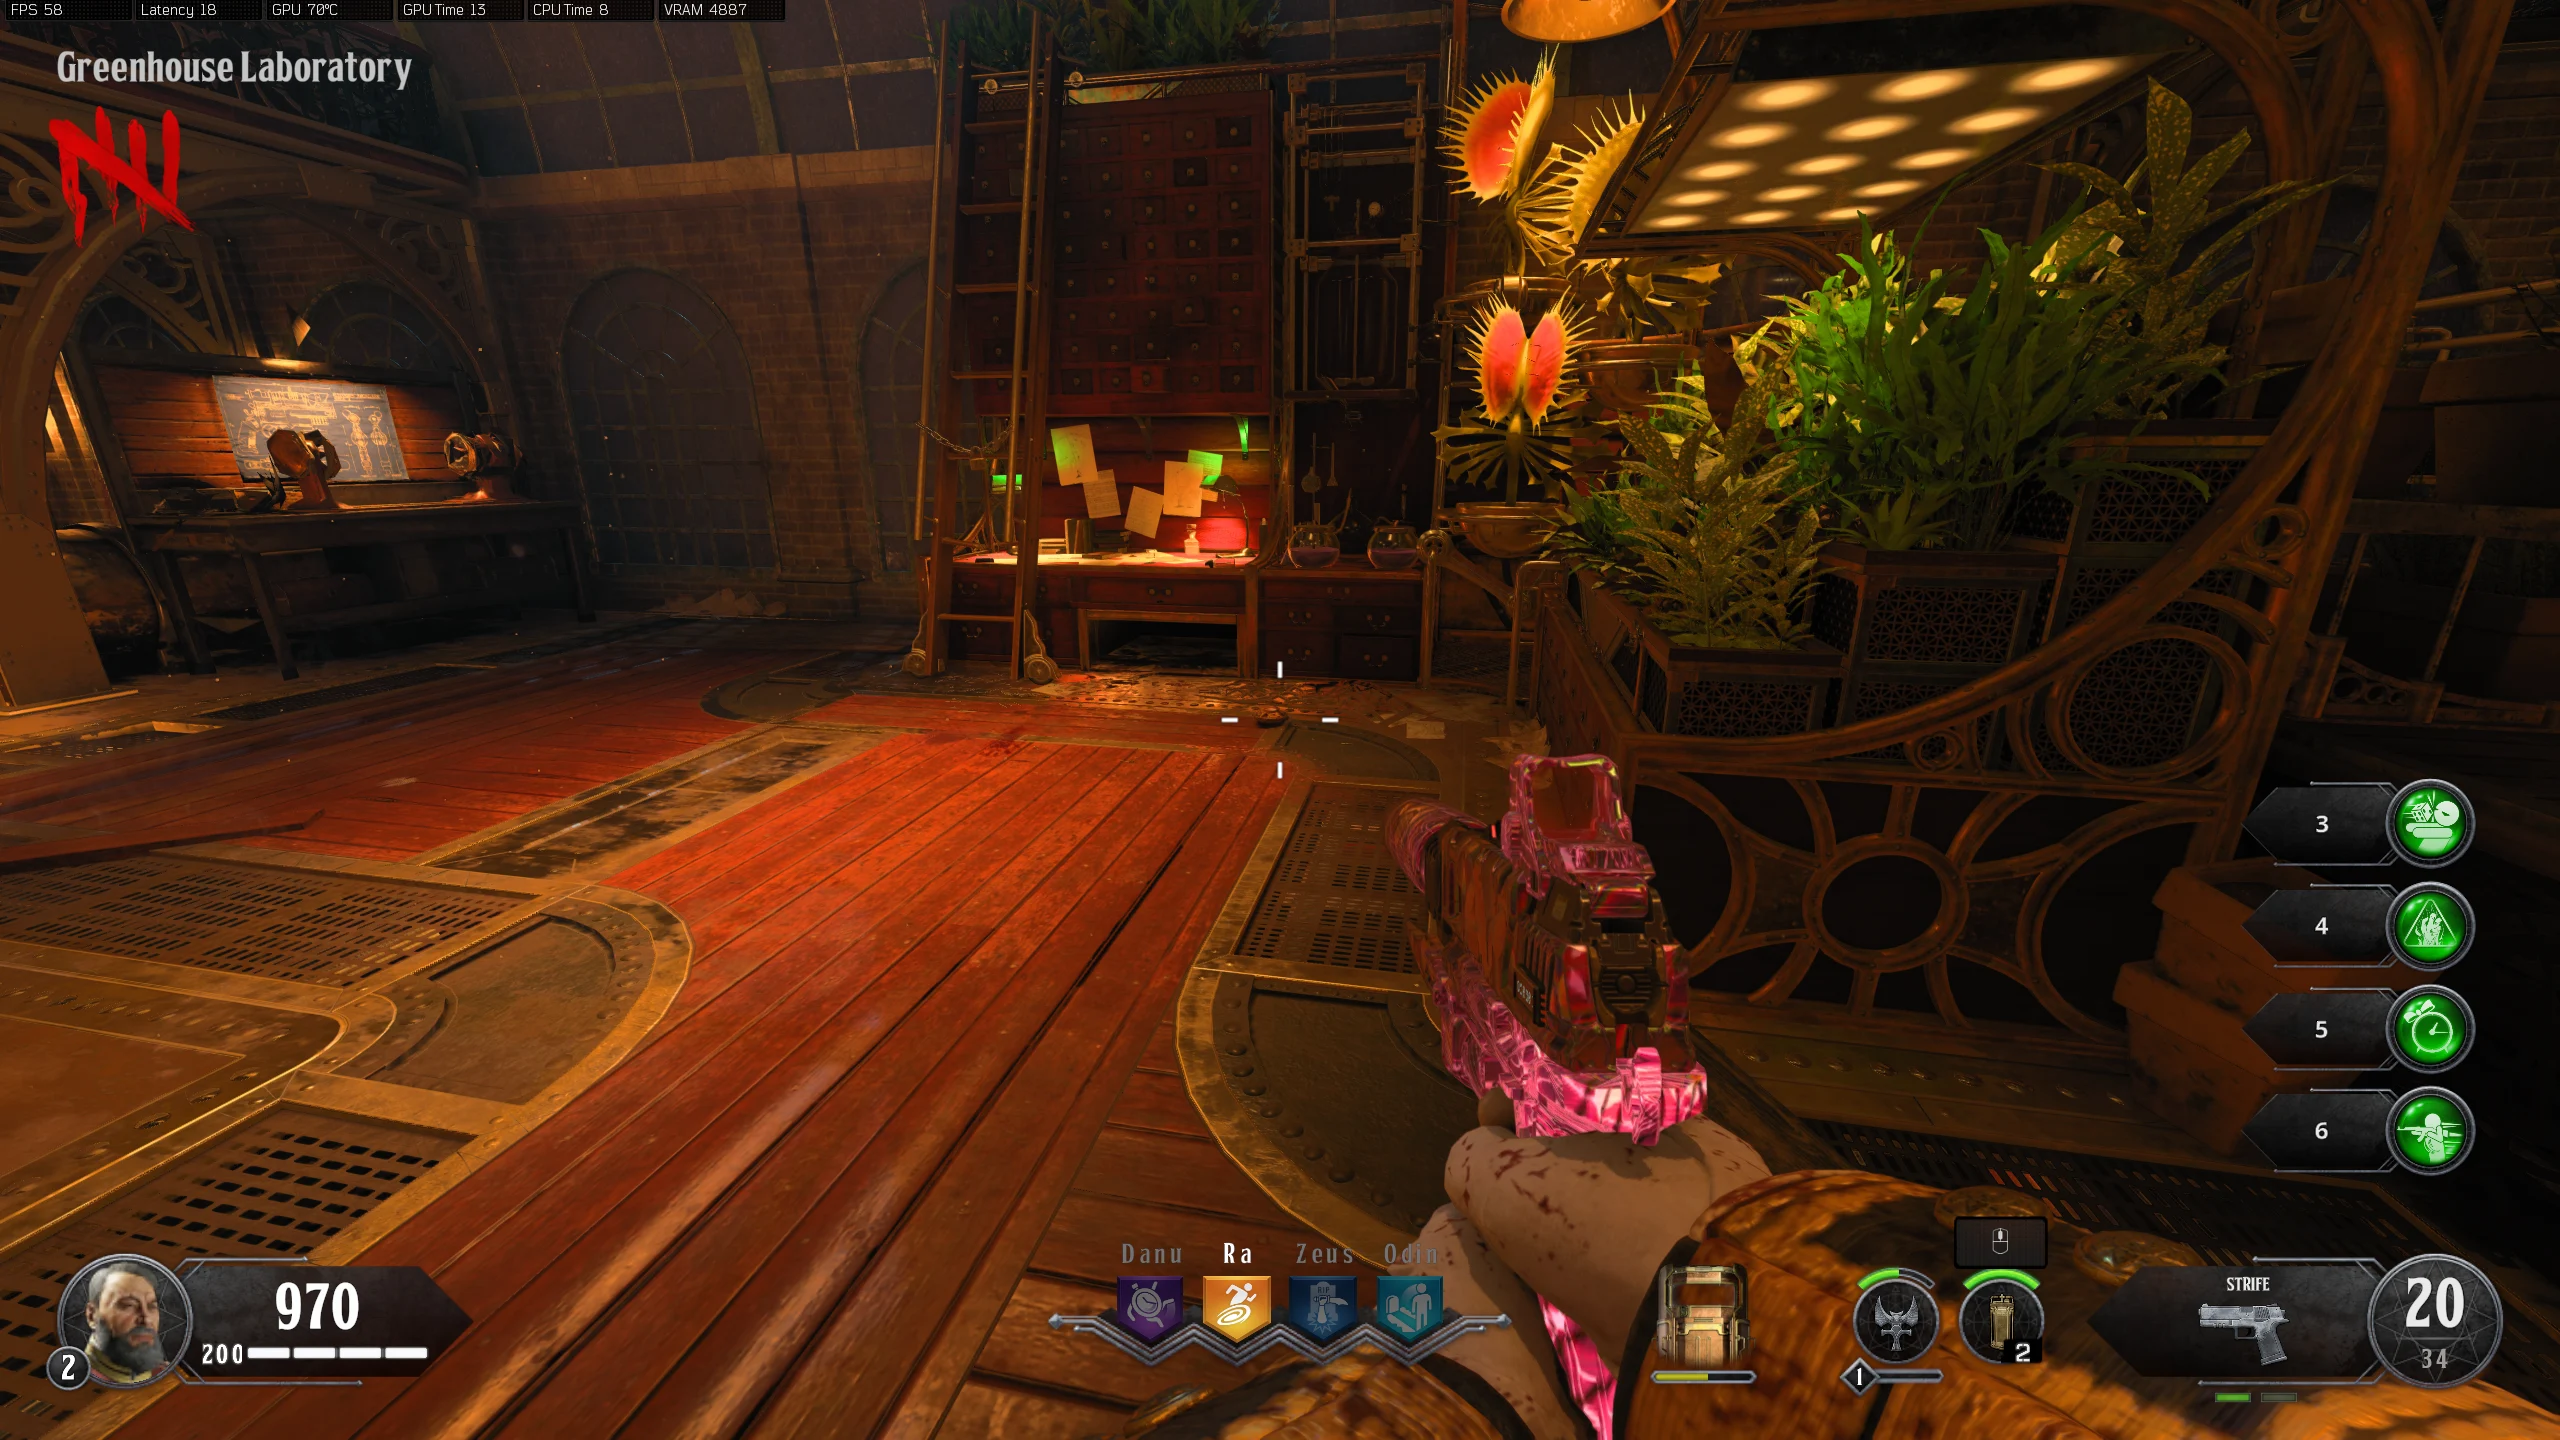
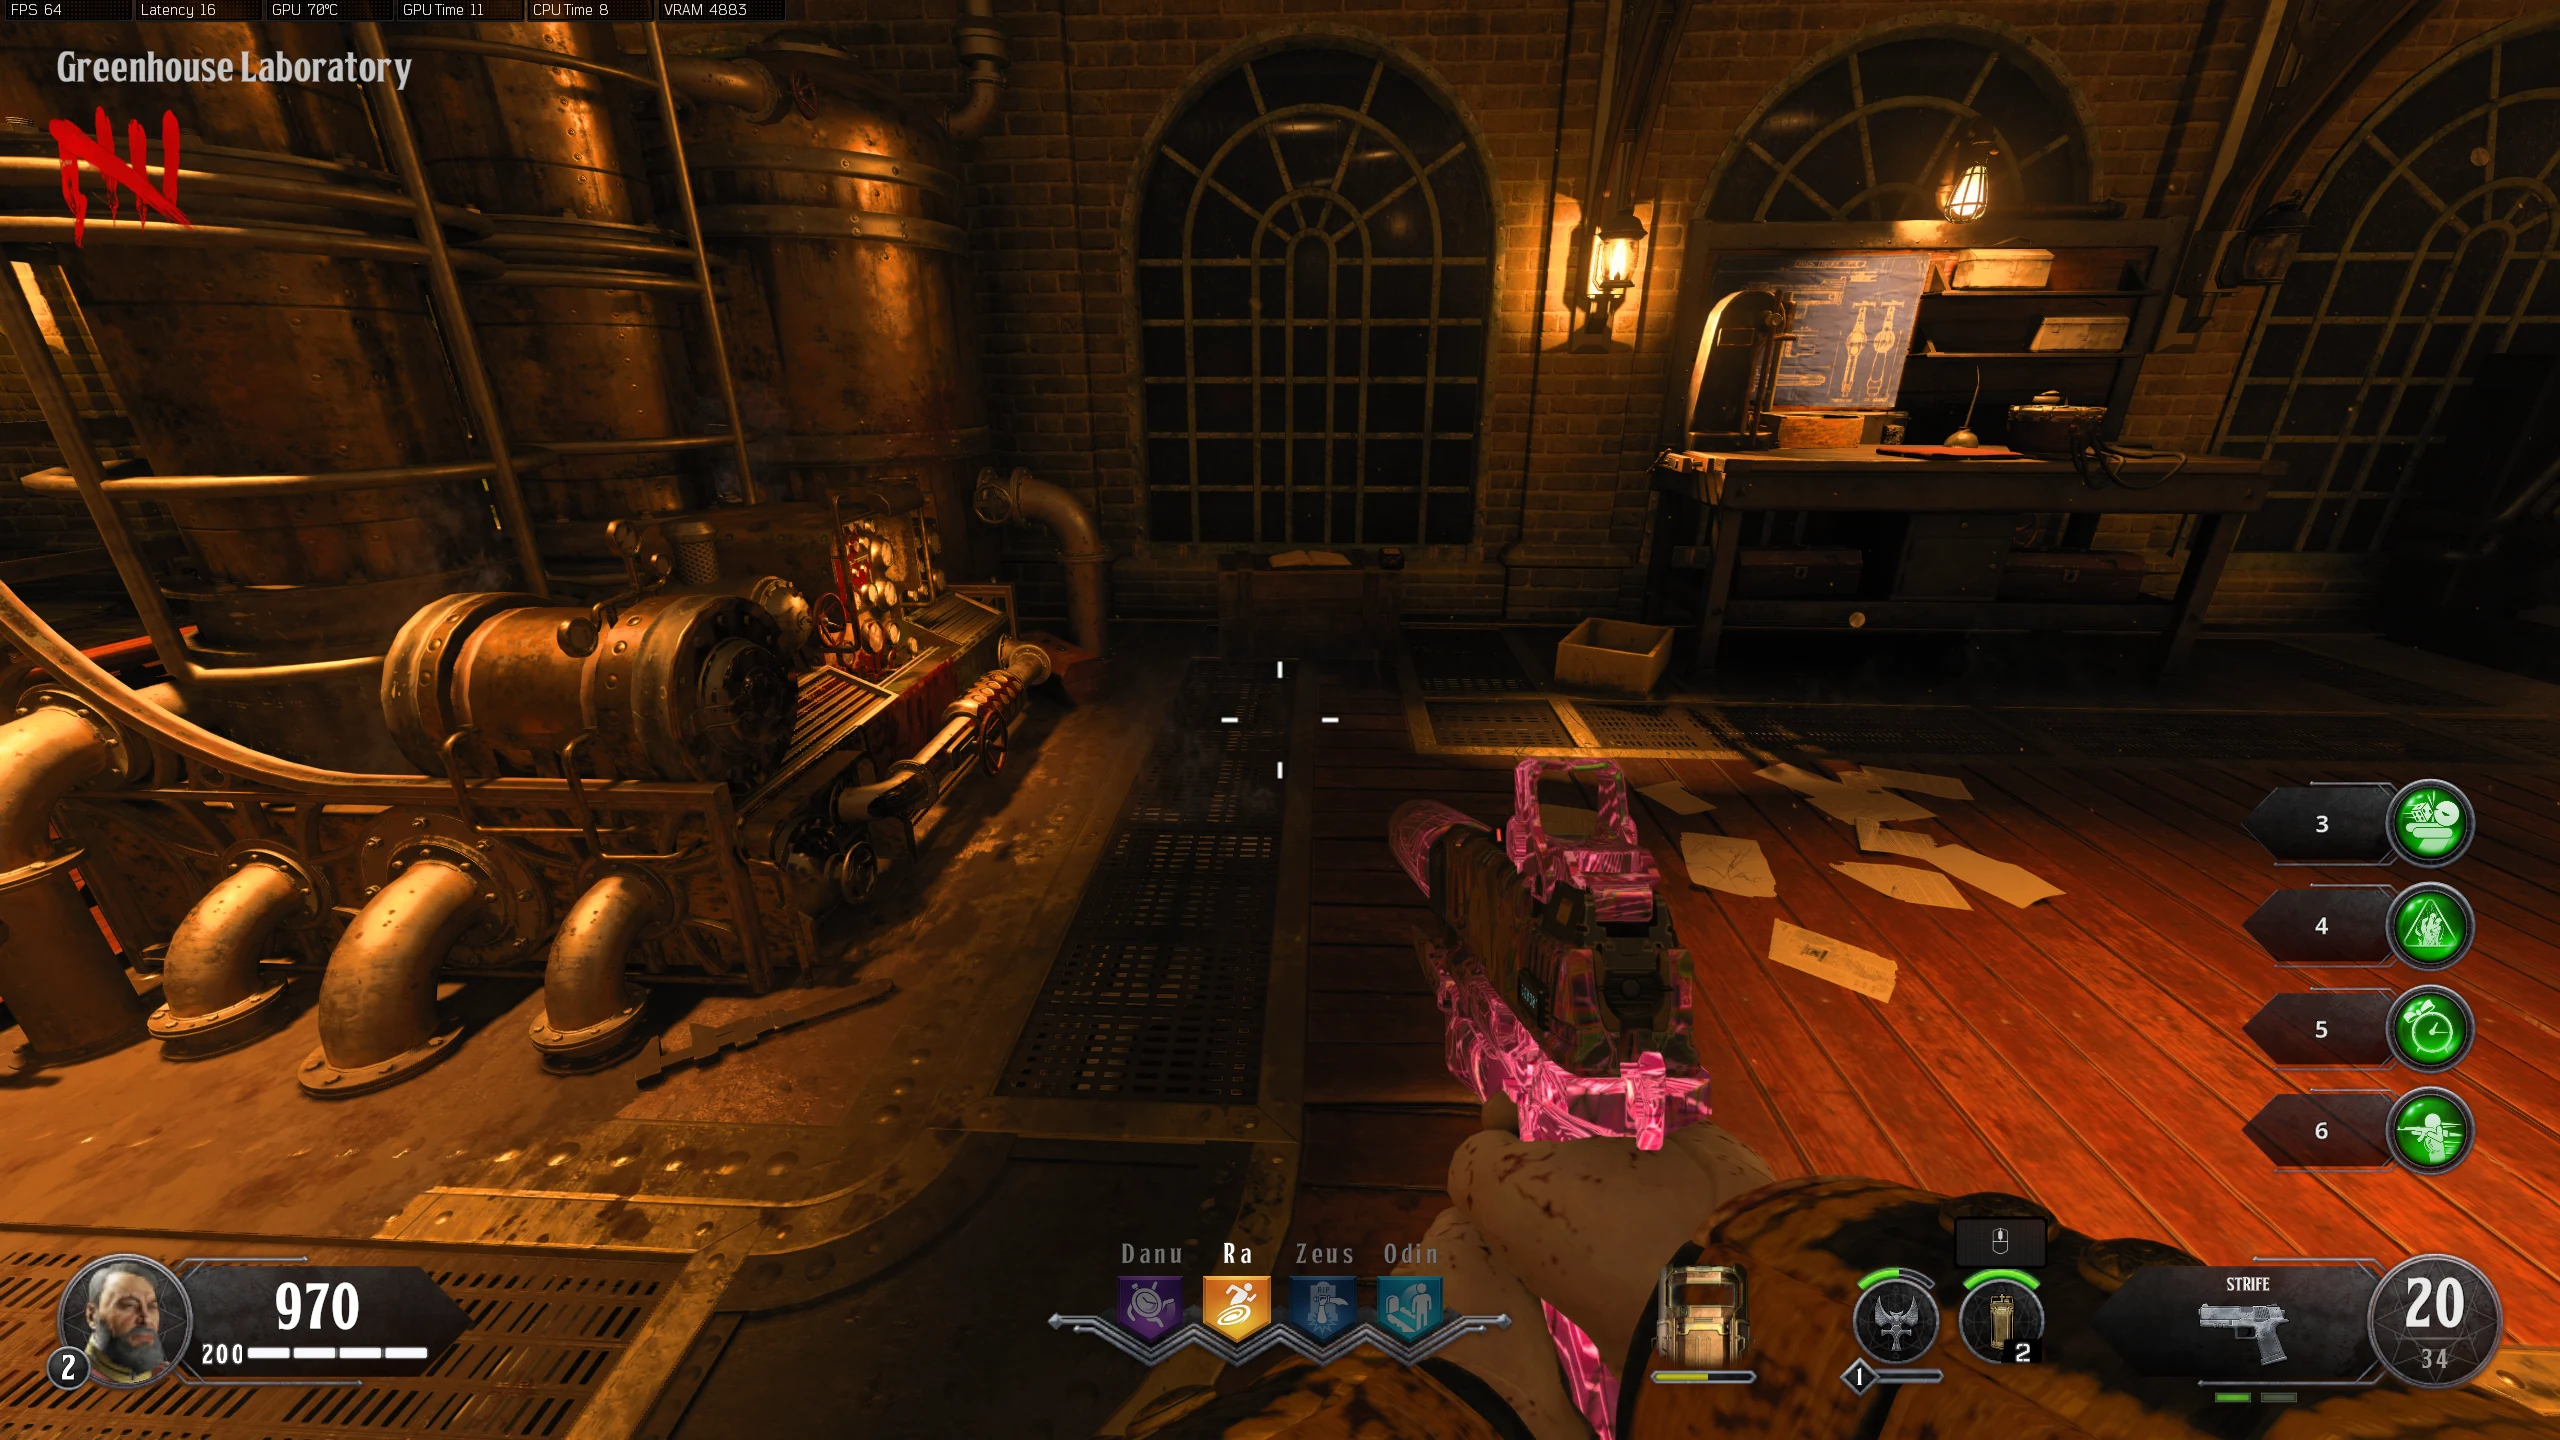
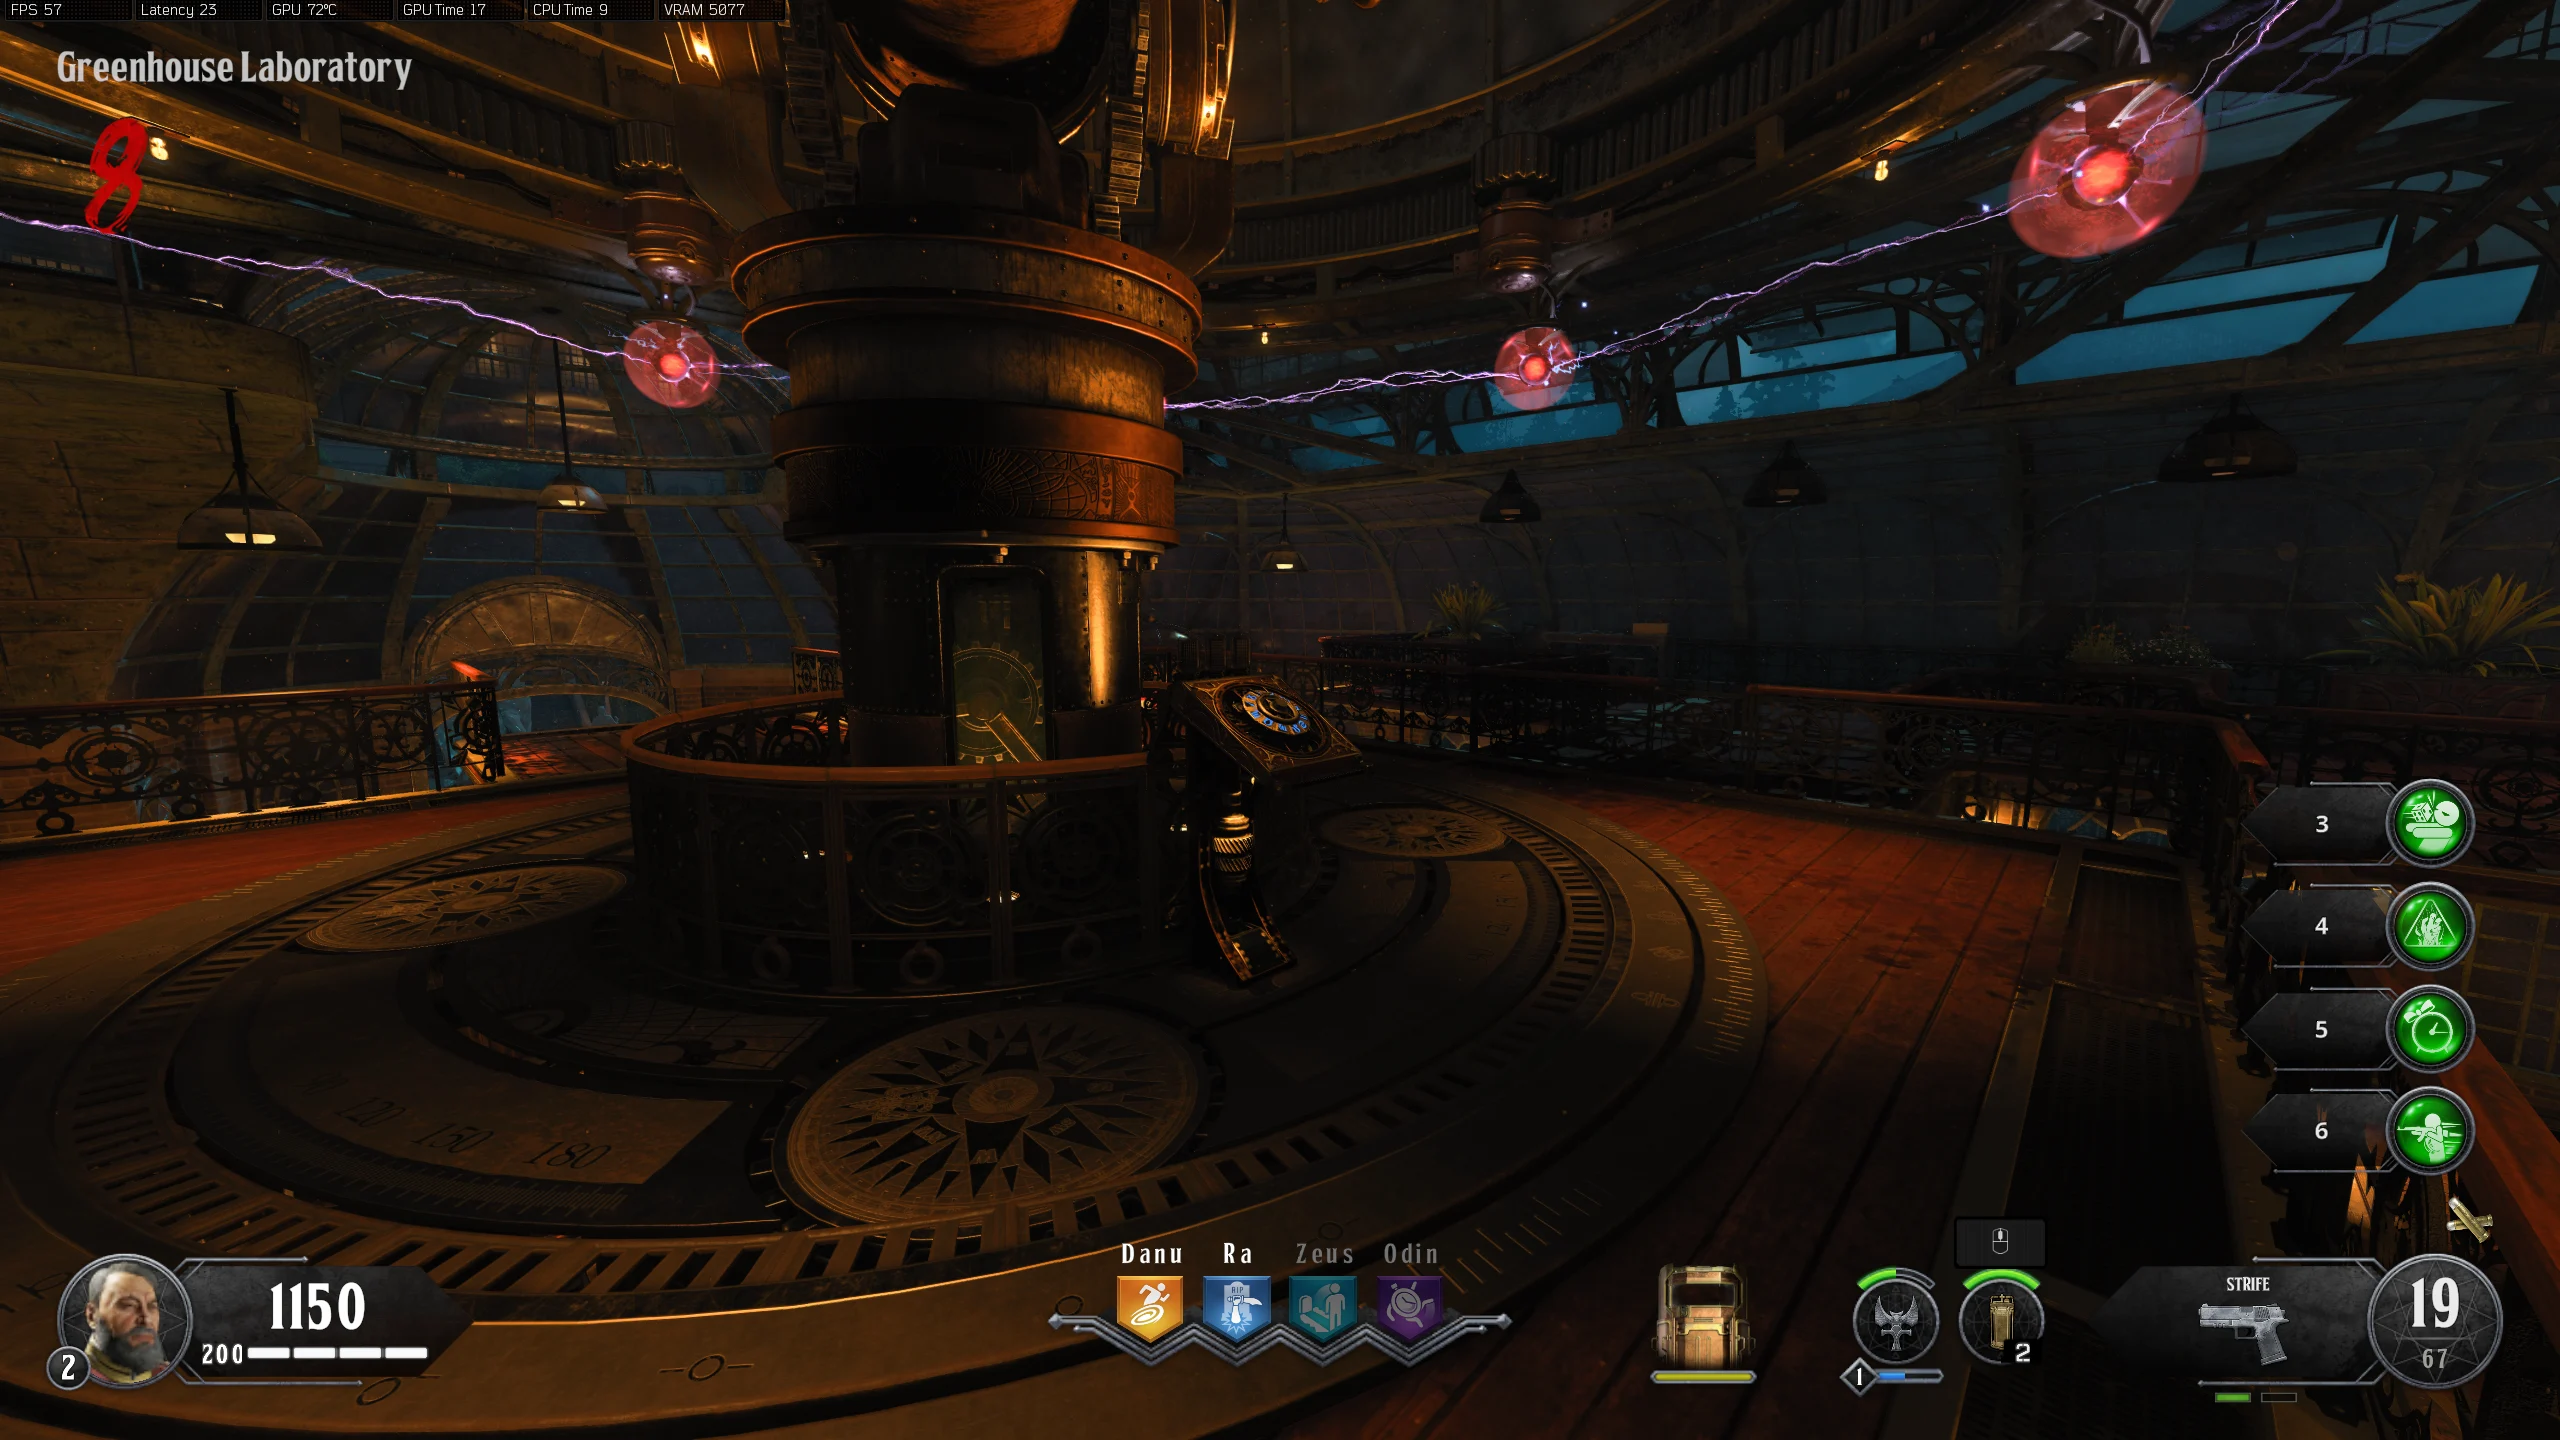
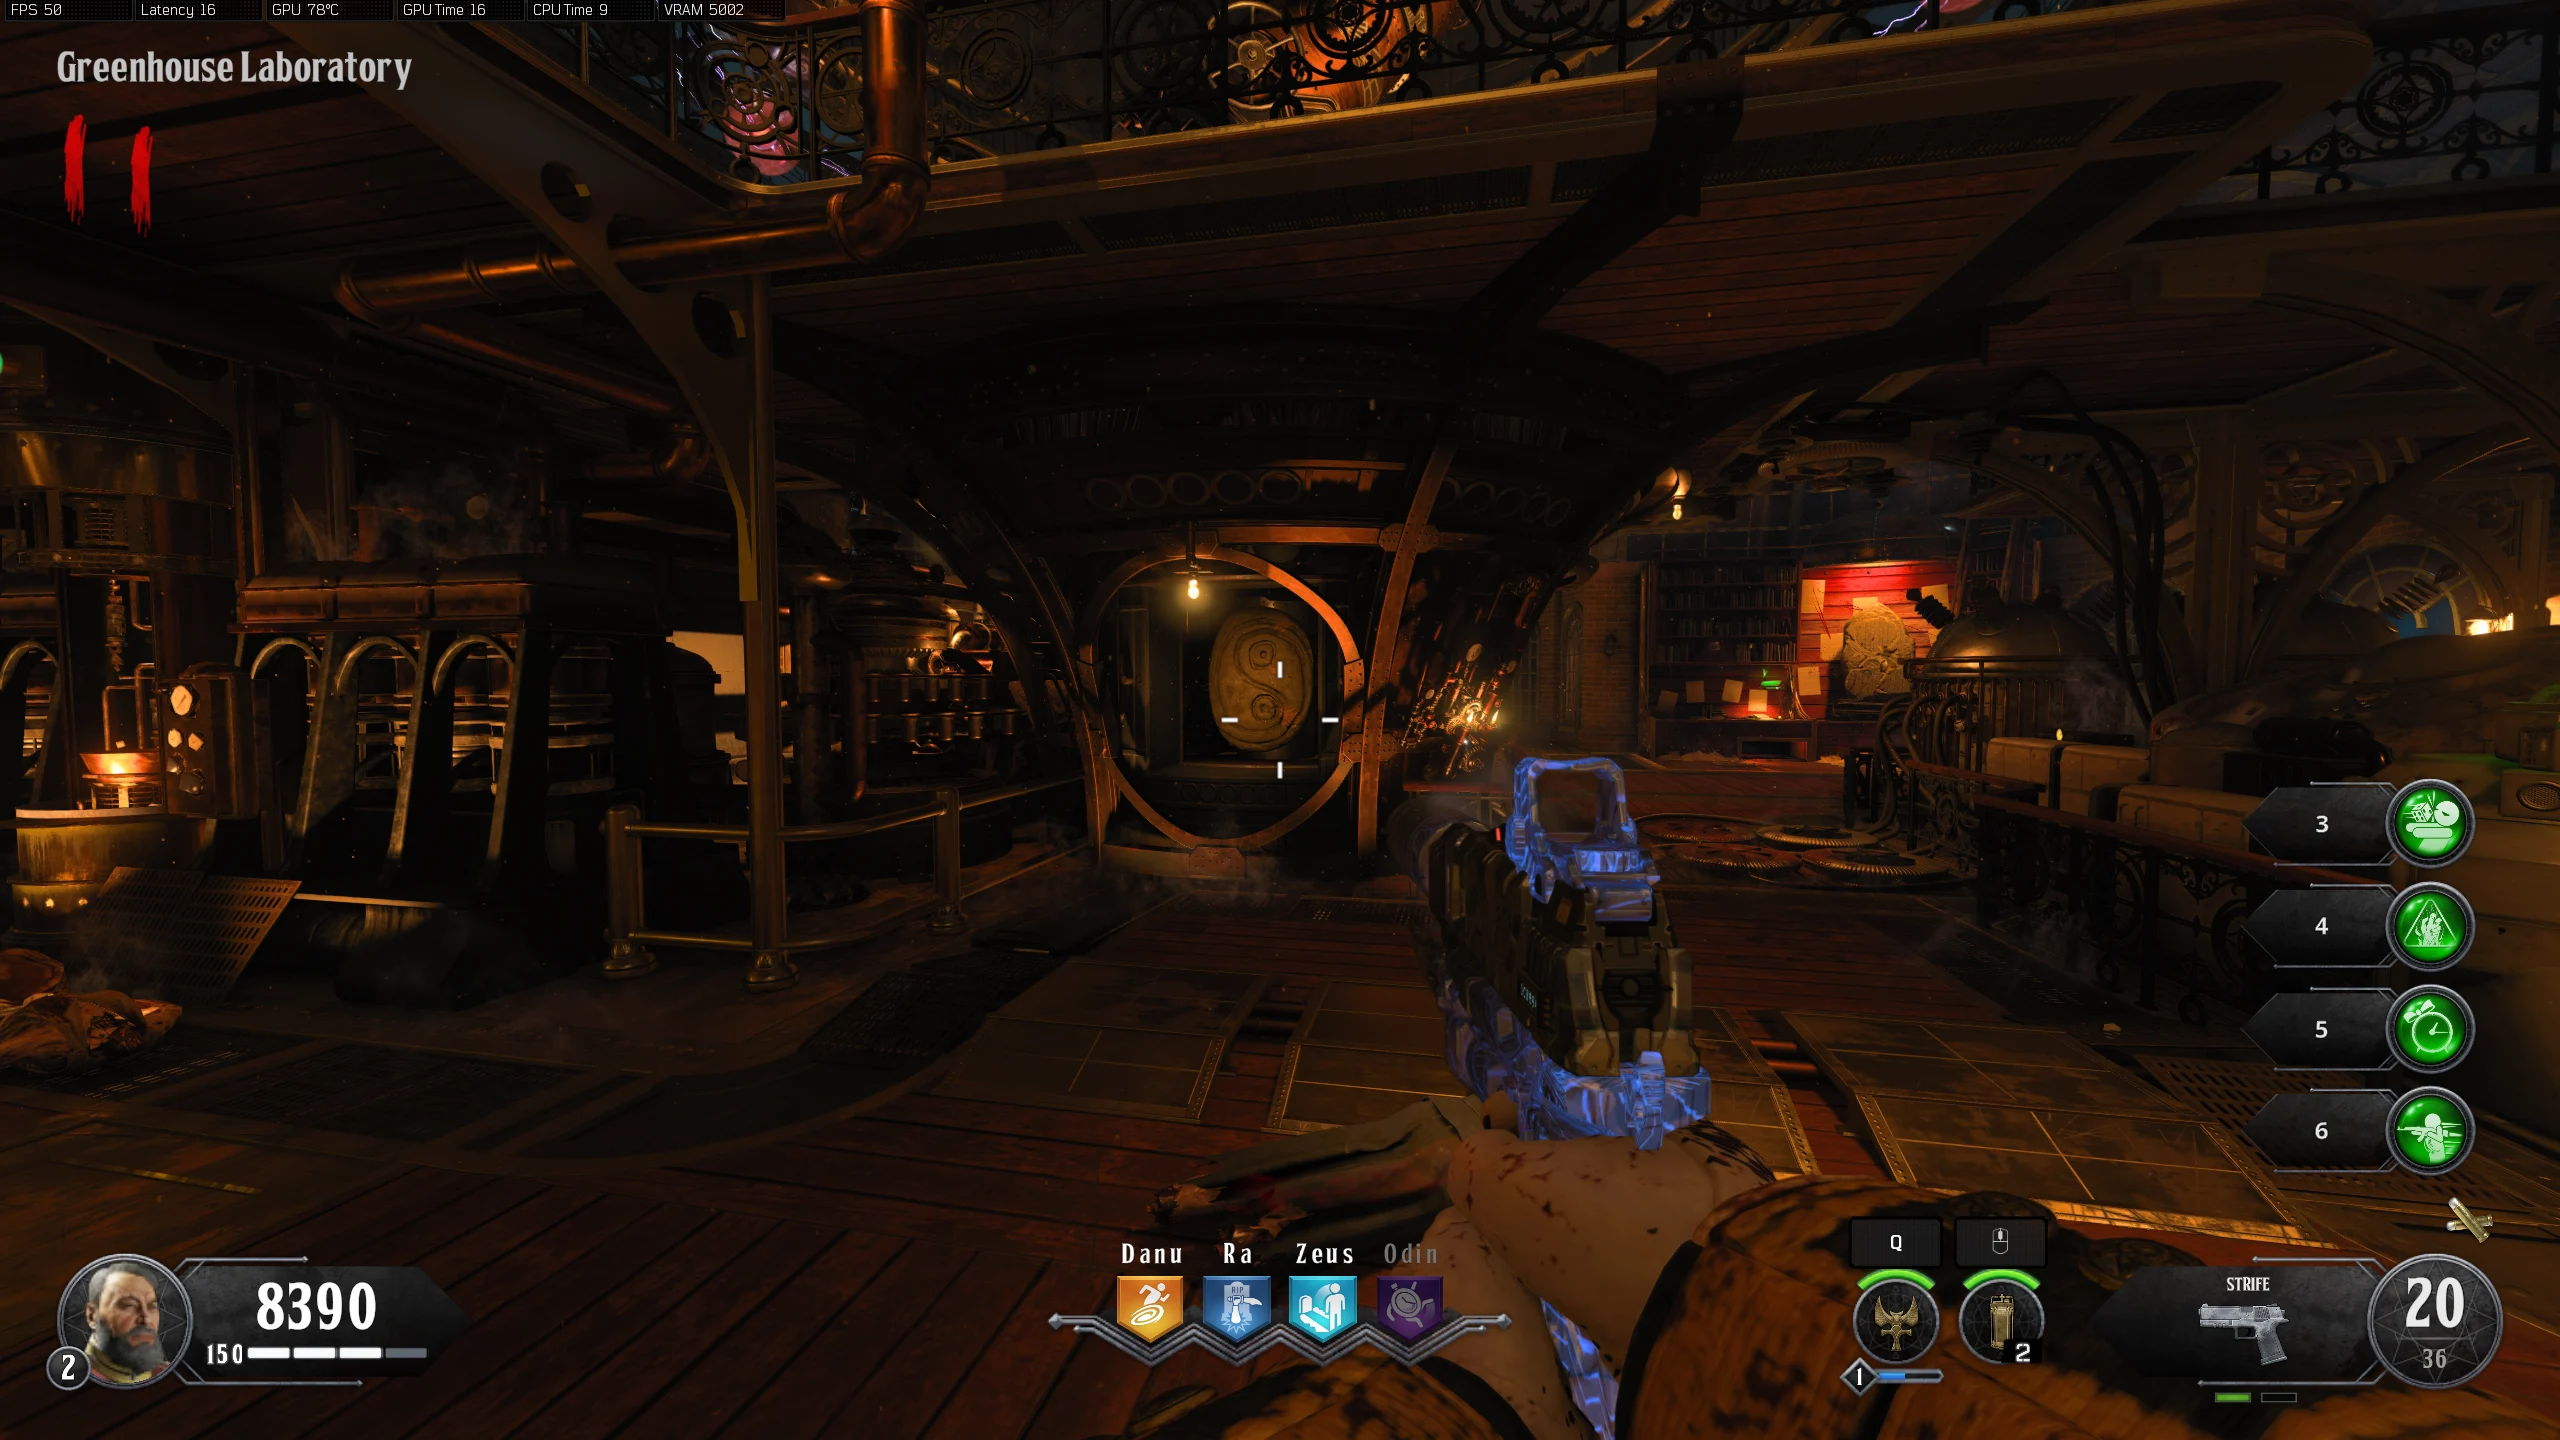
- Once you have all three Zodiac symbols and their associated number of scratches, make your way to the Telescope, upstairs in the 'Greenhouse laboratory.'
- Below the telescope, there is a Dial with Zodiac symbols. You must input the symbols from the least number of scratches to most.
- The dial can be spun left by interacting with the left side or to the right by interacting with the right.
- When a symbol is at the top of the dial, melee it to input the symbol.
- If you don't input the correct symbols or input them in the wrong order, the symbols and scratches will reset, and you will have to find them again.
- If done correctly, the telescope will begin to move.
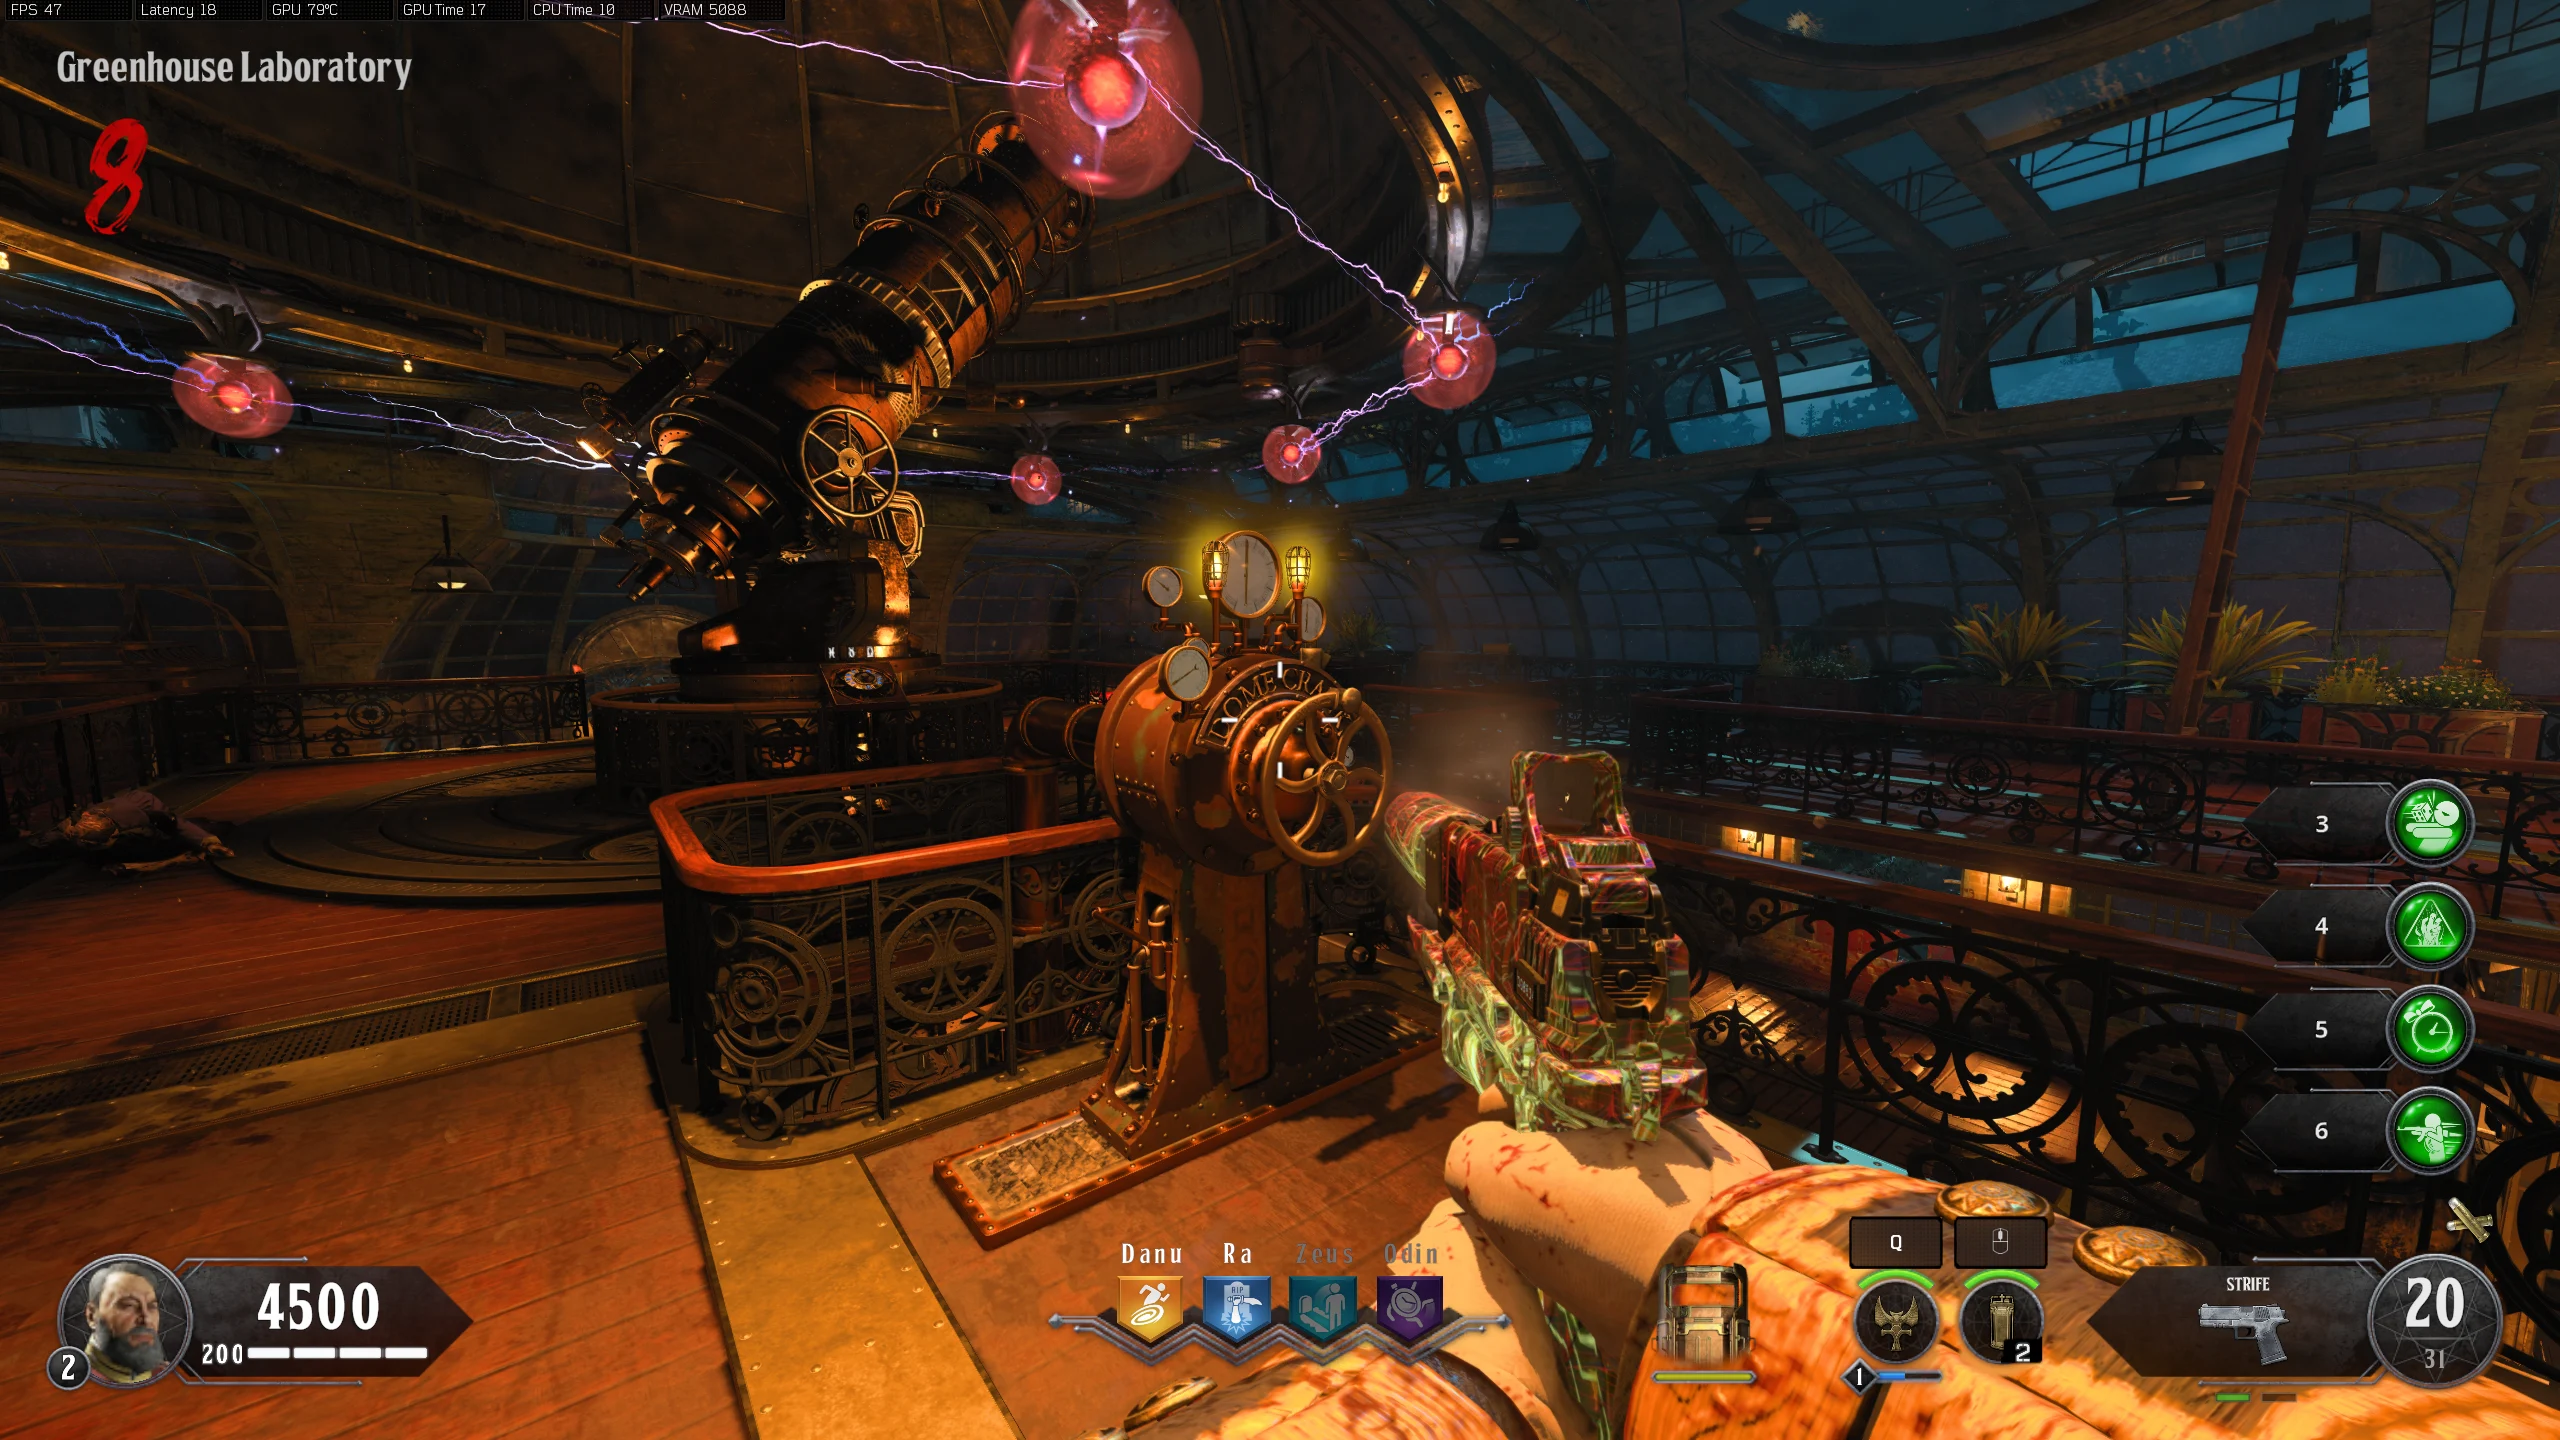
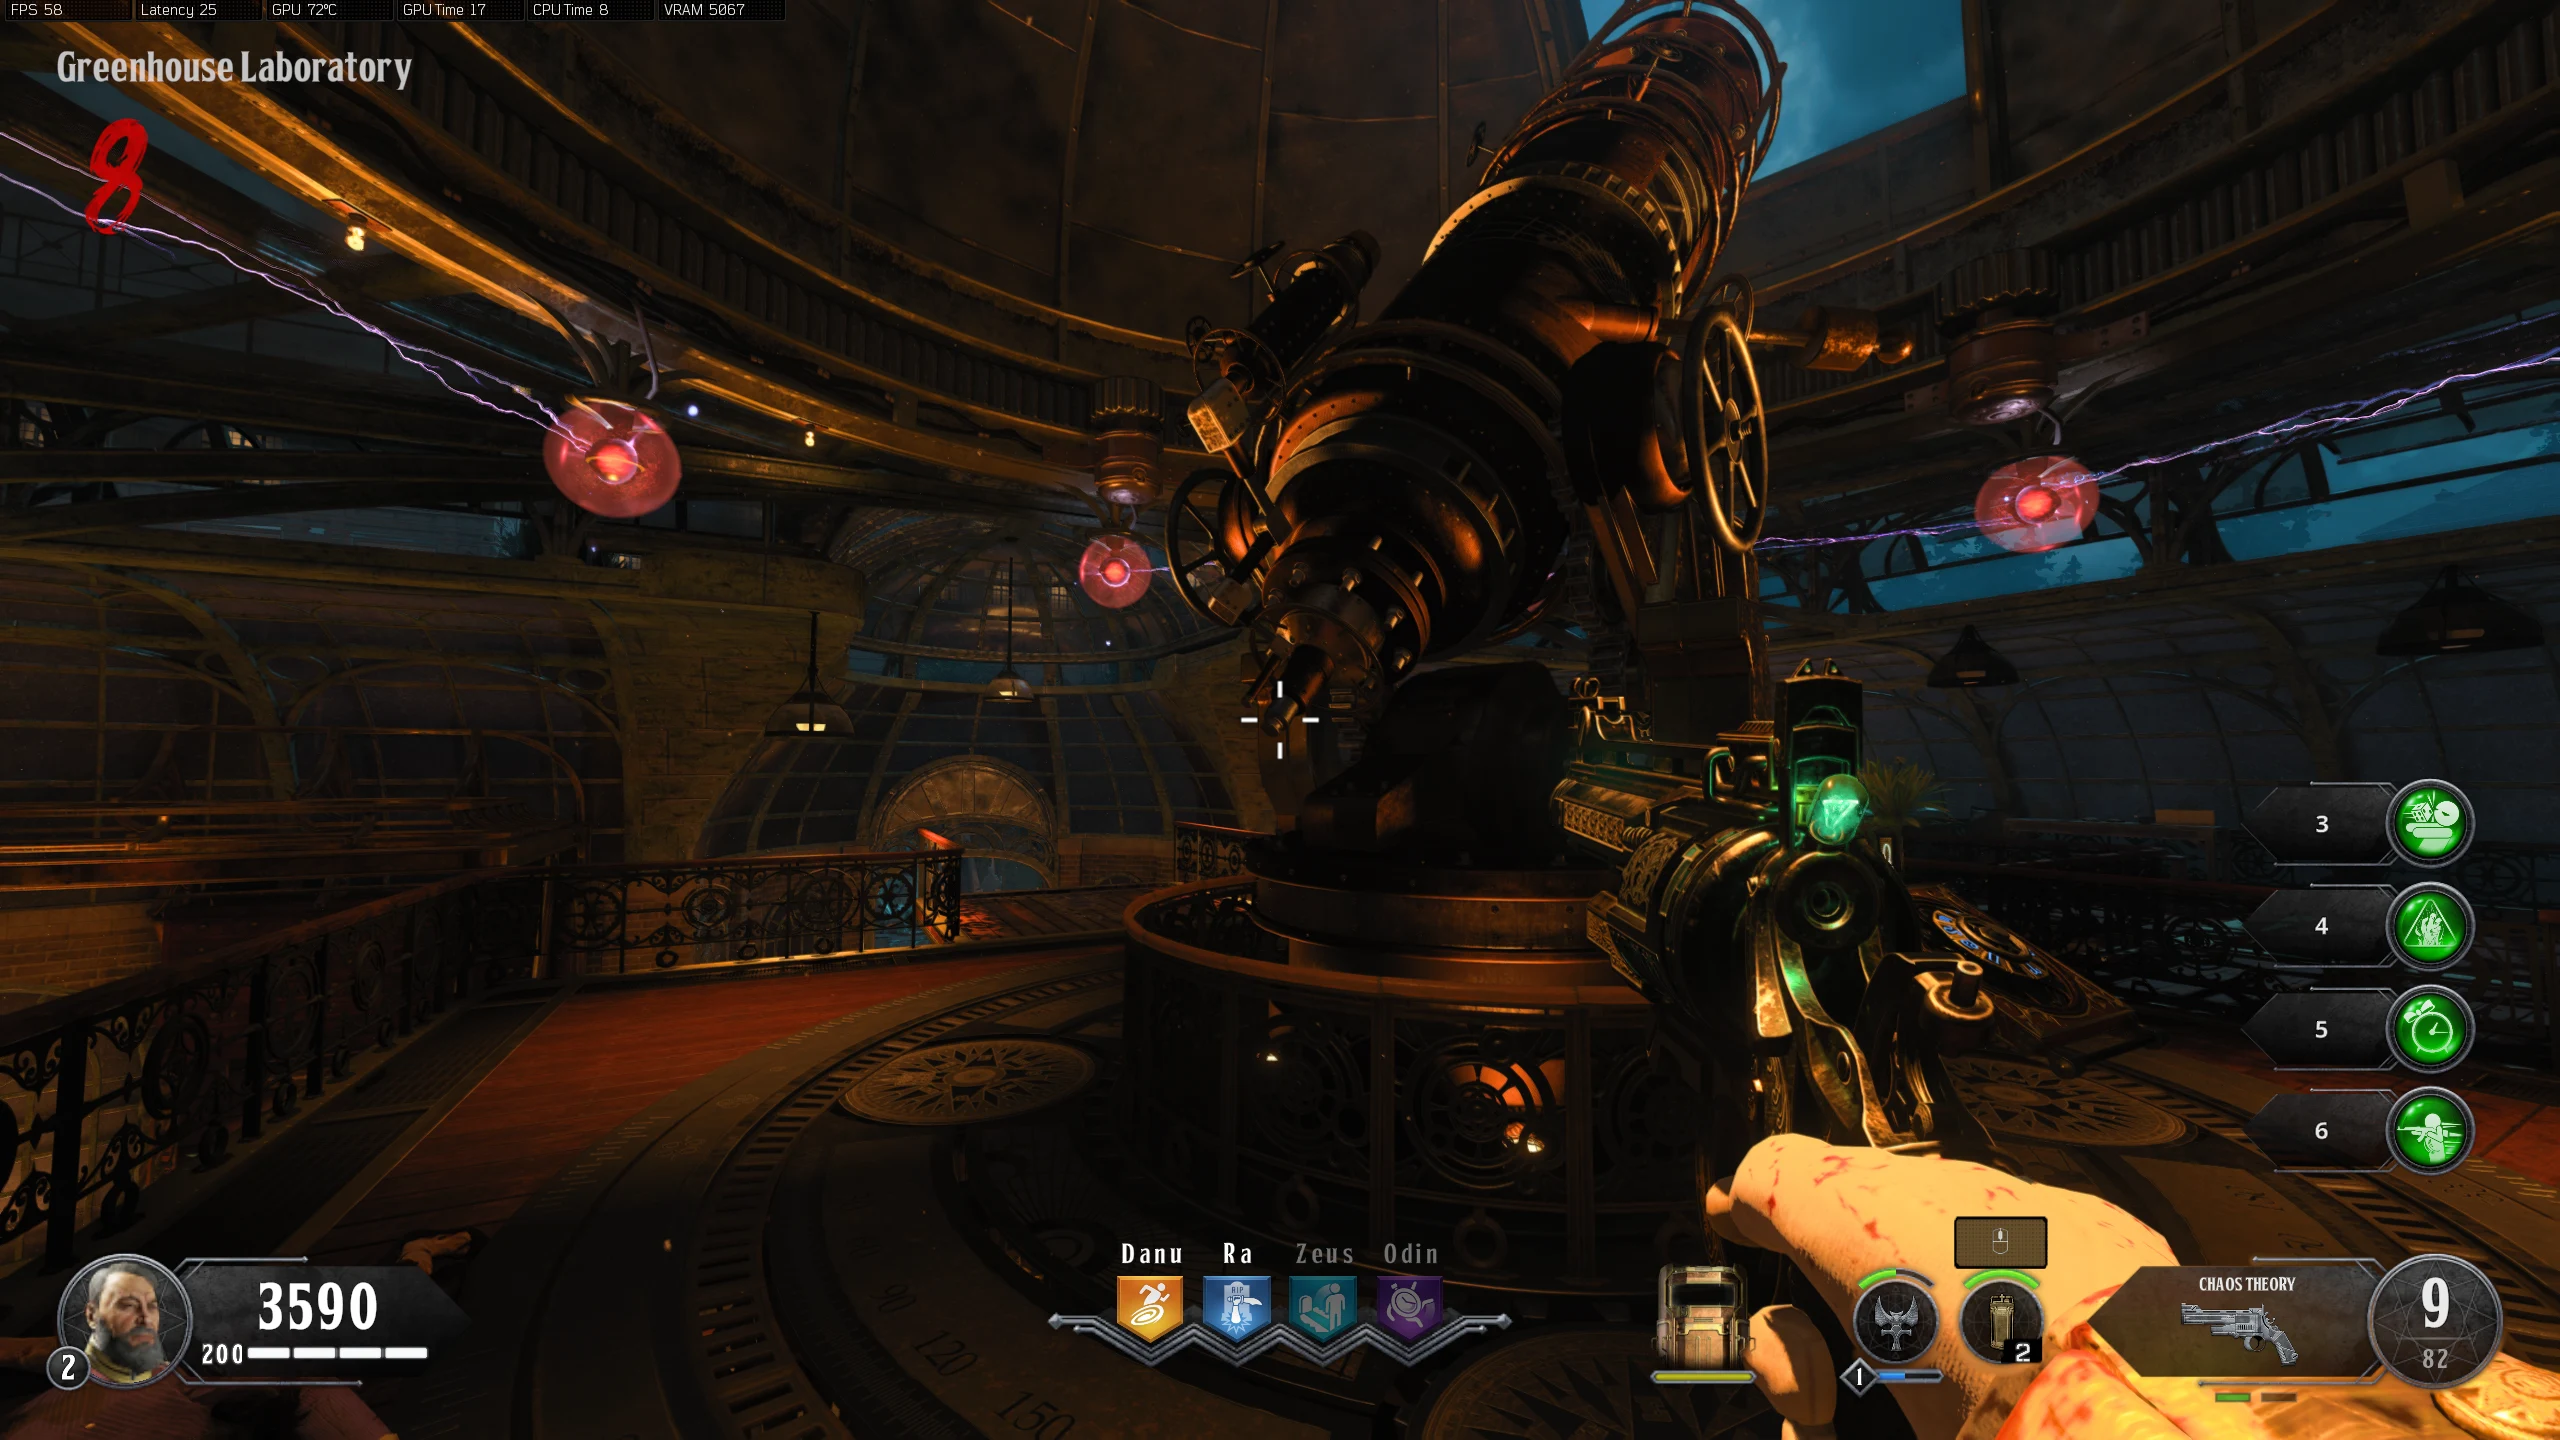
- Obtain the Ballistic Shield
- While holding the shield, hold the interact button on this Wheel near the telescope until Part of the Roof opens. Once it is fully open, melee the wheel with the shield. If done correctly, the lights above the wheel will turn green and the roof will stay open.
- Activate the Electric Trap below the telescope. All players must run through it while holding the shield to electrify it.
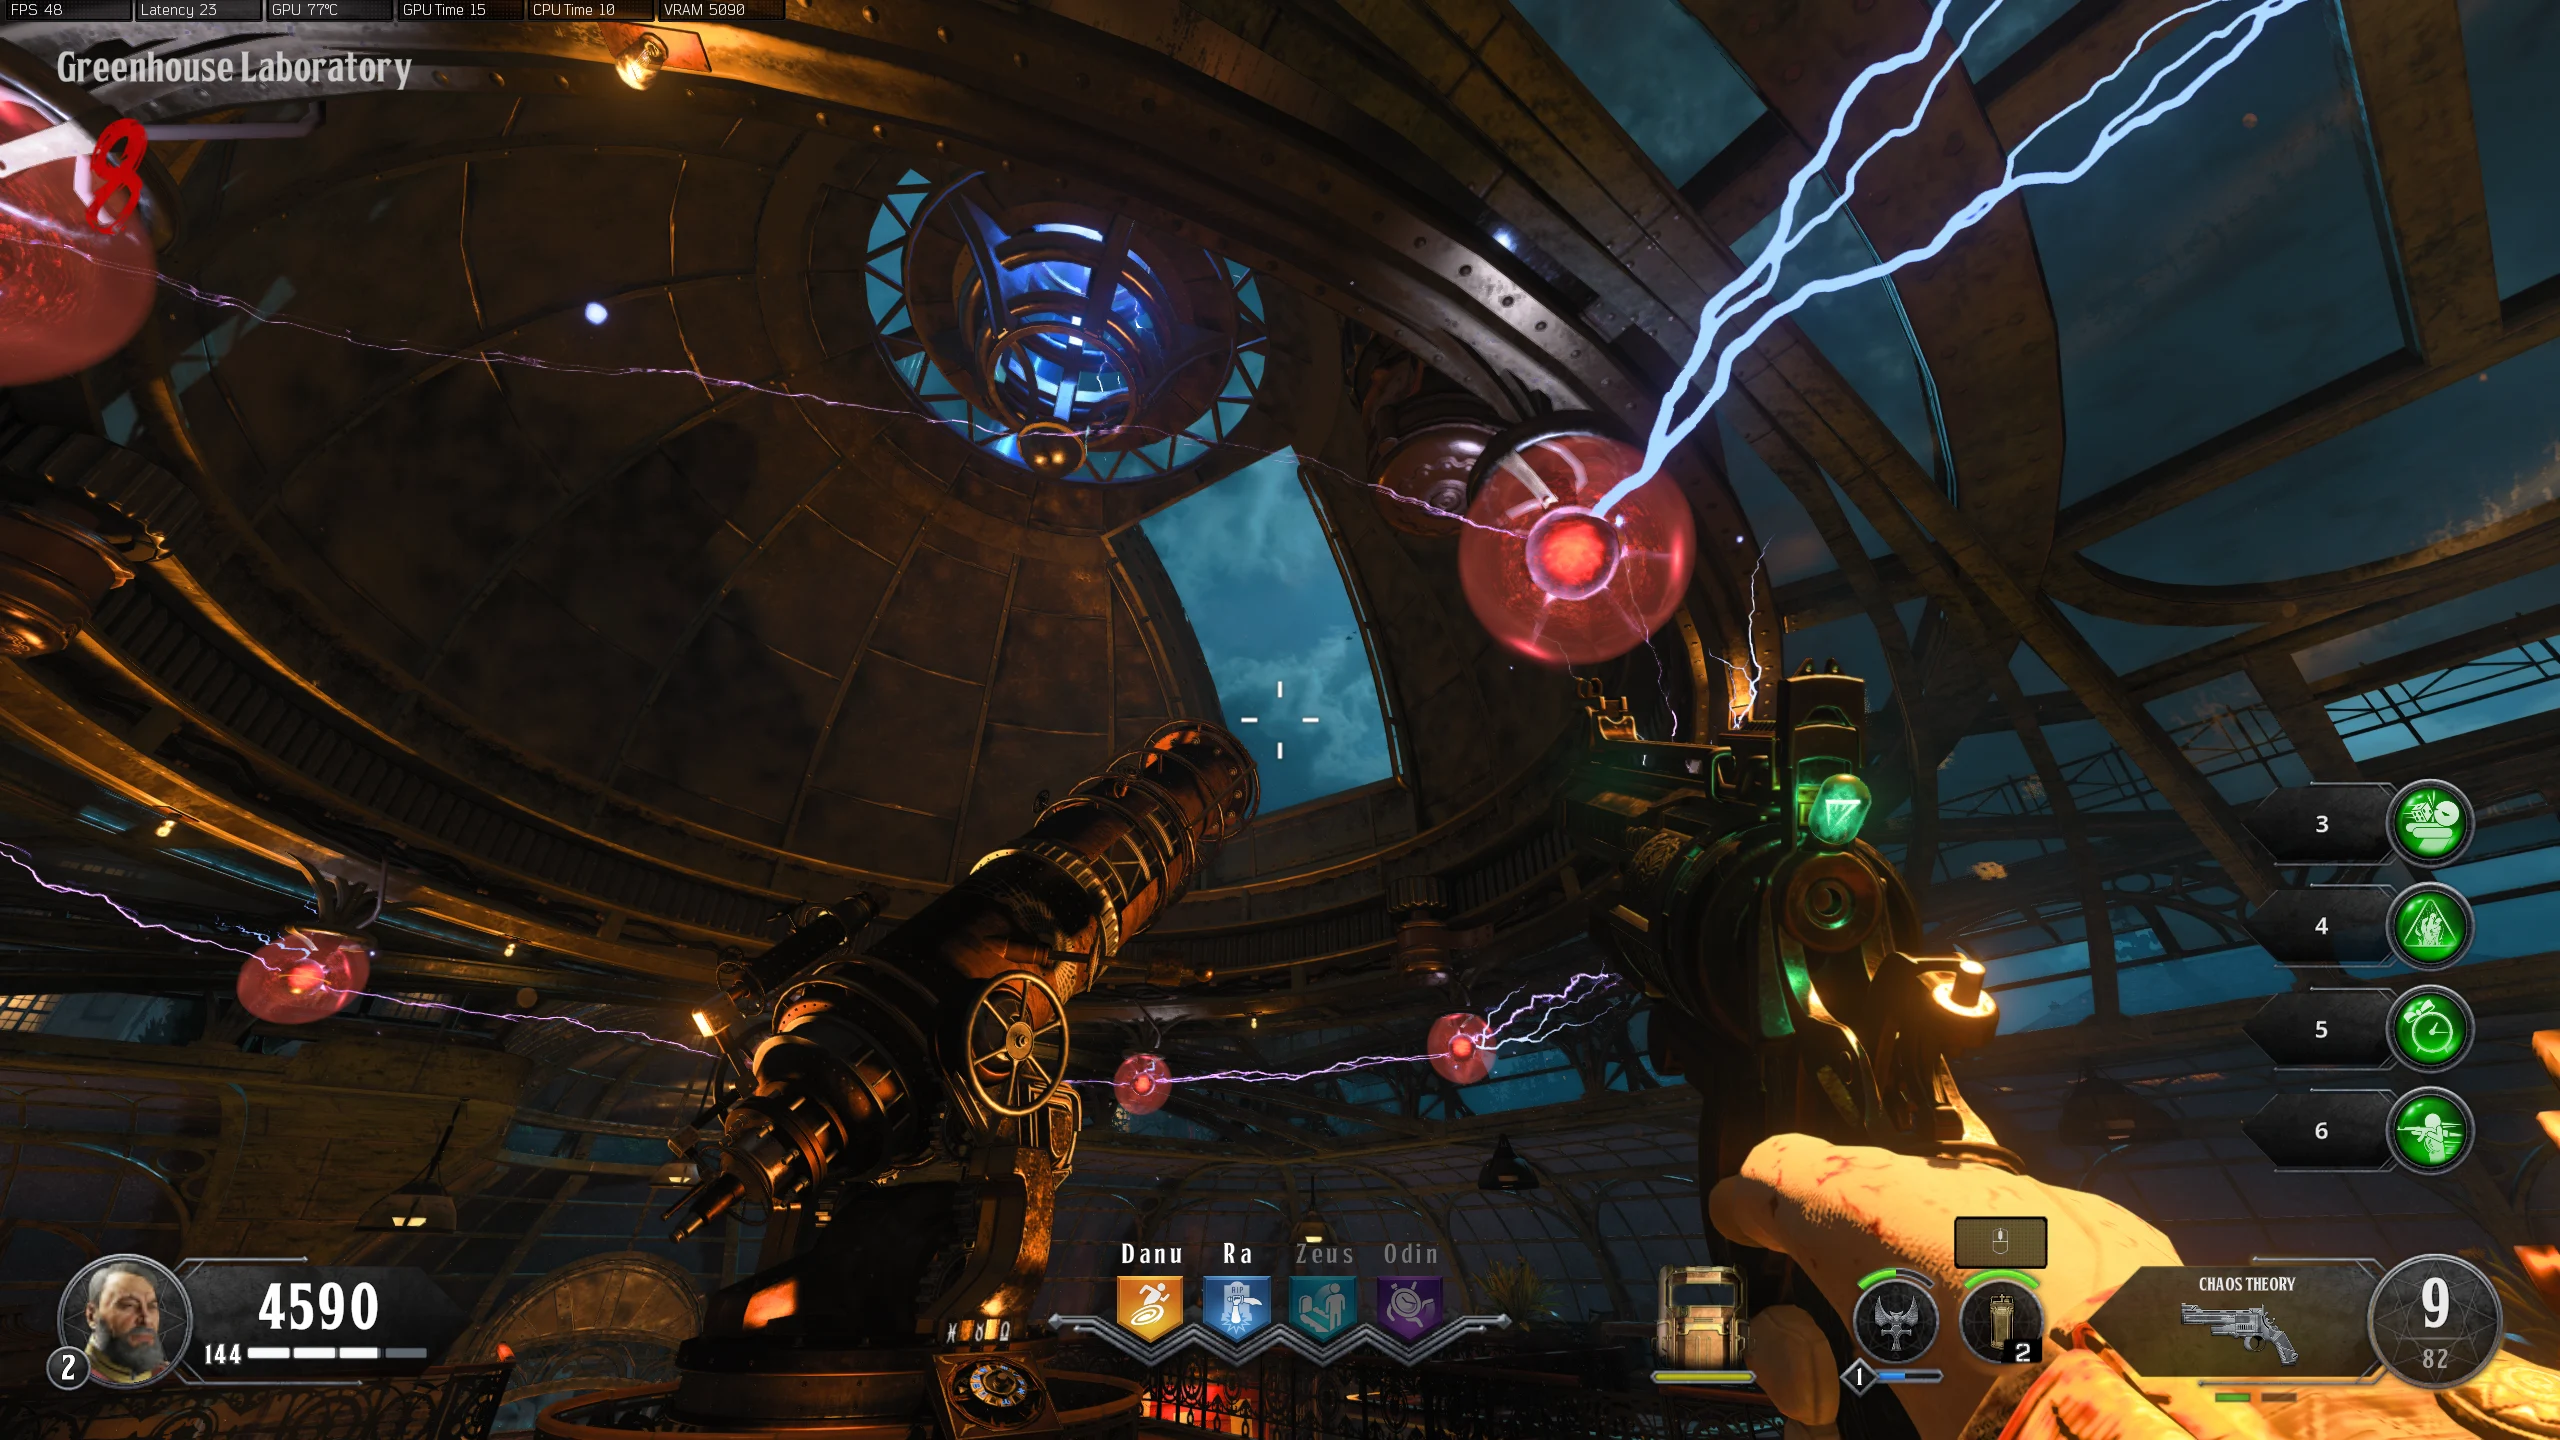
- All players must then melee the Eyepiece of the Telescope with the electrified shield at the same time. If done correctly, the screen with flash white and a beam will shoot out of the end of the Telescope into the sky.
- To the left of the Electric Trap, a part of the wall will open to reveal a Stone. All players must hold interact on the stone until it flies out to activate a lockdown.
- During the lockdown, Zombies and Vampires will endlessly spawn. After a couple of minutes, a few Werewolves will spawn. Once all the Werewolves are killed, the screen will flash white, and you will be able to pick up the Stone. When you pick up the Stone, a Max Ammo will spawn.
Leo - Telescope Quest line
Virgo - Lightning Rod
Libra - Colour Beam Puzzle
Scorpio - Zodiac Scratches
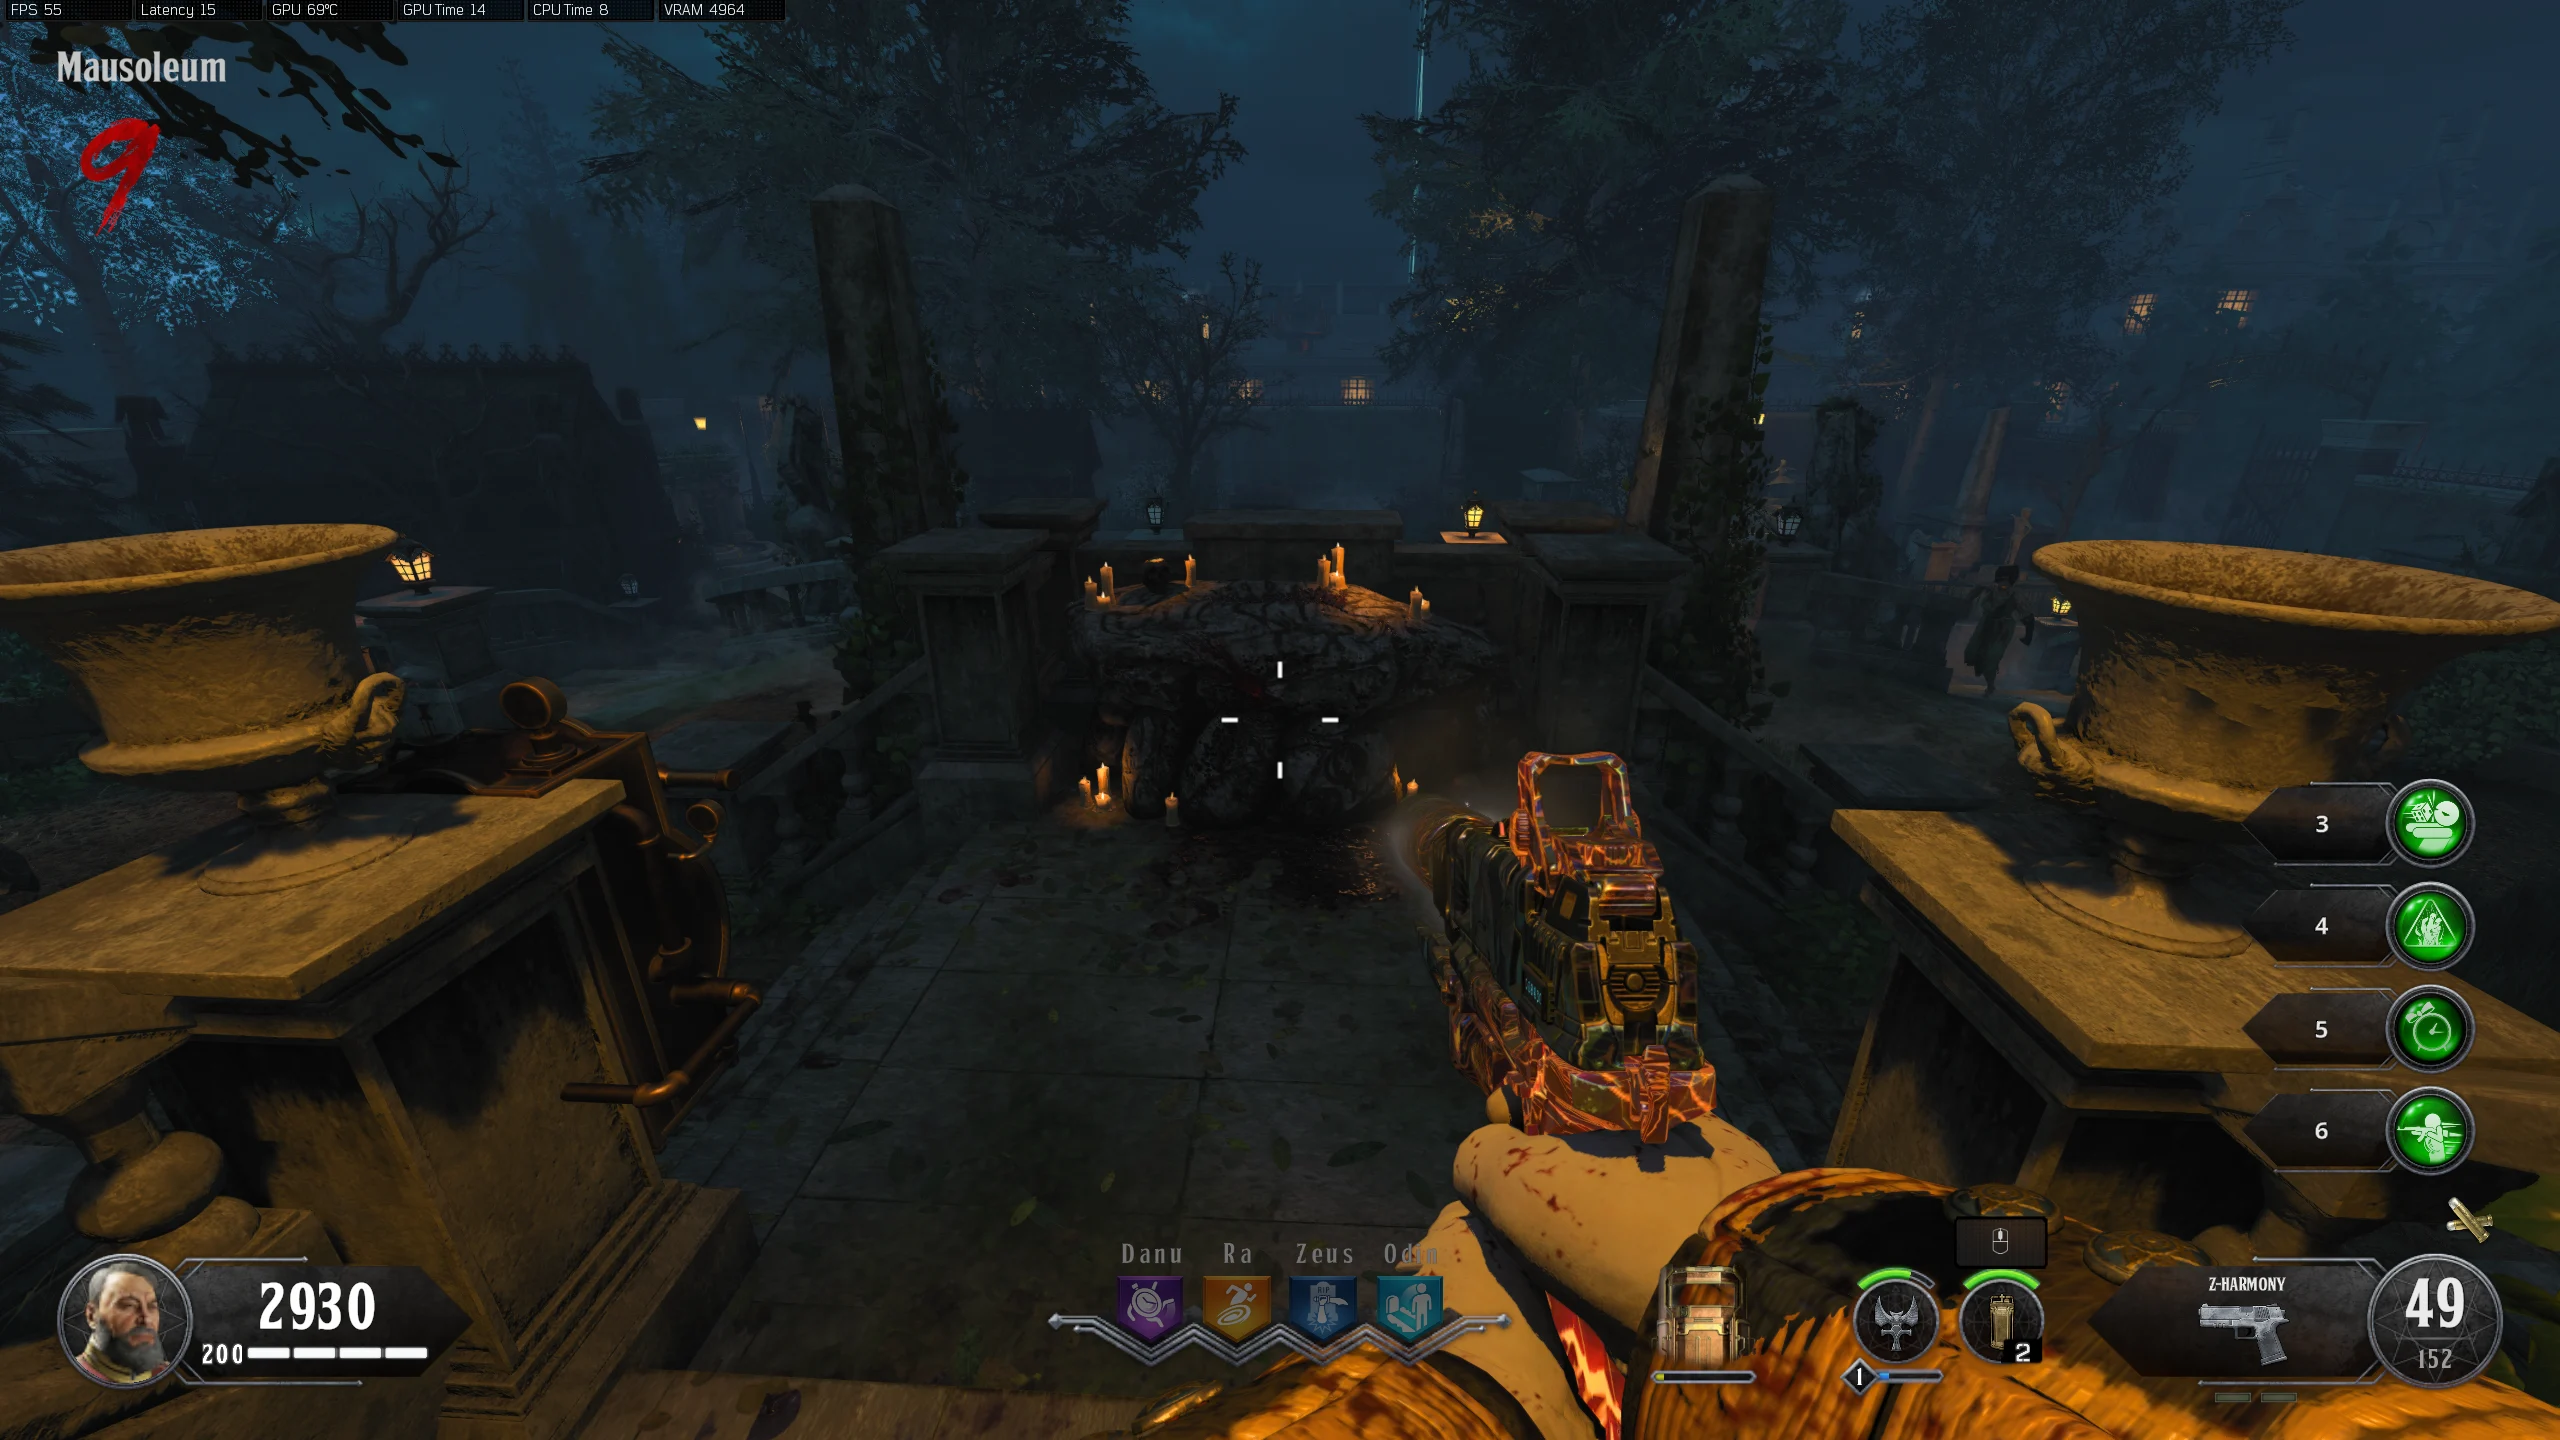
- Interact with each stone until you see the Effigy to activate the Effigy Quest Line.
- Obtain the Alistair's Annihilator
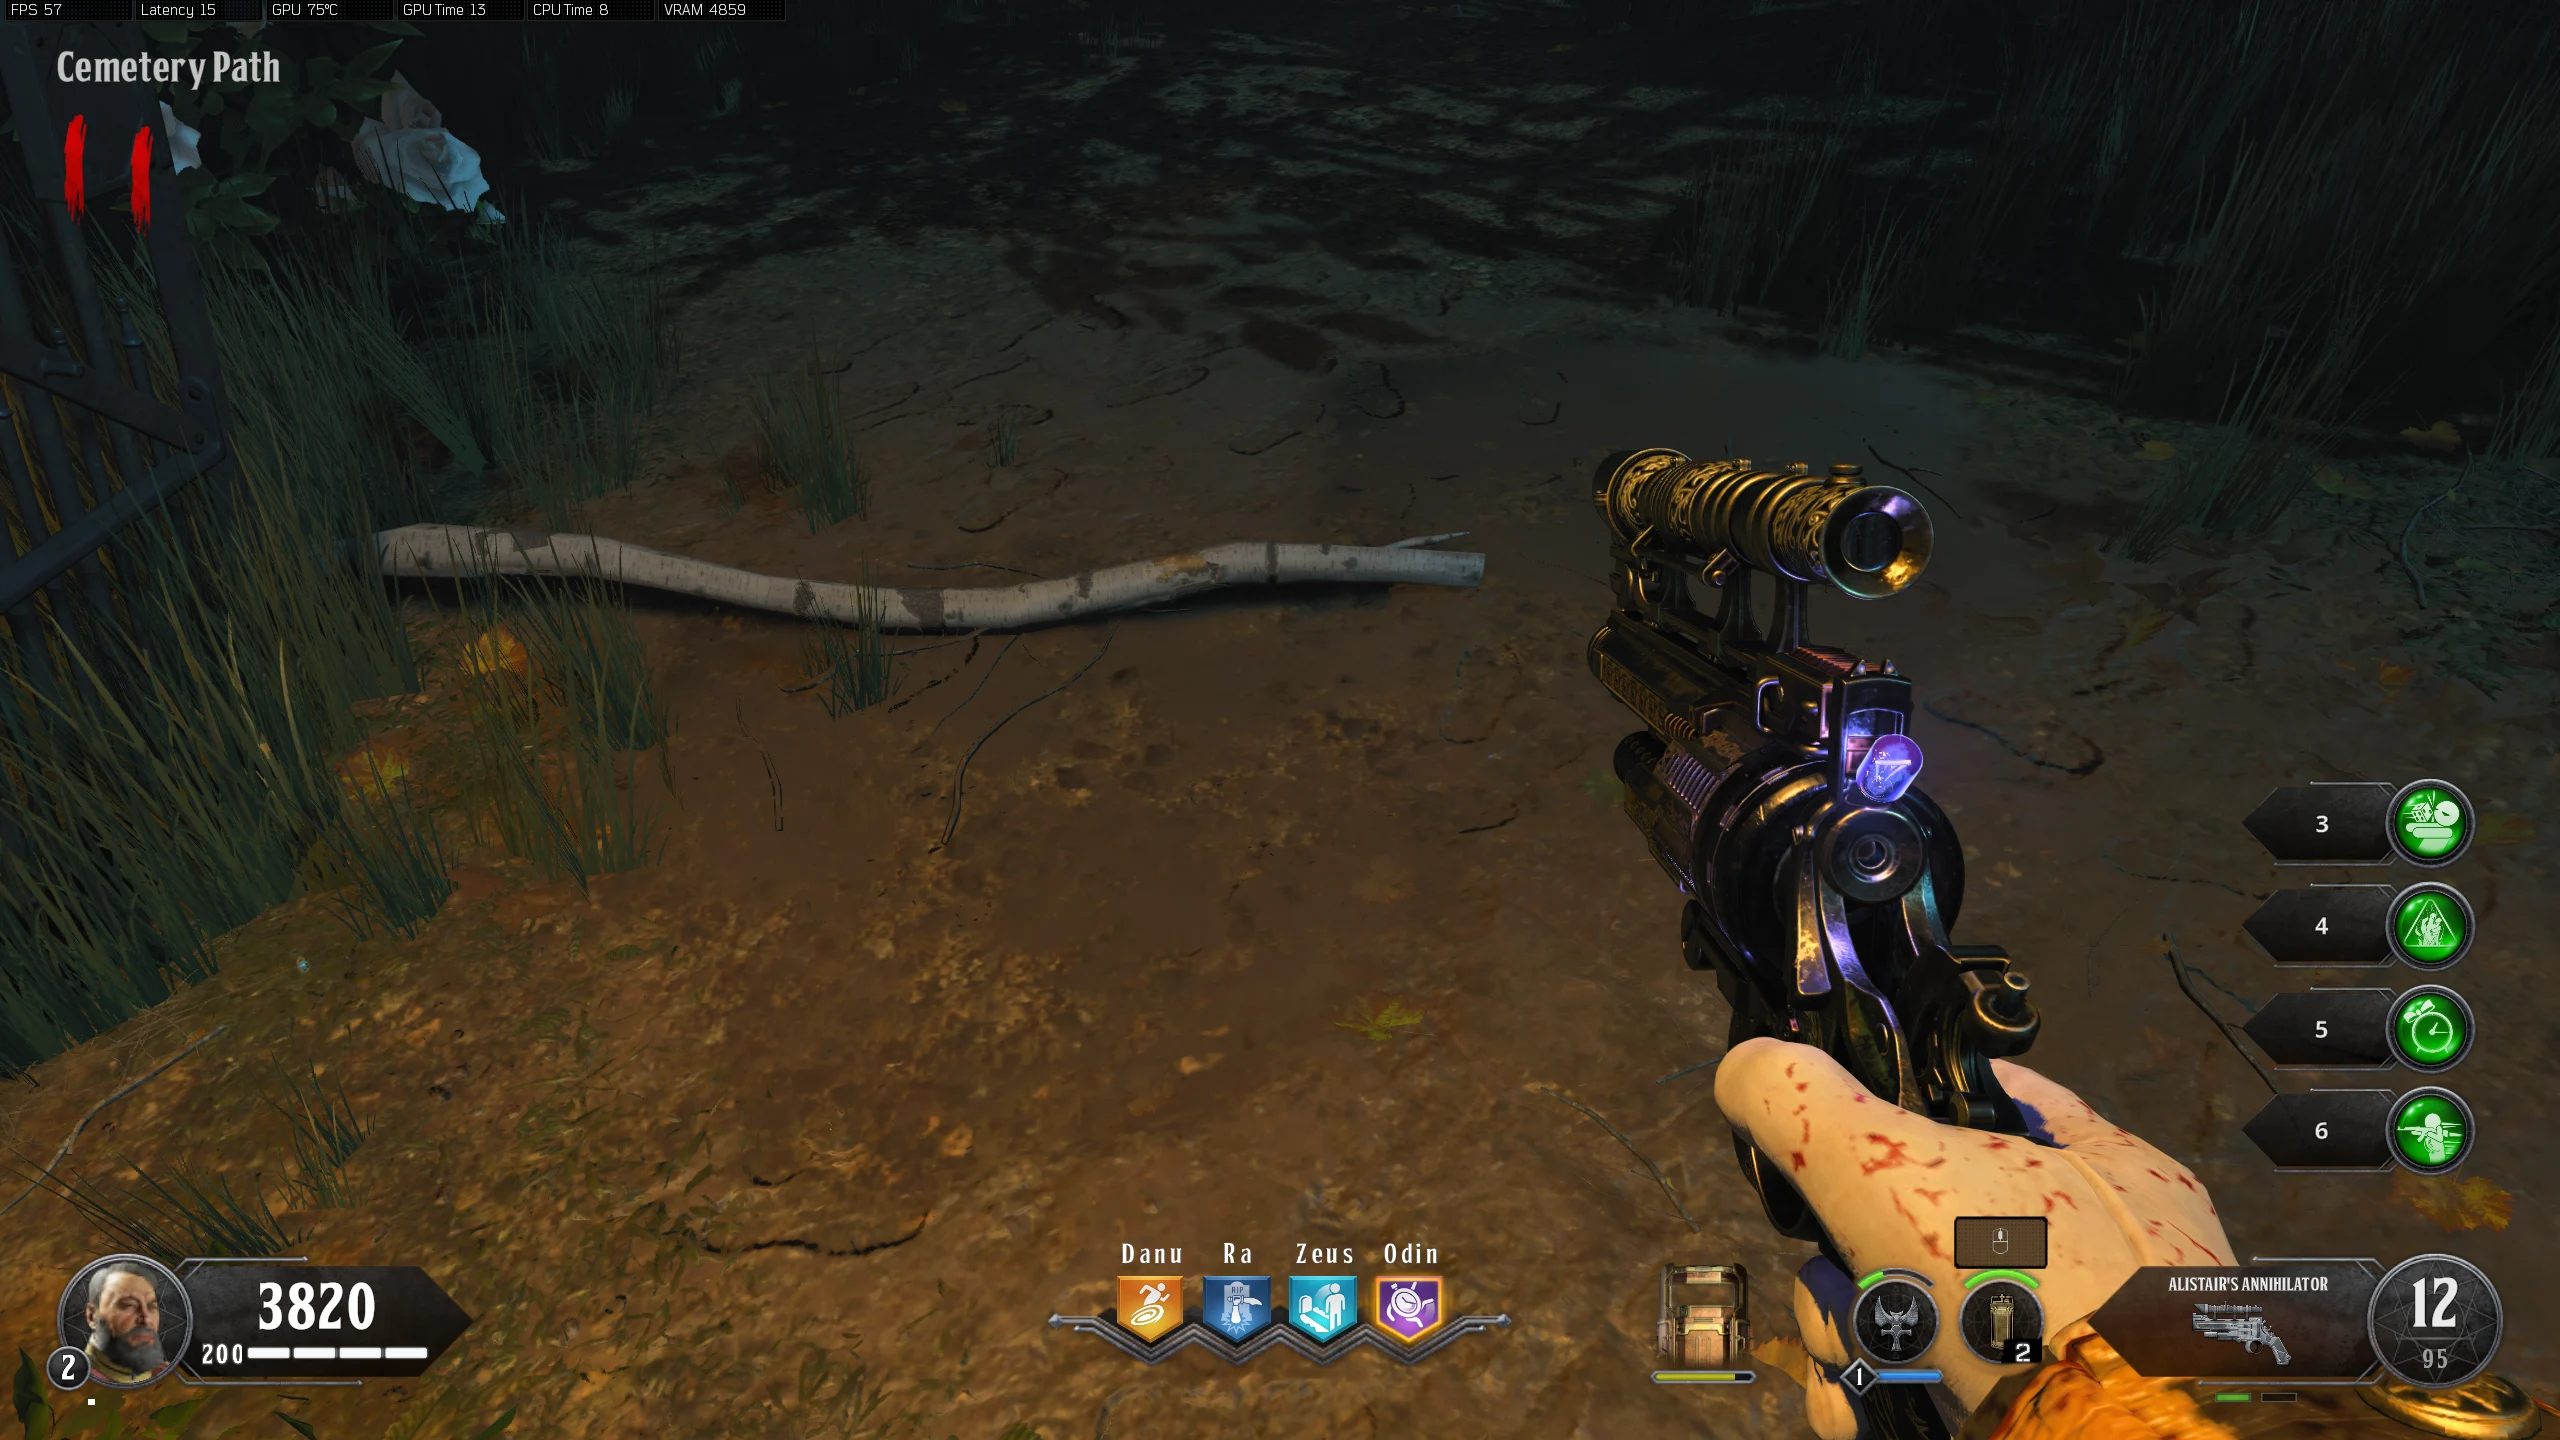
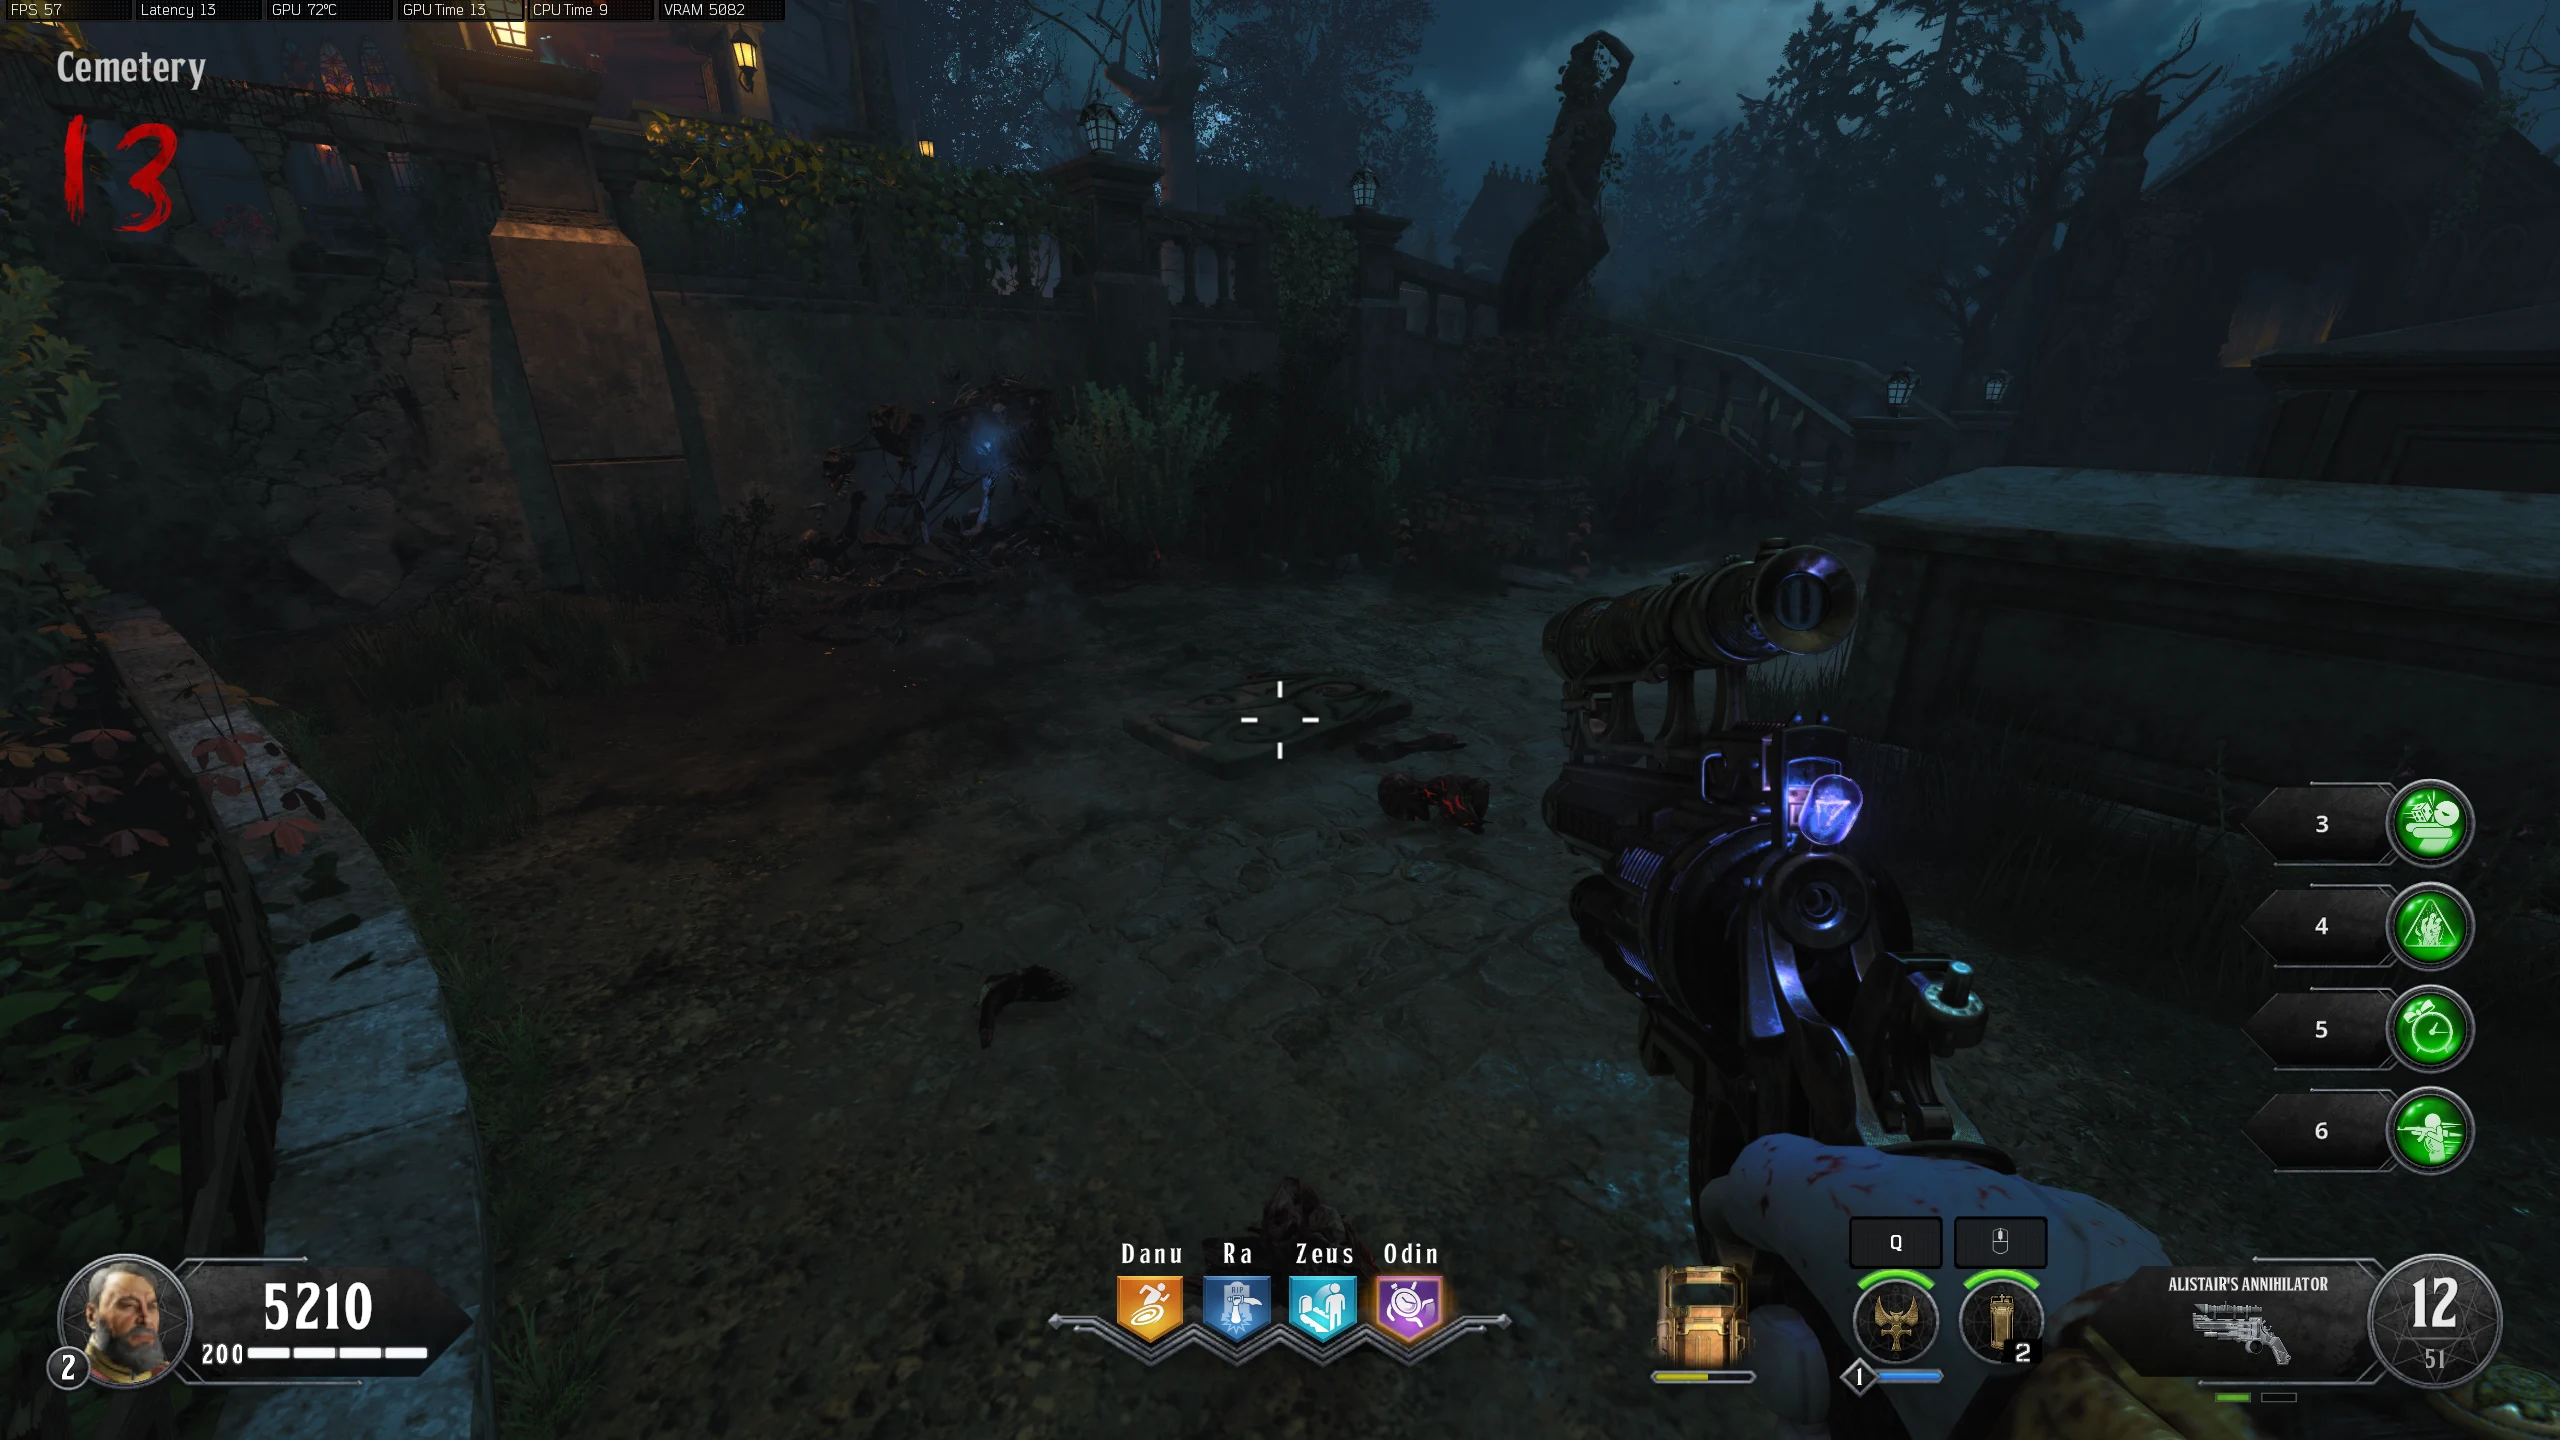
- In the 'Cemetery' area, there are five birch trees that will drop leaves when a player gets close. Shoot the trunks of these trees with Alistair's Annihilator to make them drop a Branch. Interact with this branch to make it fly toward the center of the 'Cemetery.'
- The branches are a bit finicky and sometimes don't fall when shot or fly to the middle when picked up. You can check how many were collected by looking in front of the Mystery Box location in the 'Cemetery.'
- Also, sometimes, despite flying away when picked up, they aren't counted as being picked up. If this happens, go around to each location and hold interact on where the branch would be on the ground.
- Tree Locations:
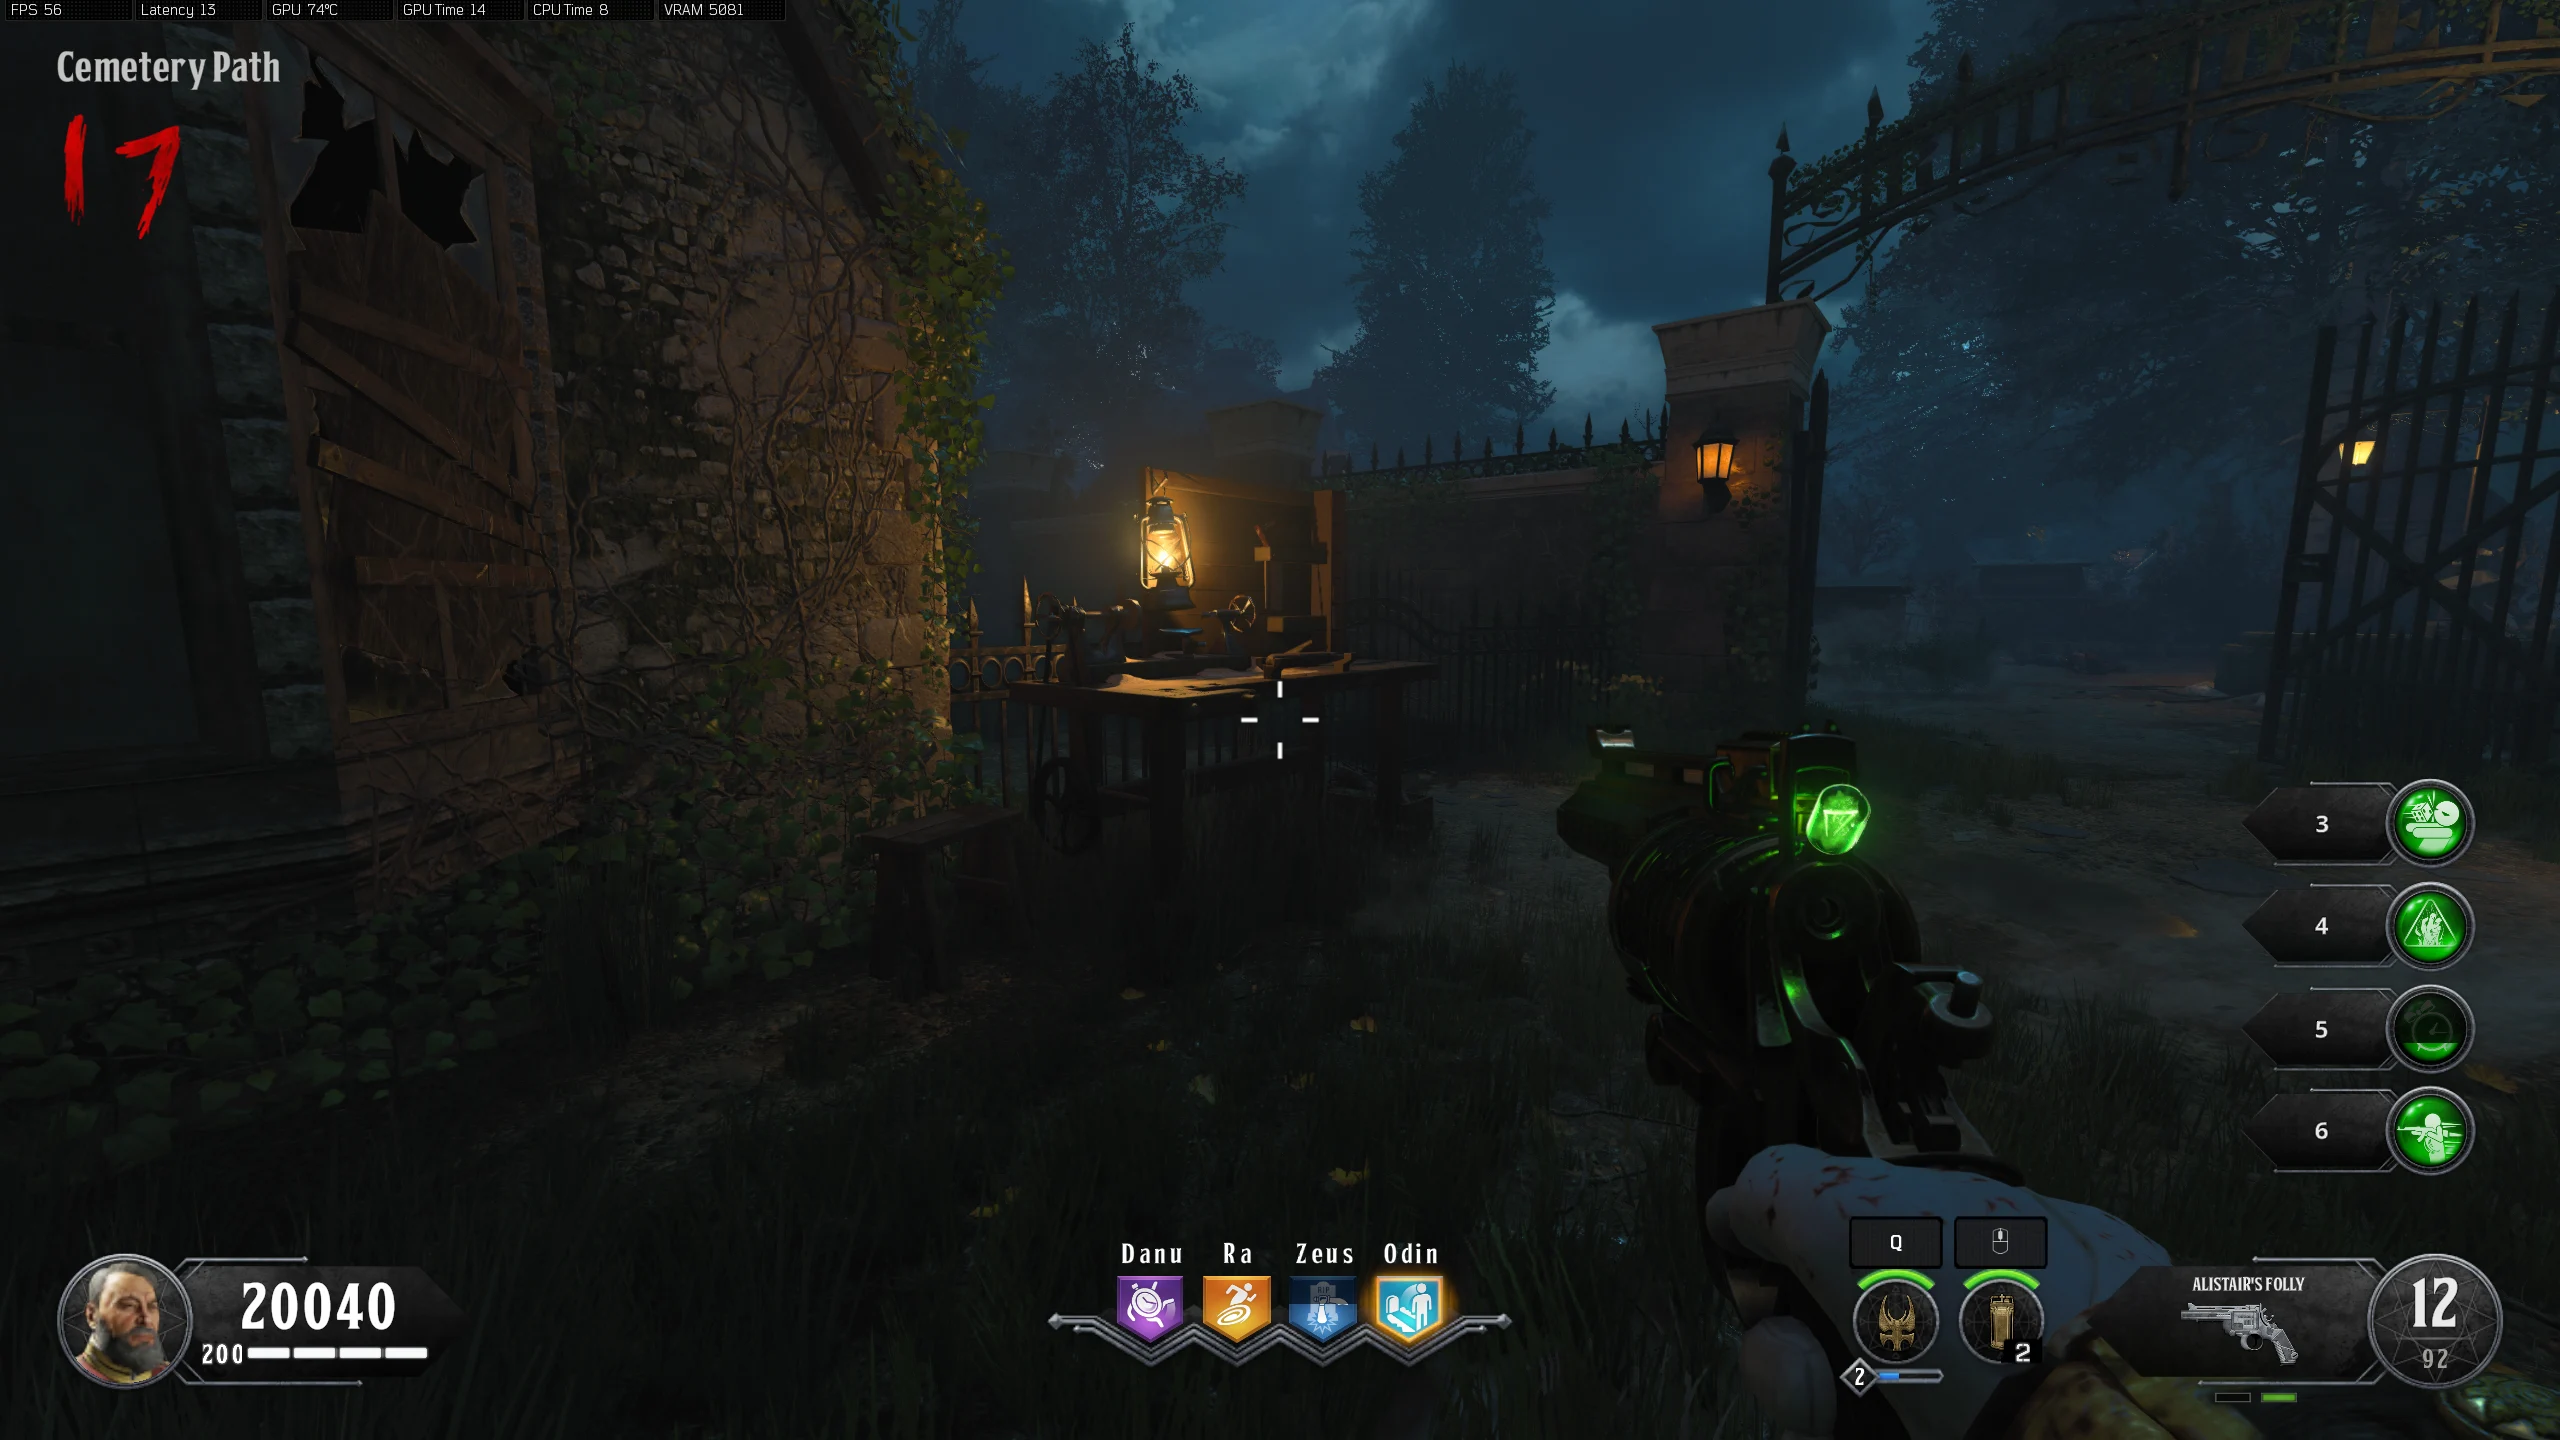
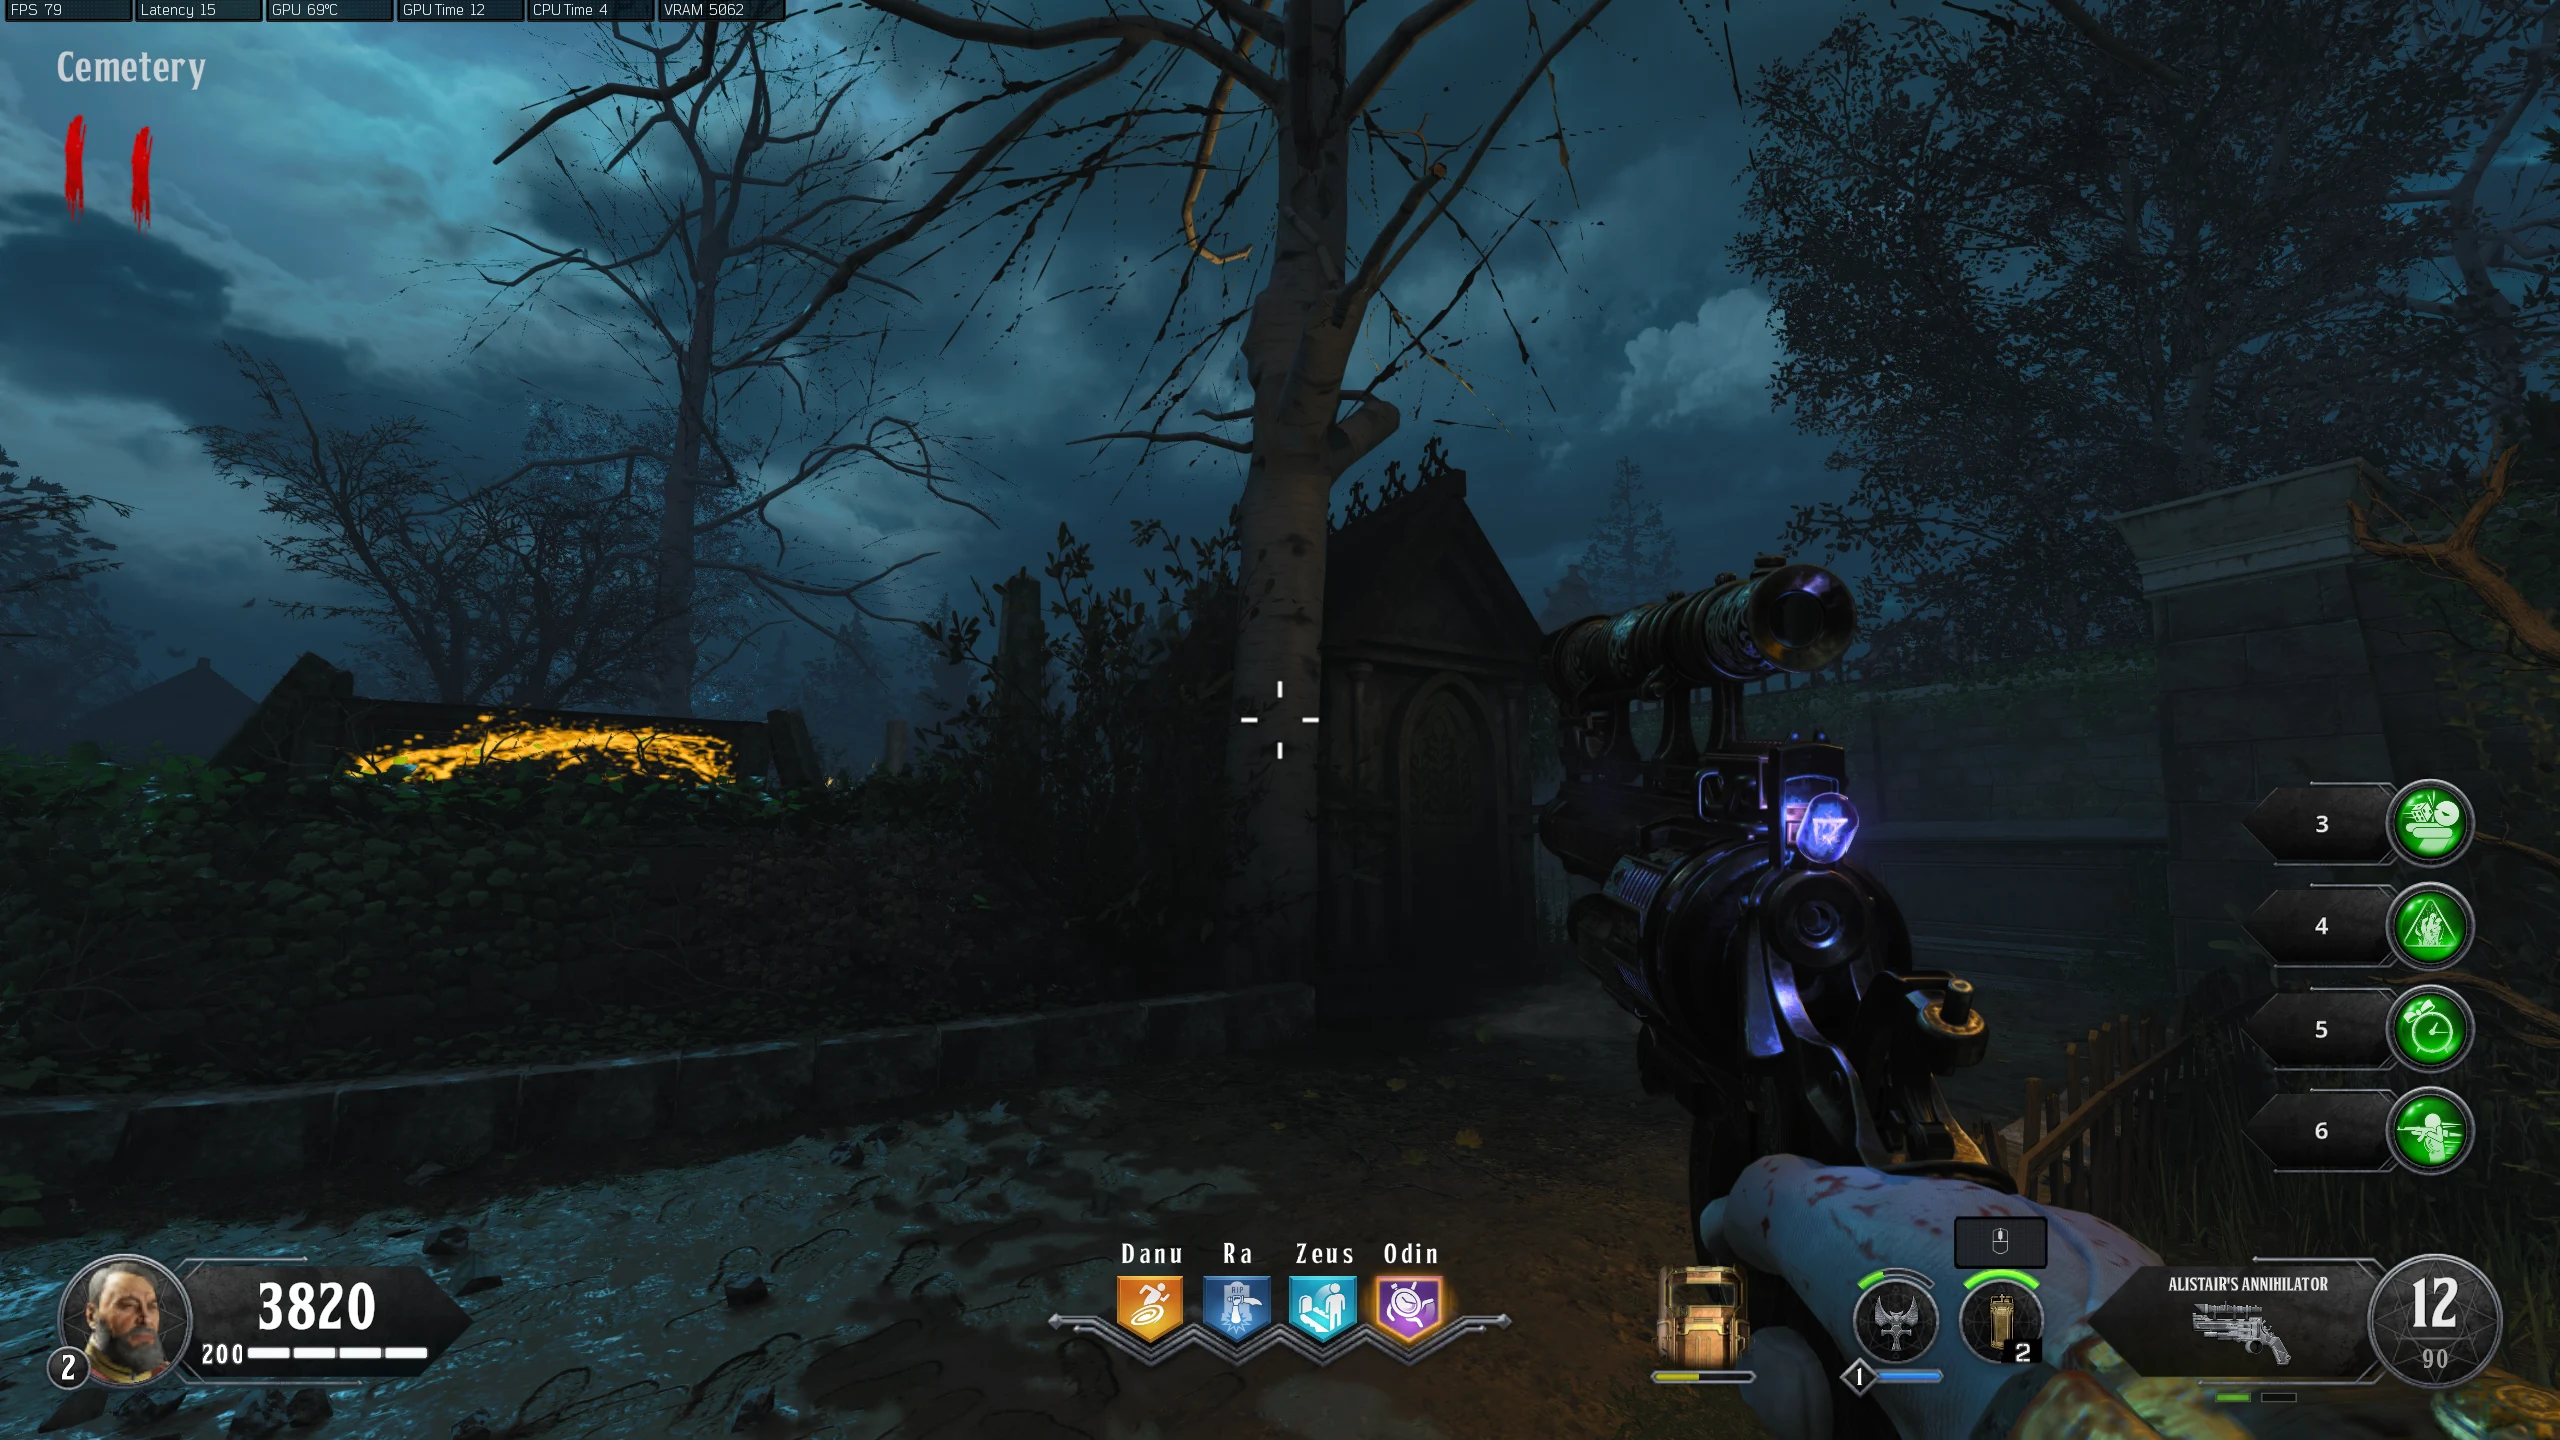
- Cemetery Path - On the left when coming from the Mansion
- Cemetery - Right of the Crimson Nosferatu's Coffin
- Cemetery - Near the top of the right staircase, coming from the 'Cemetery Path'
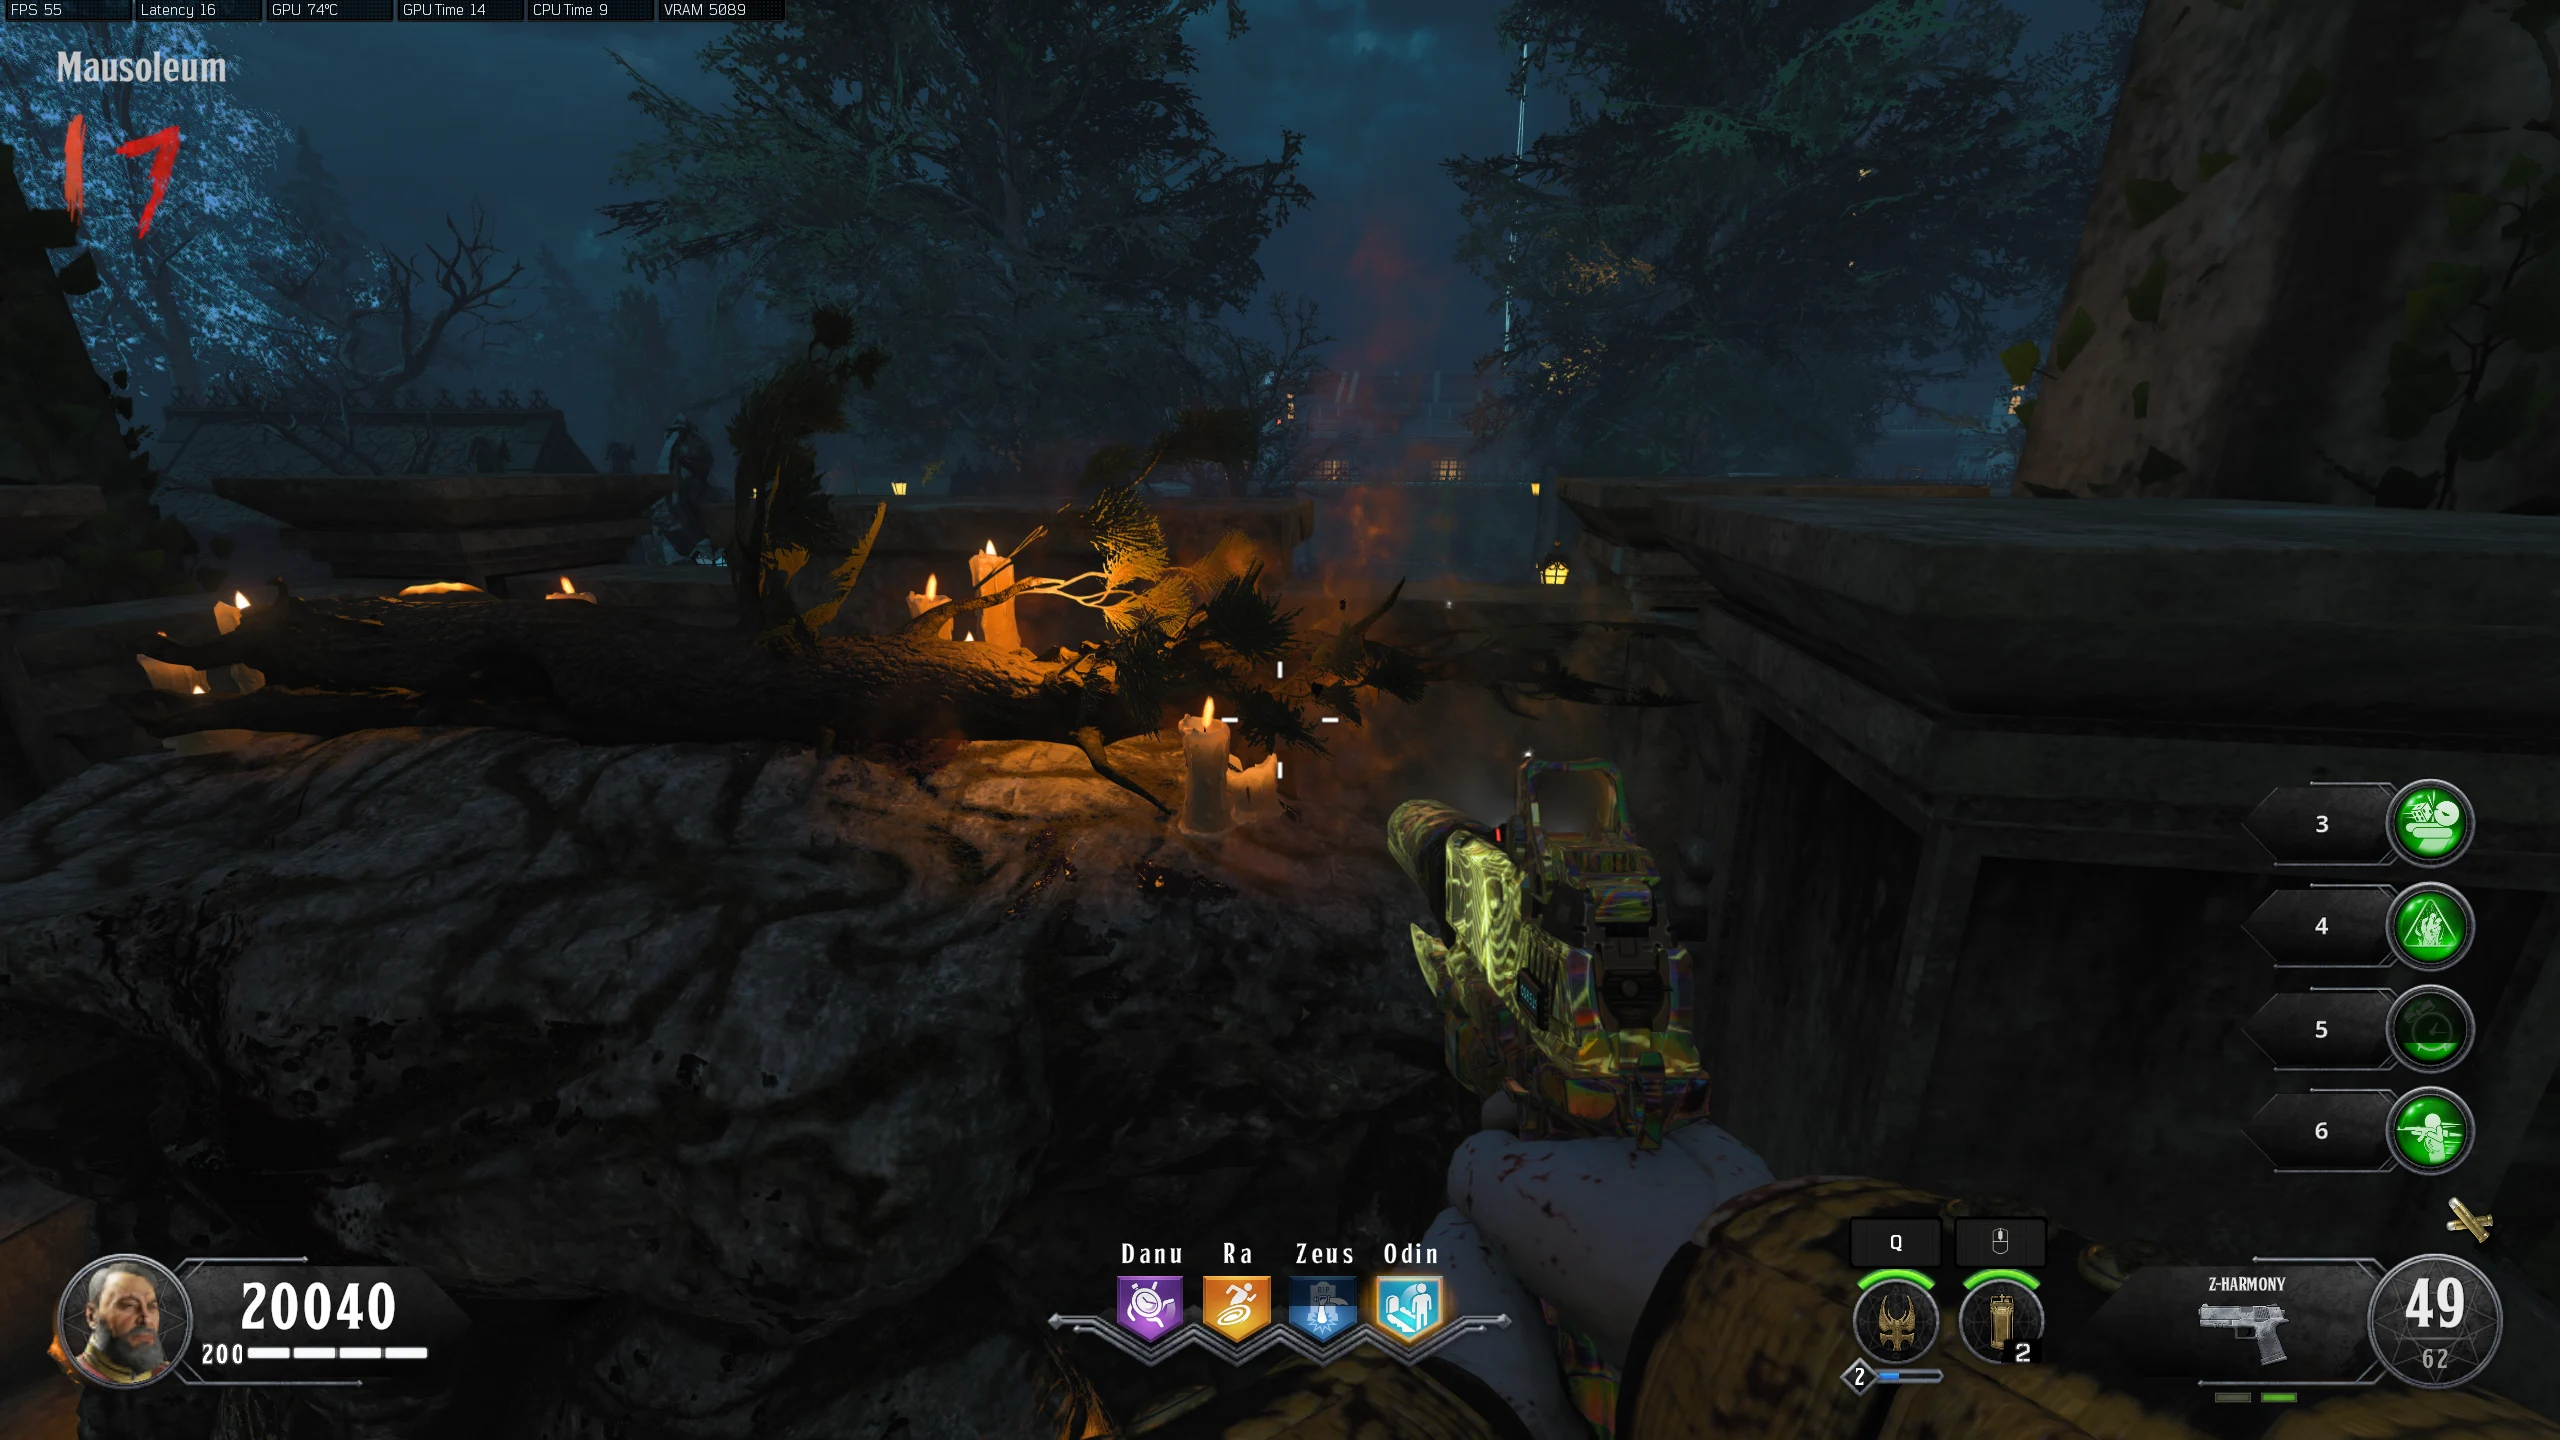
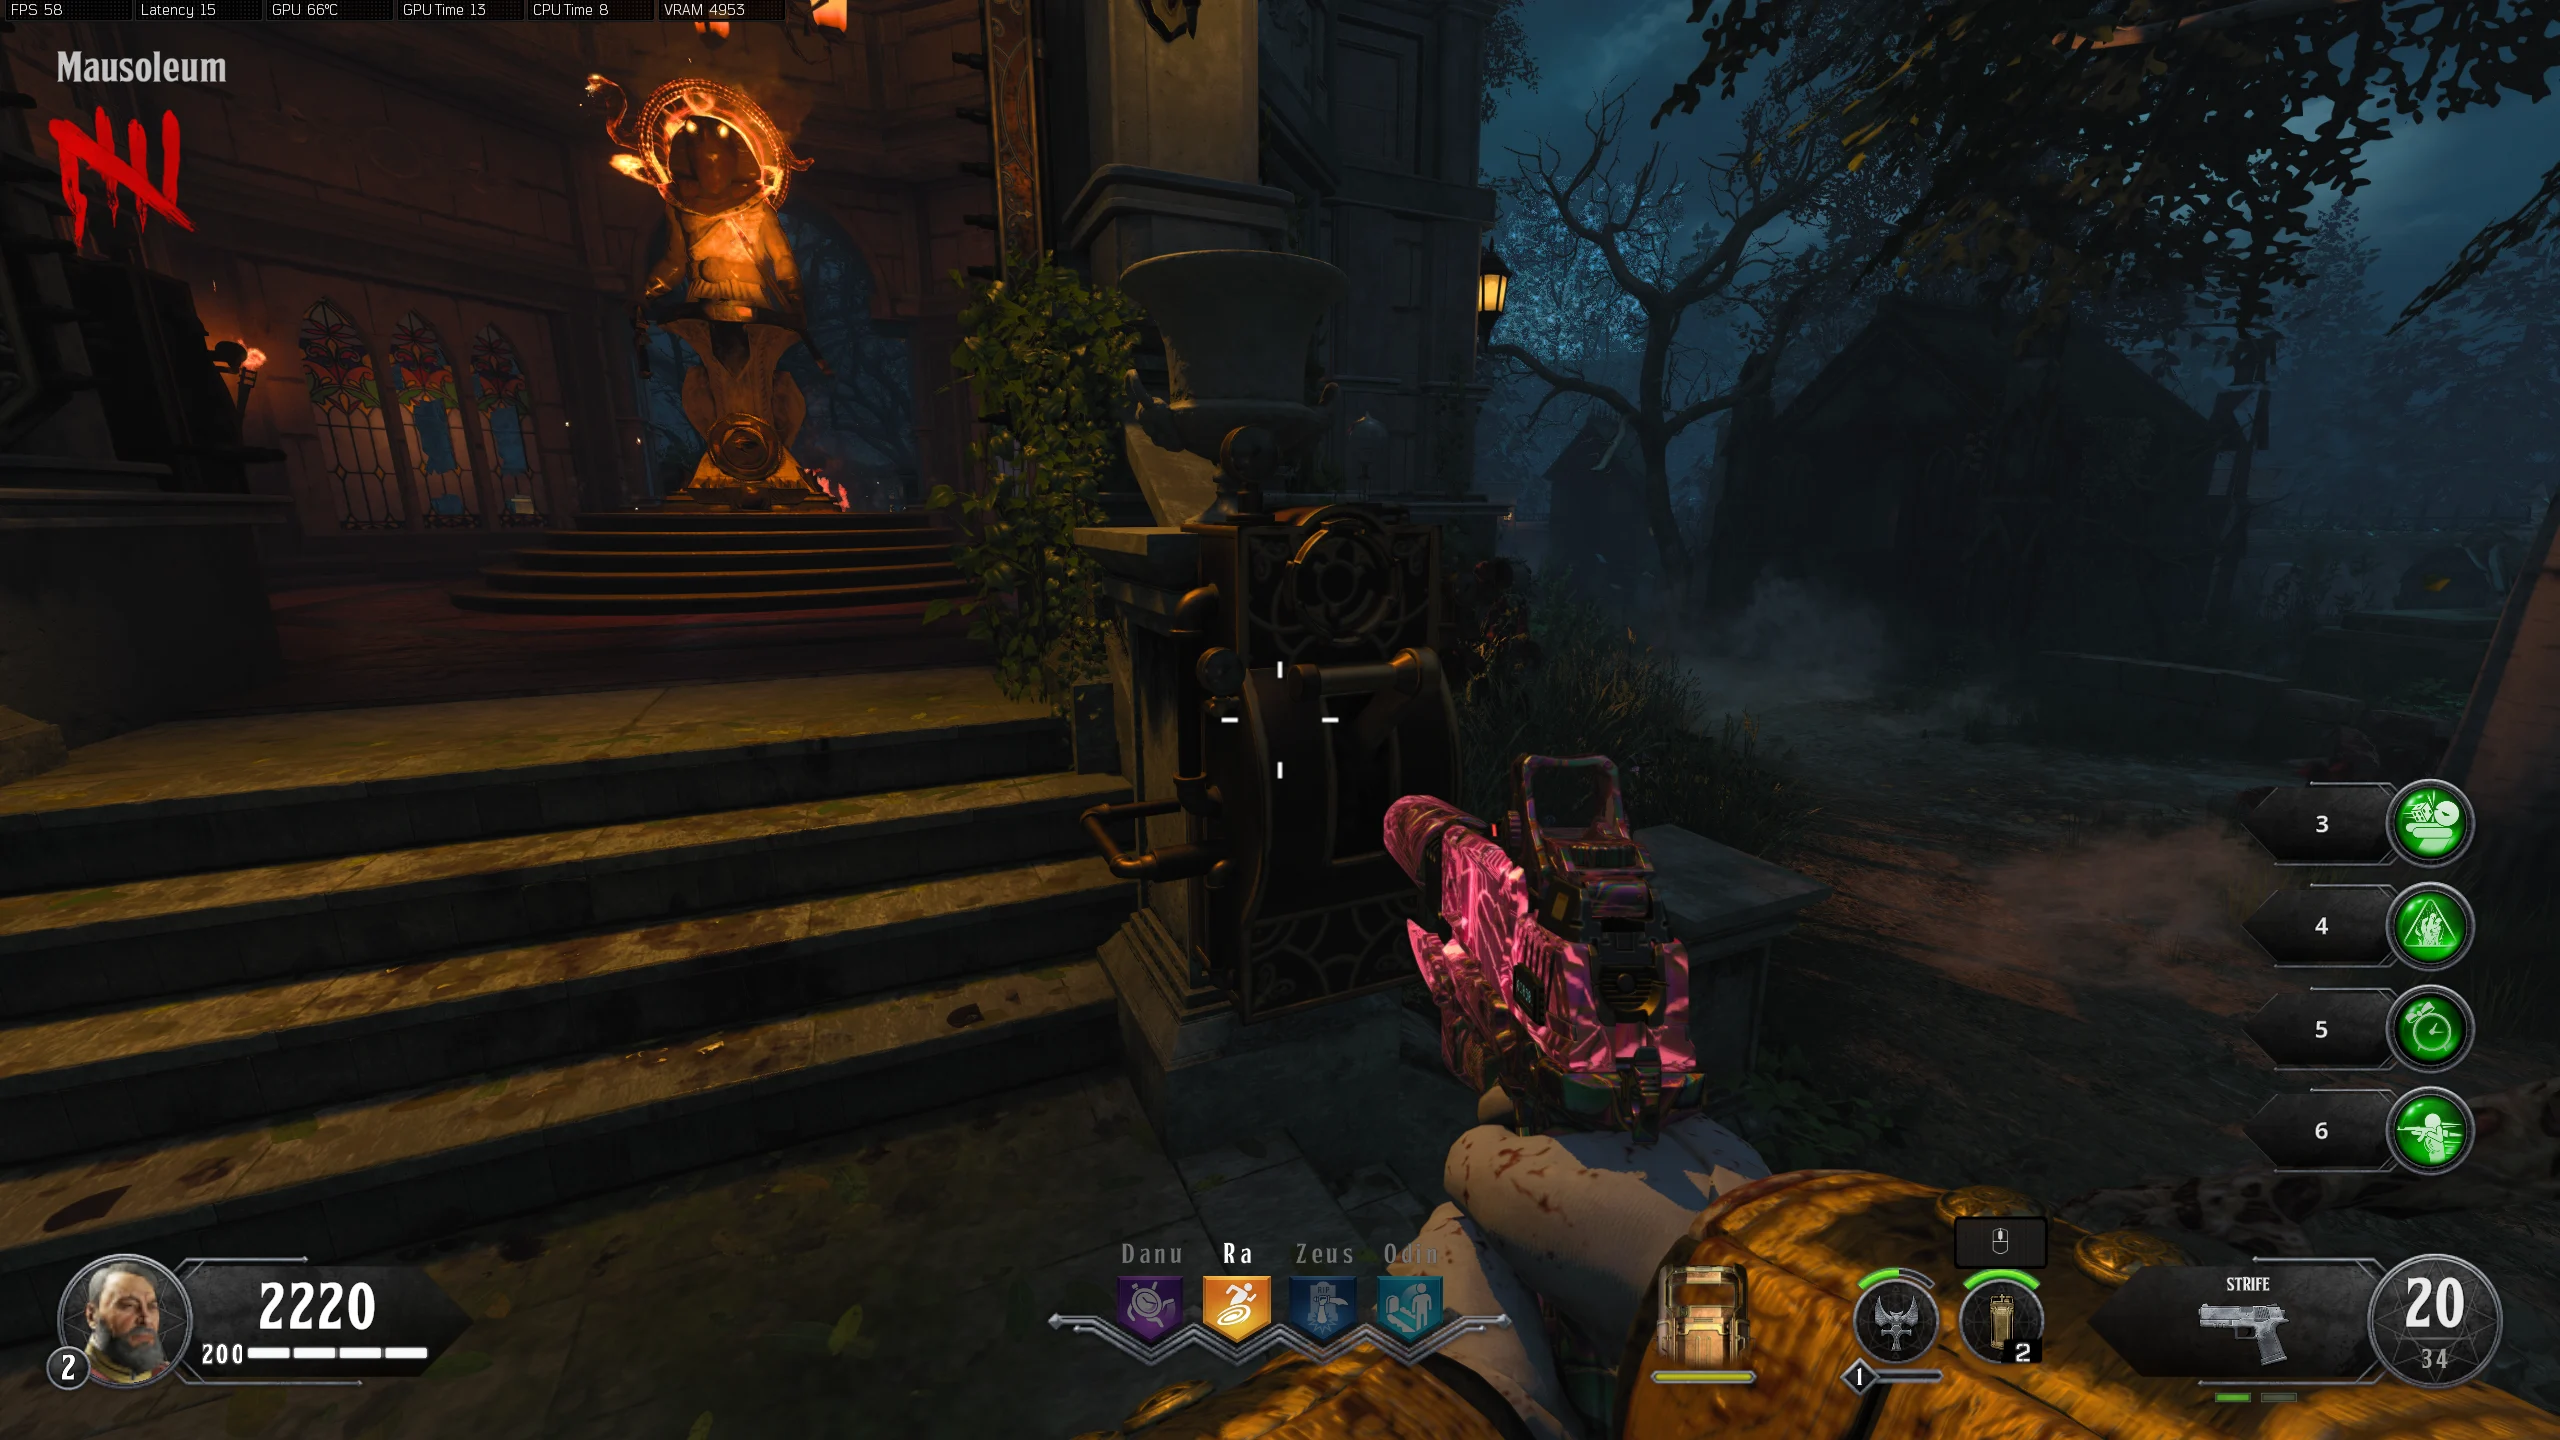
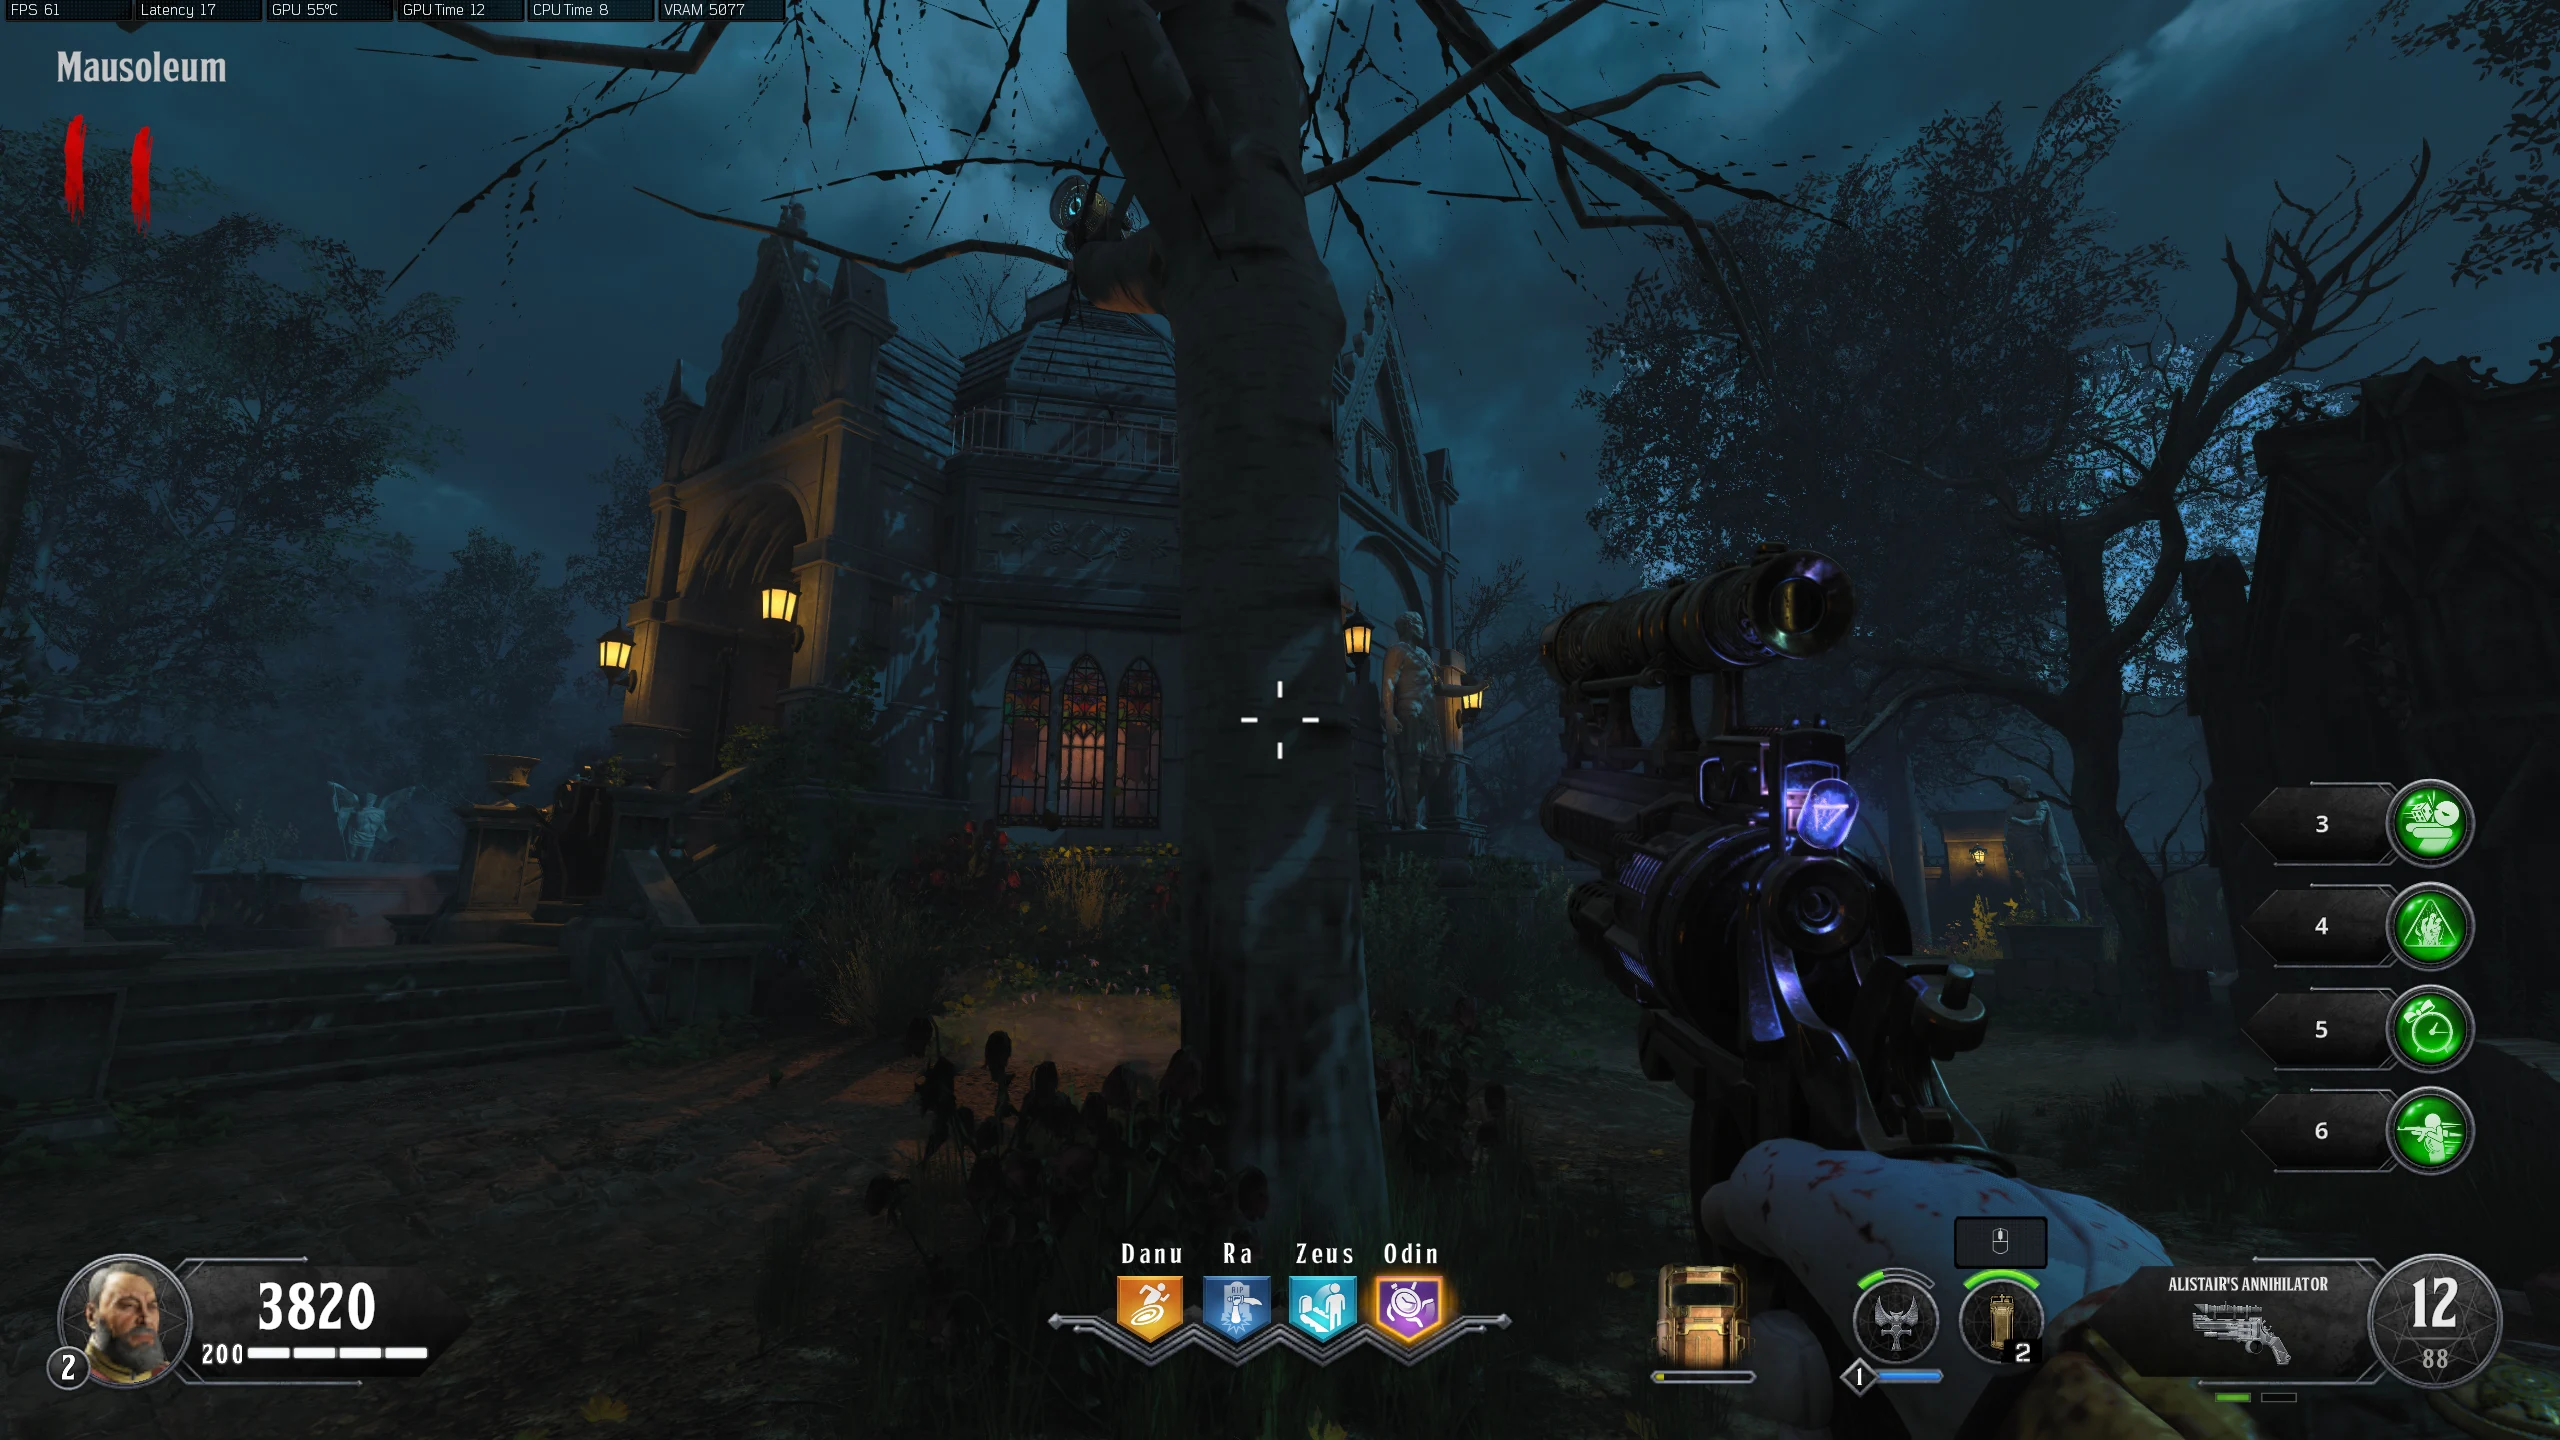
- Mausoleum - On the front right side of the Mausoleum area, near the stairs
- Mausoleum - Back left of the Mausoleum area, left of the fast travel
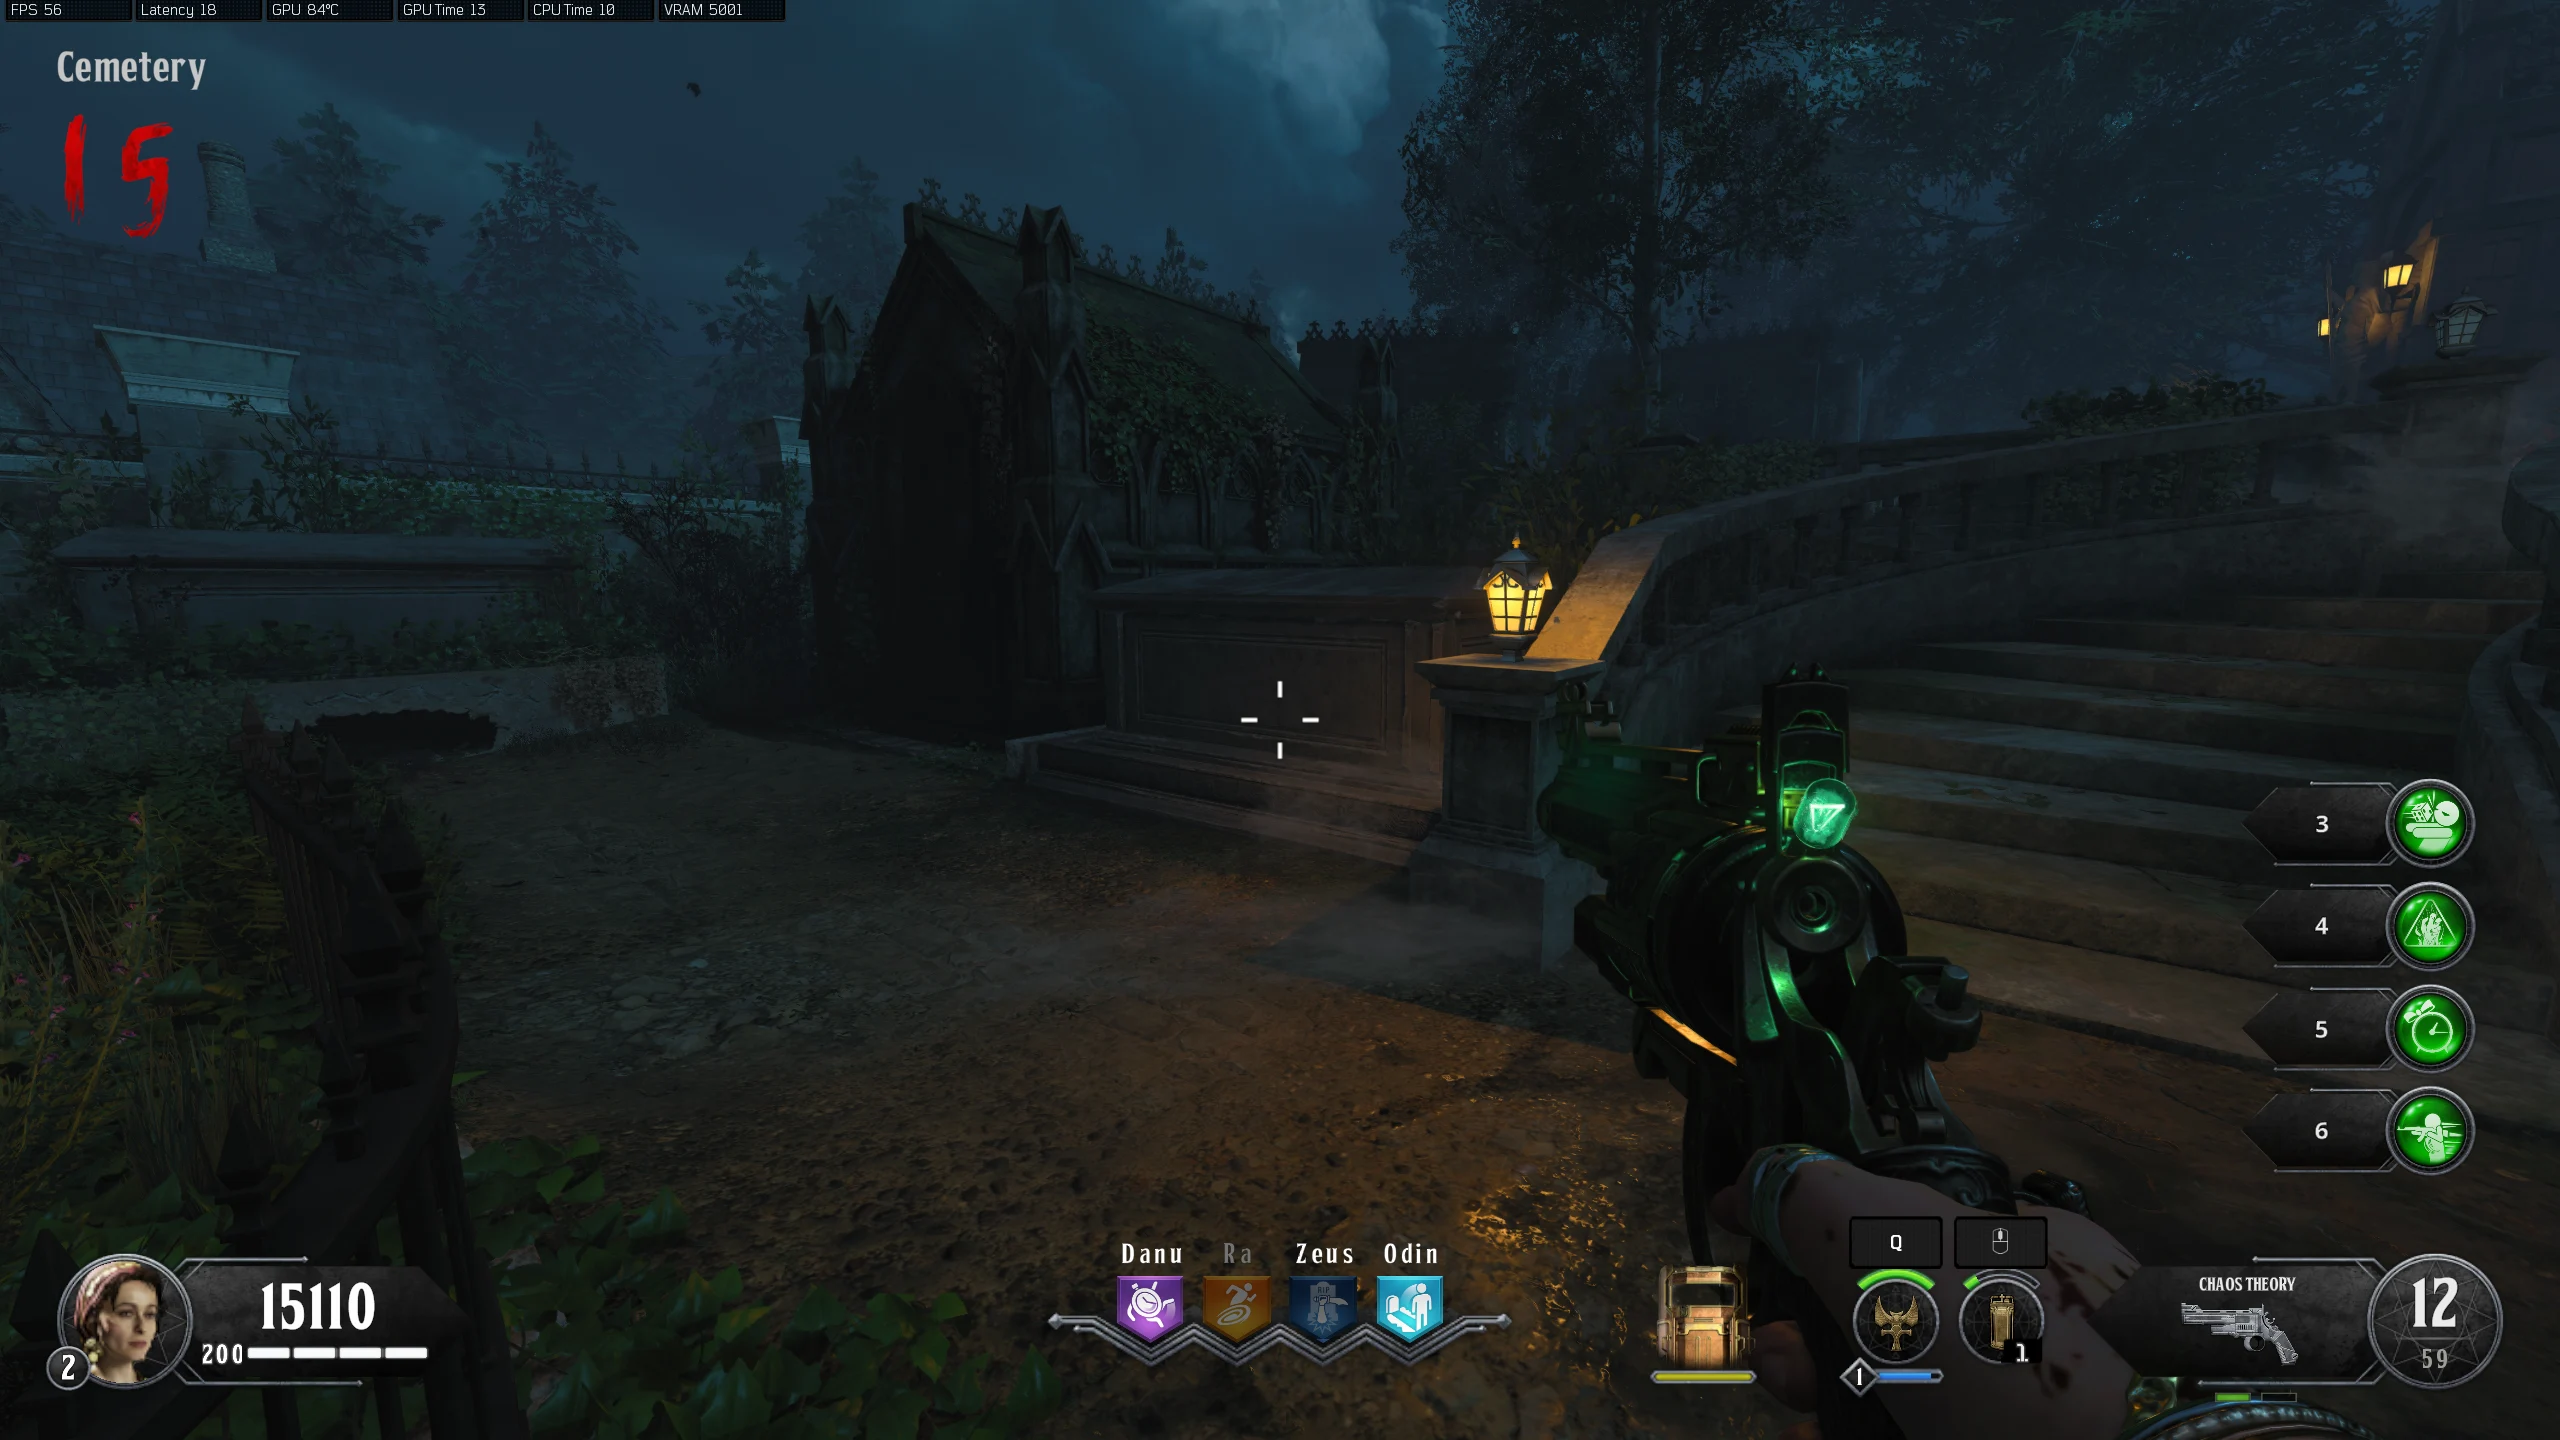
- Around the 'Cemetery,' there will be a tombstone with one of the characters and the year "1912" on it. If solo, interact with the tombstone to activate "Green Vision". If co-op, only the player playing as the character shown on the tombstone can activate "Green Vision", if that character is not in the game, anyone can activate it.
- In the Green Vision, the five branches will form an effigy. You must shoot a Charged Fireball Shot from Alistair's Annihilator at the base of the effigy and hold interact on the effigy.
- A short cutscene will start where your character will attach themselves to the effigy and be sucked down into "Hell". After the cutscene, you will be returned to the map as a "ghost", as indicated by the blue effect on the screen.
- If you go down while in Ghost Mode, you will need to reactivate it by re-entering Green Vision, shooting the Charged Fireball Shot and interacting with the Effigy.
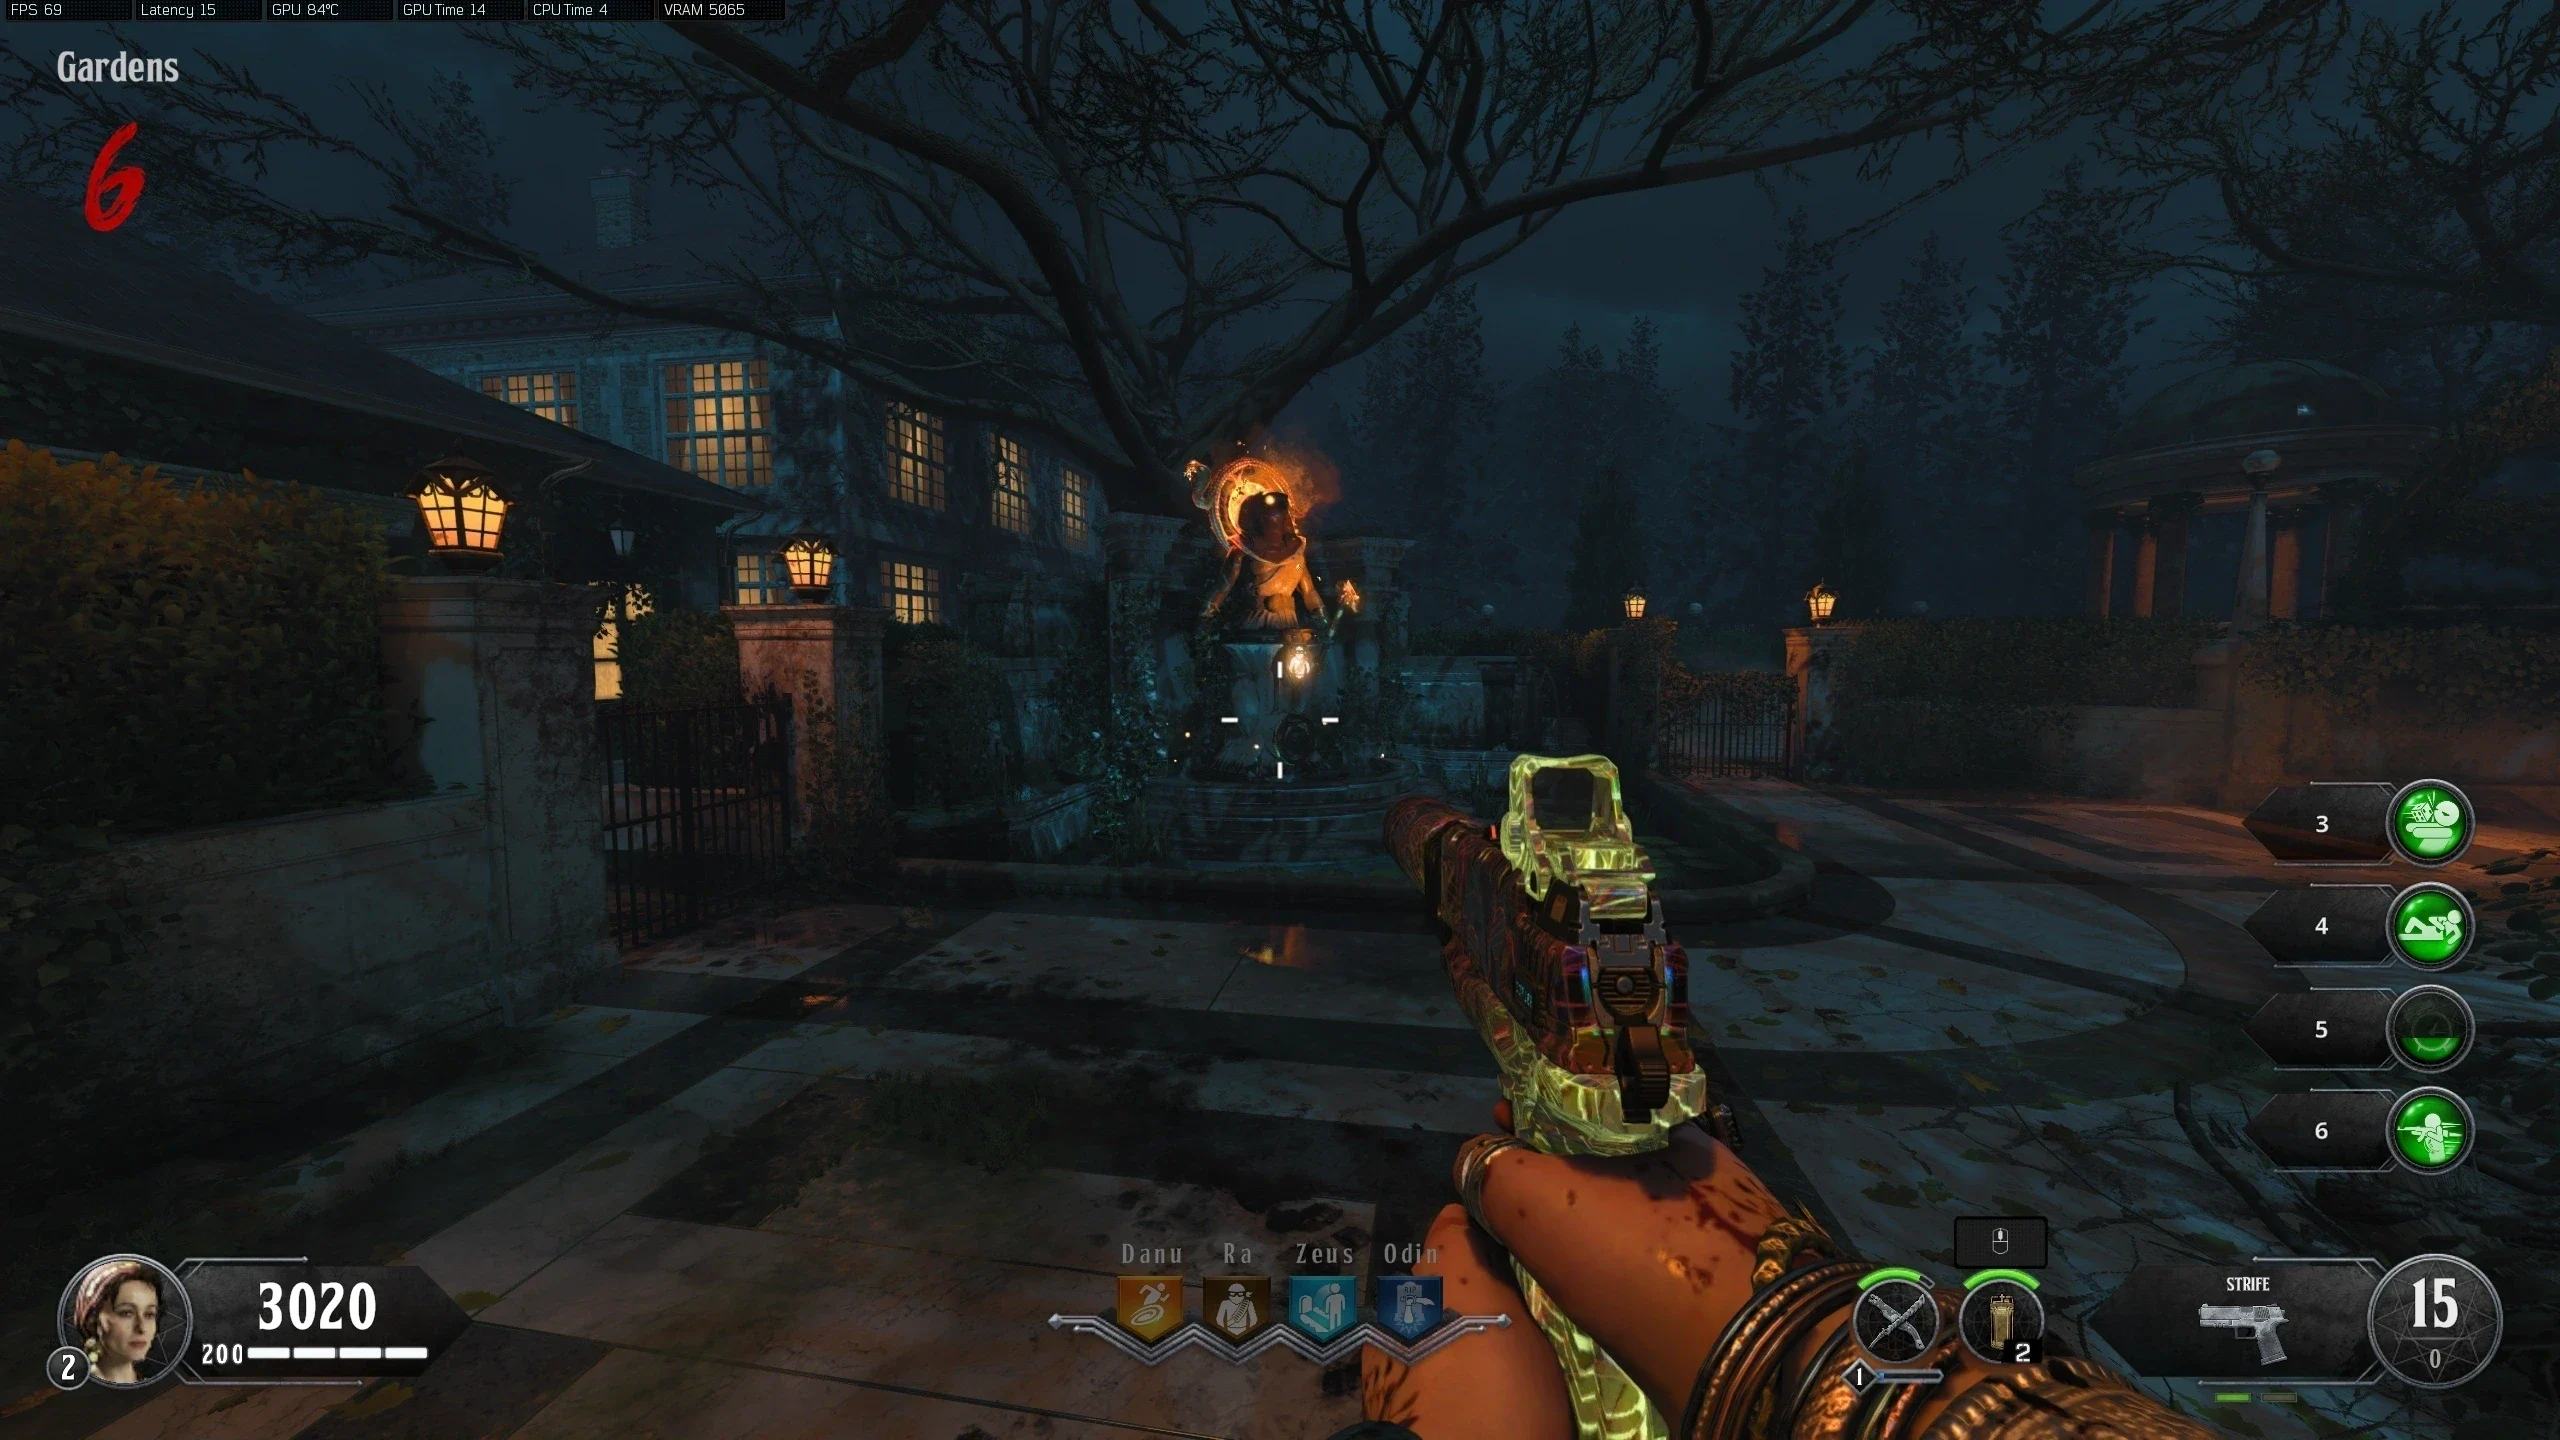
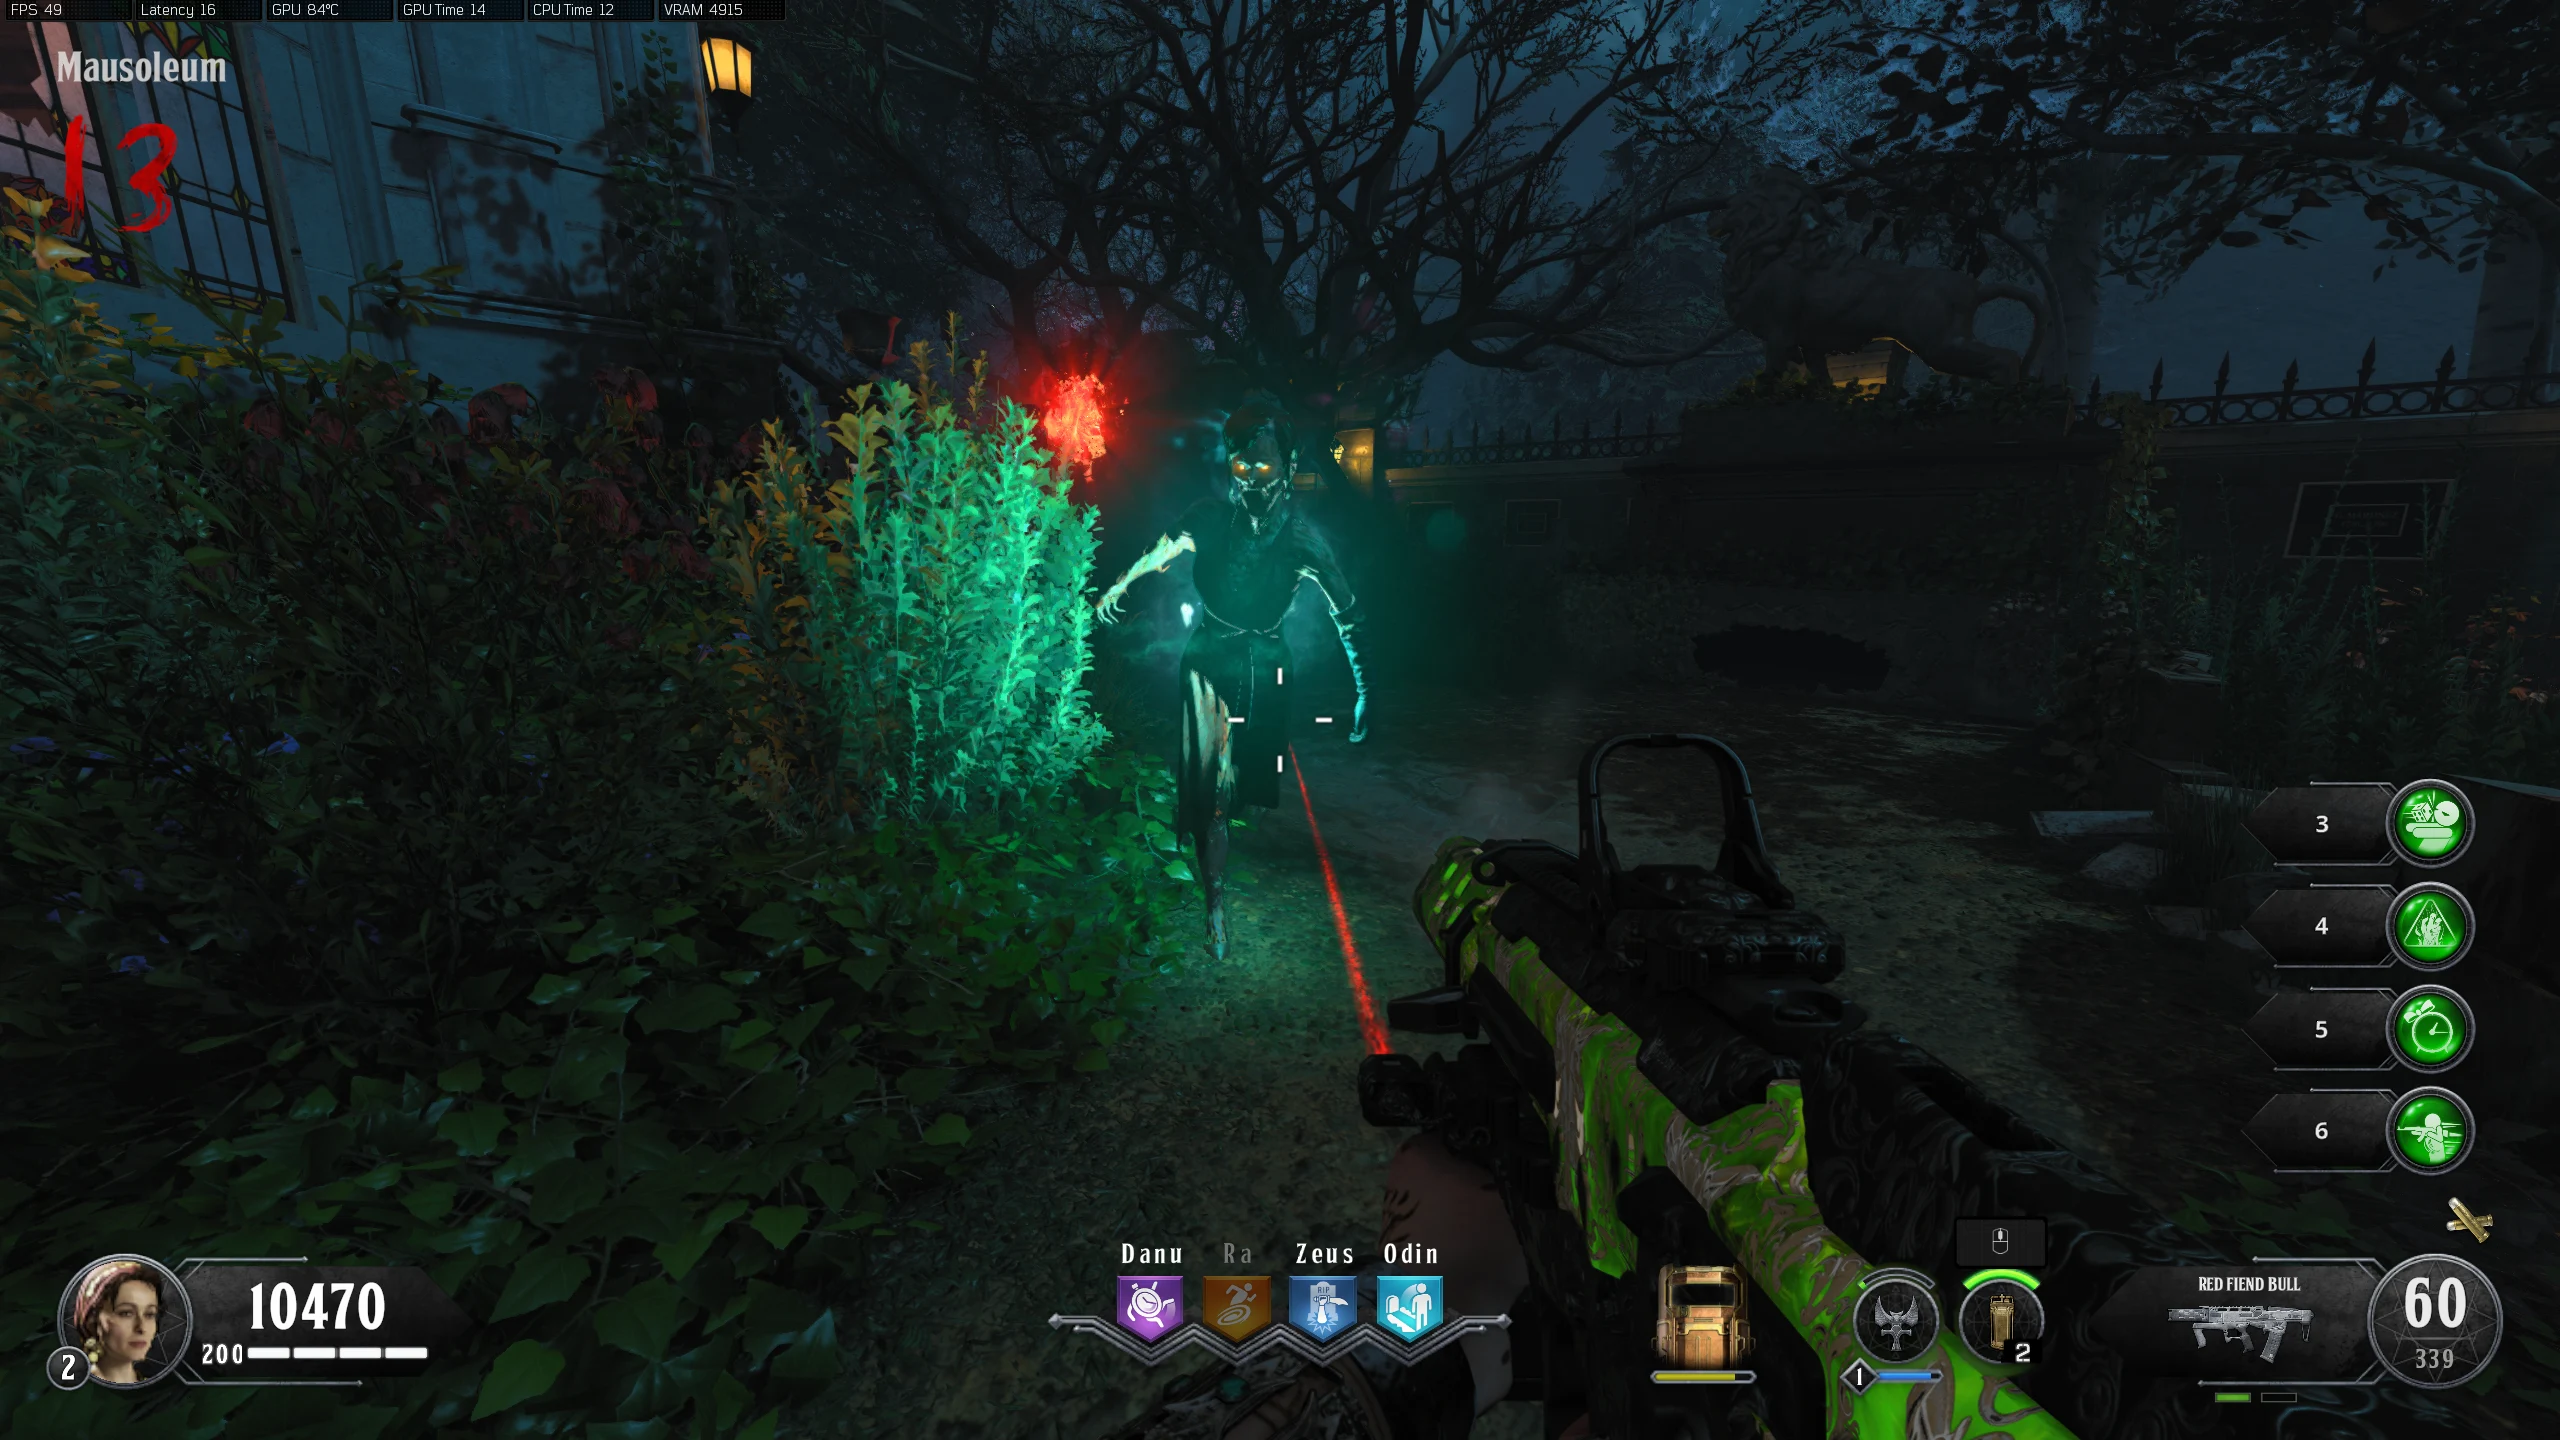
- While in Ghost Mode, you must find and escort a ghost lady to the 'Cemetery.' She can spawn in random locations around the map, but some of the more common locations are below:
- Entrance Hall - Near/Inside the Danu Perk Statue
- Wine Cellar - Inside the right-most Zombie spawn
- Master Bedroom - Inside the Zombie spawn
- Dining Room - Behind the table at the end of the room
- Once you find the ghost, escort her back to the Mystery Box location in the 'Cemetery.' Once she gets there, she will erupt into flames and drop a Stone.
- Interact with the Stone to exit Ghost Mode. All players must then hold interact on the stone until it floats up to activate a lockdown.
- During the lockdown, Zombies and Vampires will endlessly spawn. After a couple of minutes, a few Werewolves will spawn. Once all the Werewolves are killed, the screen will flash white, and you will be able to pick up the Stone. When you pick up the Stone, a Max Ammo will spawn.
Sagittarius - Effigy Quest line
Capricorn - Collecting Branches
If you are having trouble with the branches or finding/activating the tombstone, make sure you are not in the middle of another quest line, as this can halt the progress of this quest line. If you are, complete the other quest line, then come back to this one.
Aquarius - Entering Ghost Mode
Pisces - Activating the Lockdown
- Interact with each stone until you see the Knight to activate the Knight Quest Line.
- Obtain the Alistair's Annihilator and Ballistic Shield
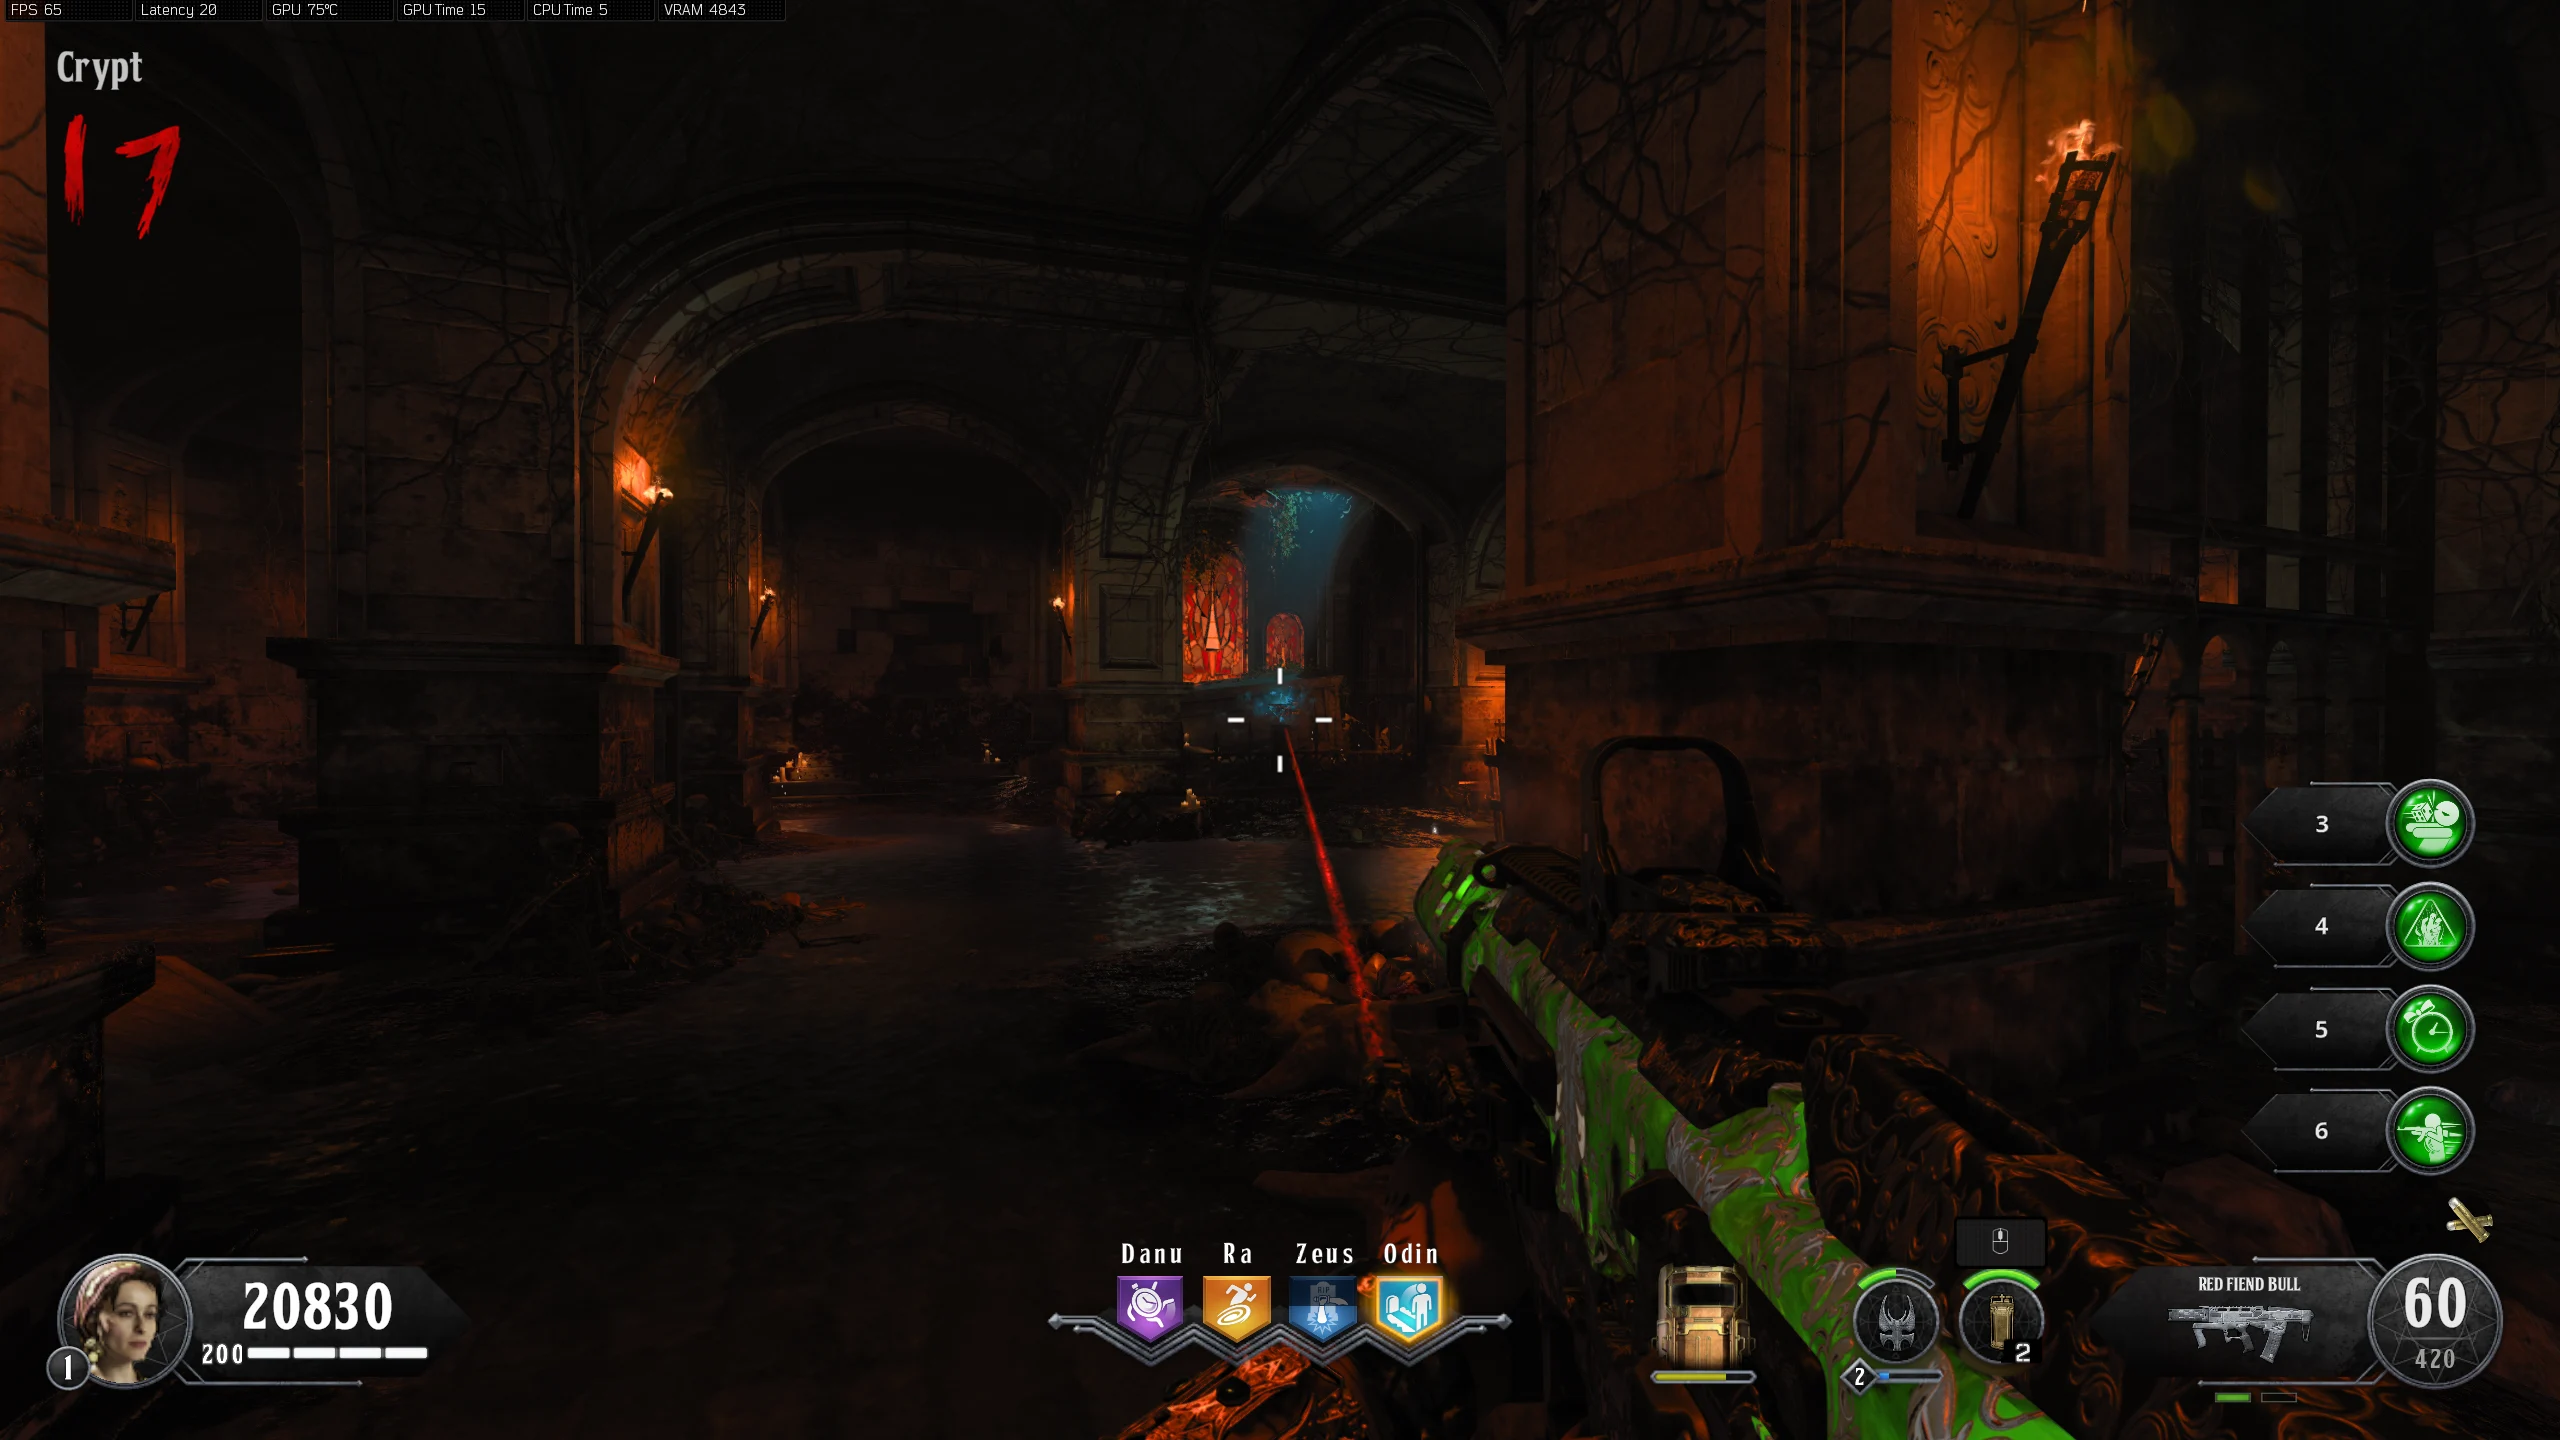
- Activate the Fire Trap in the 'Library' (and the one in the 'Master Bedroom' to do the third set if you'd like).
- Turn on a trap and shoot the flames from the trap with a Charged shot from Alistair's Annihilator to turn them blue.
- While the flames are blue, run through them while holding the shield to light it on fire.
- With the flaming shield, you must melee a set of fireplaces around the map in a certain order.
- The sets can be done in any order, but the order of the fireplaces in a set must always be done in the order shown below.
- Once a set is completed successfully, all the fireplaces will go out and a gem will spawn in the last one of the set.
- Set Order:
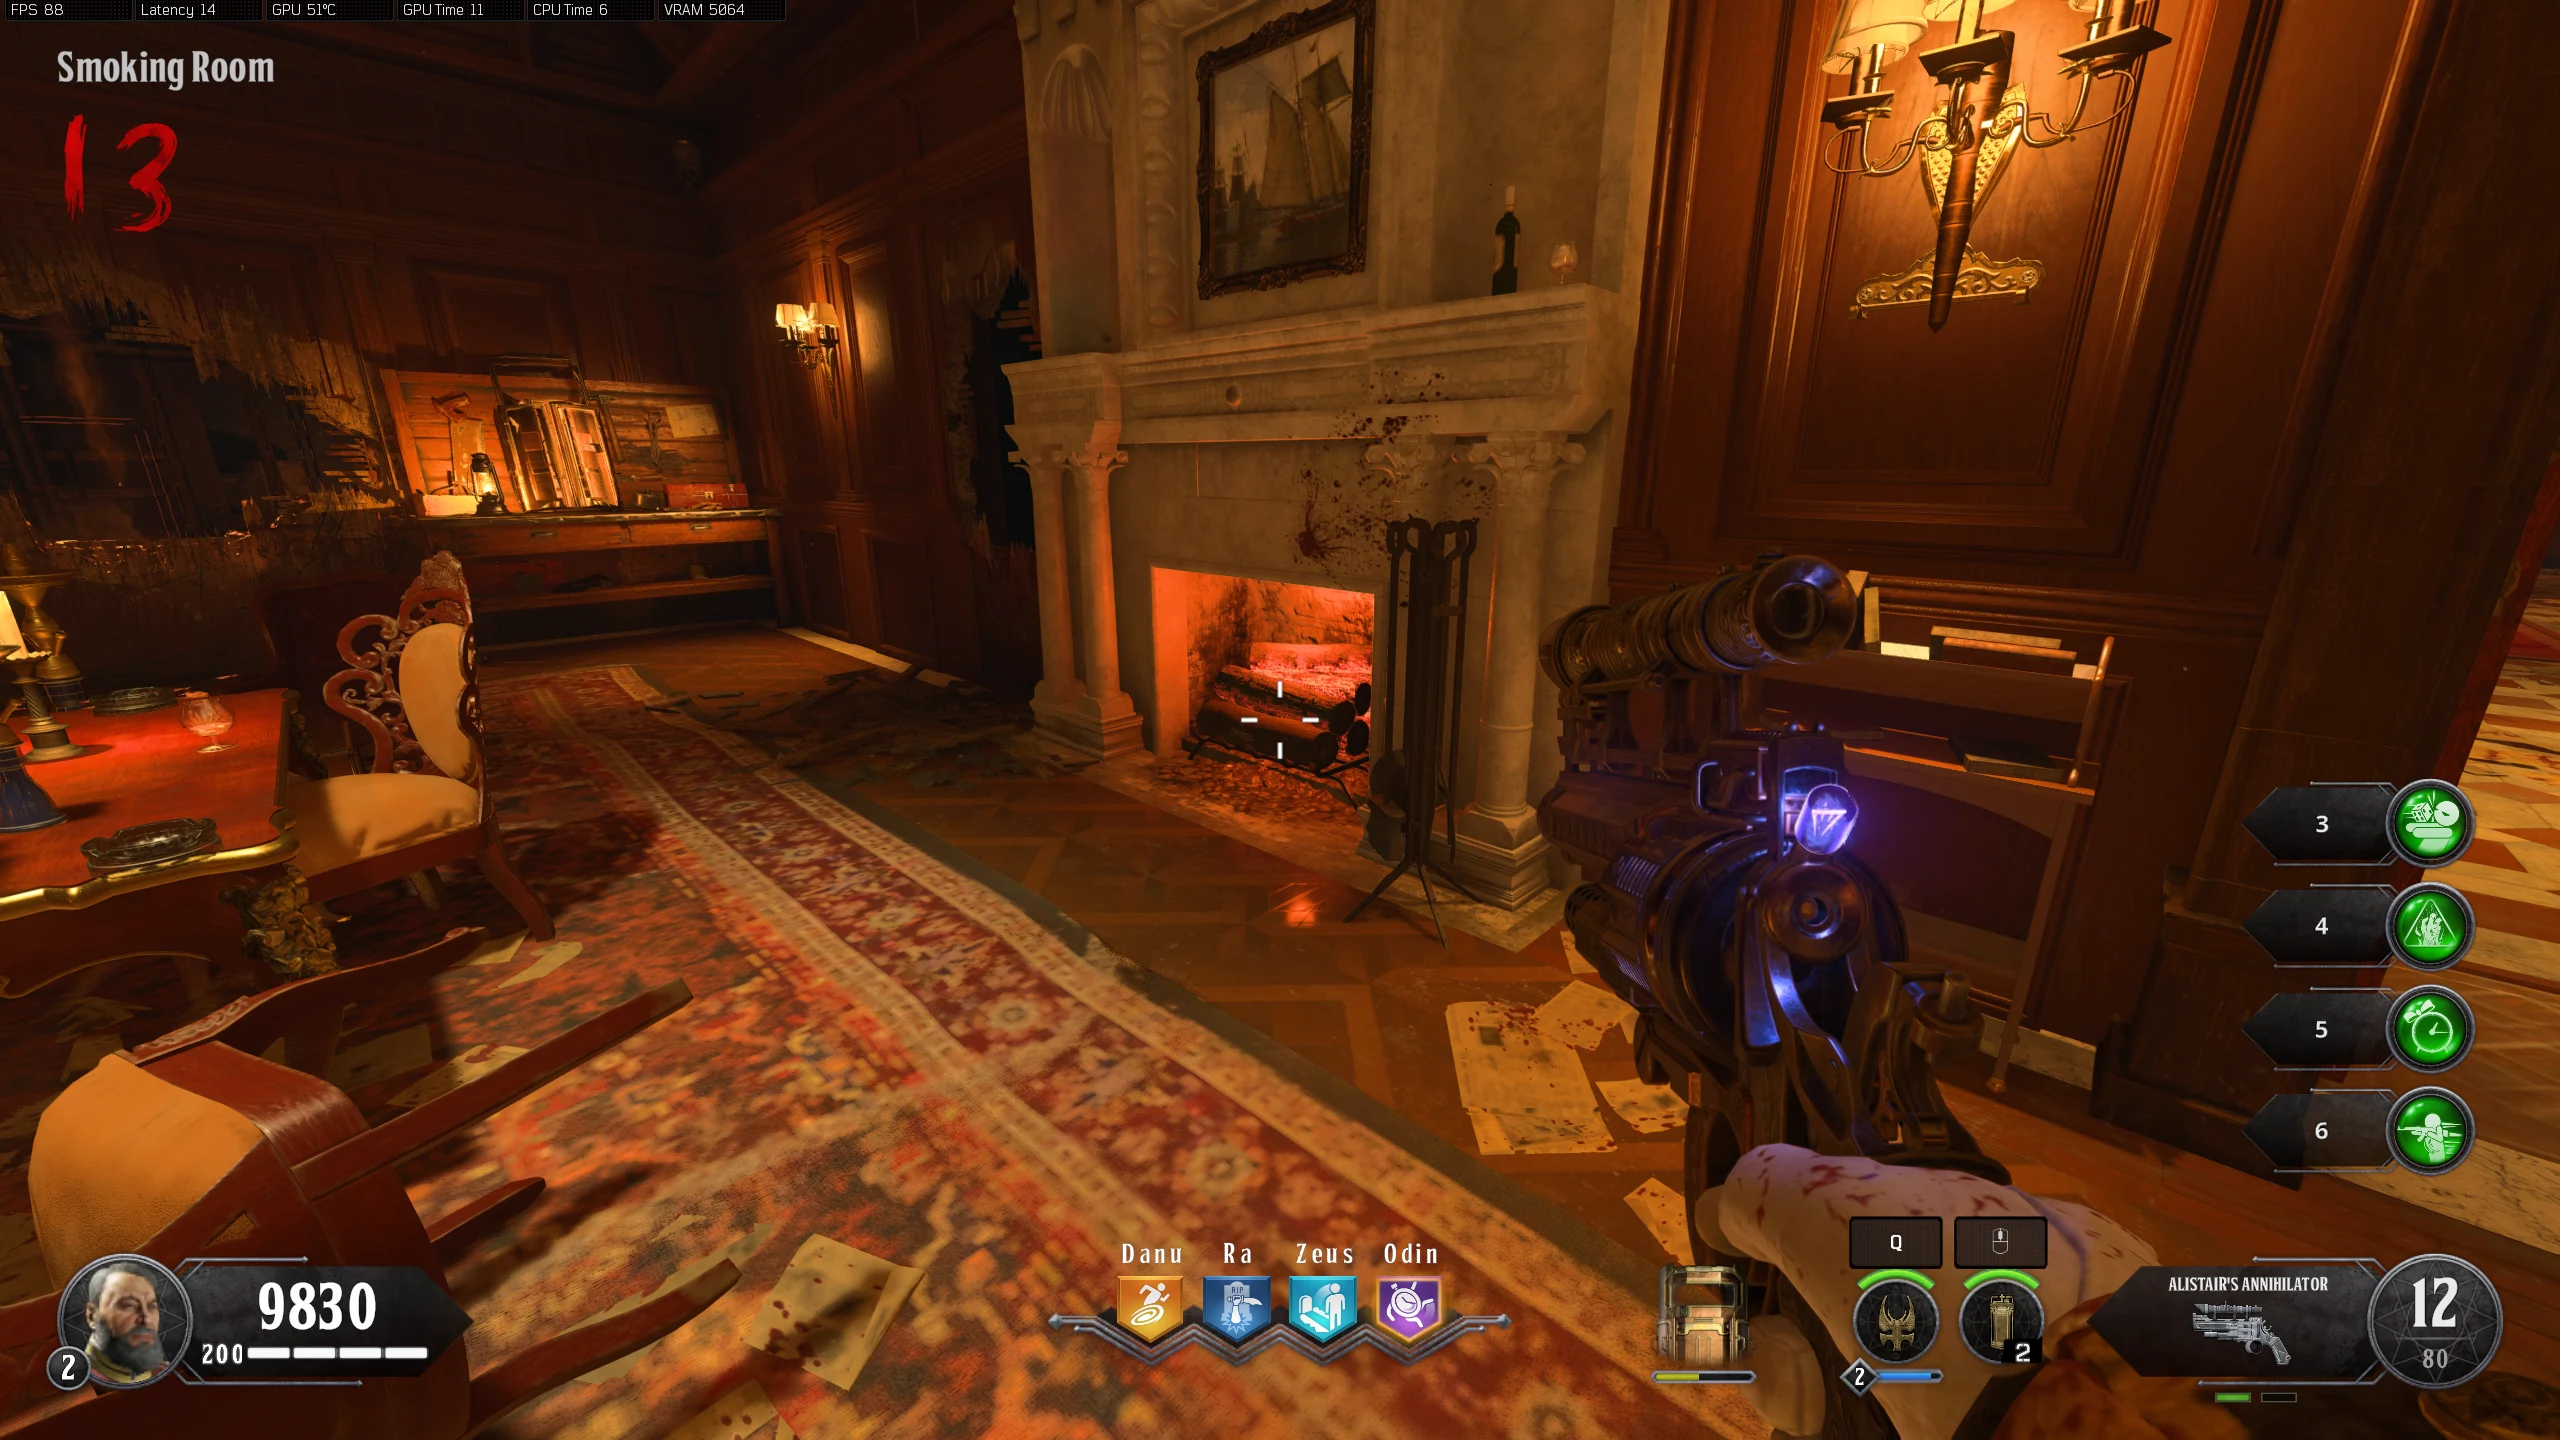
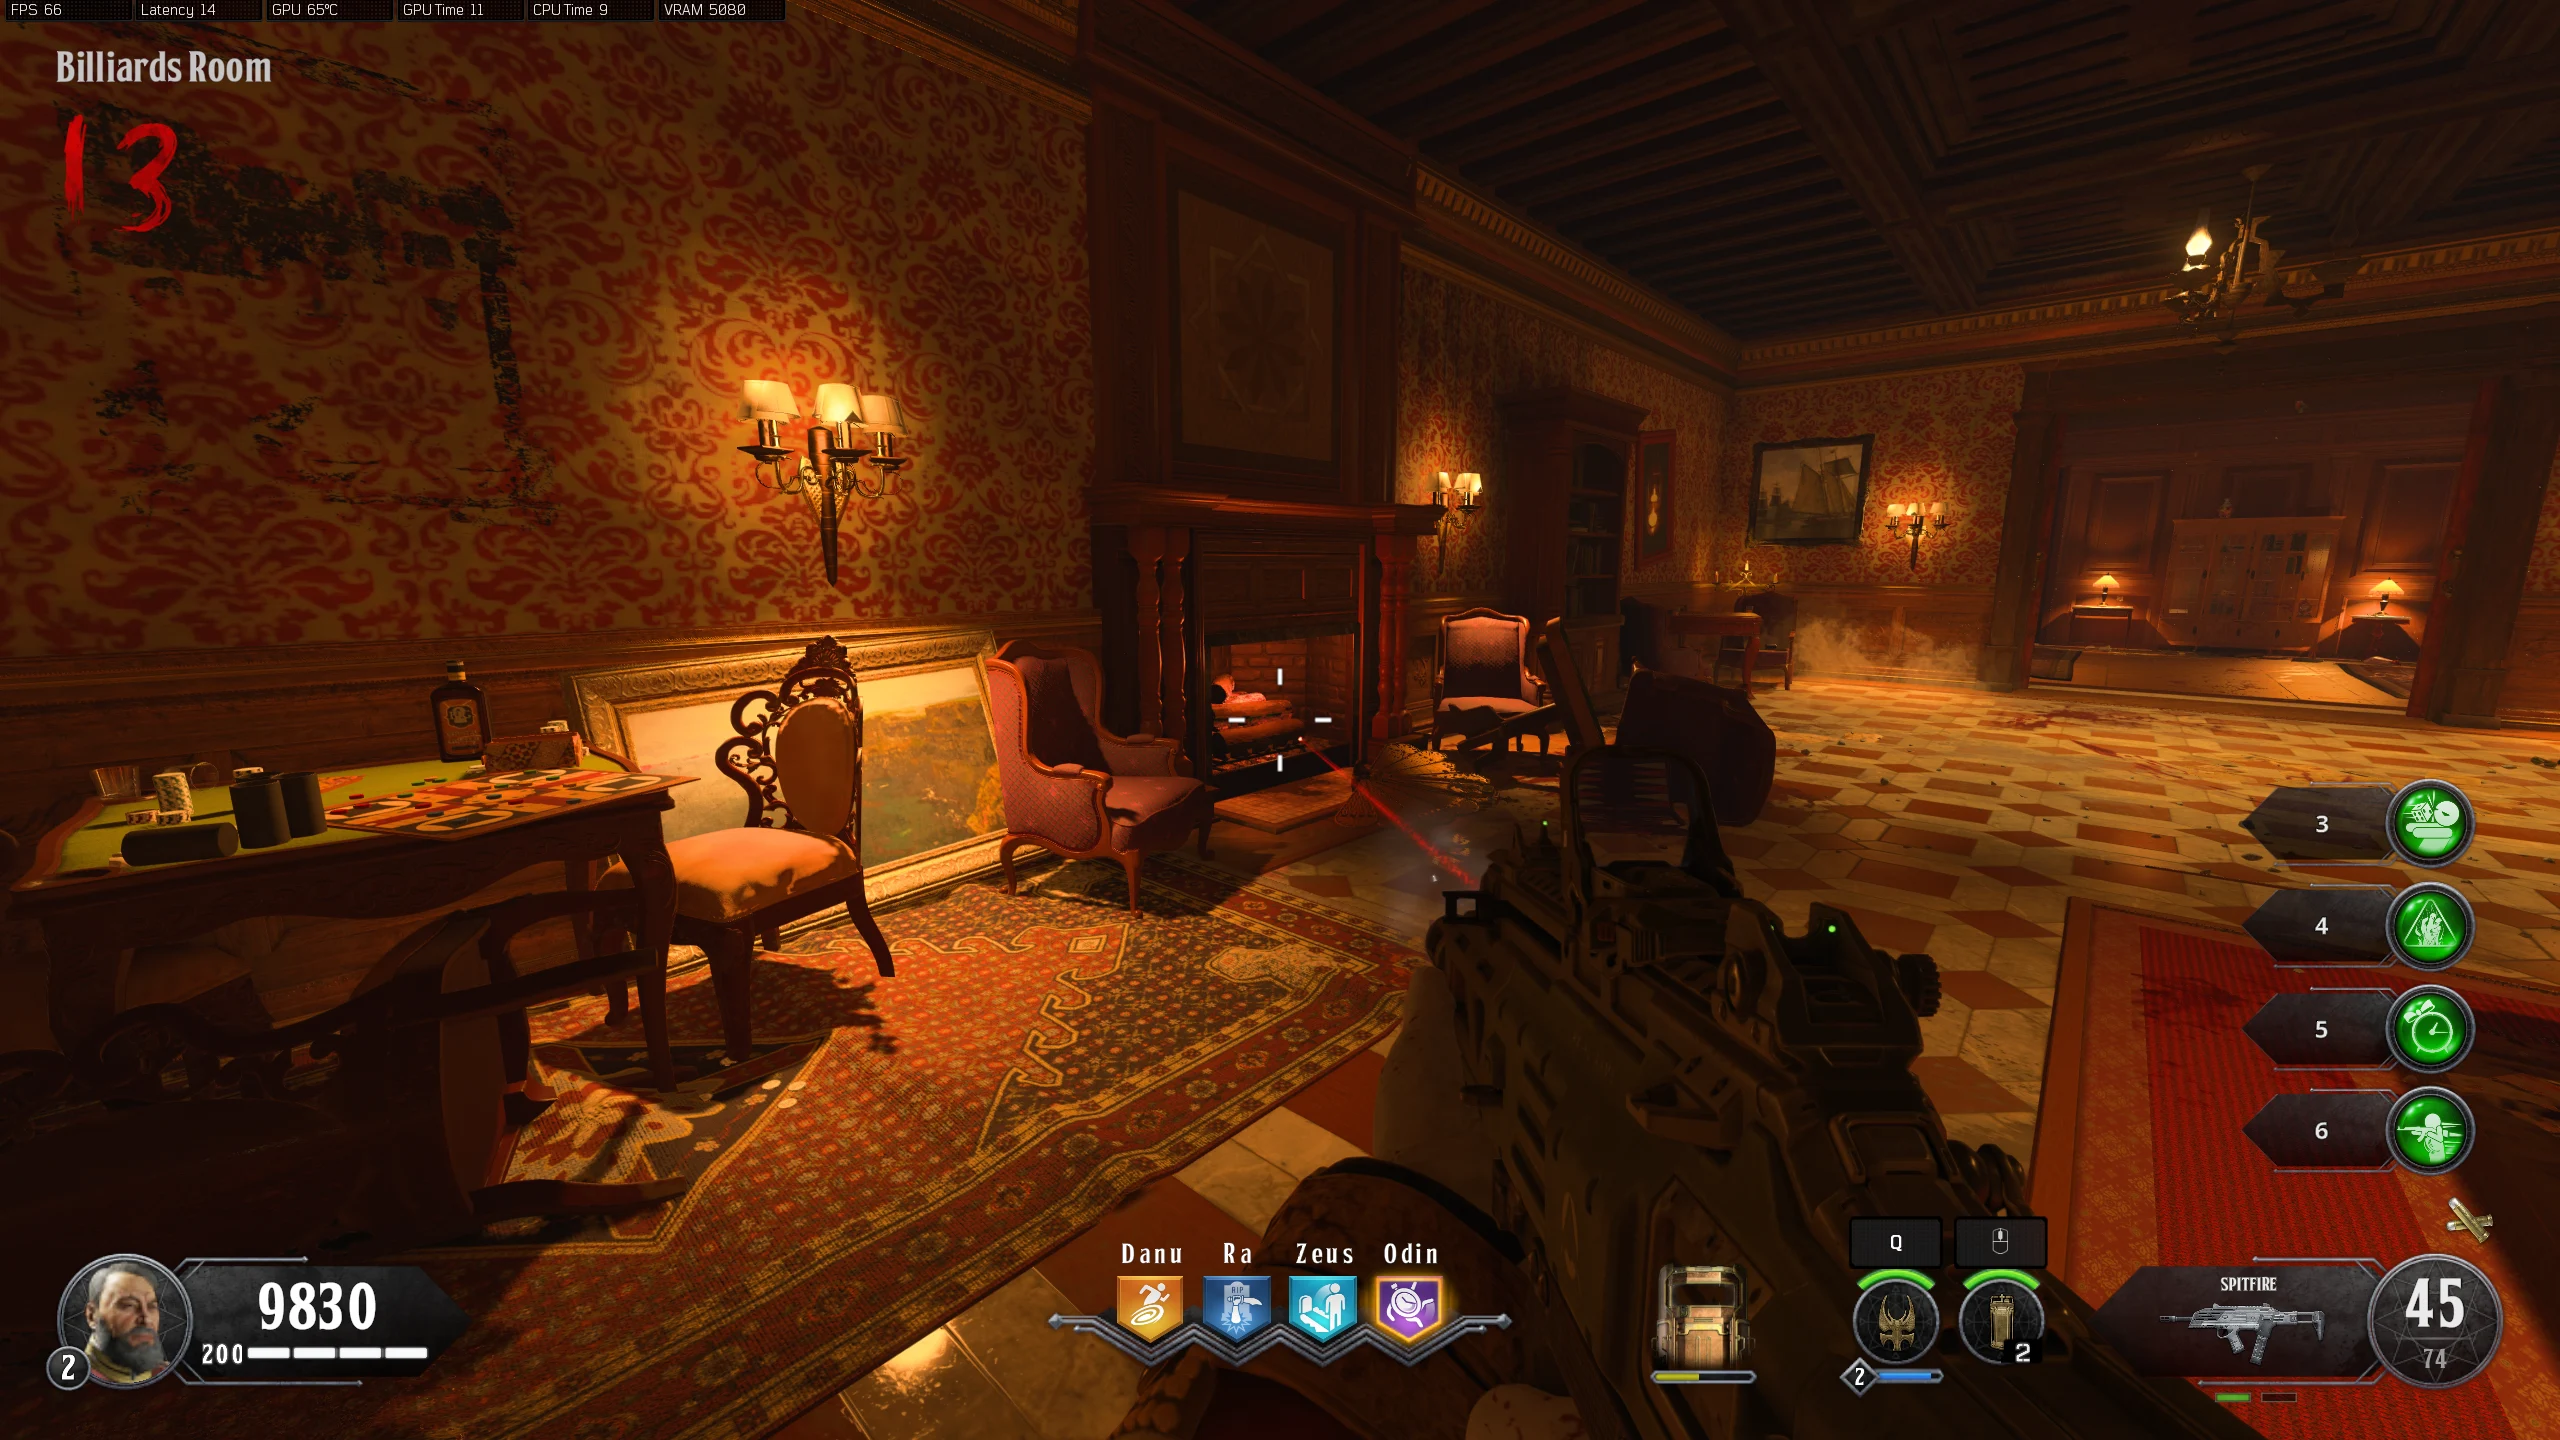
- First set: Smoking Room, Library (Right of Trap), Library (Left of Trap), Billiards Room
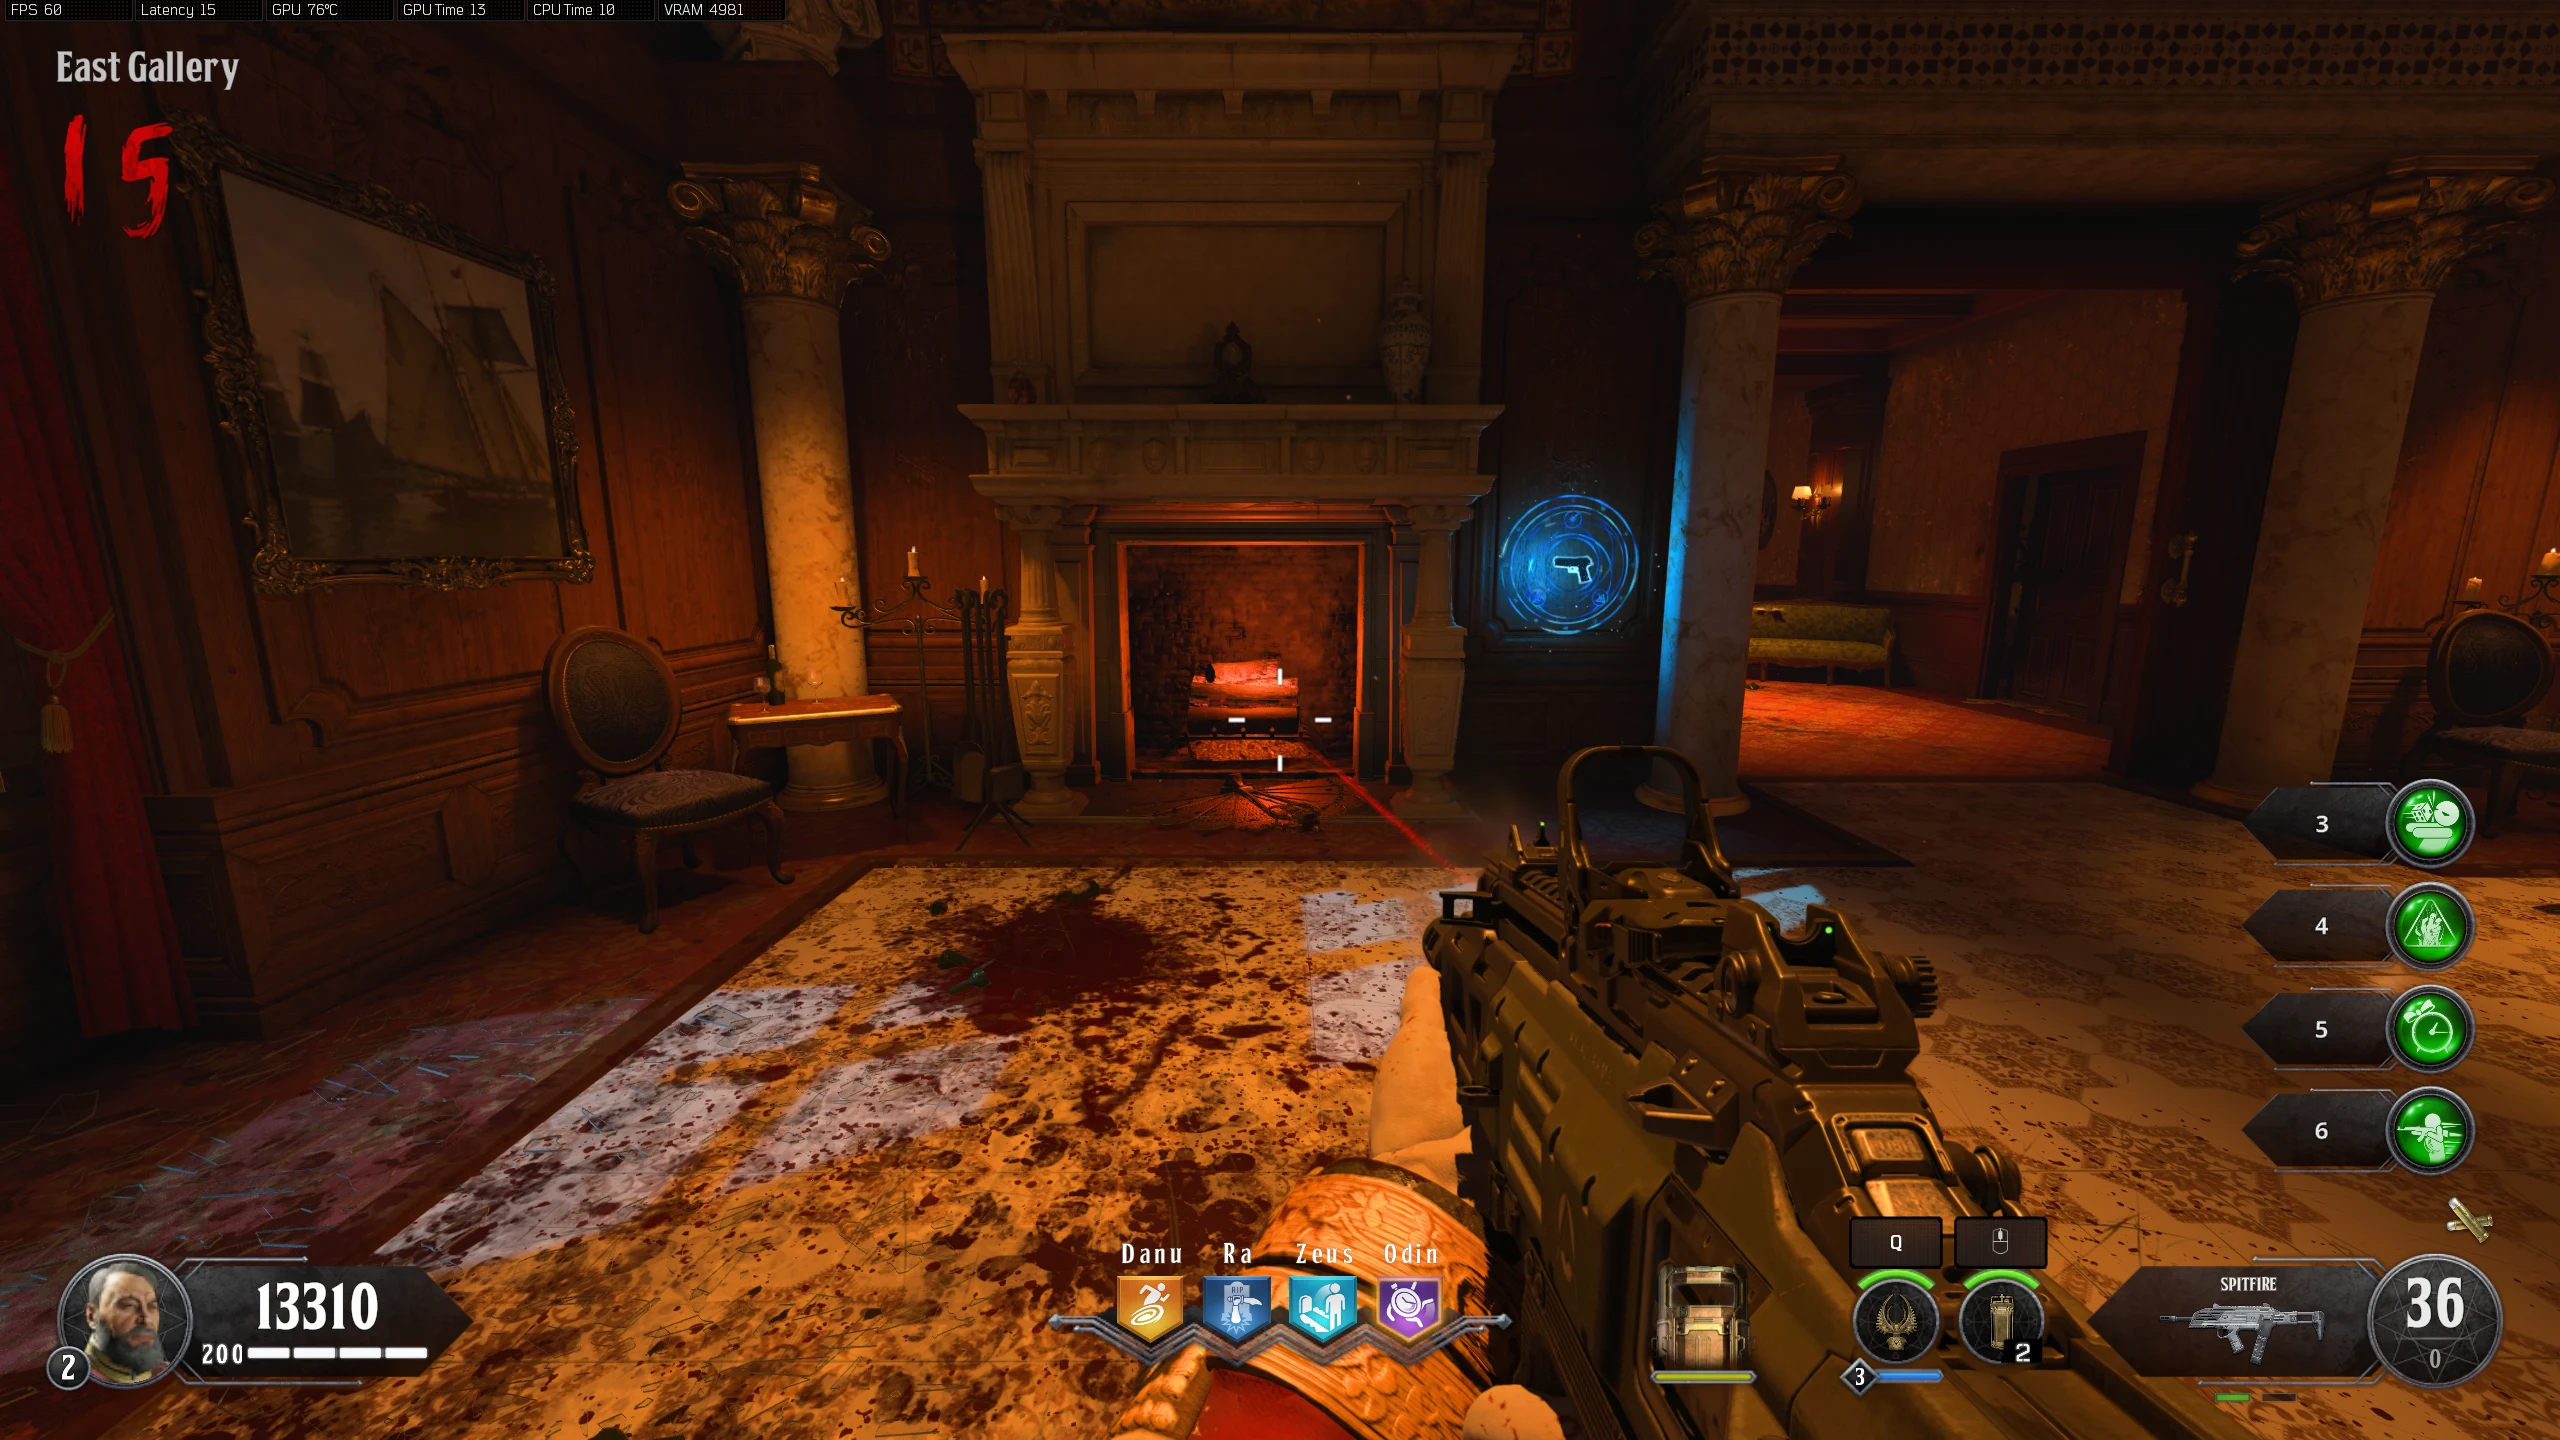
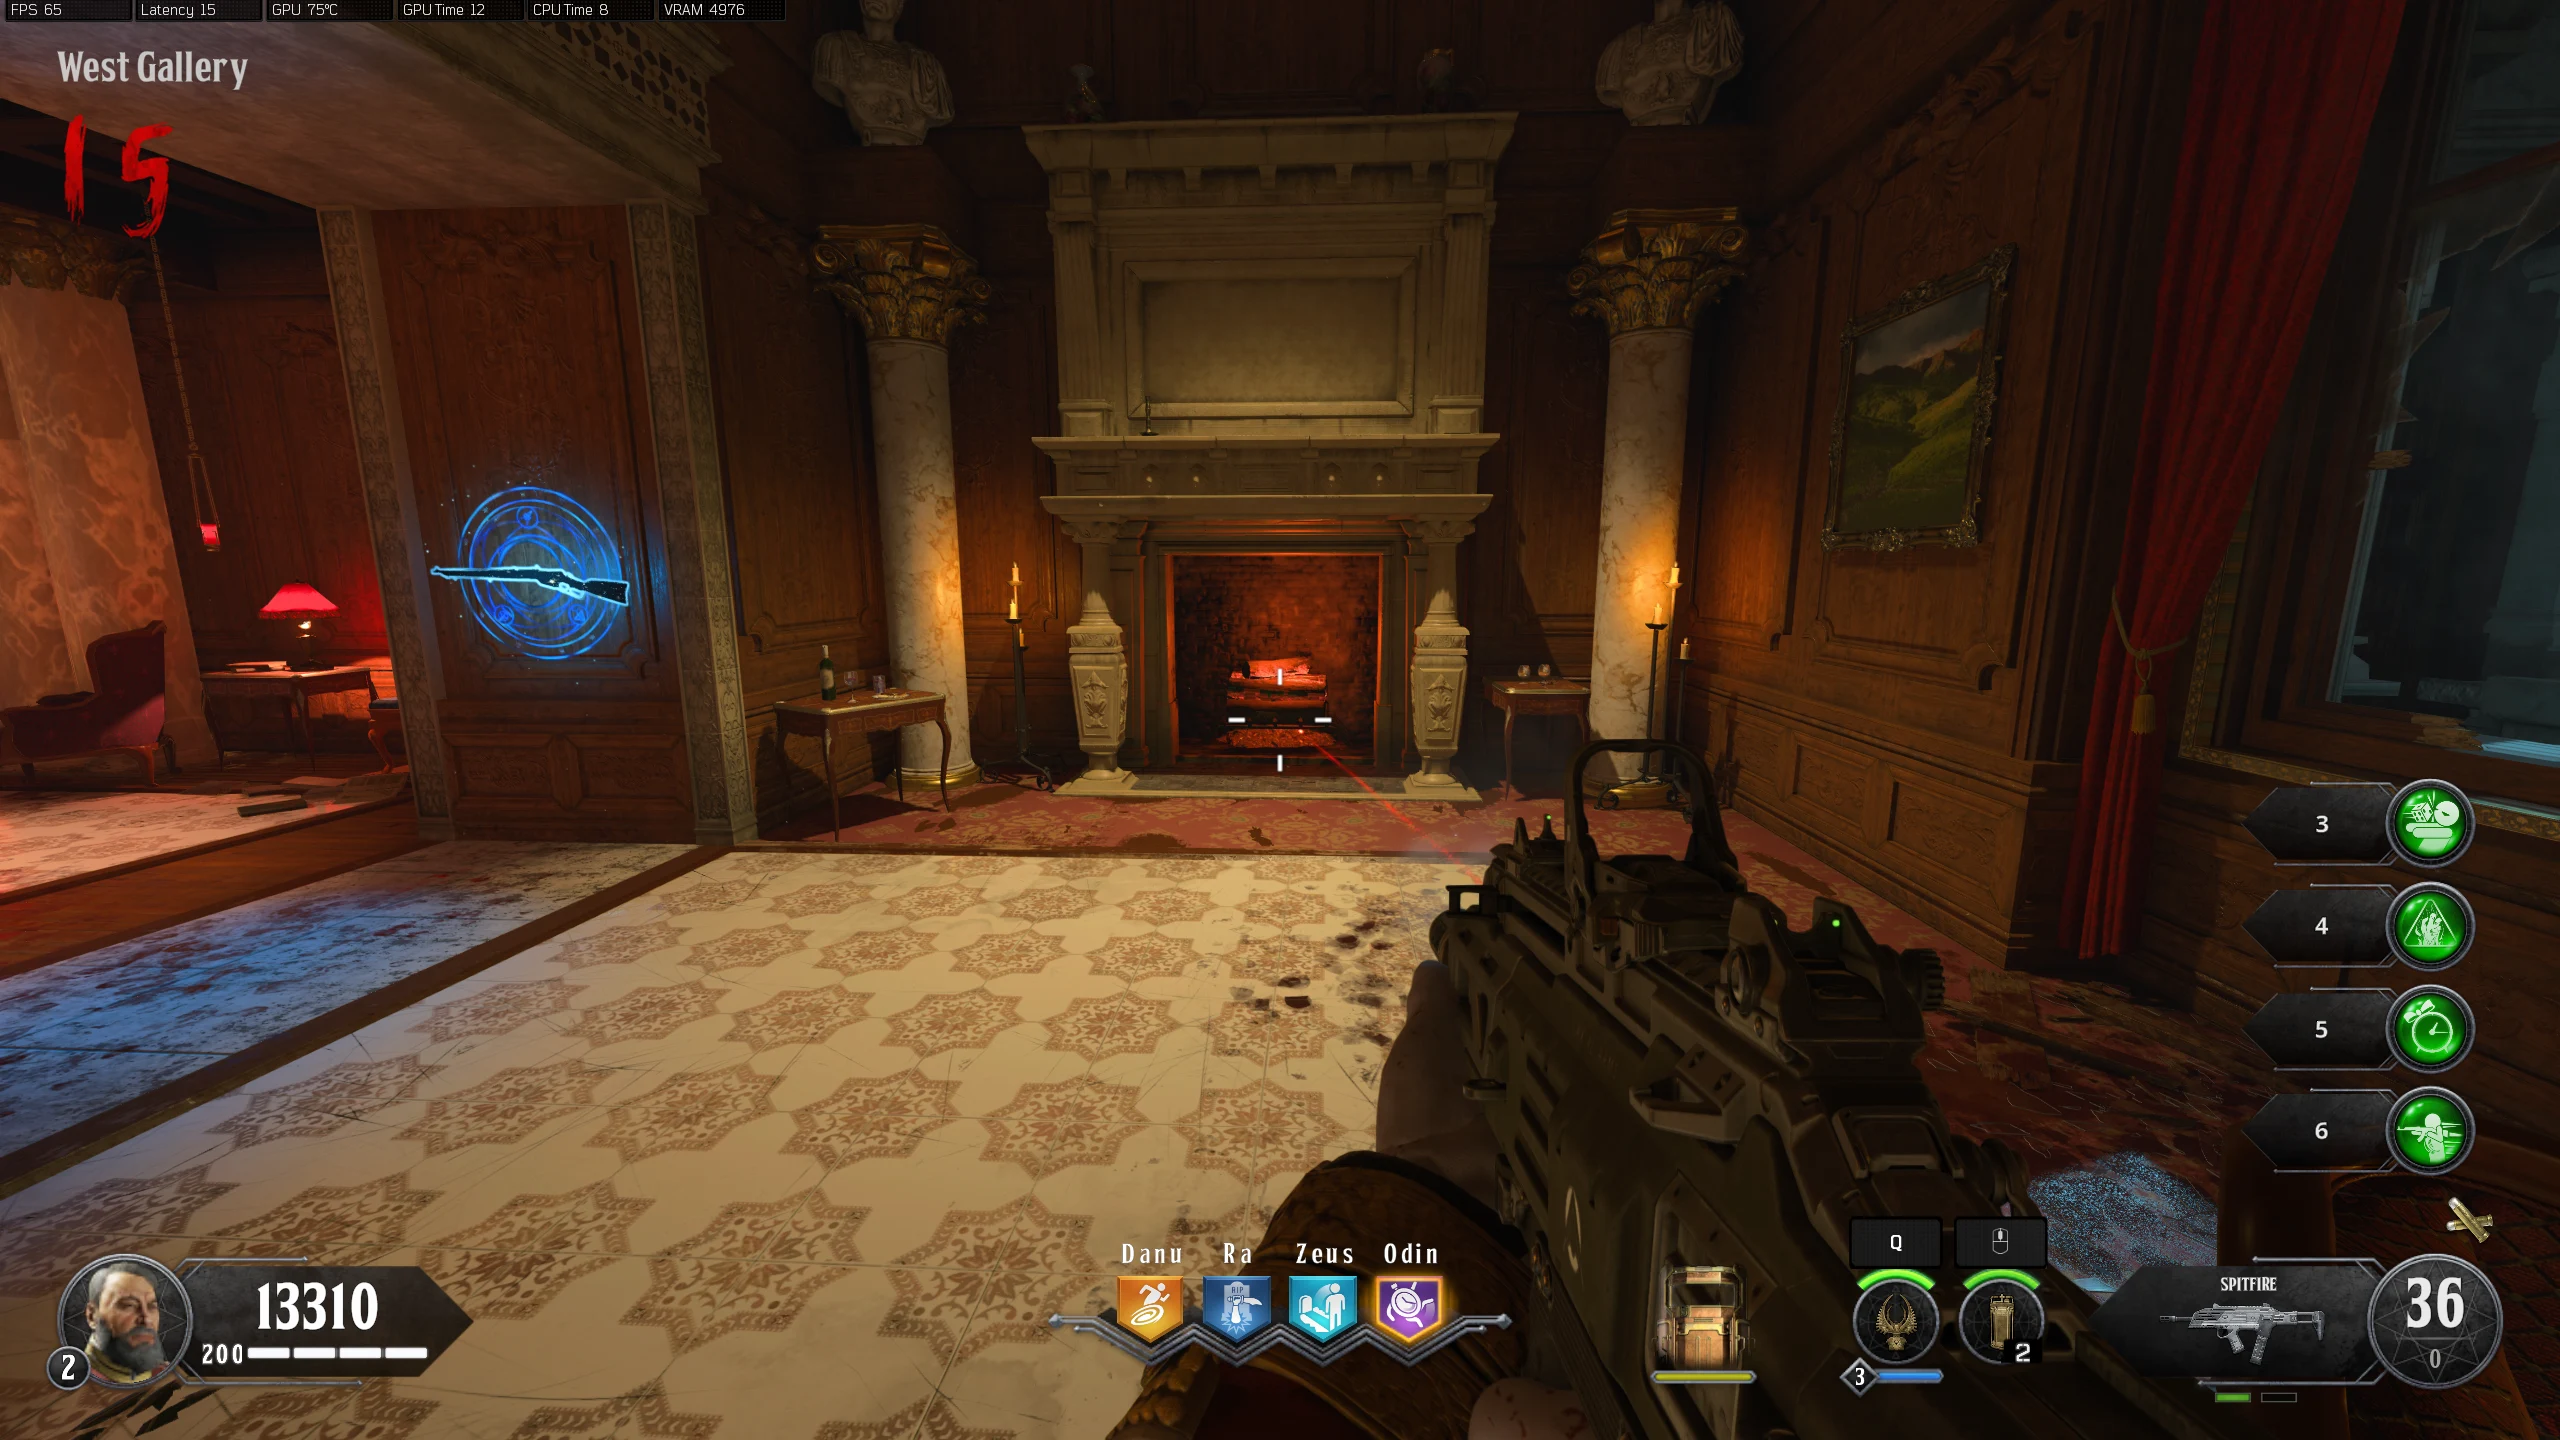
- Second set: Main Hall (Right of Mozu), East Gallery, Main Hall (Left of Mozu), West Gallery
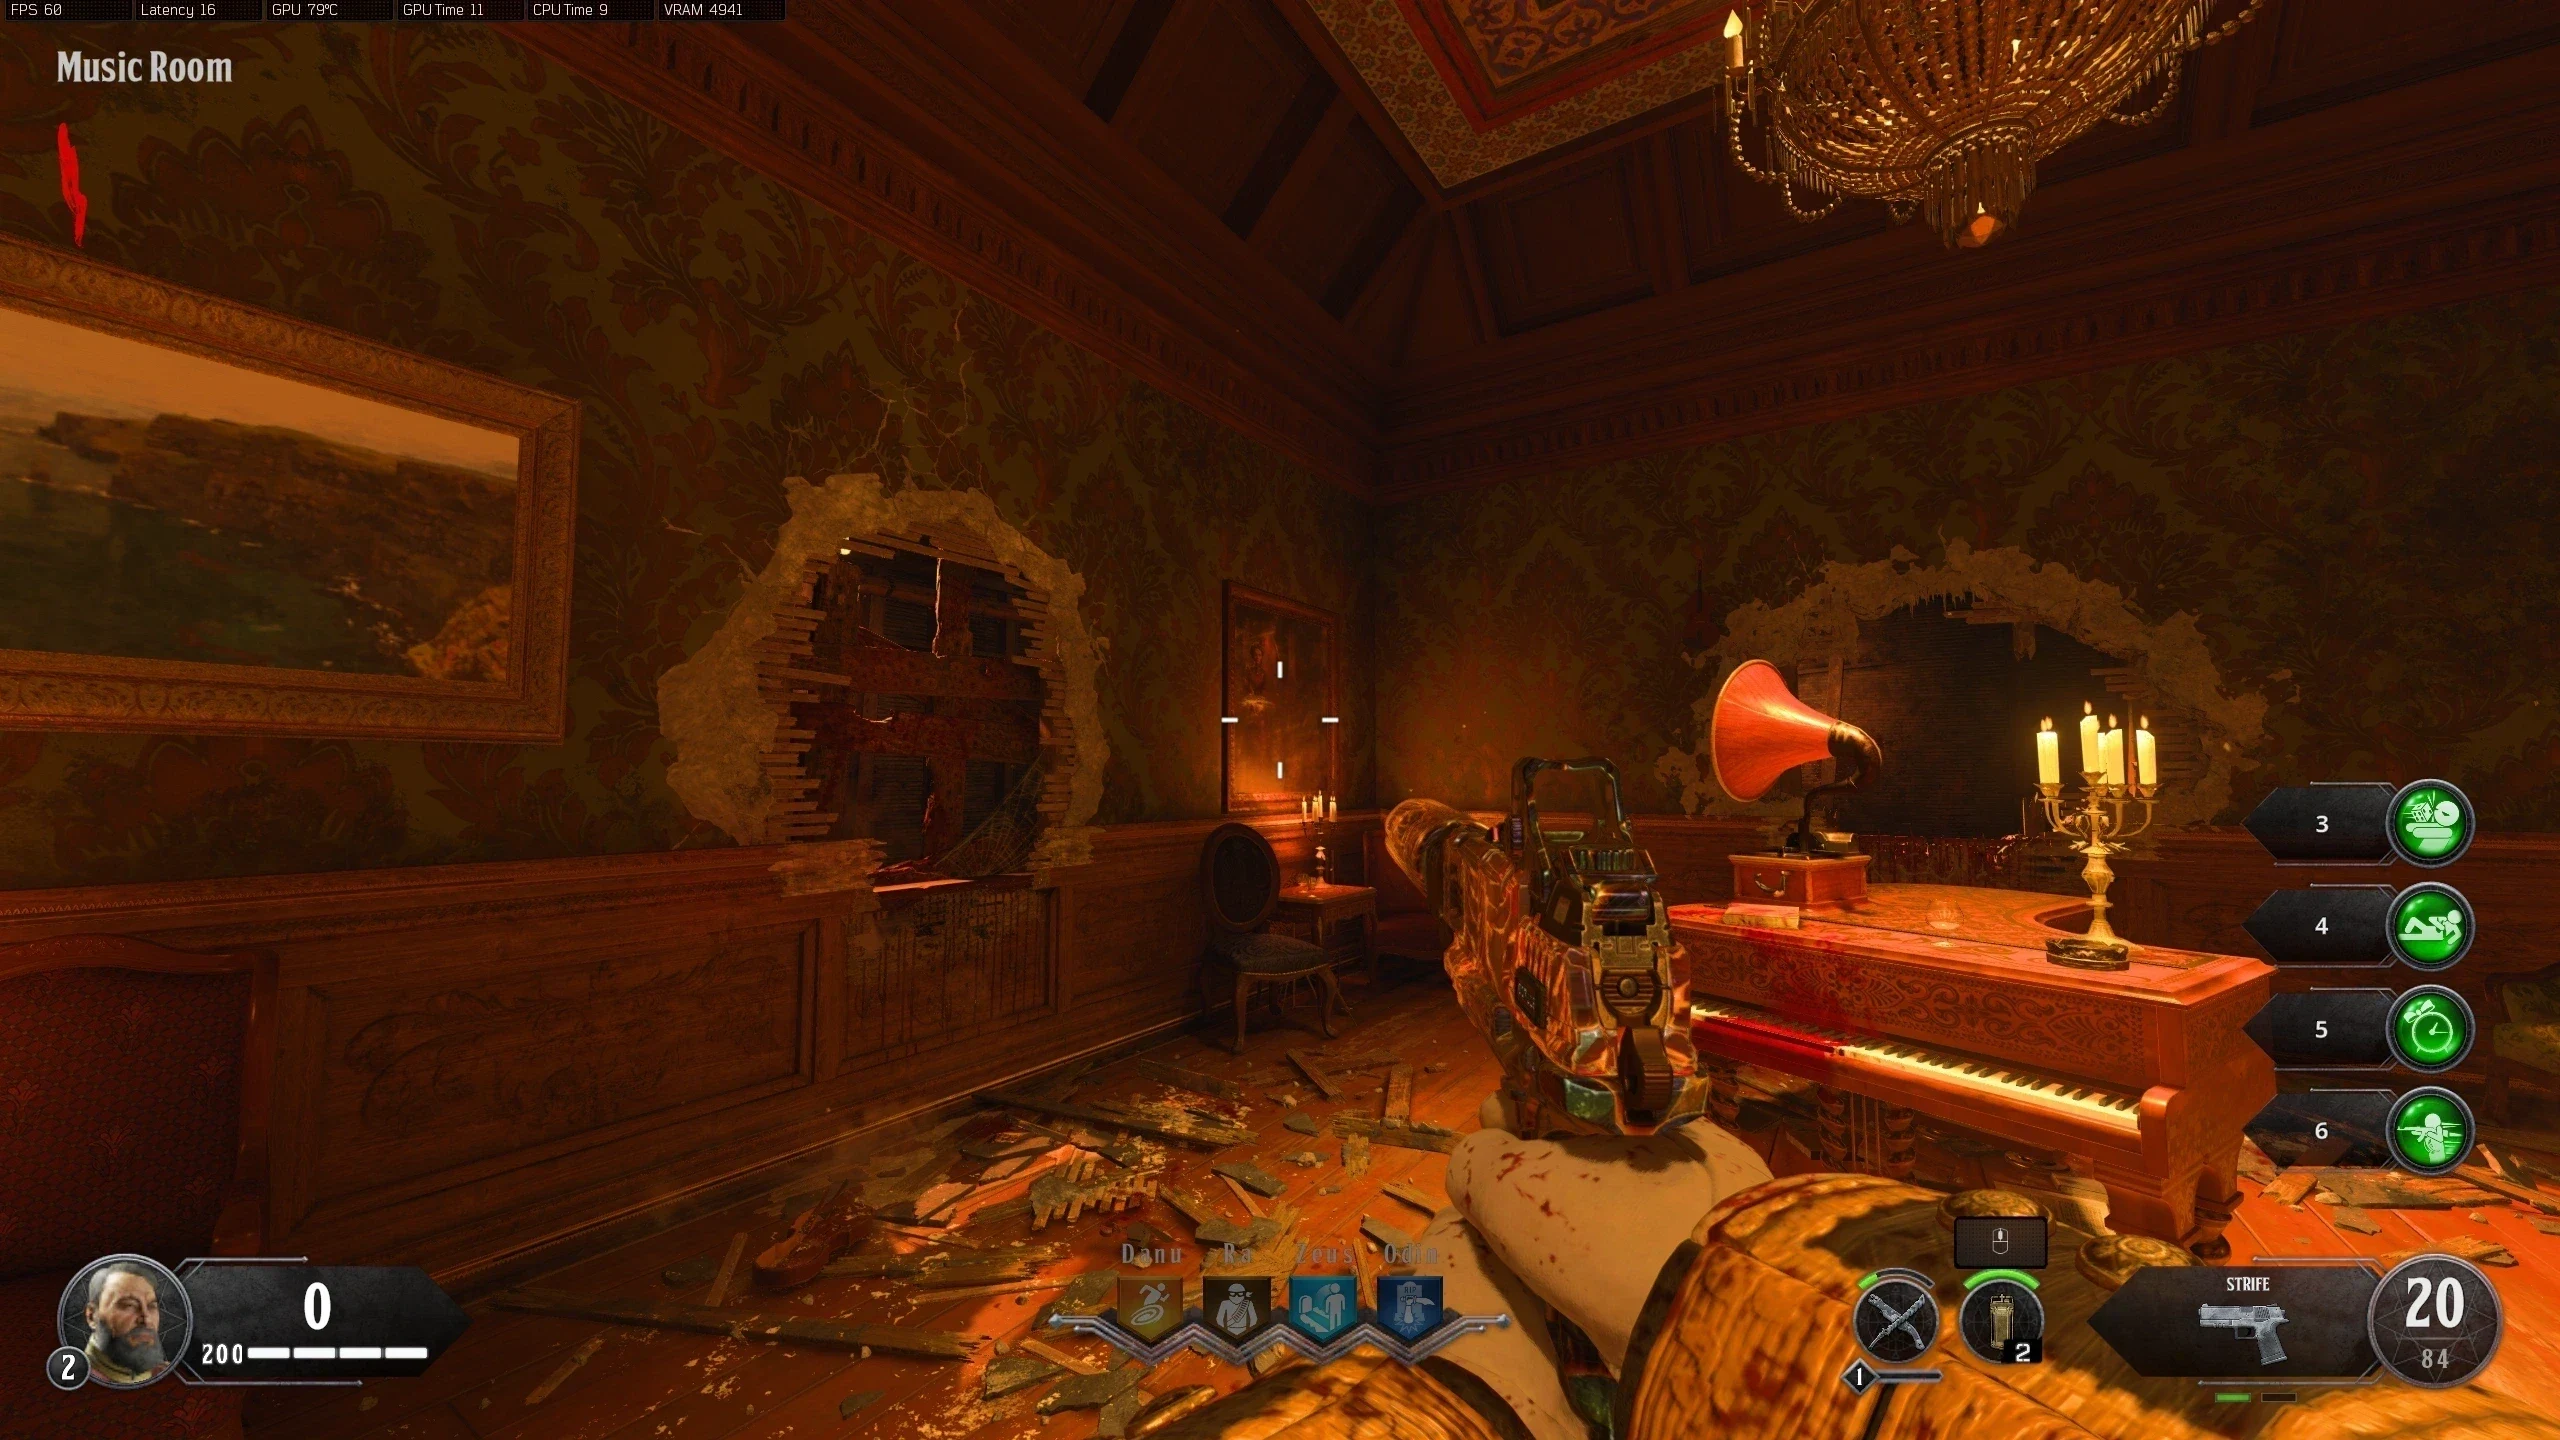
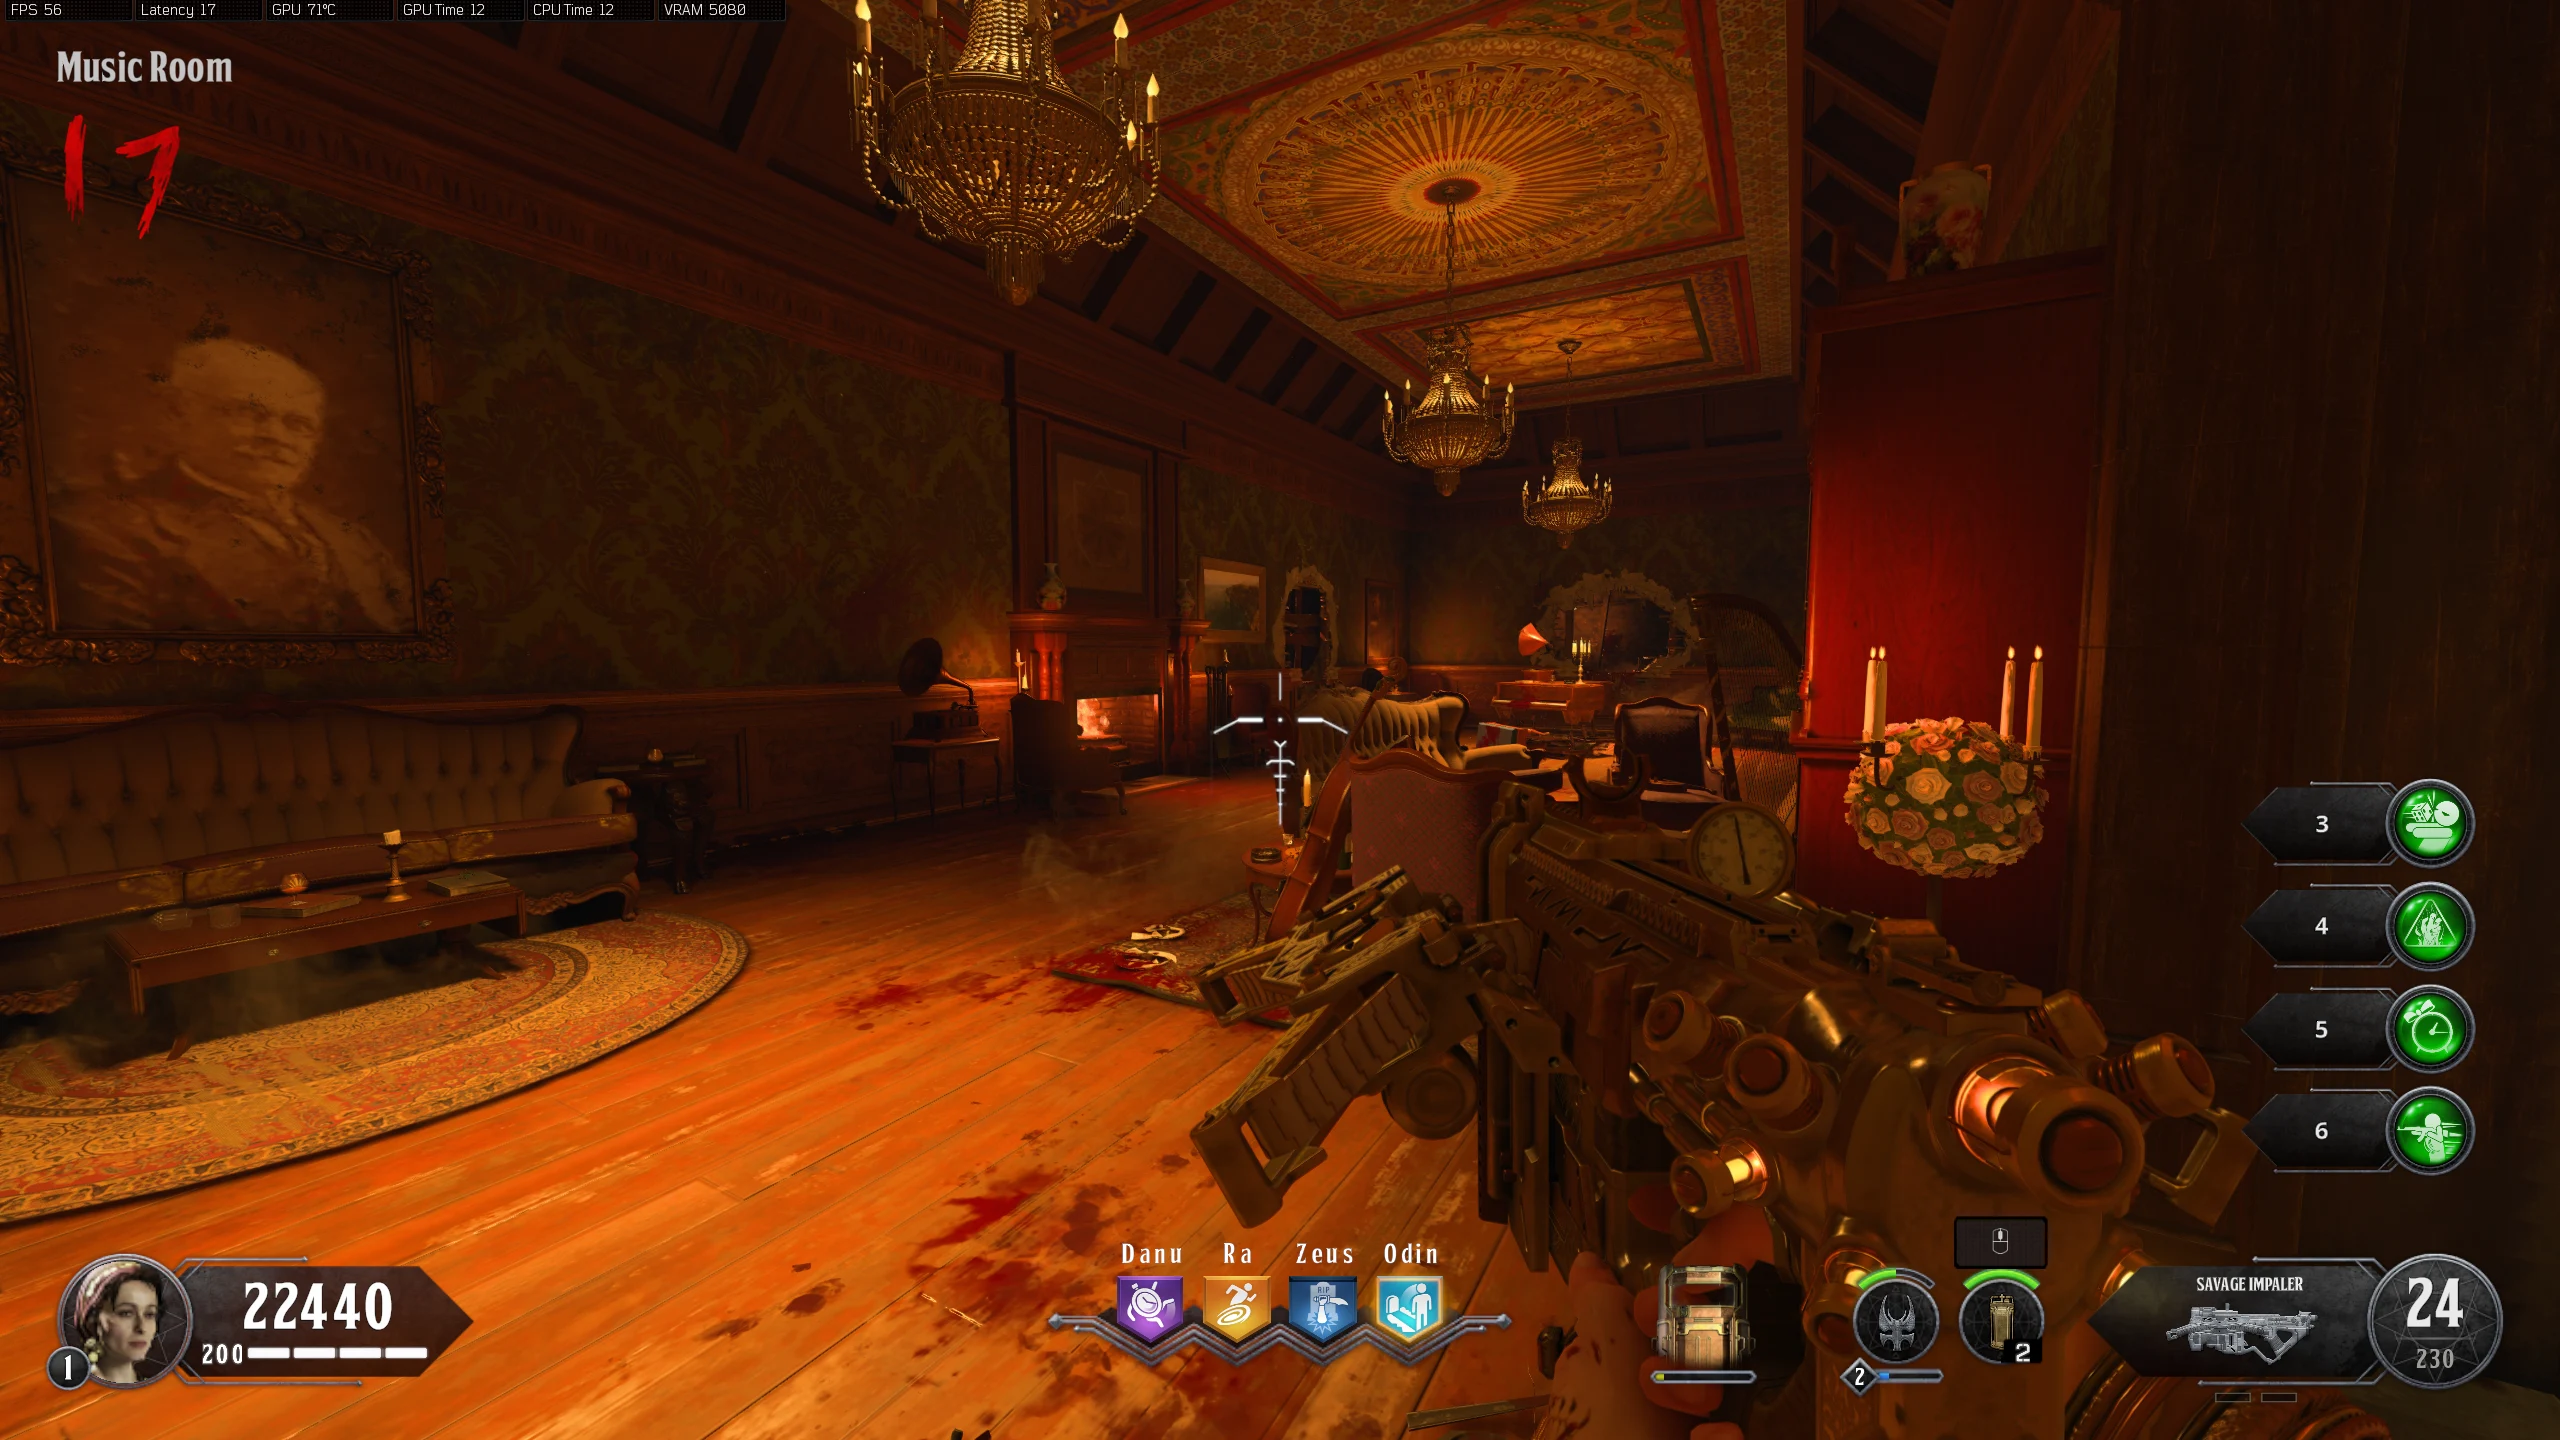
- Third set: Trophy Room, Master Bedroom, Music Room, Dining Room
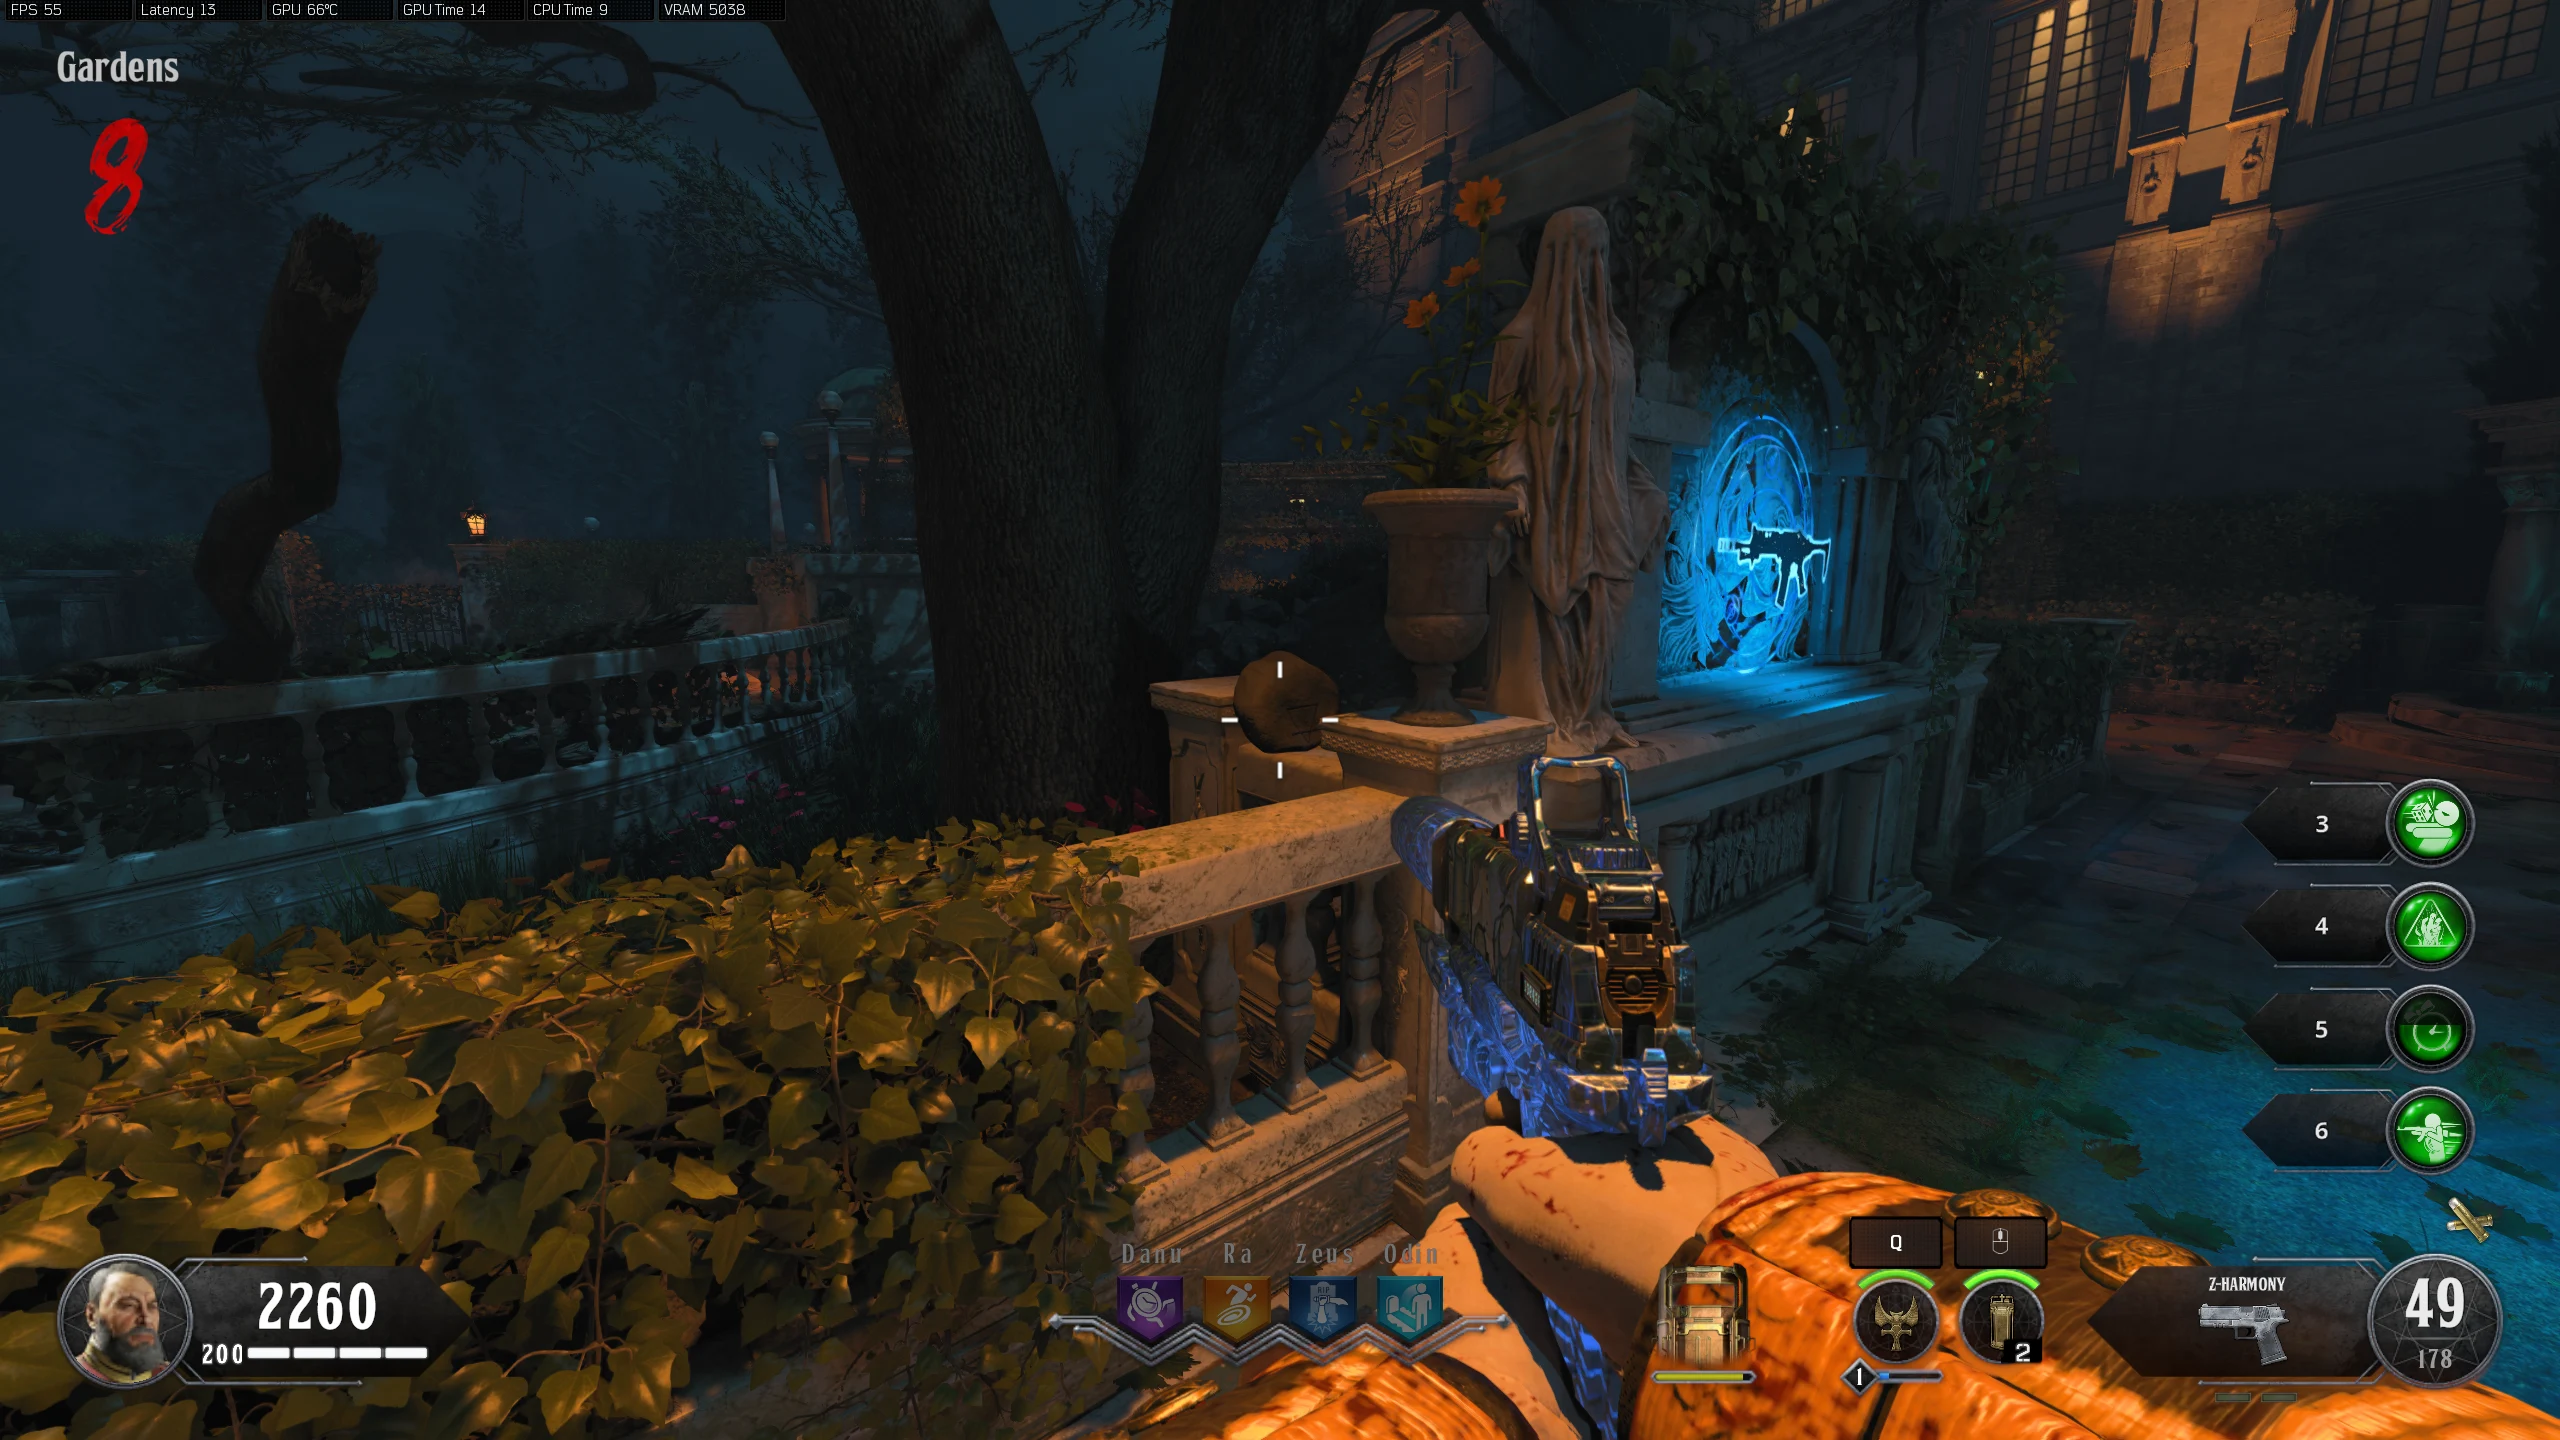
- Once you have all three gems, you must place them in three suits of armour around the map. When a gem is placed on a suit, the suit will fall apart and the gem will begin following you around.
- If you get too far from a gem while it is following you, it will stop following you and wait there until you return to it.
- Tip: When bringing the gems from the 'Cemetery' or 'Gardens,' bring them to the 'Main Hall' then sprint away from them leaving them in the 'Main Hall,' so you don't have to slowly walk from one side of the map to the other.
- Knight's Armour Locations:
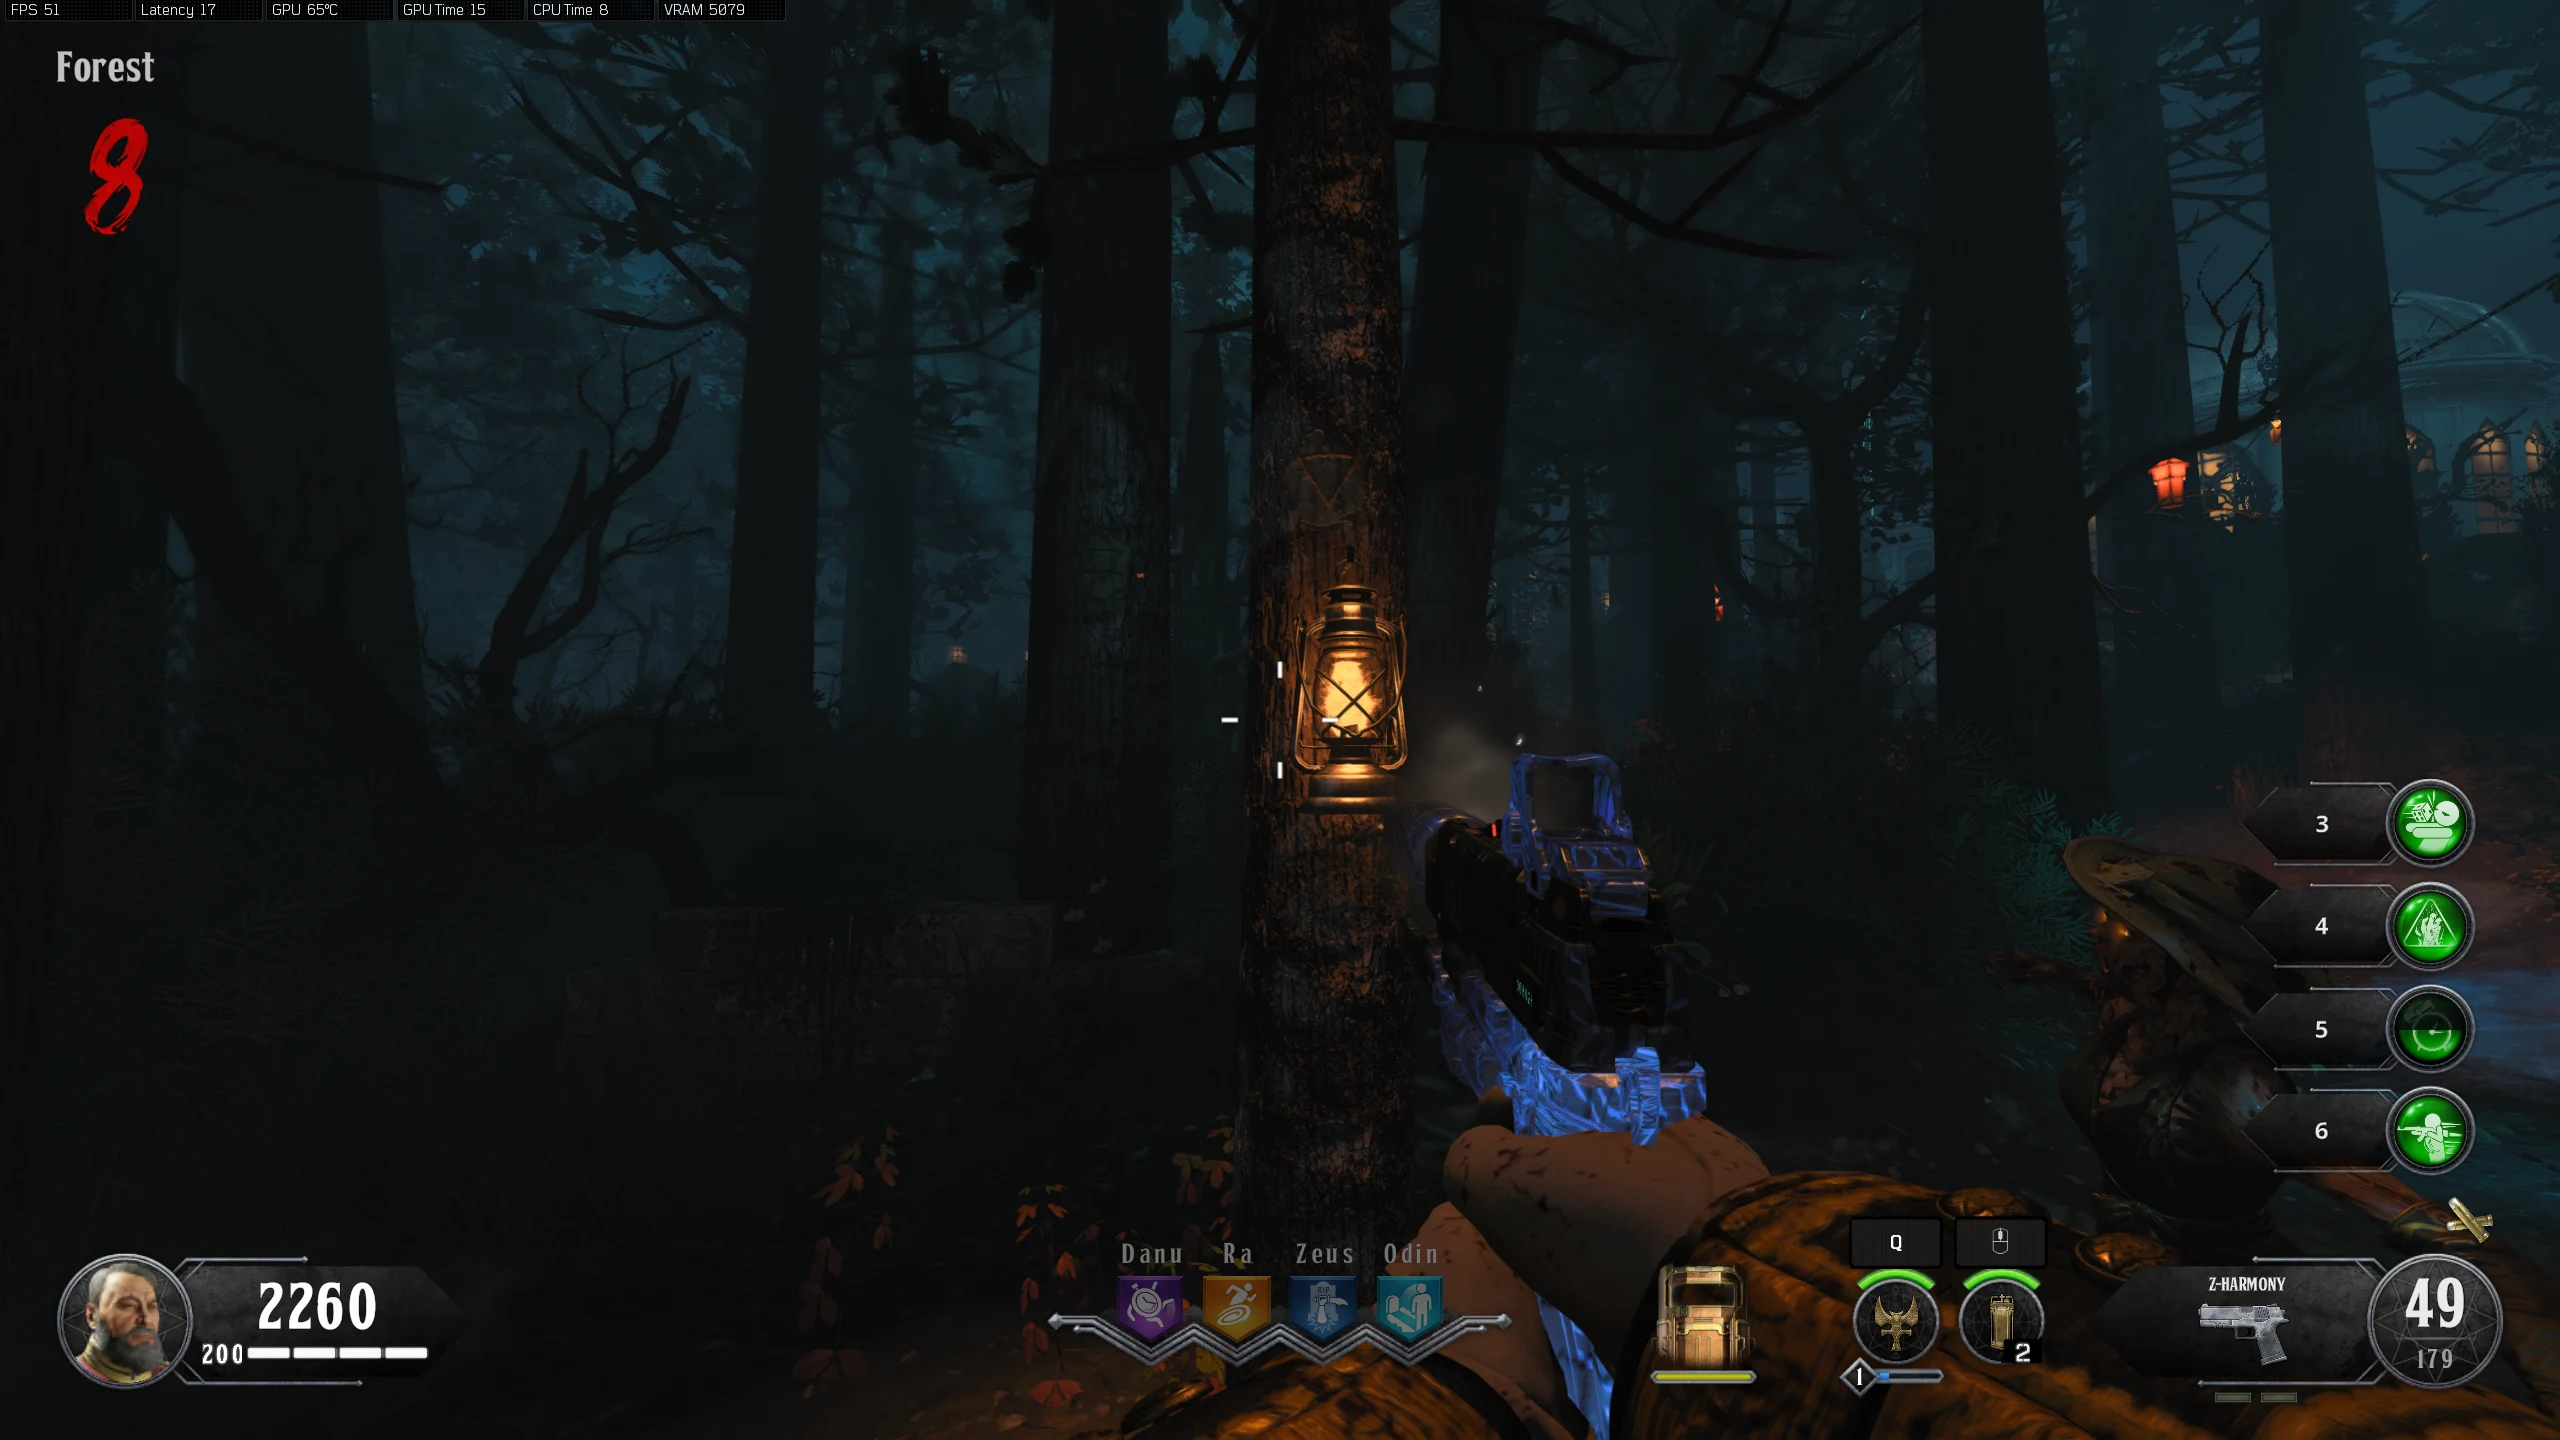
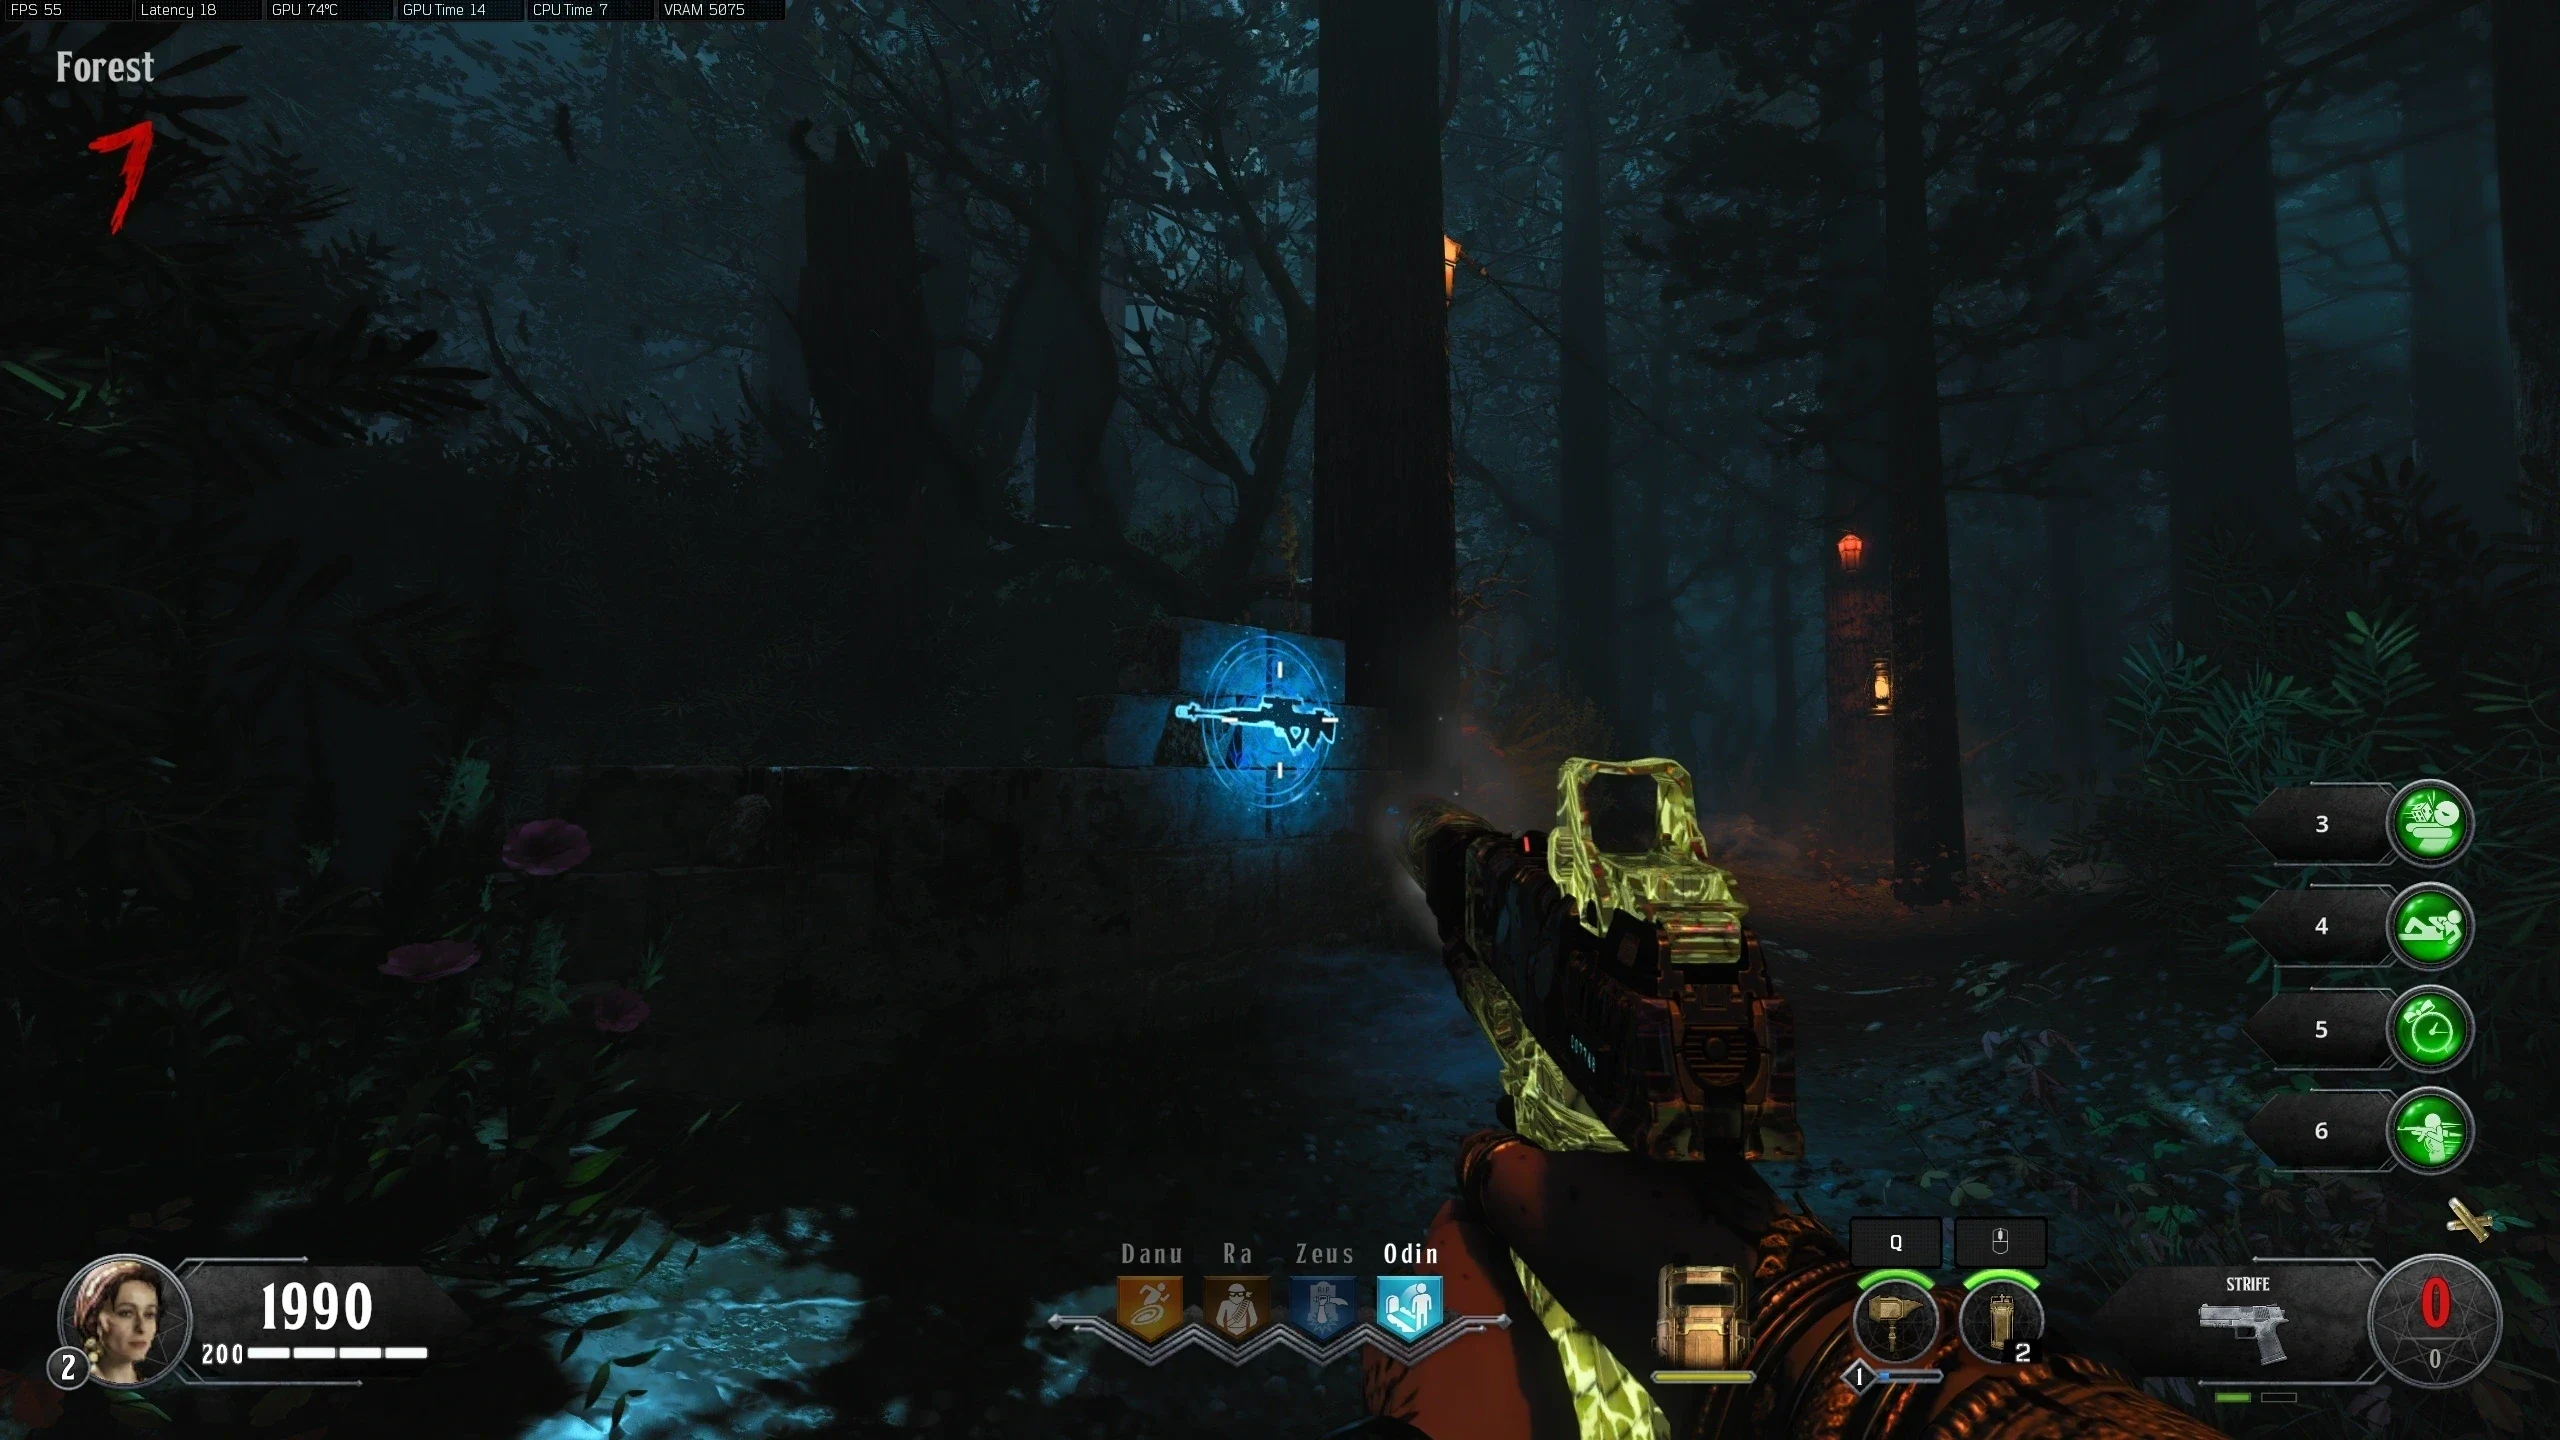
- Once all three gems are following you, three coloured circles will spawn on the ground in the 'Forest' on each of the three paths toward Pack-a-Punch. Bring the gems to the corresponding circles.
- Once all the gems are in place, they will turn into ghost versions of the suits of armour. Kill zombies near the suits to make them move toward the Pack-a-Punch. Each suit will need to be moved twice.
- After each suit has been moved to the Pack-a-Punch, they will create an electric triangle. Kill a Werewolf inside the triangle to make a Stone appear on the floor.
- All players must then hold interact on the stone until it floats up to activate a lockdown.
- During the lockdown, Zombies and Vampires will endlessly spawn. Unlike the other lockdowns, the gems will fly around the arena, killing any enemies they contact. After a couple of minutes, a few Werewolves will spawn. Once all the Werewolves are killed, the screen will flash white, and you will be able to pick up the Stone. When you pick up the Stone, a Max Ammo will spawn.
Aries - Knight Quest line
Taurus - Collect Fireplace Gems
Gemini - Bring Haunted Gems to the Forest
Cancer - Activate the Lockdown
- On the right side of the 'Forest,' hold interact on the door to open it and start the boss fight.
- A large glowing green square will appear on the ground. Rotate the statues around the edge of the arena so that the beams of light they cast are pointed at this green glowing square. The white beams will turn green if they're aligned correctly. Bait the werewolf into this green square by standing in it, at which point he will become trapped and vulnerable. Shoot the Werewolf in the glowing part of the chest. After dealing enough damage (this may take multiple traps), another Max Ammo and Carpenter will spawn.
- Survive against Zombies, Vampires, Werewolves, and Crimson Nosferatu until the boss werewolf jumps back into the arena. When the Werewolf returns, another Max Ammo and Carpenter will spawn.
- This phase is similar to phase one, except the glowing green square is invisible until found by a statue. Rotate the statues around the edge of the arena until the white beams turn green. Once all three are oriented correctly, the trap is set, and you can lure the boss into the green square to damage him. Repeat enough times and the boss will die.
Werewolf Boss Fight
Recommended Weapons: Hades, Spitfire, Hellion Salvo, Alistair's Annihilator. All weapons should be equipped with Silver Bullets. The Homunculus and Stake Knife are helpful, but not required.
Warning: Point of No Return. Once the Door is opened, the Boss Fight will start.