'Salvation Lies Above' Main Quest
Stats (Solo): Difficulty - 5/10, Est. Completion Time - 1:30 Hr to 1:45 Hr, RNG Rating - 1/5 (The offerings are random, but you don't have to burn rounds to get them)
- Activate Pack-a-Punch (Not Required).
- Complete any two Challenge Totems.
- Return to the Hermit; he will present you with a set of Dials for you to pick up.
- In 'Artifact Storage,' place the dials on four different panels. There are two ways to complete this step, the easy way and the "intended" way. These are listed below:
- The Easy Way: Interact with each dial to spin it. When a dial is in the correct position, it will make a ding sound. Do this for each dial.
- The "Intended" Way: Around the map, there will be coloured numbers drawn on walls. Each number corresponds to the position a dial should be in. There is absolutely no reason to do the step this way, but here are the number locations anyway:
- Purple Number
- Gangway - On the wall, by the leftmost booth
- Bridge - Behind some monitors that are hanging from the ceiling
- Stern - Inside the enclosed area, on the other side of the wall of the Bowie Knife
- Yellow Number
- Stern - Outside the enclosed area, near the Soda Perk Machine
- Navigation - Above and to the right of the Flinger
- Sun Deck - Right of the door to the 'Bridge,' near the Flinger
- Blue Number
- Cargo Hold - On the flaming shipping container in the water
- Cargo Hold - On the opening, above the Spitfire wallbuy
- Cargo Hold - On the left crane, above the ship
- Orange Number
- TIP: Turn on subtitles to make the next step easier. Once the dials are set correctly, the Apothicon Blood will begin speaking. It will speak for a while before saying, "Find Us Offerings Three", after which it will say one of the following phrases, which will indicate where to find an item. Once you pick up the item, the Apothicon Blood will give you another riddle. Repeat a total of three times. Riddle and Locations:
- "Where bounded slept": Forecastle - In the shipping container closest to the Challenge Totem
- "Where bread breaks": Gangway - On the island countertop
- "Where crows roost": Forecastle - On the barrels, right of the Mystery Box location
- "Where earth crumbles": Geological Processing - On the conveyor belt, closest to the 'Security Lobby'
- "Where falls freeze": Cargo Hold - Floating in the water
- "Where feet slip": Ice Grotto - About halfway down the ice slide, on the left side
- "Where filth cleanses": Decontamination - In the knocked-over cart, right of the trap
- "Where fire sinks": Sunken Path - Next to a lantern close to a campfire
- "Where helixes peak": Lighthouse Level 4 - On top of the Pee Jars, below the VAPR-XKG wallbuy
- "Where hidden burns": Hidden Path - On the generator on the left
- "Where lightning aims": Security Lobby - On the bench, below the Wunderwaffe blueprints
- "Where lines berth": Docks - Below the zipline to 'Lighthouse Level 4'
- "Where lungs close": Lagoon - In the underwater cave, from 'Lighthouse Cove' to 'Lagoon'
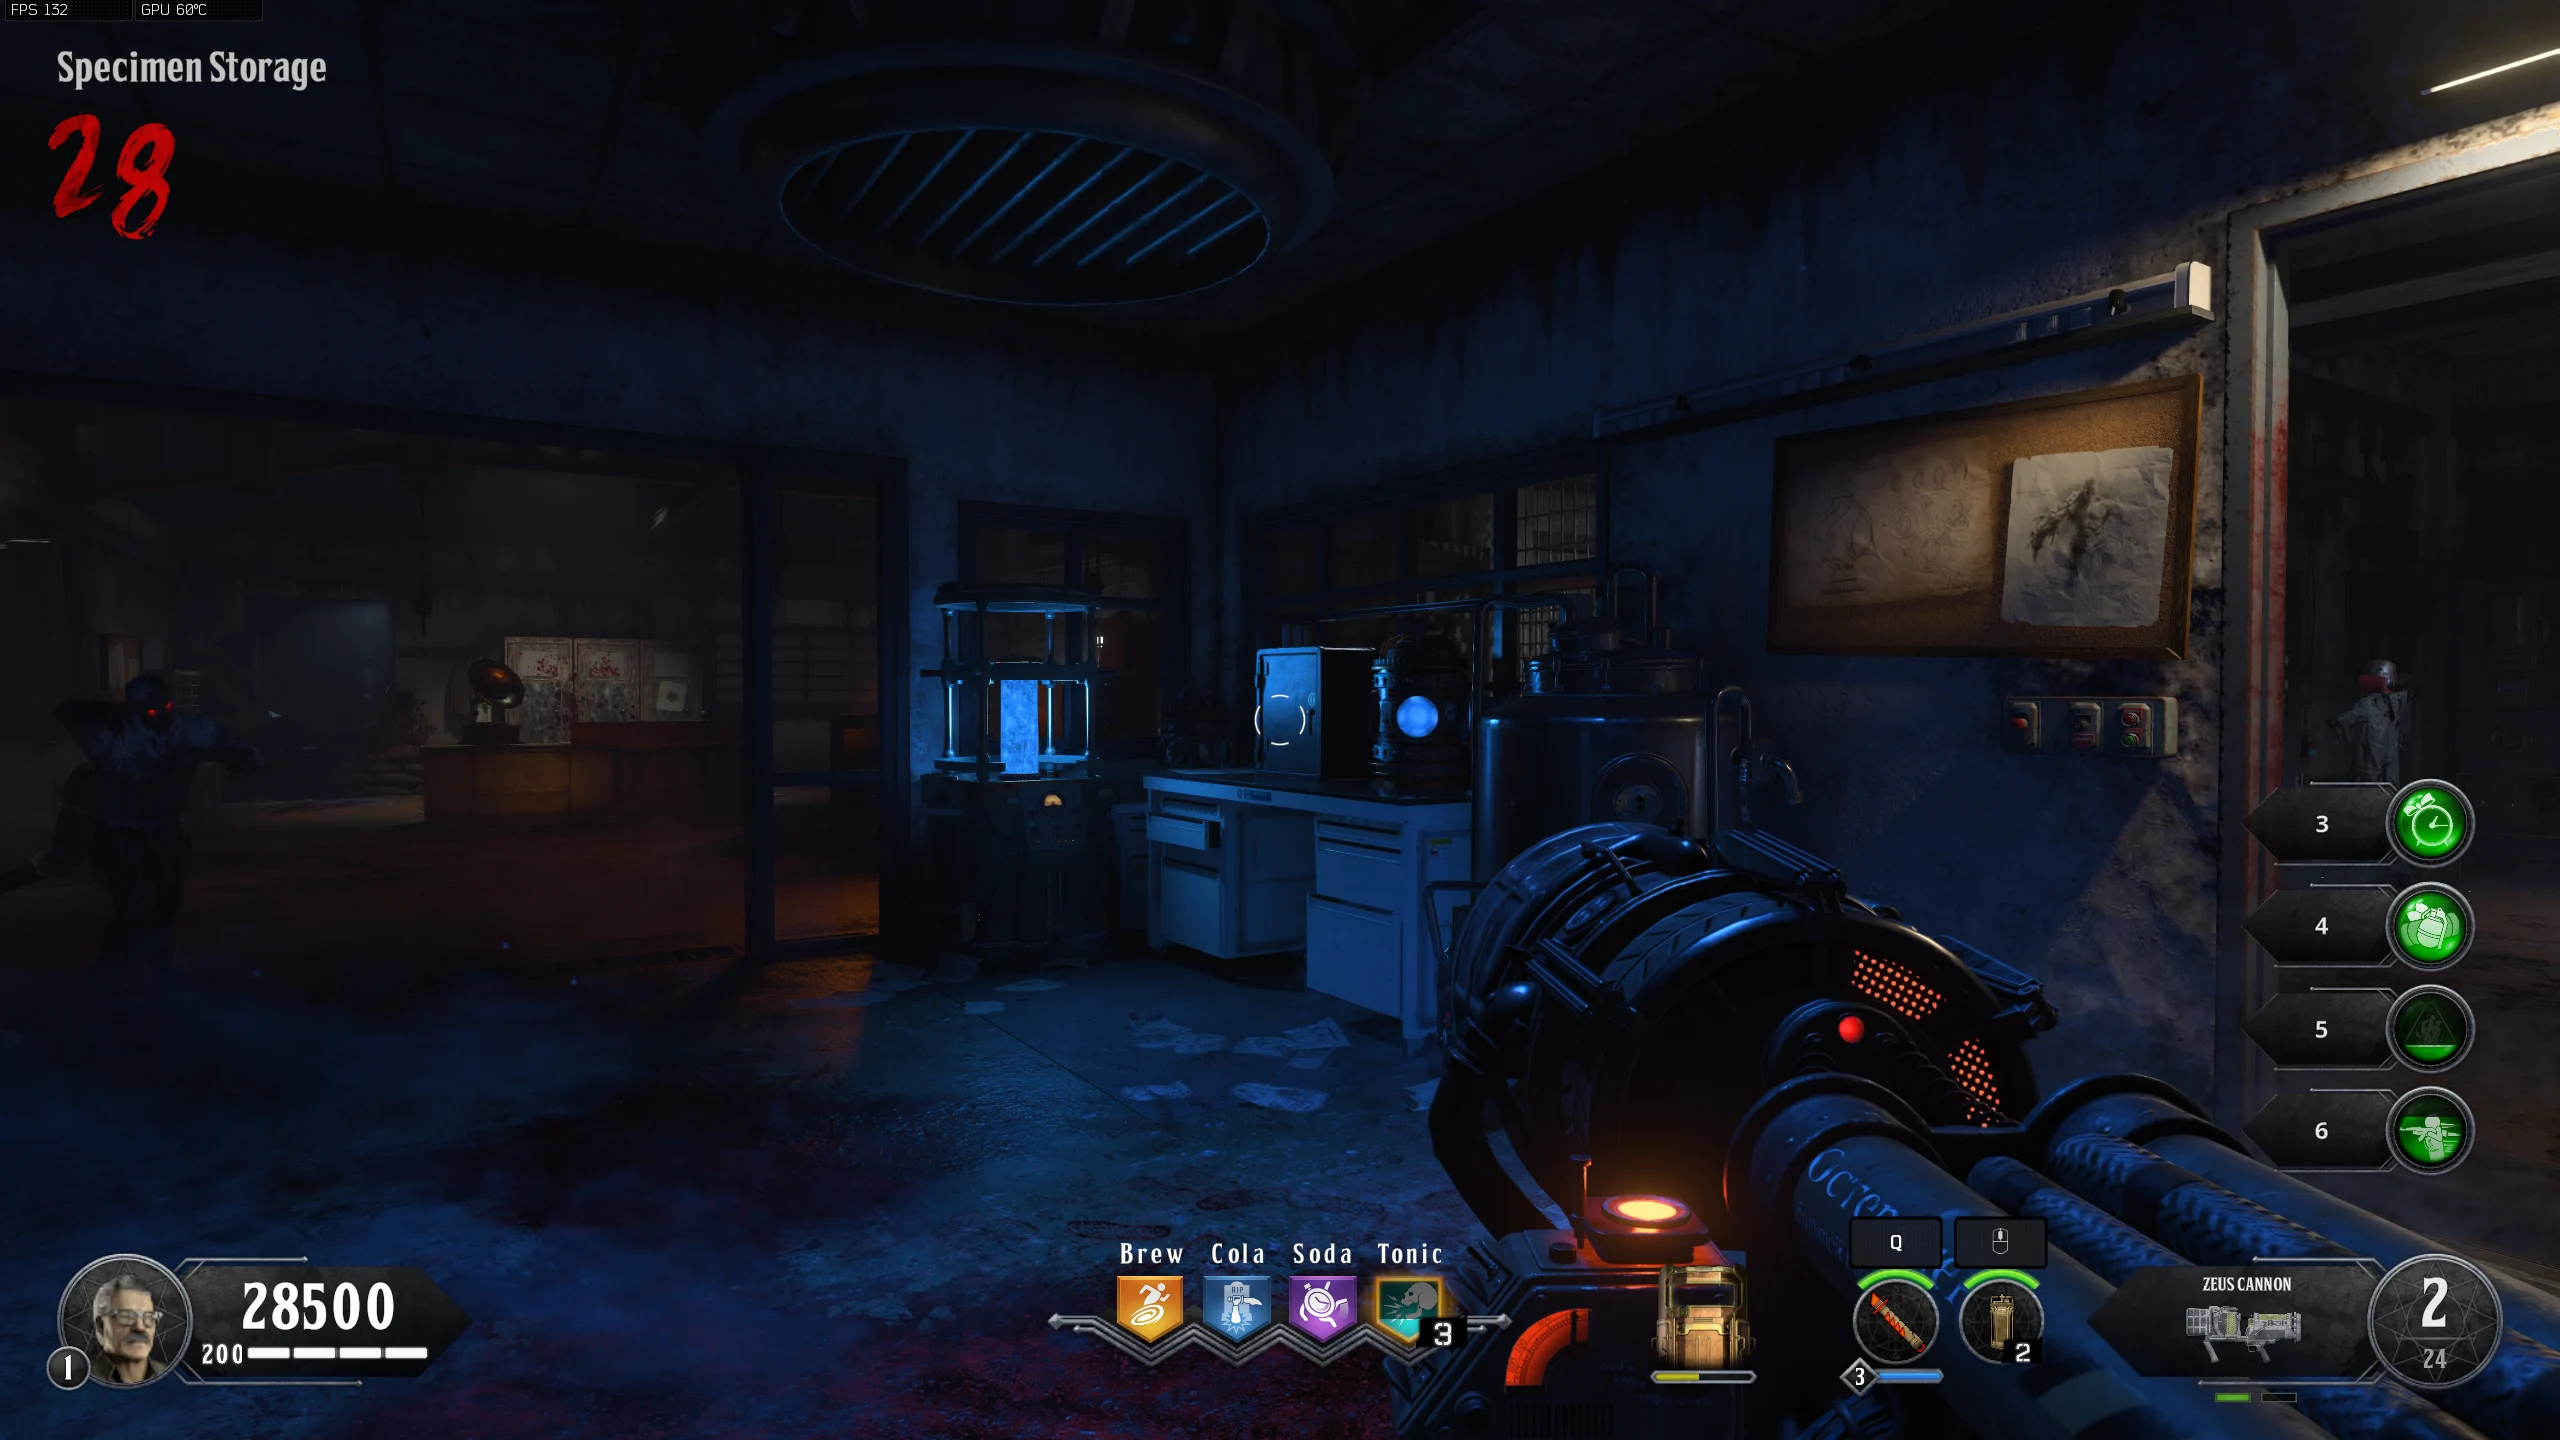
- "Where madness sleeps": Specimen Storage - On the bed in the middle cell
- "Where mountains throw": Outer Walkway - On the edge of the elevated area, beside the Flinger
- "Where north is found": Bridge - On the compass
- "Where power ends": Human Infusion - Right of the Power Switch
- "Where preservation freezes": Main Deck - In life preserver, on the right side of the ship
- "Where thirst dawns": Stern - On the edge of the ship, left of the Soda Perk Machine
- "Where one mysteries": Lighthouse Level 1 - On the broken steps, near the Mystery Box
- Once all three items are found, the Apothicon Blood will tell you to "Seek the Seal of Duality in the walls where..." followed by another riddle.
- "Where humans suffer": Melee the Bulletin Board on the wall by the mailboxes in 'Specimen Storage' to reveal a safe.
- "Inside an icy hall": Melee the Wooden Board in the 'Ice Grotto' to reveal a safe.
- "Where Aether was gathered": Melee the Bulletin Board in 'Geological Processing' to reveal a safe.
- "Where cages hang": Melee the Framed Map in the 'Boathouse' to reveal a safe.
- Once the safe is revealed, place a Dynamite Bomb on it to open it, revealing the Seal of Duality for you to pick up.
- Place the Seal on the barrel beneath the Apothicon Blood Orb in 'Artifact Storage.' The Orb will start moving around the room; shoot it until your screen flashes white, and the Orb returns to the middle of the room.
- Watch the Orb closely as you shoot it, as three Orange lines will shoot off from the Orb. These lines point to the general locations of the Orbs for the next step.
- While you were shooting the Orb, three smaller orbs were launched from the bigger Orb, which you must find around the map. Once you find an Orb, don't get close to it, instead throw a snowball at it to turn it blue, then shoot it with any weapon to make it return to the Bigger Orb.
- The small Orbs should always be within the bounds of the map.
- There are no set locations for the Orbs, but here are some of the more common locations:
- Lagoon
- Lighthouse Cove
- Beach
- In and around the Facility
- Hidden Path
- Frozen Crevasse
- Once you've found all three orbs, return to the 'Artifact Storage.' The Orbs will be floating near the ceiling, throw Snowballs at the Orbs to turn blue, then shoot them to make them fly into the Seal. With all three orbs inside, pick up the Seal.
- Obtain Samantha's Music Box. The Music Box is required throughout the Easter Egg, so do not replace it with other equipment.
- Place the Seal on top of the Campfire in the 'Sunken Path' area. Throw a Music Box at it to turn the flame blue and activate some story dialogue. This will despawn all Zombies till the dialogue is done. Once the dialogue is done, pick the Seal from the campfire.
- Retrieve two Soapstones from the Hermit and place them on these Scorch Marks in the 'Boathouse' area. Activate the Lighthouse trap to light the stones on fire.
- Pick up the flaming stones and, while avoiding walking in water, bring them to 'Human Infusion' and place one of them in the terminal in the middle of the room.
- Place the other one on the "freeze marks" under the 'Decontamination' room trap. Activate the trap to freeze the stone. Pick up the stone and bring it to the terminal.
- Once both different temperature stones are placed in the terminal, a Fuse in the middle of the terminal will become available for pickup.
- Place the fuse in the Fuse Box next to the large door in the 'Lighthouse Station' (the one from the OG COTD Easter Egg).
- Obtain the Wunderwaffe DG-Scharfschütze.
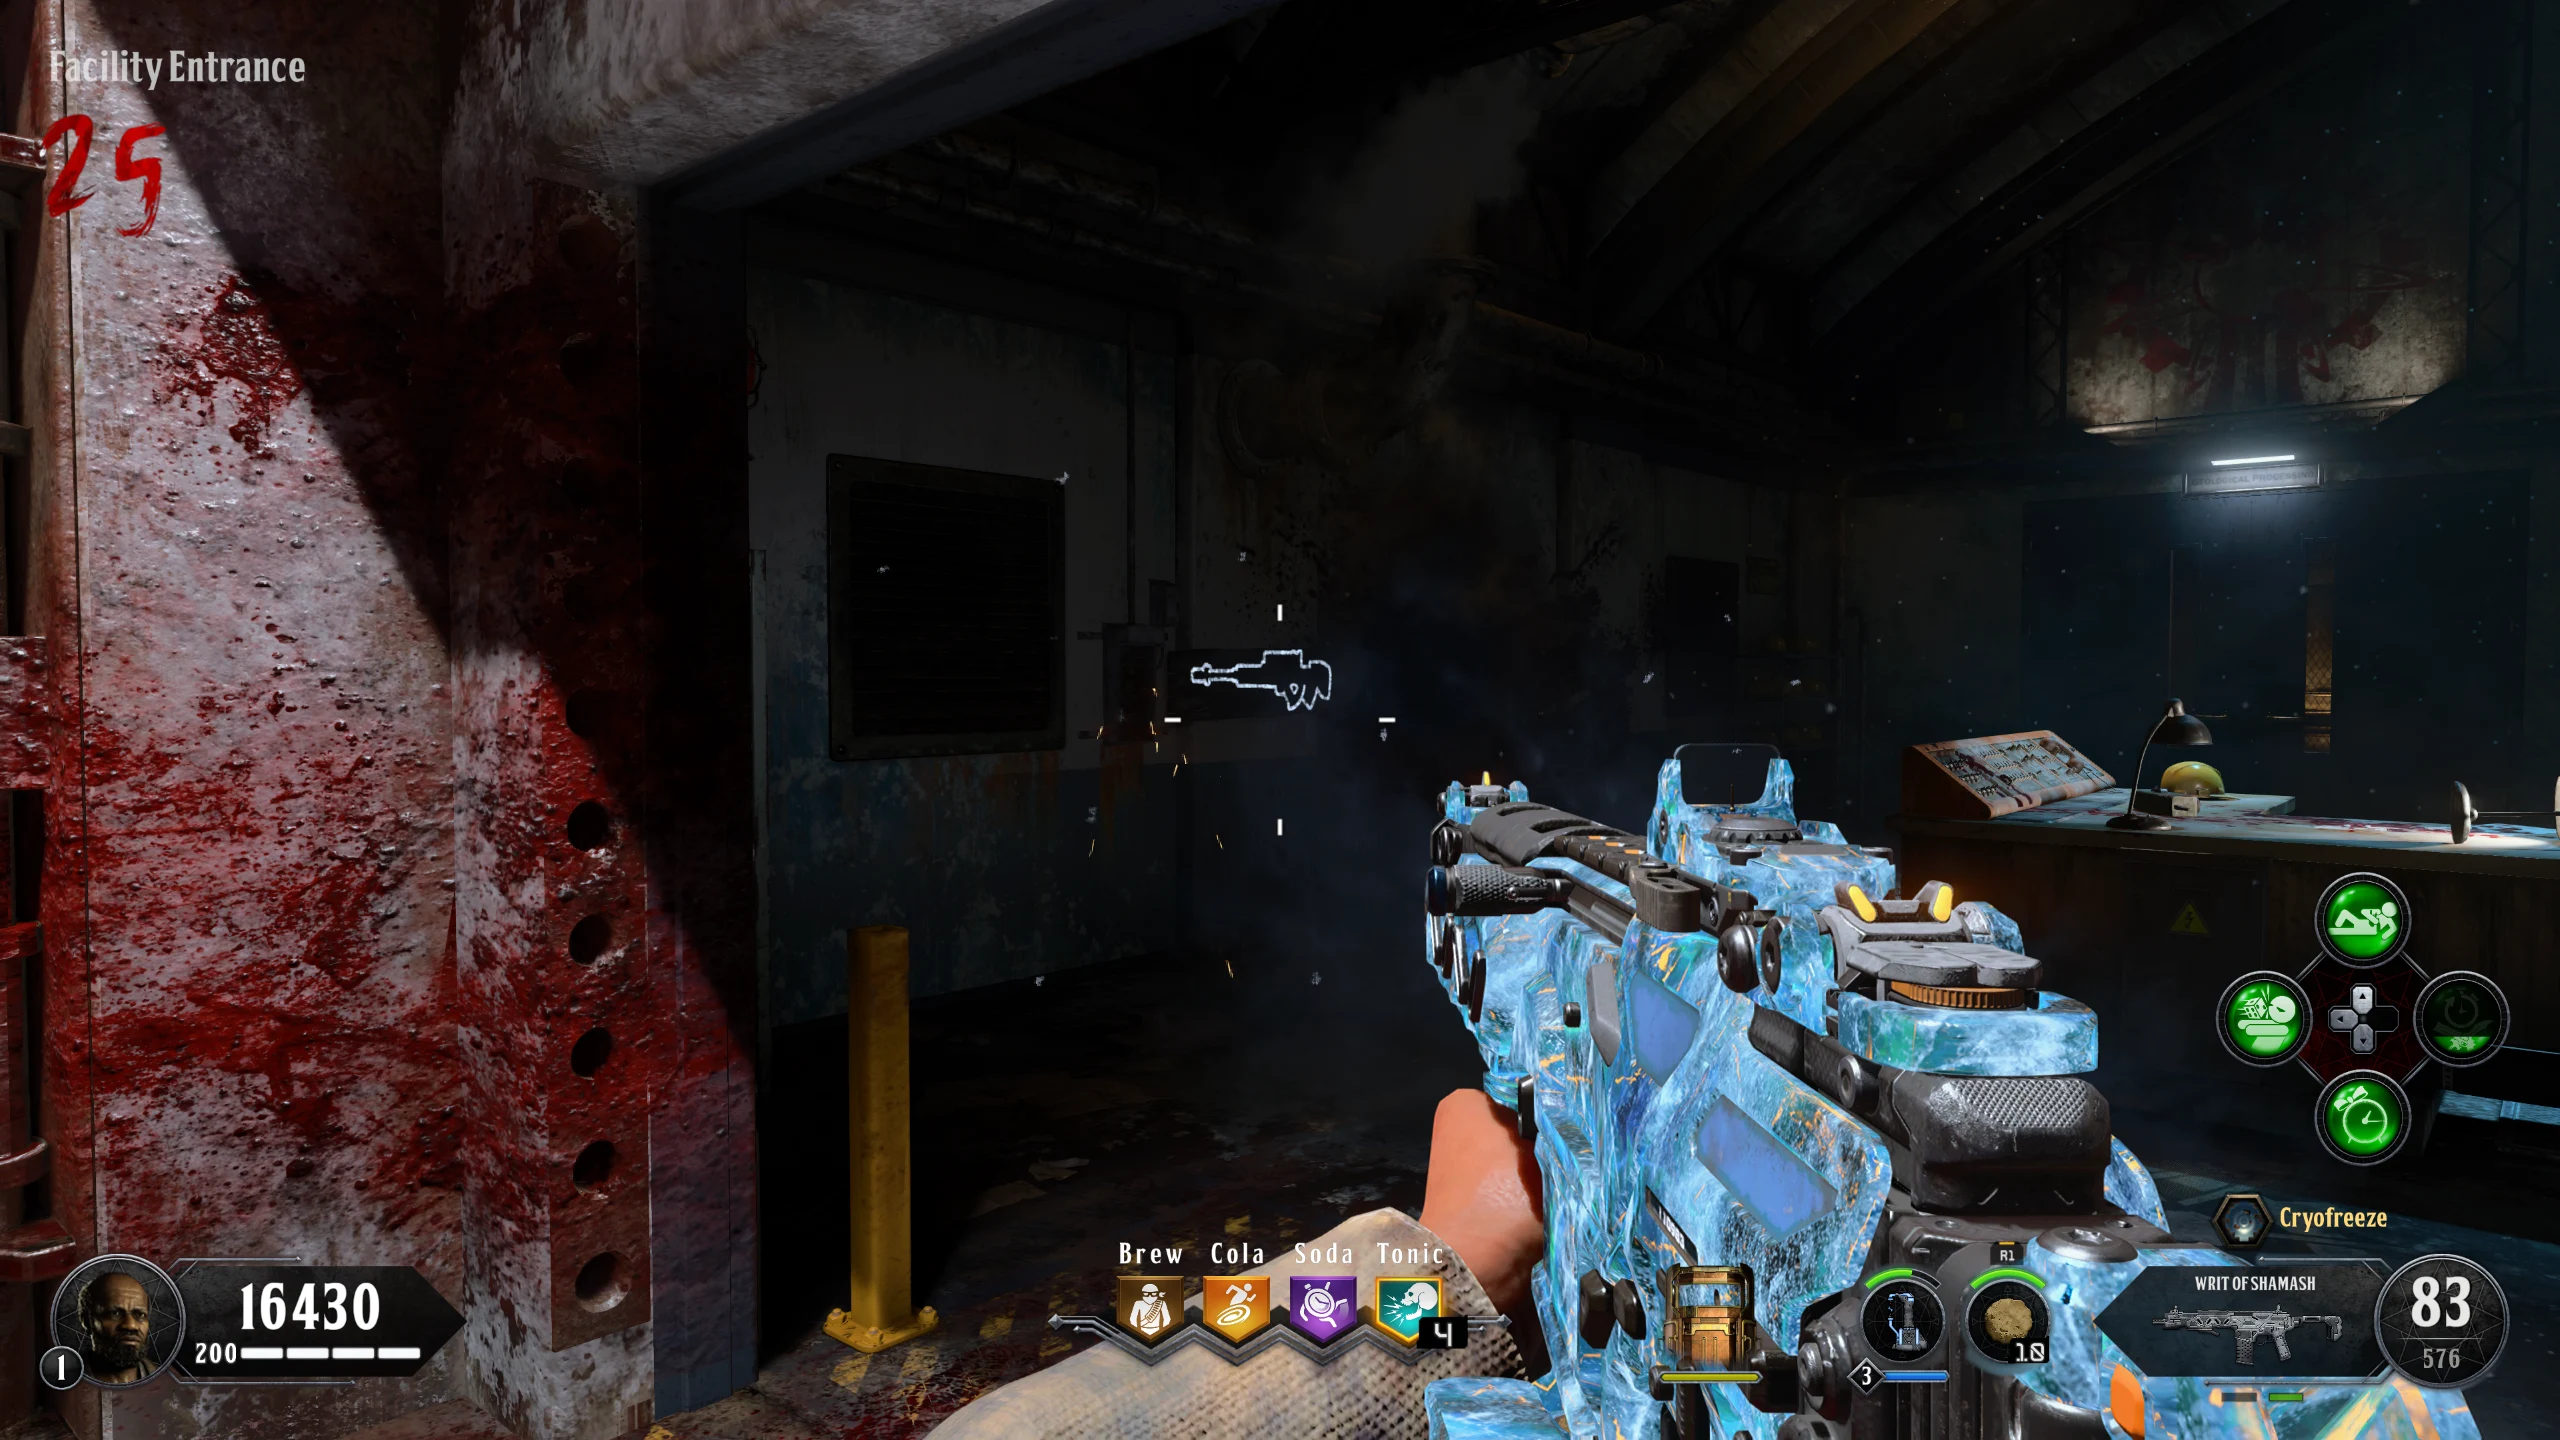
- Using the Wunderwaffe, shoot two different red batteries on electricity pylons in the Facility area. The locations below:
- Facility Entrance - Off to the left side of the Facility
- Loading Platform - Above and behind the Wack-a-mole game
- Once the batteries have been shot, power three generators around the map by killing an Electric Zombie near them. Generator Locations:
- Lighthouse Station - At the top of the stairs leading into the Lighthouse
- Lighthouse Approach - Behind the MX9 wallbuy
- Boathouse - Right of Pack-a-Punch location
- Once all three have been powered, interact with the Fuse Box in the 'Lighthouse Station' again to open the door. Behind the door is the Elemental Shard for you to pick up.
- Place the Seal on the barrel beneath the Apothicon Blood Orb in 'Artifact Storage.' It will start moving around the room again. Shoot it until your screen flashes white, and the orb returns to the middle of the room.
- You must find three orbs around the map again. Once you find an Orb, don't get close to it, instead throw a snowball at it to turn it blue, then shoot it with any weapon to make it return to the Bigger Orb.
- Place the Seal on top of the Campfire in the 'Sunken Path' area and throw a Music Box at it to turn the flame blue and activate some story dialogue. Once the audio is done, pick the Seal from the campfire.
- Give the Seal of Duality to the Hermit. This will start a lockdown, with infinitely spawning Zombies, in the Lighthouse for about two minutes. You are not required to kill Zombies; you only need to wait out the timer.
- Once the Lockdown is over, your screen will go white and the Hermit will return the Seal of Duality to you via the Pulley.
- You must now find where the Pack-a-Punch is and insert the Seal into it. While the Seal is in the PAP Machine, kill Zombies near it to charge it. Once enough Zombies are killed near the PAP, the Seal will pop back out for you to pick up.
- You must repeat the previous step for the other three standard PAP machines. Once you finish at one machine, the Lighthouse will immediately move to another PAP machine for you to use.
- Once you've charged the Seal at all four PAP machines, return to 'Artifact Storage' and place the Seal on the barrel beneath the Apothicon Blood Orb.
- You will have to repeat the Orb step one more time, but this time the smaller Orb will not leave the 'Artifact Storage' room. Once all three Orbs are in the Seal, pick it back up.
- Place the Seal on top of the Campfire in the 'Sunken Path' area and throw a Music Box at it to turn the flame blue and activate some story dialogue. Once the audio is done, pick the Seal from the campfire.
- Make your way to the Golden Pack-a-Punch iceberg and insert the Seal into the Golden PAP. Kill Zombies near it to charge the Seal.
- Once the Seal has been charged, the Seal will float into the air and transform the map, with any freezing water around the map being turned into lava. It will also create a bubble around it, which you must stay inside to avoid taking damage.
- The Seal will slowly start moving around the map, with it stopping in three locations along the way, the 'Main Deck,' 'Lighthouse Cove,' and 'Lighthouse Station.' While the Seal is stopped, you must kill Zombies near it to charge it. Once charged, the screen will flash white, and Max Ammo and Carpenter power-ups will spawn, and the Seal will begin moving again.
- After stopping three times, the Seal will make its way to the top of the Lighthouse, across the zipline to the Facility, and finally into 'Human Infusion,' where it will stop and need to be charged again.
- While the Seal is crossing the zipline, try to use the zipline when the Seal is about halfway there to avoid spending too much time outside the bubble on either side.
- While moving through the Facility, the Seal will often try to "fake you out" with the direction it is going (it will start moving one way before going the other way).
- The path it takes in the Facility is: 'Facility Entrance' => 'Security Lobby' => 'Decontamination' => right-side walkway in 'Upper Catwalk' => 'Human Infusion'
- While you are charging the Seal, the protection bubble will slowly get smaller, so charge the Seal as fast as possible.
- Once the Seal is charged for the final time, Zombies will stop spawning and some dialogue will begin. Wait for the dialogue to be over, pick up the Seal, and give it to the Hermit in the Lighthouse. Take the zipline from the 'Lighthouse Station' to the 'Sun Deck' and watch the Lighthouse.
- After some dialogue, the Seal will fall from the sky, landing at the front of the 'Forecastle' between the Mystery Box location and the campfire. Run over there and pick it up to start the final cutscene.
- After the cutscene is over, Samantha and Eddie will appear in a black void. You must hold forward to walk them toward the light, while you hear from each of our eight main characters. Once you reach the light, the screen will go white and the game will end.
Ascend from Darkness
Knowledge is Power
Acquire the Vessel
Tame that which is Bonded
WARNING: Do not interact with the Apothicon Blood Orb in 'Artifact Storage' unless instructed to. If you do, you will be instantly downed or your health will be dropped down to 50 HP.
Knowledge Itself is for the Taking
Tame that which is Merged
Warning: Once you give the Seal to the Hermit, you will NOT be able to Pack-a-Punch at all for the rest of the match. You will still be able to do everything else (buy perks, build equipment, etc.) just not use a Pack-a-Punch Machine.
Empower Through the Machines of the Angels
Tame that which is Powered
Salvation Lies Above
Warning: Point of No Return. Once the Seal is inserted into the Golden PAP, the Boss Fight will start.
The Infinite / Boss Fight