'Abandon Ship' Main Quest
Stats (Solo): Difficulty - 7/10 w/ Hellion (9/10 w/ No Hellion), Est. Completion Time - 1:15 Hr to 1:45 Hr, RNG Rating - 1/5 (Hellion From Box)
| Perks | Special Weapon | Elixirs | Equipment |
|---|---|---|---|
|
|
|
|
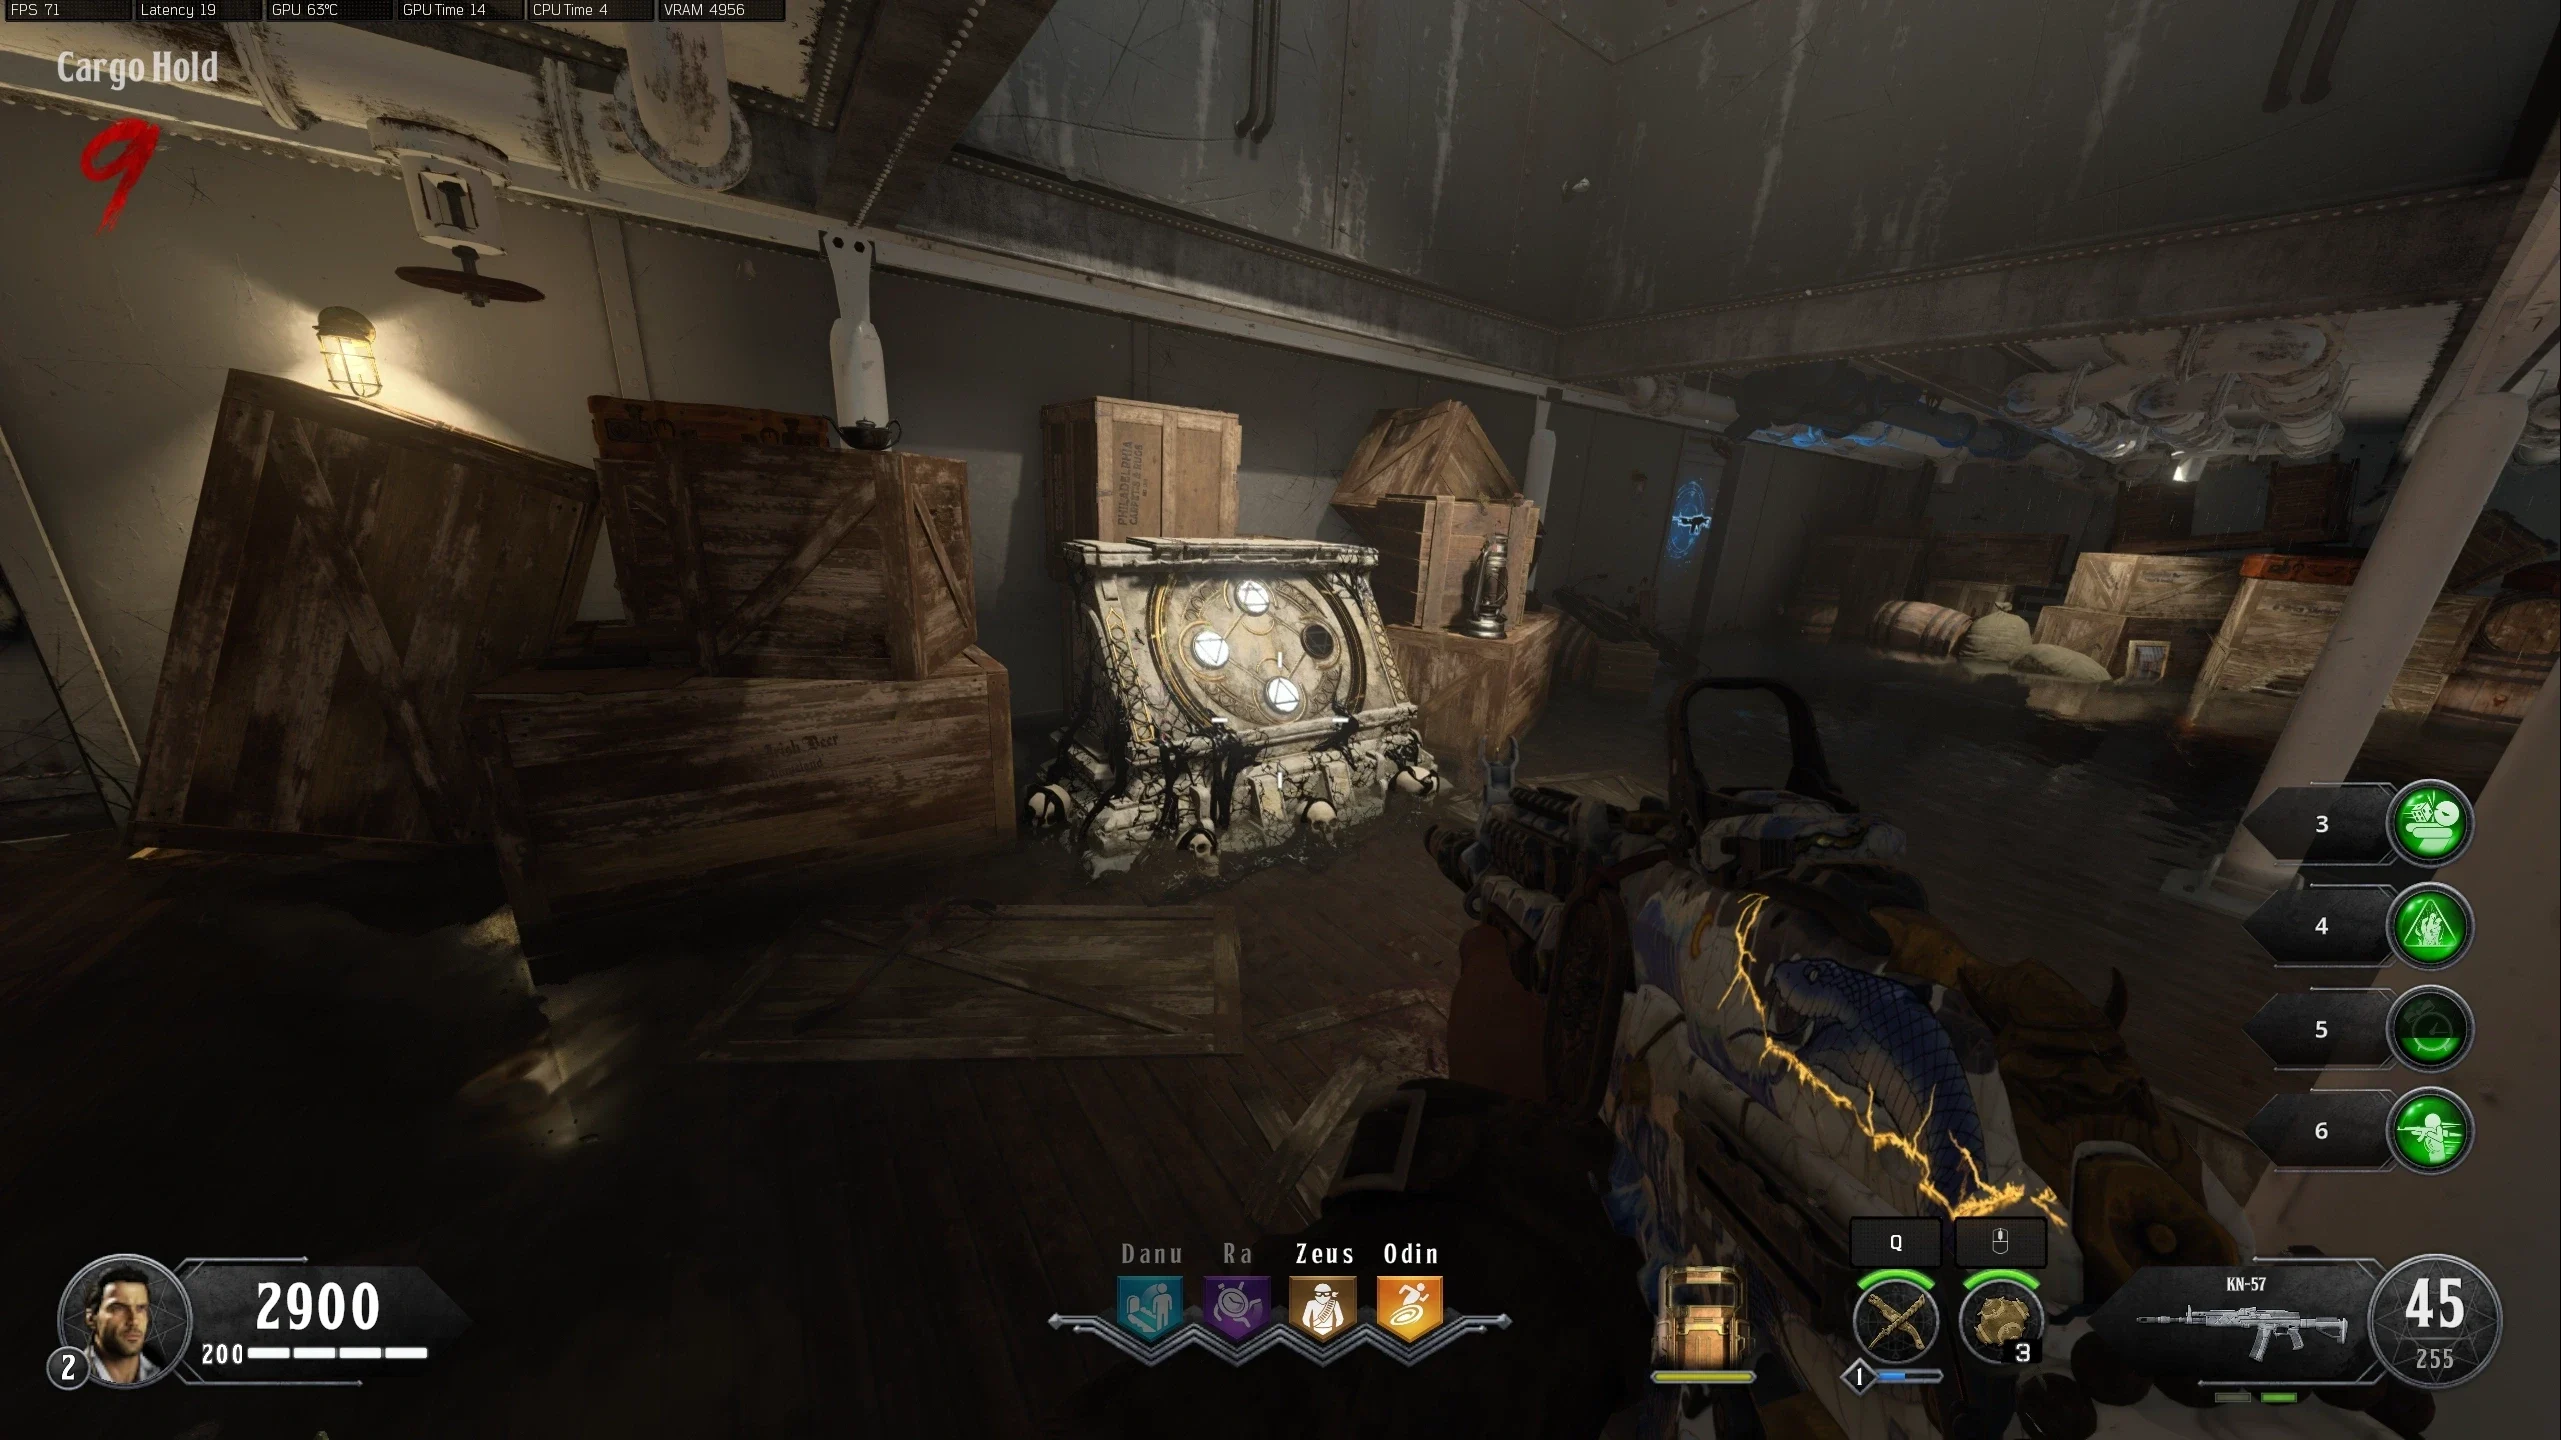
- Activate the Sentinel Artifact.
- Activate Pack-a-Punch.
- There are six clocks around the map, four of which will have an alchemical symbol (🜂, 🜄, 🜁, 🜃) nearby. Write down/remember the symbol and the time on the corresponding clock. Example: A clock is showing a time of 9:30, and there is an Upward Triangle (🜂) symbol nearby; you'd then right down 🜂 = 9:30. Clock and Symbol locations:
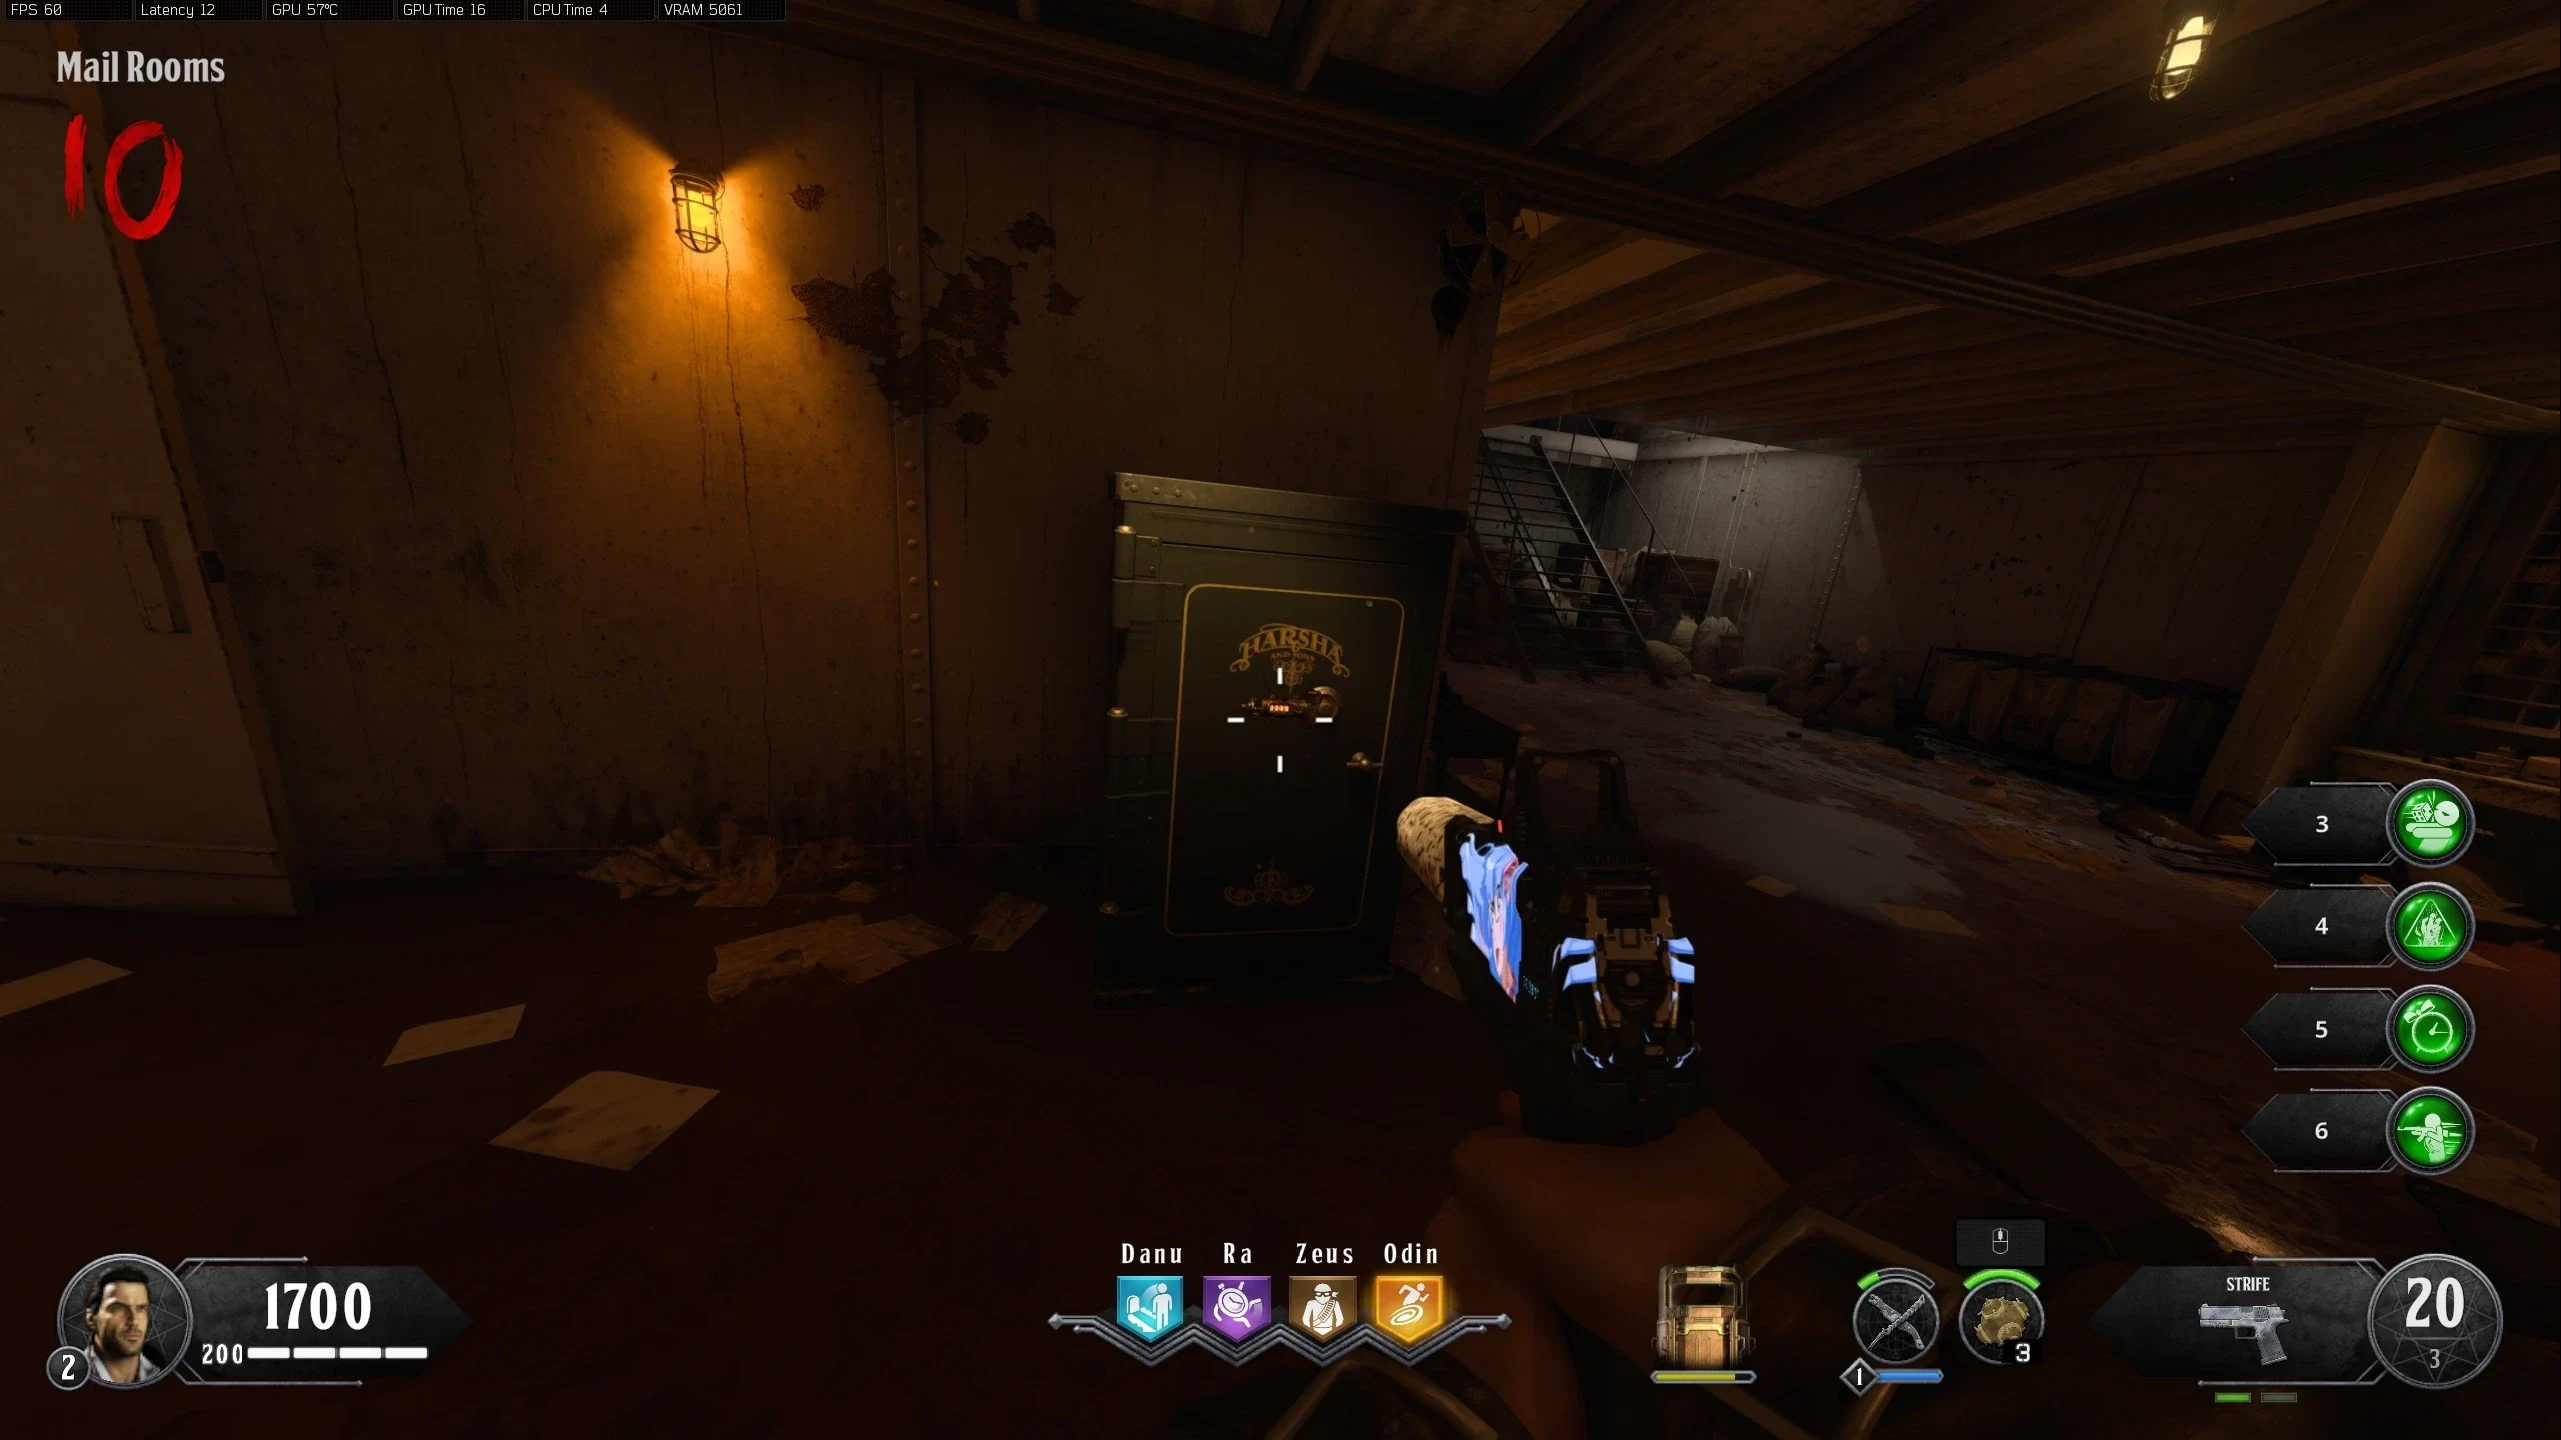
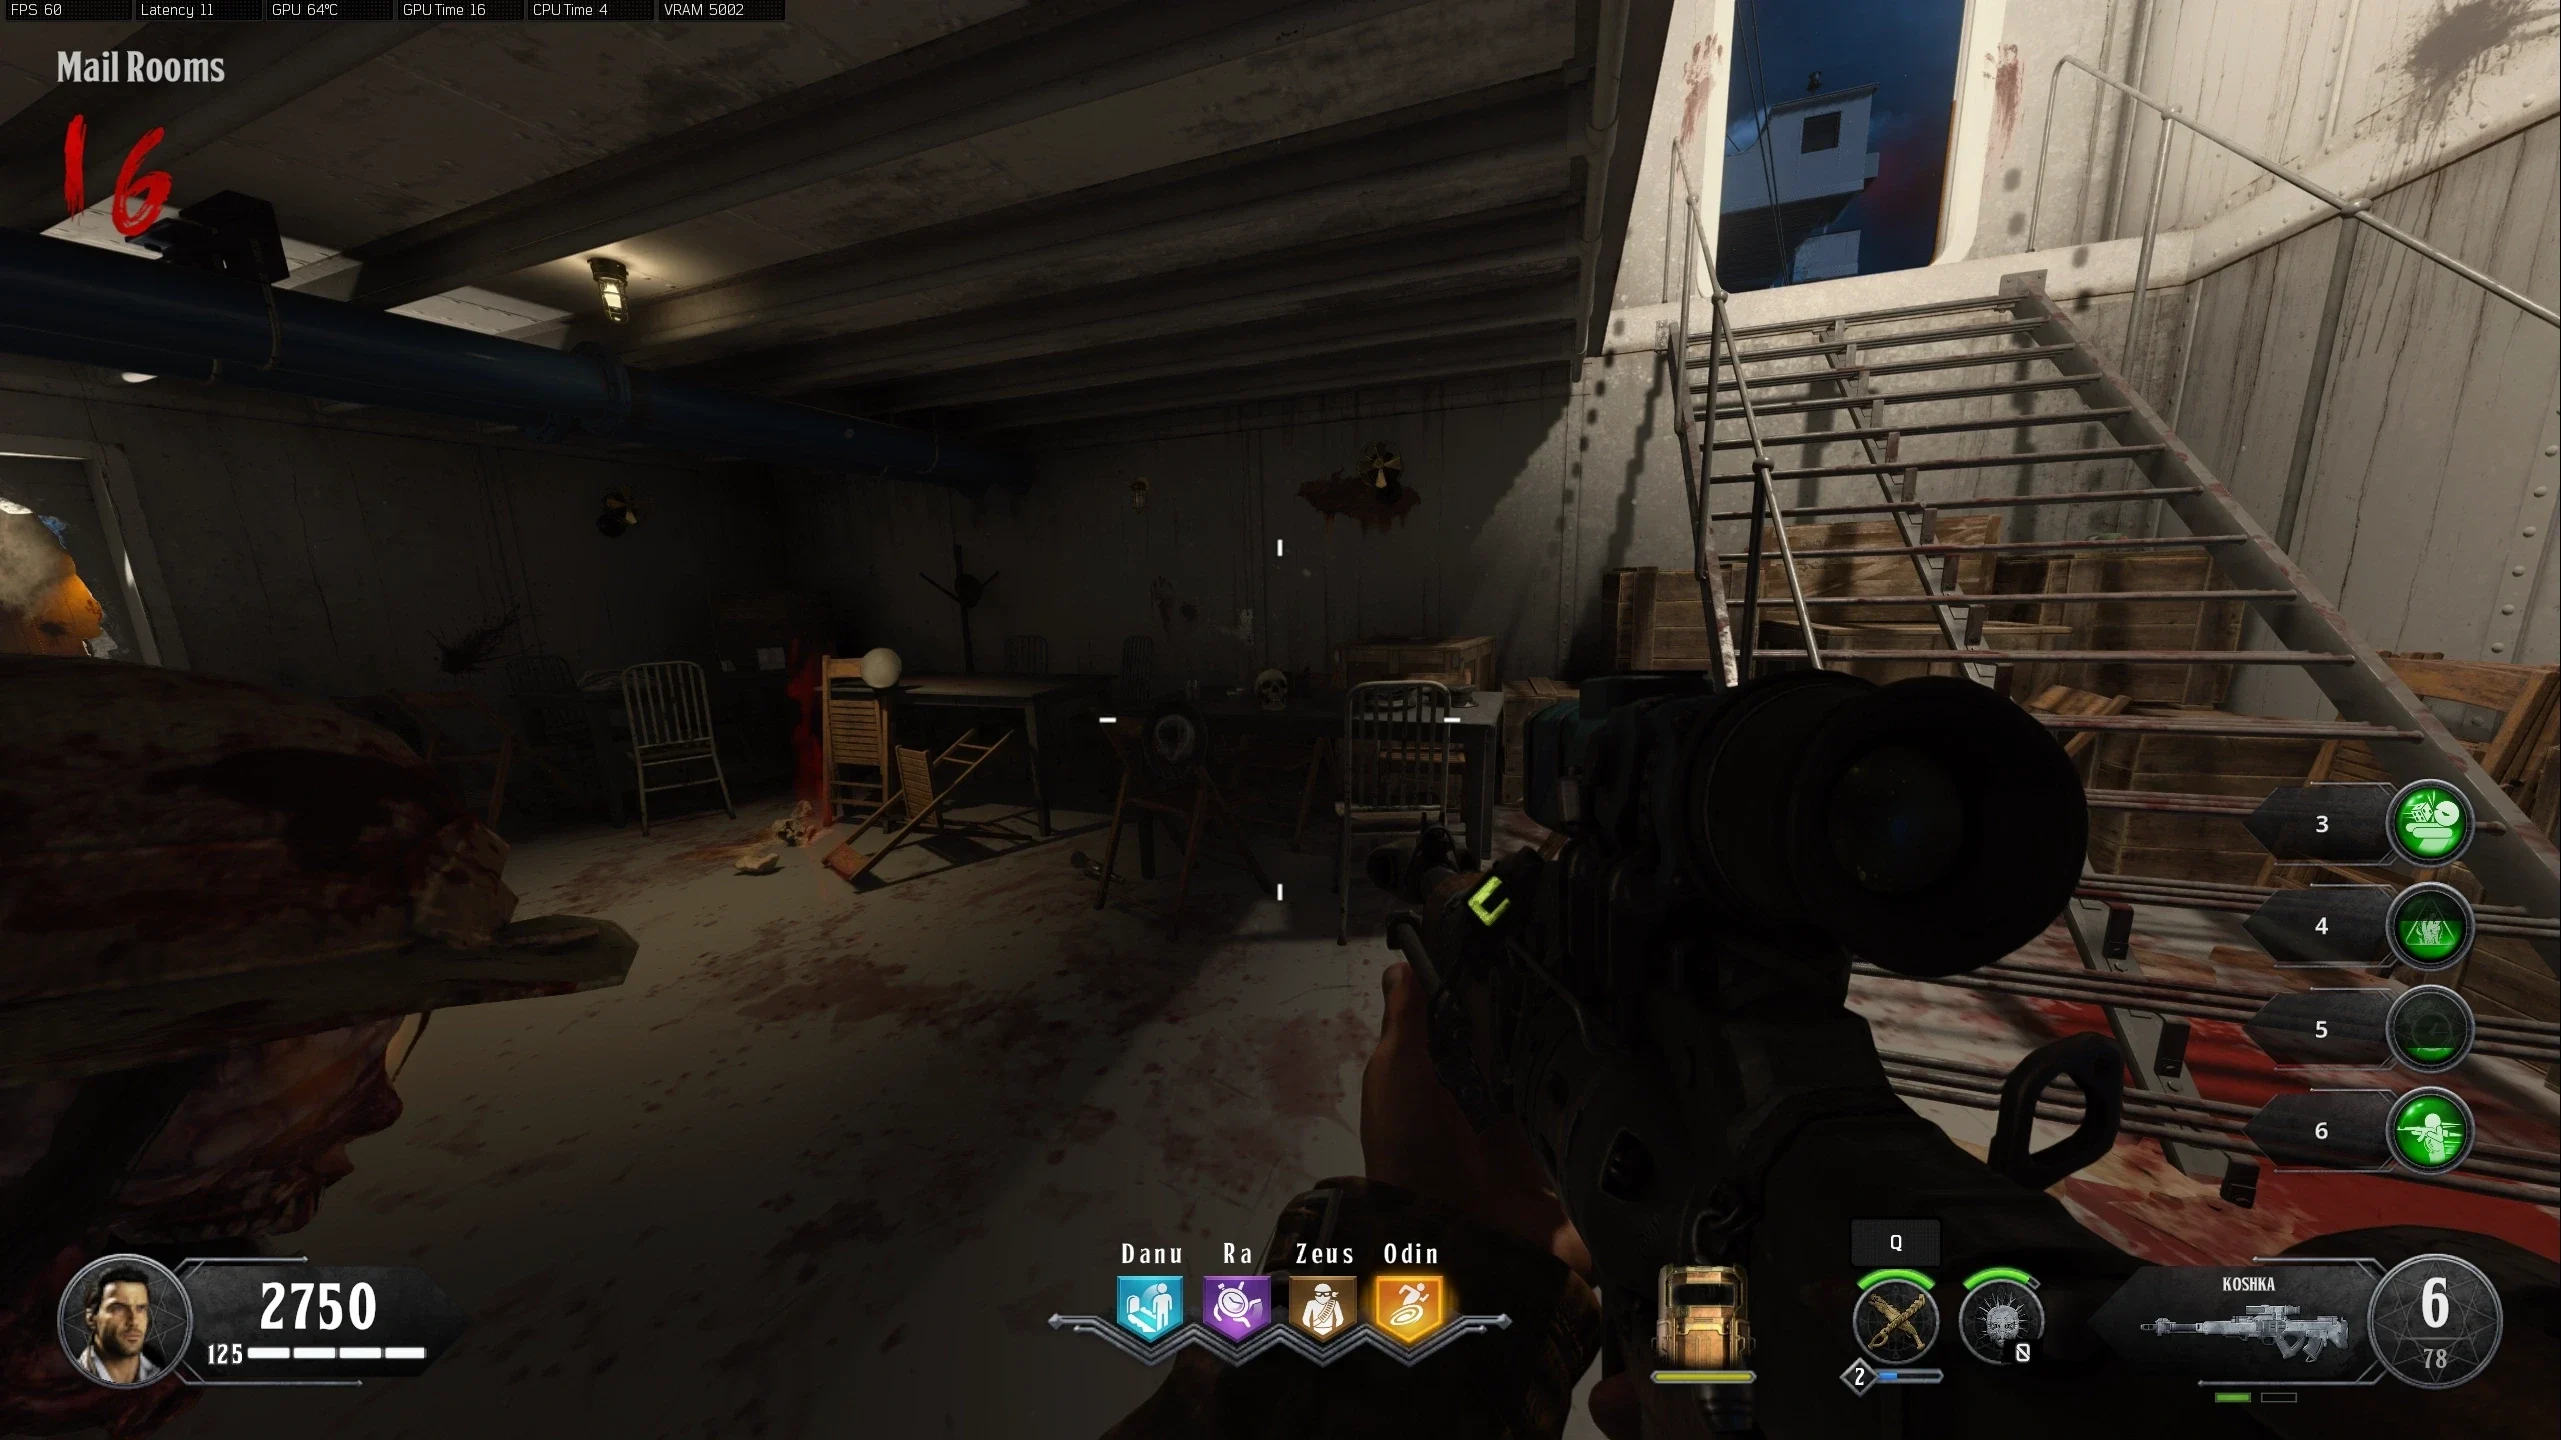
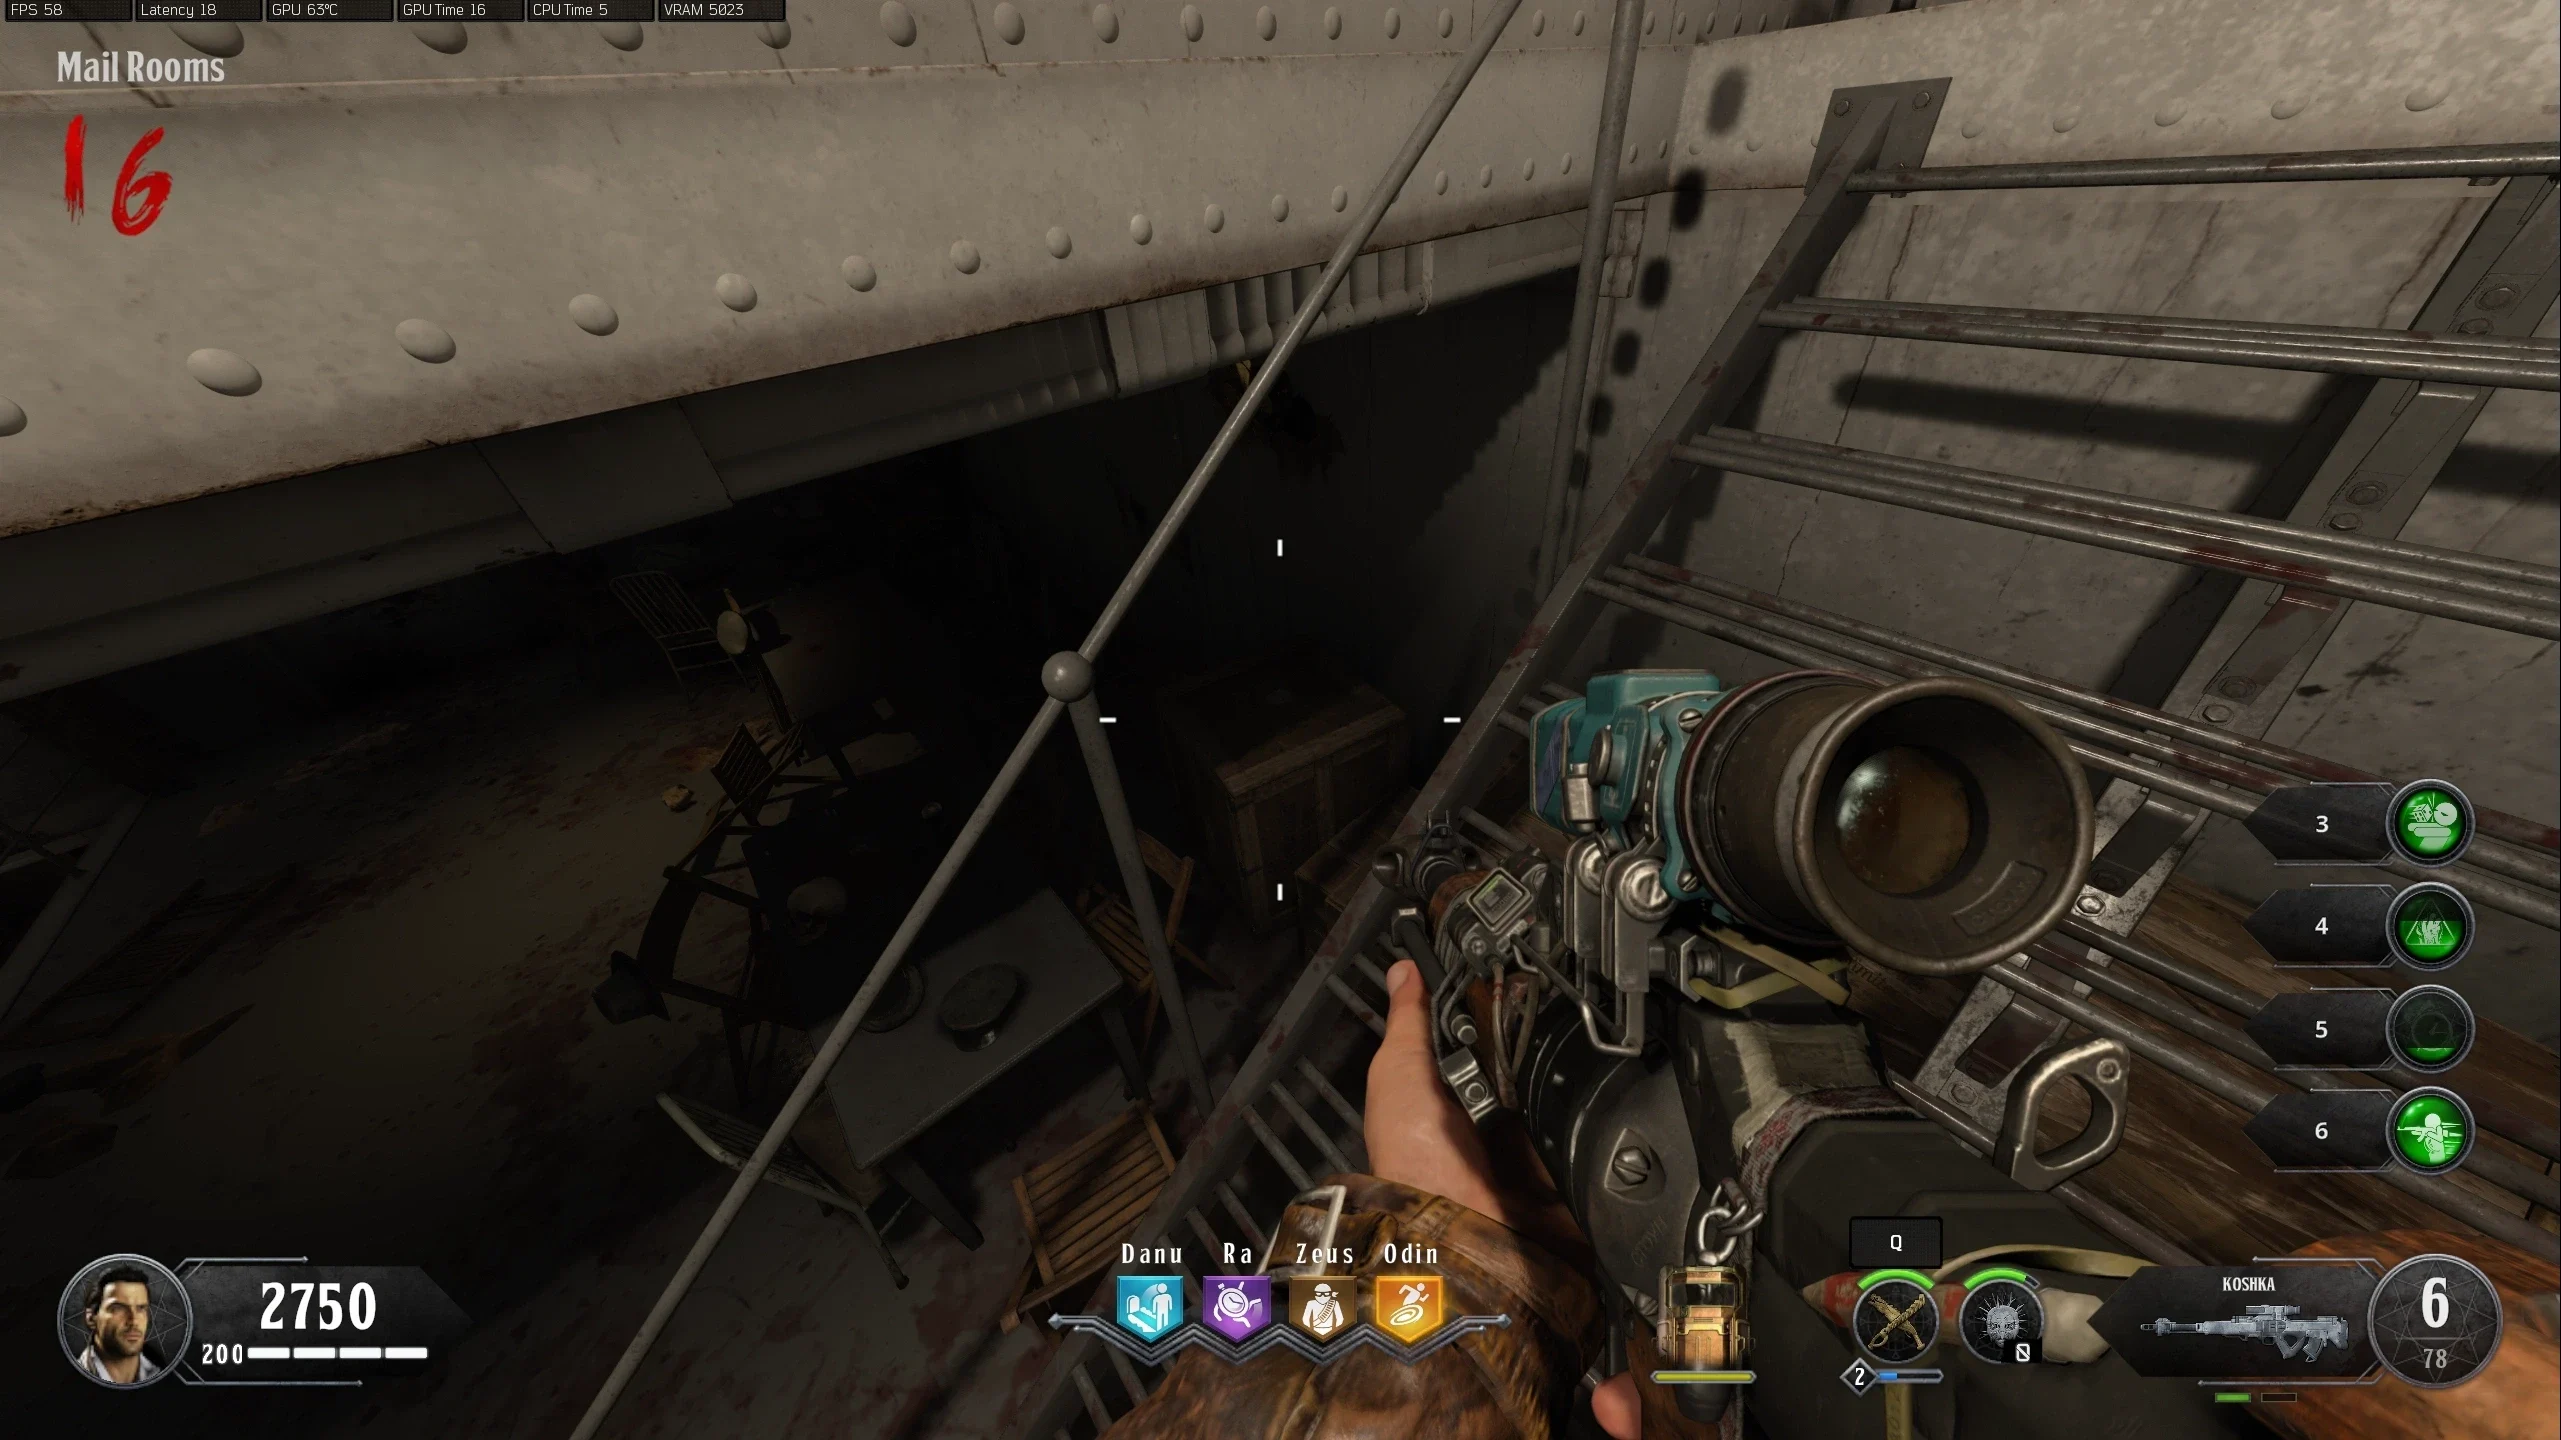
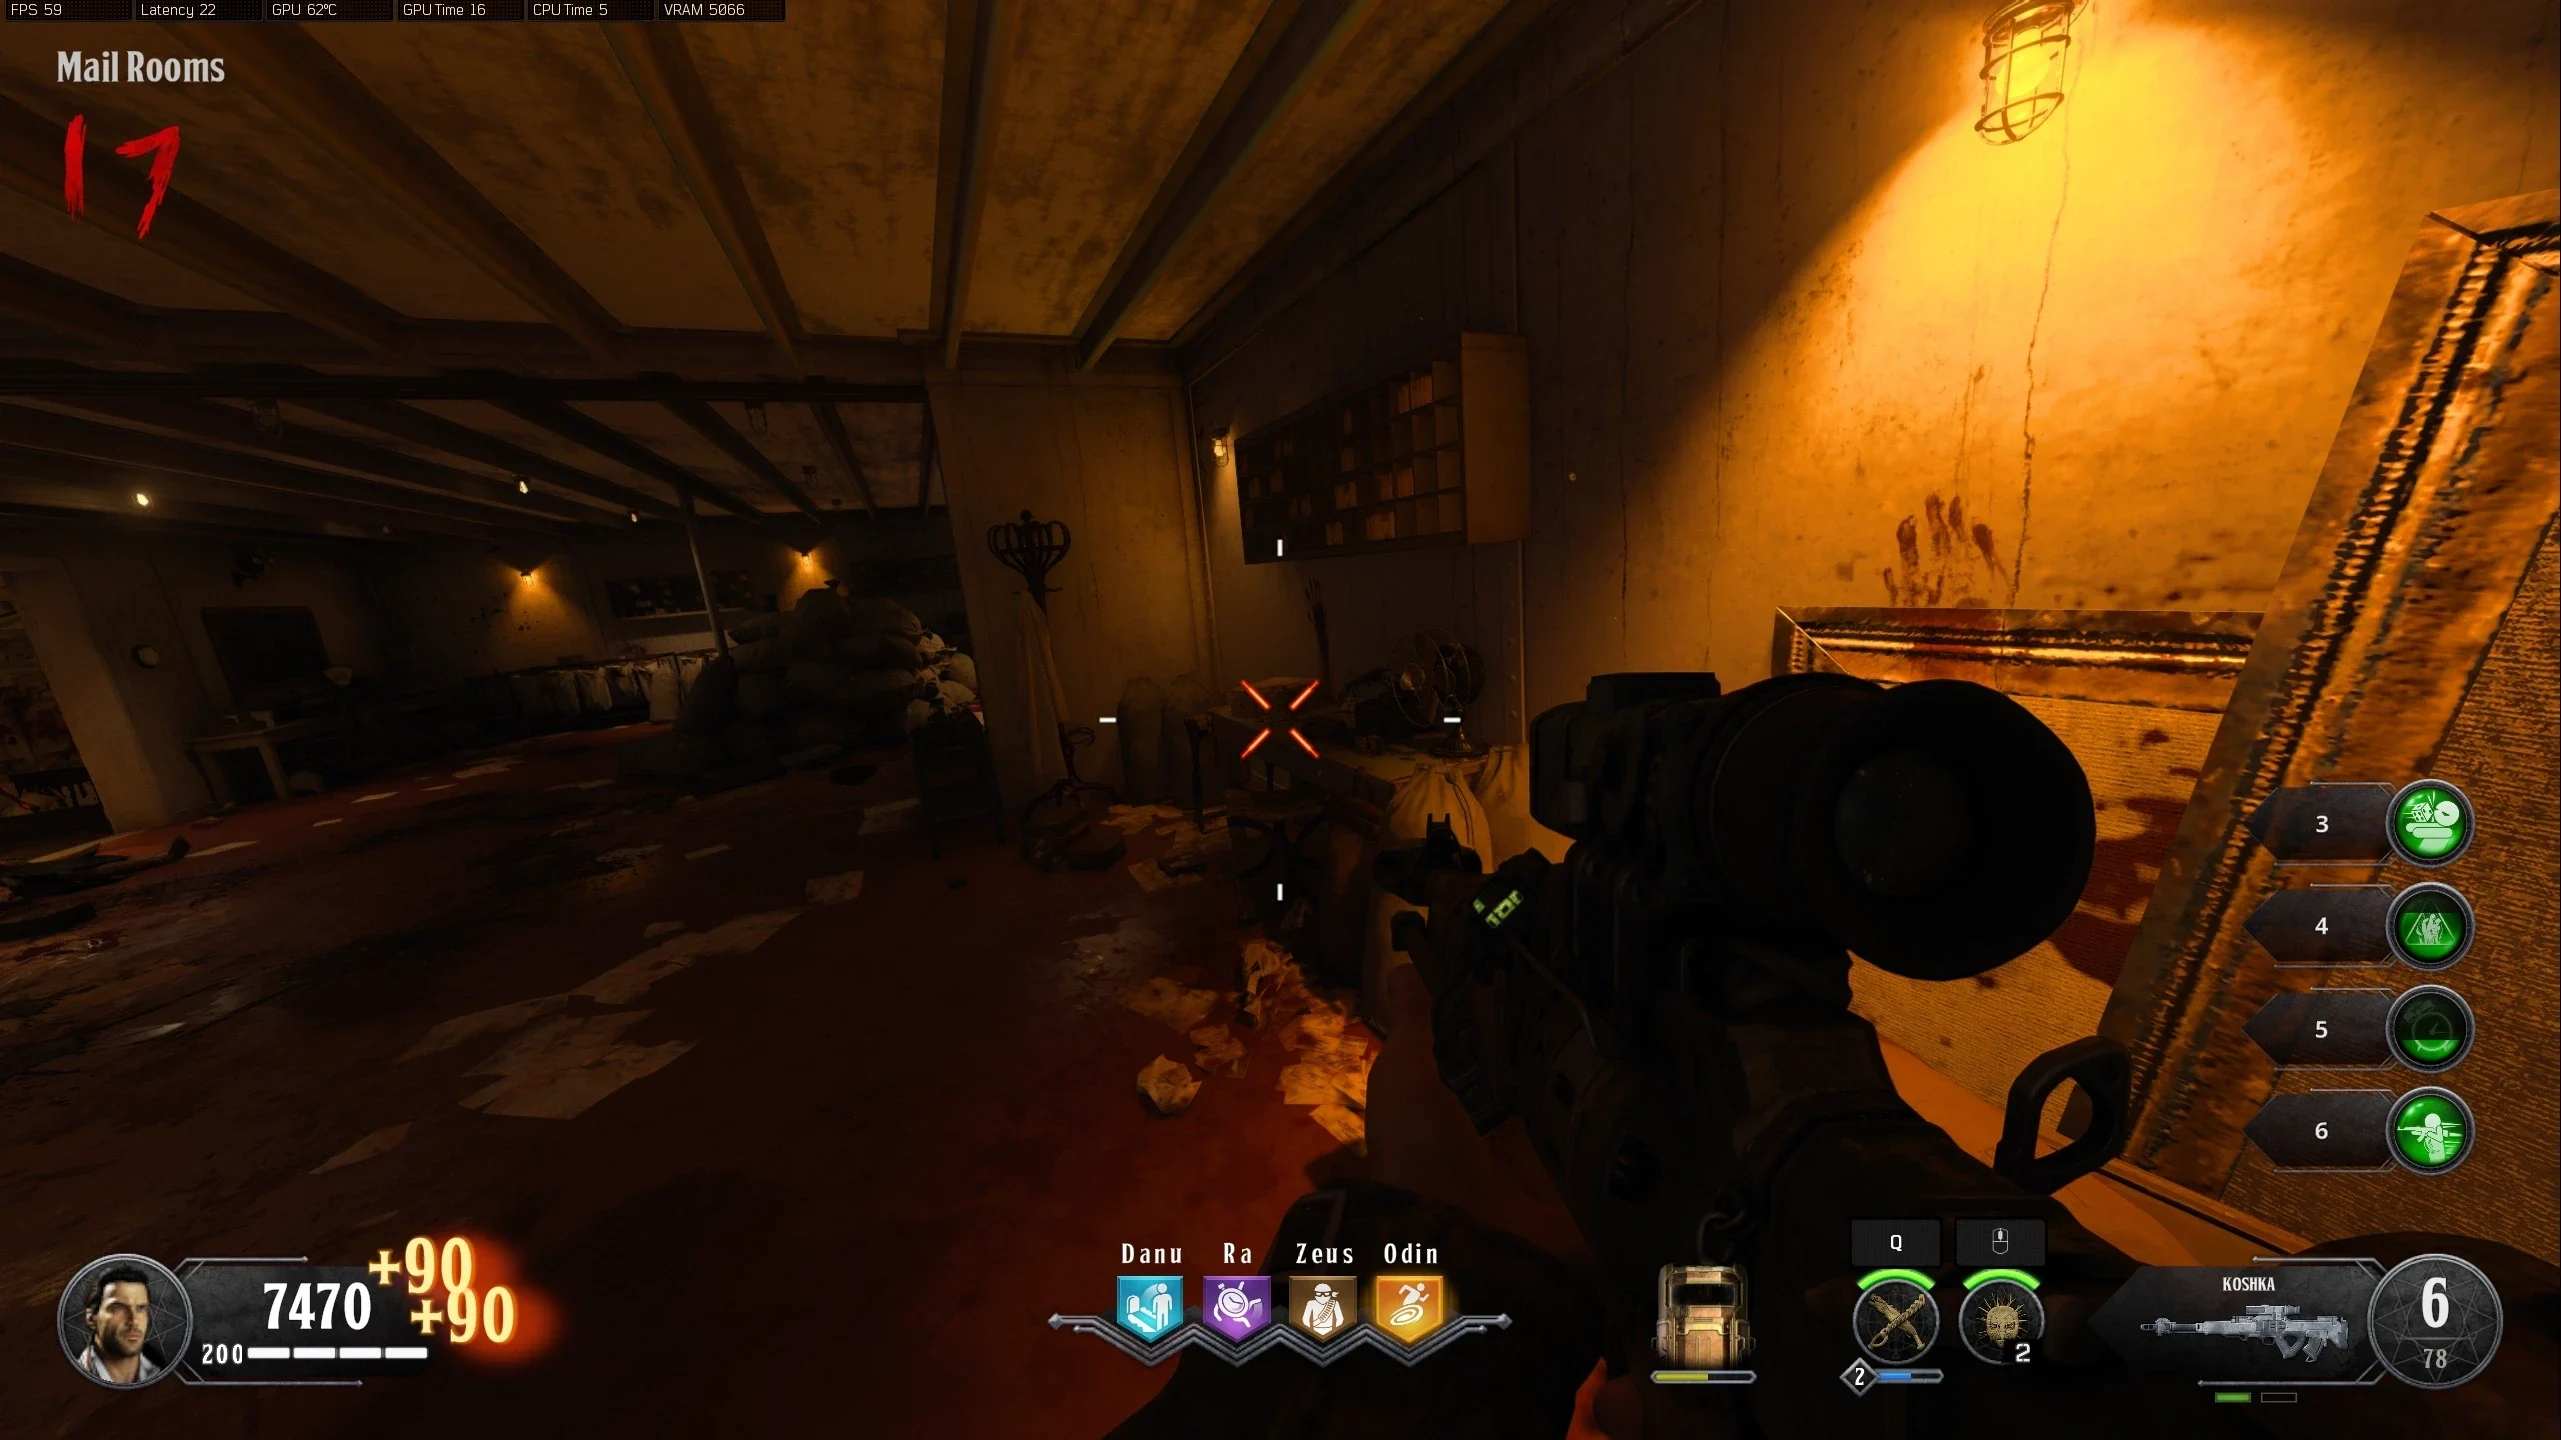
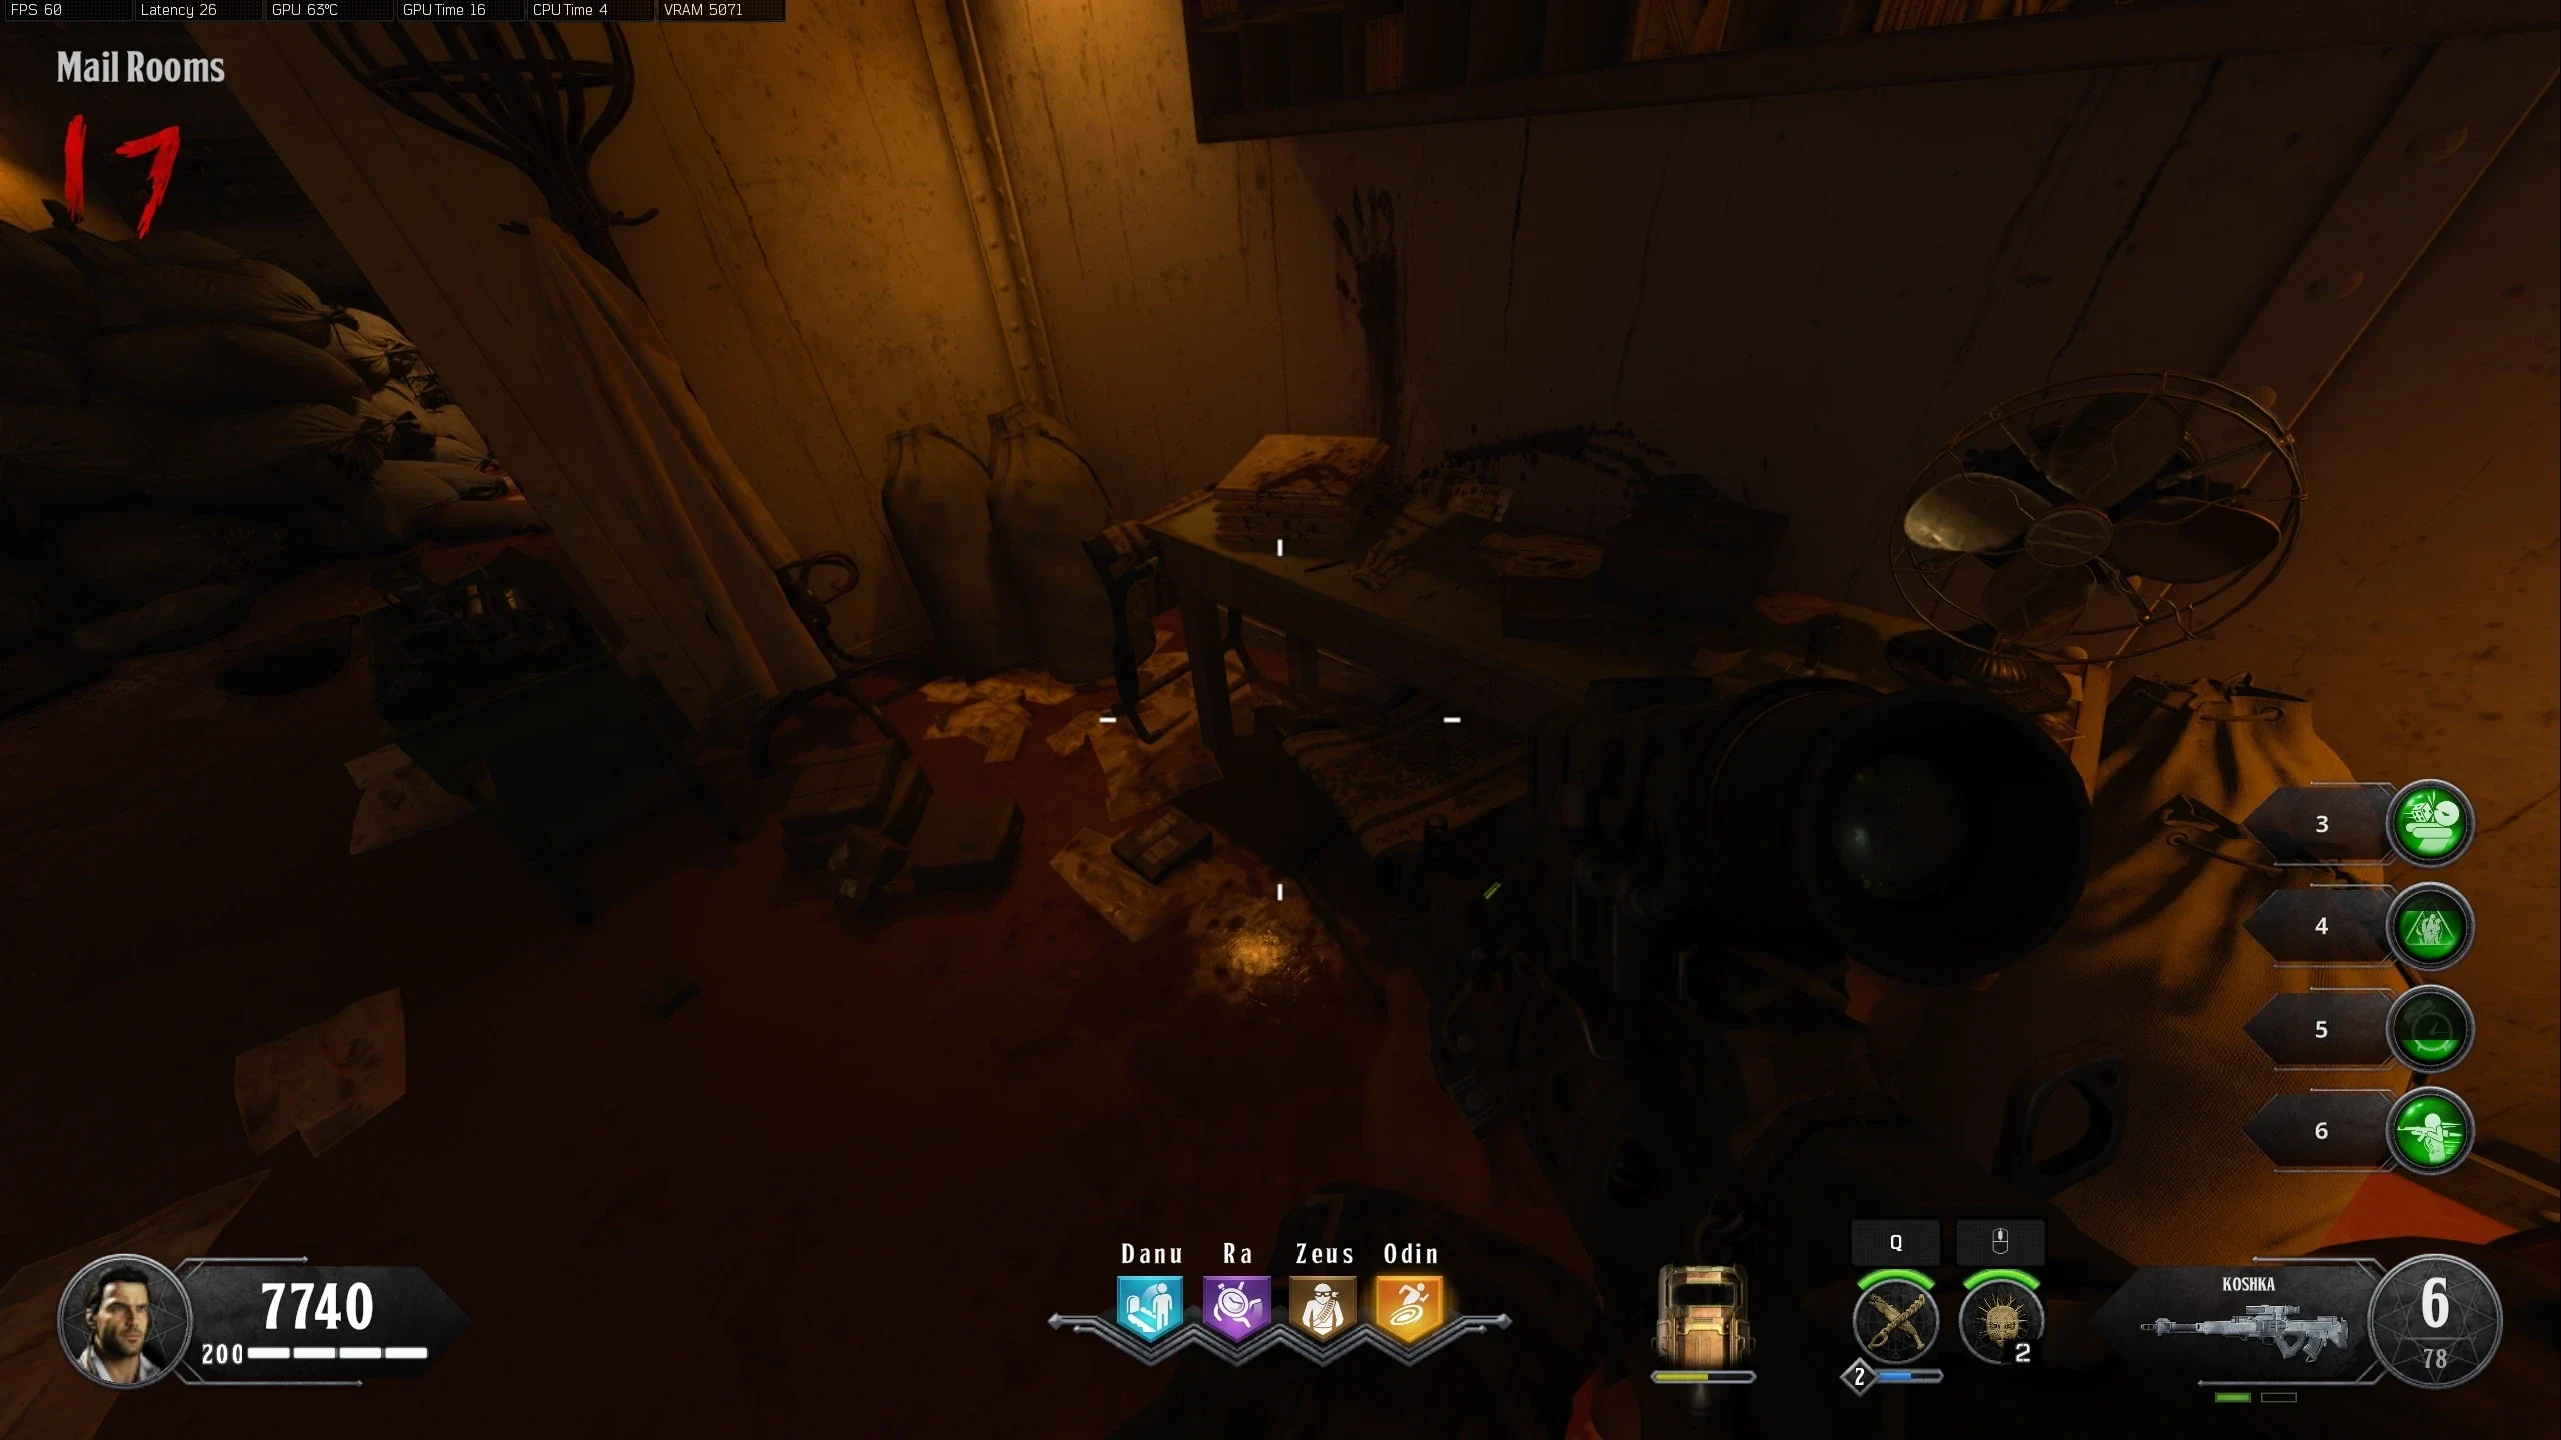
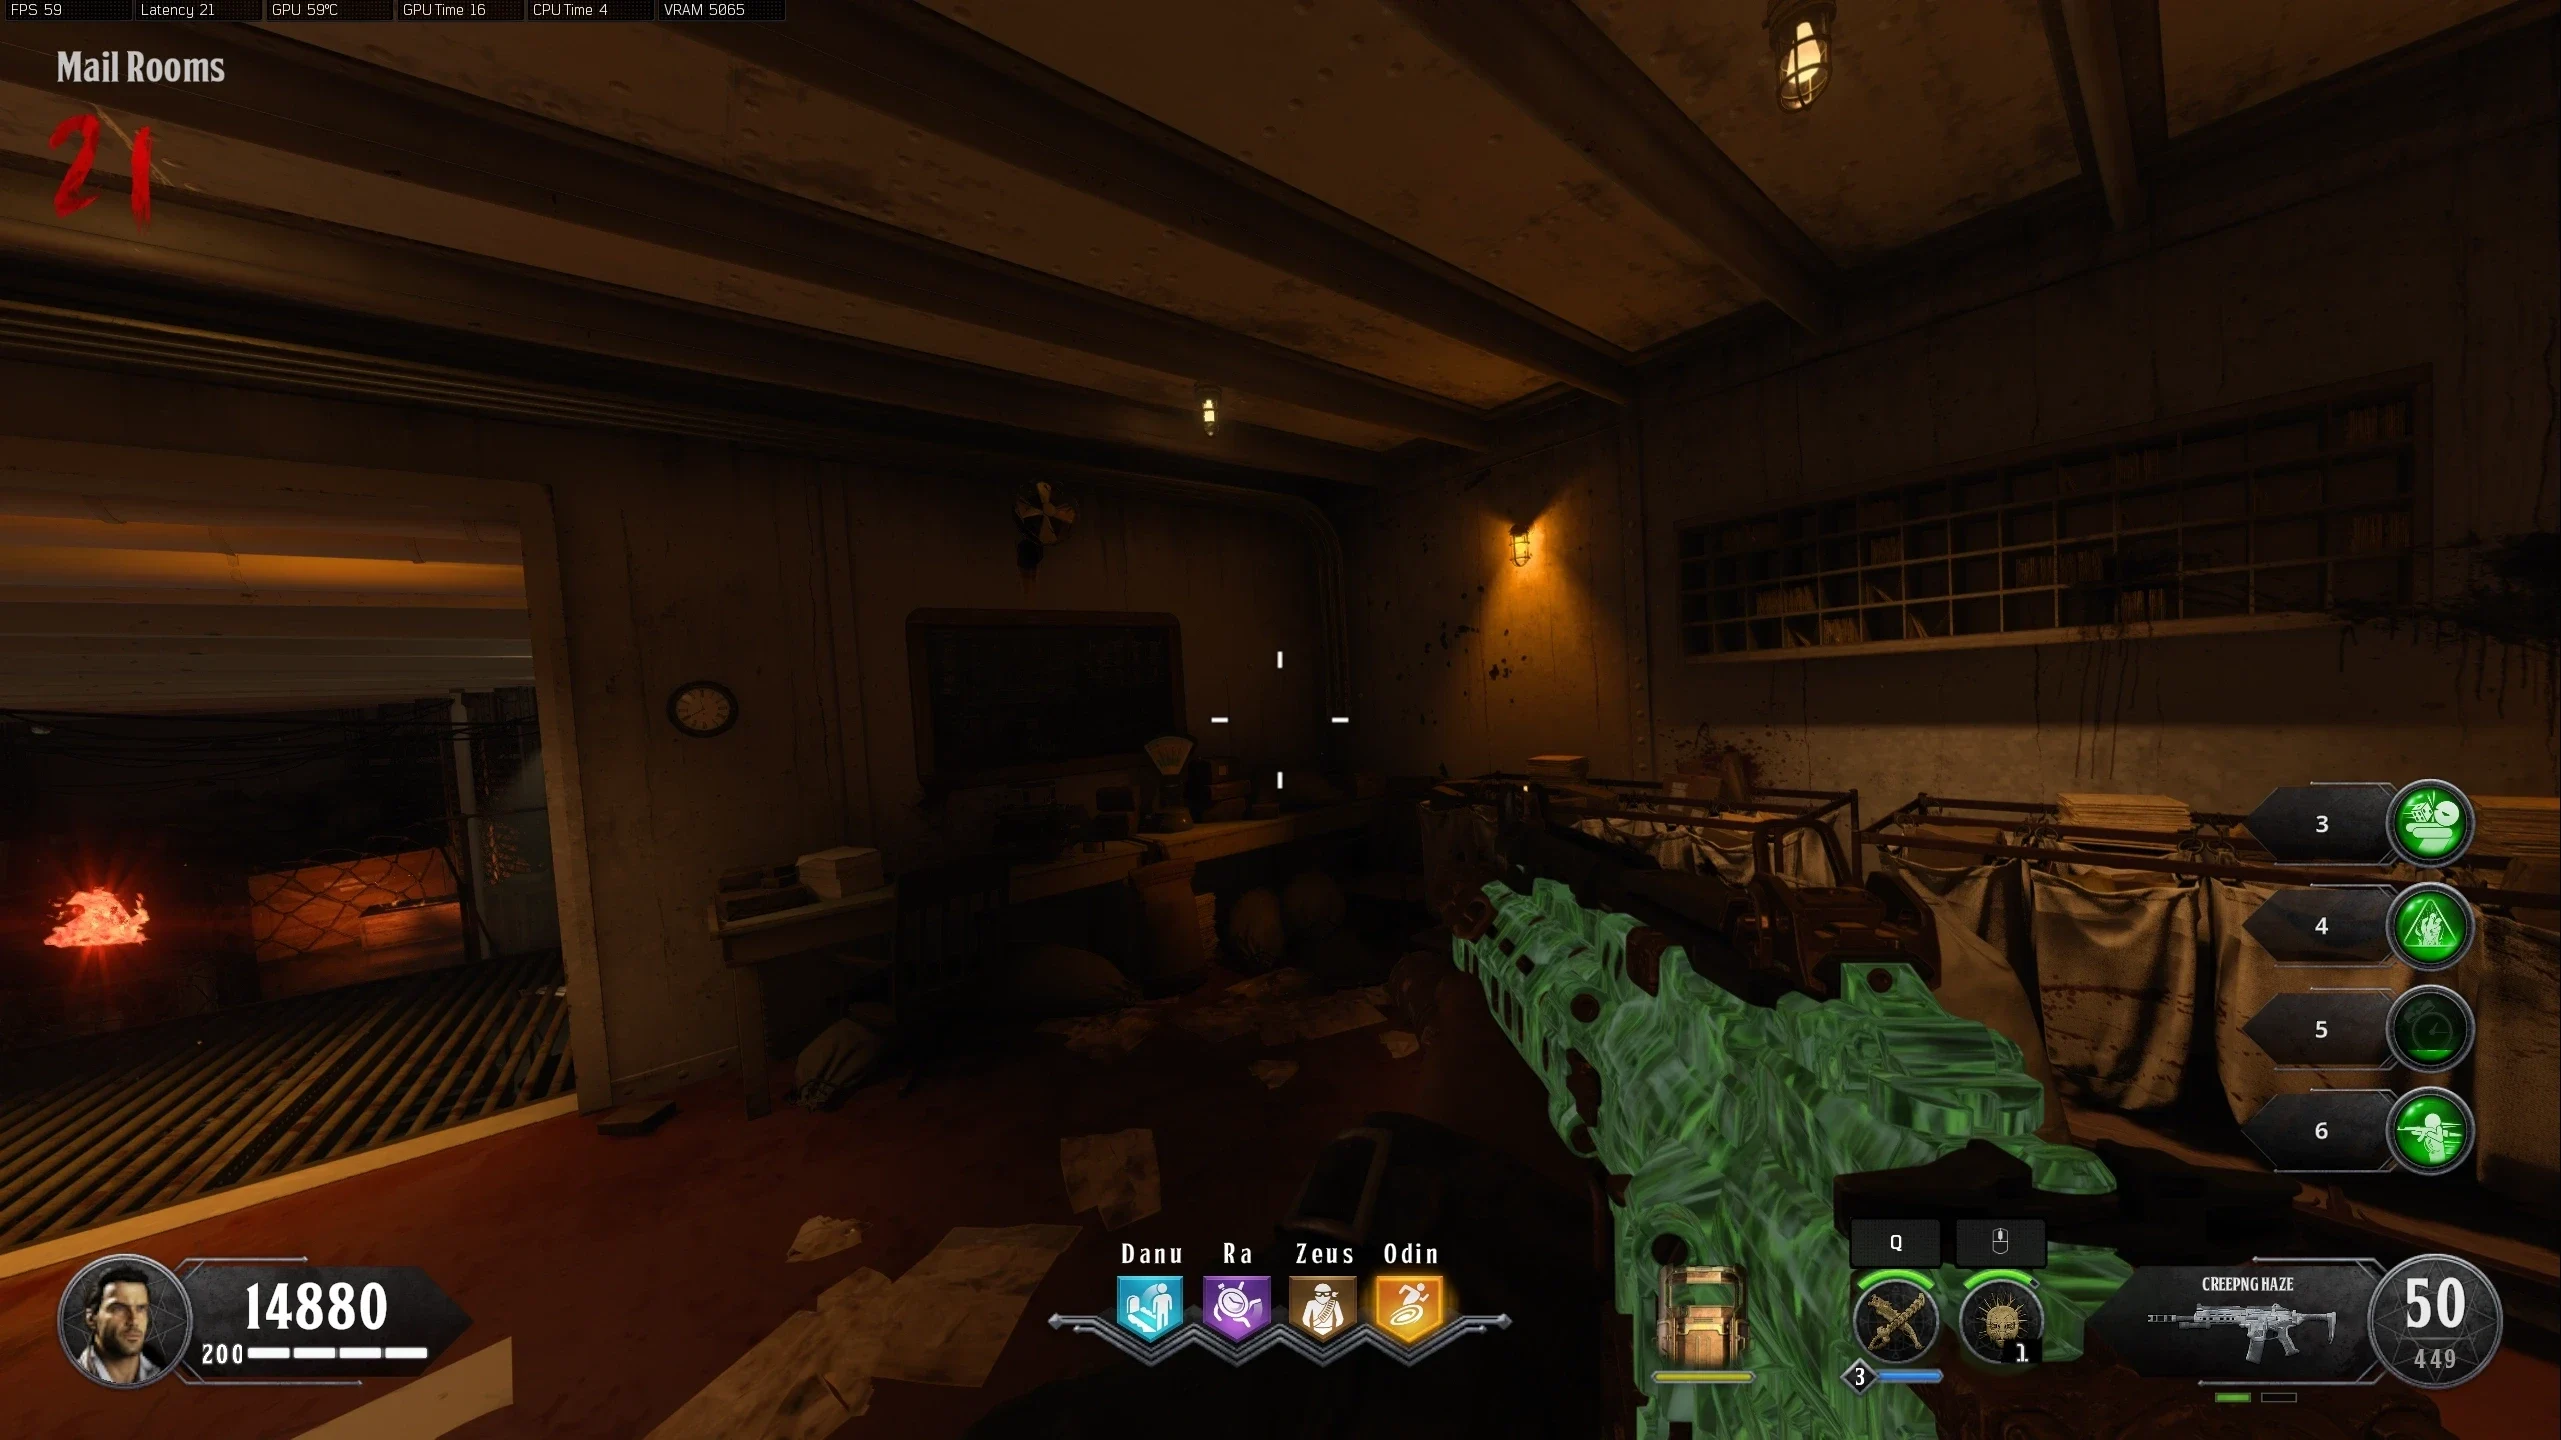
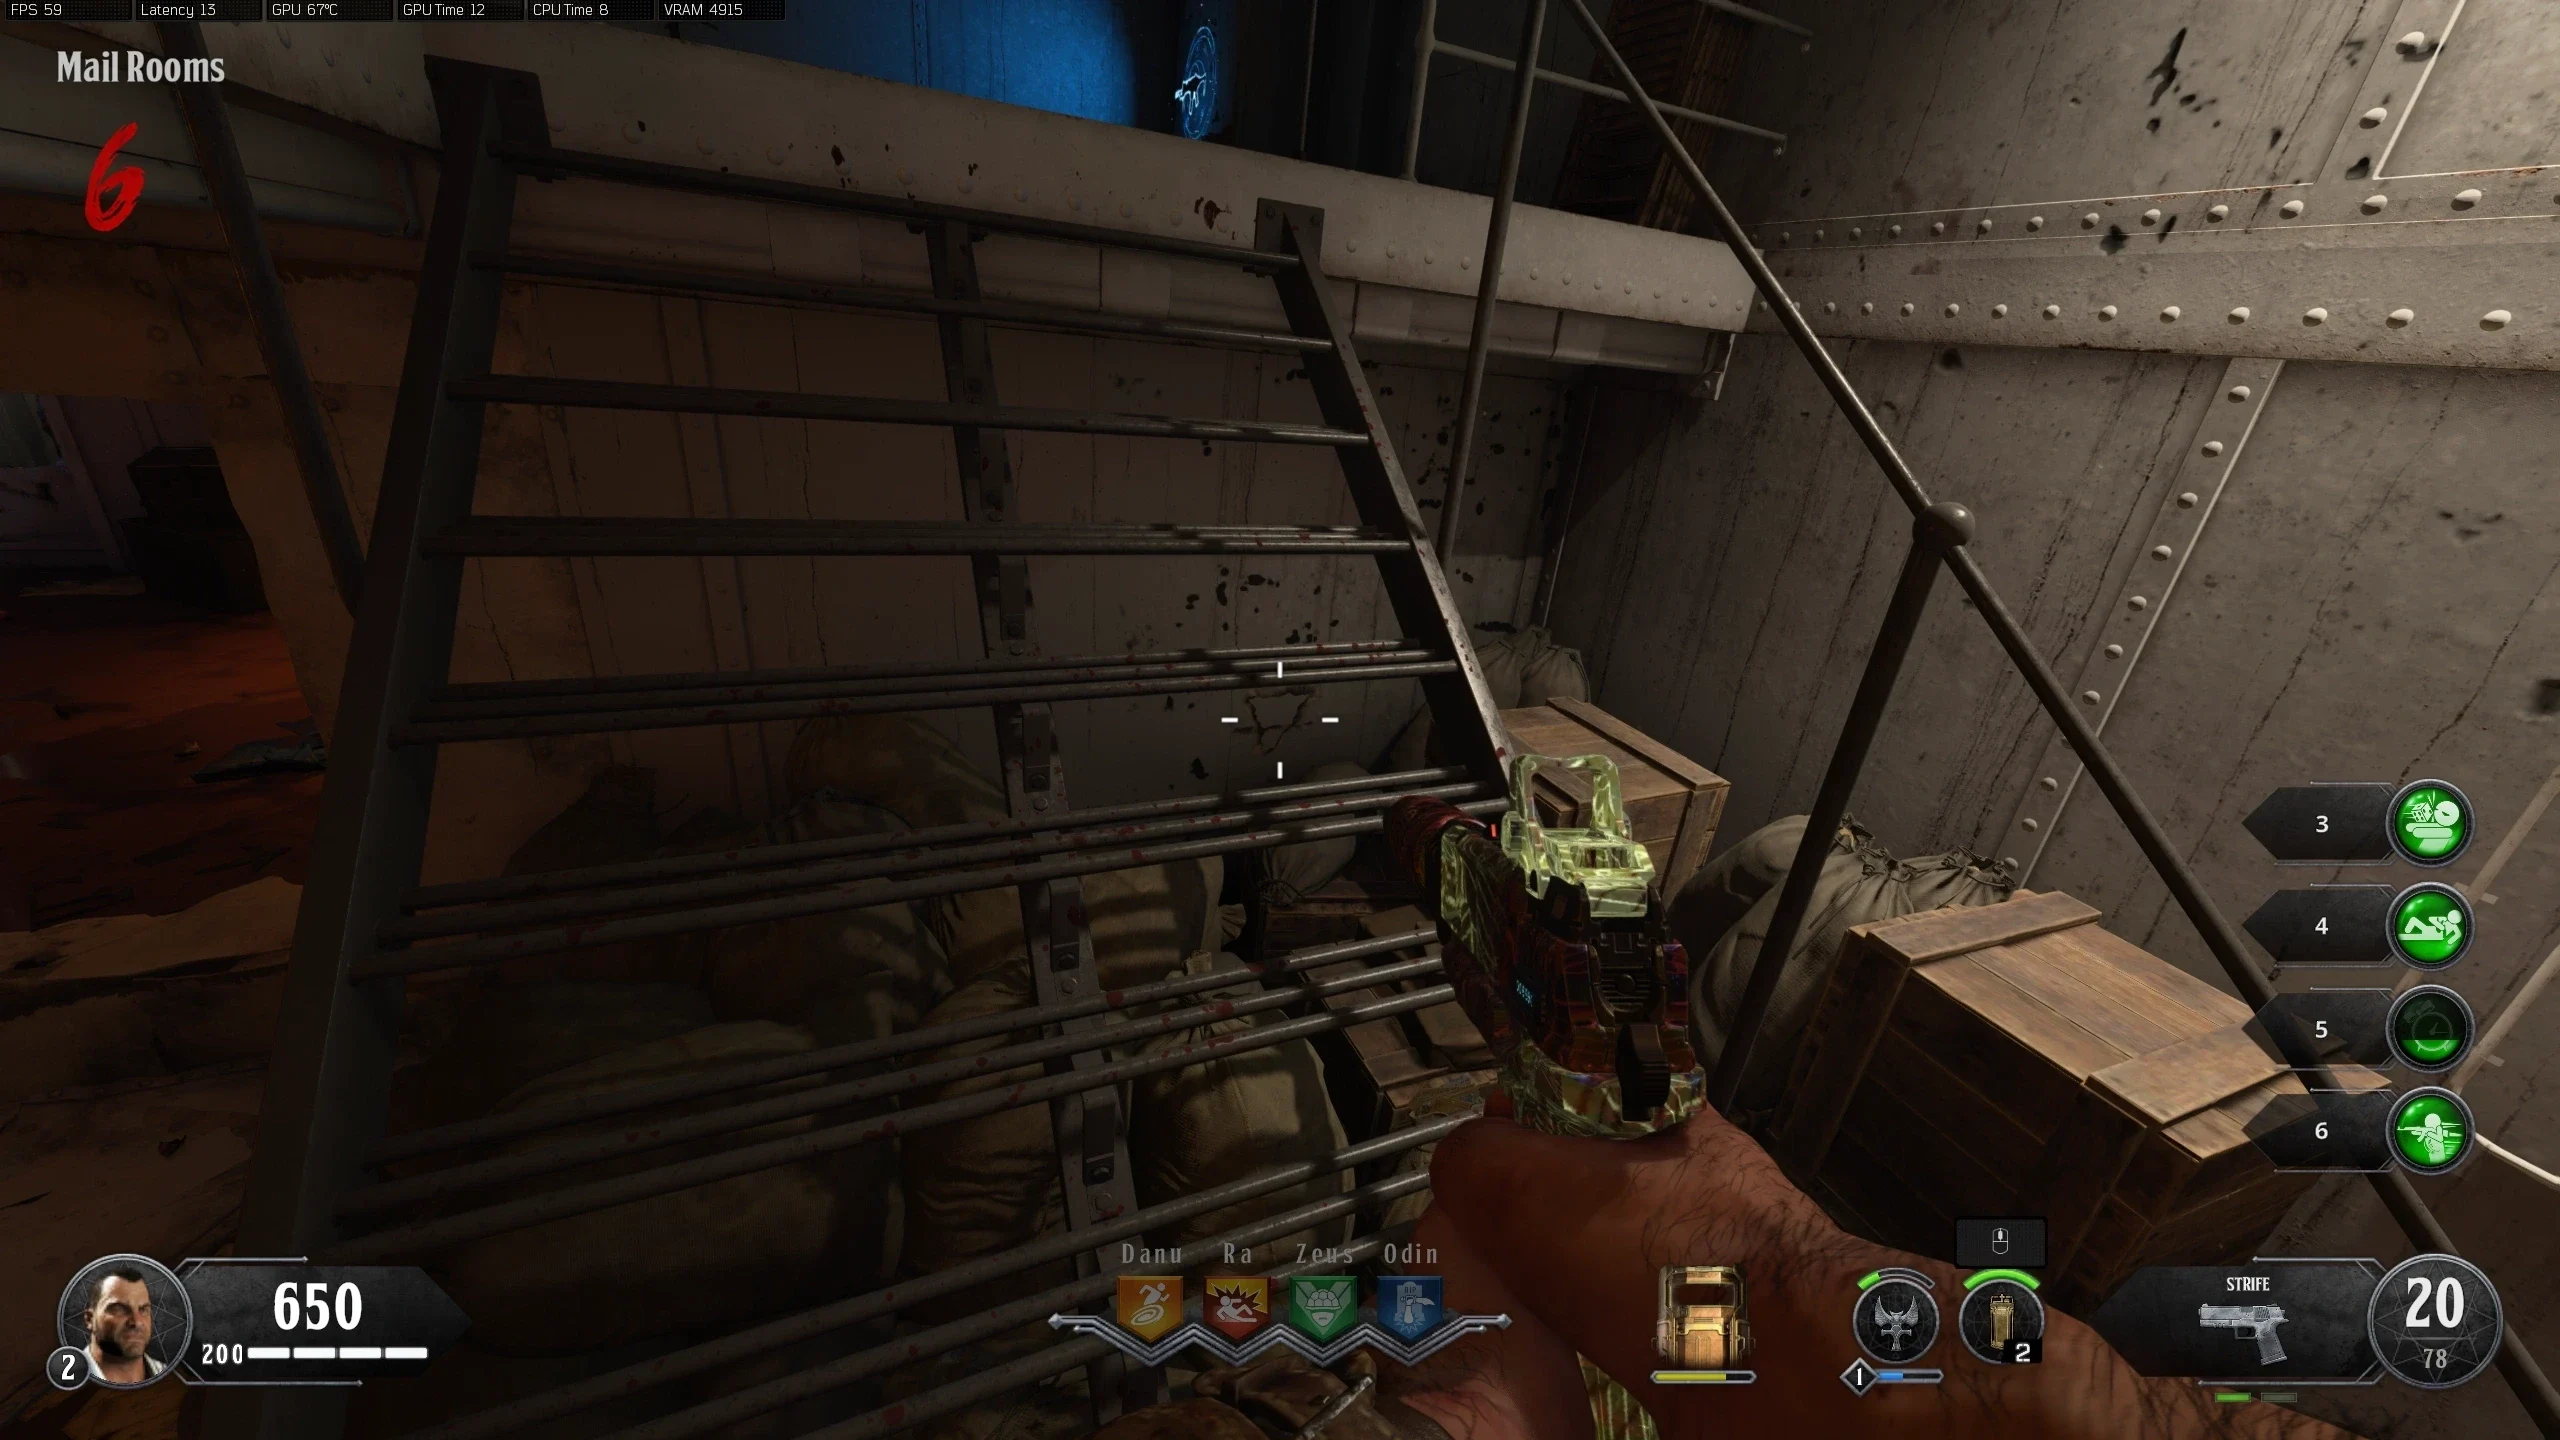
- Mail Rooms
- Clock: On the wall on the right side of the doorway leading down to the Cargo Hold
- Symbol: Underneath the stairs leading up to the room with the Vapr-XKG wallbuy
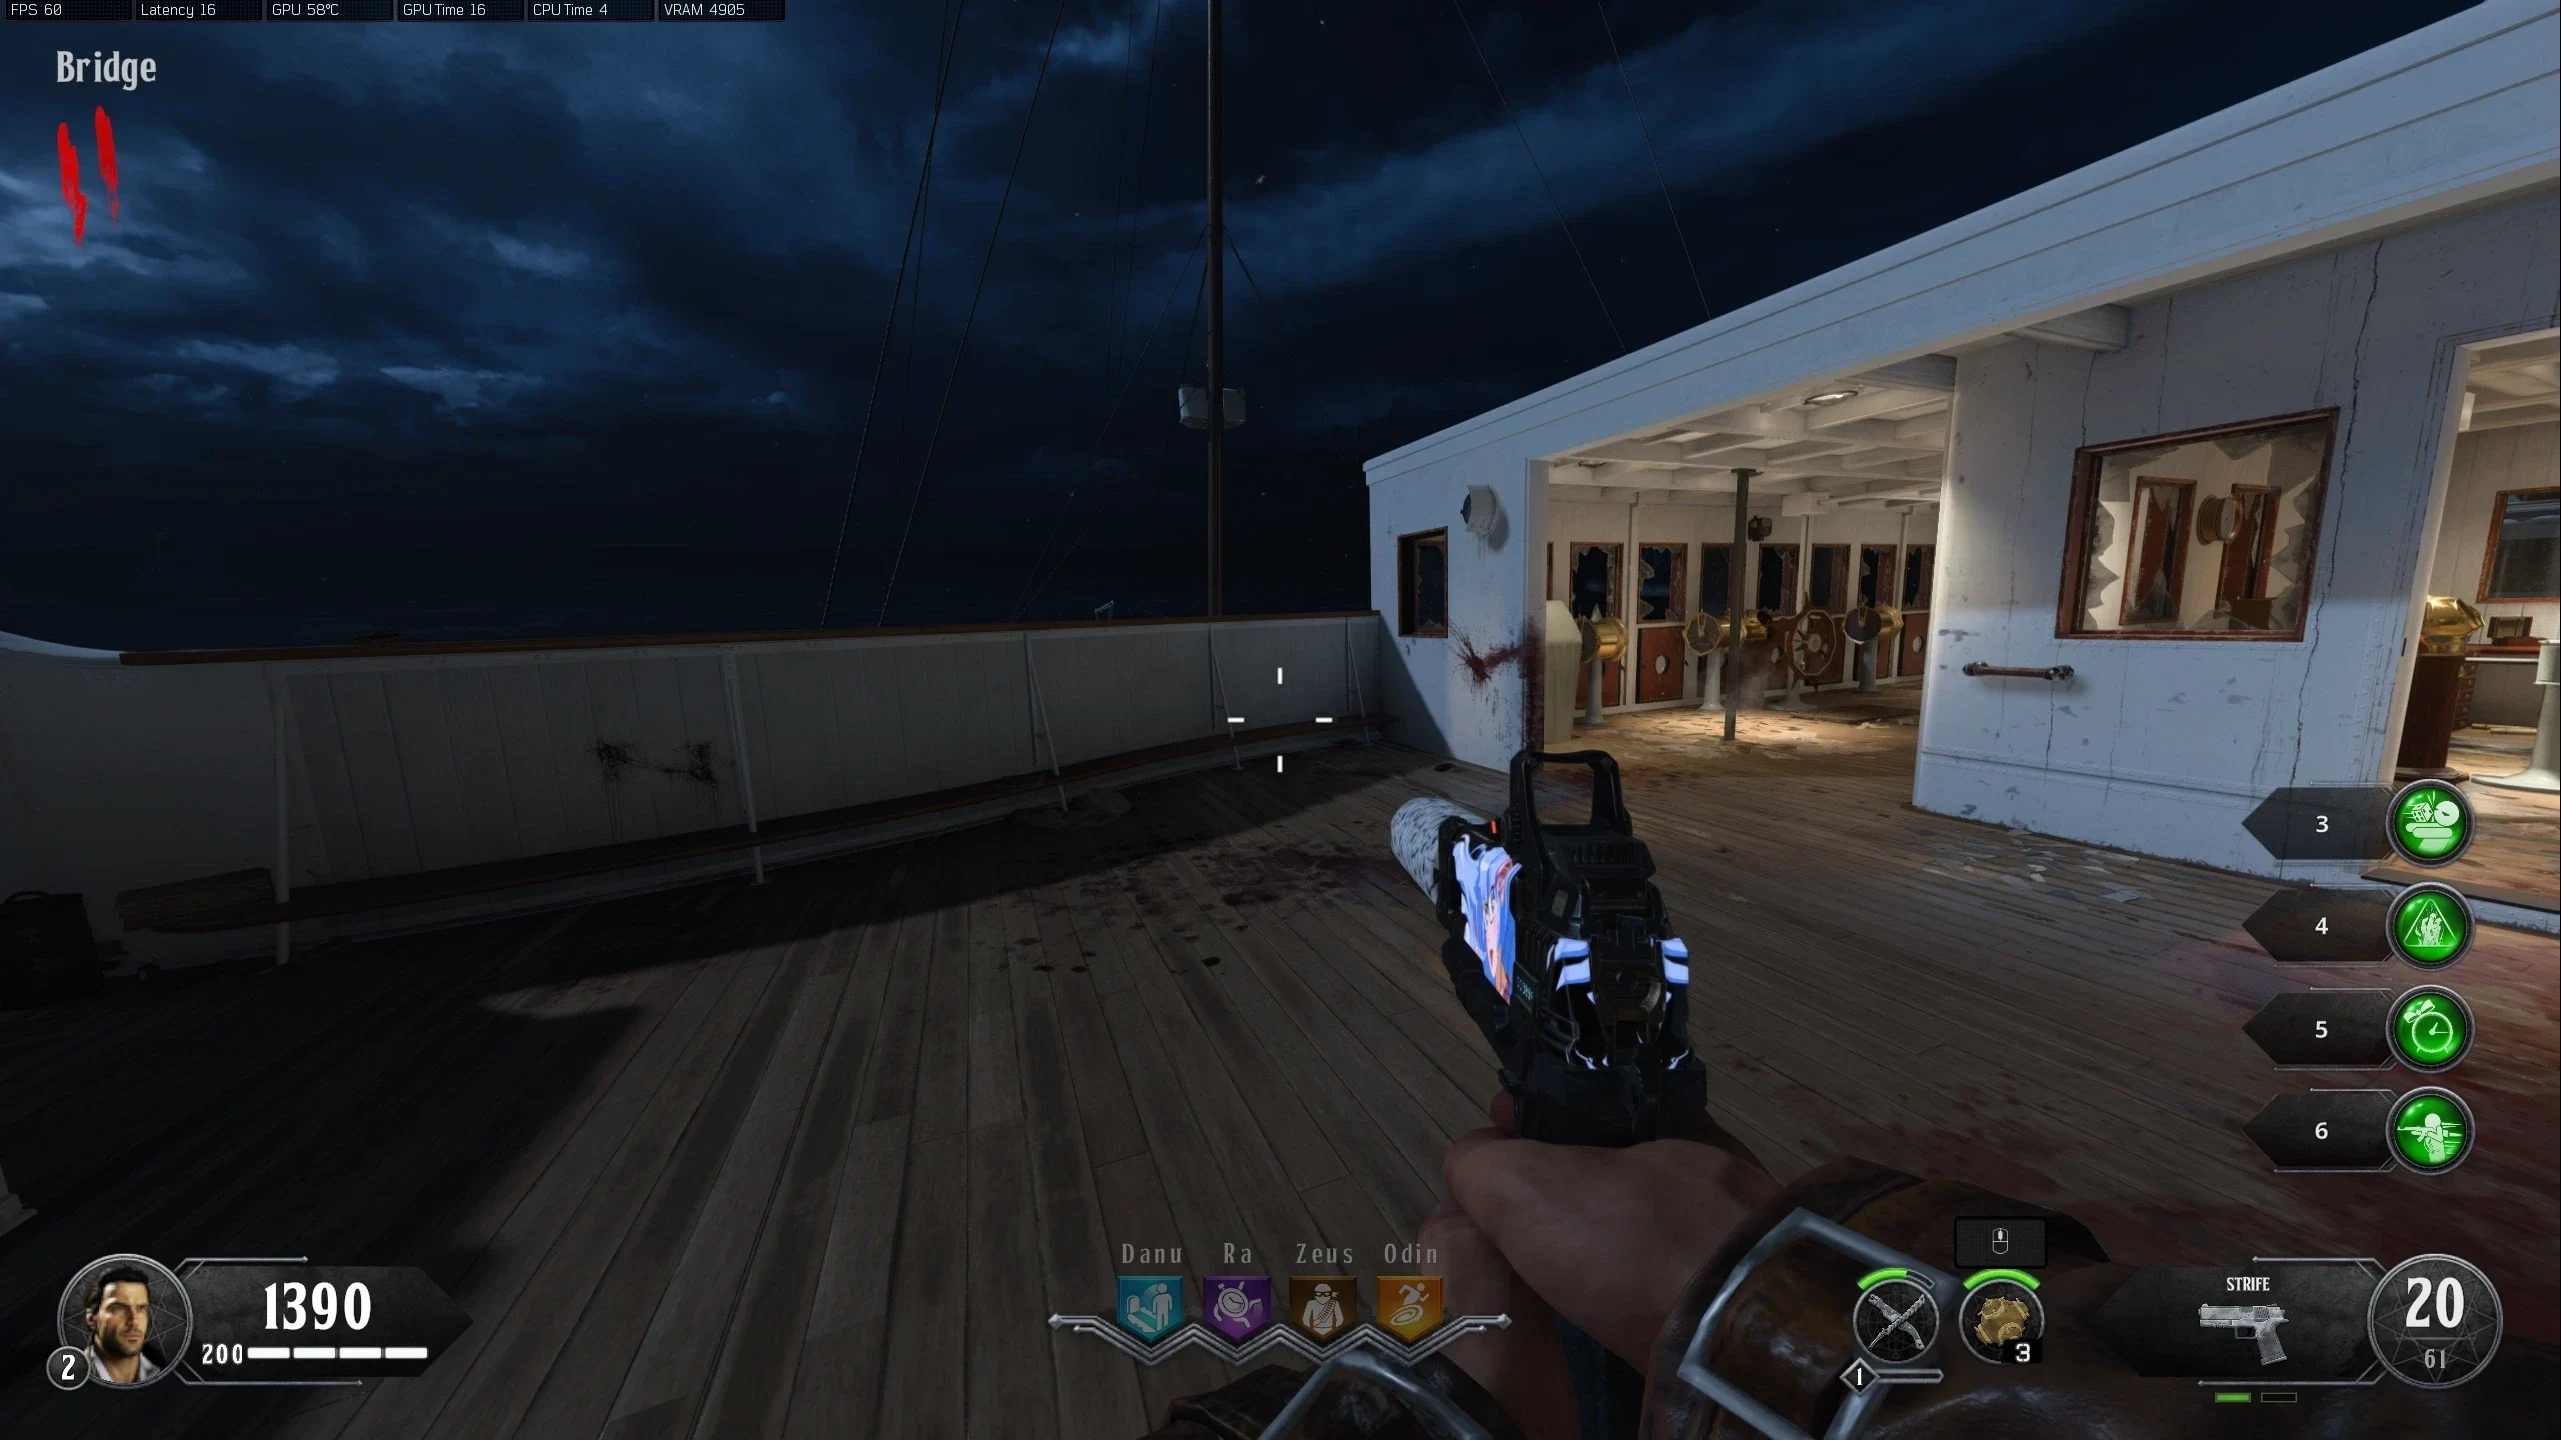
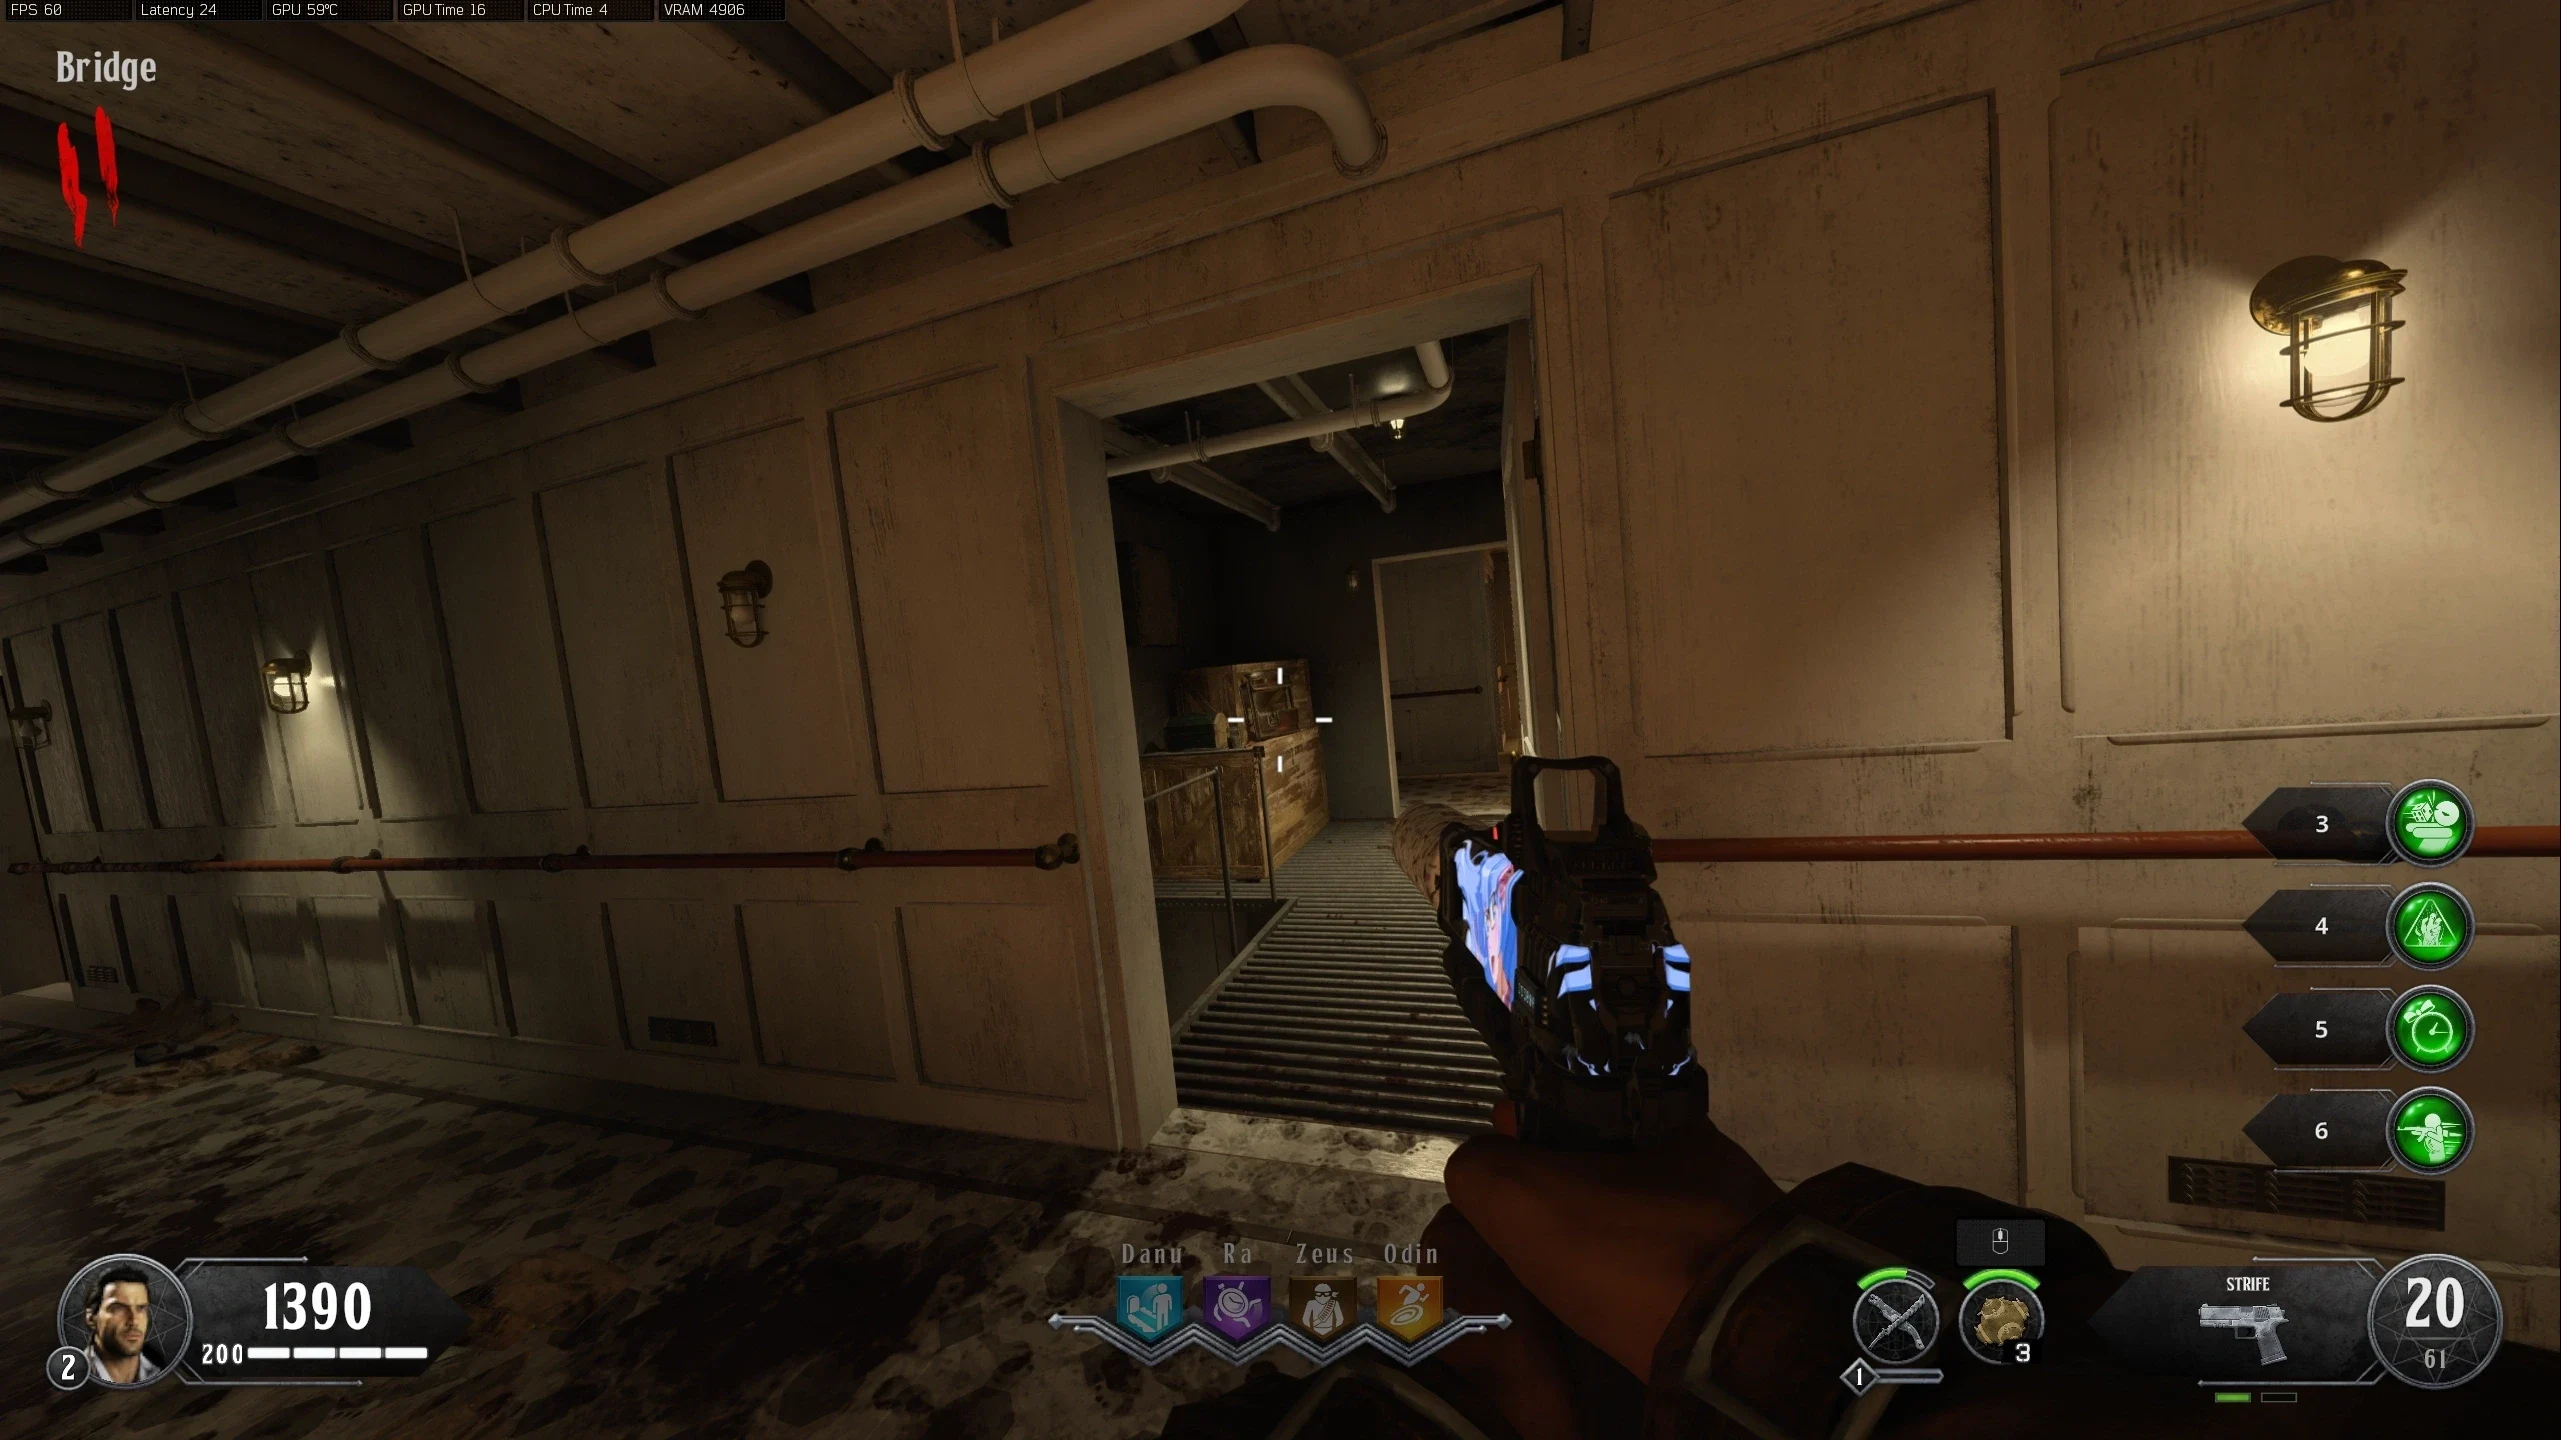
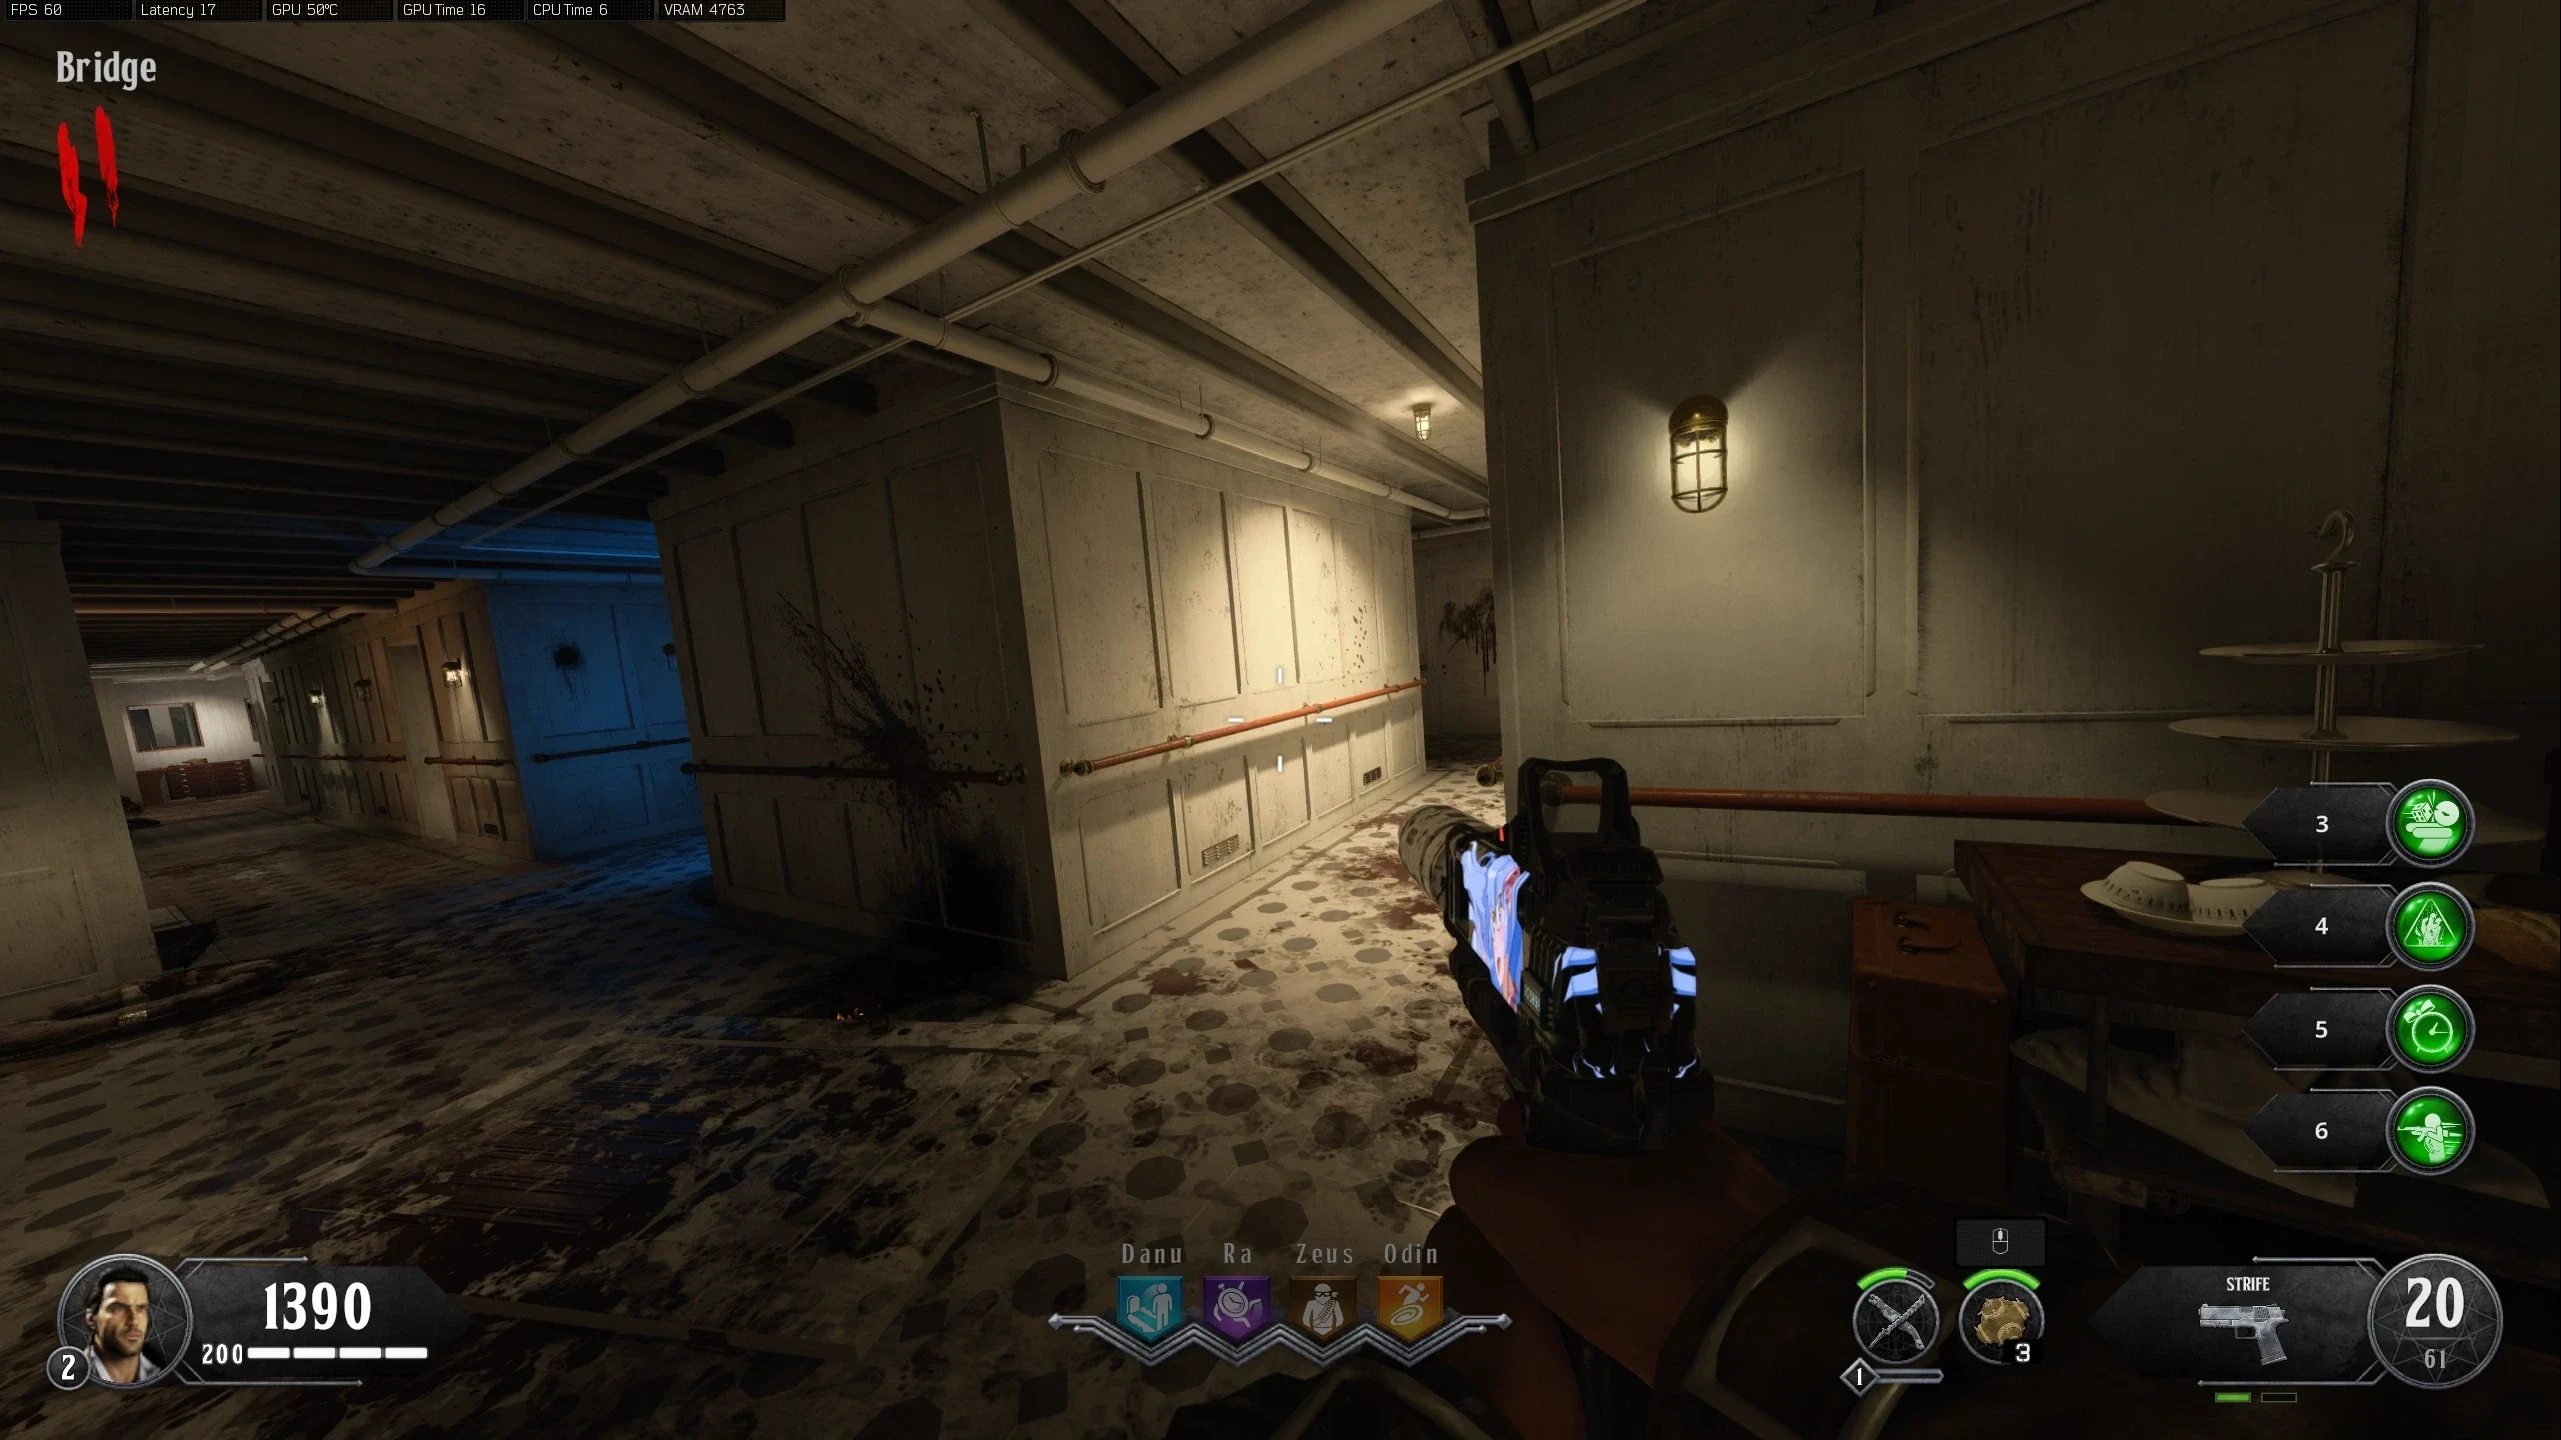
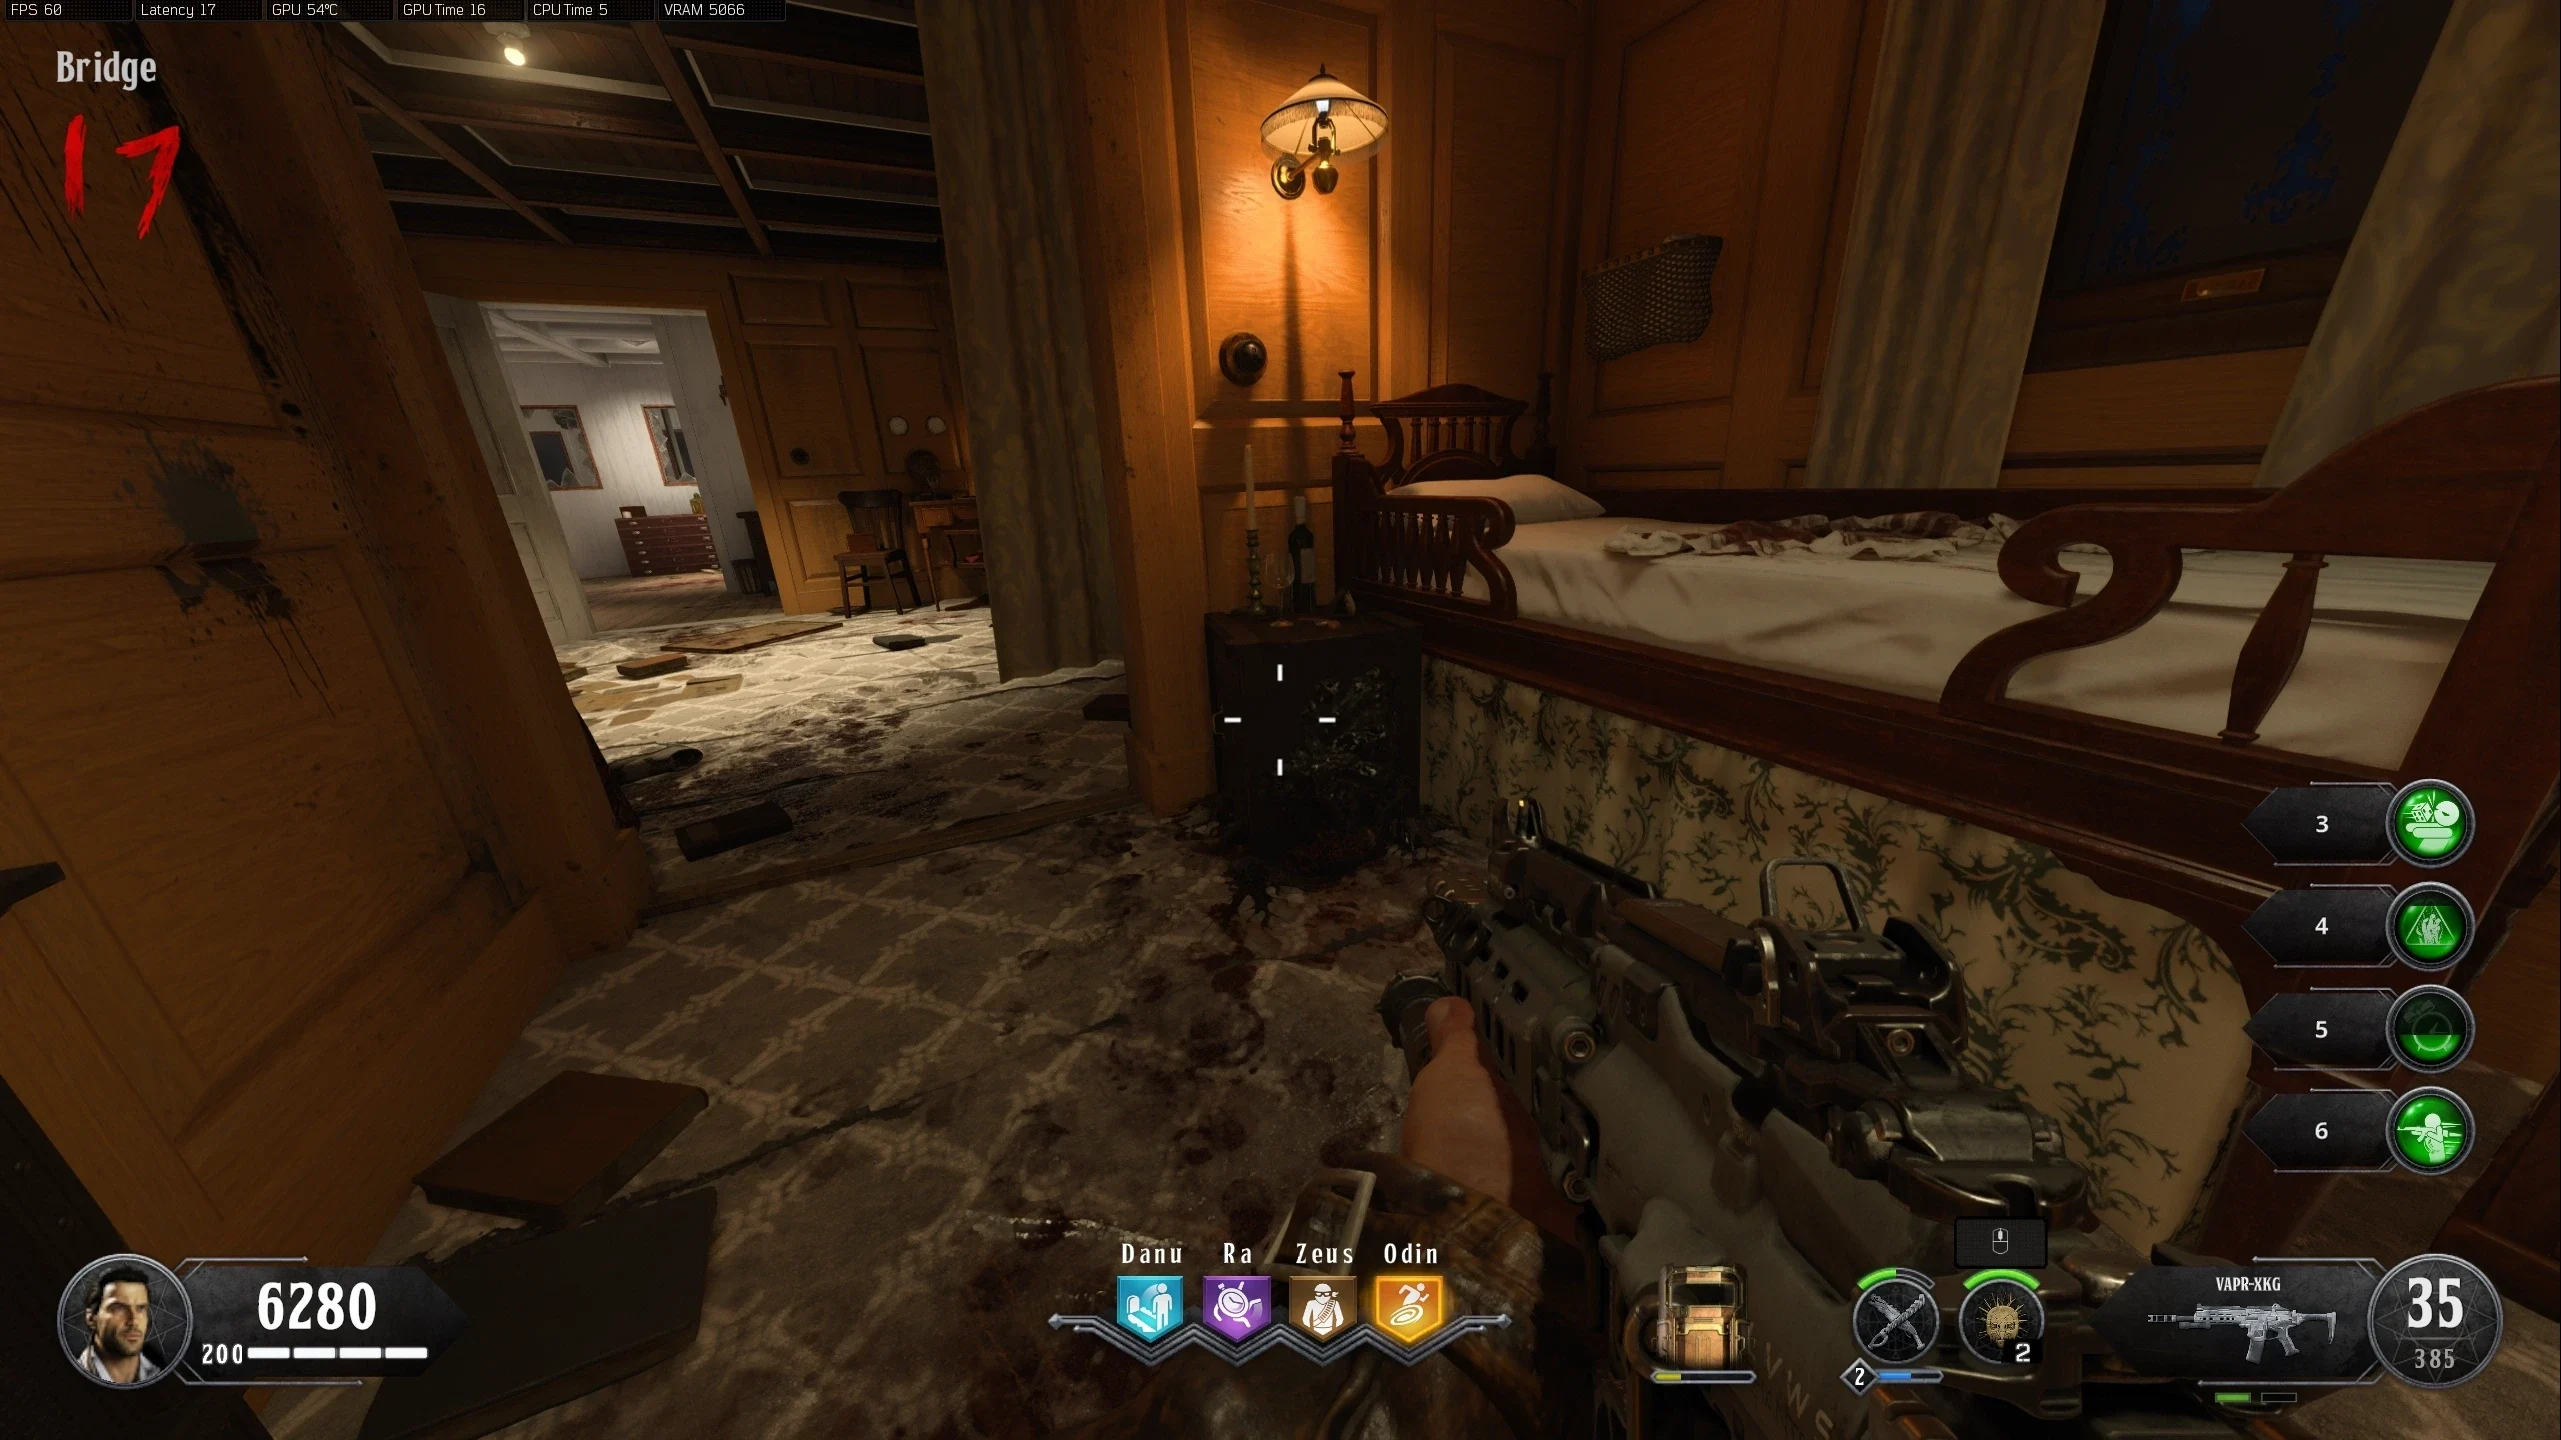
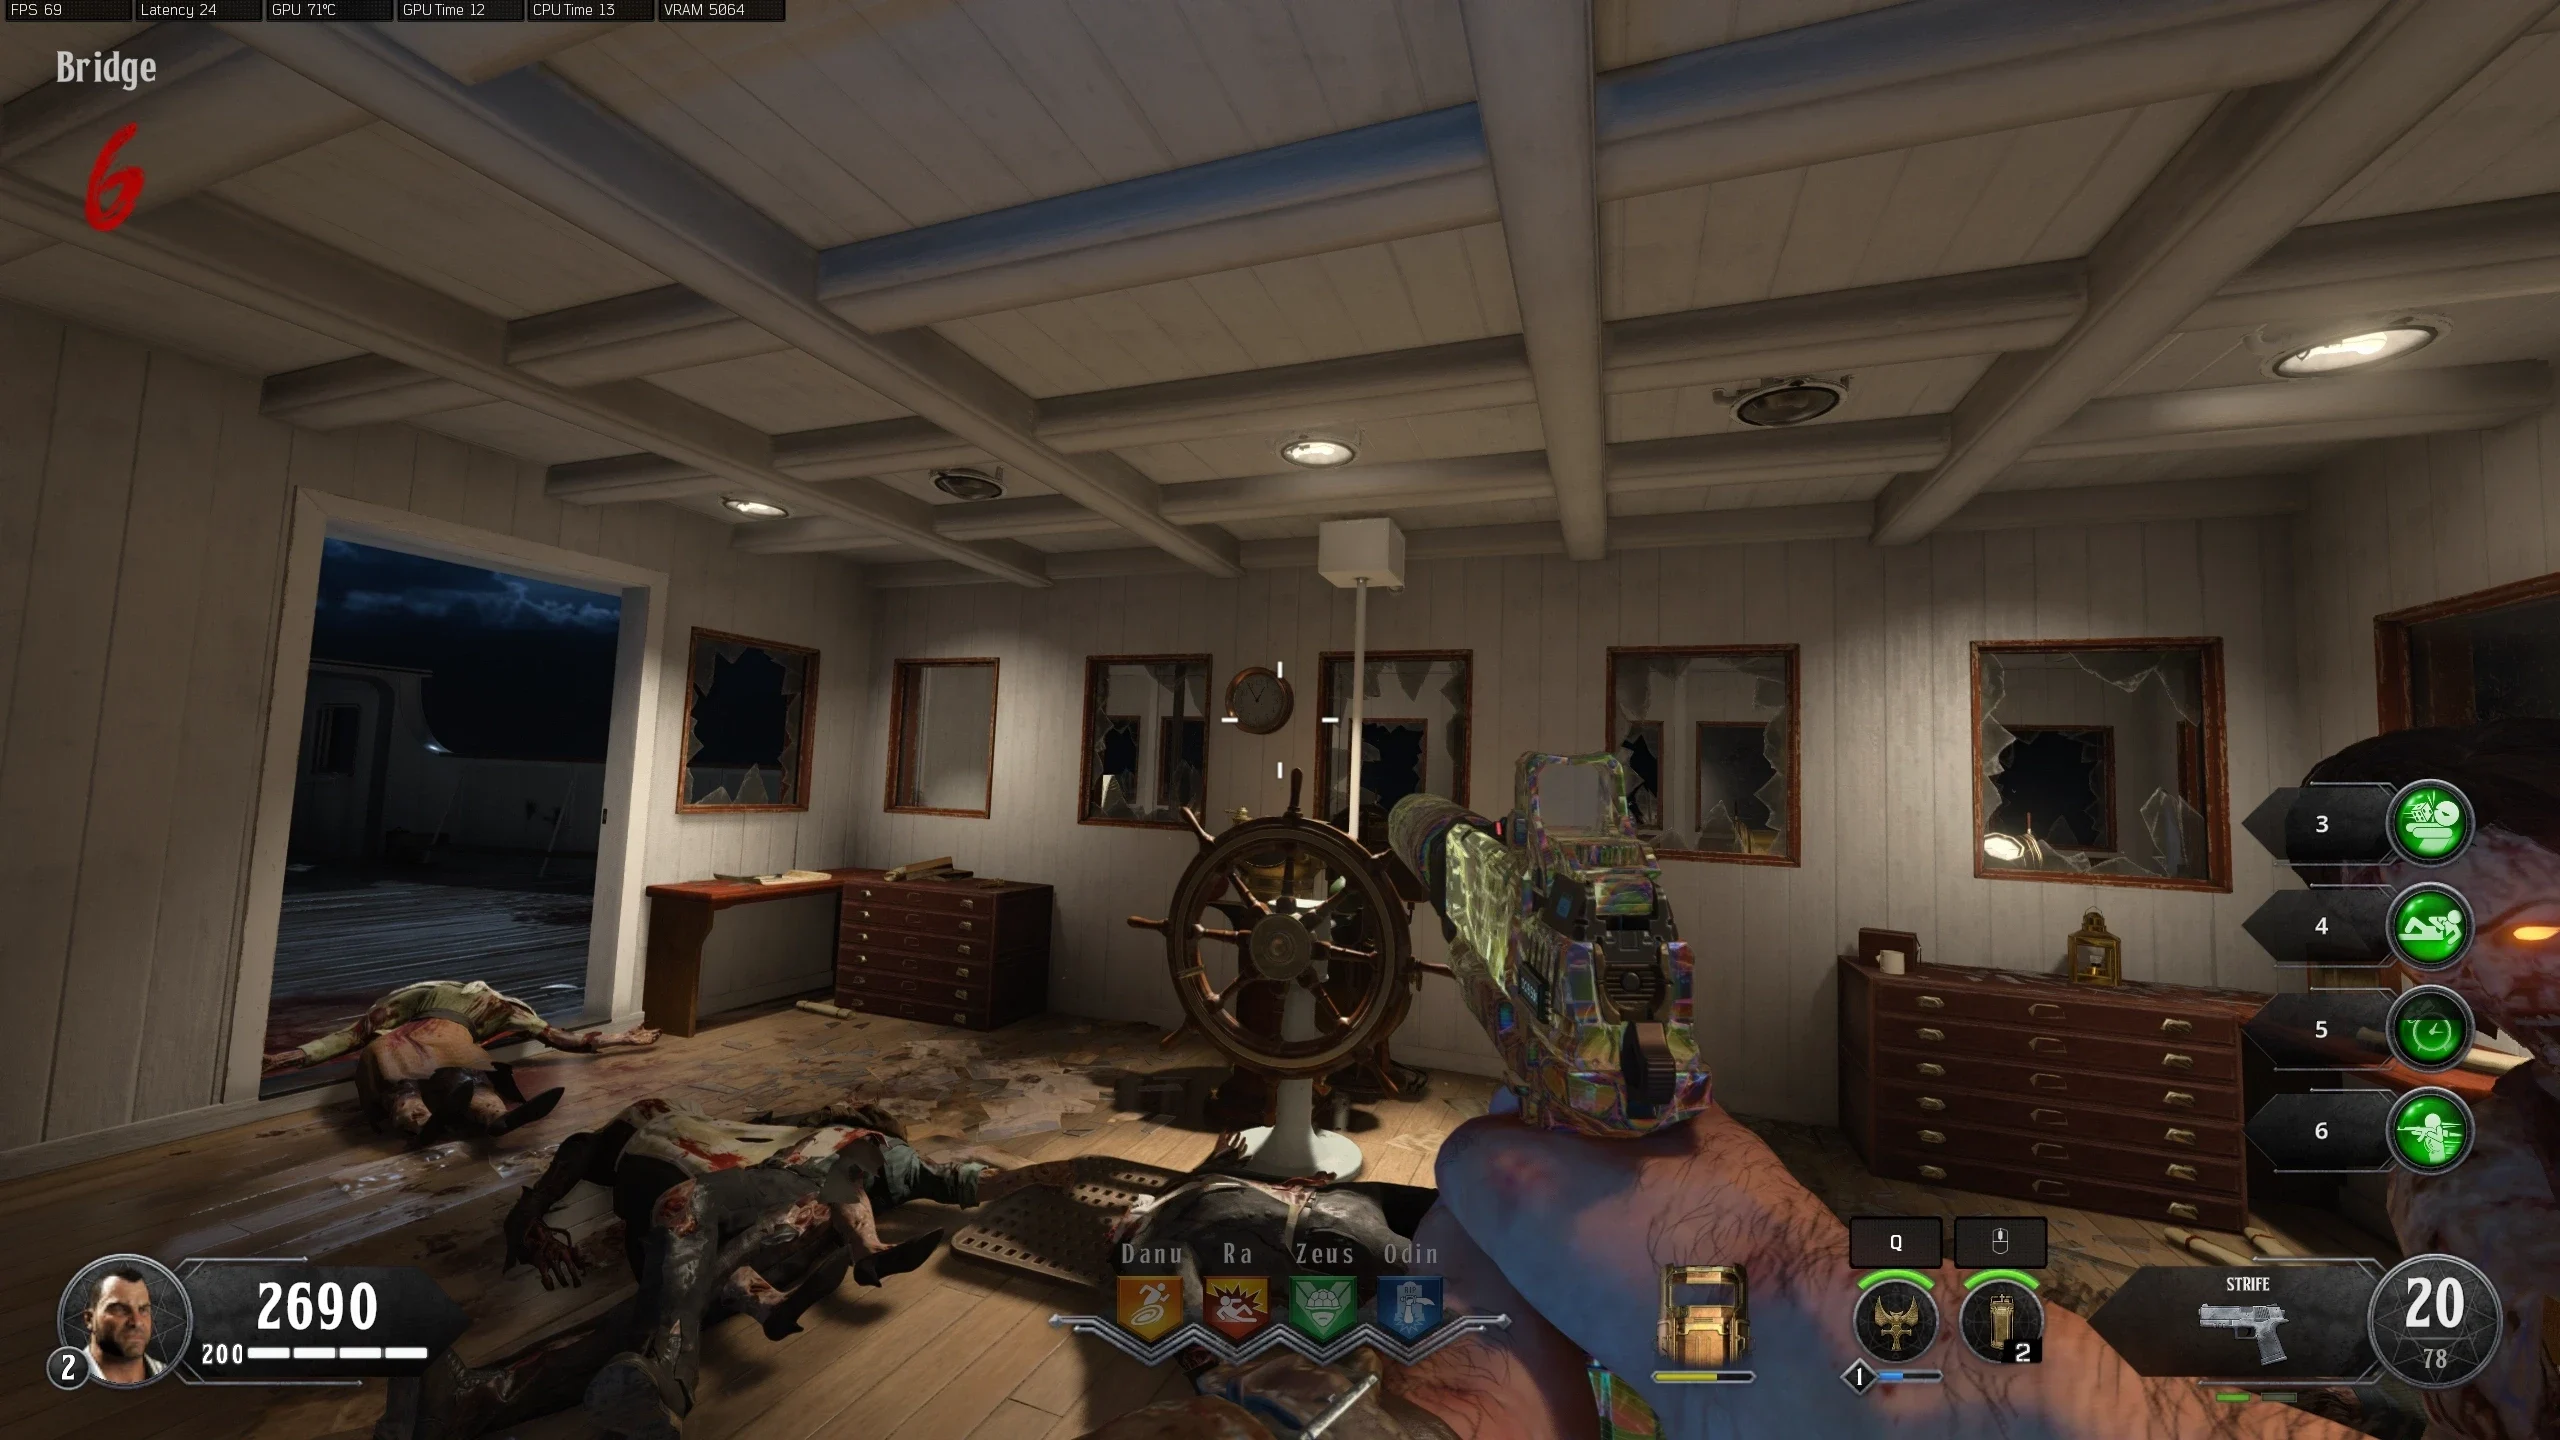
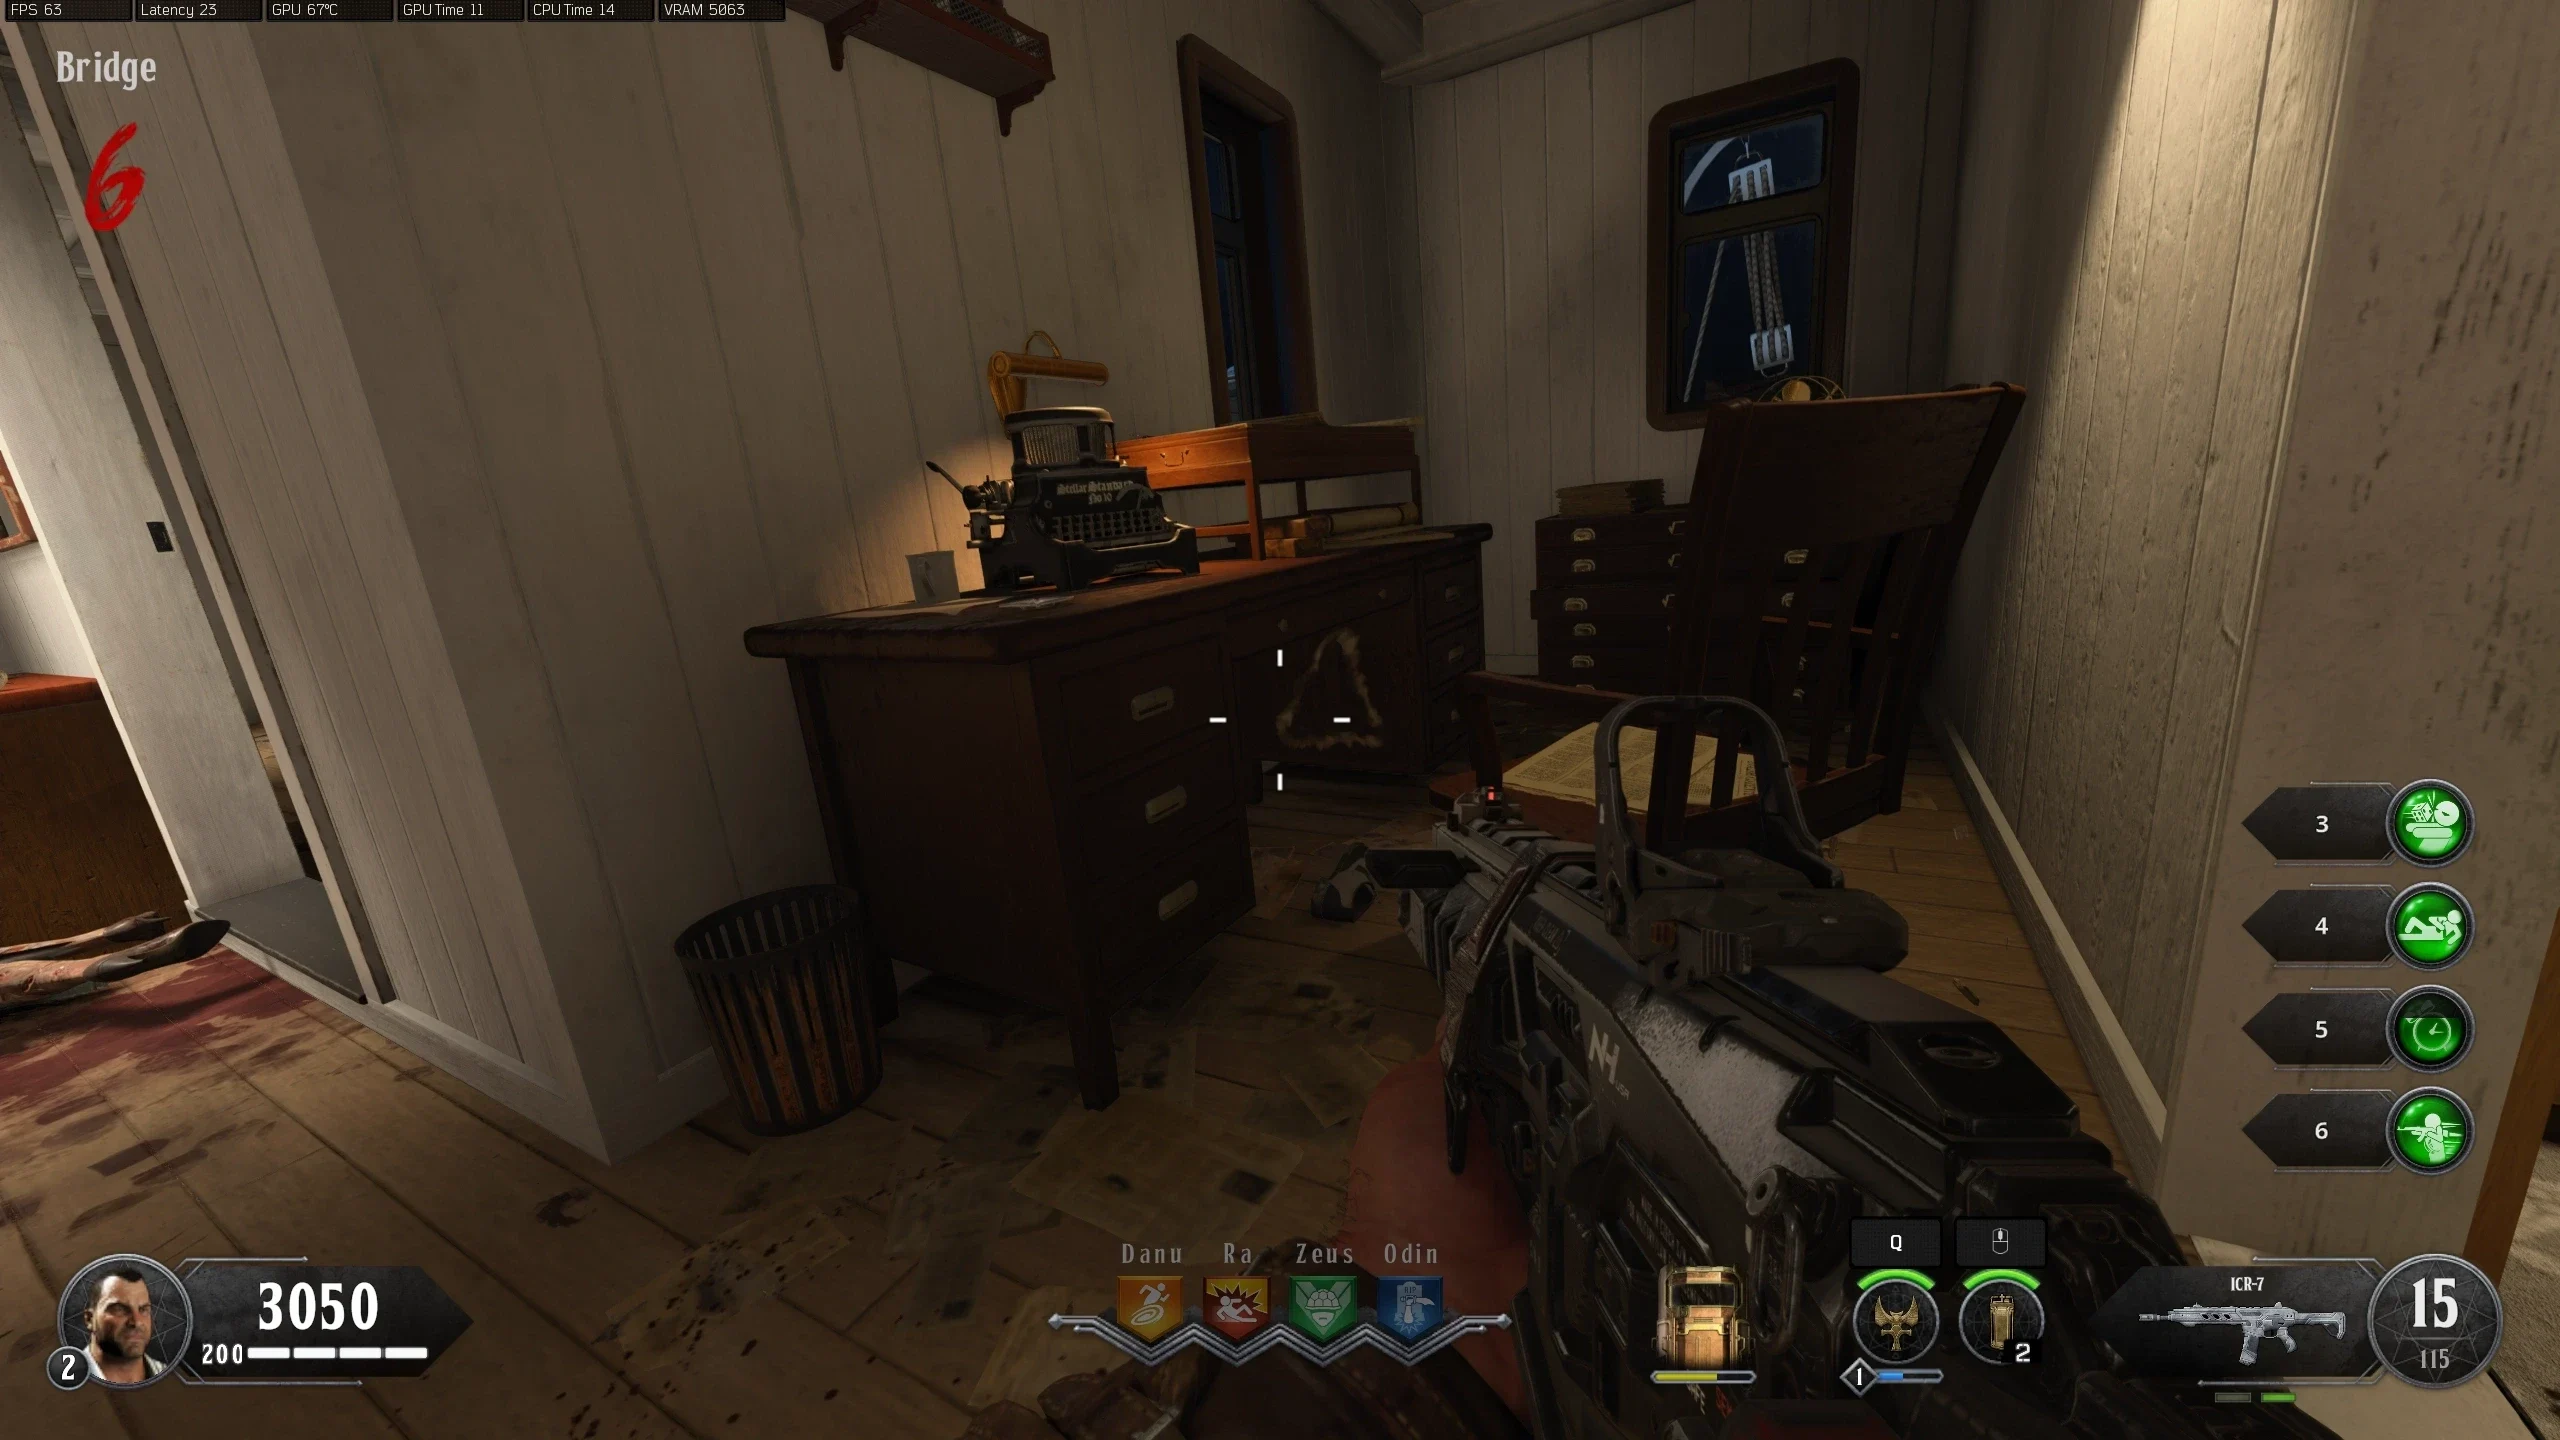
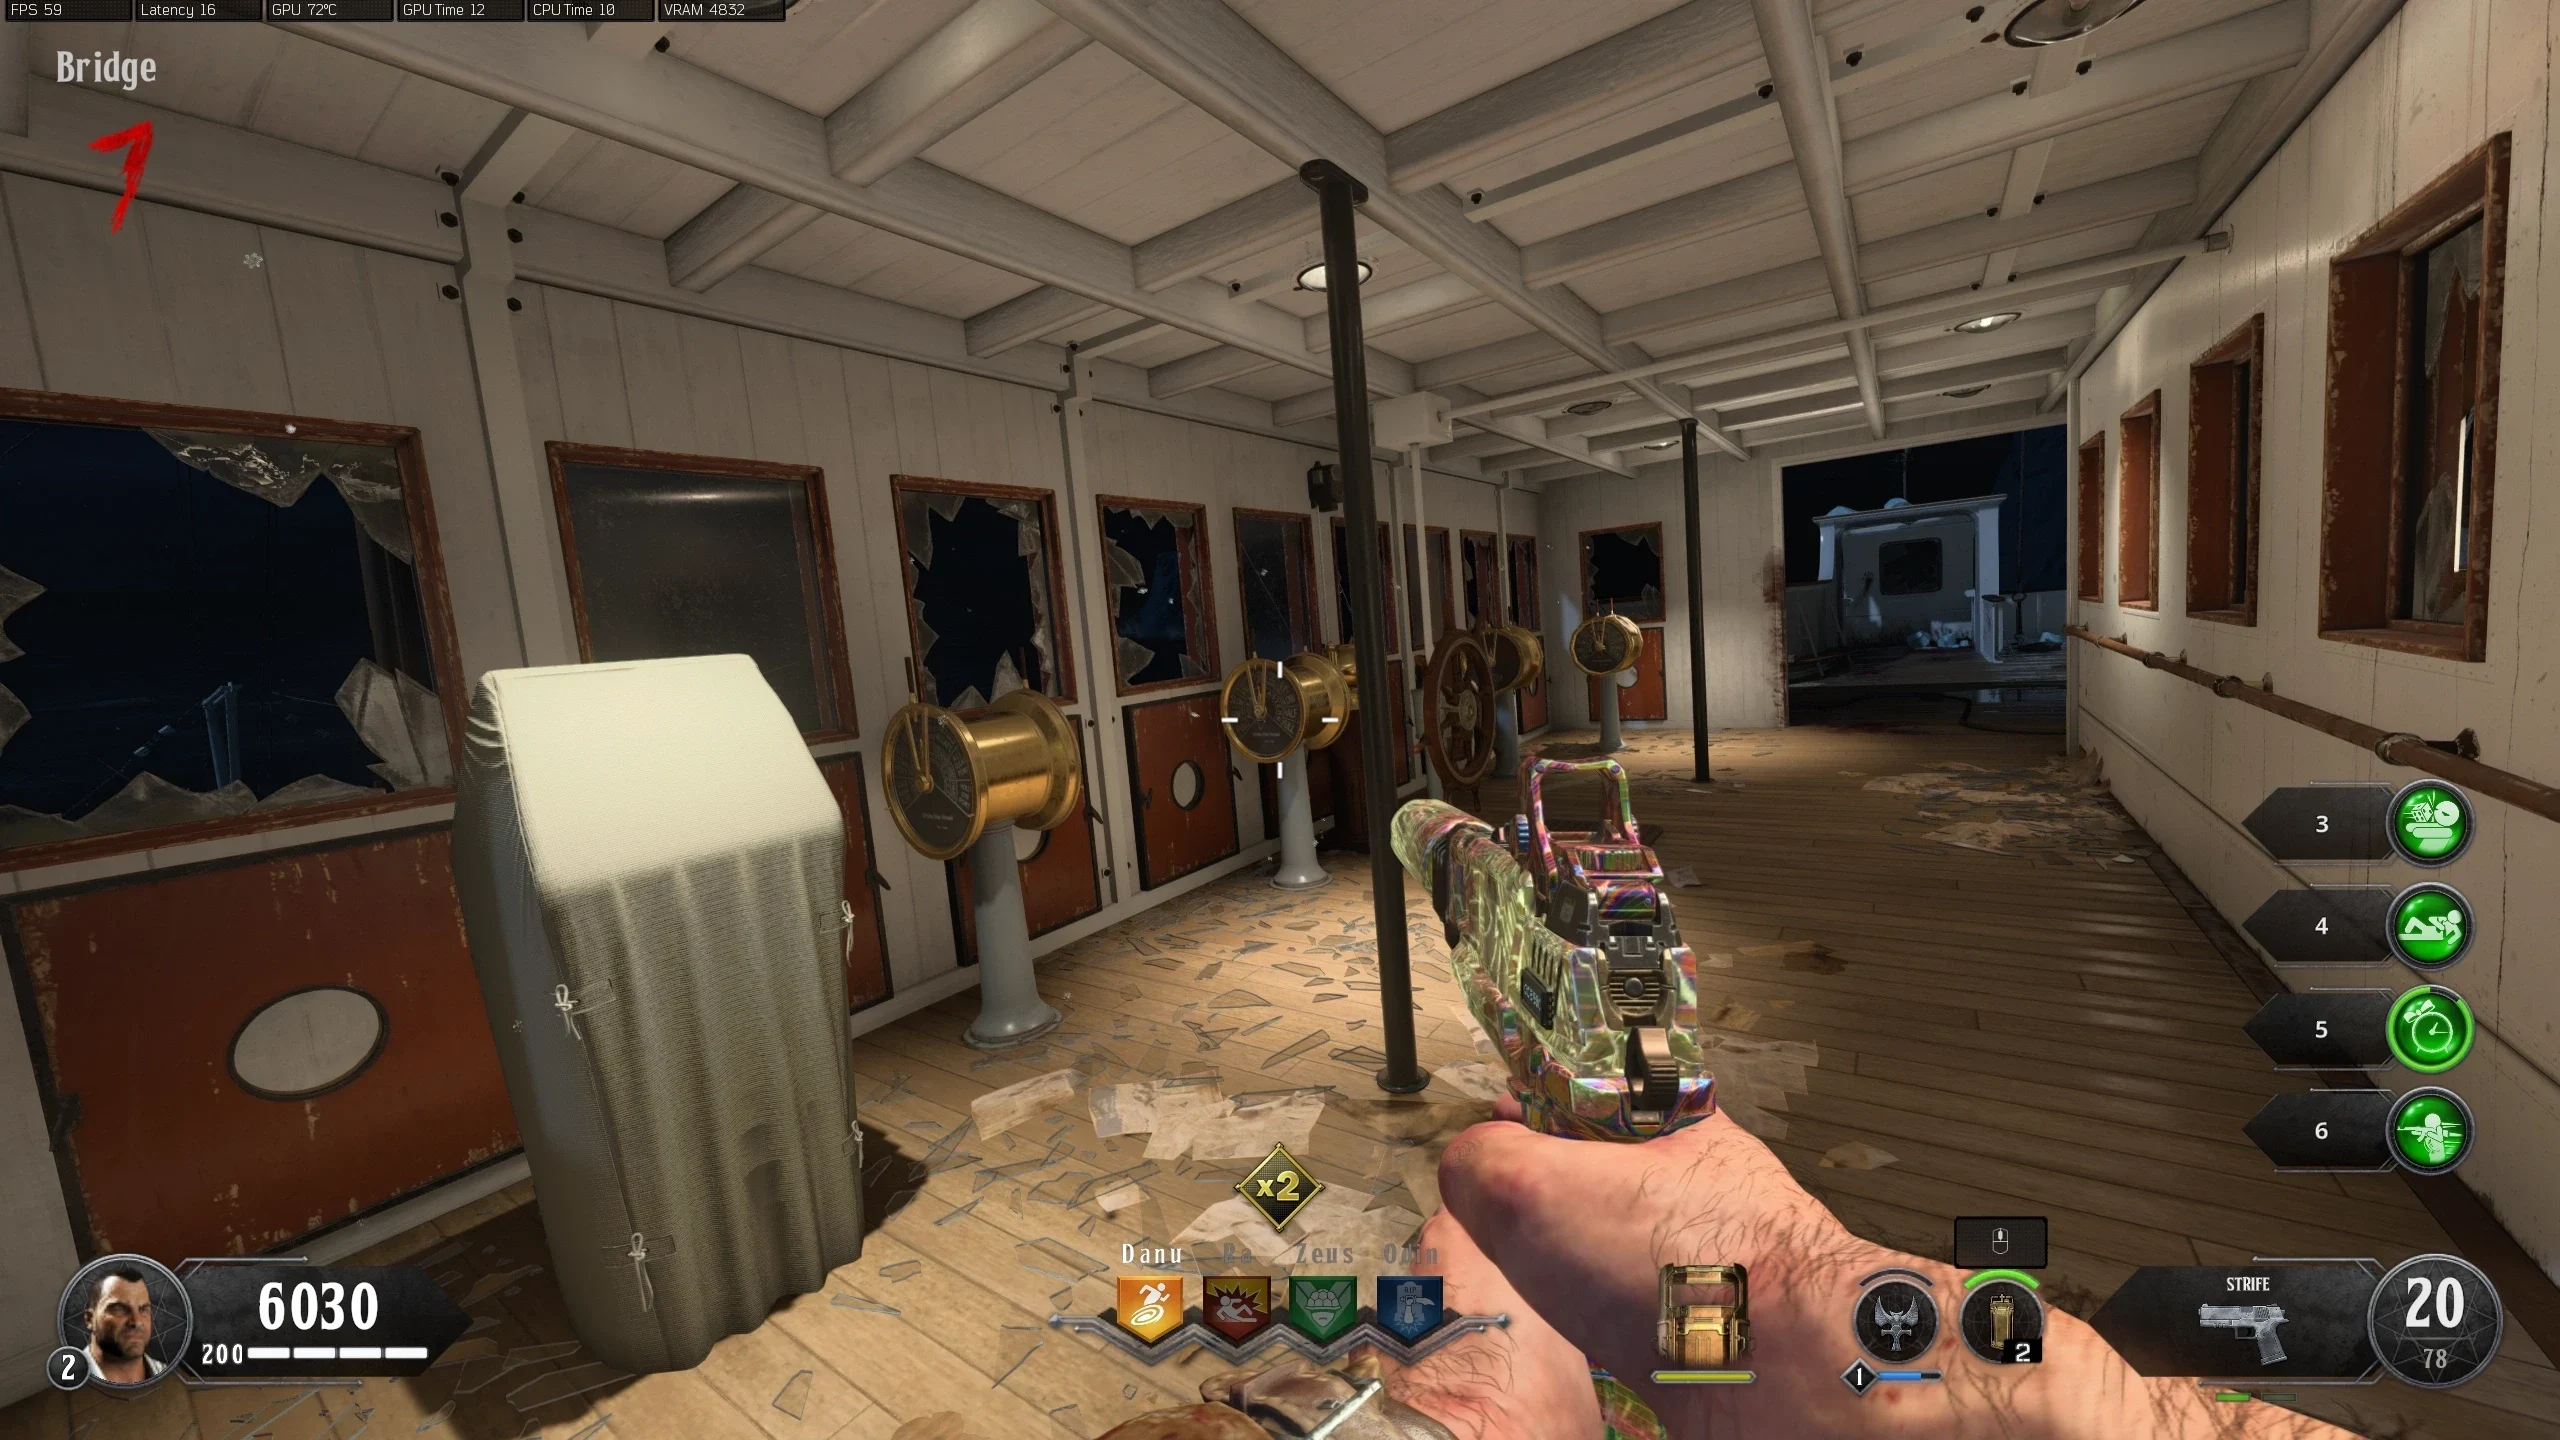
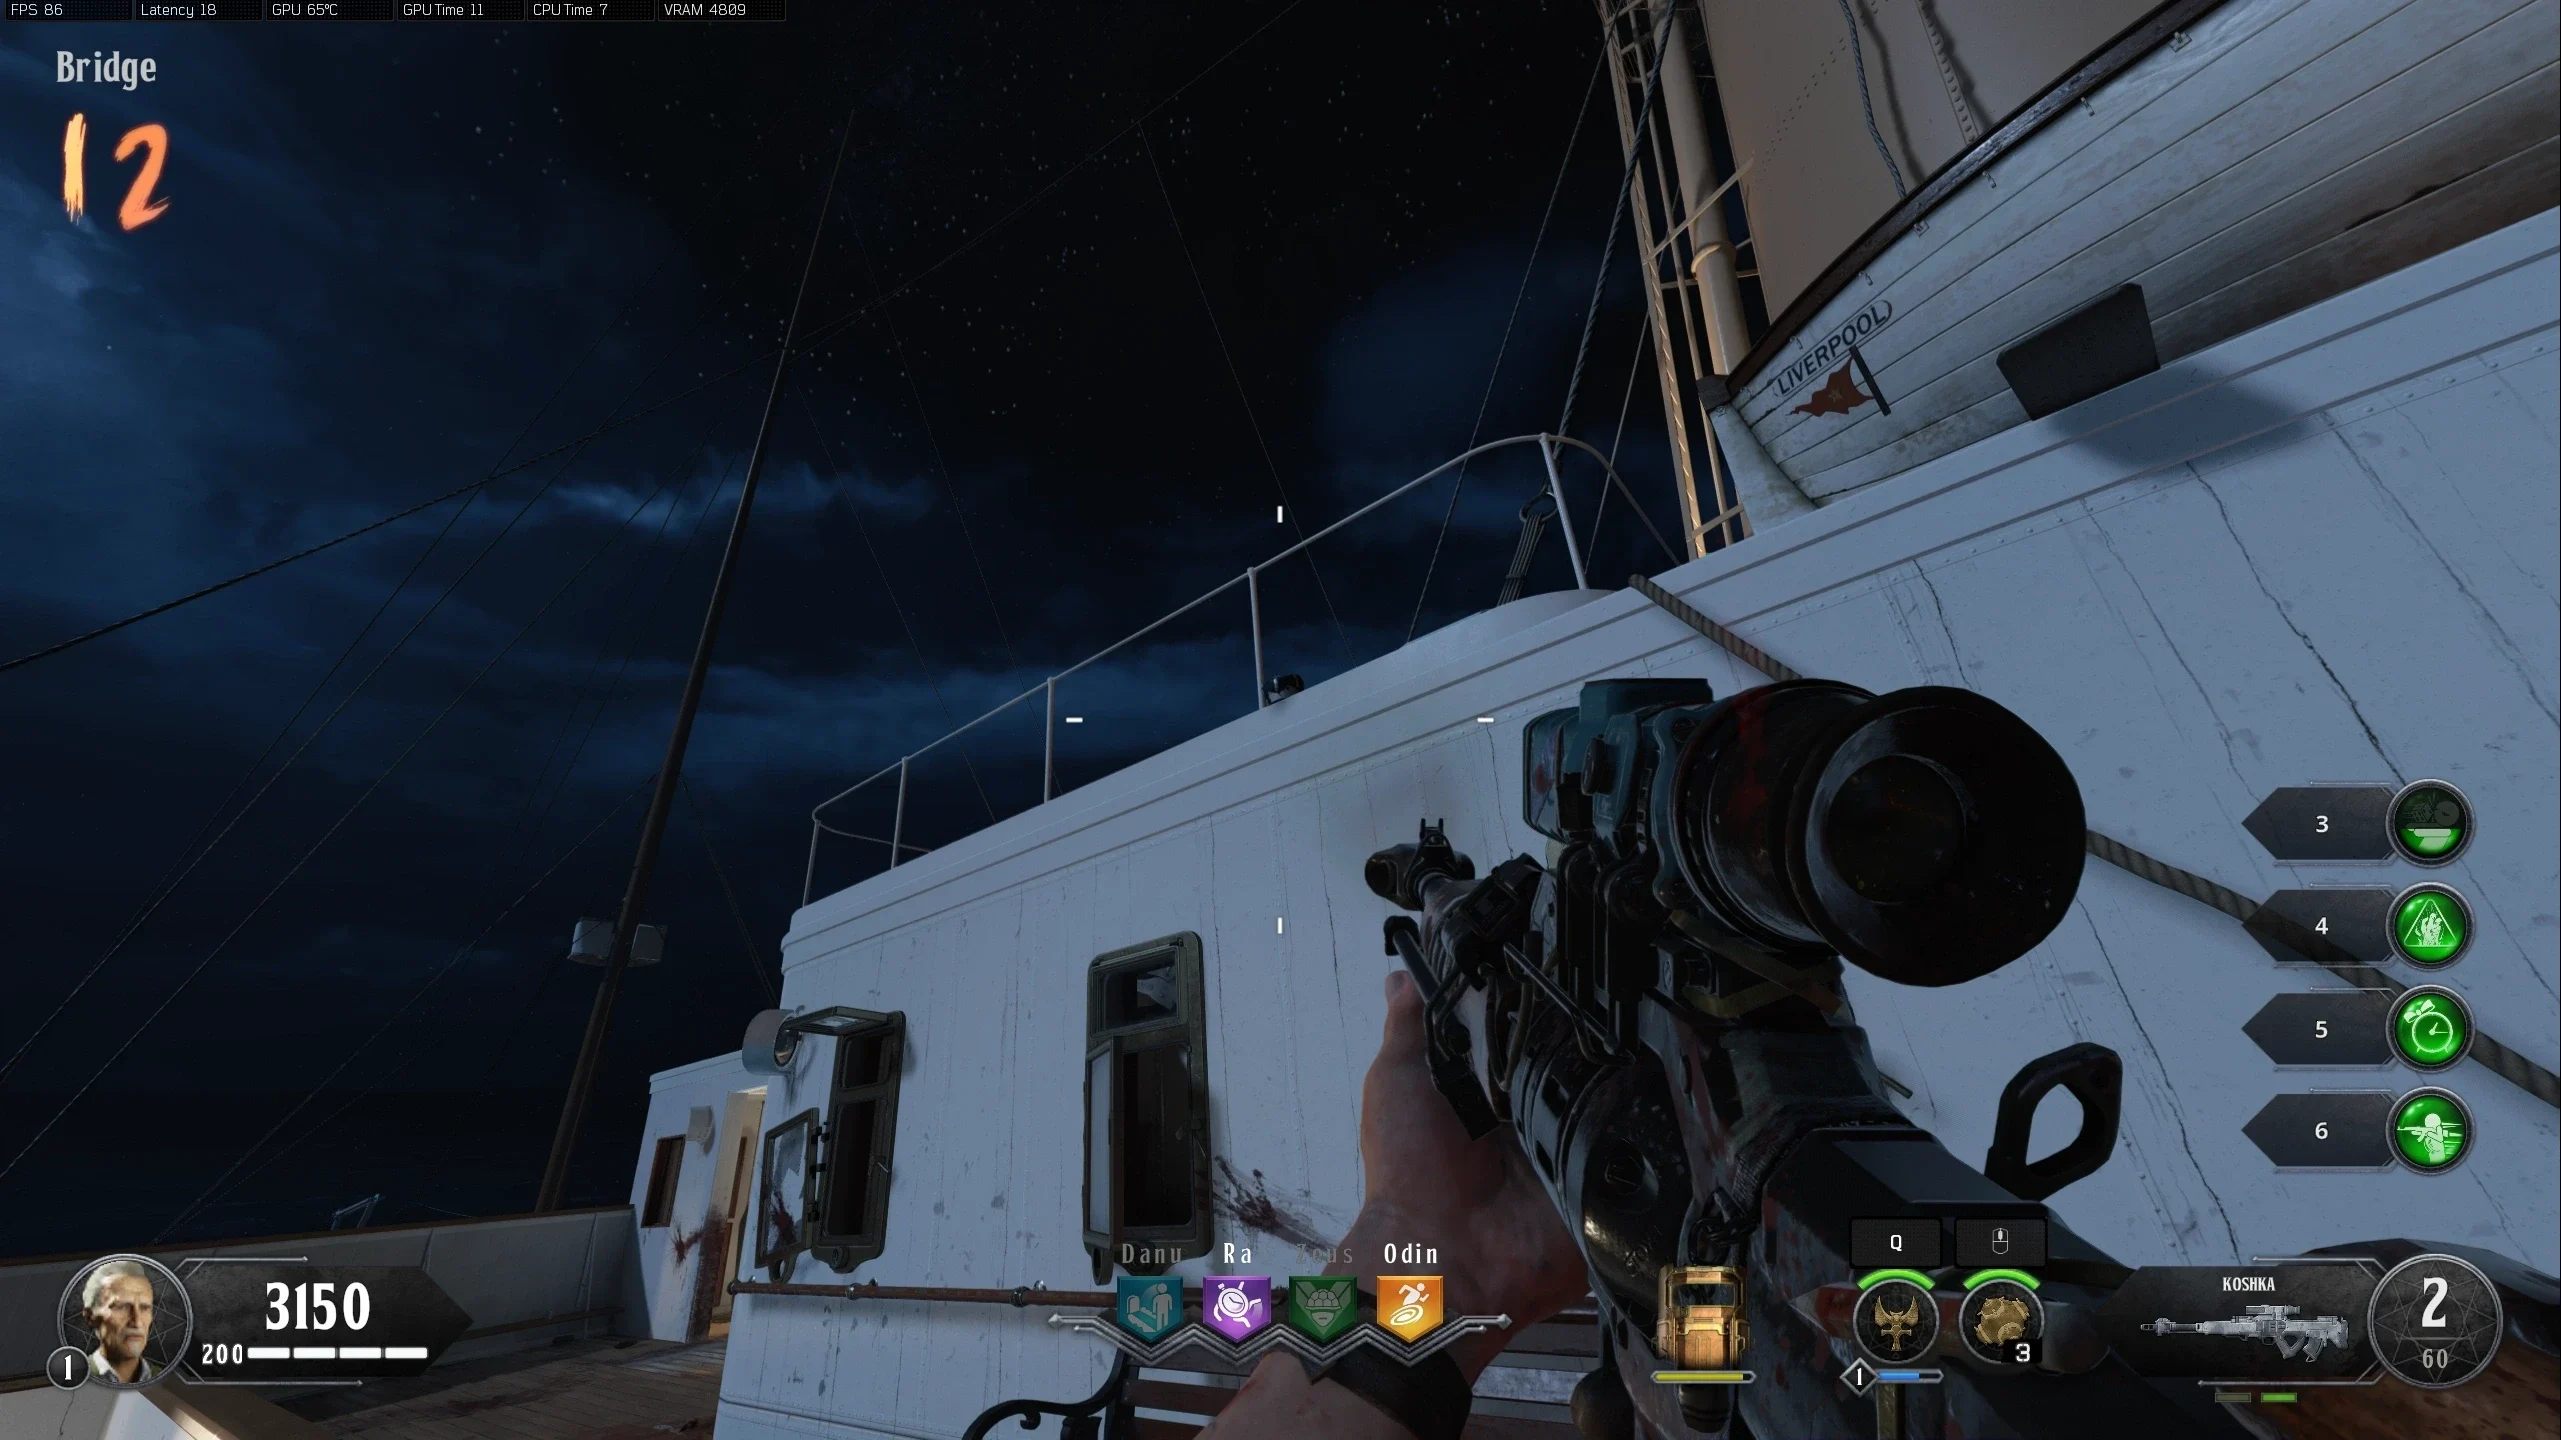
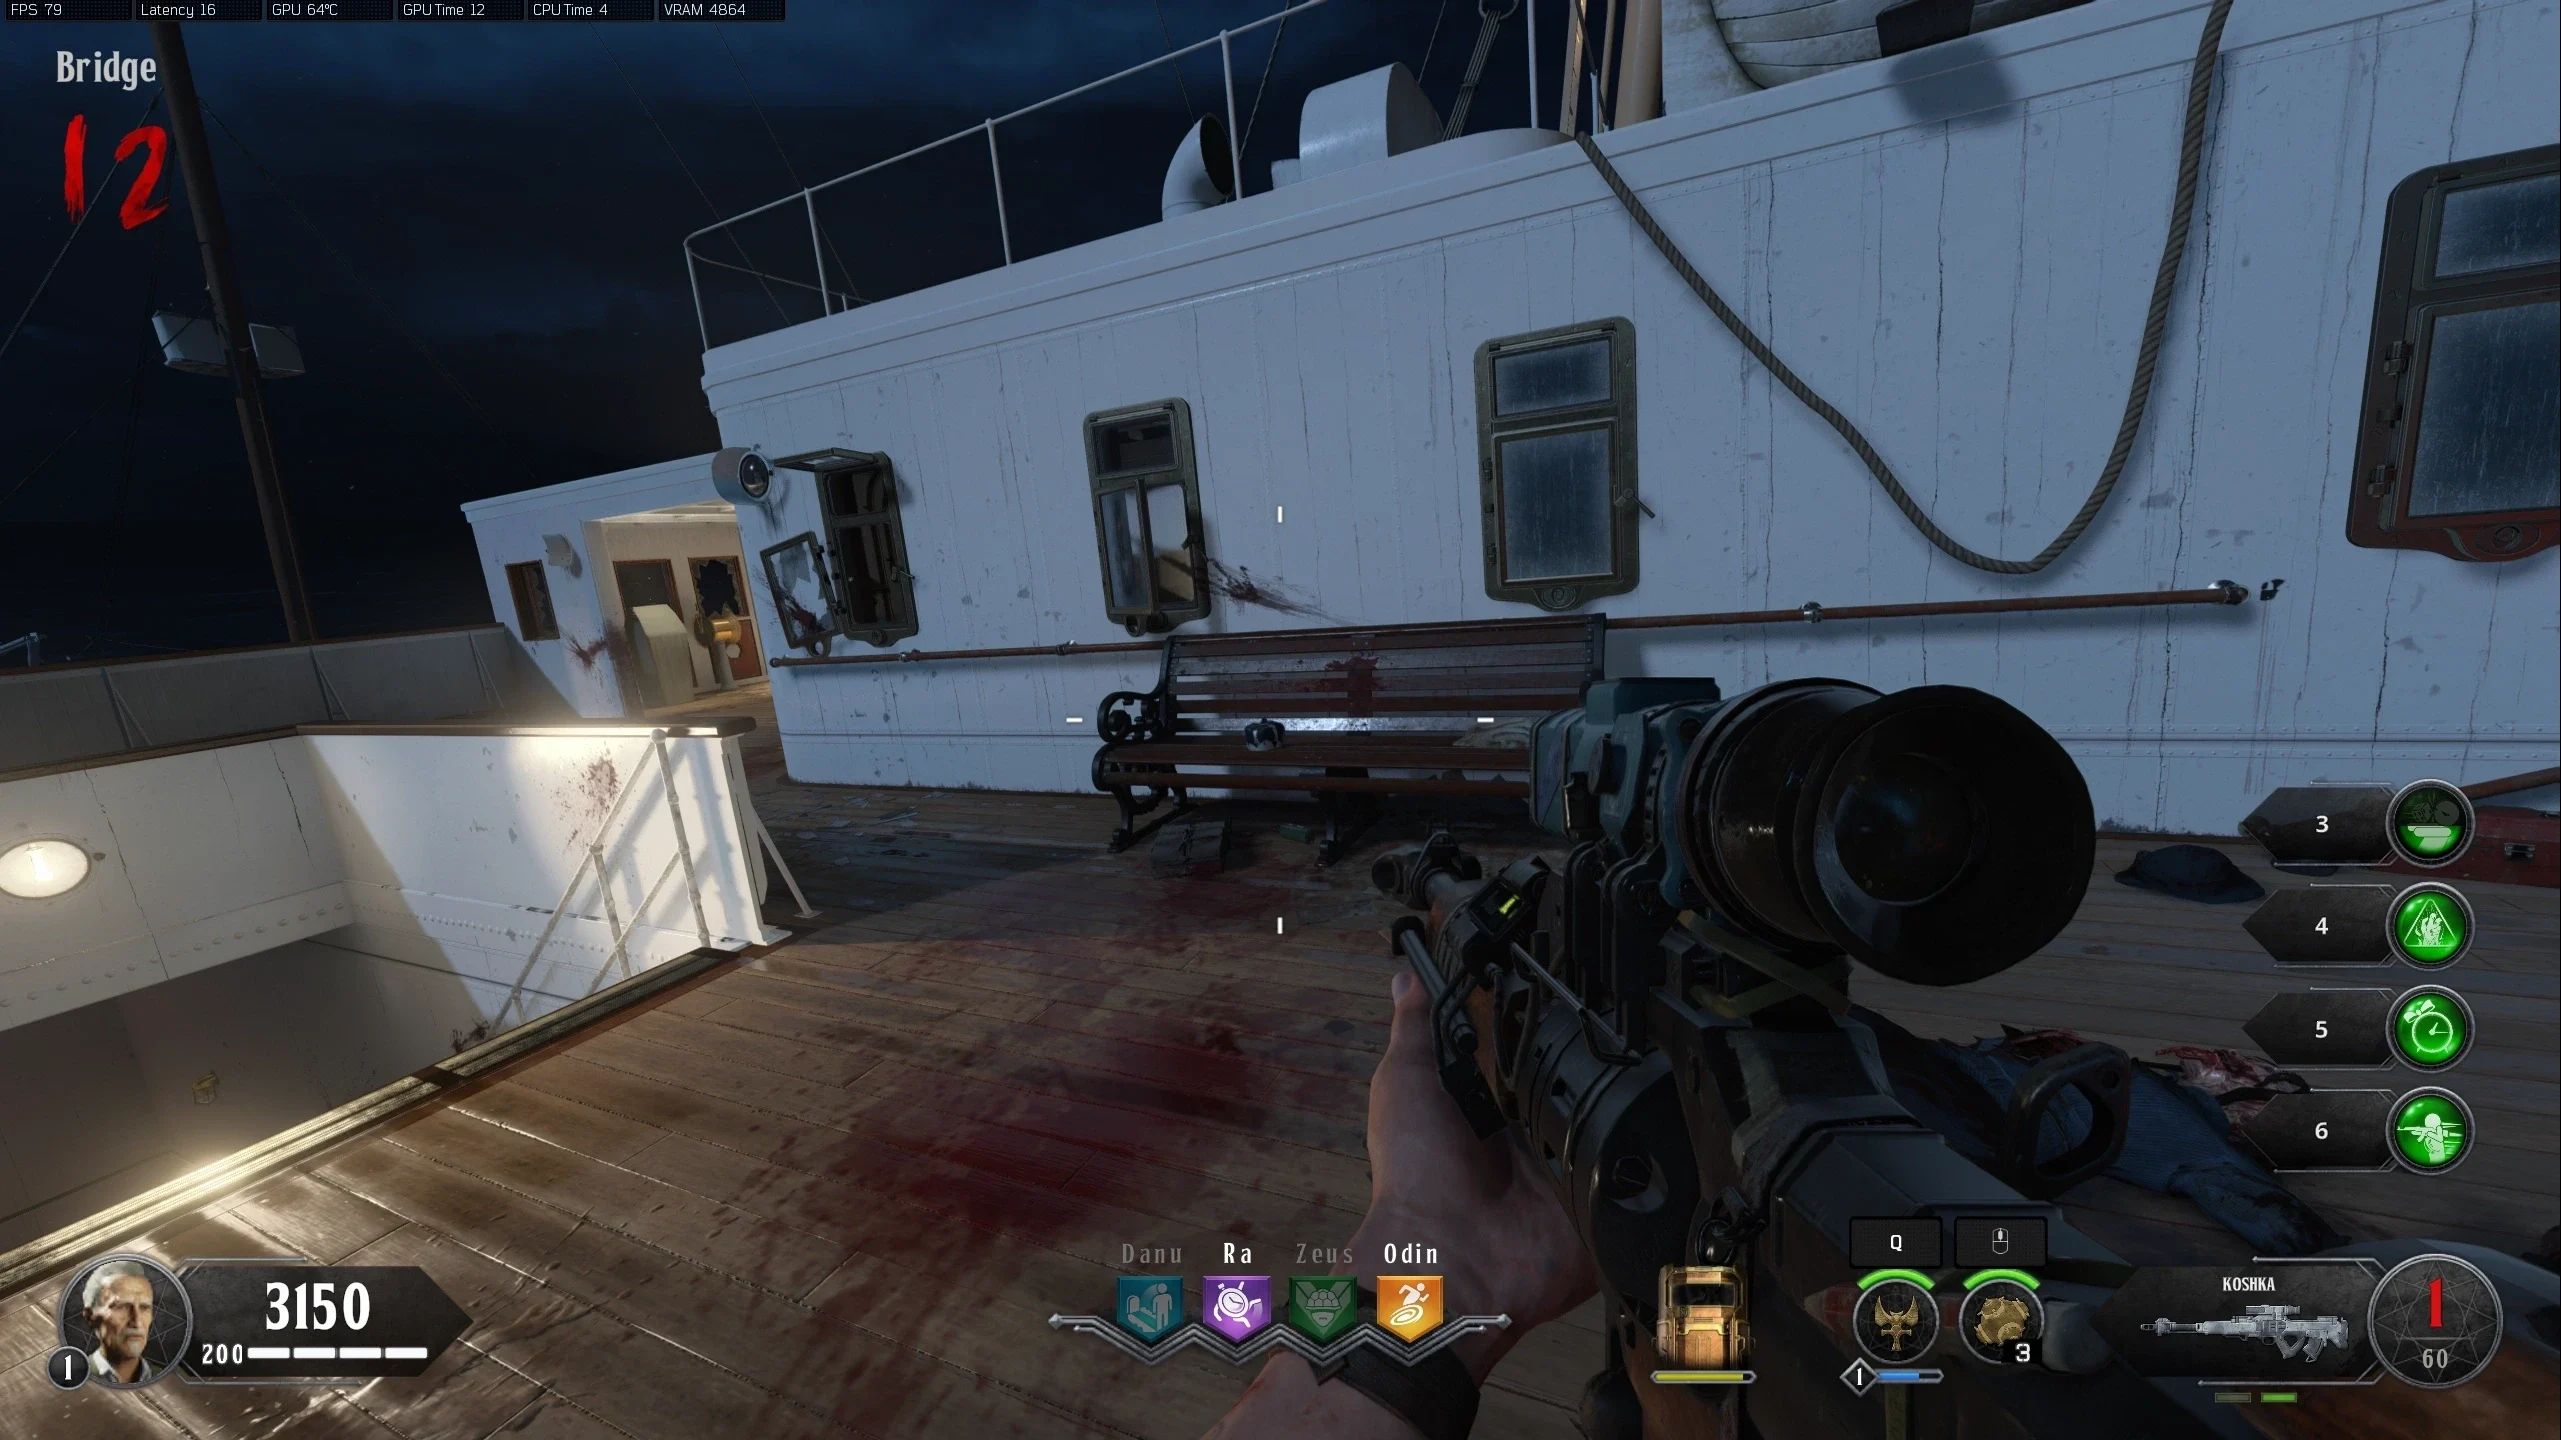
- Bridge
- Clock: Above the main steering wheel, opposite the Escargot wallbuy
- Symbol: On the inside wall of a desk in the same room as the clock
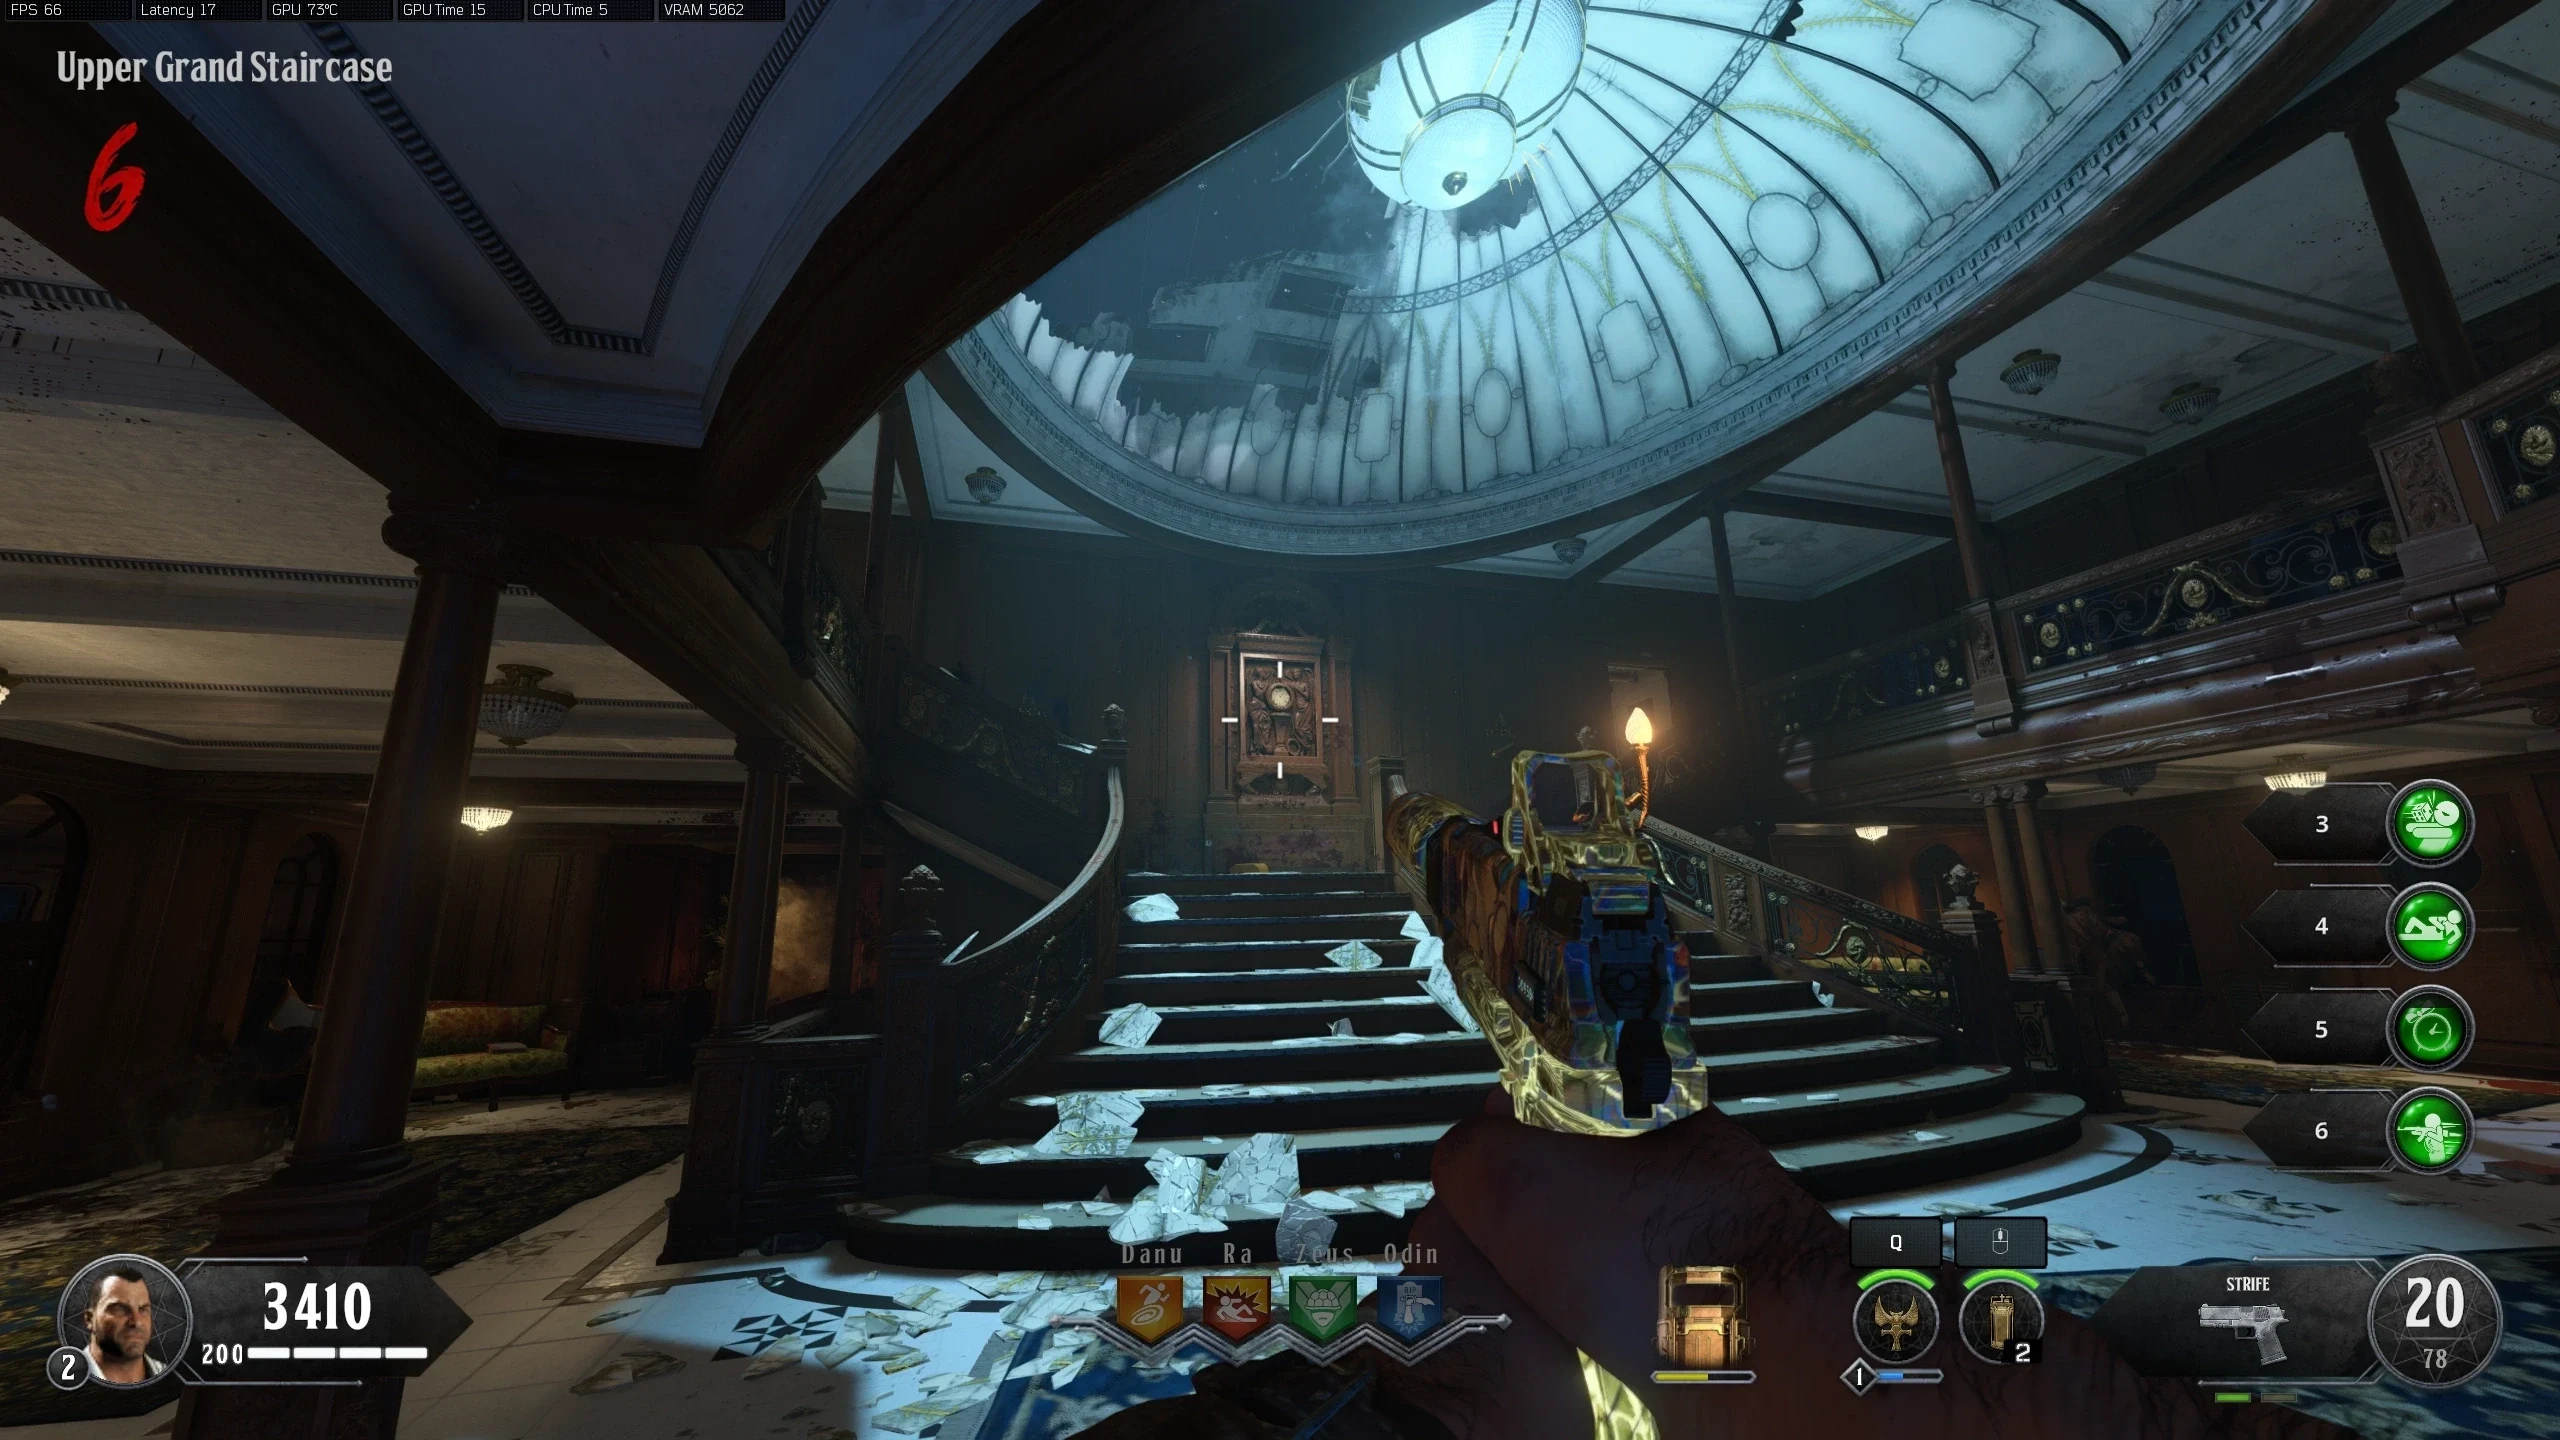
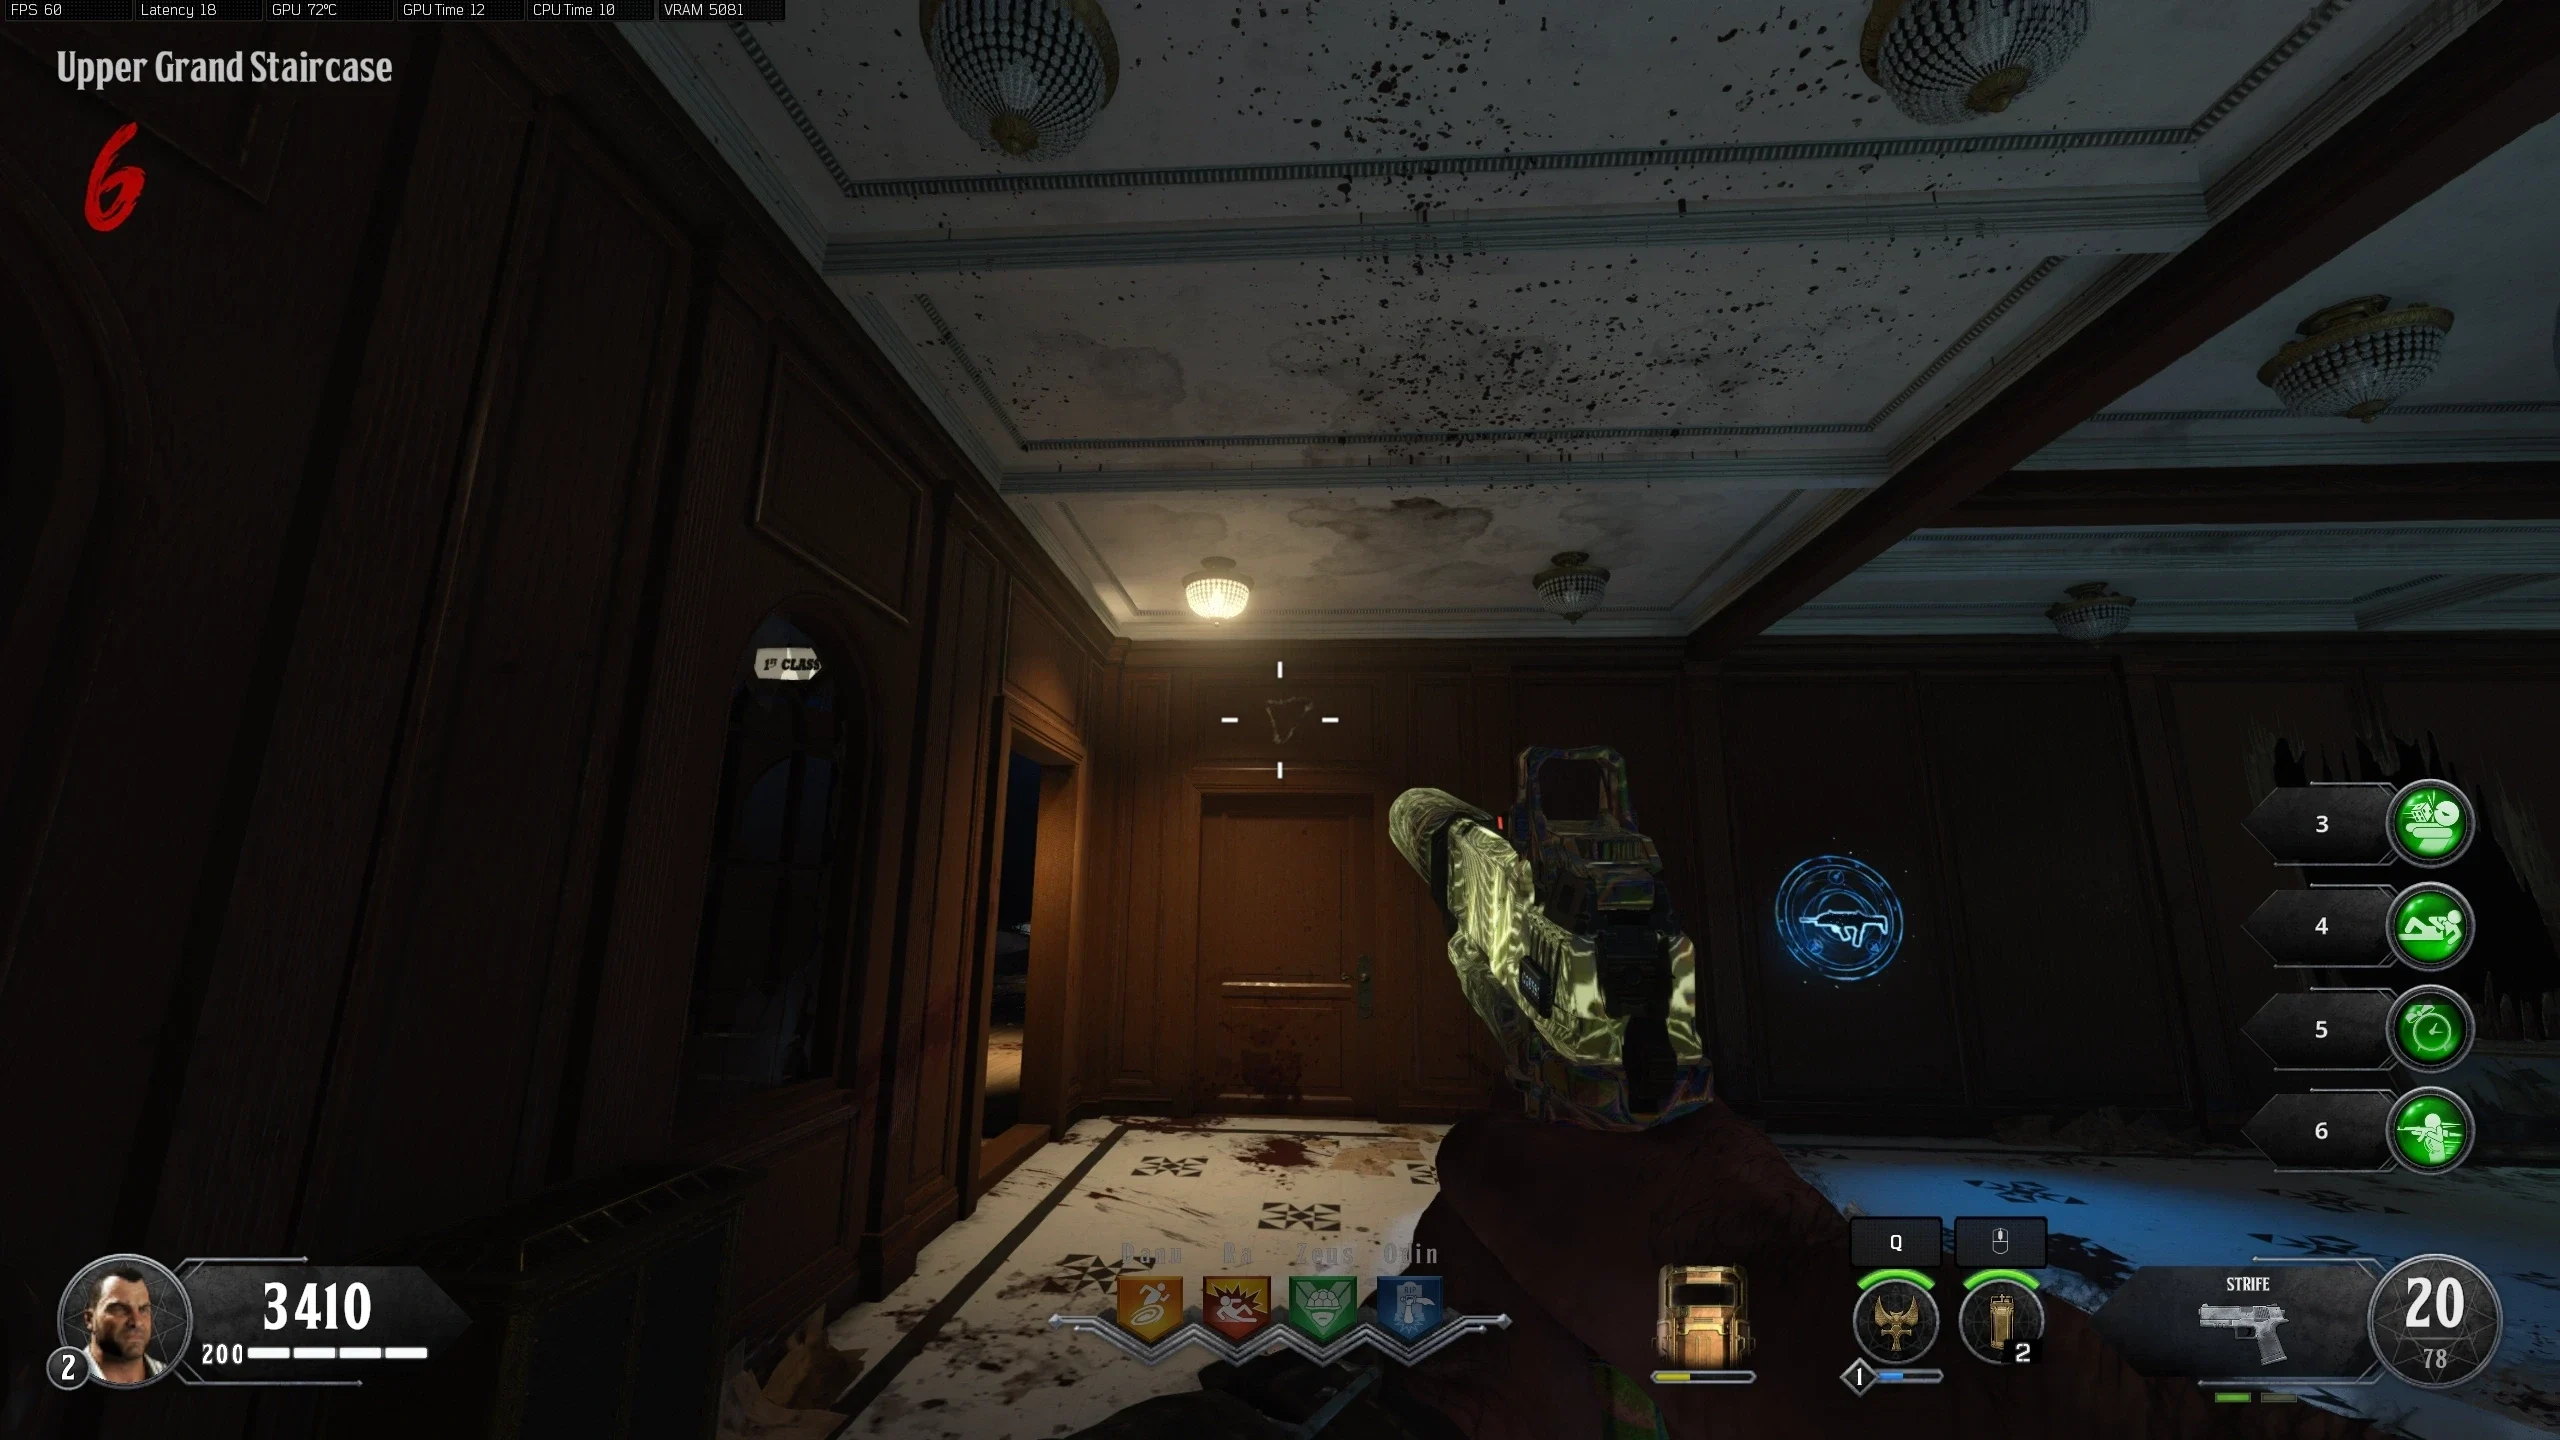
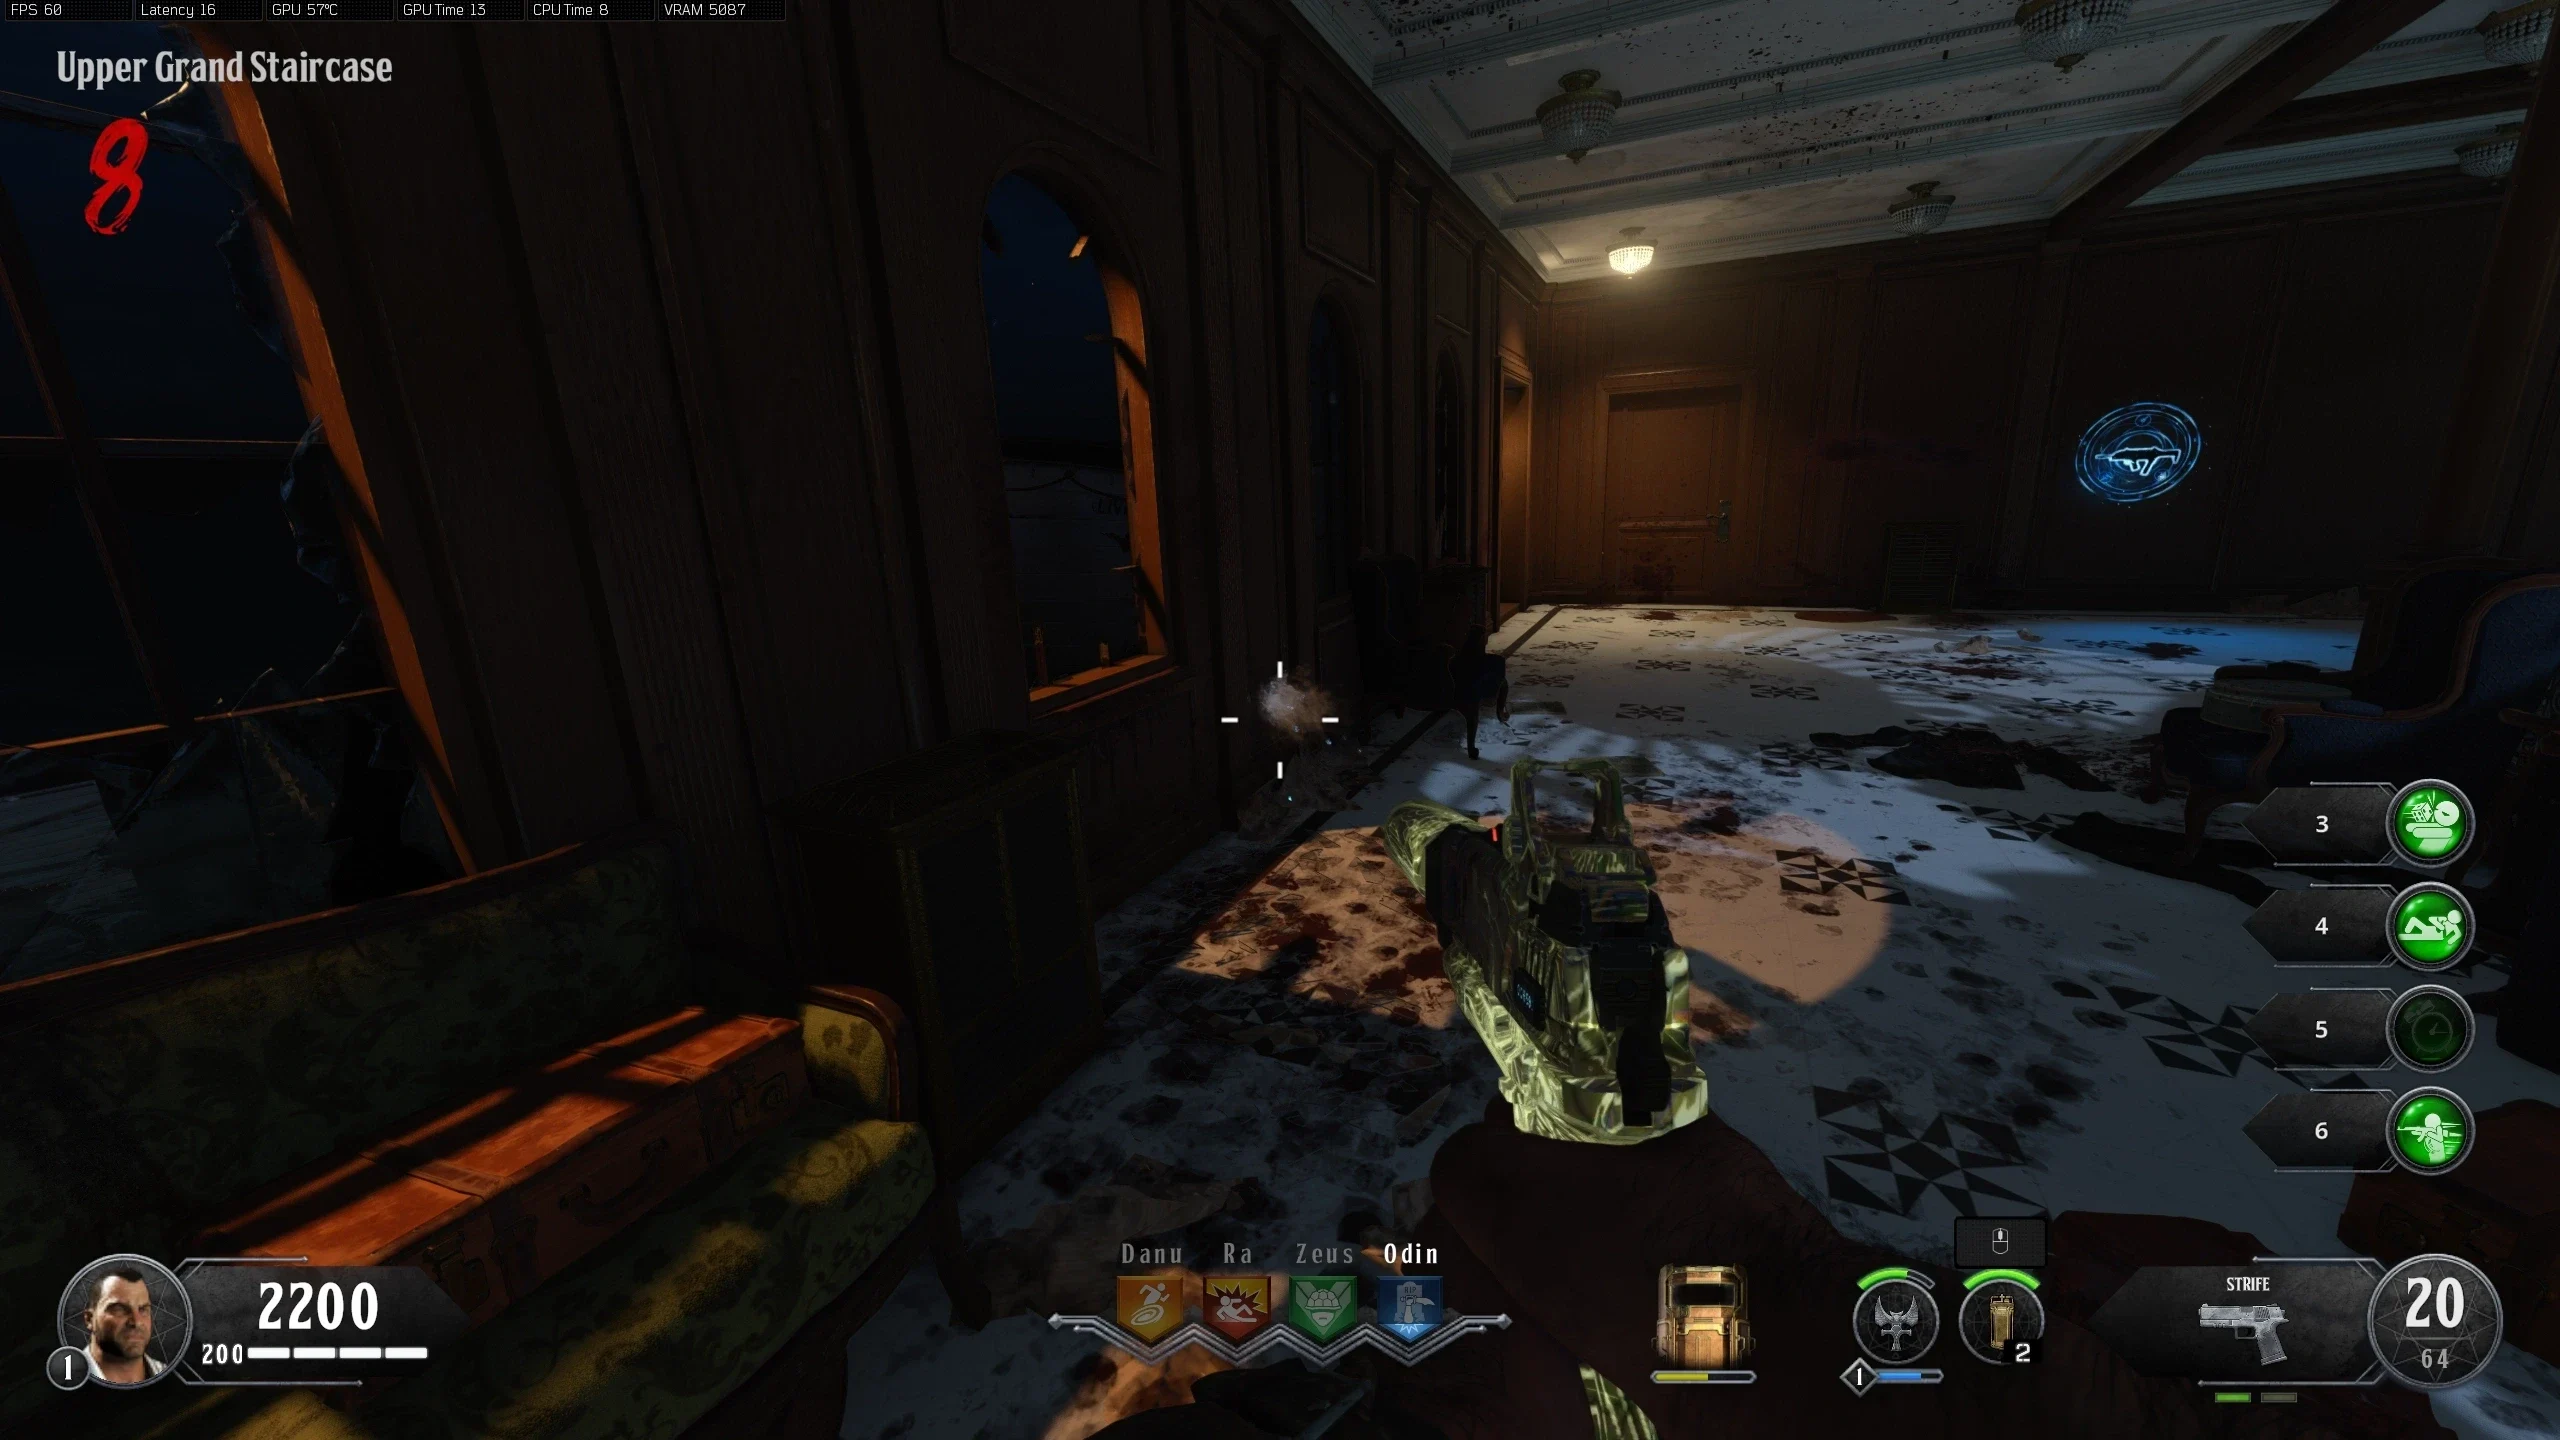
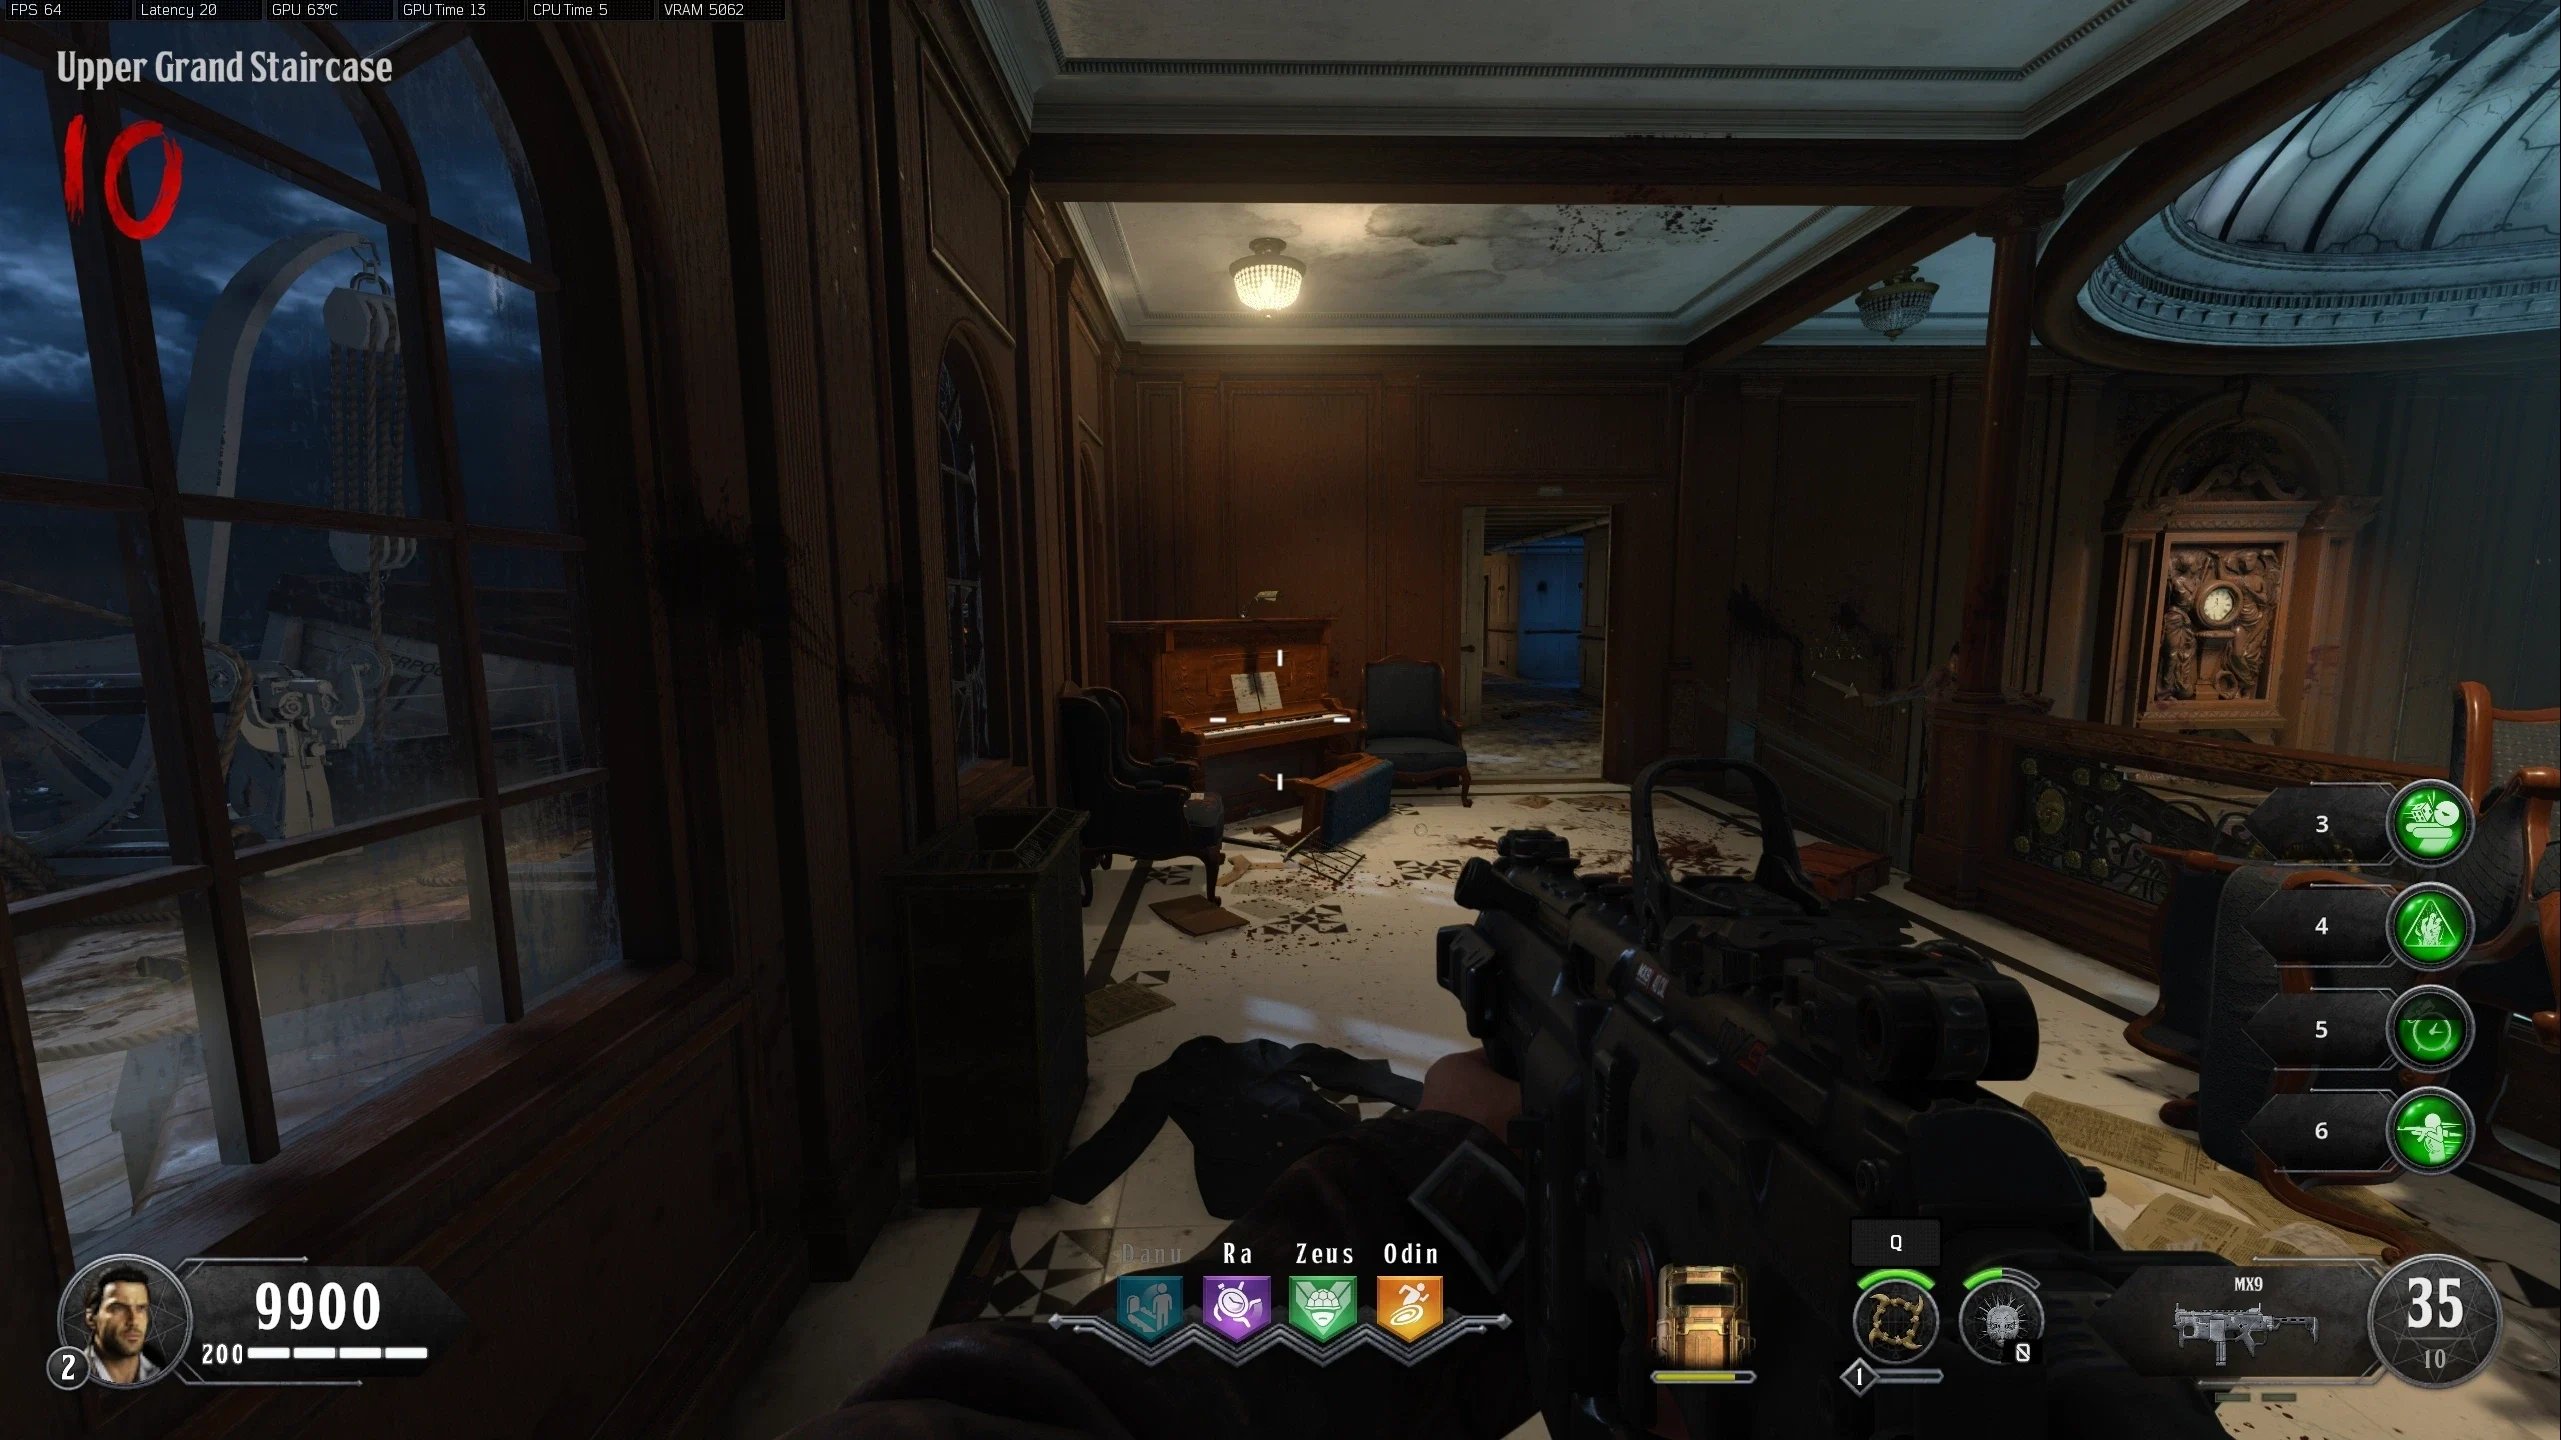
- Upper Grand Staircase
- Clock: At the top of the Staircase
- Symbol: Above the closed door to the left of the Spitfire wallbuy
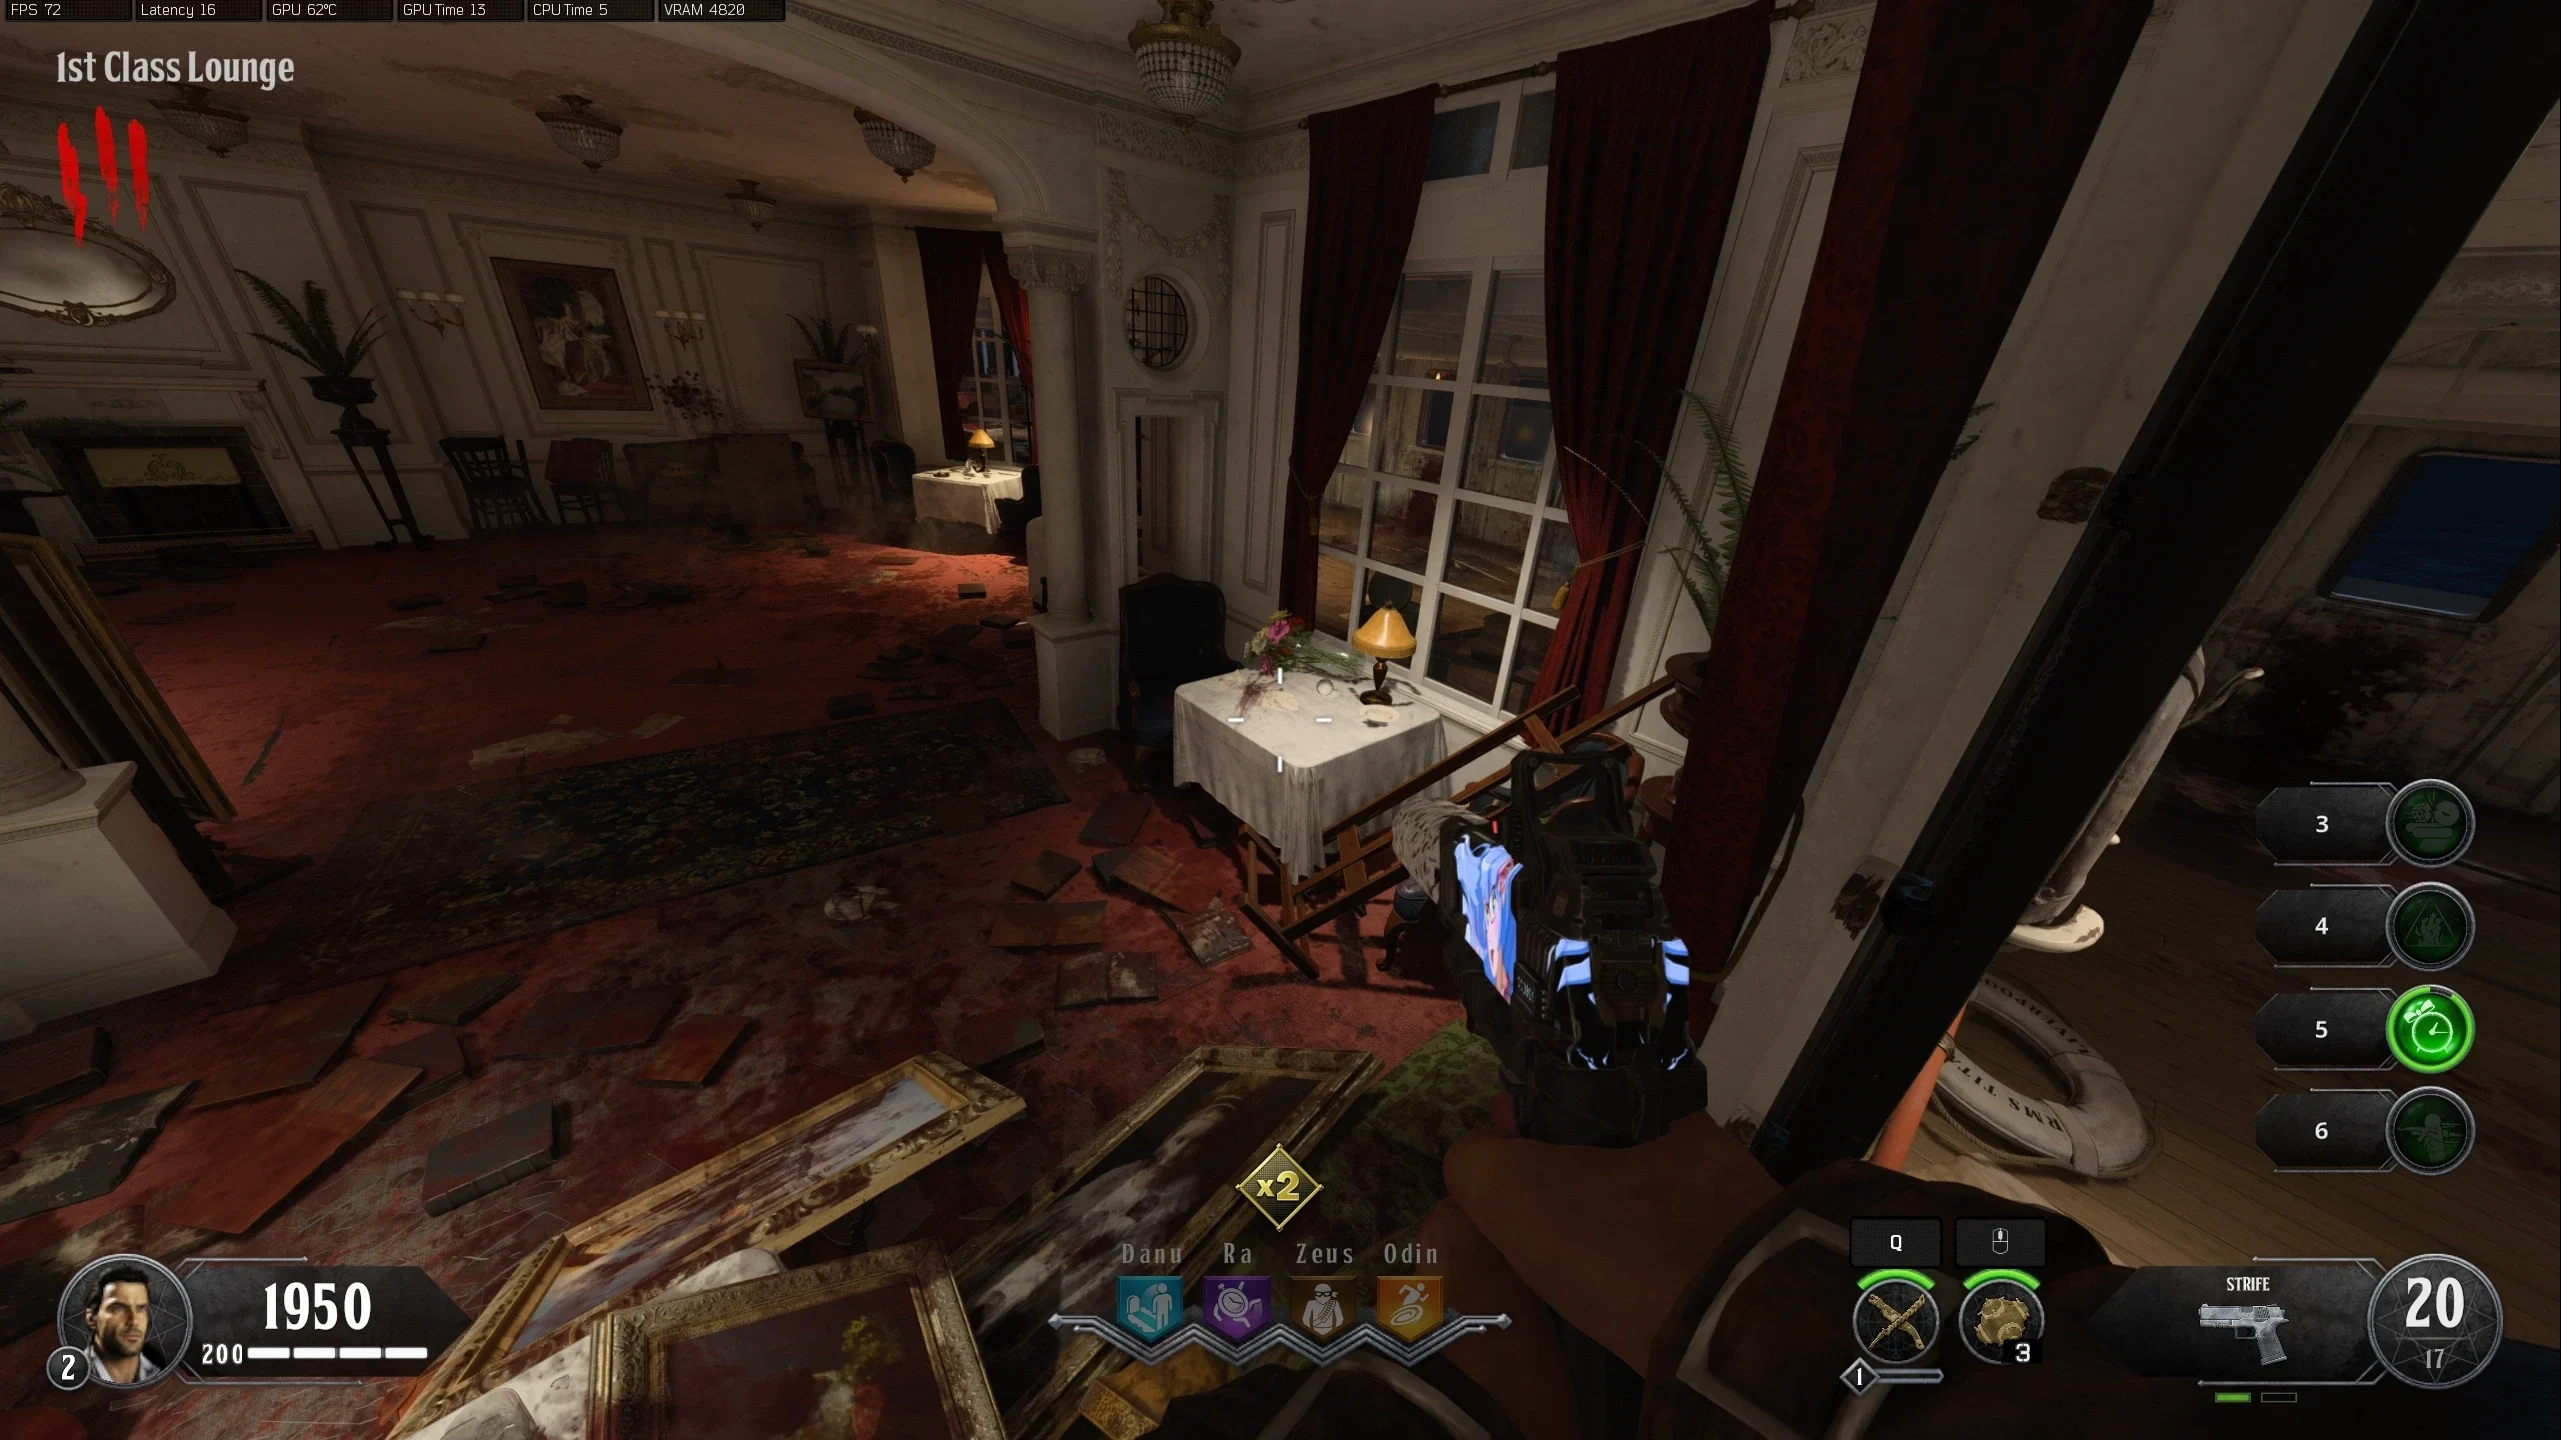
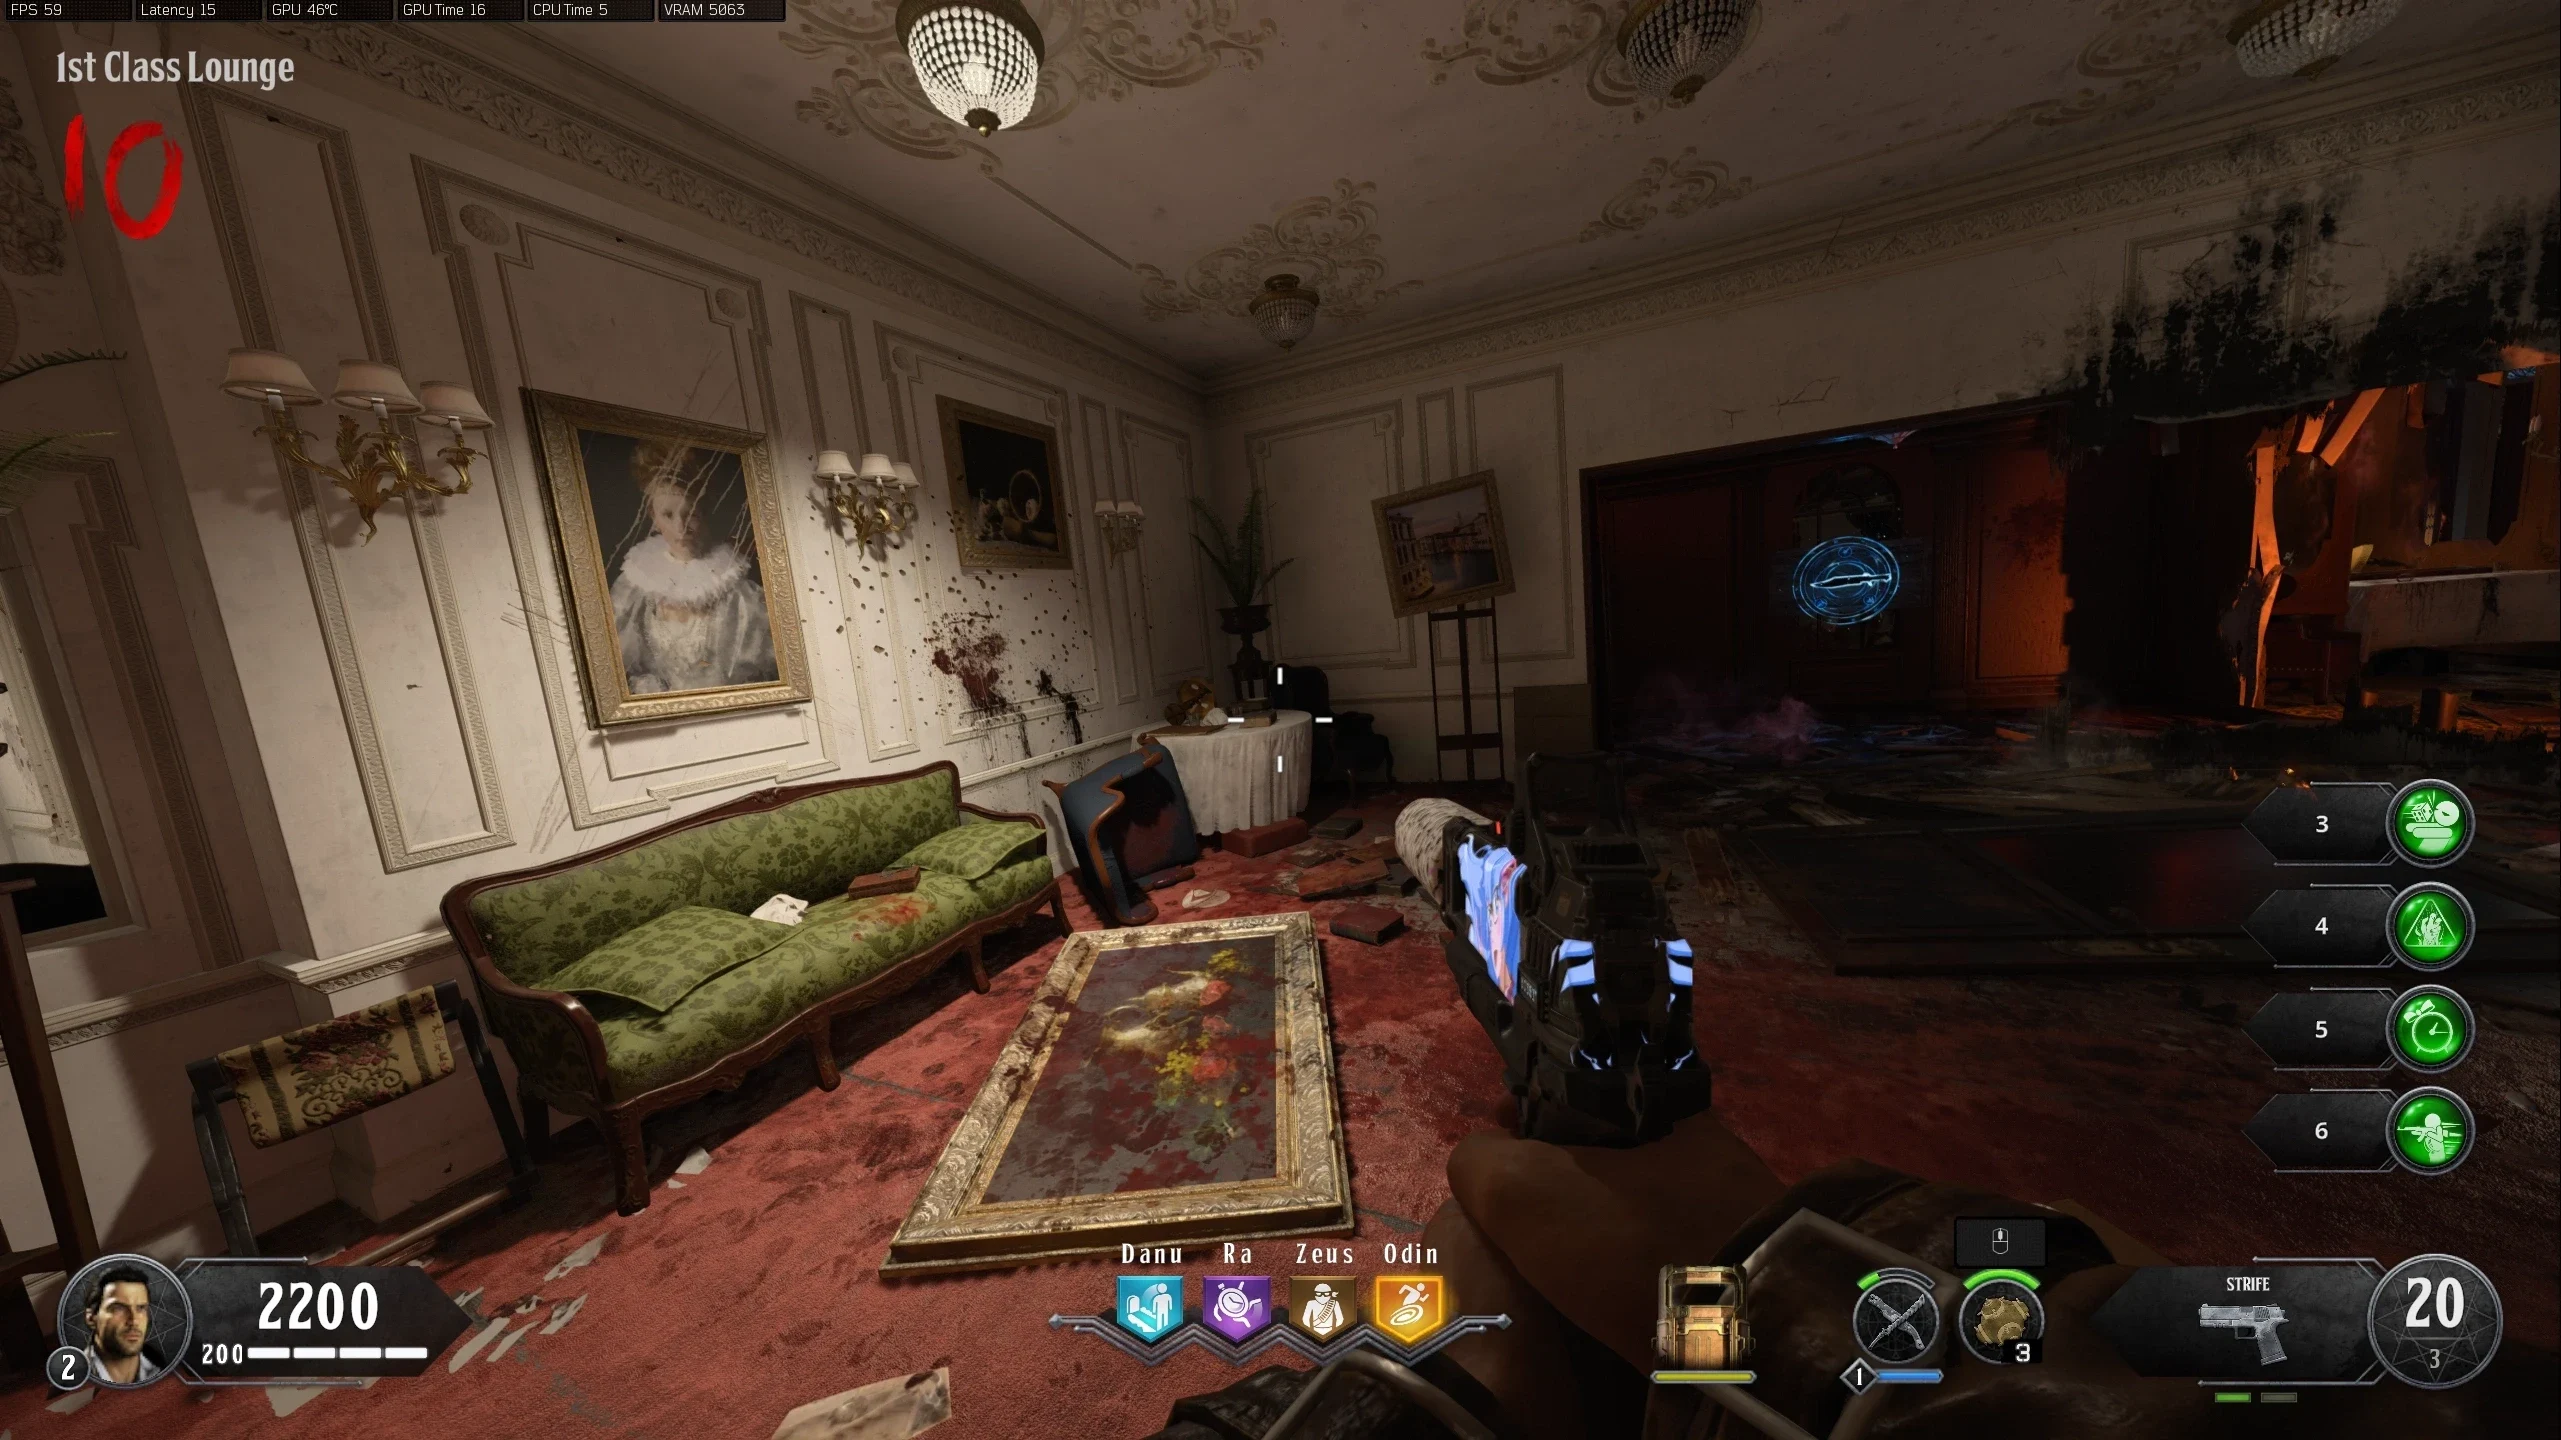
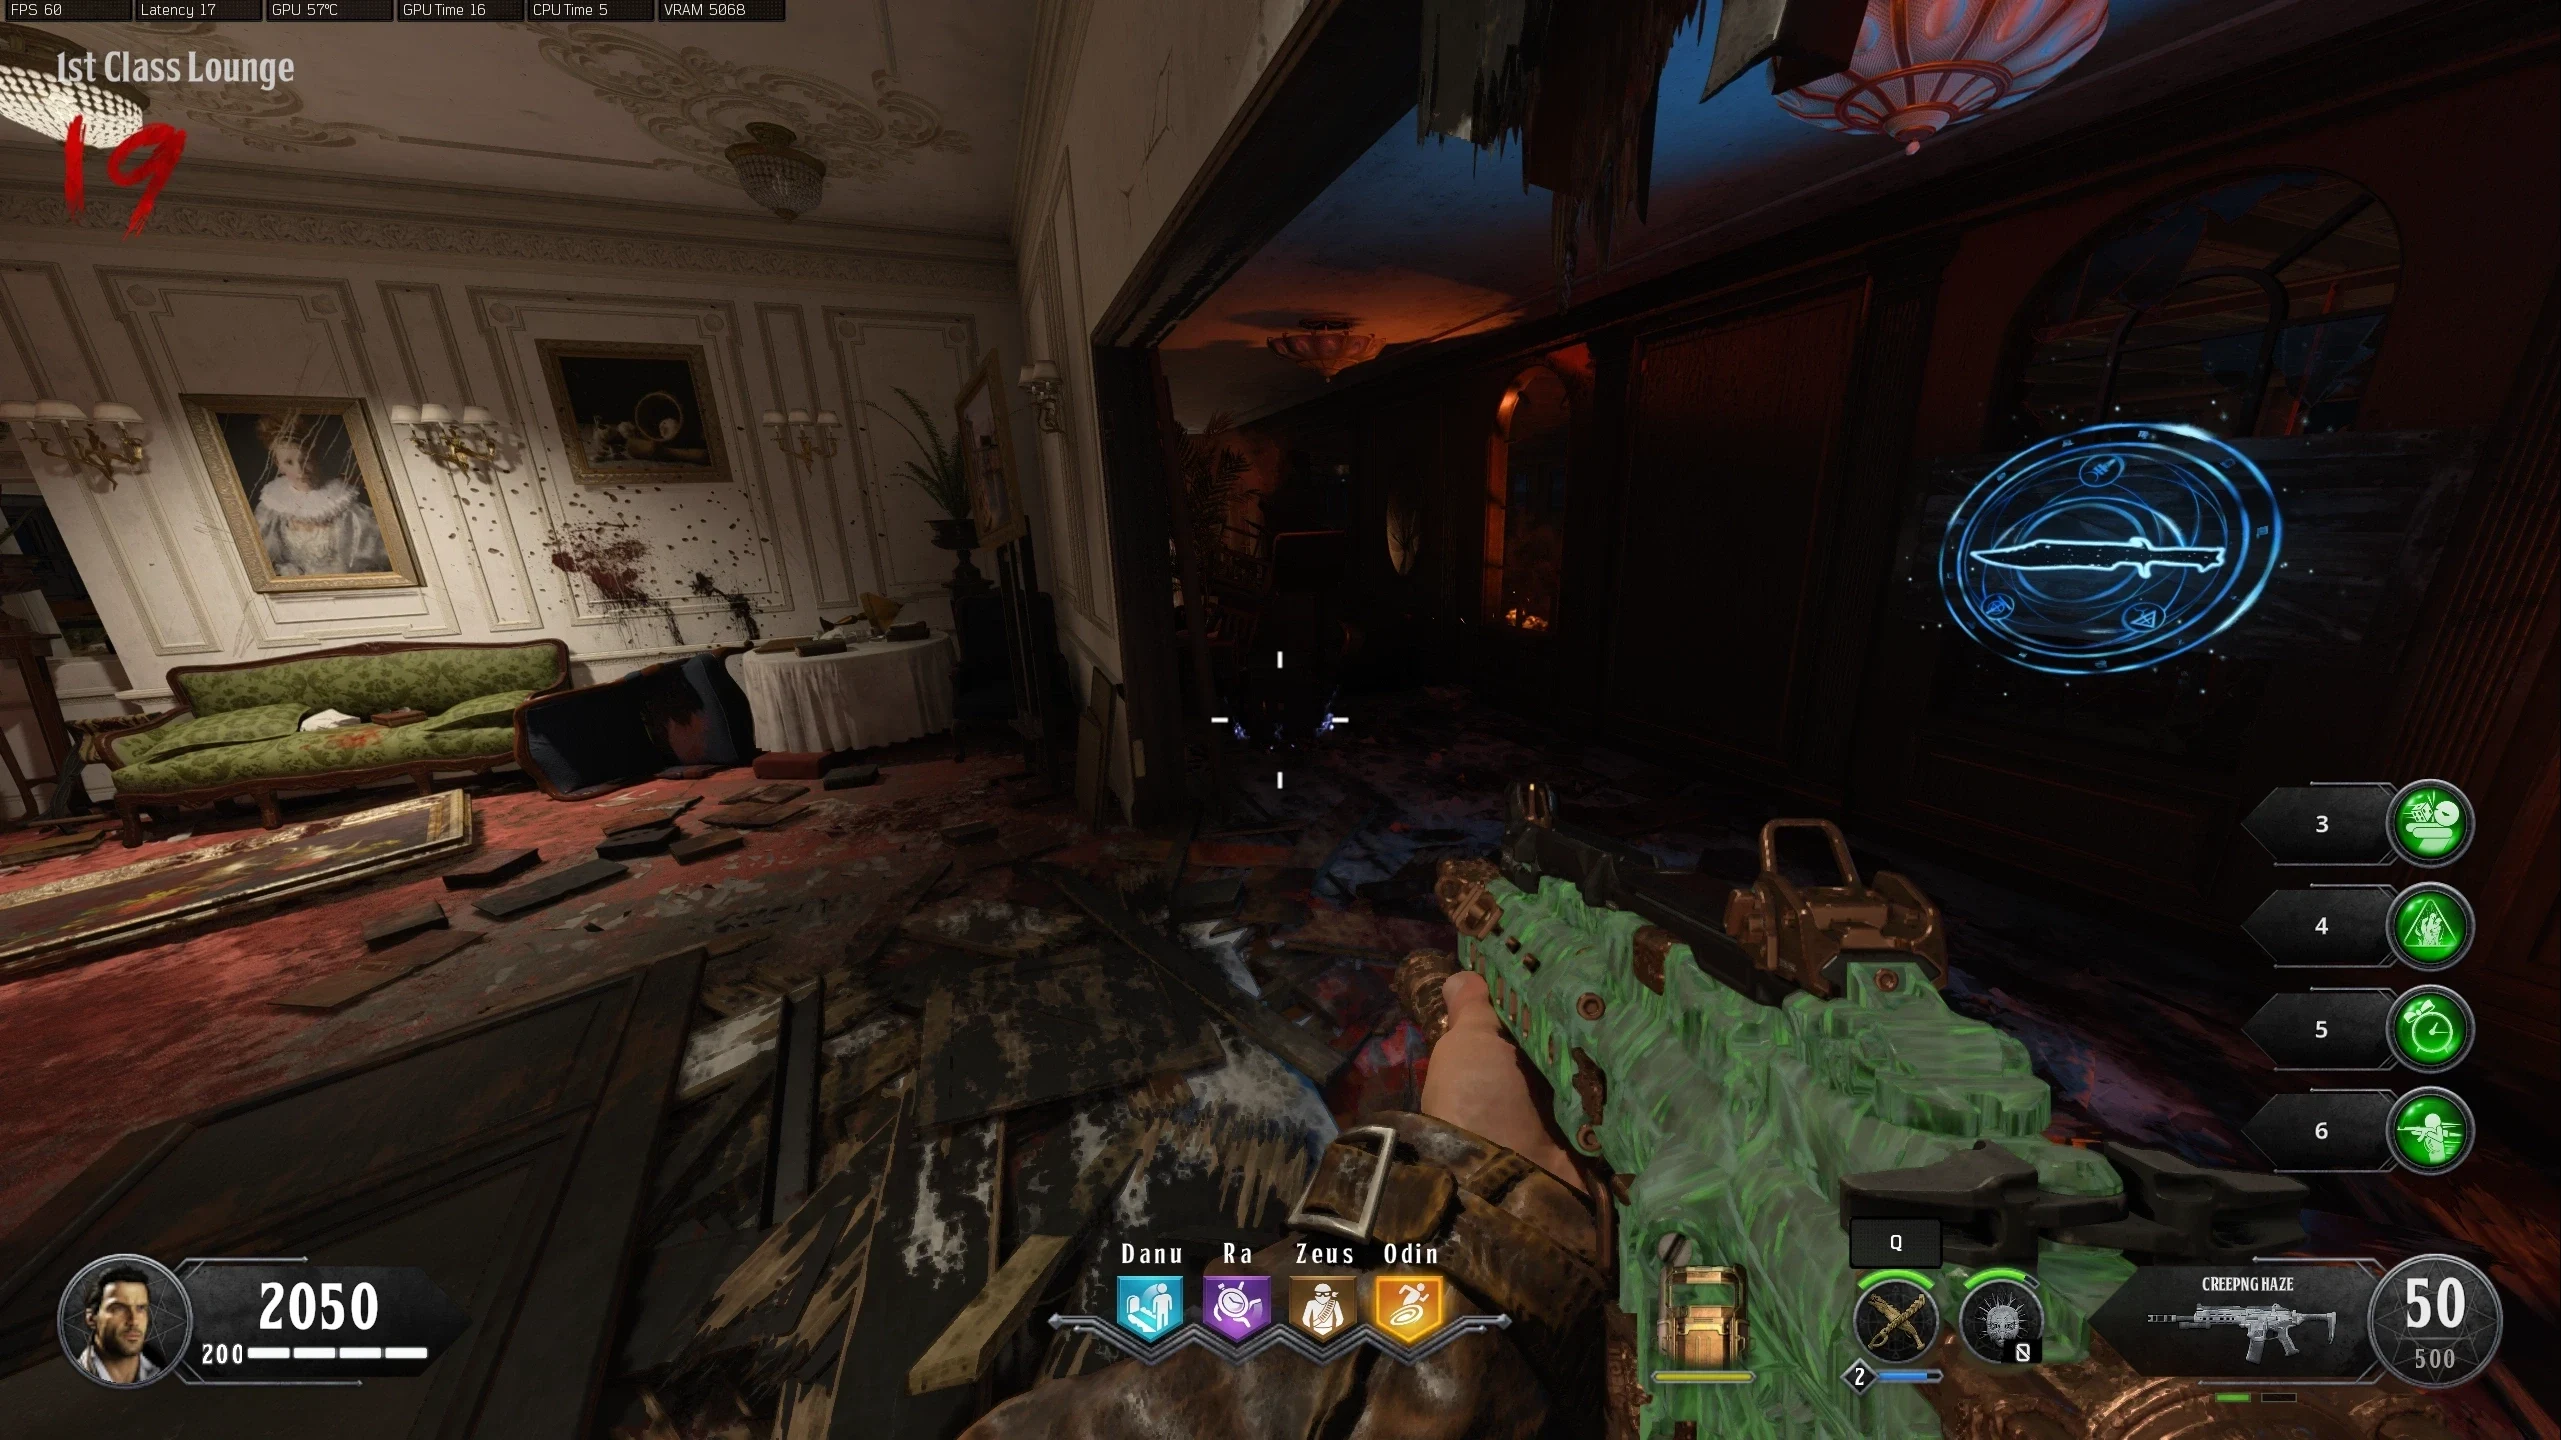
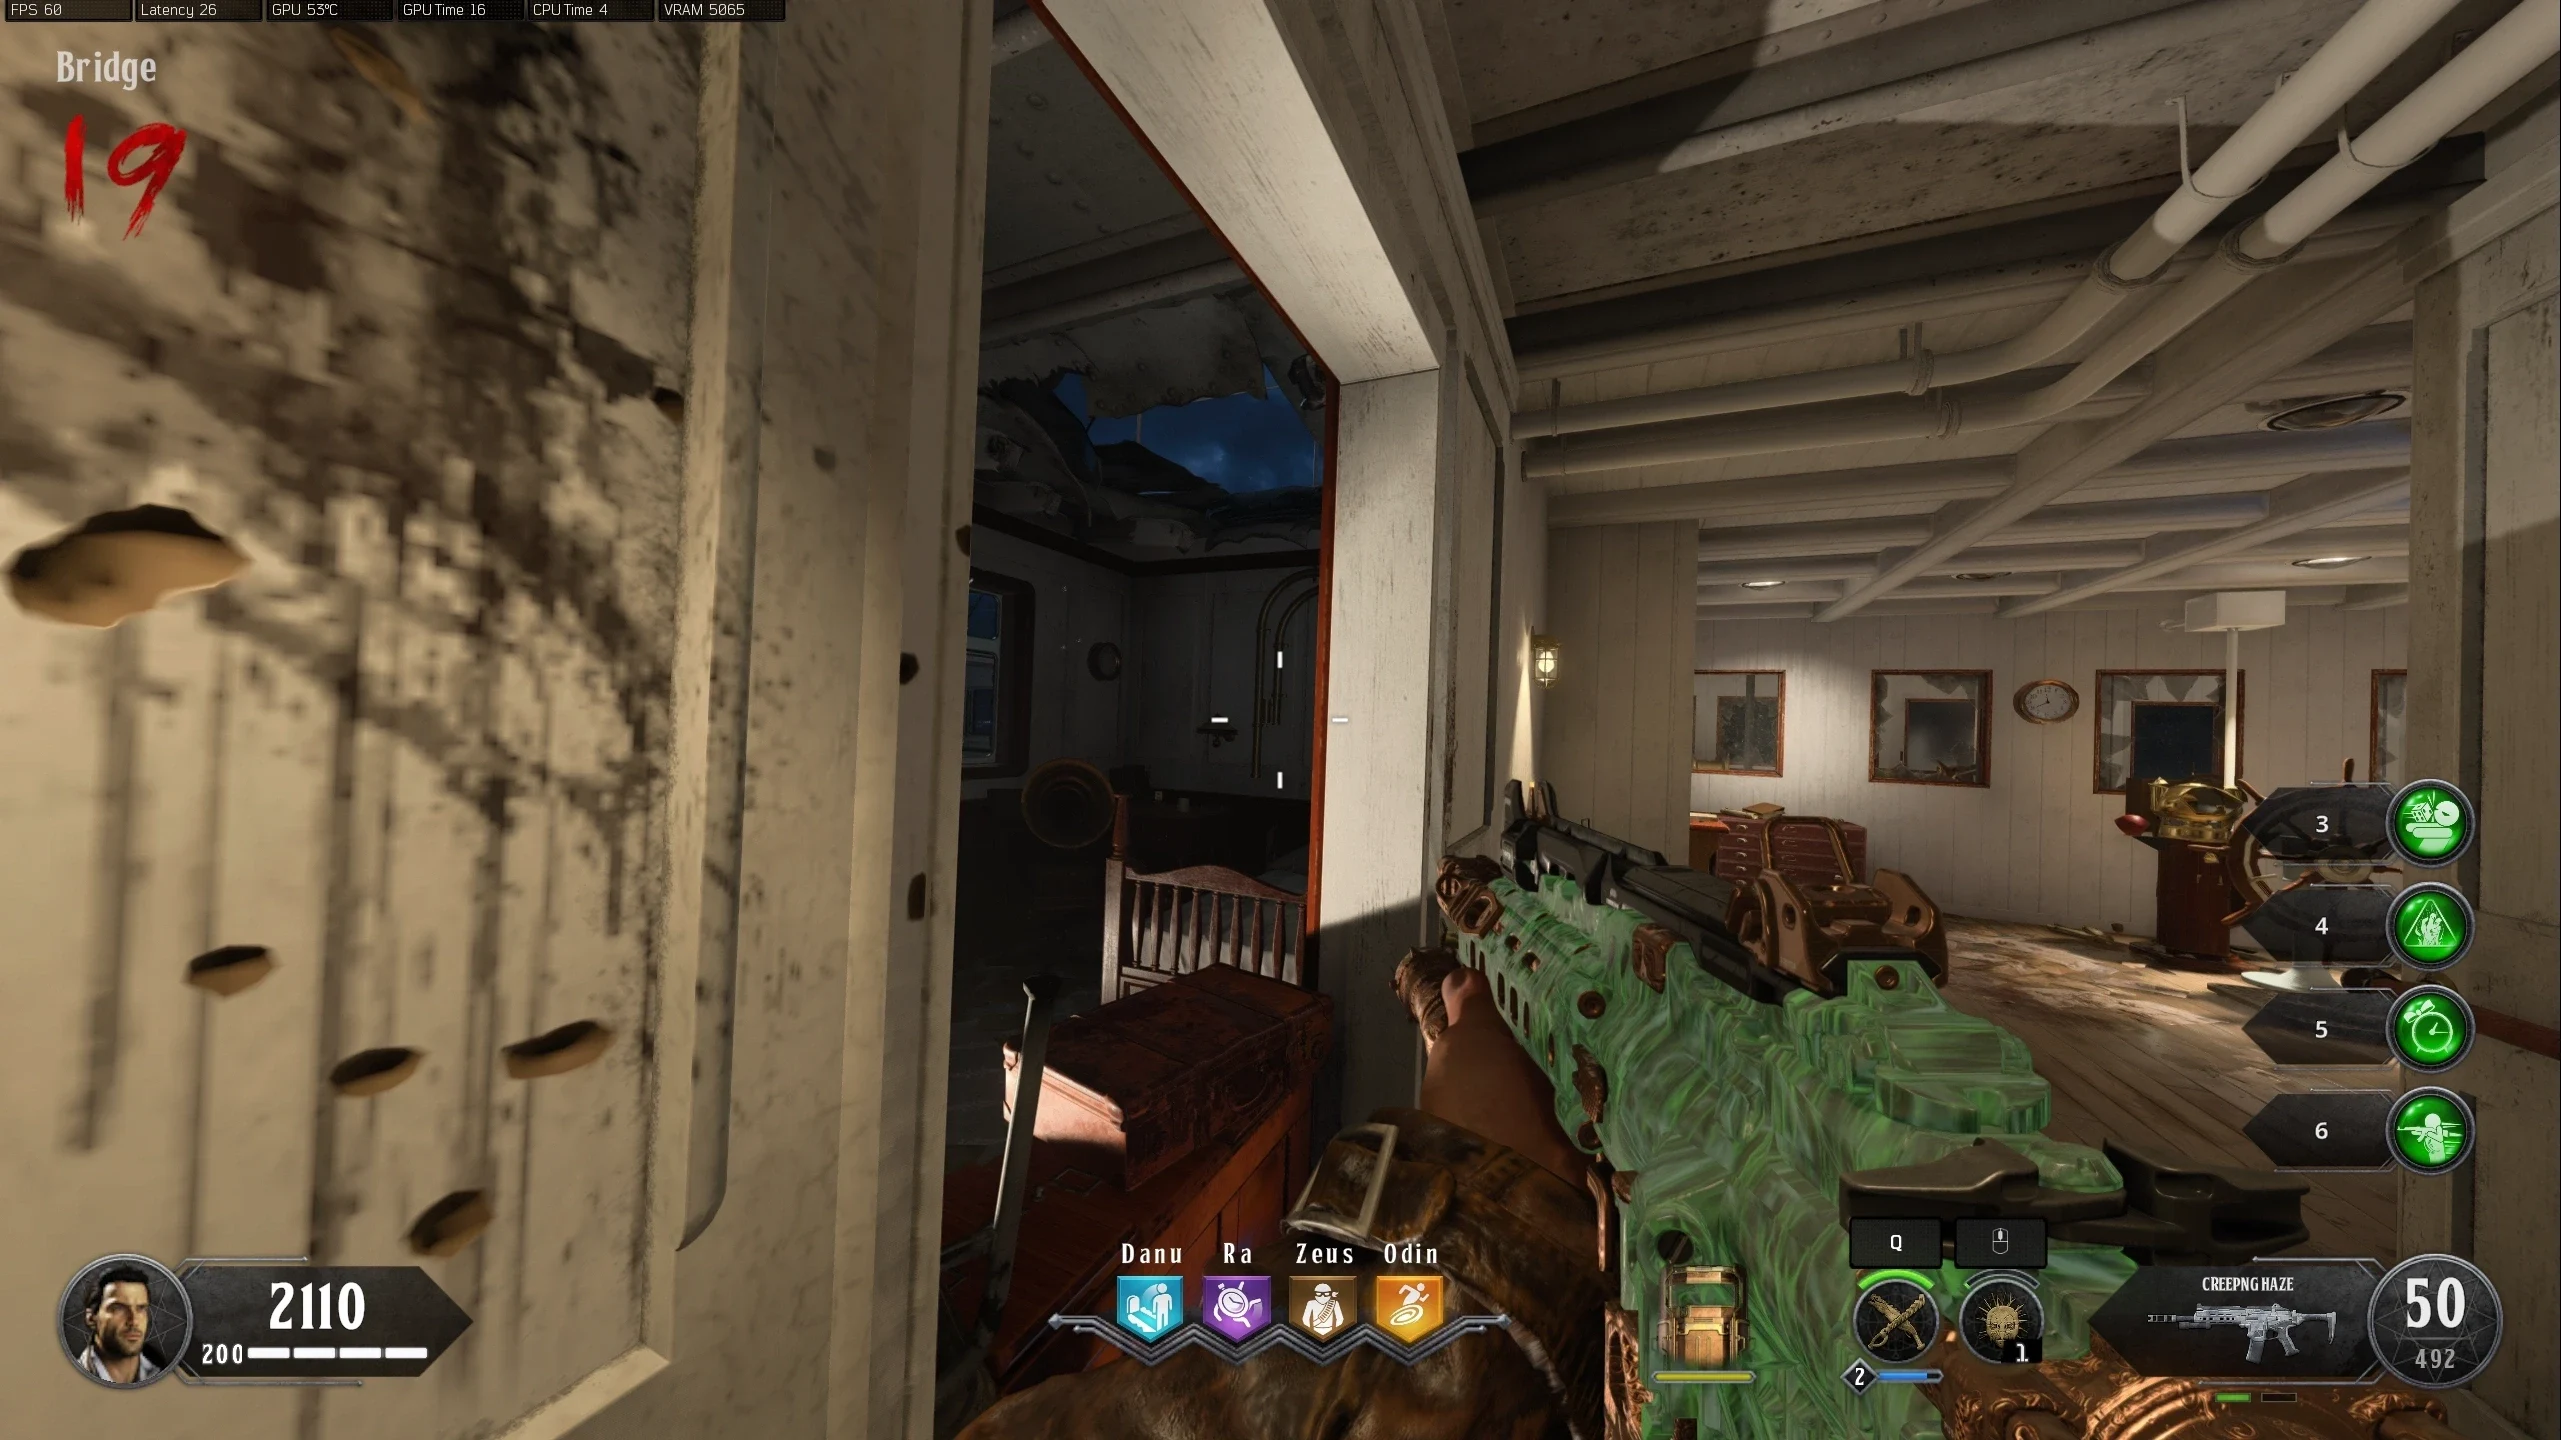
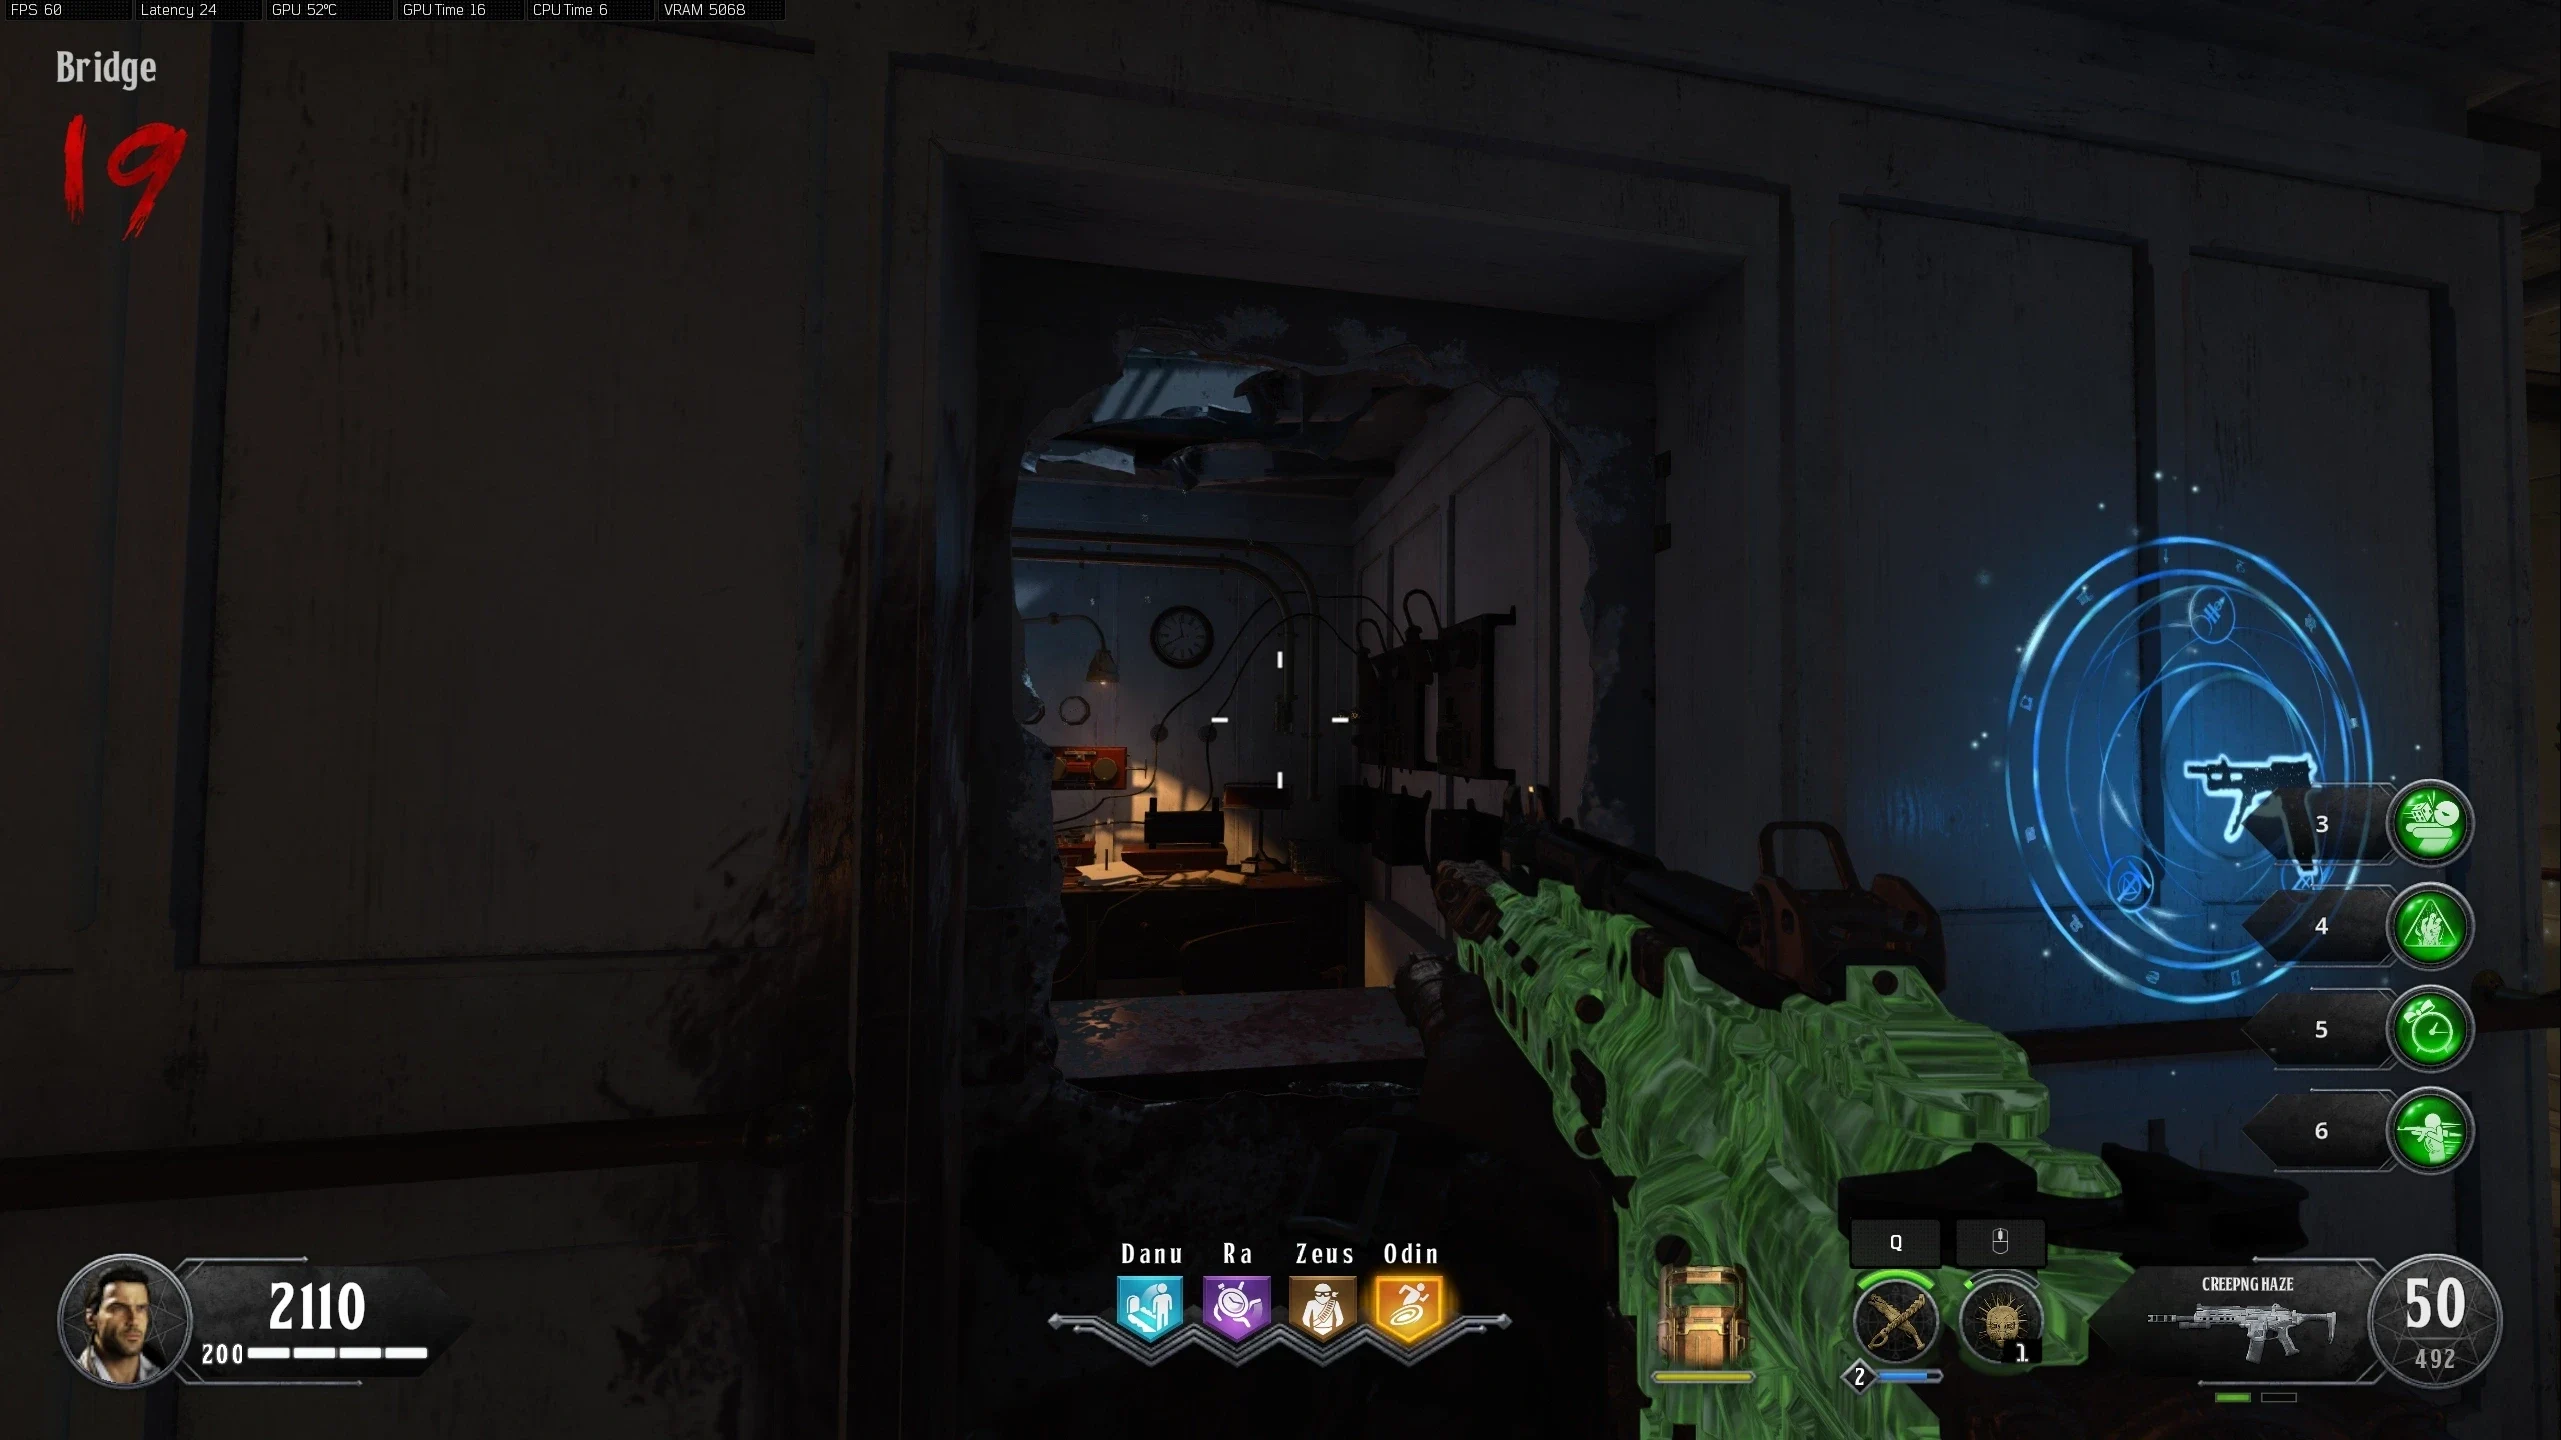
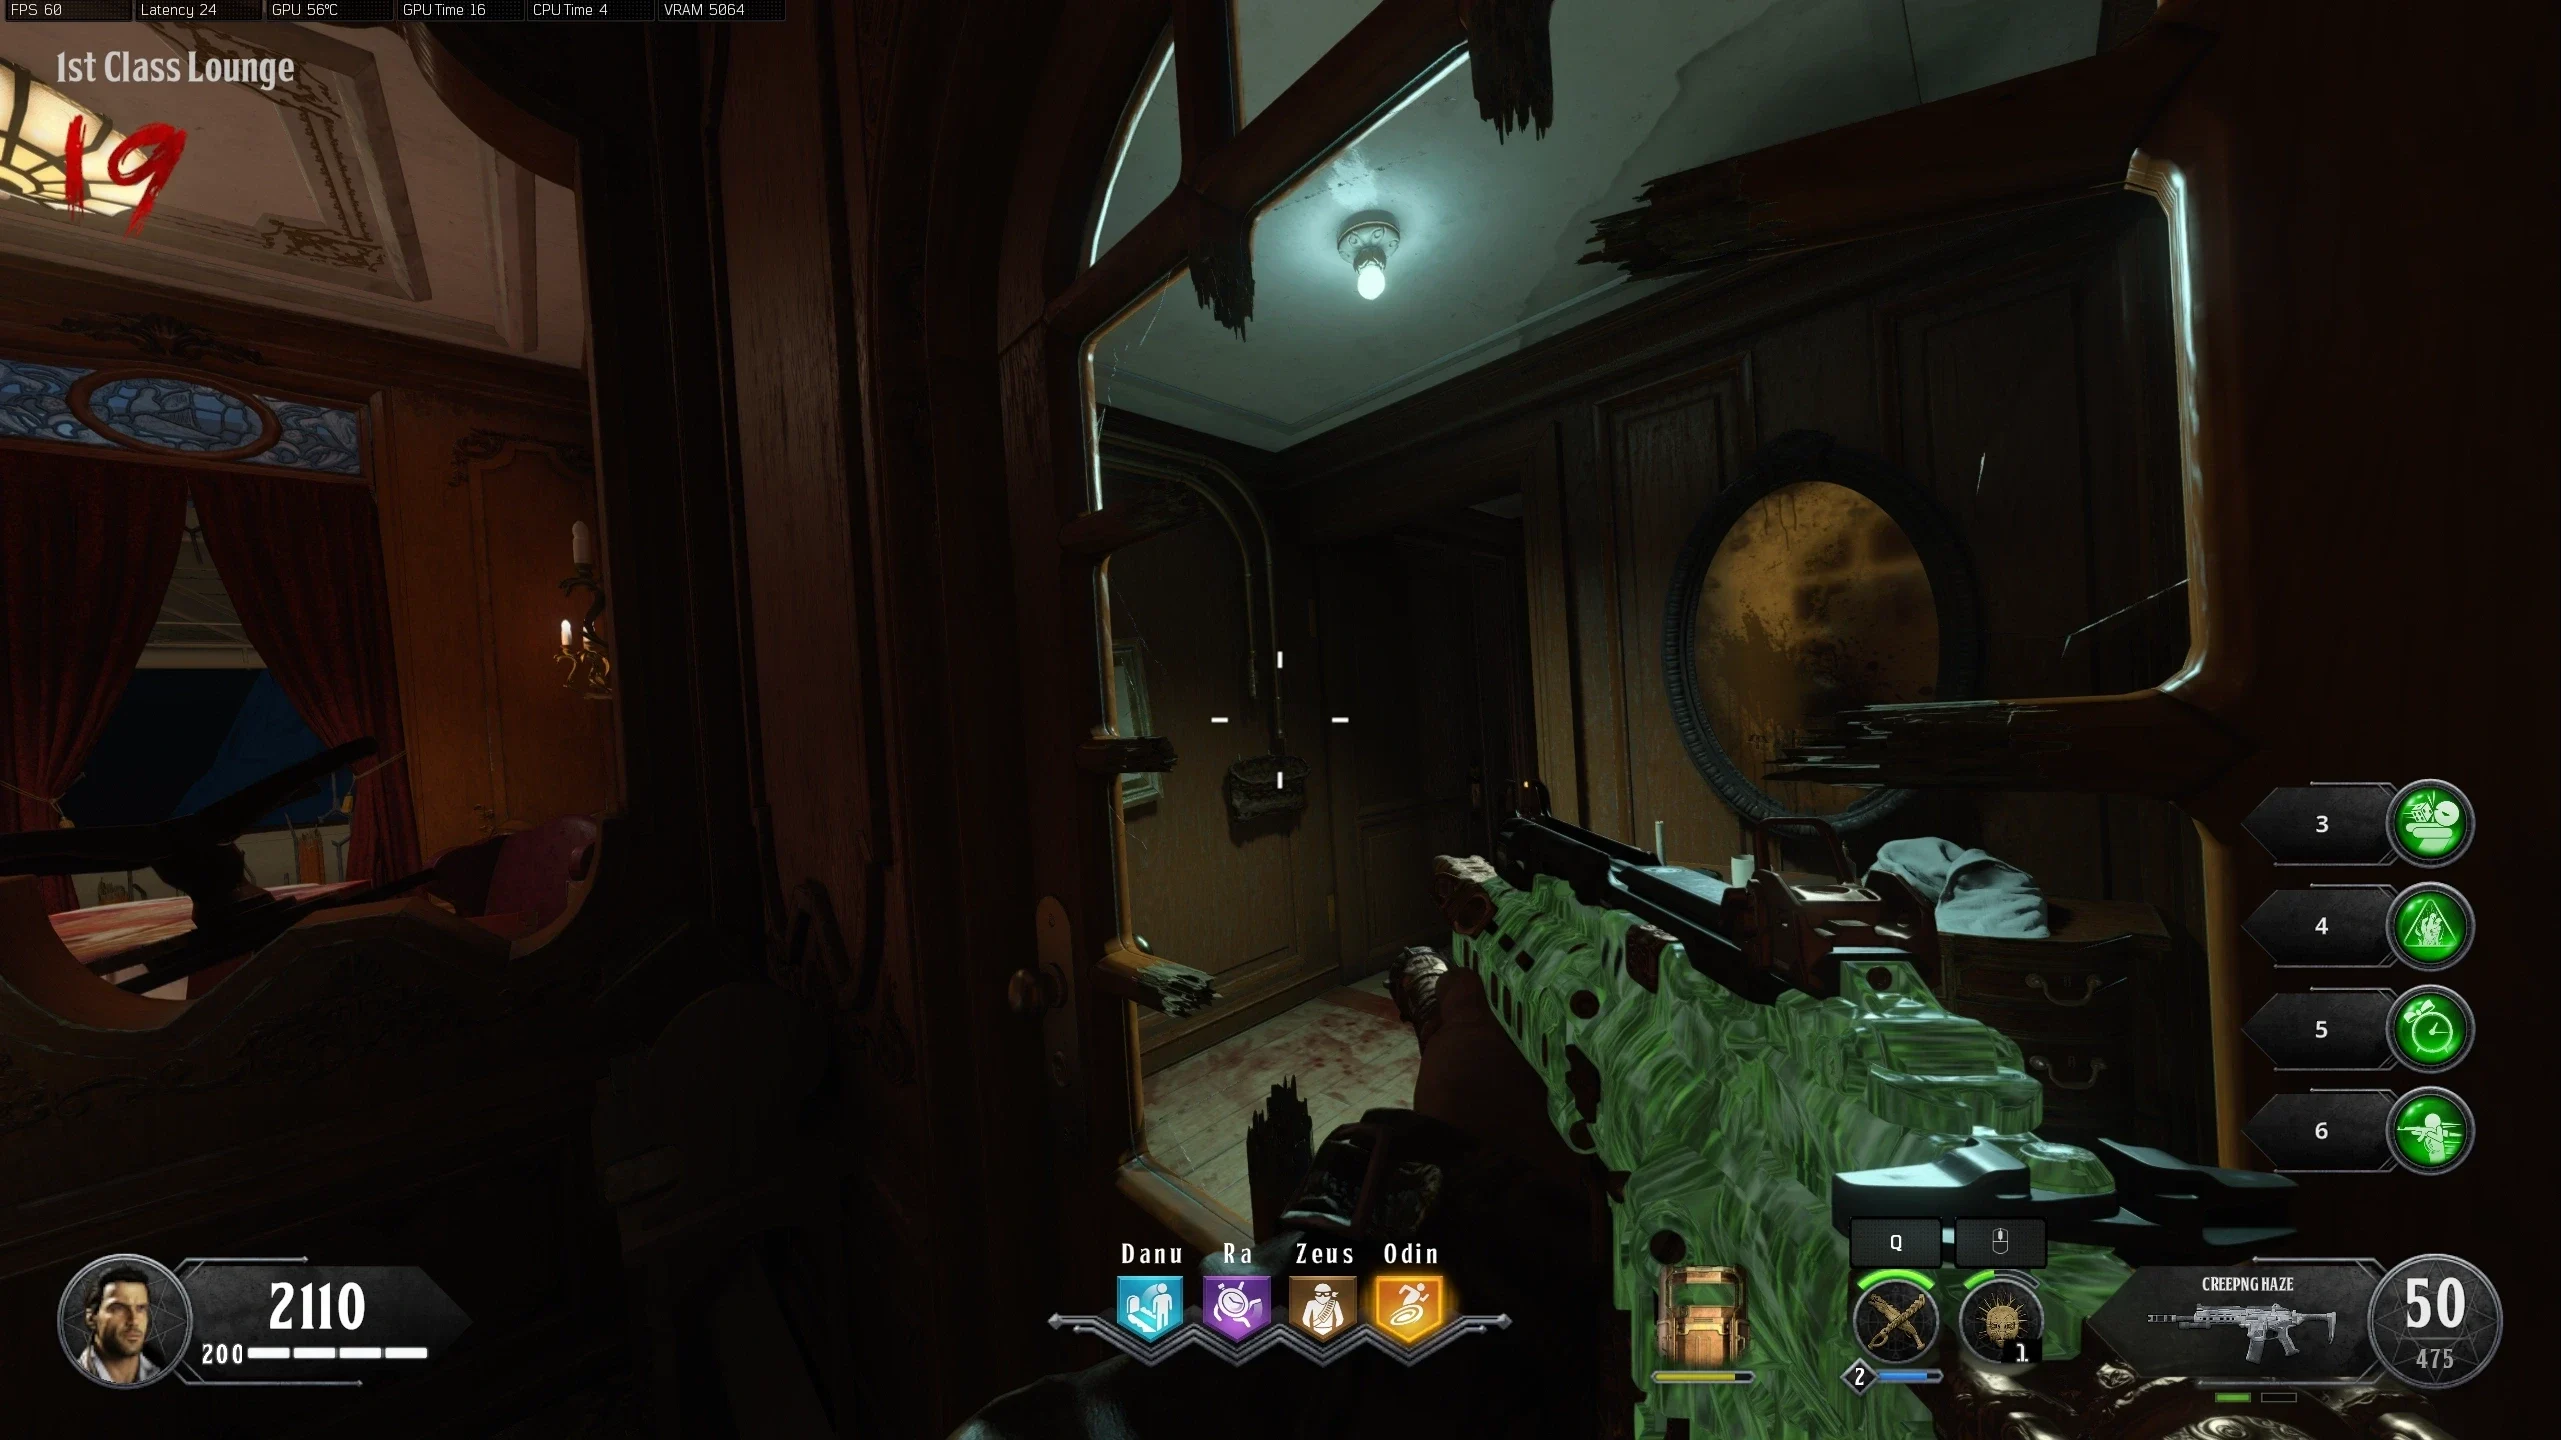
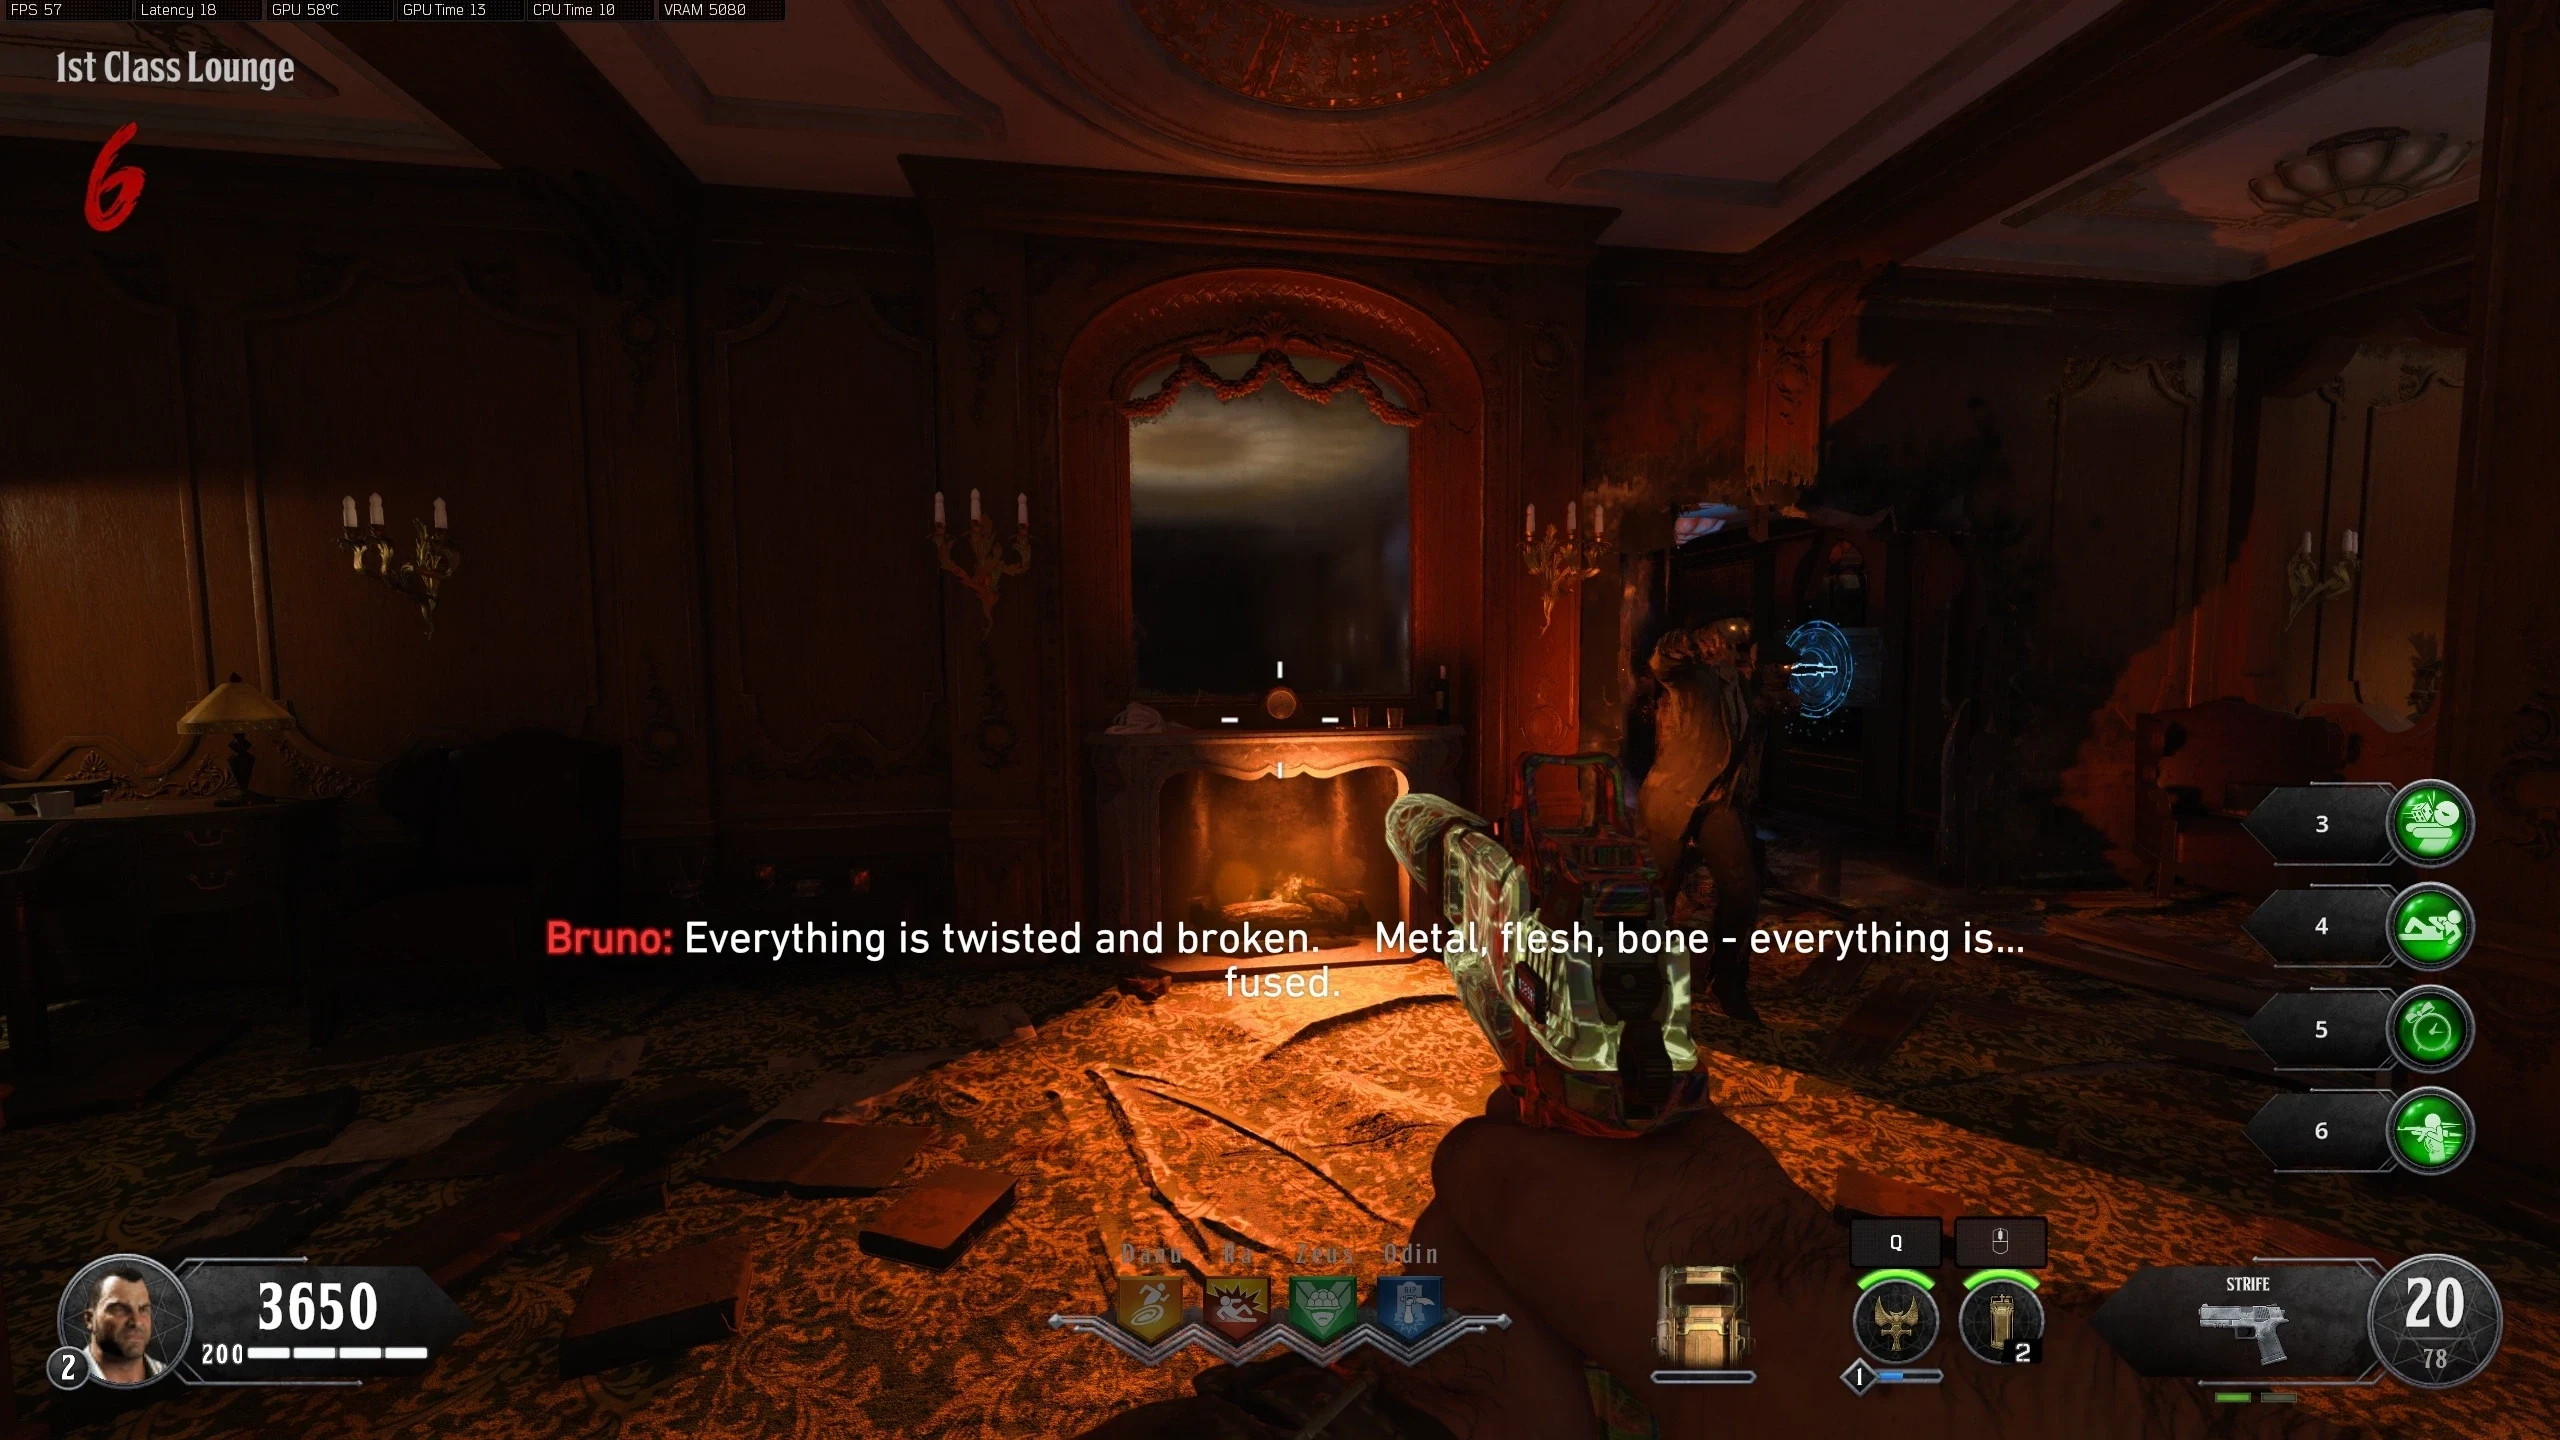
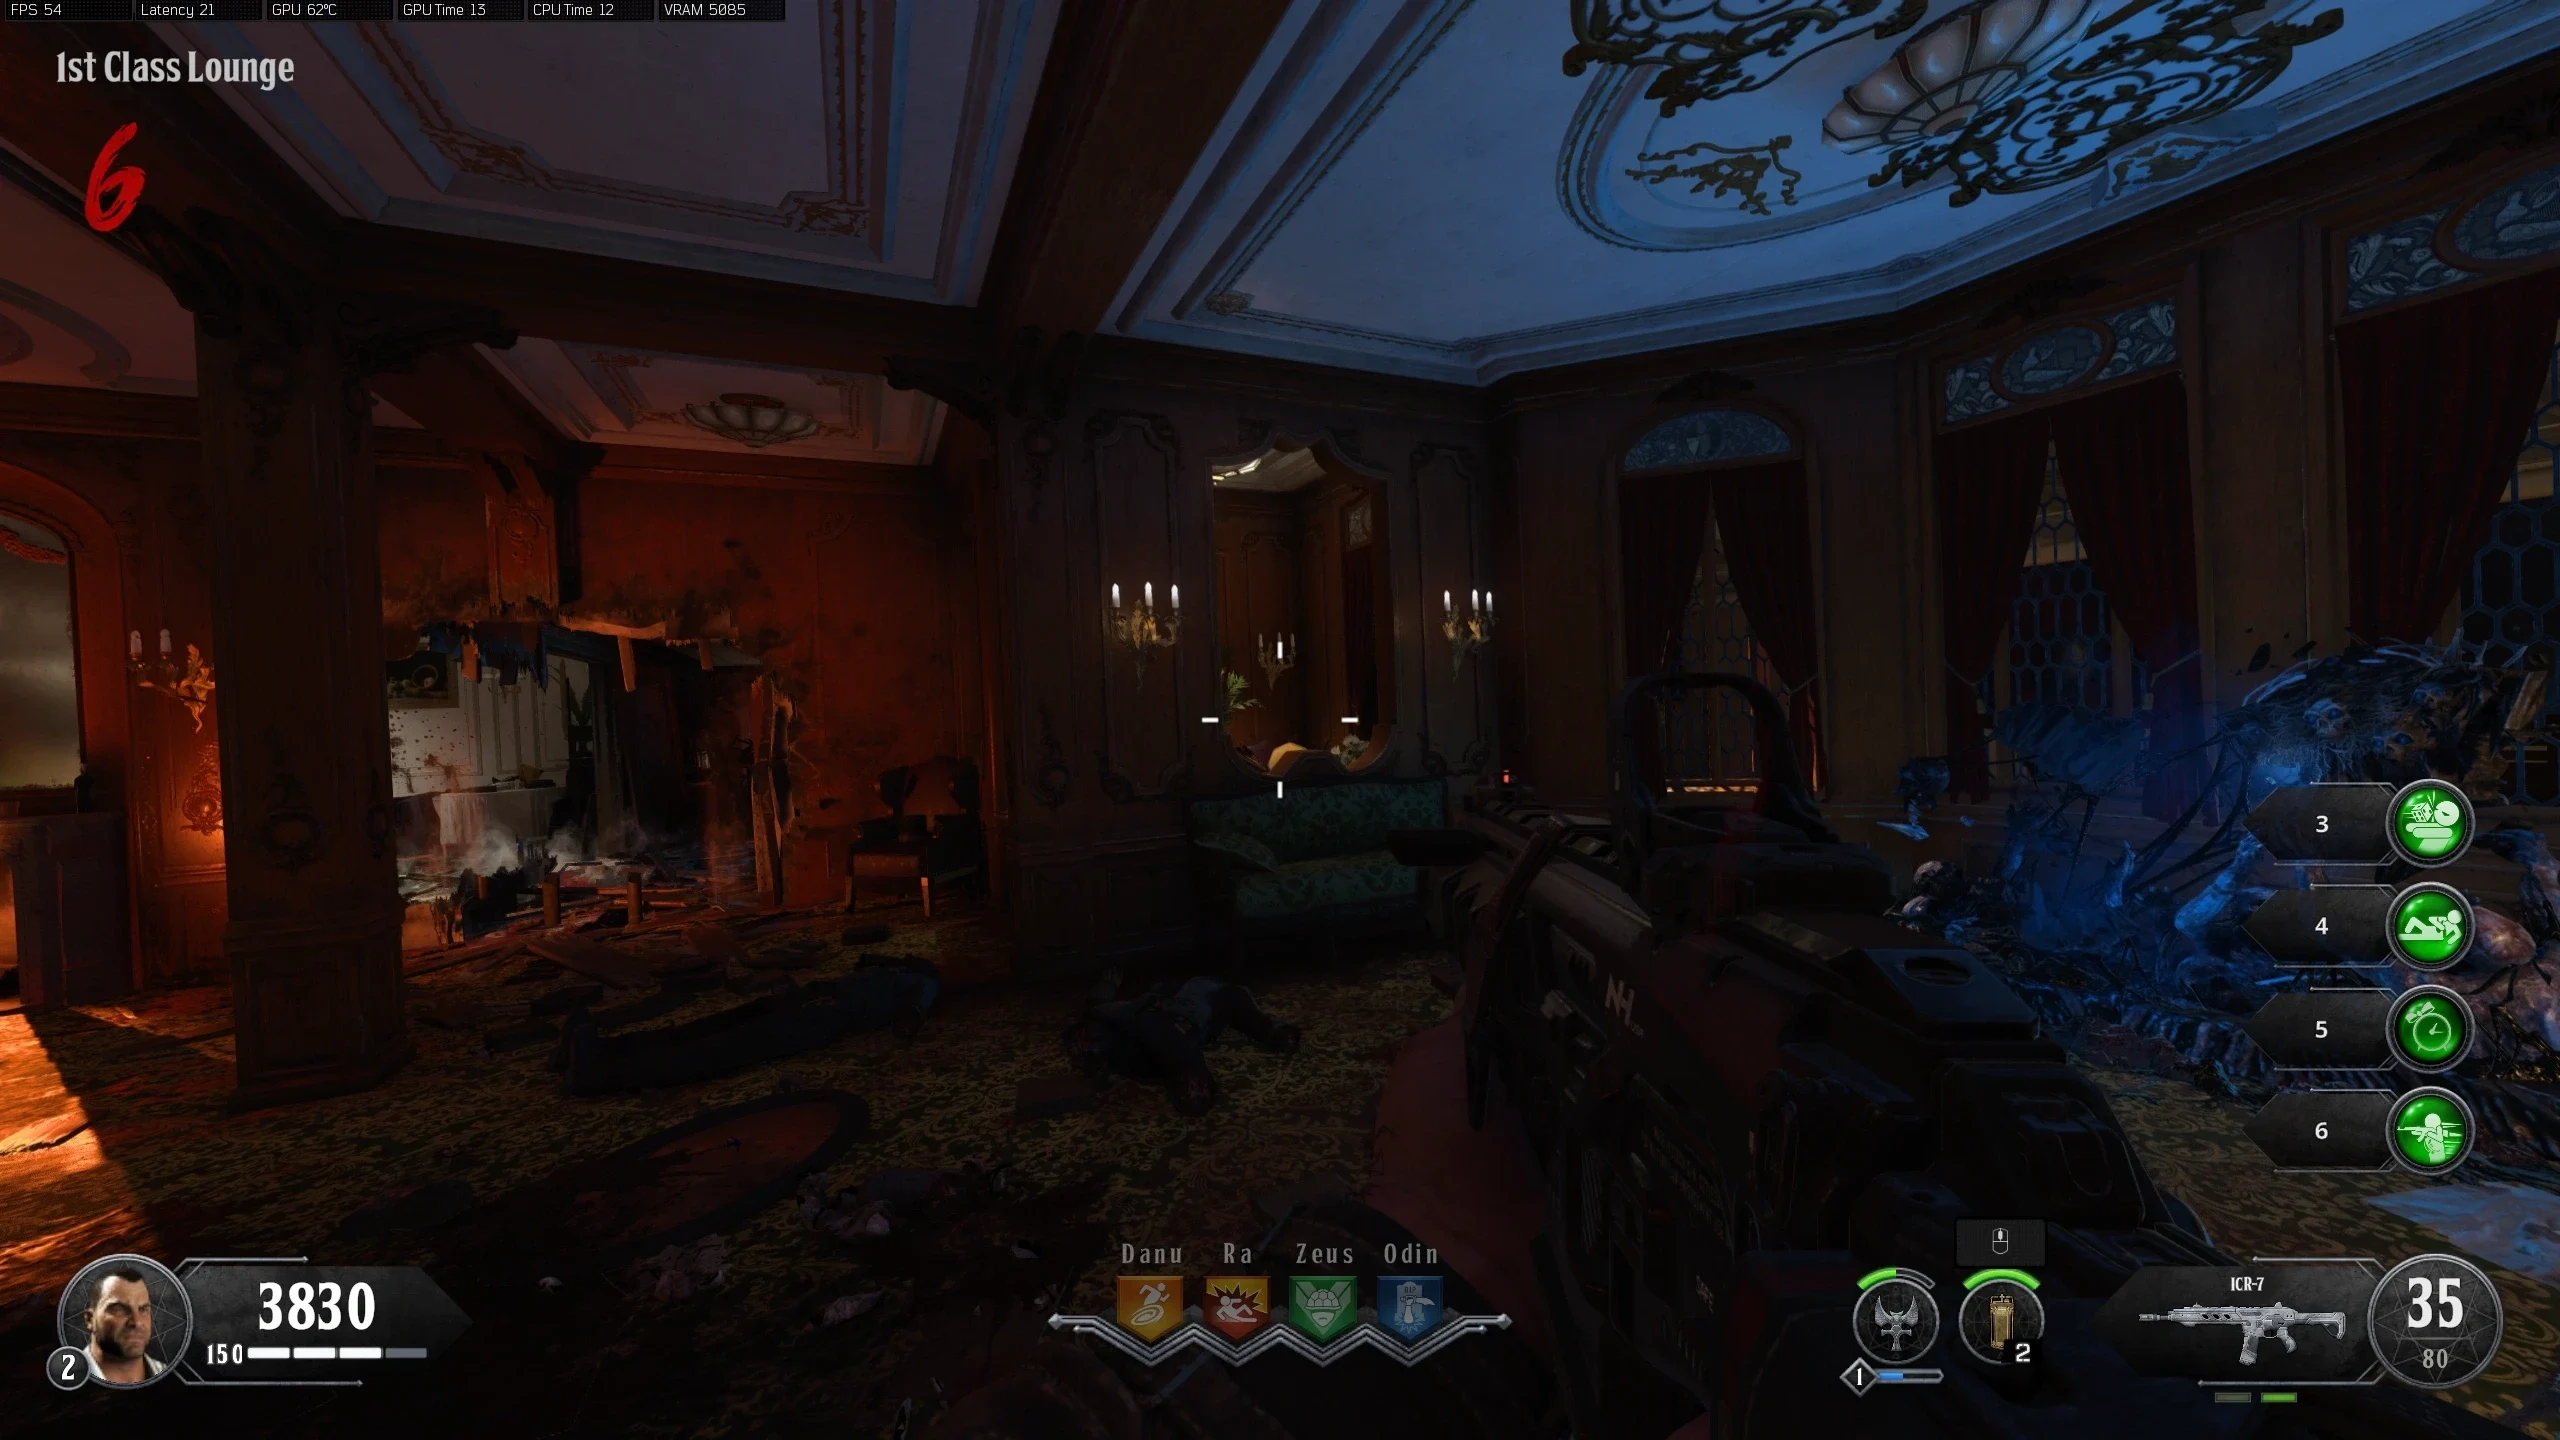
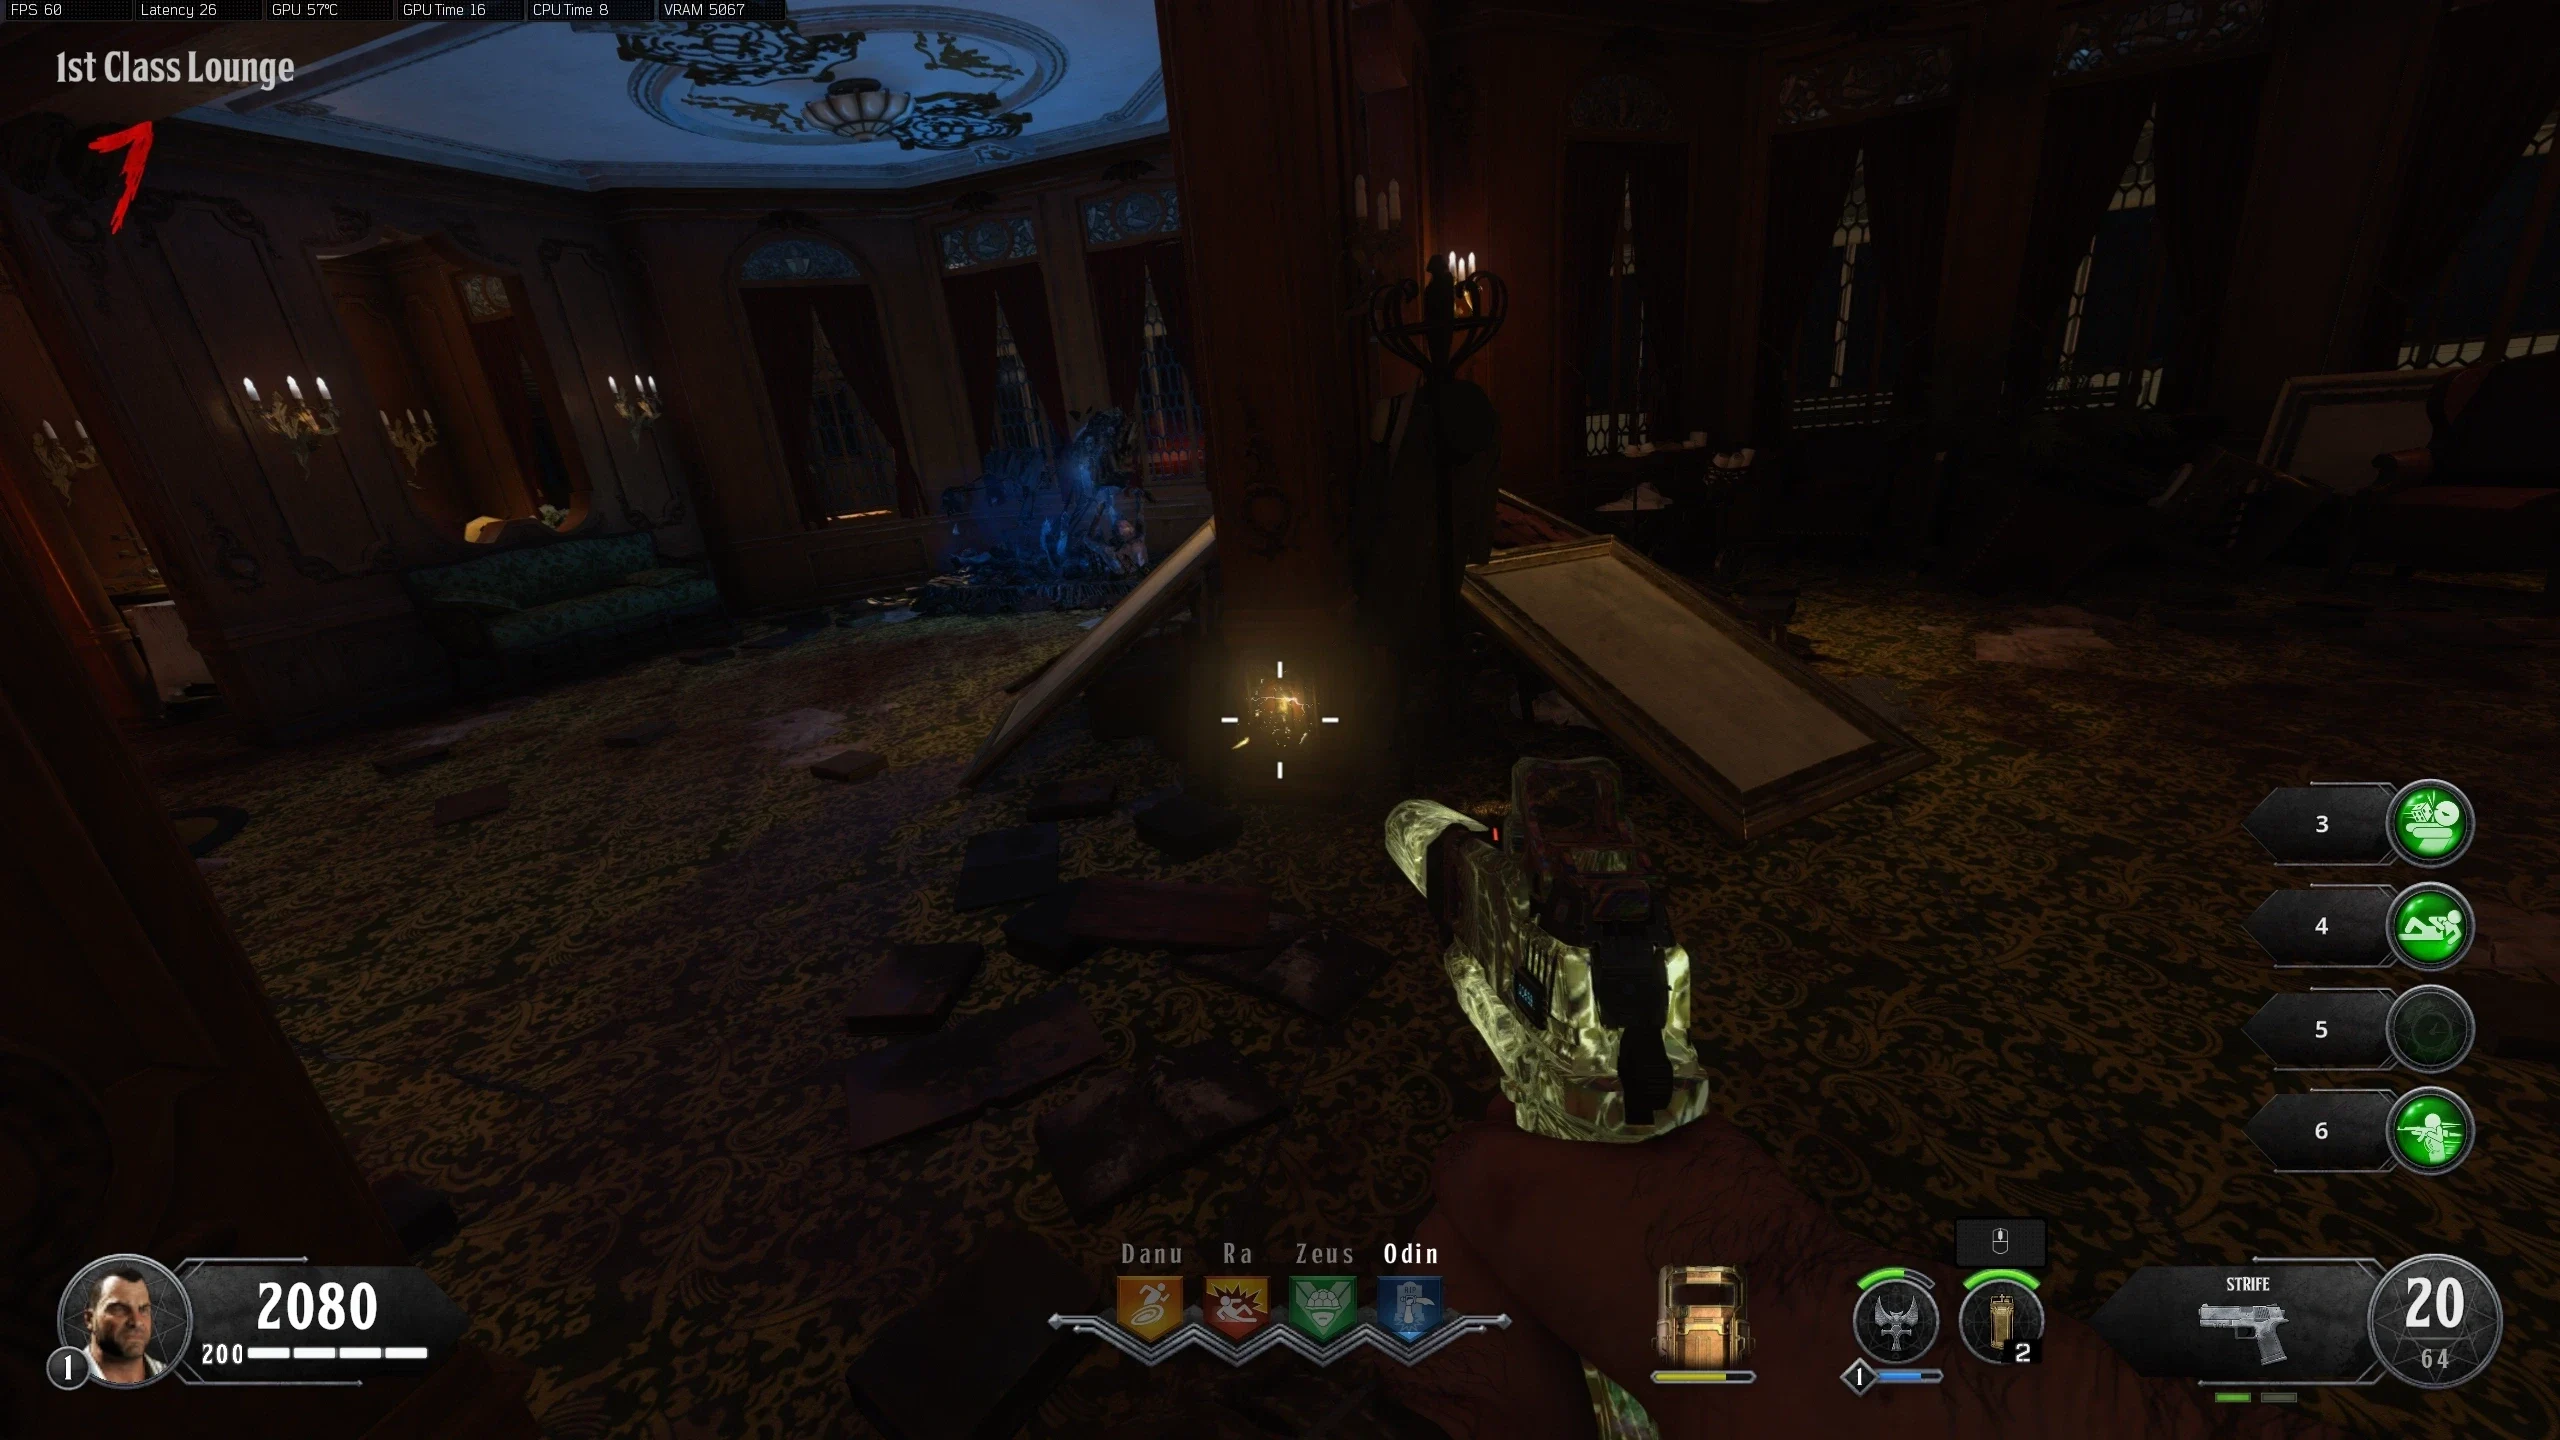
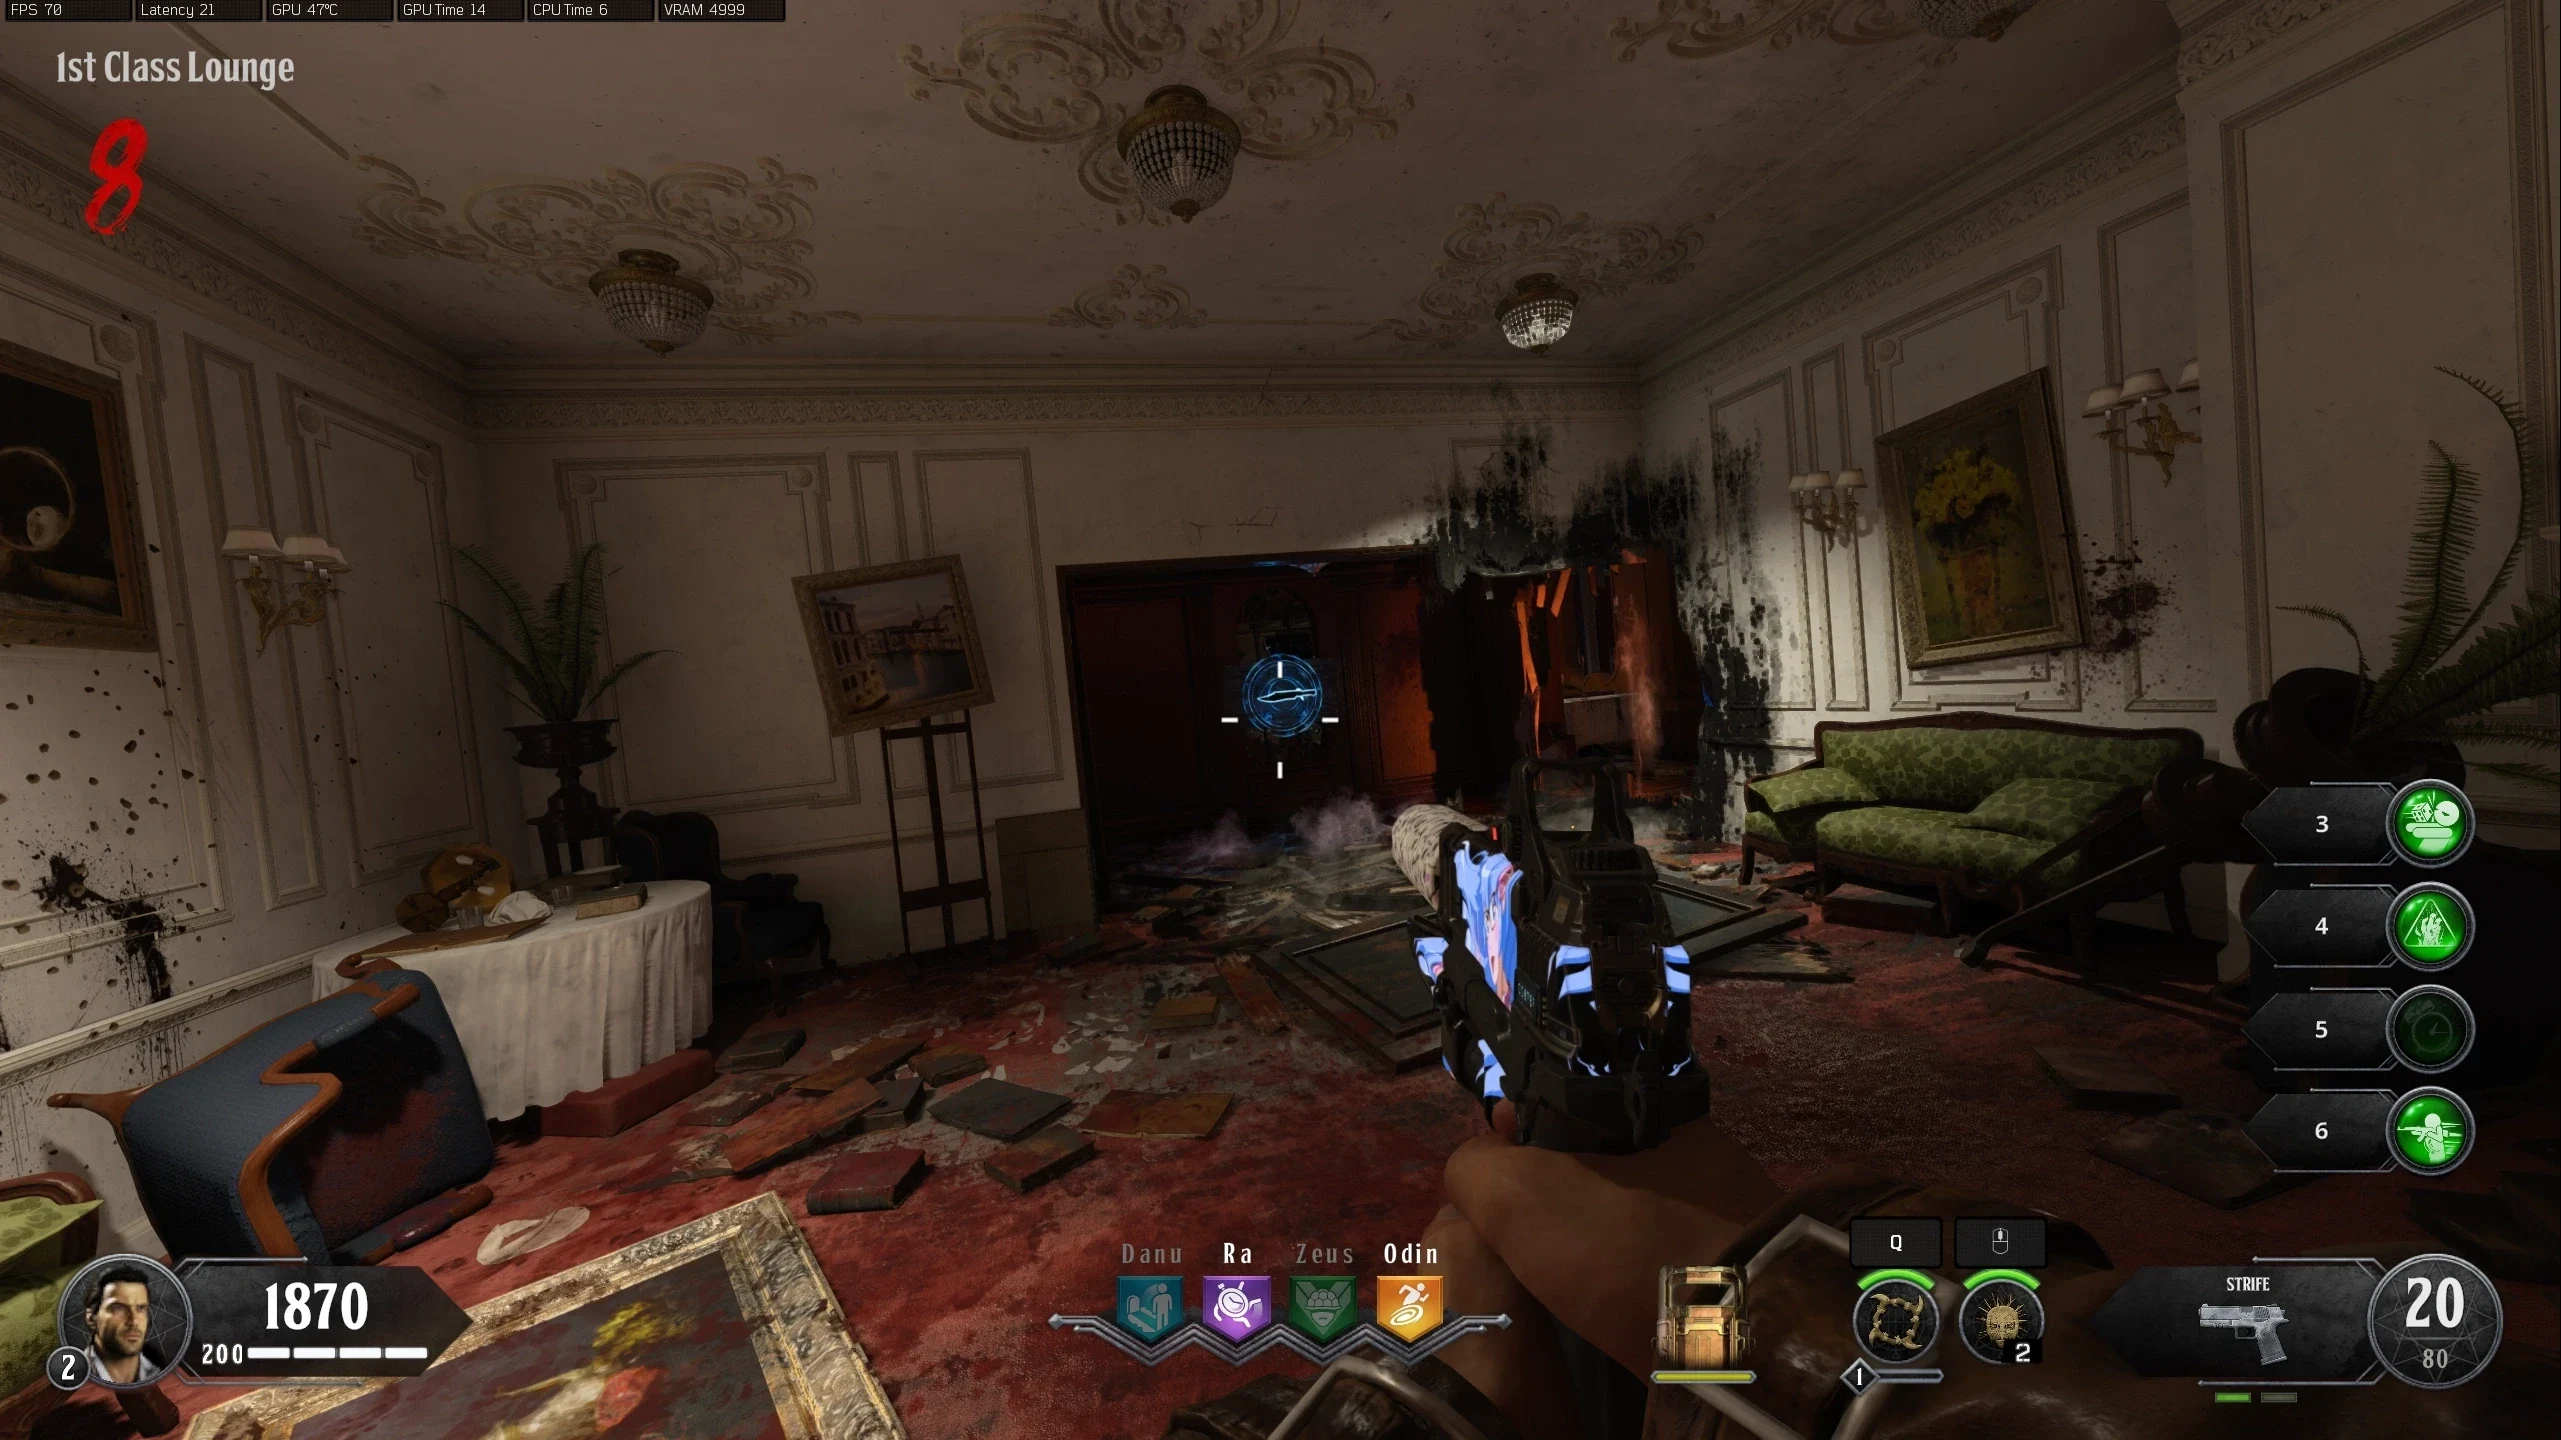
- 1st Class Lounge
- Clock: Above the fireplace, opposite the Zeus Statue
- Symbol: To the left of the Mystery Box, Near the Plant
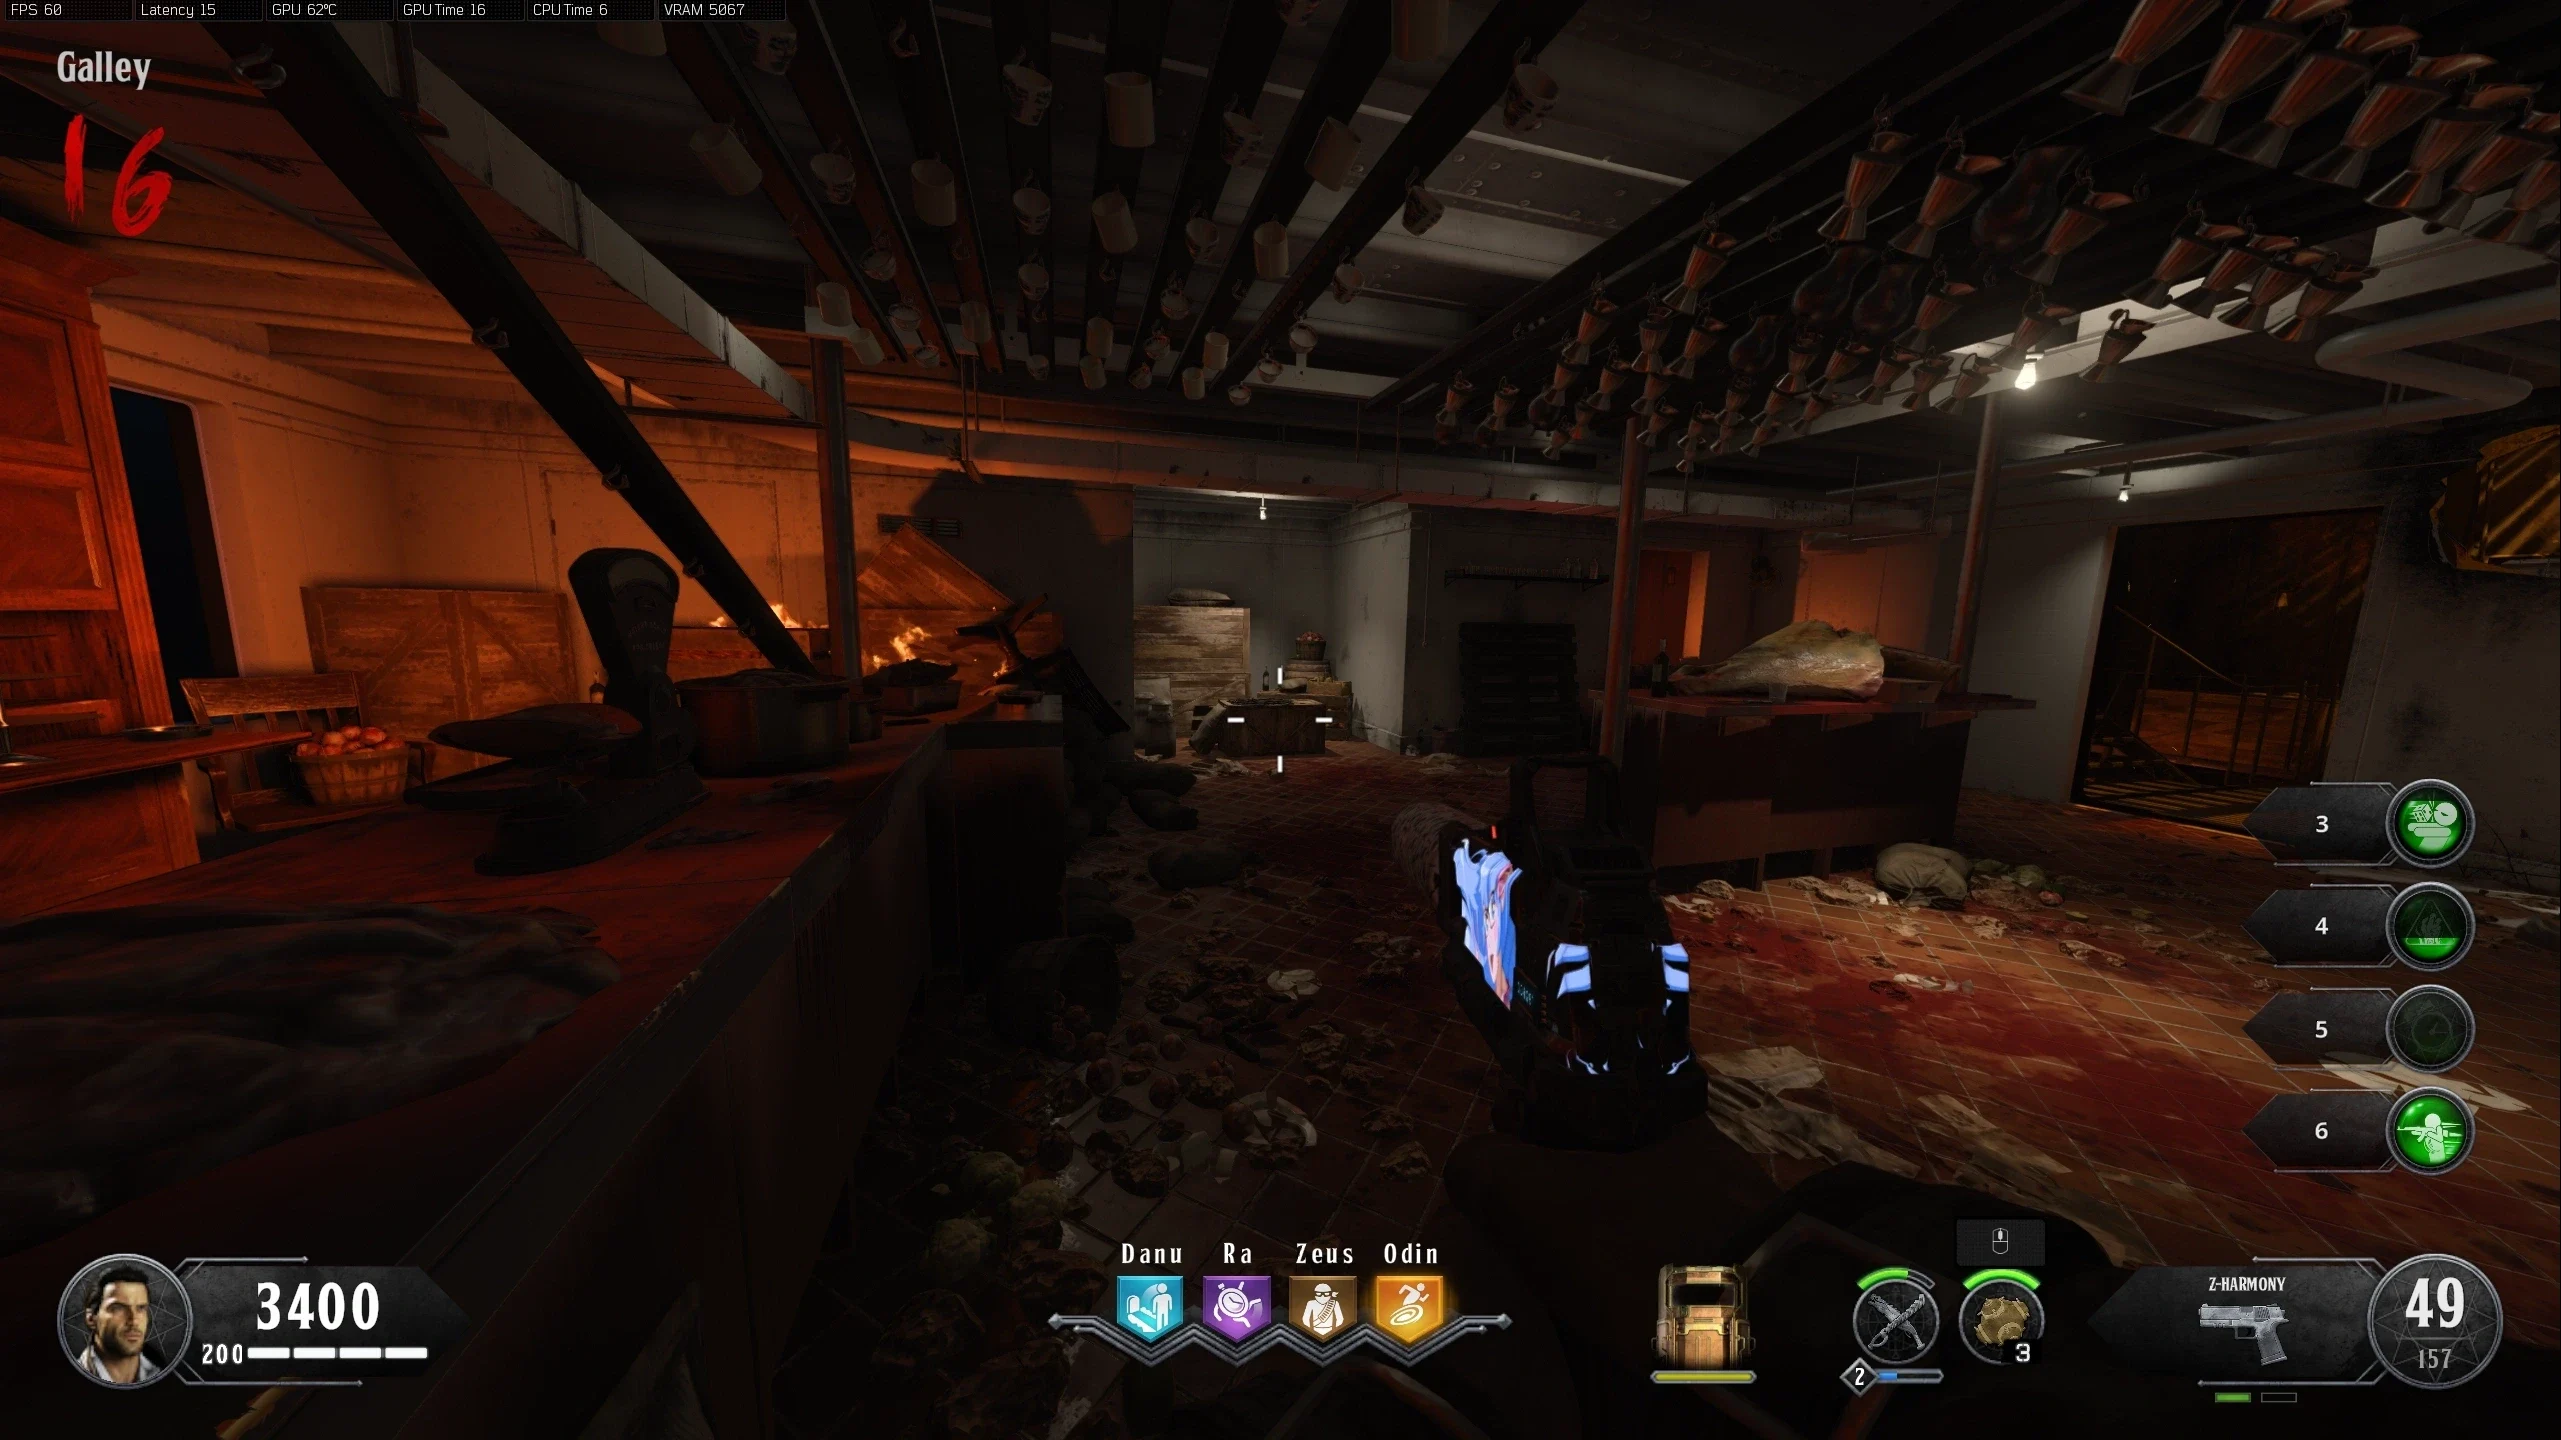
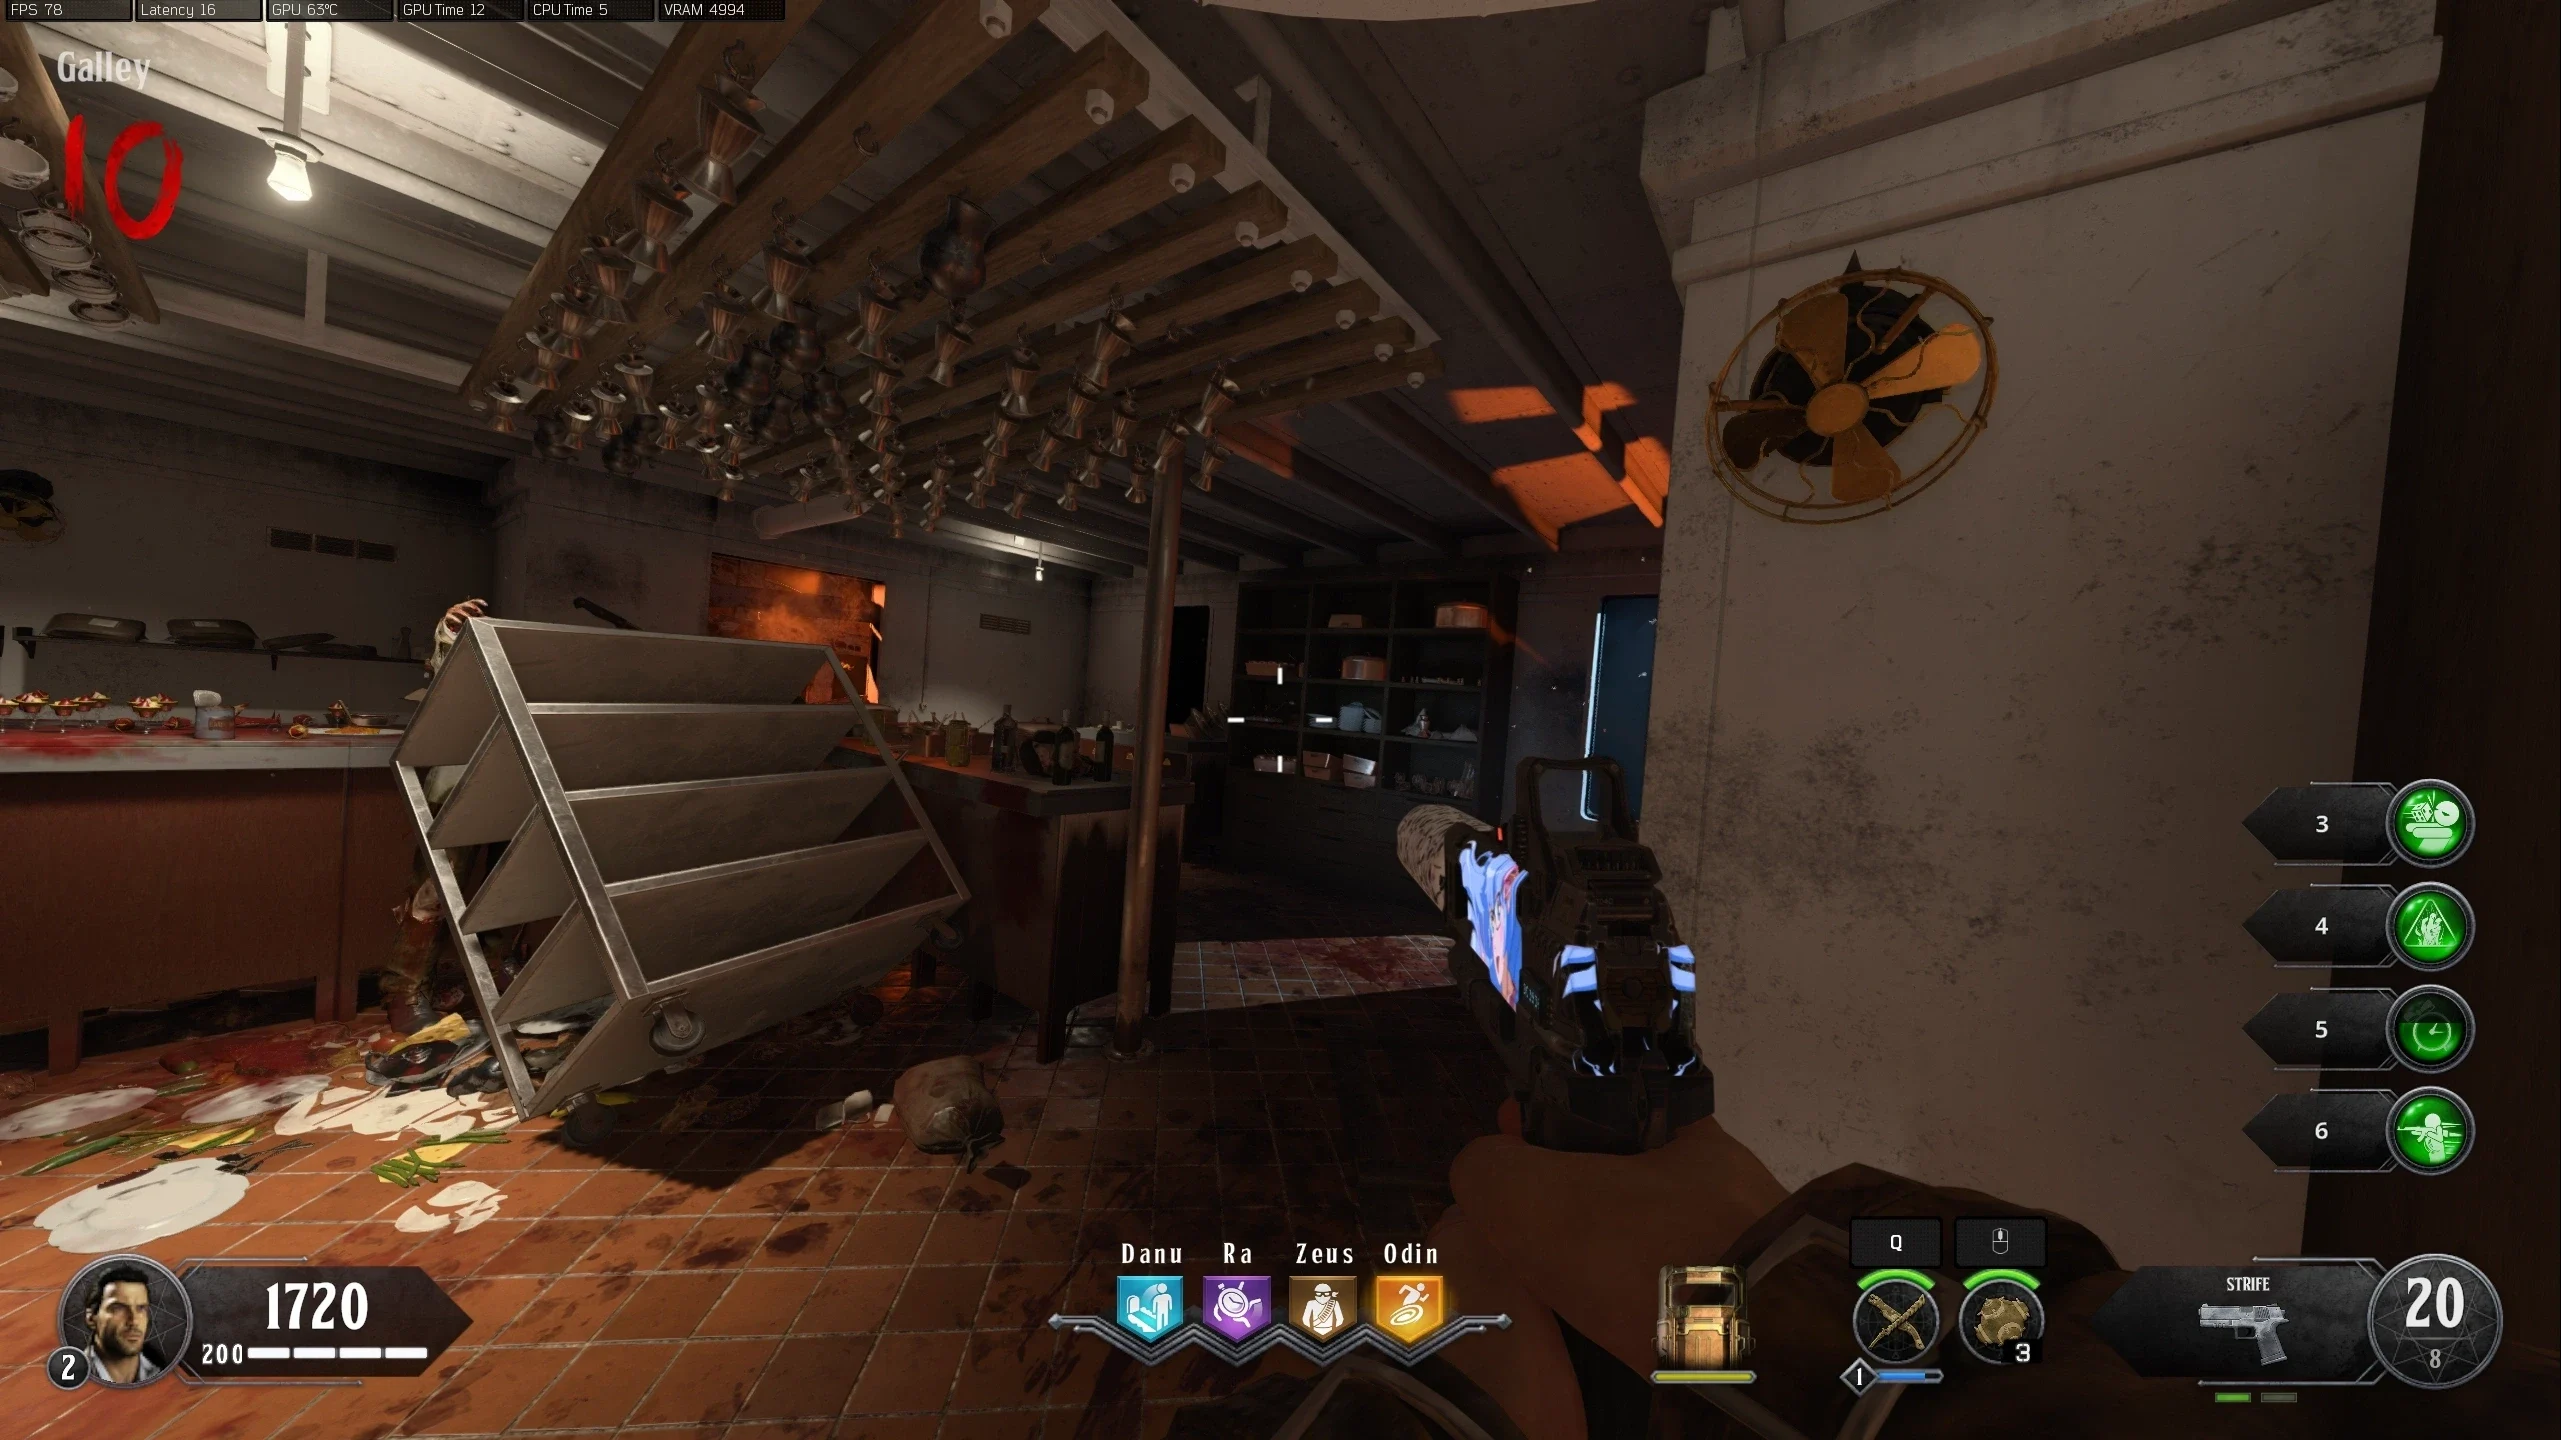
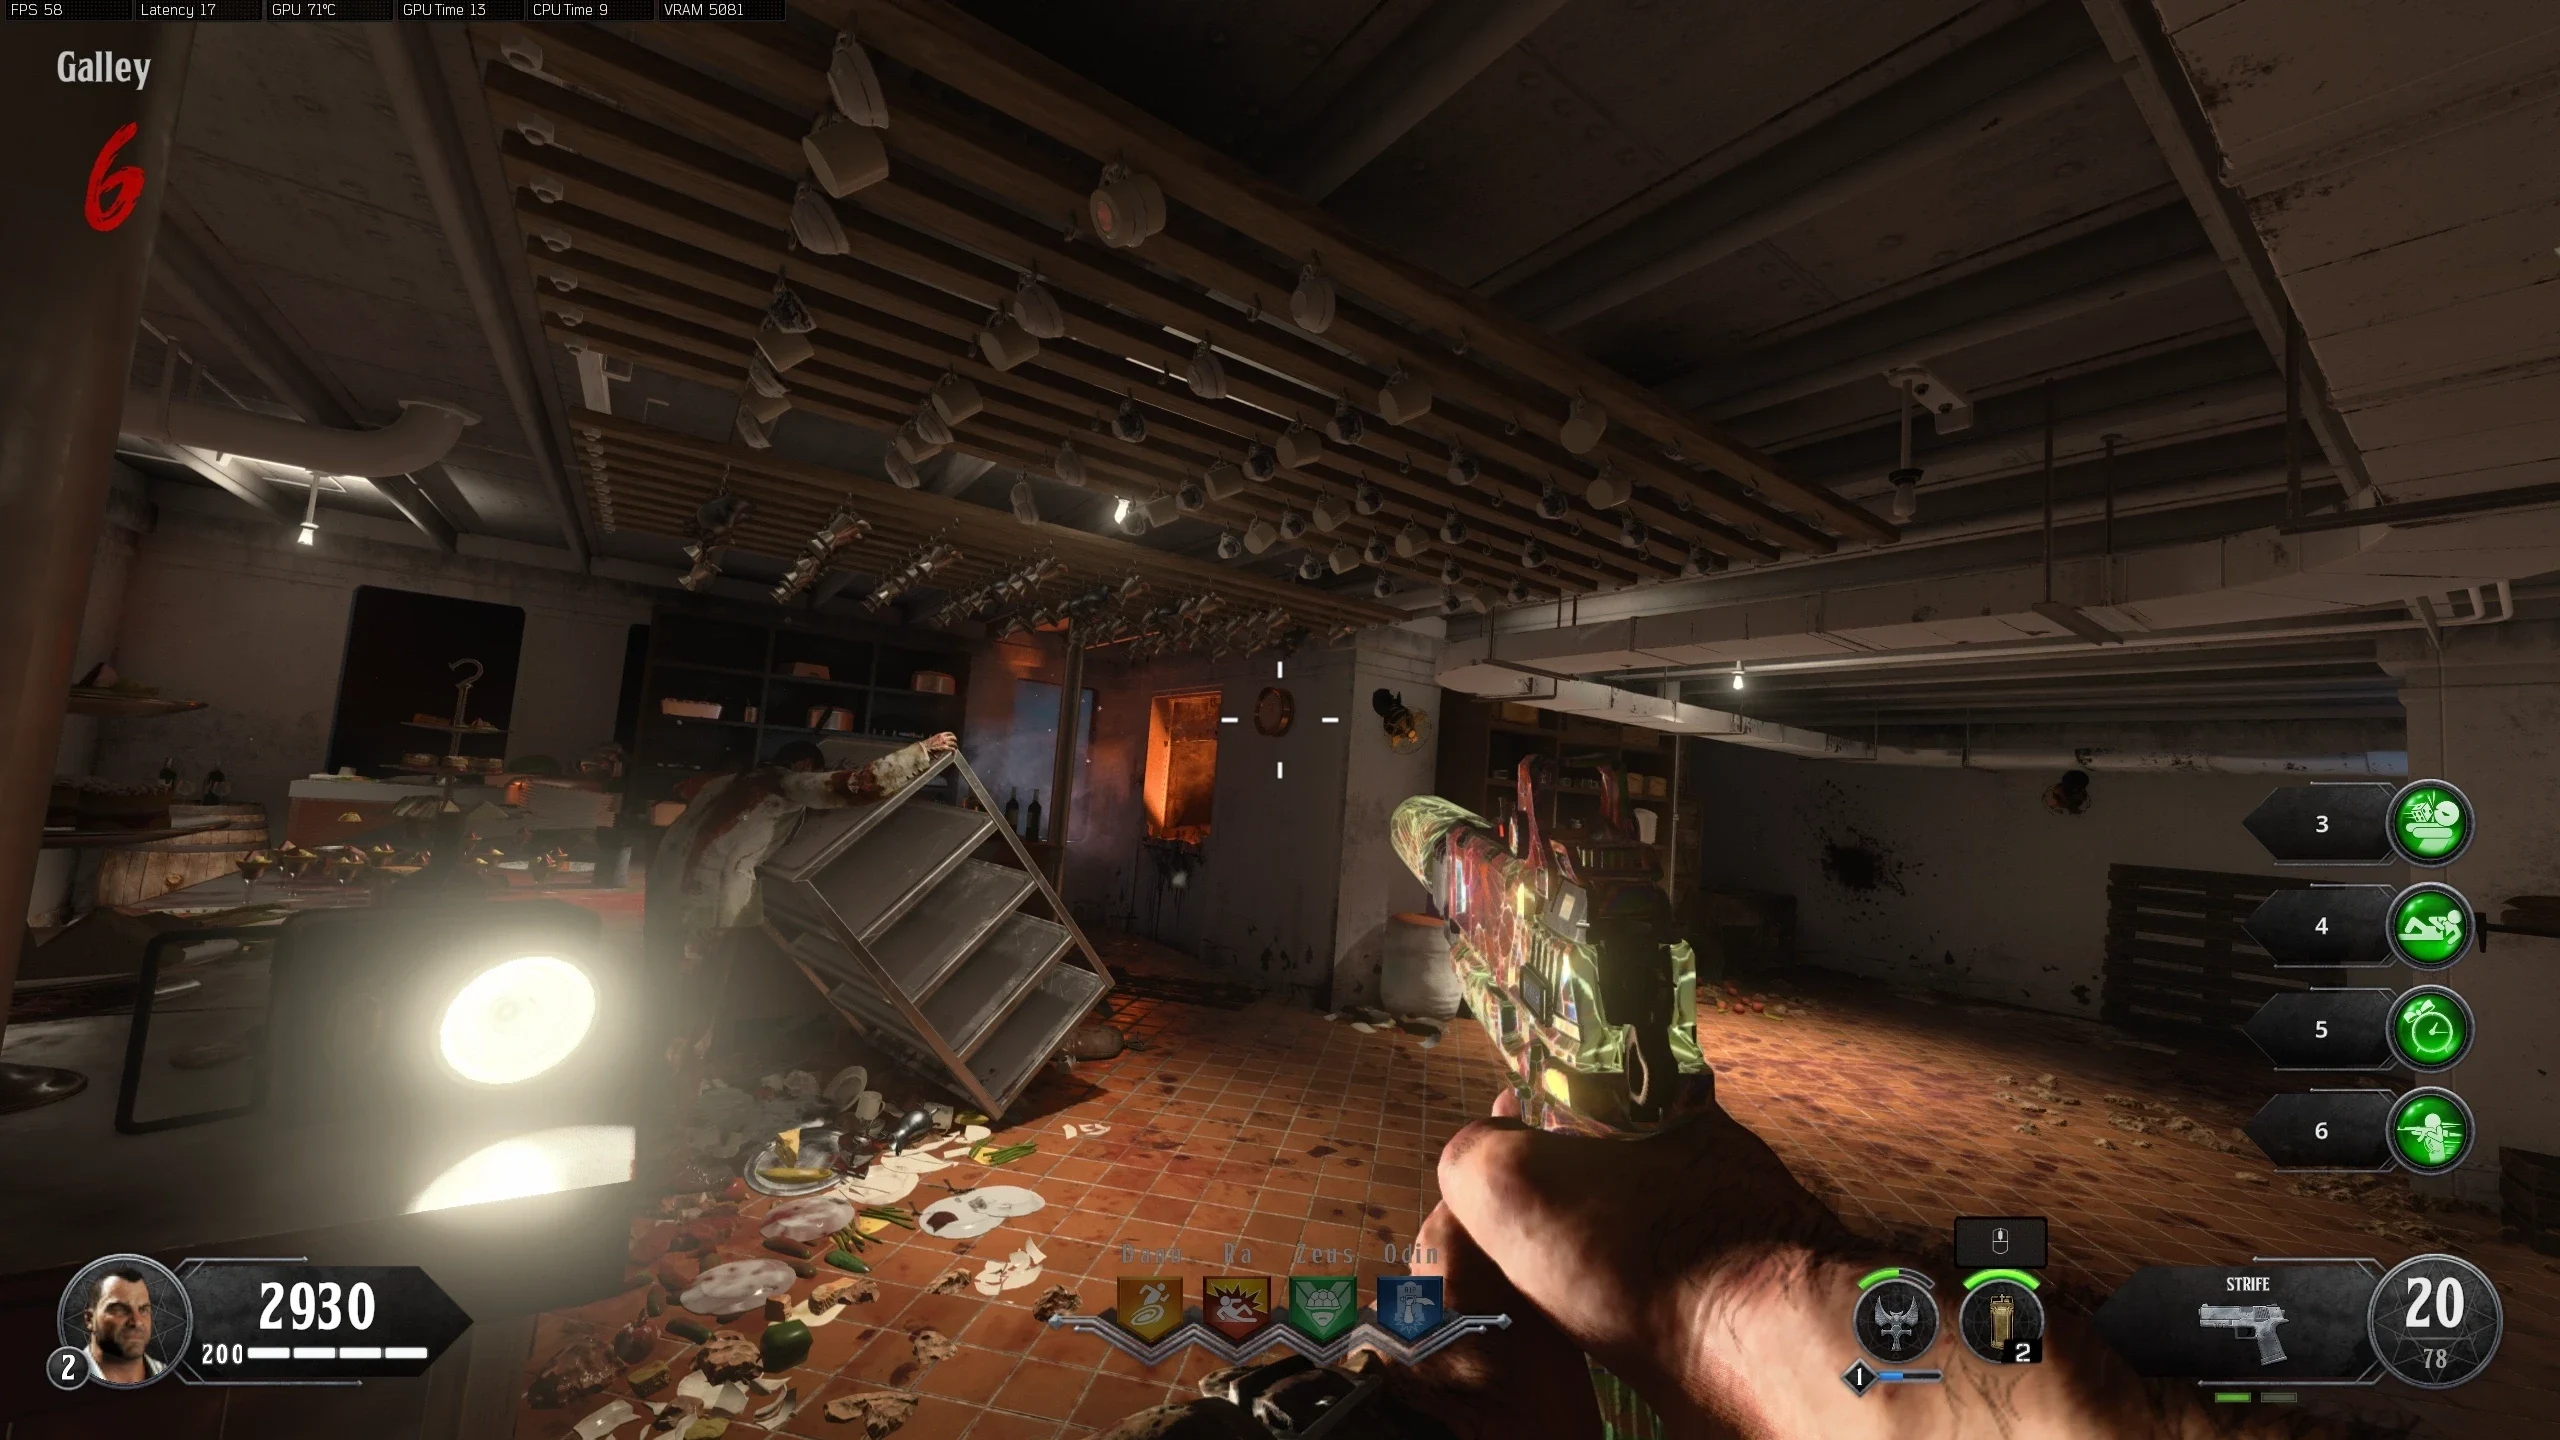
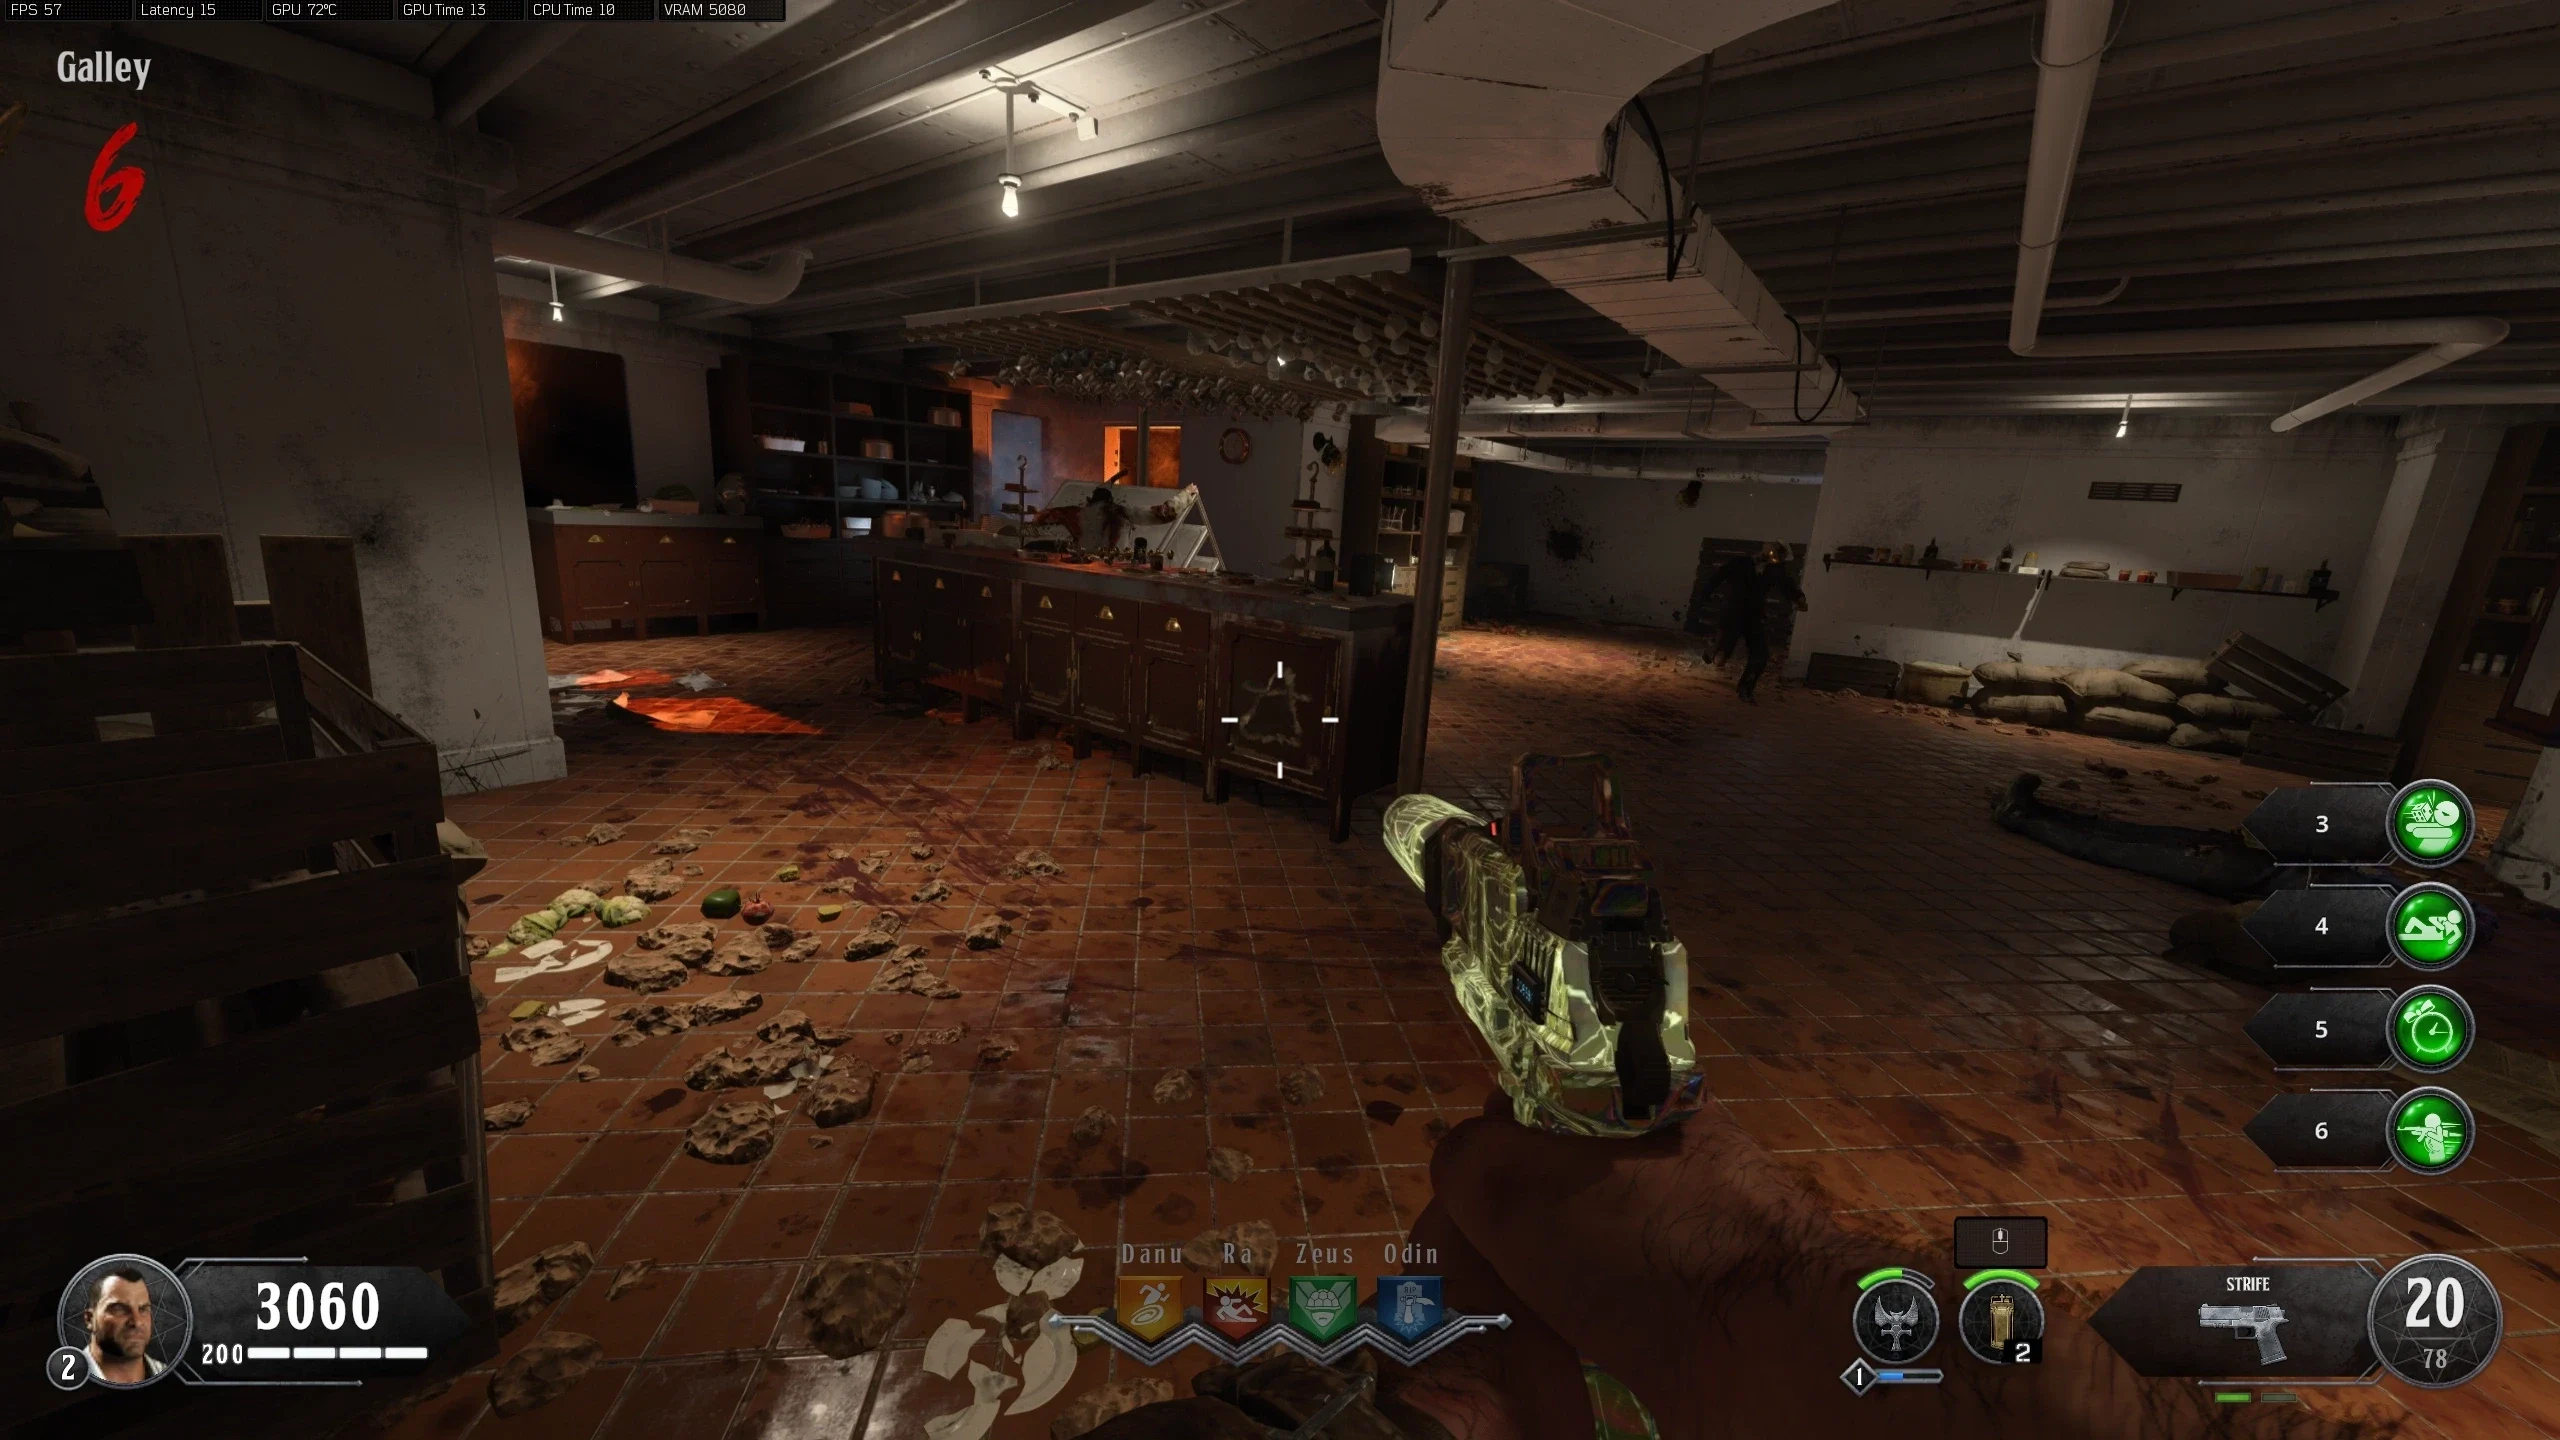
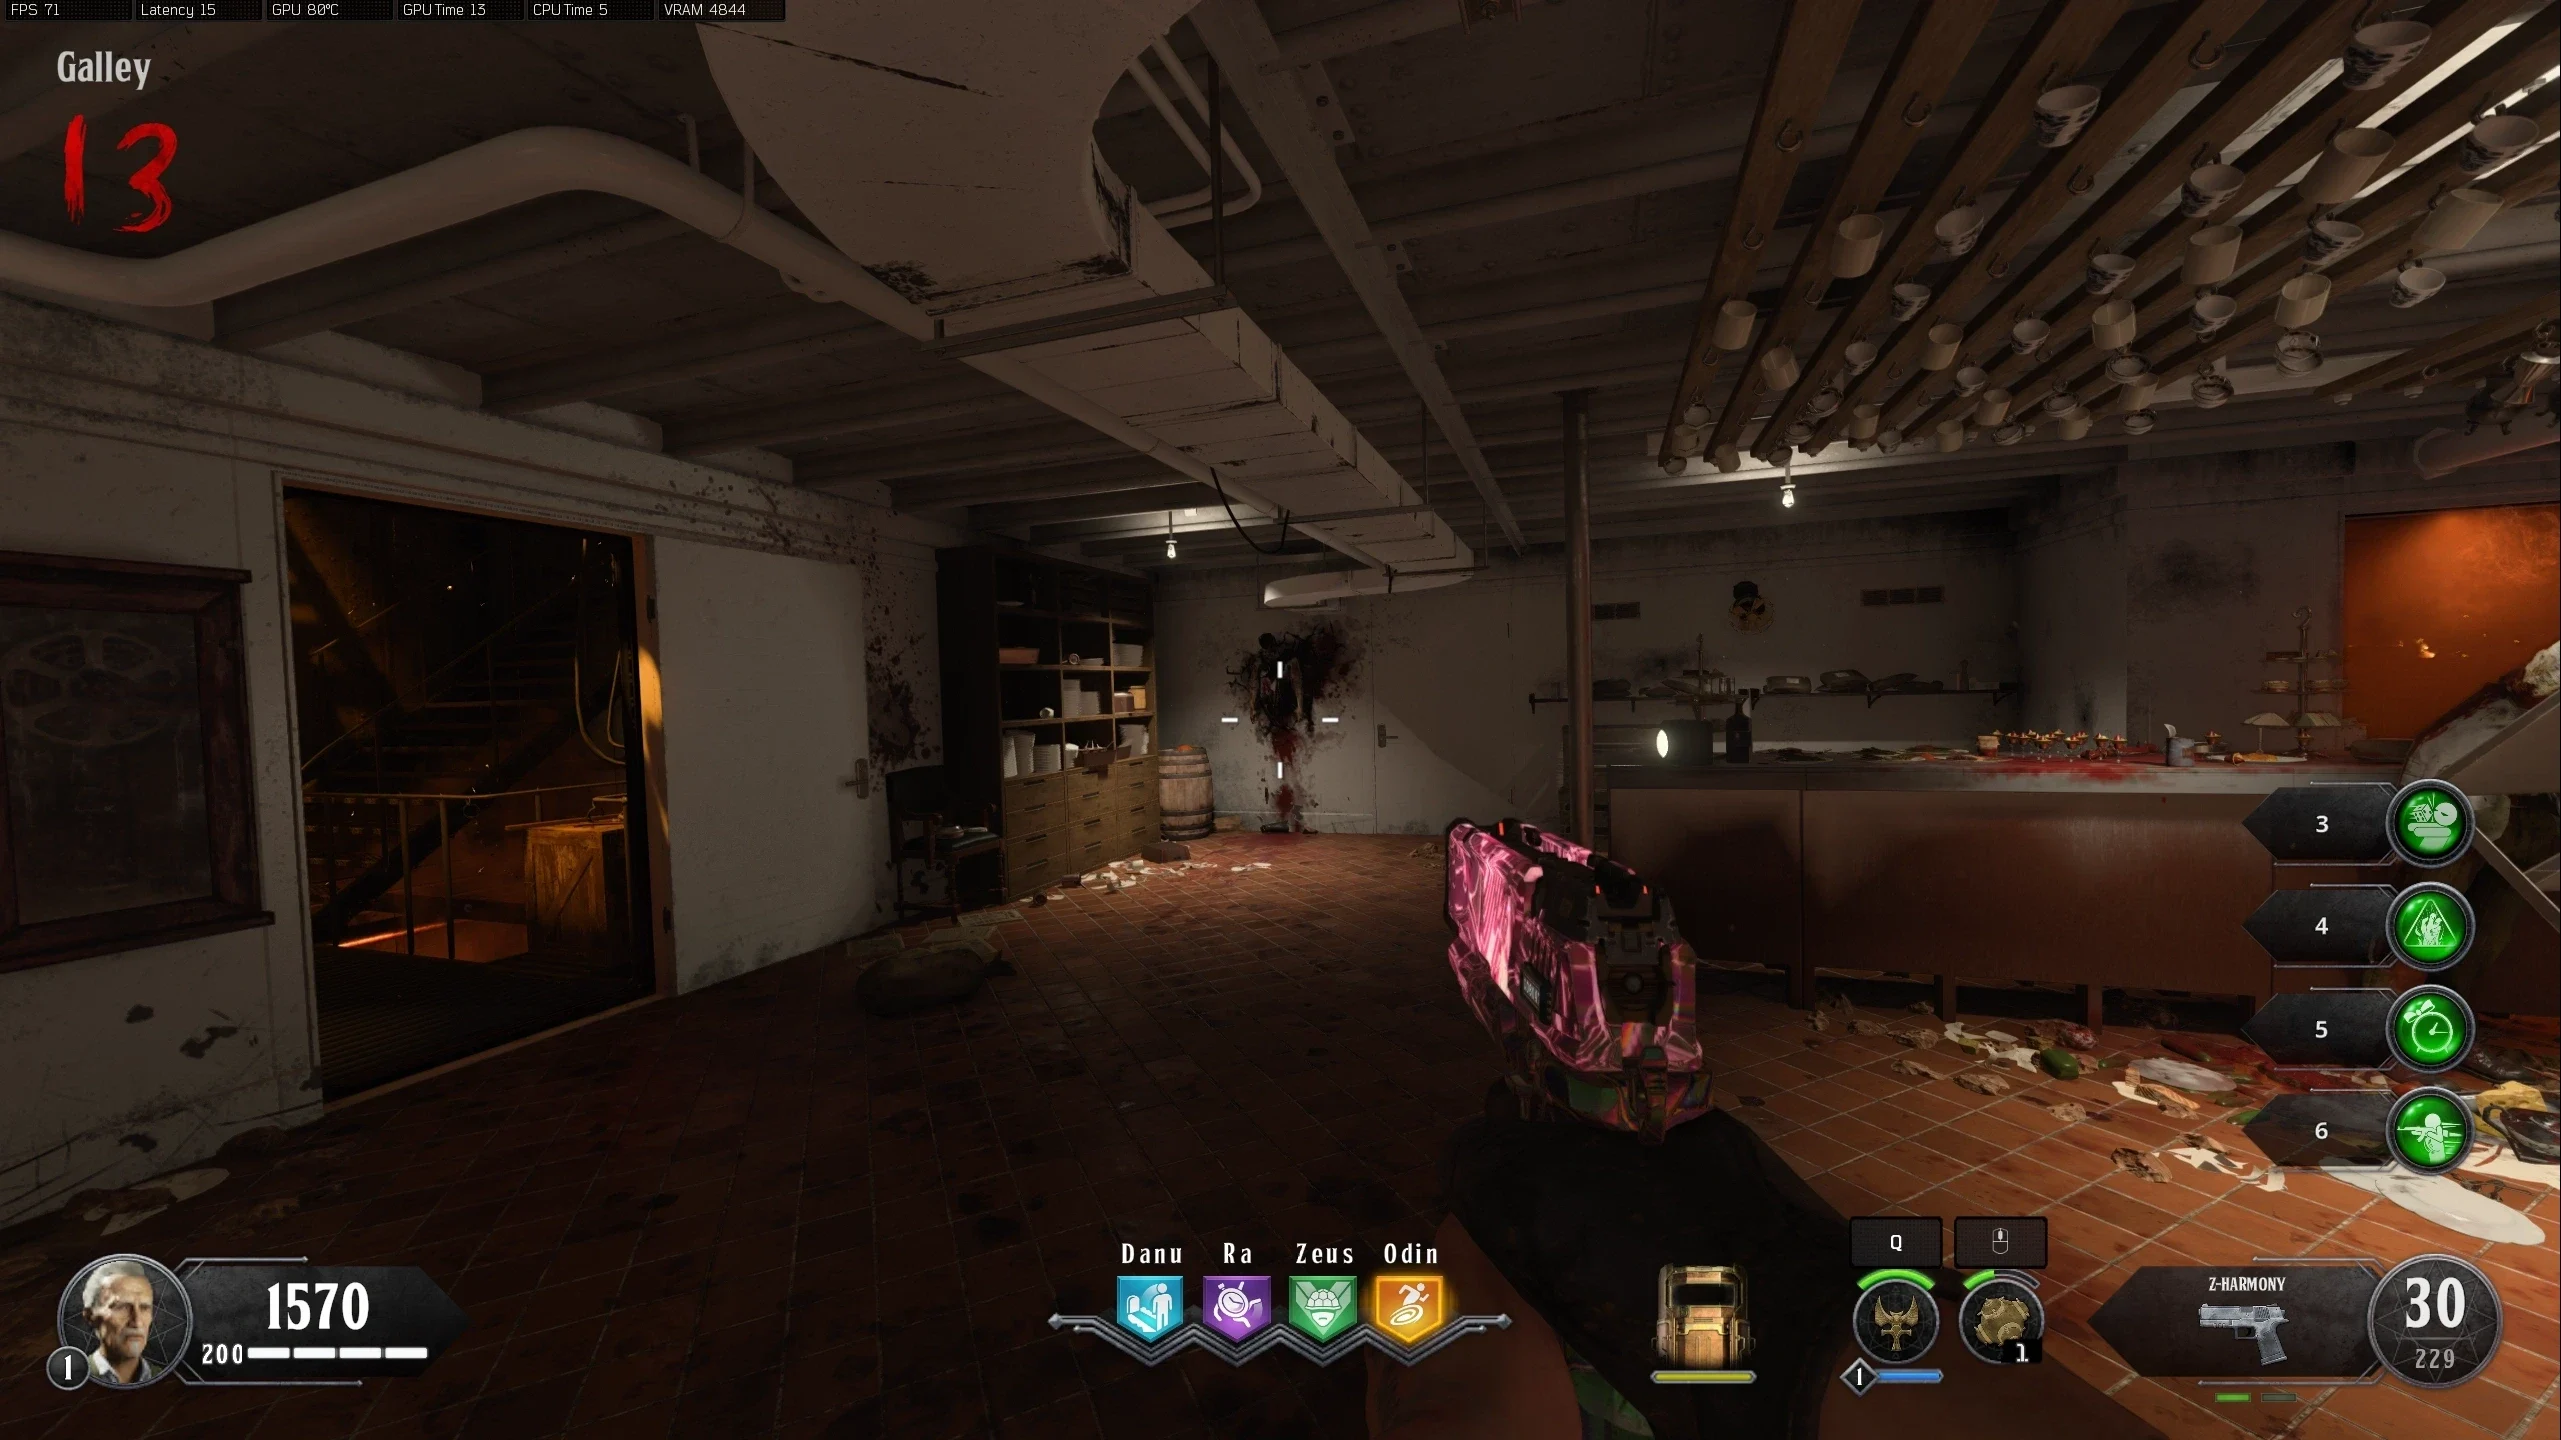
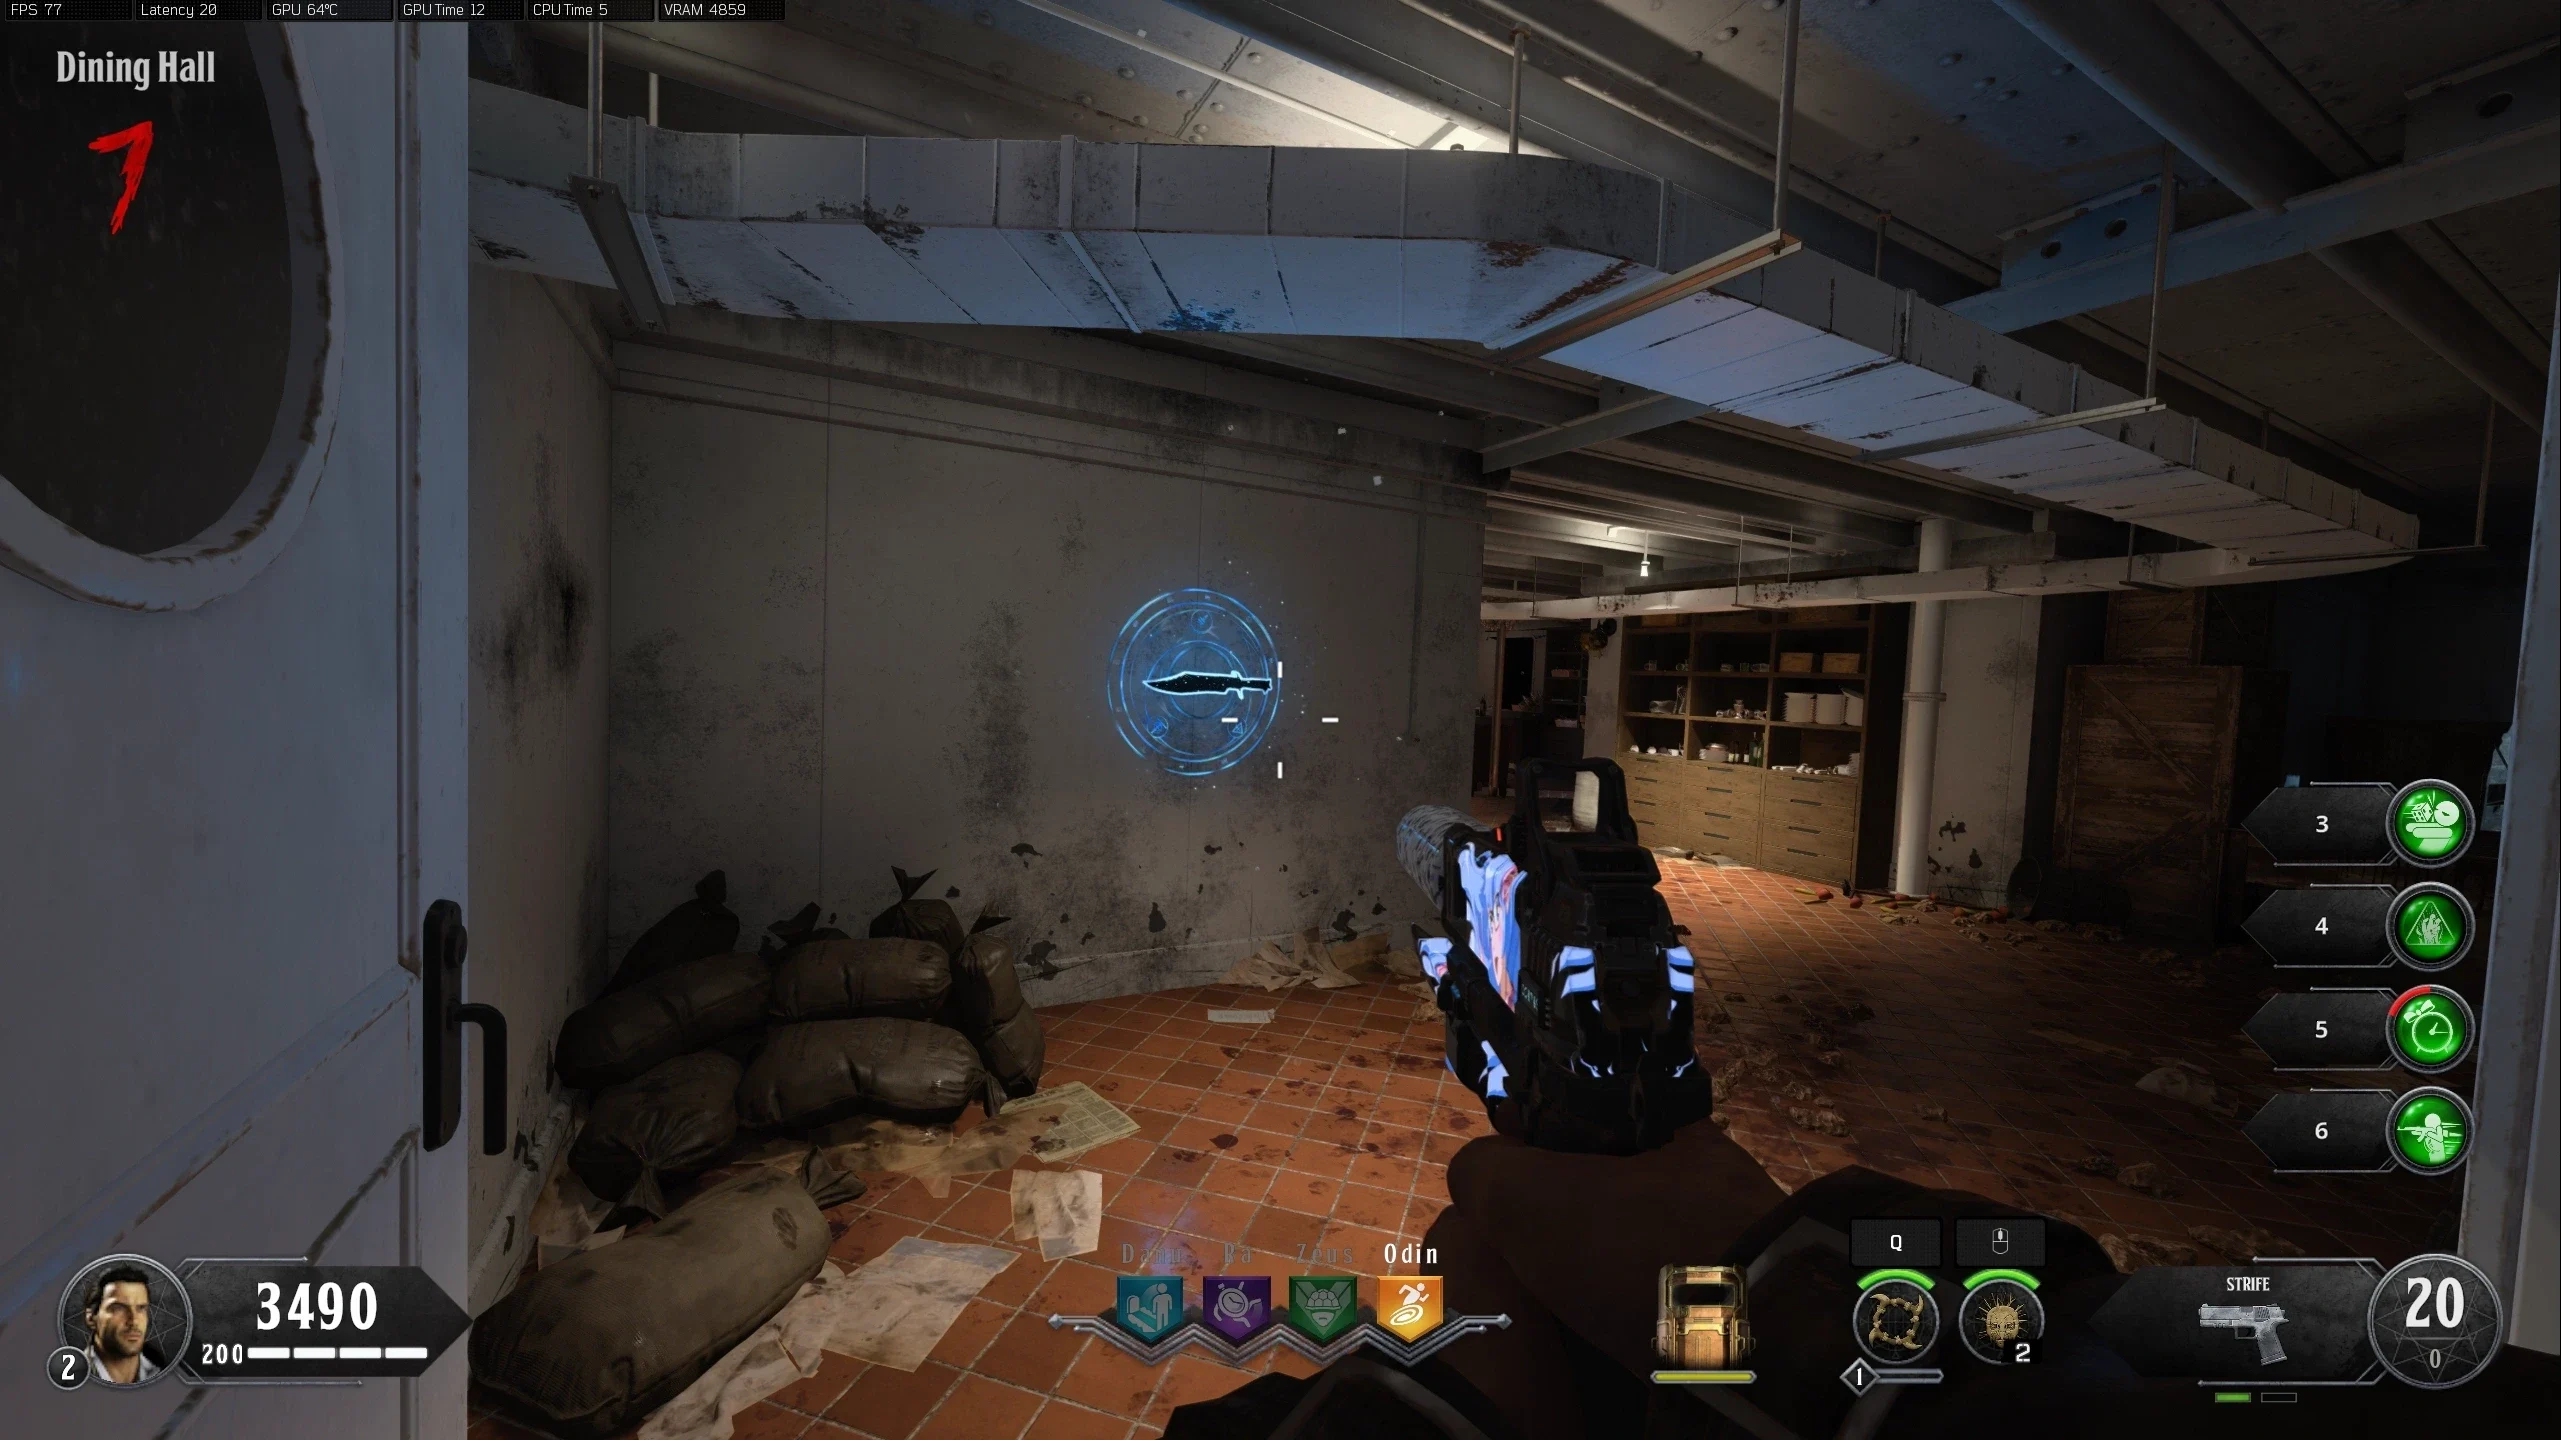
- Galley
- Clock: On the Bowie Knife side, near the open window
- Symbol: On a cabinet near the body hanging on the wall
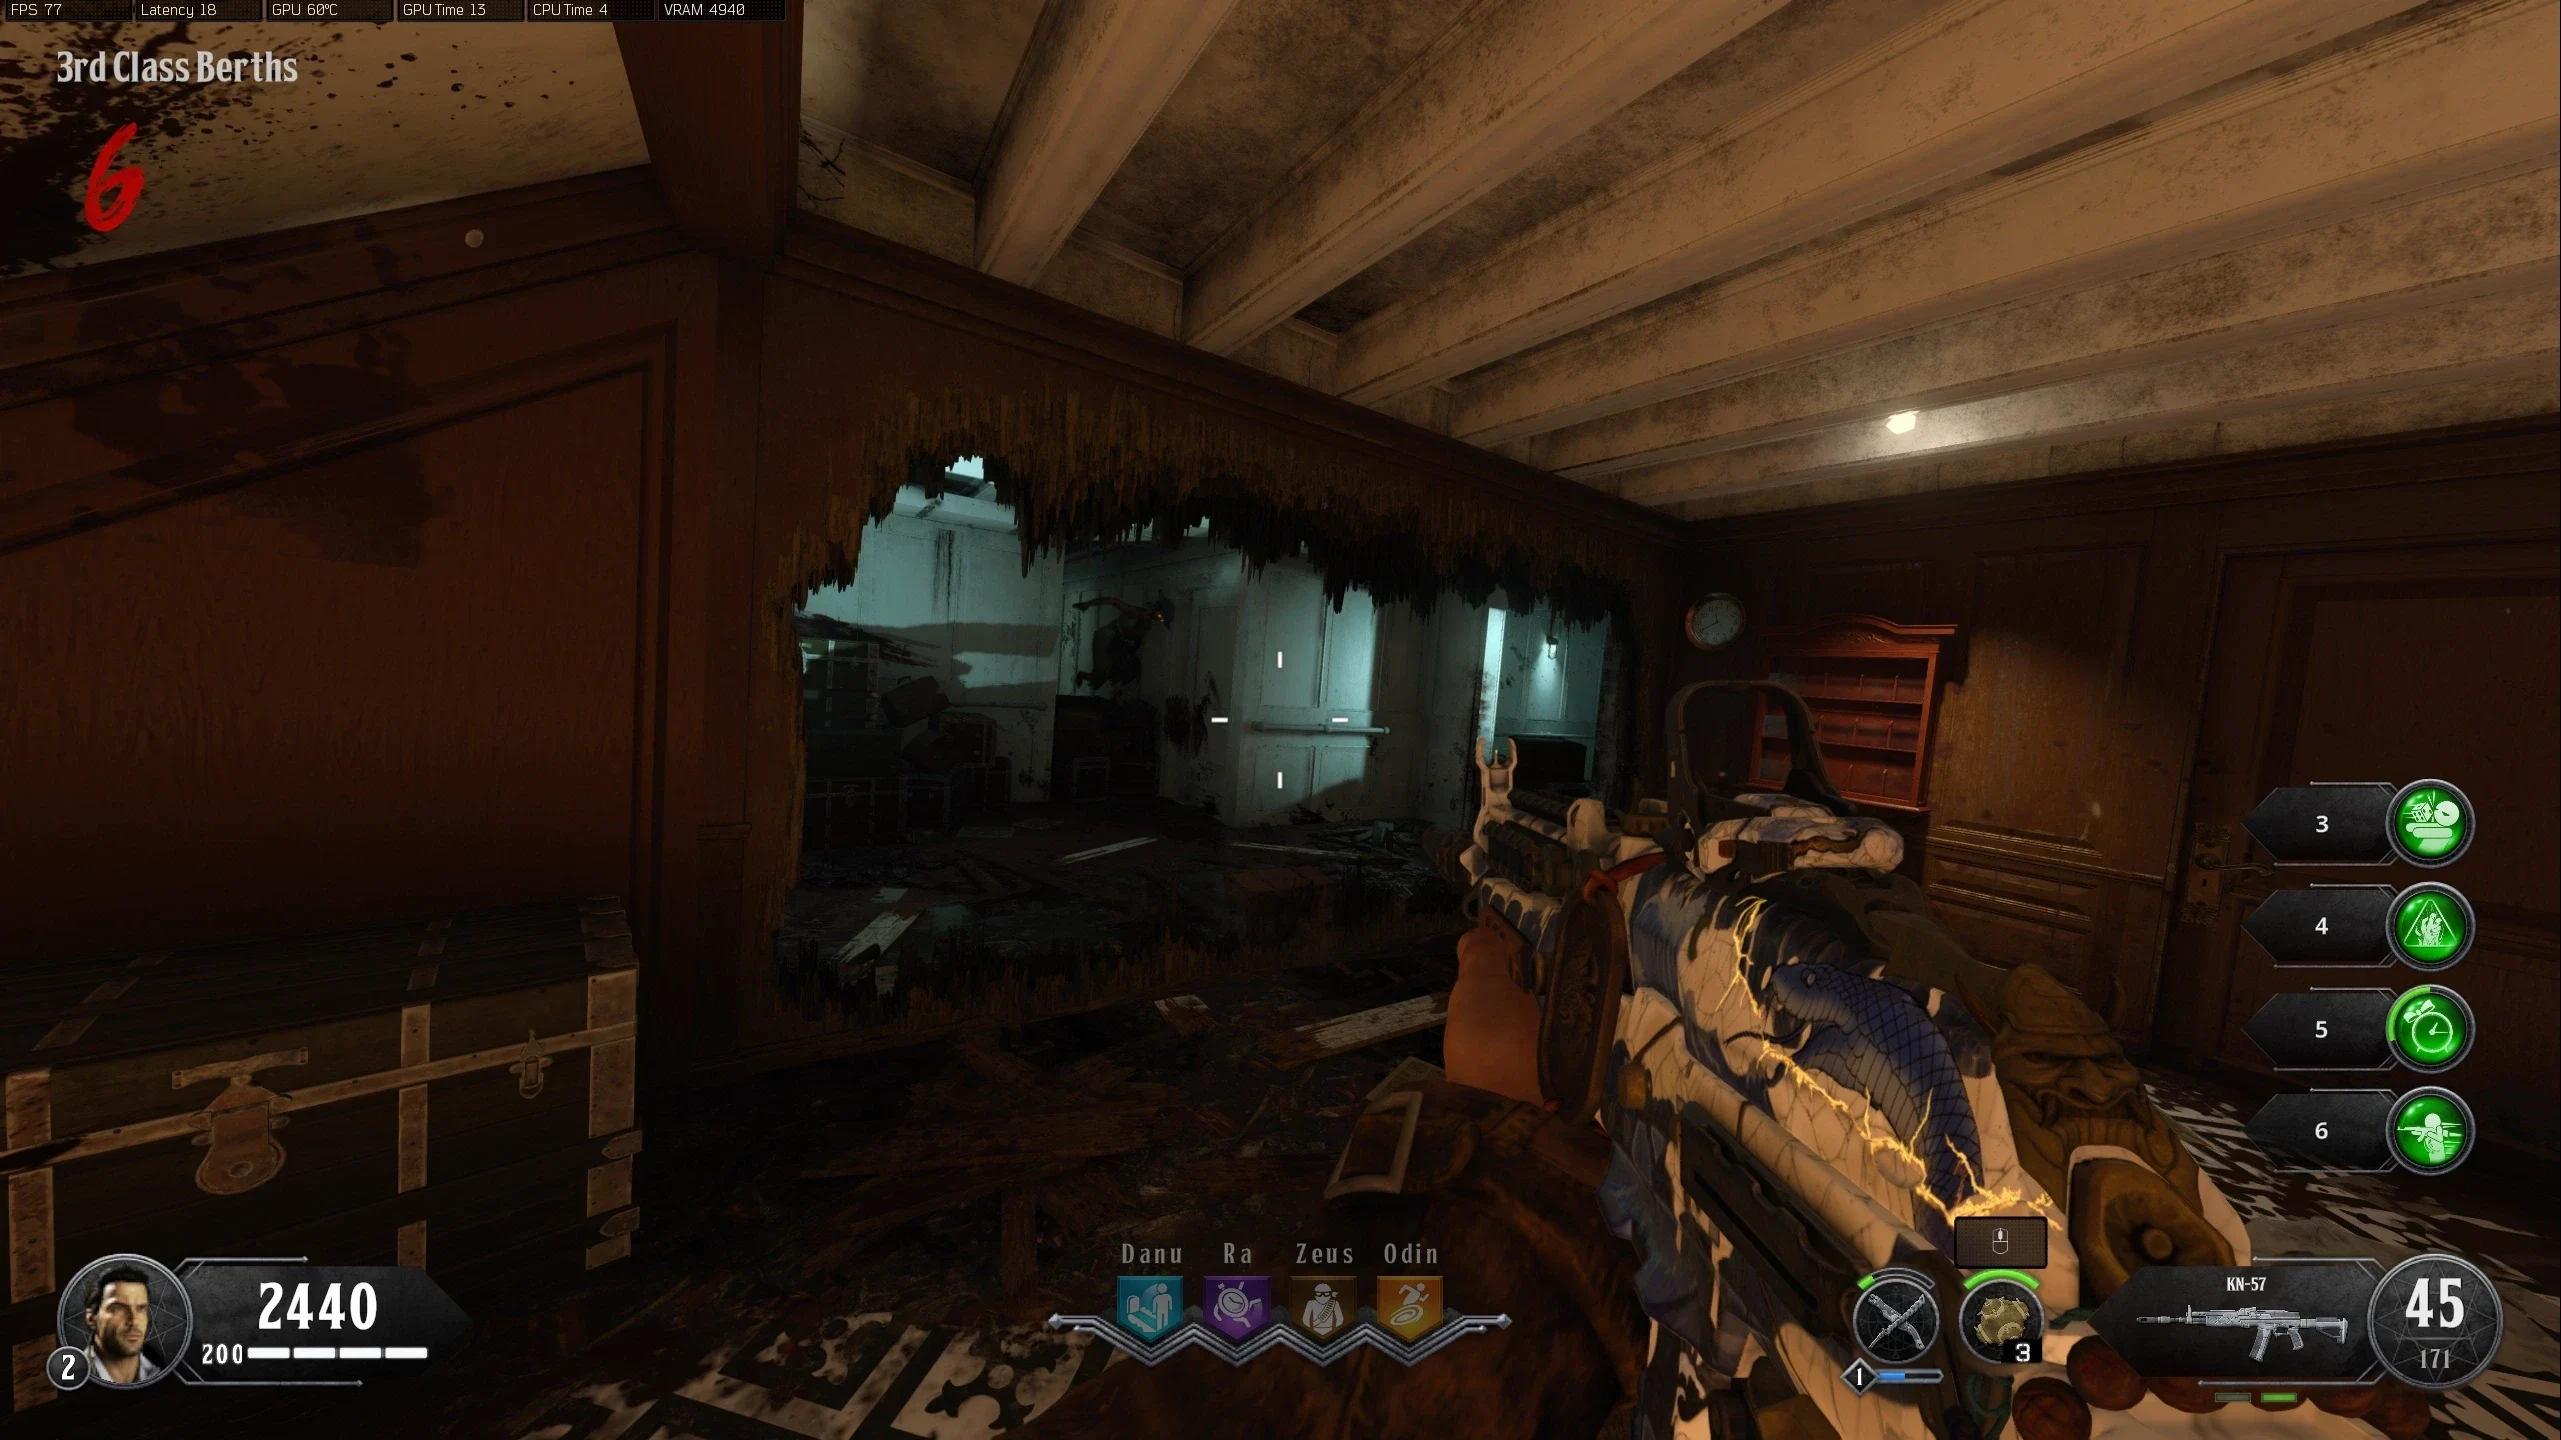
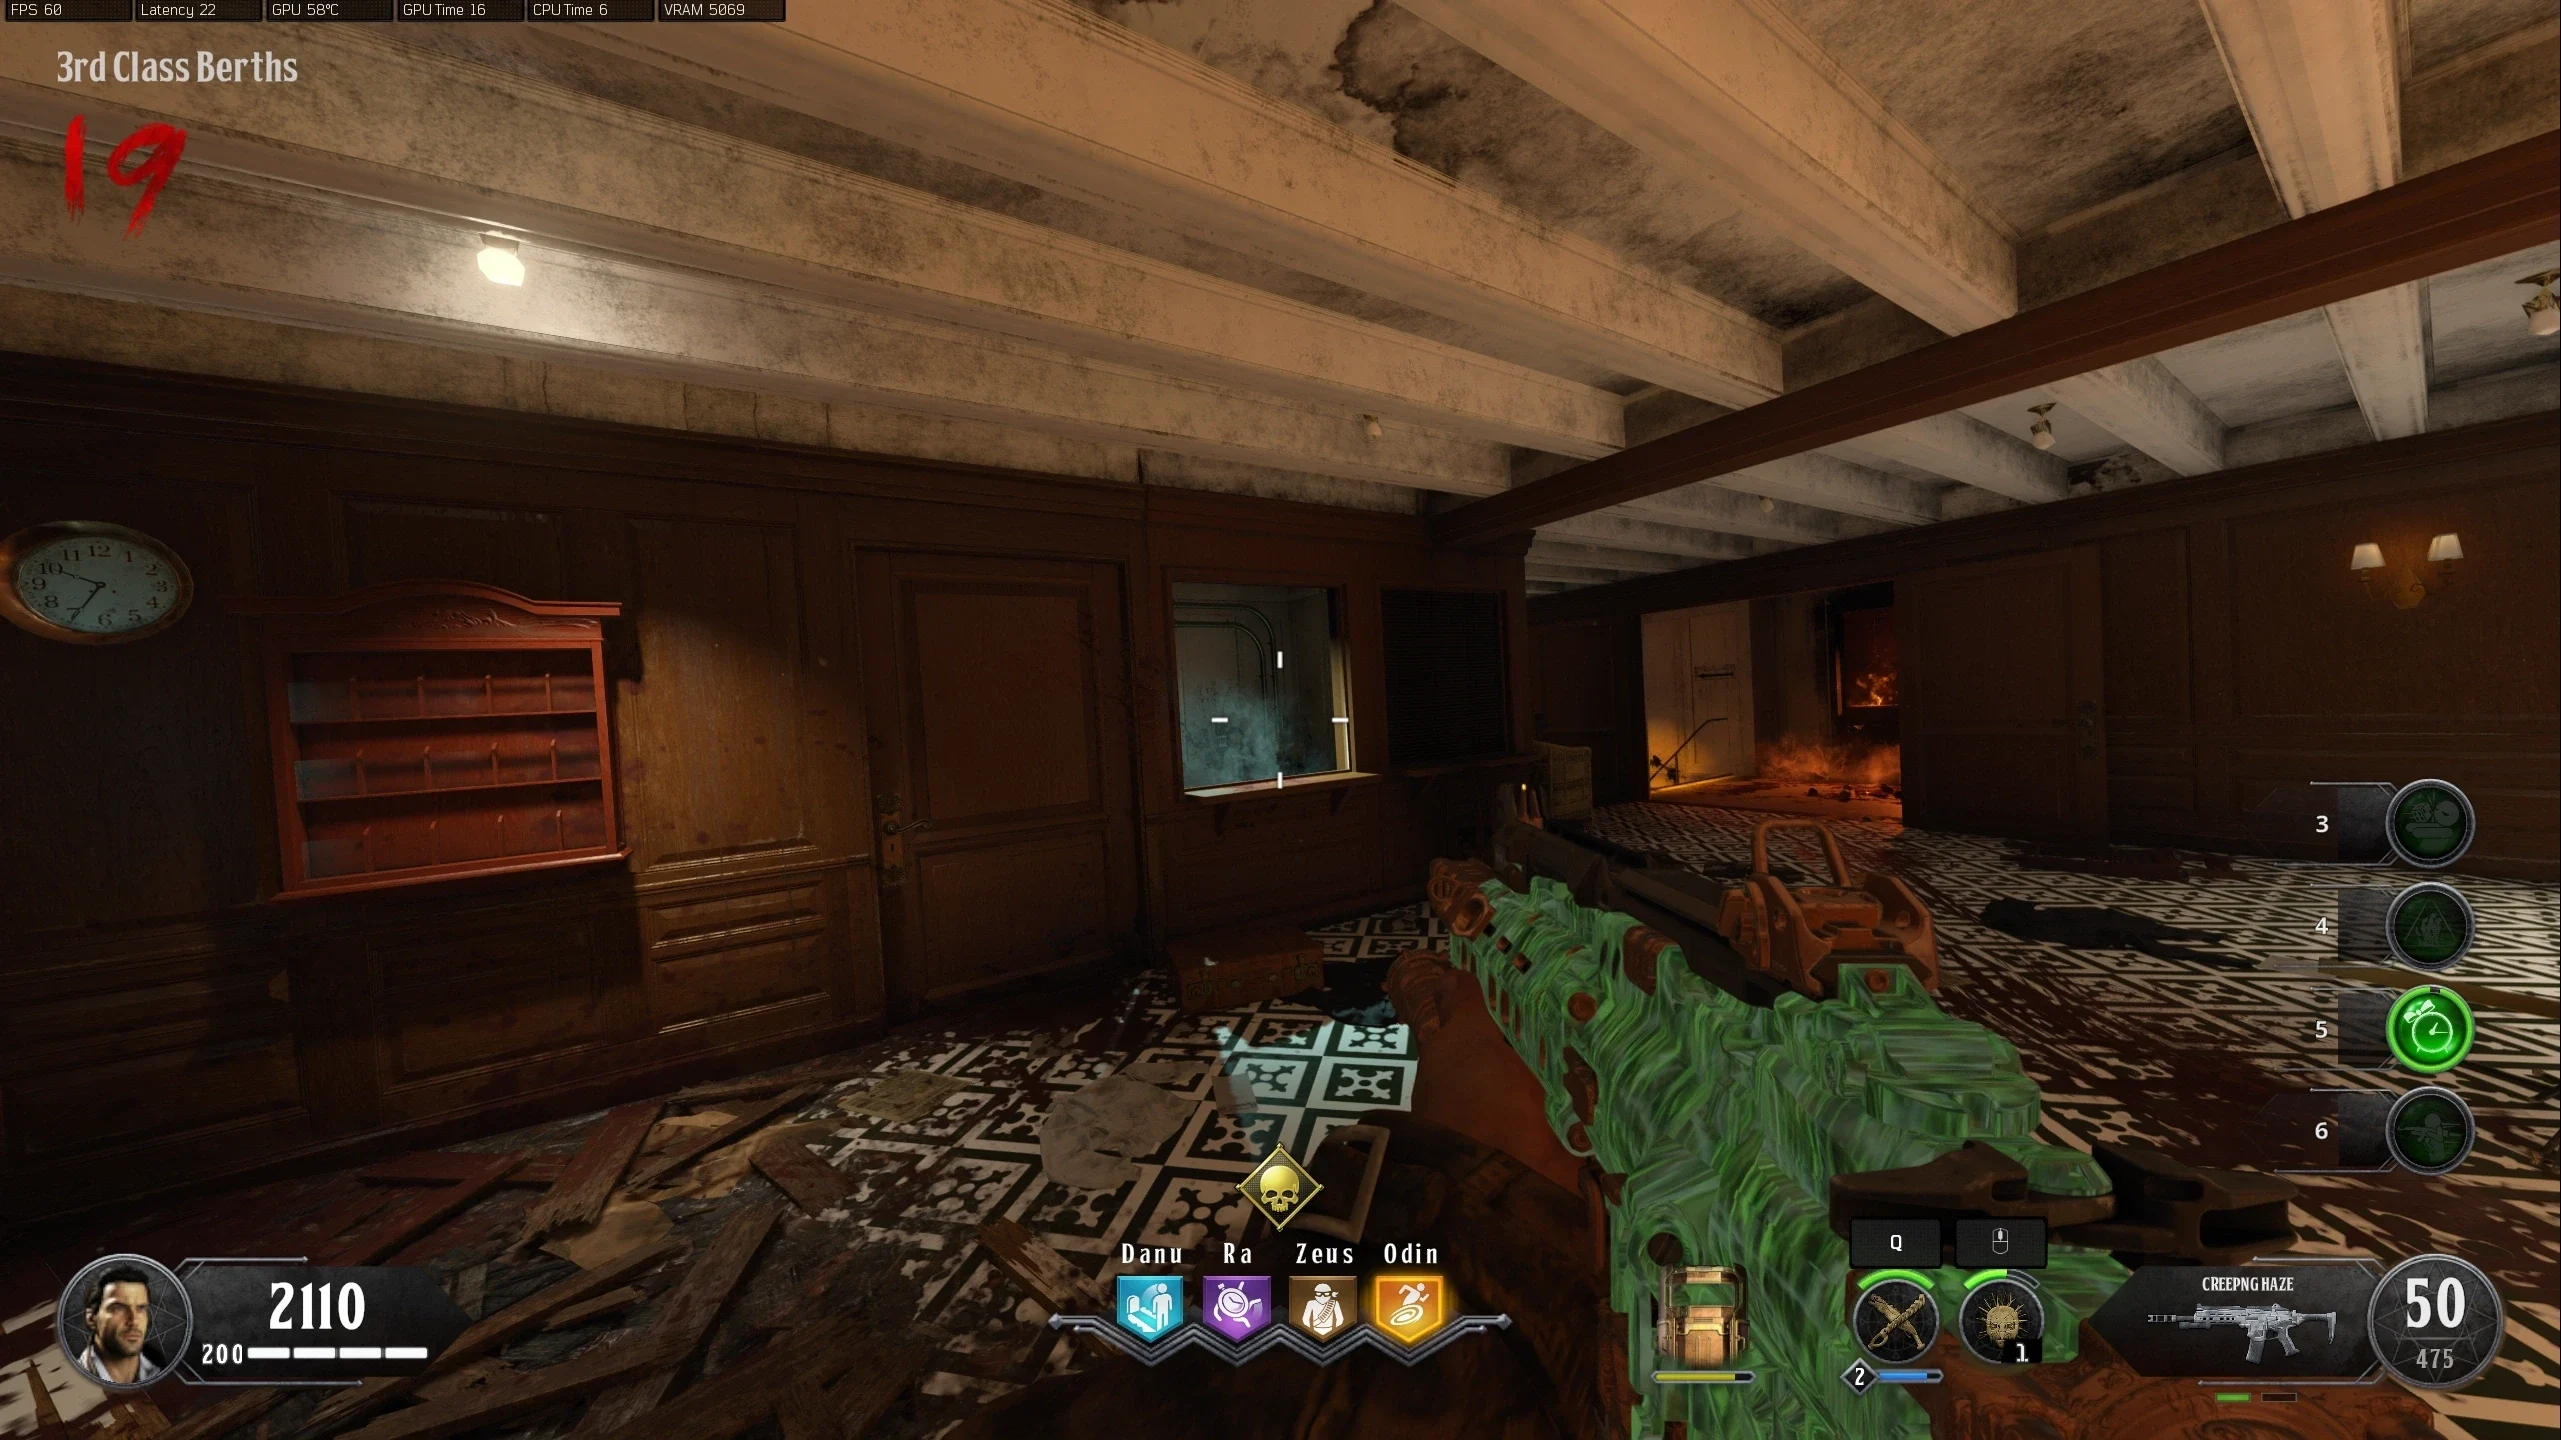
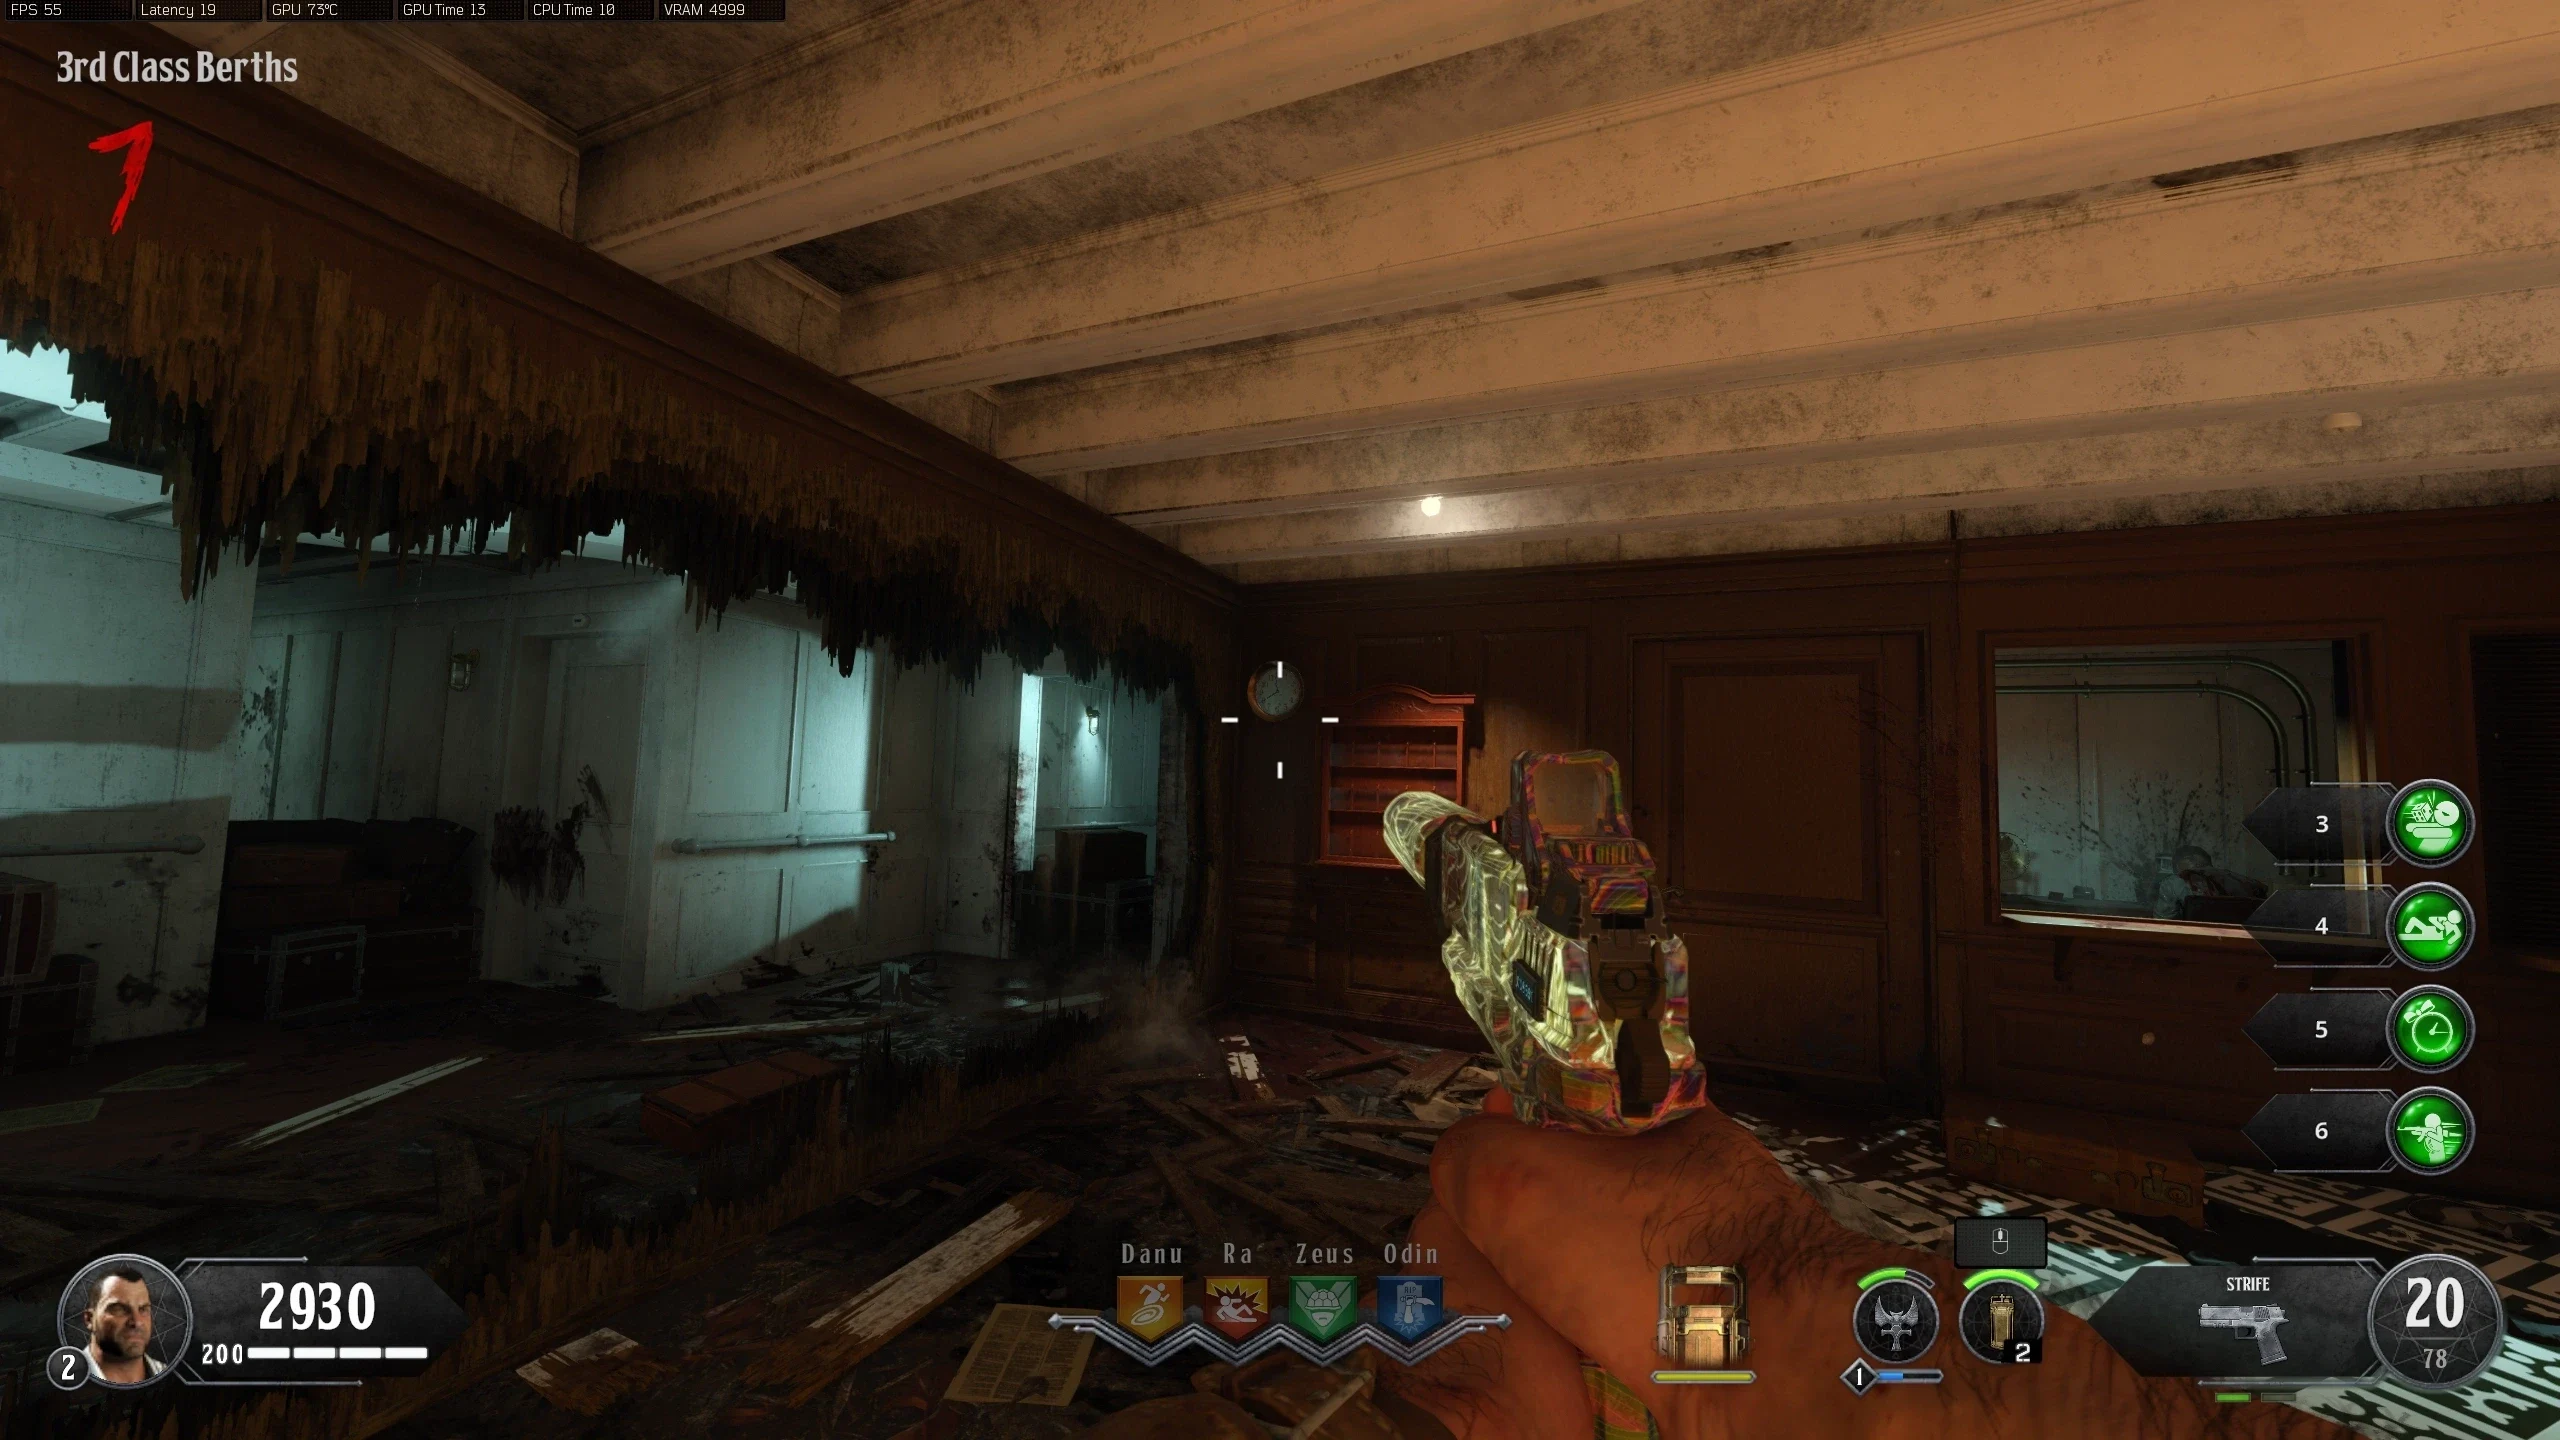
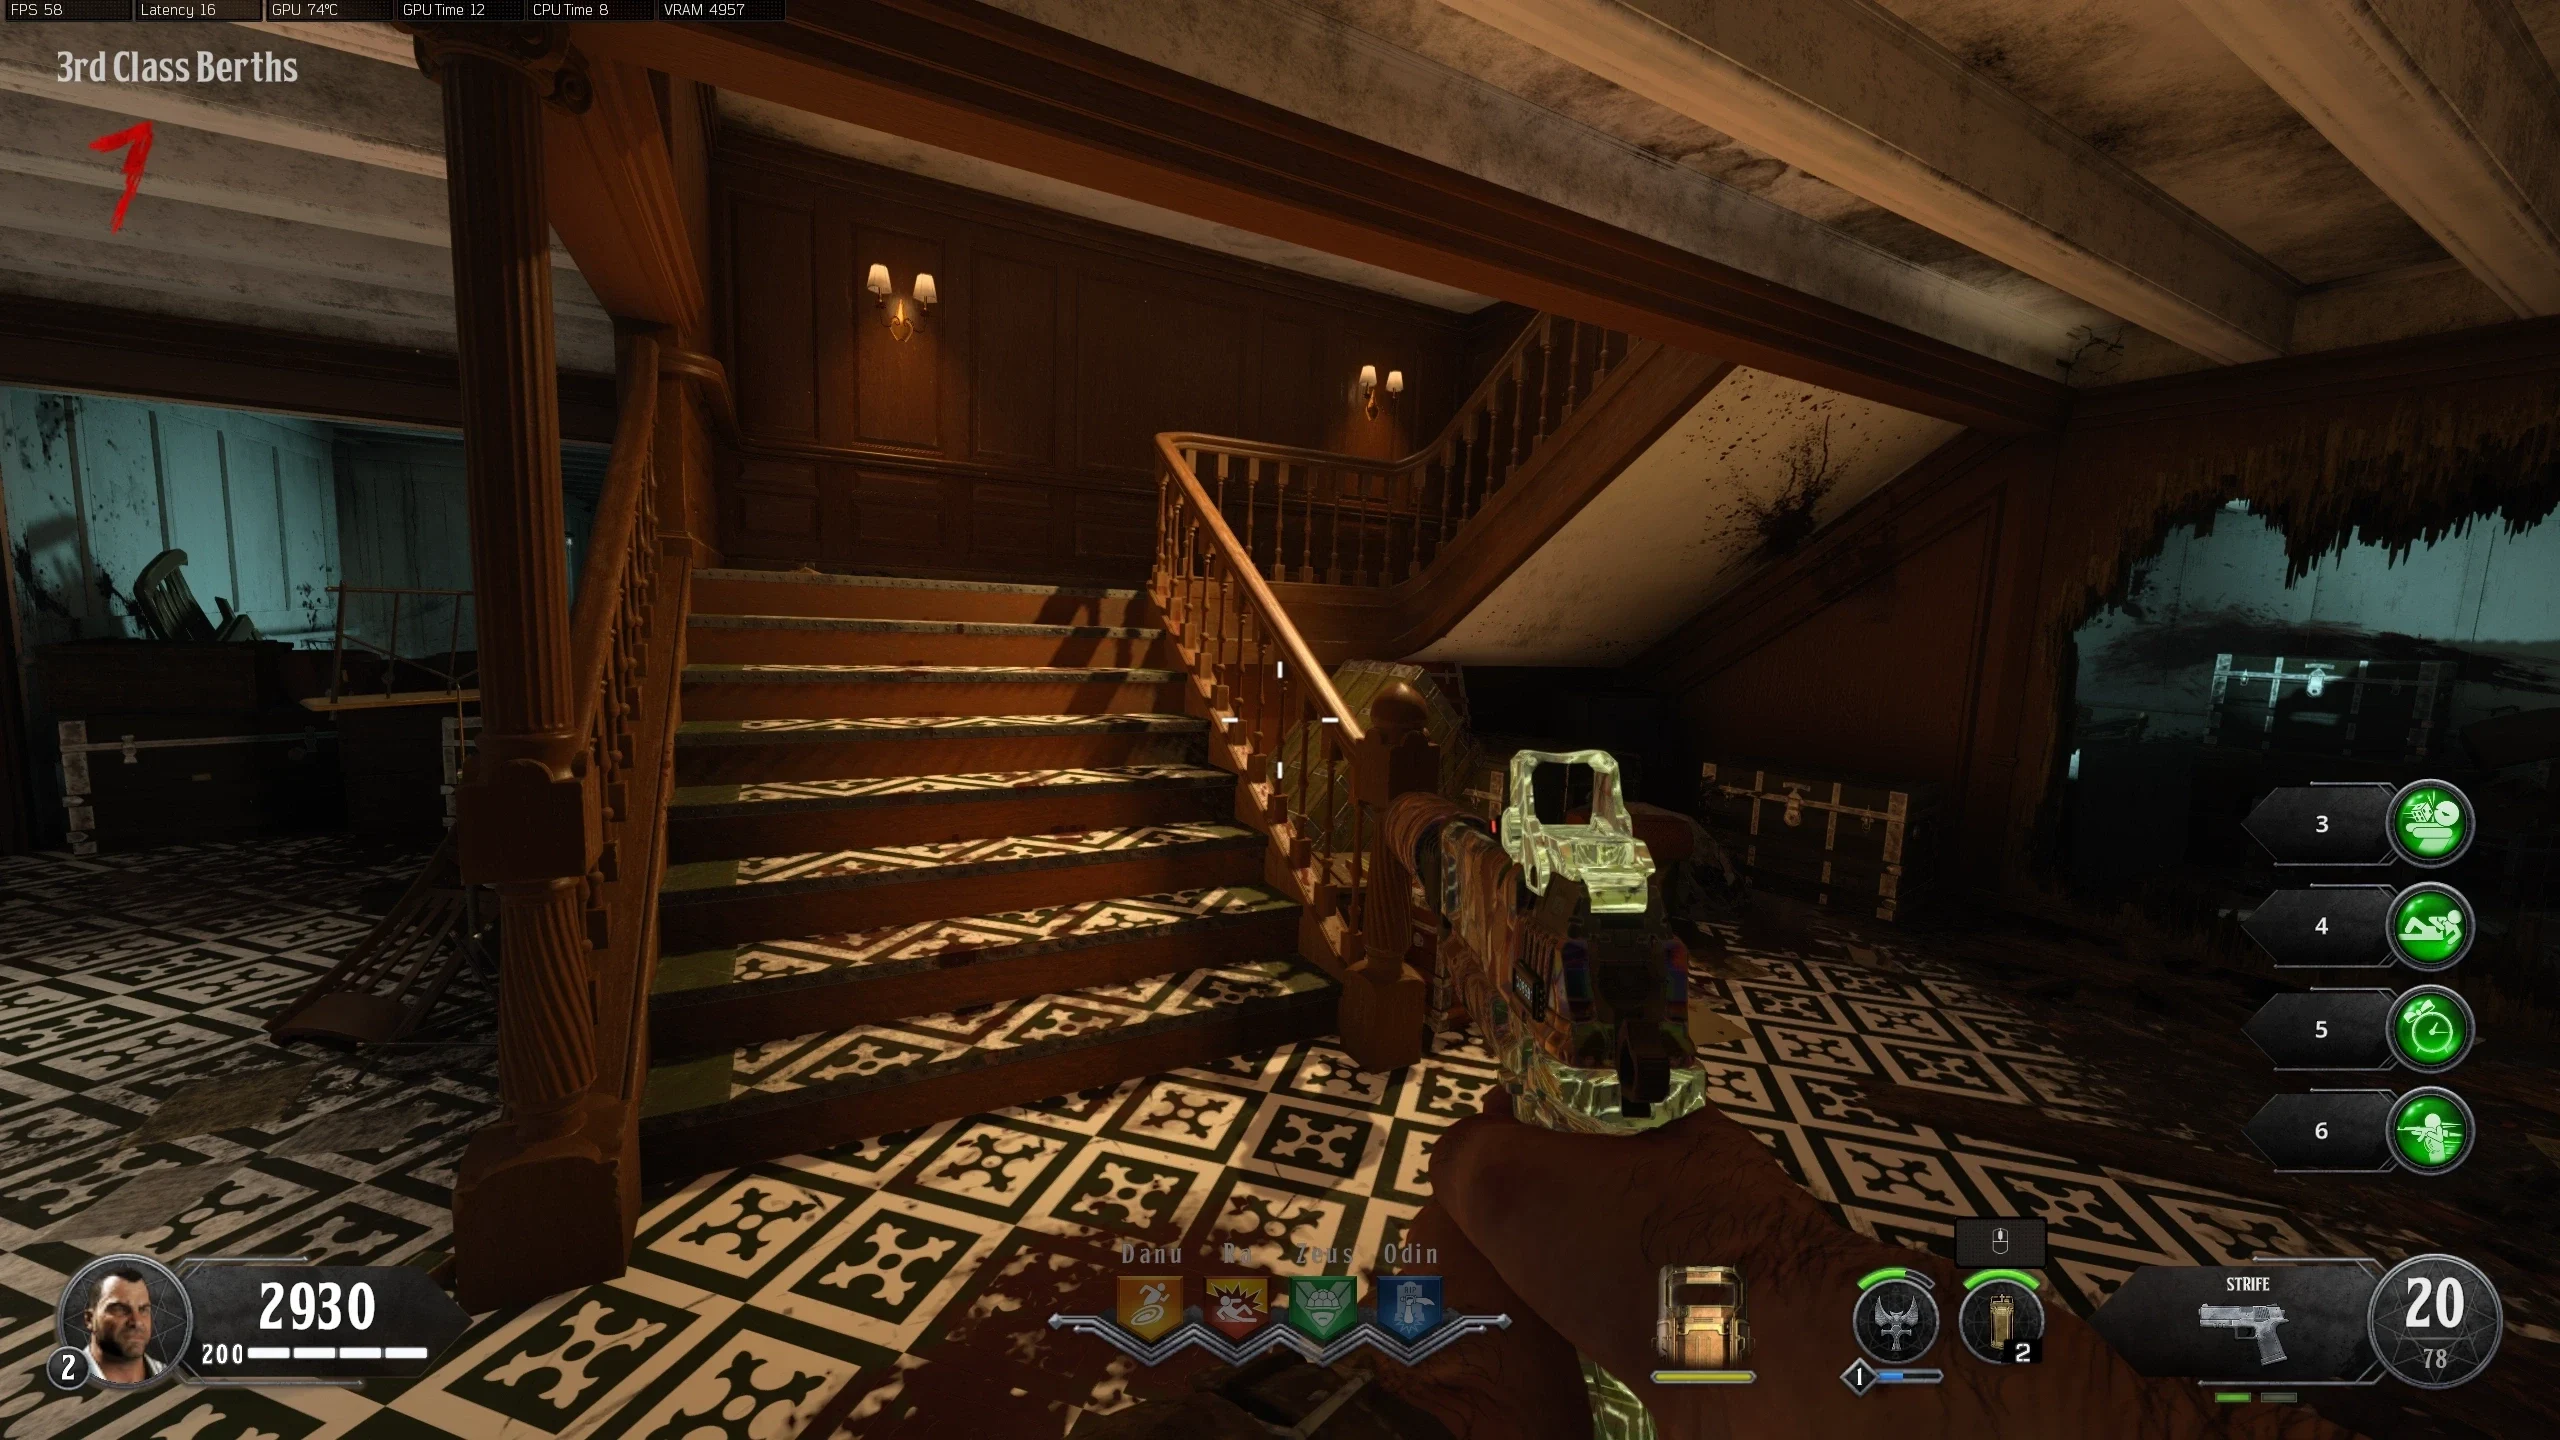
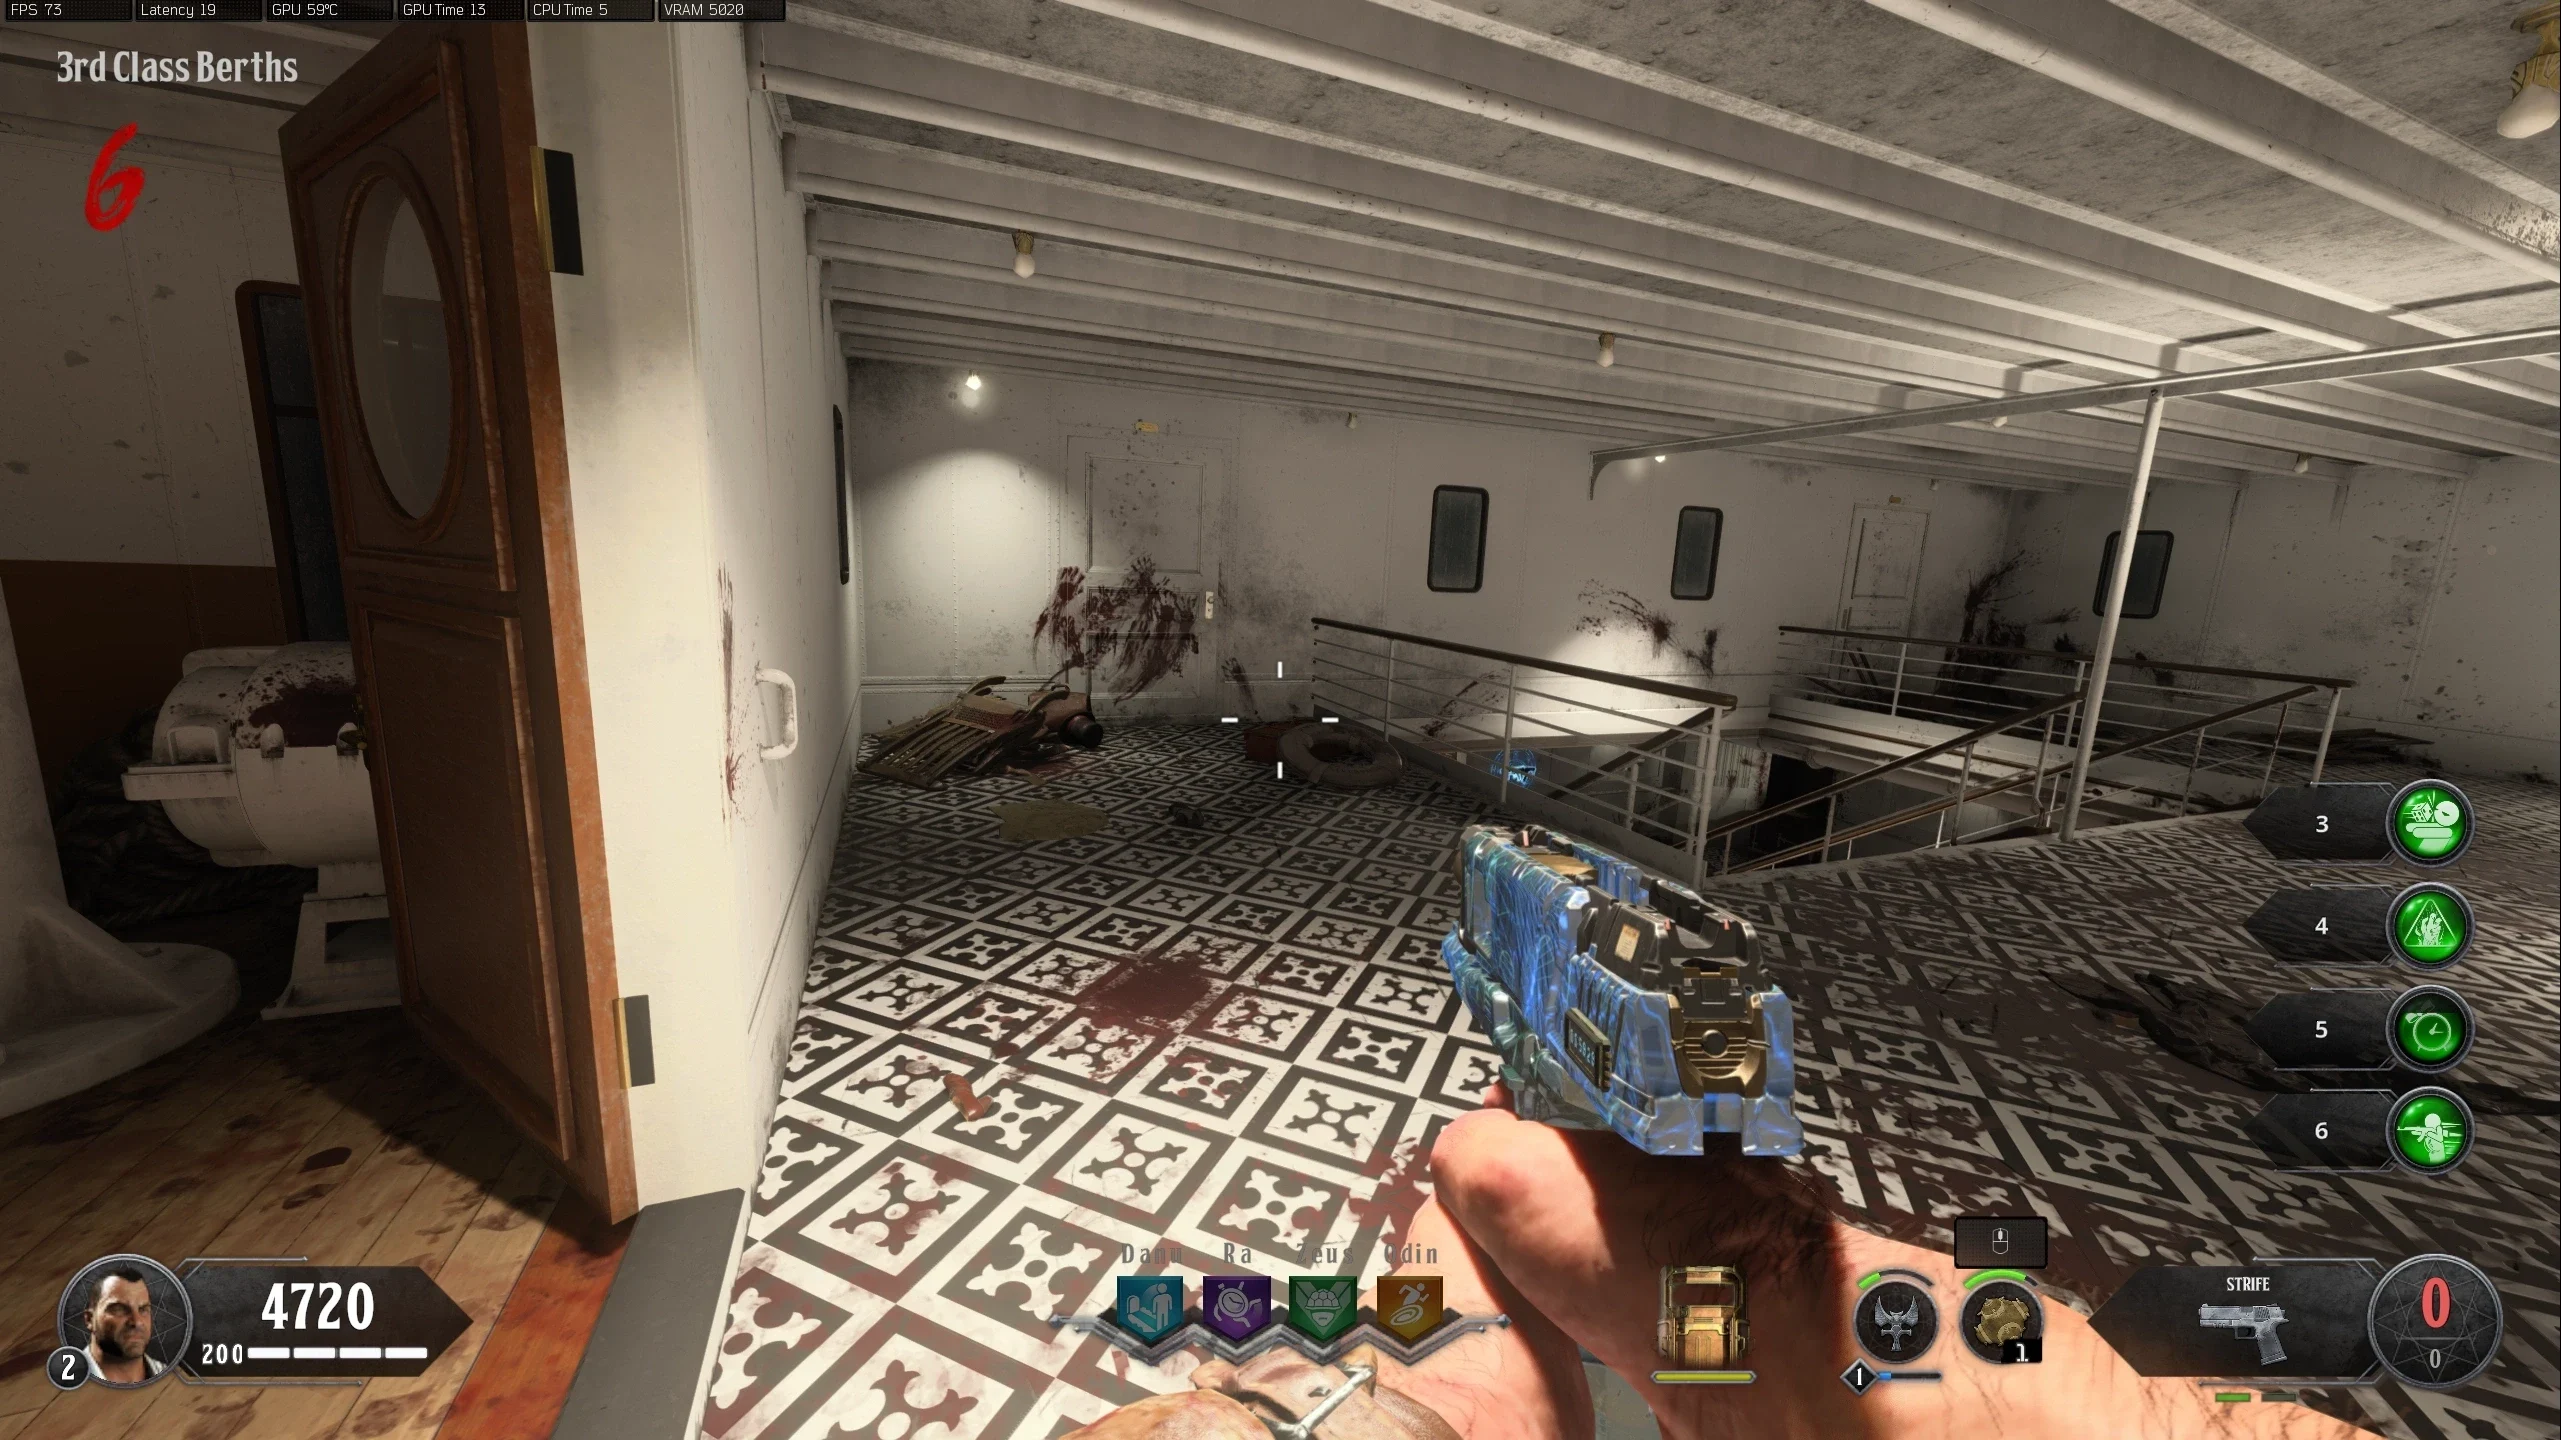
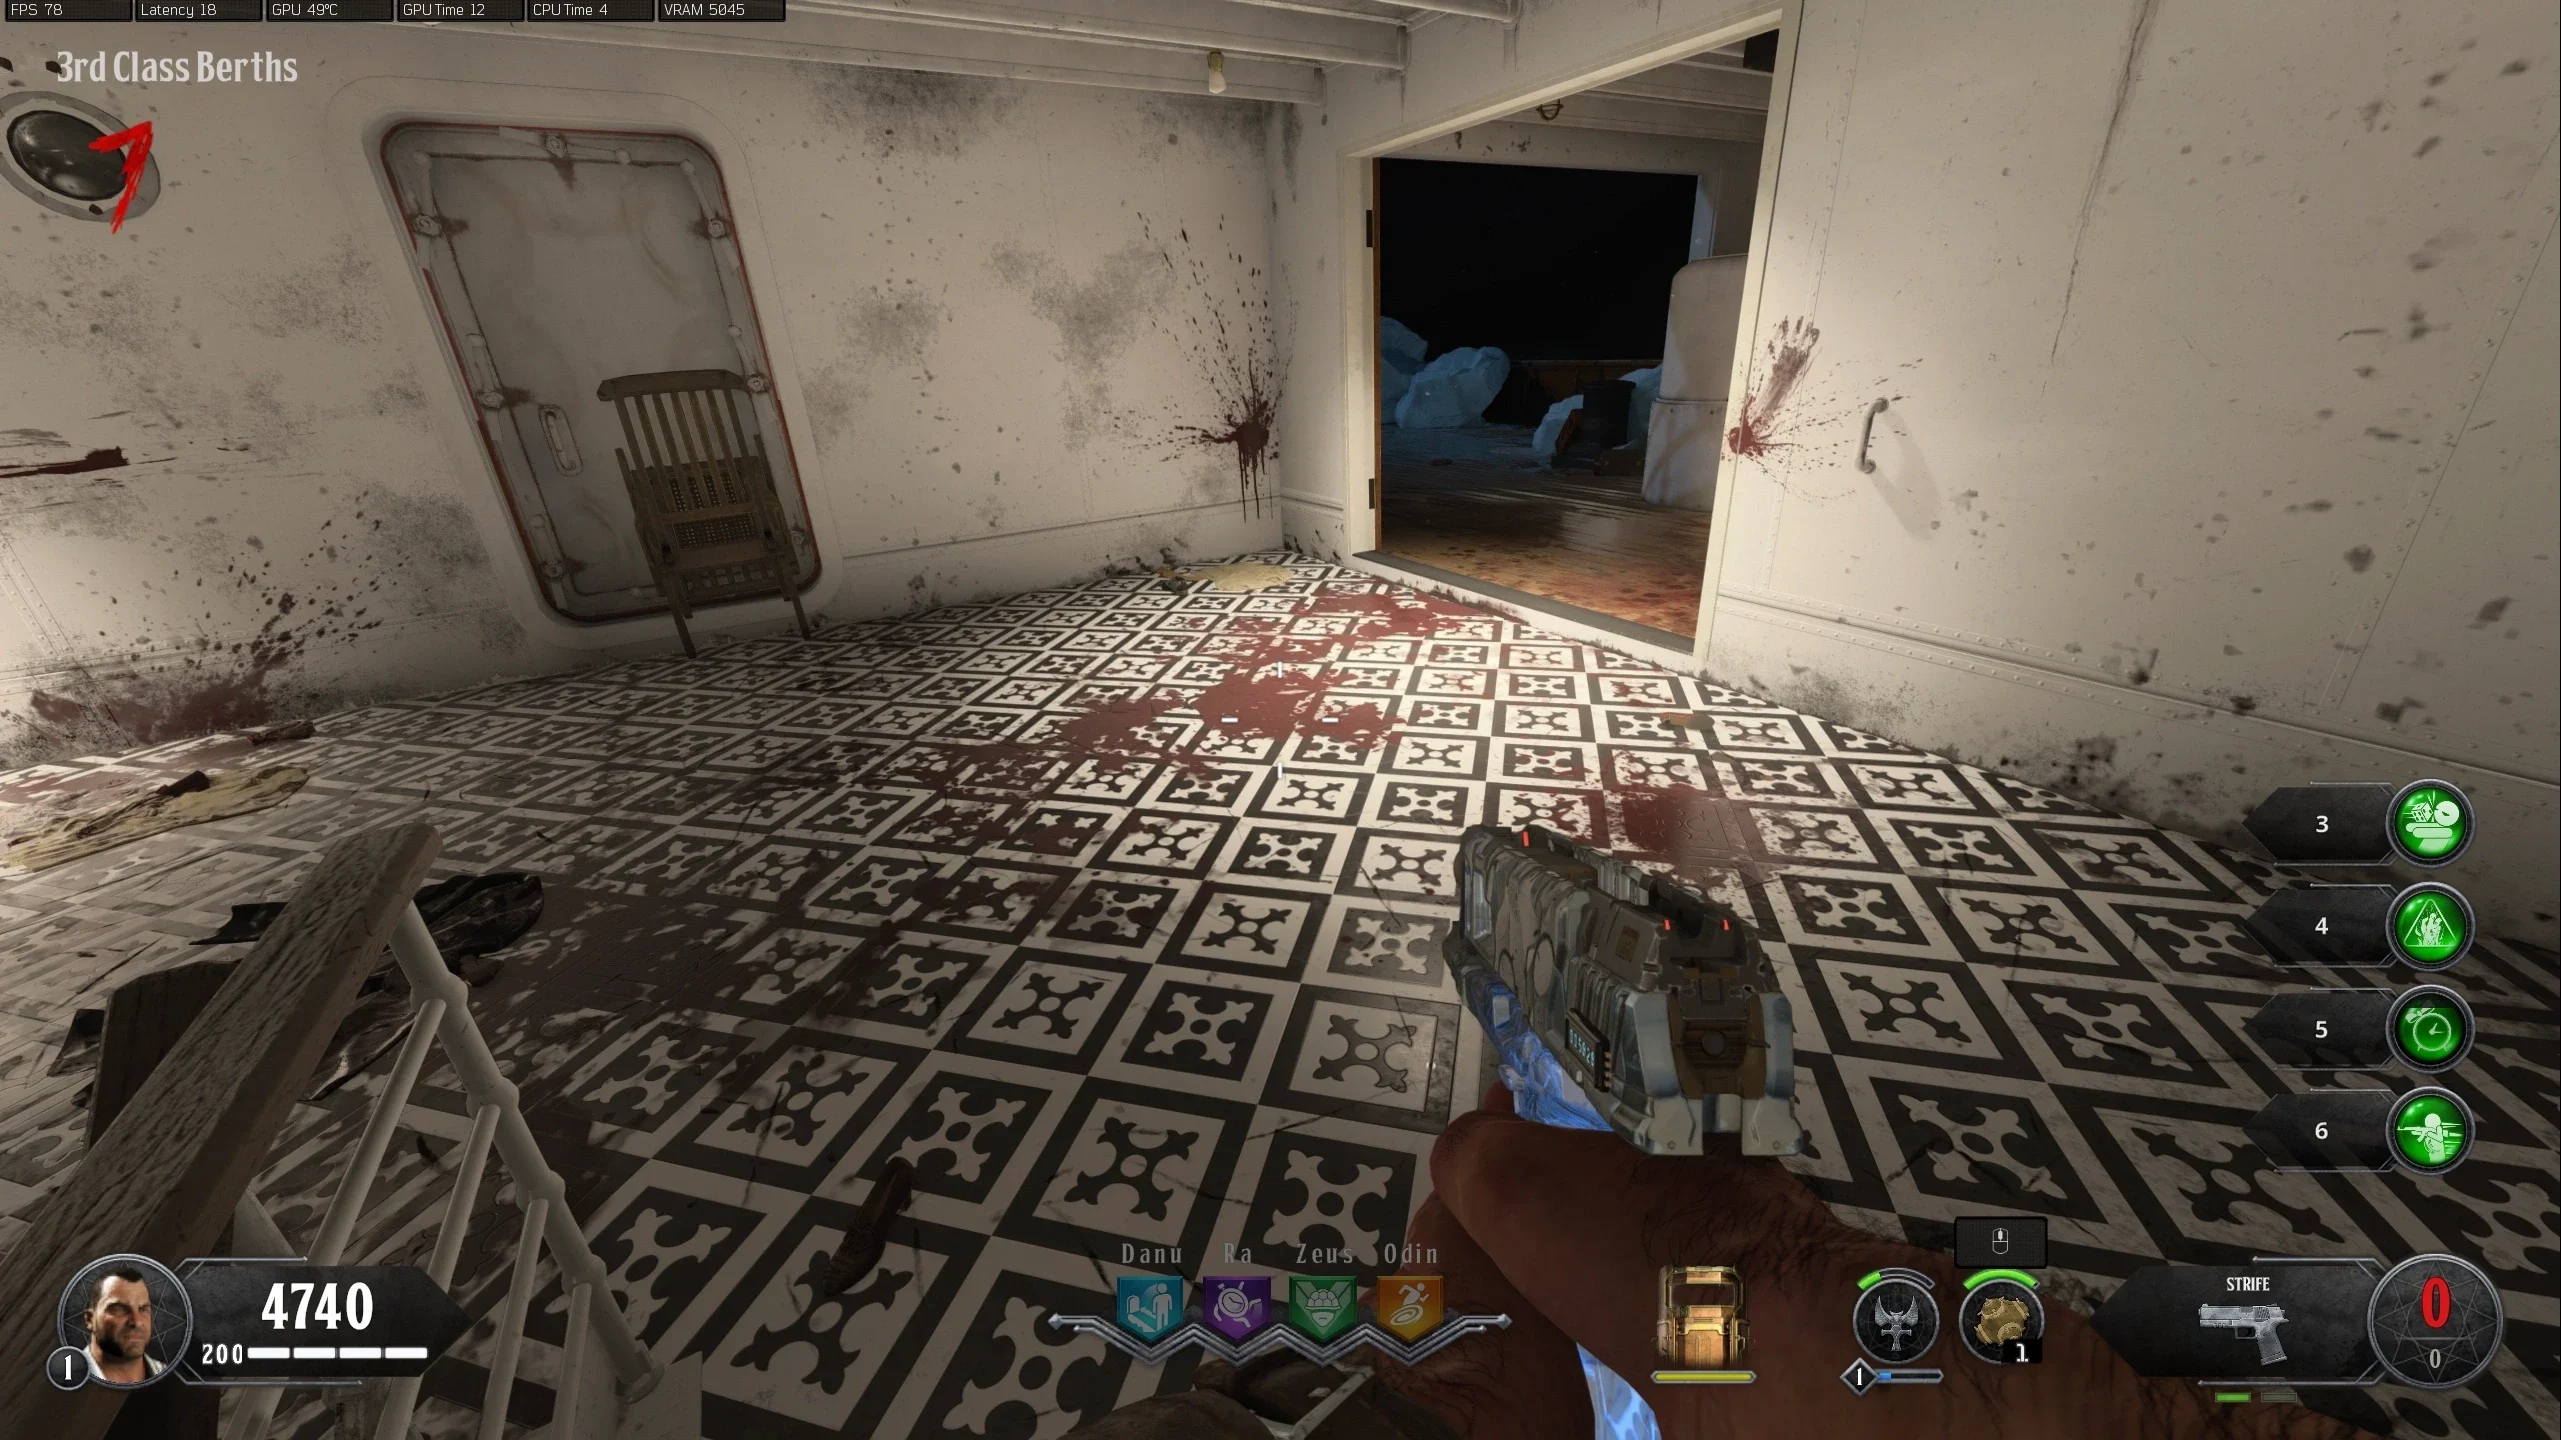
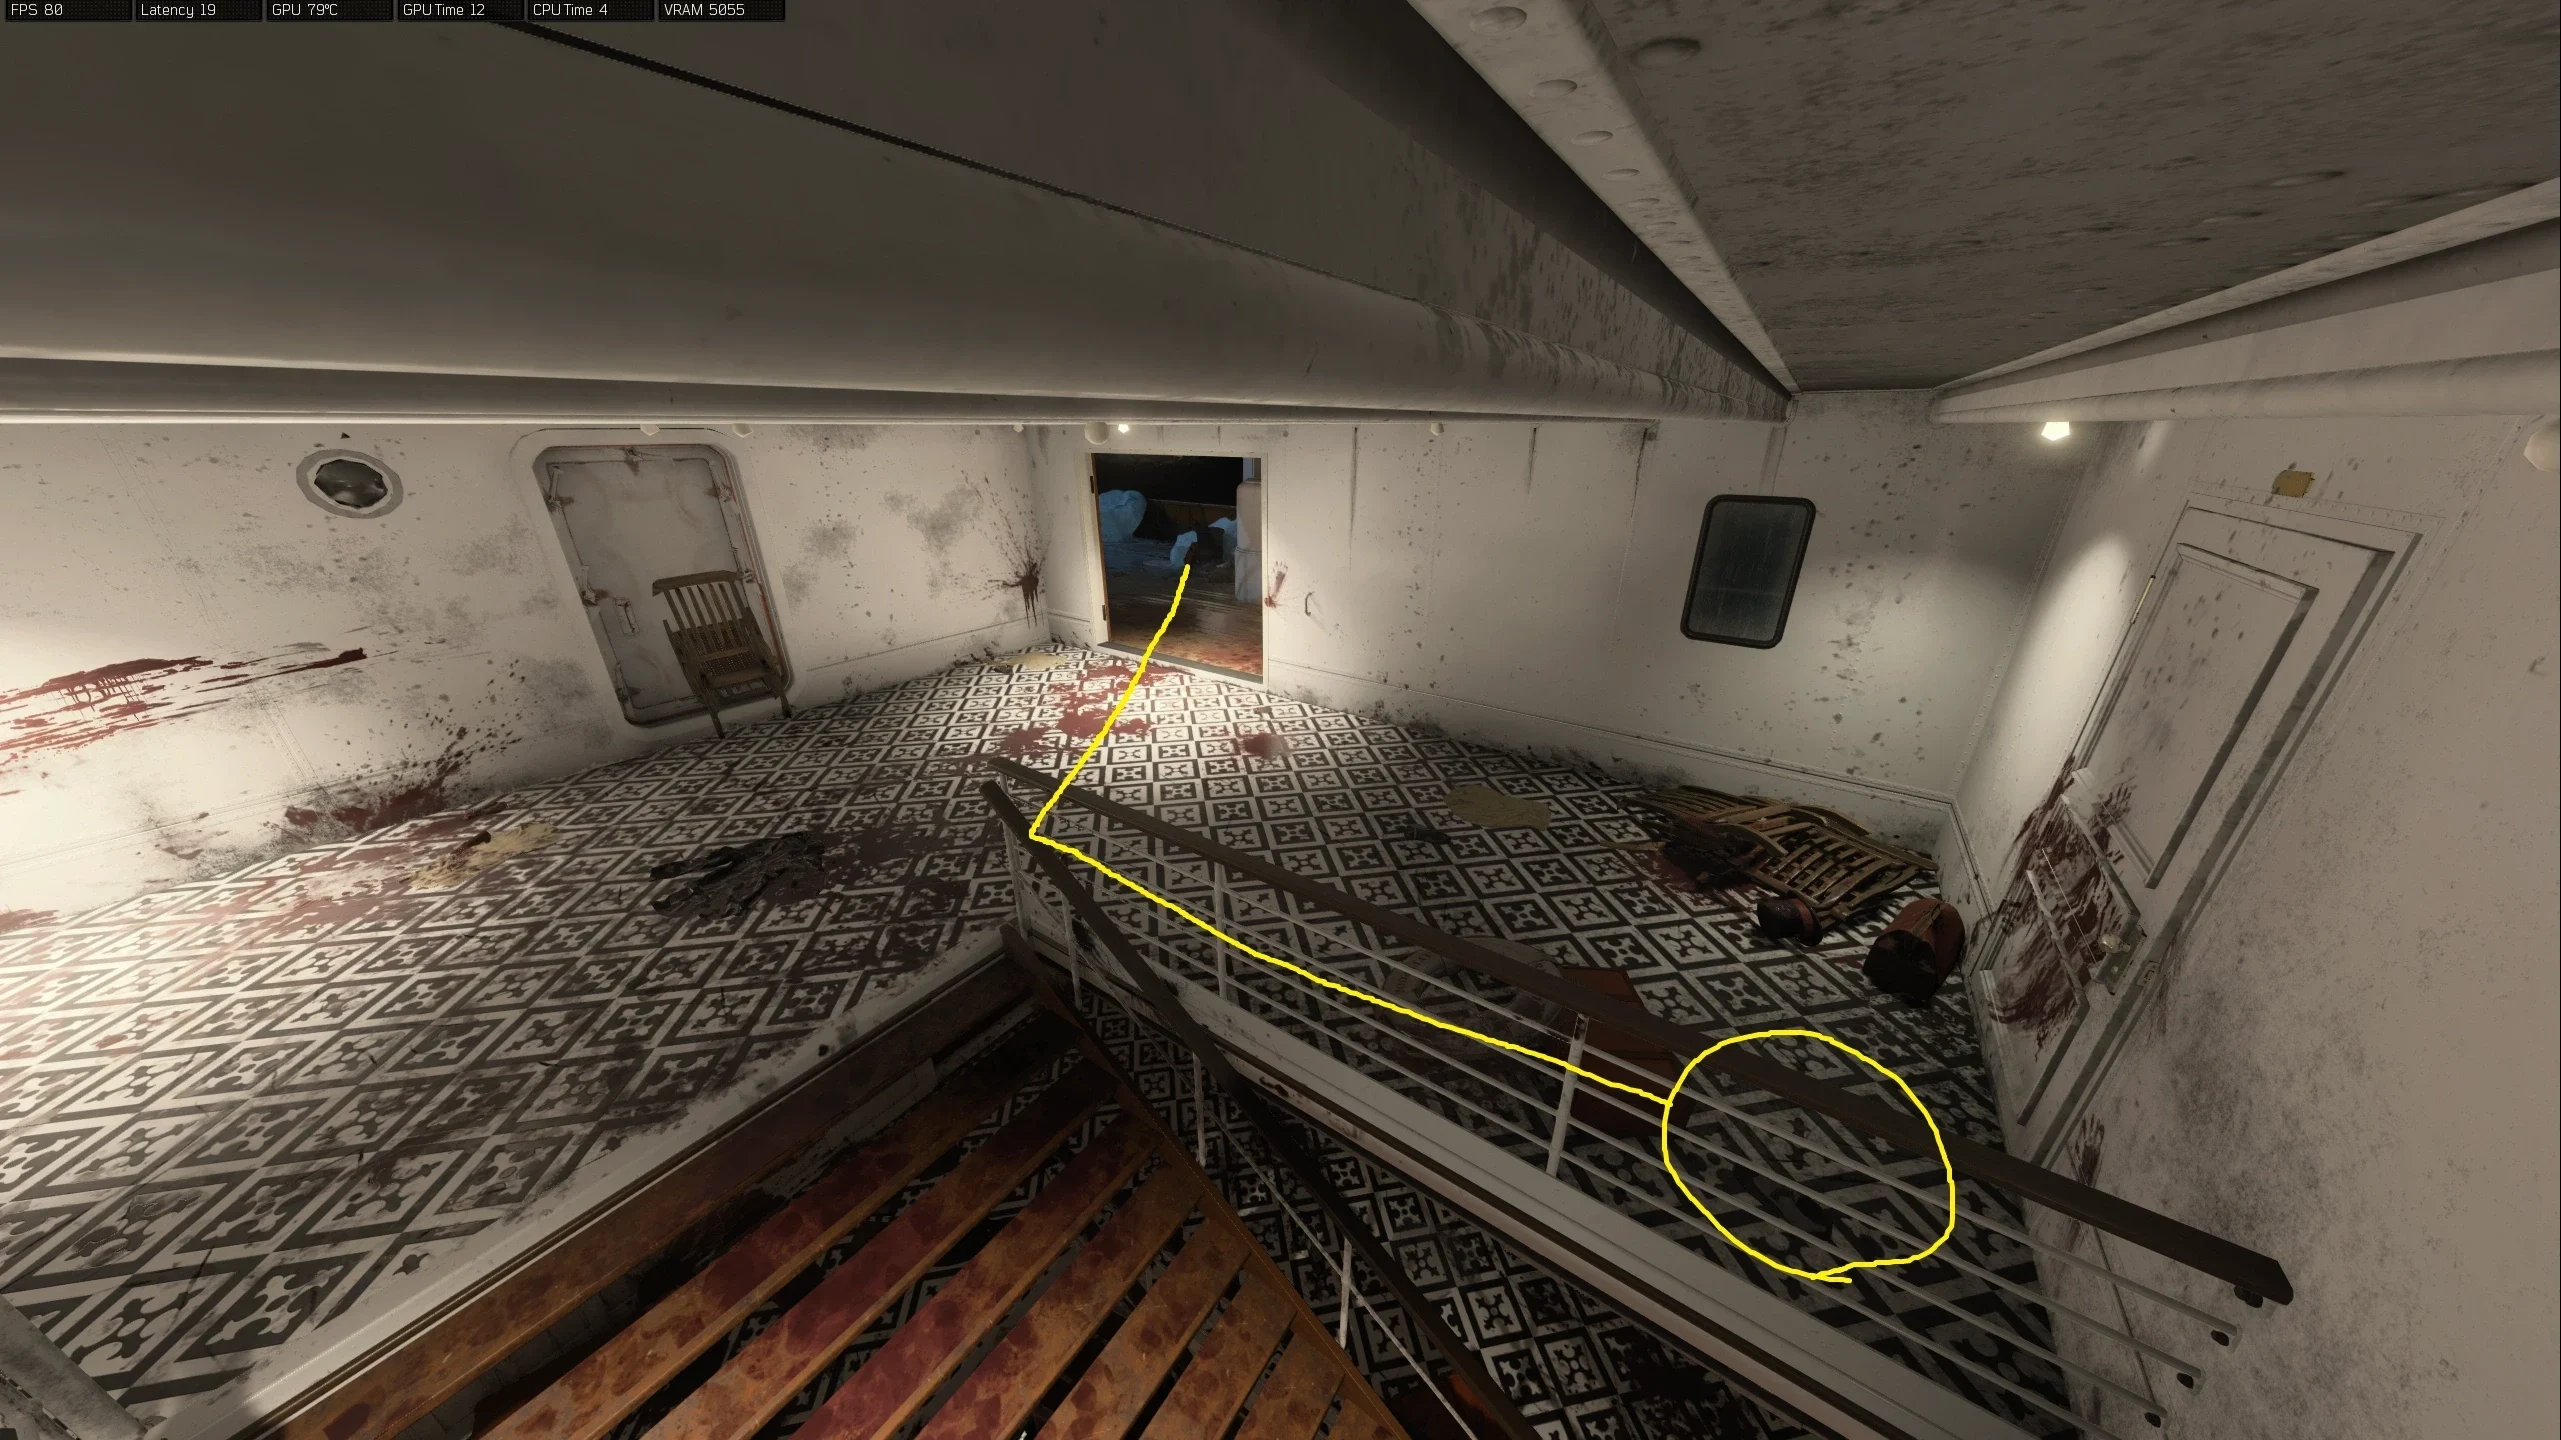
- 3rd Class Berths
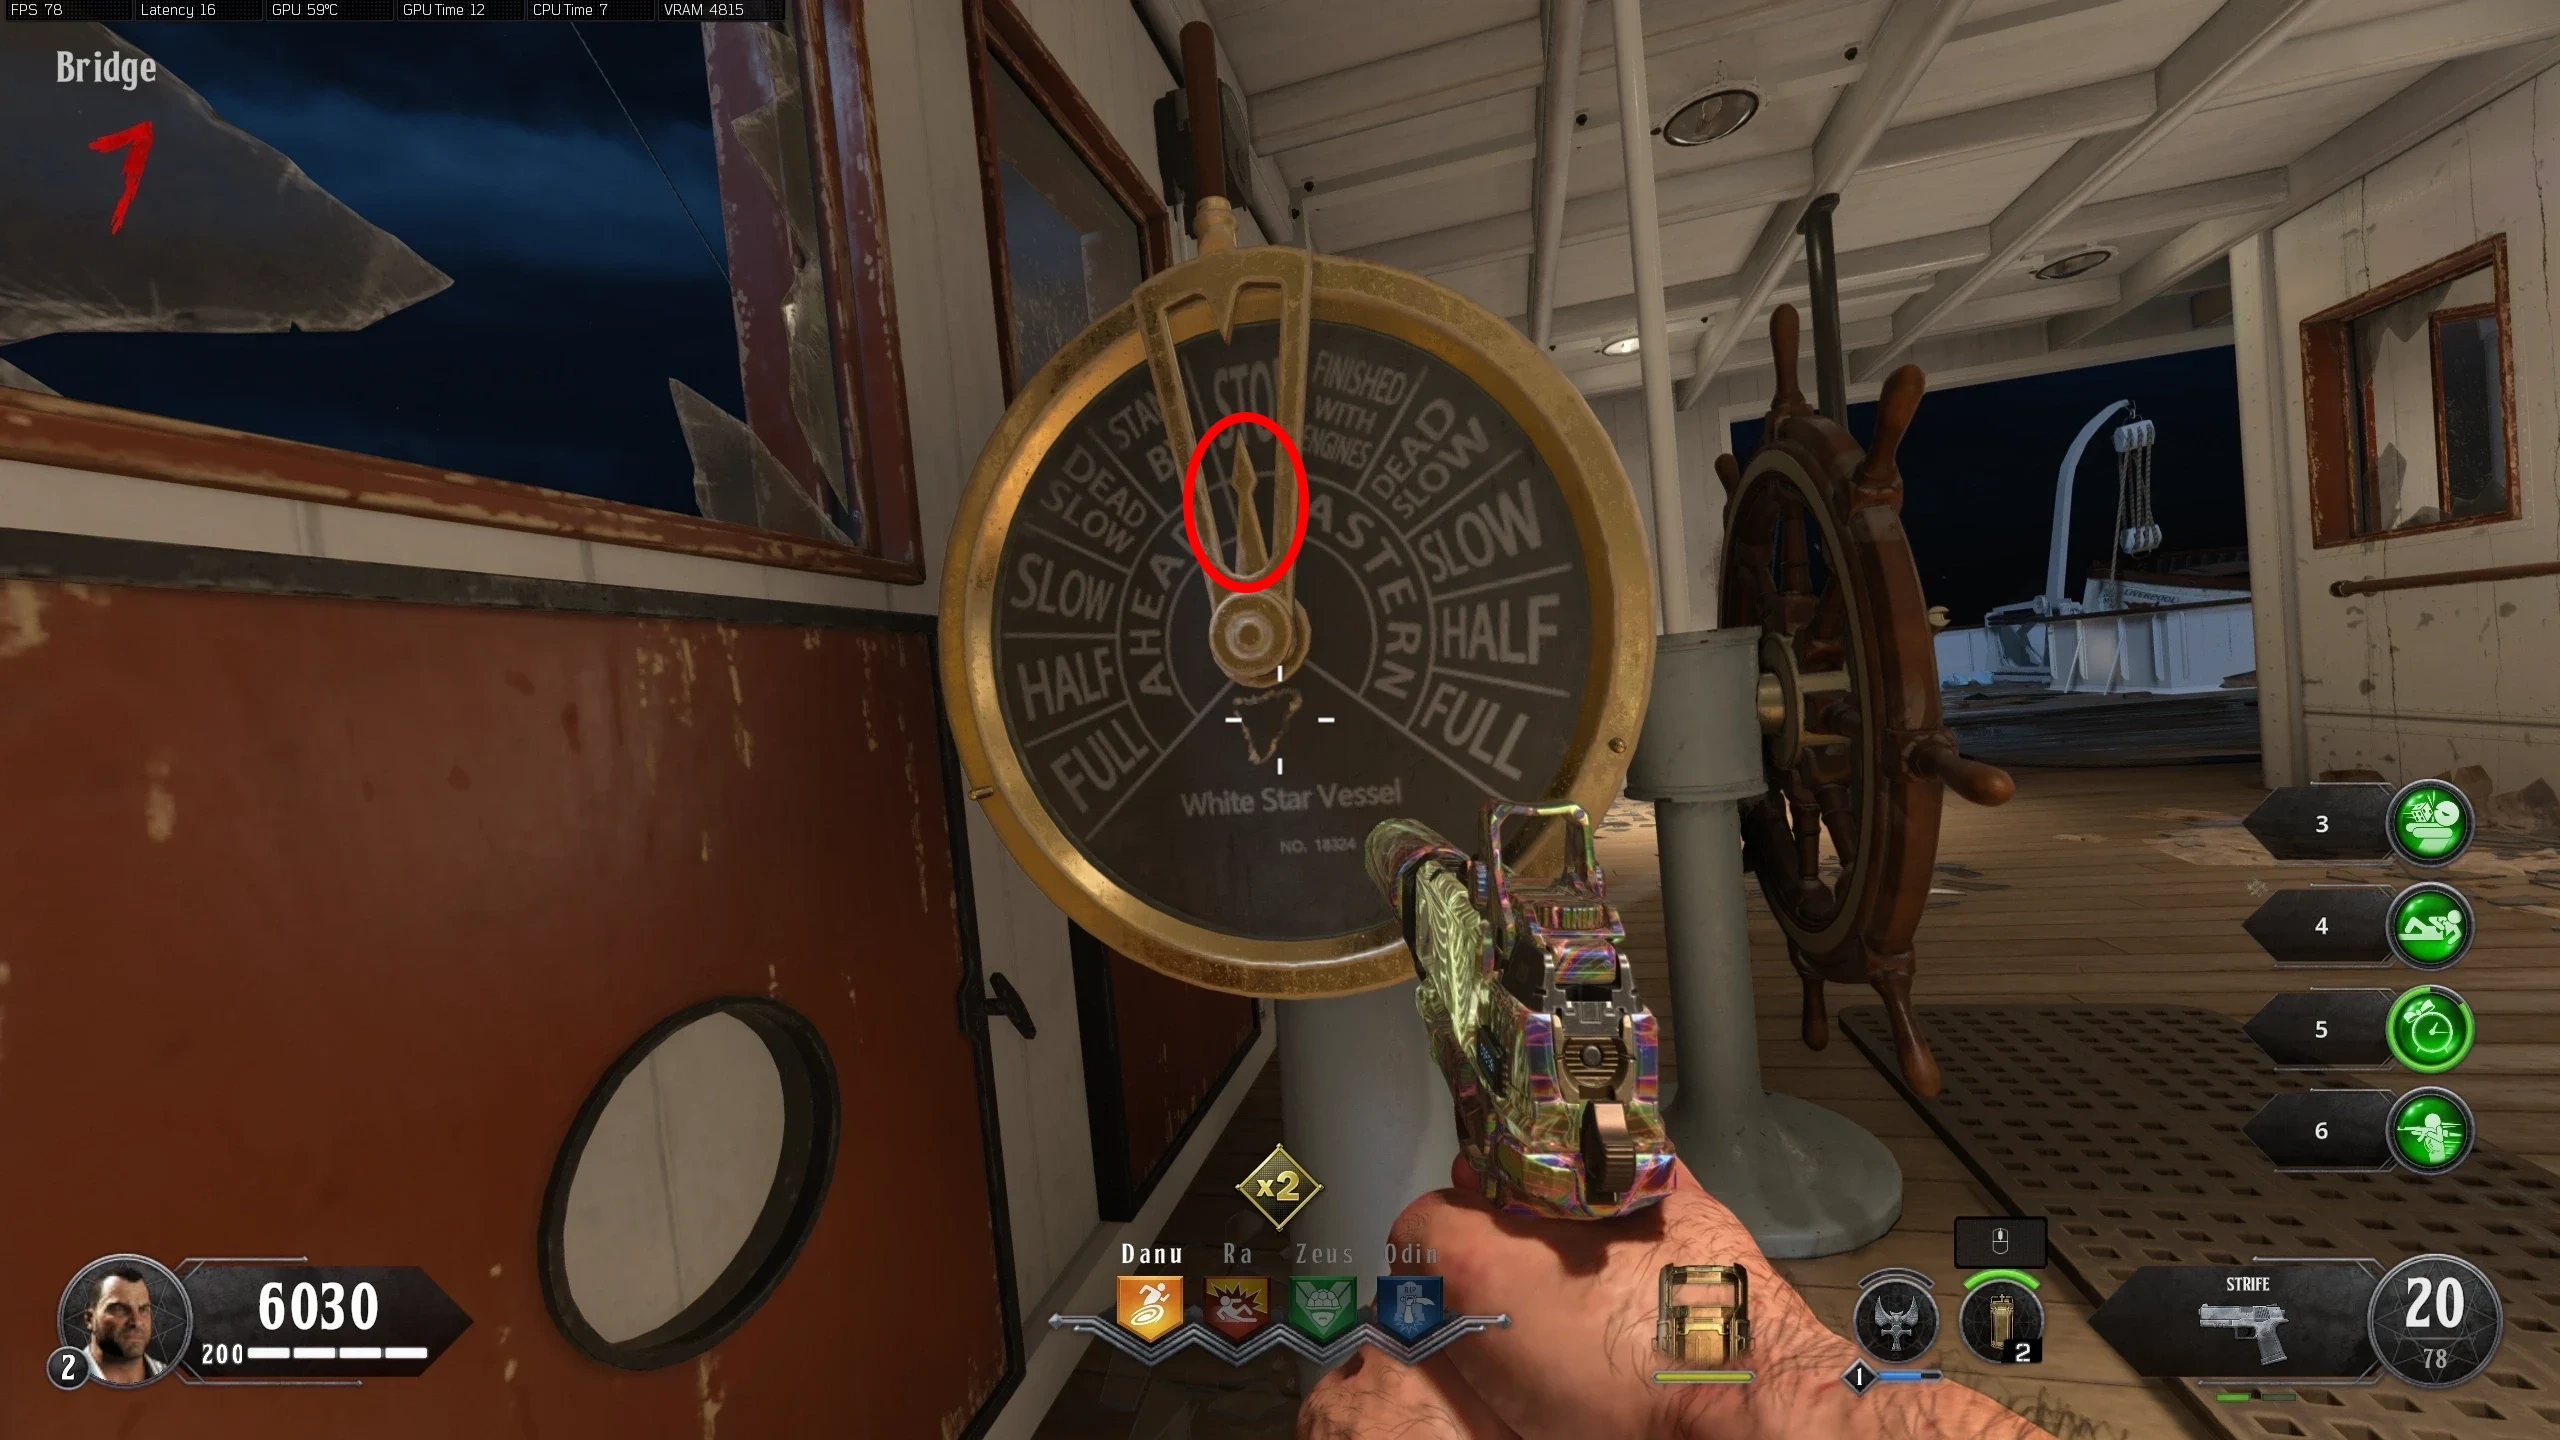
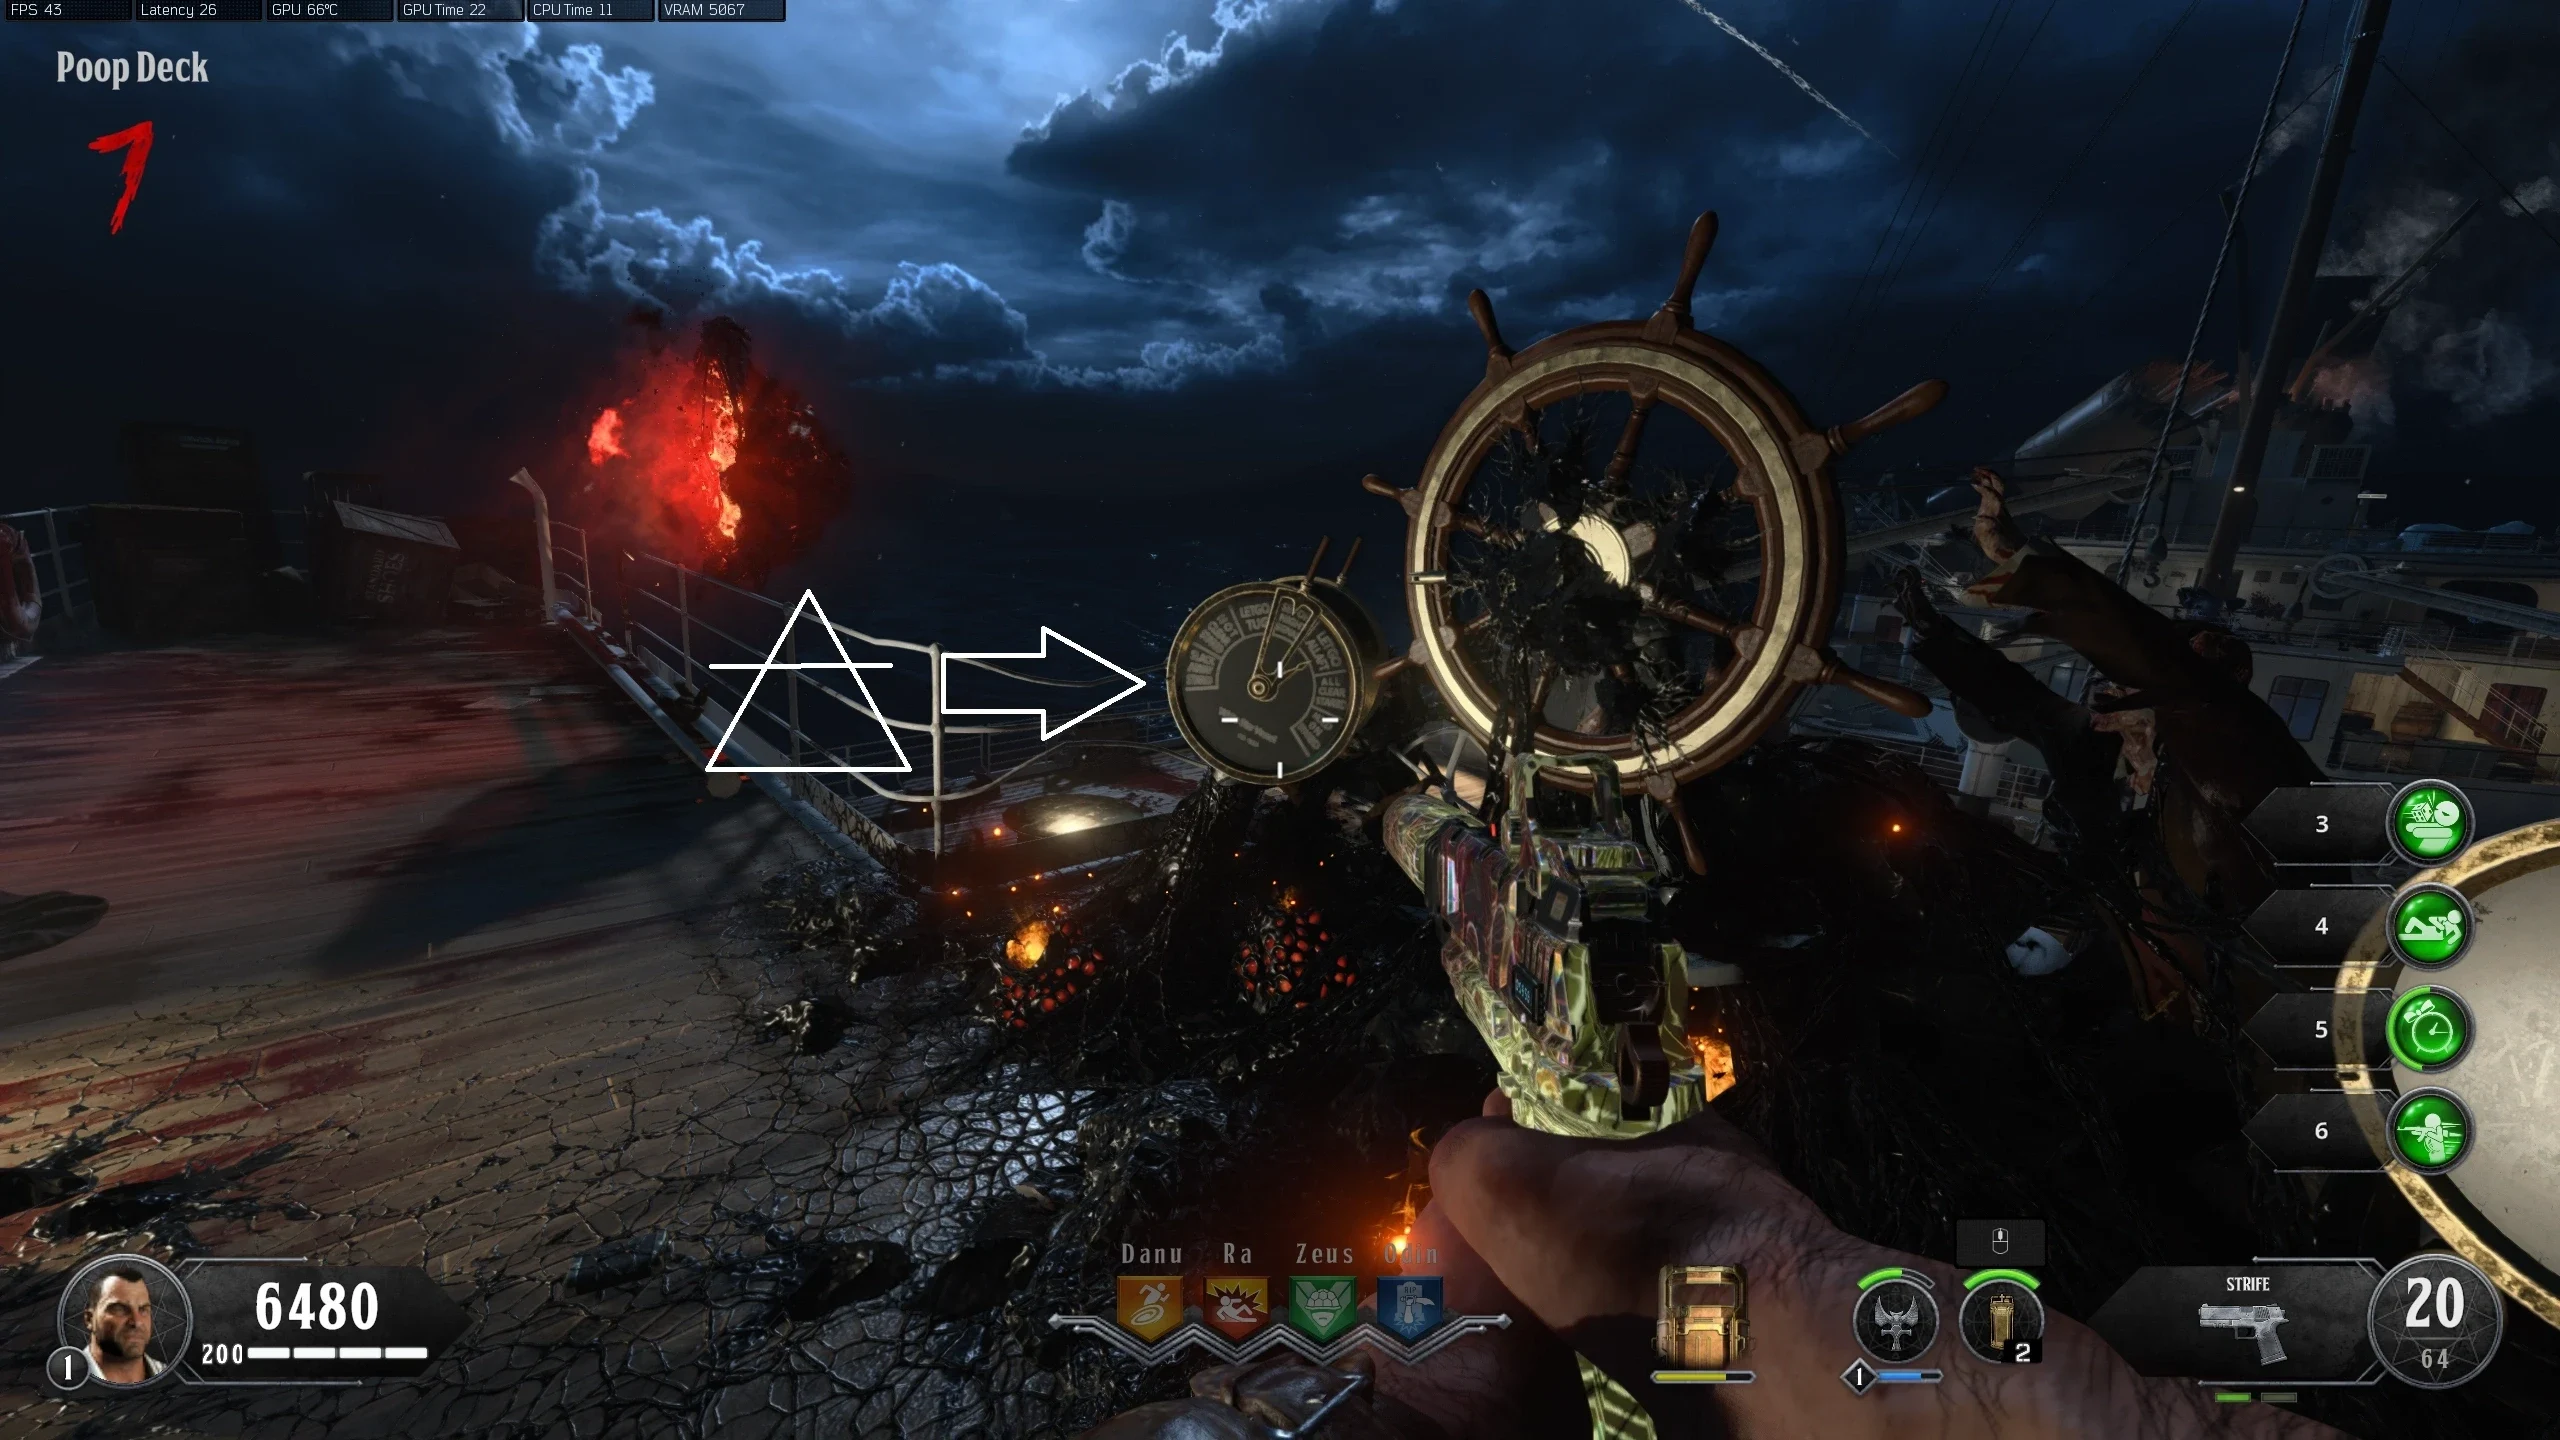
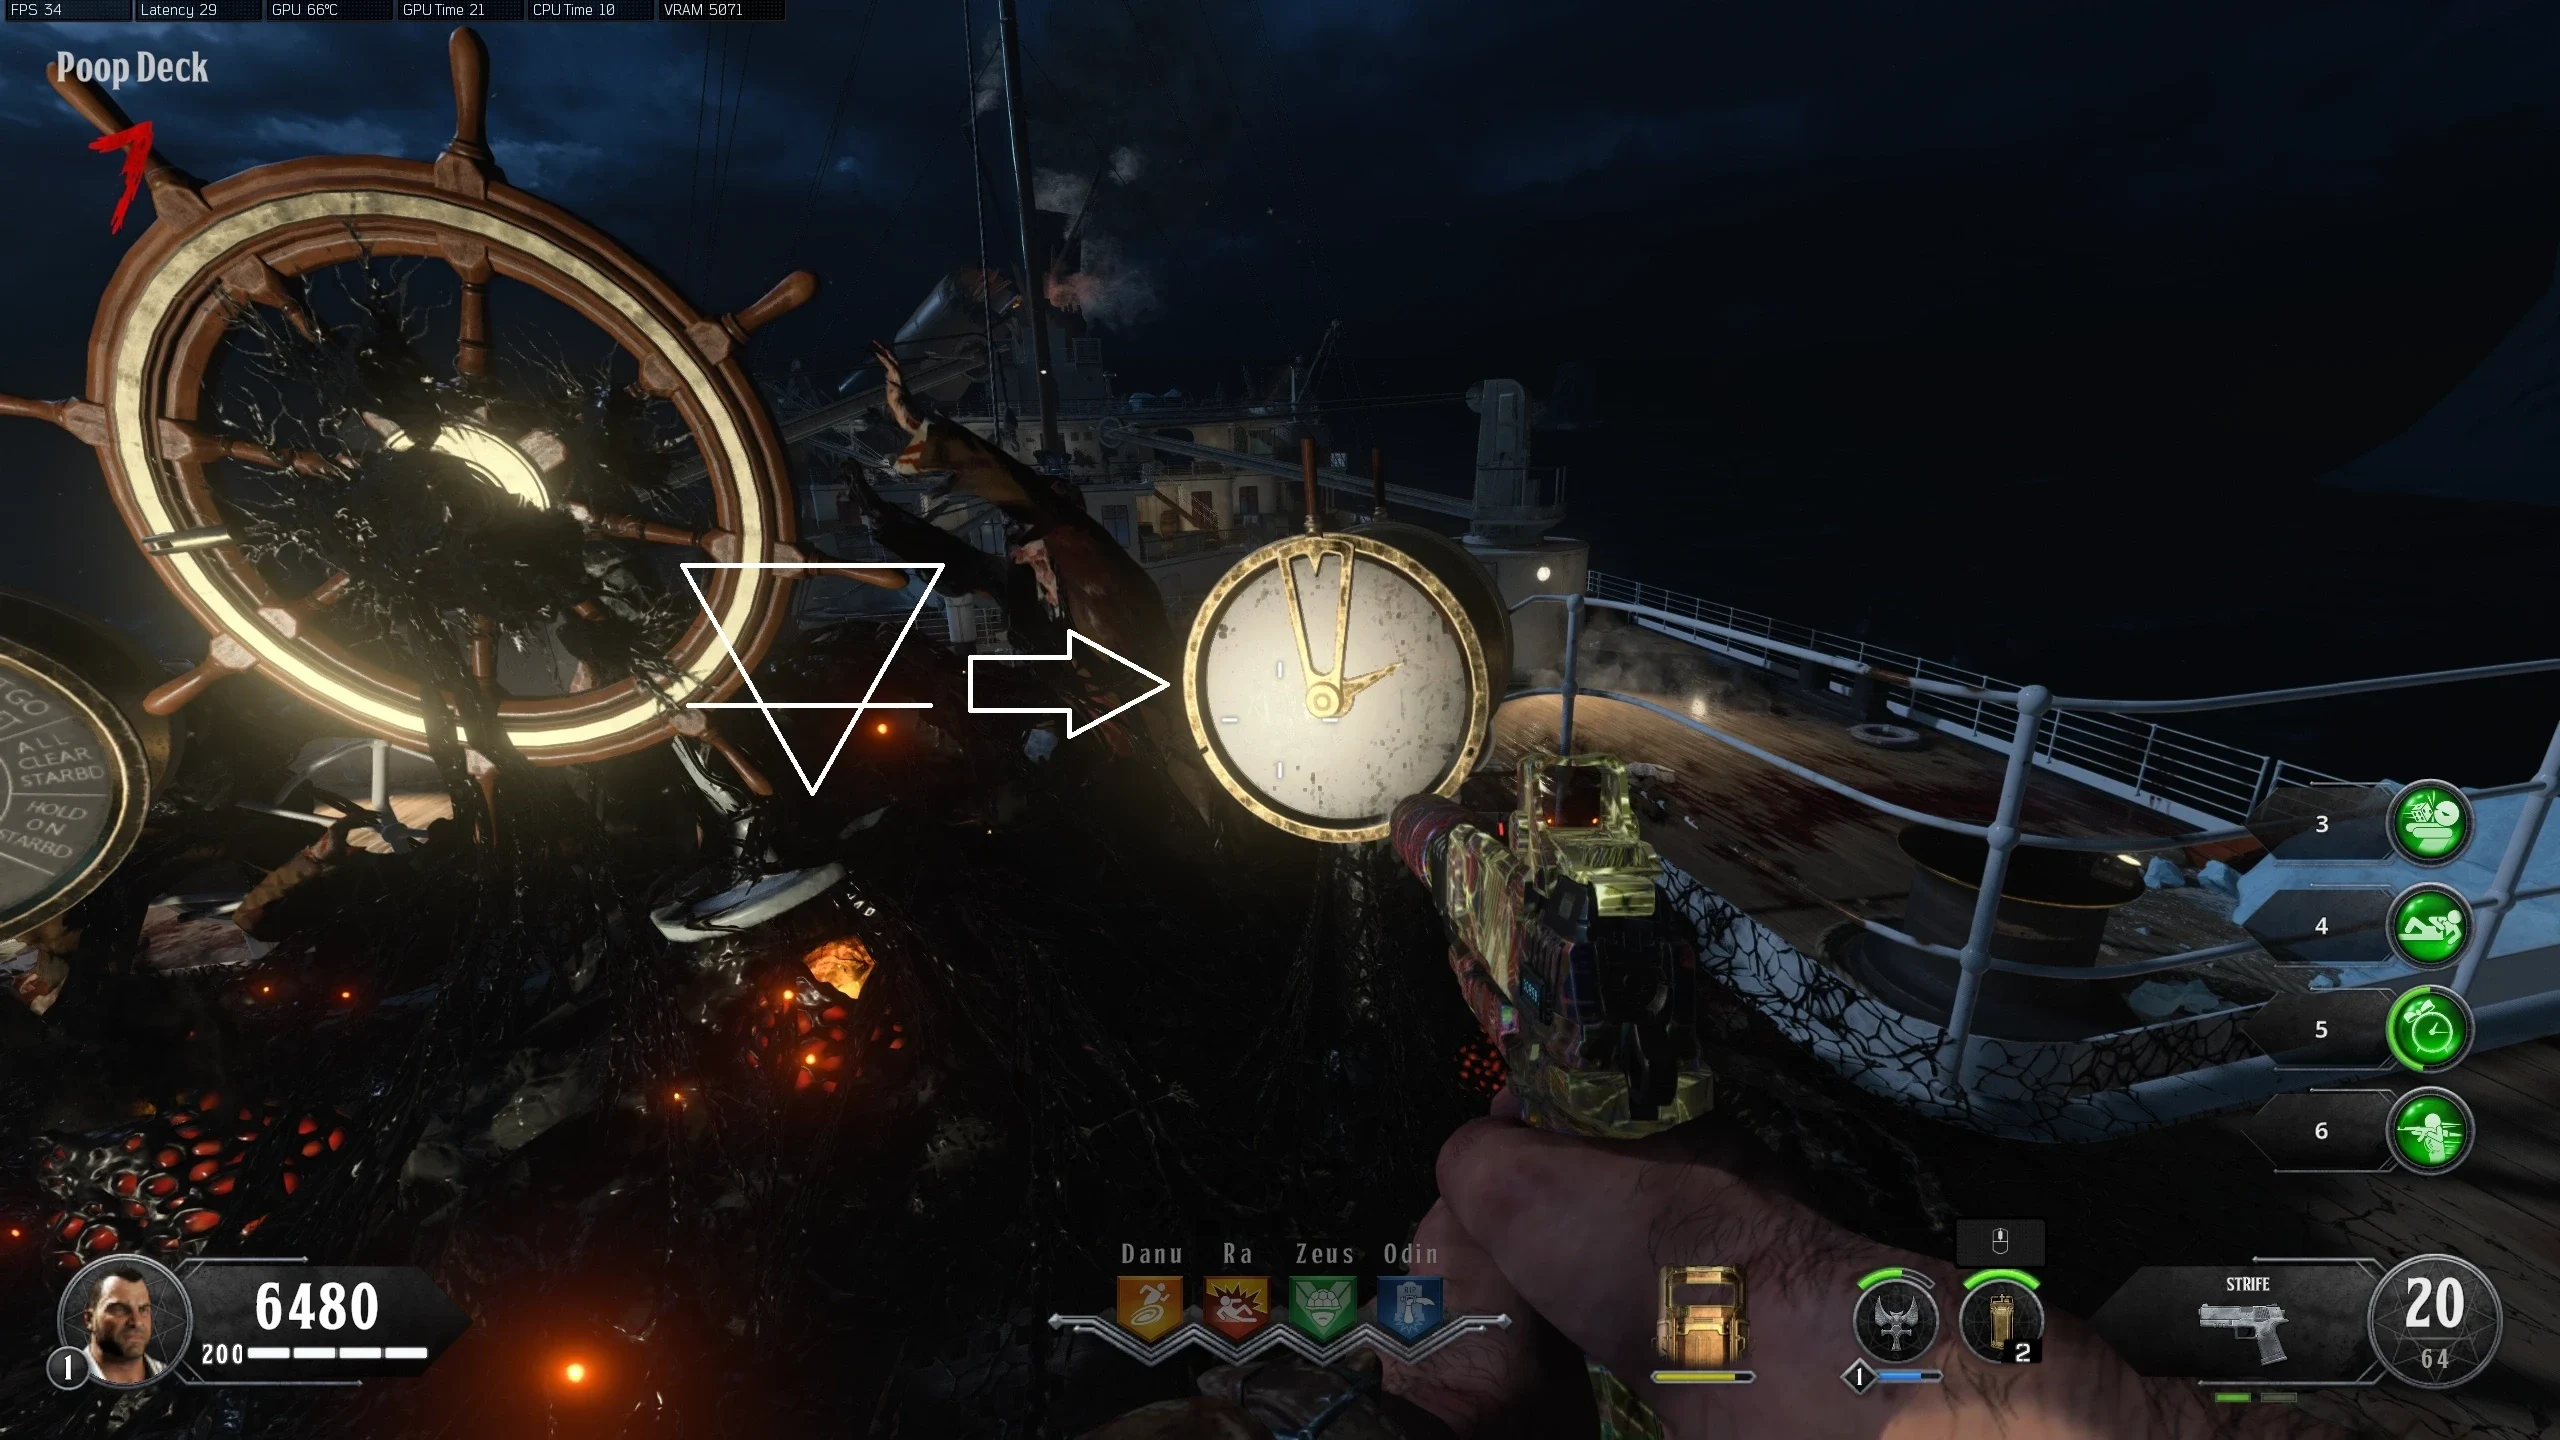
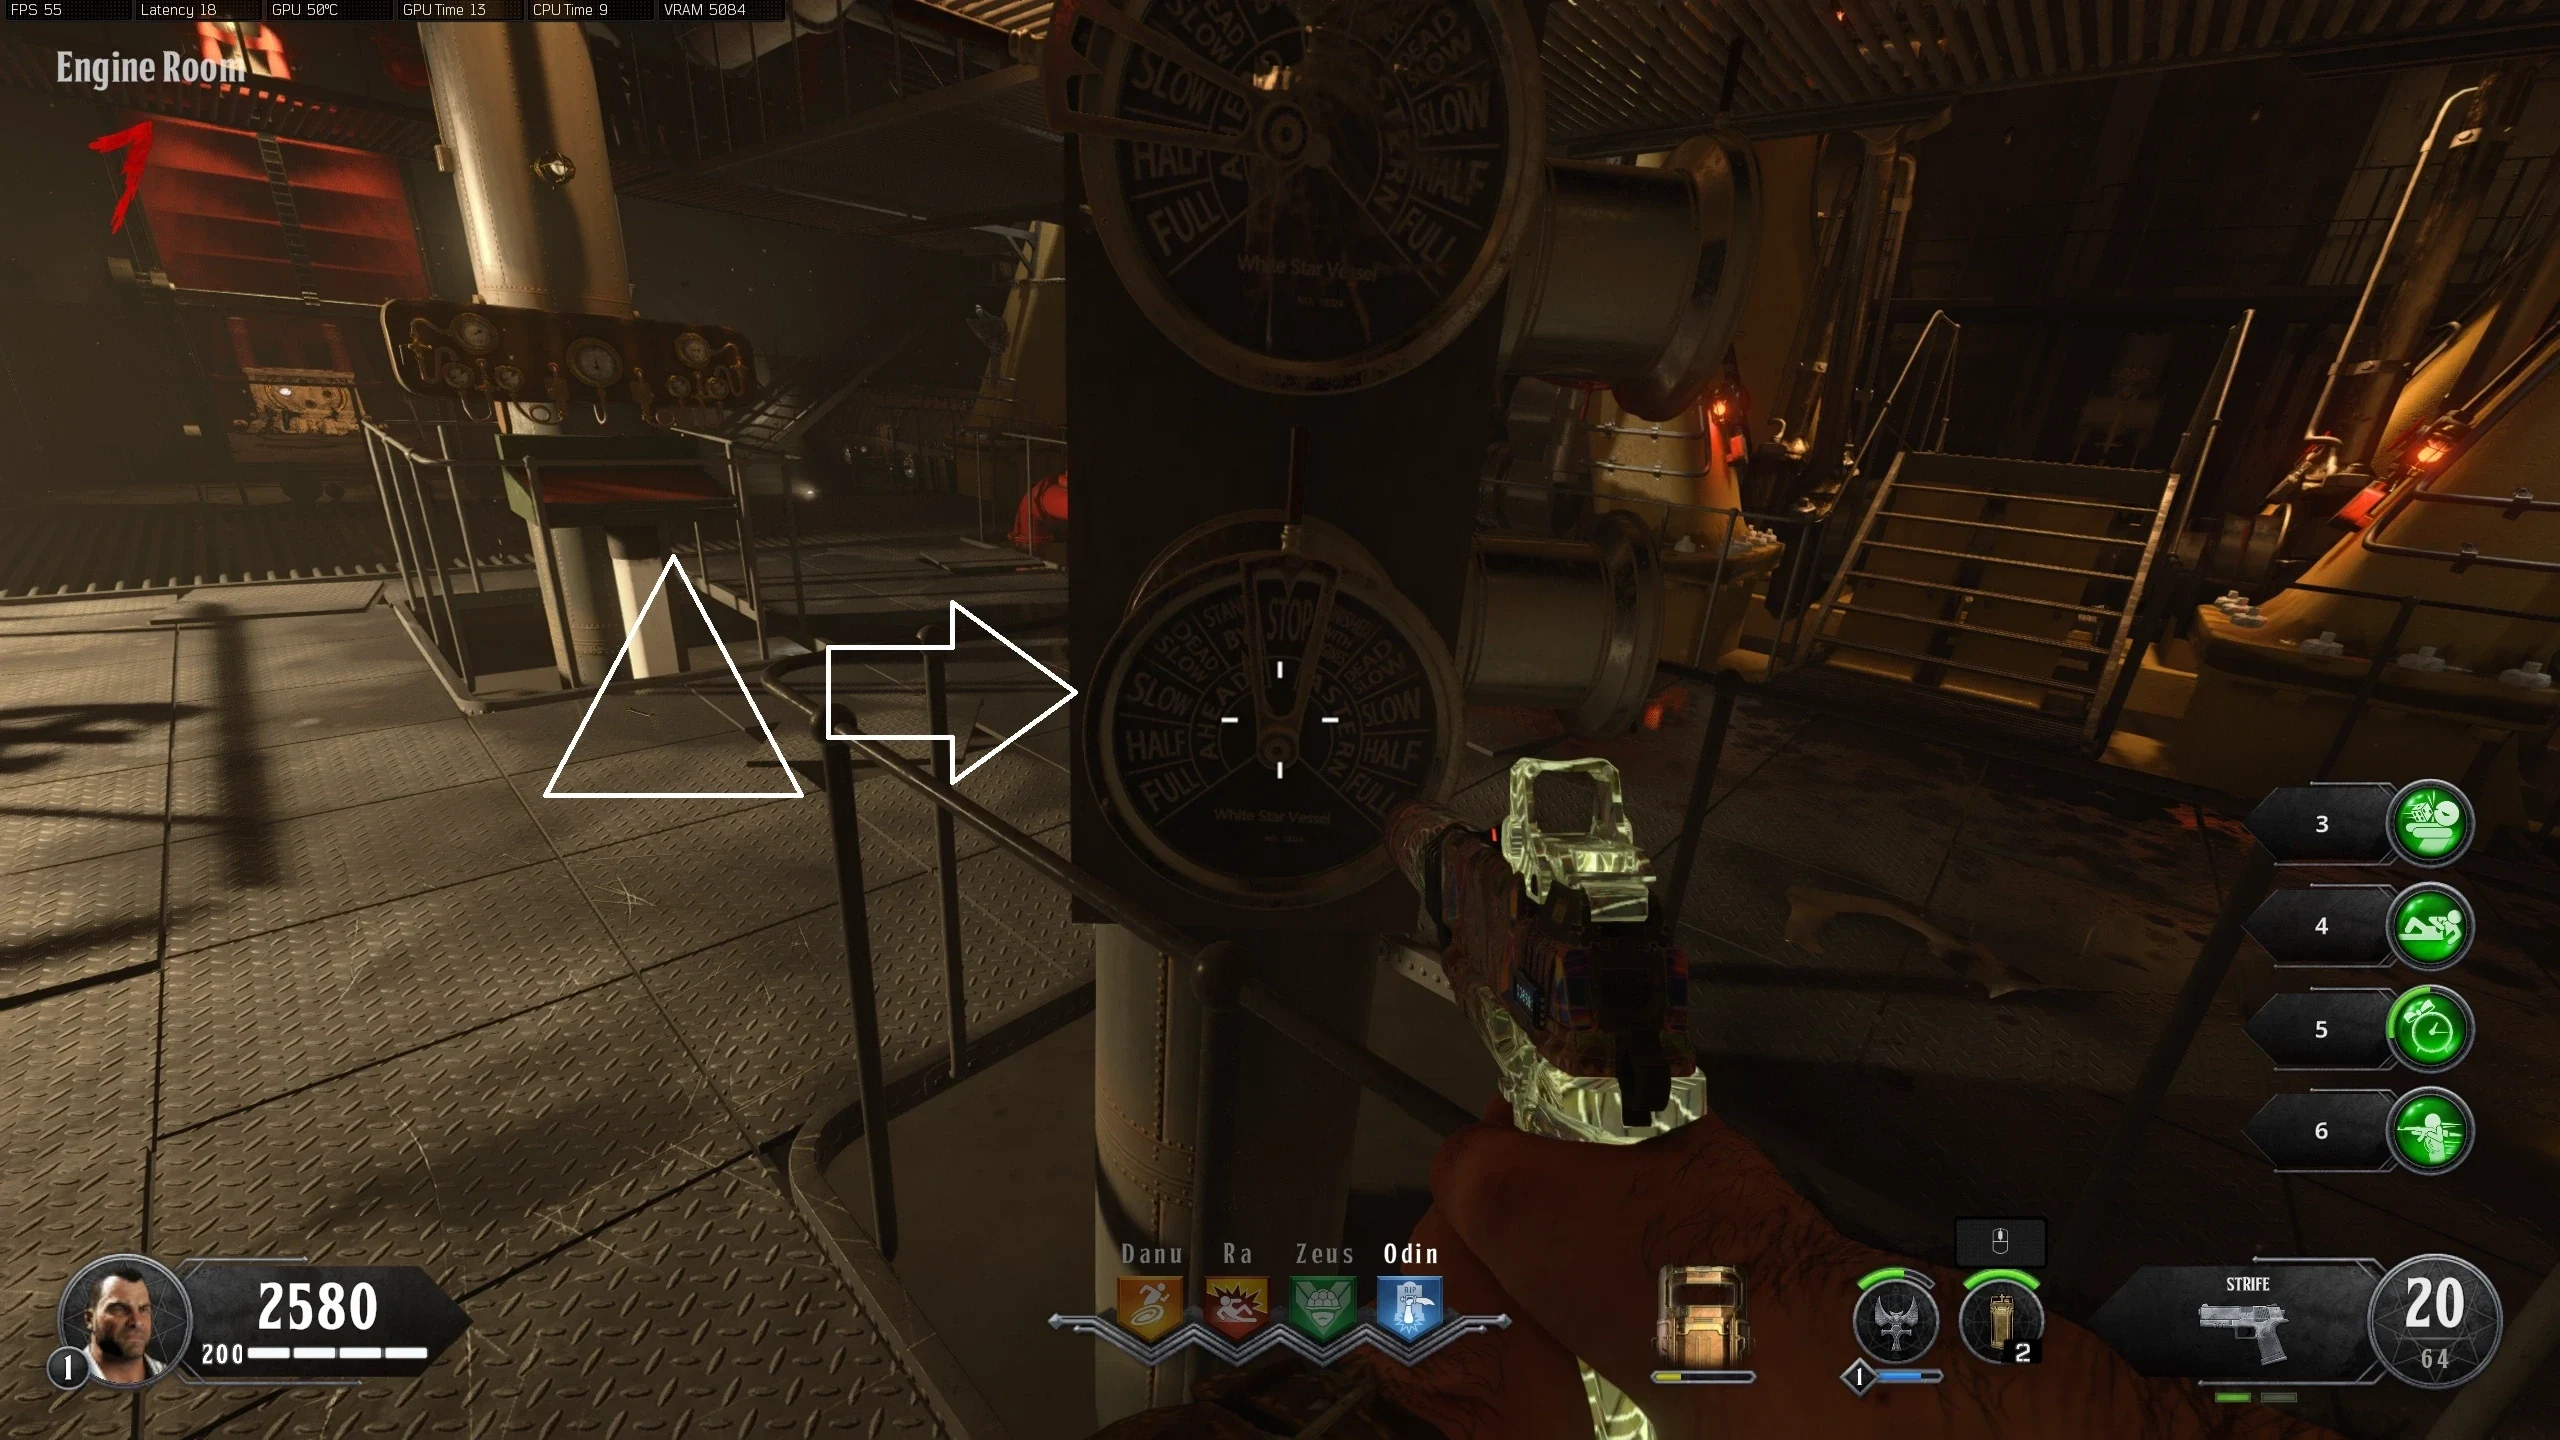
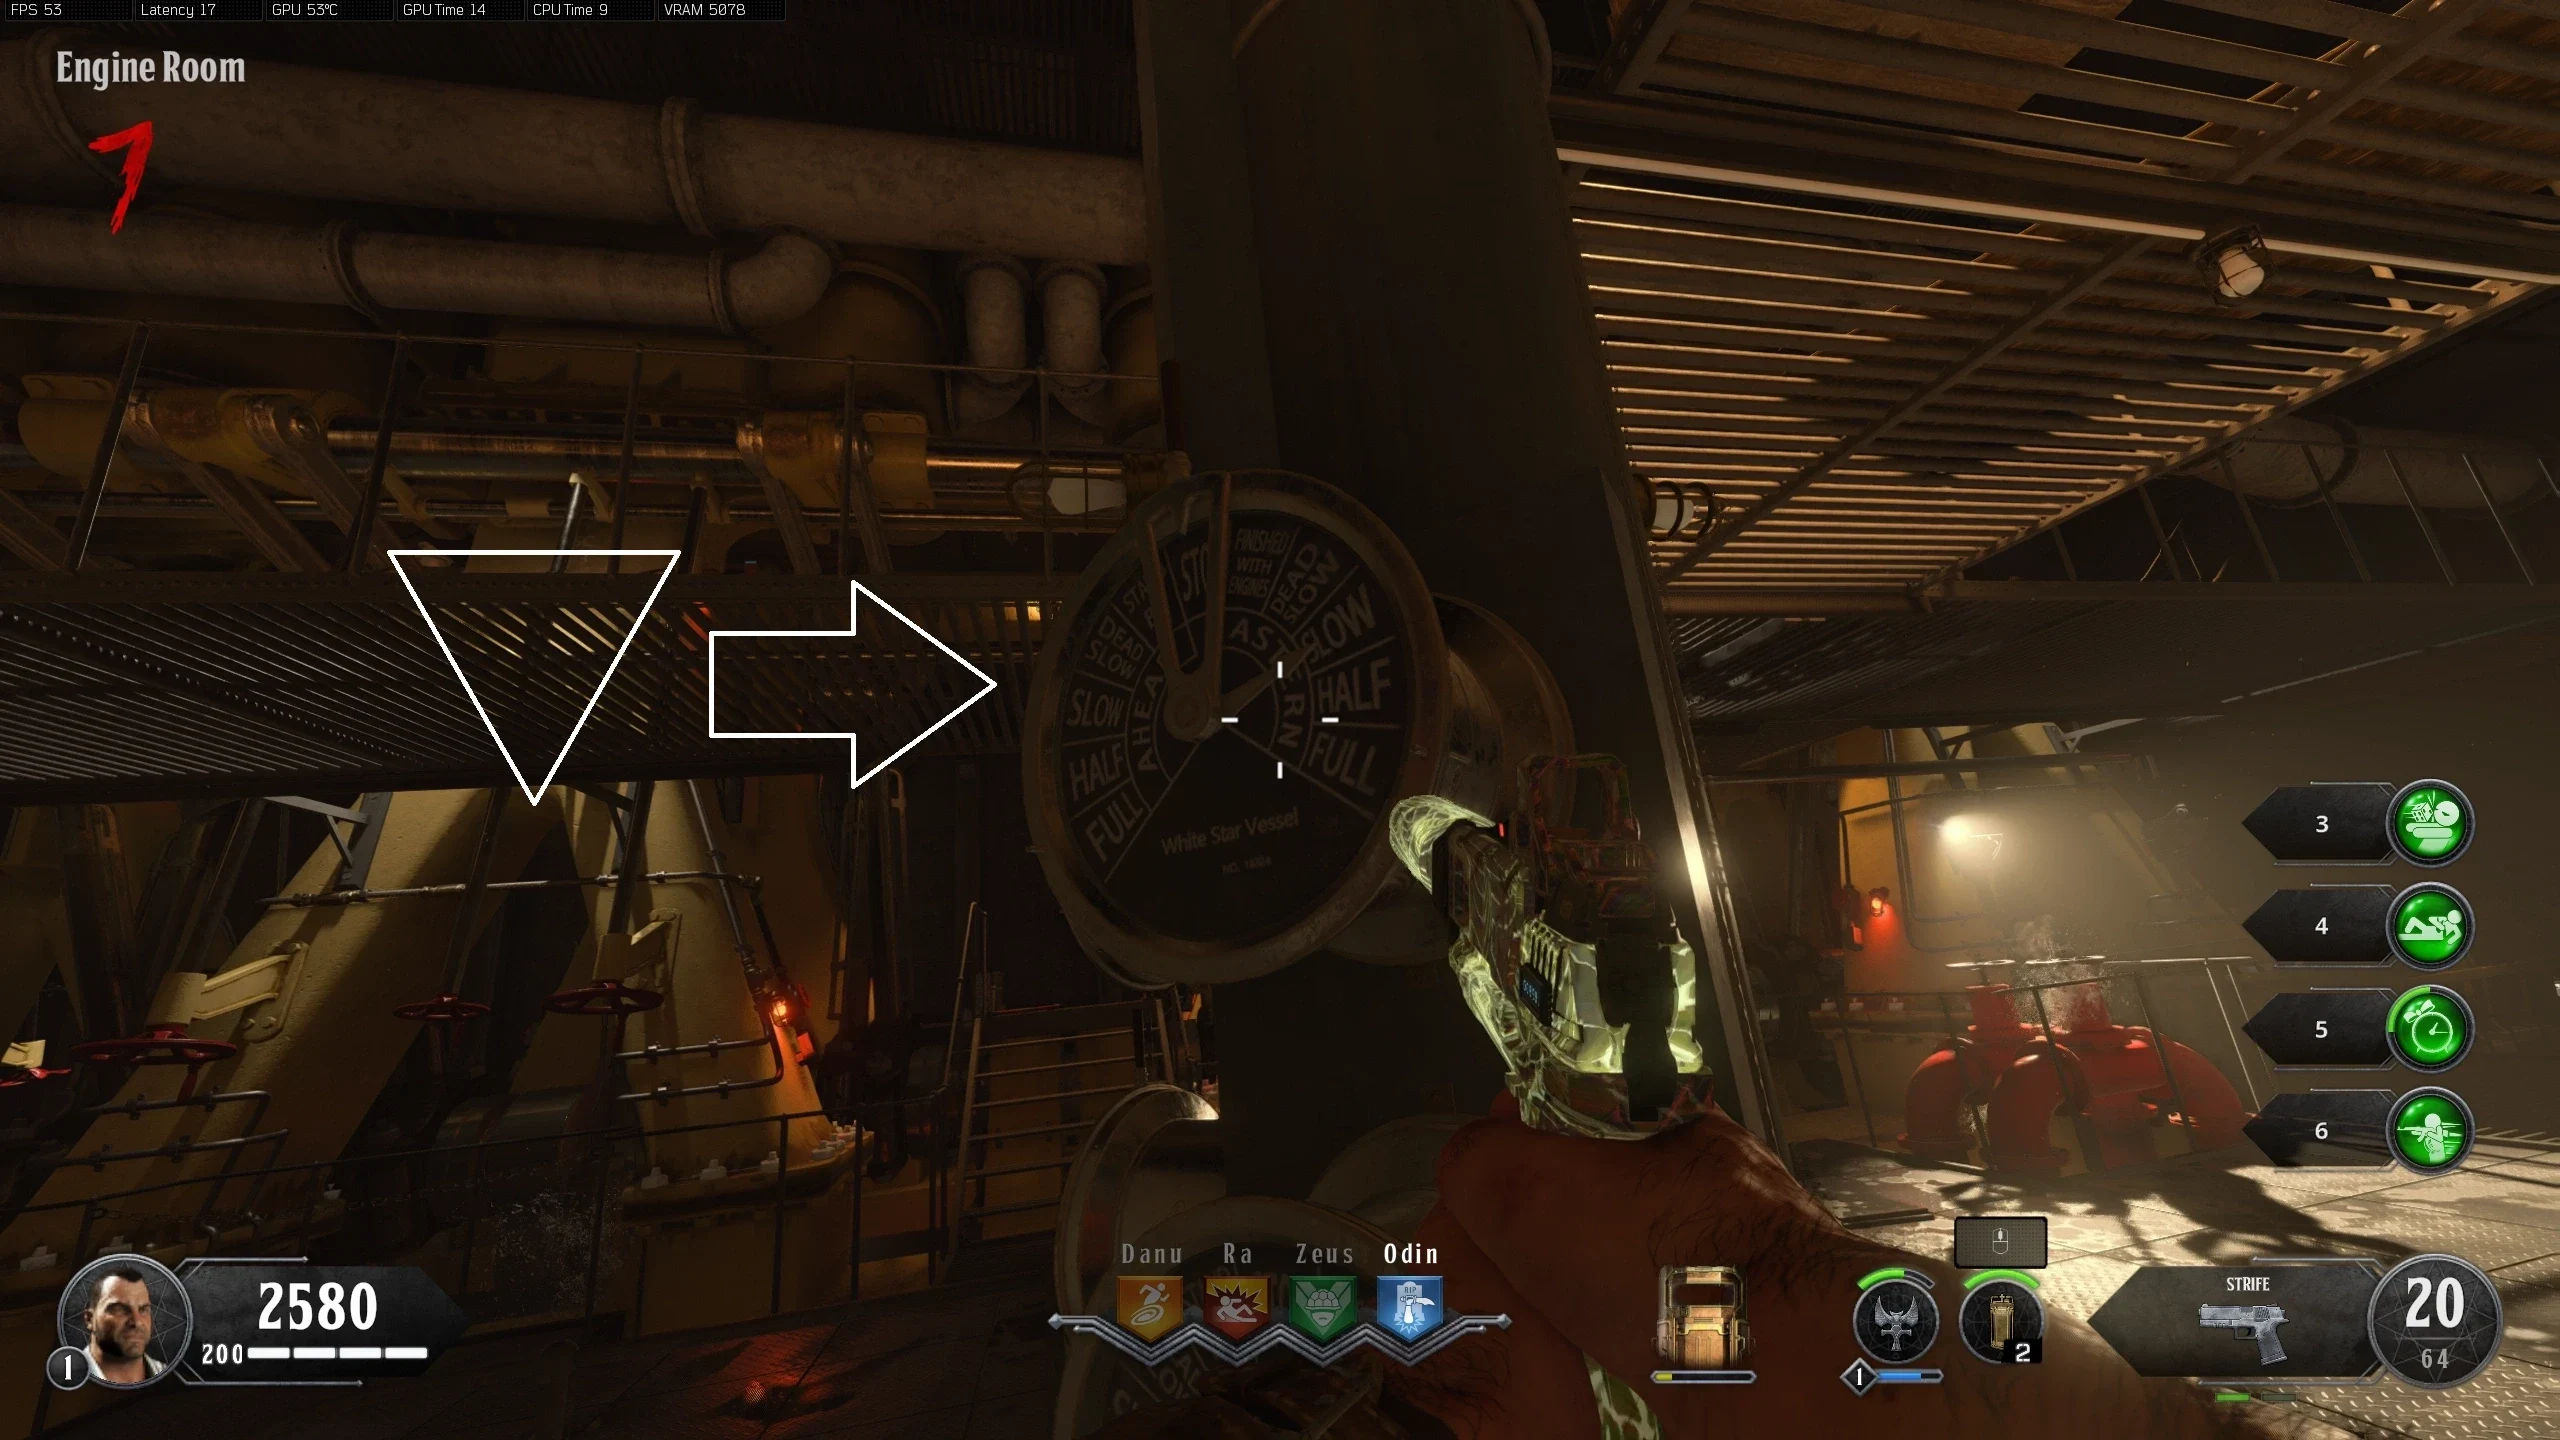
- Once all four symbols and times have been found, go to the 'Bridge' and find the four Dials, each with one of the four alchemical symbols on it. Adjust the handle on the dials to match the minute hand of the respective clocks. The Dials move in 5-minute intervals with the top being 0.
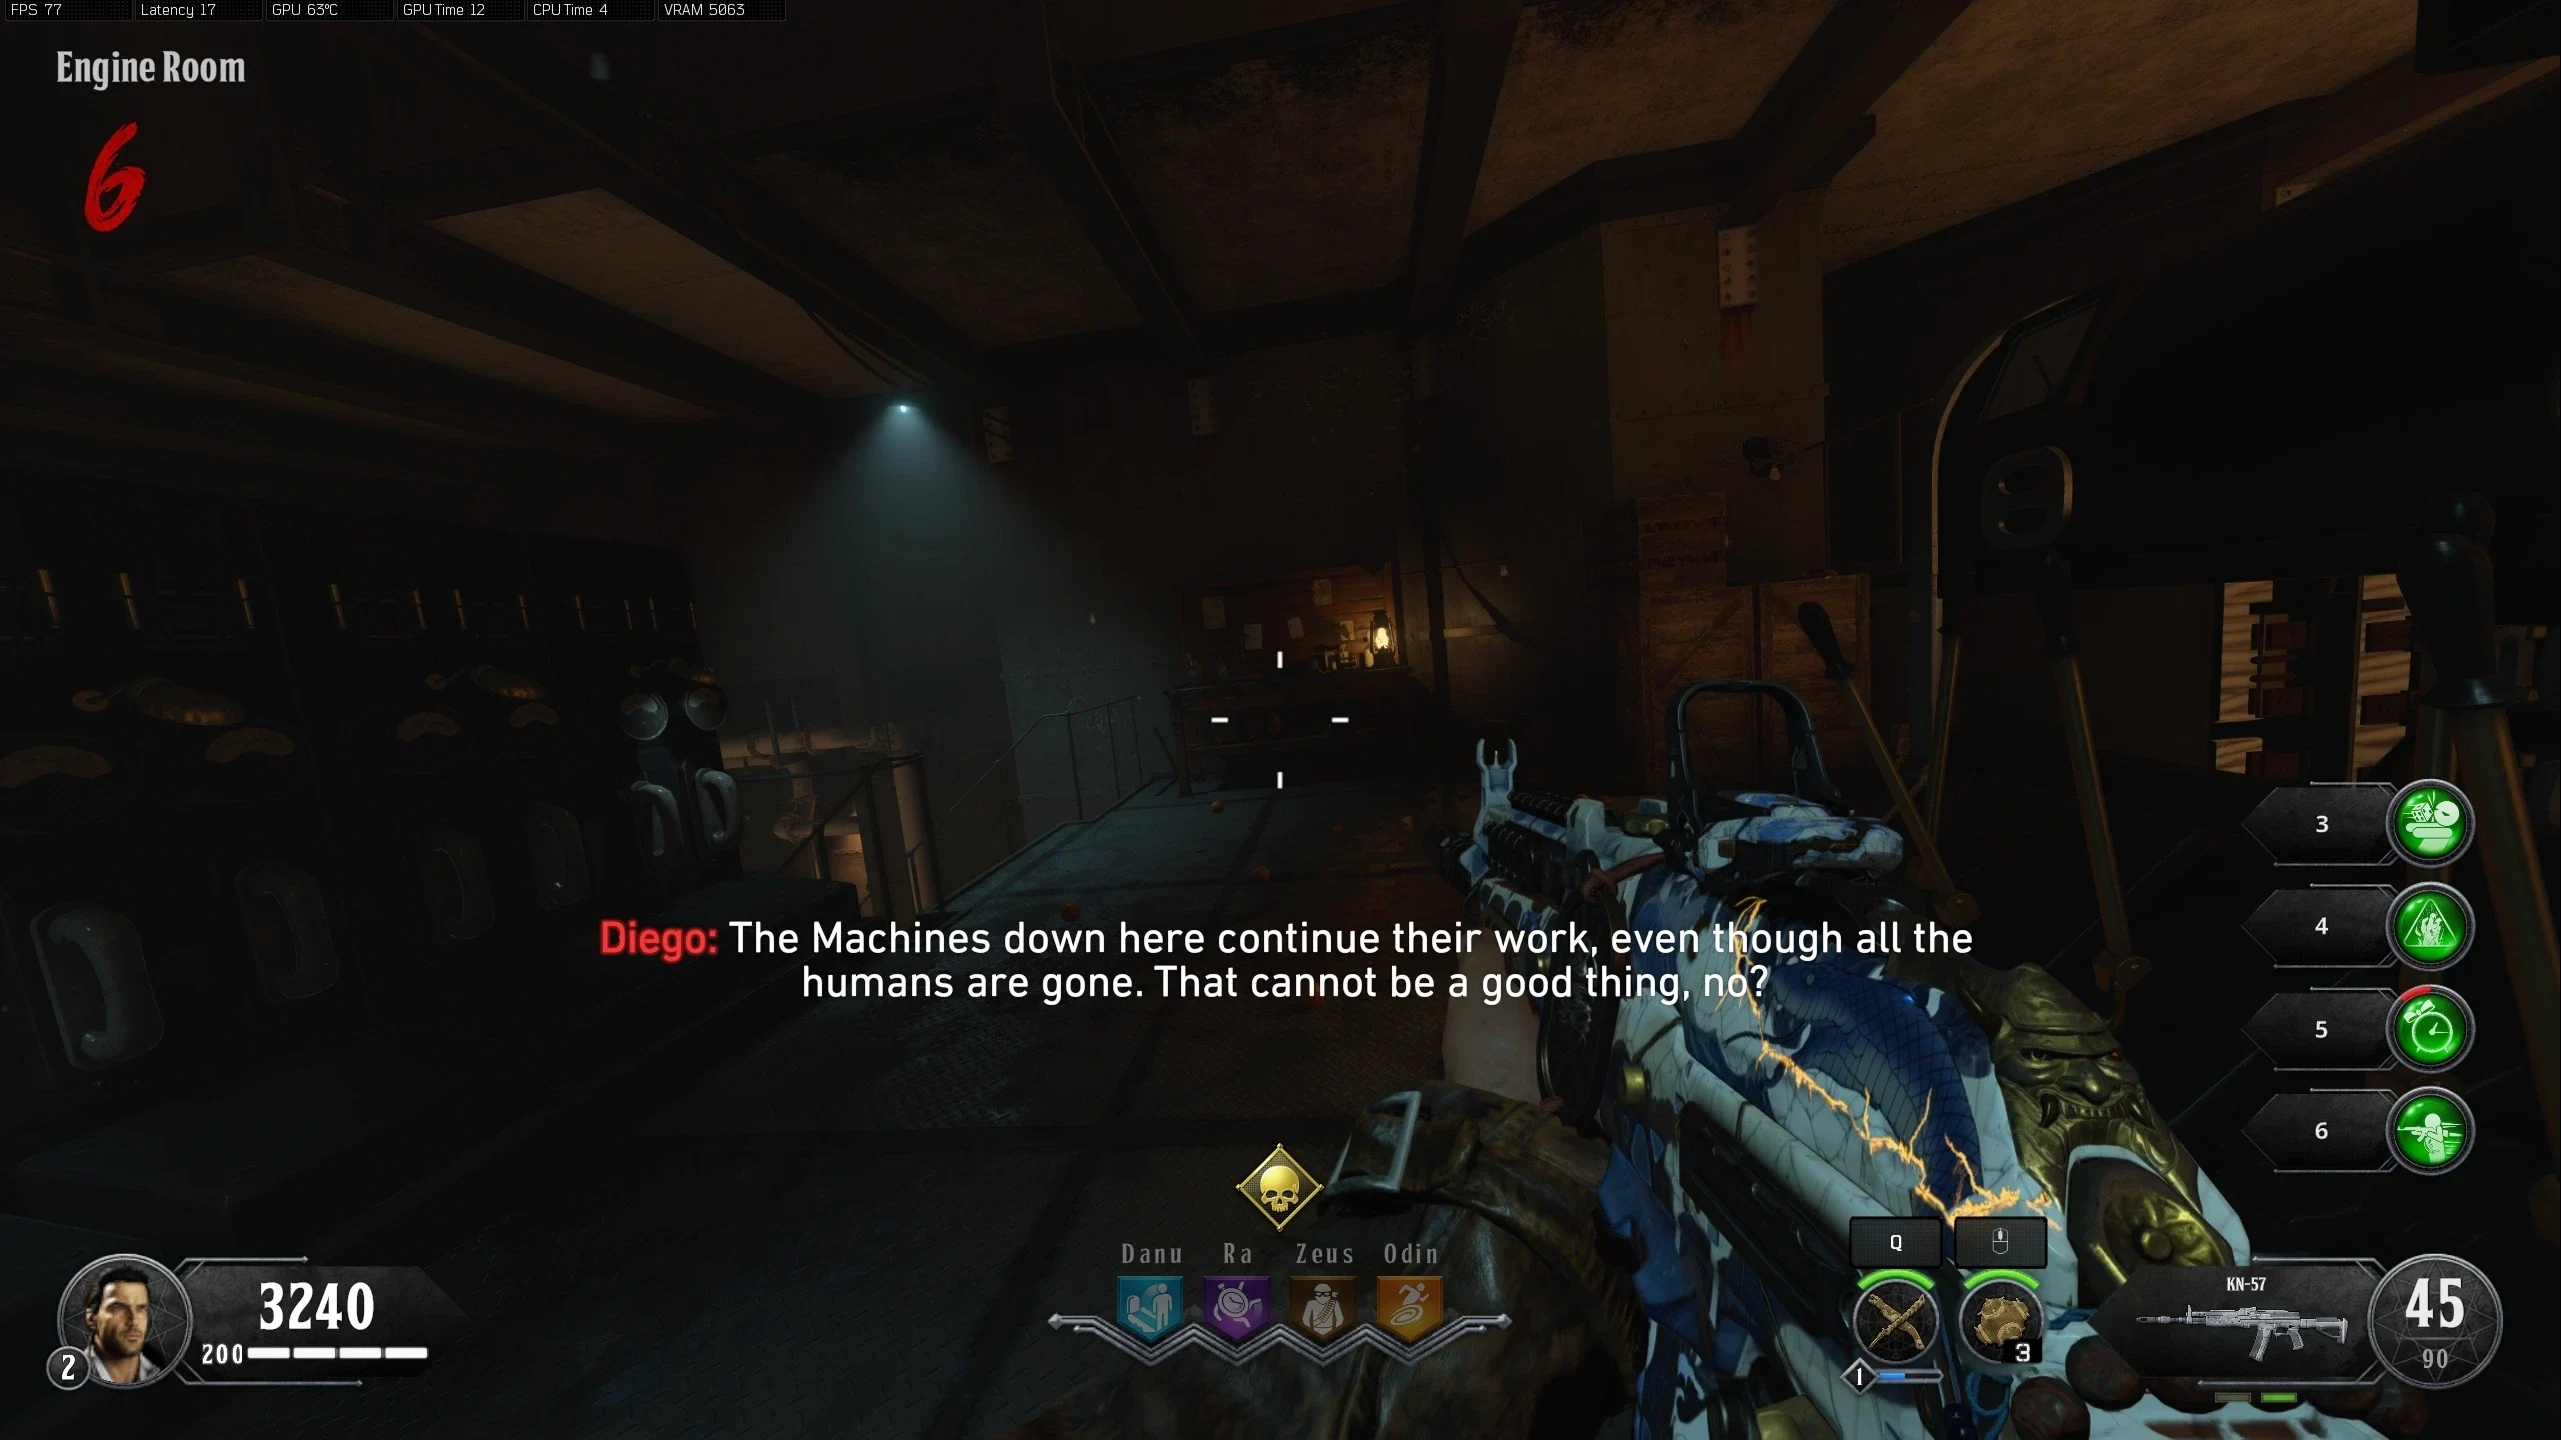
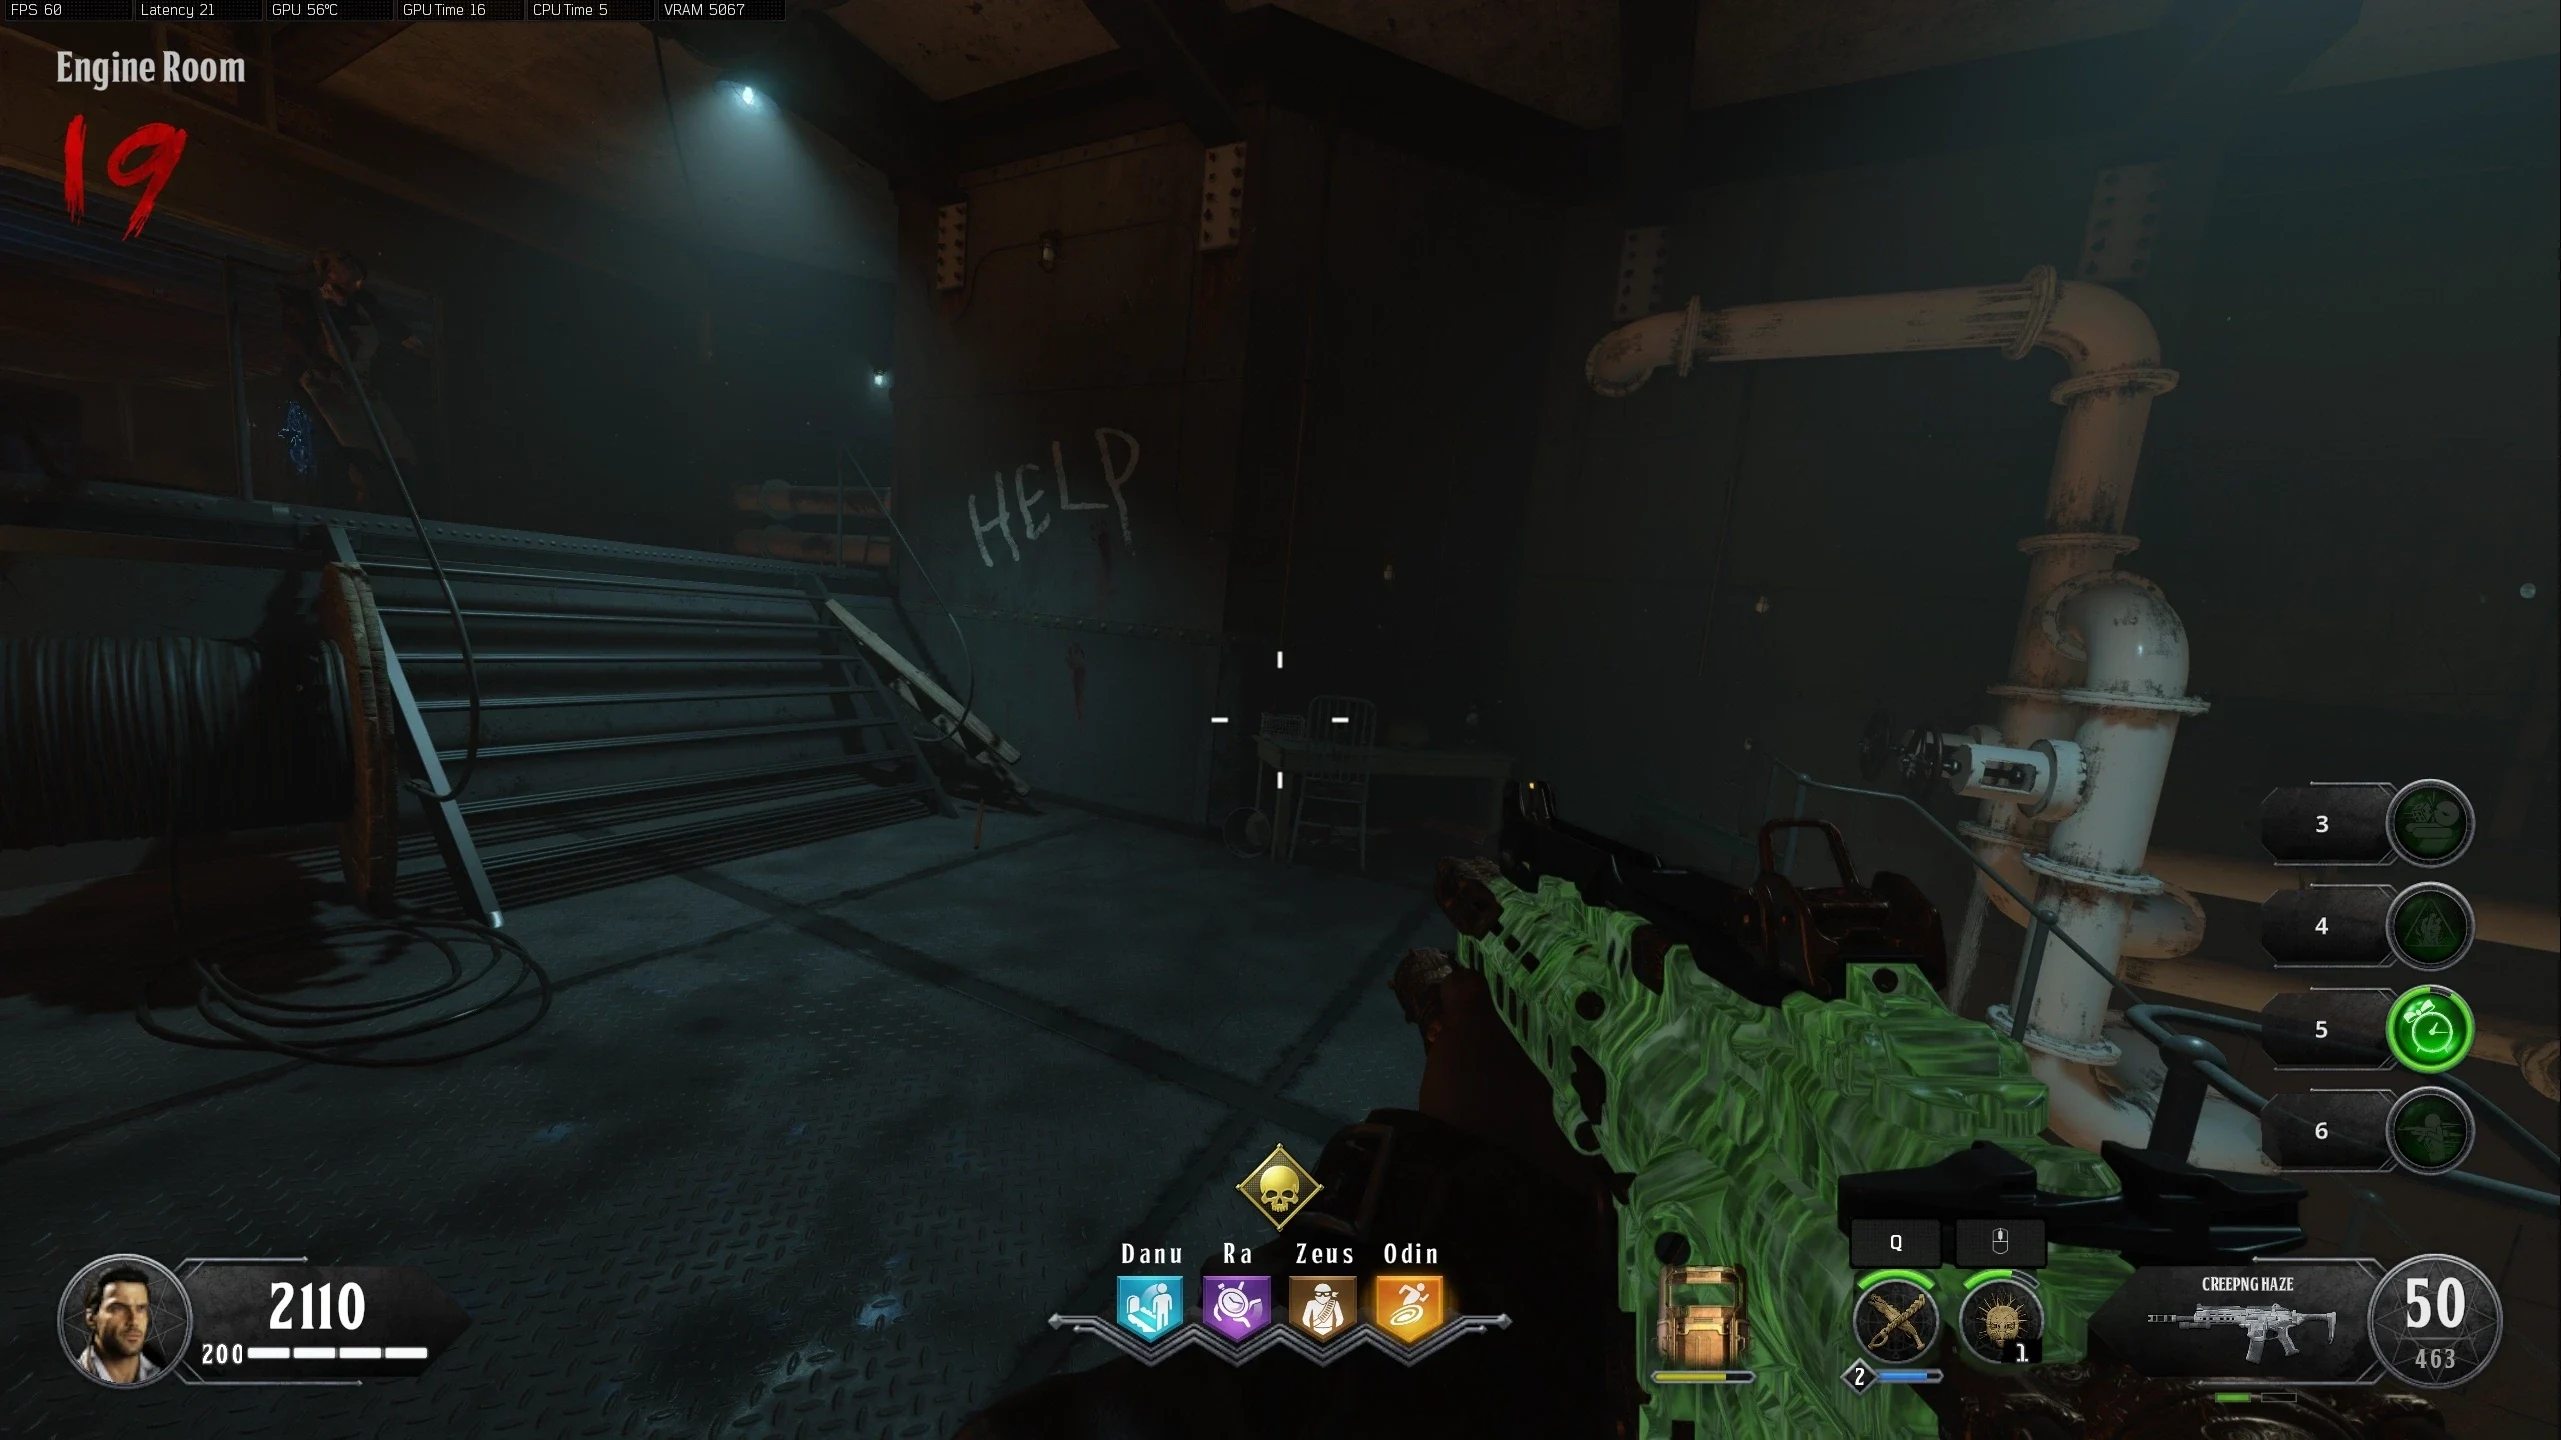
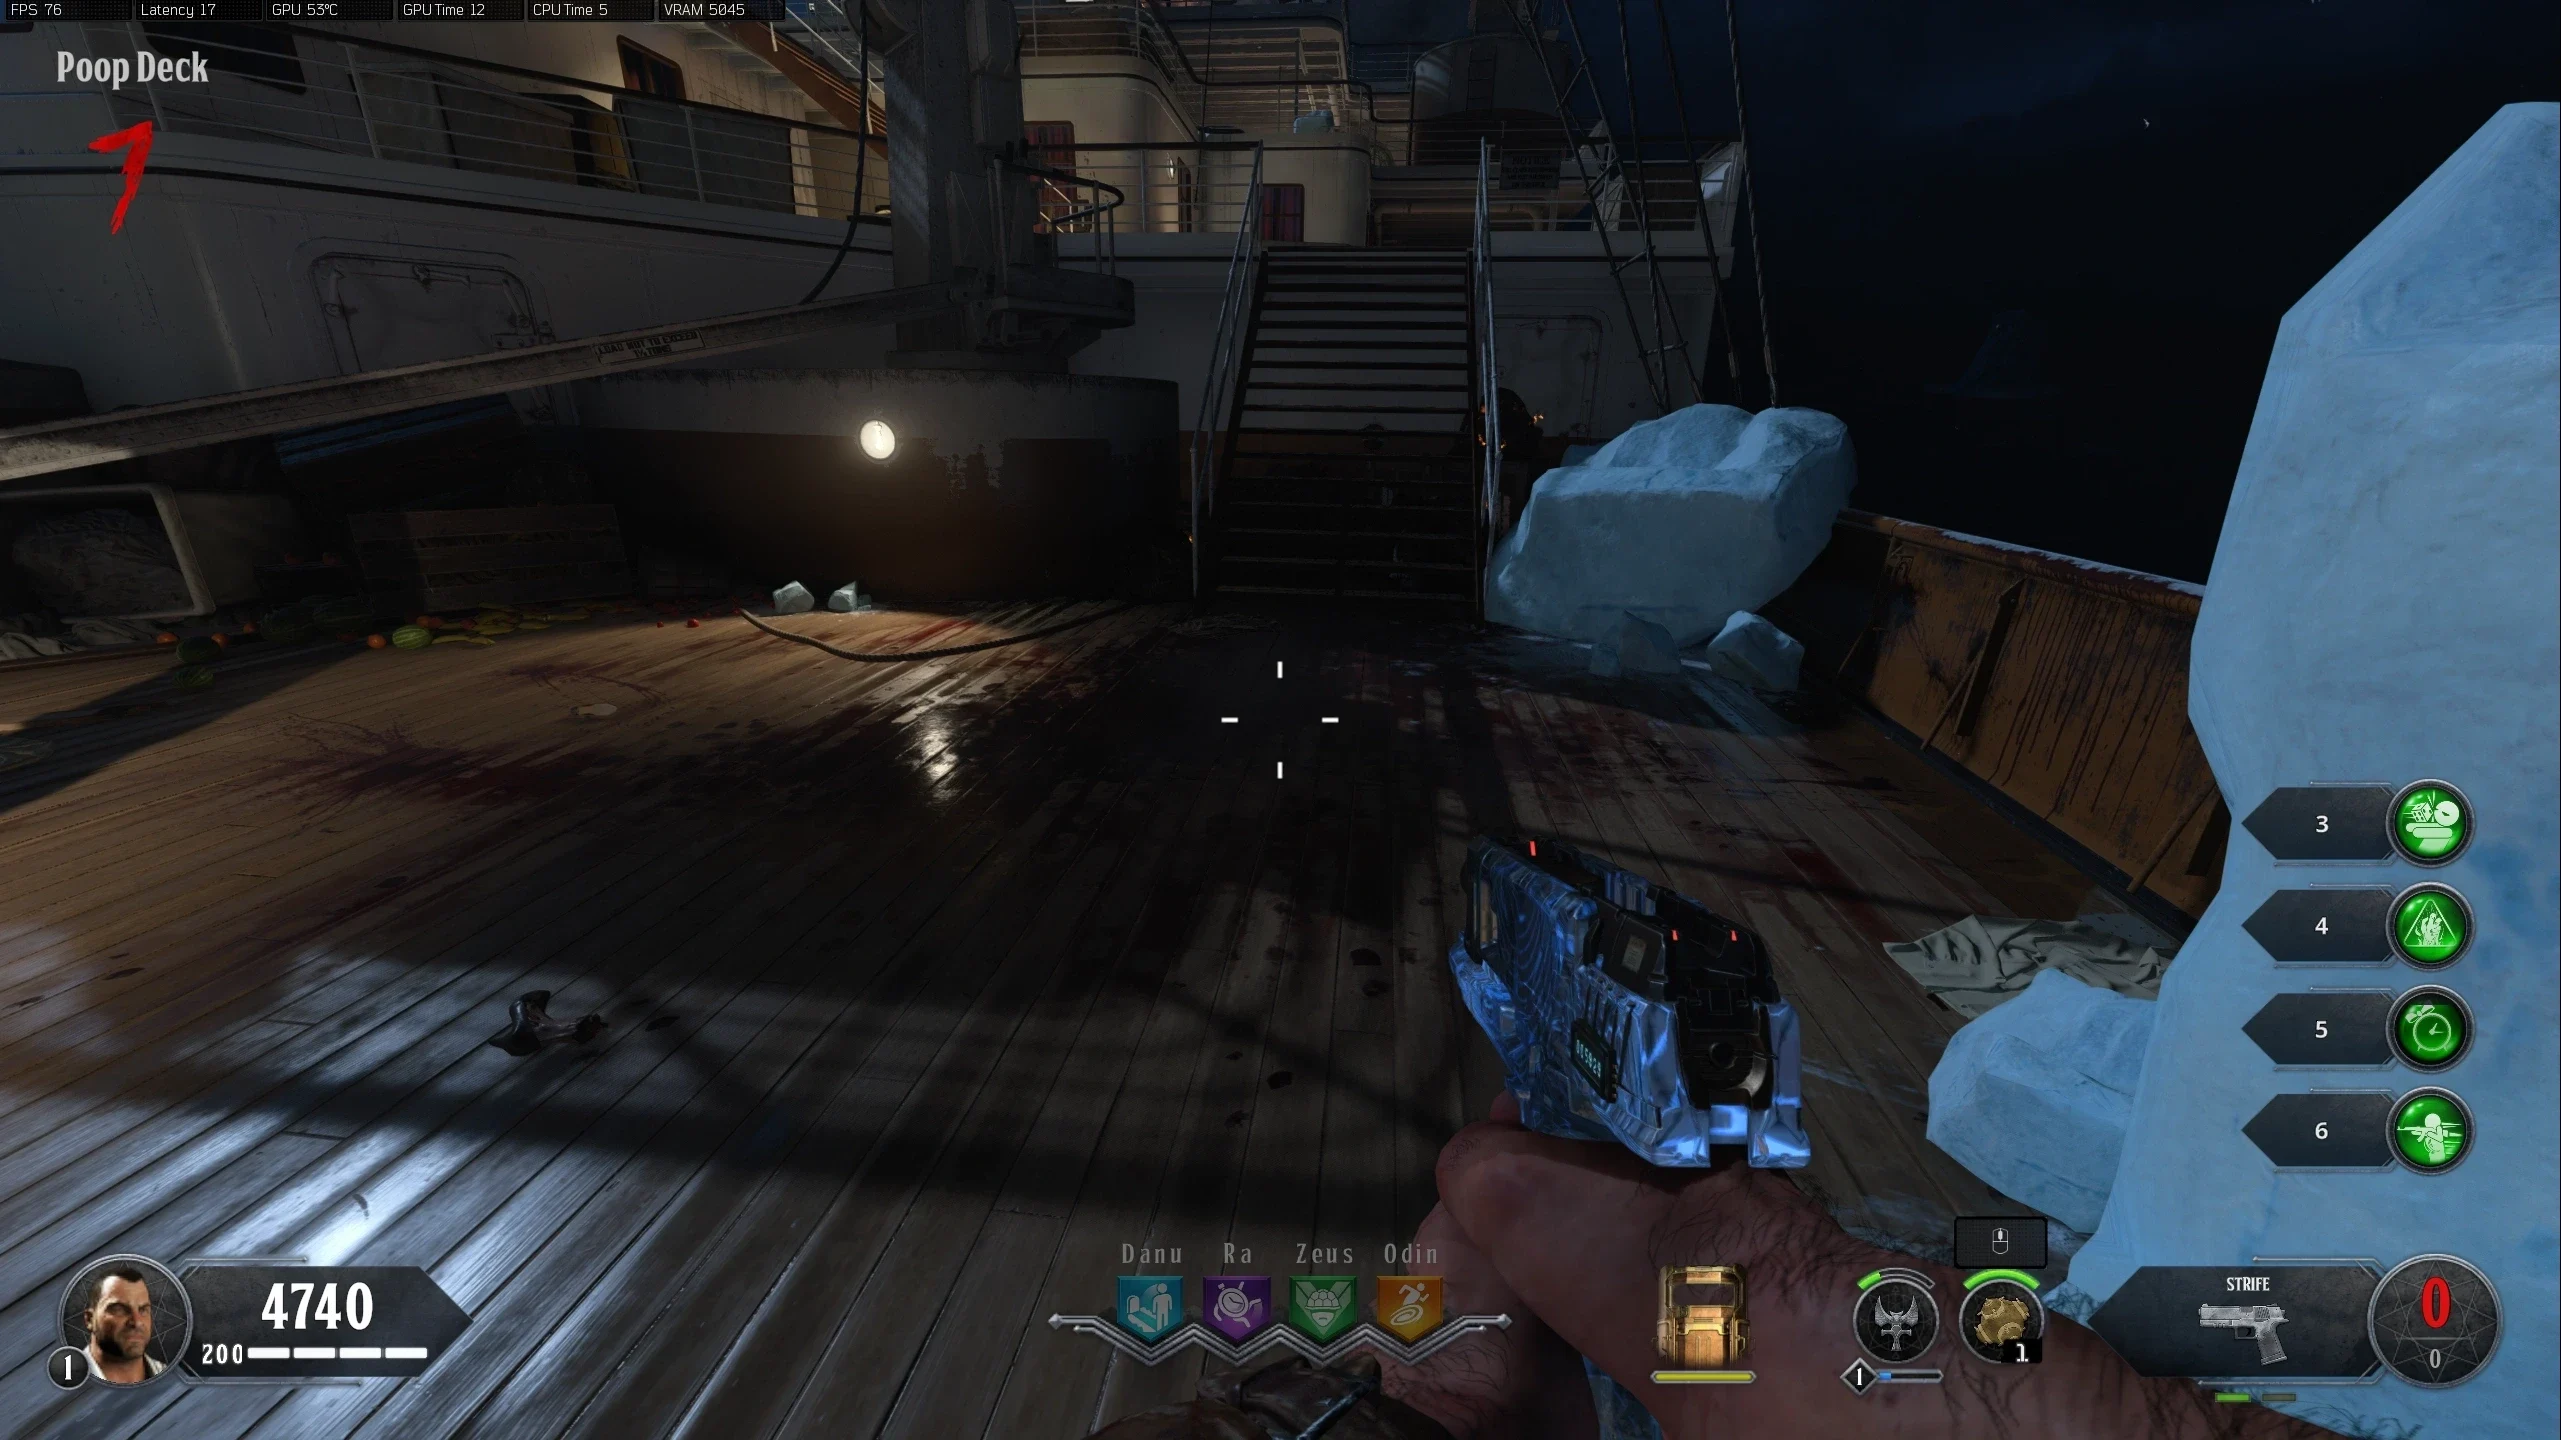
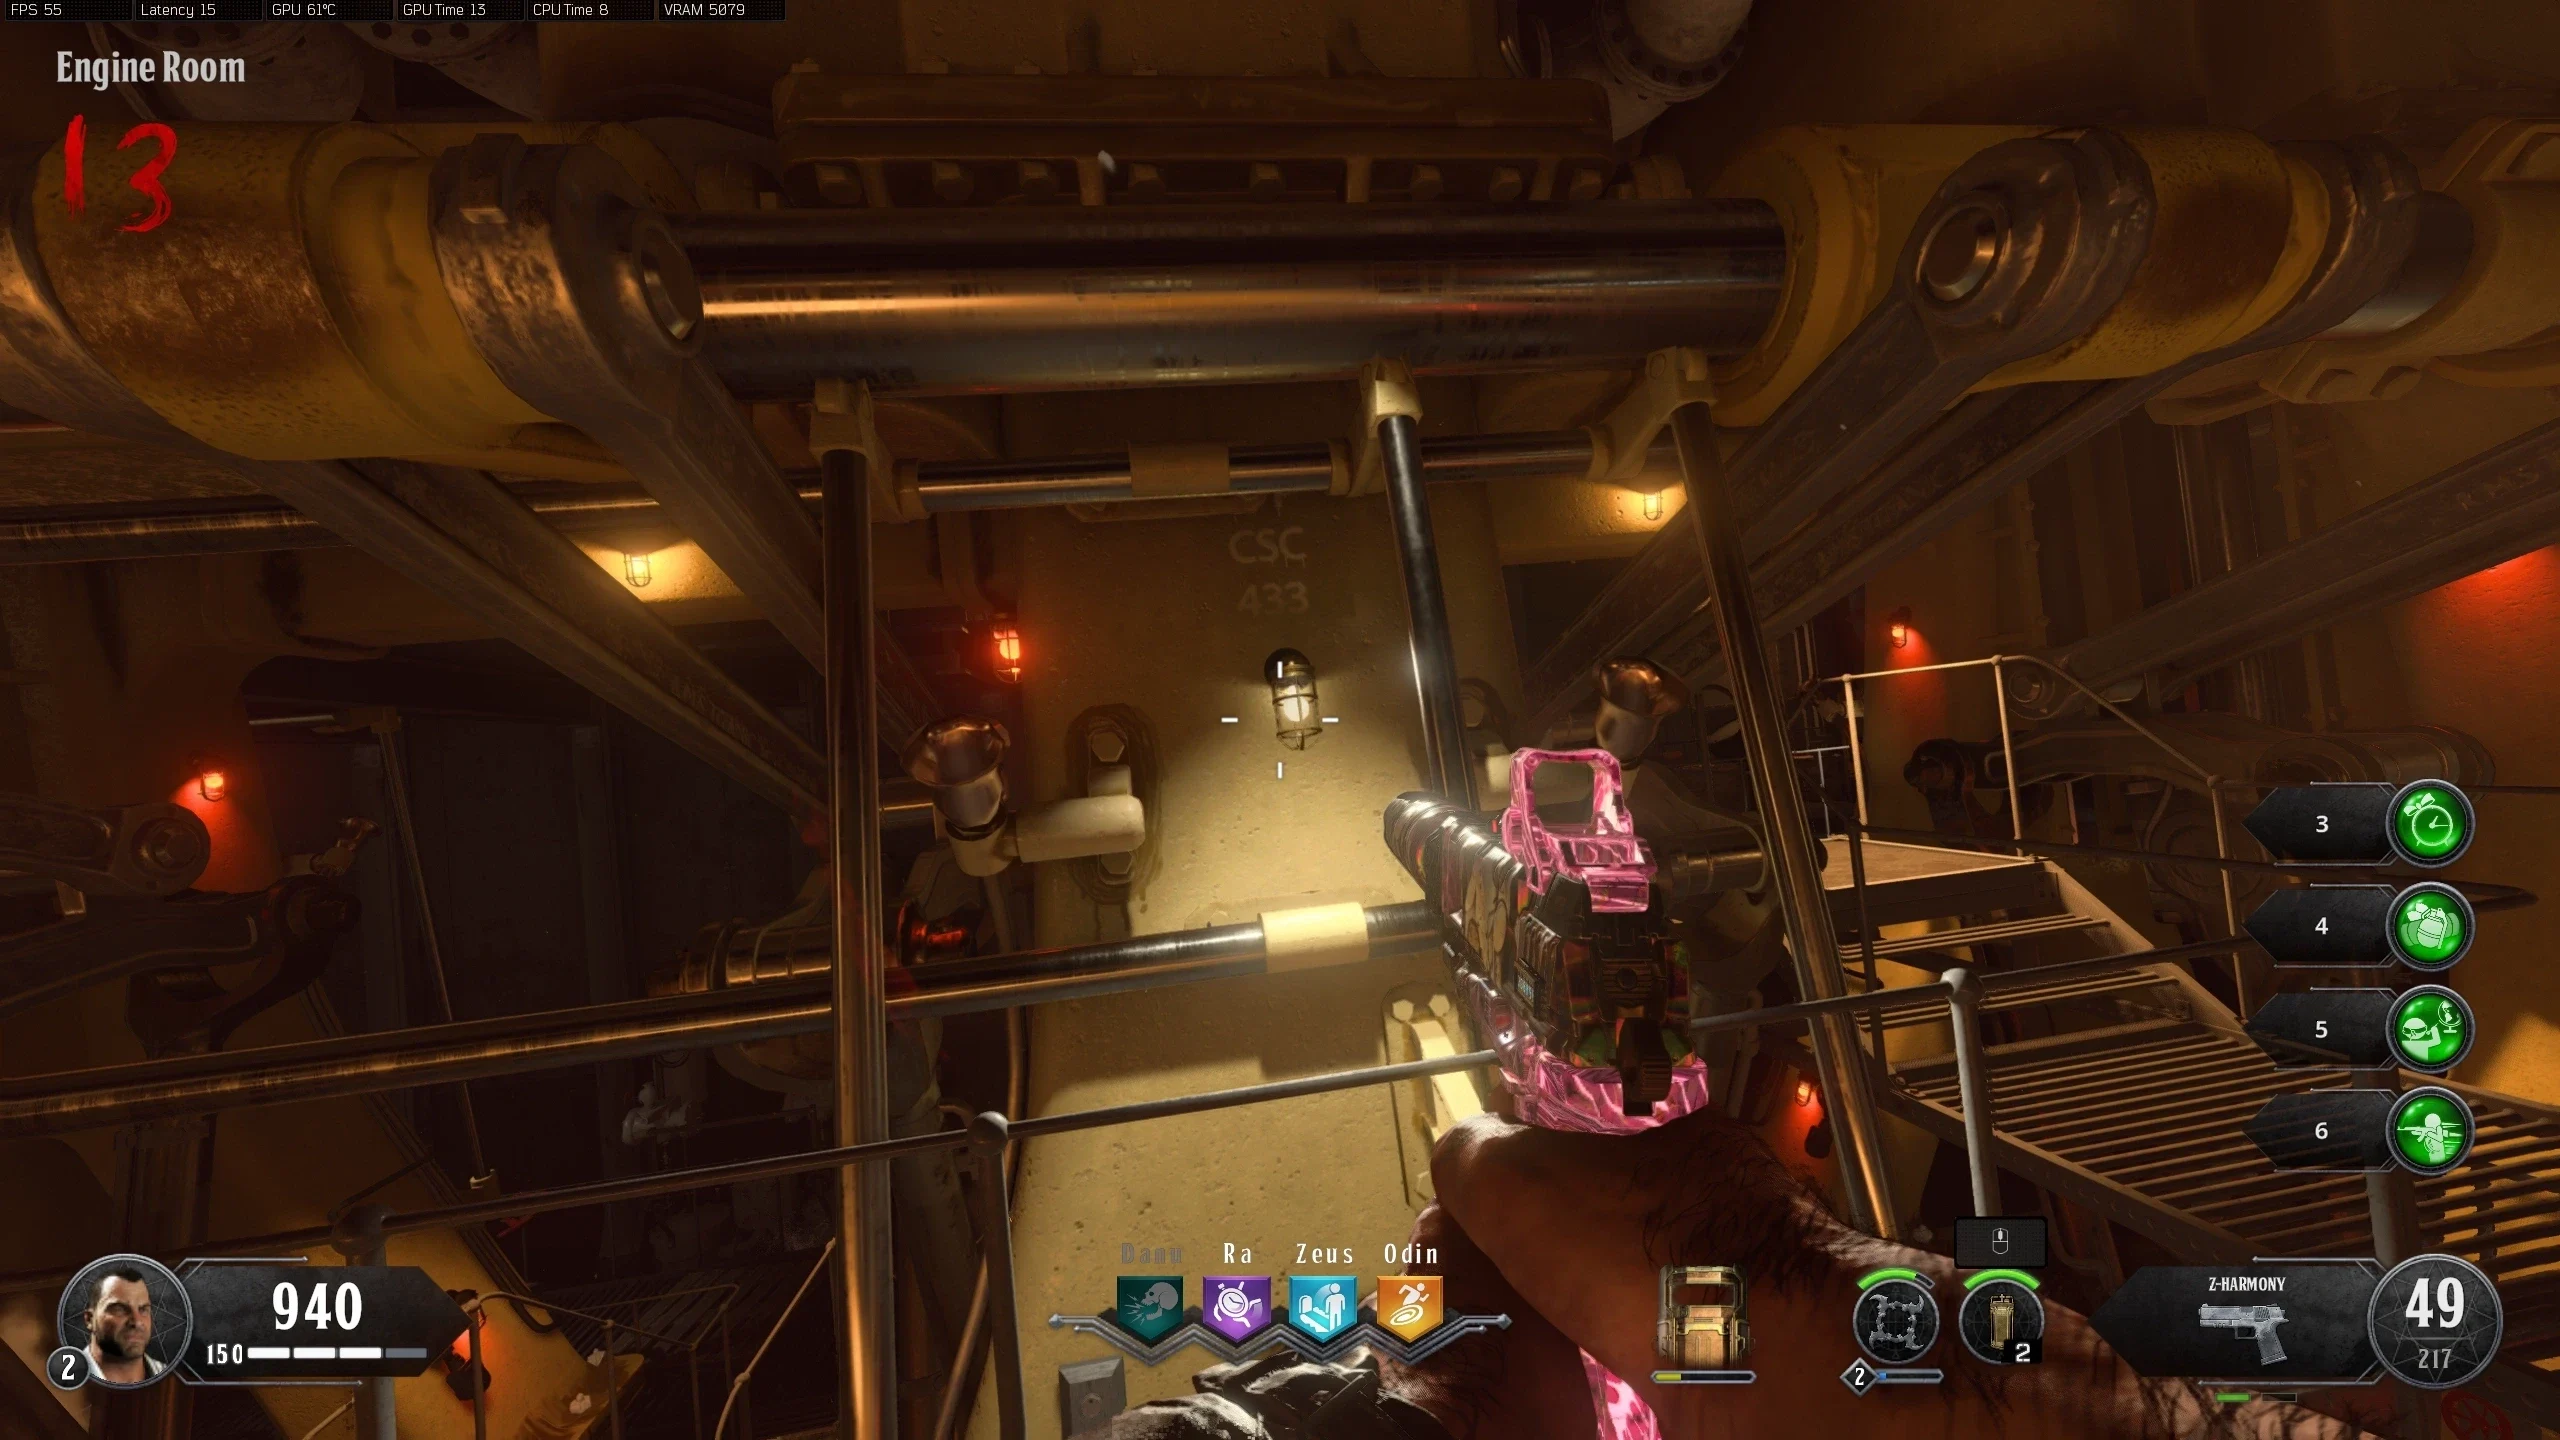
- The four hour-hand dials are split between the 'Poop Deck' and 'Engine Room.' These dials don't have the symbols drawn on them and always correspond to the same symbols. These dials move in 1-hour increments.
- The small arrow behind the big handle on one of the dials indicates how the corresponding dial is set. This can be used to easily tell which dial (if any) is set incorrectly.
- Dial symbols and locations:
- If all dials are set correctly, a sound will play and the dials will no longer be able to be moved.
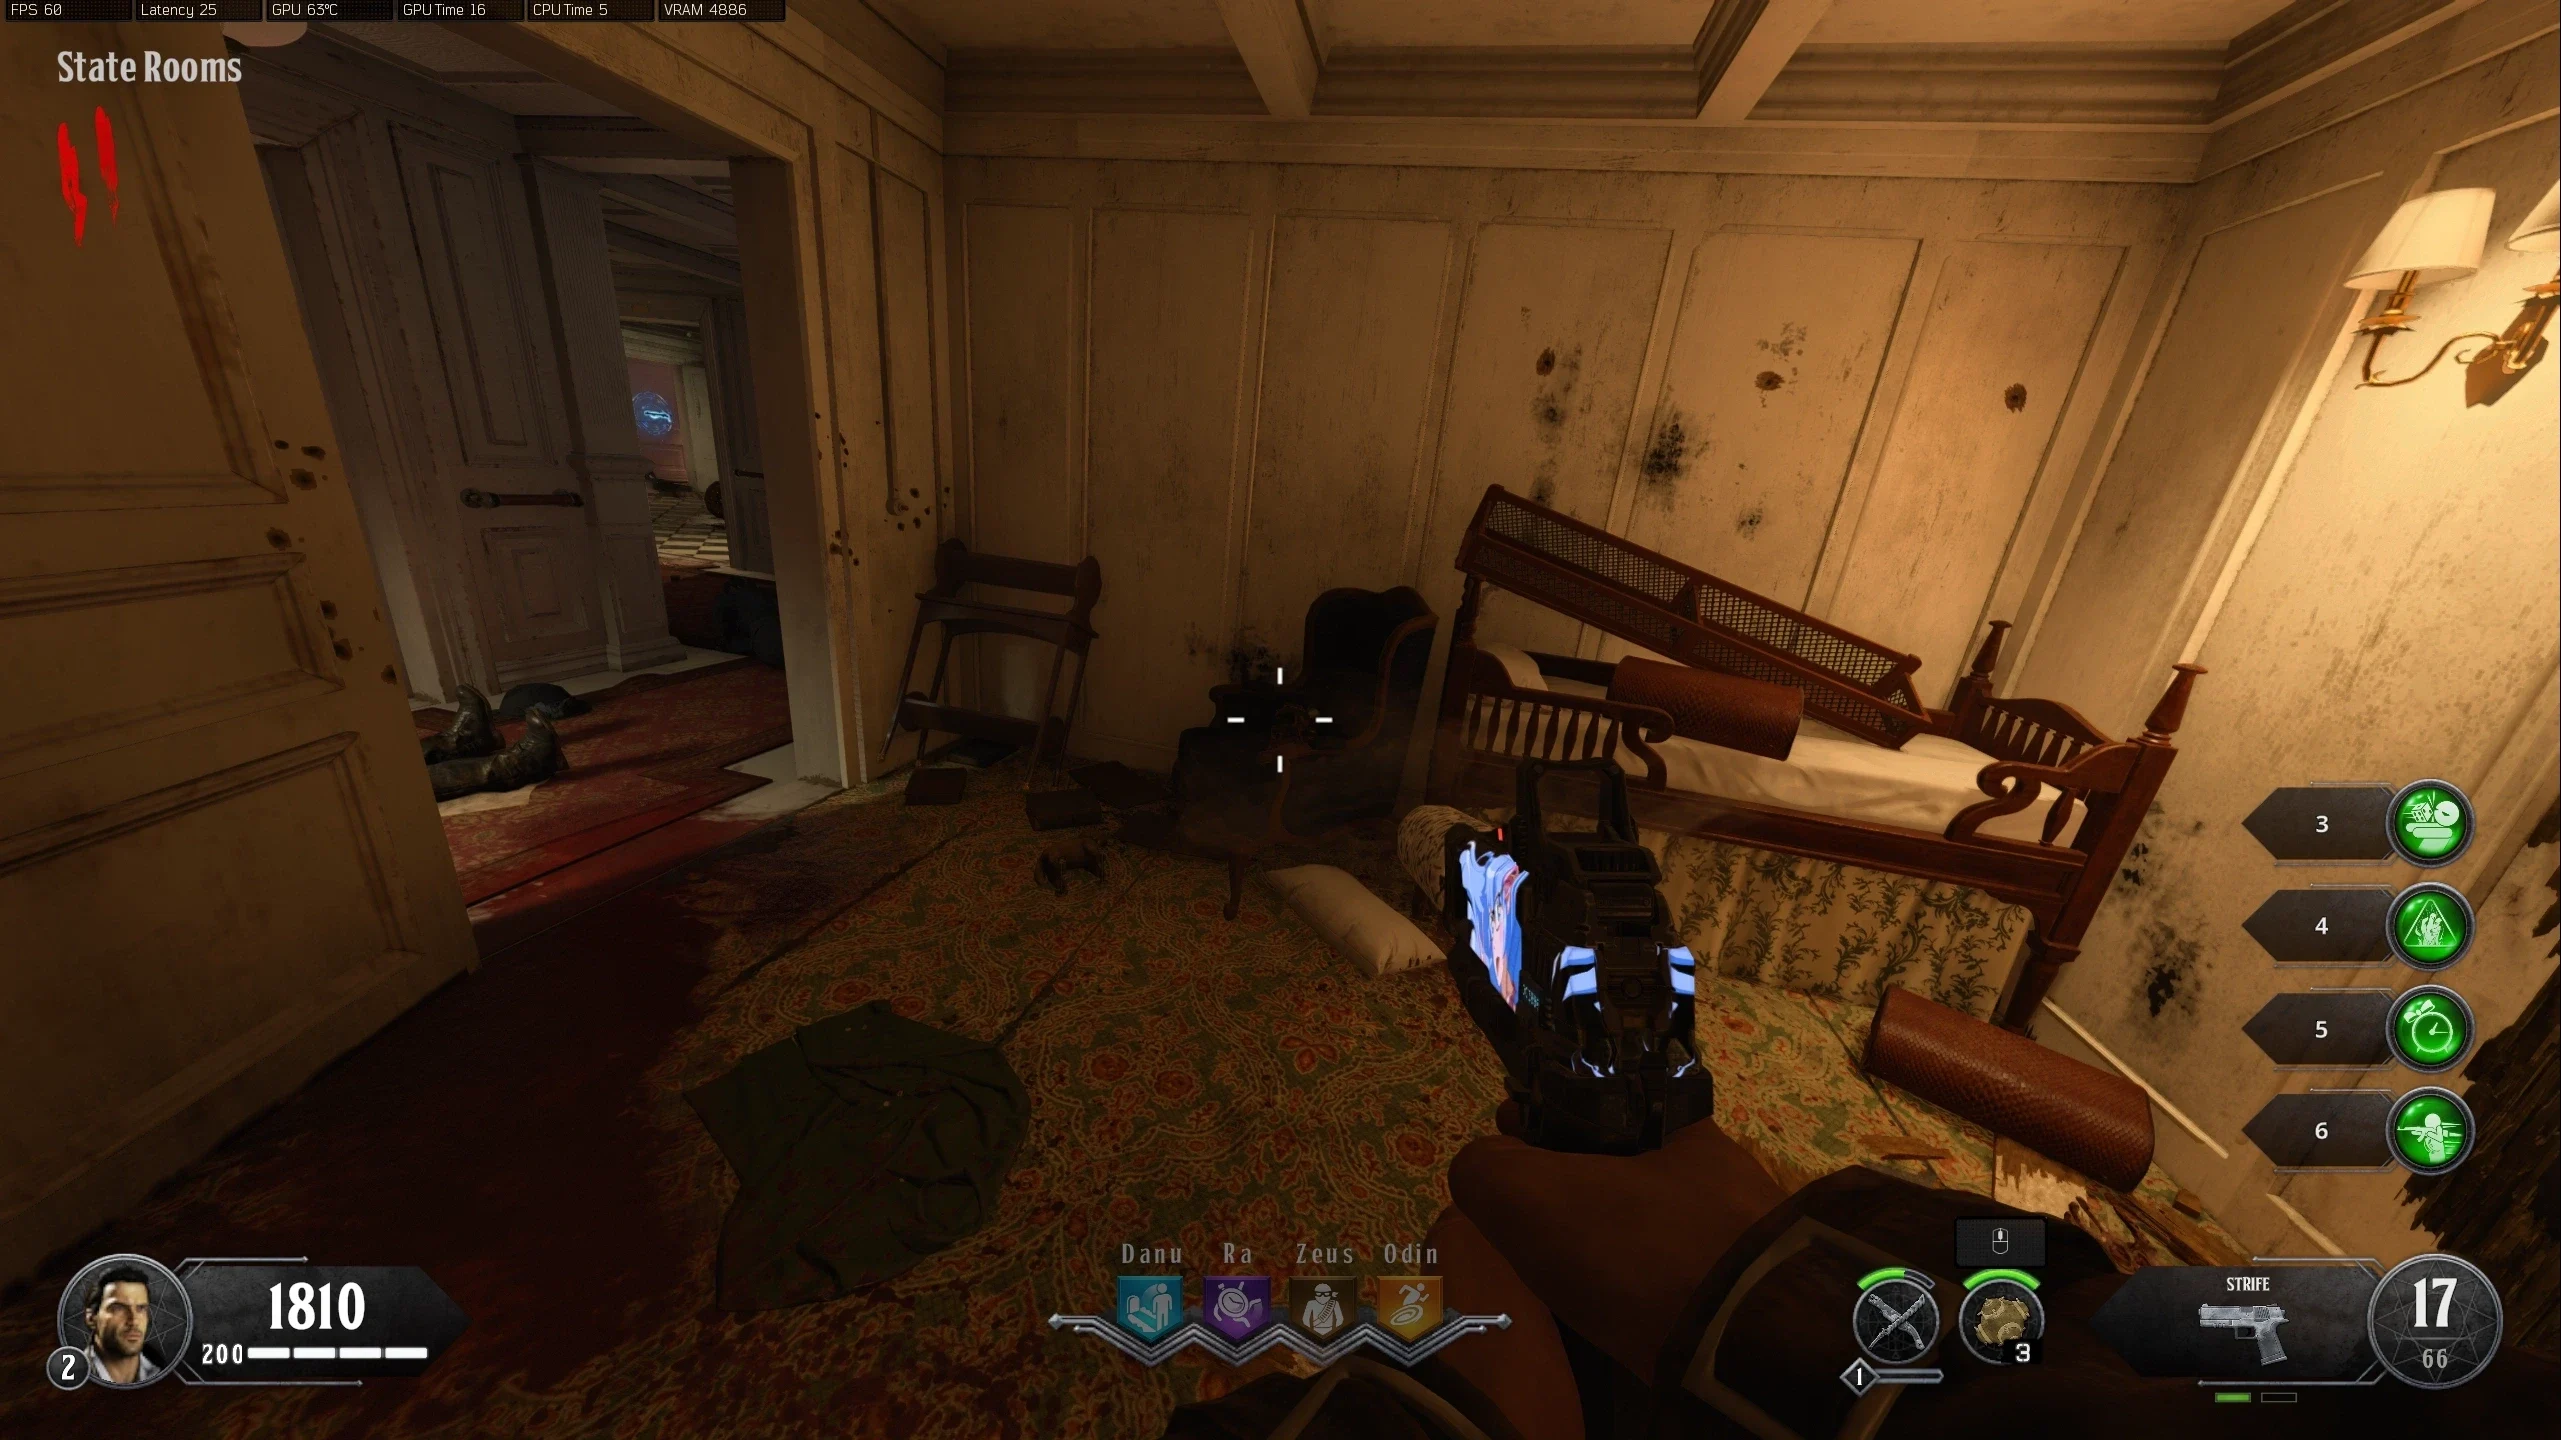
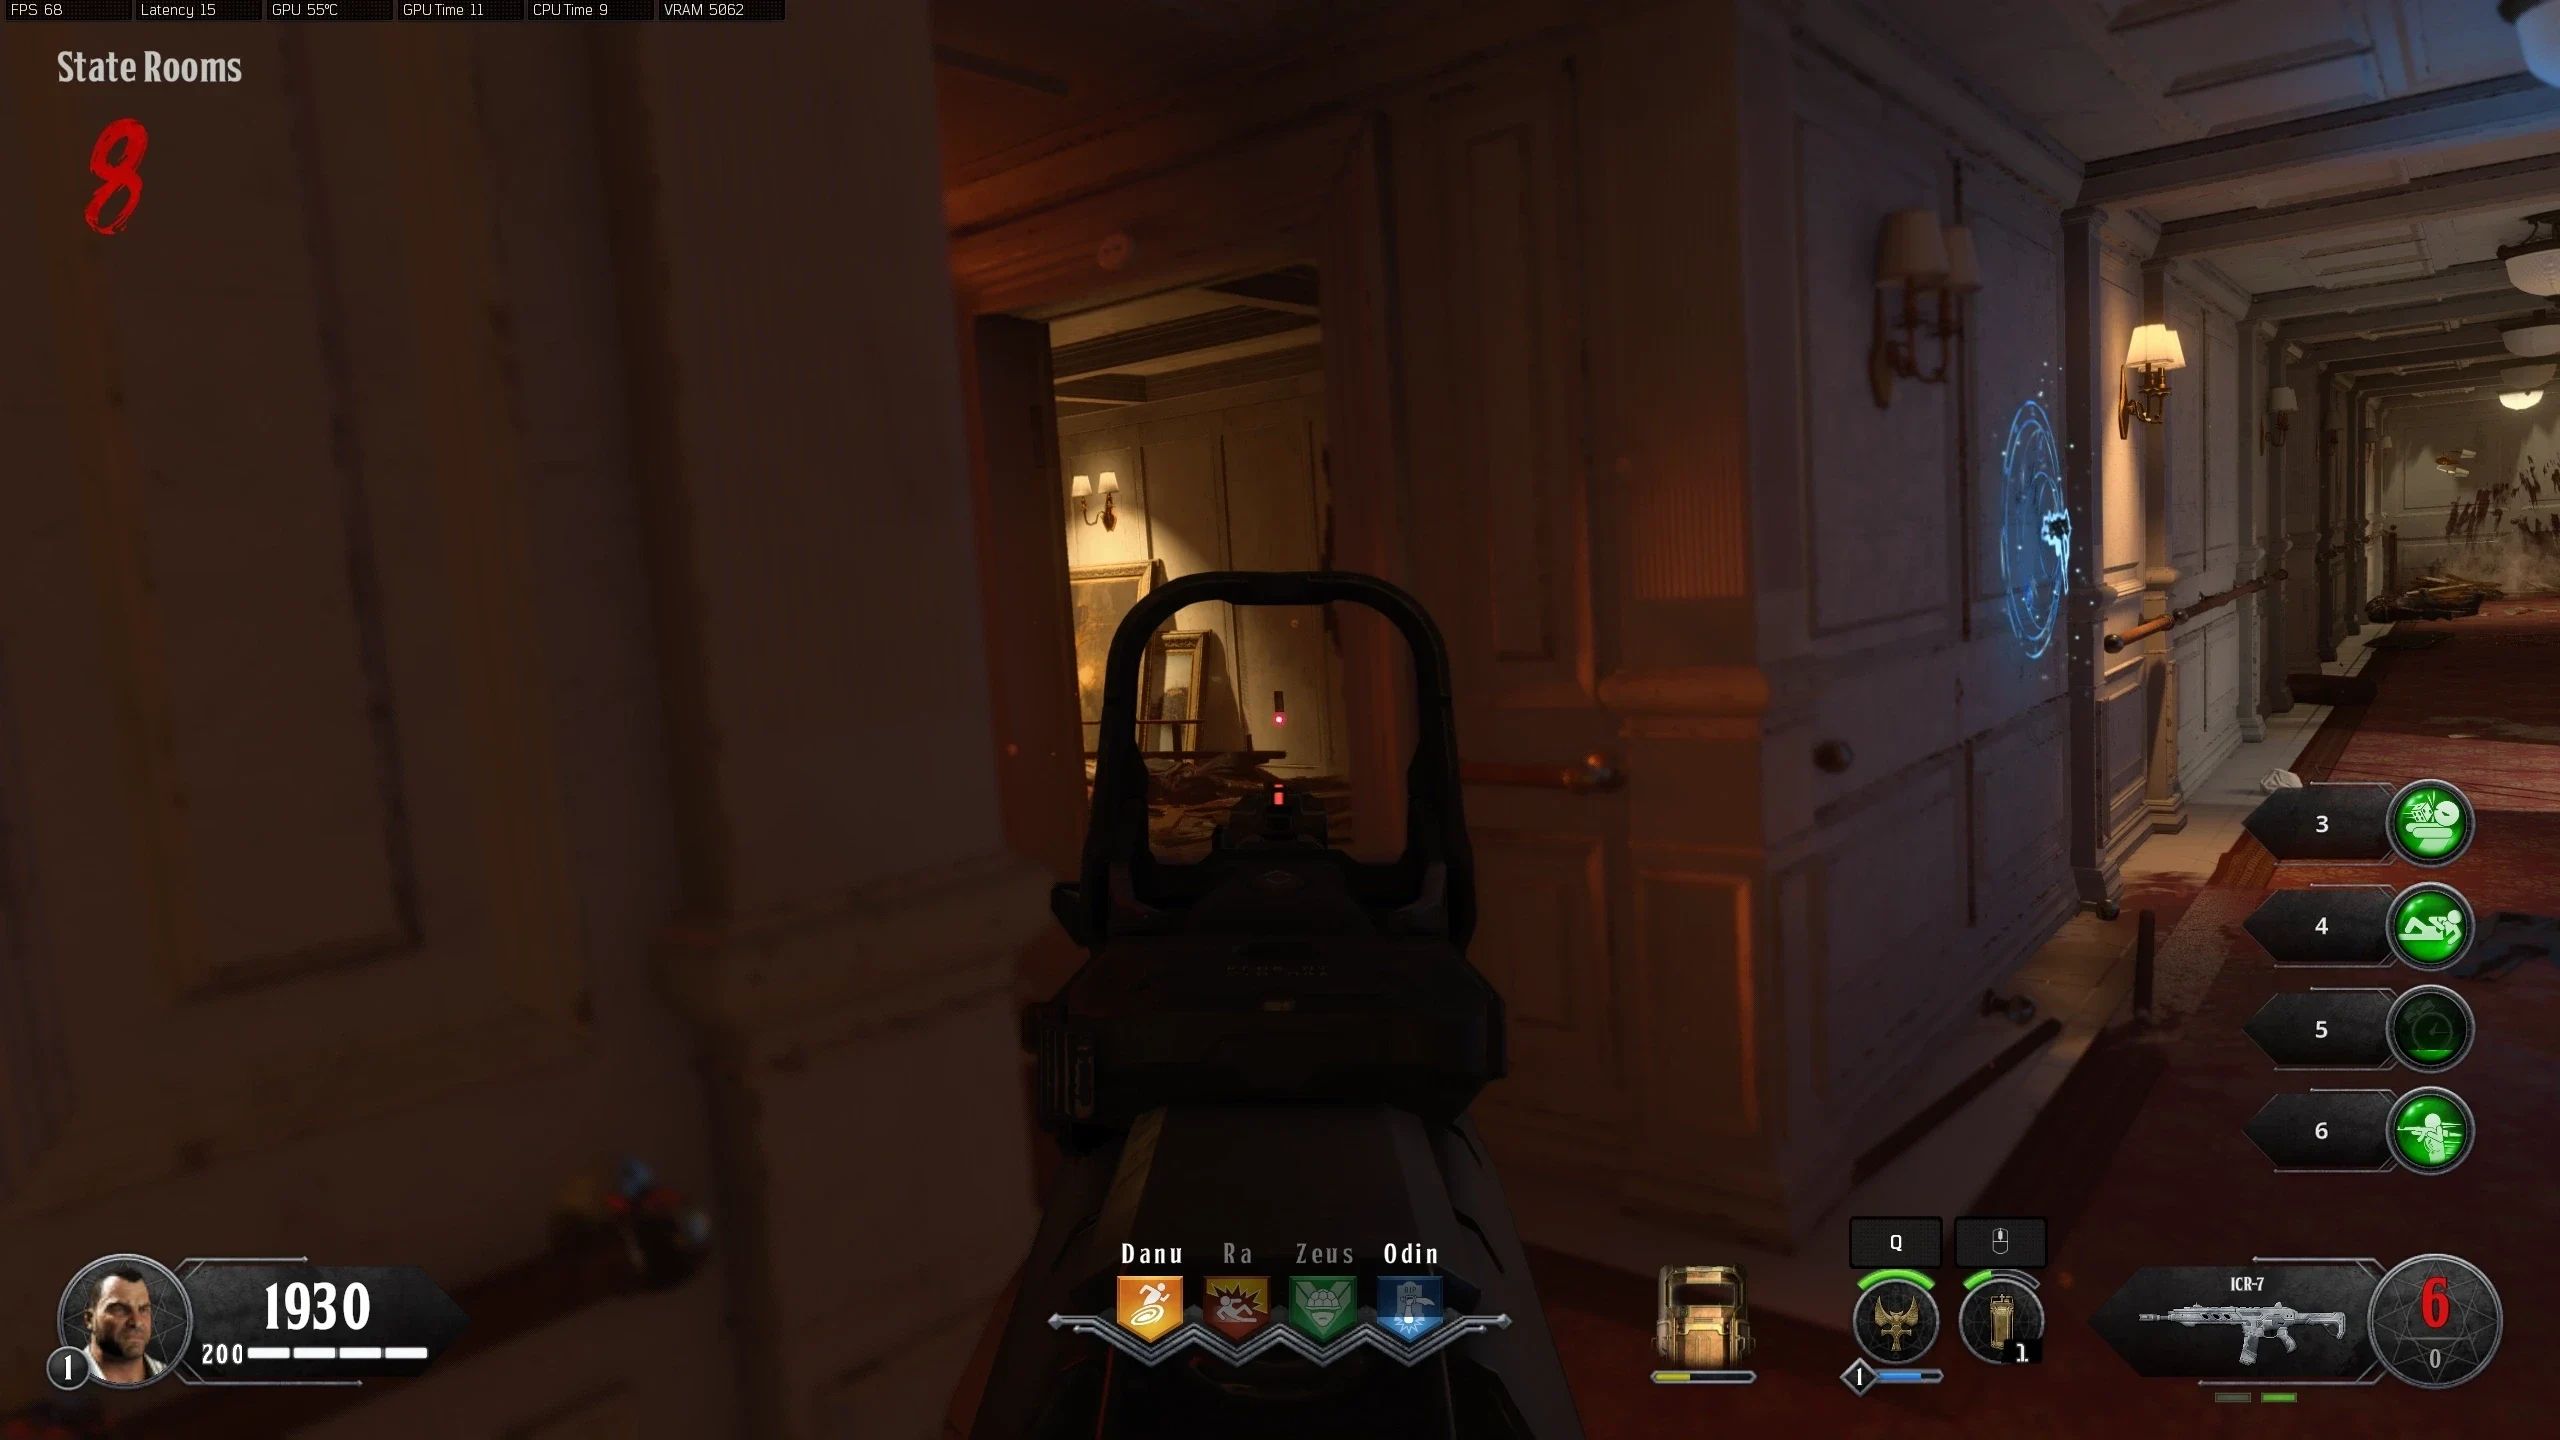
- Locate the four electrical outlets around the map, each spewing a different element. Write down/remember which outlet has which element, it will be important later. There are six possible outlets, but only four will be elemental. Outlet Locations:
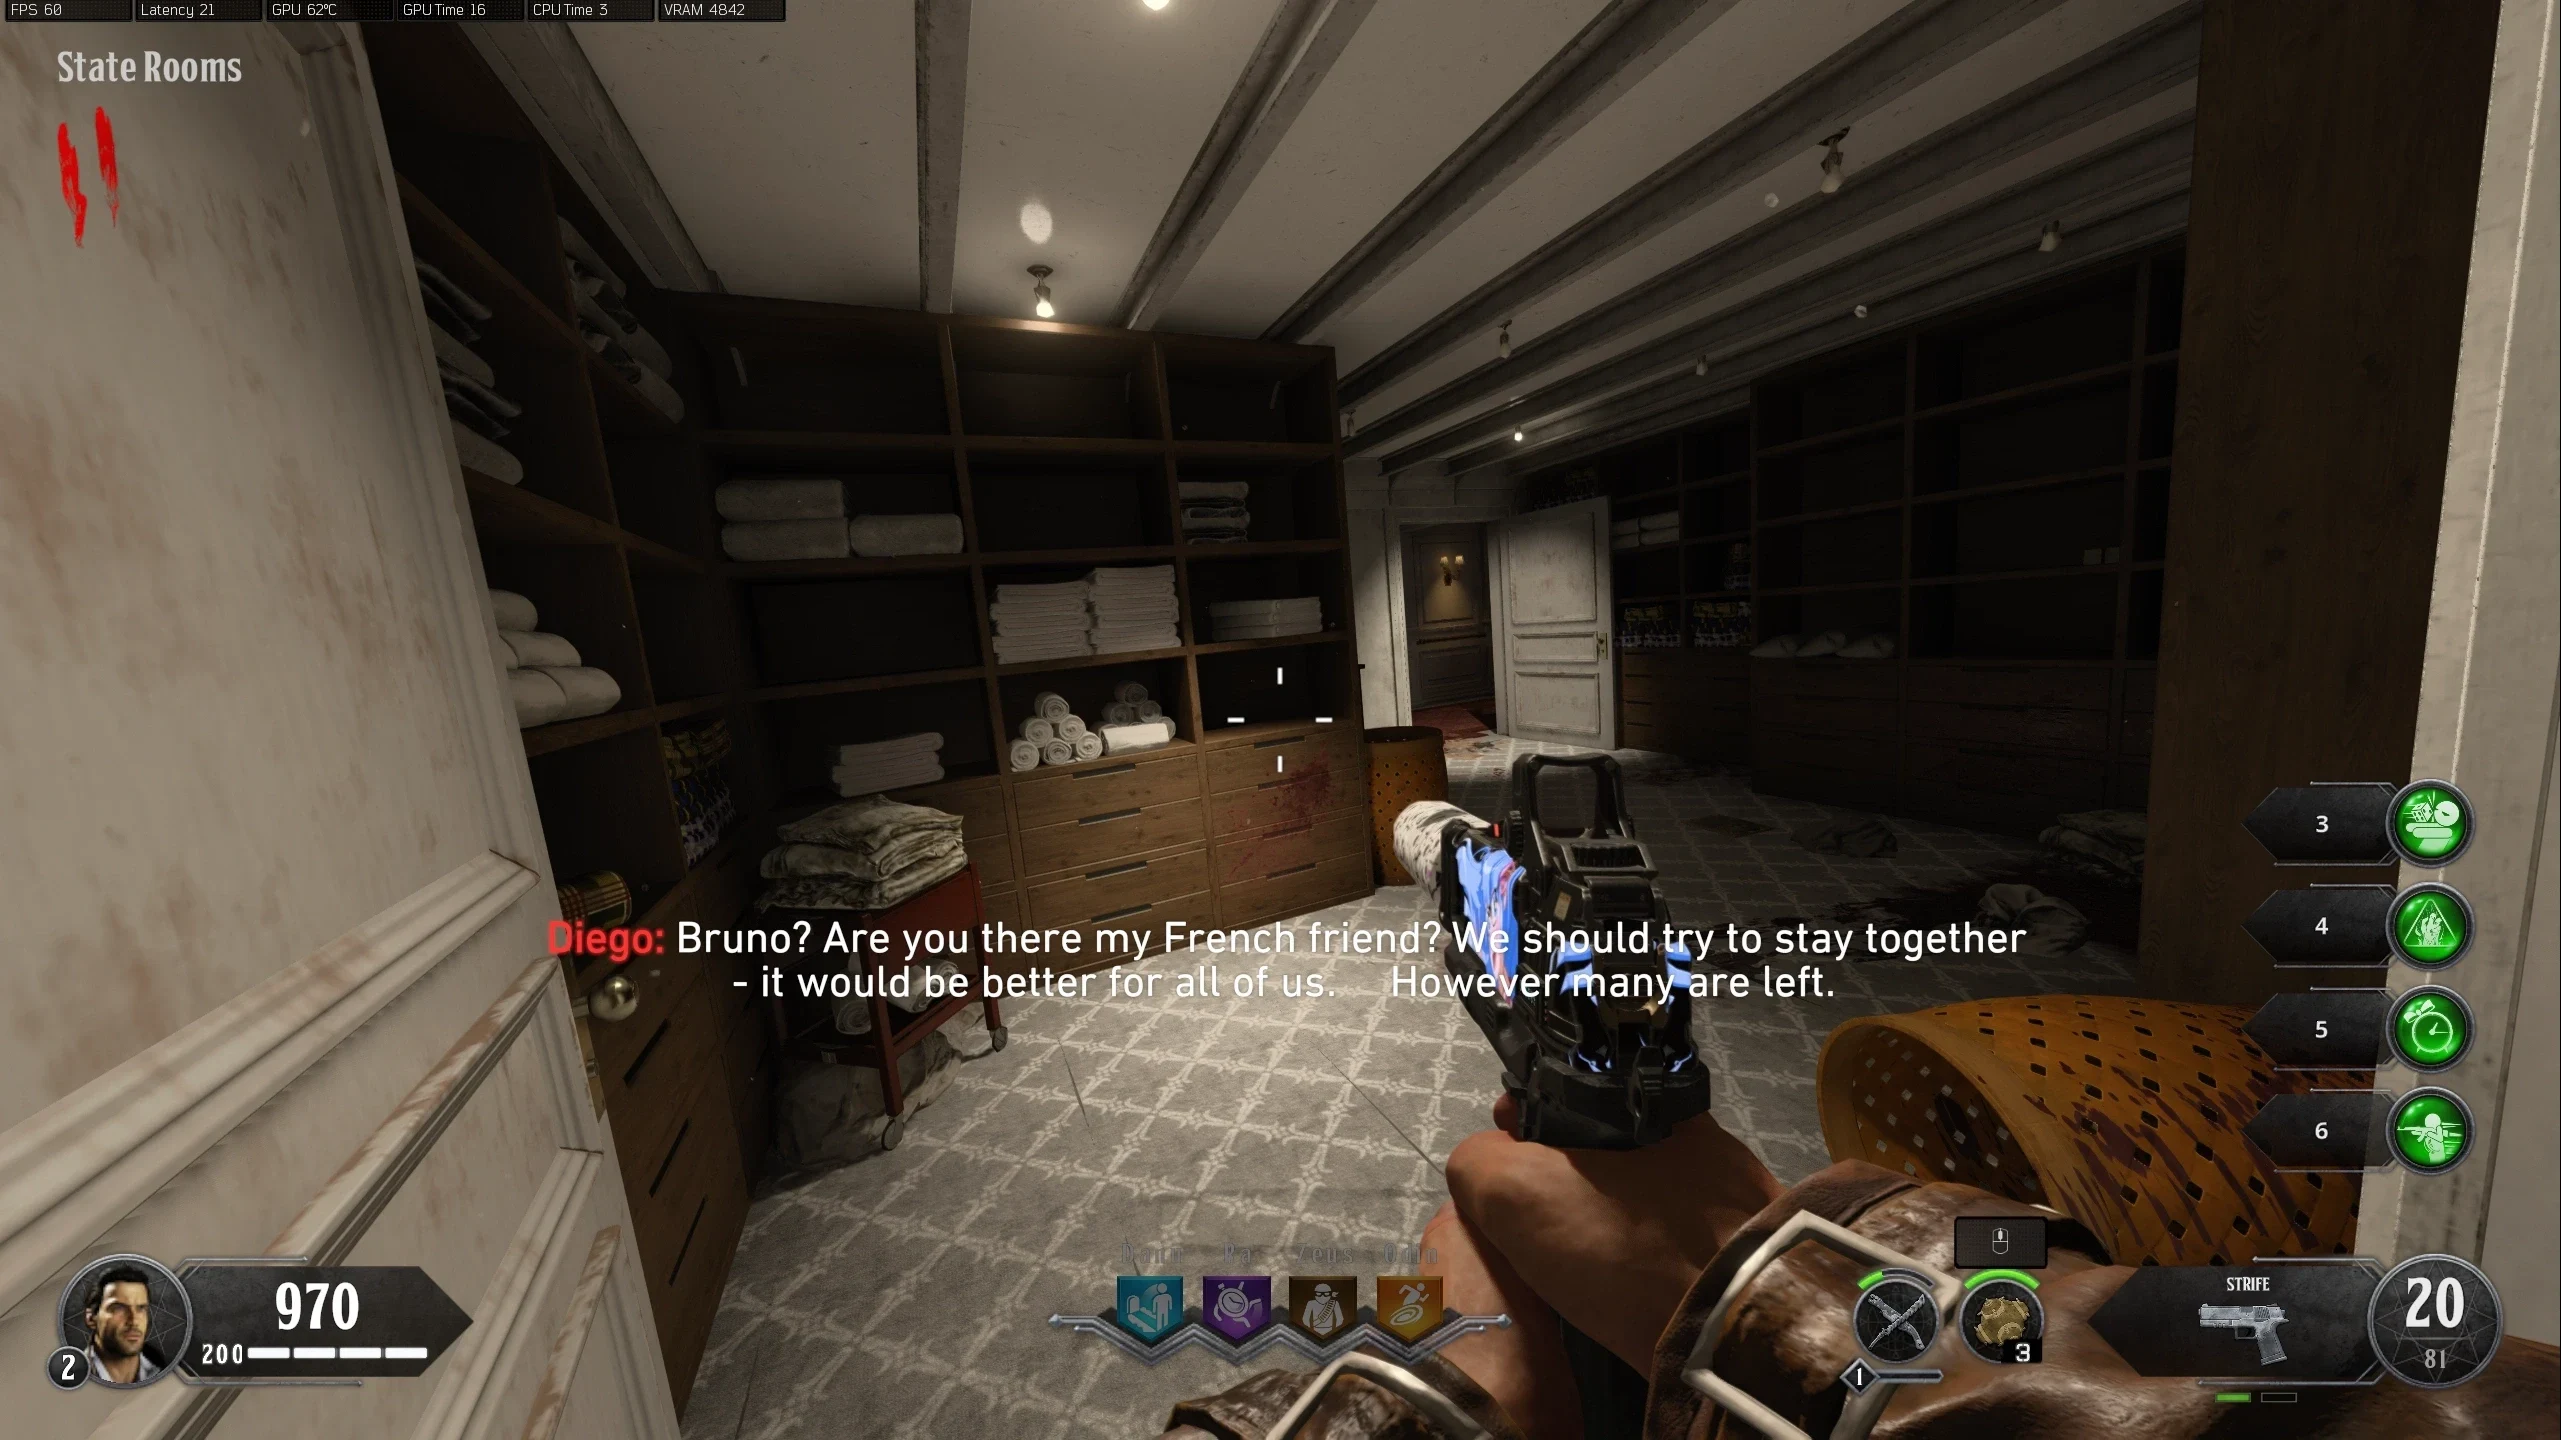
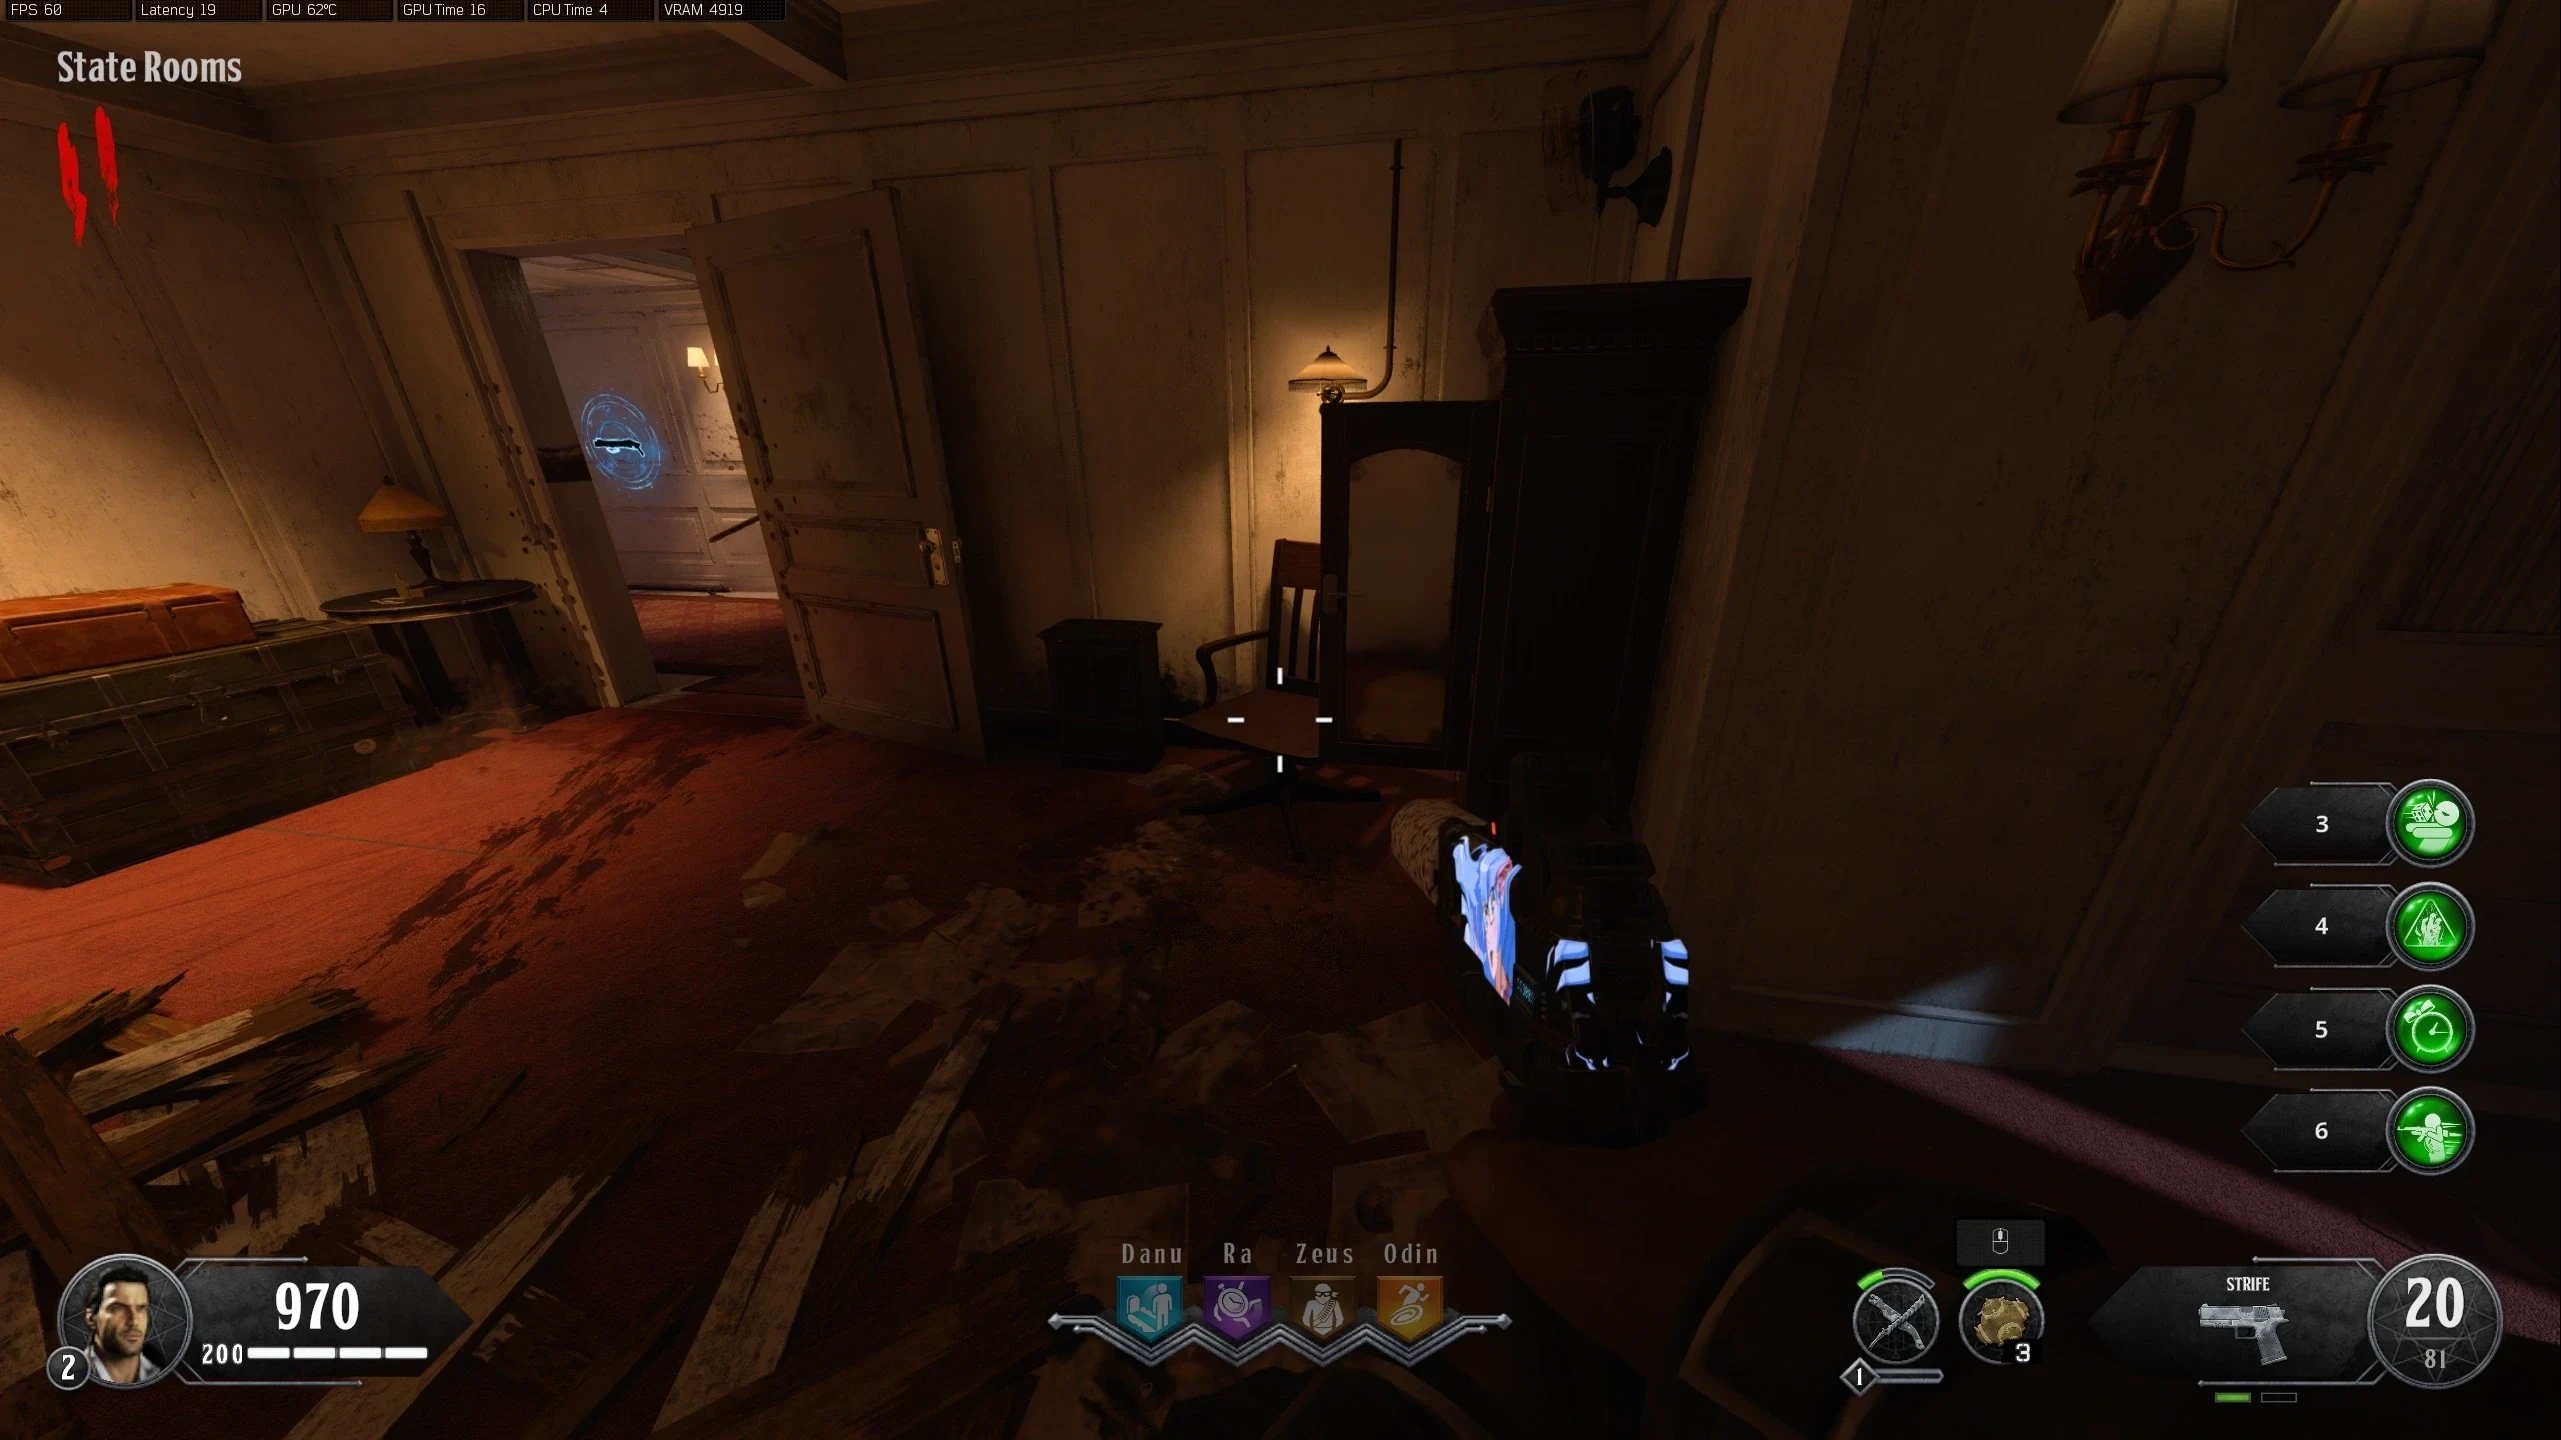
- State Rooms - Room behind Saug 9mm wallbuy
- Upper Grand Staircase - Near Spitfire wallbuy
- 1st Class Lounge - Right of Mystery Box
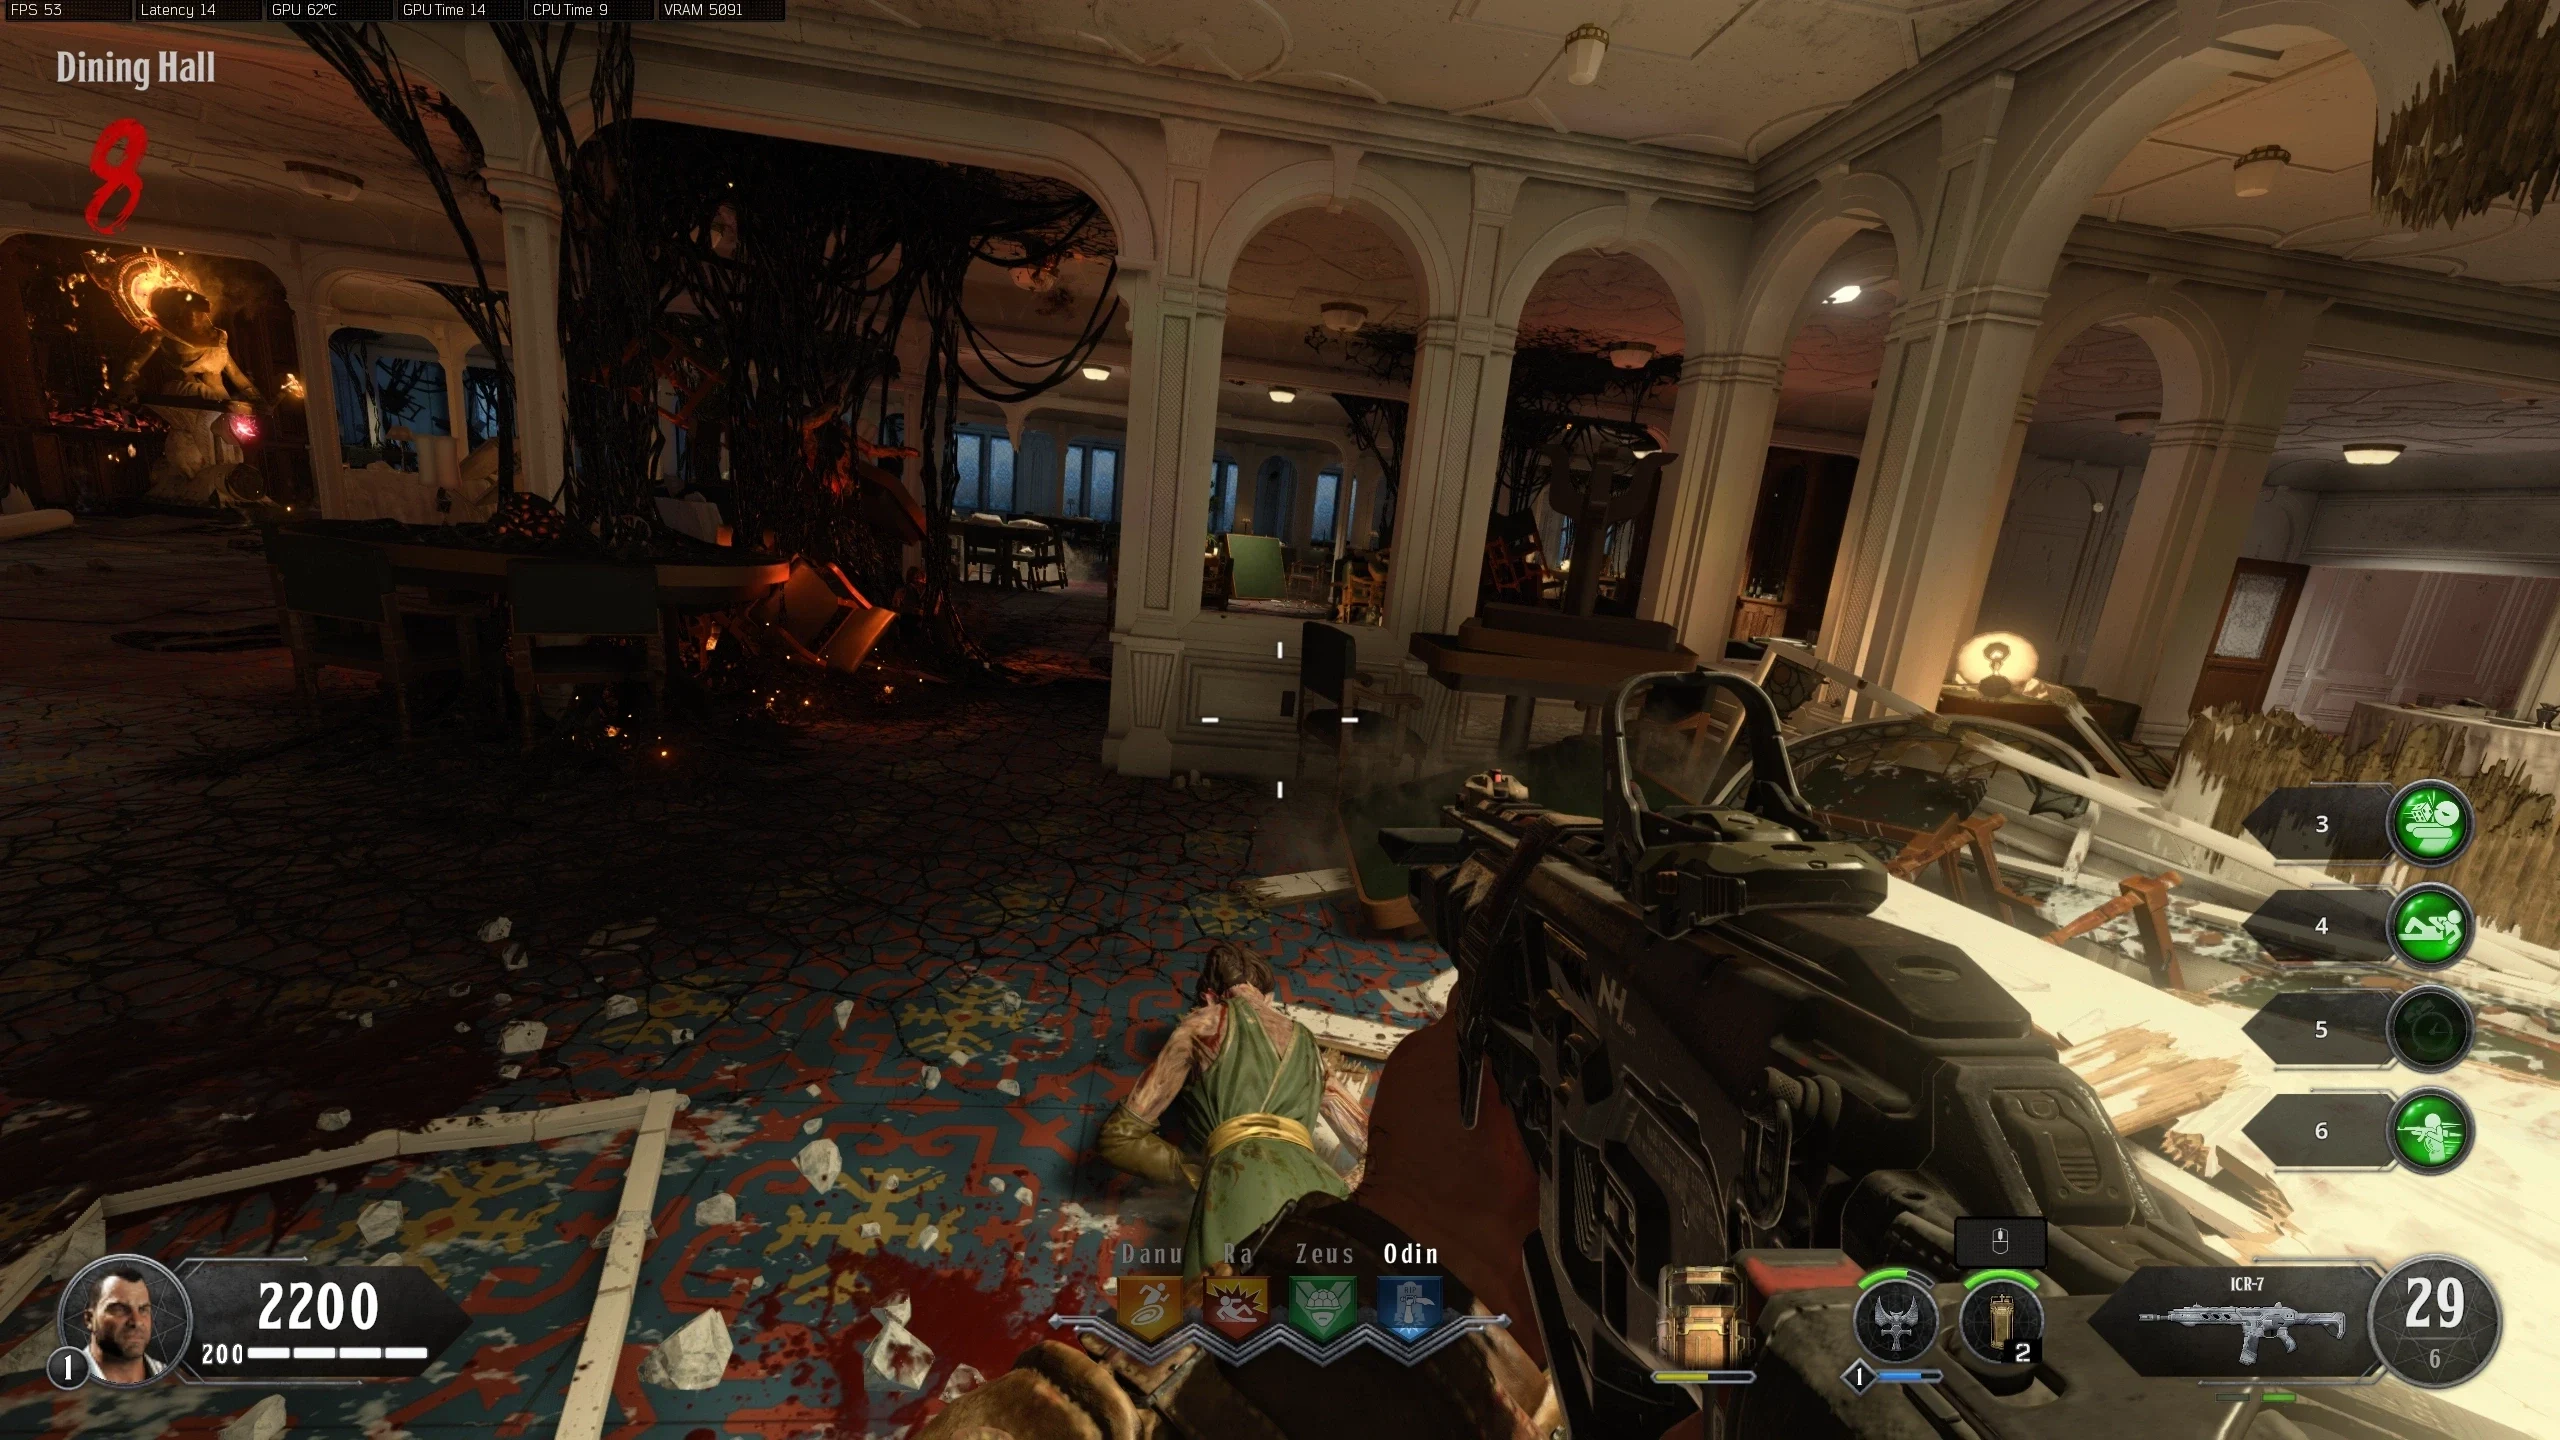
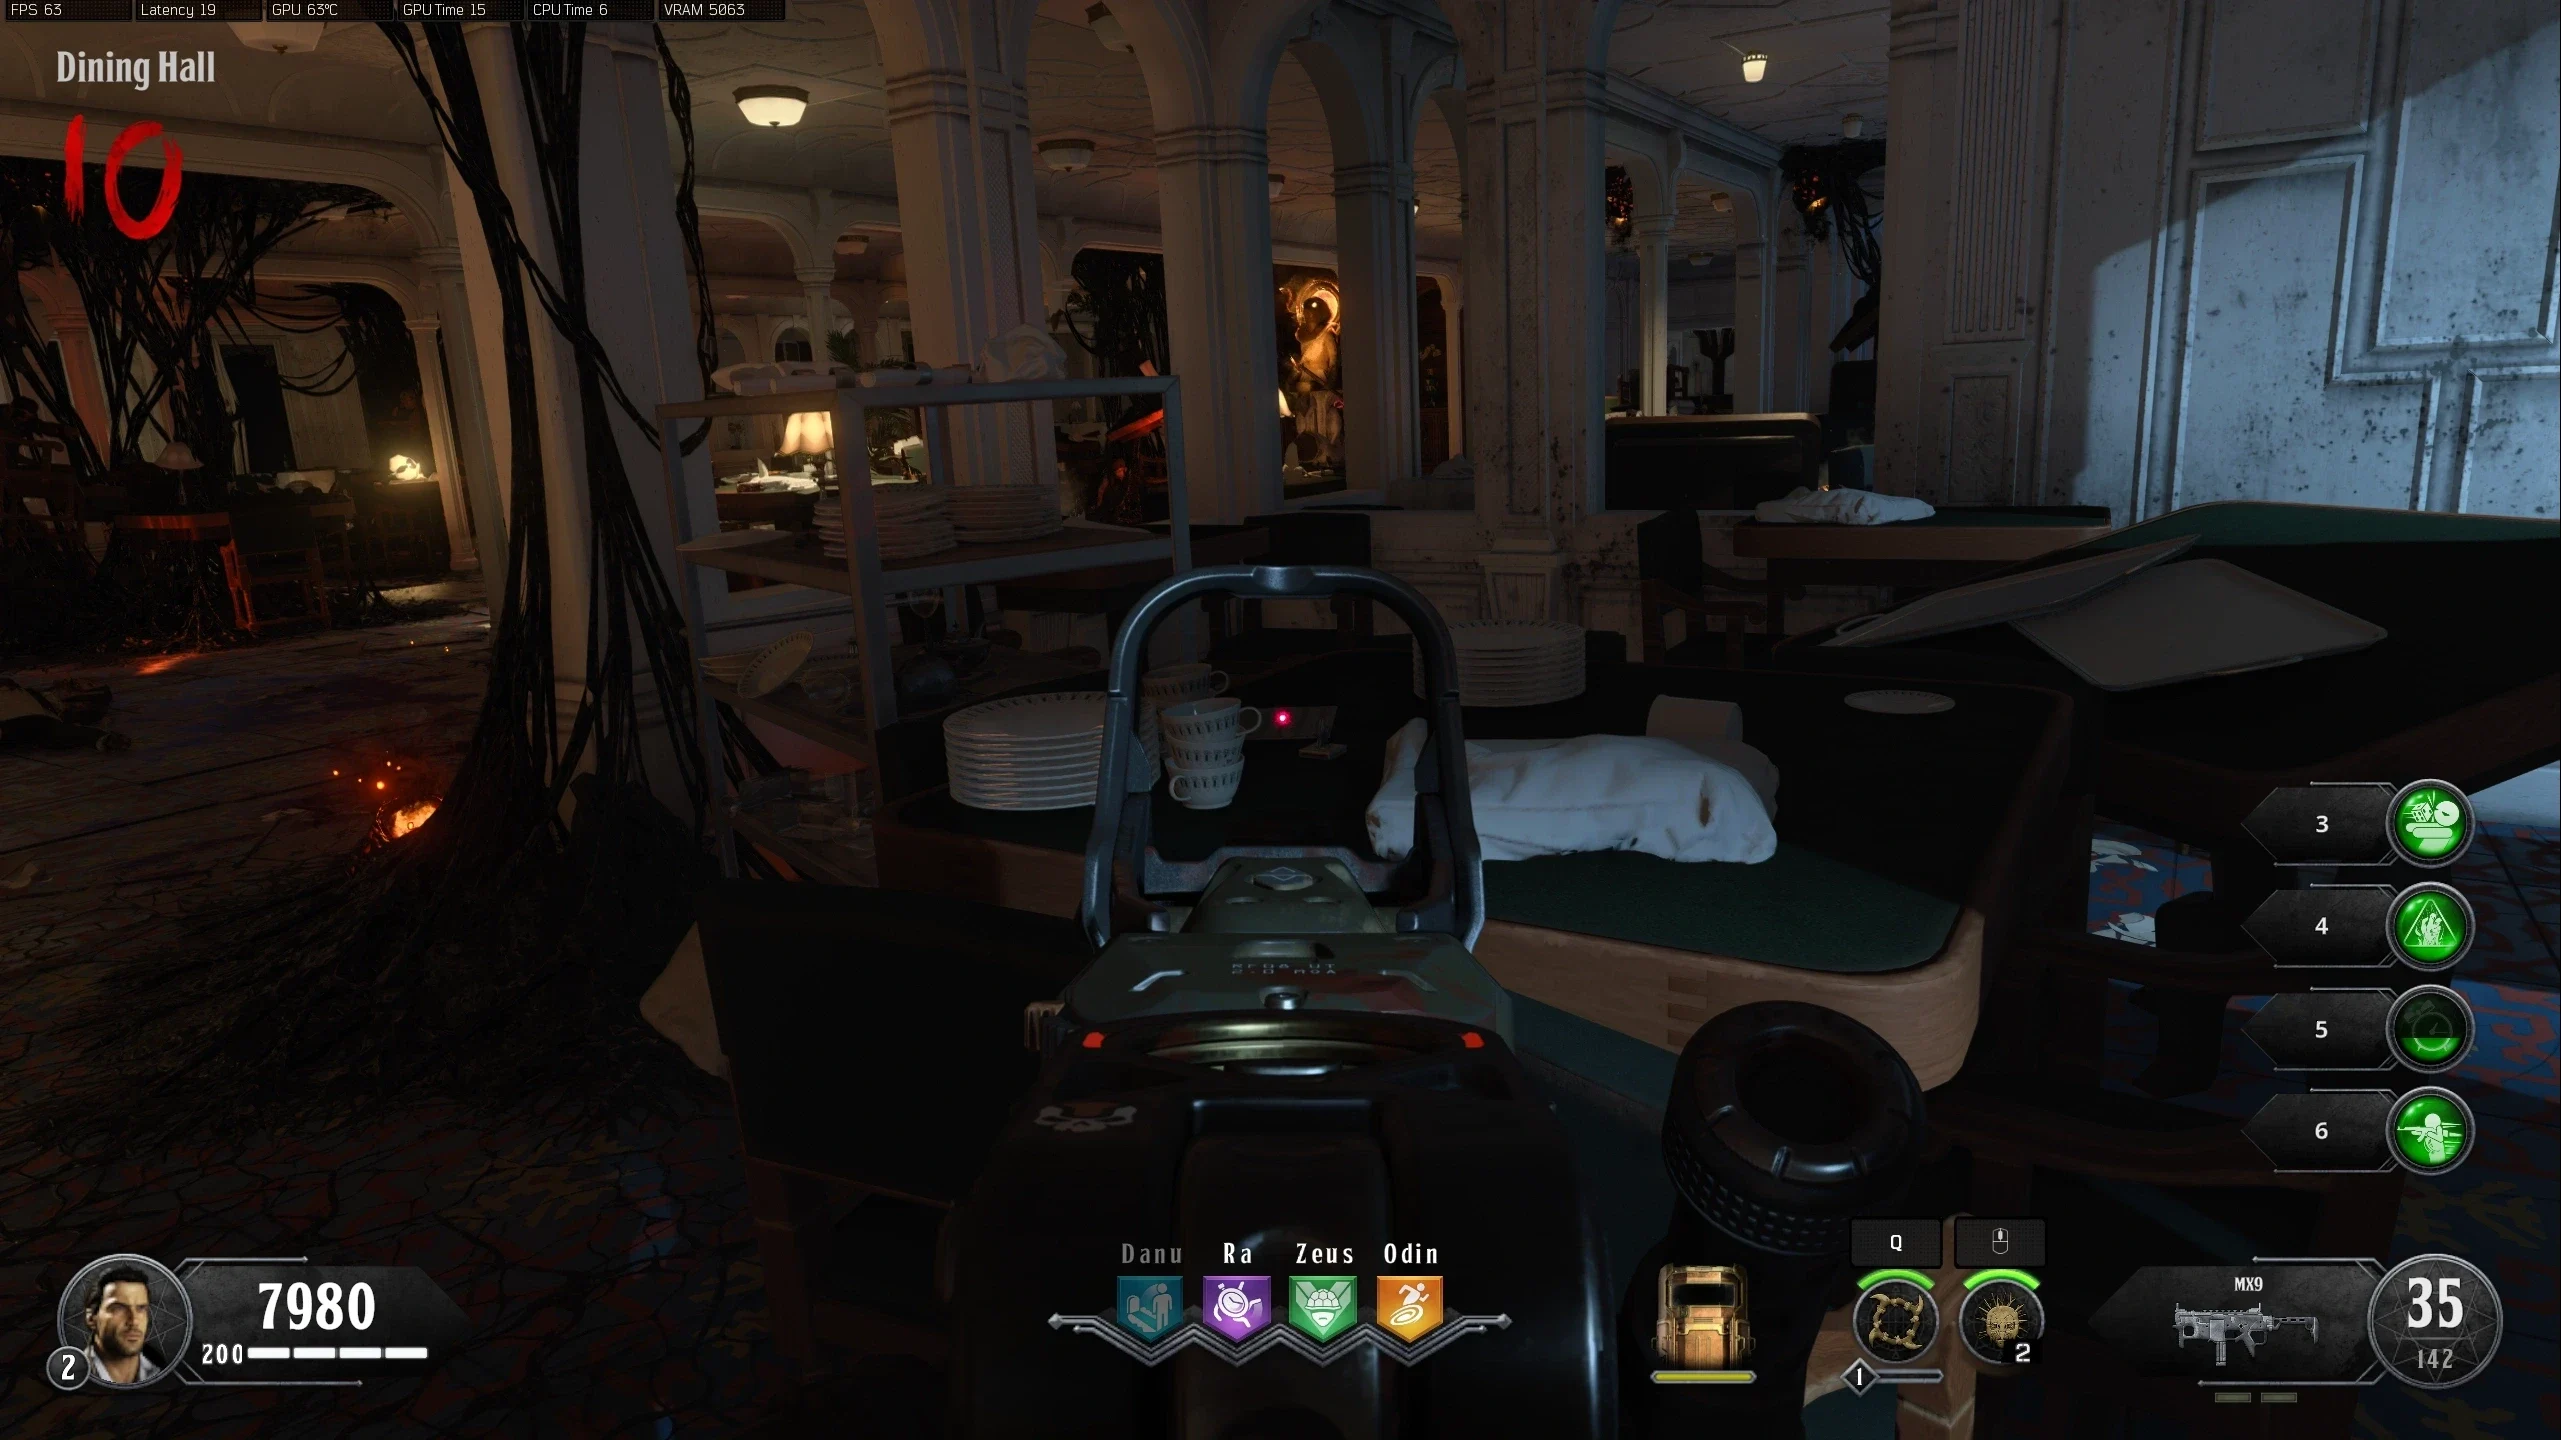
- Dining Hall - Left of Ra Statue
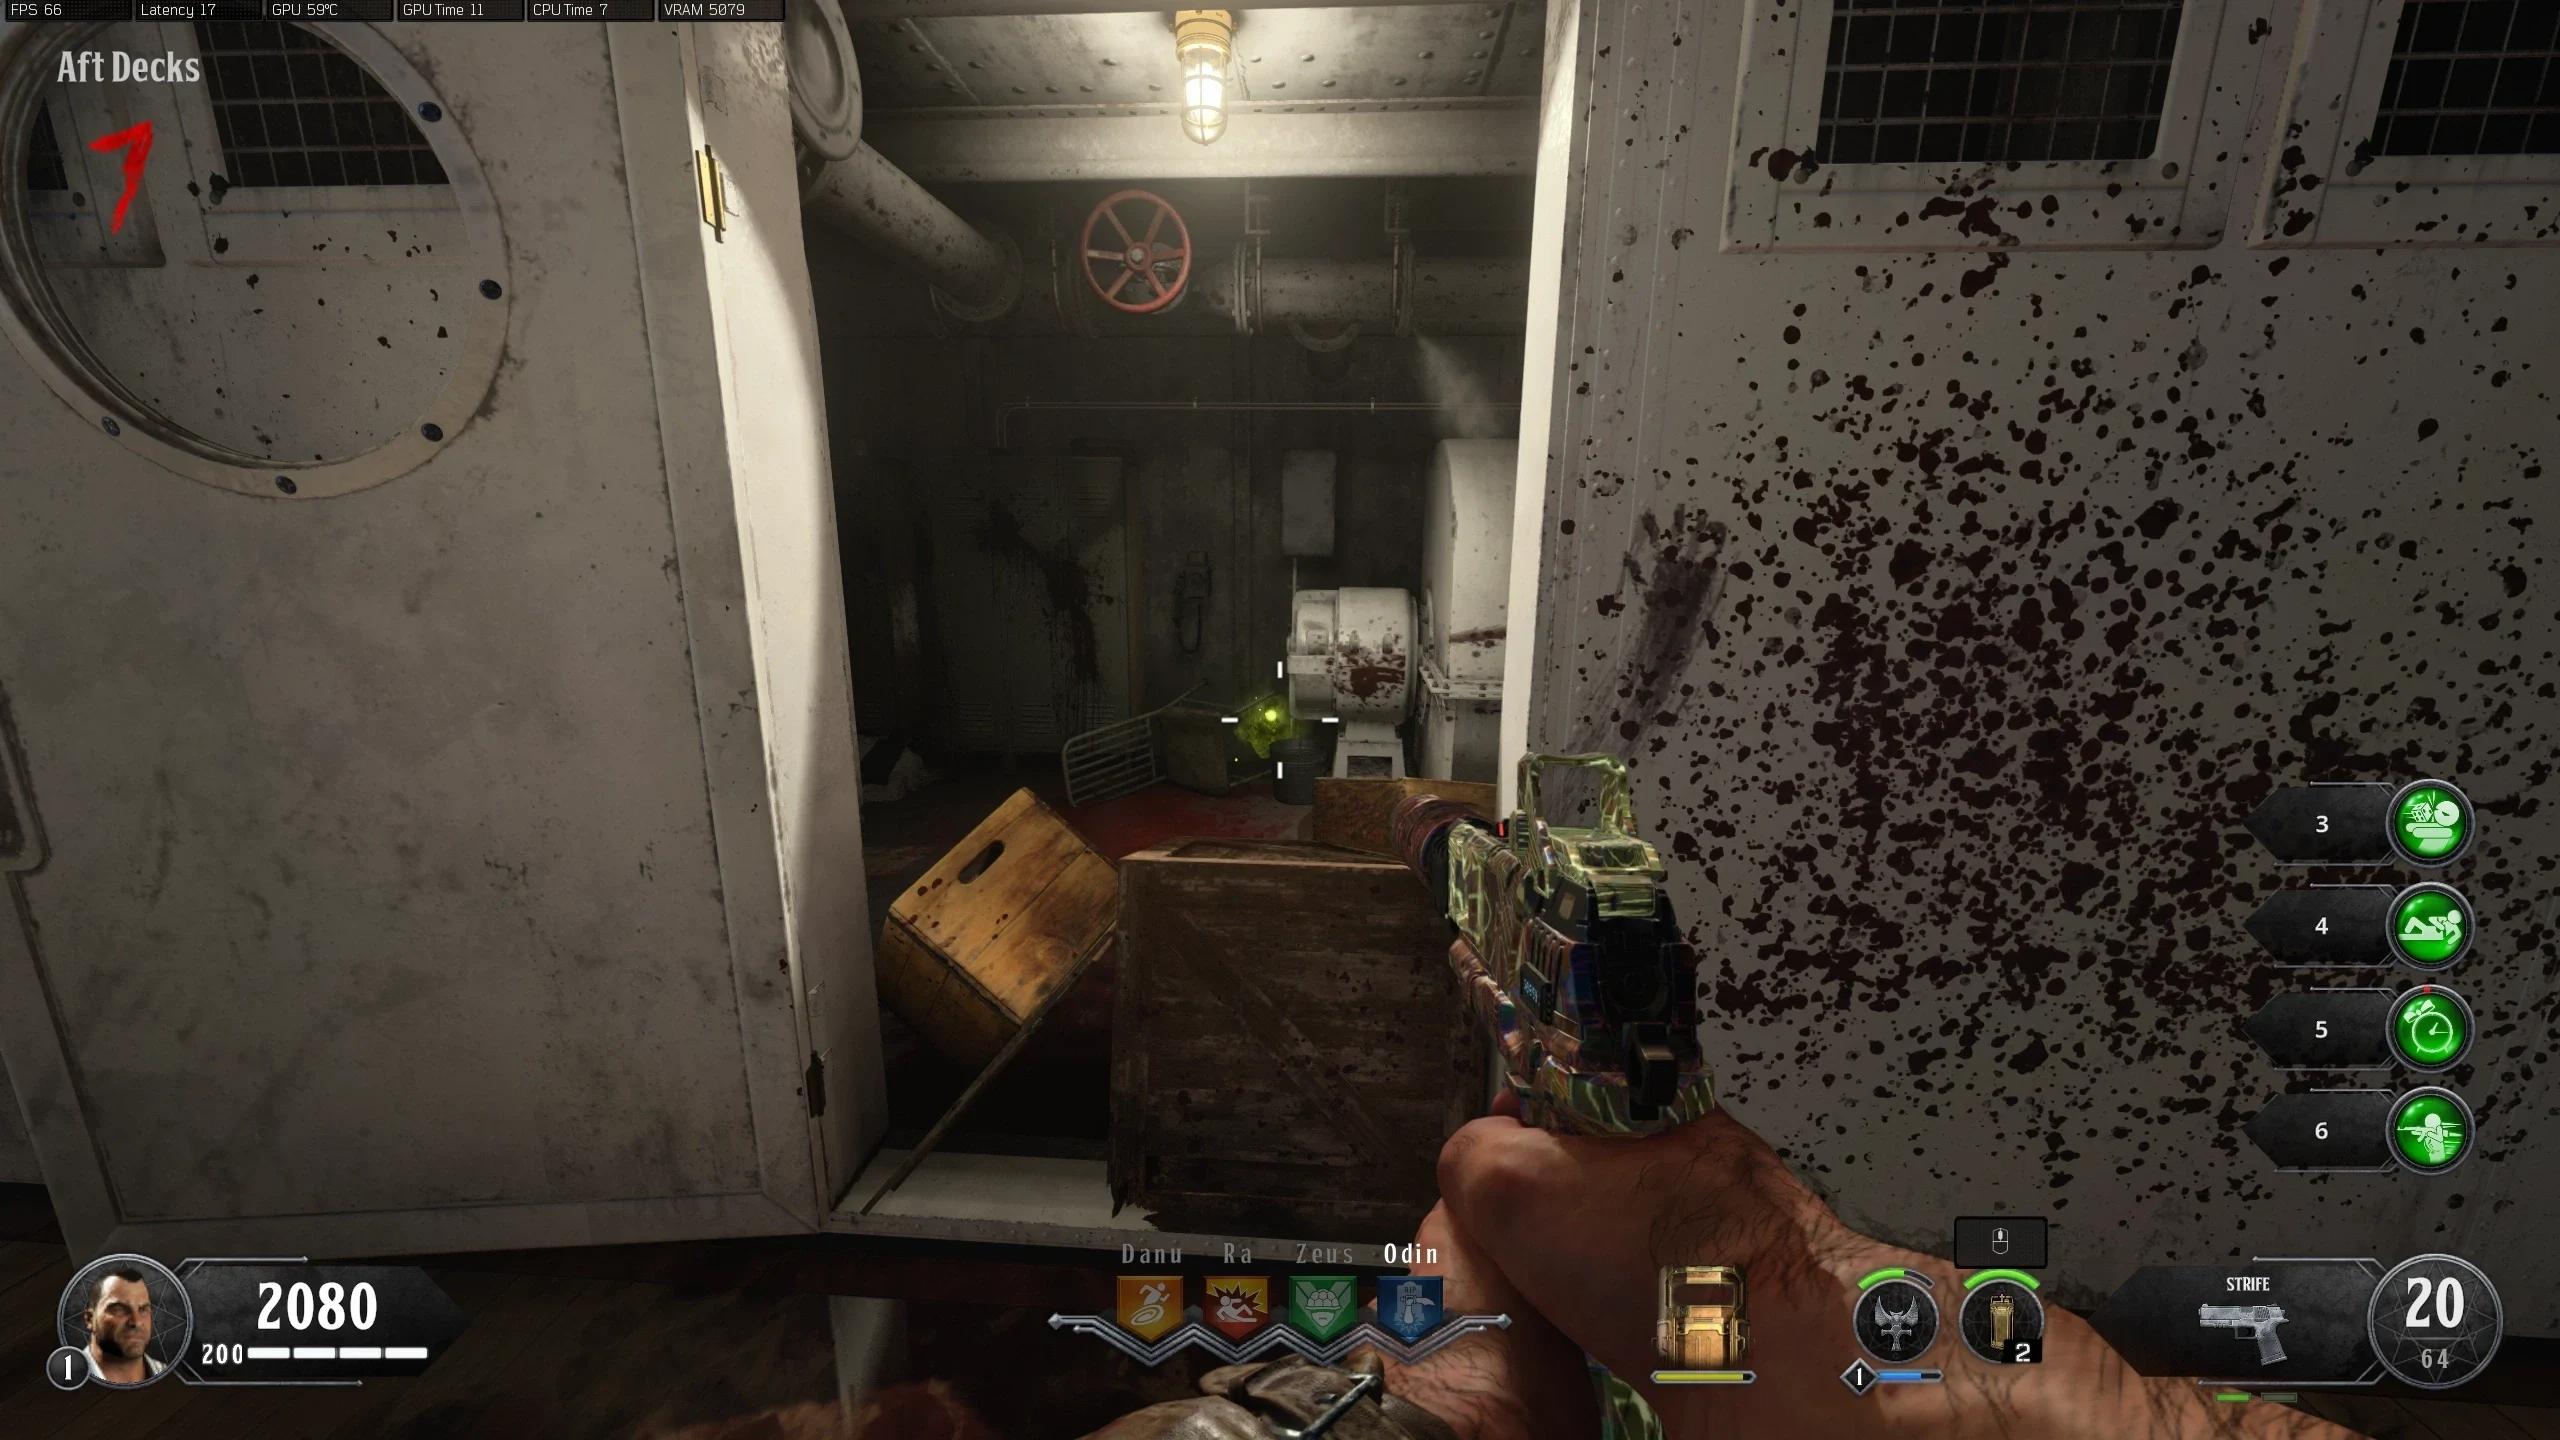
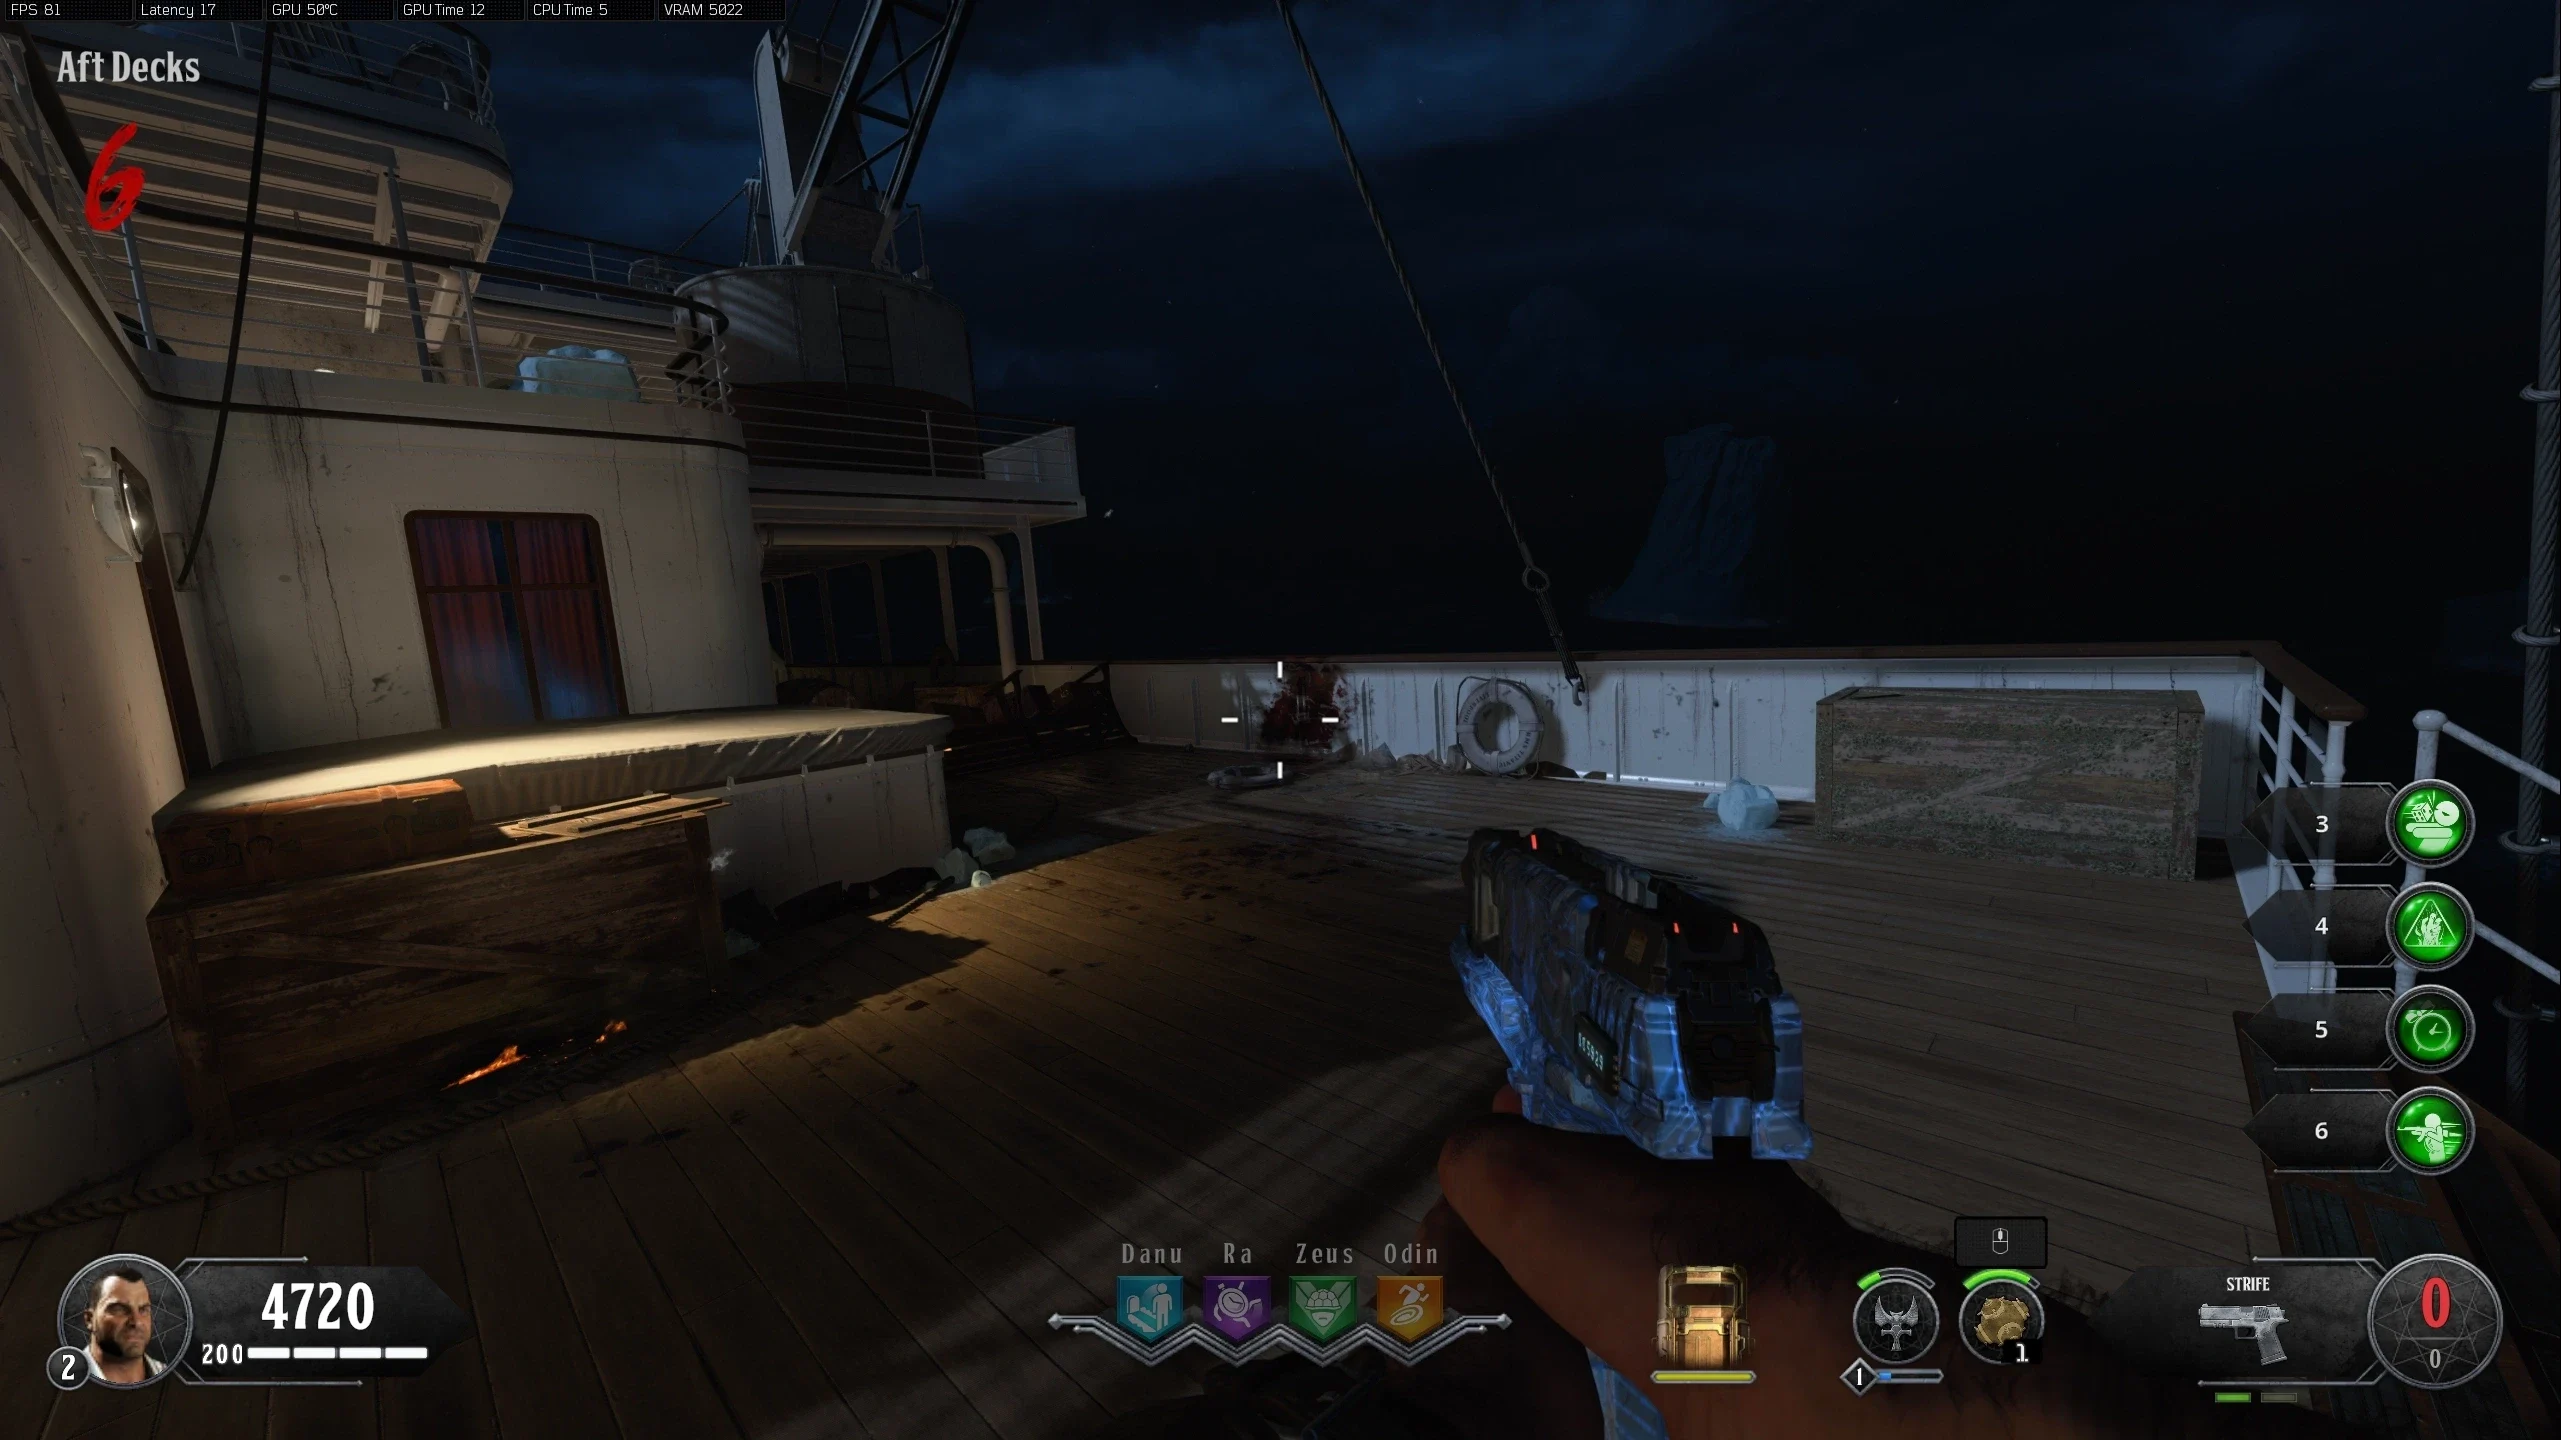
- Aft Decks - In the Zombie Spawn, in front of the Mystery Box
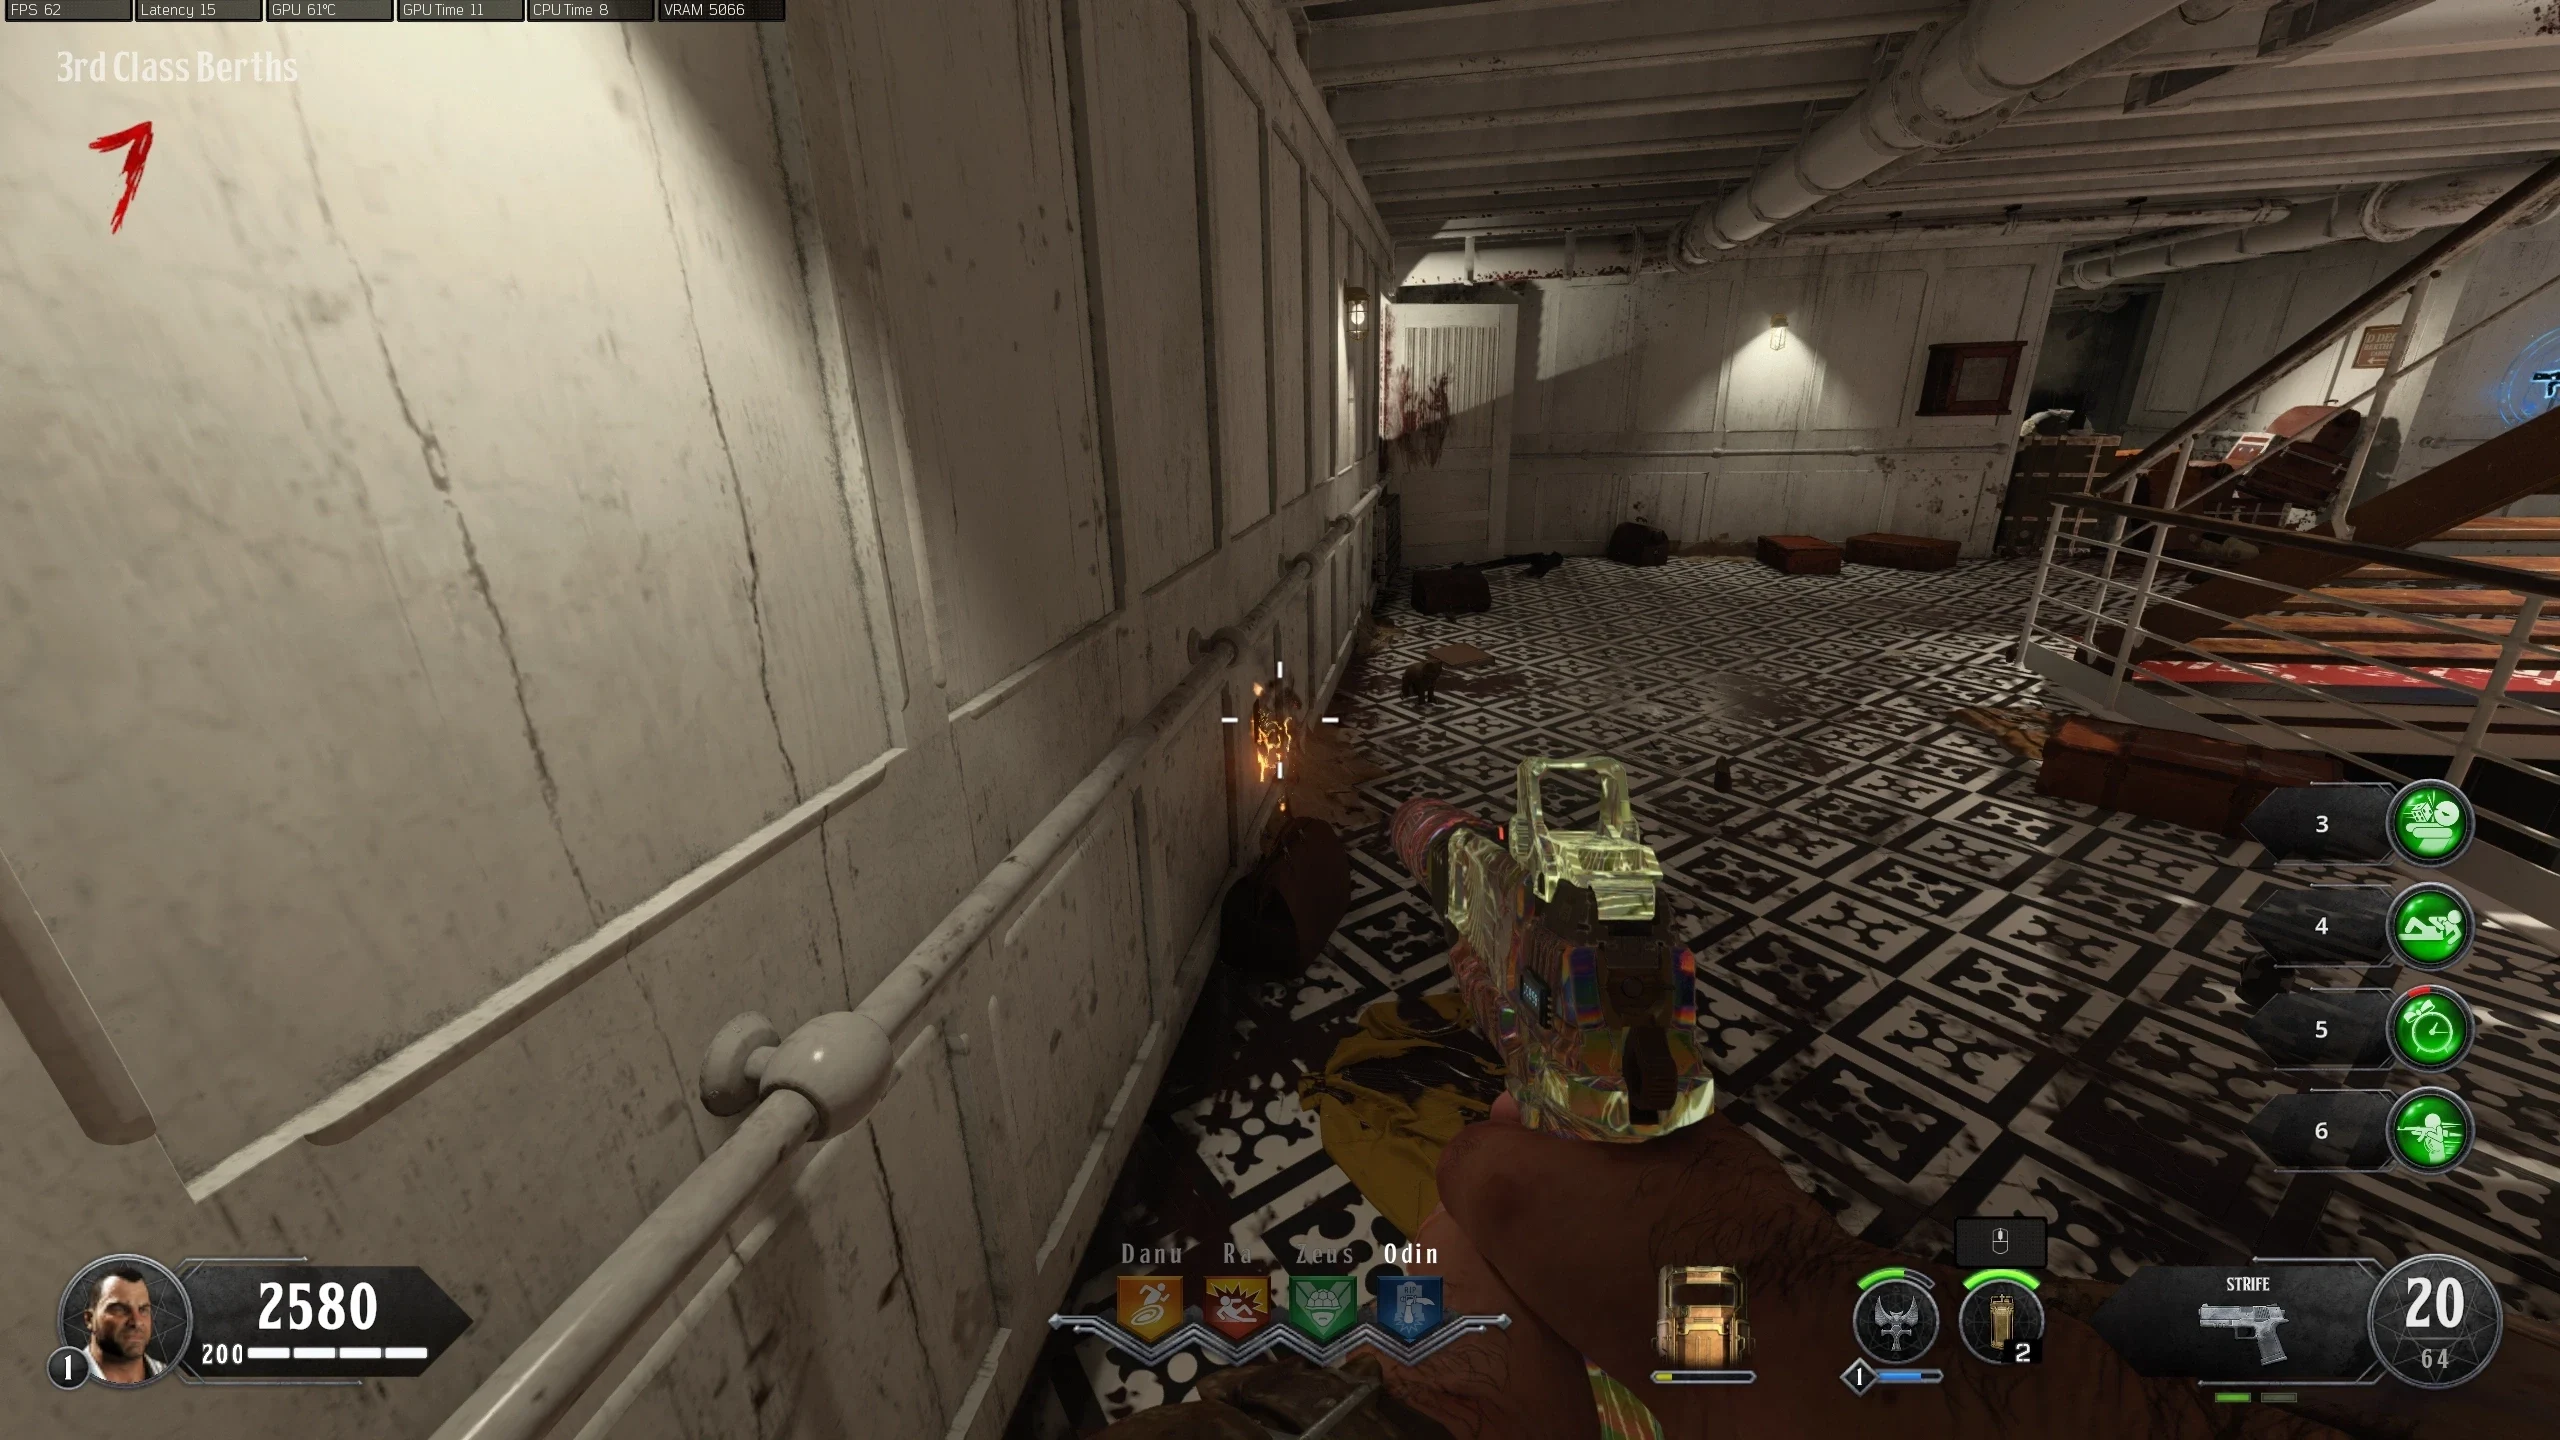
- 3rd Class Berths - Near Maddox wallbuy
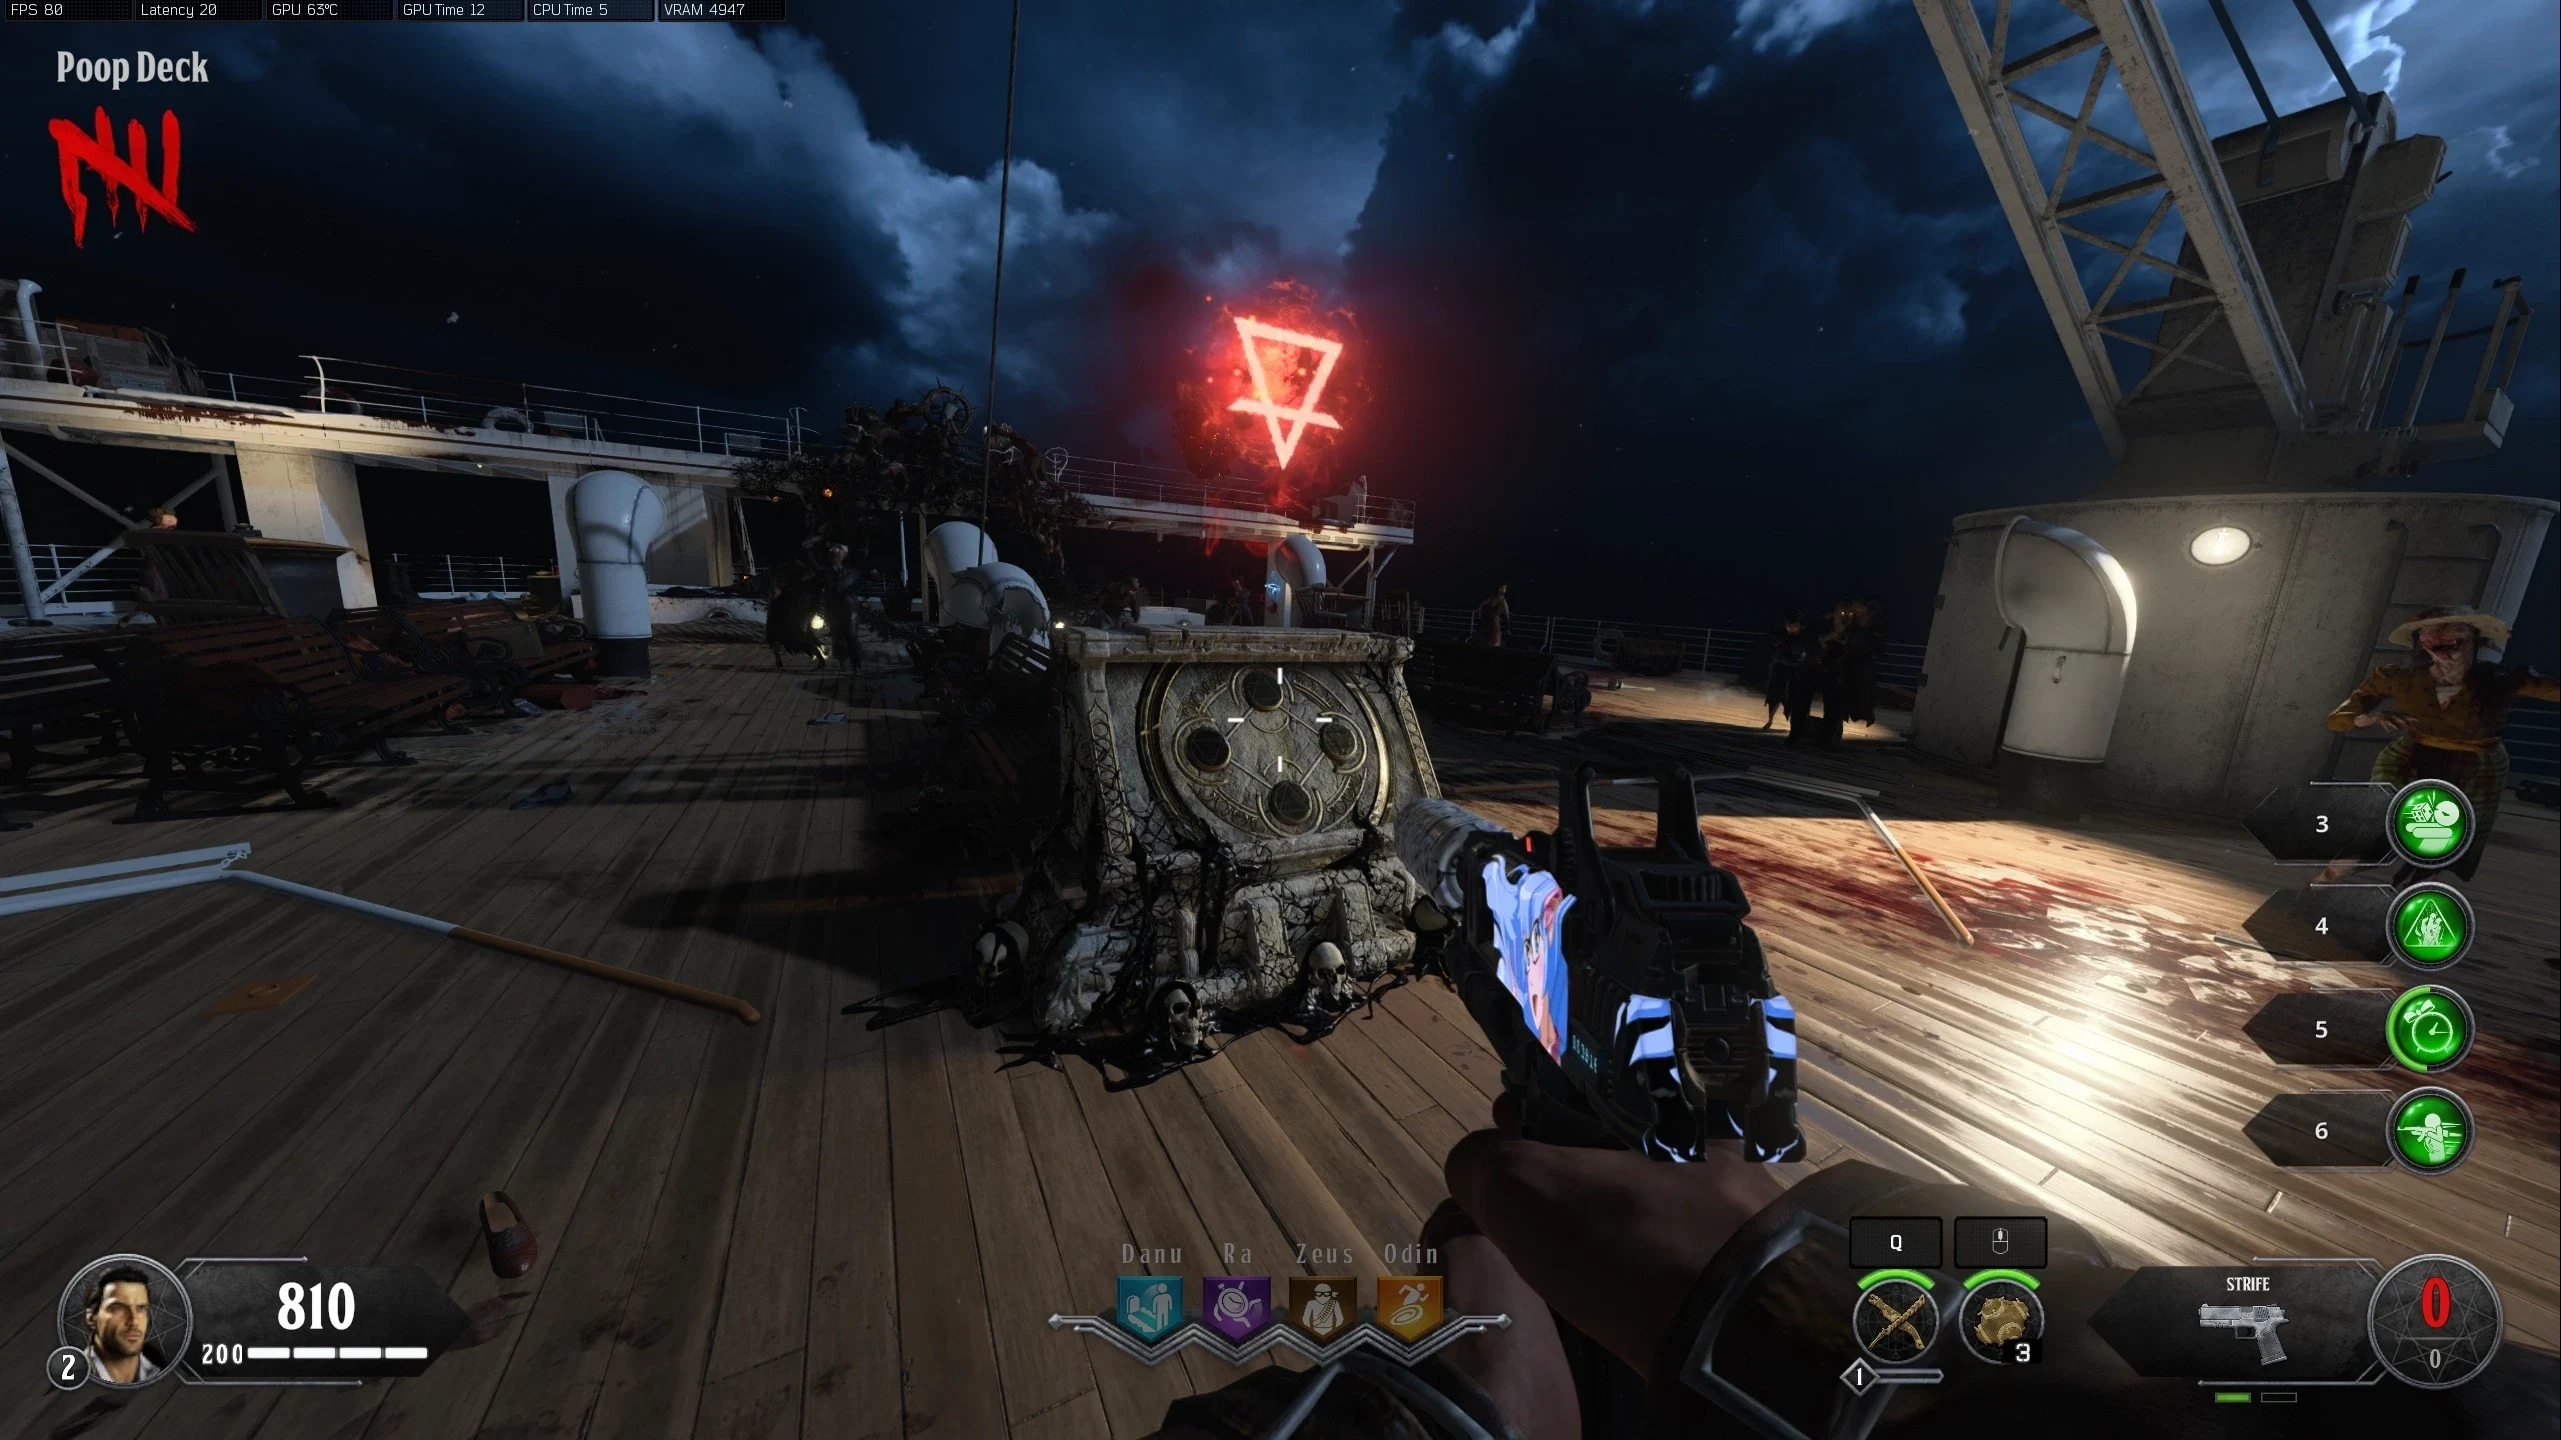
- Kill an elemental Catalyst matching the outlet's element next to it. If done correctly, an orange ritual circle will appear on the ground. Only one outlet can be "activated" per round, you will need to go to the next round to do another. Killing the wrong Catalyst at an outlet has no negative consequences.
- For the Aft Decks outlet, the Catalyst does not need to be inside the Zombie Spawn, just kill it as close to the barrier as you can.
- Once all four outlets have been "activated", activate the ritual circles in the following order: Poison, Water, Electric, and Fire. All players must interact with the ritual circles to start the trial. All players will be teleported to a locked-down part of the map where they must defeat all enemies.
- Once all the enemies have been defeated, the screen will flash grey and the players must pick up the Sentinel Artifact to lift the lockdown.
- Repeat for the other three trials. On the First and Third Trials, a max ammo will spawn.
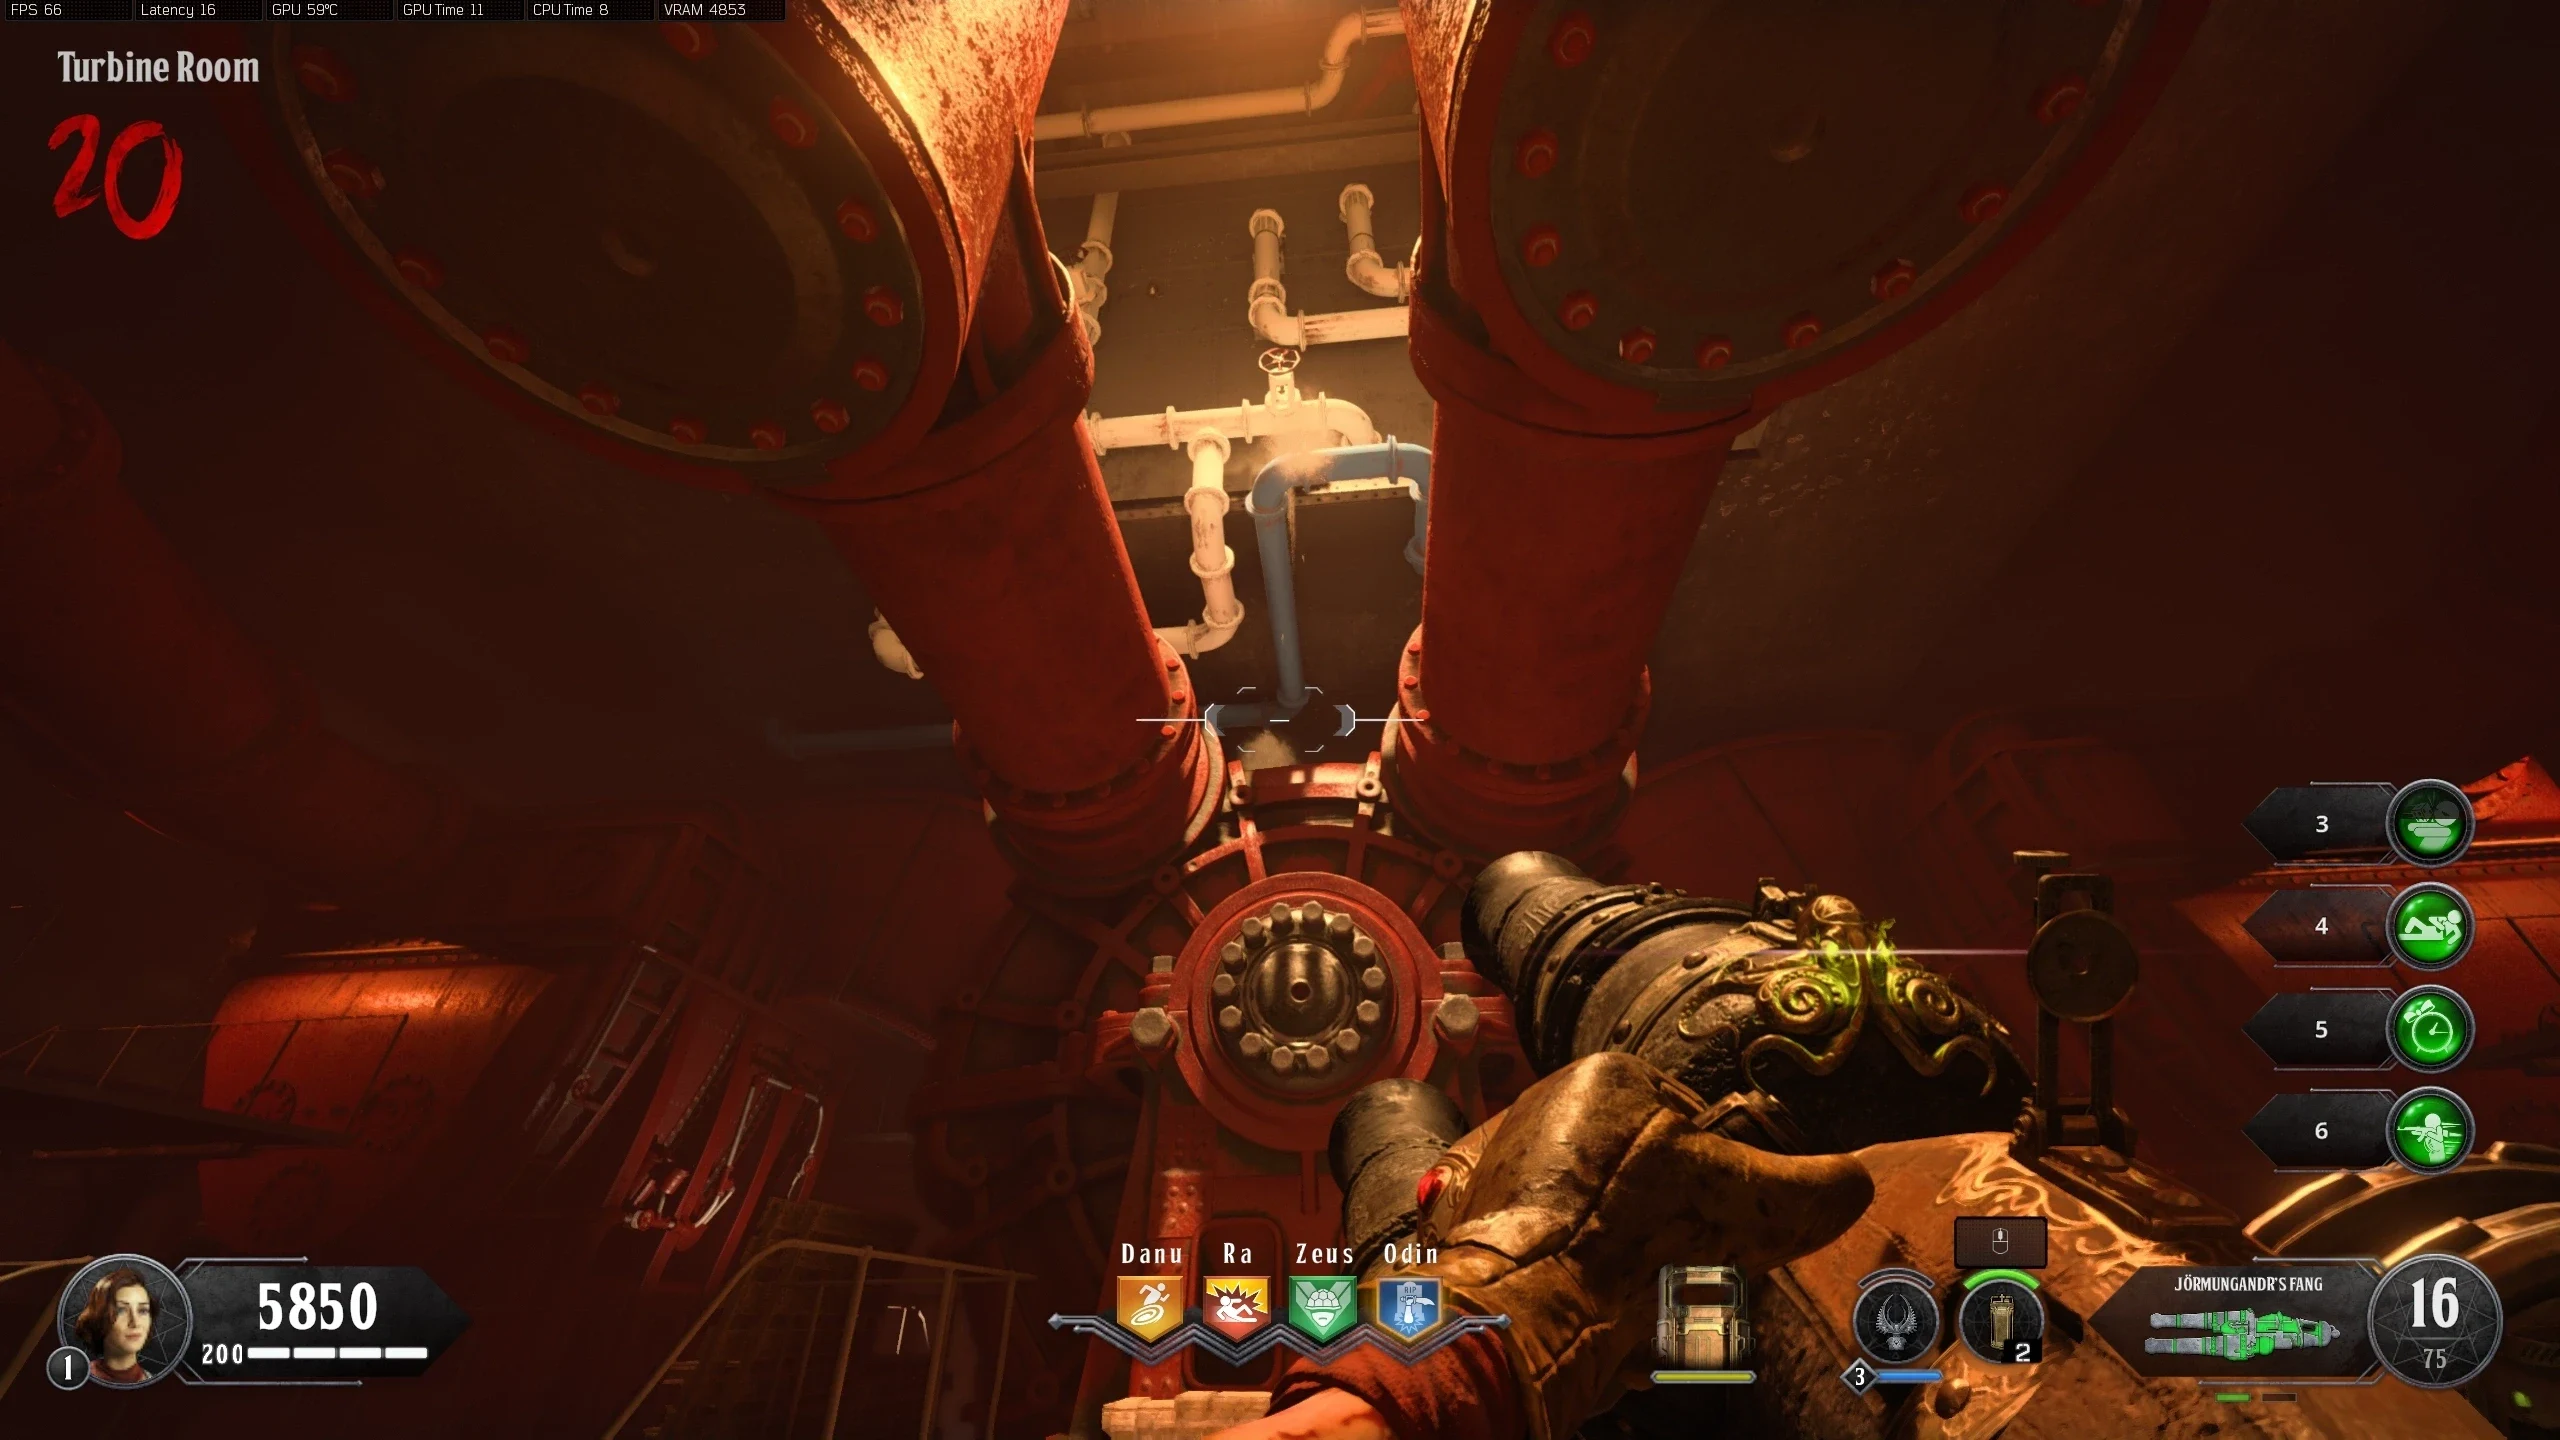
- Obtain a Pack-a-Punched Kraken with the Poison Elemental Upgrade.
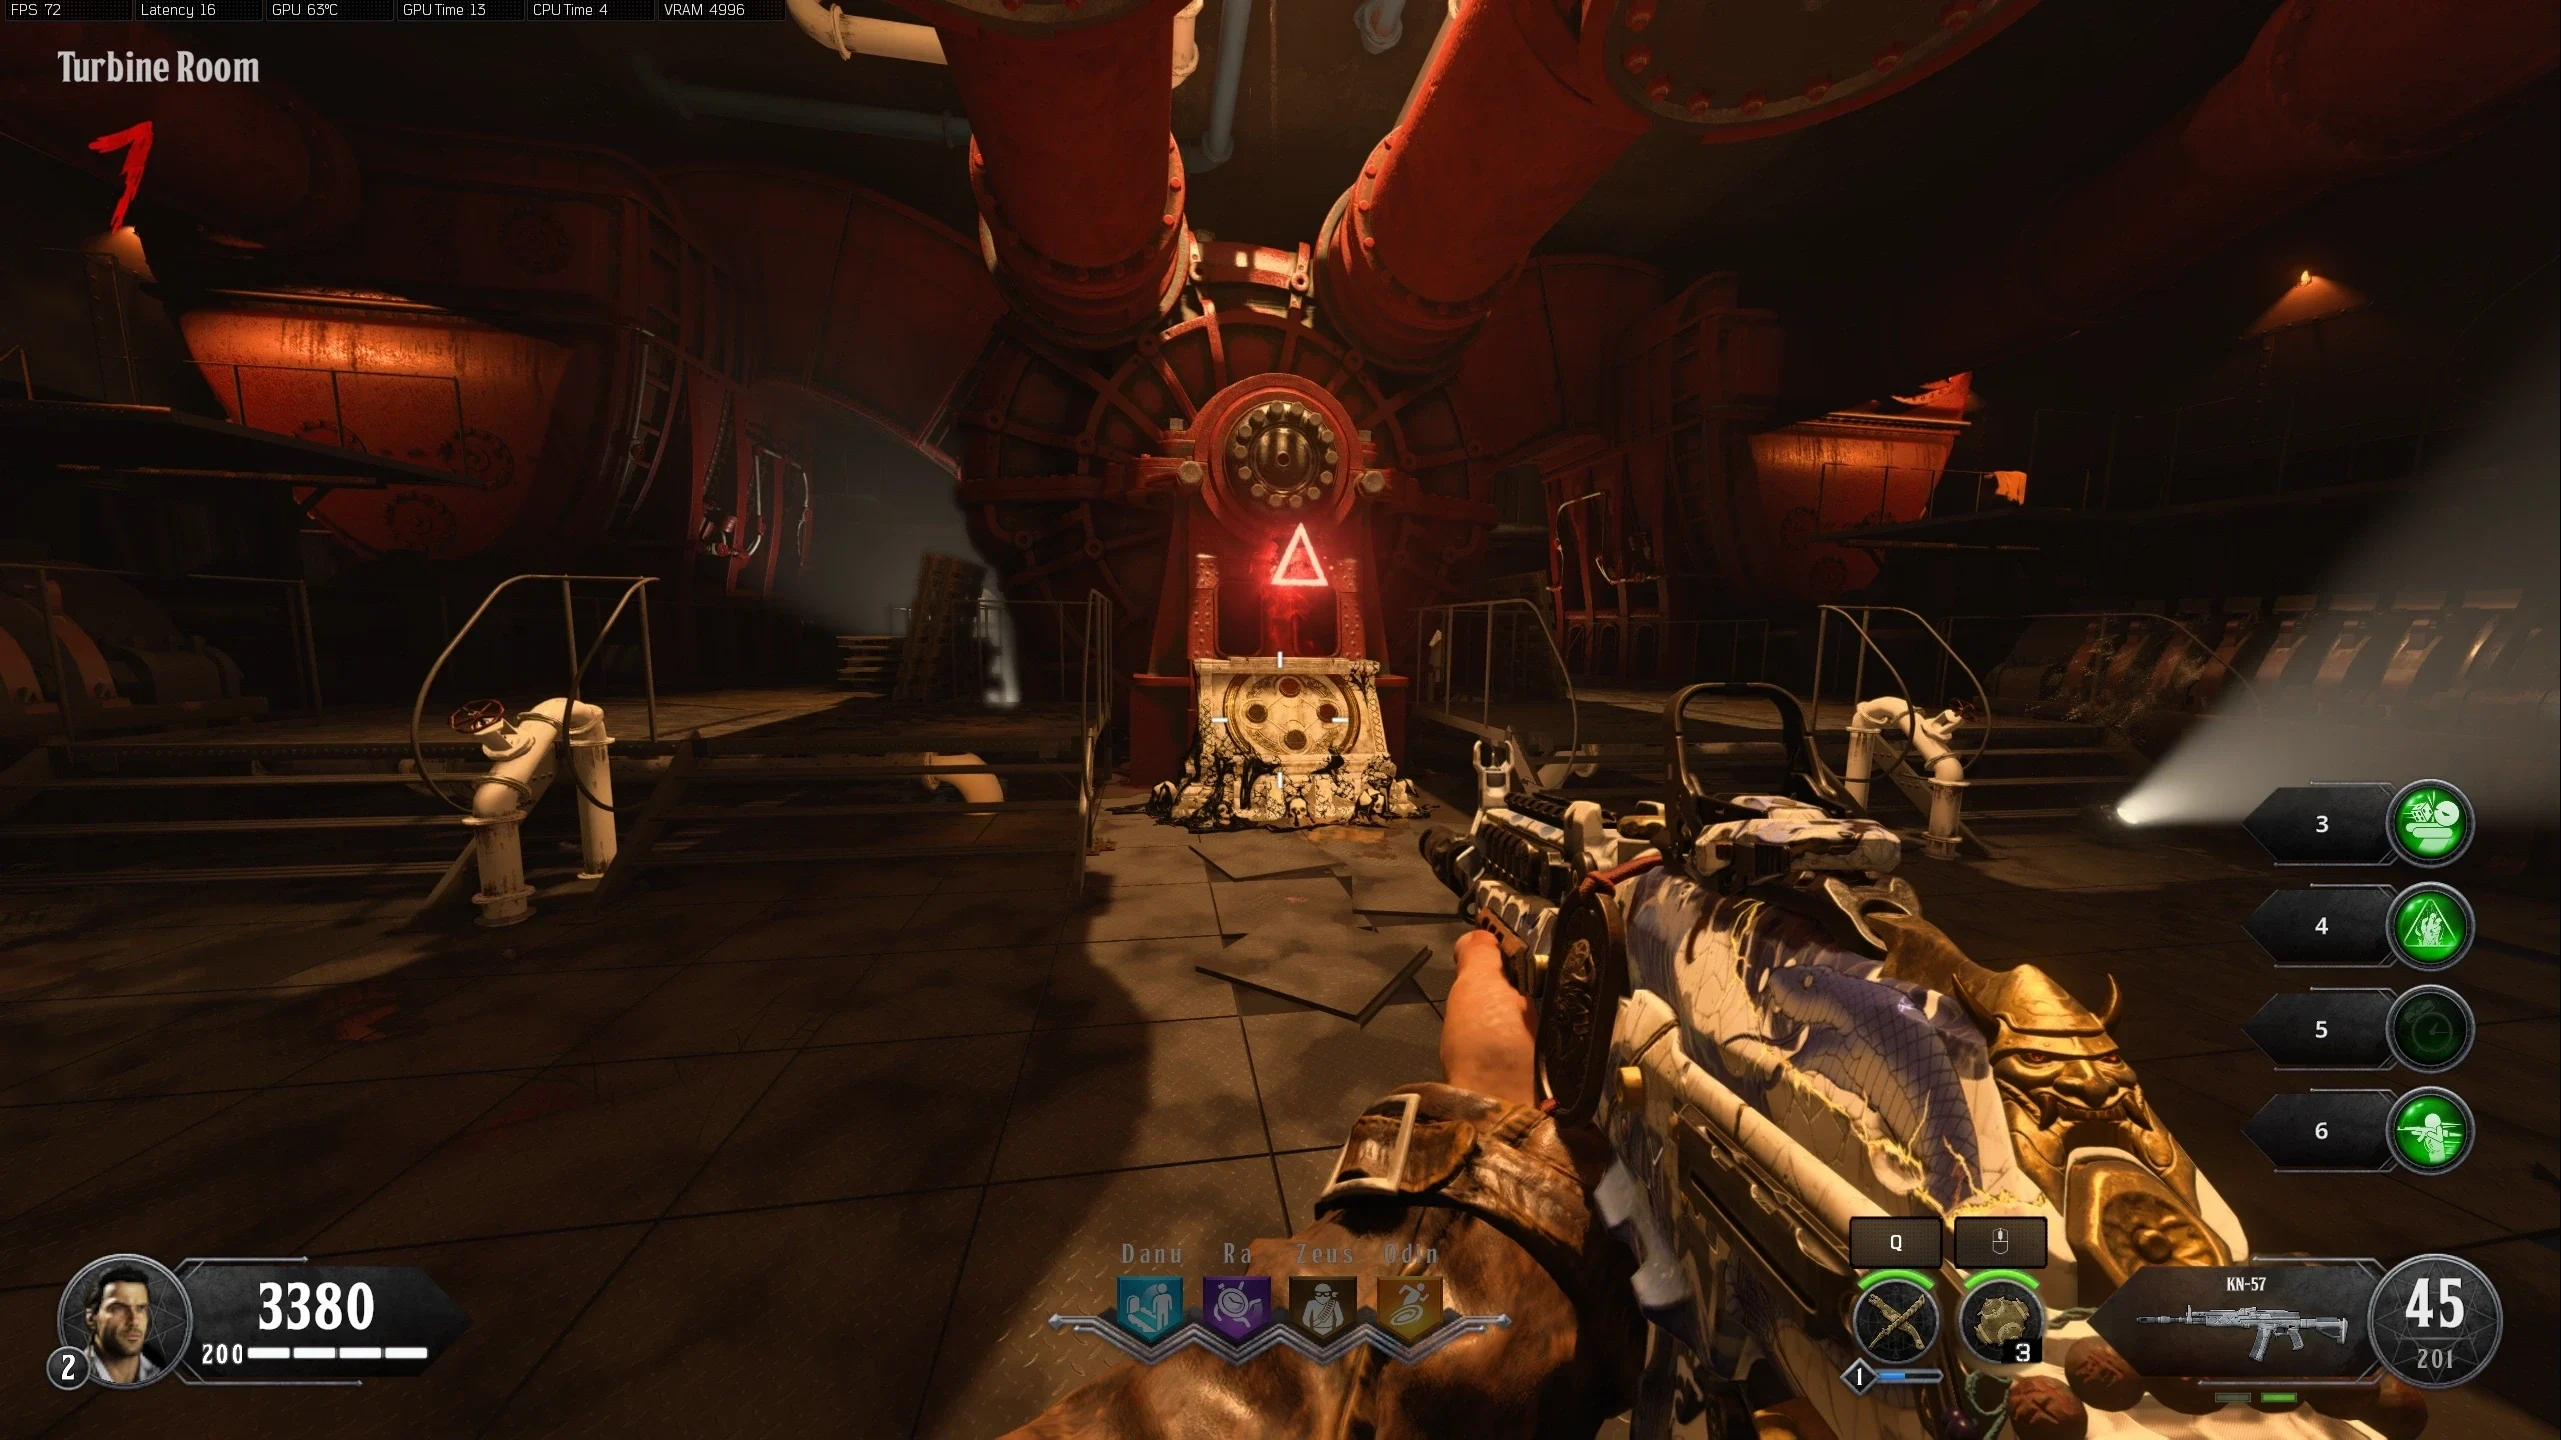
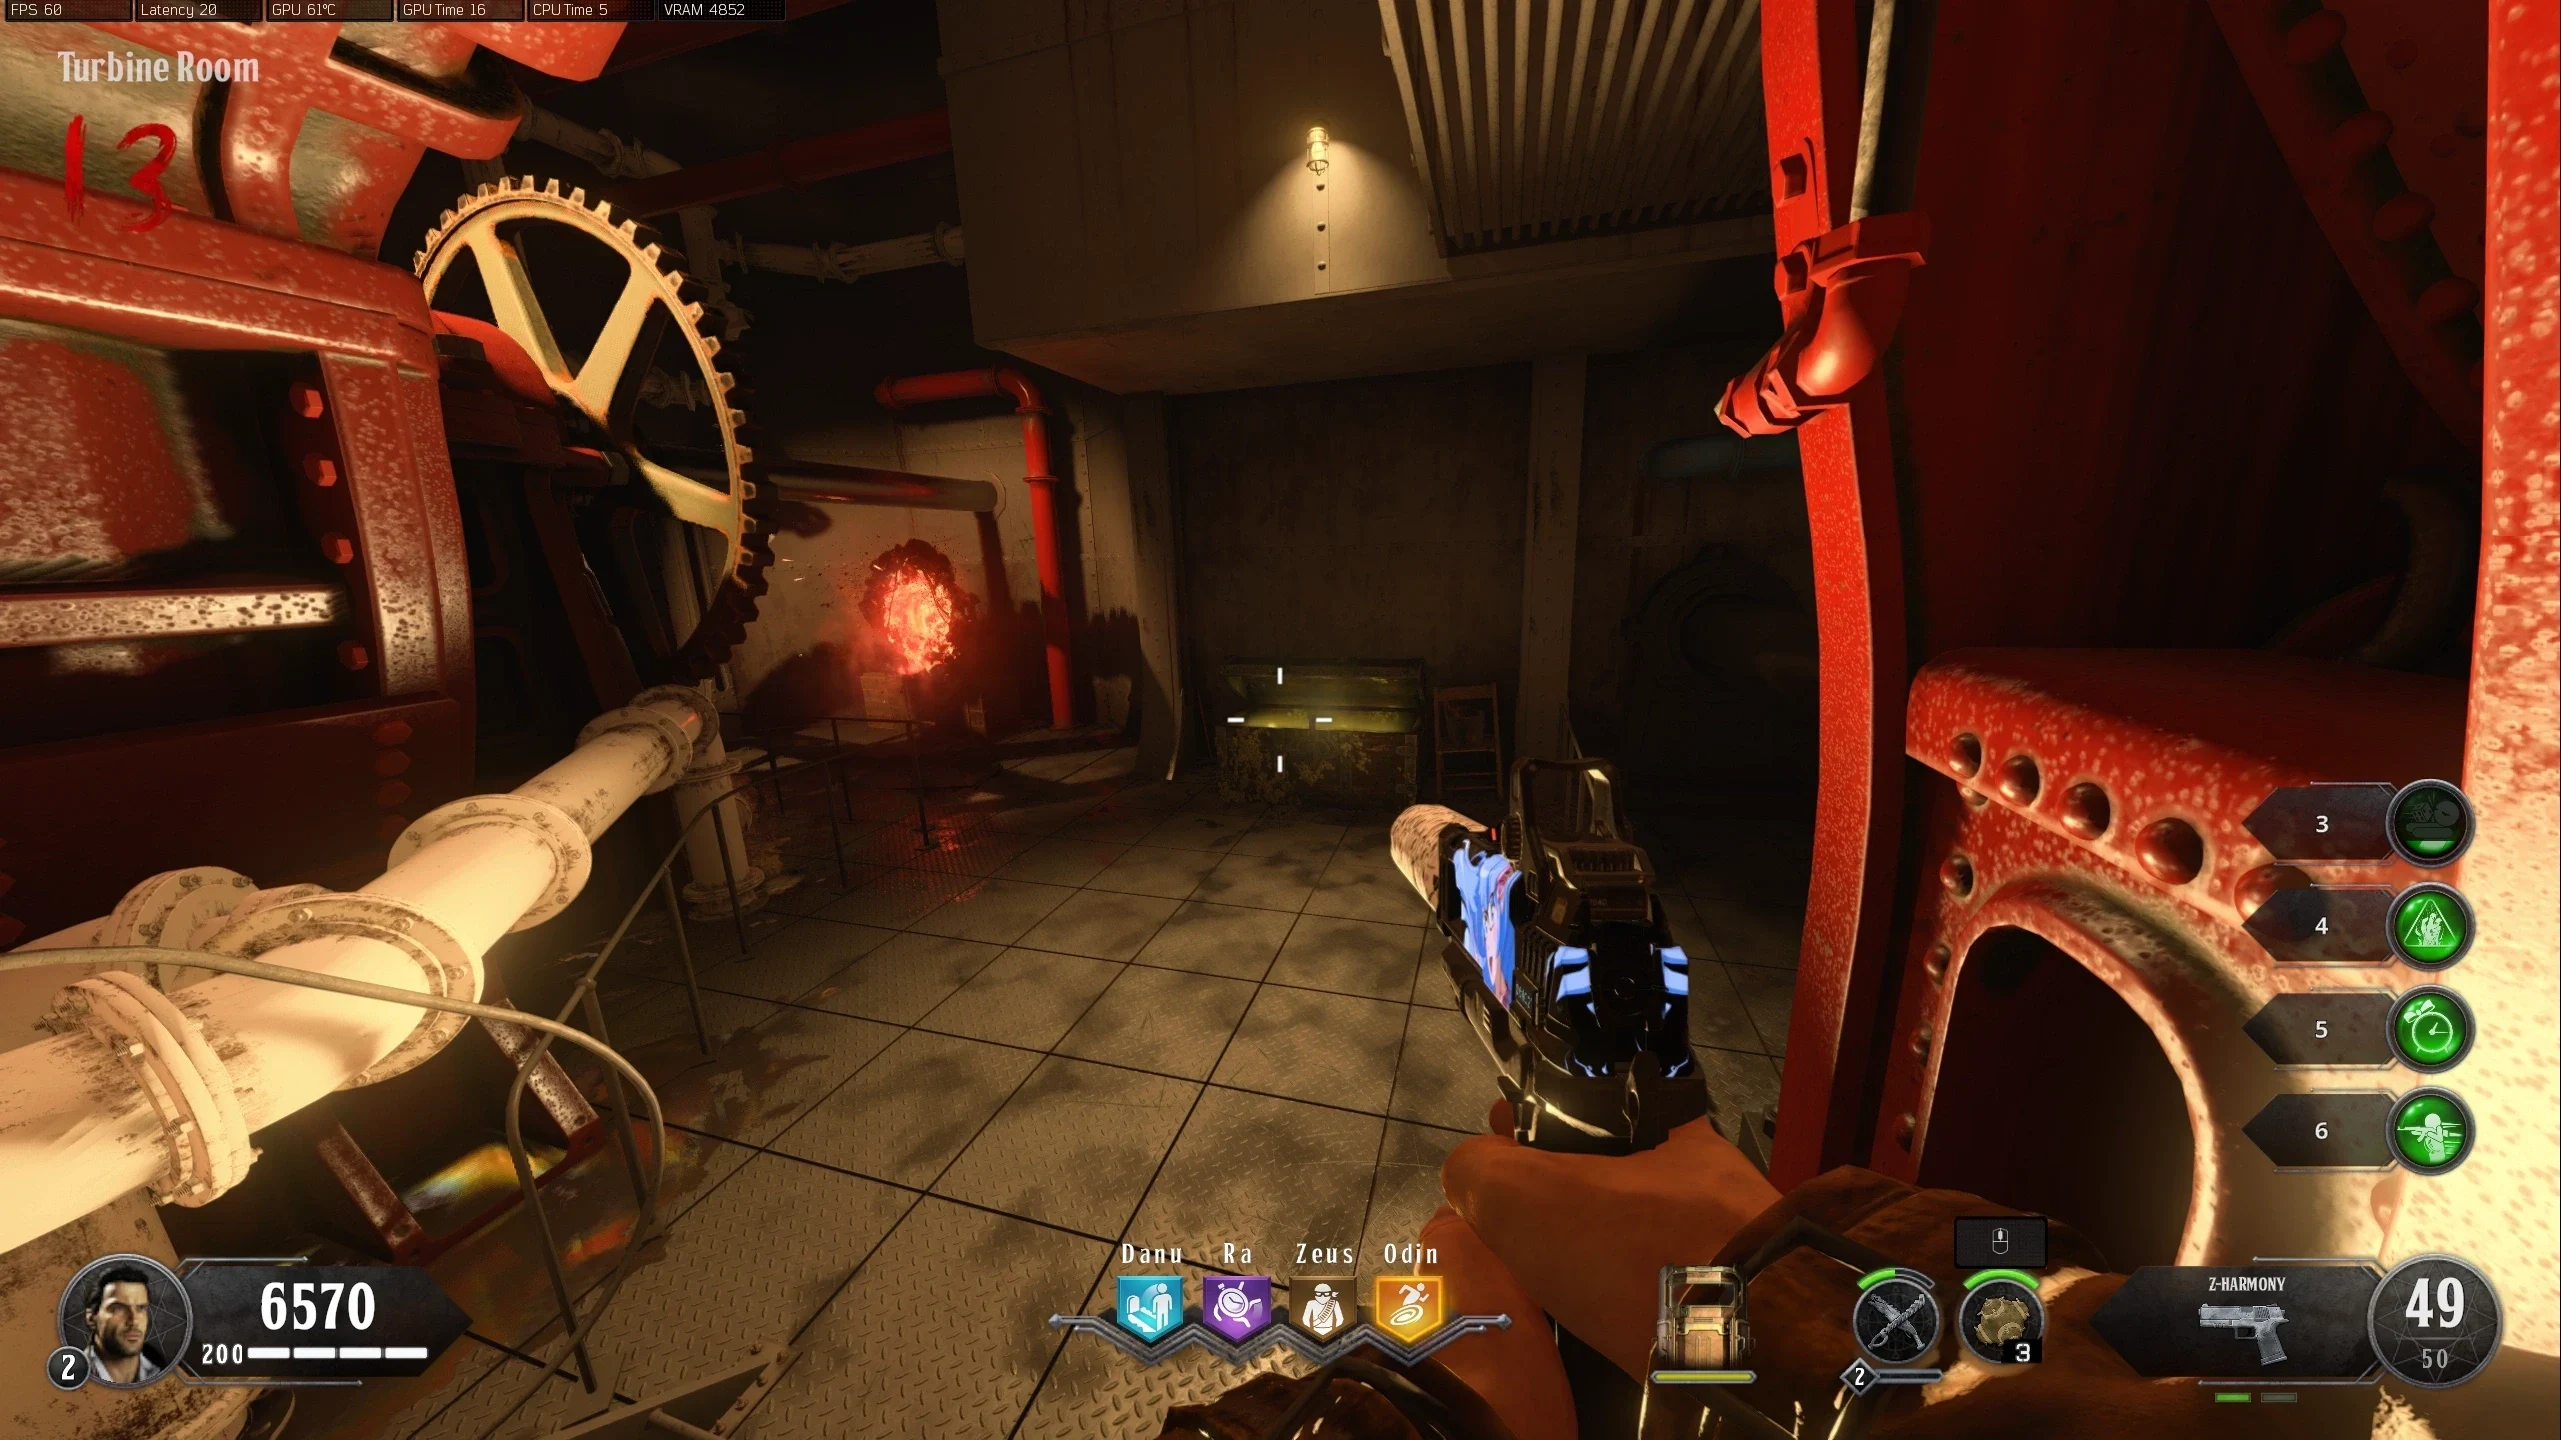
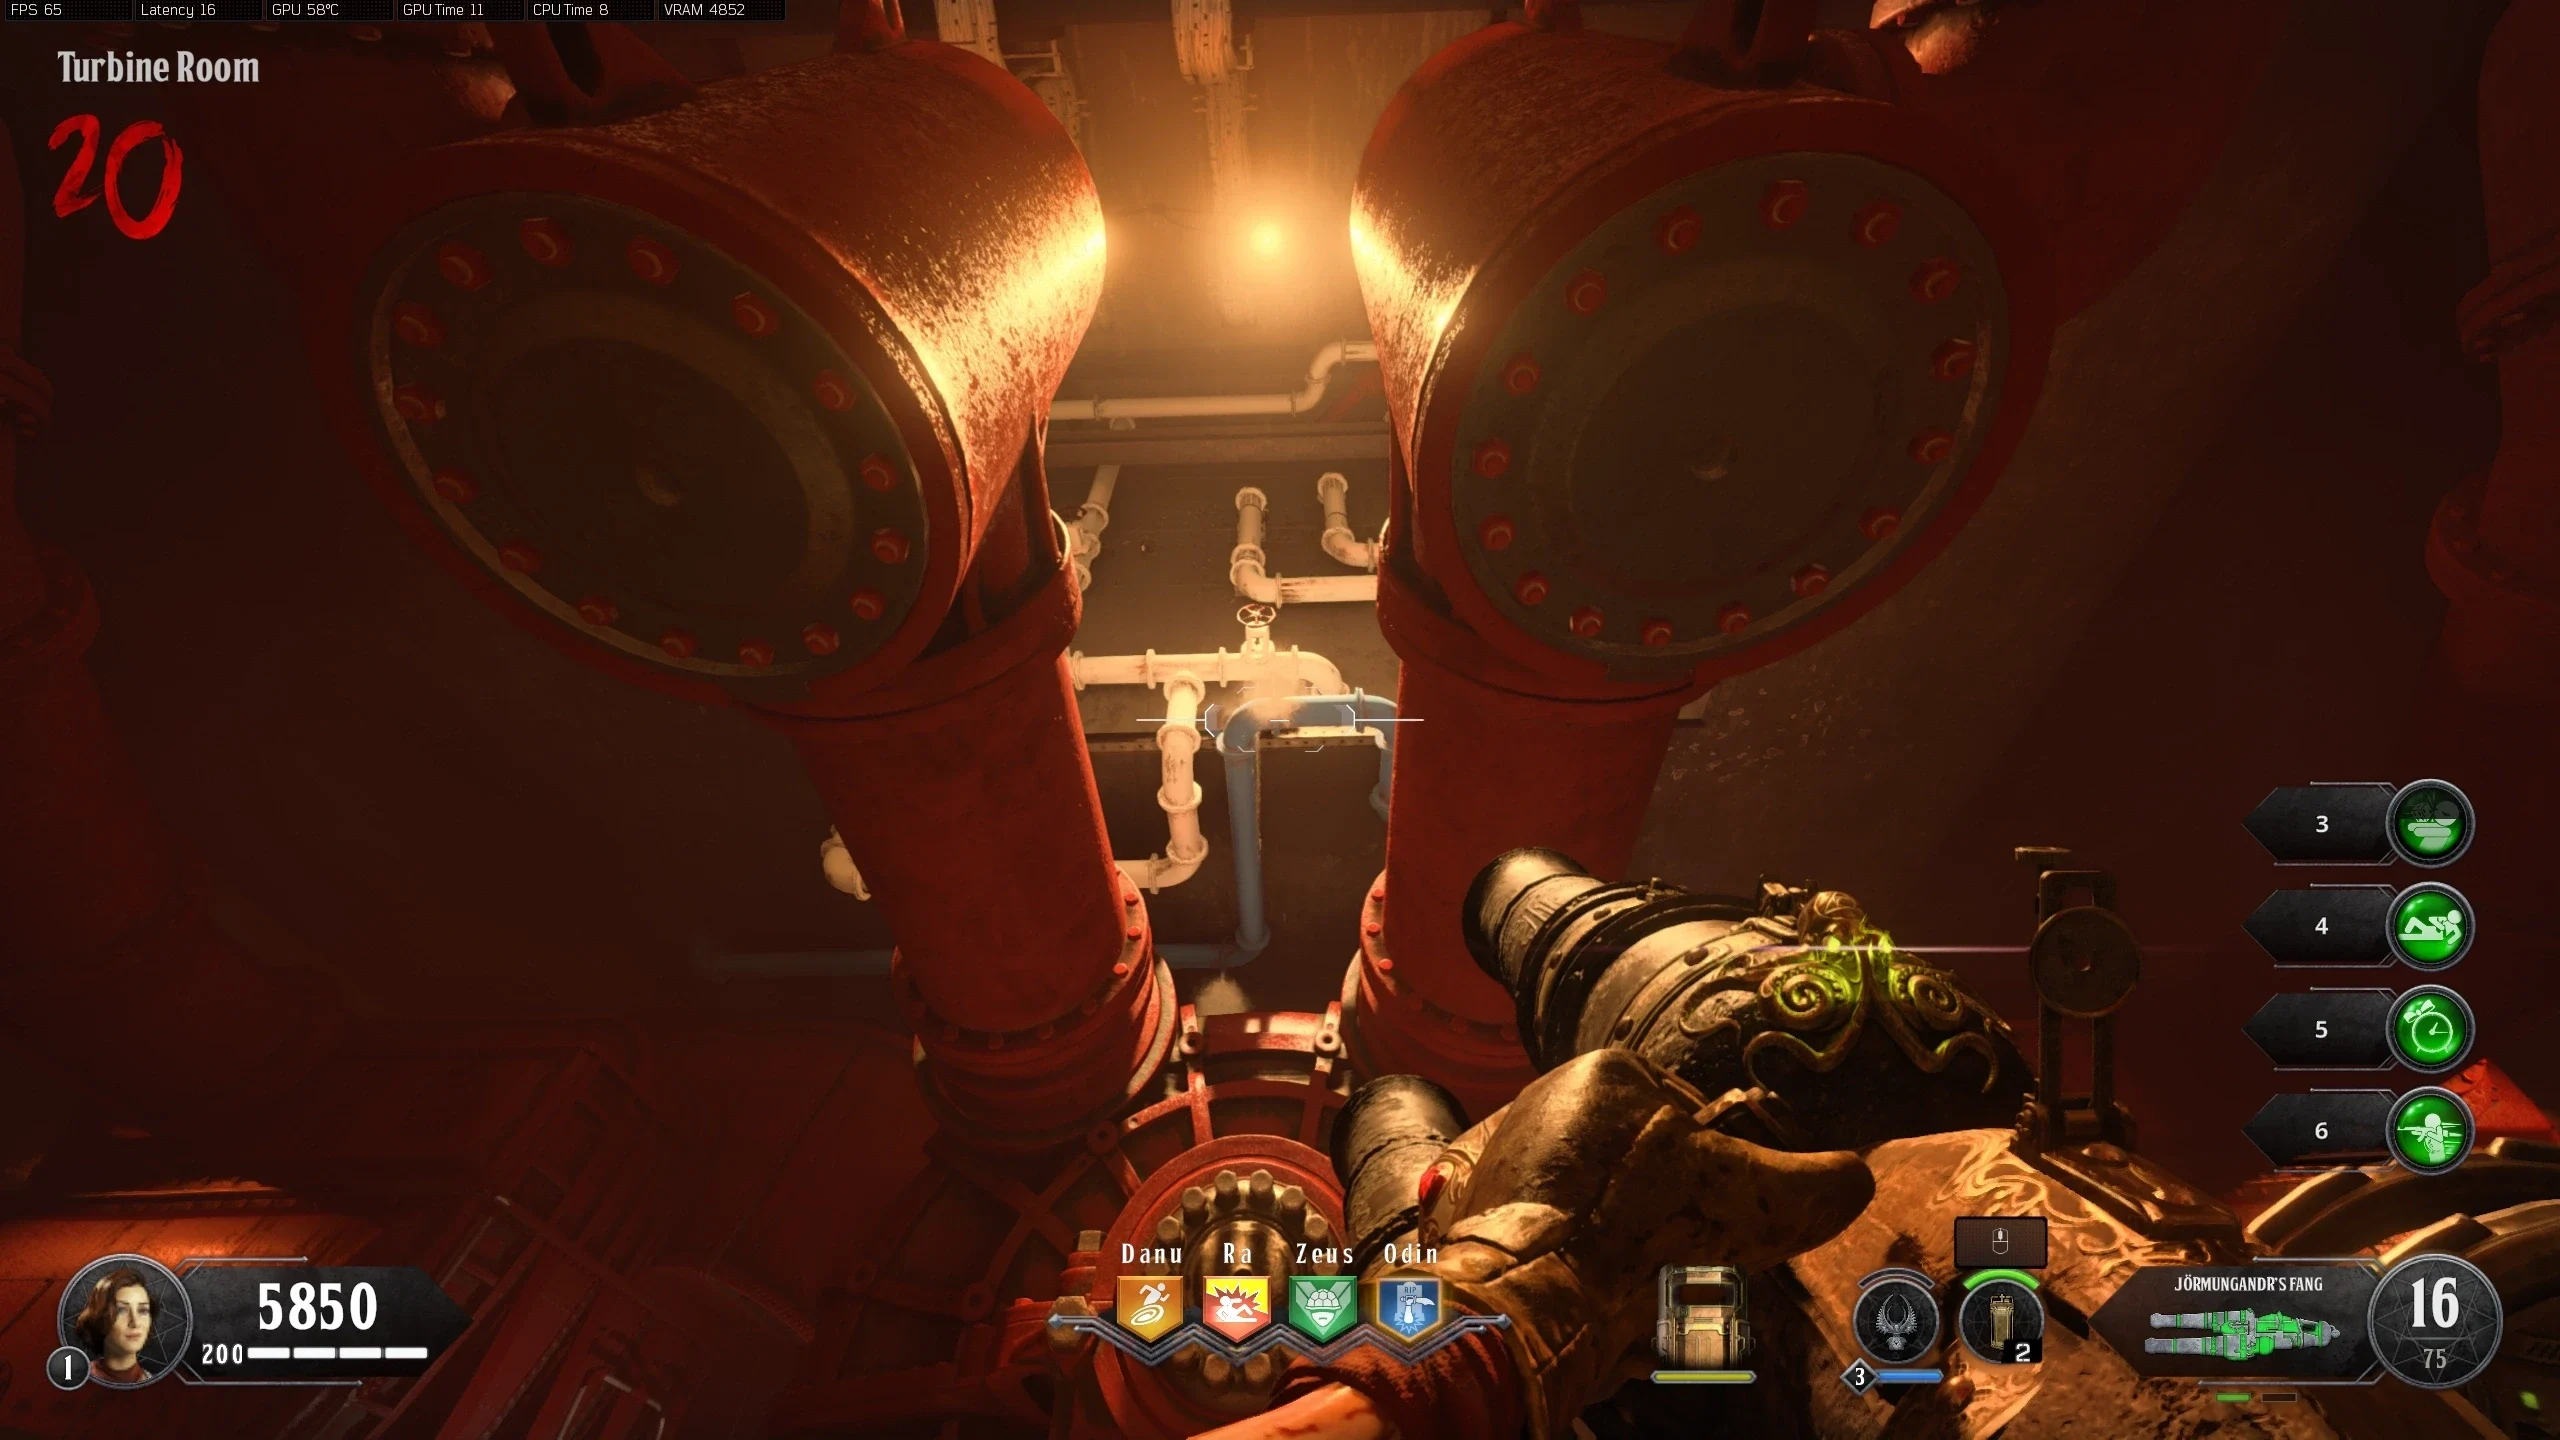
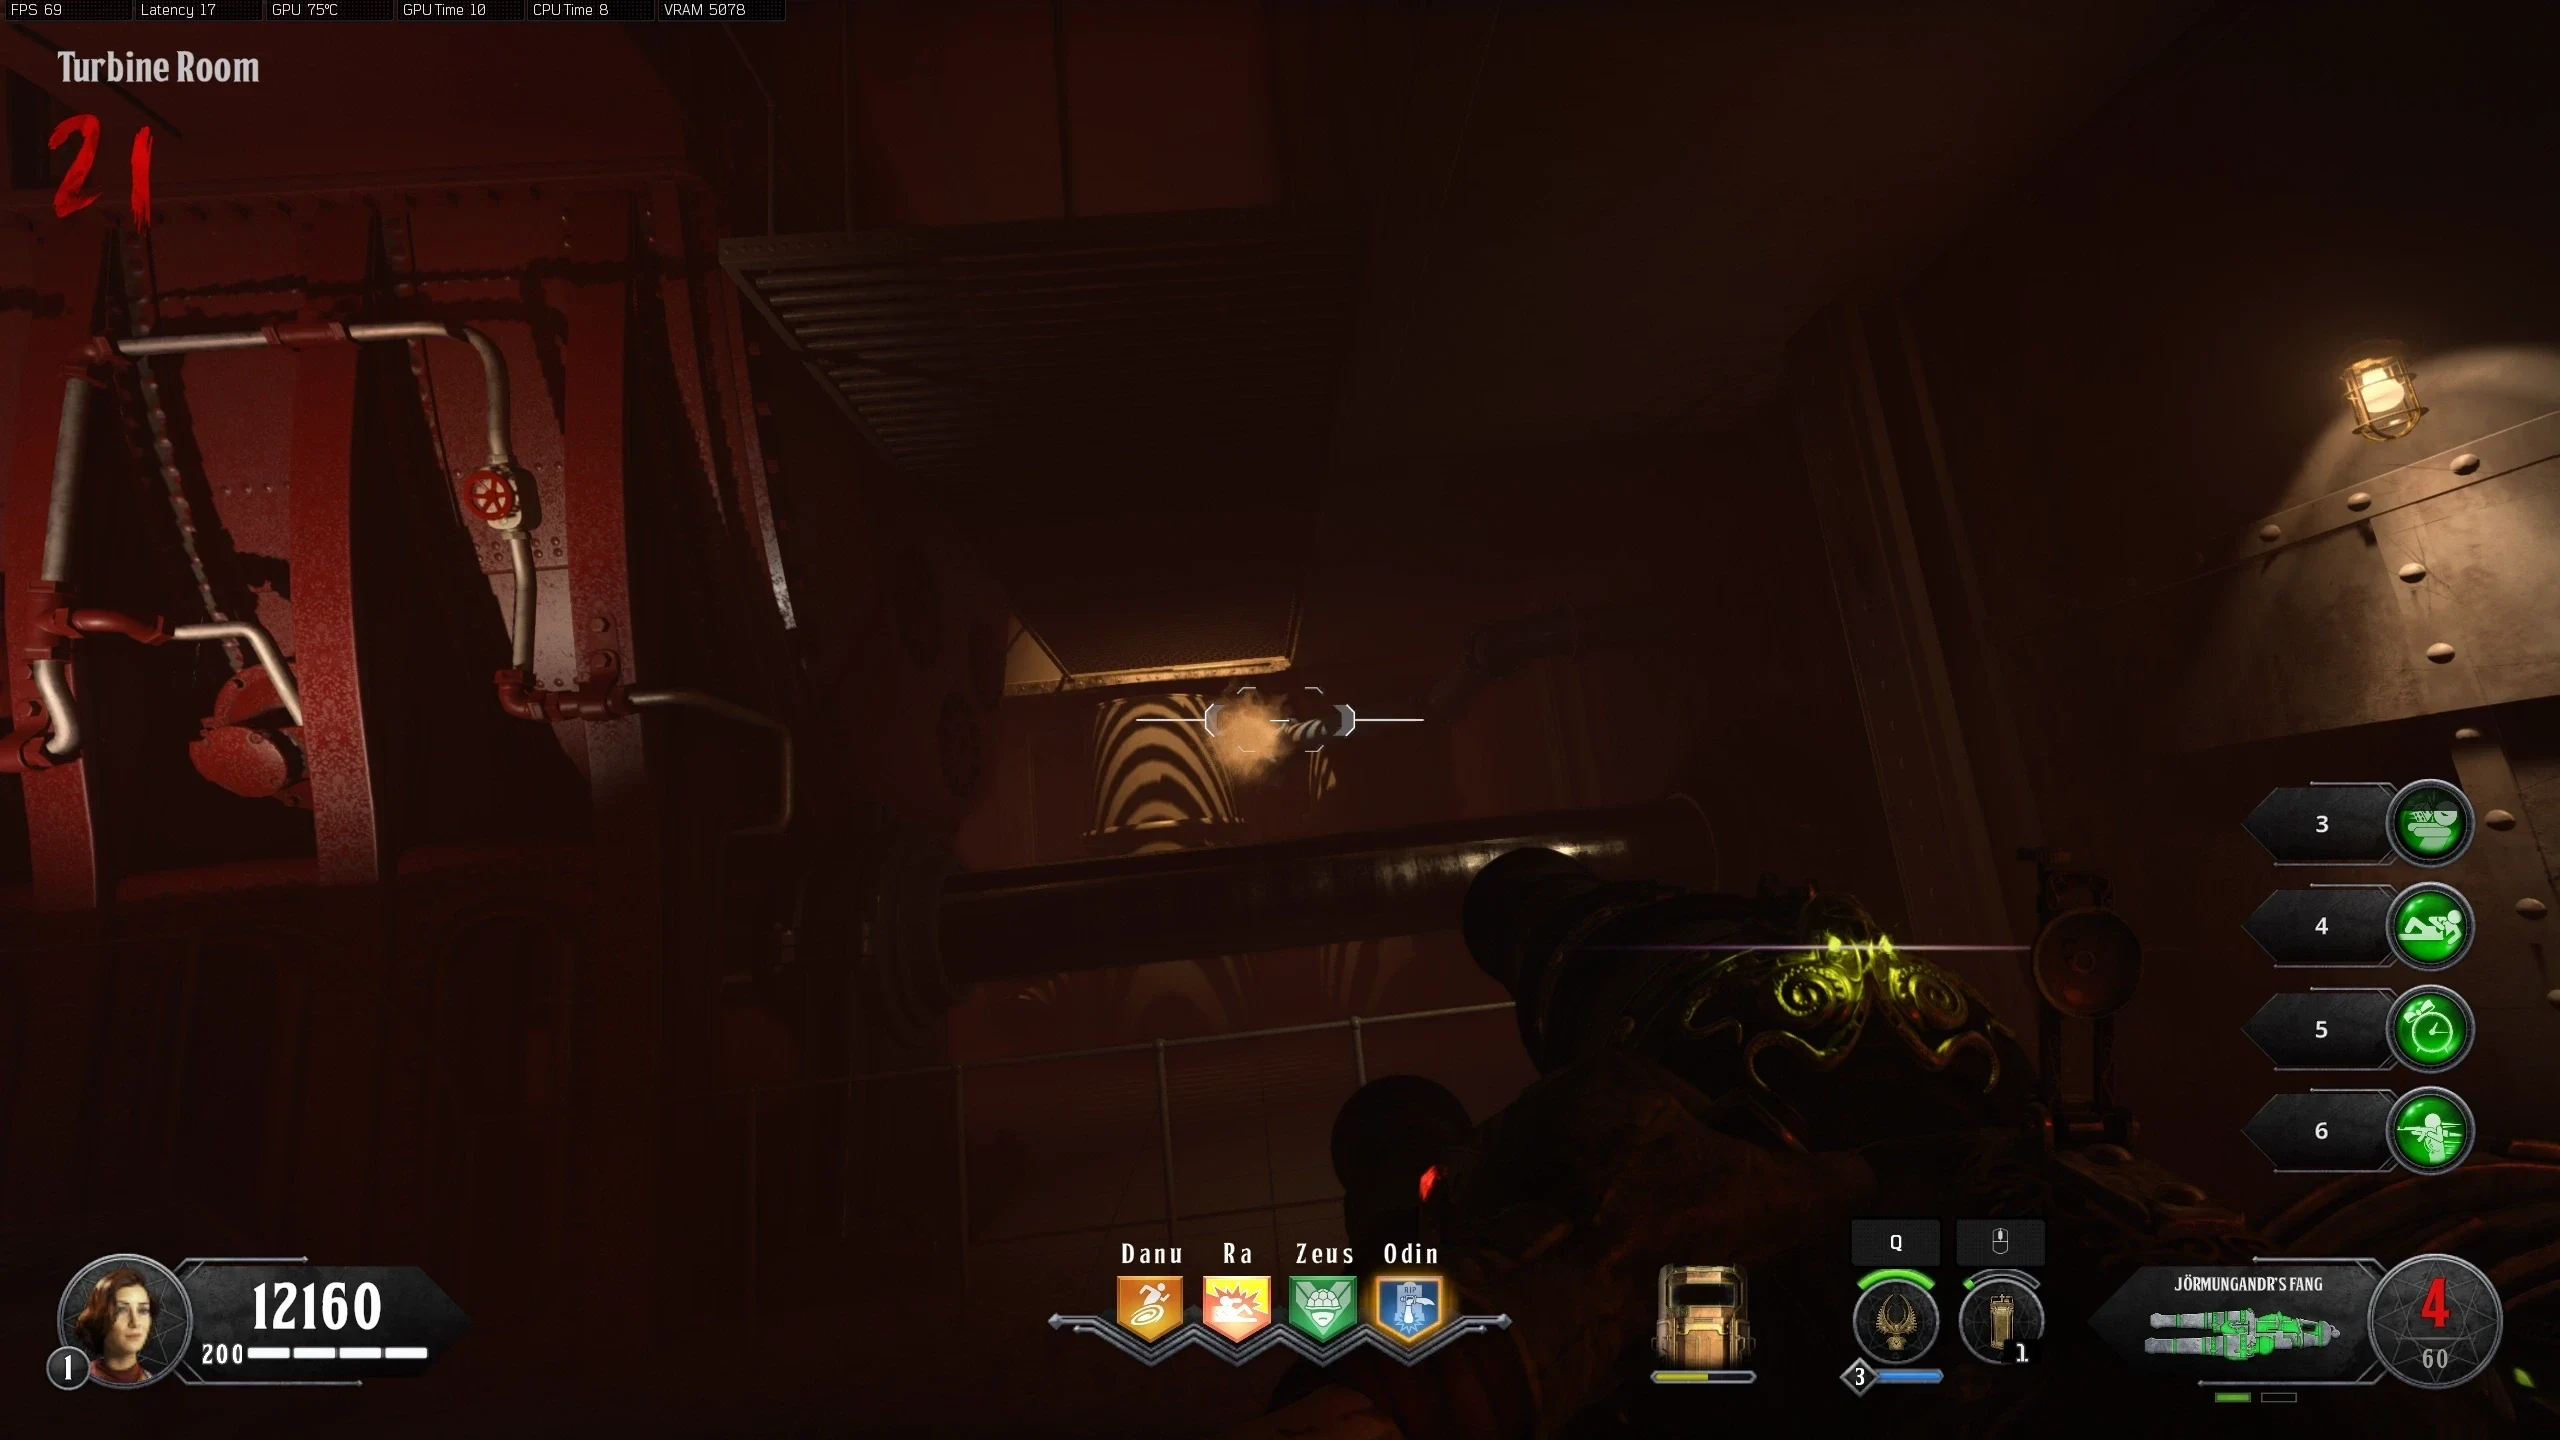
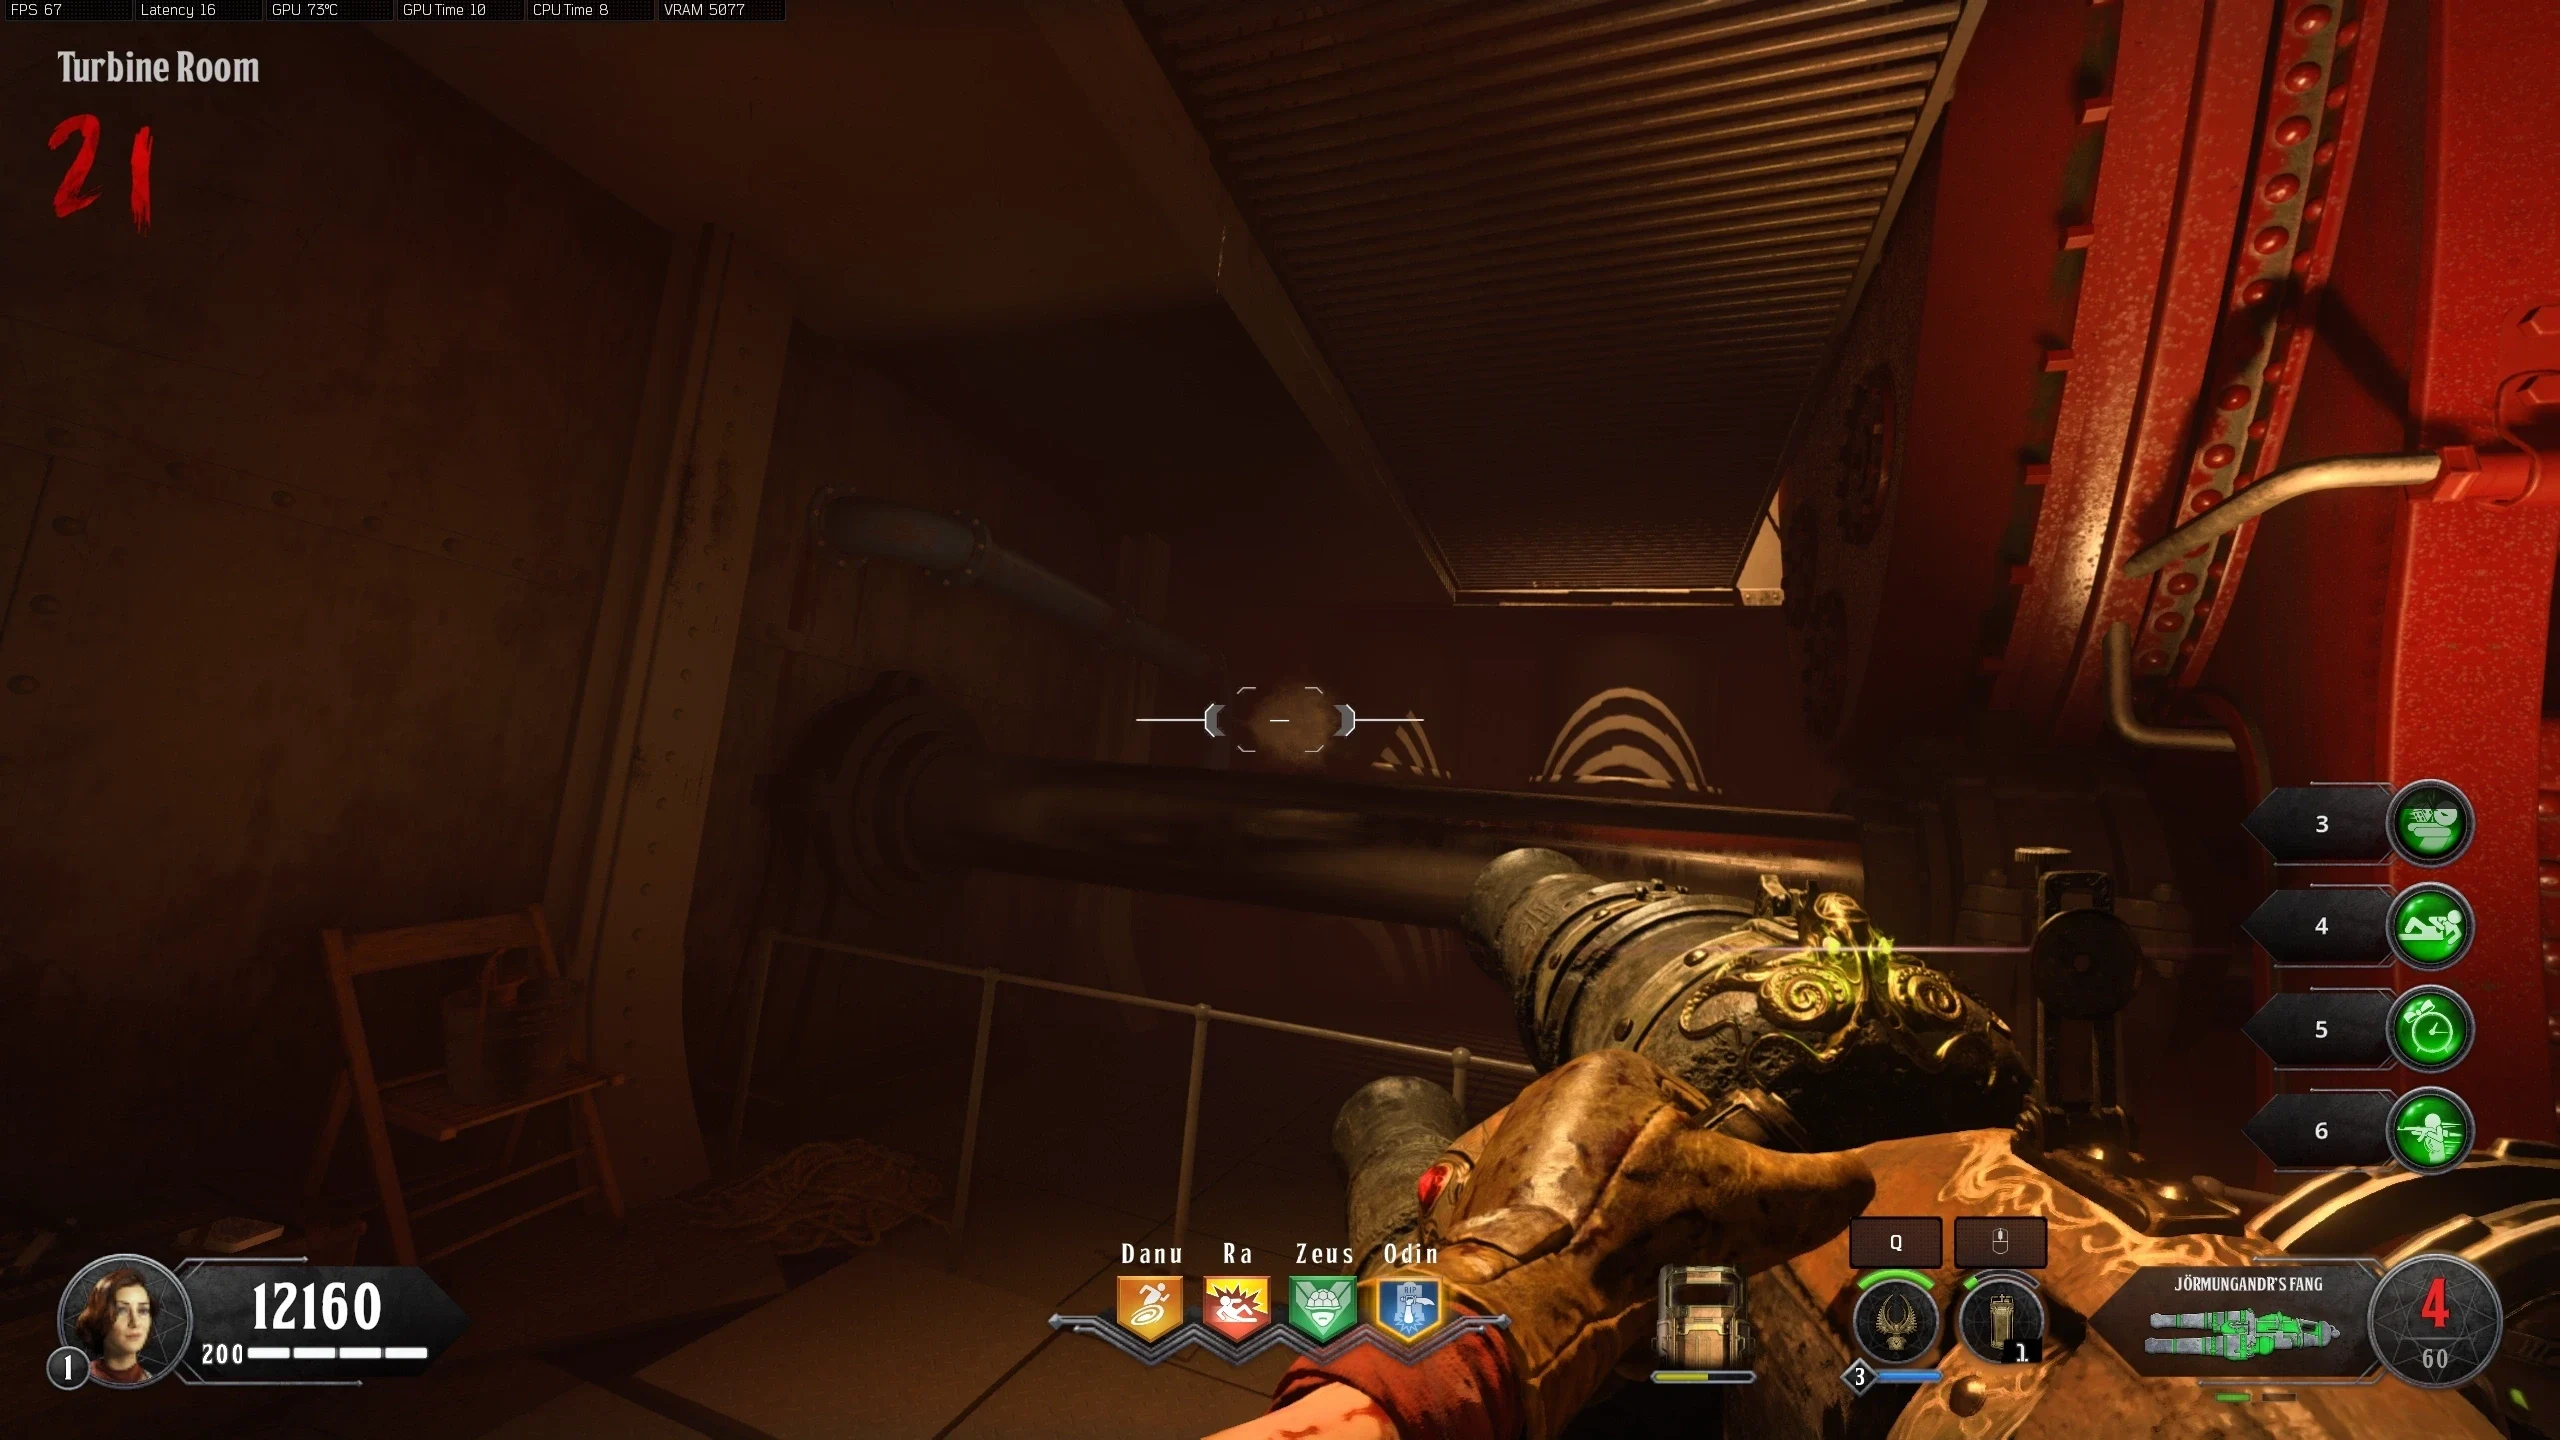
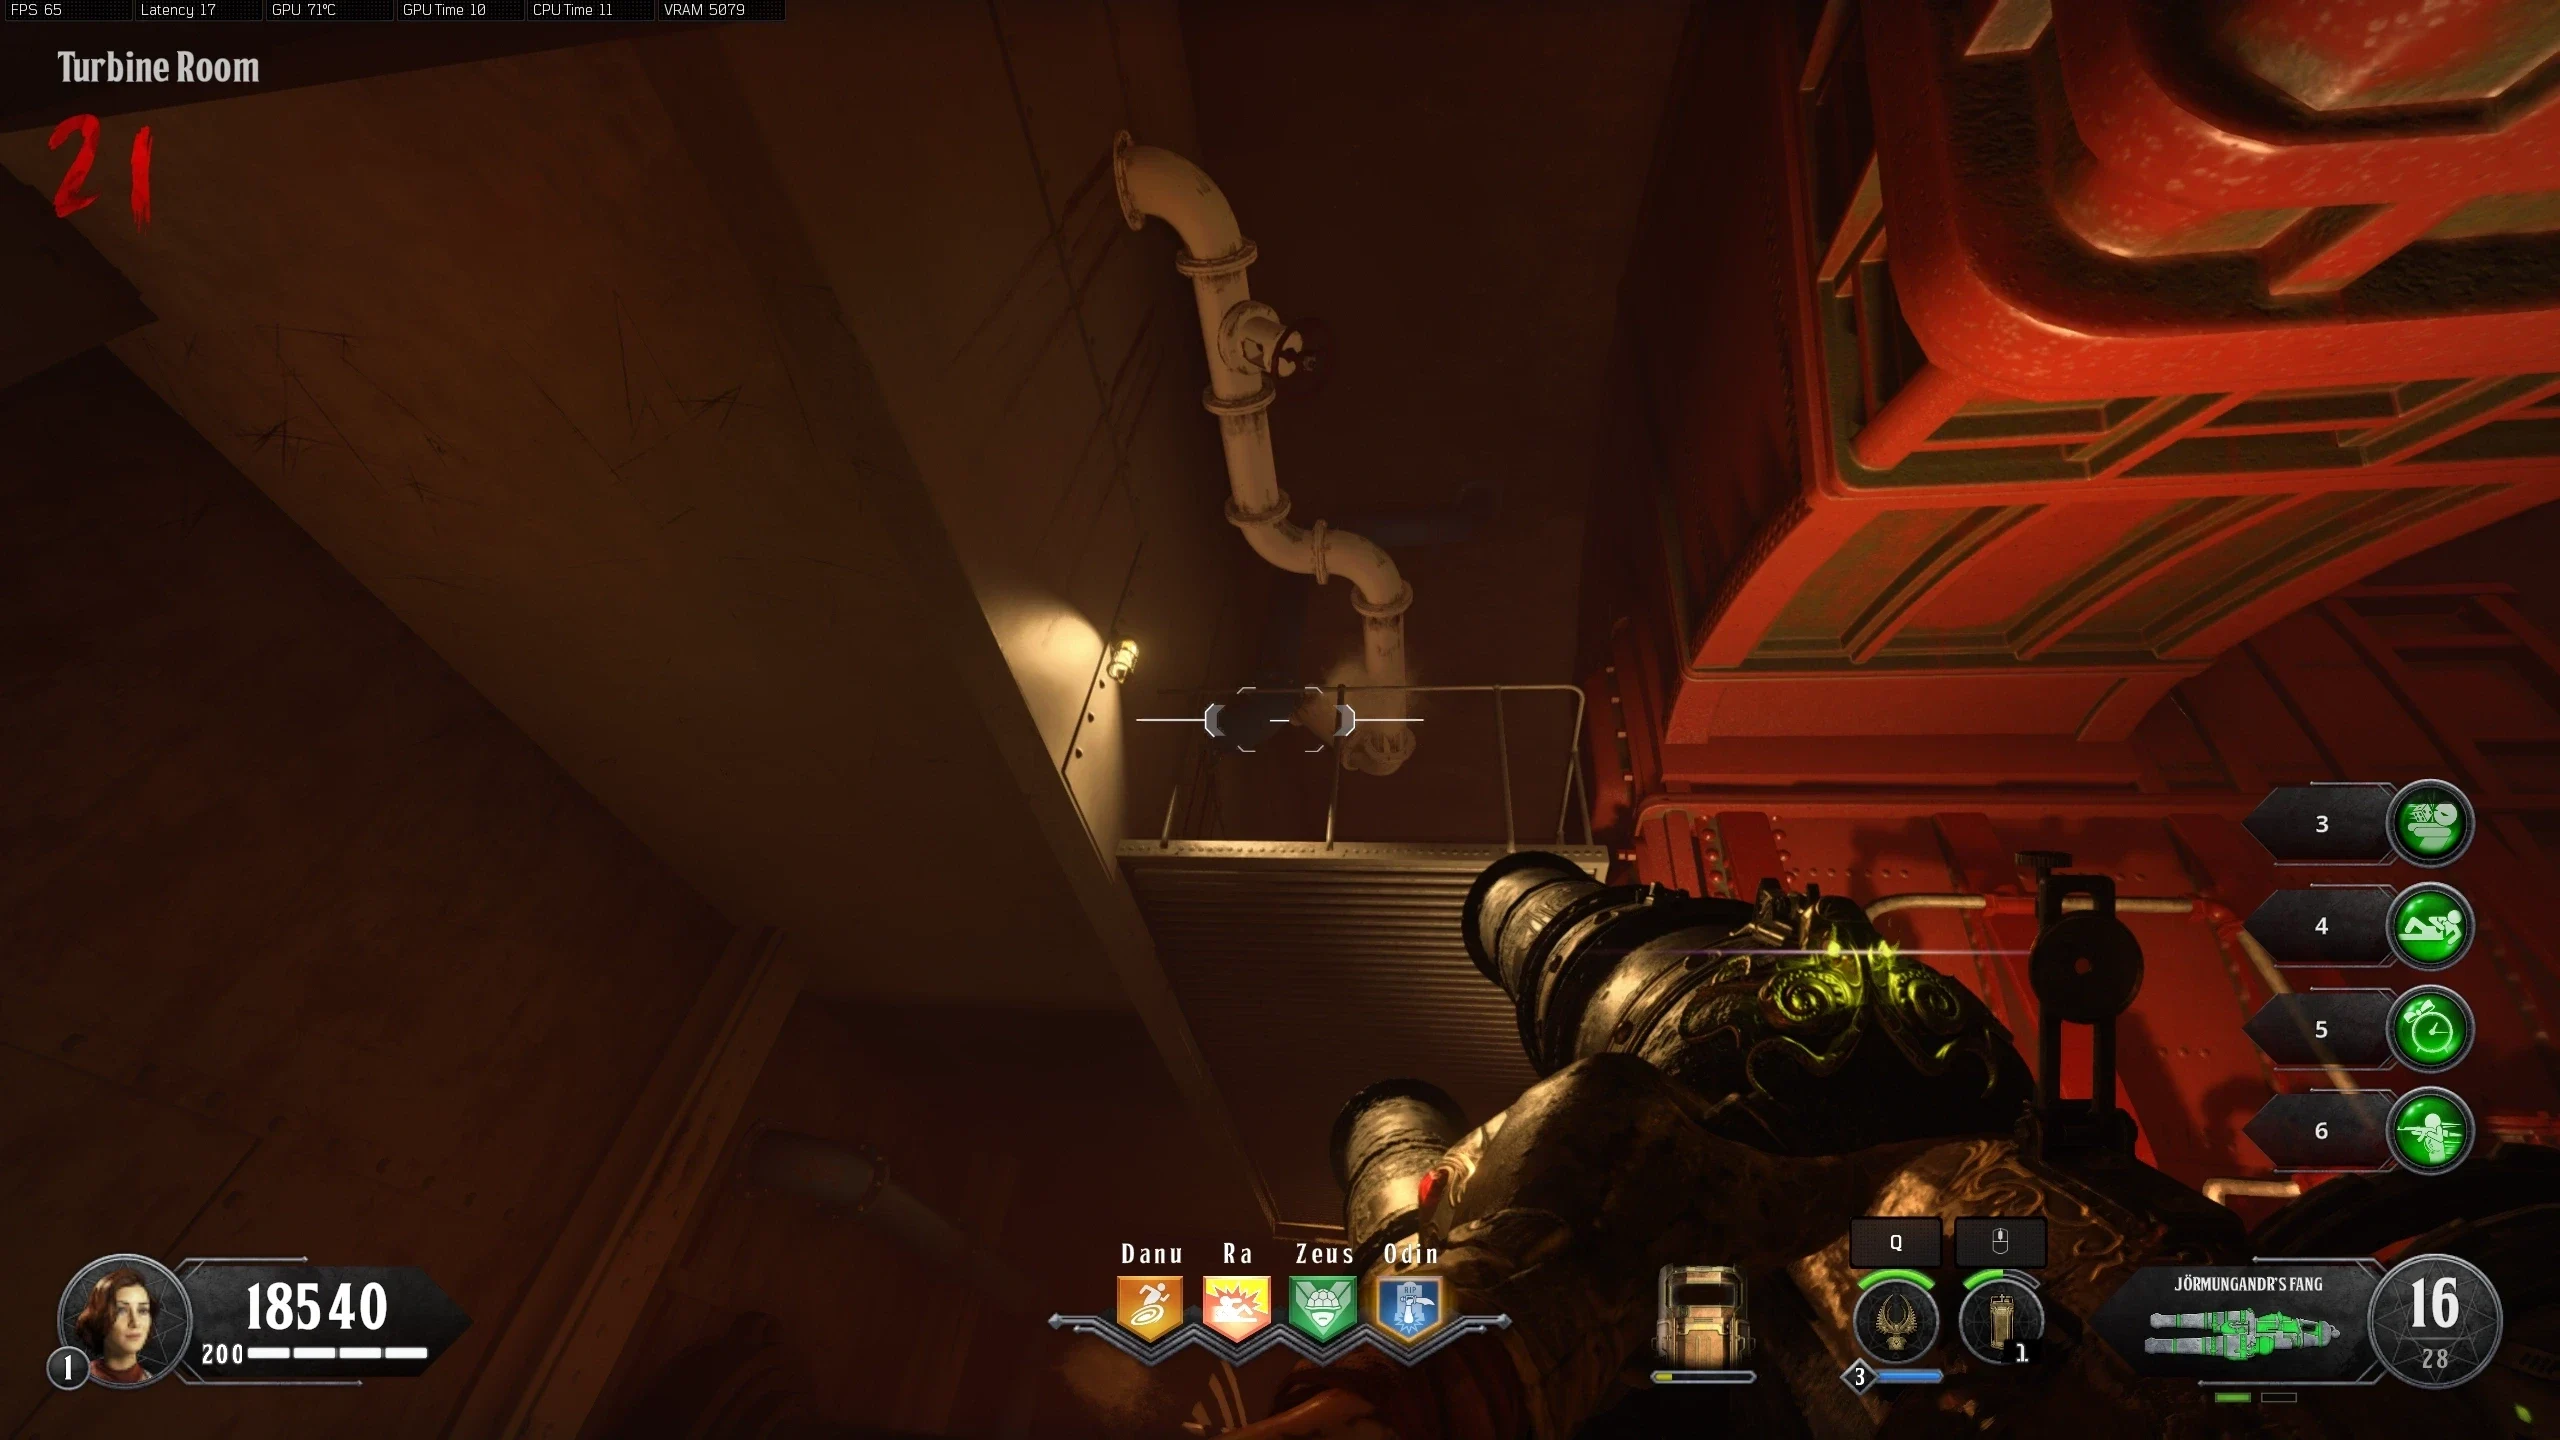
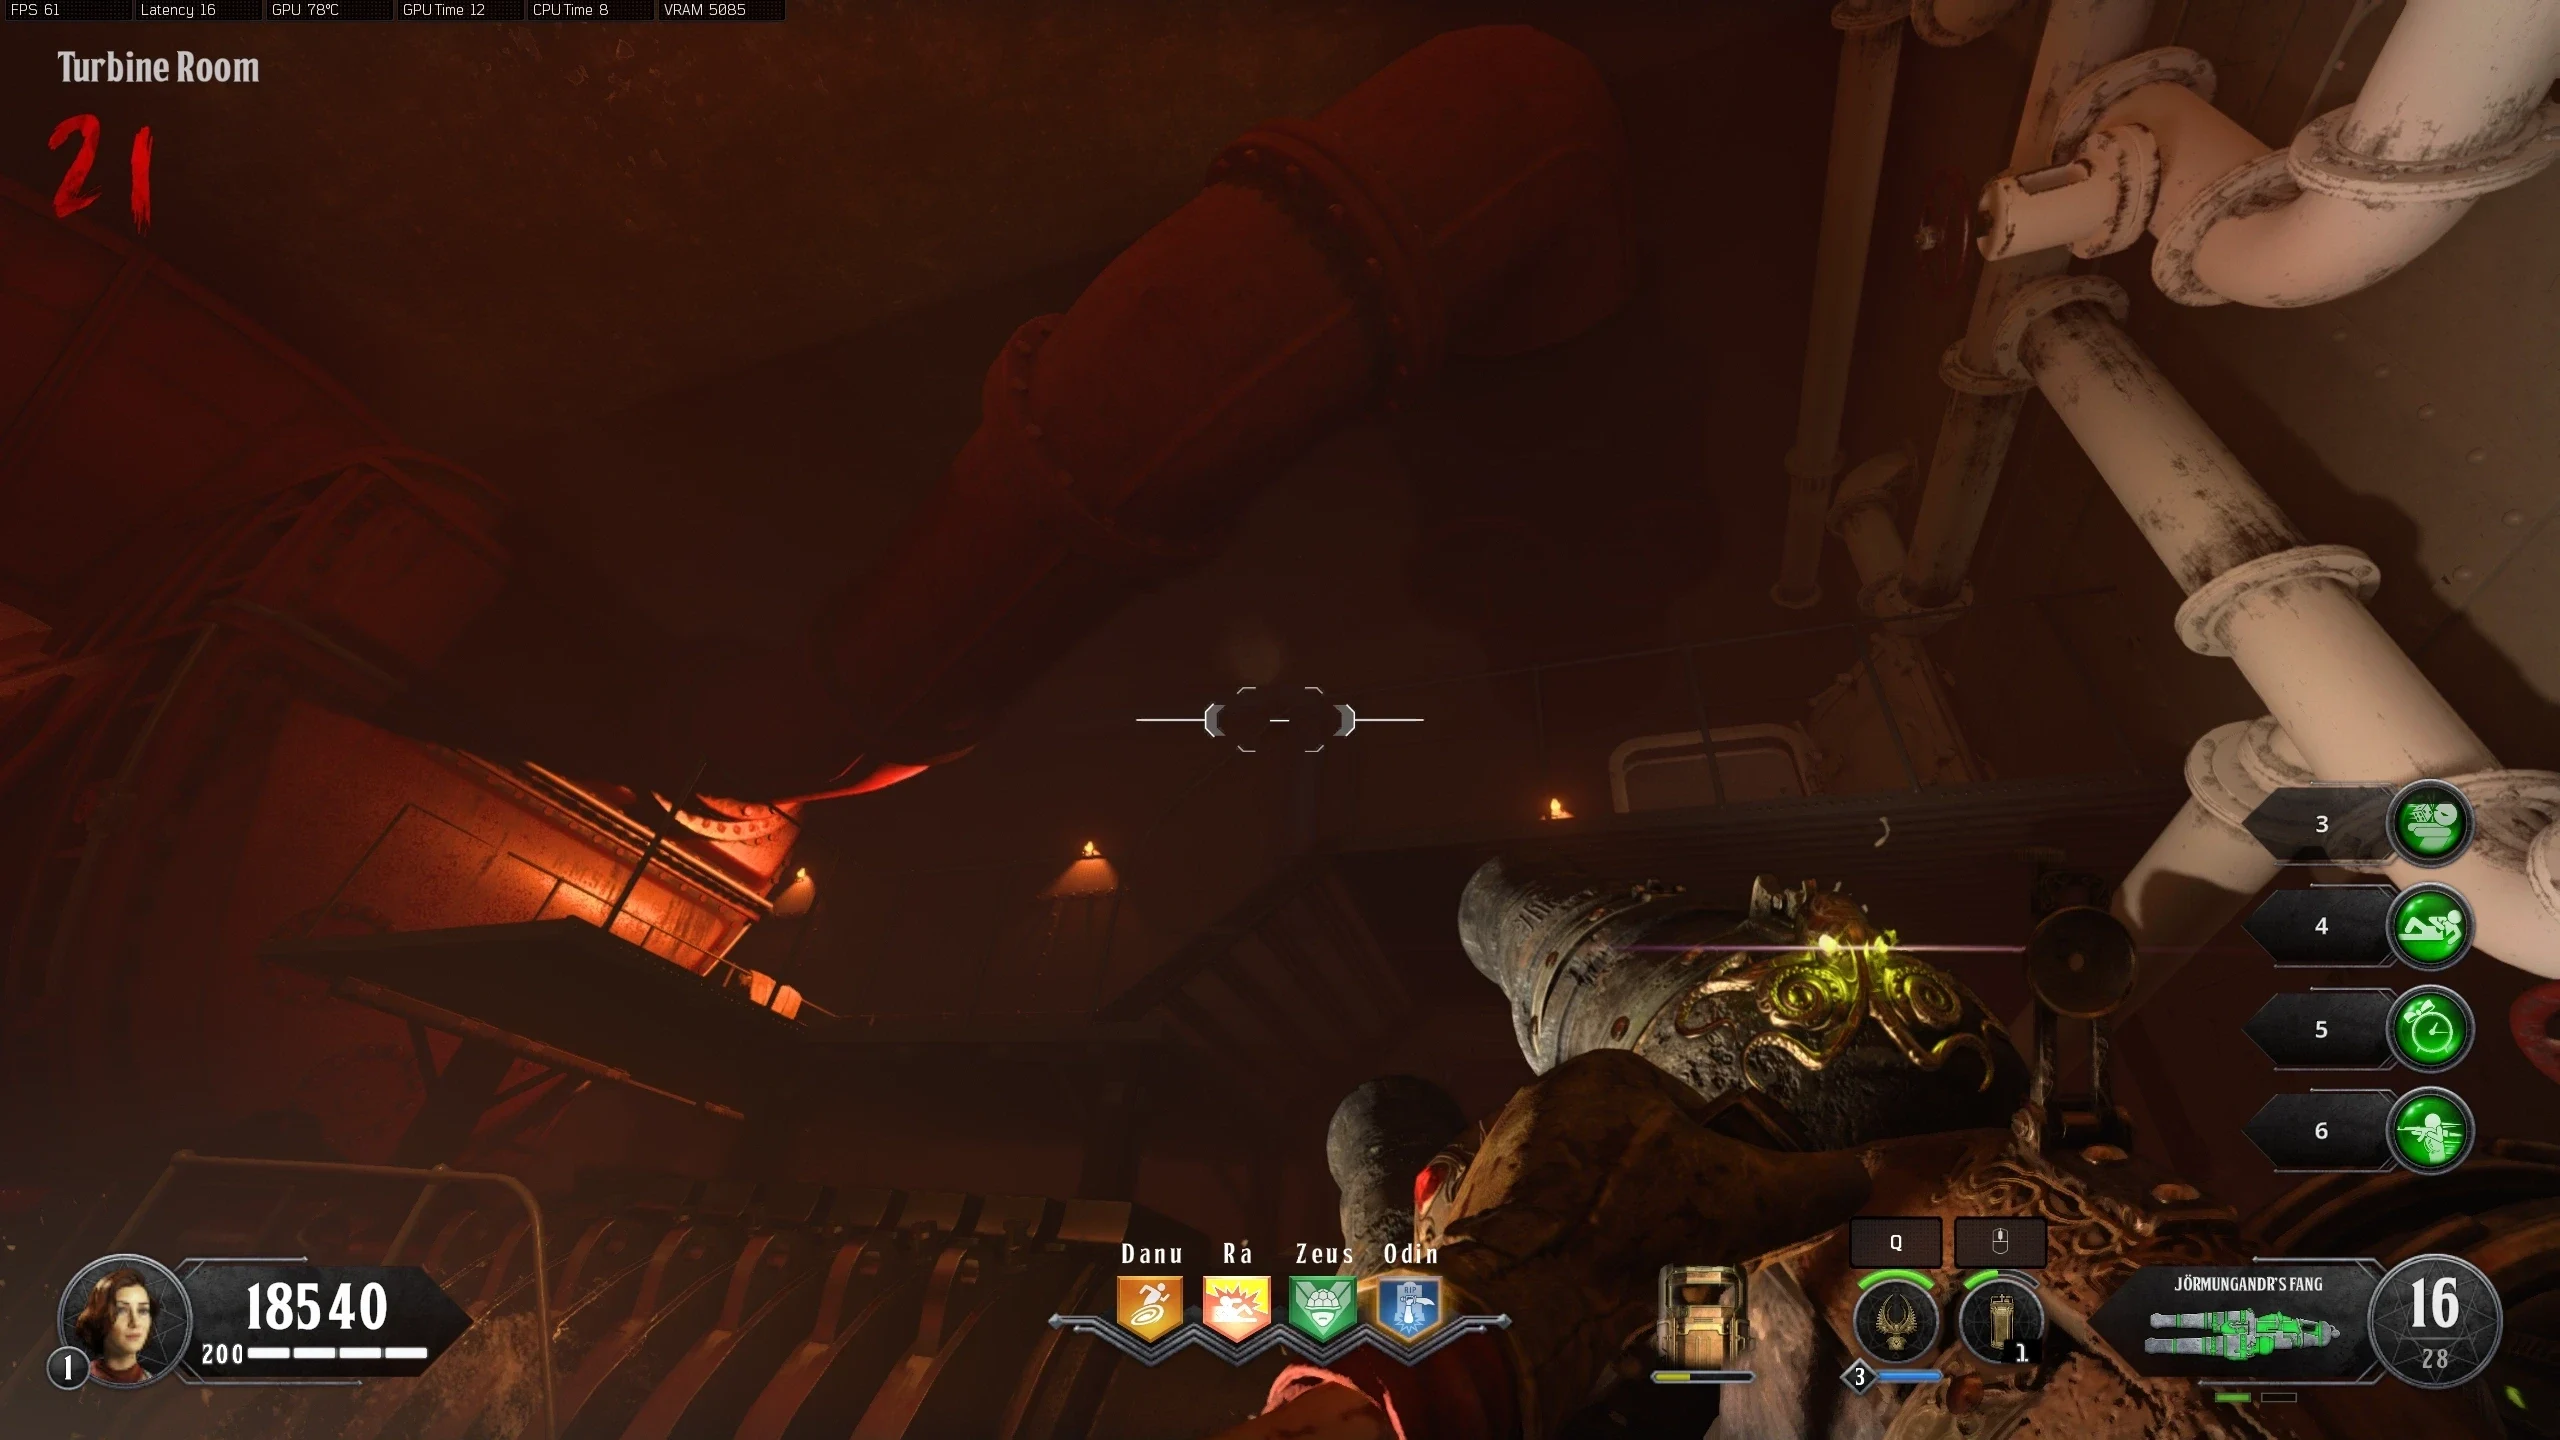
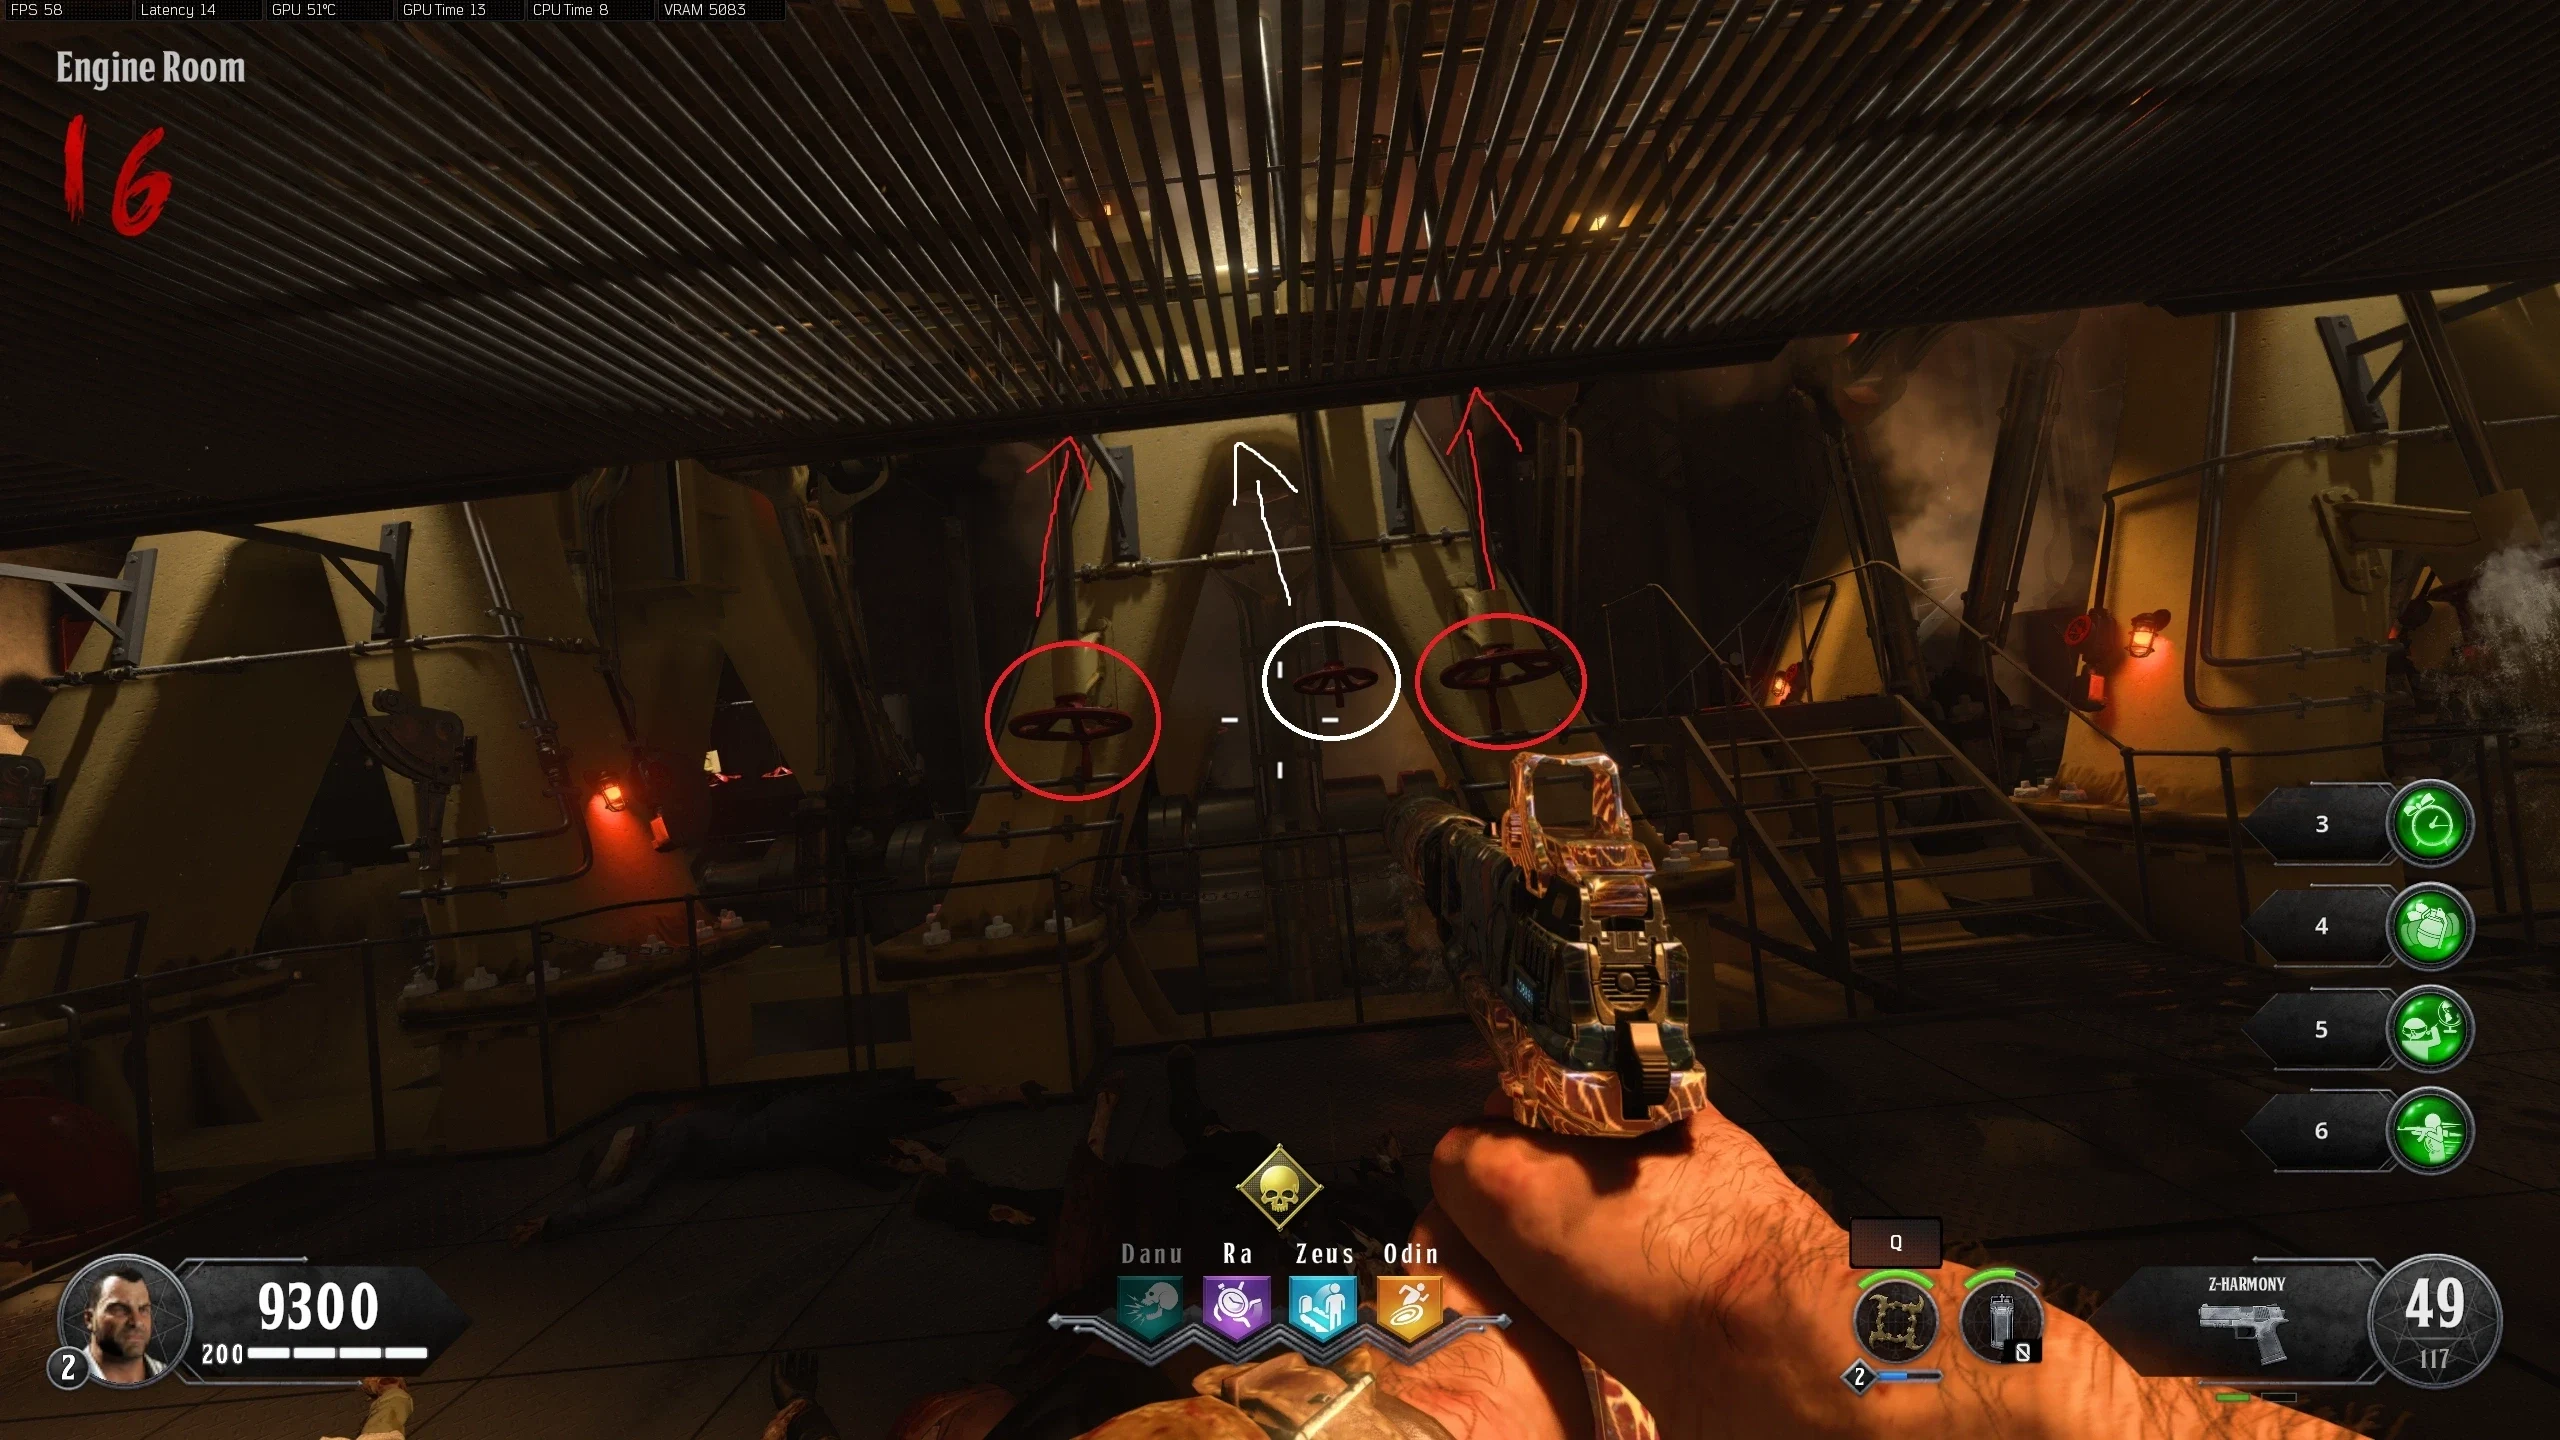
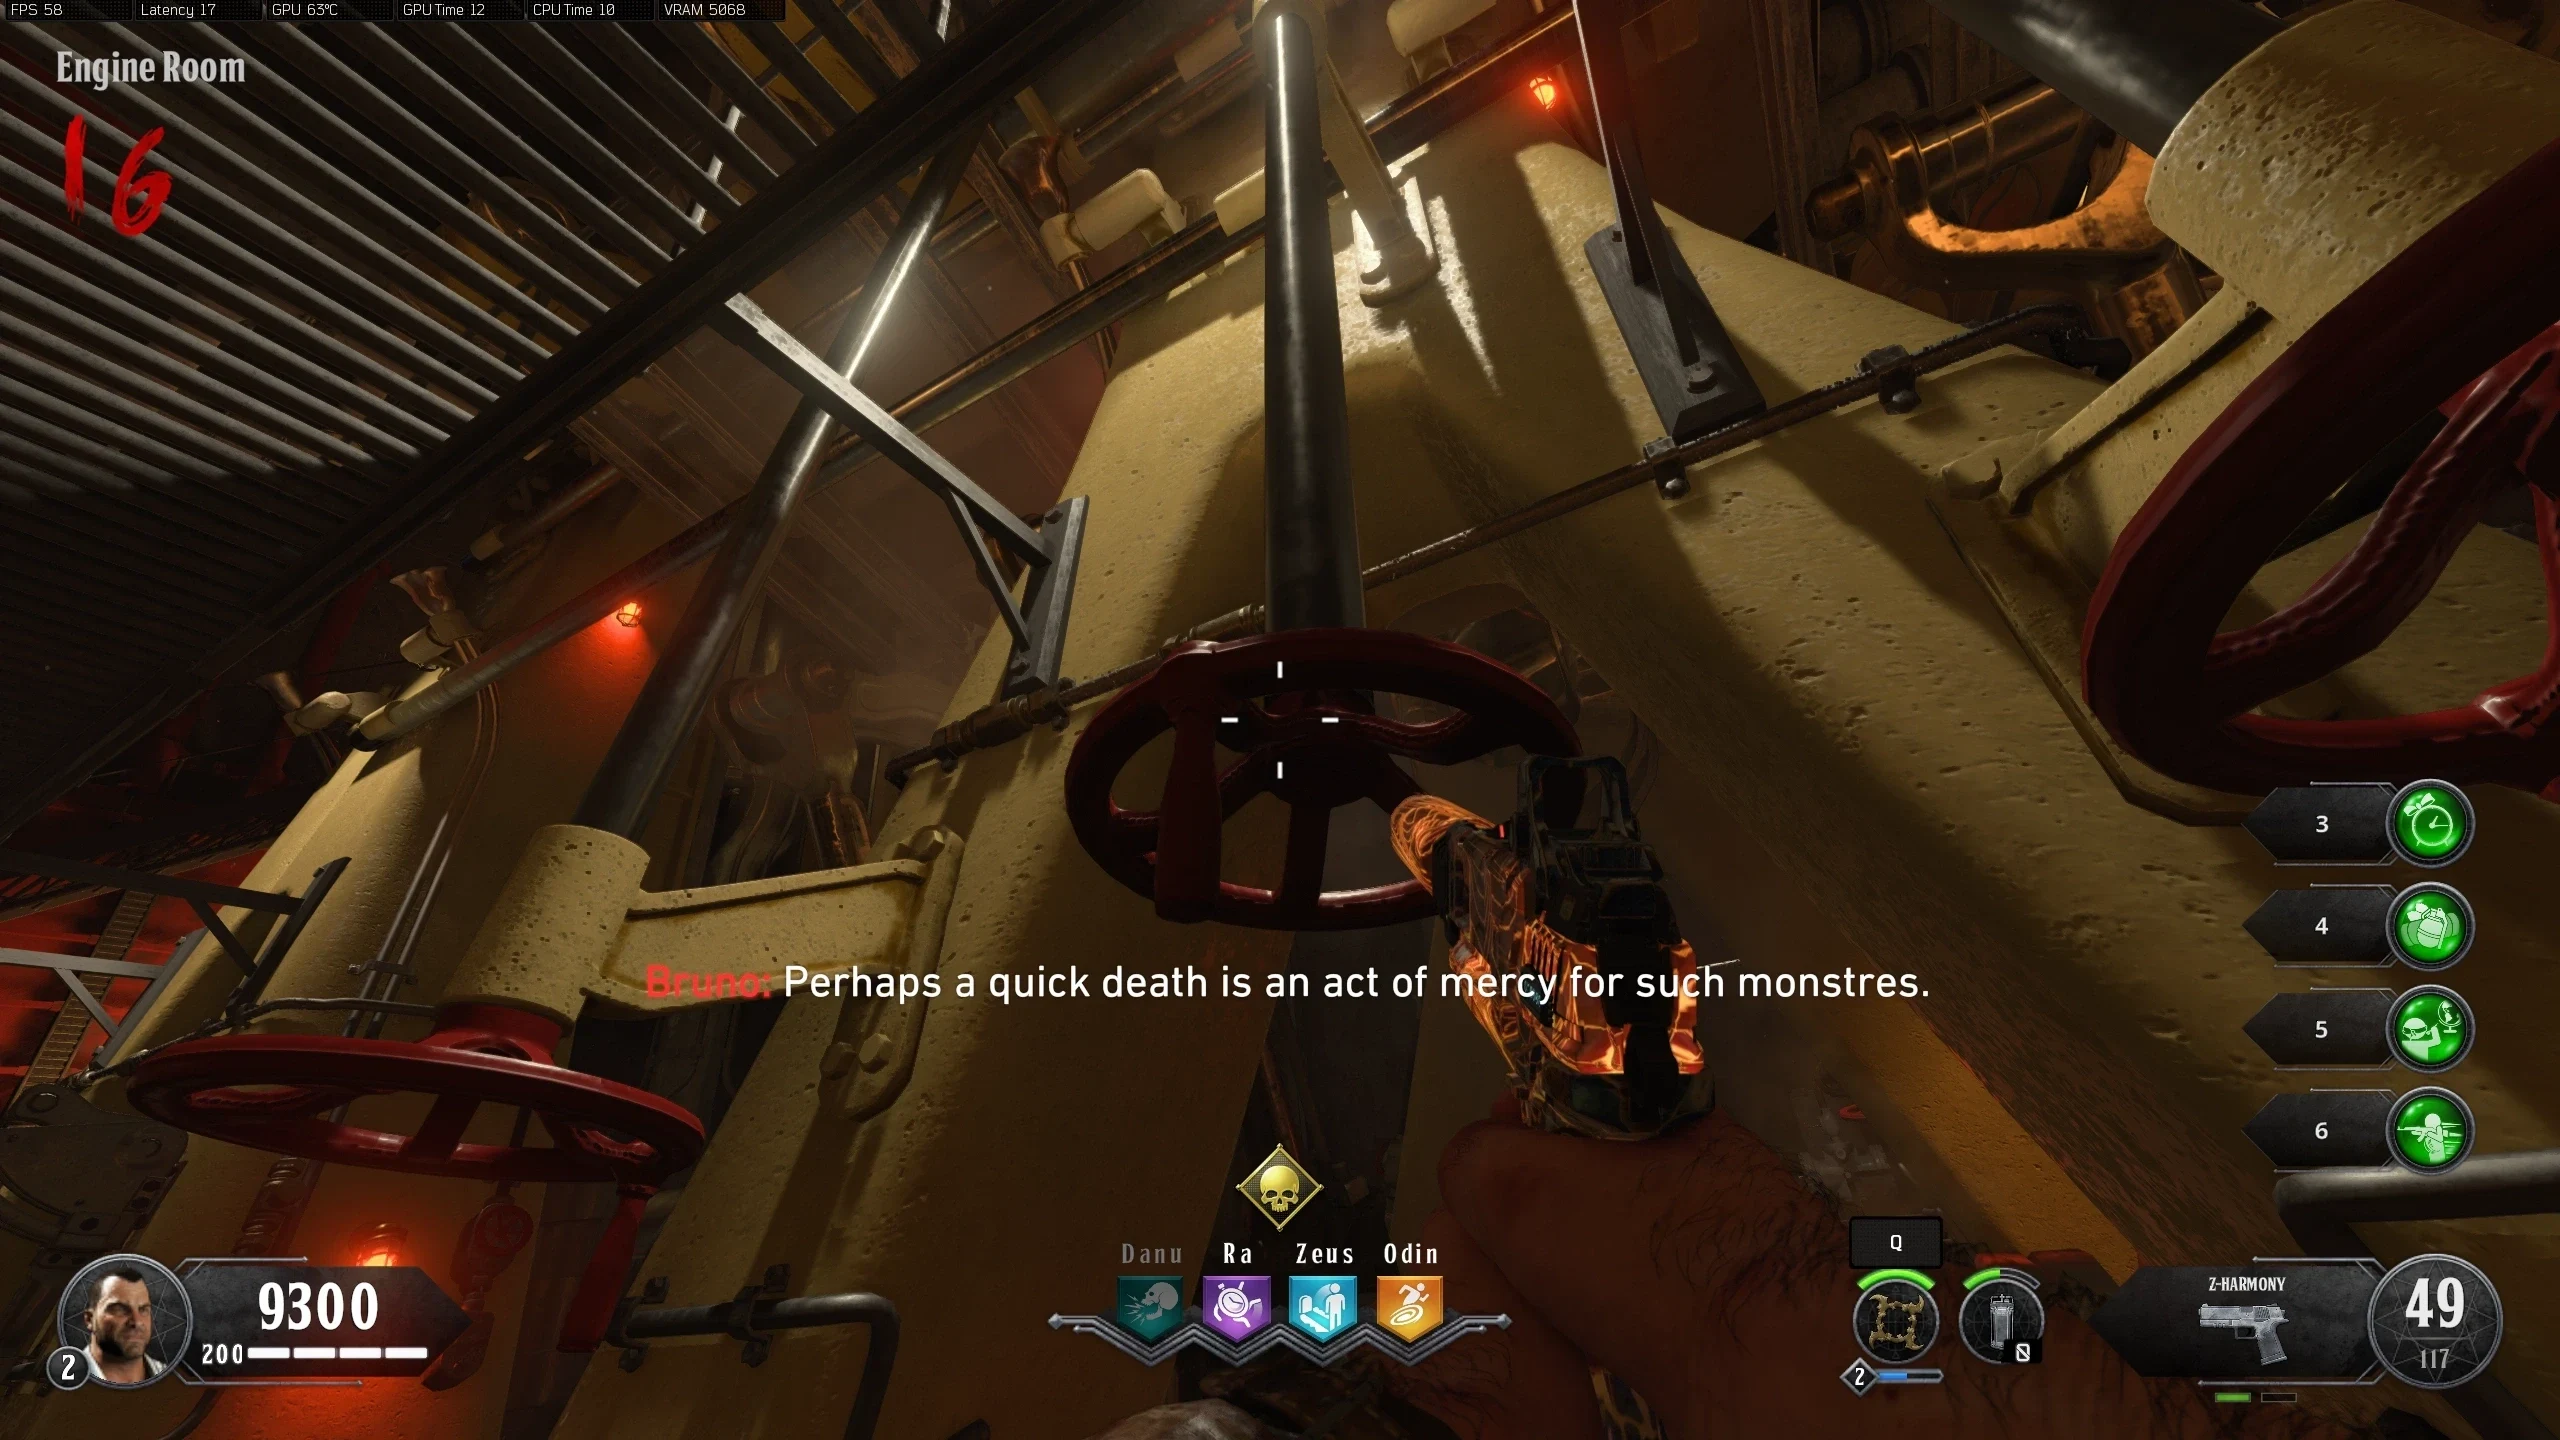
- Around the 'Turbine Room,' nine pipes will be leaking which need to be shot with the Poison Kraken. Locations:
- Pipe 1 - Above Pack-a-Punch
- Pipe 2 - Behind Pipe 1
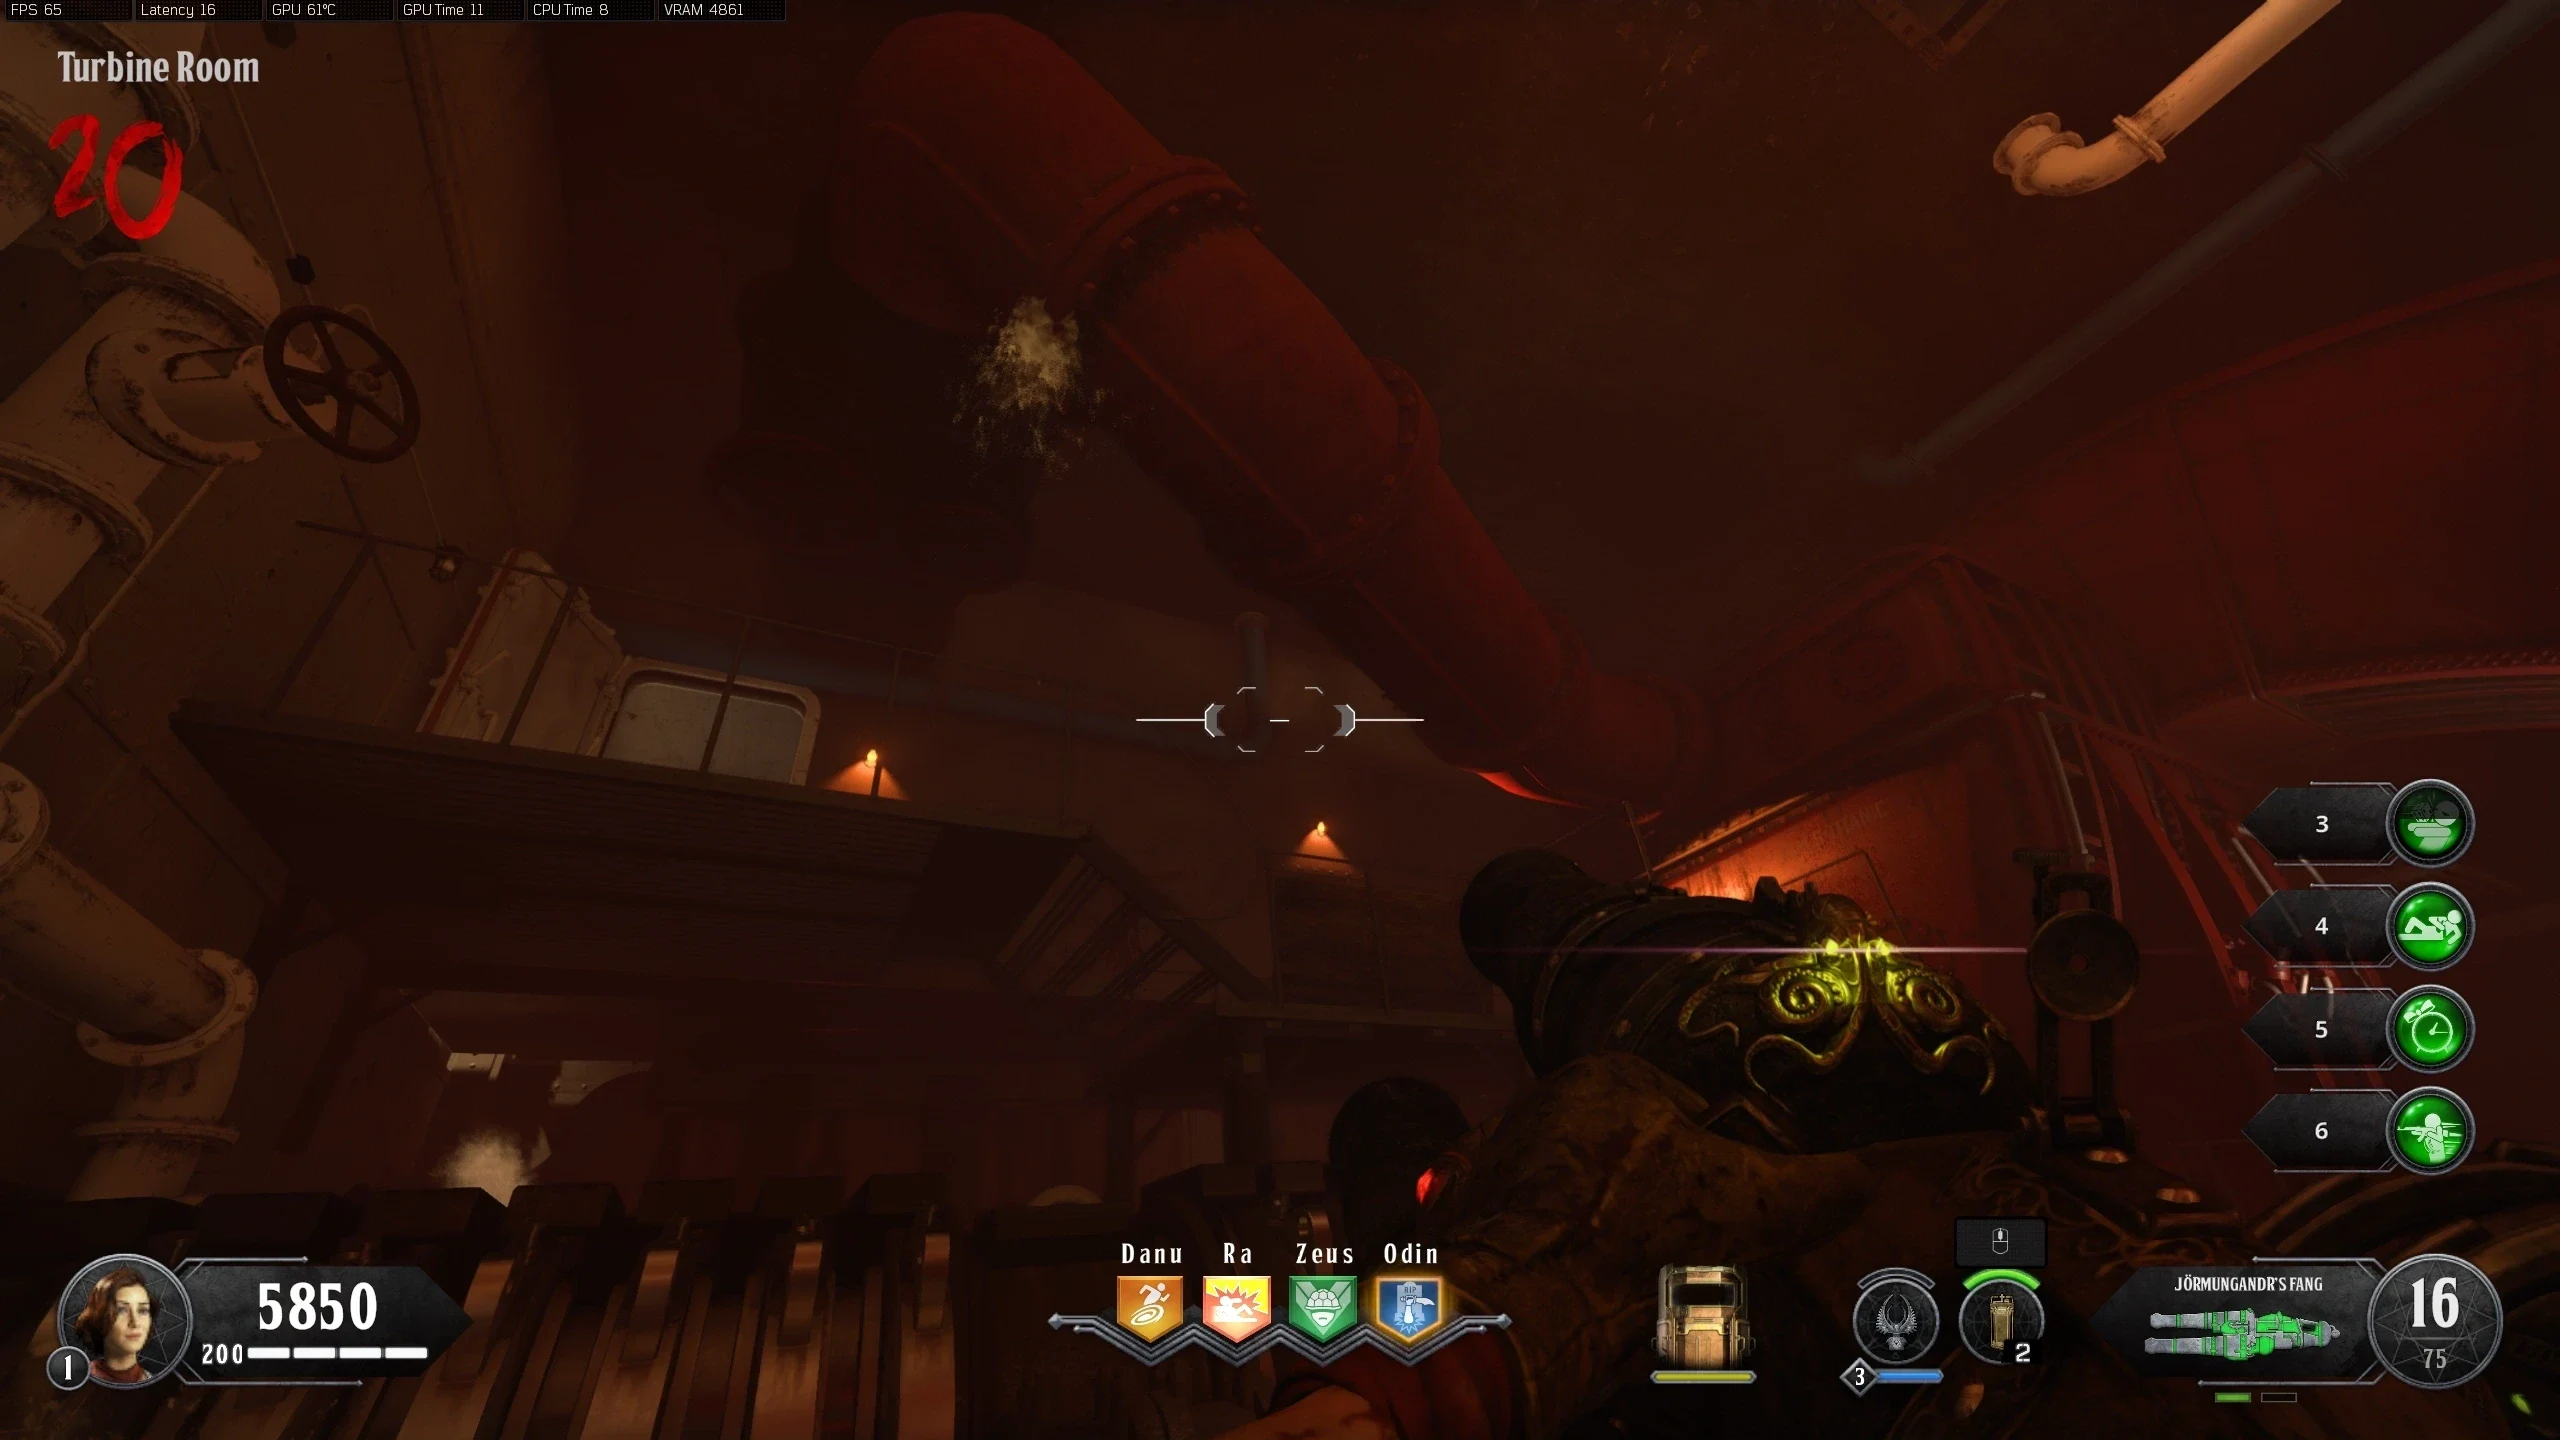
- Pipe 3 - Left of Pack-a-Punch, Above the Walkway
- Pipe 4 - Left of Pack-a-Punch, Below the Walkway
- Pipe 5 - Left of Fast Travel, Near Ceiling
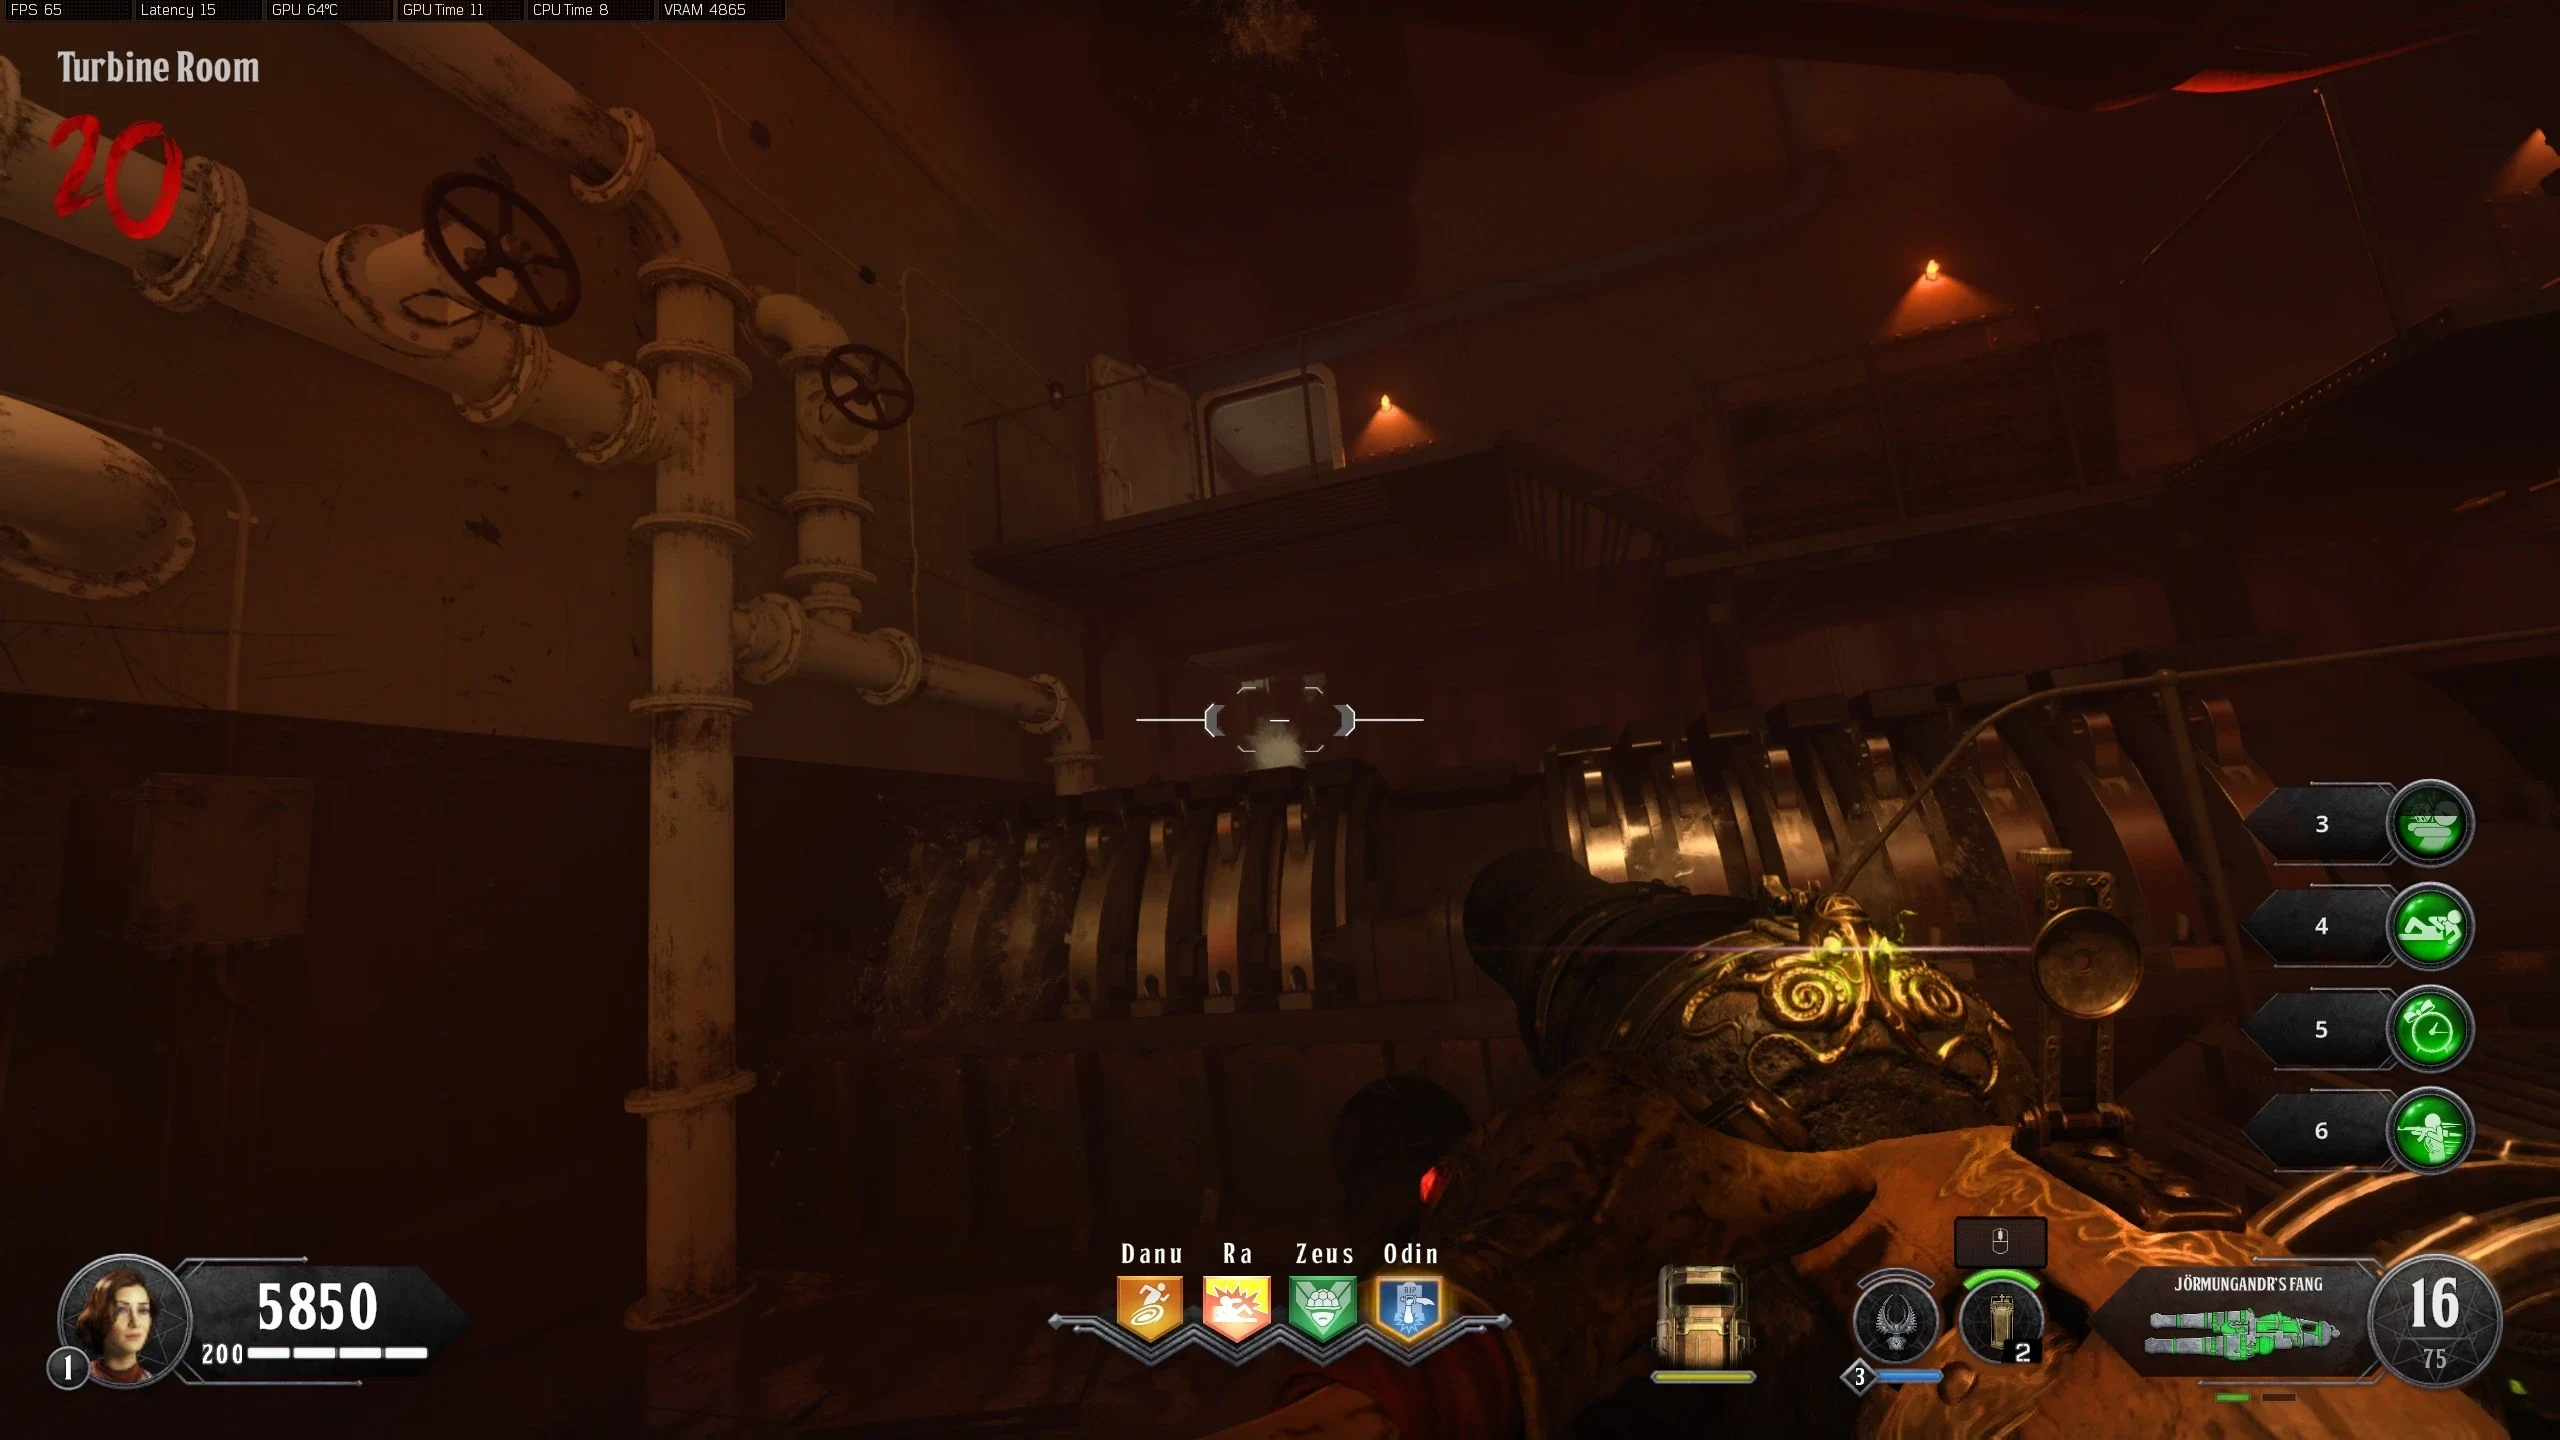
- Pipe 6 - Left of Fast Travel, Below the Walkway
- Pipe 7 - Right of Fast Travel, Below the Walkway
- Pipe 8 - Right of Fast Travel, Above the Walkway
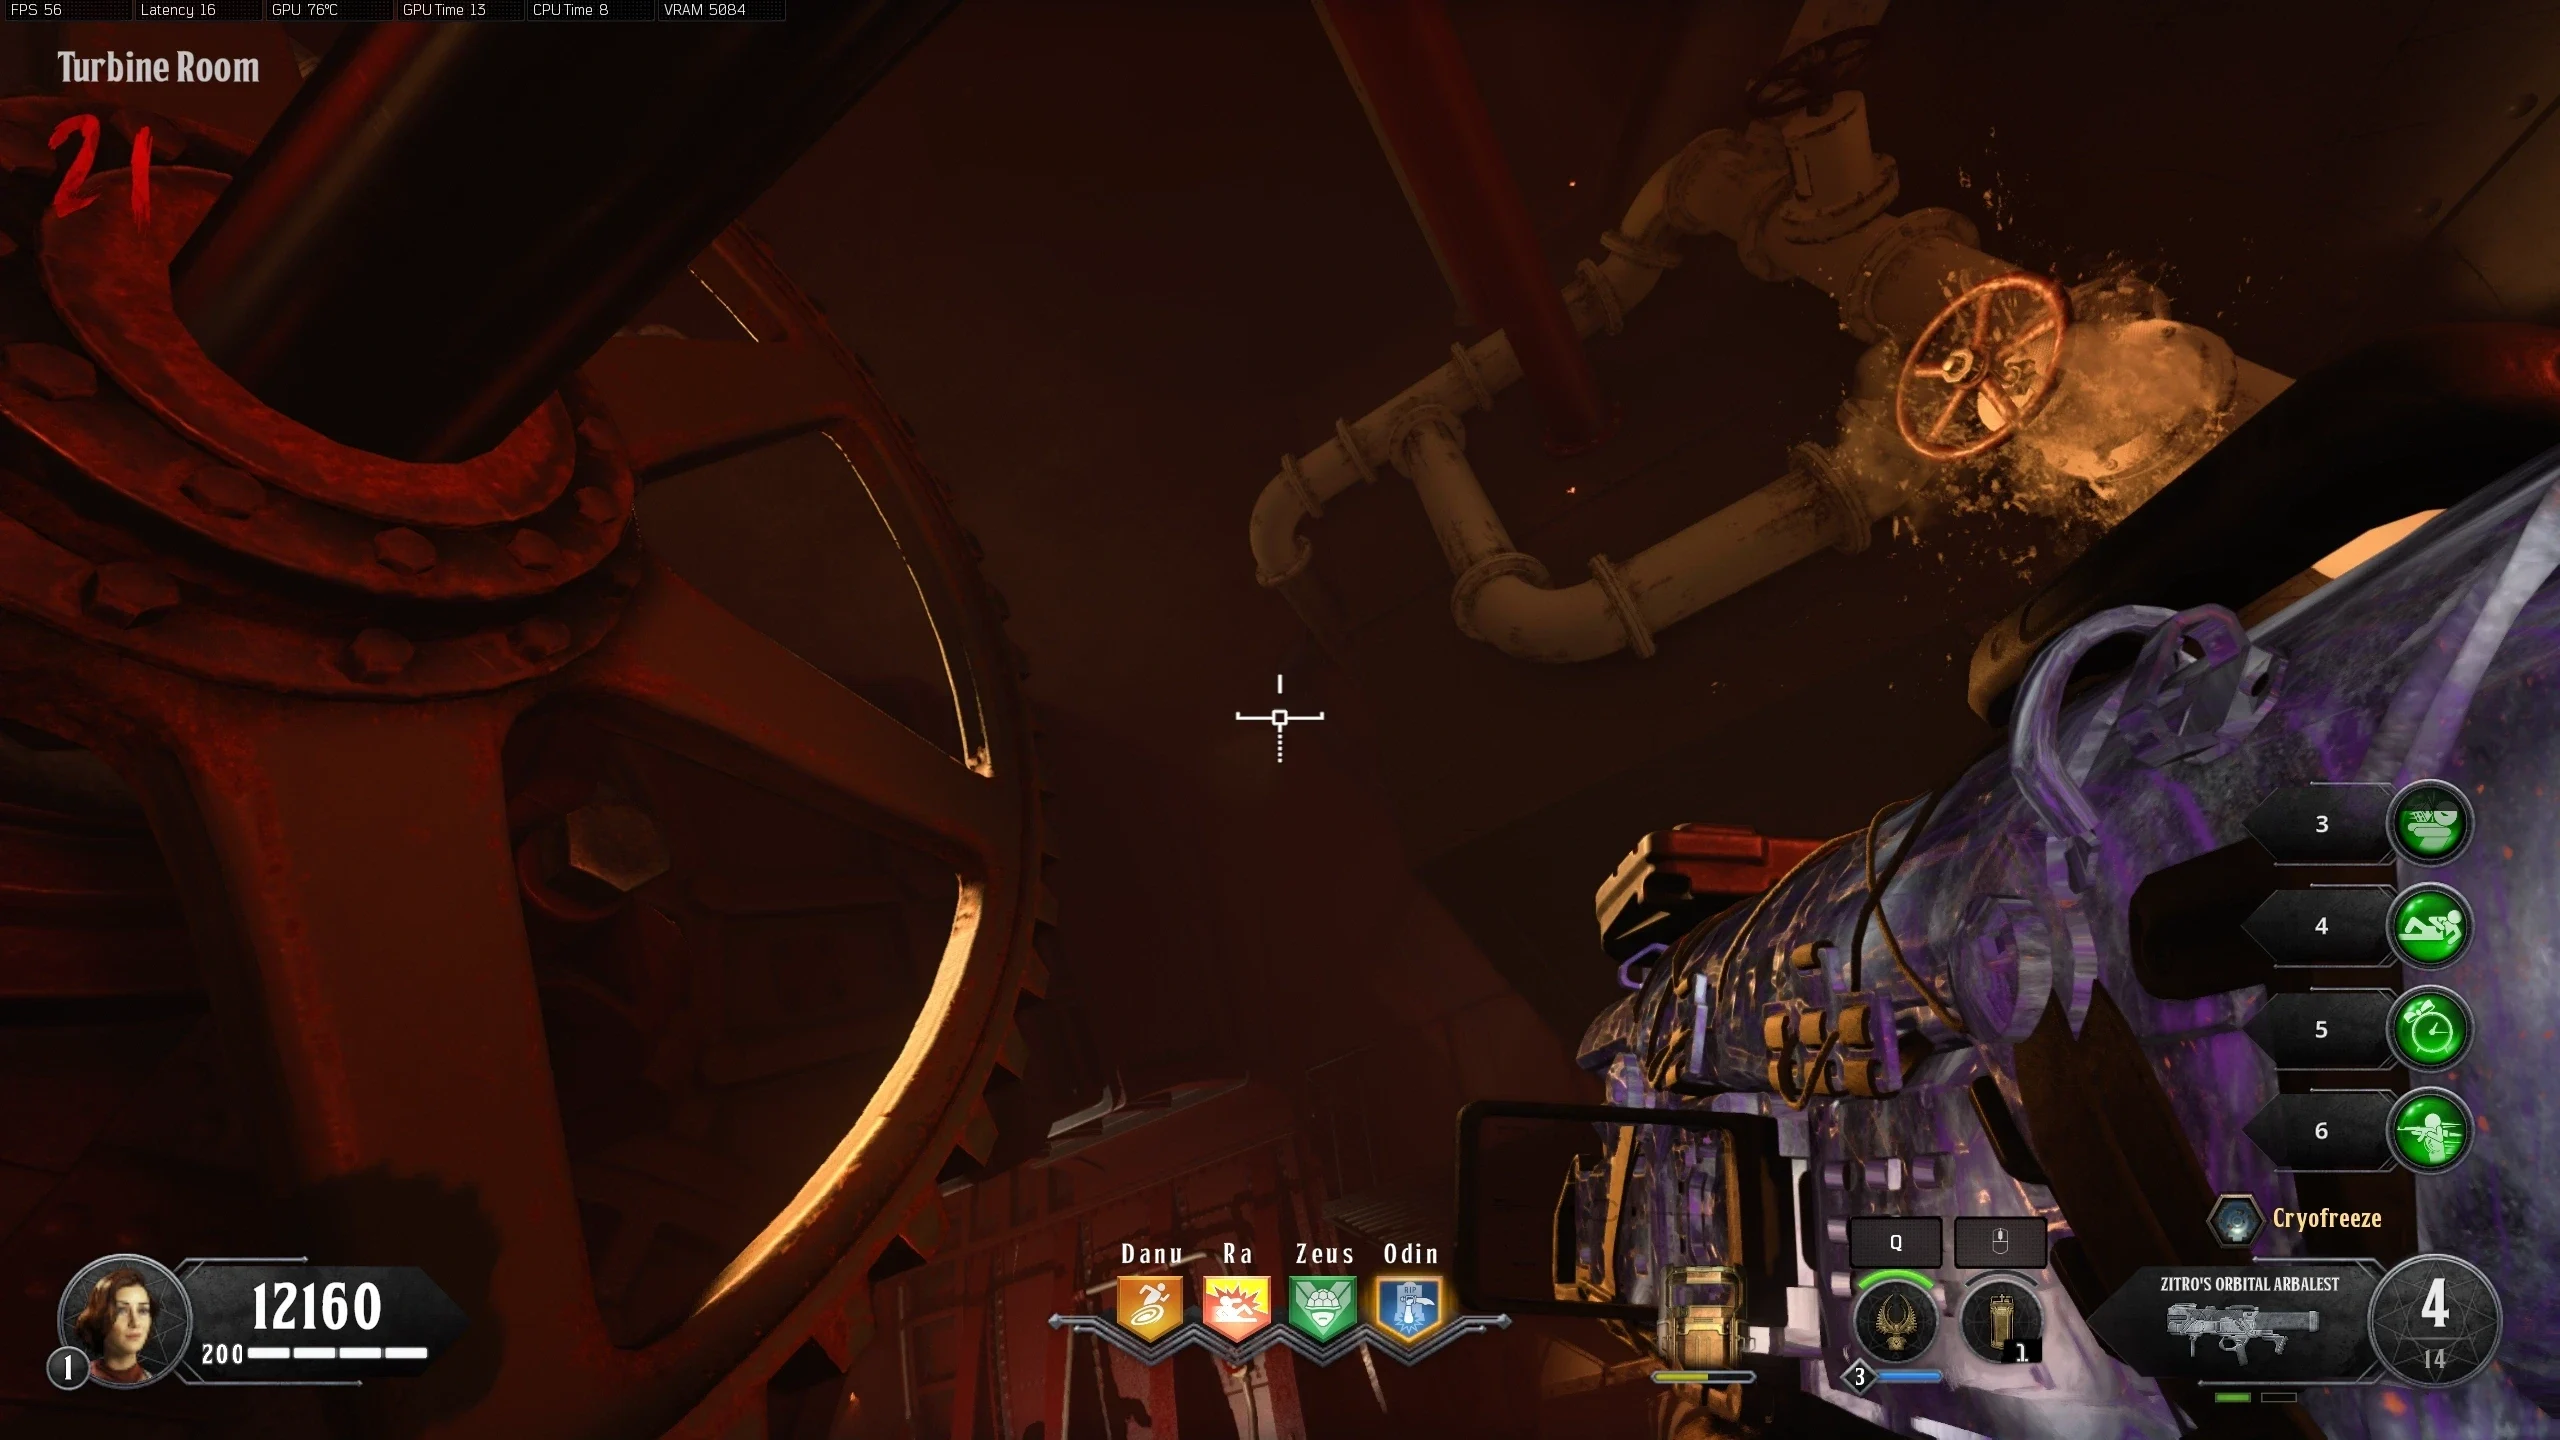
- Pipe 9 - Right of Pack-a-Punch, Above the Walkway
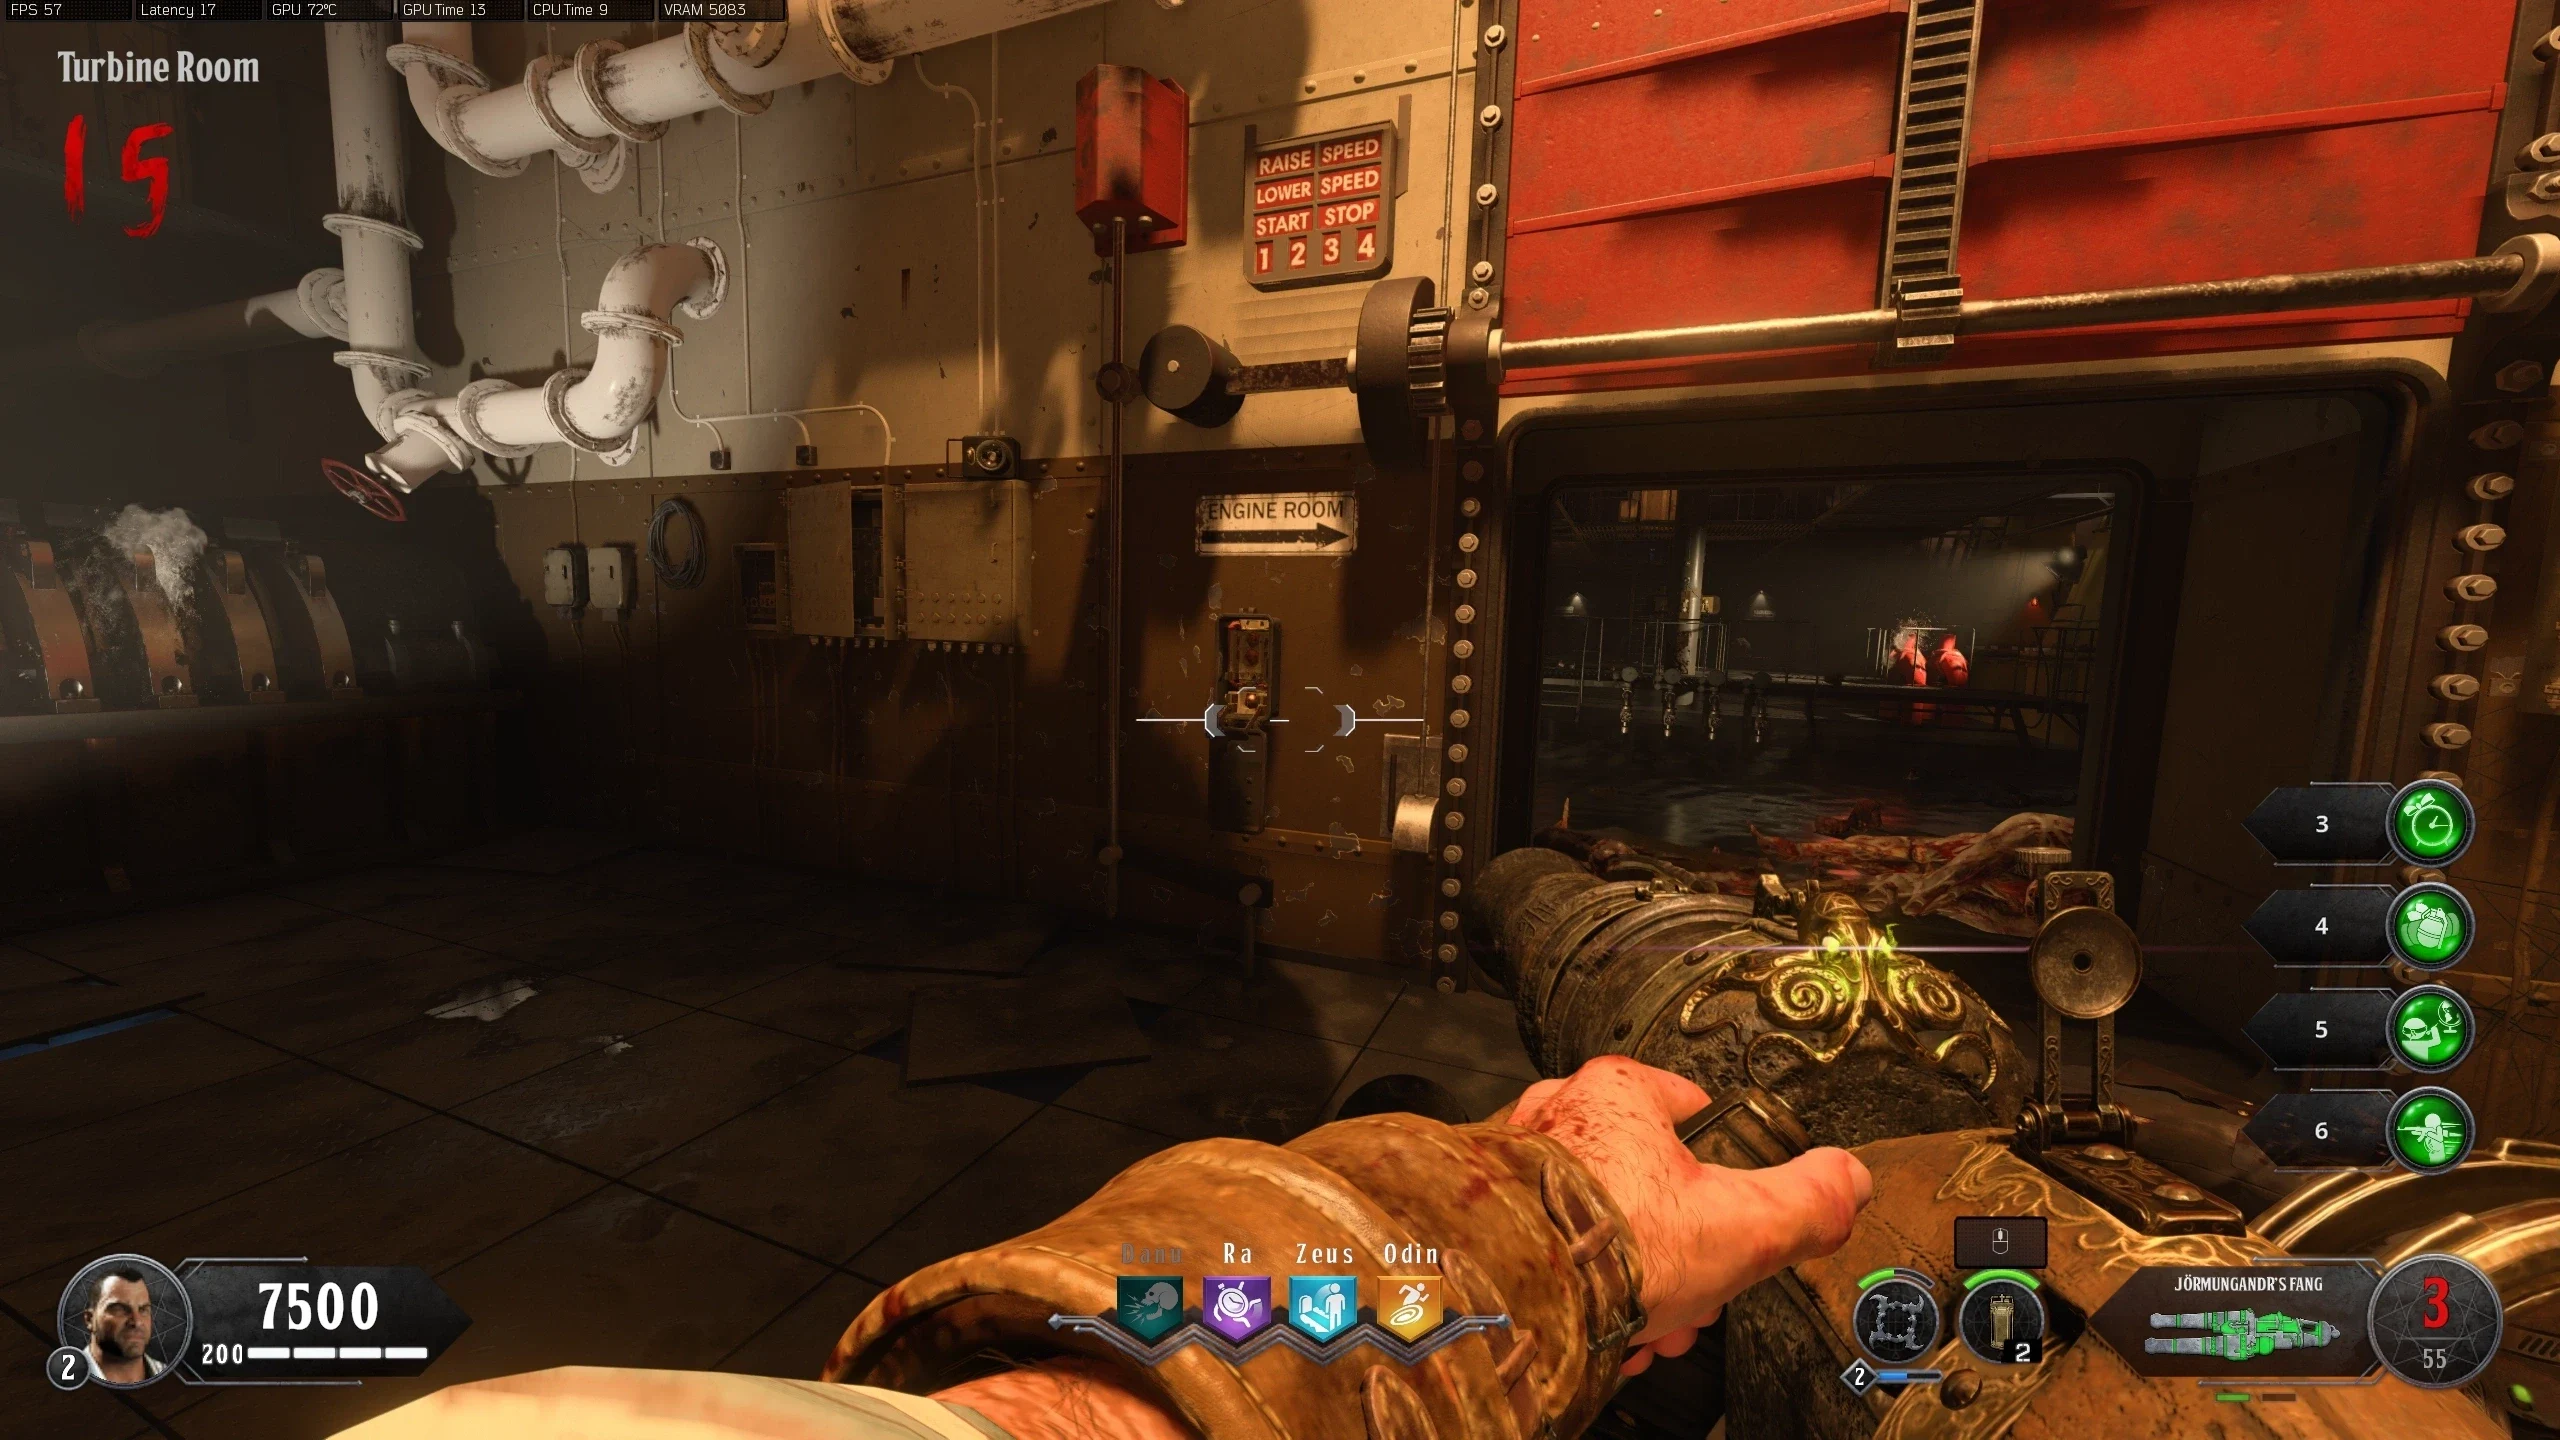
- Once all leaky pipes have been shot, the 'Turbine Room' will flood.
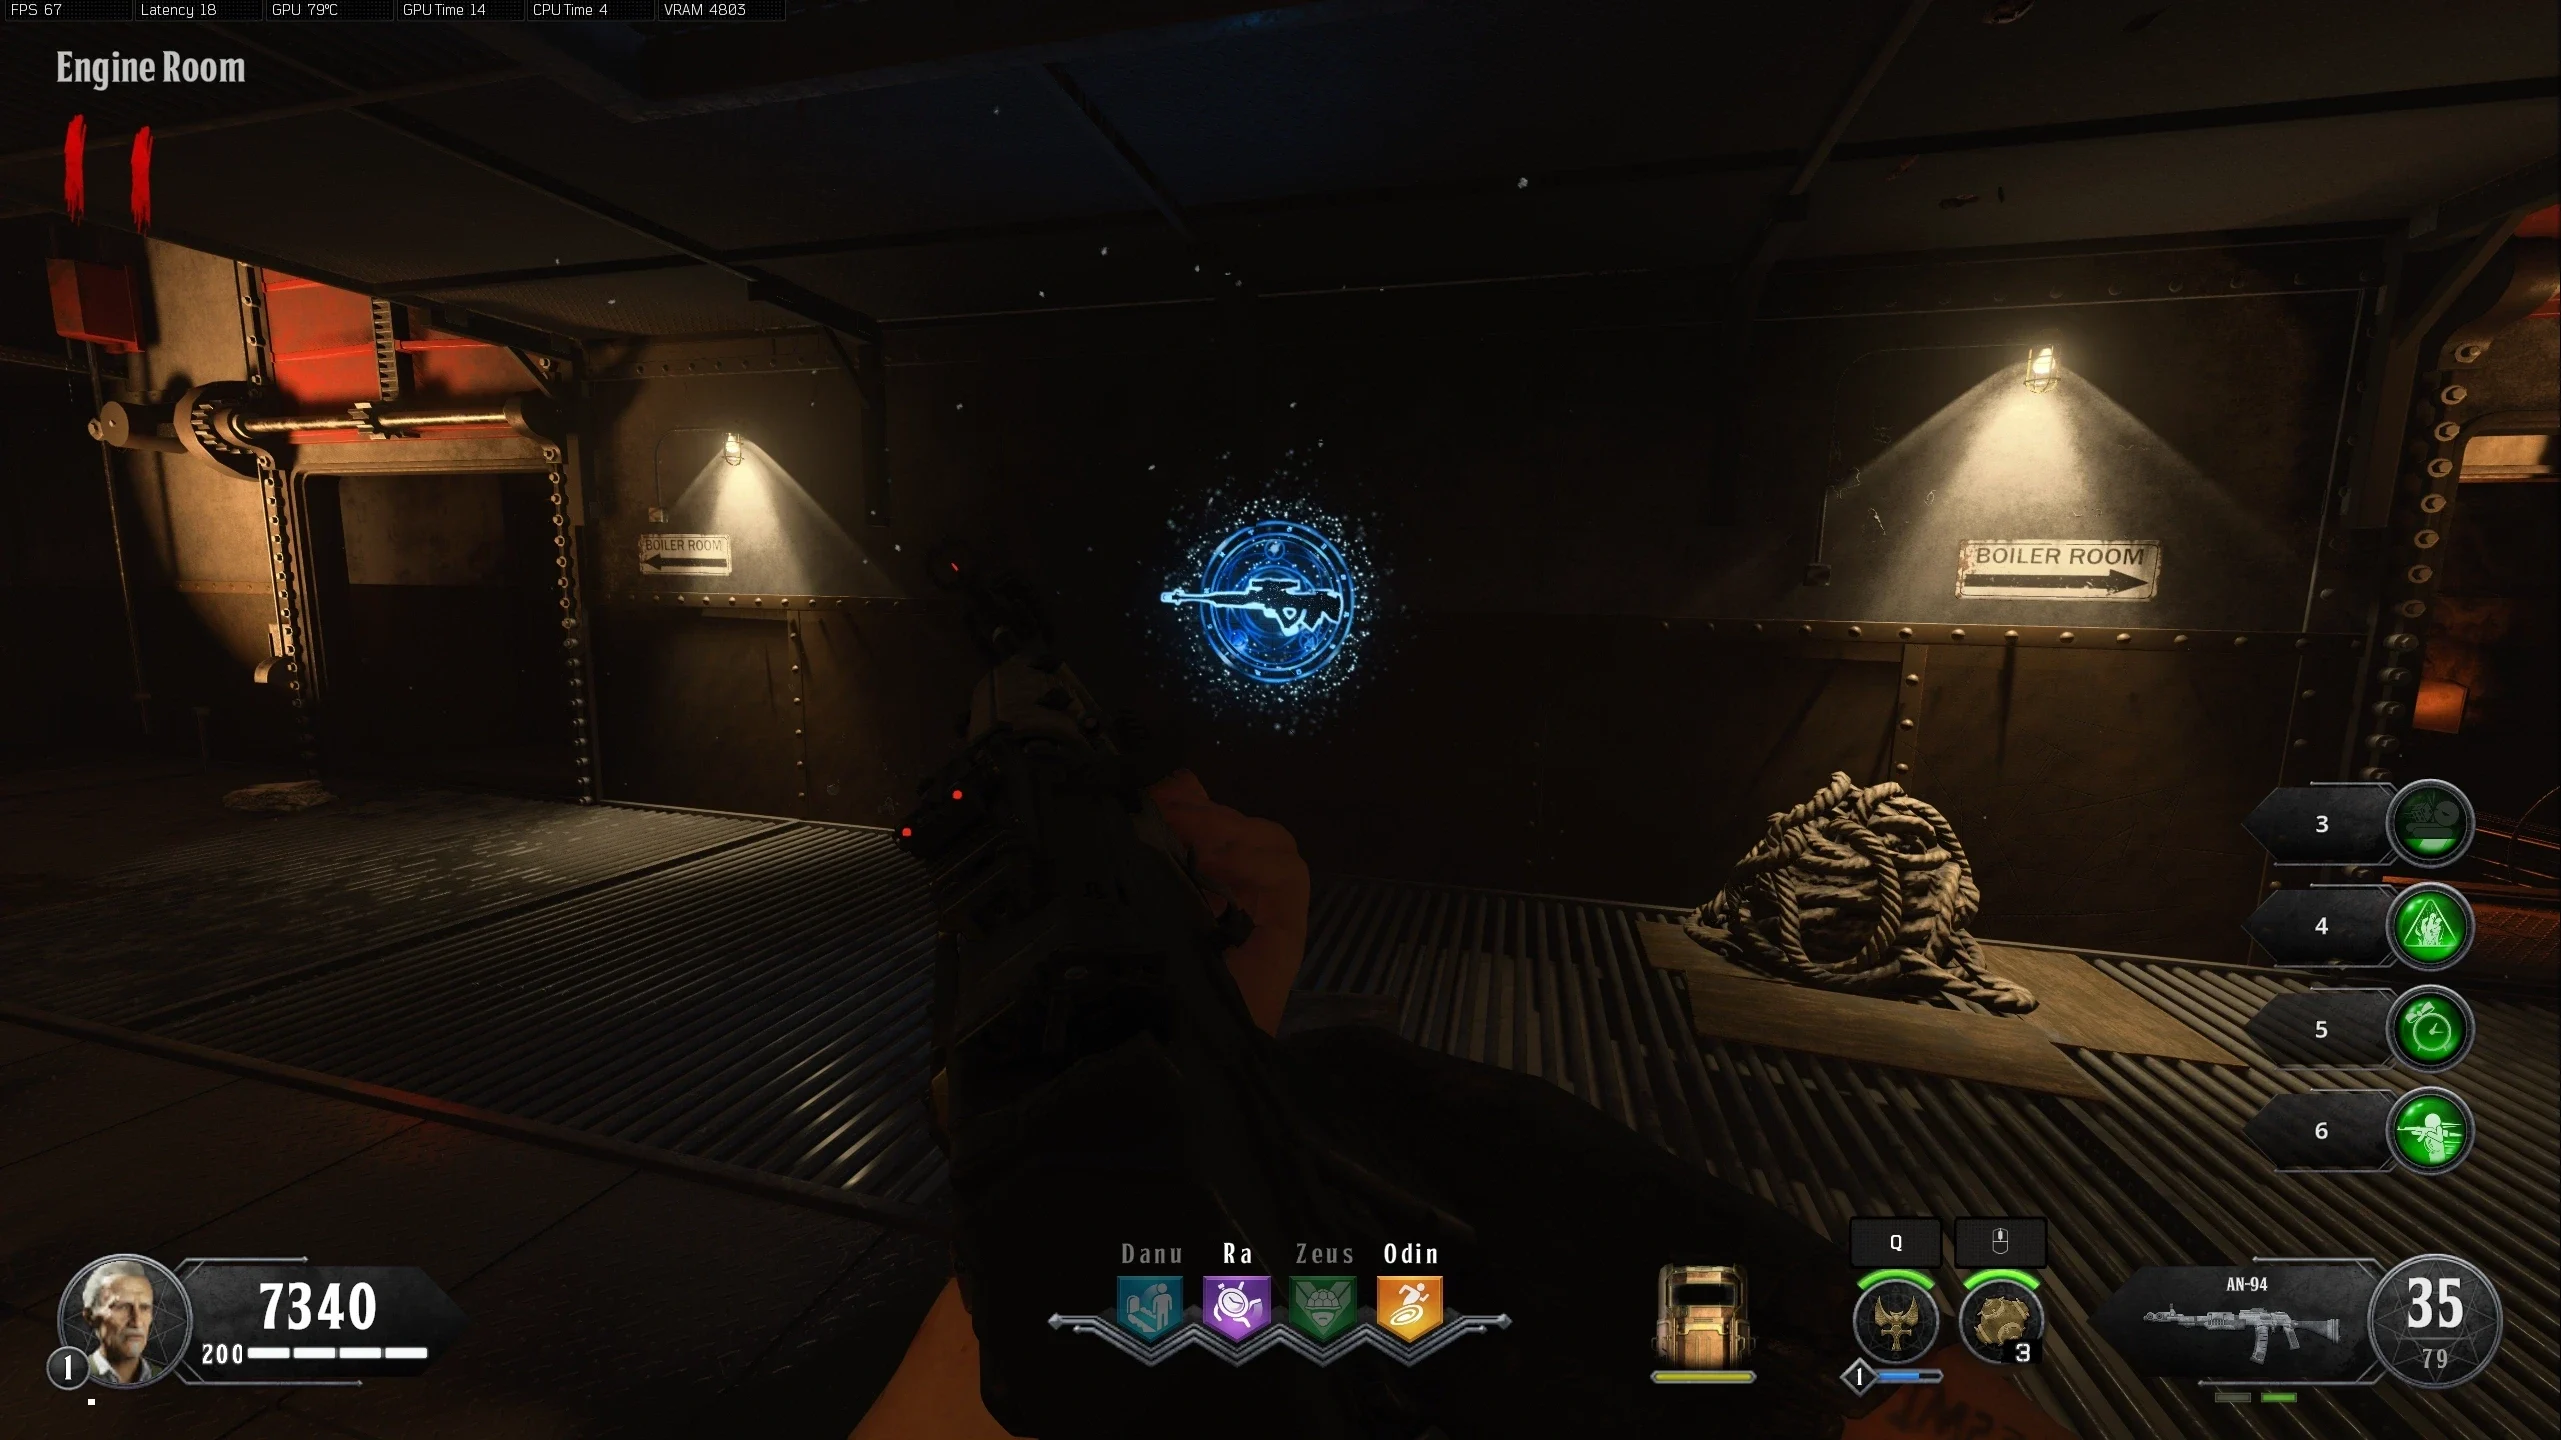
- Wait for the Pack-a-Punch to teleport to the 'Turbine Room' (it will move there next round if it is not already there). Place the Sentinel Artifact in the Pack-a-Punch and pick it back up when it's done.
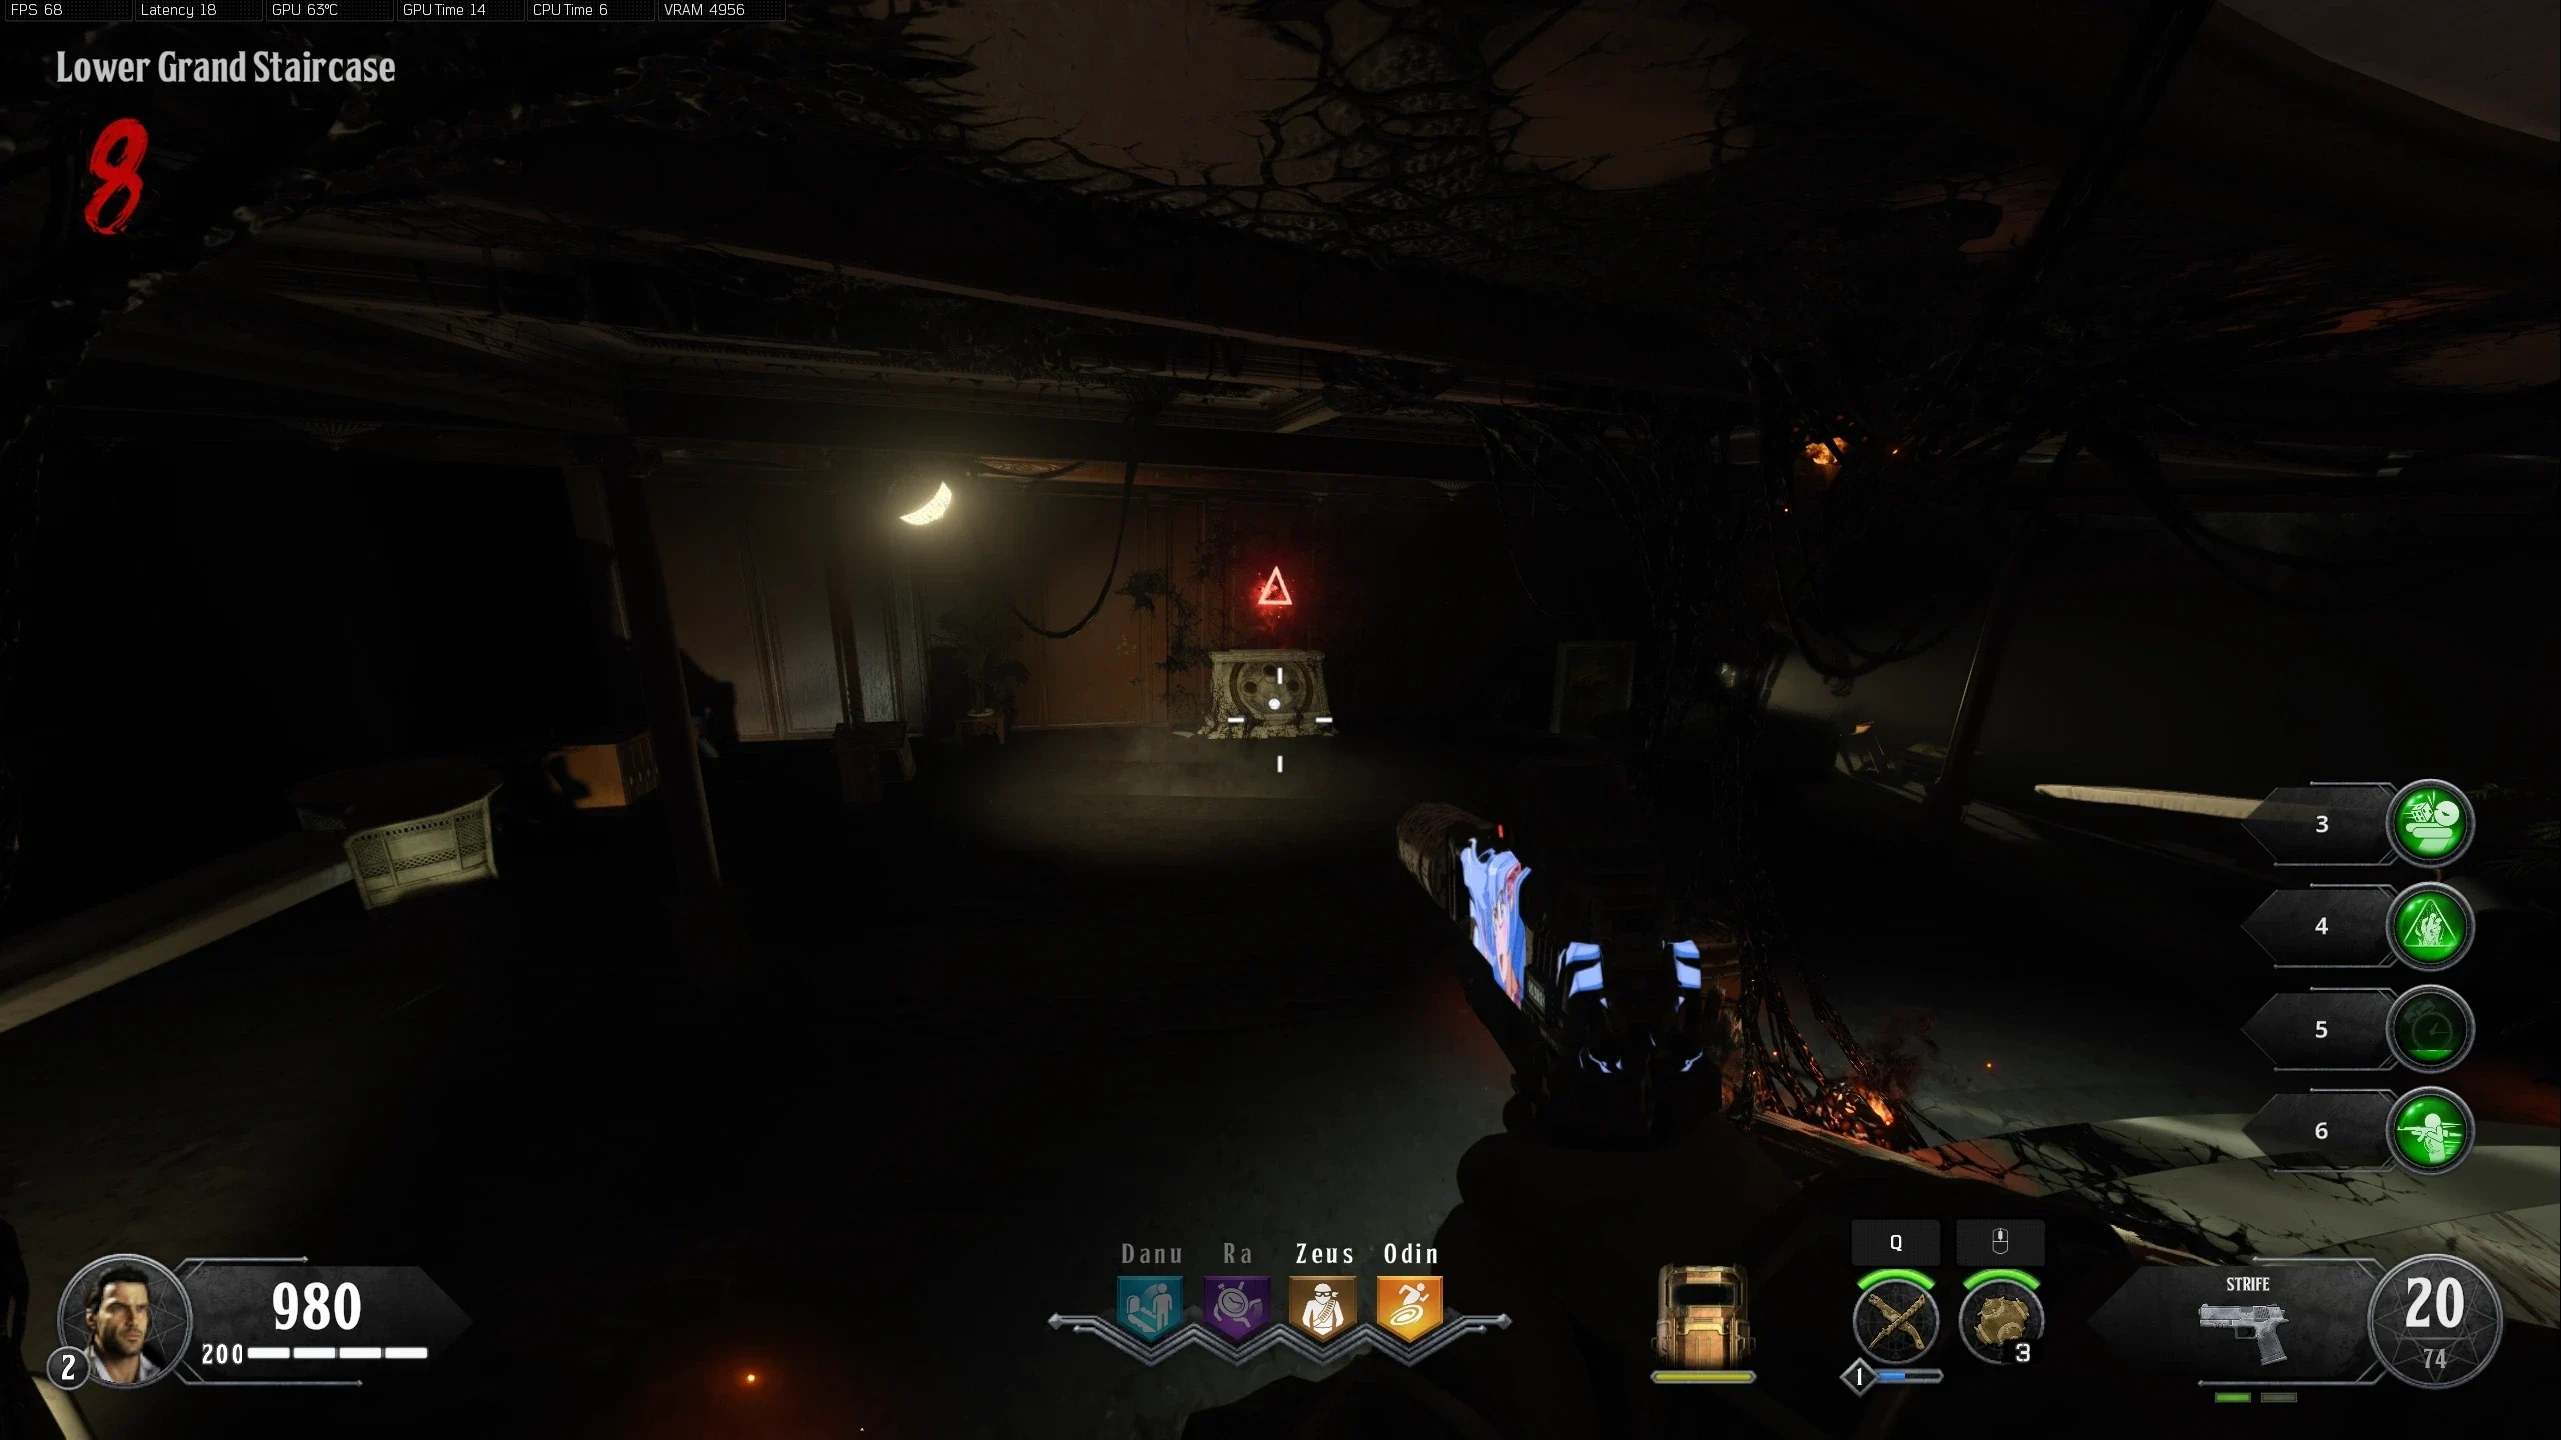
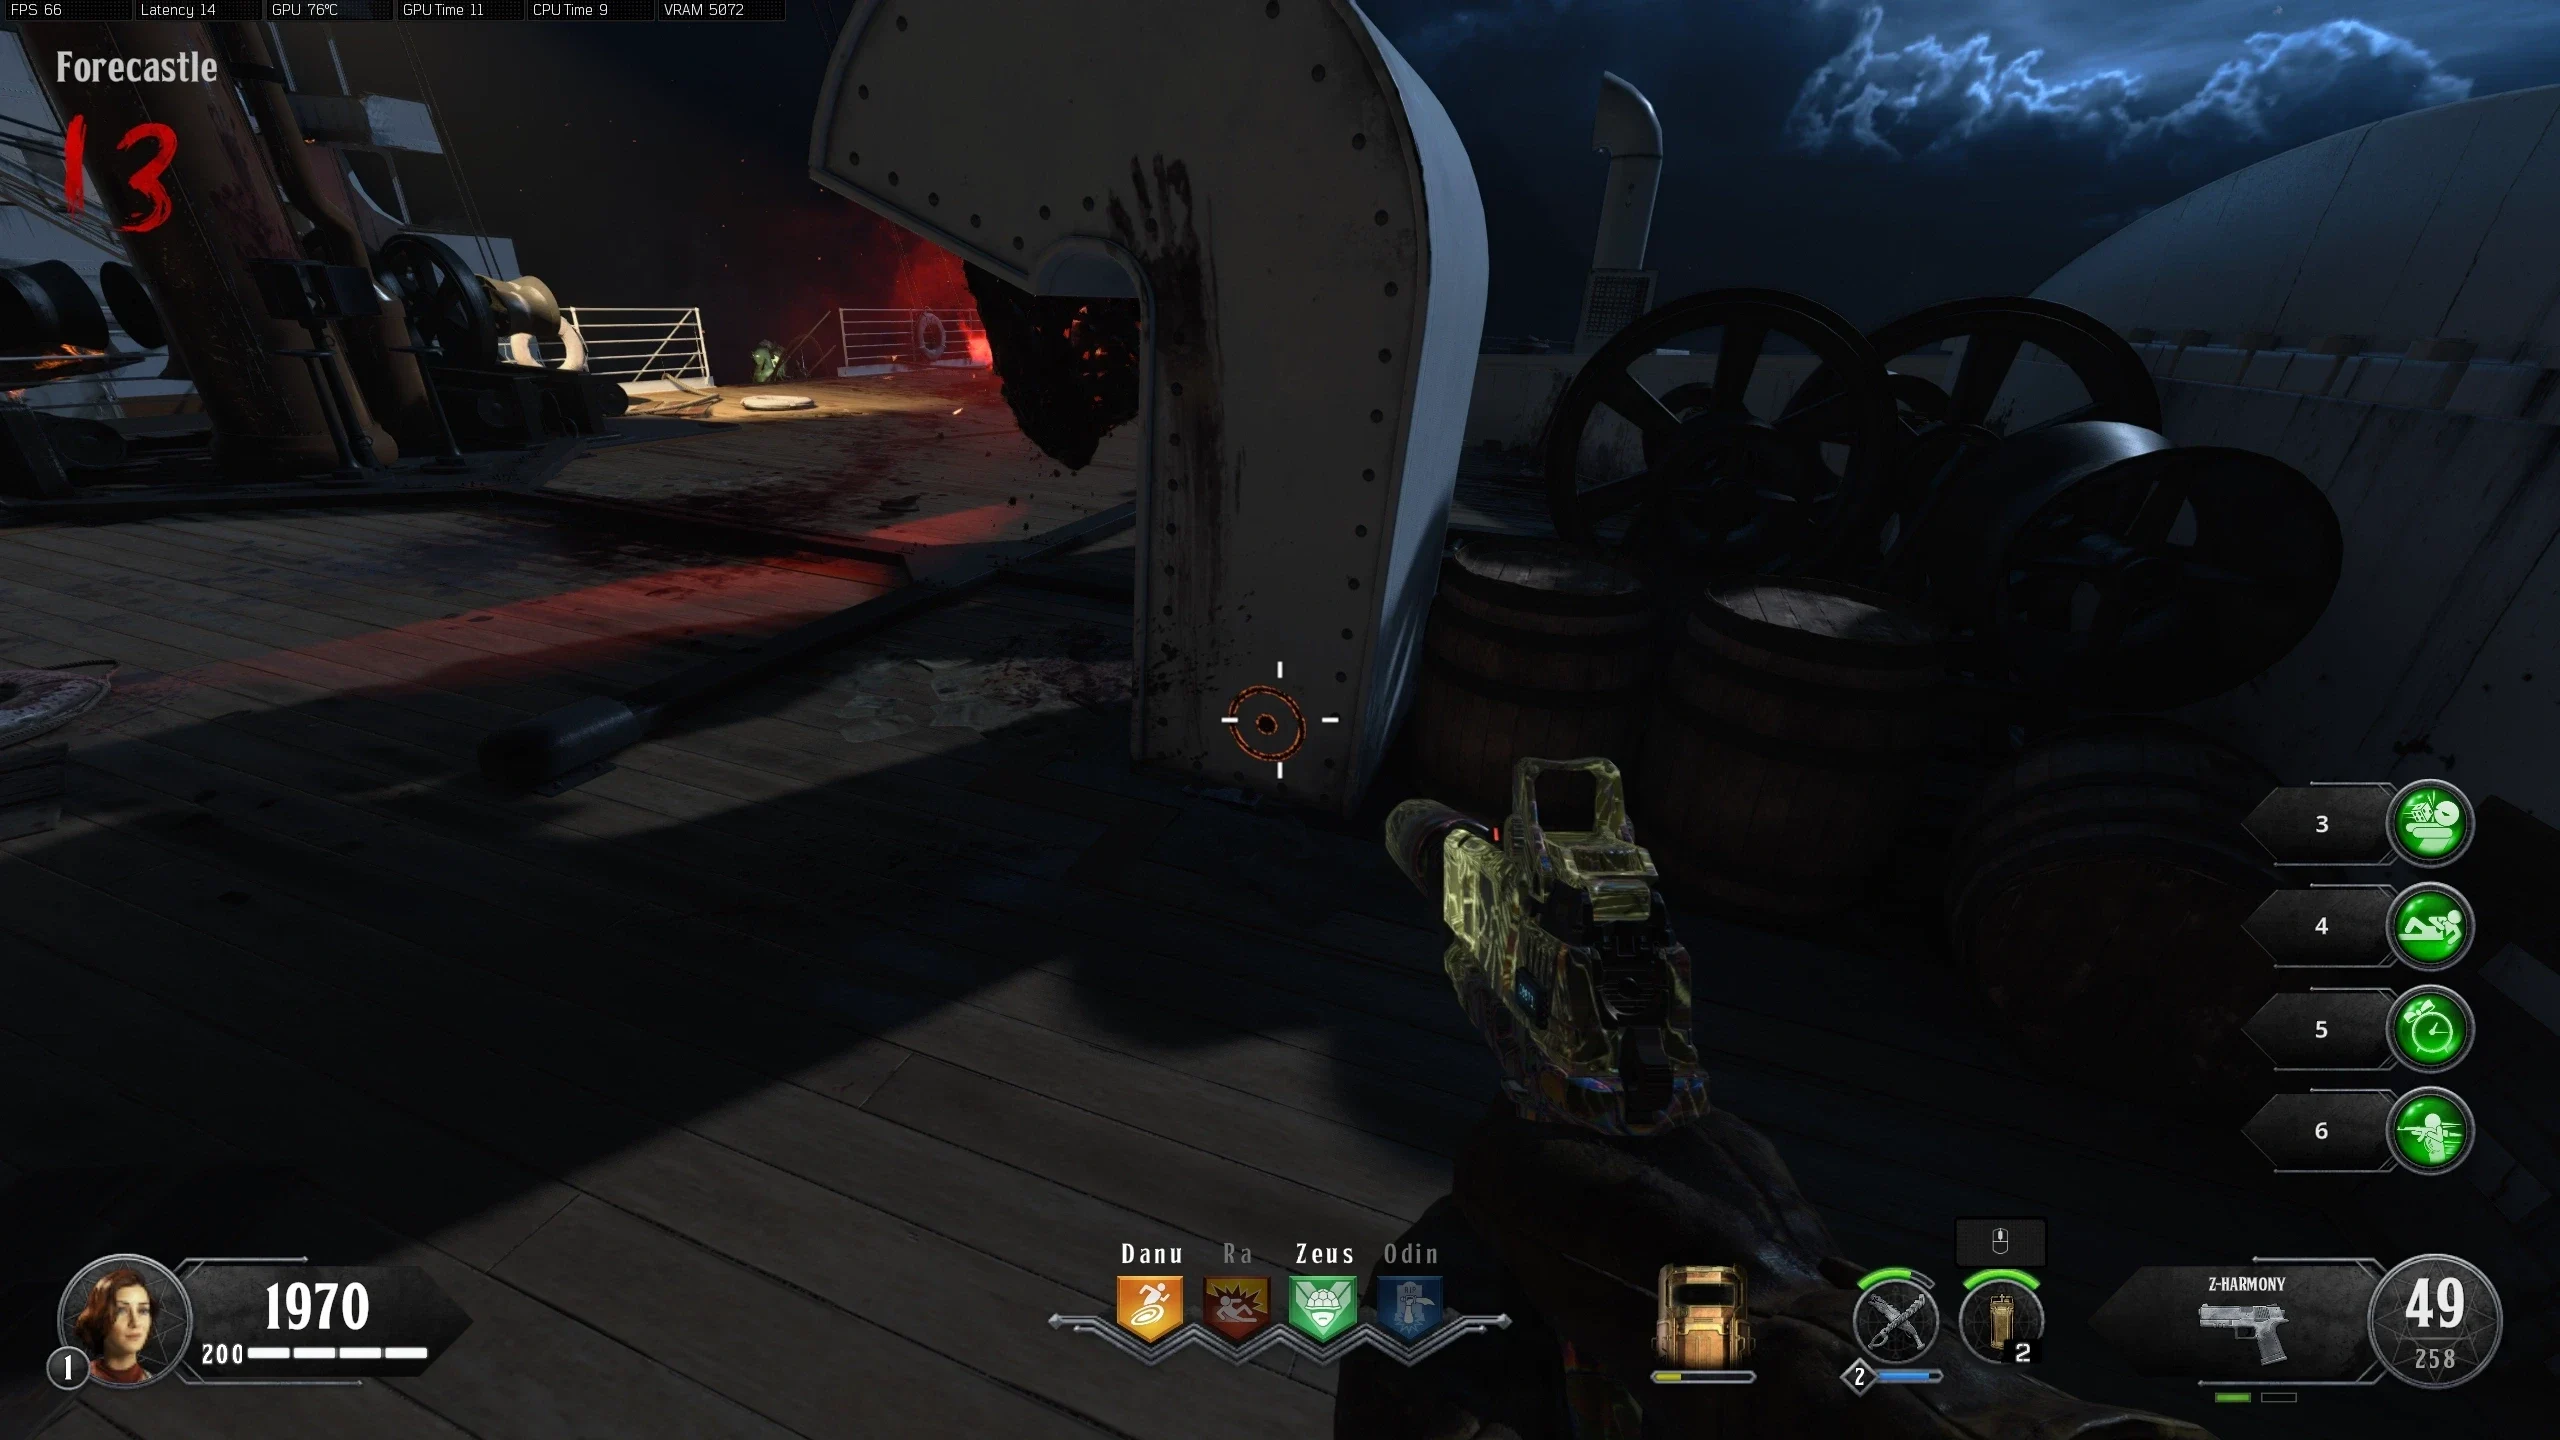
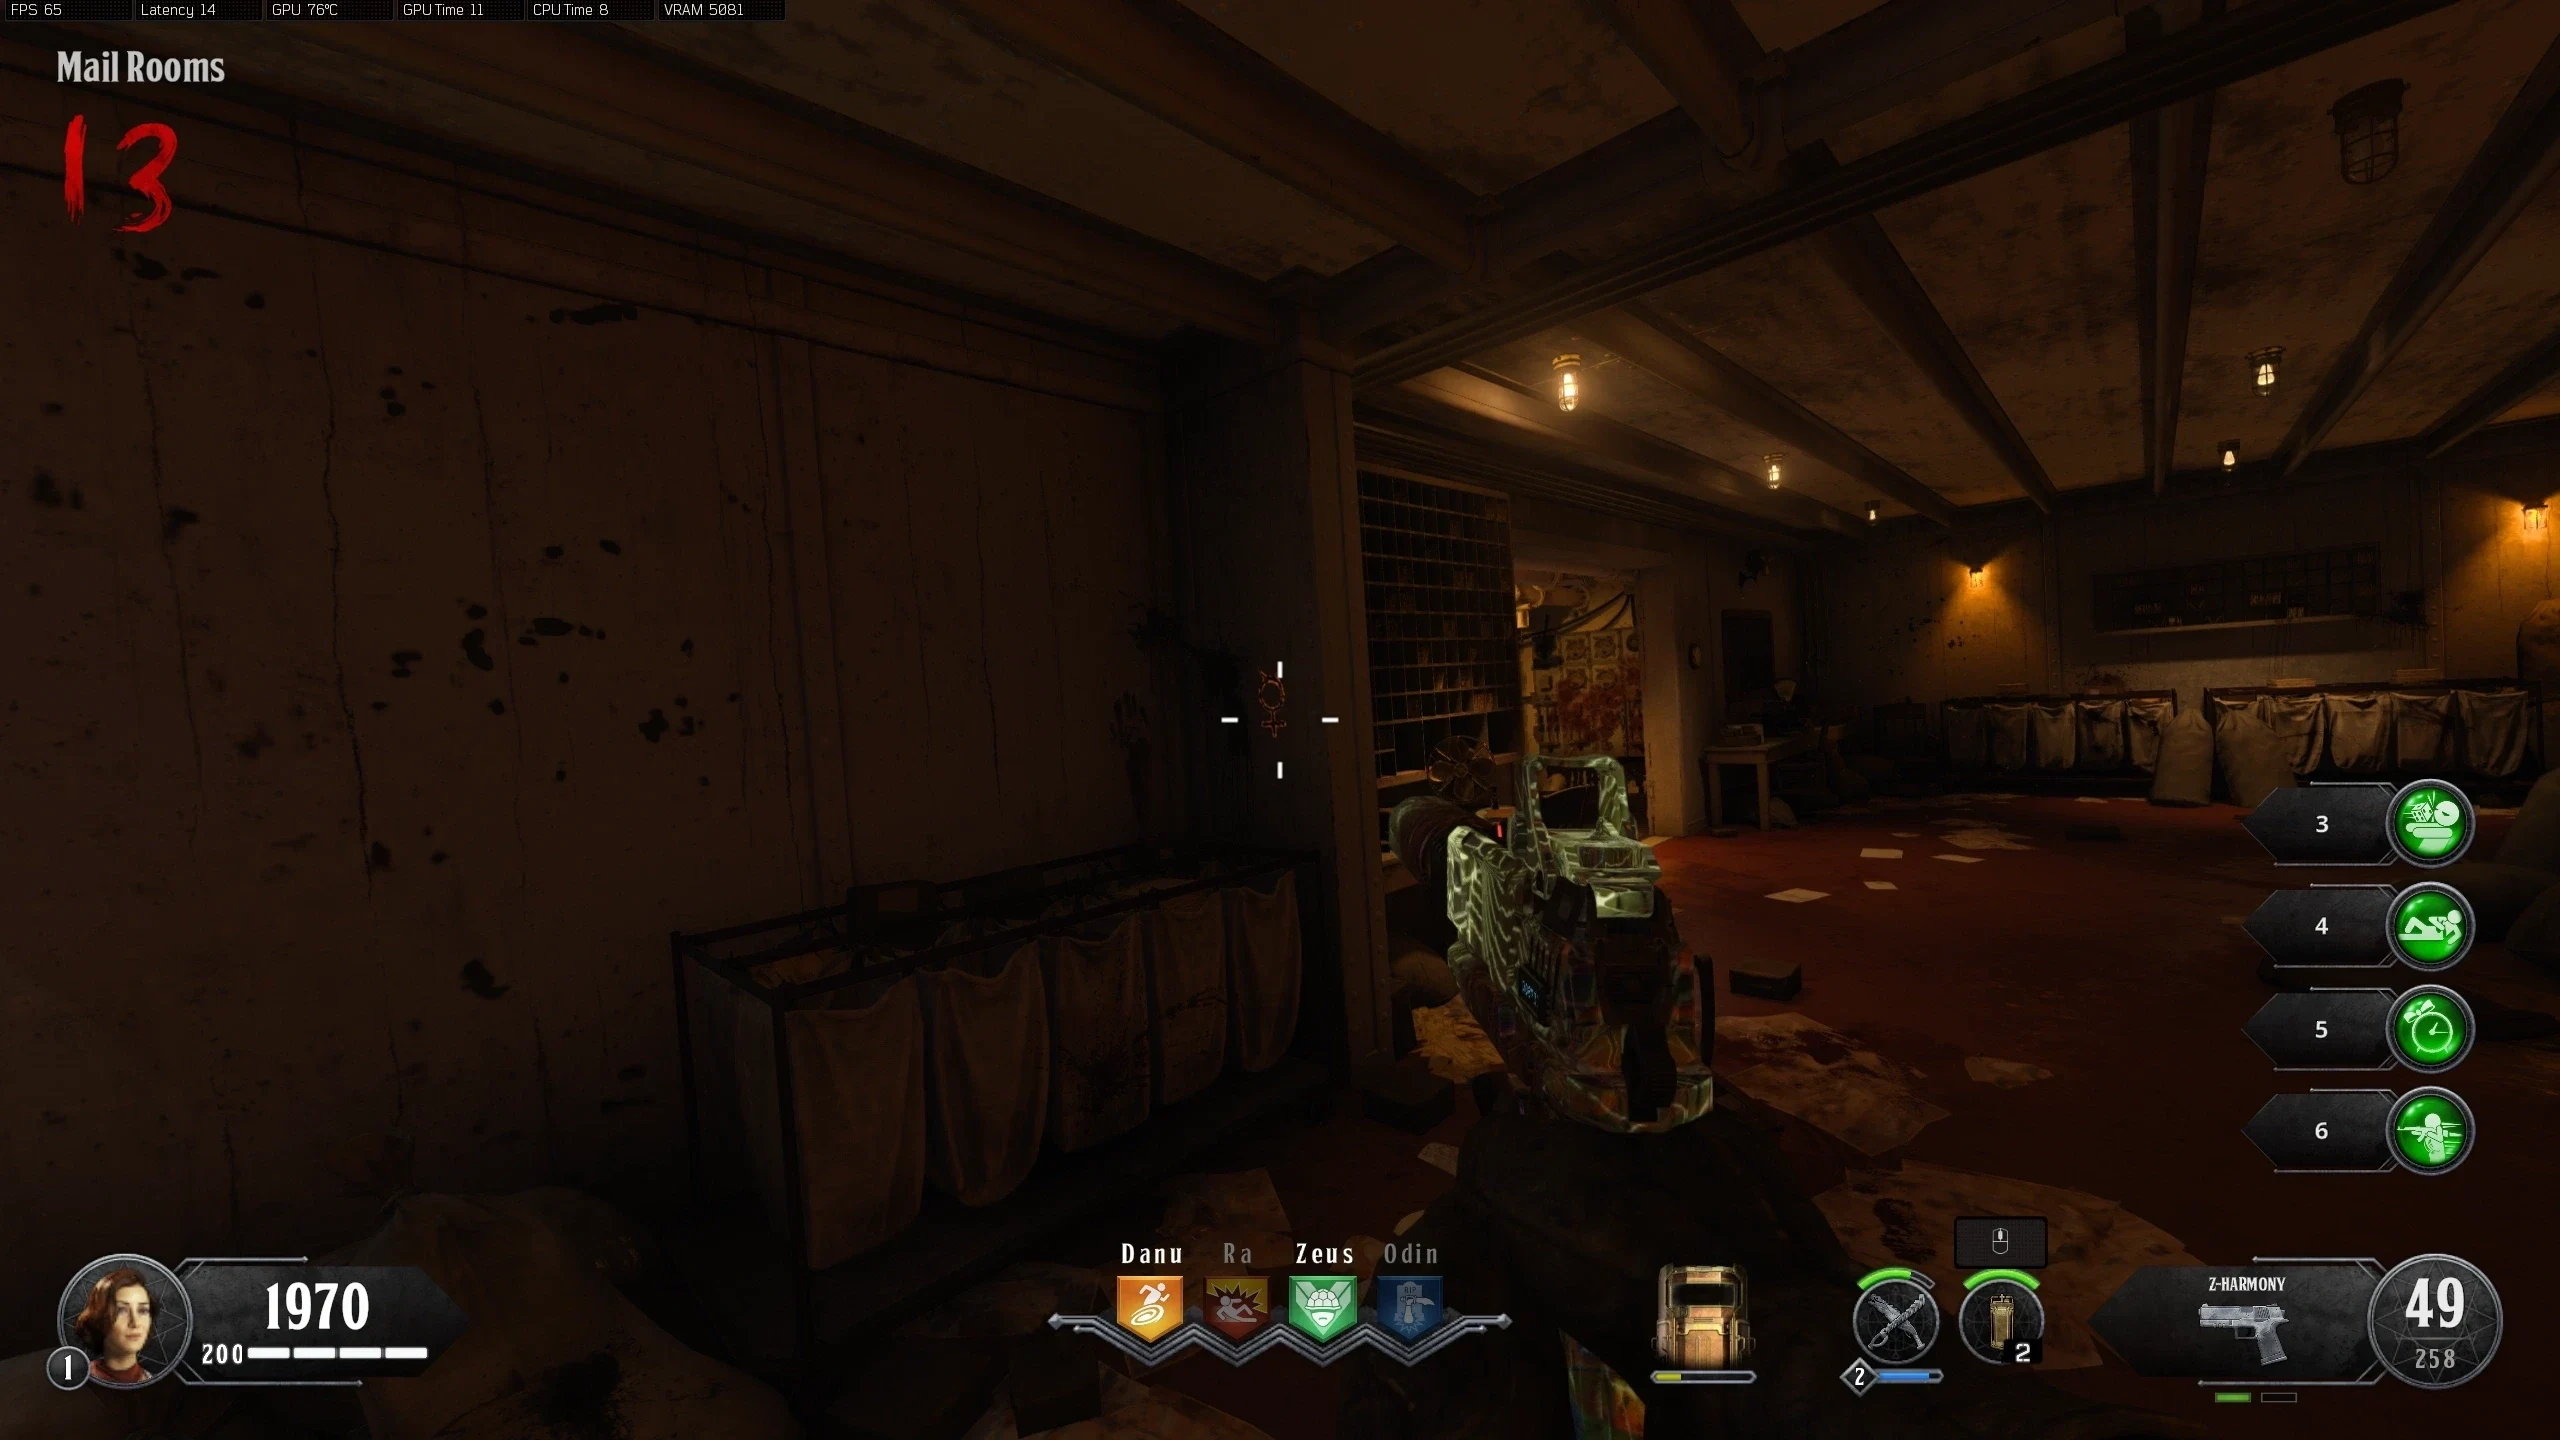
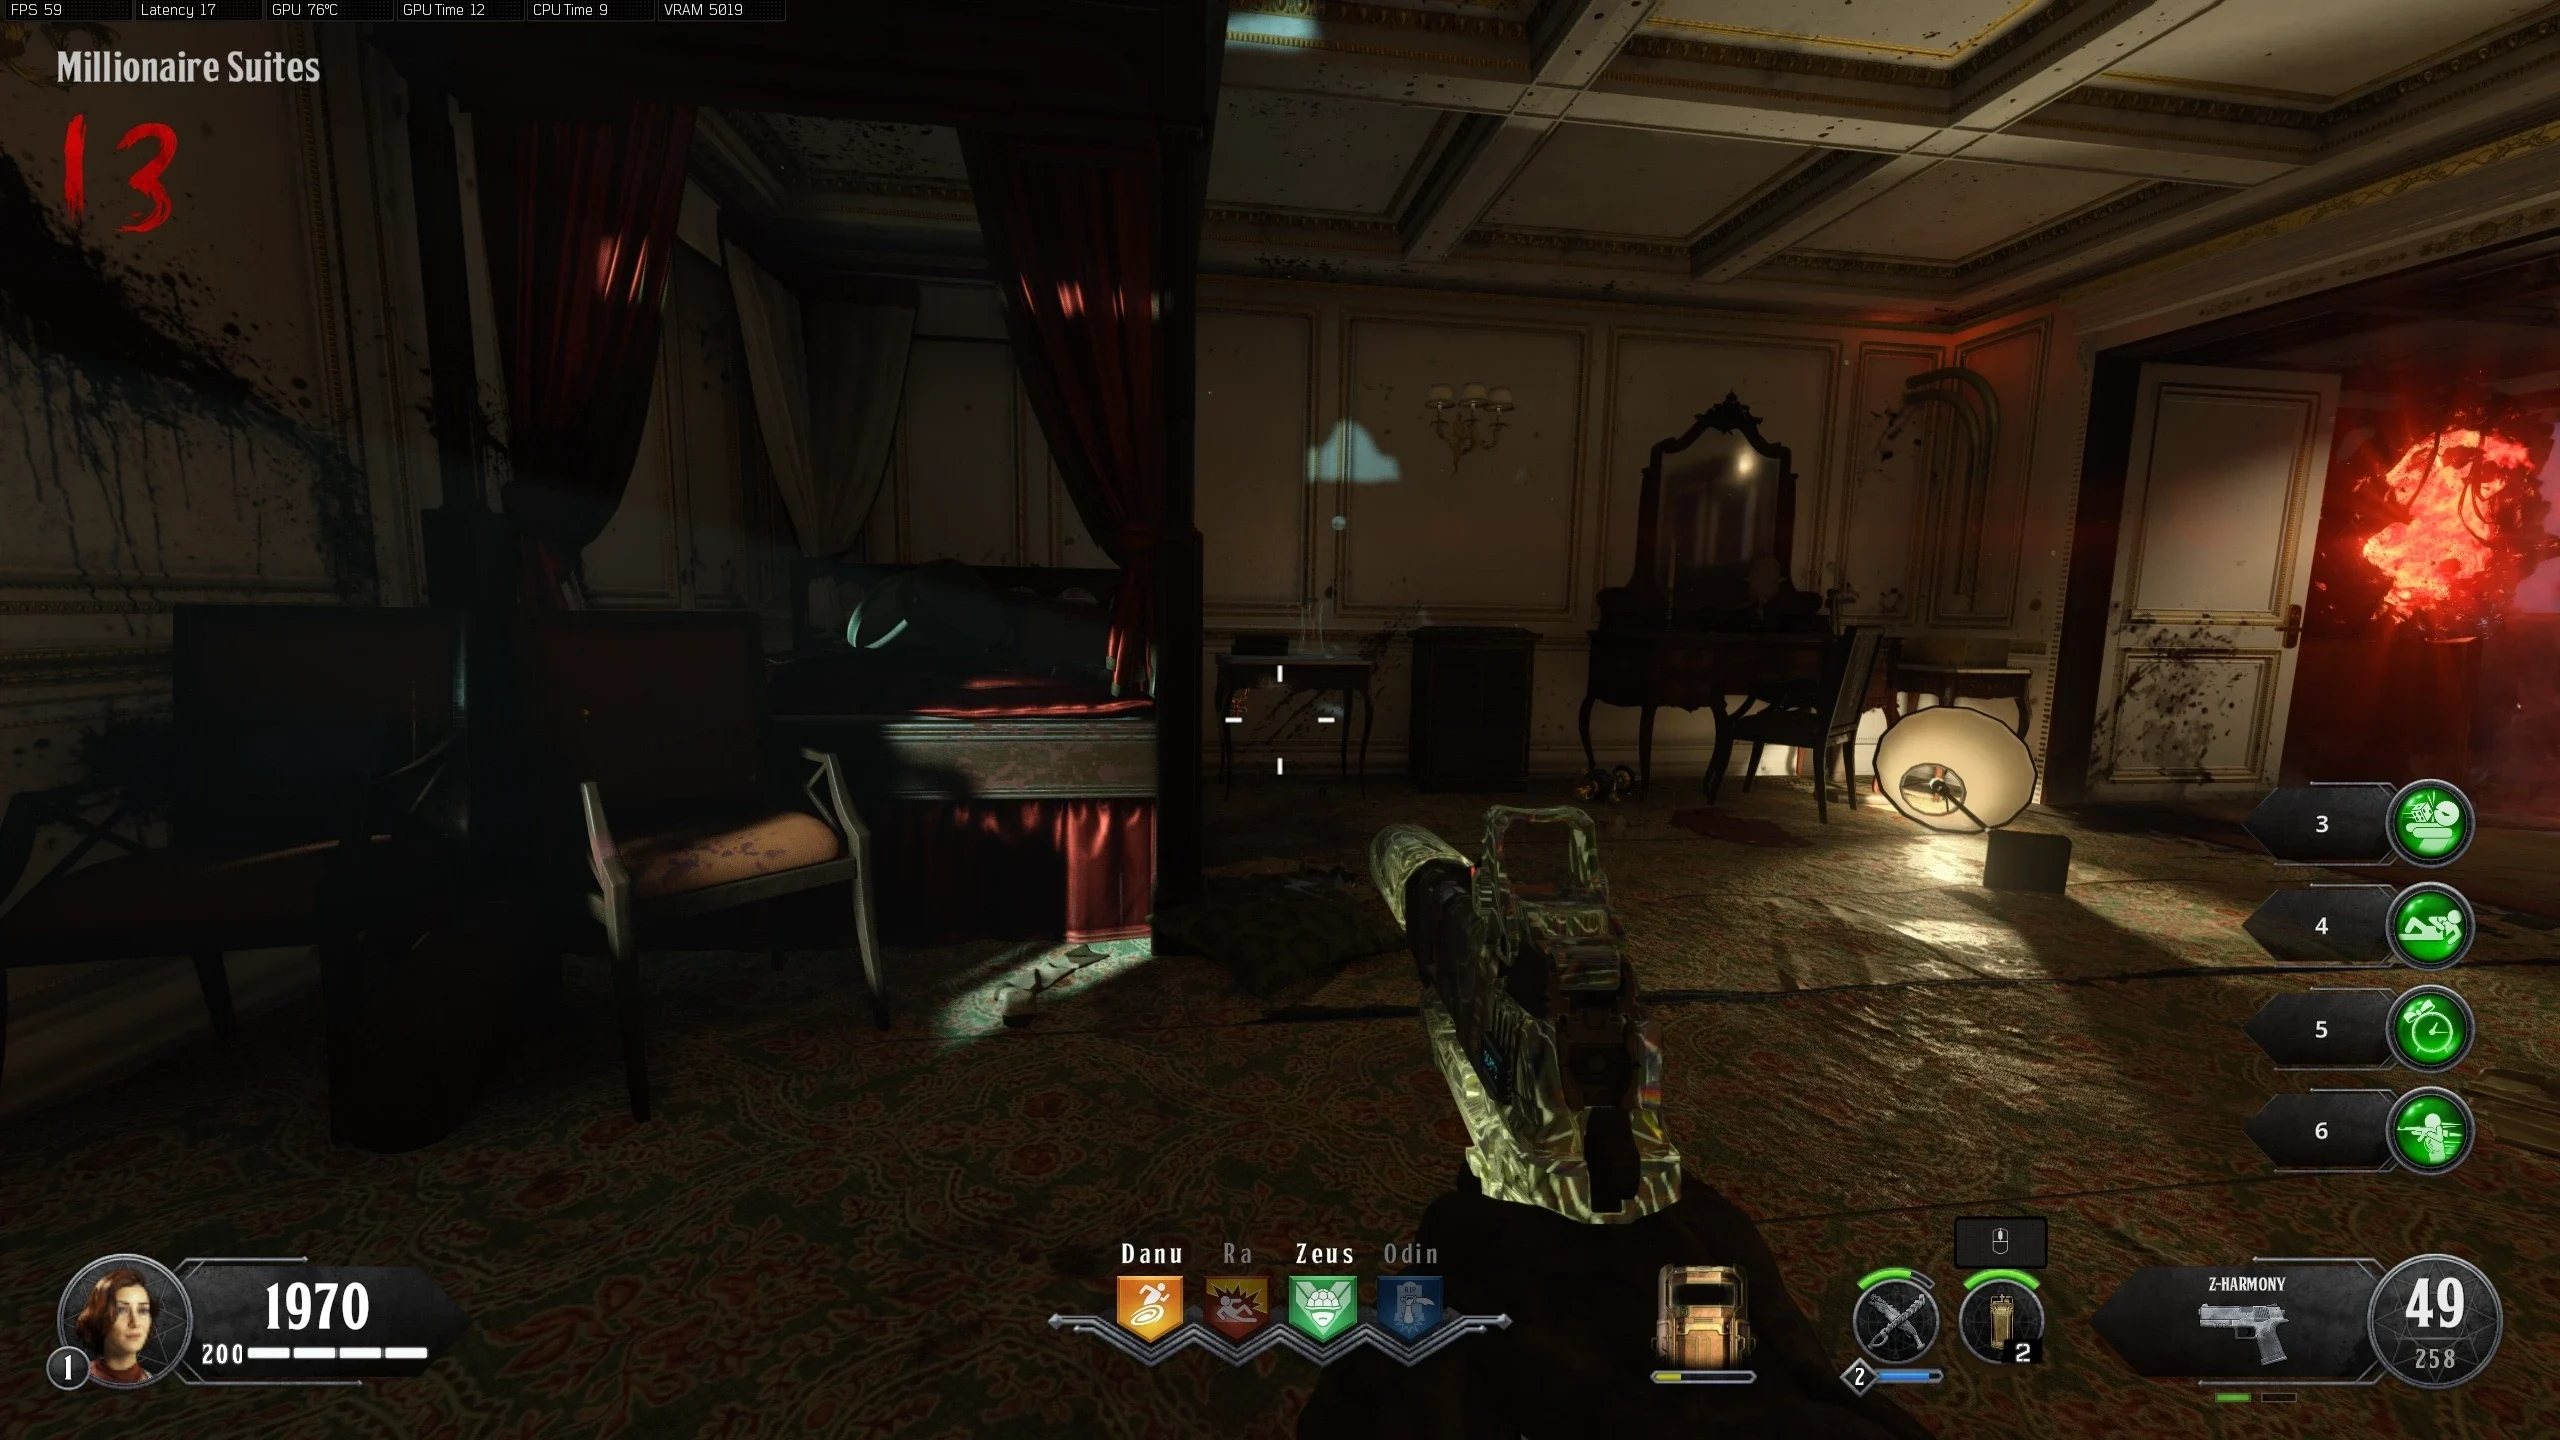
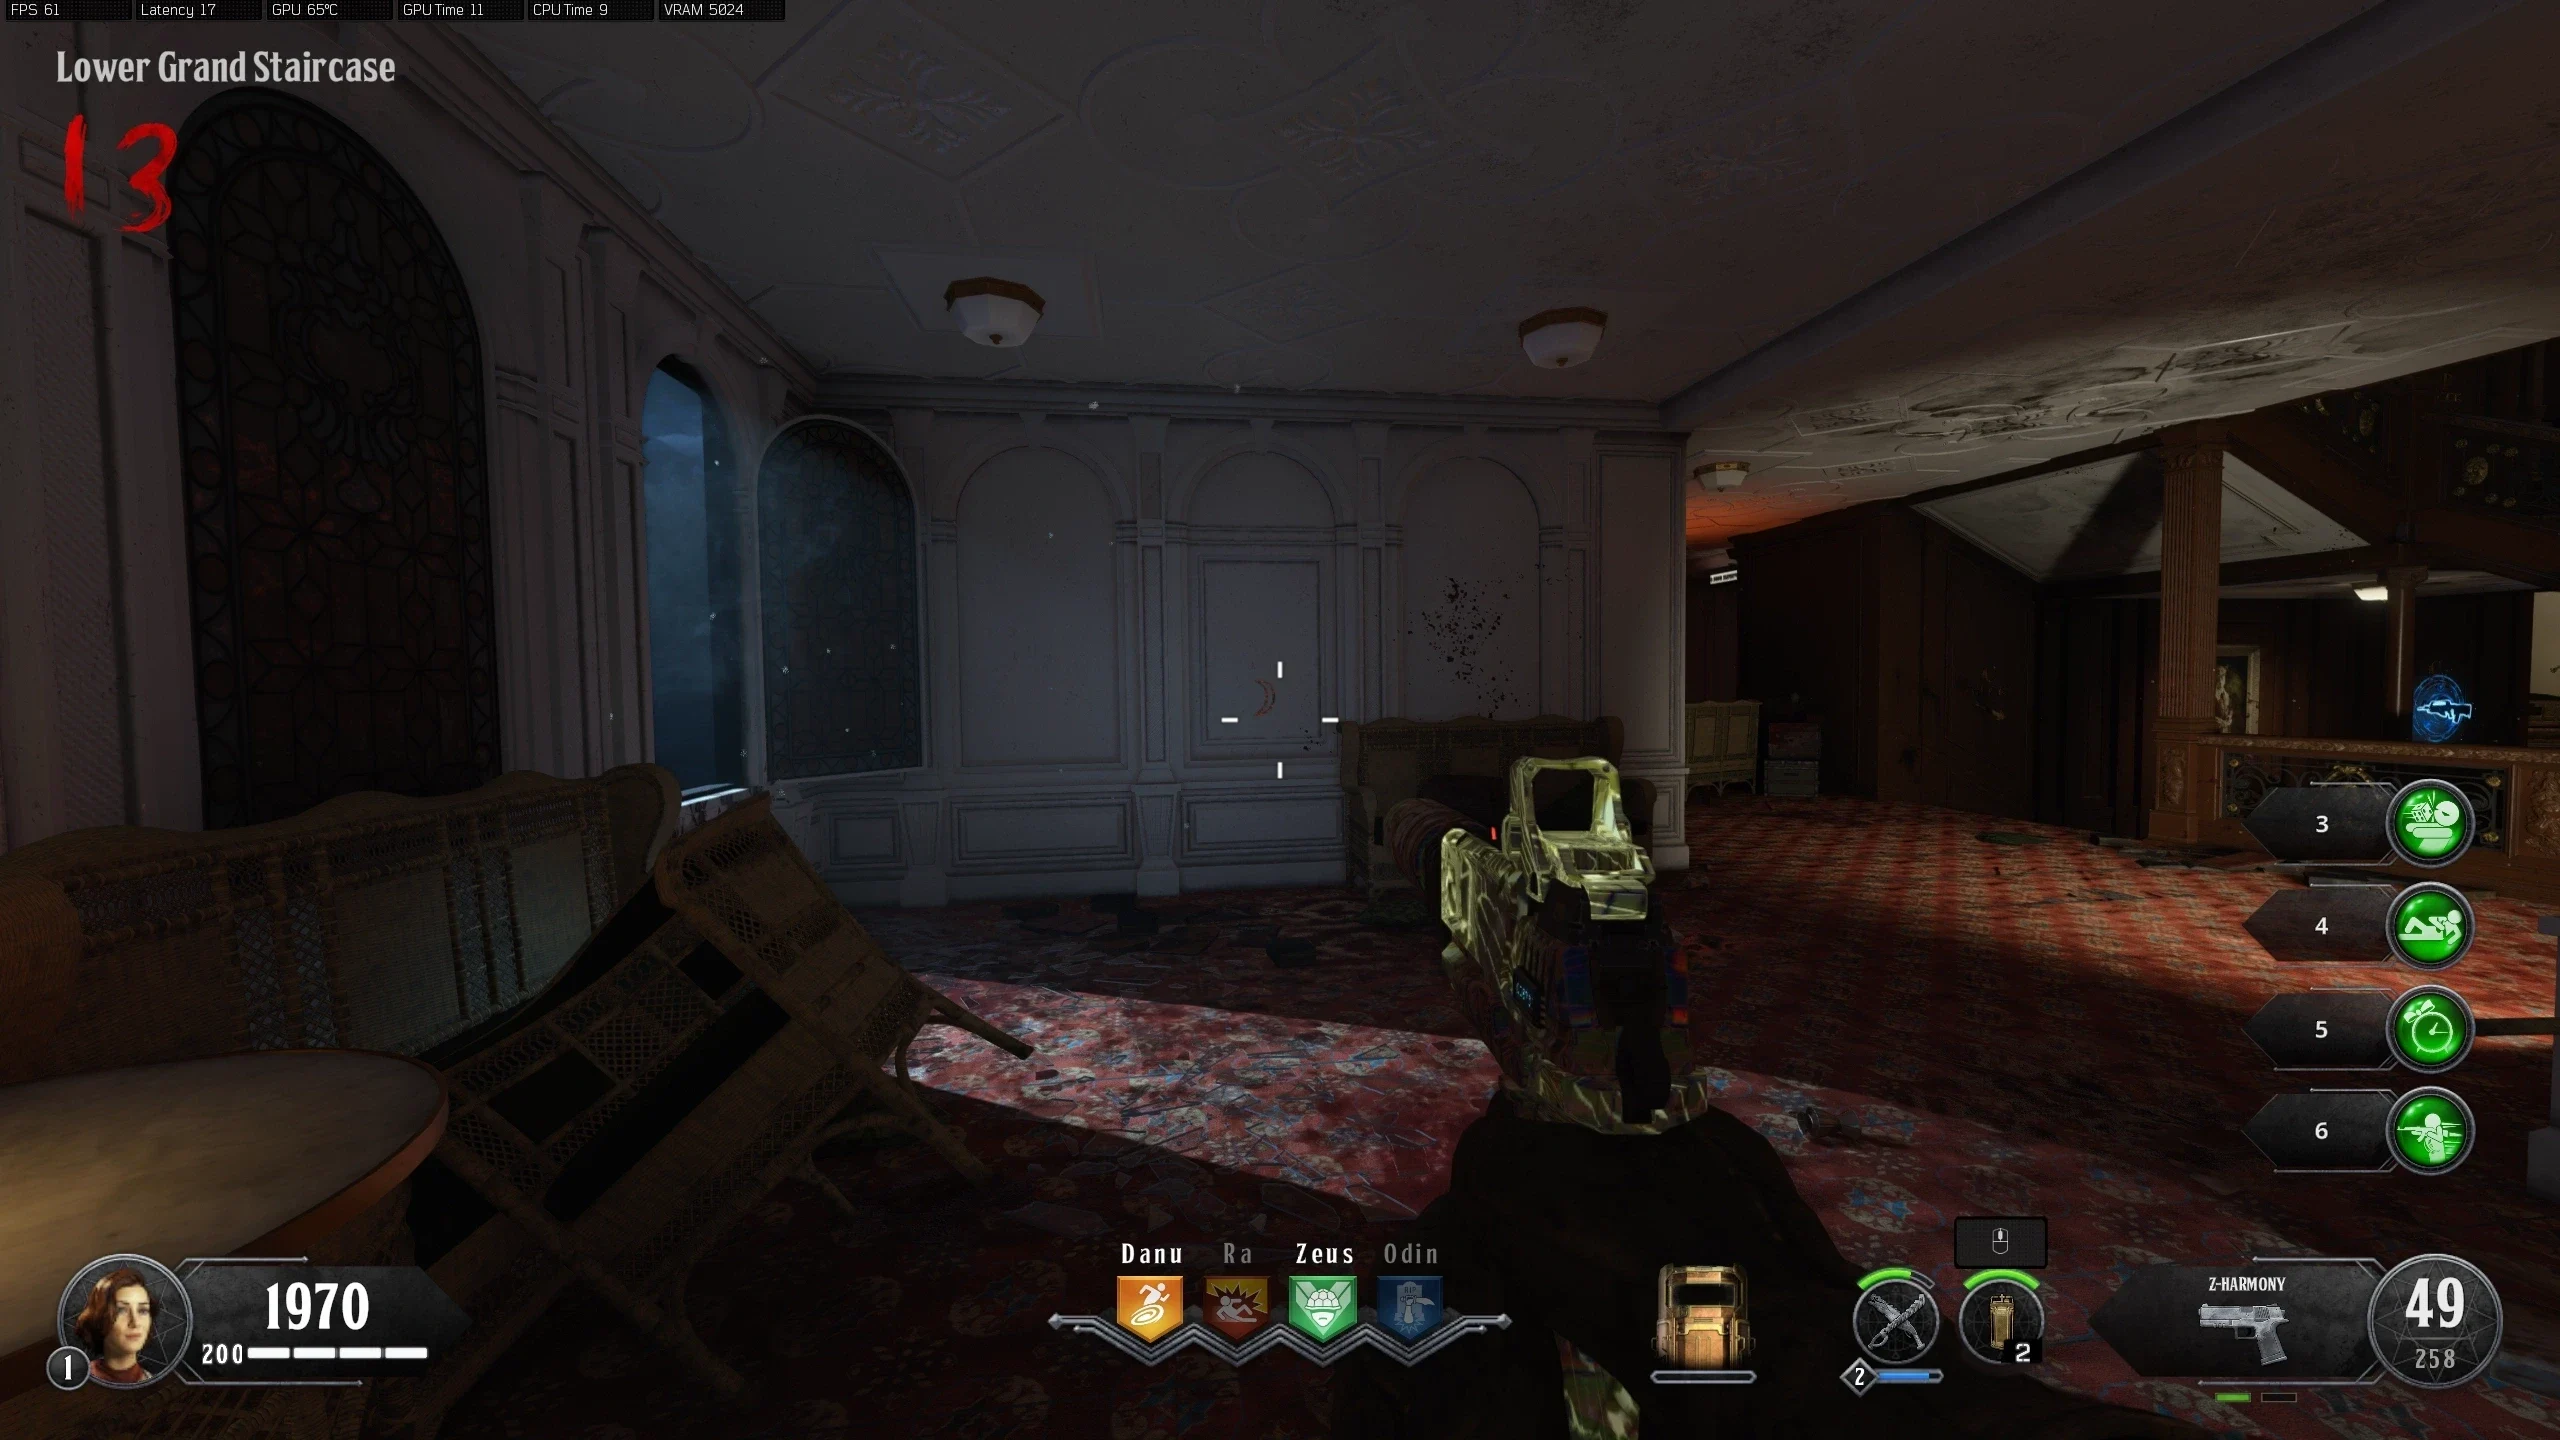
- Interact with the following planetary symbols in any order to activate them. When activated, the symbol will glow. Locations:
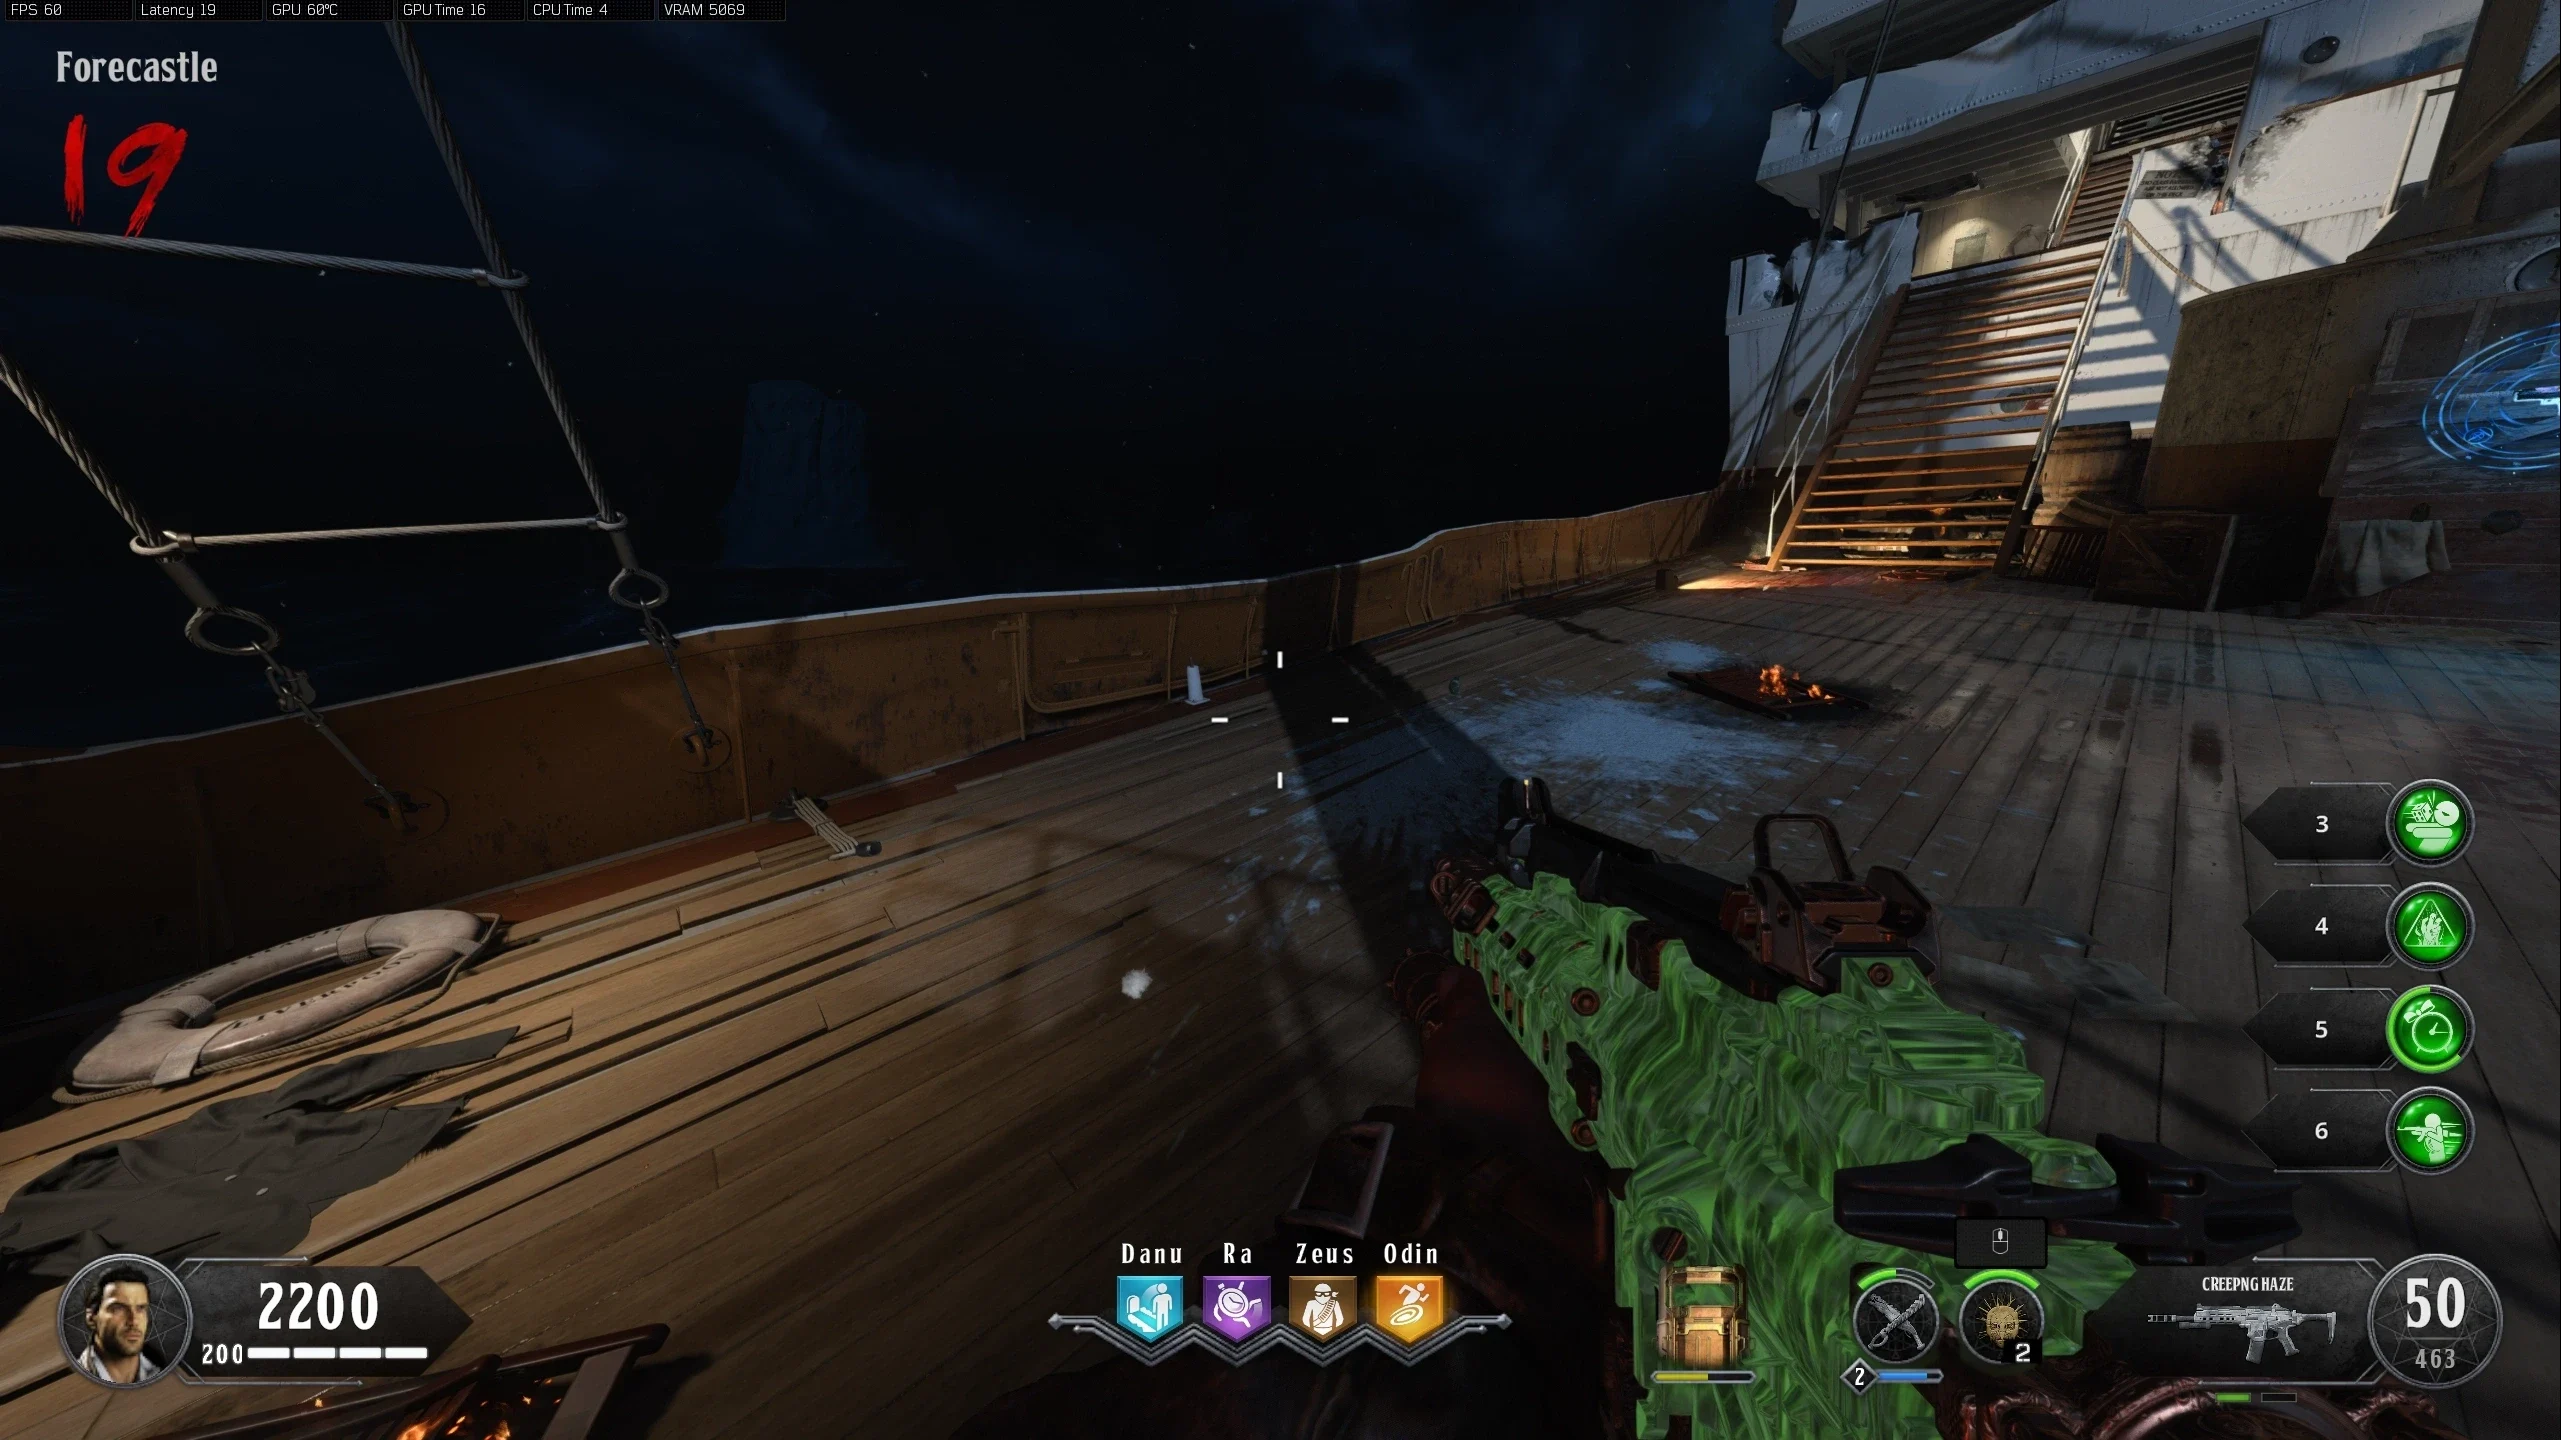
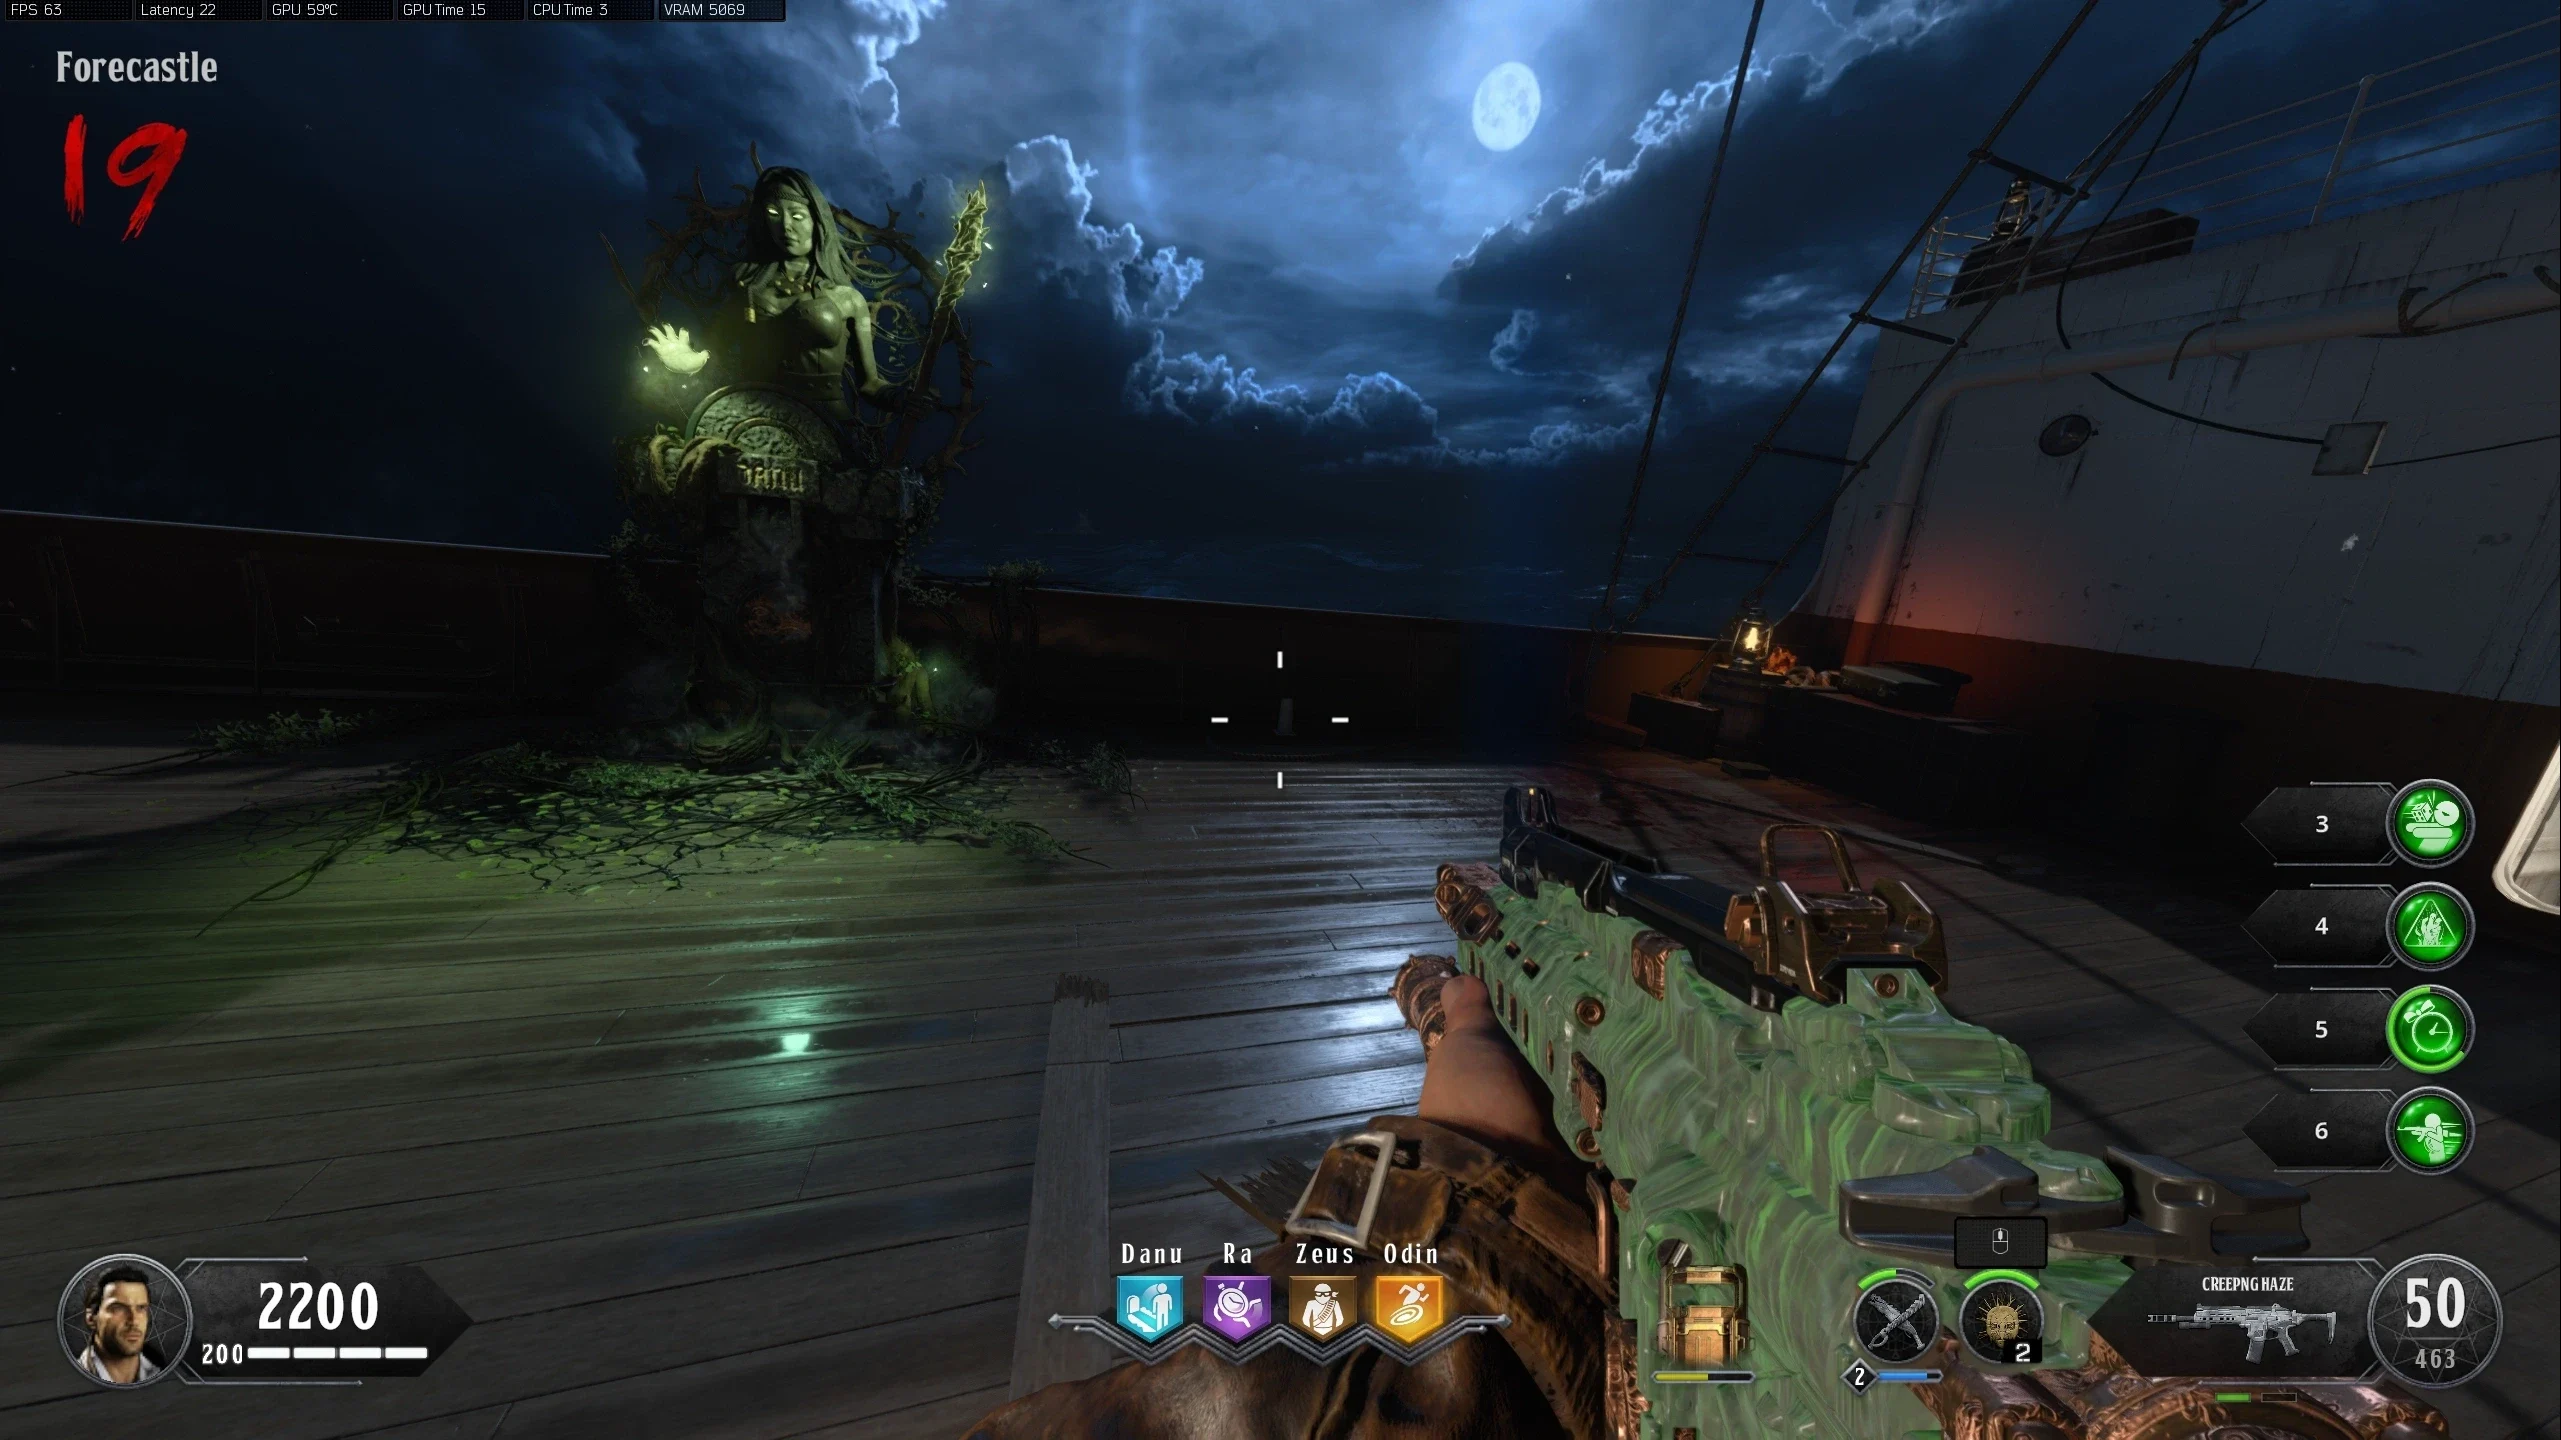
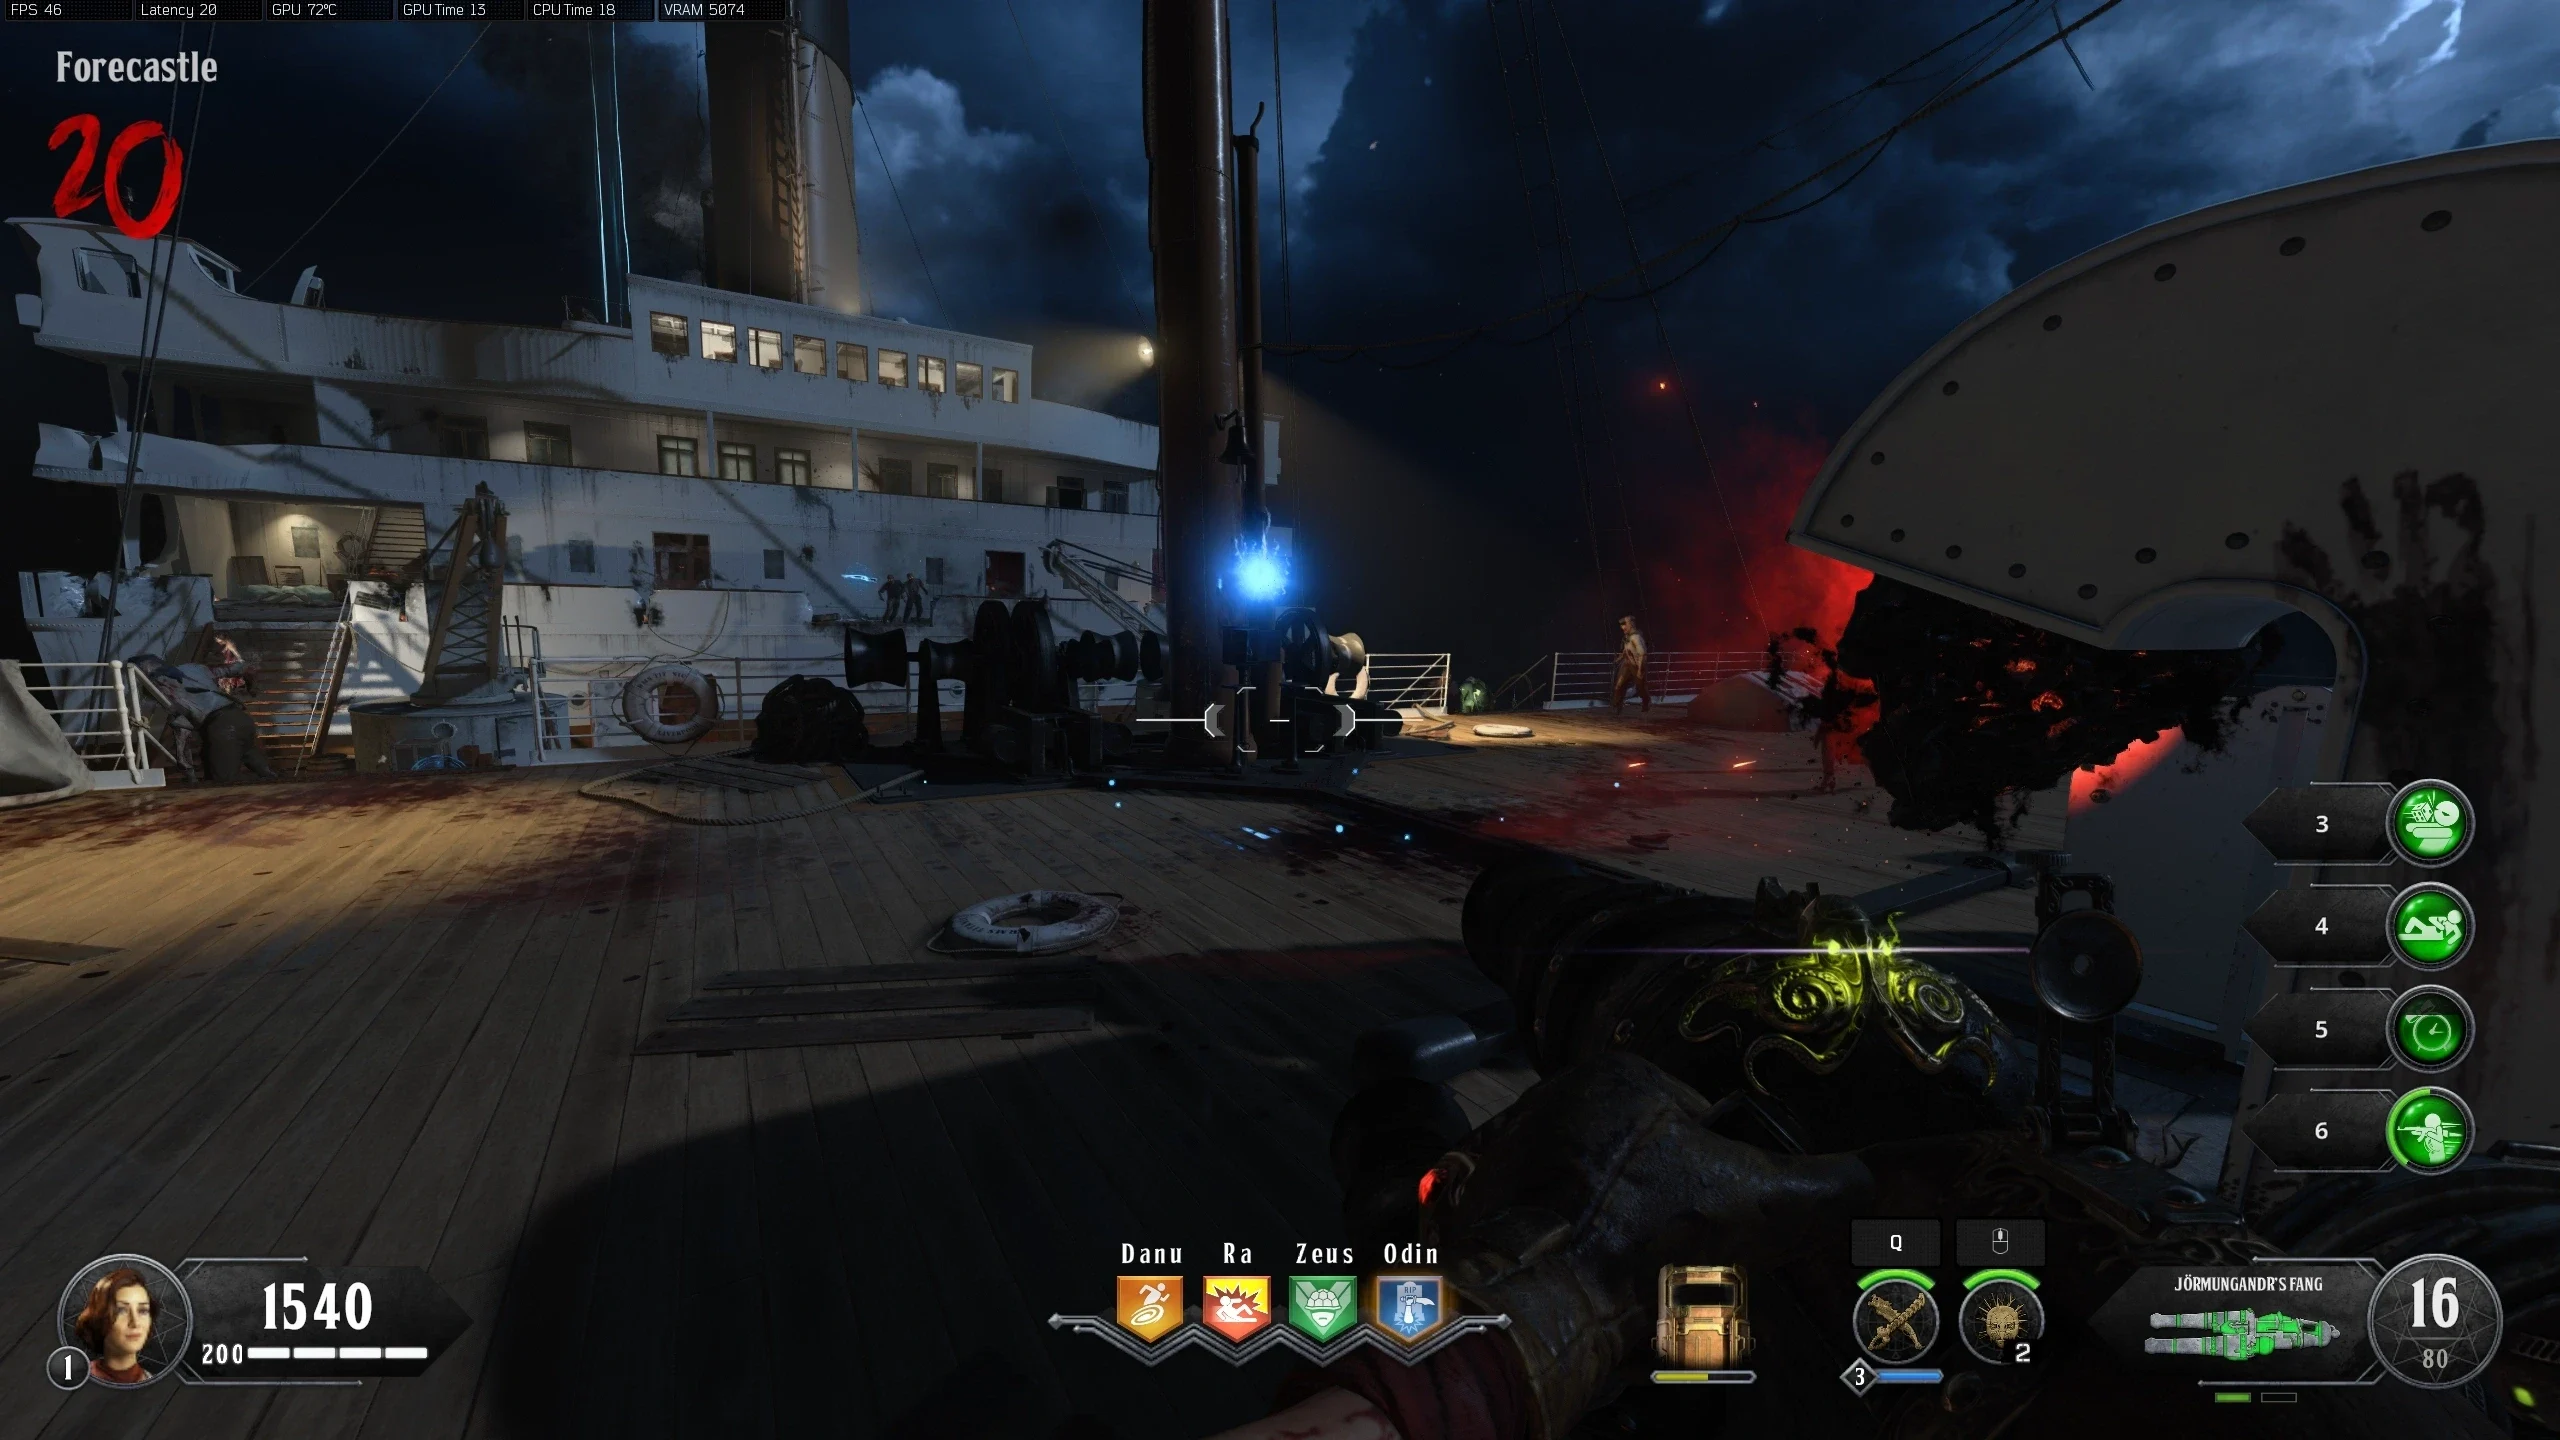
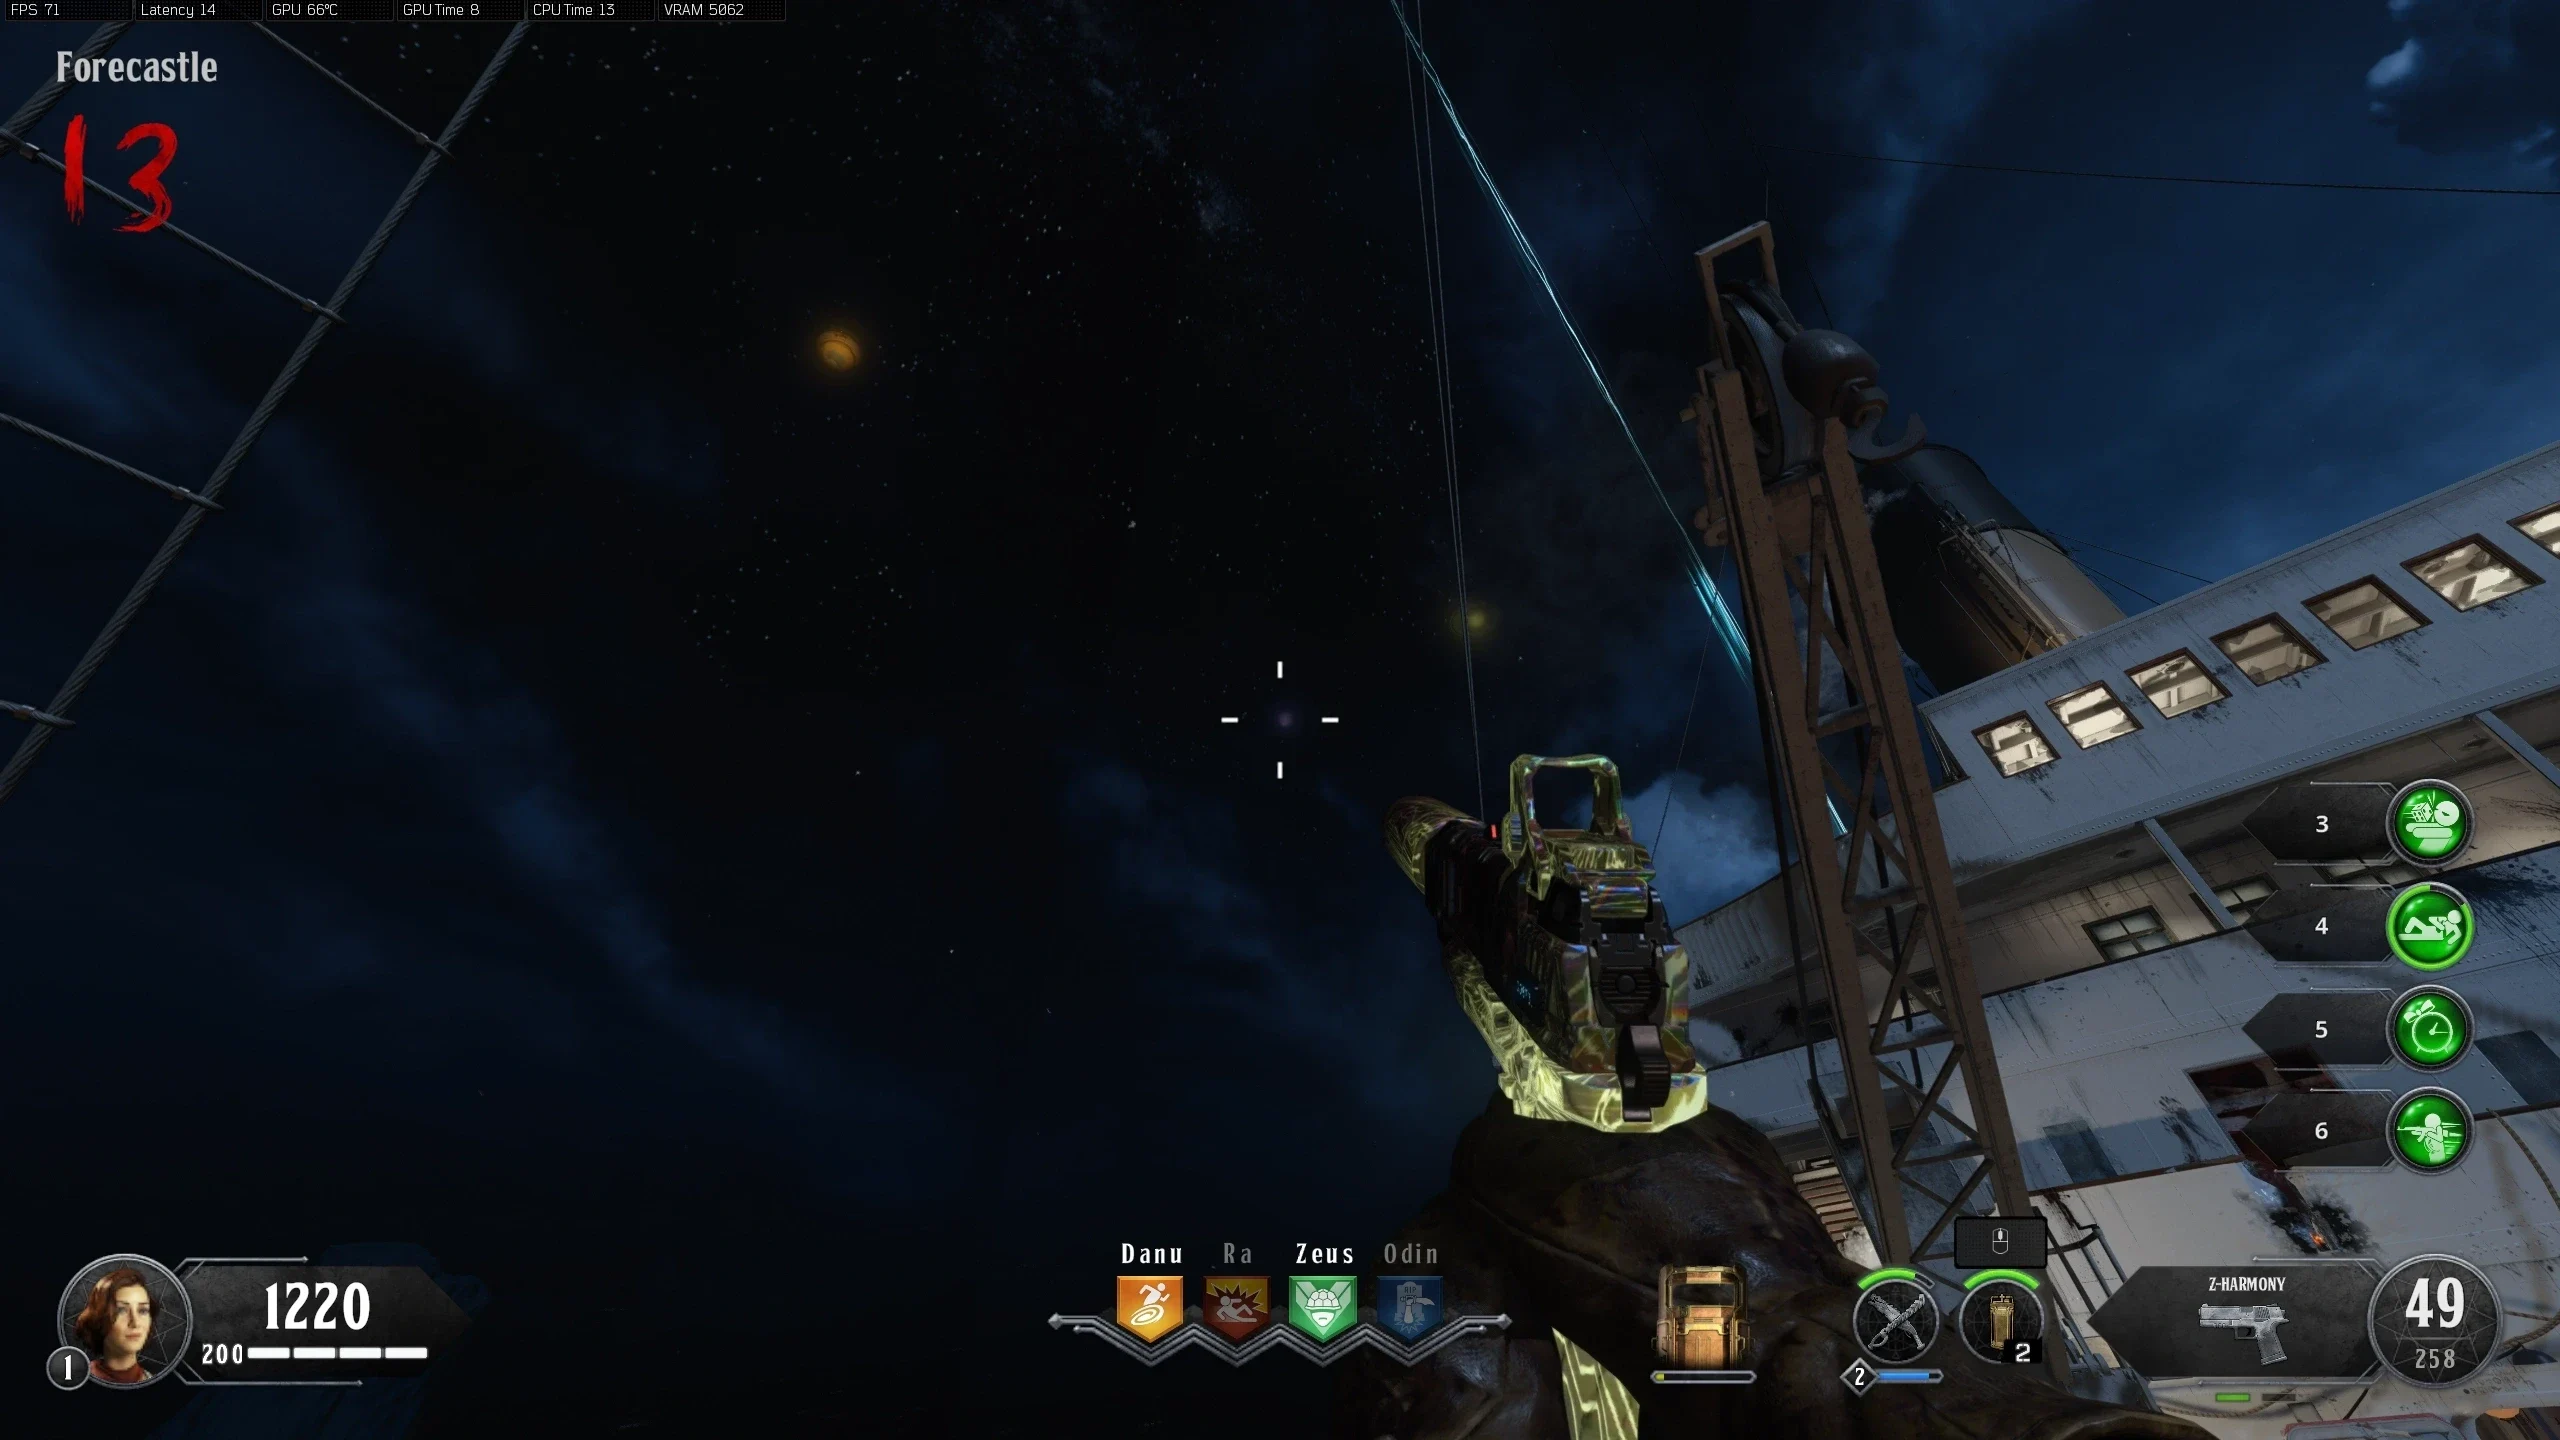
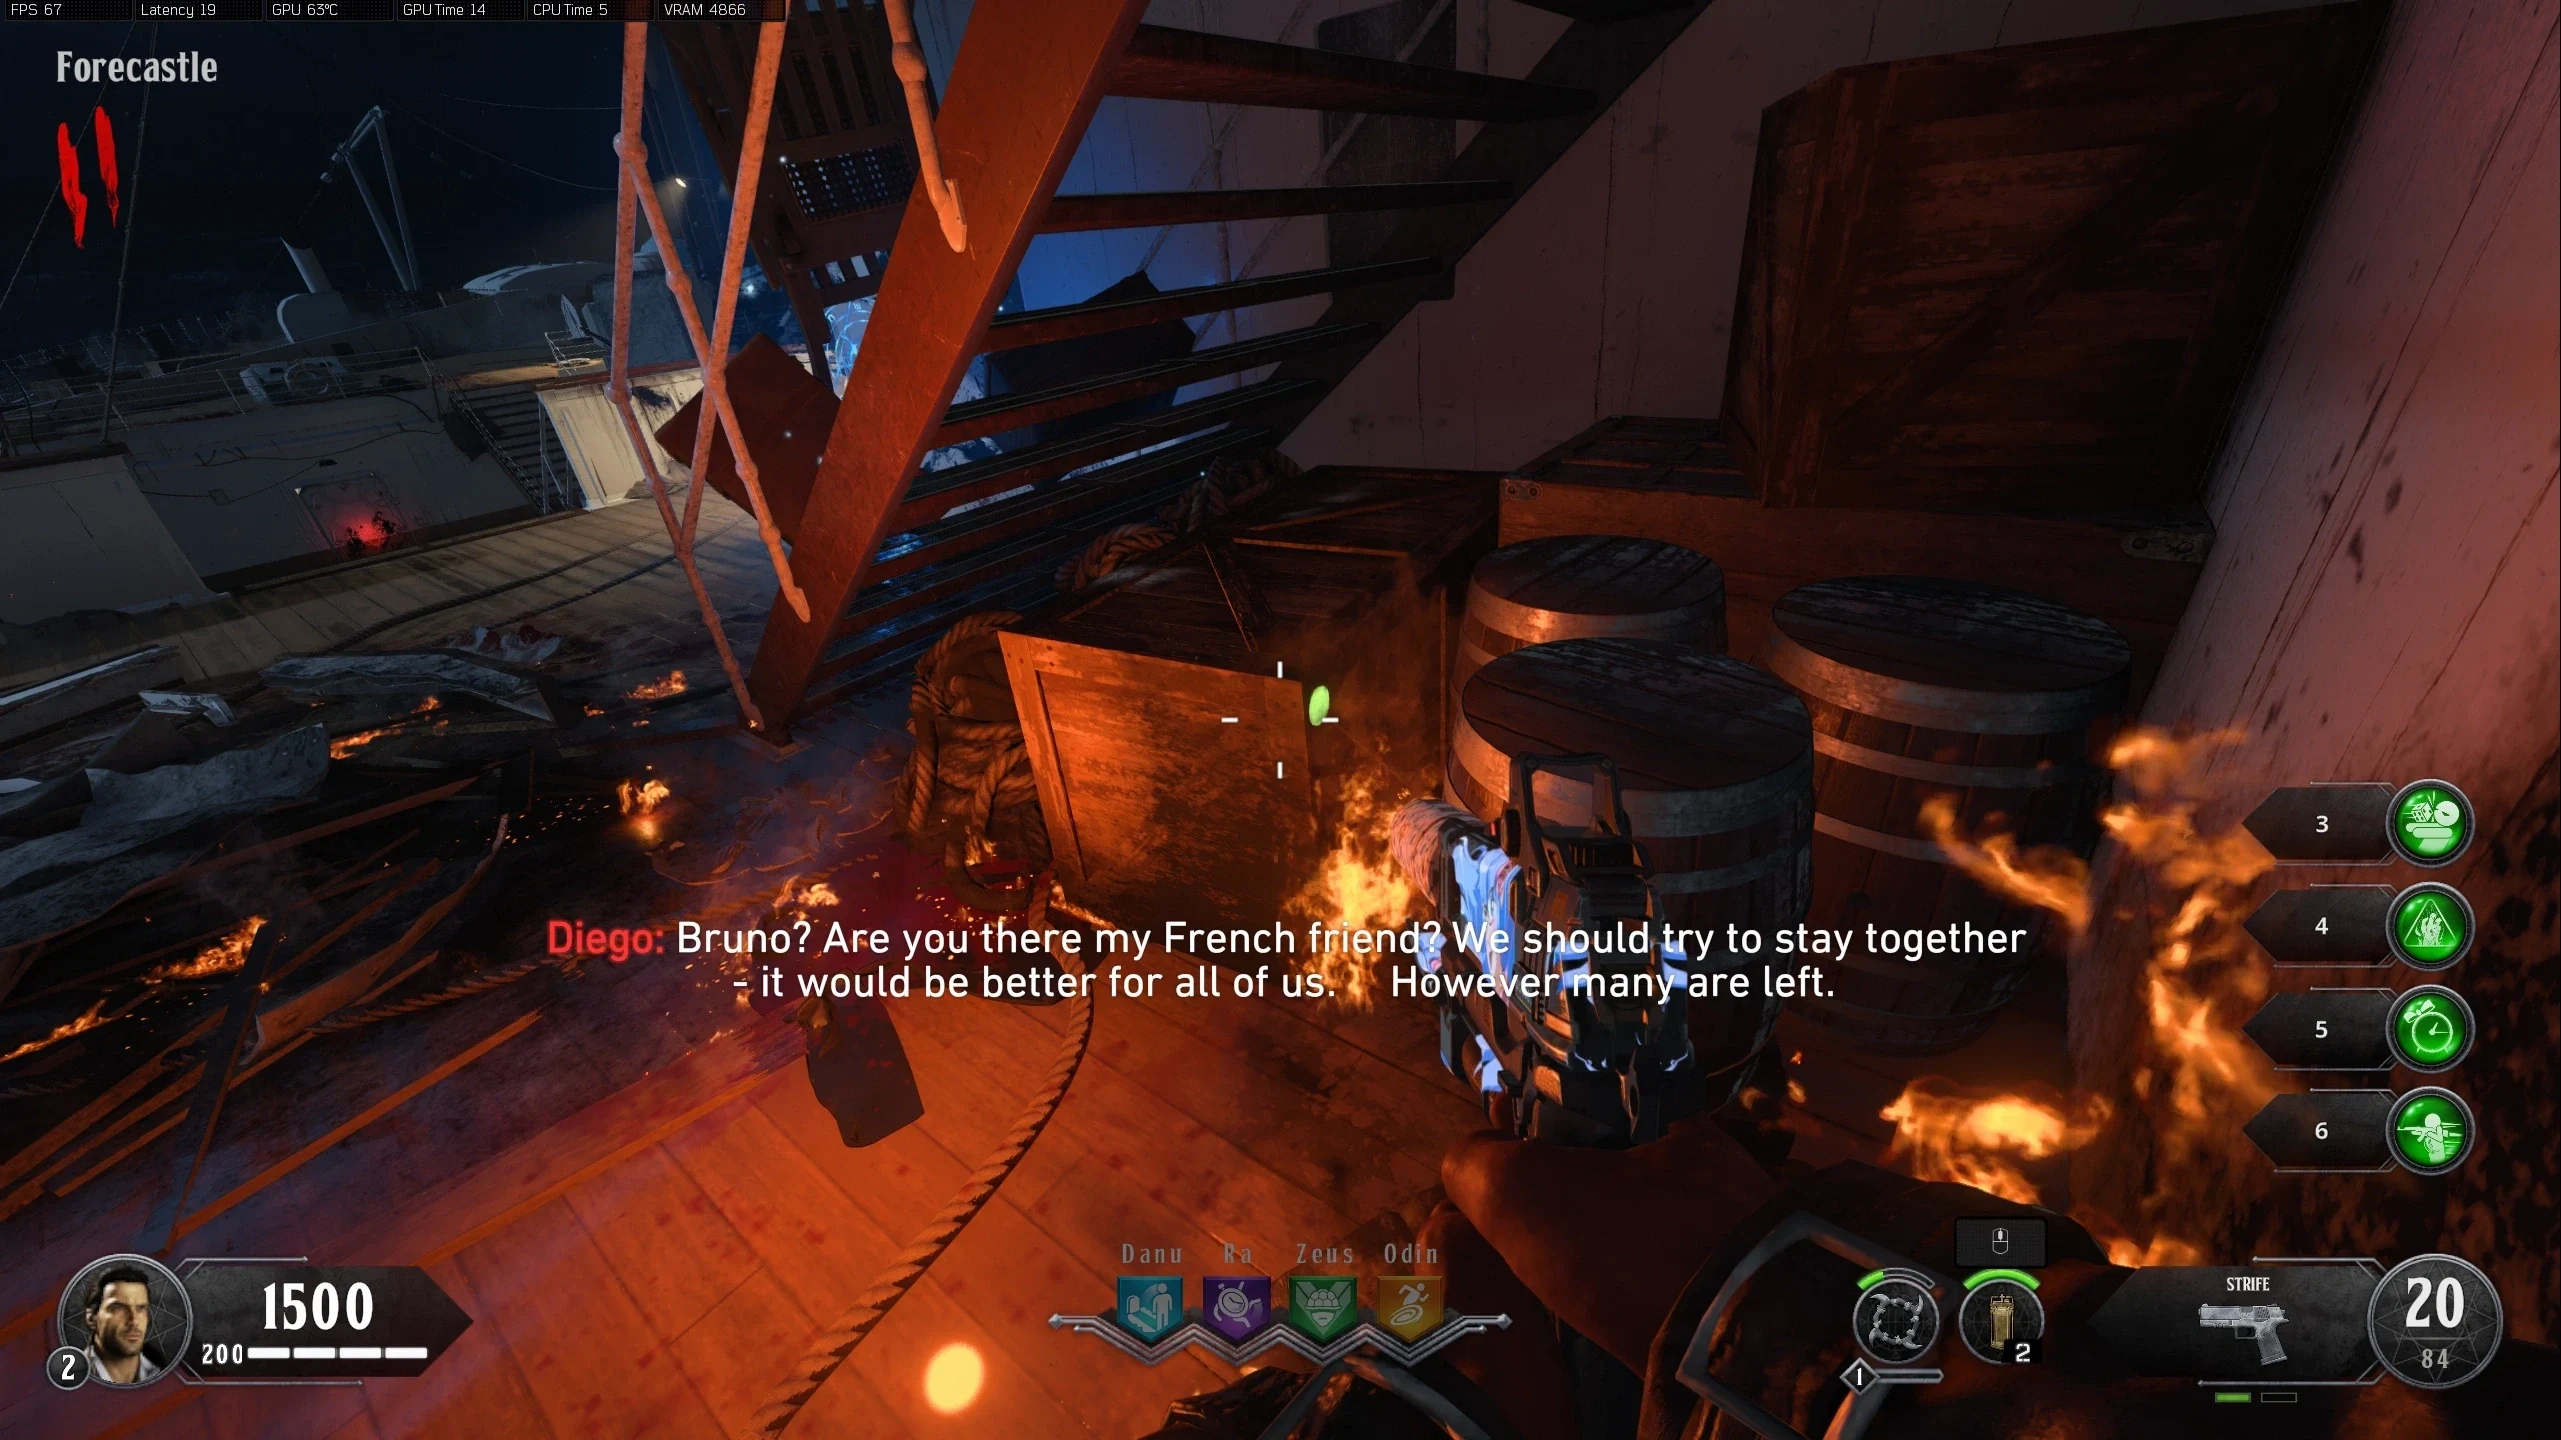
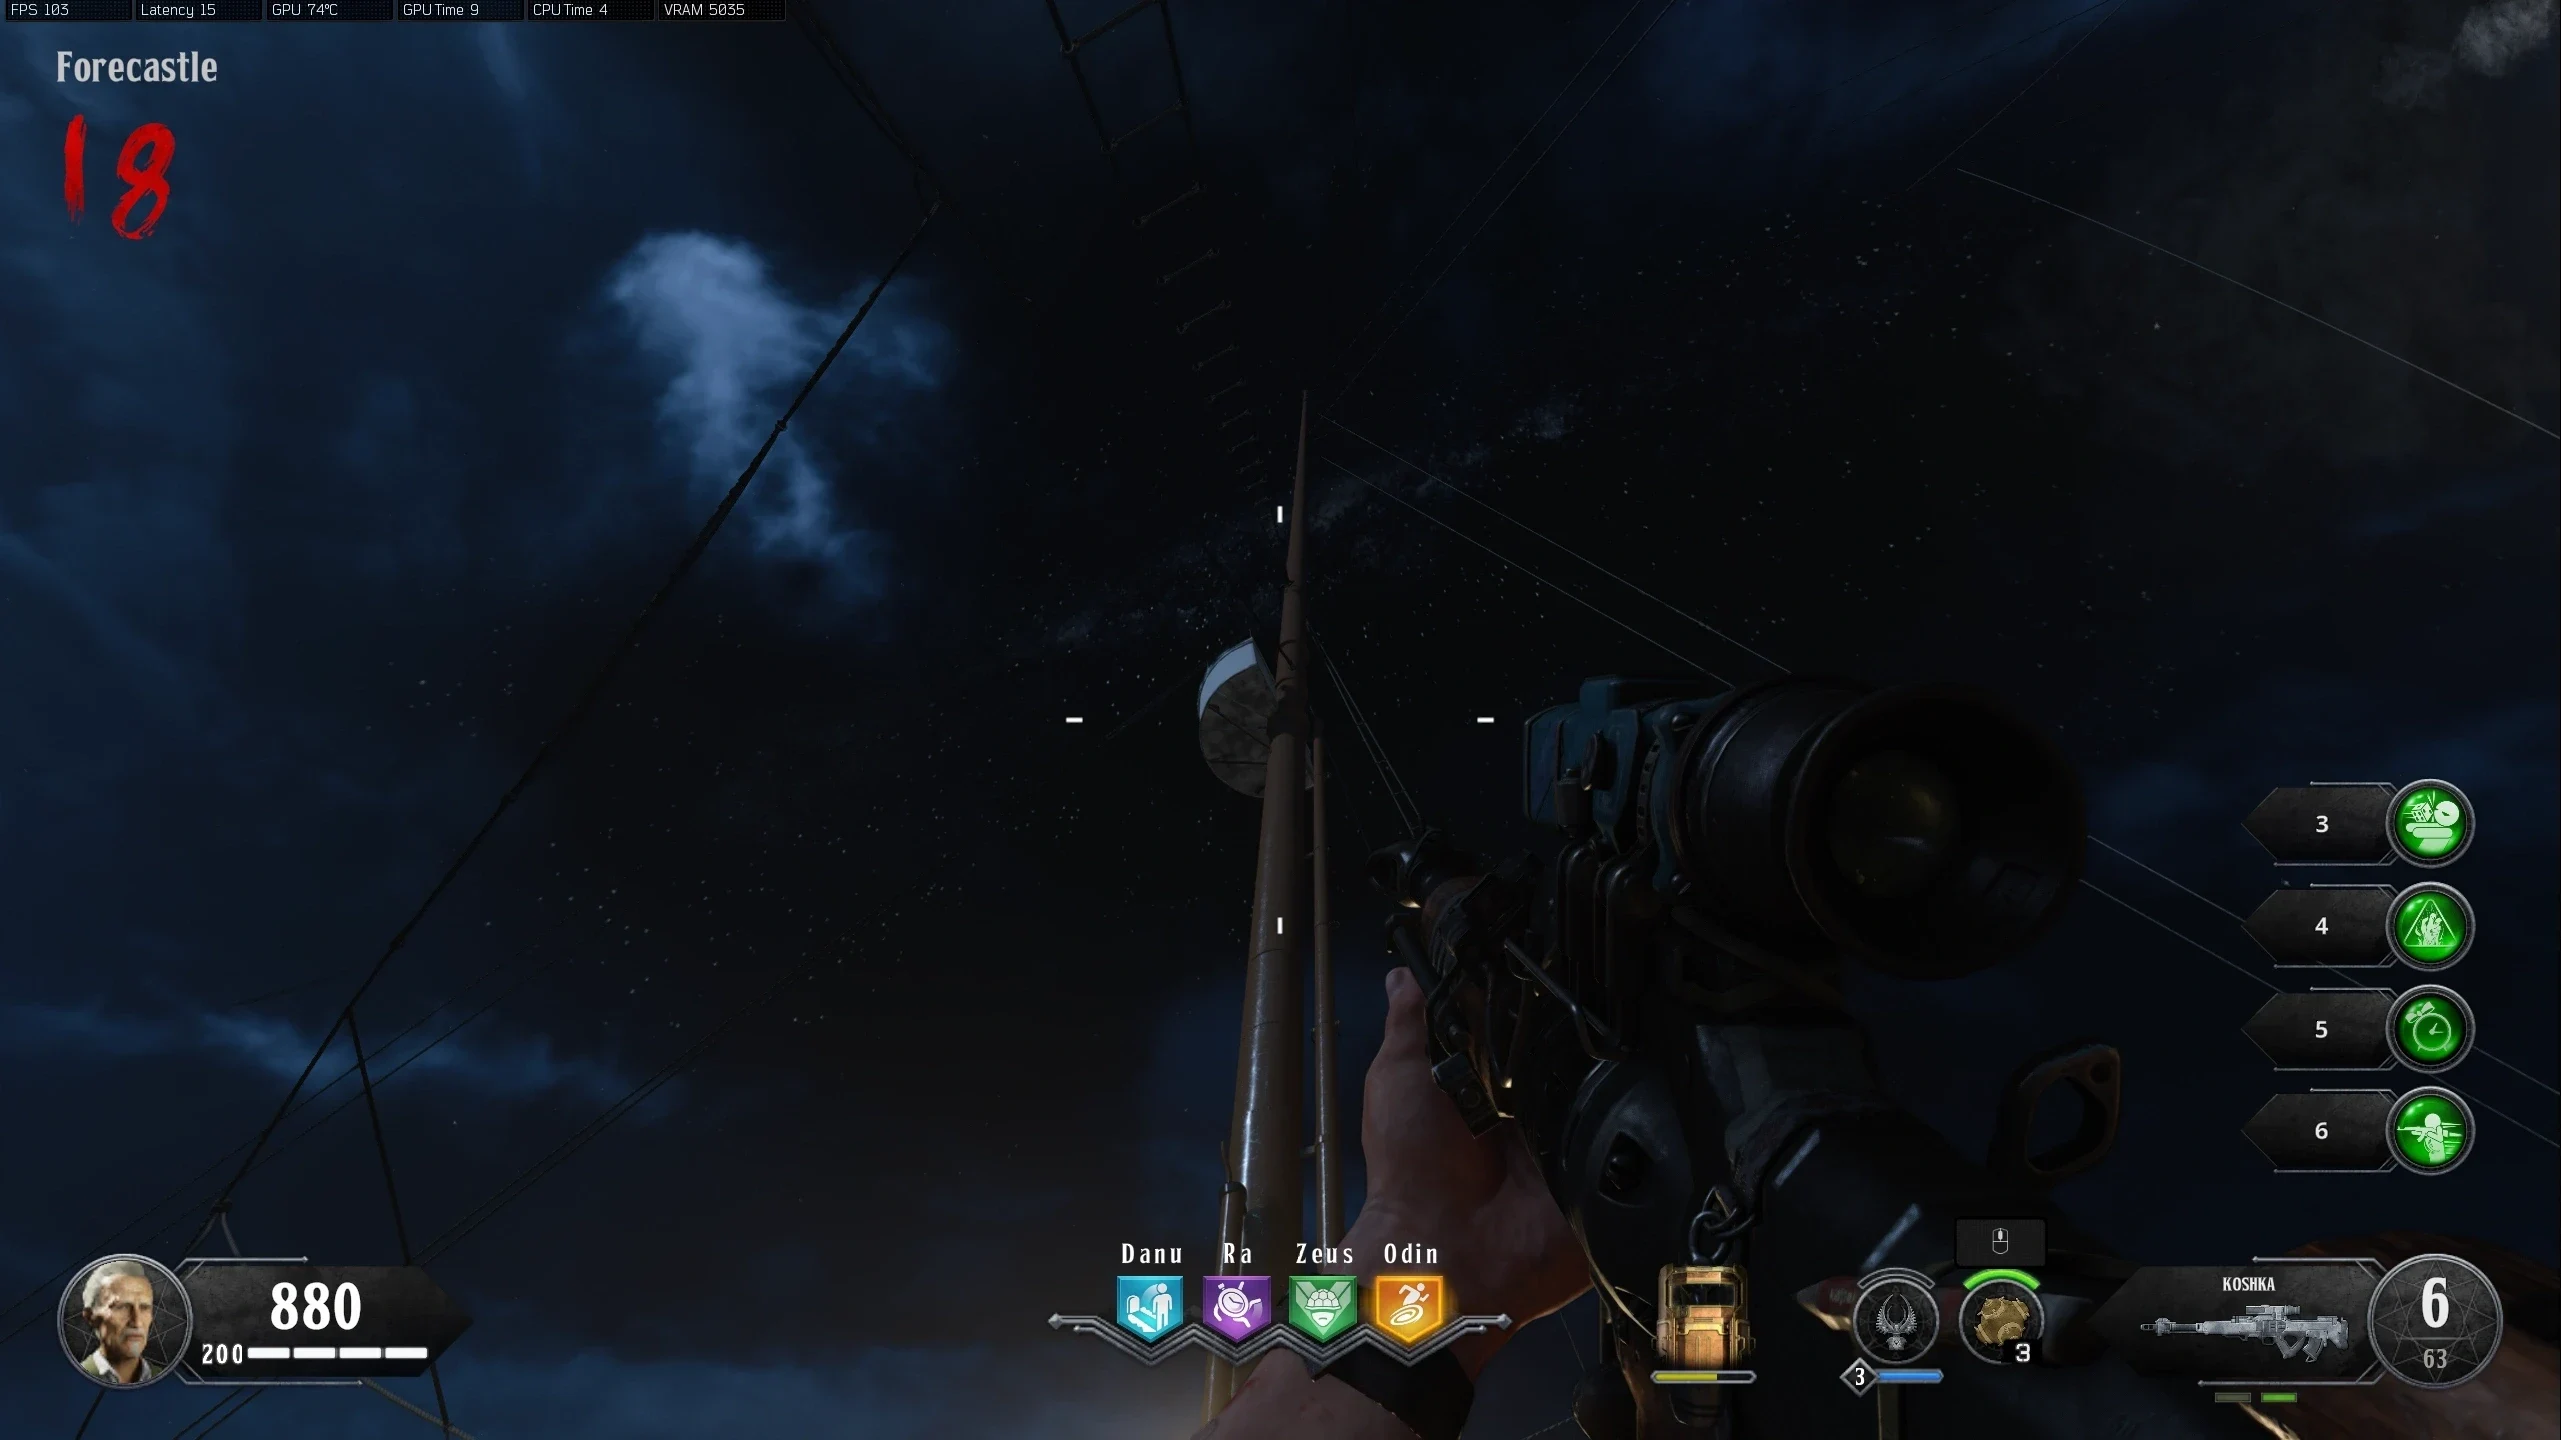
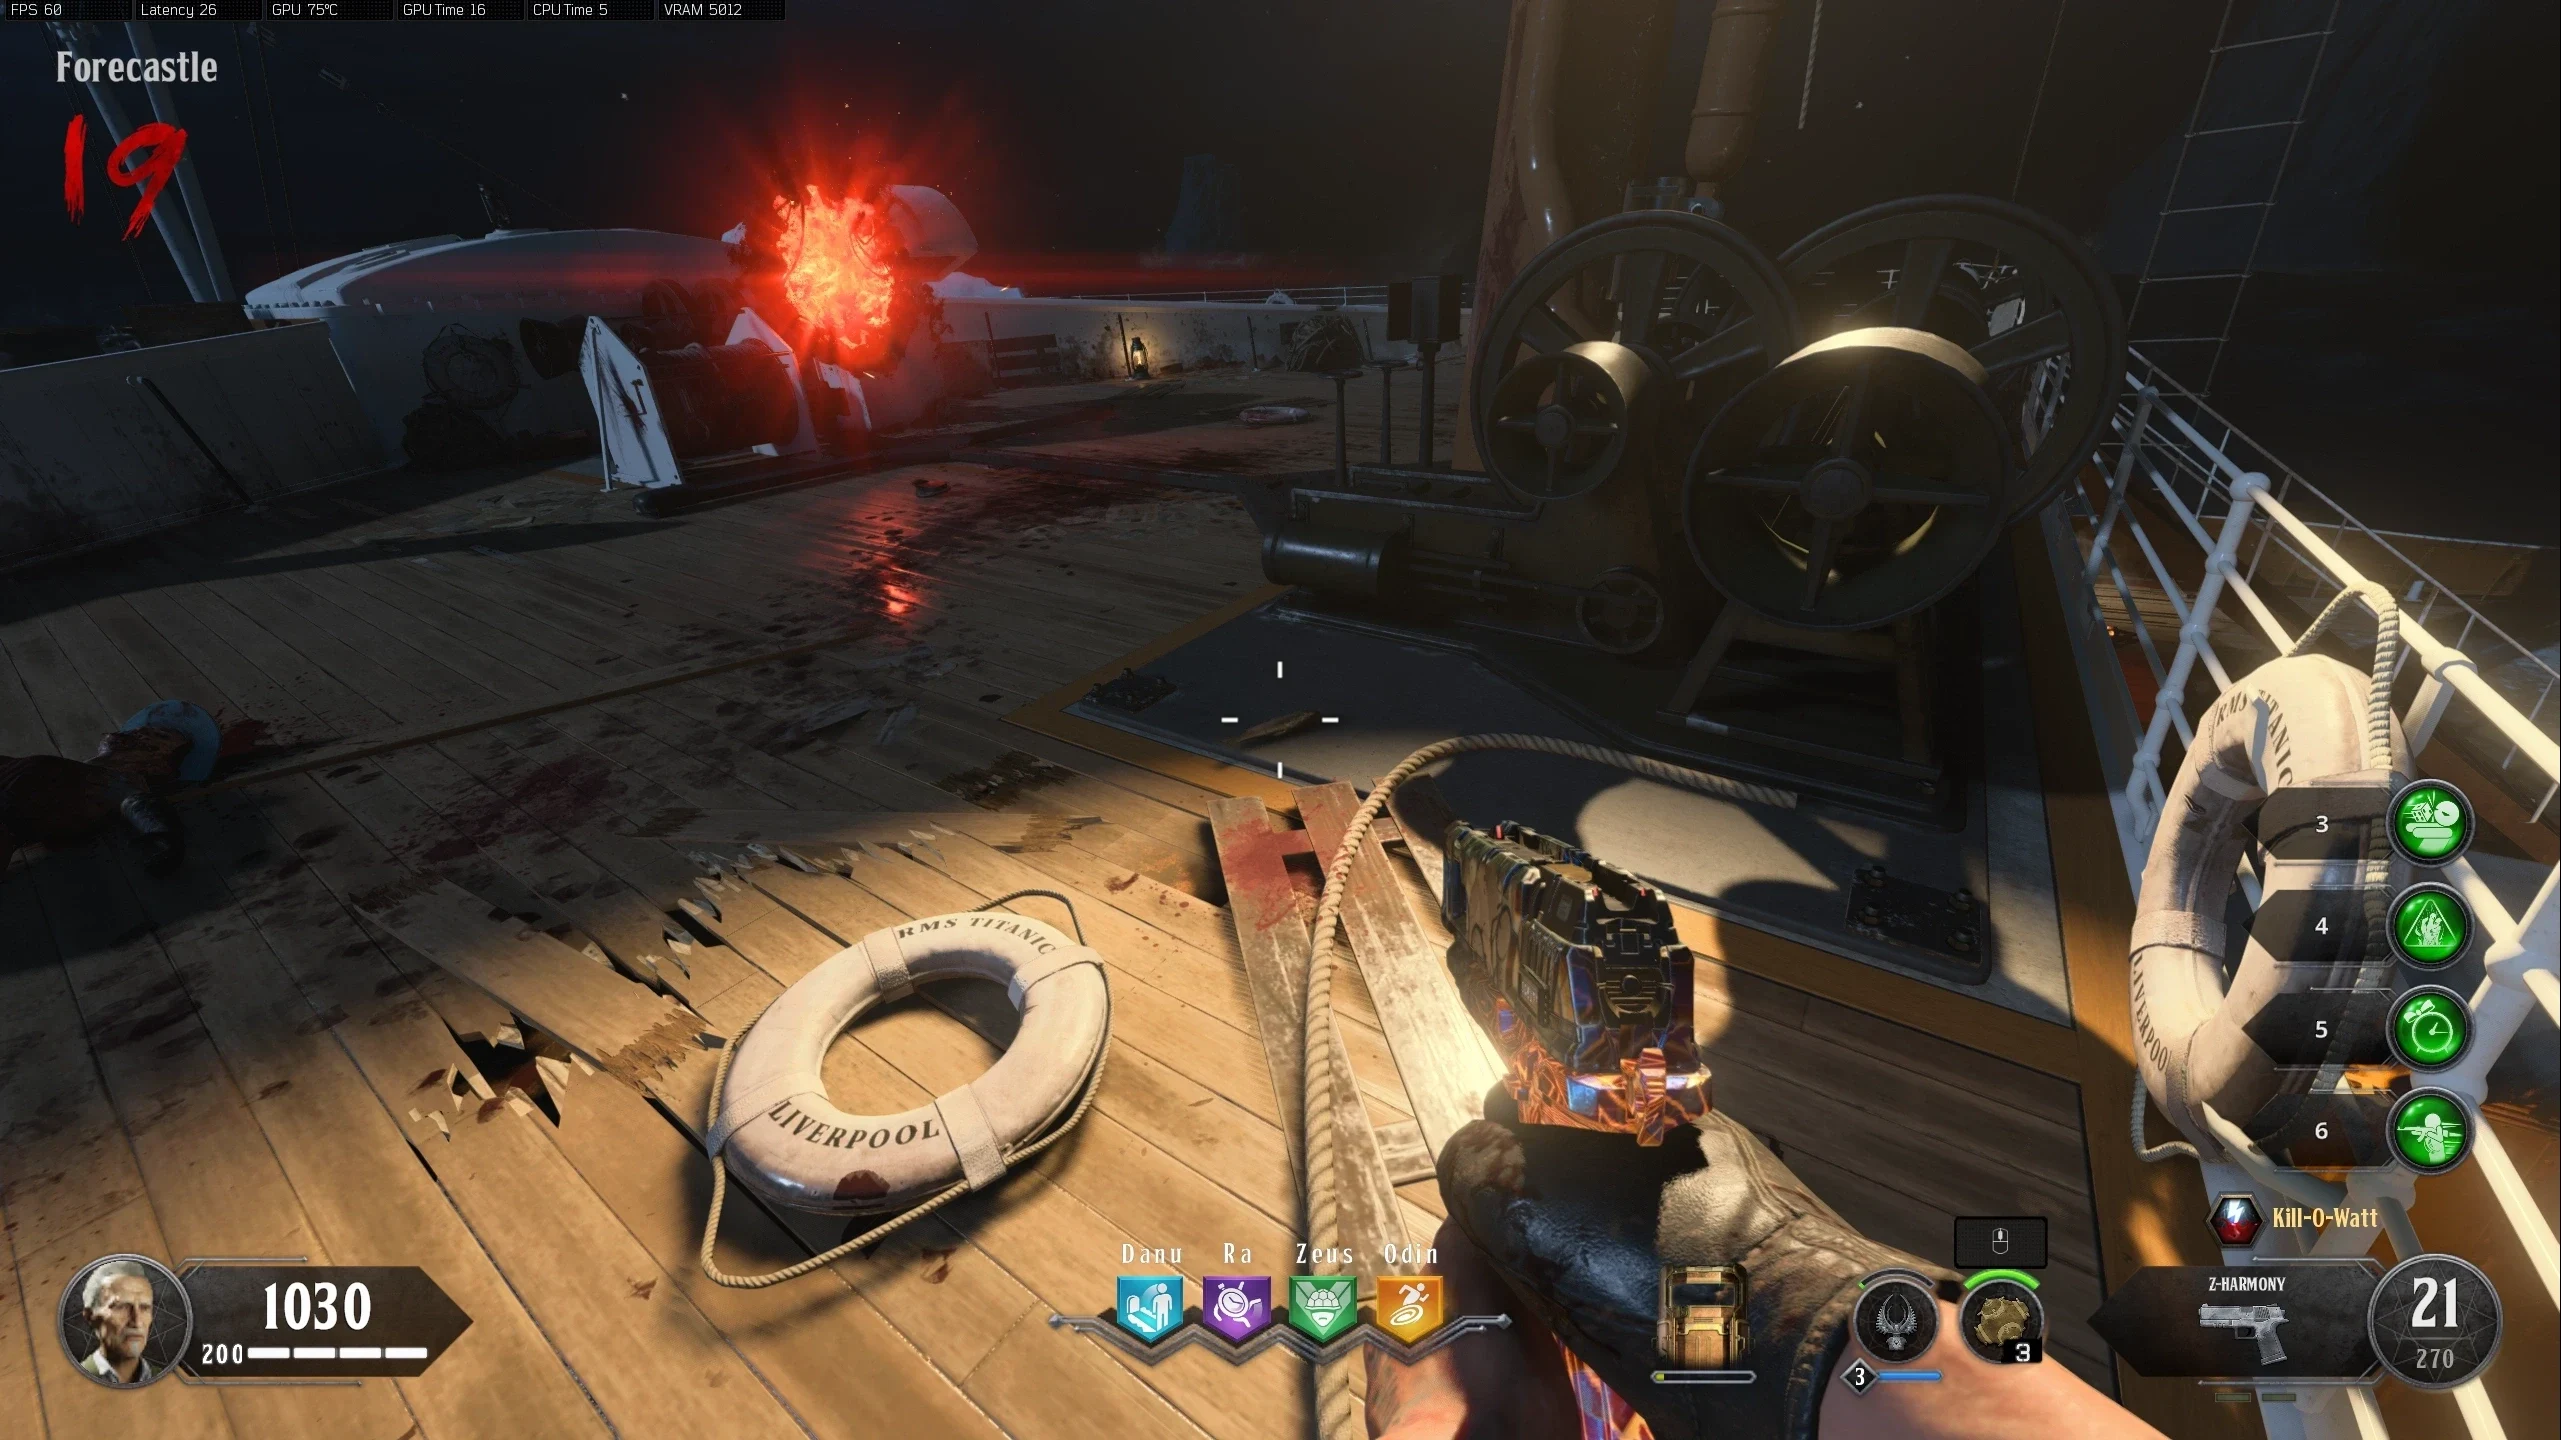
- Sun - Forecastle
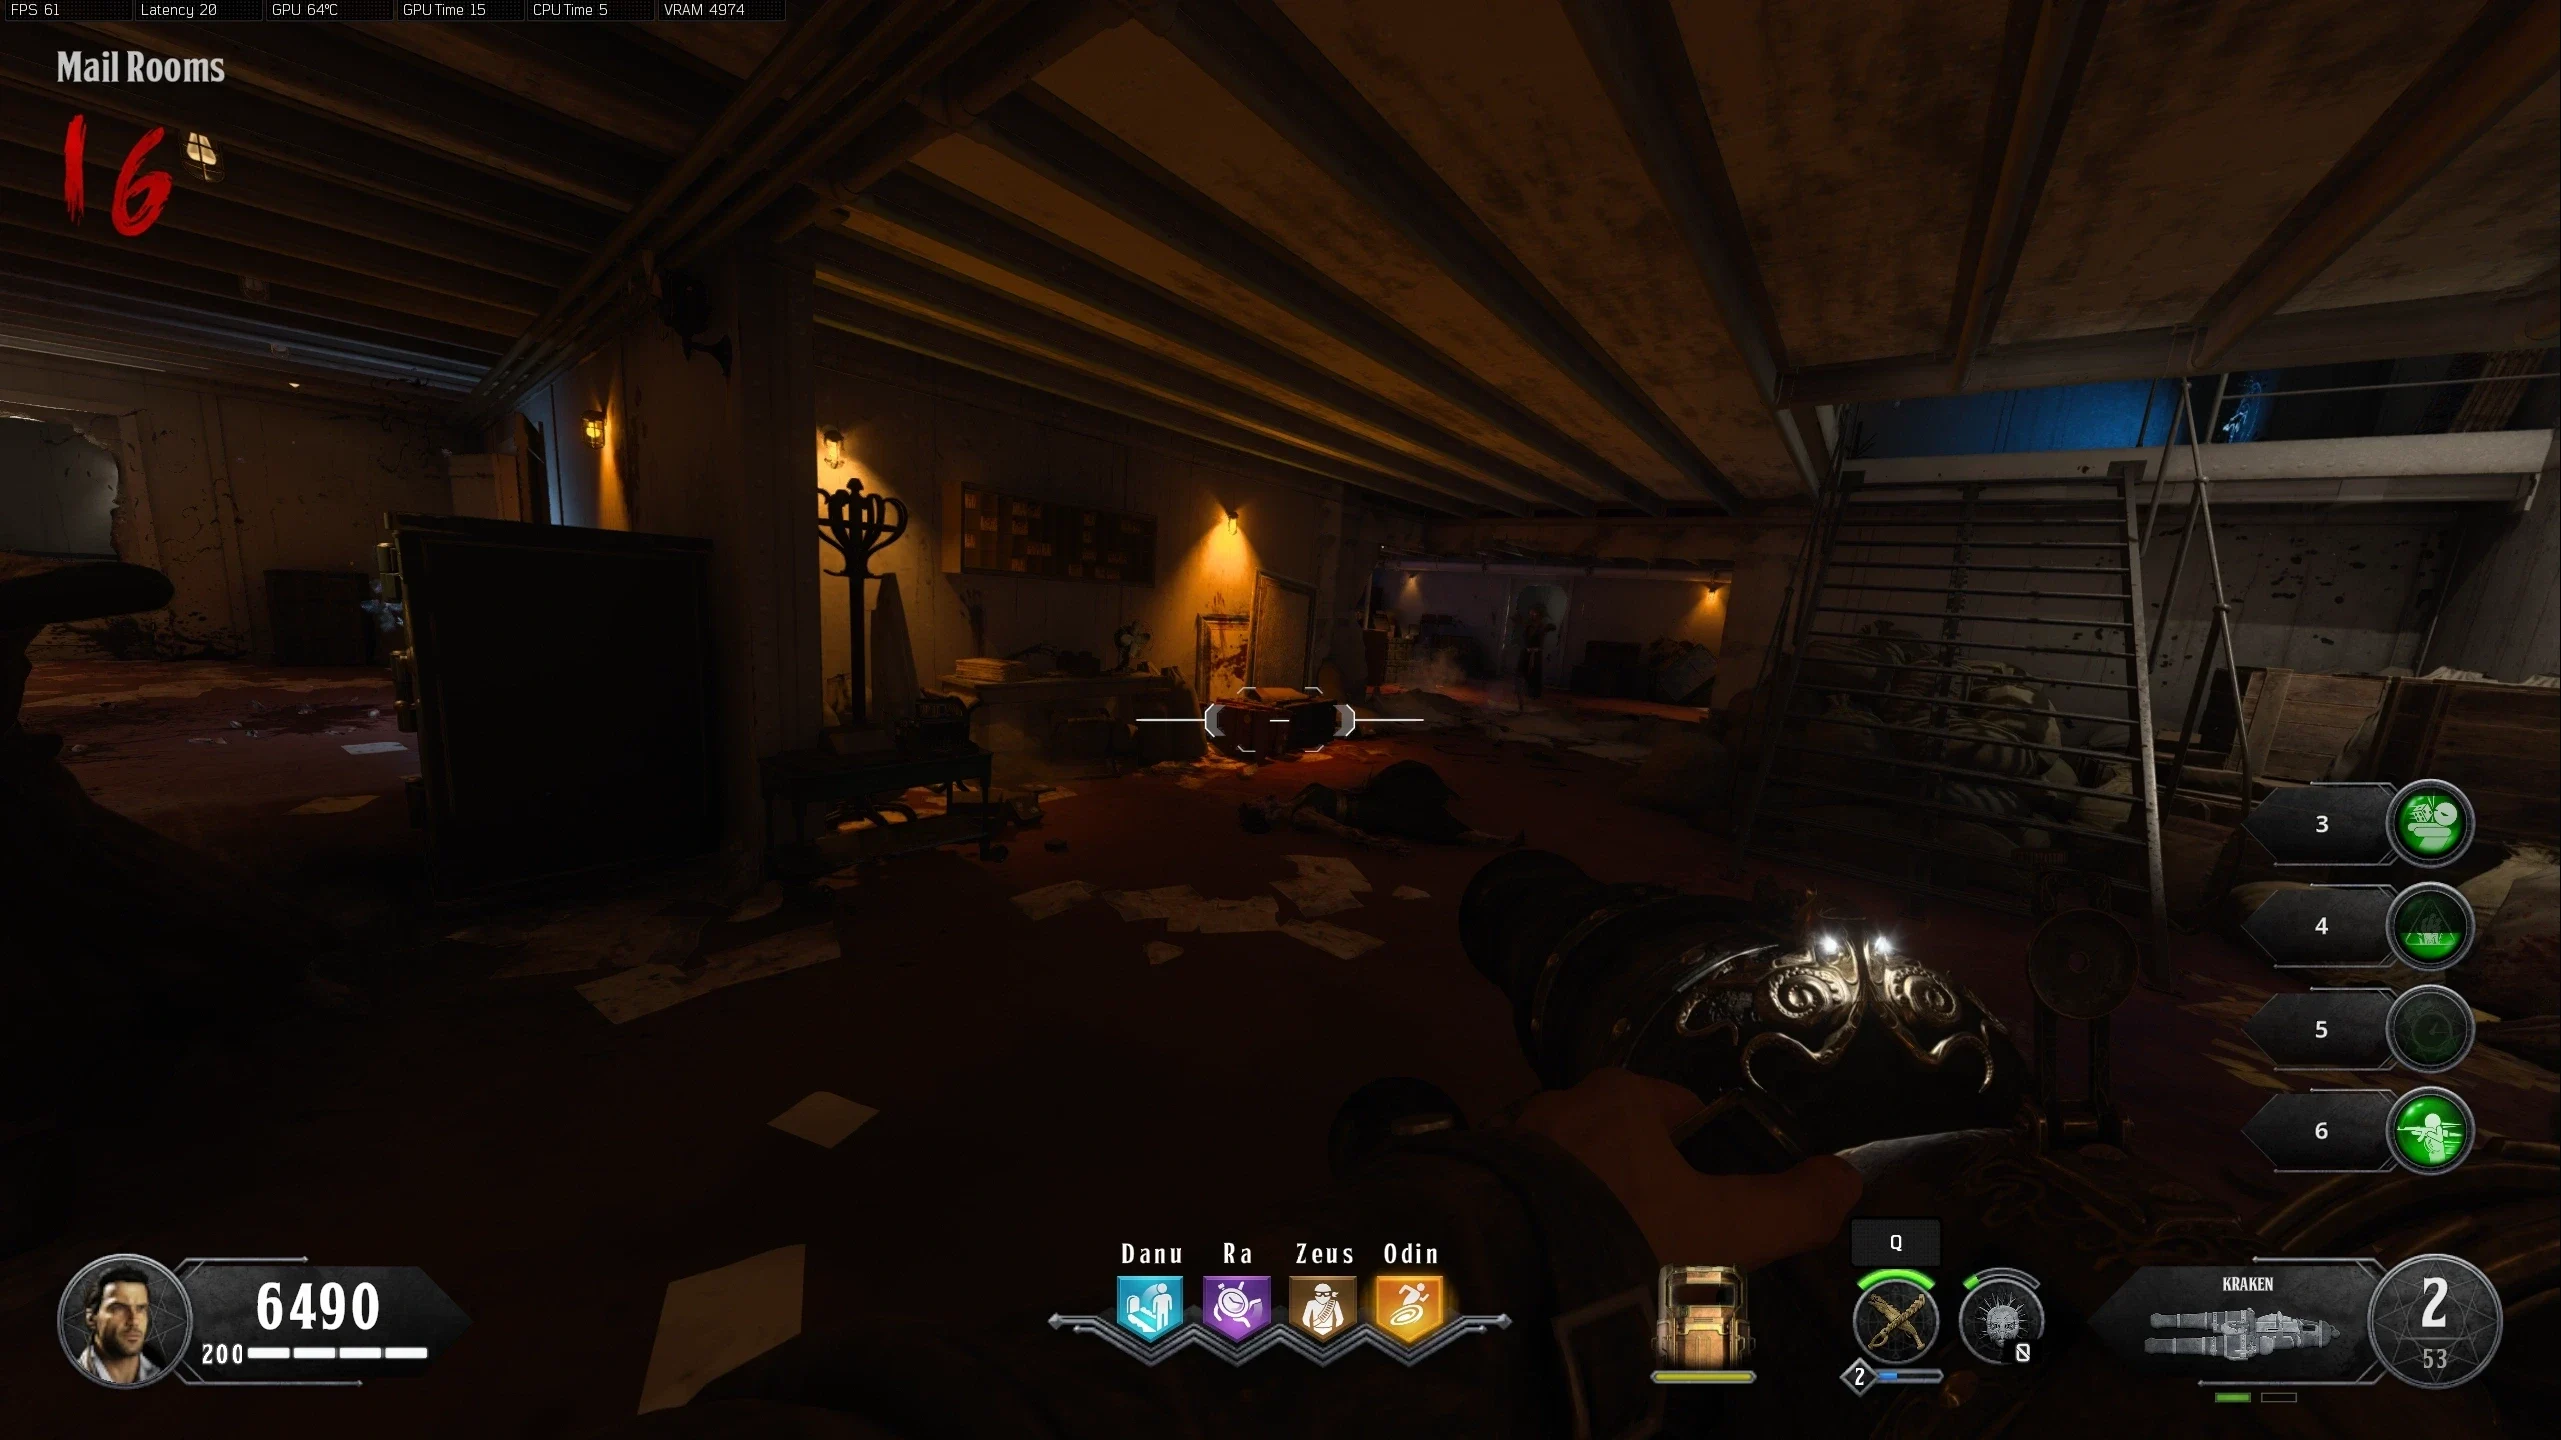
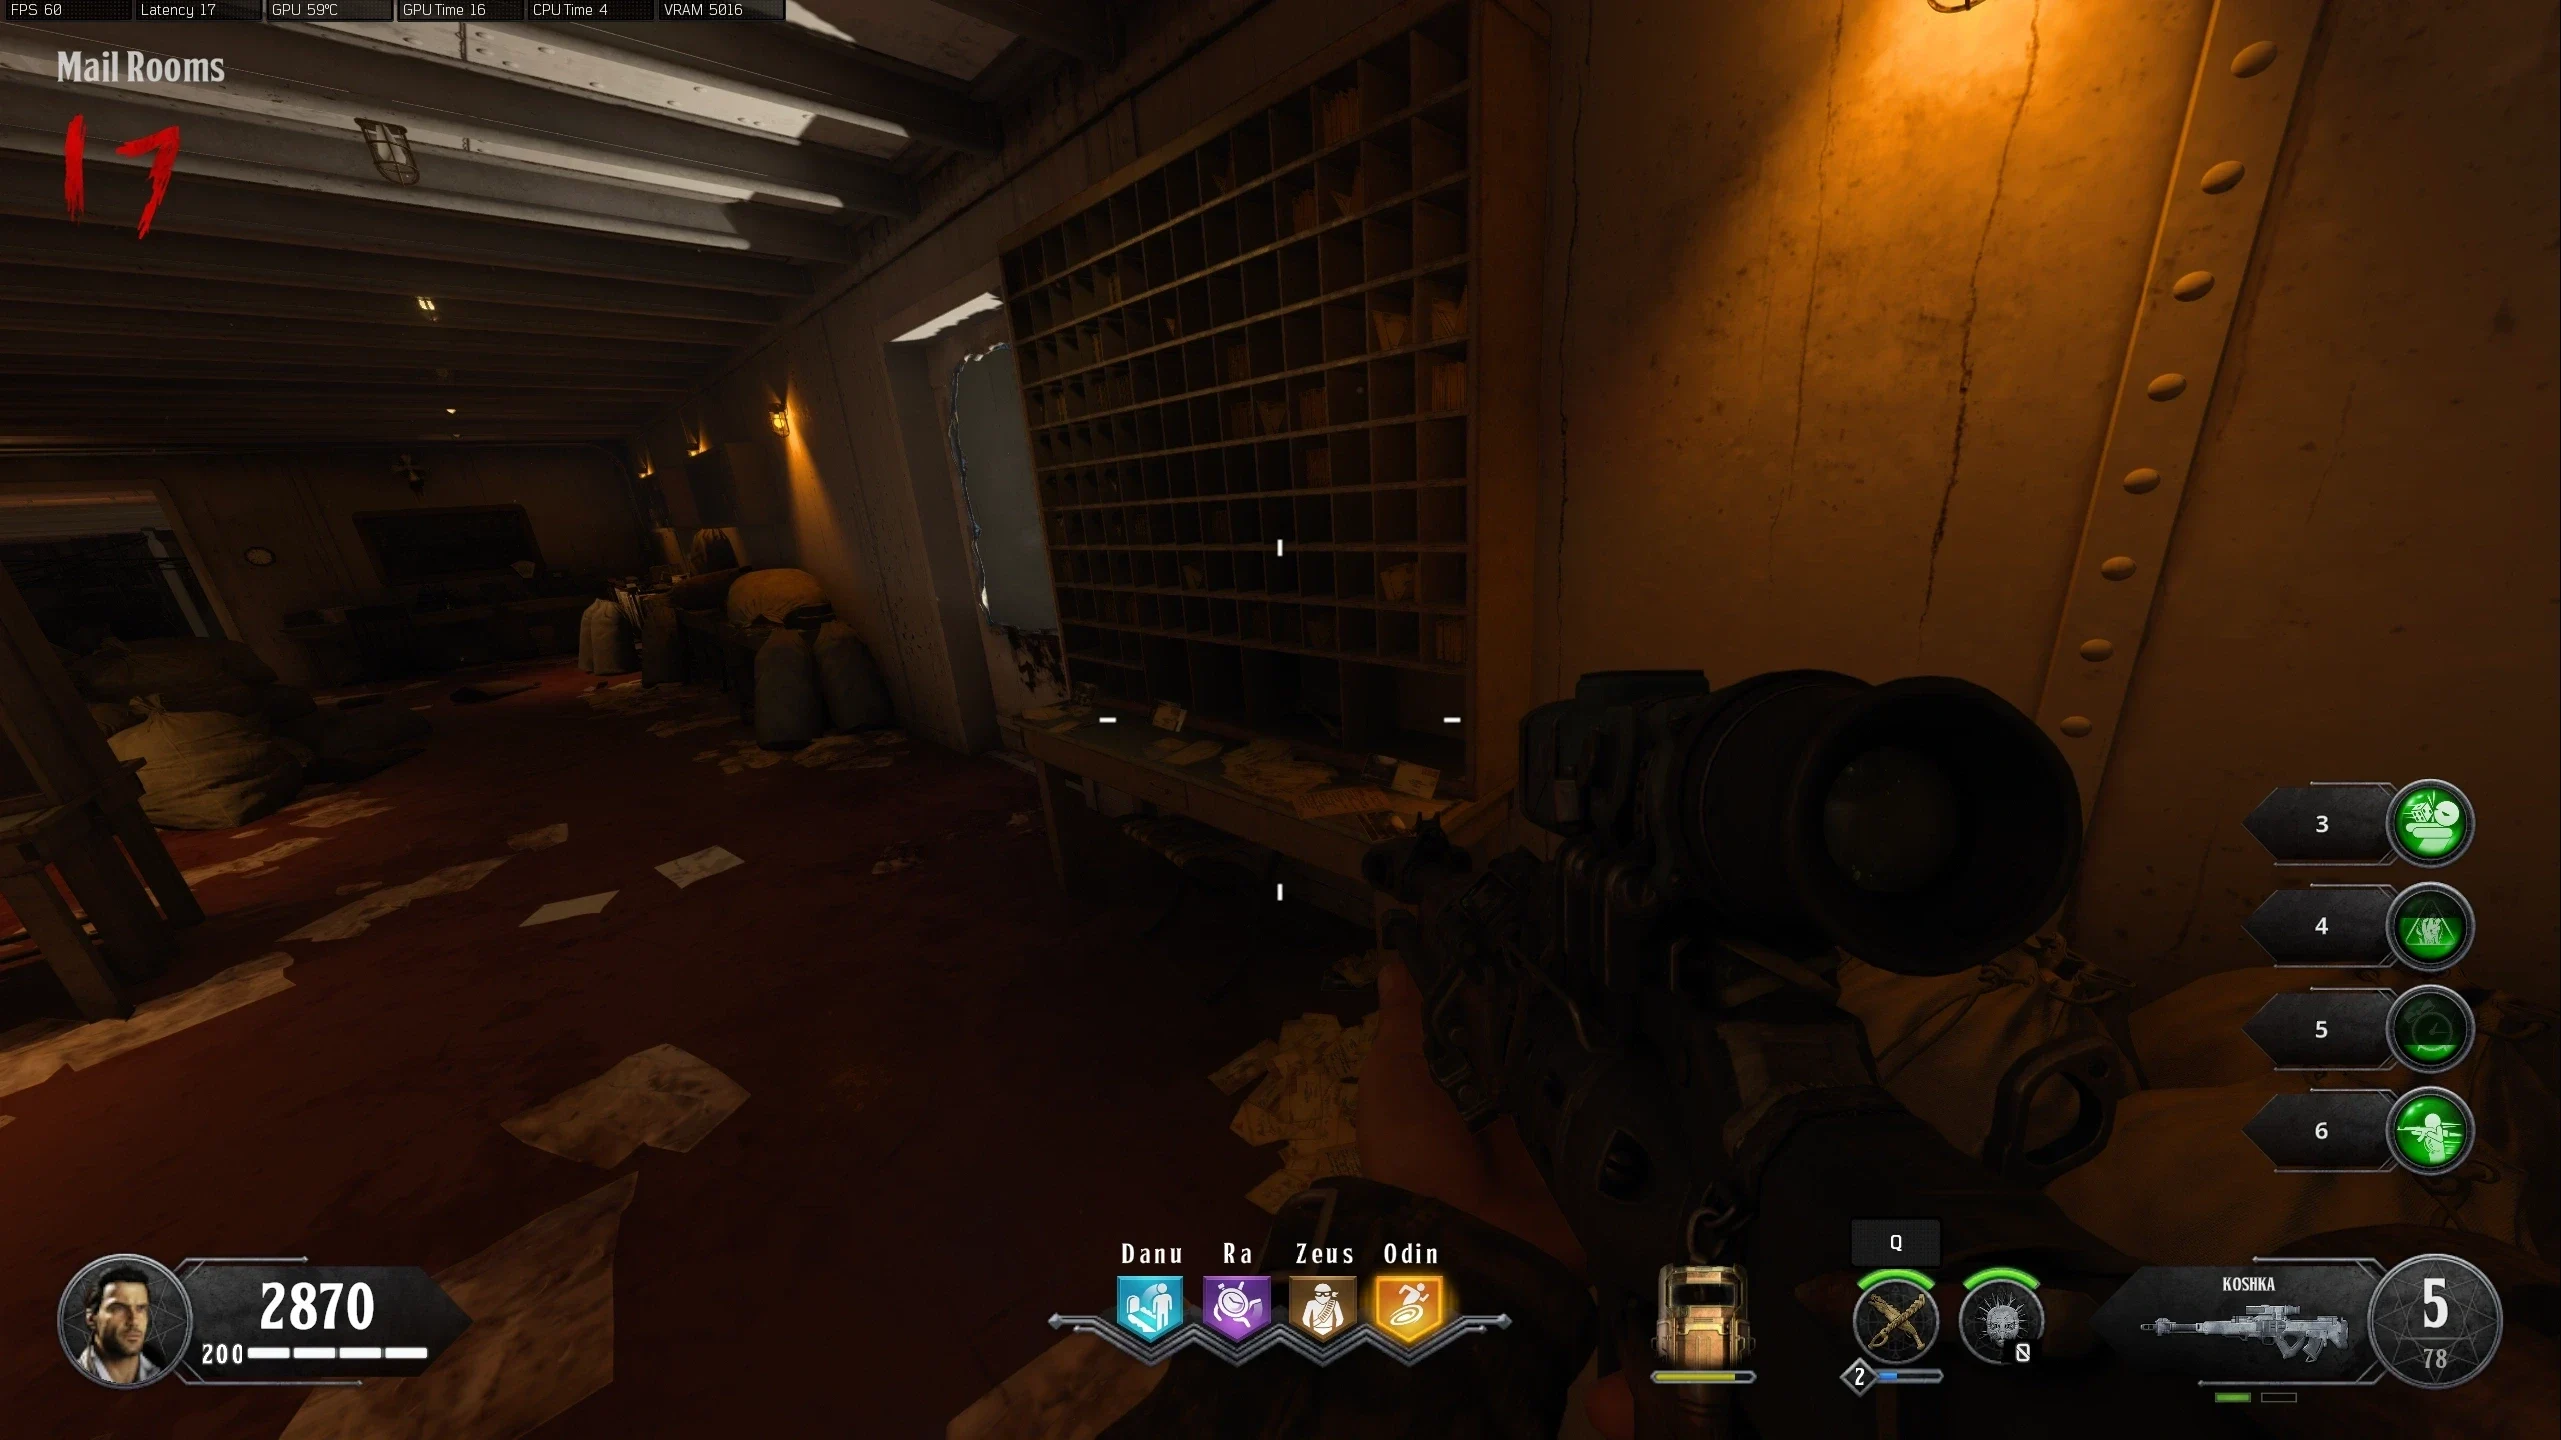
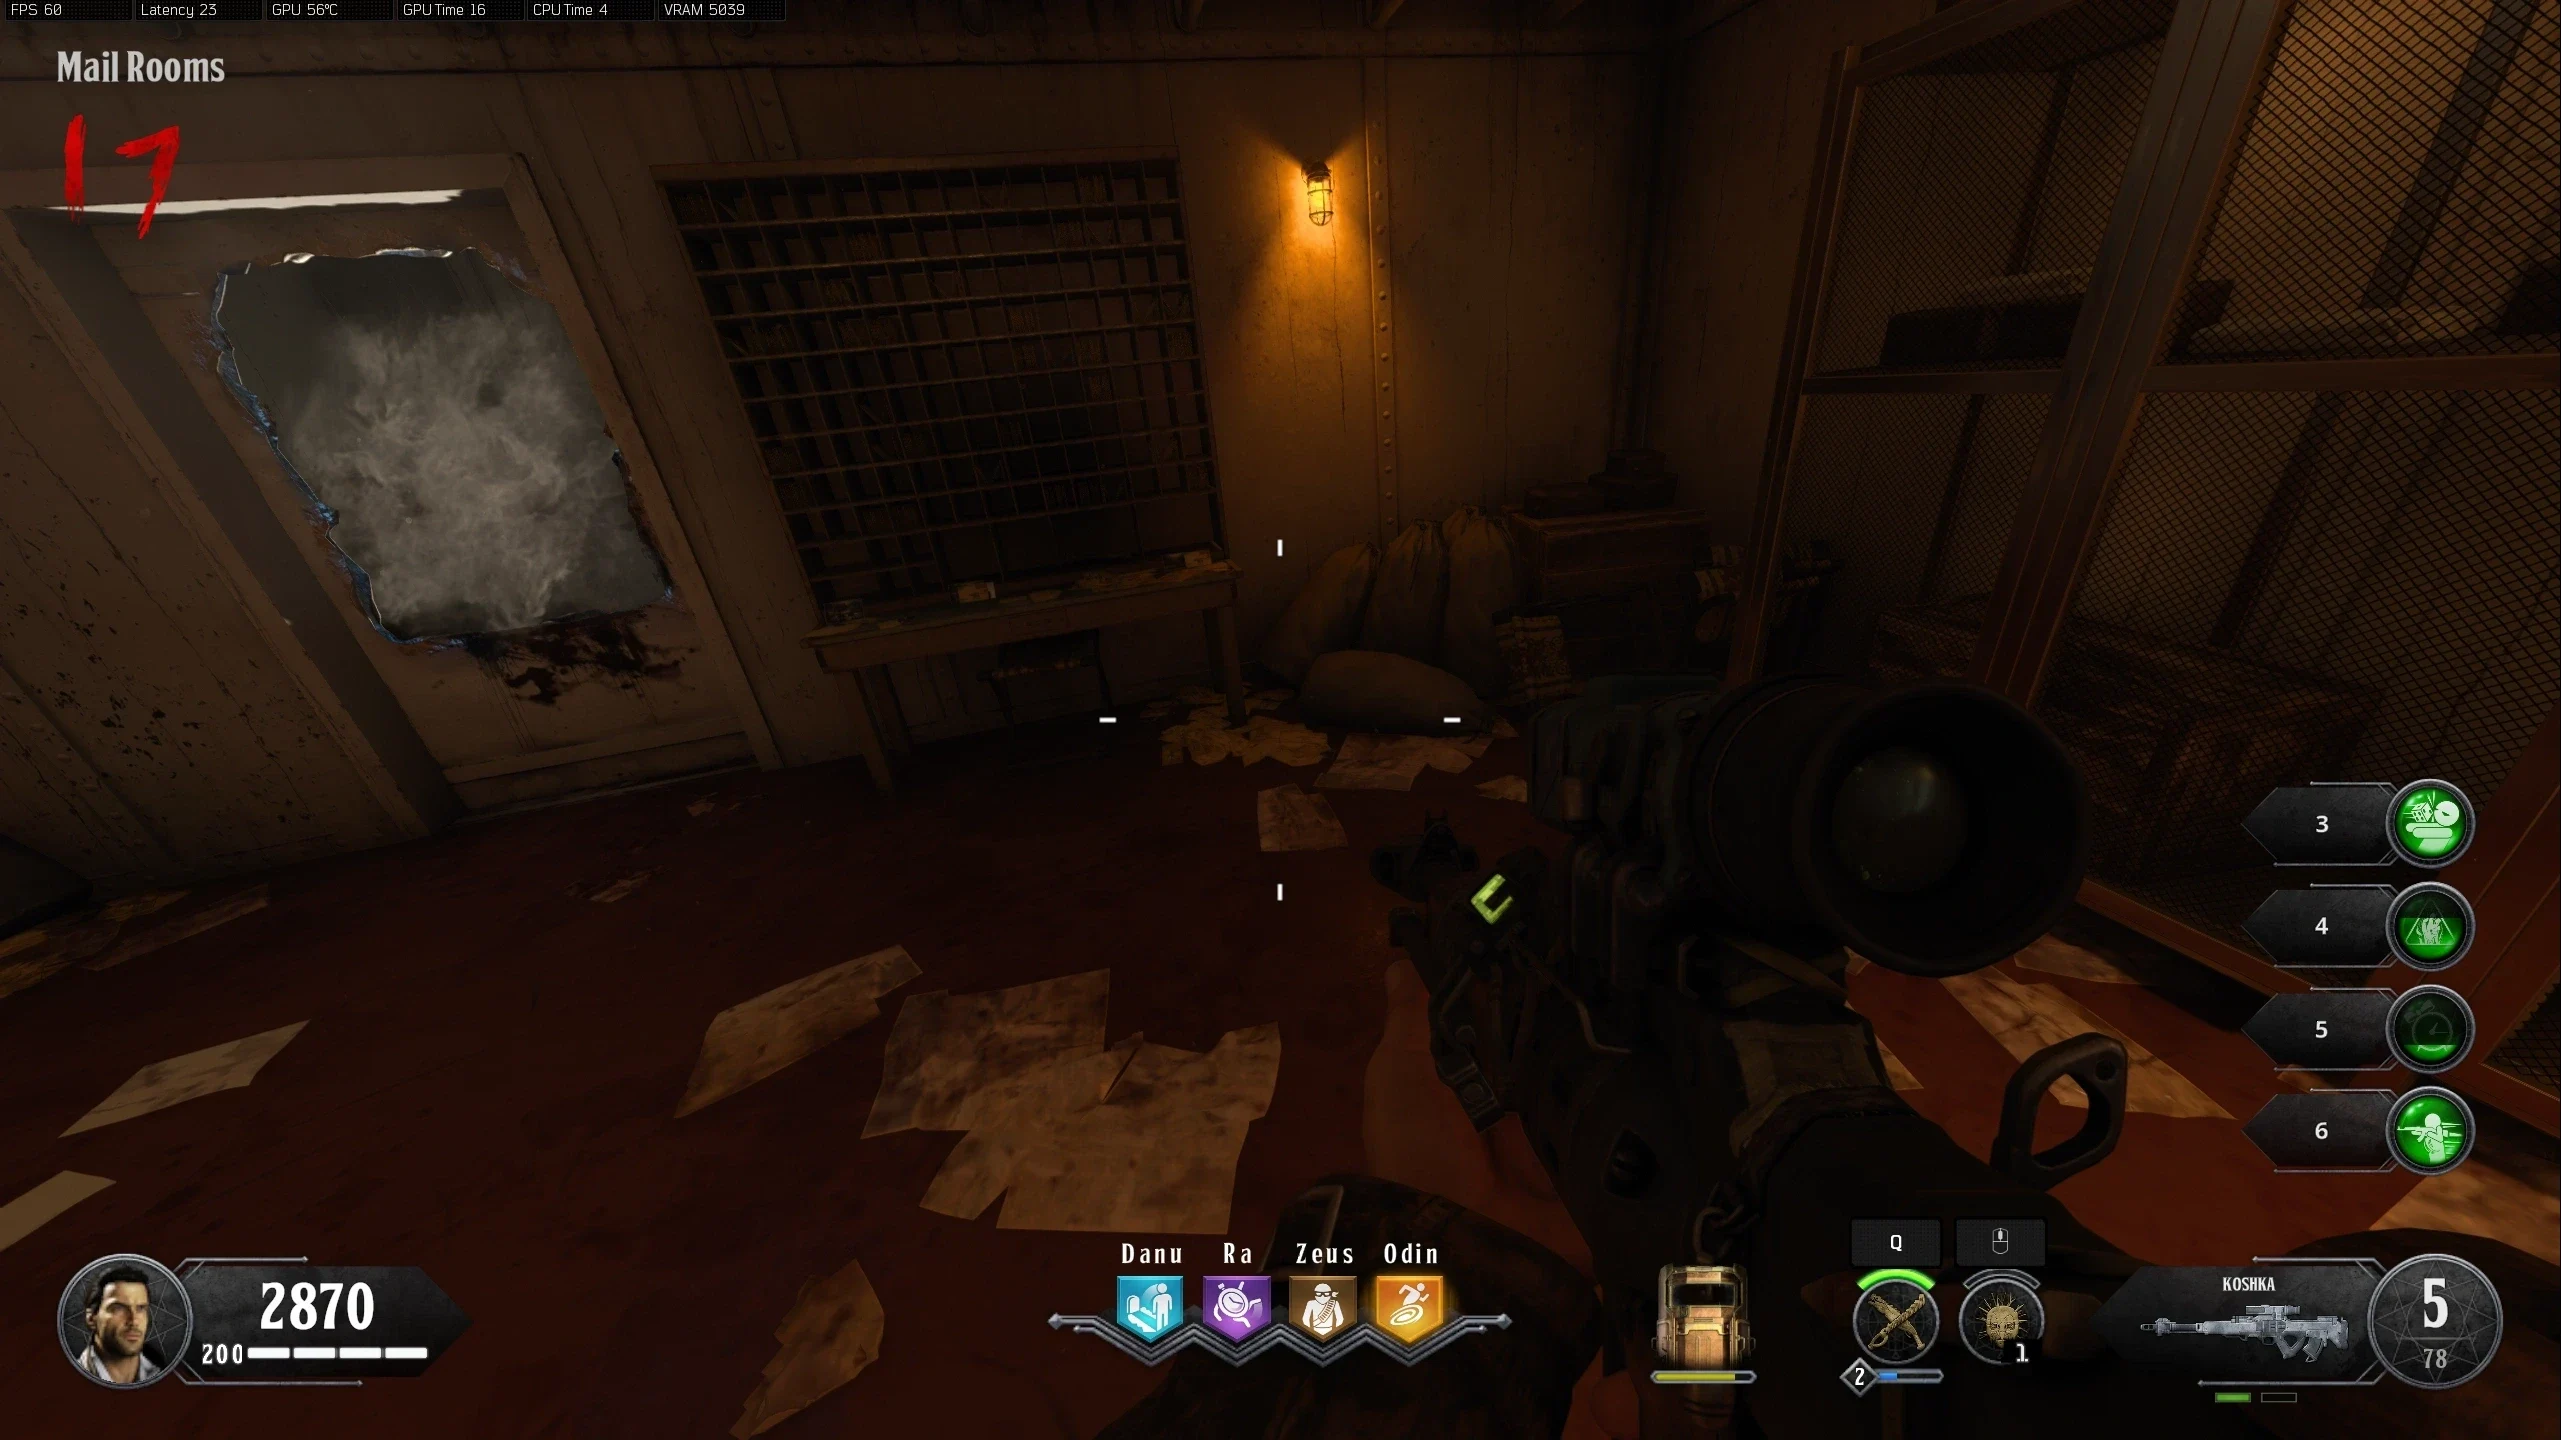
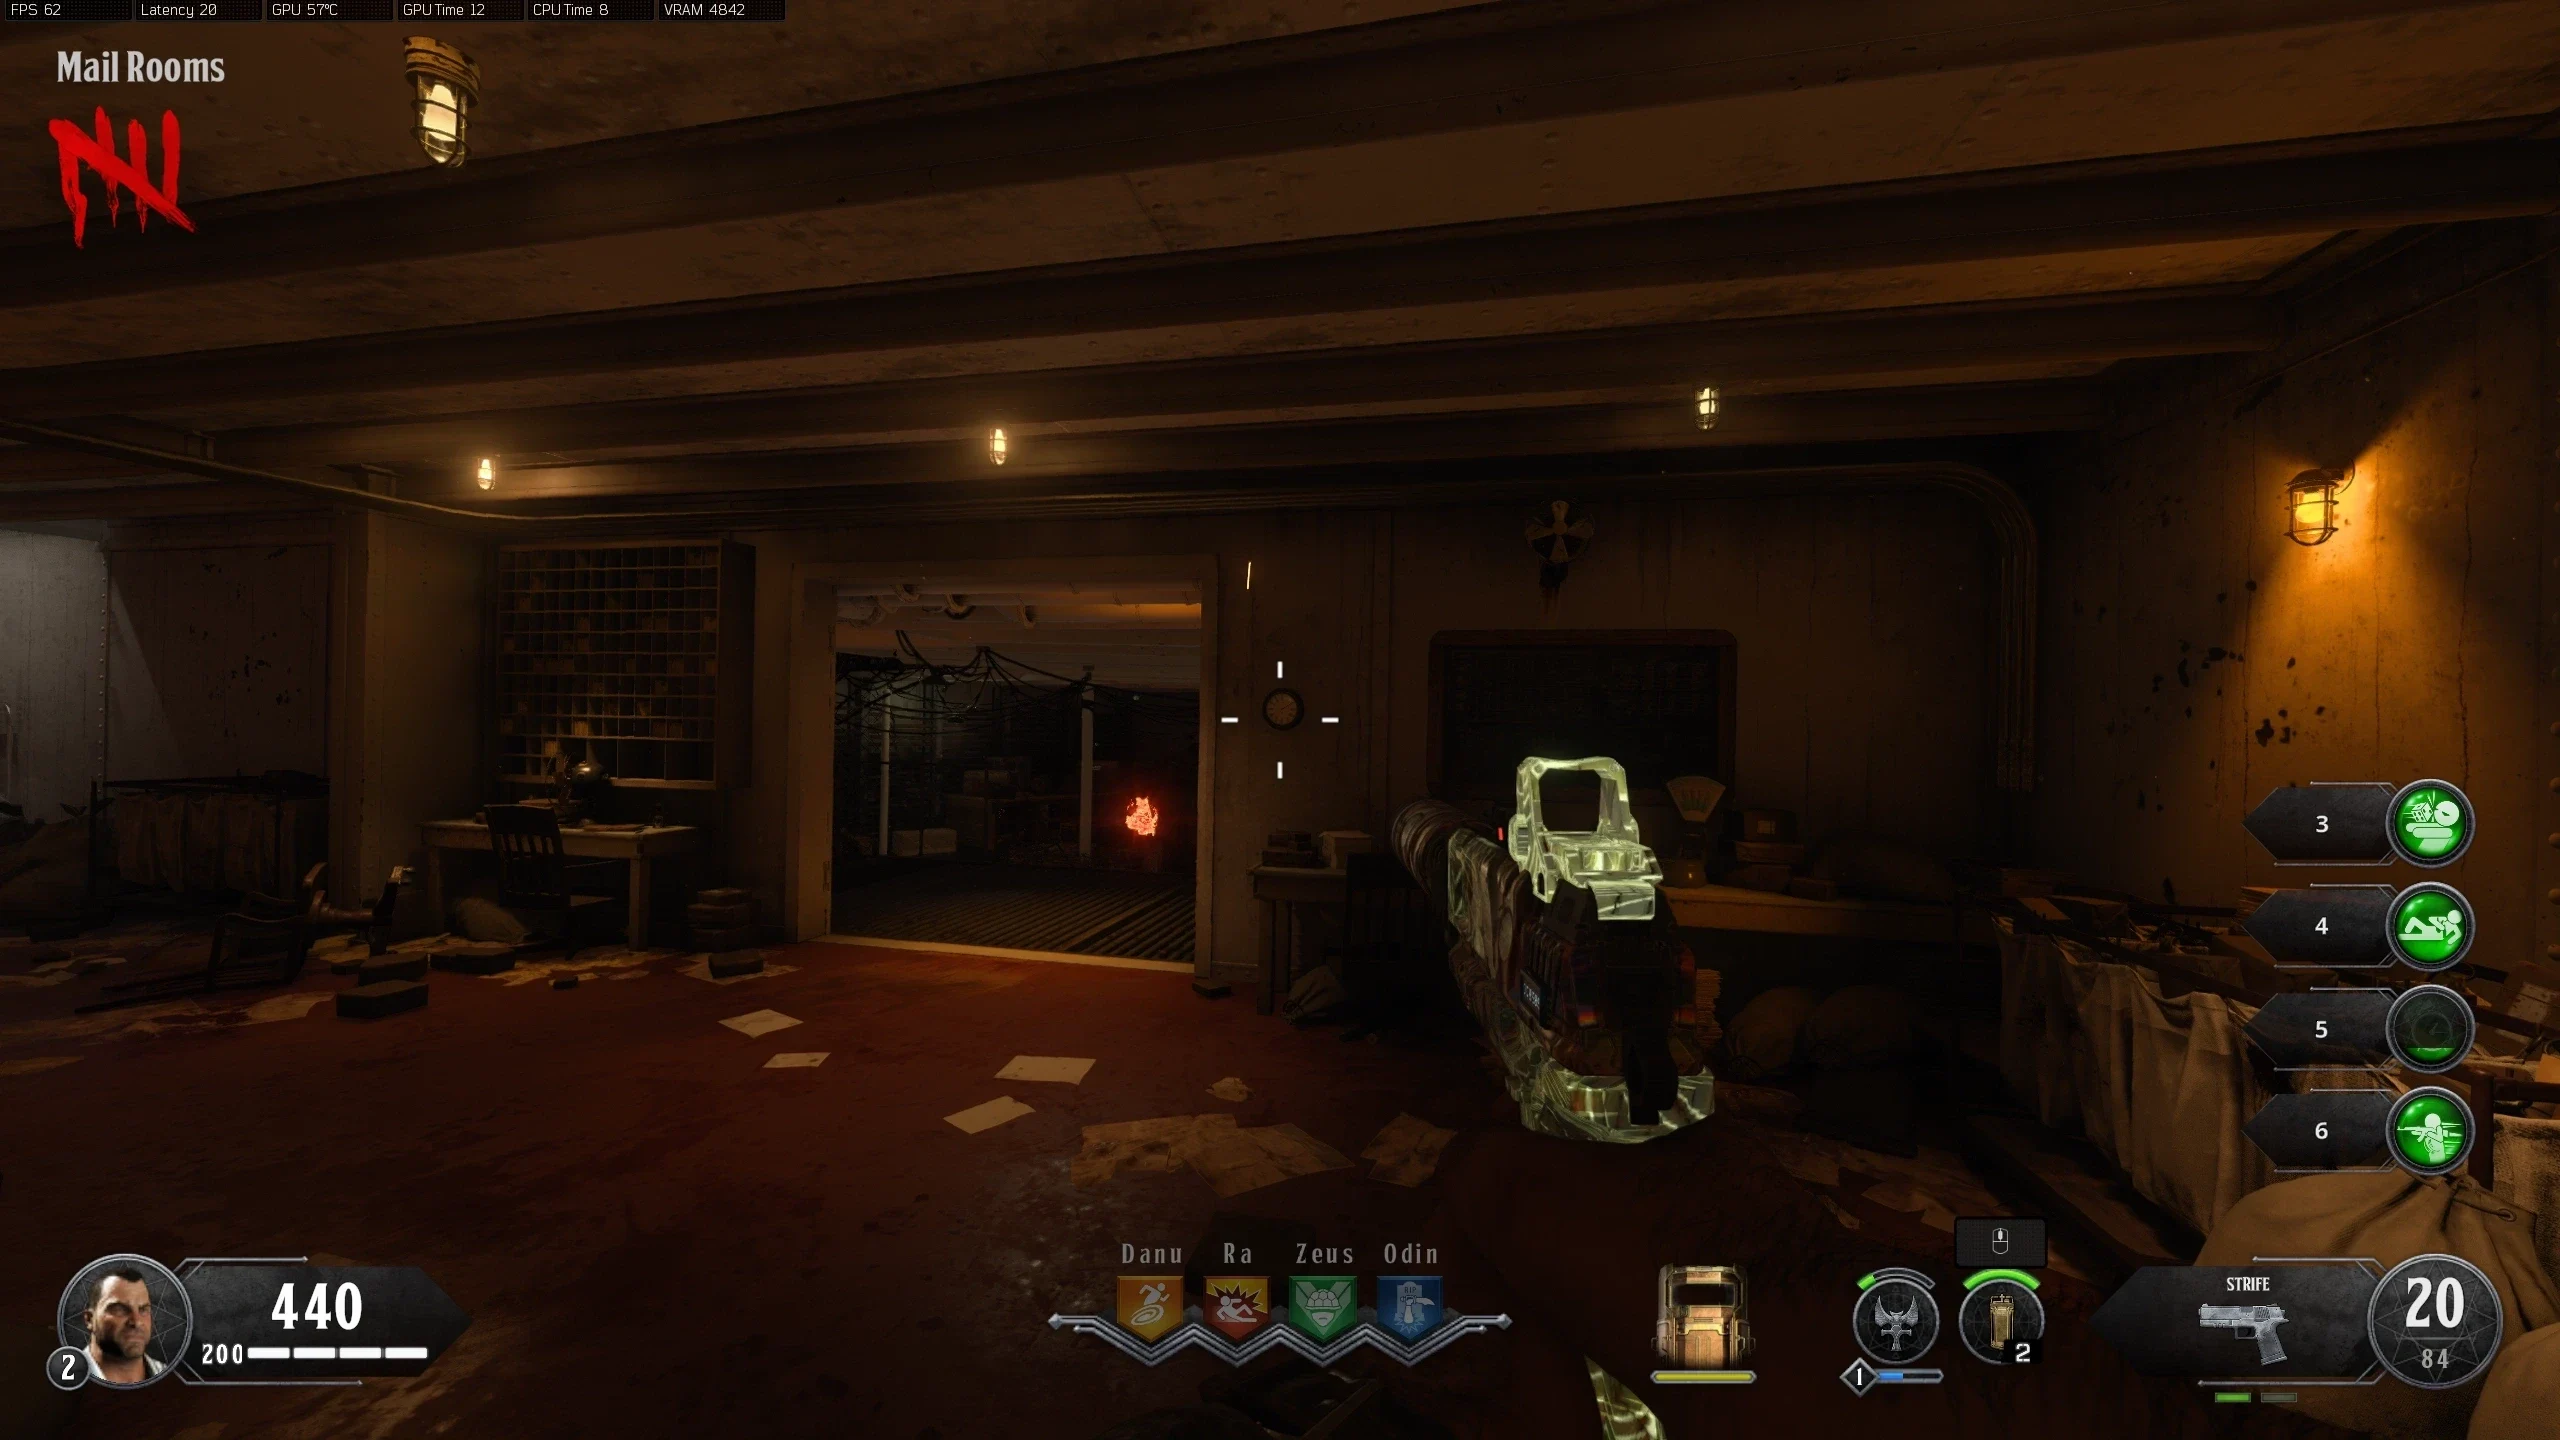
- Mercury - Mail Rooms
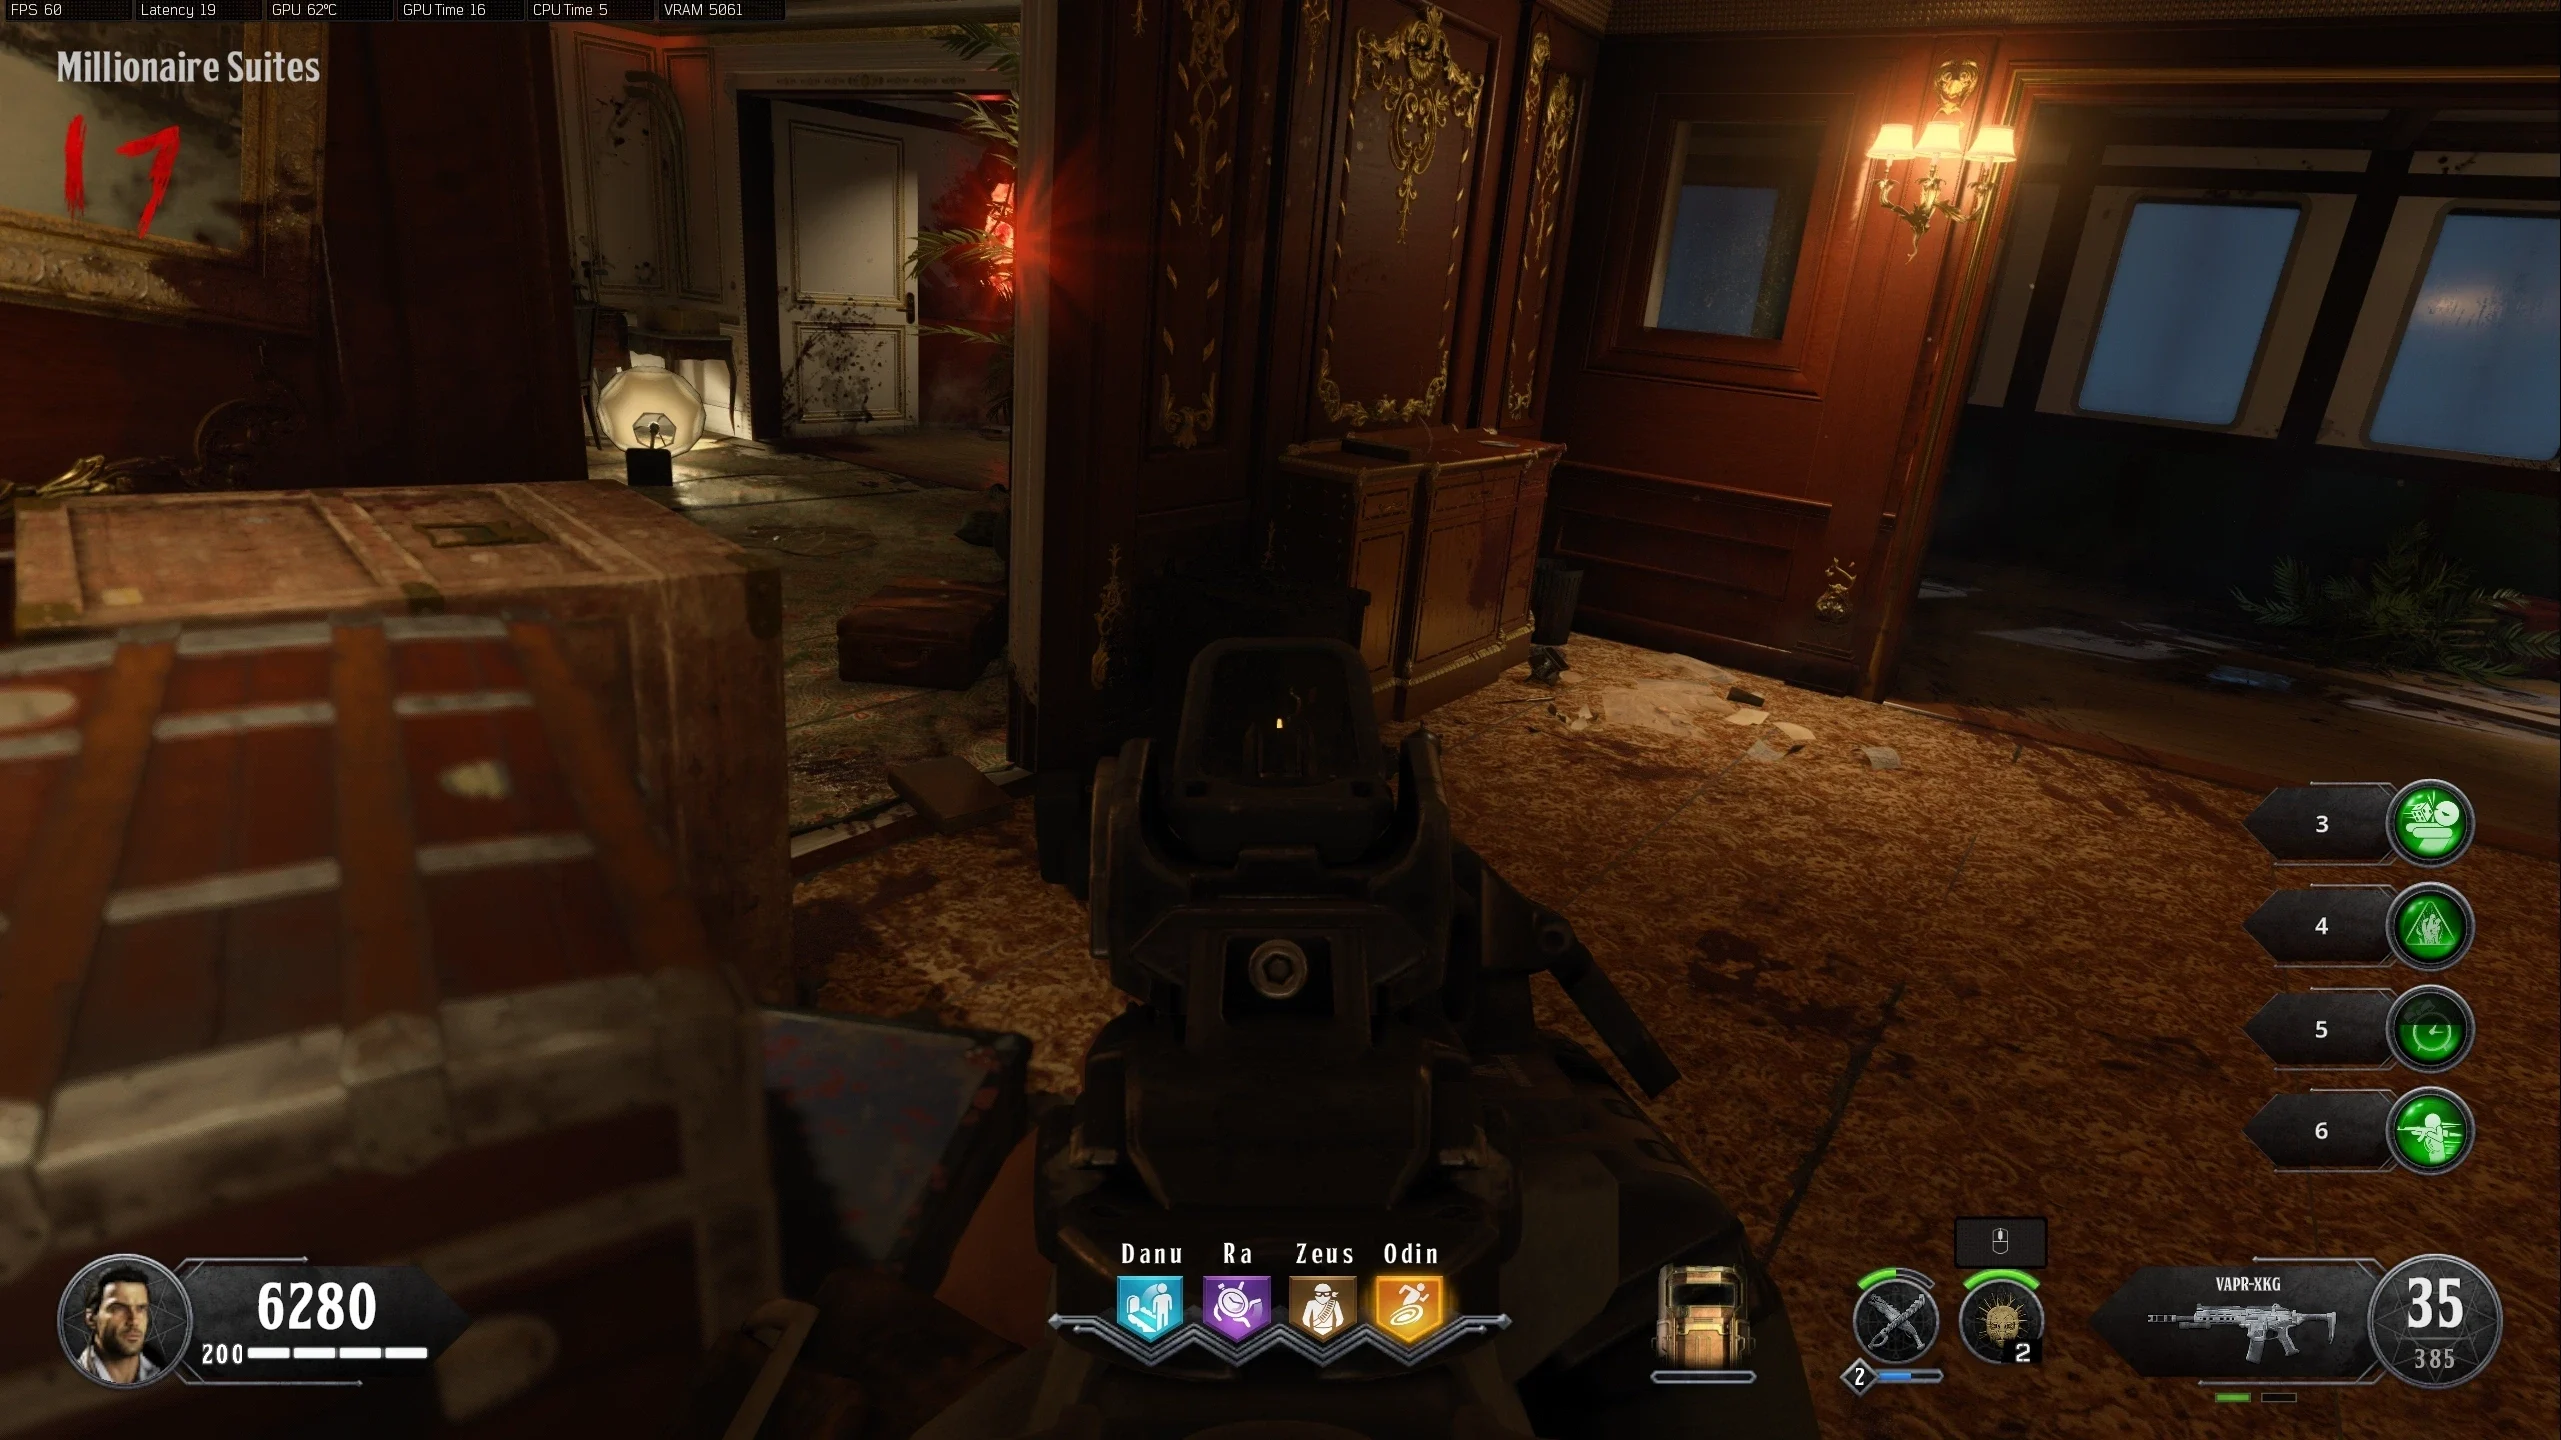
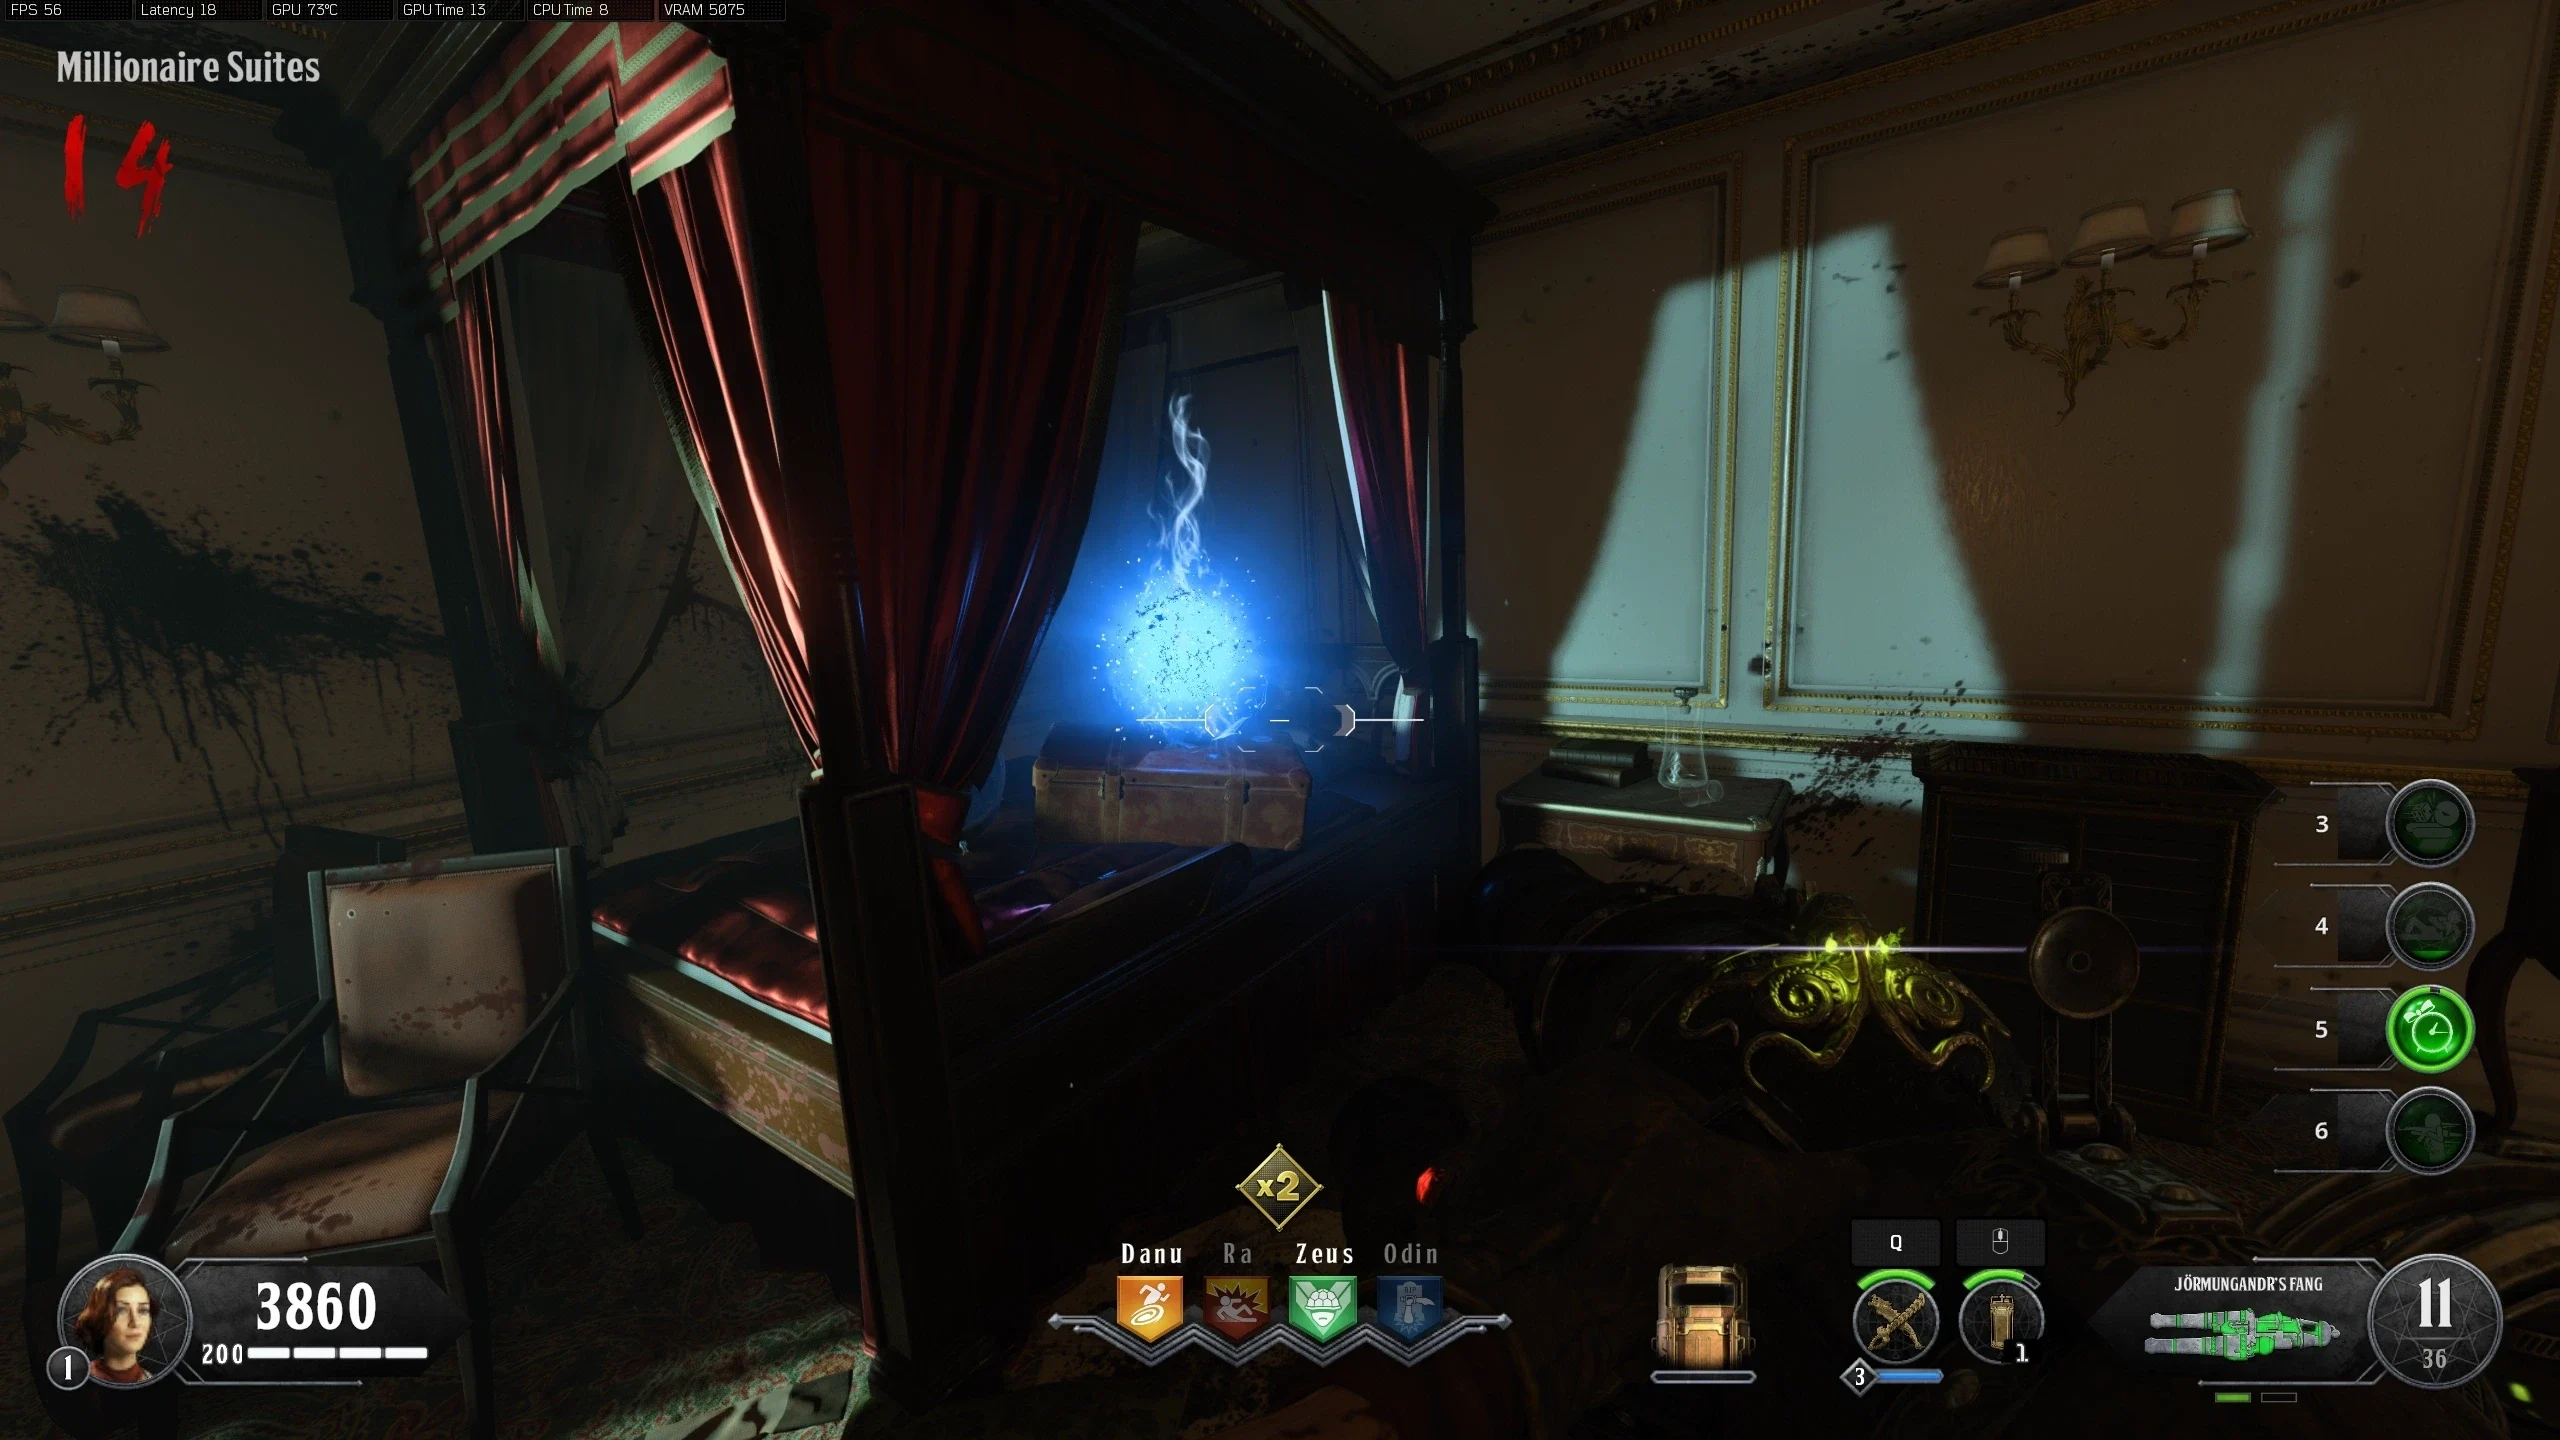
- Venus - Millionaire Suite
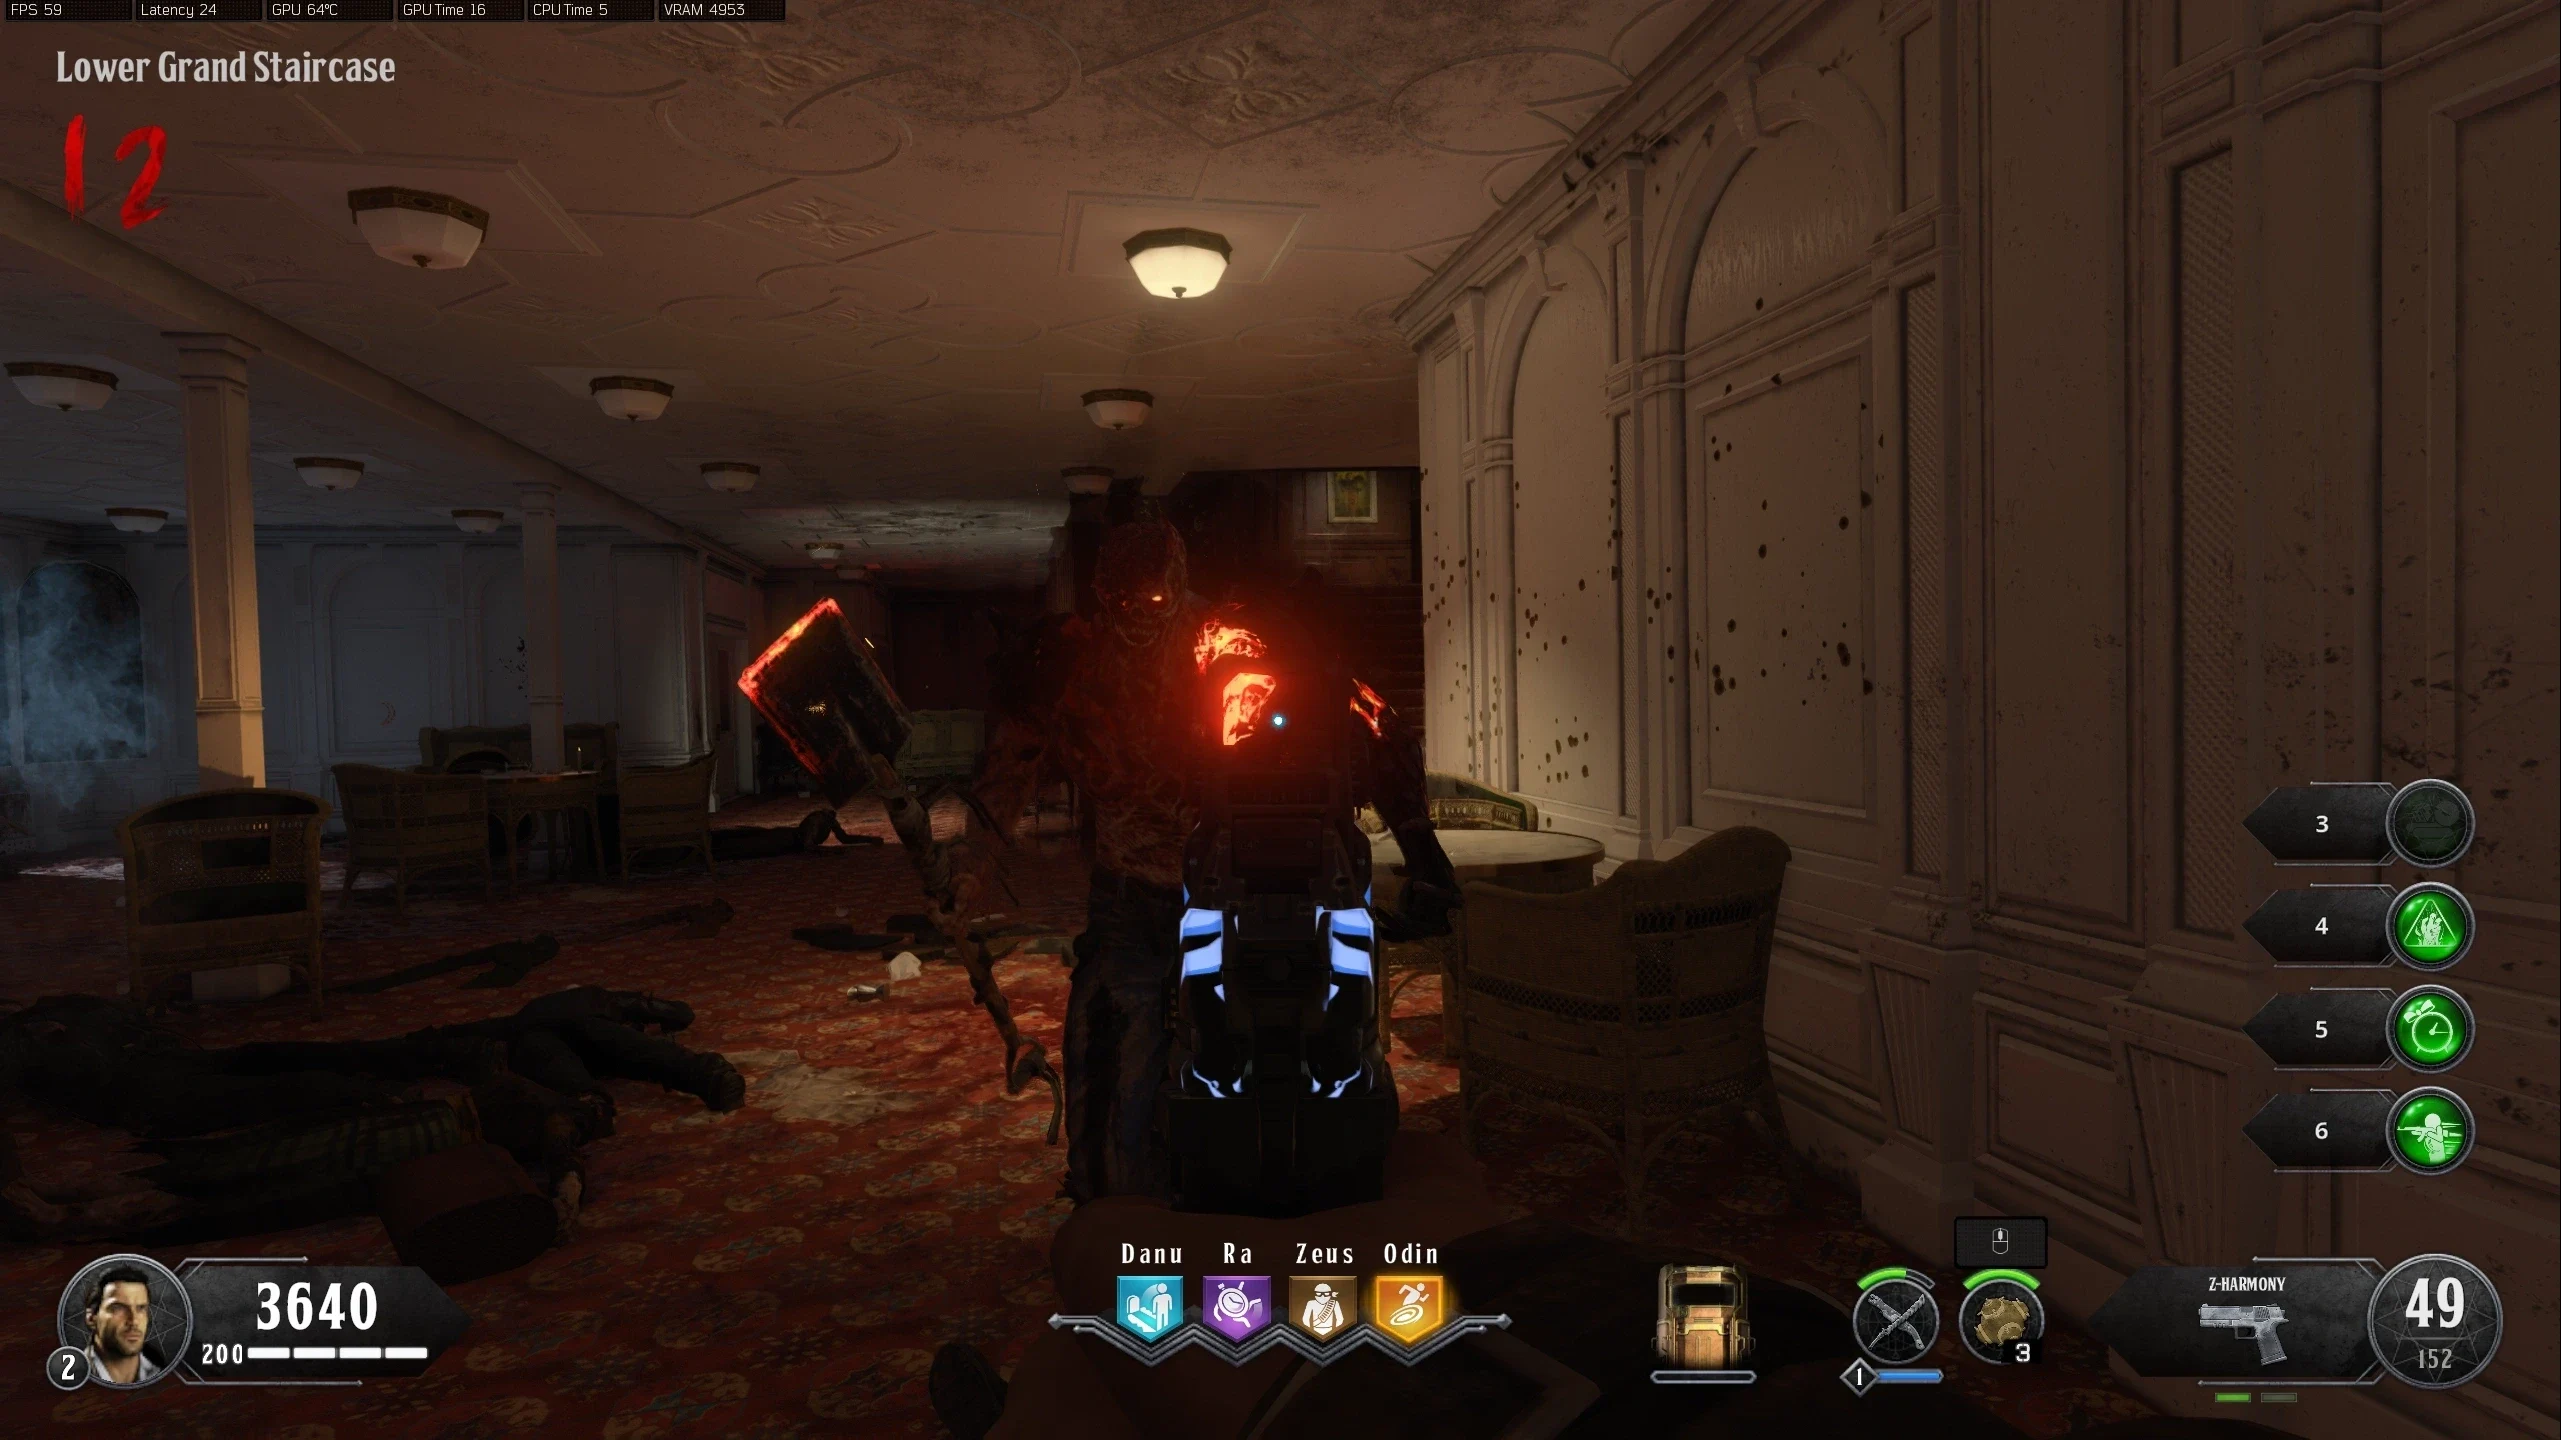
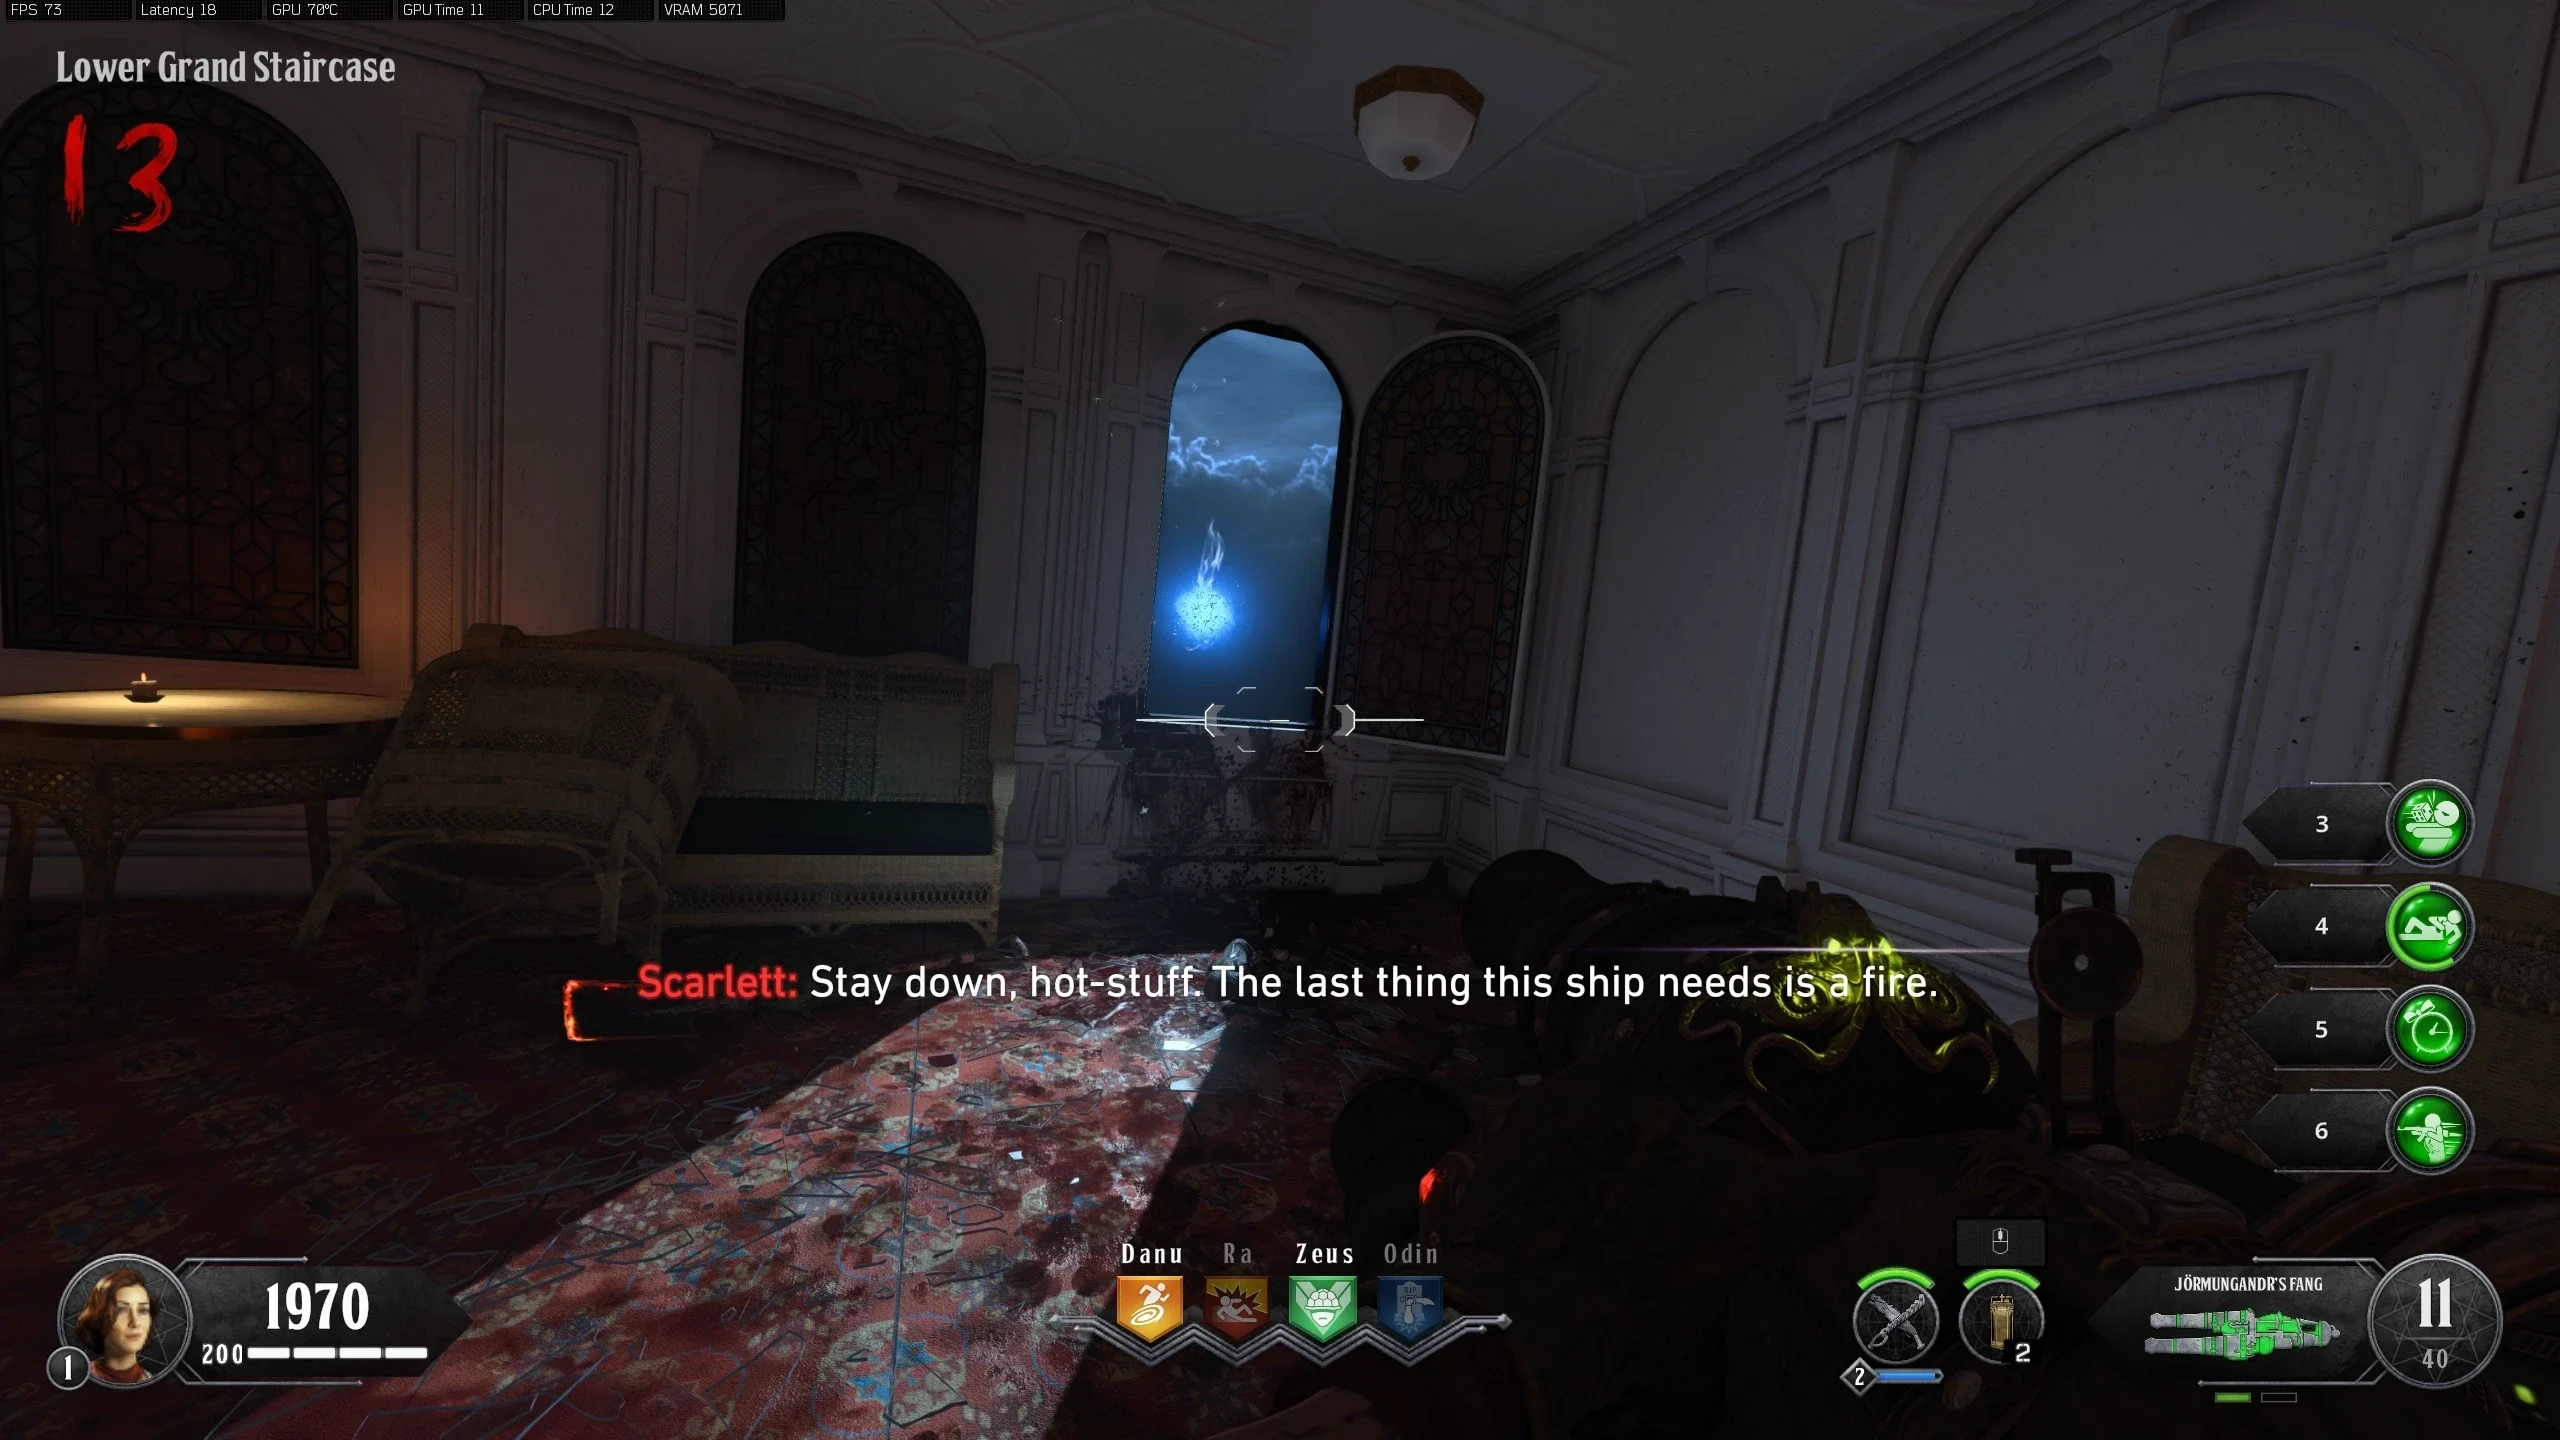
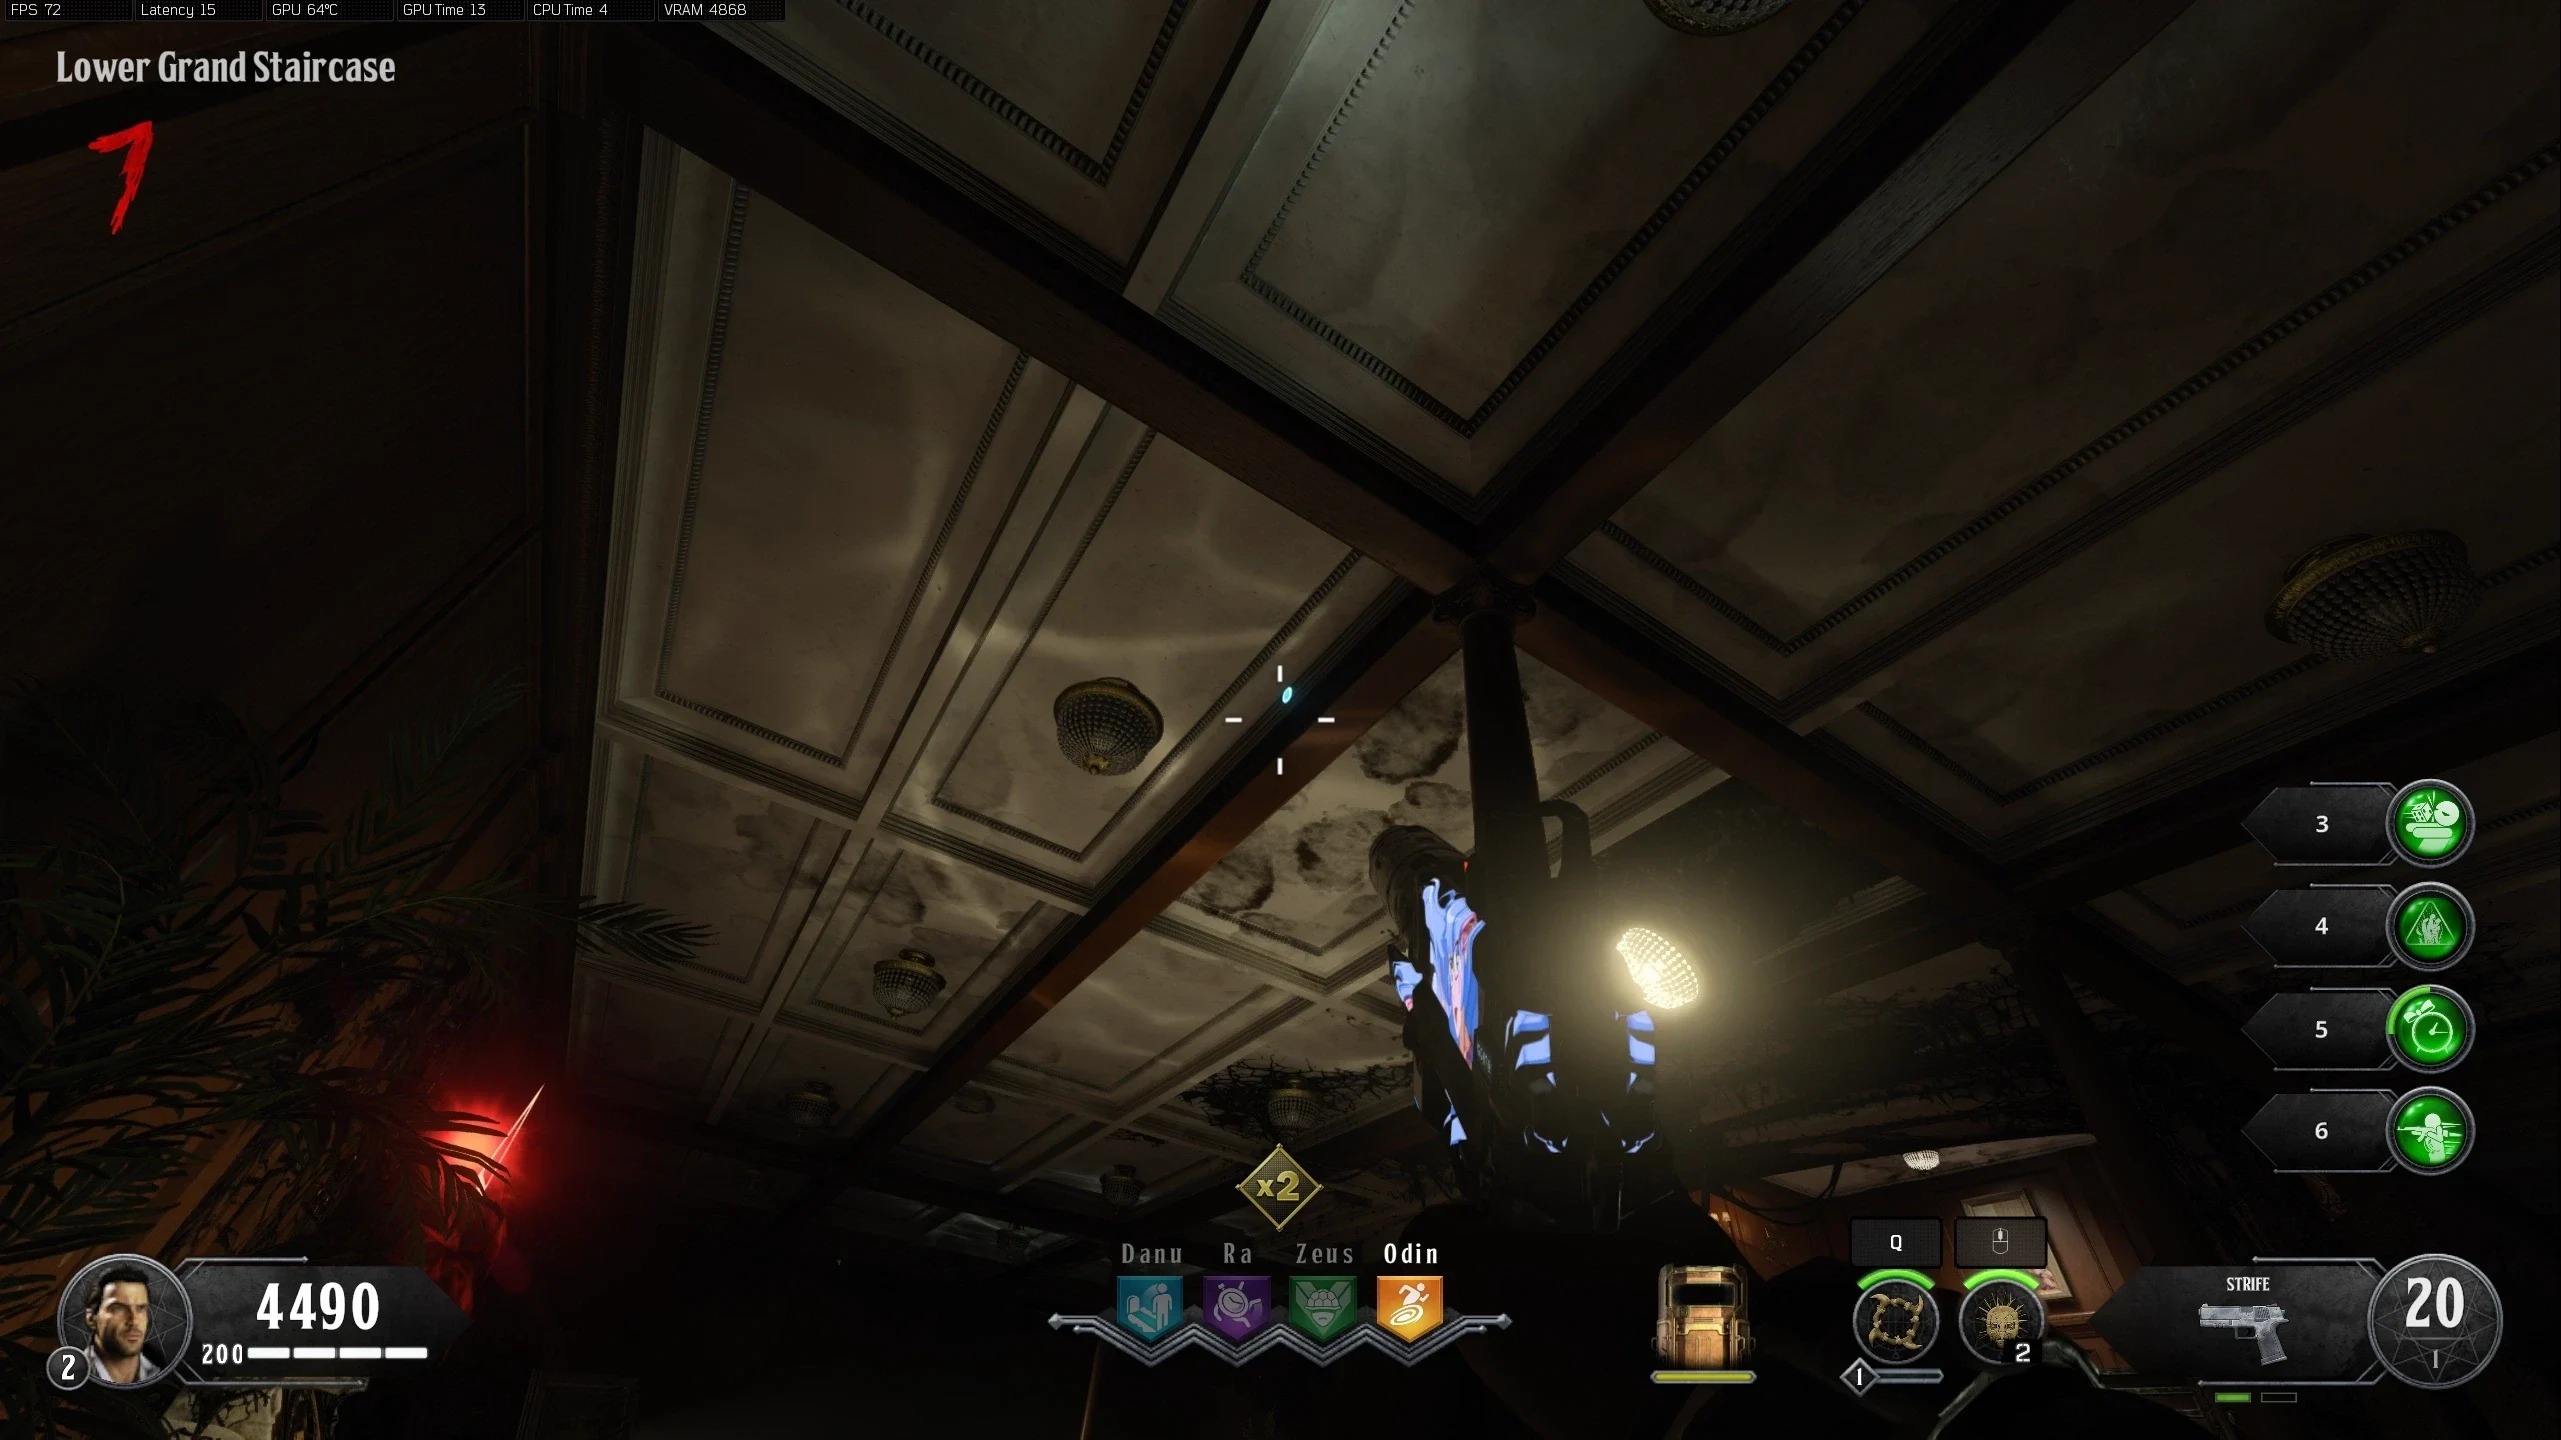
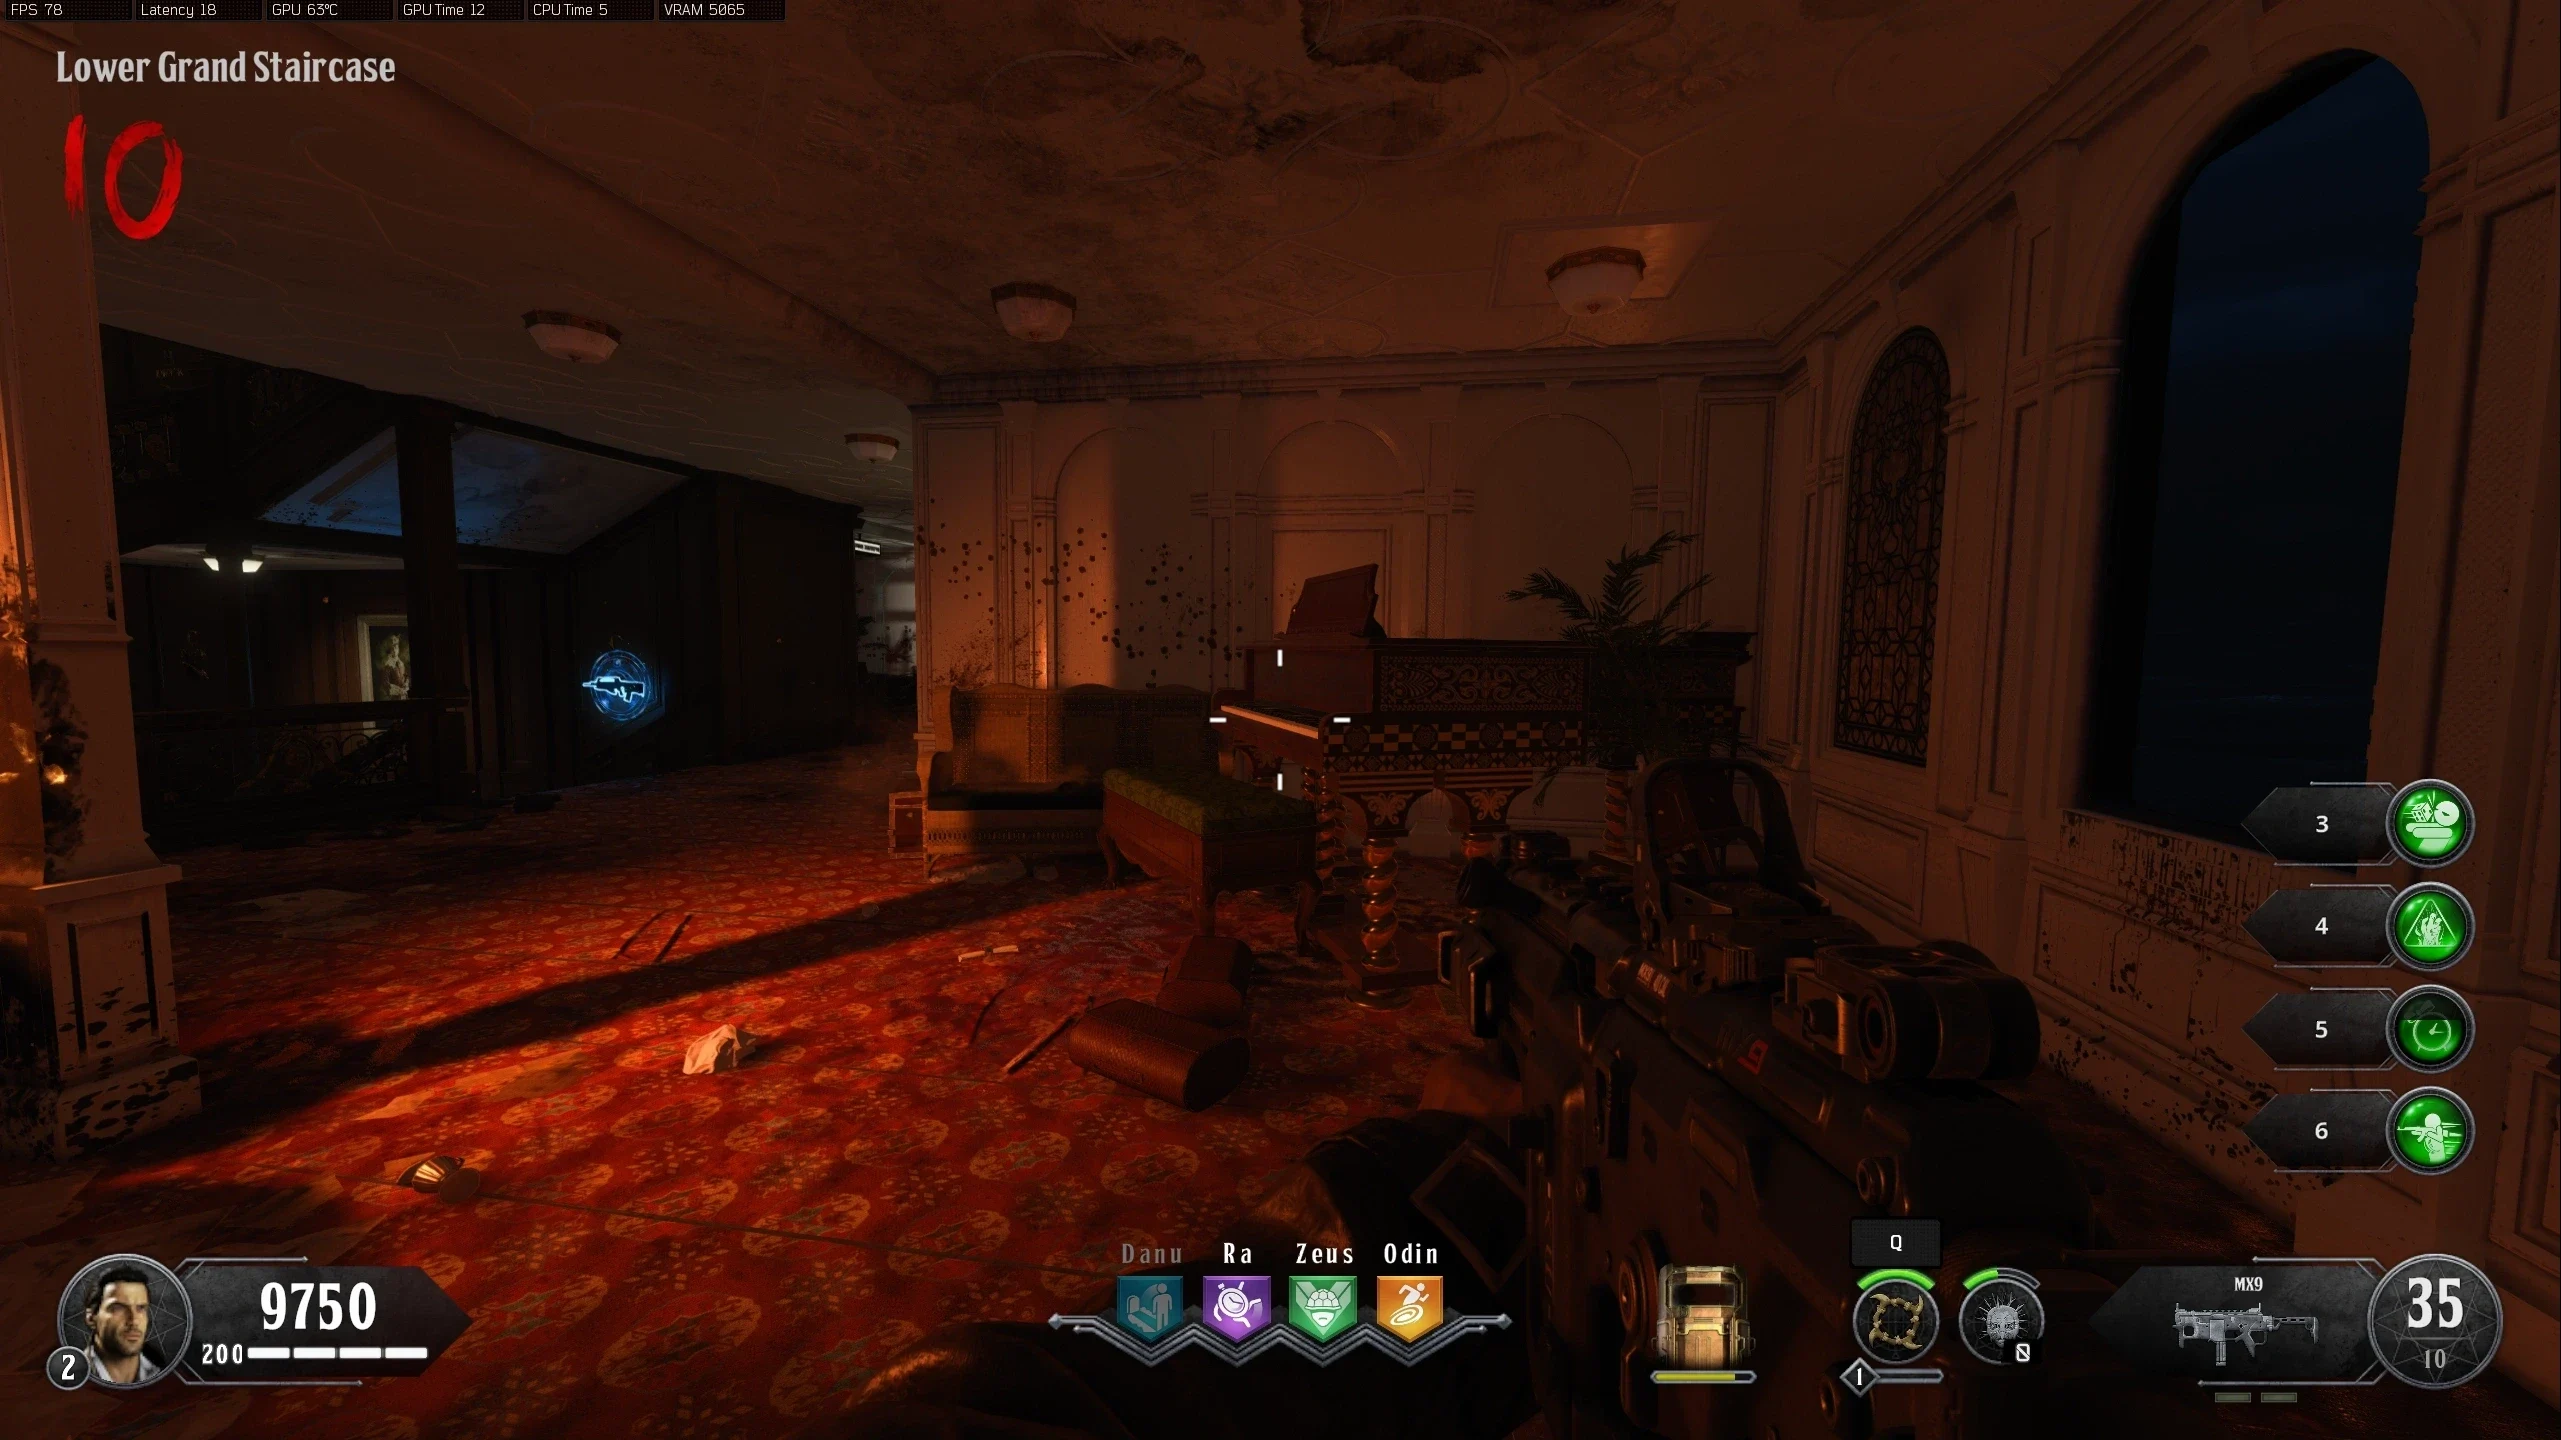
- Moon - Lower Grand Staircase
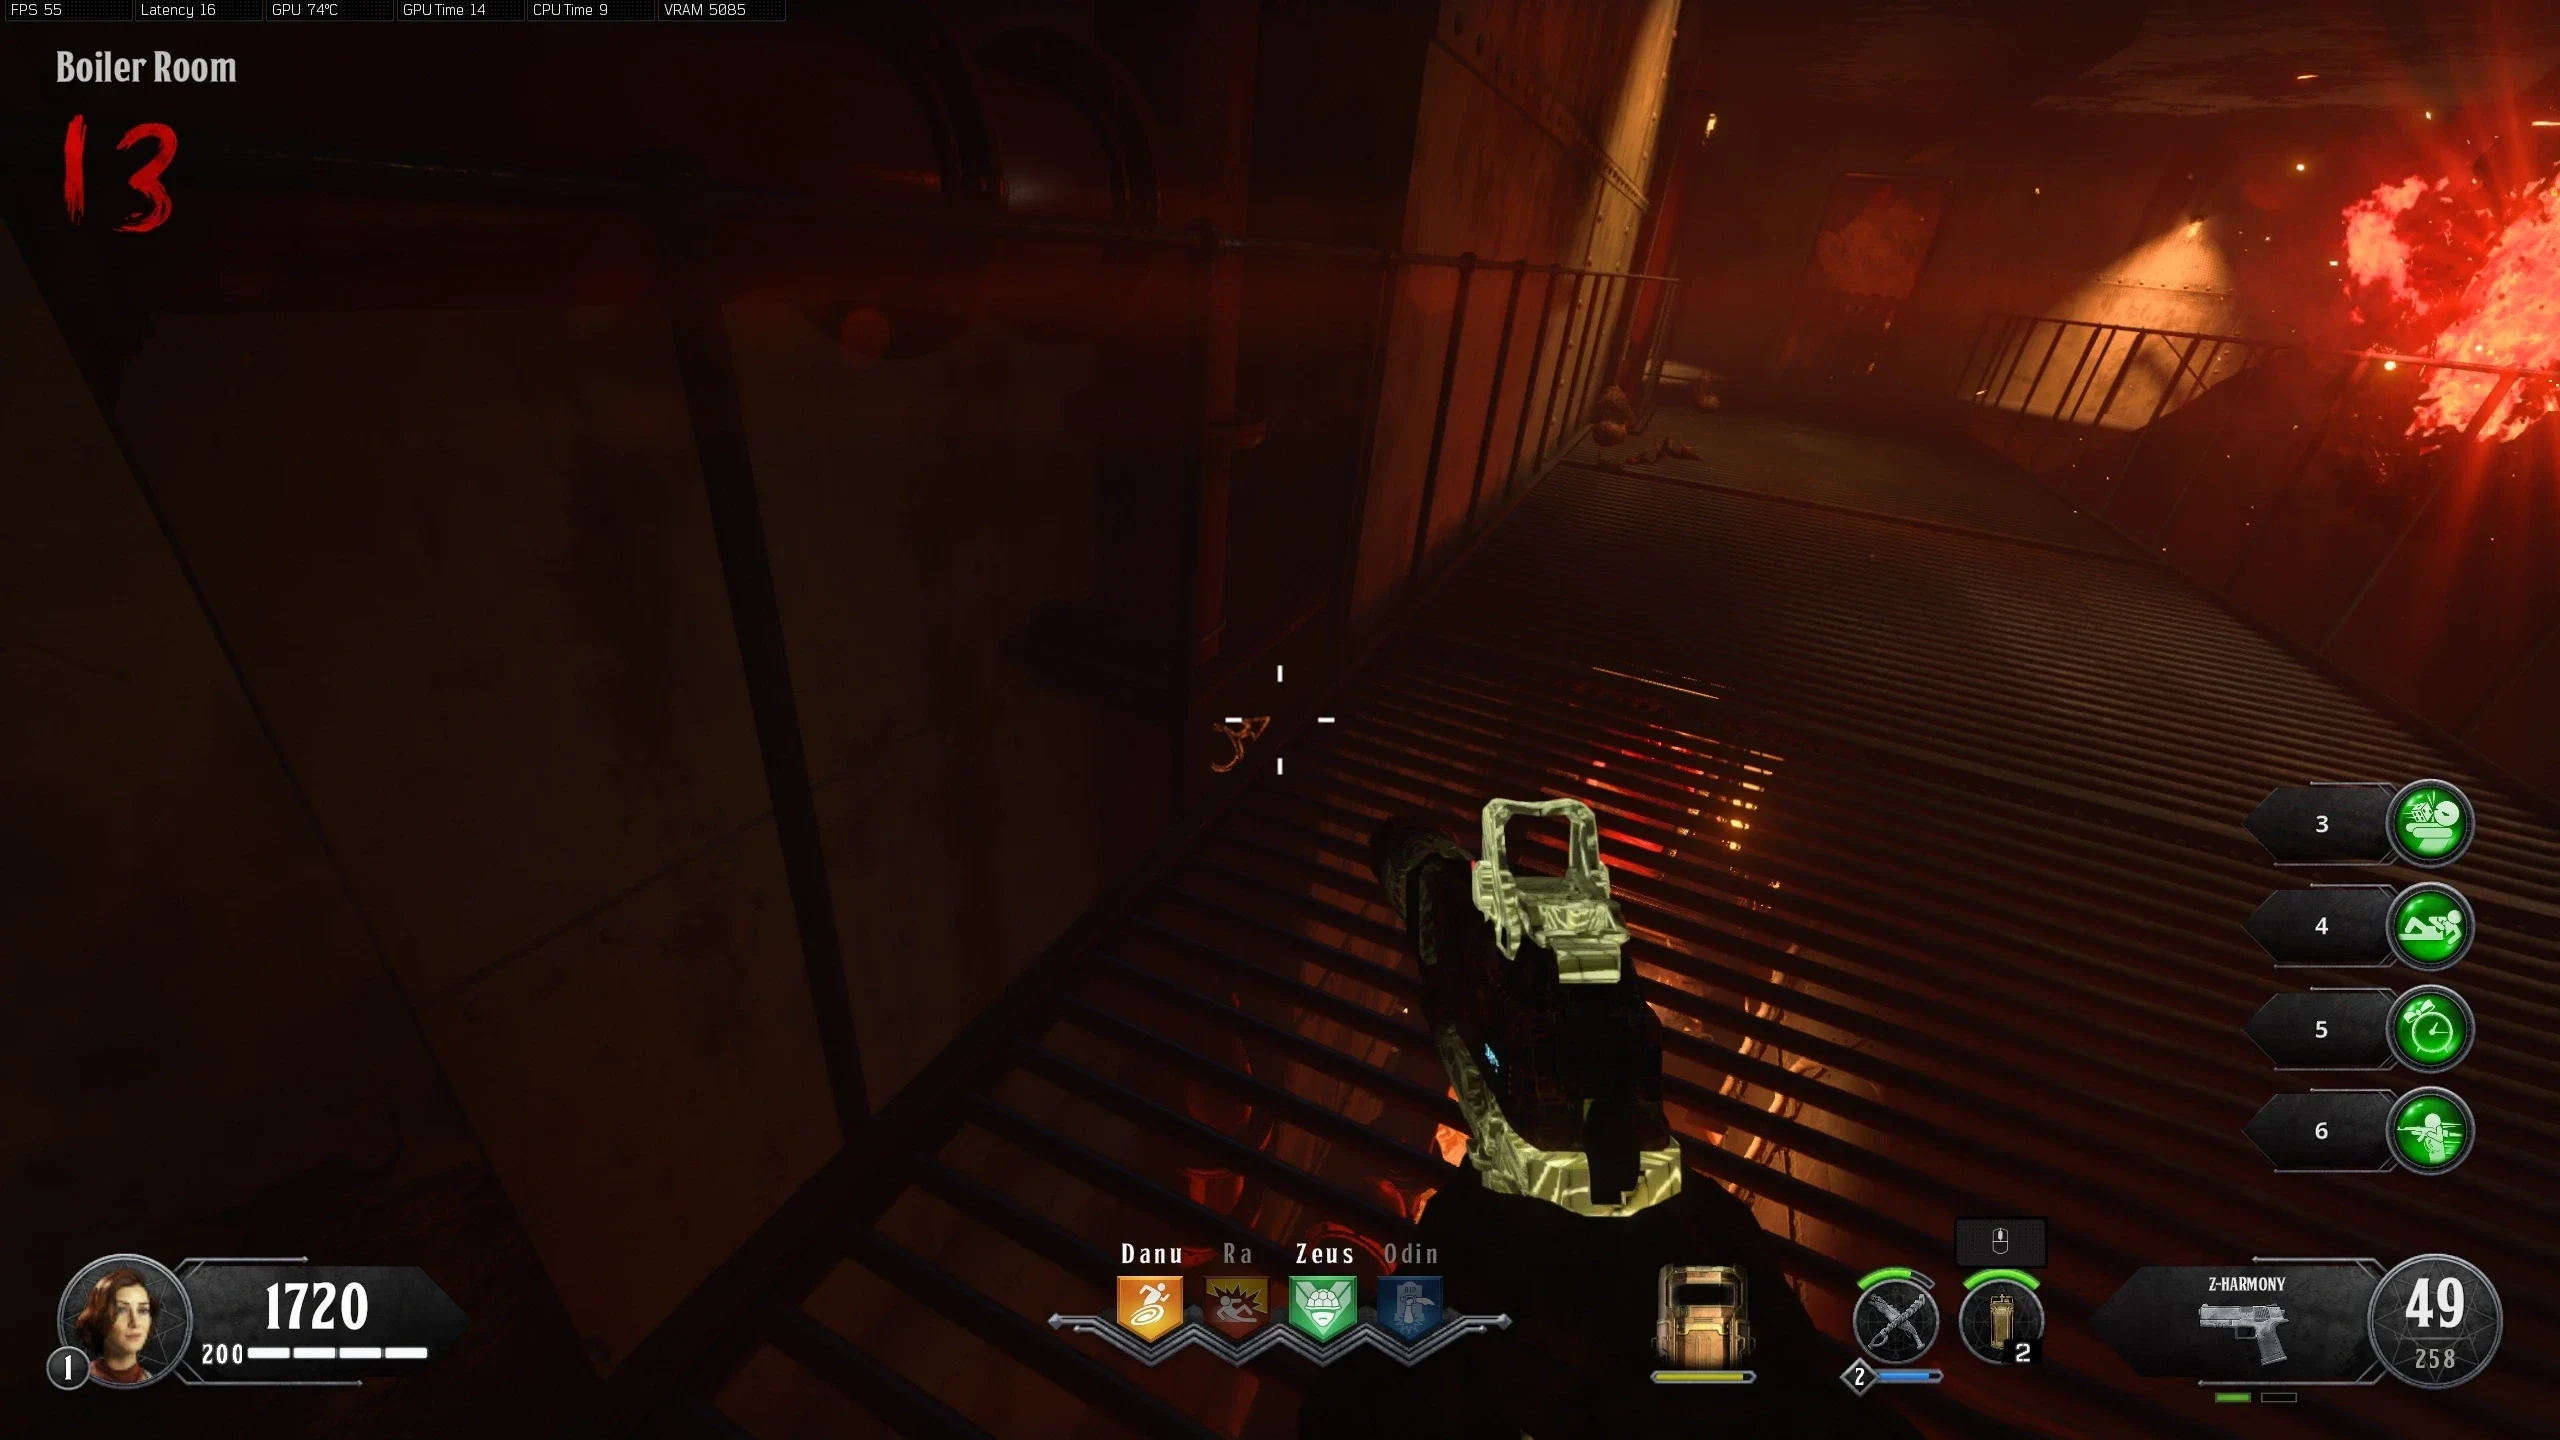
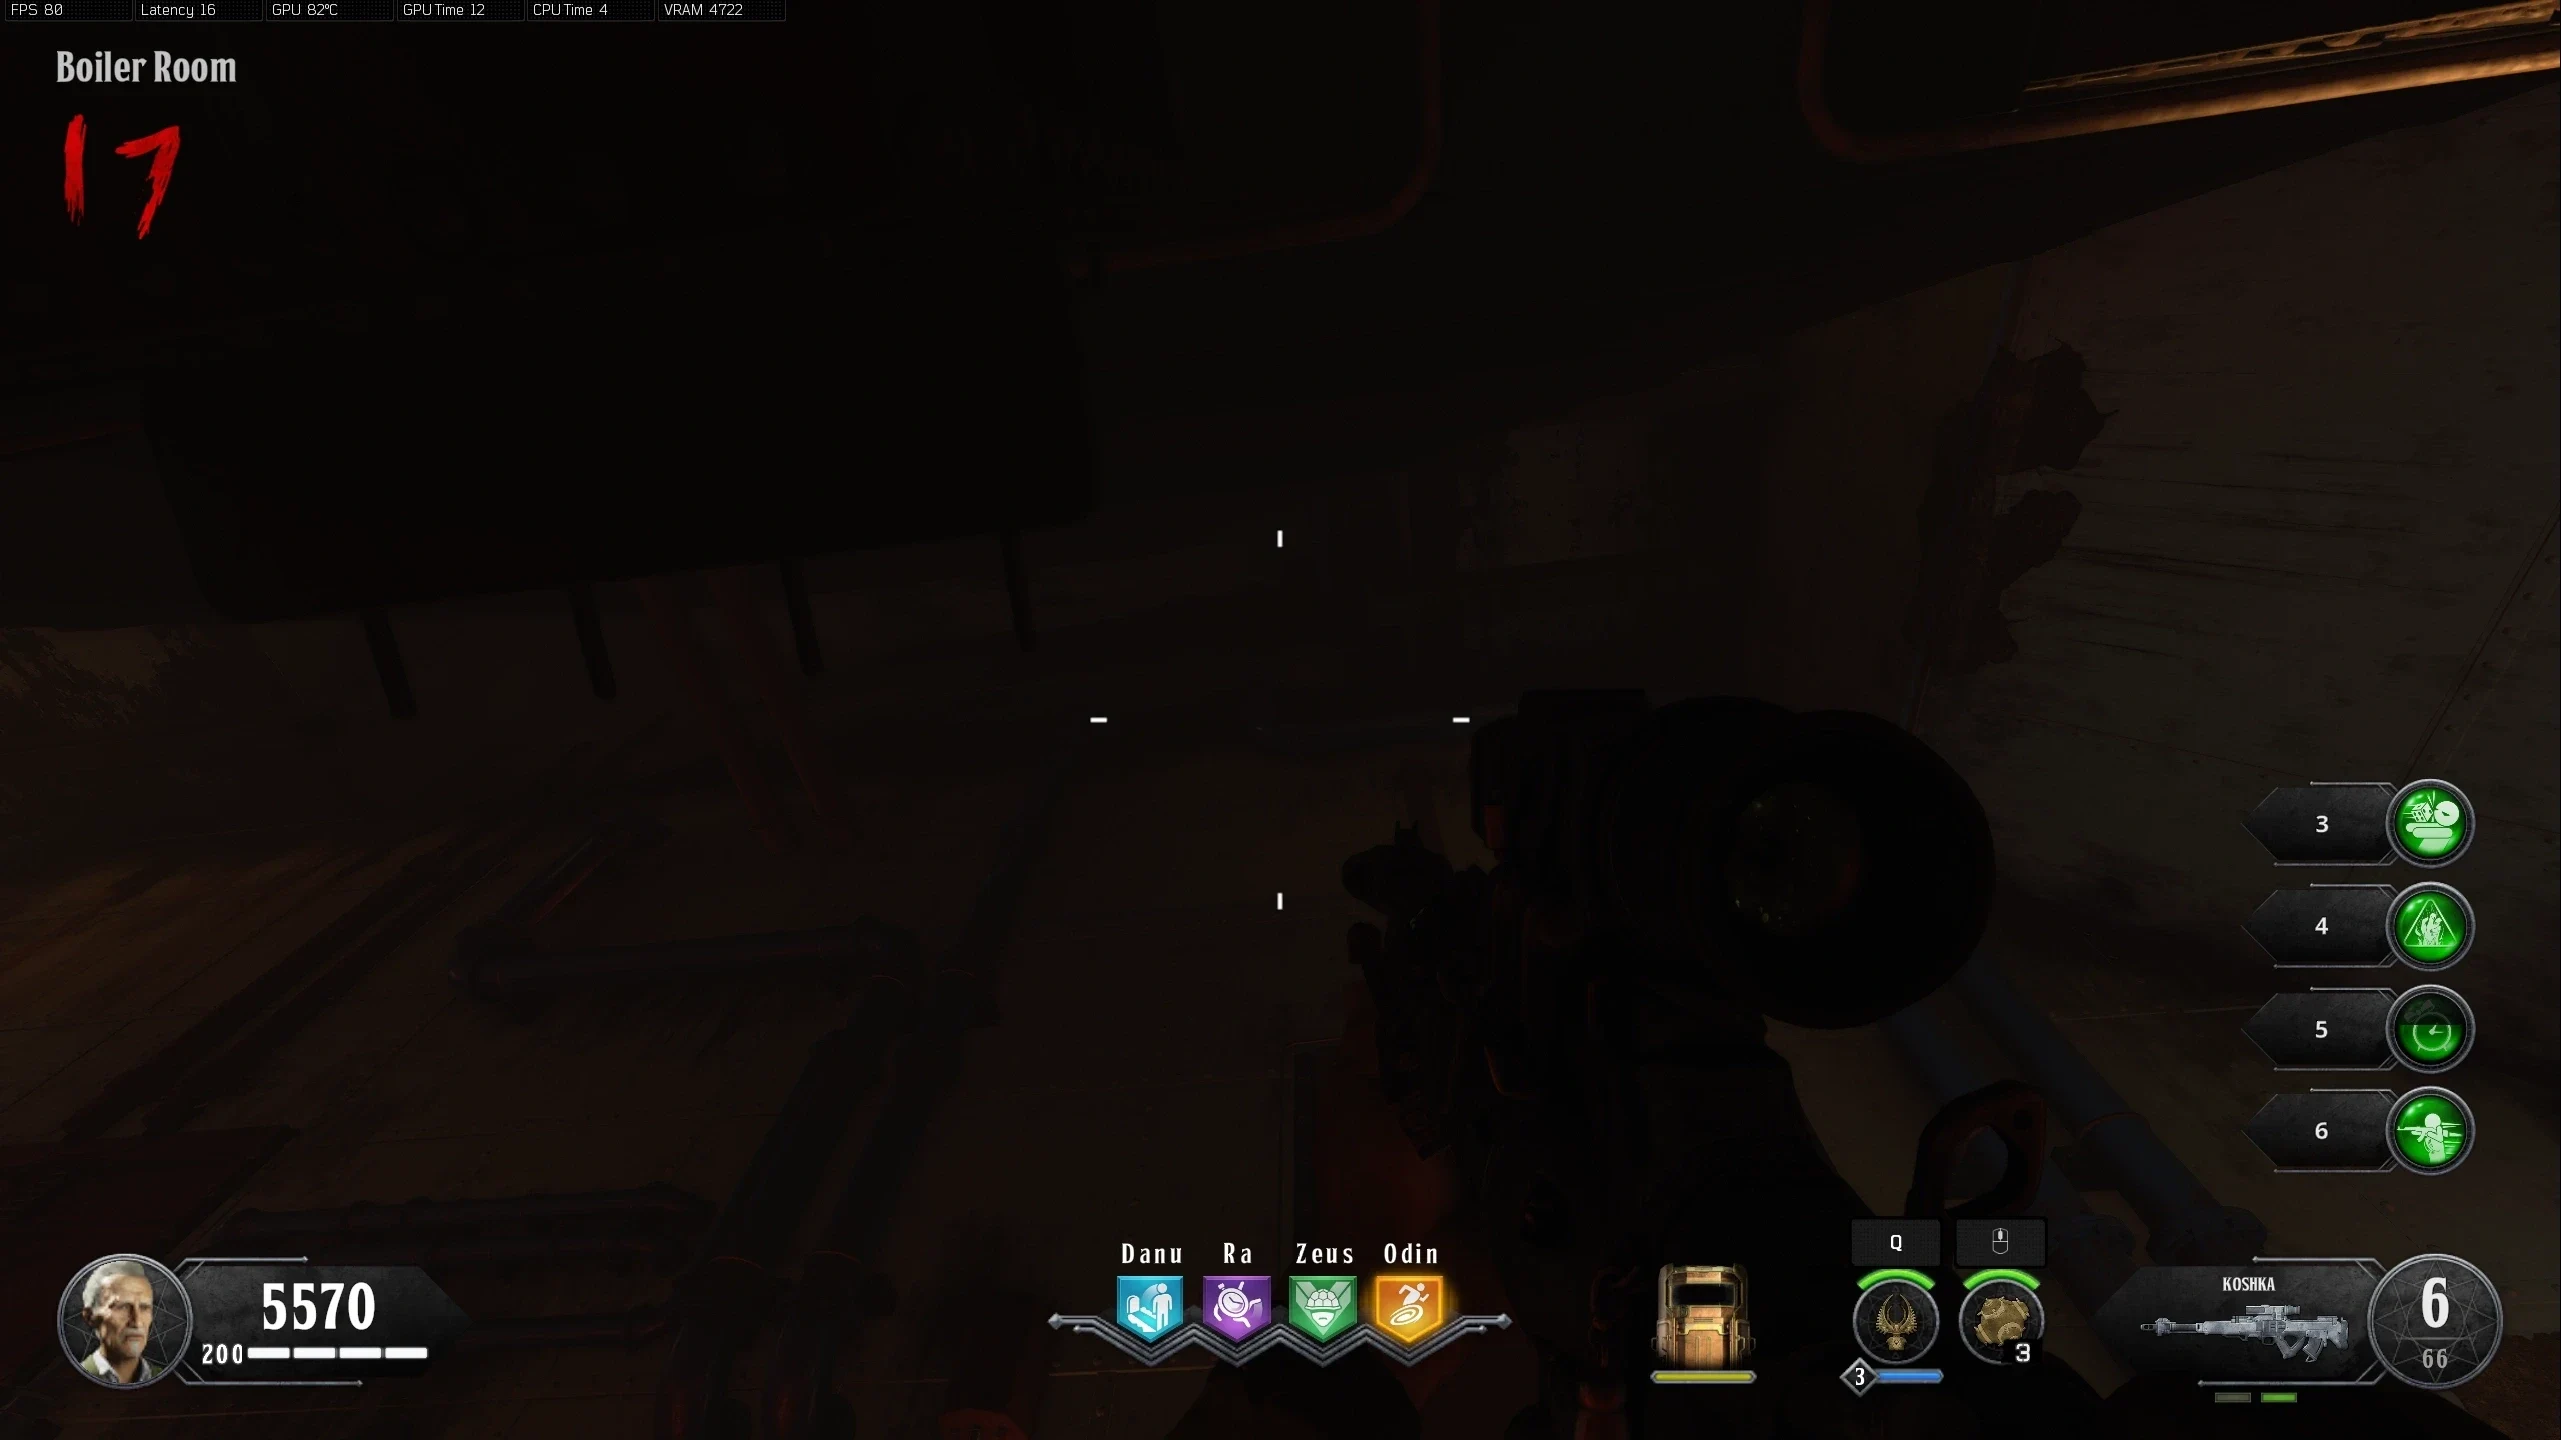
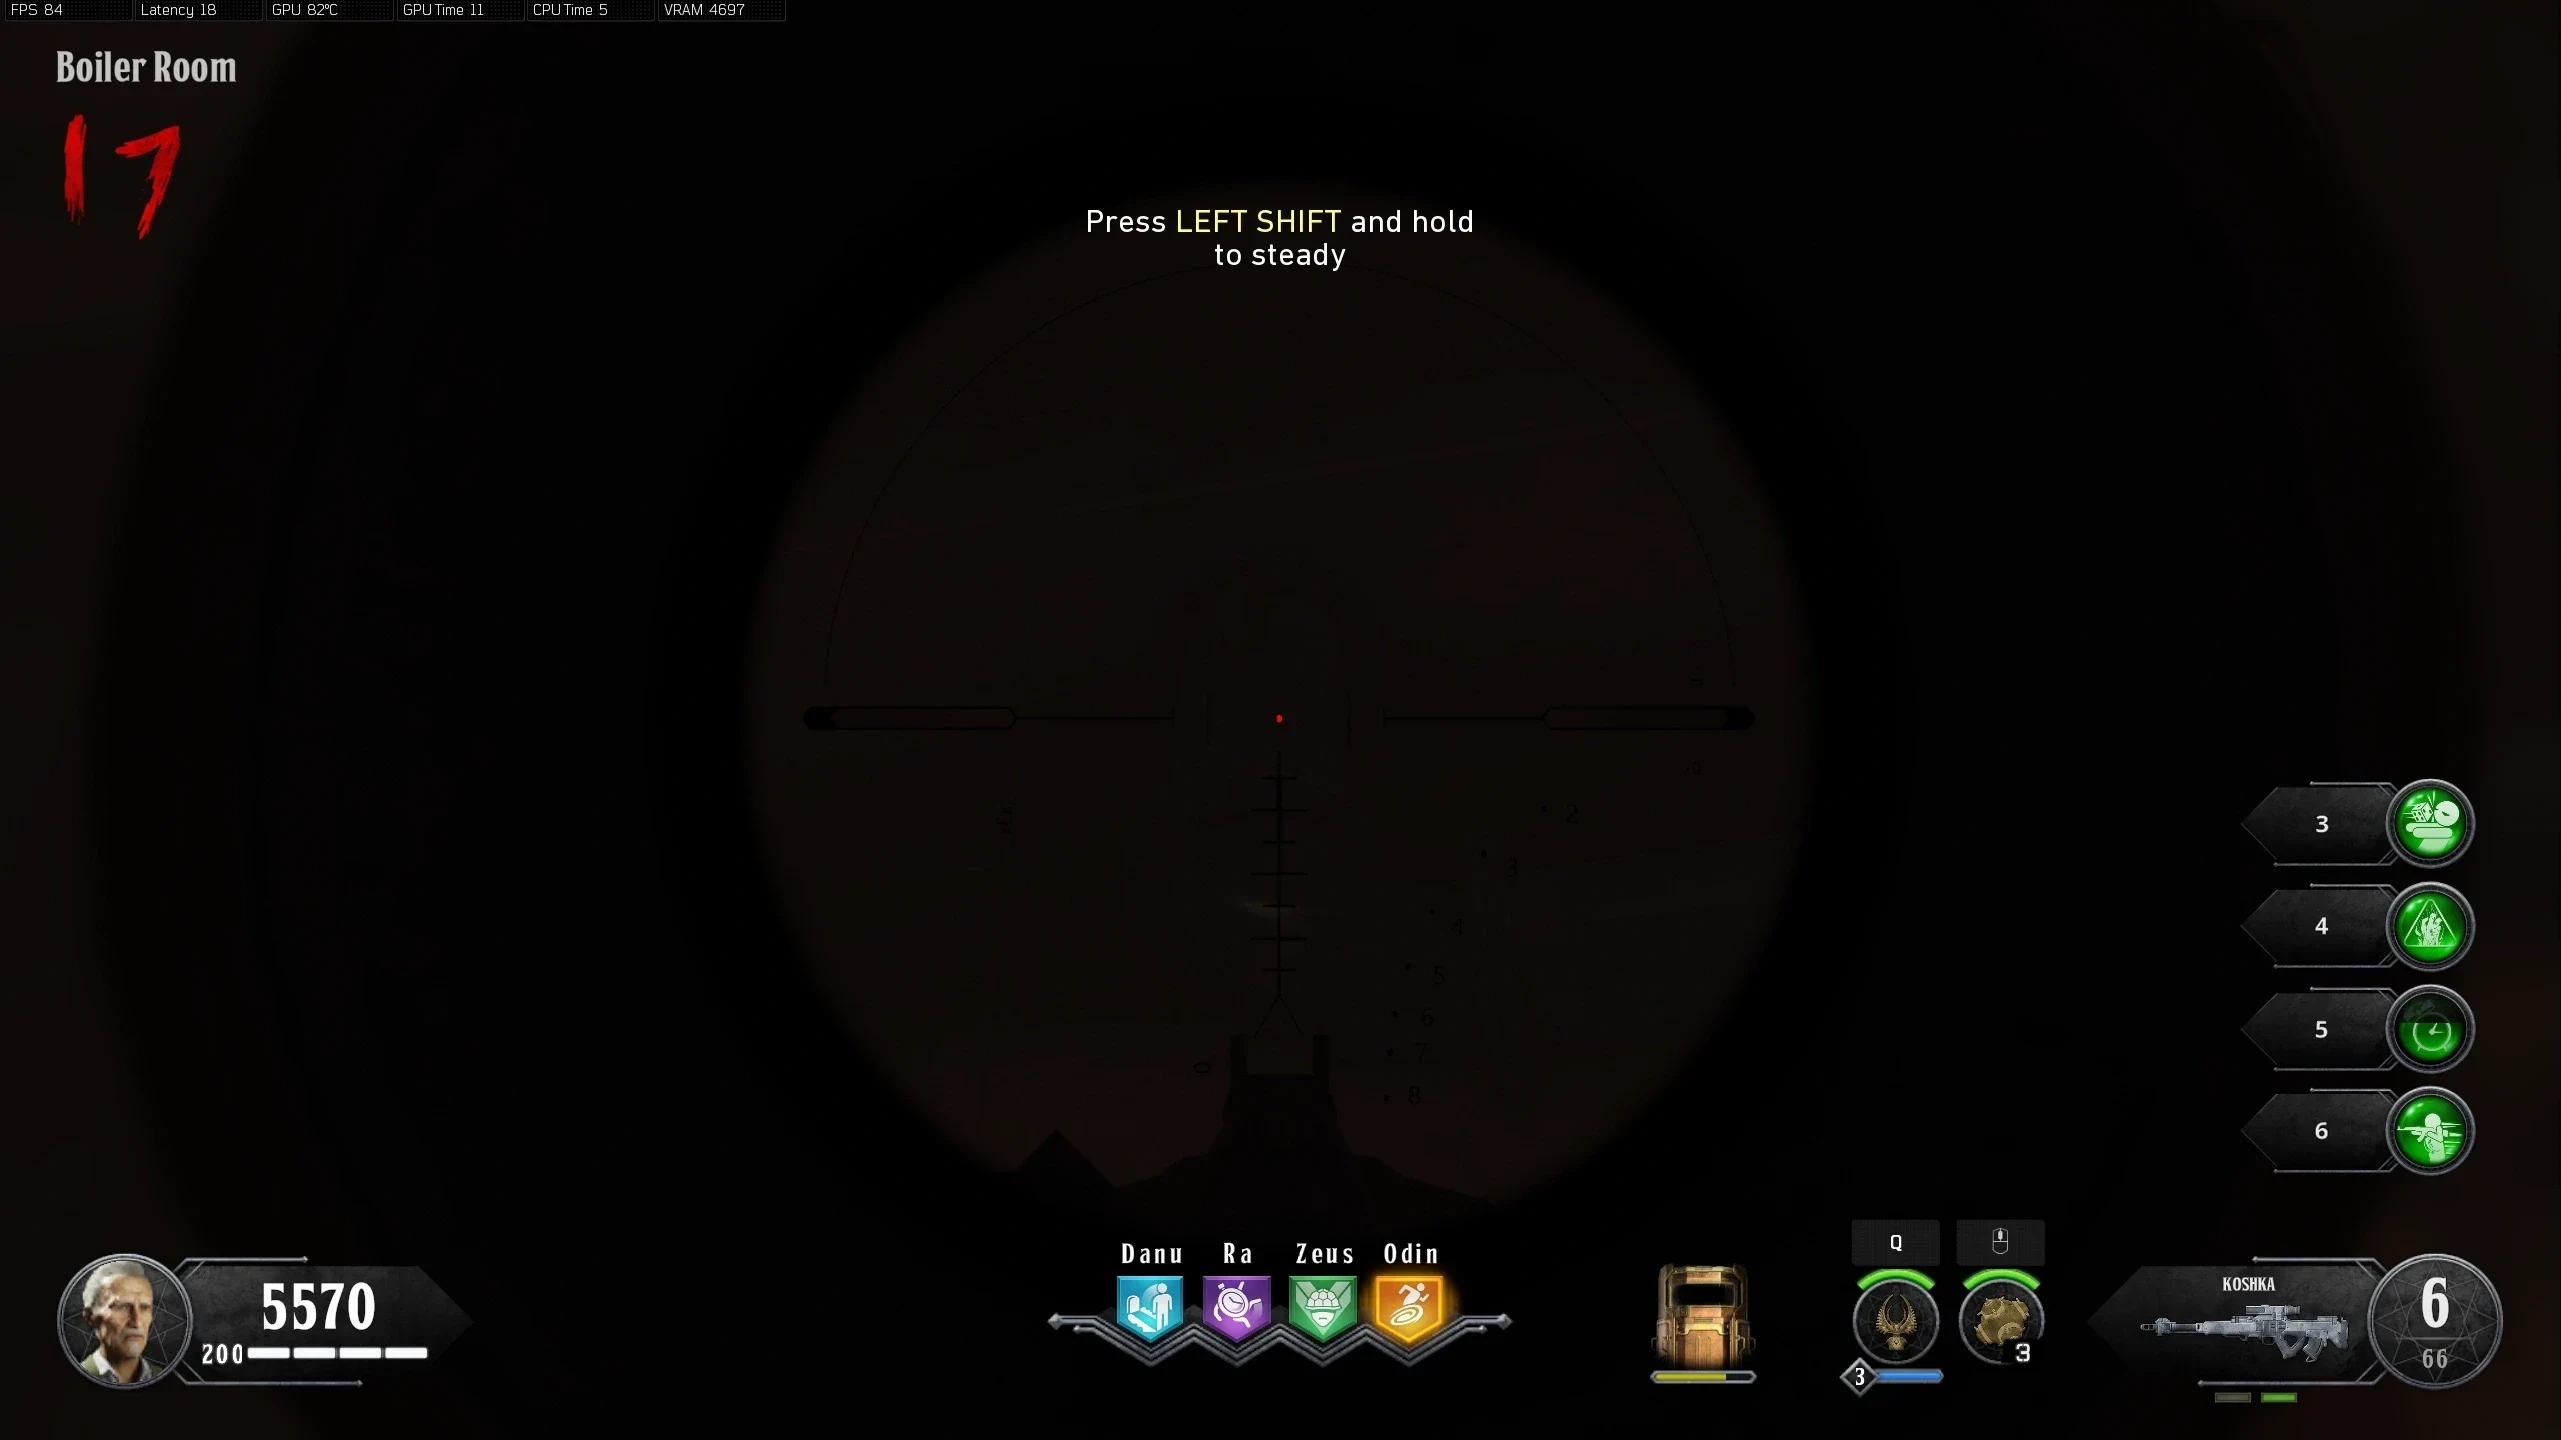
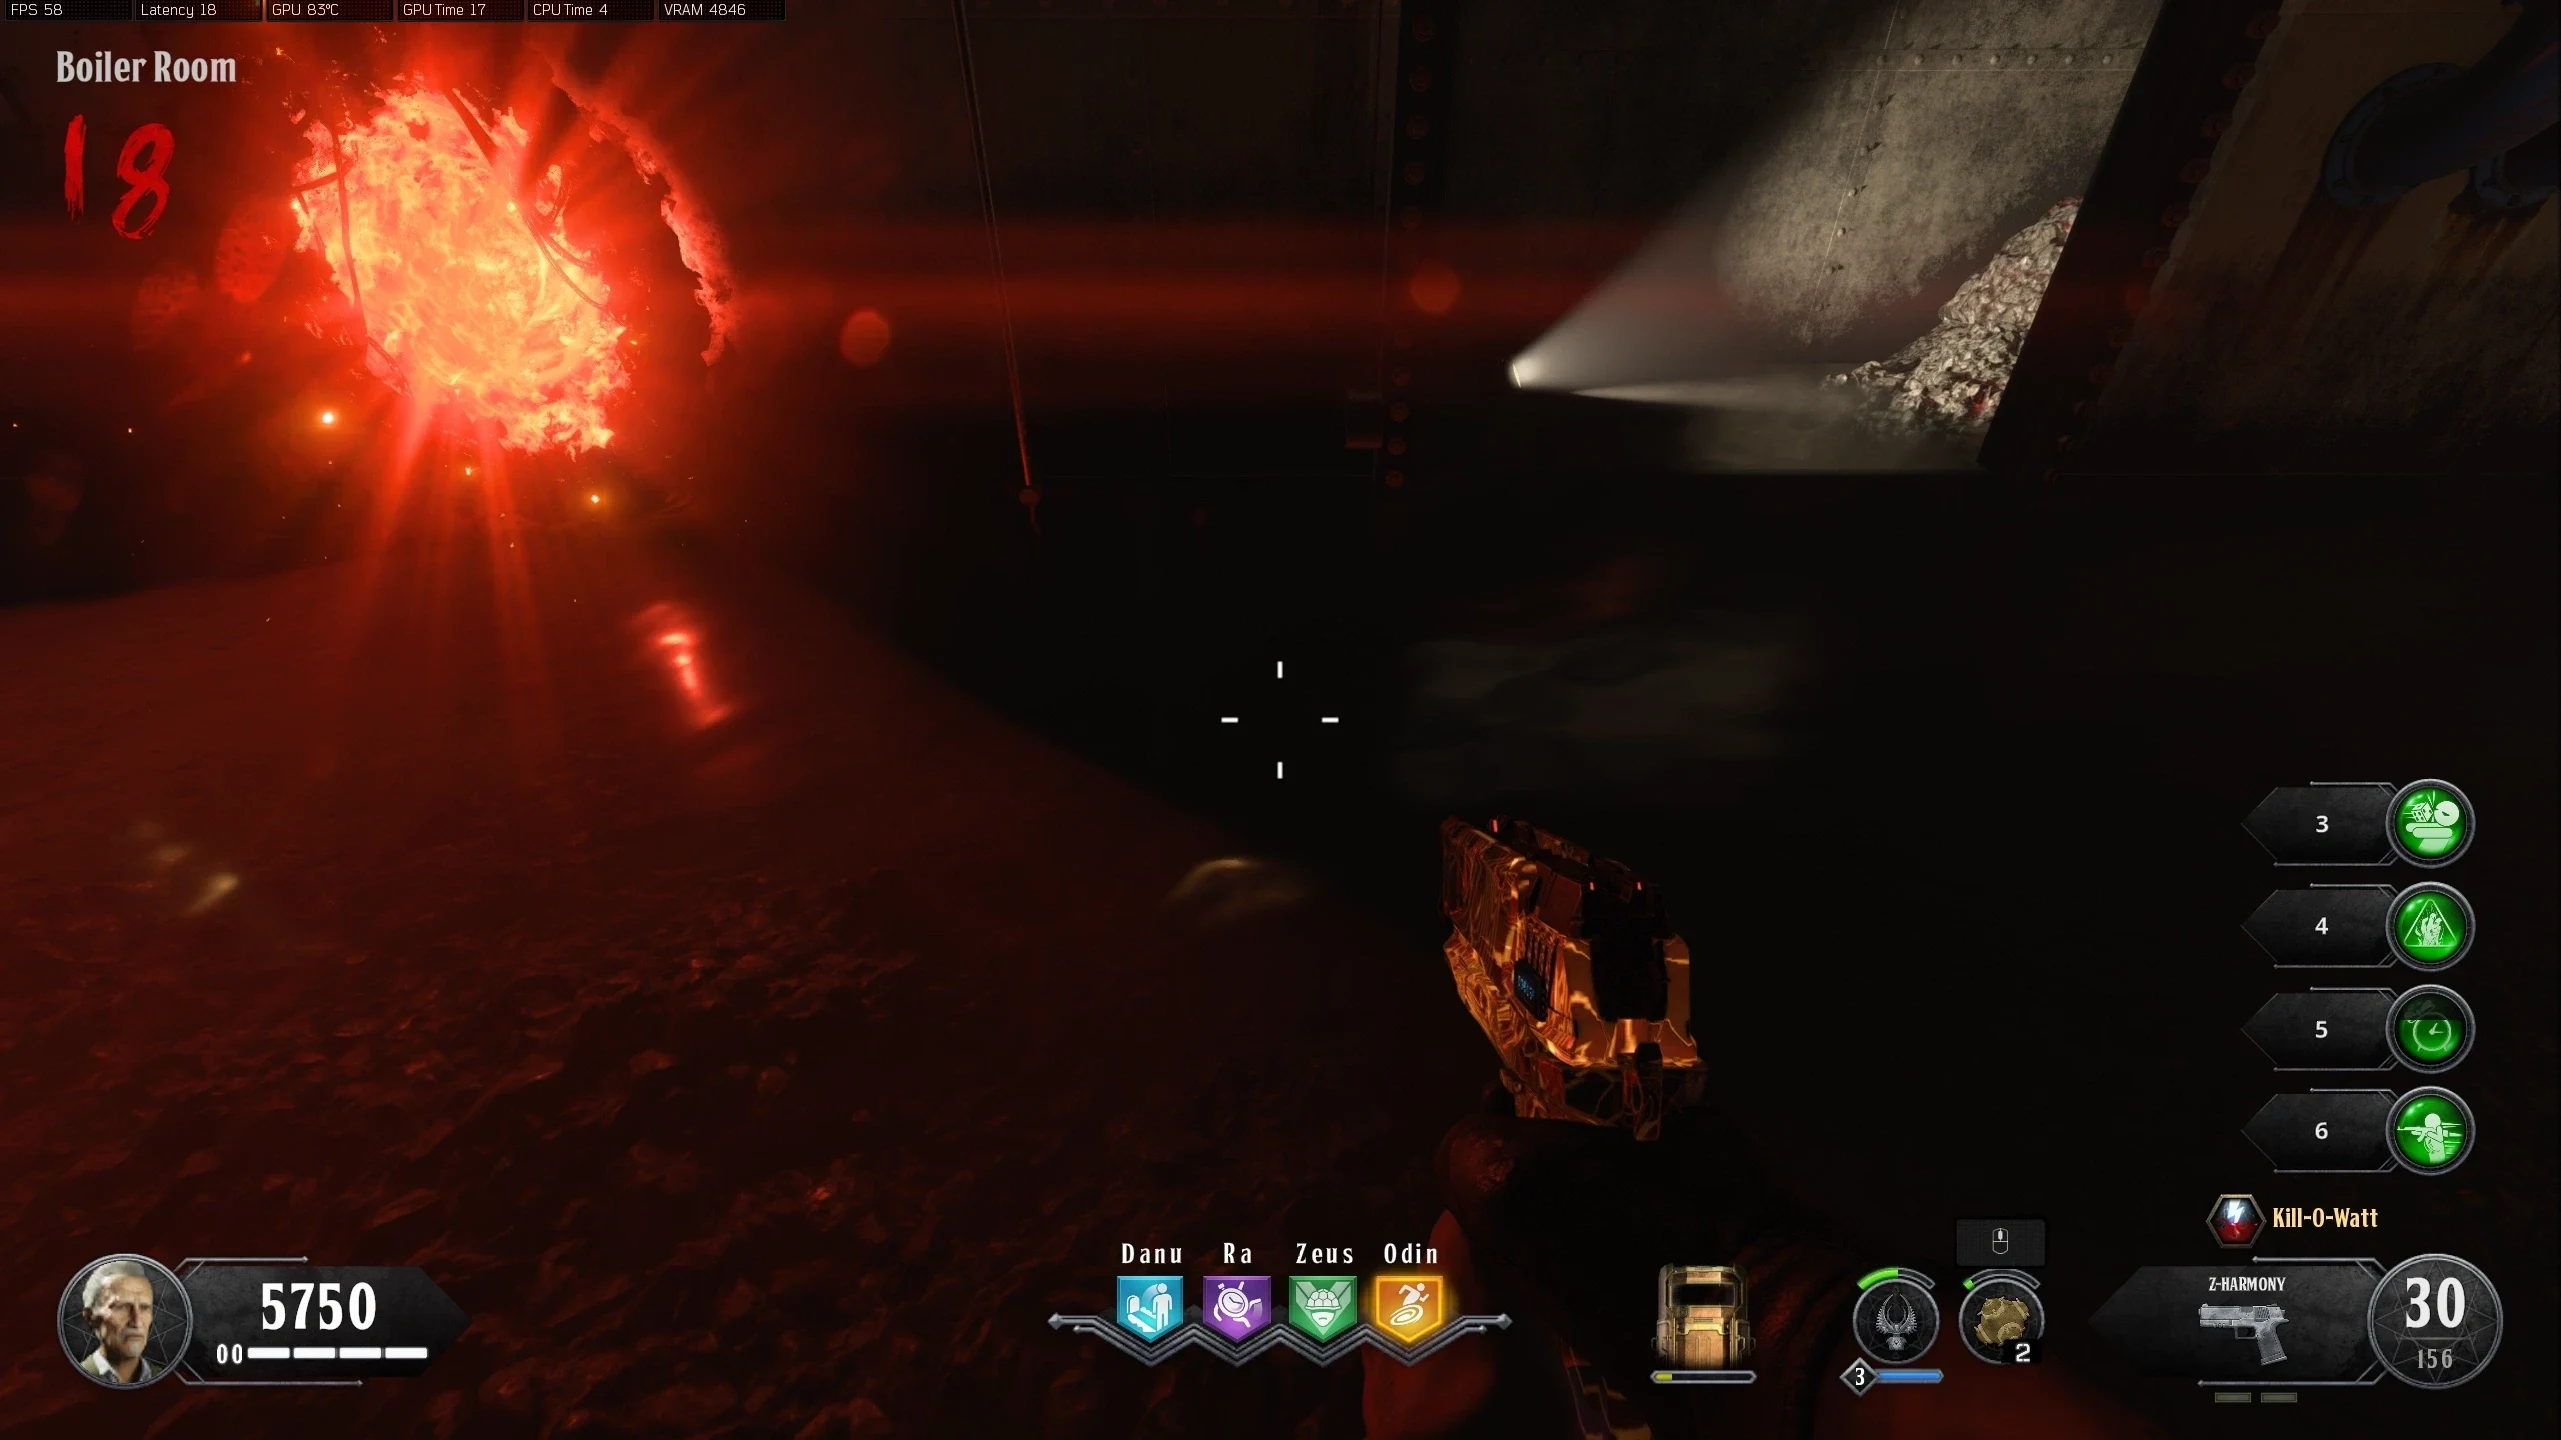
- Mars - Boiler Room (Upstairs Behind Odin Statue)
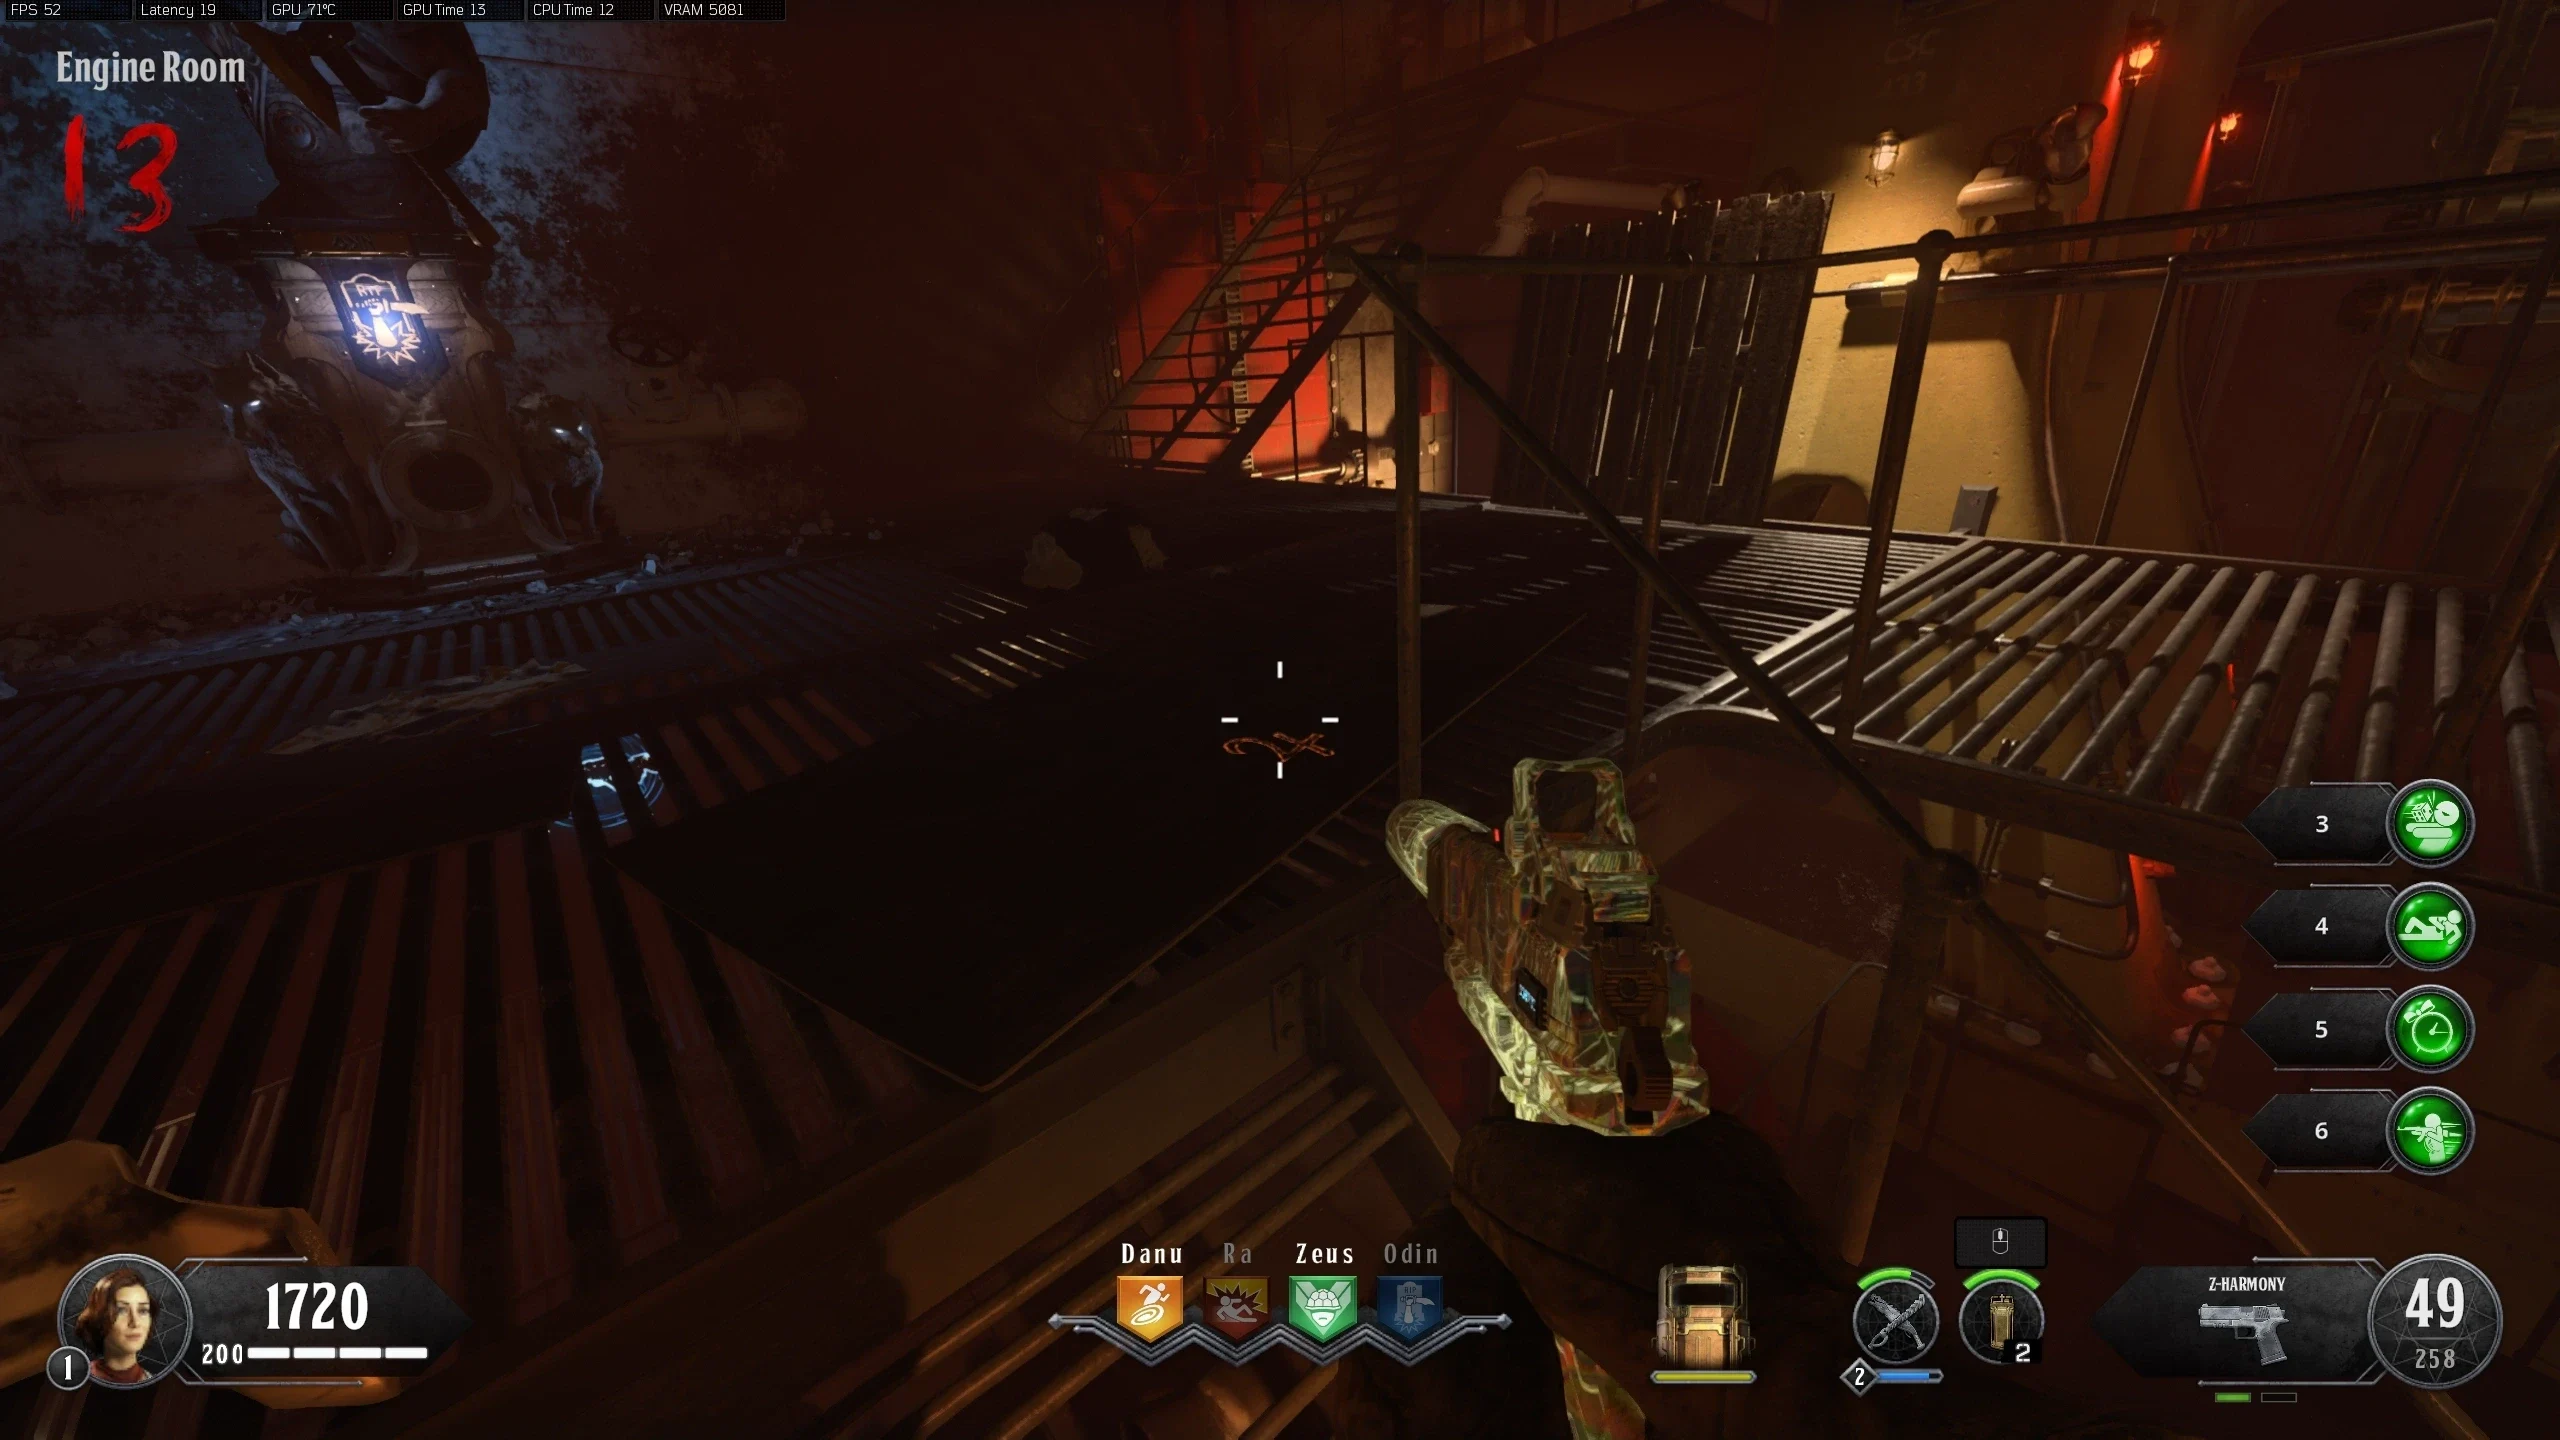
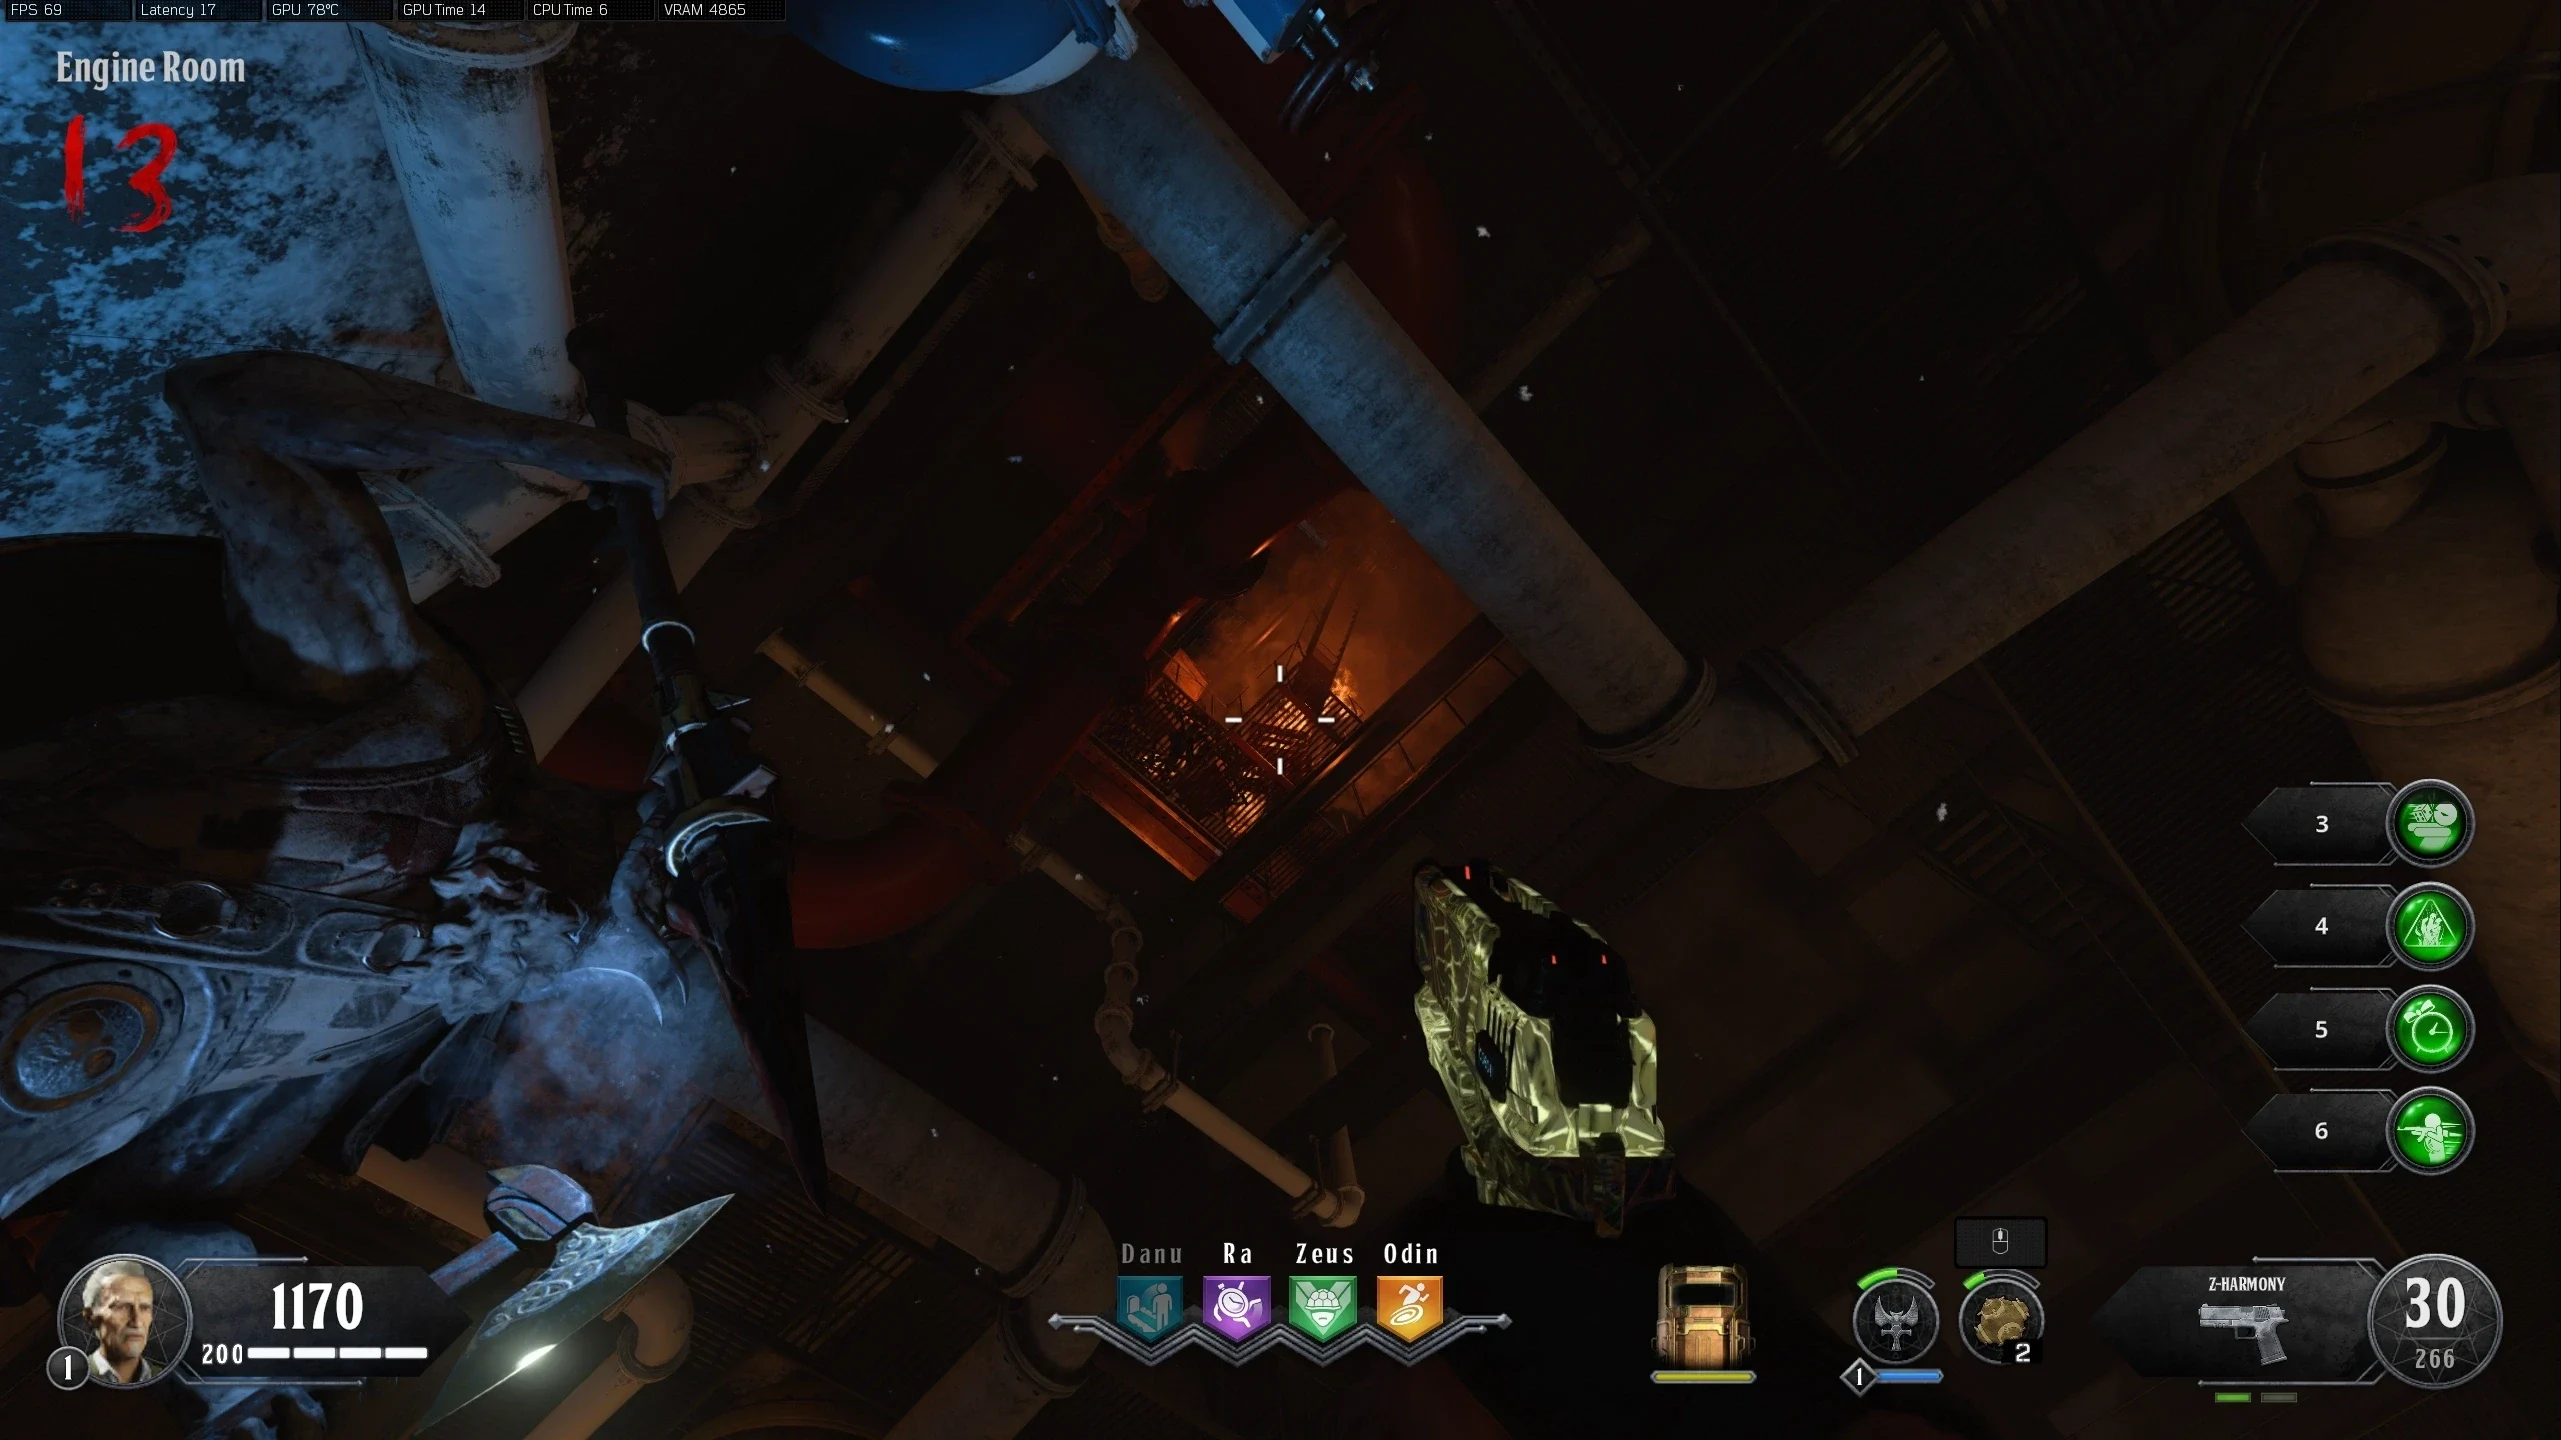
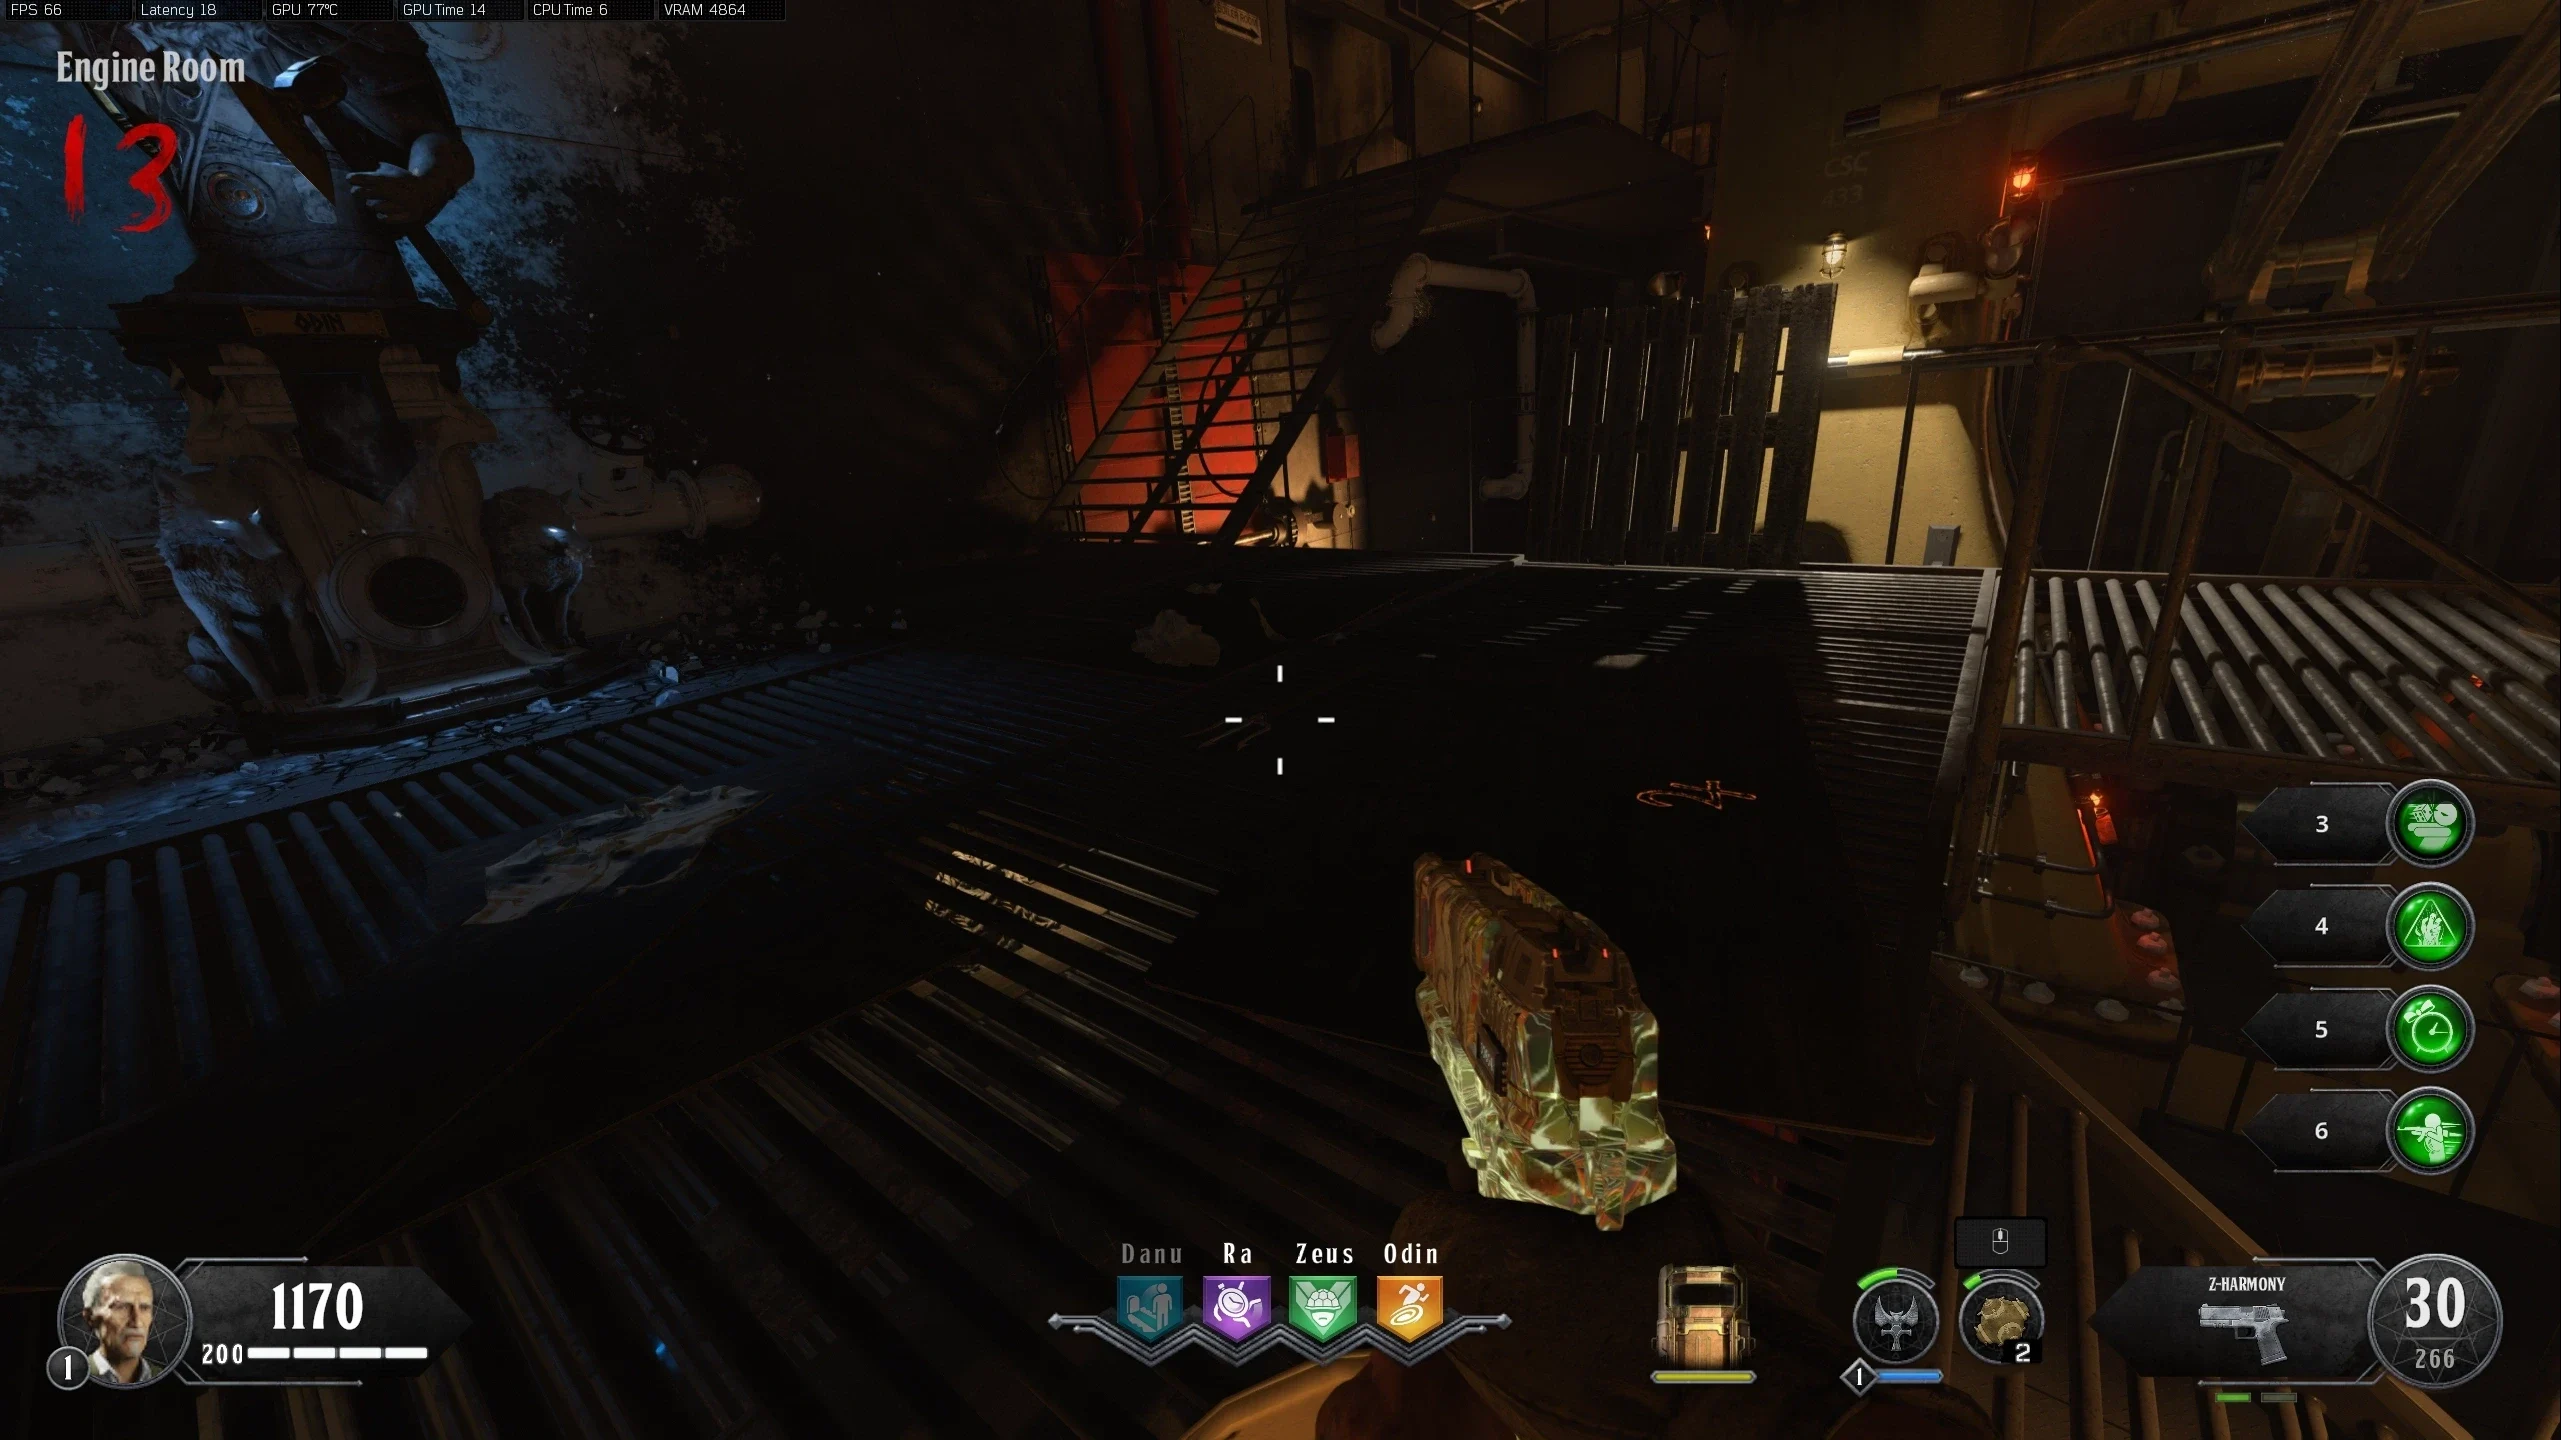
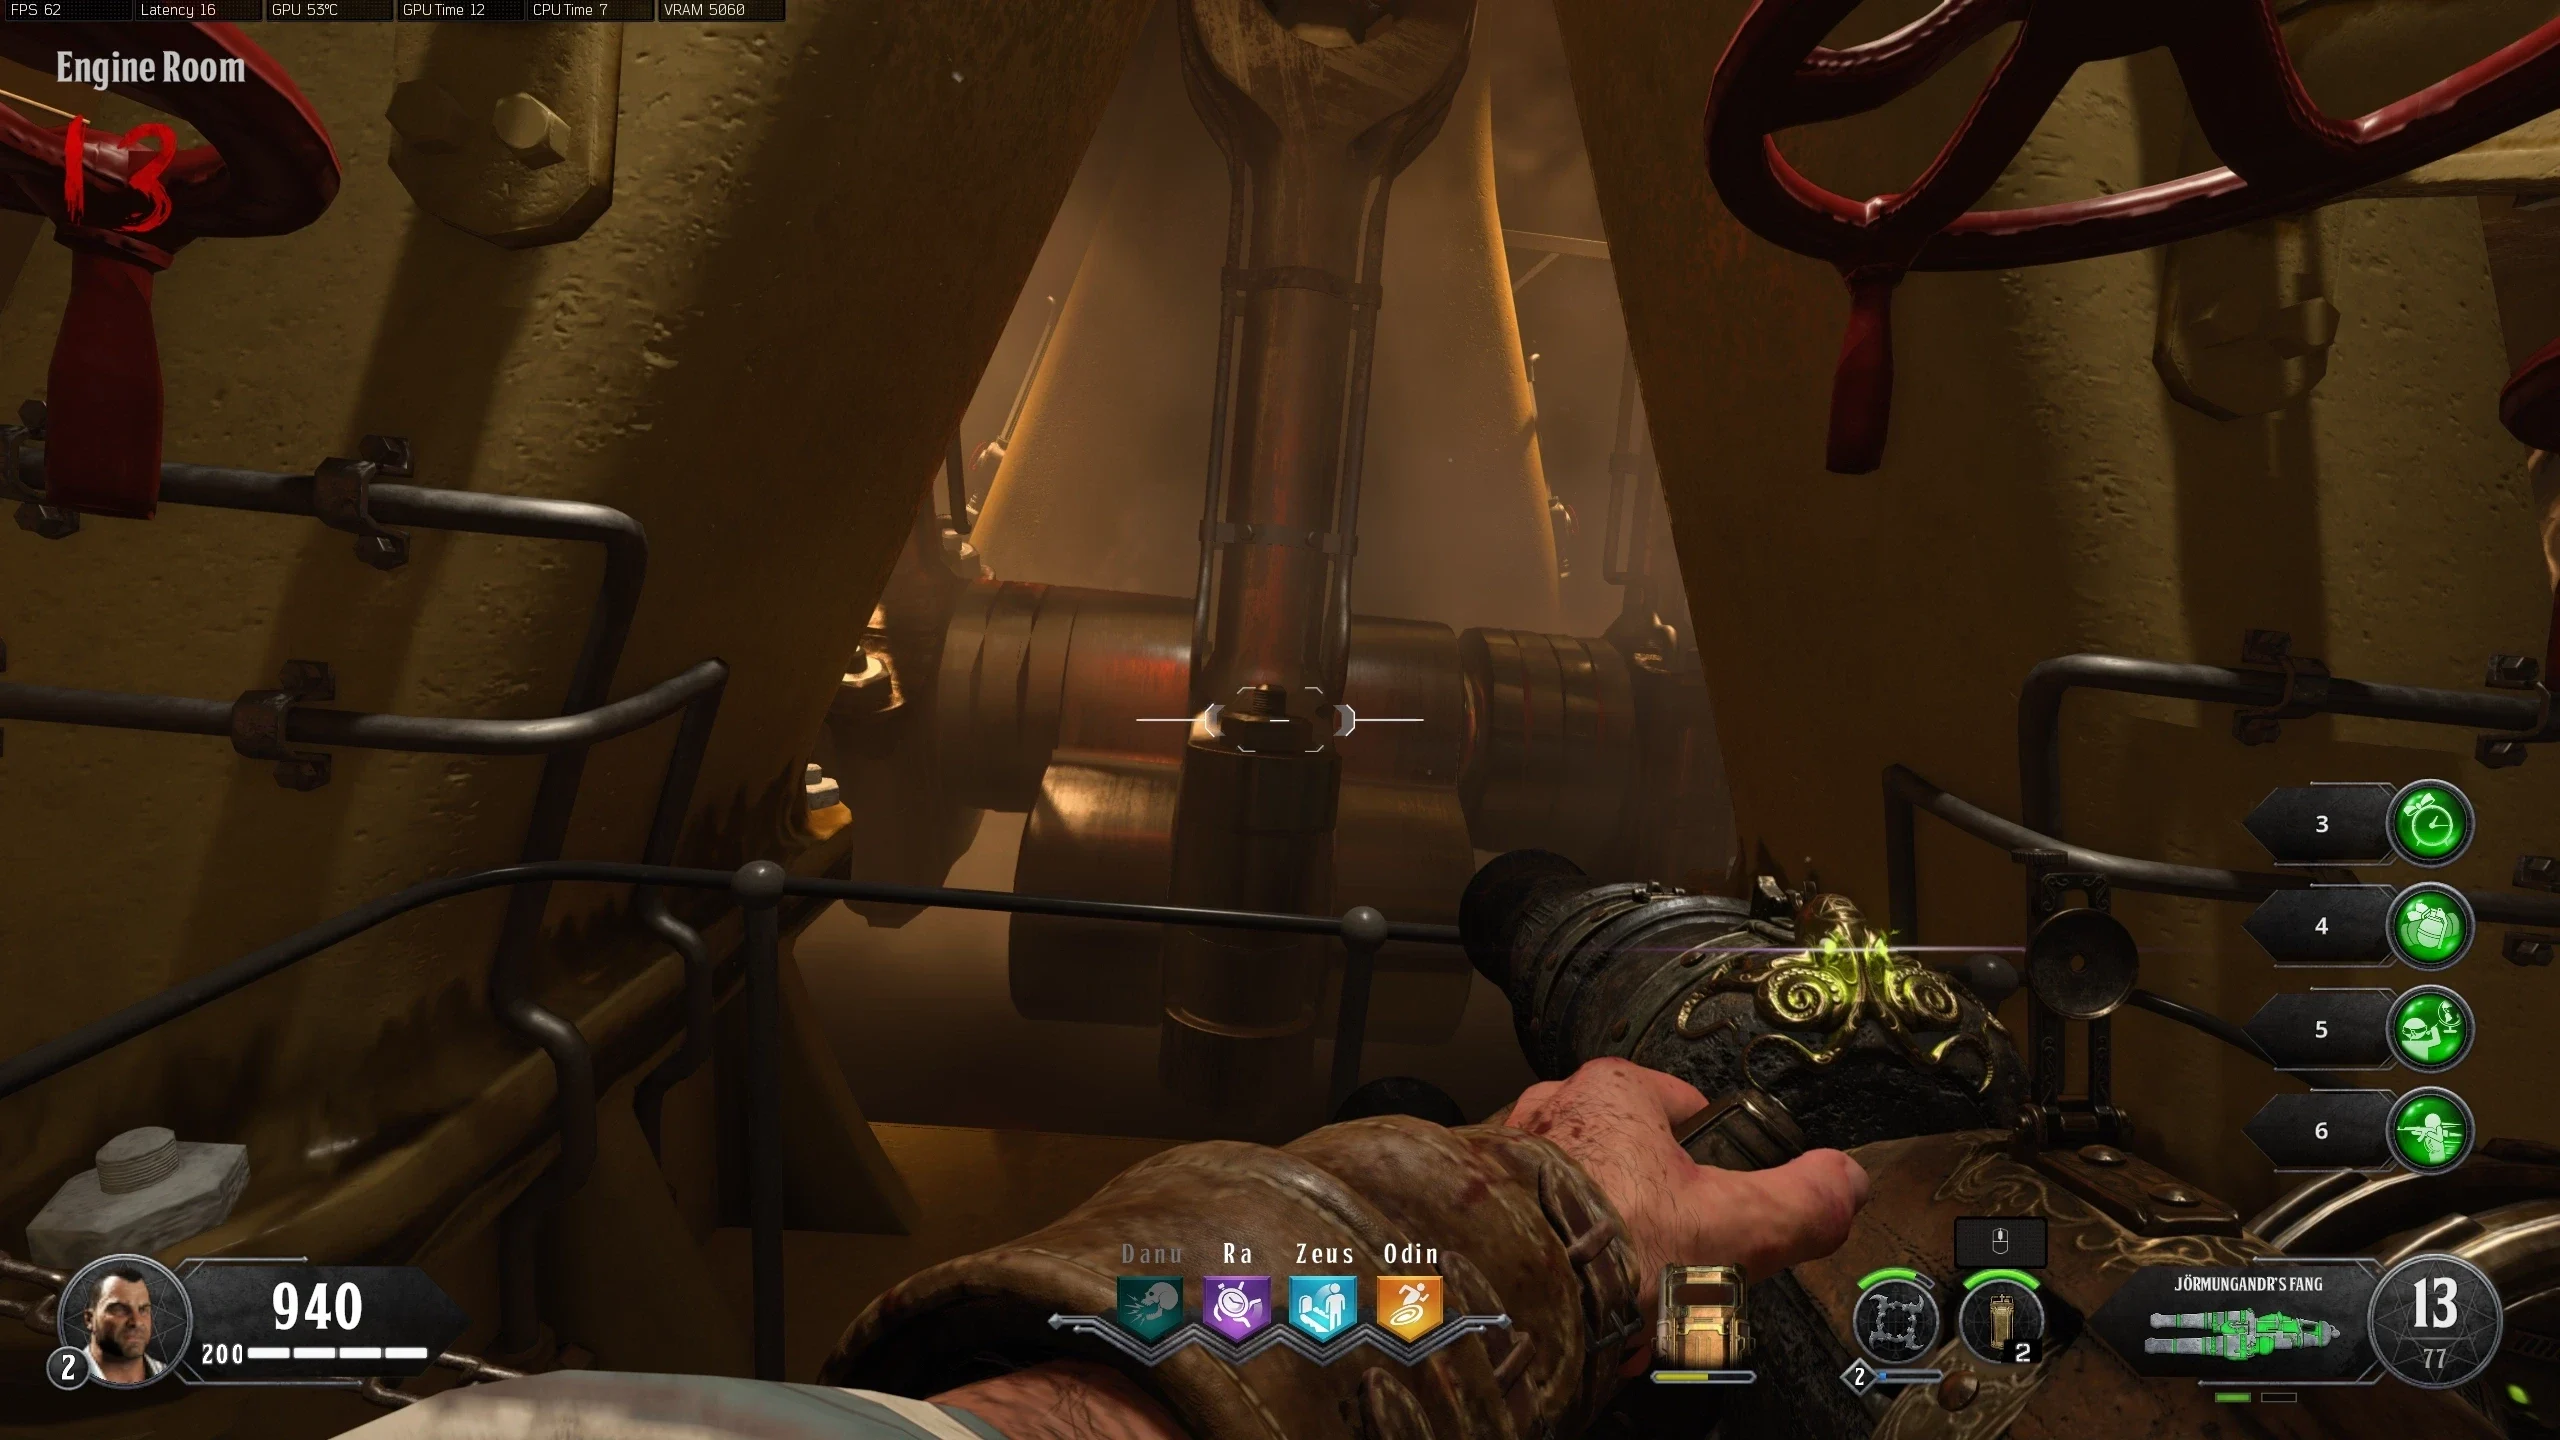
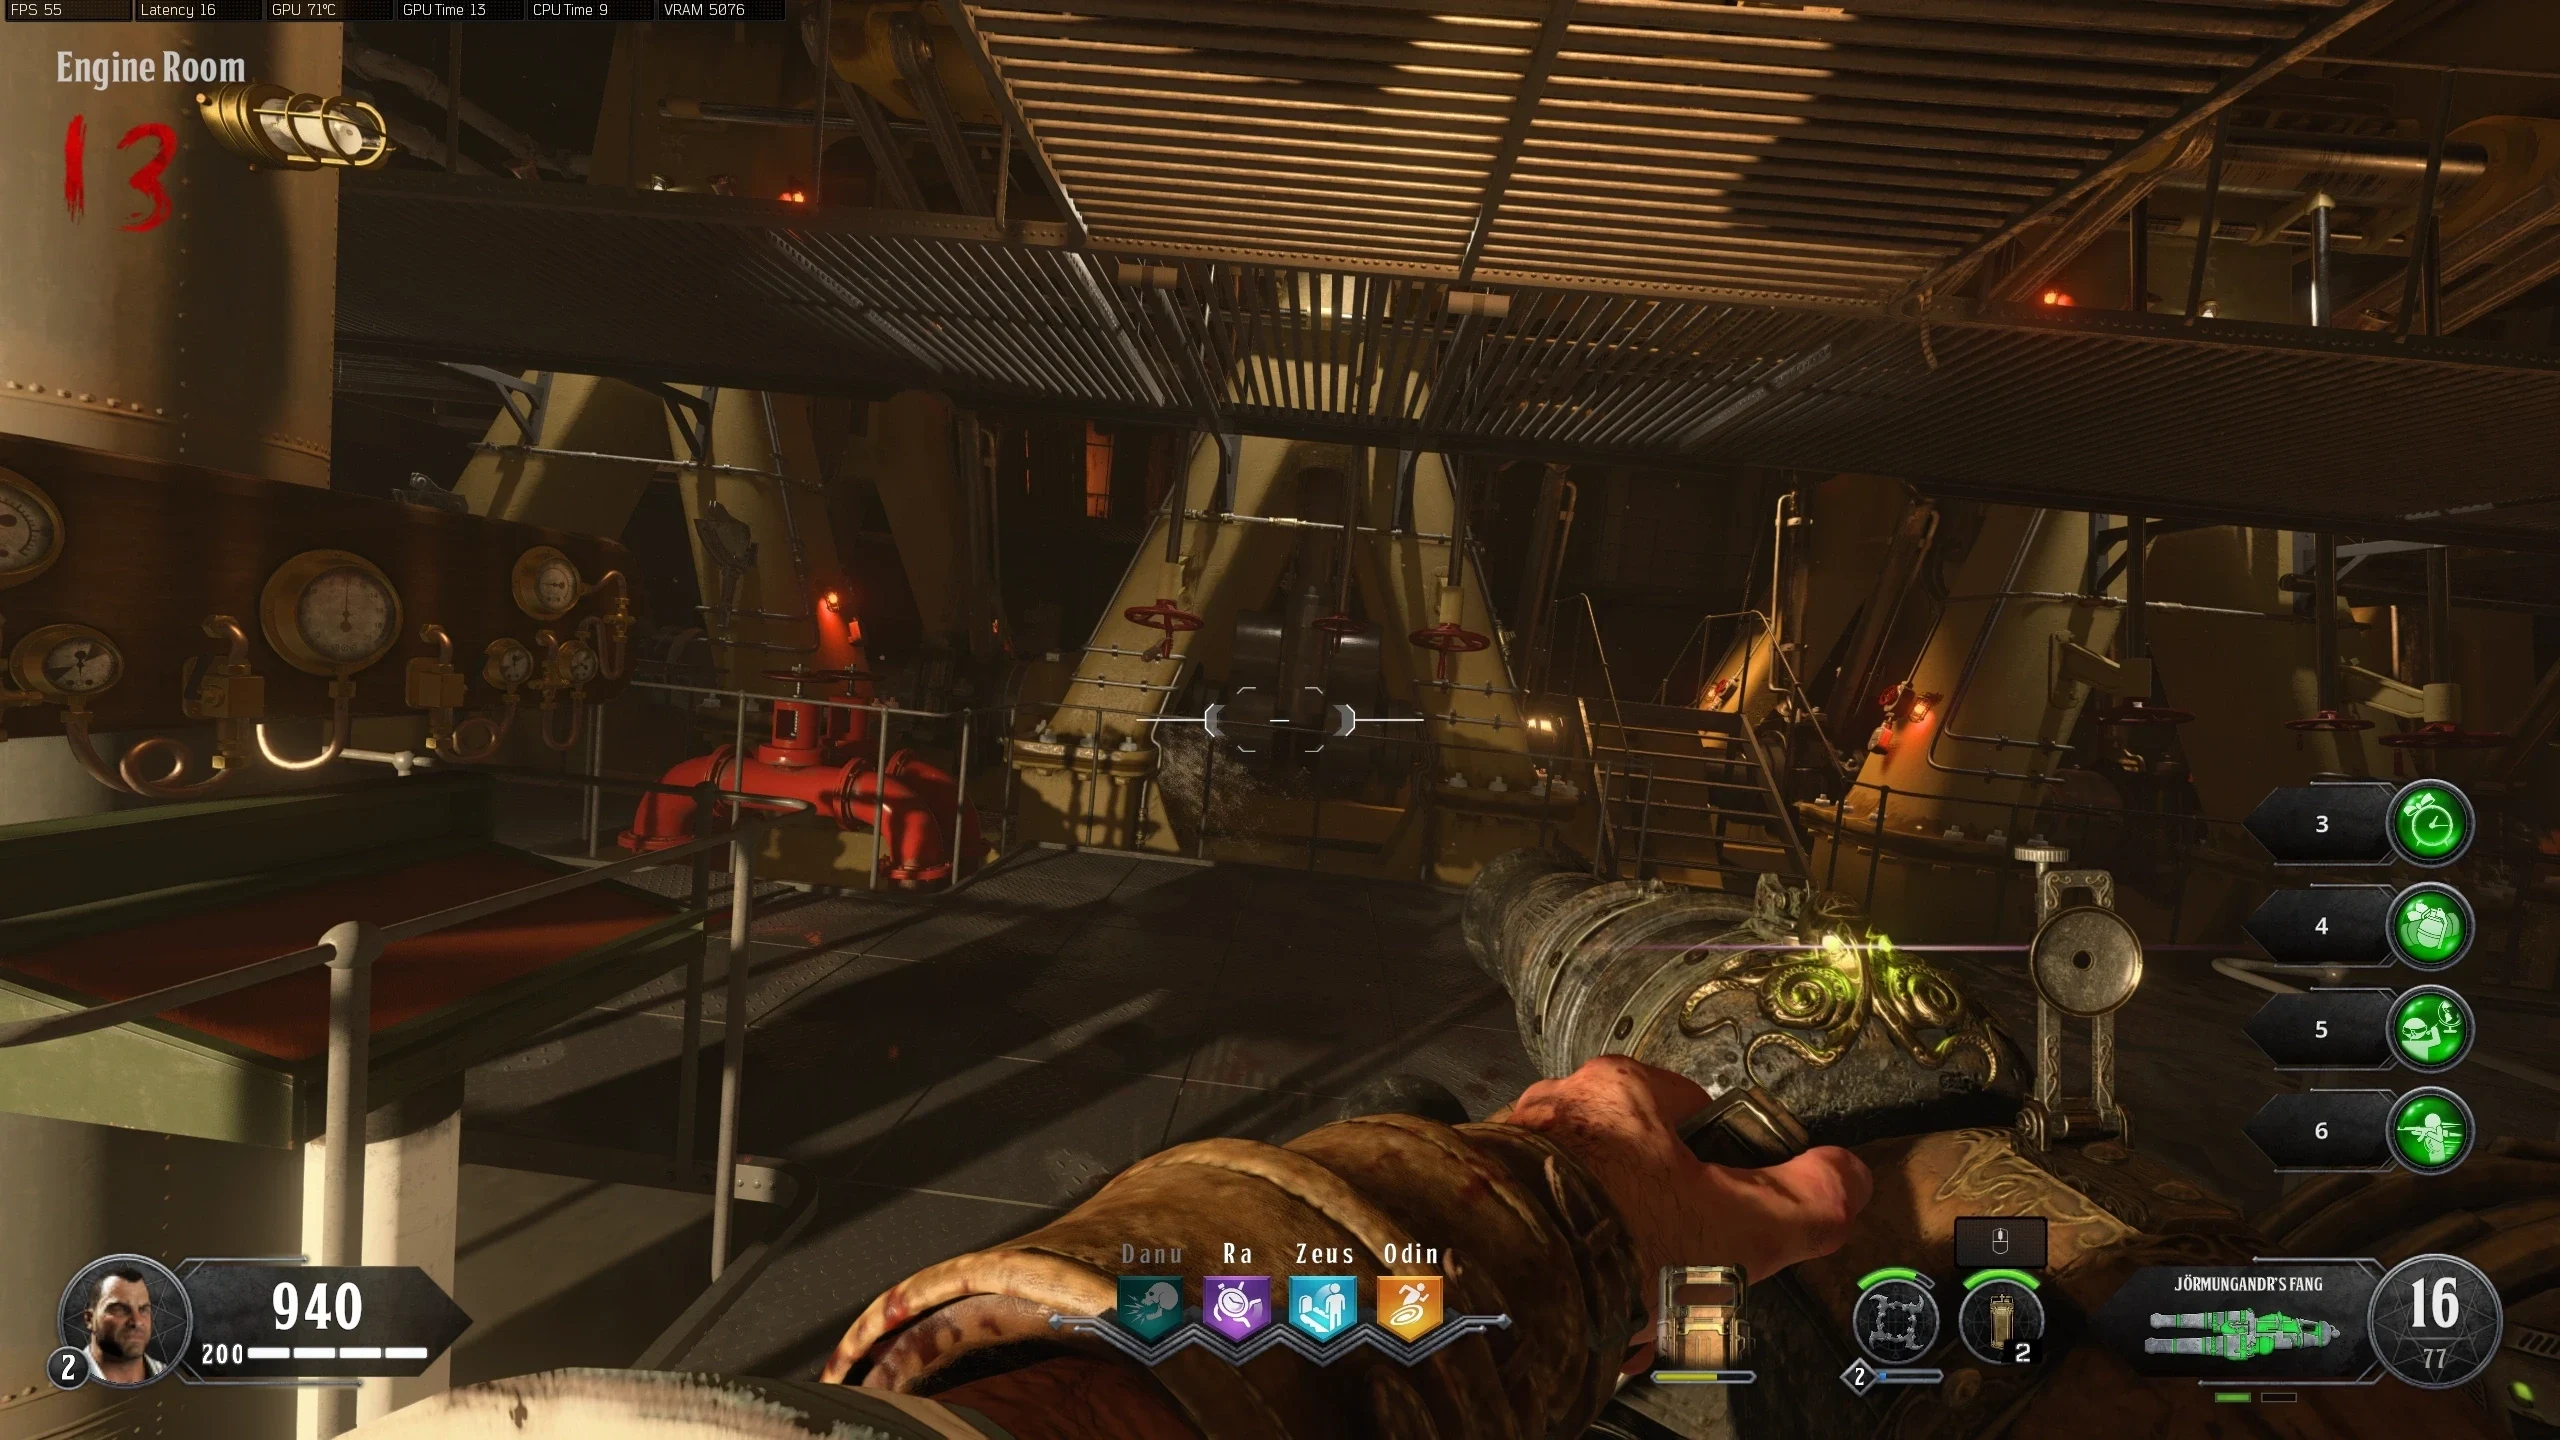
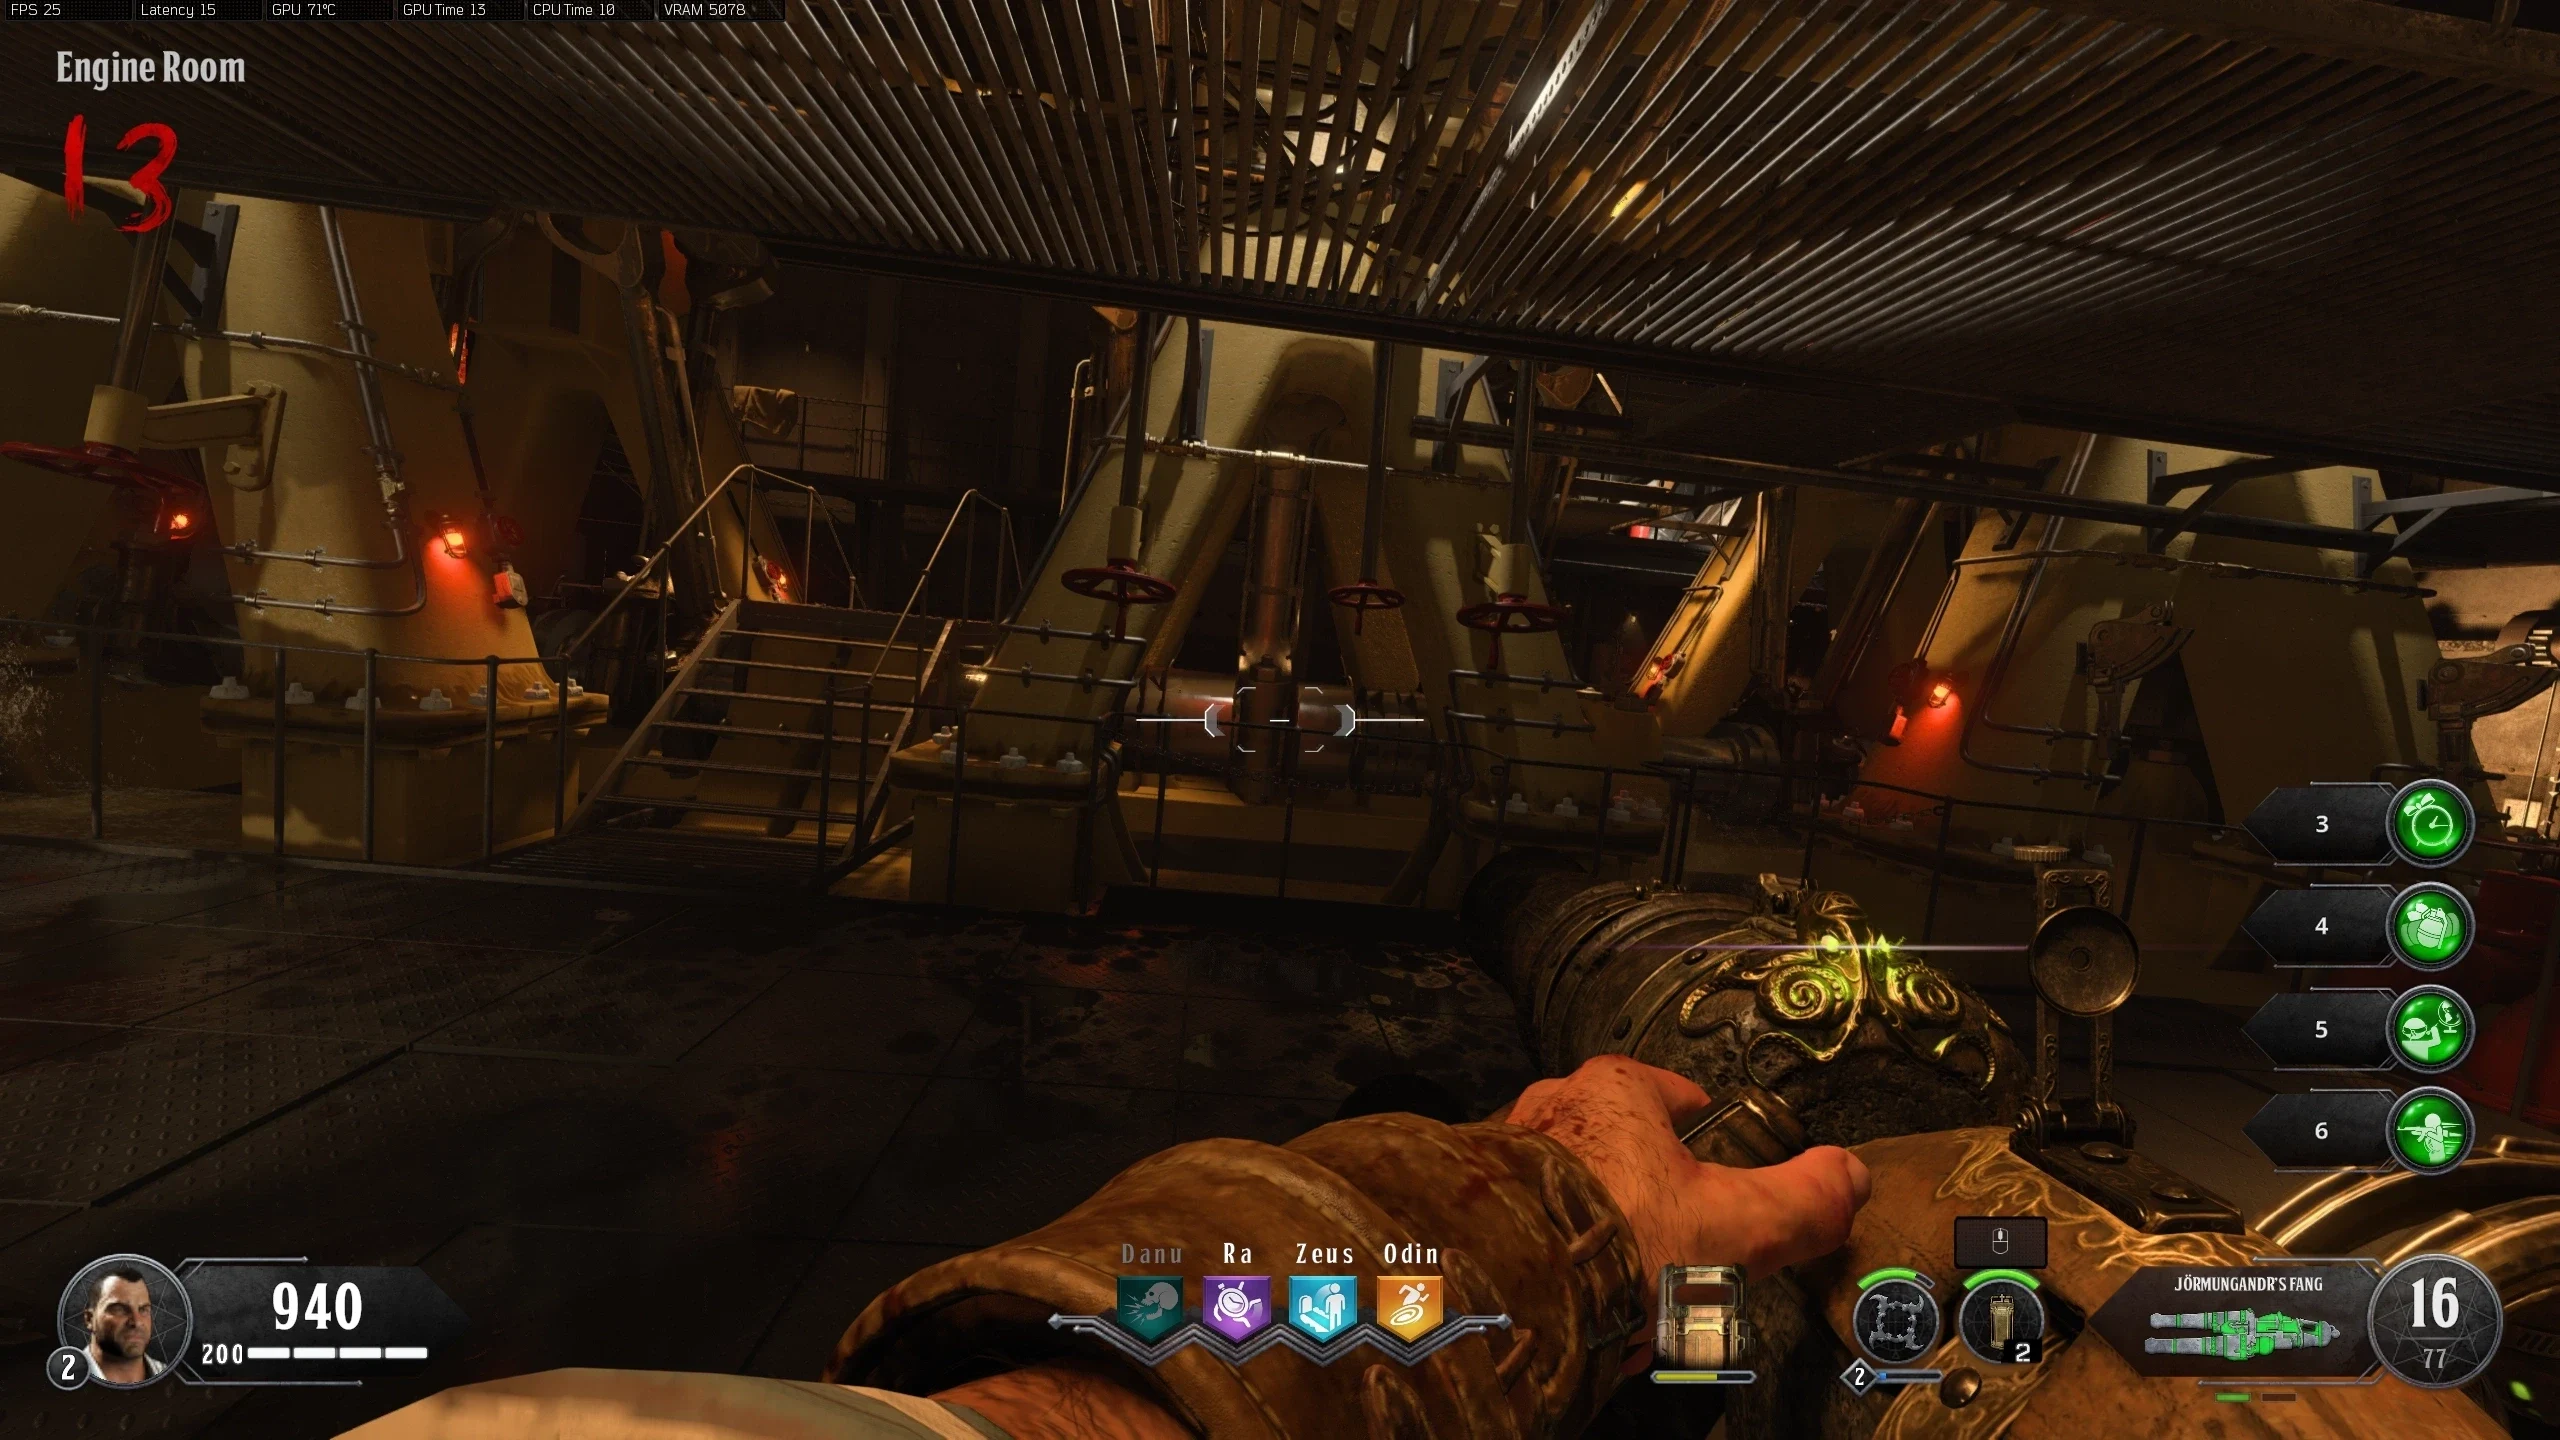
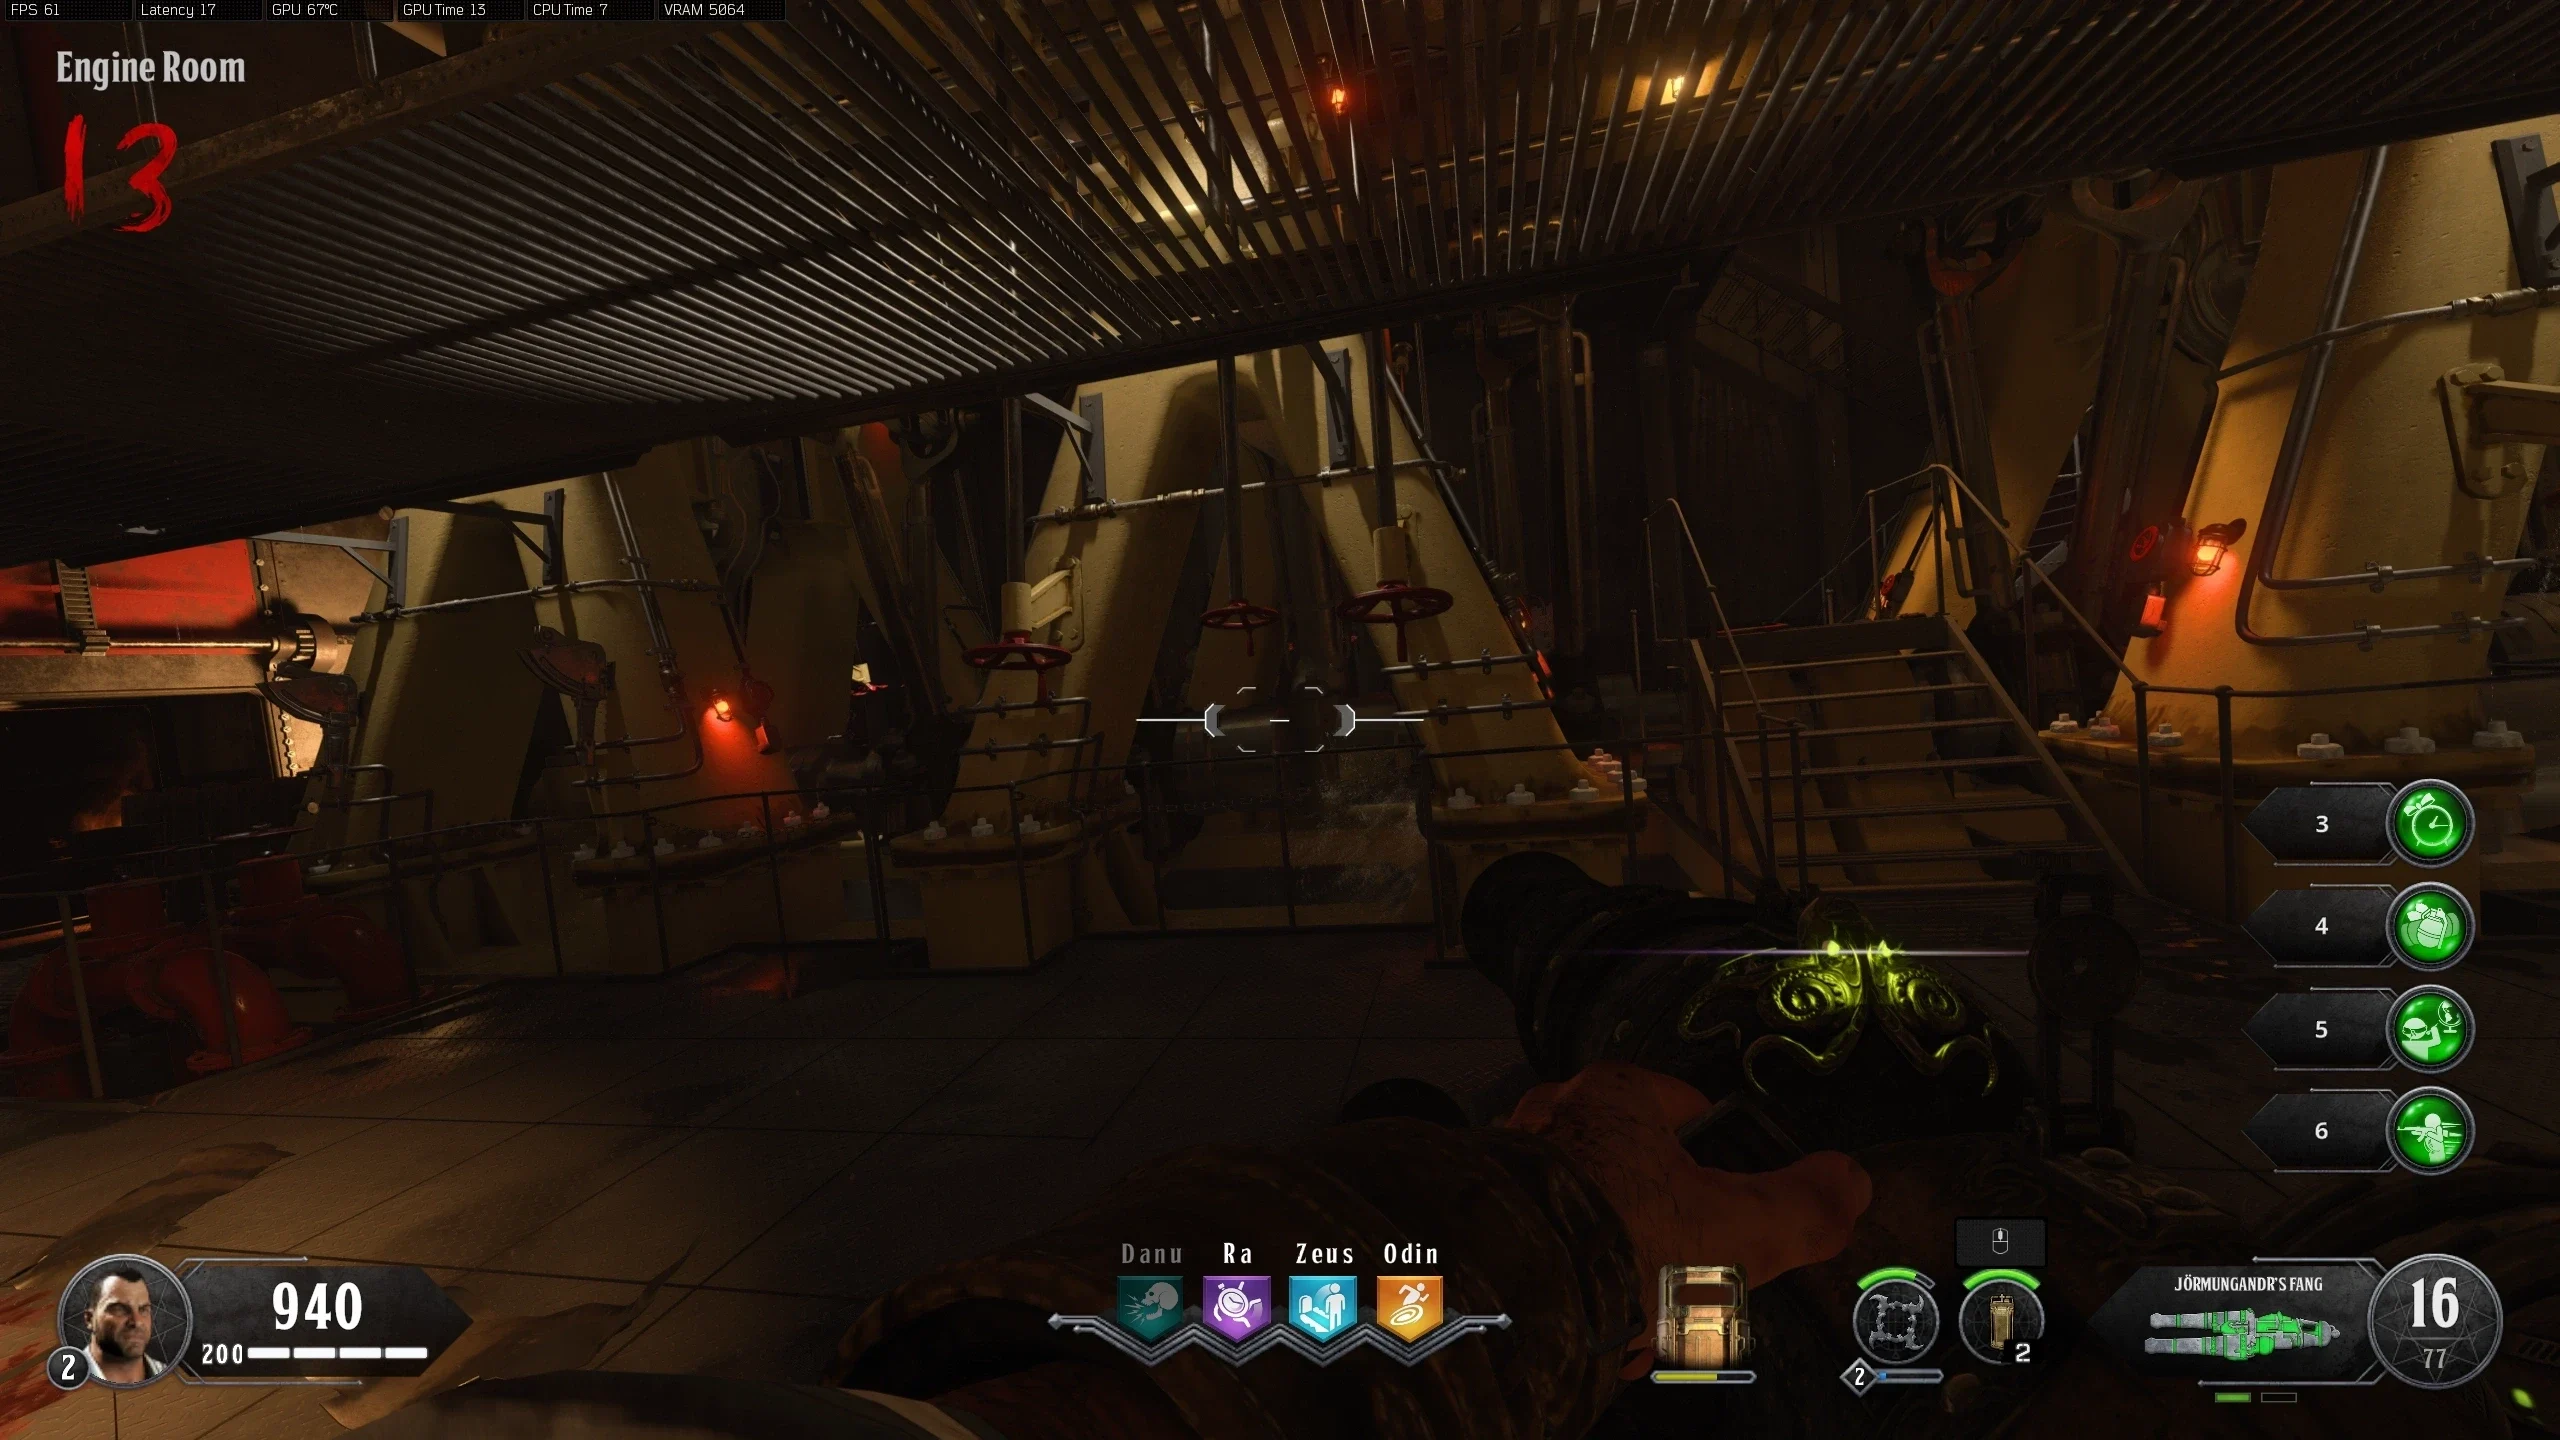
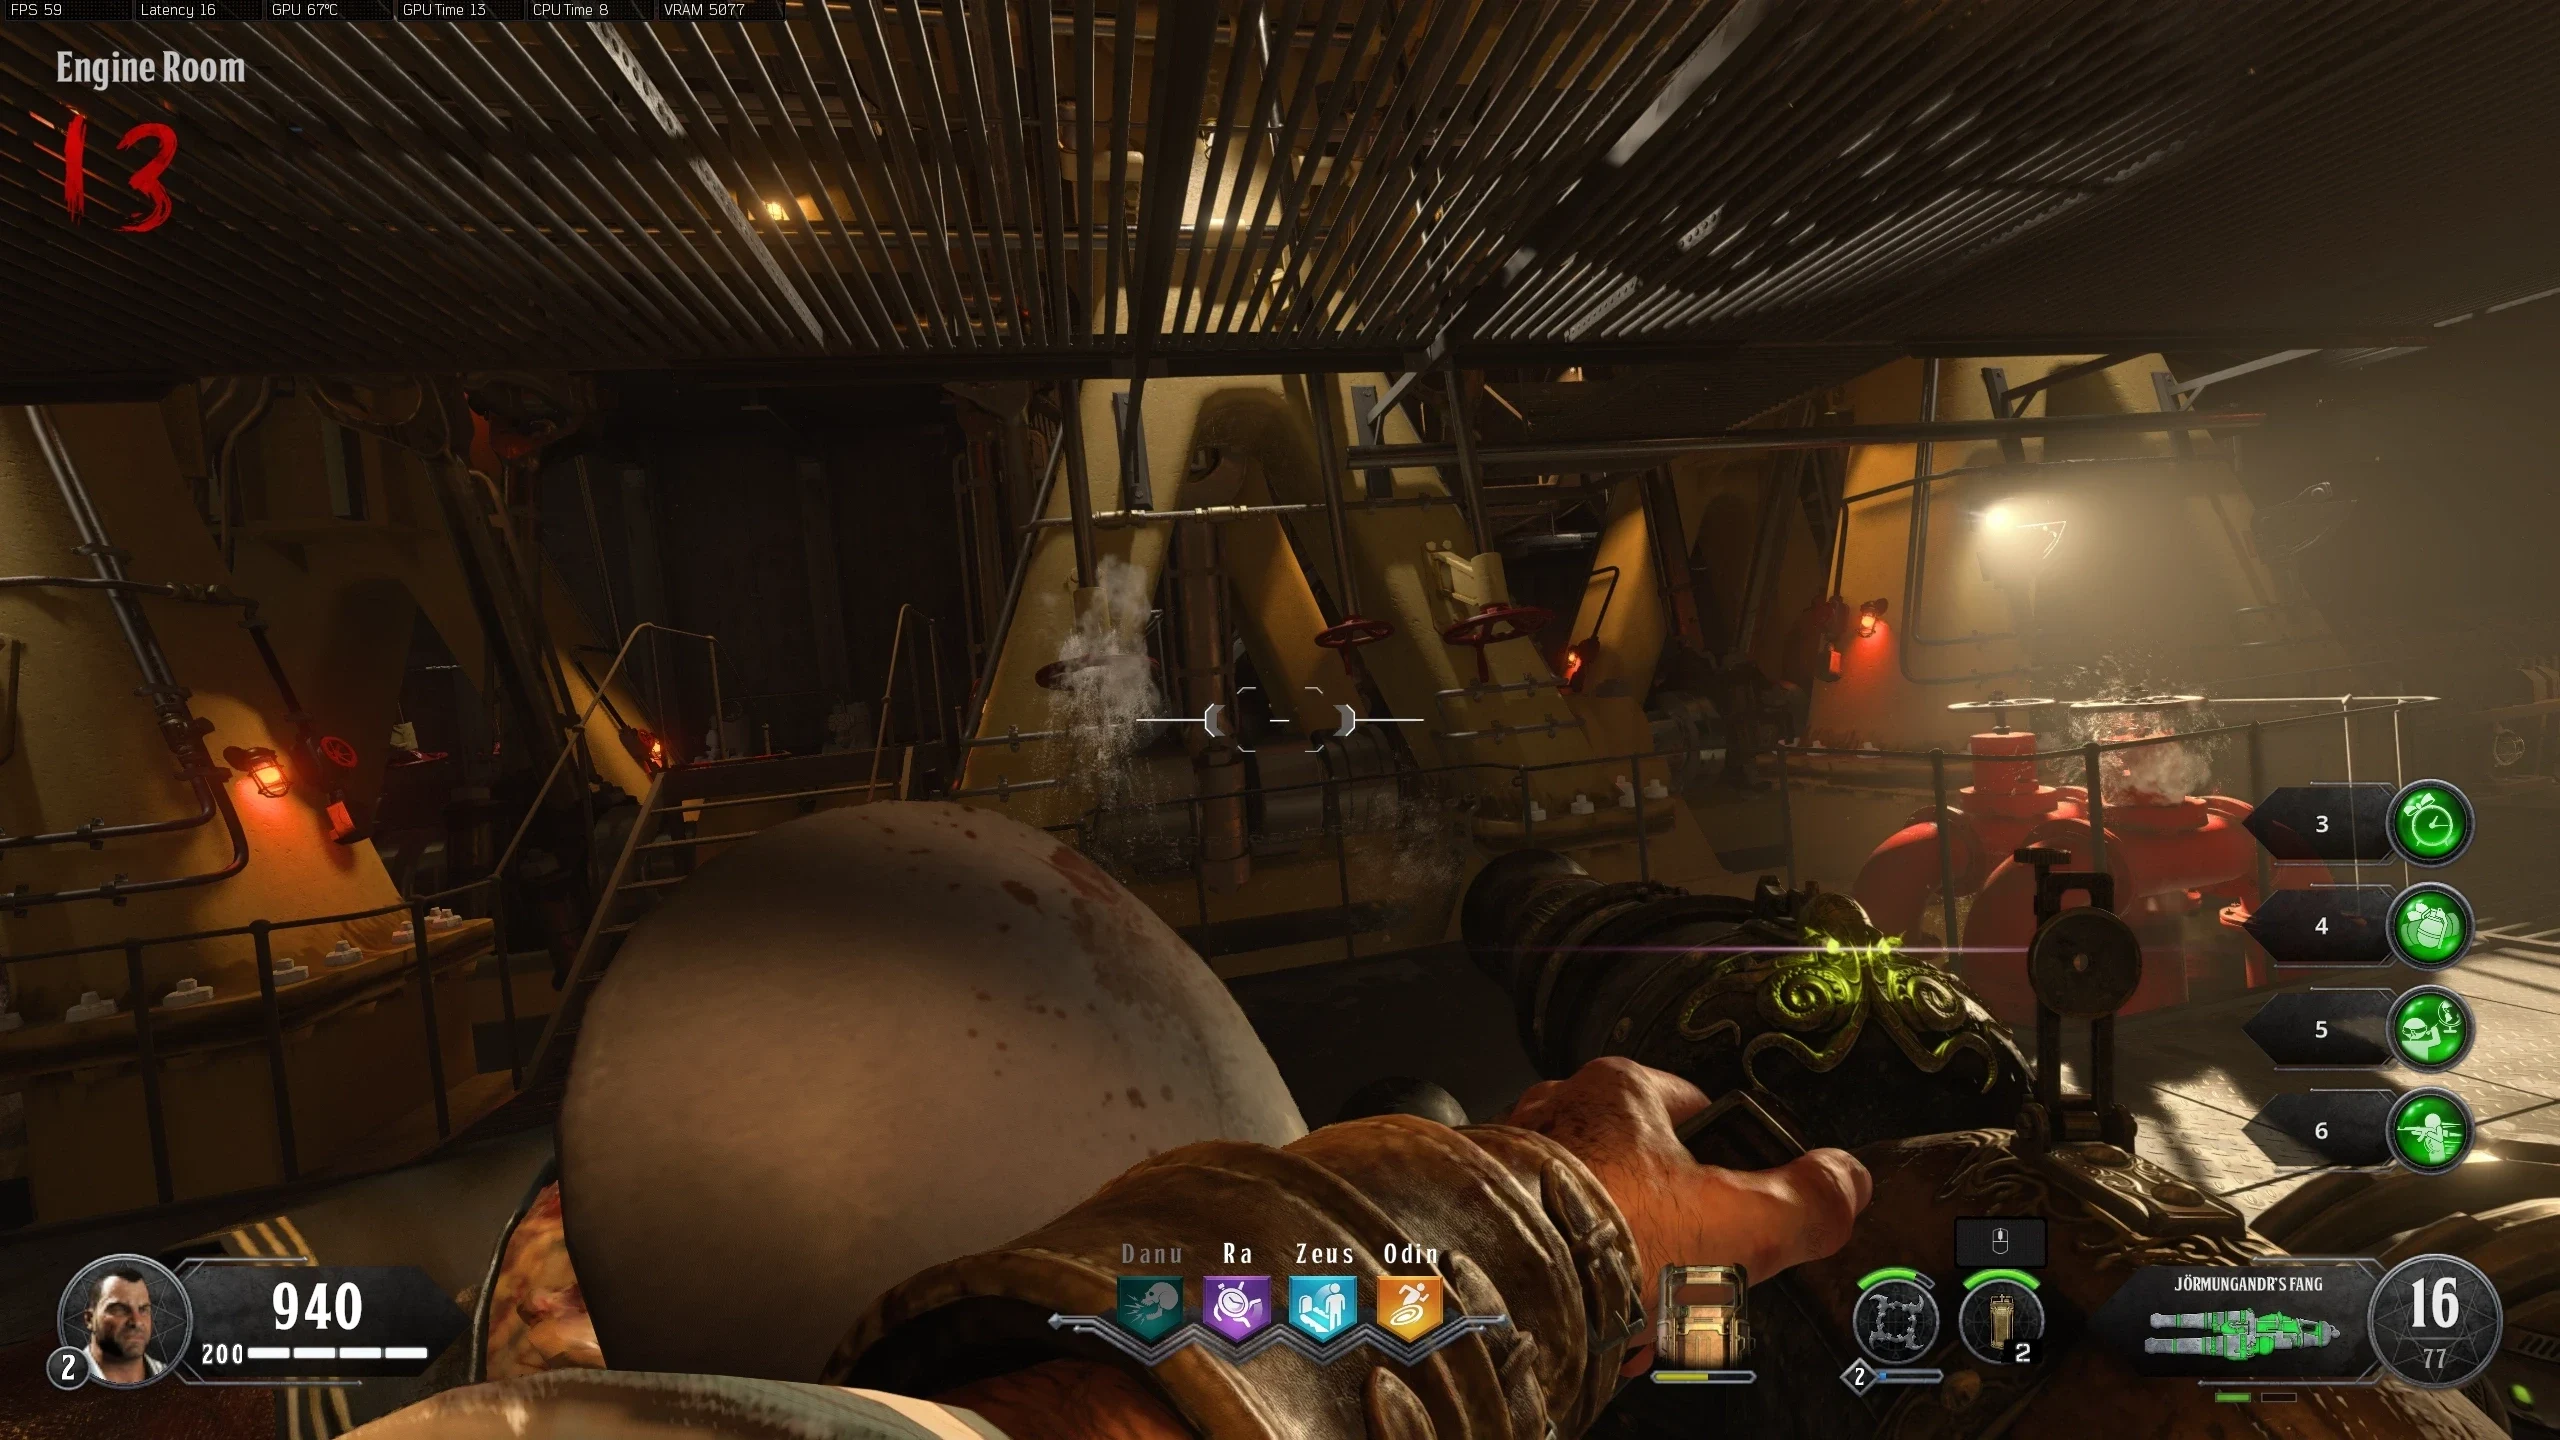
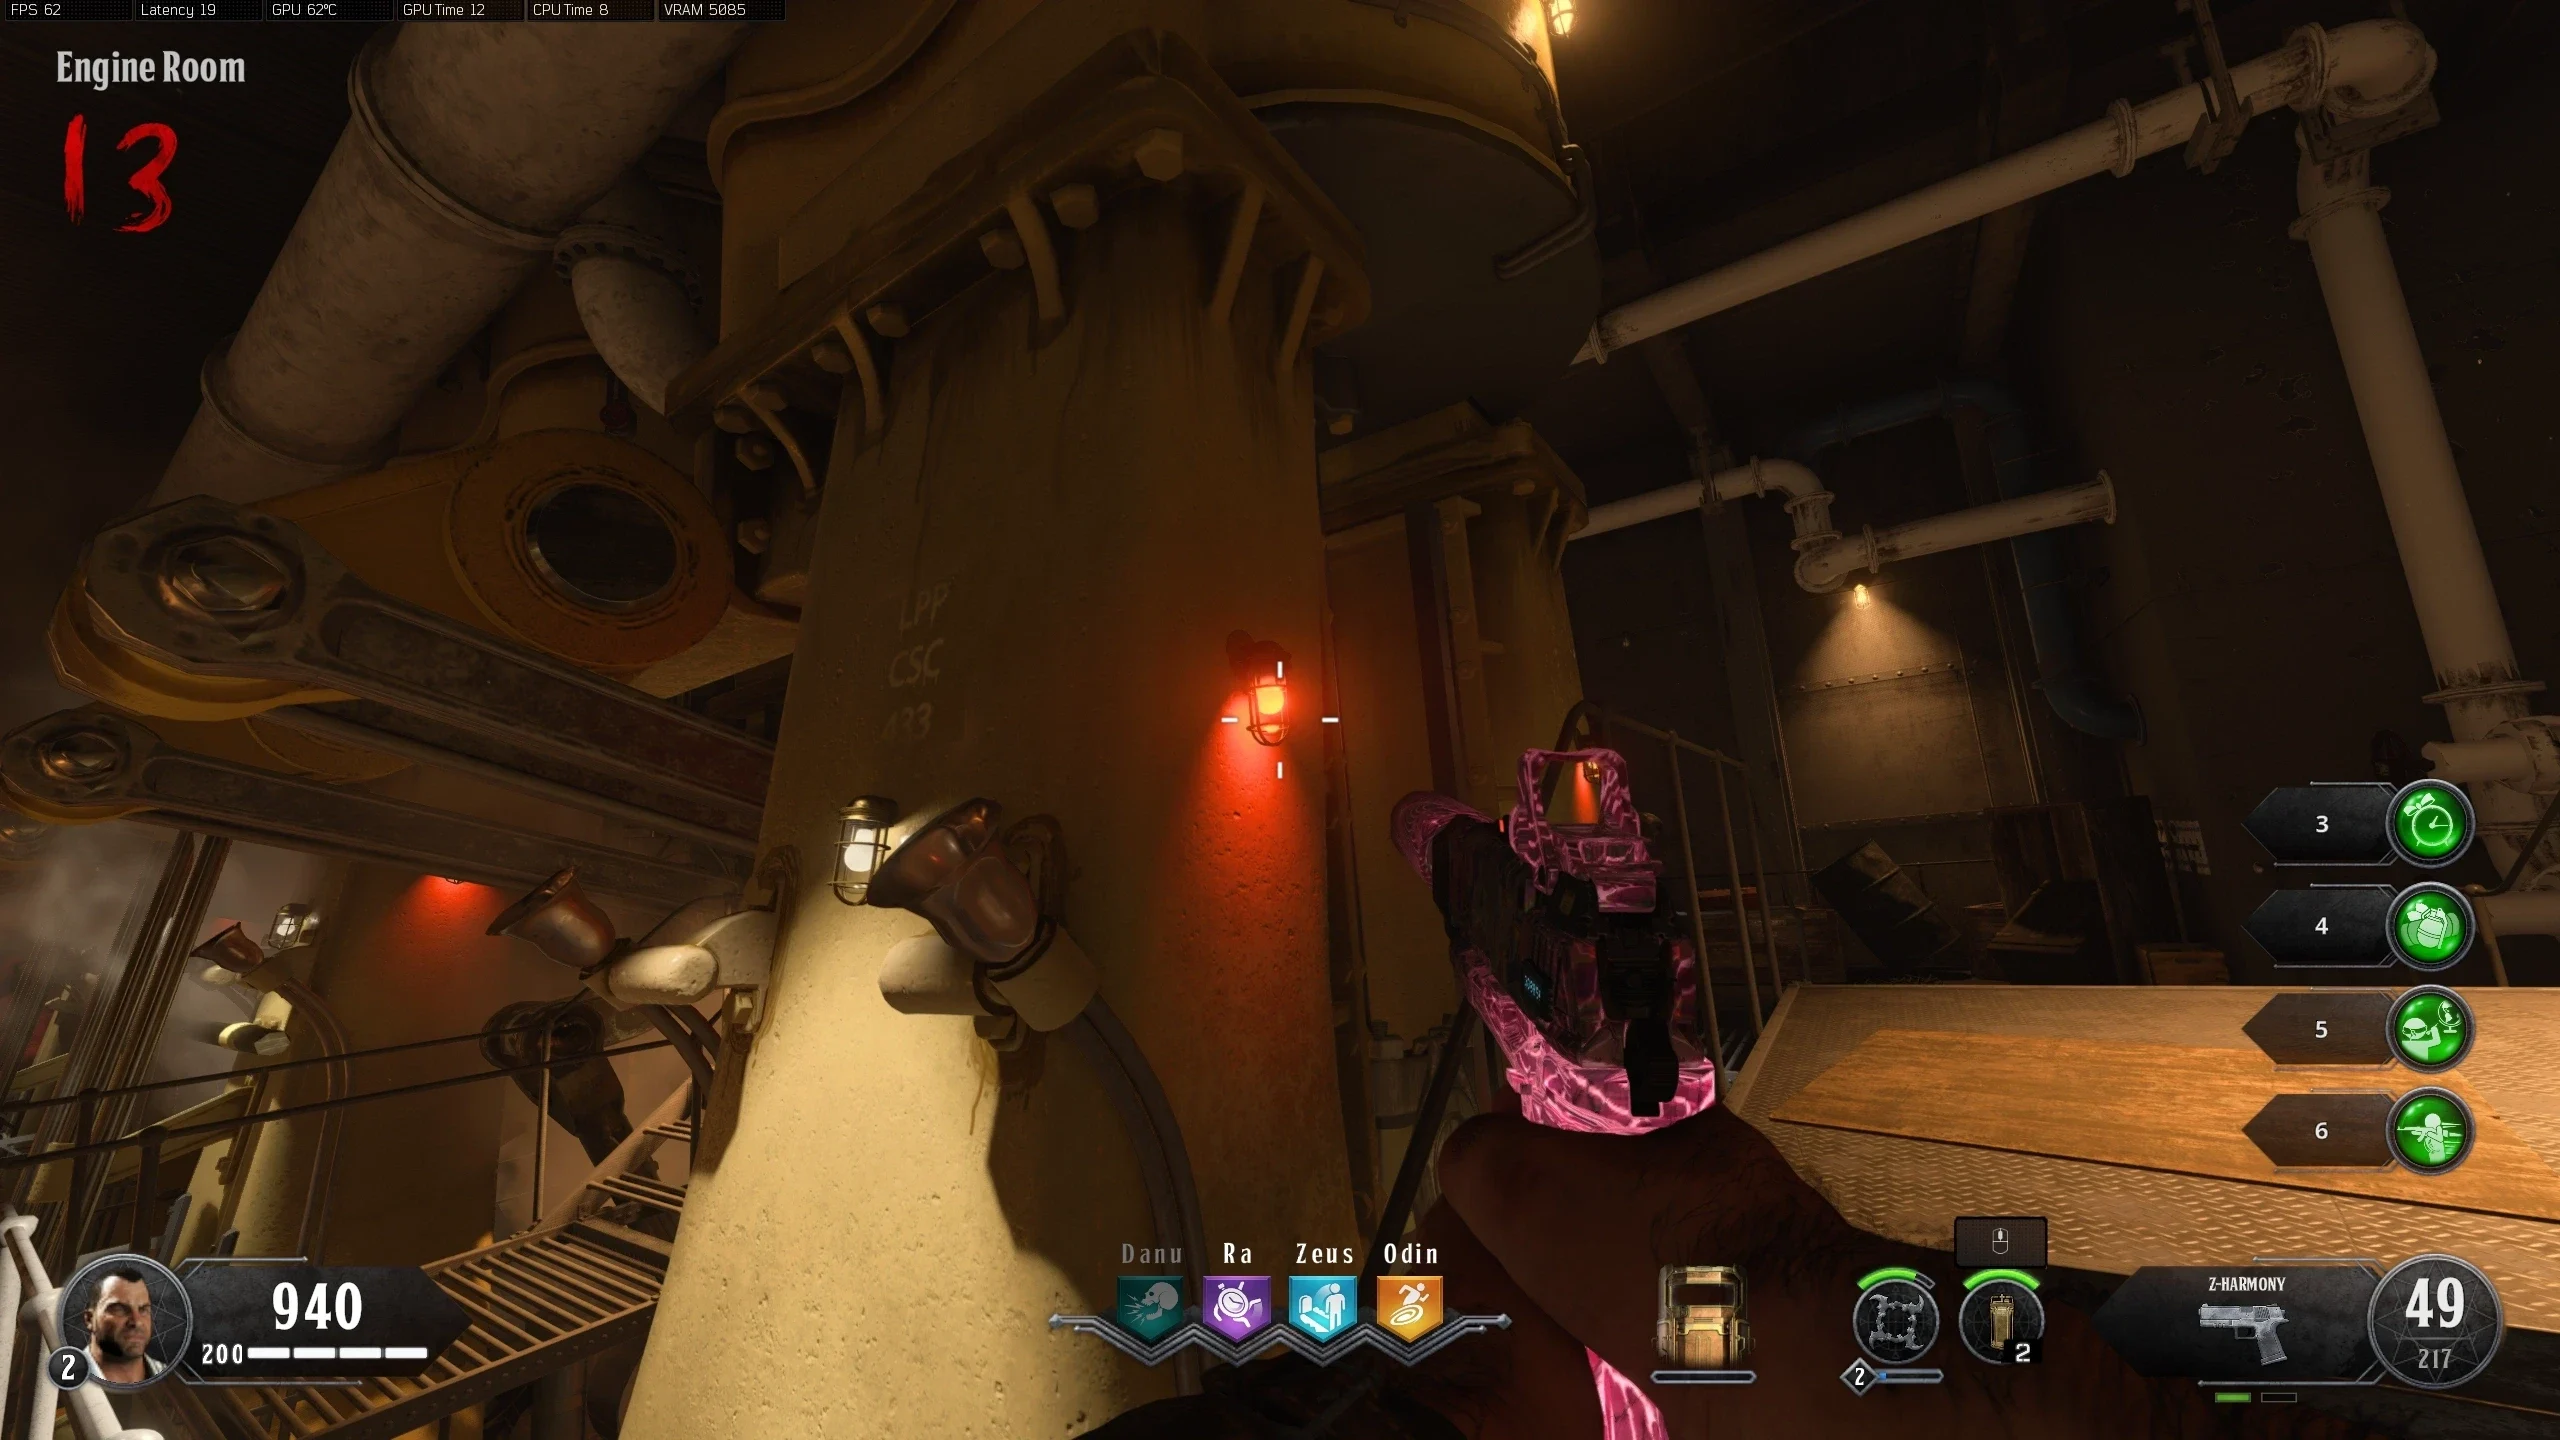
- Jupiter - Engine Room
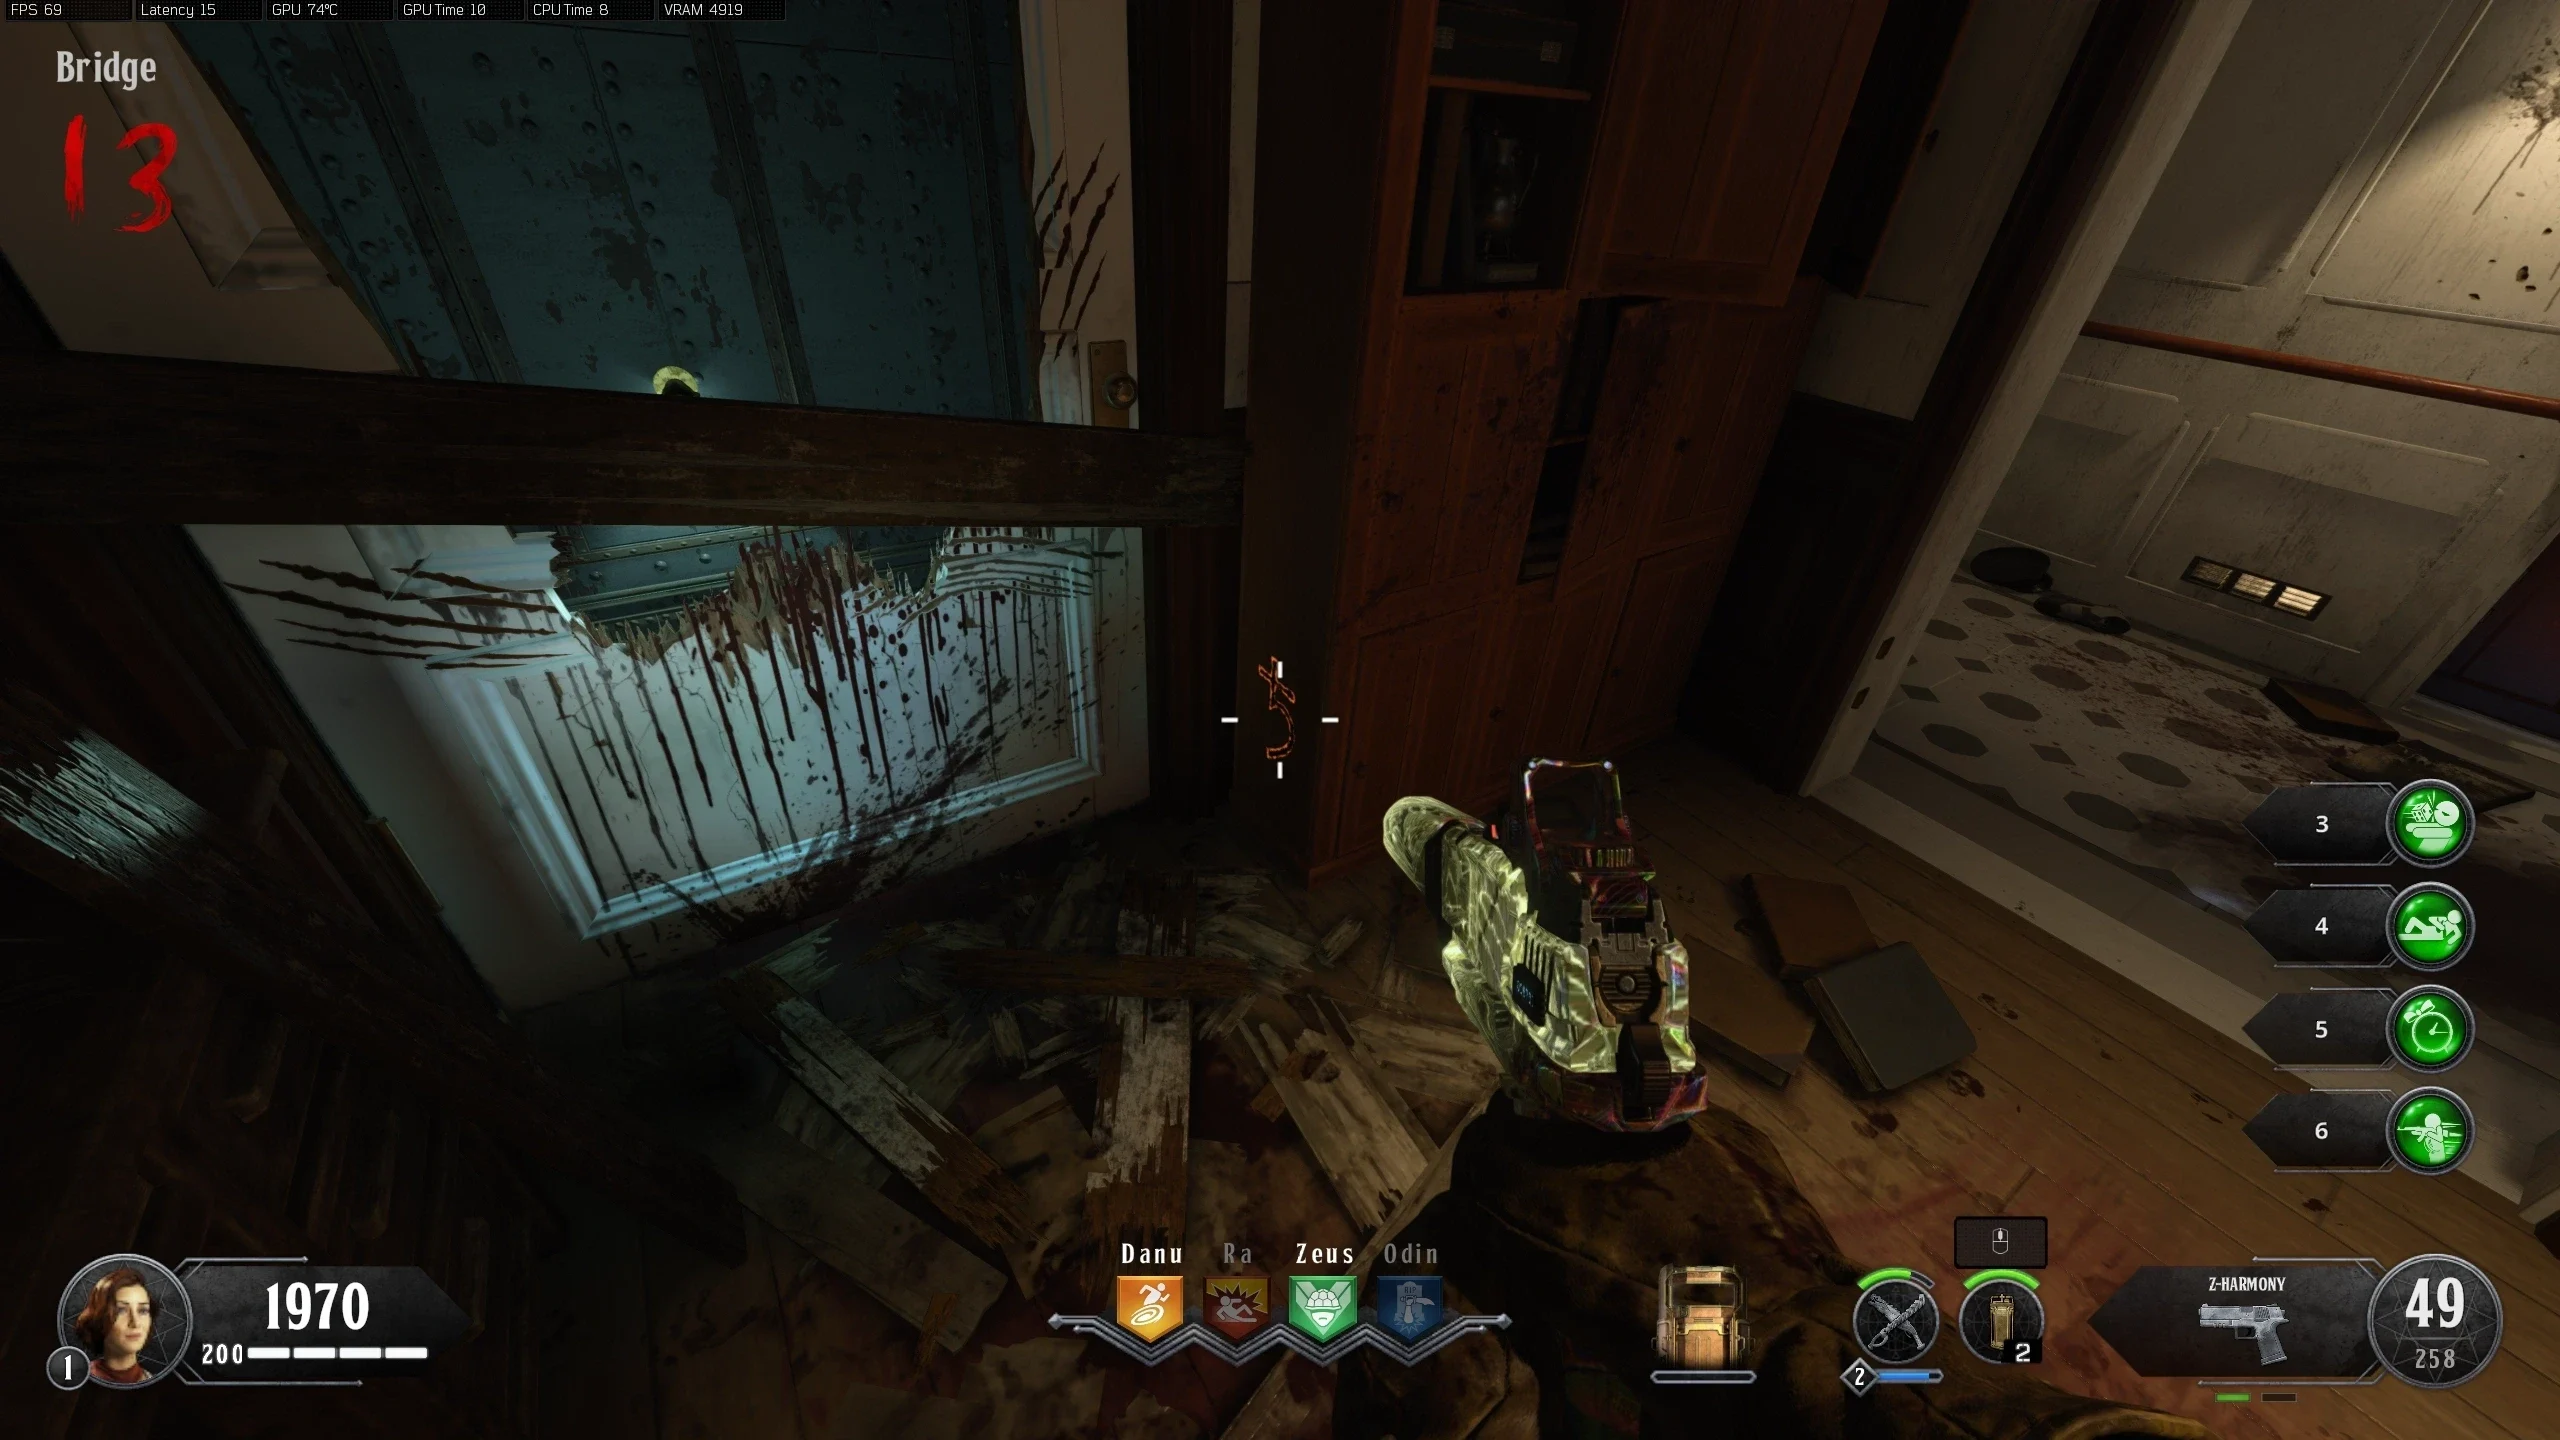
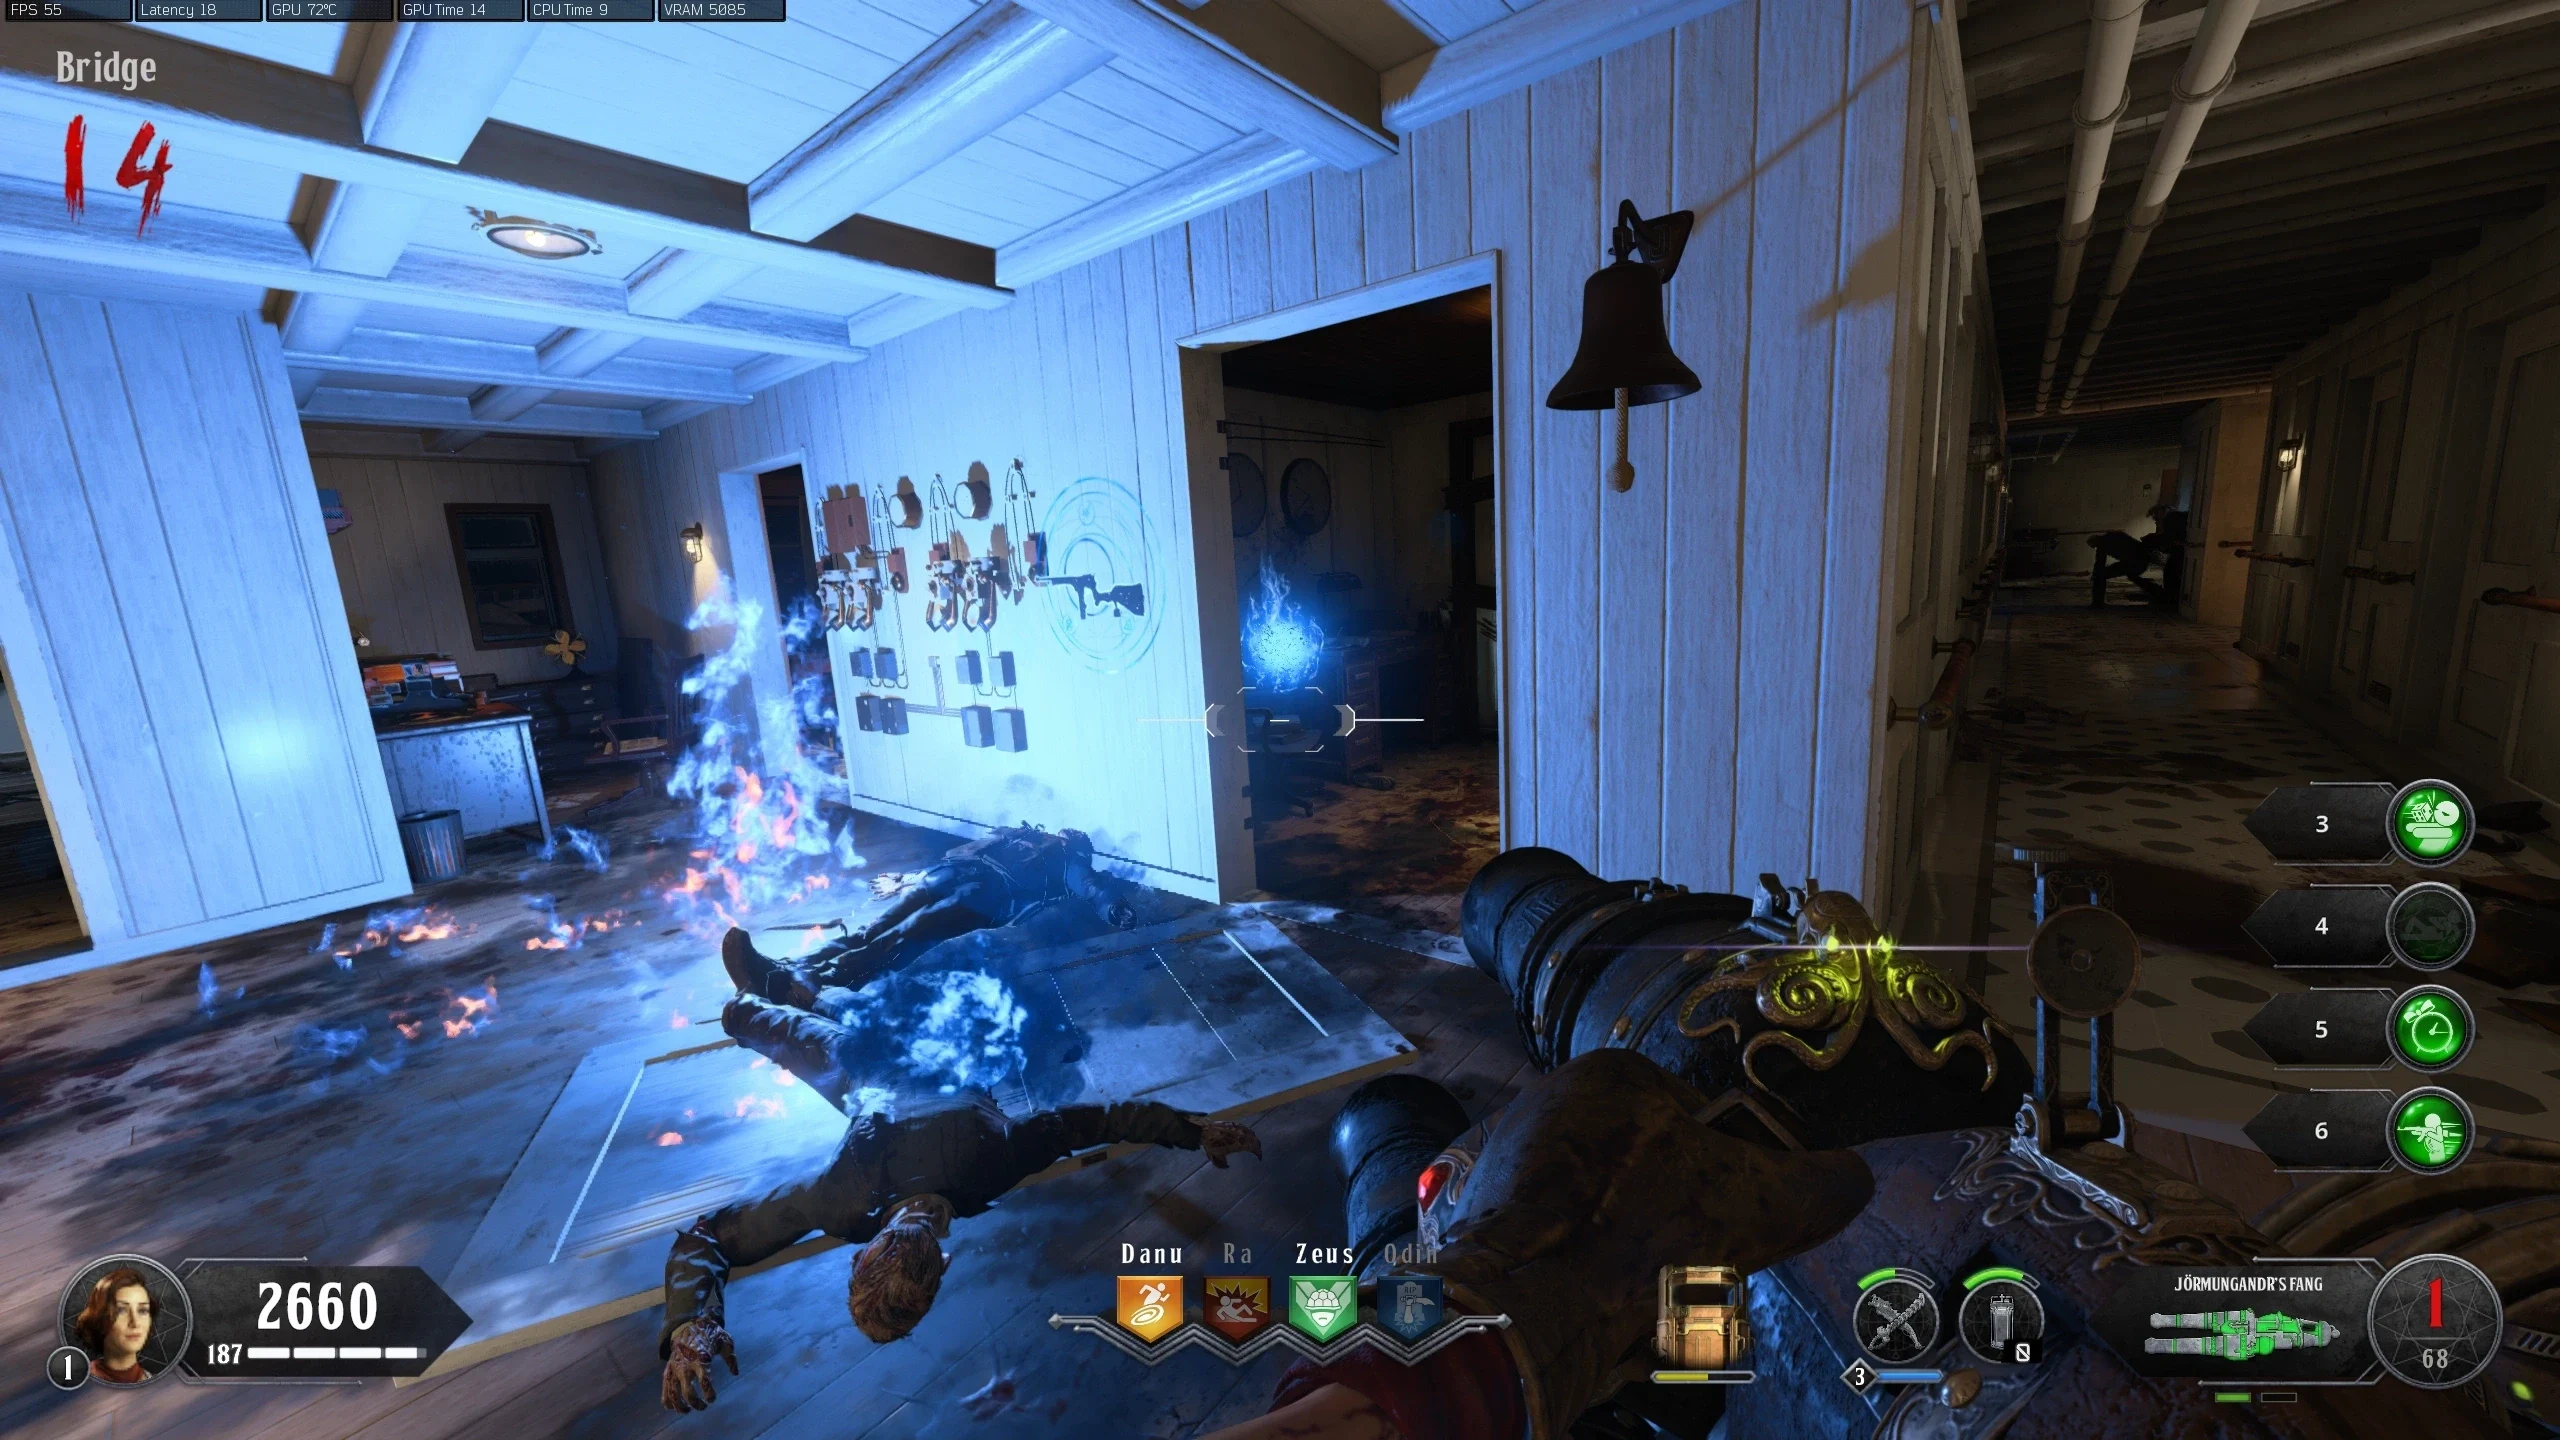
- Saturn - Bridge (Room Behind Escargot wallbuy)
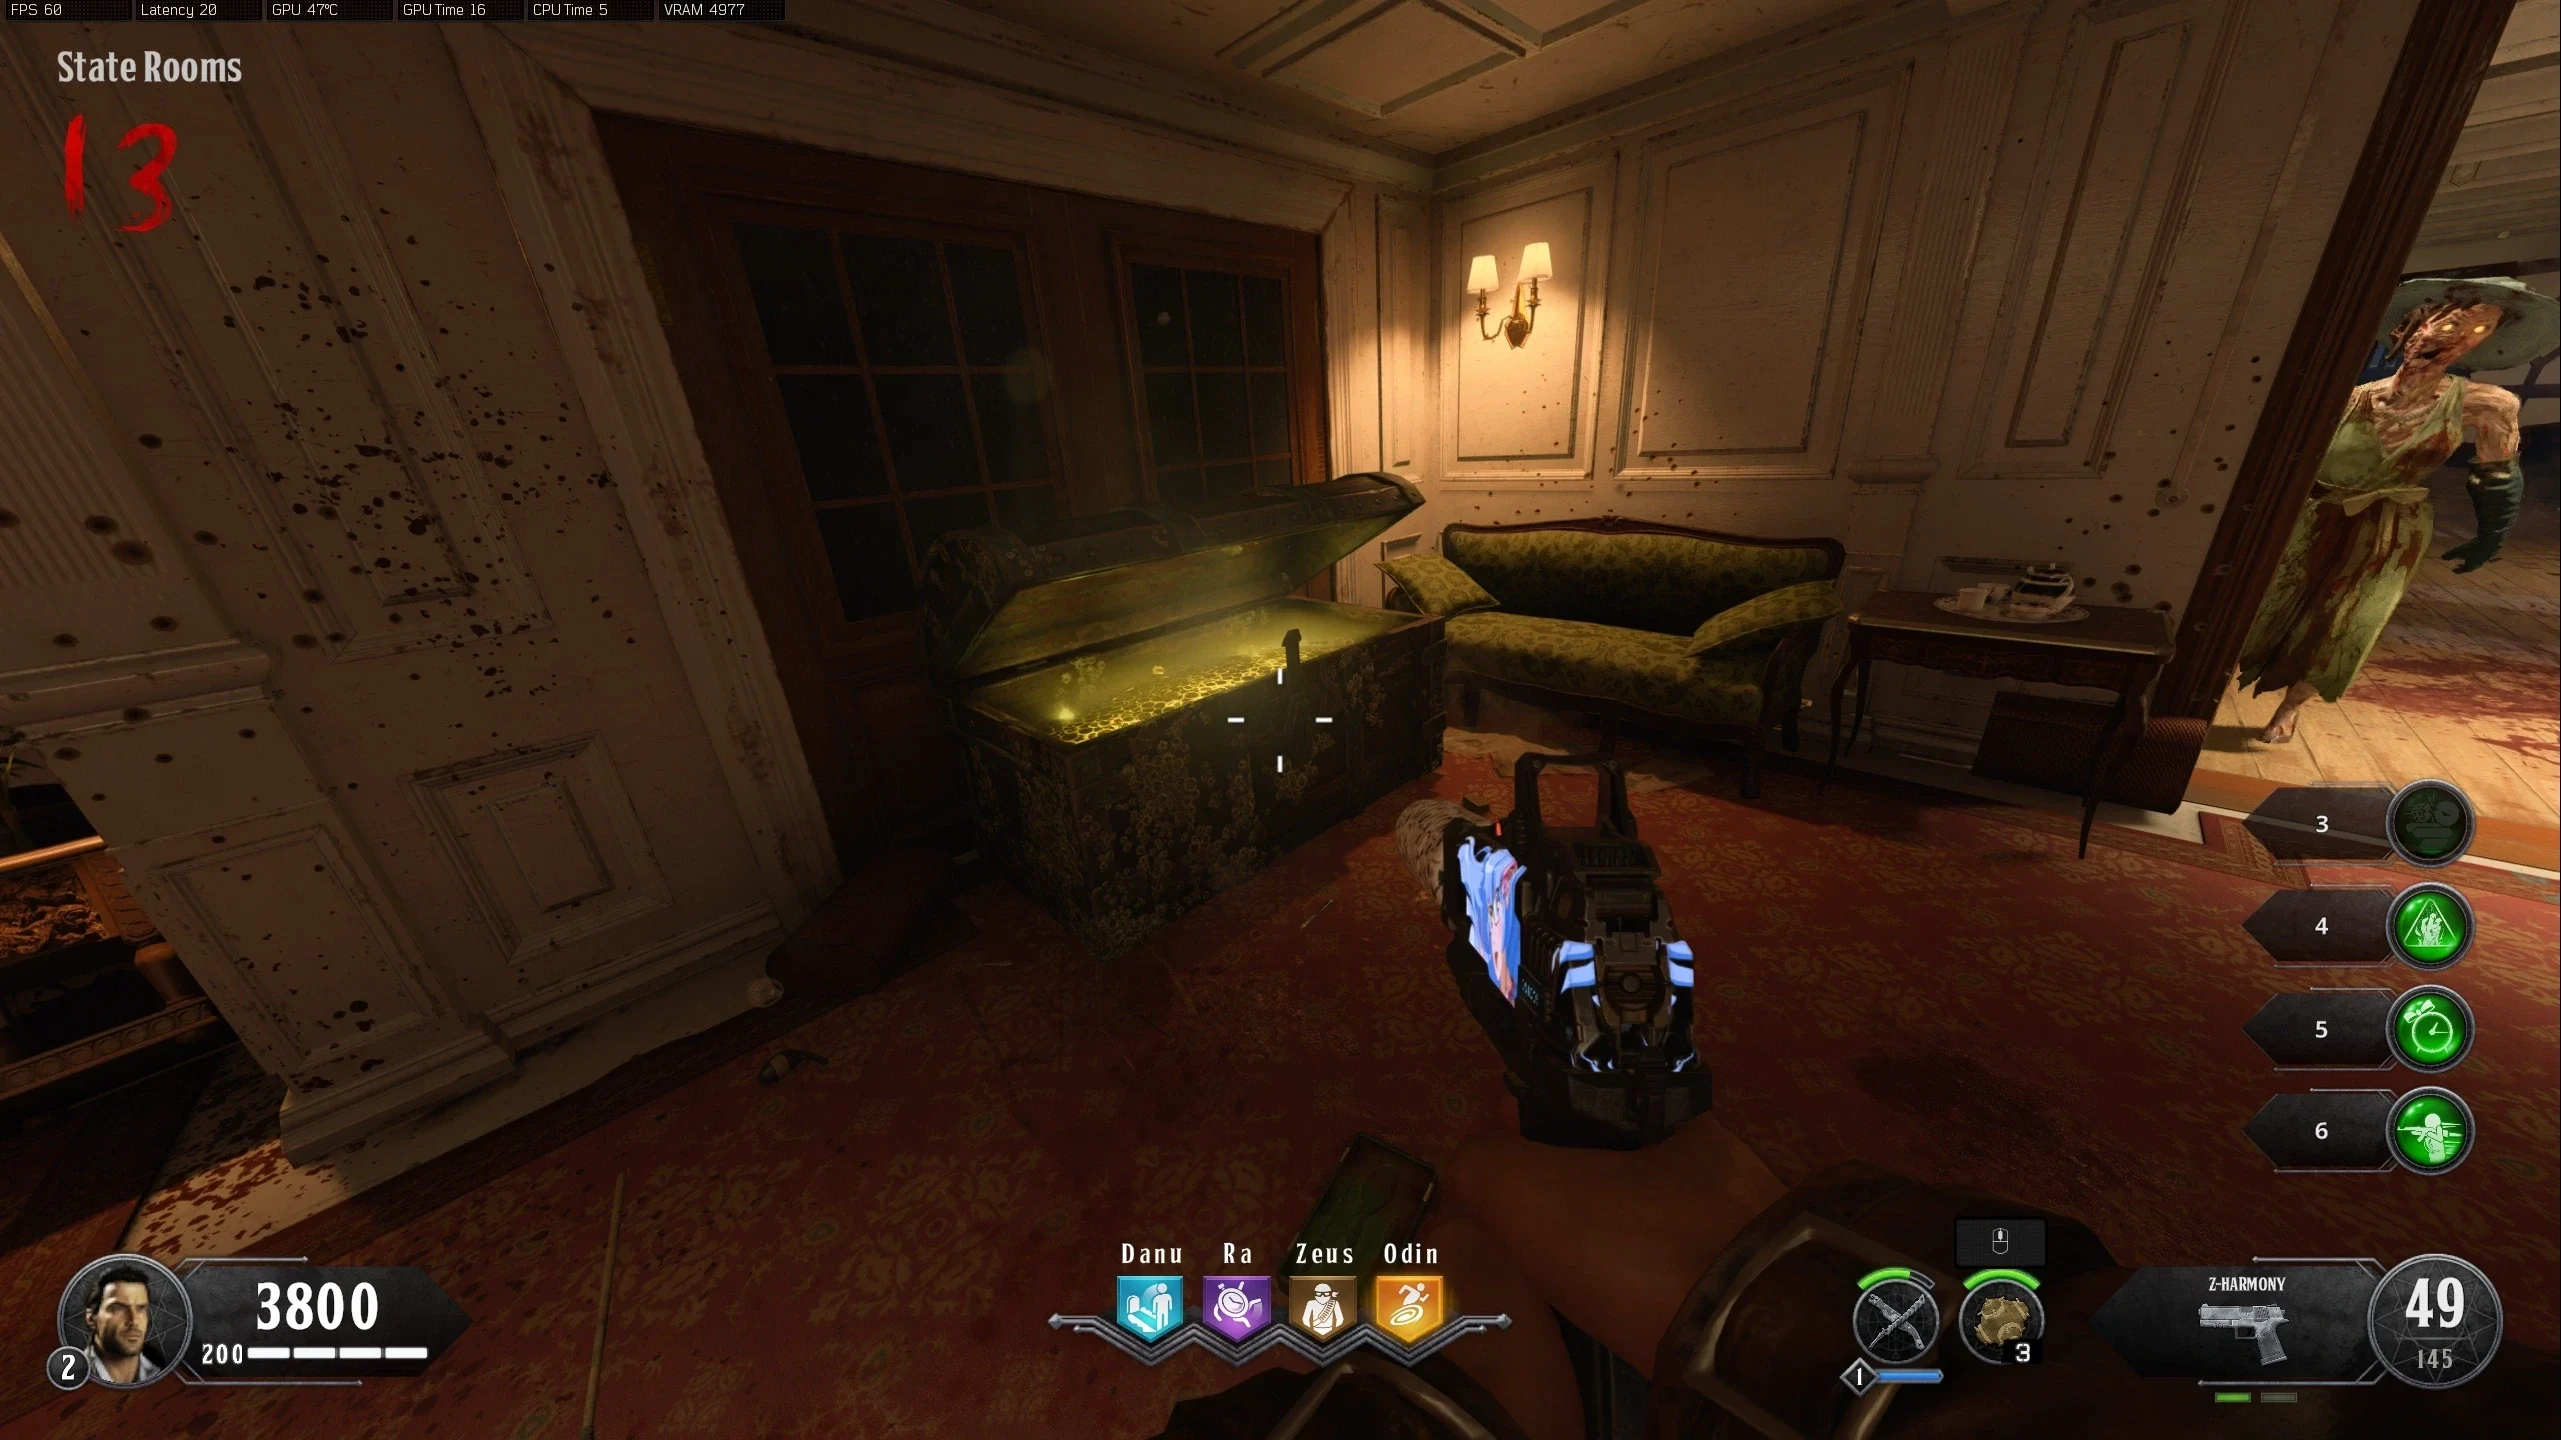
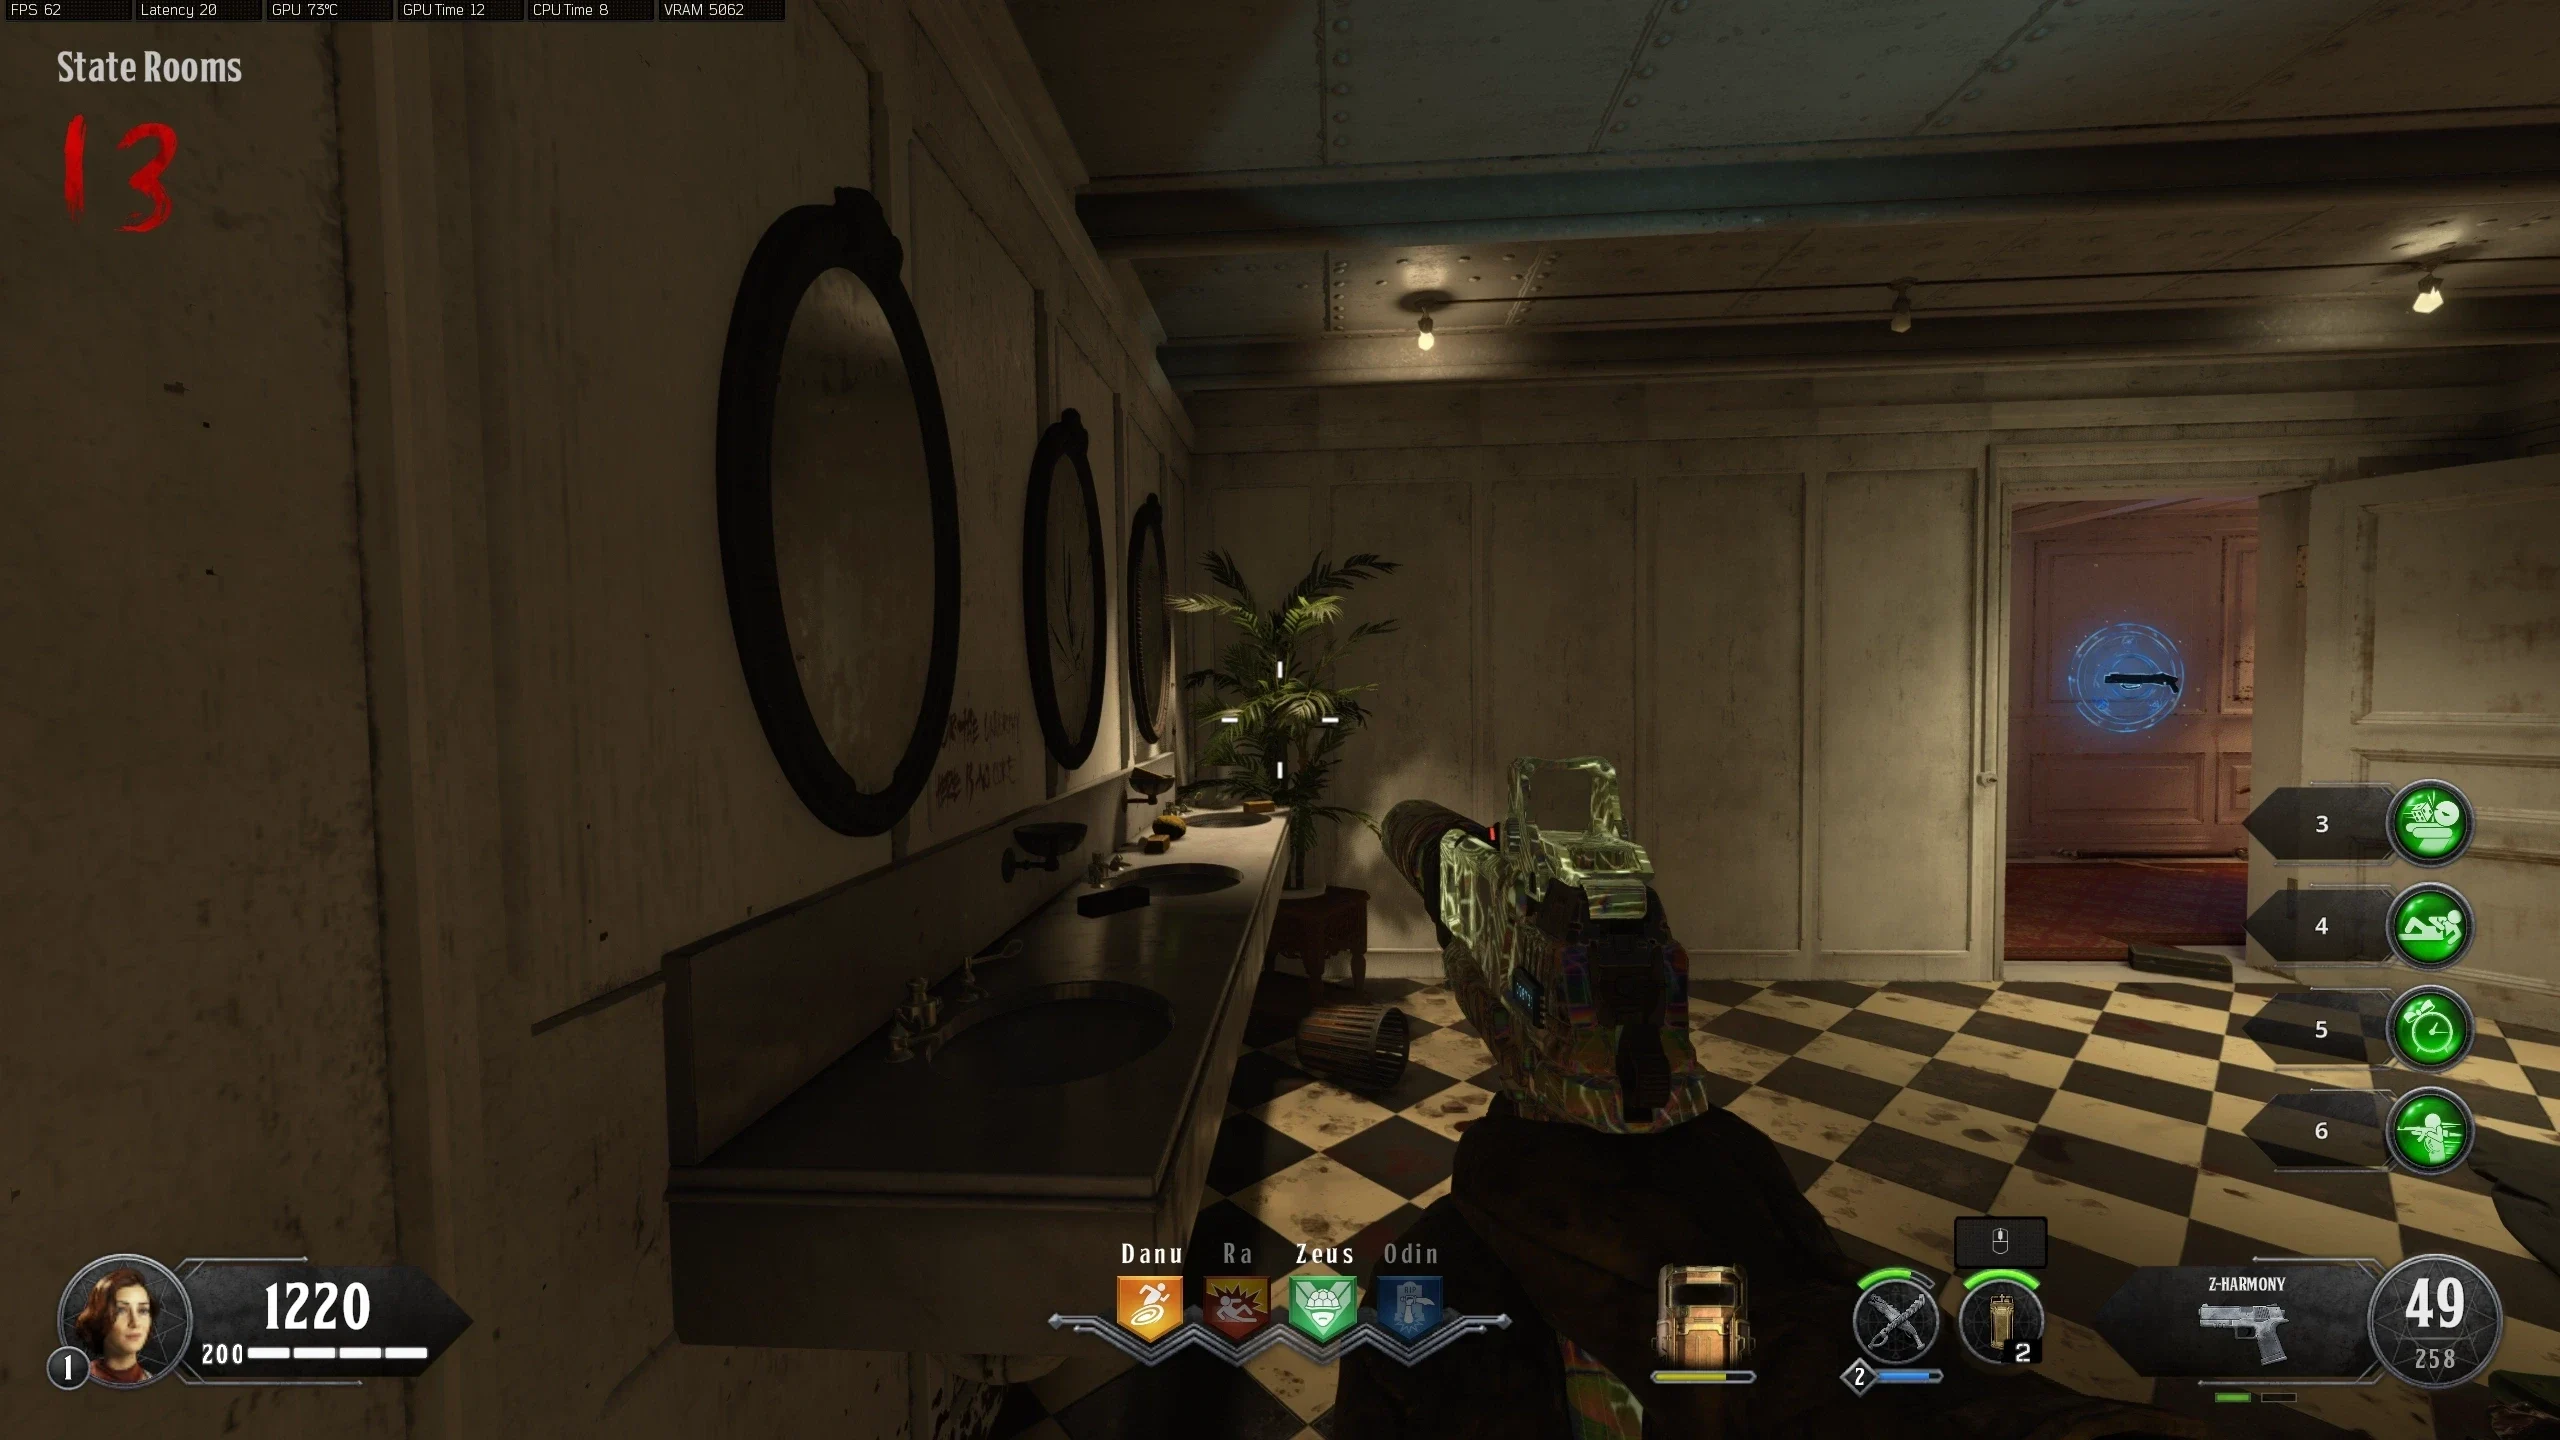
- Uranus - State Rooms (Behind the Plant)
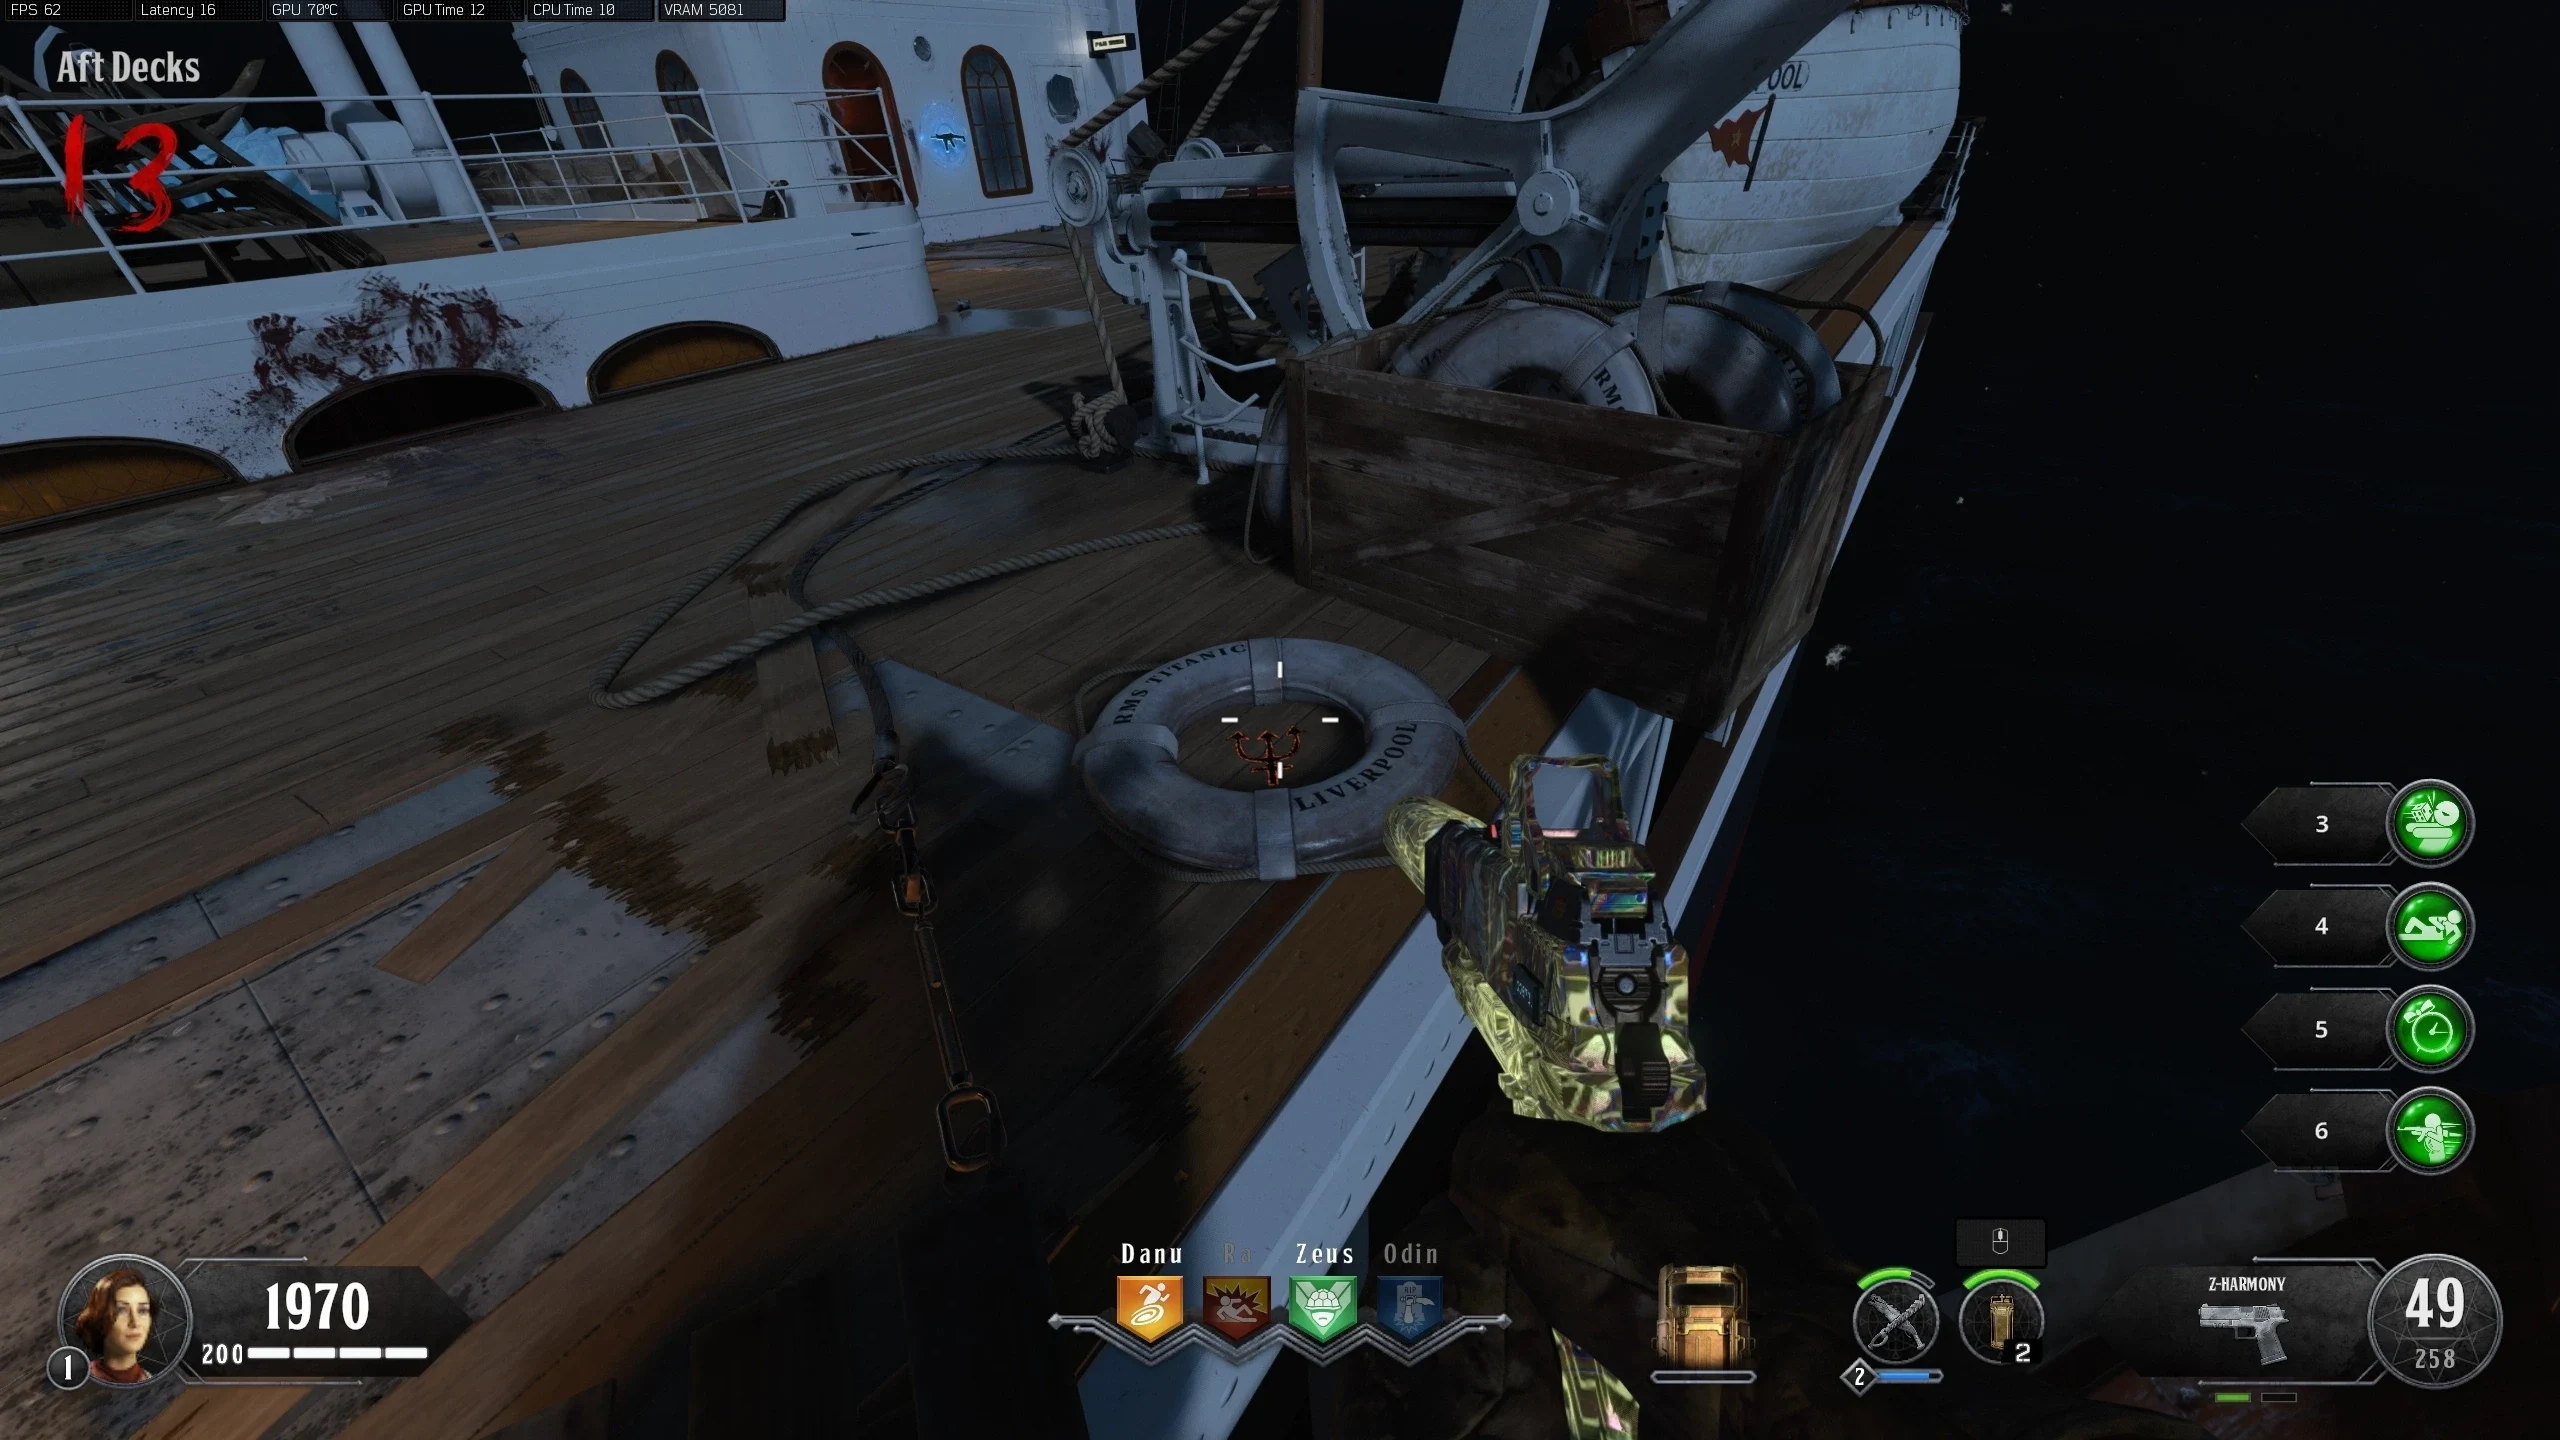
- Neptune - Aft Decks
- Once all symbols are interacted with, they will disappear.
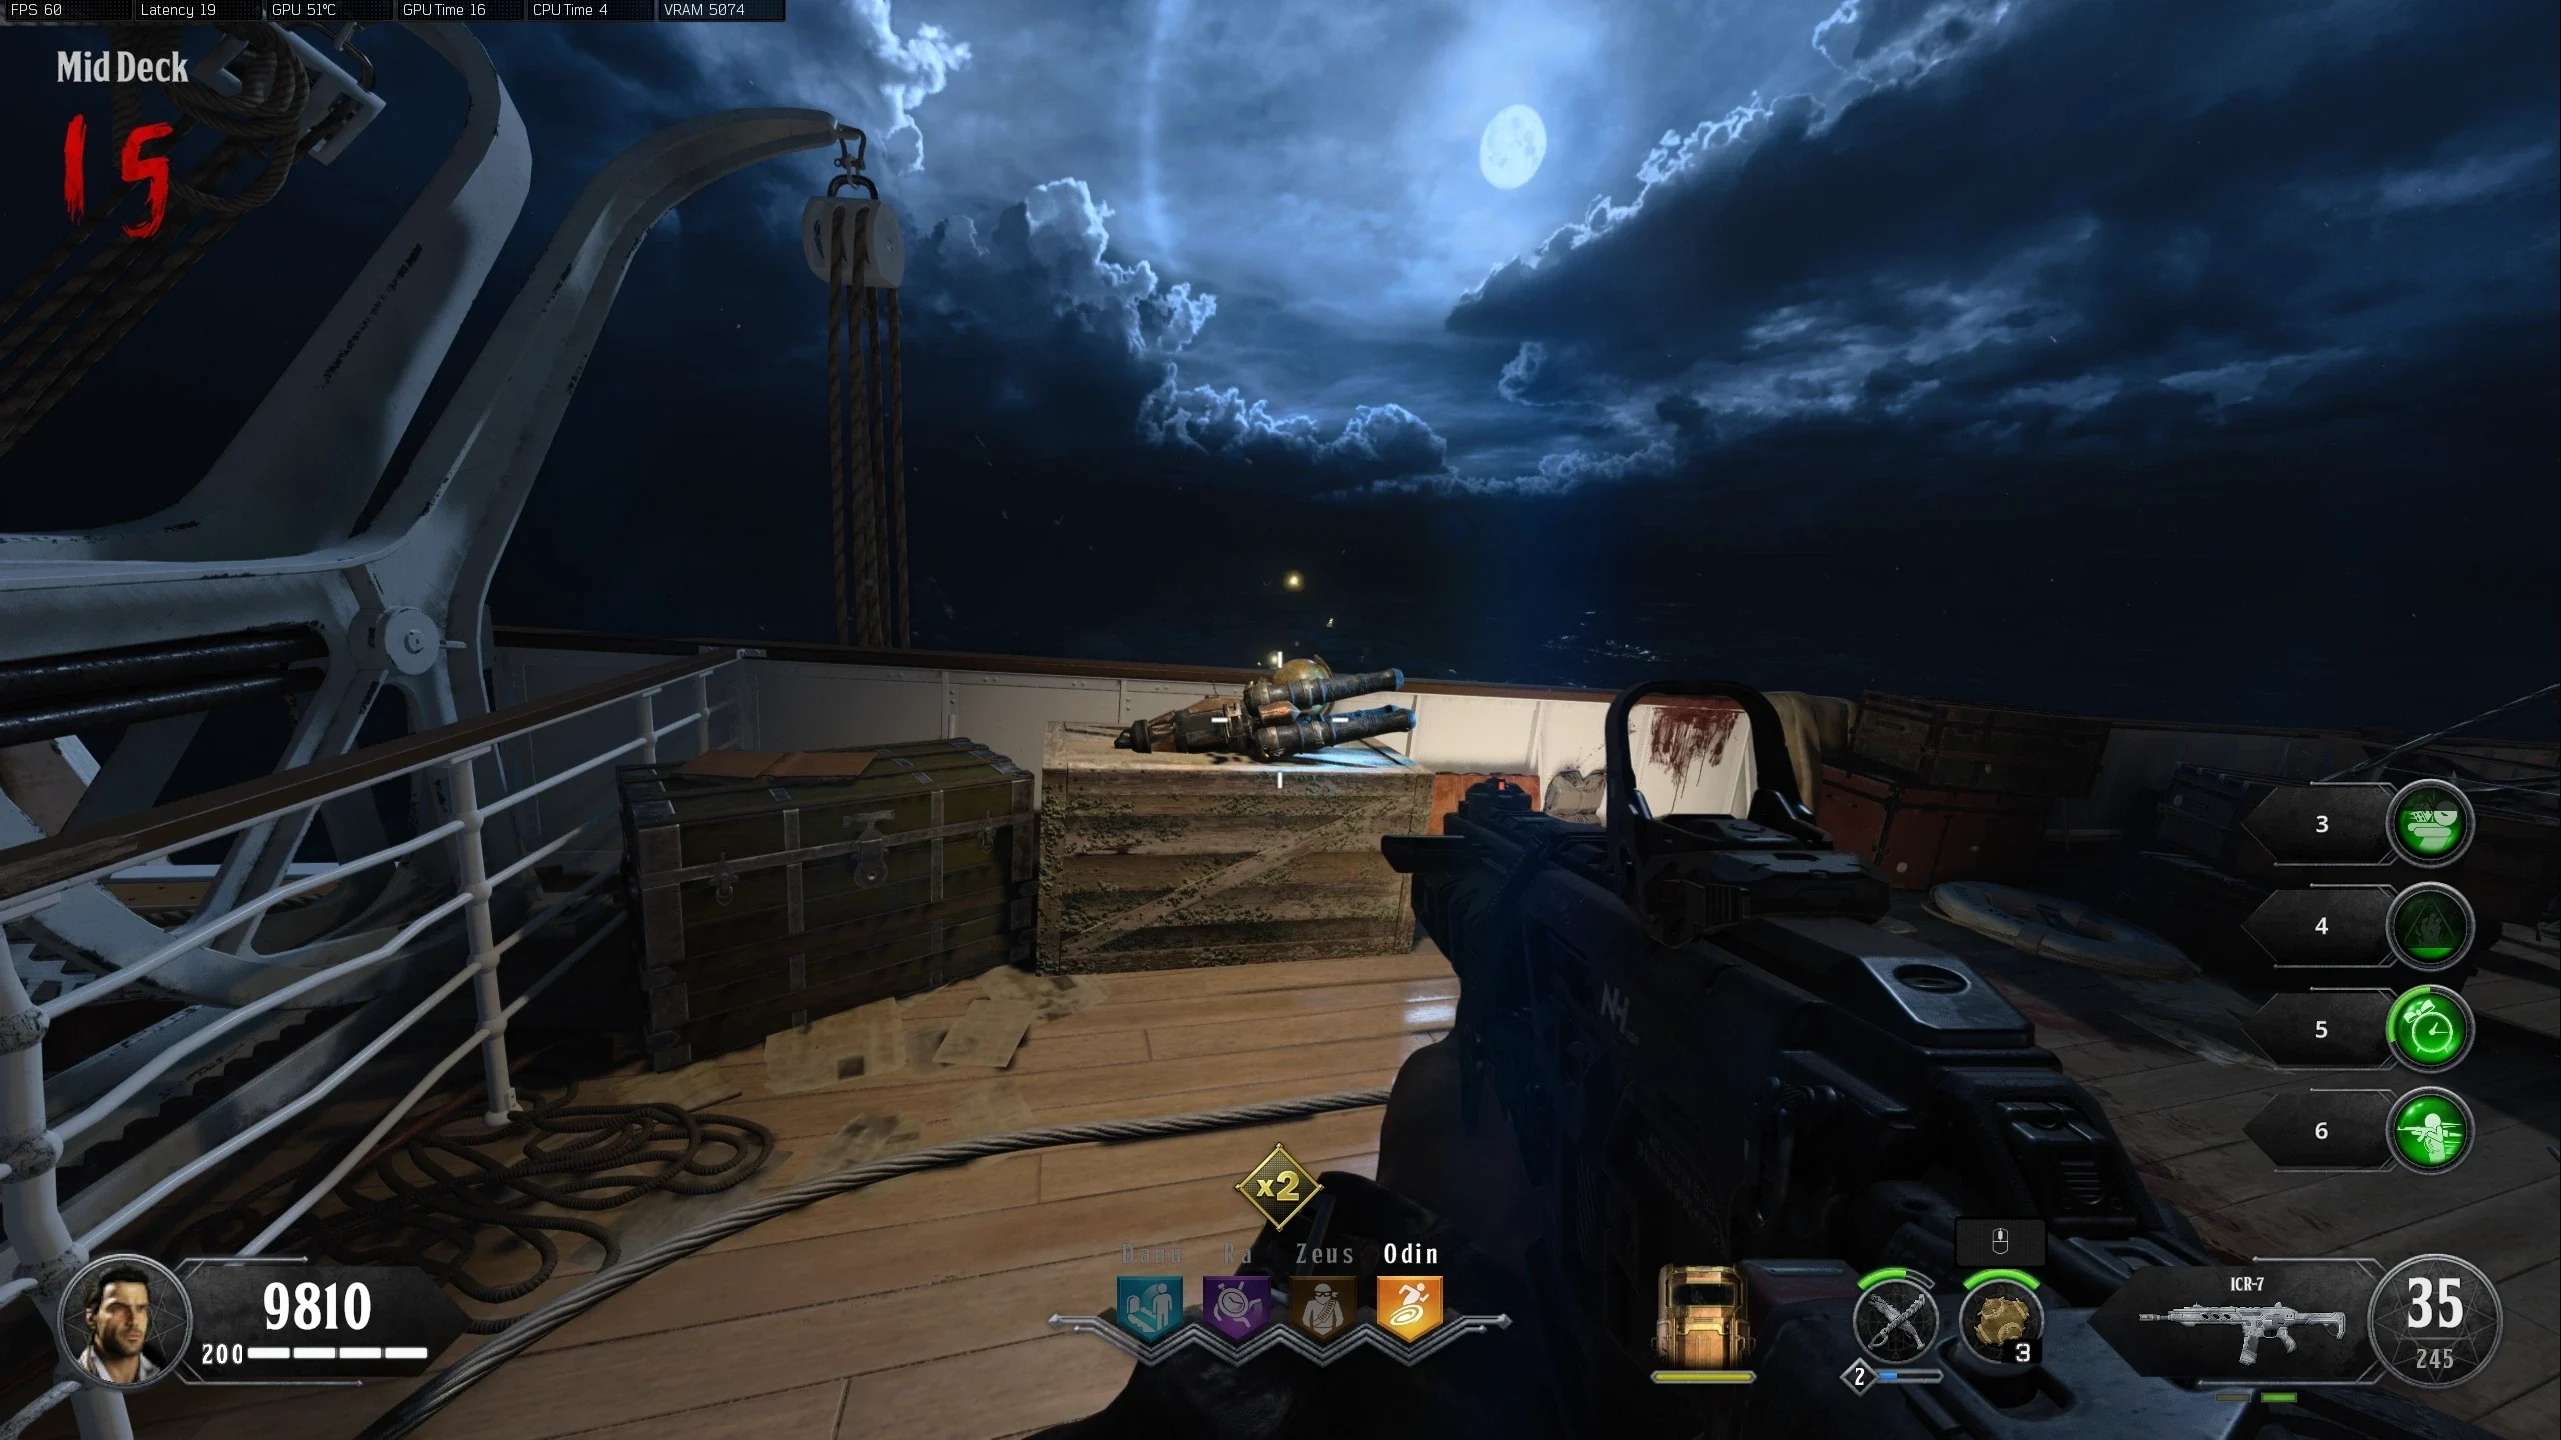
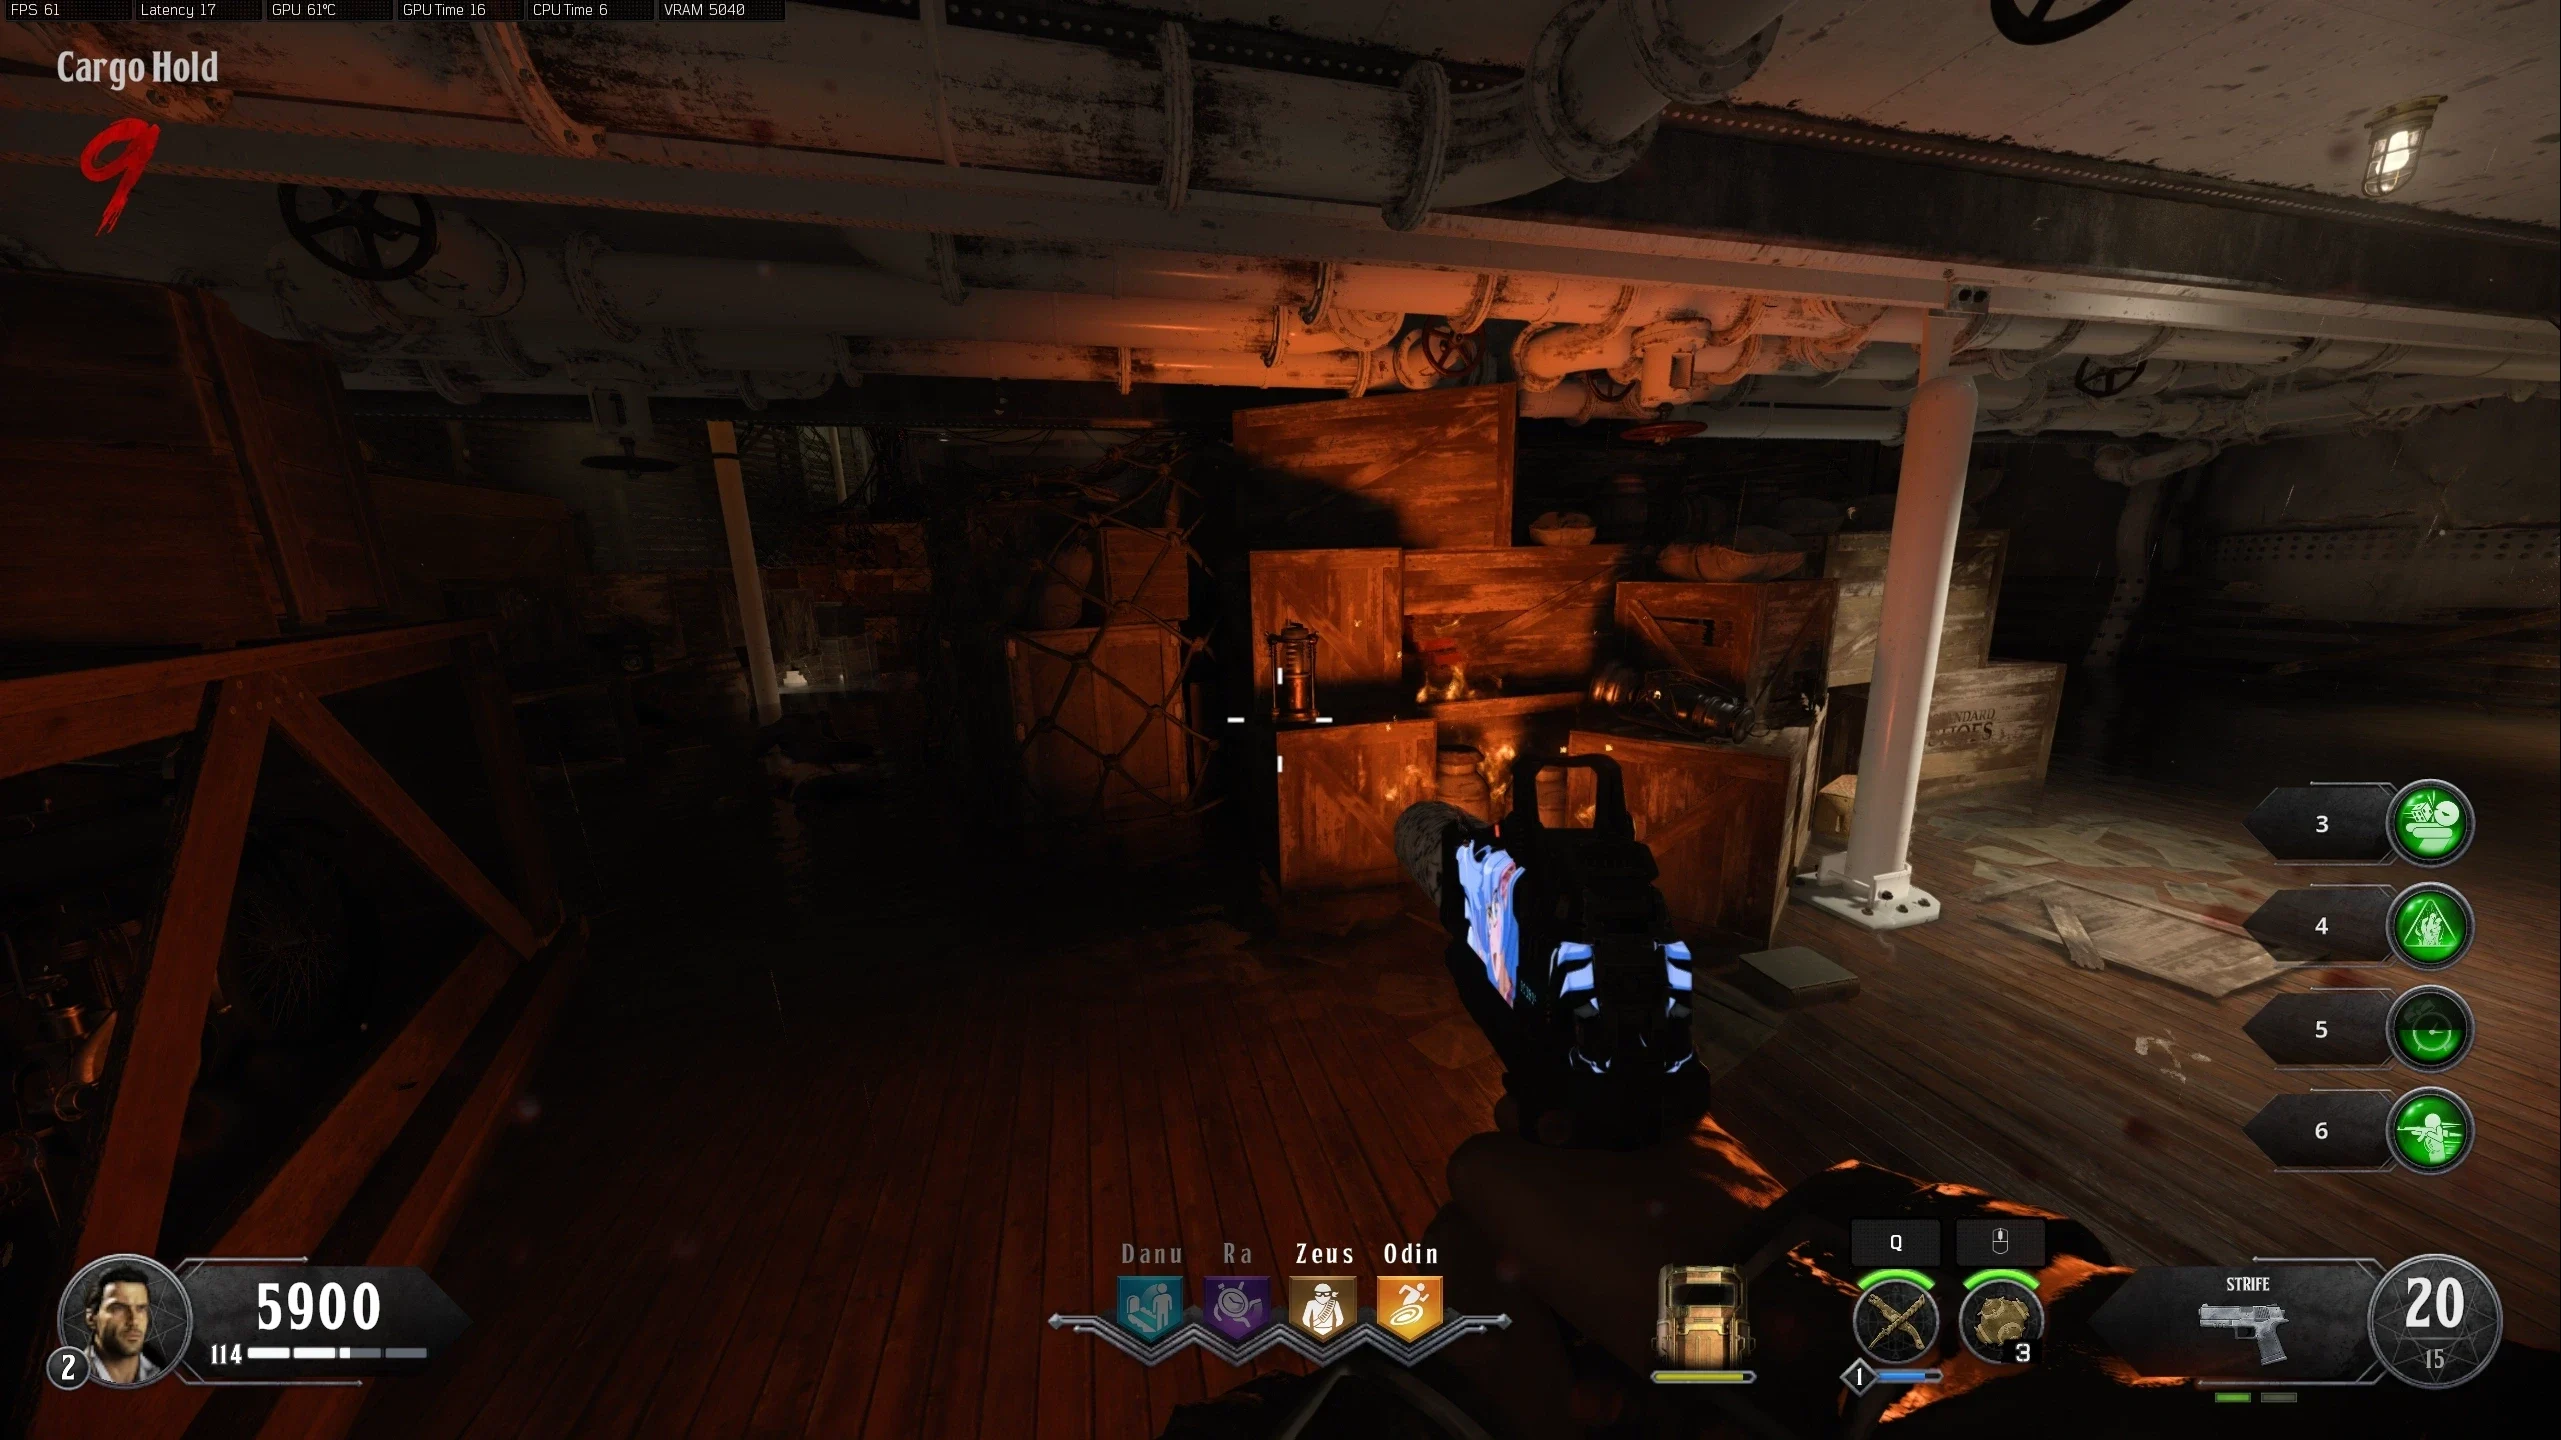
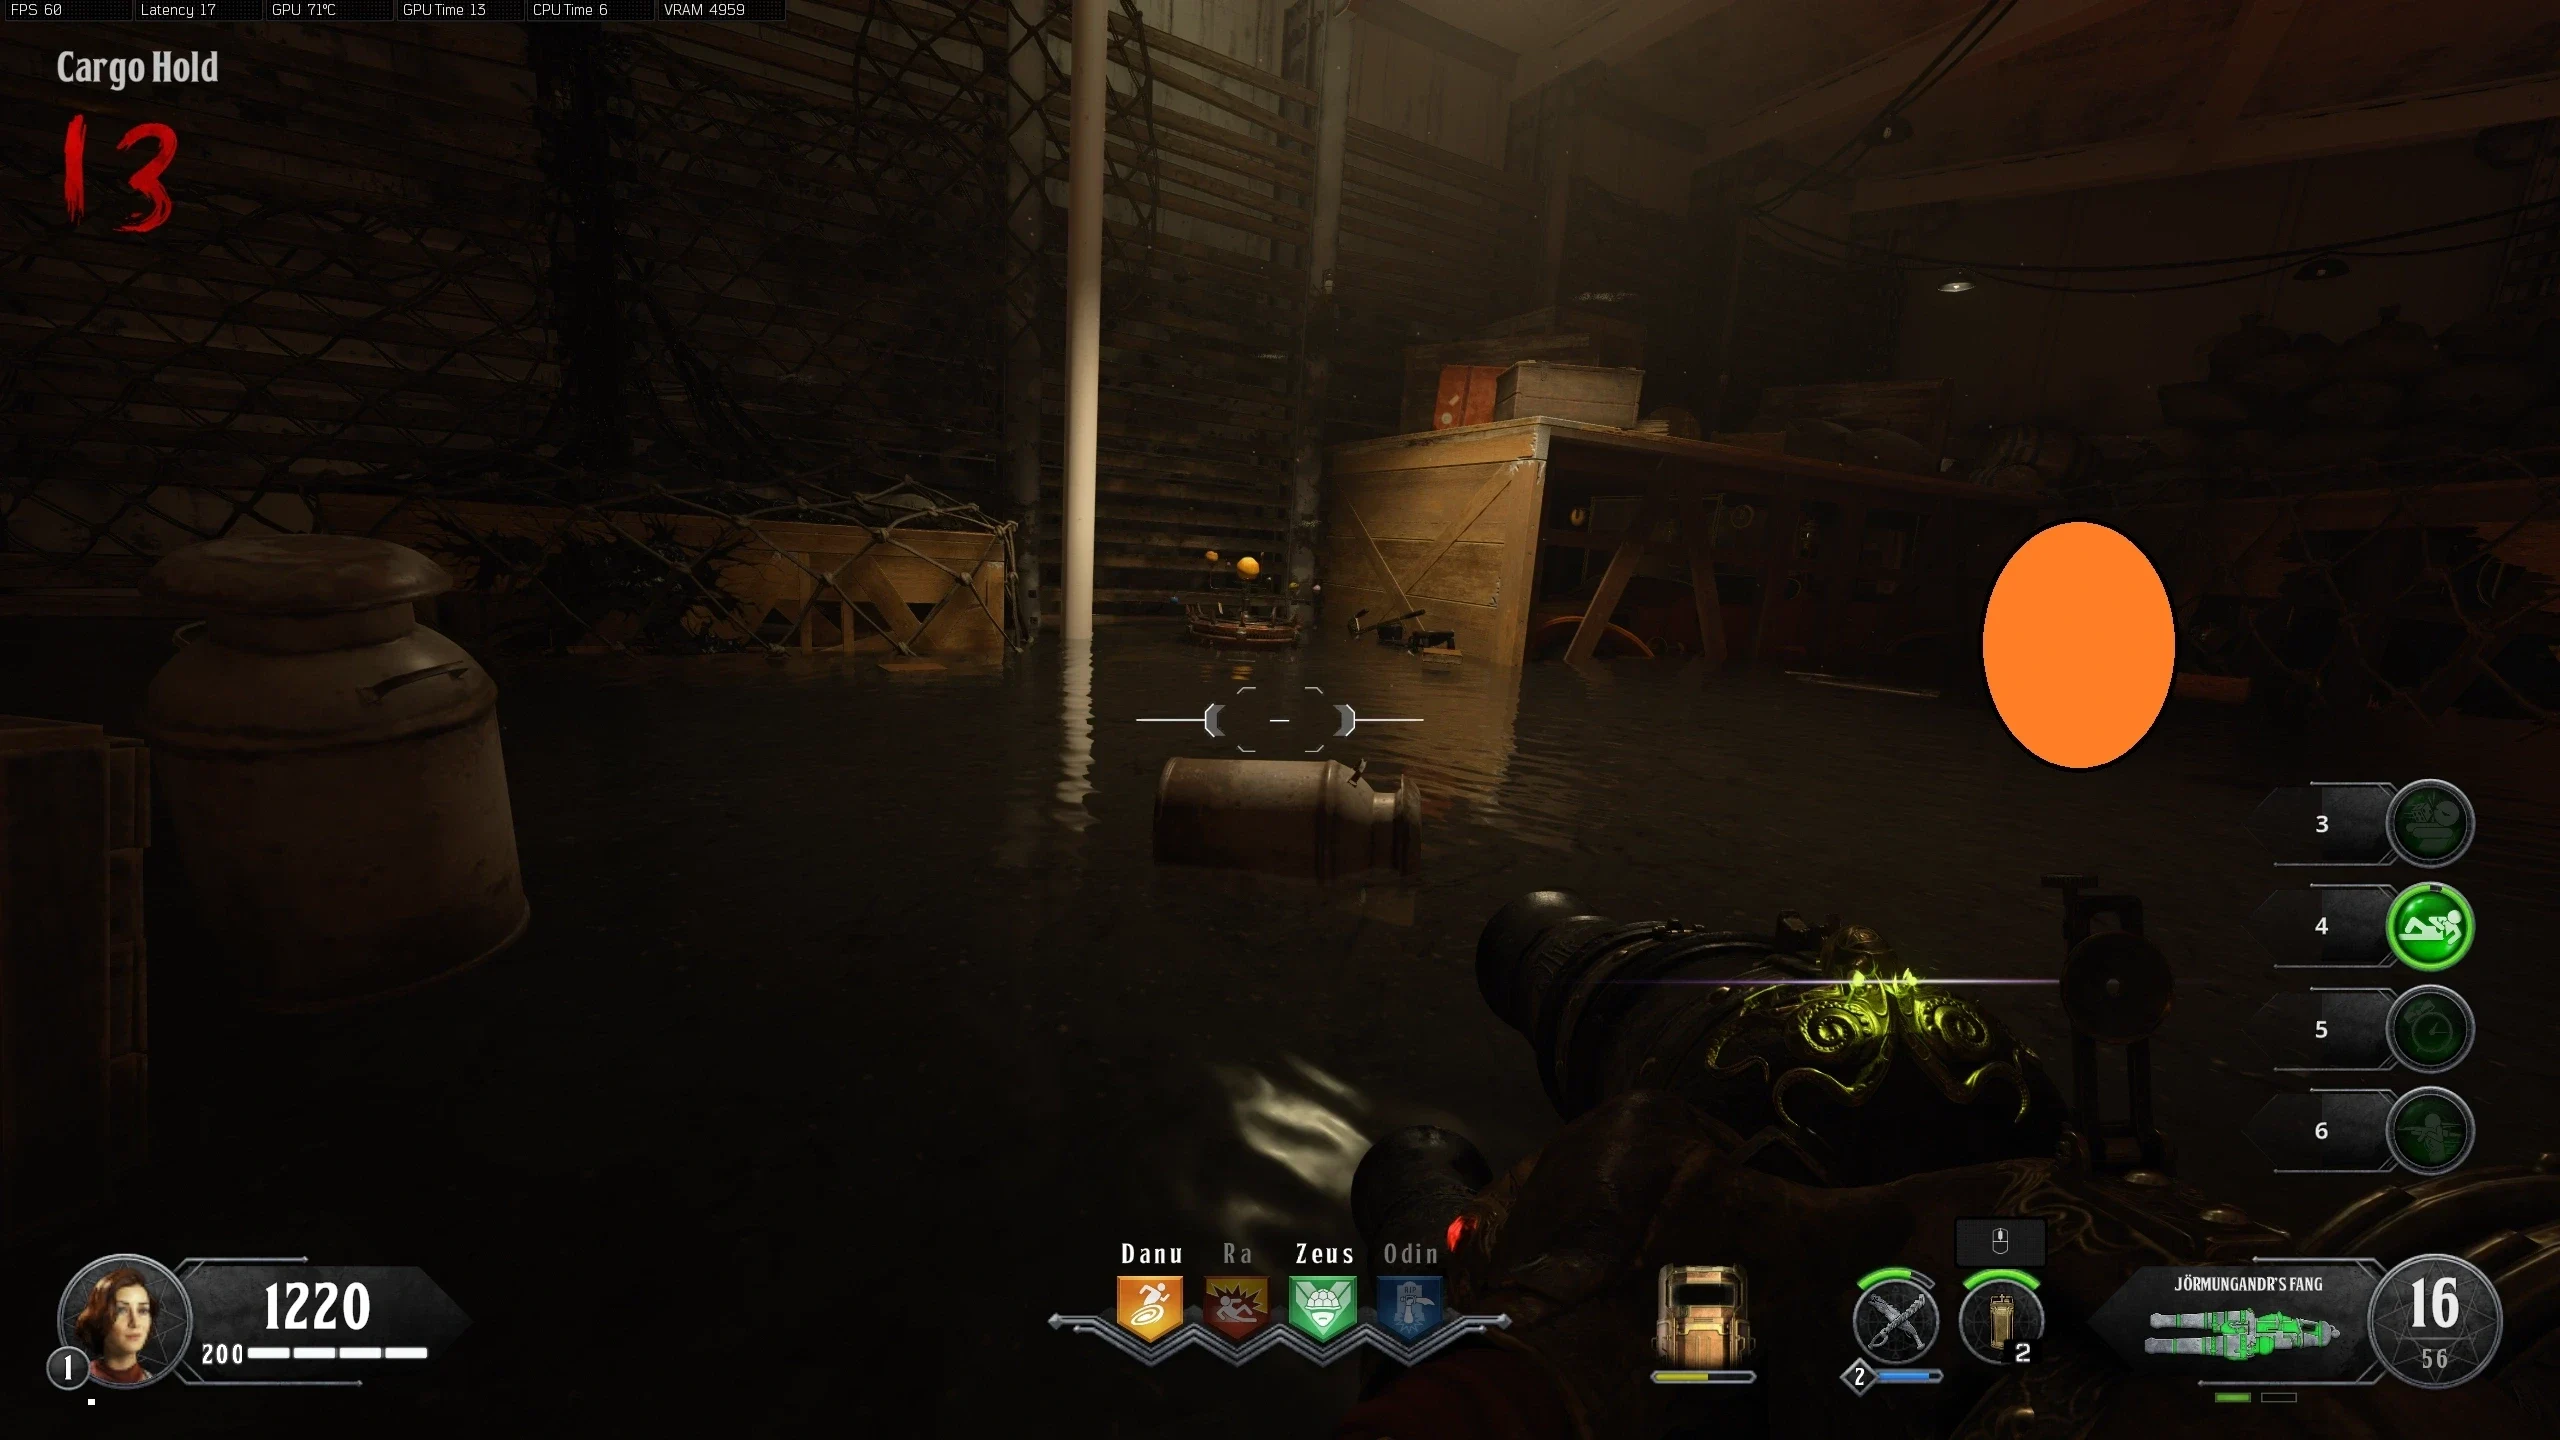
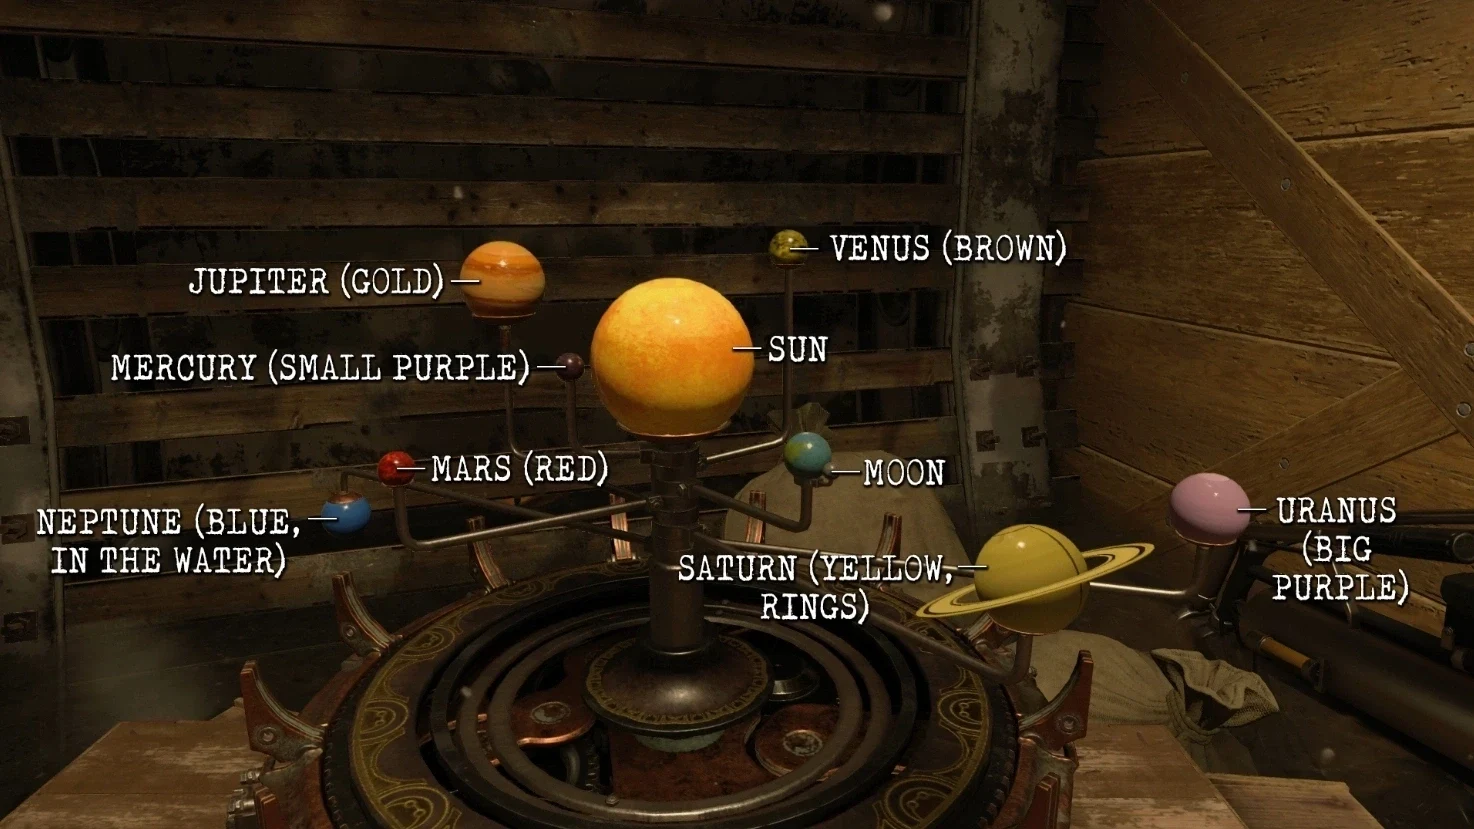
- Interact with the Solar System Model in the Cargo Hold left of the Fast Travel (Fast Travel drawn on the picture due to it not being shown in Theater Mode). It will start flashing planets in a random order, which you must remember.
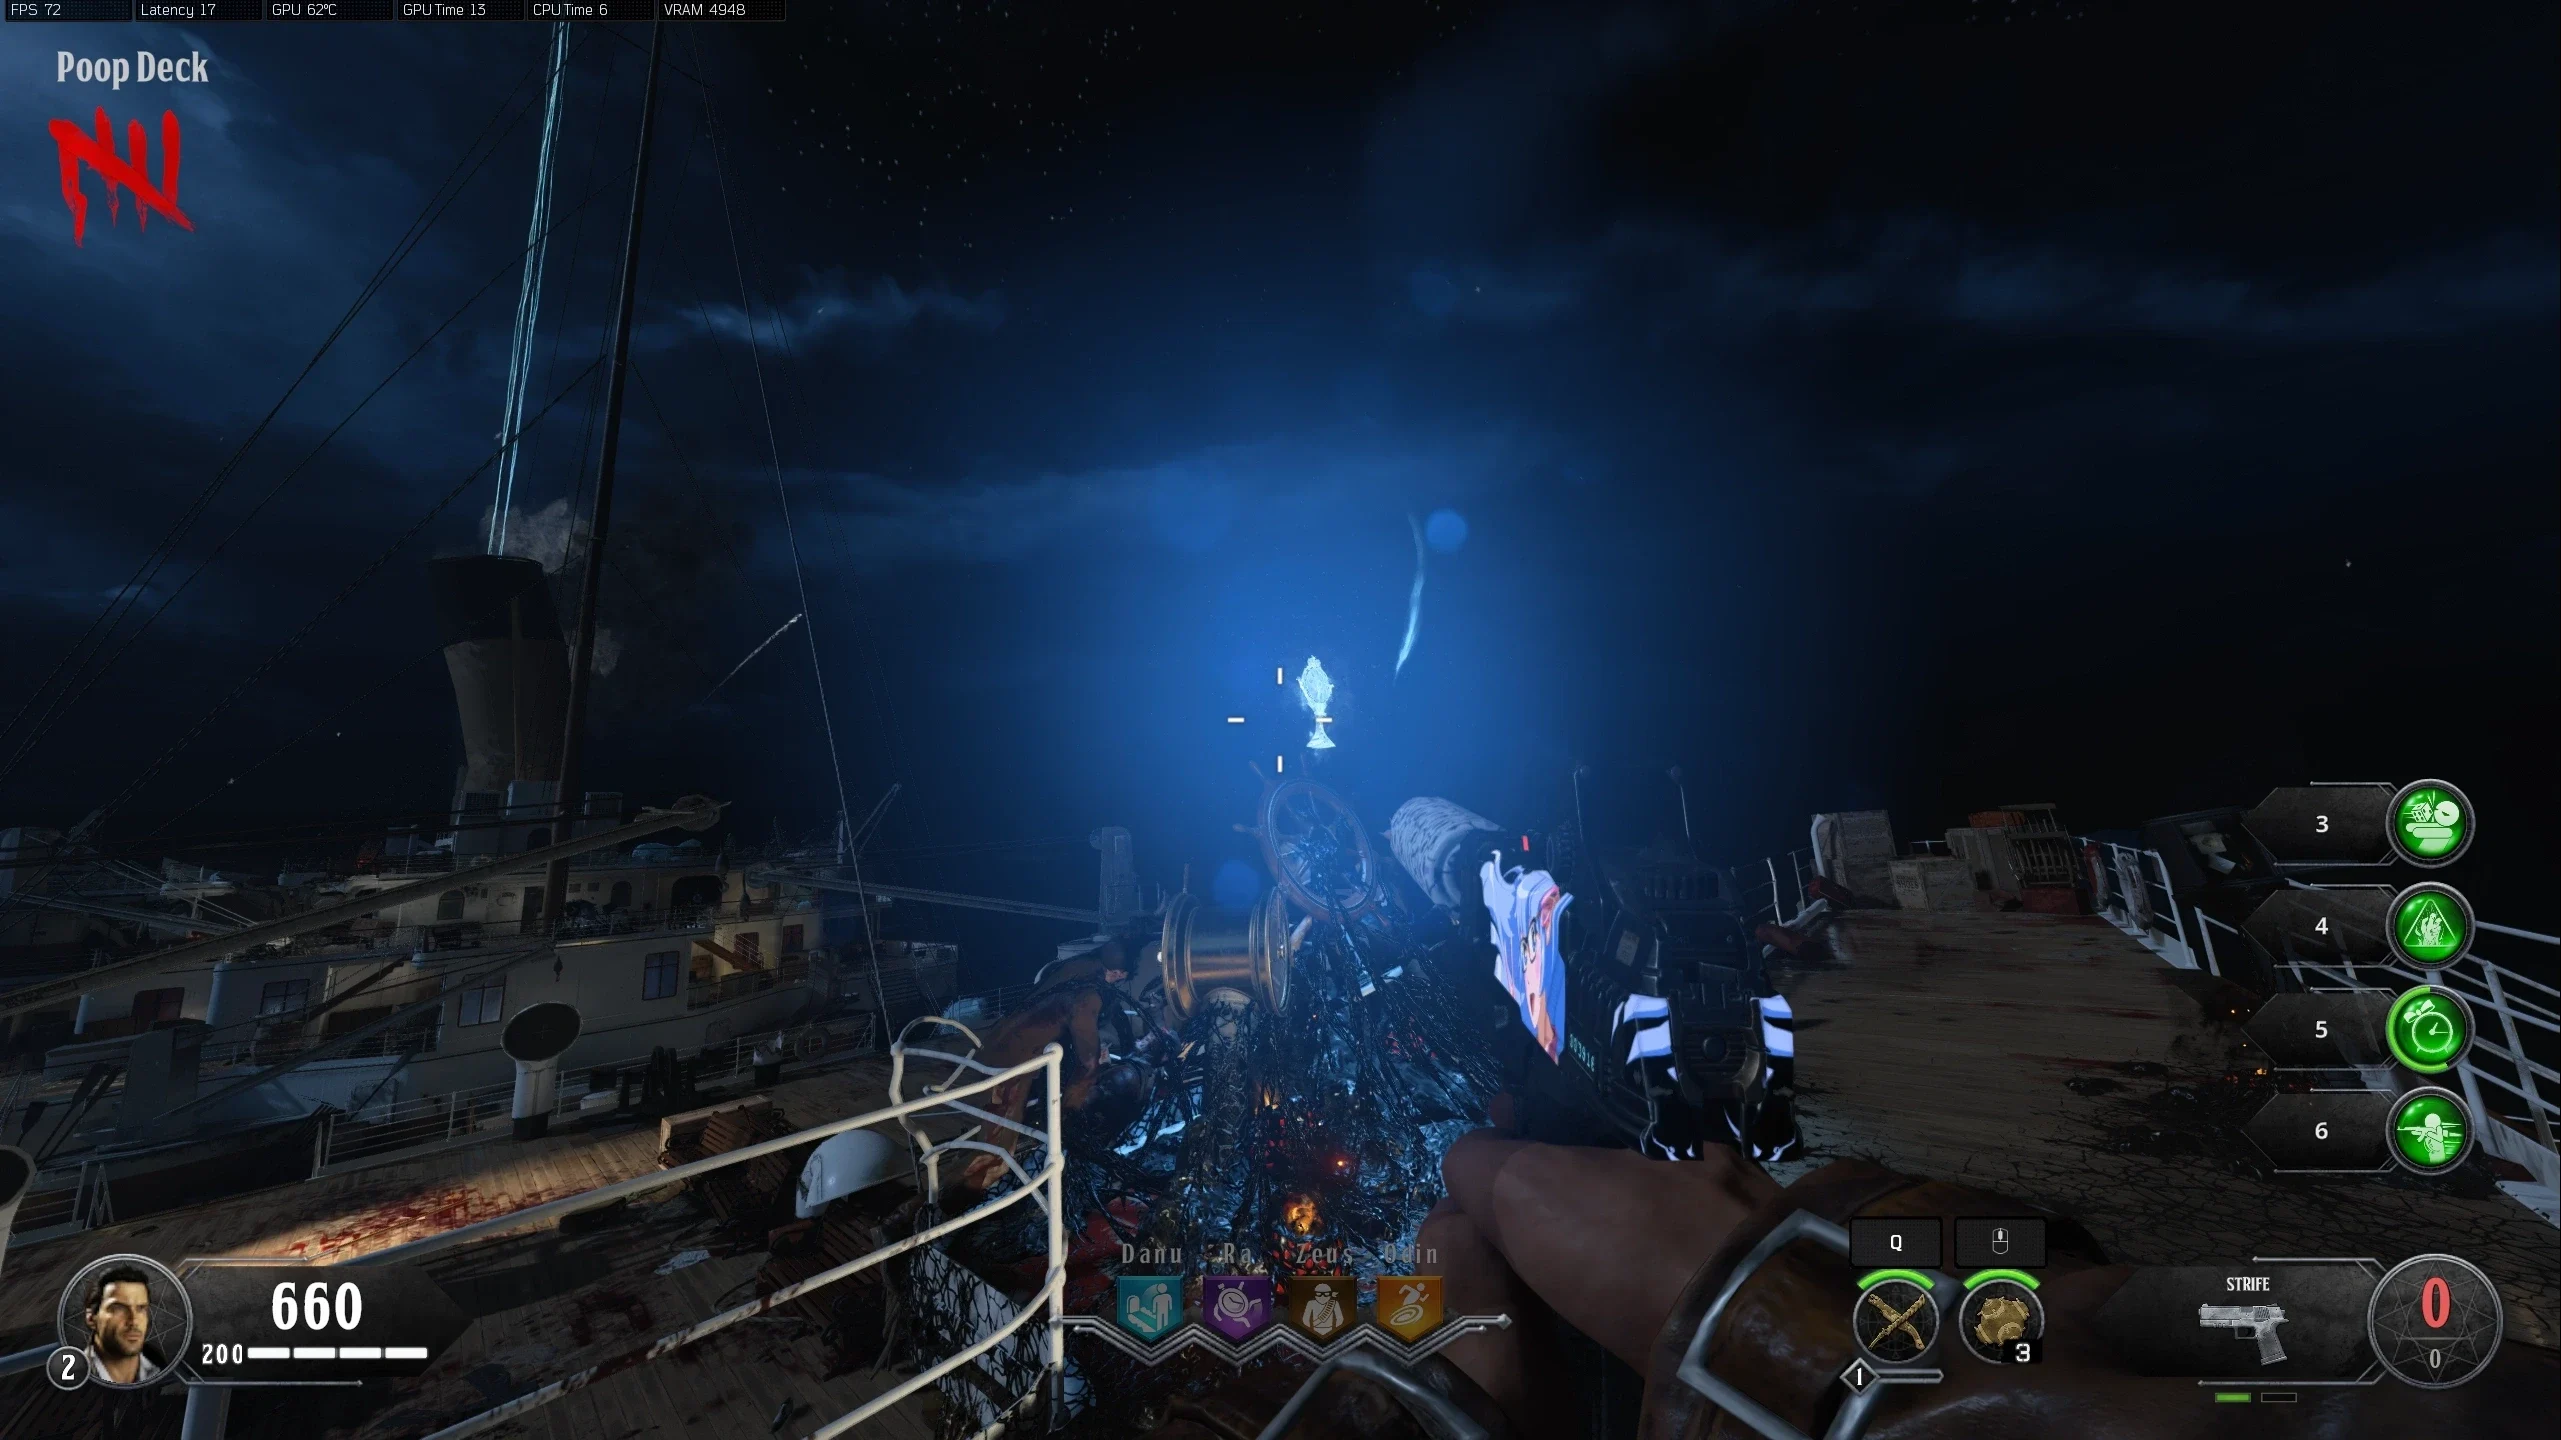
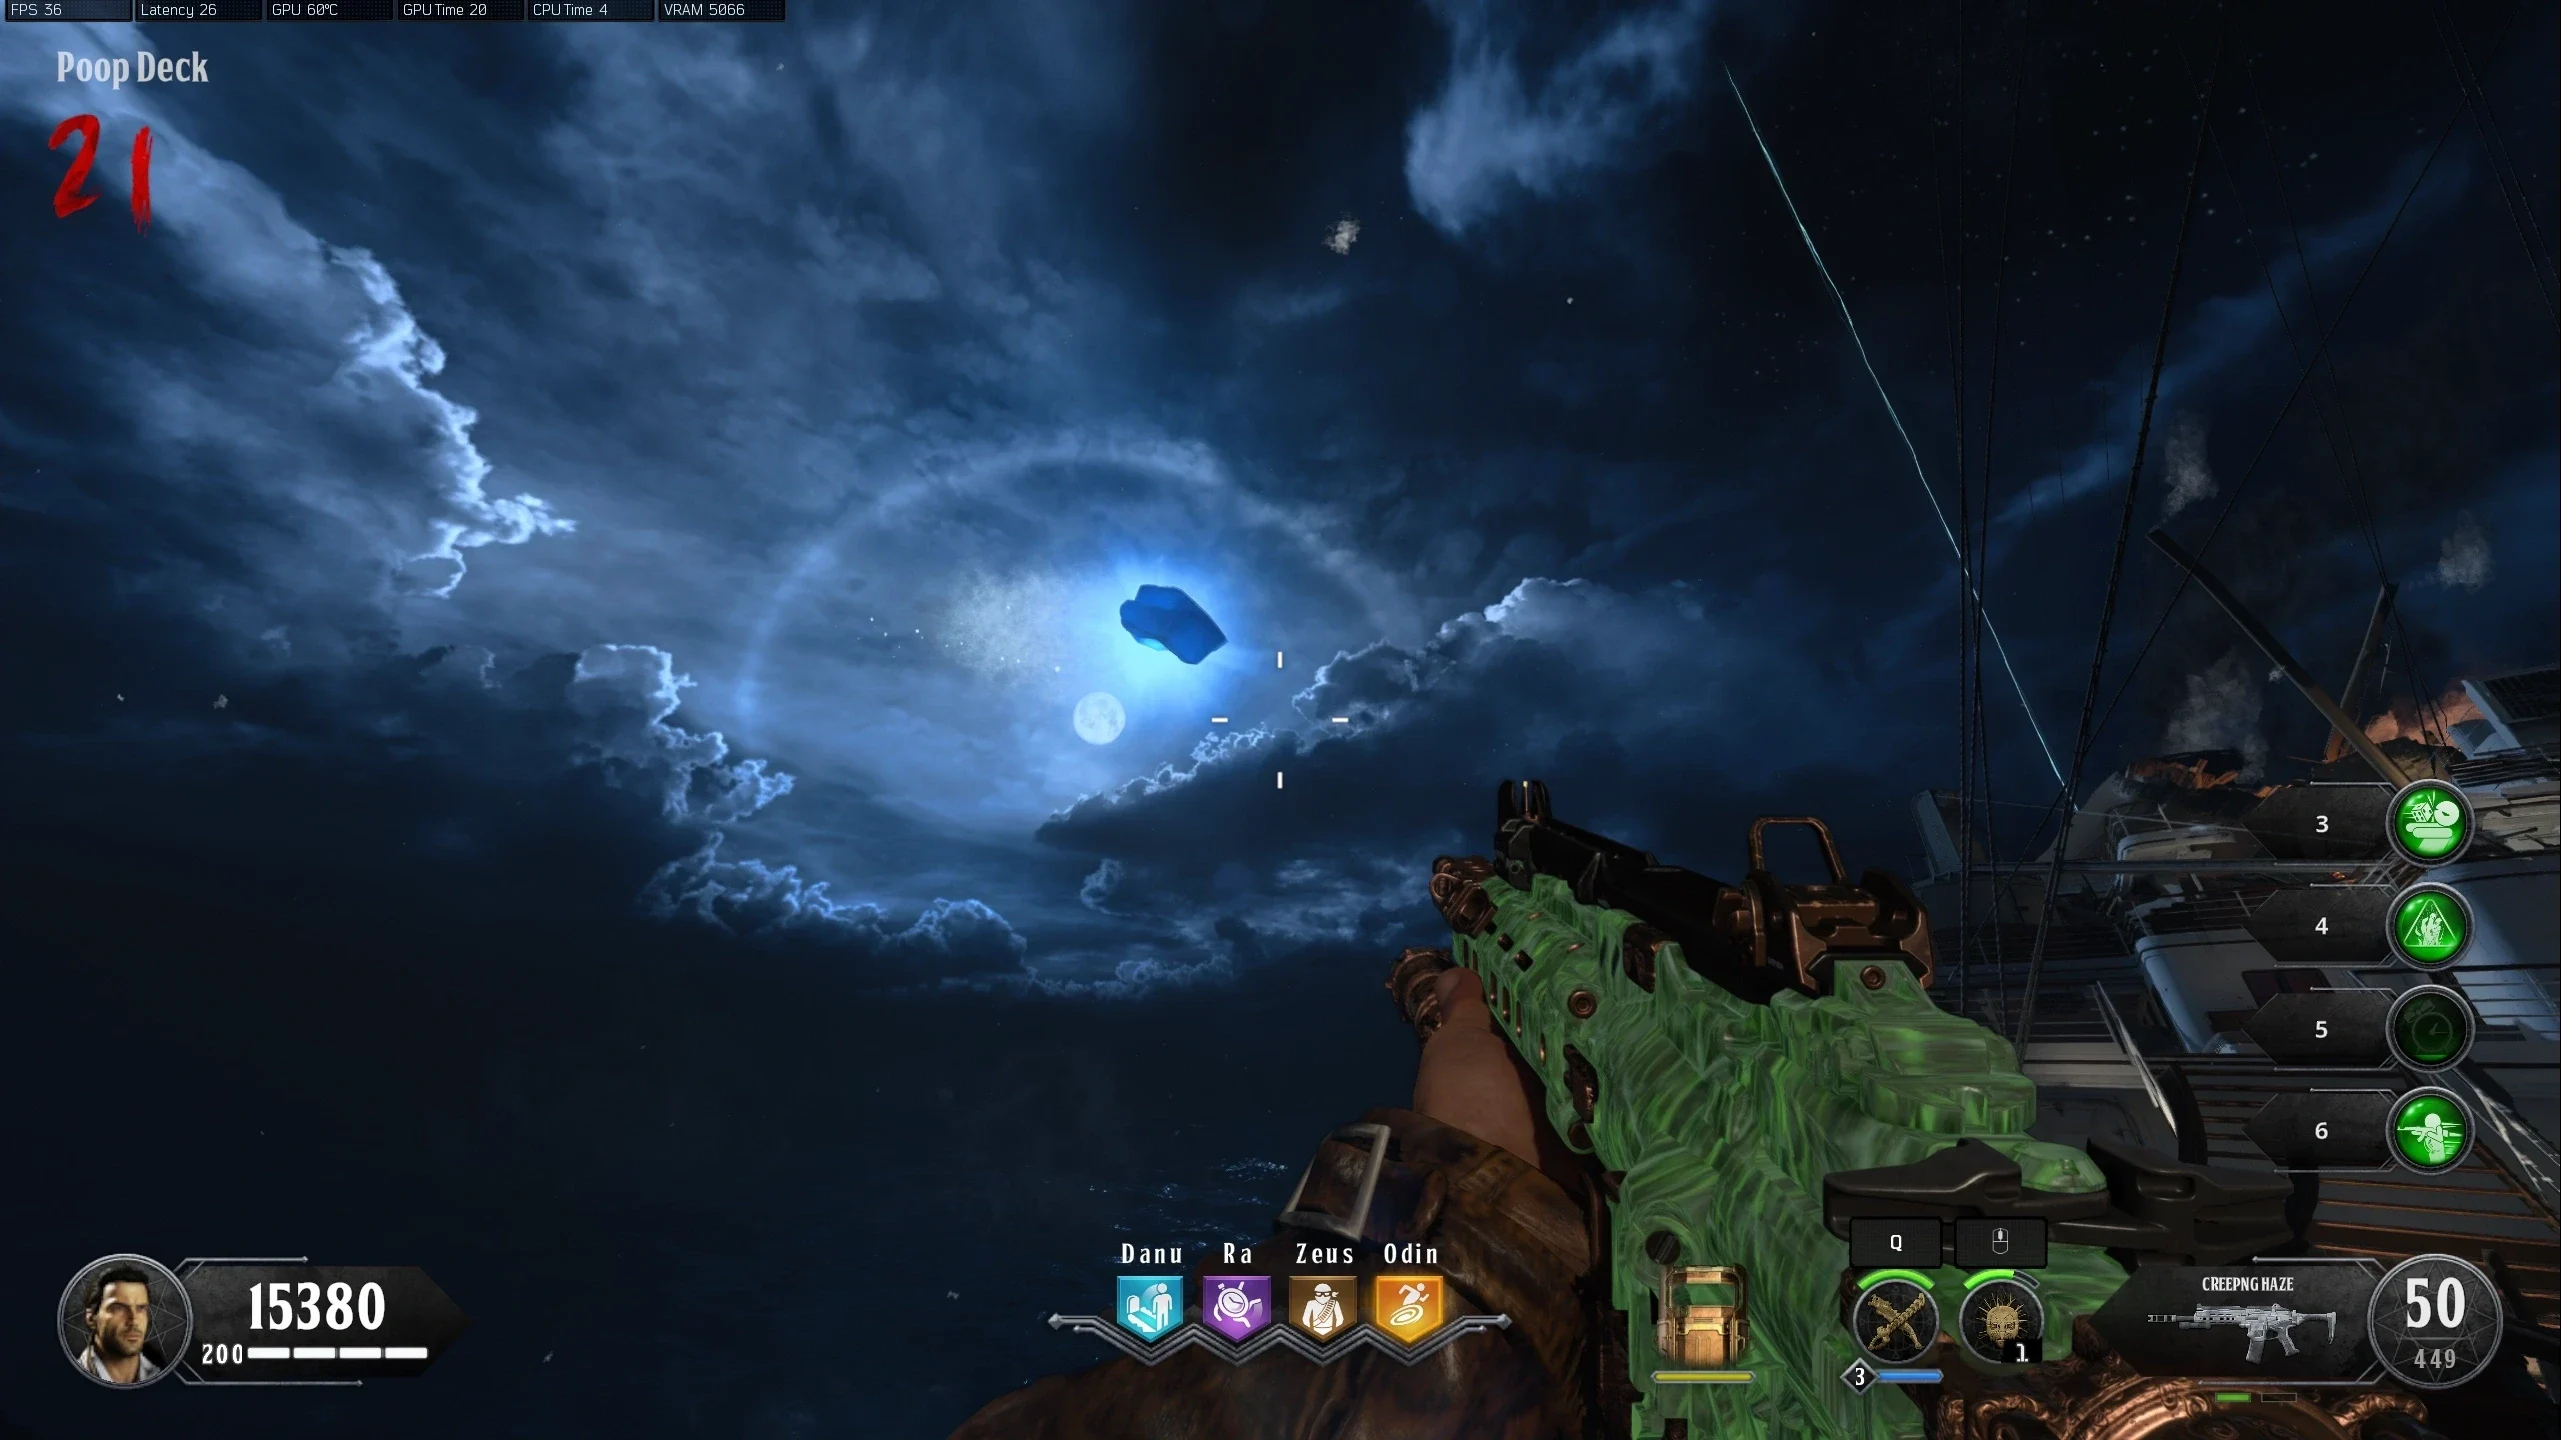
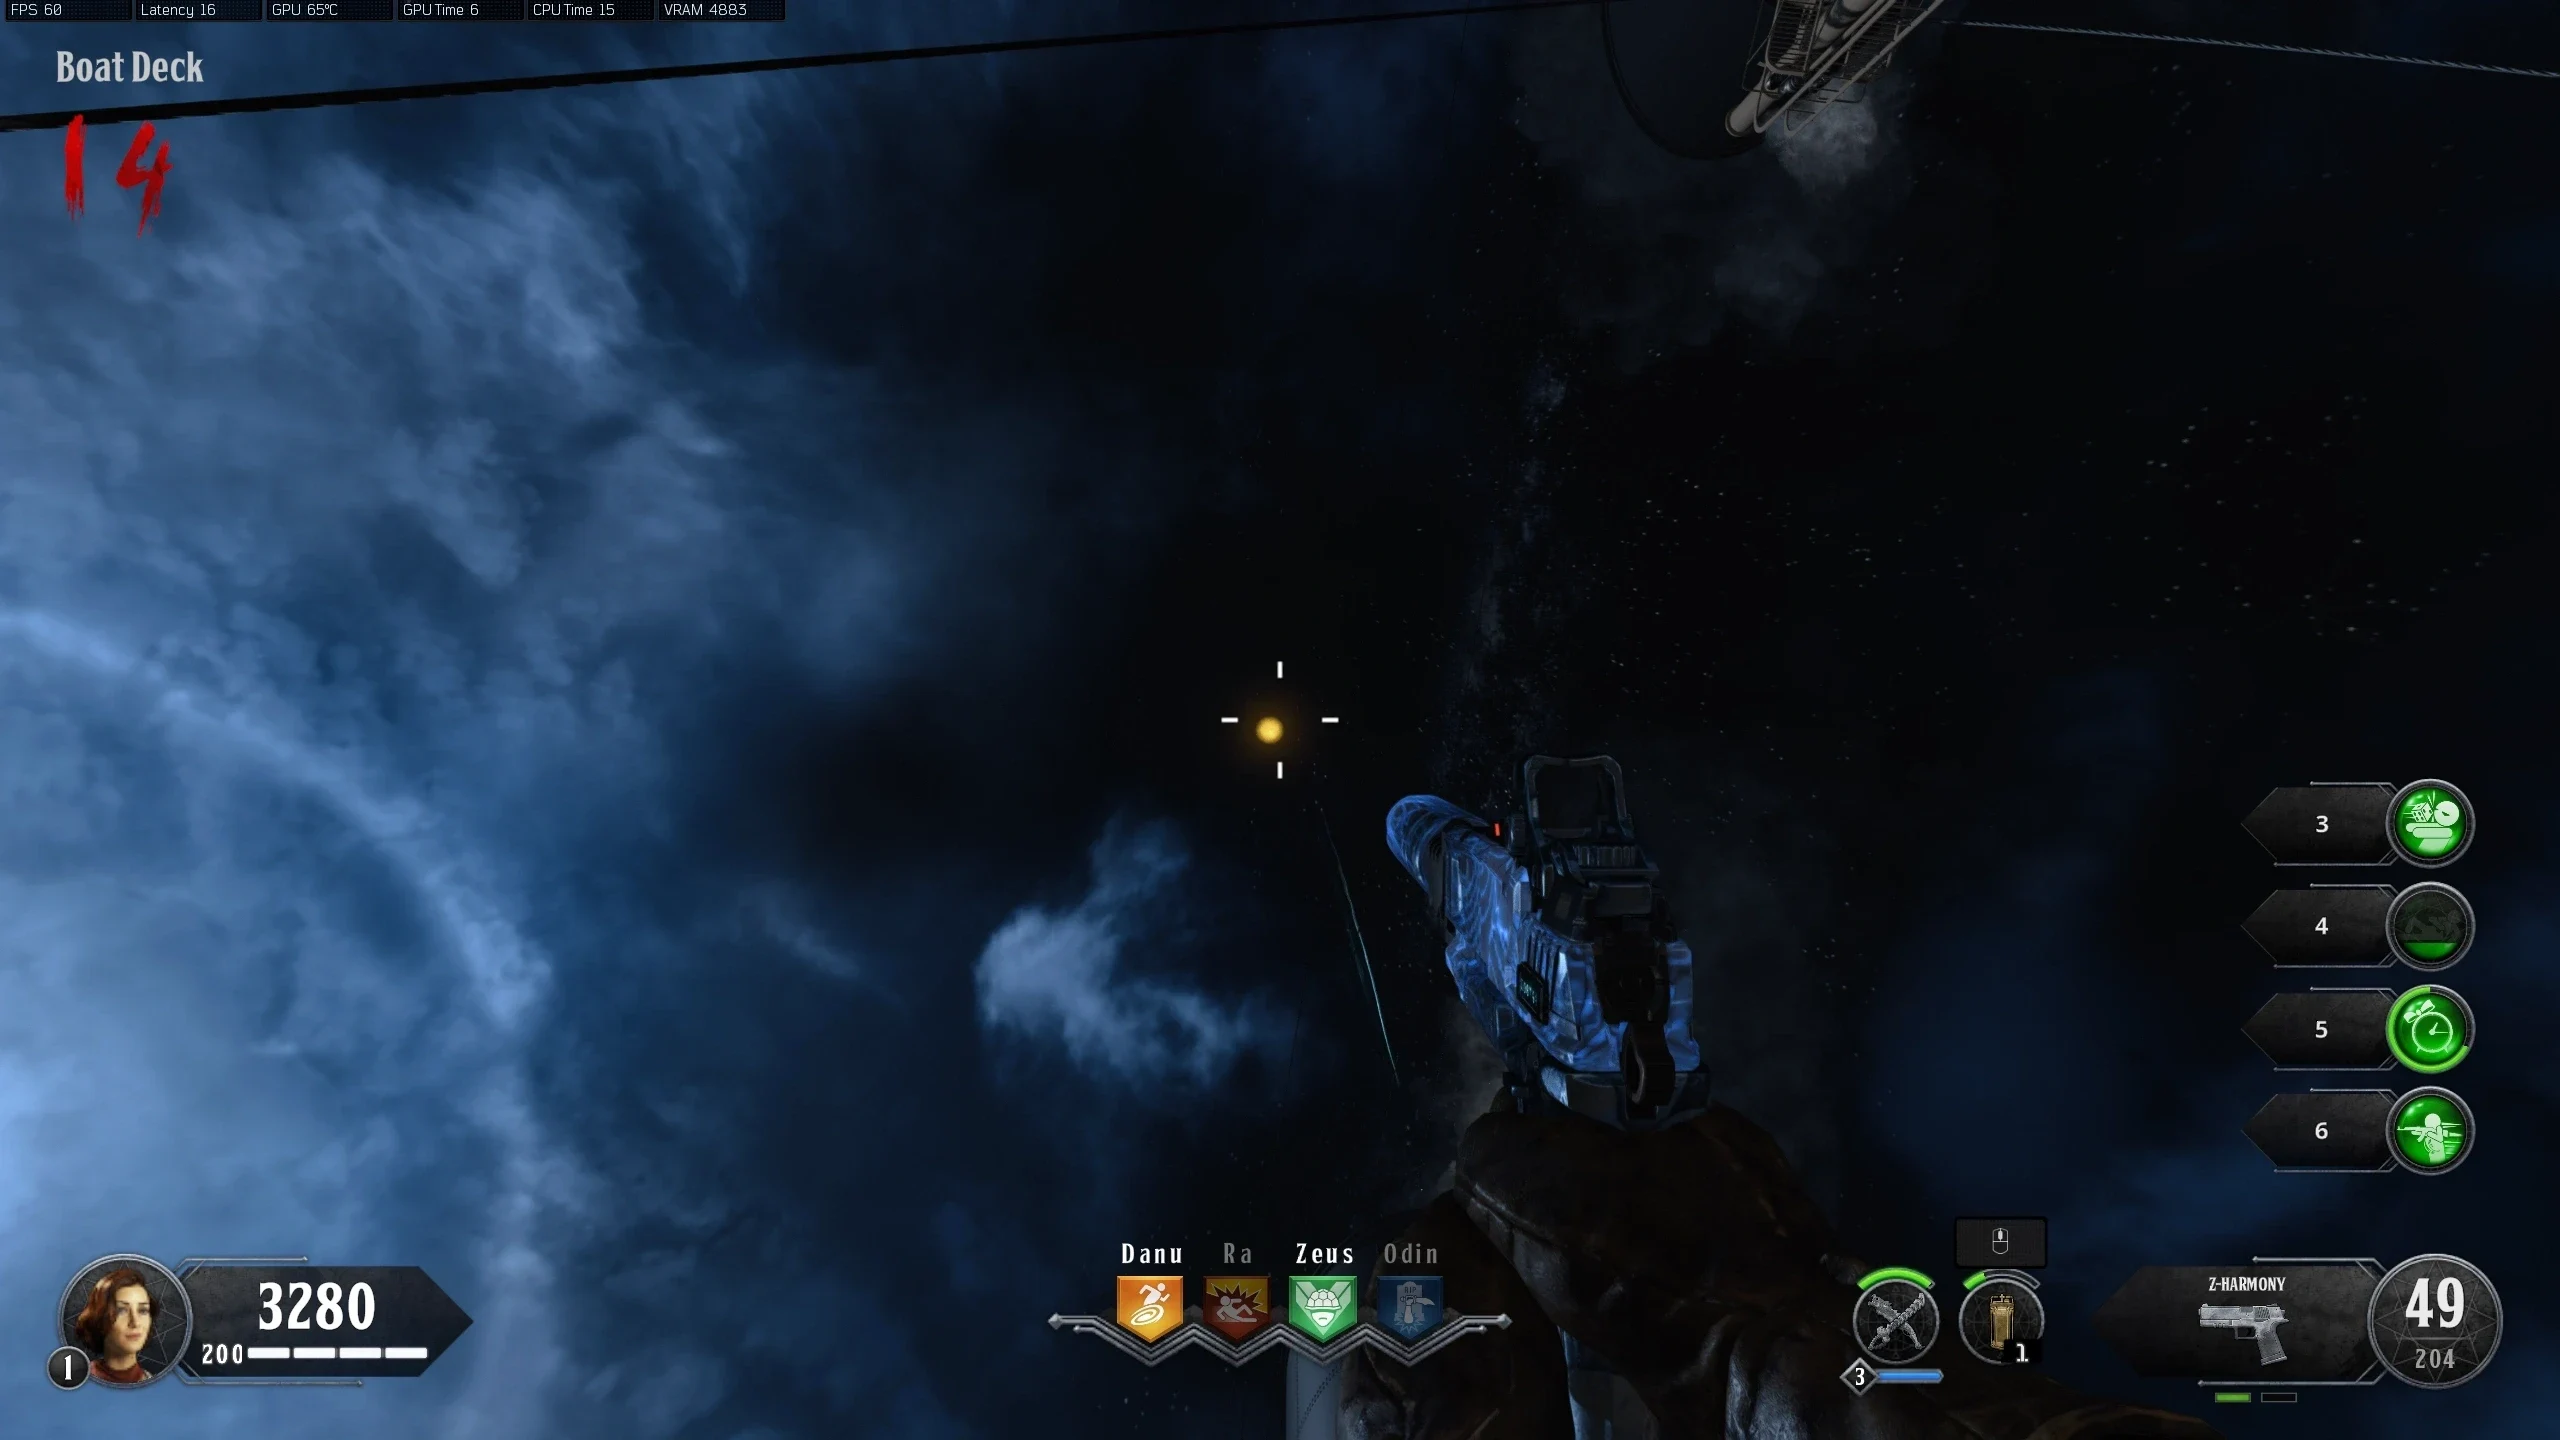
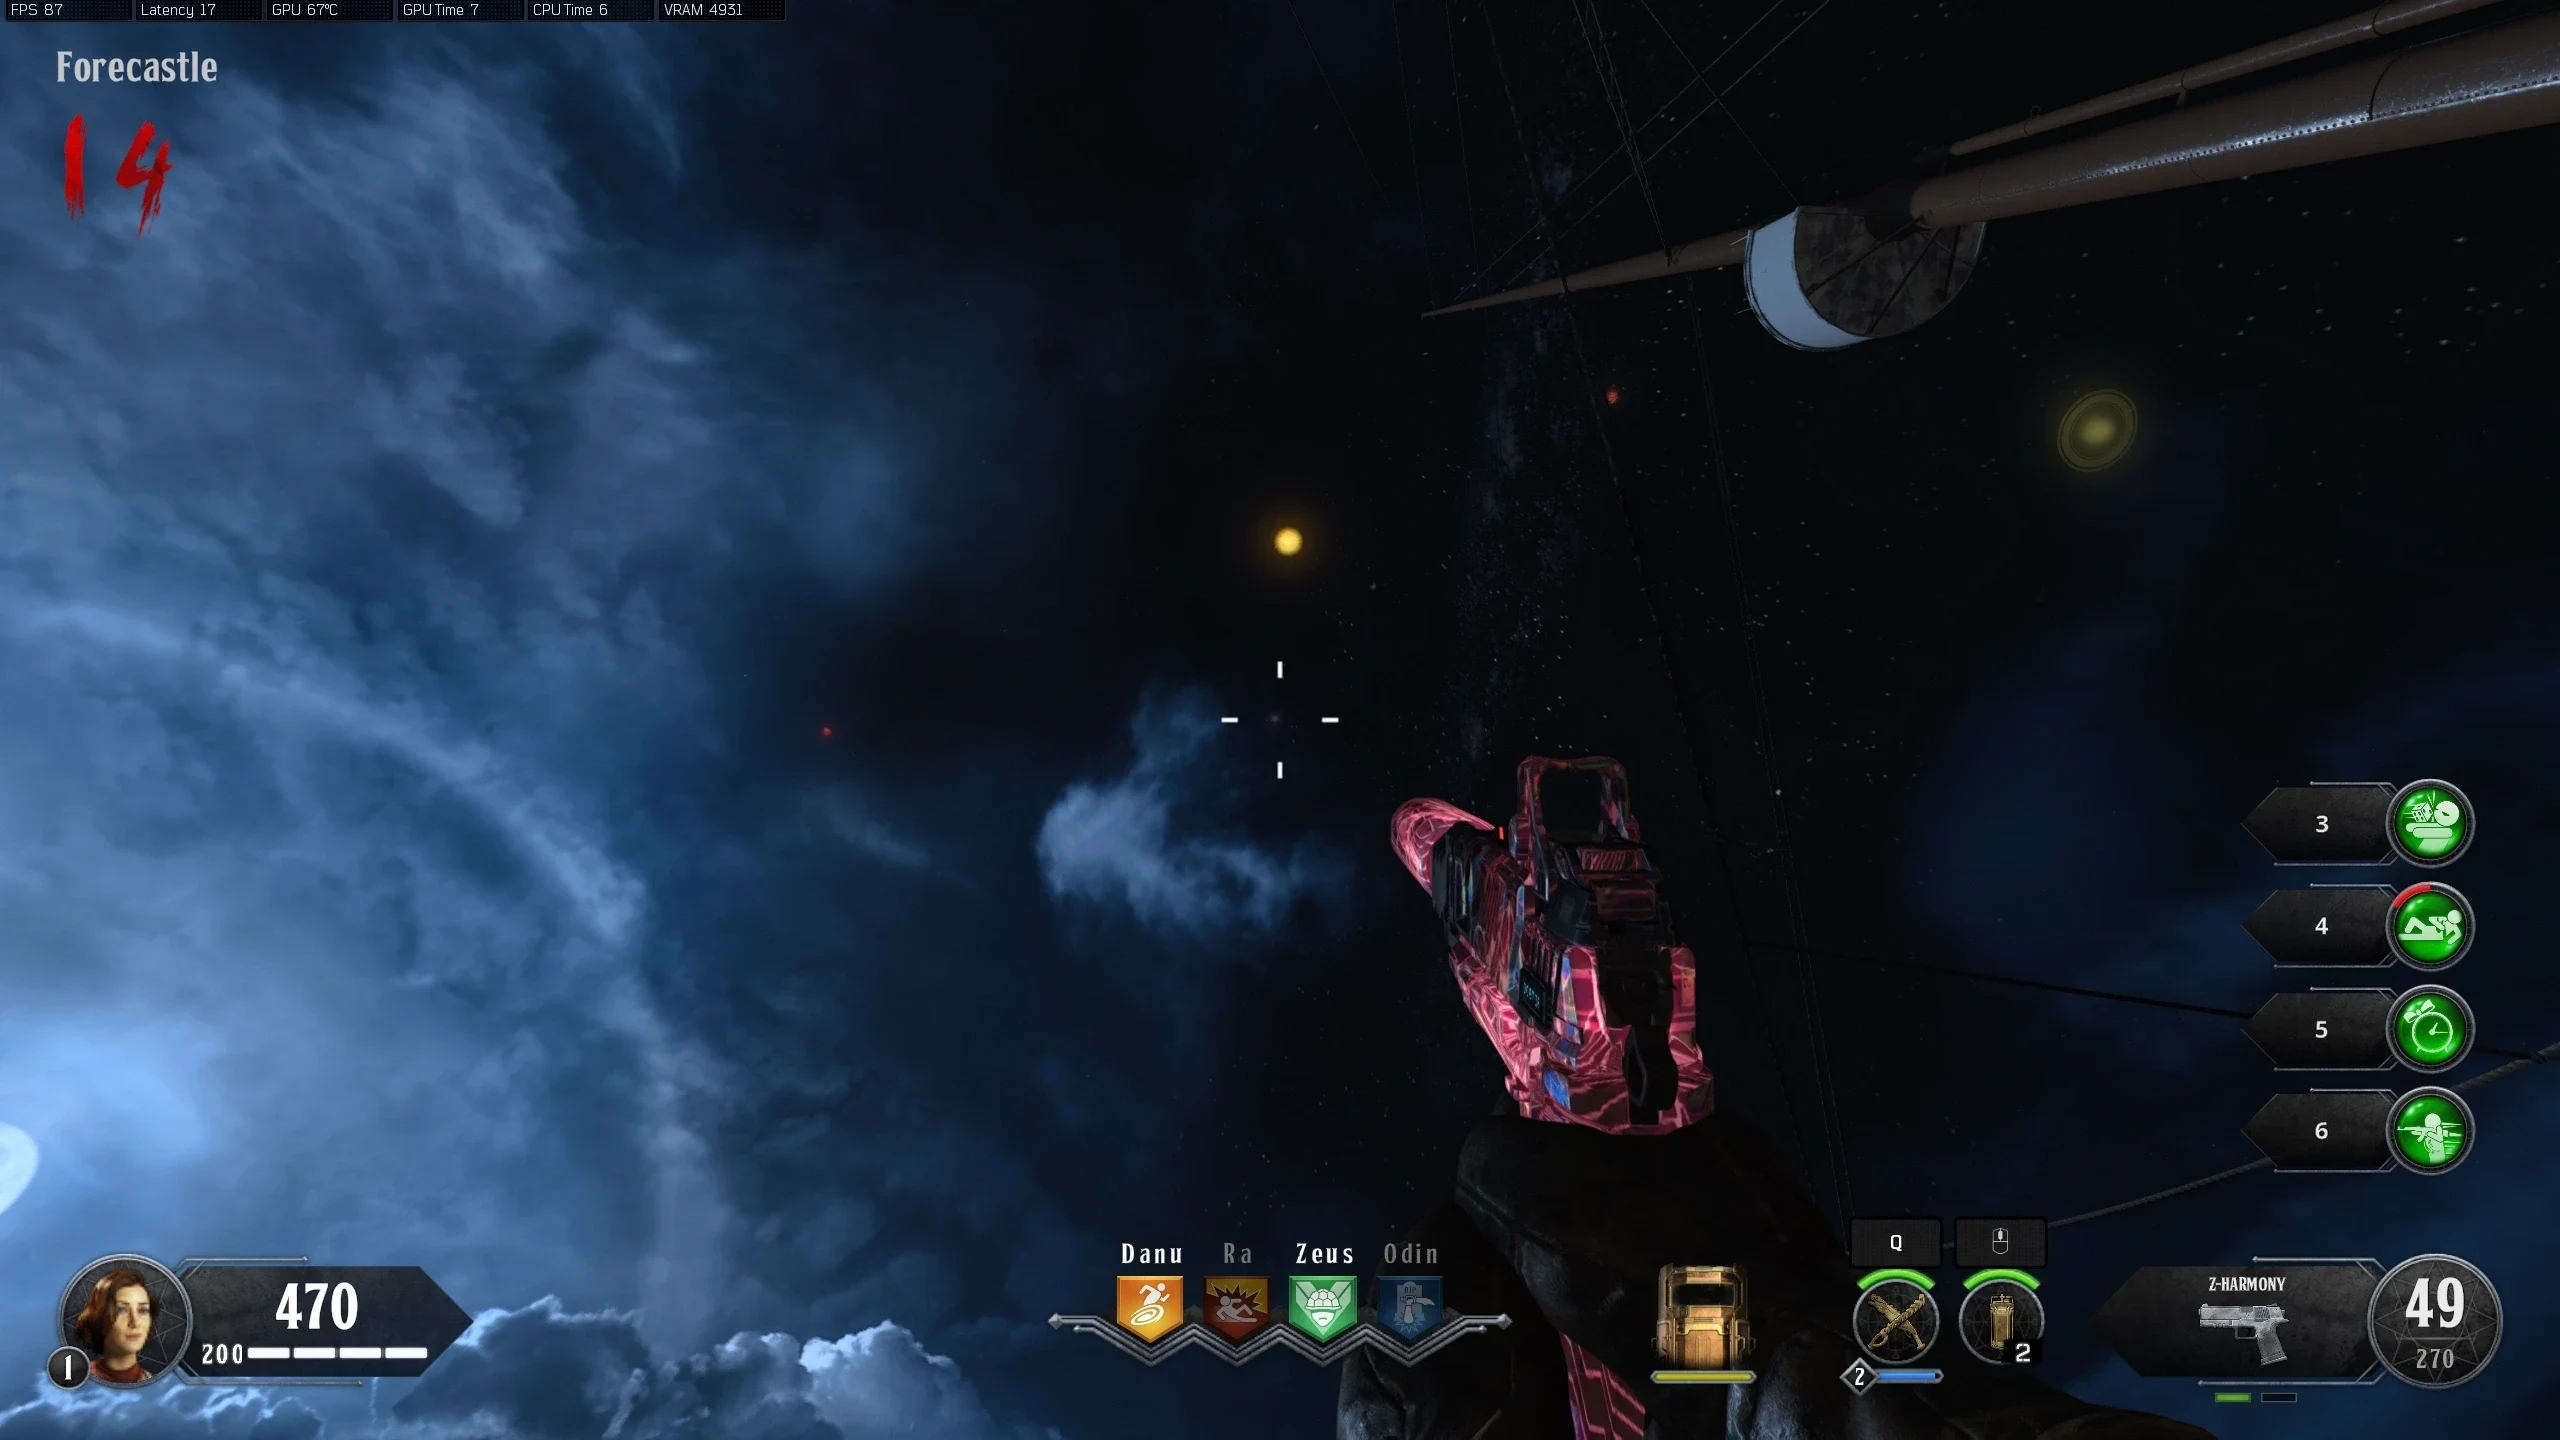
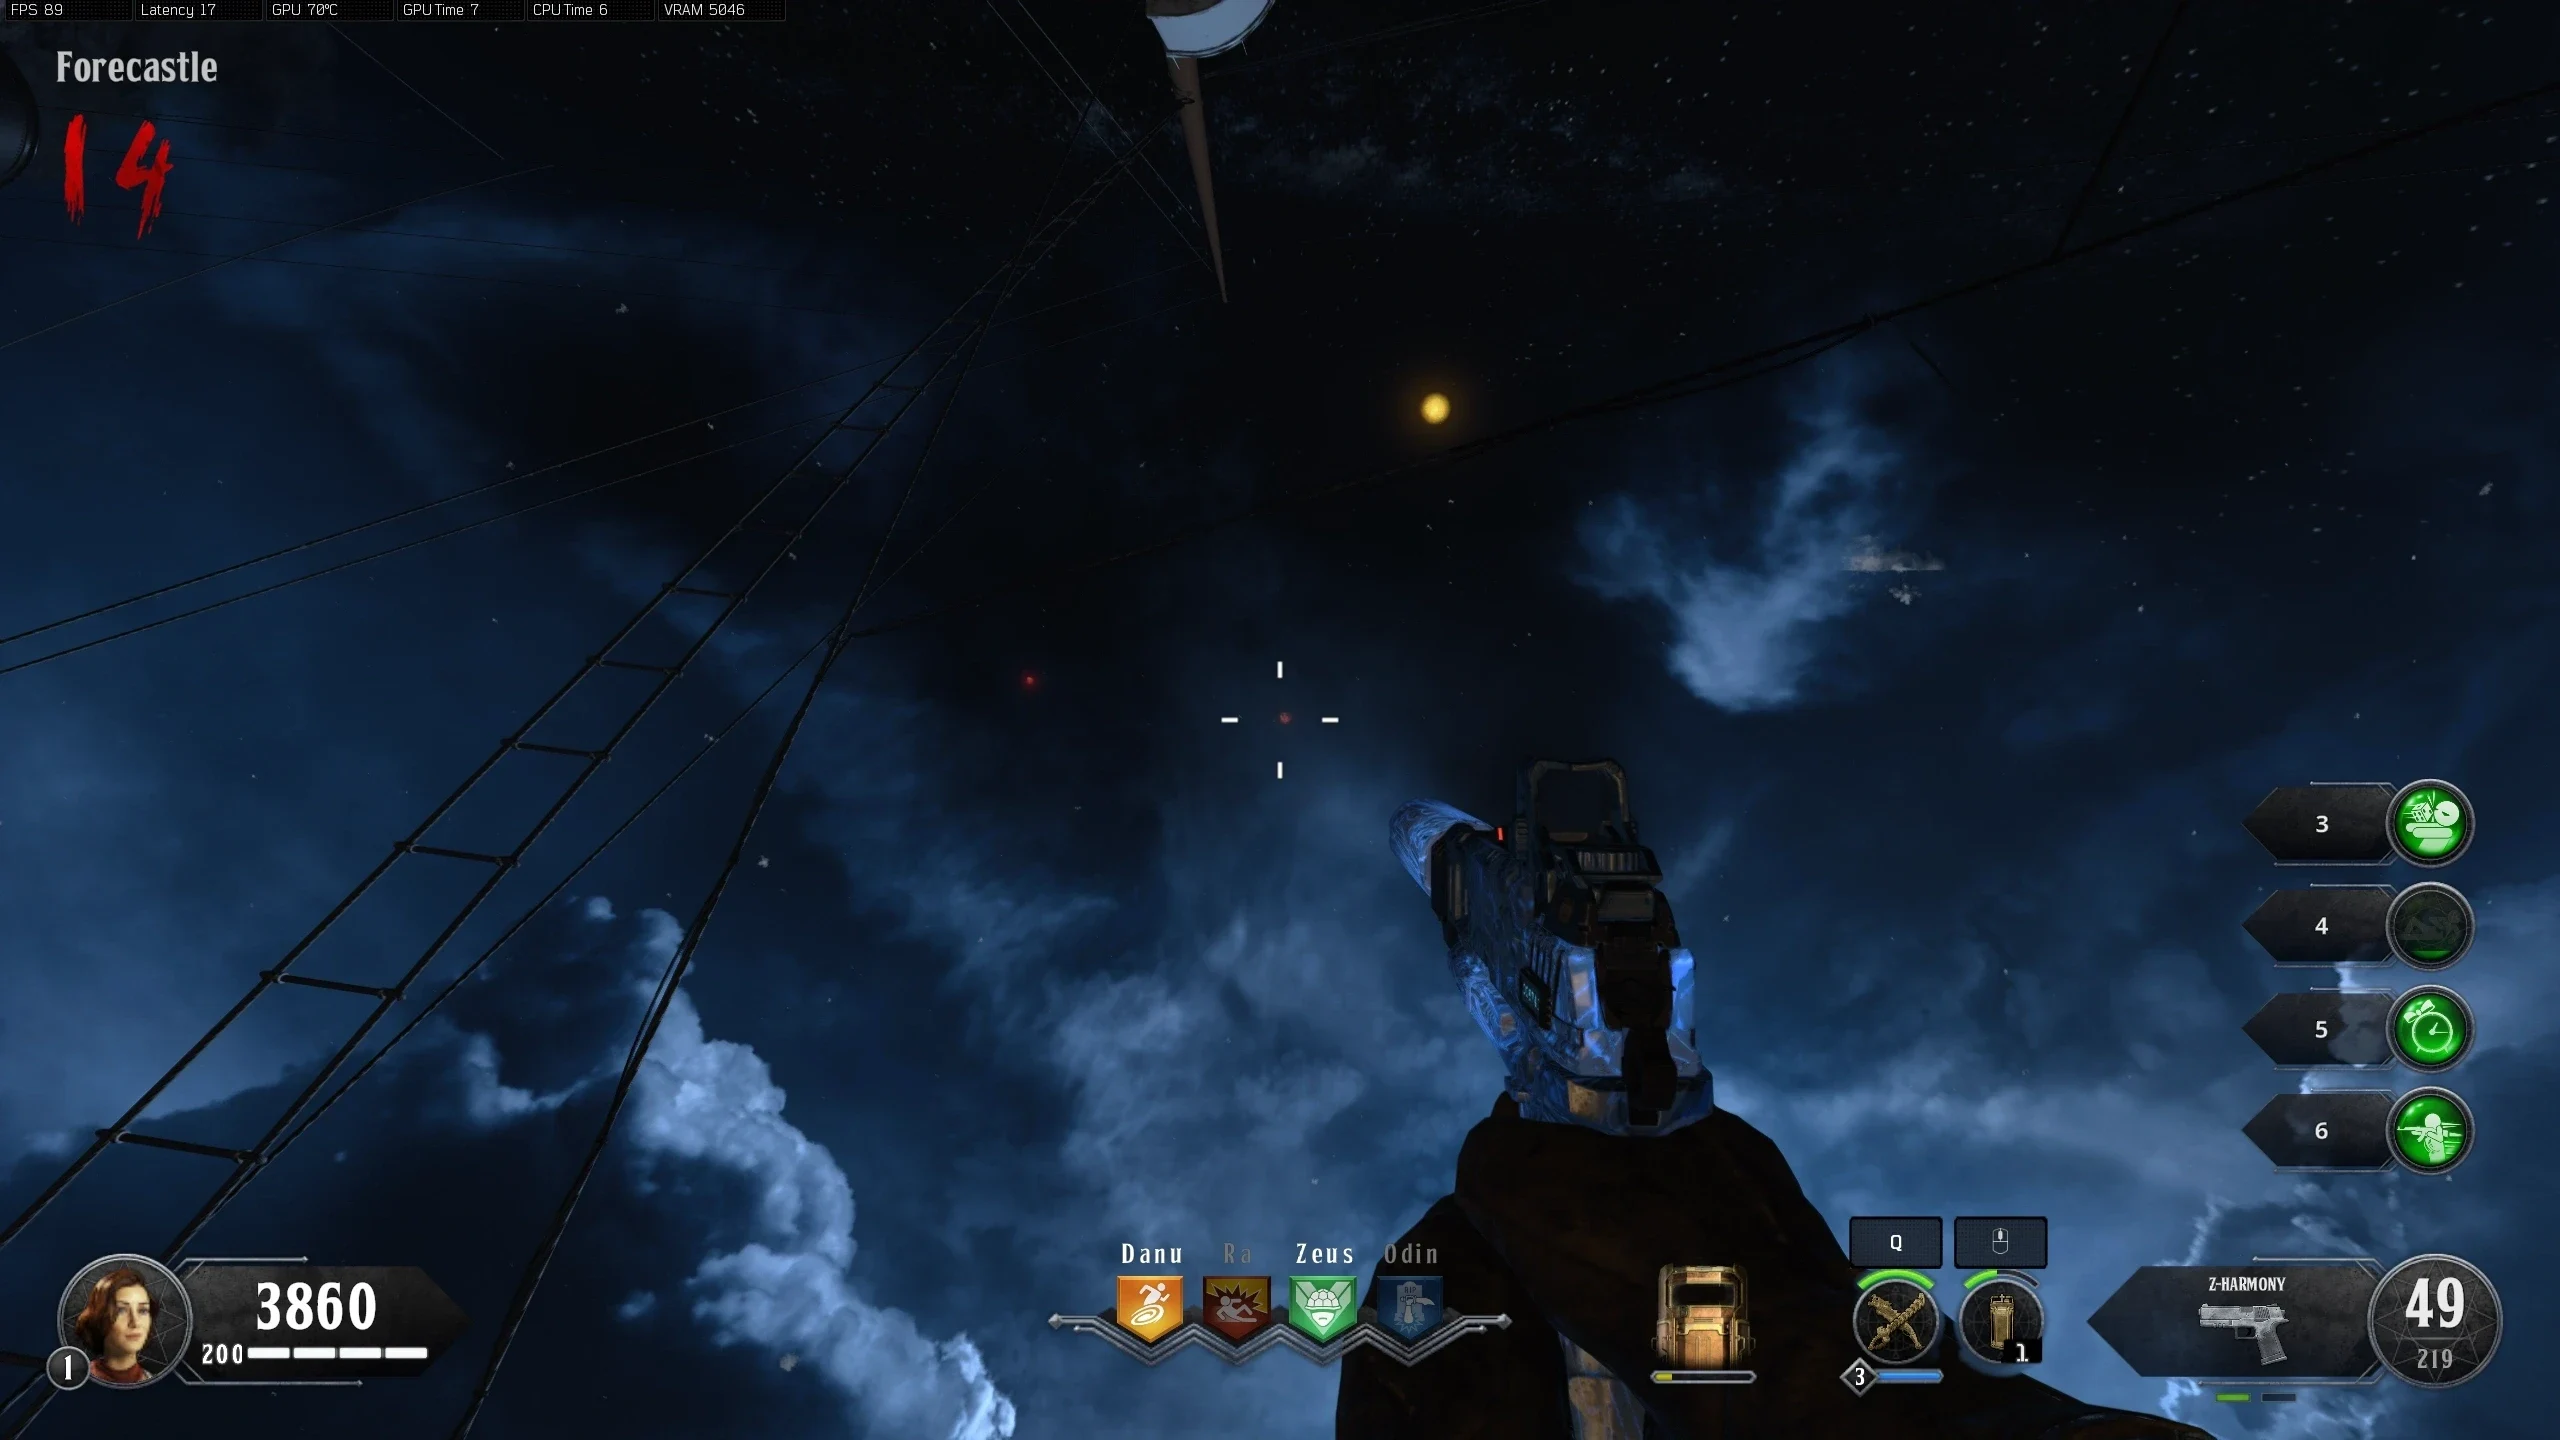
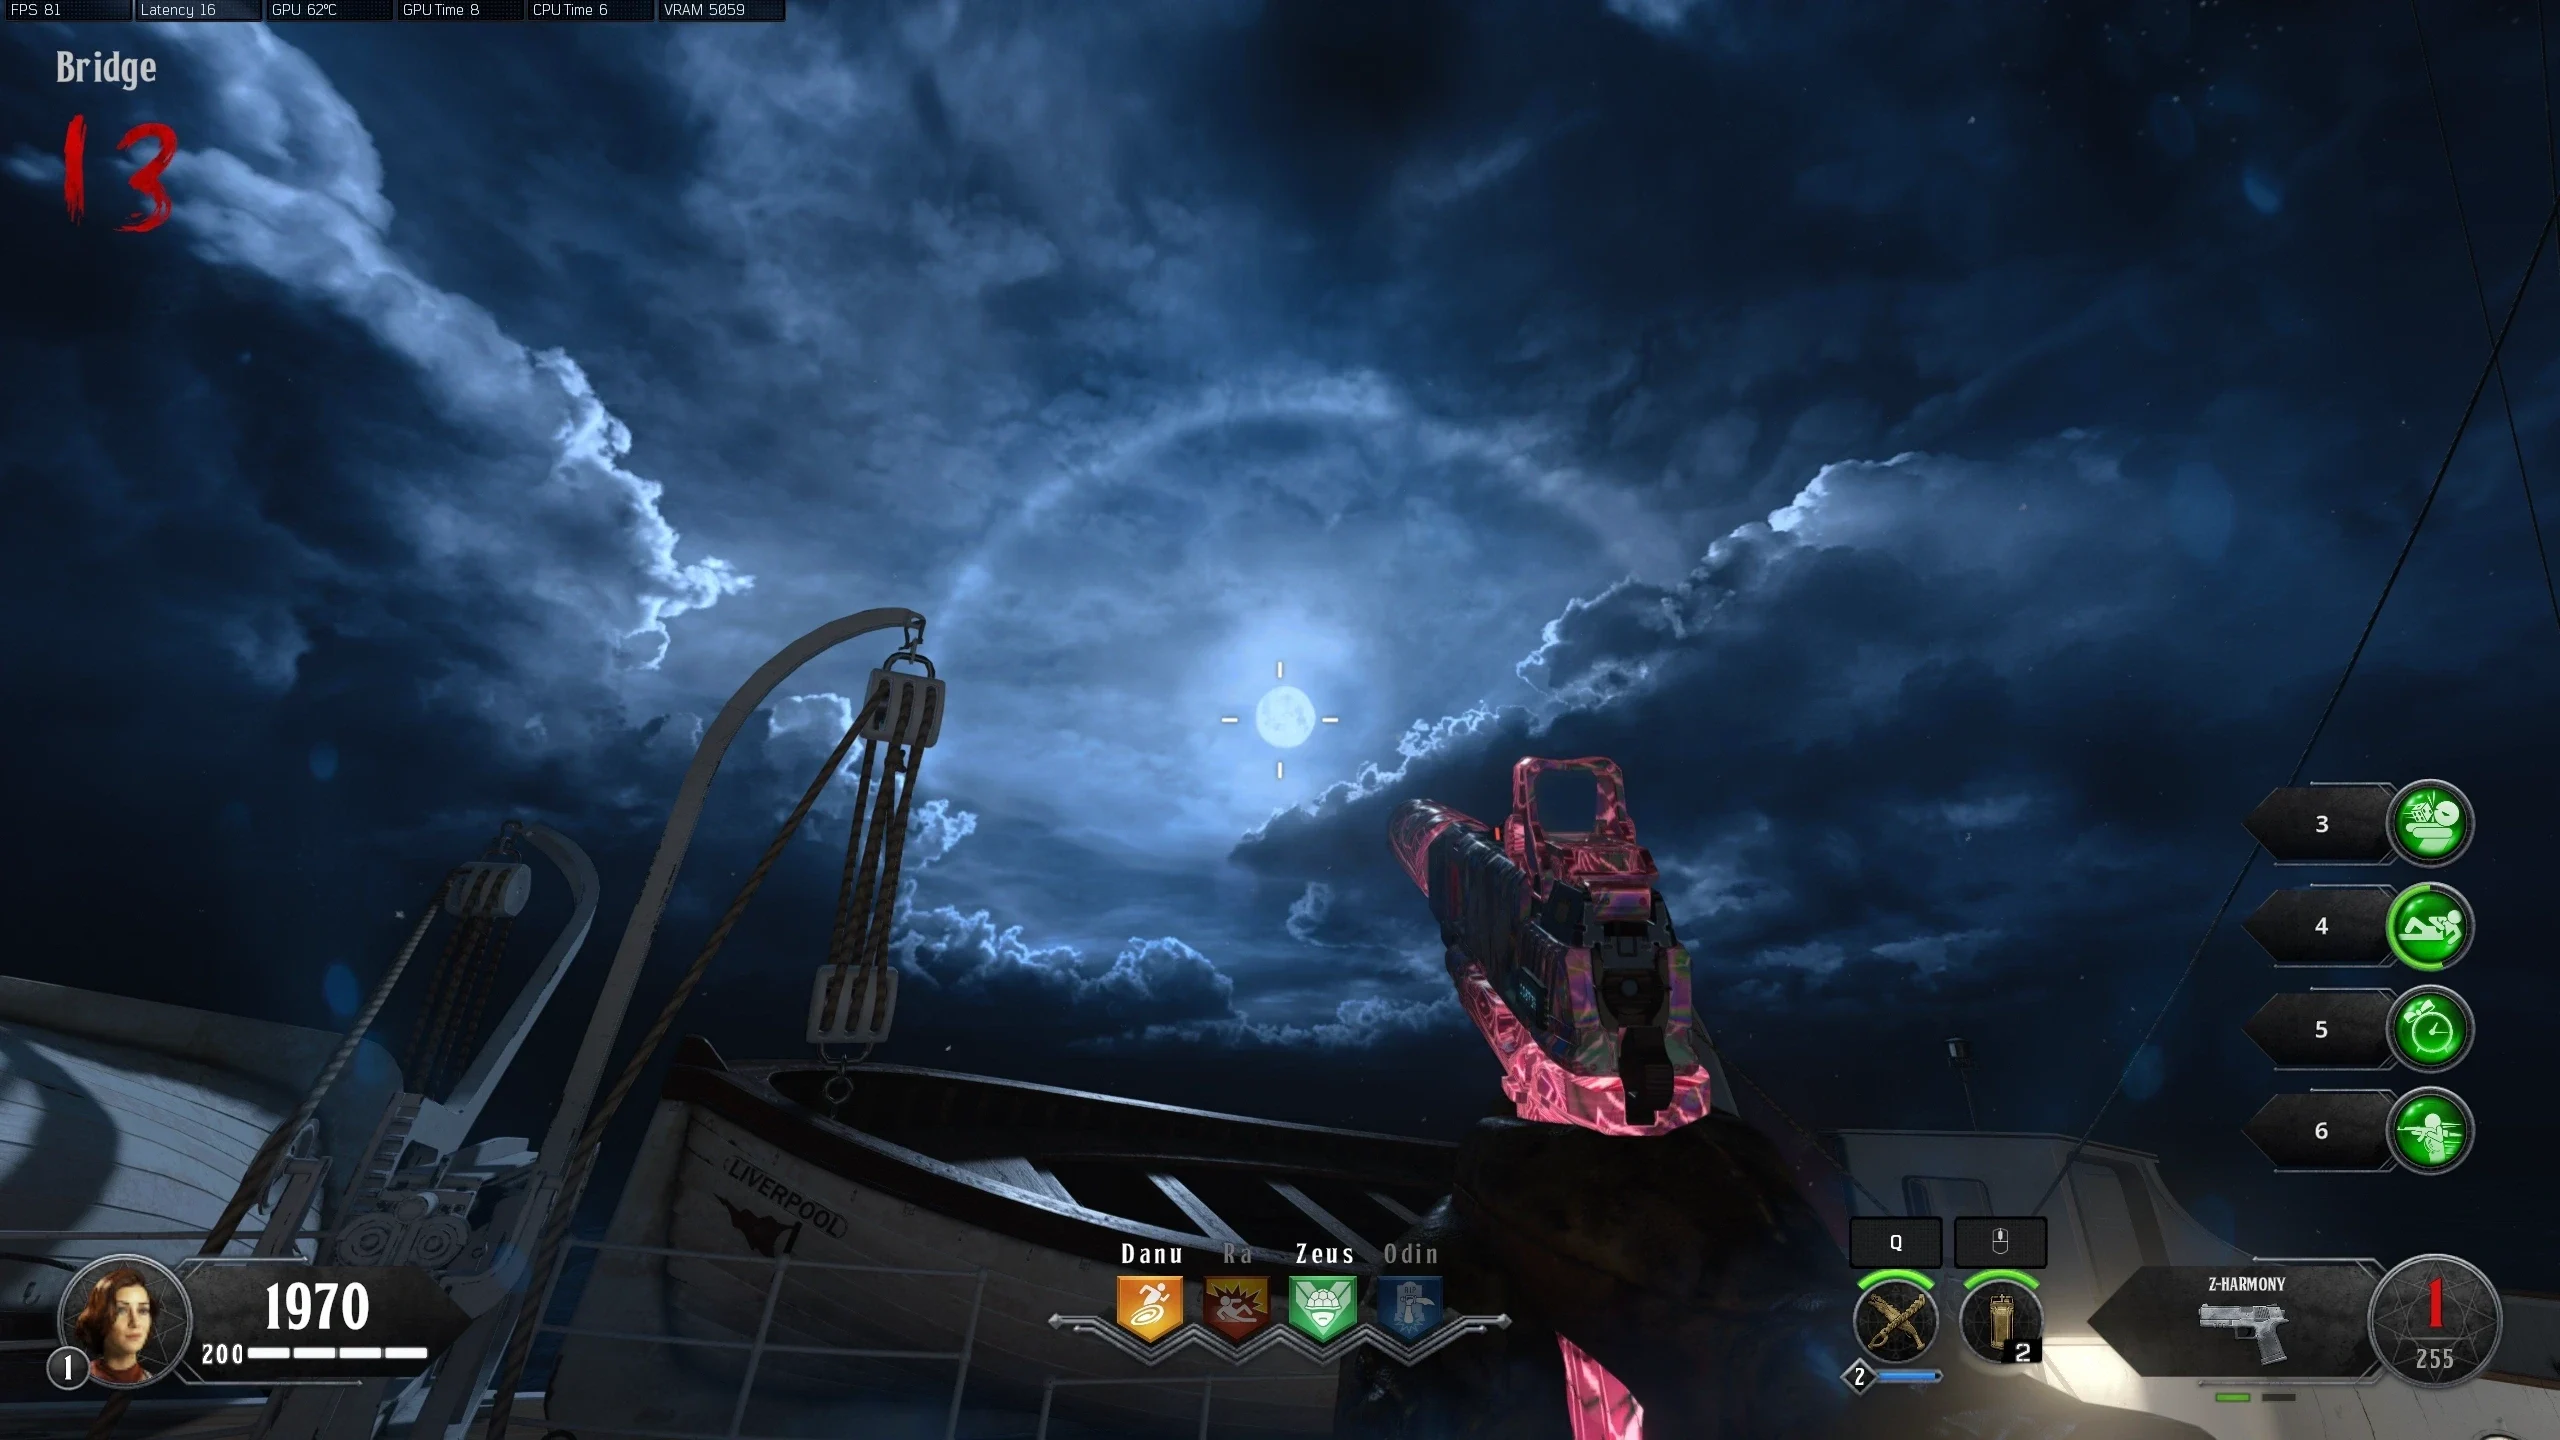
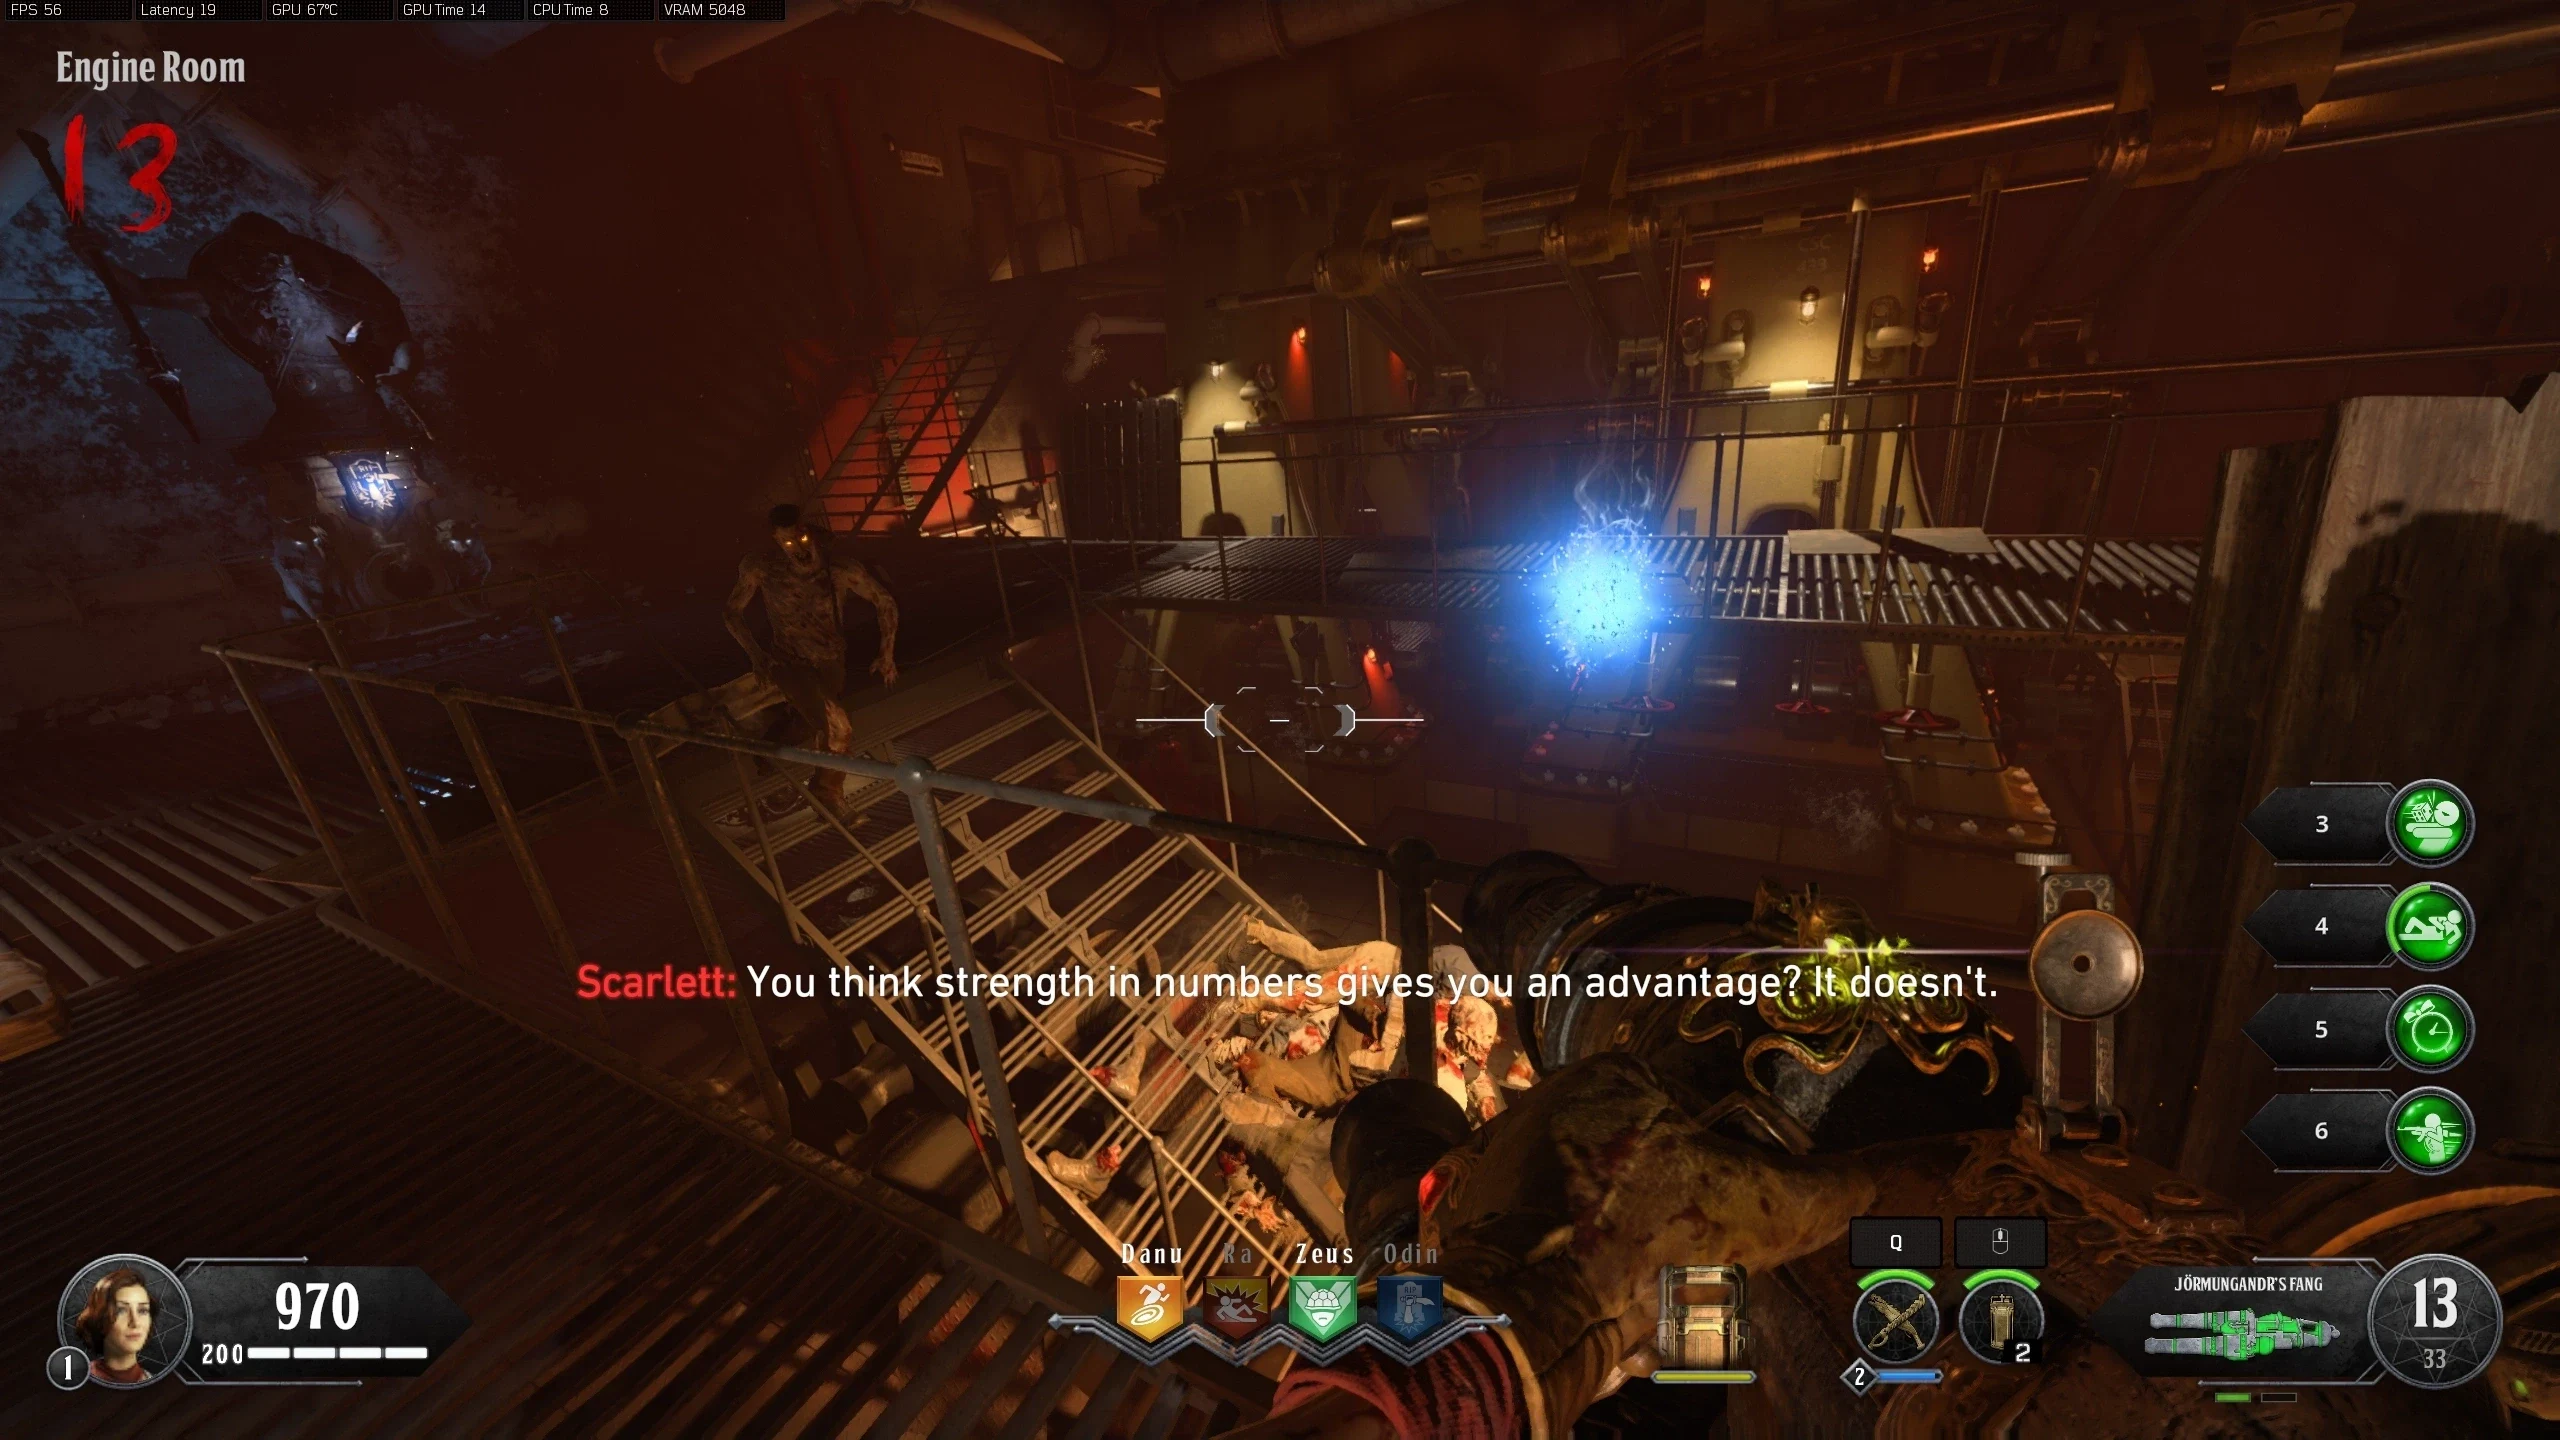
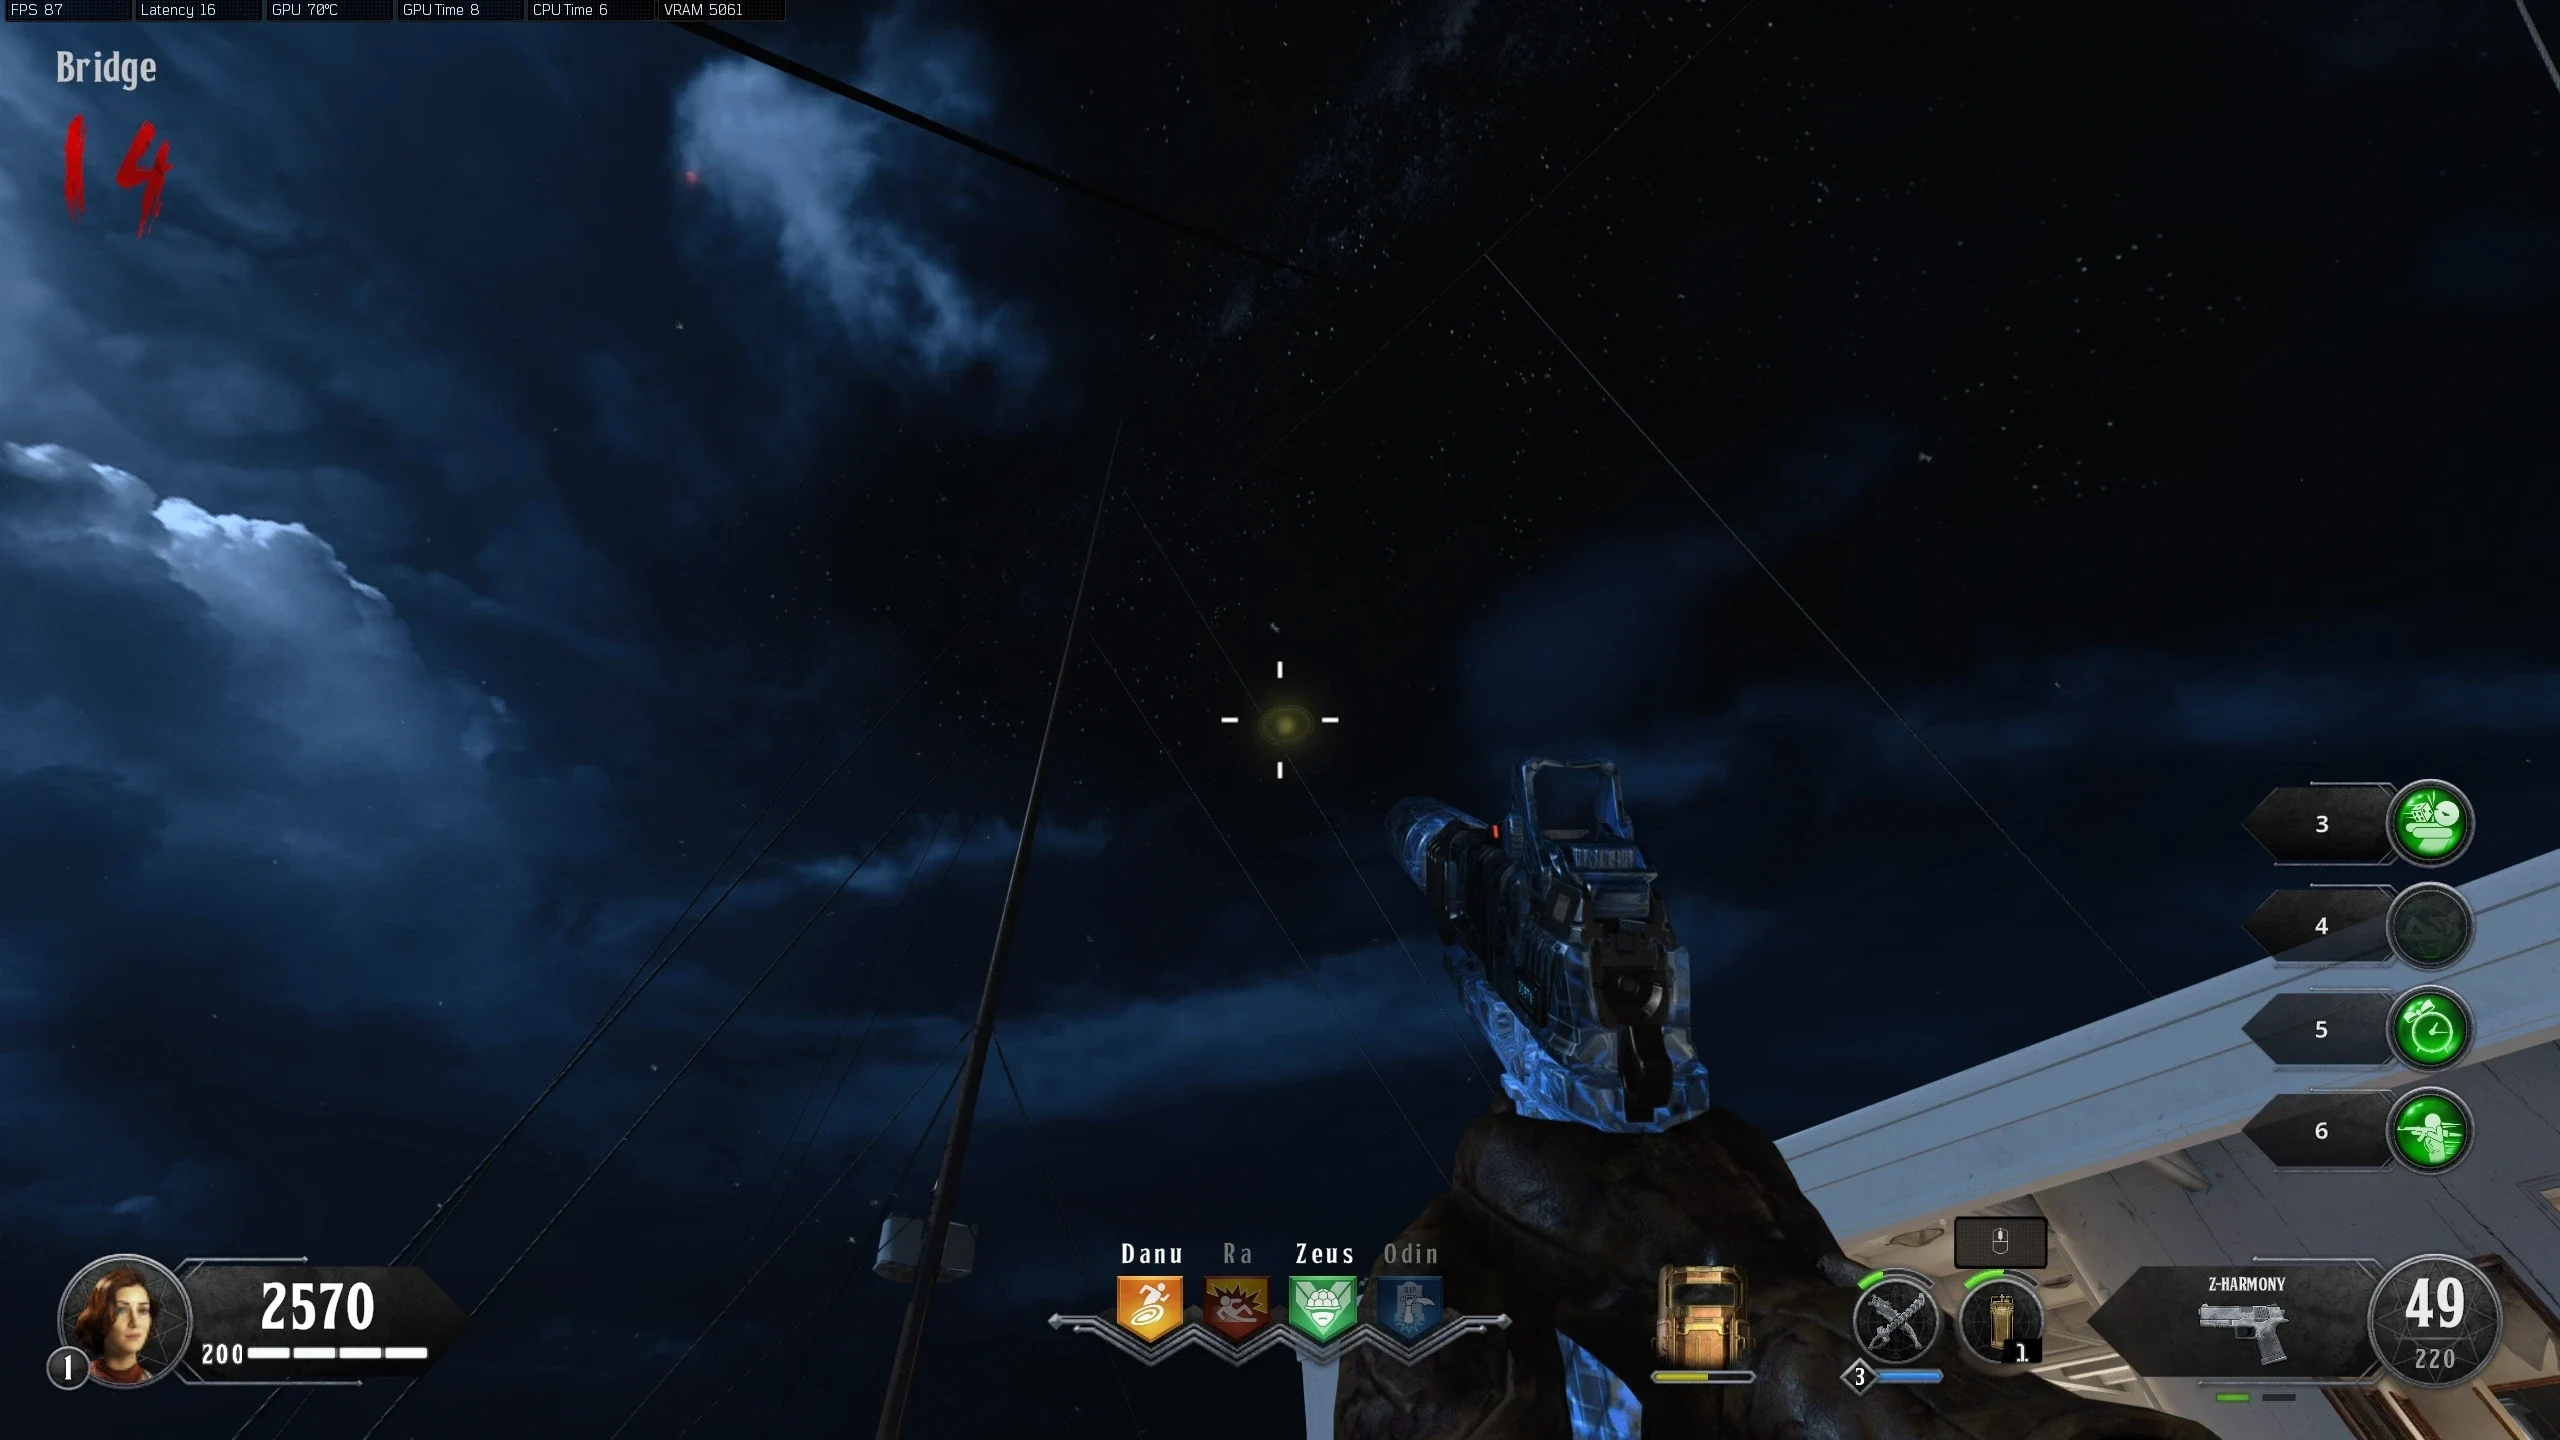
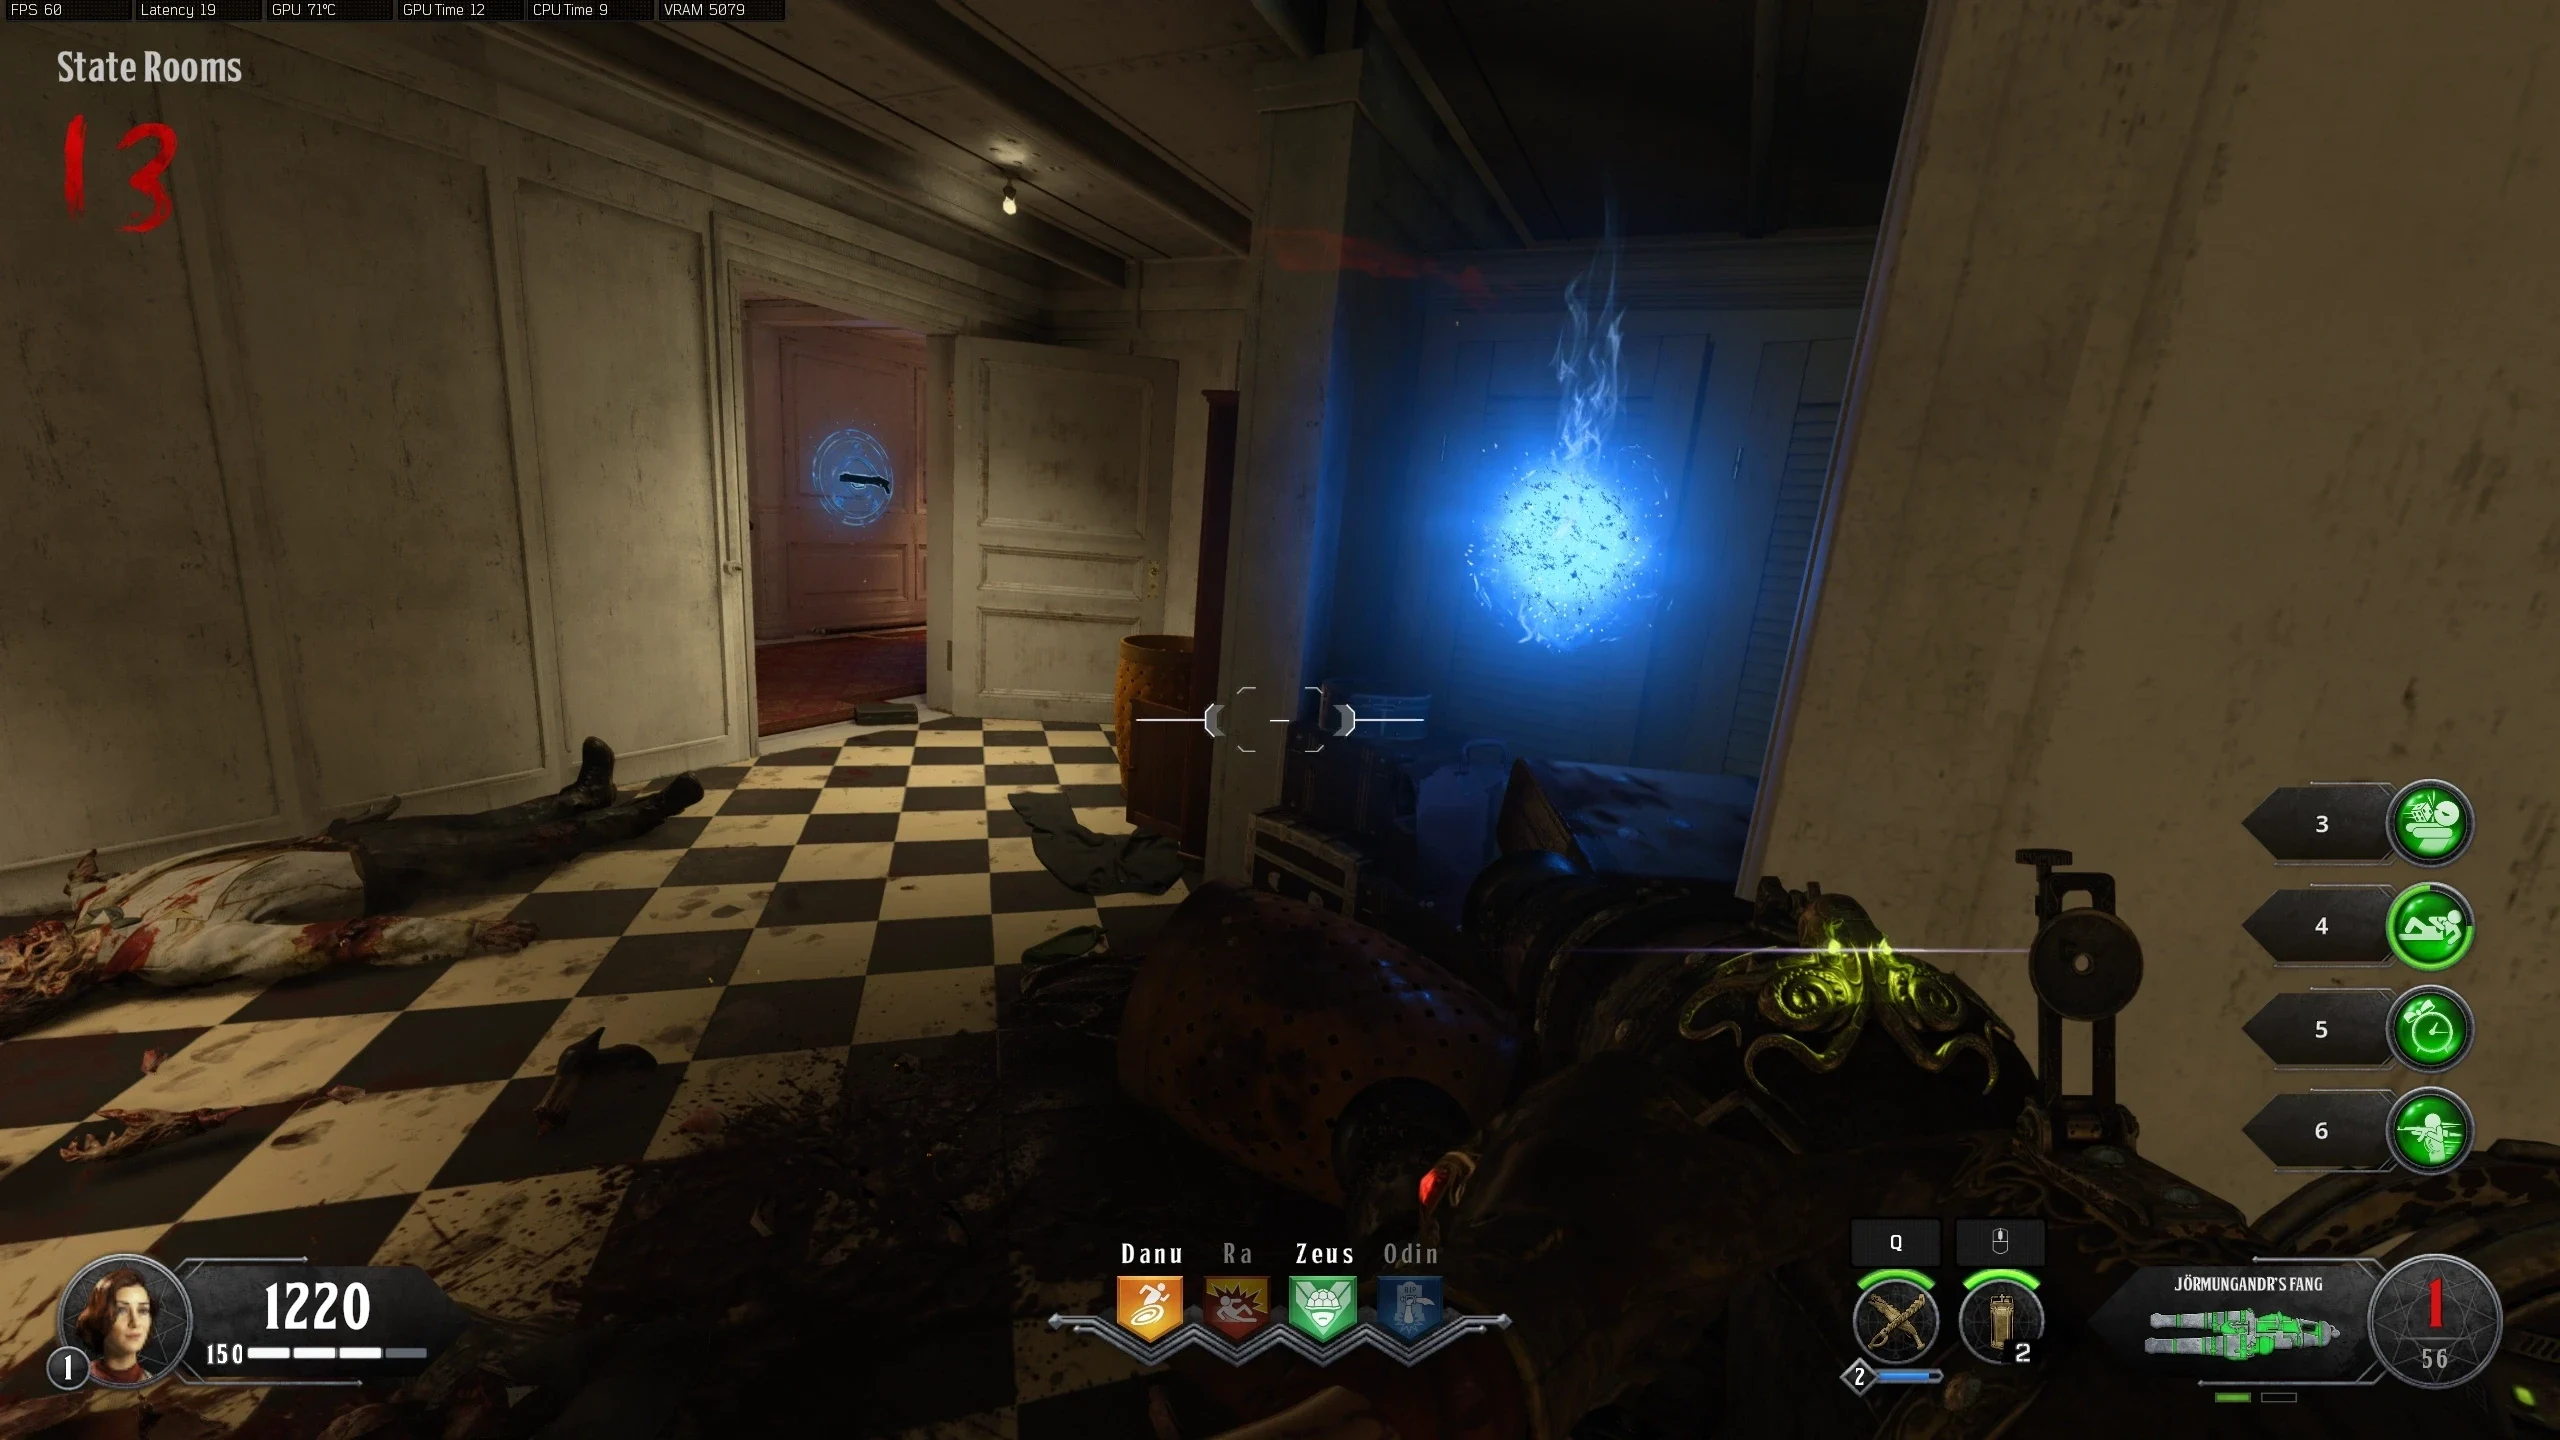
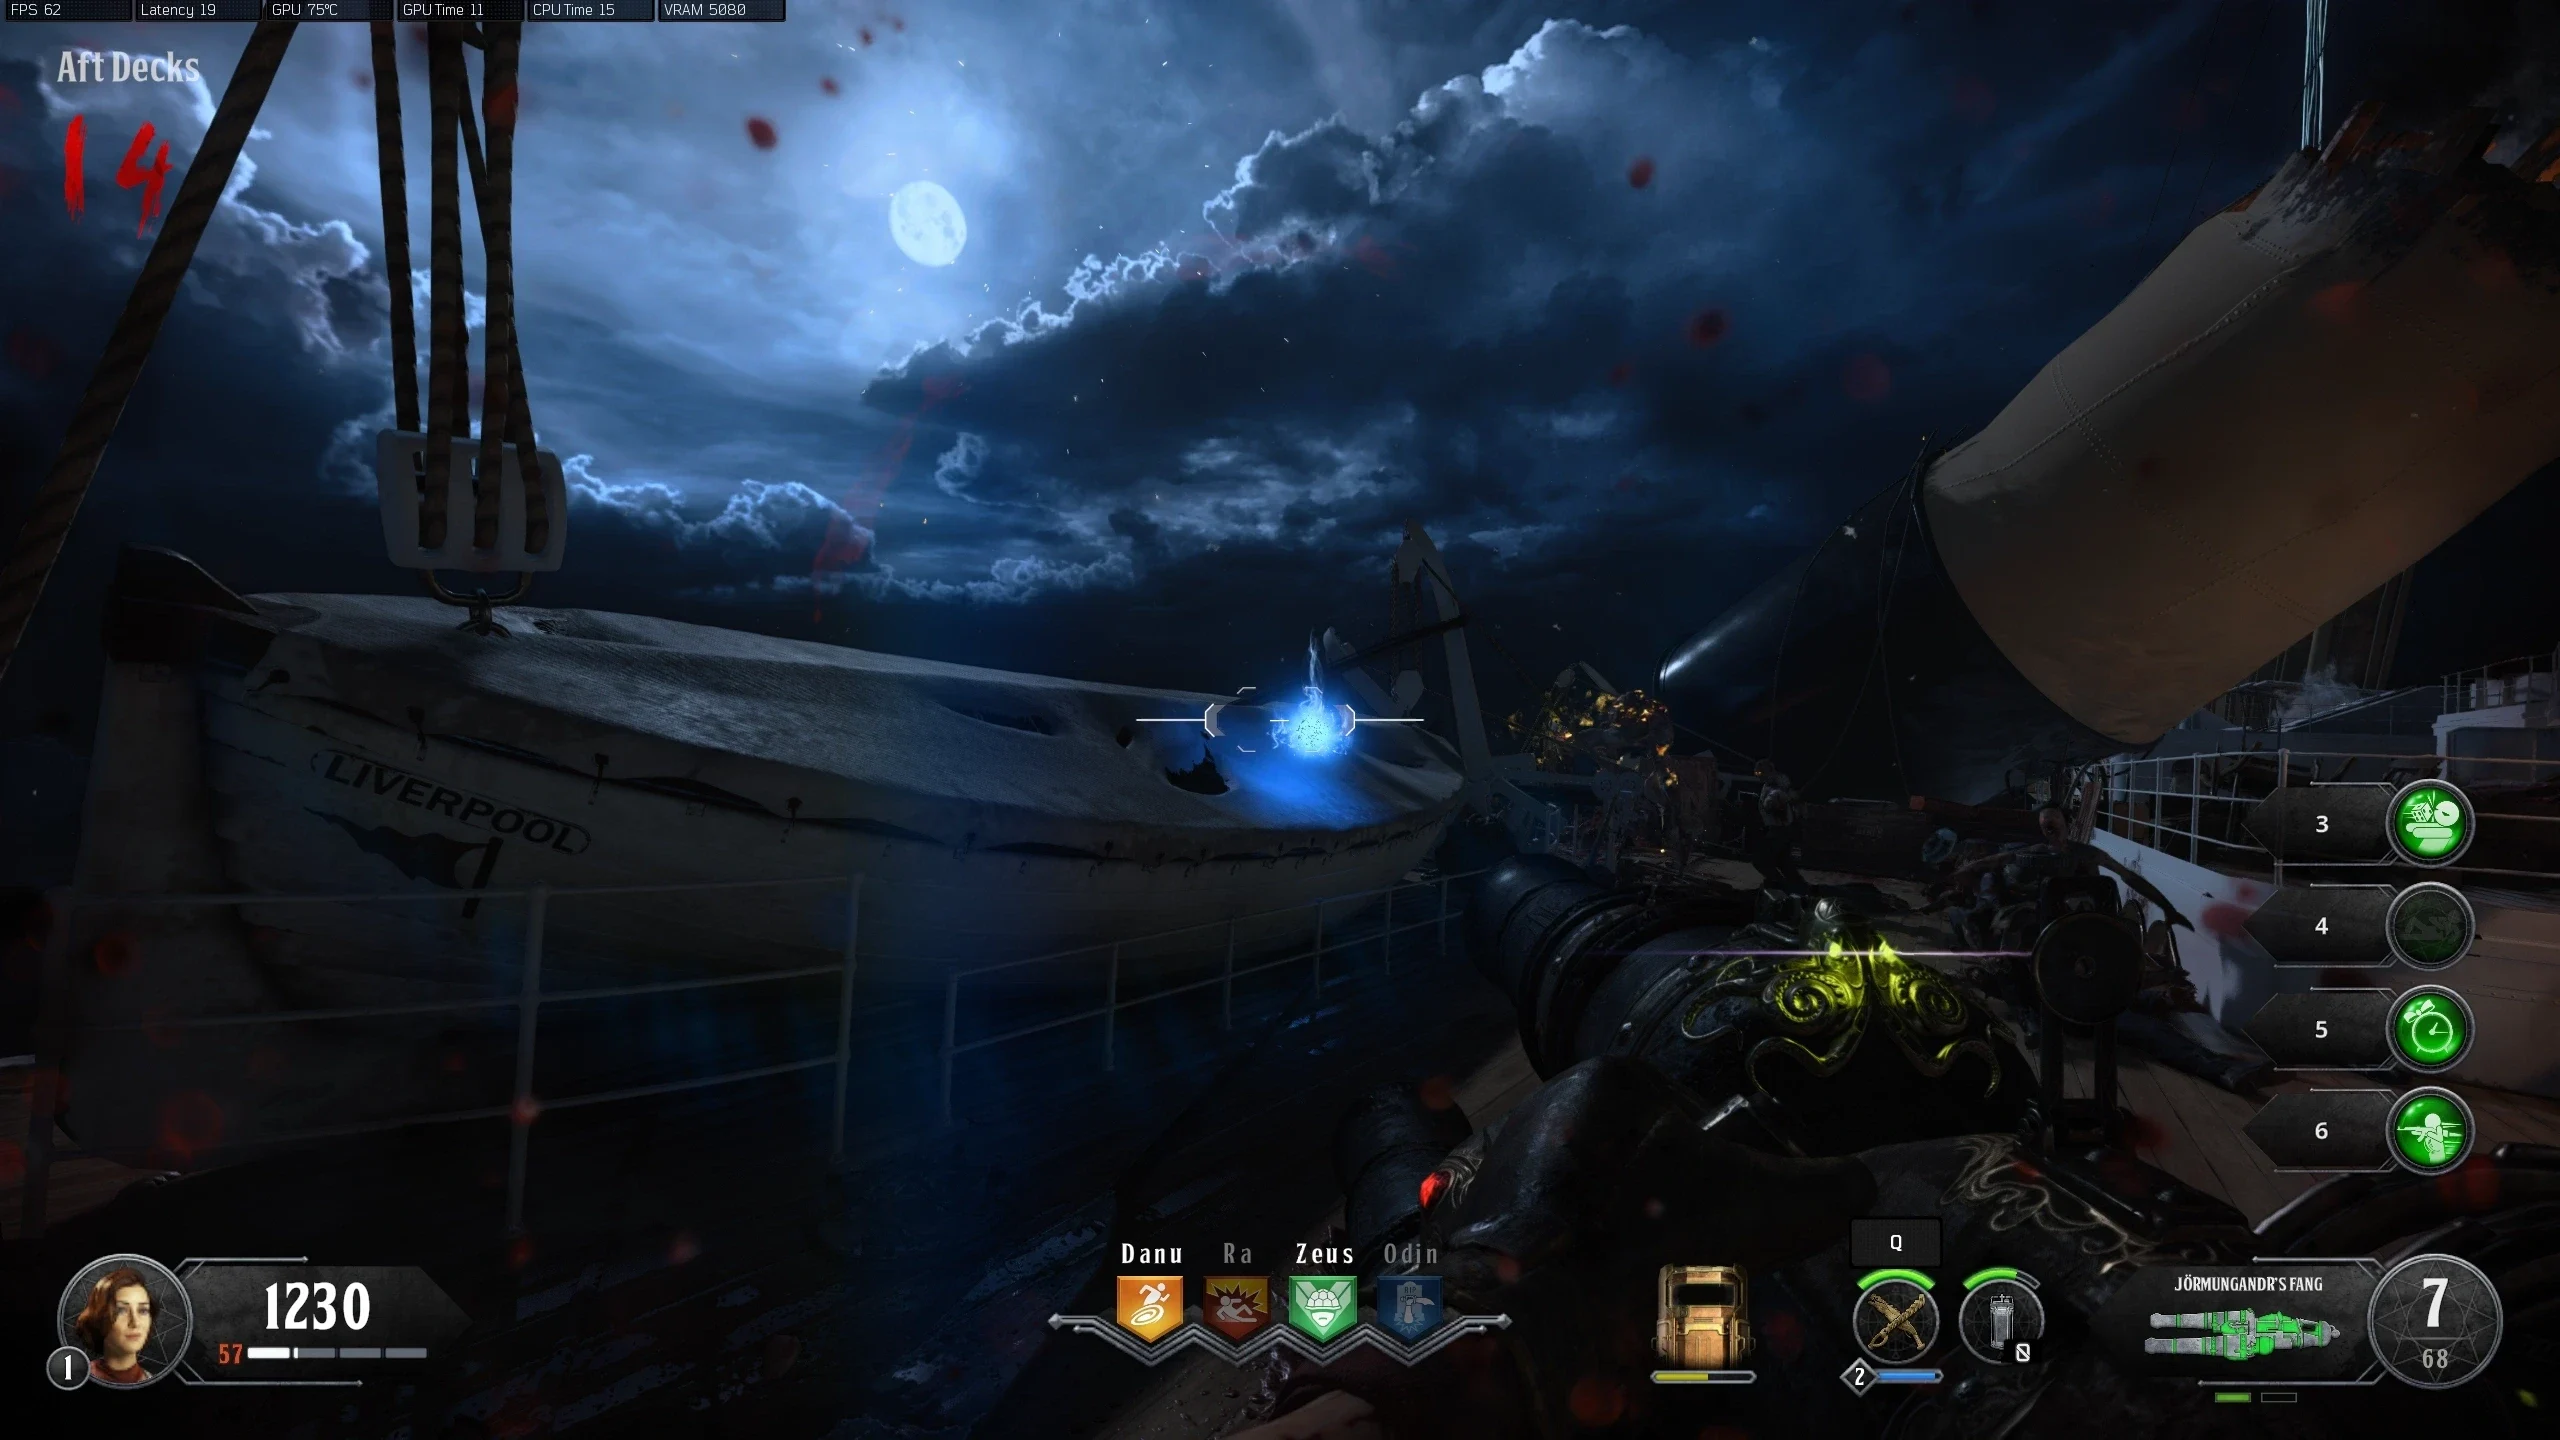
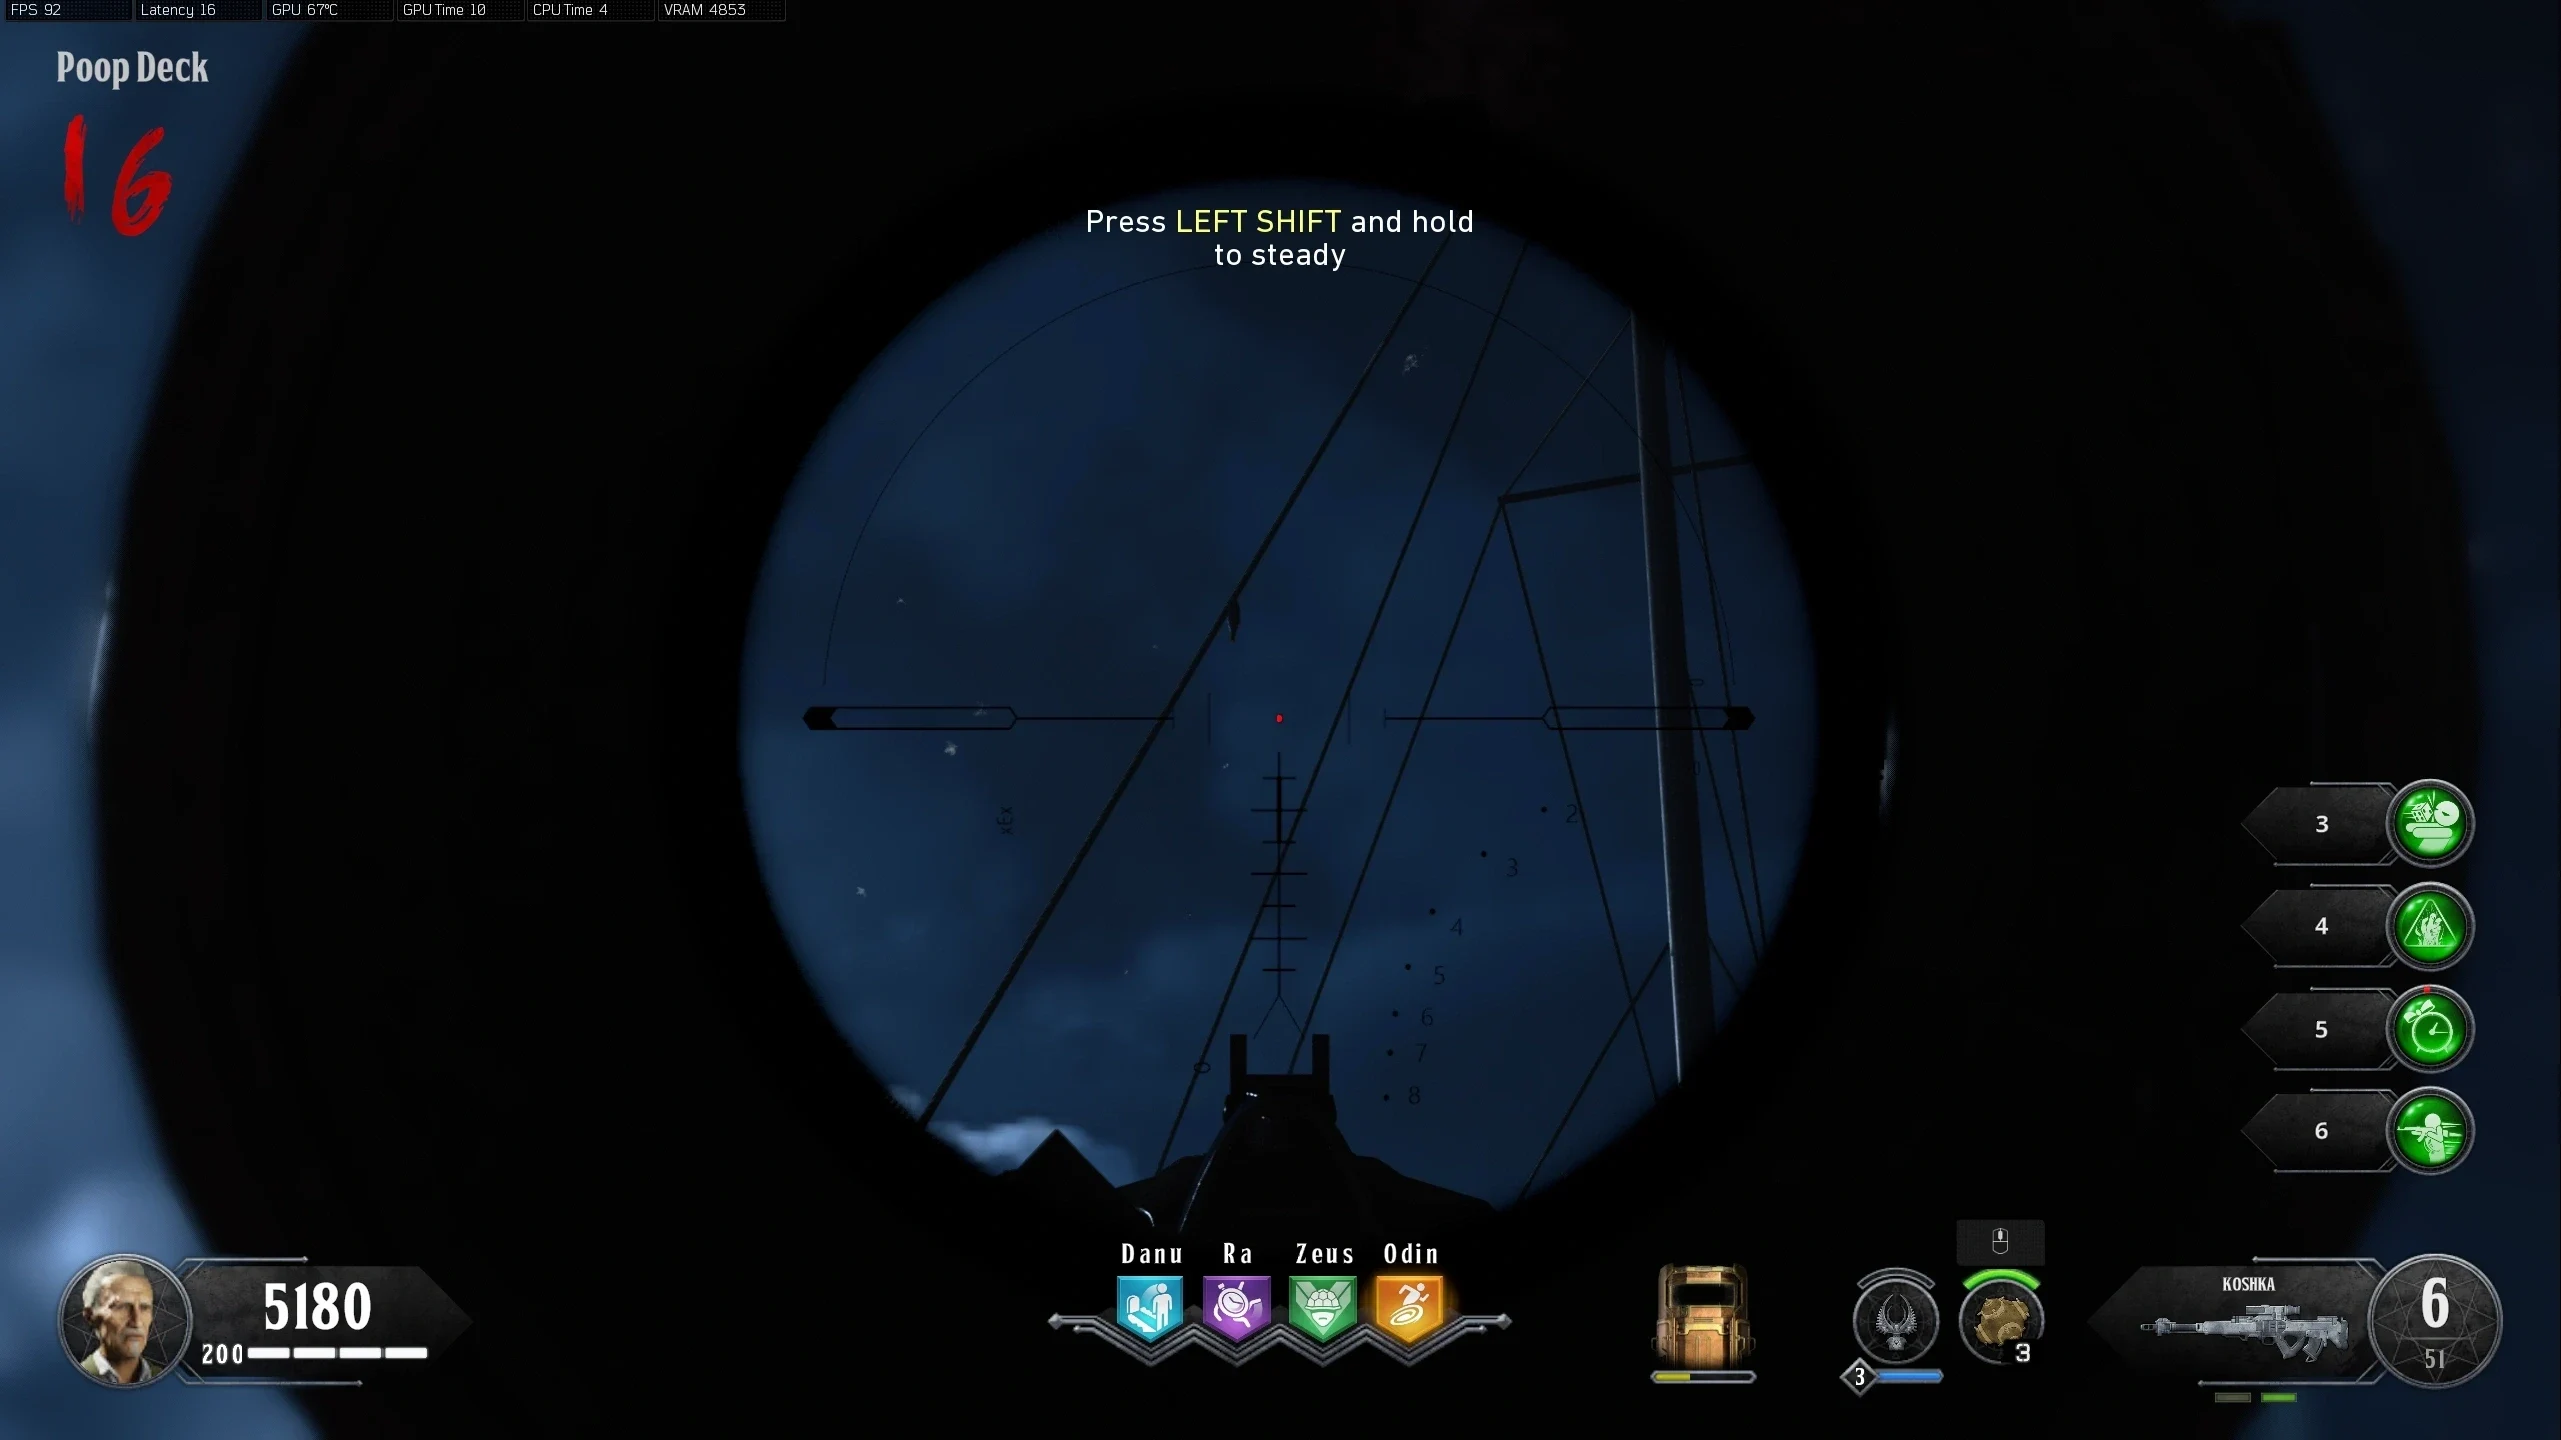
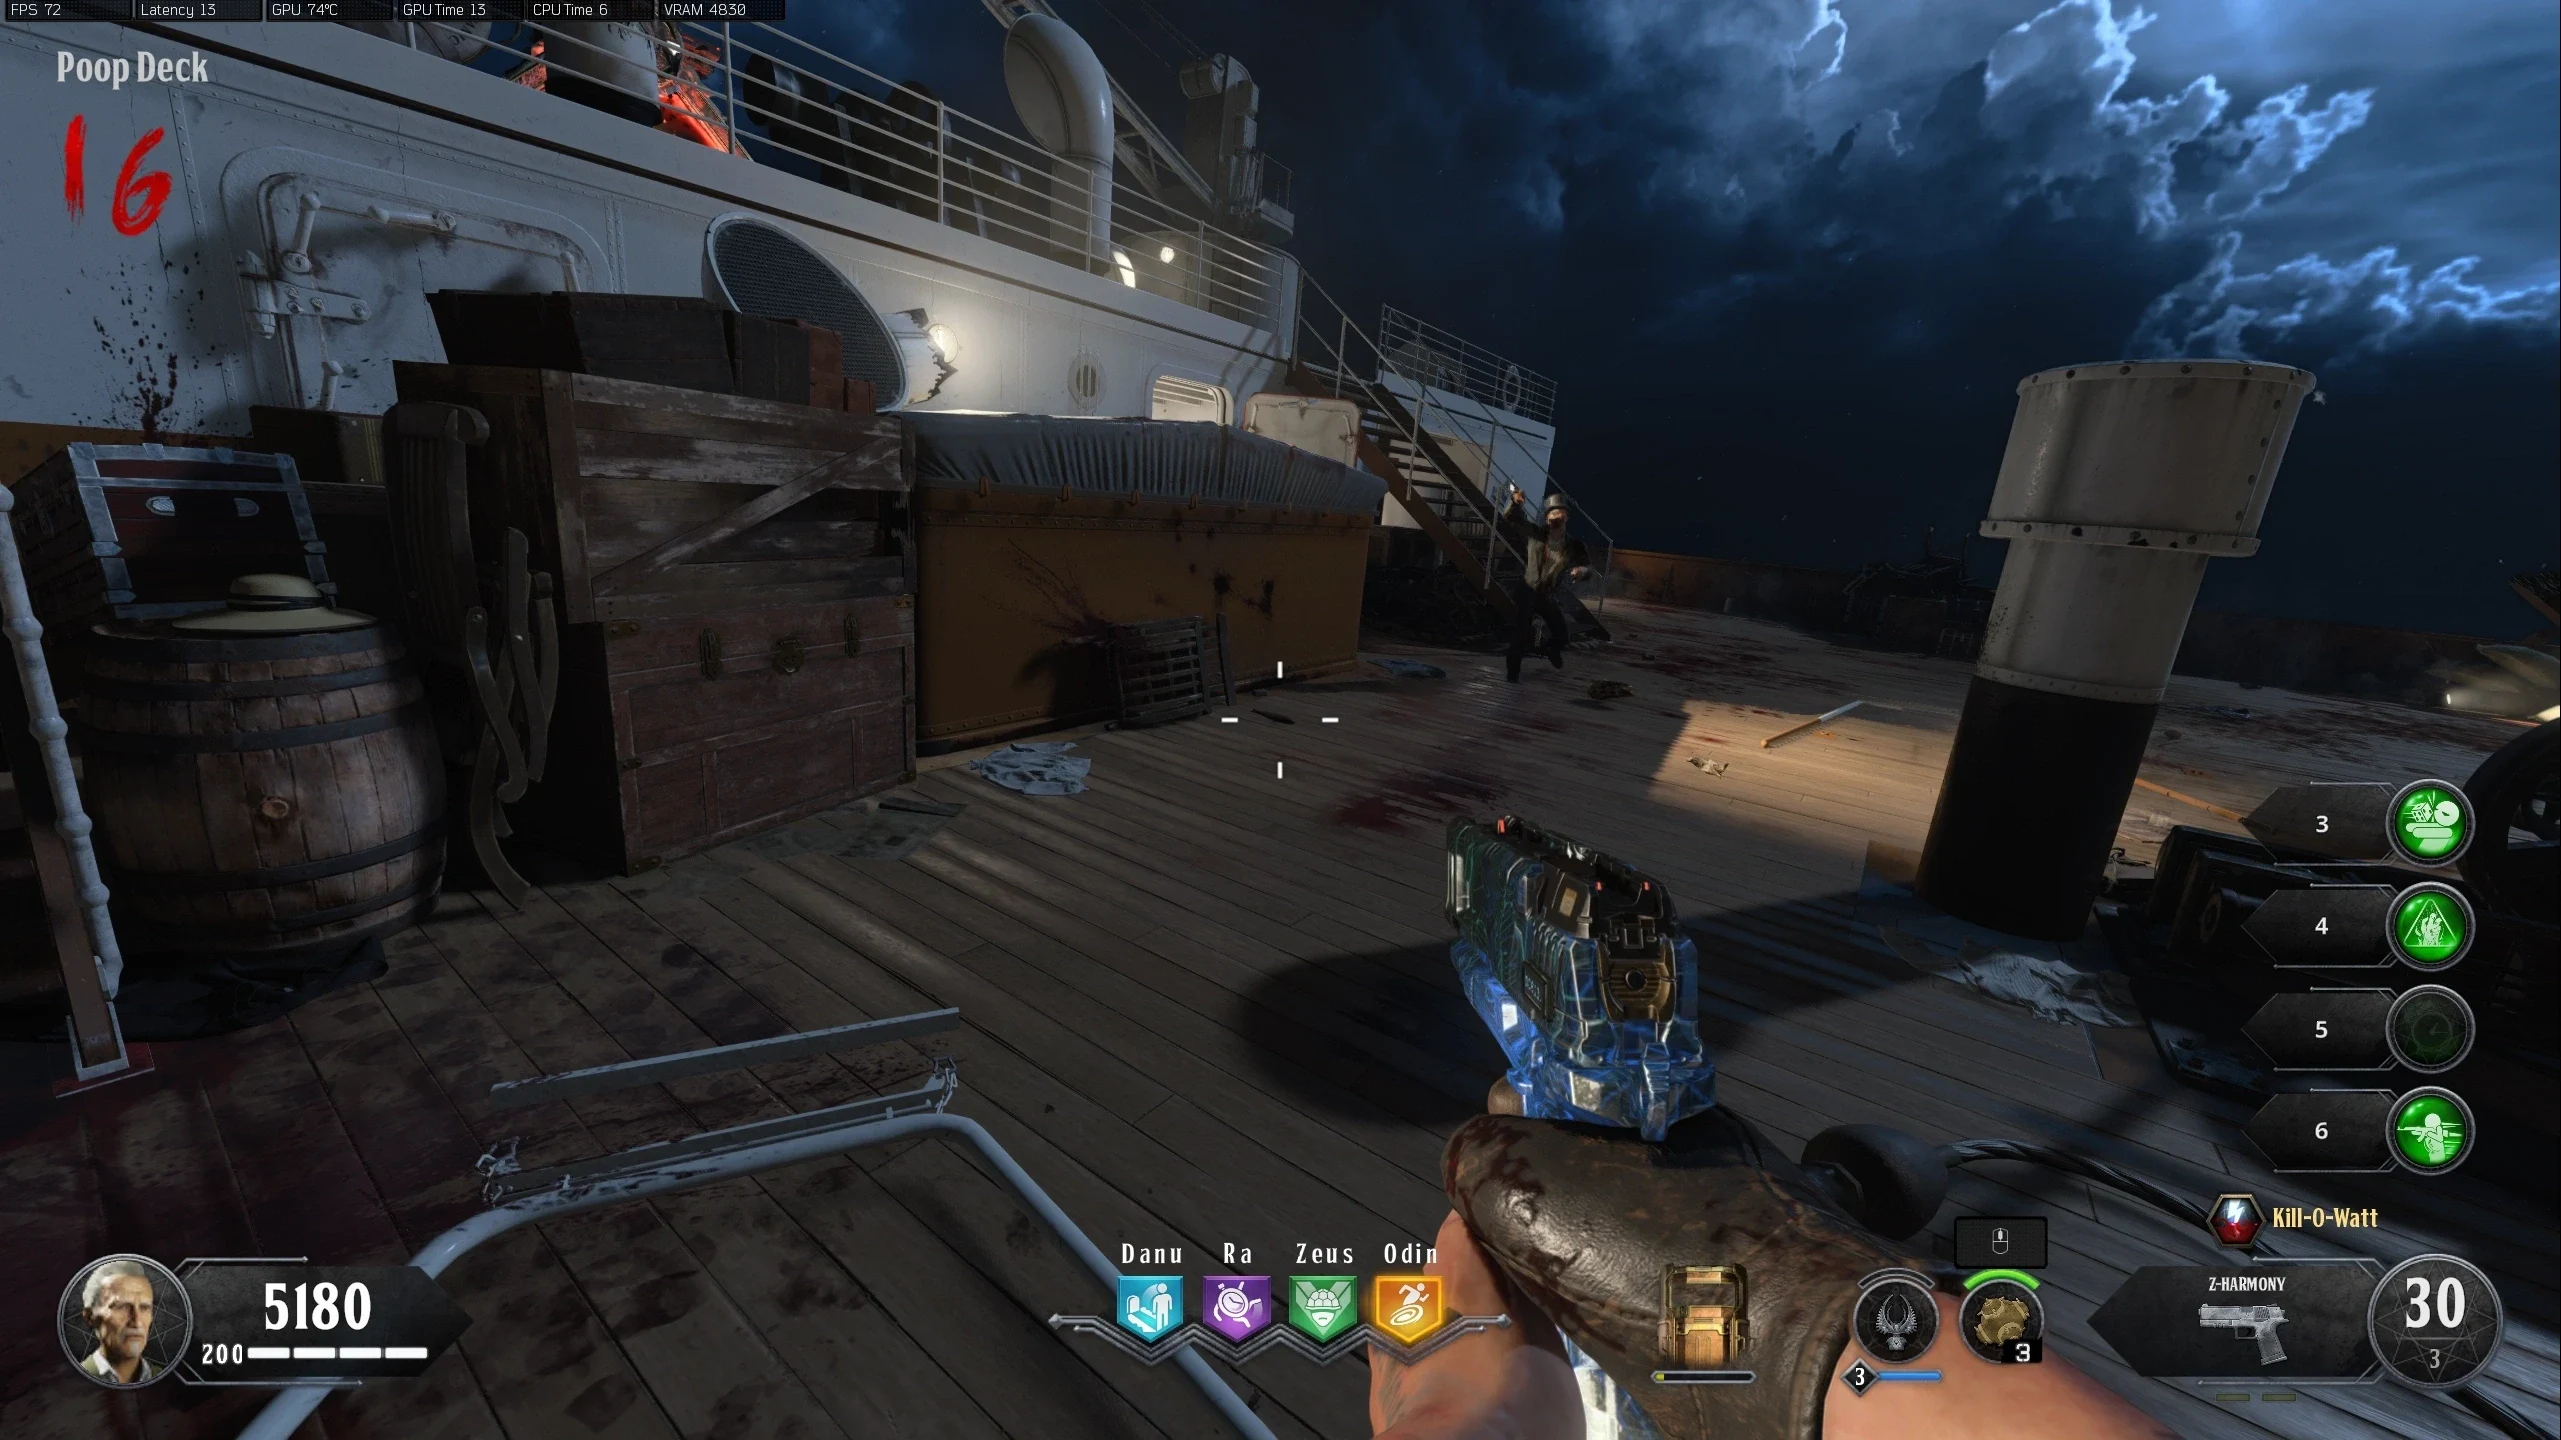
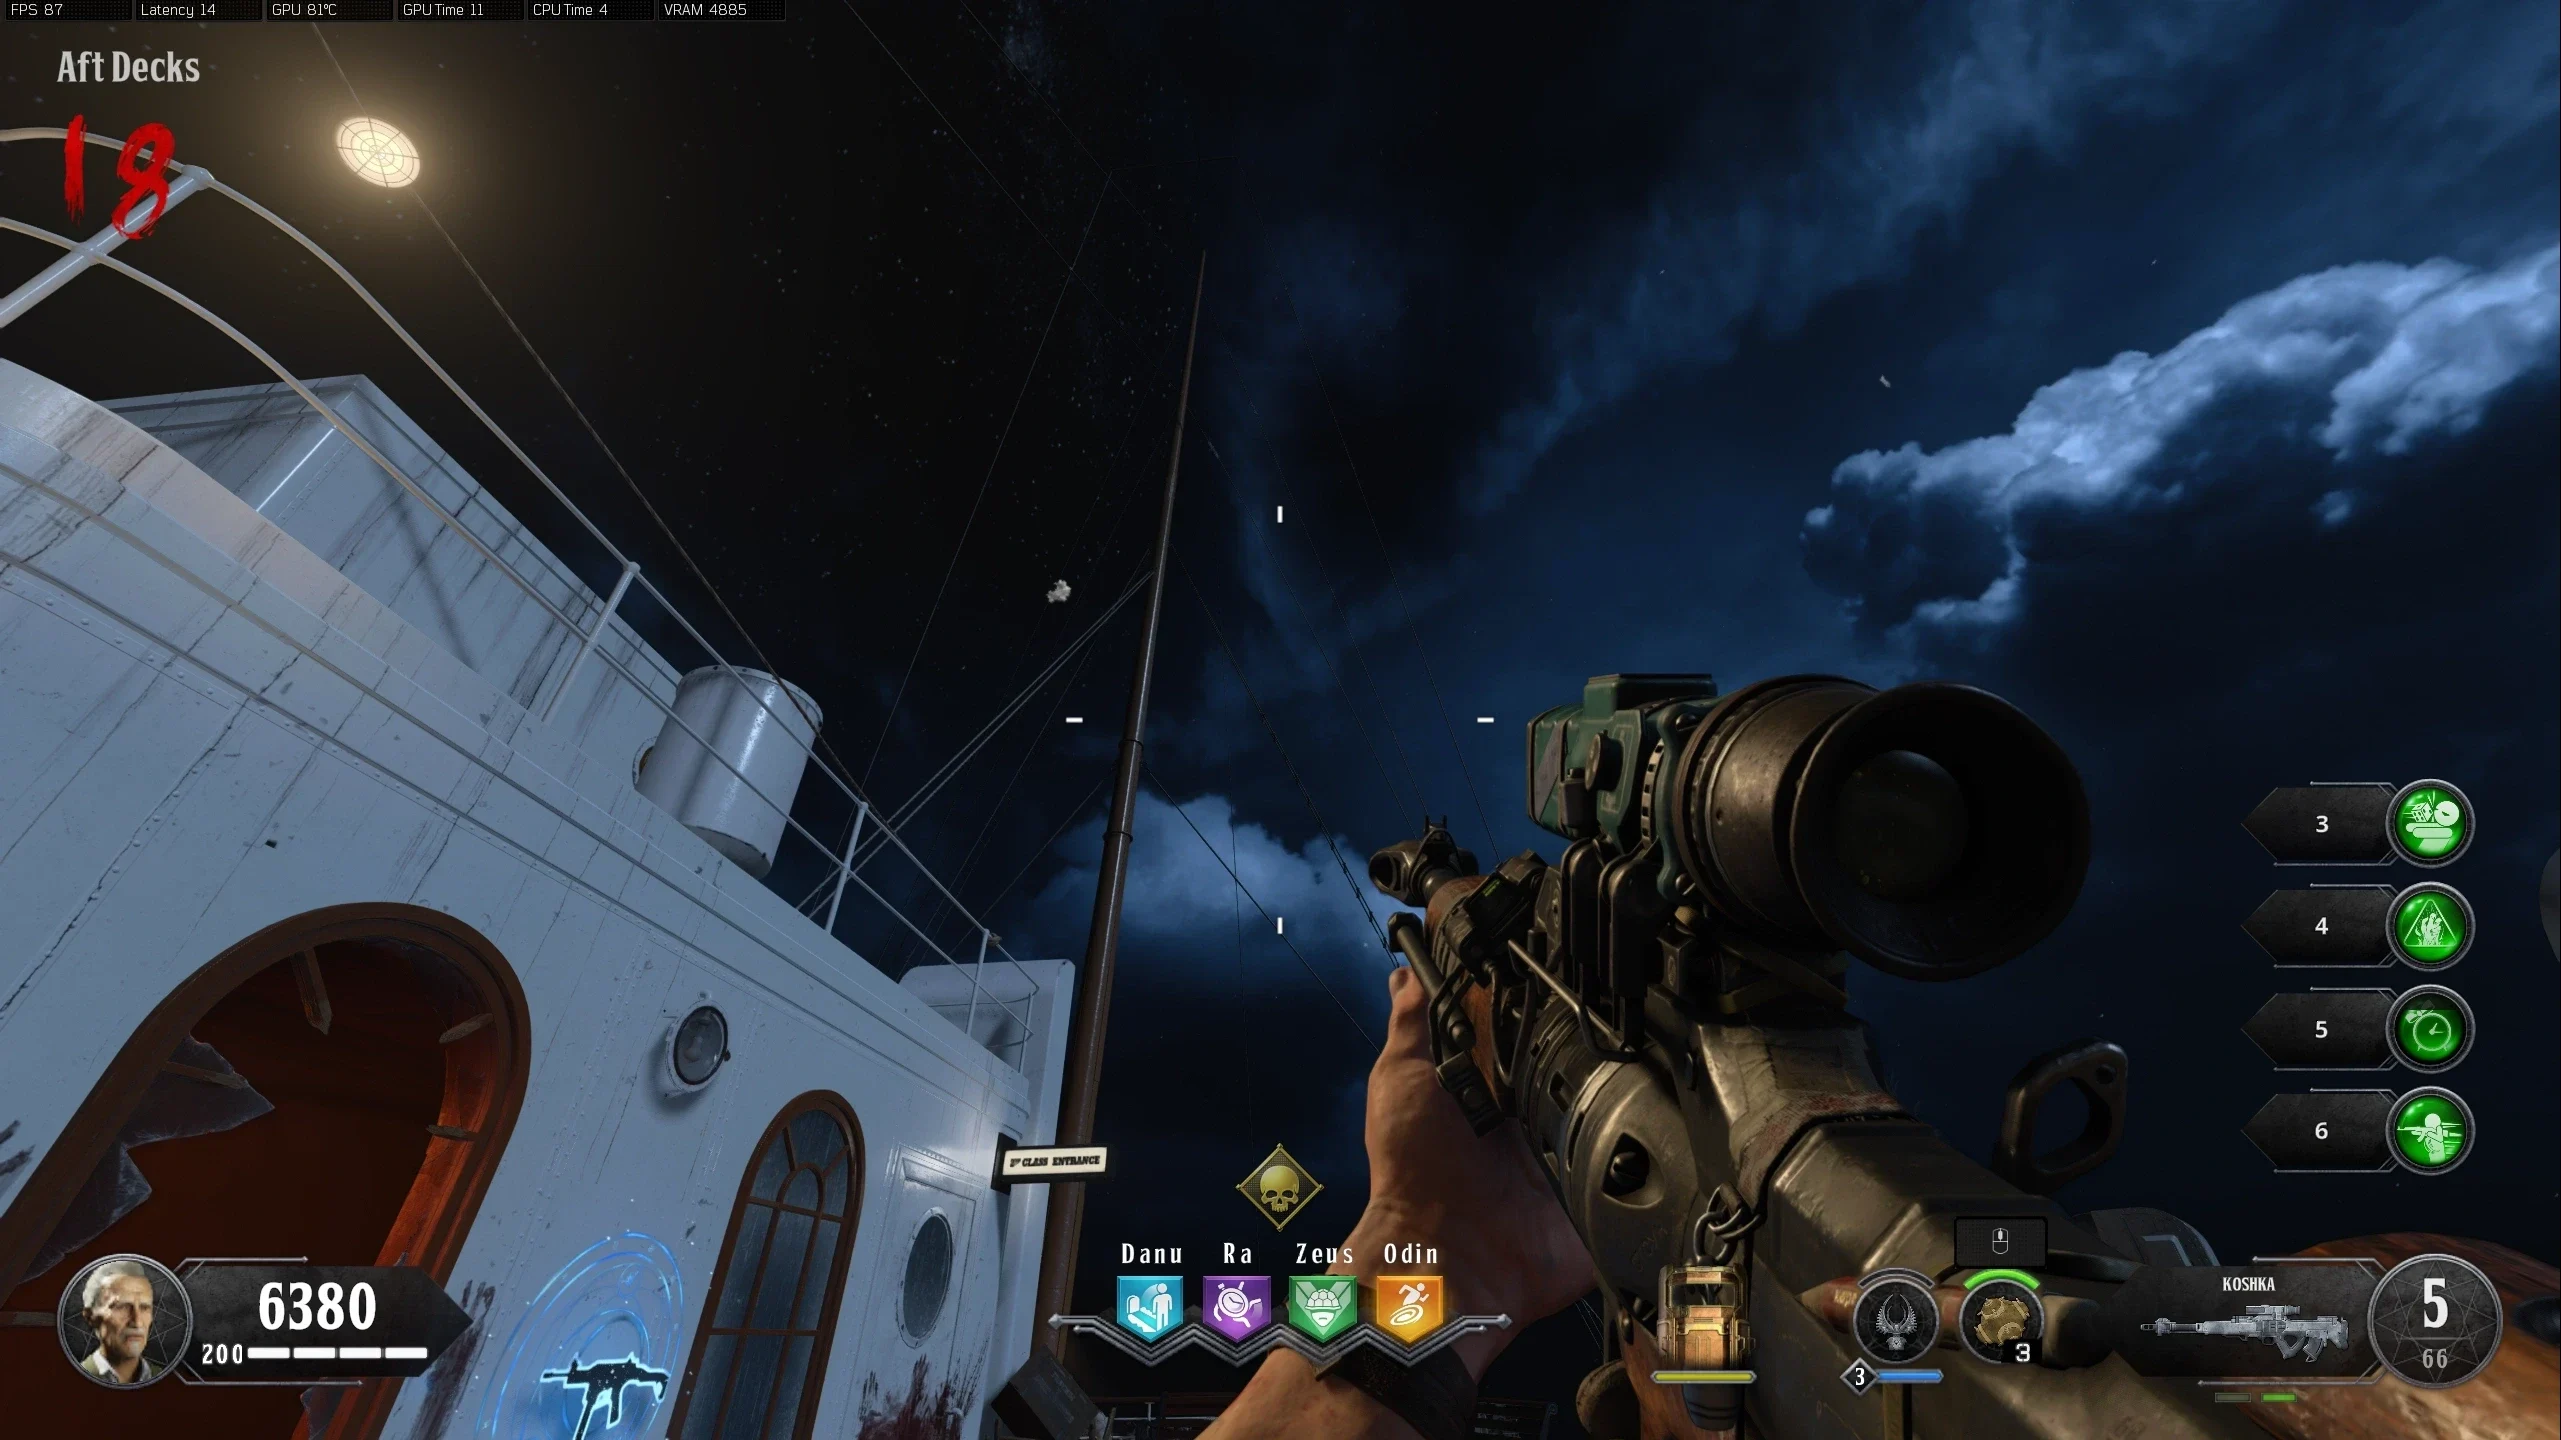
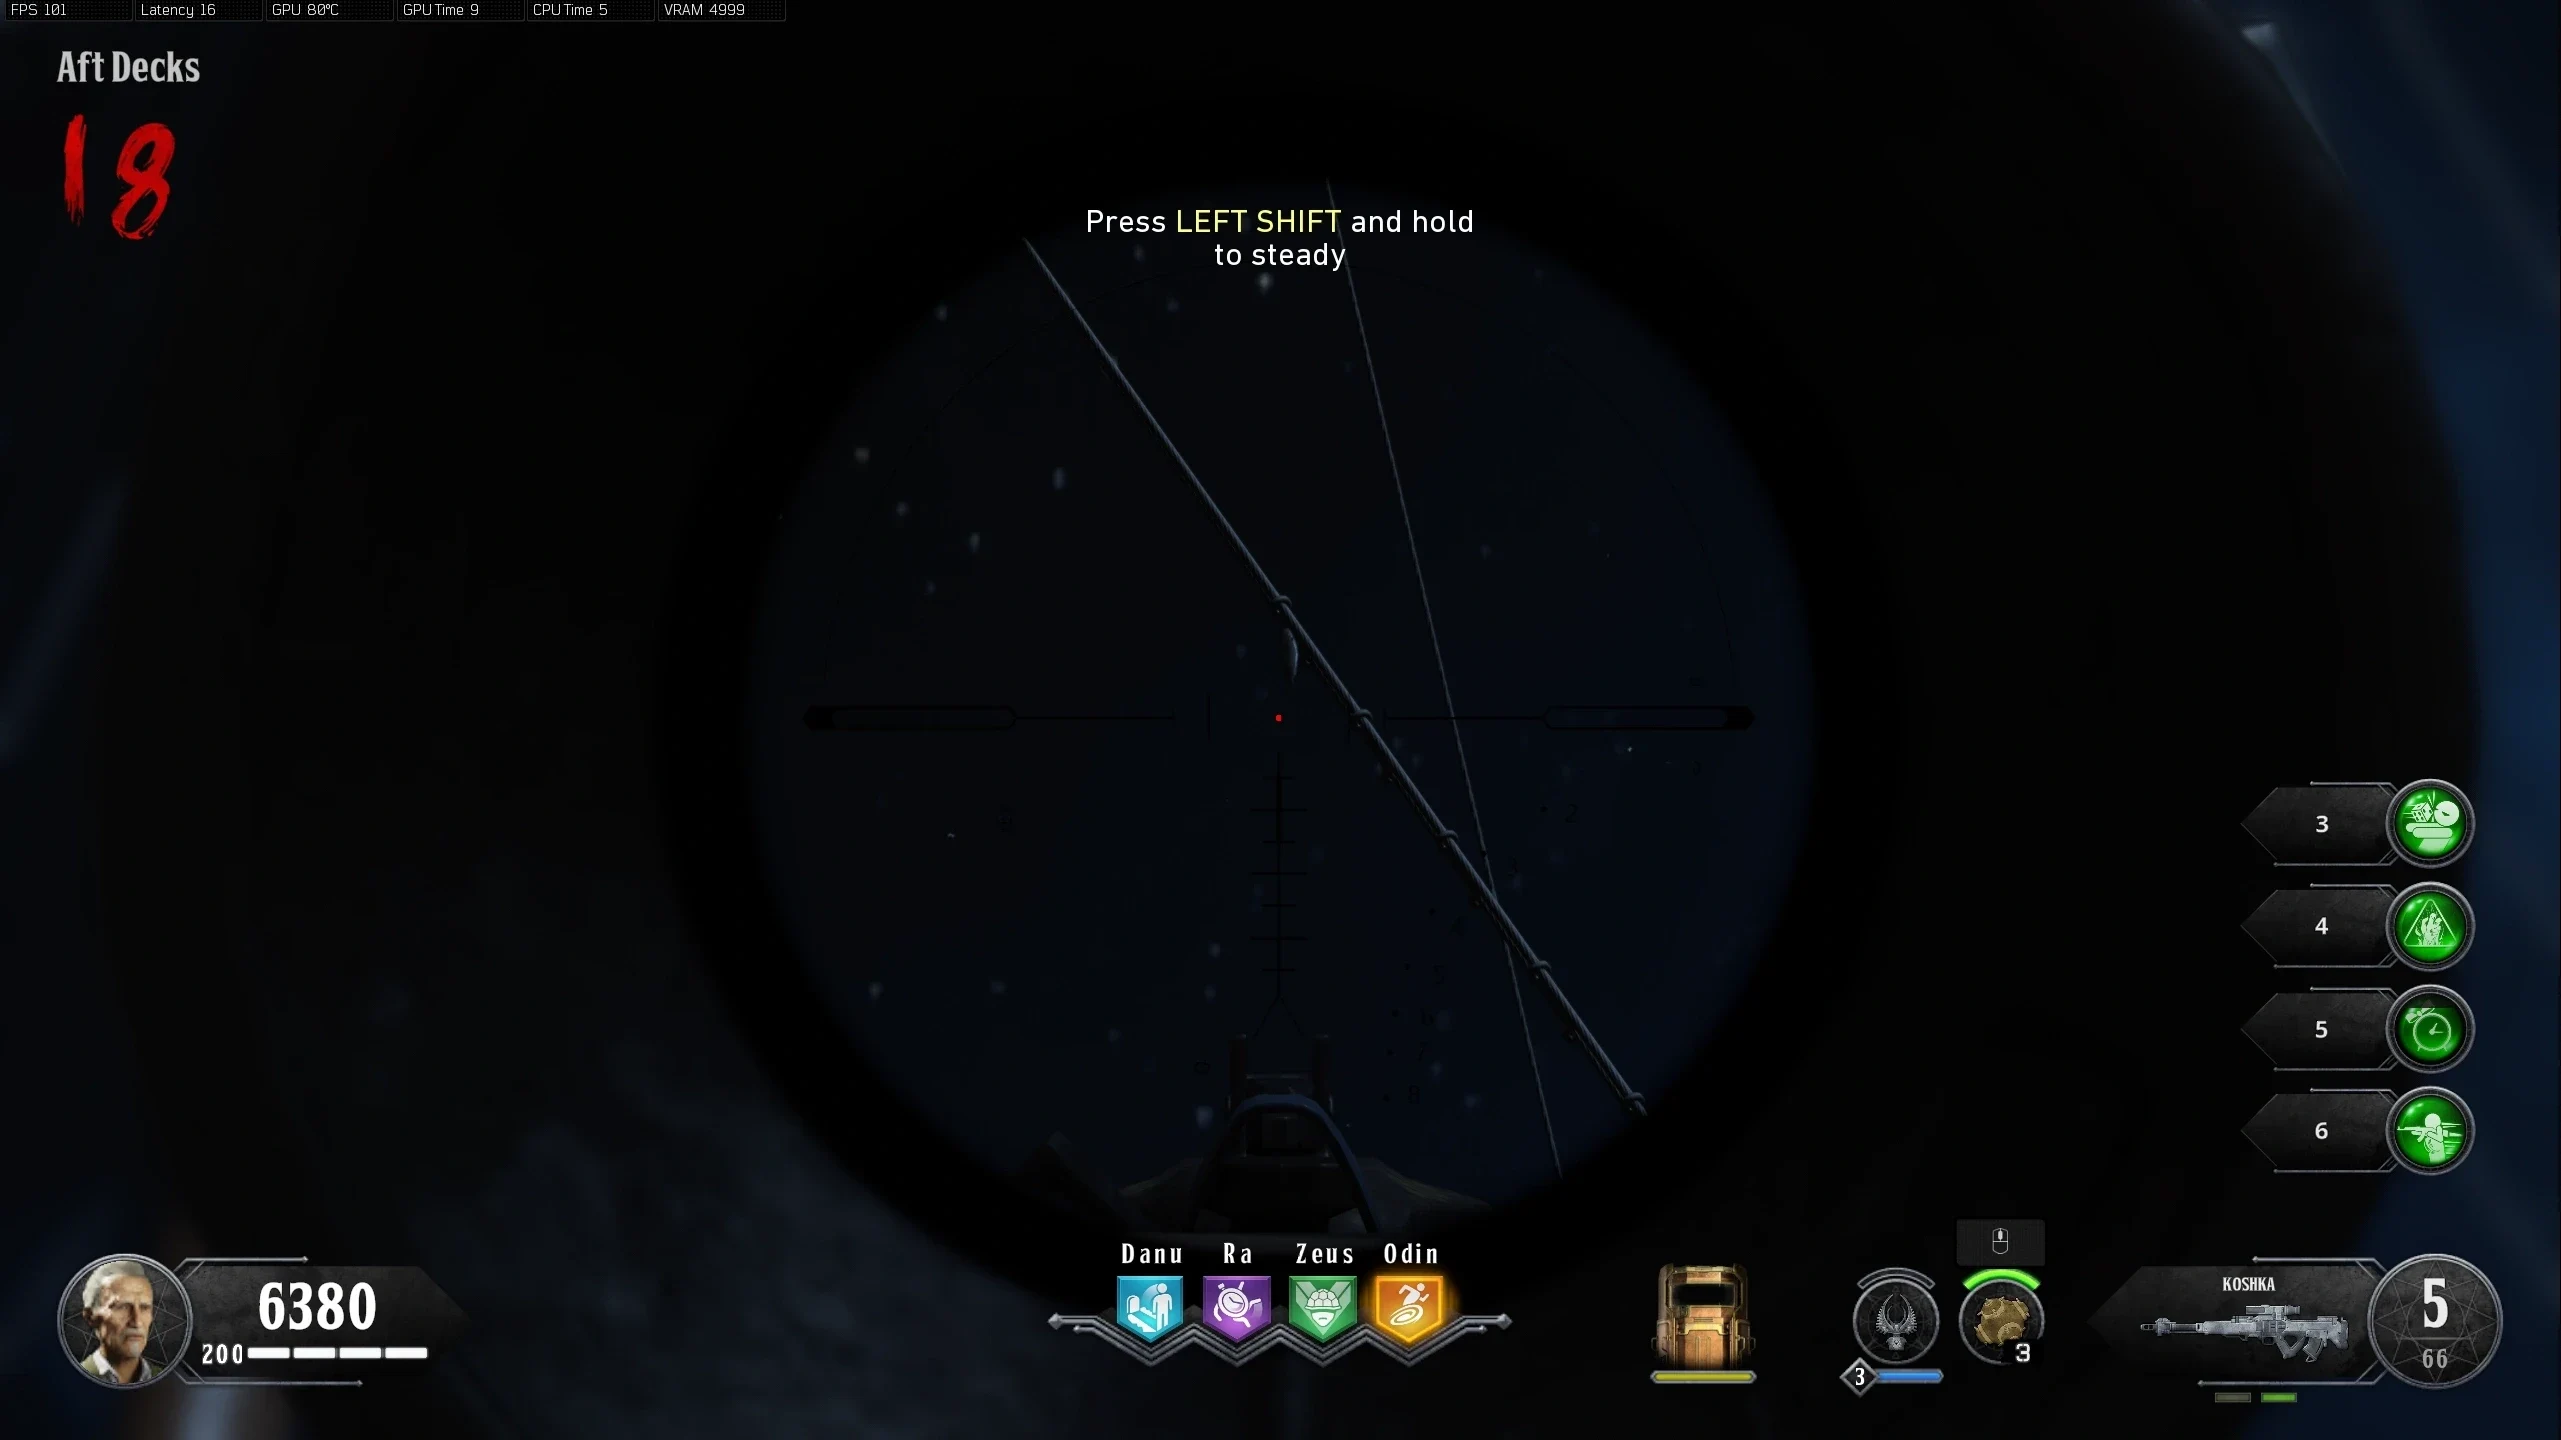
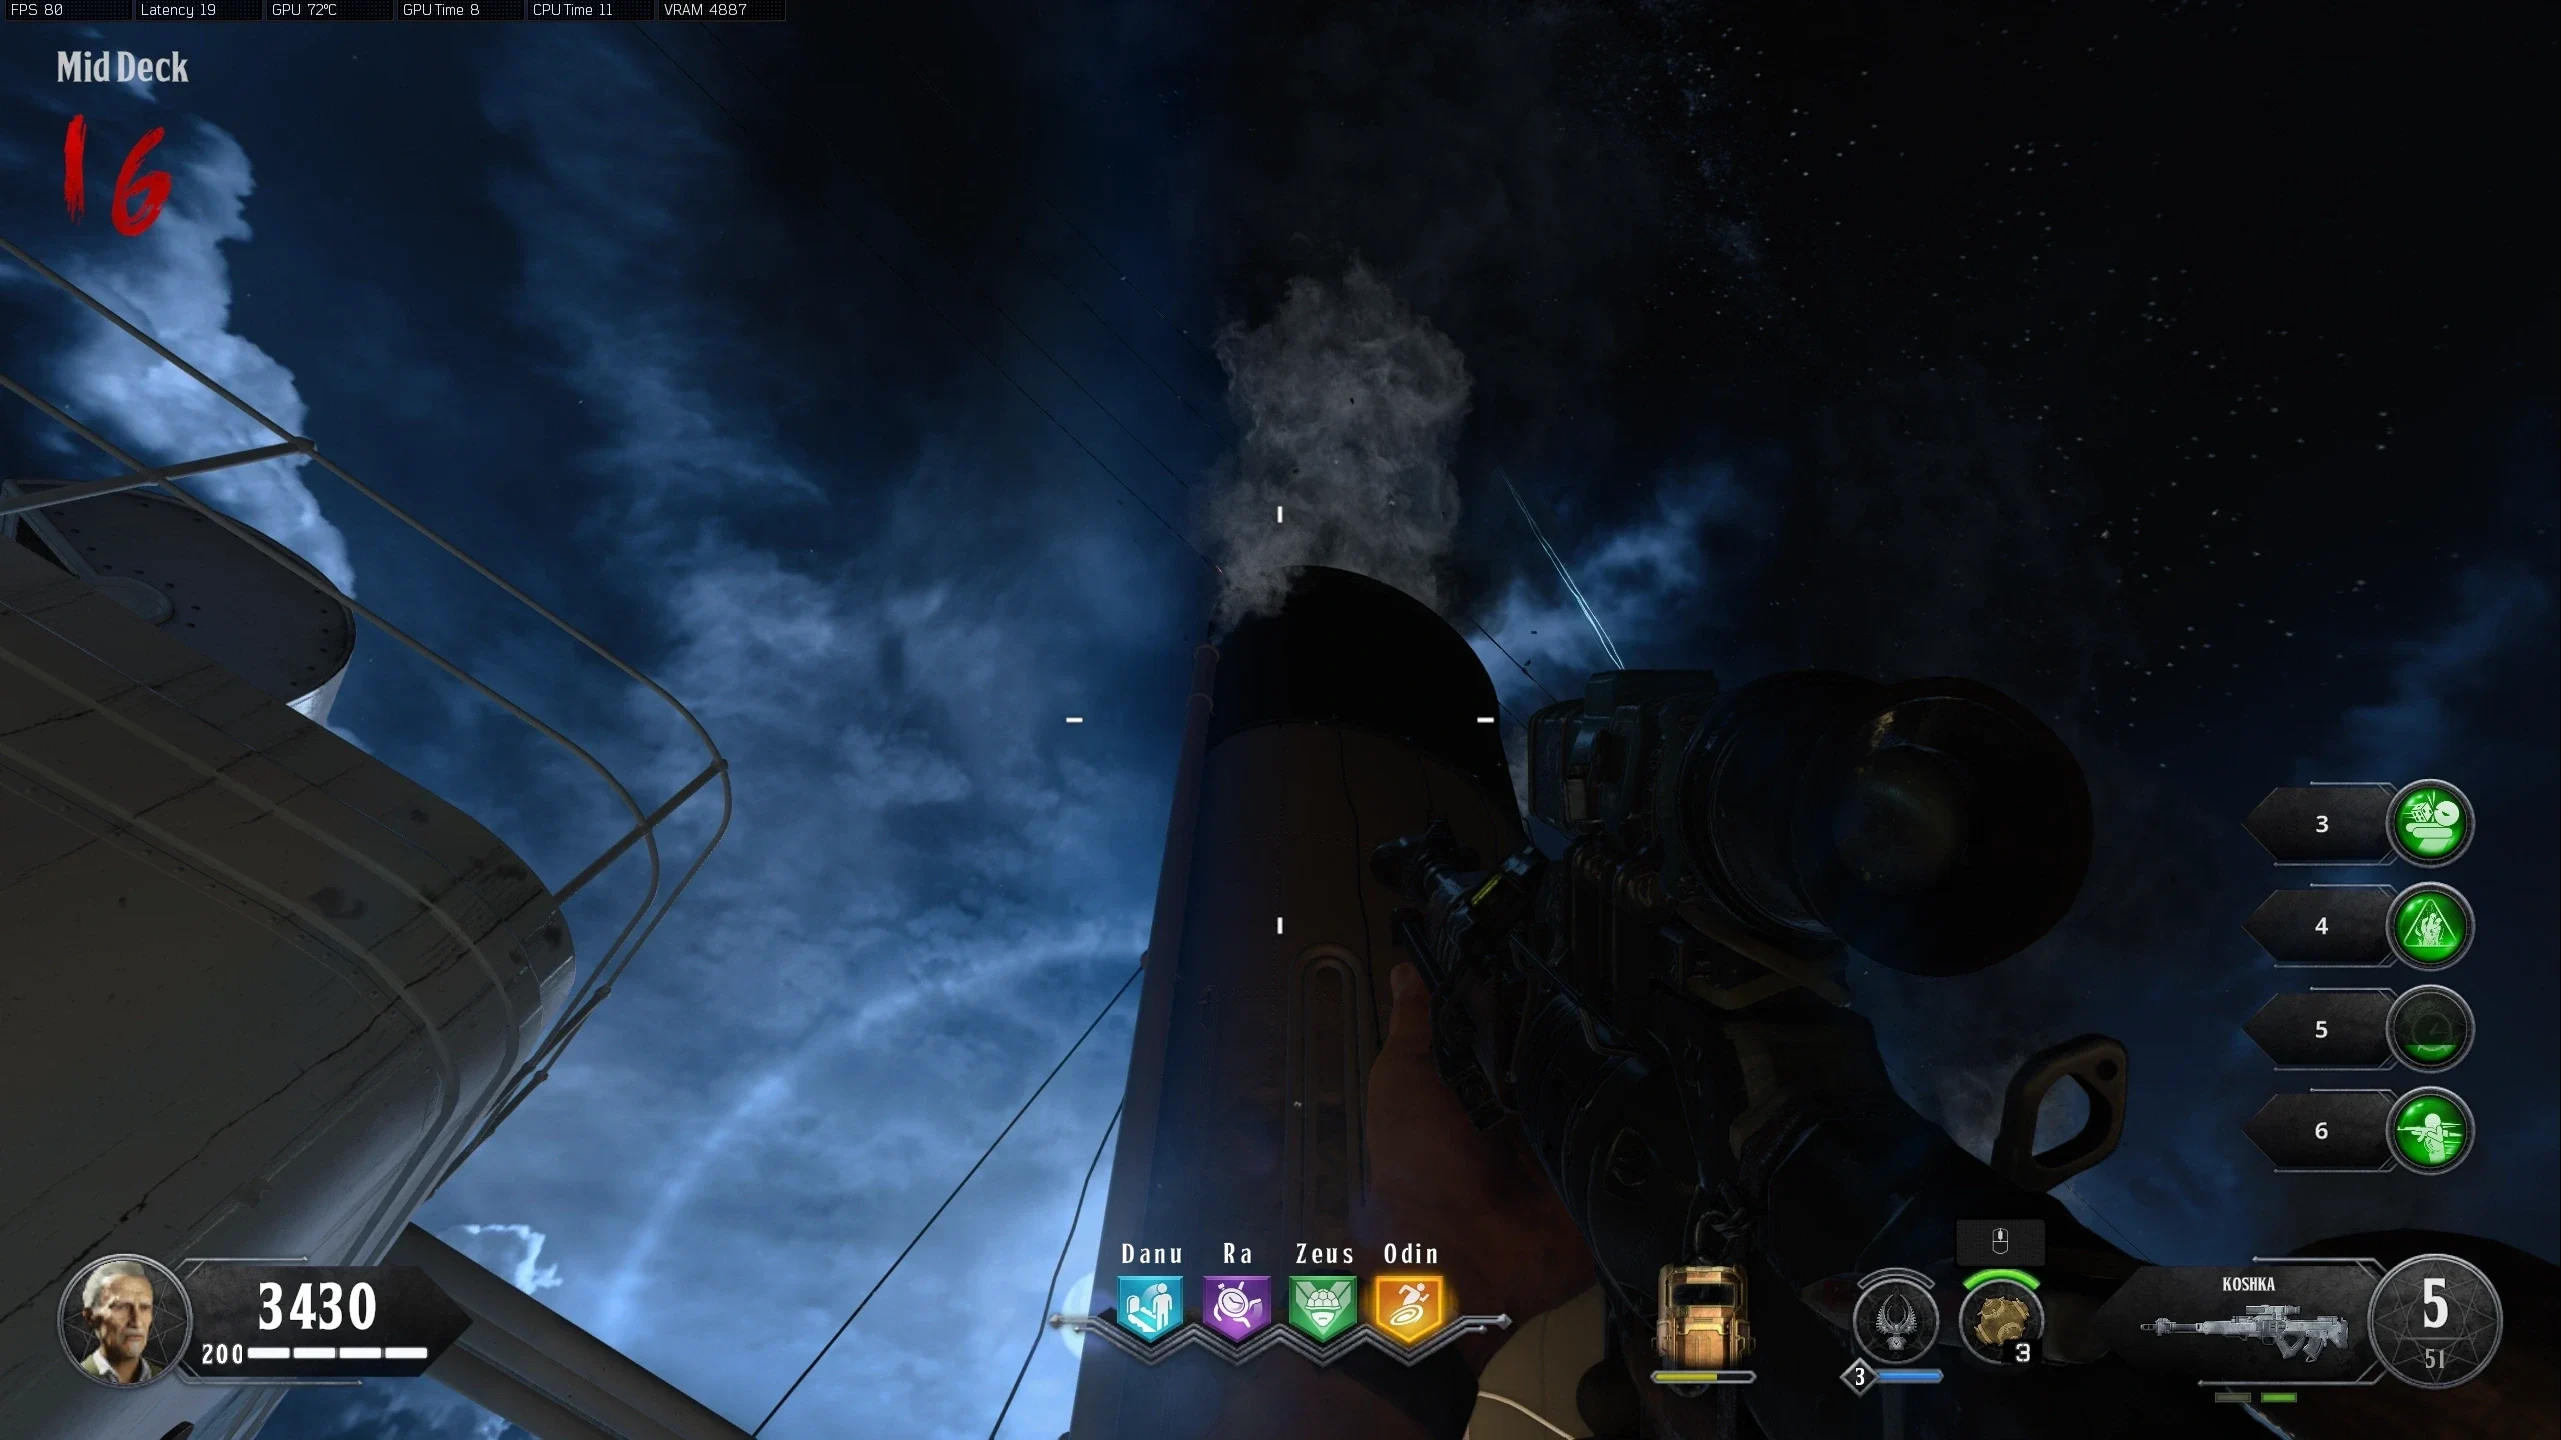
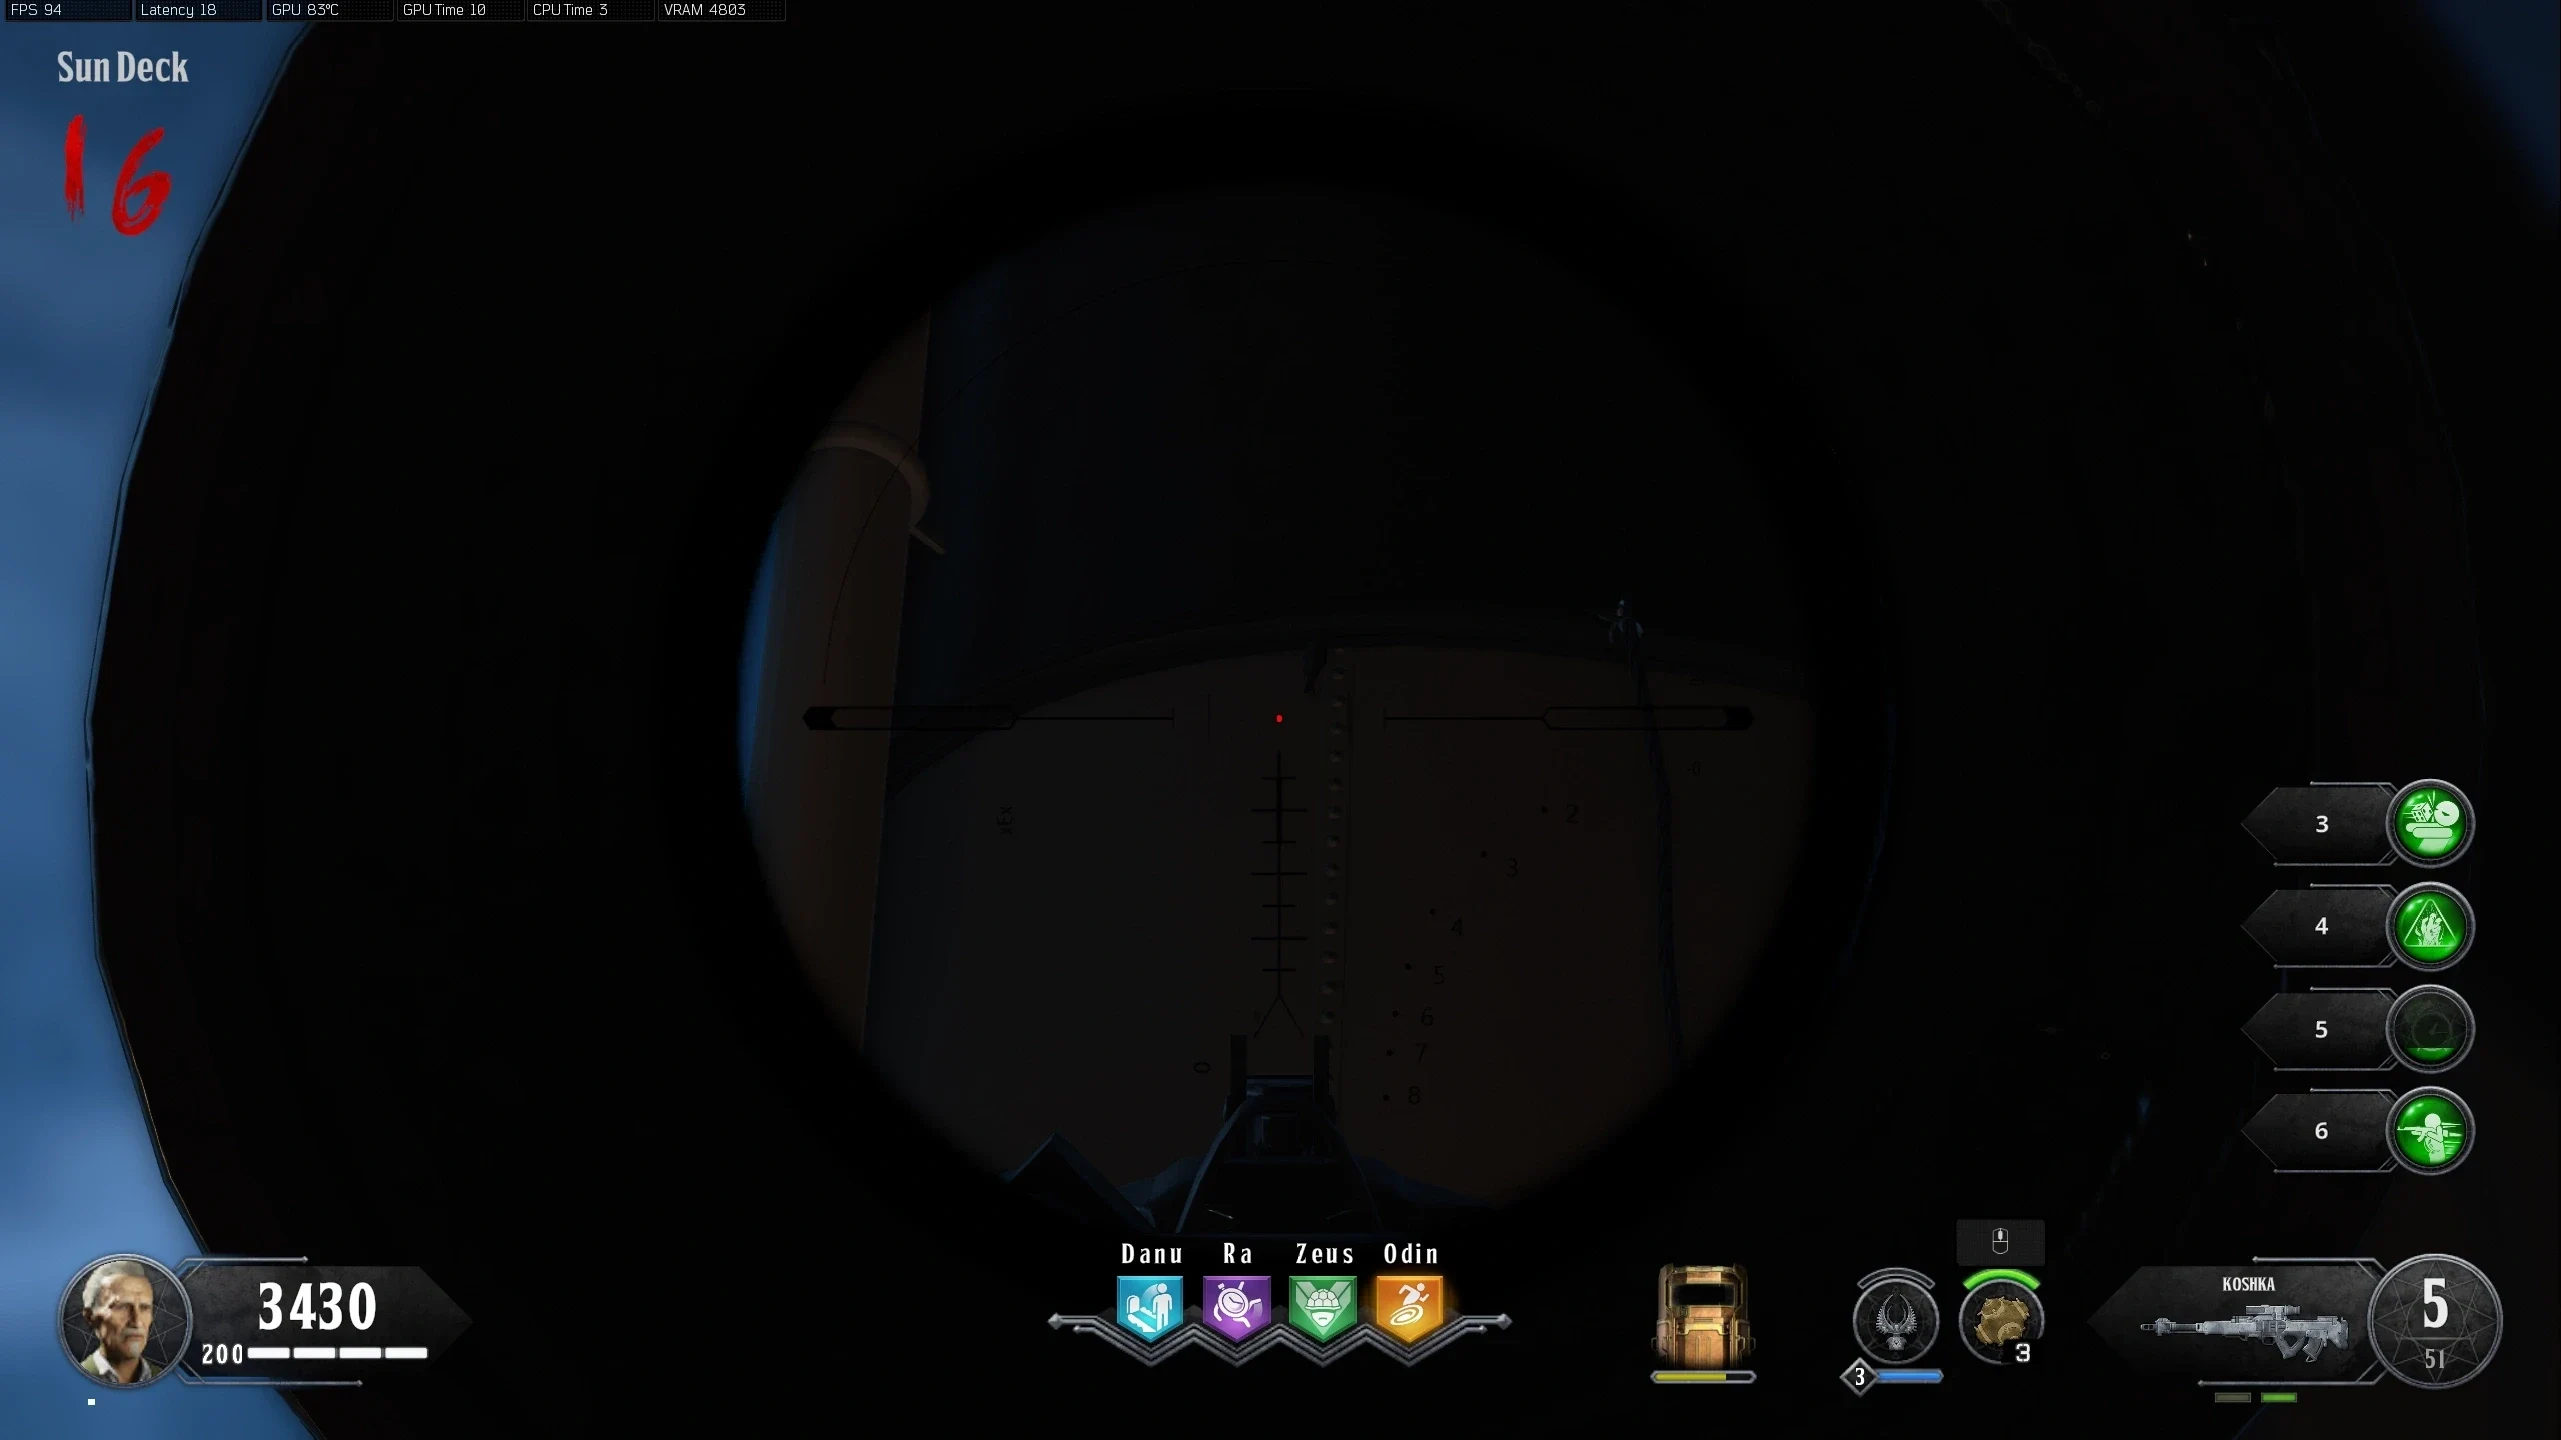
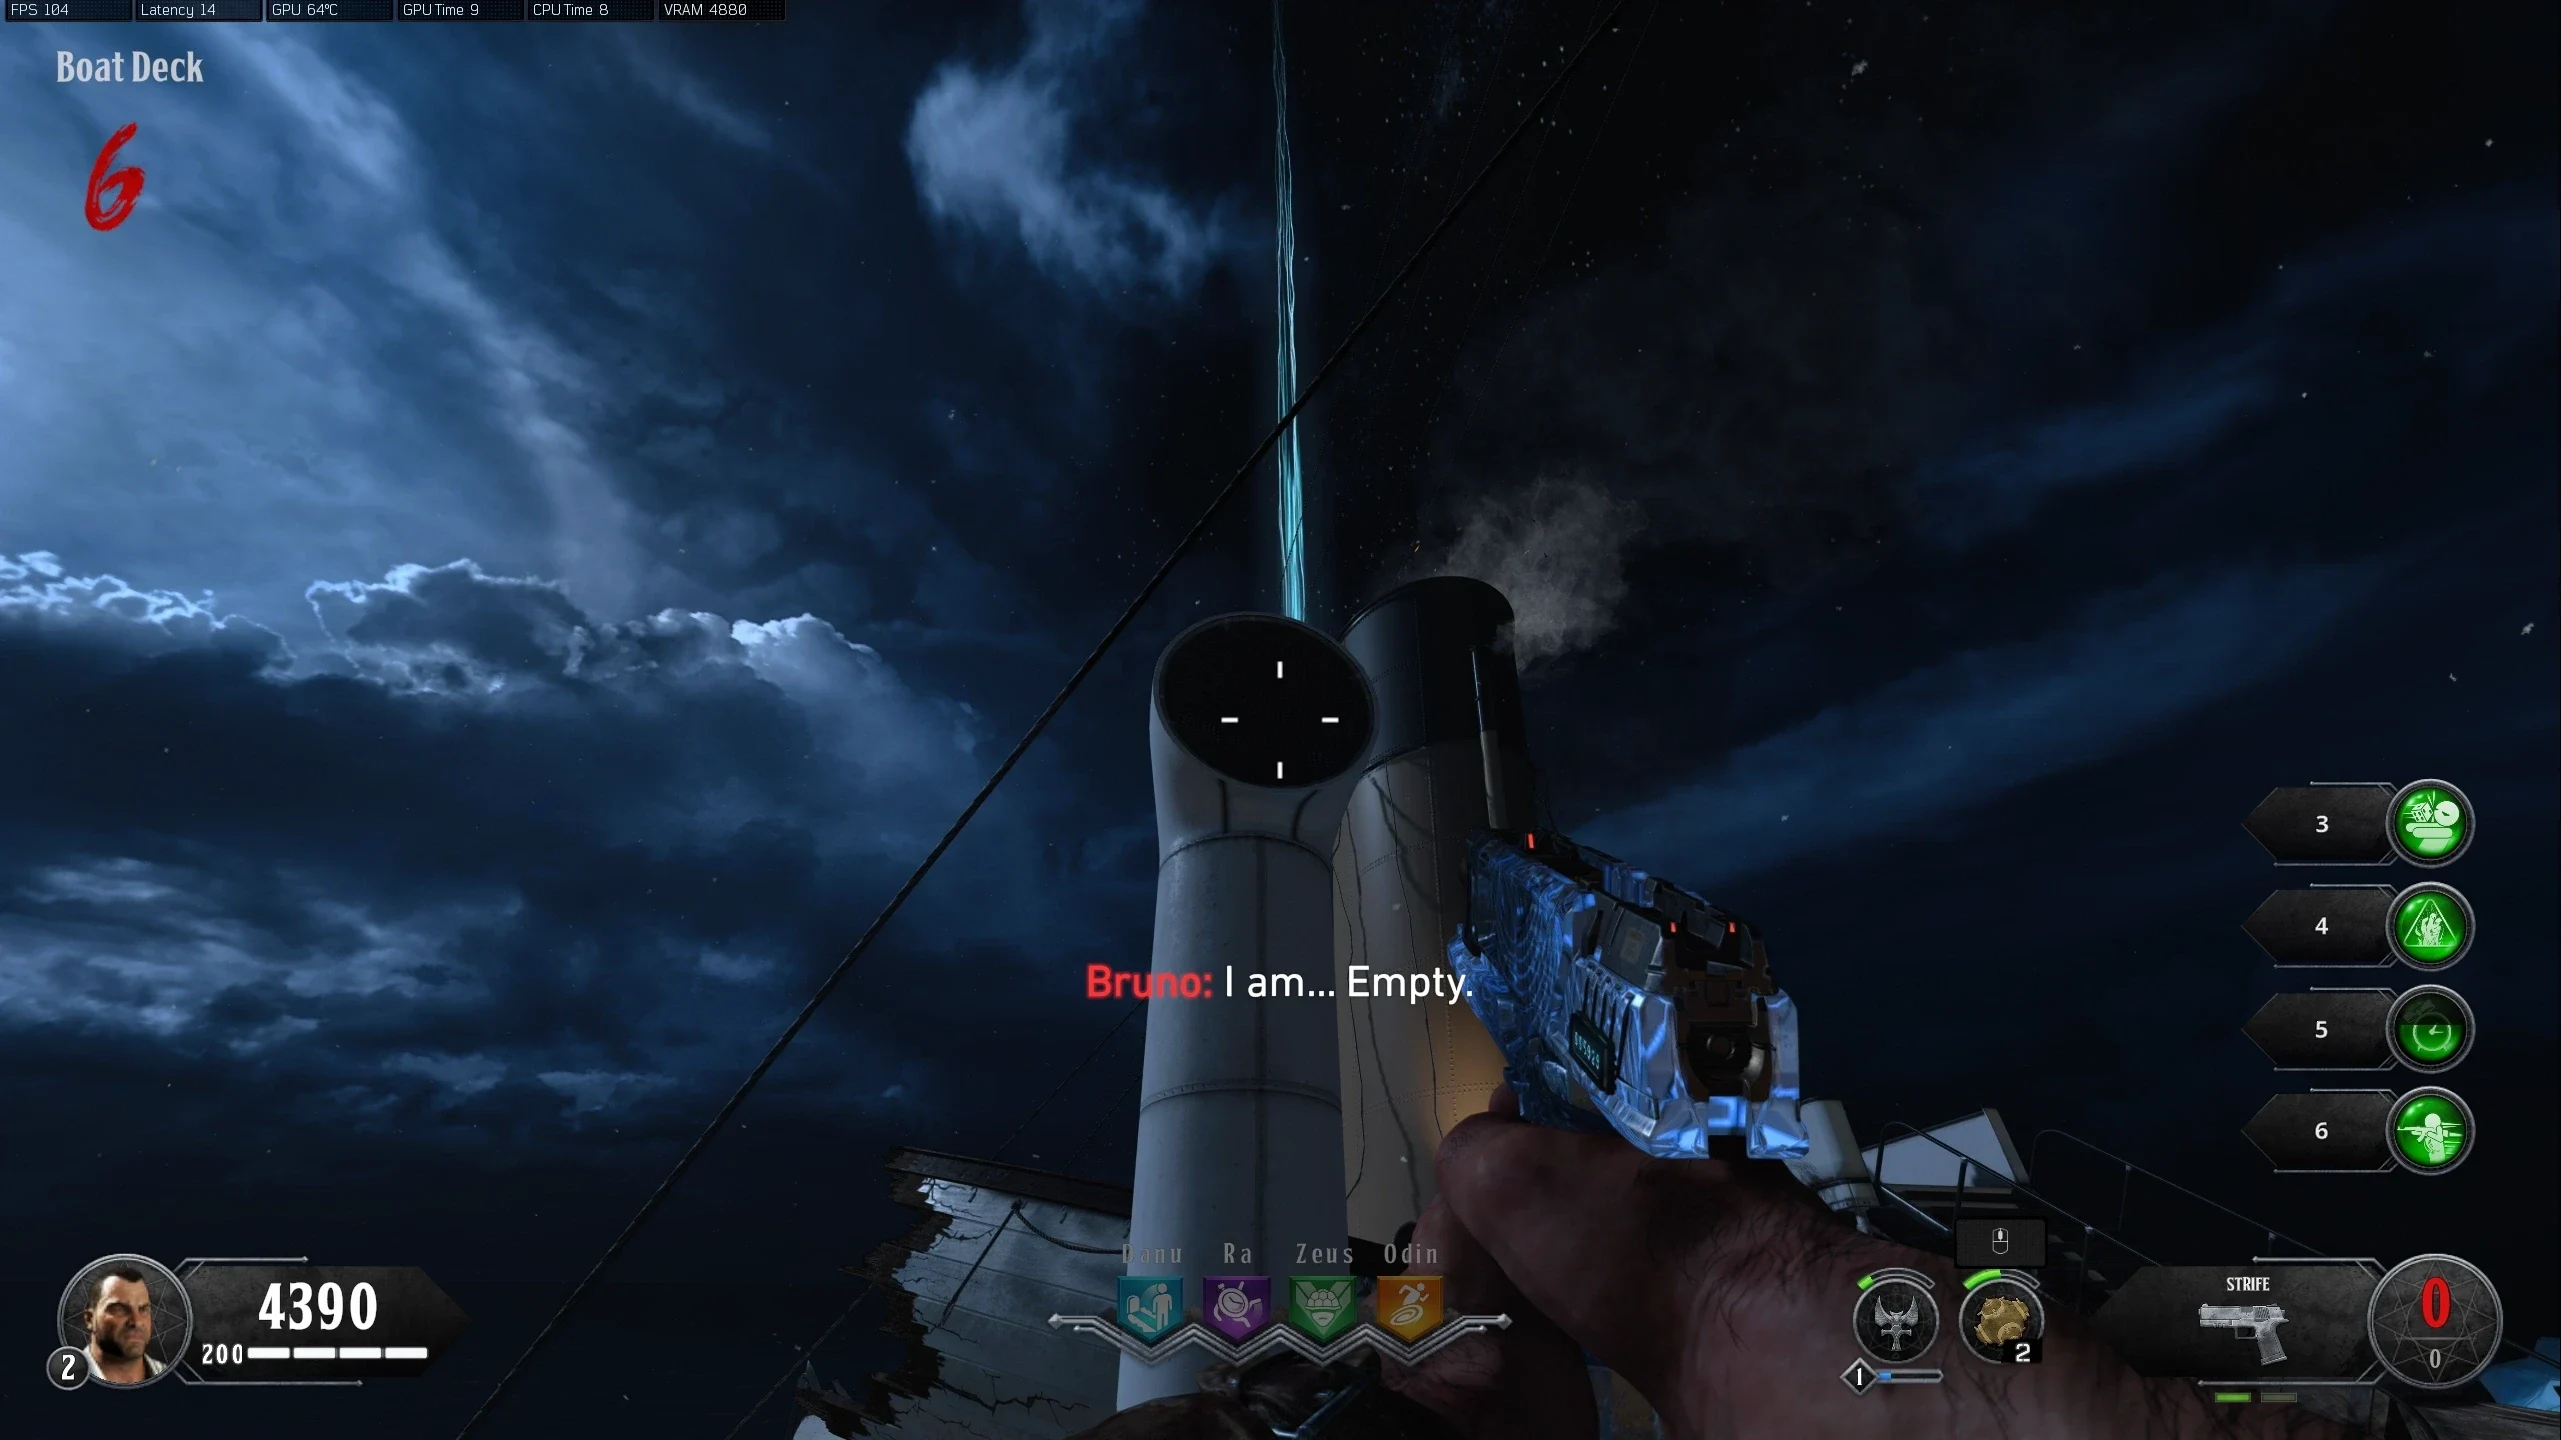
- In the sky above the boat, all planets except the Moon (which is stationary) and Neptune (circling the boat in water) are visible orbiting the Sun. Shoot the planets in the order indicated by the model. After shooting a planet, a blue orb will drop from the sky, landing on the planet's symbol location where it must be collected quickly before it despawns.
- There is no time limit between shooting planets, but there is a time limit to pick the orb dropped by the planet. So you can take as long as you want to shoot a planet, but once it's shot, the timer starts. If an orb despawns, or you shoot the wrong planet, you must go to the next round and interact with the Solar System Model in the 'Cargo Hold' again.
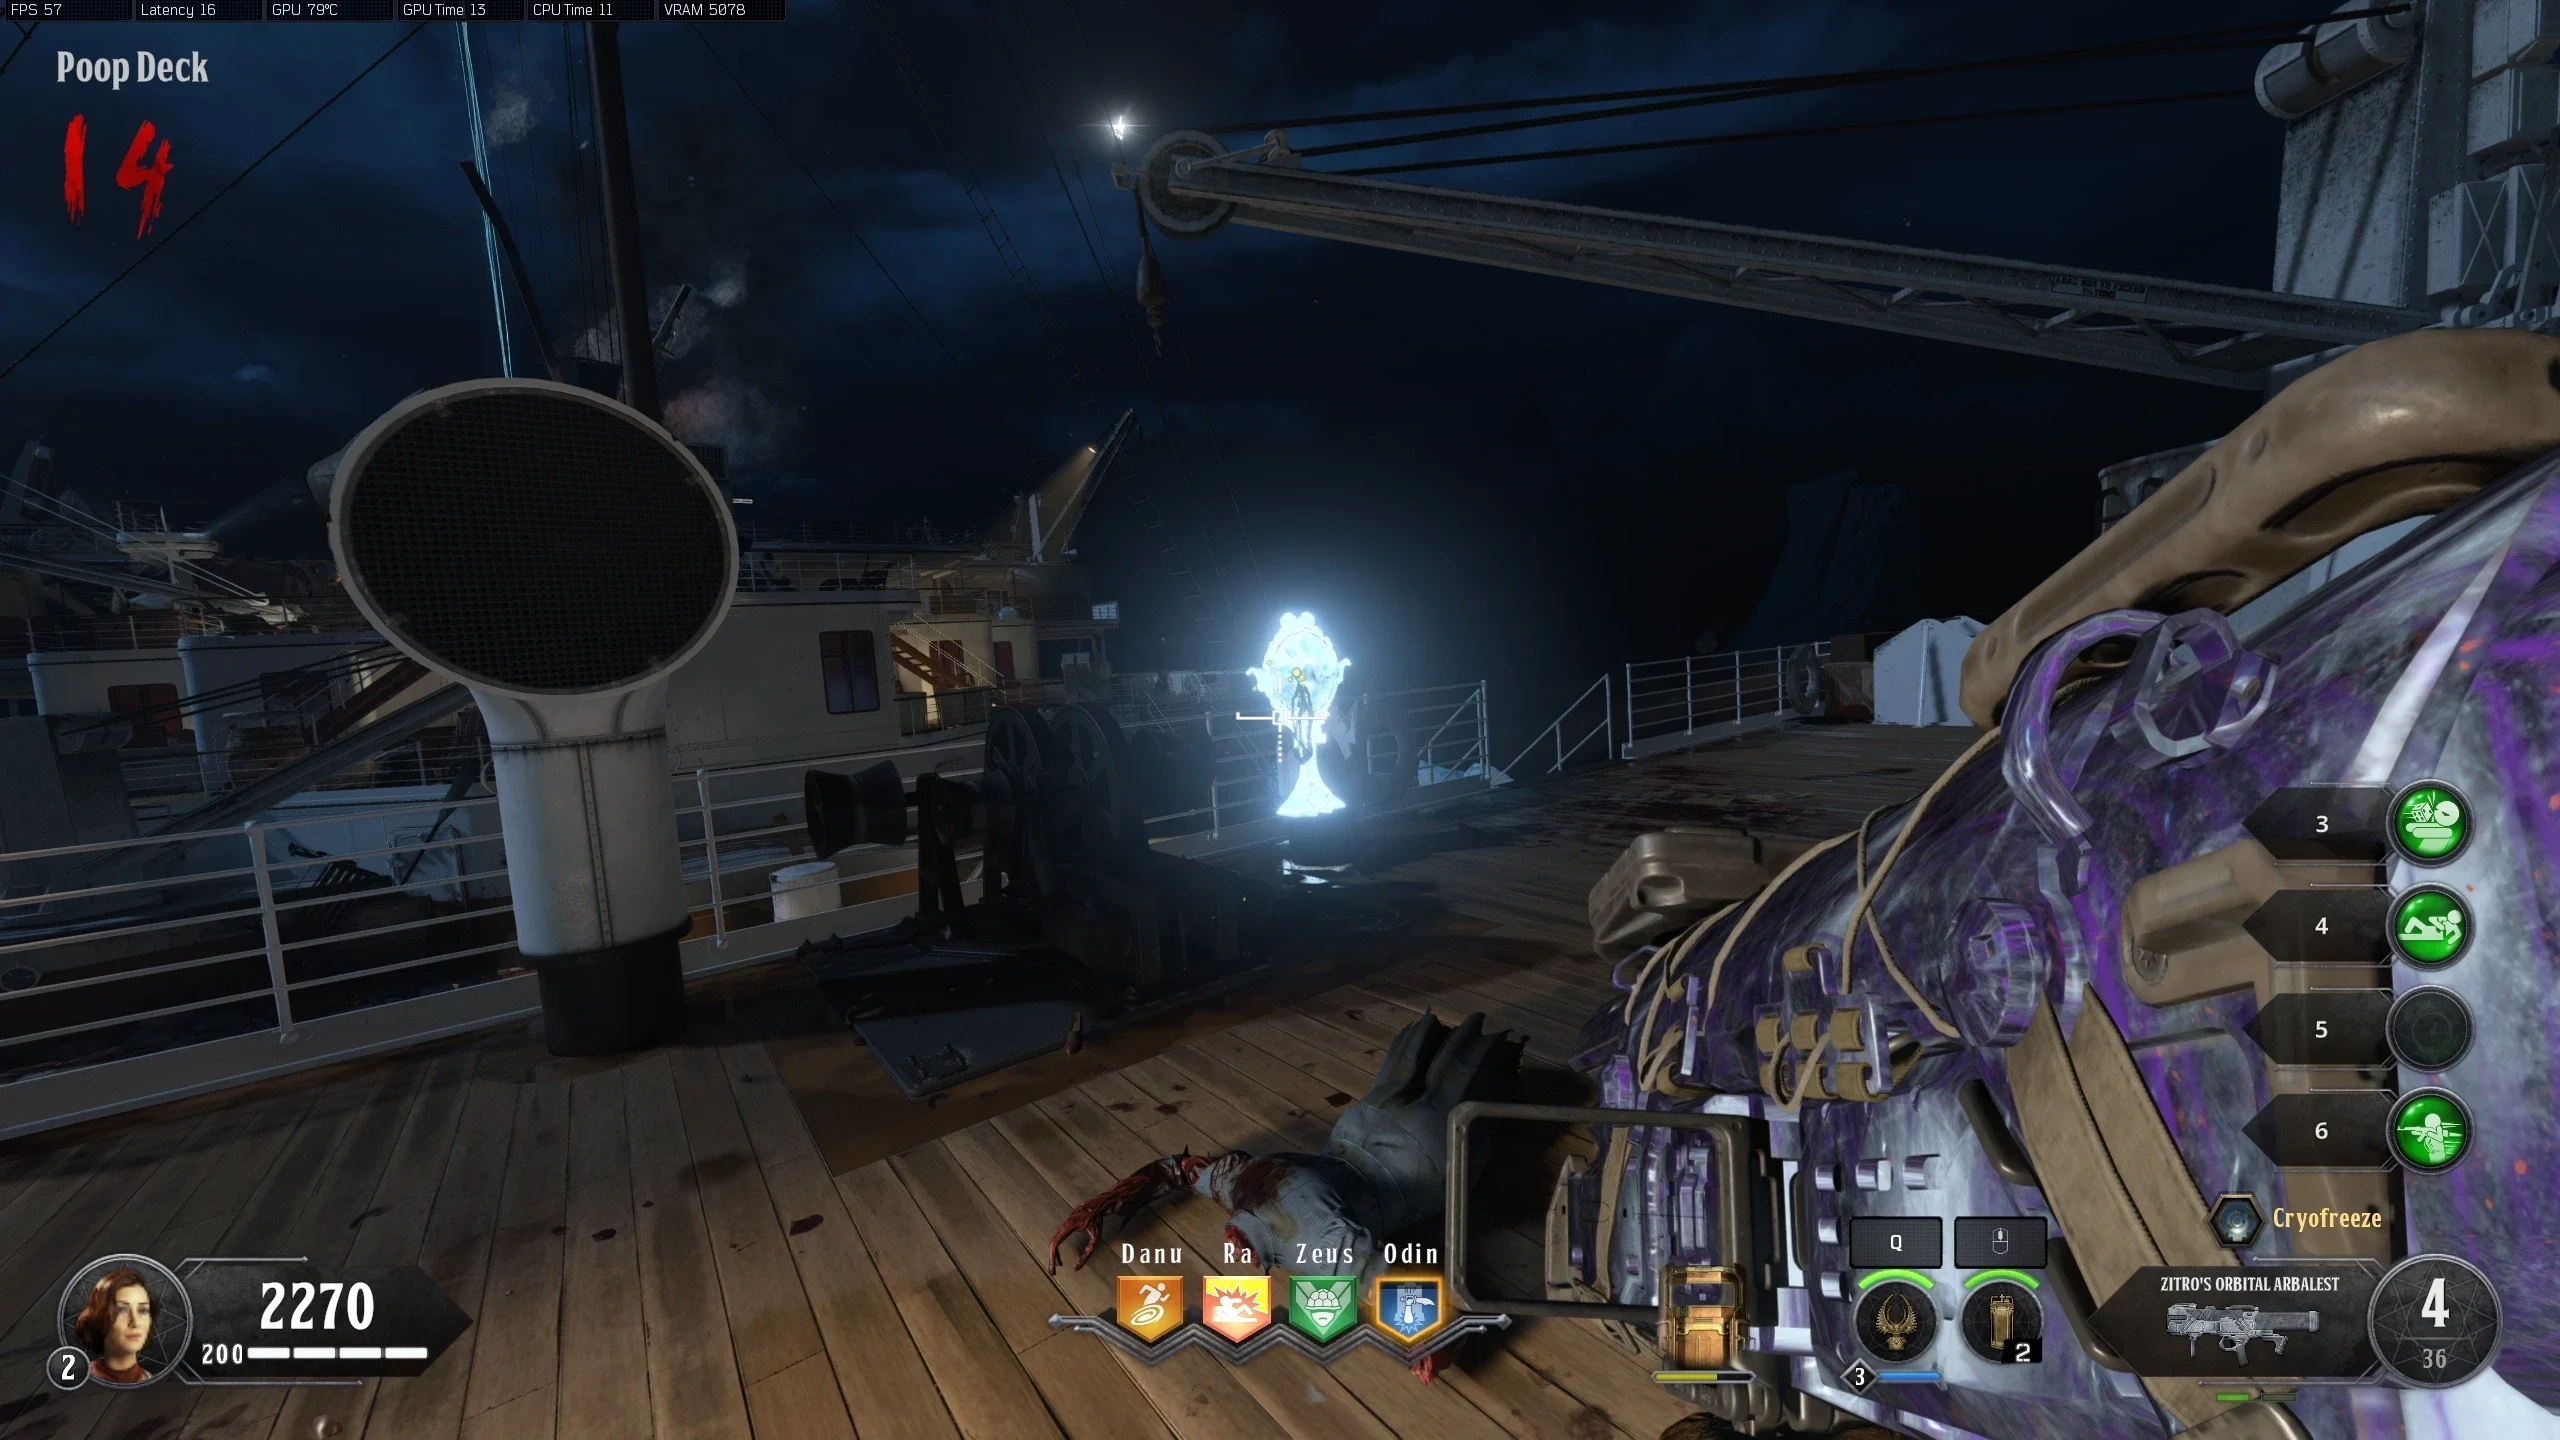
- DO NOT SHOOT DOWN THE SUN. The Sun is always the last "planet" in the sequence, and picking up its orb will activate a timed challenge. Make sure you have an upgraded Kraken or some other high DPS weapon (Like the Hellion Salvo) and max ammo.
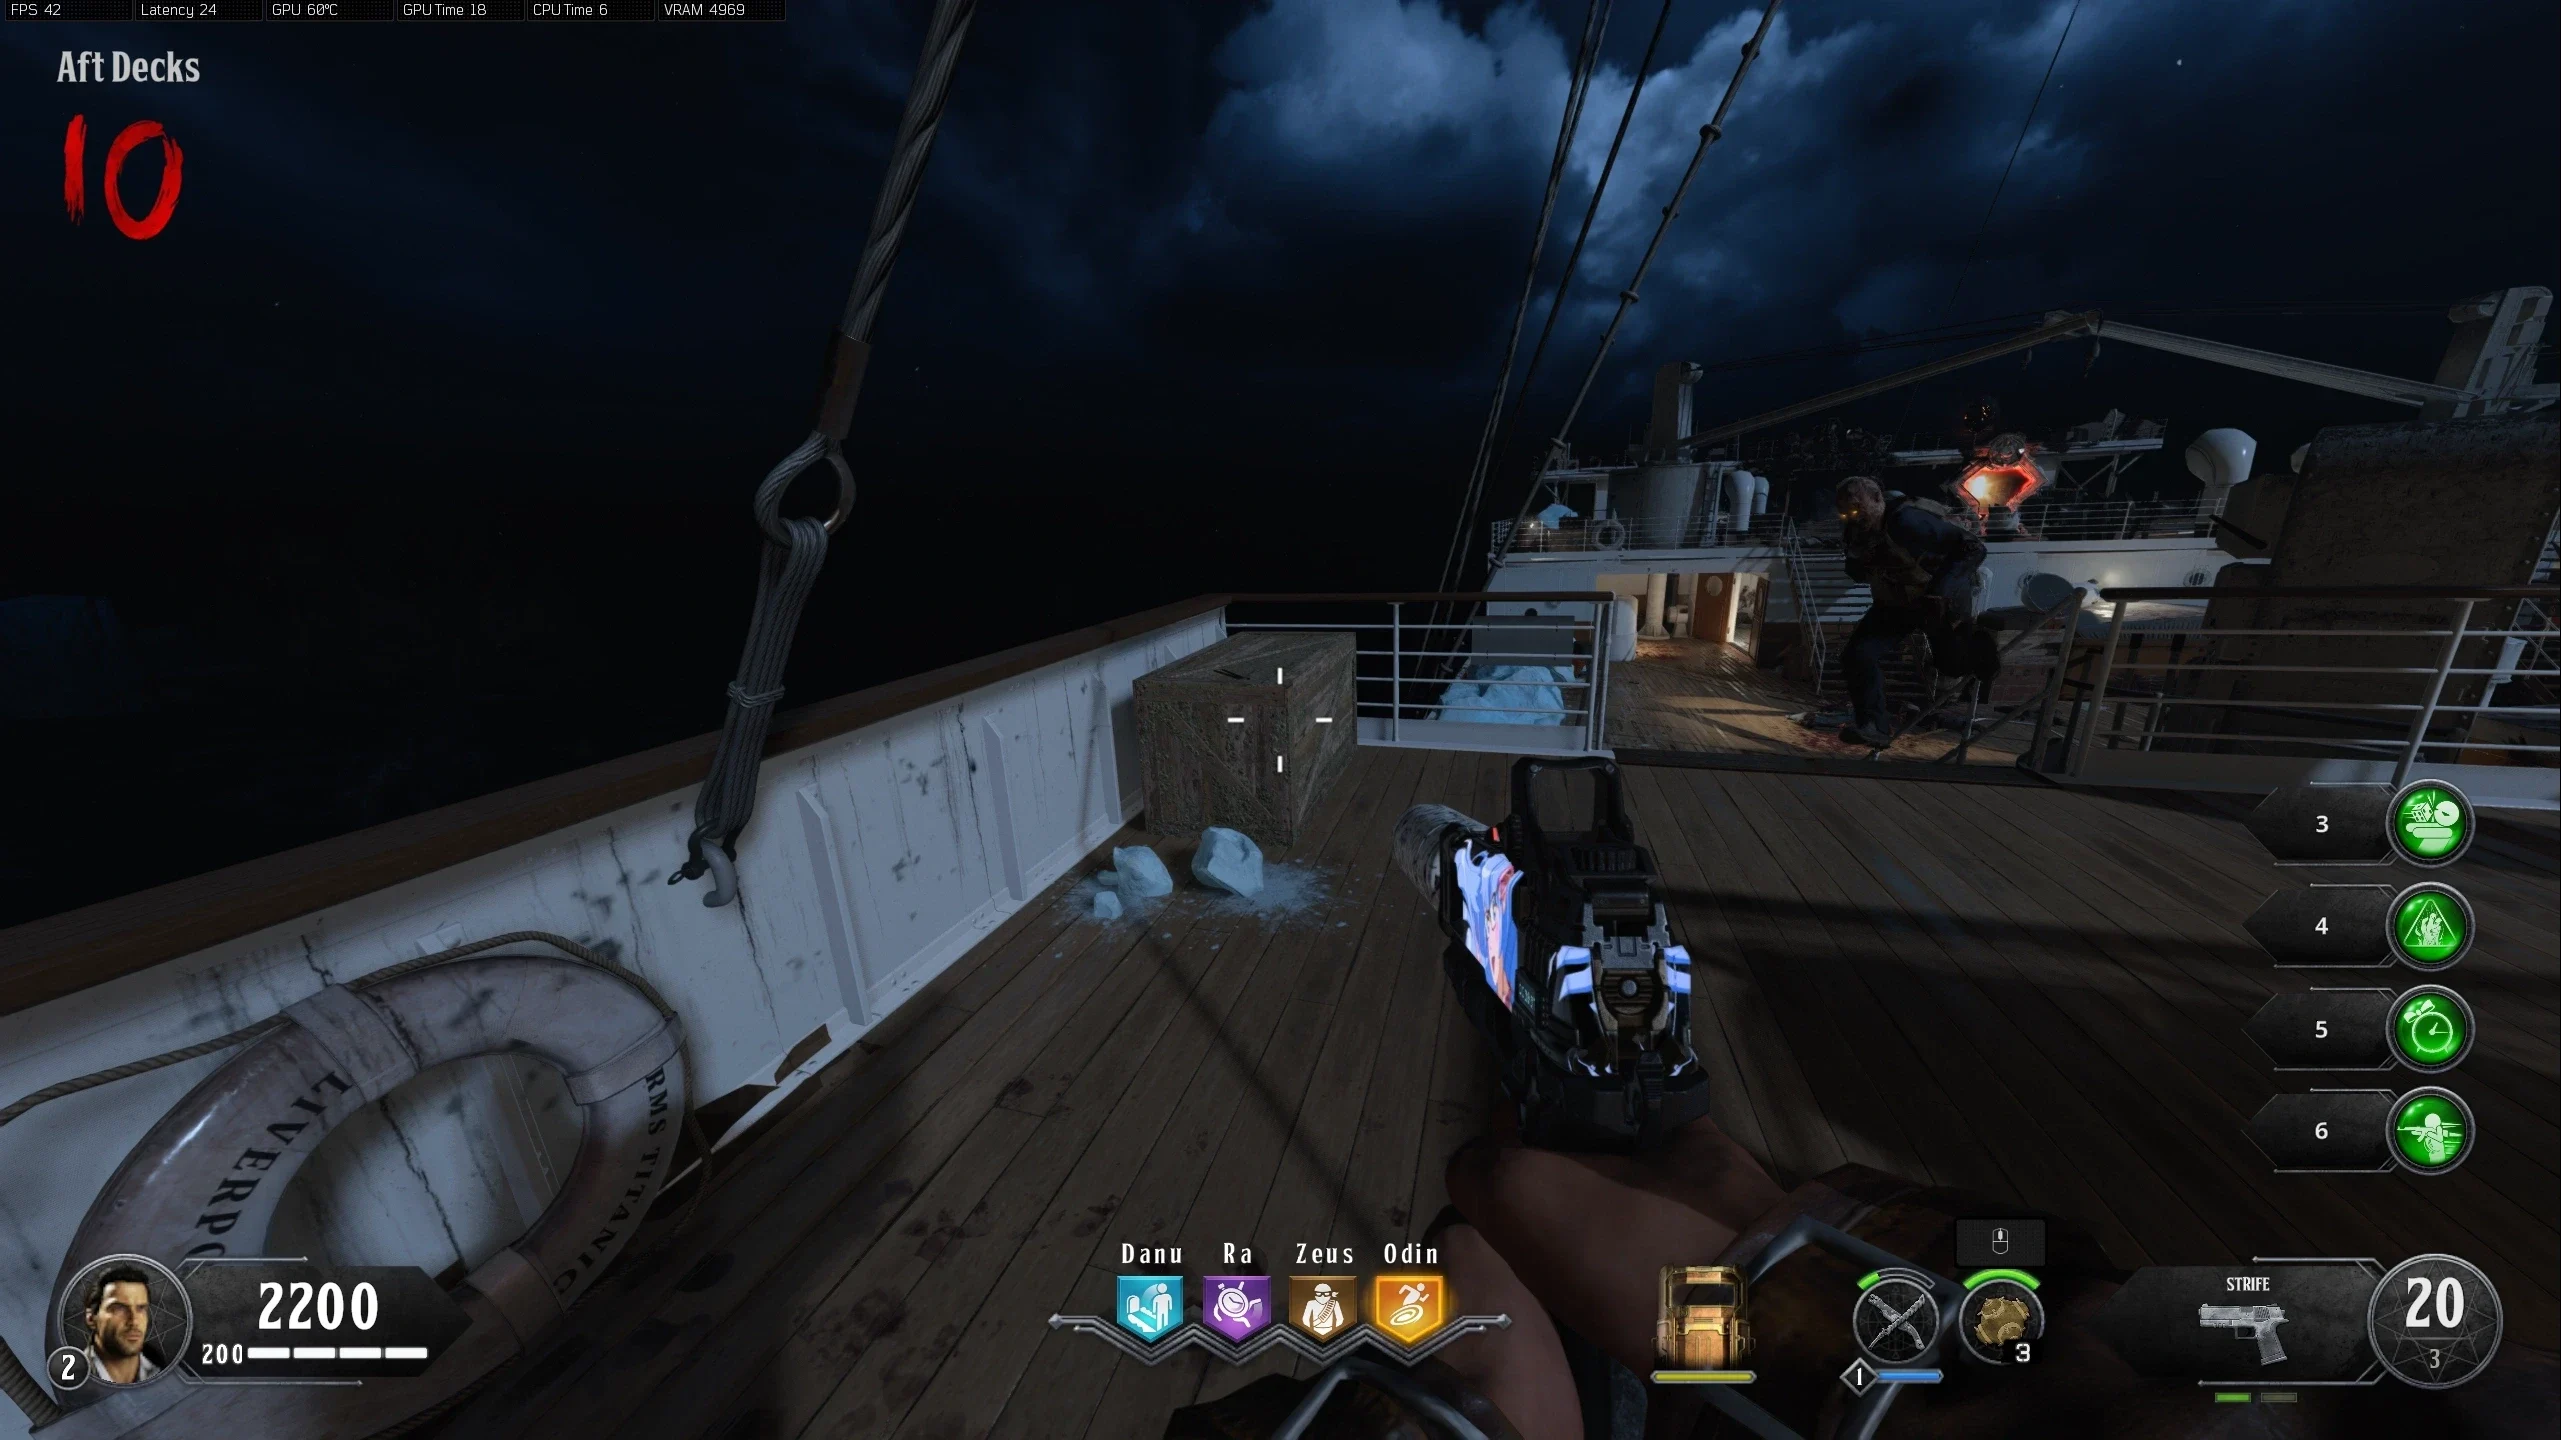
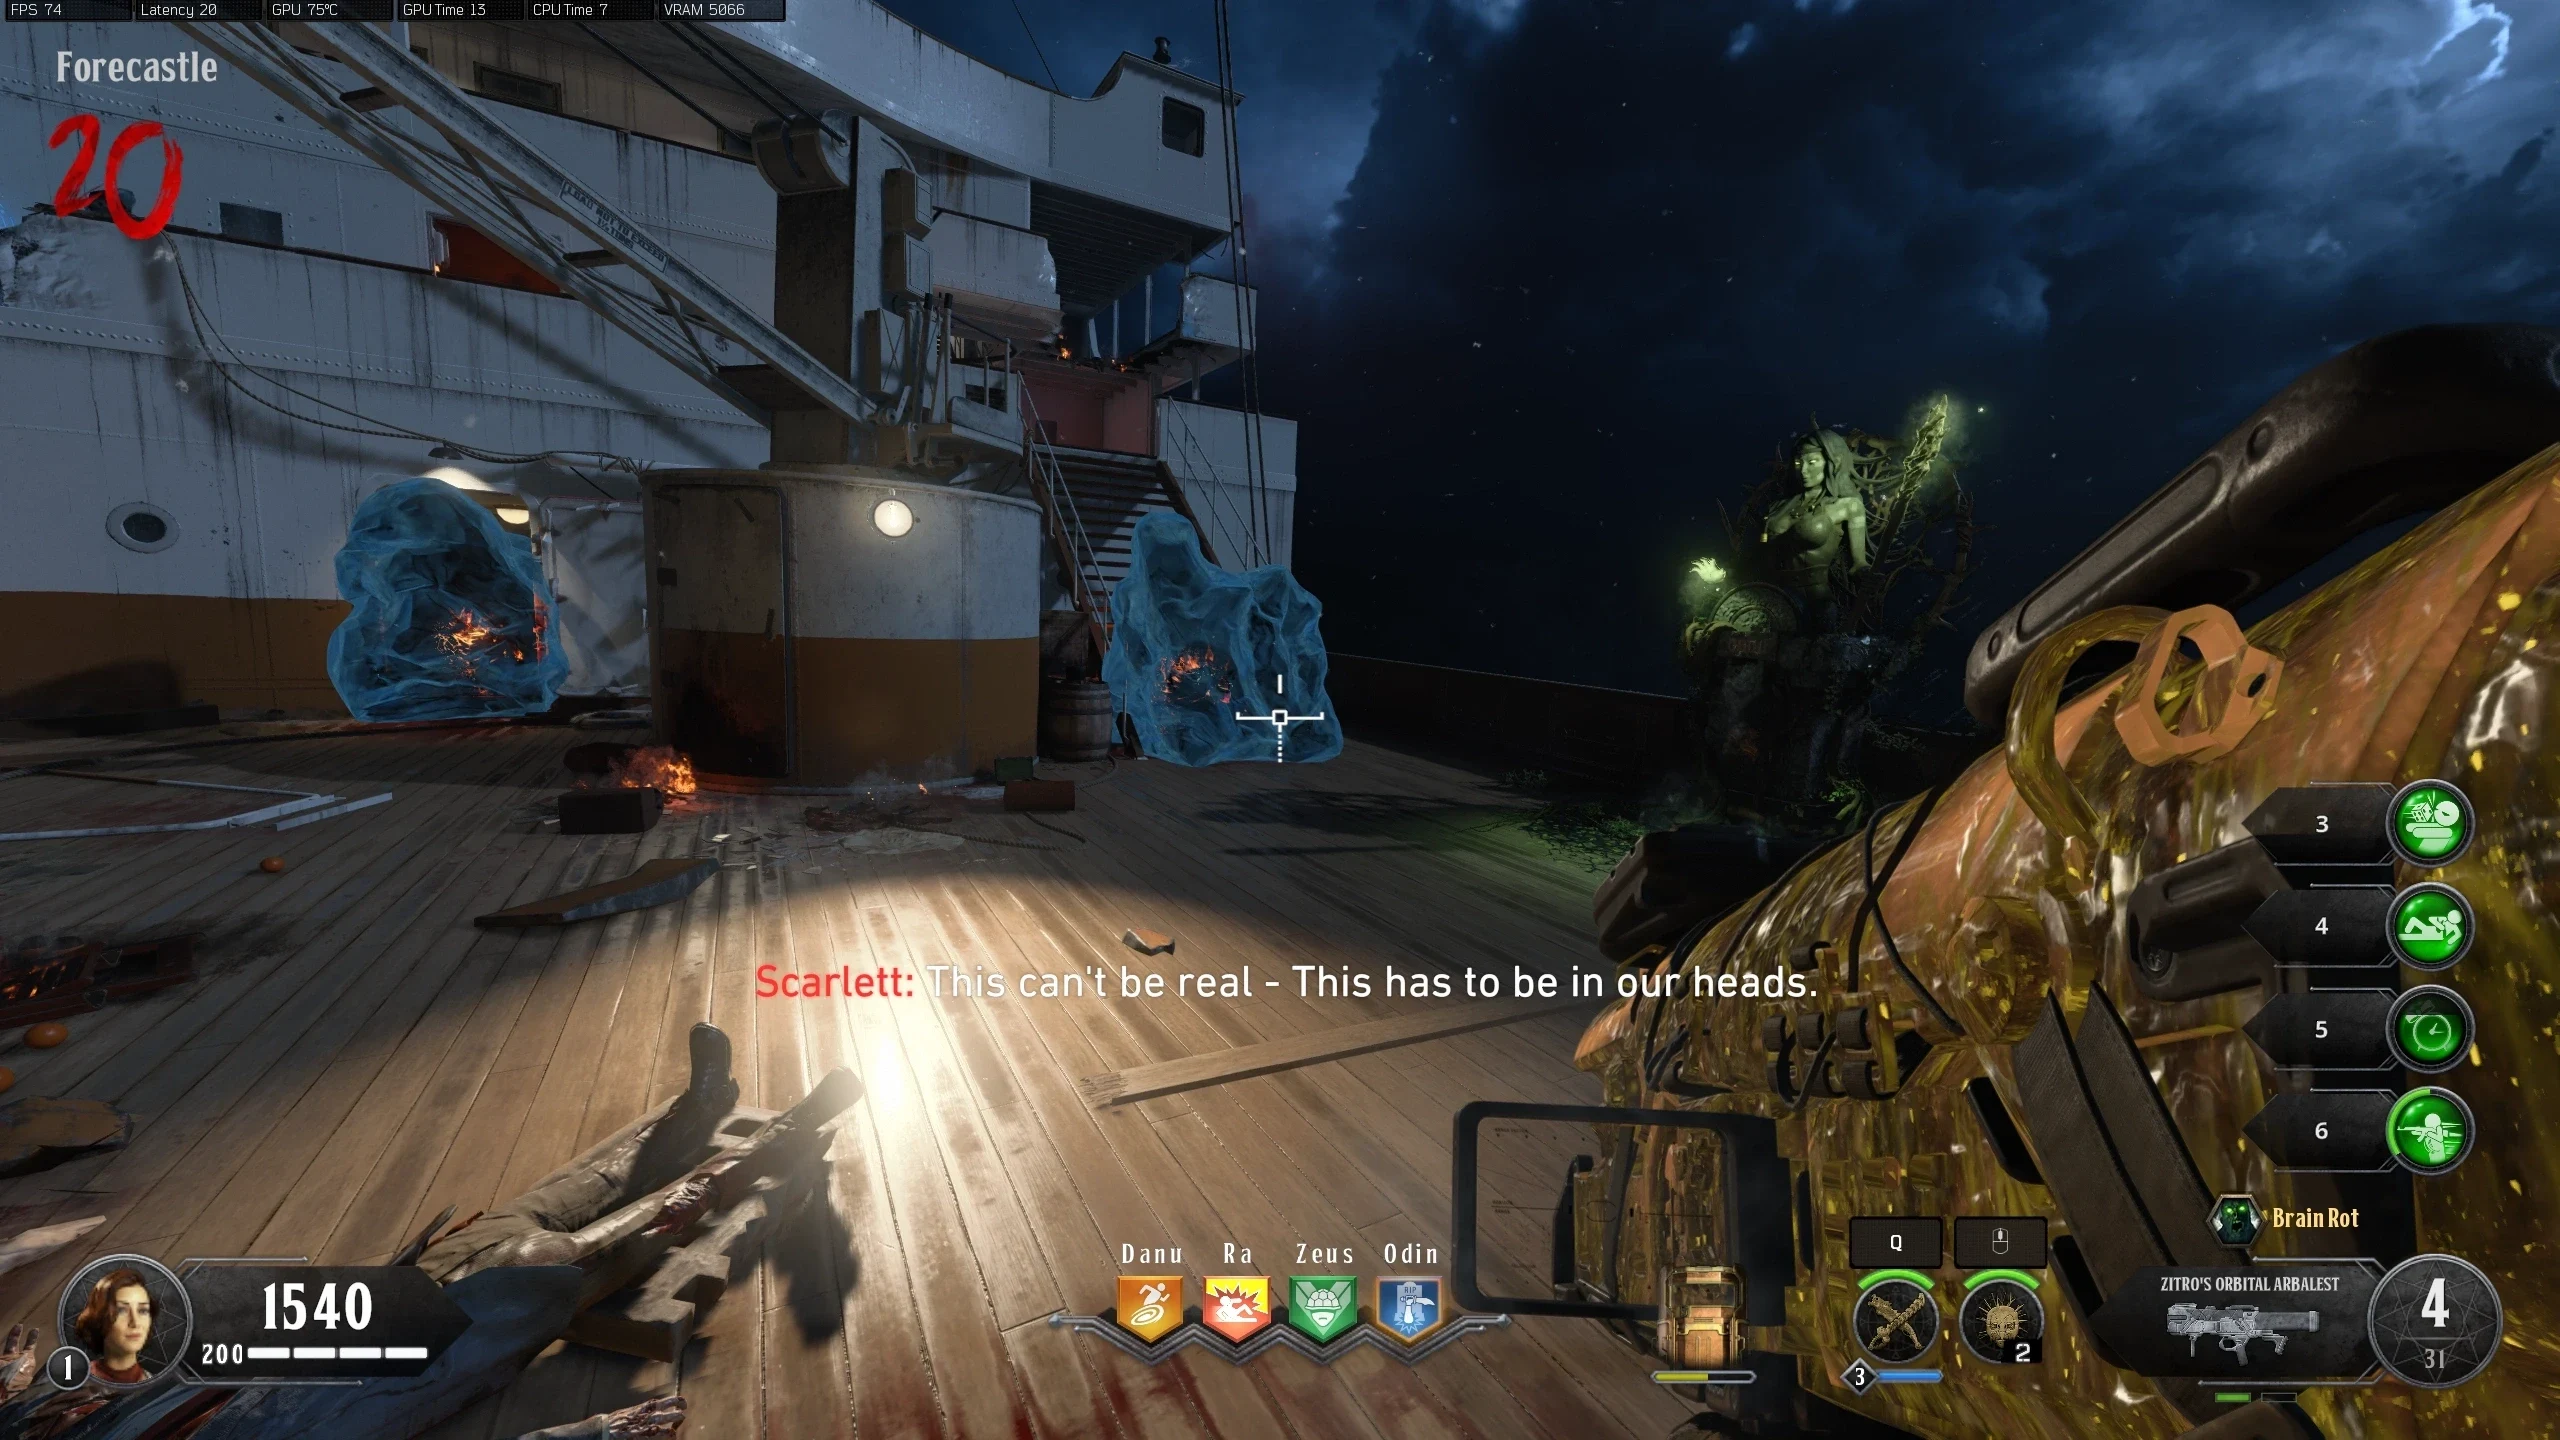
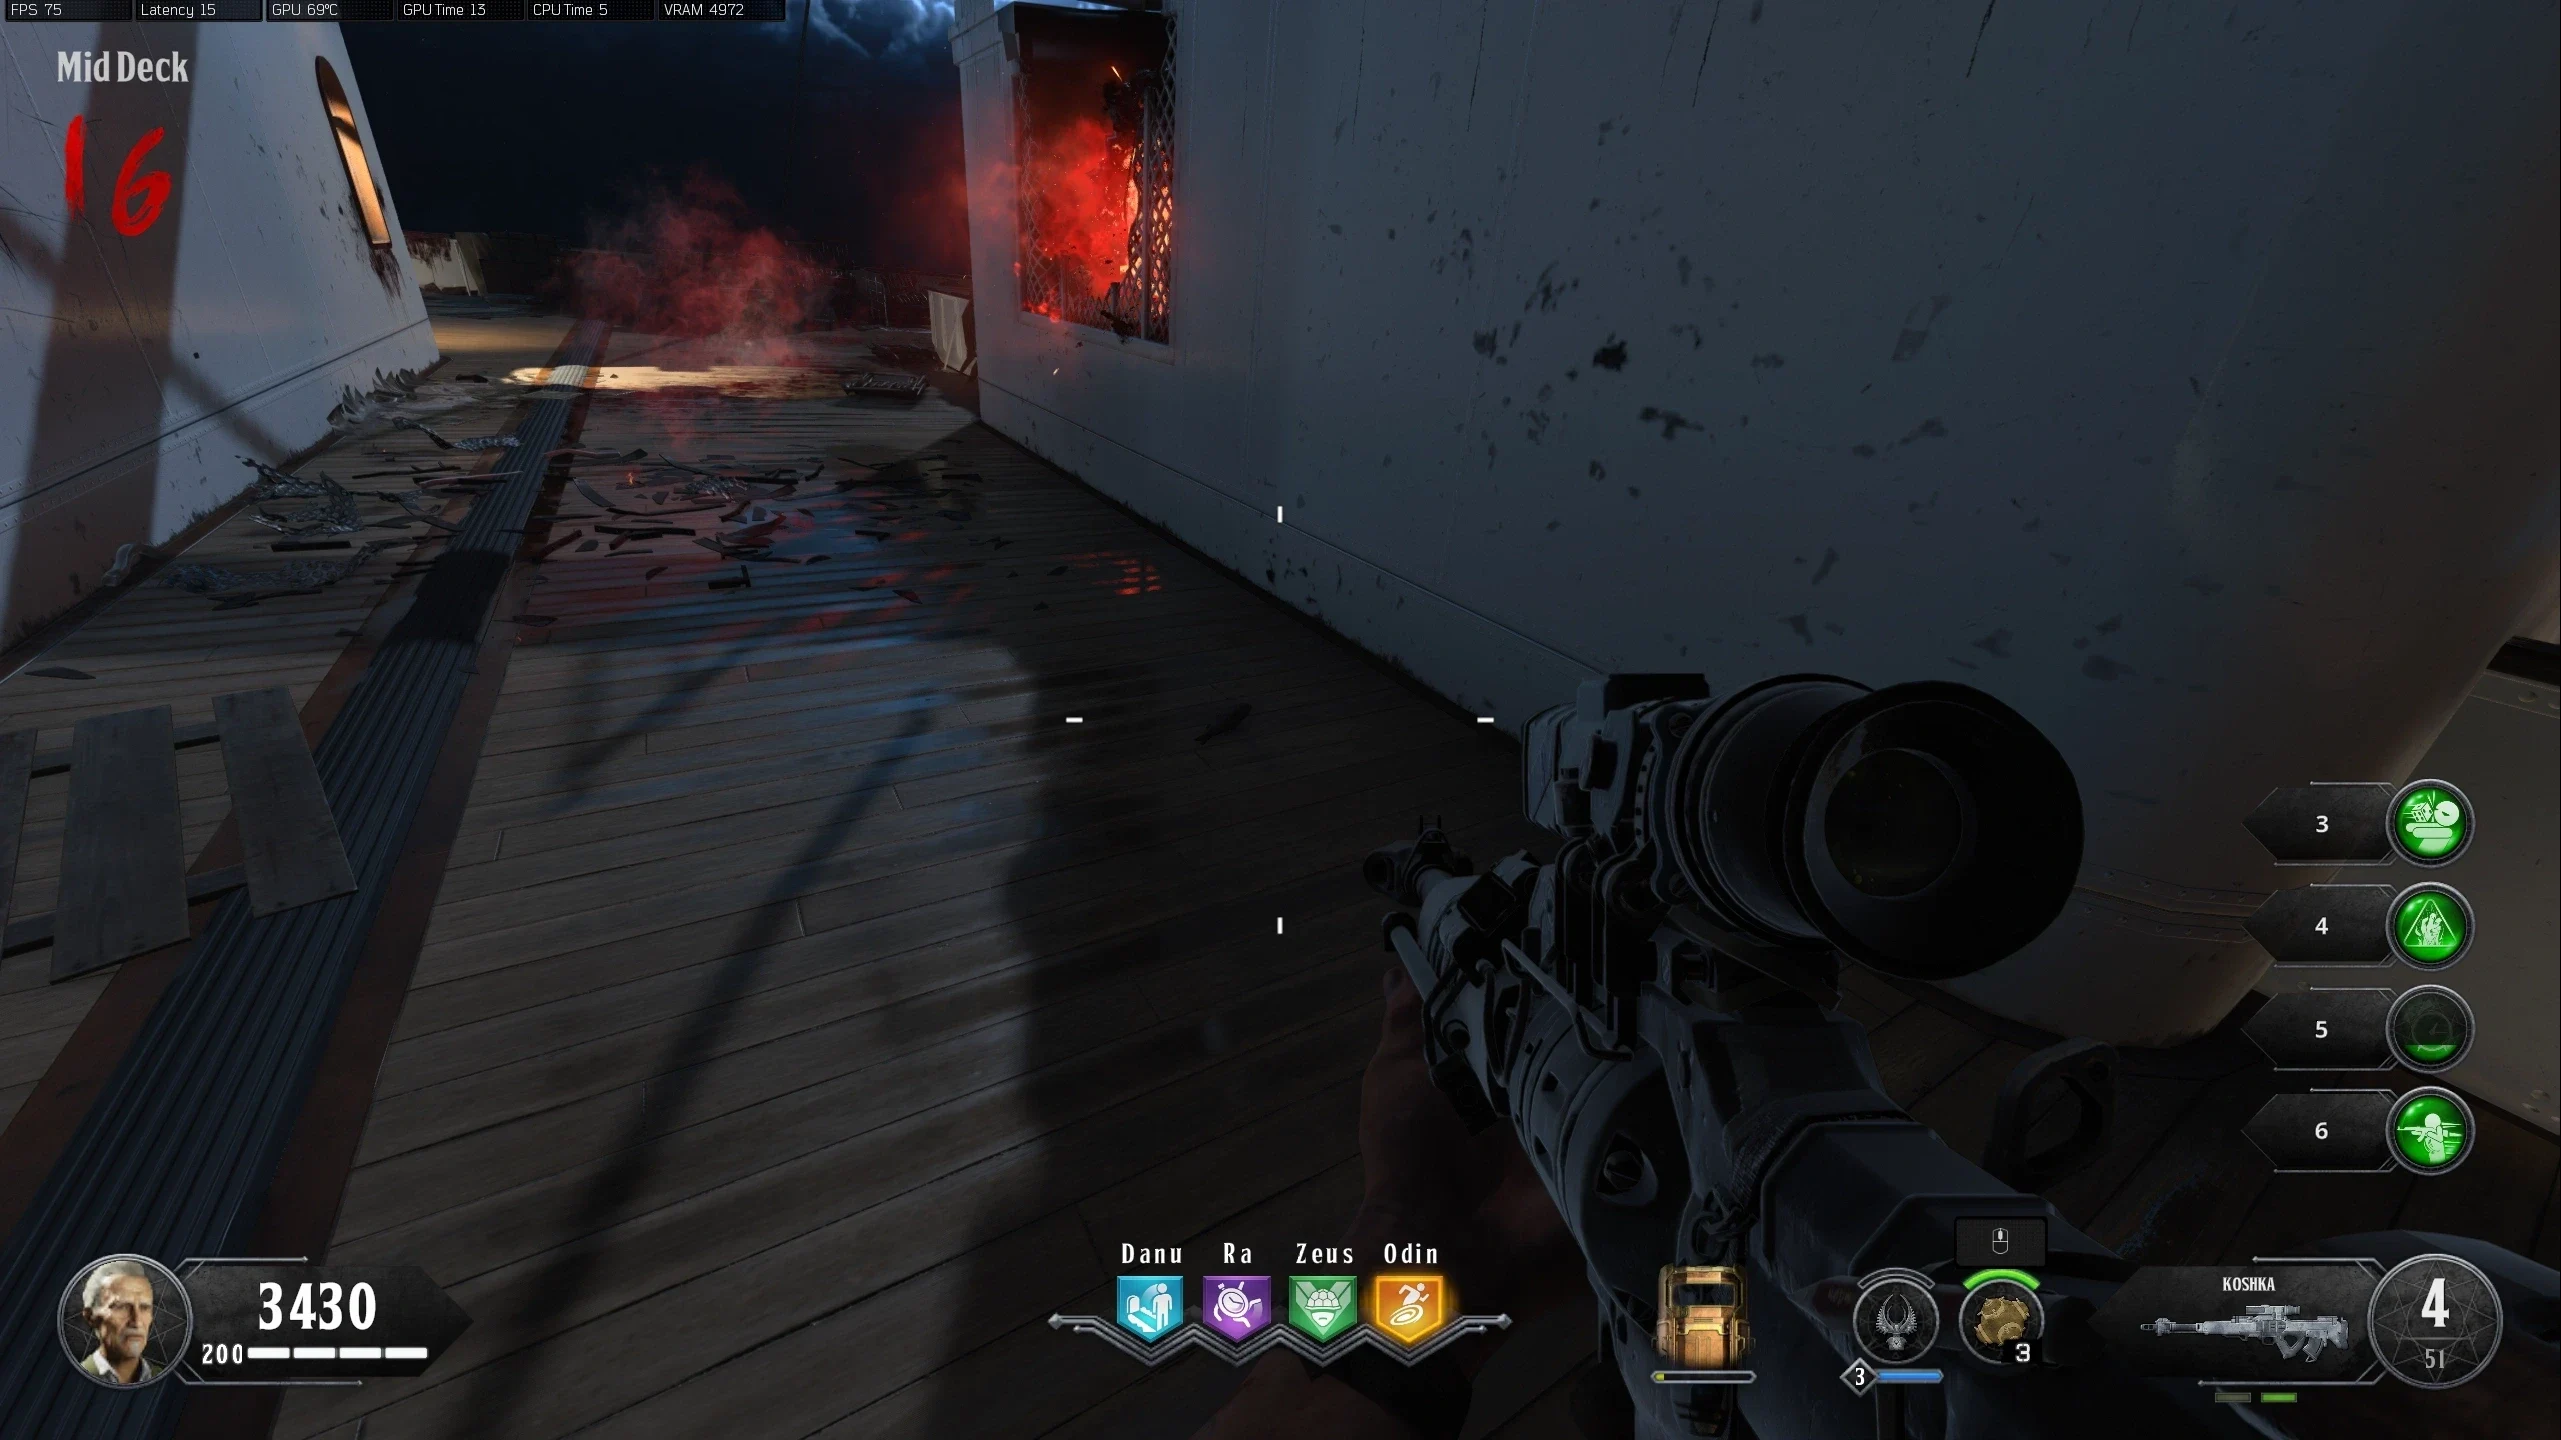
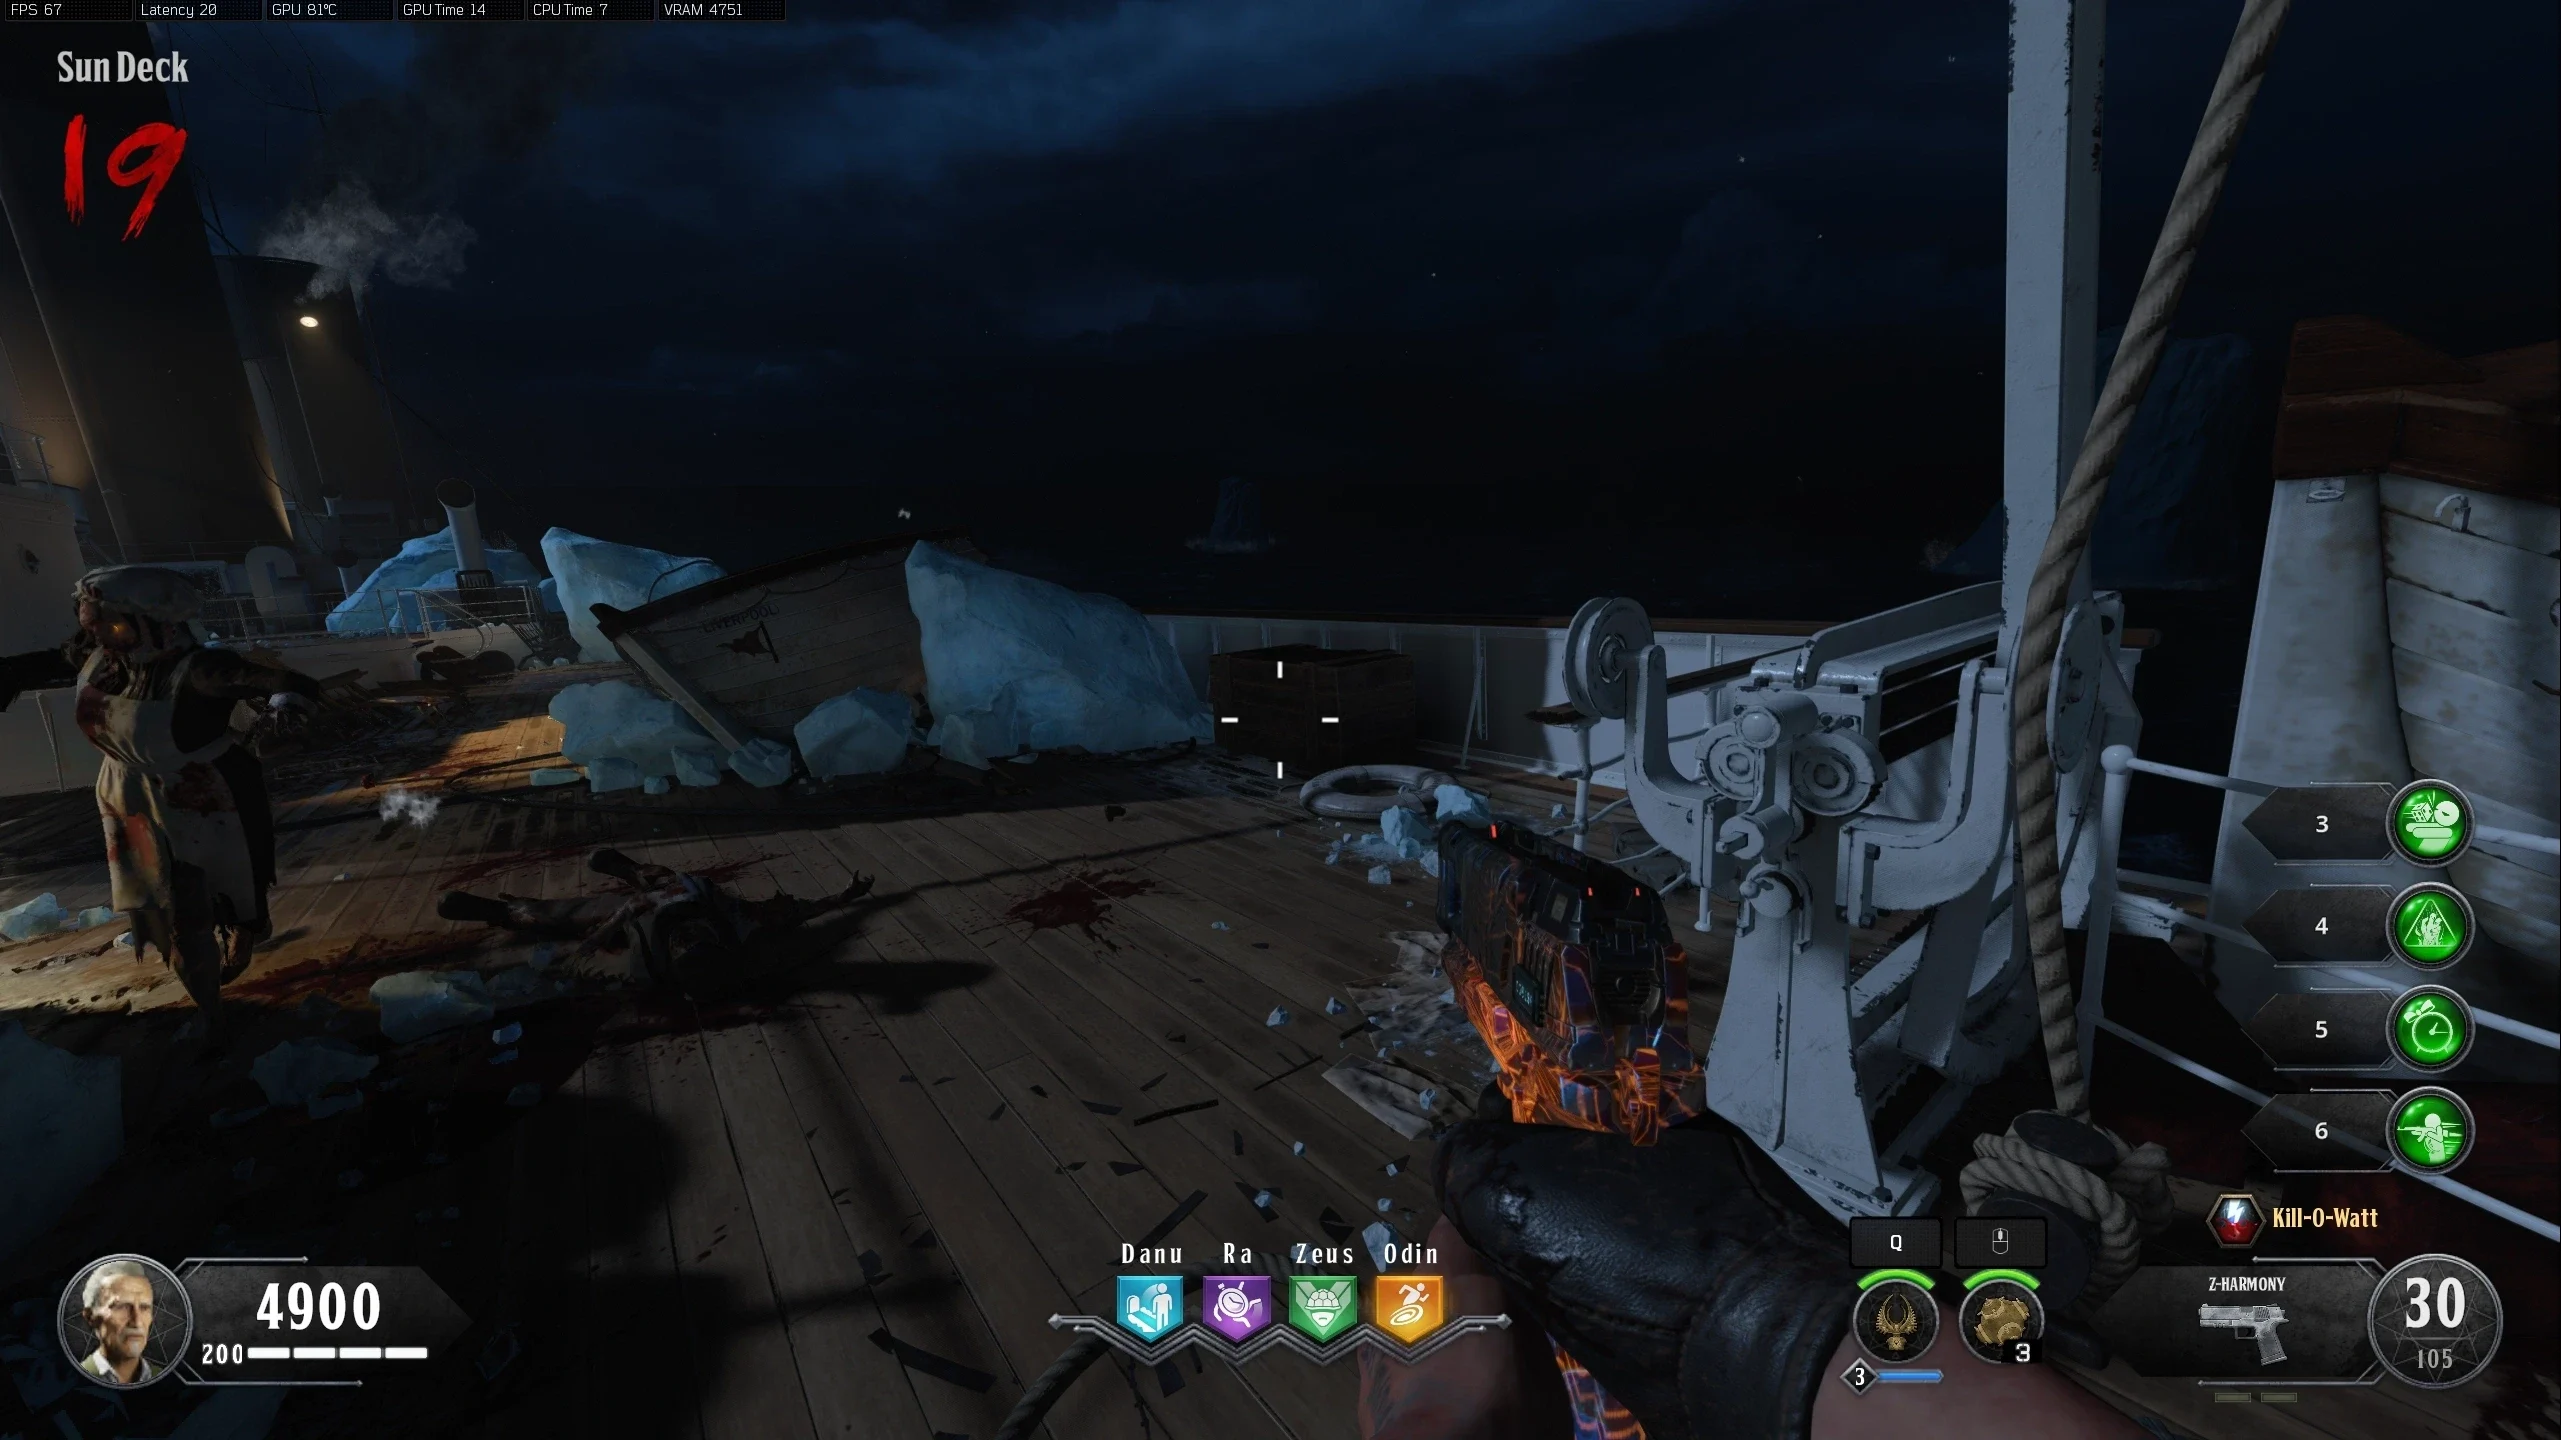
- All players must interact with the Sun's orb at the same time. Once the Sun's orb is picked up, the screen will flash grey, blocks of ice will spawn blocking various stairs and doorways, and zombies will start spawning infinitely.
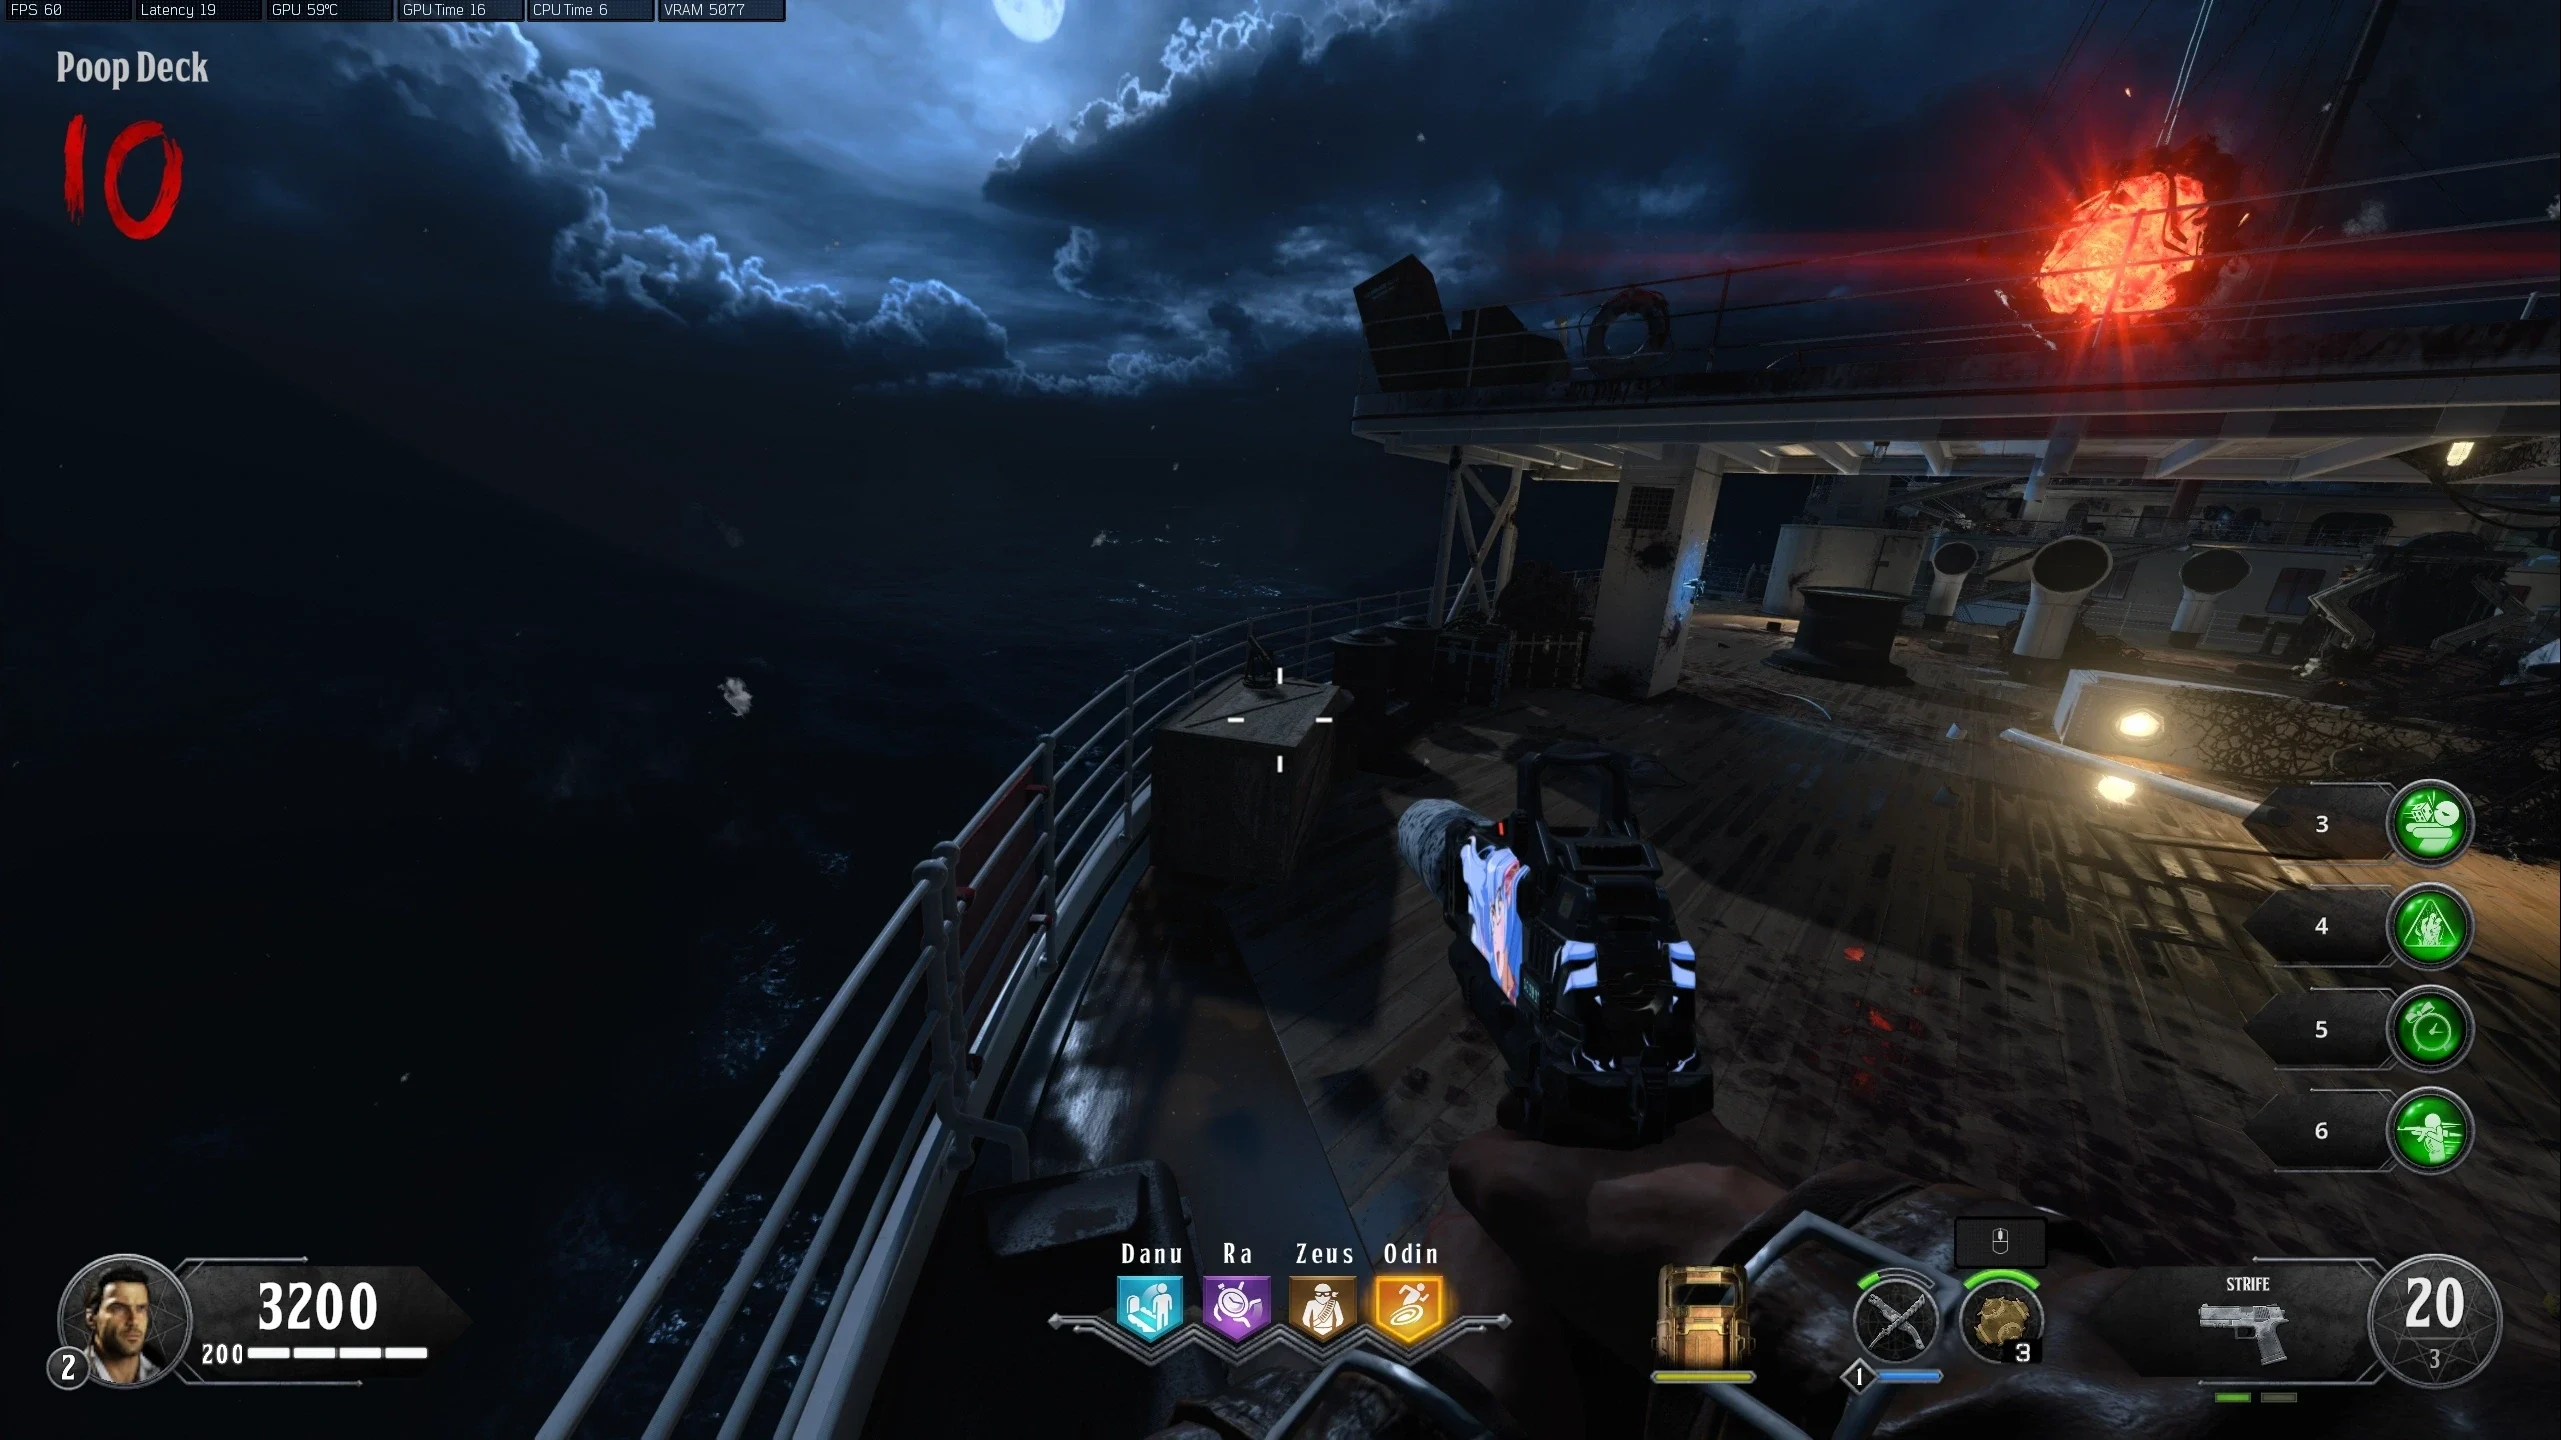
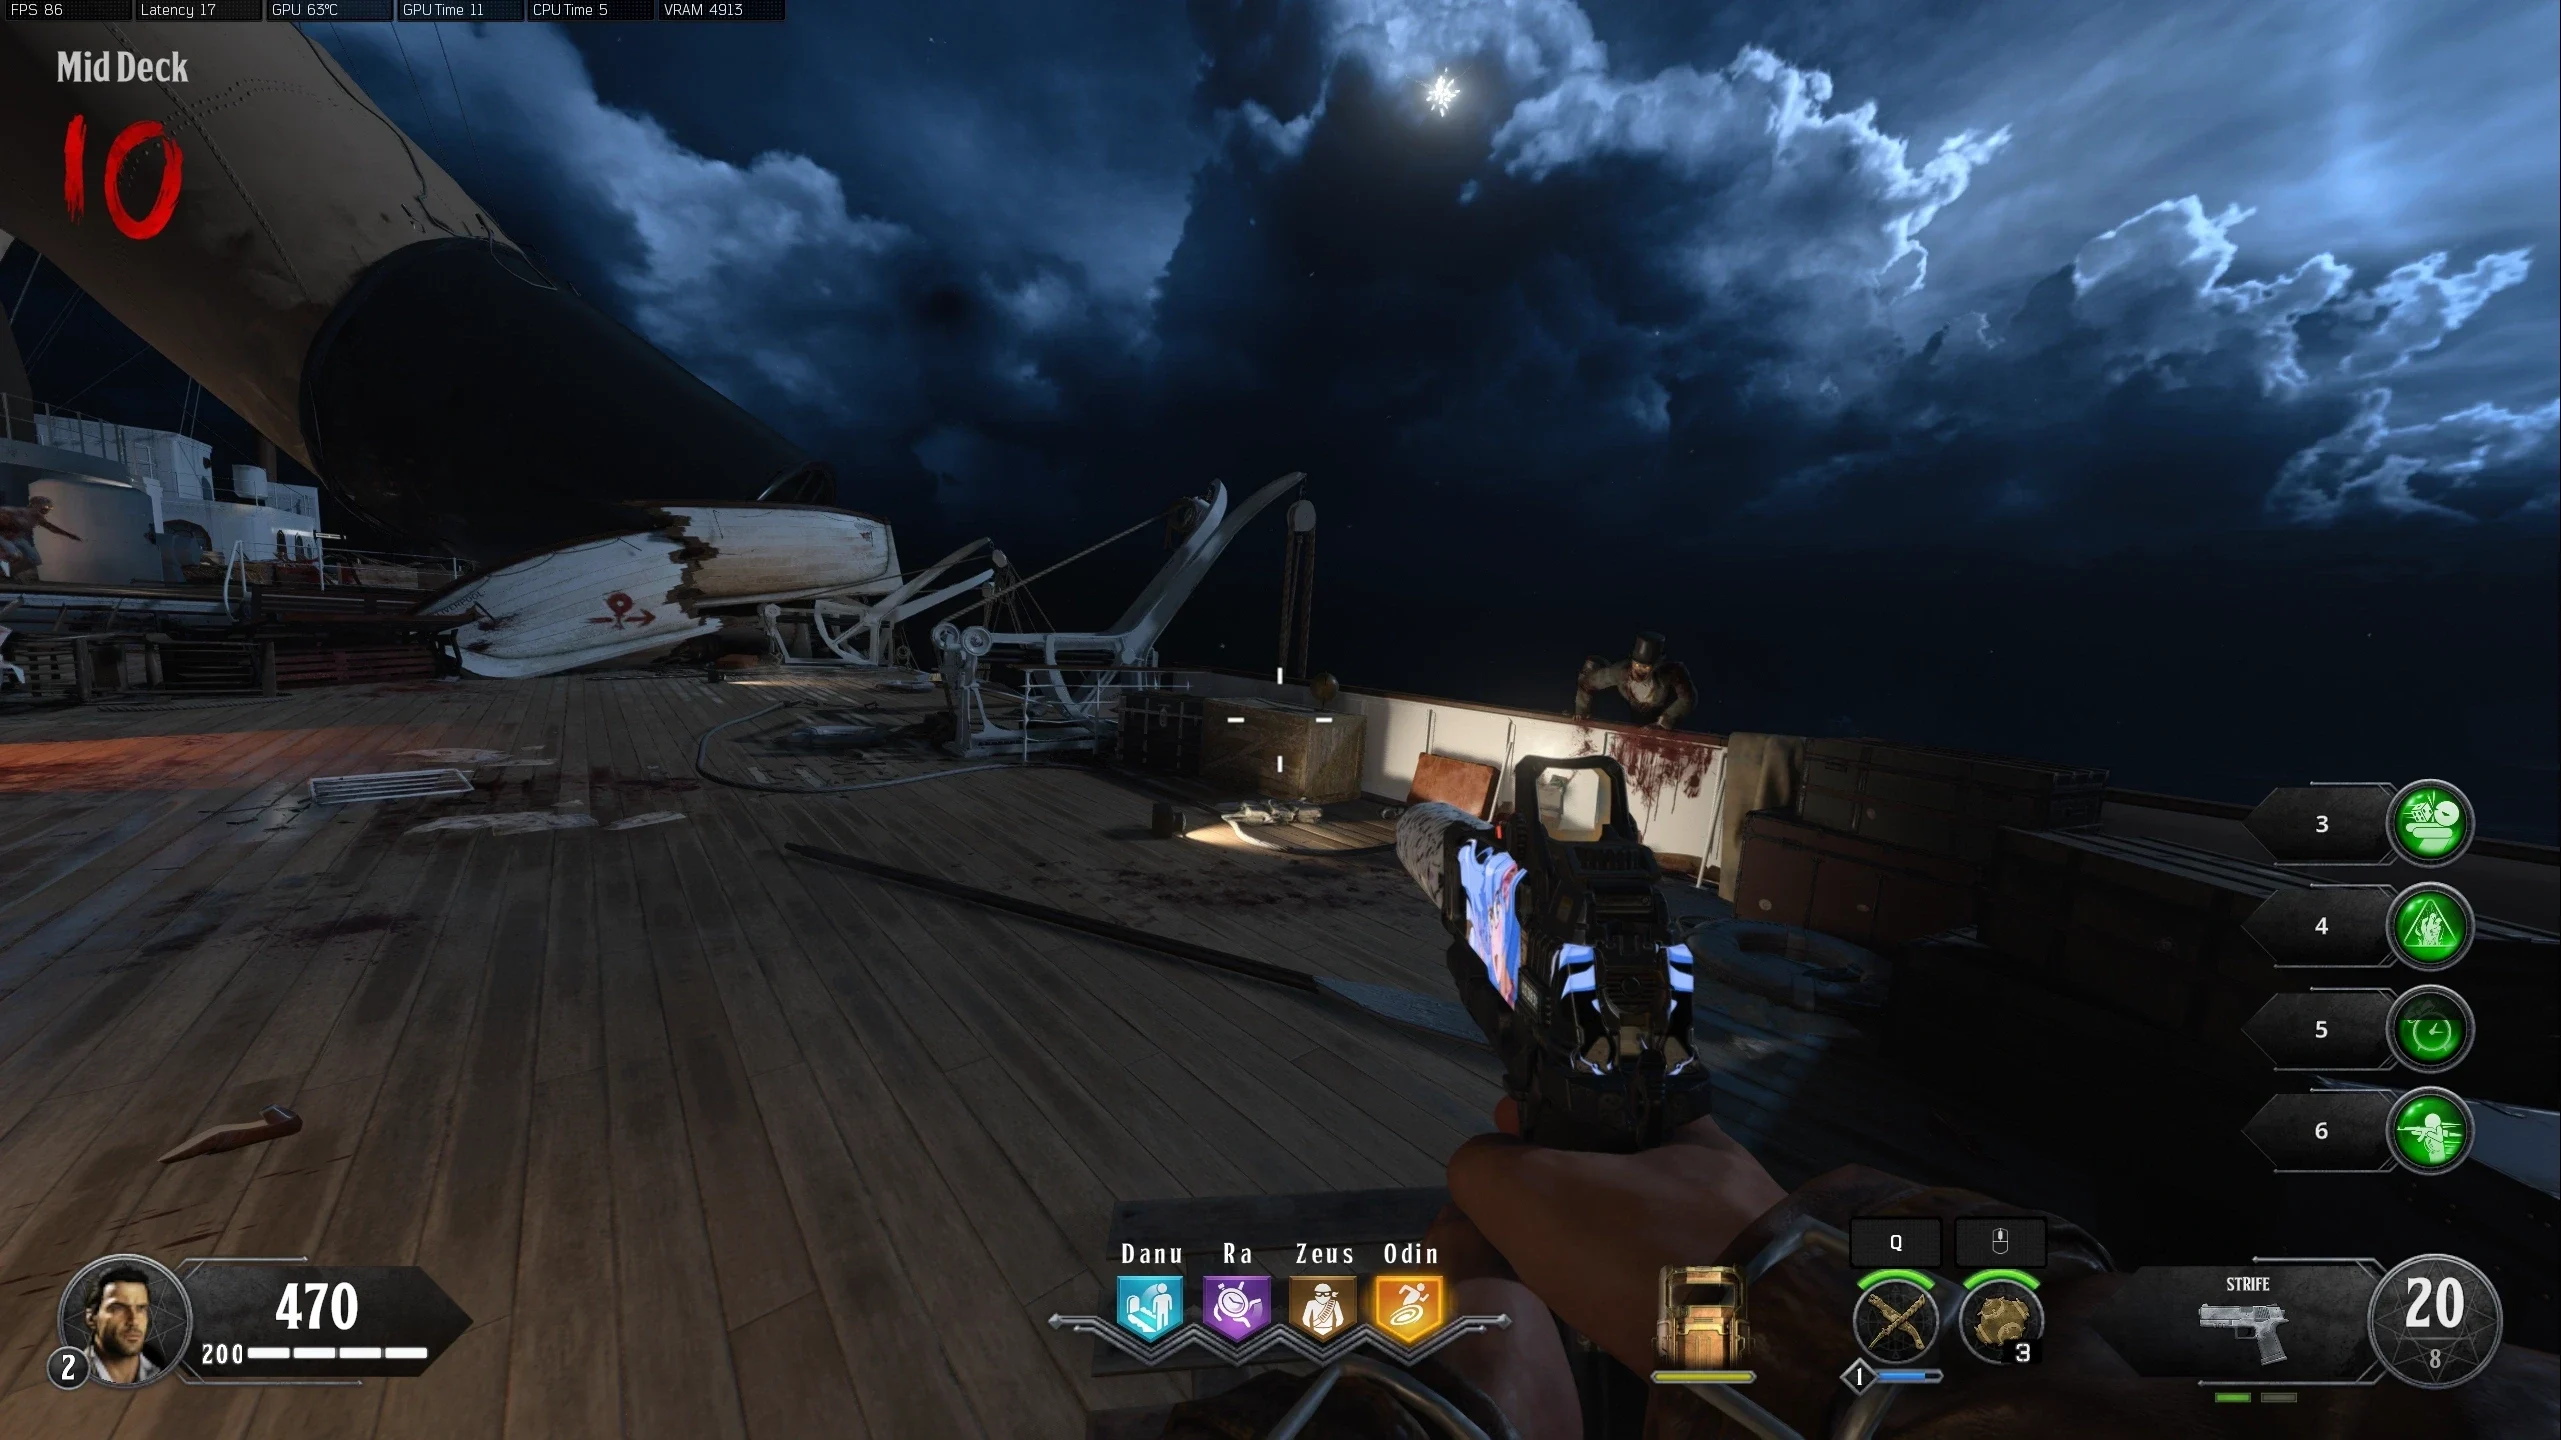
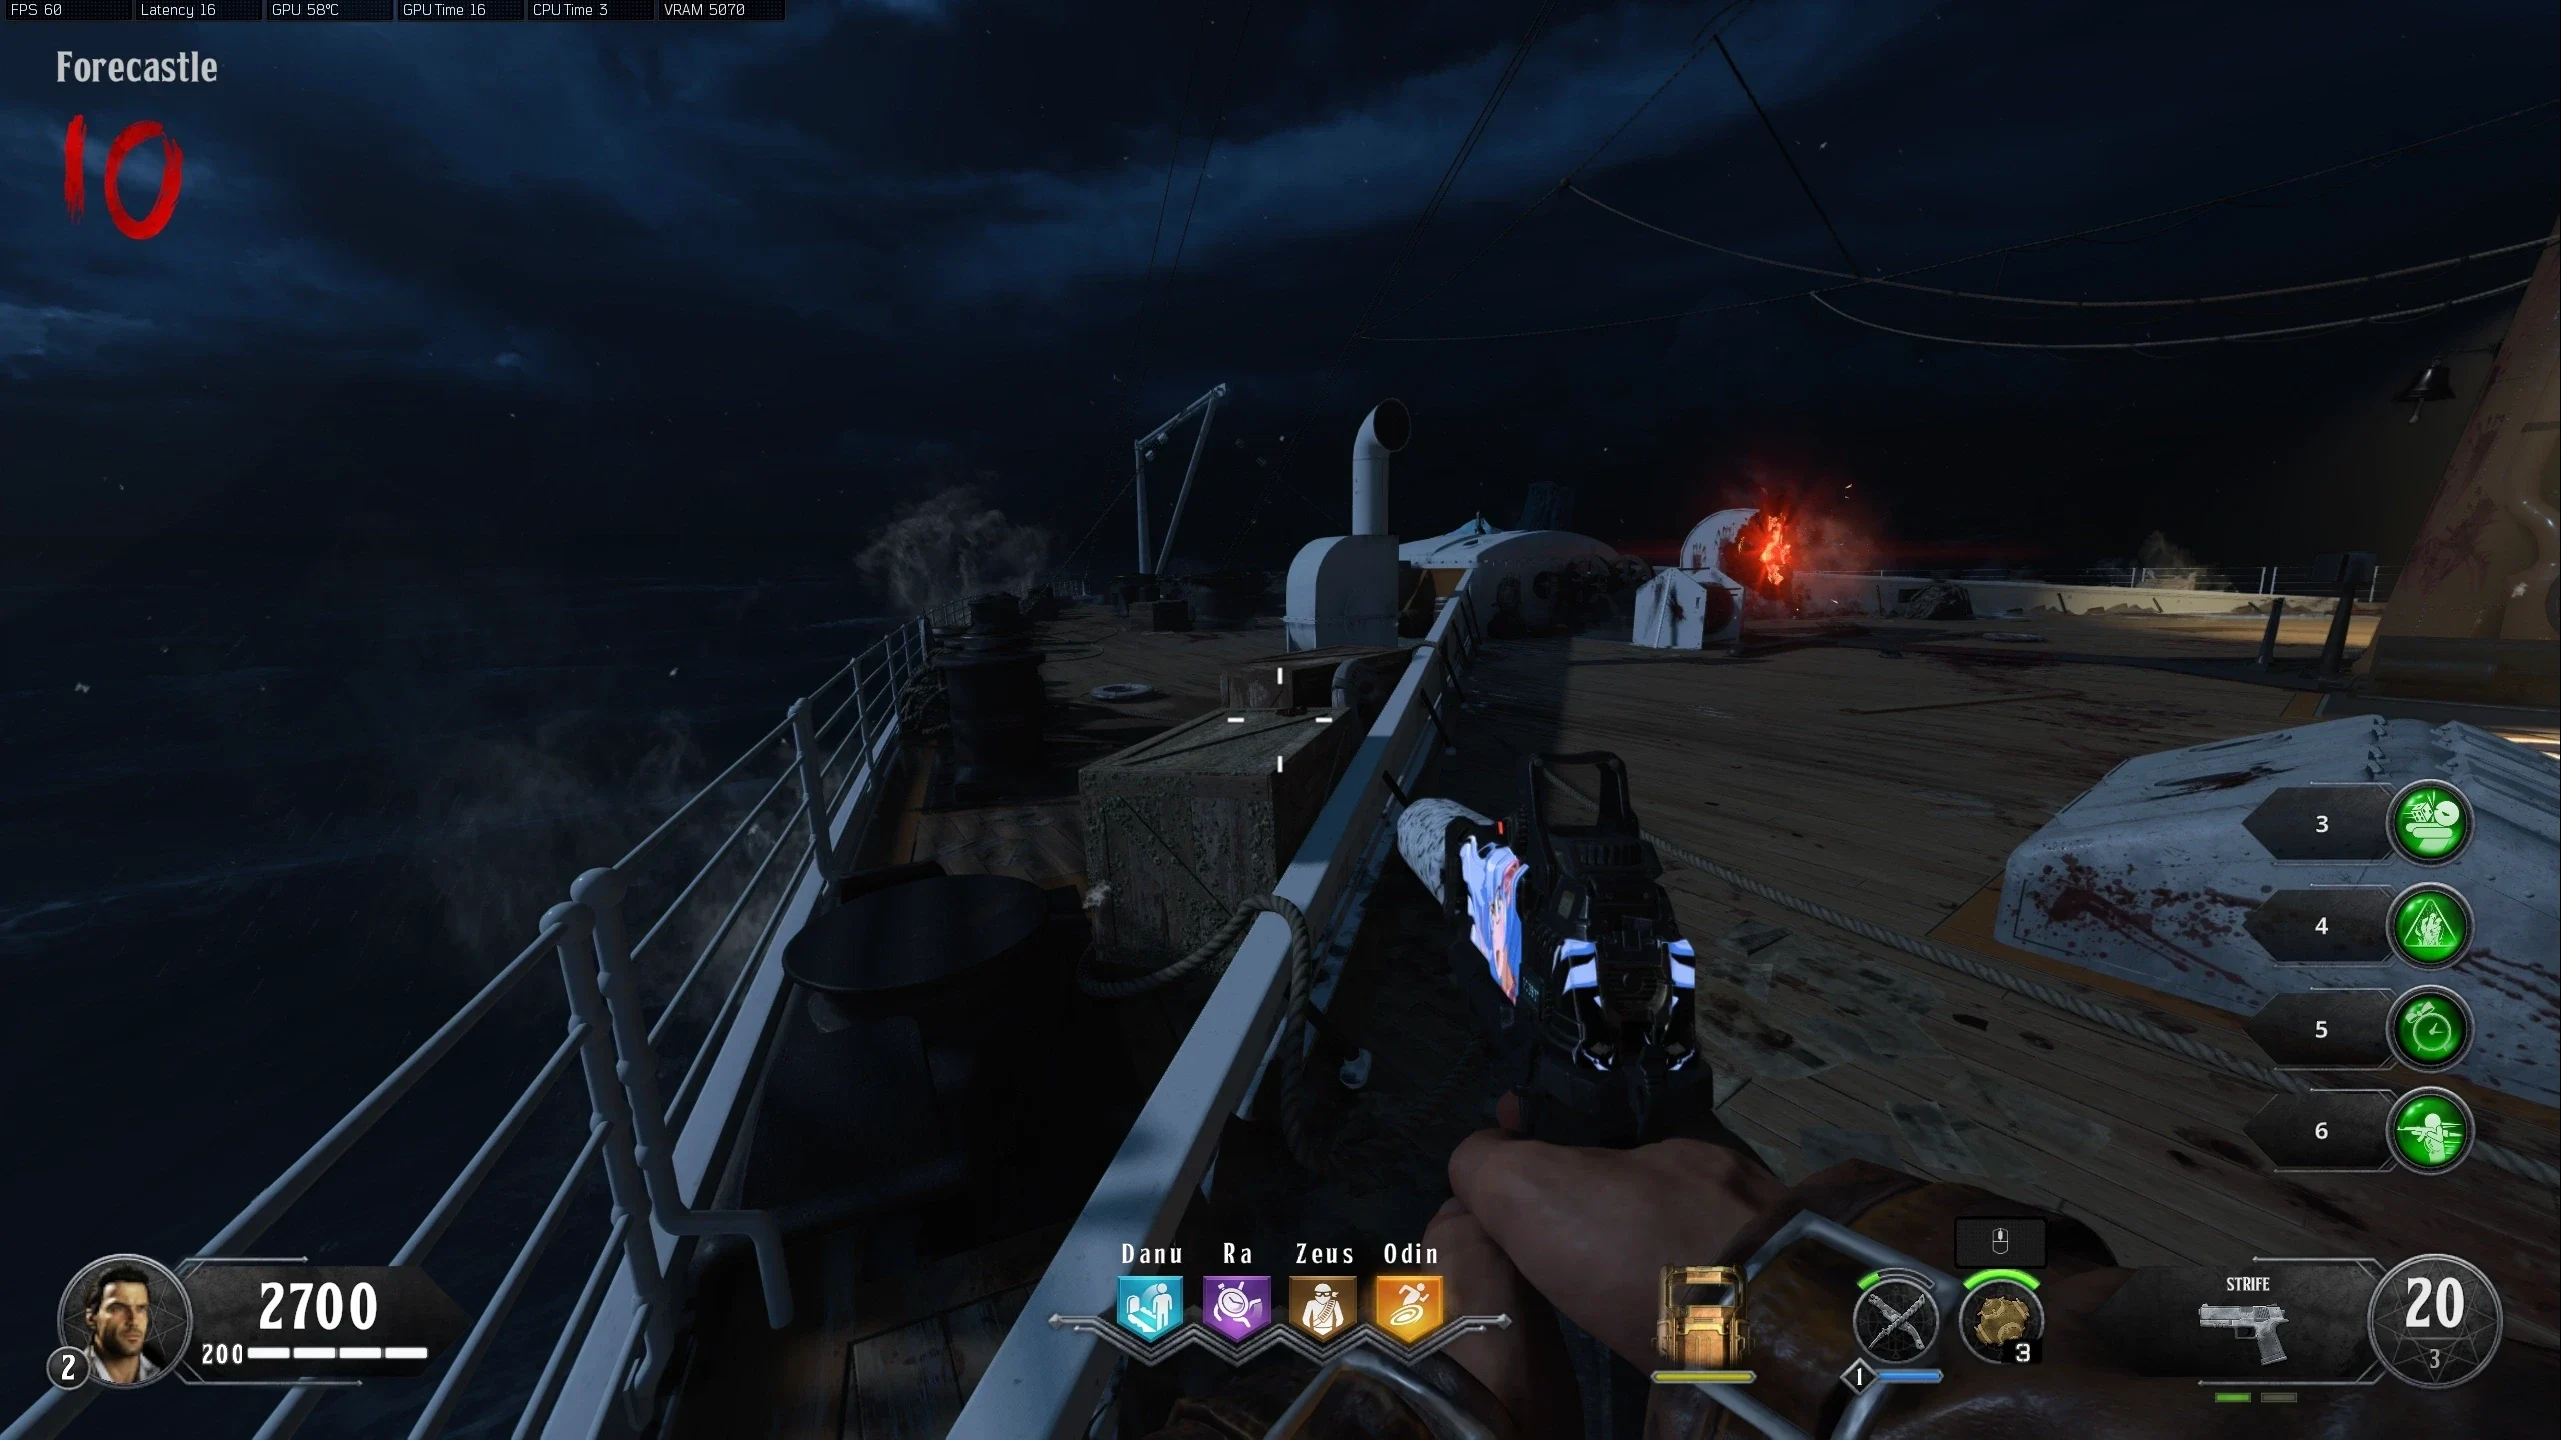
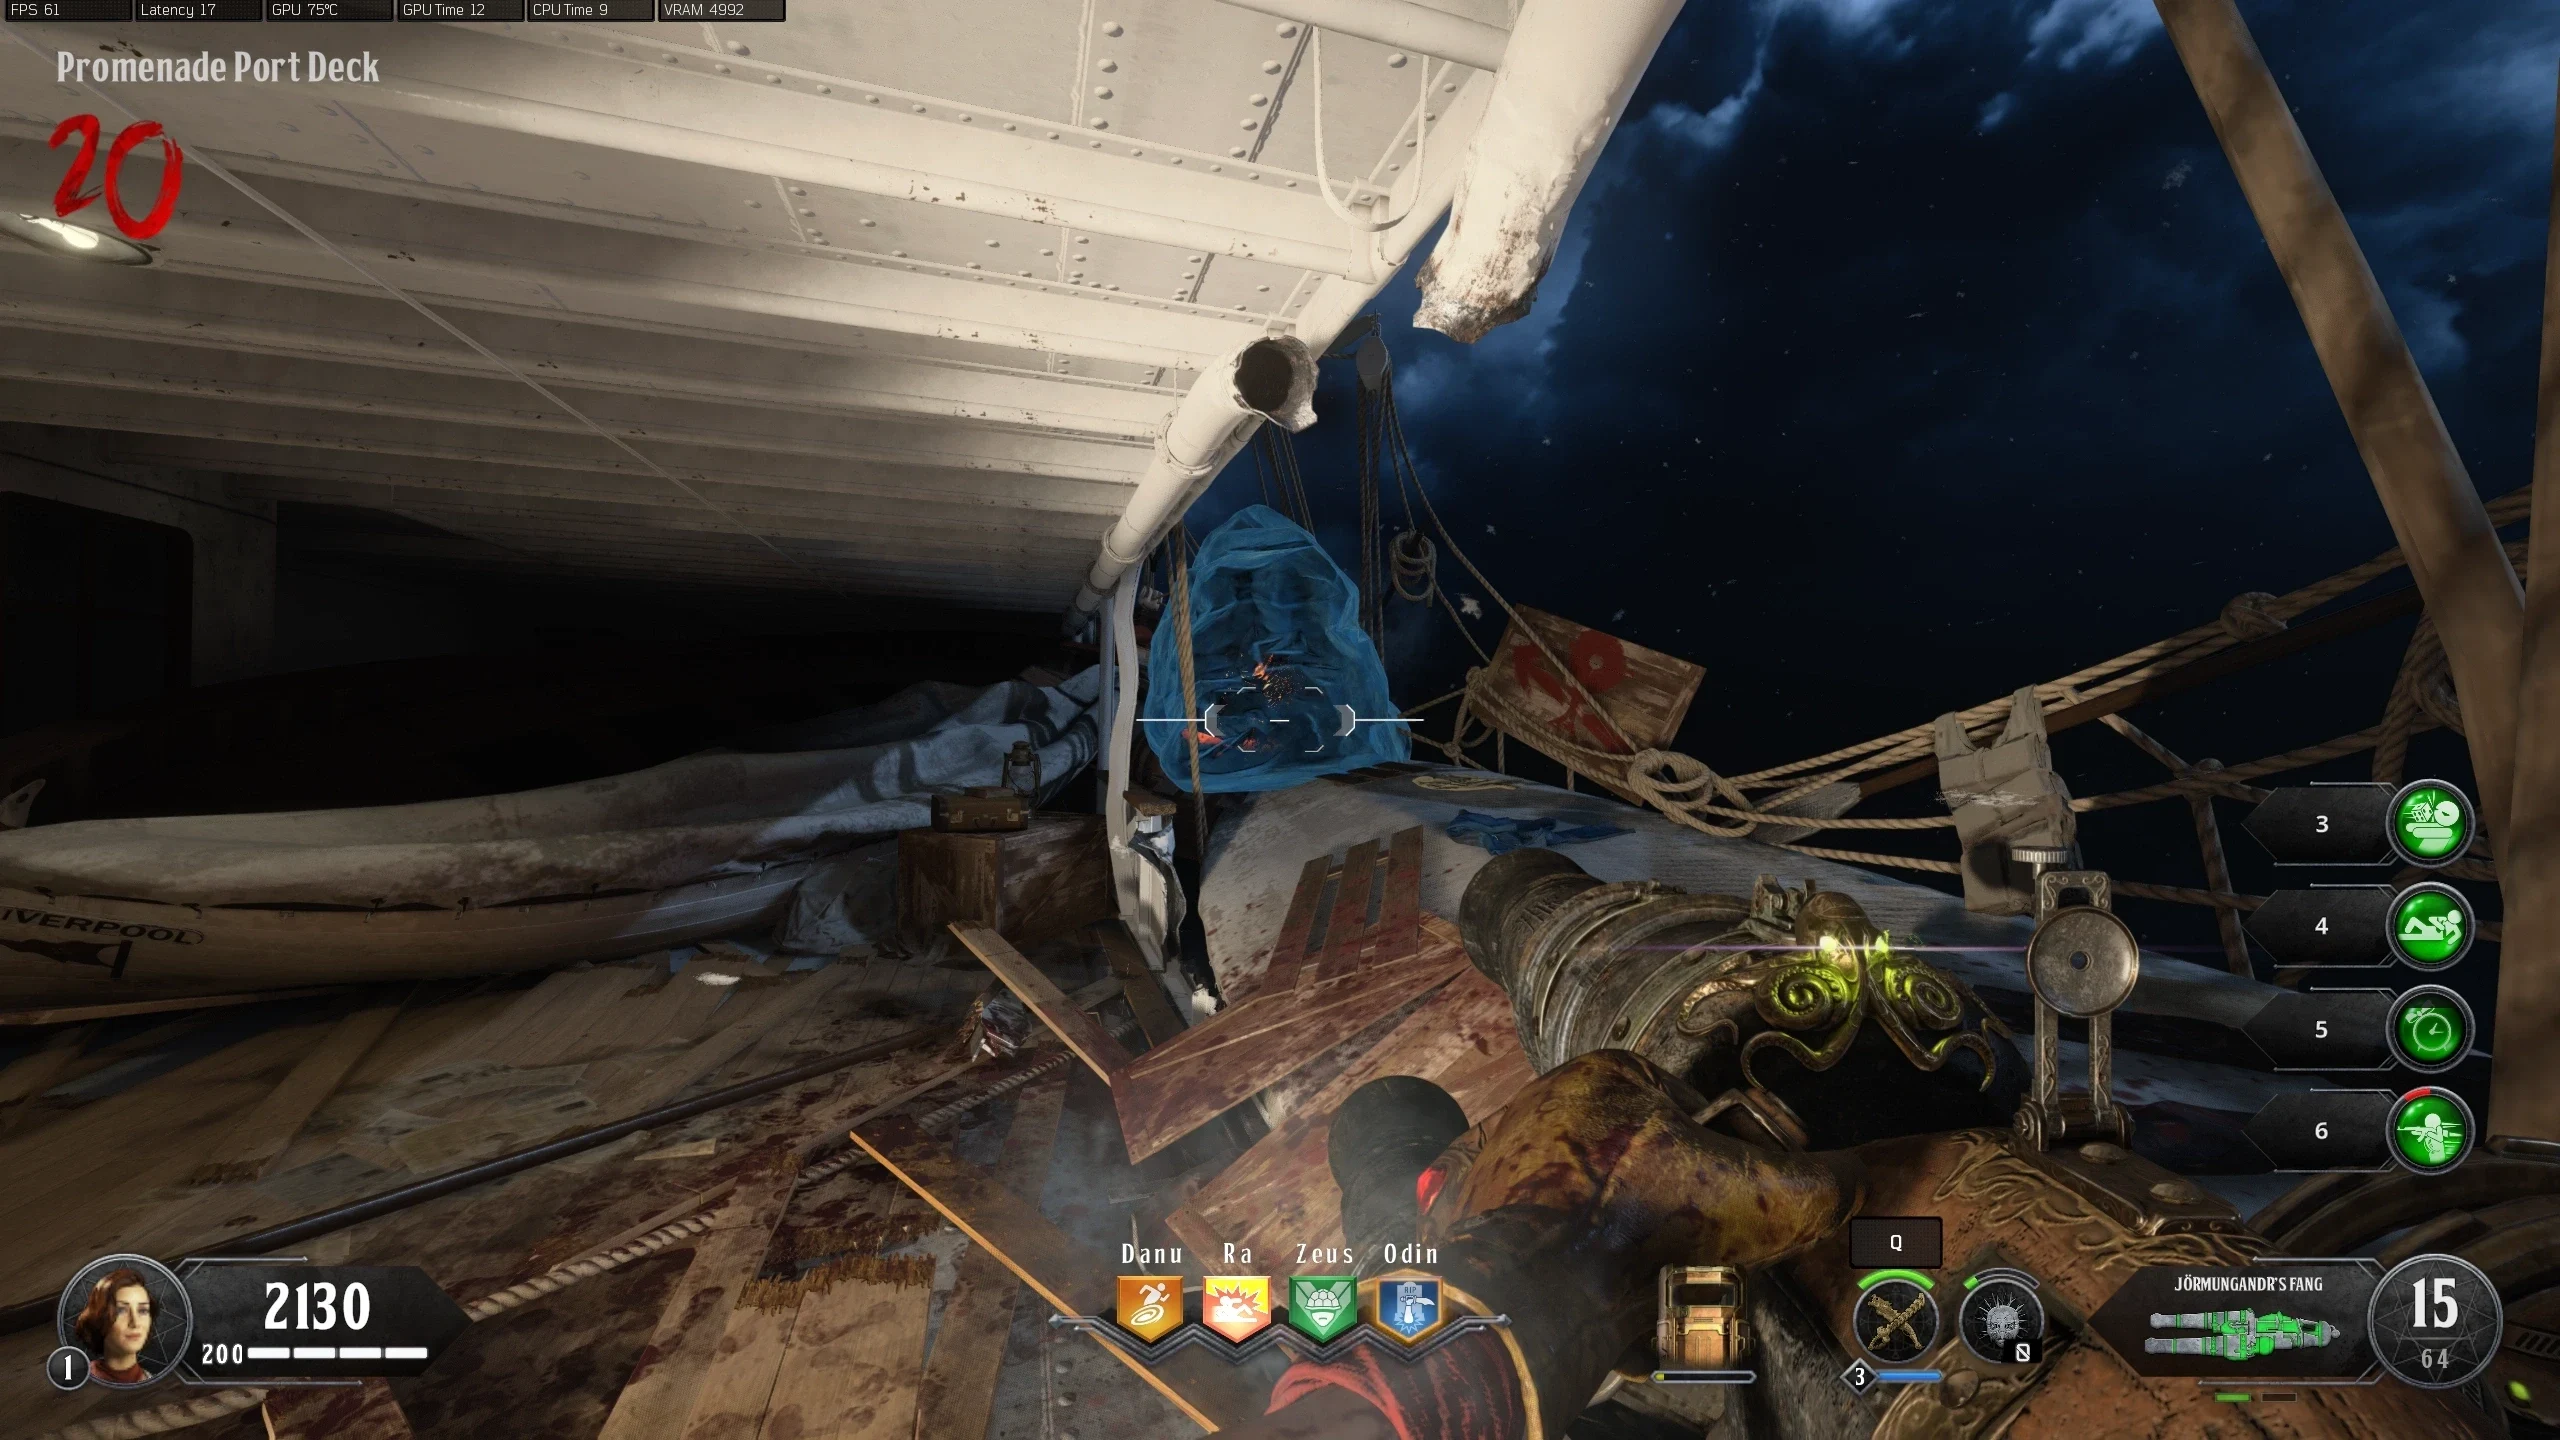
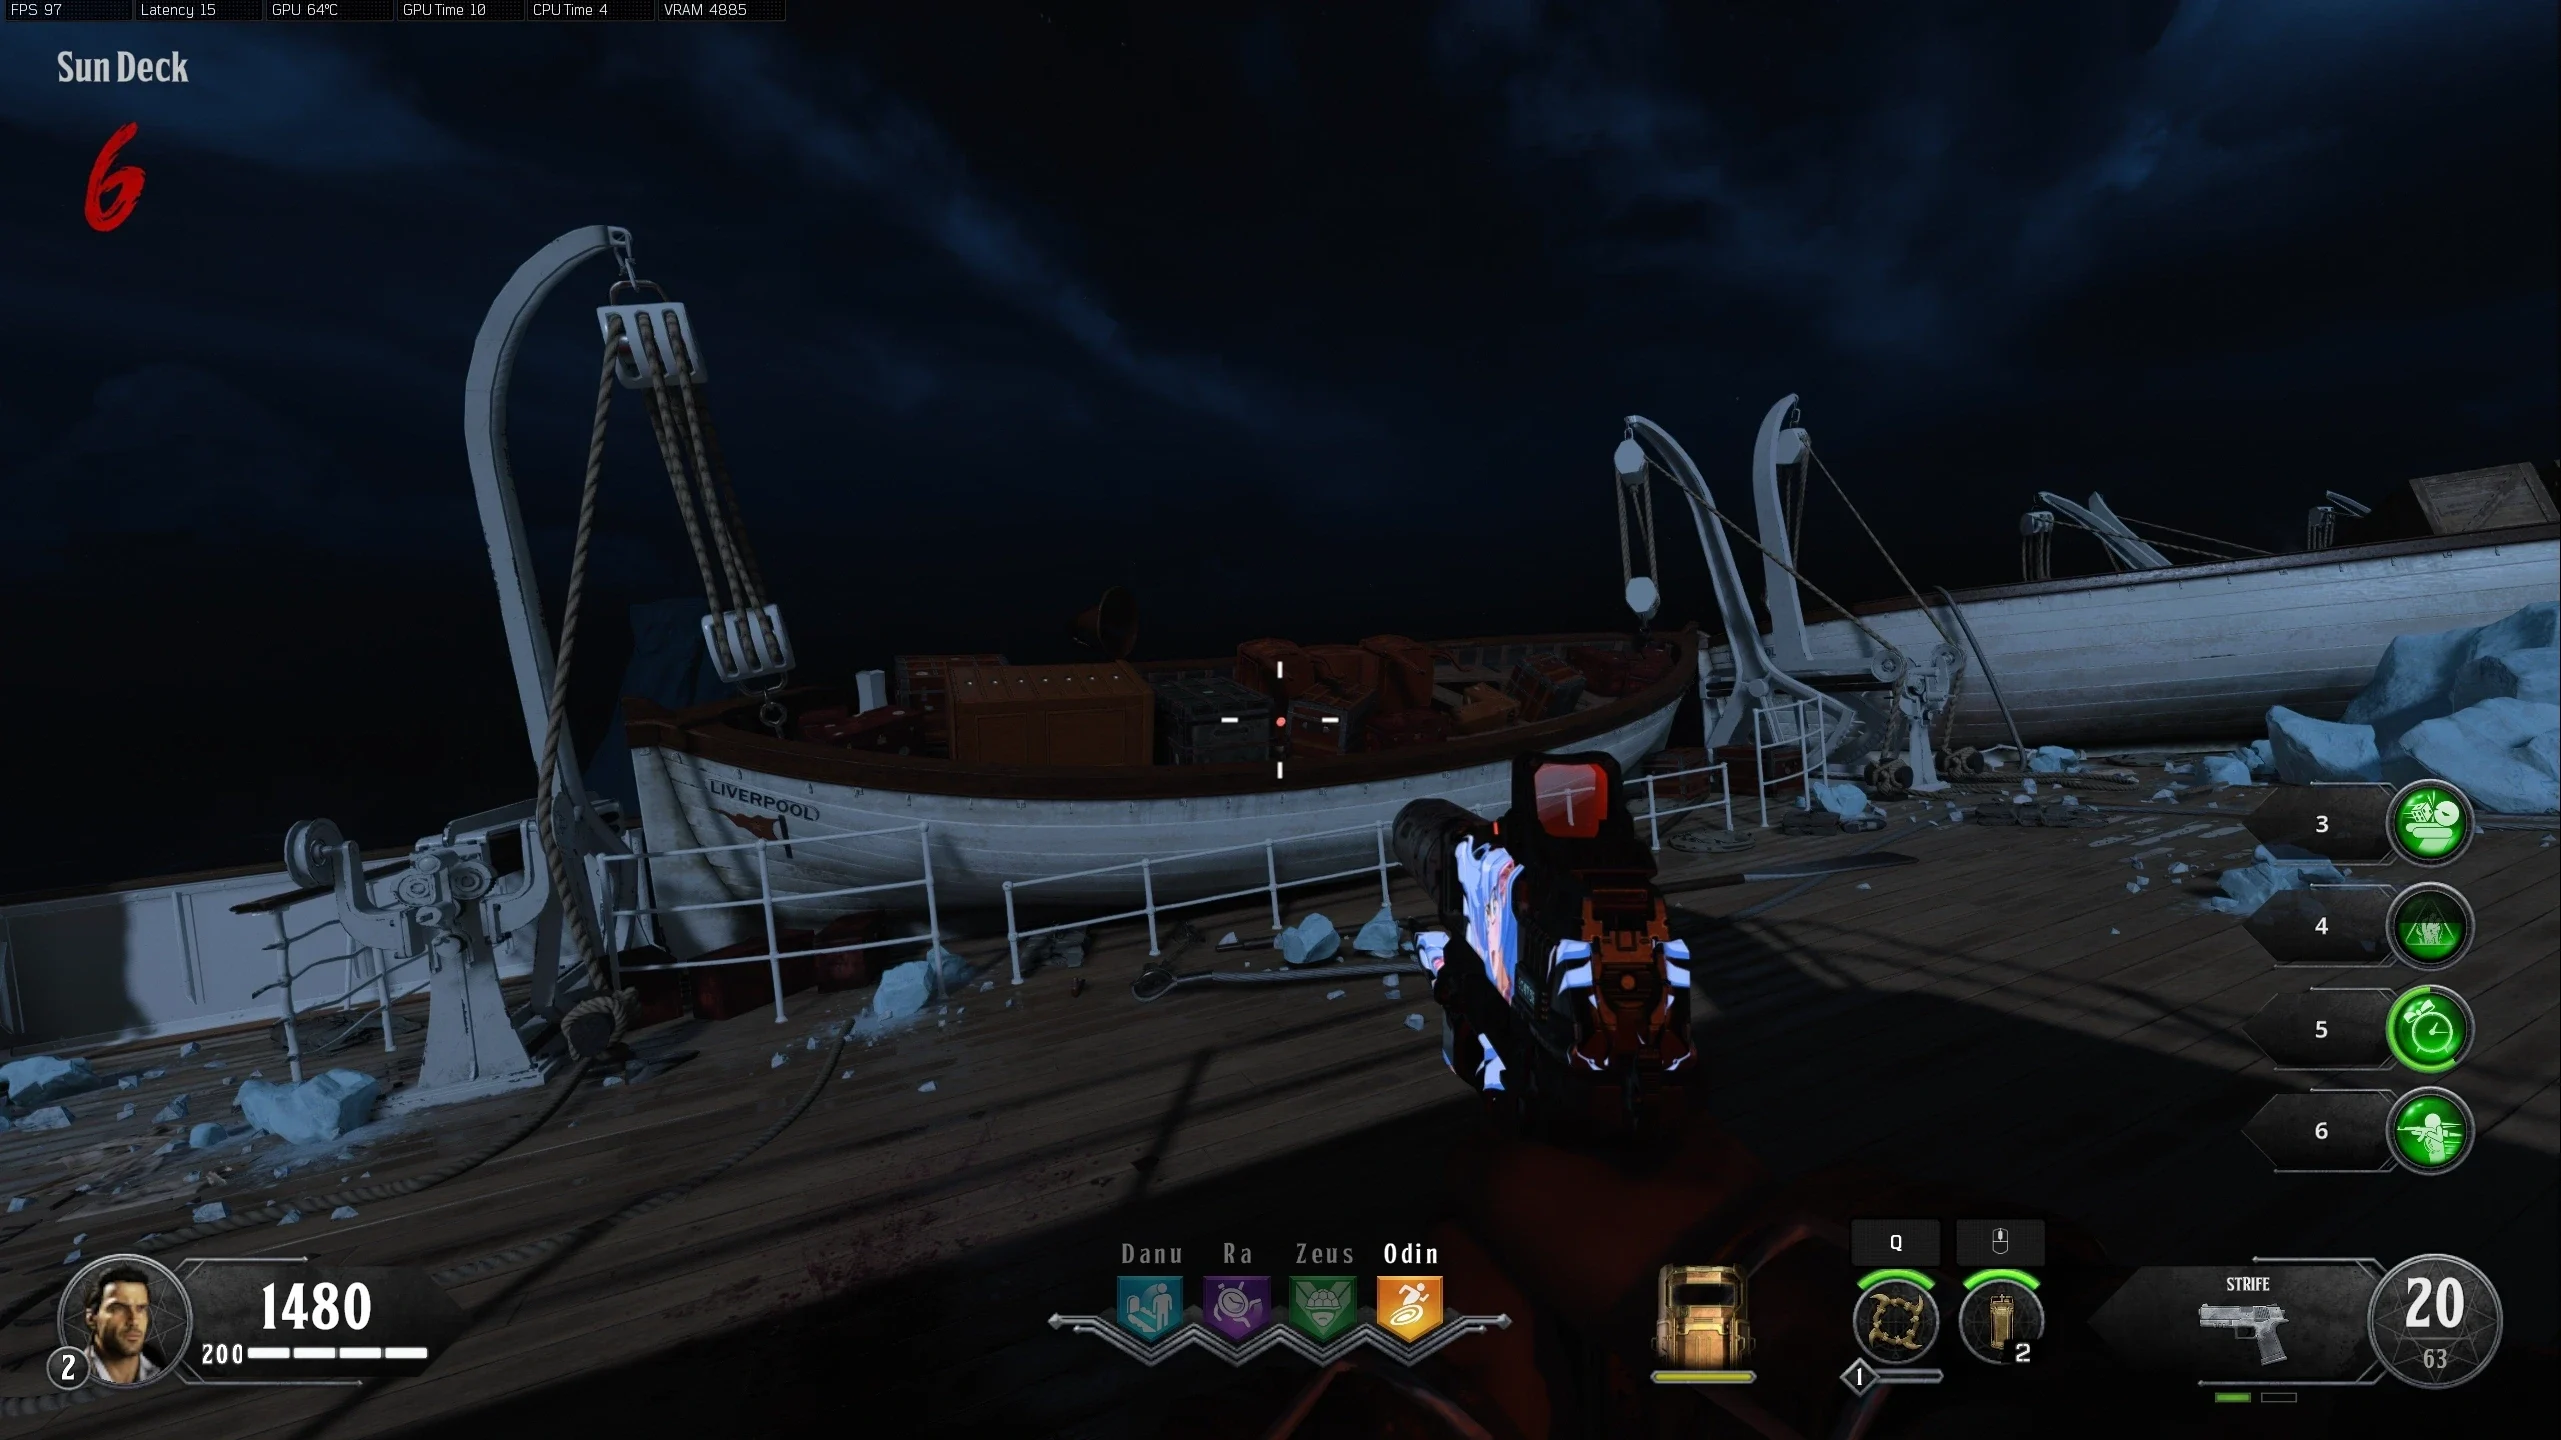
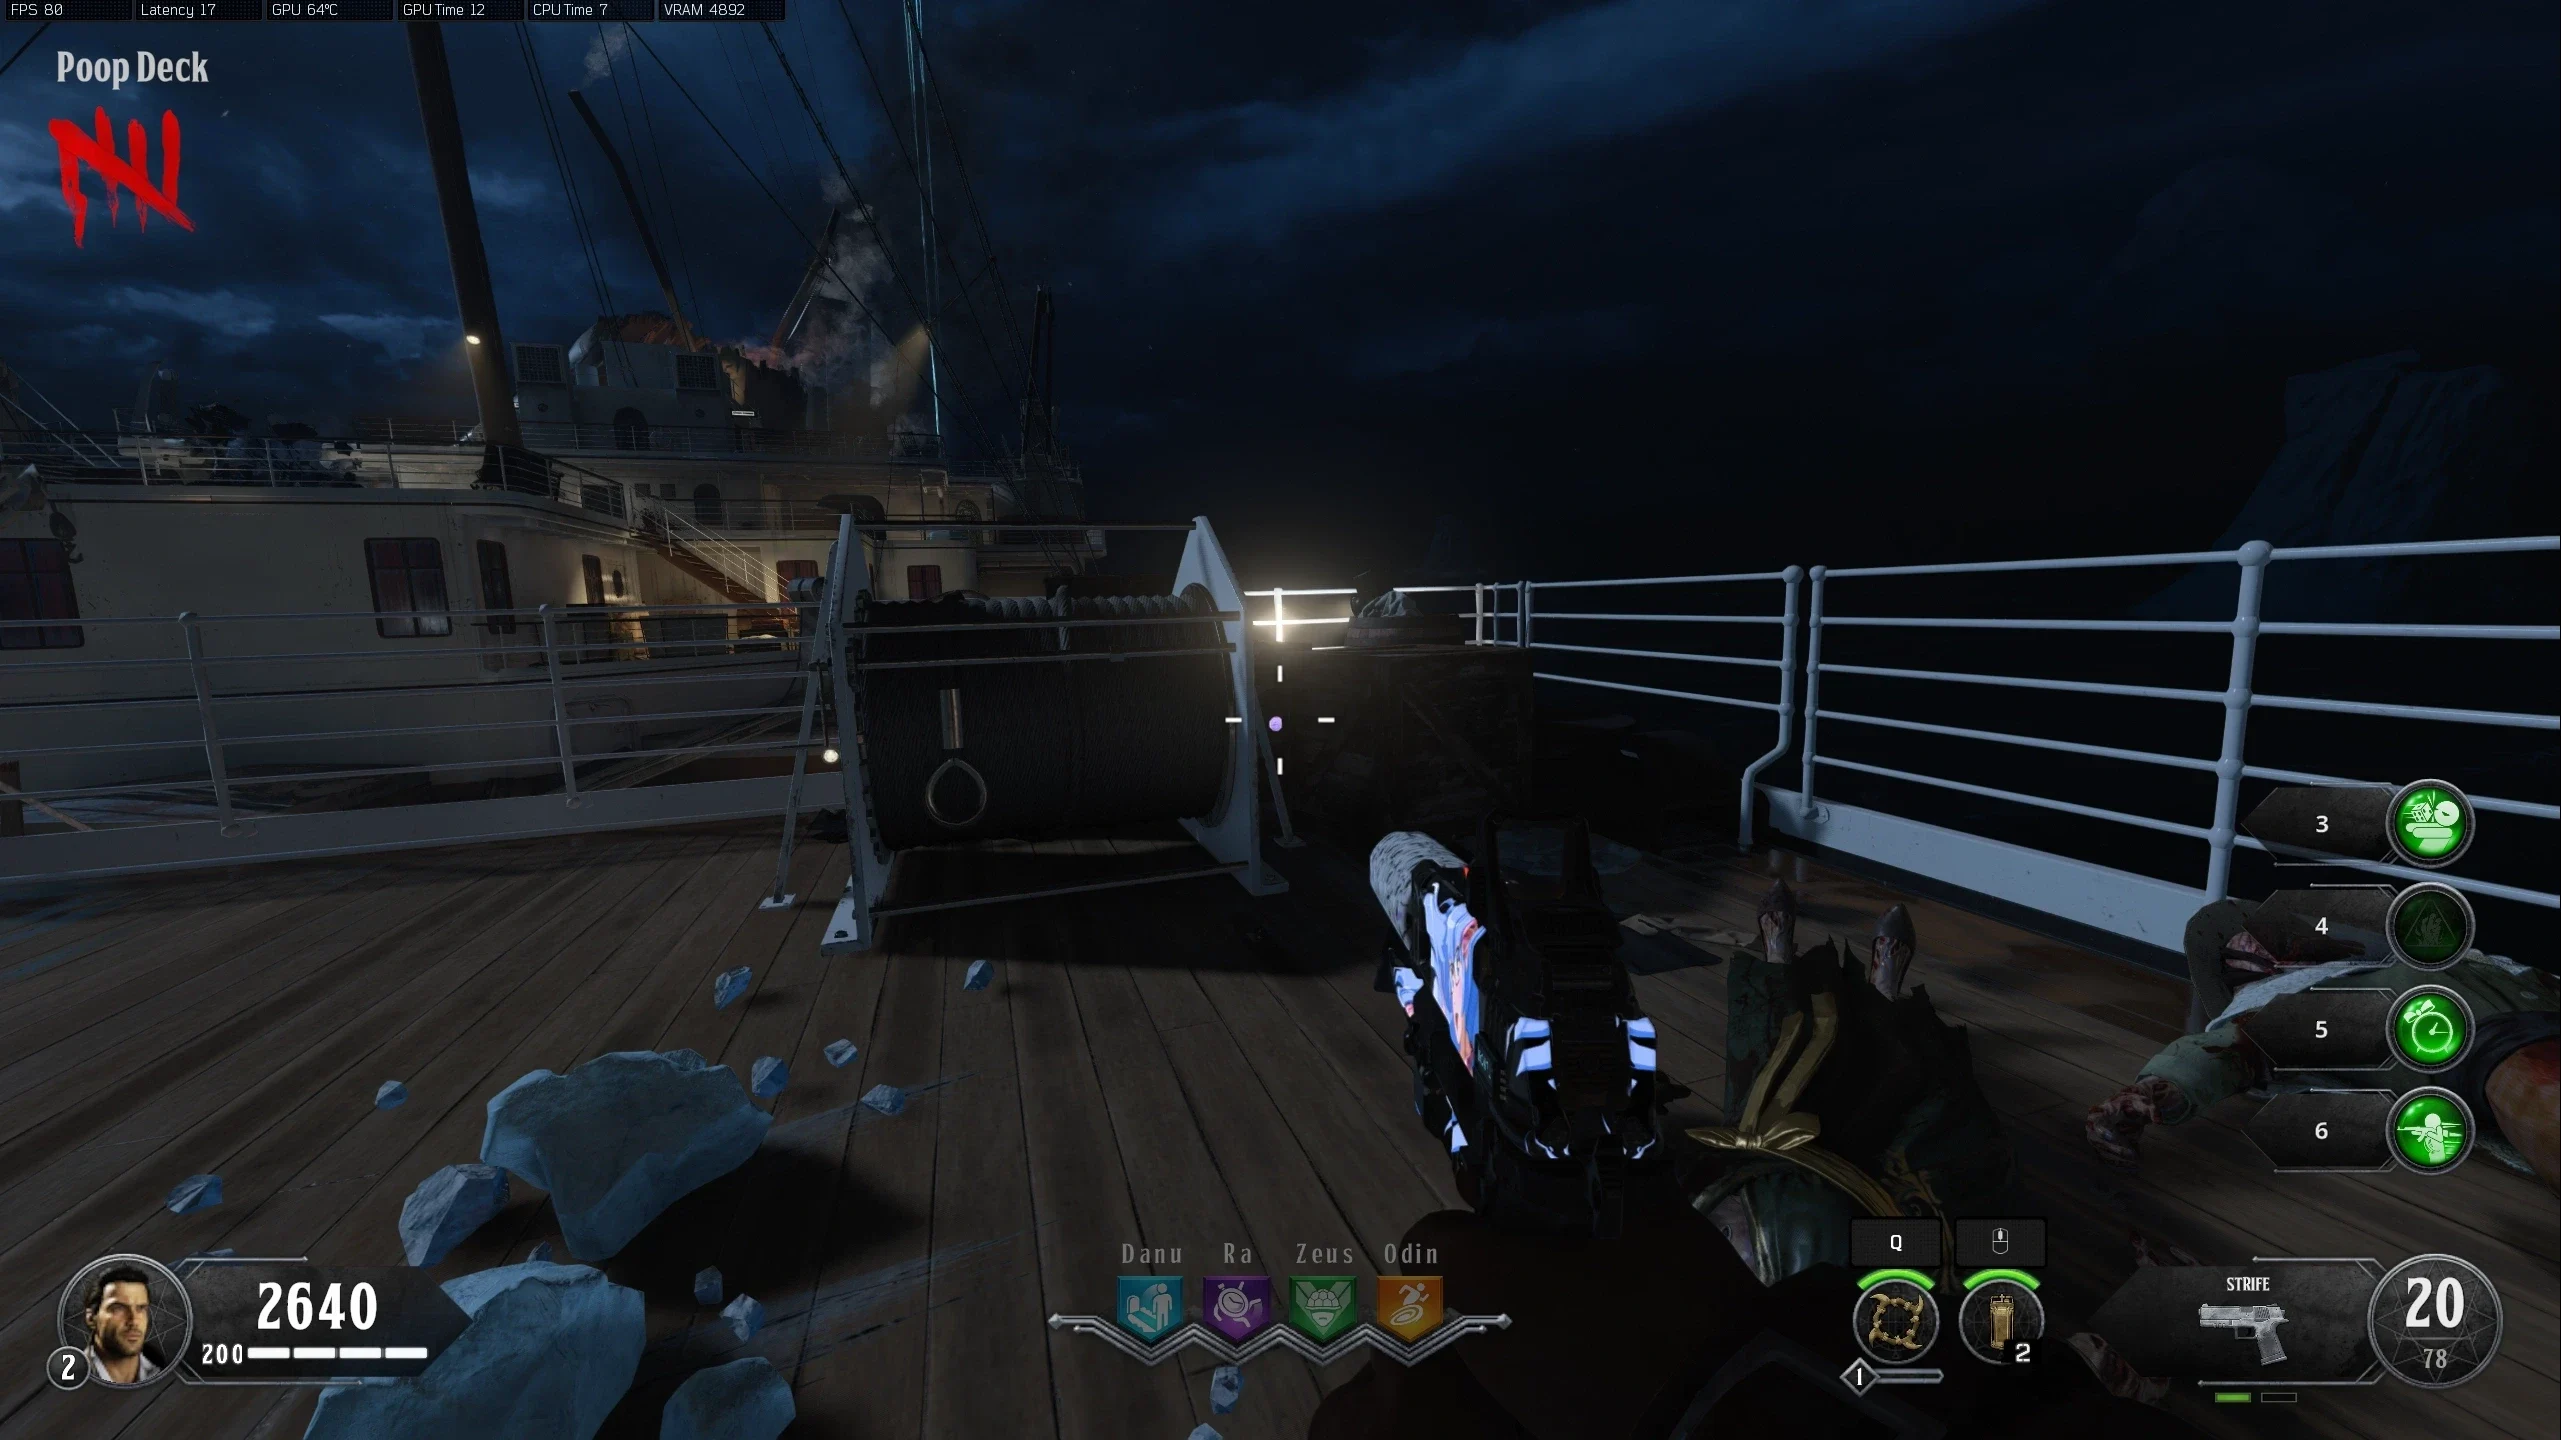
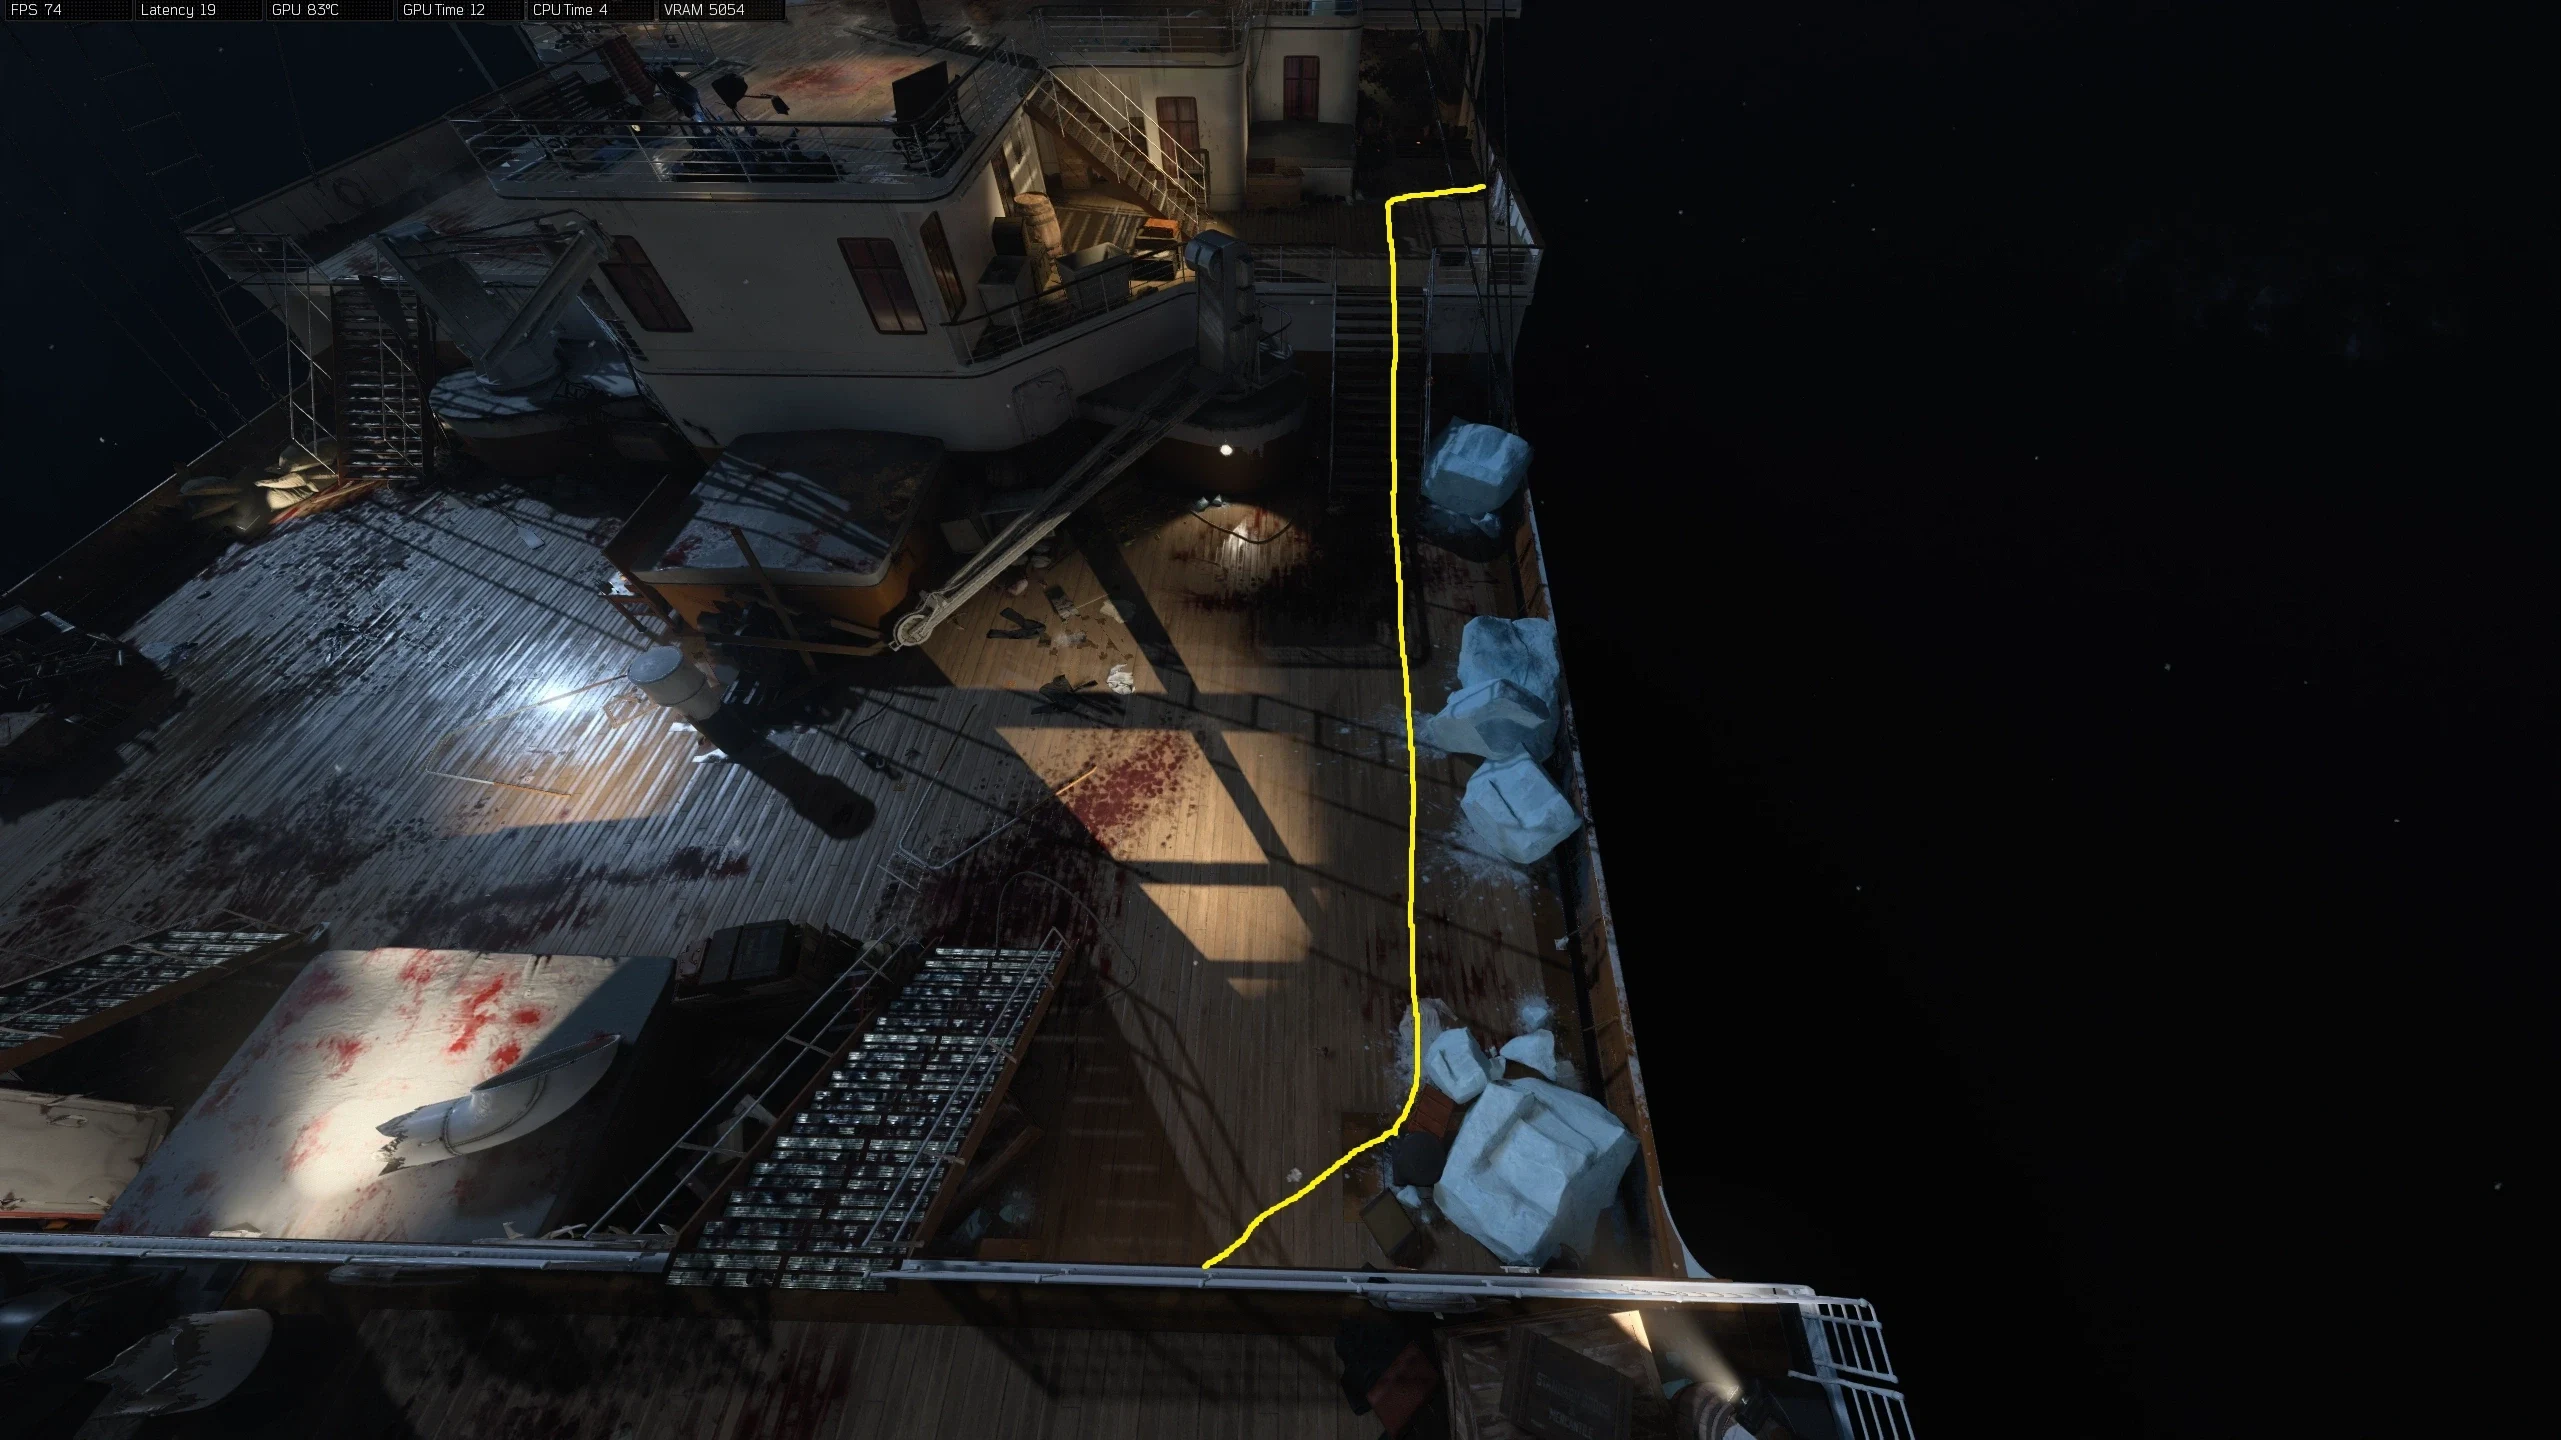
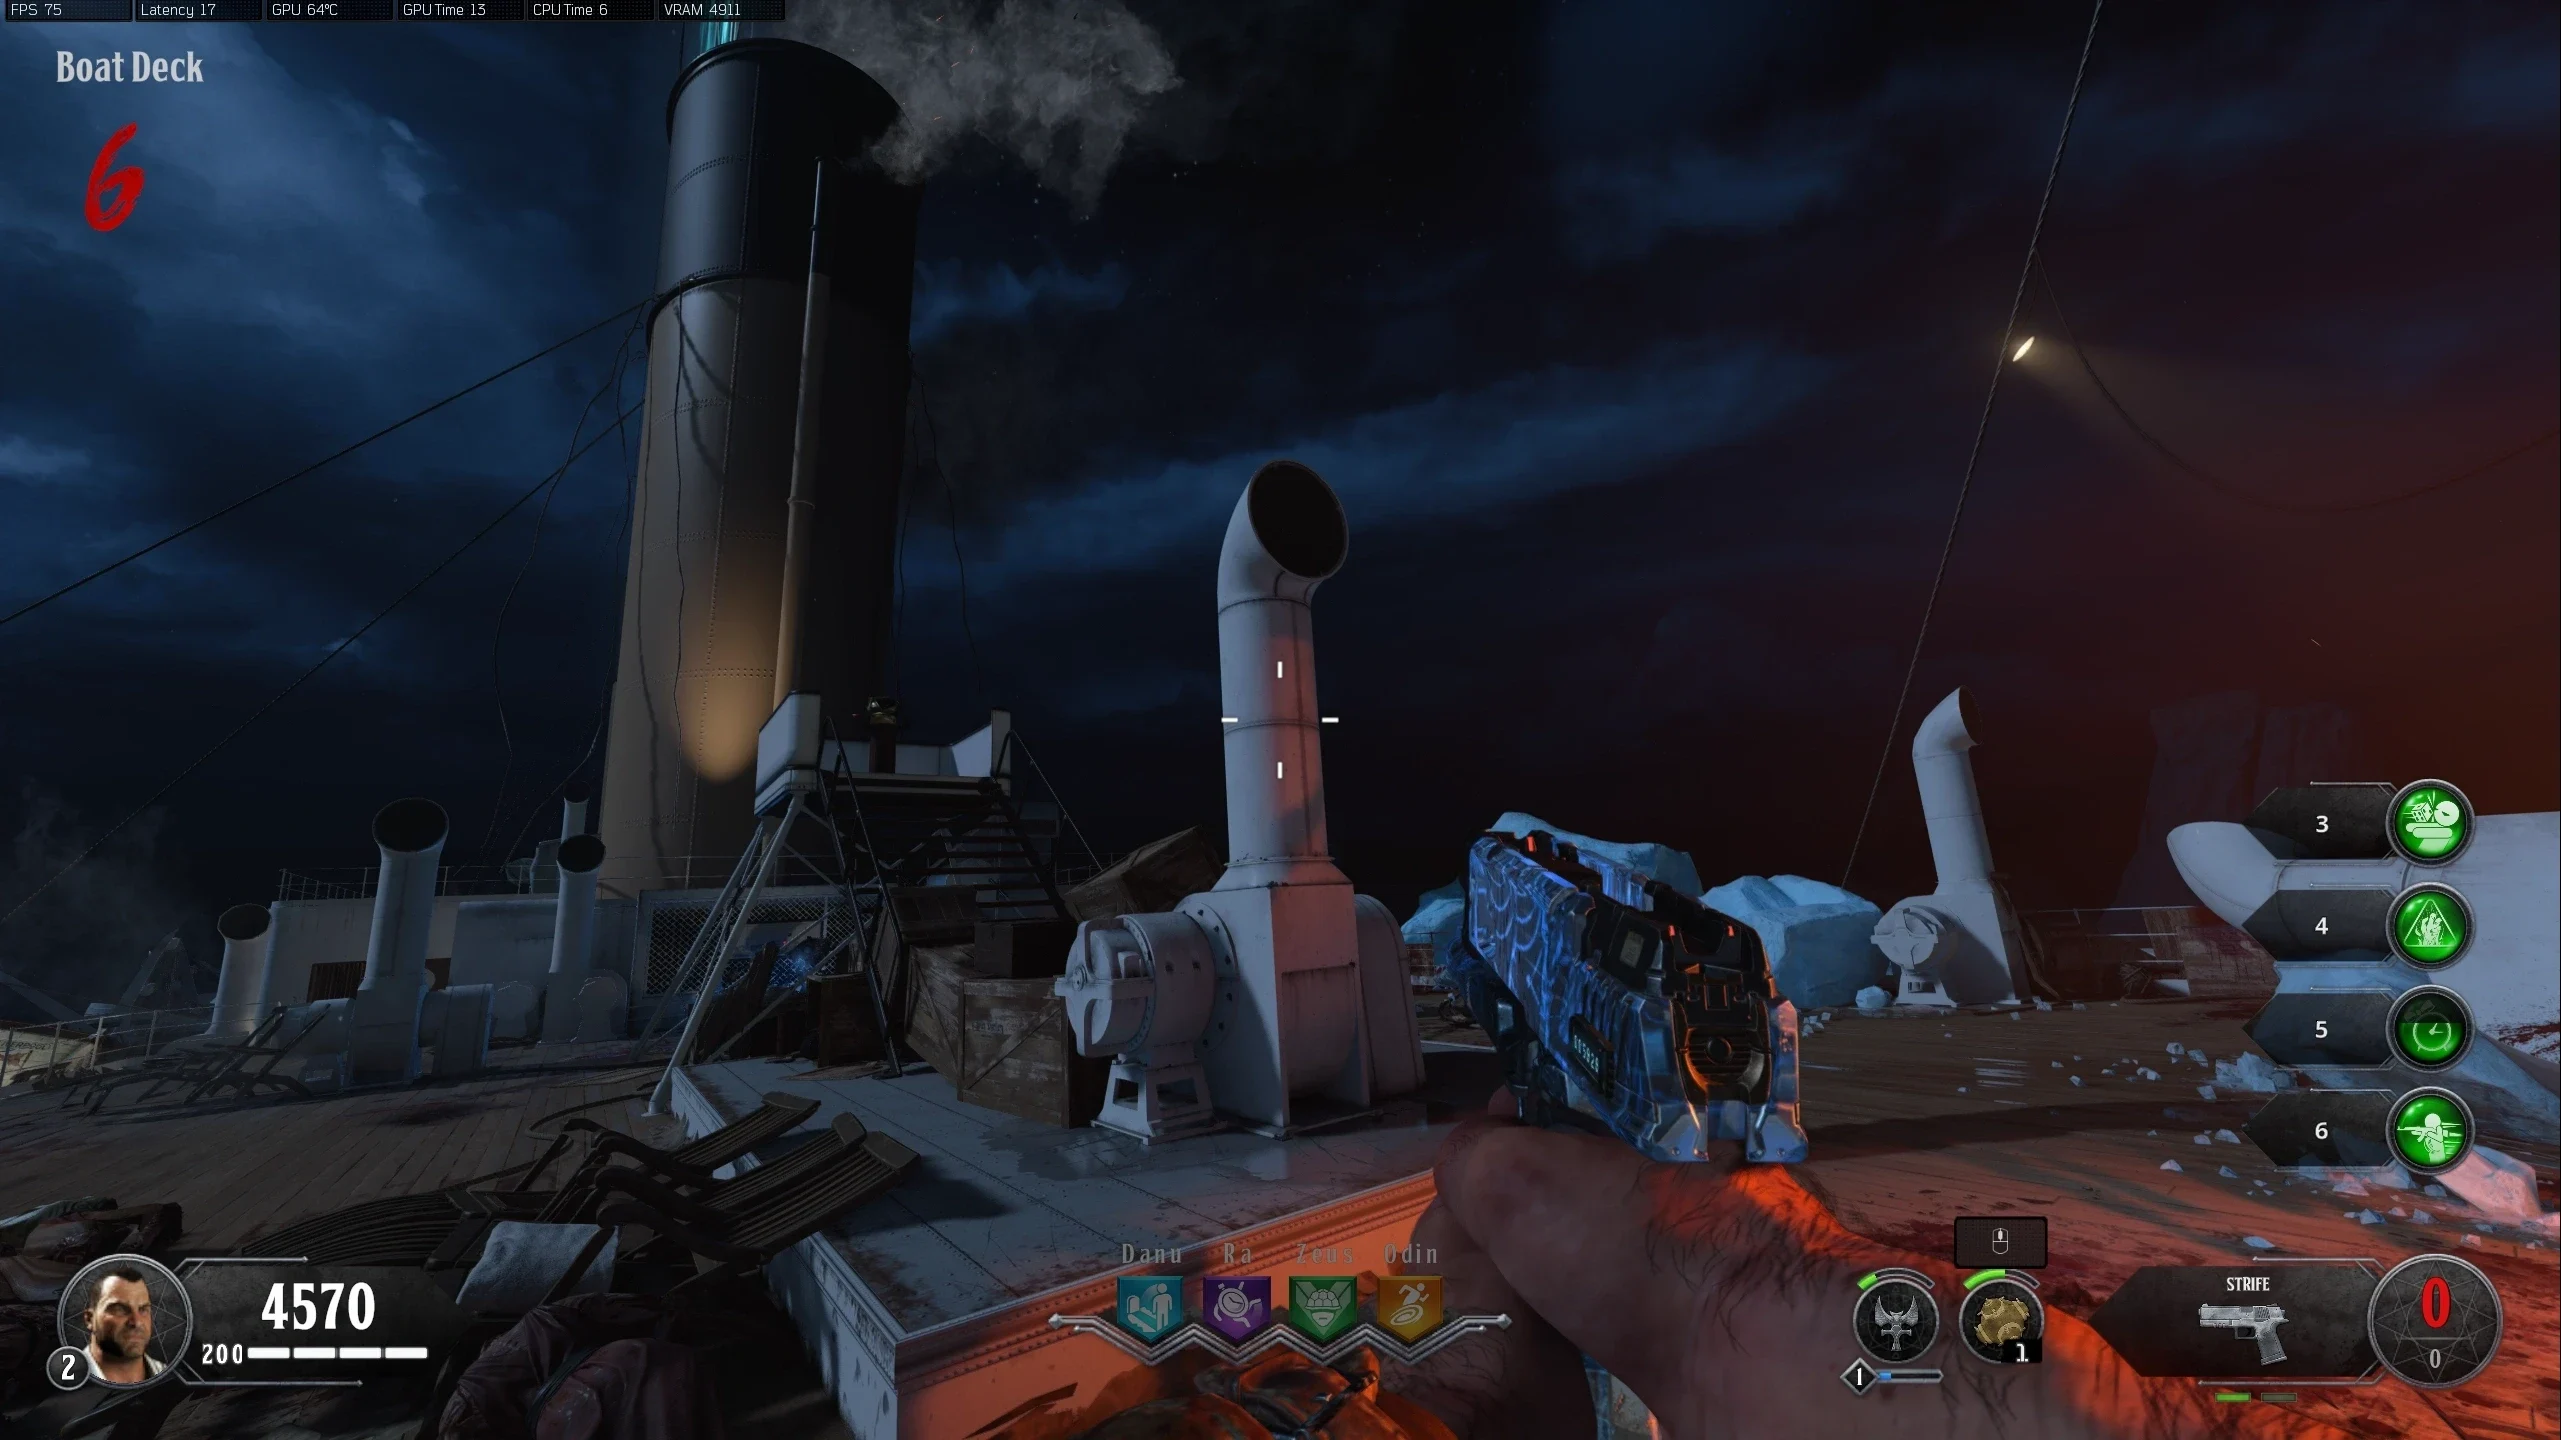
- You must damage the ice blocks to destroy them with your goal being to destroy the final ice block on the 'Poop Deck.'
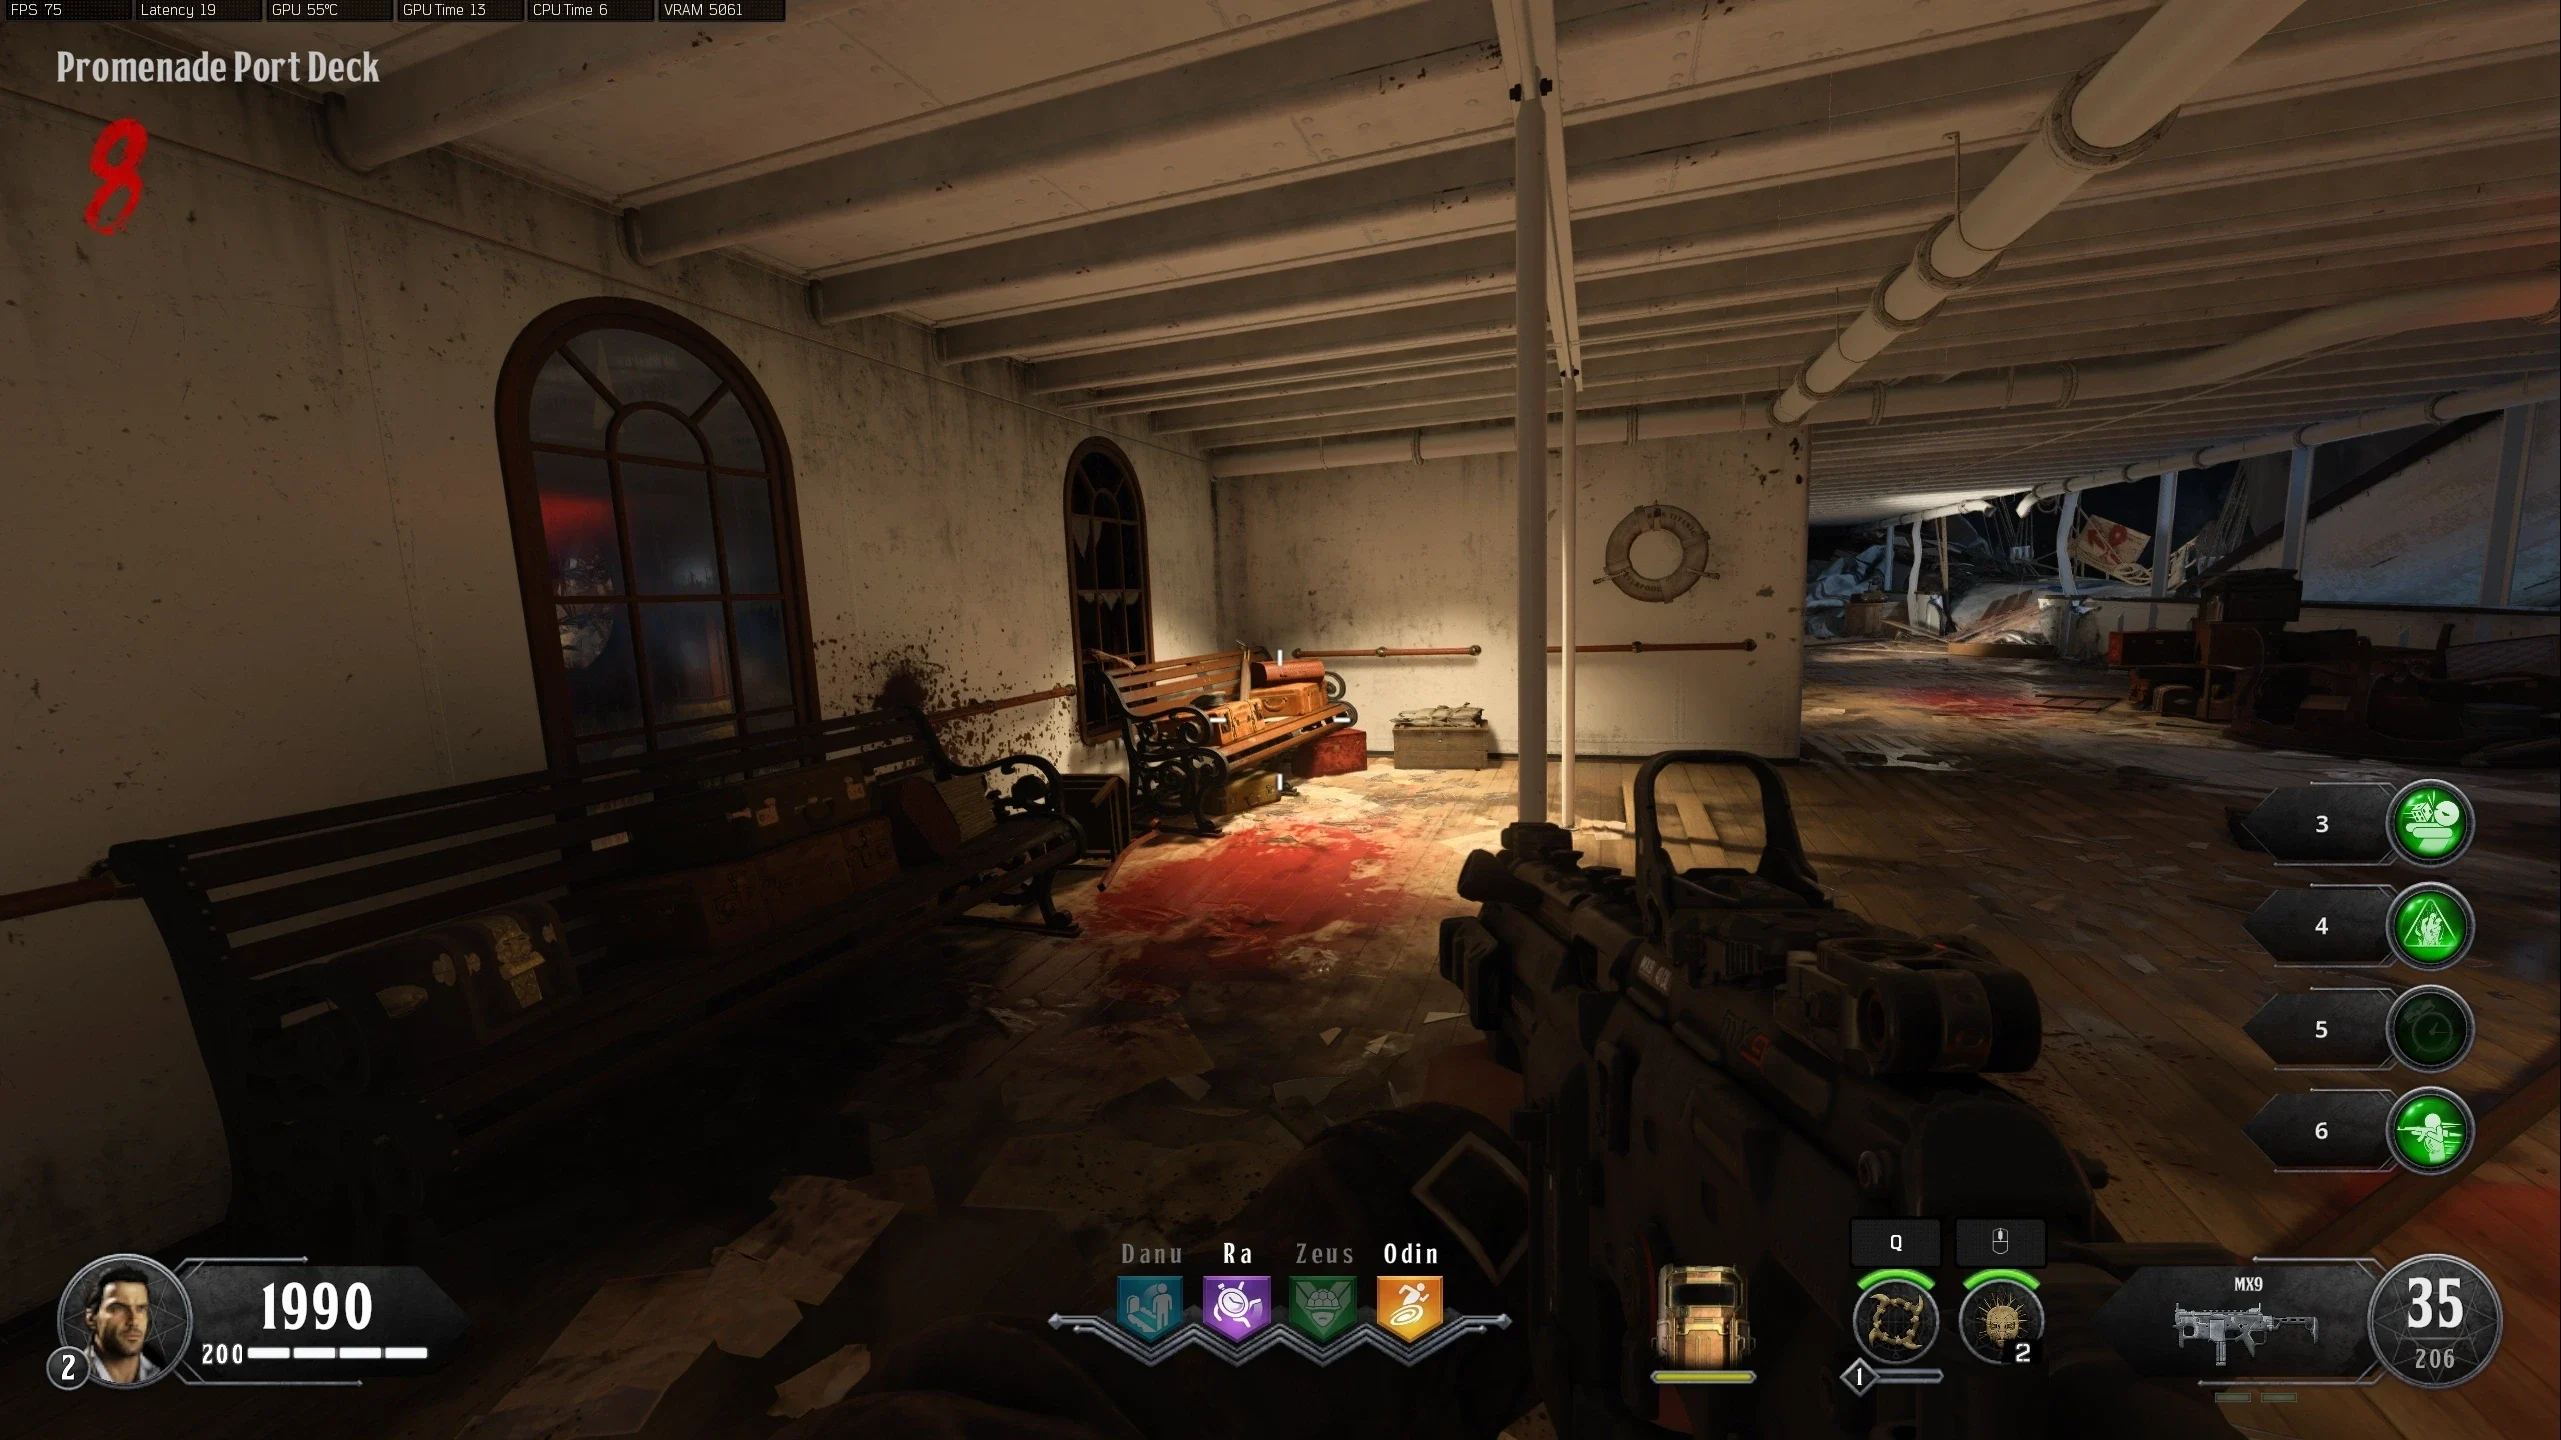
- Once the ice block on the 'Promenade Port Deck' (or the equivalent on the starboard side) is destroyed (about the halfway point), it will spawn a max ammo.
- The boat is slowly being engulfed by a freezing effect moving from front to back. If you take too long to destroy the ice blocks, the screen will start to freeze and staying too long like this will cause you to fail the challenge.
- If you fail the challenge, you can try again by interacting with the Sun's Orb next round.
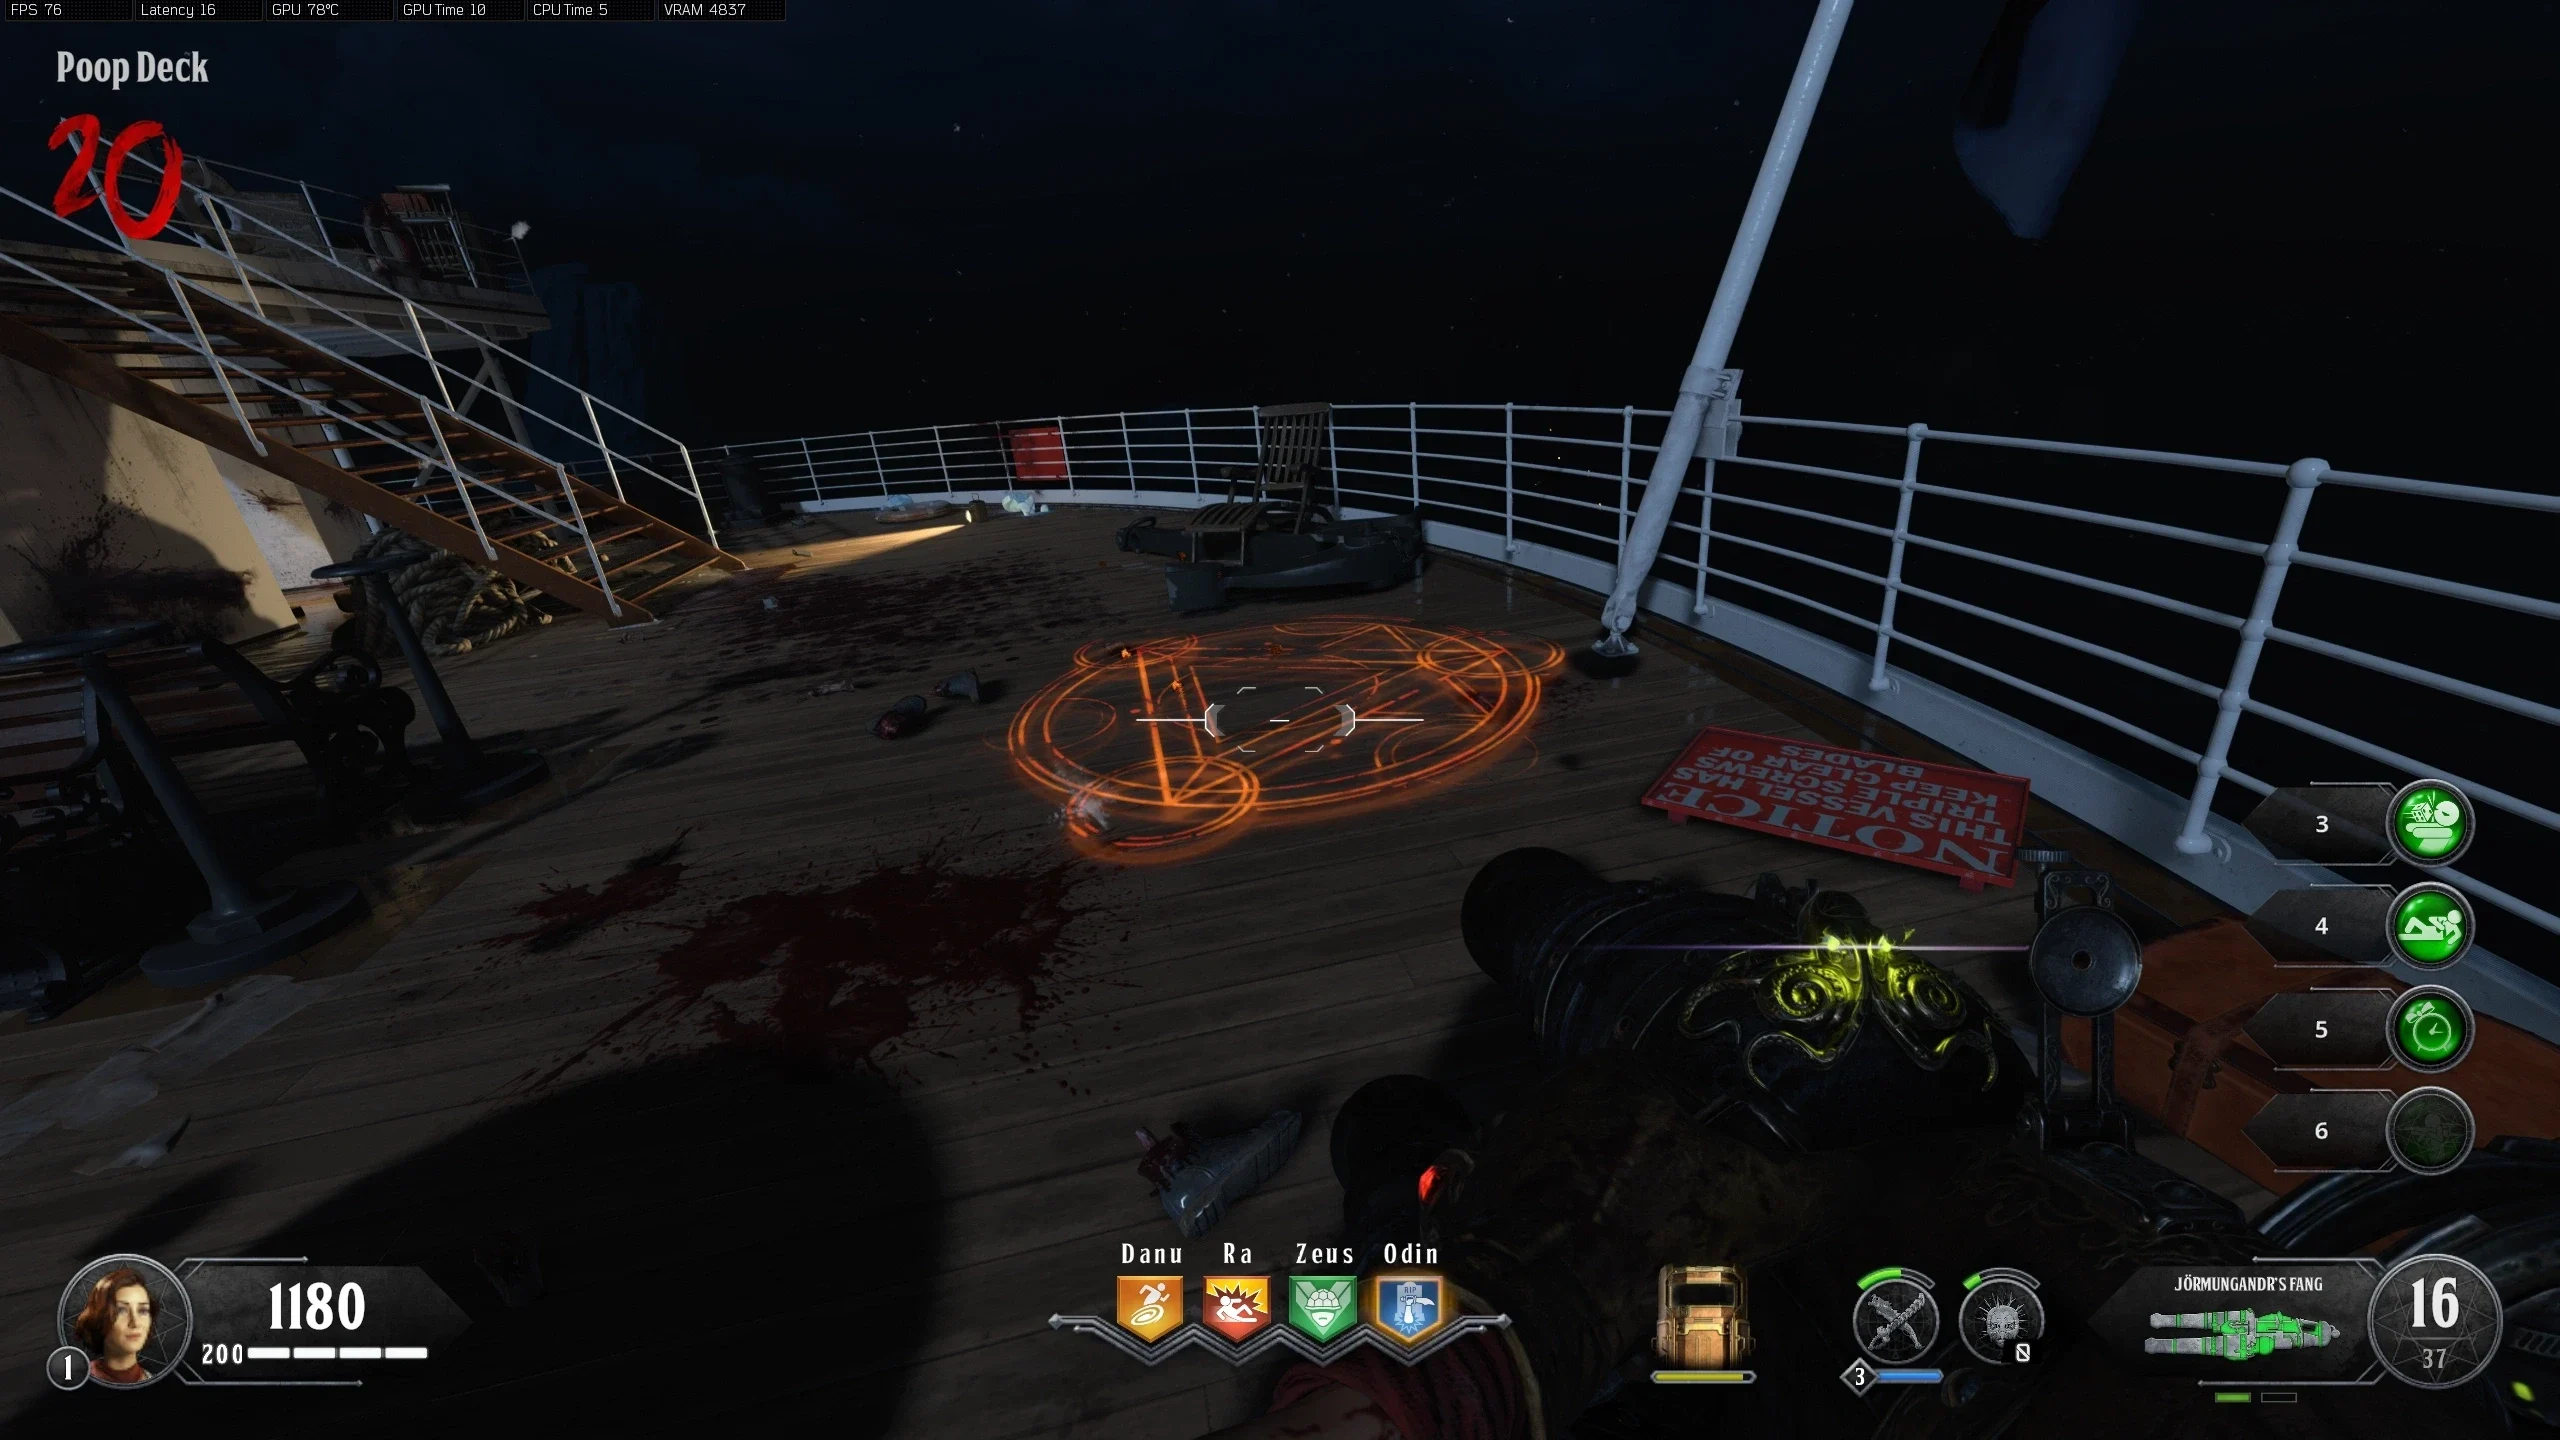
- Once the final ice block is destroyed, the challenge is complete, no matter how many other ice blocks were destroyed. So you can "skip" all the ice blocks near the back of the ship if you shoot the final ice block from the 'Aft Decks' mystery box location. This is not recommended Solo unless you have the Hellion Salvo and the Homunculus.
- Once the final ice block is destroyed, the screen will flash grey and a ritual circle will spawn where the ice block was.
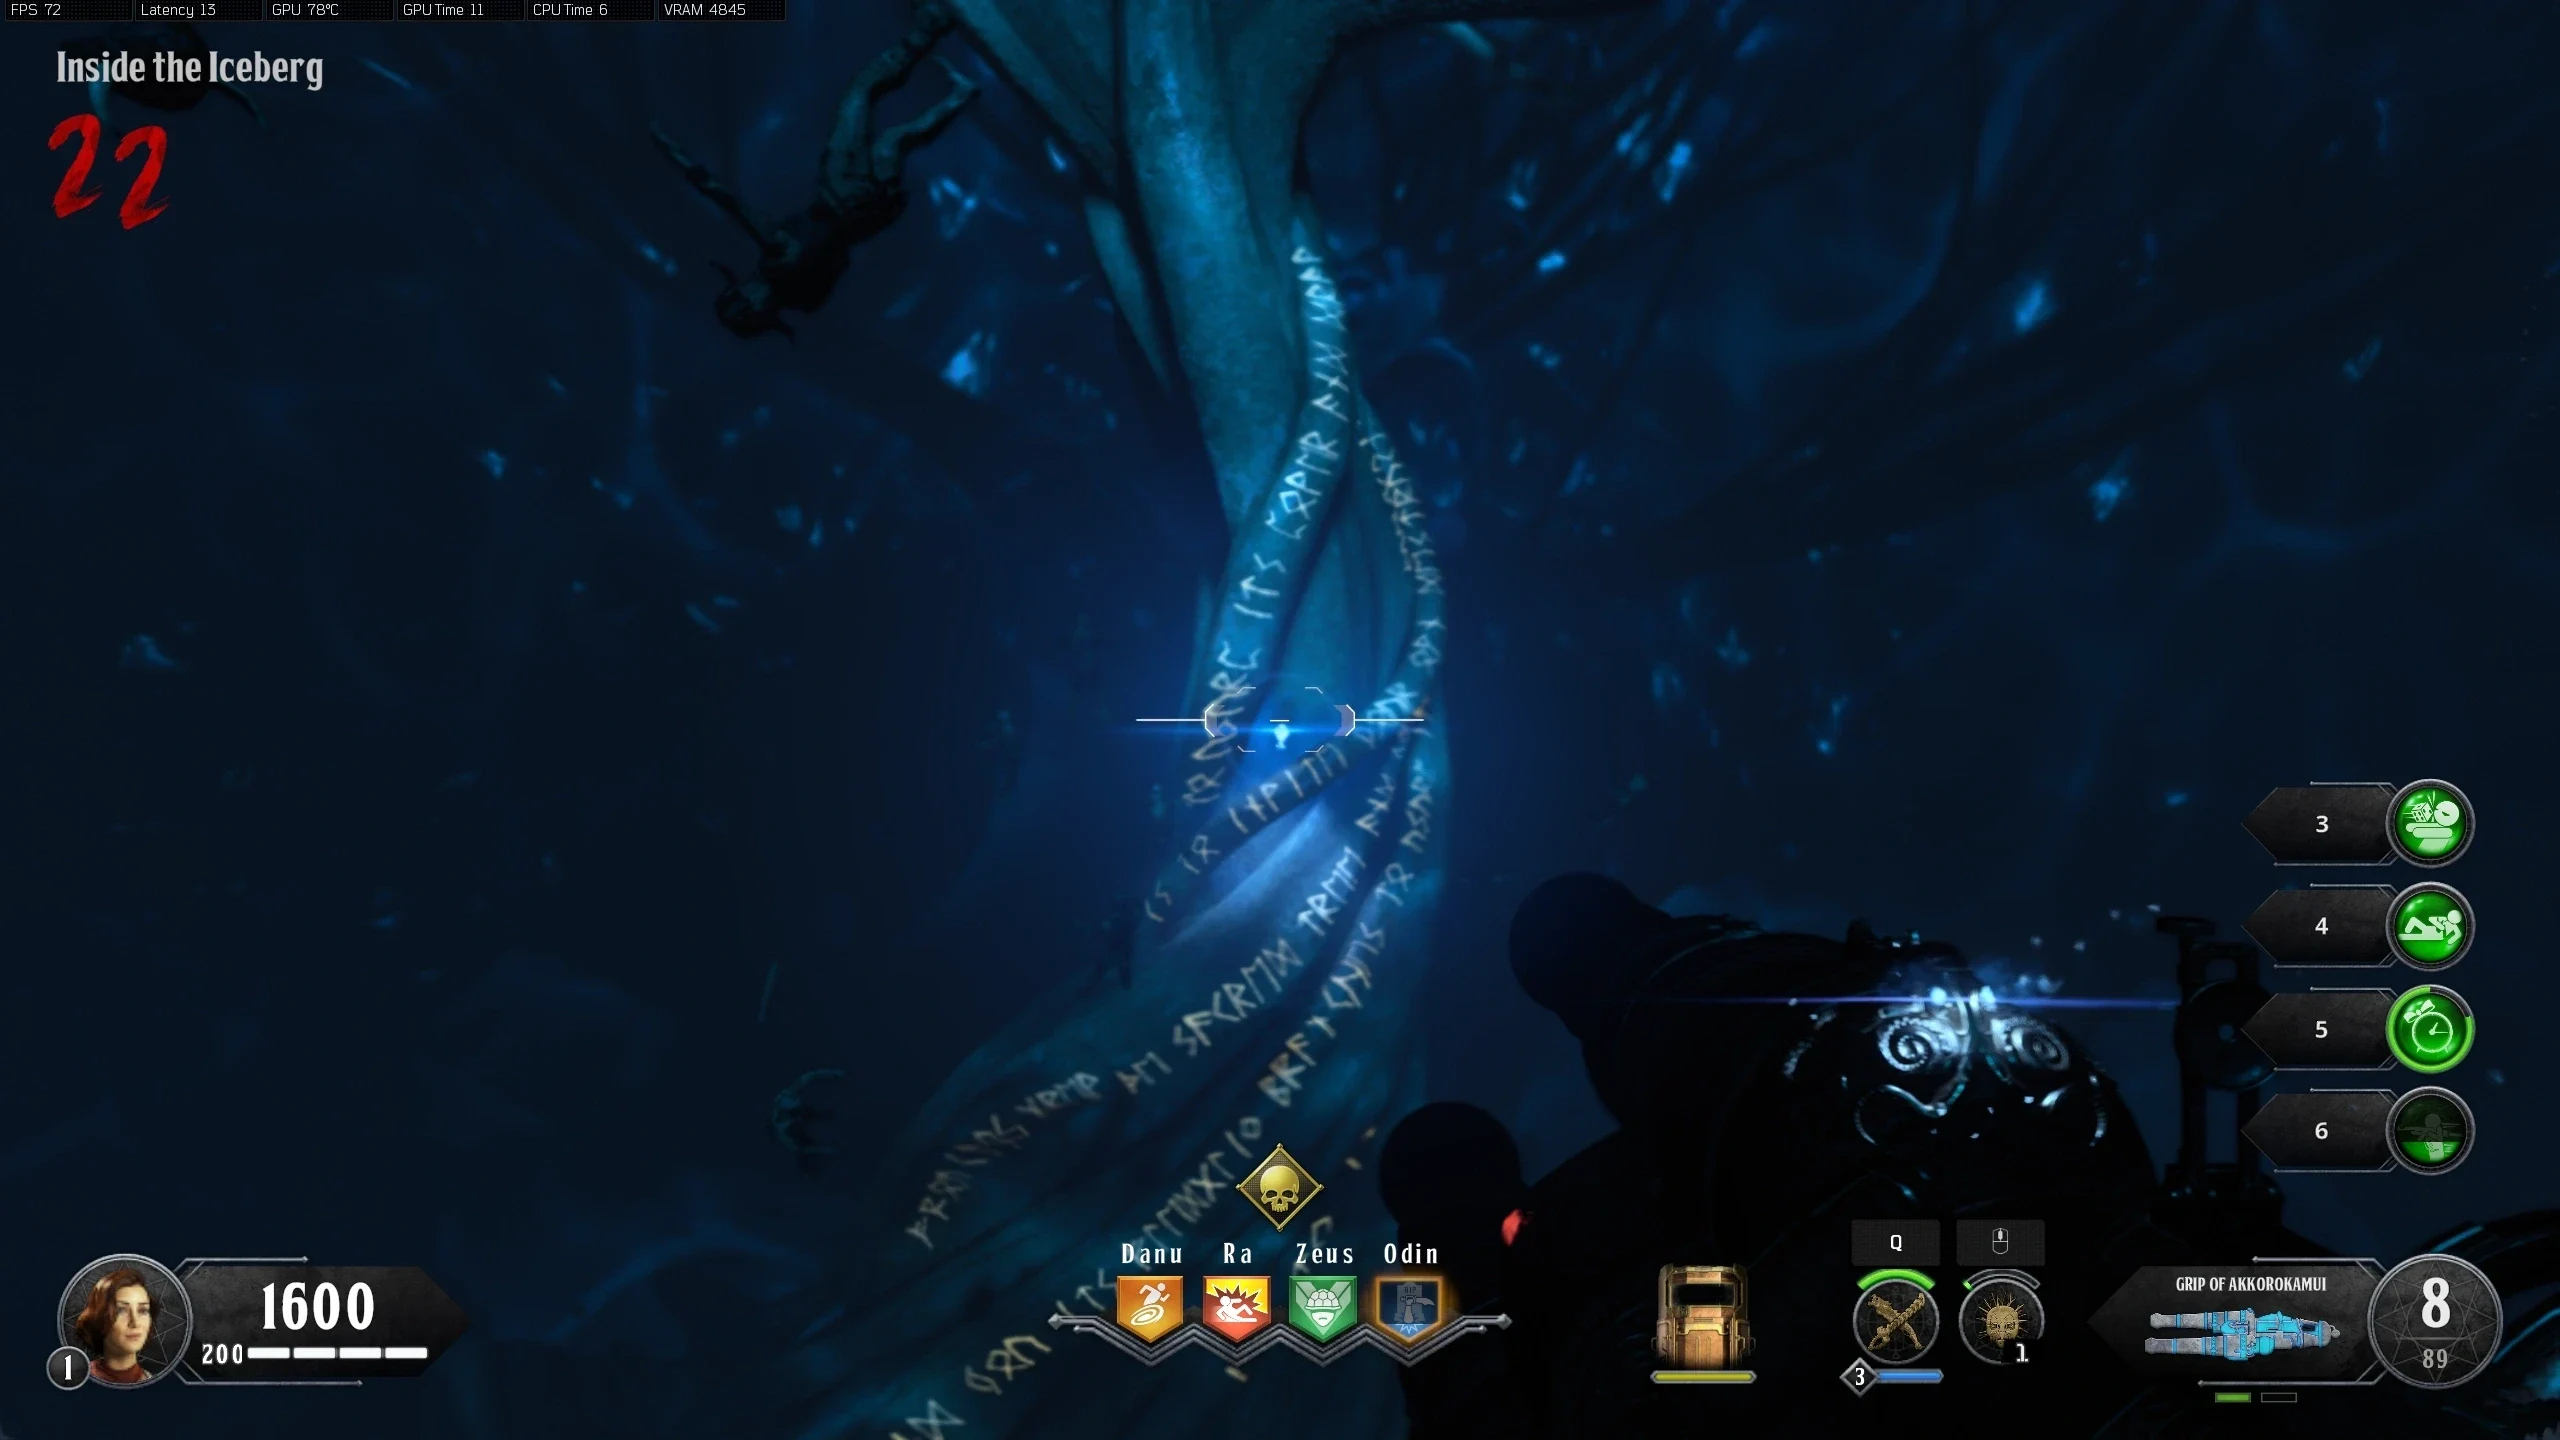
- All players must interact with the ritual circle at the same time to be teleported underwater where you must swim to the Sentinel Artifact and interact with it.
- I don't know if you can drown here, as it seems the game will constantly give you a refill on air but, this could (speculation on my part) eventually stop to avoid AFKing here.
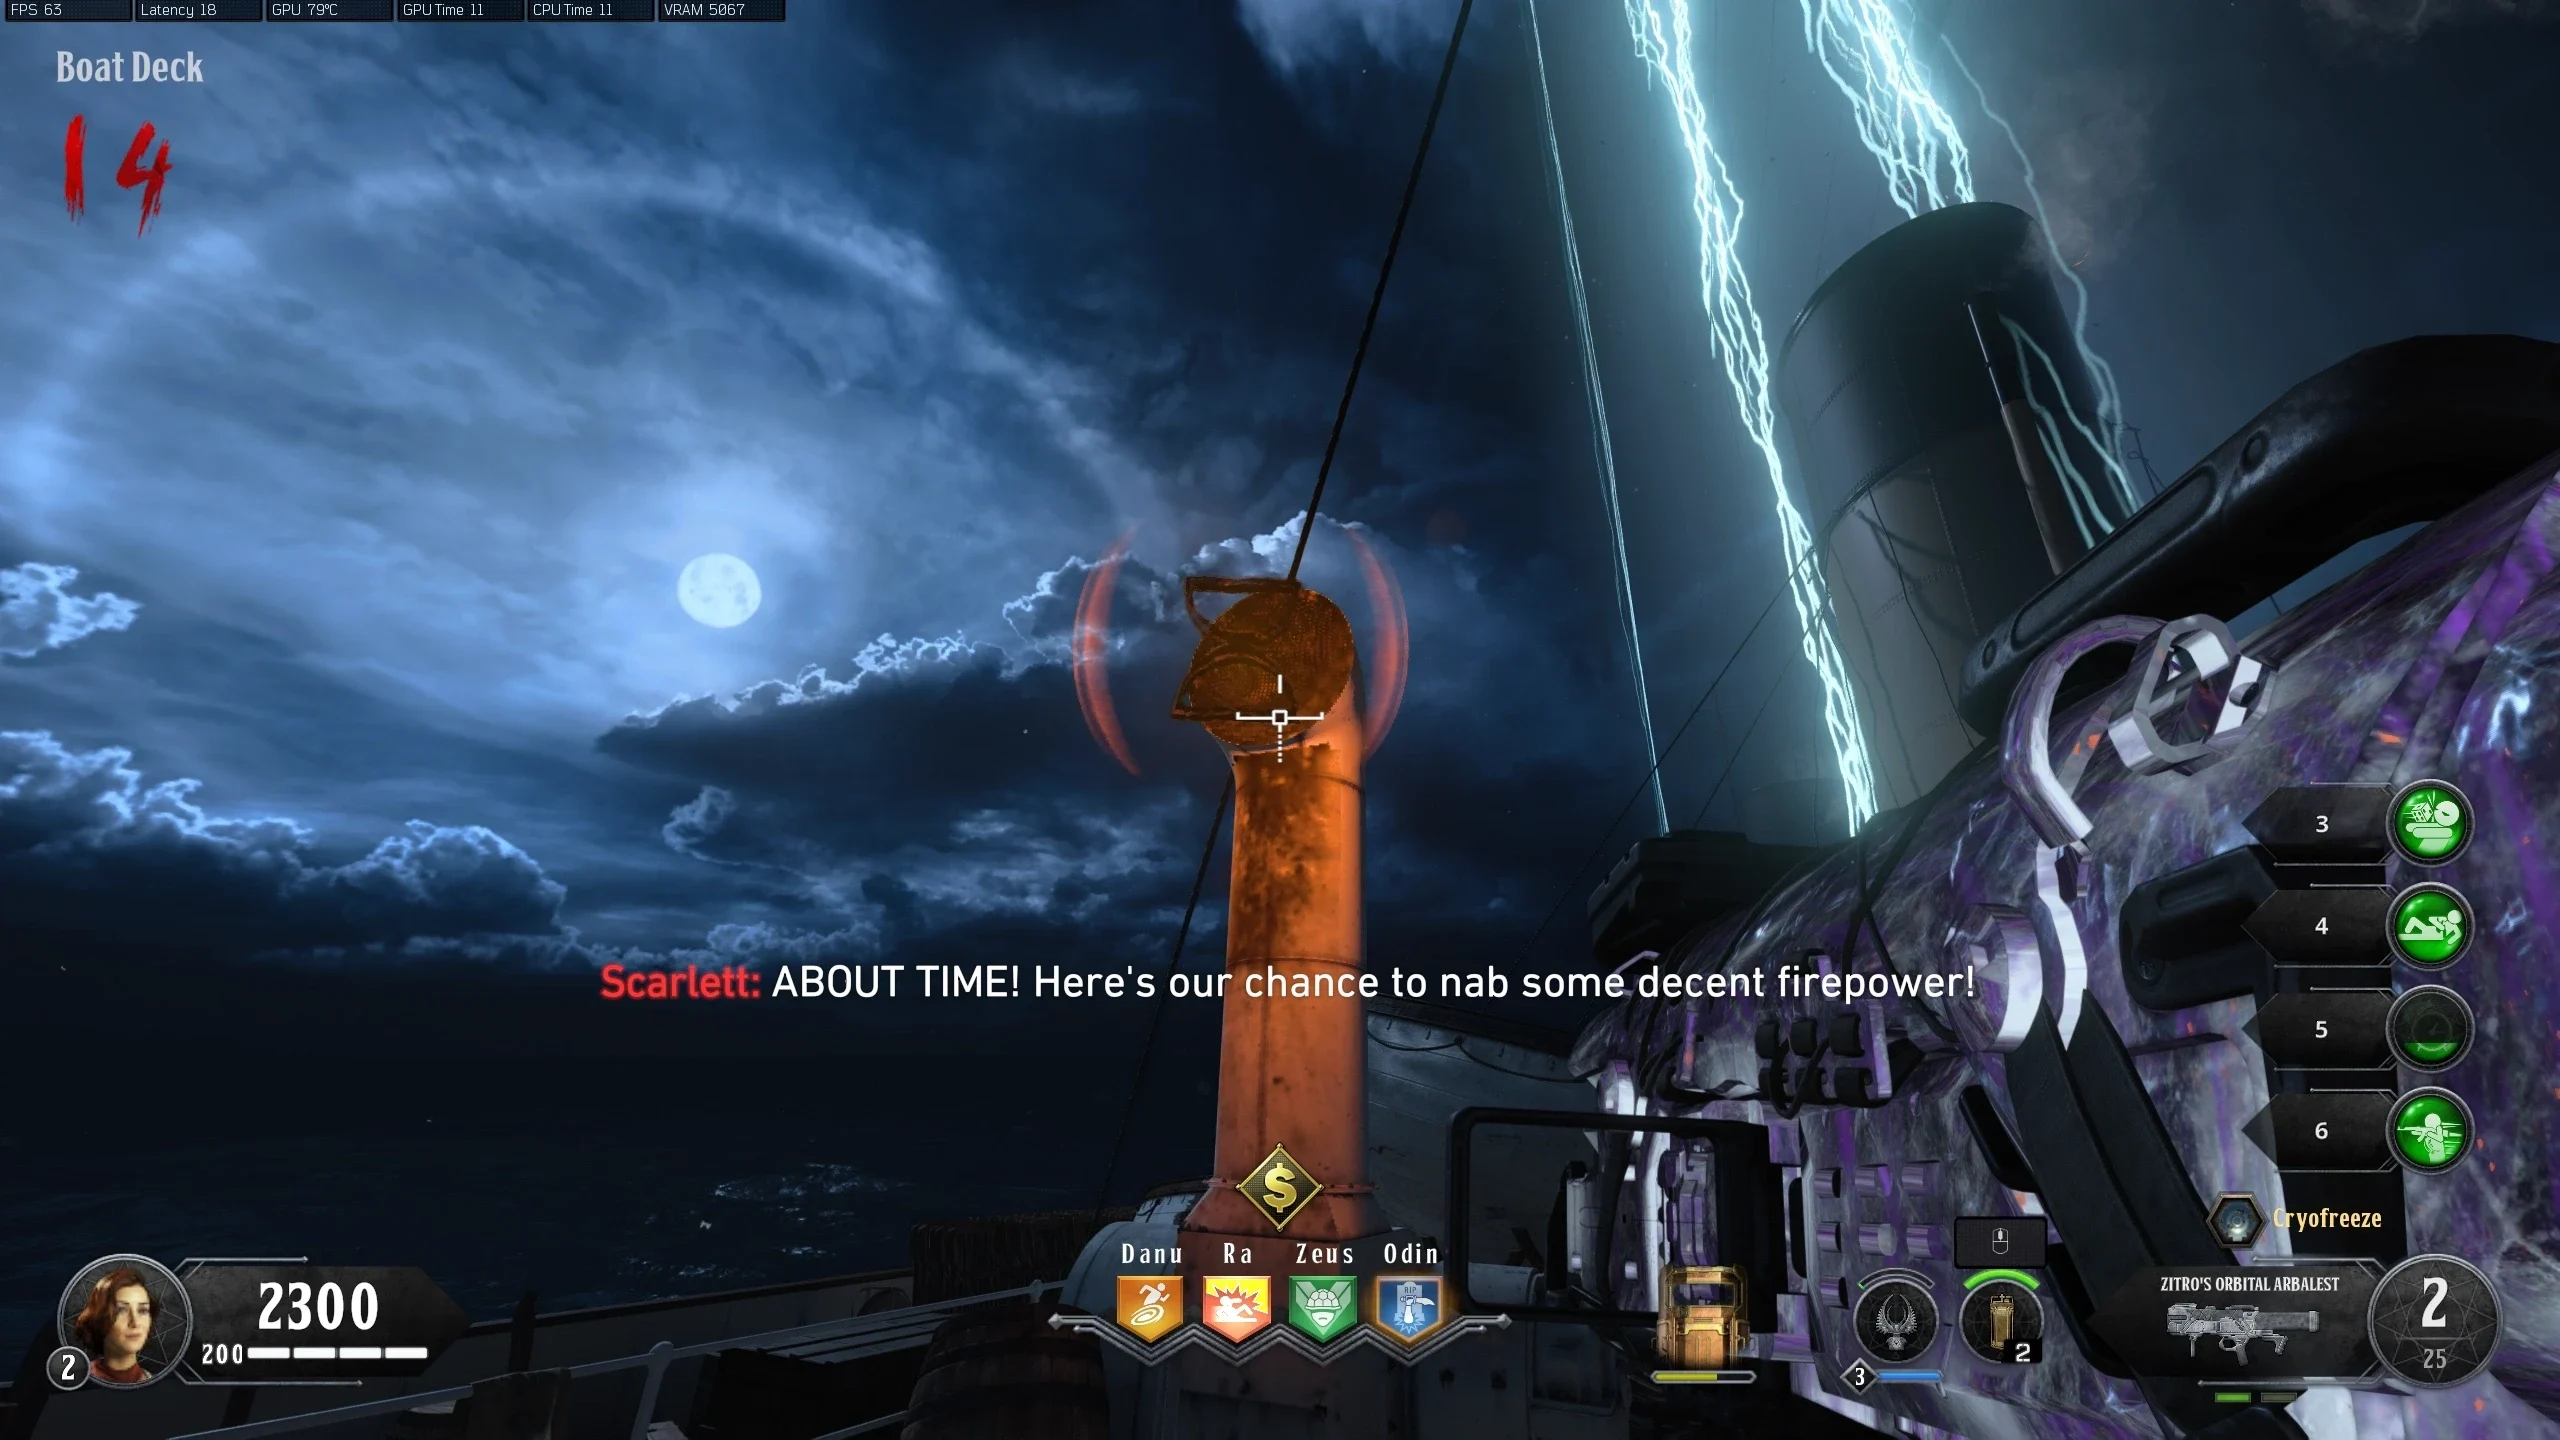
- You will be teleported back to the 'Poop Deck' where an Iceberg will rise out of the water. After a few seconds, a large eye will spawn and start teleporting around.
- Zombies, Catalysts, Stokers, and Blightfathers will spawn which all need to be killed for you to progress.
- Once all the enemies are killed, the screen will flash white, and after a few seconds, you will be teleported again. Make sure to pick up the Max Ammo and Carpenter drops at the back of the ship before being teleported.
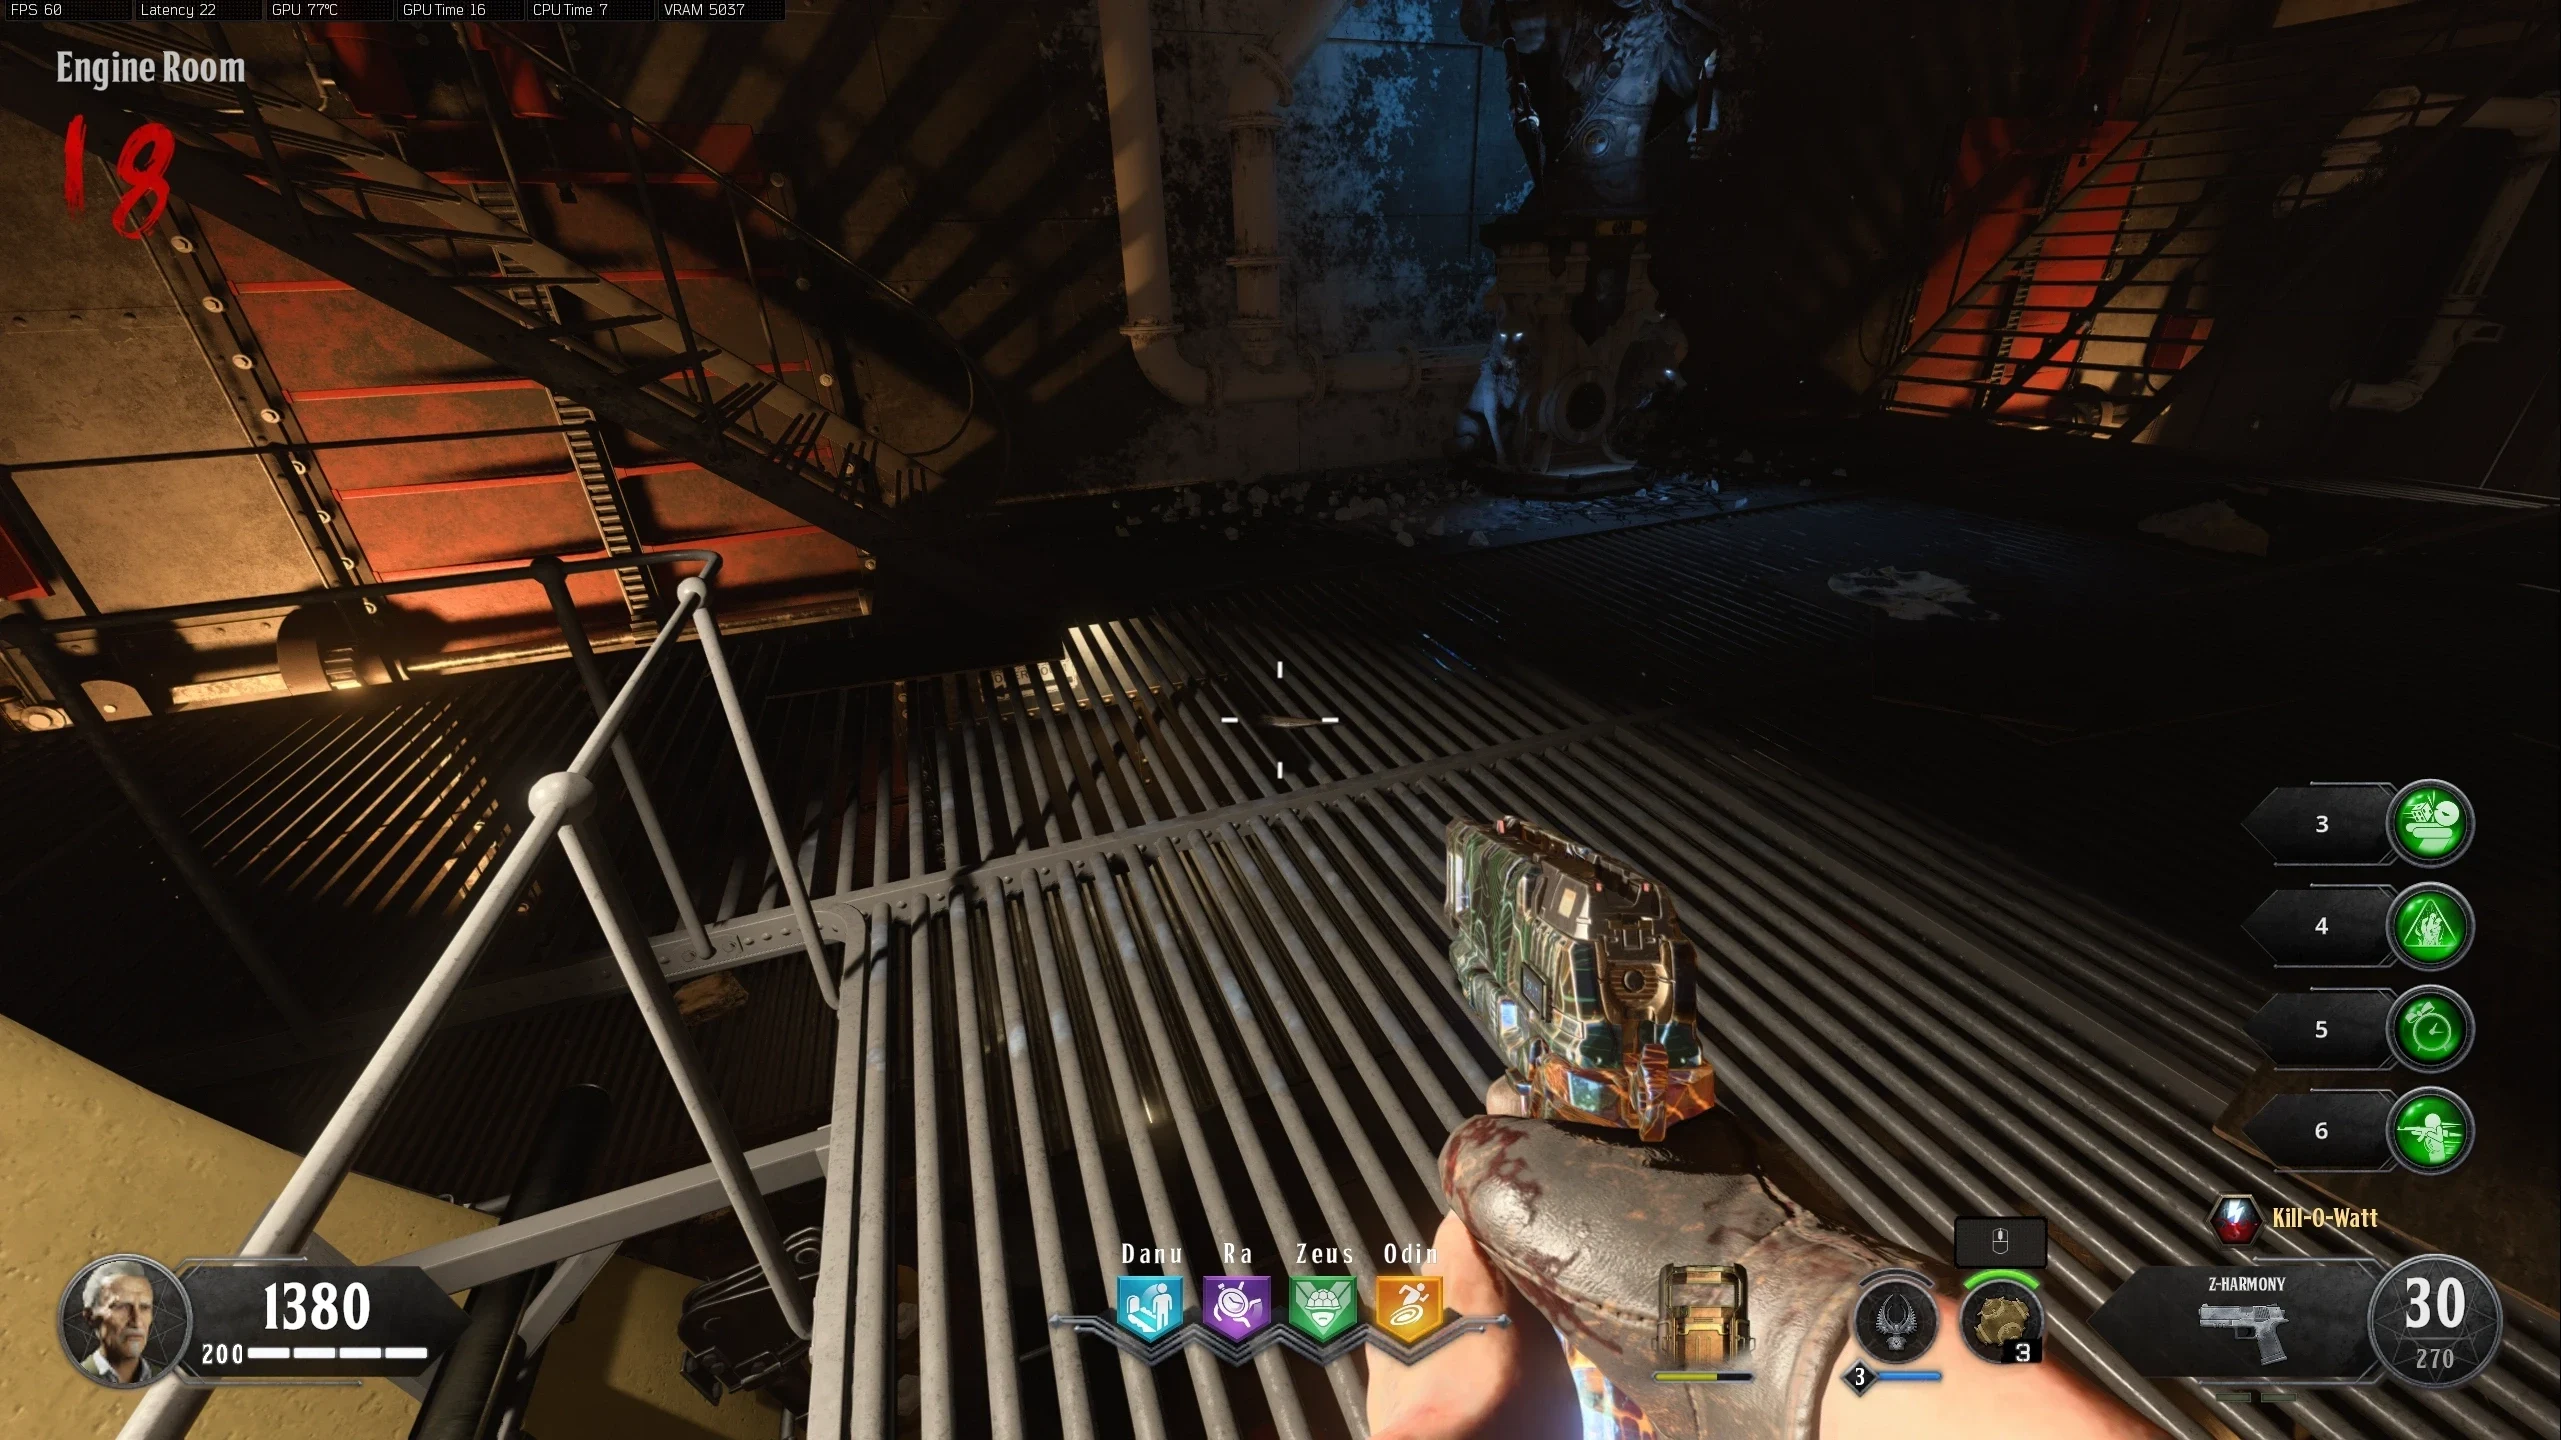
- You will be teleported to the 'Engine Room' where you must kill all the enemies again.
- Again, make sure to pick up the power-ups before you're teleported.
- You will then be teleported to the 'State Rooms' where, instead of needing to kill all the enemies, you must shoot the Eye until the screen goes white.
- The Eye can only be shot while it is doing its laser attack. Stay out of the long hallways to avoid the laser and peak around the corner when it's time to do damage.
- Once enough damage has been done, the screen will flash white, power-ups will spawn, and you'll be teleported again.
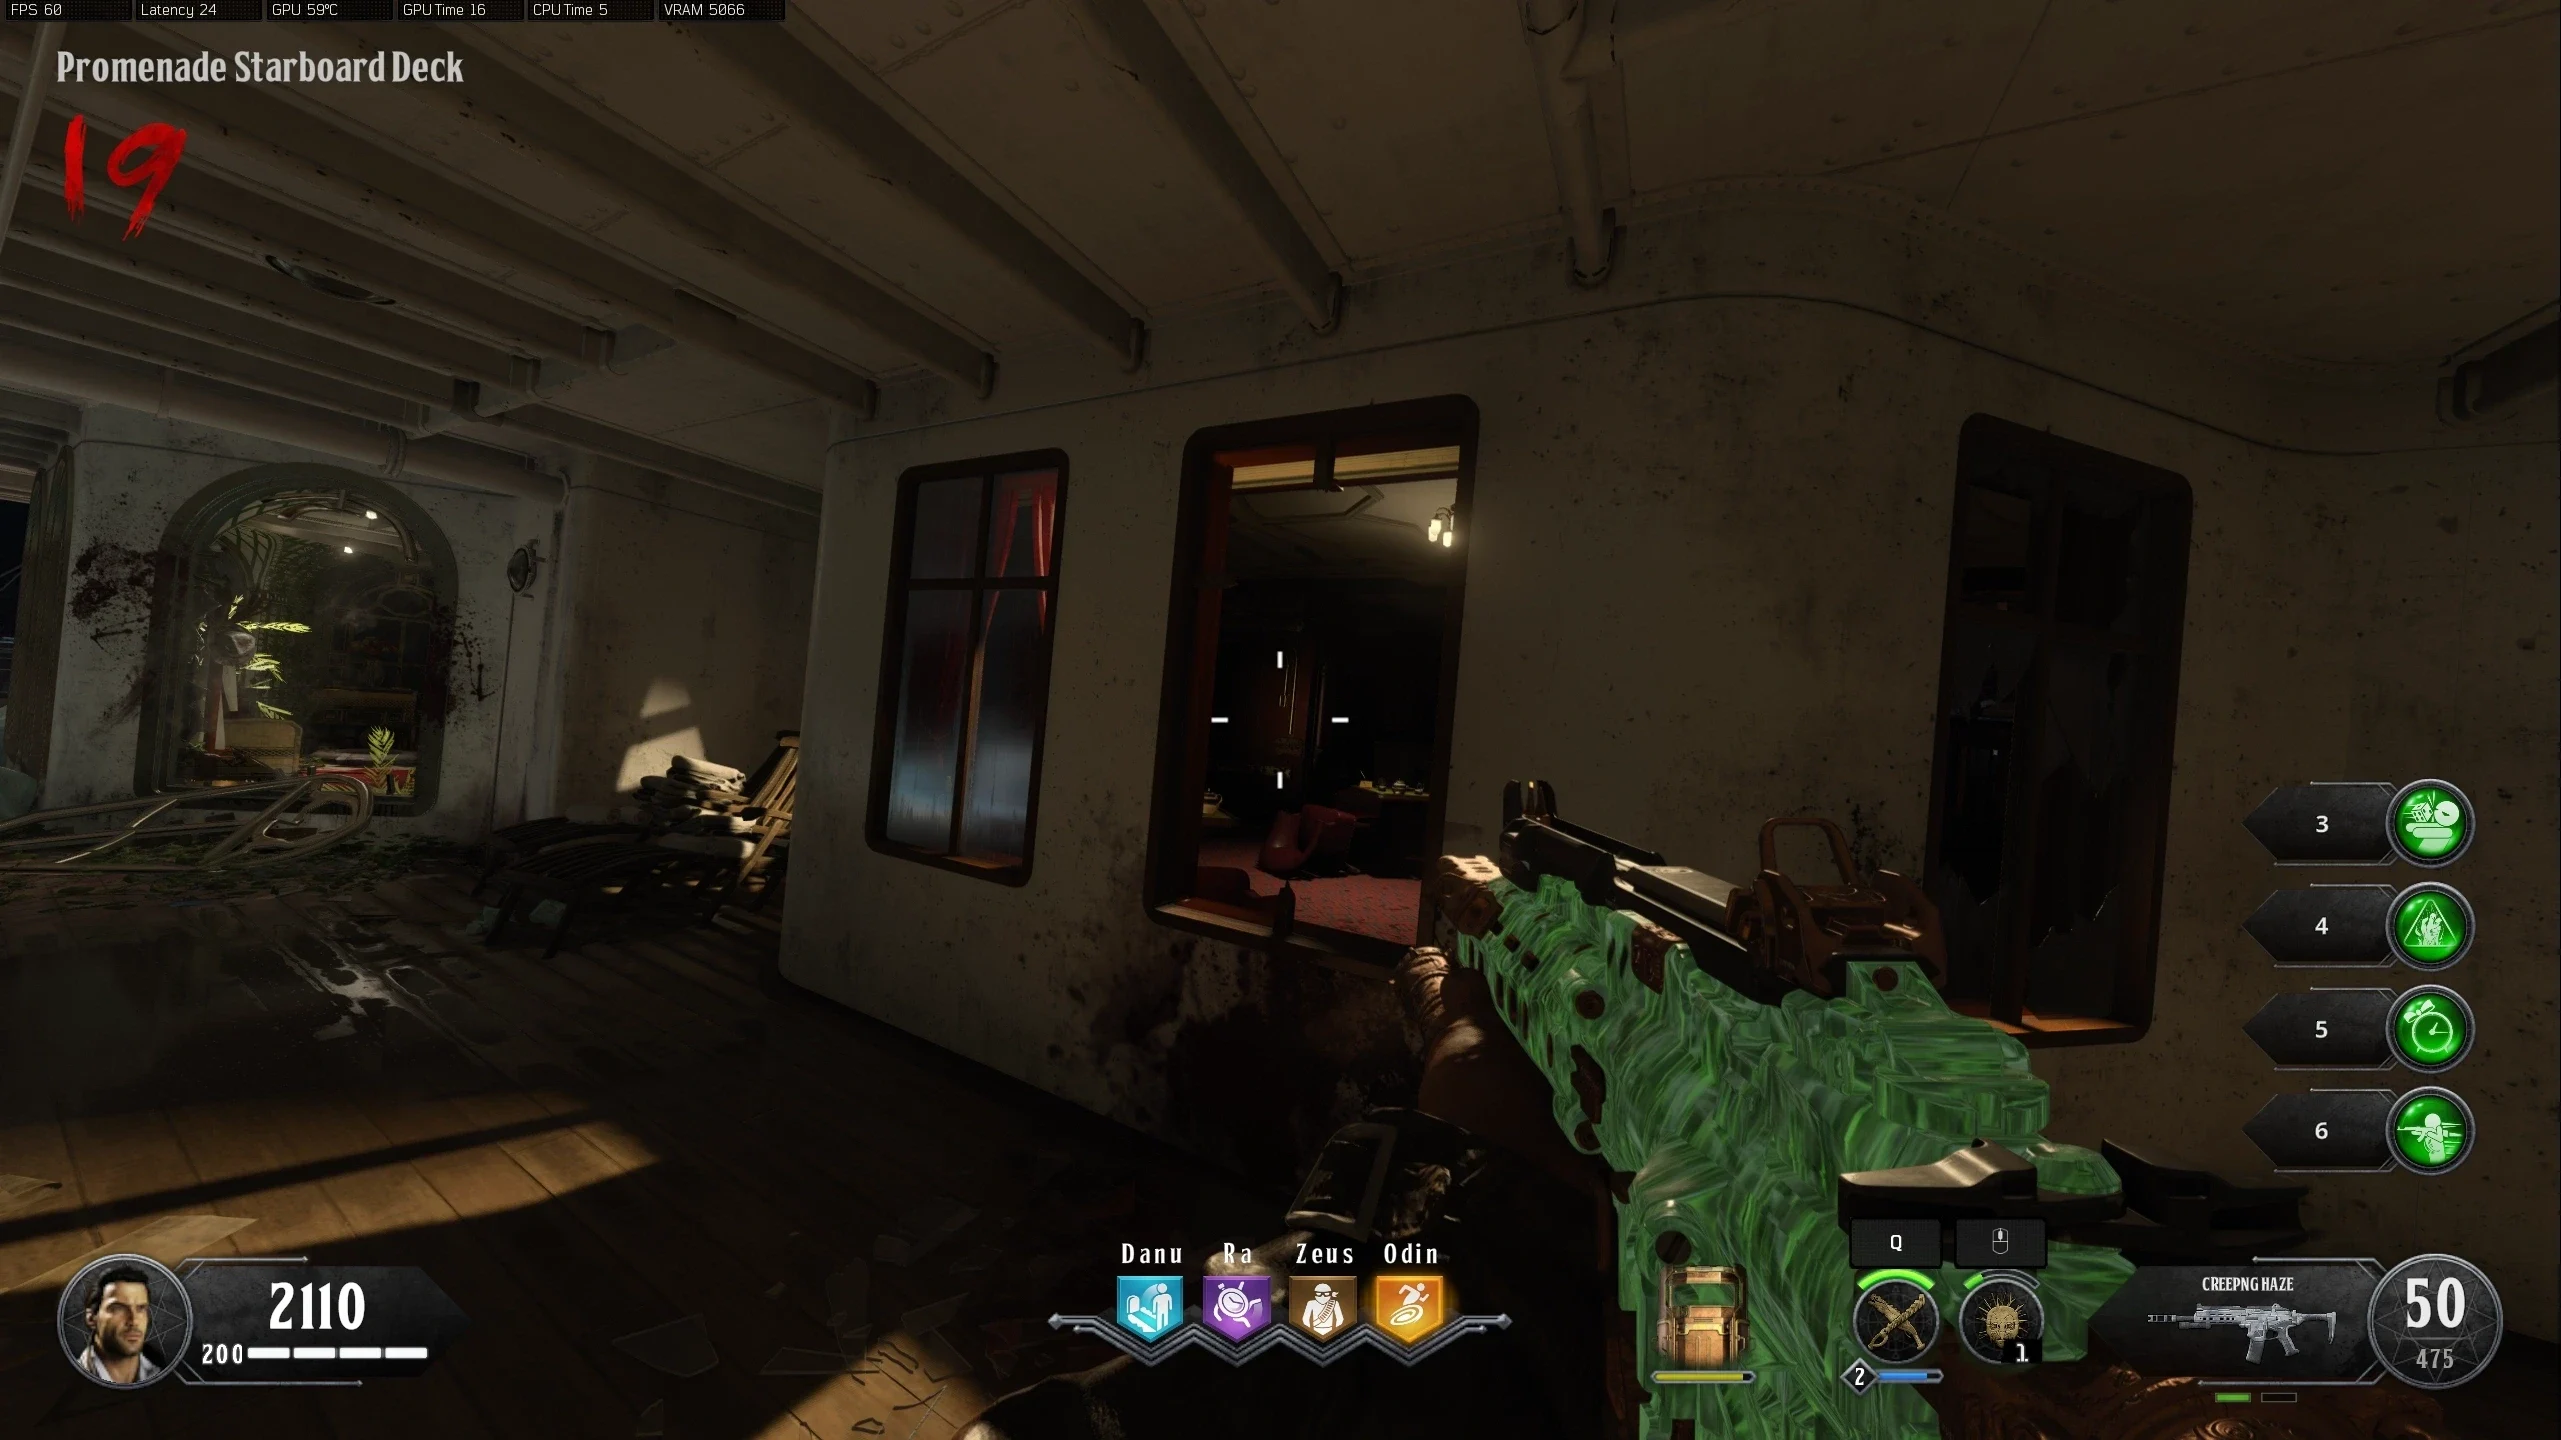
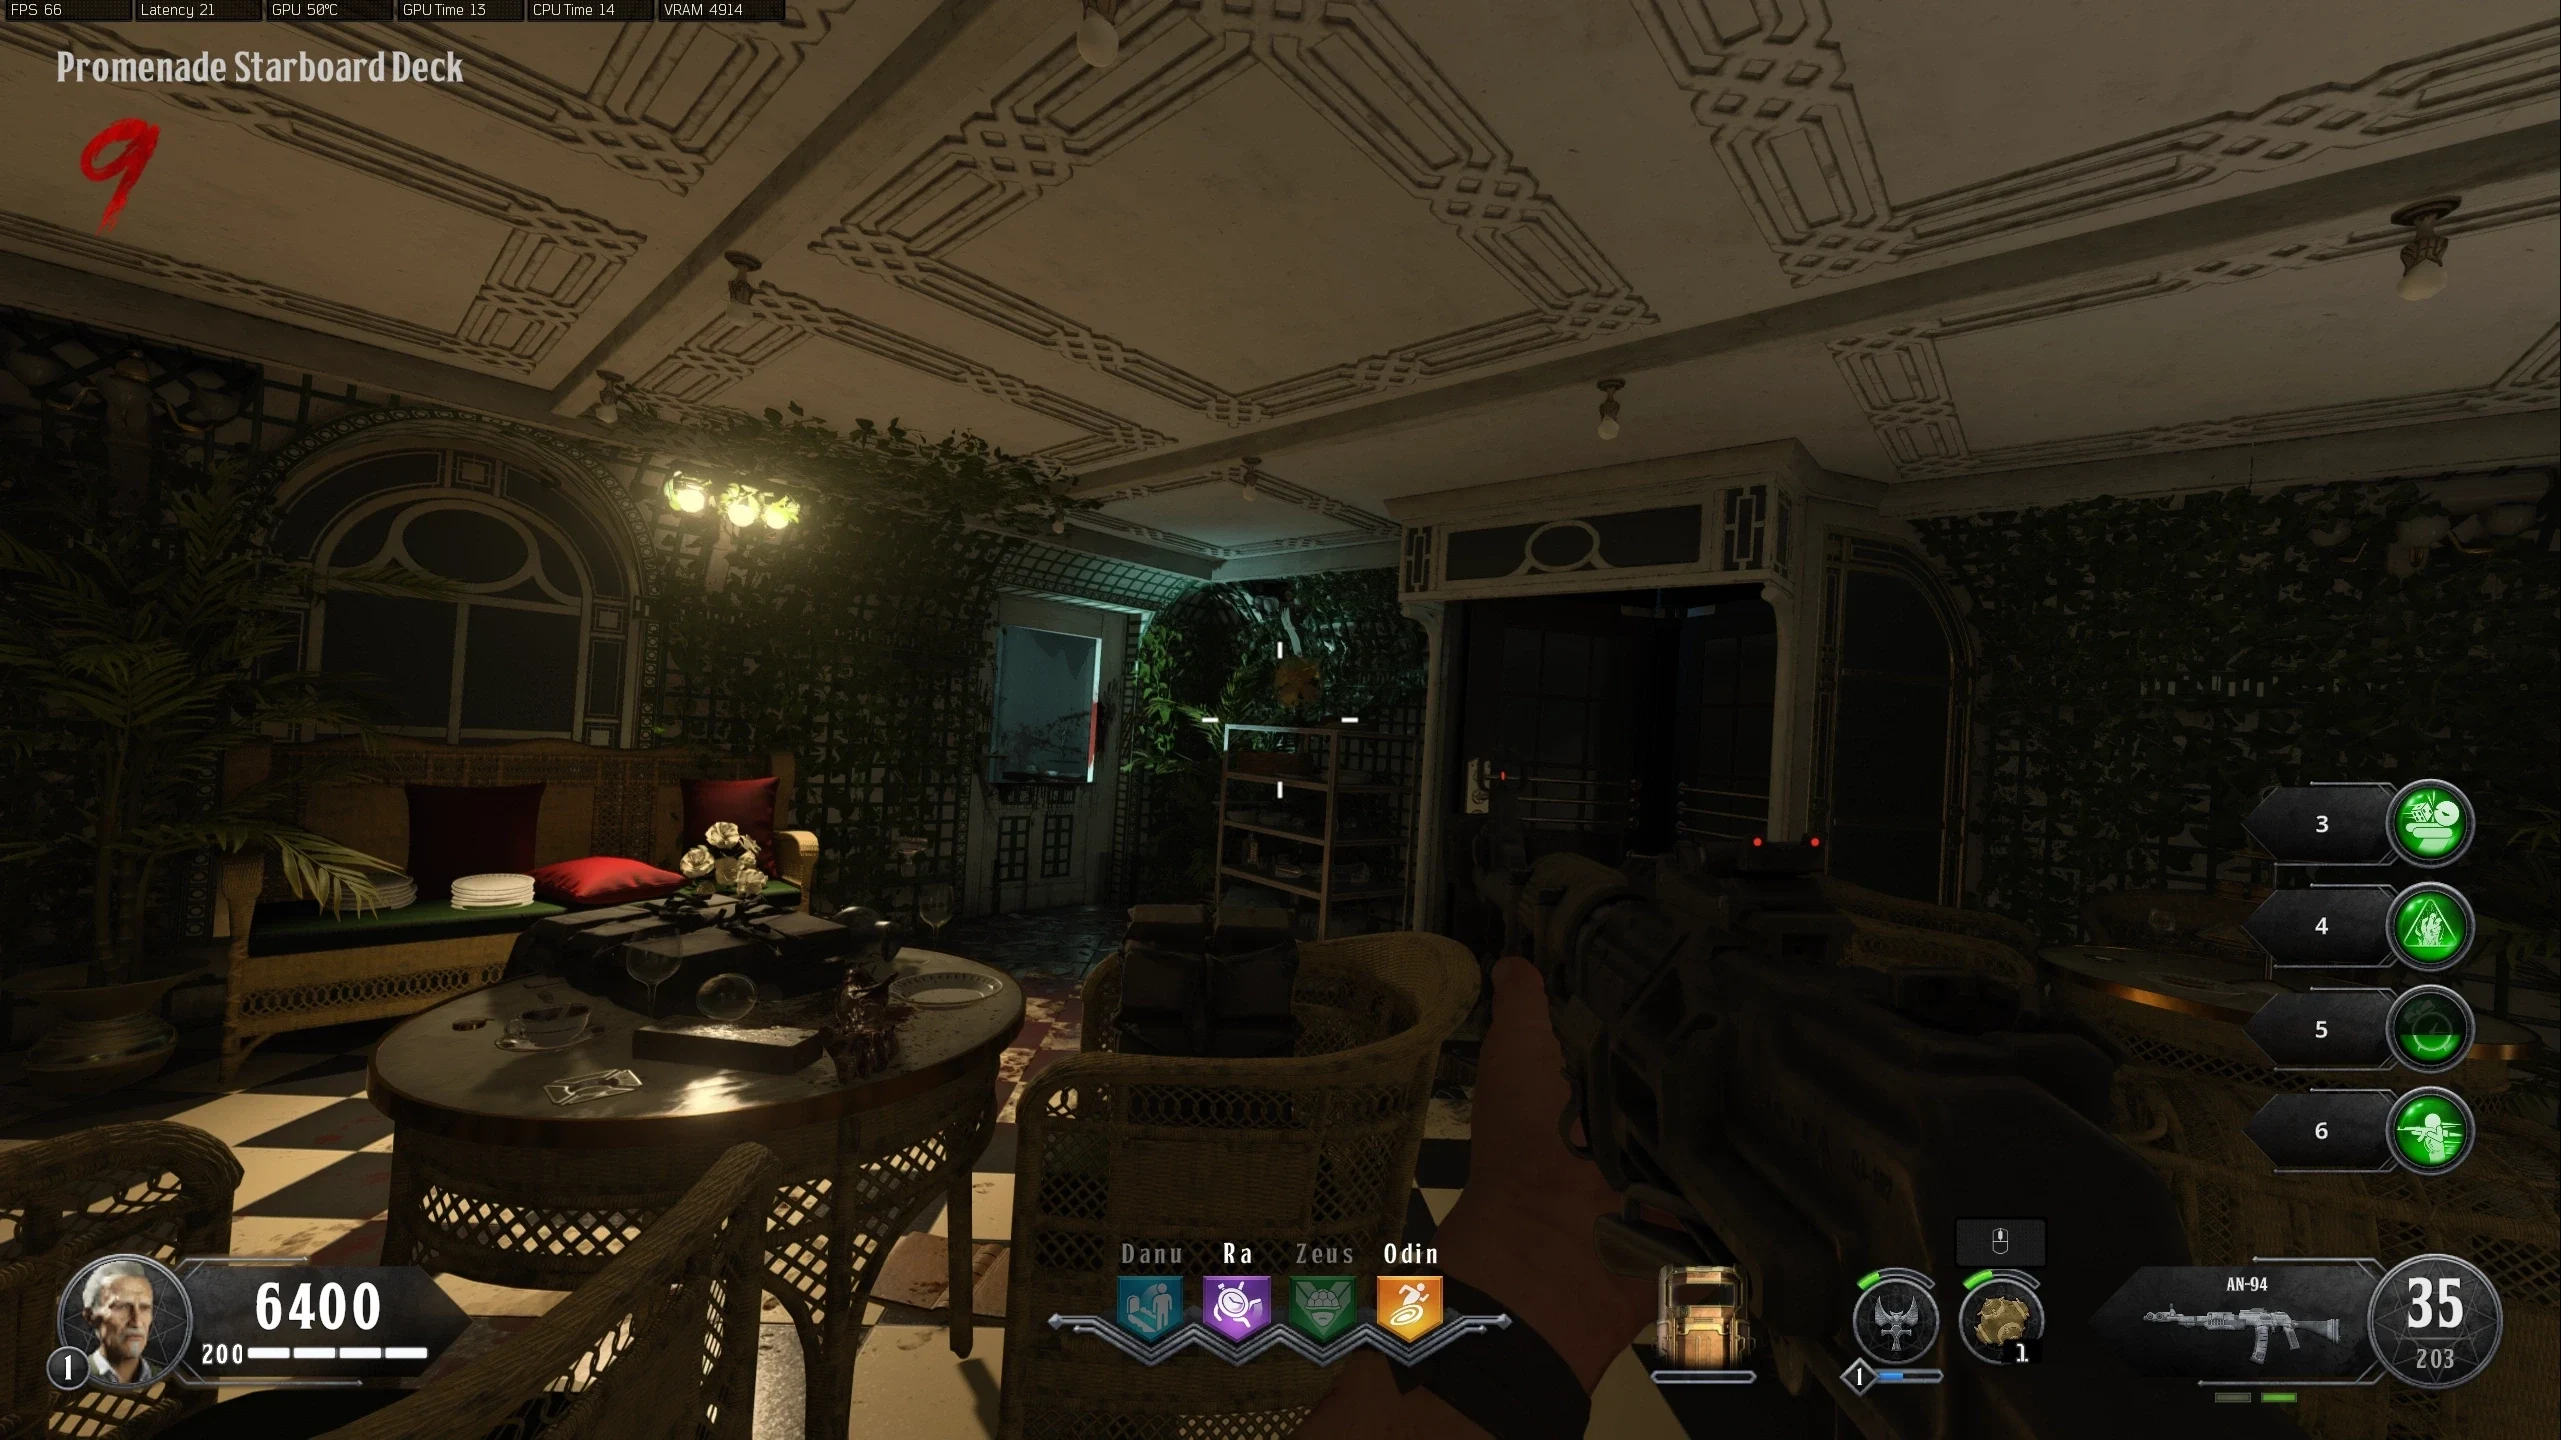
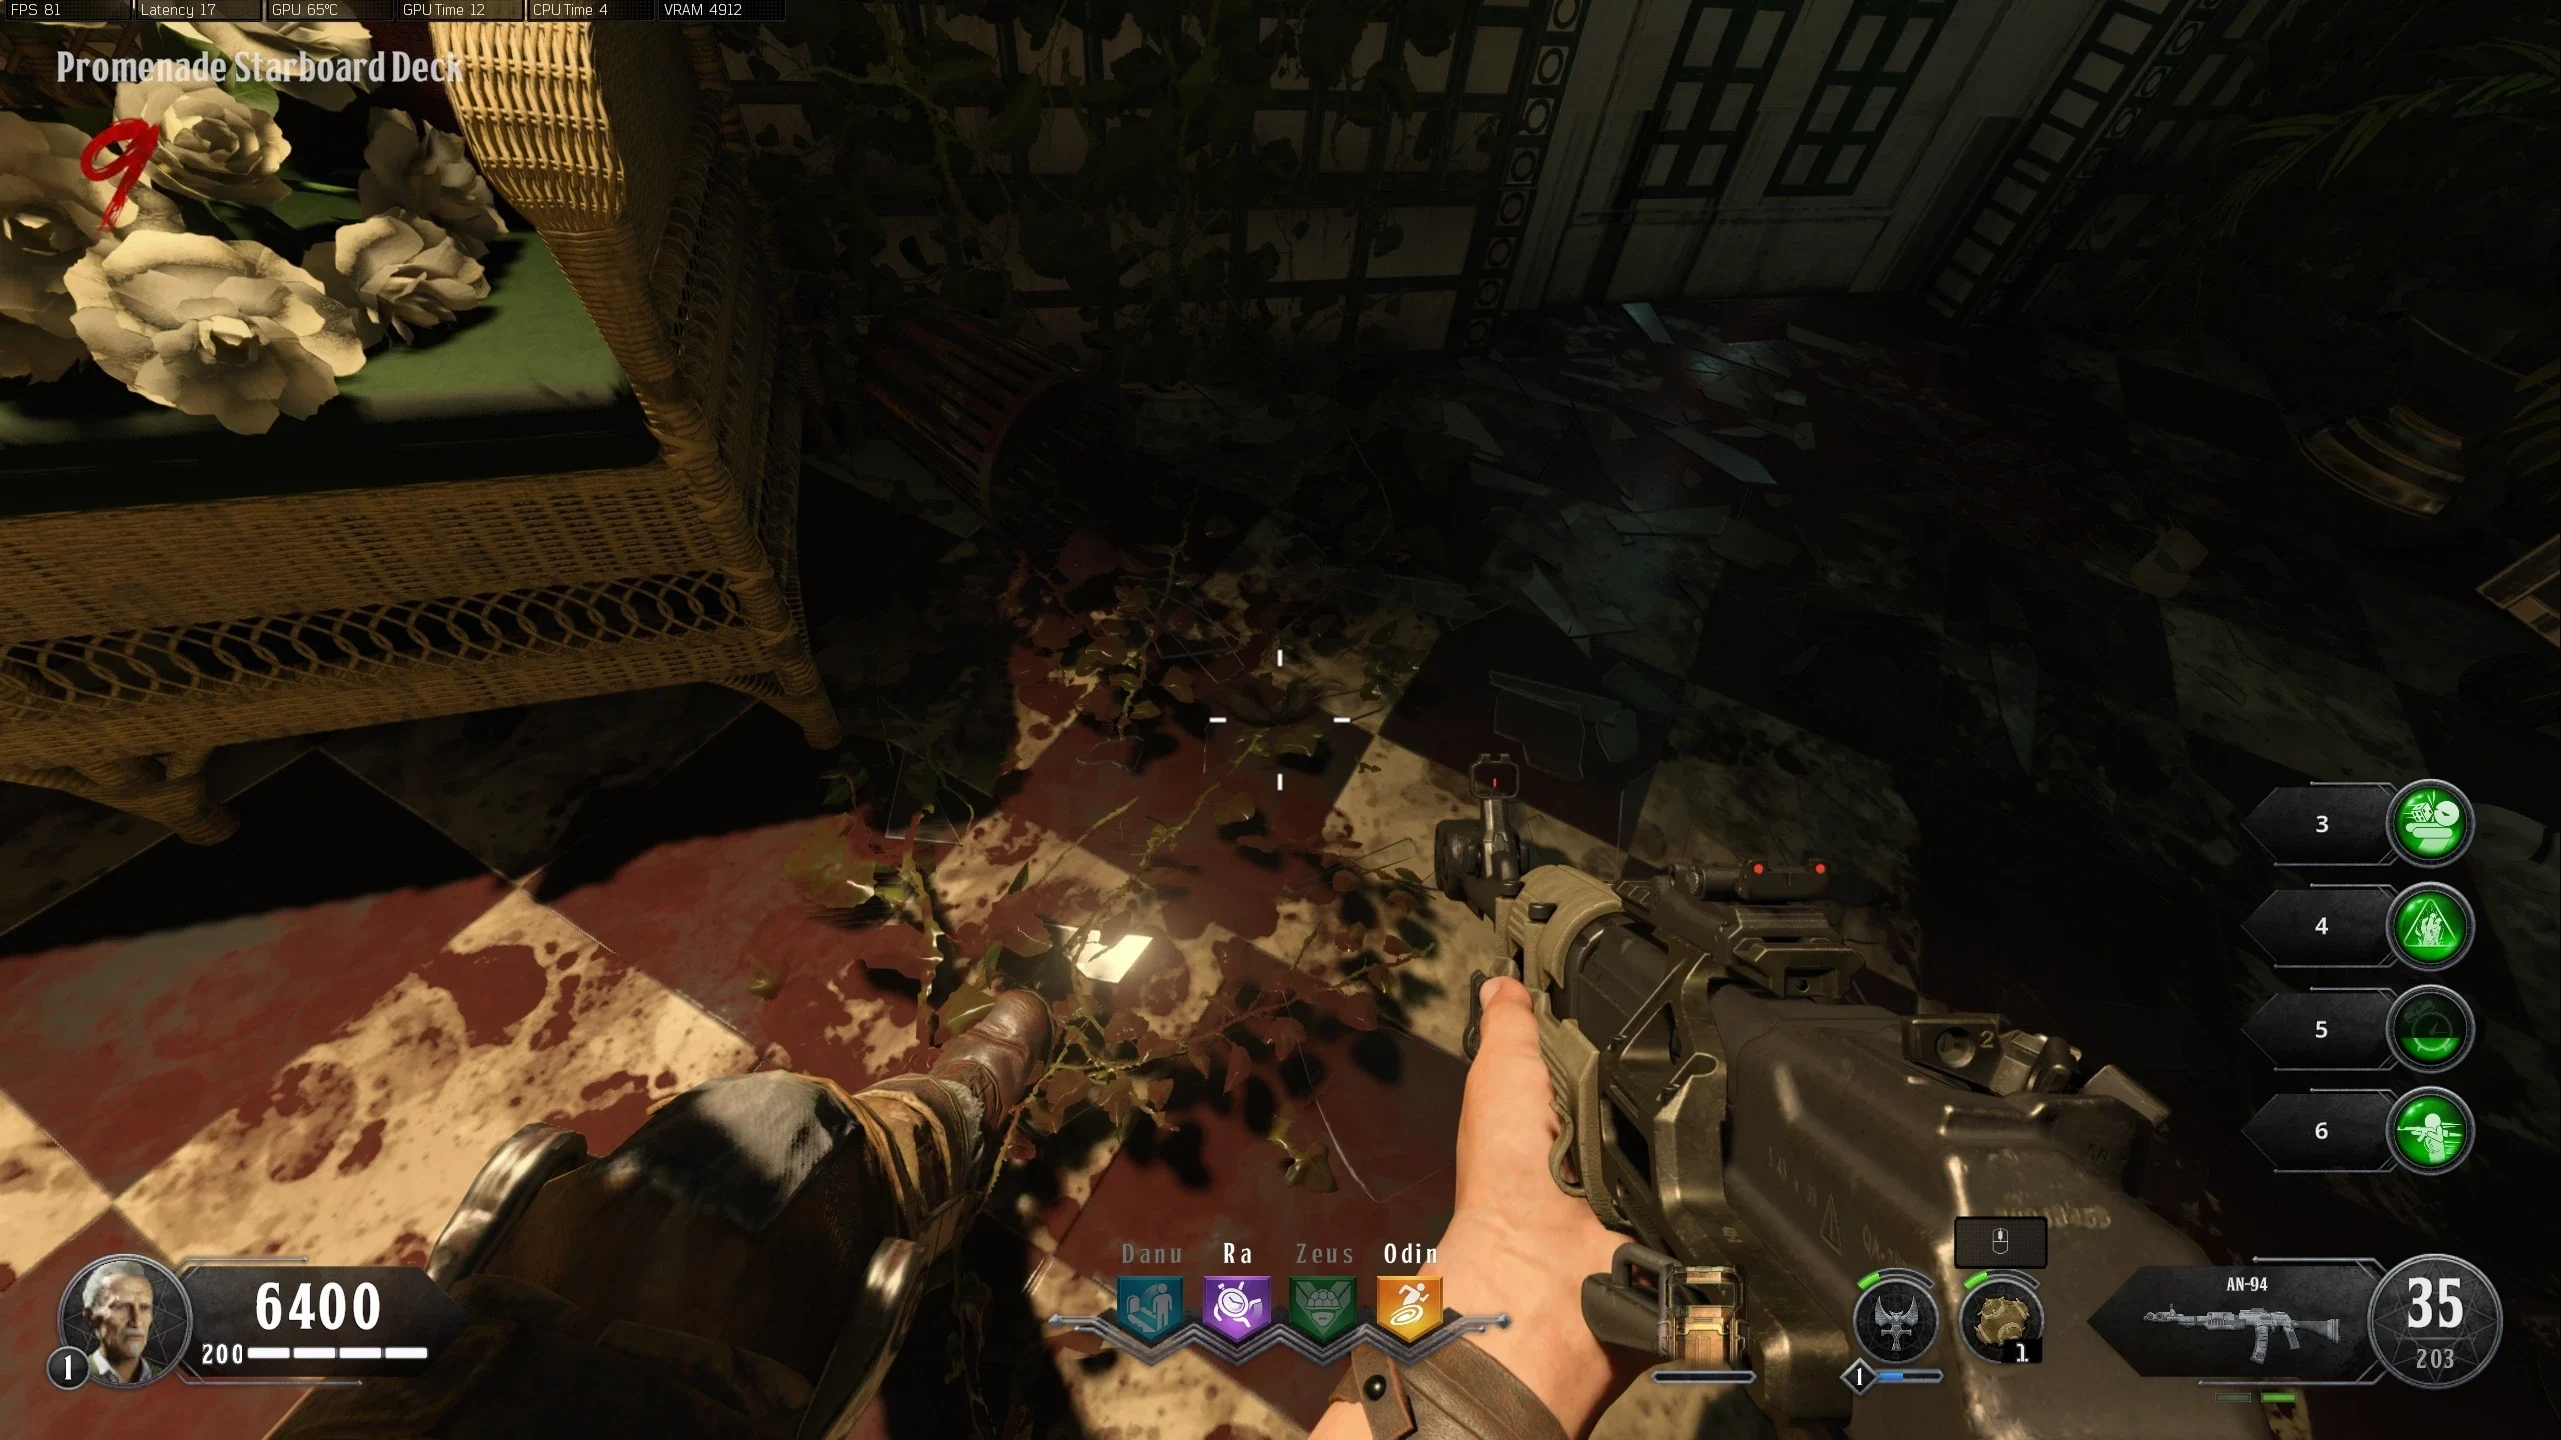
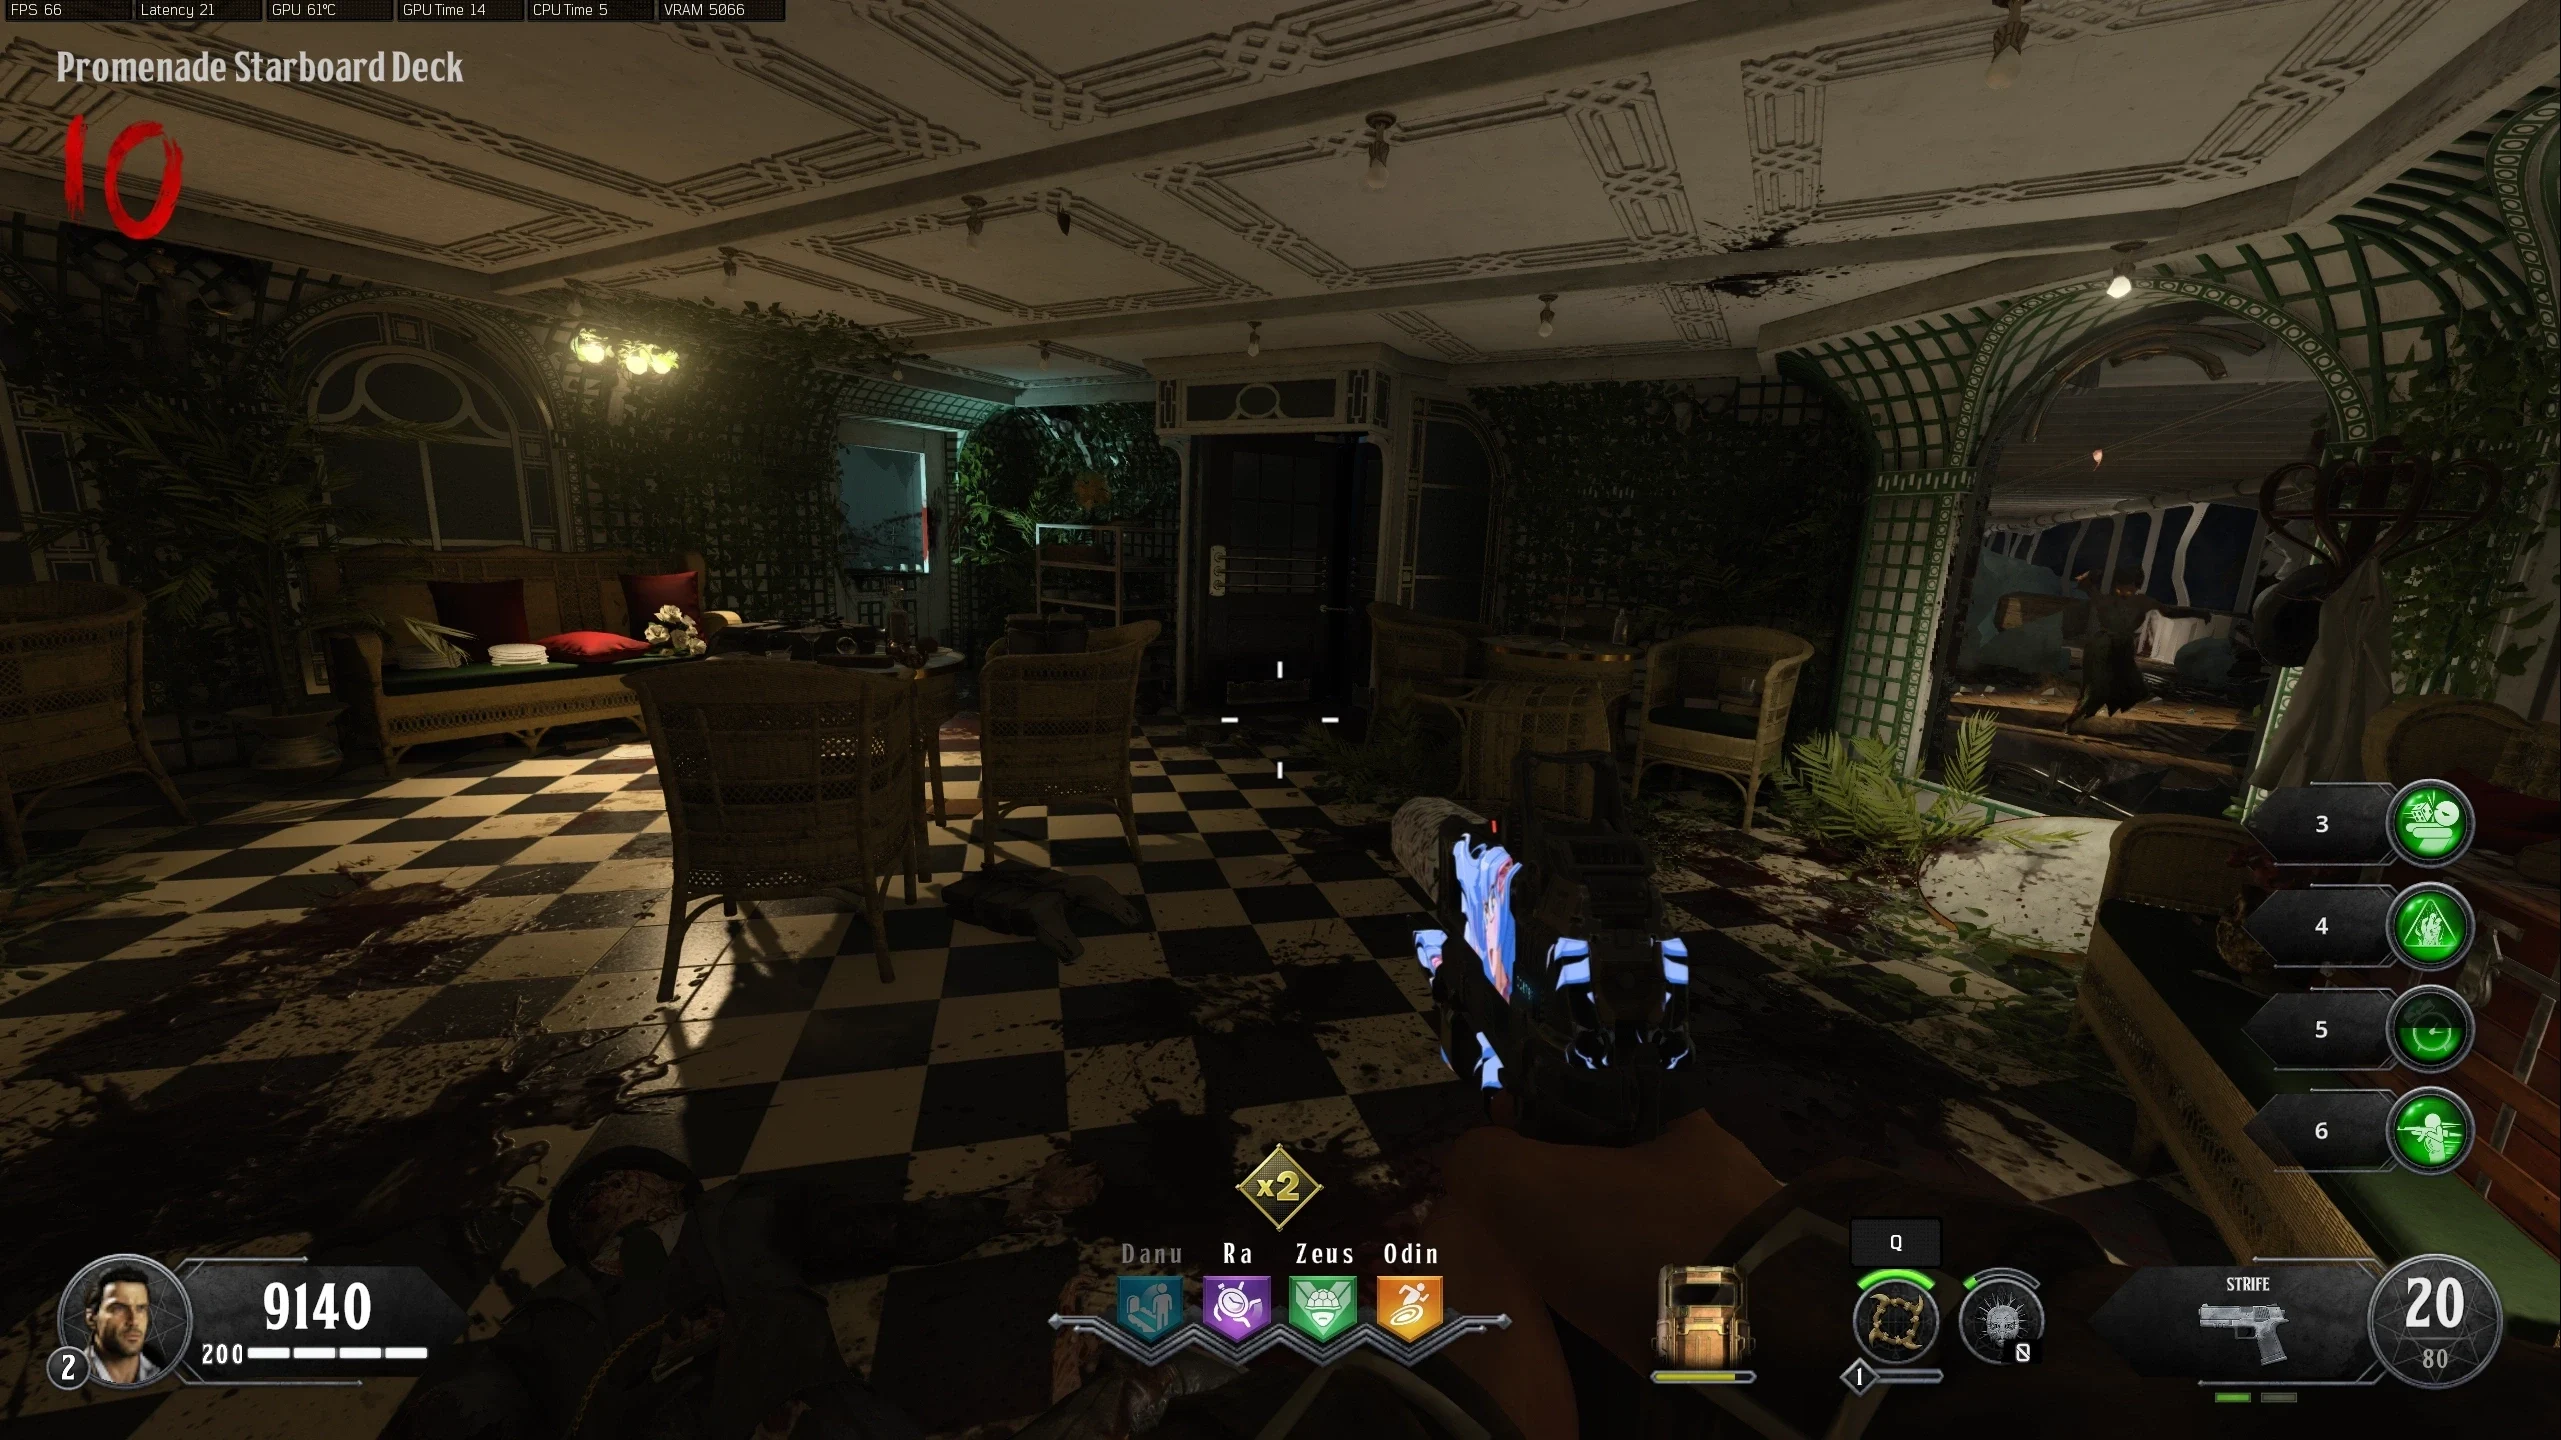
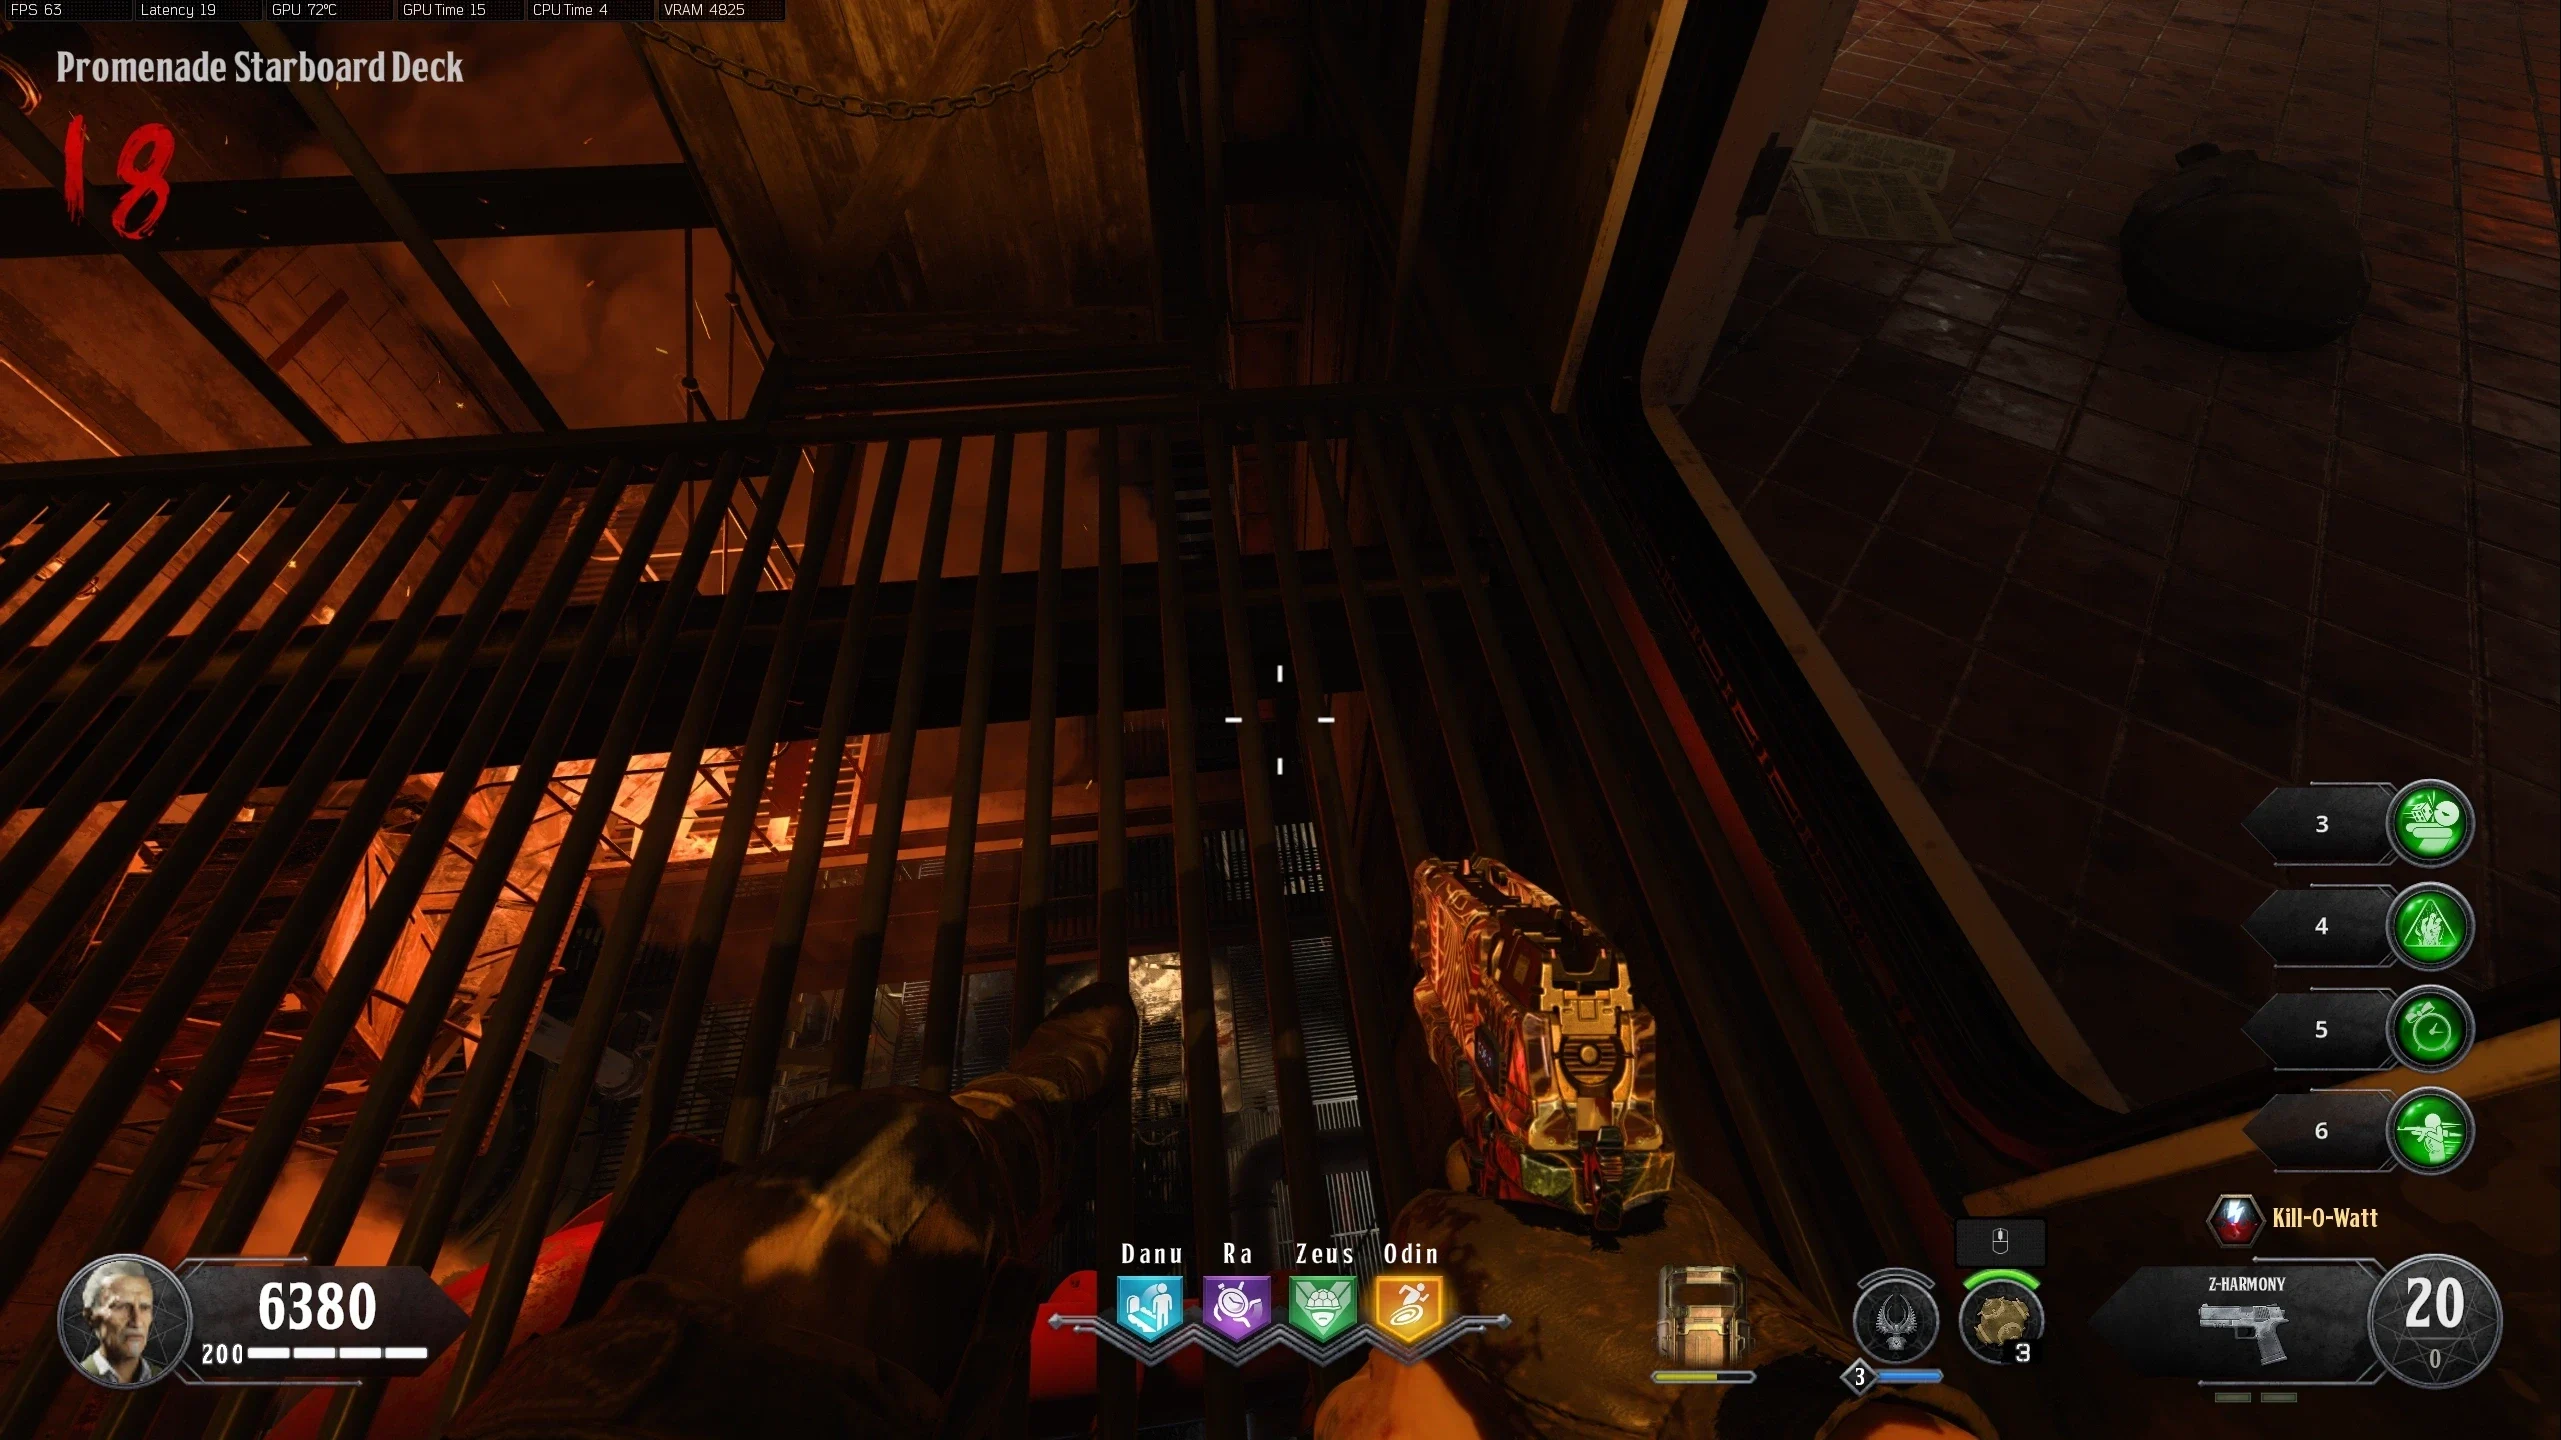
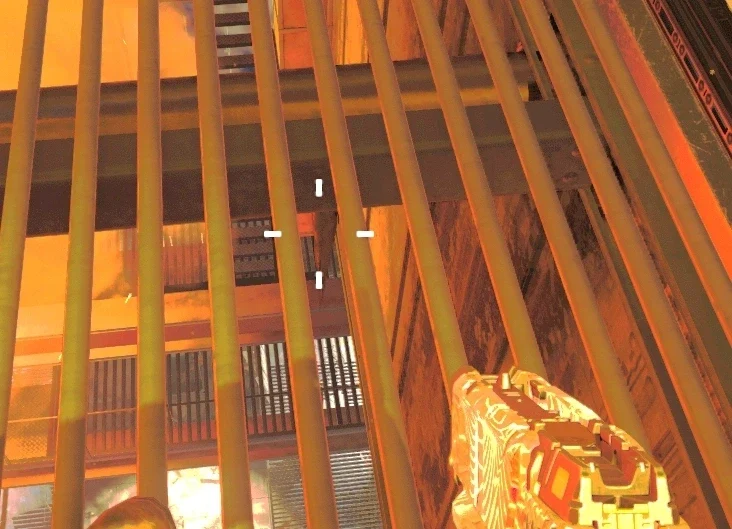
- The players will then be teleported to the 'Promenade Starboard Deck' where similar to the 'State Rooms,' the players can only shoot the Eye when it is shooting its laser beam.
- Once enough damage has been done, the screen will flash white, and you'll be teleported again.
- The players will be teleported back to the 'Poop Deck.' Same as in the 'State Rooms' and 'Promenade Starboard Deck,' the Eye can only be damaged while it's using the laser, but now there is a new attack.
- The Eye will start shaking and a charging sound will play. You must quickly do enough damage to stun the Eye before it finishes charges or all players will be instantly downed.
- The Dying Wish Perk can be used to avoid going down, and the level 3 Scepter of Ra can be used to instantly revive anyone inside with all perks.
- Once enough damage has been done to the Eye, it will explode, the screen will go white, and the final cutscene will begin.
The Sentinel Artifact is yours for the Taking
For the Elements are Four and Must be Attuned
To Change the Agents of Change is to Change Everything
Within the Chain of Phases all is Conceived
Before the Flame your Hubris is Devoured
When the Planets are Revealed, the Essence is Received
Where Light Shines Not the Path Leads Inward
| Planet | Orb Pickup | Shooting Location |
|---|---|---|
| Sun | Orb Pickup | Shoot from the 'Forecastle' (Spawn) |
| Mercury | Orb Pickup | Shoot from the 'Forecastle' (Spawn) |
| Venus | Orb Pickup | Shoot from the 'Forecastle' (Spawn) |
| Moon | Orb Pickup | Shoot from the Window in 'Lower Grand Staircase' (Same Window as Pickup) |
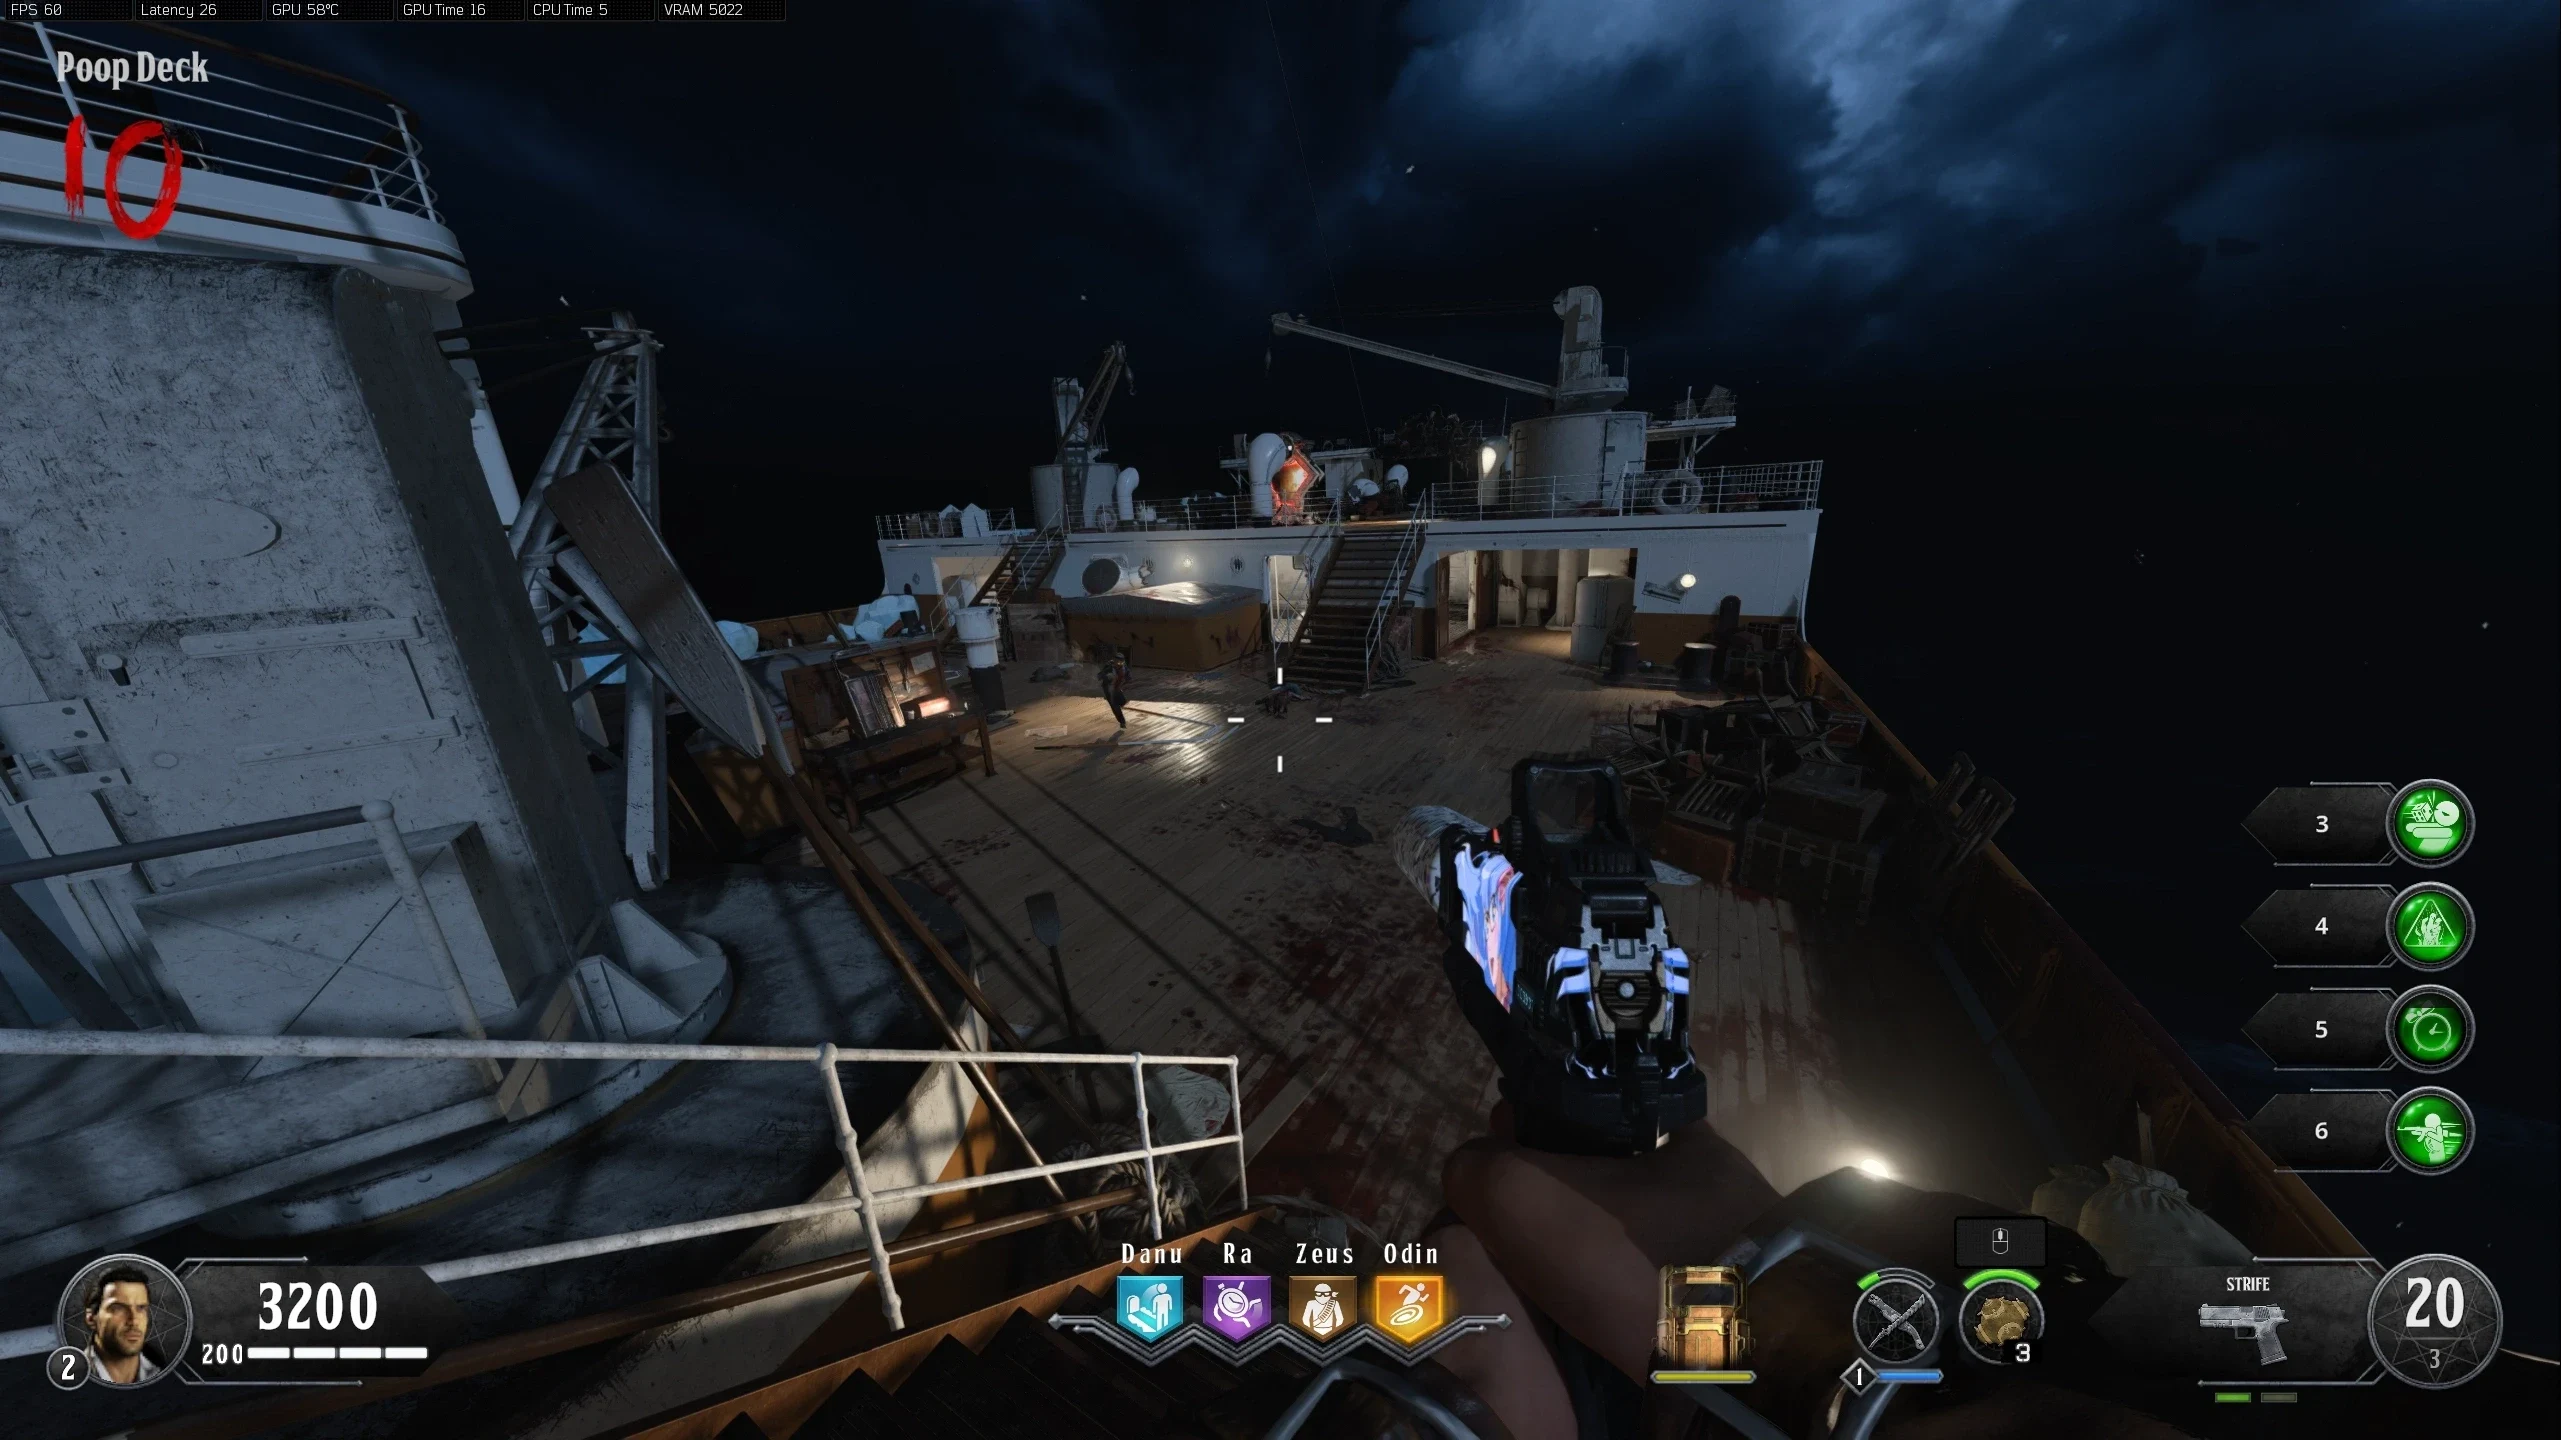
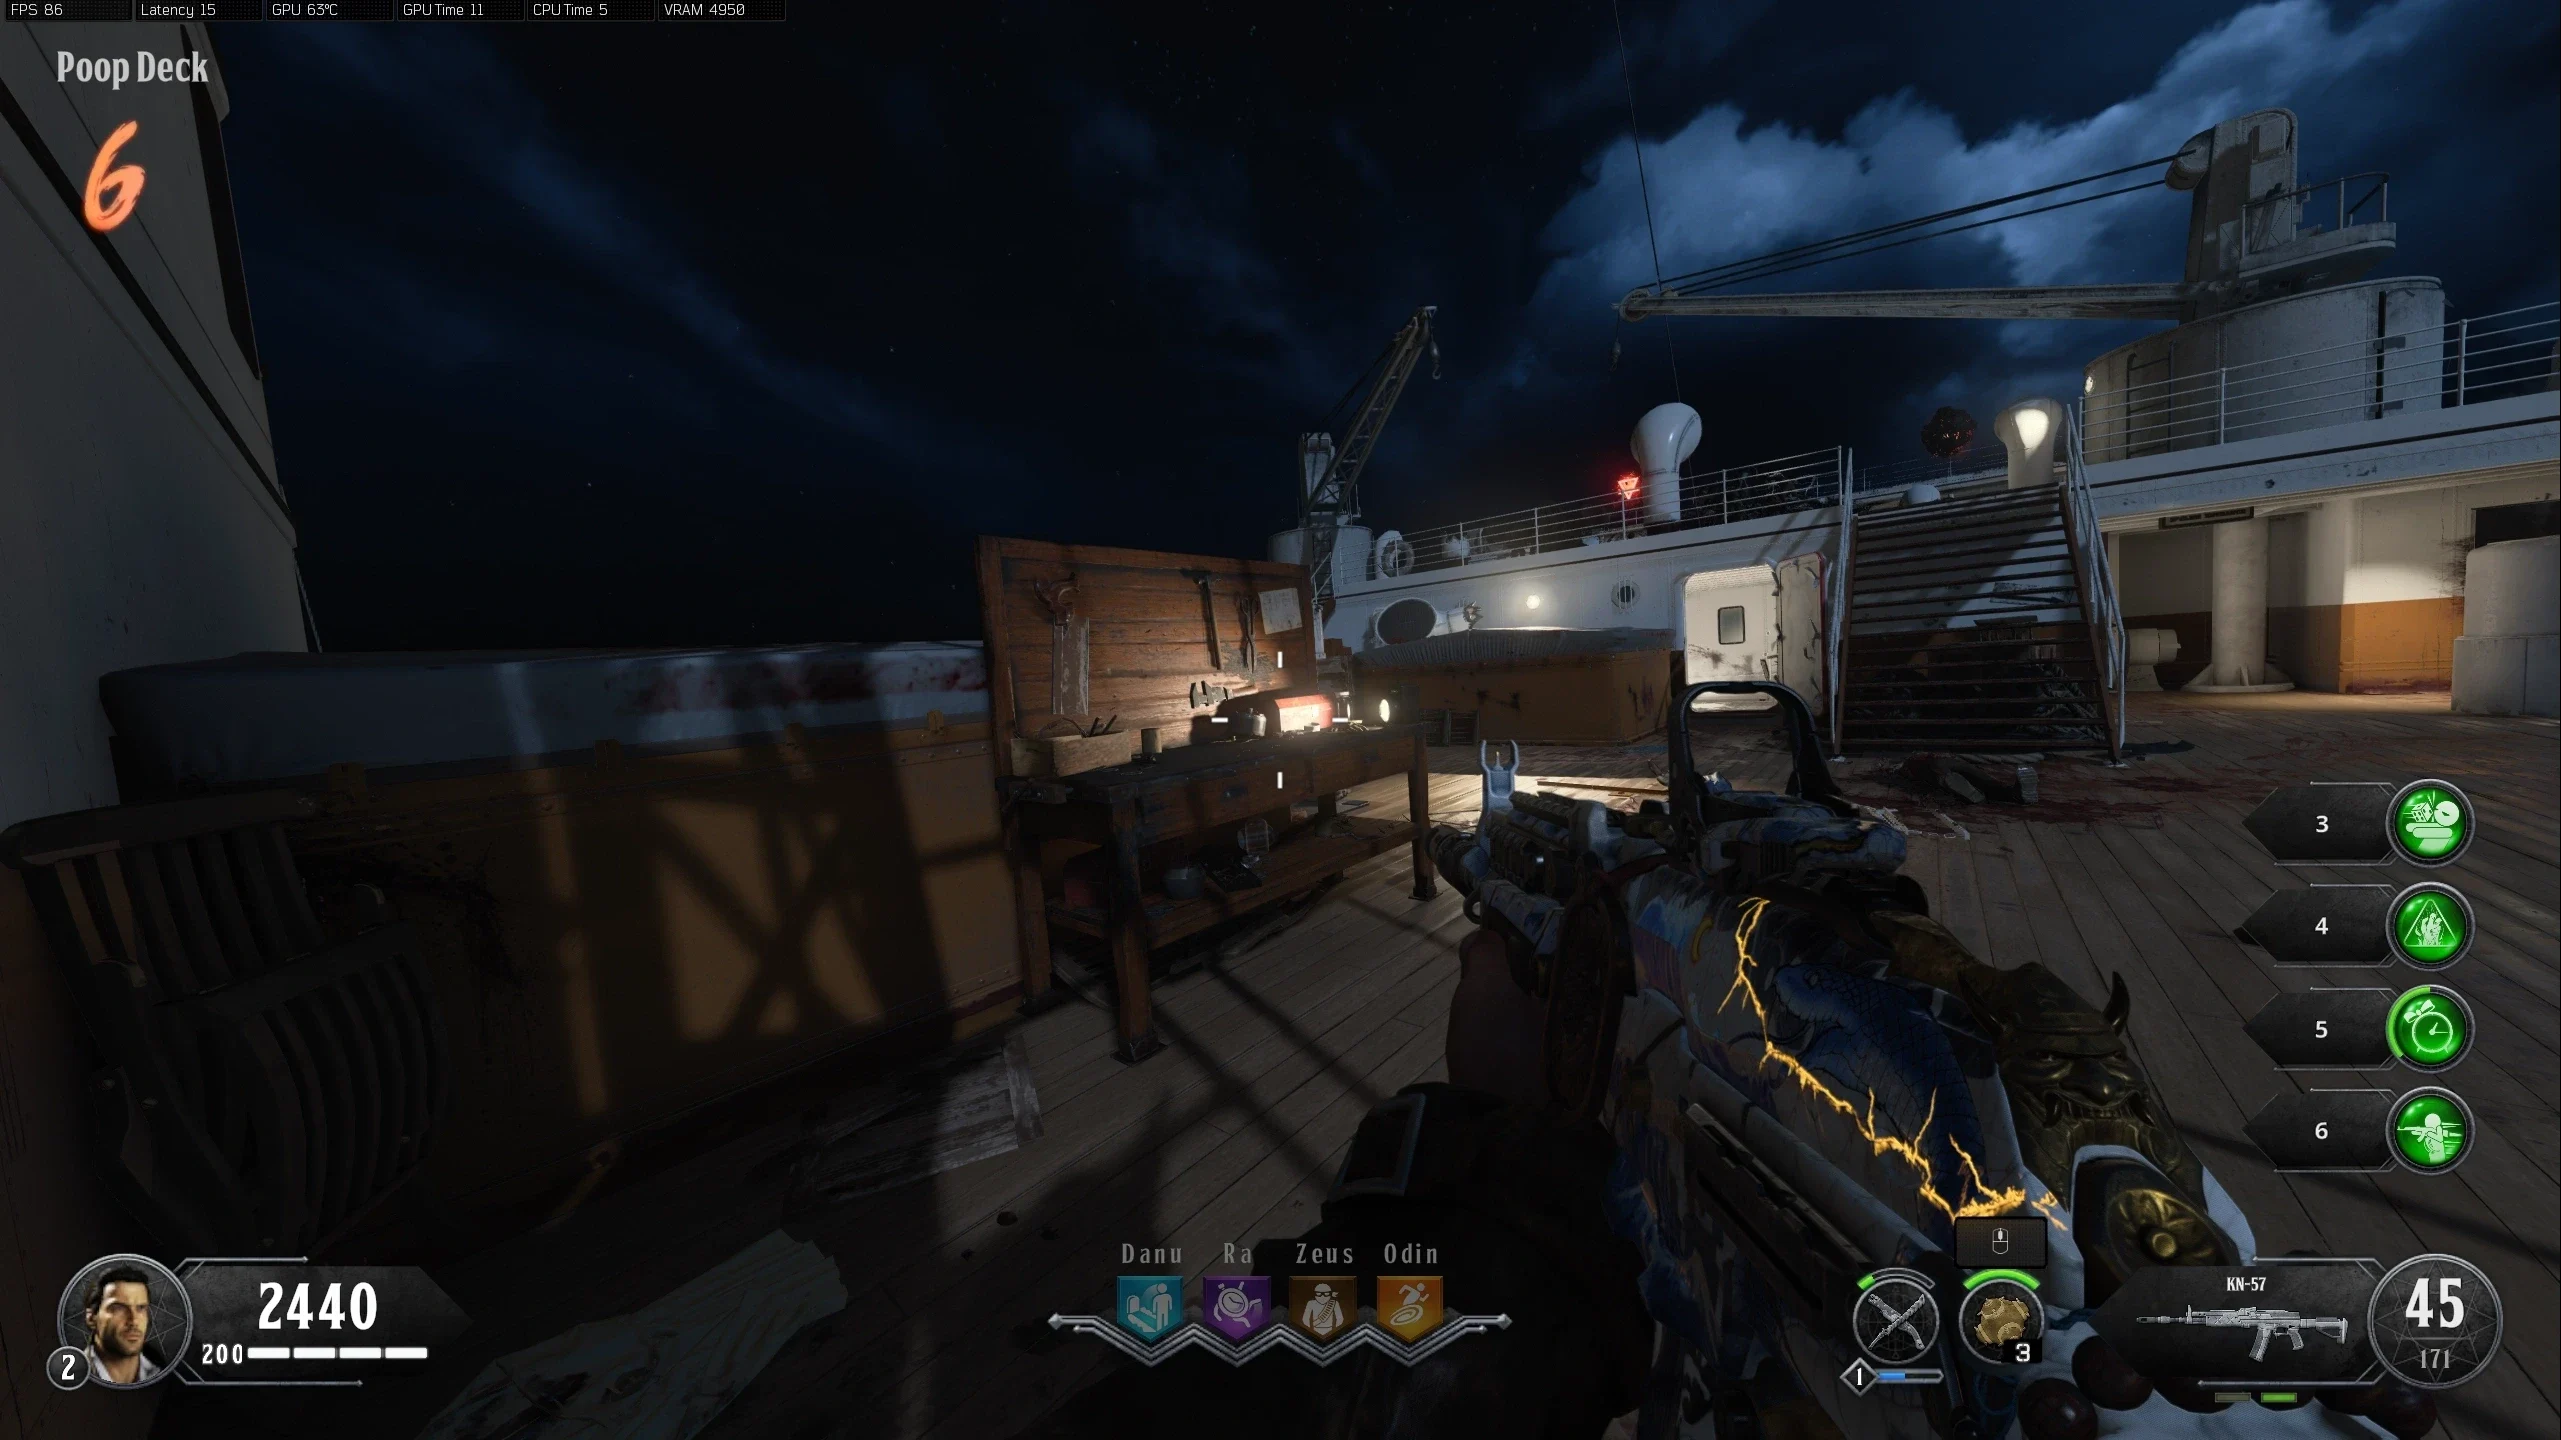
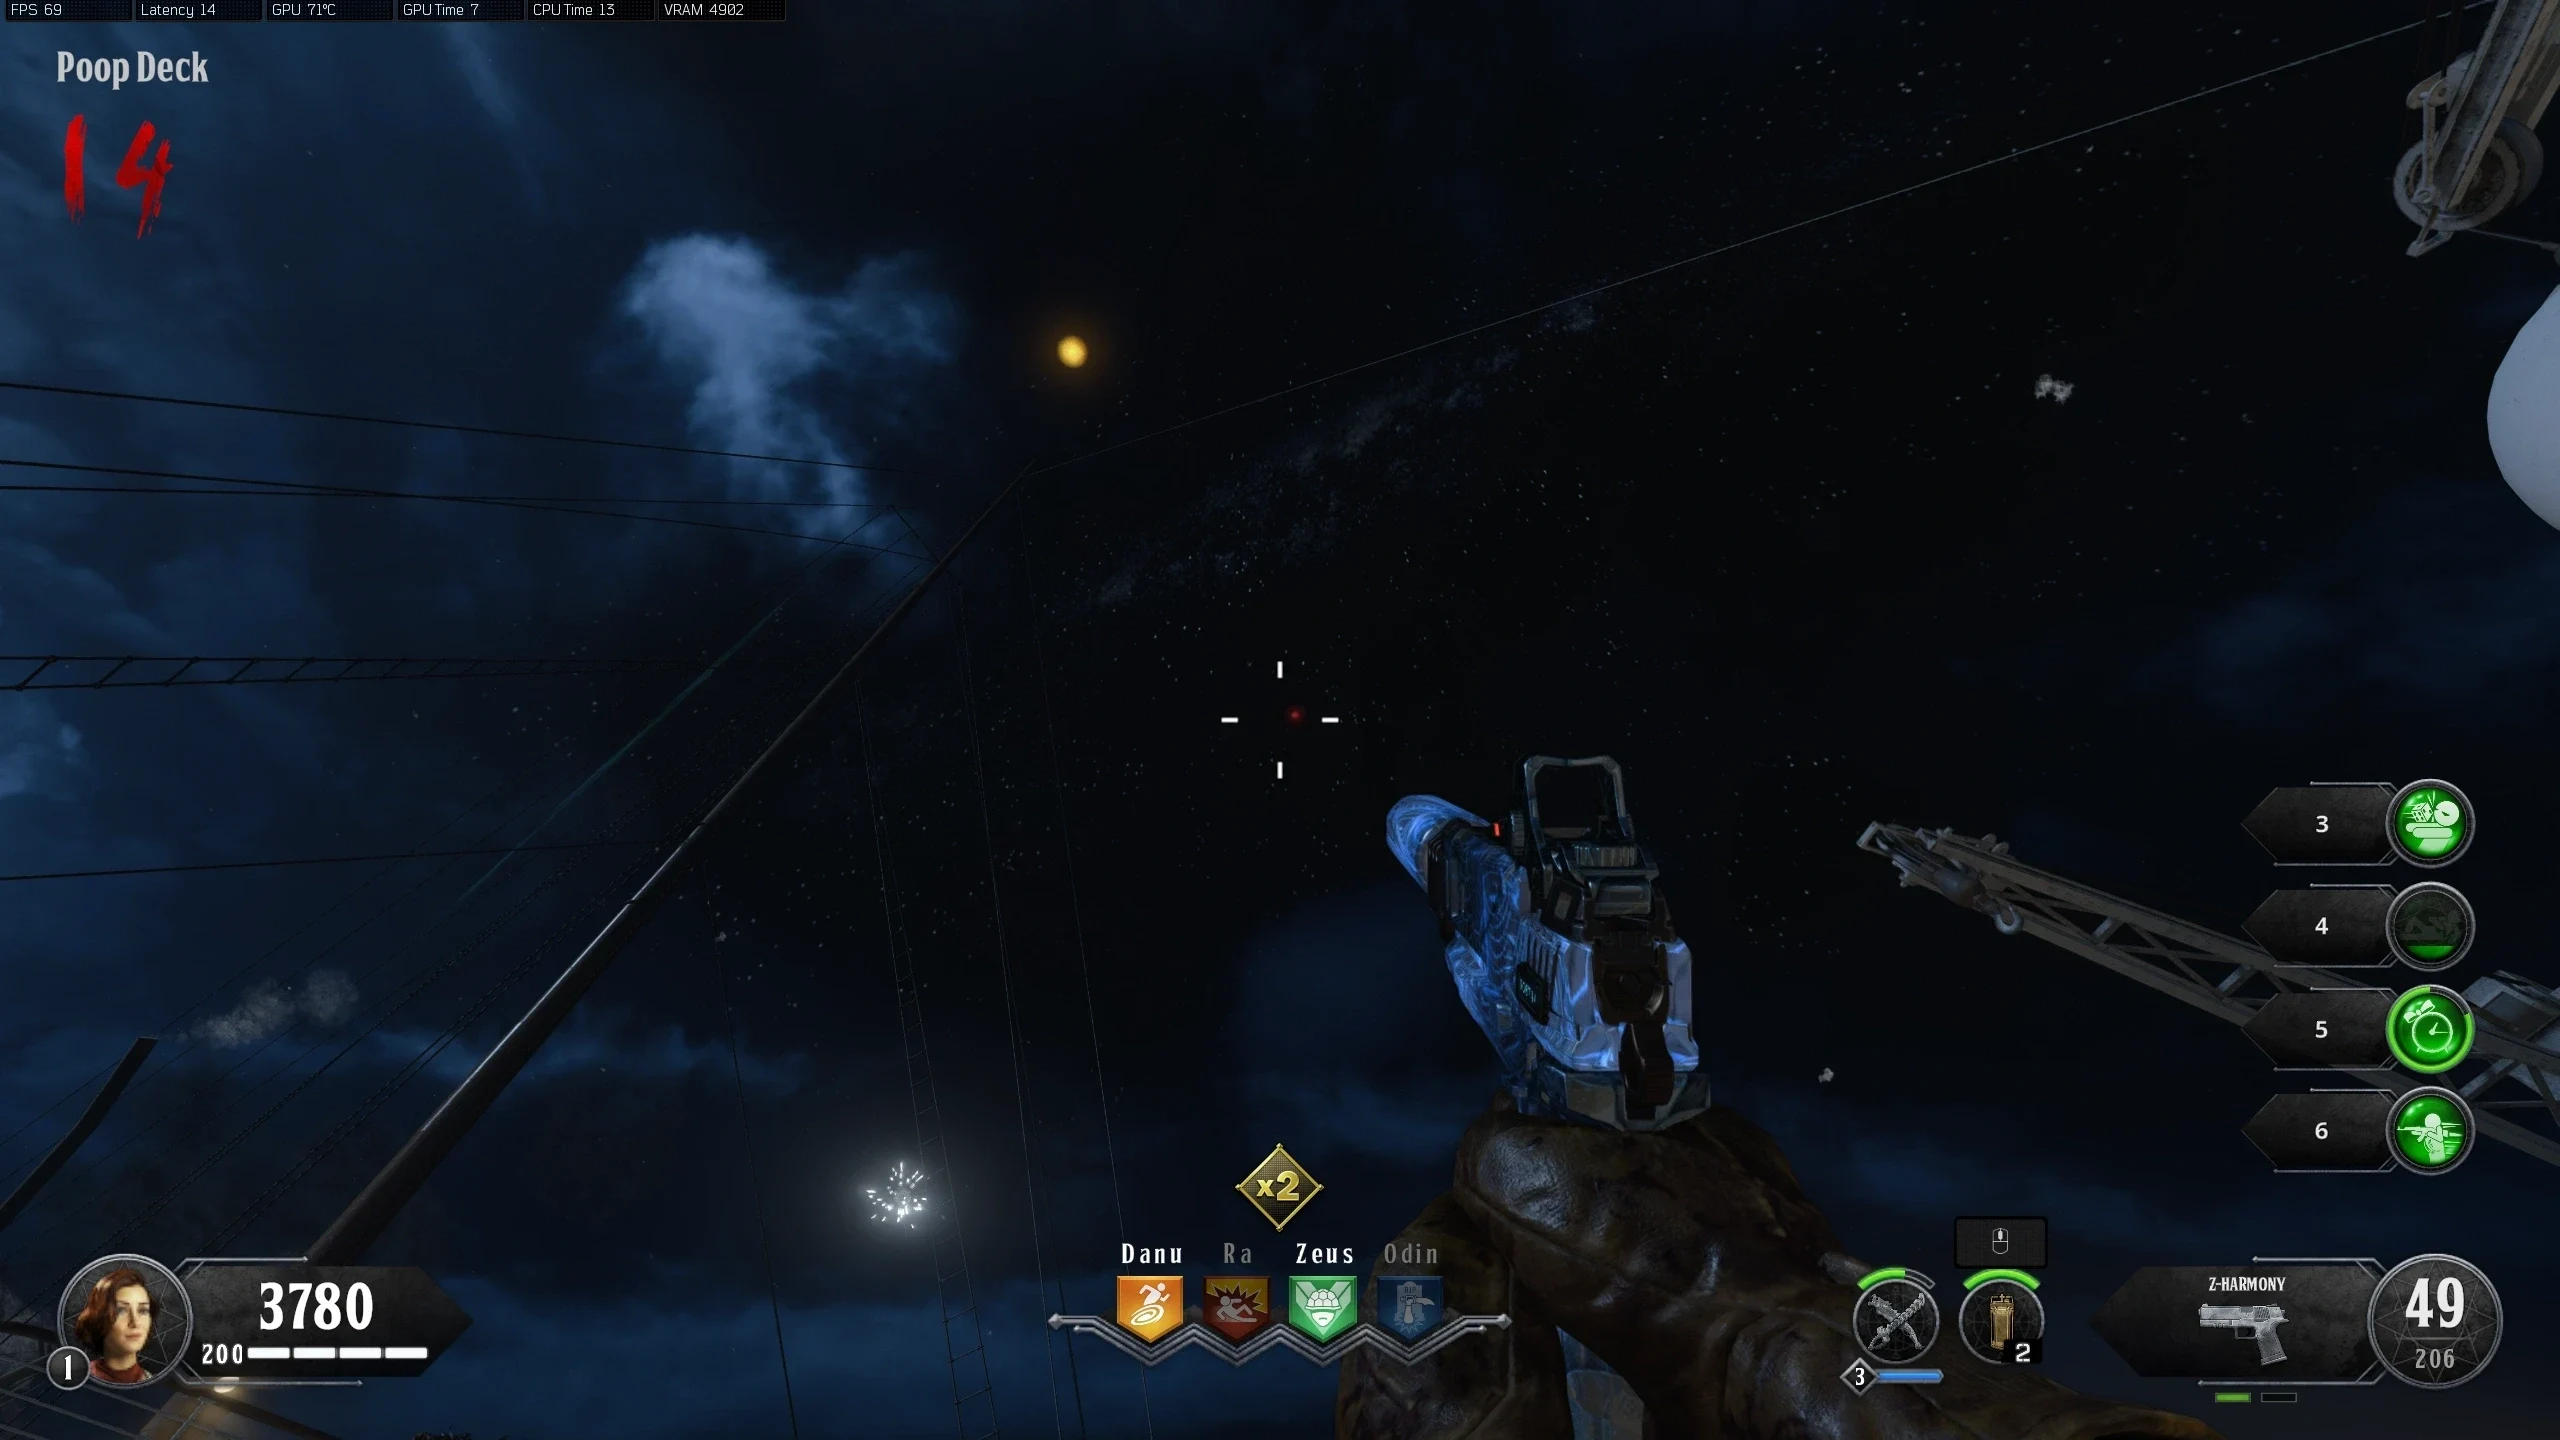
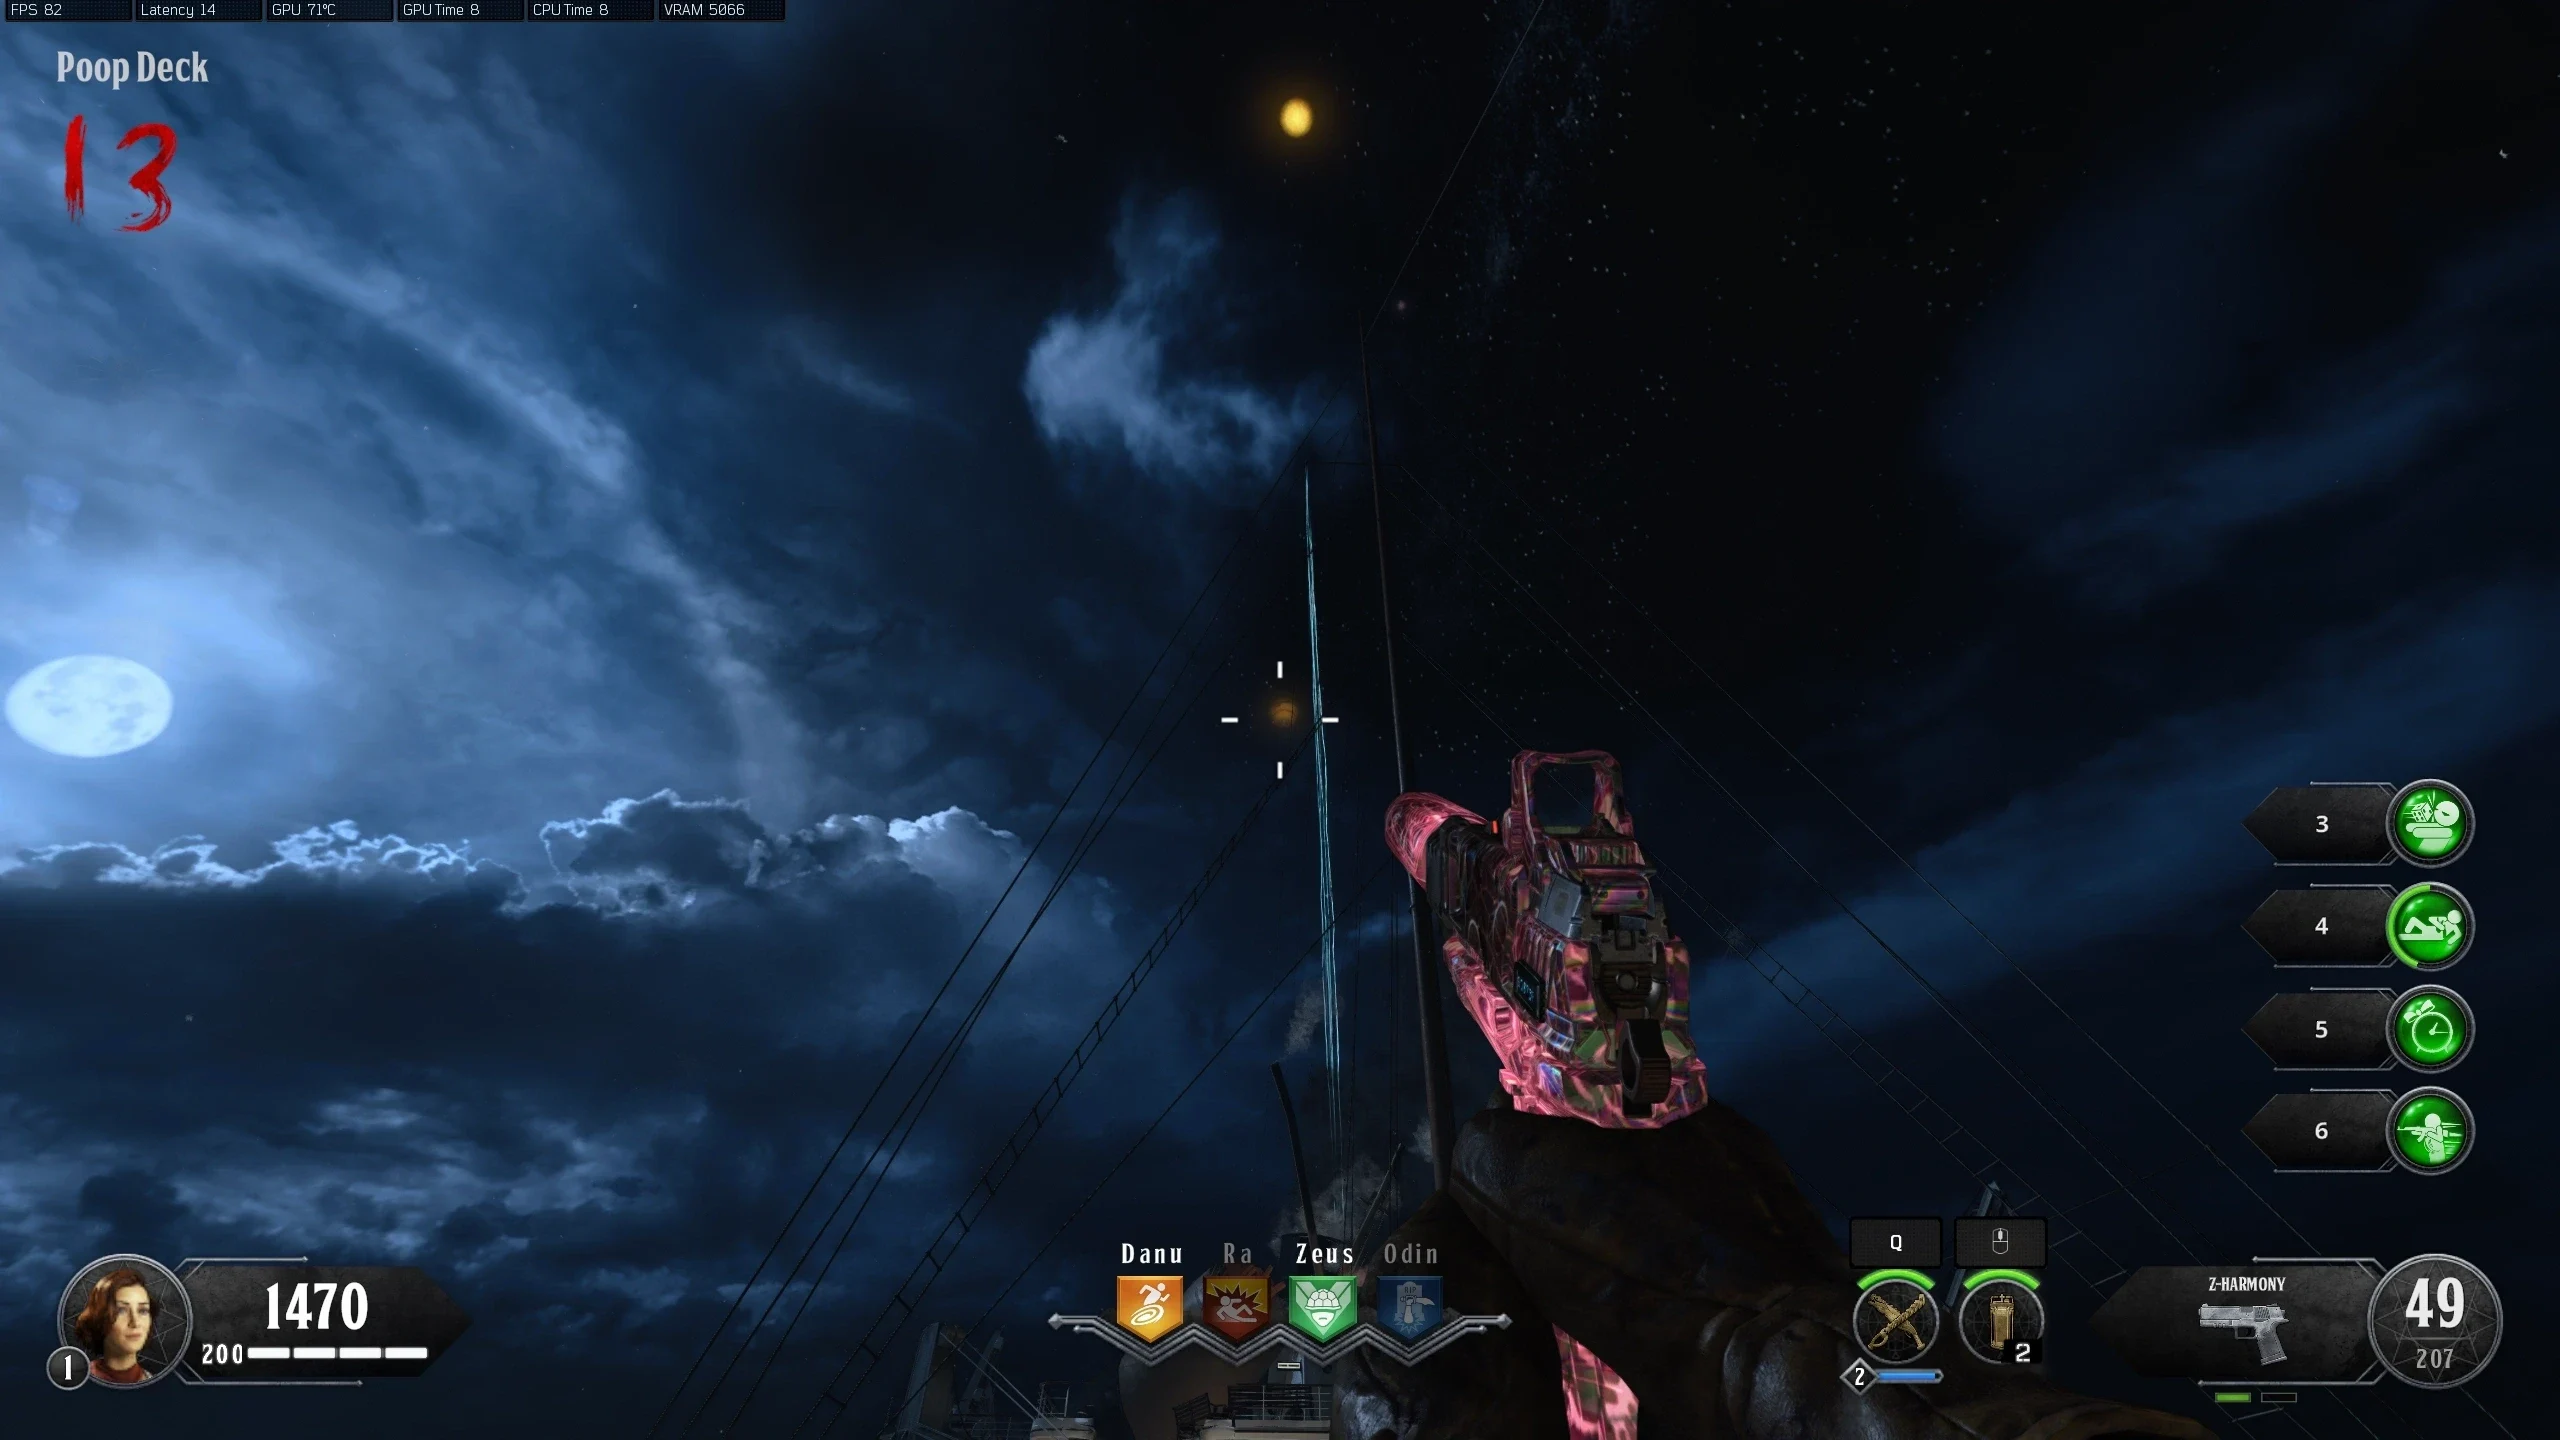
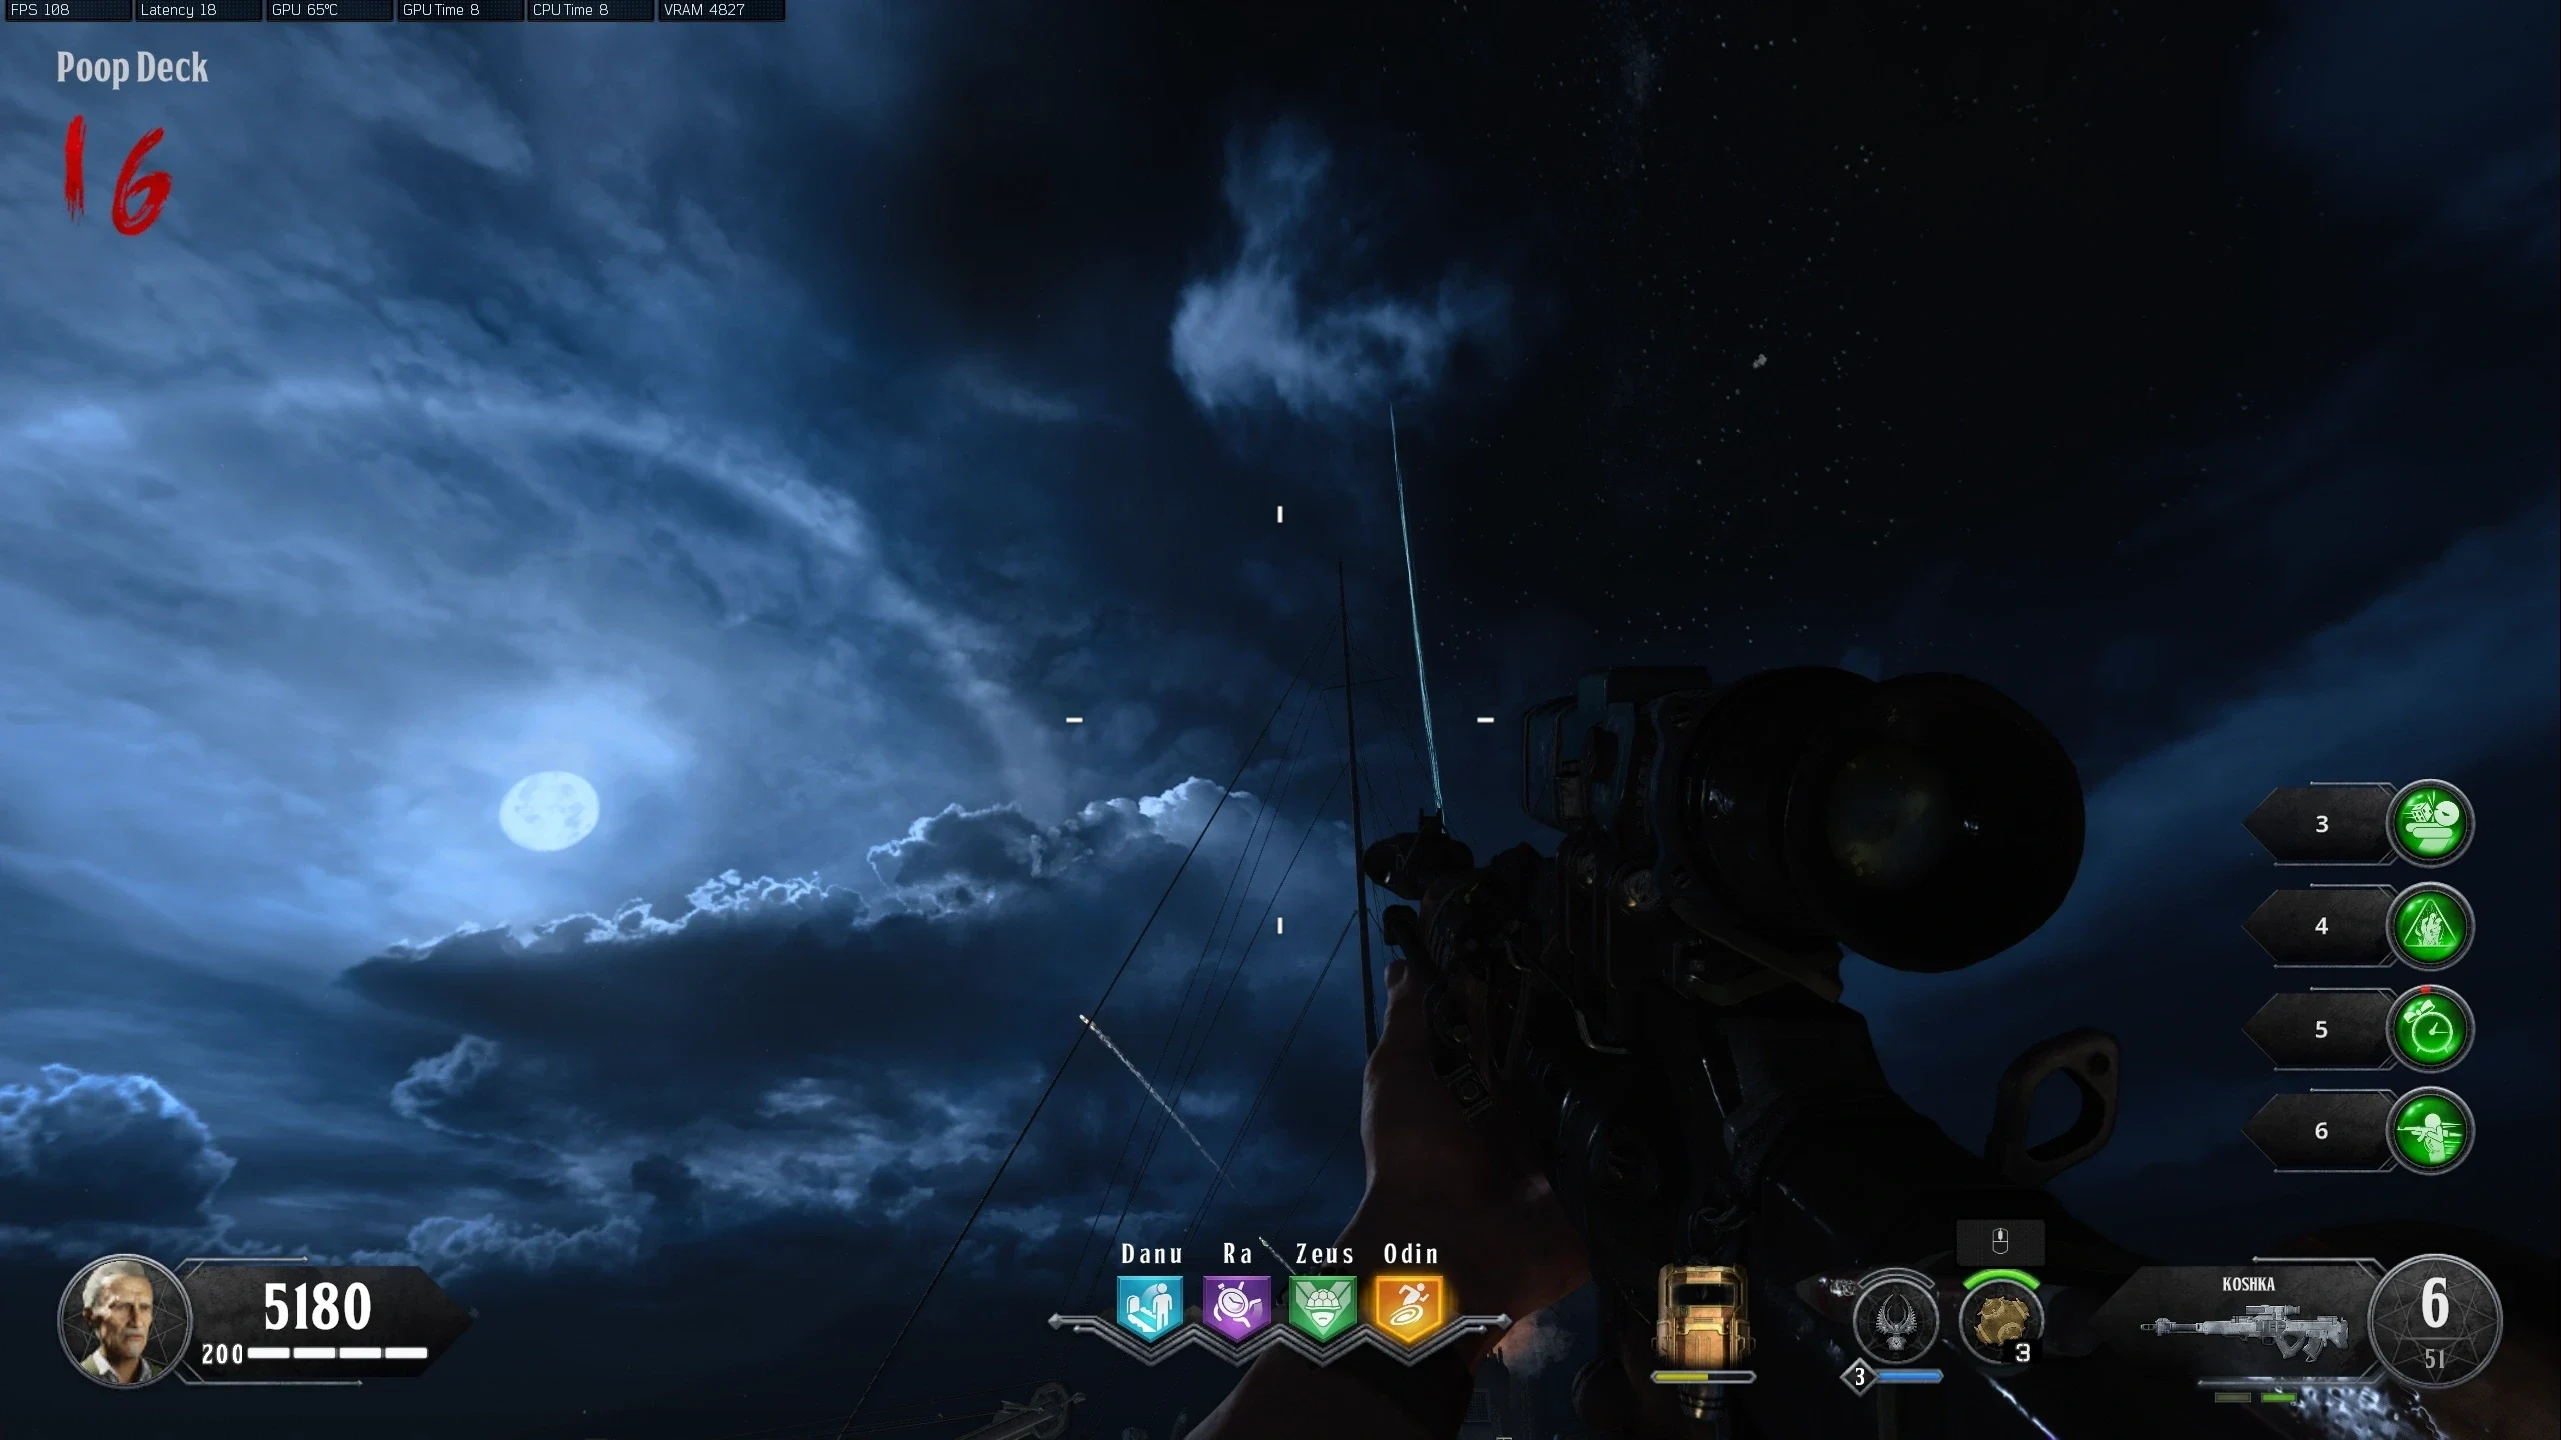
| Mars | Orb Pickup | Shoot from the 'Poop Deck' |
| Jupiter | Orb Pickup | Shoot from the 'Poop Deck' |
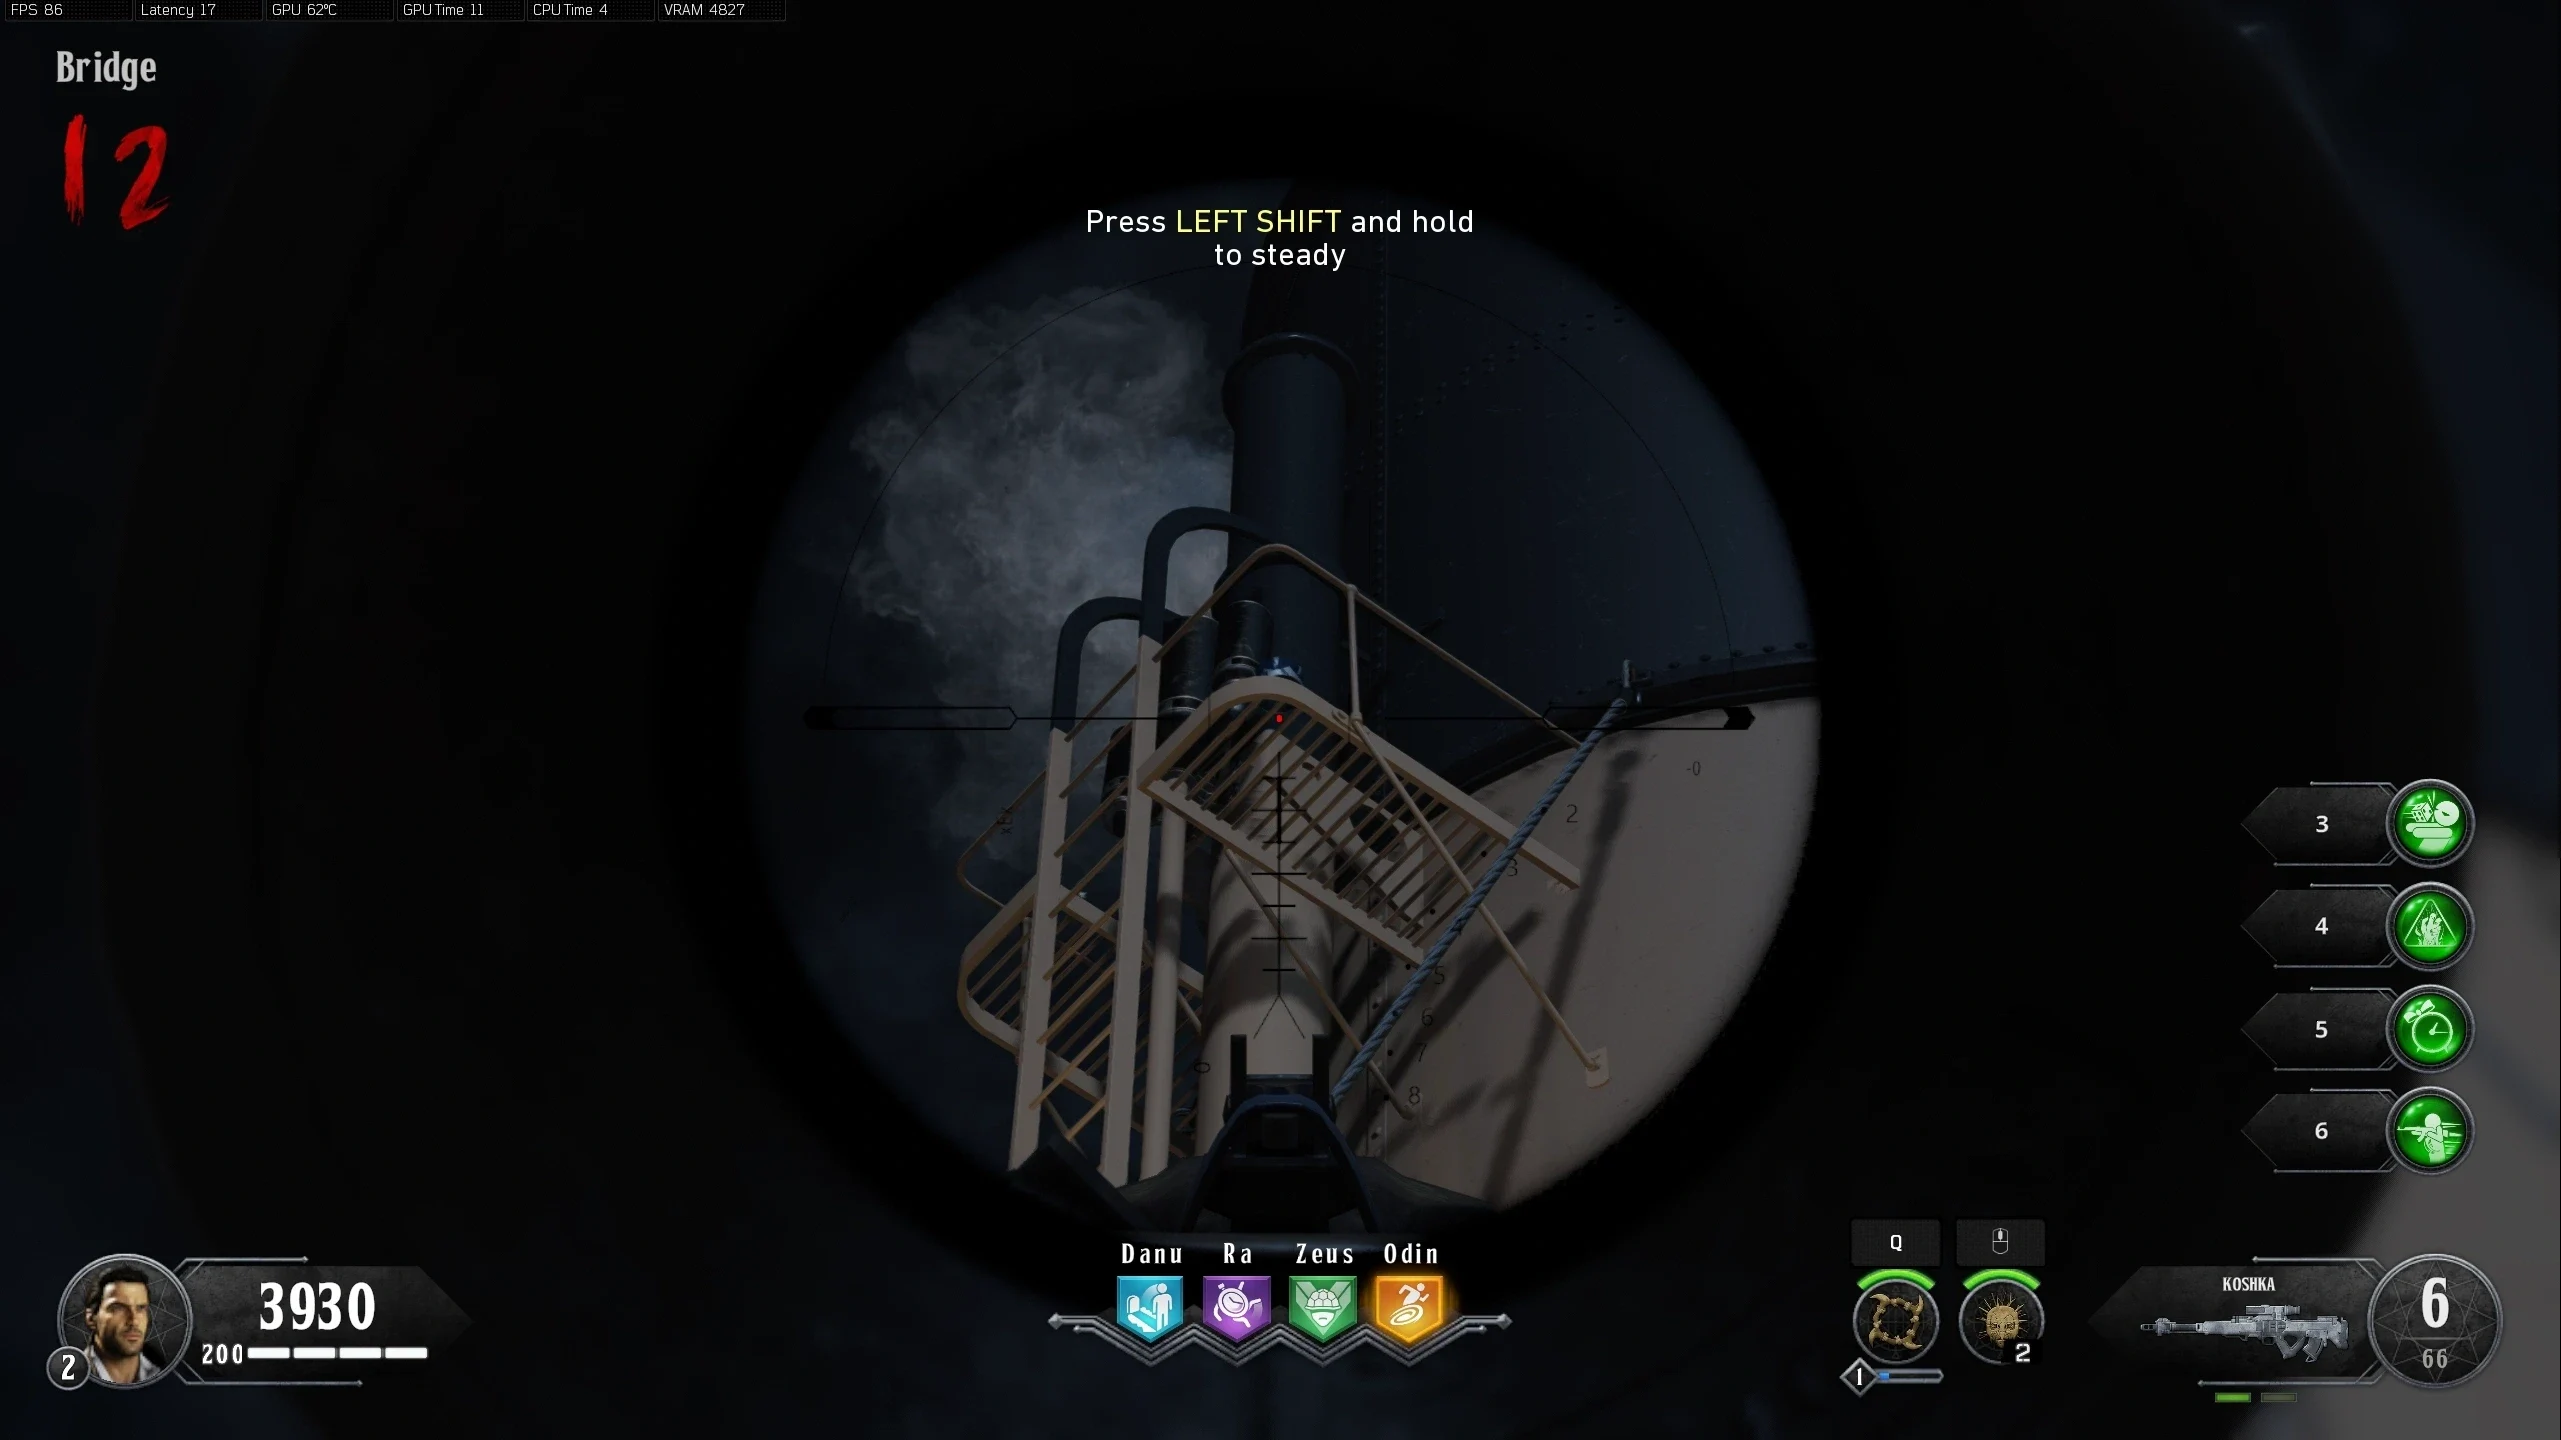
| Saturn | Orb Pickup | Shoot from the 'Bridge' |
| Uranus | Orb Pickup | Shoot from the 'Forecastle' (Spawn) |
| Neptune | Orb Pickup | Shoot from the 'Aft Deck' |
Unto the Nest its Malice Unravels
Warning: Point of No Return. Once the ritual circle is interacted with, the Boss Fight will start.
Behold the Eye of Malice and Despair (Odin's Eye Boss Fight)
Recommended Weapons: Kraken (Water Upgrade) and Hellion Salvo
Phase 1
Phase 2
Phase 3
Phase 4
Phase 5