'Bye-Bye, Dark Aether' Main Quest
Stats (Solo): Difficulty - 2/10, Est. Completion Time - 30 to 45 Mins
- Interact with this machine in the Church (called the SDG). All Zombies will die and an in-game story cutscene will start. You don't have to stay in the Church for the cutscene.
- Obtain the Jet Gun.
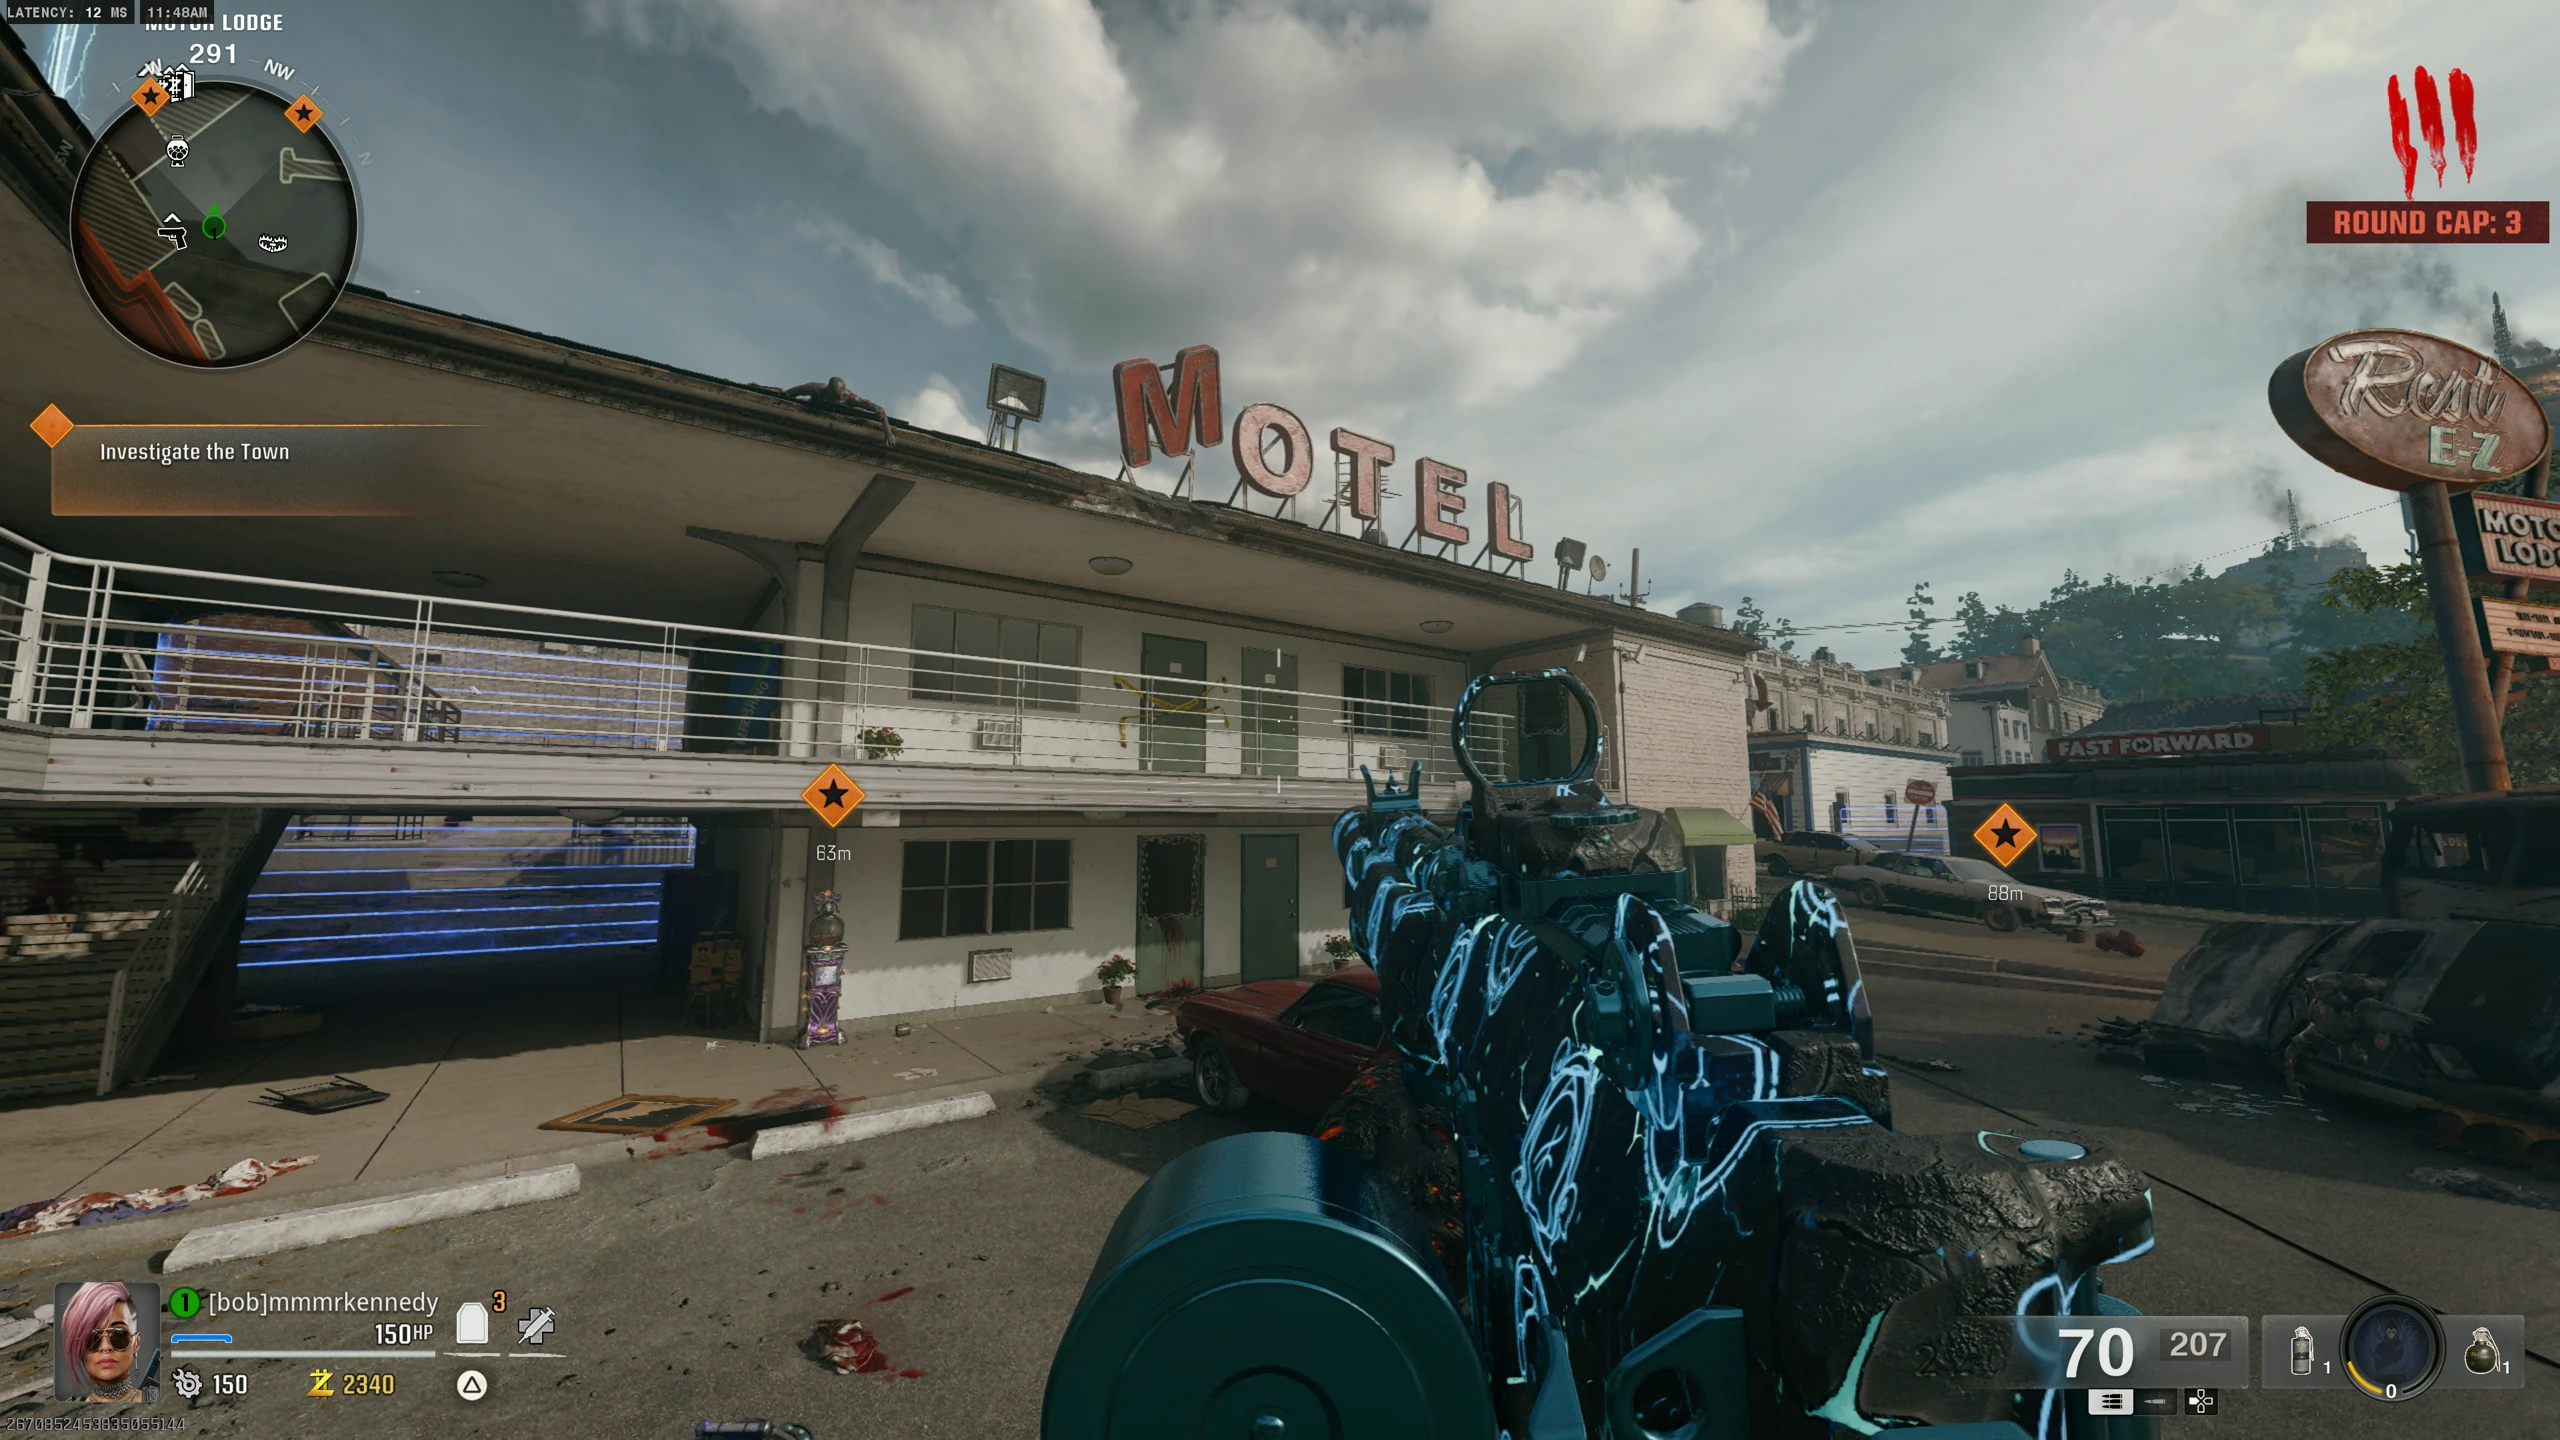
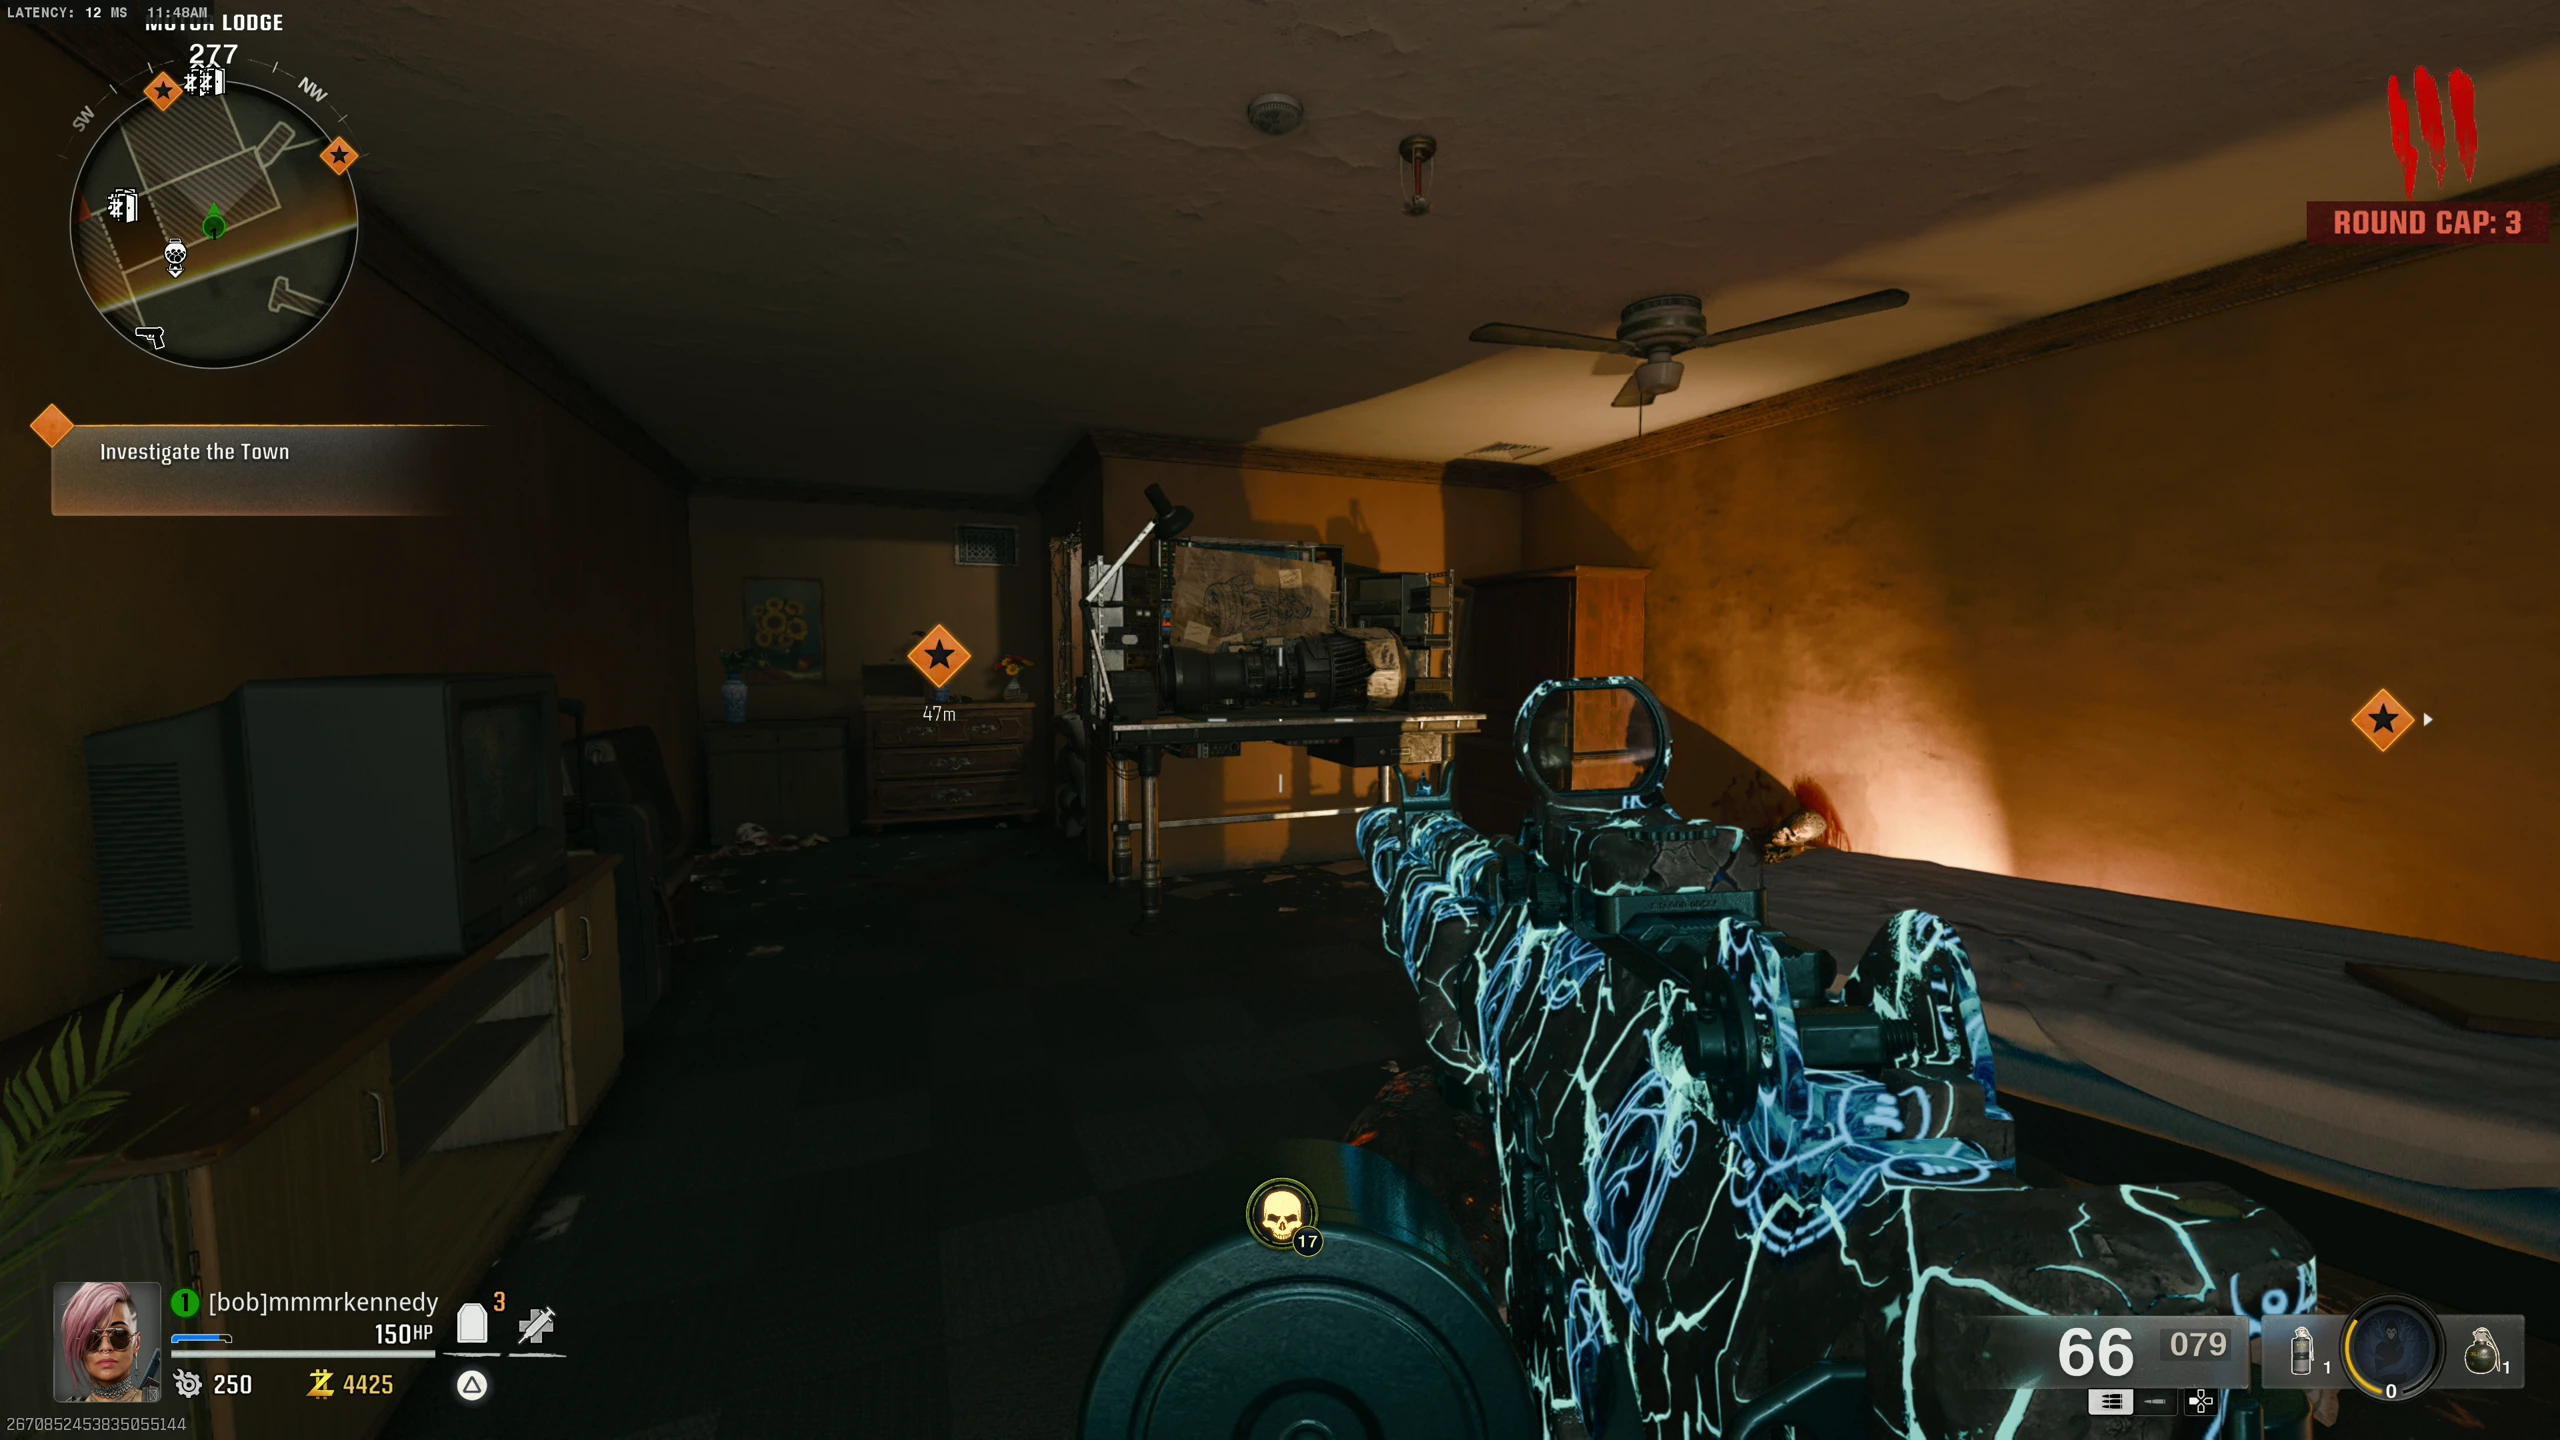
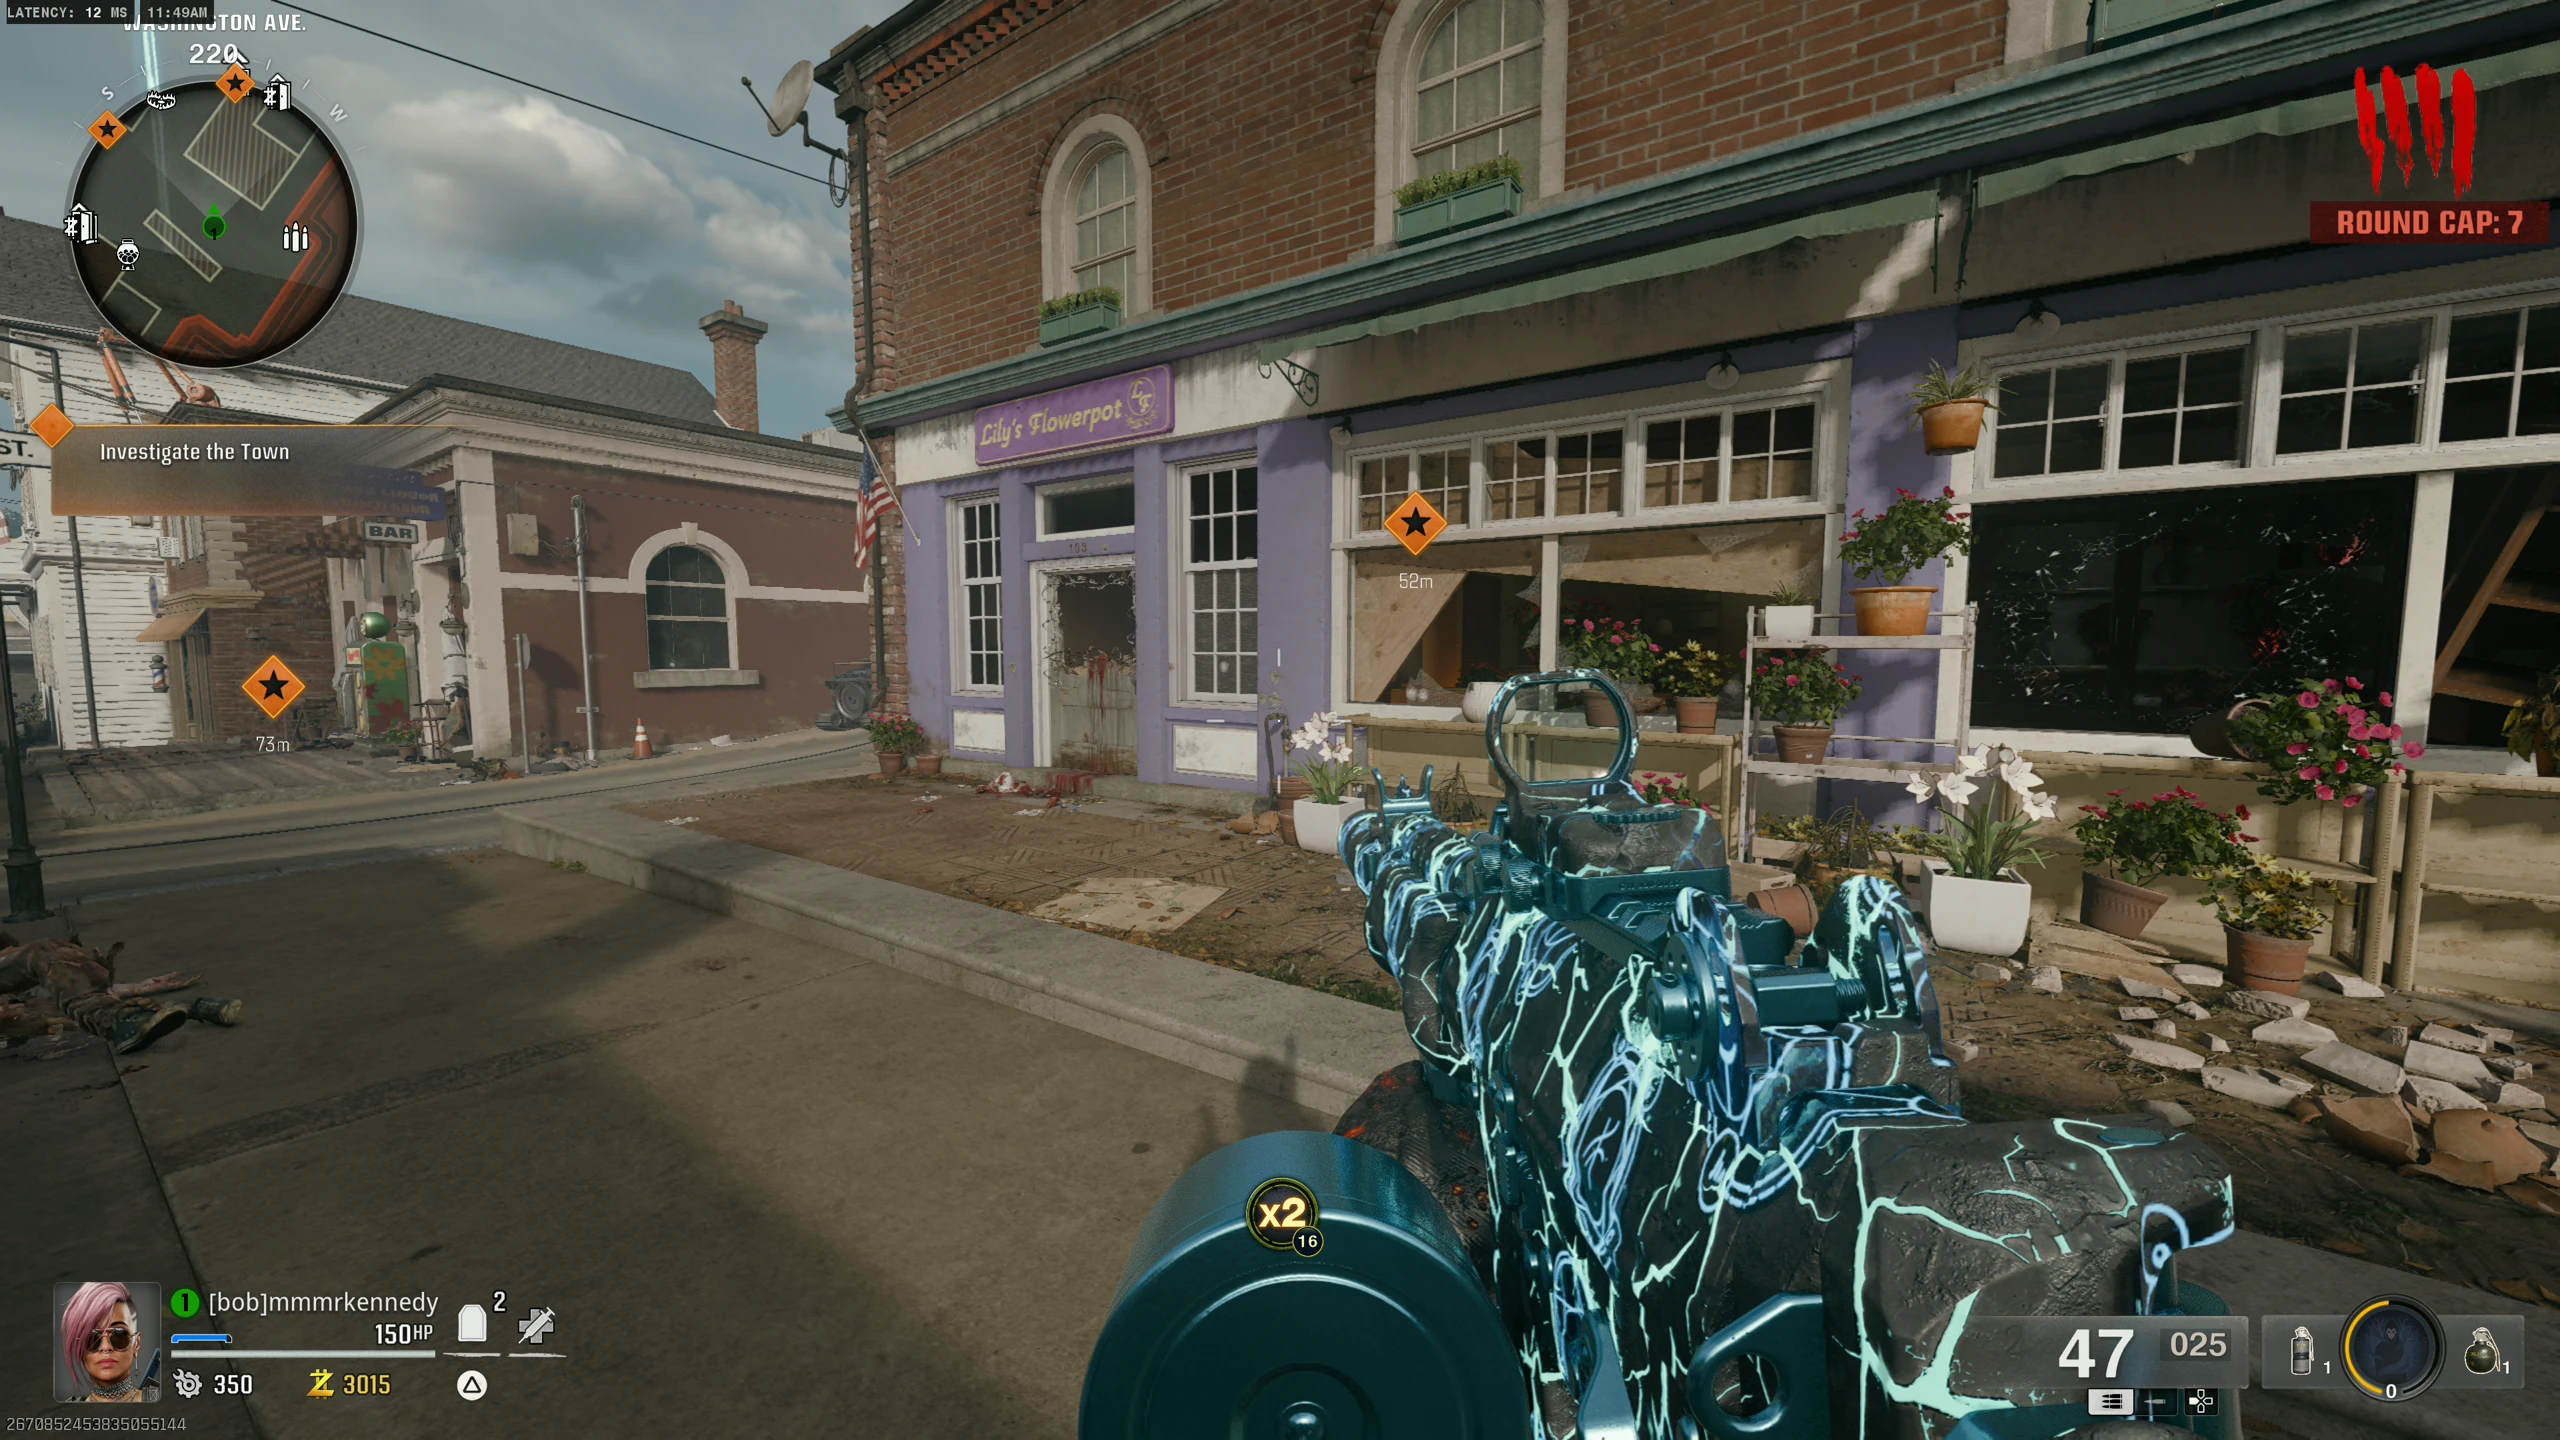
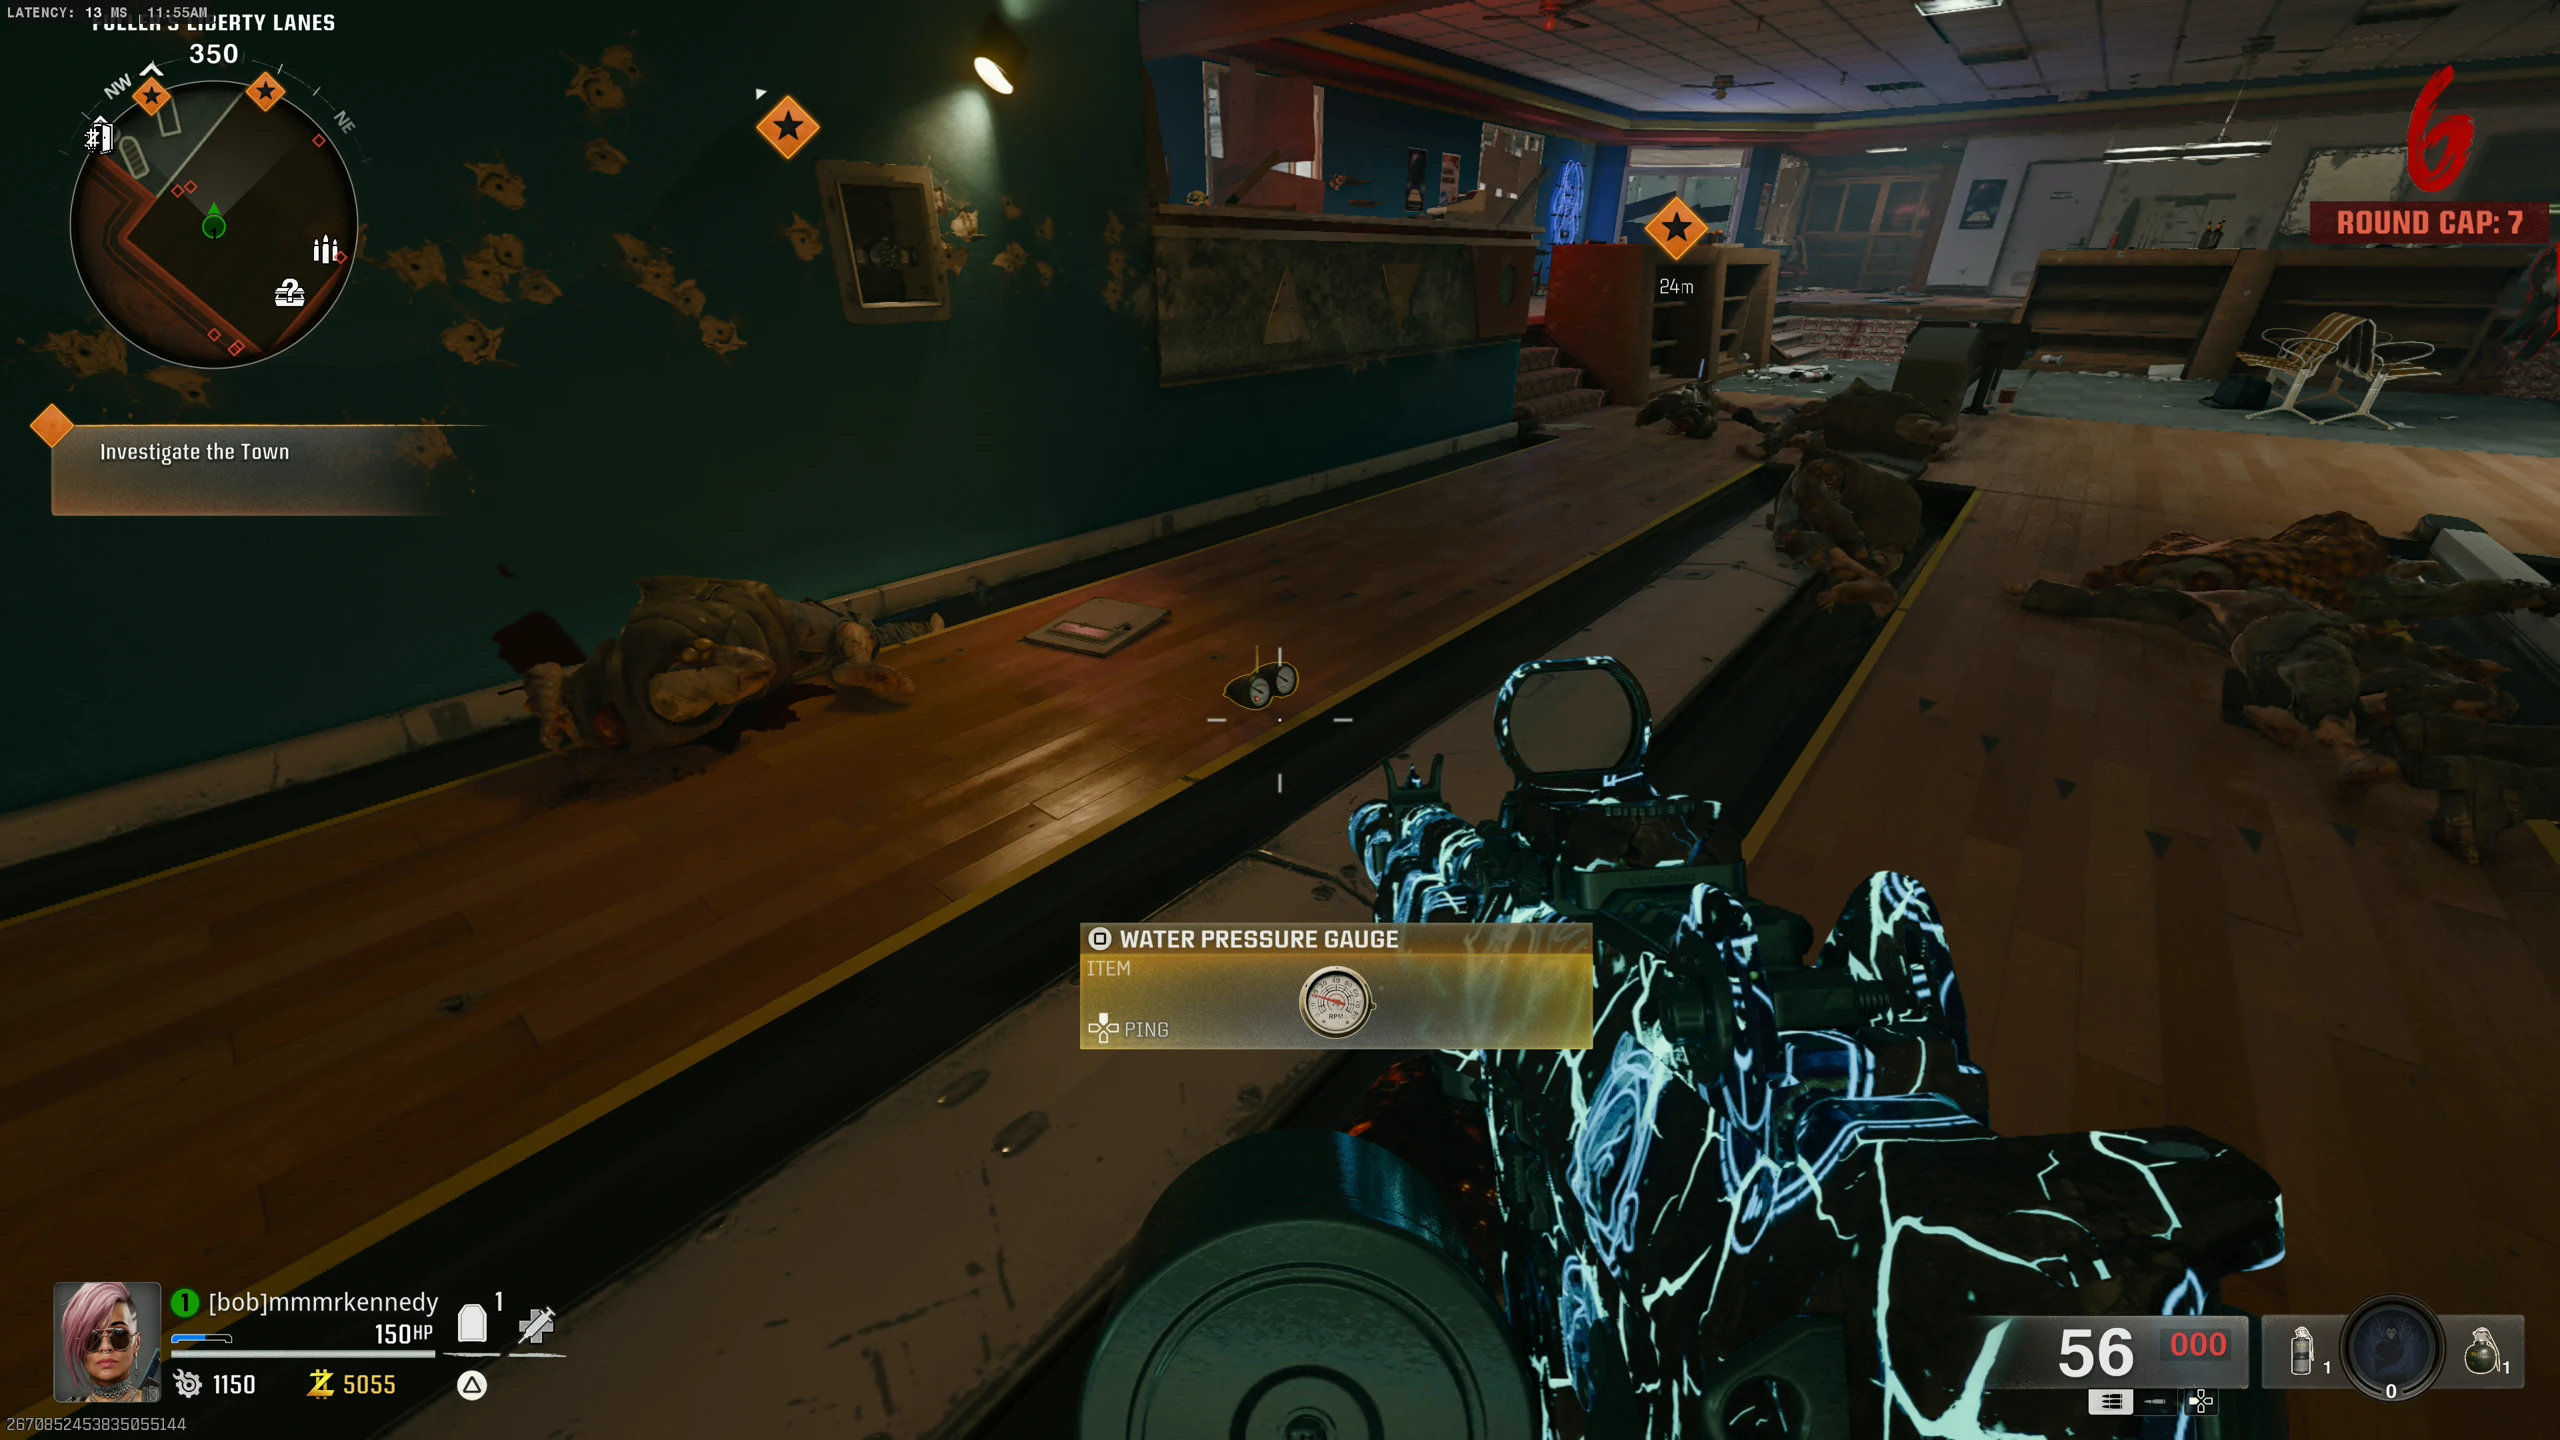
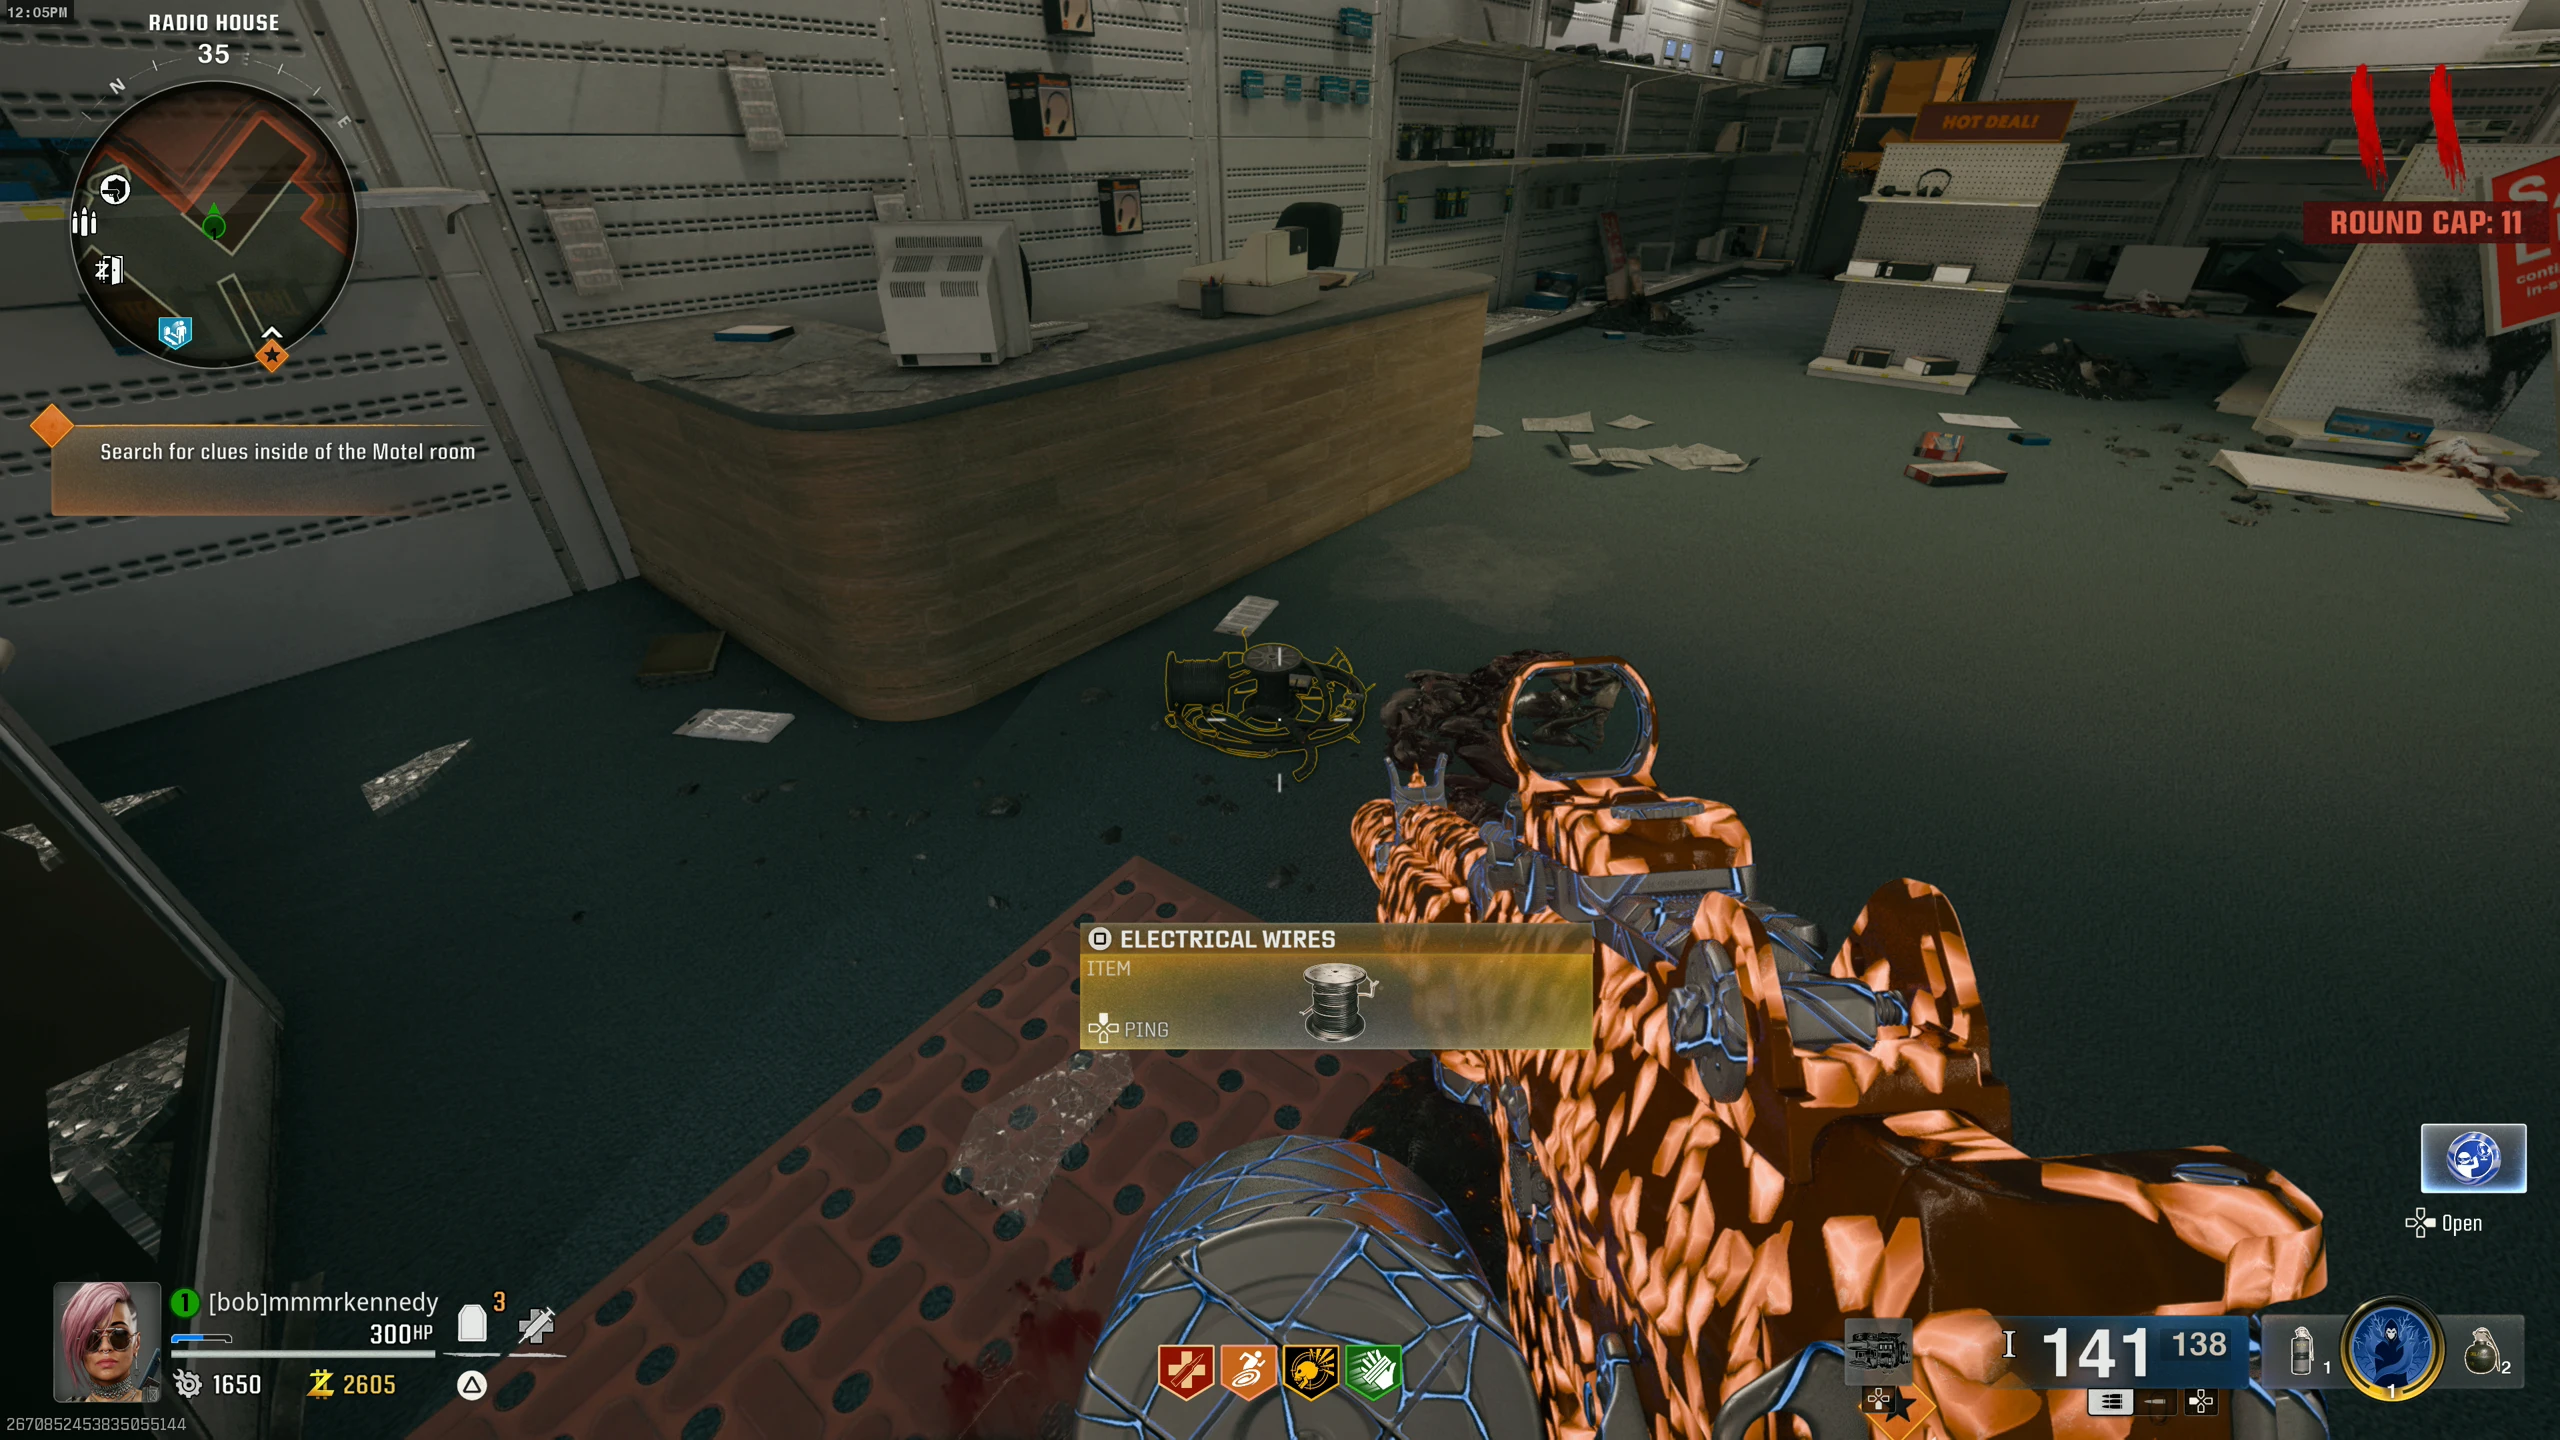
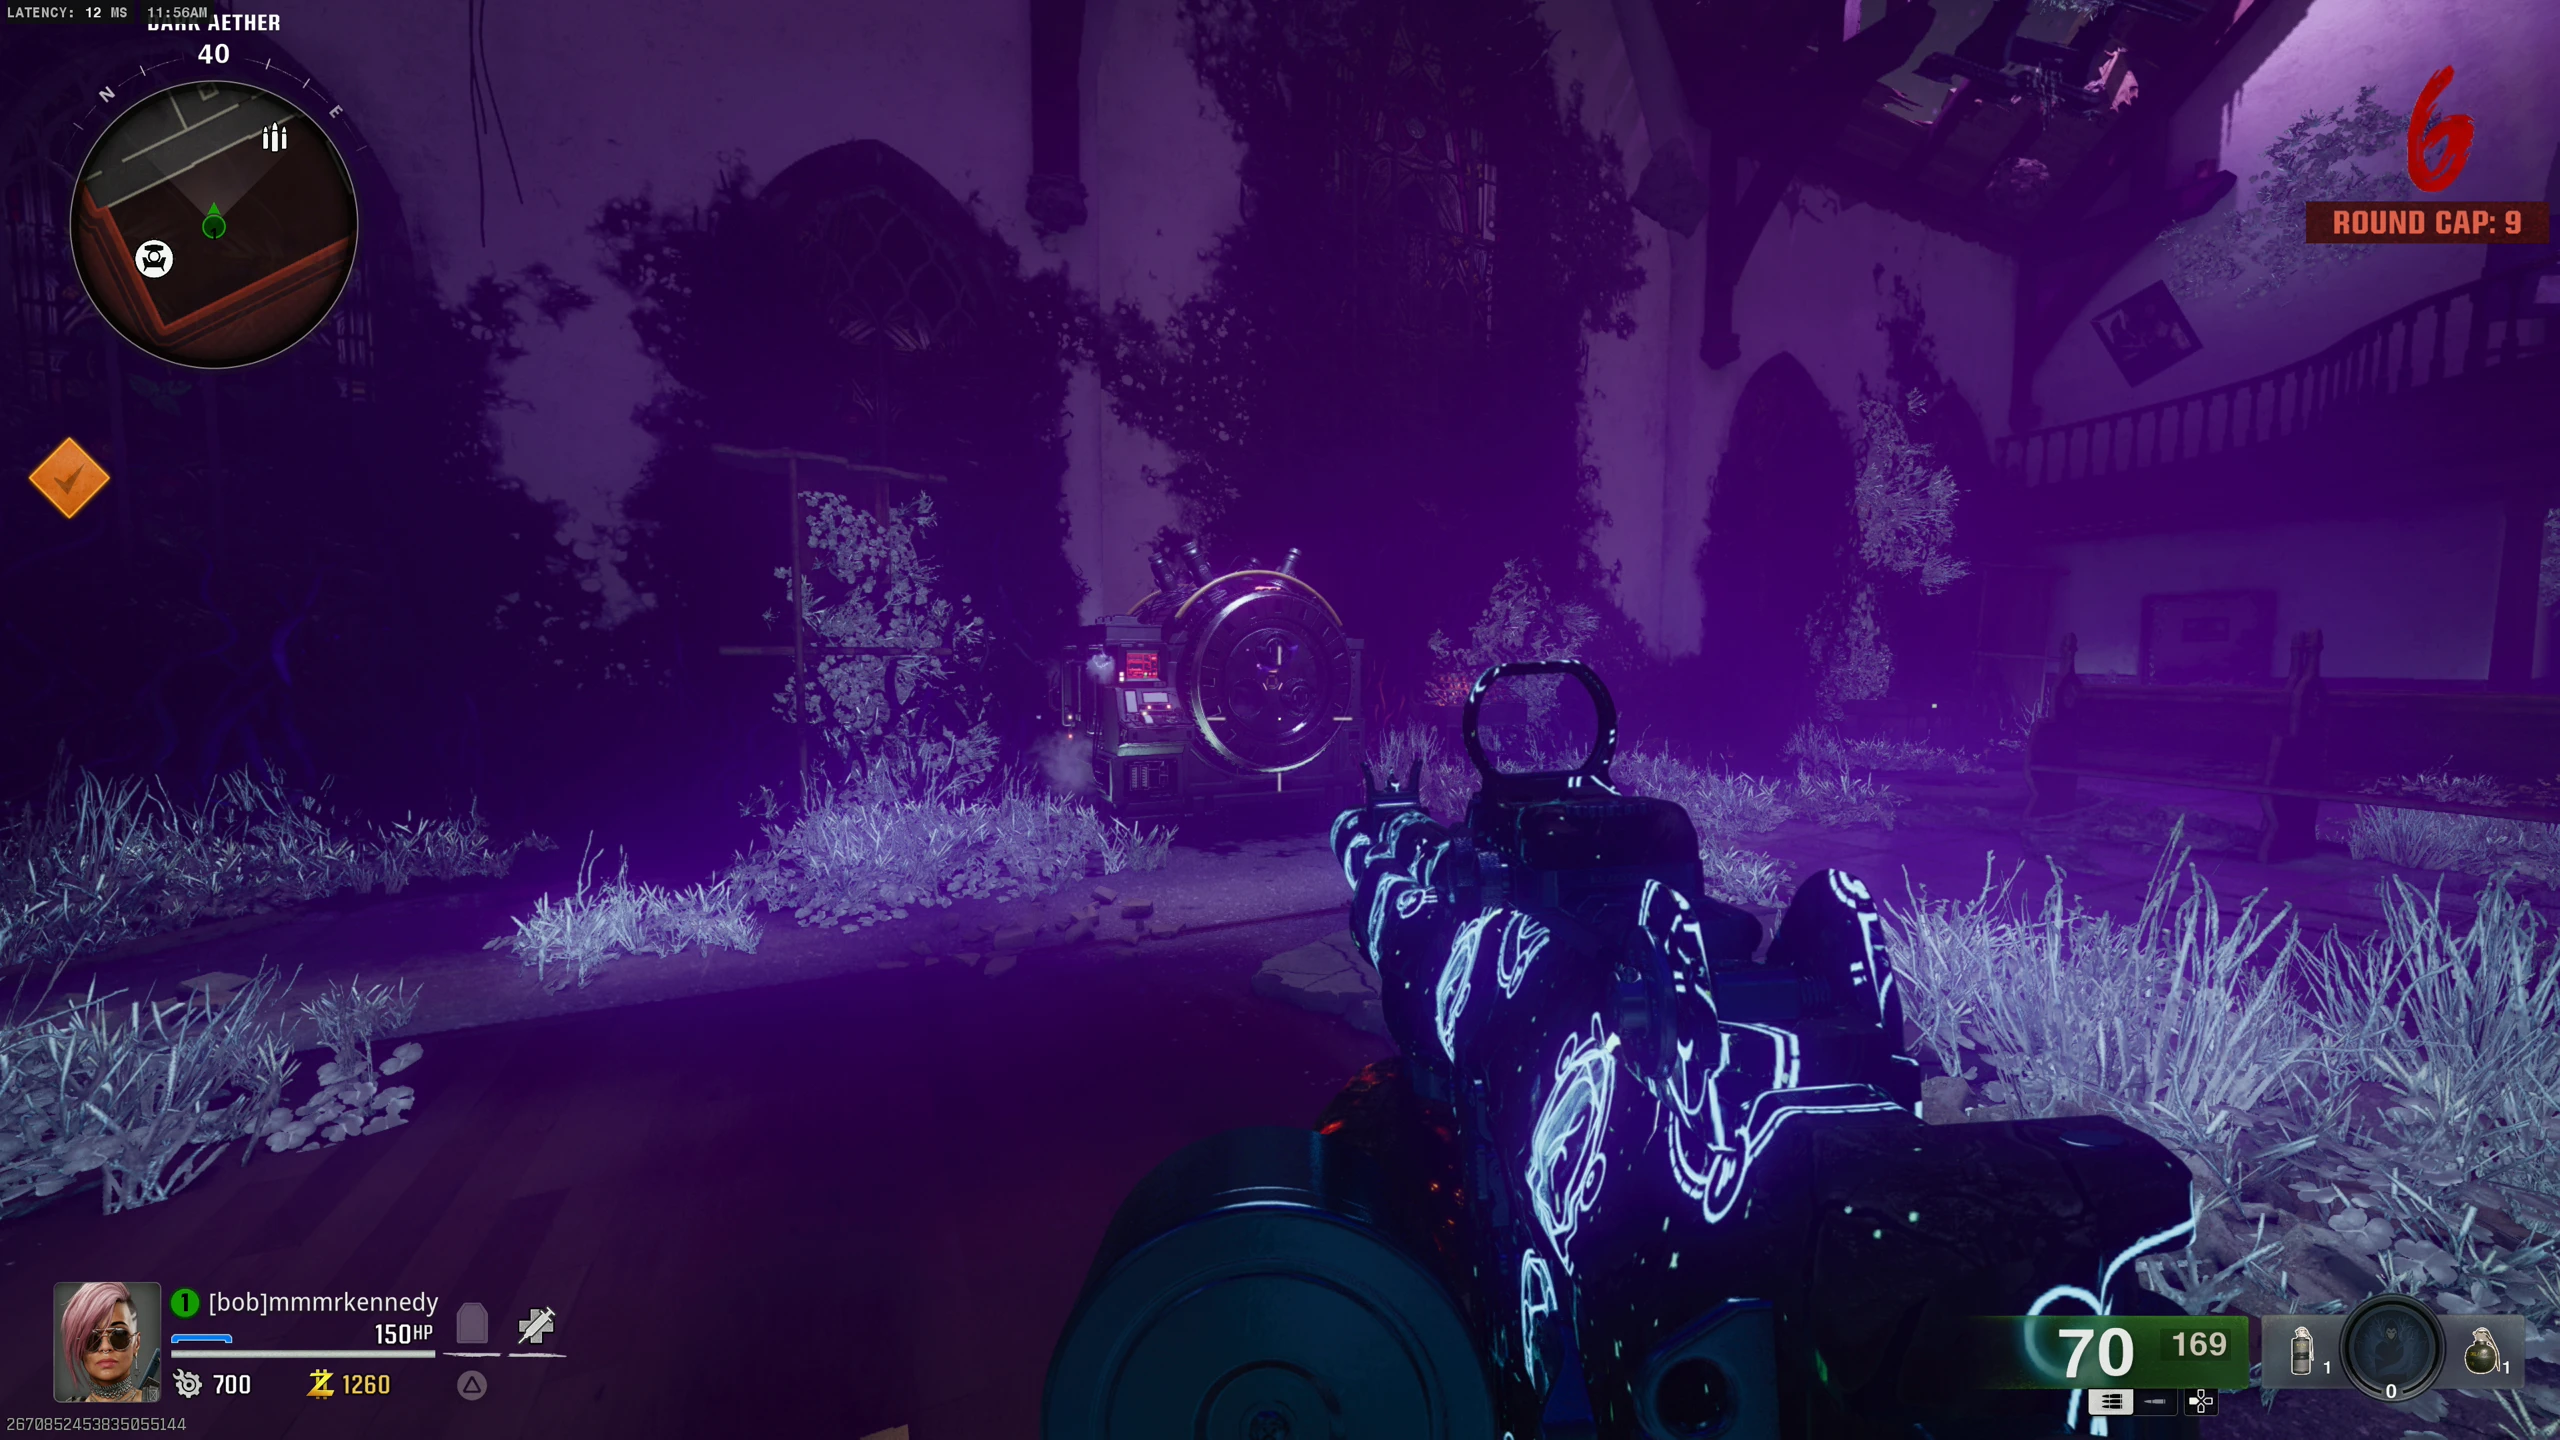
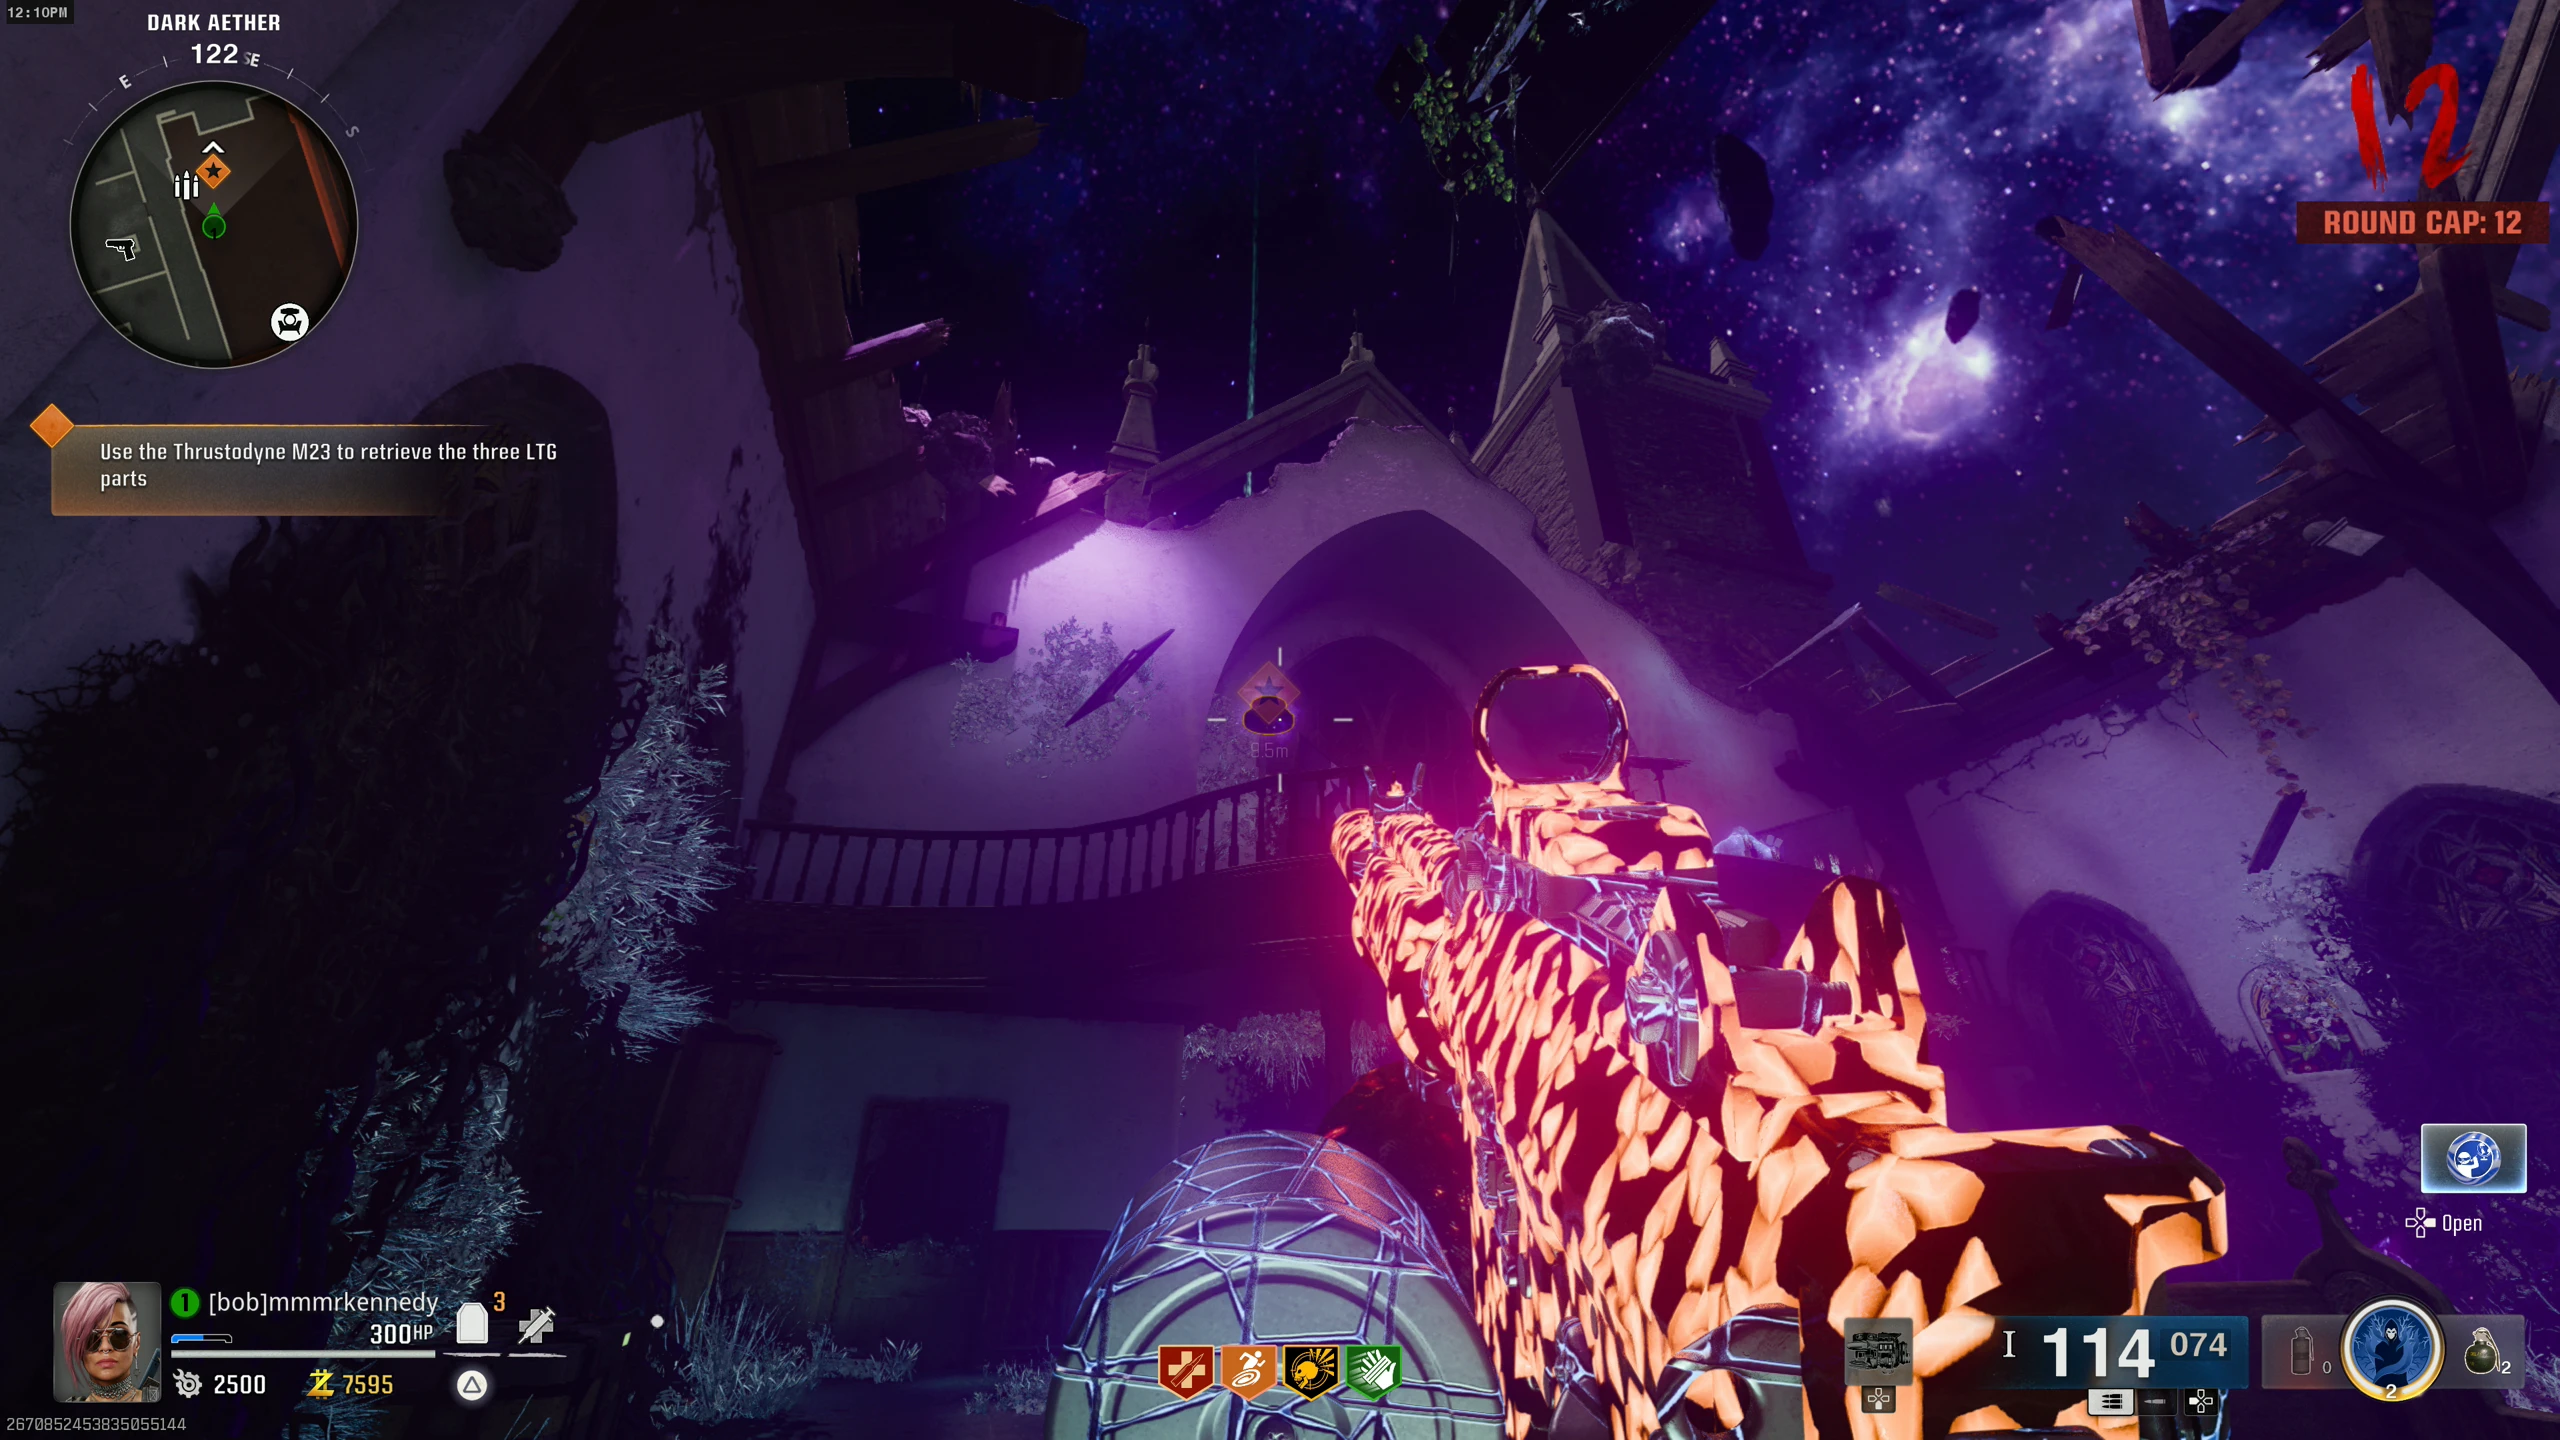
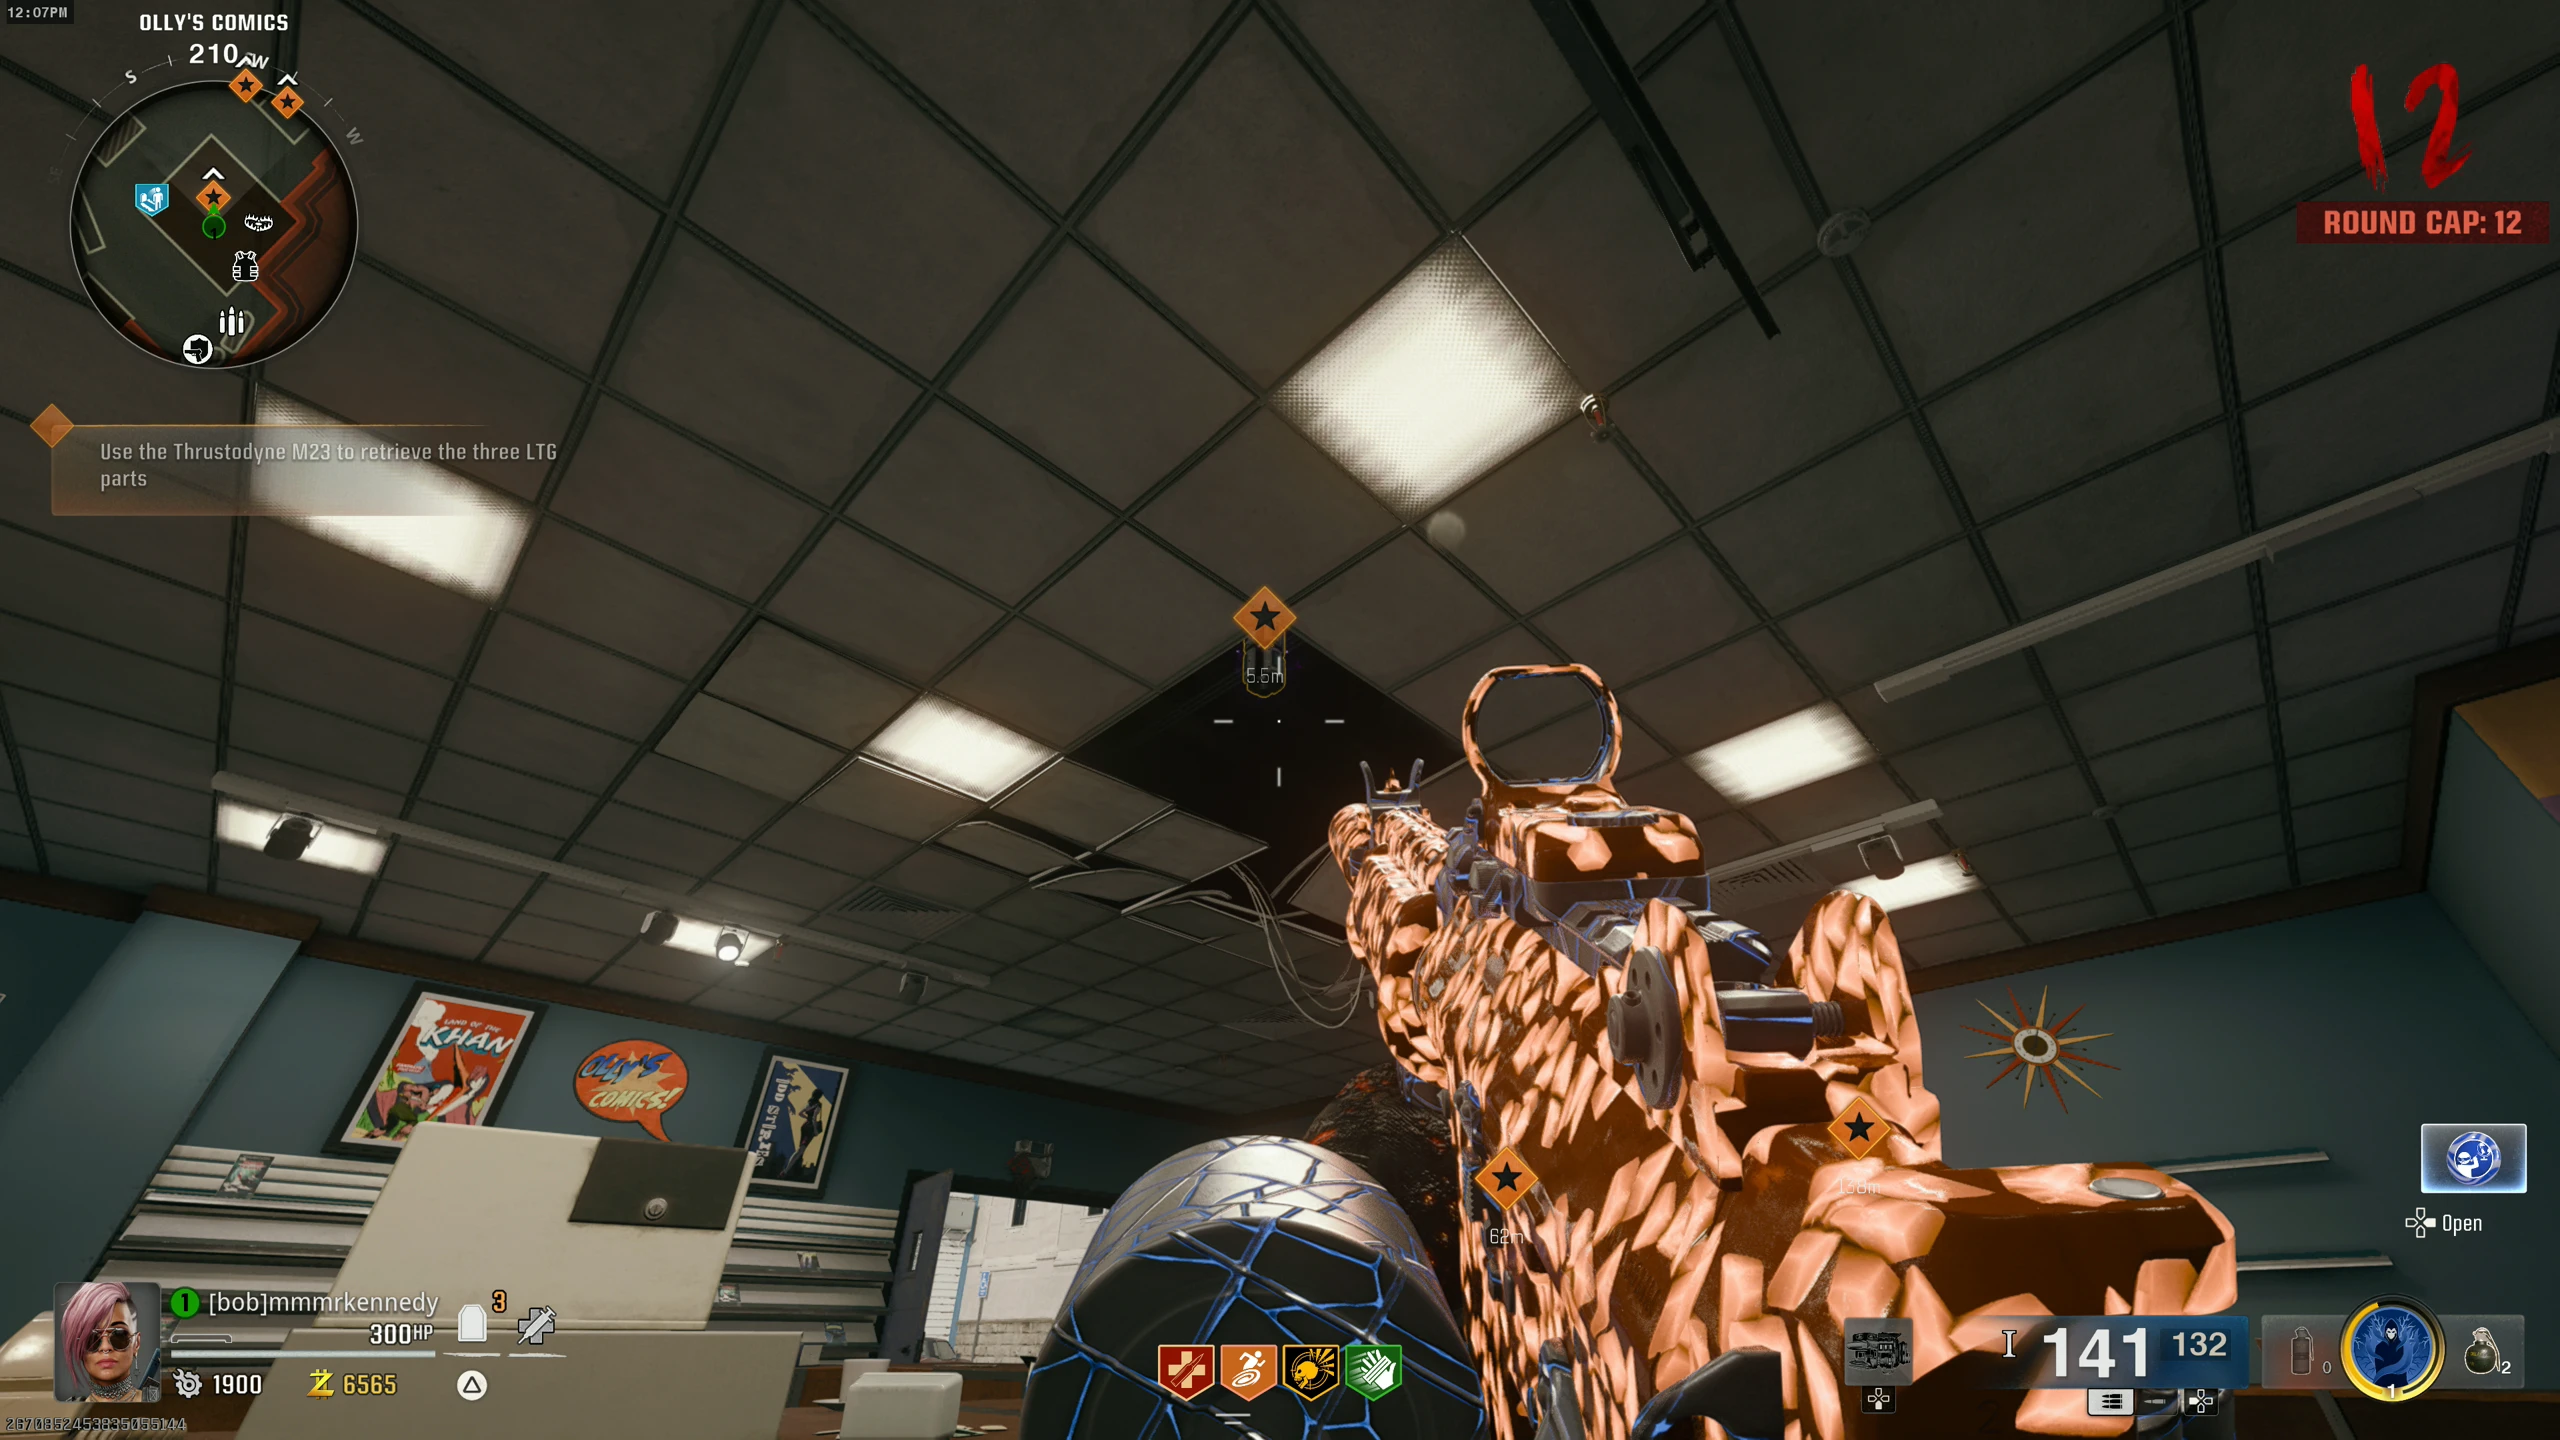
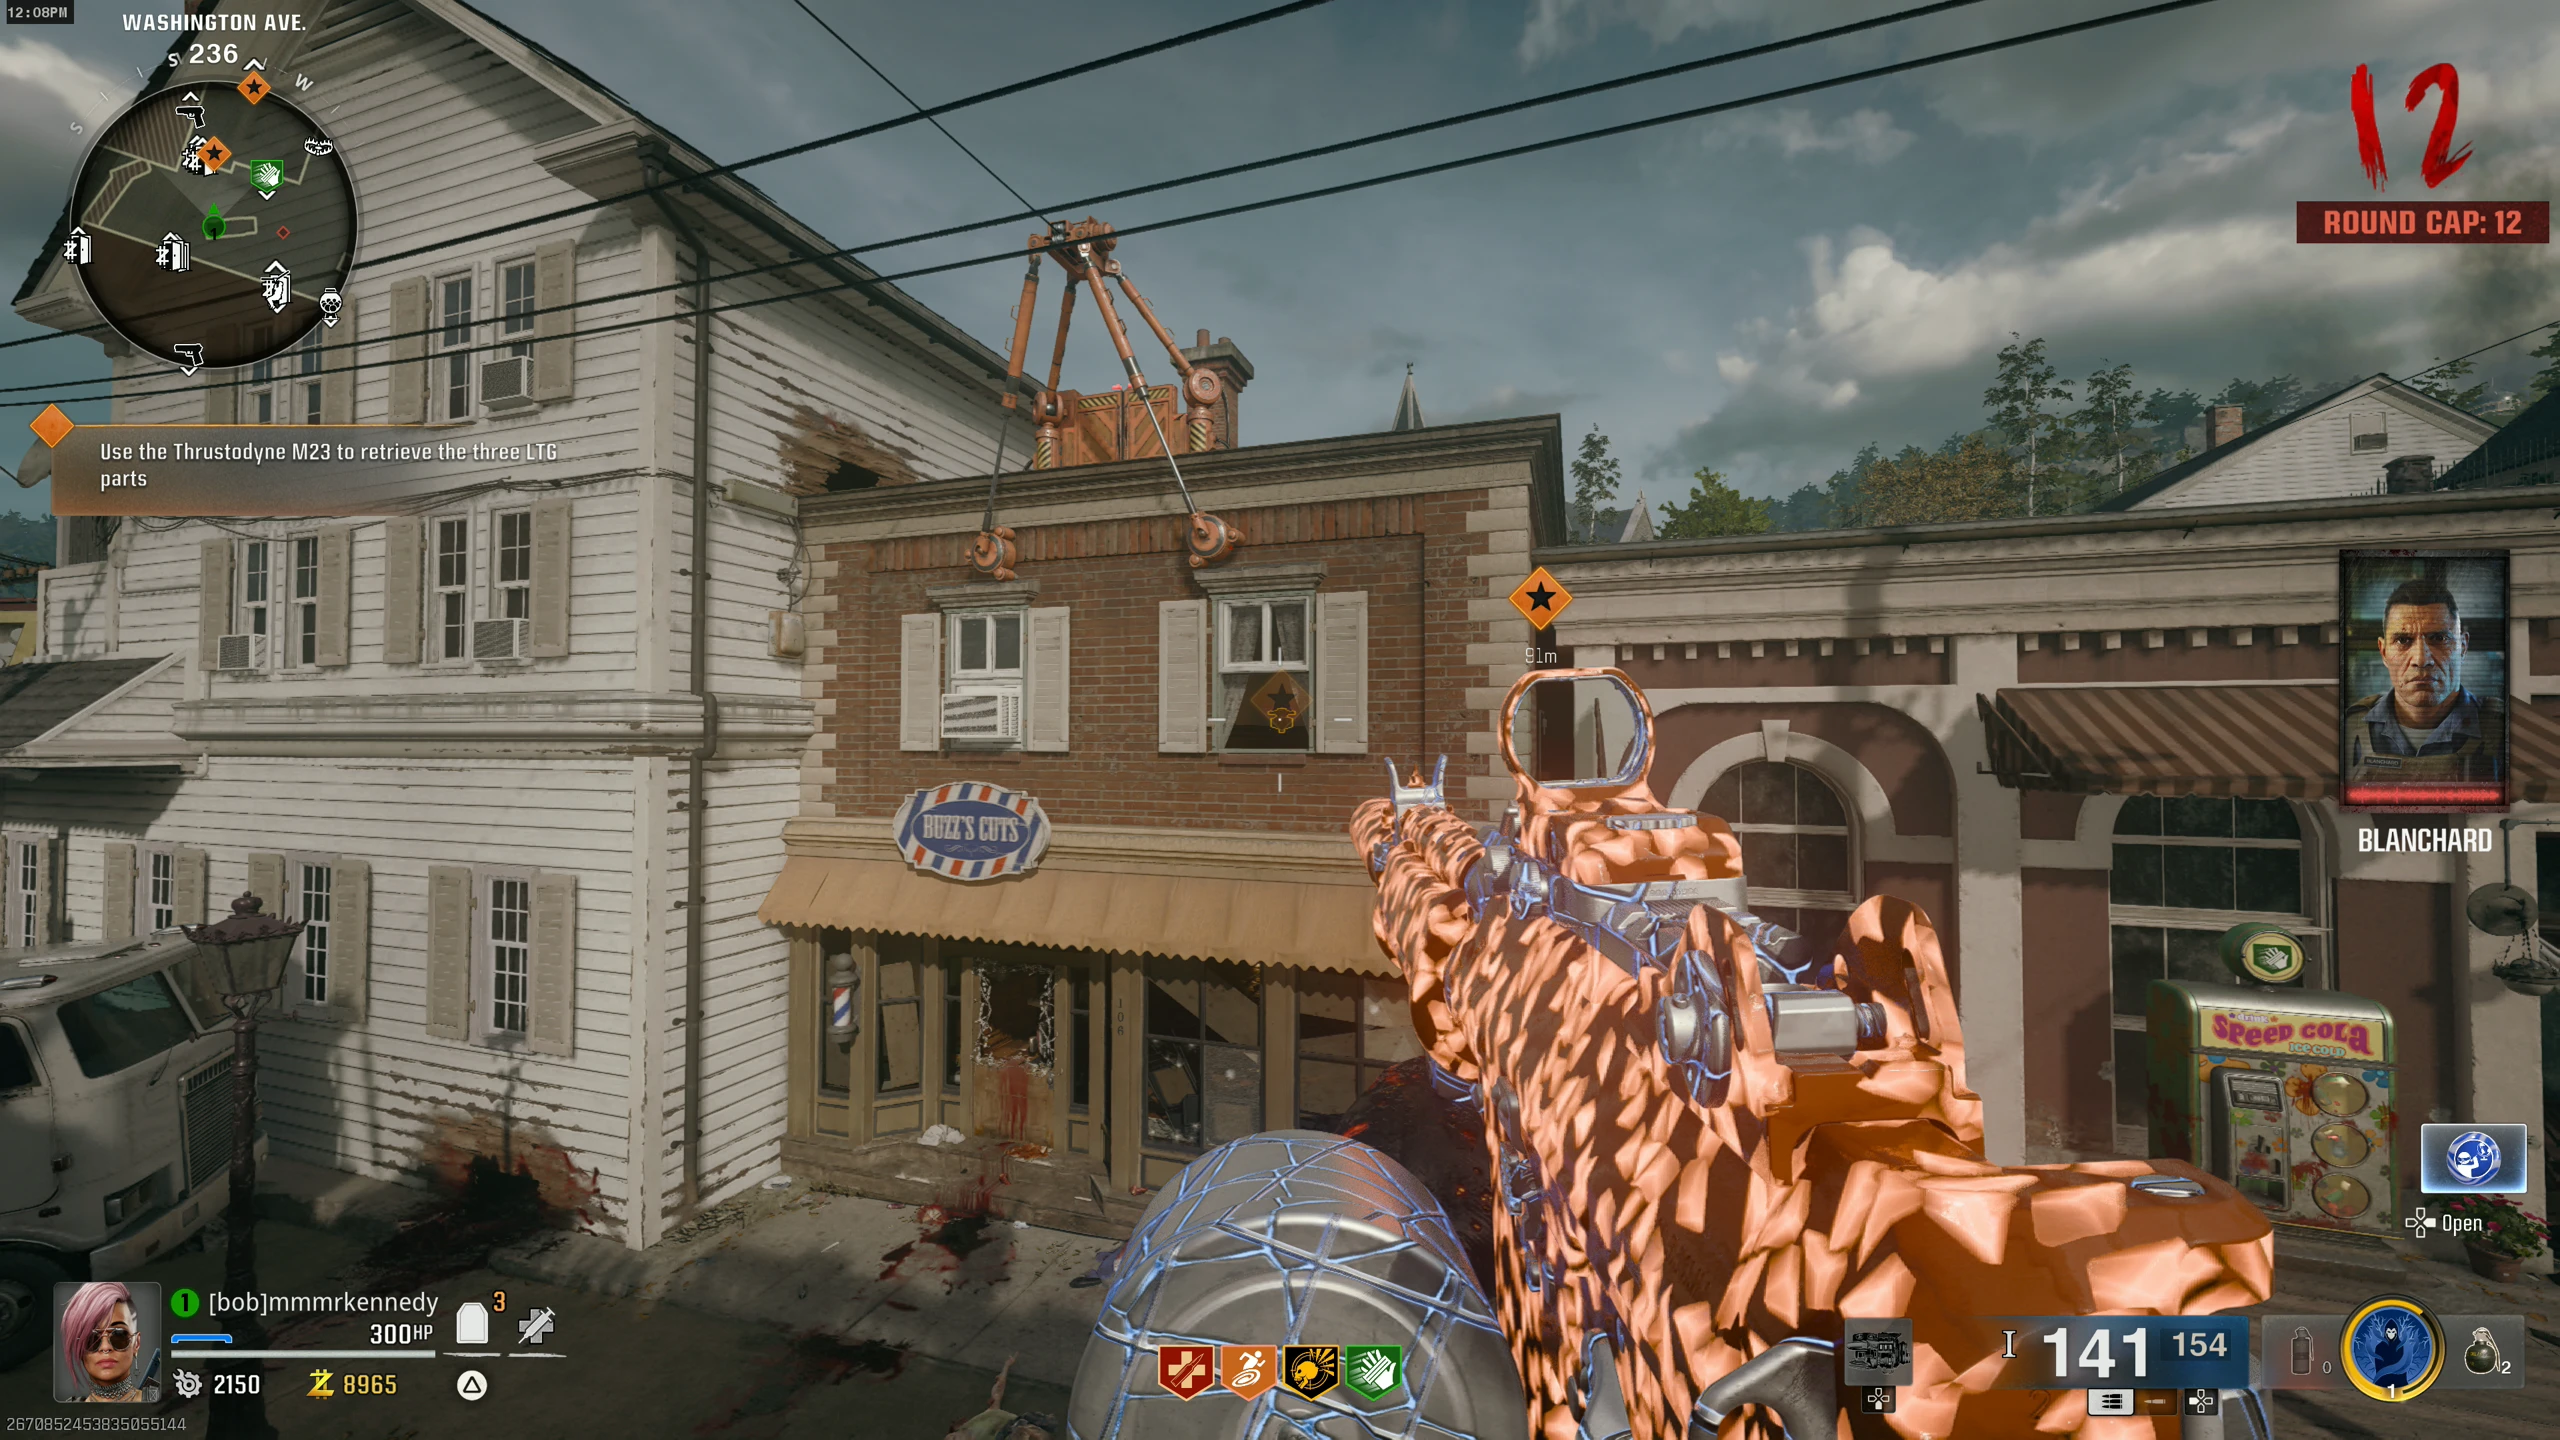
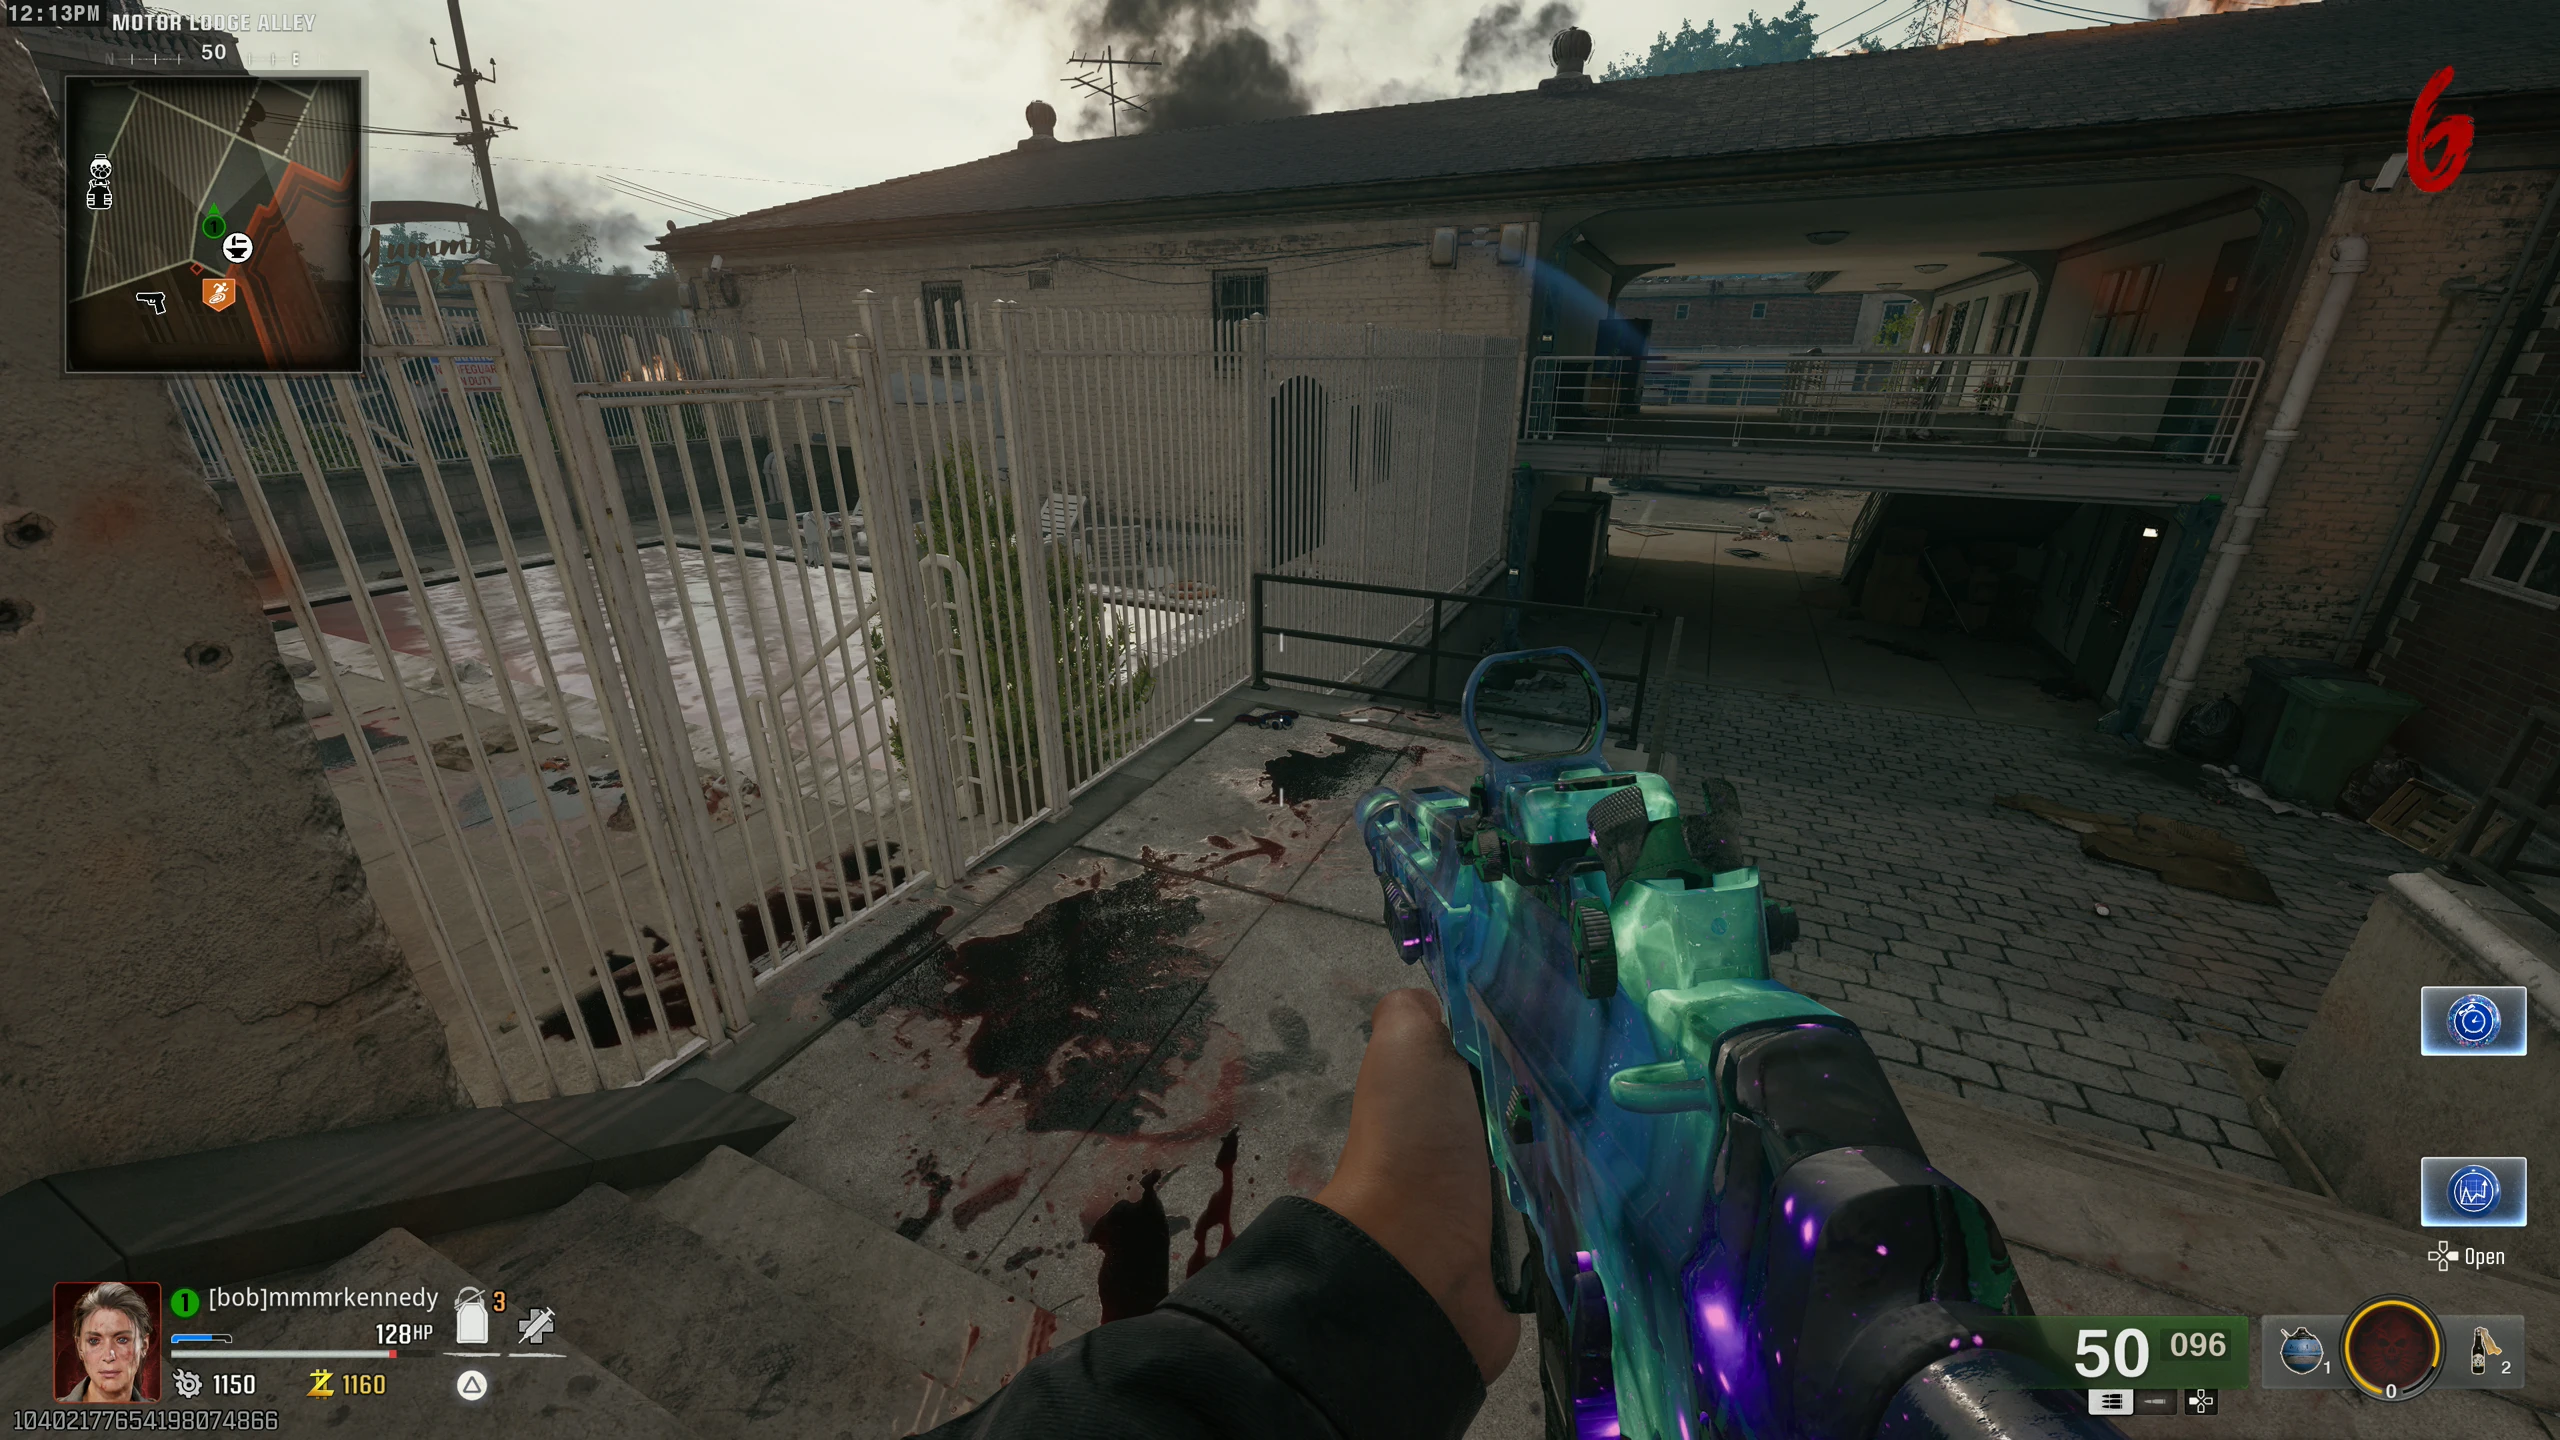
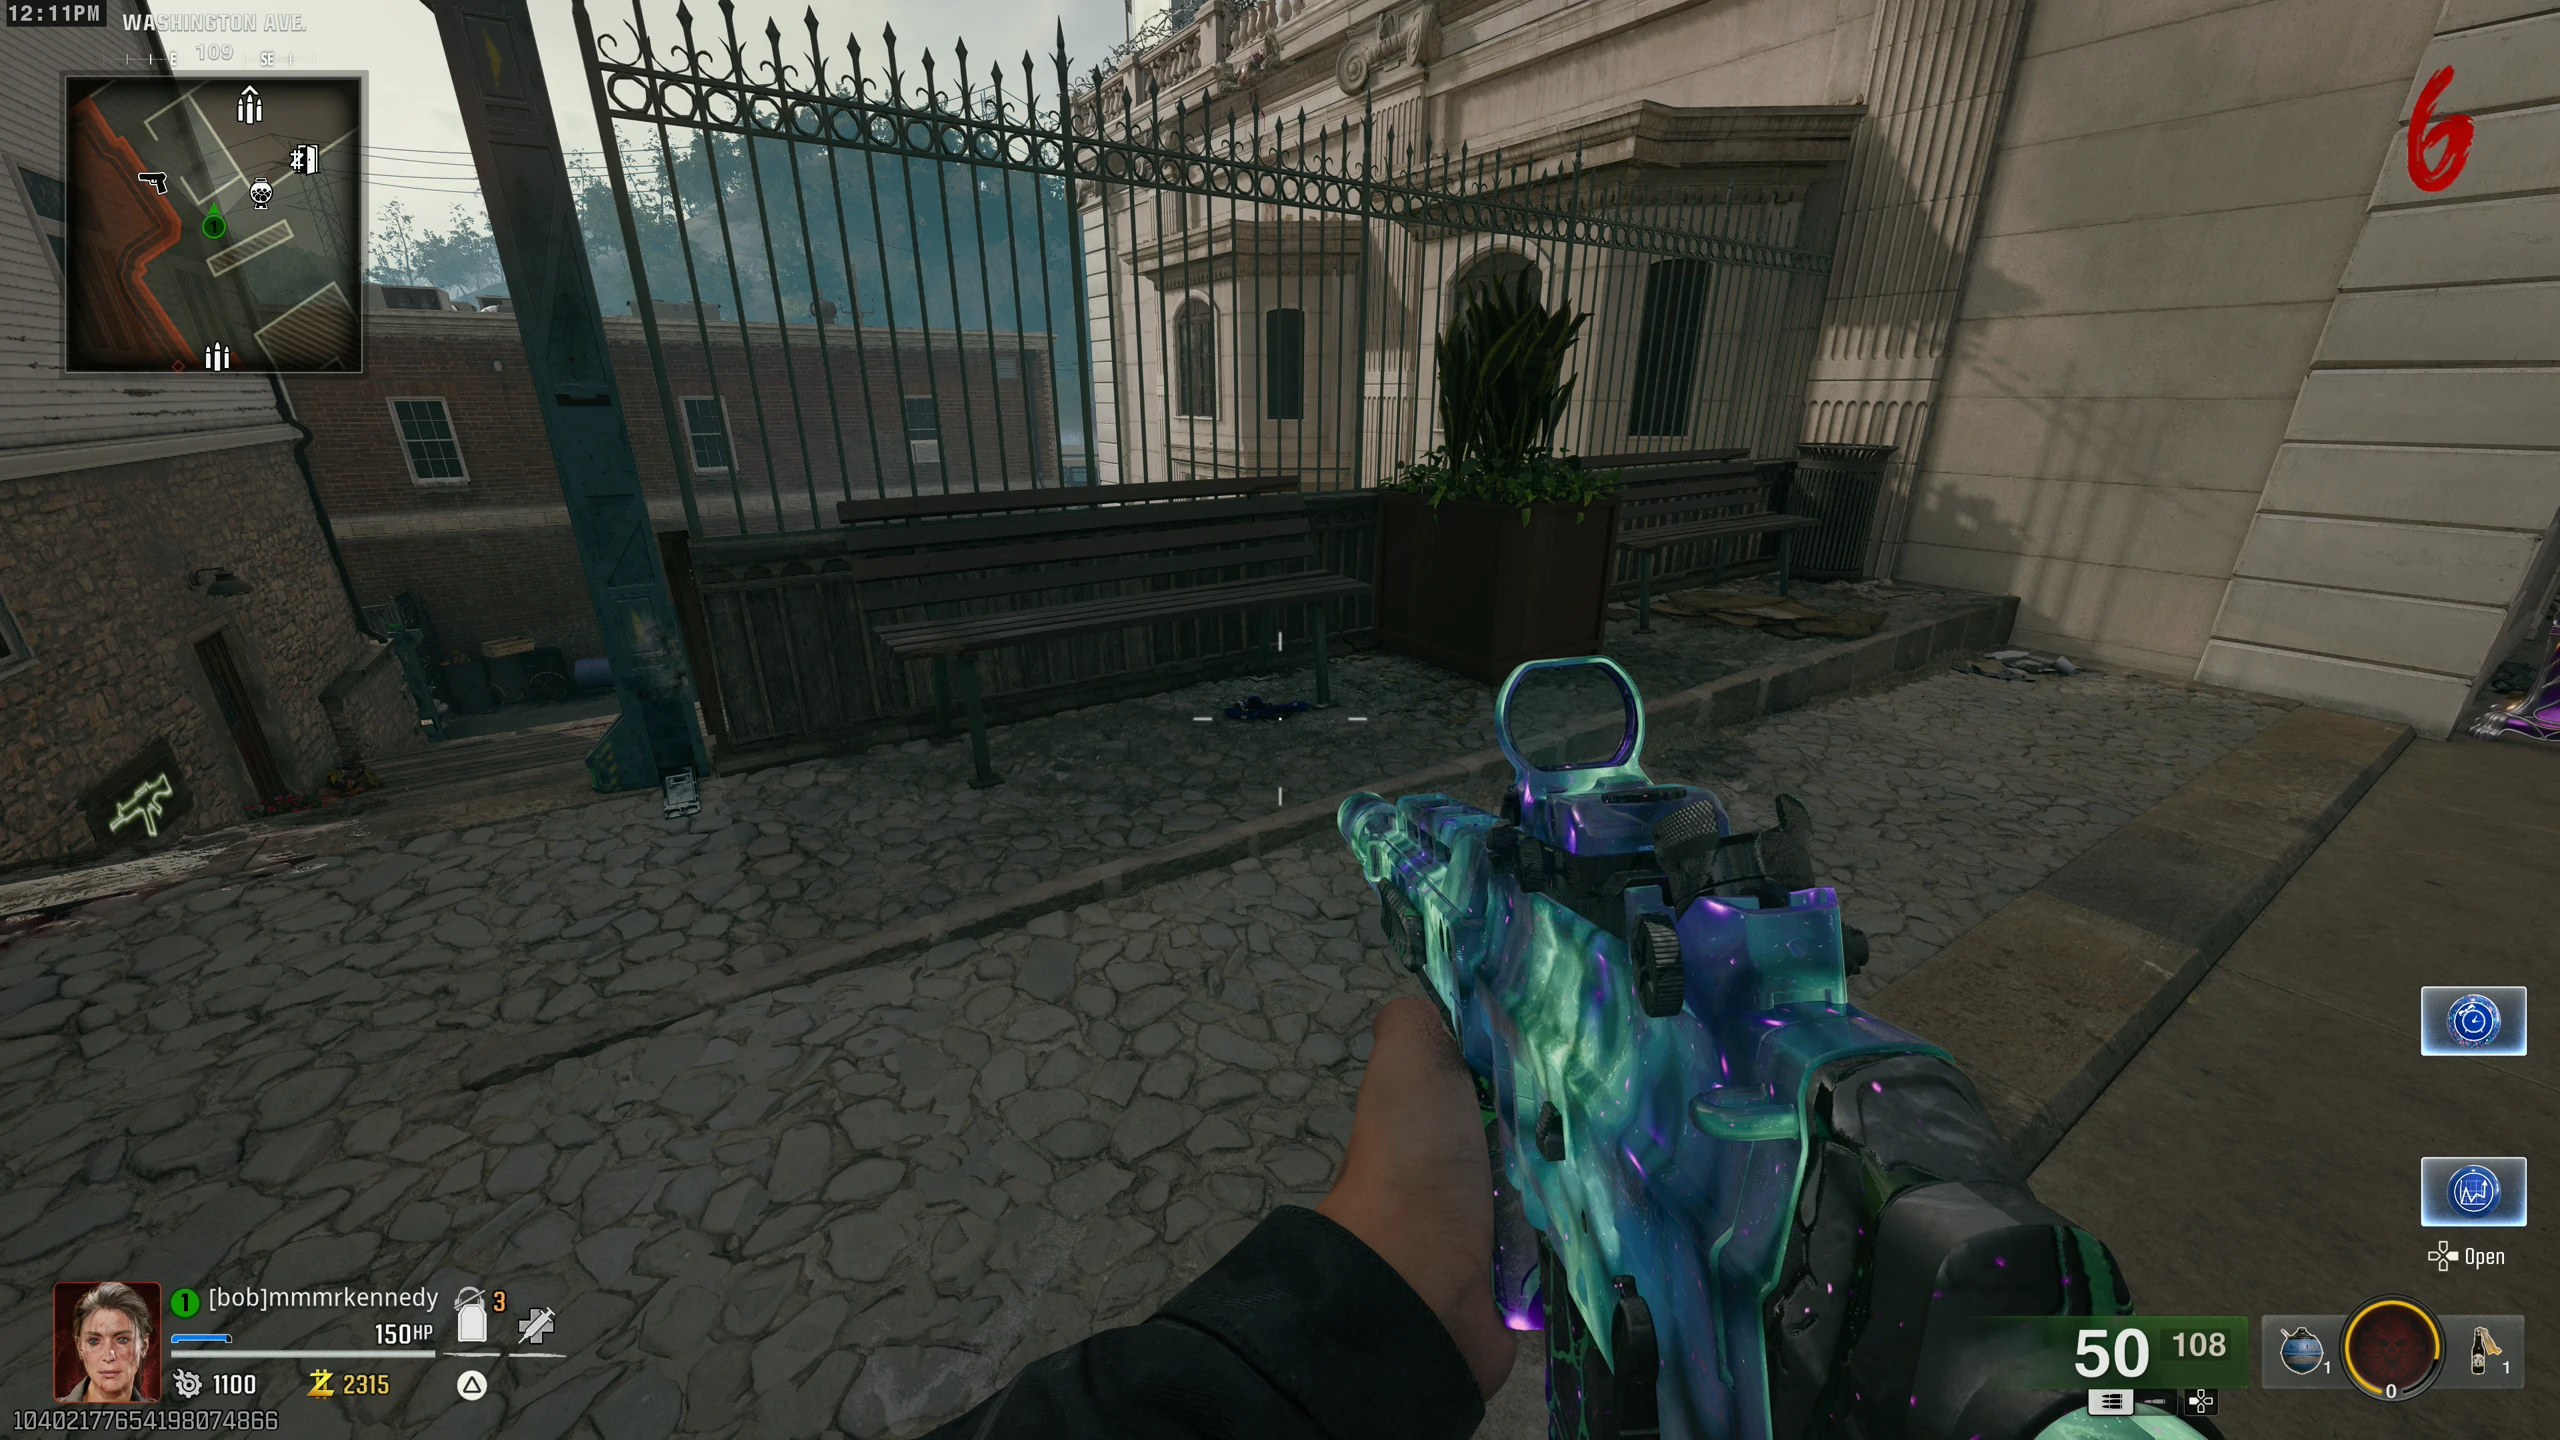
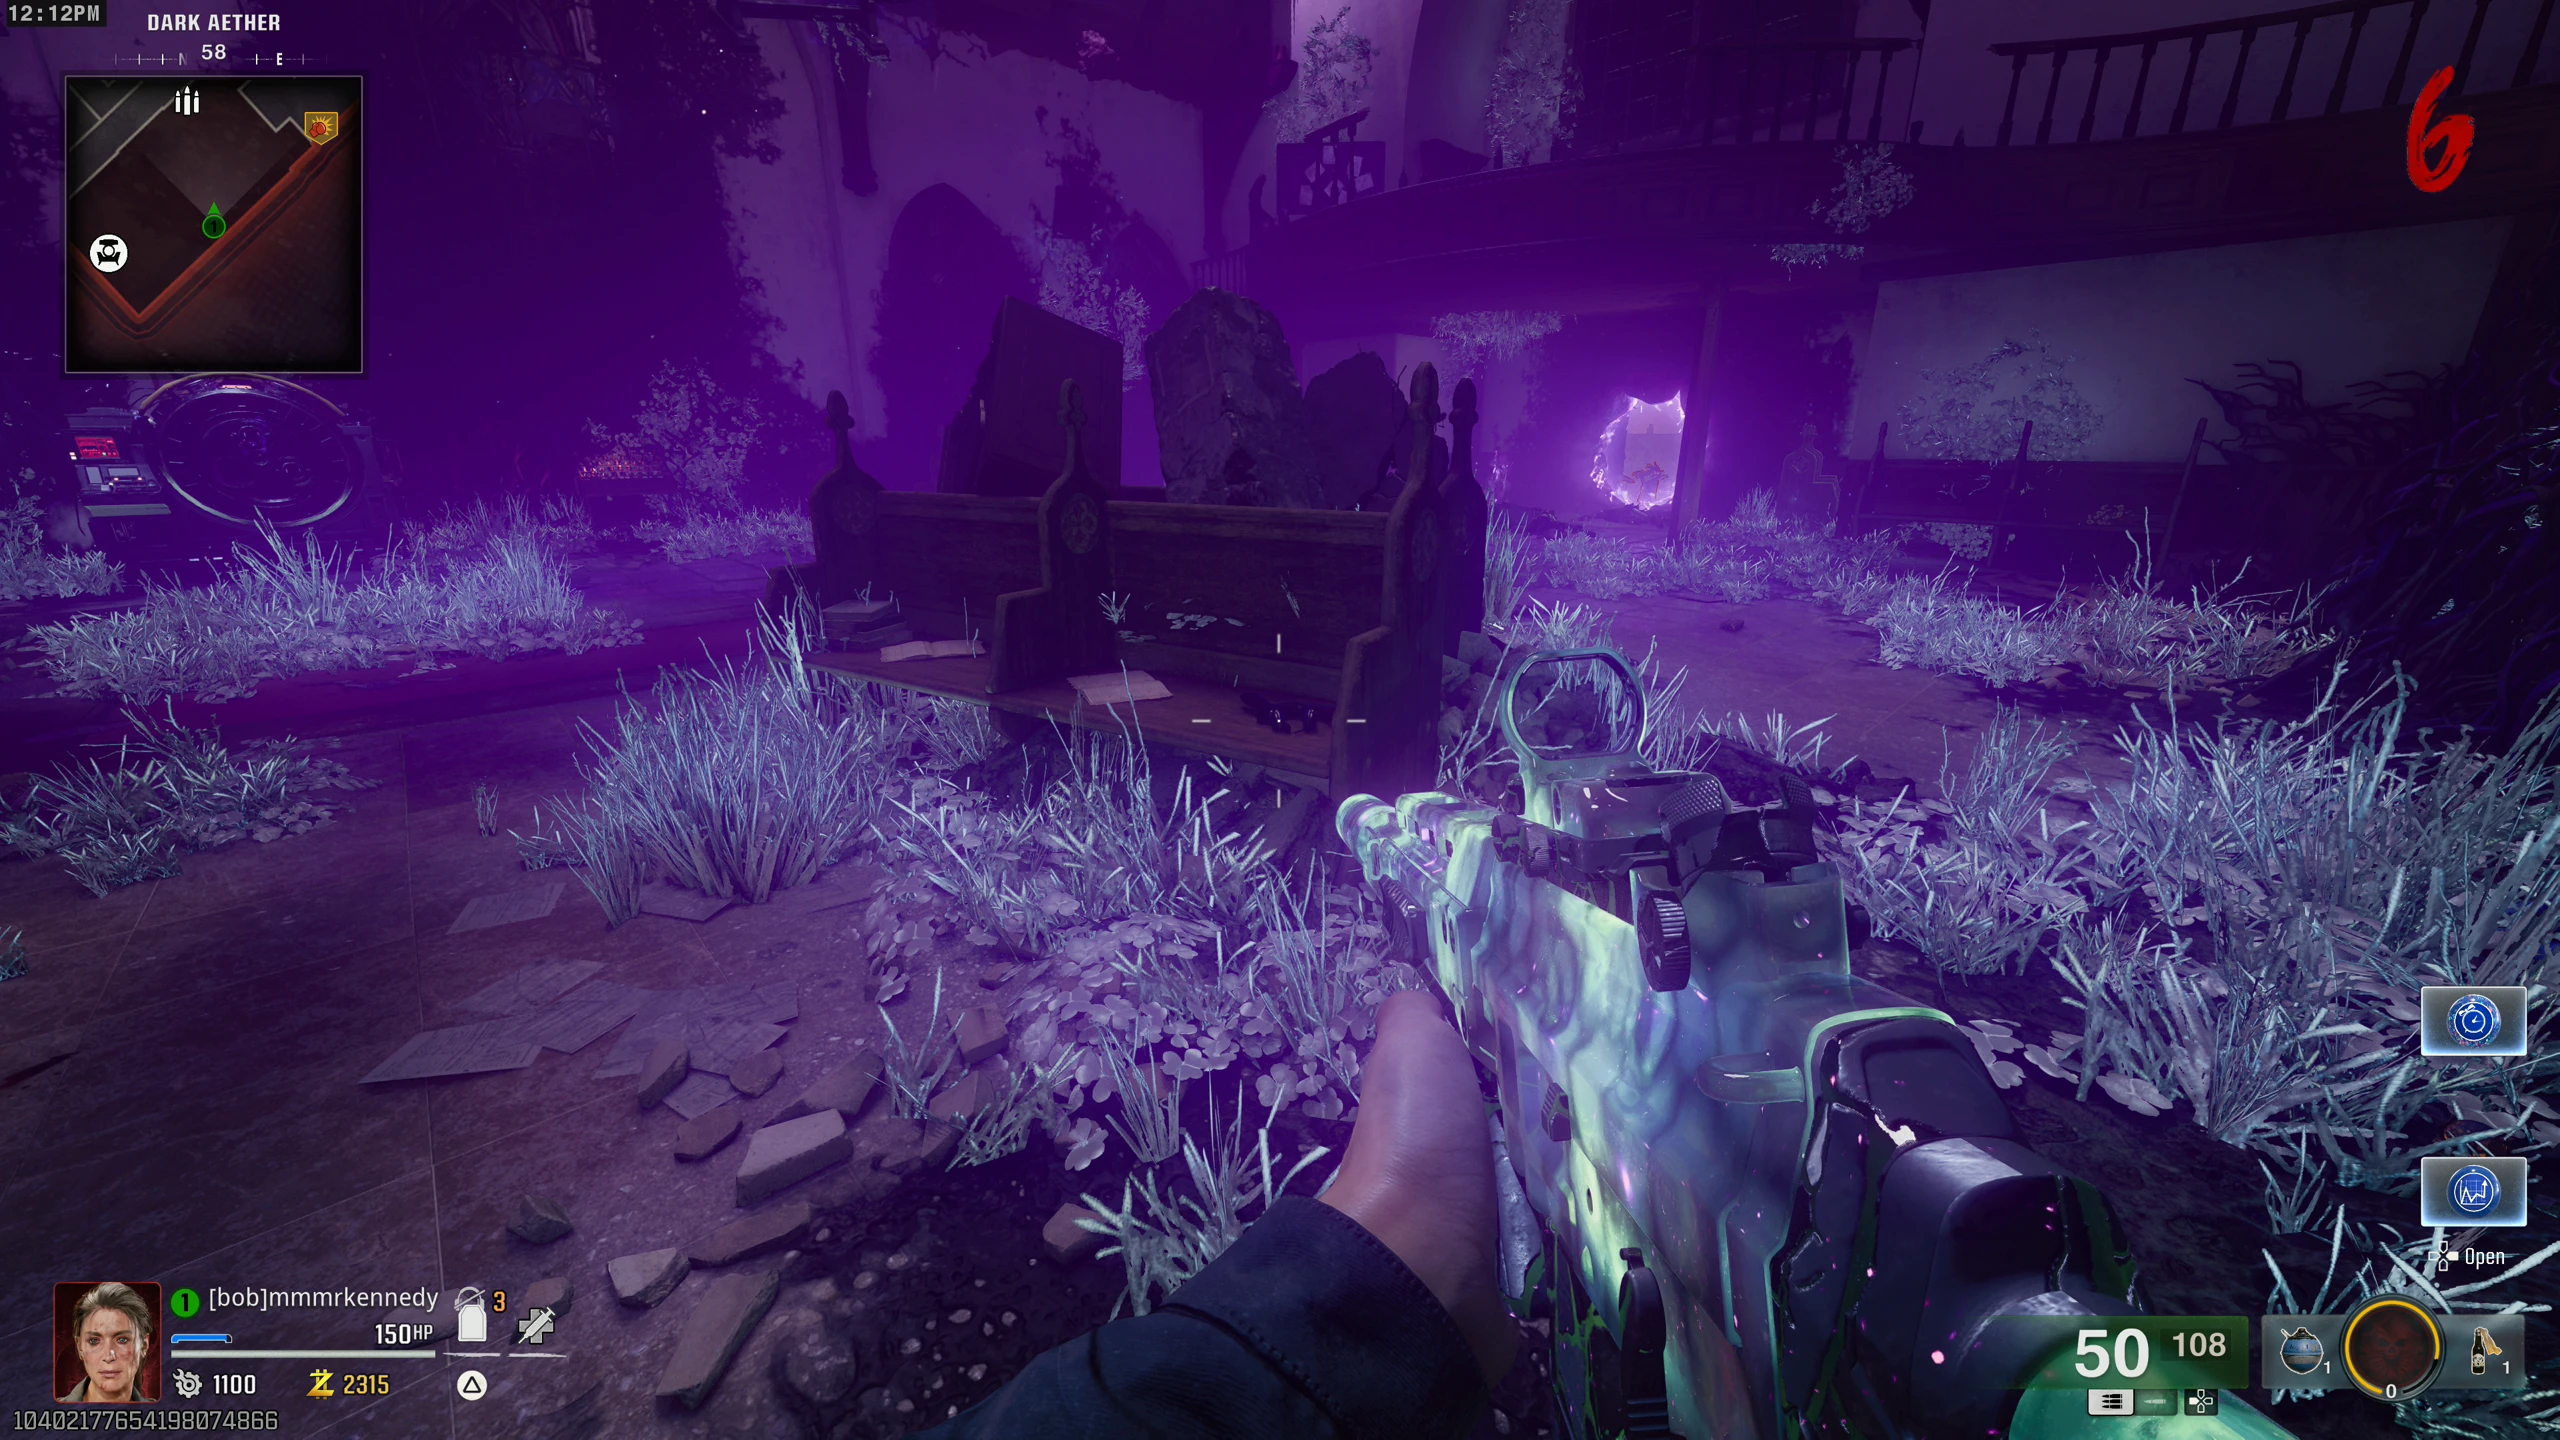
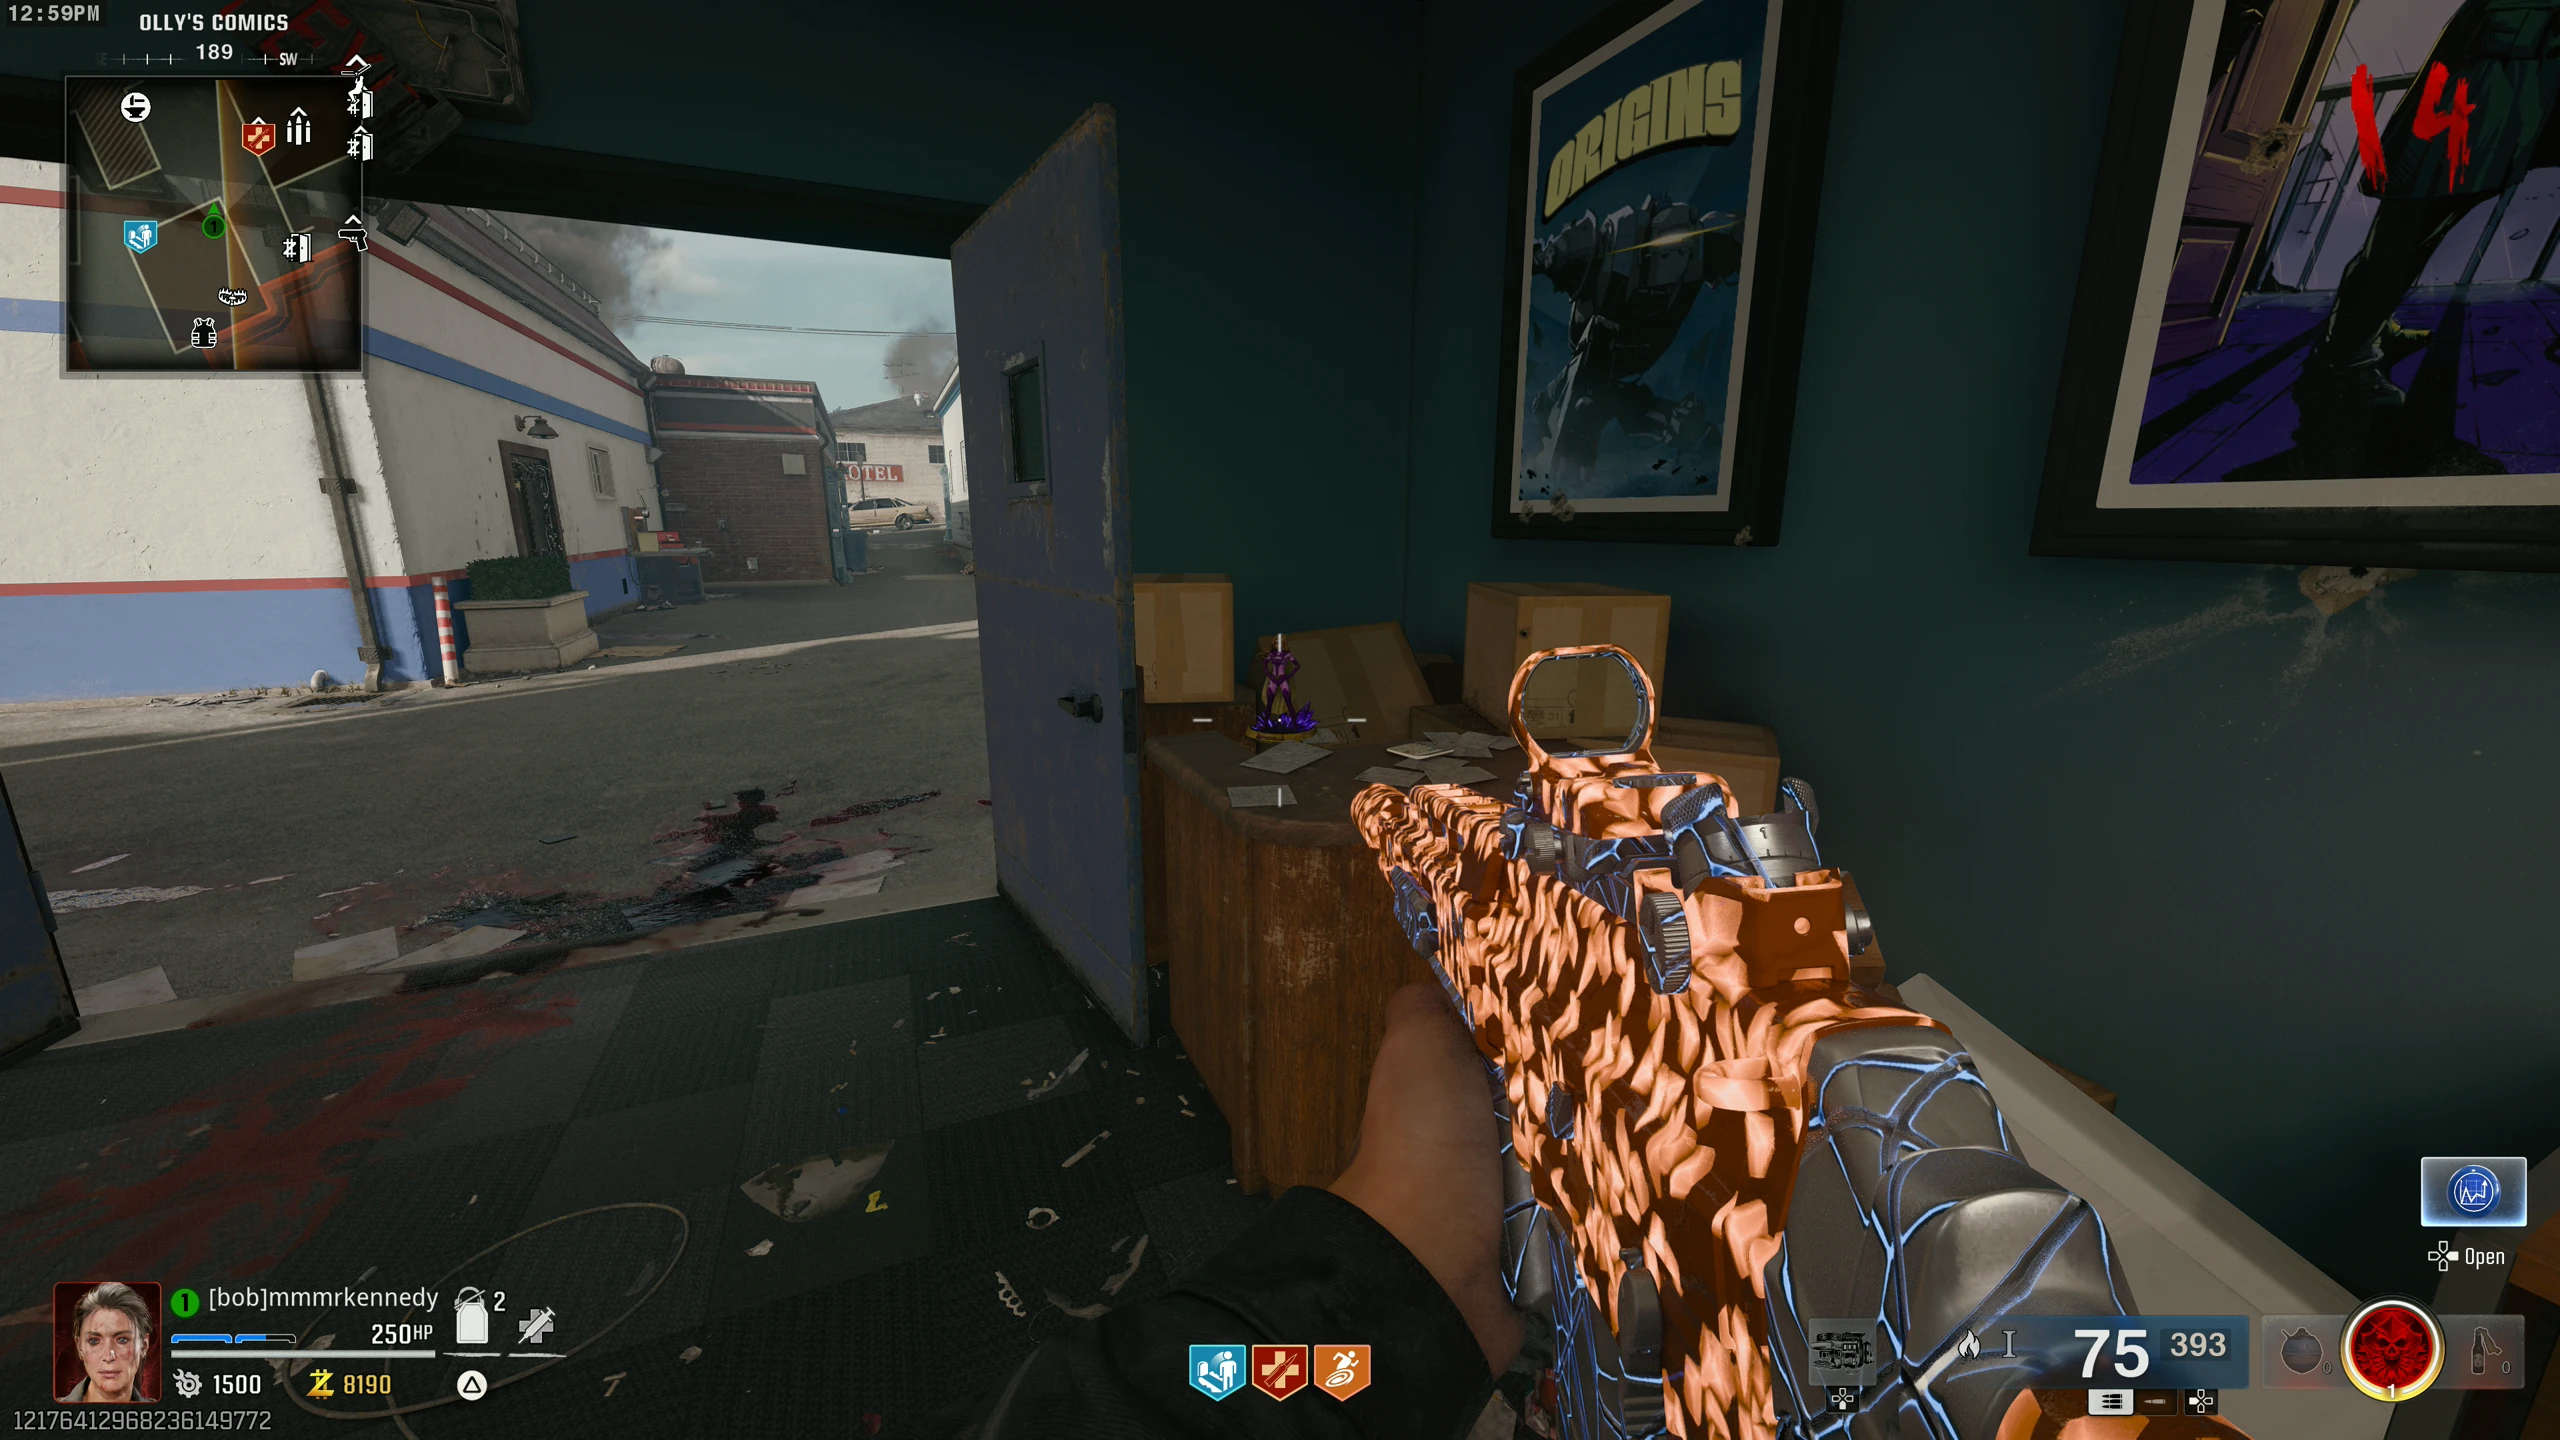
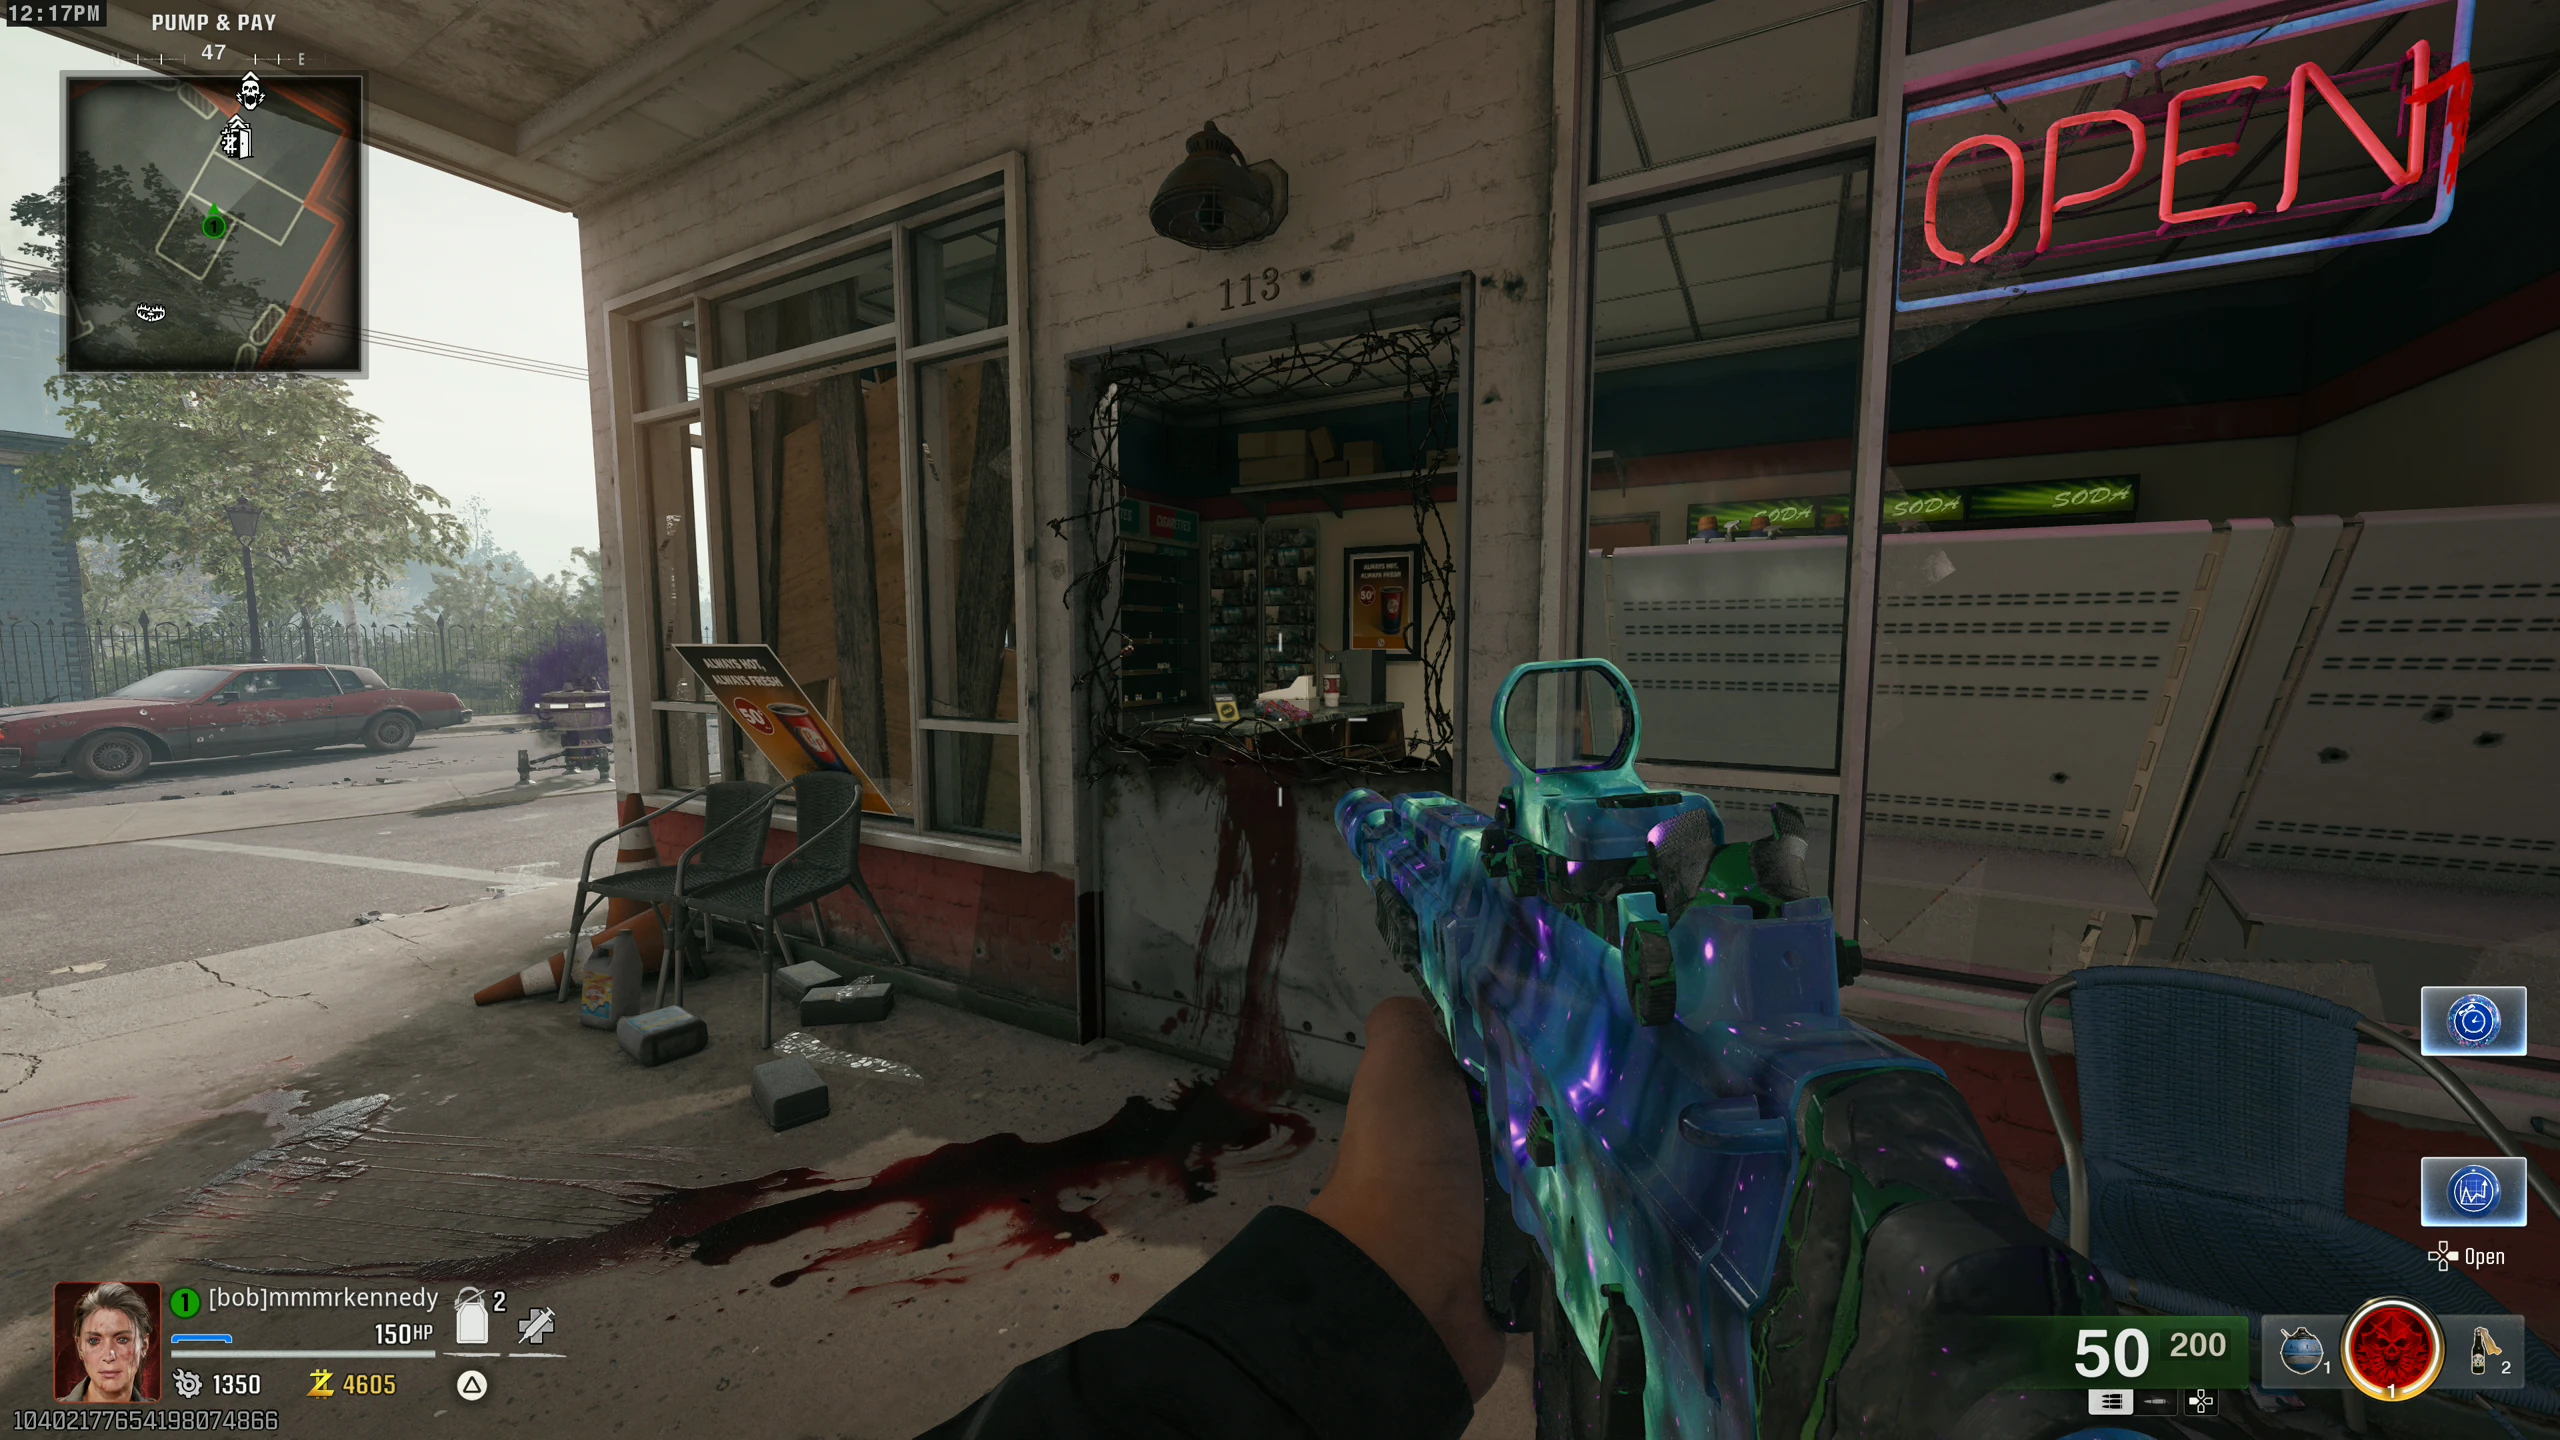
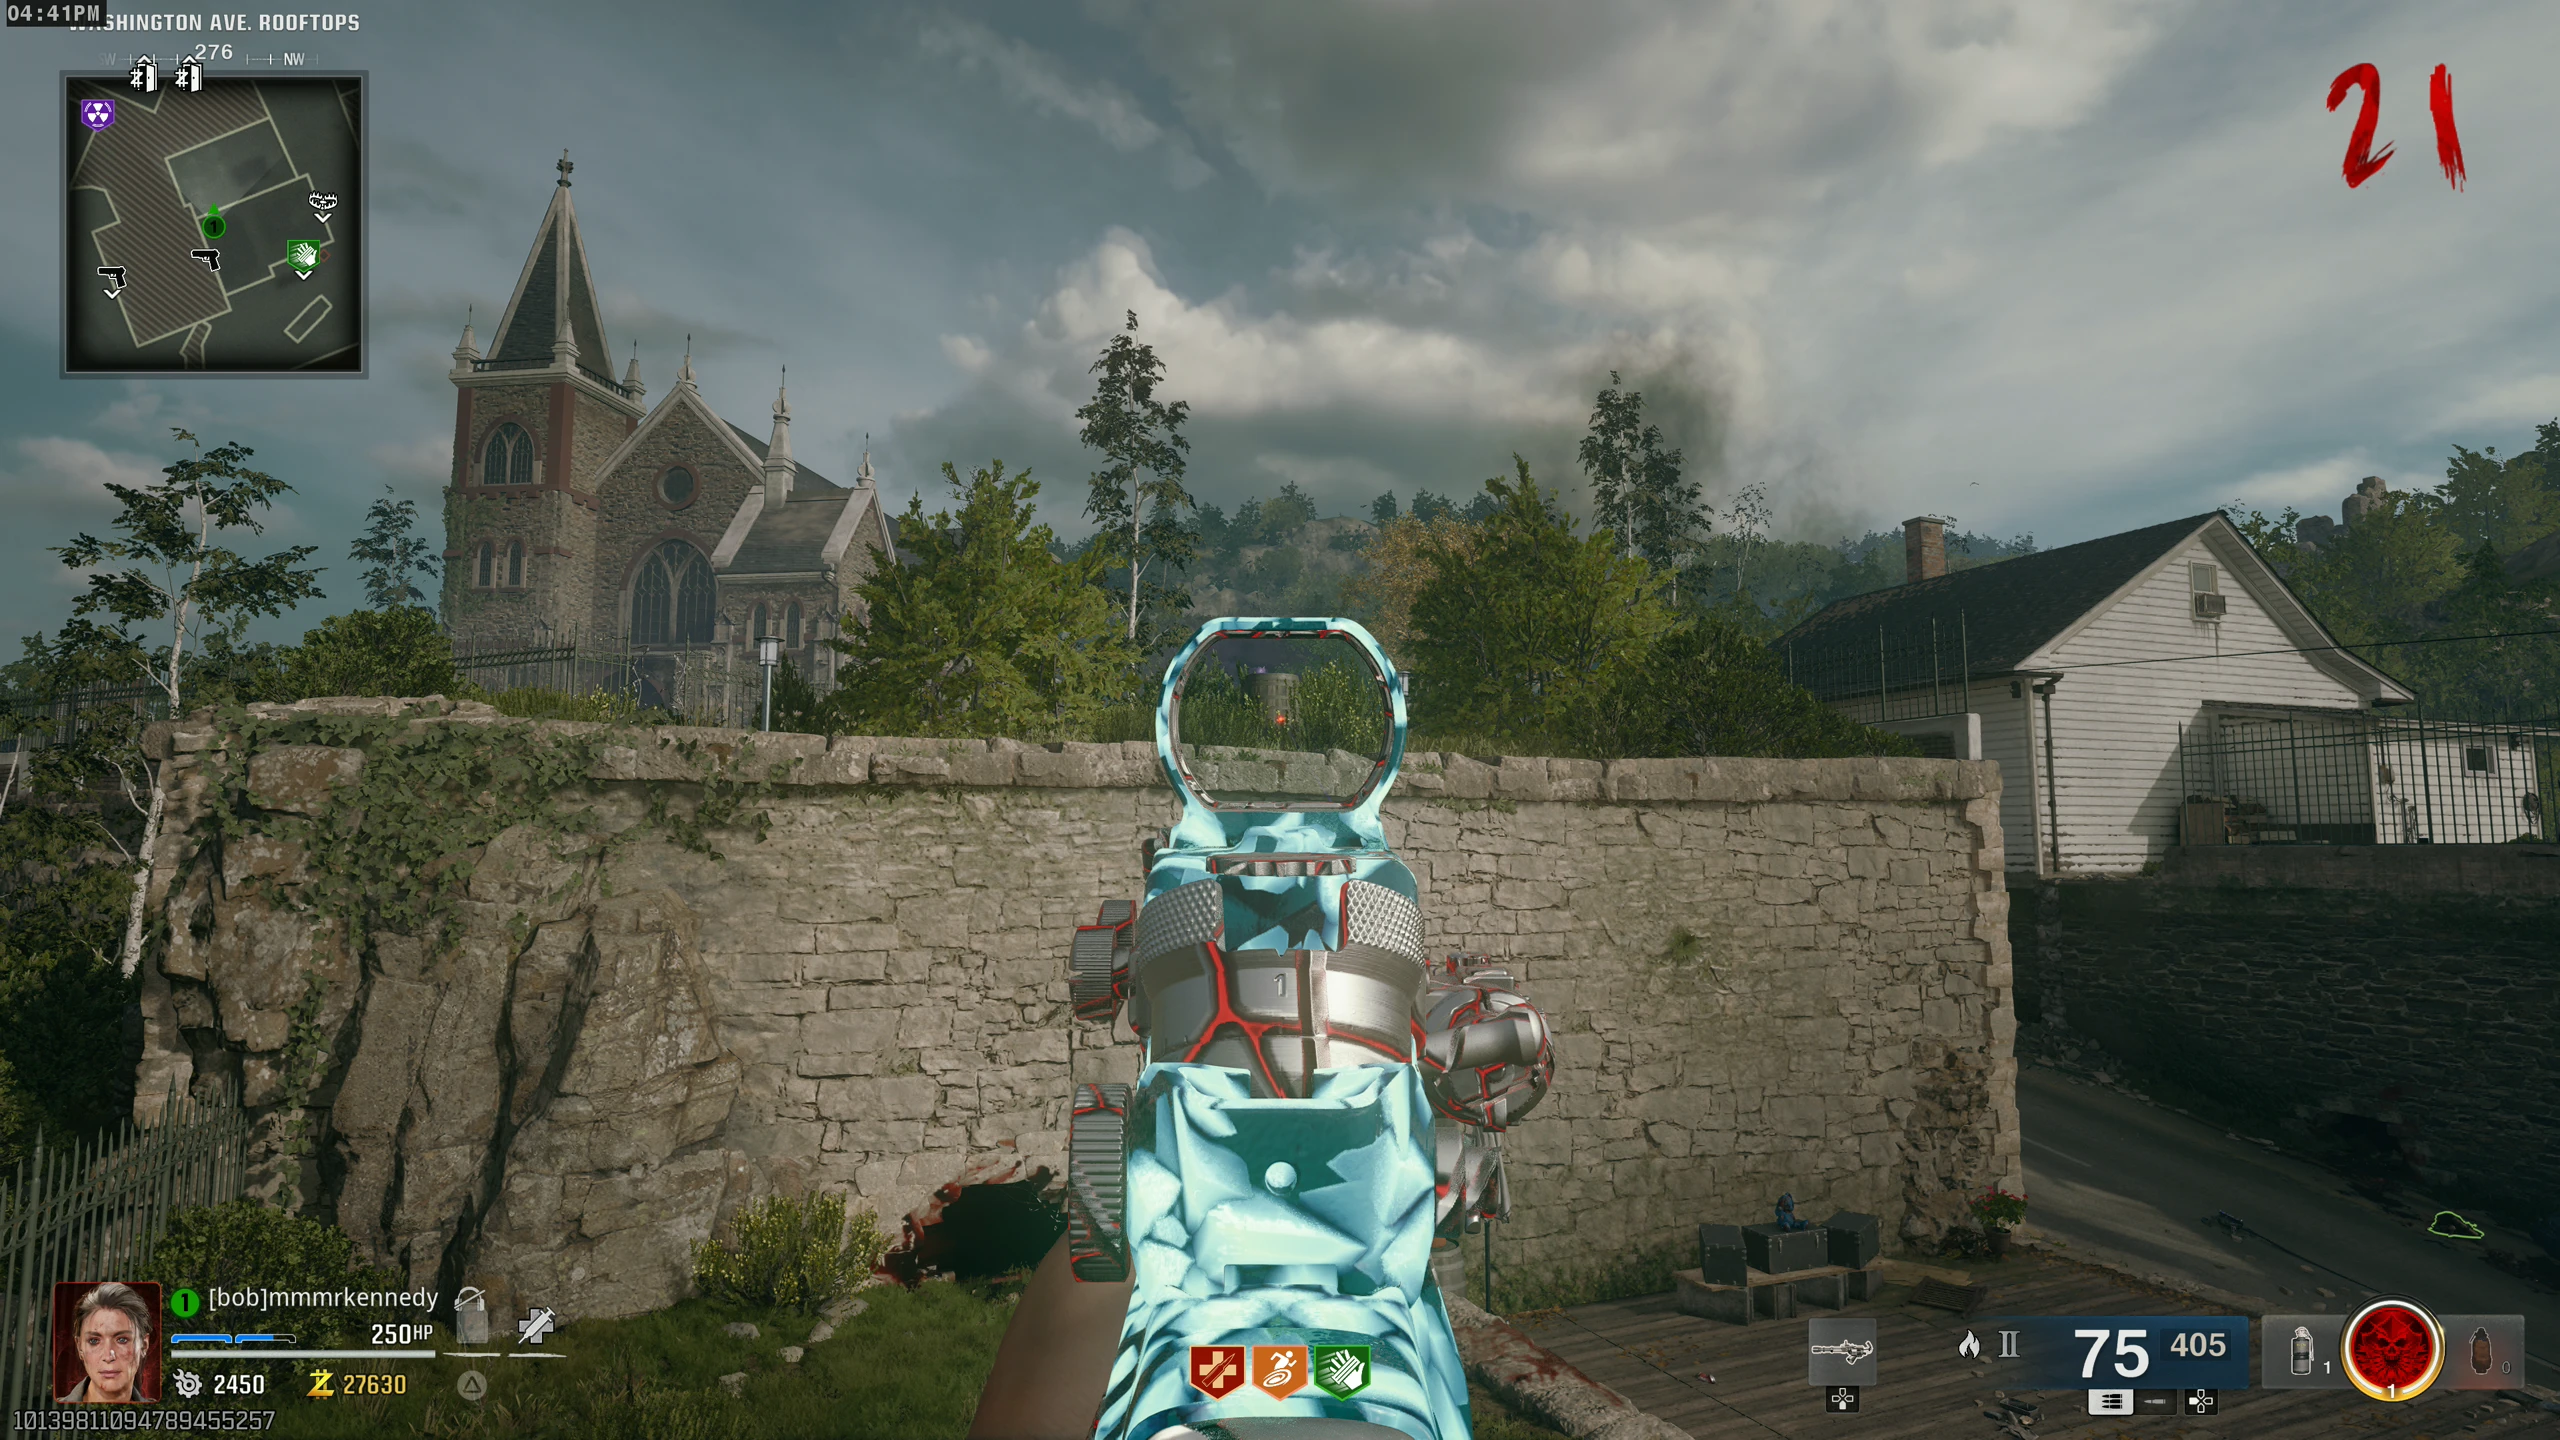
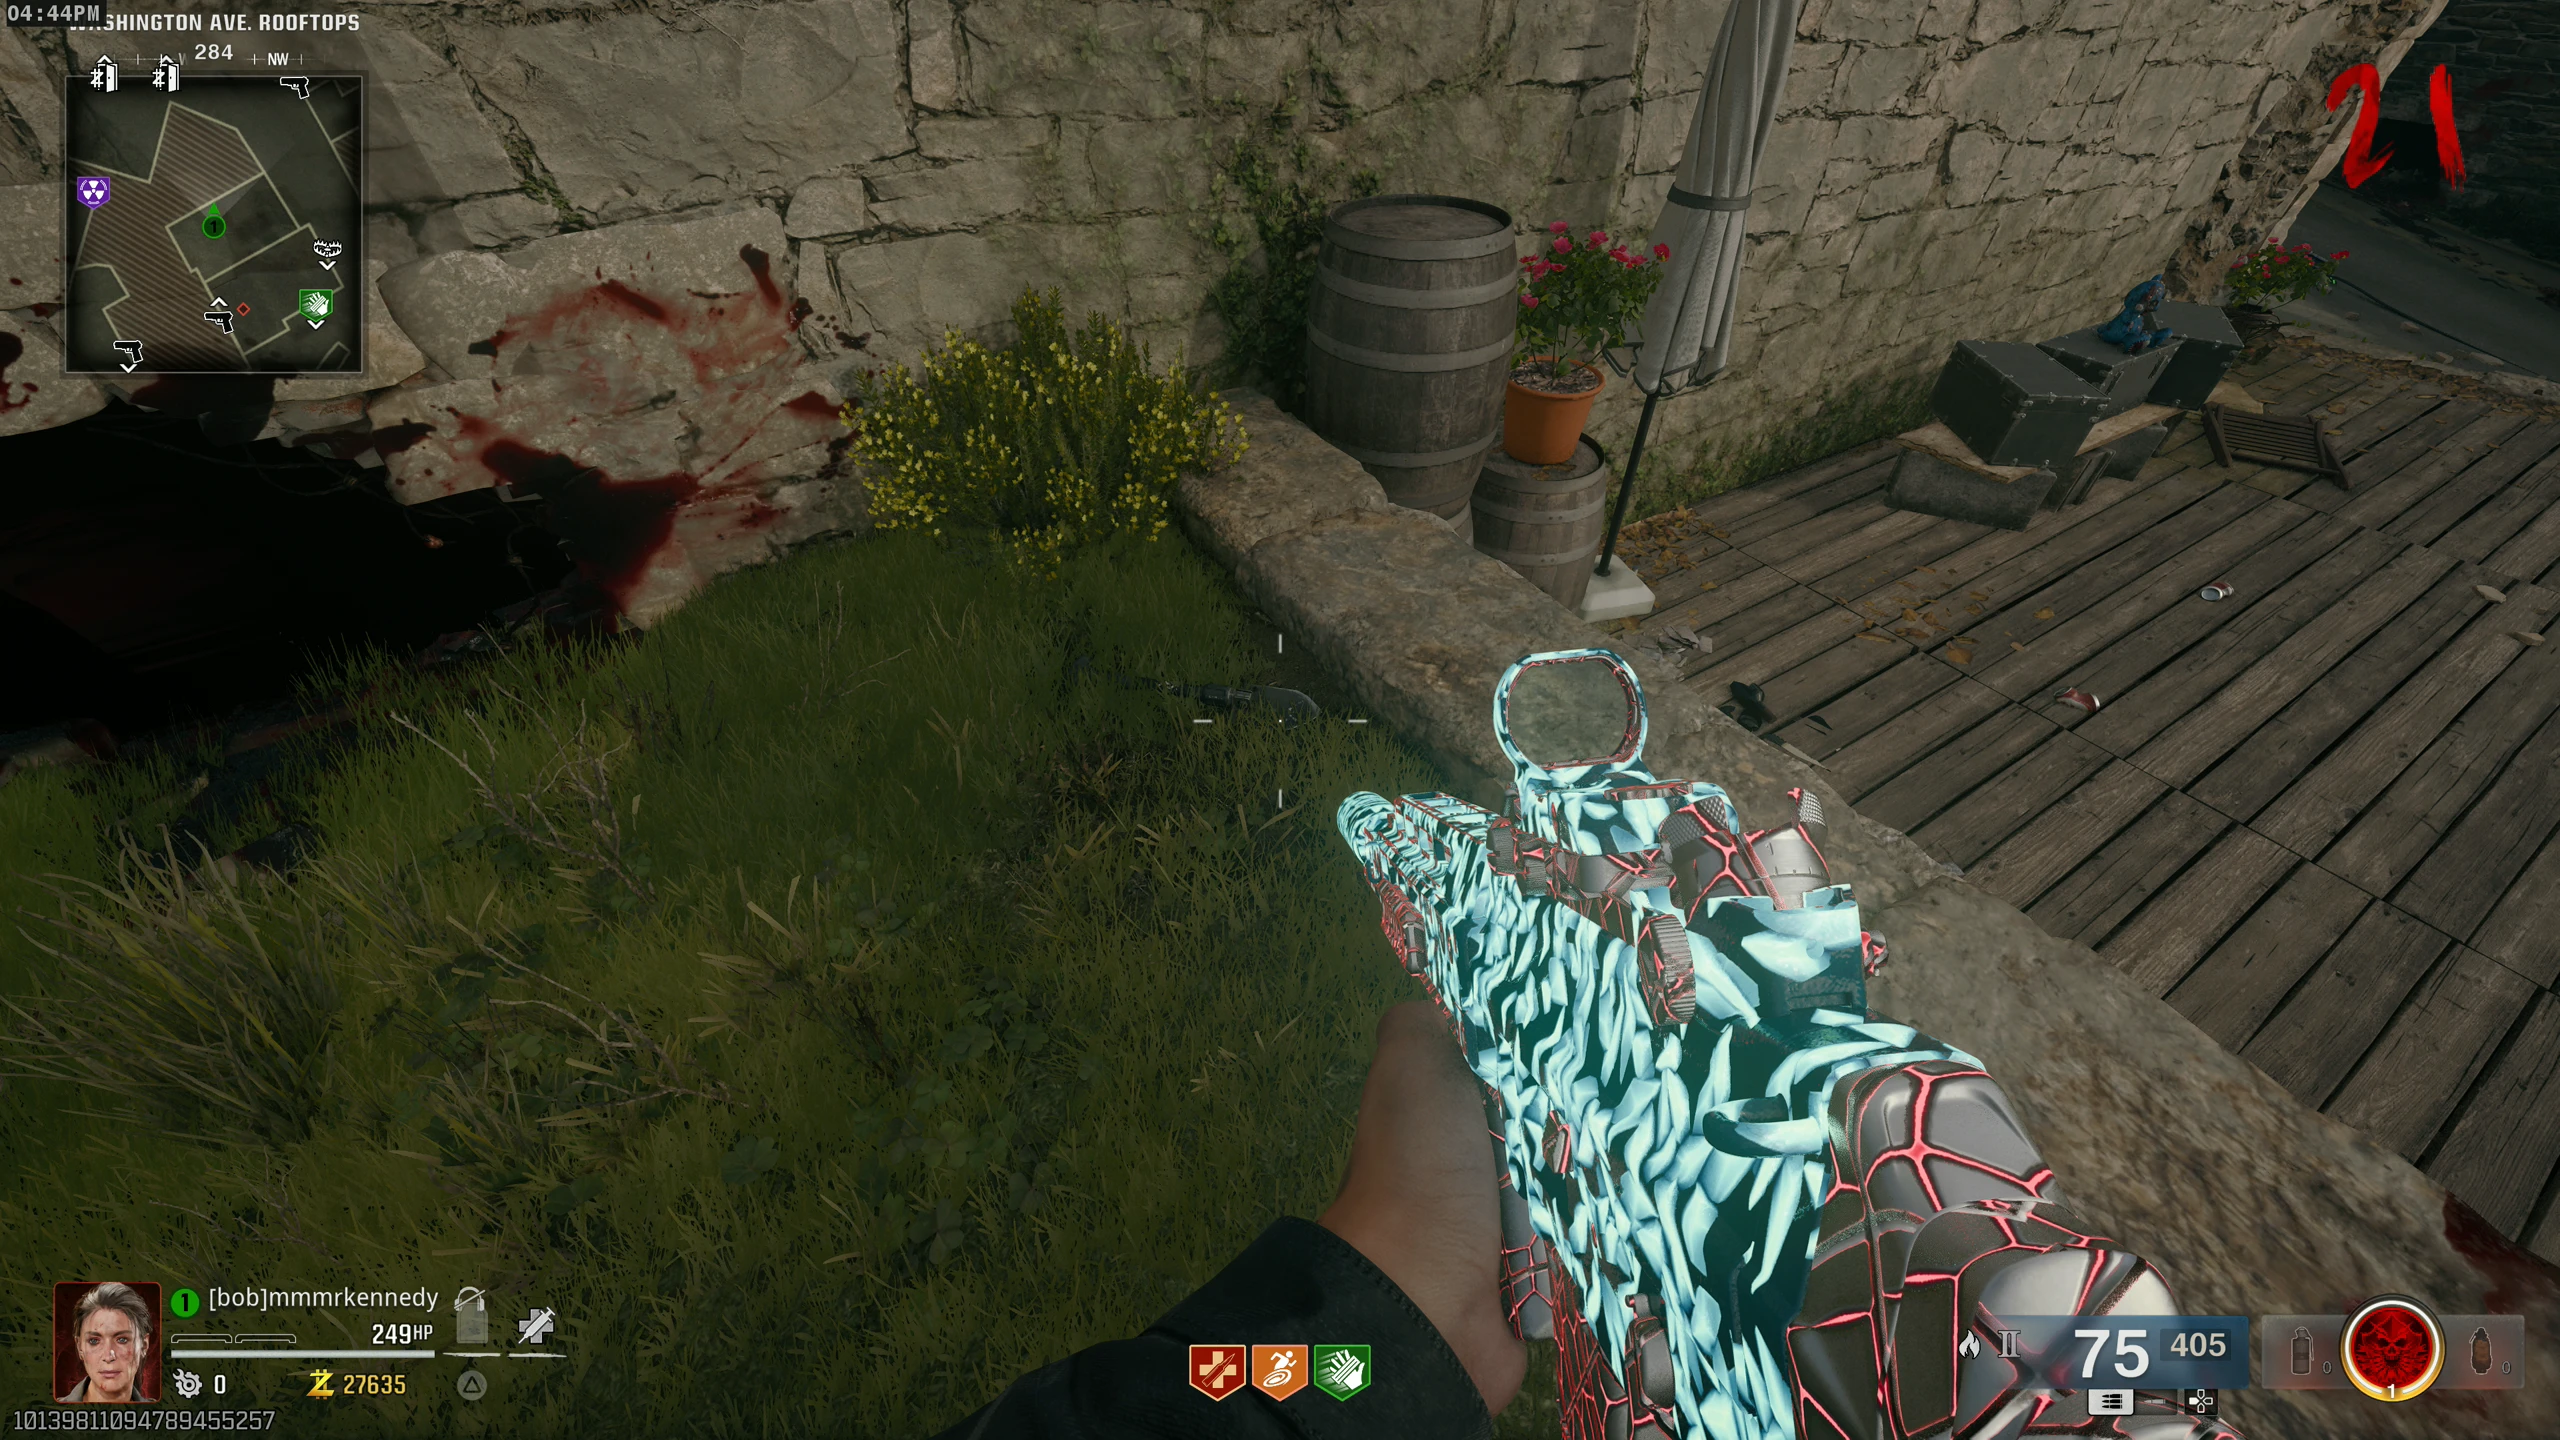
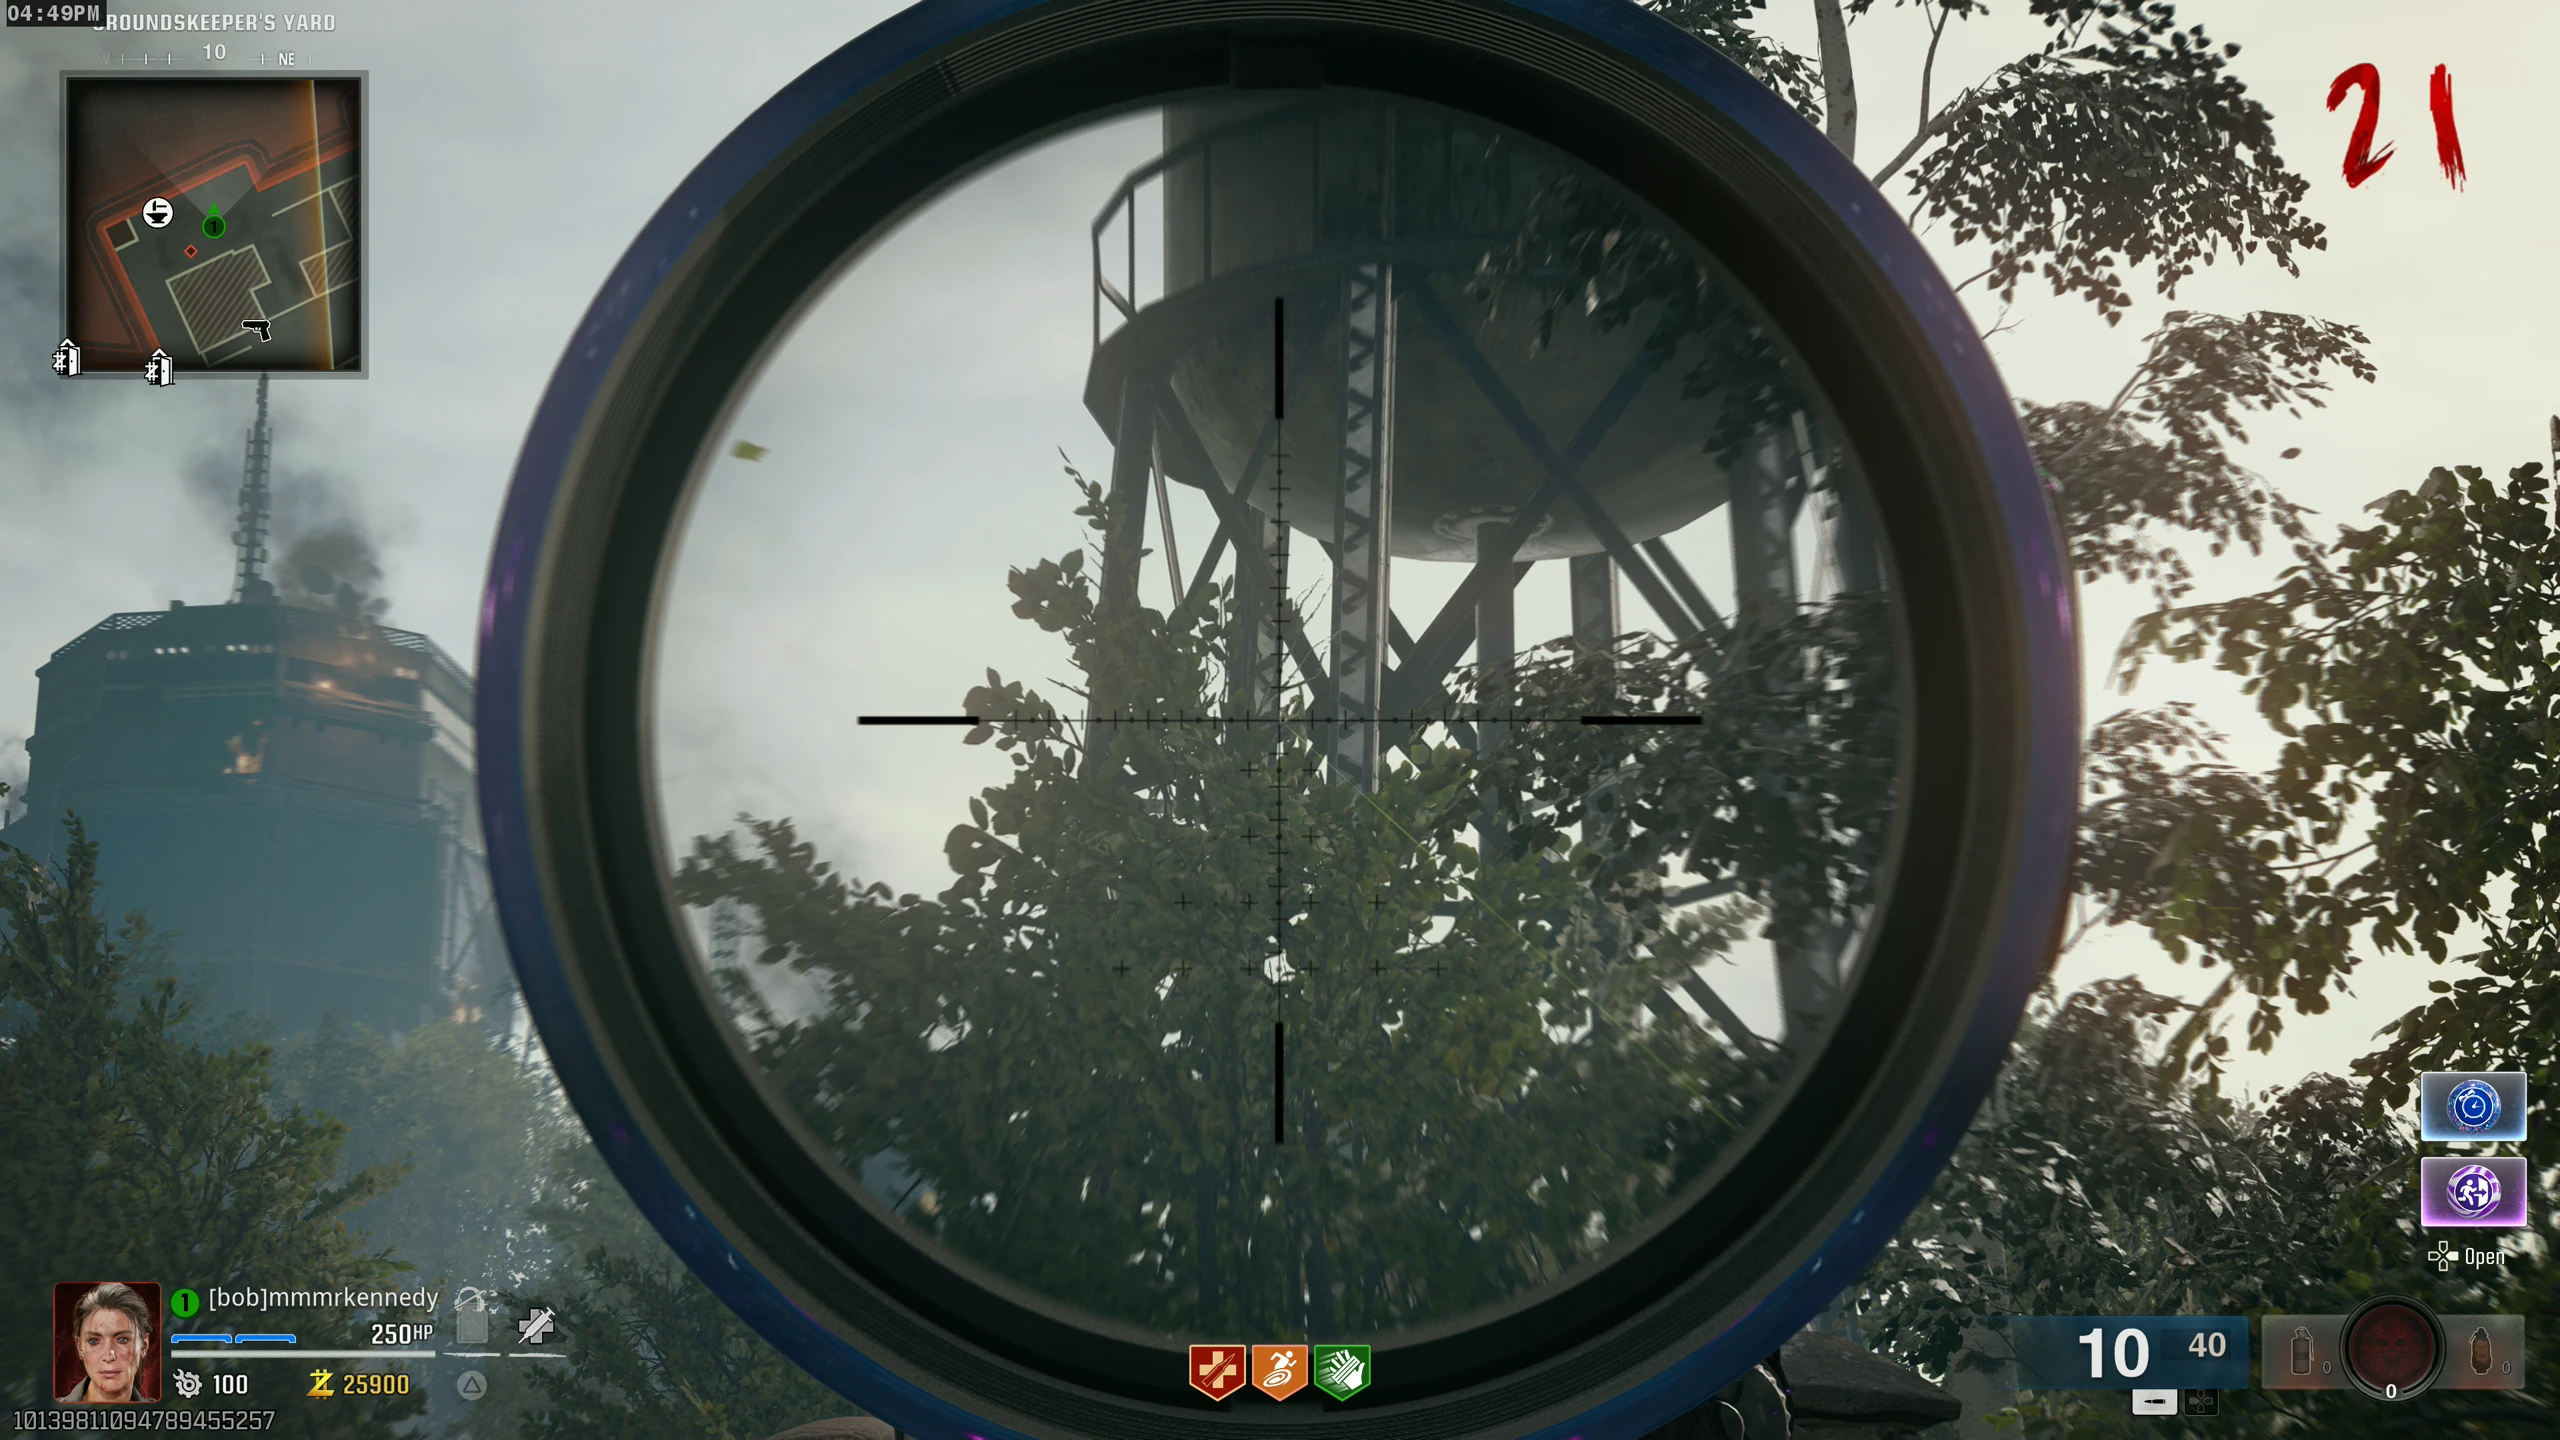
- There are three parts to the L.T.G. around the map that you must suck up using the Jet Gun’s primary fire (the suck). Part locations:
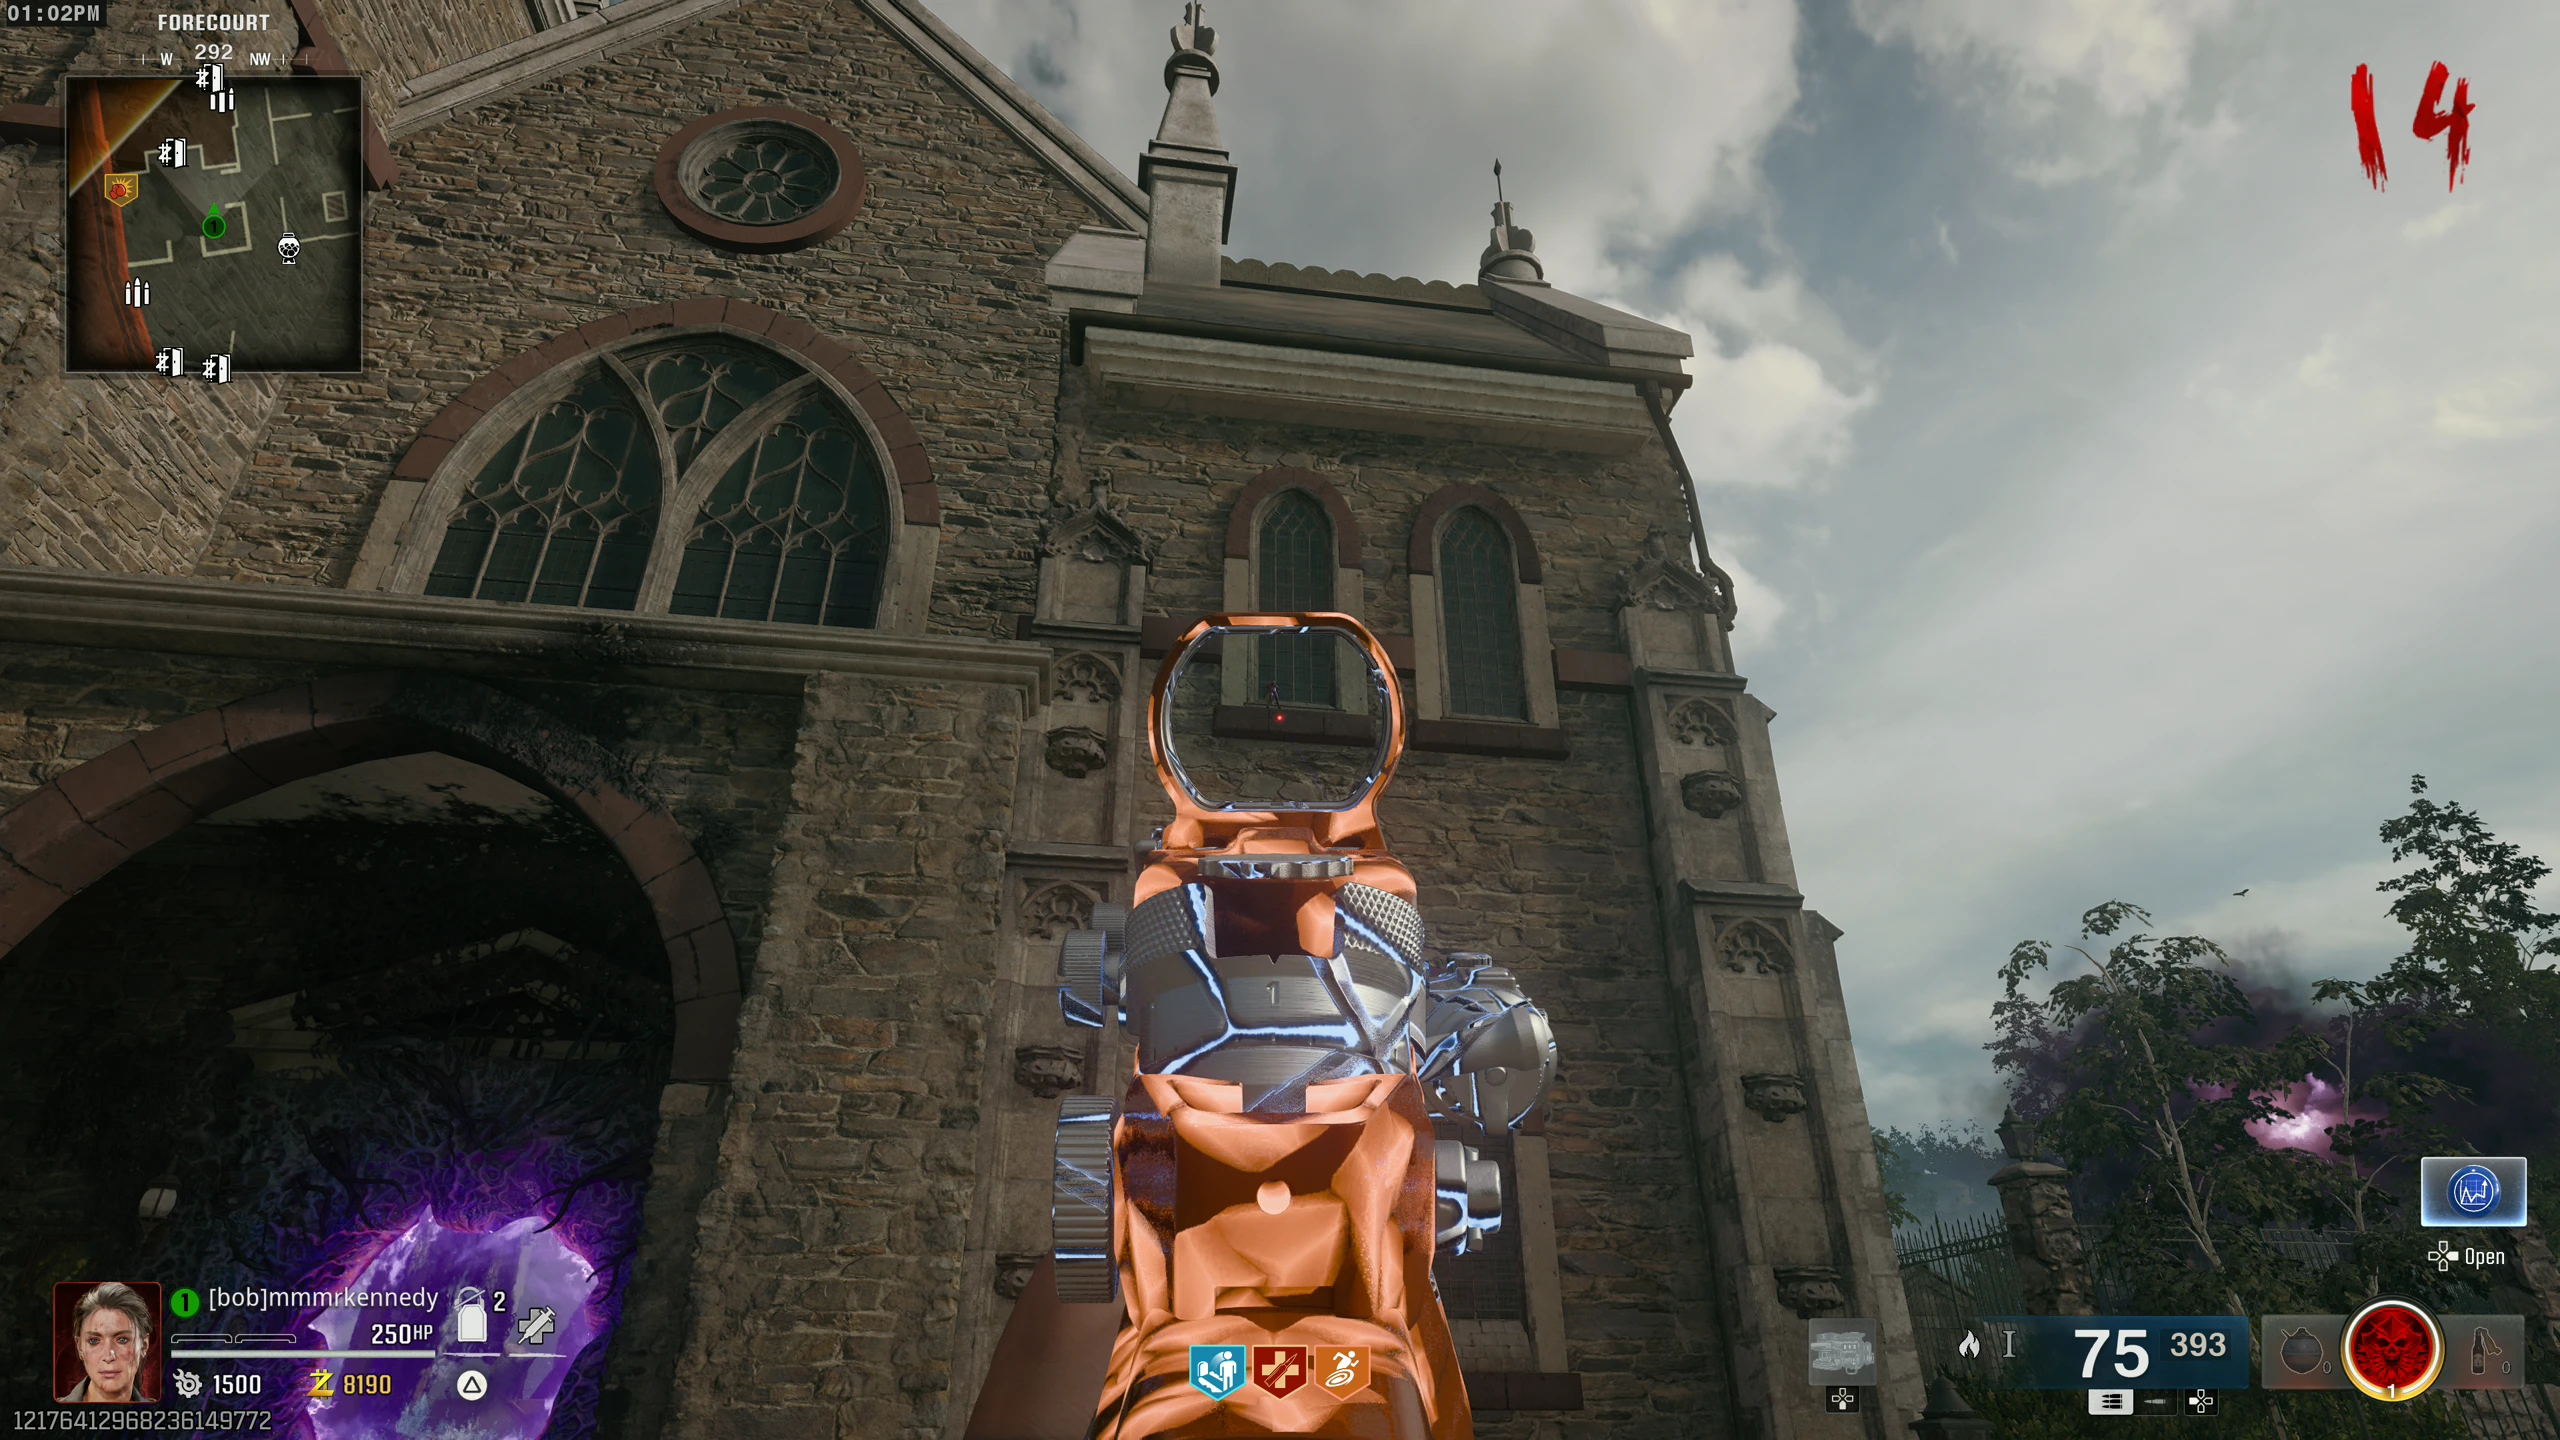
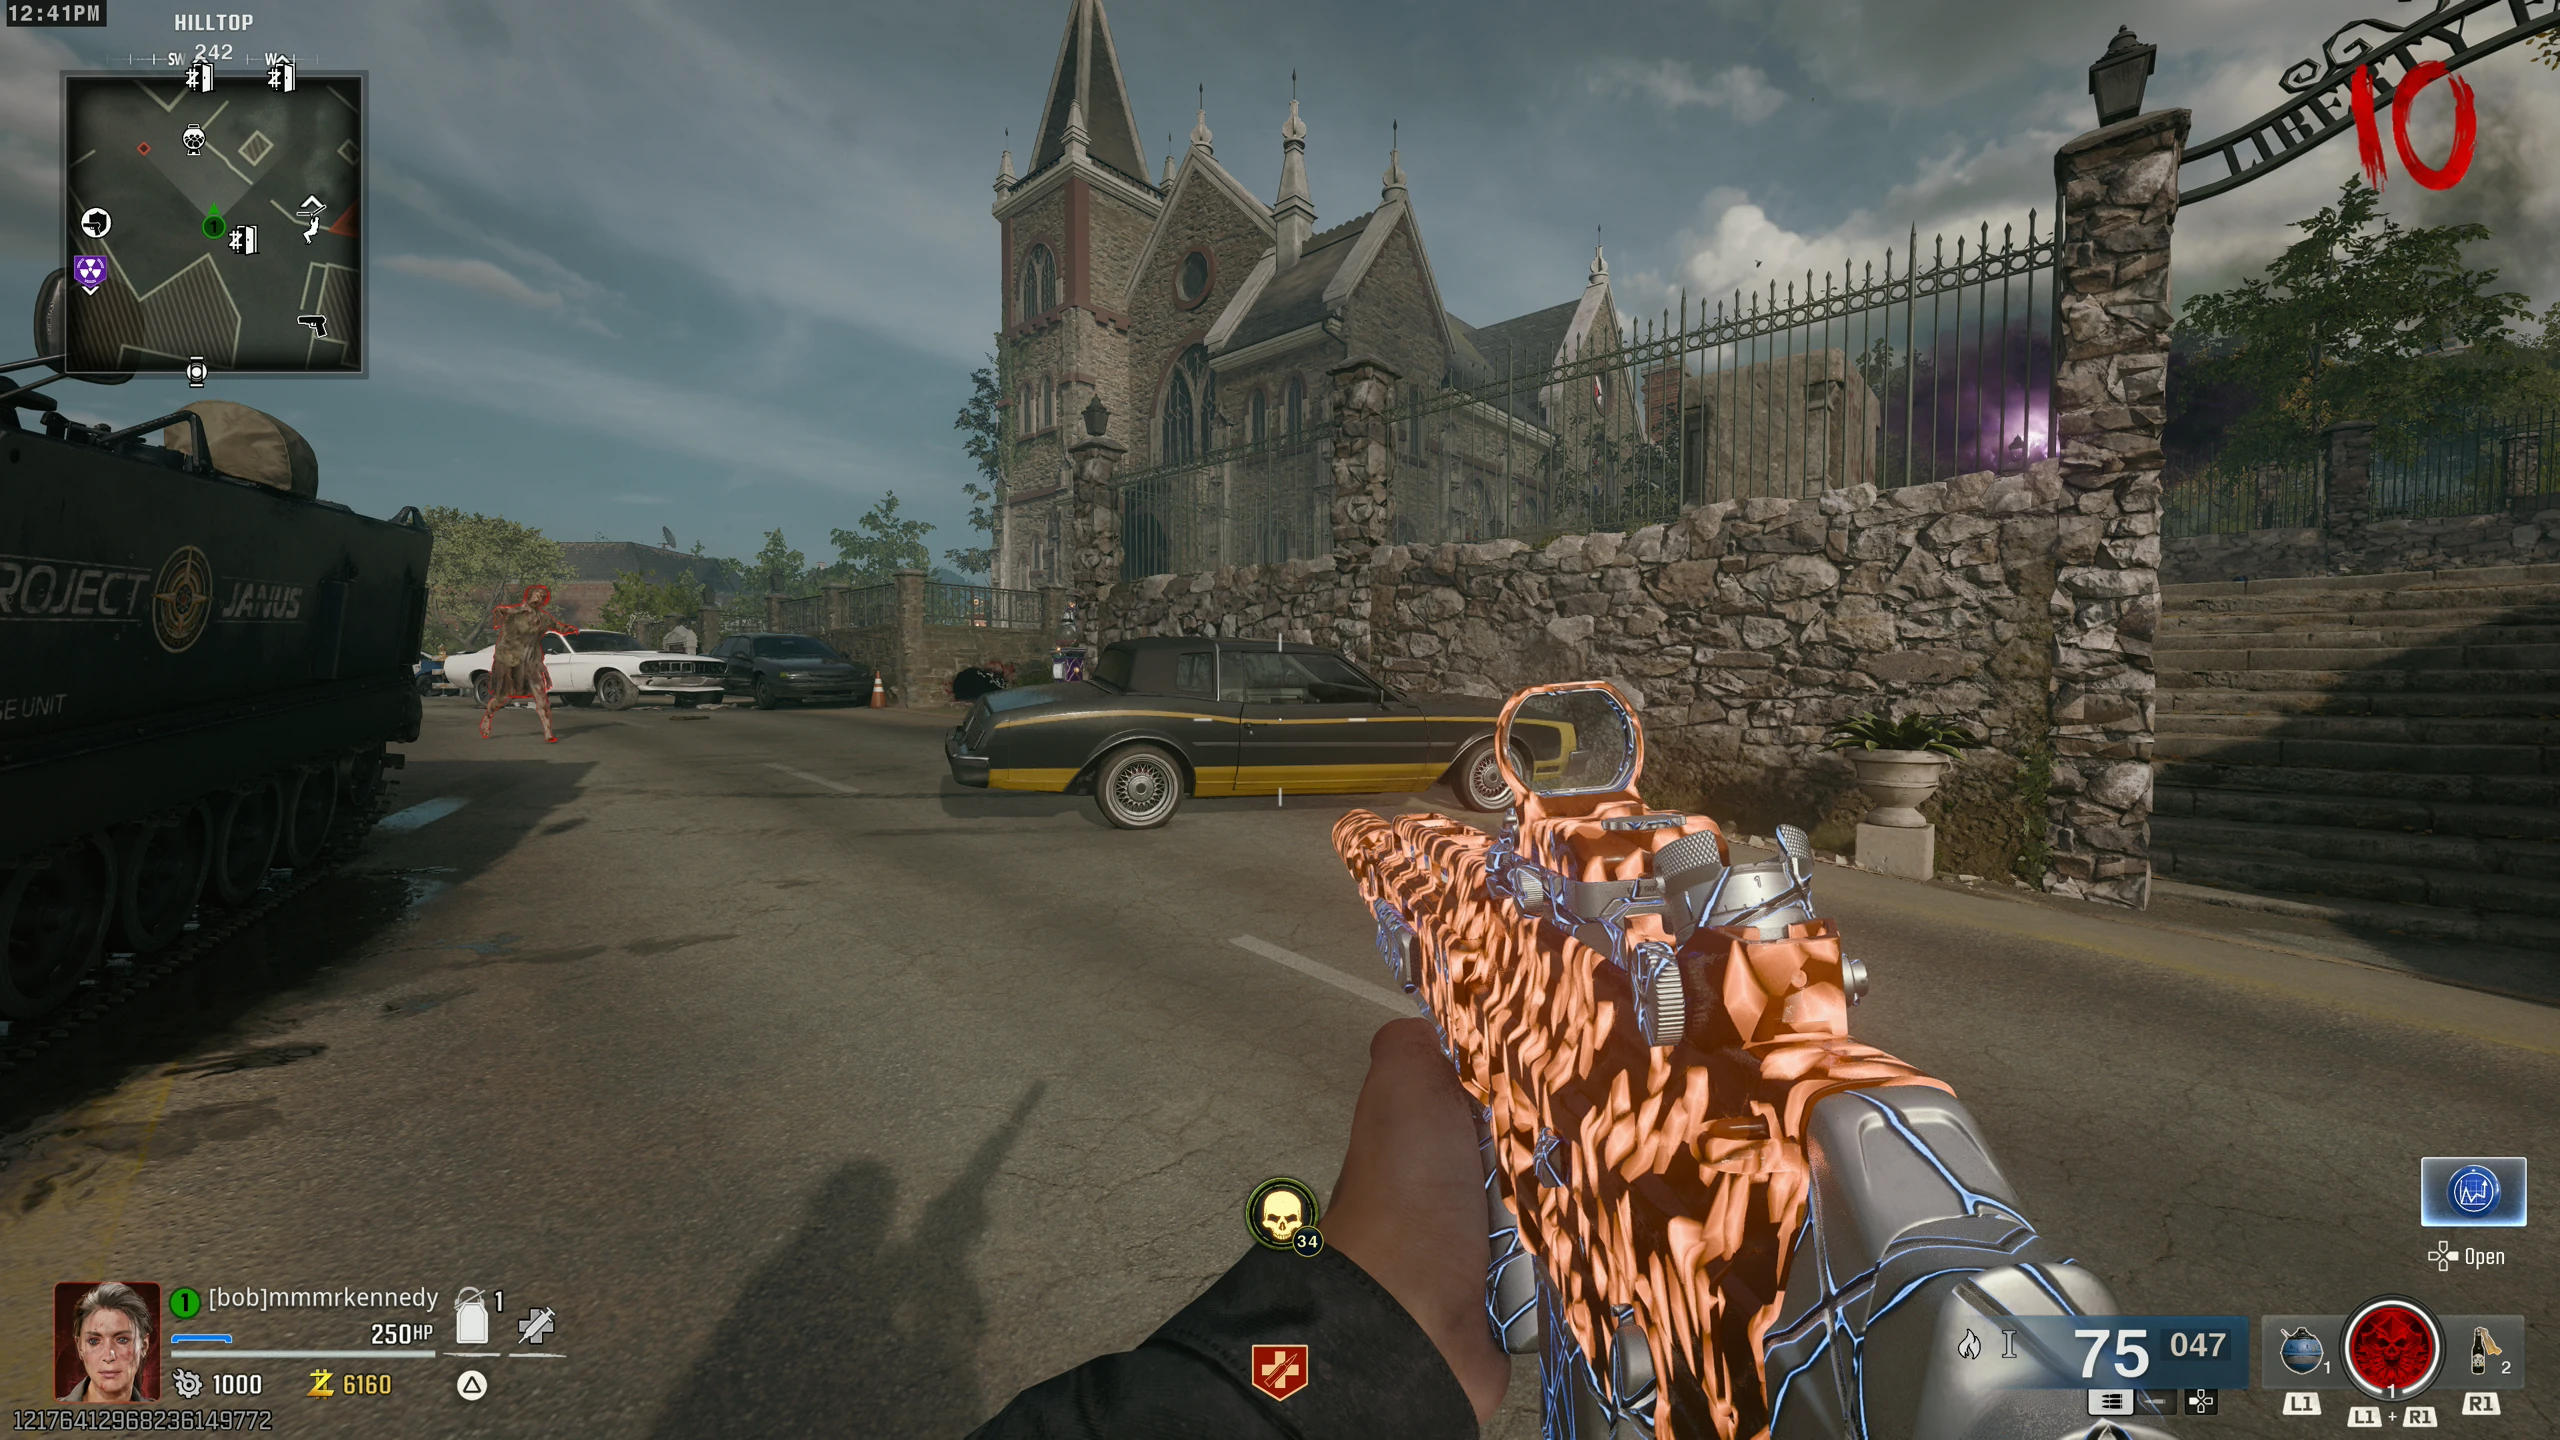
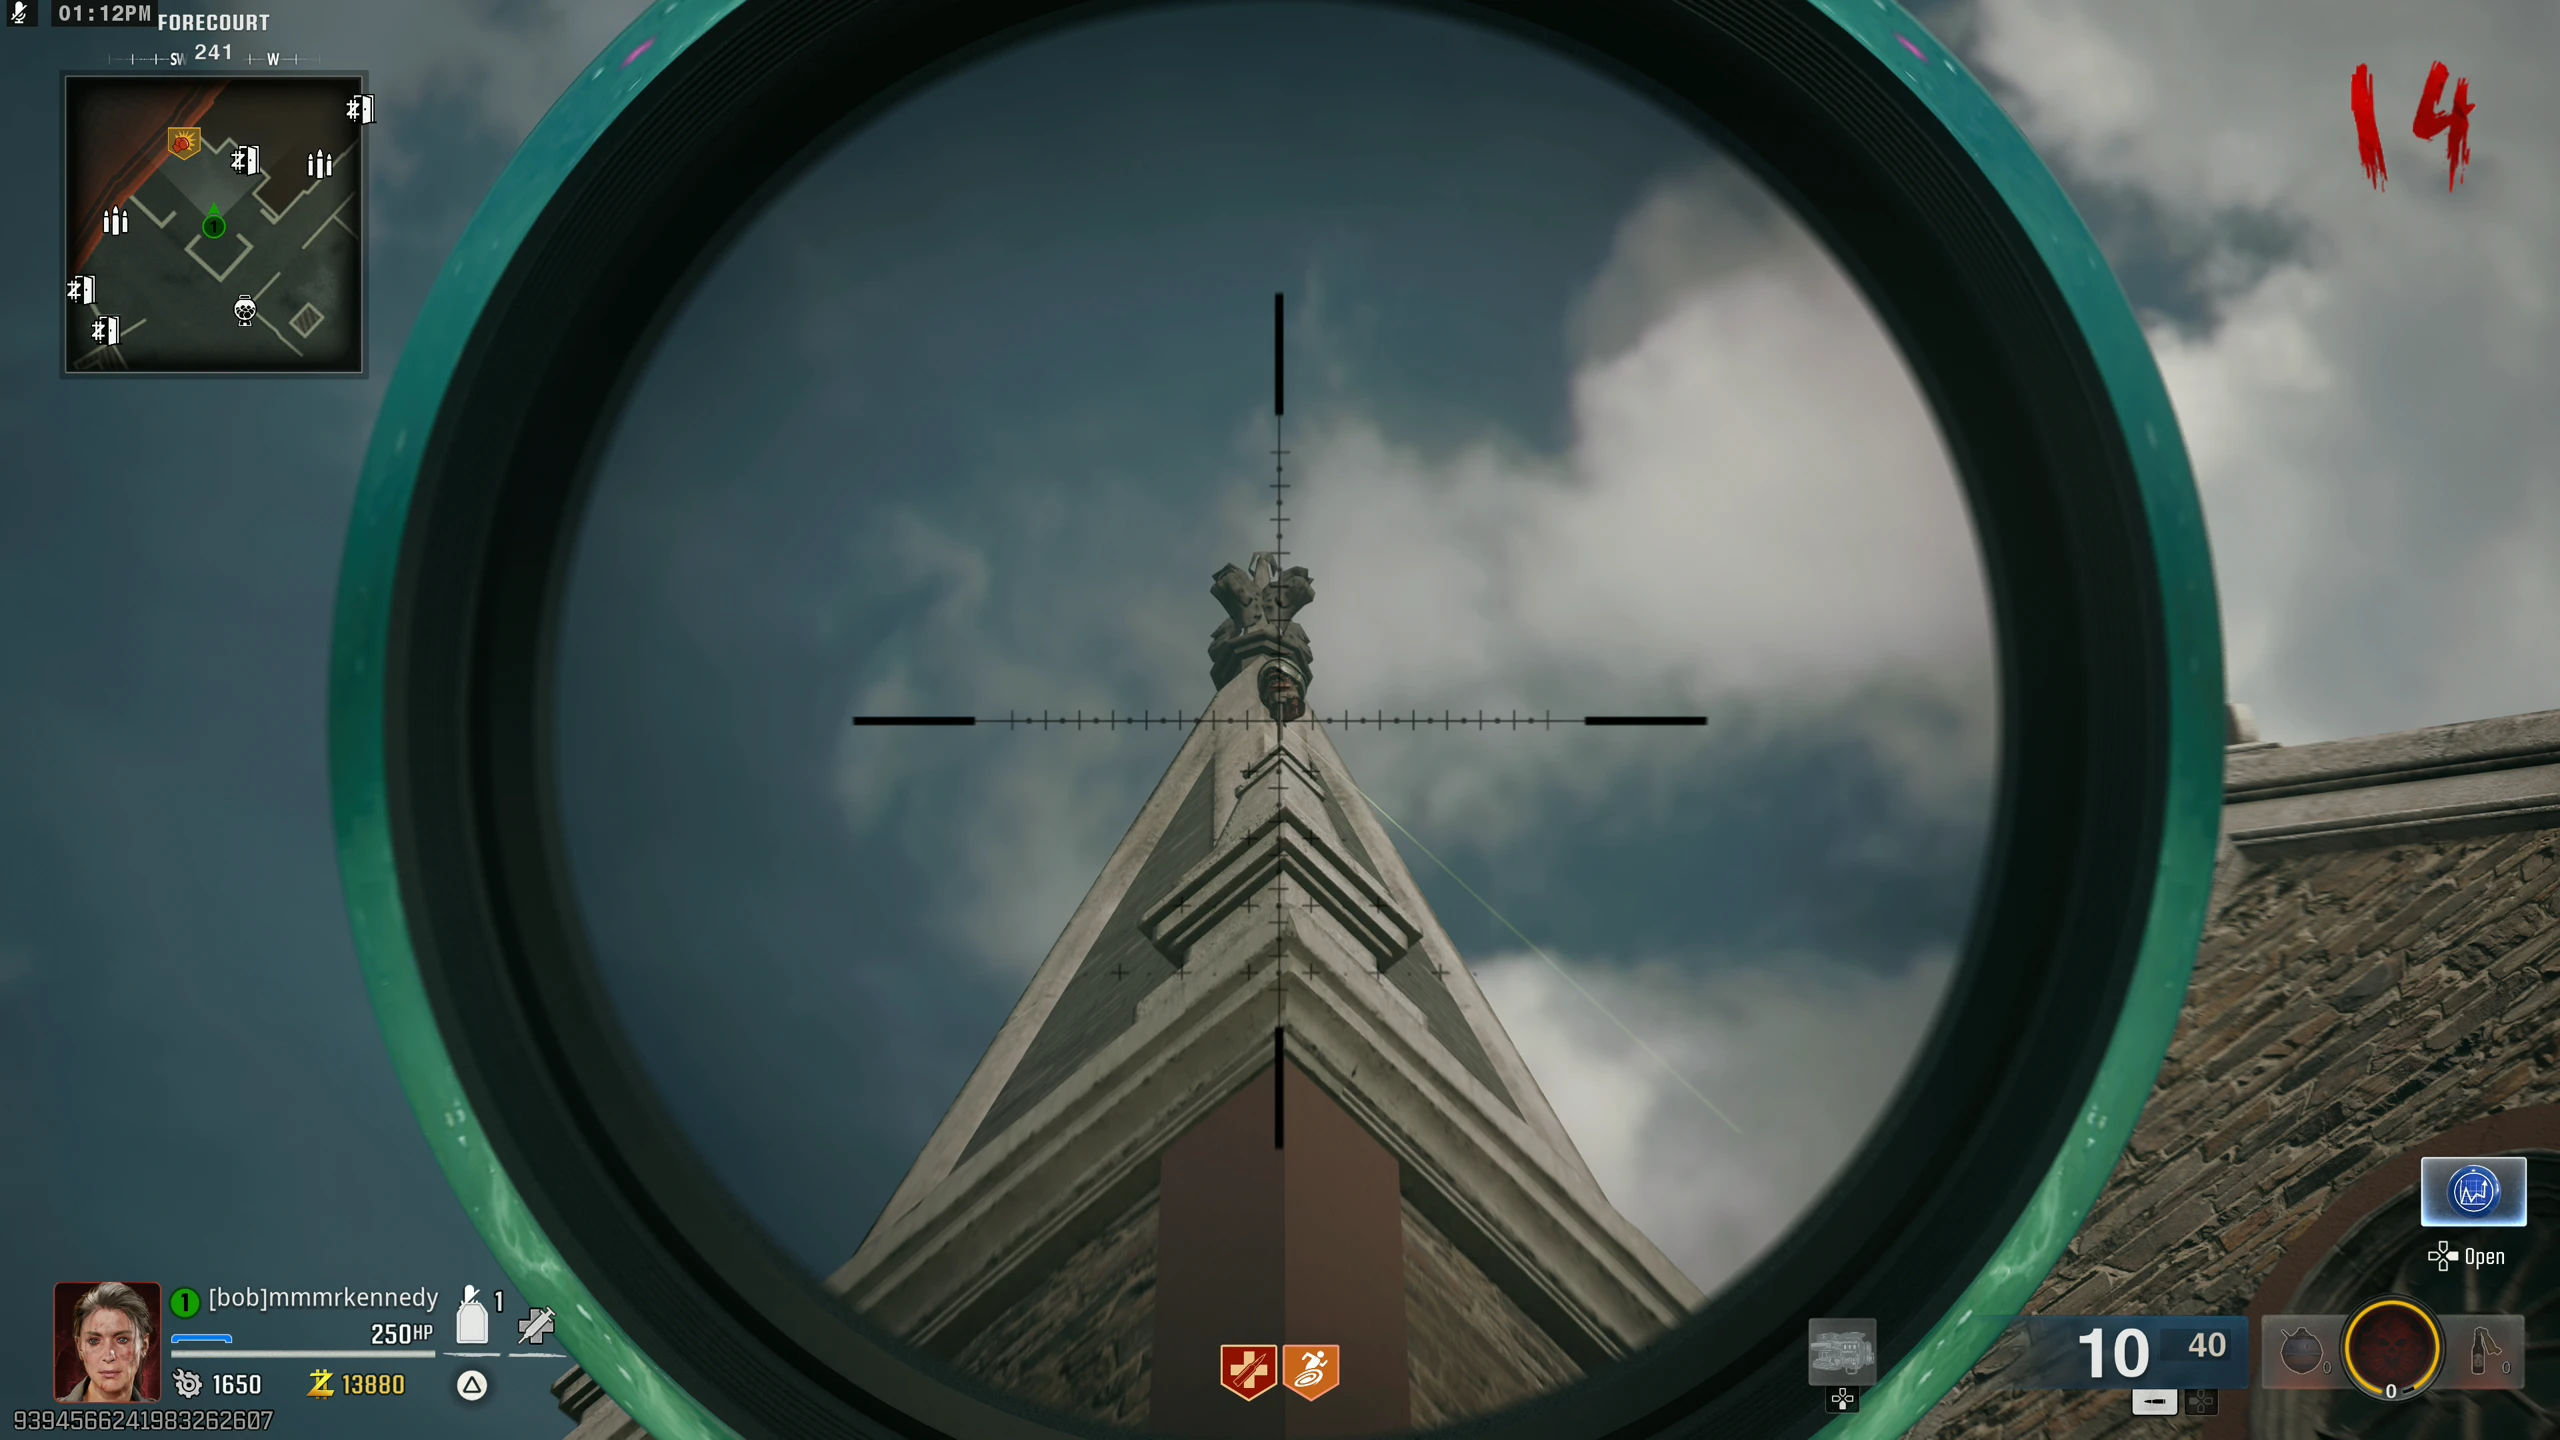
- Dark Aether (Church) - Floating on the left side of the upper level in the Church
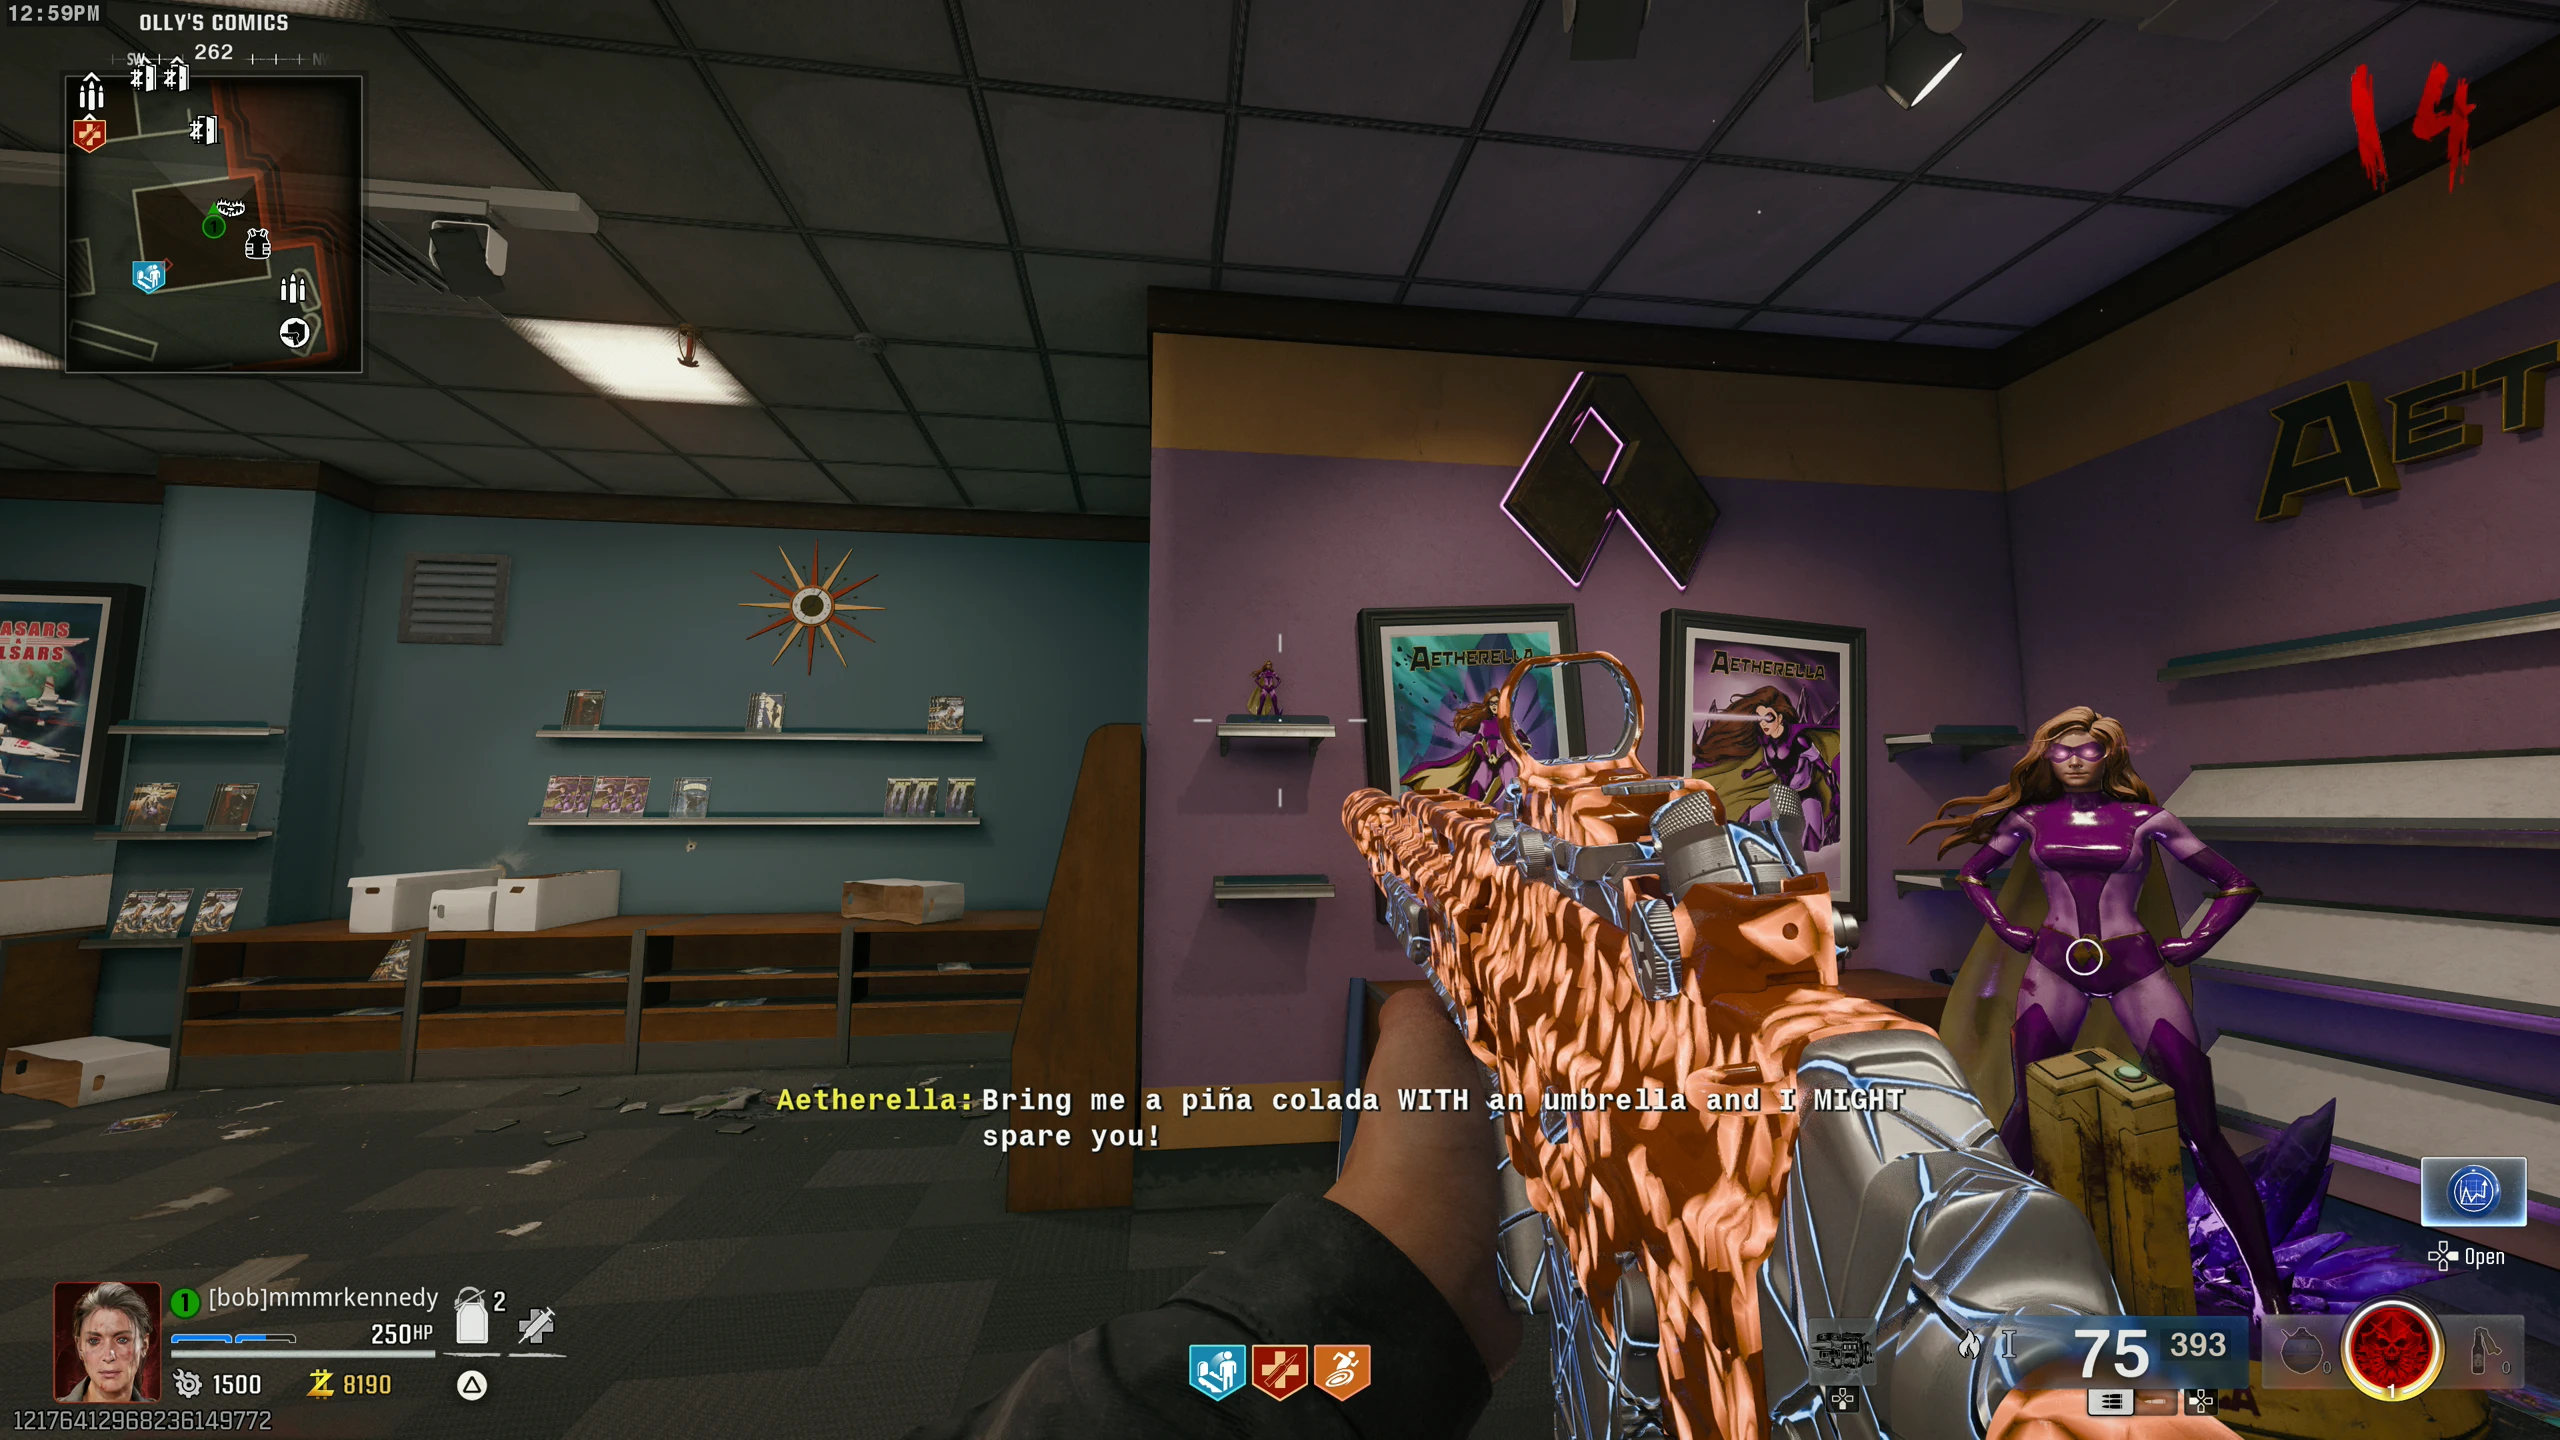
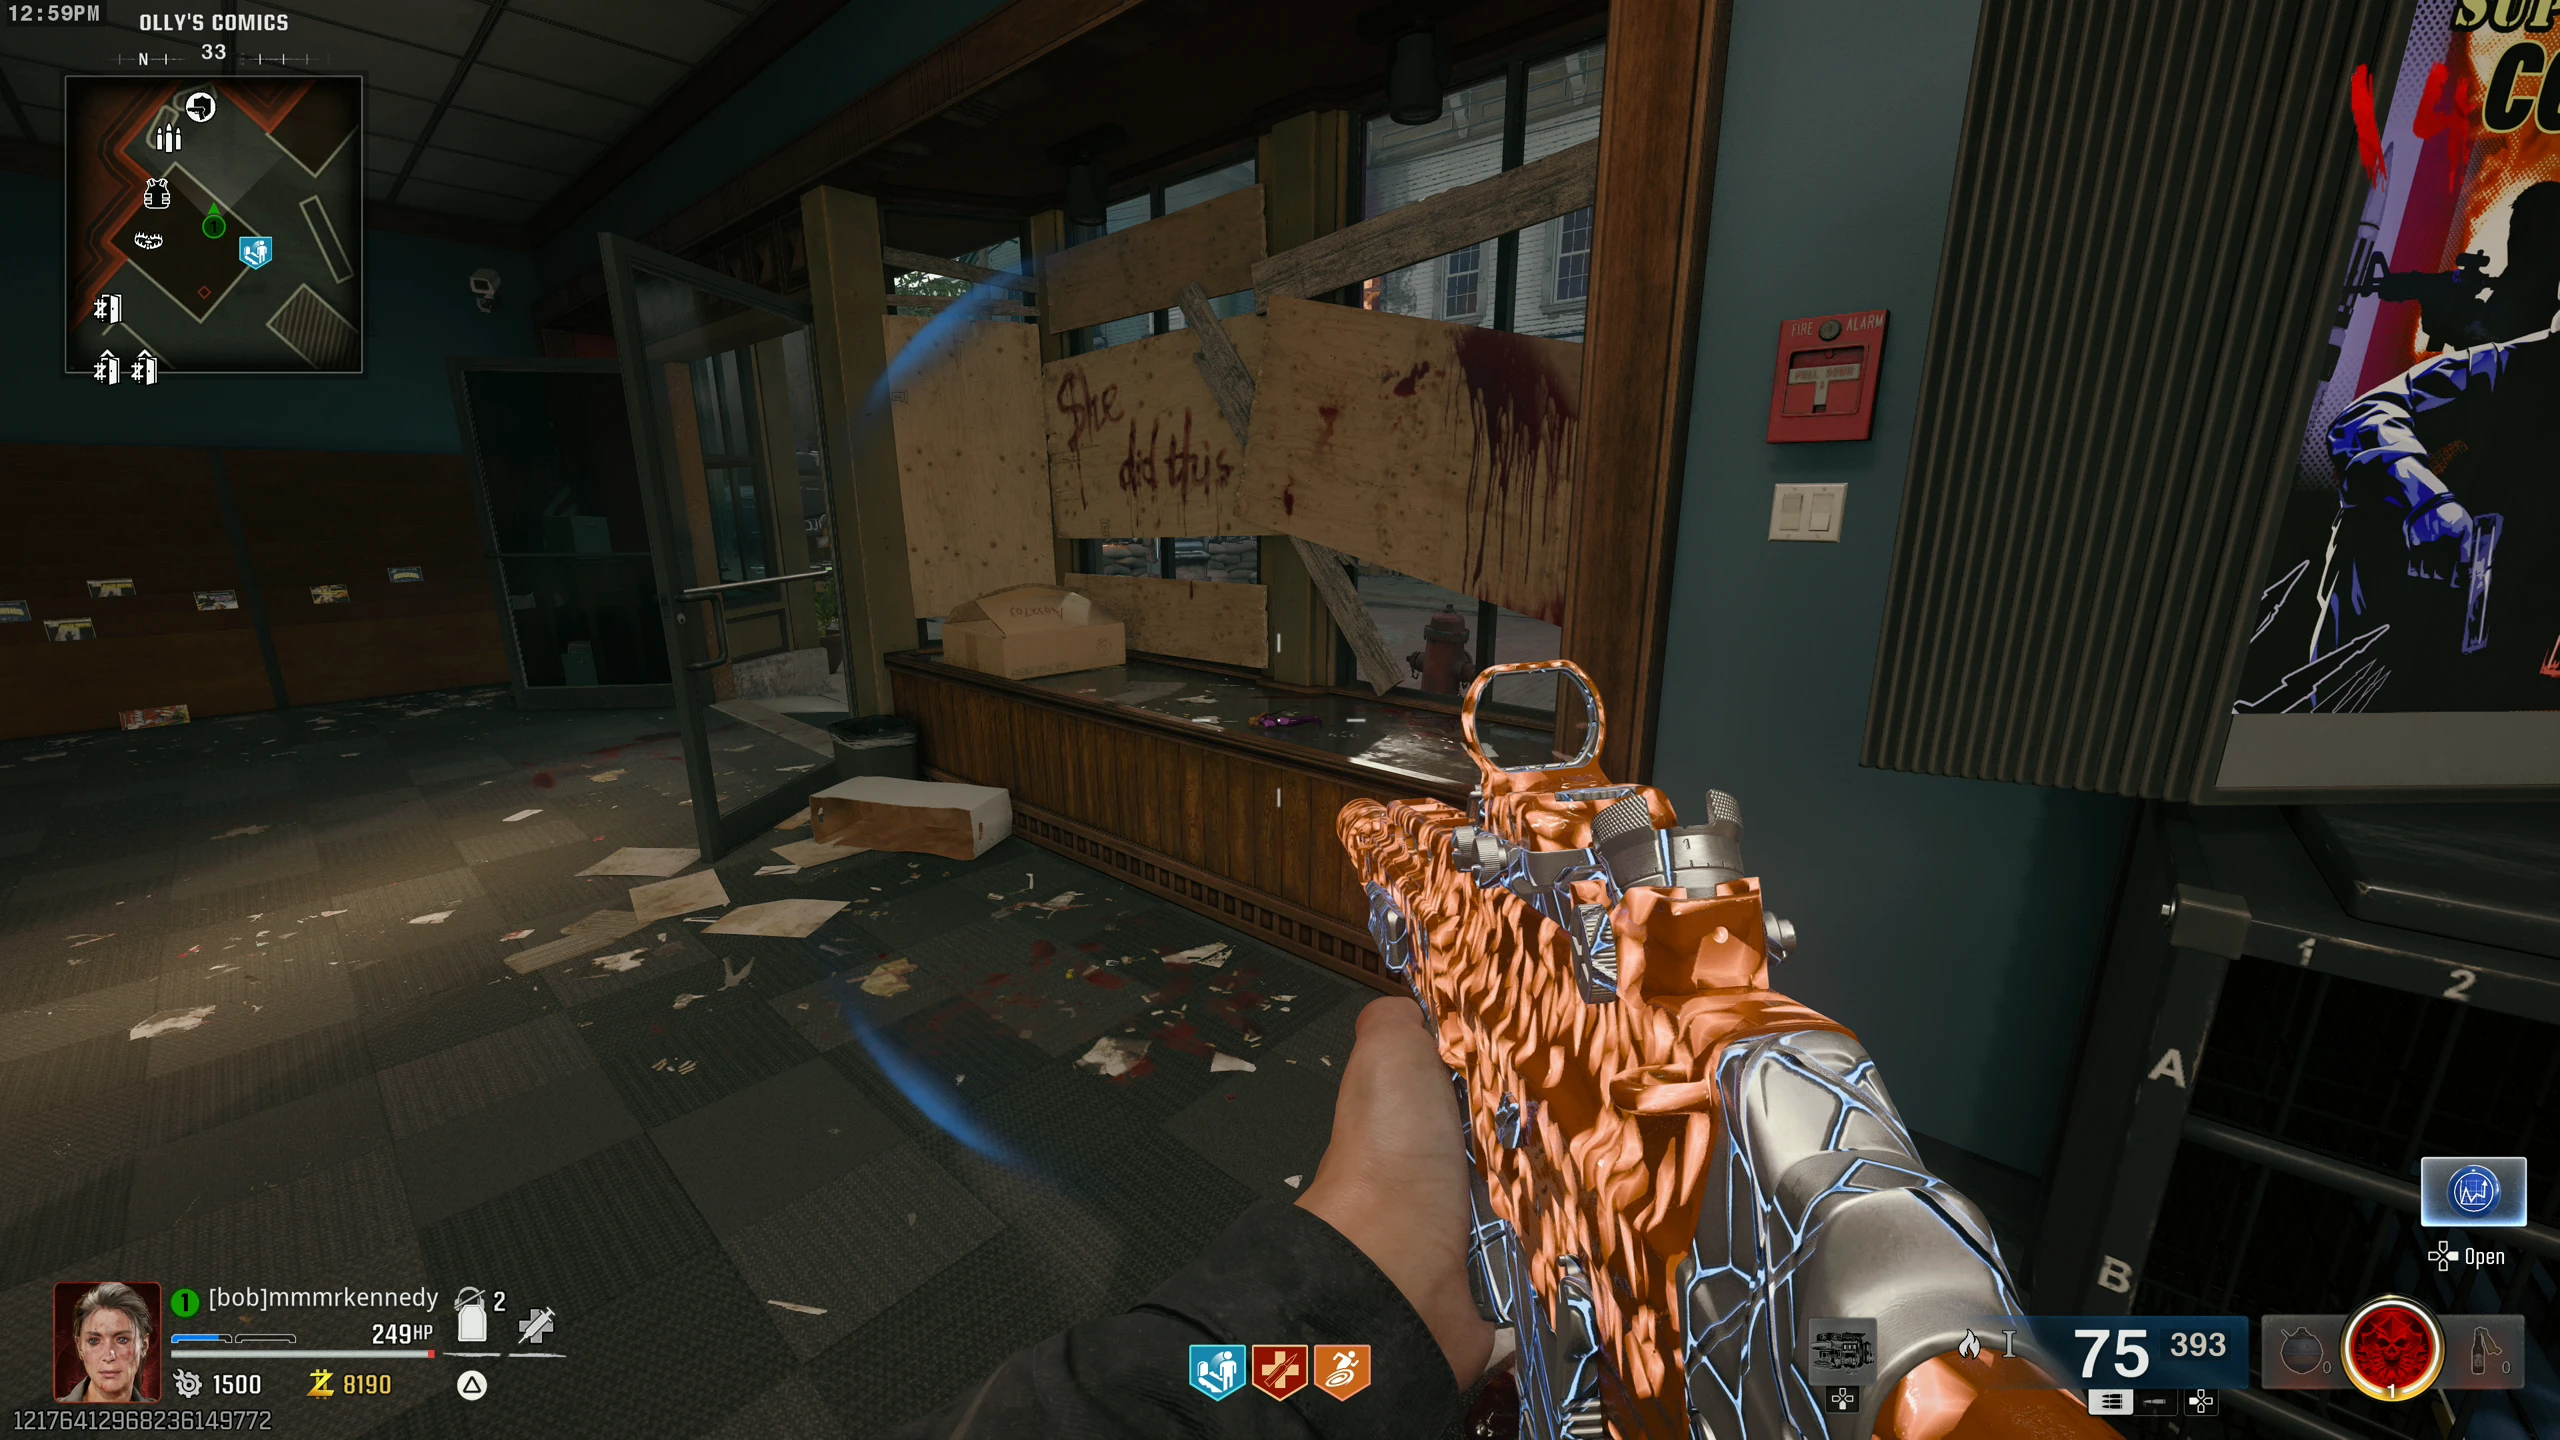
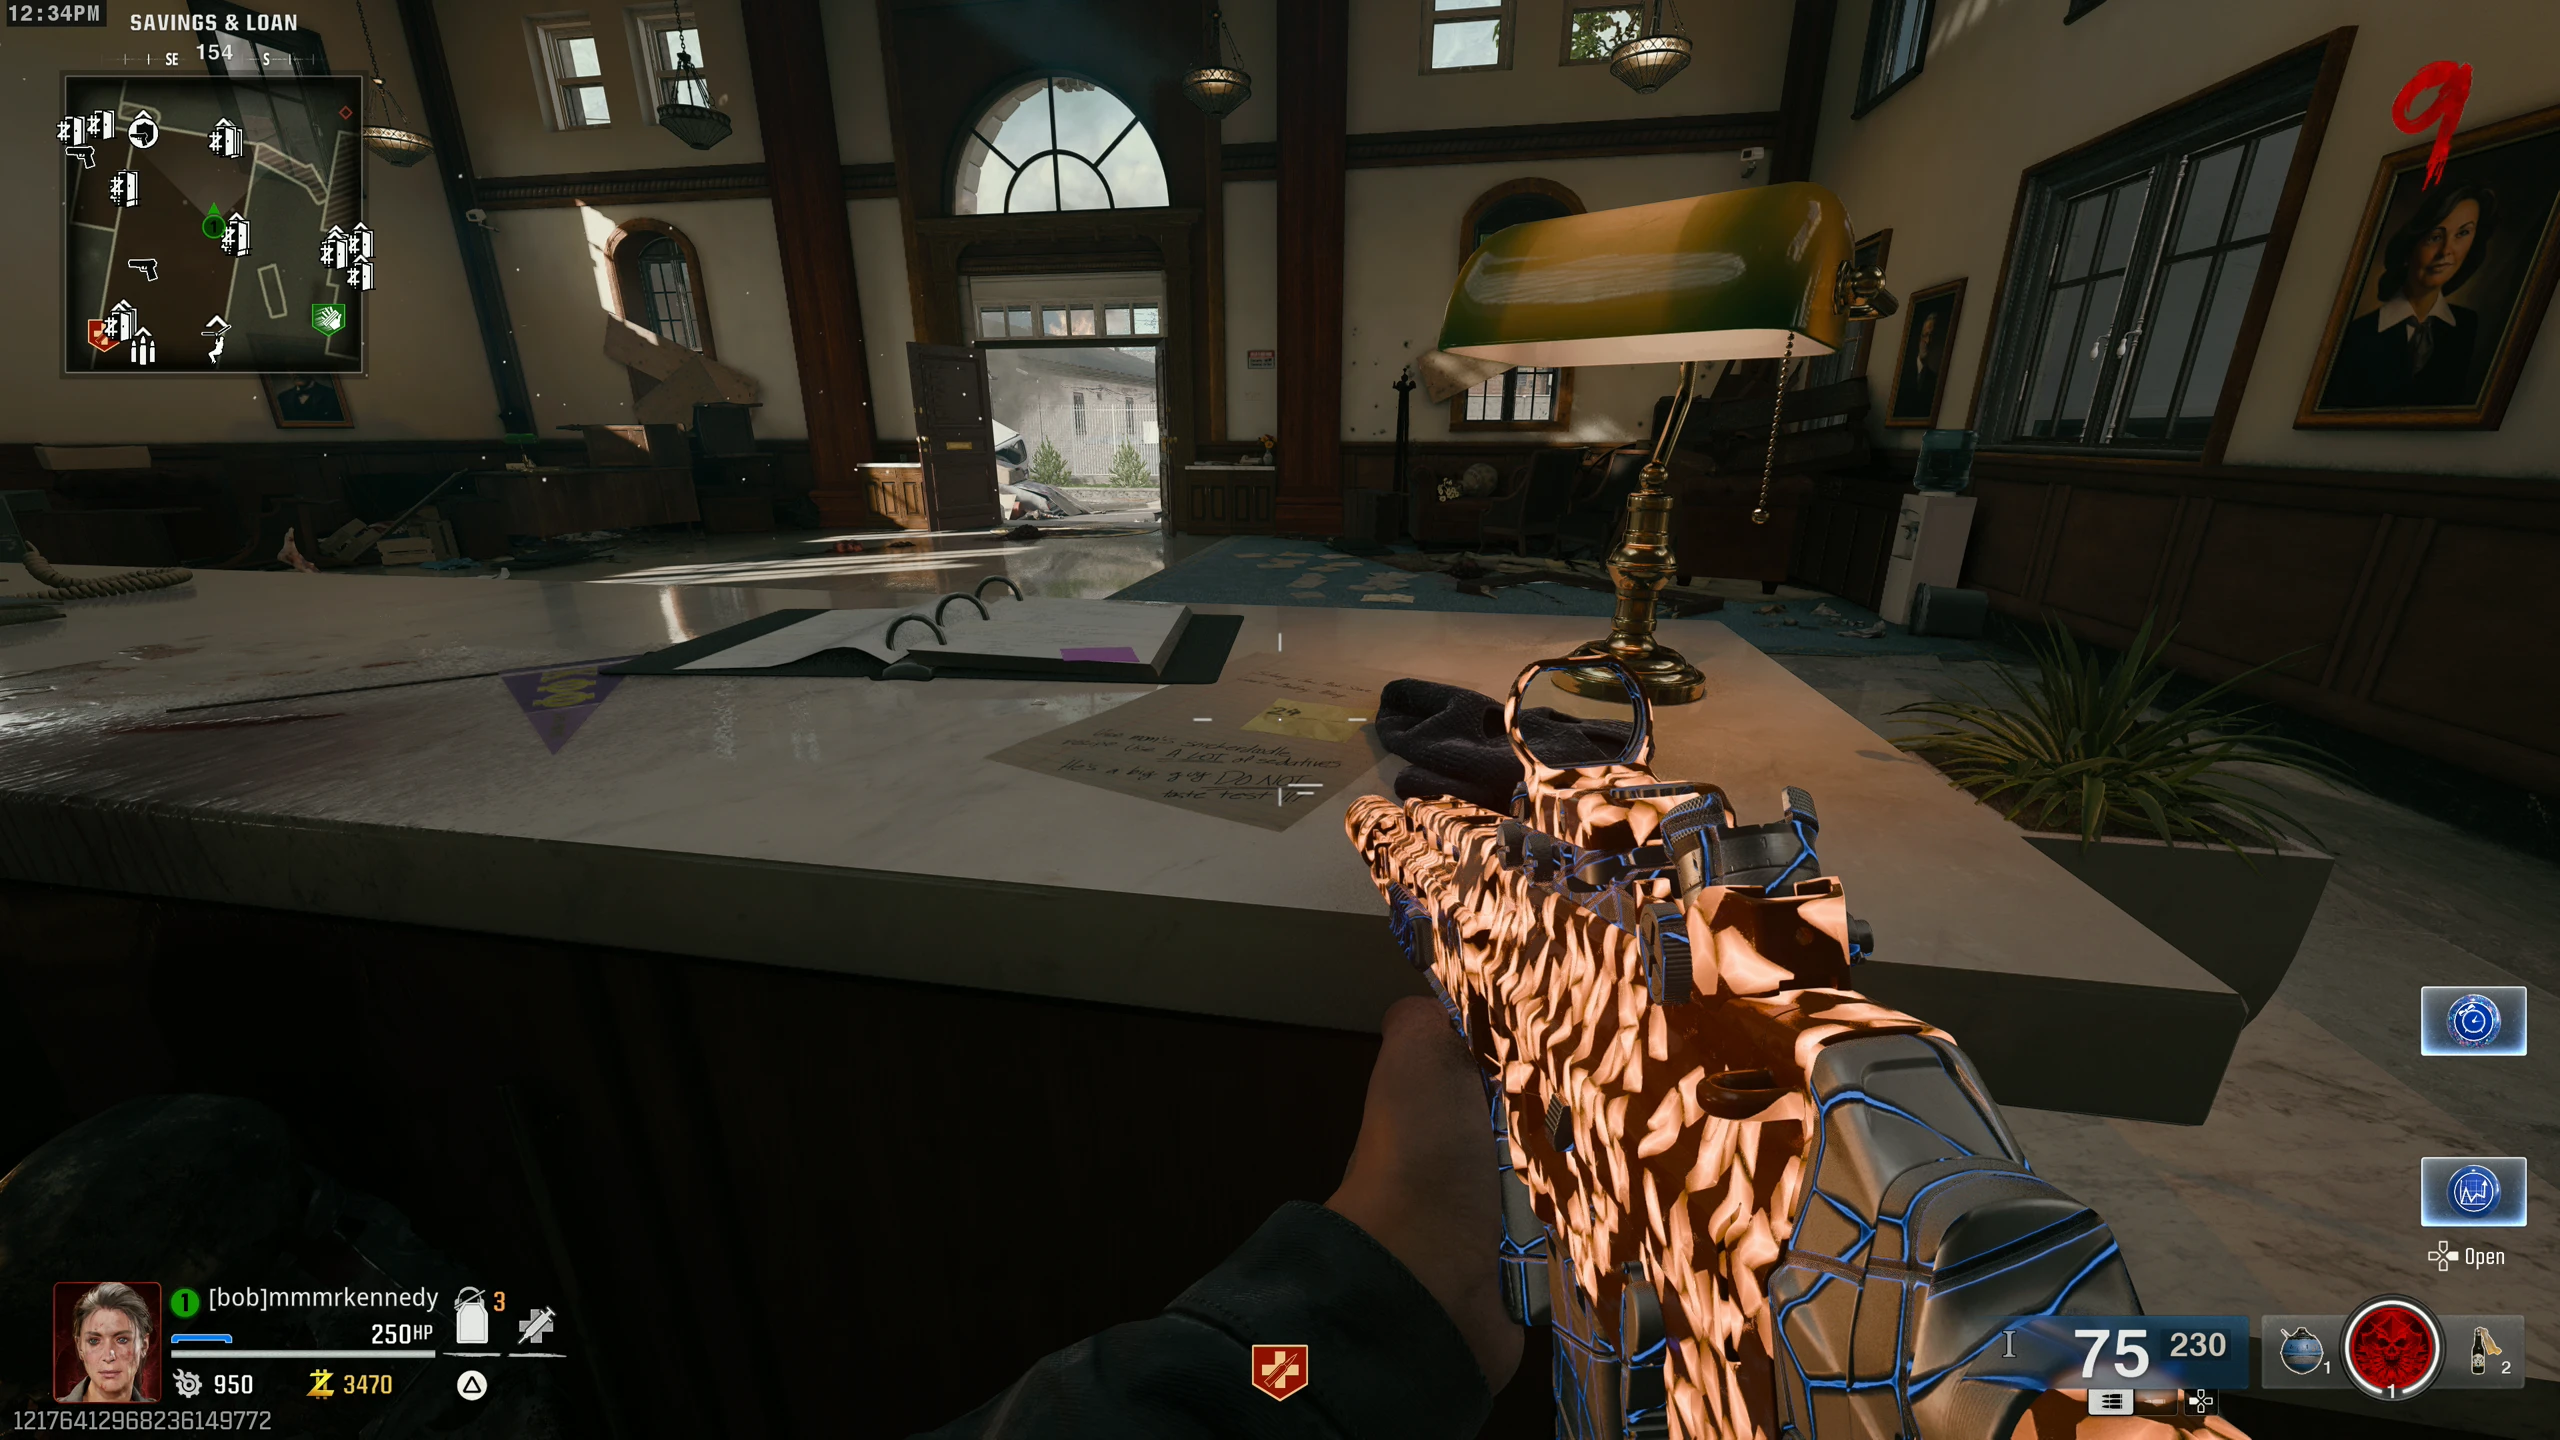
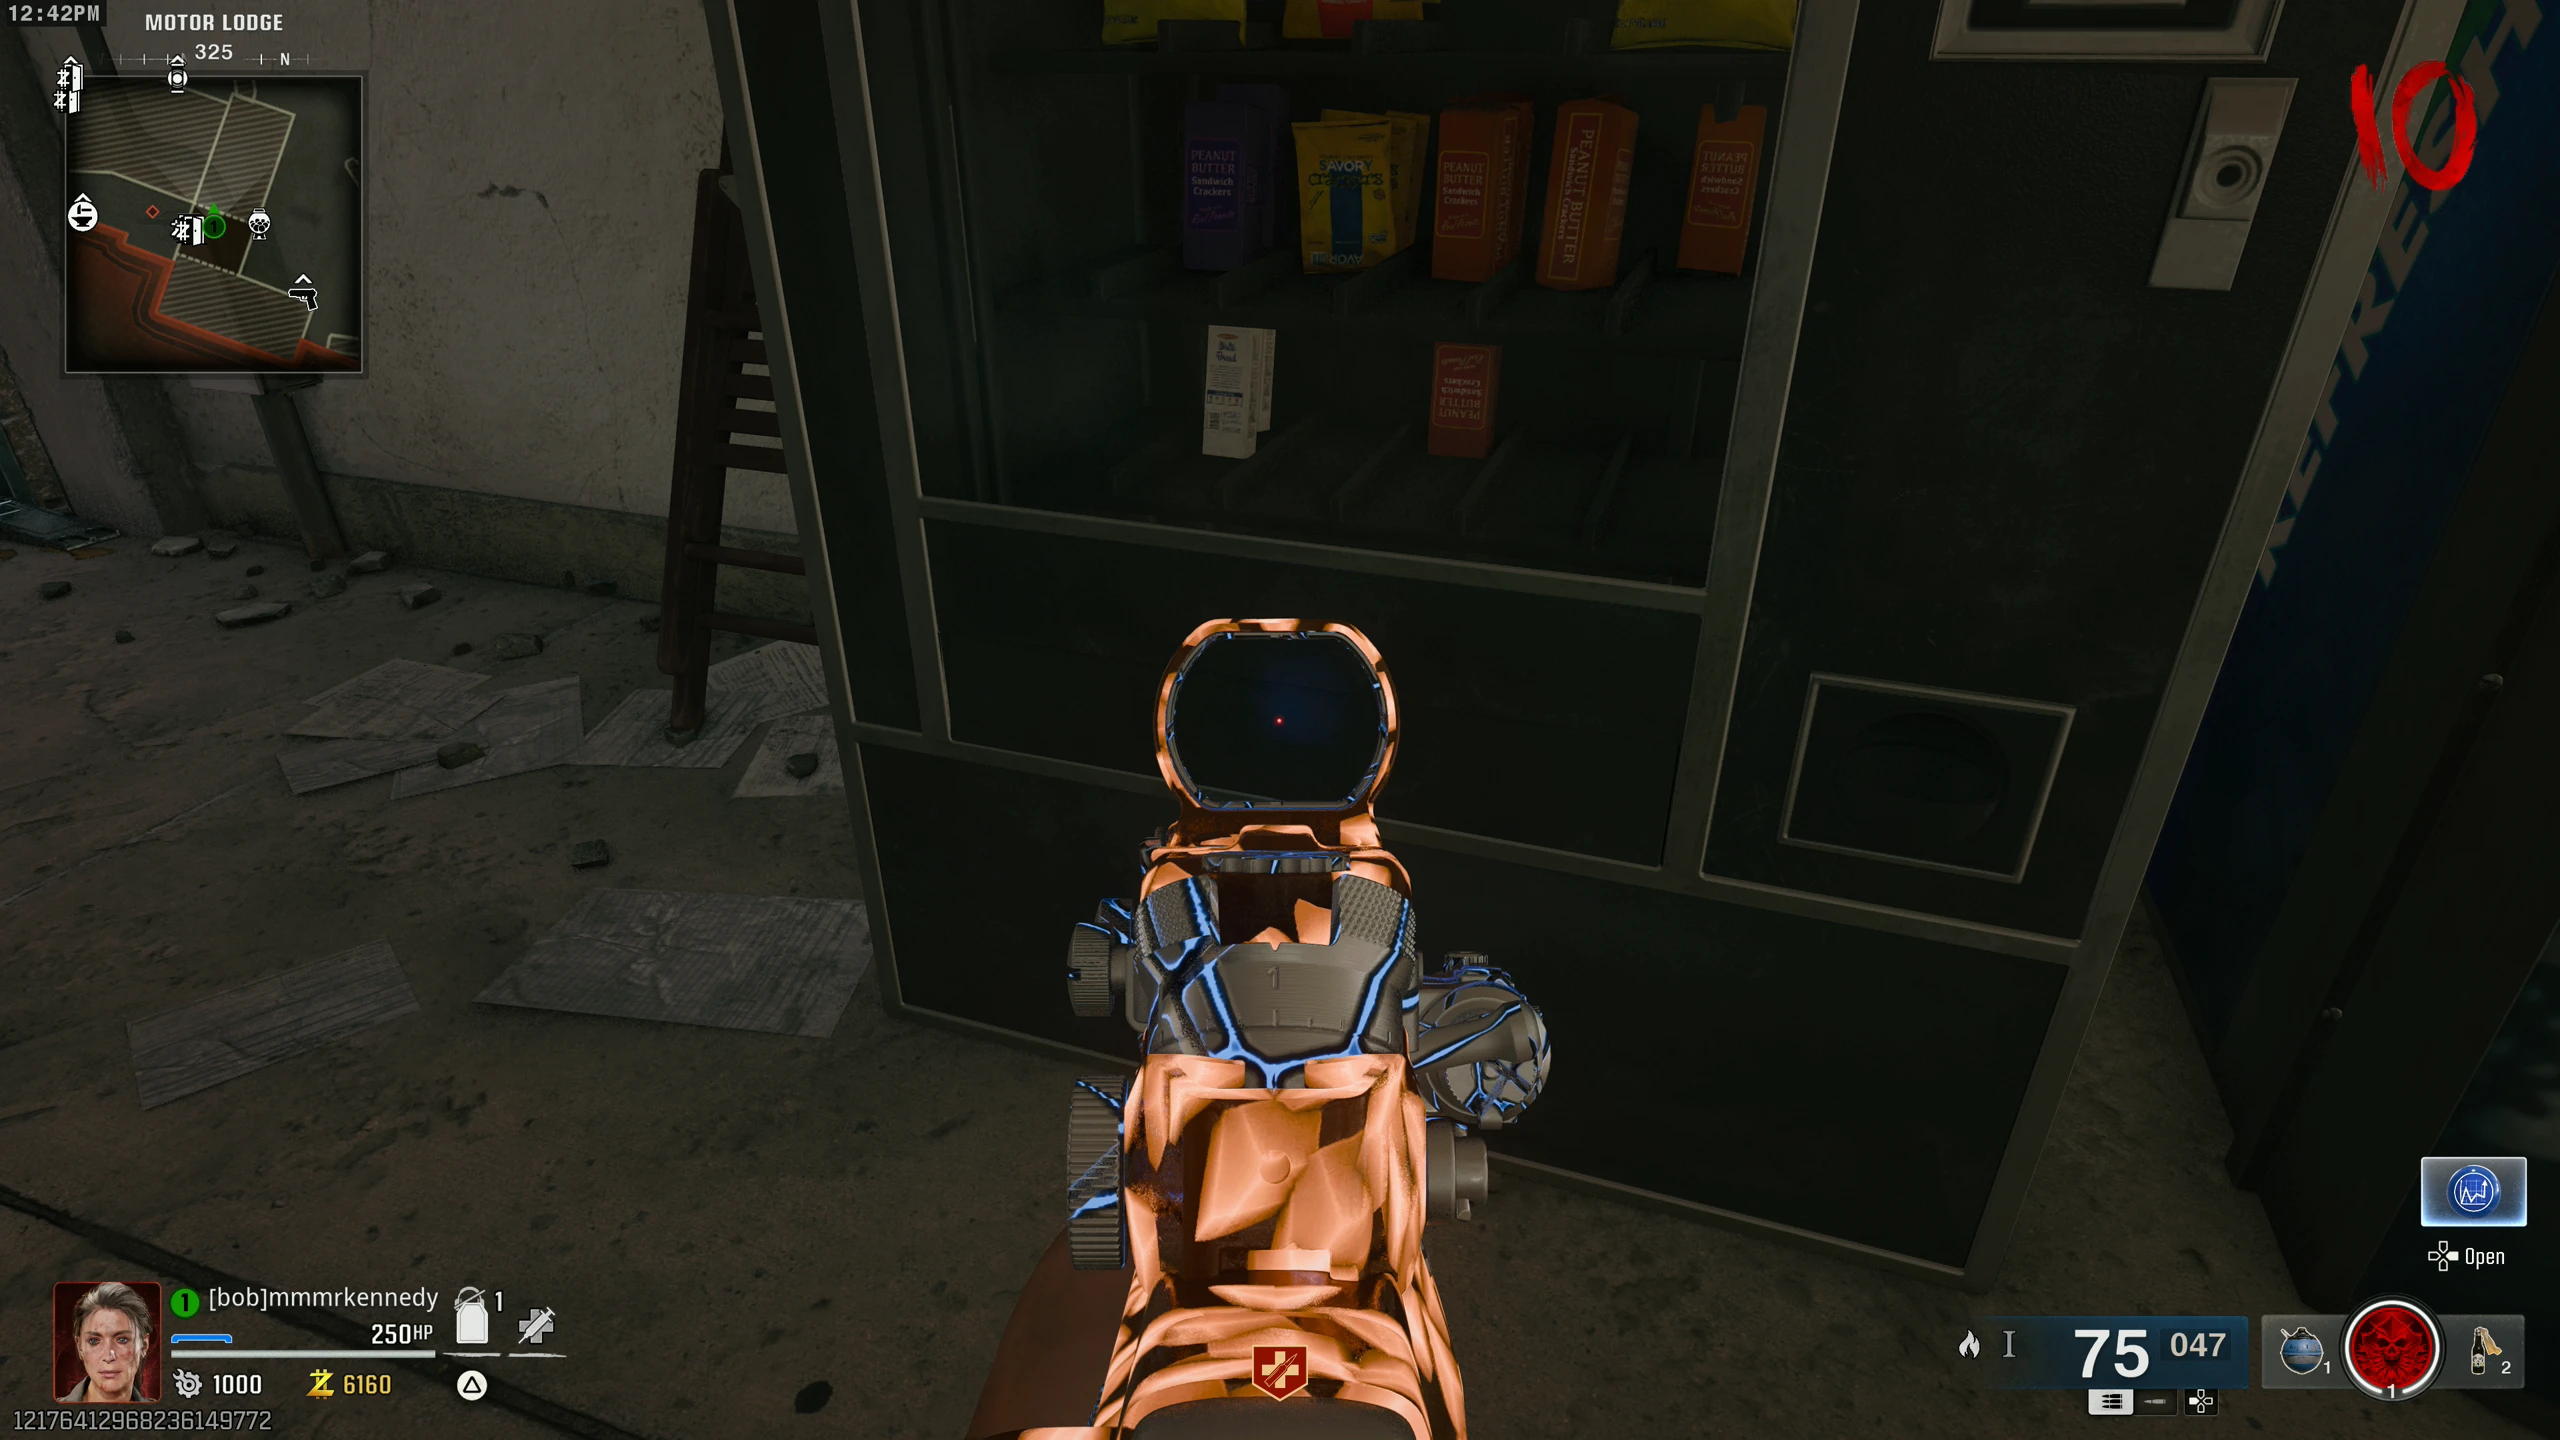
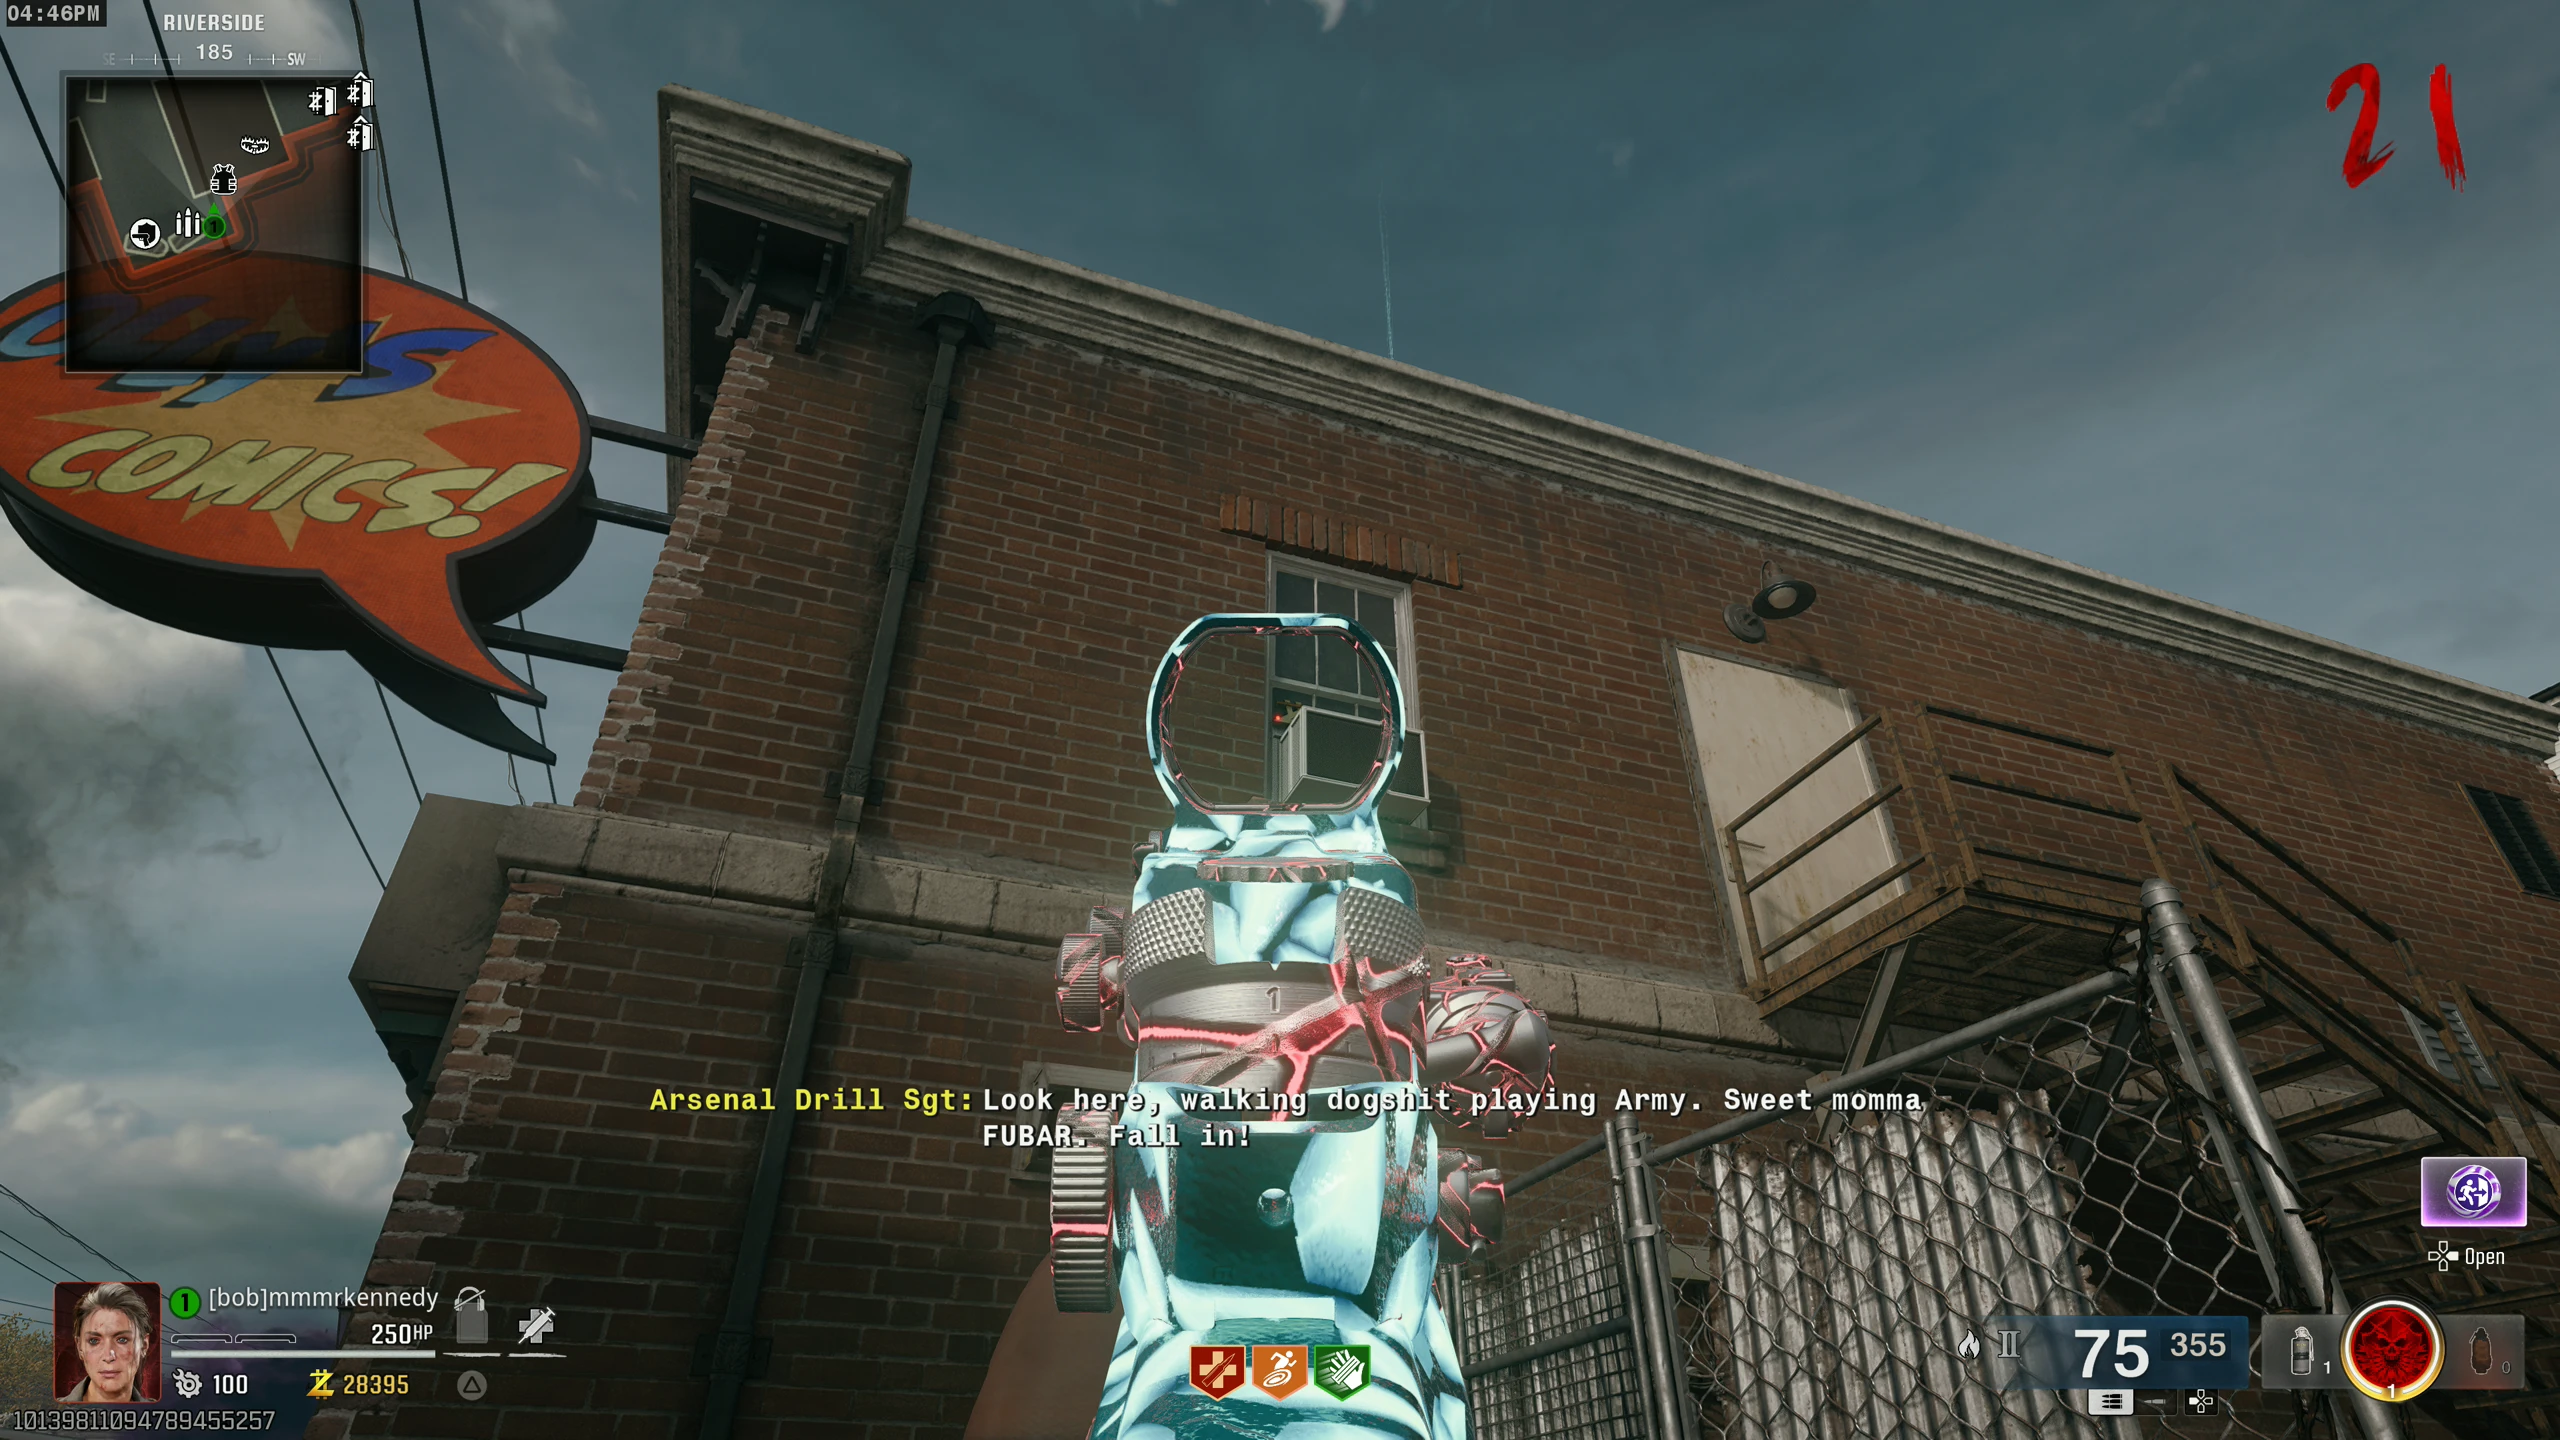
- Olly’s Comics - In the ceiling above the desk in the middle of the room
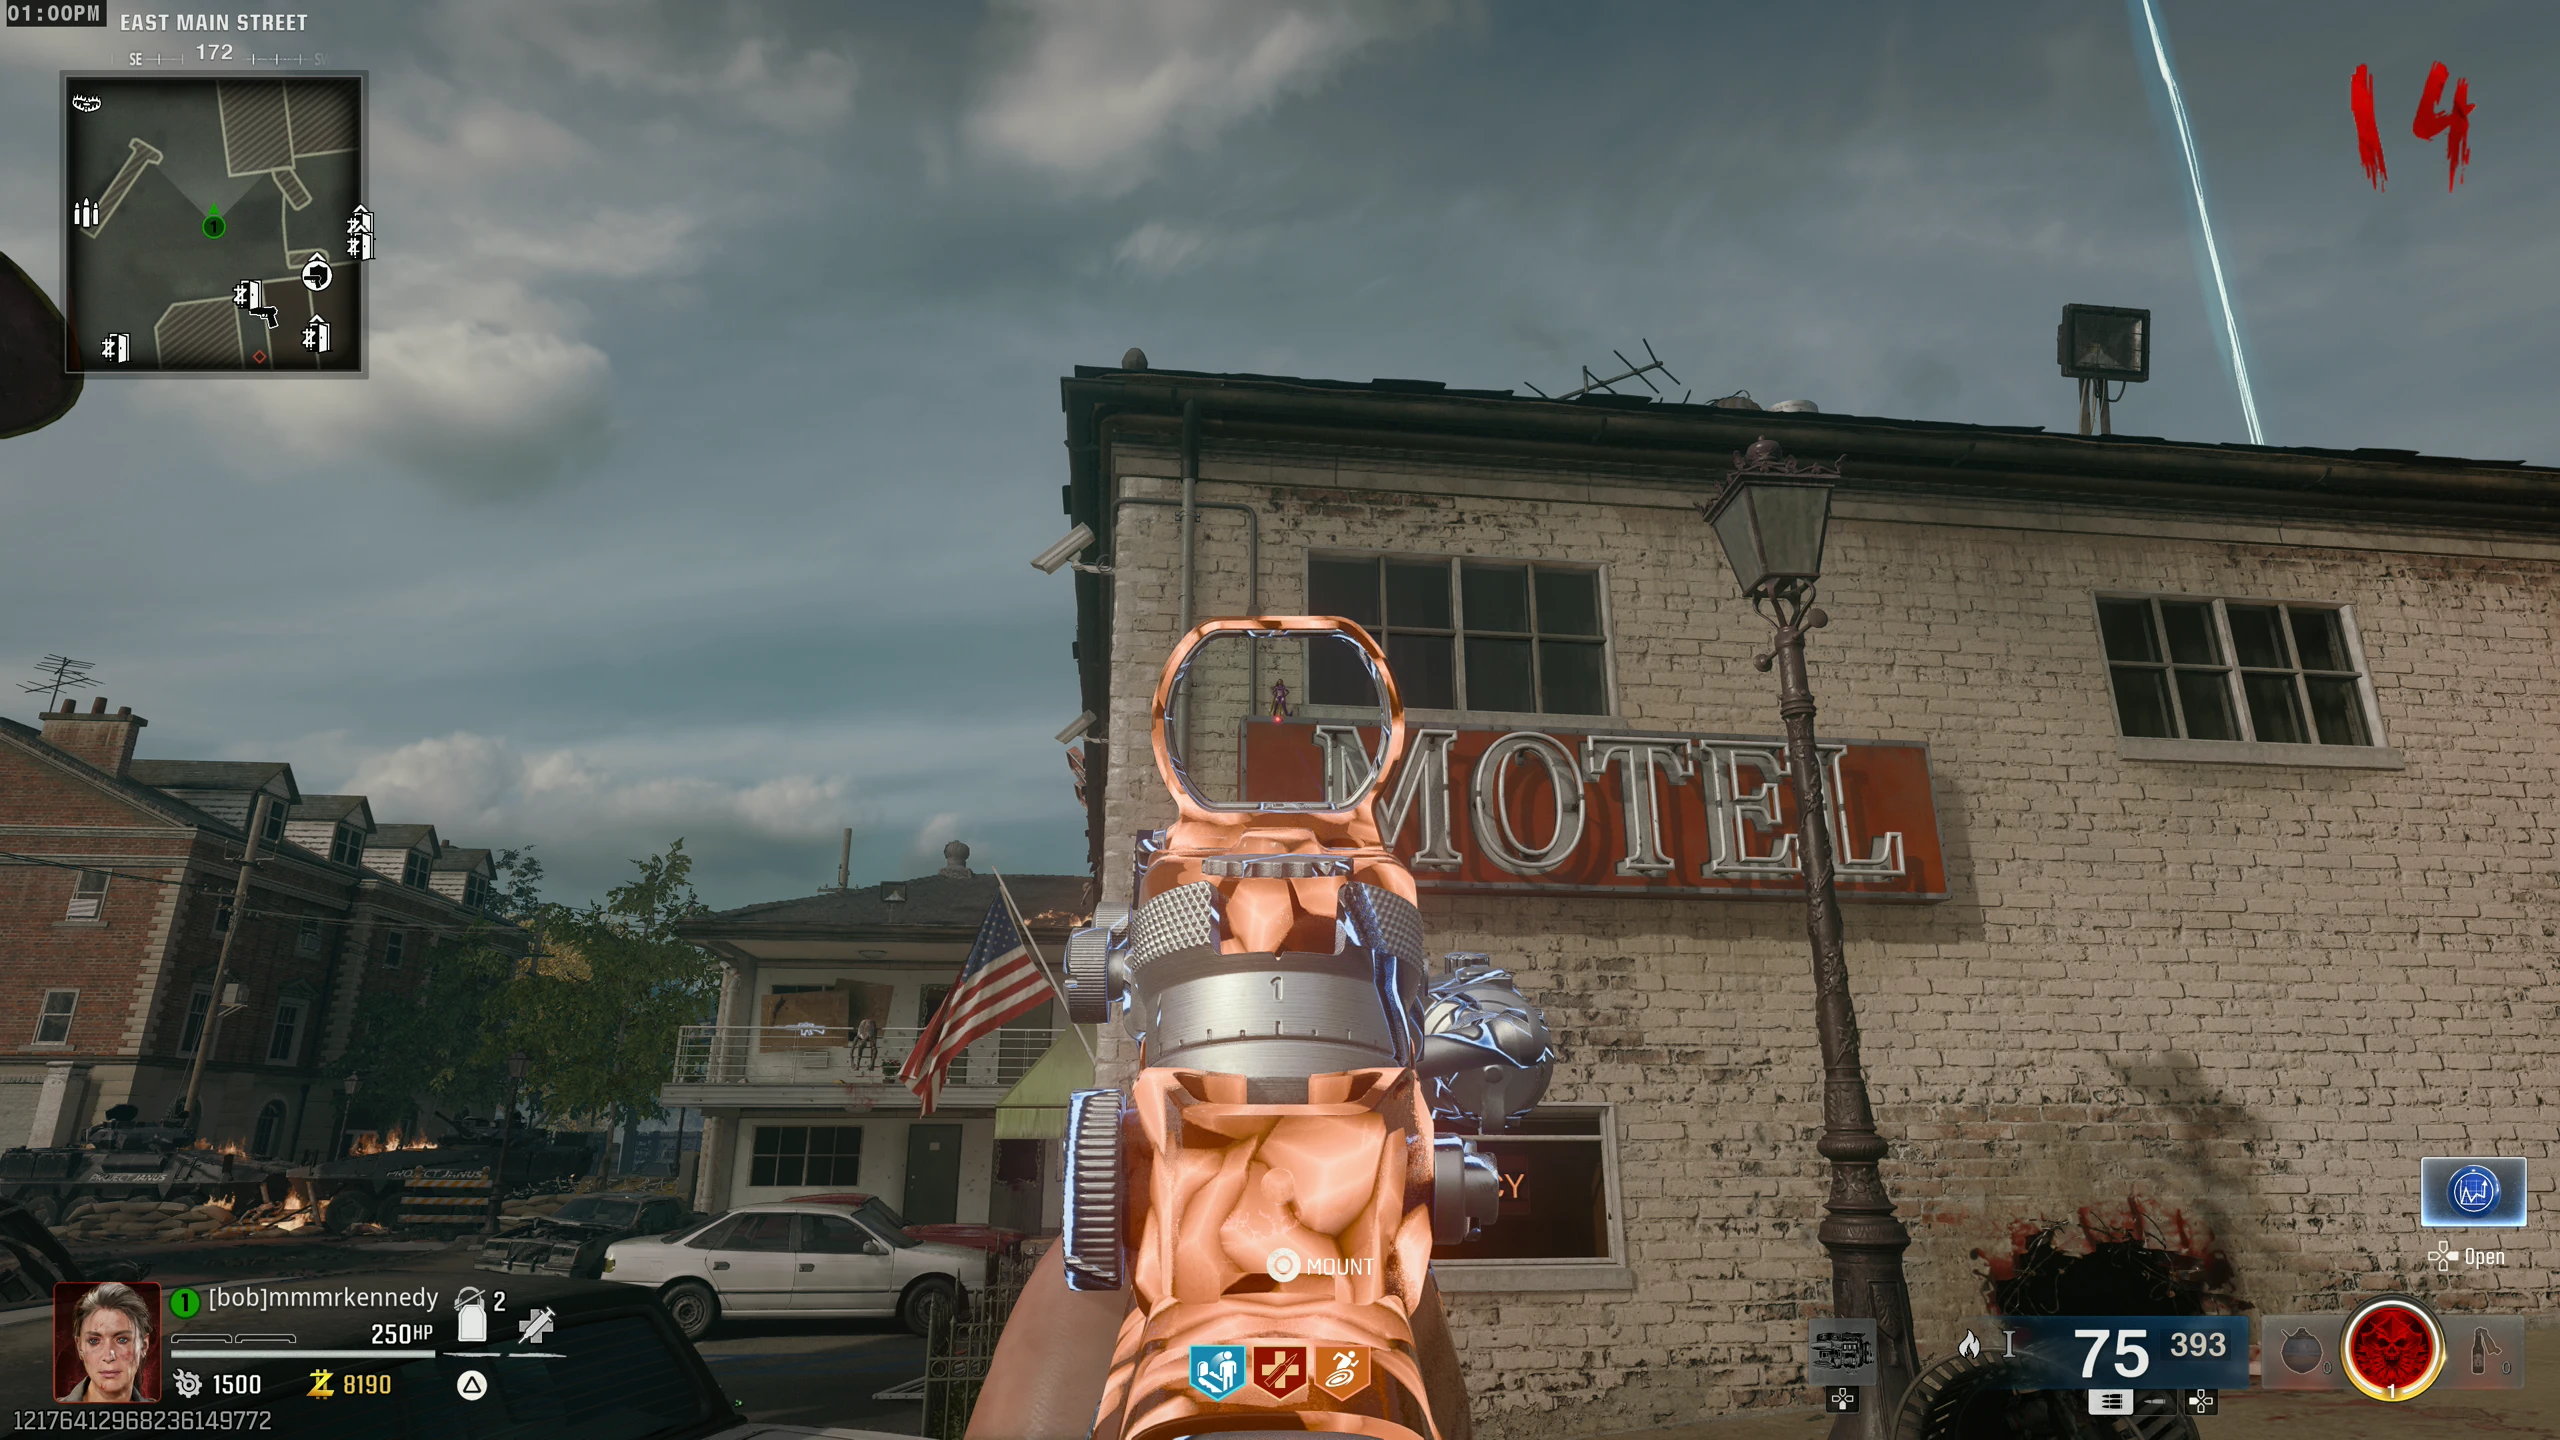
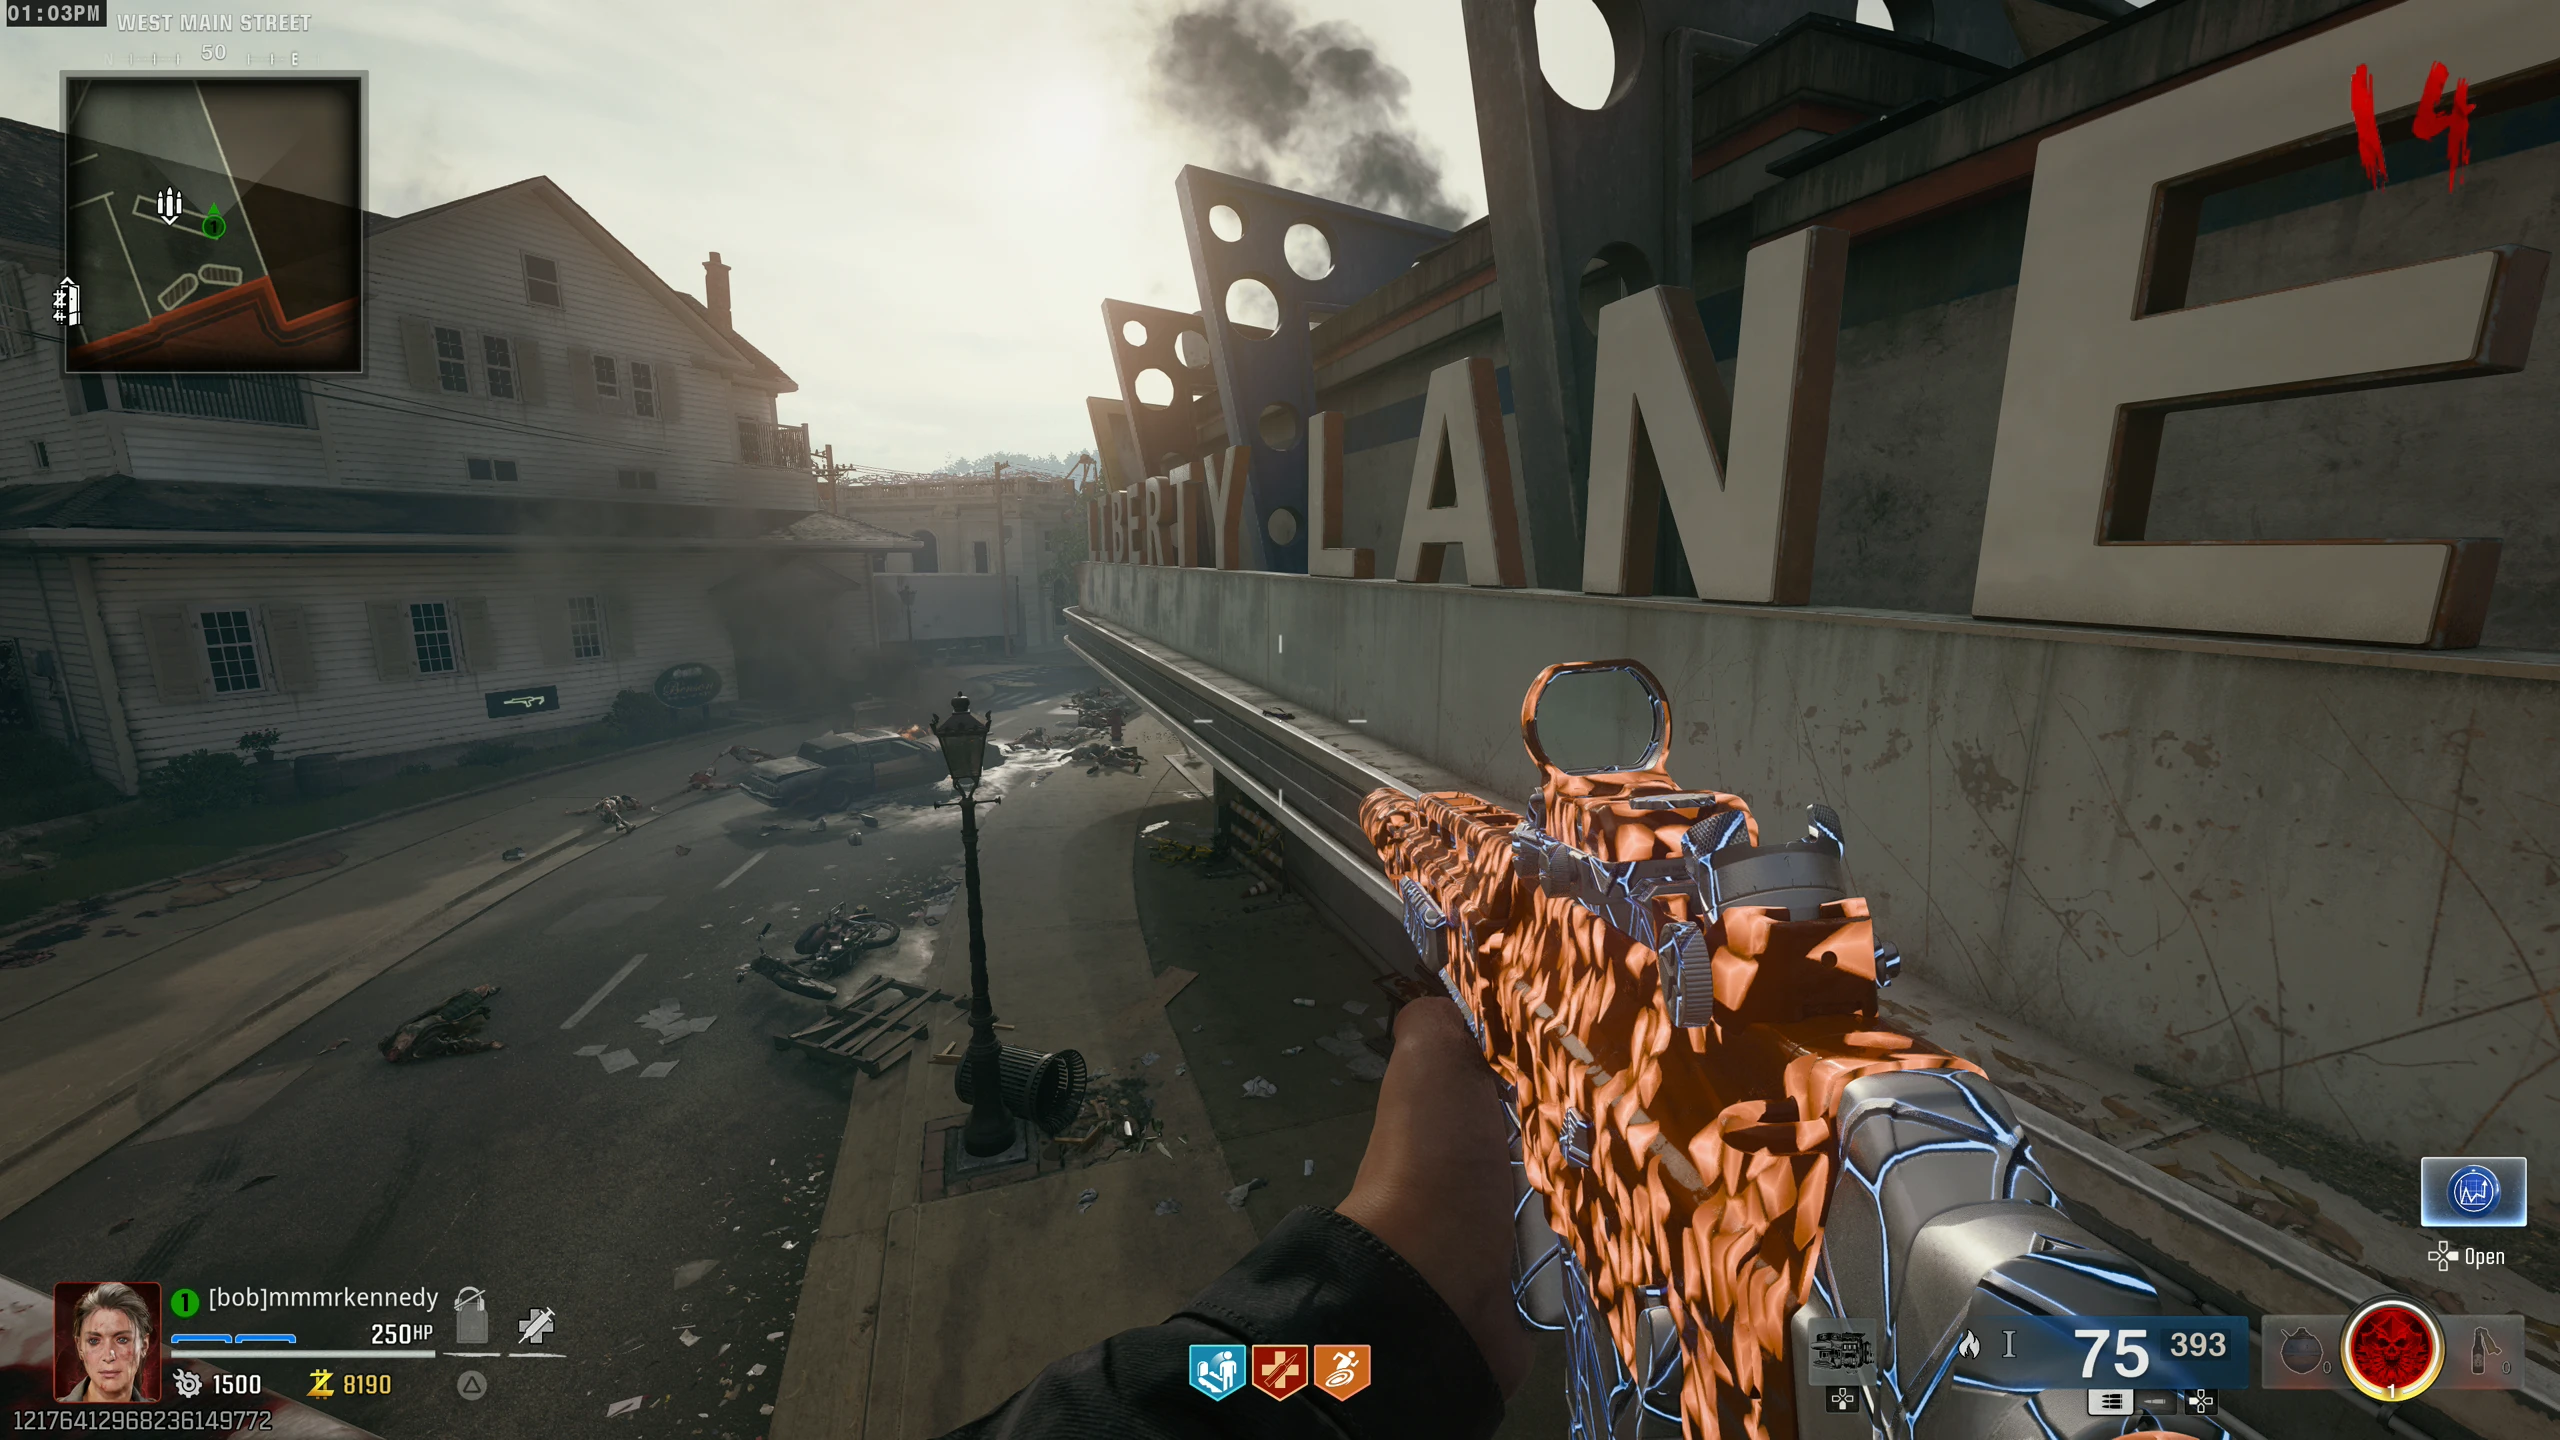
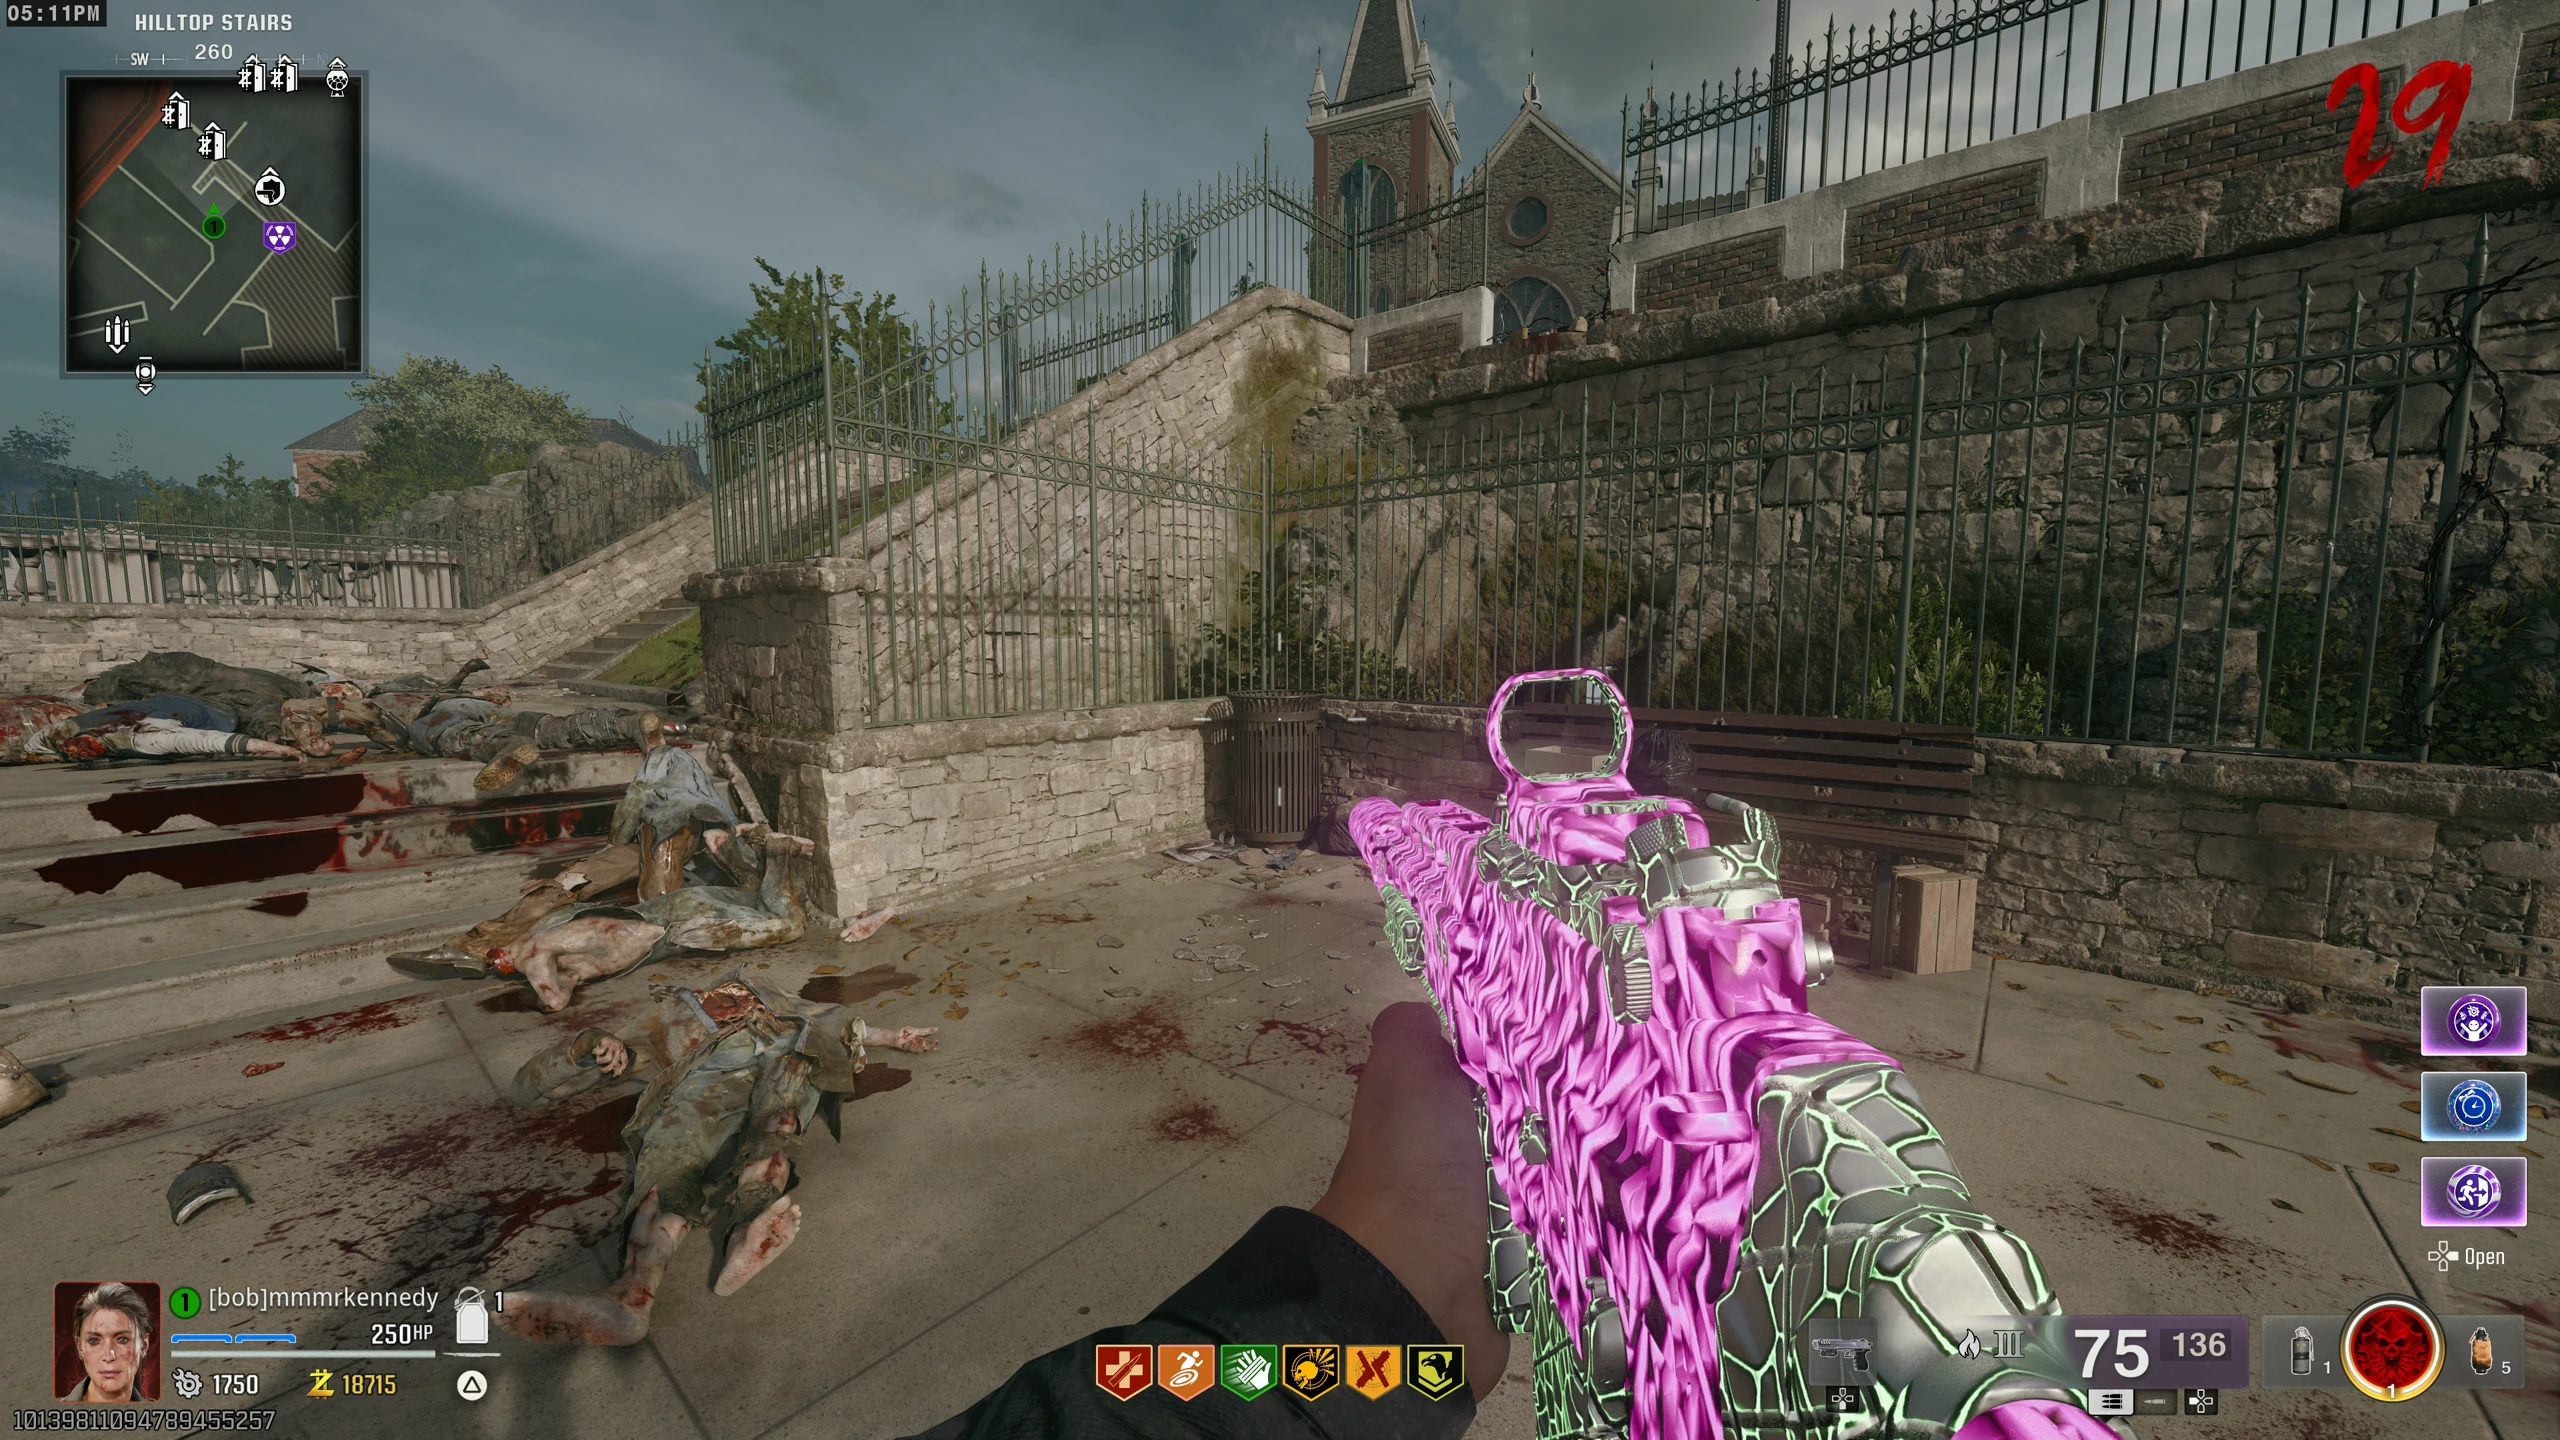
- Washington Ave. - In a window above Speed Cola. Stand on the truck to see it.
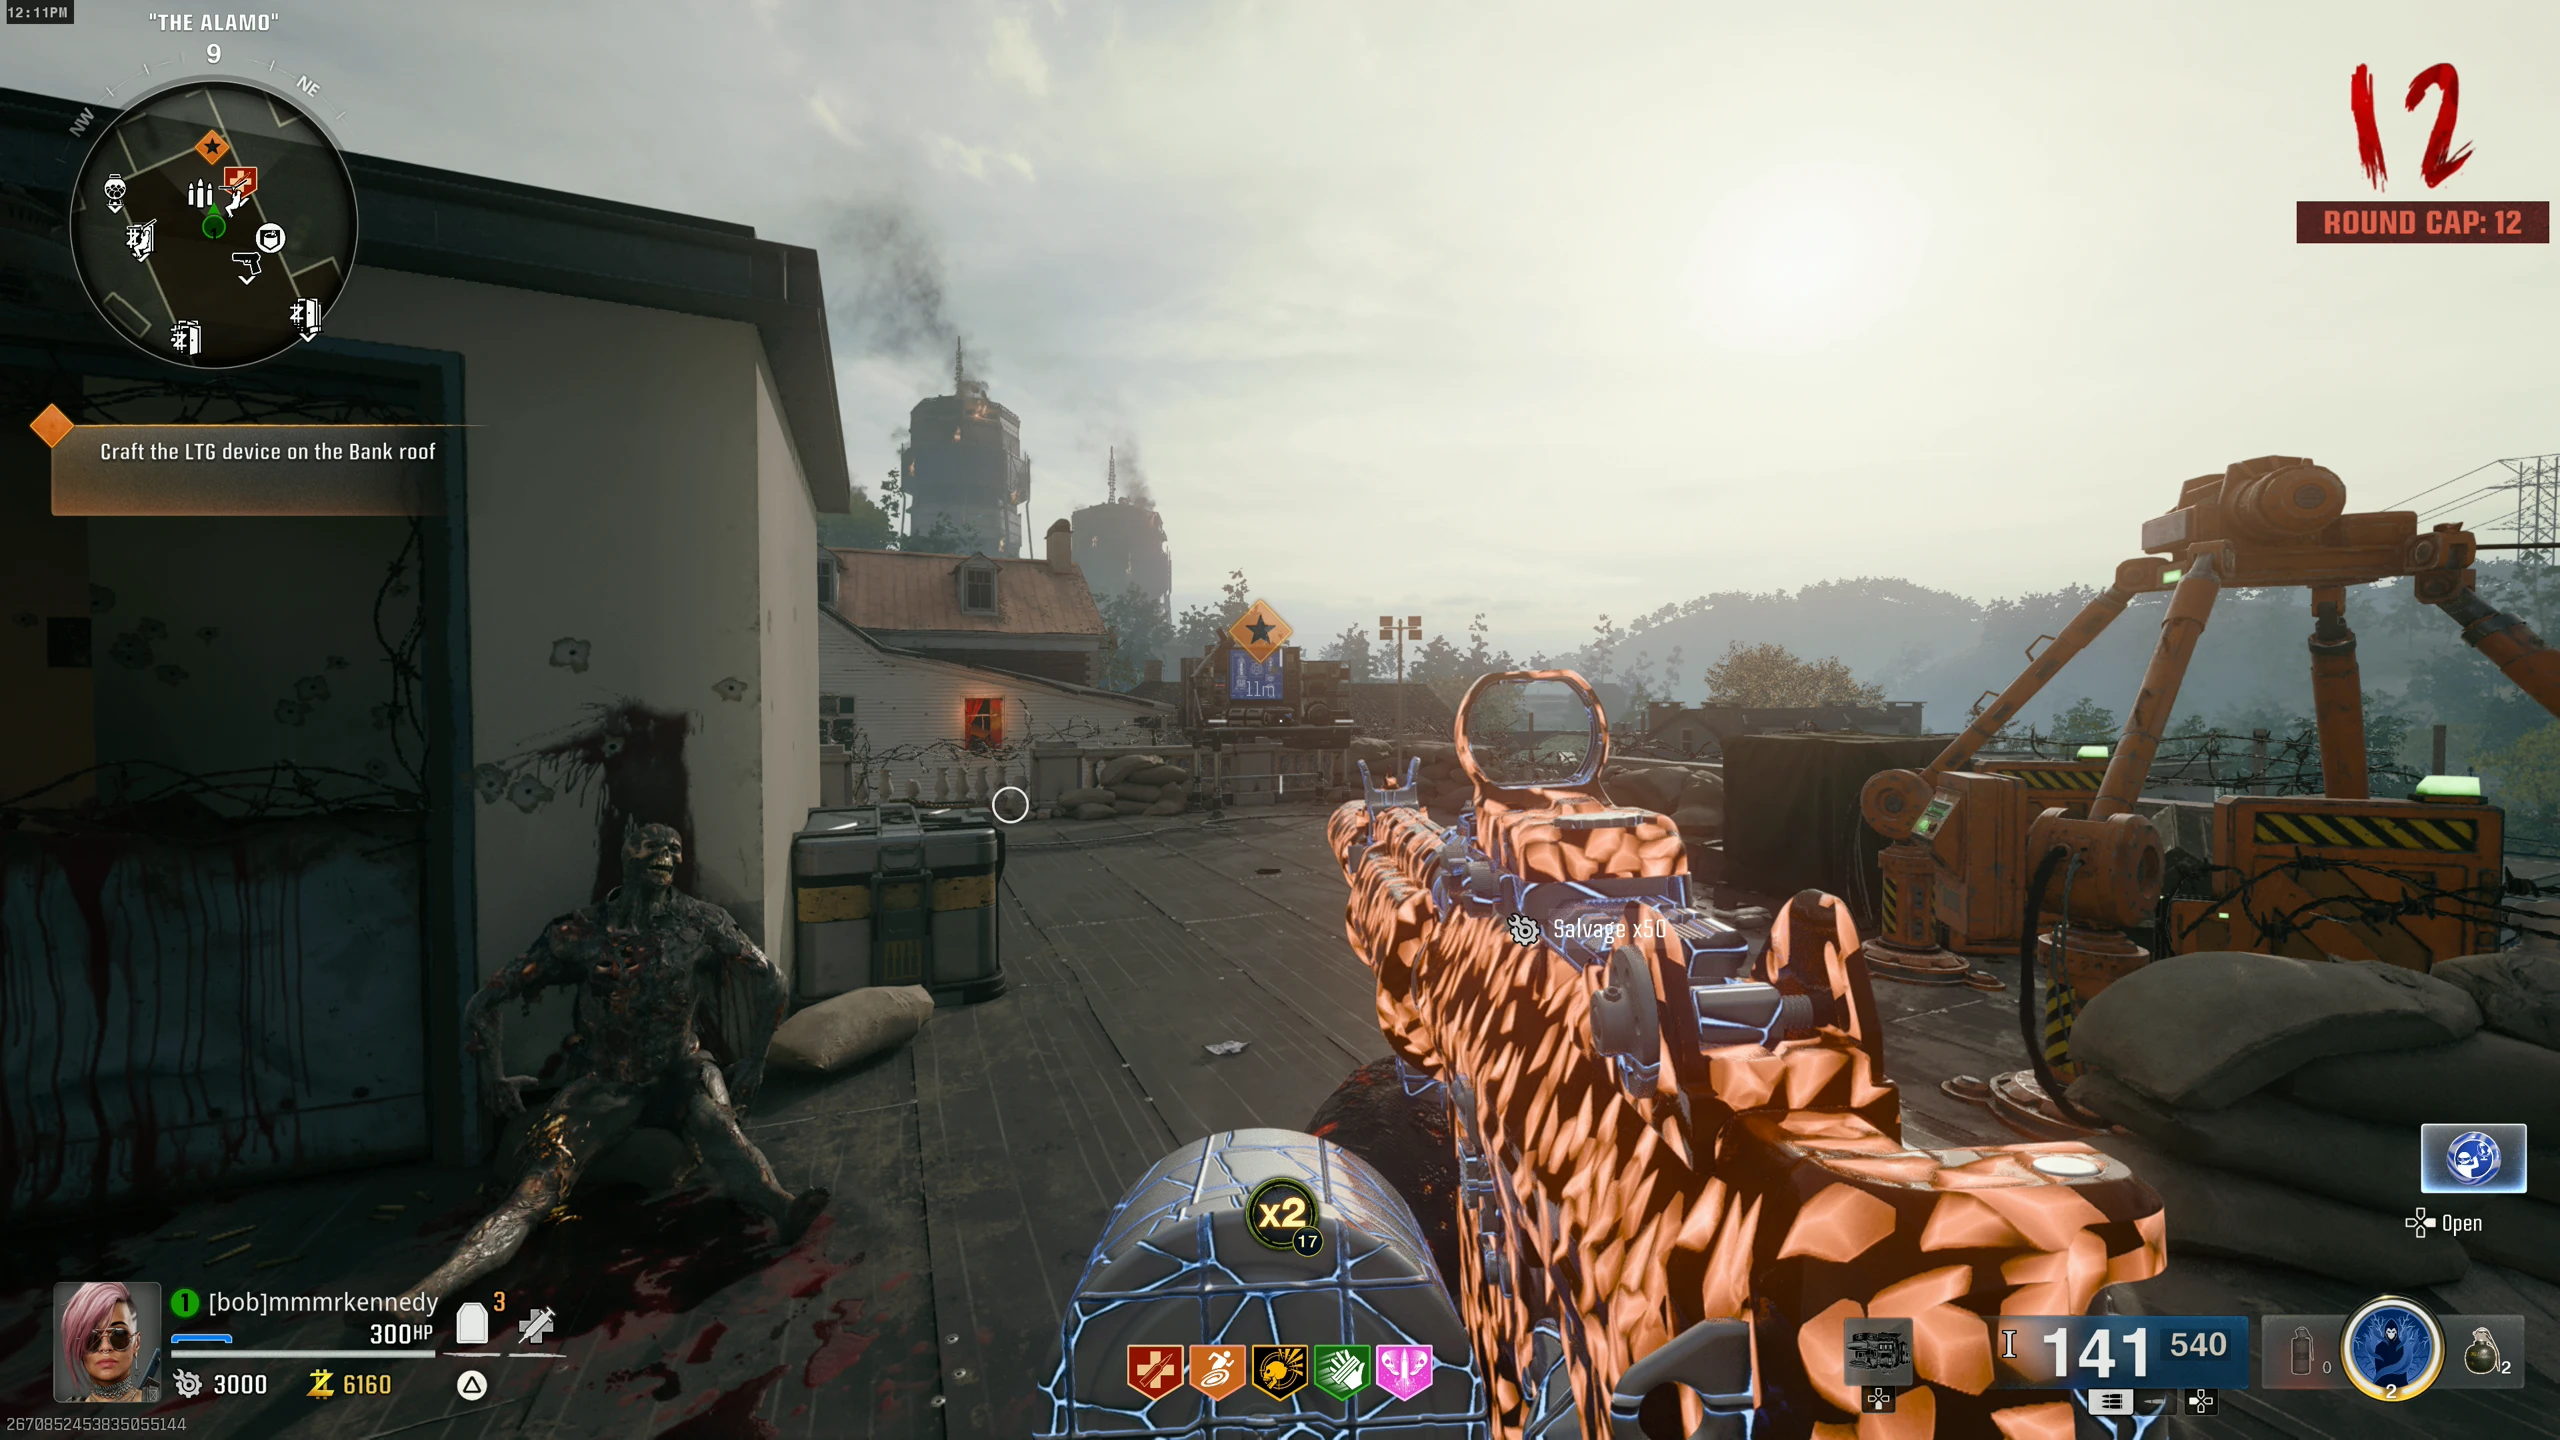
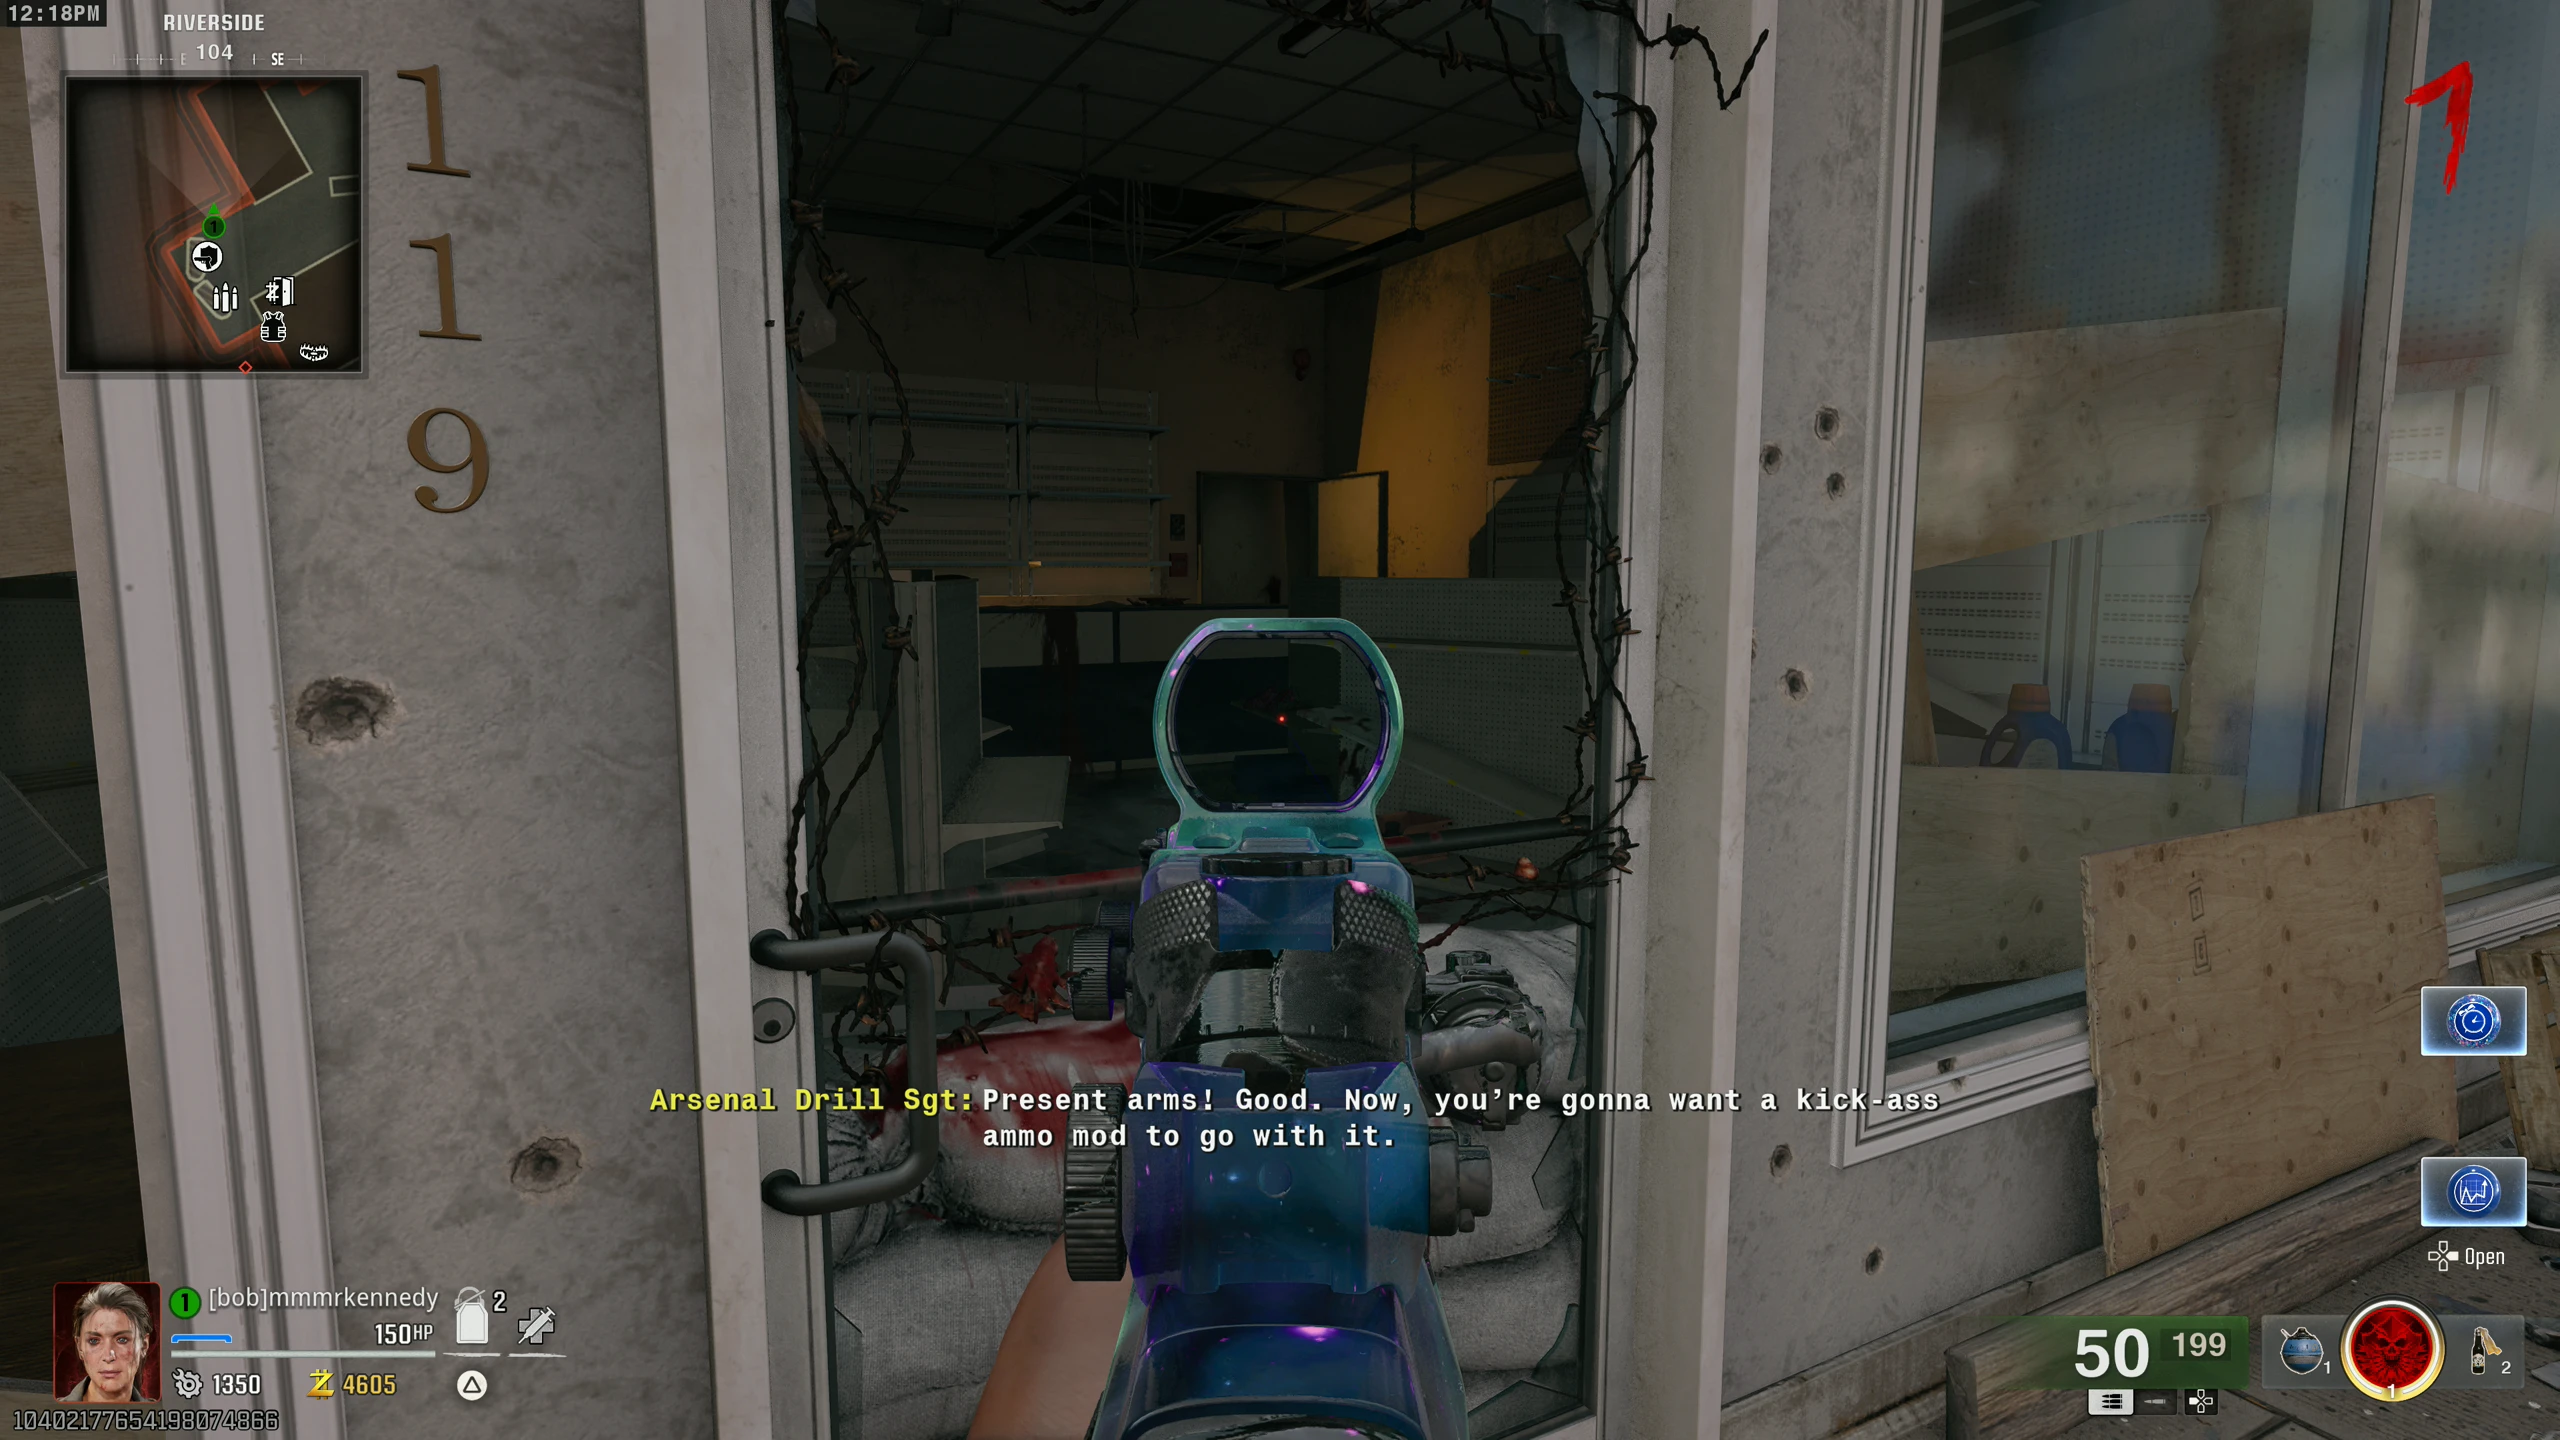
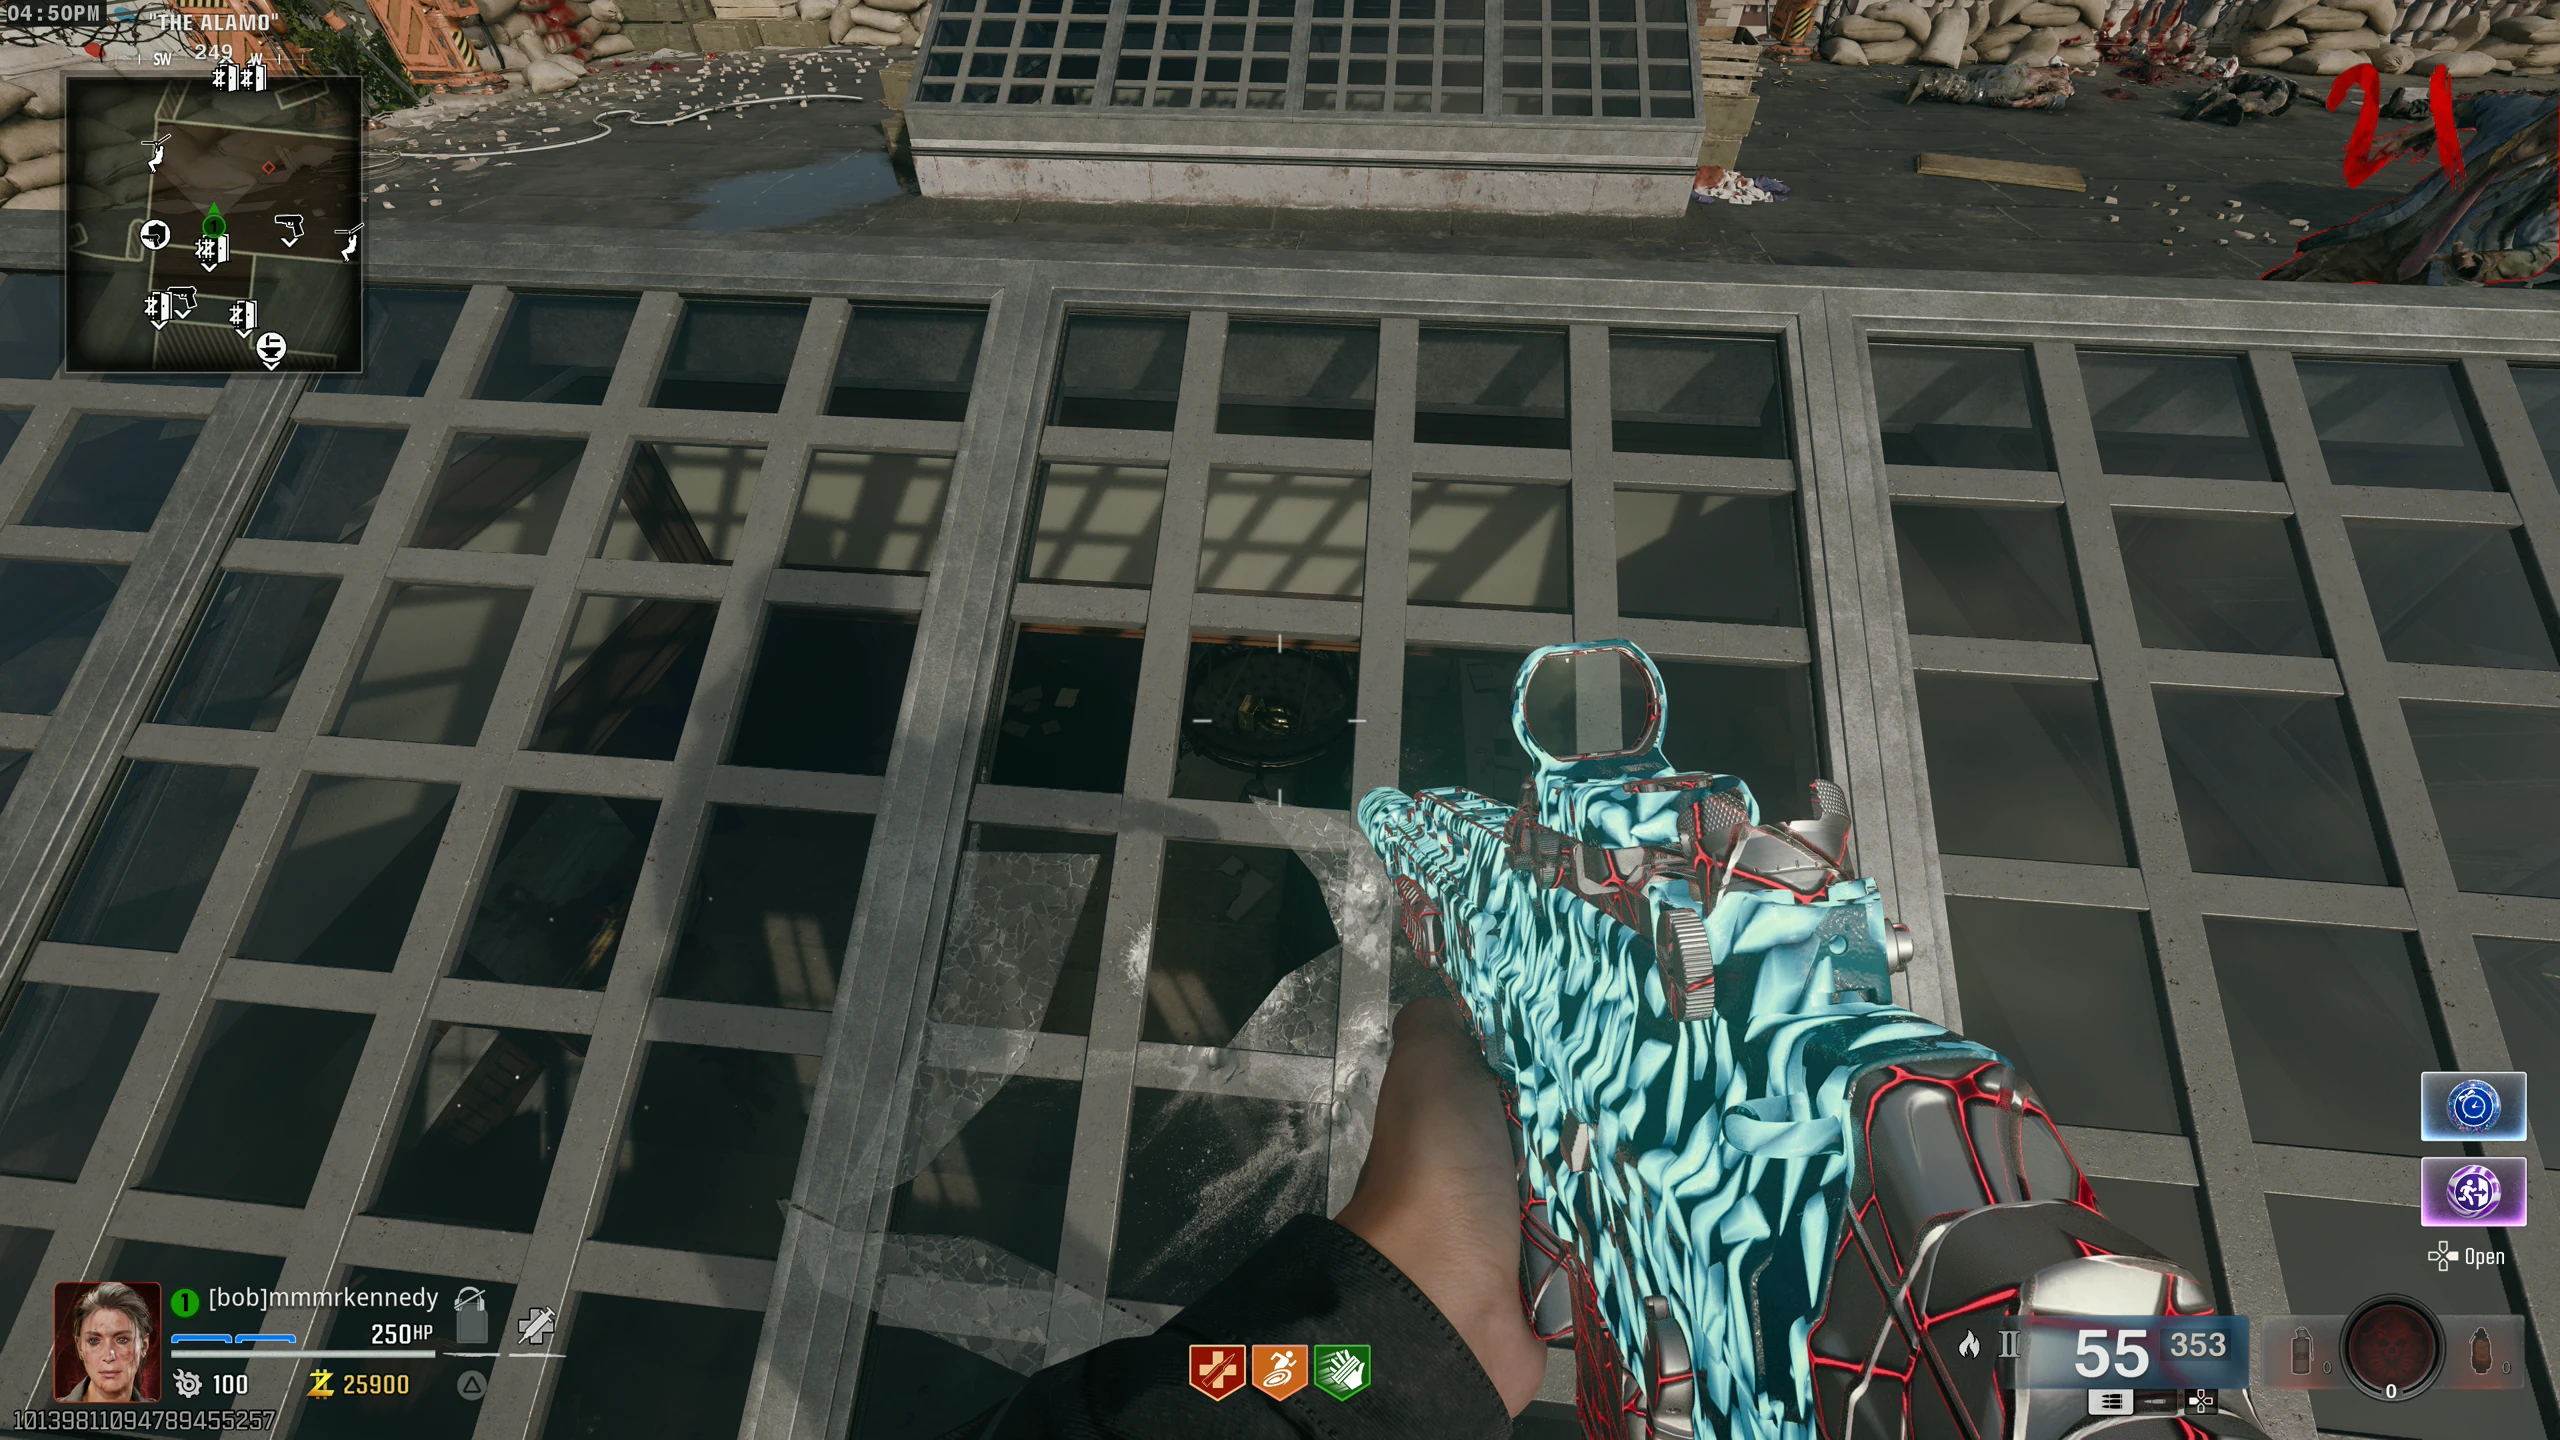
- Once you have all three parts, the L.T.G. can be crafted at the workbench on "The Alamo" (the roof of the Bank).
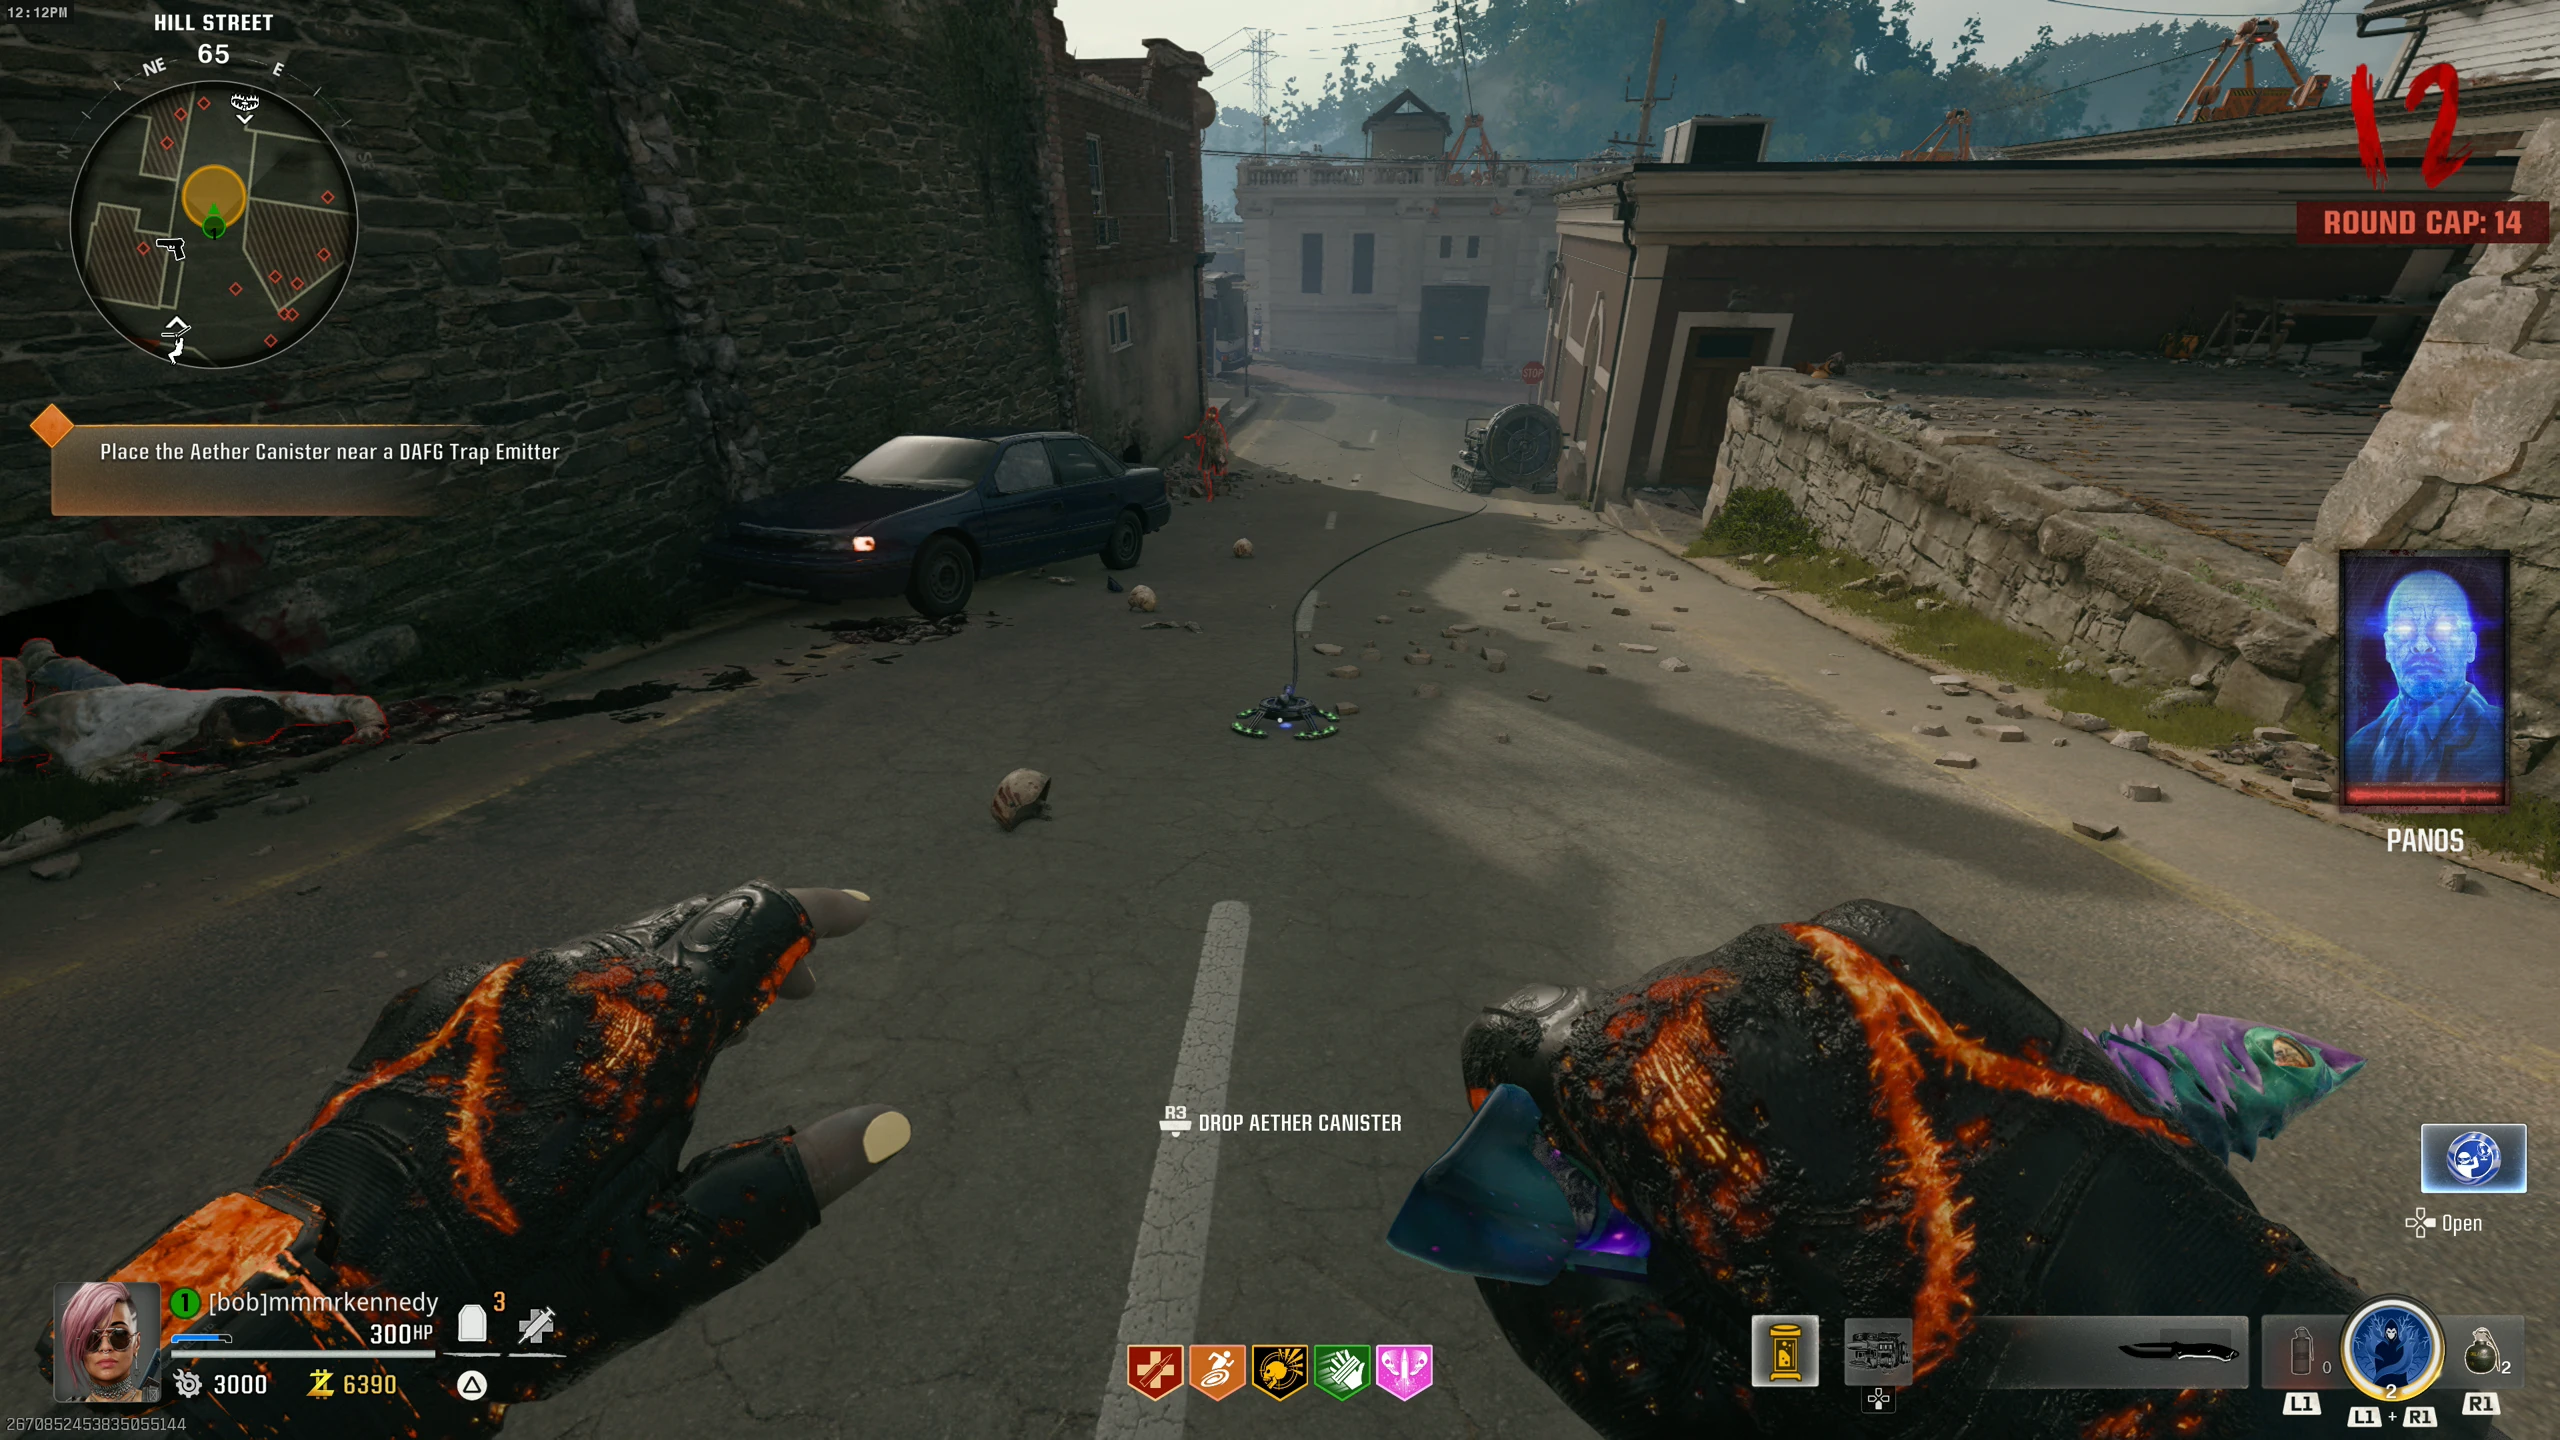
- Interact with the machine in the Church to pick up an Aether Canister.
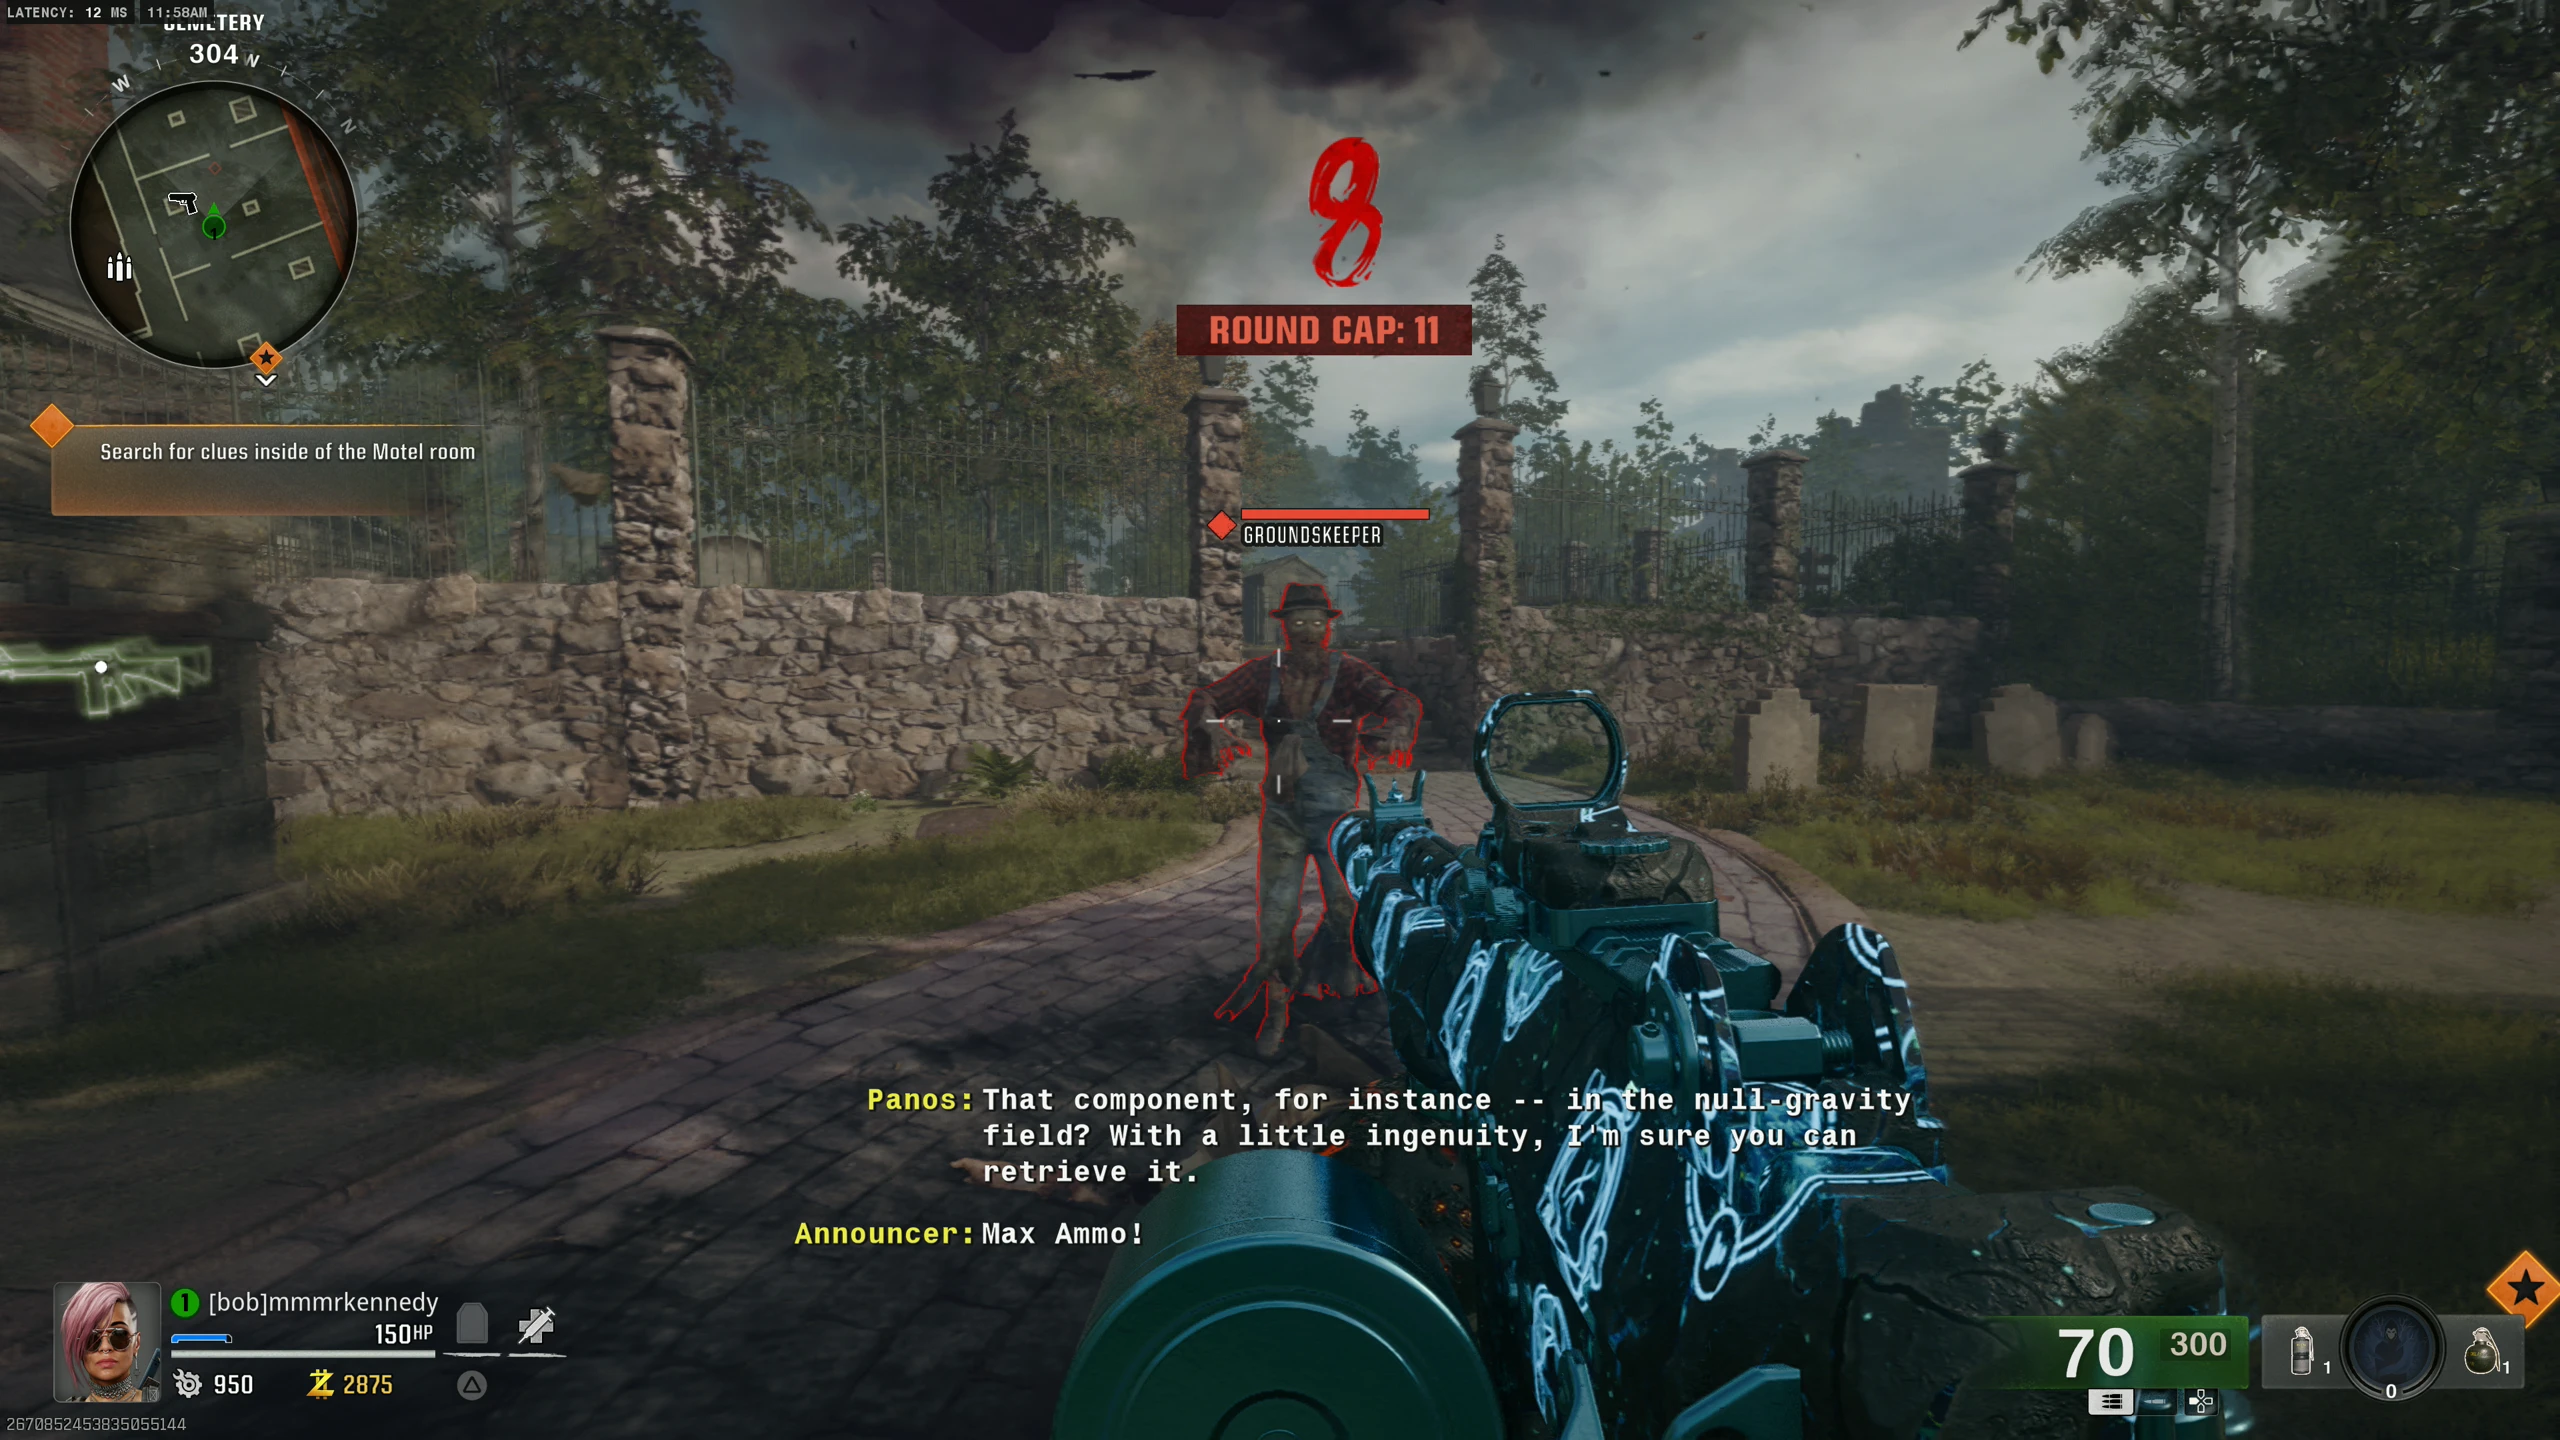
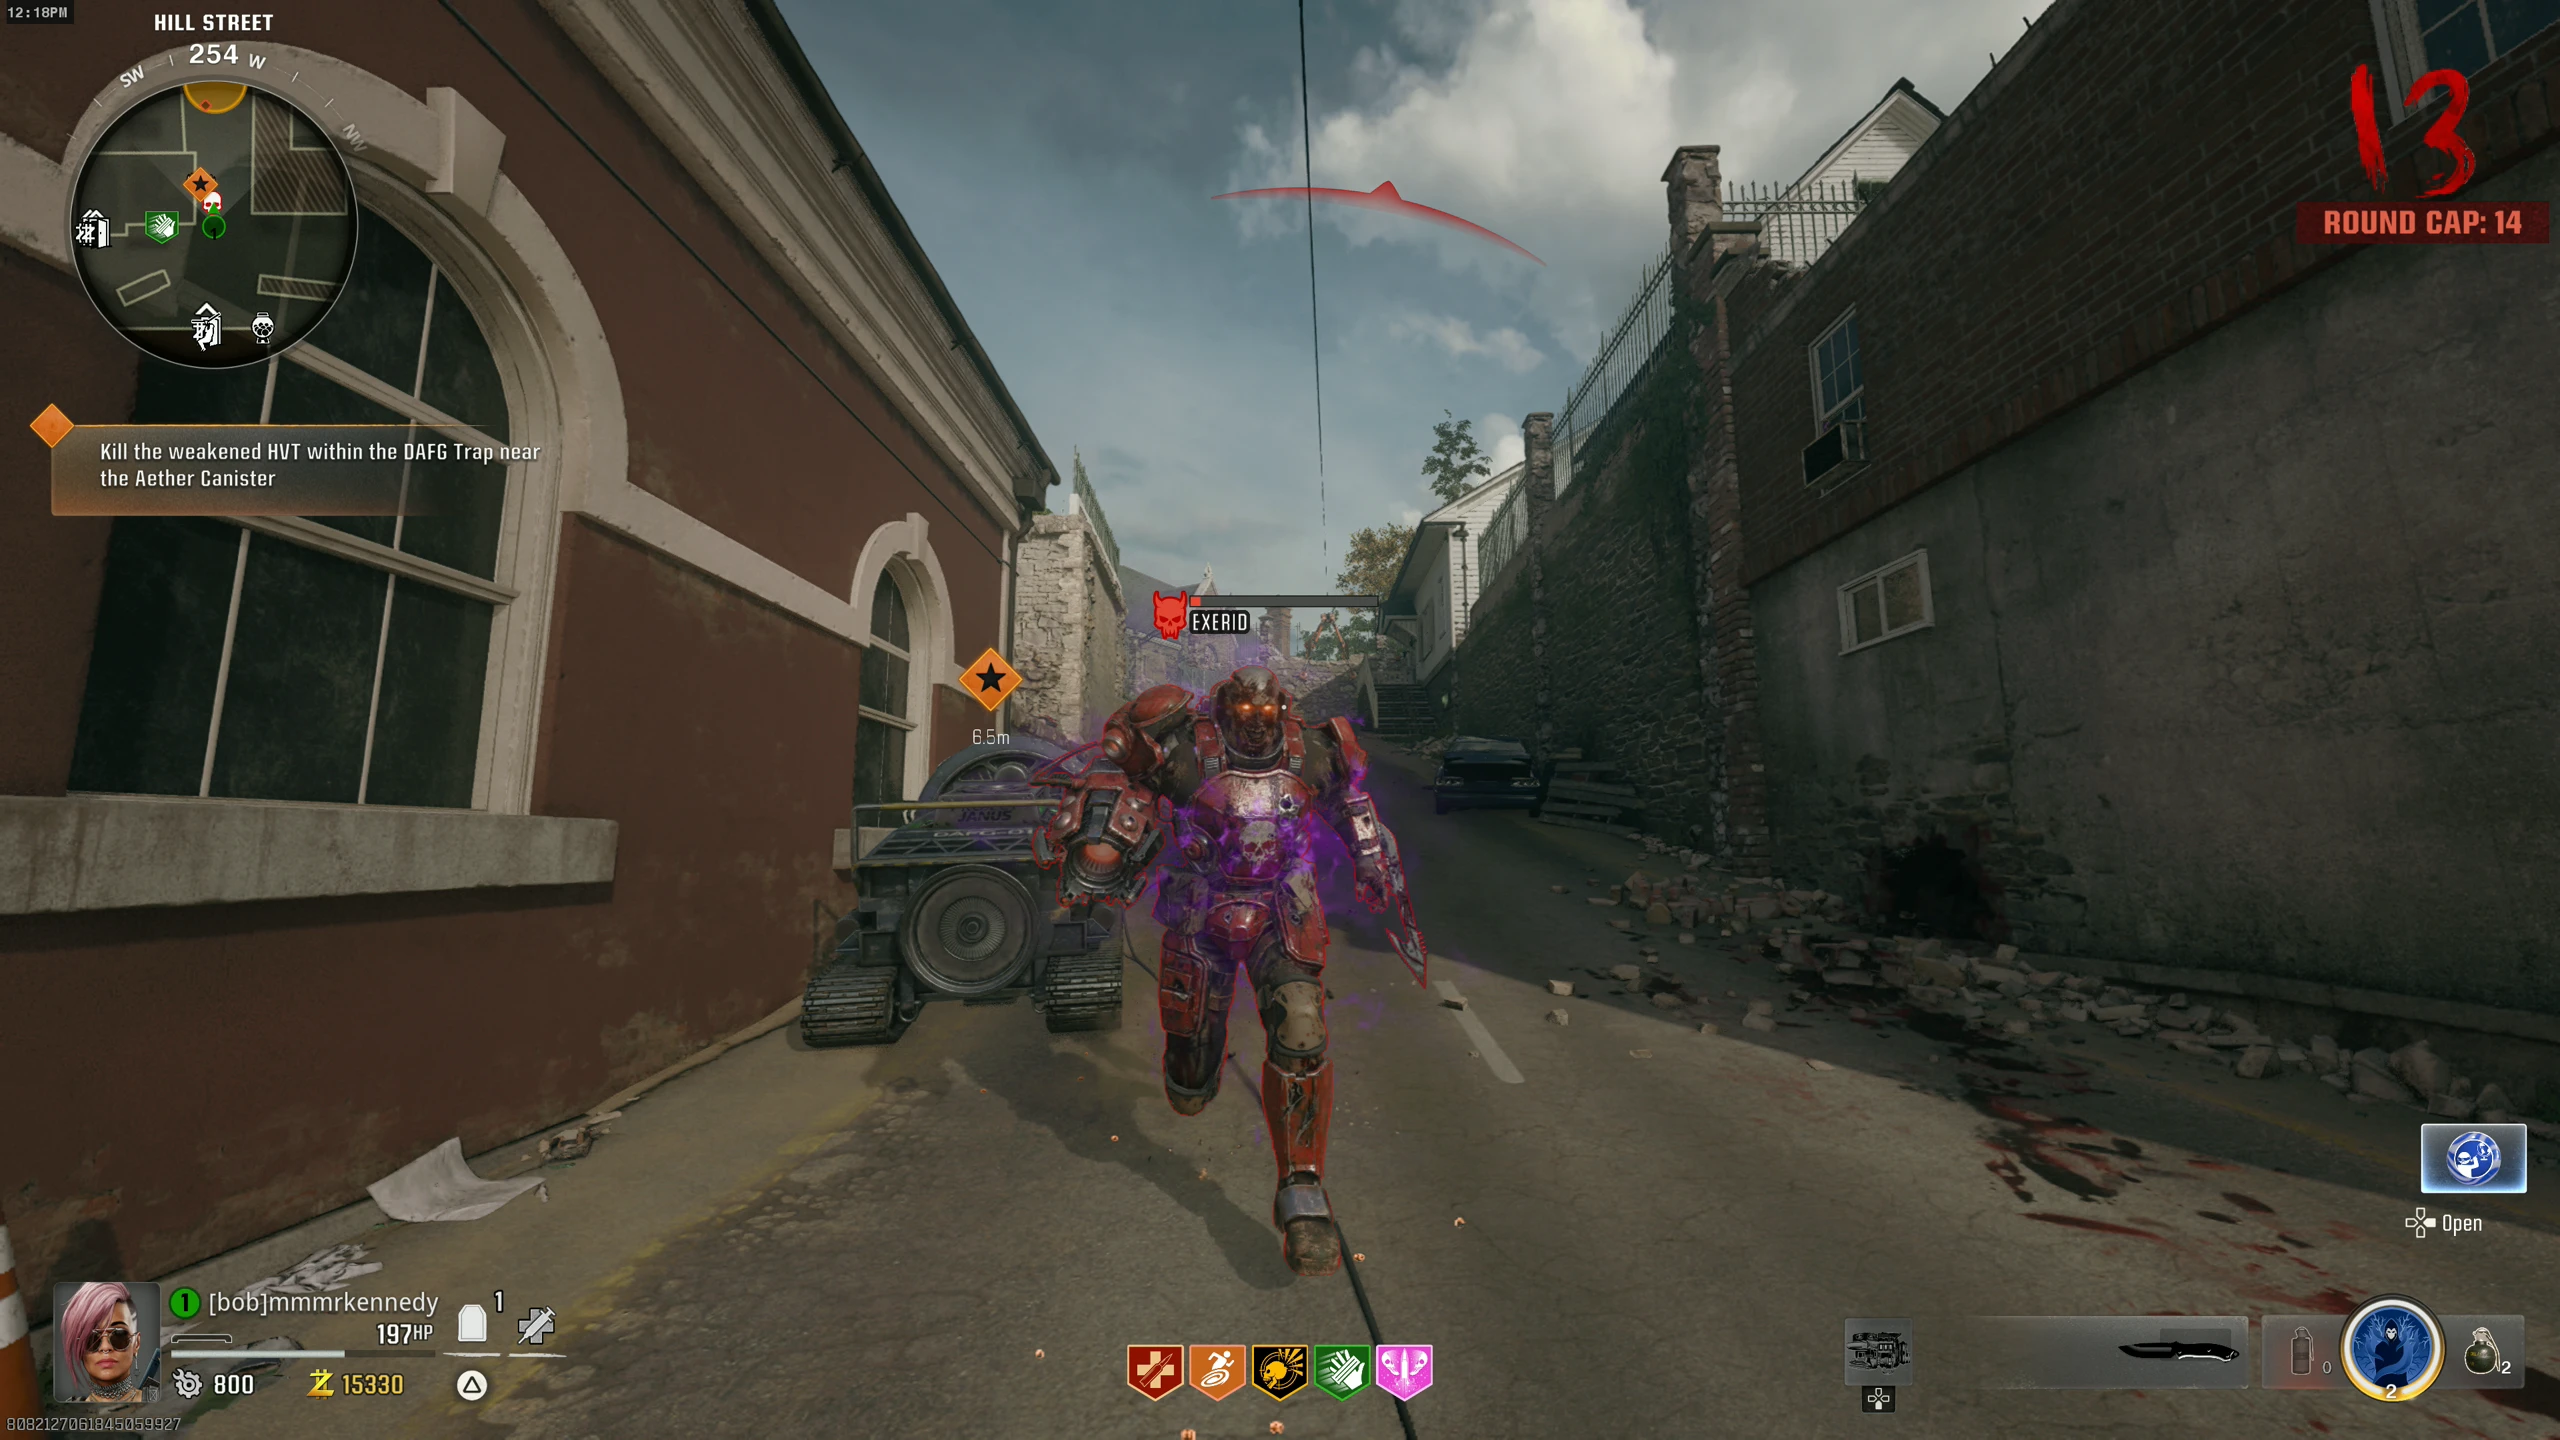
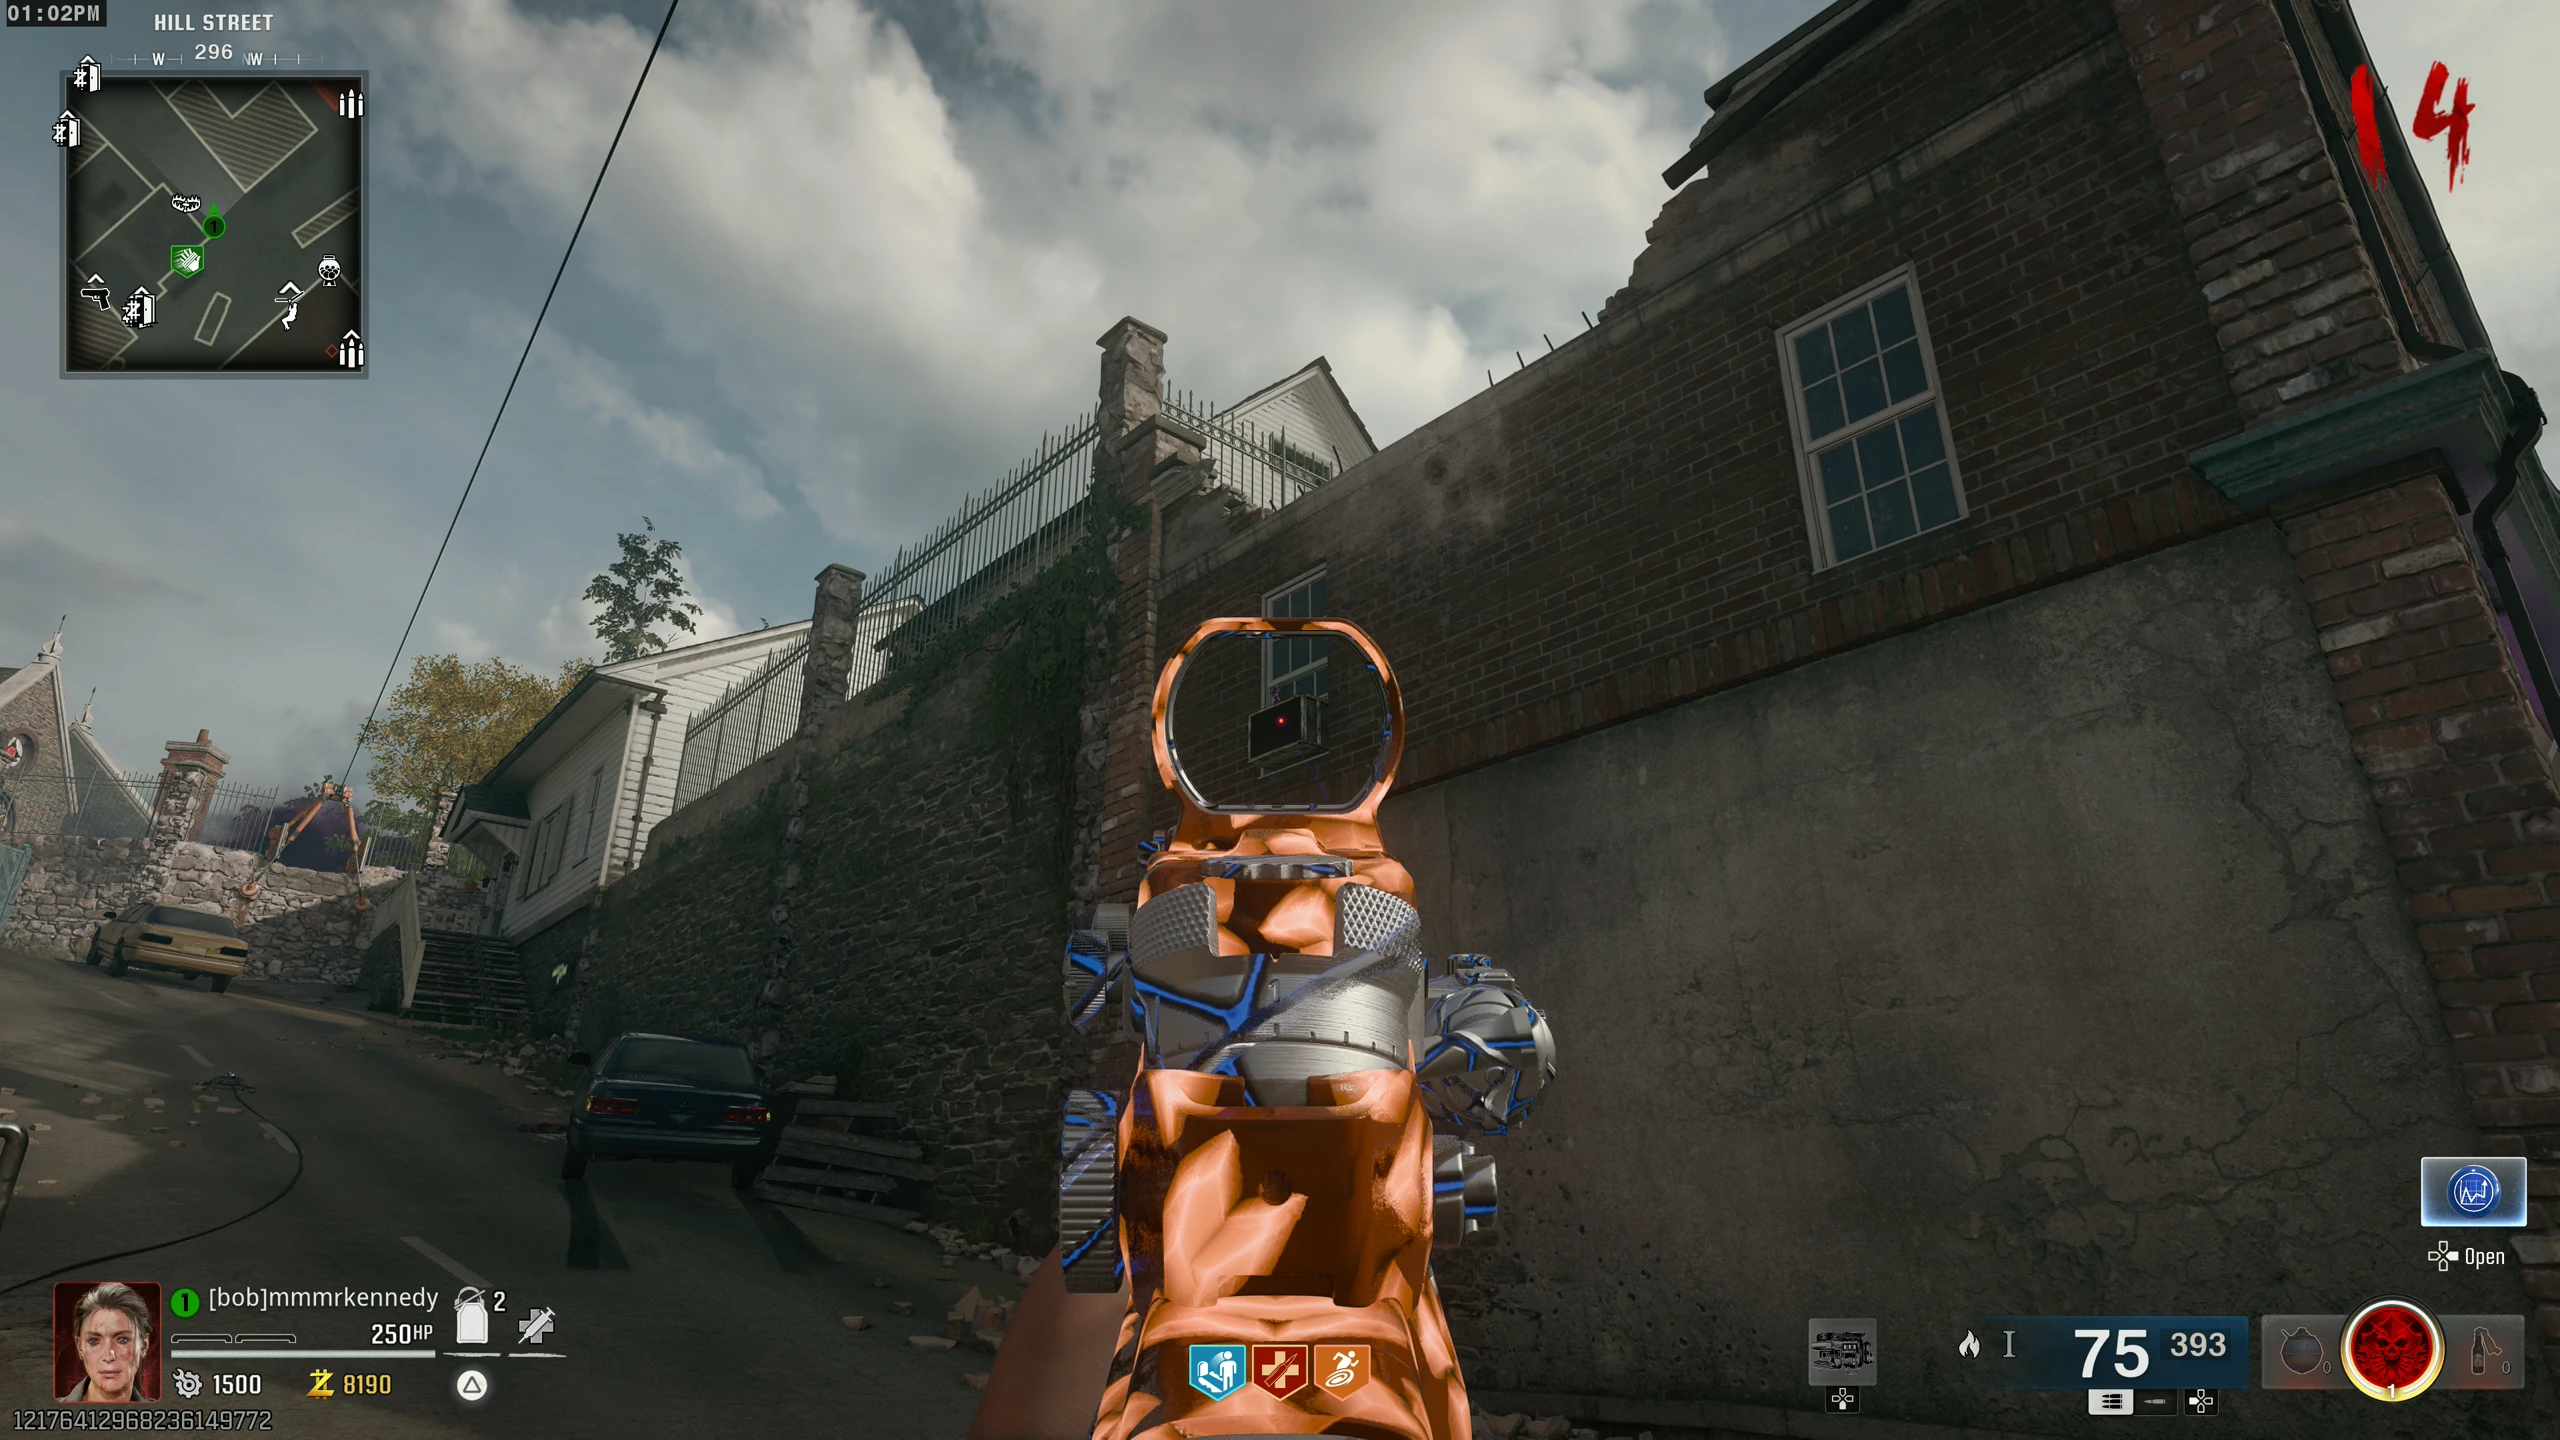
- Go to 'Hill Street' and drop the canister on one of the Dark Aether Field Generator nodes.
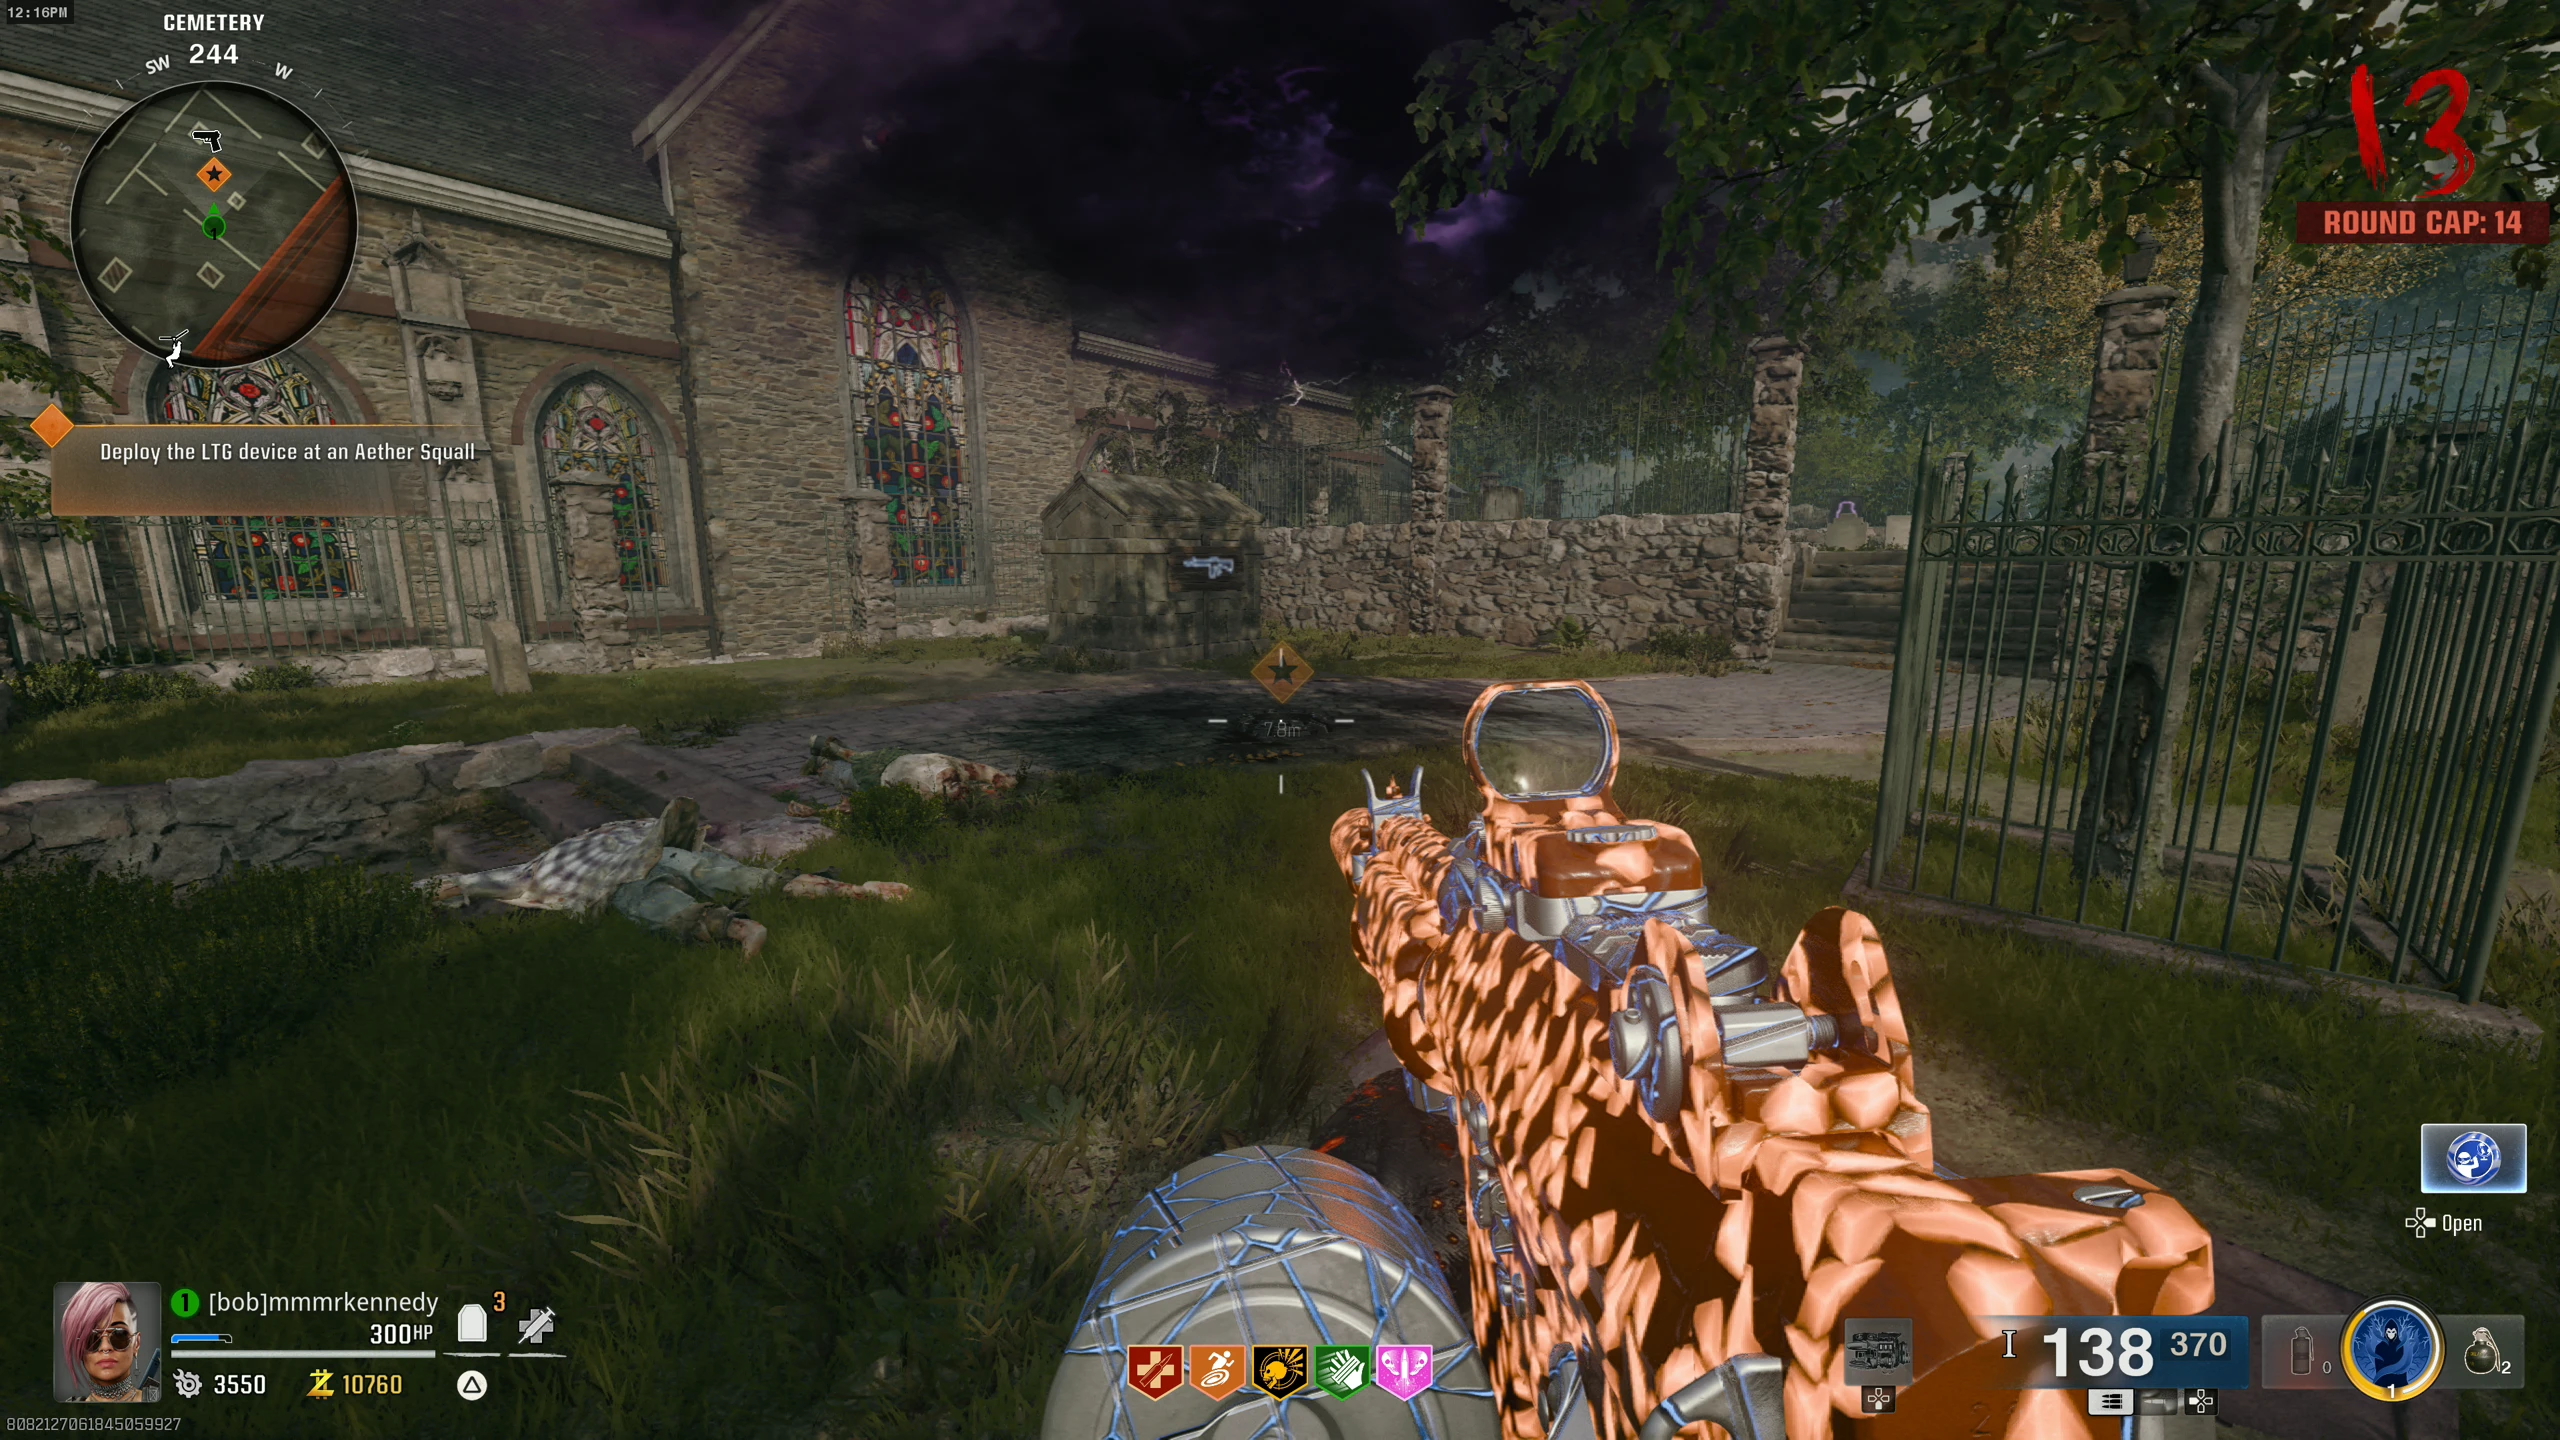
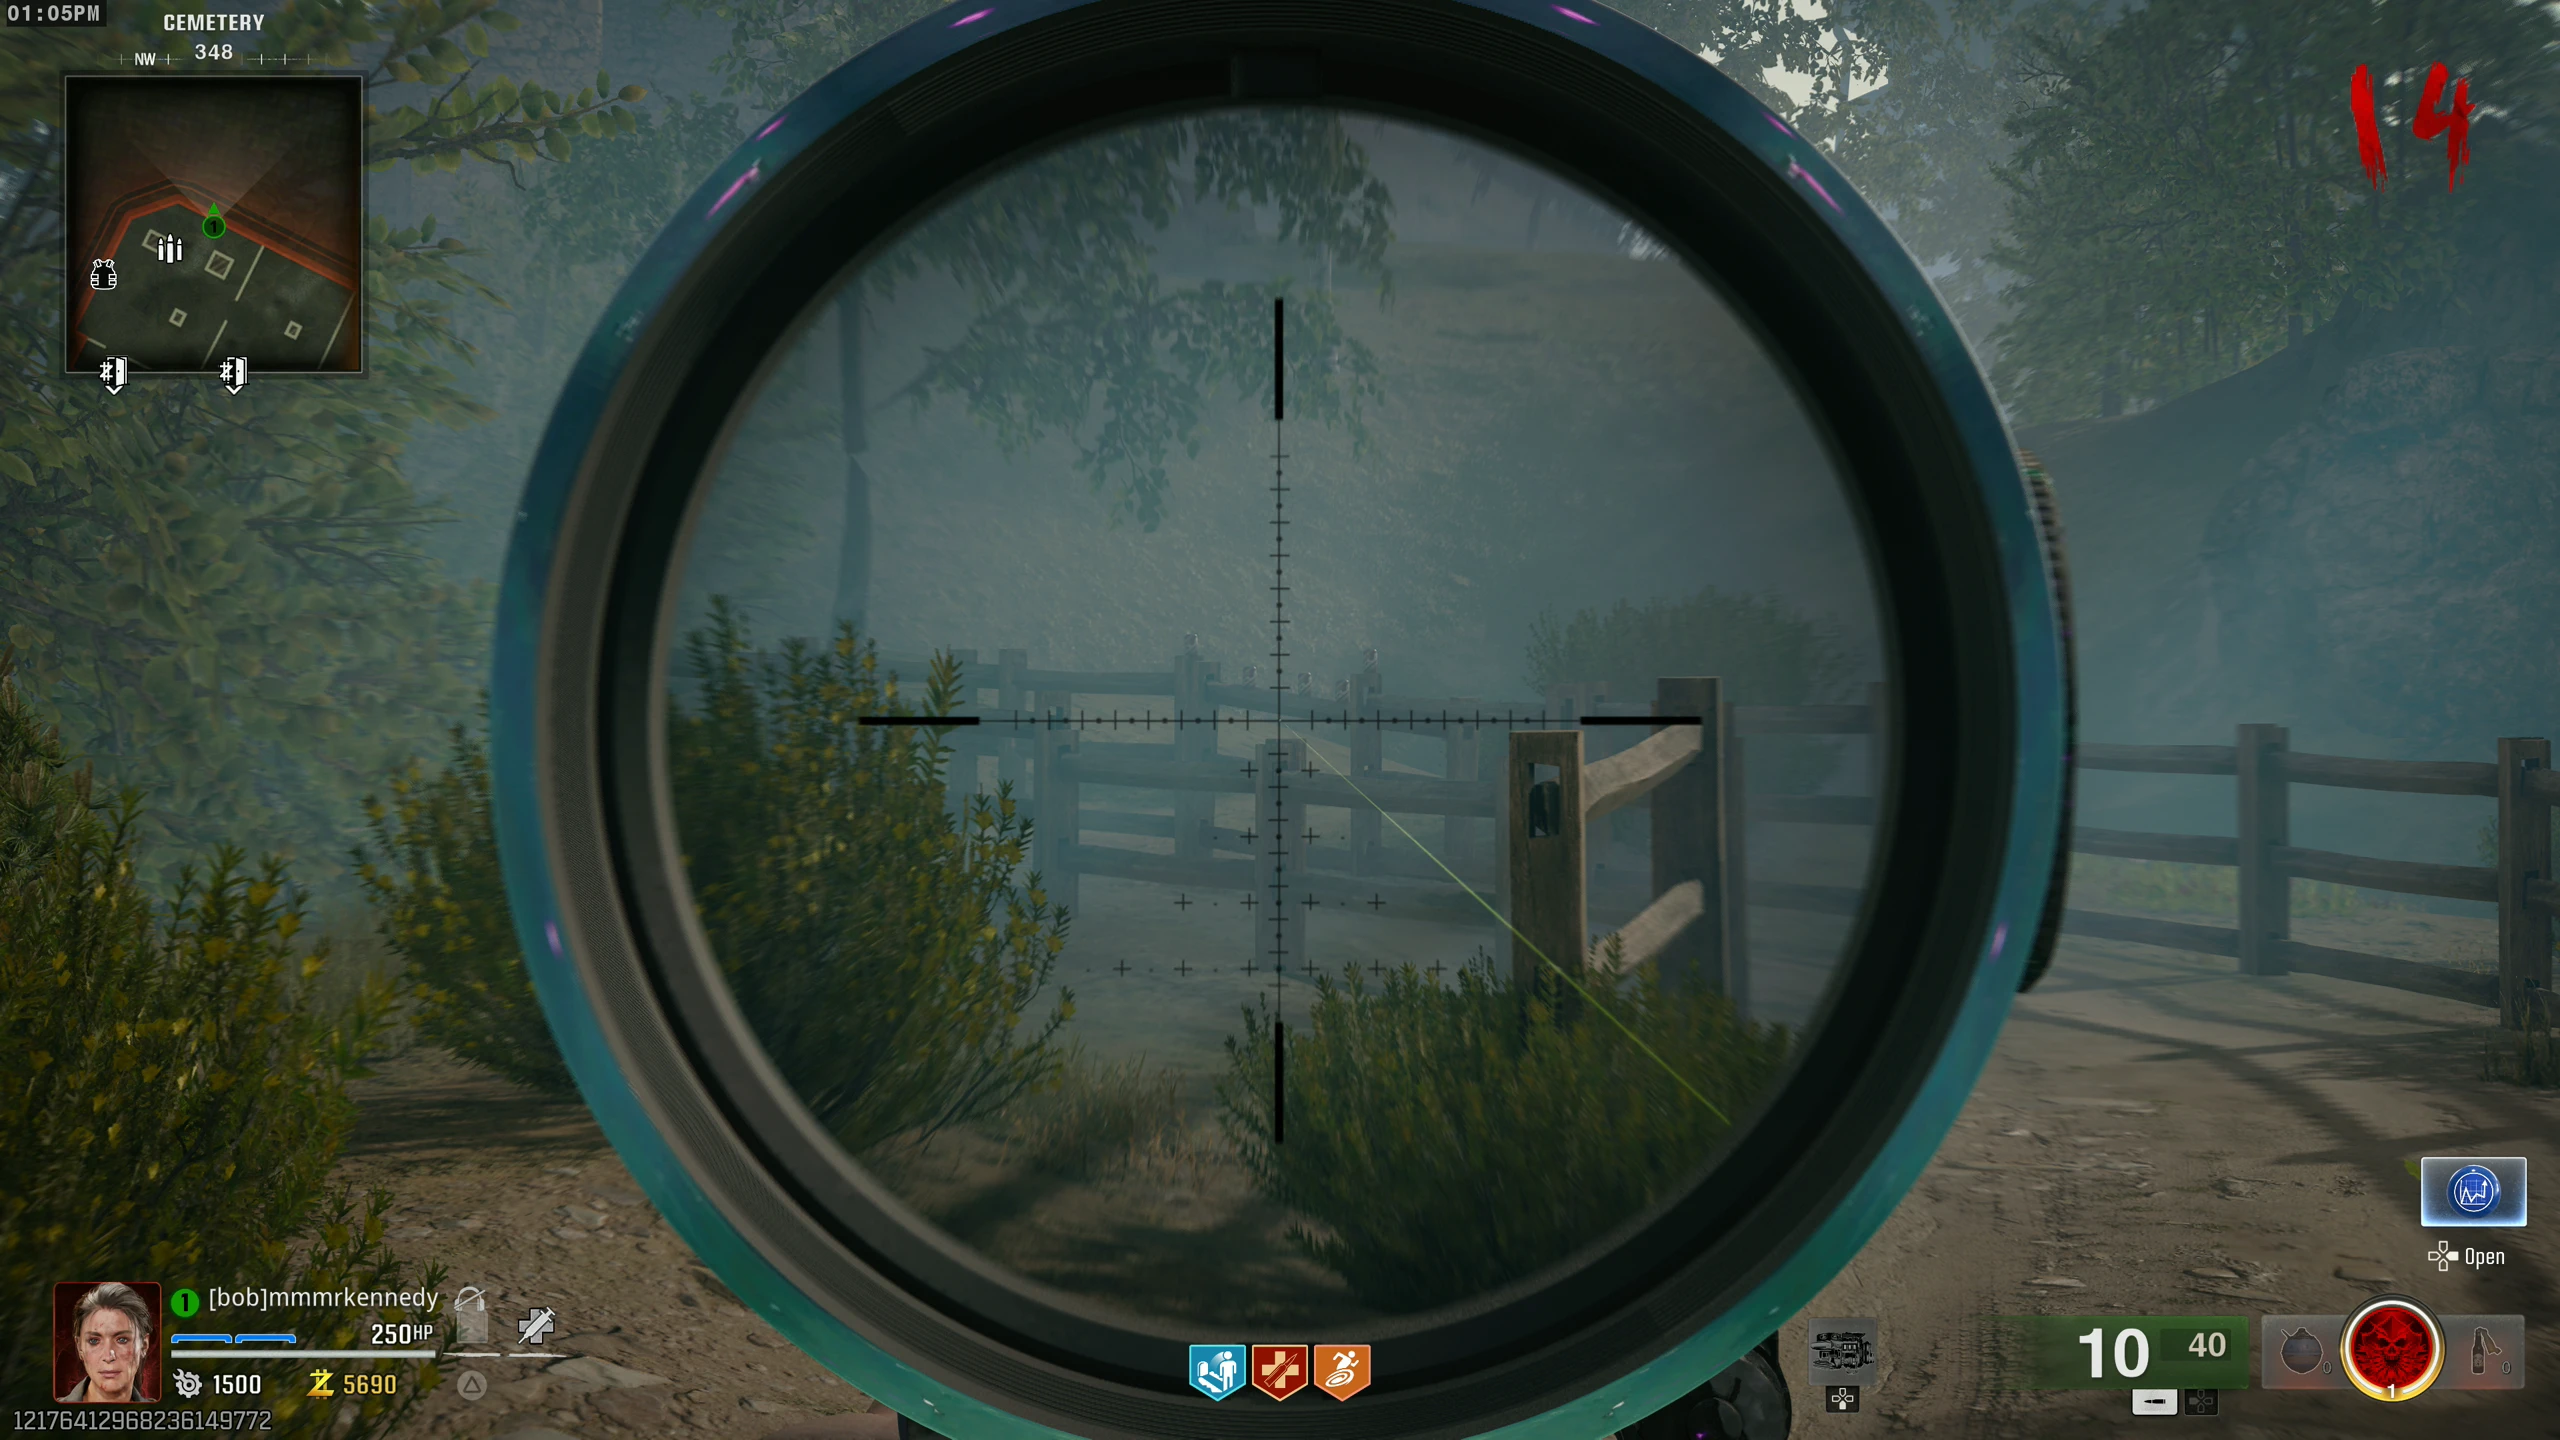
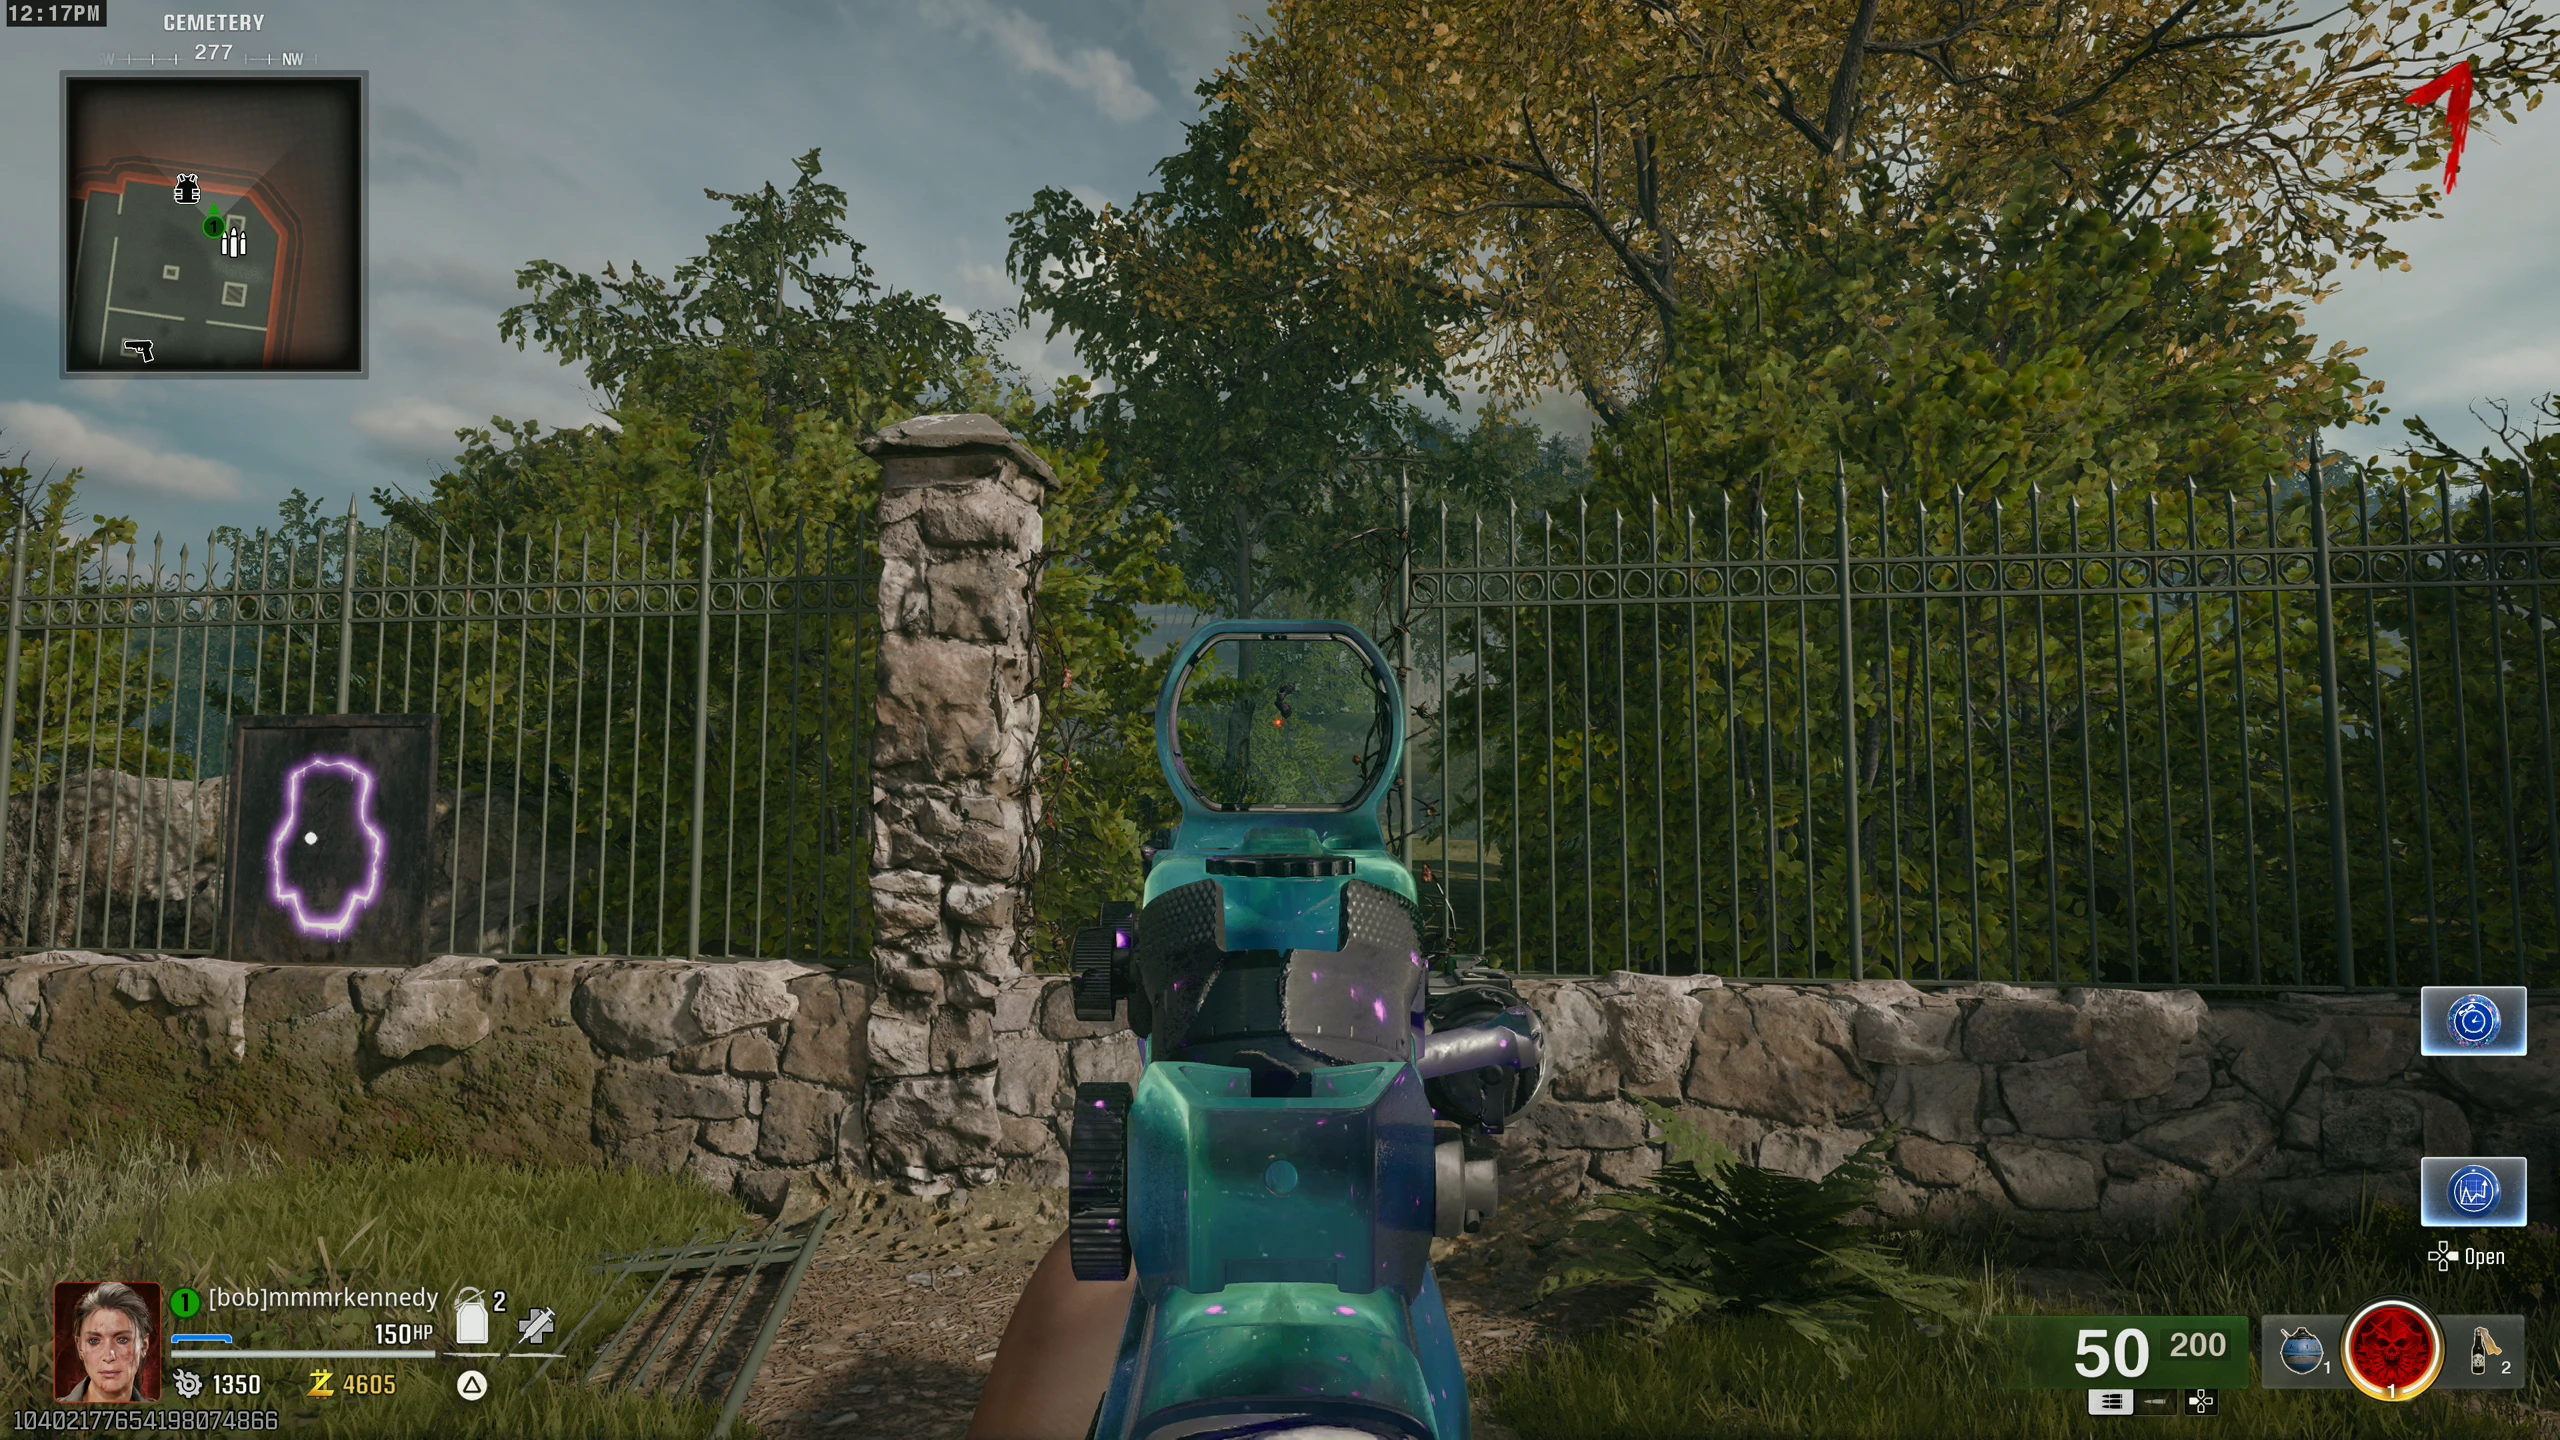
- Go to the 'Cemetery' and place the L.T.G. on the metal under the Aether cloud storm. This will start a timed event where you must defend the L.T.G. from Zombies.
- If you fail to defend the L.T.G., you will have to wait until the next round to retry.
- Once you've defended the L.T.G., it will turn red and spawn an HVT. Shoot the HVT until it glows purple (happens at about 10% health remaining).
- Once the HVT is glowing purple, lure it into the same trap node where you dropped the canister. Activate the trap while the HVT is standing inside it, and then kill the HVT (with anything) within the trap. If done correctly, the canister will absorb the HVT’s "essence."
- If you kill the HVT early, end the round and interact with the L.T.G. to respawn the HVT.
- Pick up the canister and bring it back to the SDG before the countdown expires.
- If you don’t bring it back in time, wait one round then interact with the L.T.G. to spawn another HVT.
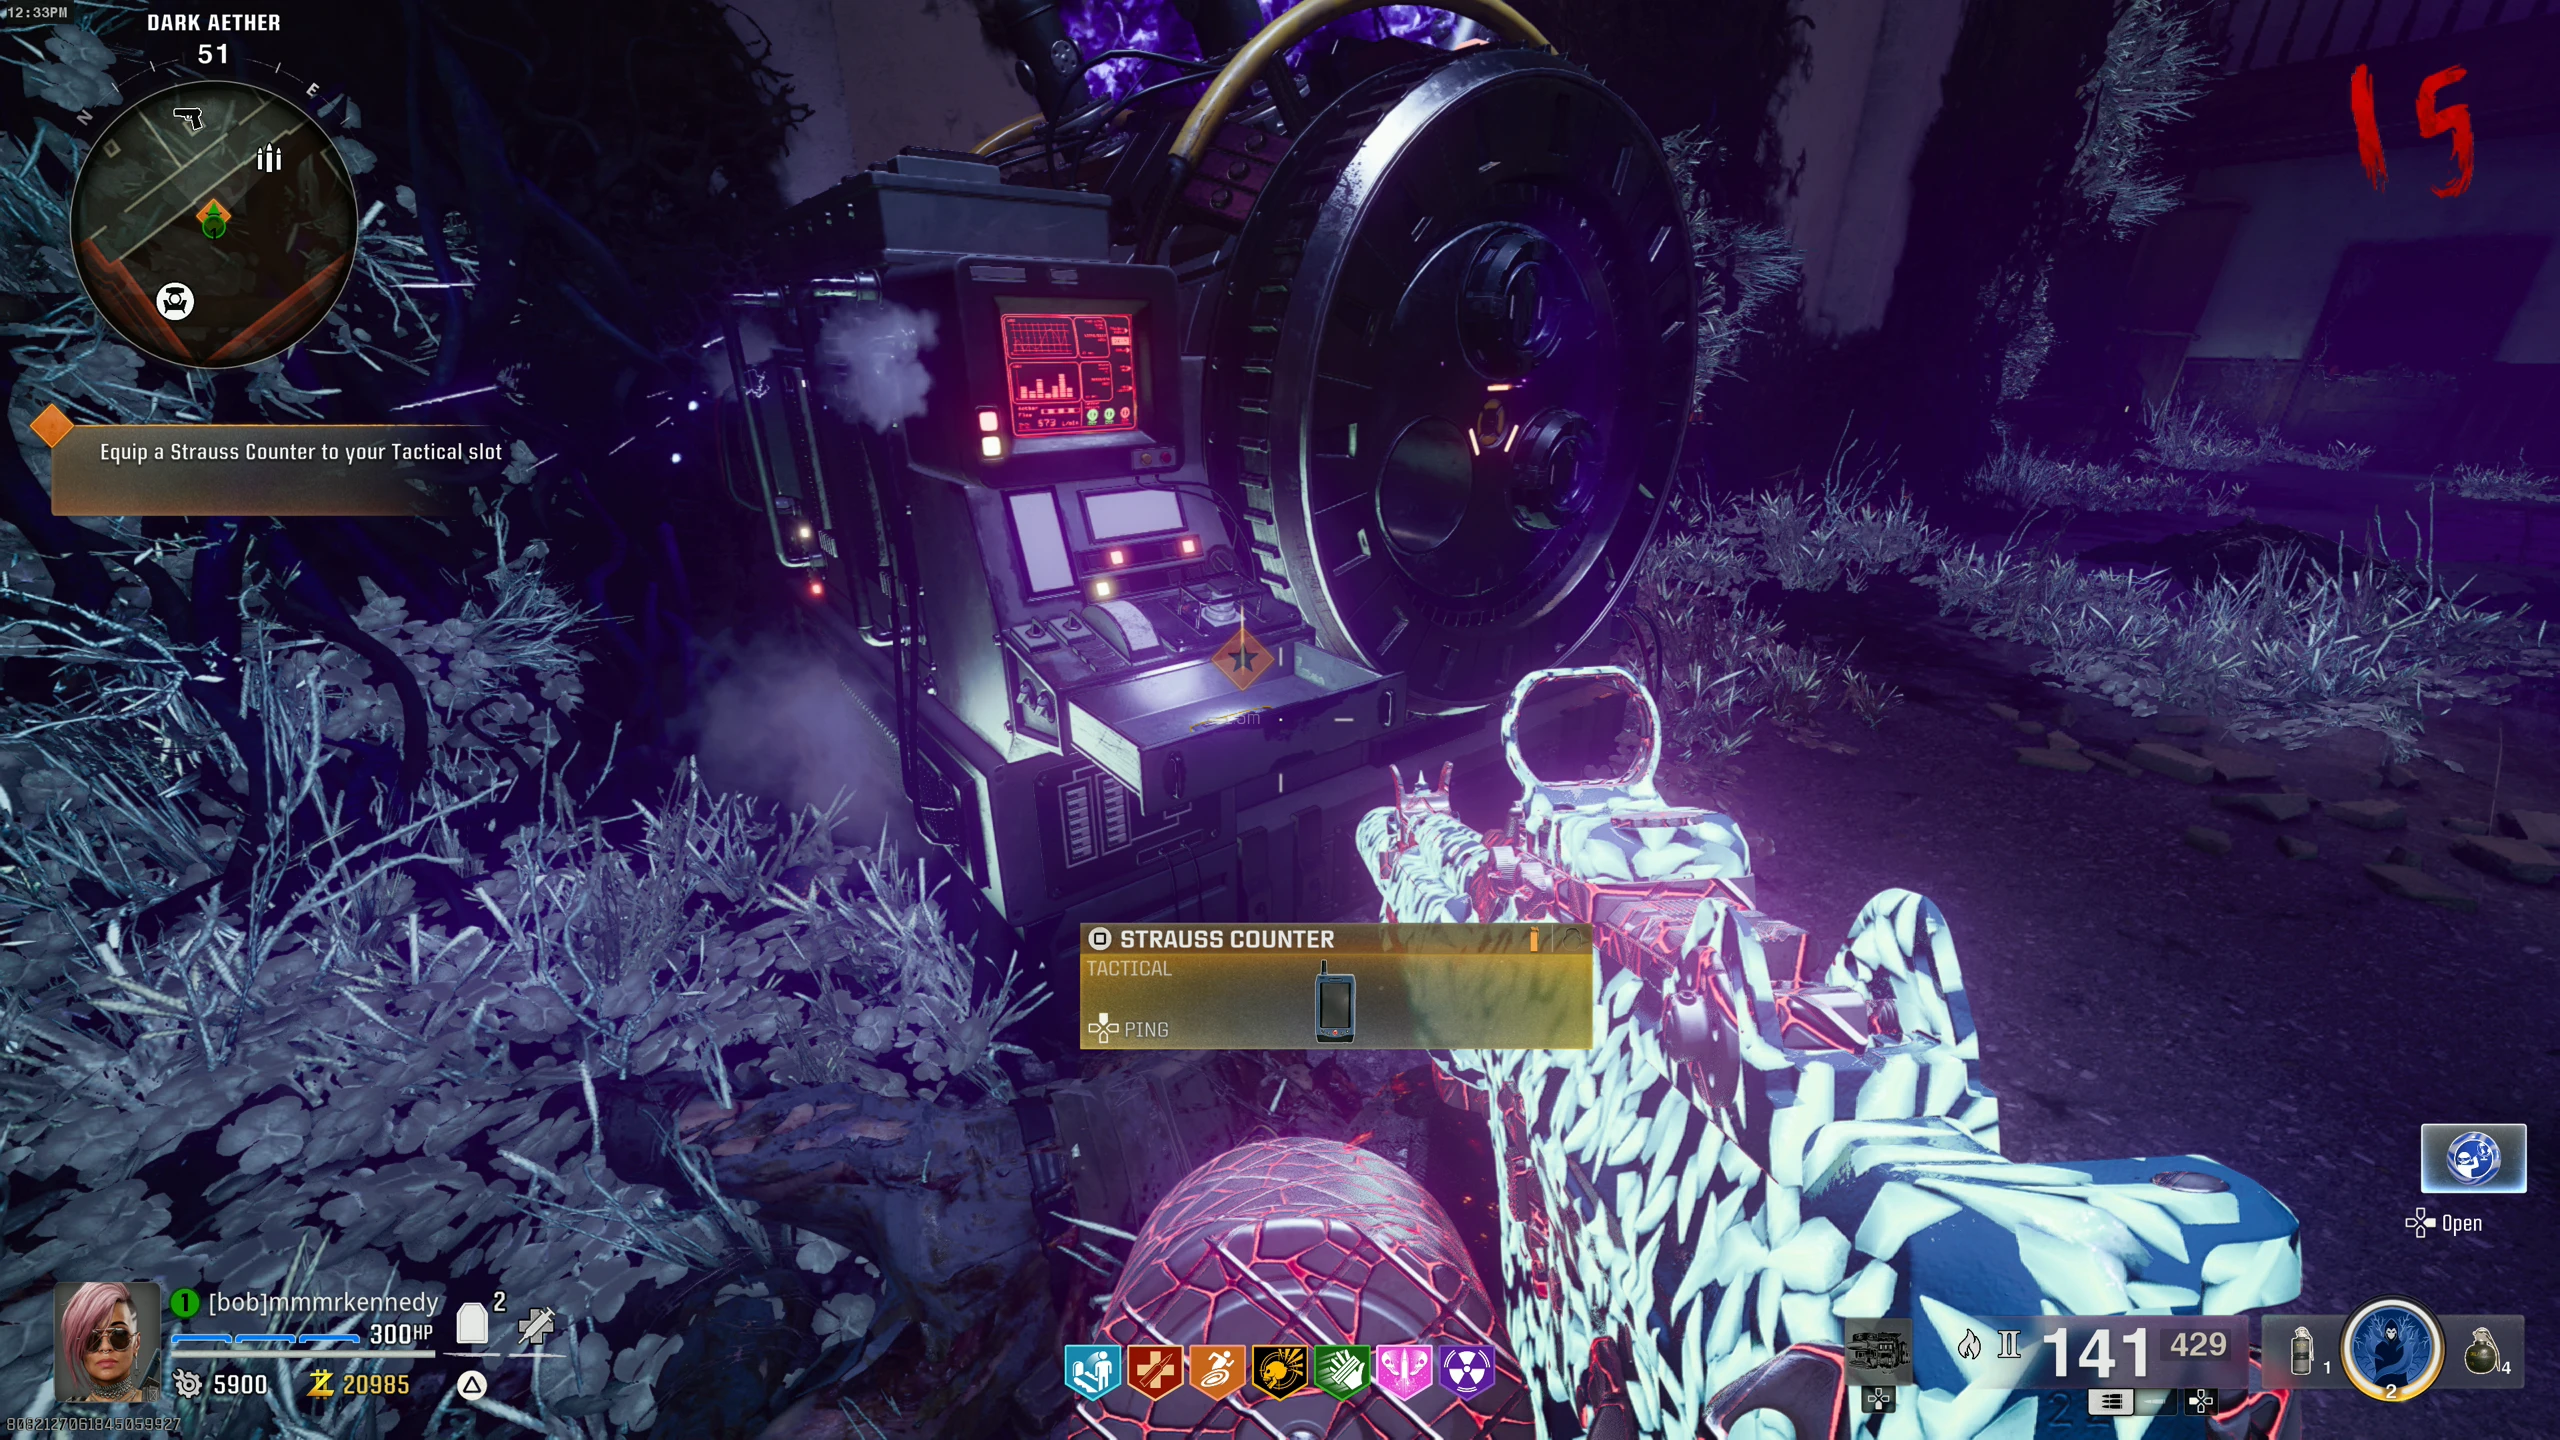
- Pick up a Strauss Counter from the SDG. The drawer with the Strauss Counter may take a couple of seconds to open due to a conversation.
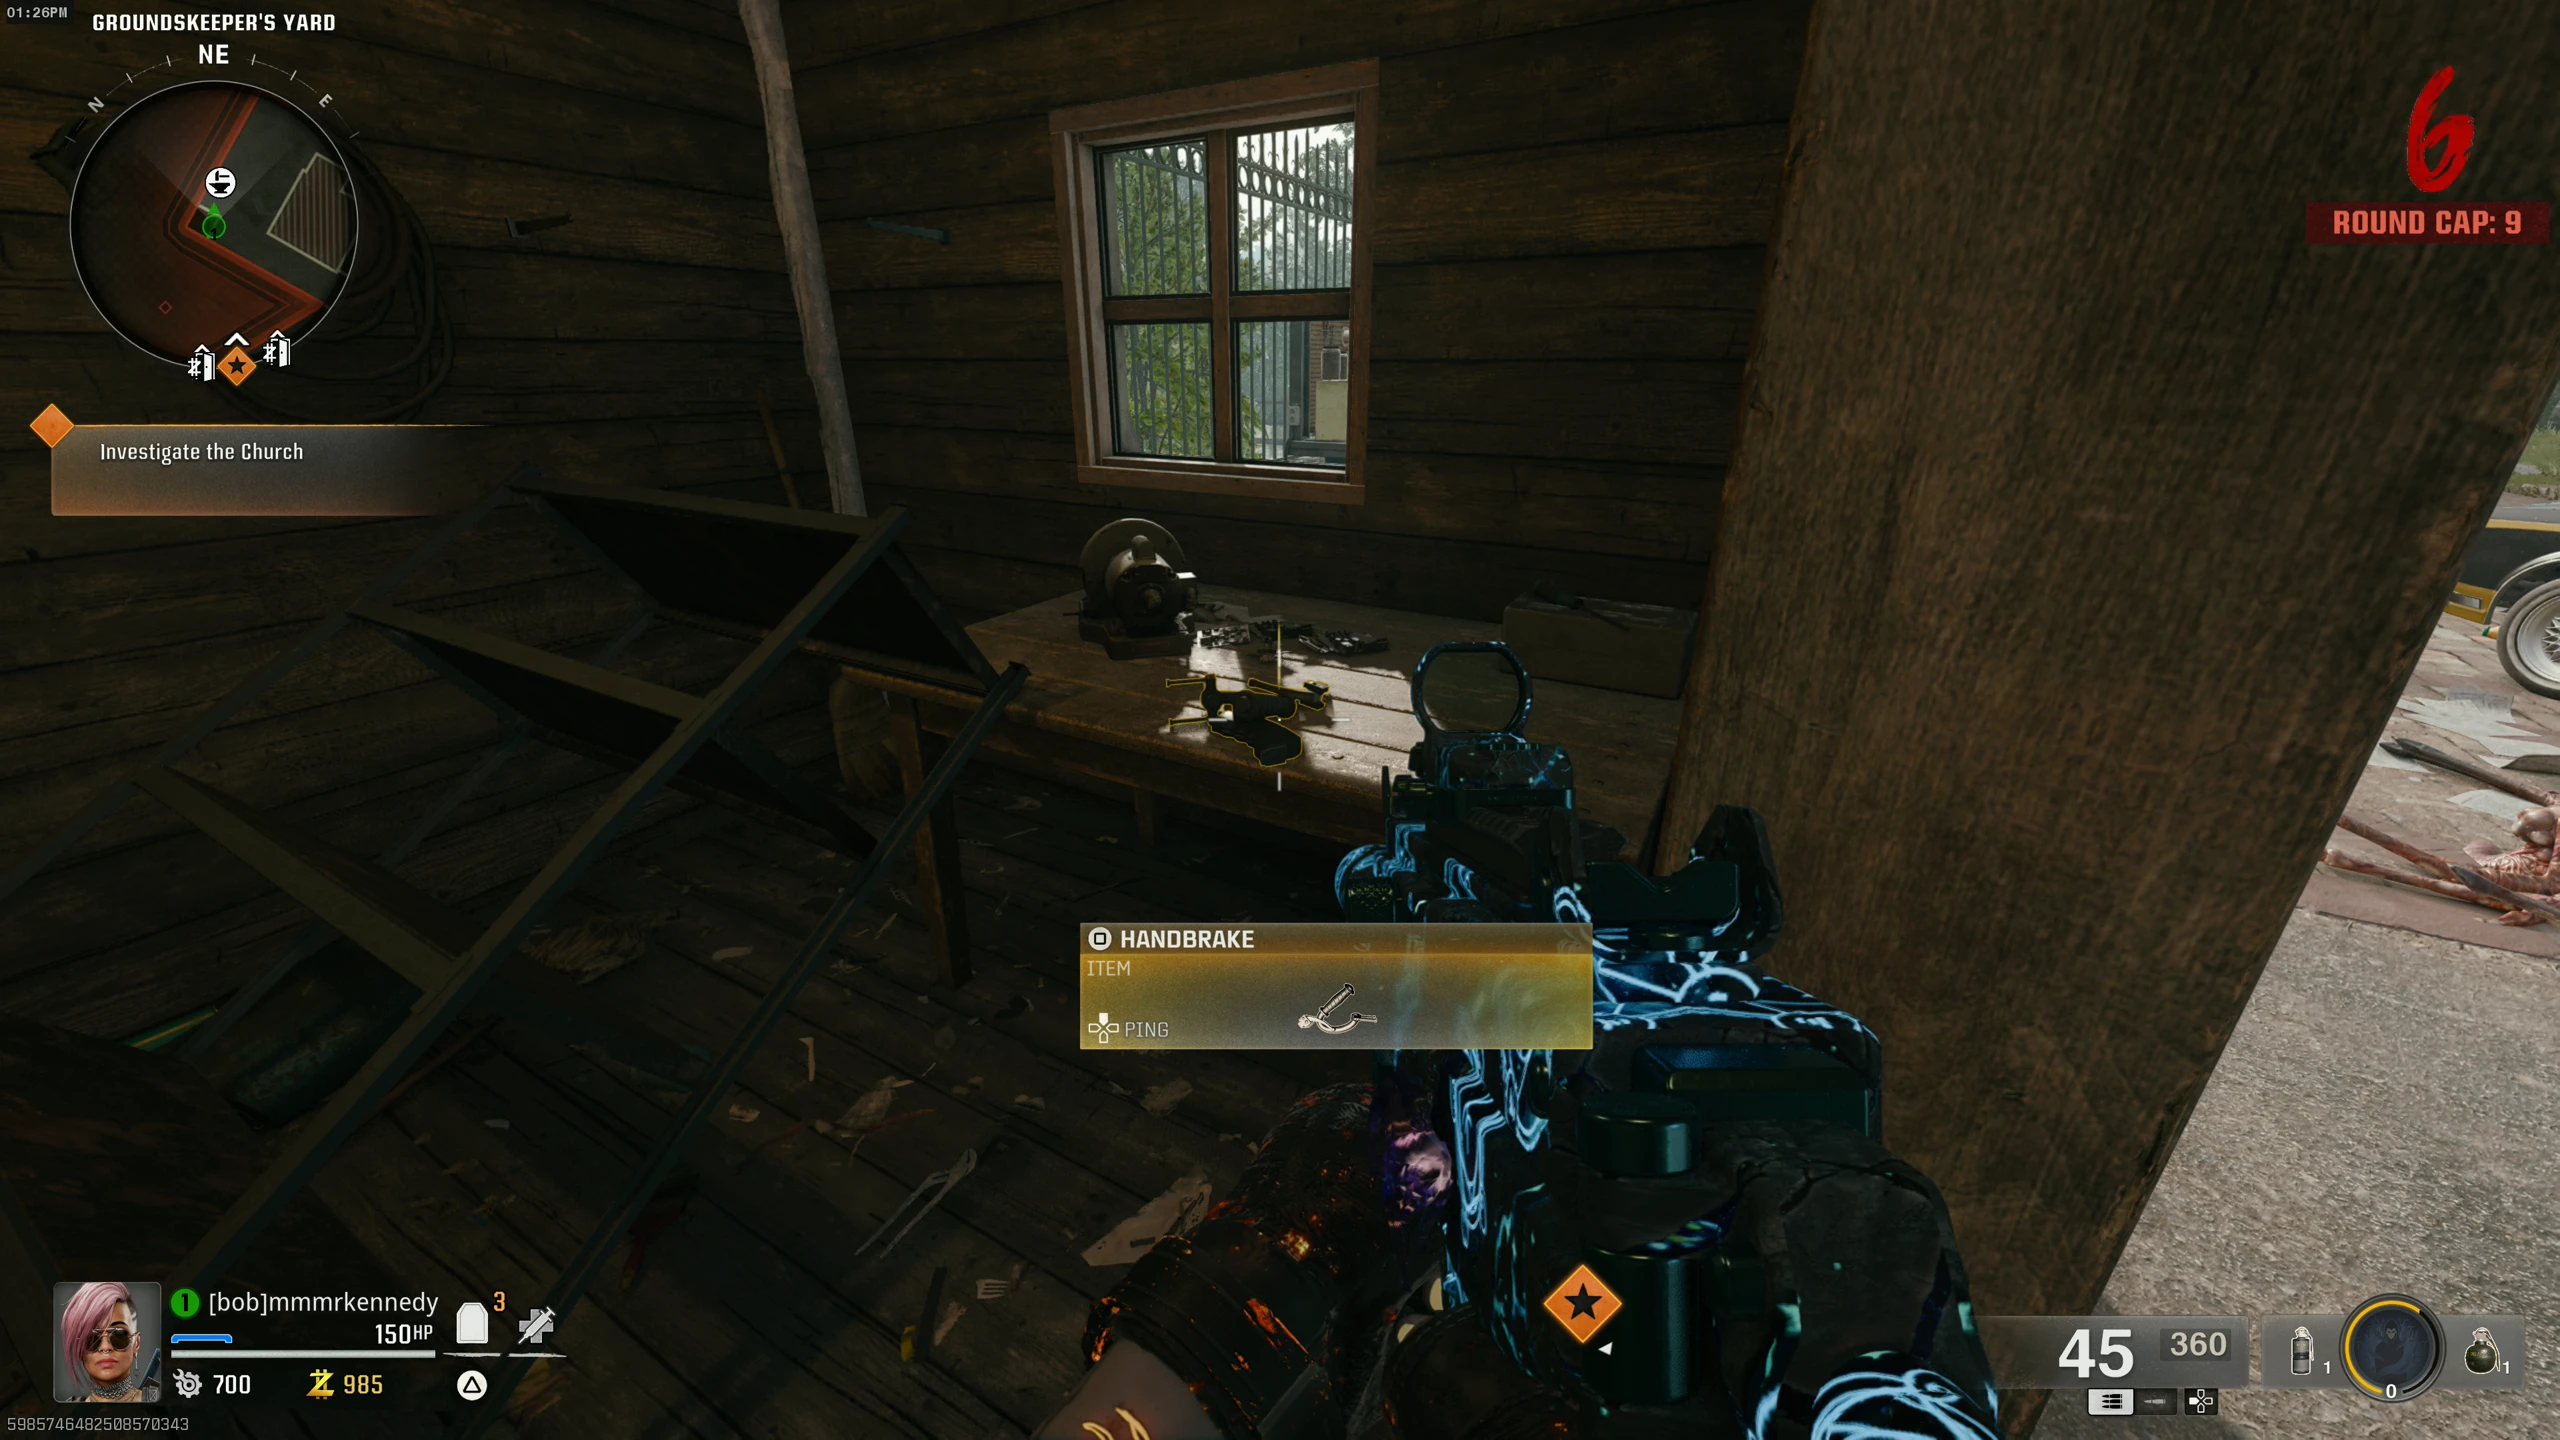
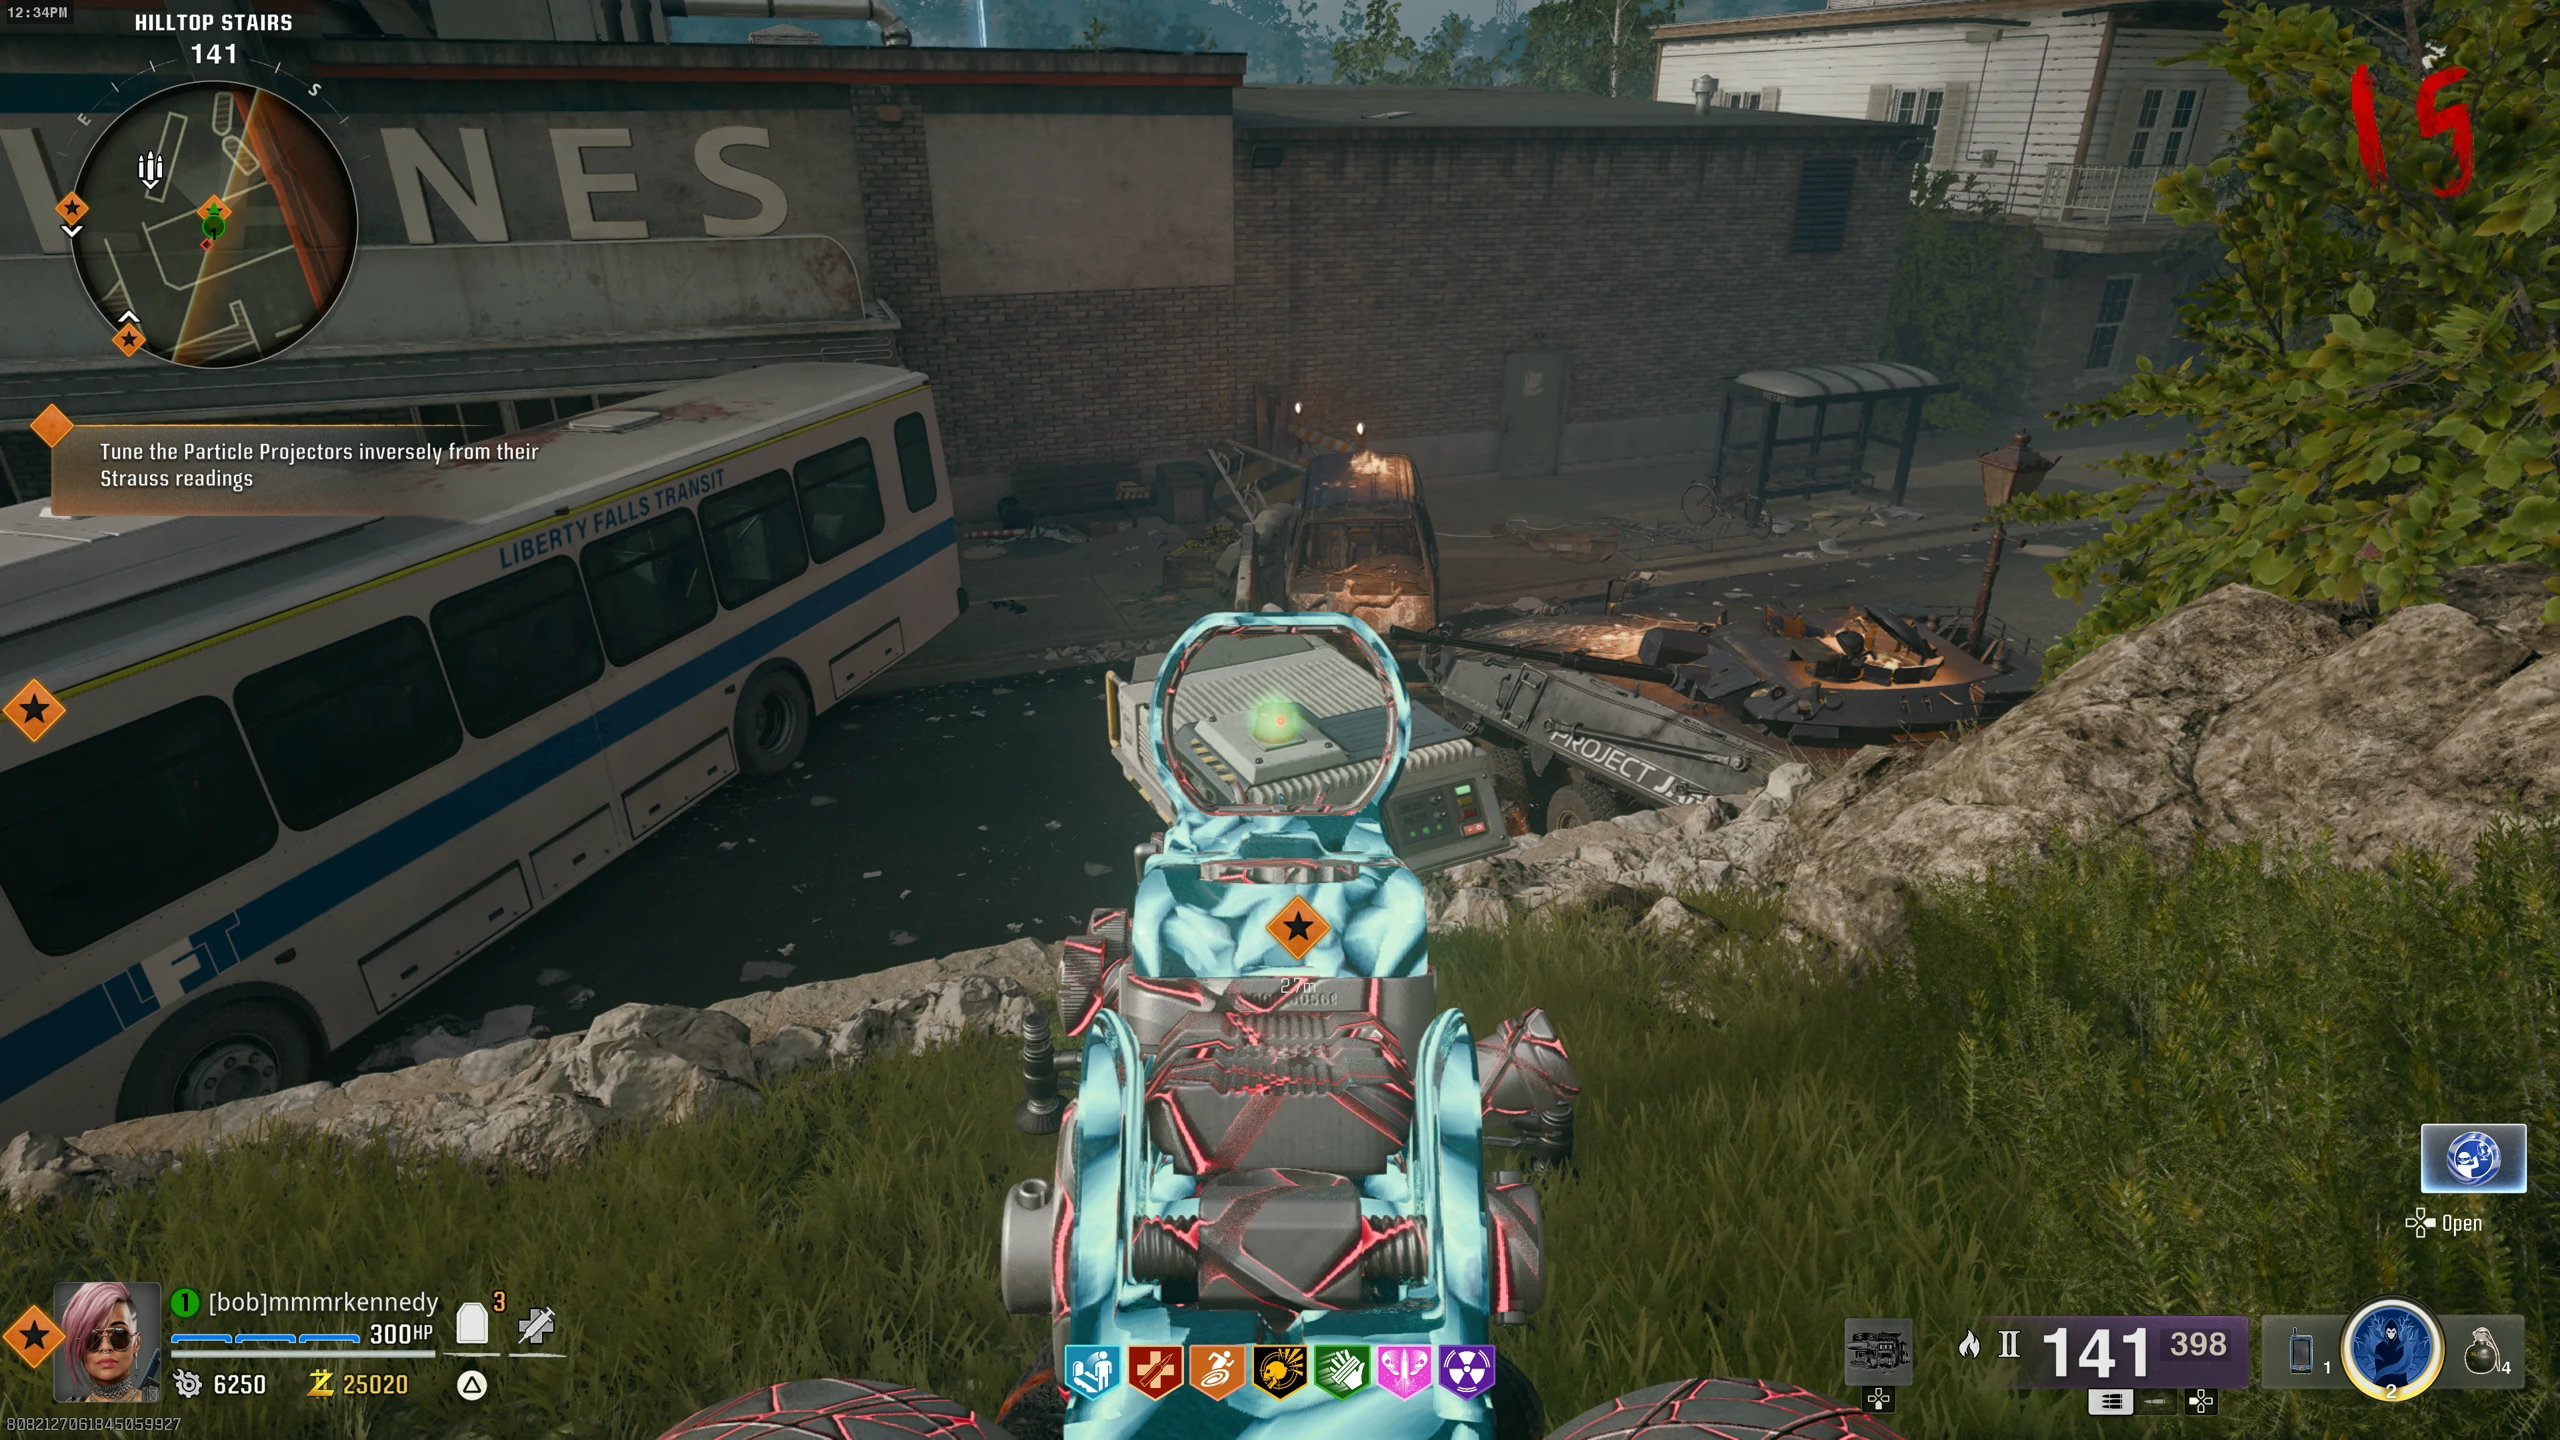
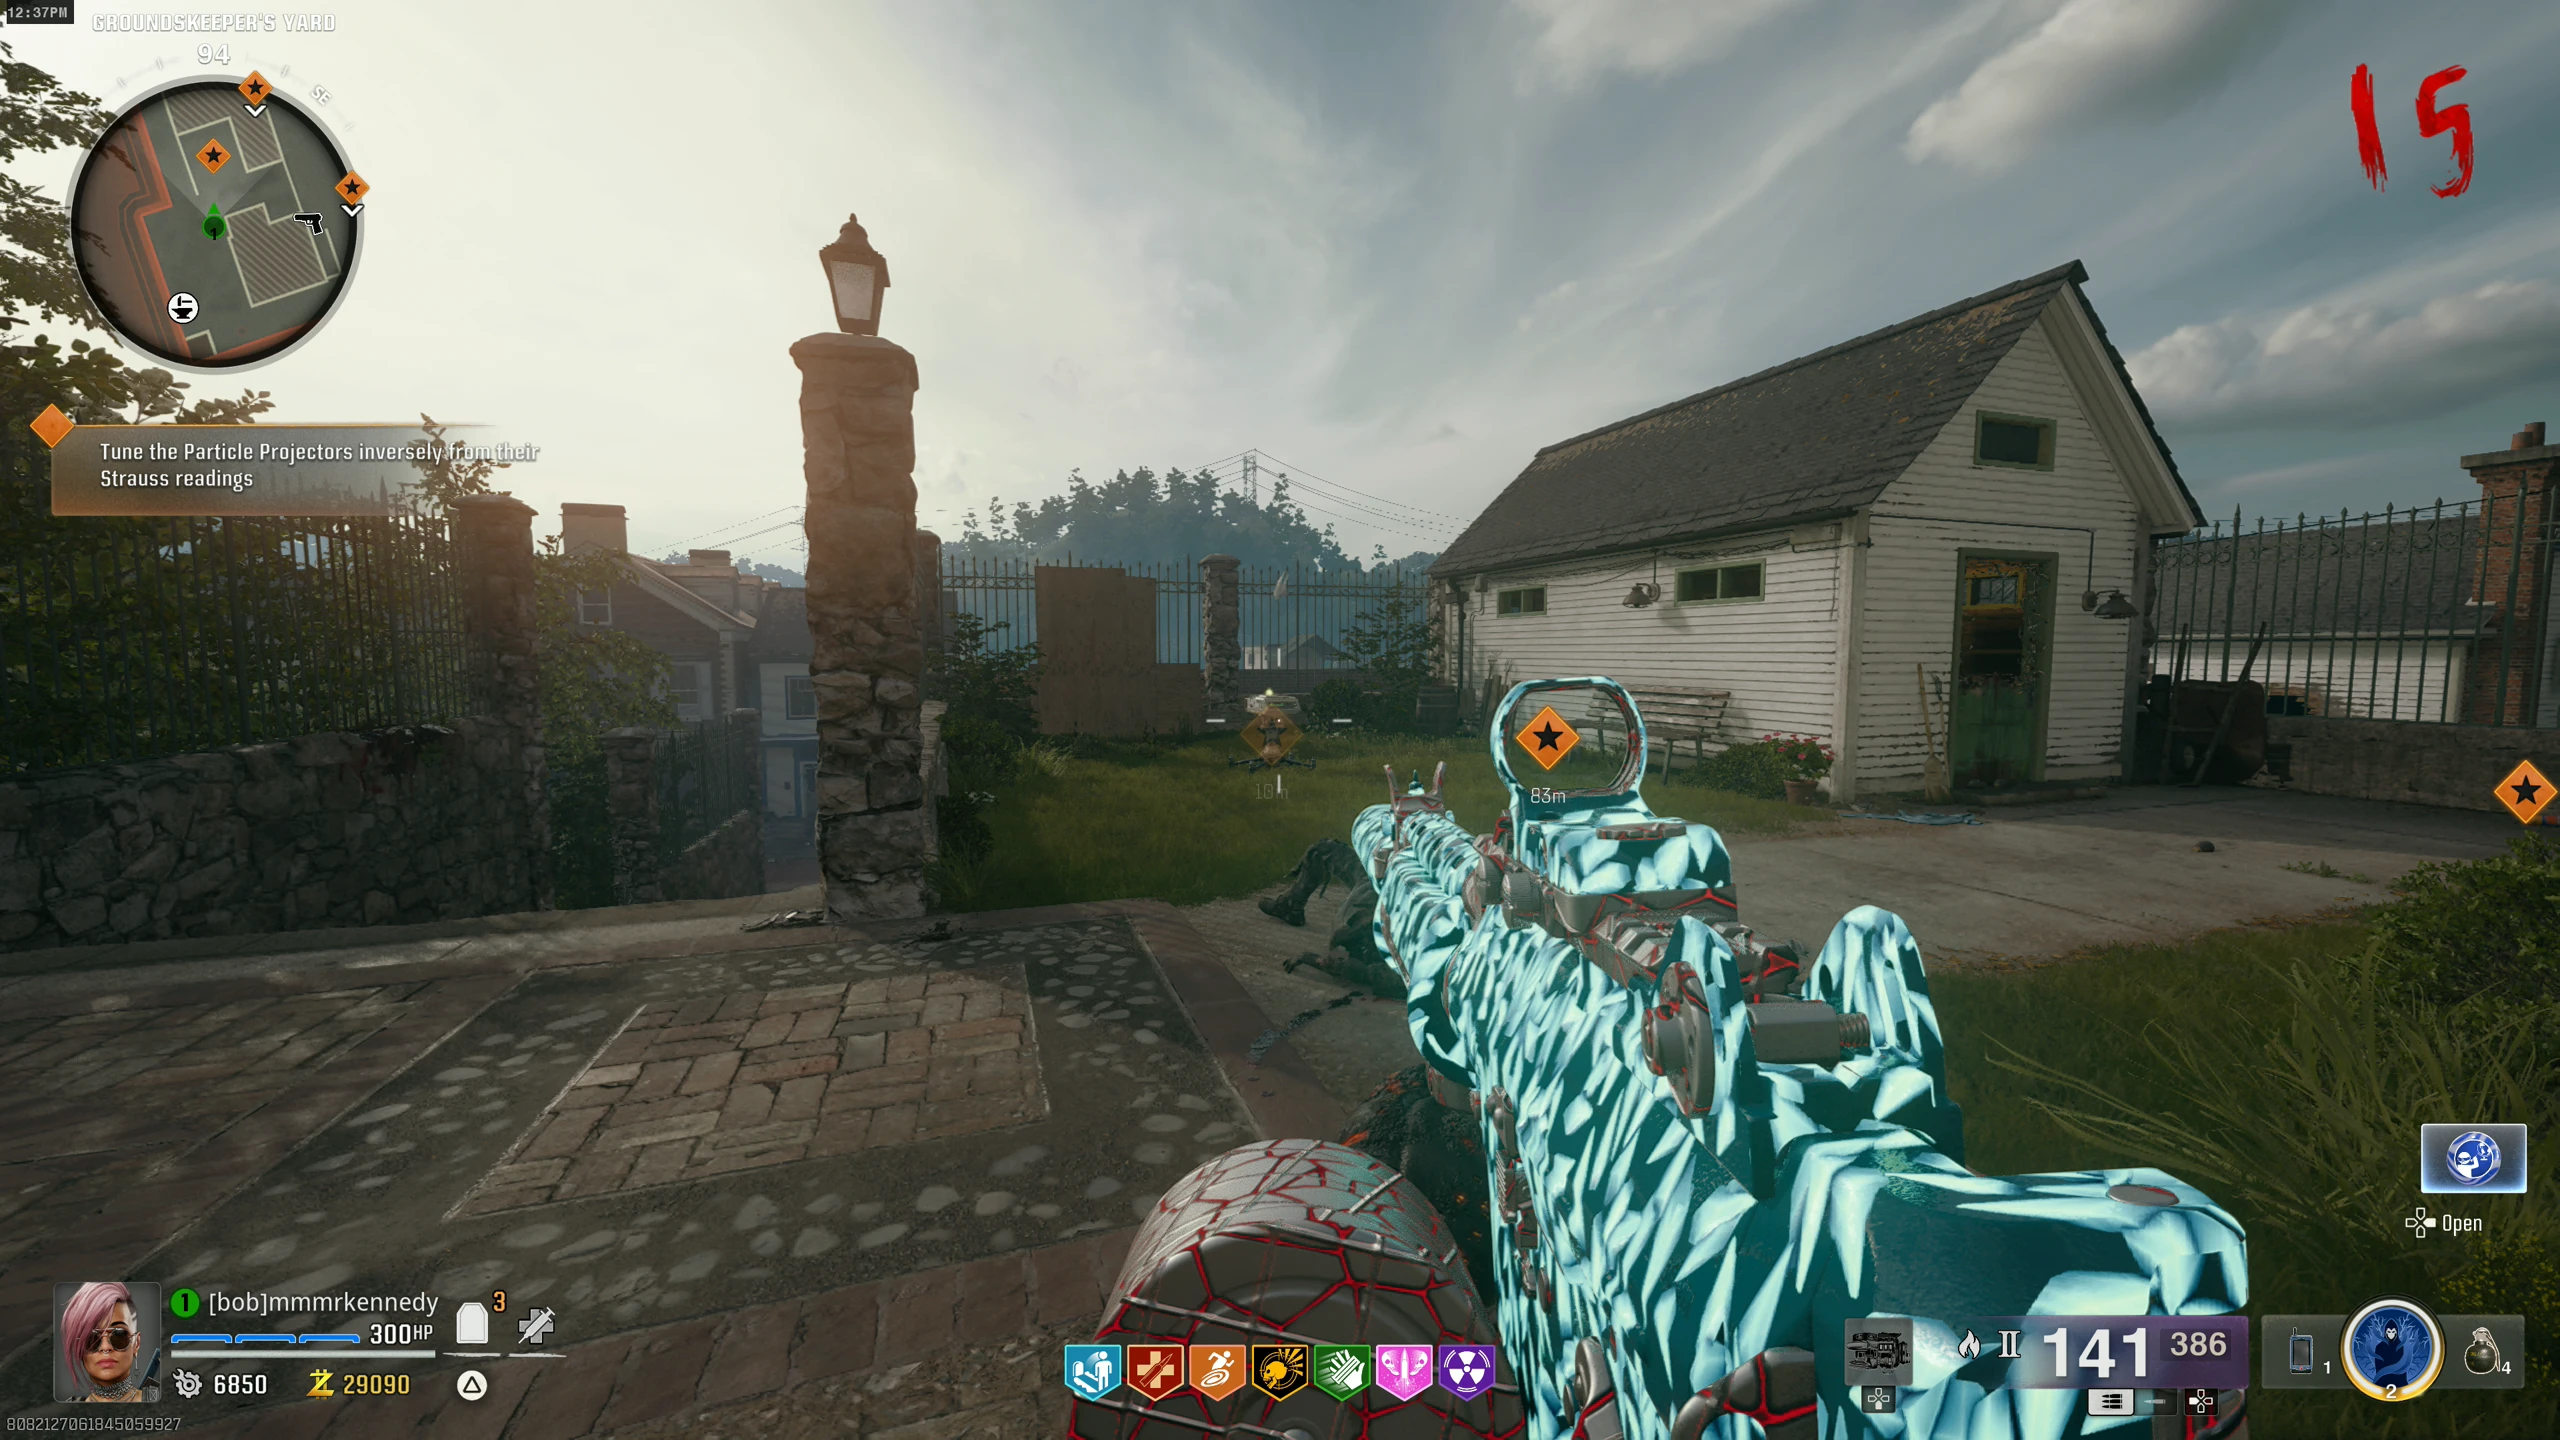
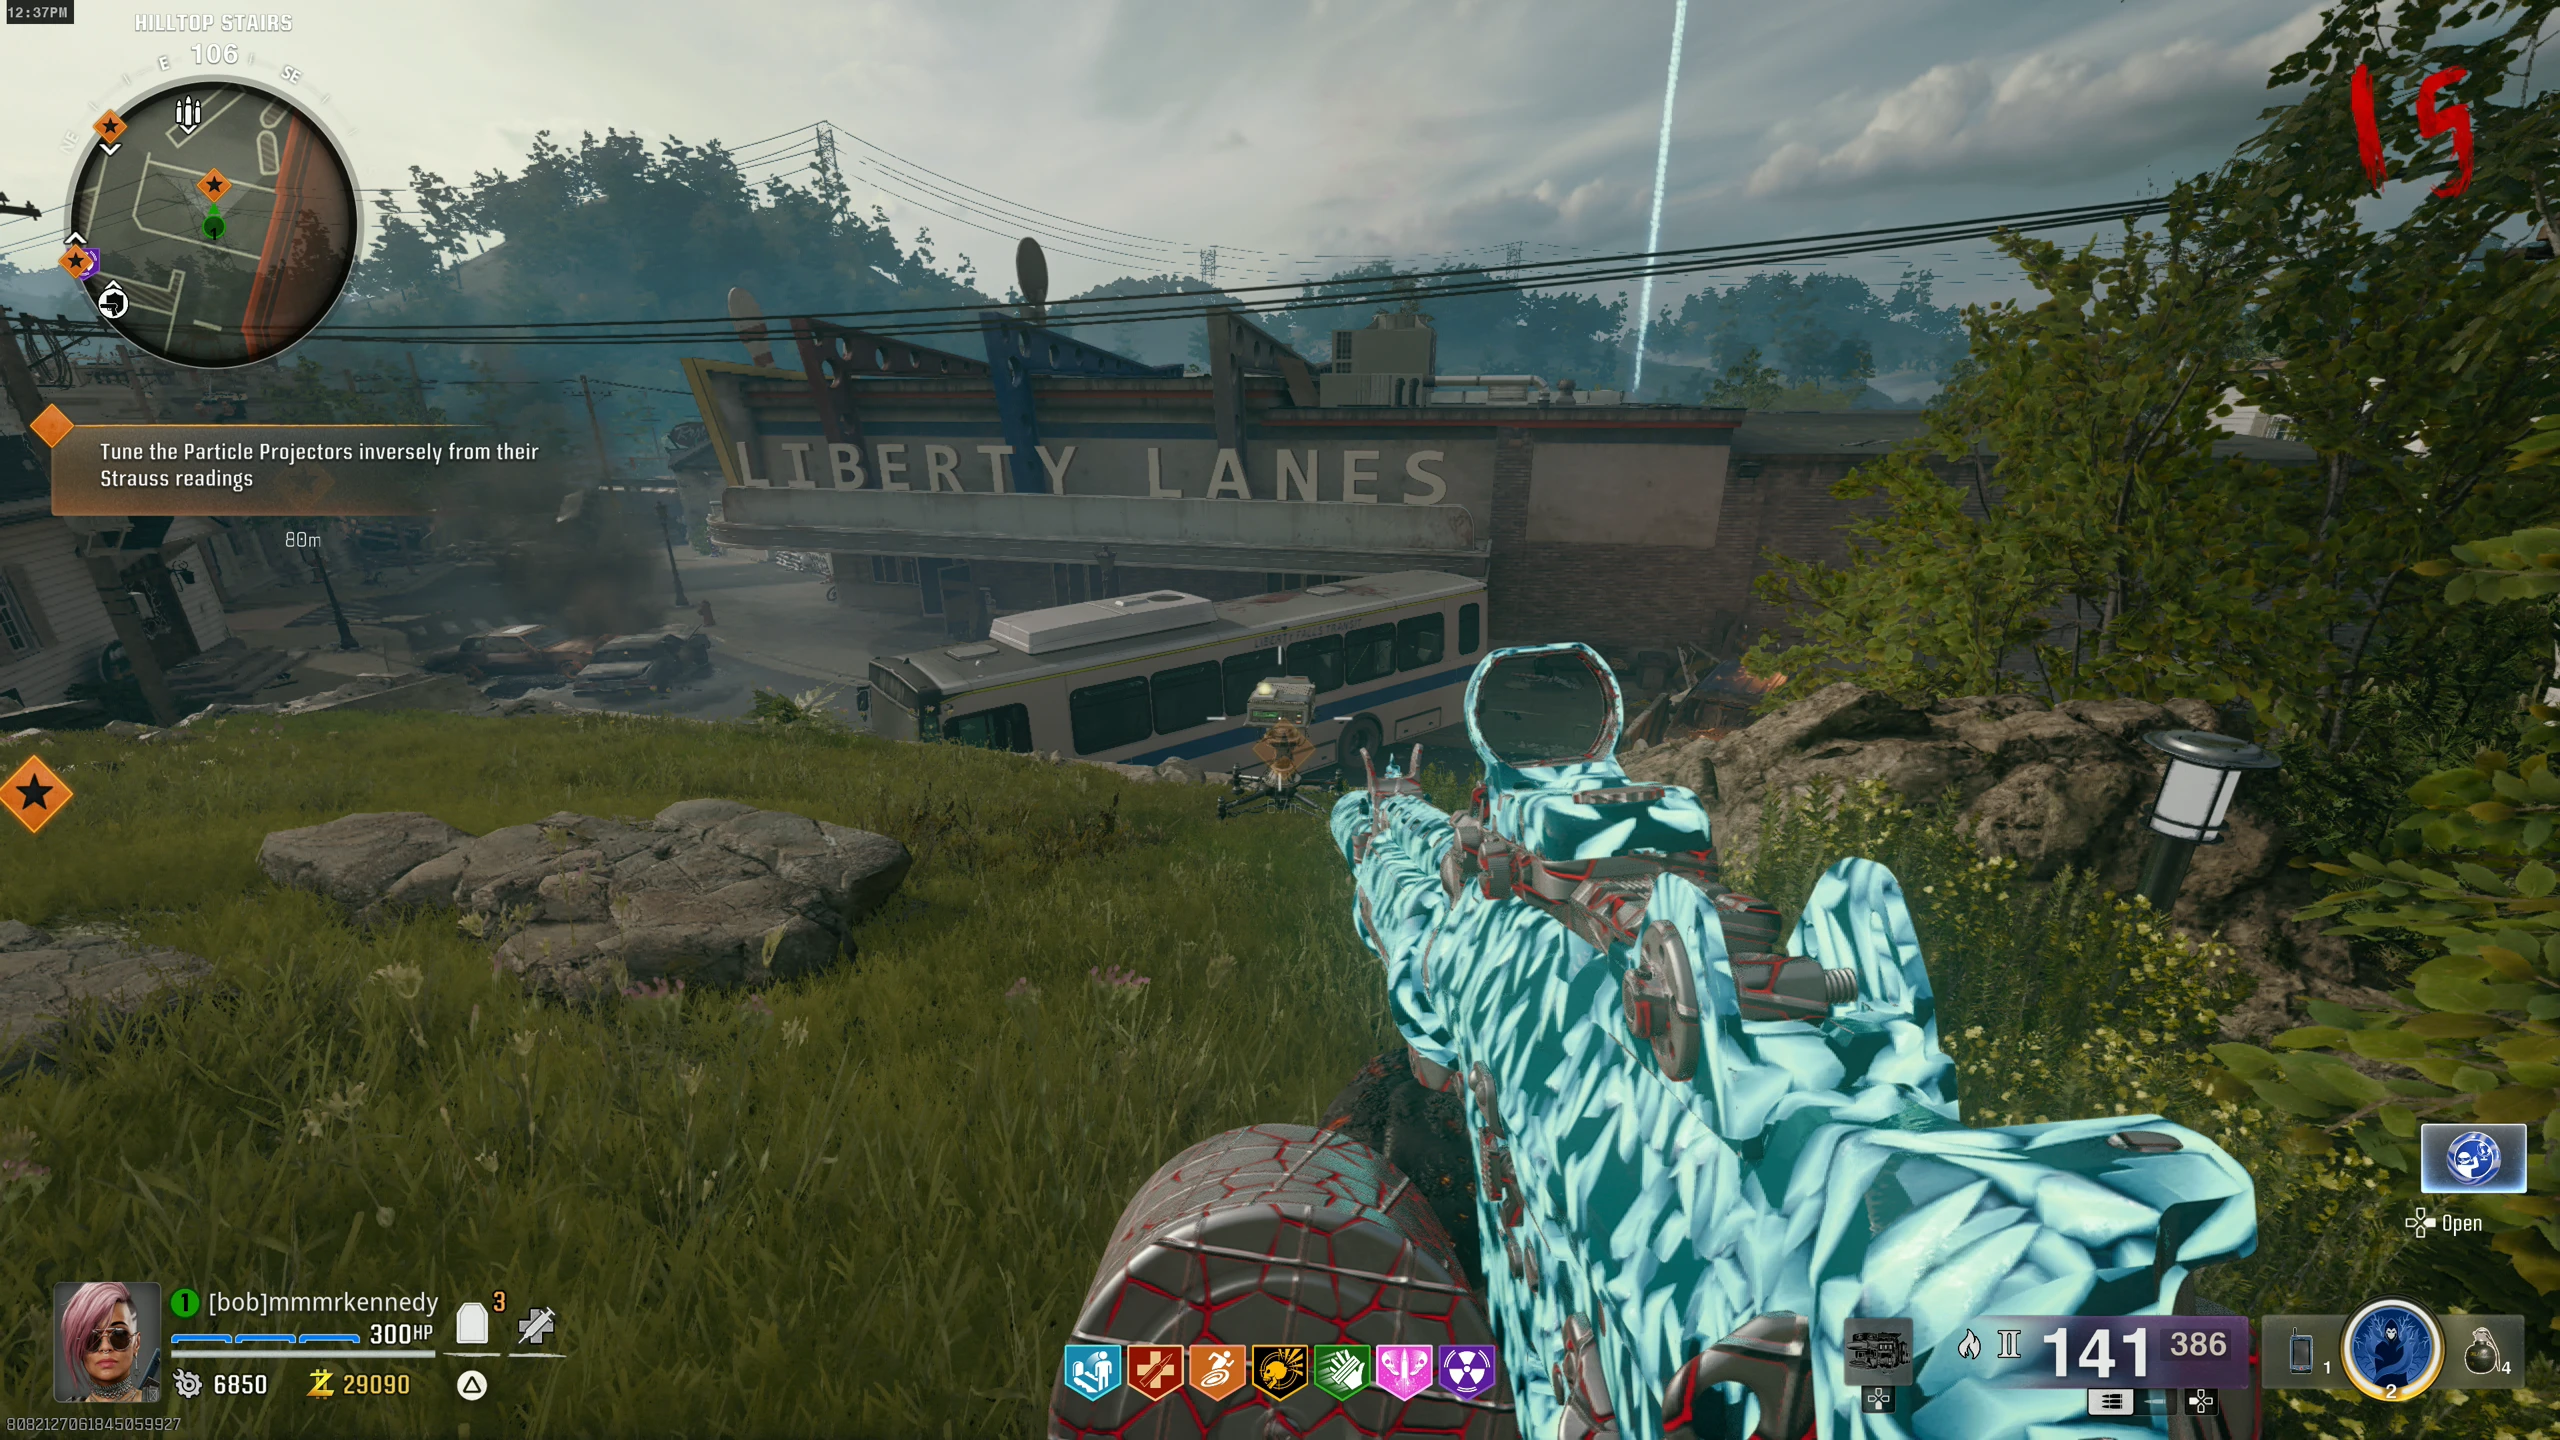
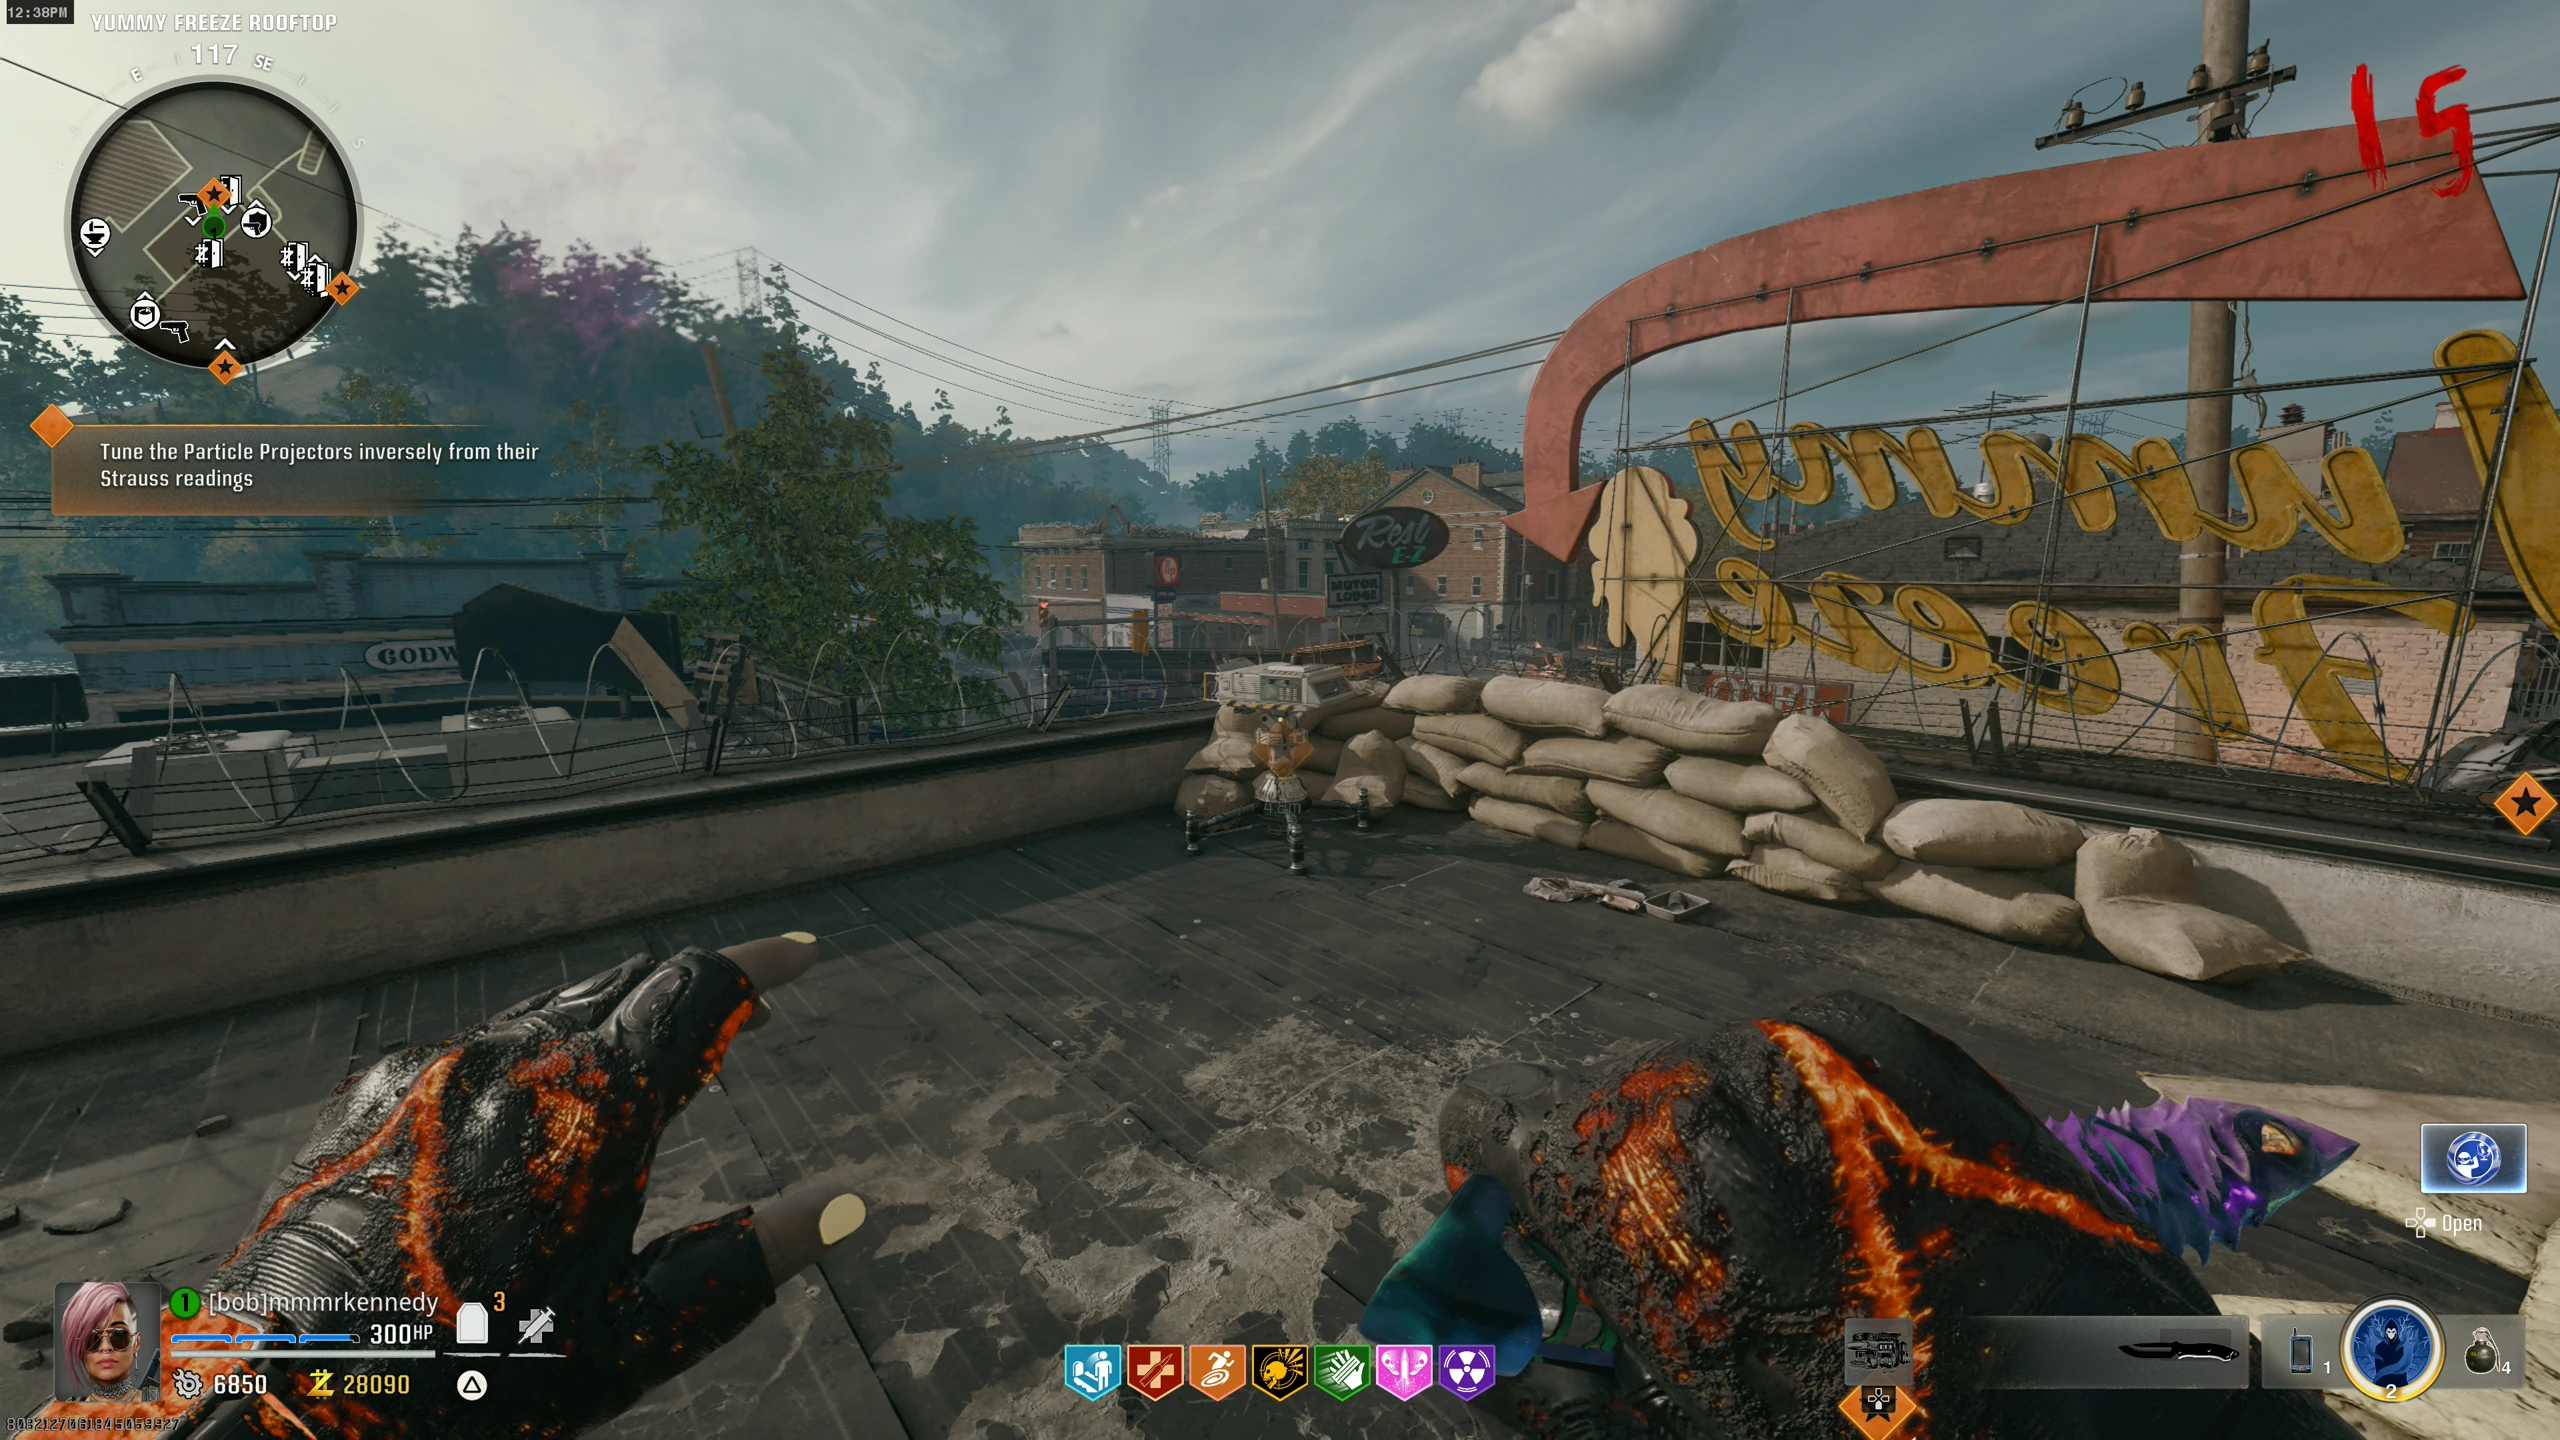
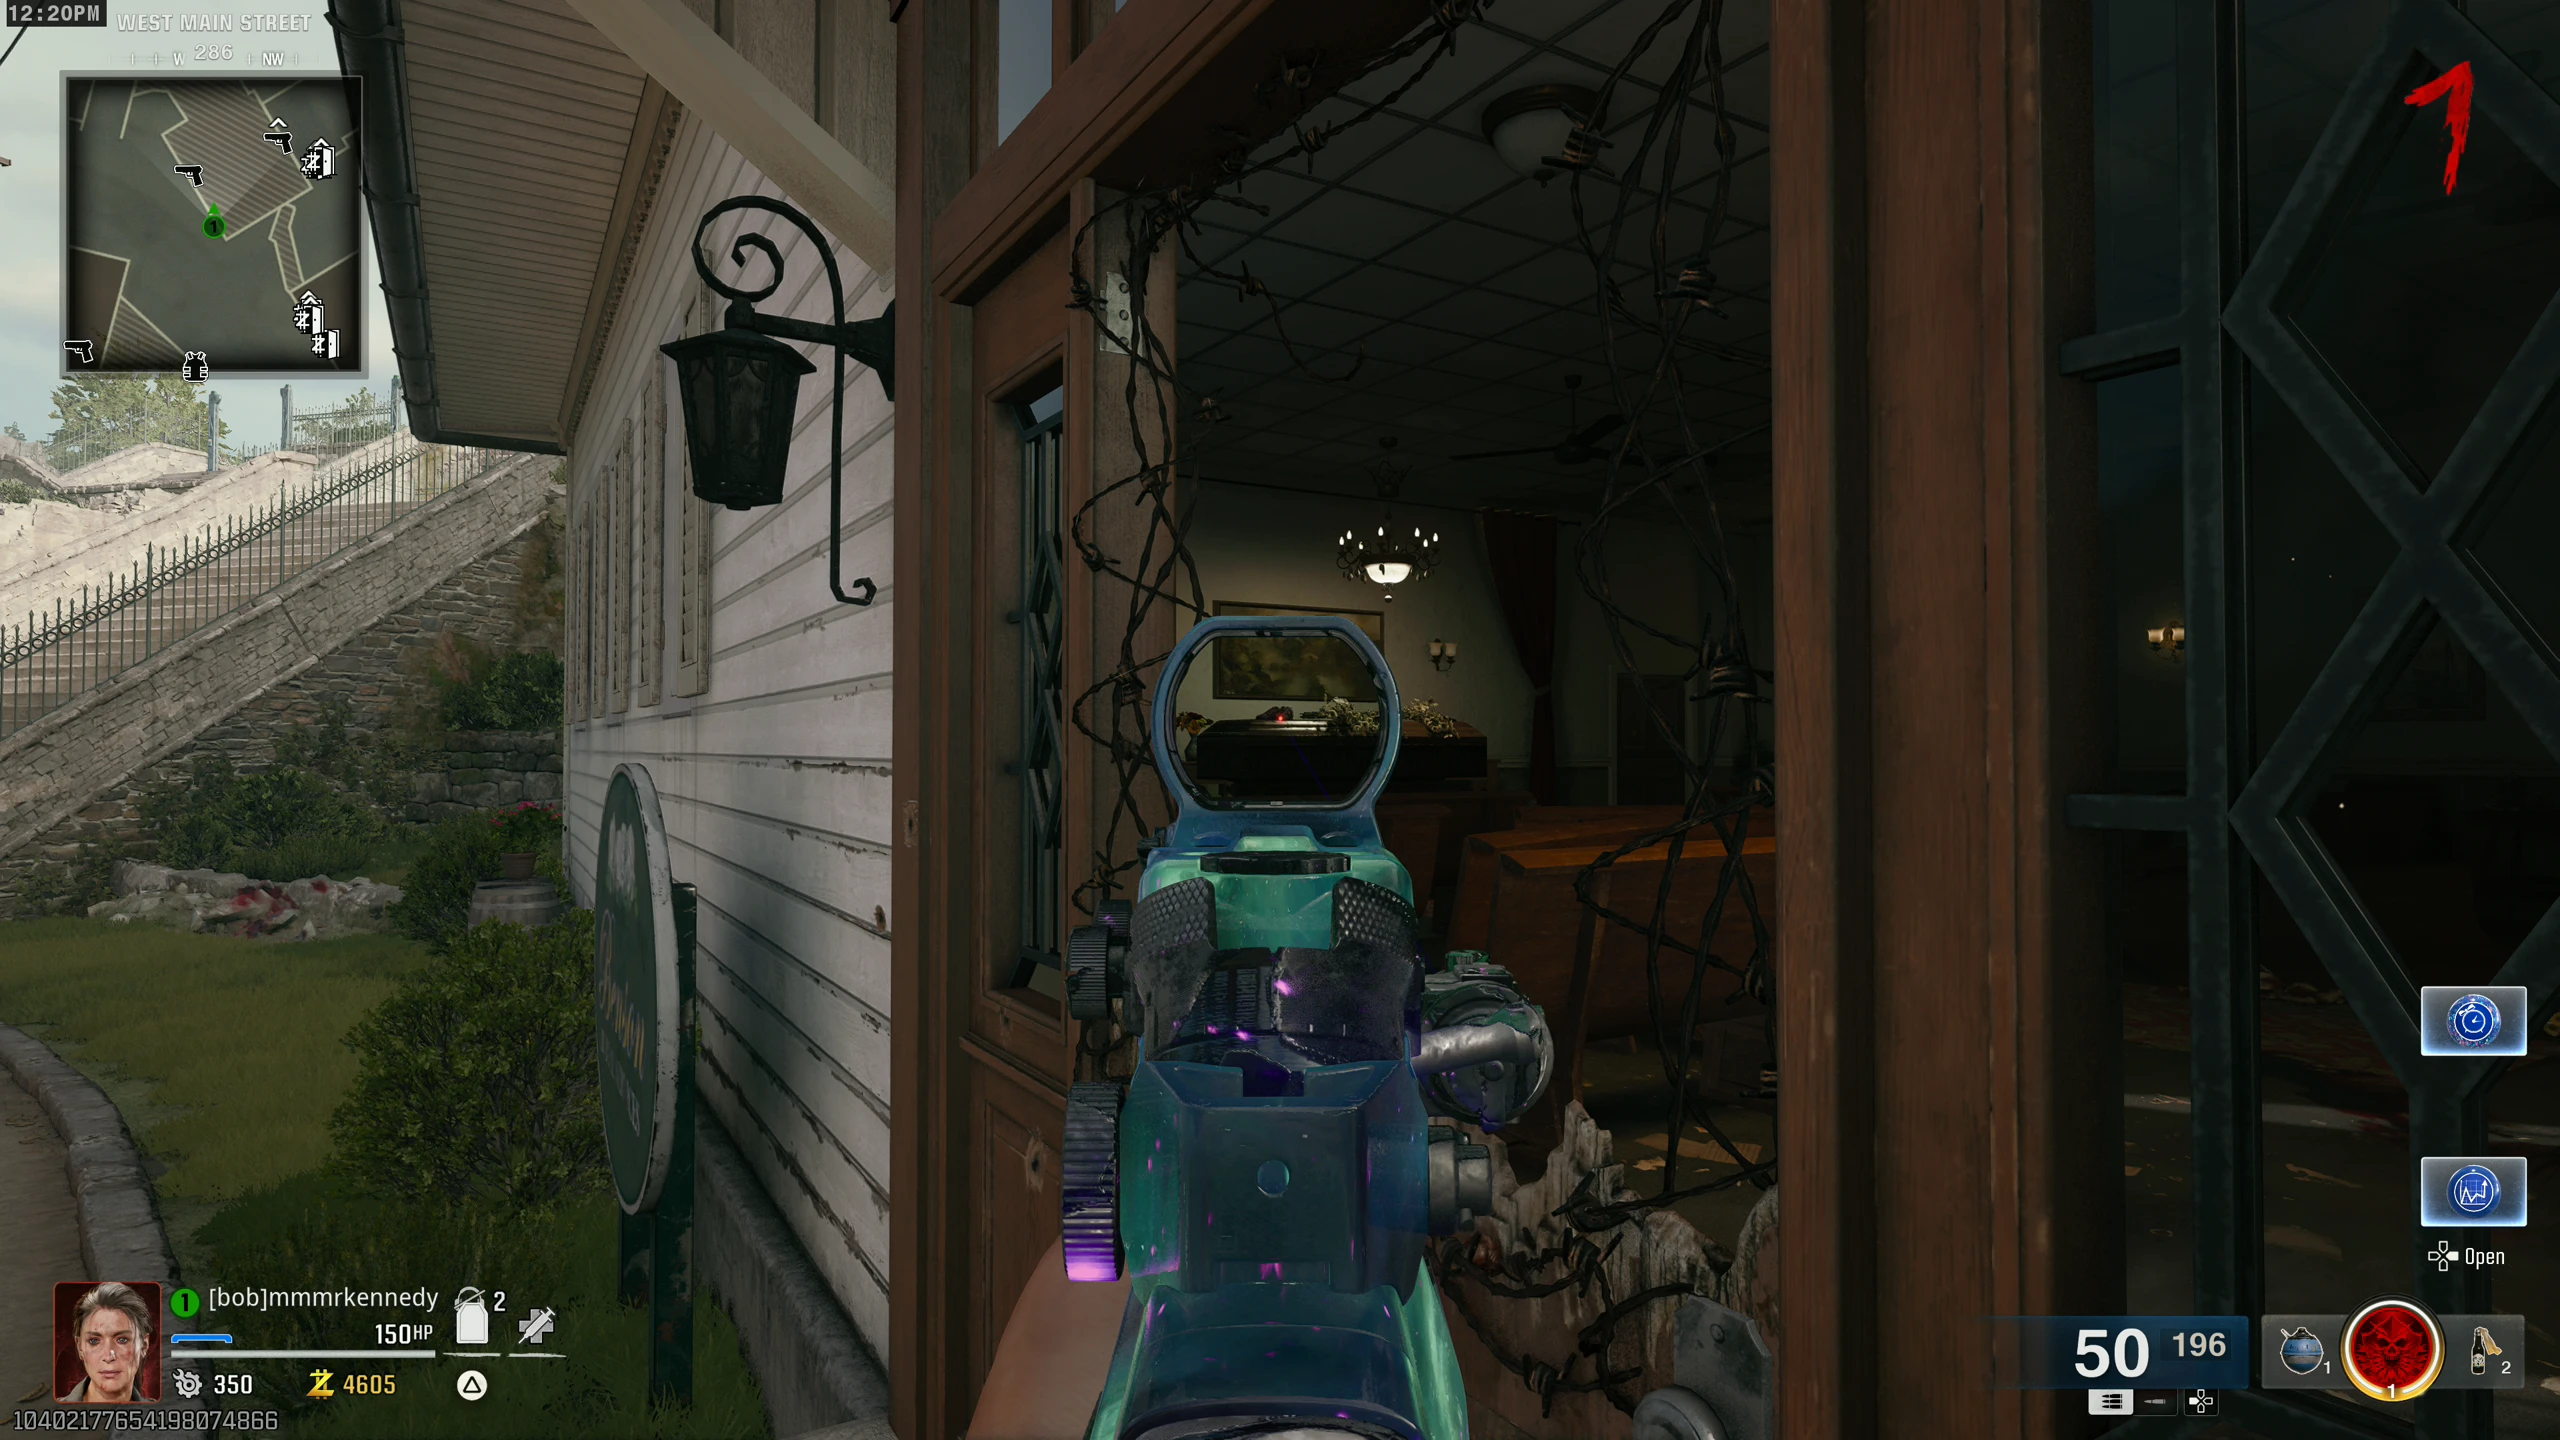
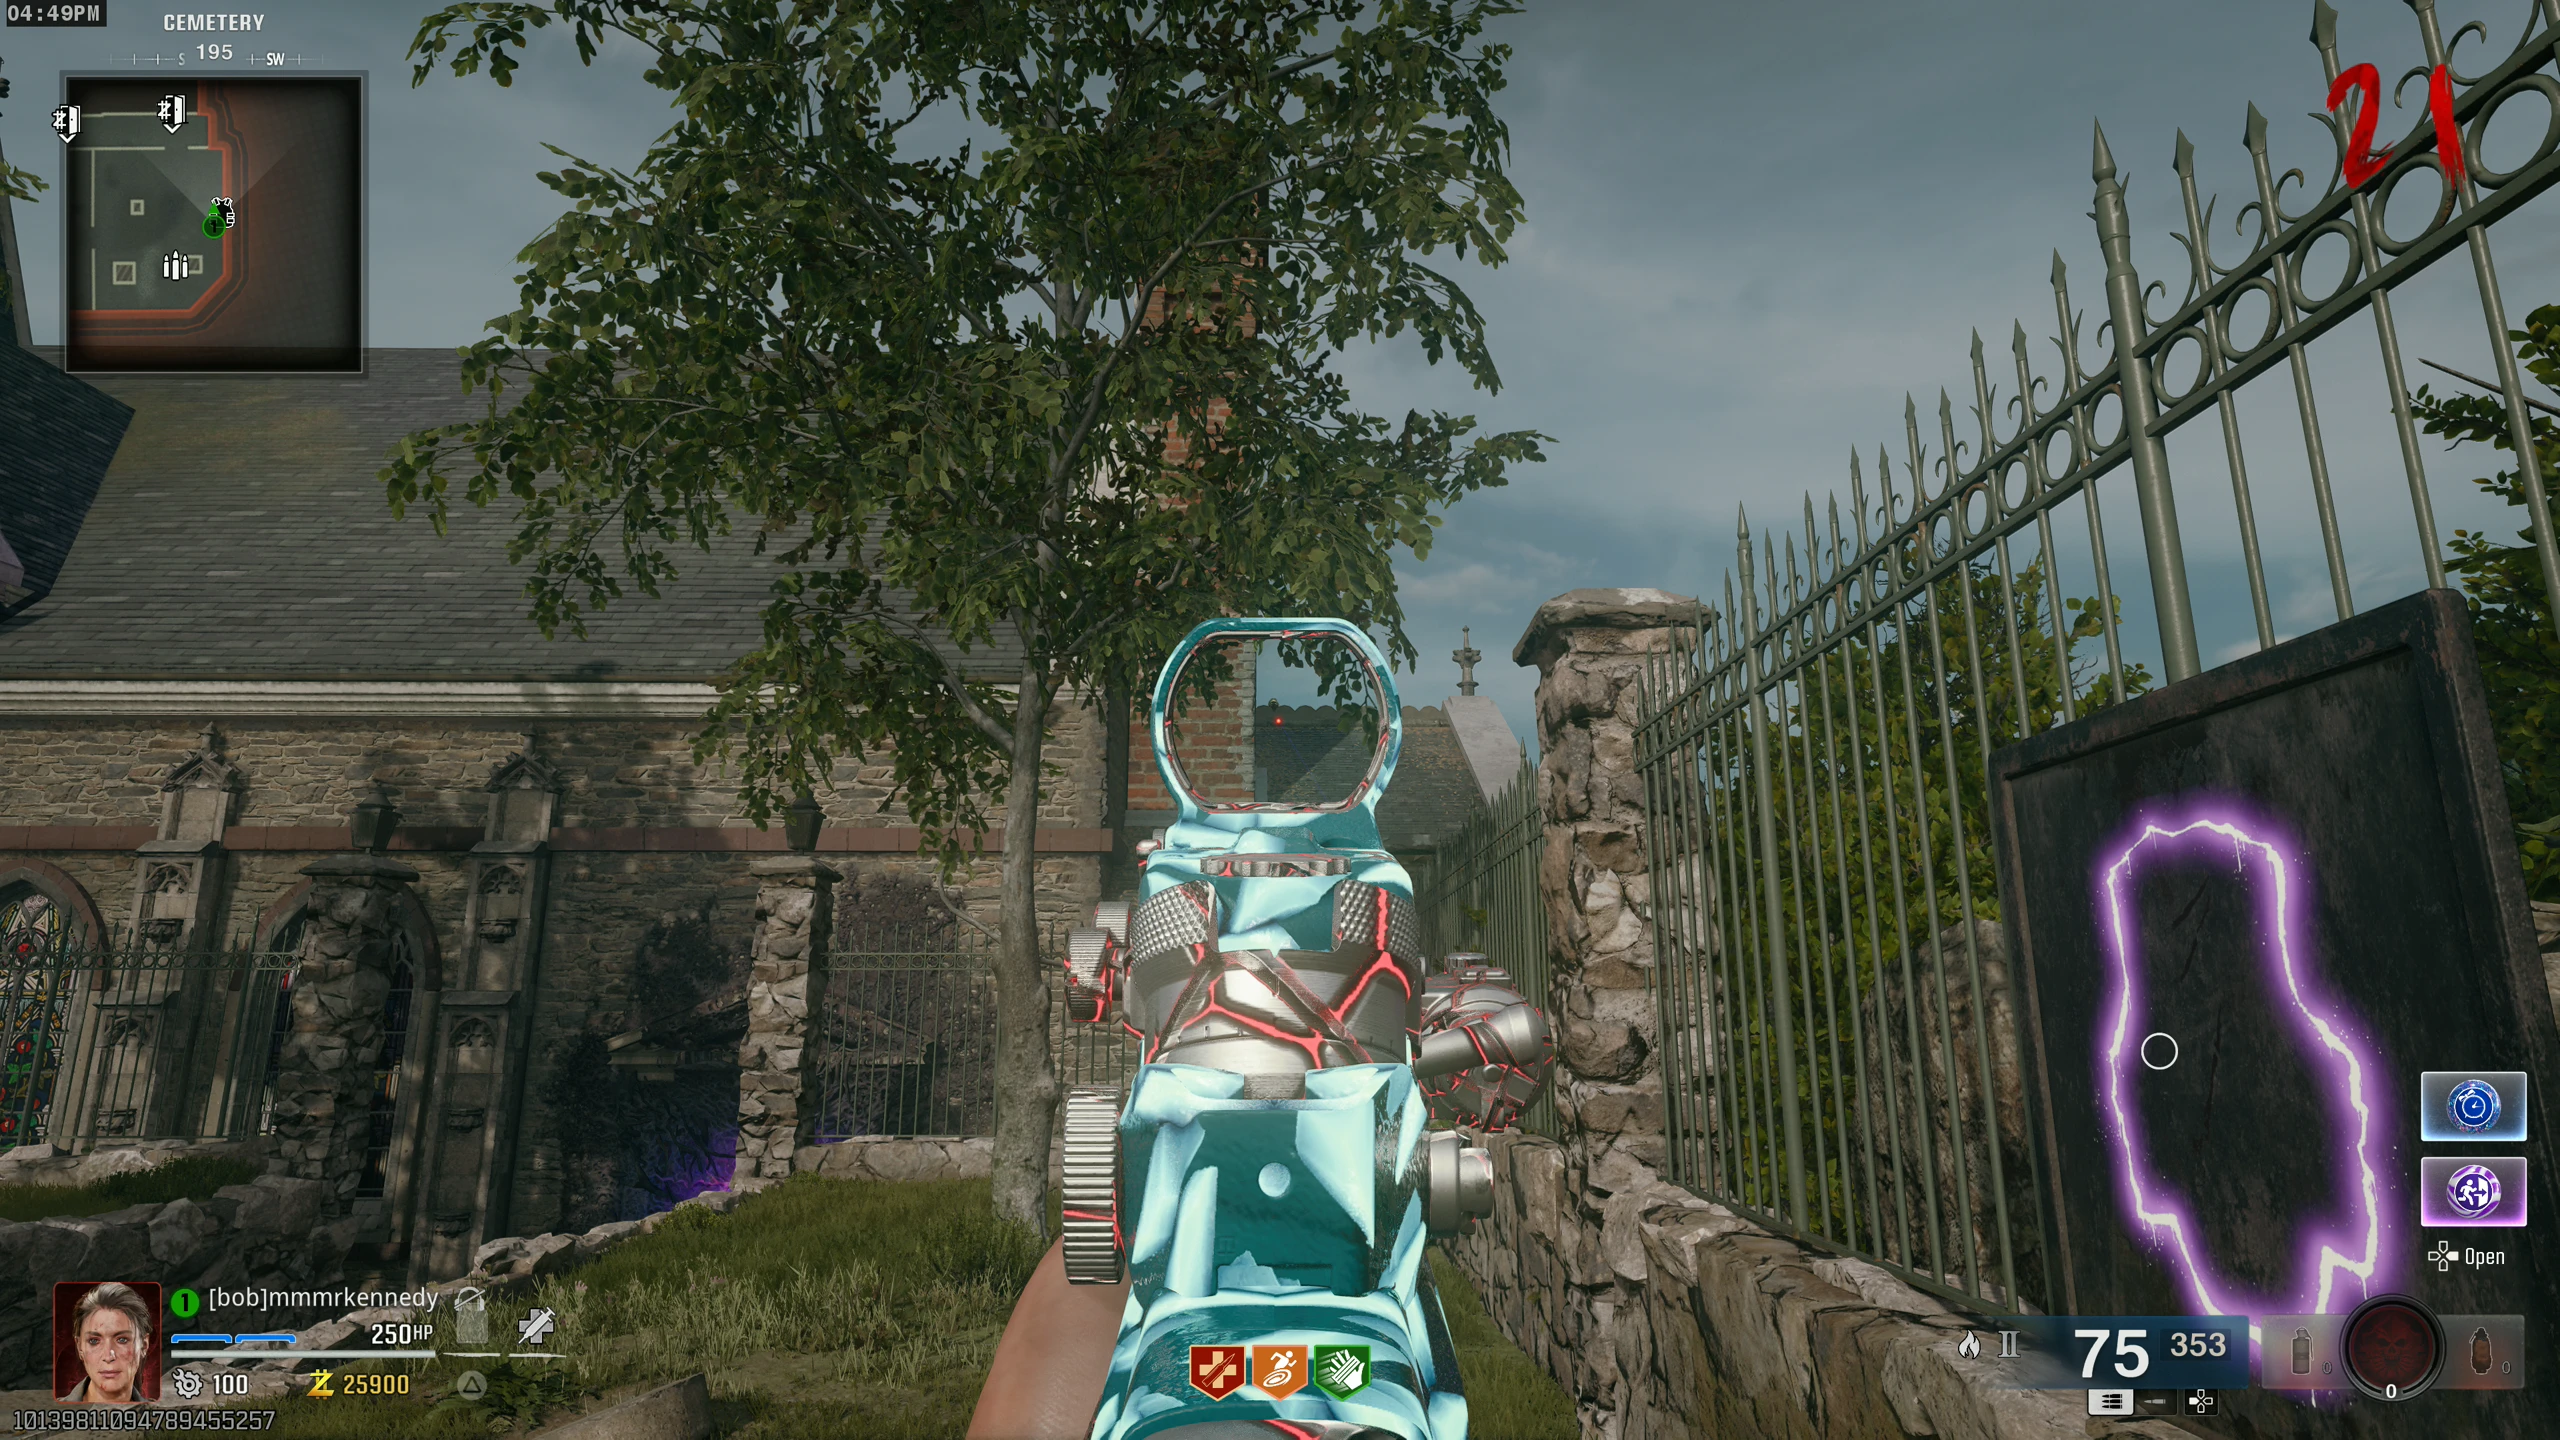
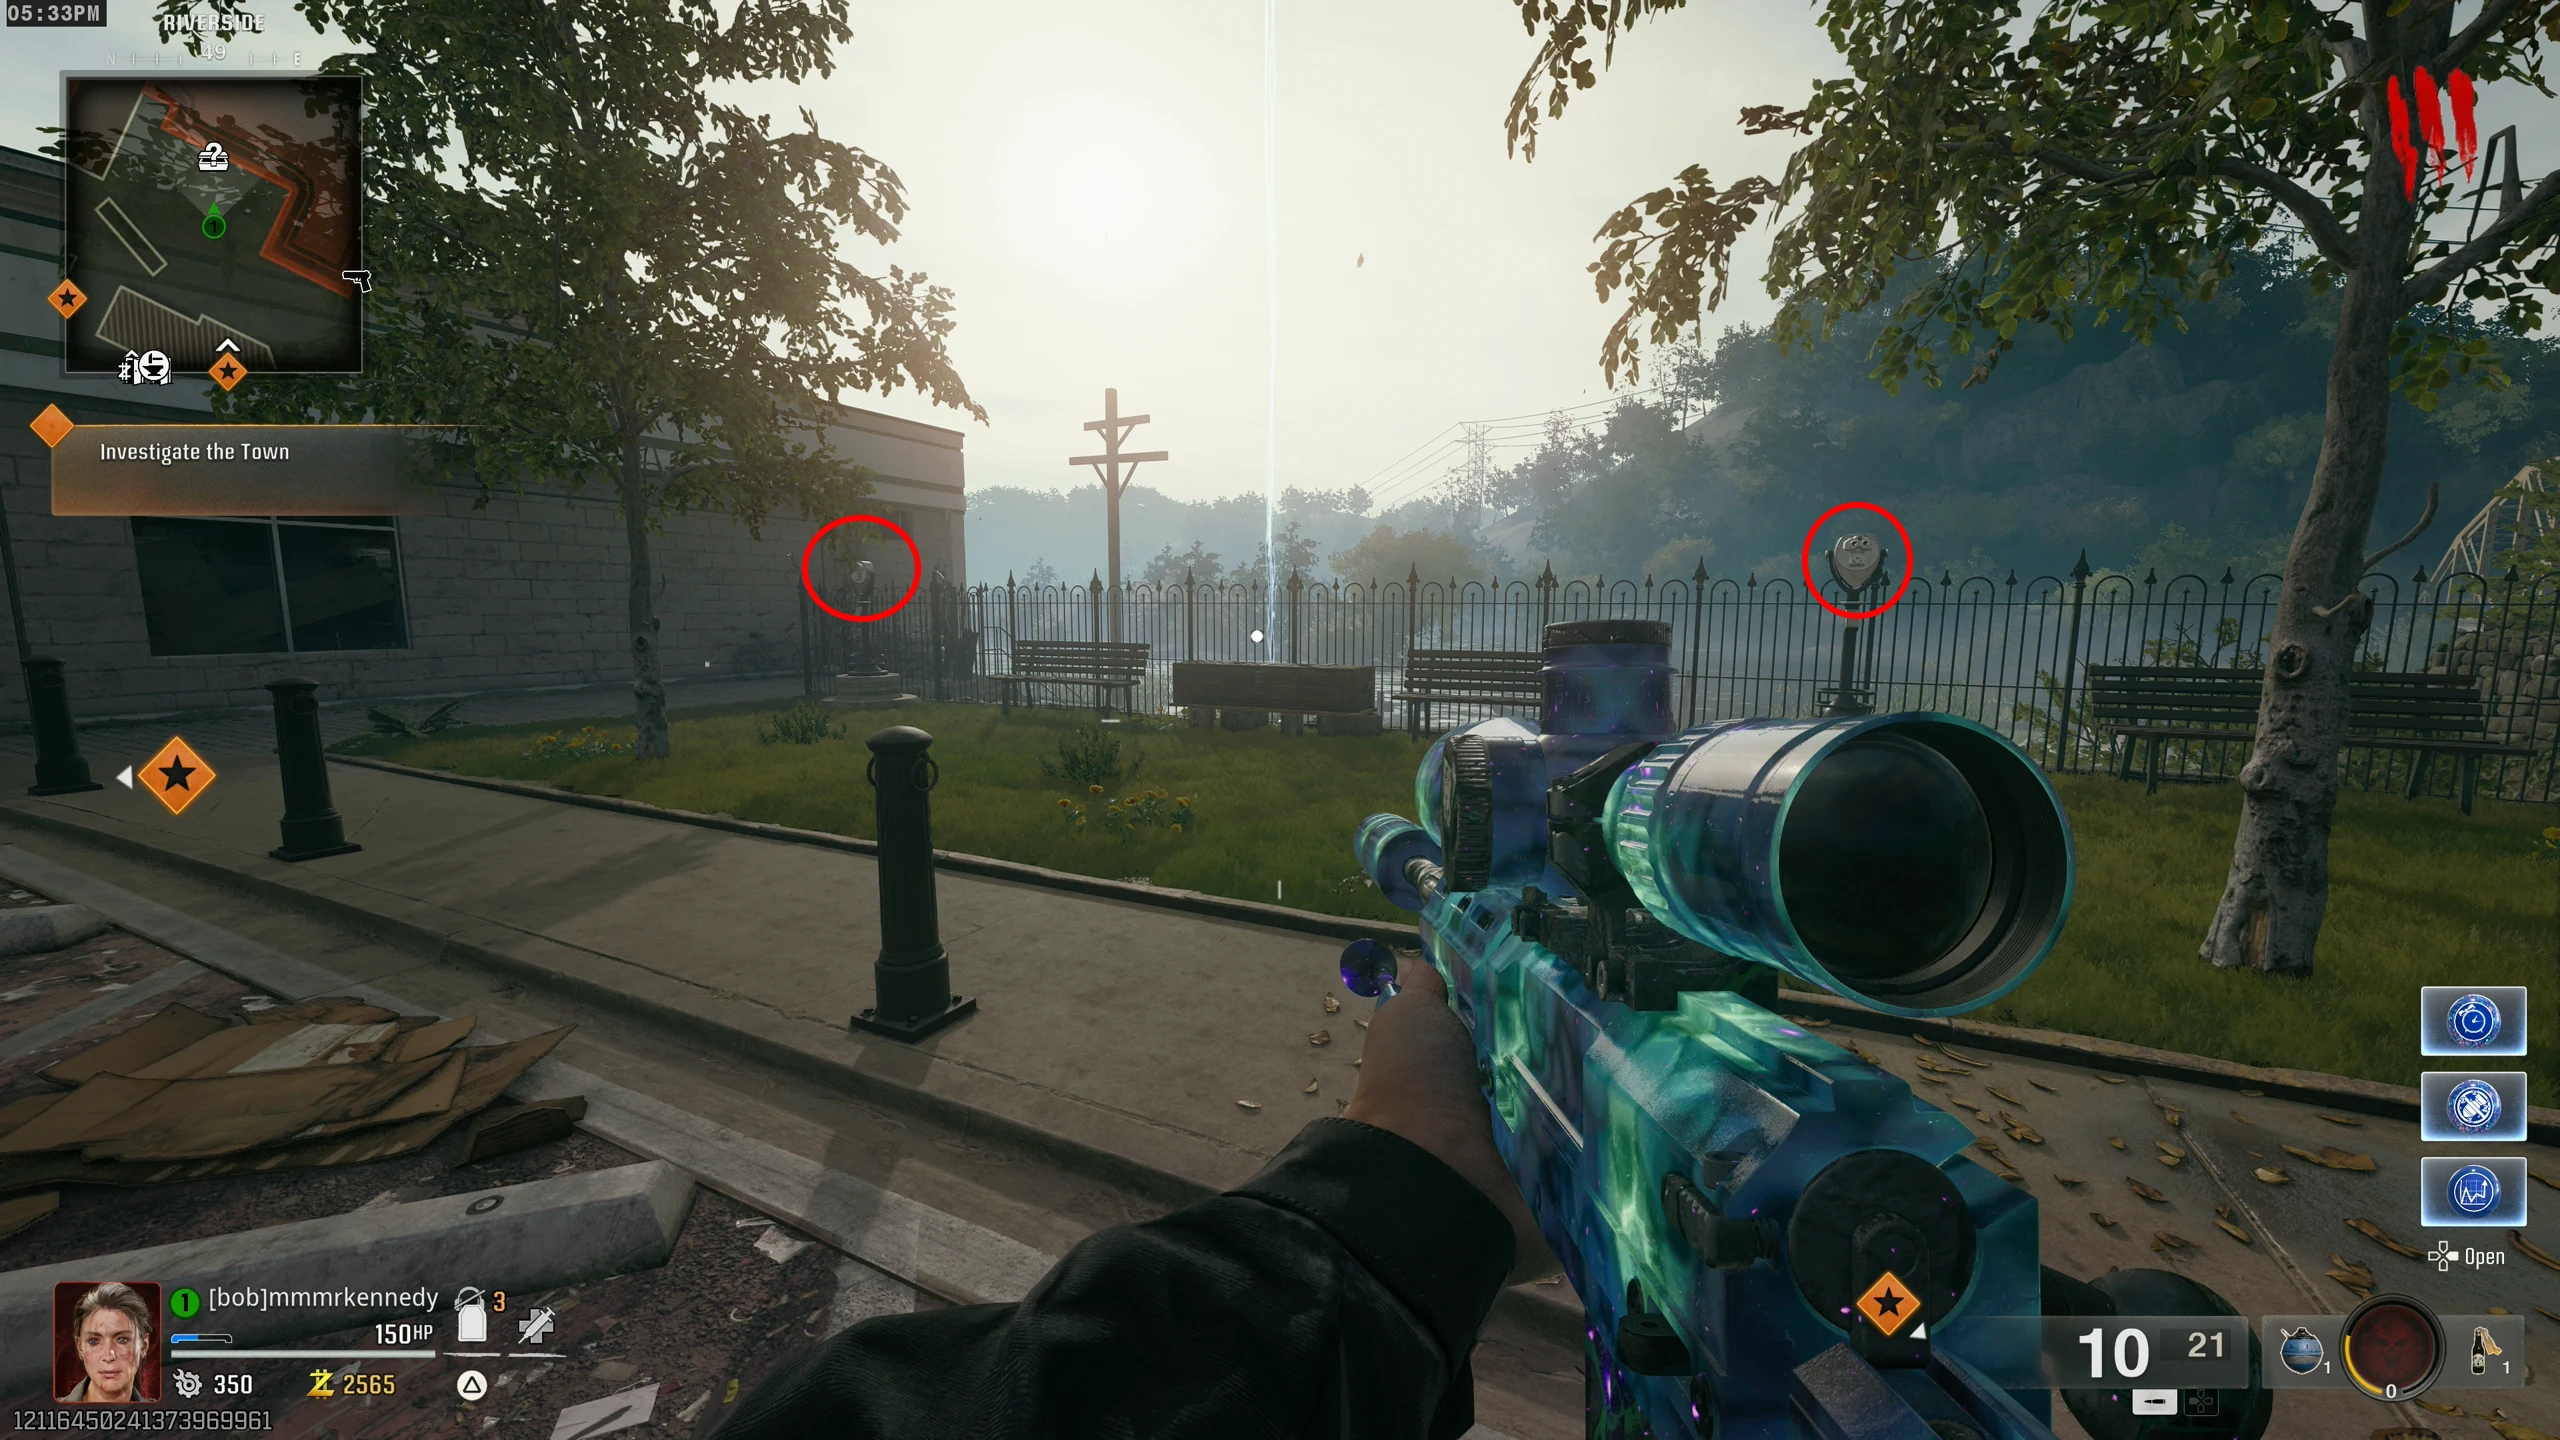
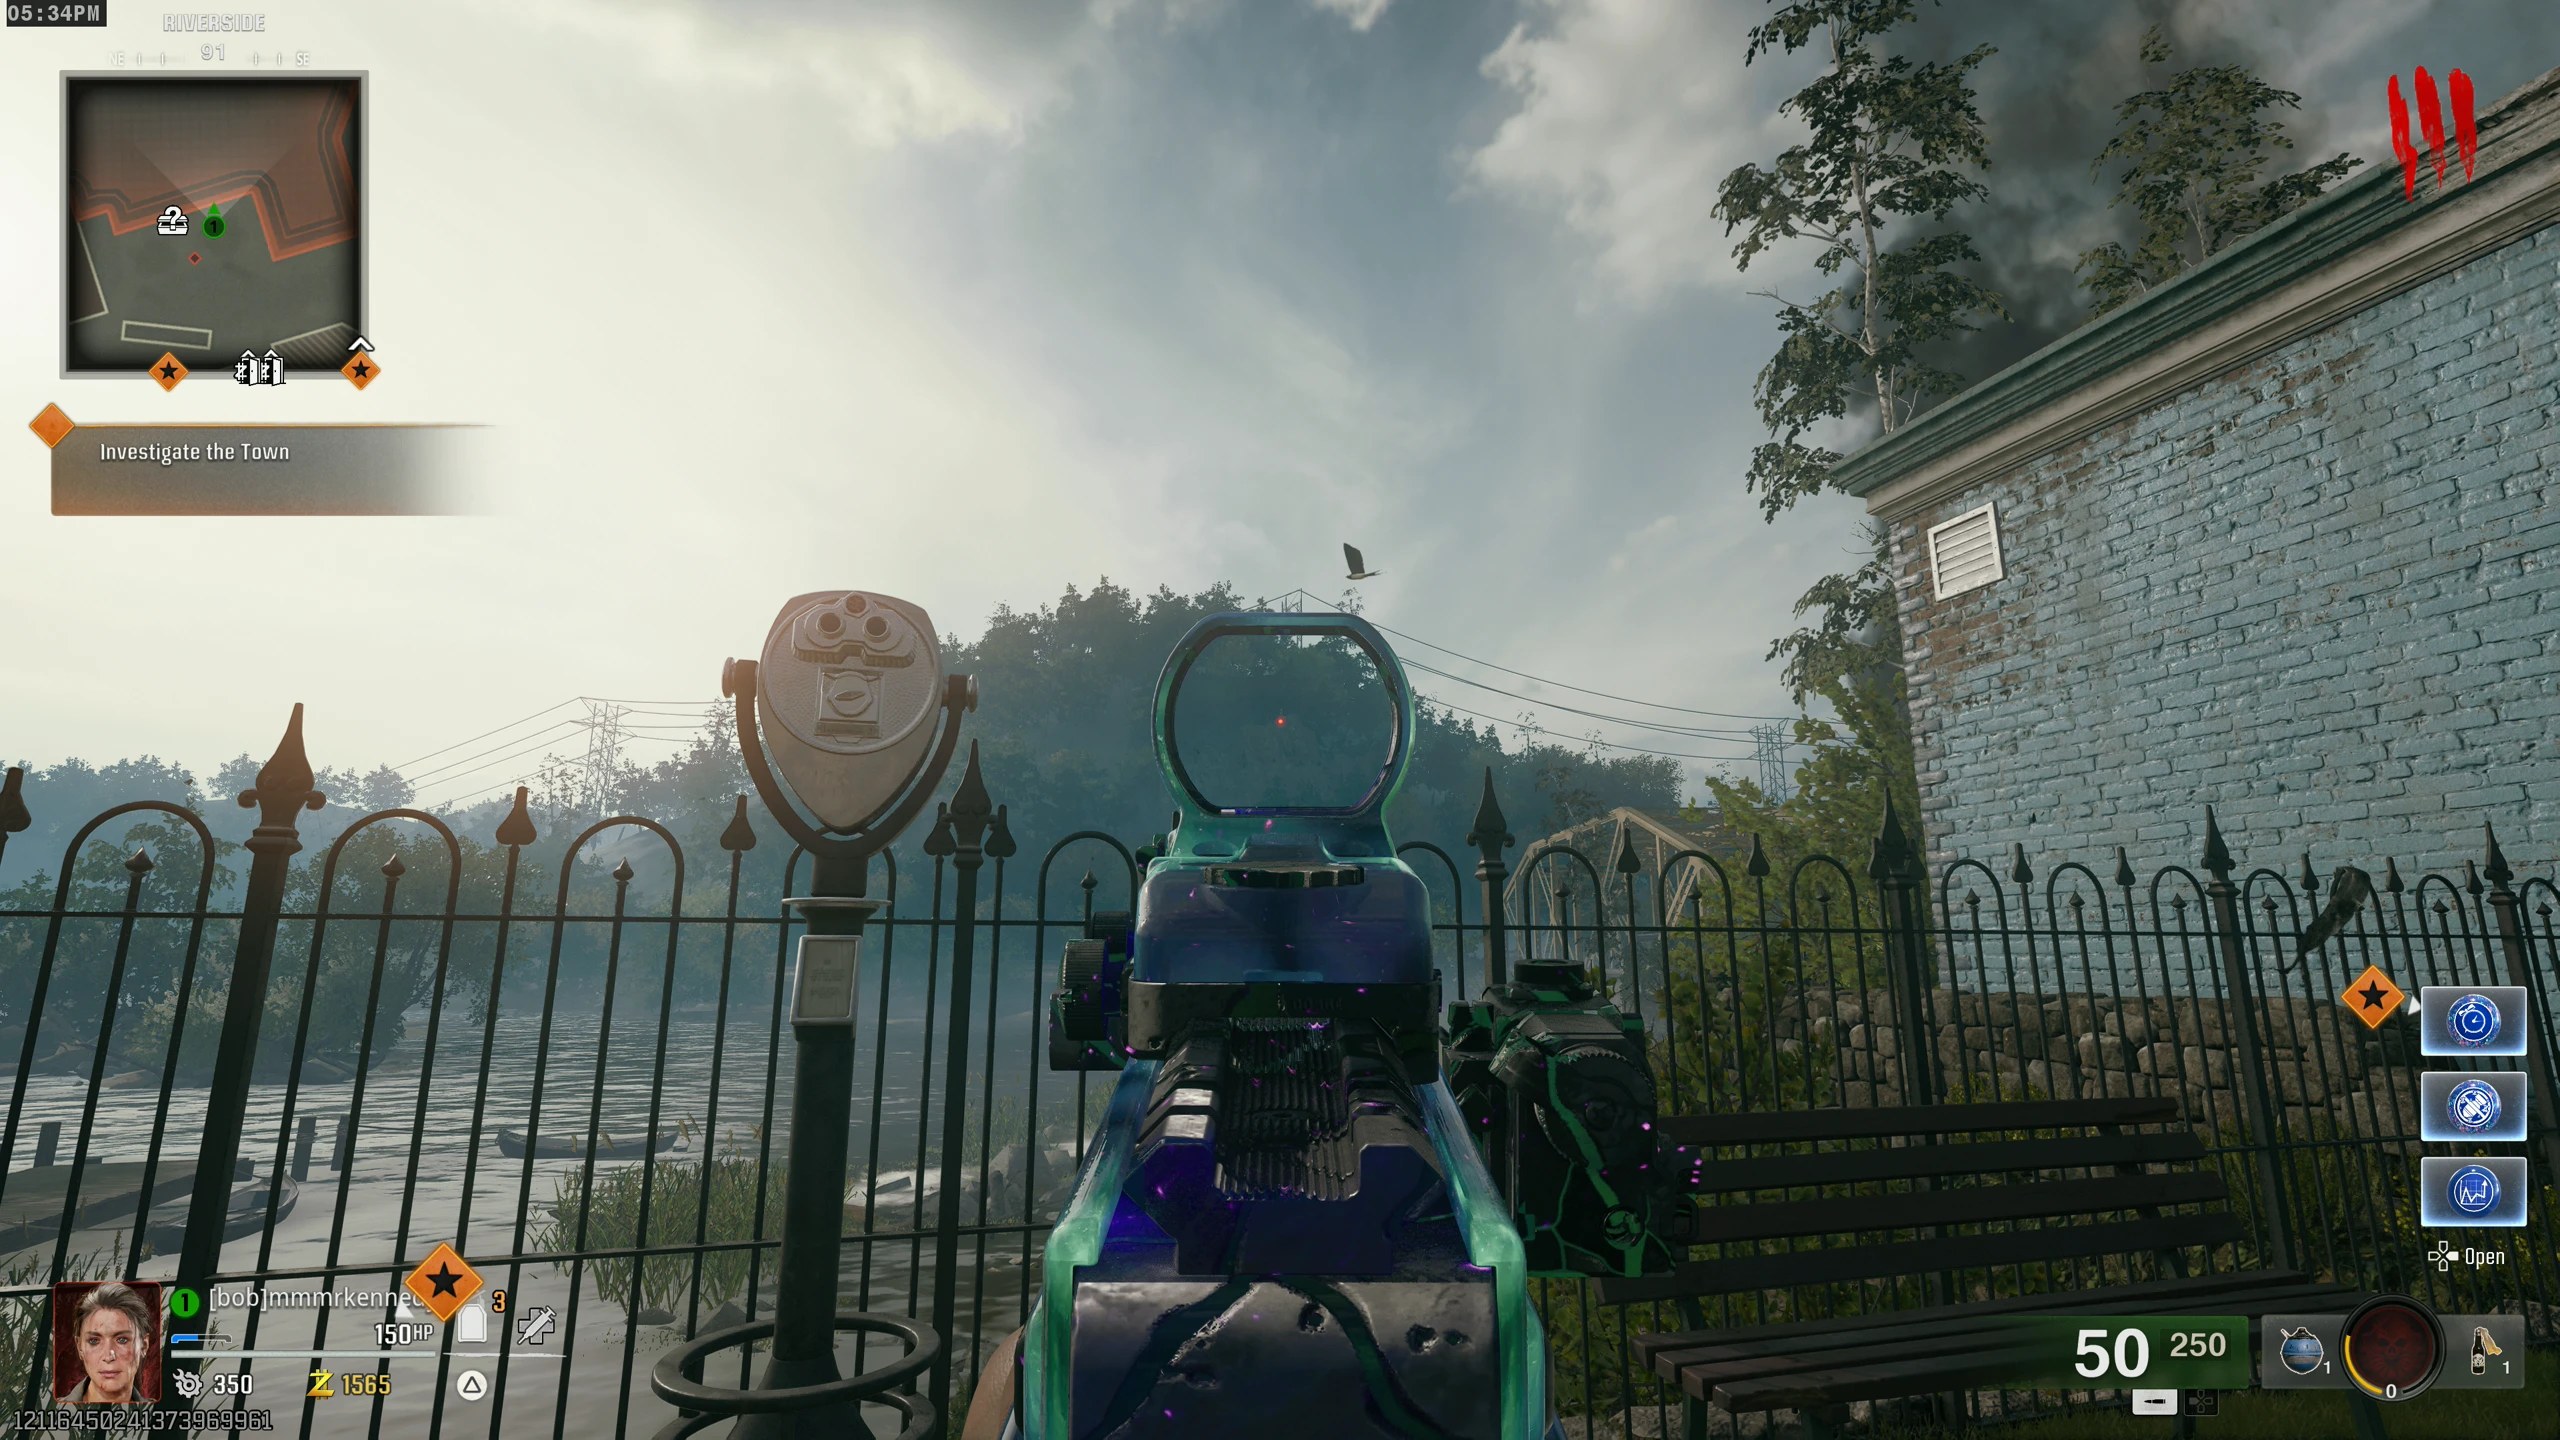
- There are three Aether Projectors around the map that need to be set to the correct colour using the Strauss Counter (see below). When near a projector, pull out the counter and look at the colour it is displaying. Based on this colour, you will need to set the projector to a different colour by interacting with it to change the light on the top. Projector locations:
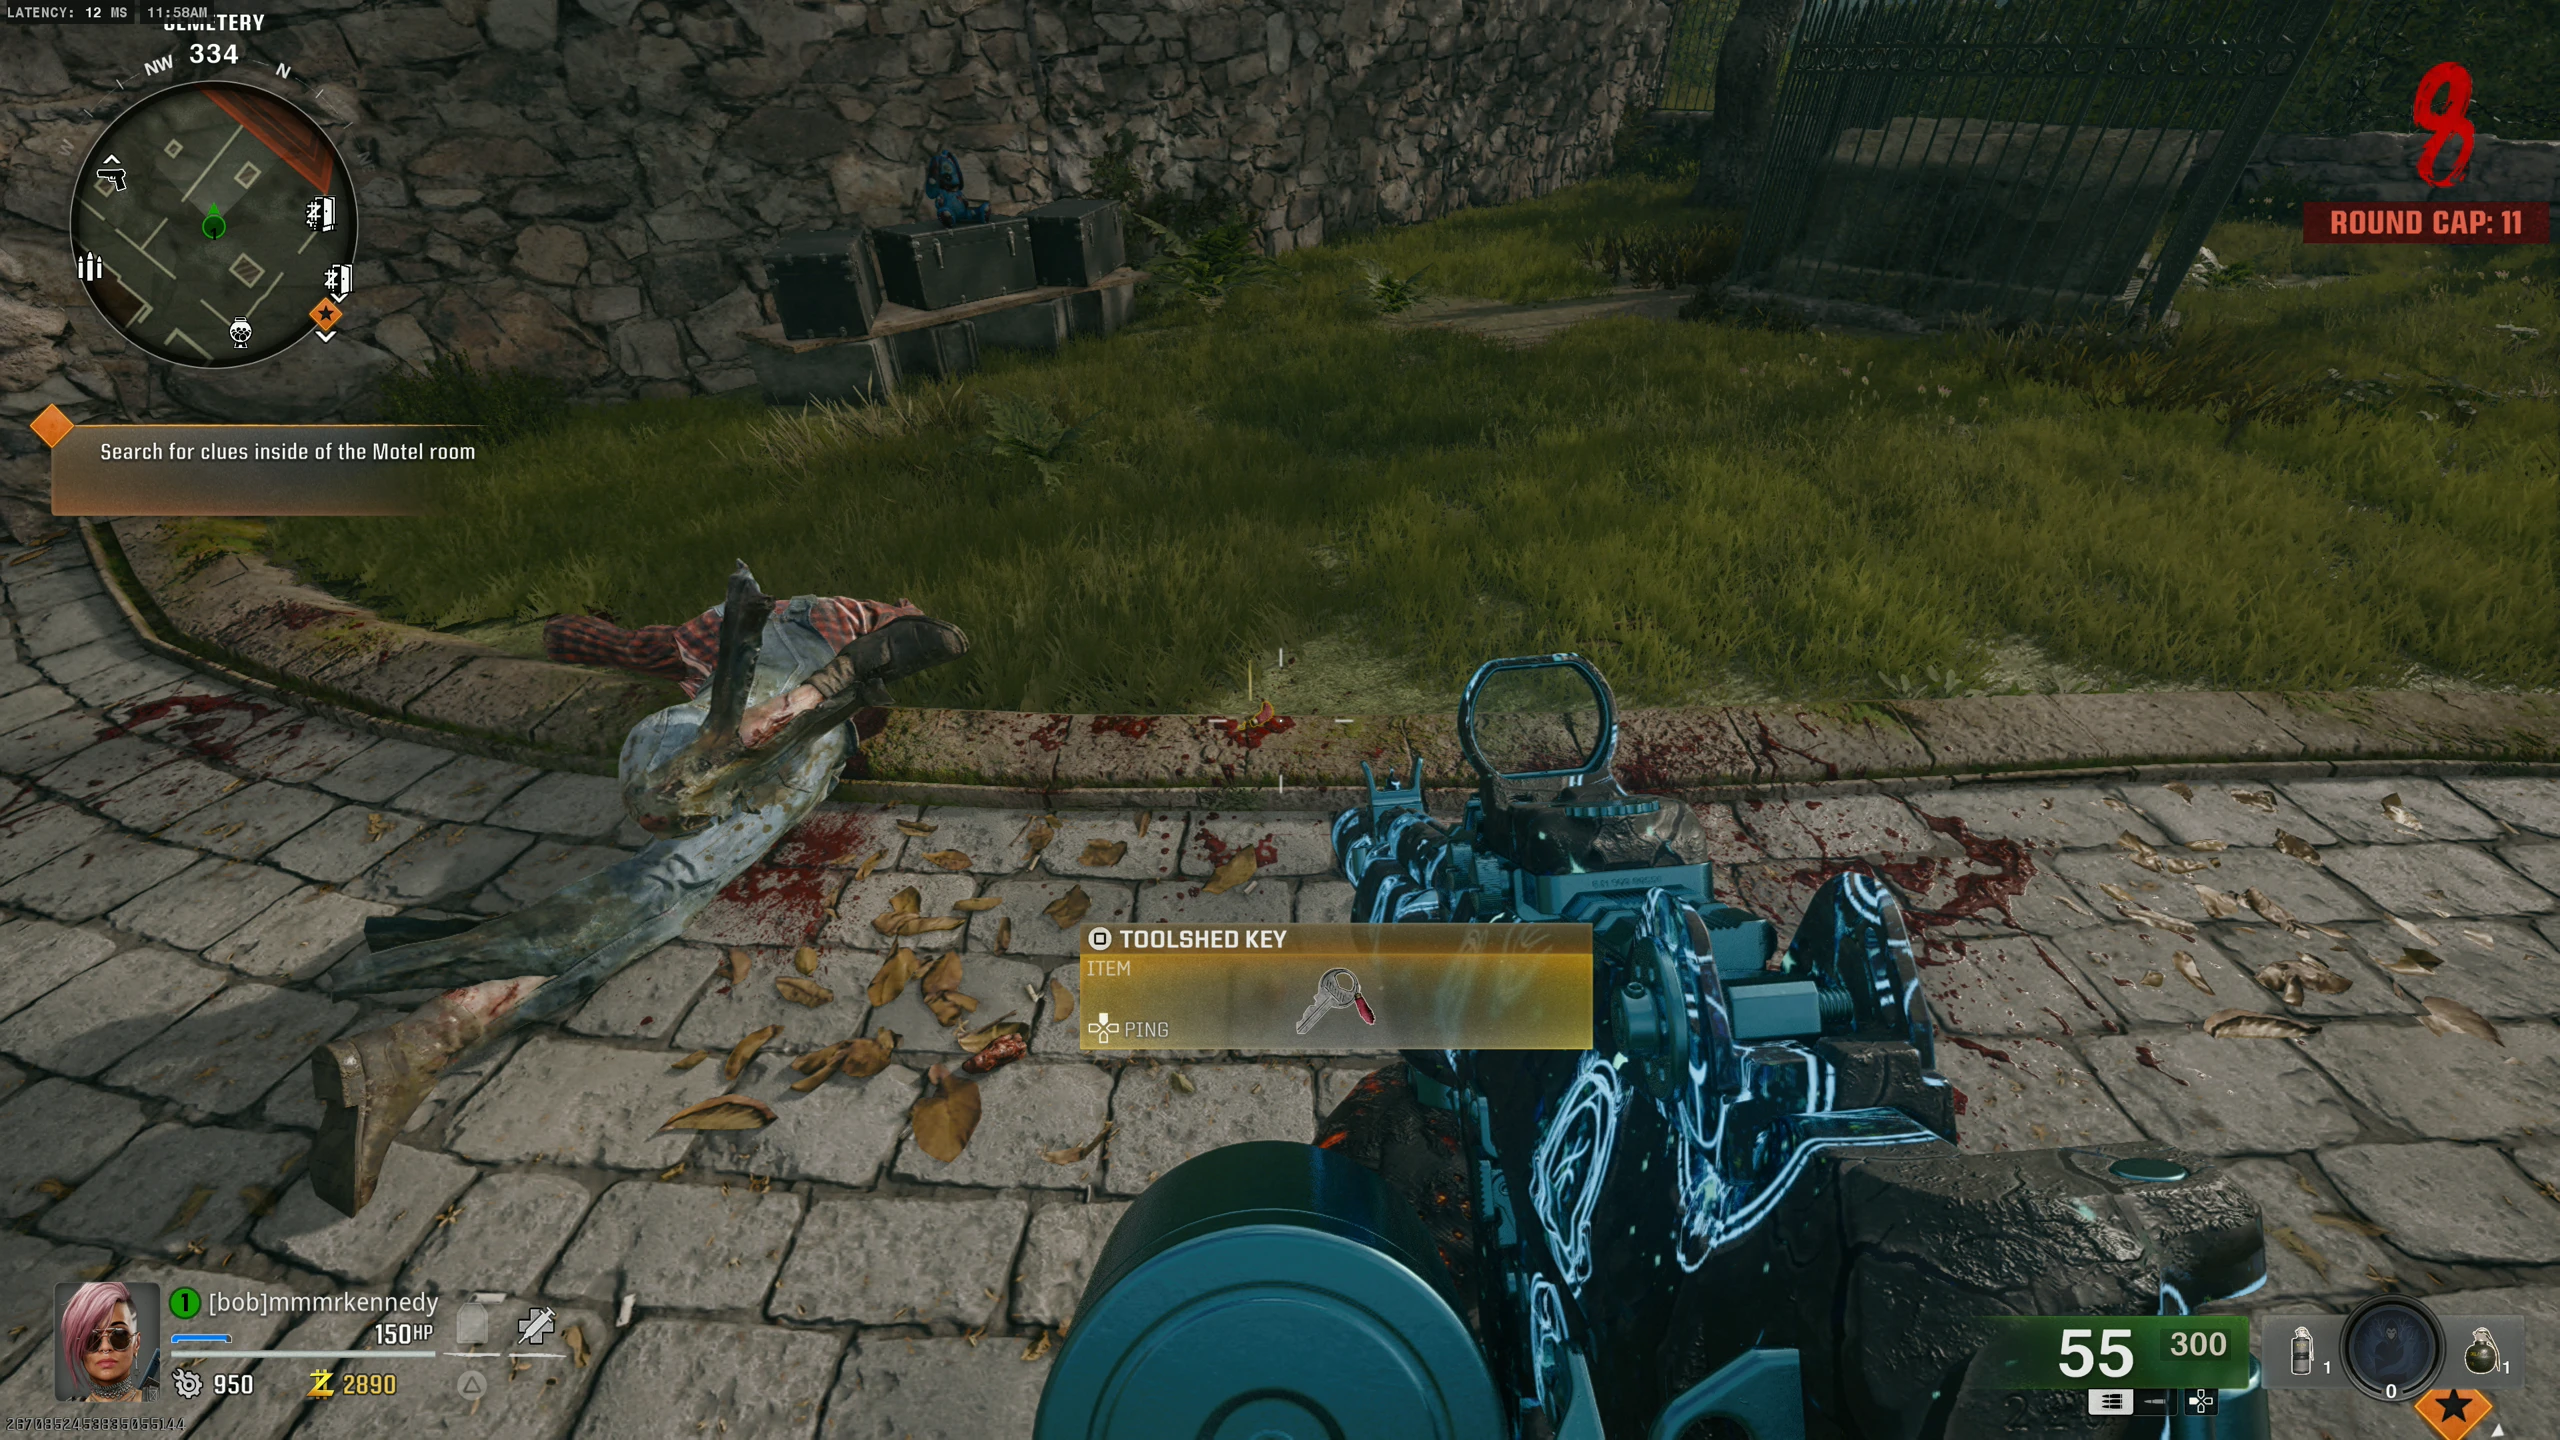
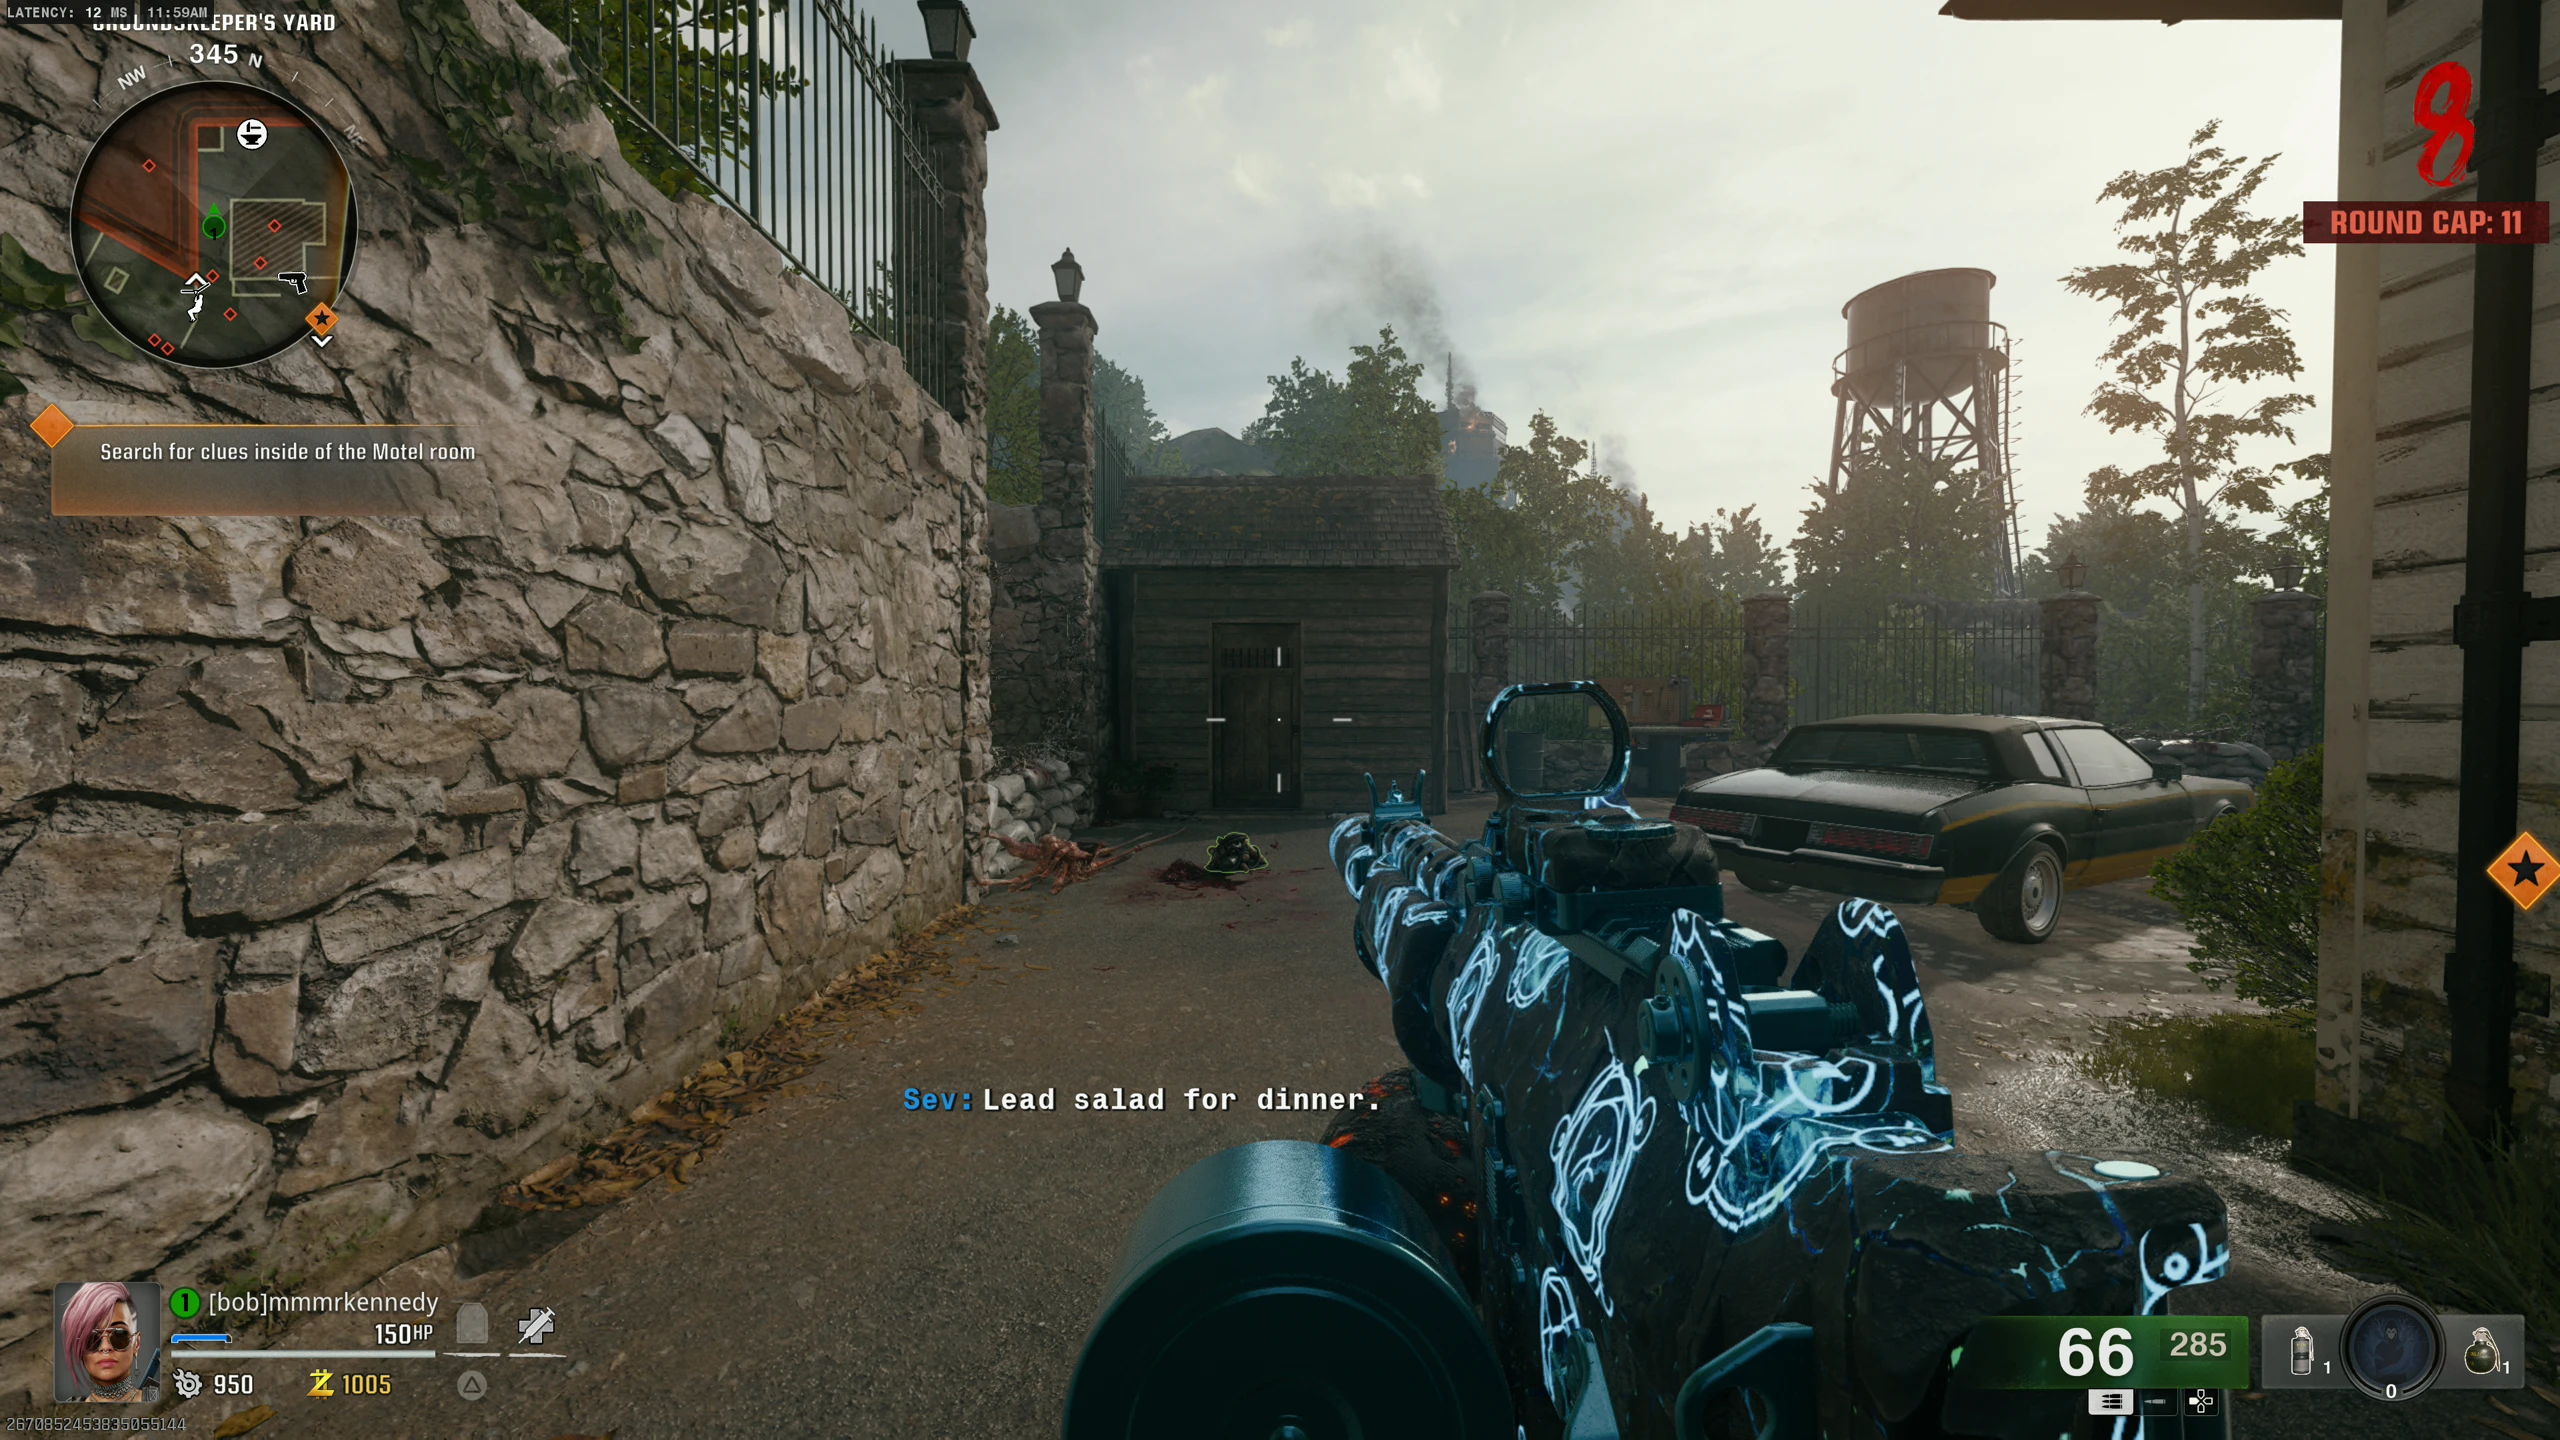
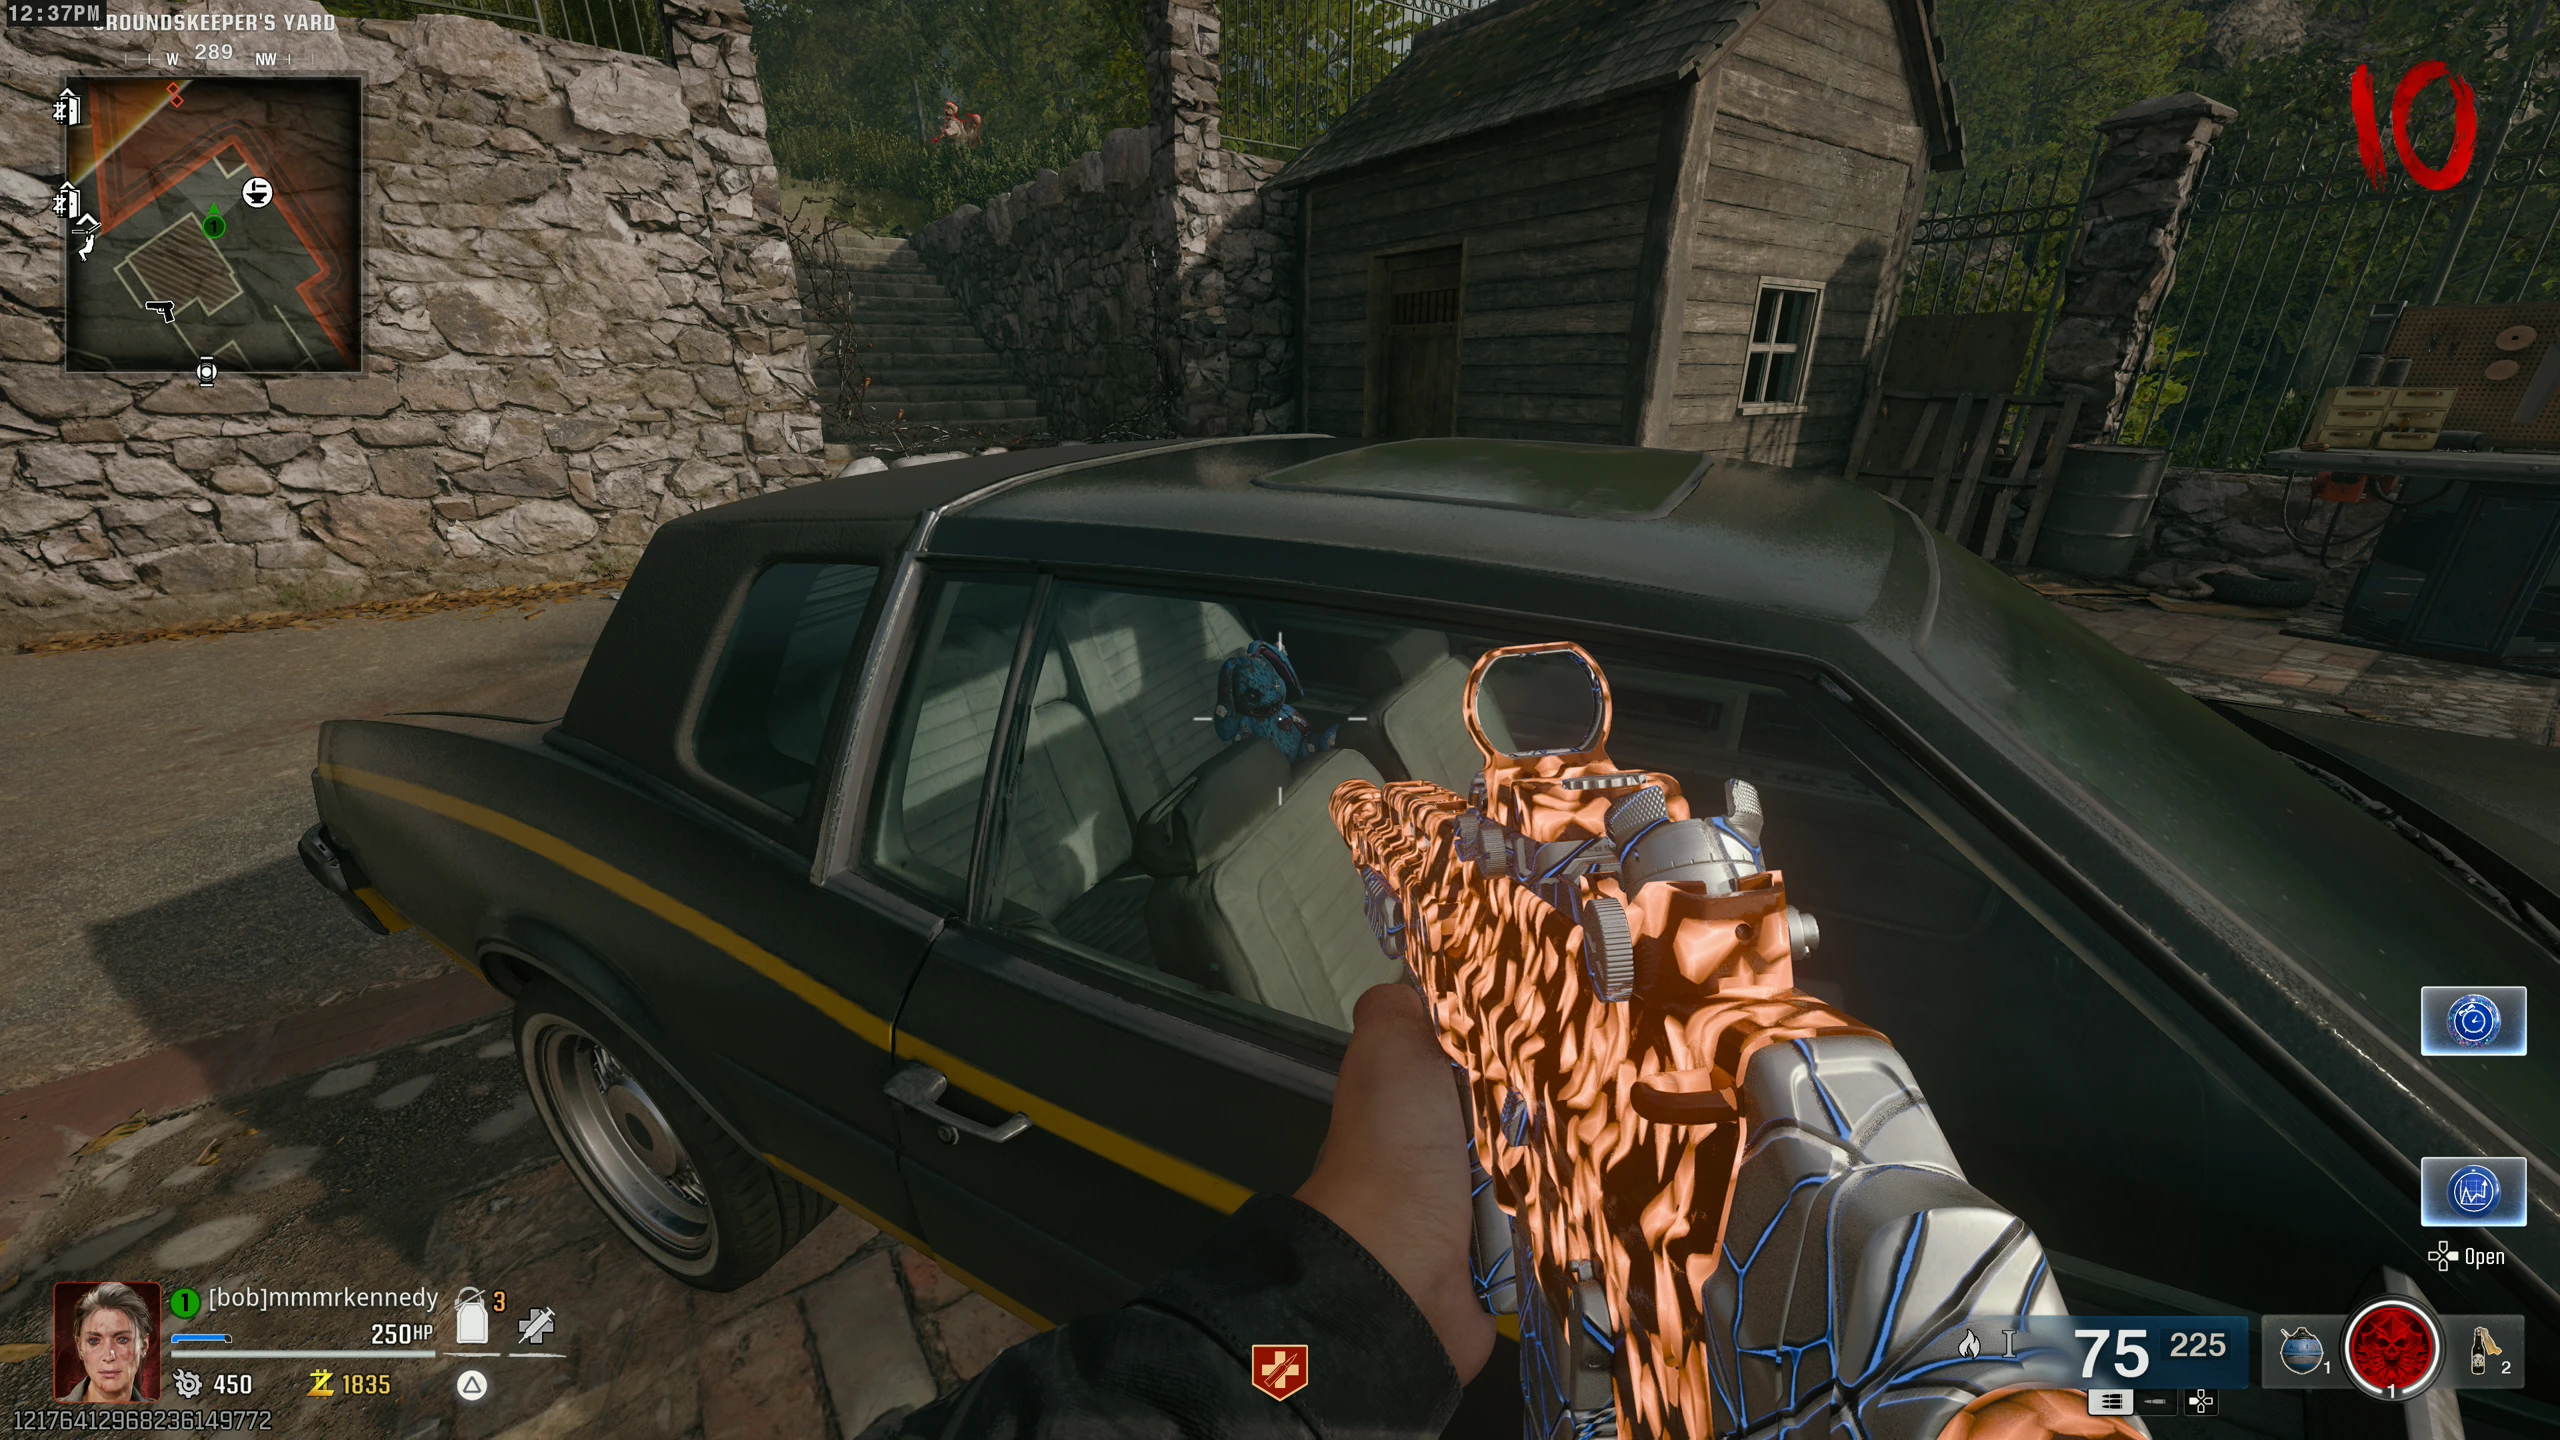
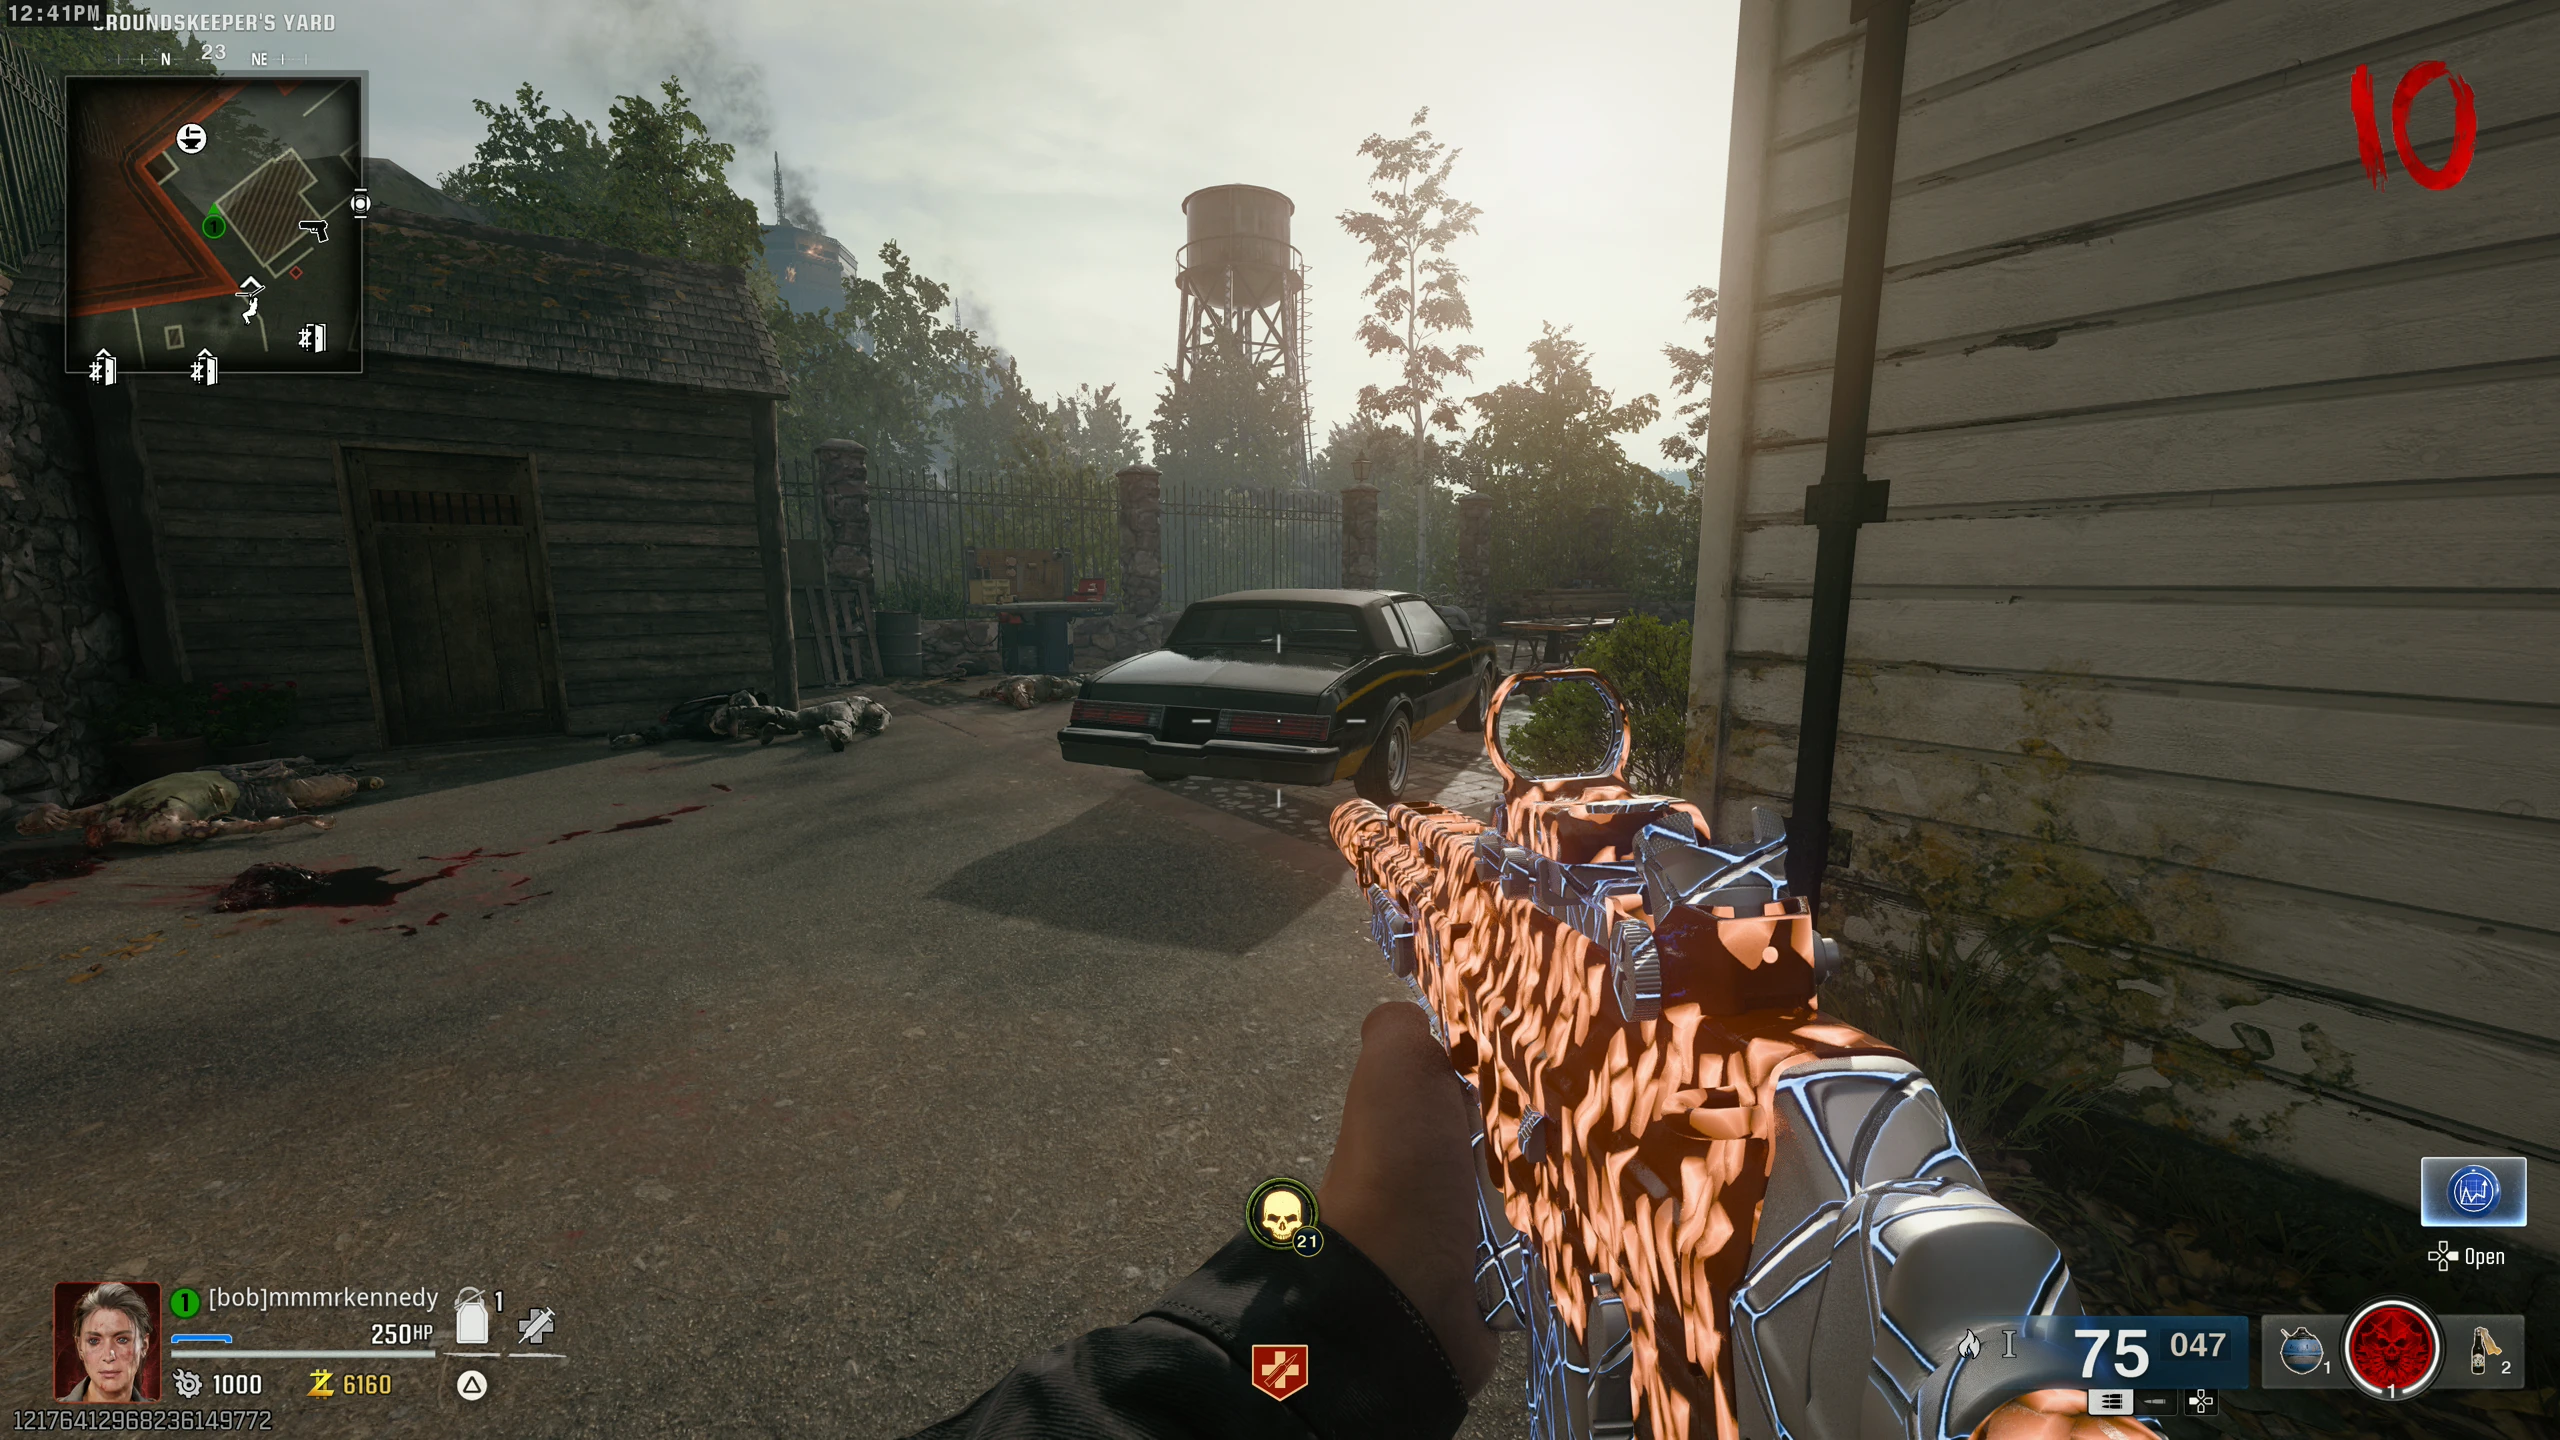
- Groundskeeper’s Yard - Right of the stairs that lead down to the street
- Hilltop Stairs - On the grassy area beside the stairs
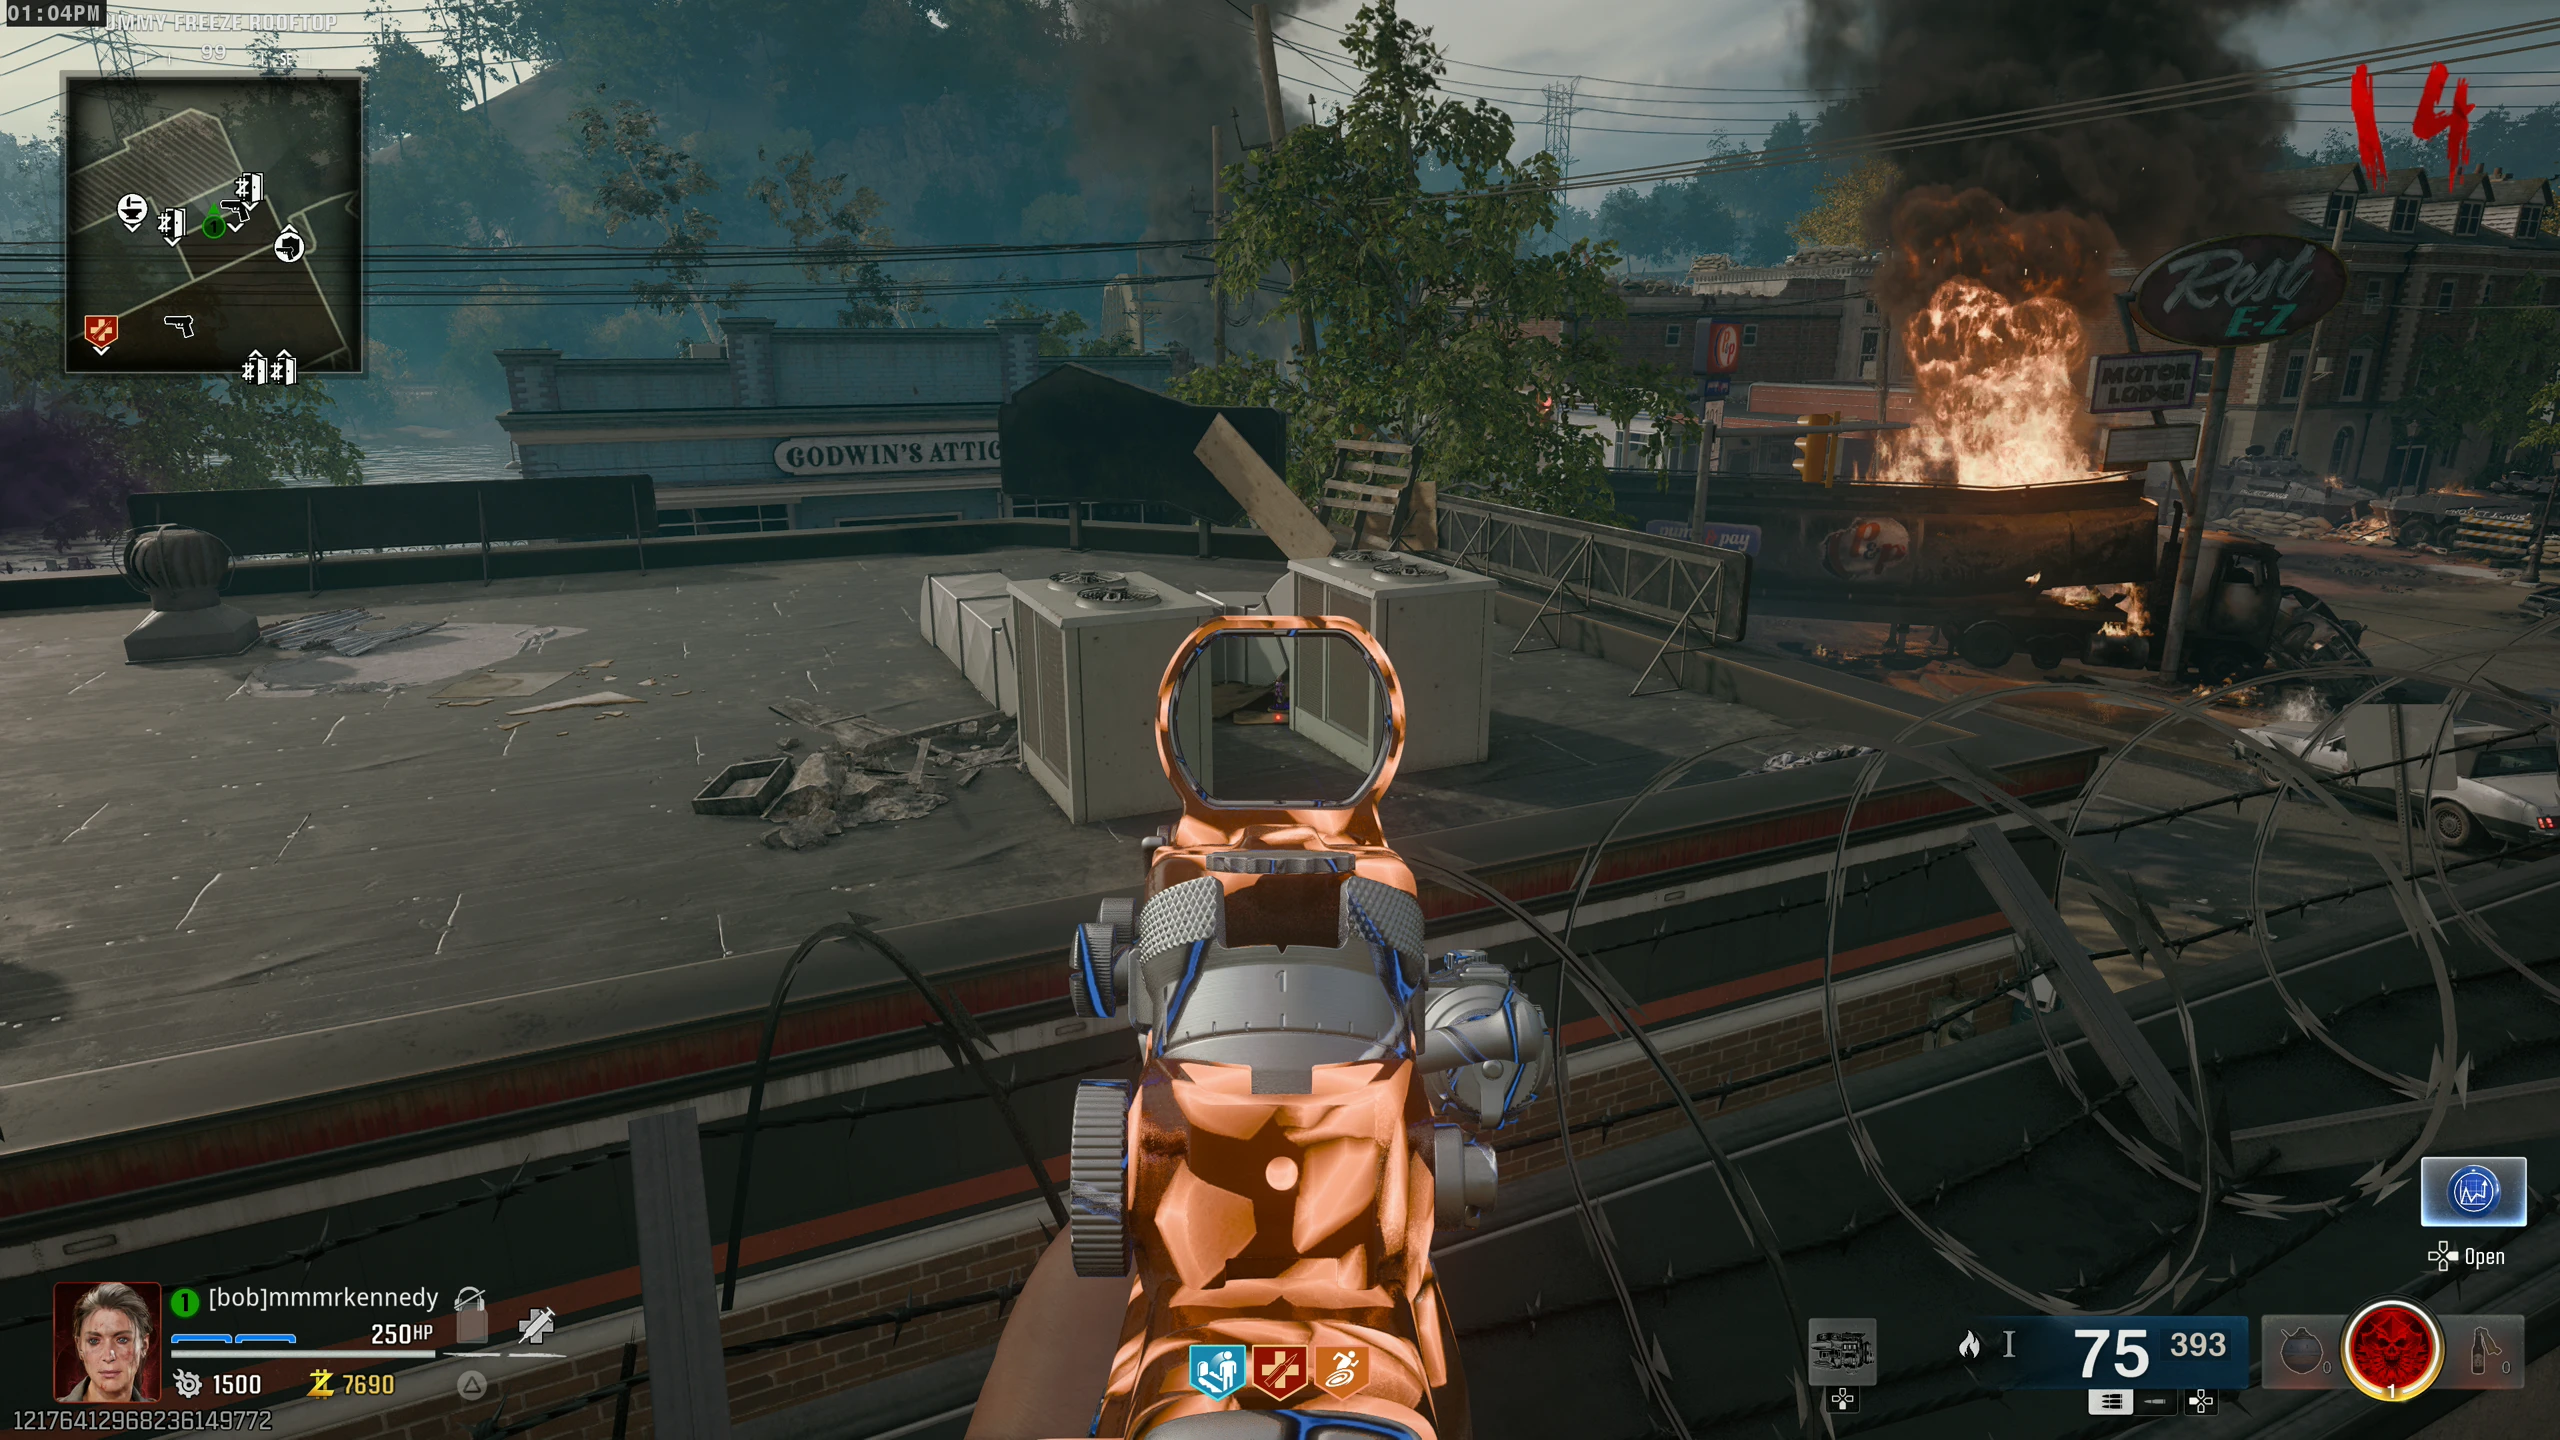
- Yummy Freeze Rooftop - Drop from the door left of the arsenal machine on "The Alamo" roof
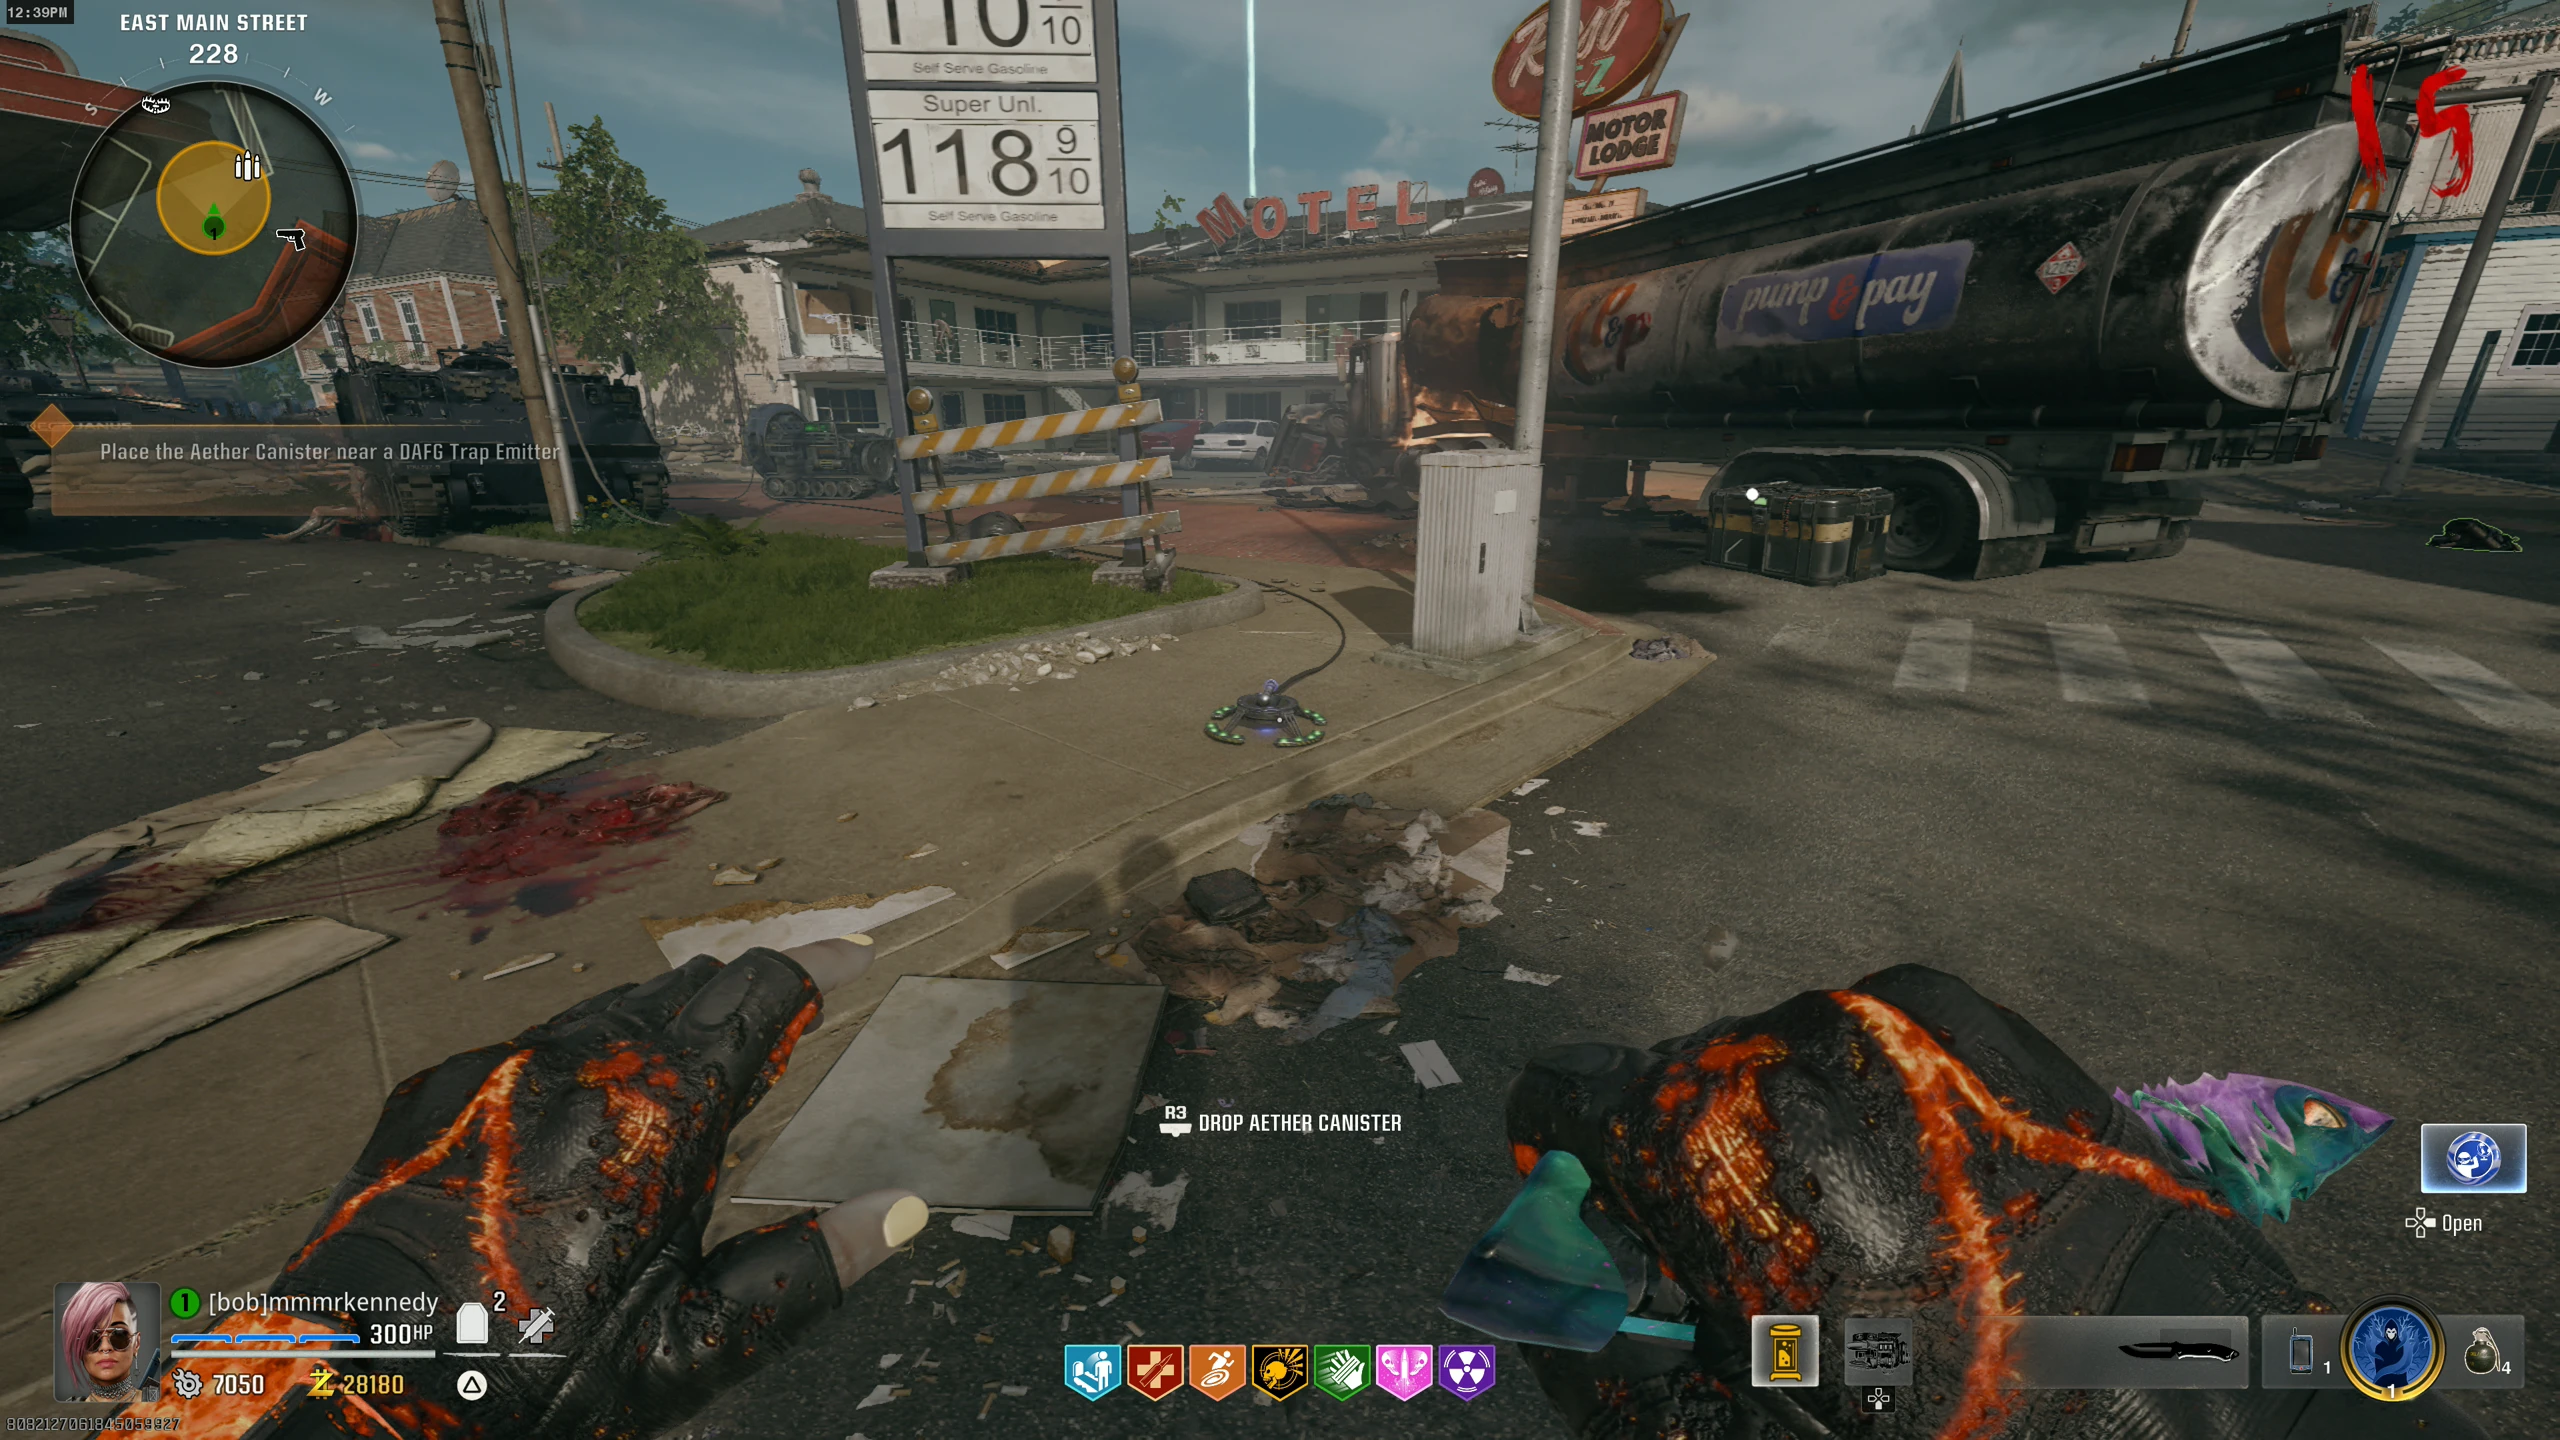
- Once all three projectors are set correctly, the projectors will move to face spawn and shoot a beam of energy. After a few seconds, the canister will come out of the top of the device near the Gas Station on 'East Main Street'. Interact with it to pick up the canister.
- Drop the canister on one of the Dark Aether Field Generator nodes around the Gas Station.
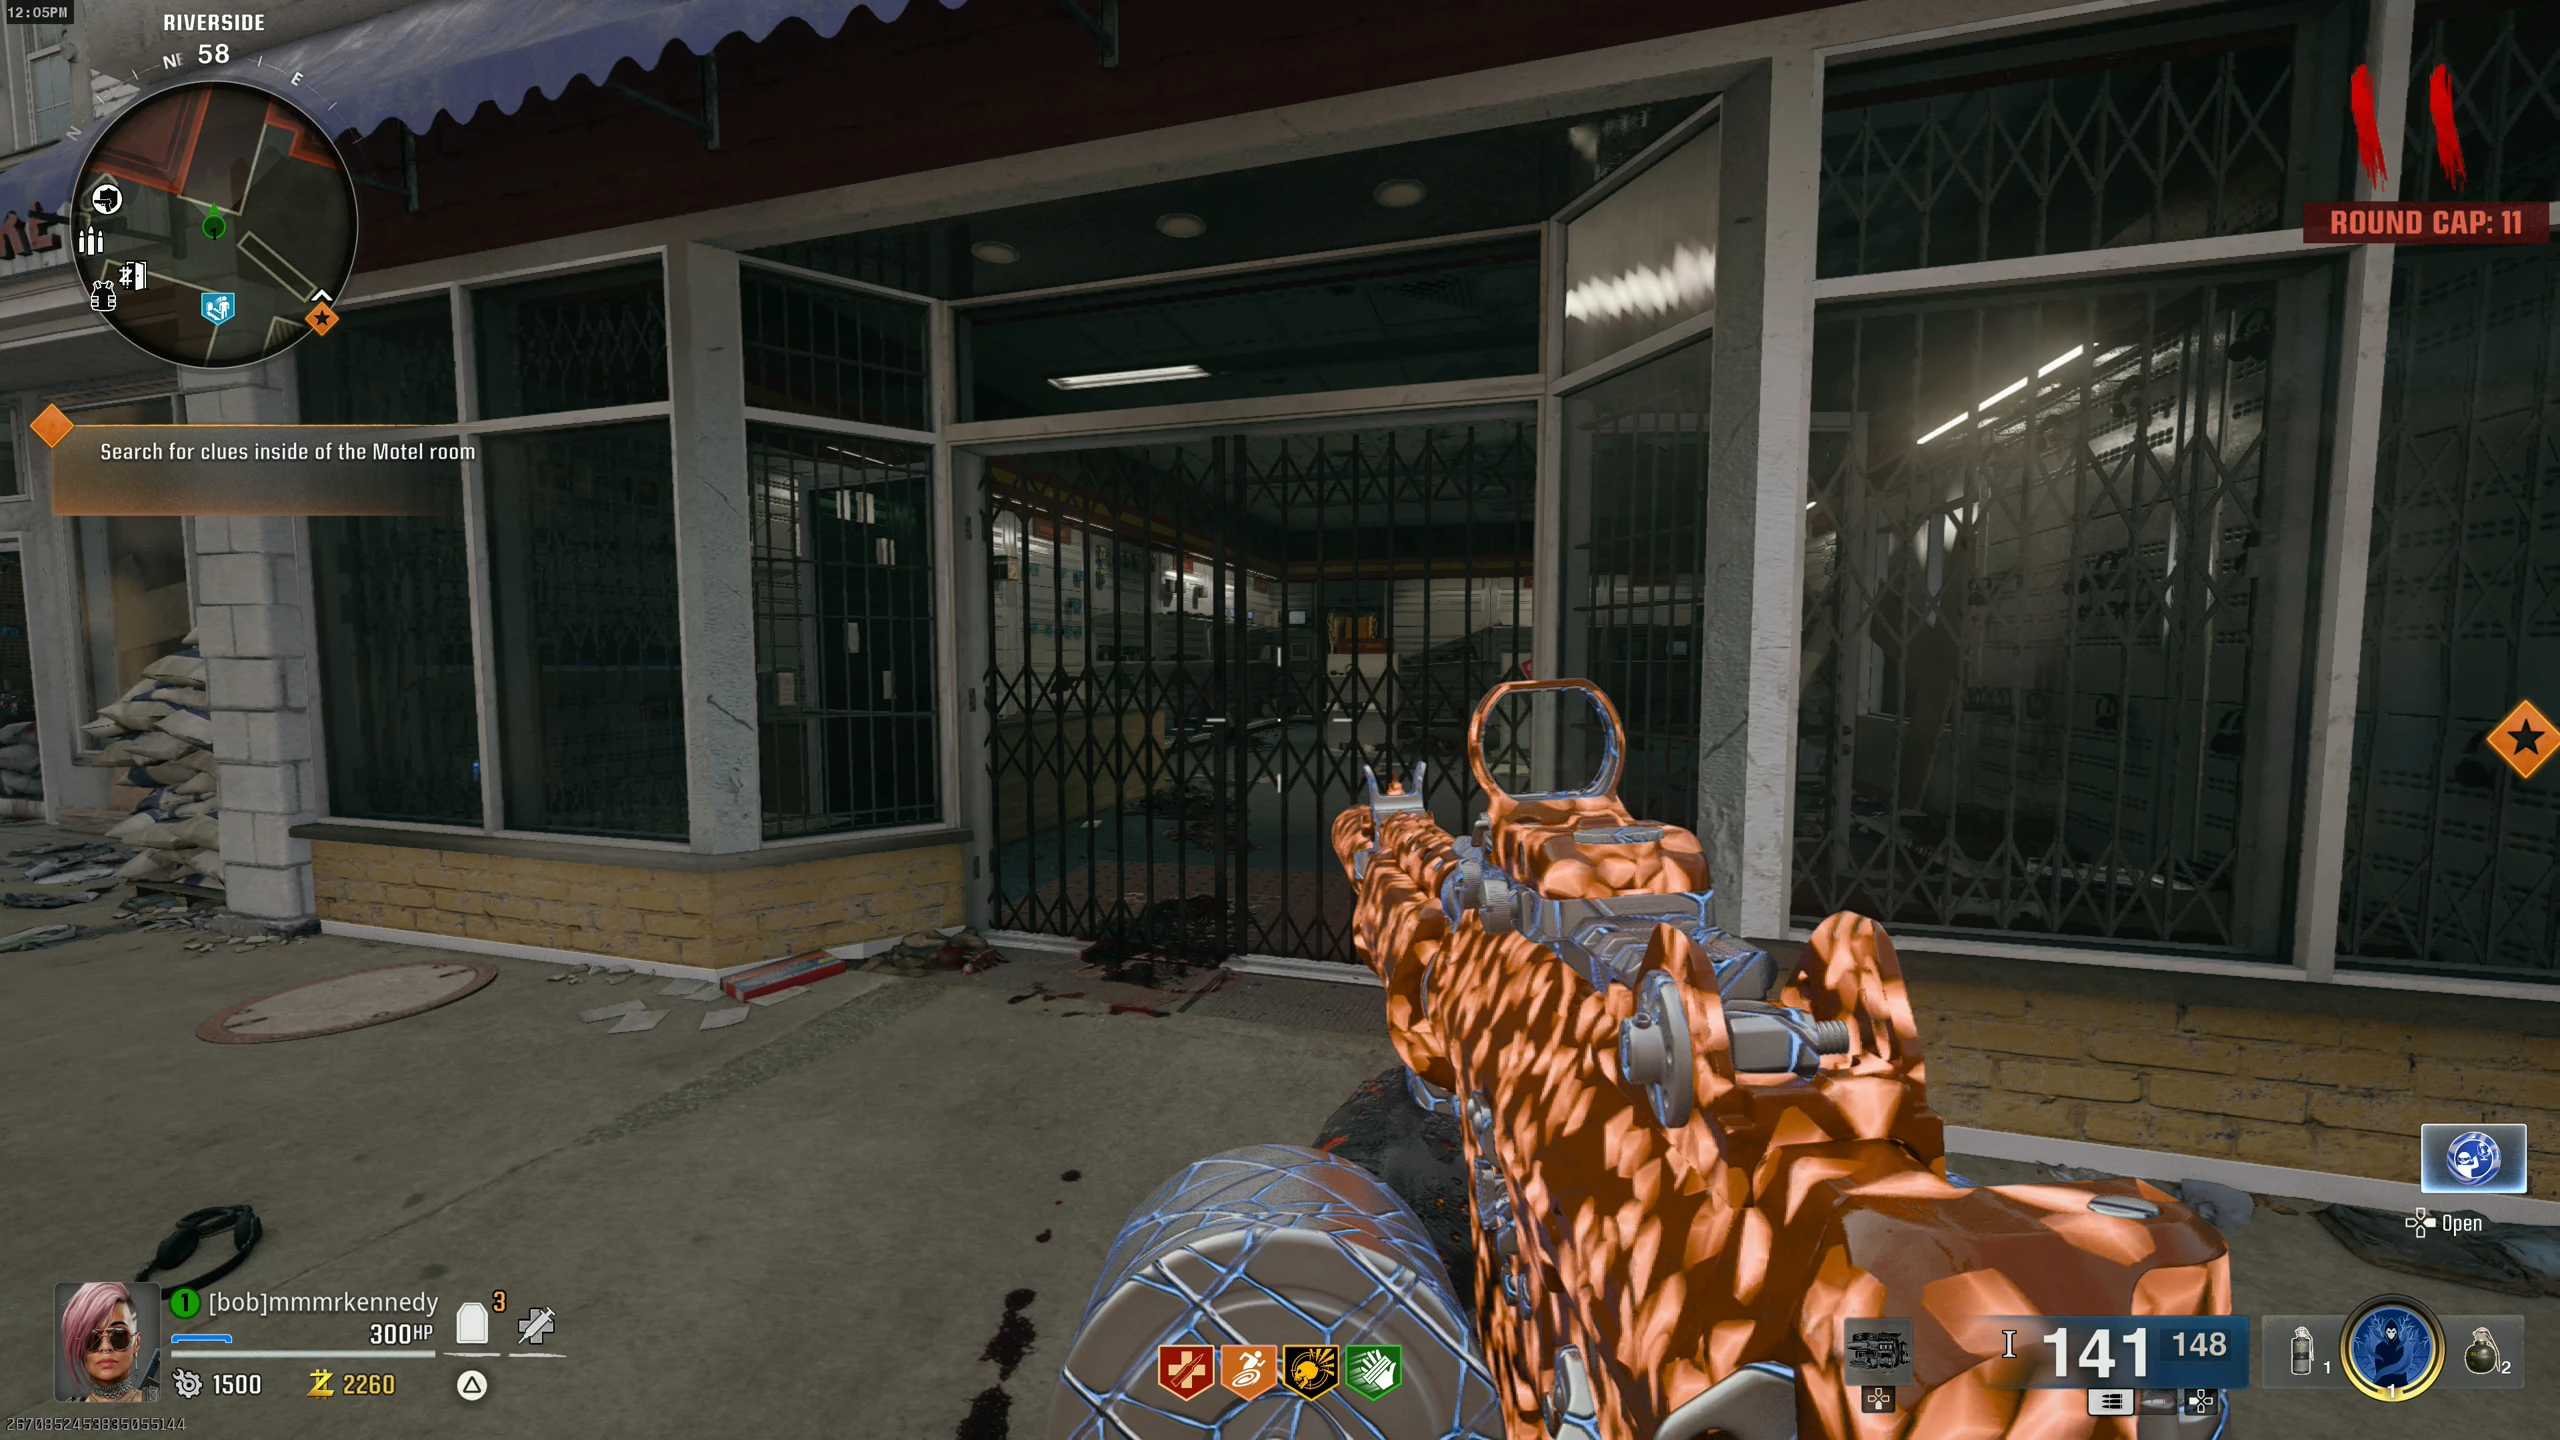
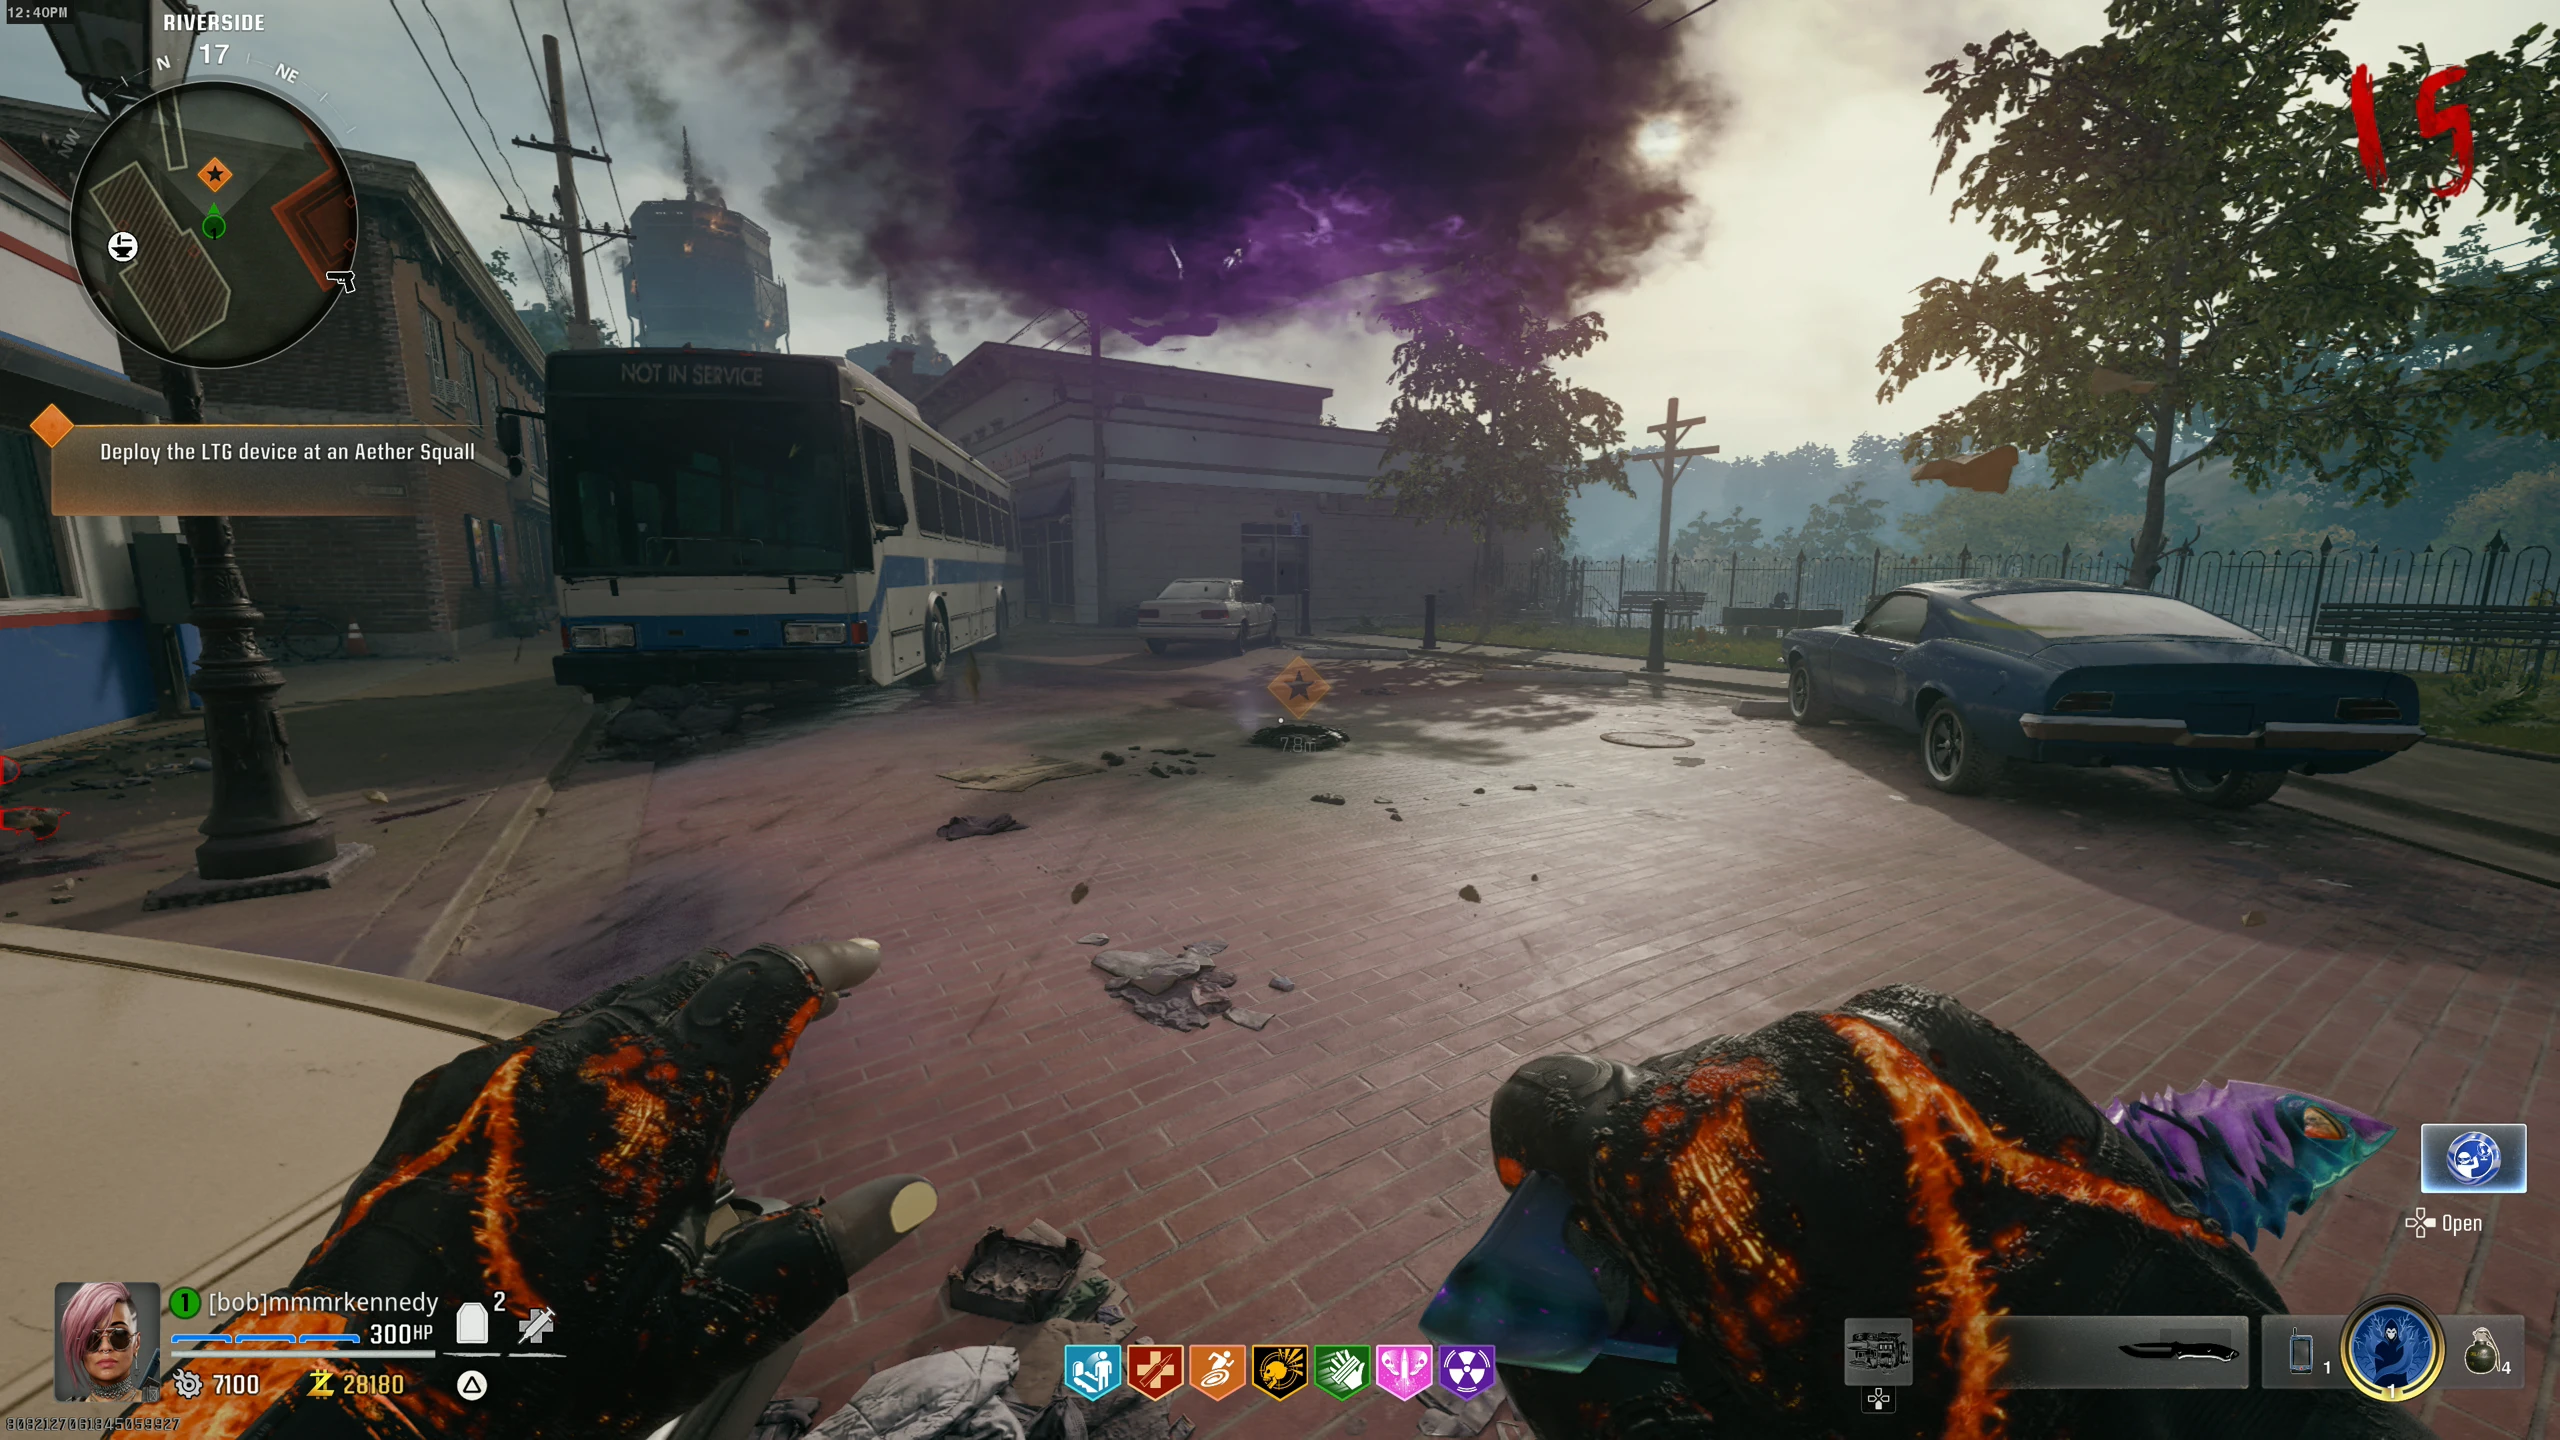
- Place the L.T.G. under the Aether Storm in the 'Riverside' area (if you can’t place it, make sure you picked it up in the Cemetery). You will have to defend the L.T.G., spawn and kill the HVT, and deliver the Canister to the SDG again (steps 7-10).
- Once the canister is brought back to the SDG, interact with it to start the boss fight.
- All players will be teleported to the 'Dark Aether' (Church). The Boss Fight consists of three round where you must either kill all enemies or kill a boss enemy to end the wave.
- On round 1, kill all the Zombies until they stop spawning, and a Full Armour power-up spawns.
- For rounds 2 and 3, a HVT (one per wave on Solo, more per wave on Co-op) will spawn. Zombies will start infinitely spawning and will only stop once you kill the HVT(s). After wave 2, a Max Ammo will spawn.
- Once the third and final wave is complete, all players will be downed and the final cutscene will begin. After the cutscene ends, you can choose to keep playing. If you do, you'll be given all perks, as well as a bunch of loot, like level 3 PAP crystals, and Orange Aether Tools.
Building the L.T.G.
Canister #1
Aether Projectors
| Strauss Counter Colour | Projector Colour |
|---|---|
| Red | Green |
| Green | Red |
| Yellow | Yellow |
Canister #2
Warning: Point of No Return. Once you interact with the SDG after delivering the canister, you will be put into the Boss Fight.
Boss Fight