D.I.E. Shockwave
The D.I.E. Shockwave is a weapon that fires an energy blast, capable of killing multiple Zombies with one shot. It can be Pack-a-Punched, and there are four variants, the Nova-5, Cryo Emitter, Electrobolt or Thermophasic. The D.I.E. Shockwave is available from the mystery box, through the completion of trials, and via the following quest:
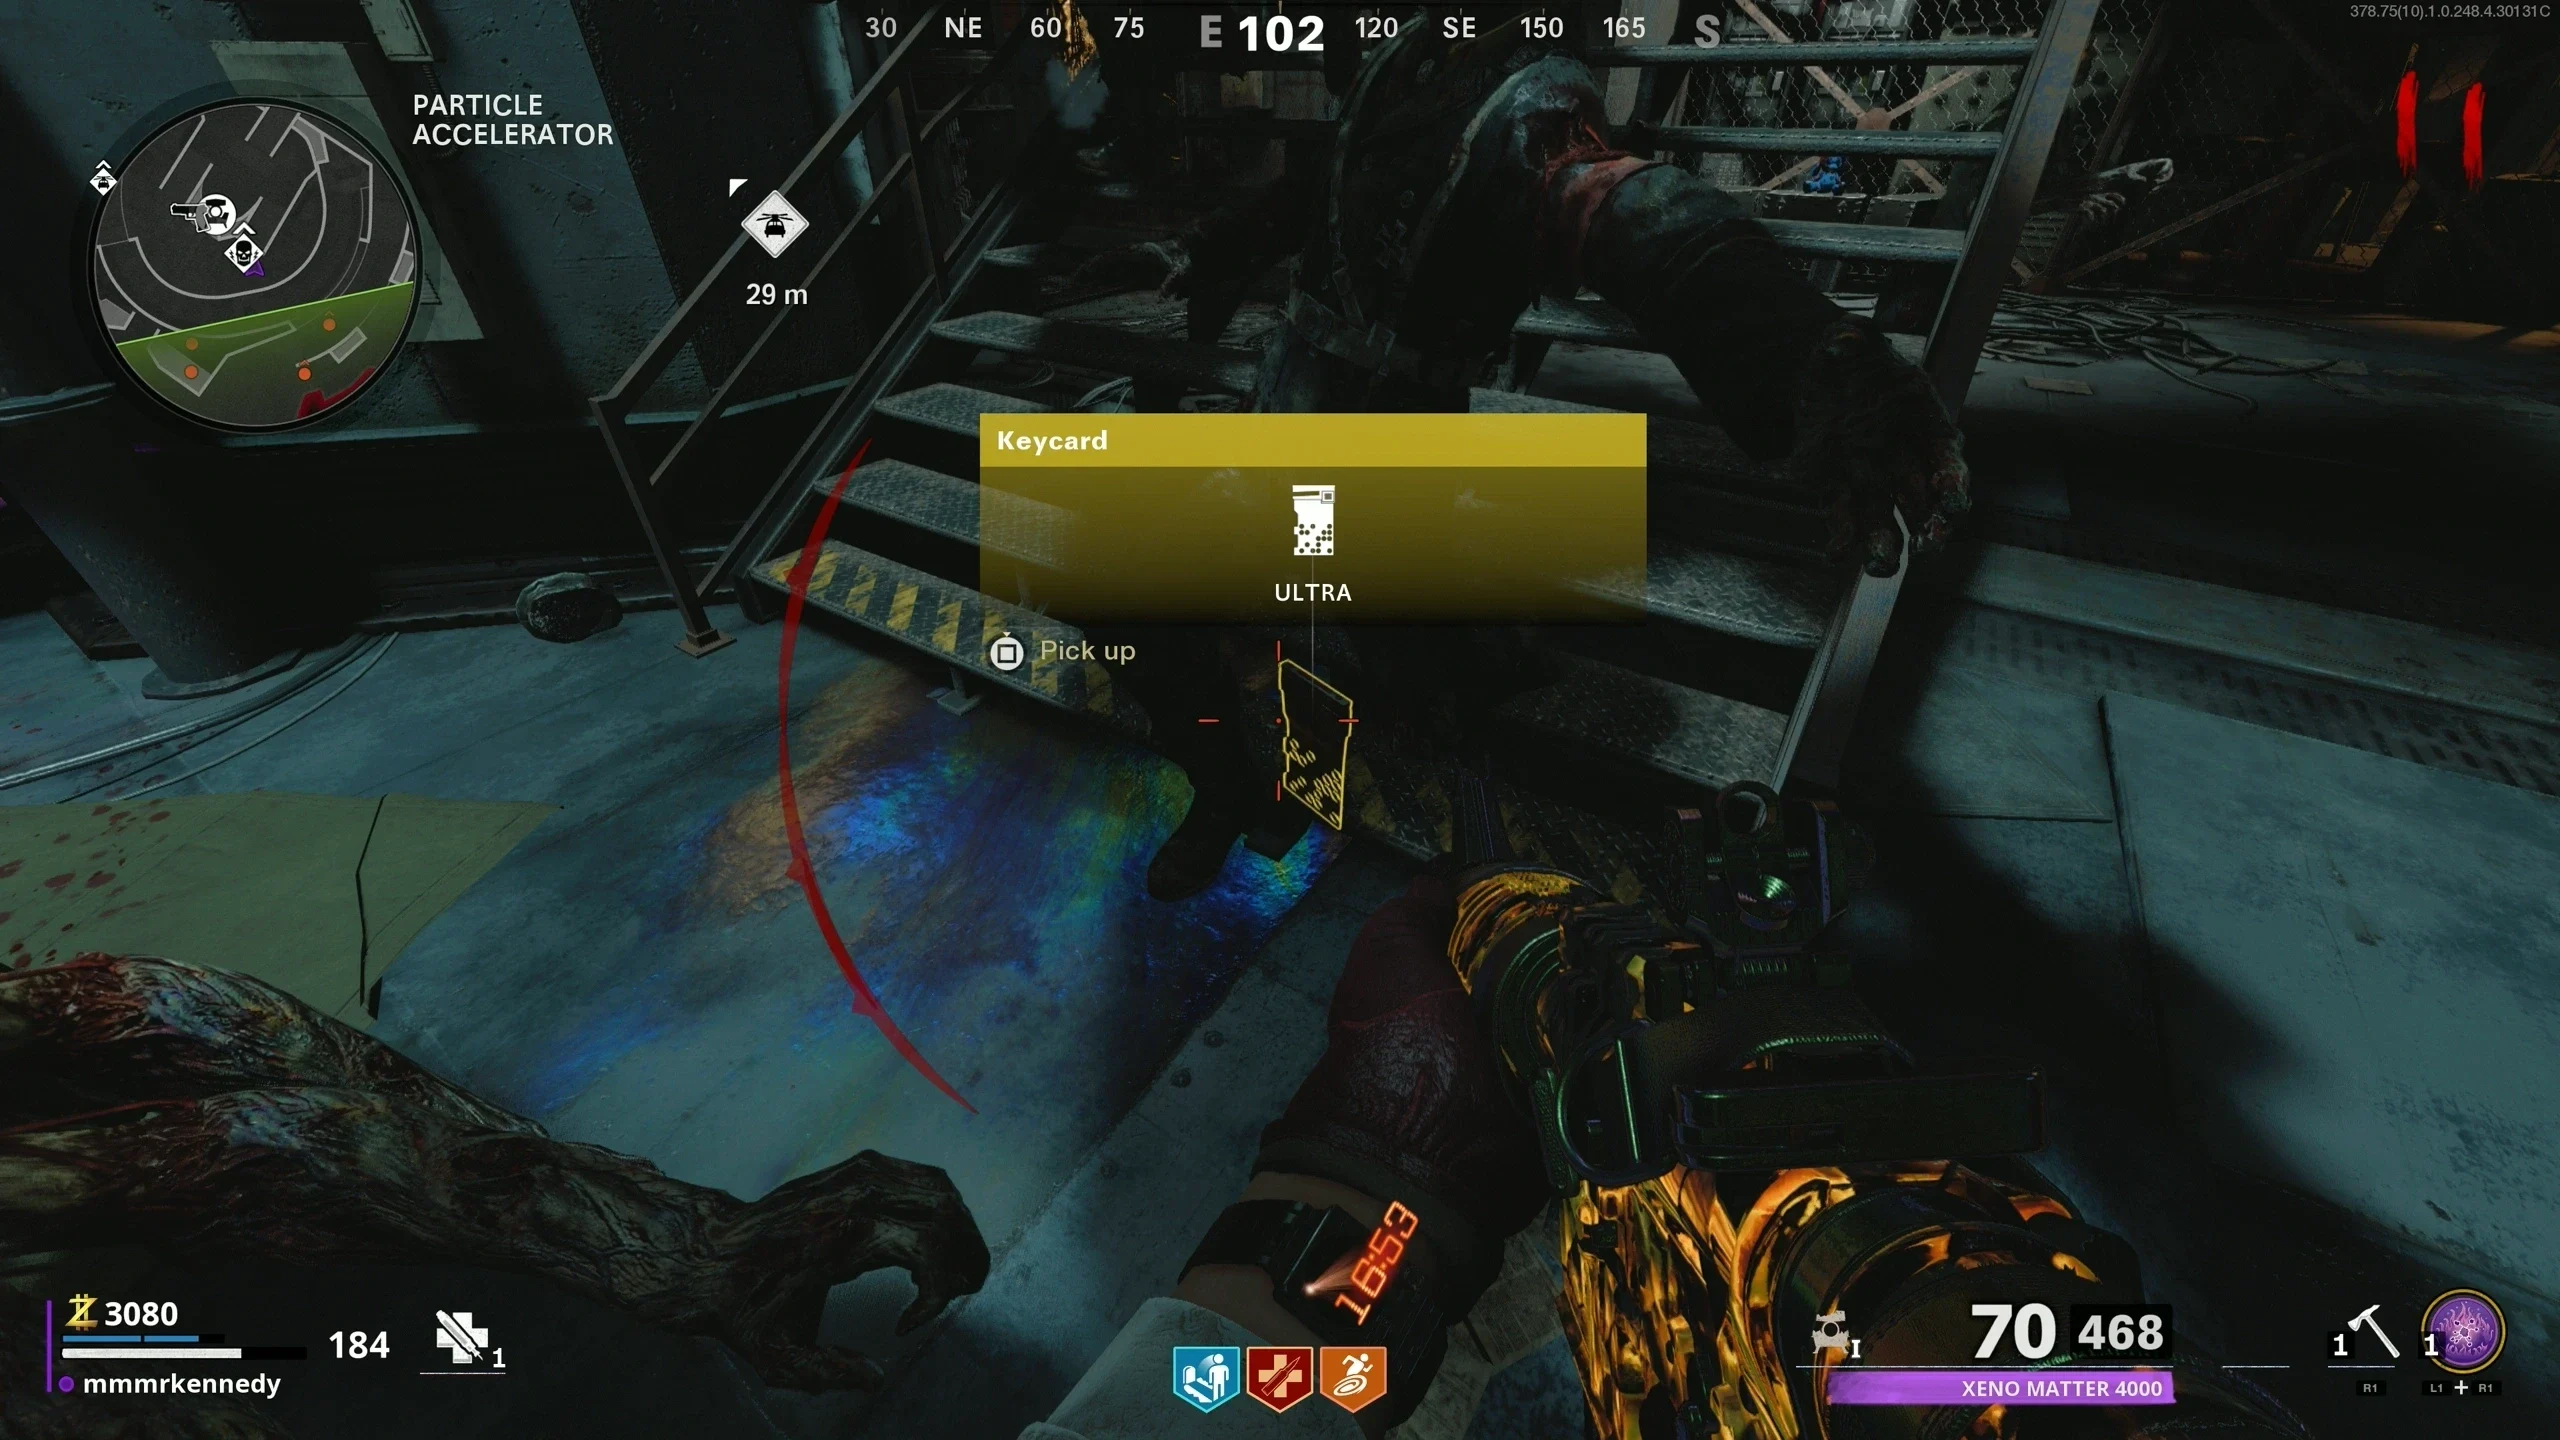
- Kill a Megaton and pick up the Keycard.
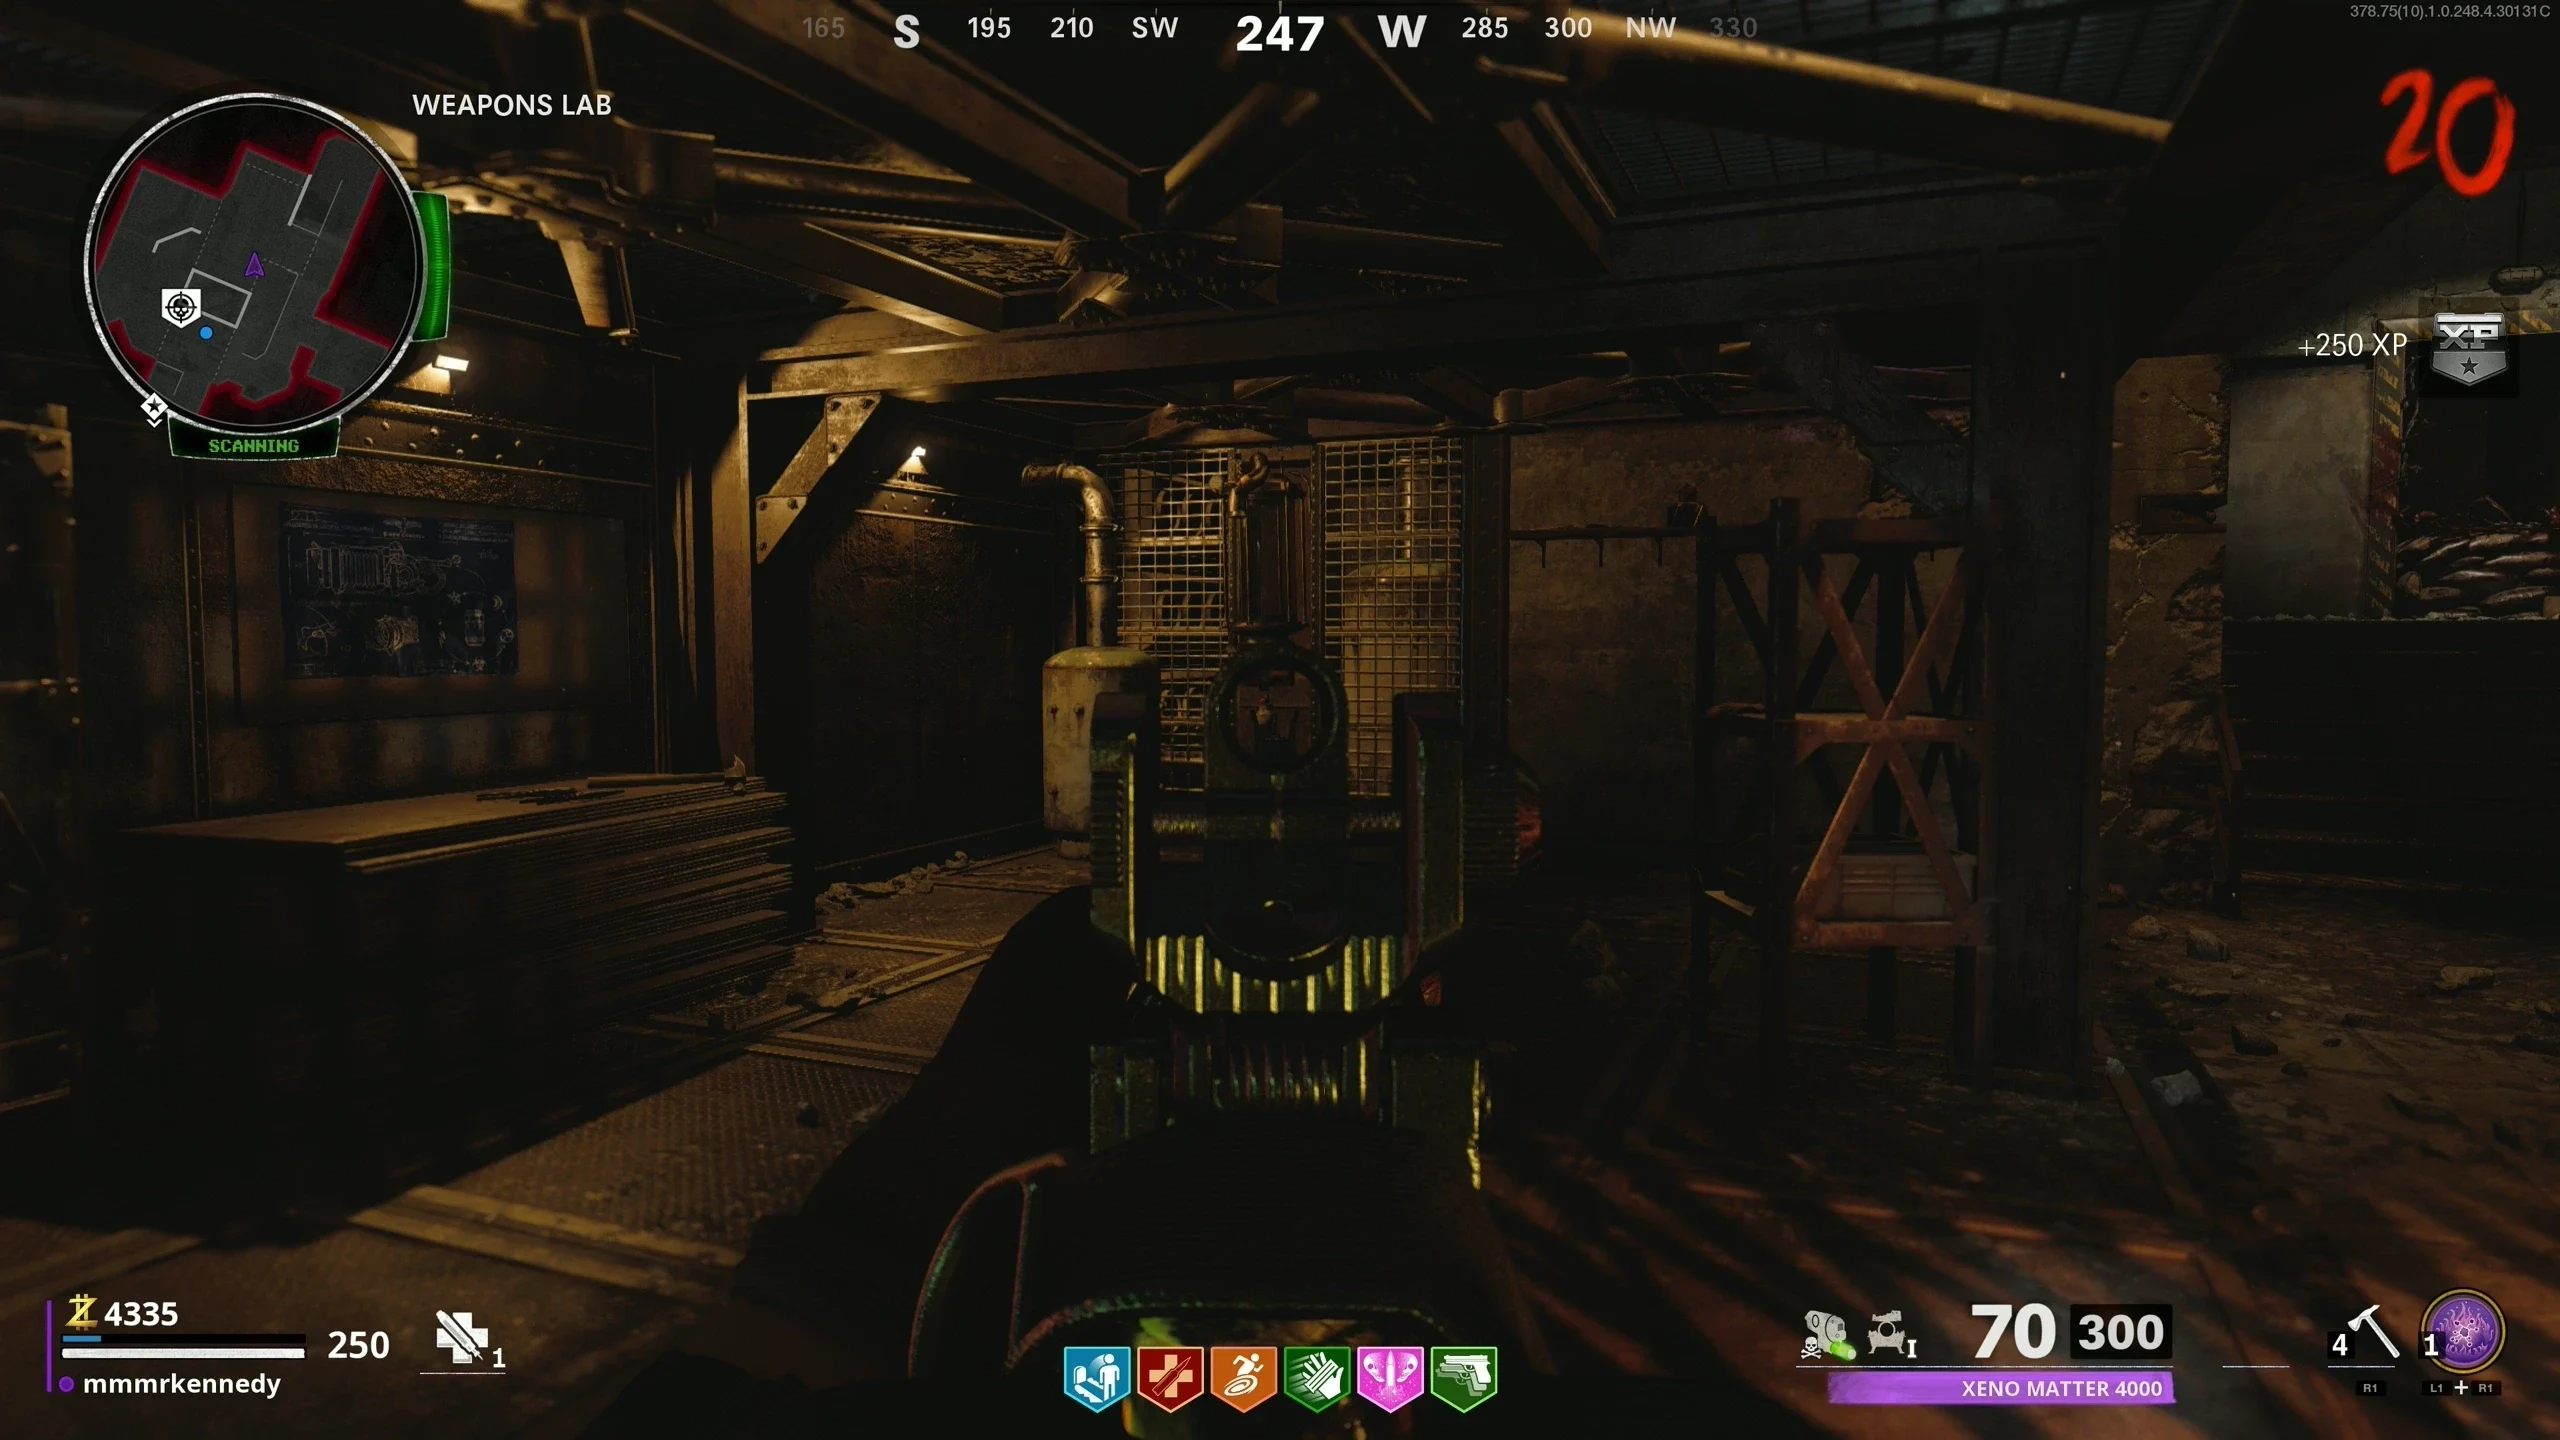
- In the 'Weapons Lab,' interact with the Weapon Locker and pick up the D.I.E. Remote Control.
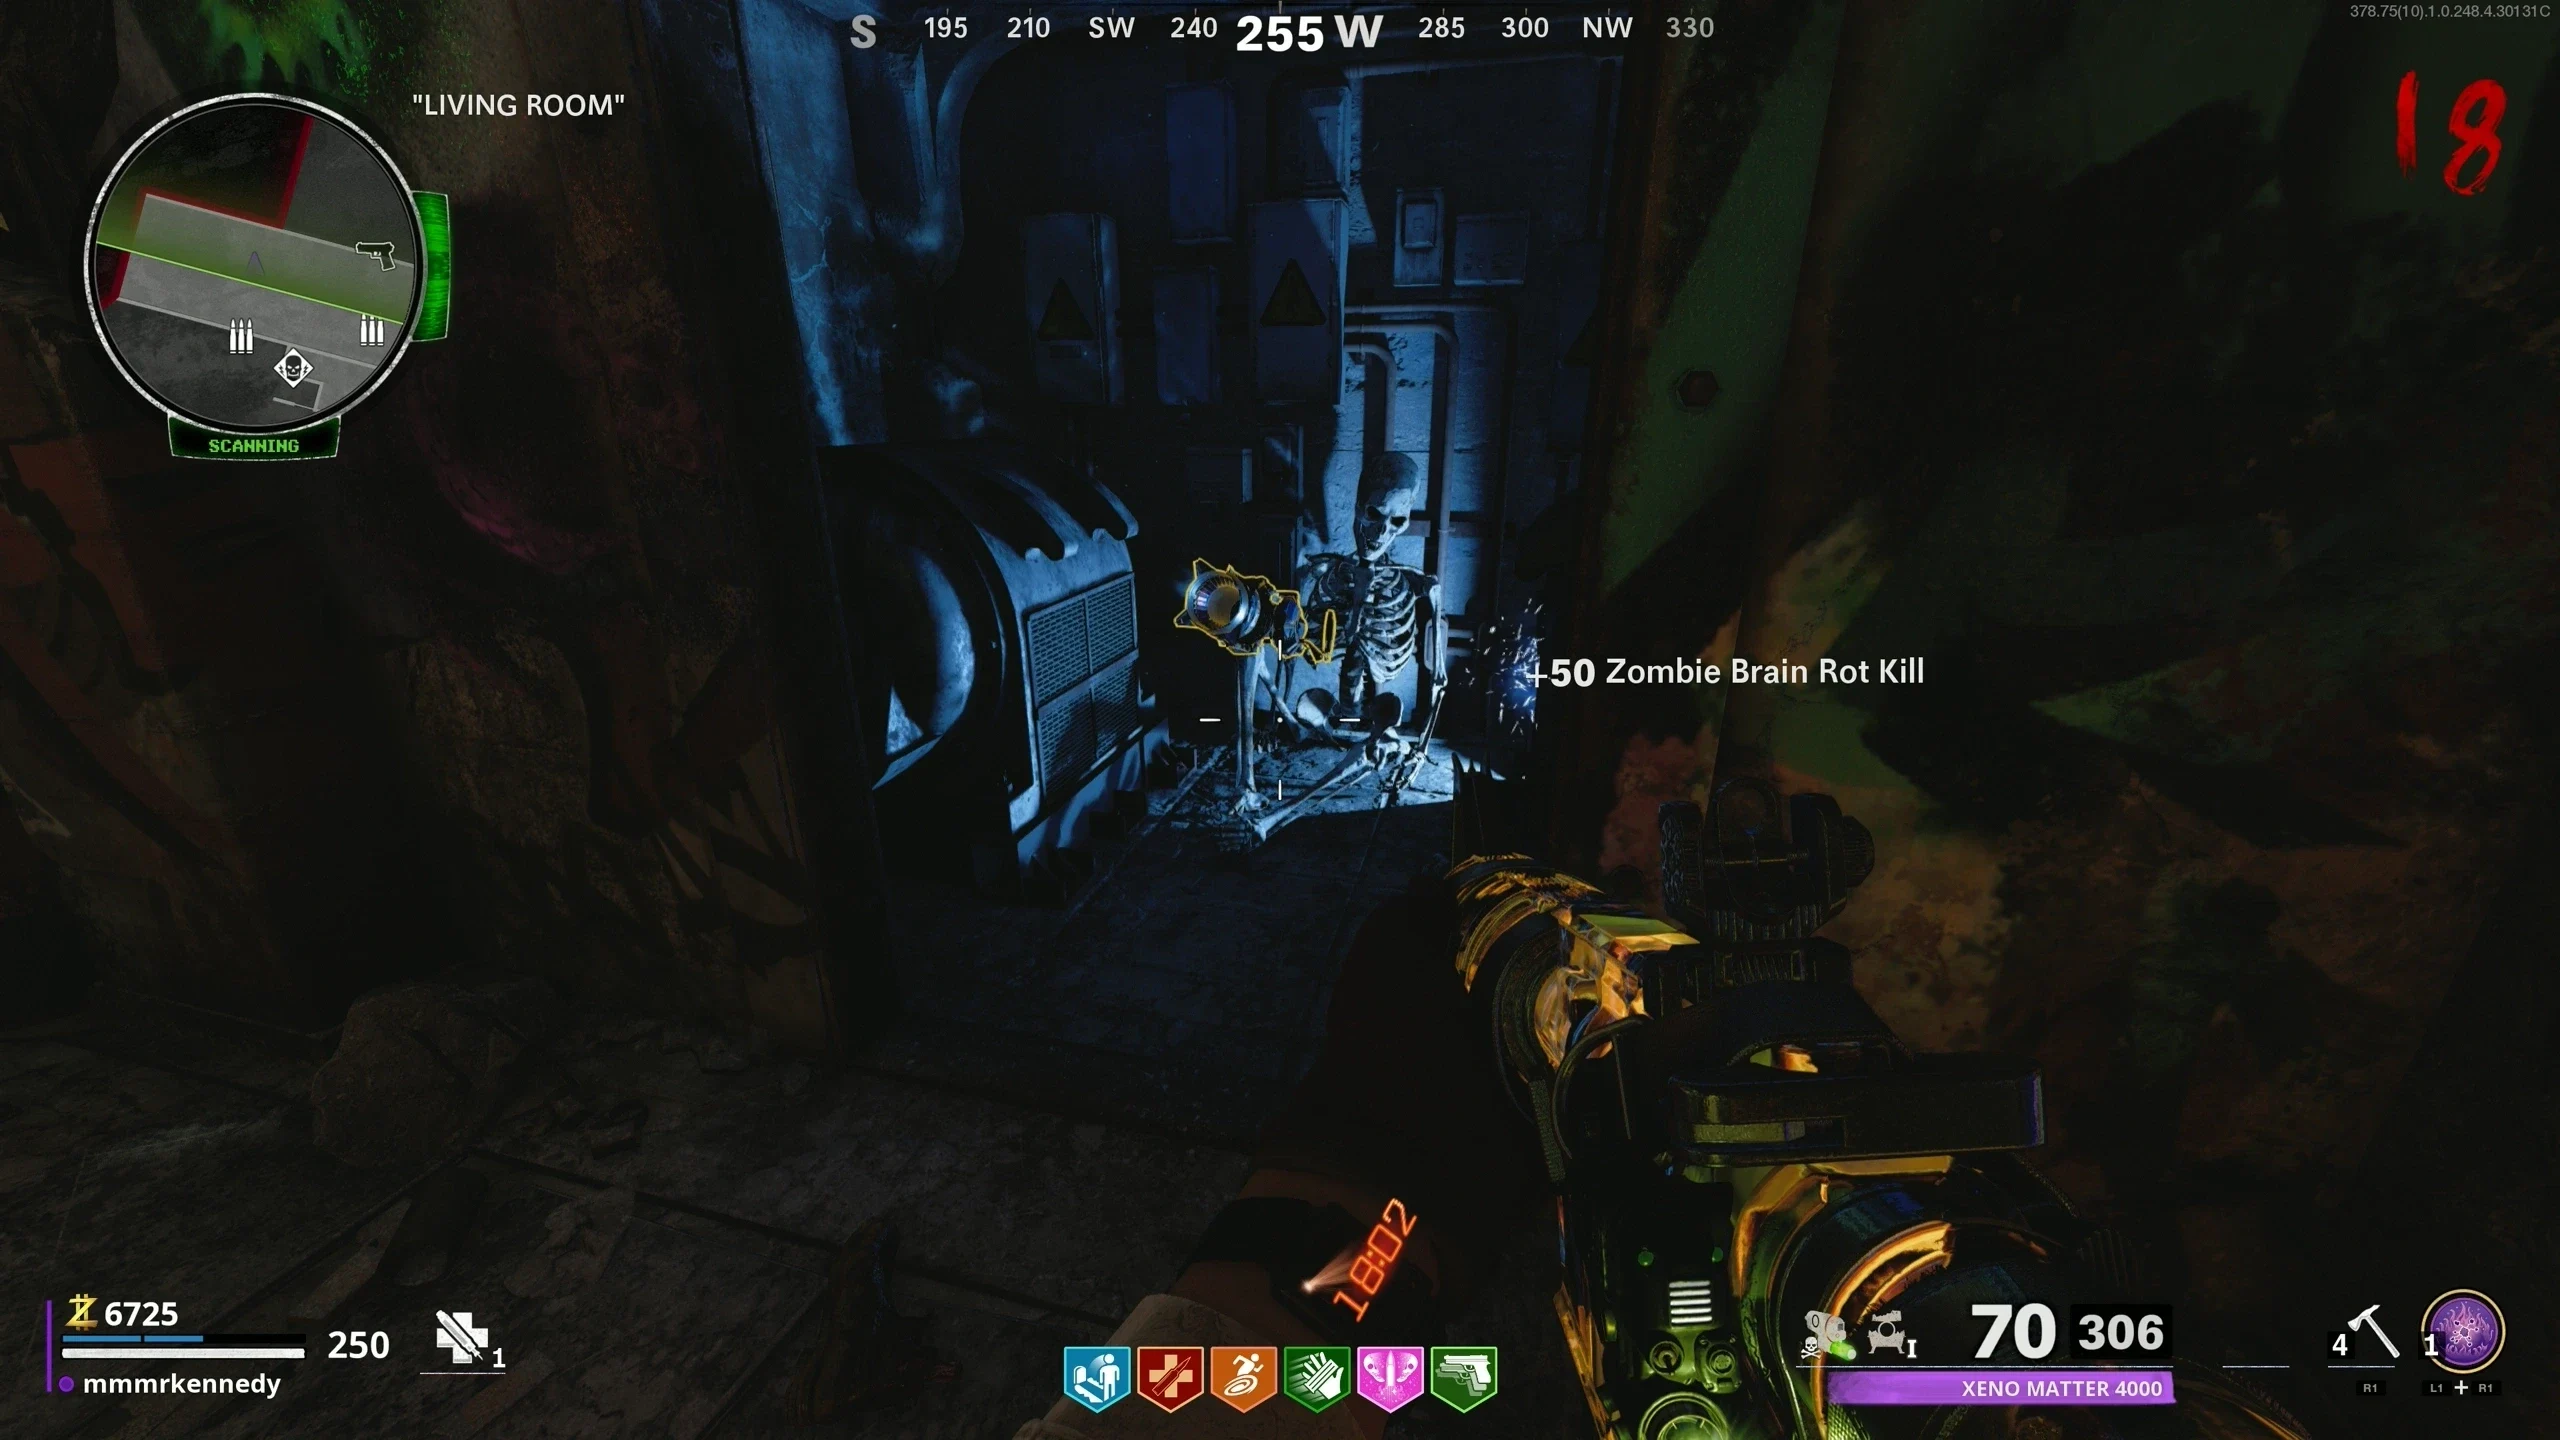
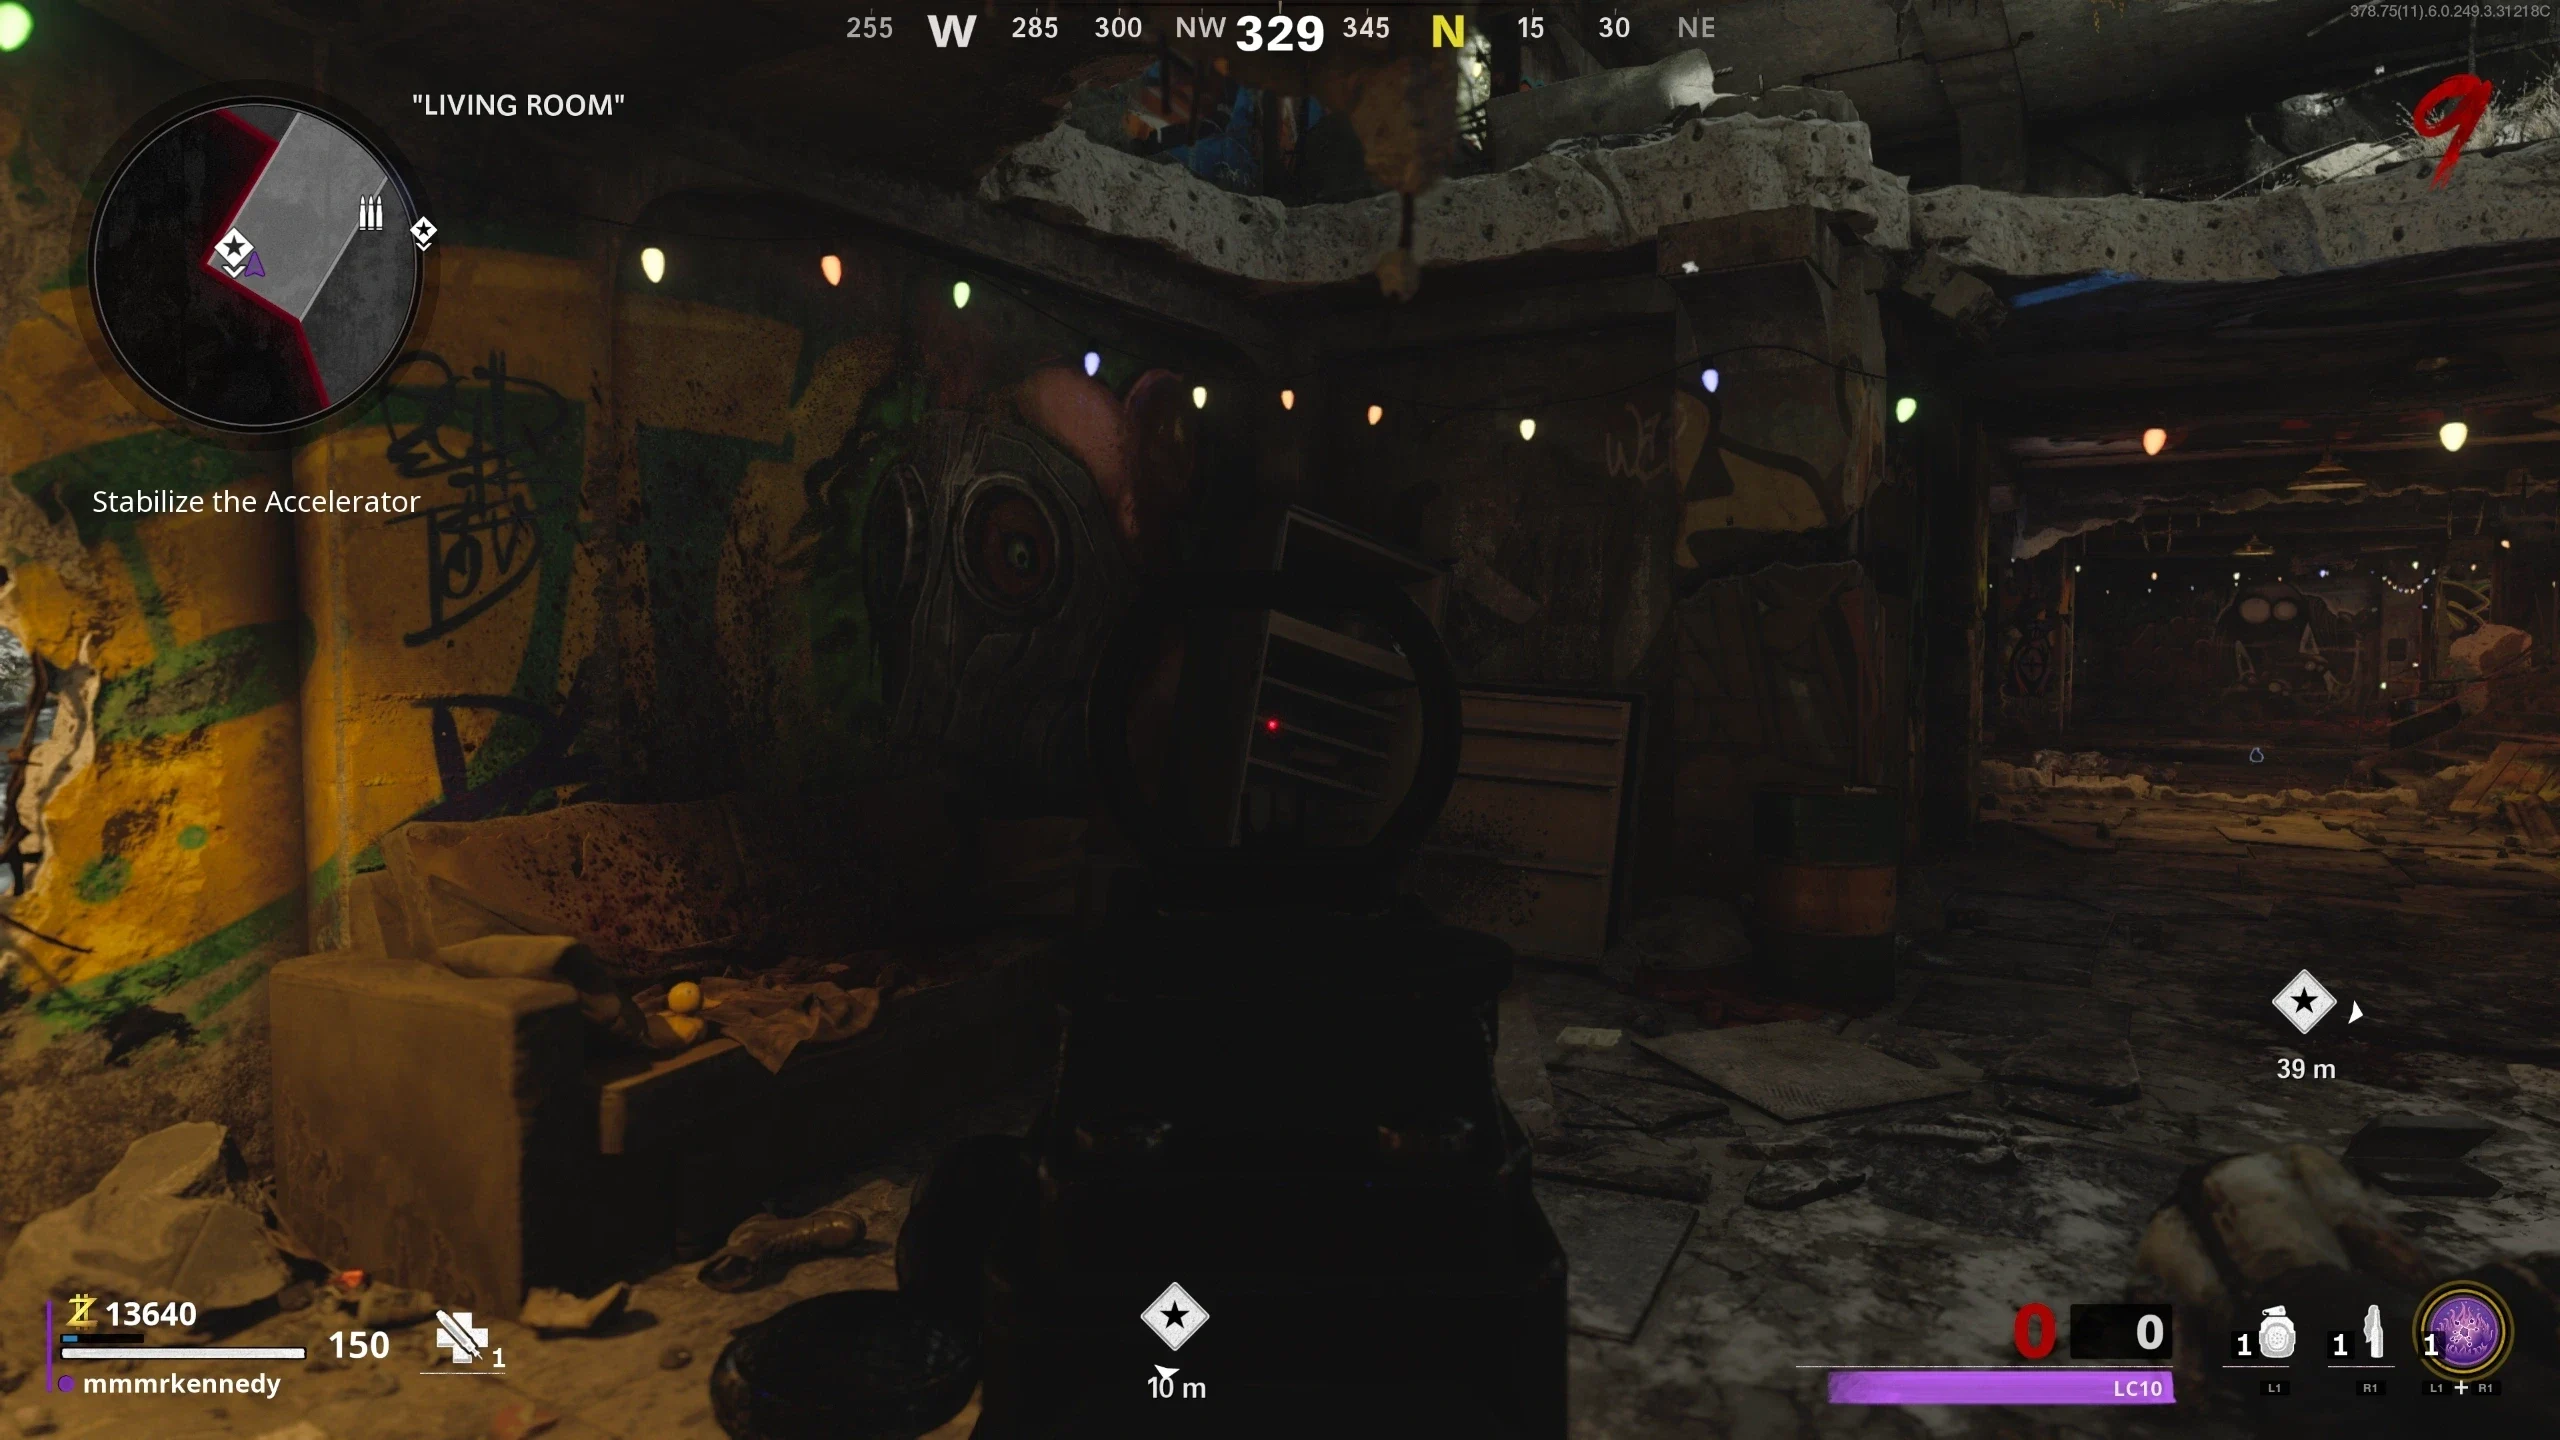
- In the "Living Room," interact with this Broken Wall to activate the "D.I.E.". The D.I.E. needs to be charged by sucking zombies through the window of the door. If the D.I.E. turns off without sucking up enough zombies, it will go on cooldown for about 30 seconds, after which you can activate it again.
- Once enough zombies are sucked up, interact with the wall again, and the D.I.E. will shoot the door off.
- Once the door has been blown off, the D.I.E. Shockwave should be available for pickup.
Nova-5
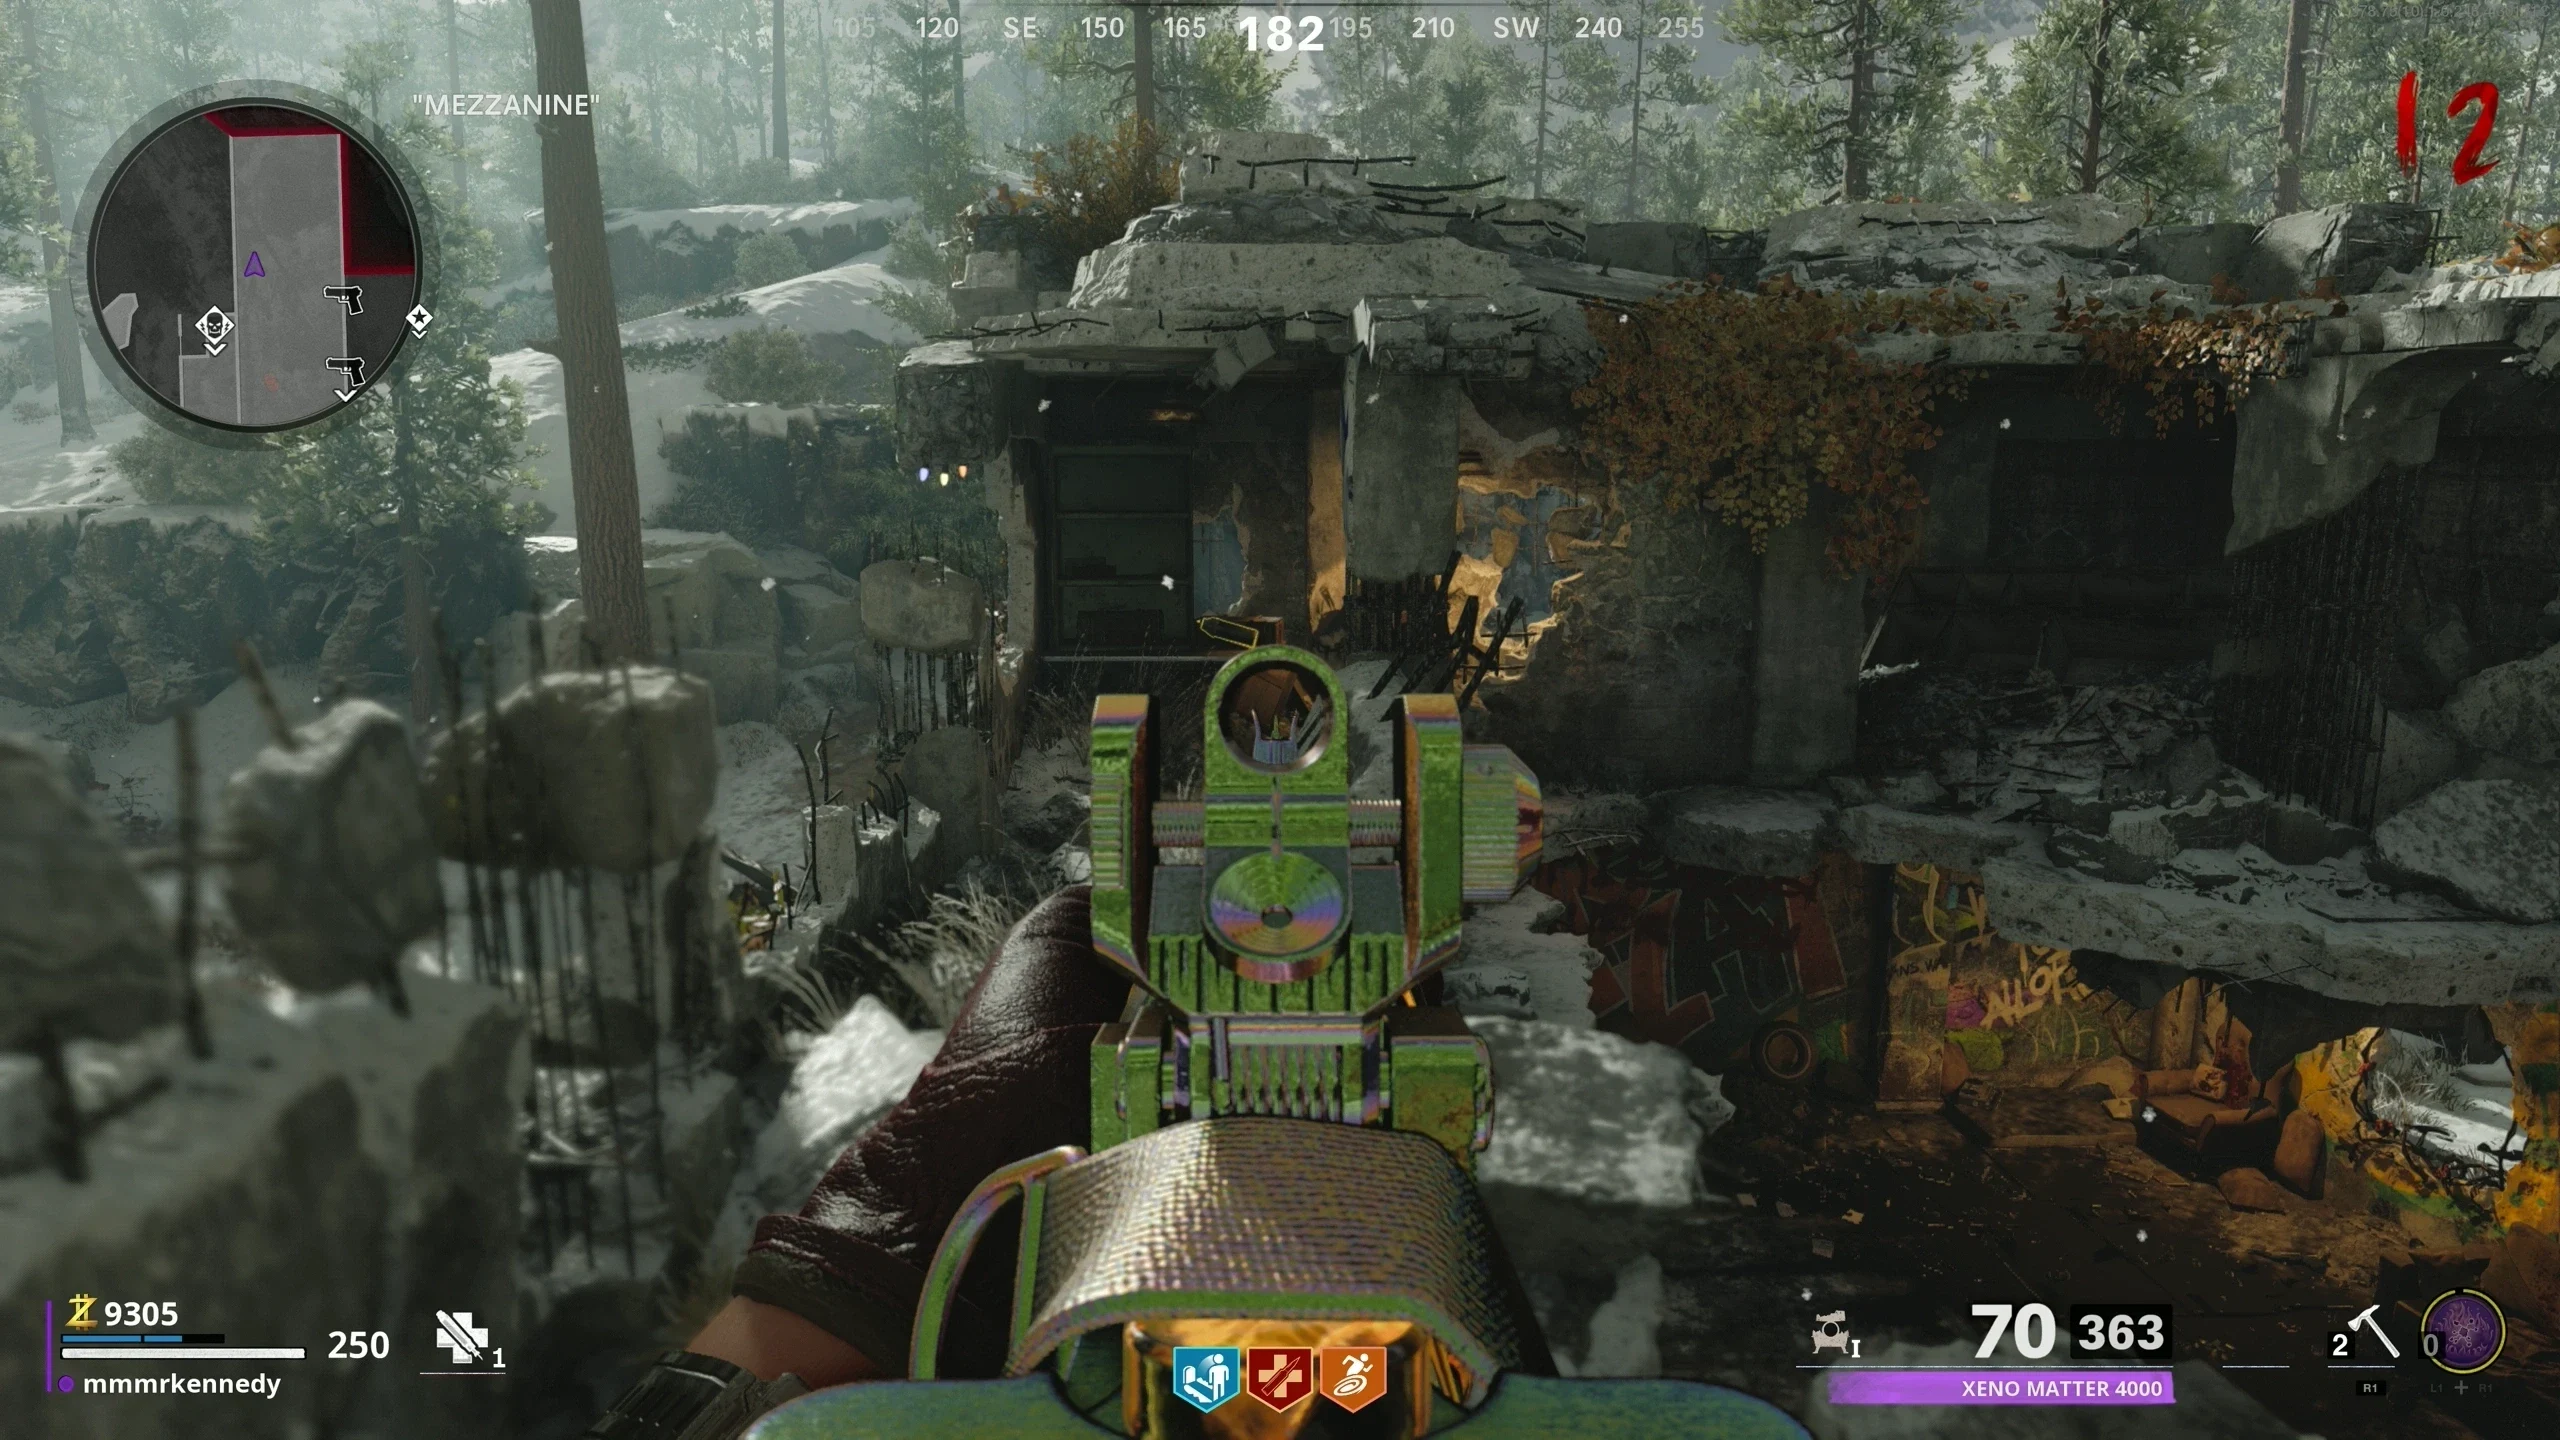
- Go to the "Mezzanine" and find the Empty Canister outside the map. Pull the canister toward you with the Alt Fire mode on the D.I.E. and pick it up once it lands at your feet.
- Place the canister in the Cleaning Unit in the 'Weapons Lab.'
- Kill a Plaguehound near the canister to make the Cleaning Unit suck up the gas from the Plaguehound.
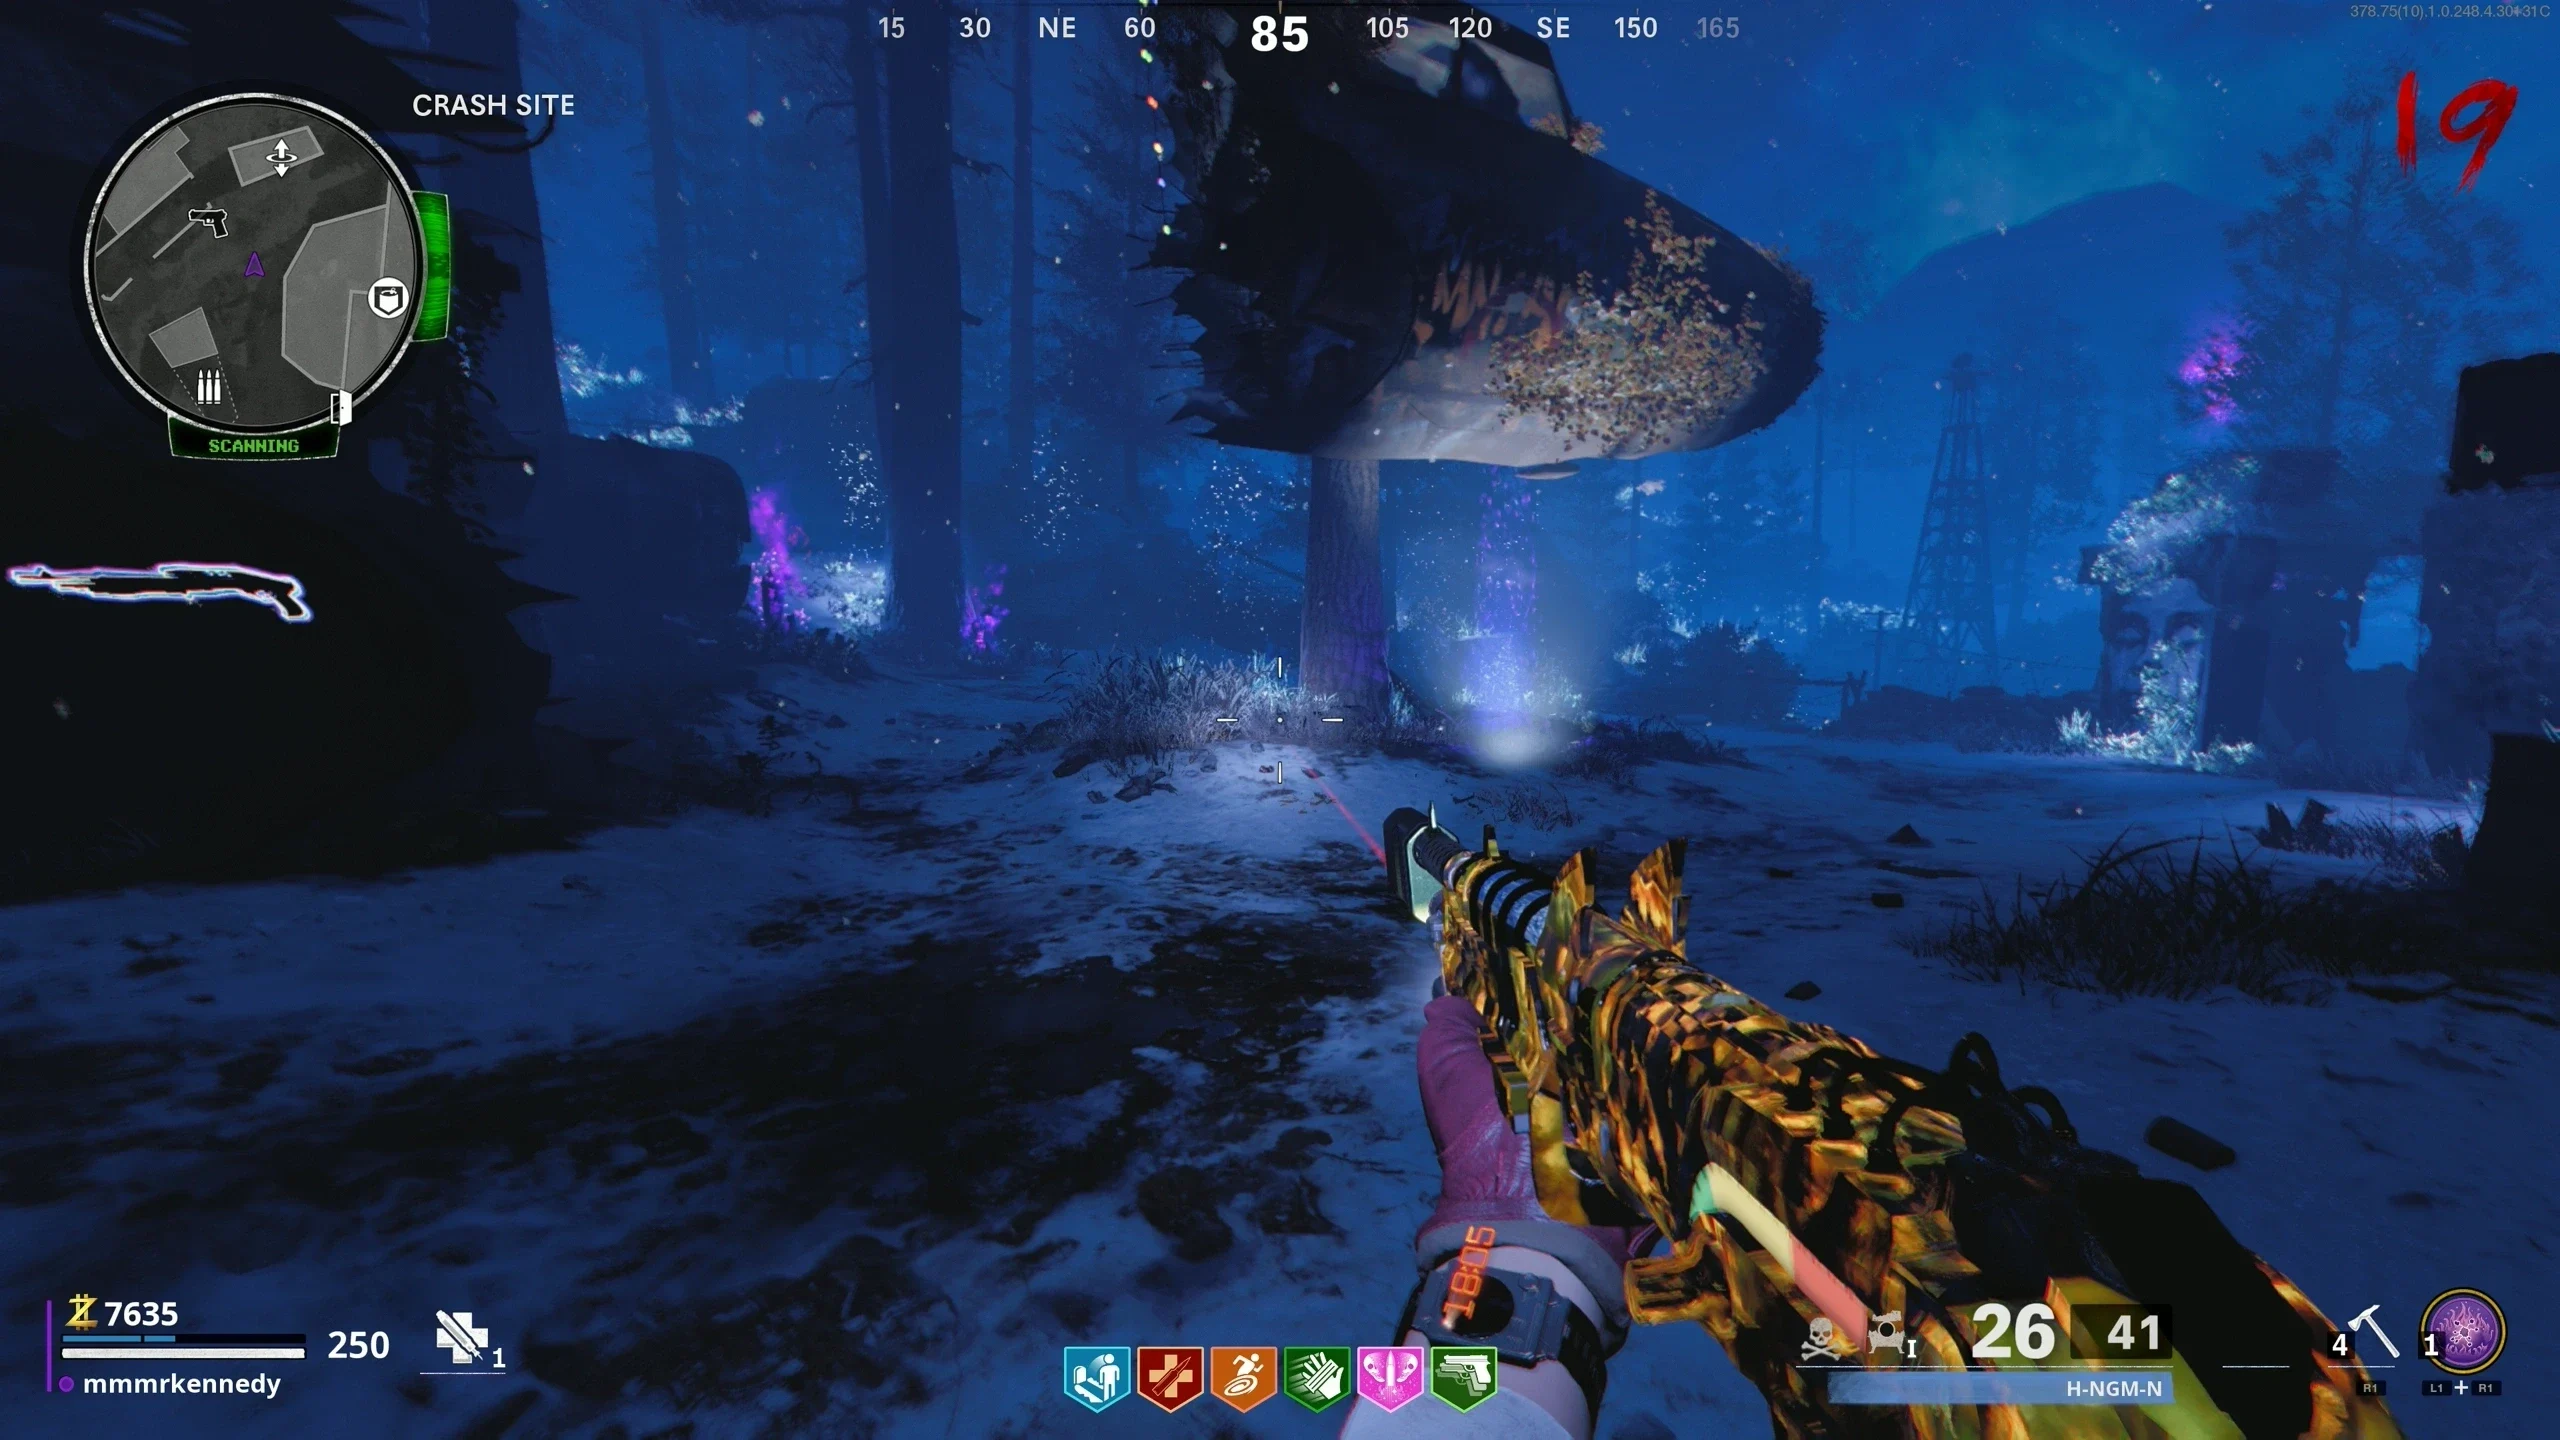
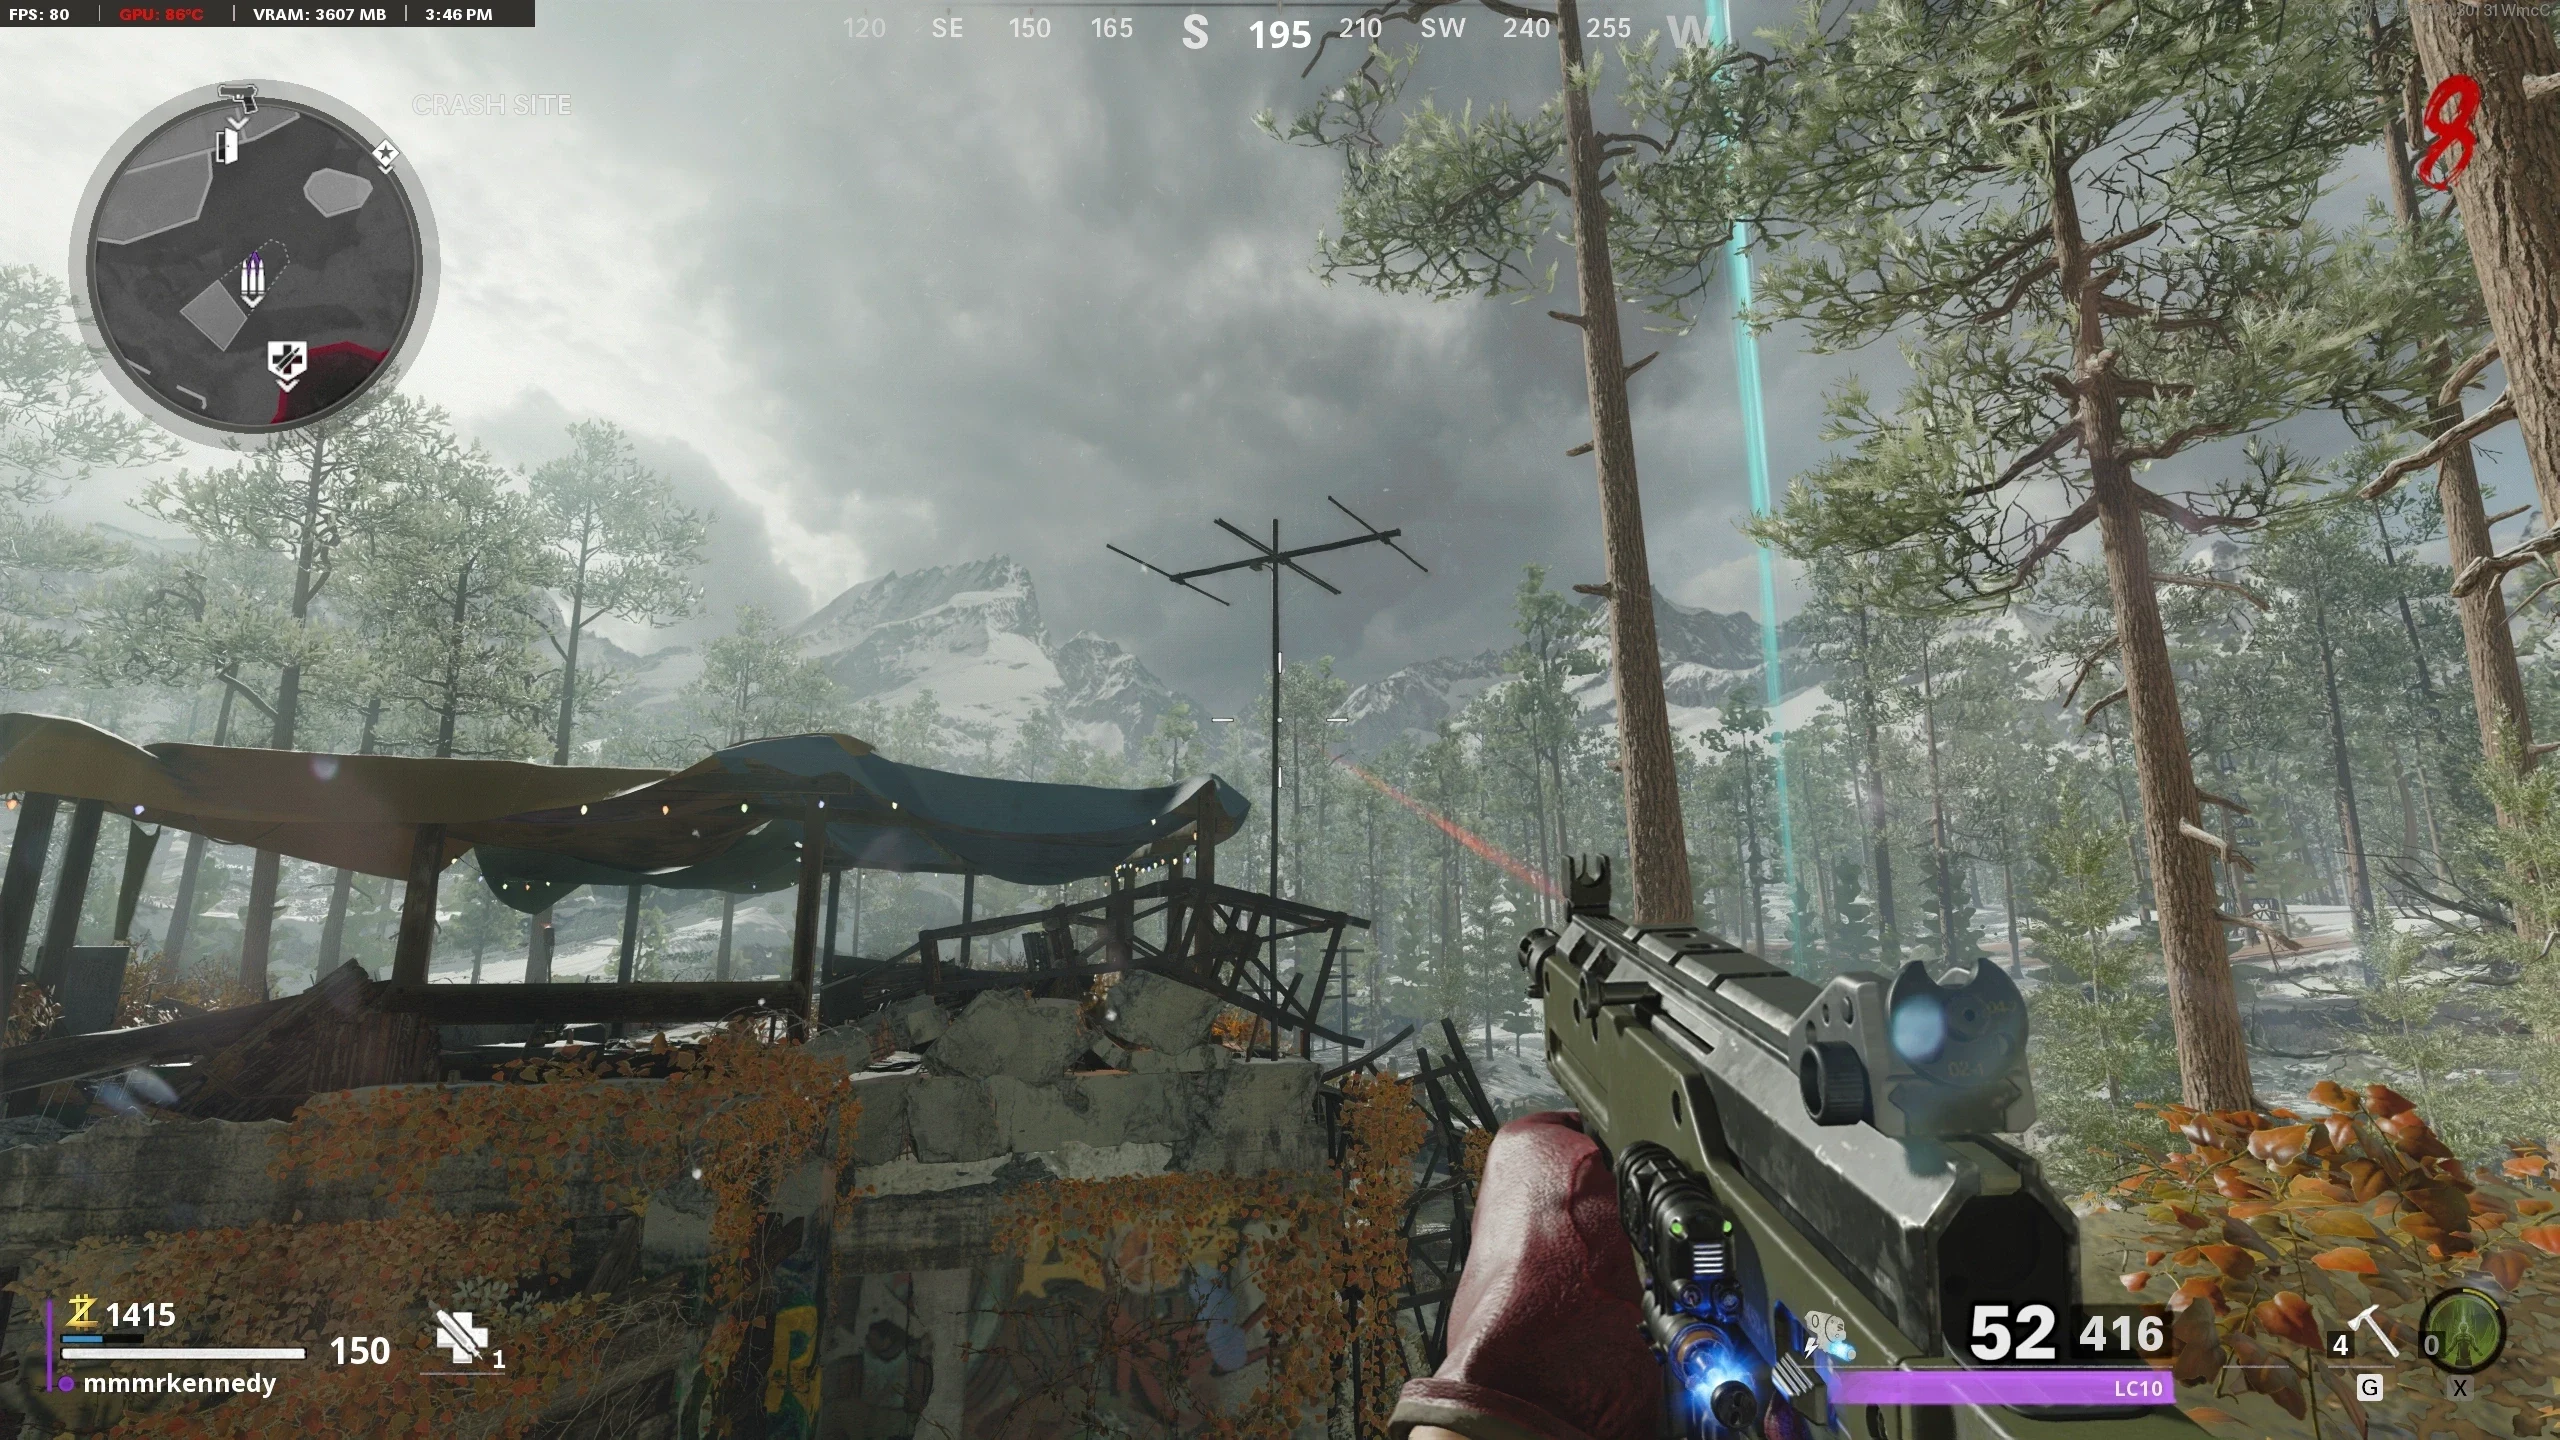
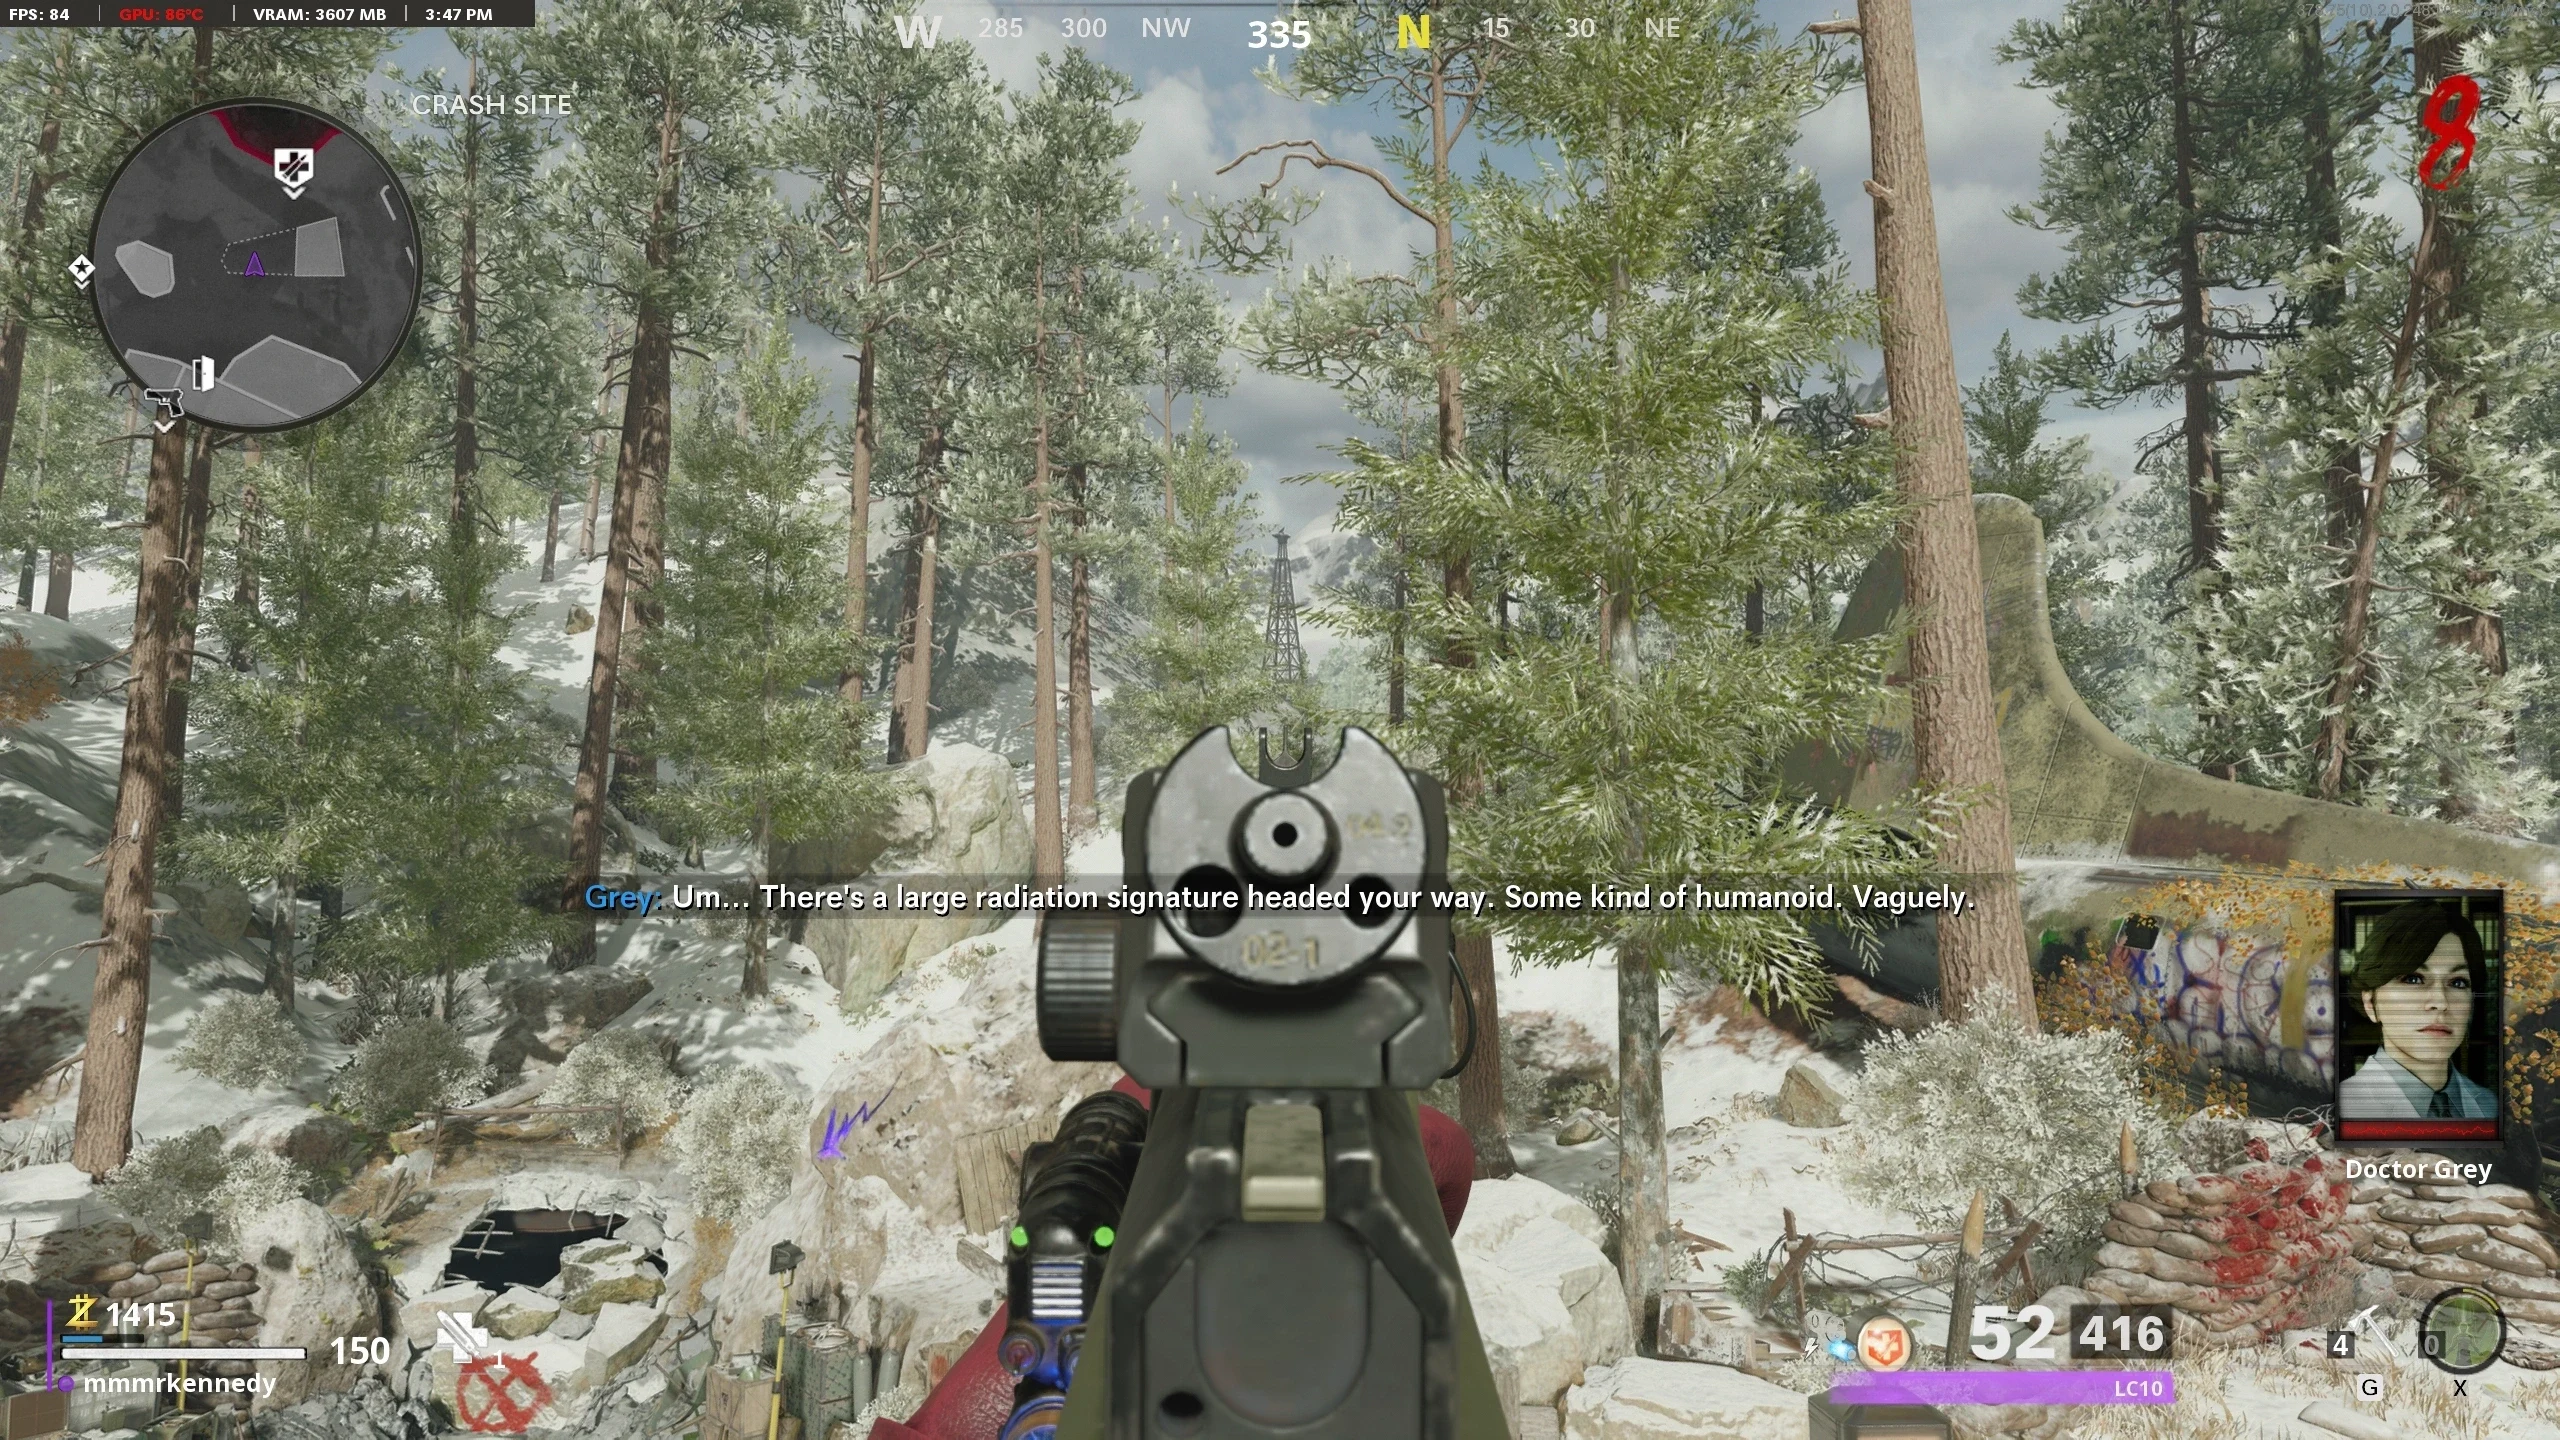
- Once all the gas has been collected, pick up the canister and place it on the Weapon Crate in the 'Crash Site.'
- Melee the canister to destroy the vines on the crate. The Nova-5 upgrade can now be picked up from the Weapon Crate.
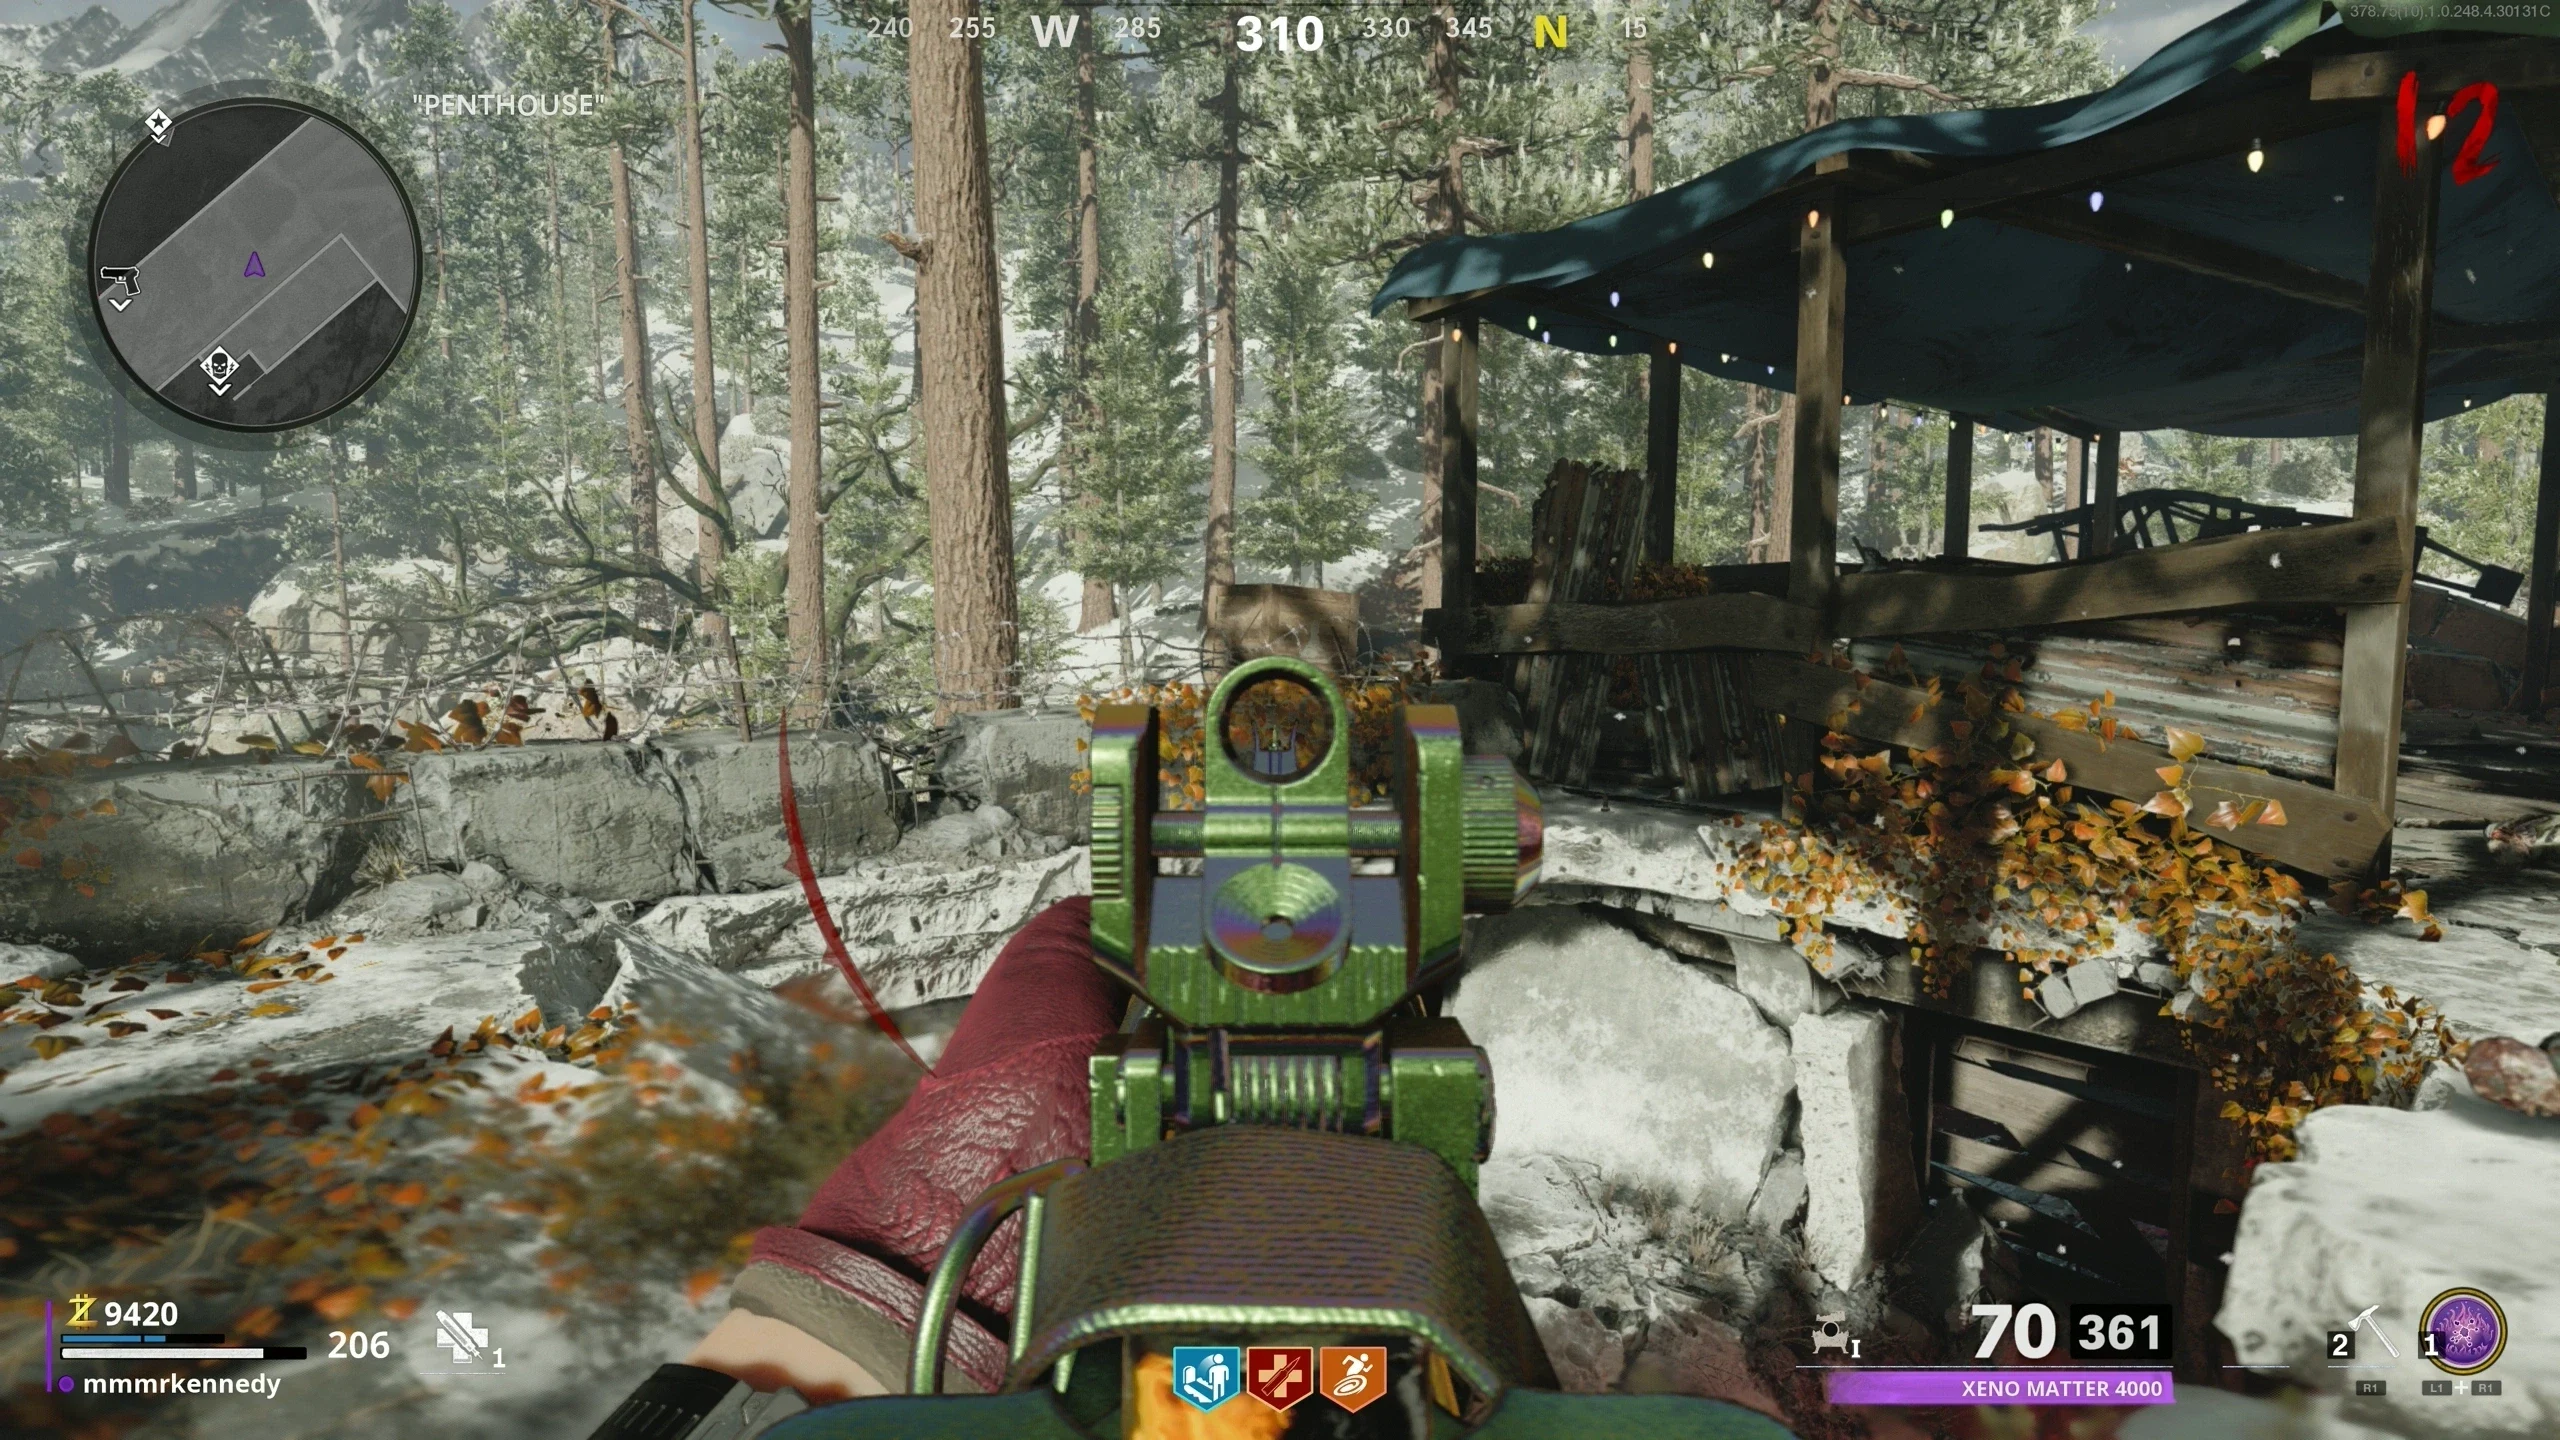
Cryo Emitter
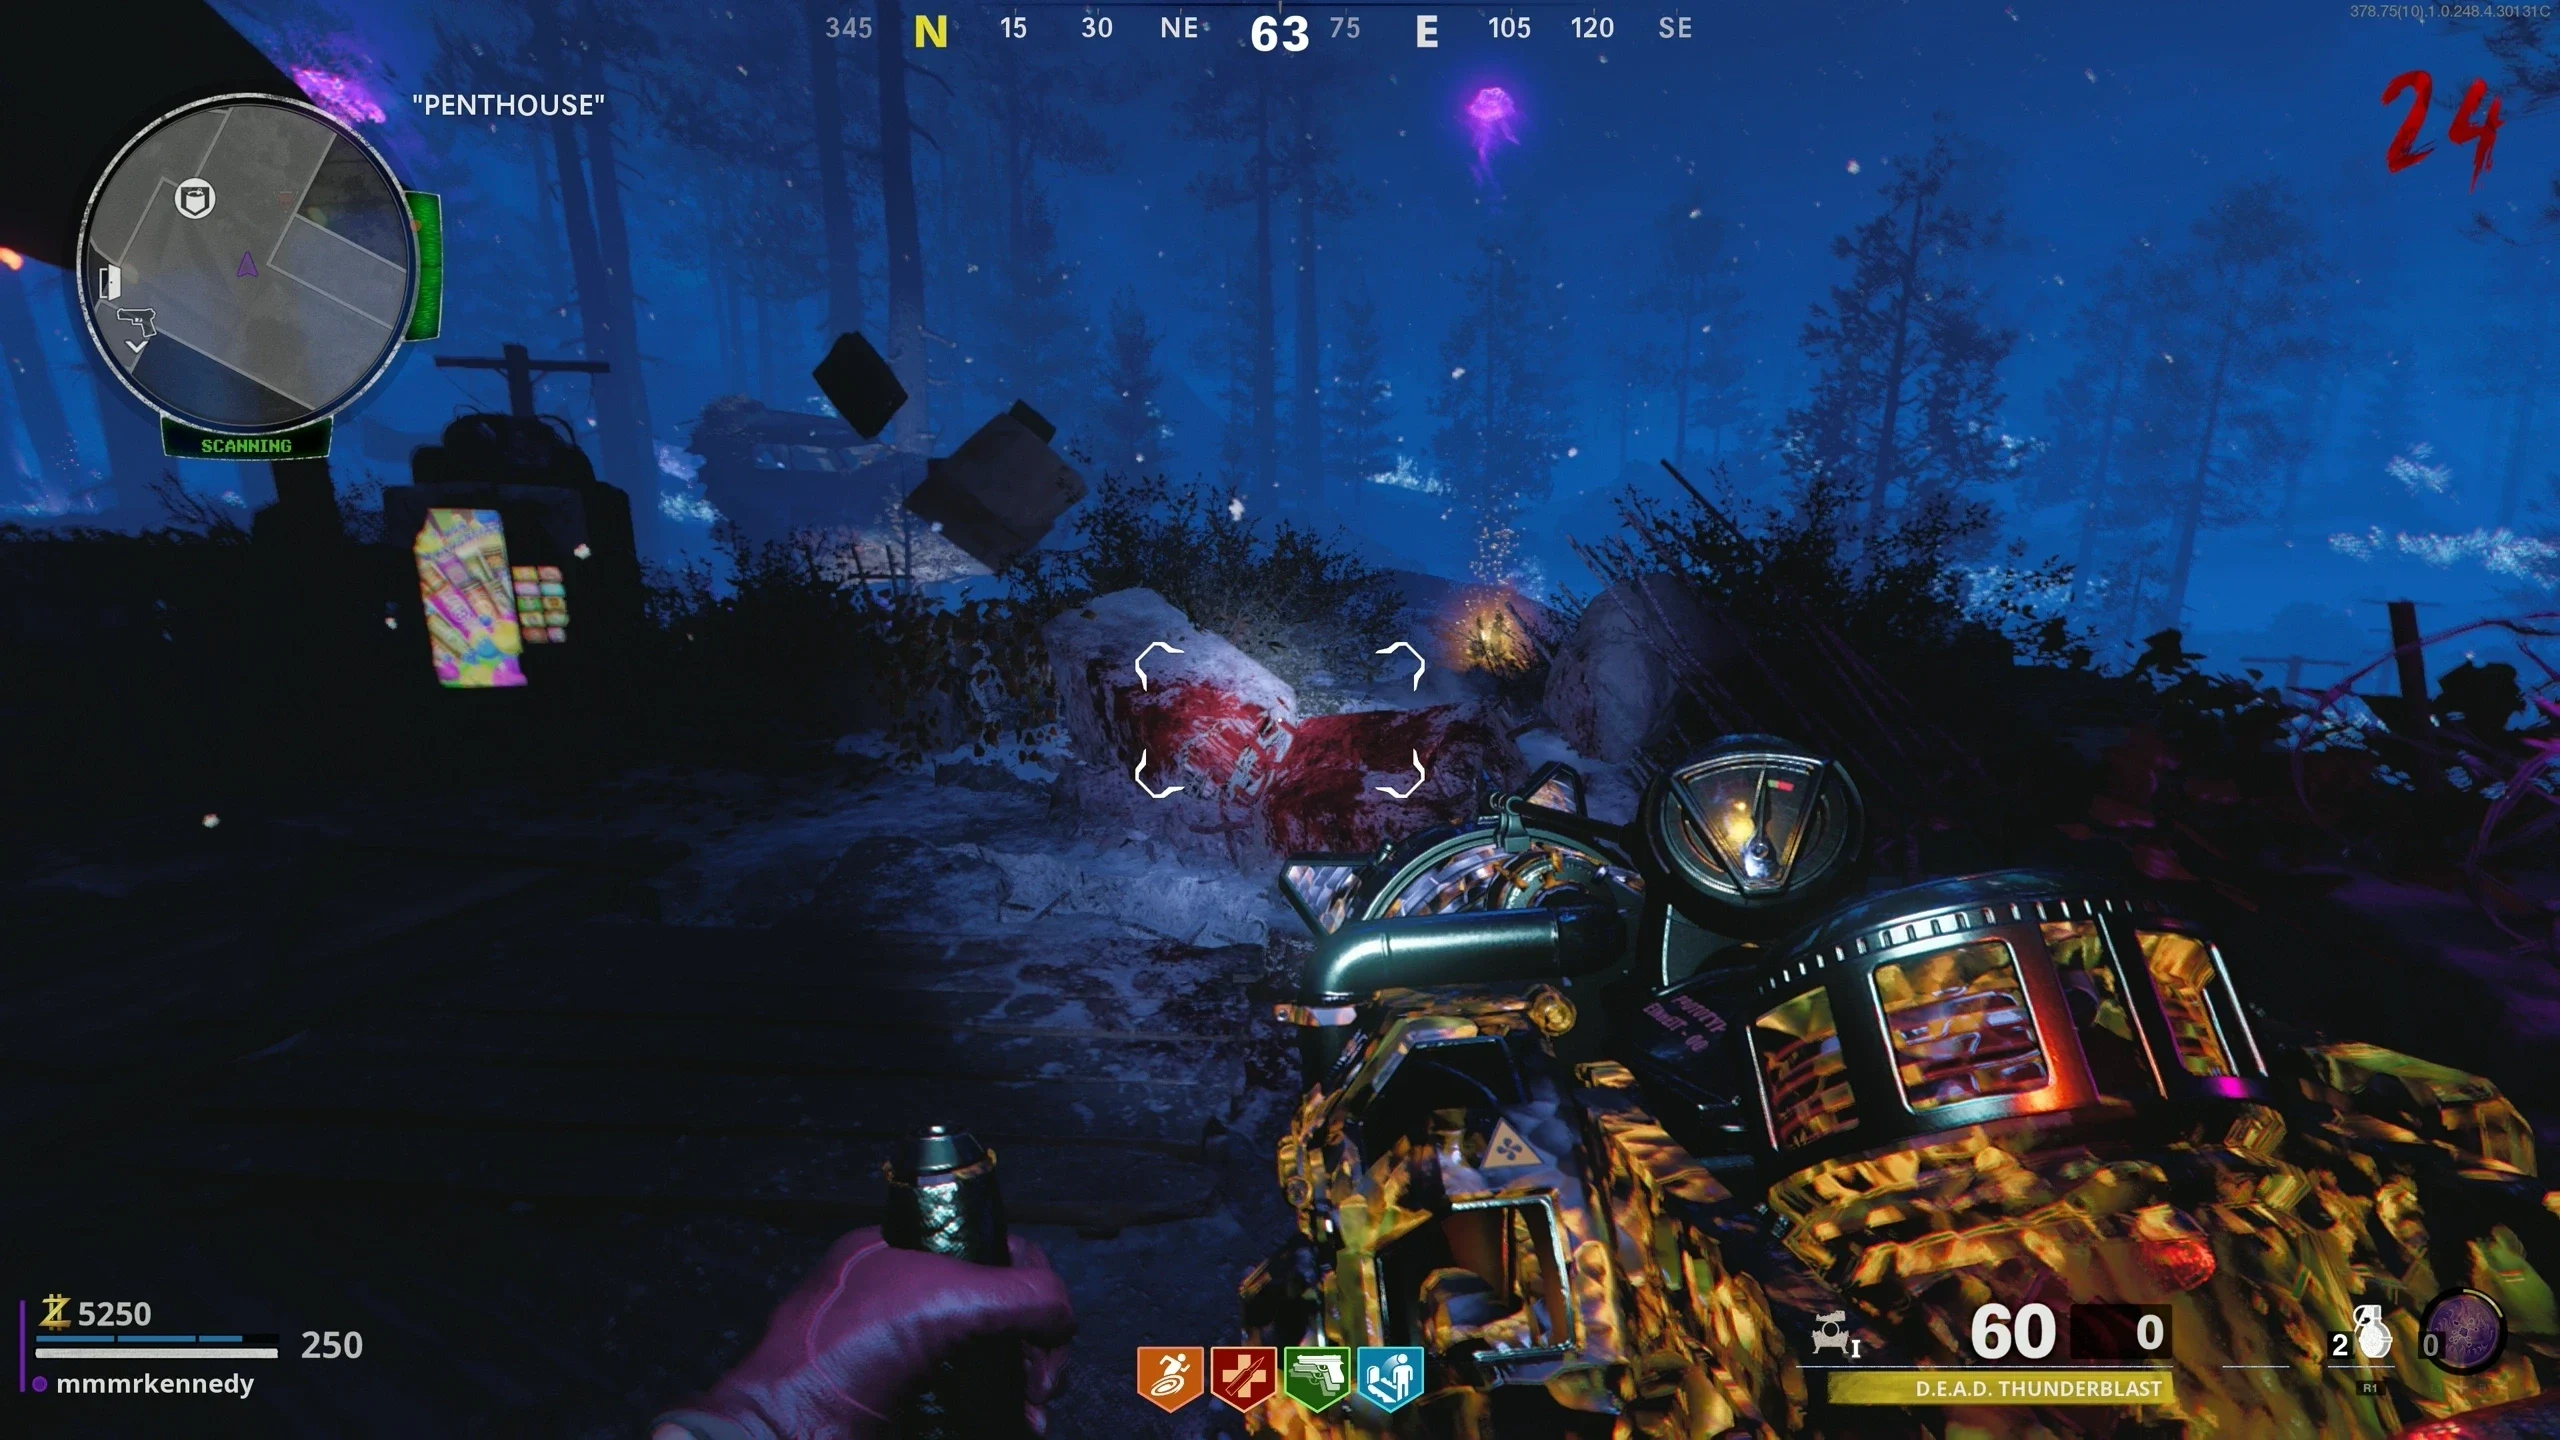
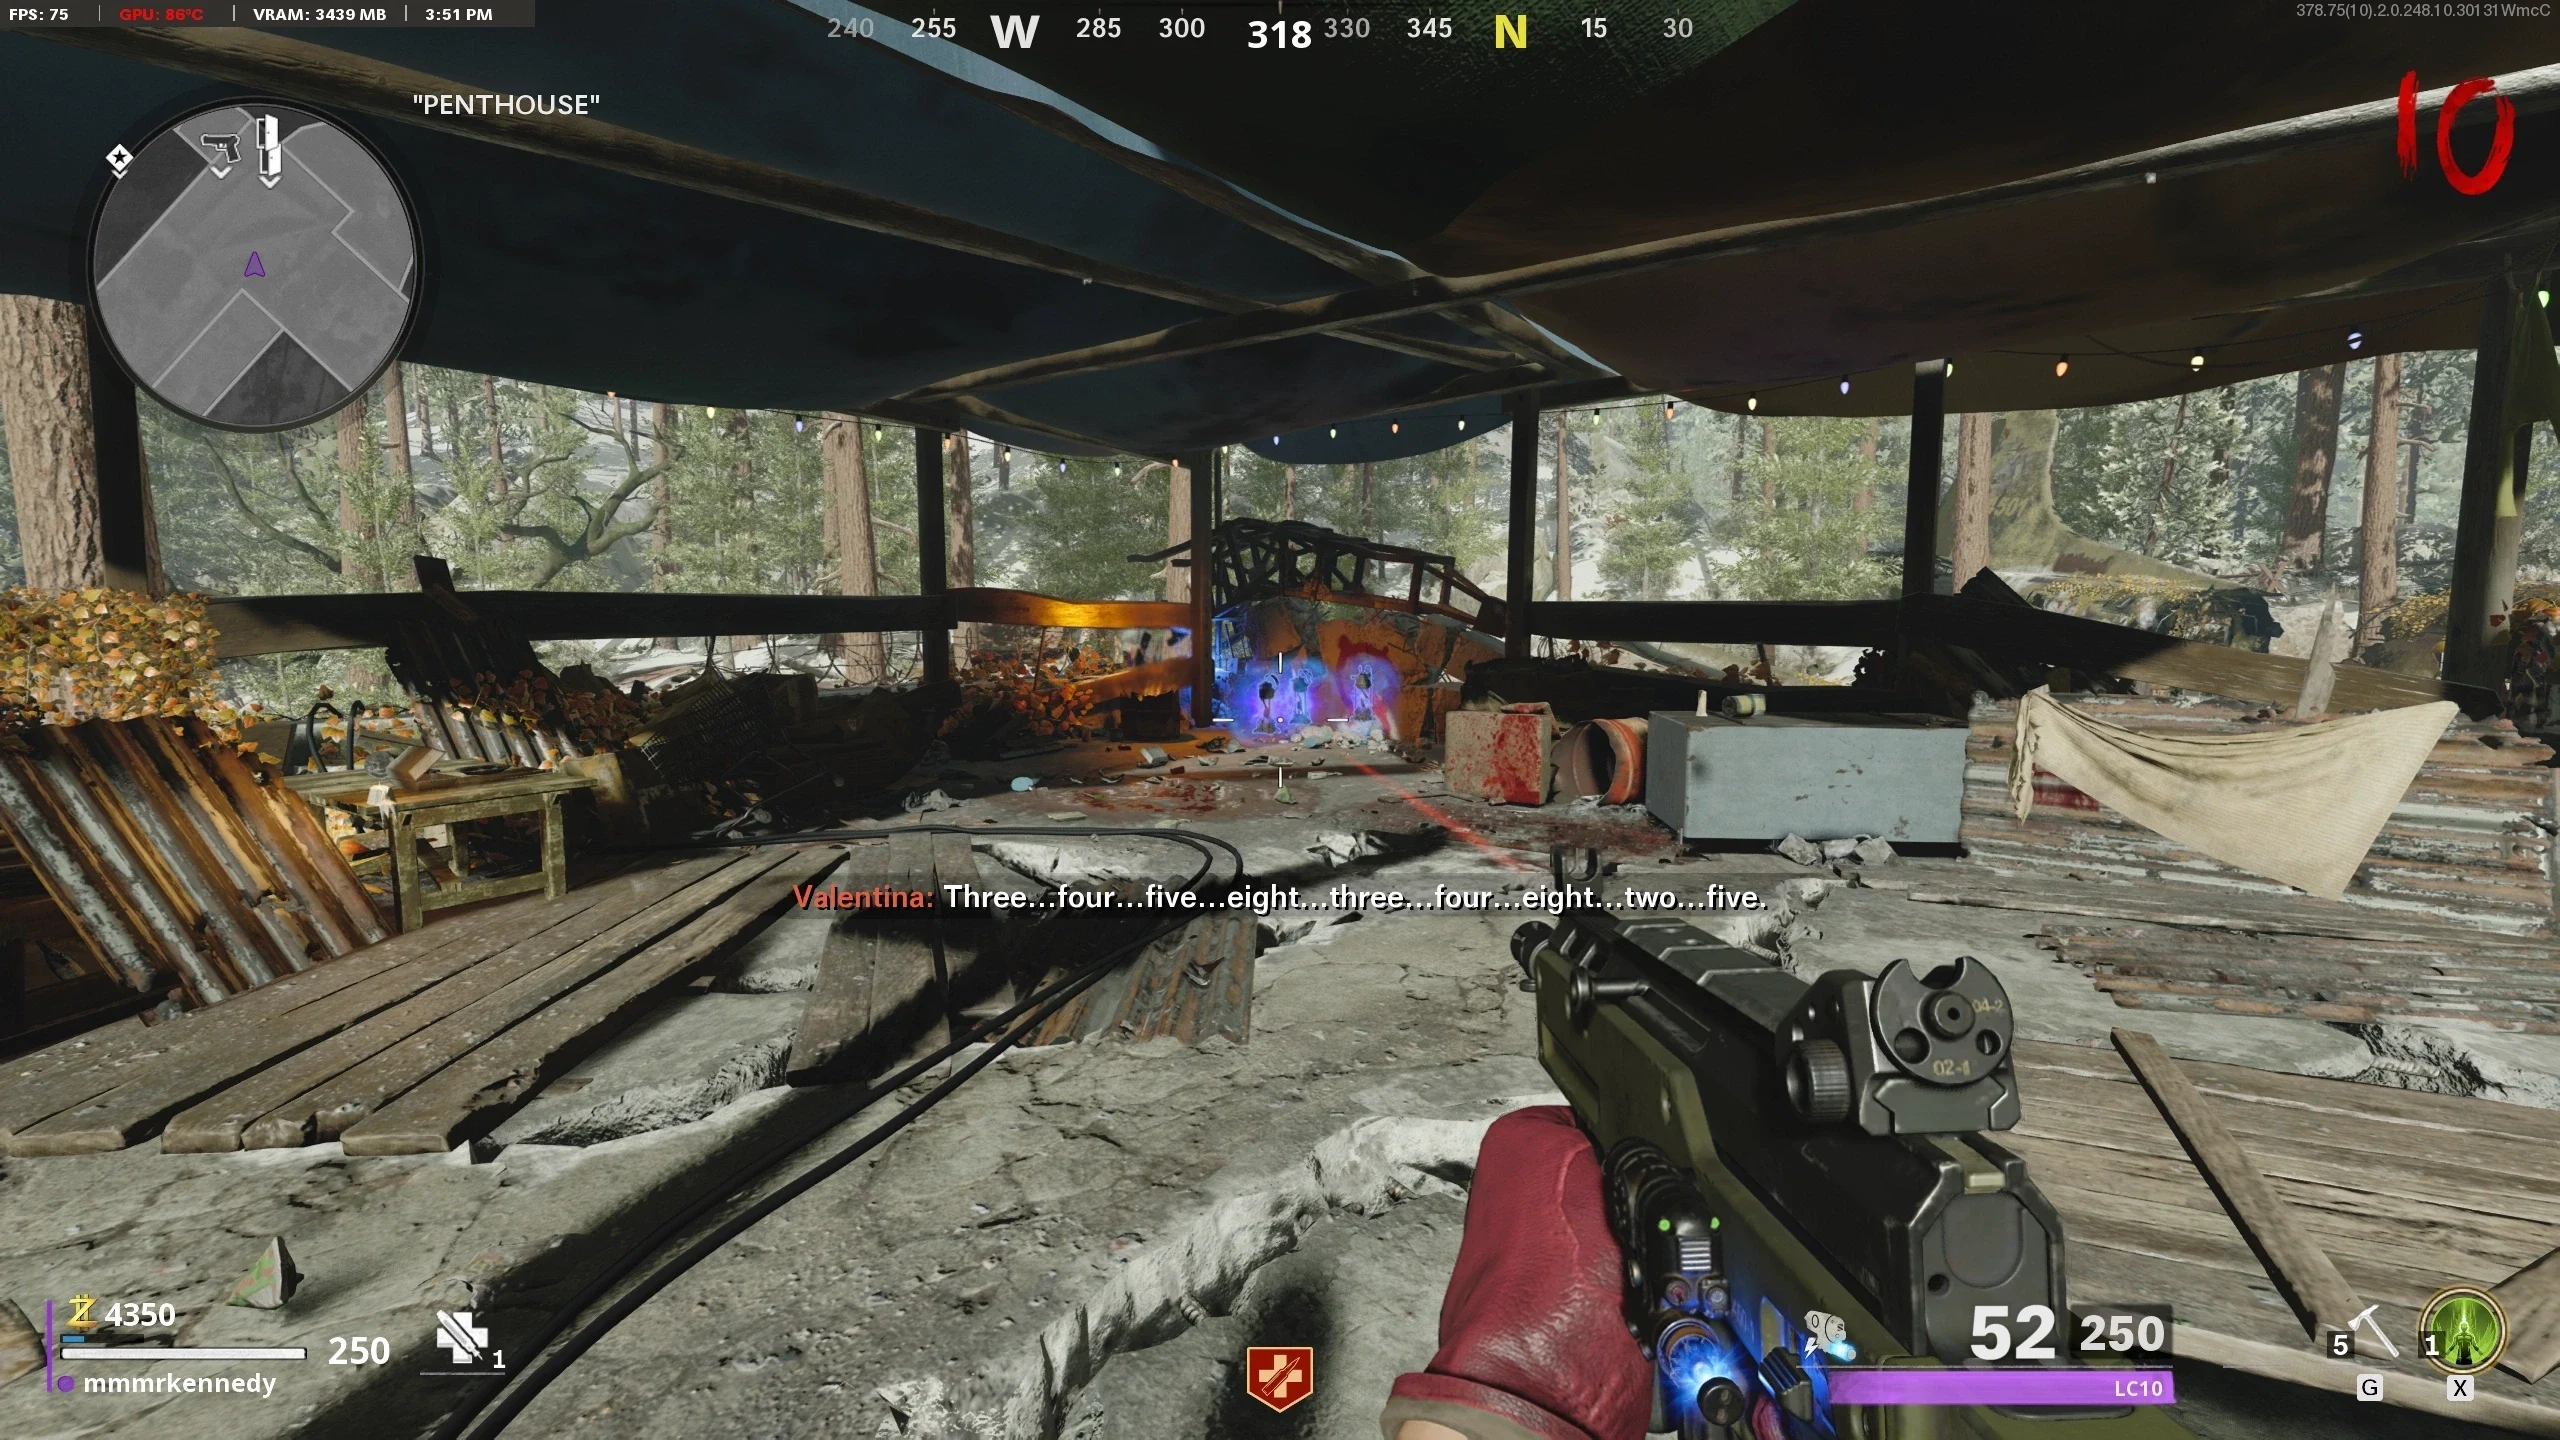
- Go to the "Penthouse" and find the wooden crate on the ledge of the building and shoot it with the D.I.E. to knock it down. The box will fall to the ground below, breaking on impact, allowing you to pick up the Flask.
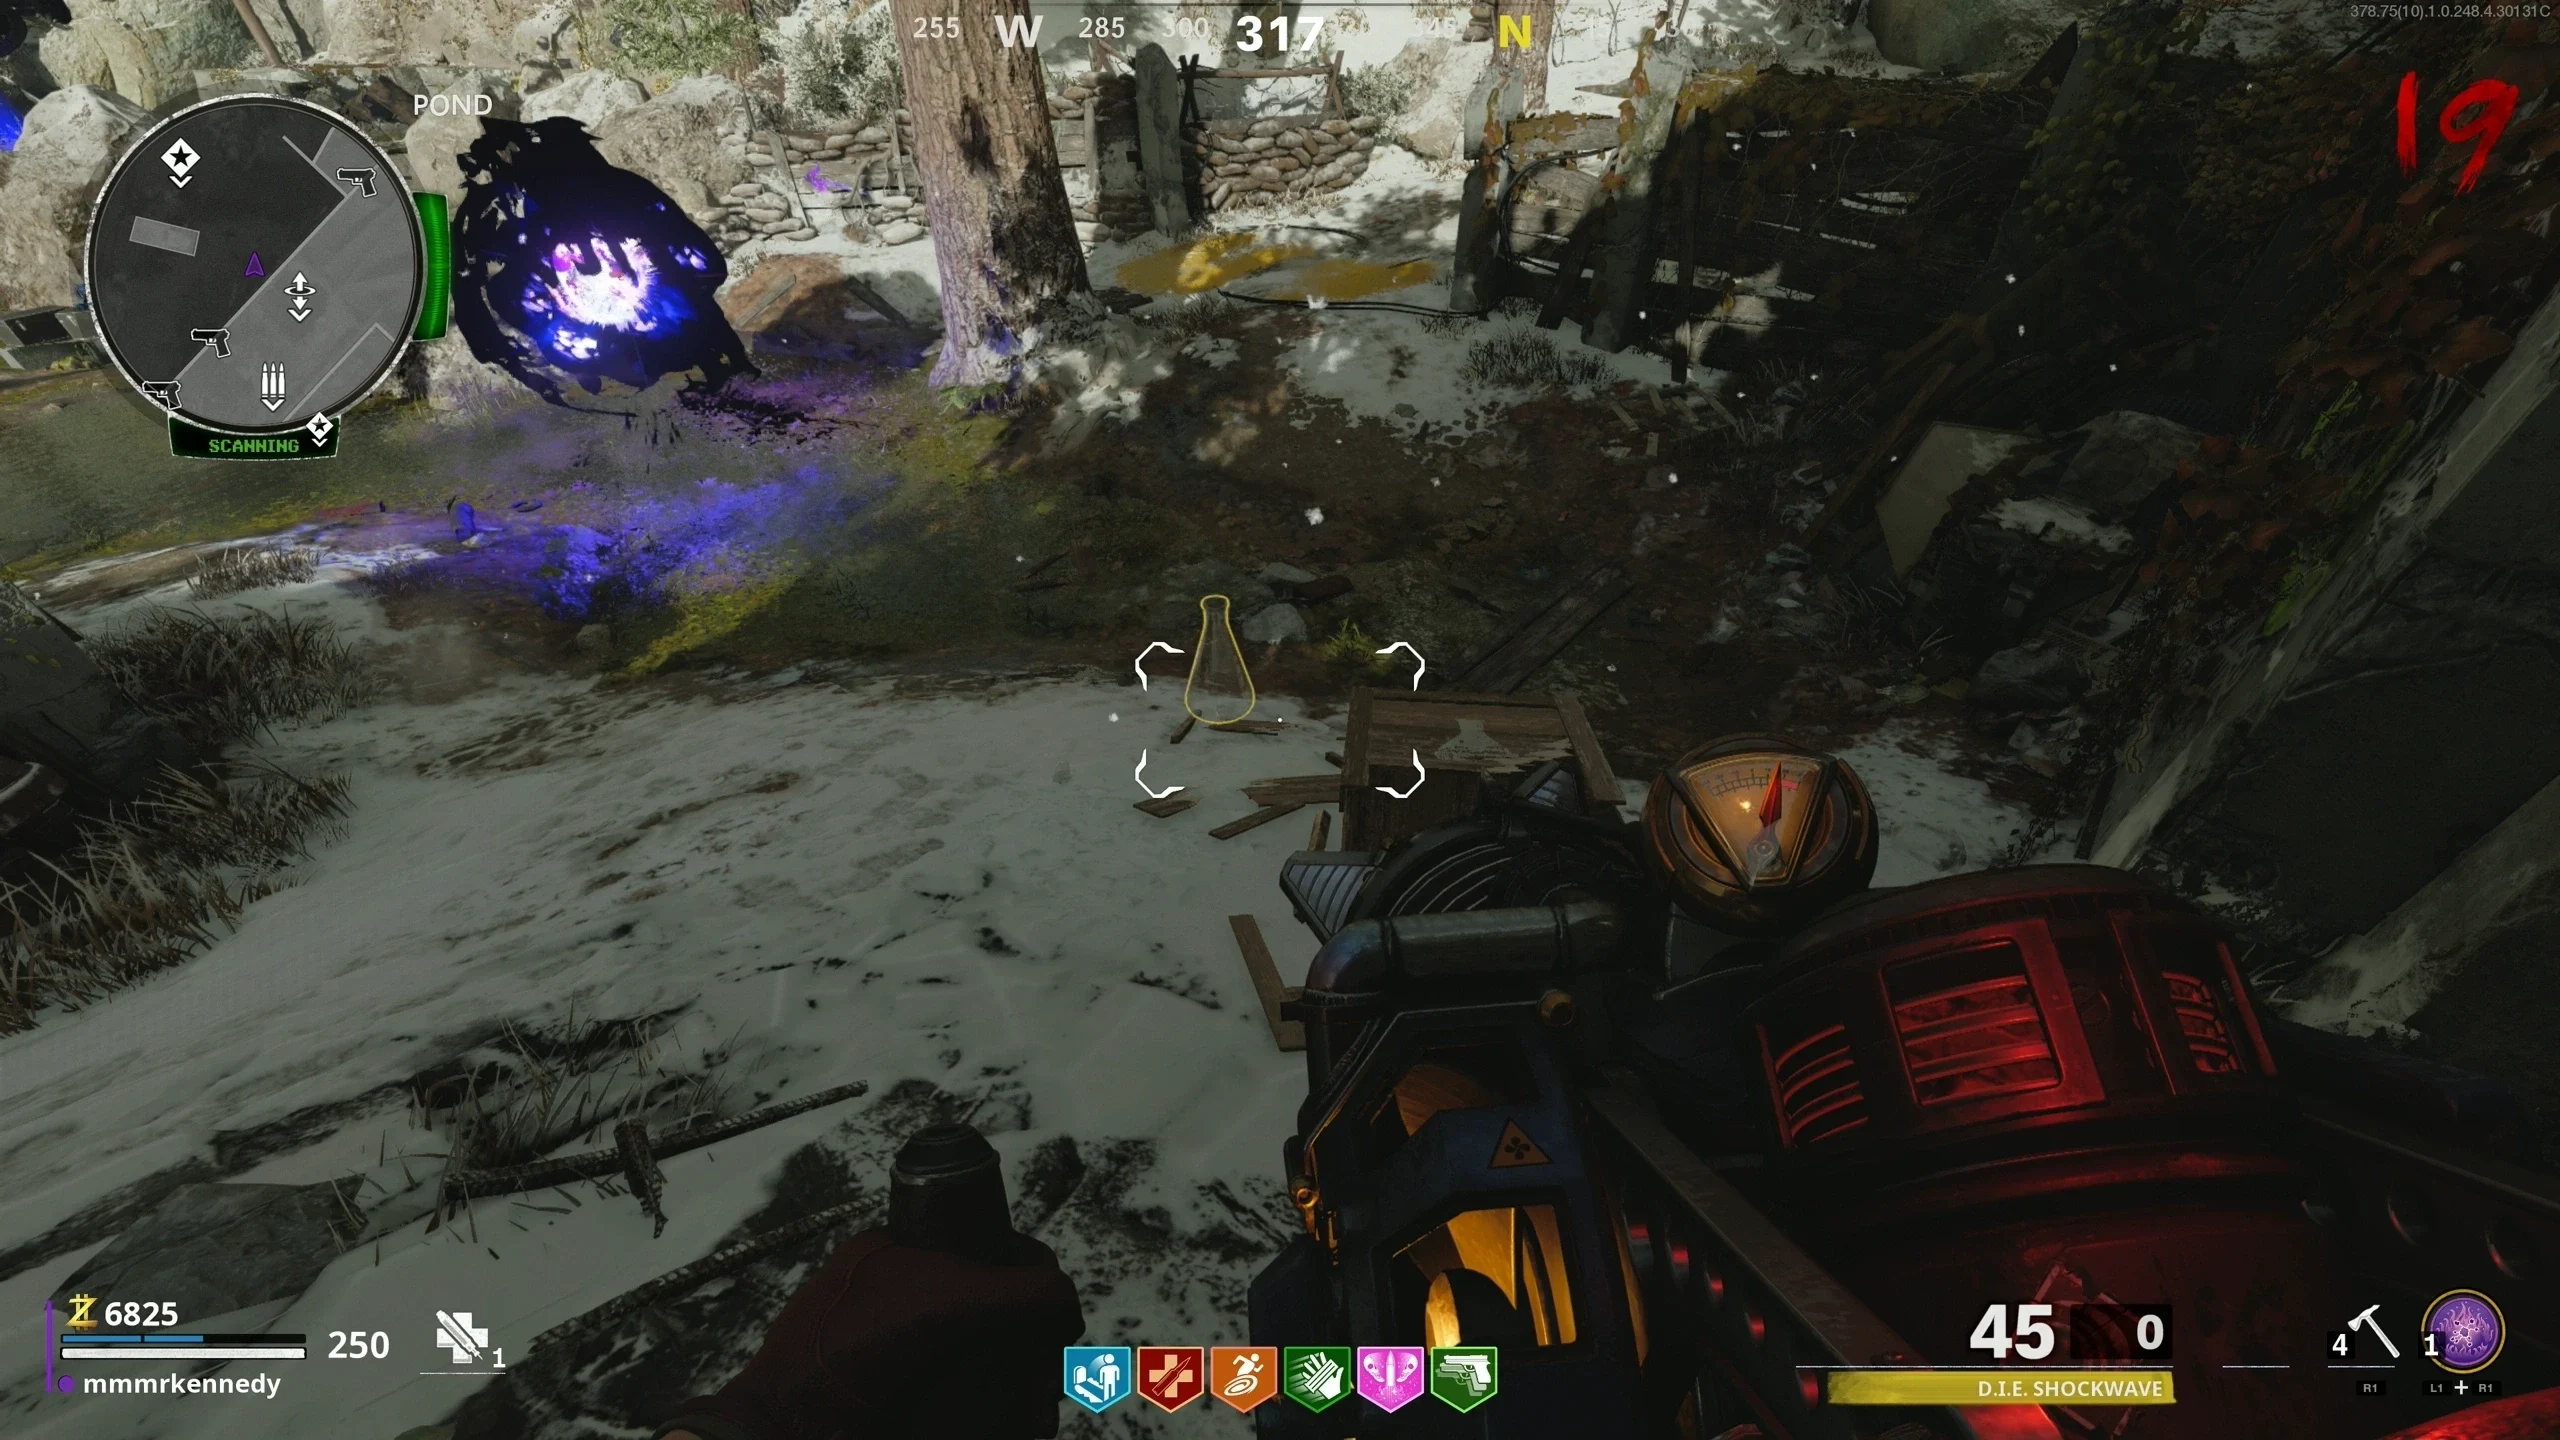
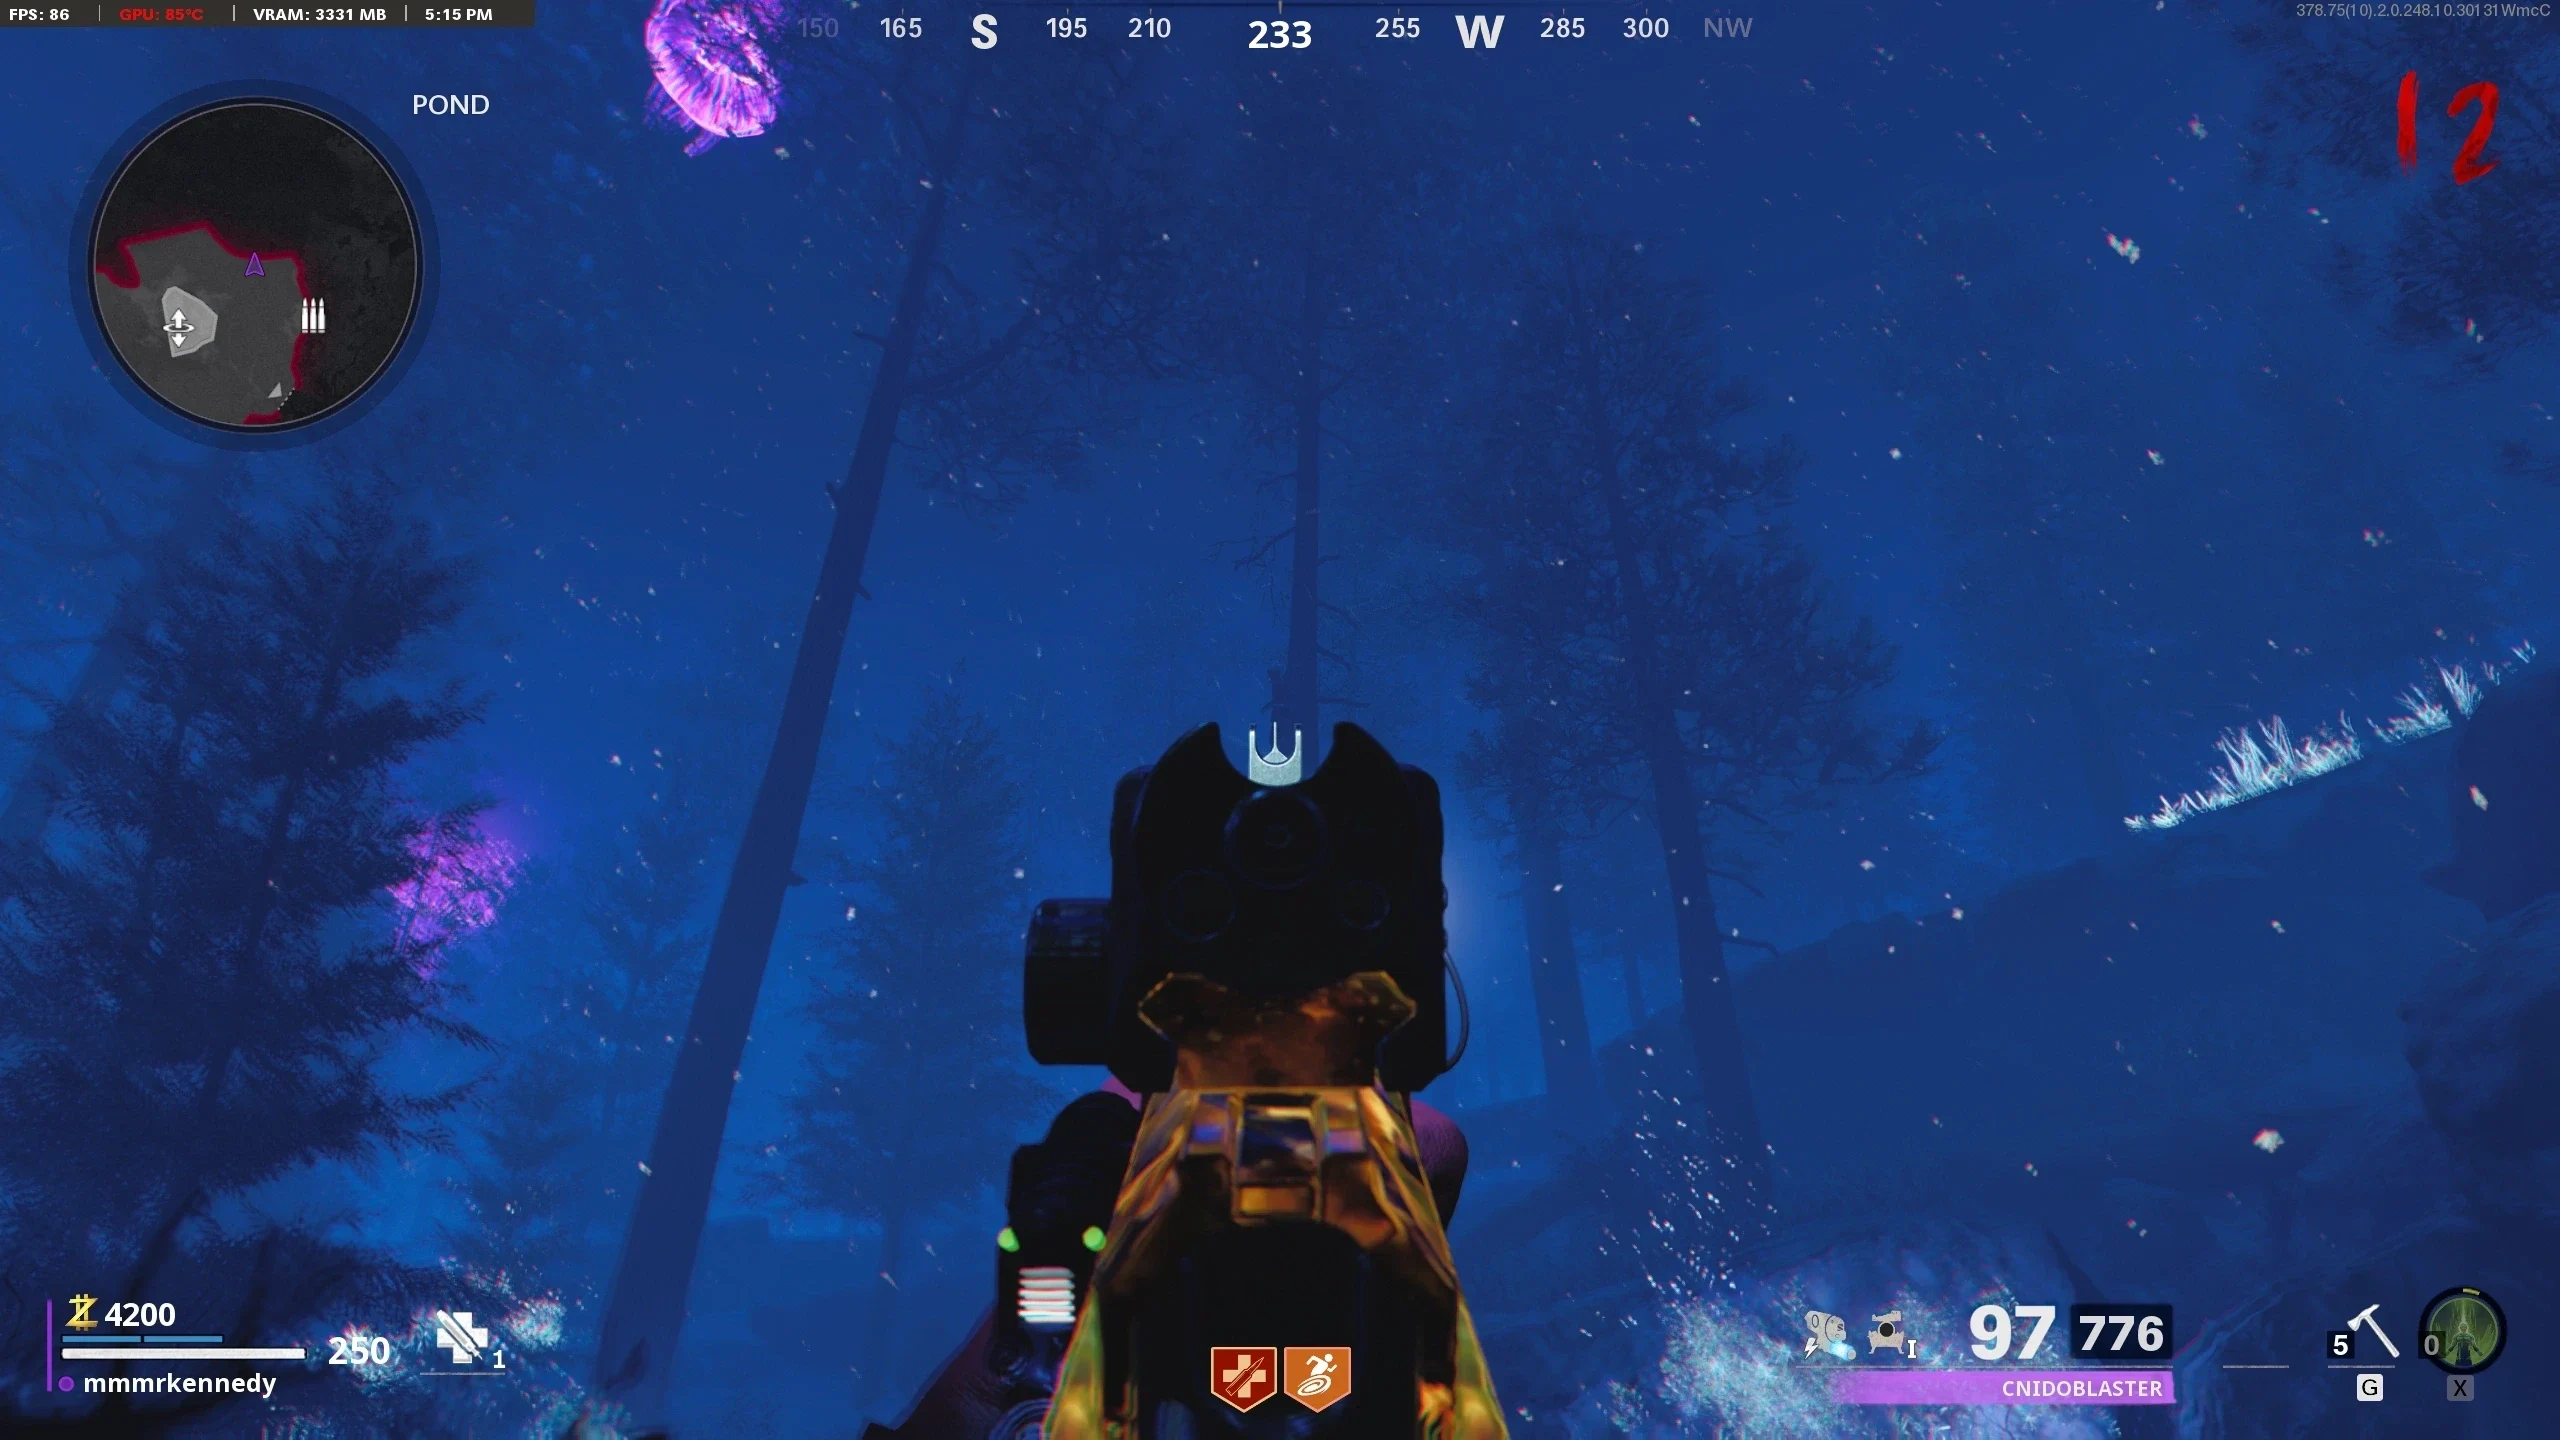
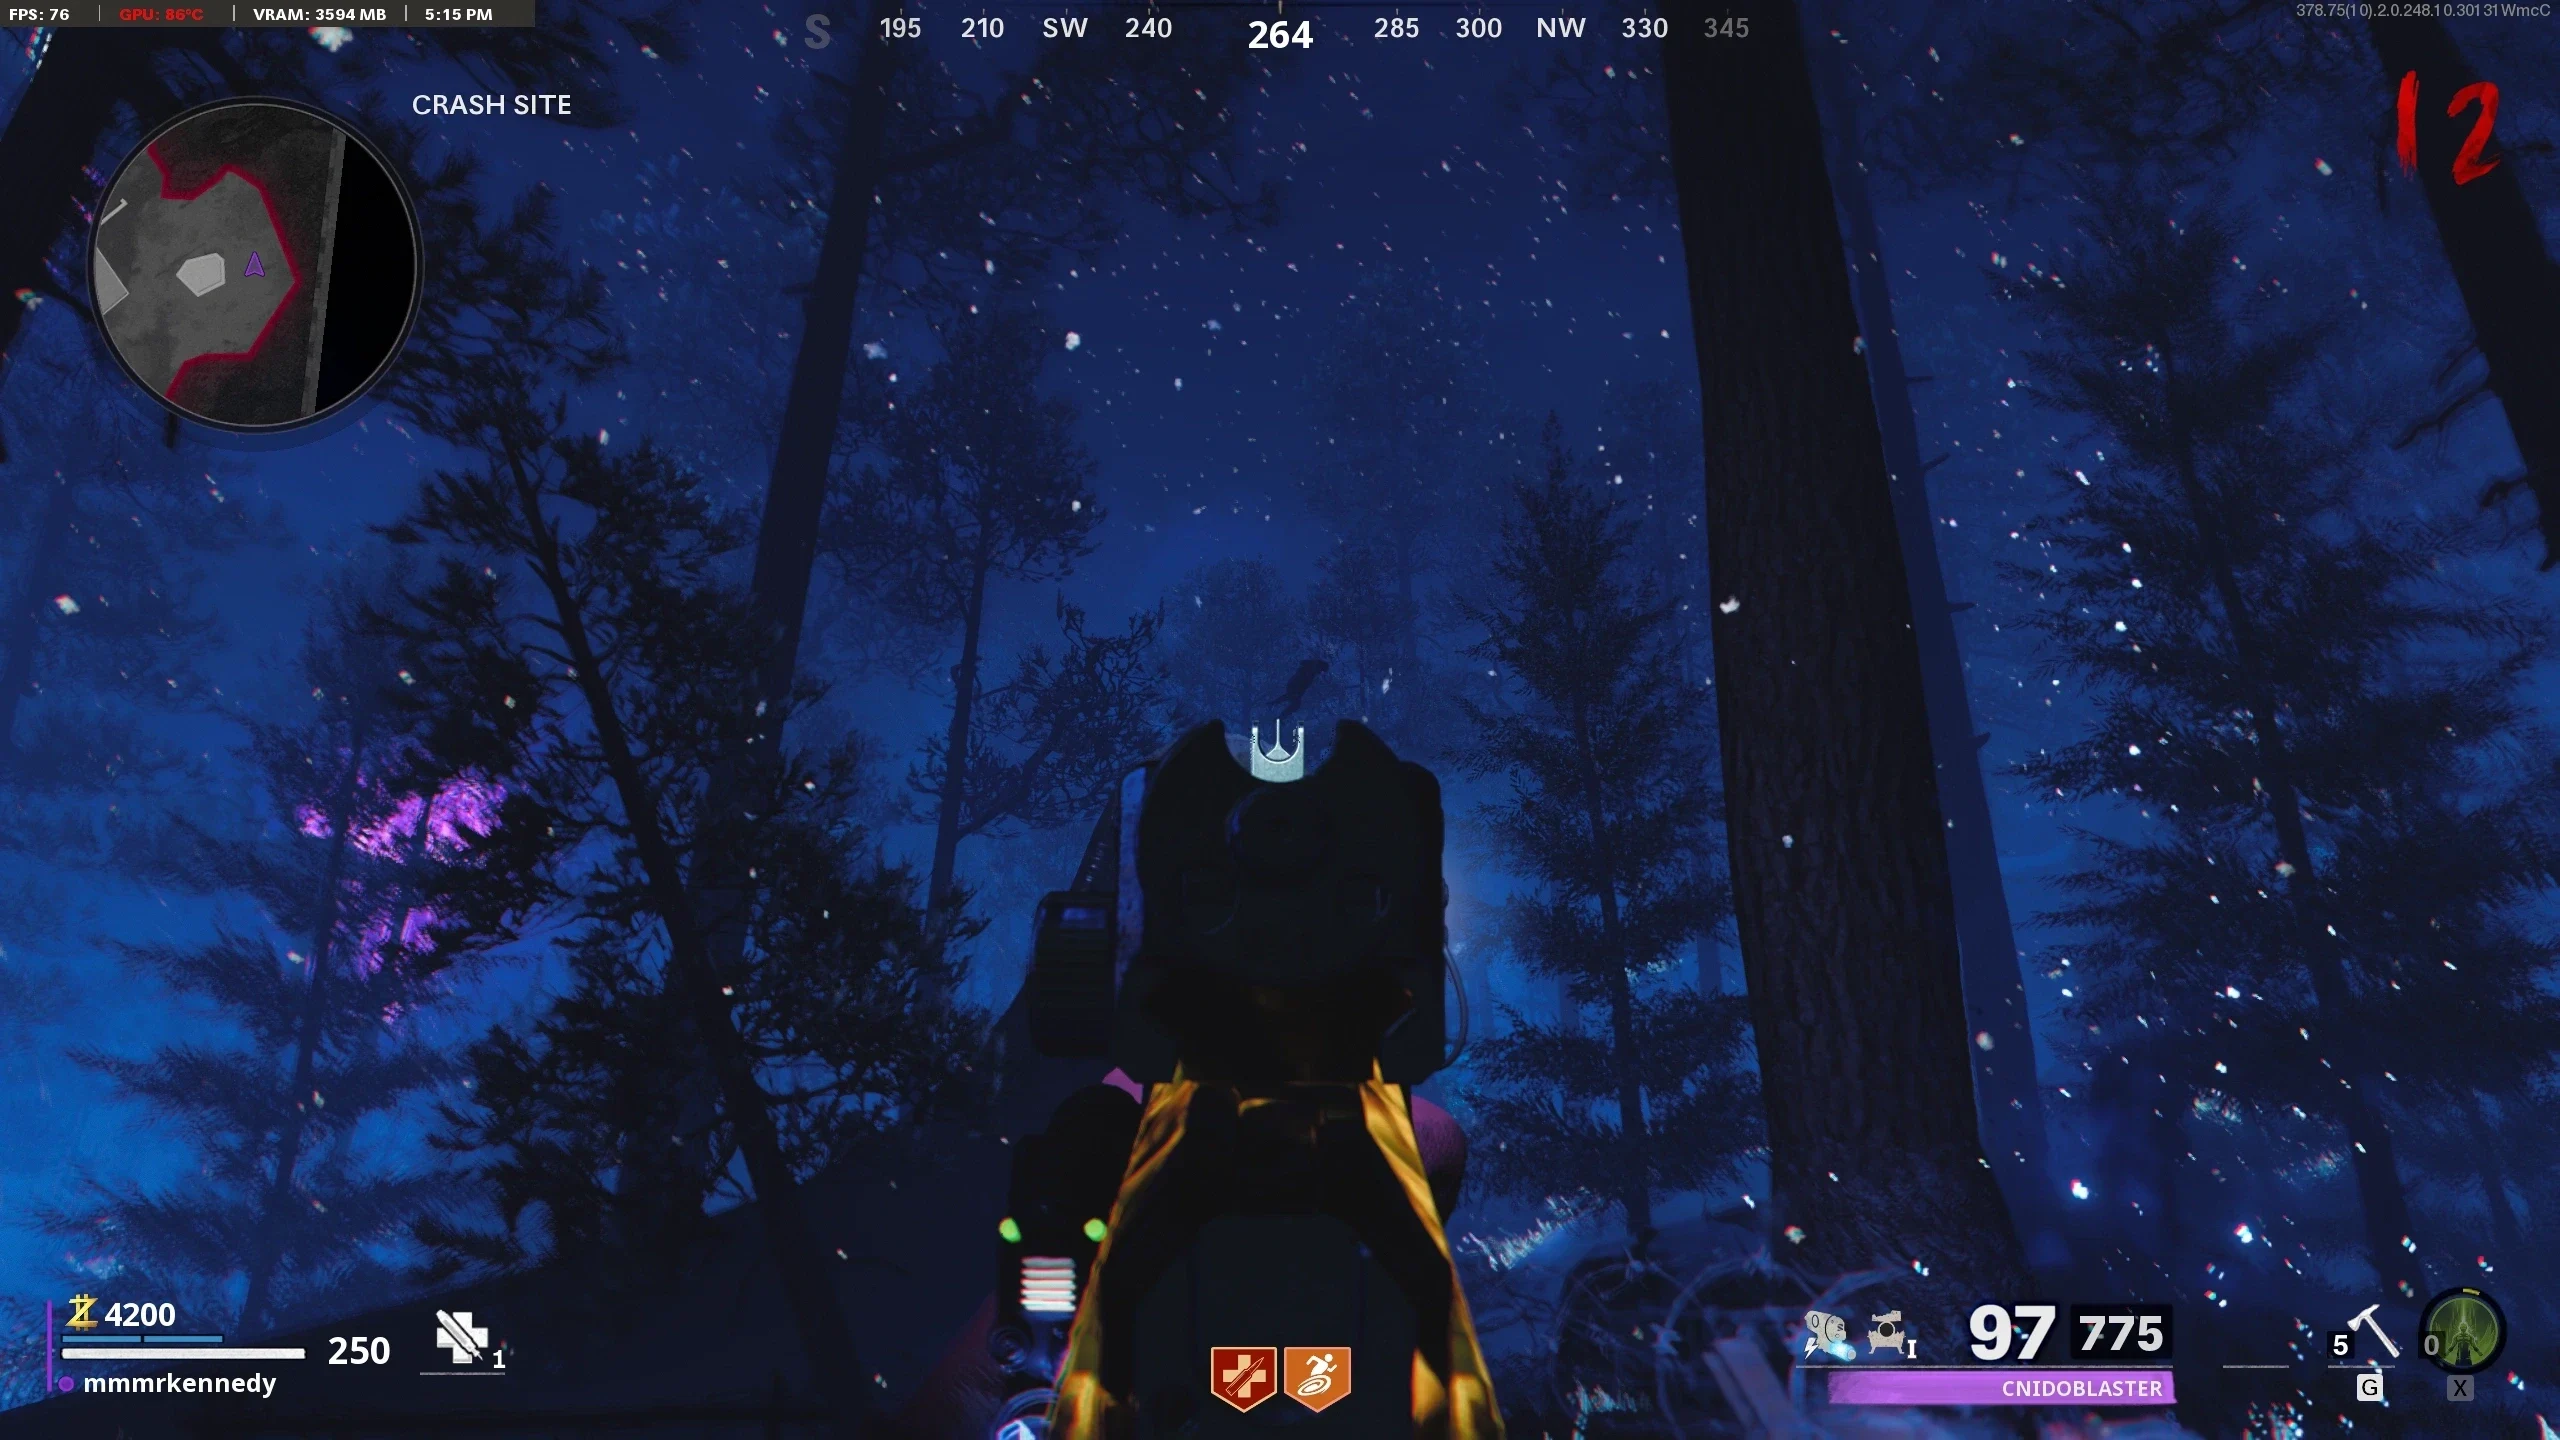
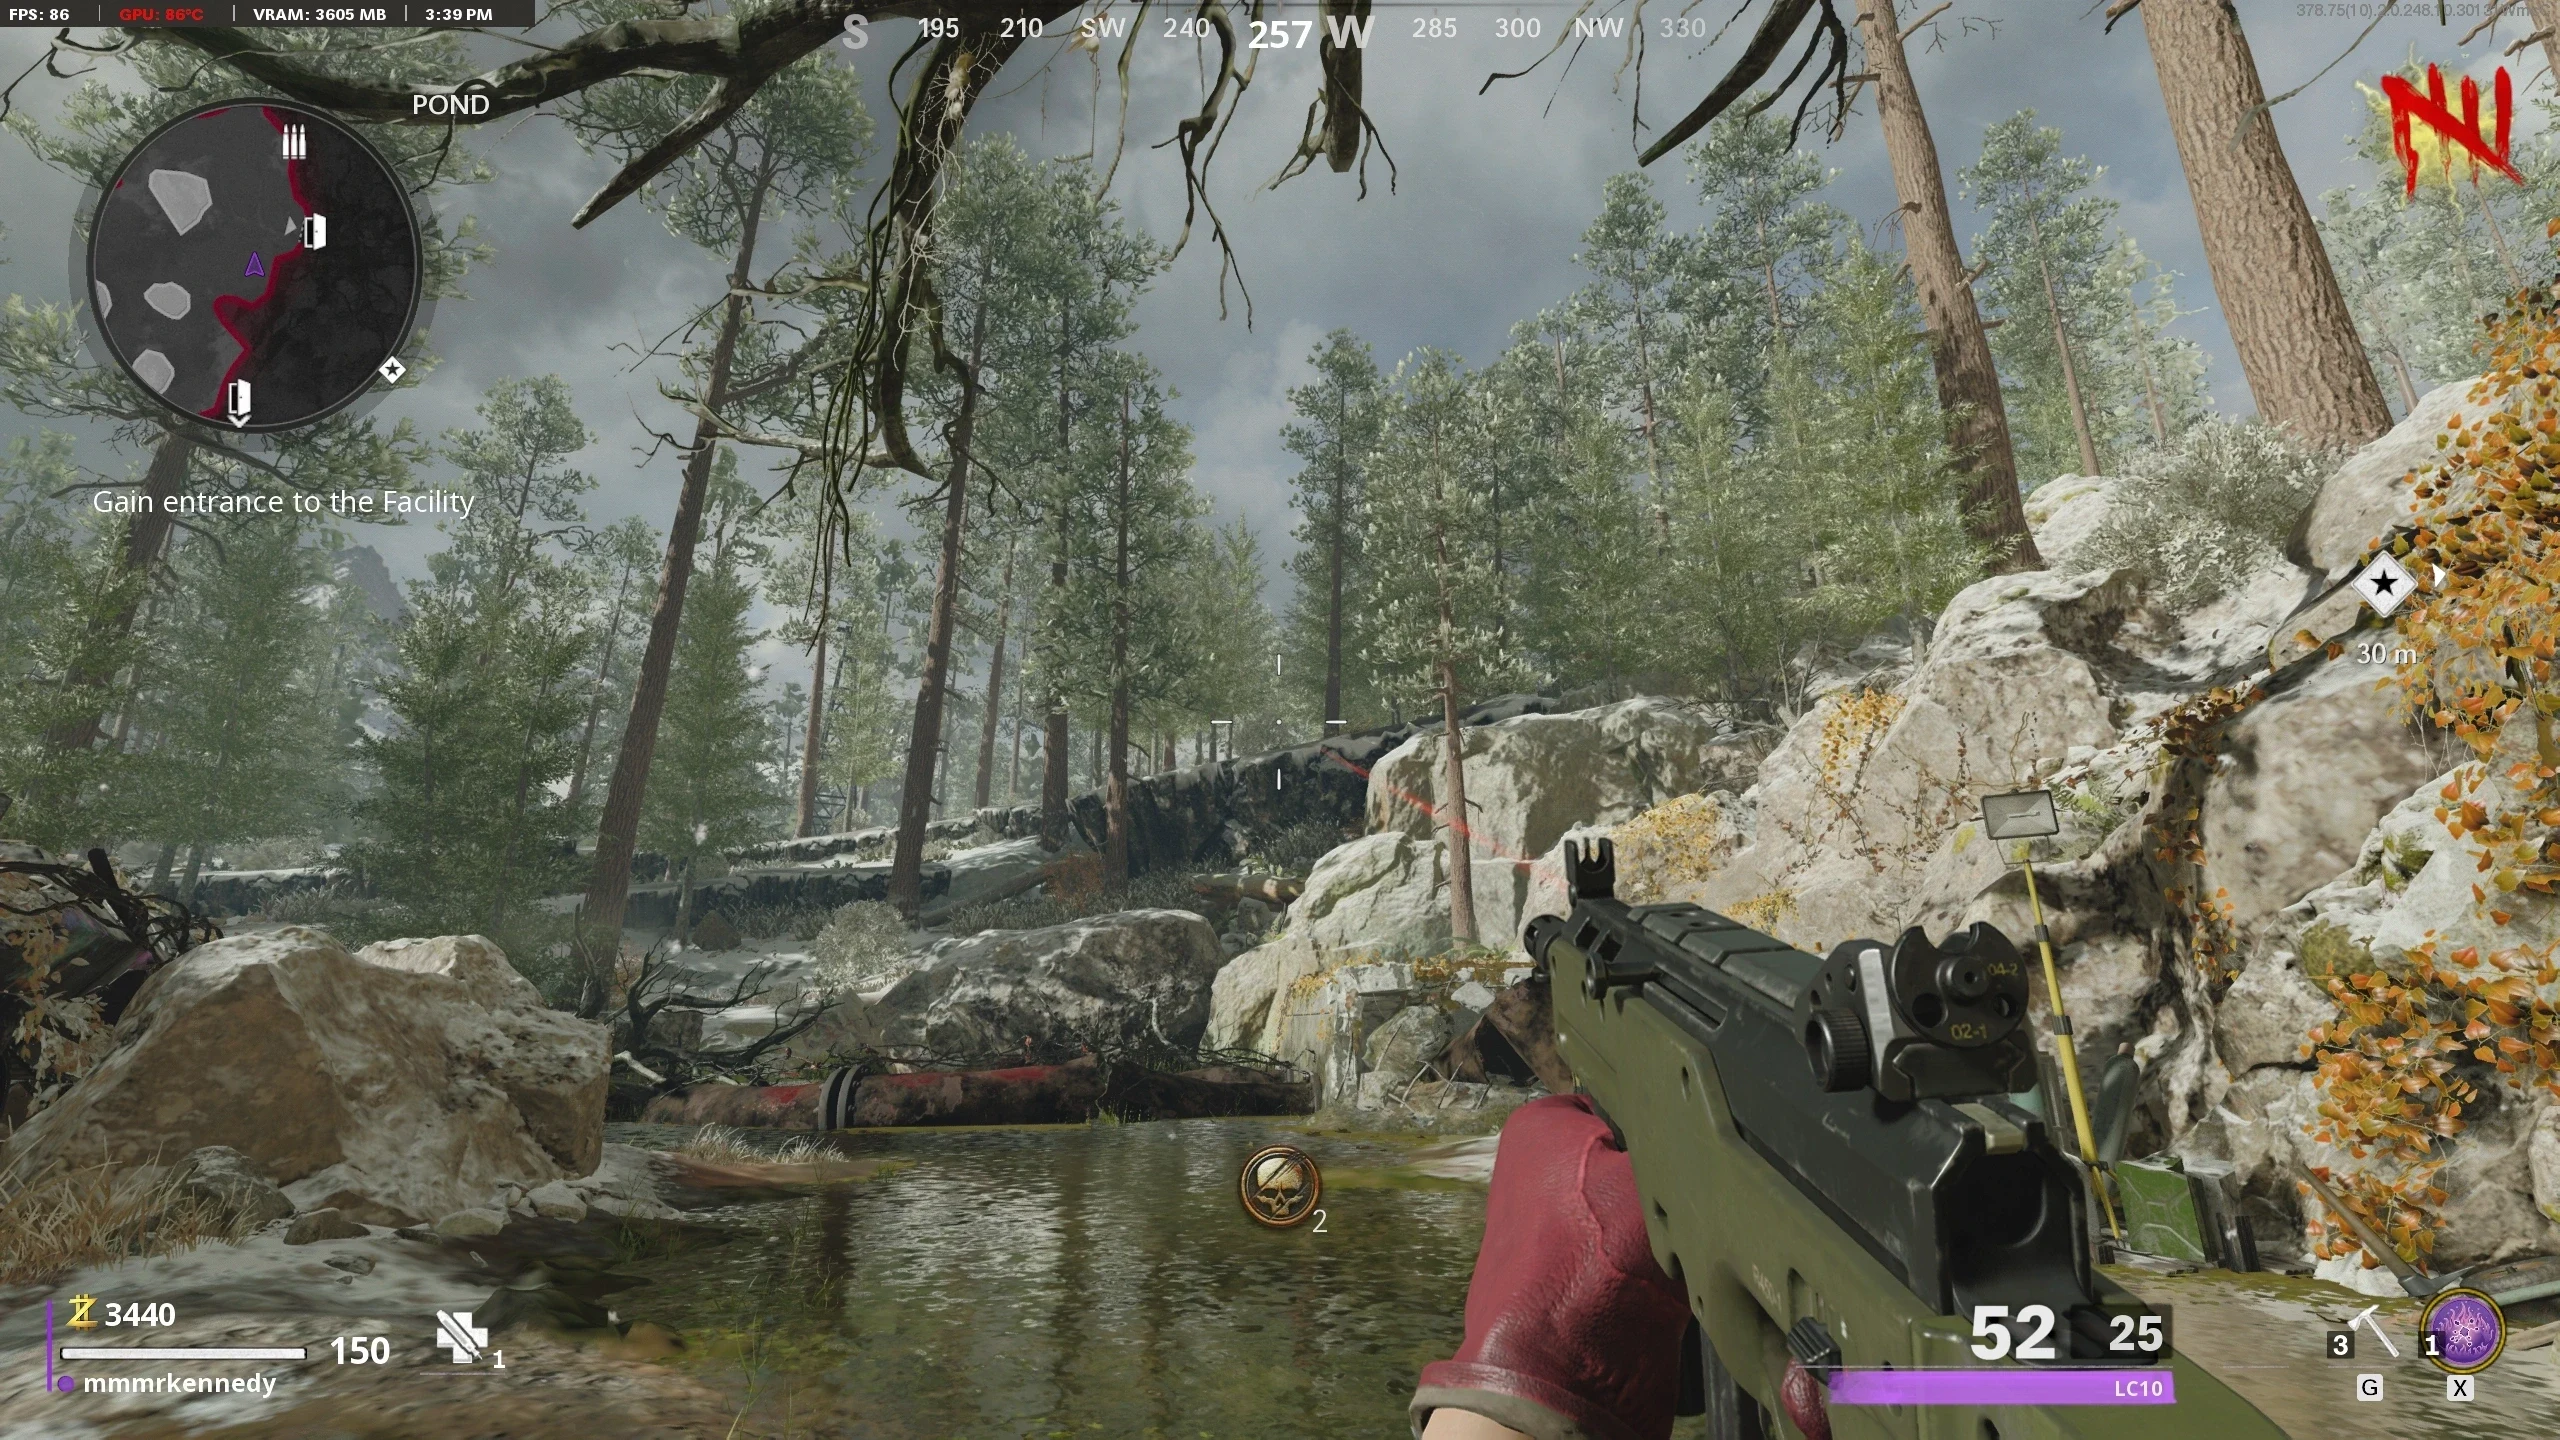
- Have a Megaton shoot the fungus on a tree in the 'Pond' with its long-range attack. If the Fungus is hit by the Megaton, it will turn purple.
- Place the Flask below the Fungus on the ground. Wait 60 Seconds for the flask to fill.
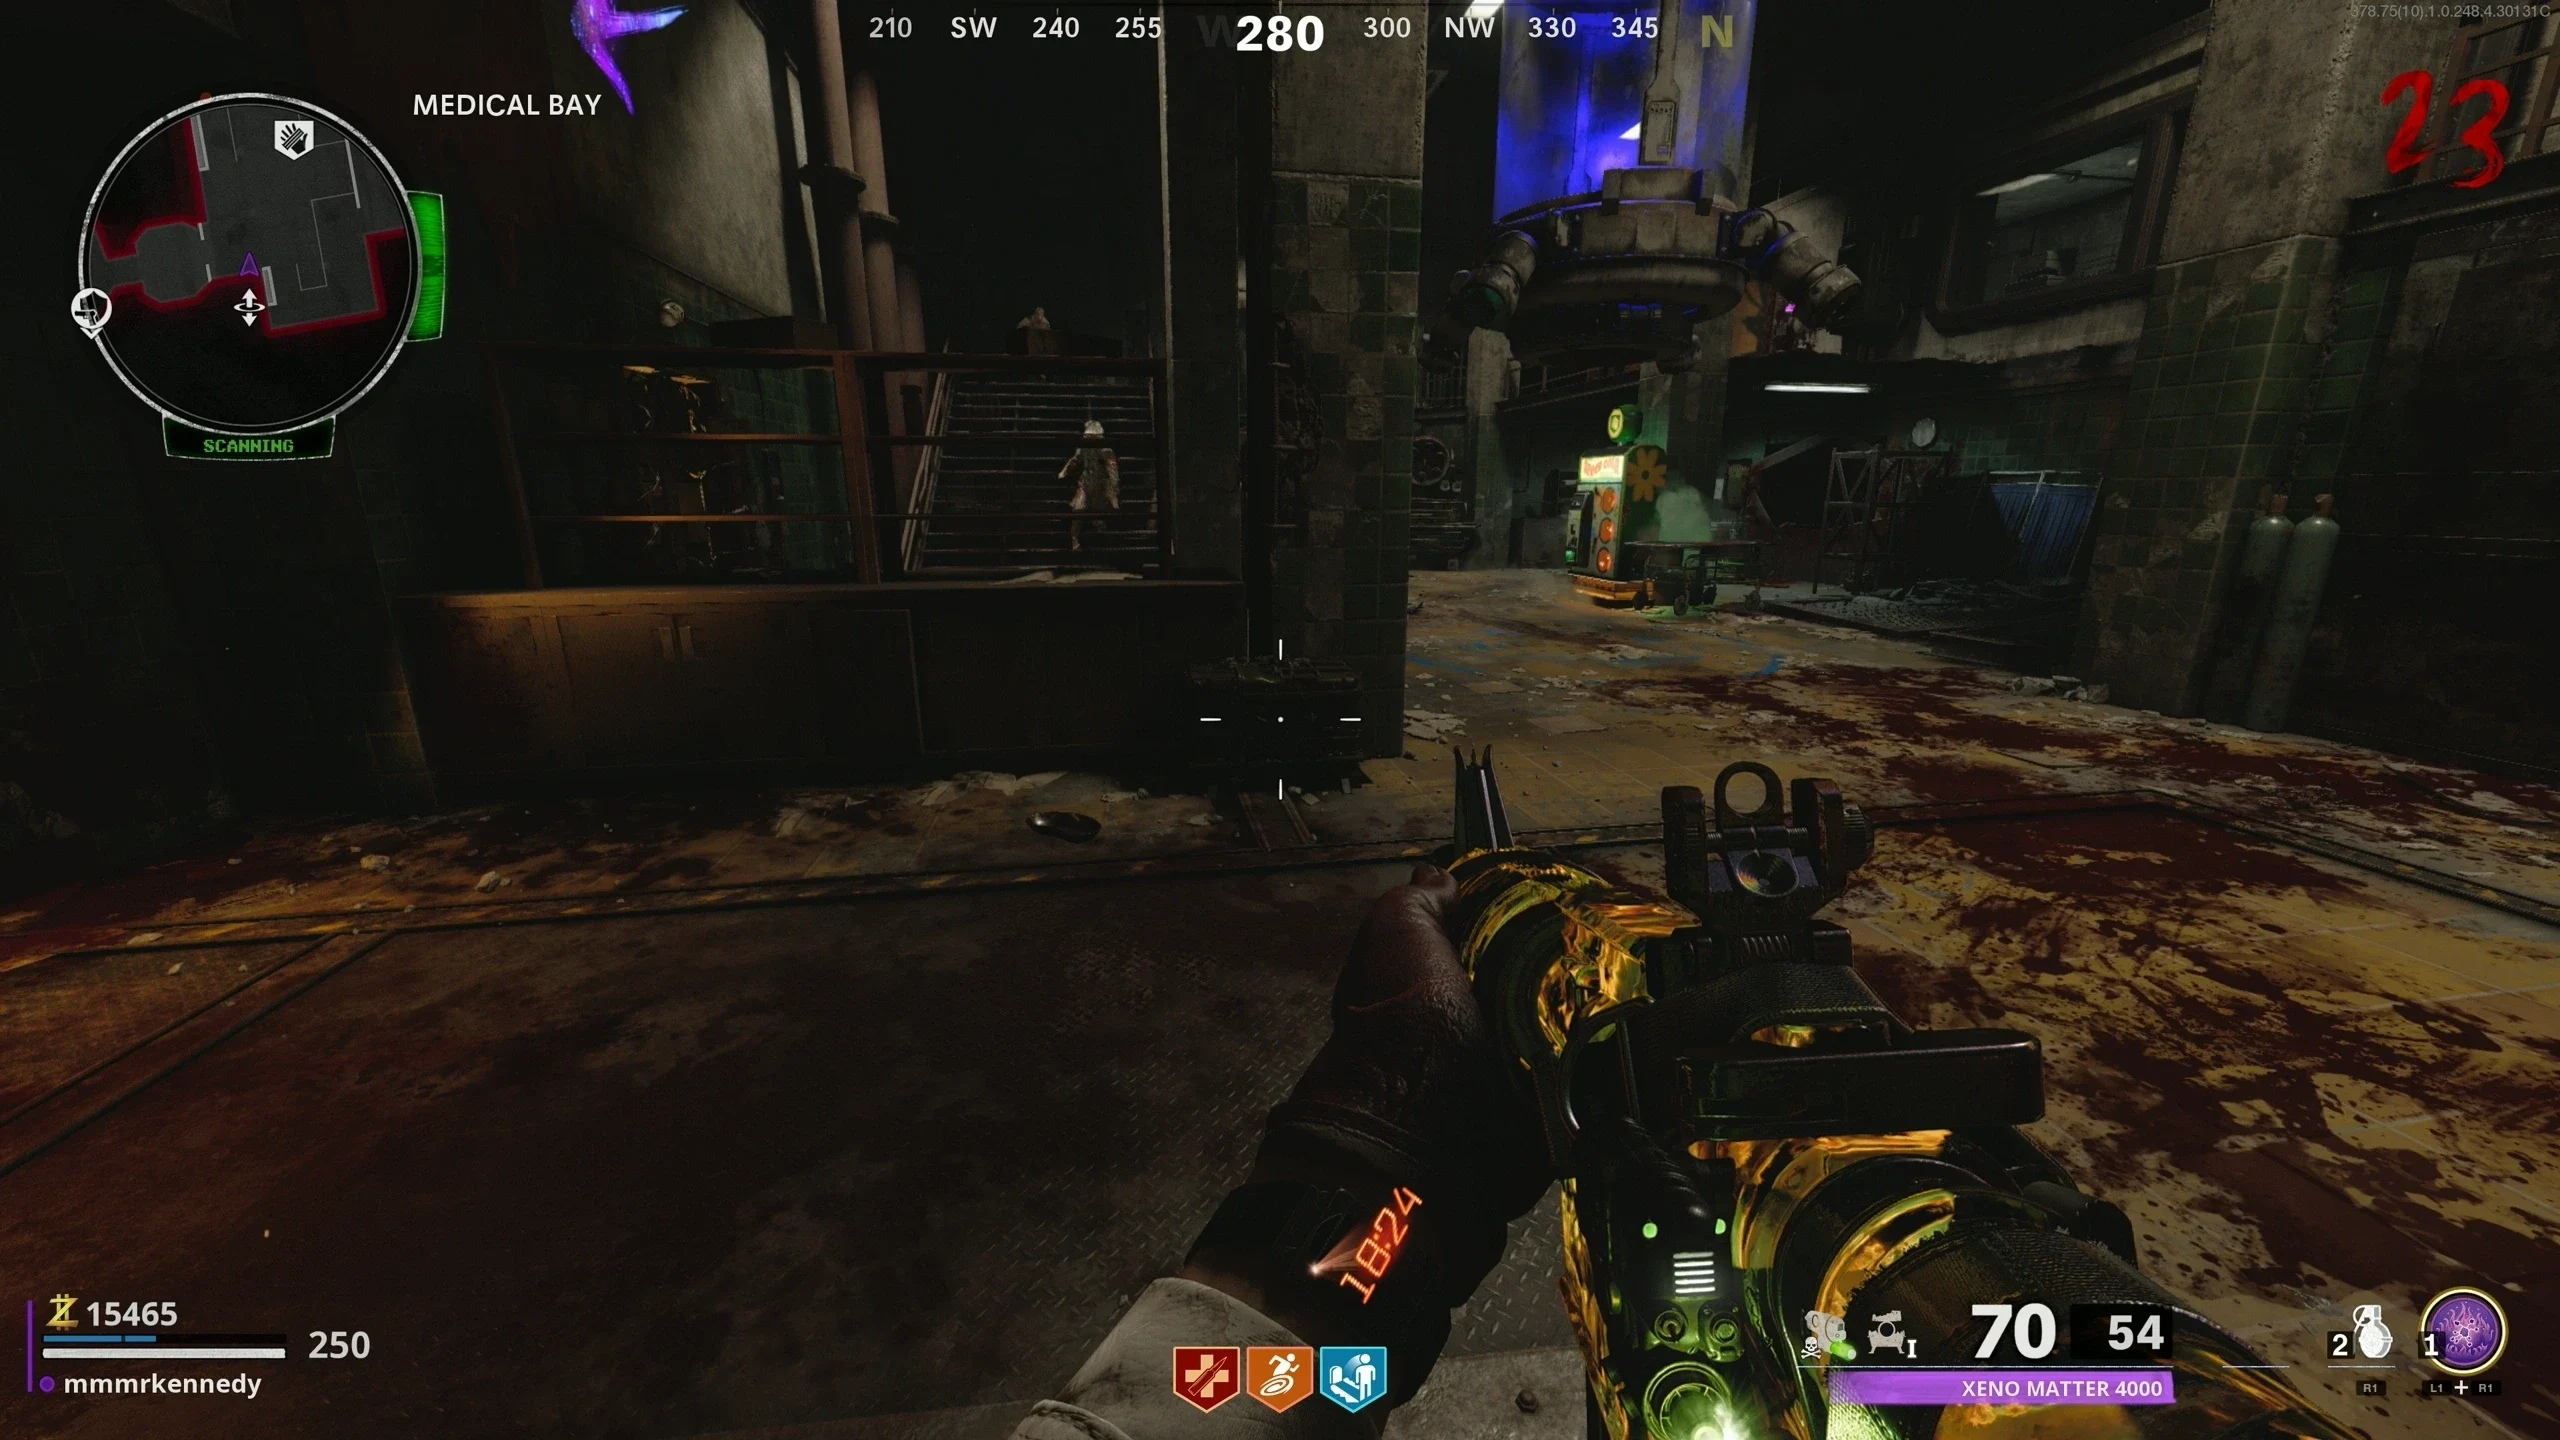
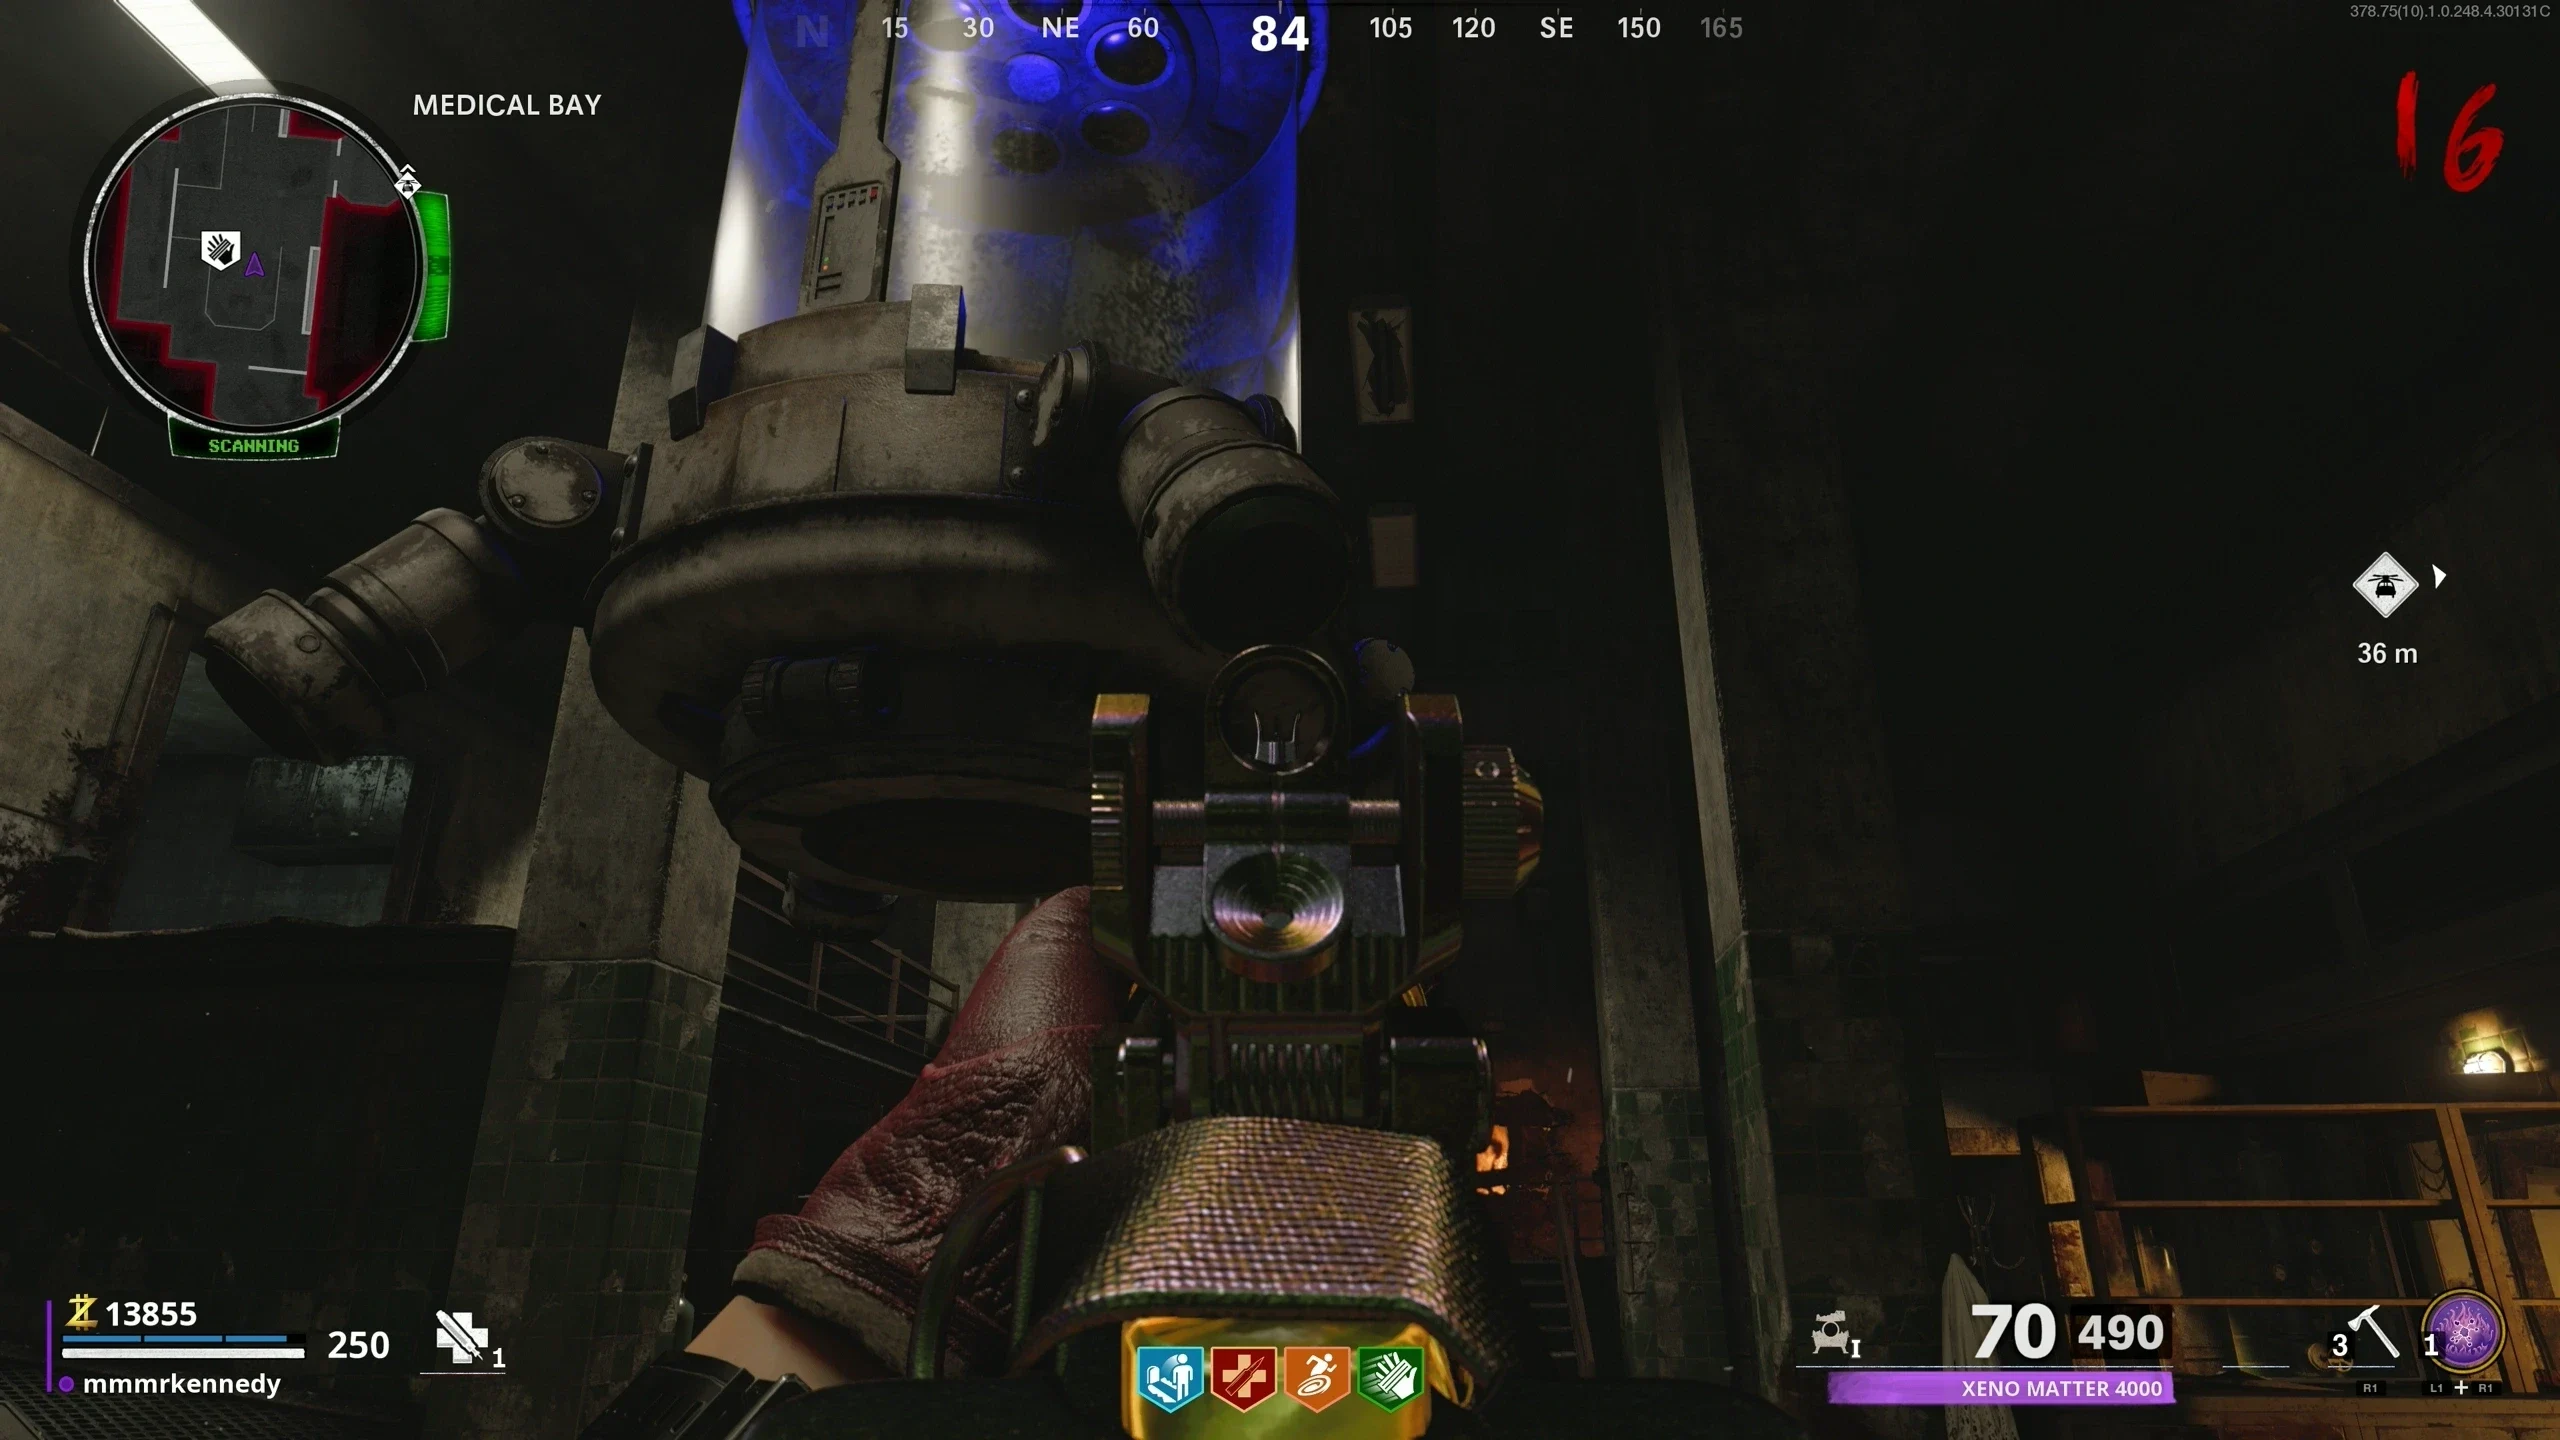
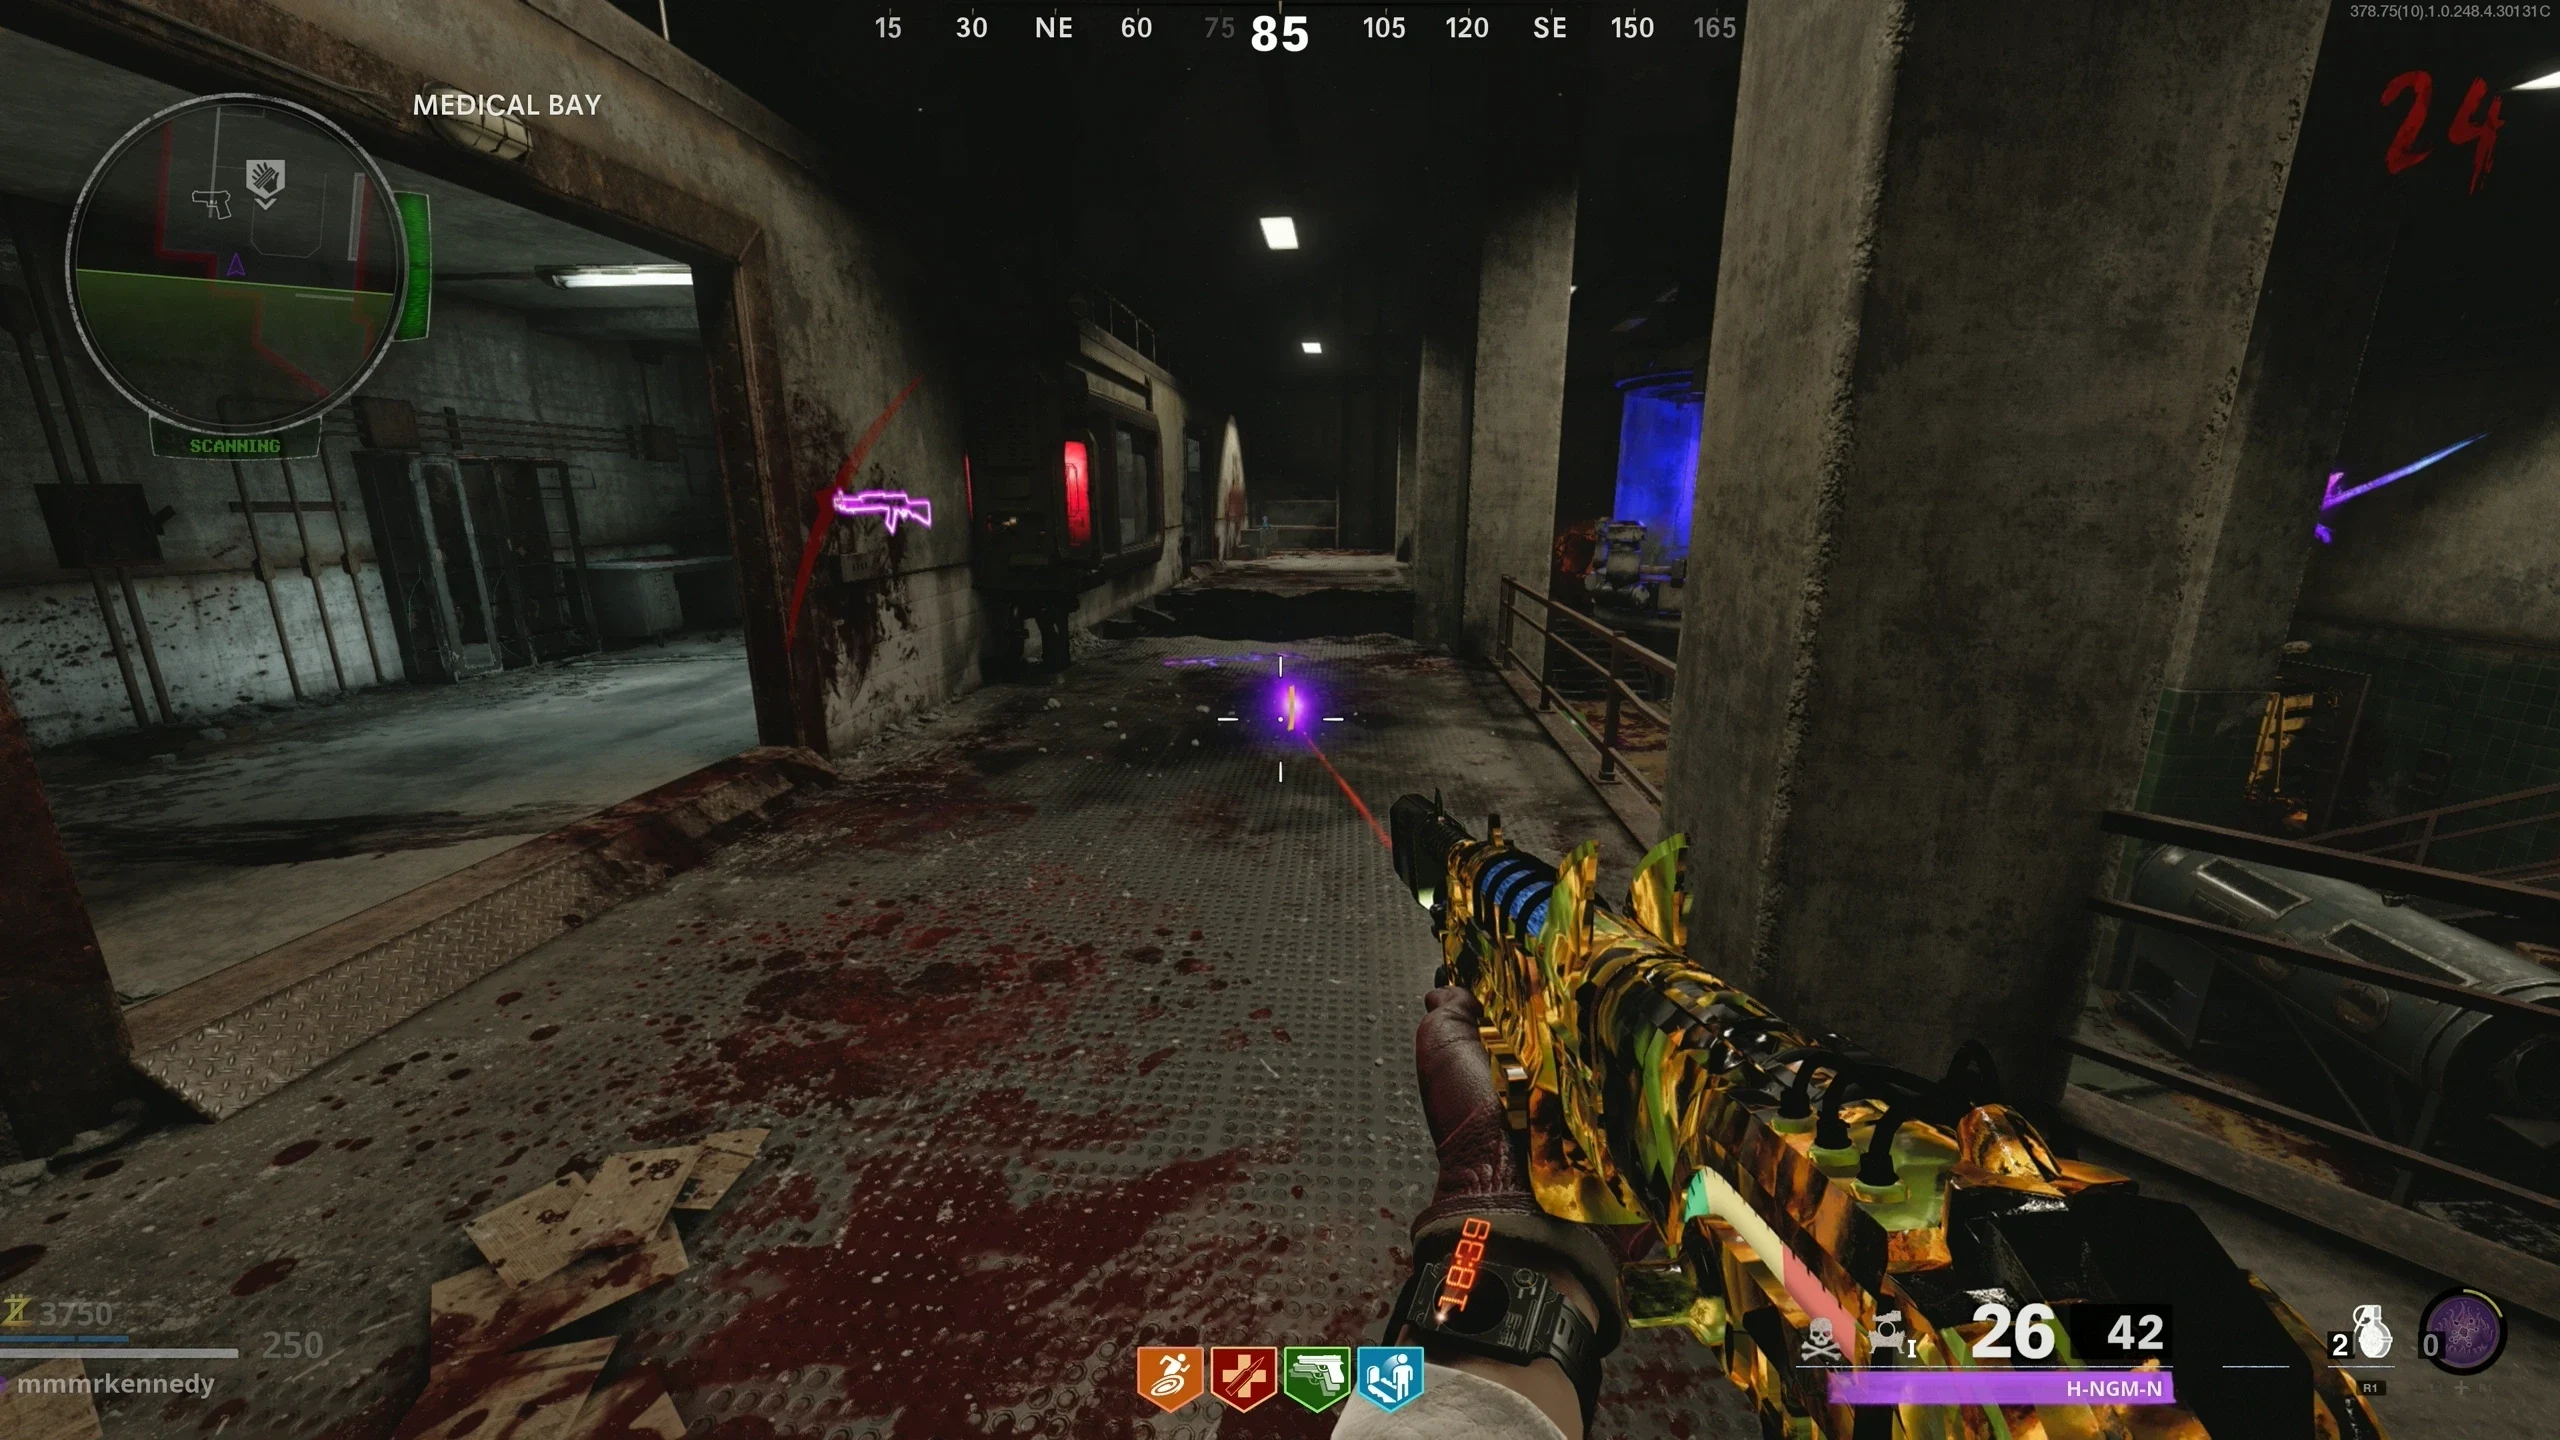
- Once filled, pick up the flask and interact with the Weapon Crate in the 'Medical Bay' to break the chains on it.
- The Cryo Emitter upgrade can now be picked up from the Weapon Crate.
Elecrobolt
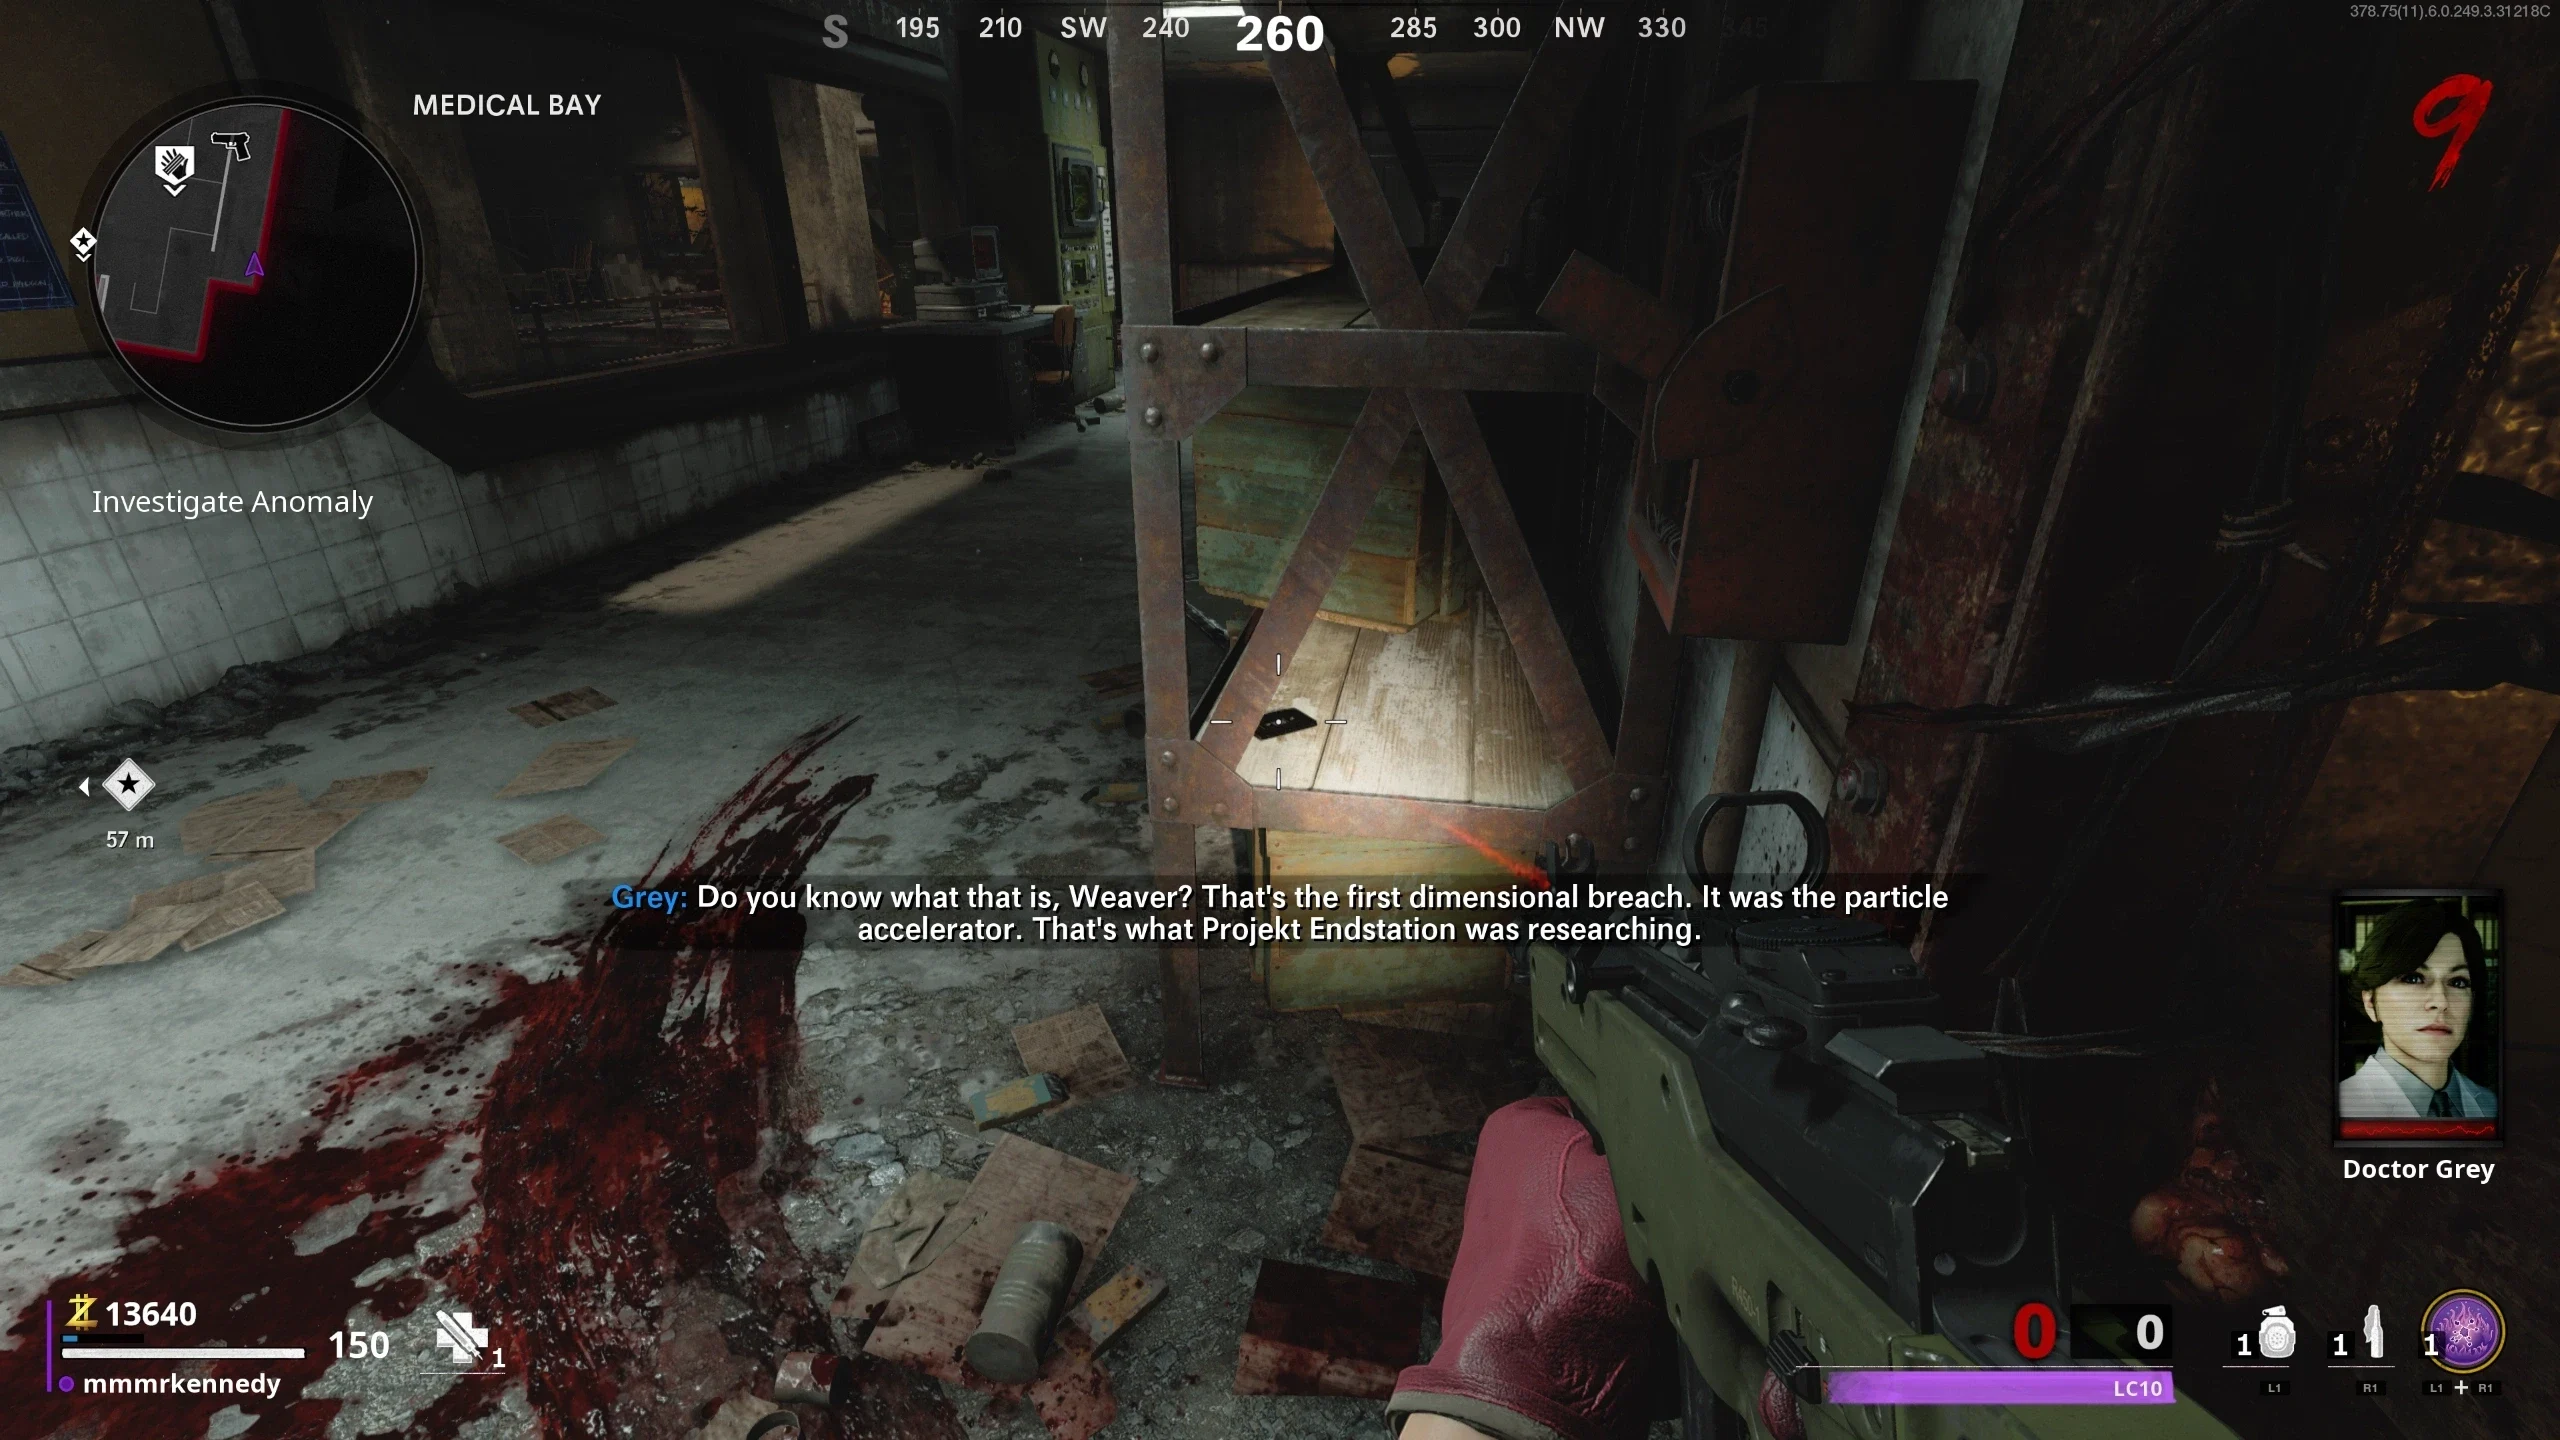
- Complete Steps 1–6 of the Main Quest.
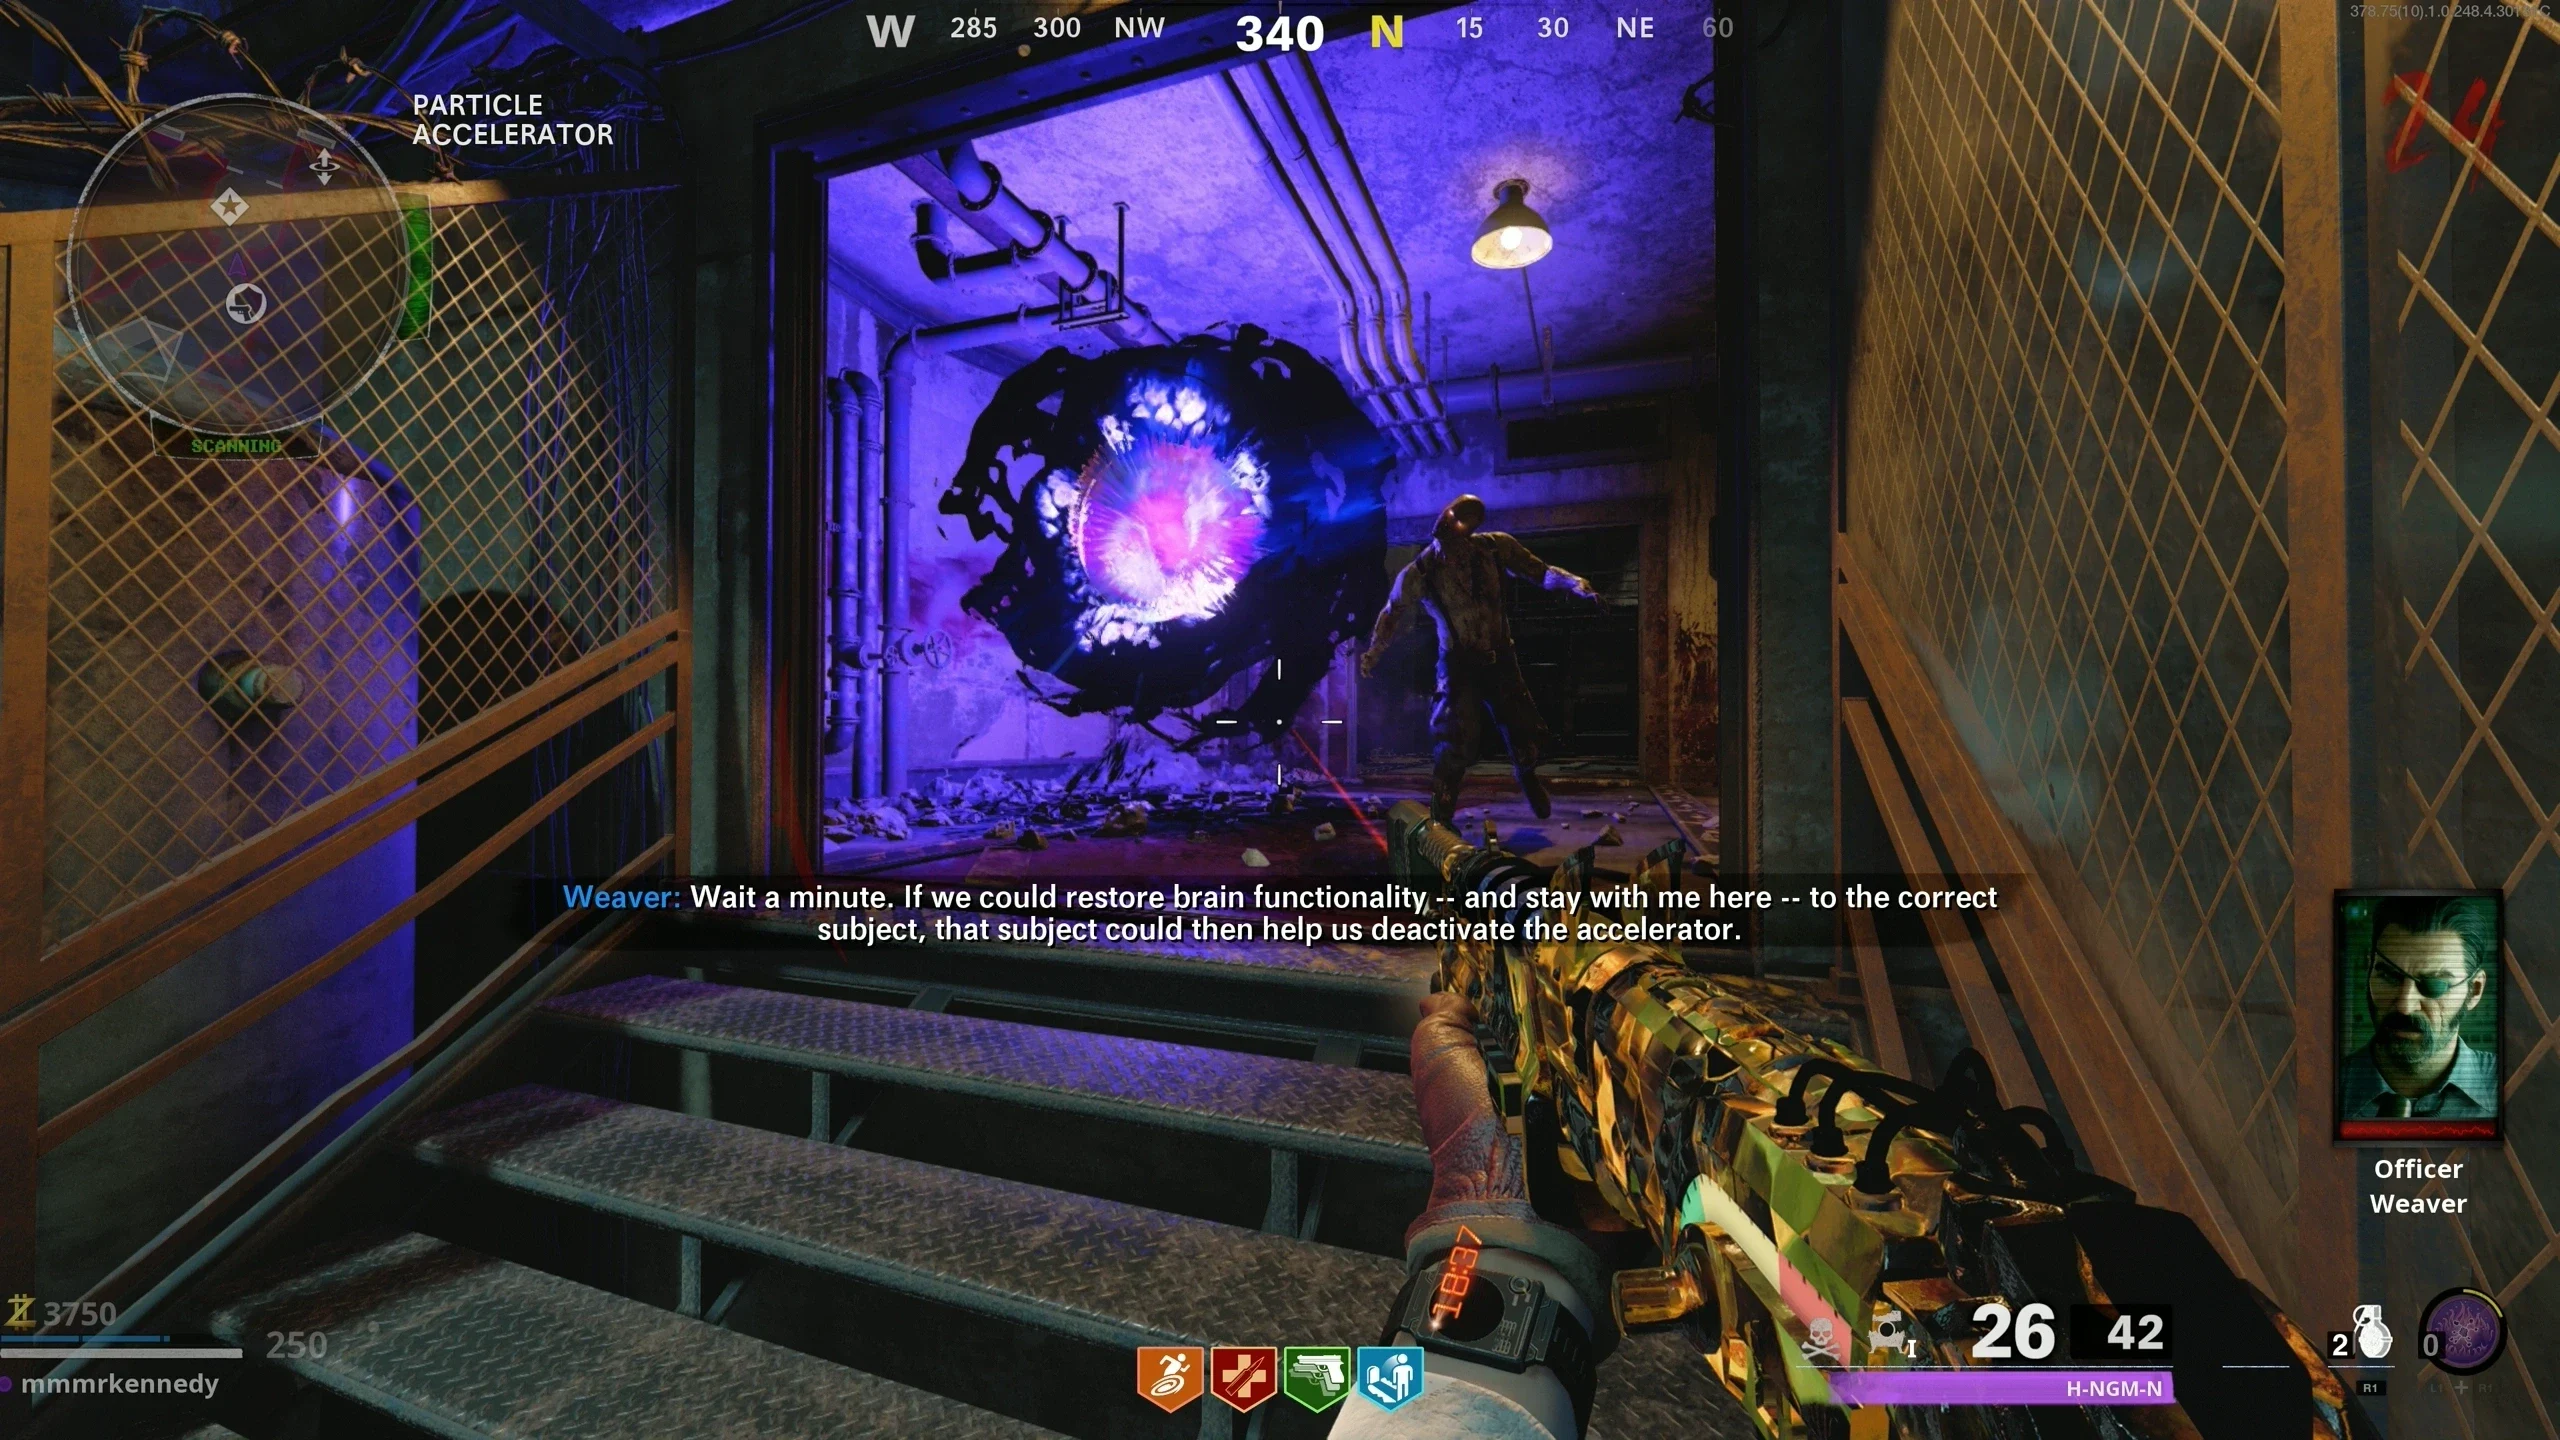
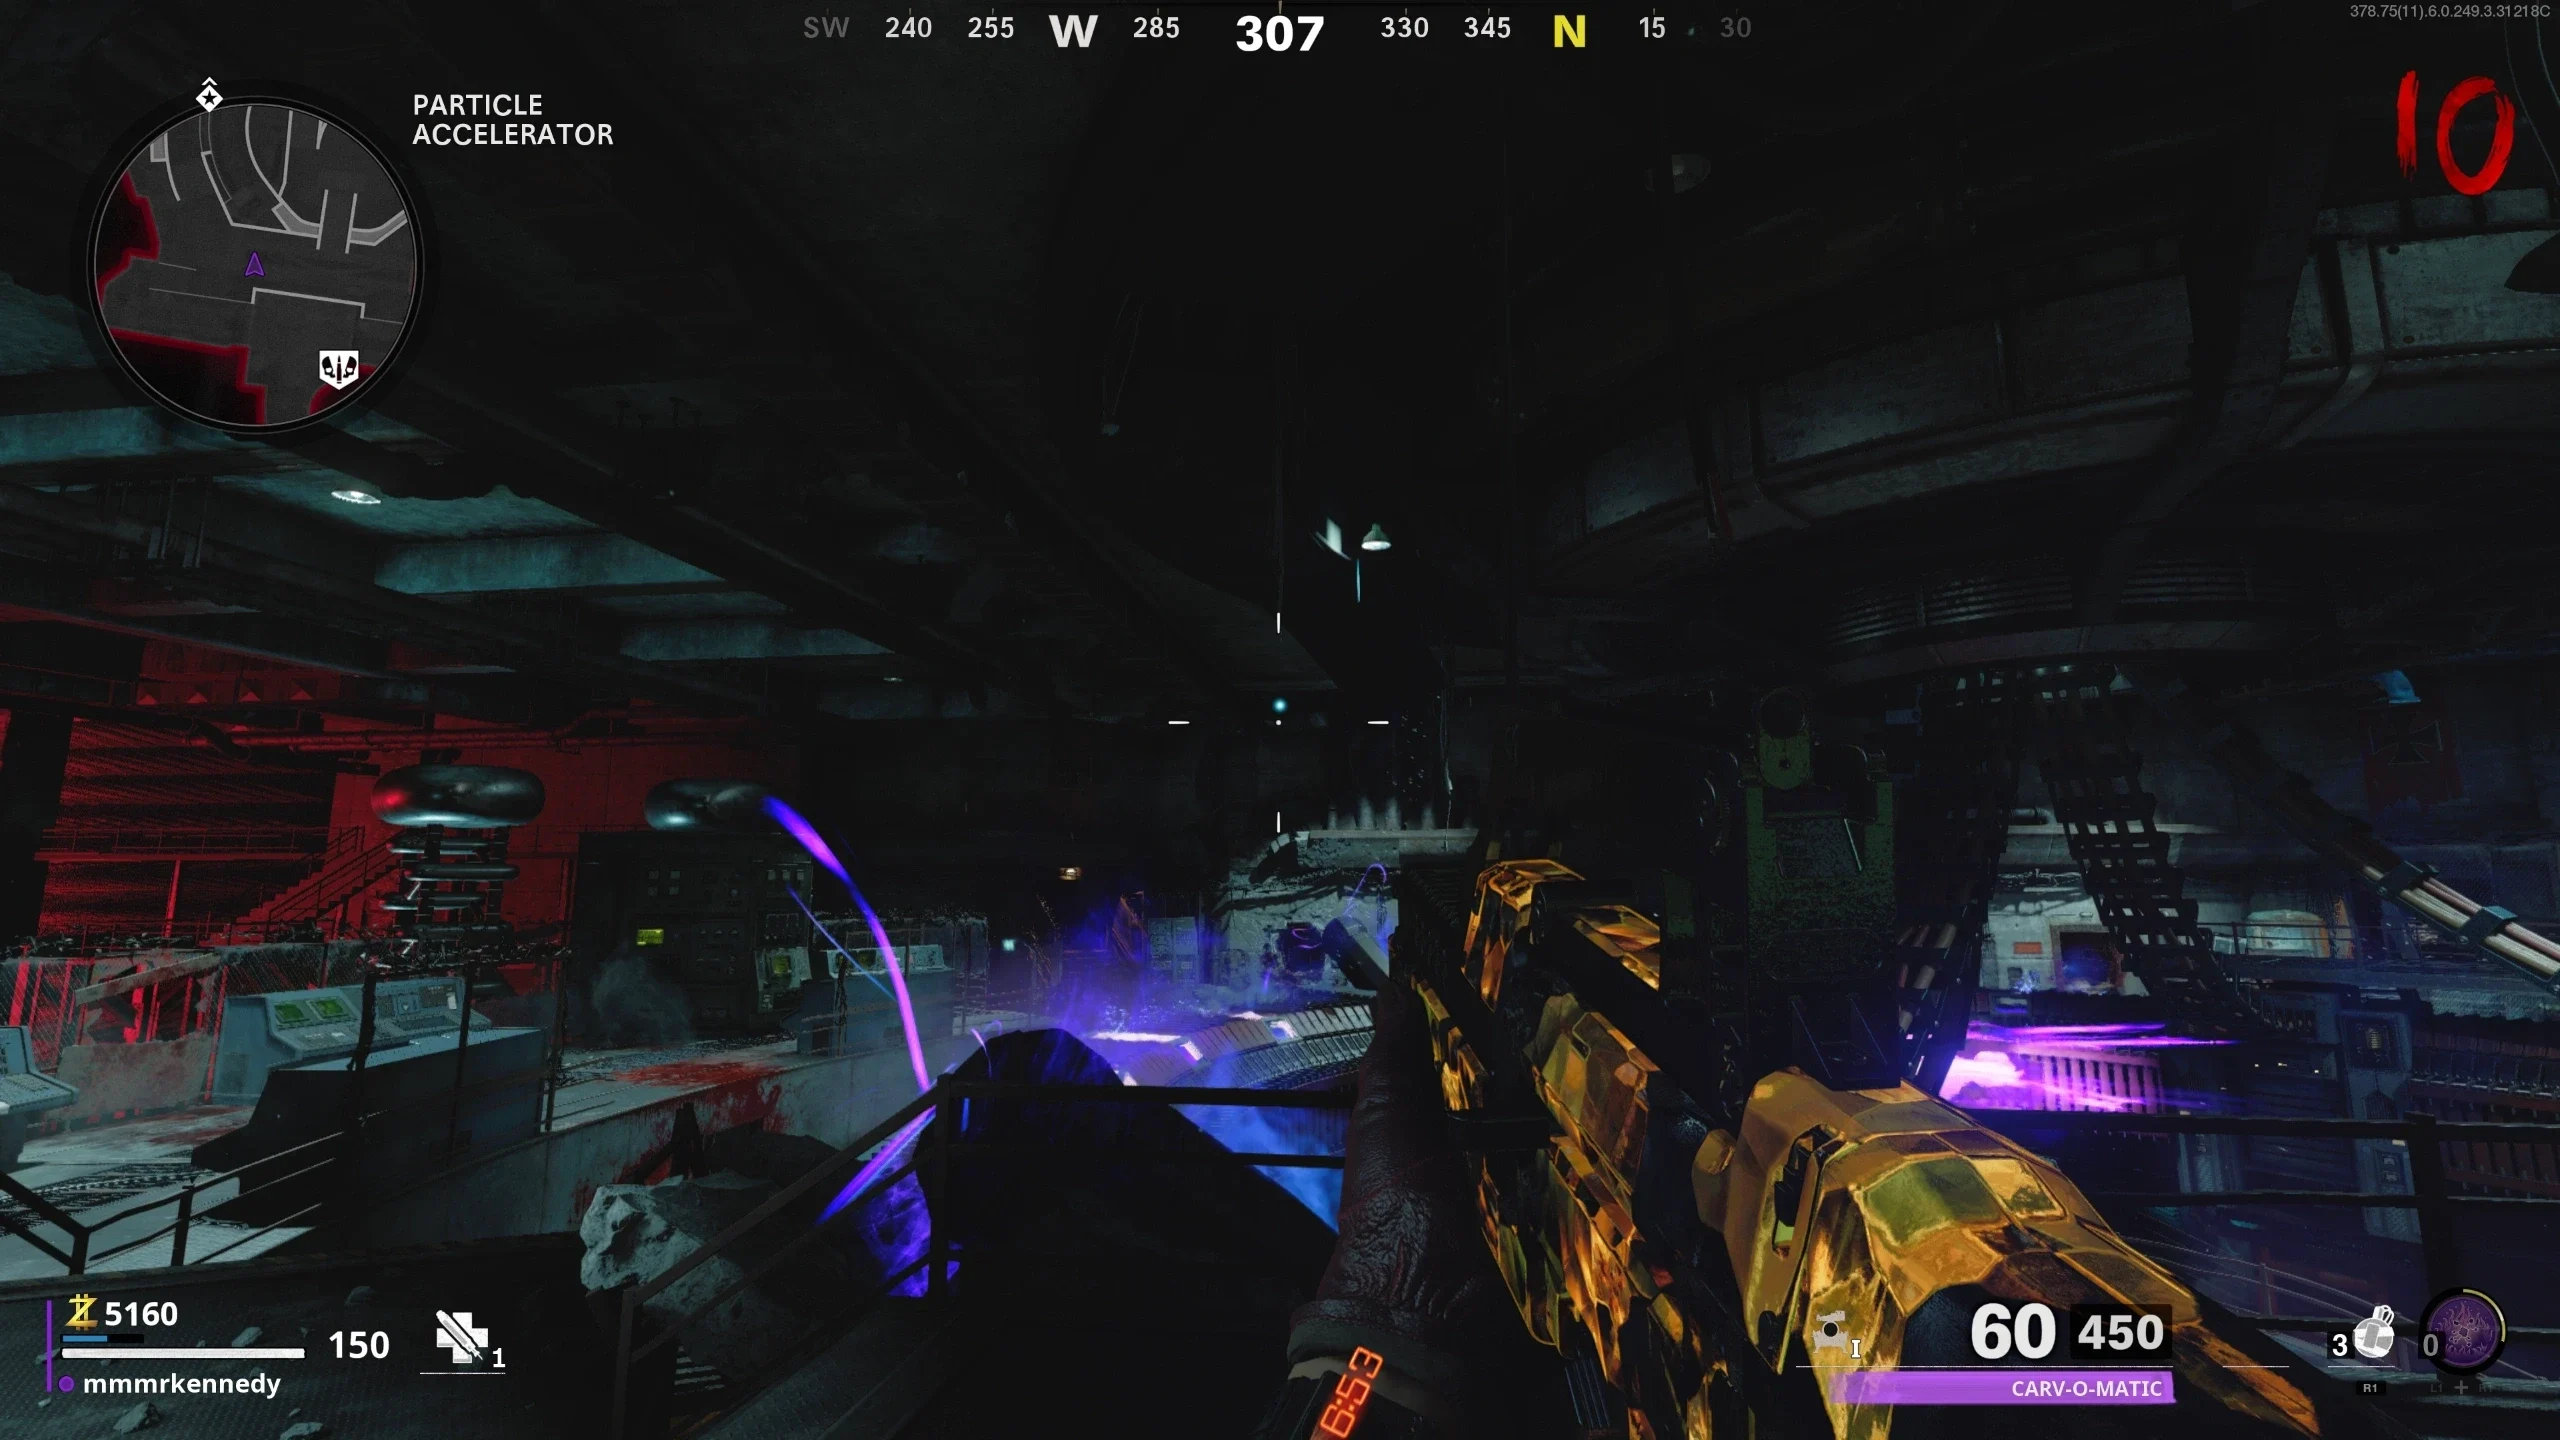
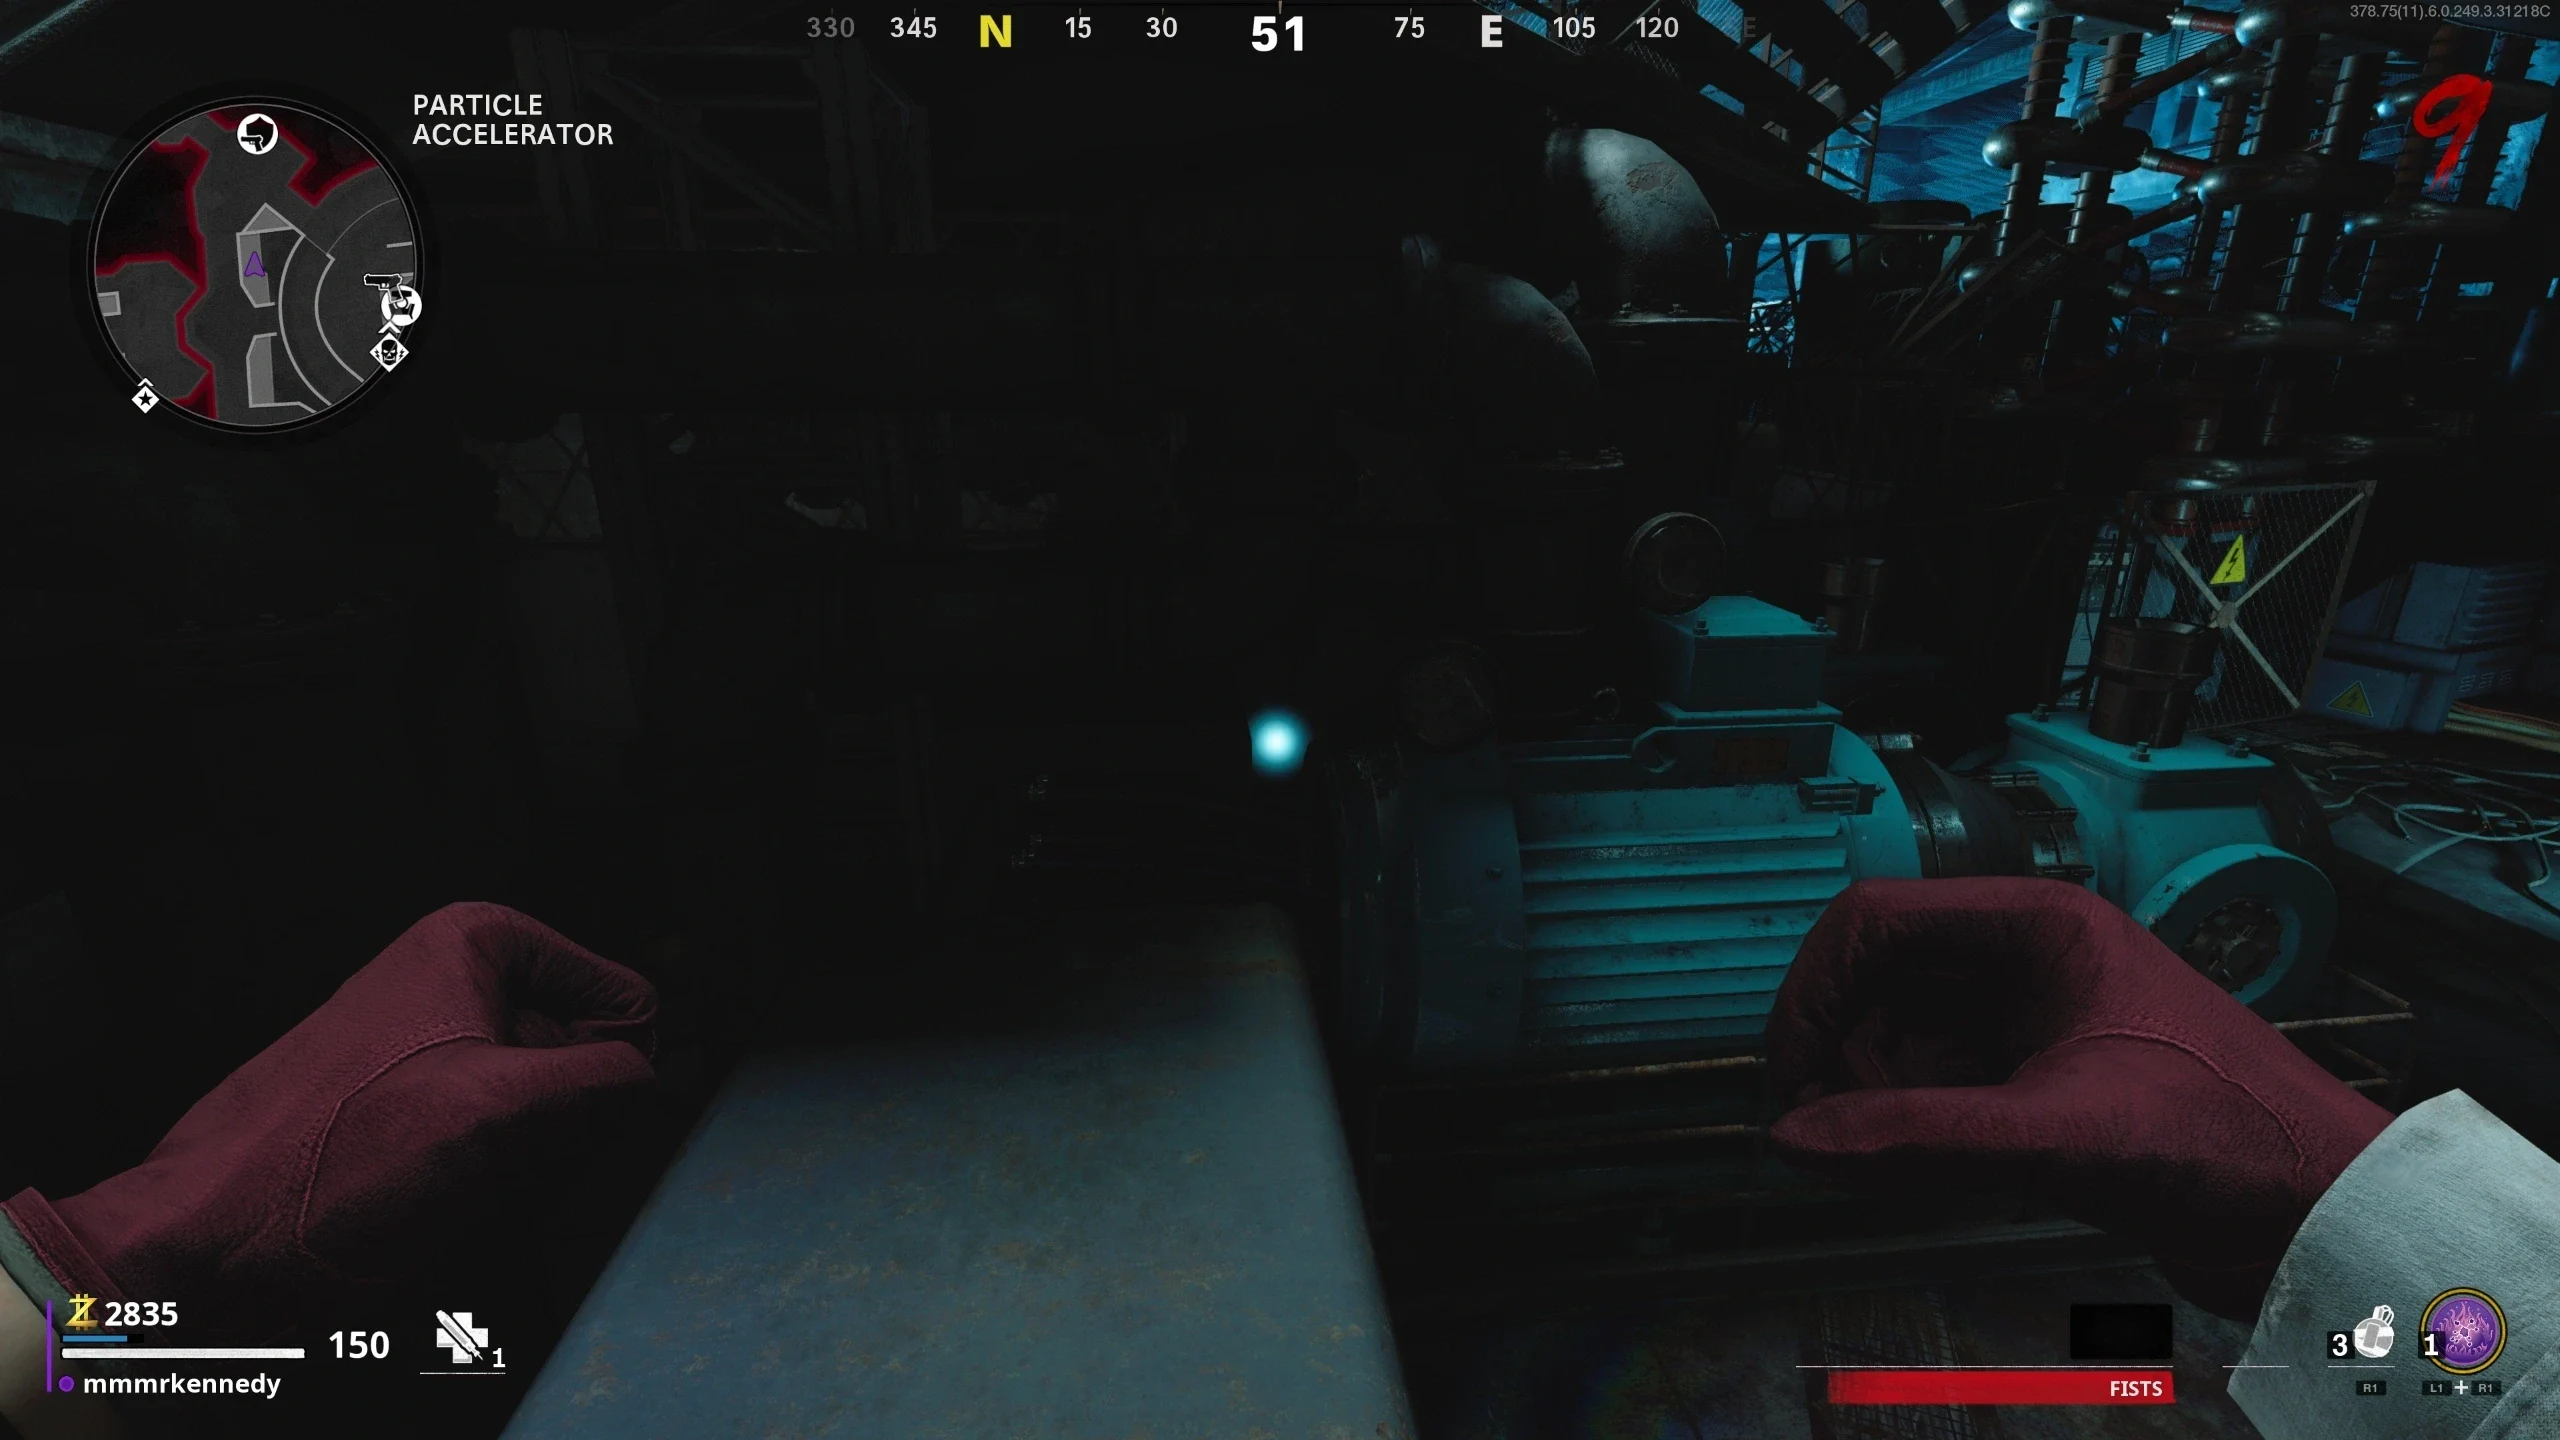
- Enter the Anomaly on the lowest level of the Particle Accelerator.
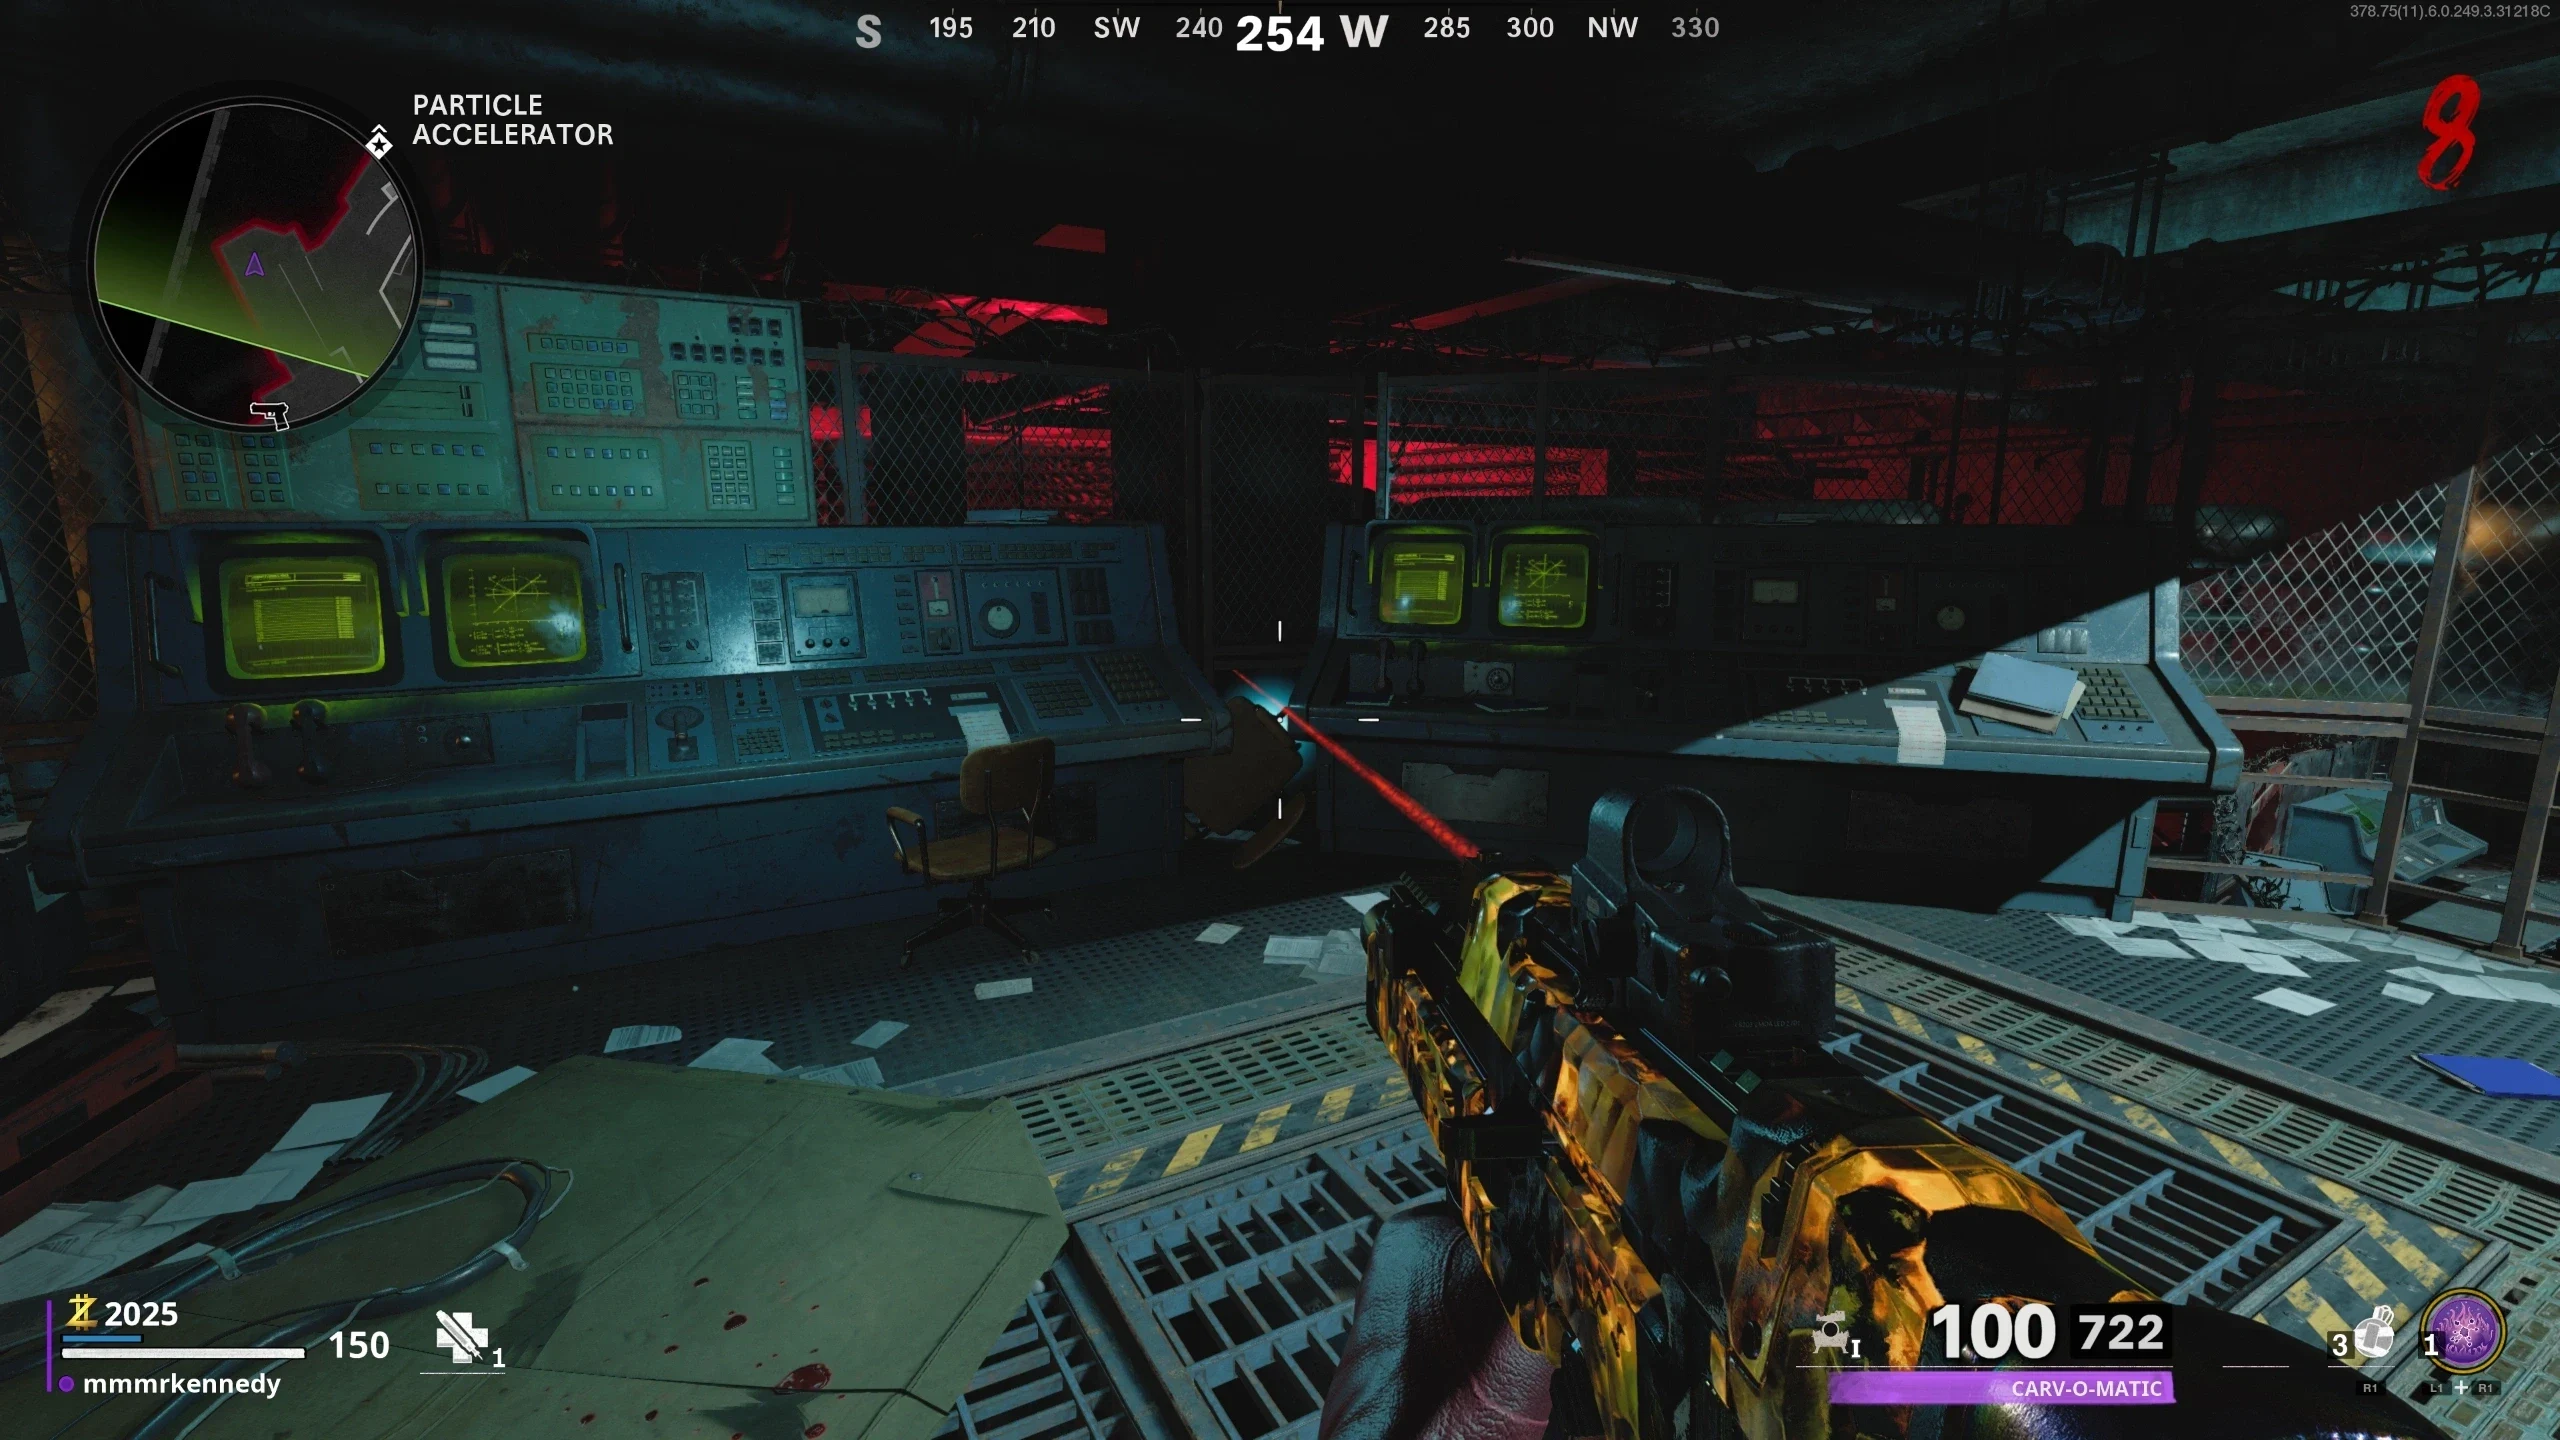
- Locate three Glowing Crystals and use the Alt Fire mode on the D.I.E. to collect the energy. Only one crystal's energy can be held at a time. Crystal Locations:
Warning: Other variants of the D.I.E. might struggle to accurately do the following step, so it is recommended to return the D.I.E. to the Shockwave/default variant.
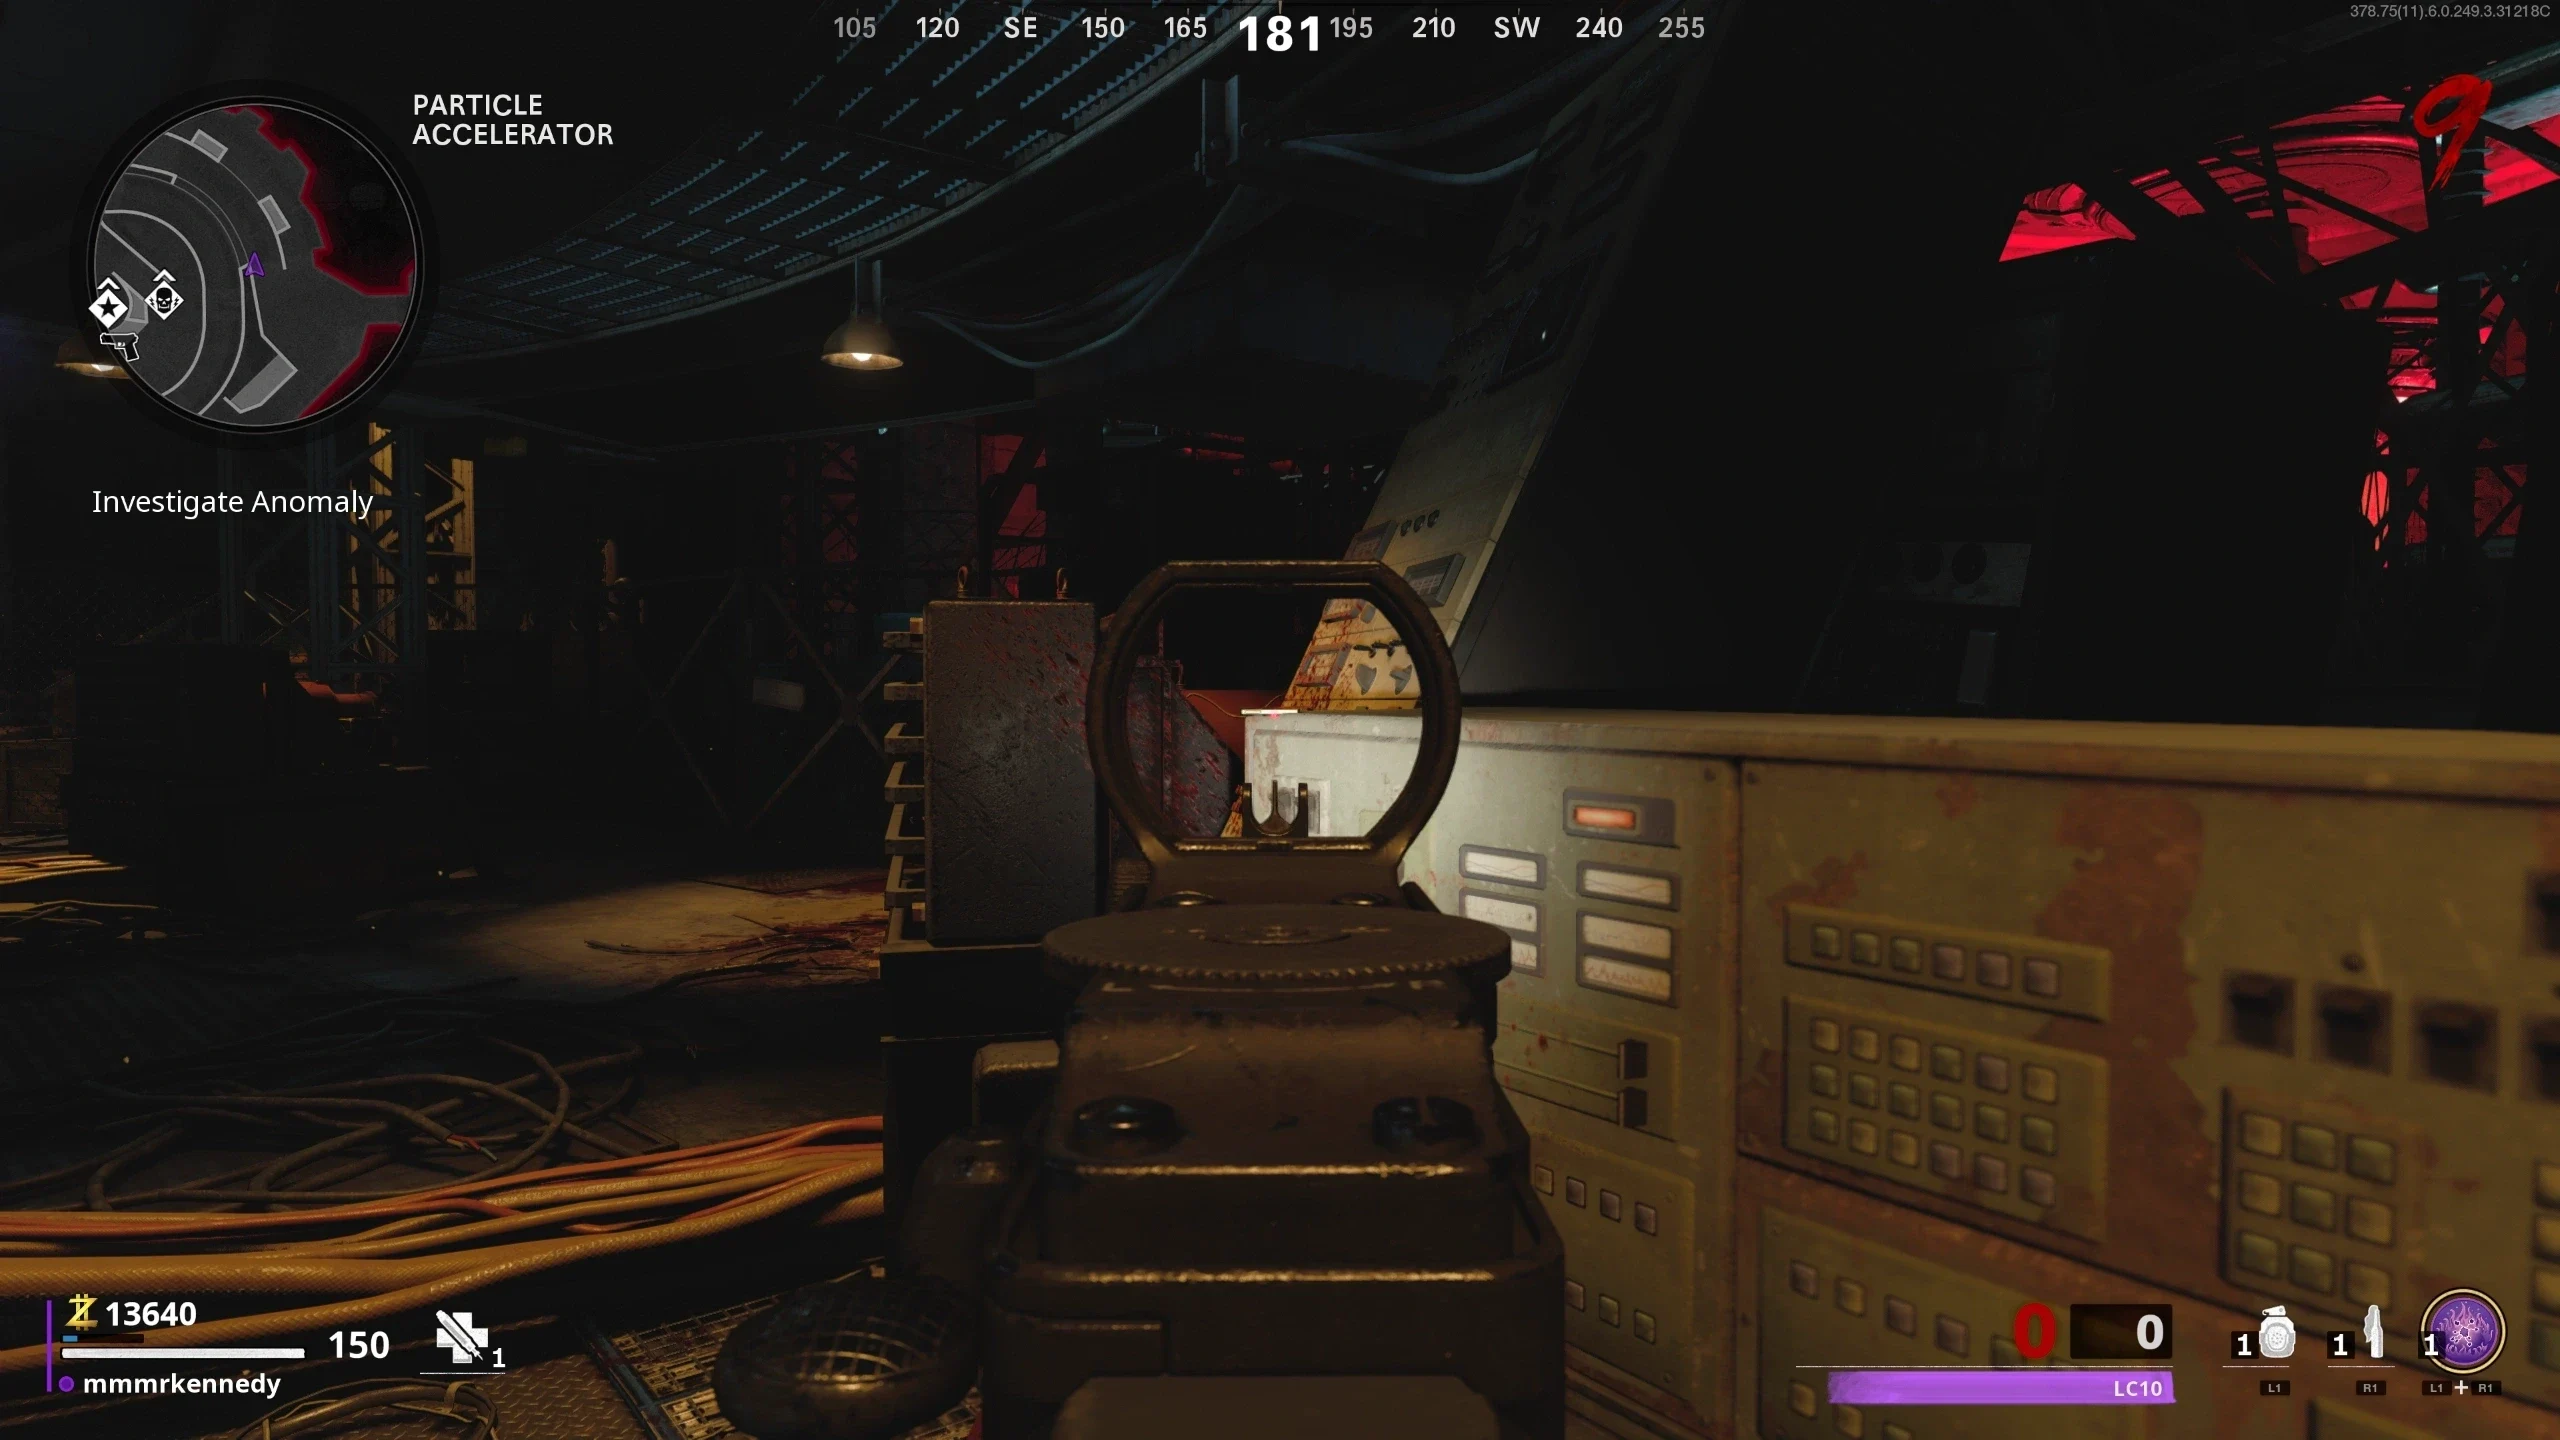
- While the D.I.E. has the energy, shoot the Weapon Crate in the 'Particle Accelerator' with the D.I.E. If done correctly, one of the crystals on the crate will begin glowing.
- Once all three crystal's energy has been transferred to the crate, you can pick up the upgrade from the Weapon Crate.
Thermophasic
- Complete Steps 1–6 of the Main Quest.
- Enter the Anomaly in the 'Pond.'
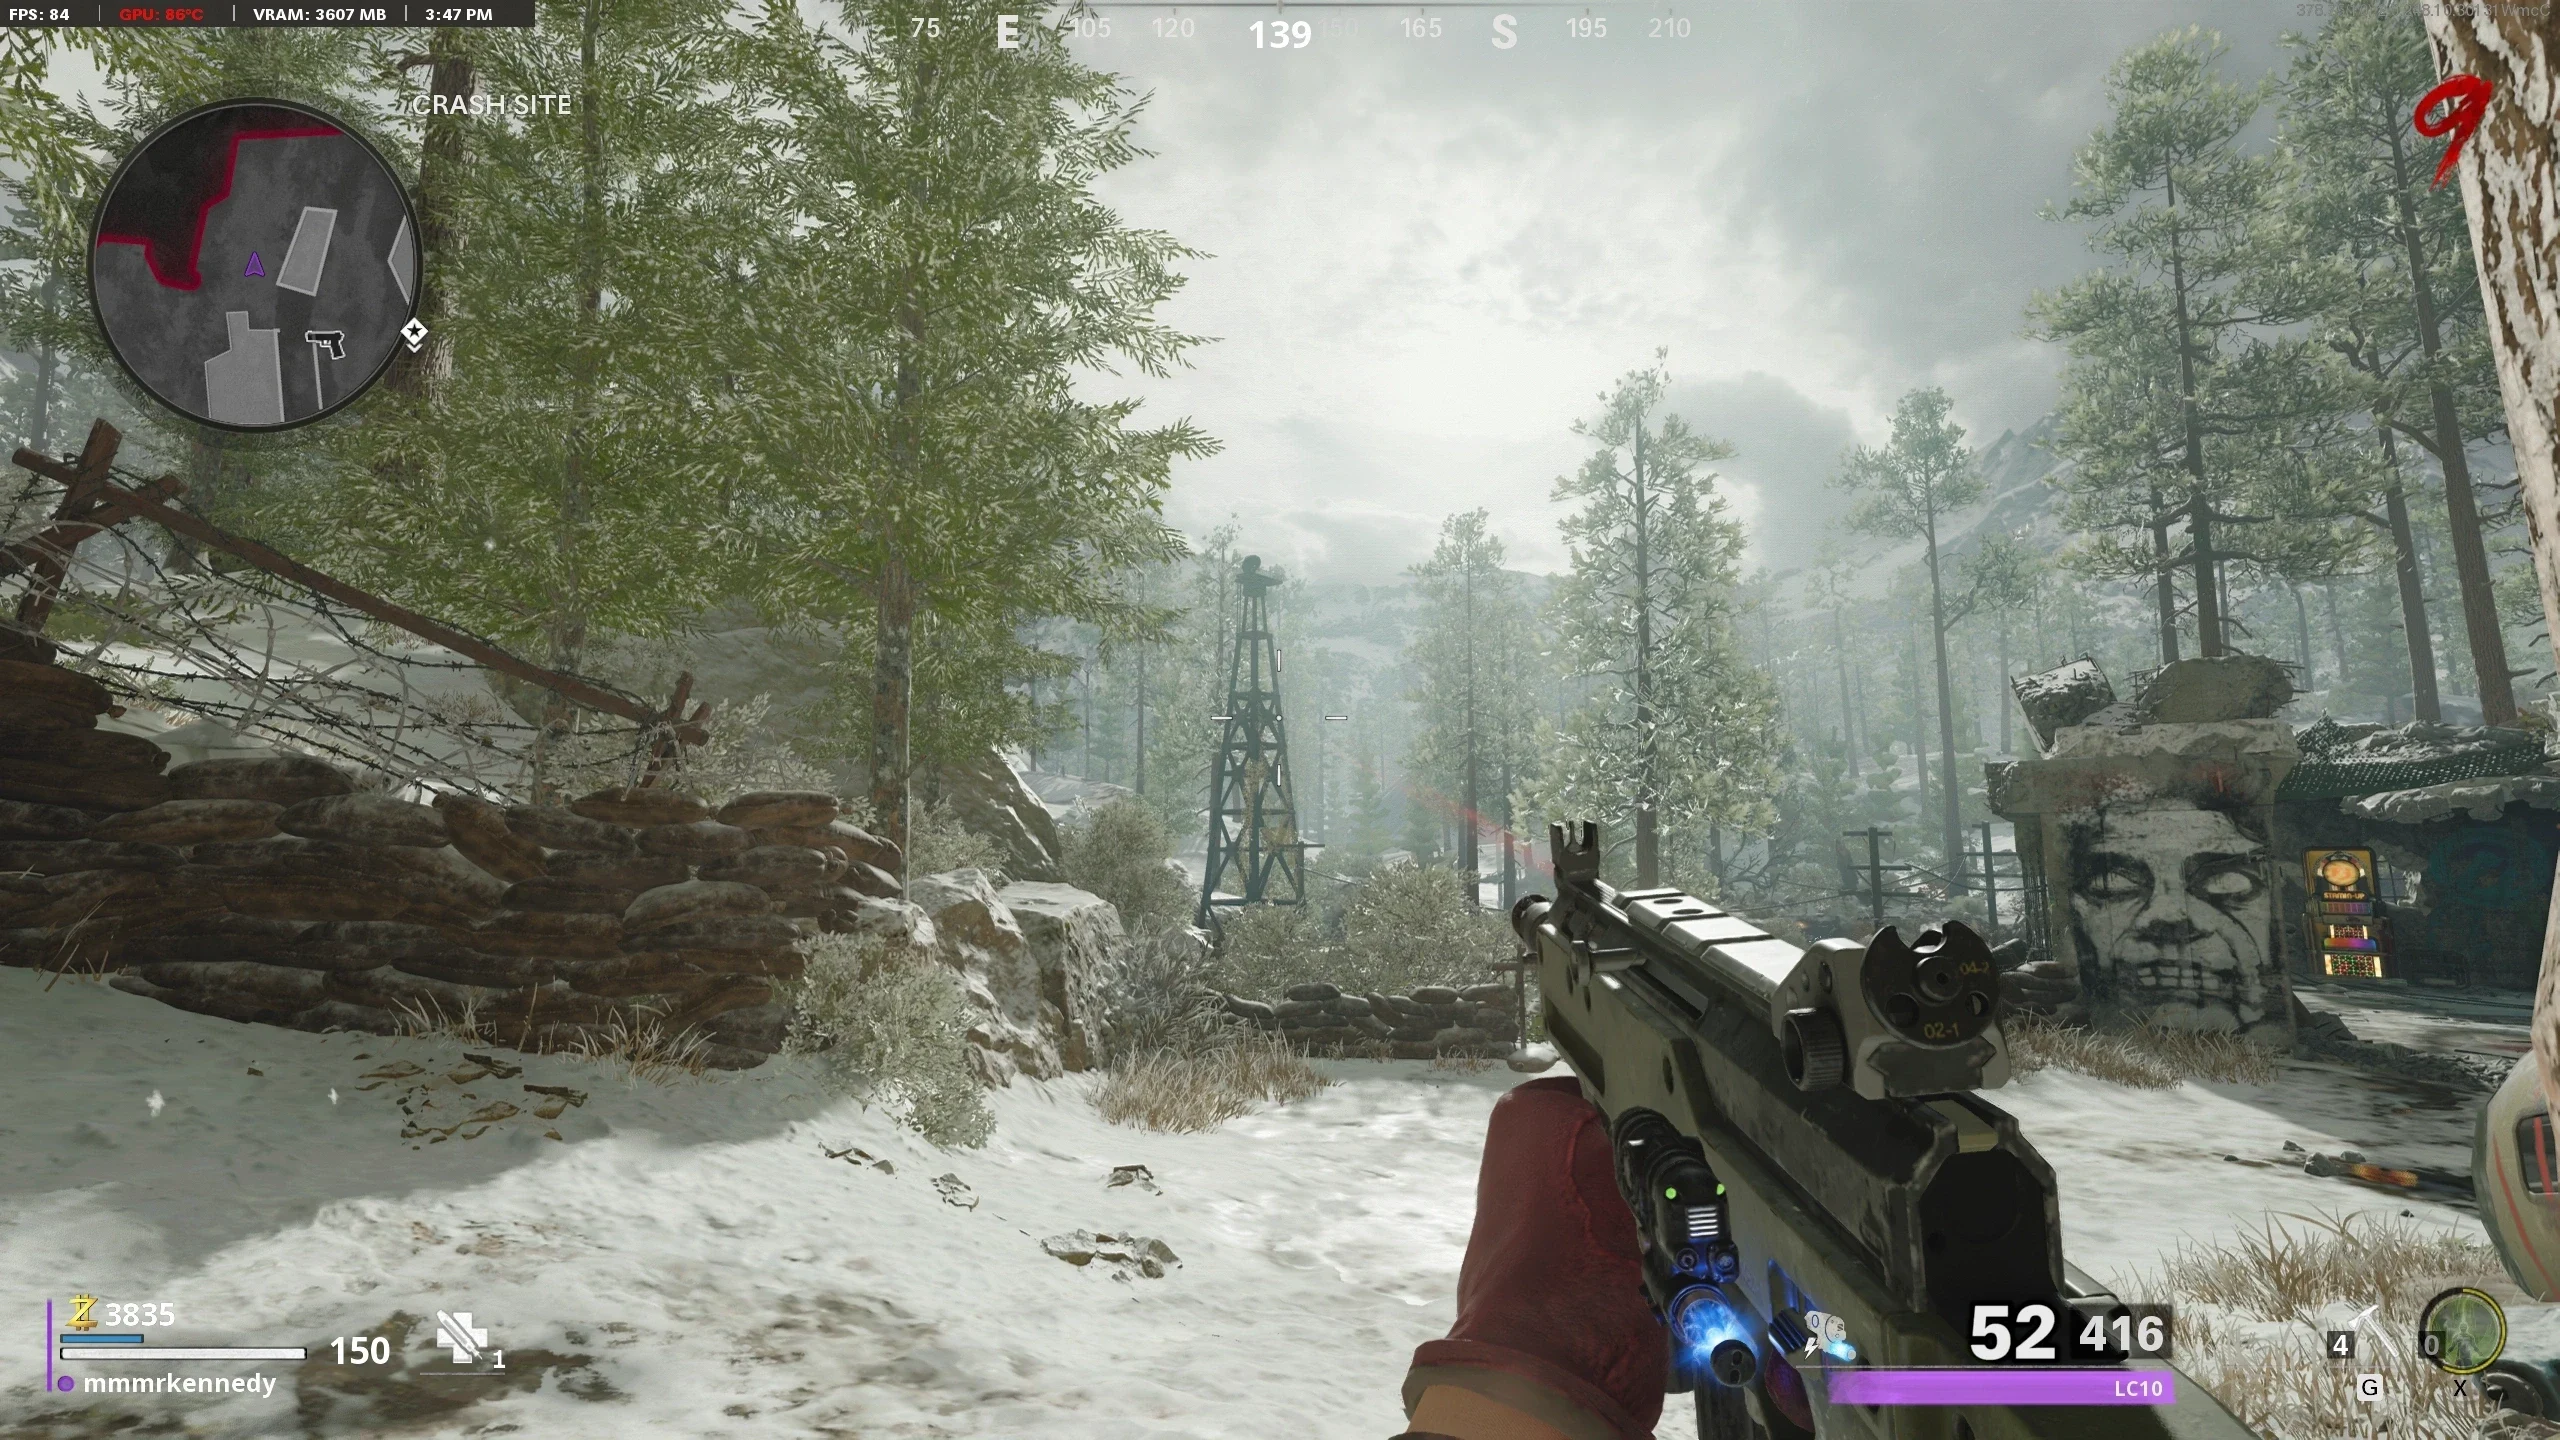
- Go to the Crash Site and shoot/melee open the Fuse Box beside the Fast Travel Portal to pick up the Fuse.
- In the 'Weapons Lab,' interact with the Plasma Cutter to insert the fuse. Doing so will remove you from the Dark Aether.
- In the 'Pond,' interact with the Weapon Crate to obtain the Thermophasic Upgrade.
'Seal the Deal' Main Quest
Stats (Solo): Difficulty - 4/10, Est. Completion Time - 40 Mins to 1 Hr
Prerequisites
- Turn on Power and activate Pack-a-Punch.
Activate the Der Wechsler's Computer
- Collect the three Aetherscope parts in the Dark Aether. The parts spawn one at a time in a random order:
- Once you collect all three parts and exit the Dark Aether, build the Aetherscope at the workbench behind Pack-a-Punch in the 'Particle Accelerator.'
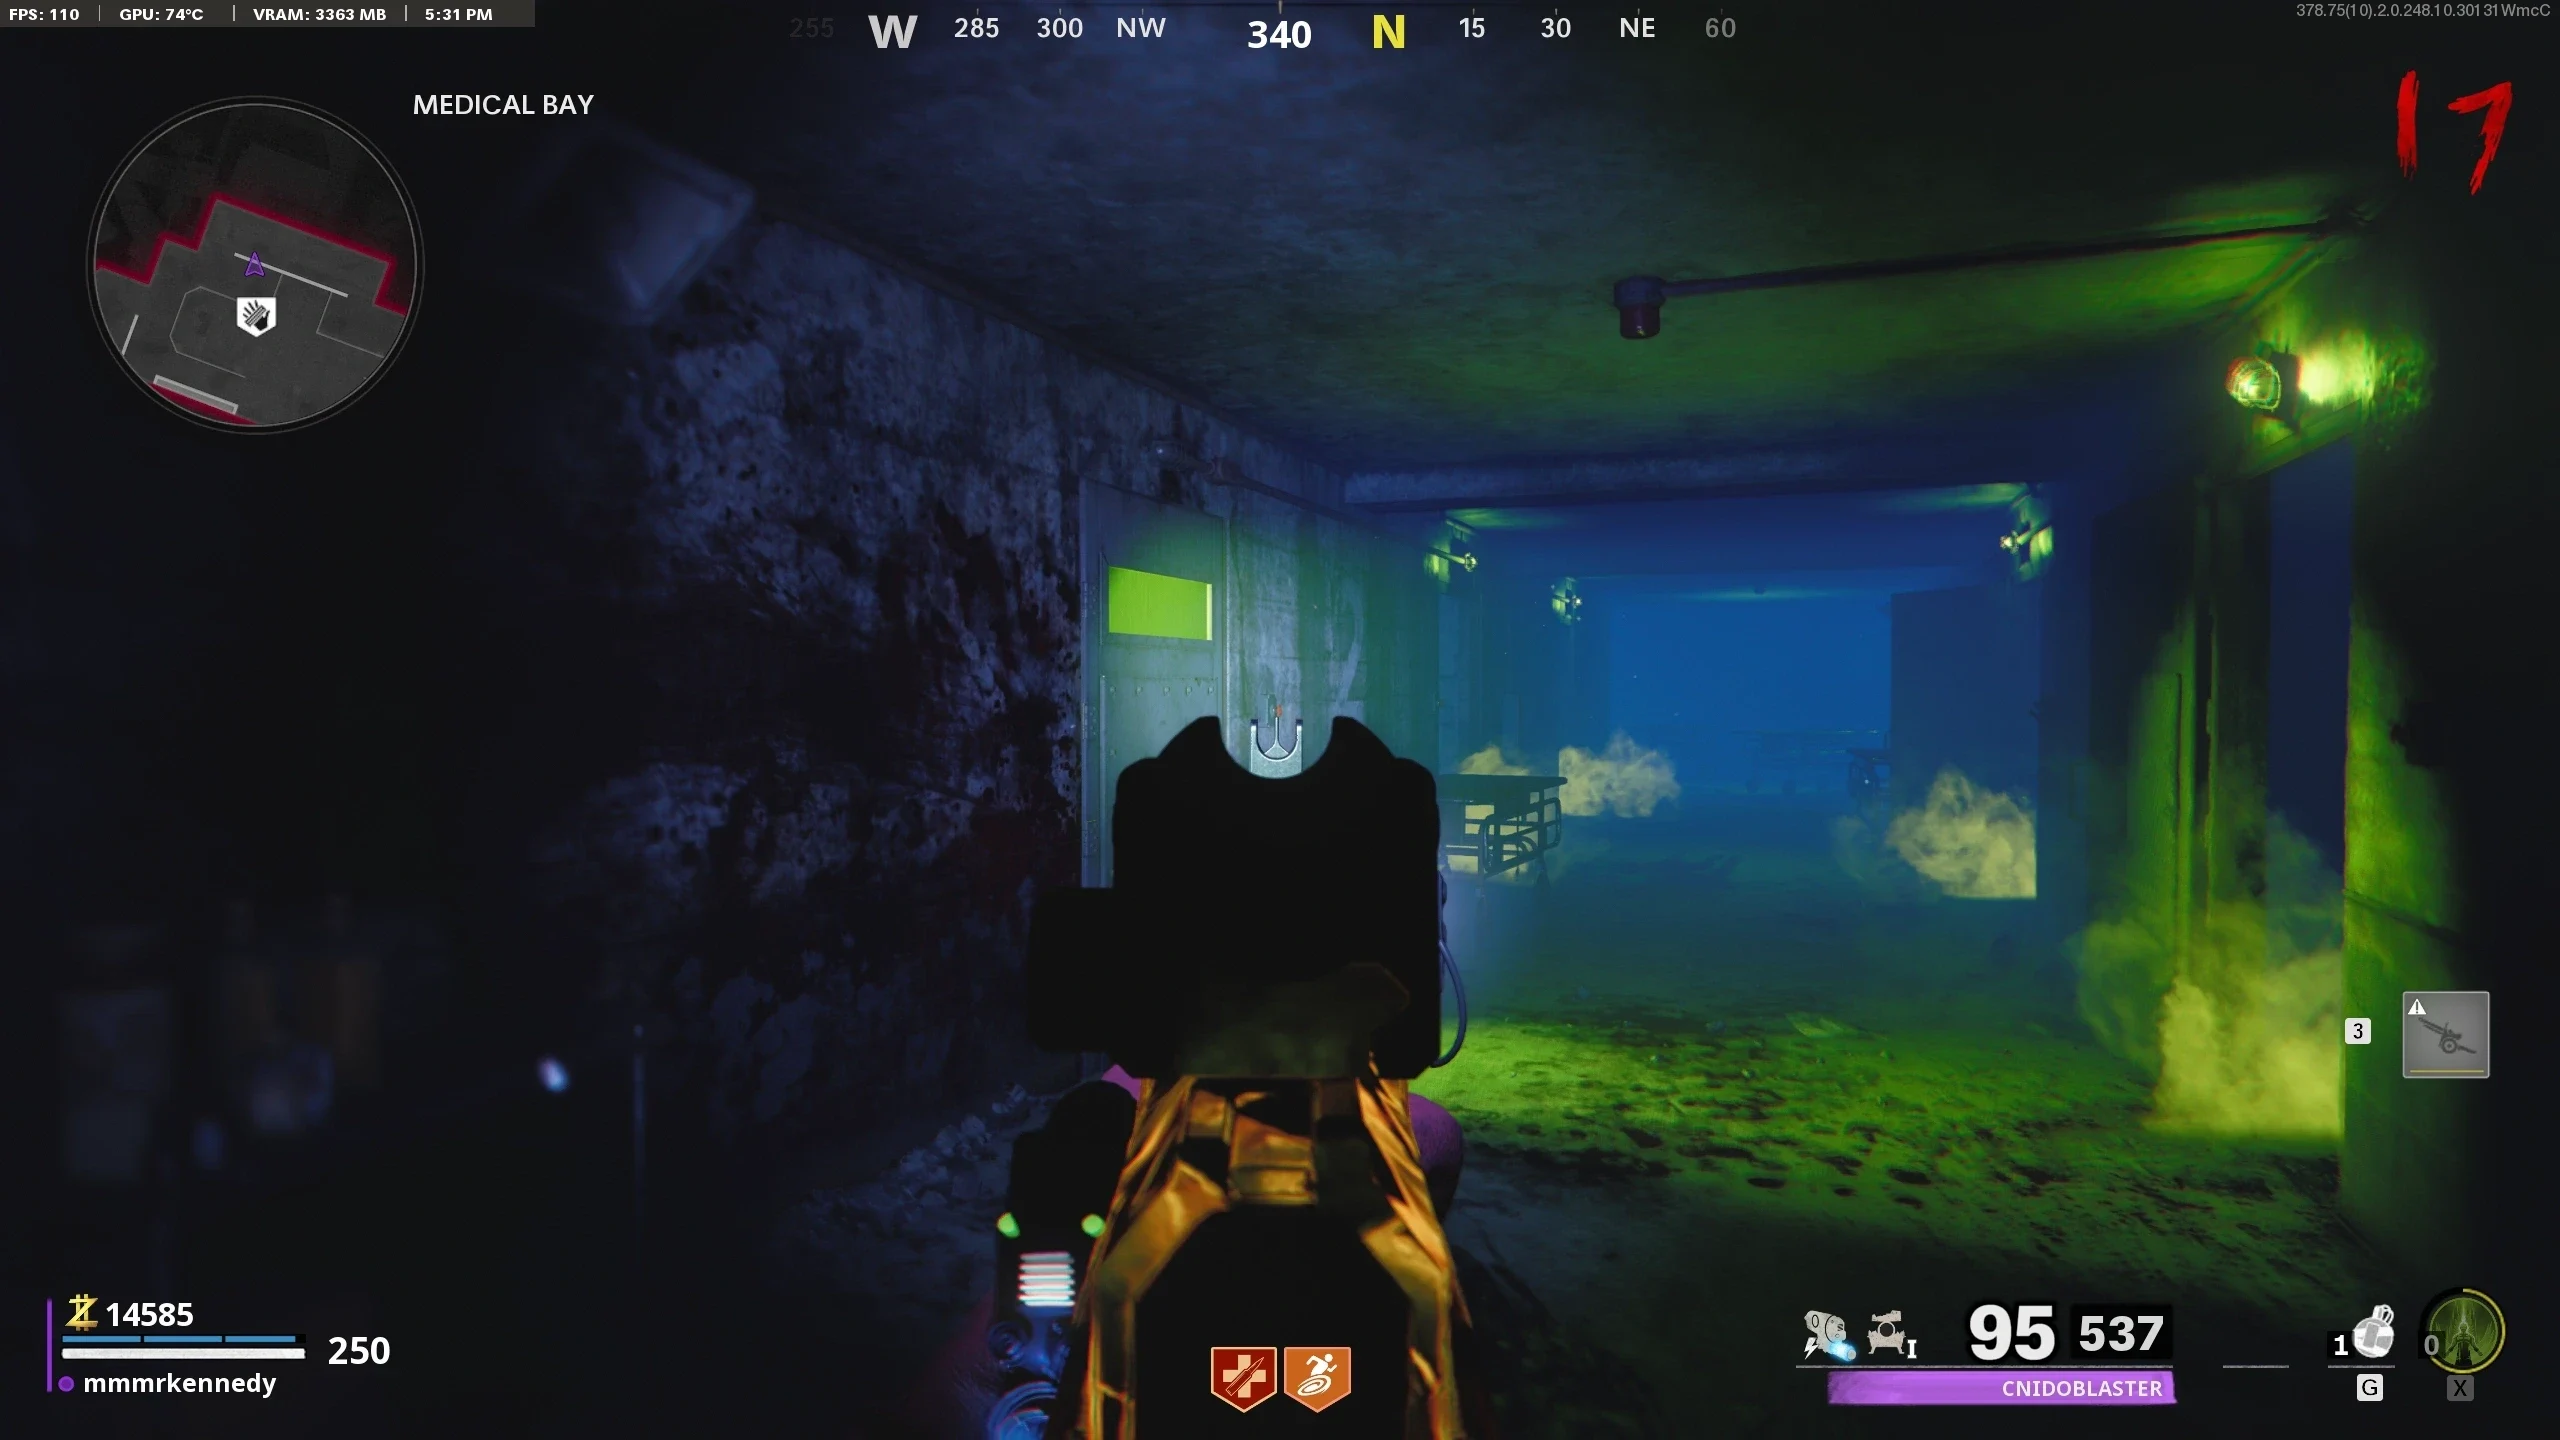
- Enter the Dark Aether Anomaly in the 'Medical Bay.' Collect Dr. Vogel's Diary, upstairs in the Medical Bay.
- You must interact with three Spectral Reflections in the following order. Each reflection must be interacted with twice (once to activate a reflection then again to hand it the book) before moving to the next one. You don't need to wait for one to finish before talking to another. The reflections need to be activated in the following order:
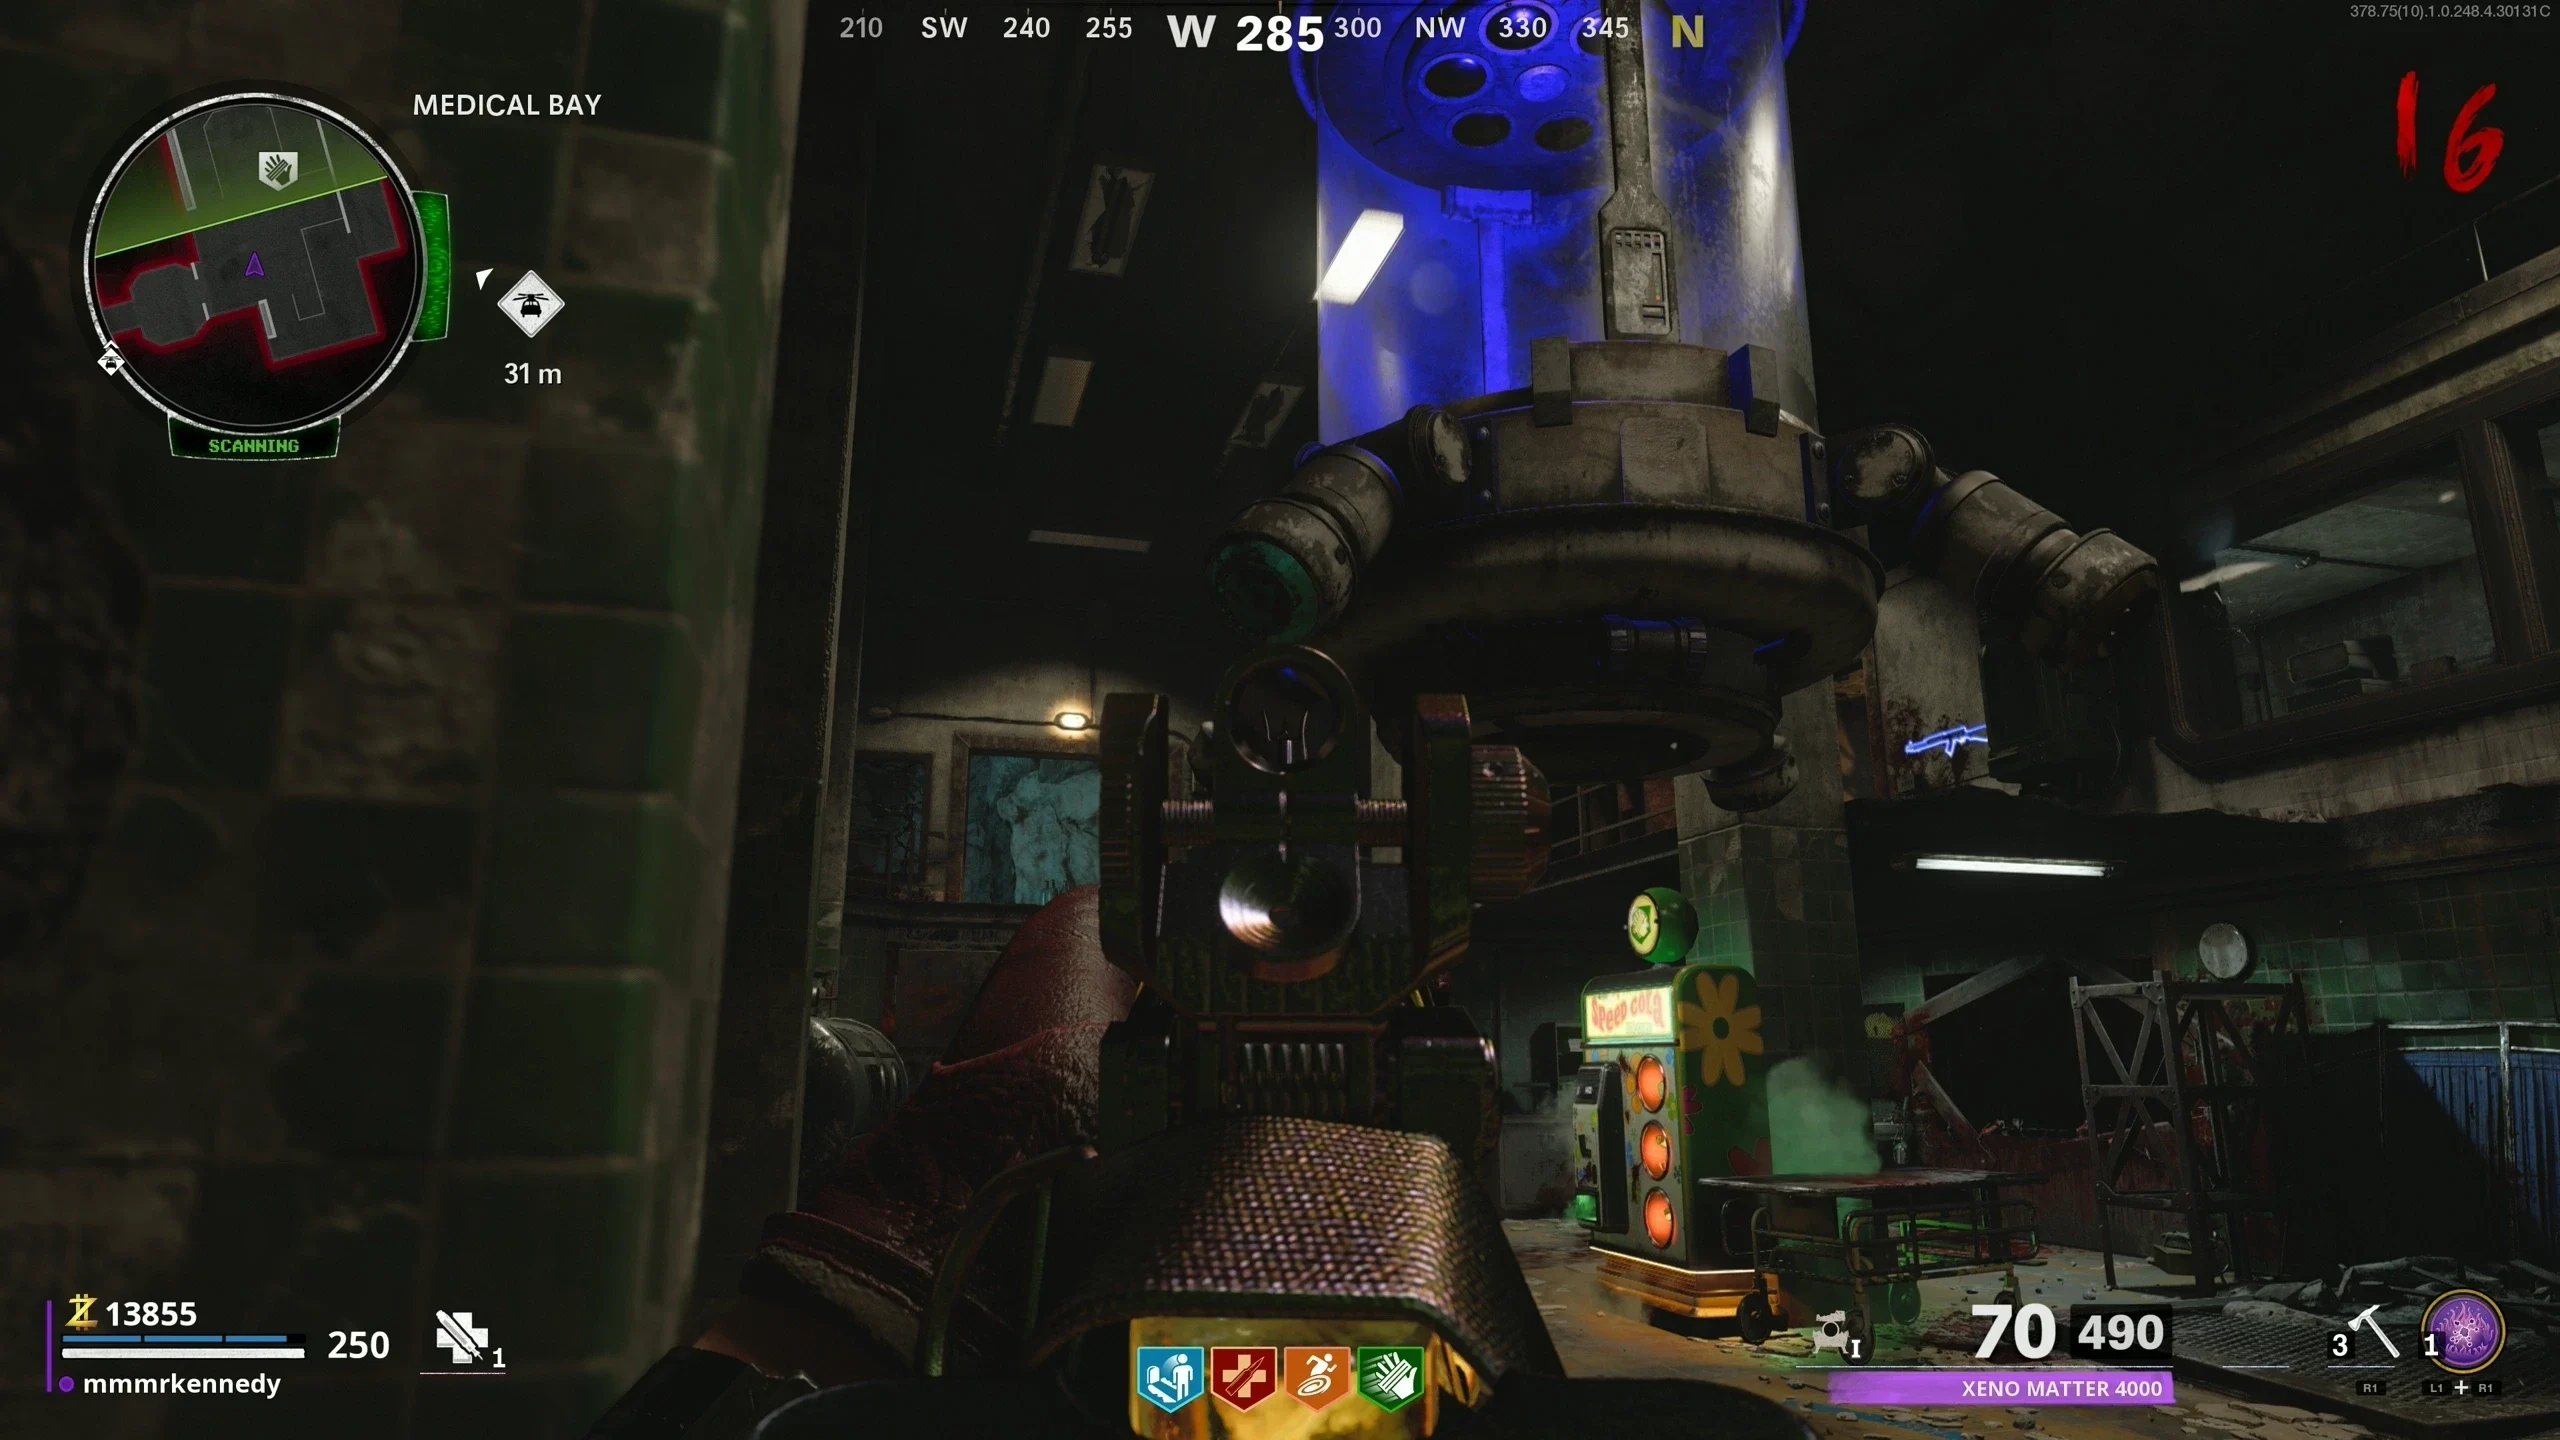
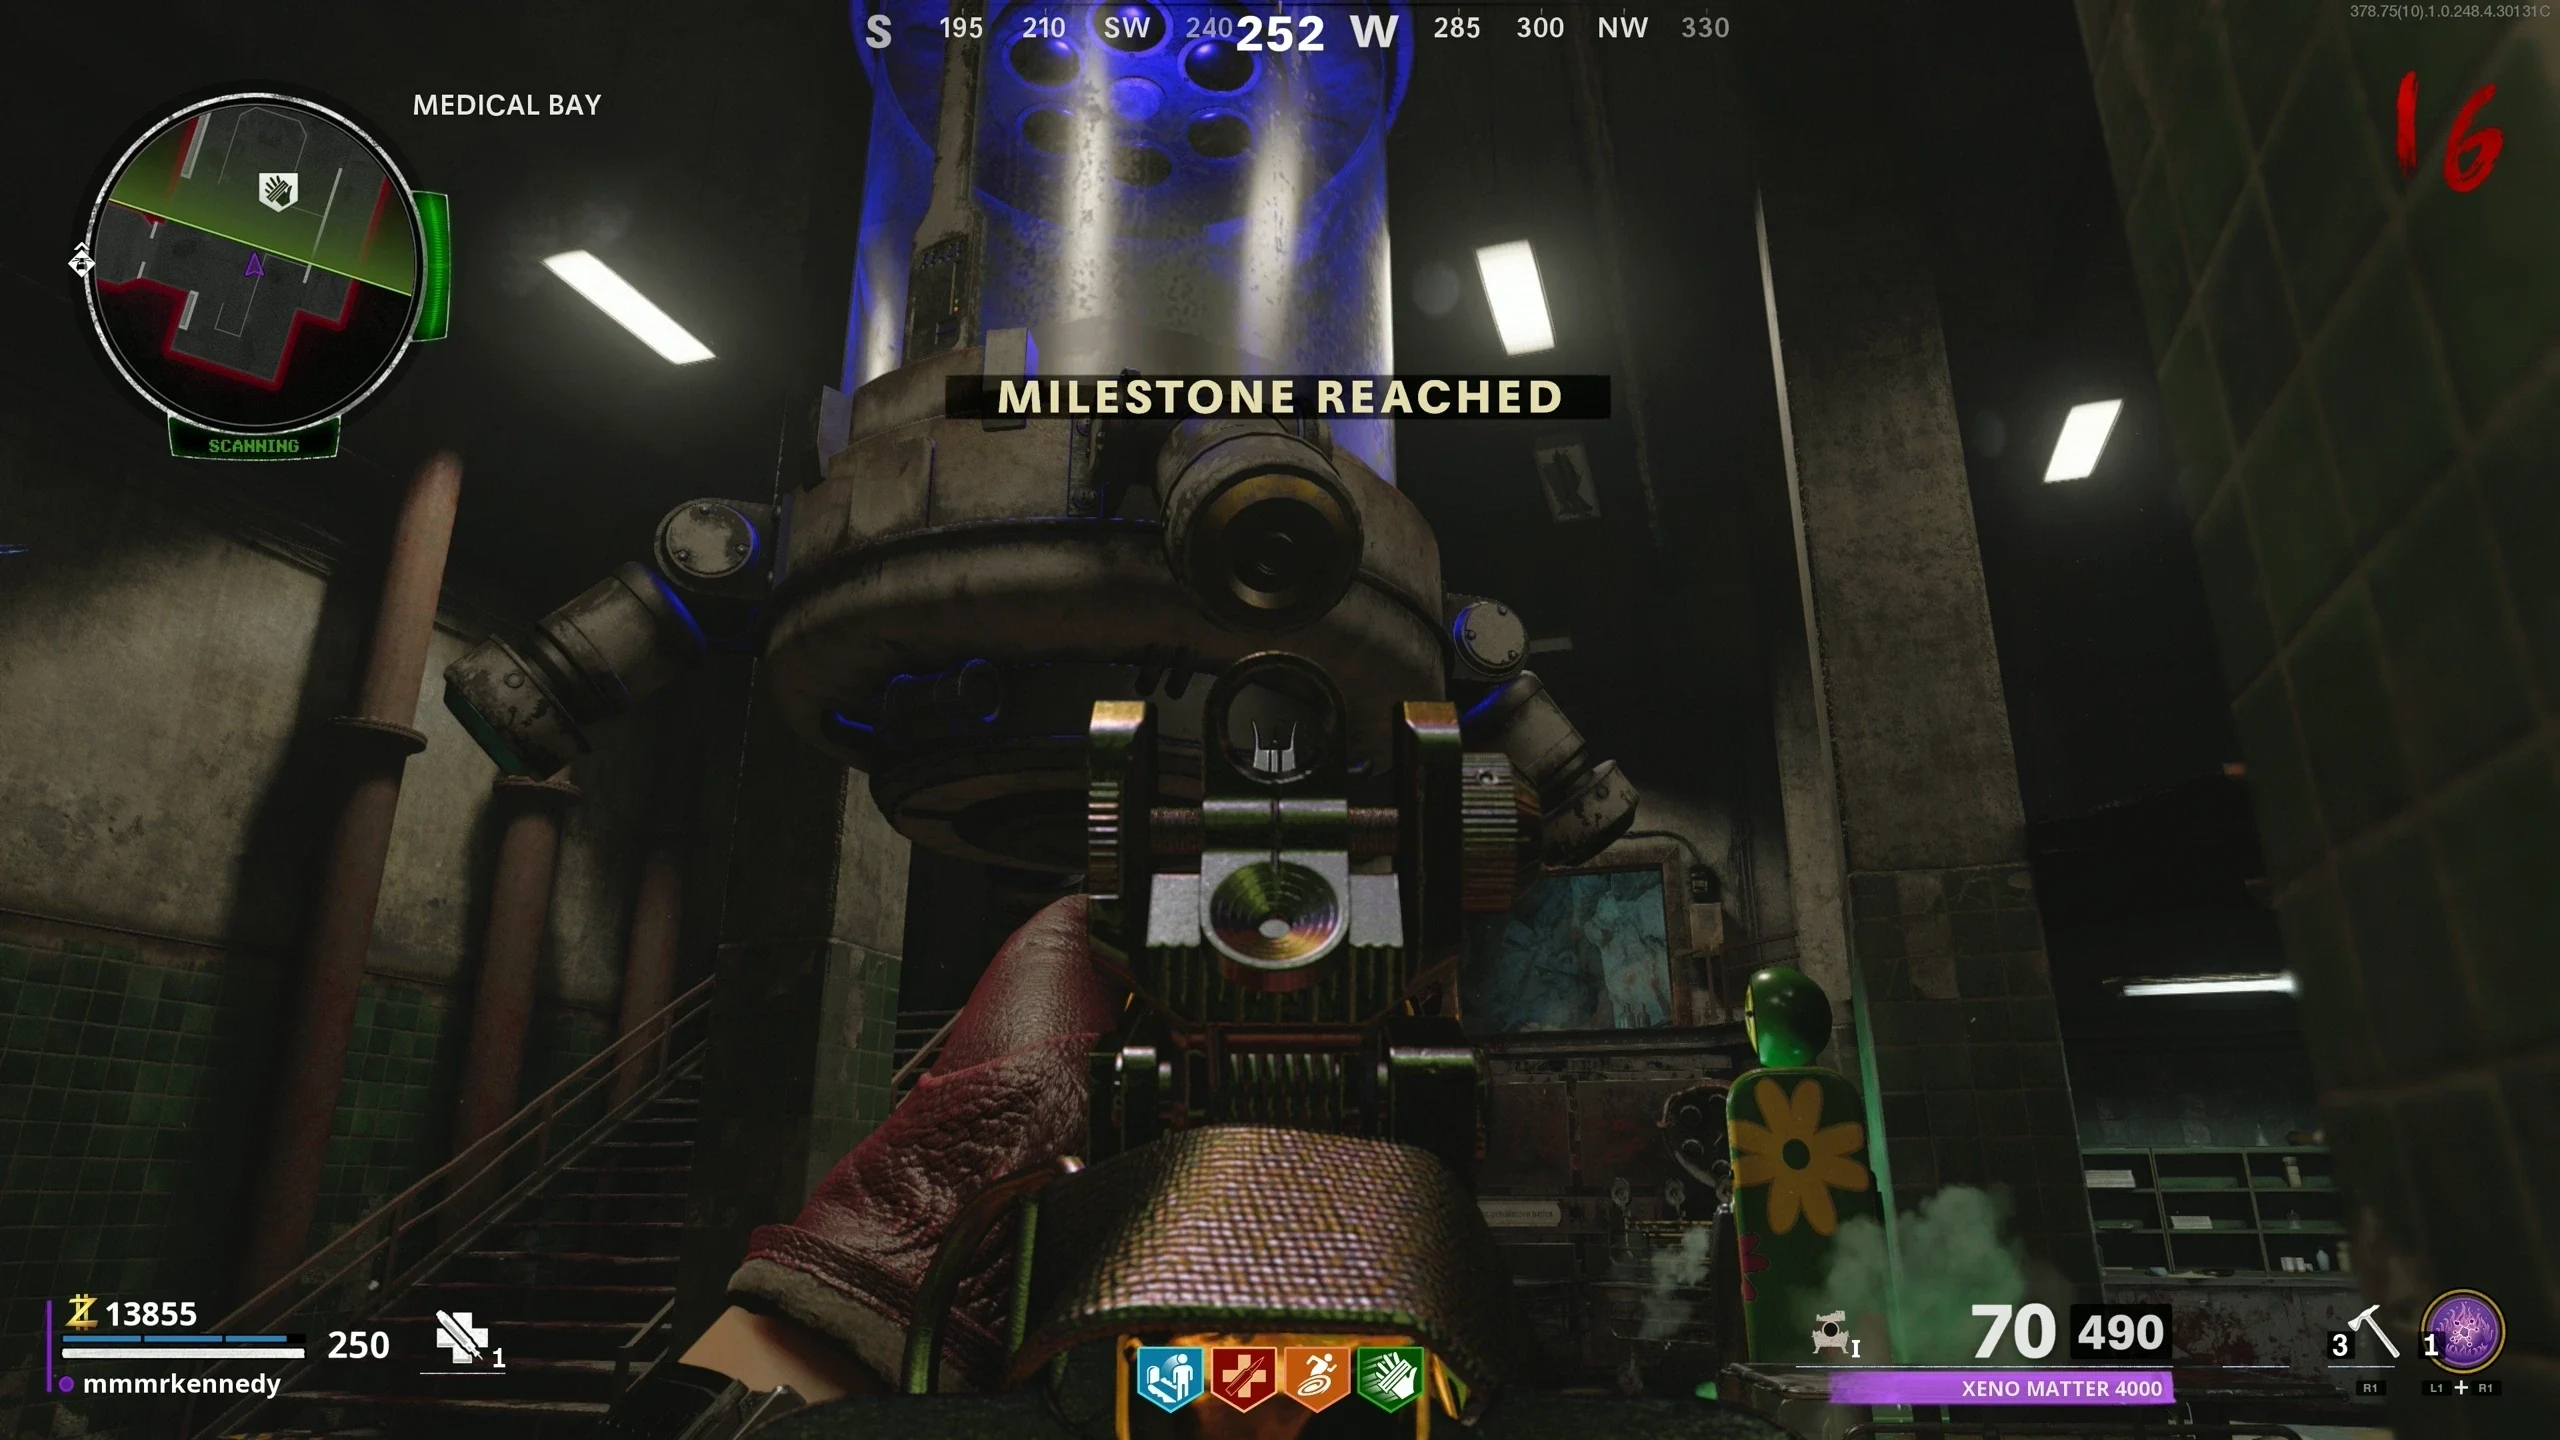
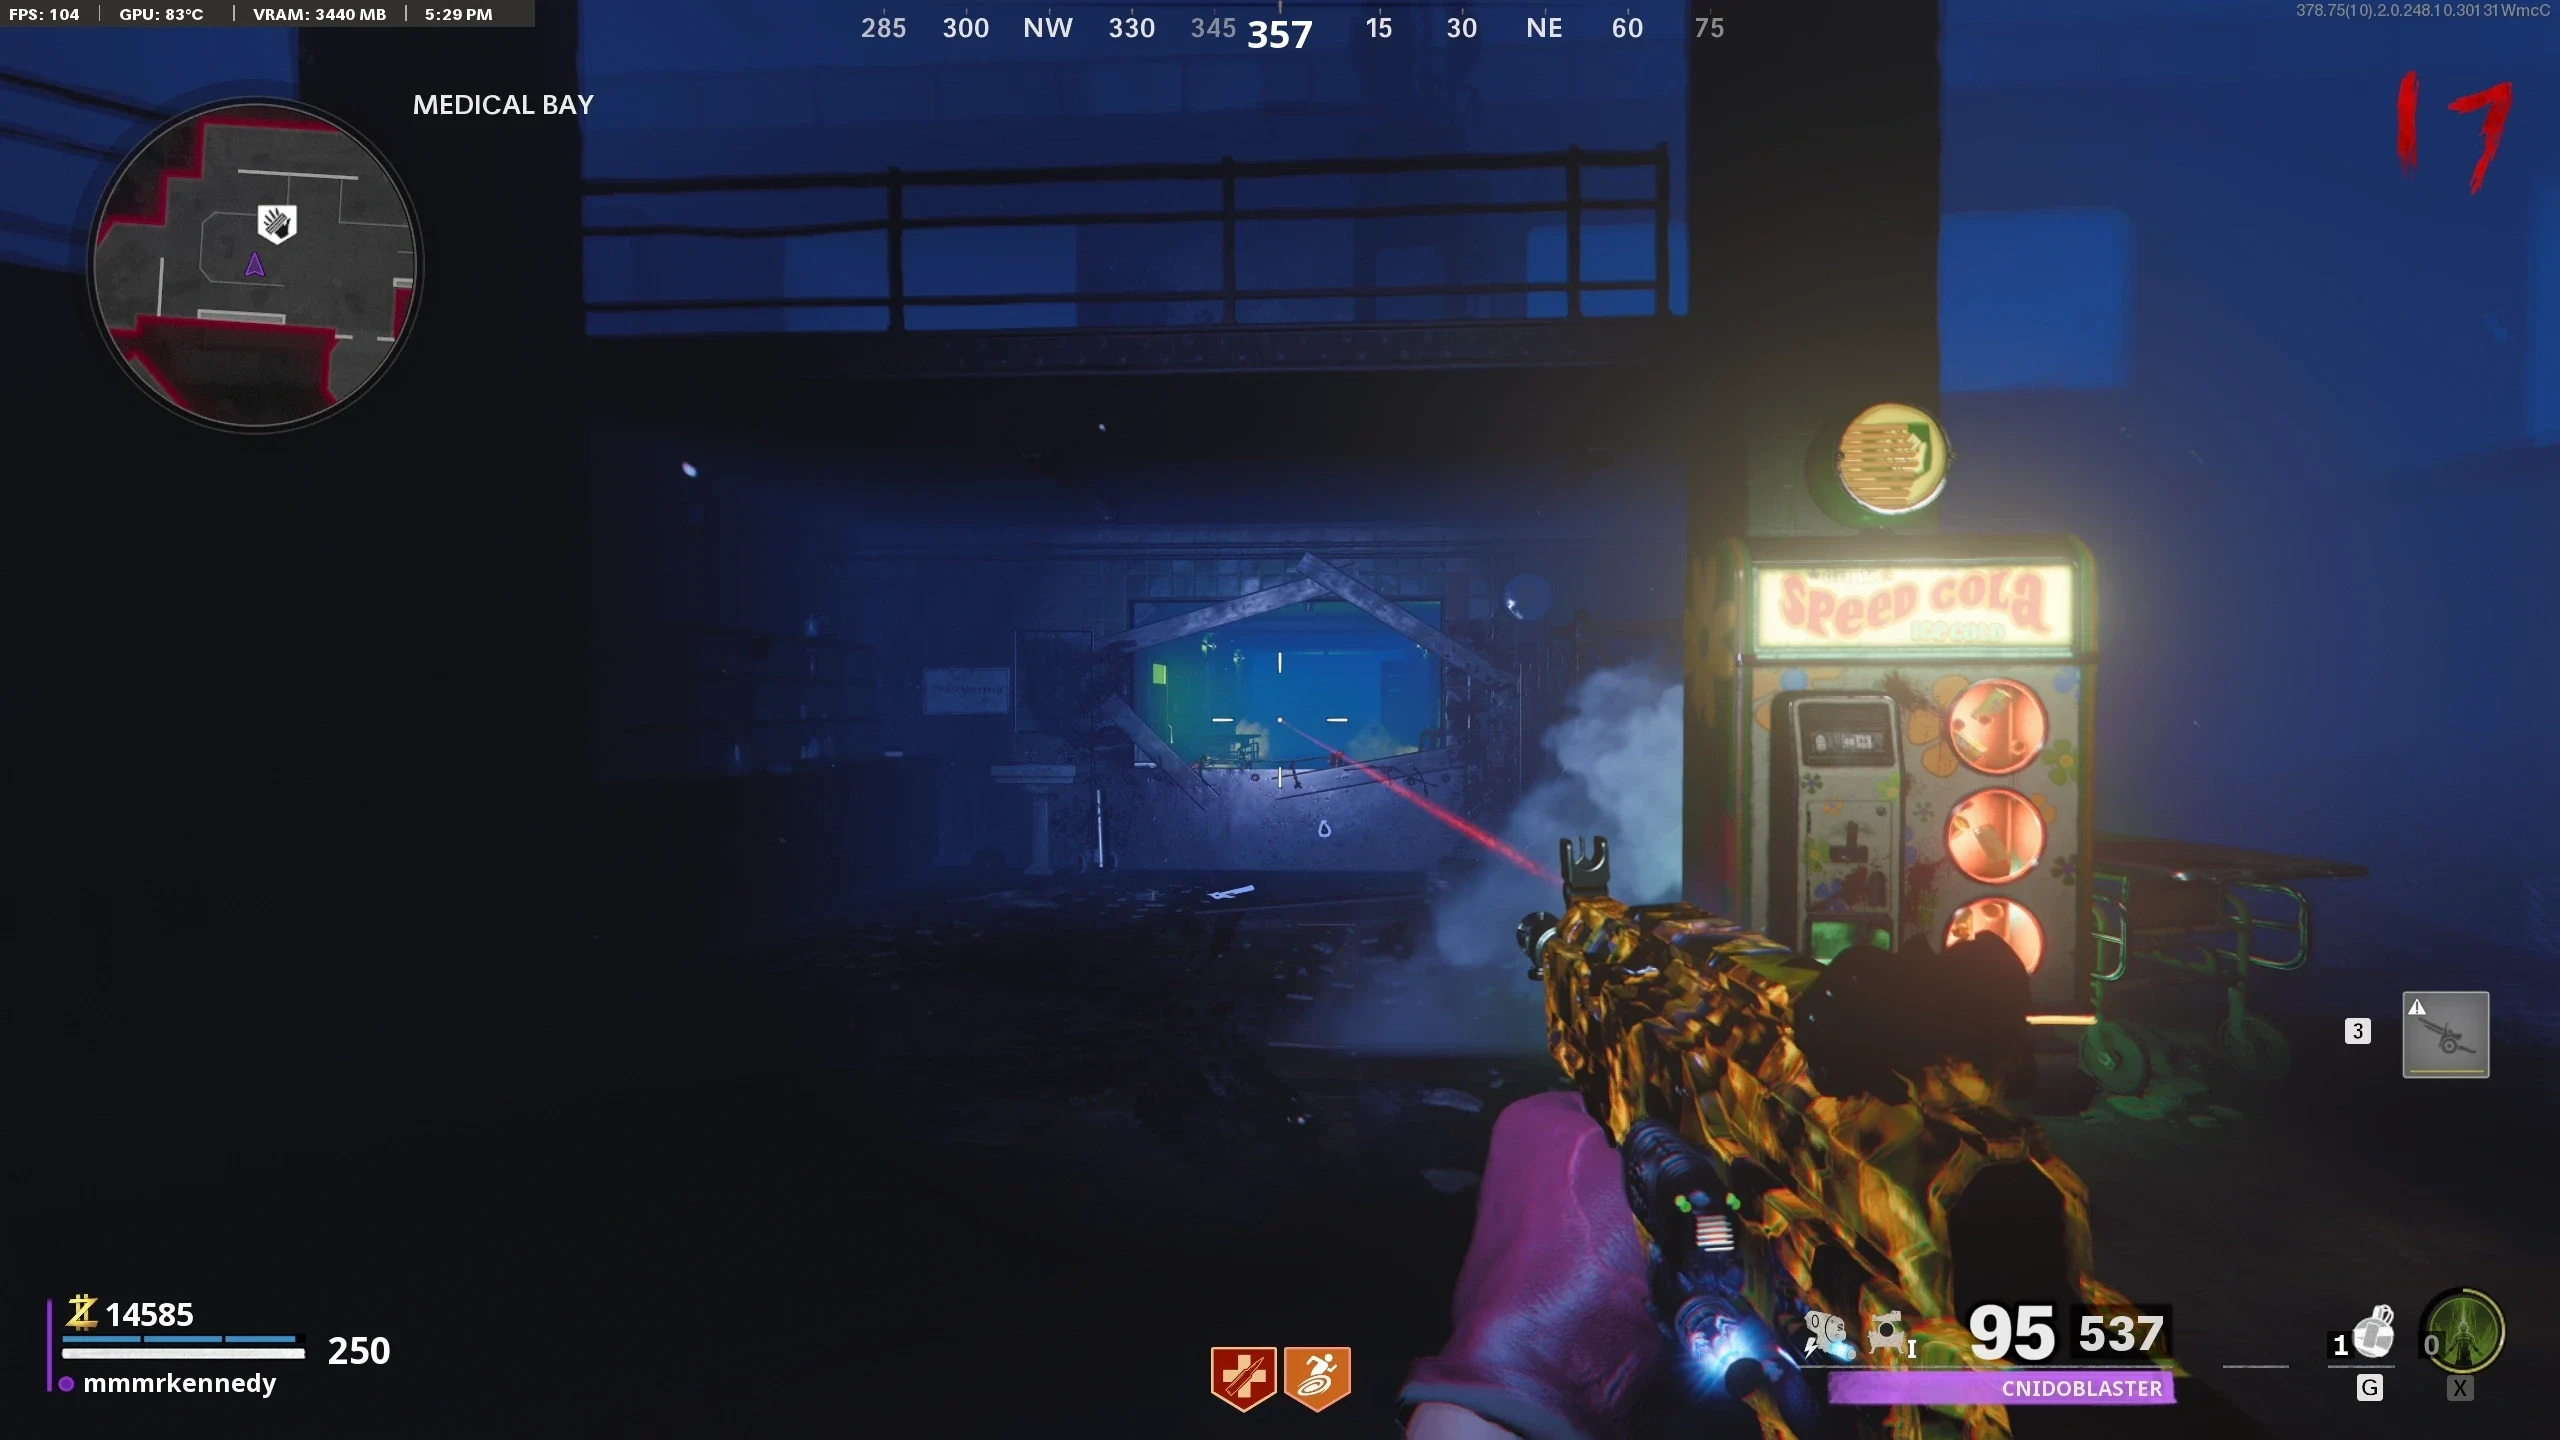
- Medical Bay - Behind Speed Cola
- Control Room - In between Two Challenge Podiums
- Particle Accelerator - In front of the Aetherscope Workbench
- Go back to the computer where you picked up the diary and interact with it.
Creating Orlov
- Obtain all four D.I.E. Variants
- Once you have obtained all four variants, you must shoot coloured ports with the corresponding D.I.E. variant. Ports:
- Enter the Dark Aether via the Anomaly in the 'Medical Bay' and watch the reflection on the walkway above Speed Cola.
- Once the reflection ends, you will be removed from the Dark Aether. Collect the Dark Aether Wrench on the ground where the reflection was.
- Interact with the Tank in the 'Yard' three times. A zombie will then pop out of the top of the tank, kill it and throw an explosive at the open hatch. If the explosive is aimed correctly, the Tank will fire a shot.
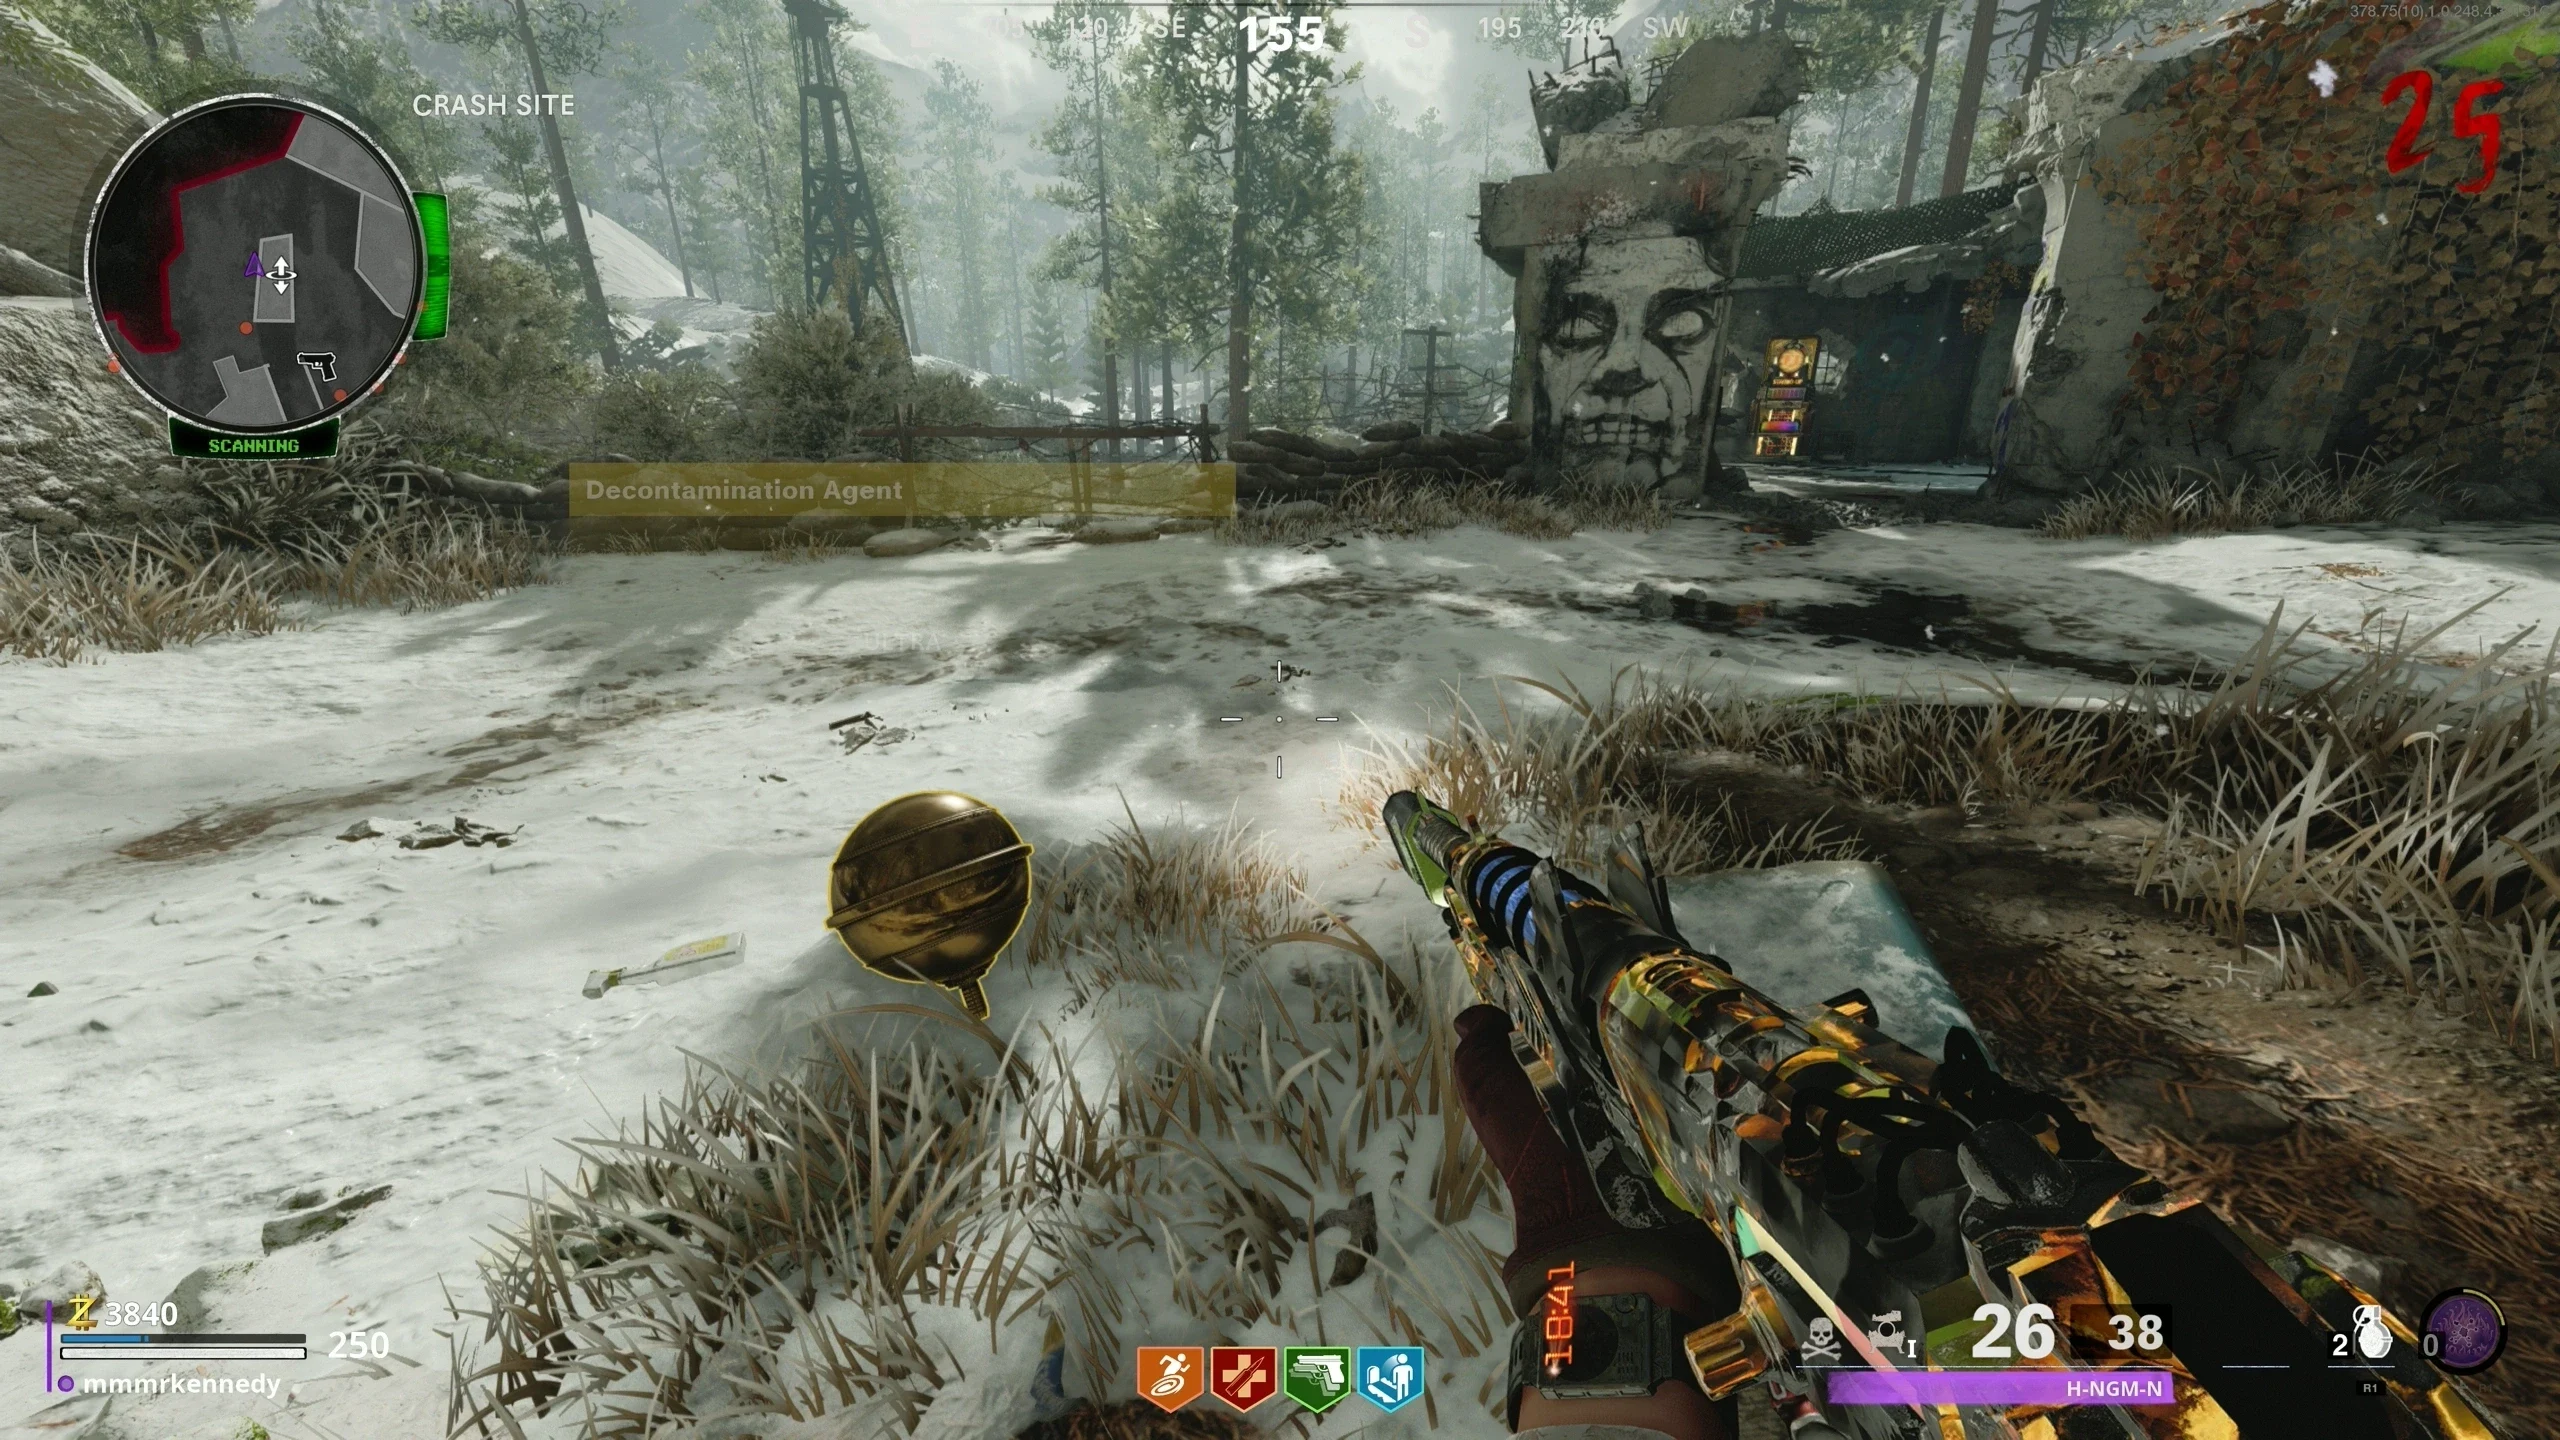
- Go to the 'Crash Site,' pick up the Decontamination Agent and bring it to the Containment Unit in the 'Medical Bay.'
- You cannot fast travel, mantle or sprint while holding the Decontamination Agent.
- You must walk it from the 'Crash Site' to the 'Medical Bay' without dropping it. If you drop the Decontamination Agent, it will respawn back at the tree where it spawned originally.
- Wait for a Megaton to Spawn. Split it by shooting it and then bring the two split Megatons under the large machine on the ceiling of the 'Medical Bay.' They will each get sucked in one at a time.
- Once the two Bombers are in the machine, go back to the computer and interact with it to start an in-game story sequence.
- Once the cutscene ends, enter the Anomaly in the "Living Room." While in the Dark Aether, there will be a Spectral Reflection near the M1911 wallbuy, interact with it.
Warning: Point of No Return. Once you pick up the Orlov Family Photo, you will be put into the "Boss Fight"
- Once the Spectral Reflection ends, you will be removed from the Dark Aether.
- The Orlov Family Photo will spawn on a table near where the reflection was. Pick it up to start the Boss Fight.
Boss Fight
- After picking up the Orlov Family Photo, you will be teleported to the 'Particle Accelerator,' where Orlov will start a conversation. Once the conversation is done, he will run to one of his objectives.
- You must protect Orlov from zombies while he deactivates the Particle Accelerator. Orlov can't take damage, but he will stop working while zombies are attacking him.
- There are three objectives Orlov has to complete, the Magnetic Containment, Primary Coolant, and Fail-Safe. Other than surviving and defending Orlov, there is nothing more to do.
- Once the Particle Accelerator is deactivated, a short dialogue will play. Once the dialogue is finished, a 90-second timer will start, and the players need to make their way through the facility to the exfil chopper in the 'Pond.'
- On the way to the 'Pond,' players must avoid lethal beams of electricity coming from the ground.
- There is only one path to the 'Pond' which takes you through the 'Weapons Lab' to the 'Control Room,' out to the 'Tunnel' then the 'Crash Site' then down to the 'Pond.'
- Once in the 'Pond,' board the exfil chopper to finish the Easter Egg.
'Alone' Song
Link to song on streaming here.
- There are three tapes required to start the song. Tape Locations:
- Once all three tapes are collected, the song will start.
Coffin Dance / Free Jug
The coffin dance rewards the players with a chest that has green and blue salvage, free Jug perk bottle for one player and a random weapon, which could be the D.I.E.
- Turn on Power and activate Pack-a-Punch.
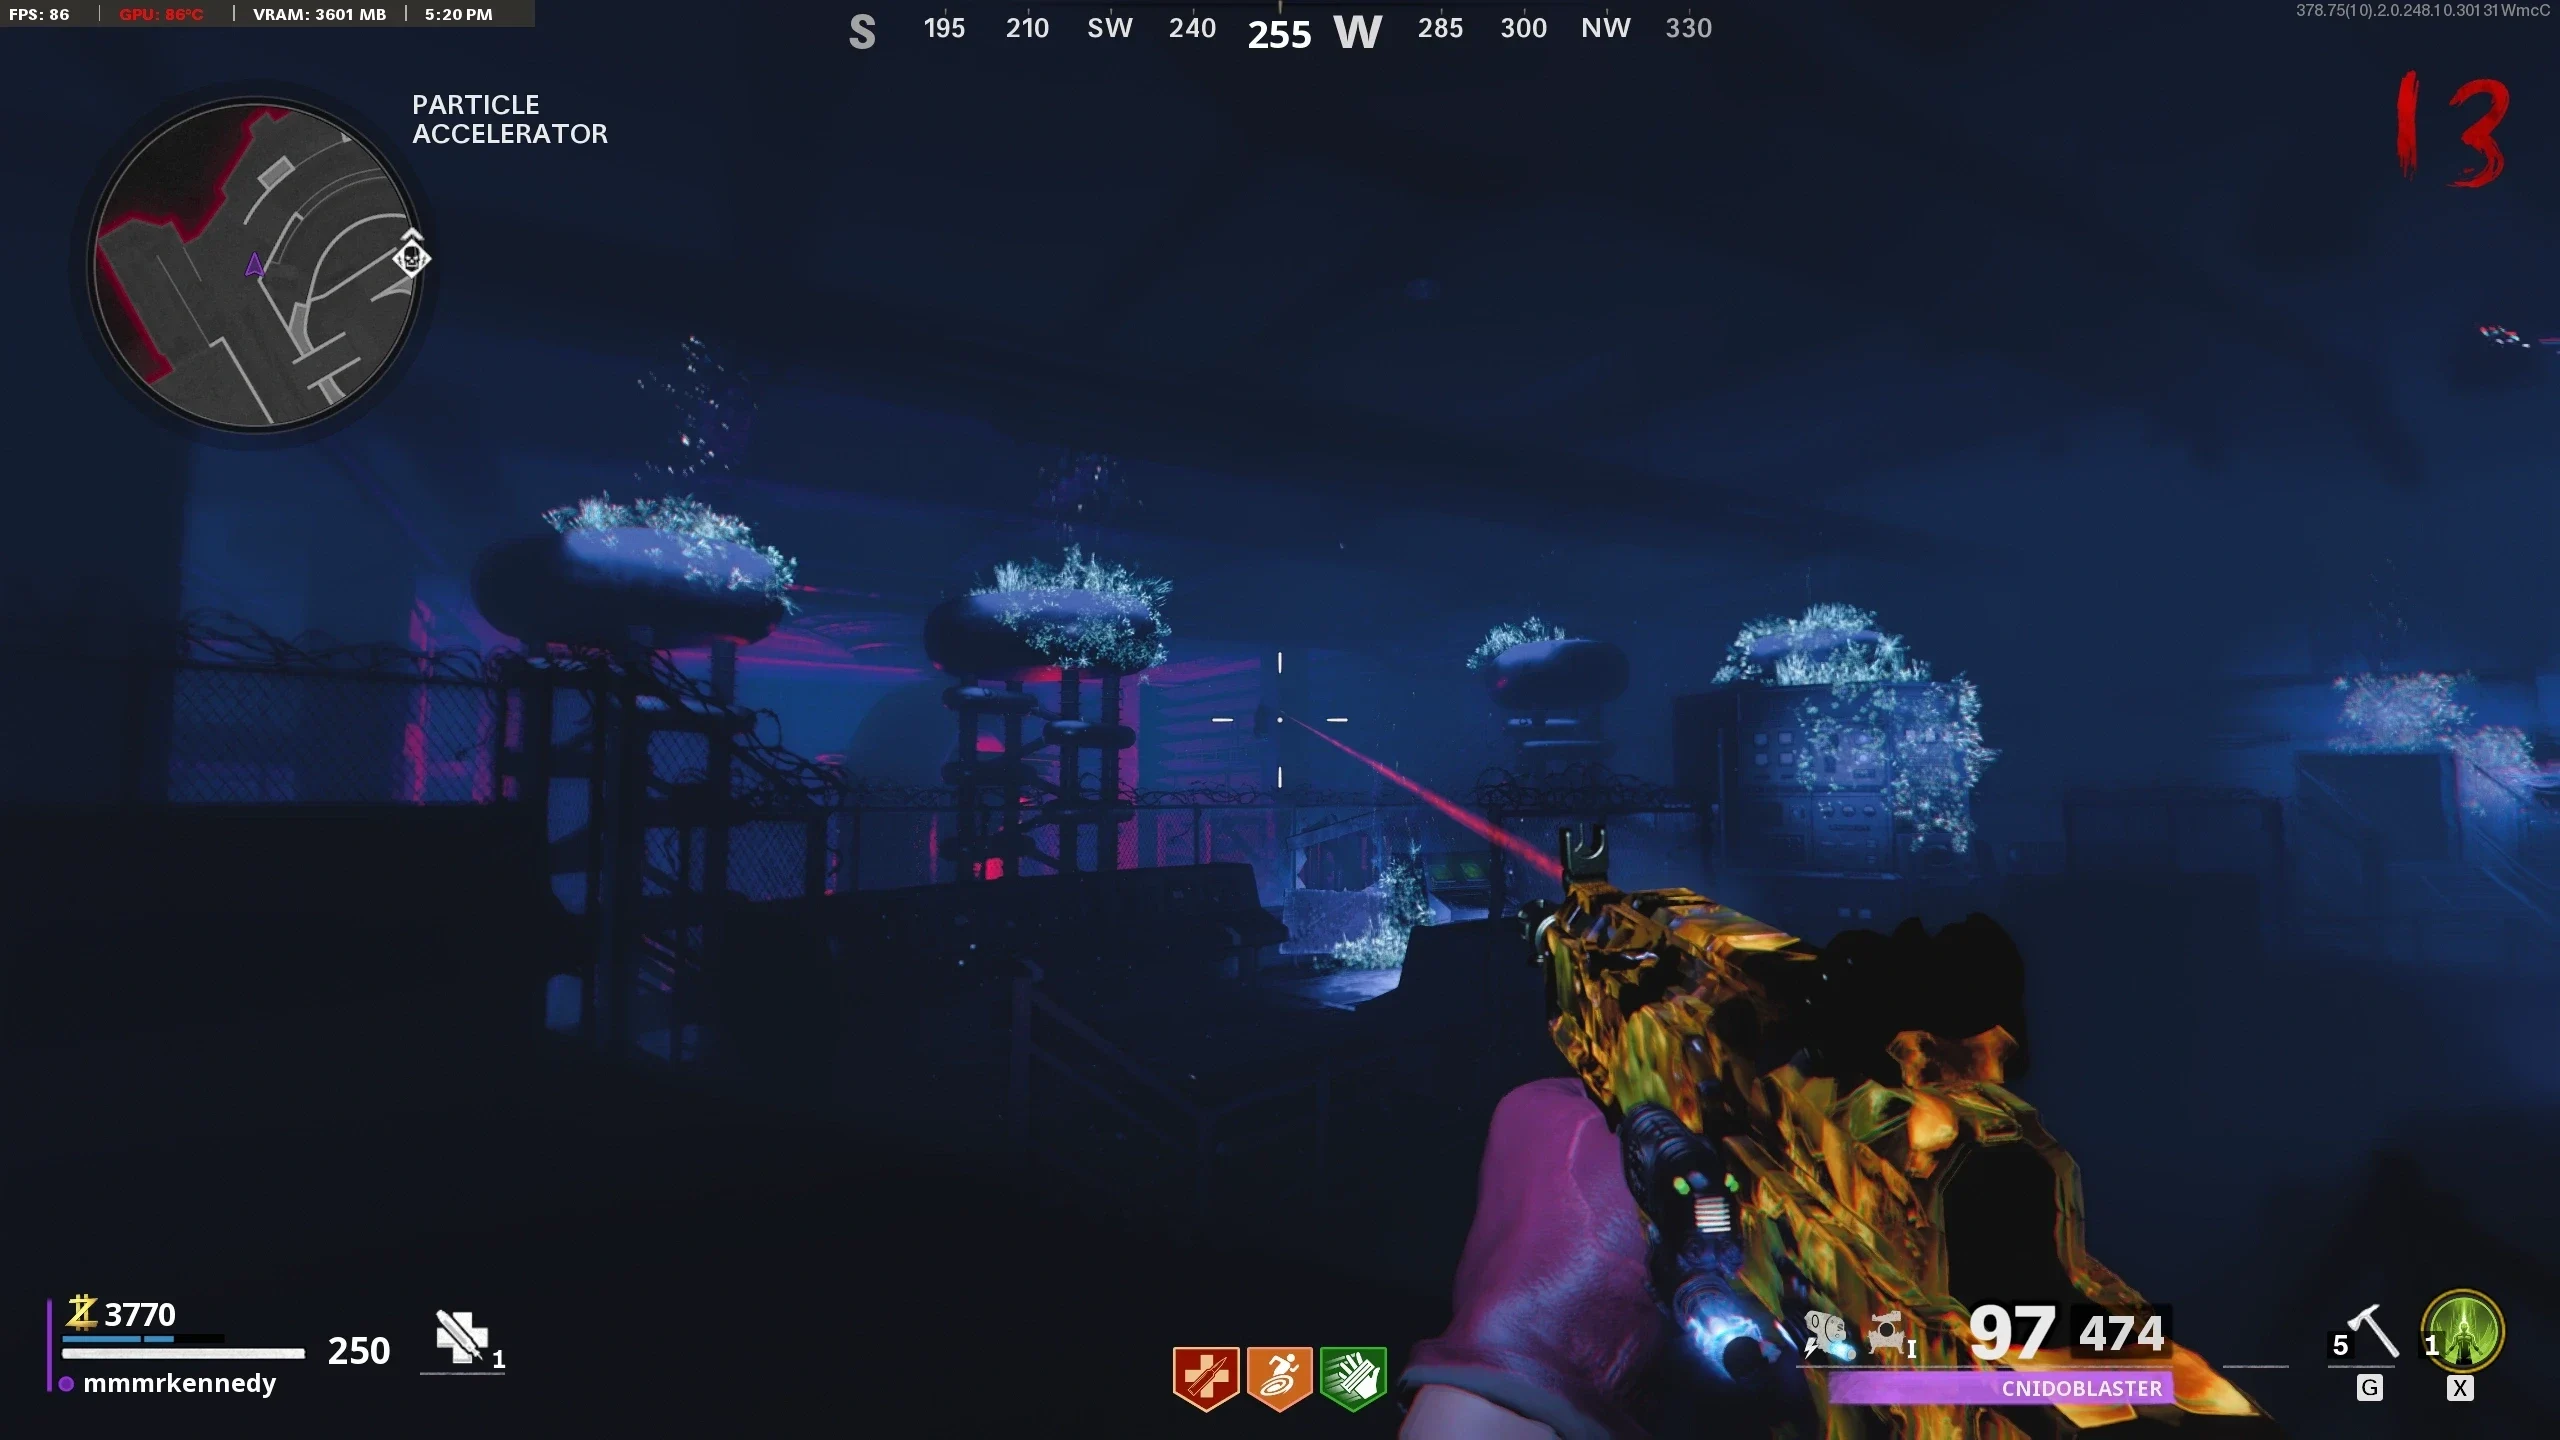
- There are five orbs in the 'Particle Accelerator' that need to be shot. Orb Locations:
- Once all five orbs are shot, you will be teleported to the Dark Aether version of the 'Particle Accelerator' to watch a cutscene. Once the cutscene is over, you will be presented with a chest.
Free Legendary Weapon Upgrade
Upon completion, the player's held weapon will be upgraded from its current rarity to Legendary (Orange)
- Turn on Power and activate Pack-a-Punch.
- Pack-a-Punch the Weapon you'd like to upgrade.
The rest of the steps can only be completed while you're in the Dark Aether. If you are kicked out of the Dark Aether, you can just re-enter and pick up where you left off.
- Navigate to the 'Medical Bay' and shoot four red buttons lining the walls of the hallway with the barrier with a Pack-a-Punched weapon.
- Once all Four Buttons have turned green, a door on the left will begin to emit a green light.
- Shoot the button to the right of the glowing door with a Pack-a-Punched weapon. This will cause an Orda hand to fly out of the door and kill any Zombies that run by for a few seconds.
- Once the Hand kills 15 Zombies, the weapon you are currently holding will be upgraded to Legendary.
Free Scorestreak or Jumpscare
- Turn on Power and activate Pack-a-Punch.
The rest of the steps can only be completed while you're in the Dark Aether. If you are kicked out of the Dark Aether, you can just re-enter and pick up where you left off.
- A Zombie can be found suspended in the air in each of the following five locations. The locations in which the Zombie will spawn are randomized each match, and only one Zombie will be spawned at a time. Shoot the Zombie to make it disappear. Zombie locations:
If you want the Free Scorestreak, complete Step 3. Otherwise, if you want to see the Jumpscare, skip Step 3 and complete Step 4.
- Return to the Pond and locate the Zombie floating near the center of the Pond. Shoot it to reveal a Scorestreak which can be collected on the ground beneath where the Zombie was.
- Don't shoot the zombie, instead stand underneath it.