'Maxis Potential' Main Quest
Stats (Solo): Difficulty - 4/10, Est. Completion Time - 40 Mins to 1 Hr
- Activate Pack-a-Punch.
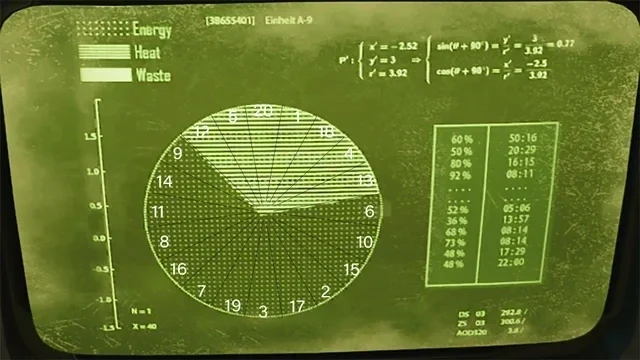
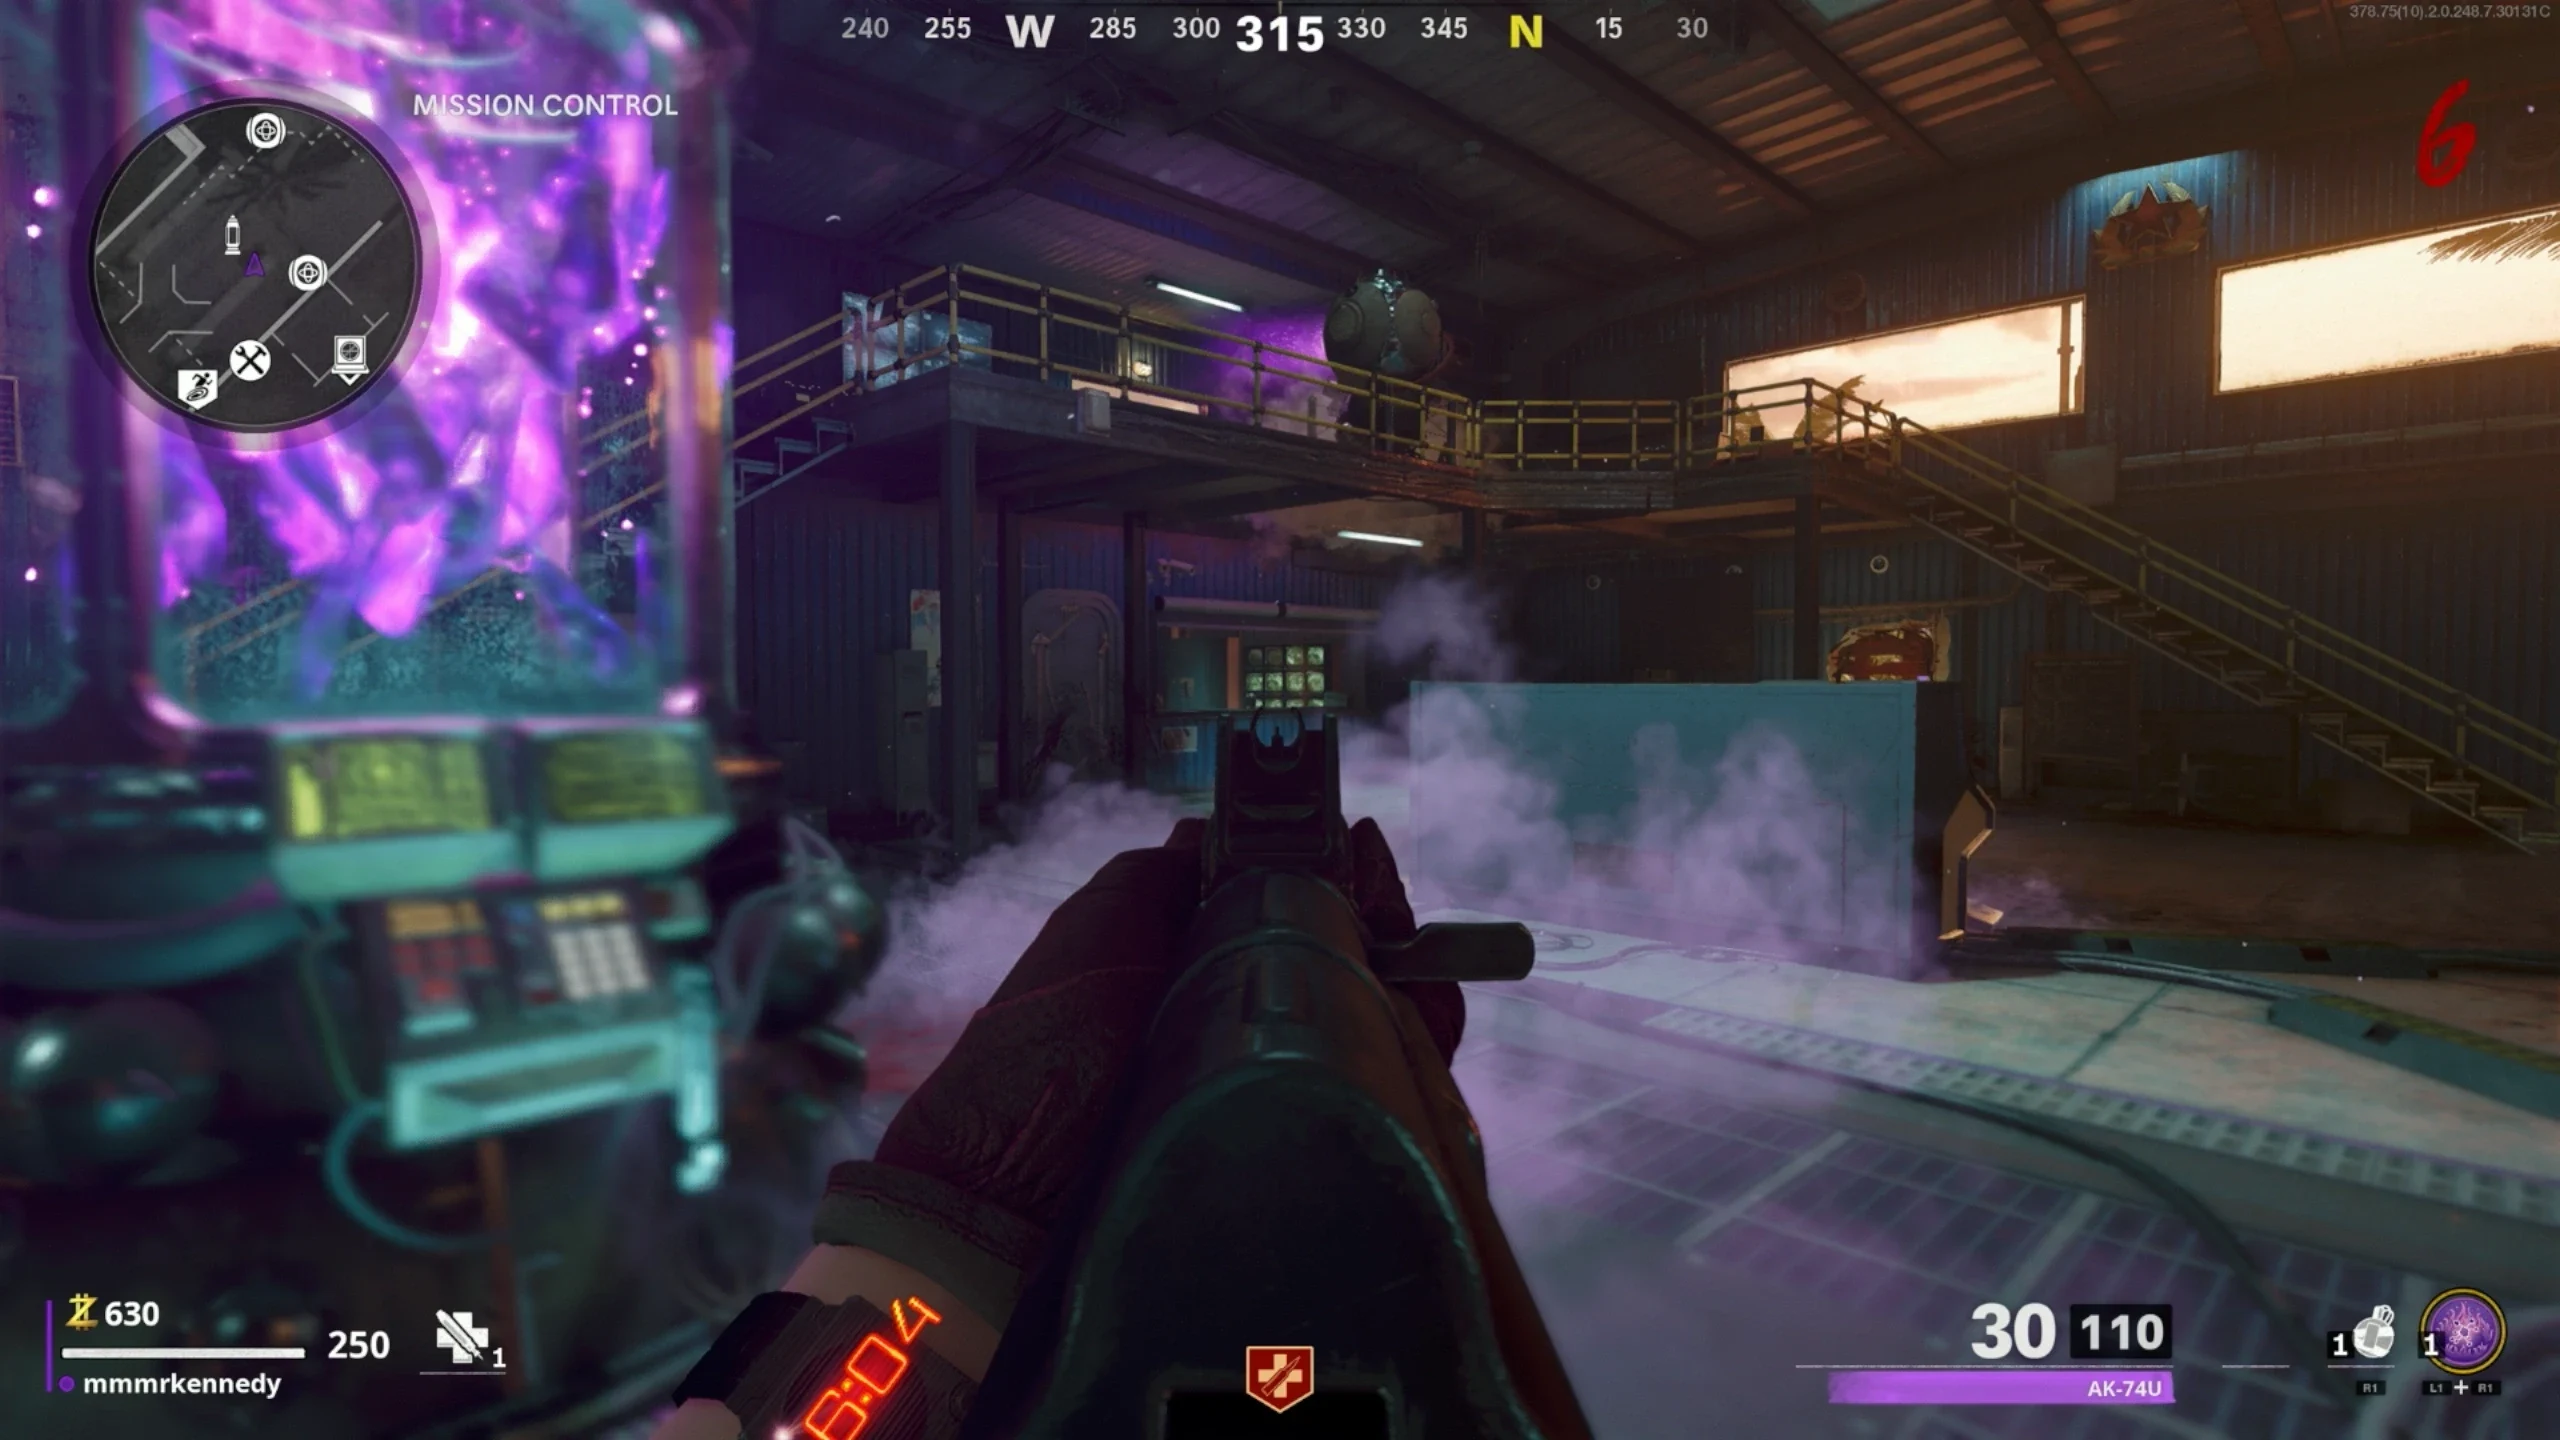
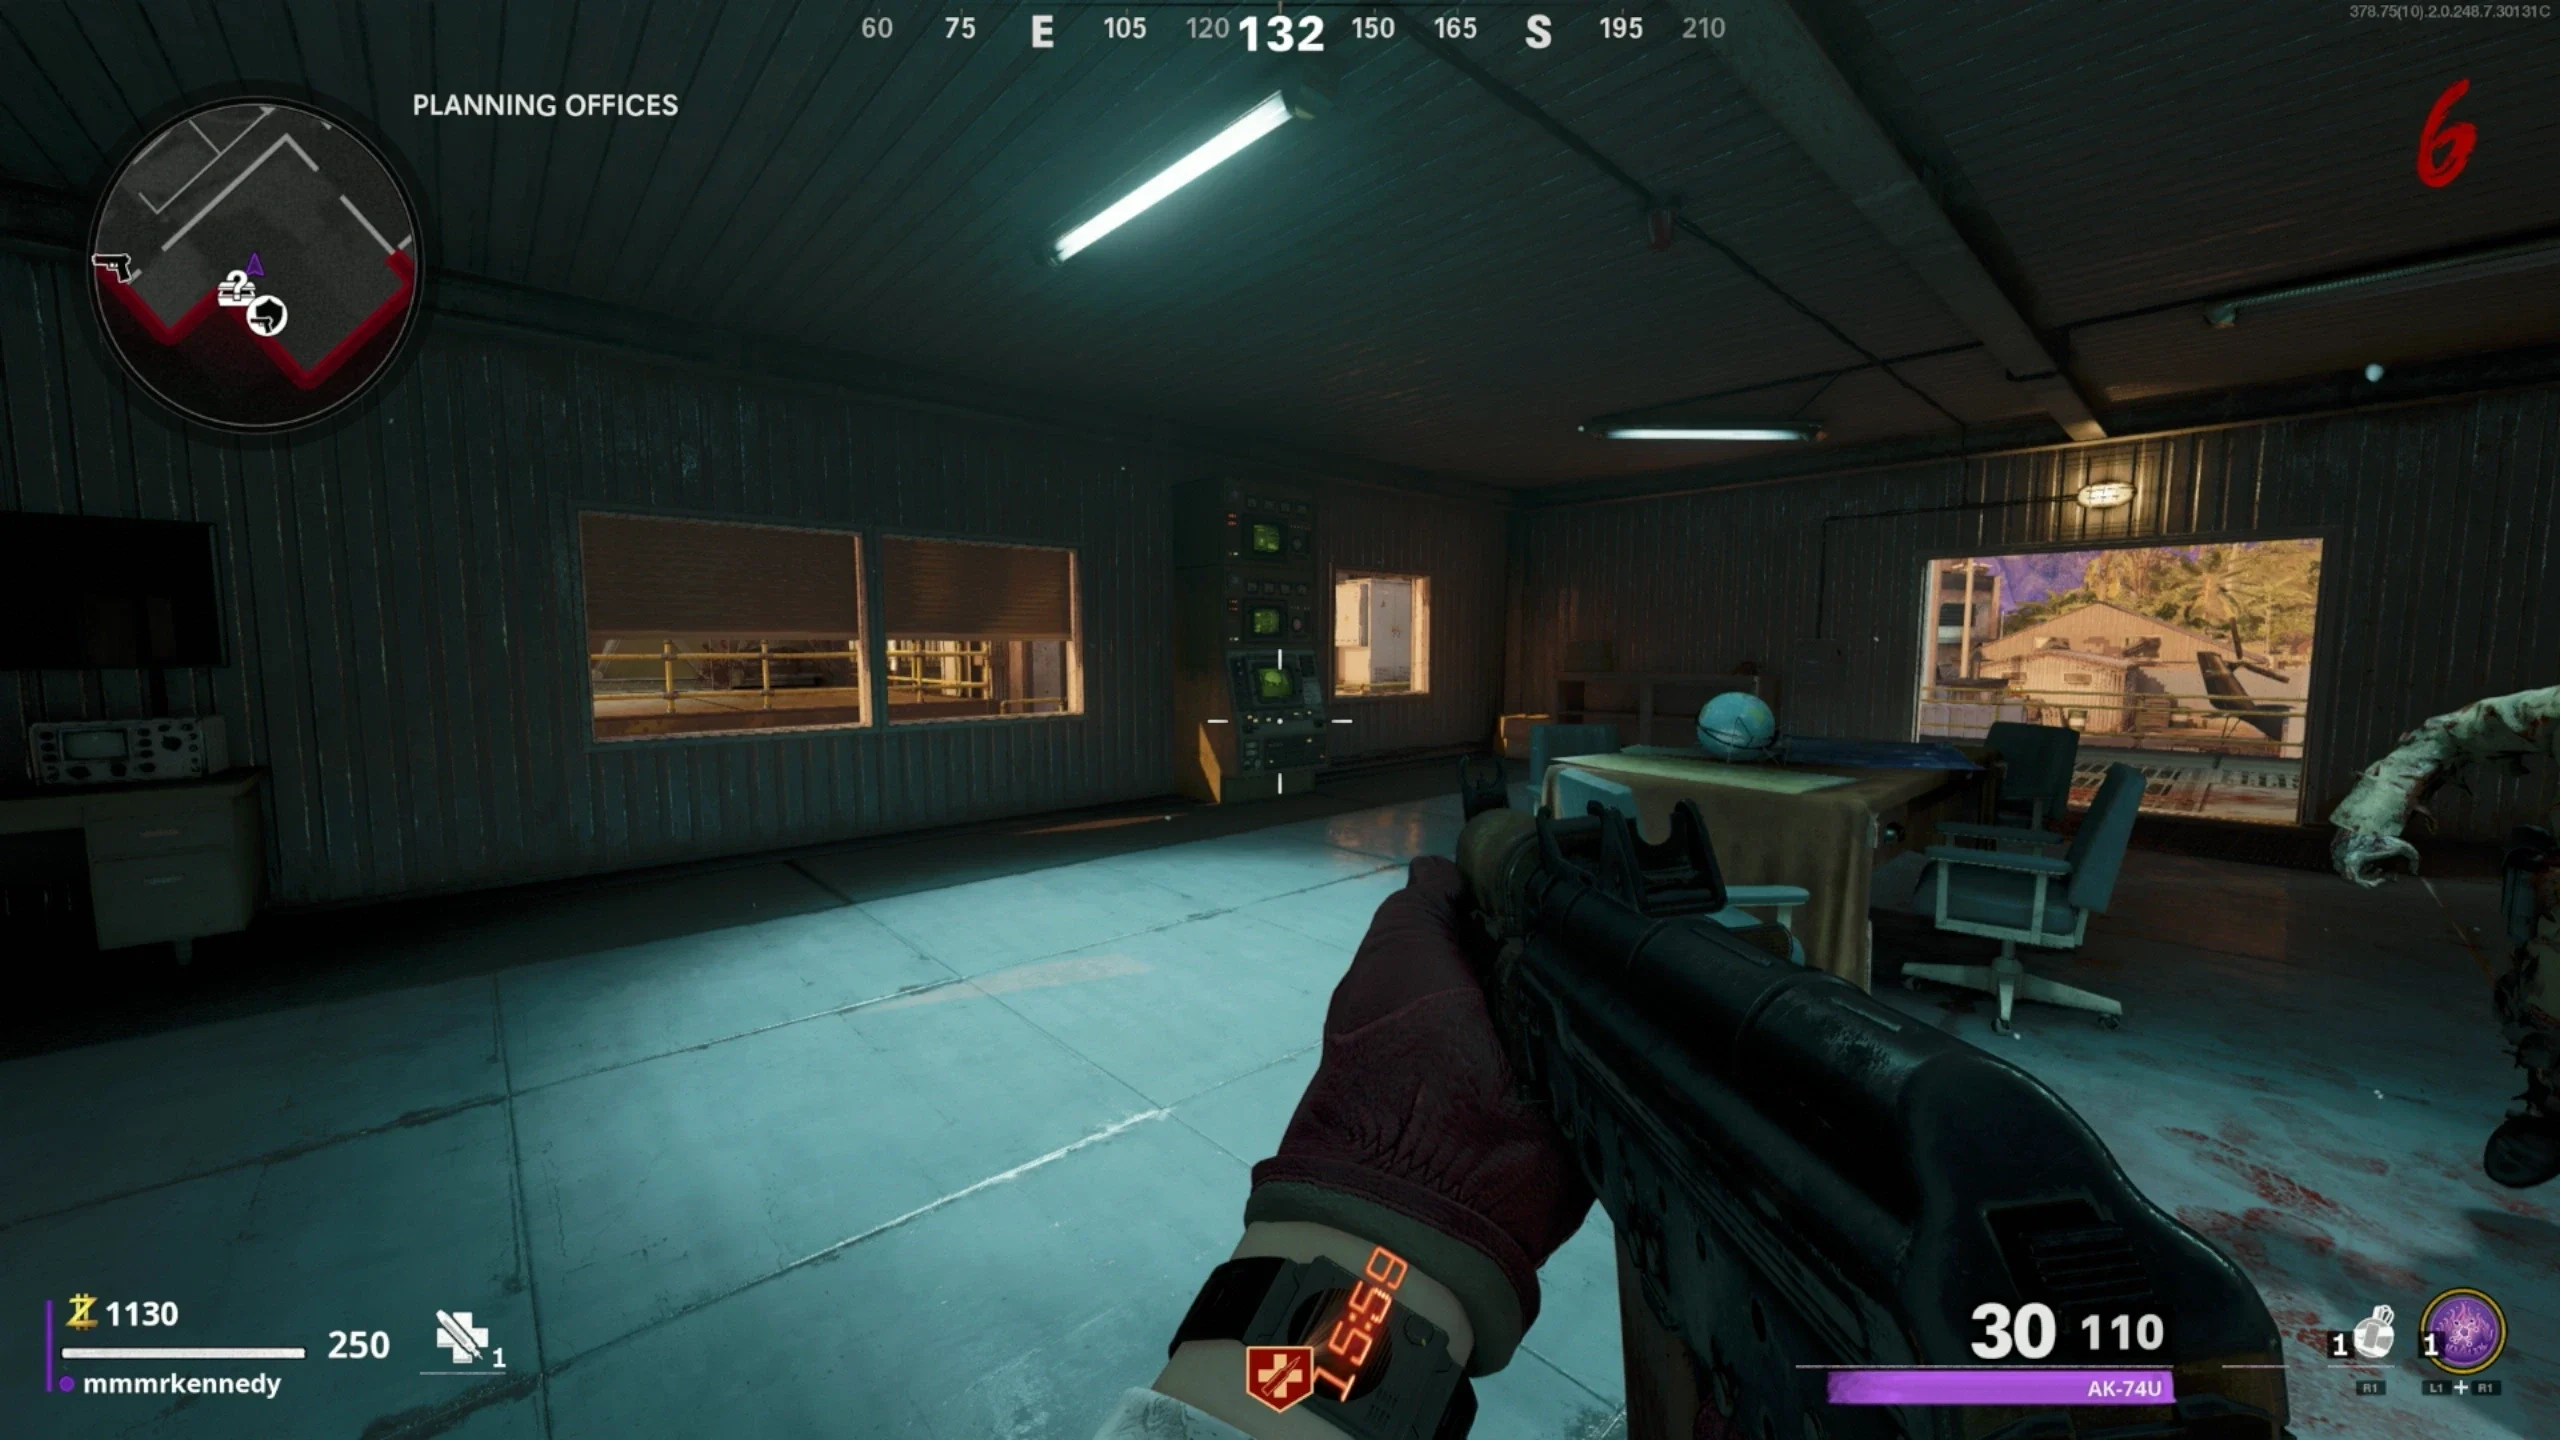
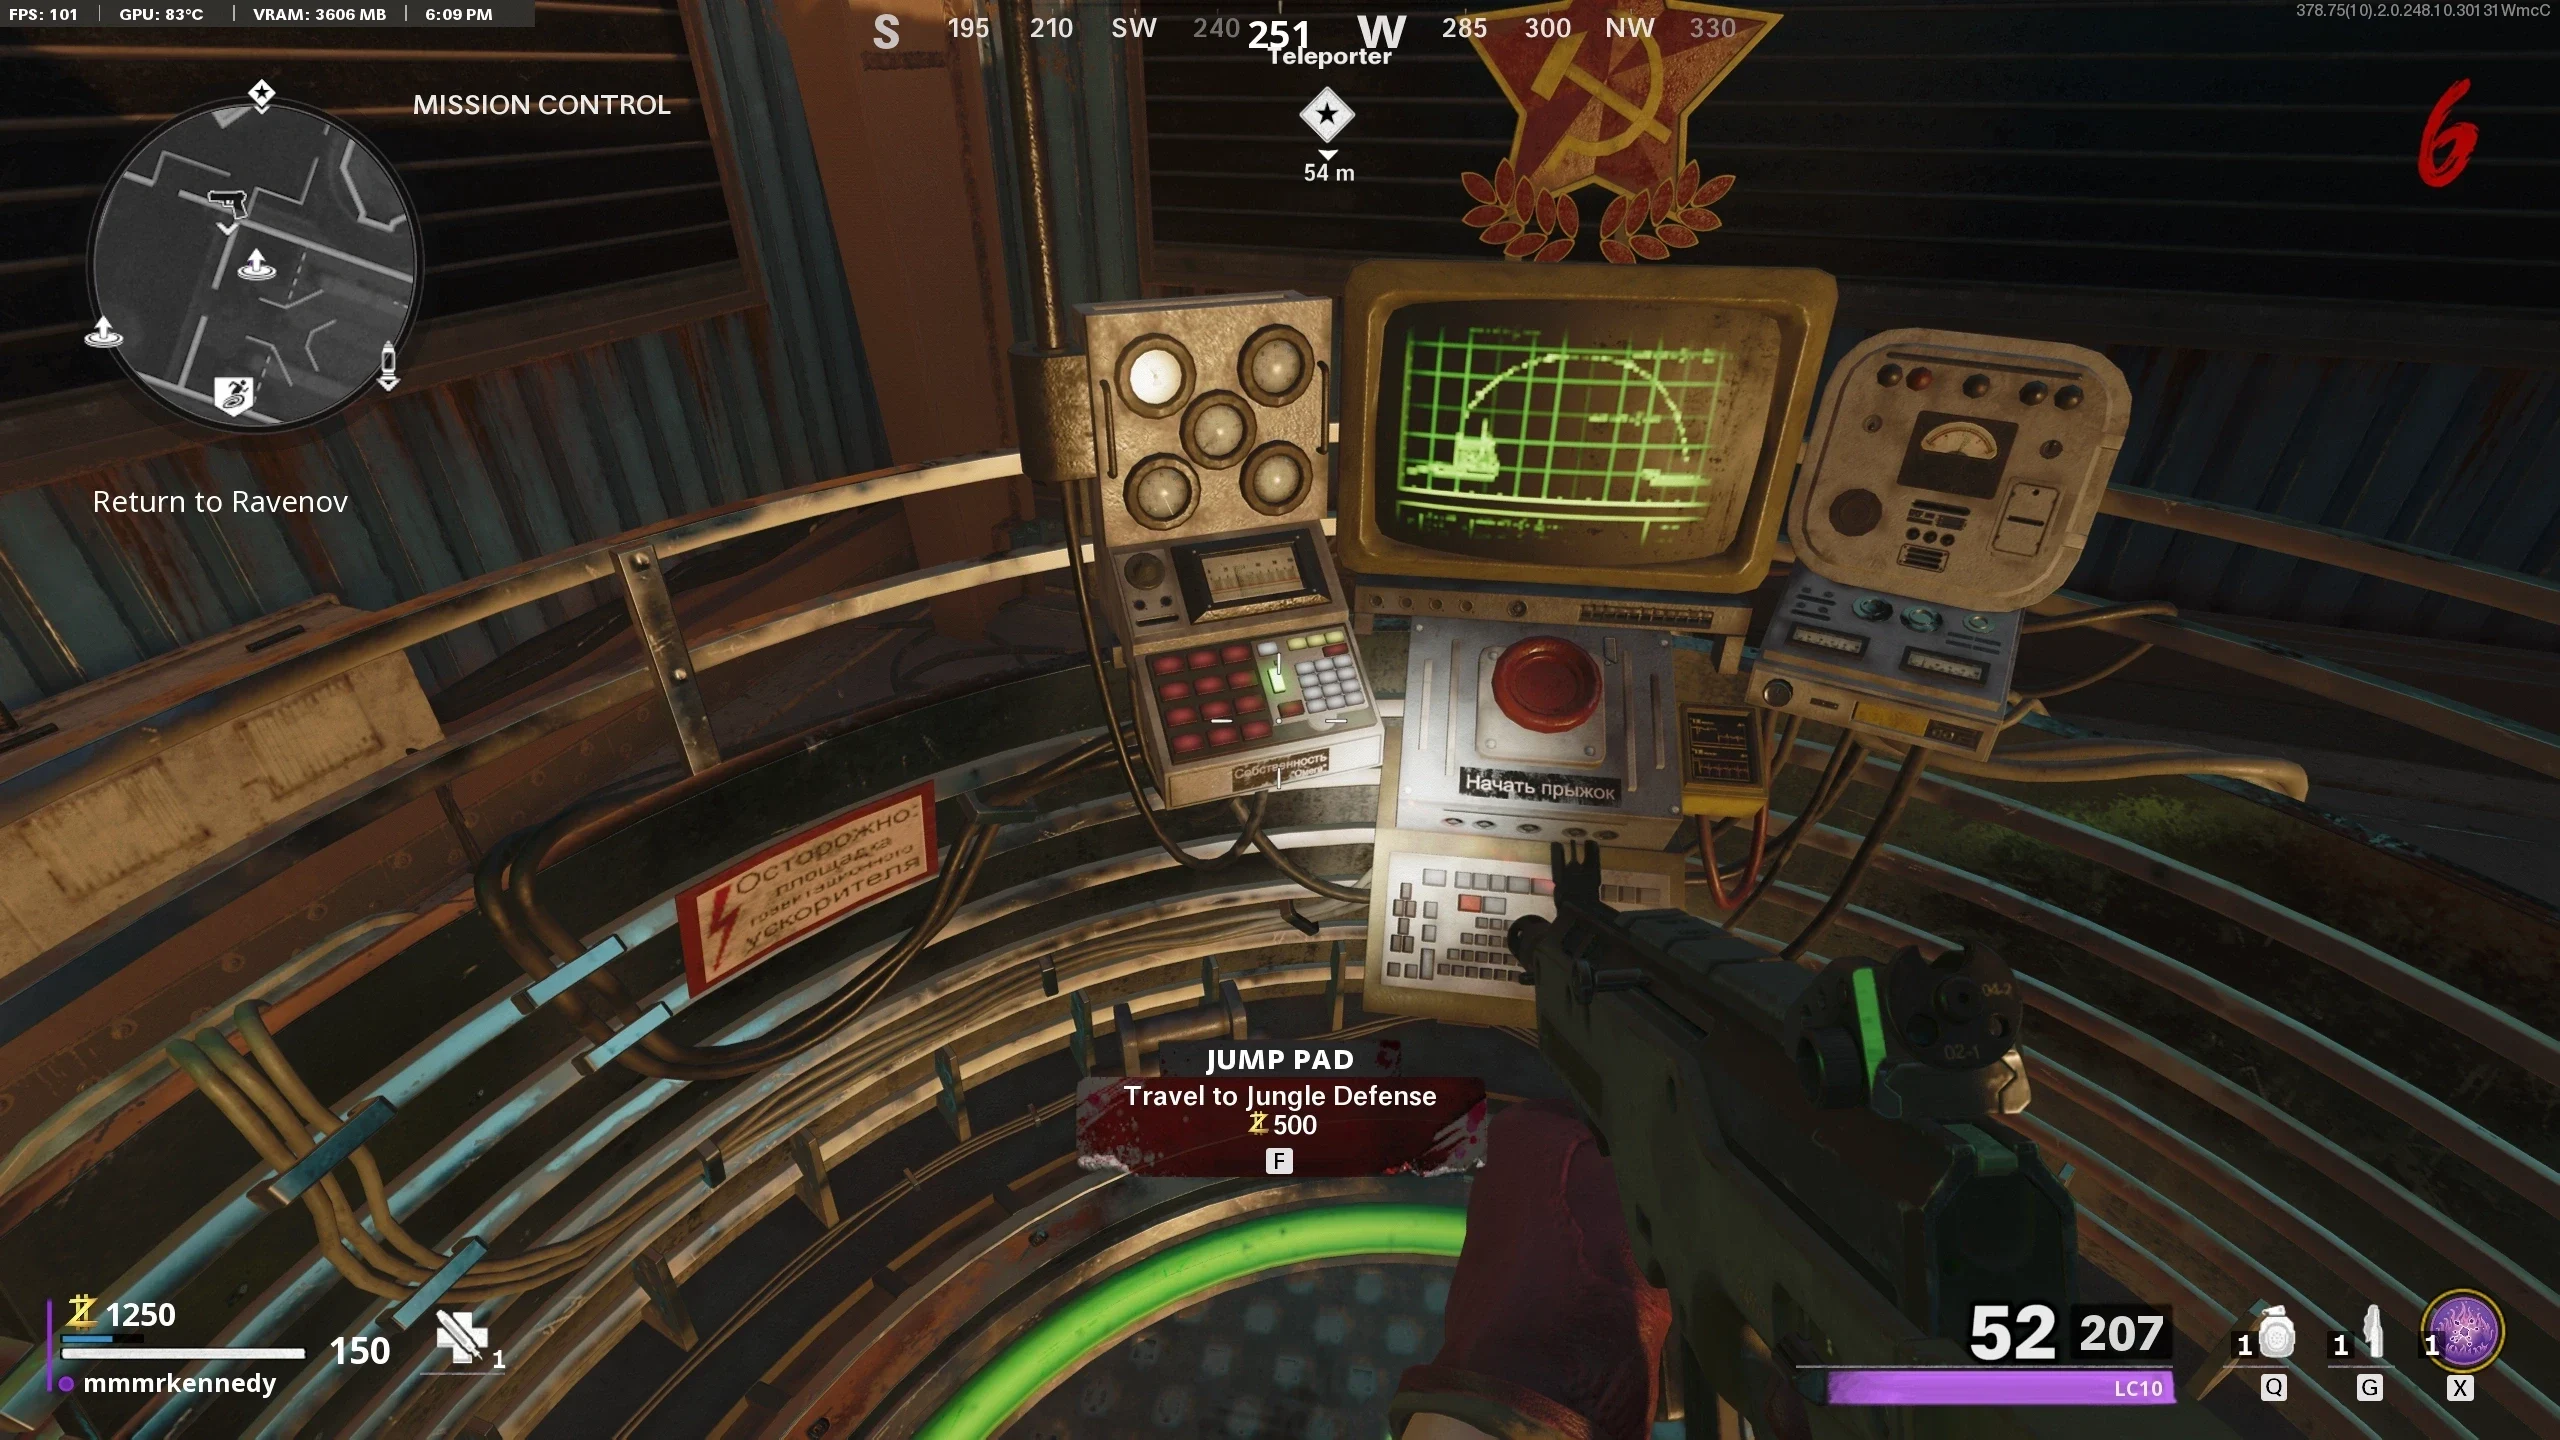
- In the 'Atrium' (Pack-a-Punch room), speak to Ravenov, then go to 'Mission Control' and speak to Dr. Peck. Then go back to the 'Atrium' and speak to Ravenov again. He will give you his ID Badge.
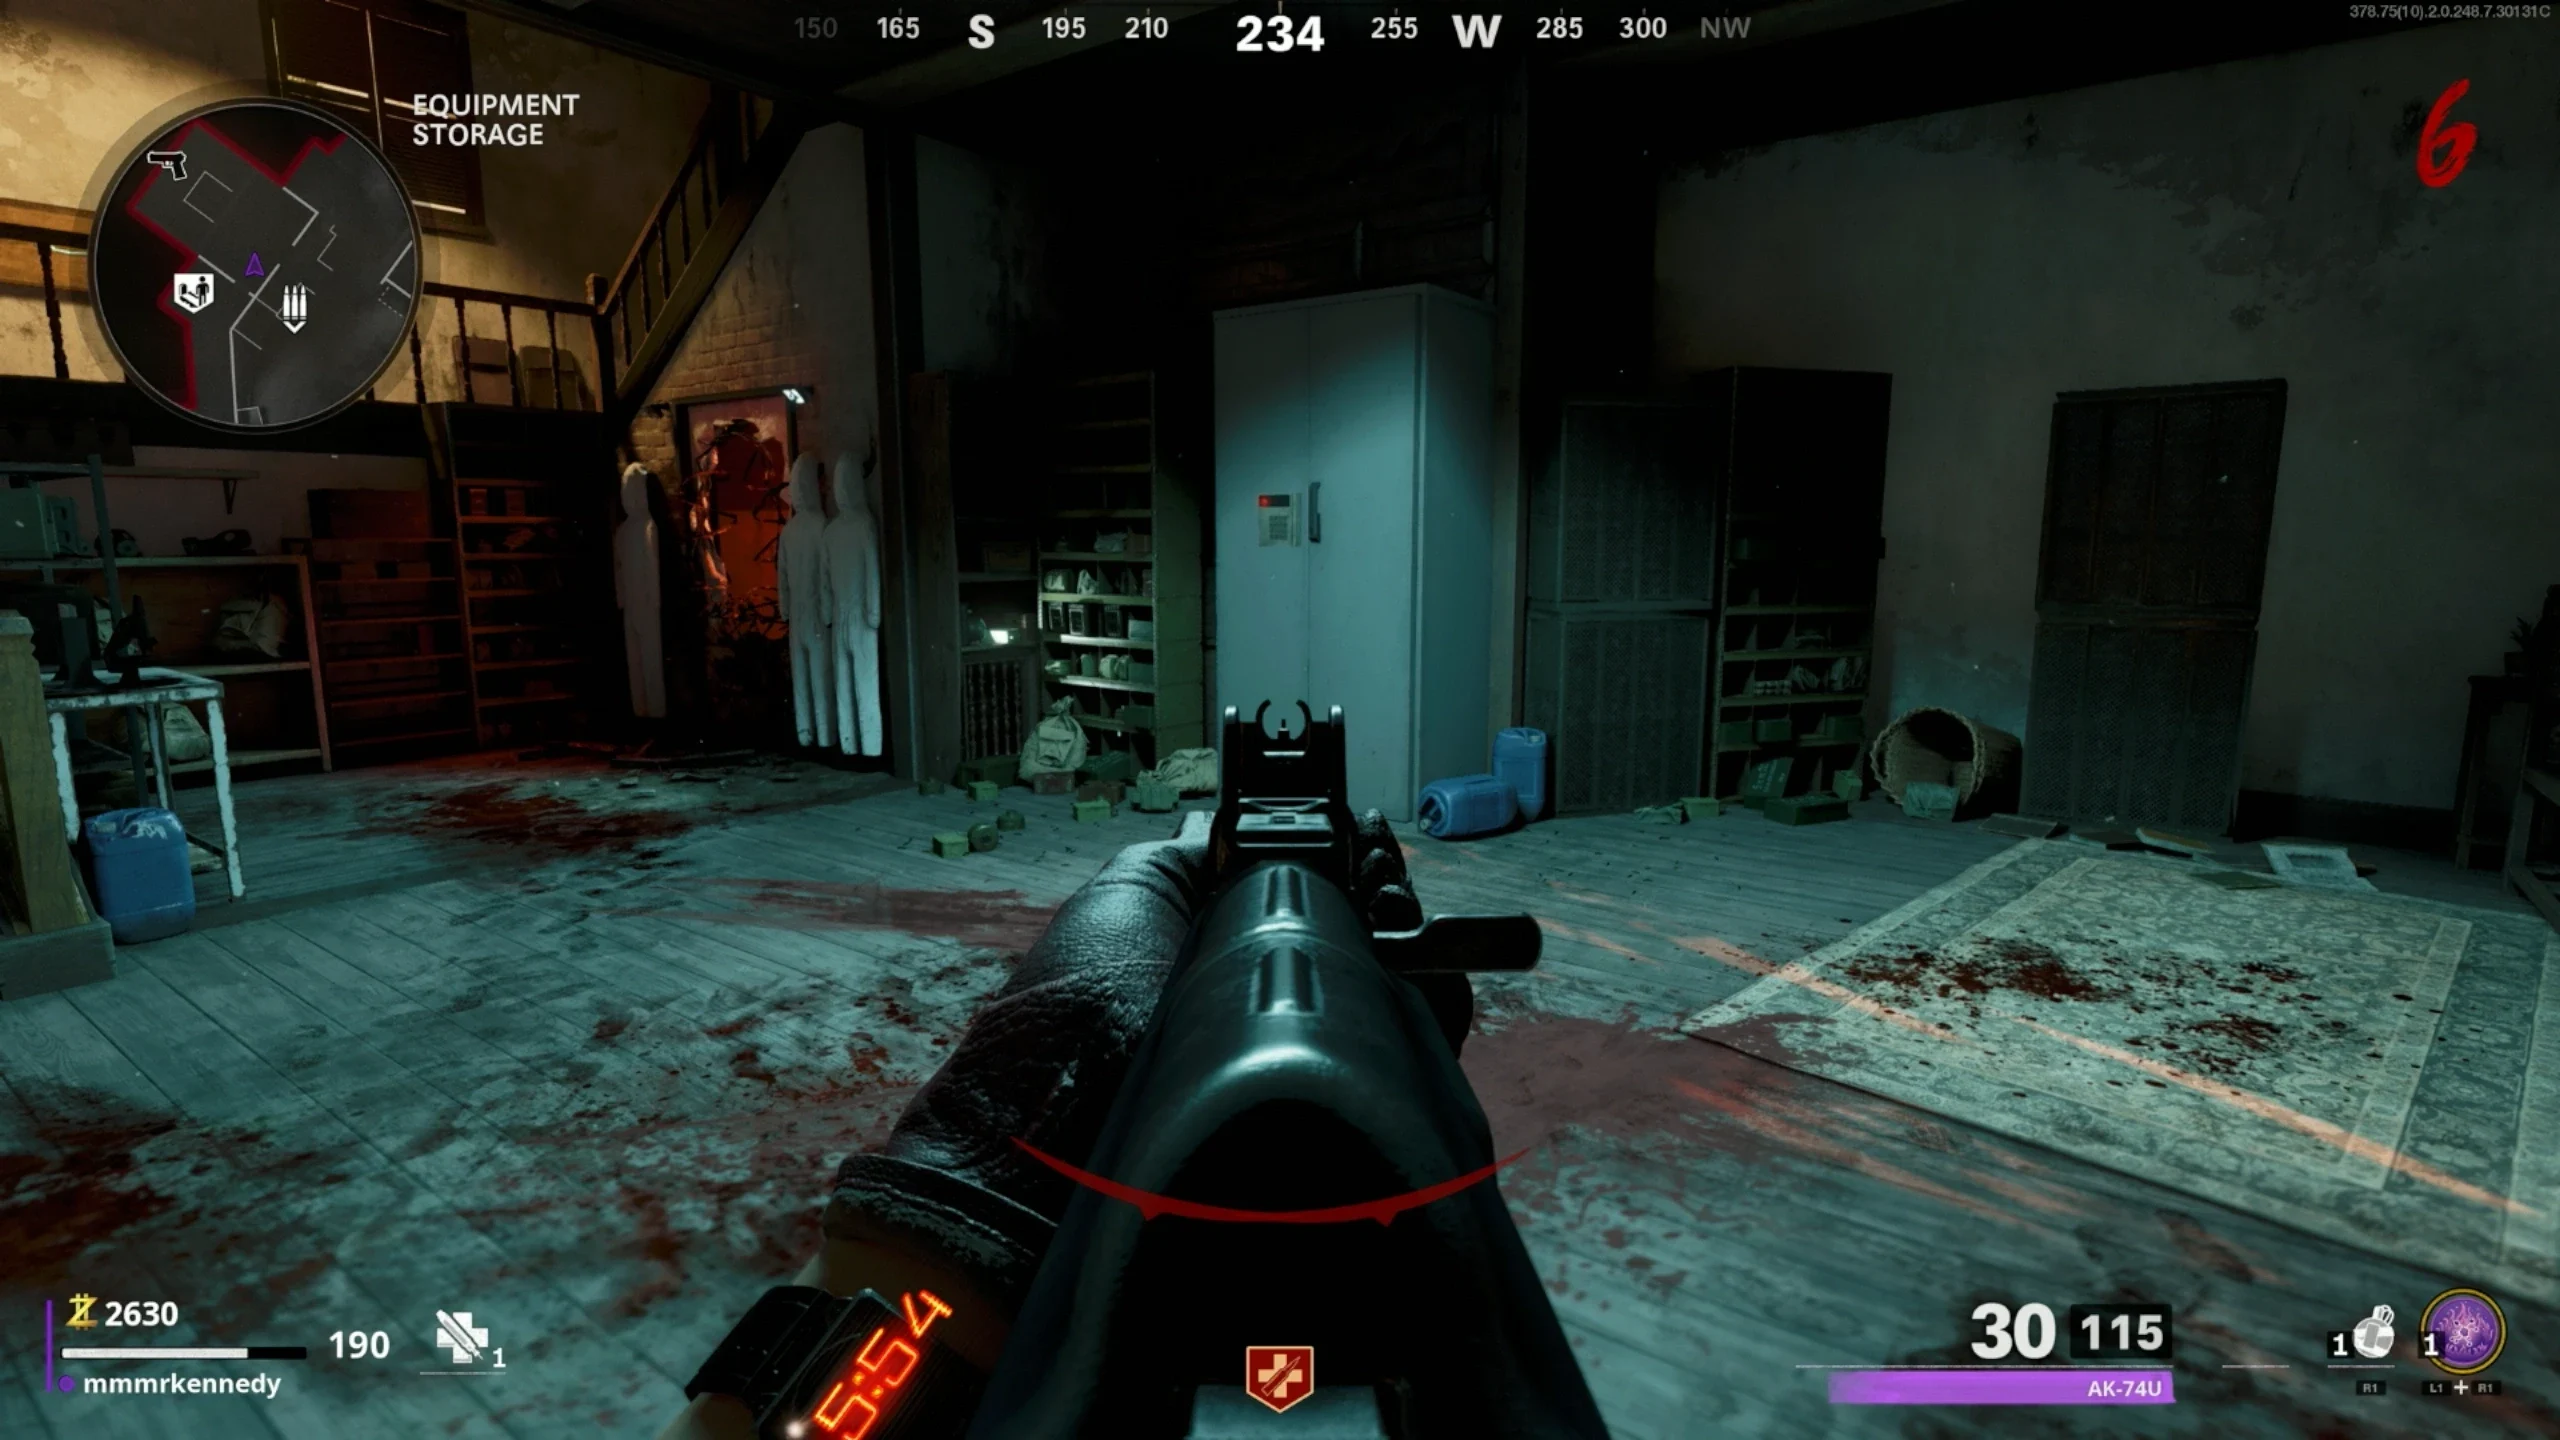
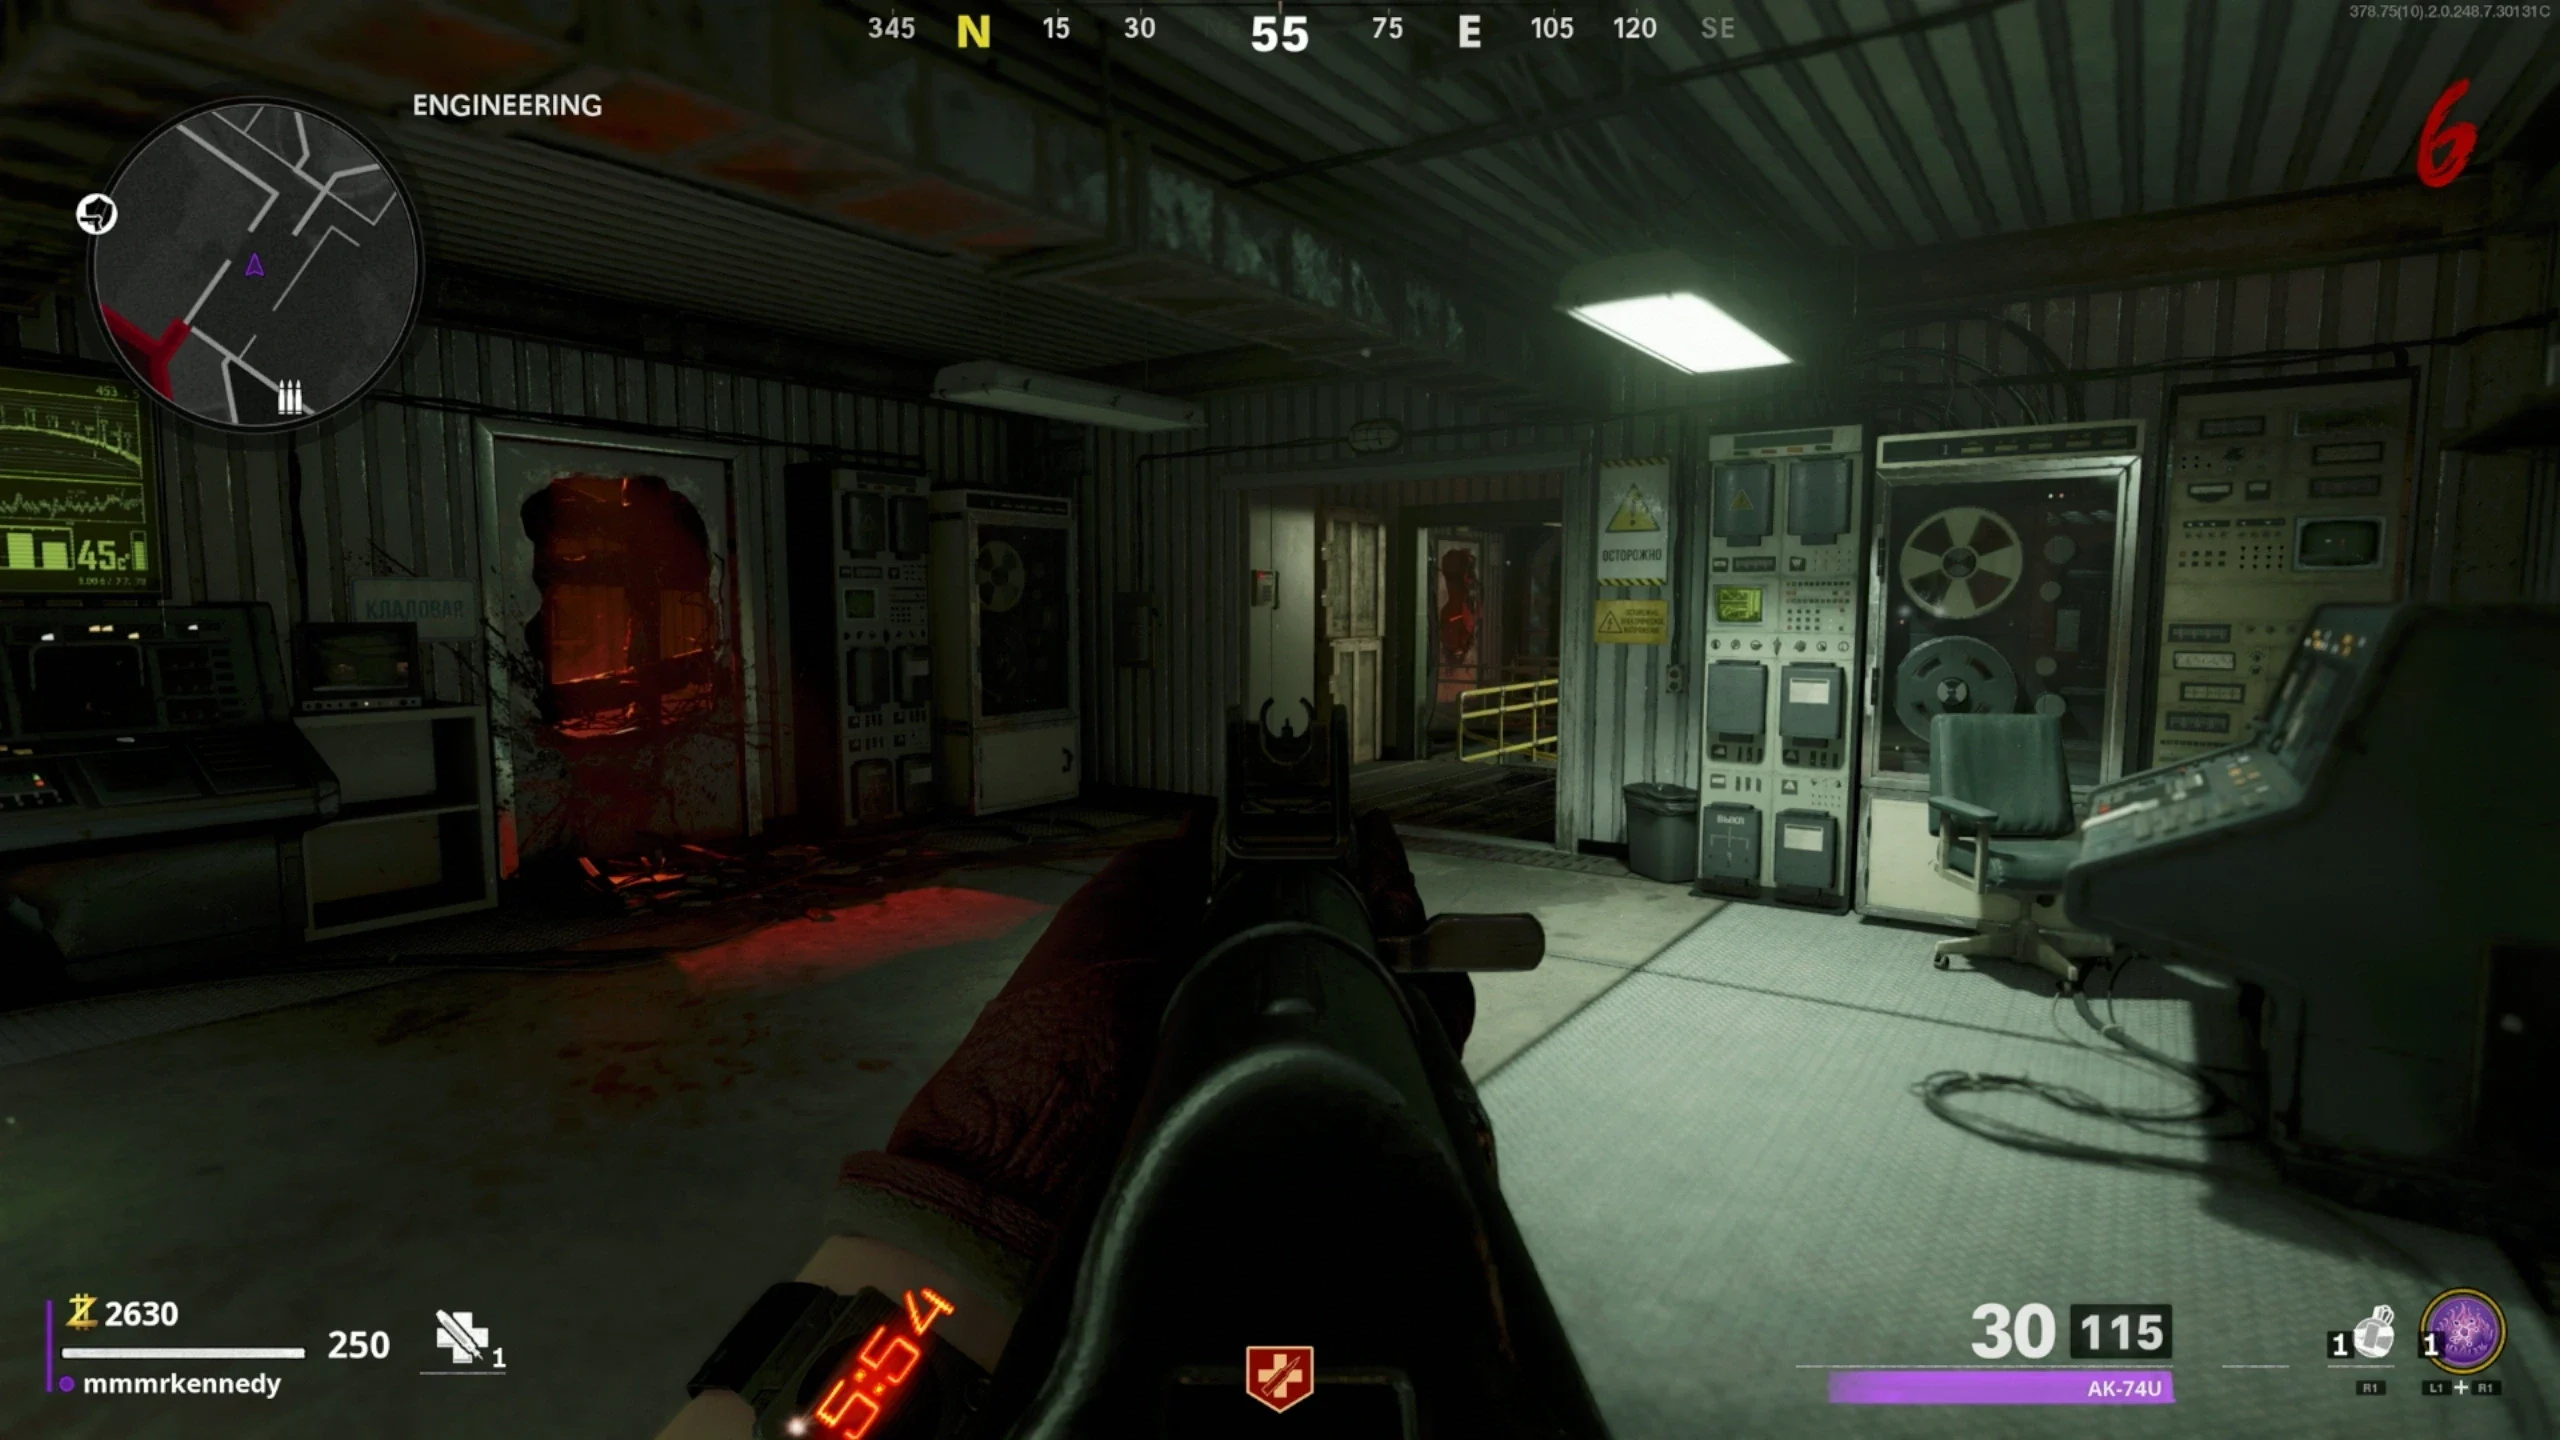
- Once you pick up the ID Badge, use it to open three lockers and collect the compounds in each. Locations:
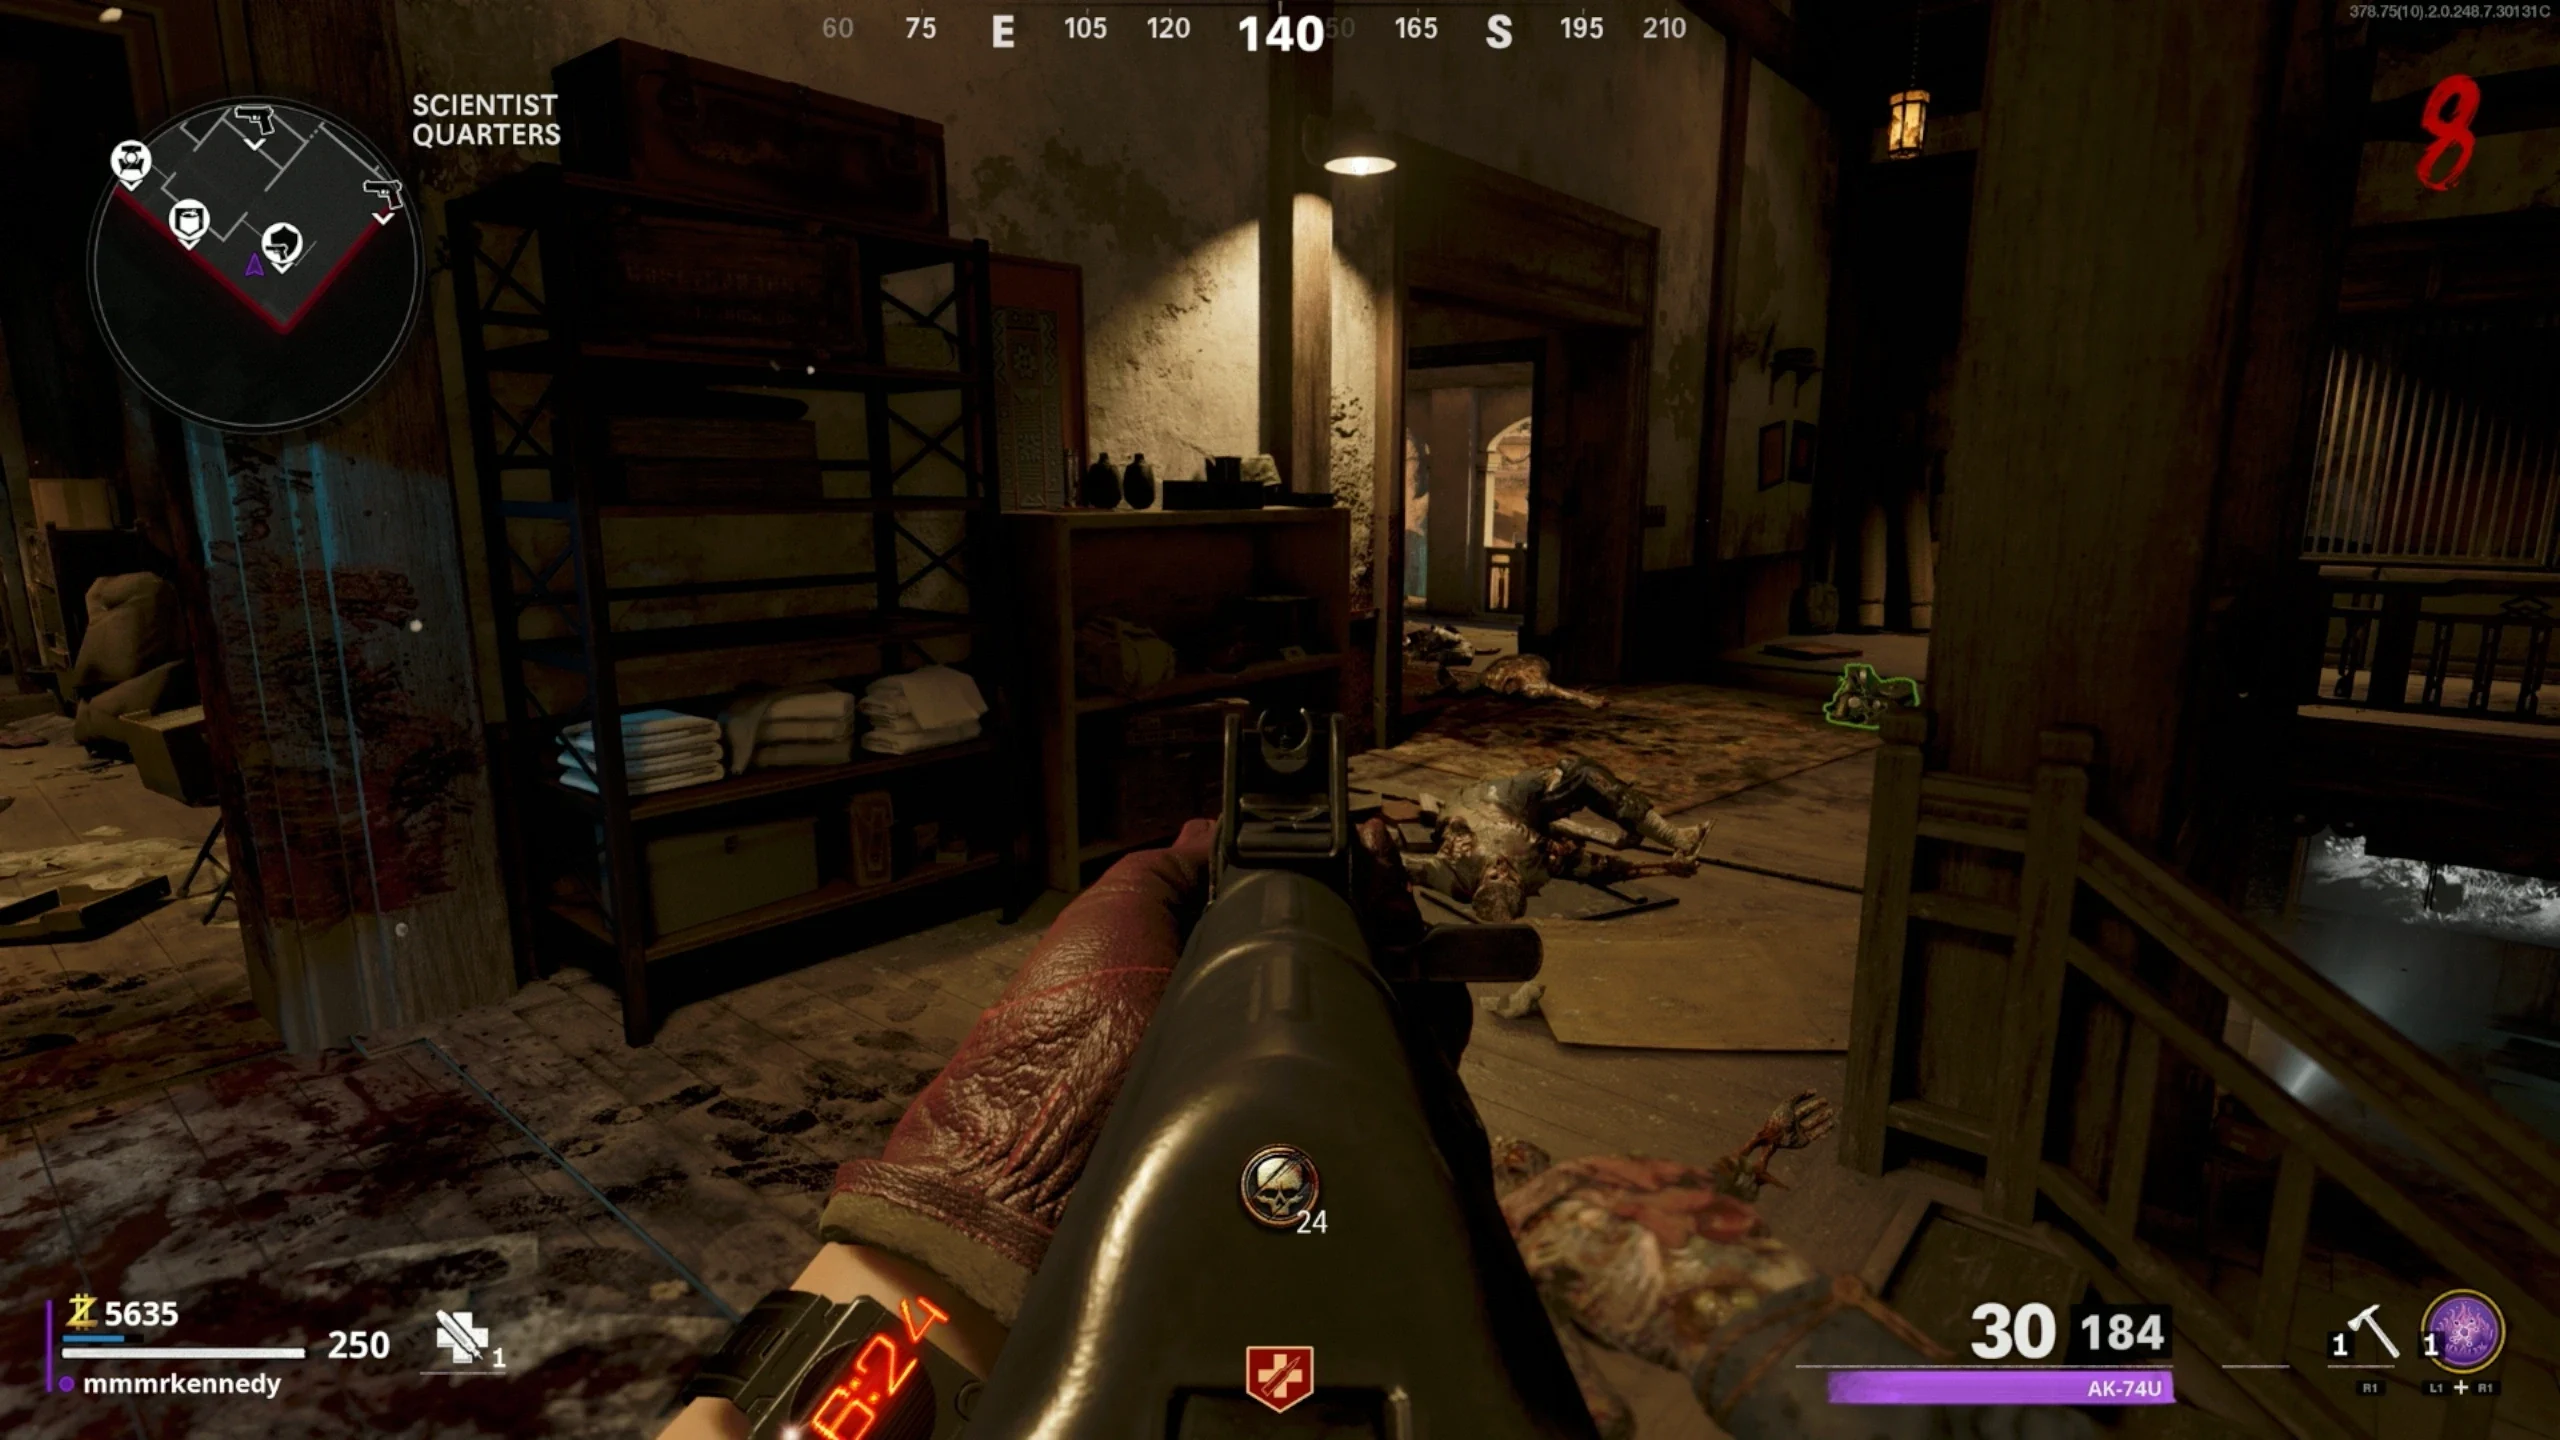
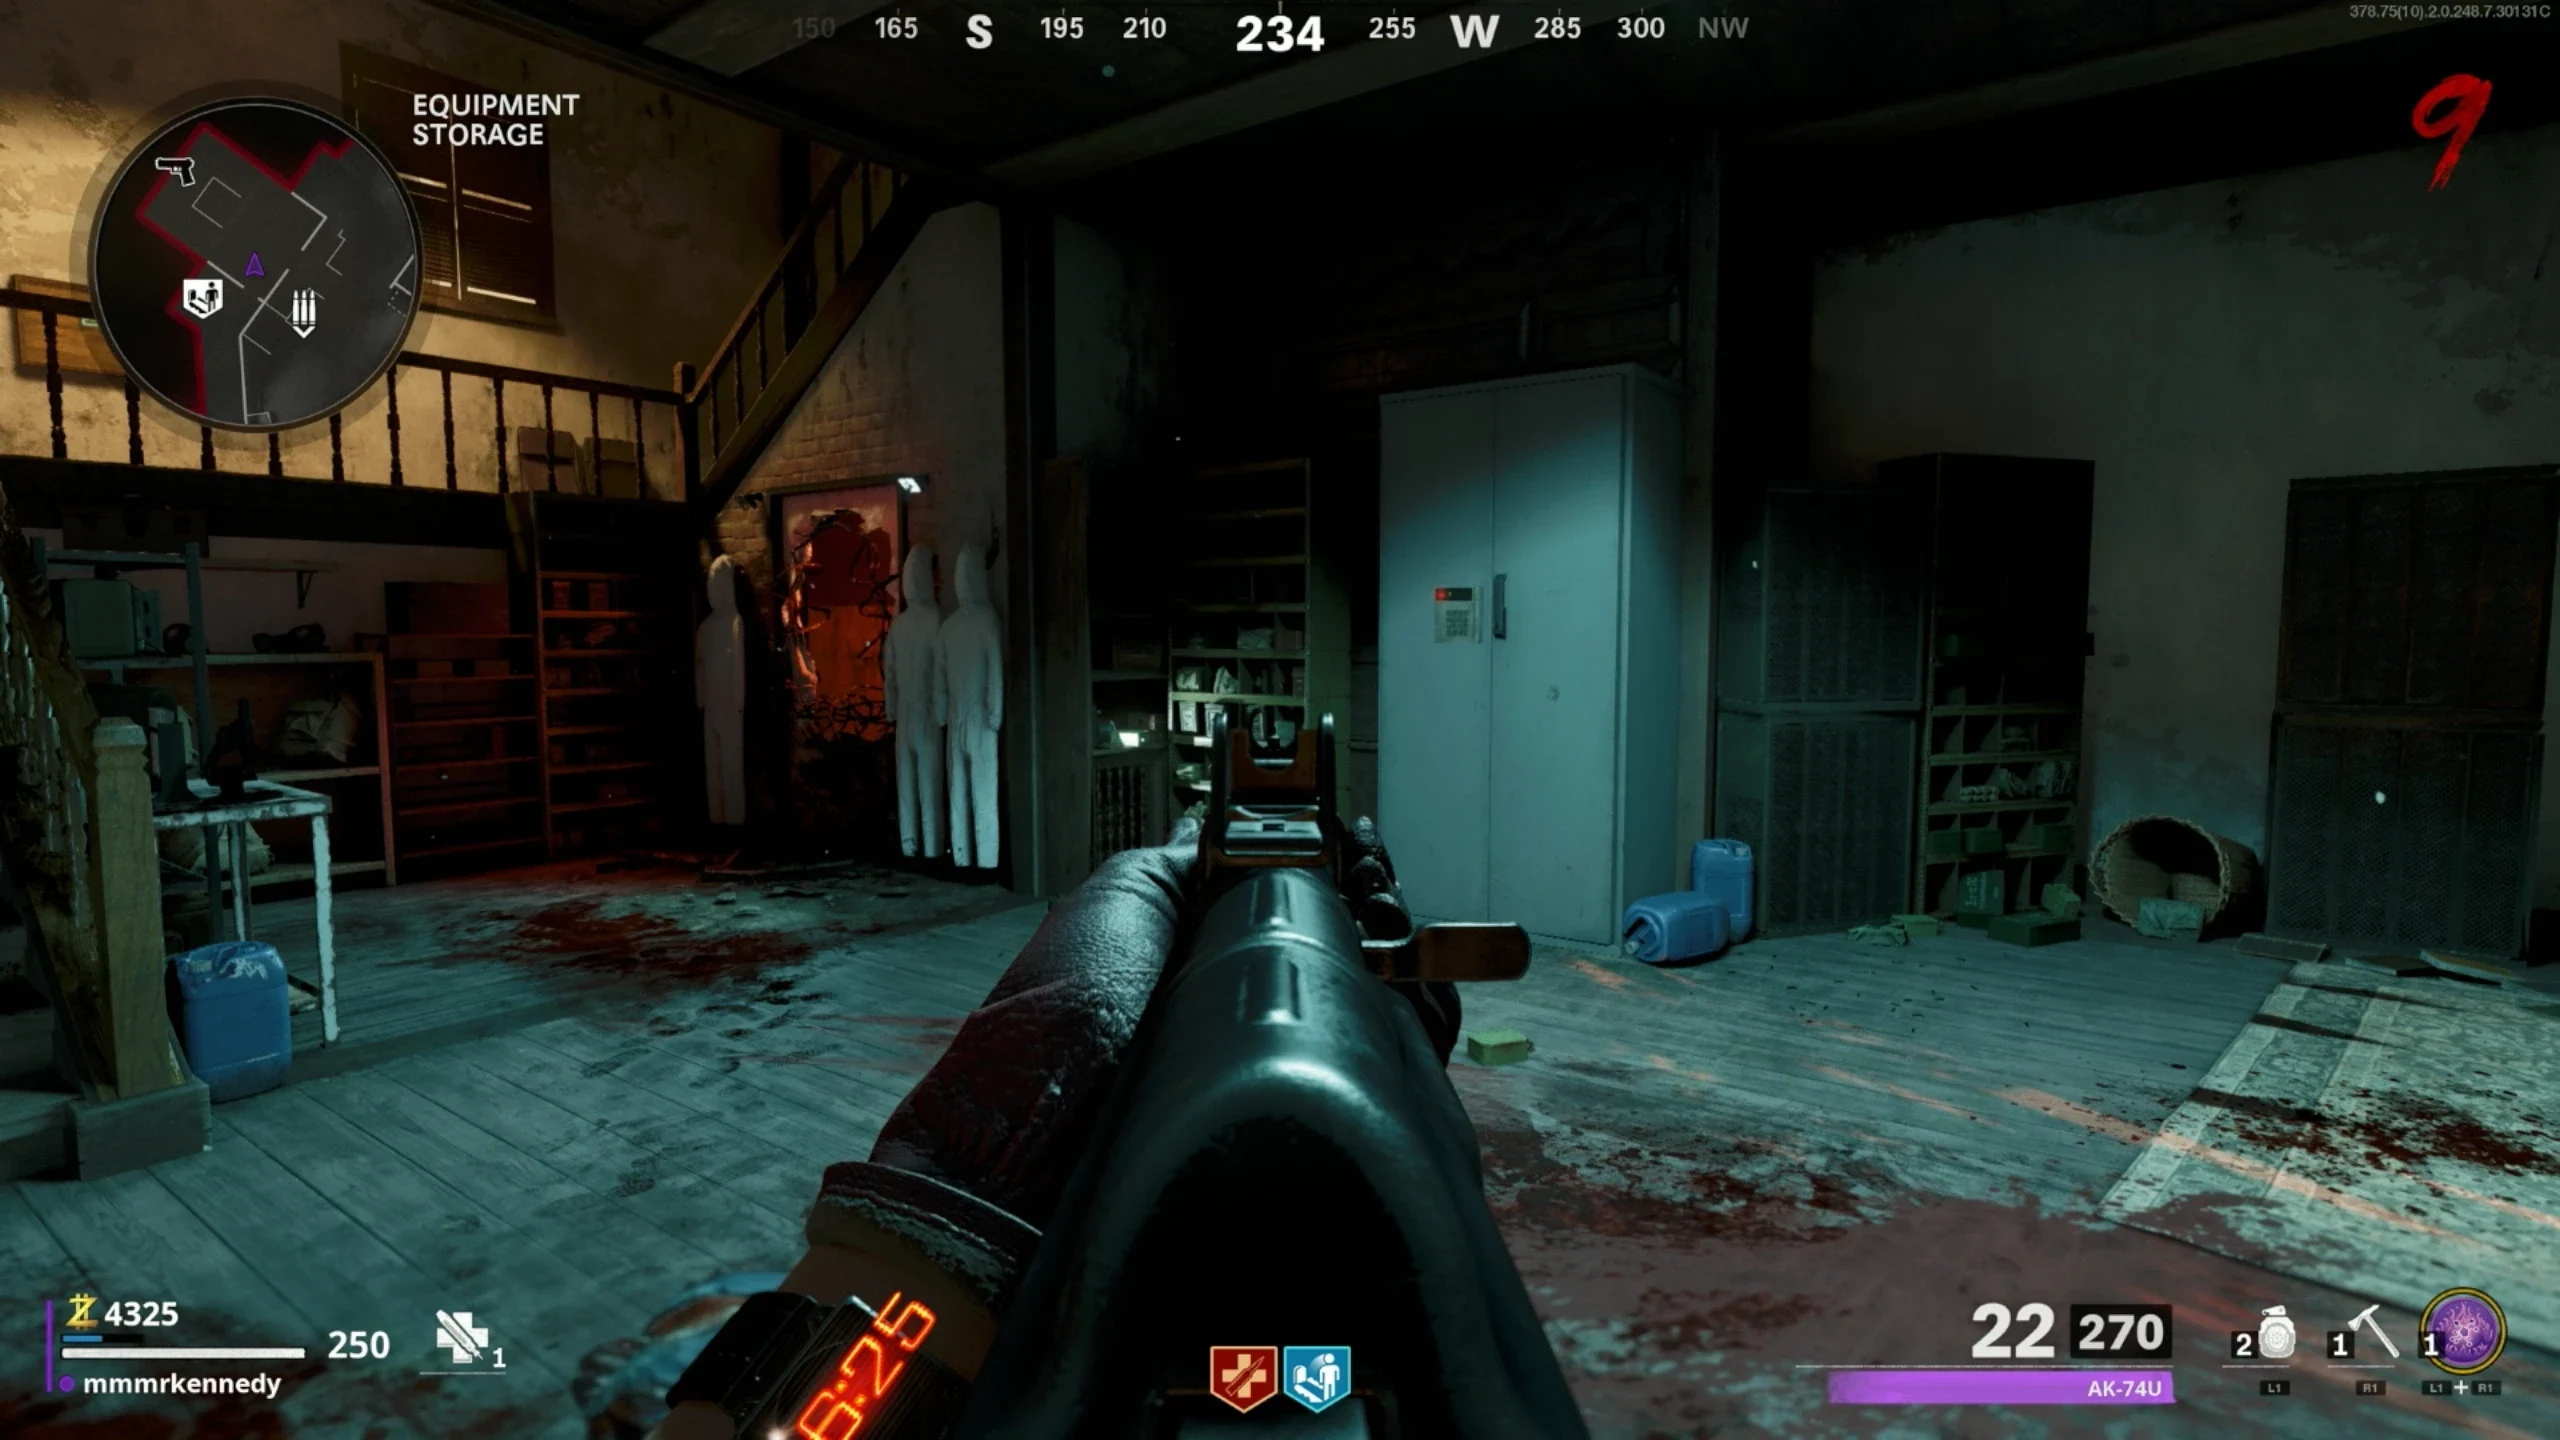
- Equipment Storage - In the room to the right of Quick Revive
- Engineering - From the teleporter from spawn, the area on the left
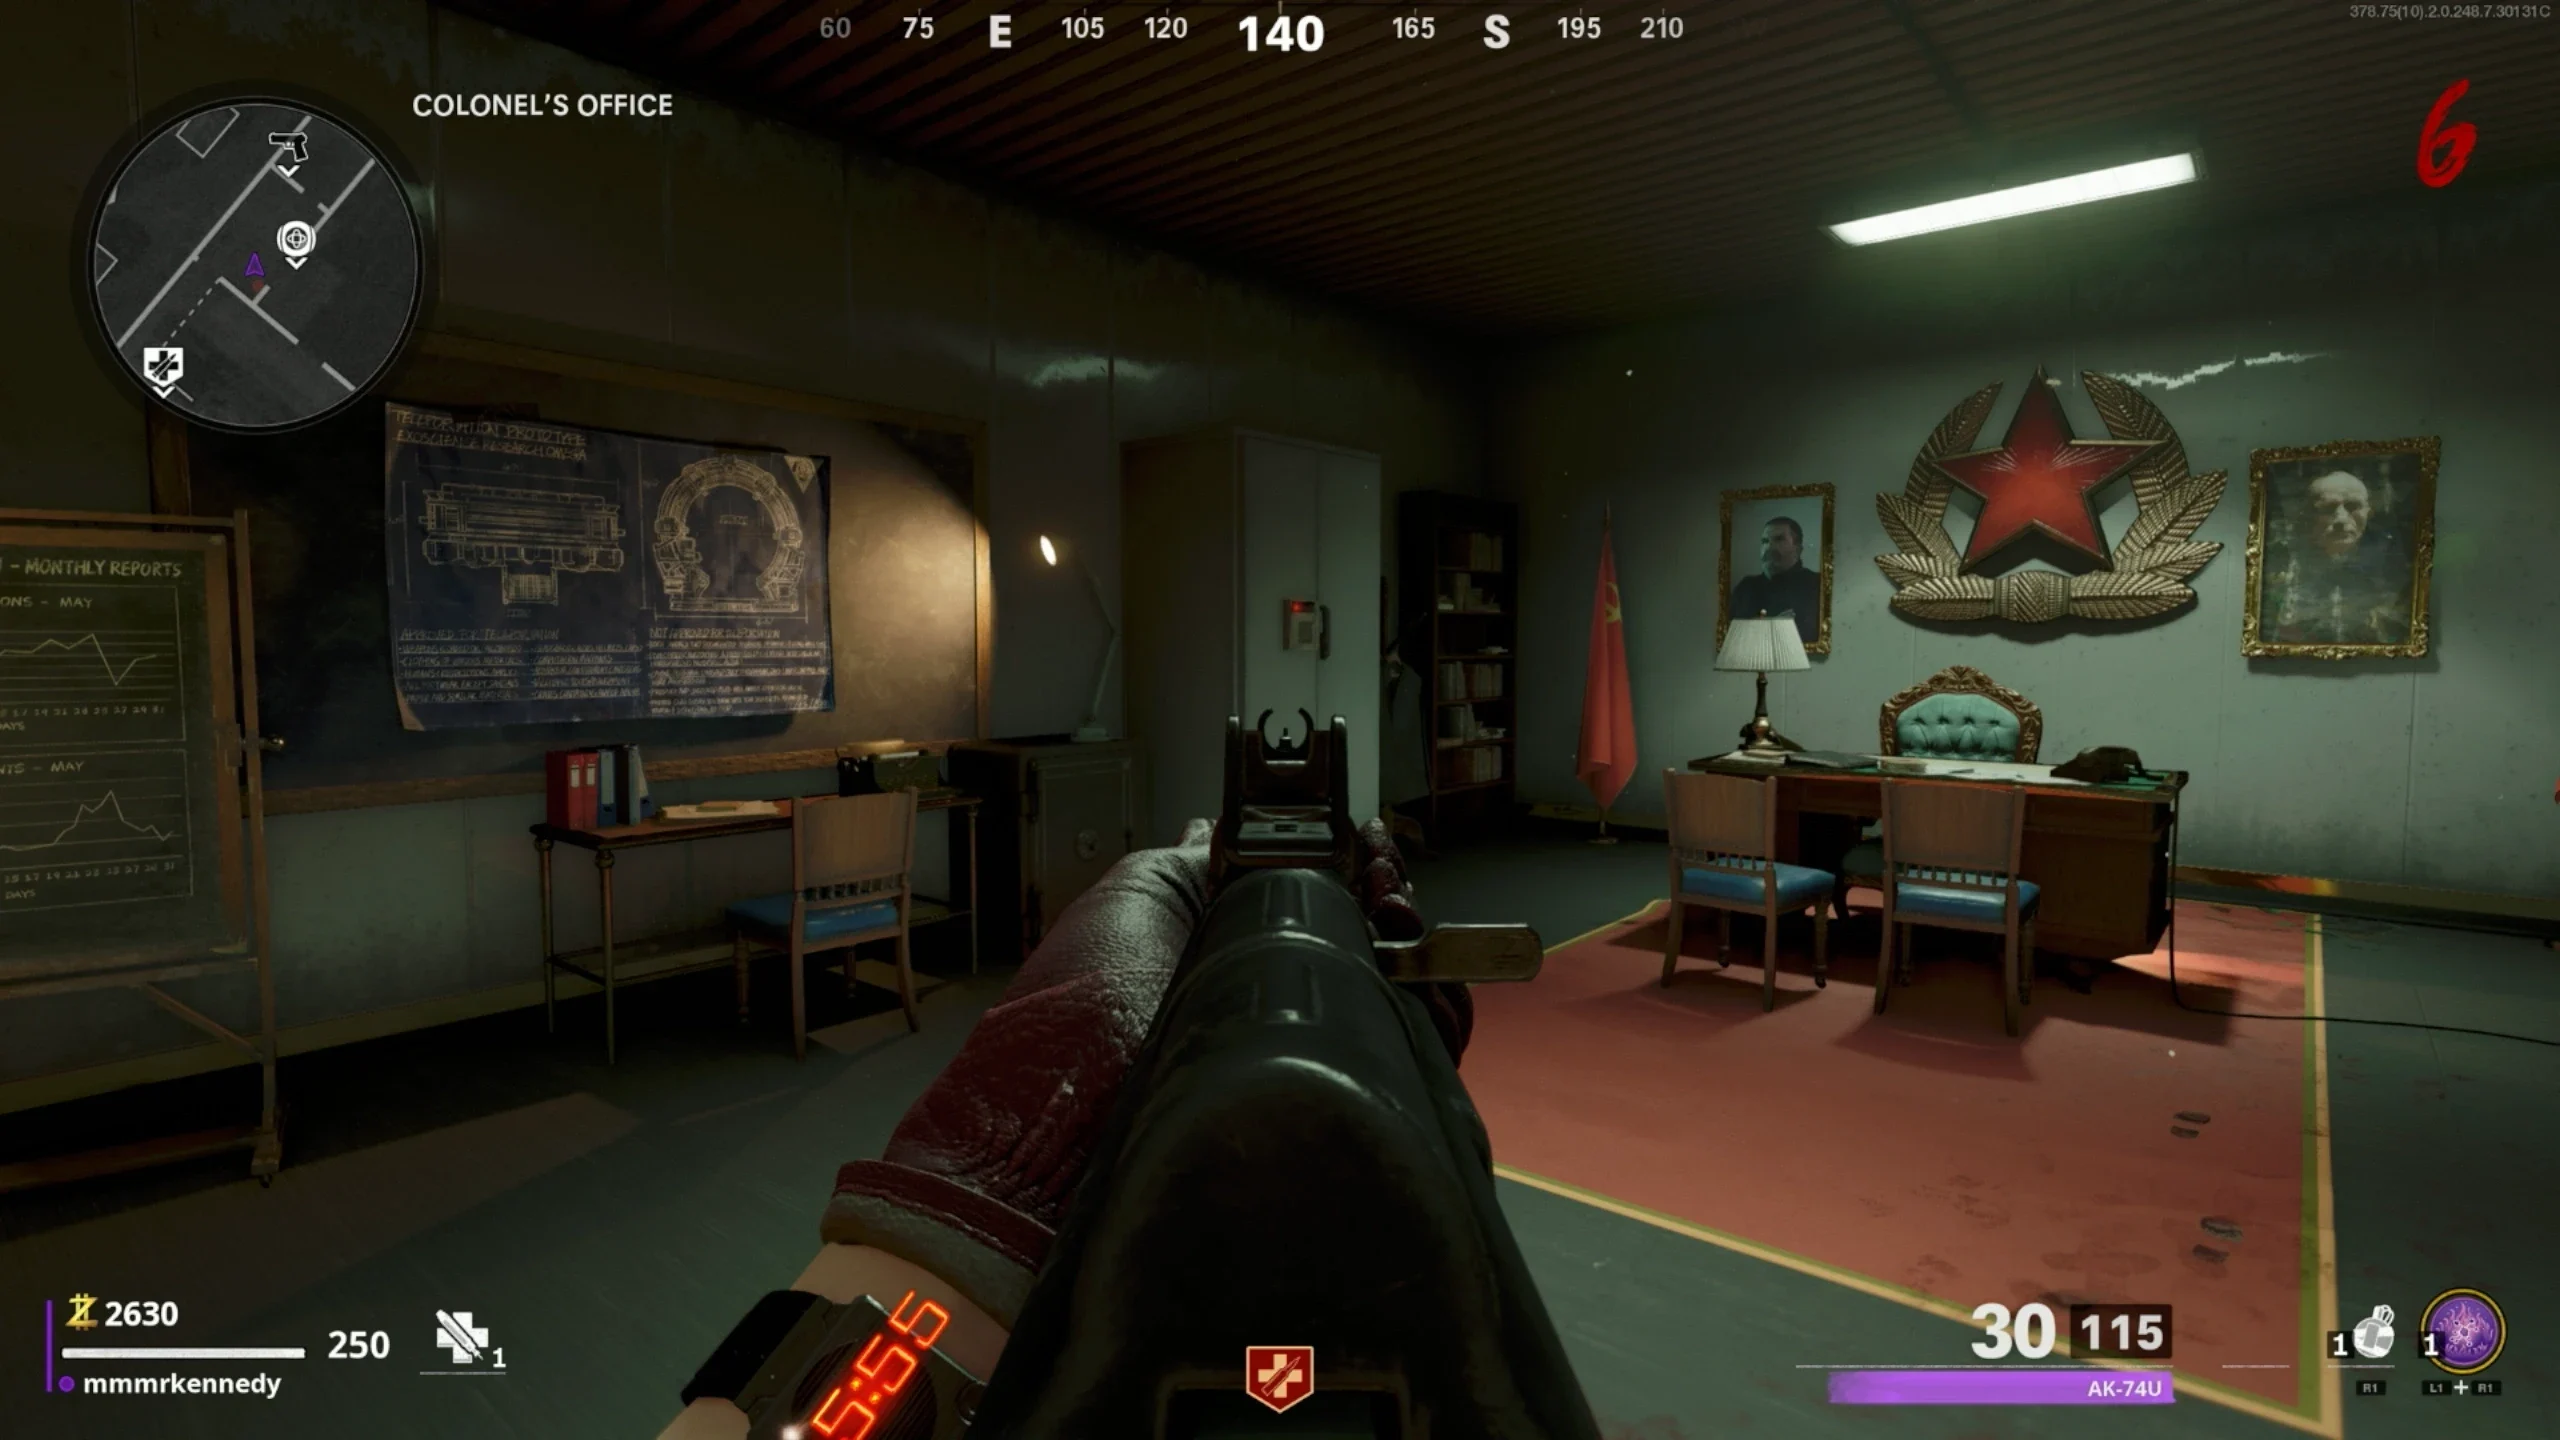
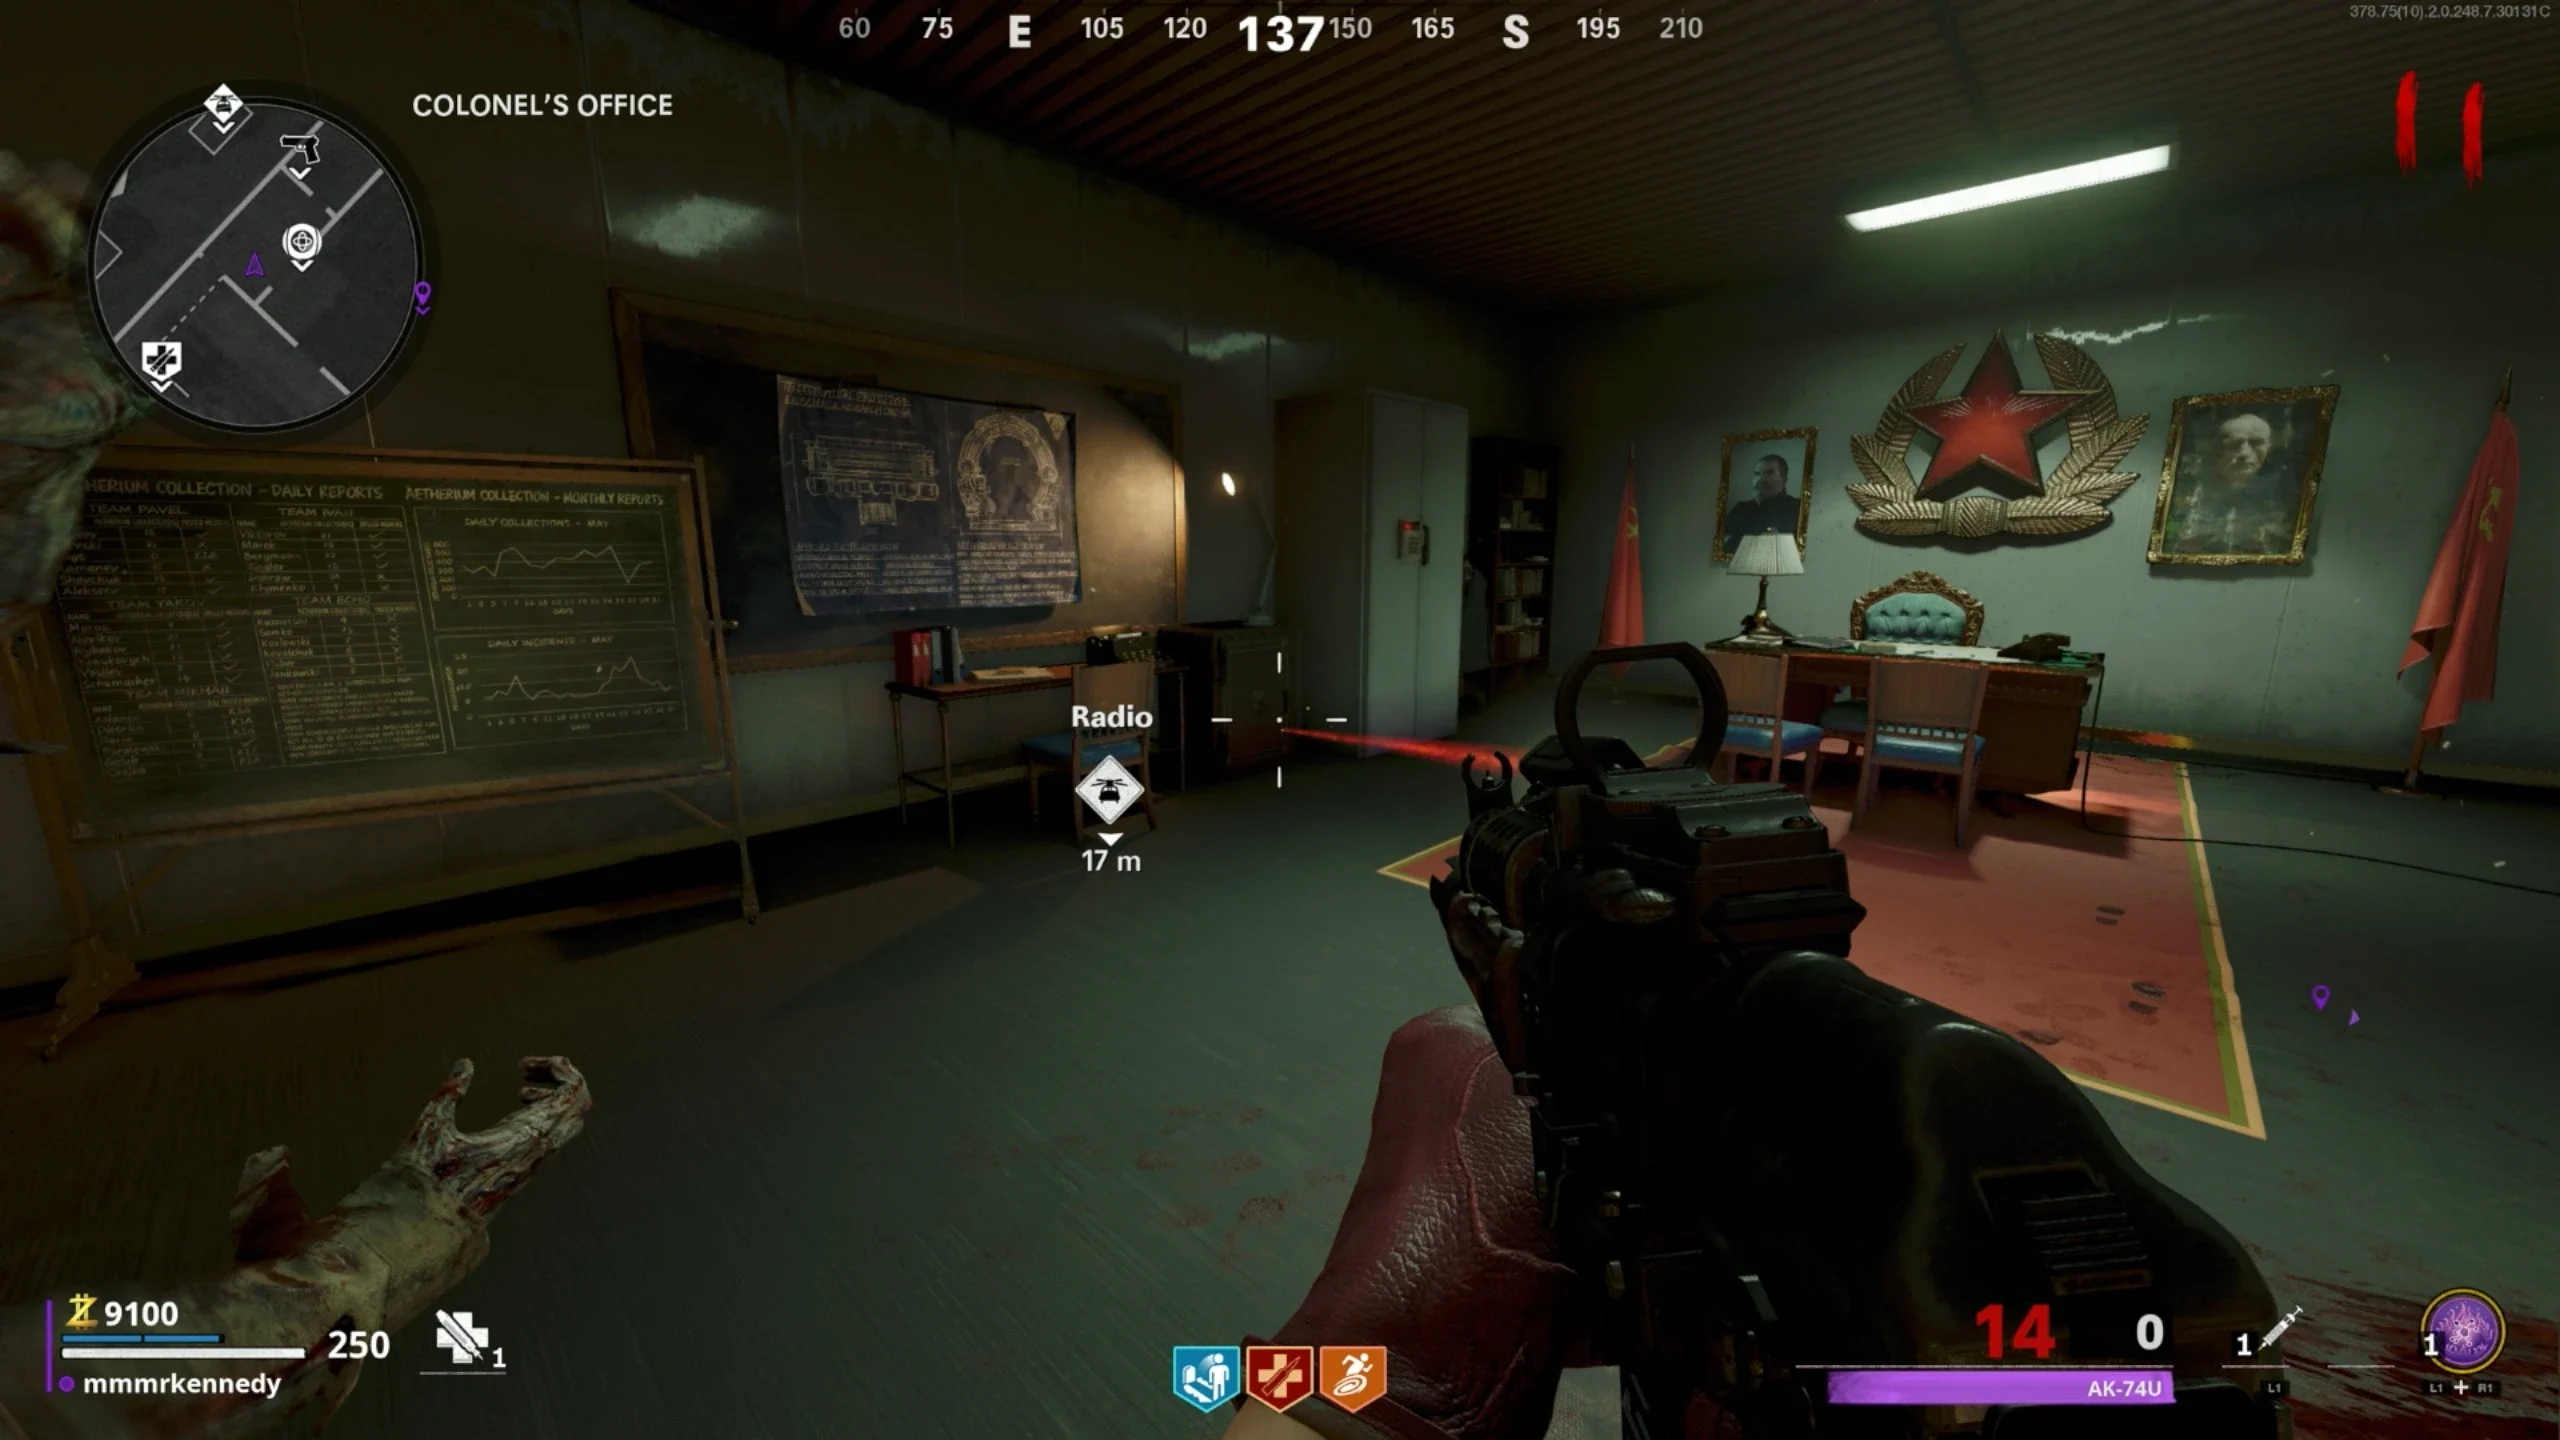
- Colonel's Office - The office above jug
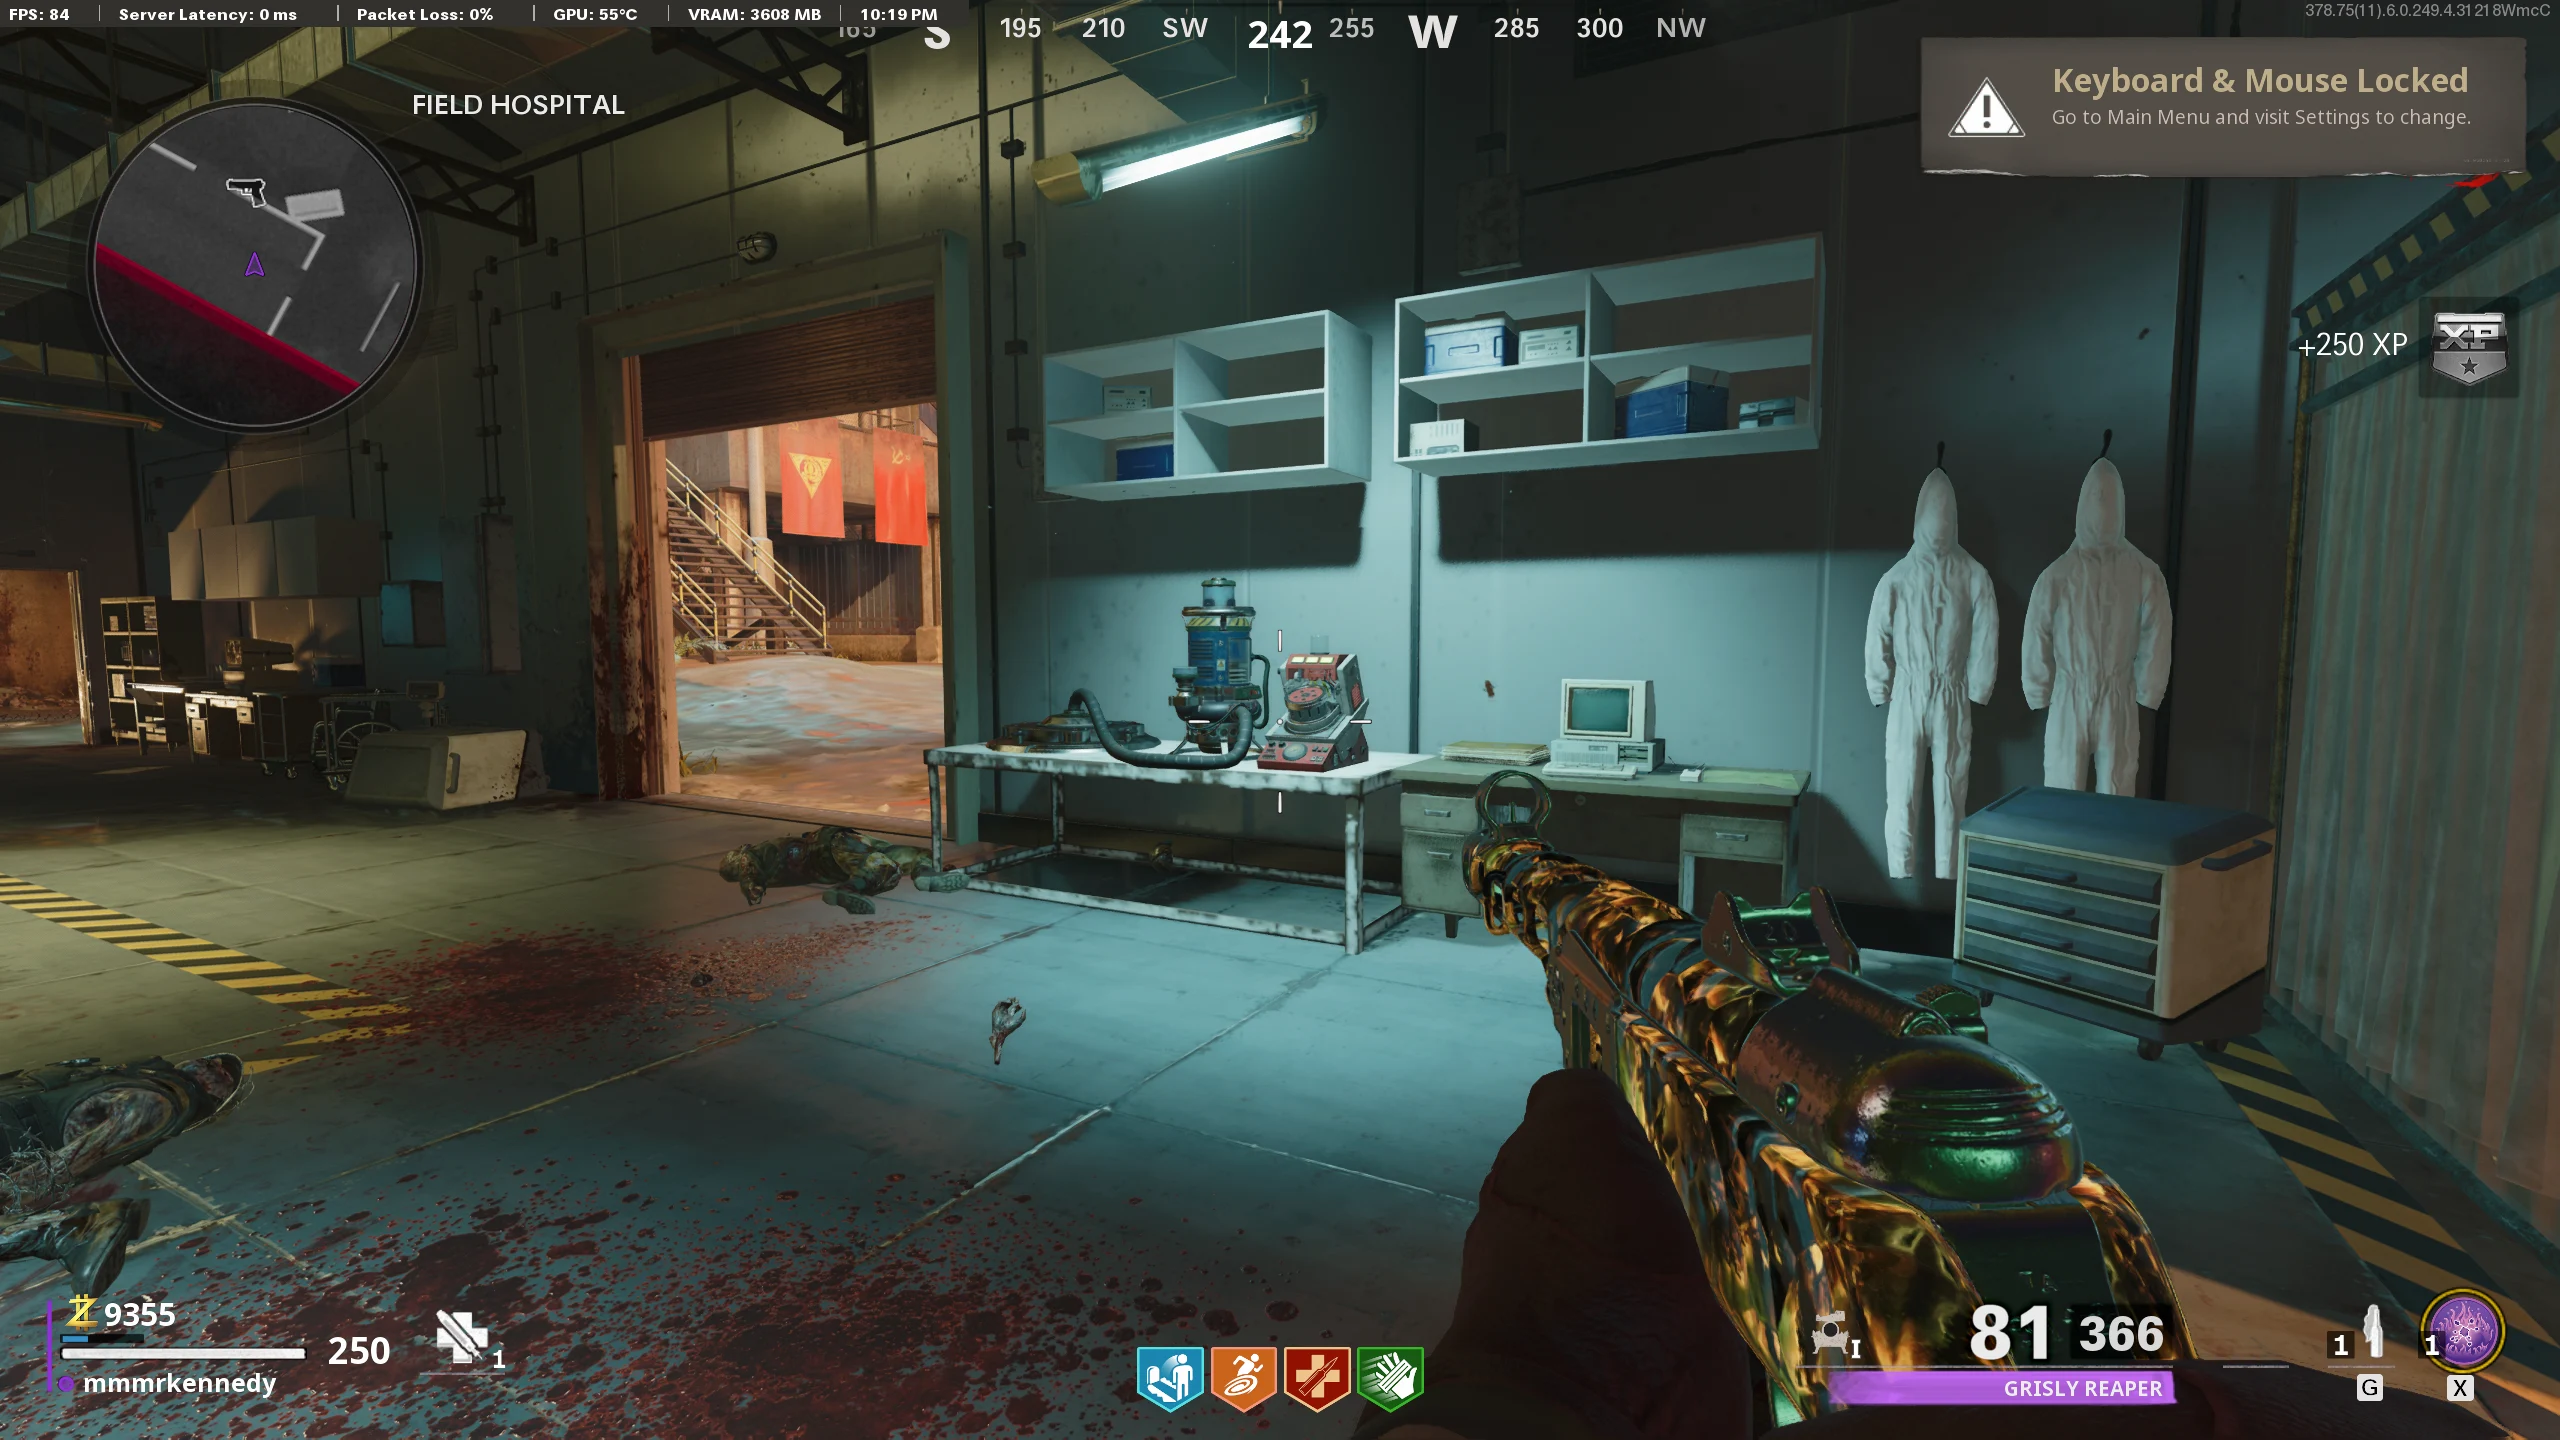
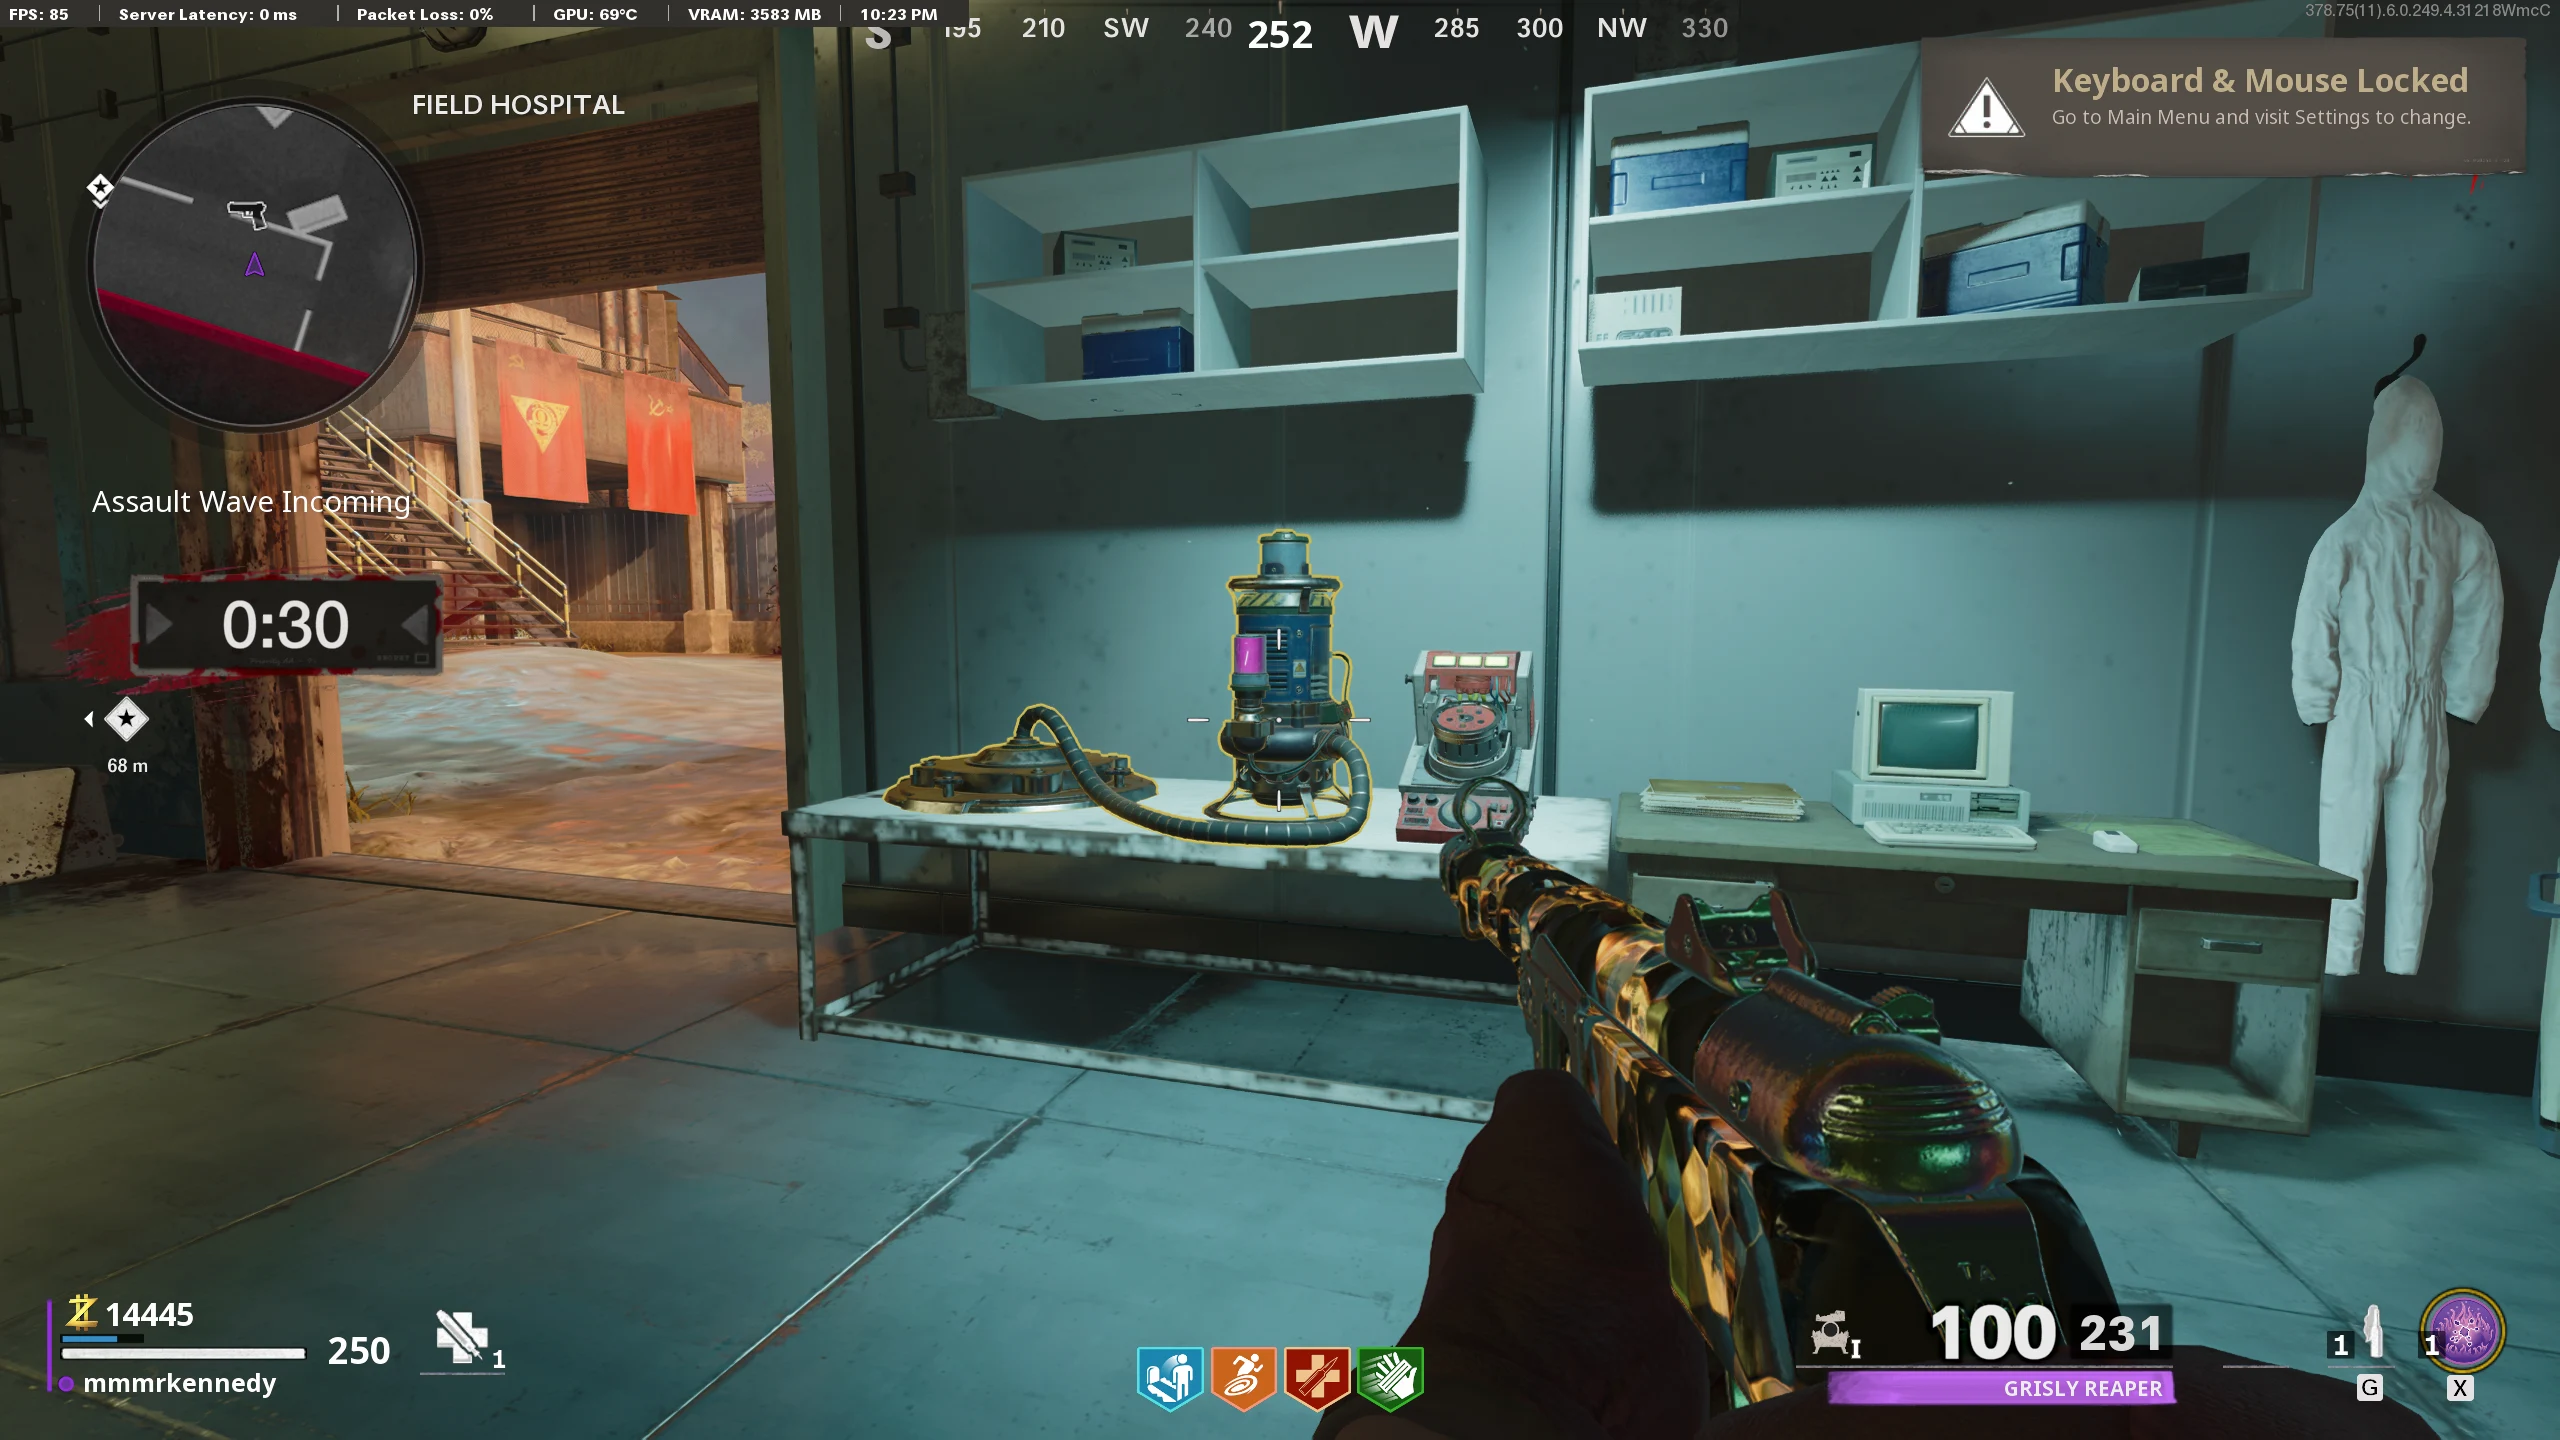
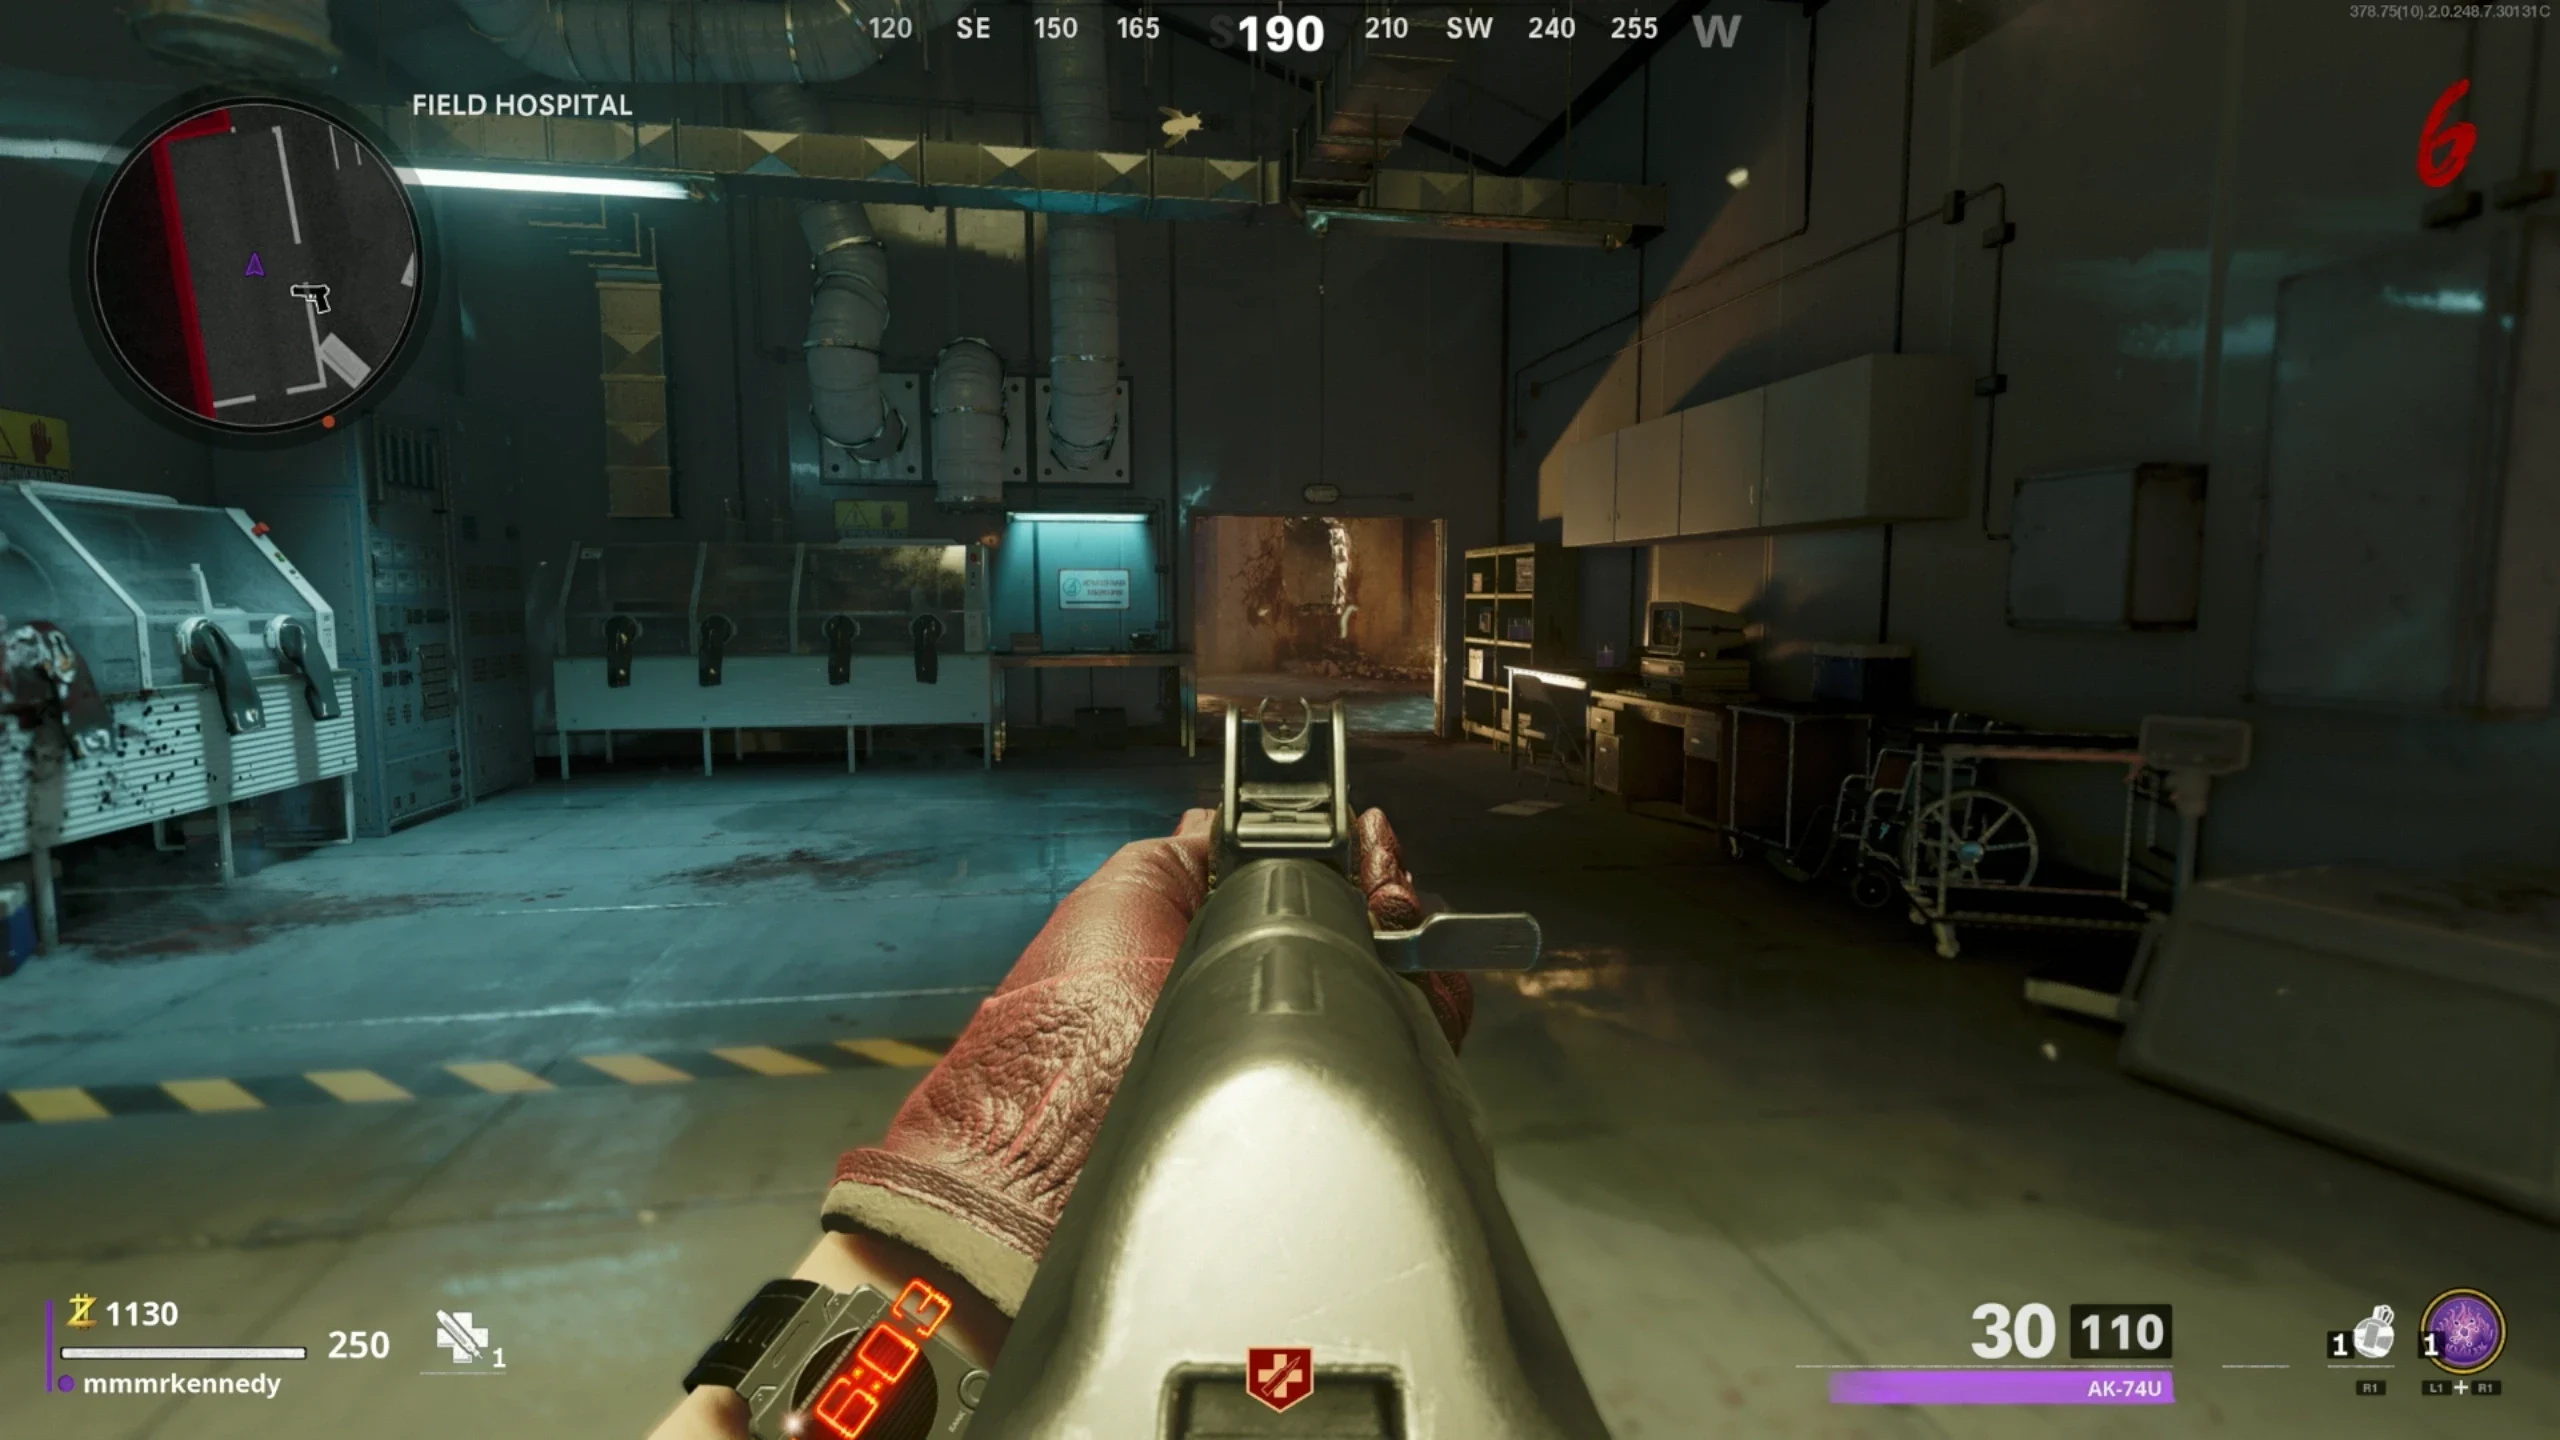
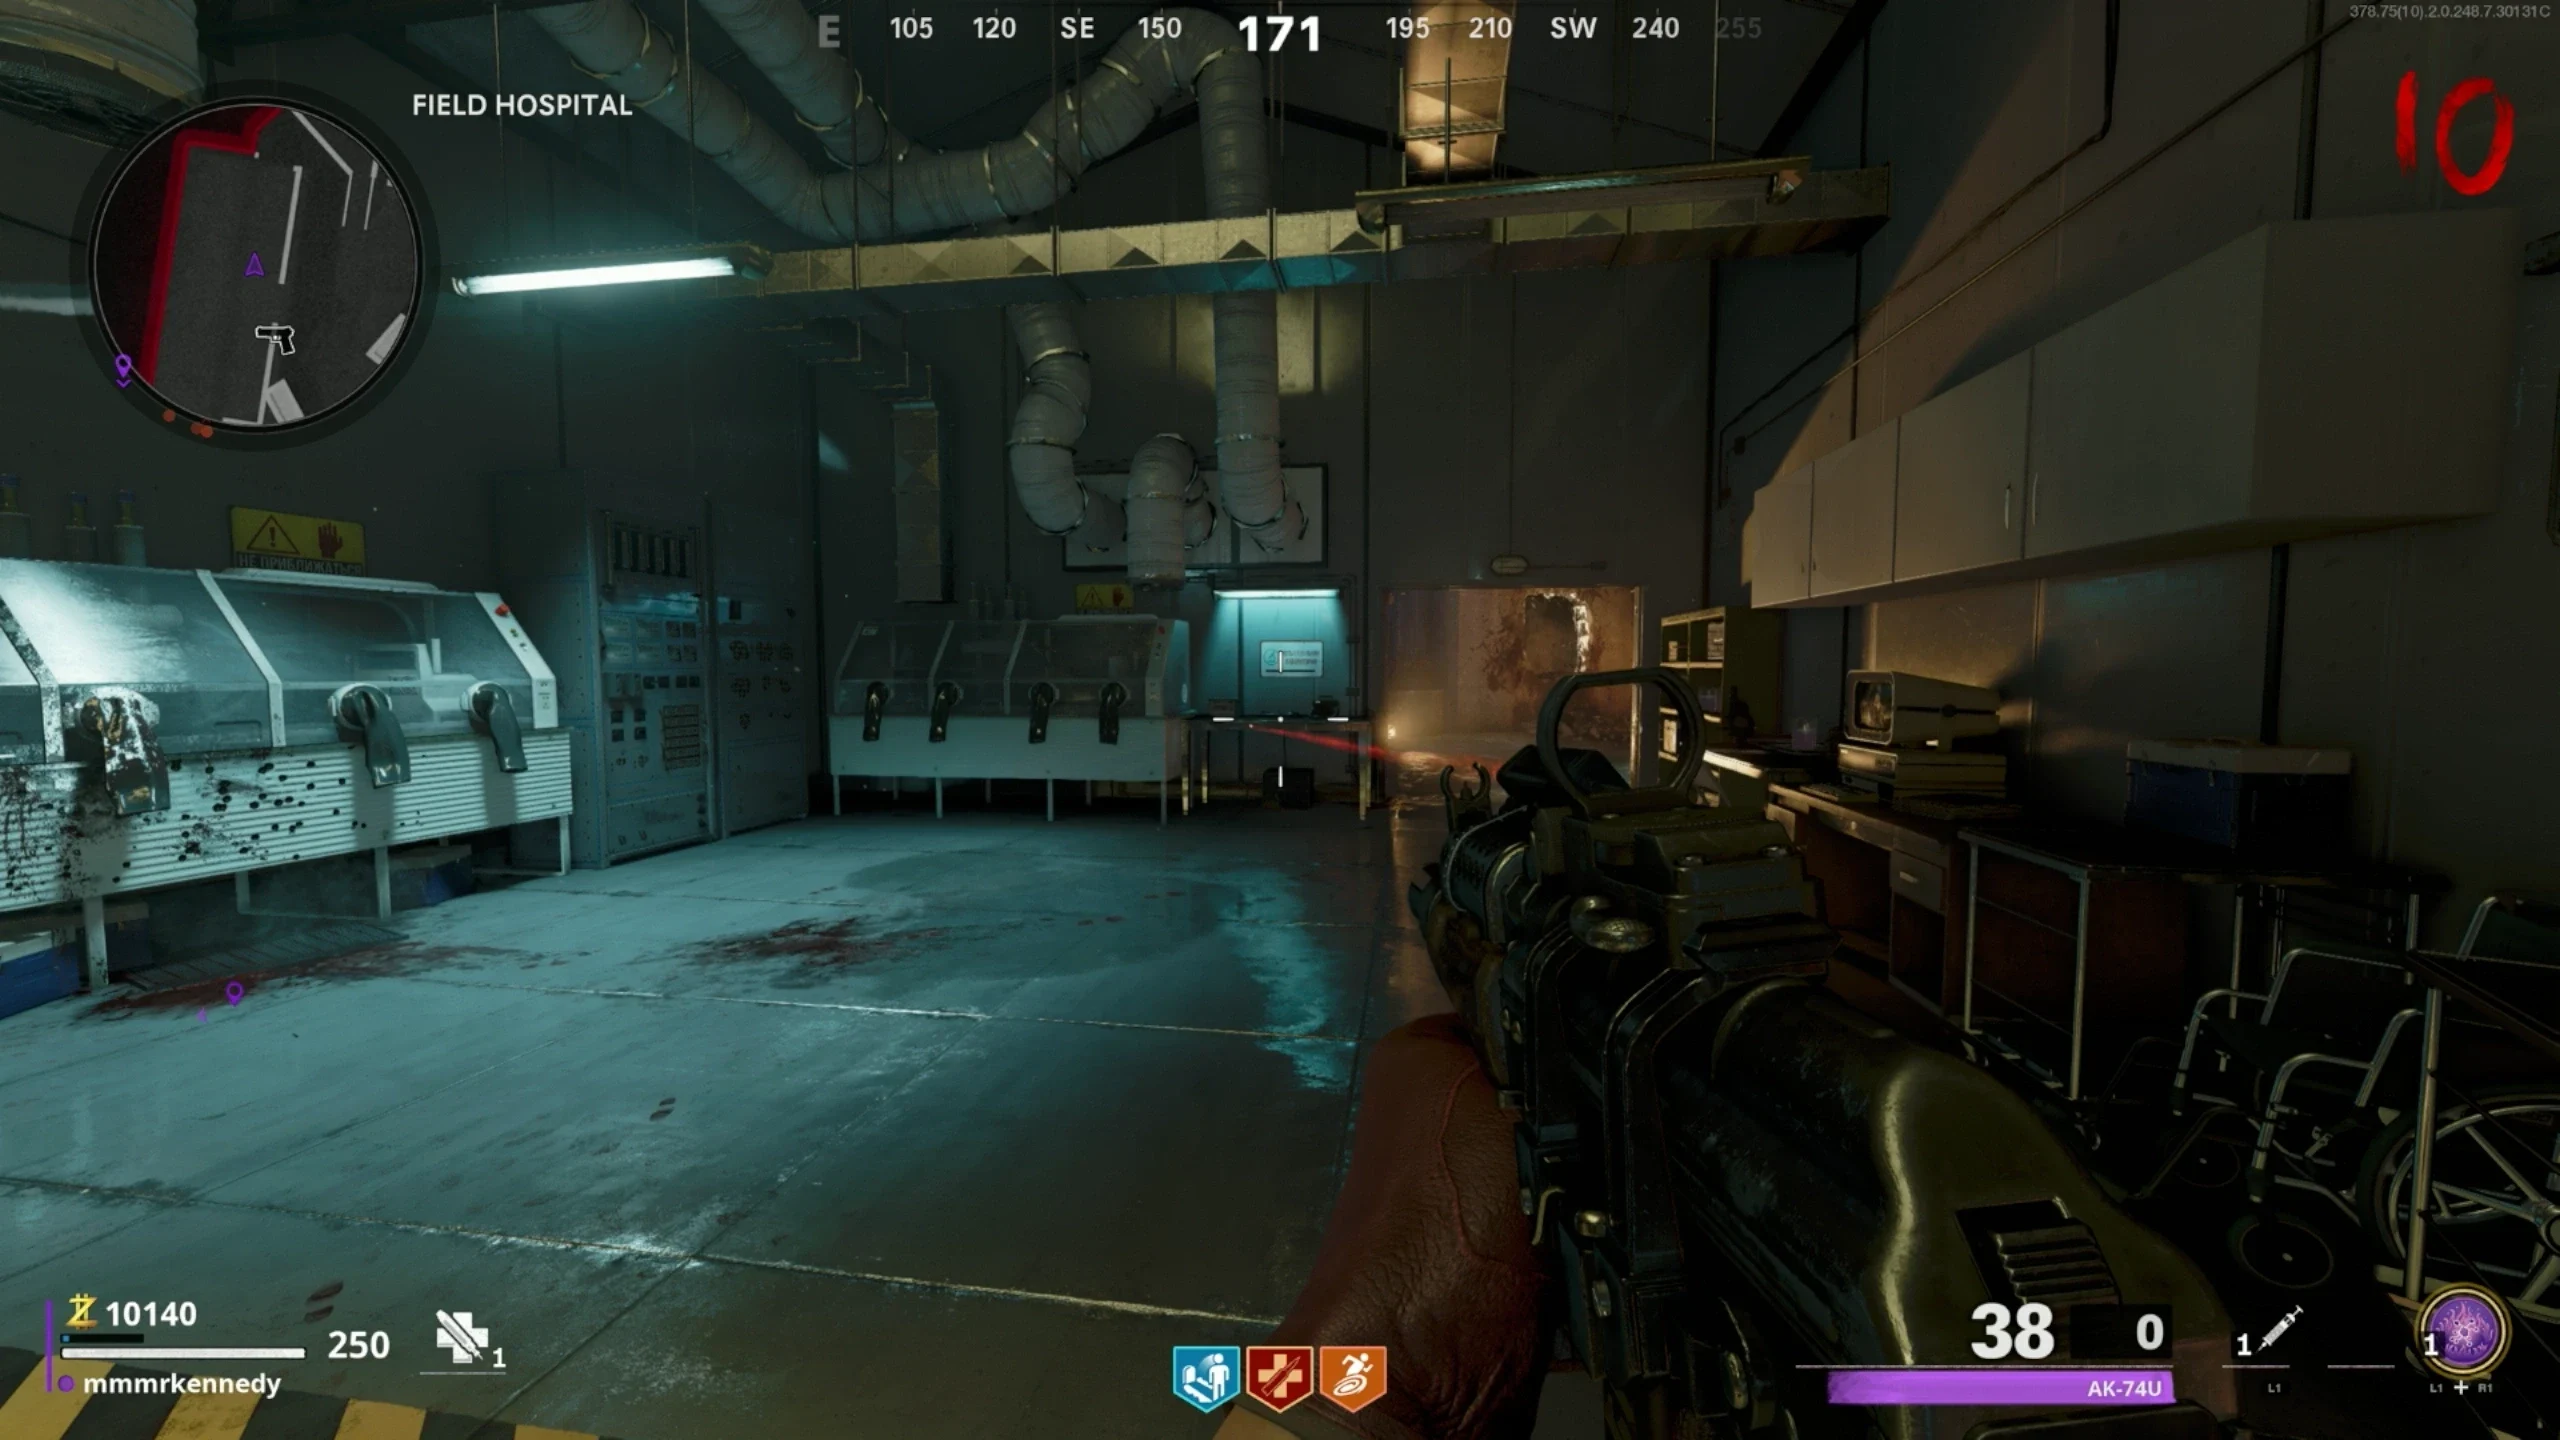
- Go to 'Field Hospital' and interact with the Chemical Mixer. This will spawn some hellhounds, and kill them.
- Interact with the Chemical Mixer again and pick up the Agent Delivery System left of the Chemical Mixer.
- Go to the 'OPC' and interact with the Air Conditioner Unit to place the Agent Delivery System. This will fill Peck's room with gas.
- Keep interacting with Peck until Weaver says, "Alright, Peck. You've had your fun..."
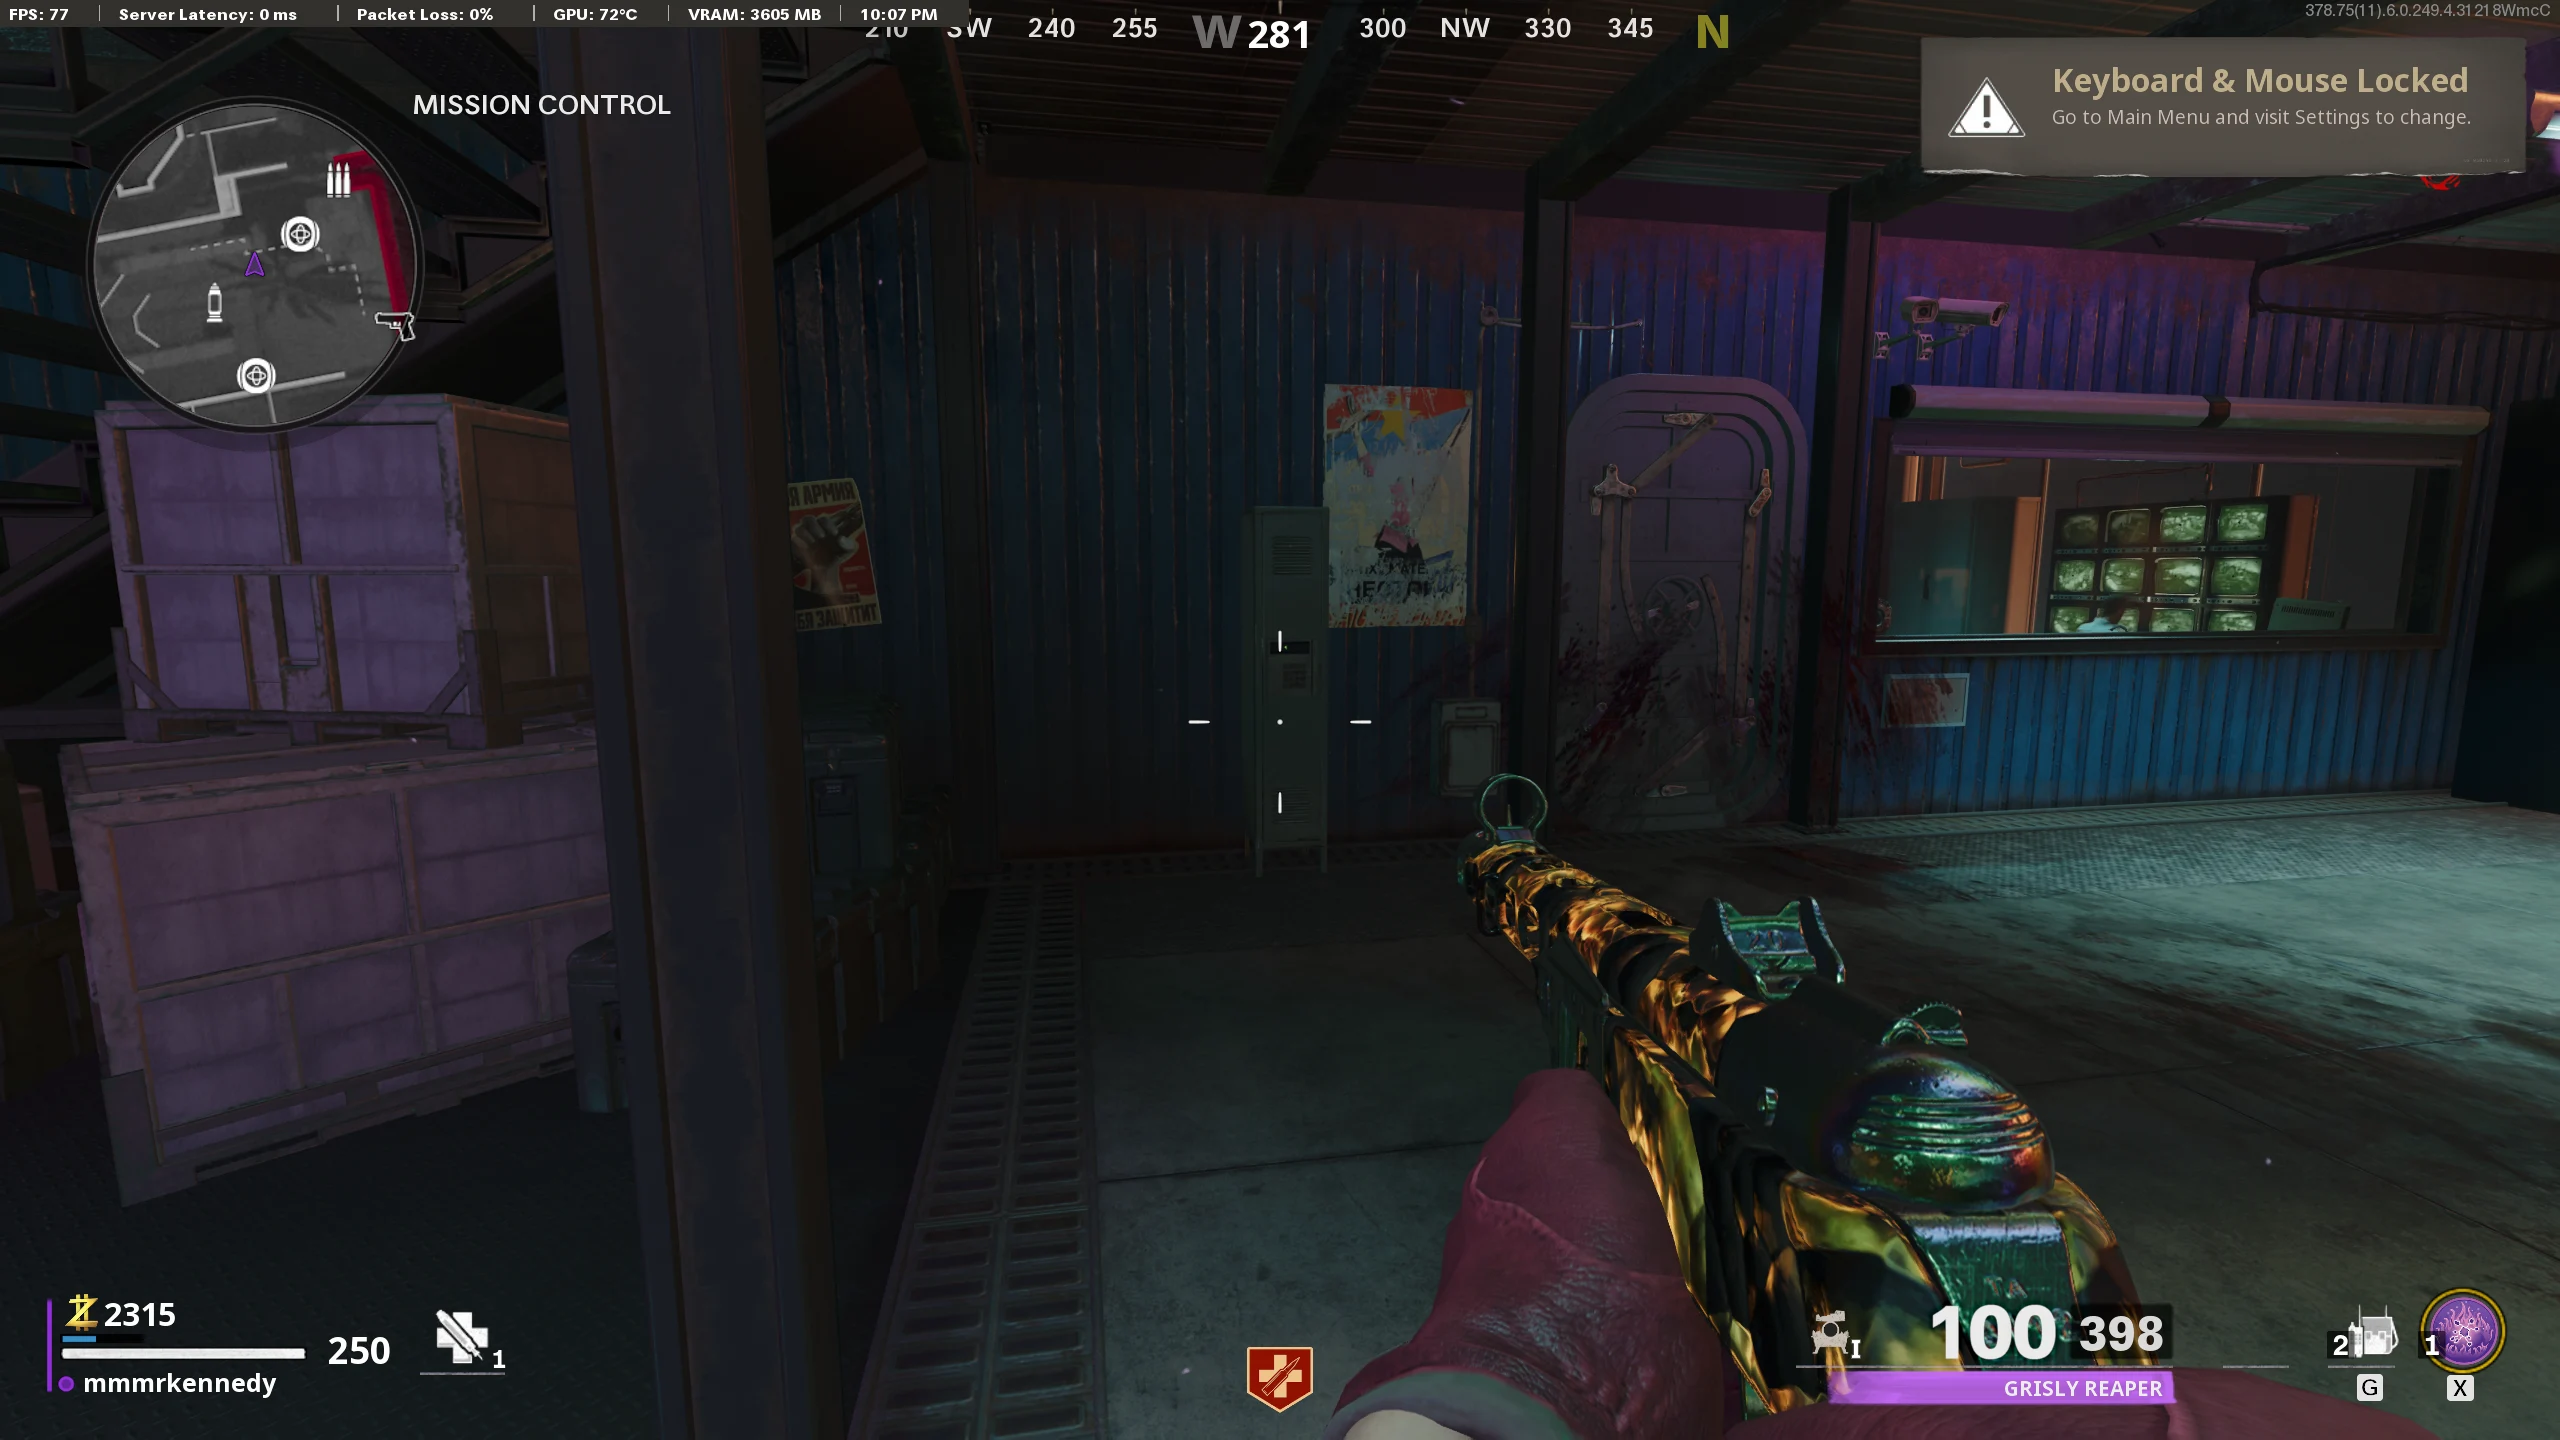
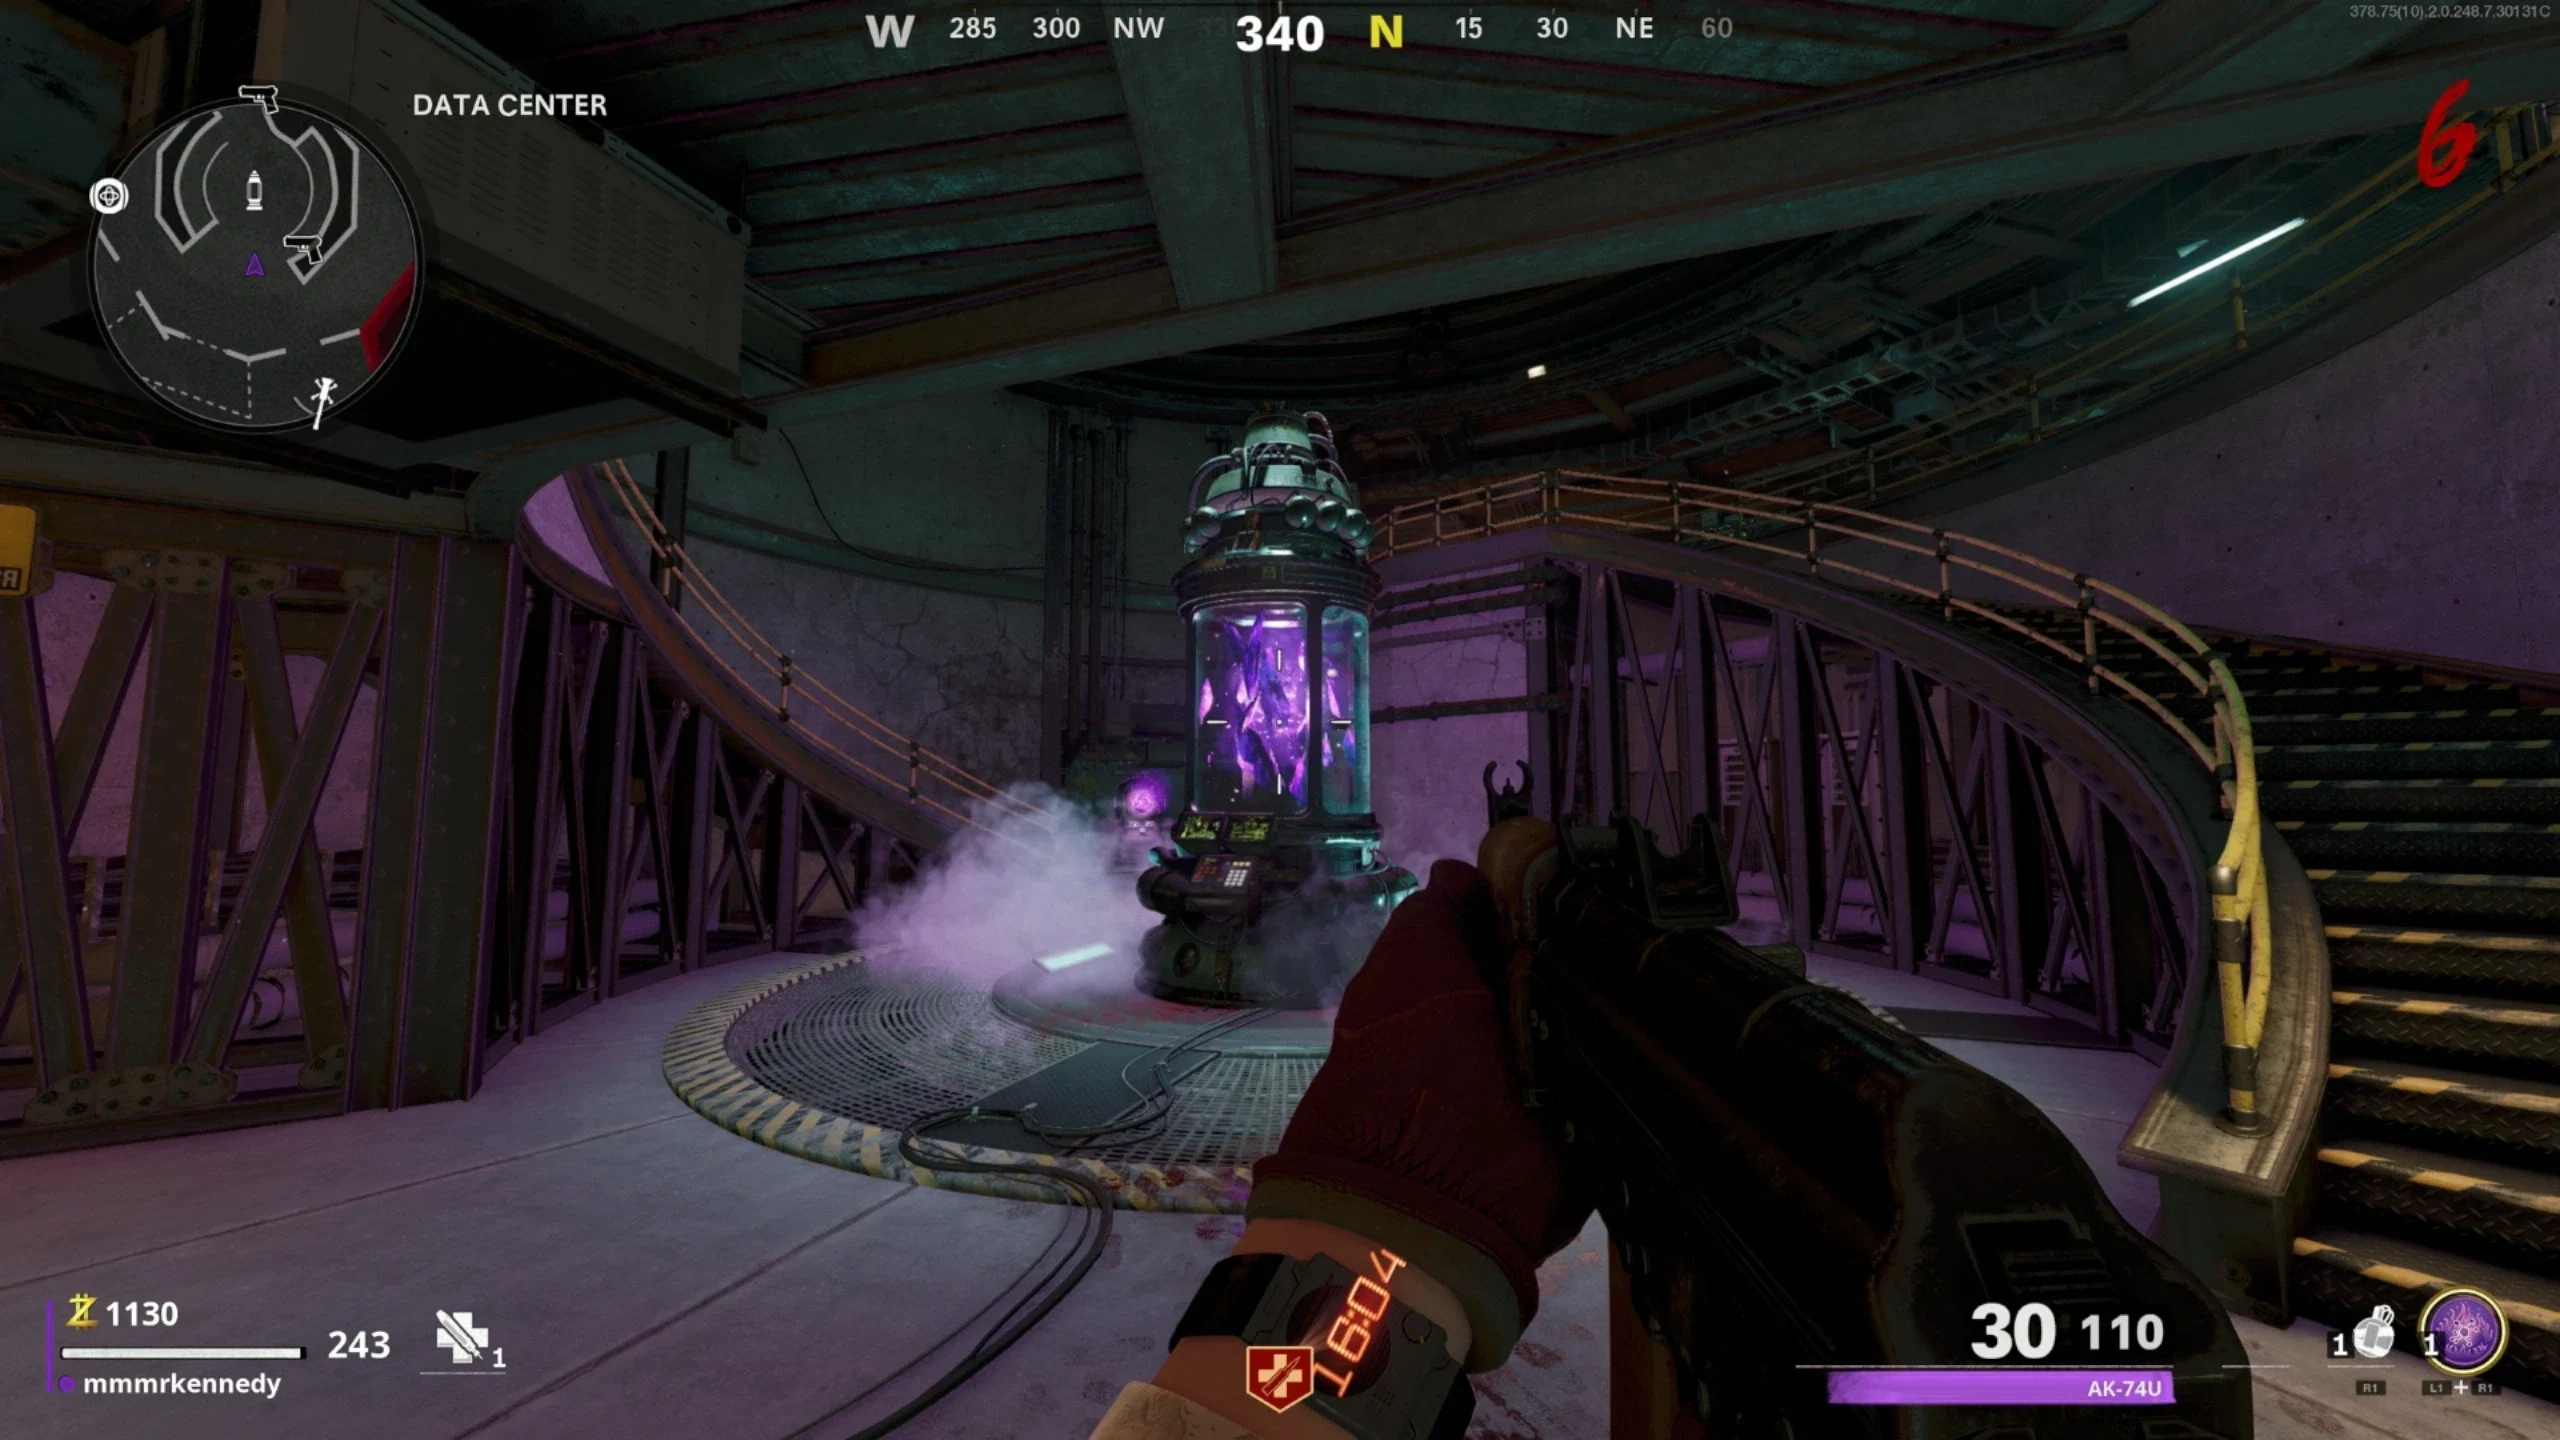
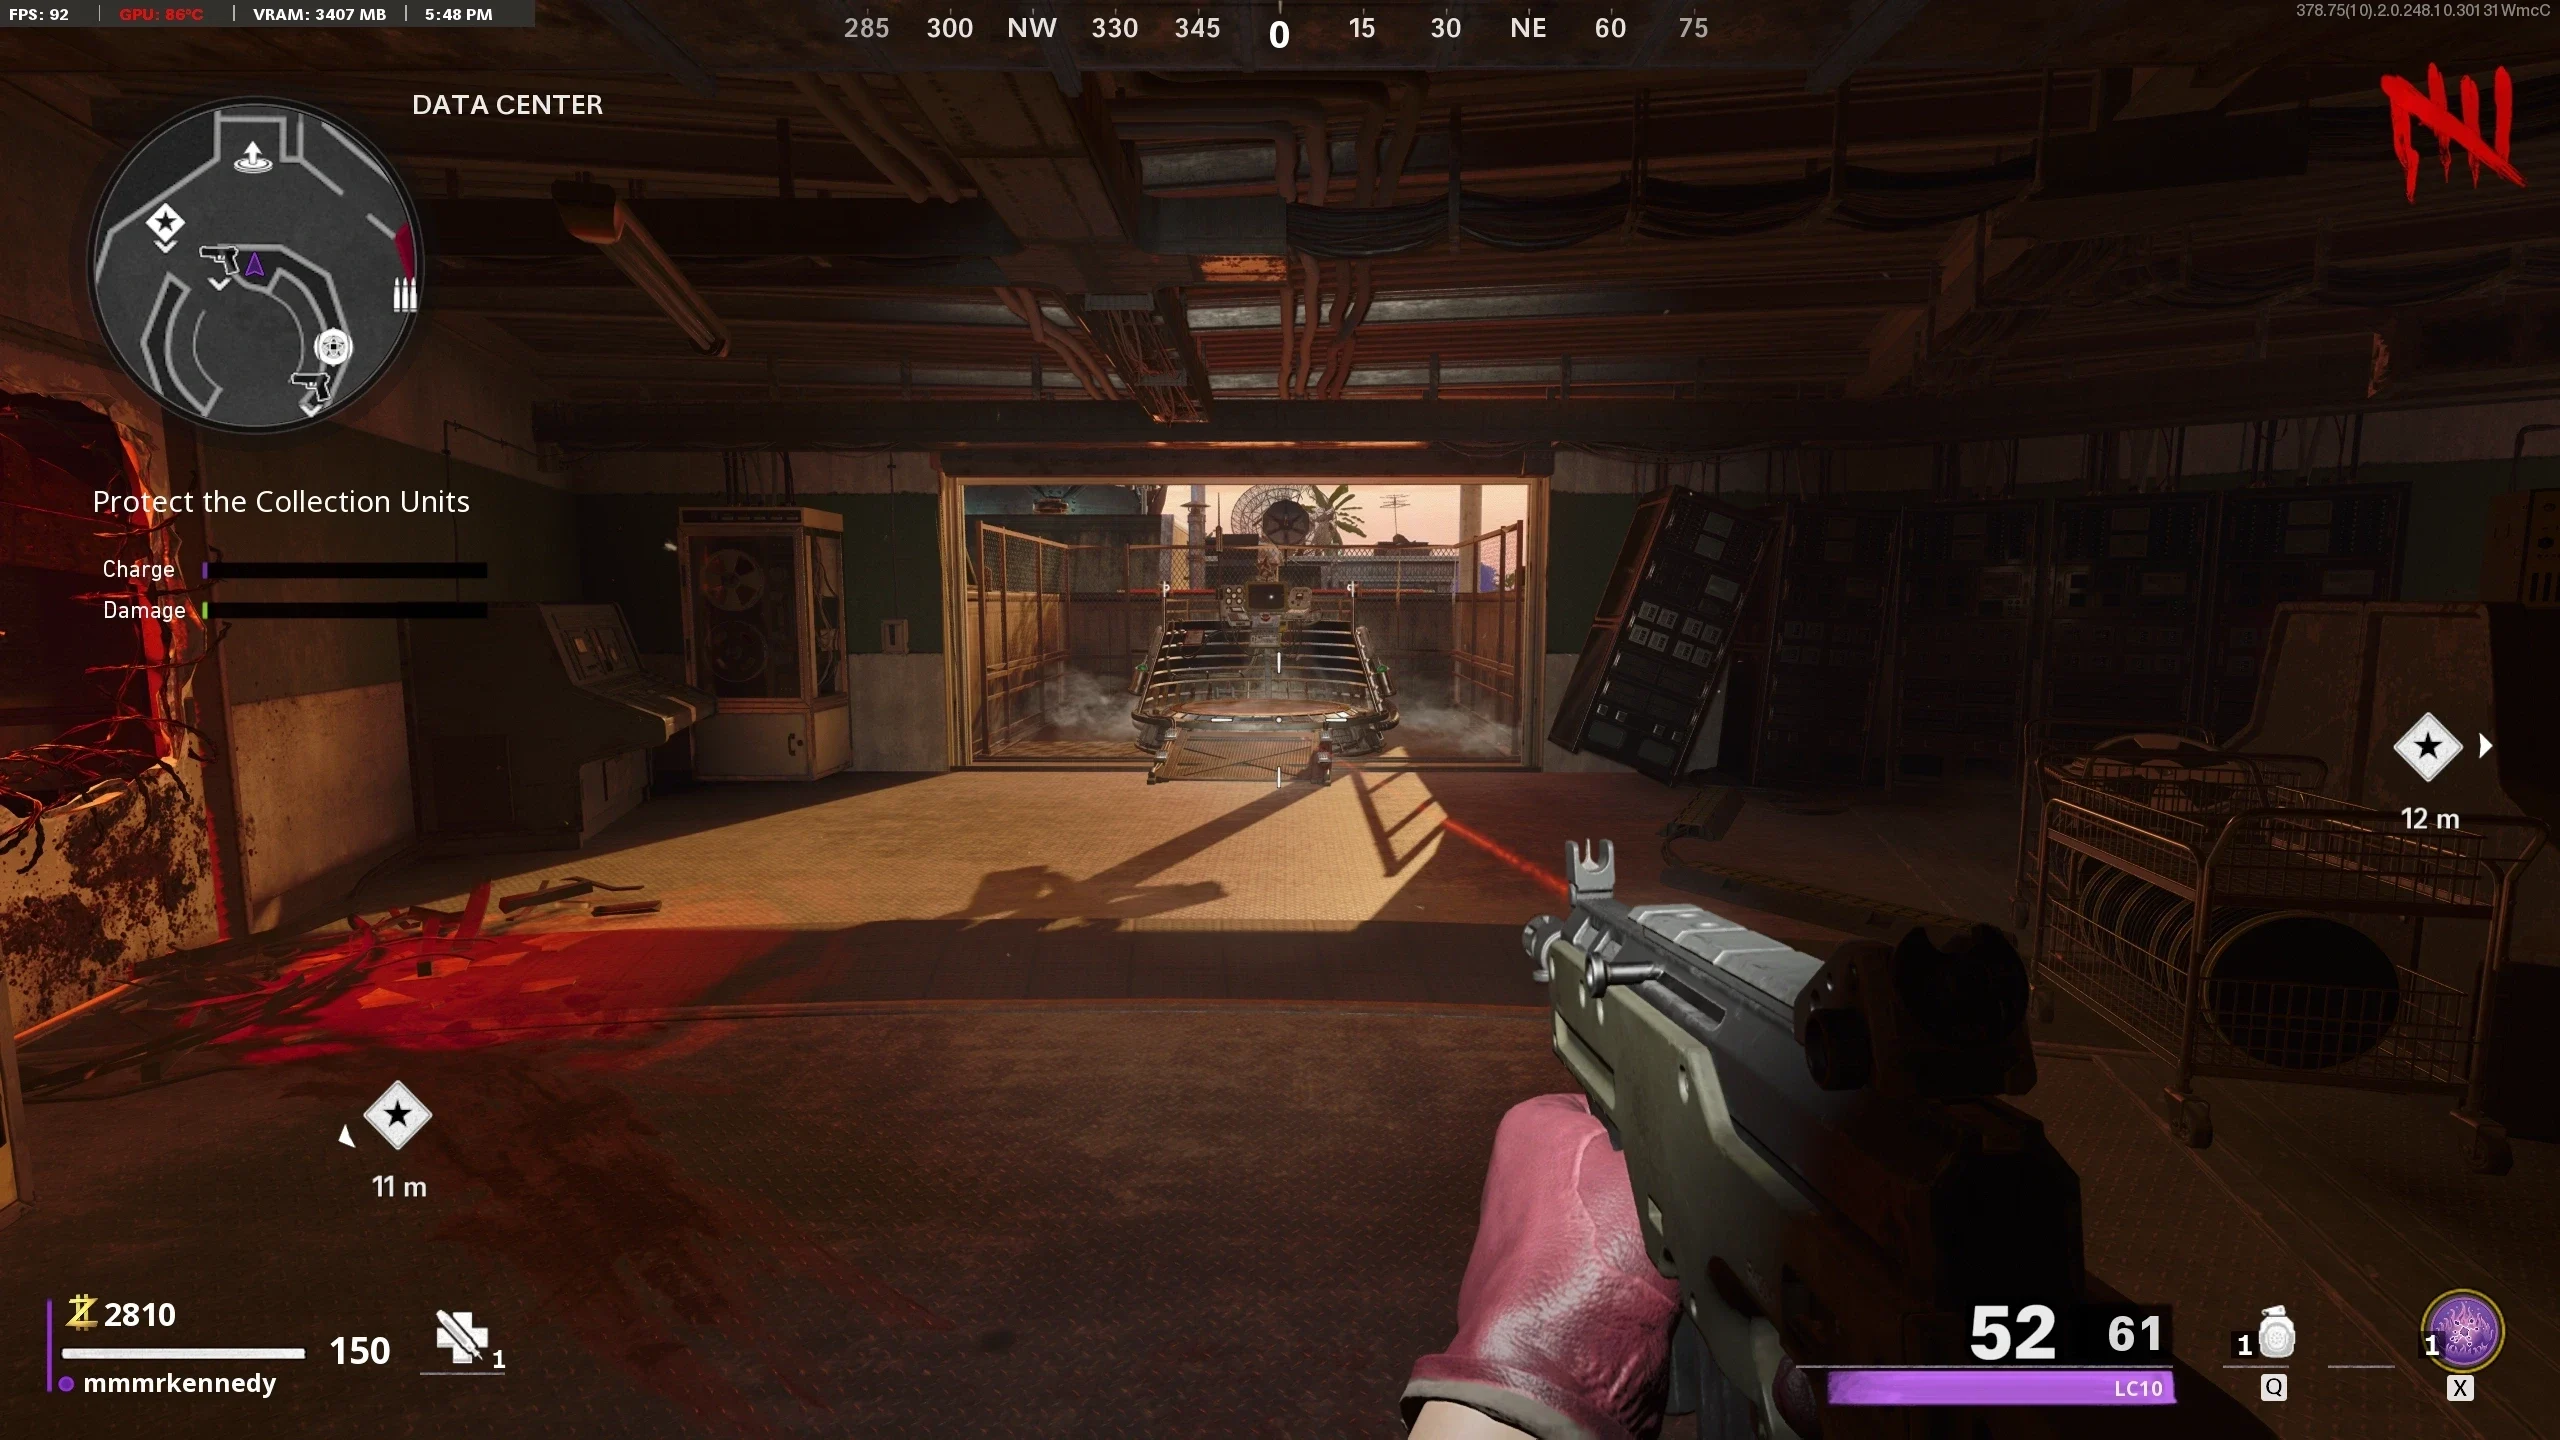
- Go to the 'Data Center' and interact with the Memory Transference Station. Pick up one of the Essence Traps.
- In the locations below, there might be a Mimic hiding as loot. You must capture the Mimic in an Essence Trap.
- Damage the Mimic until it has about 10% health remaining, then throw the essence trap on the ground. Once the Mimic is standing on the trap, double-tap the interact button to activate the trap. If the Mimic is low enough health, it will stay trapped, and you will be able to pick the trap back up. If the Mimic has too much health, it will pop out of the trap, and you will have to get a new trap to try again.
- Only one location will have a Mimic per round.
- If you accidentally kill the Mimic or can't find it, end the round far from where you are trying to get a Mimic to spawn and come back next round. The Mimic only seems to spawn when no players are nearby at the start of a round. If it didn't spawn back, check one of the other locations or try again next round.
- Mimic Locations:
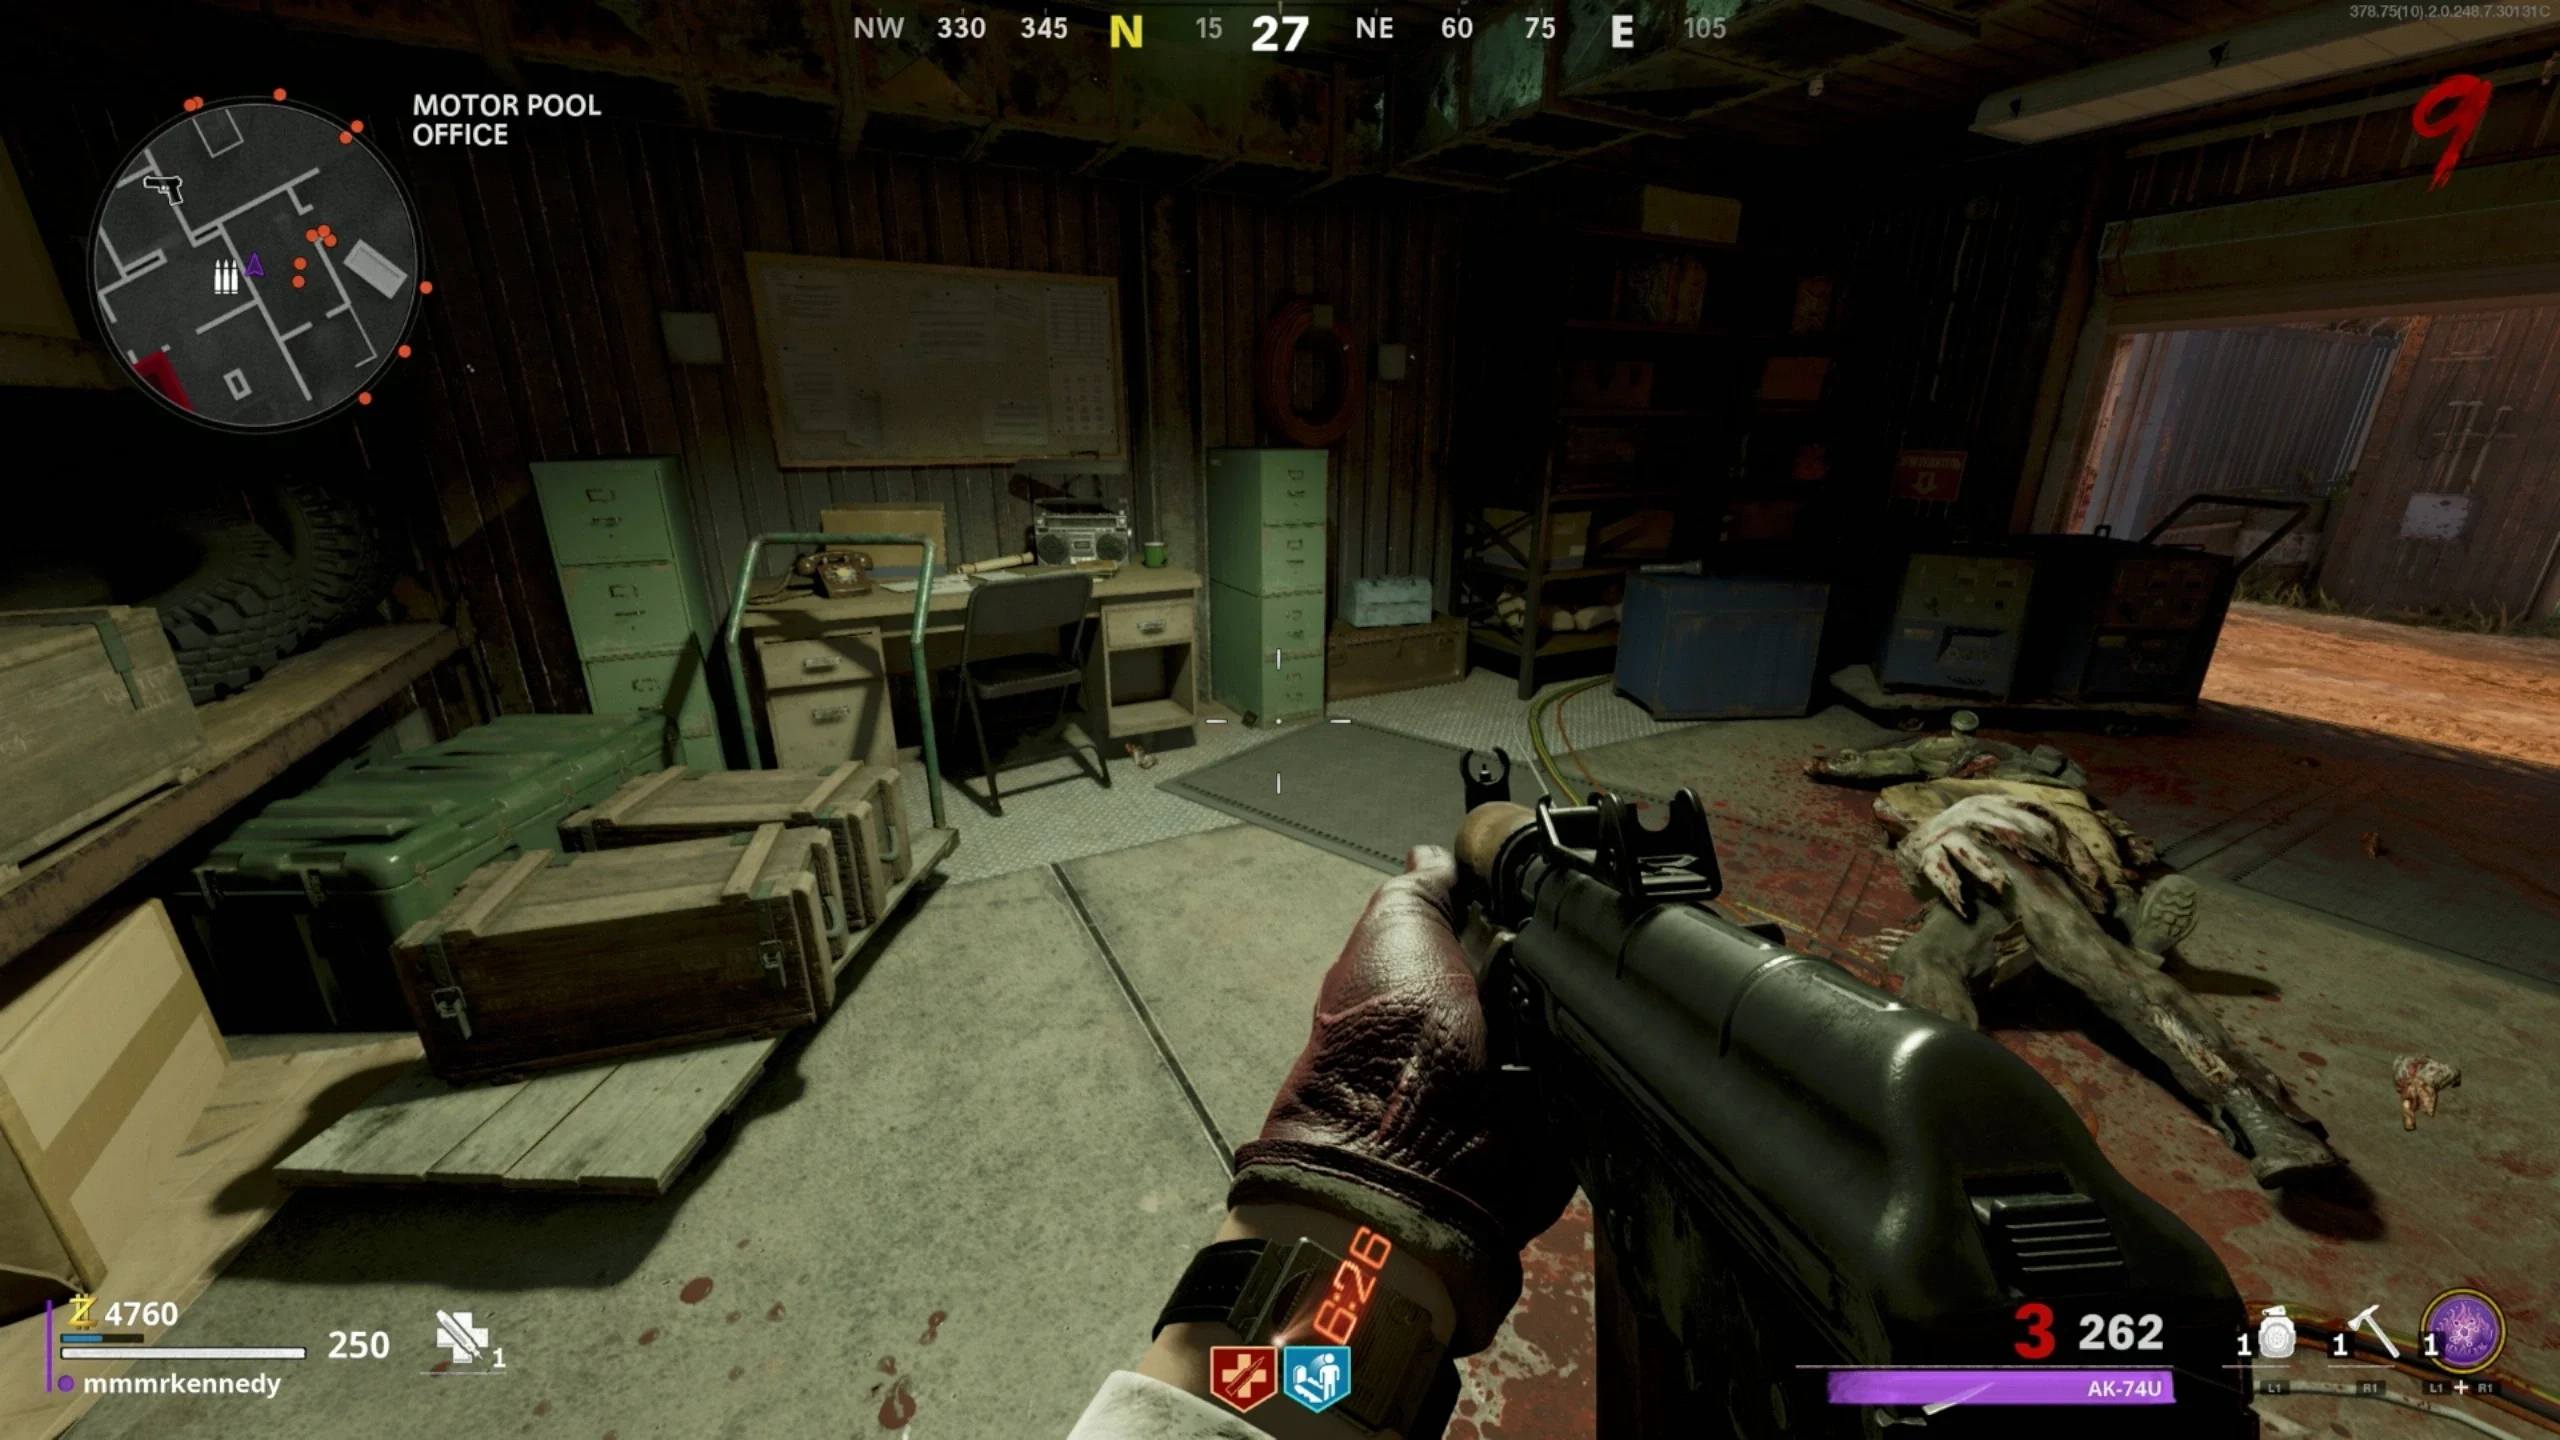
- Motor Pool - From the teleporter from spawn, the area on the right
- Sky Bridge/Military Command Control Room - Jug Room/The Bridge above Jug
- Peck's Quarters - Above Pack-a-Punch on the right in the room with the Bulldog wallbuy
- Once you collect a Mimic, you have 3 minutes to deposit the trap at the Memory Transference Station. If you collect the right Mimic, either Brahms, Sokolov or Zhabin will start speaking.
- Once you've heard from Brahms, Sokolov and Zhabin, the Memory Transference Station will eject a floppy disk for you to pick up.
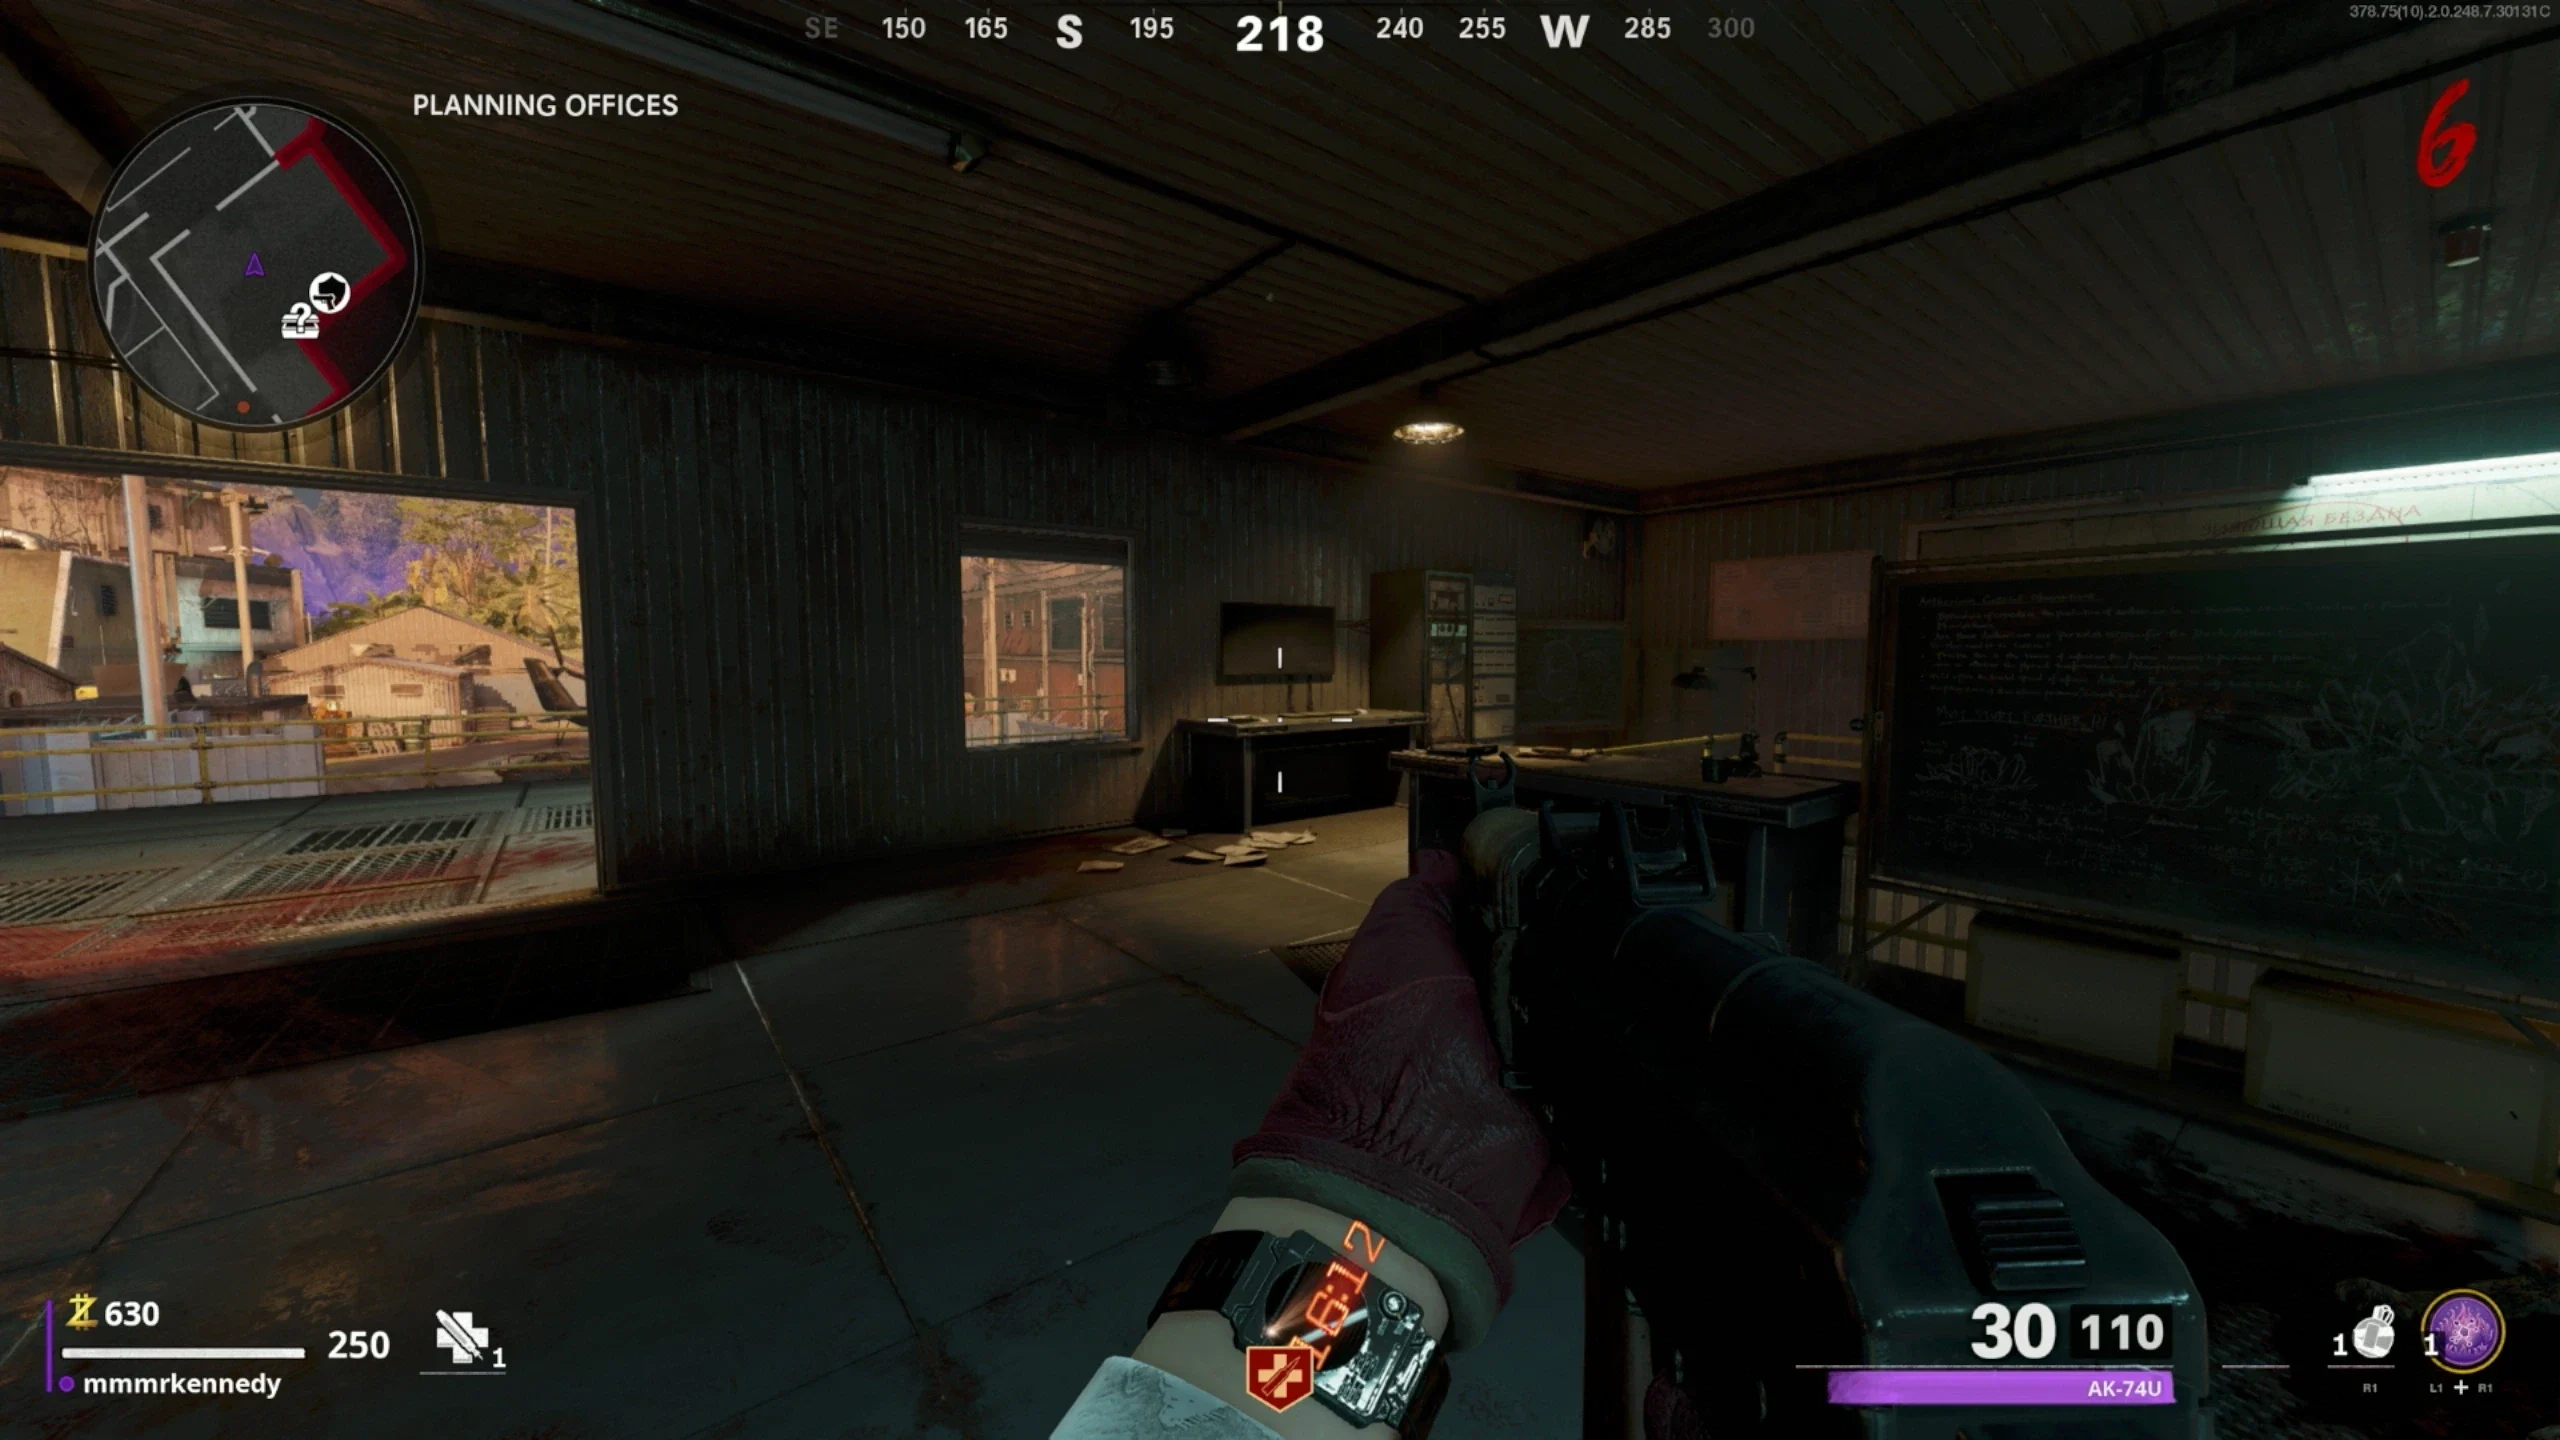
- Go to the 'Planning Office' and insert the floppy disk into this Computer. This will open the door to the OPC; enter it to spawn a dimensional breach.
- When the PA system says "Attention: membrane instability detected. Stabilization required", talk to Dr. Peck.
- After Dr. Peck is finished talking, Ravenov will give you a code, and interact with the Locker Left of Peck's Room to open it. Pick up the Aethermeter from the locker.
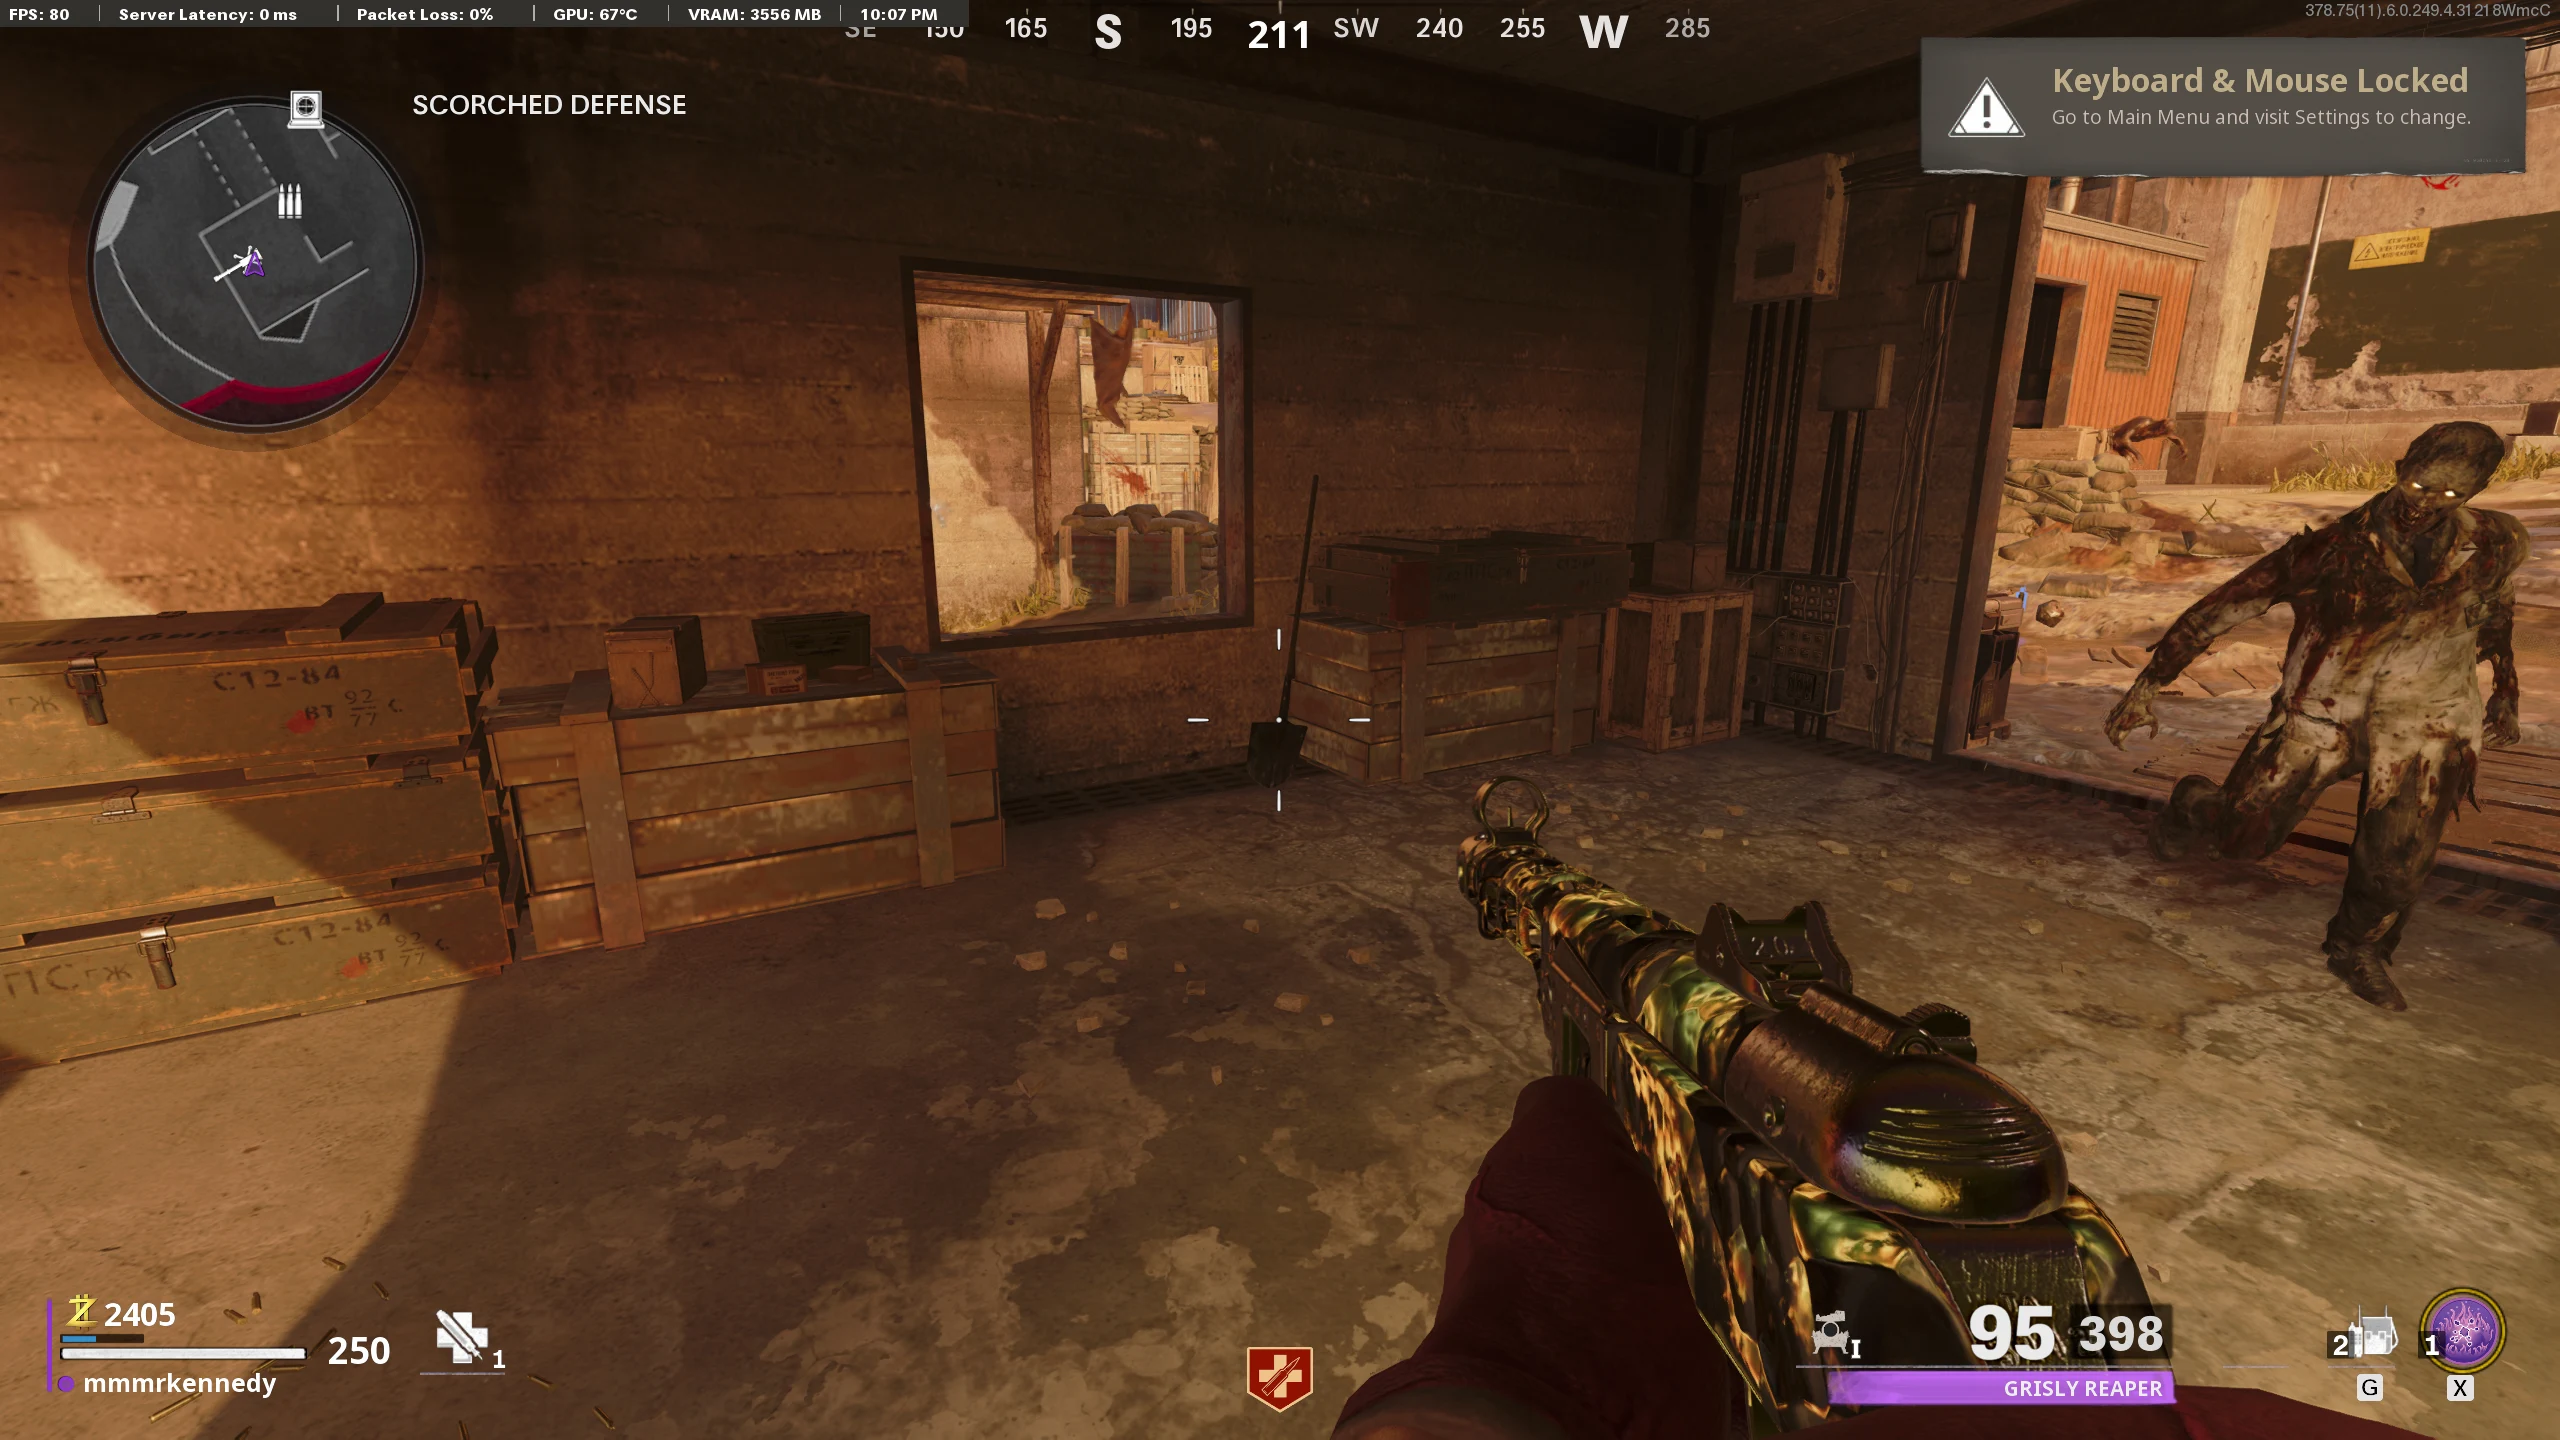
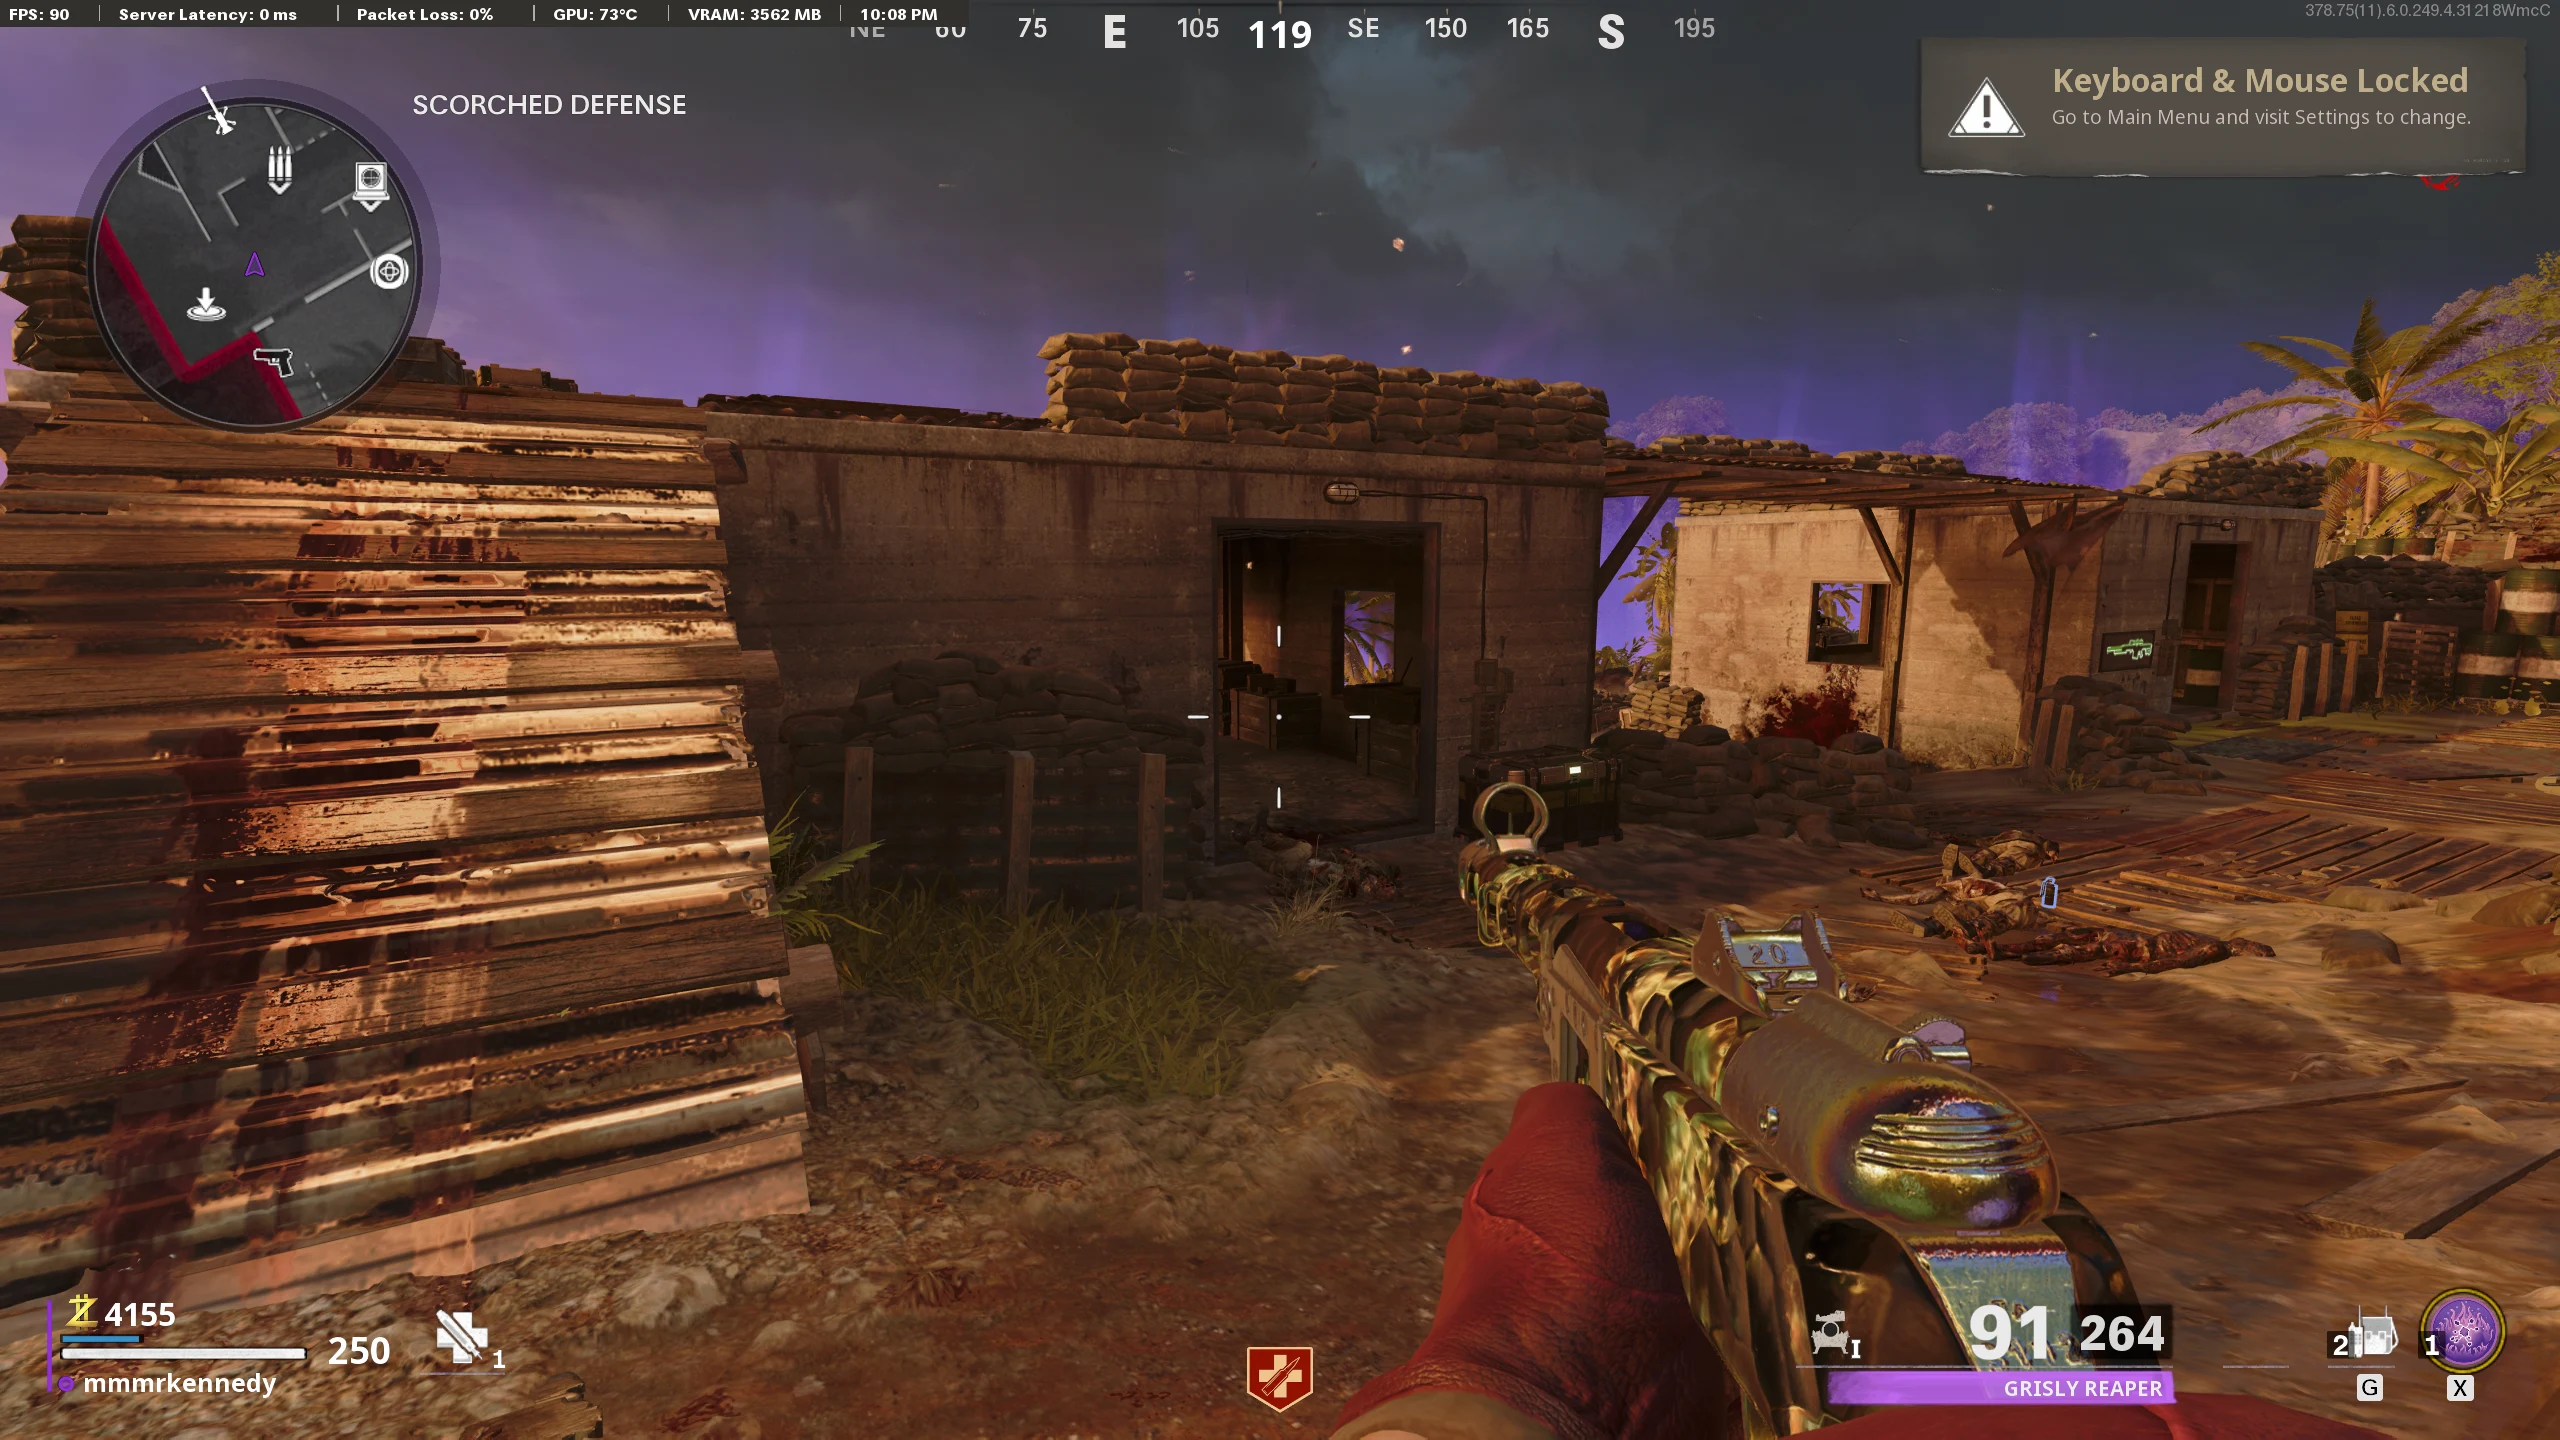
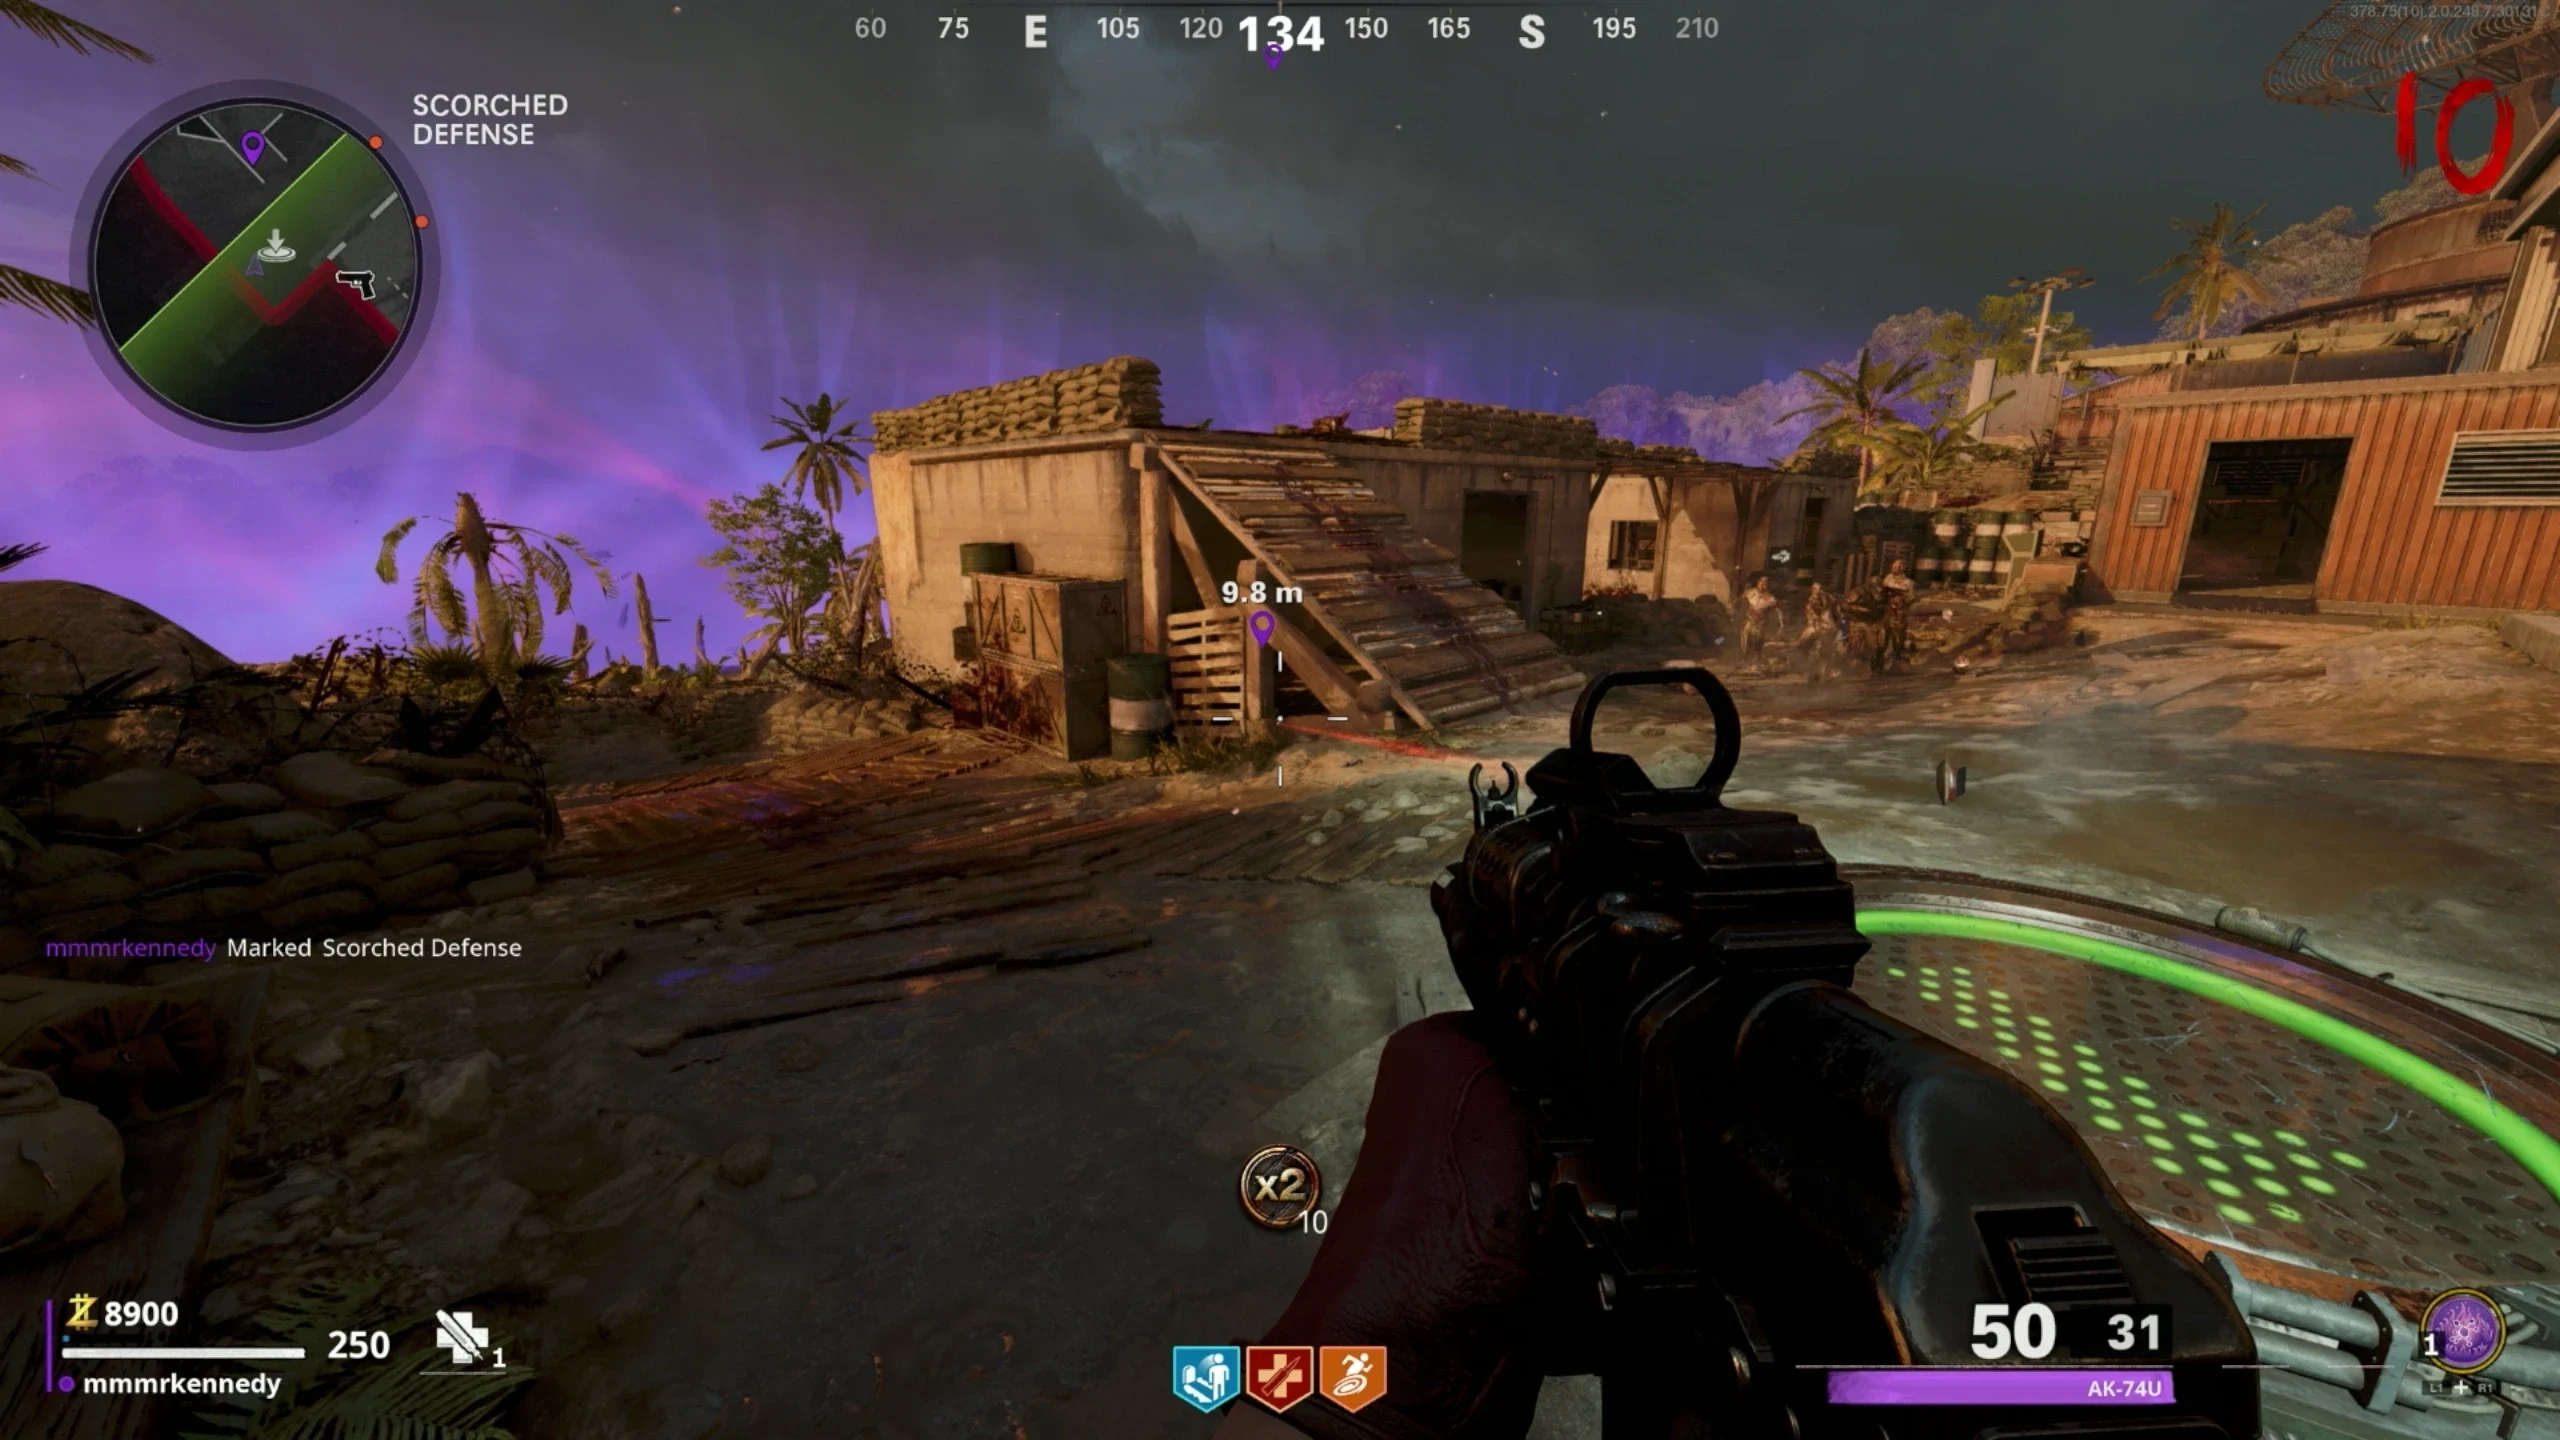
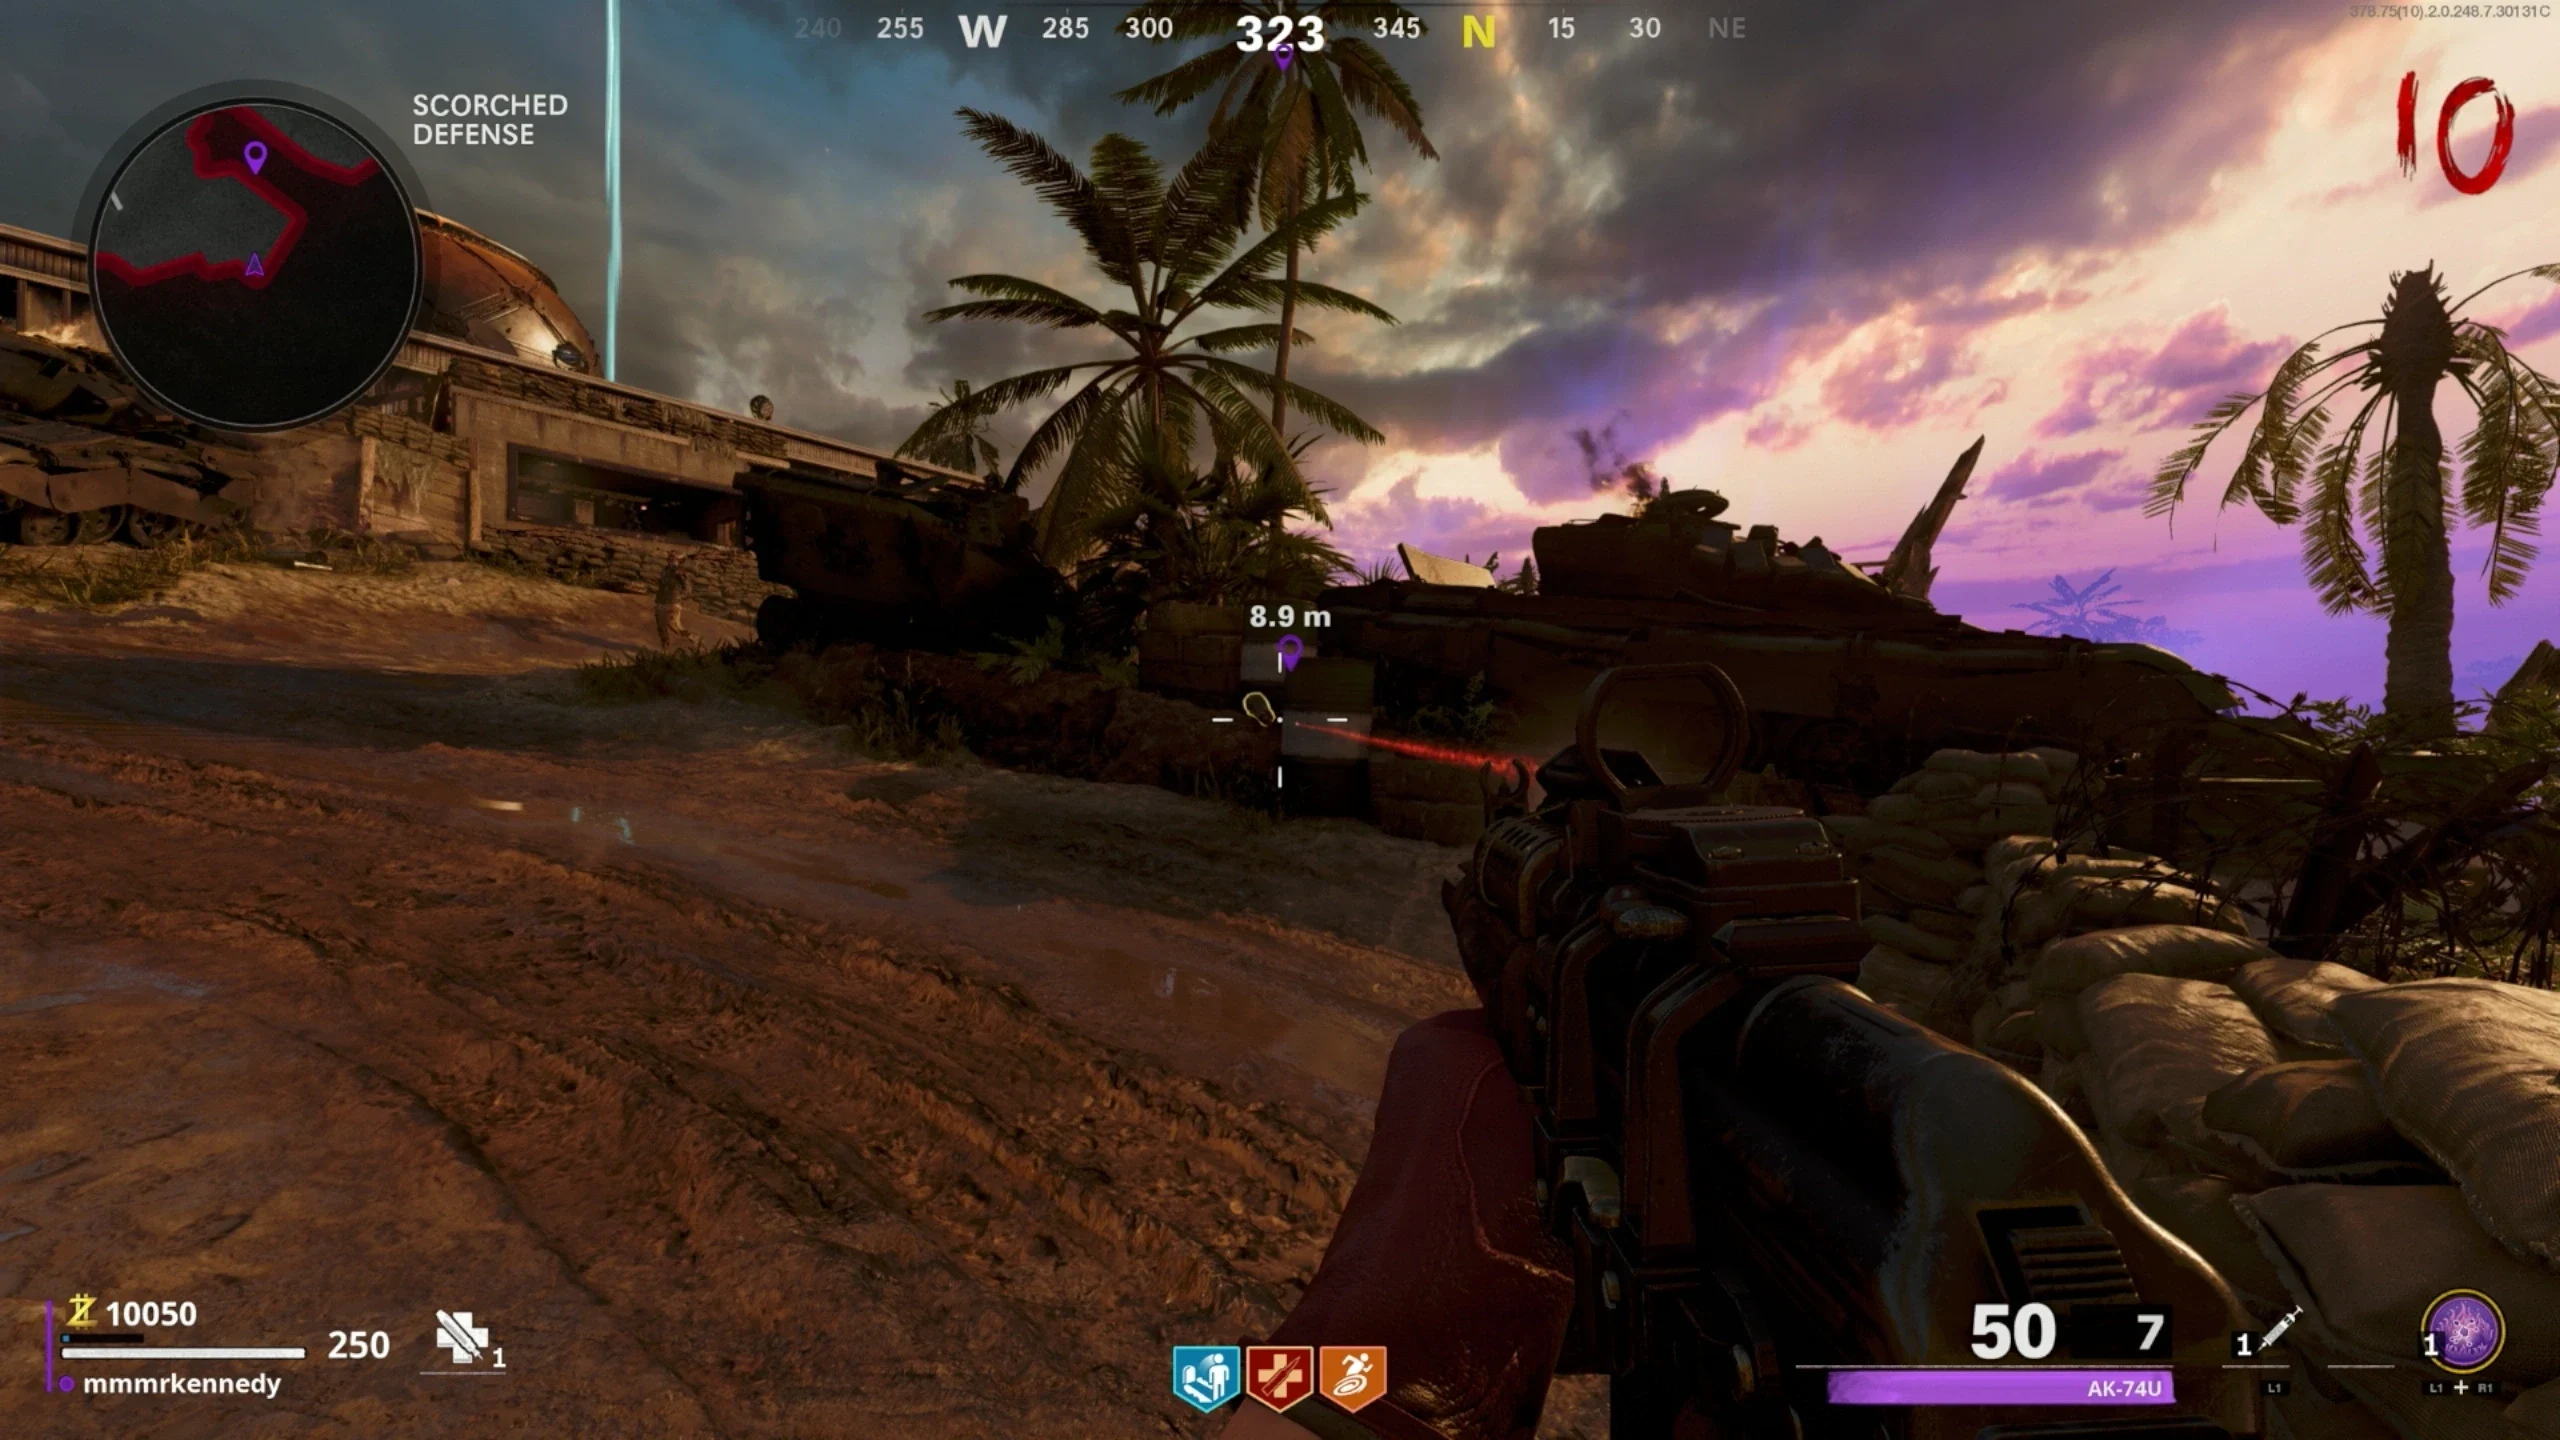
- Go to 'Scorched Defence' and pick up the Shovel from the Bunker on the Left.
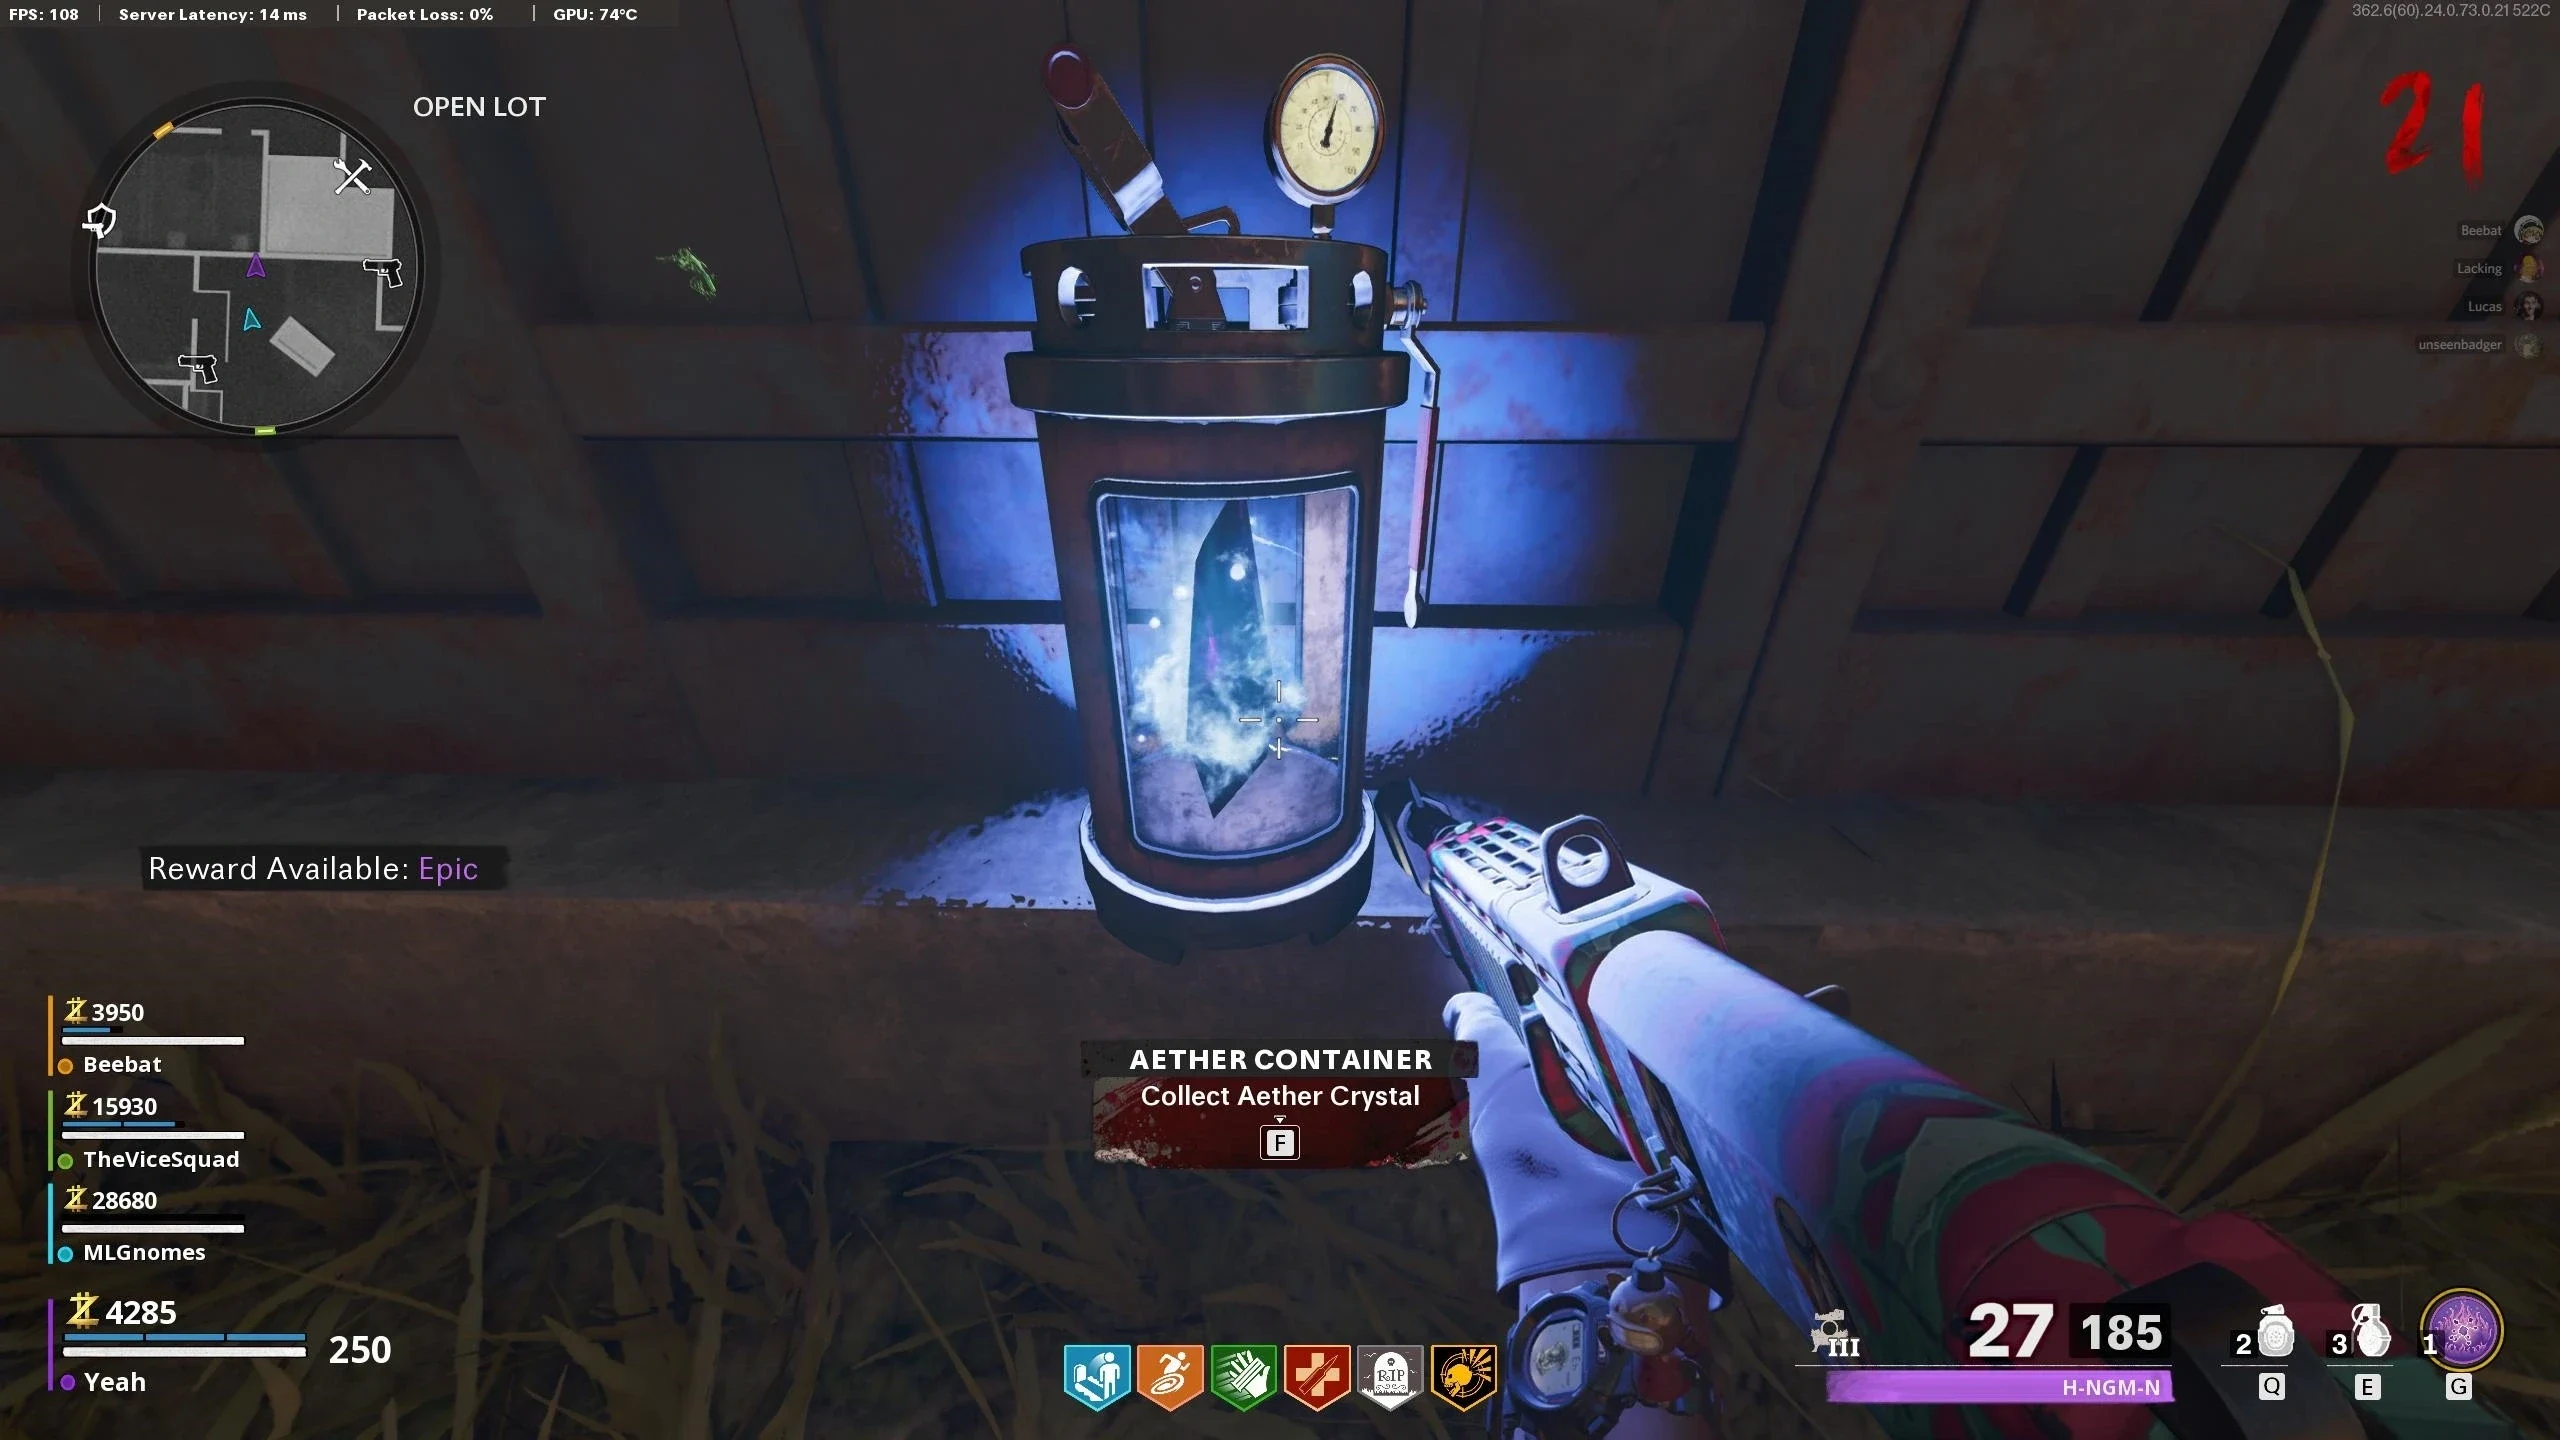
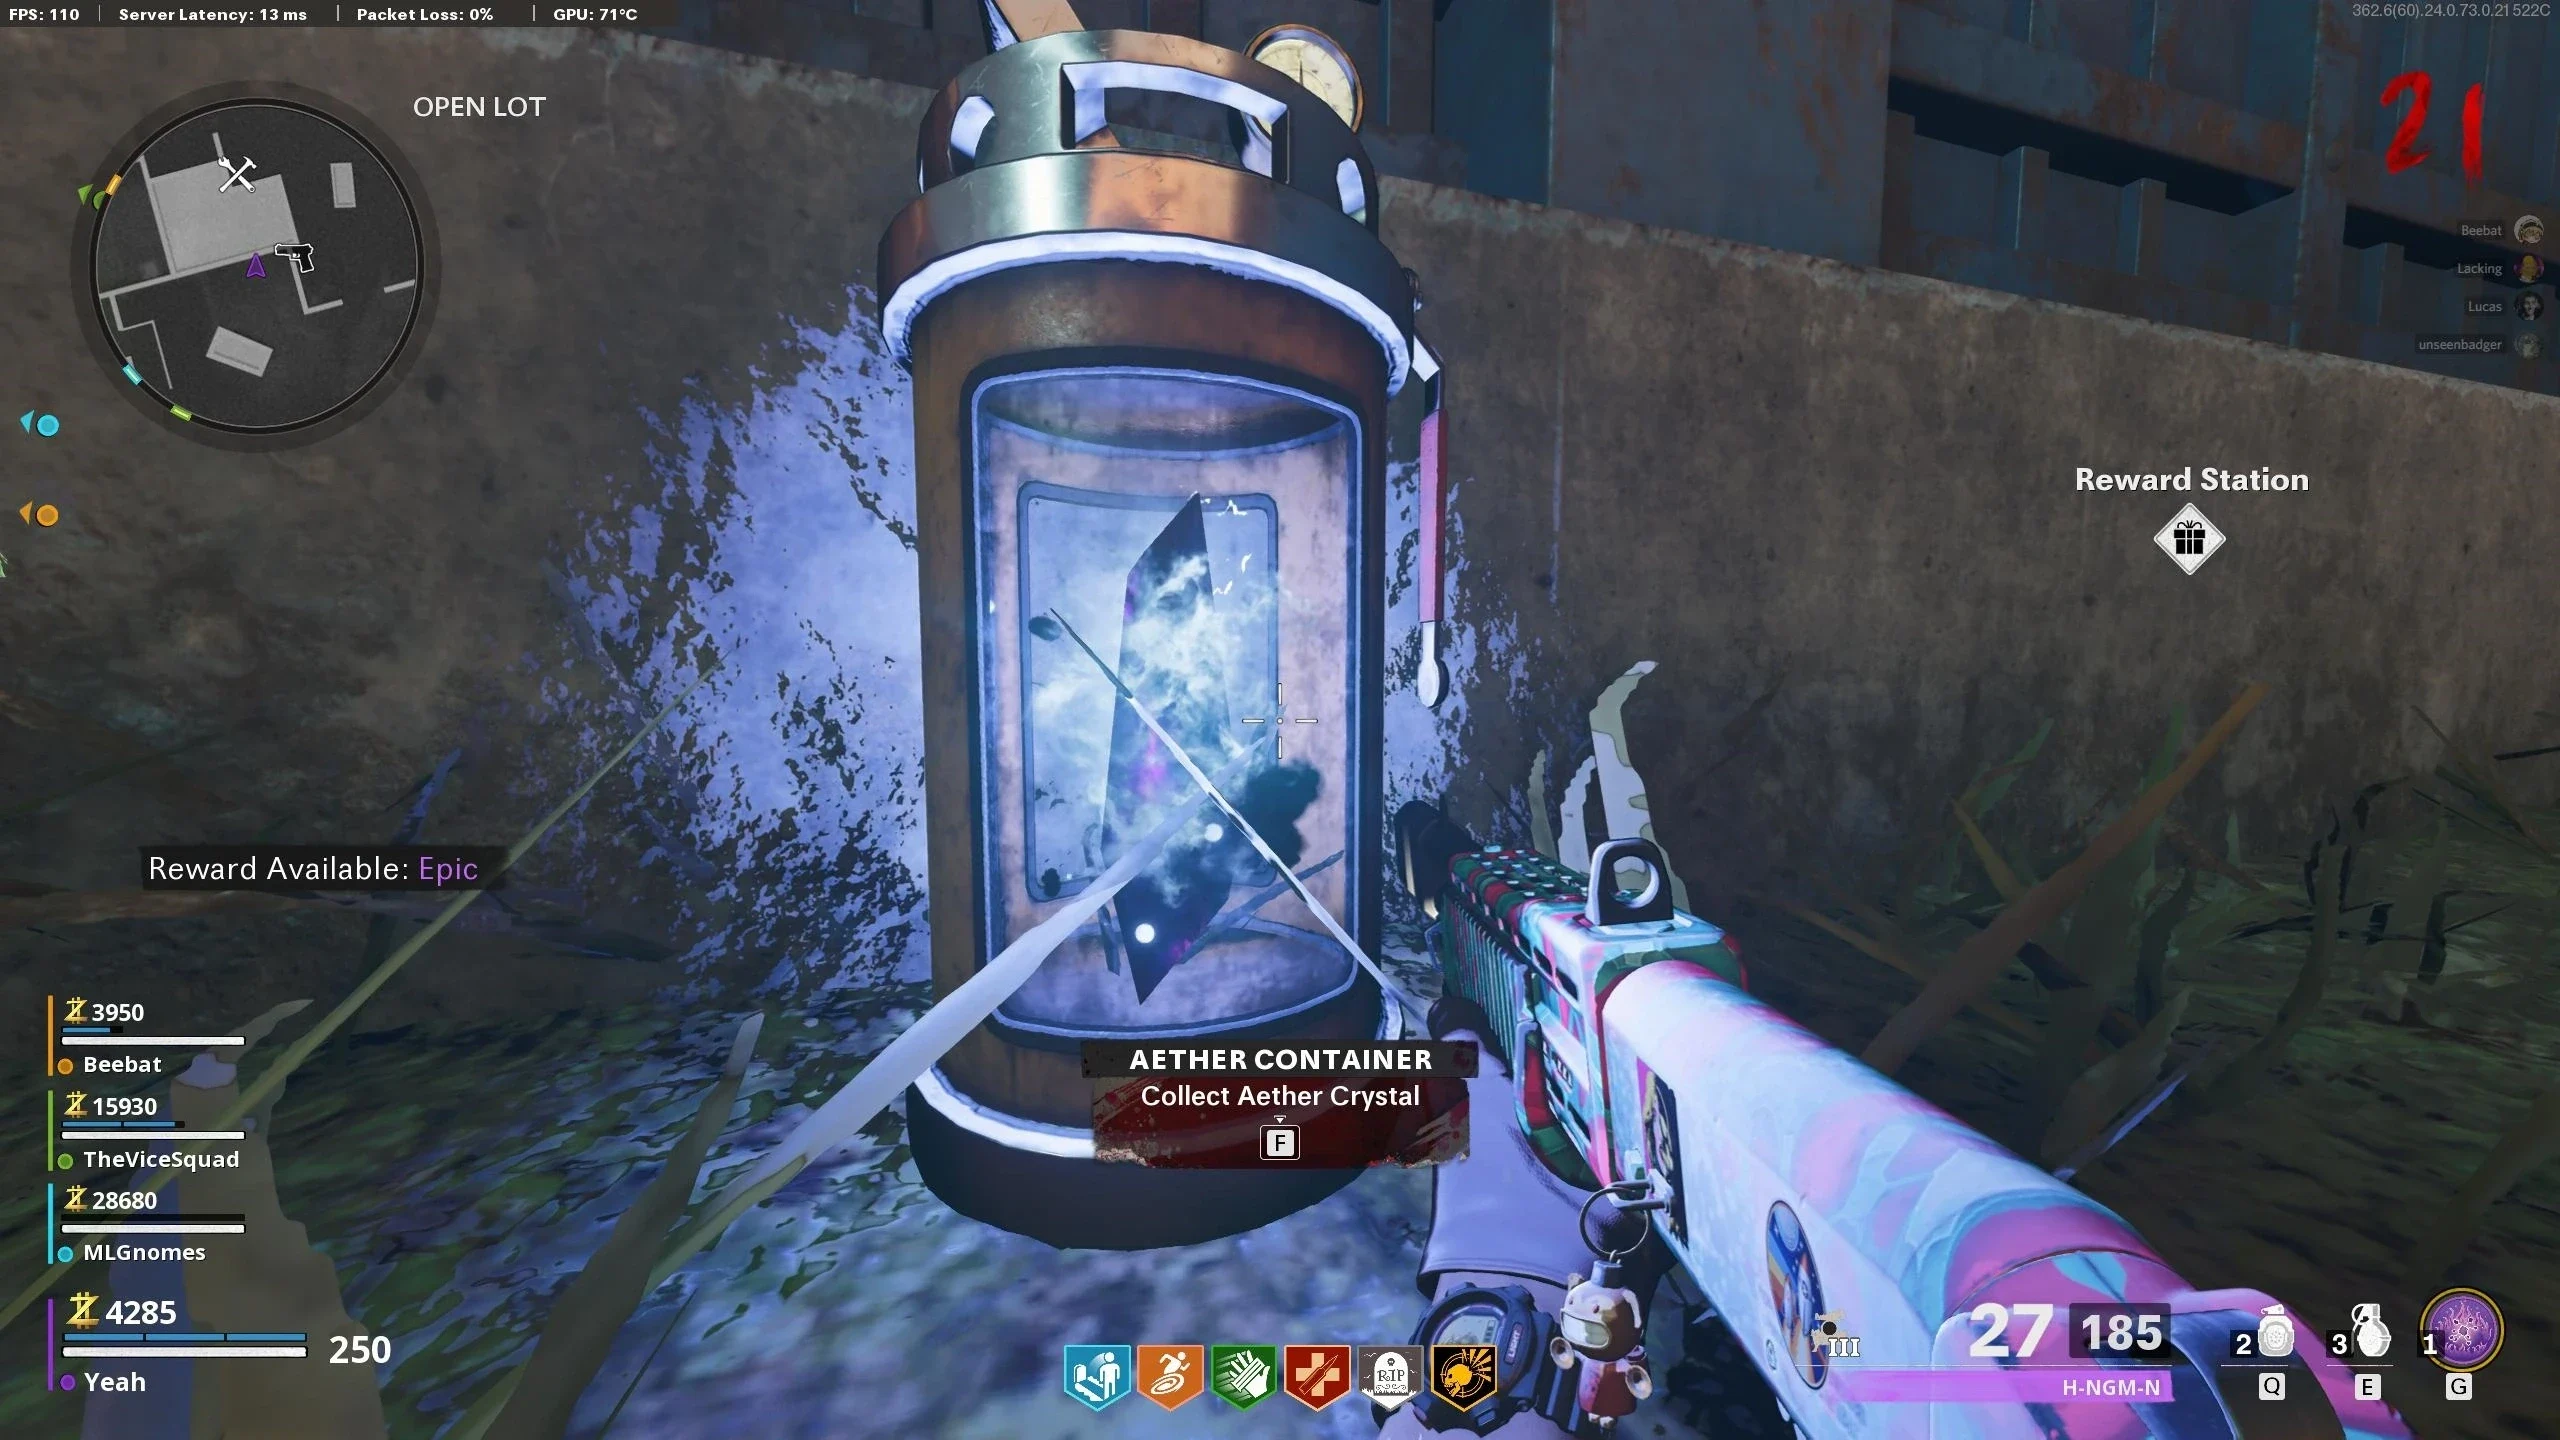
- You must now dig up three Aether Crystals located in the locations below. Each crystal has a small "minigame" associated with it.
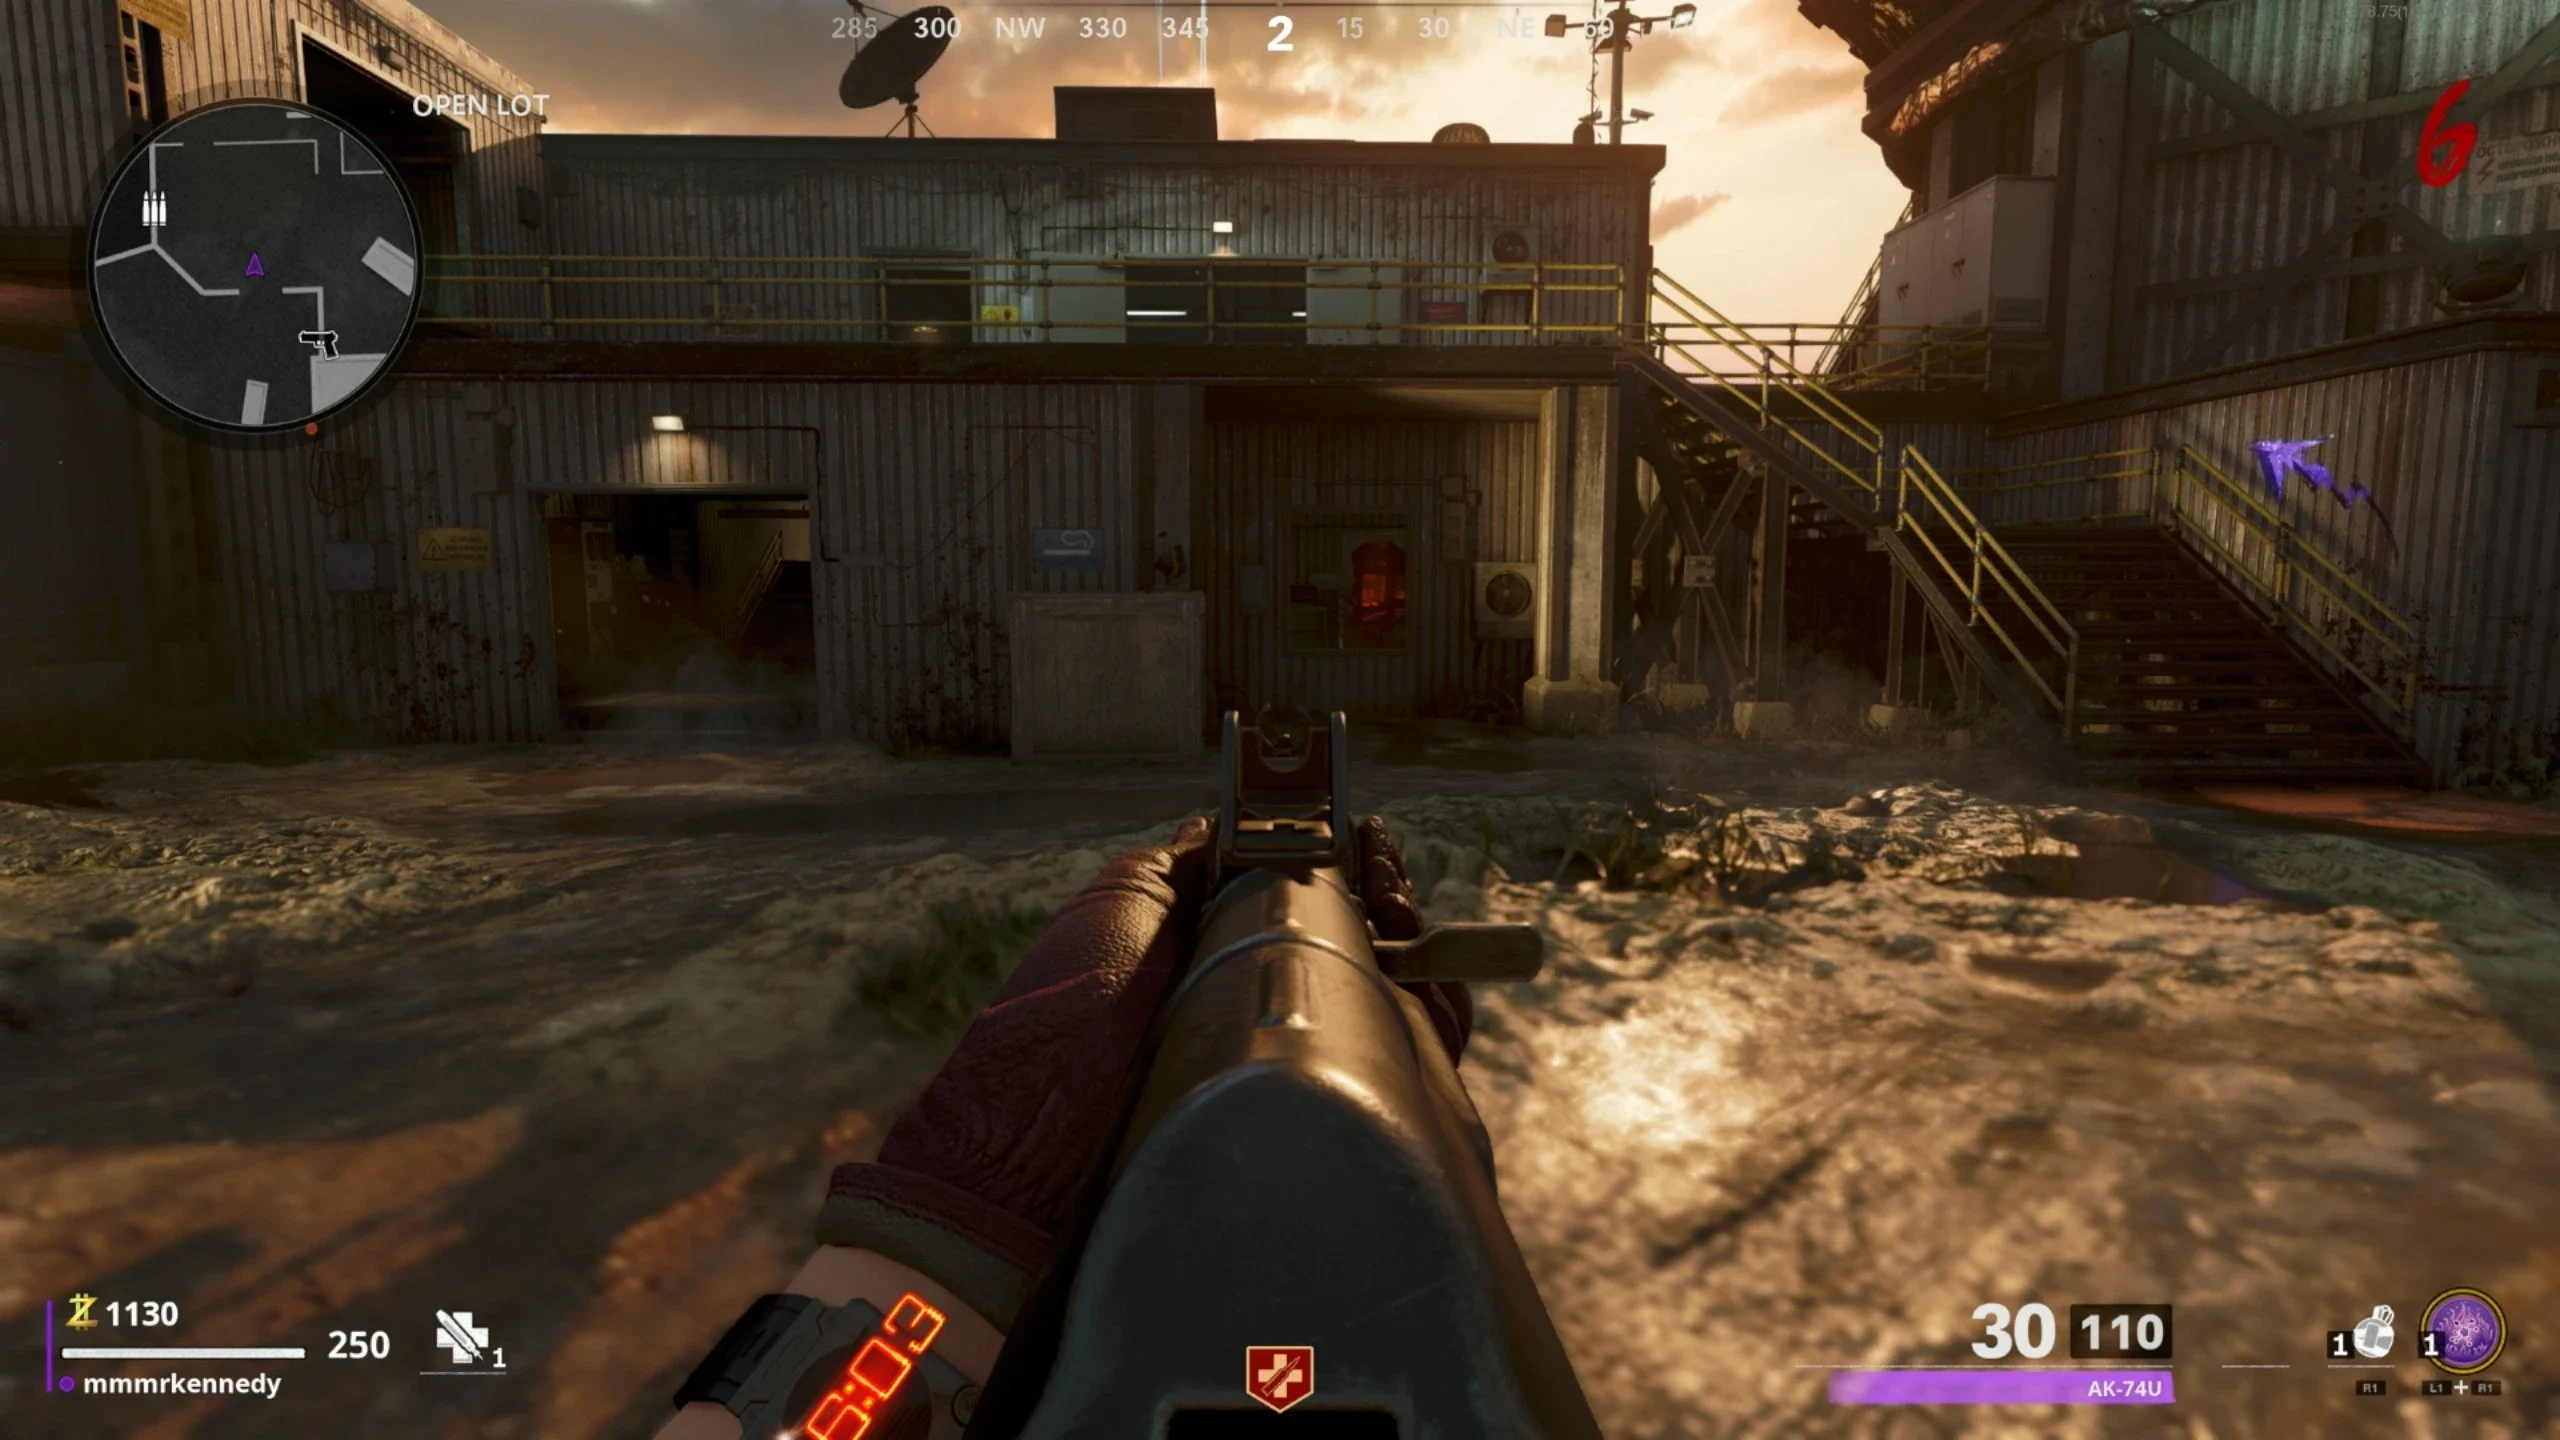
- Open Lot:
- Dig up the Container near the window to Engineering. Interact with the container to start the minigame.
- When you interact with the container, it will disappear and several containers will spawn around the area.
- You must find and interact with the Container with no black particles.
- All the other containers in the area contain Black Particles.
- If you interact with an incorrect container, kill the Mimics that spawn and end the round to respawn the containers to try again.
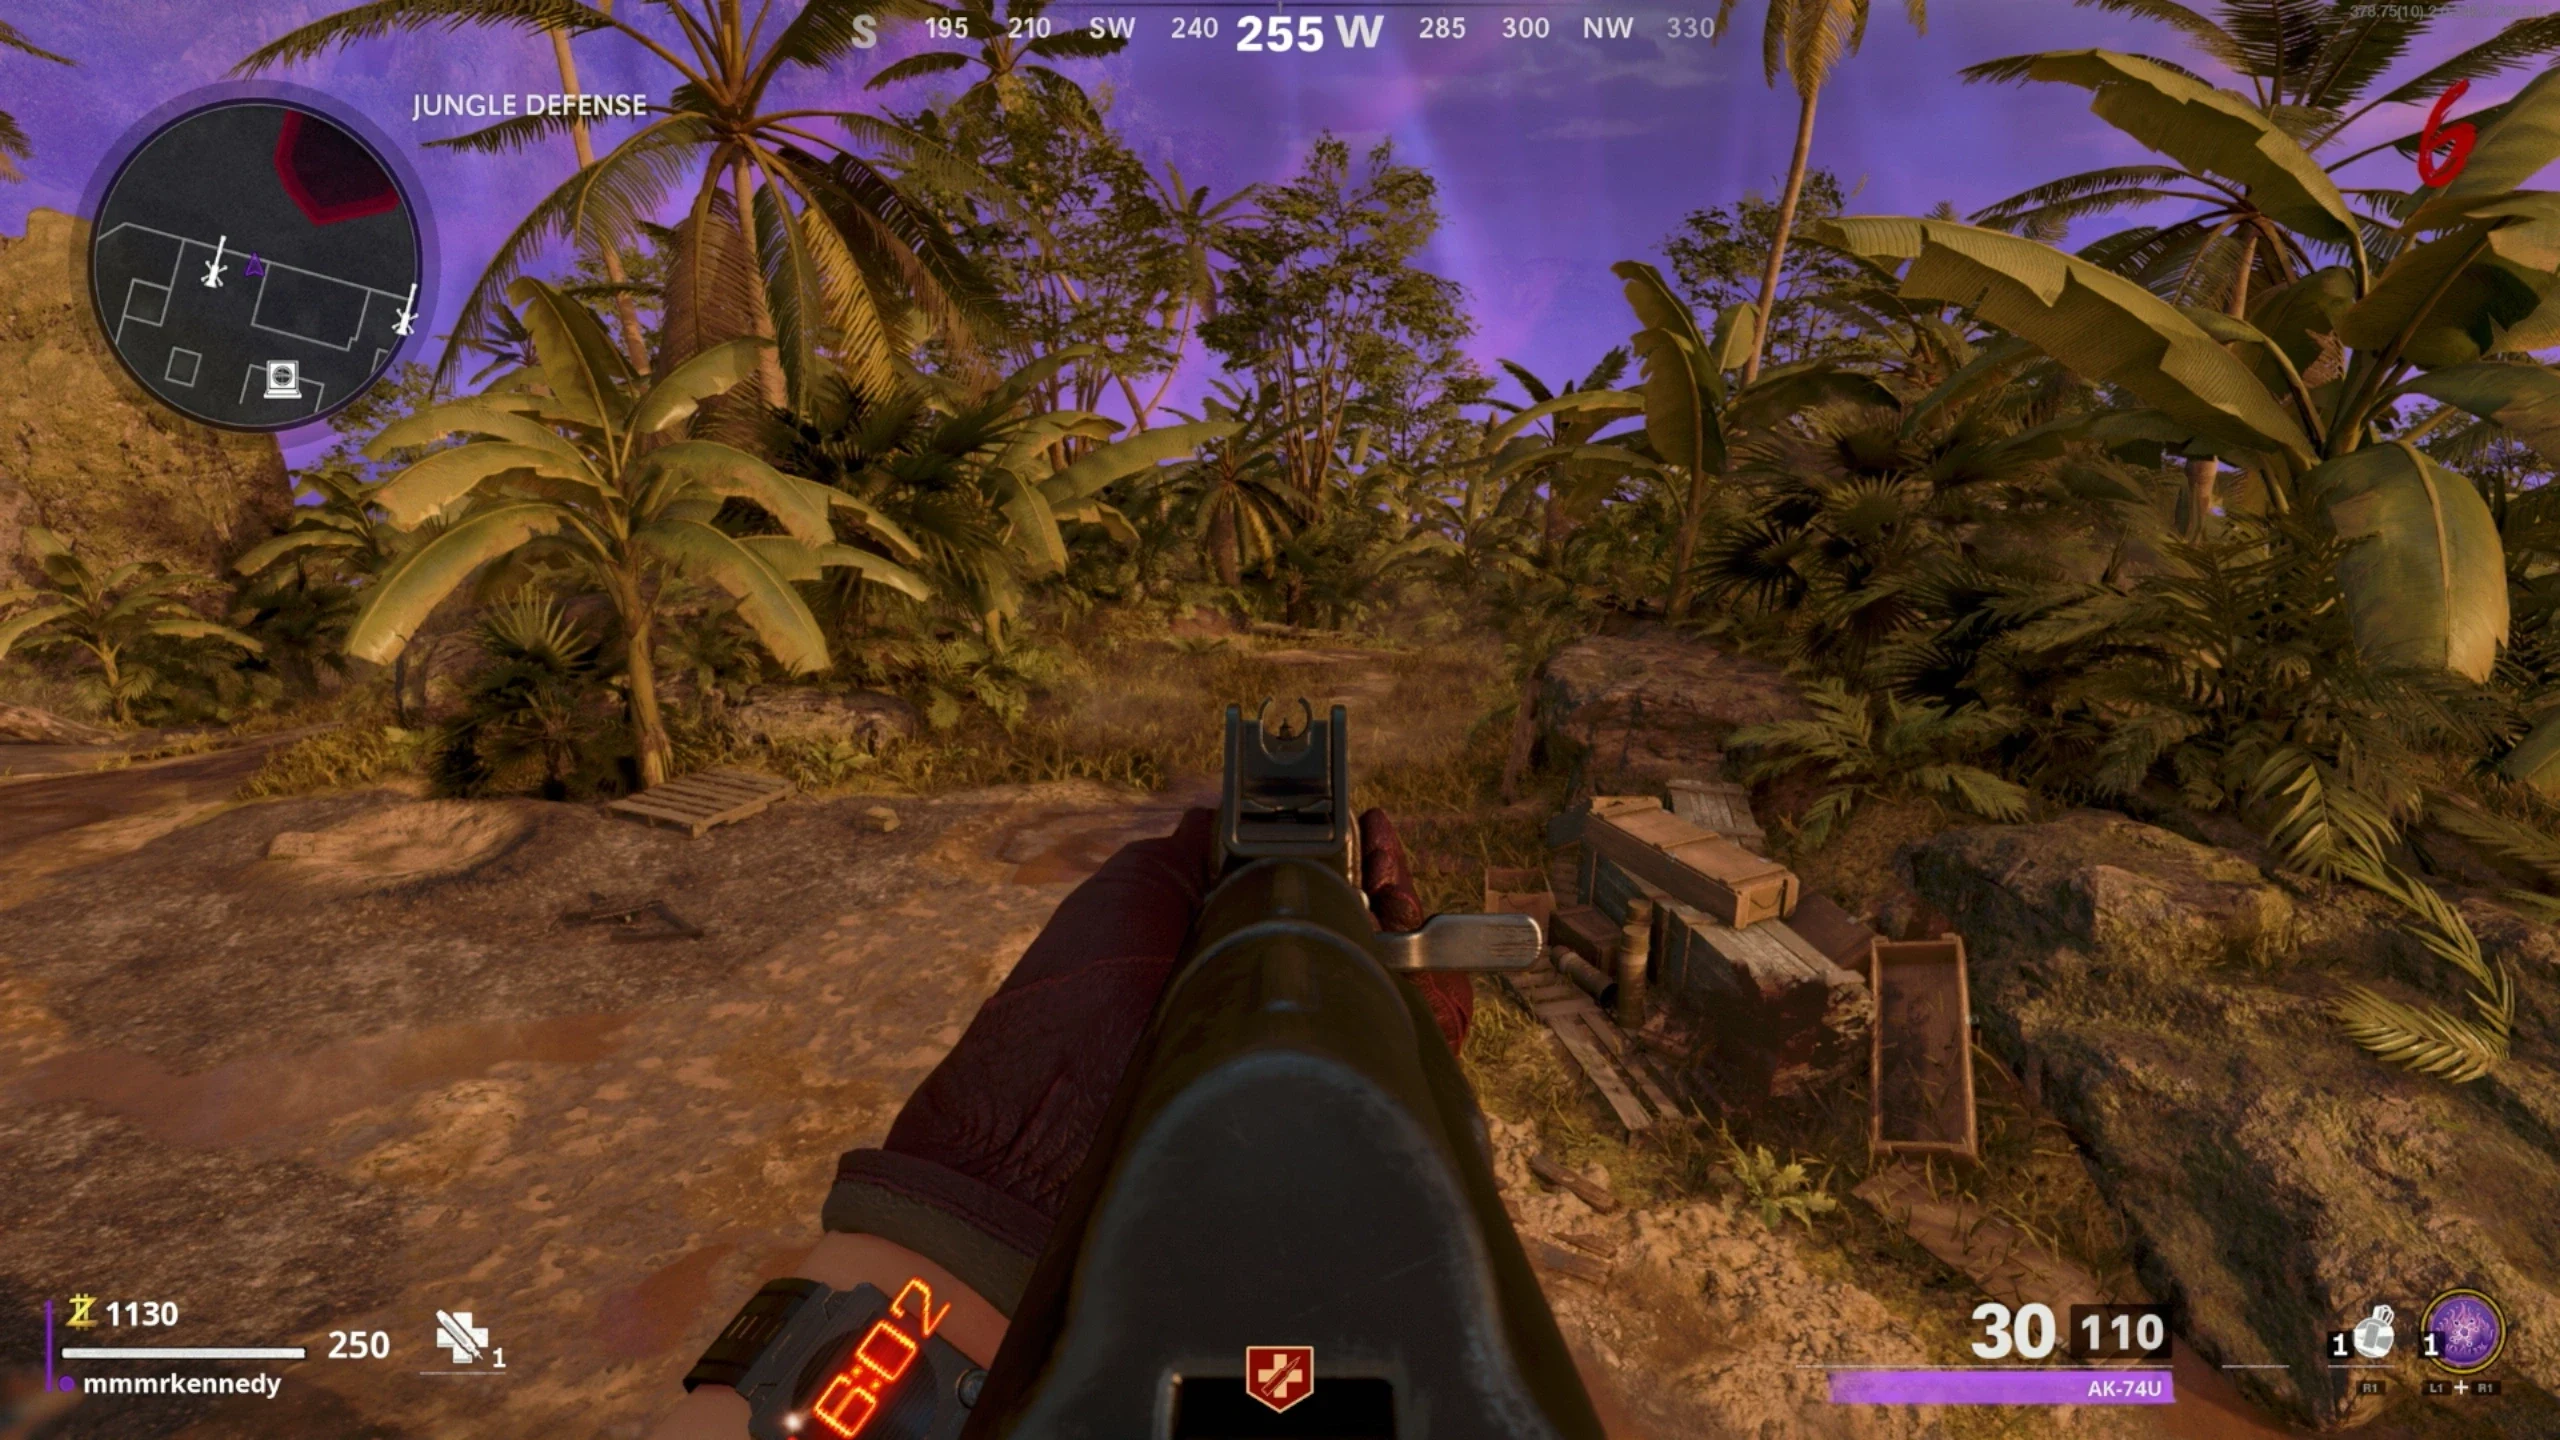
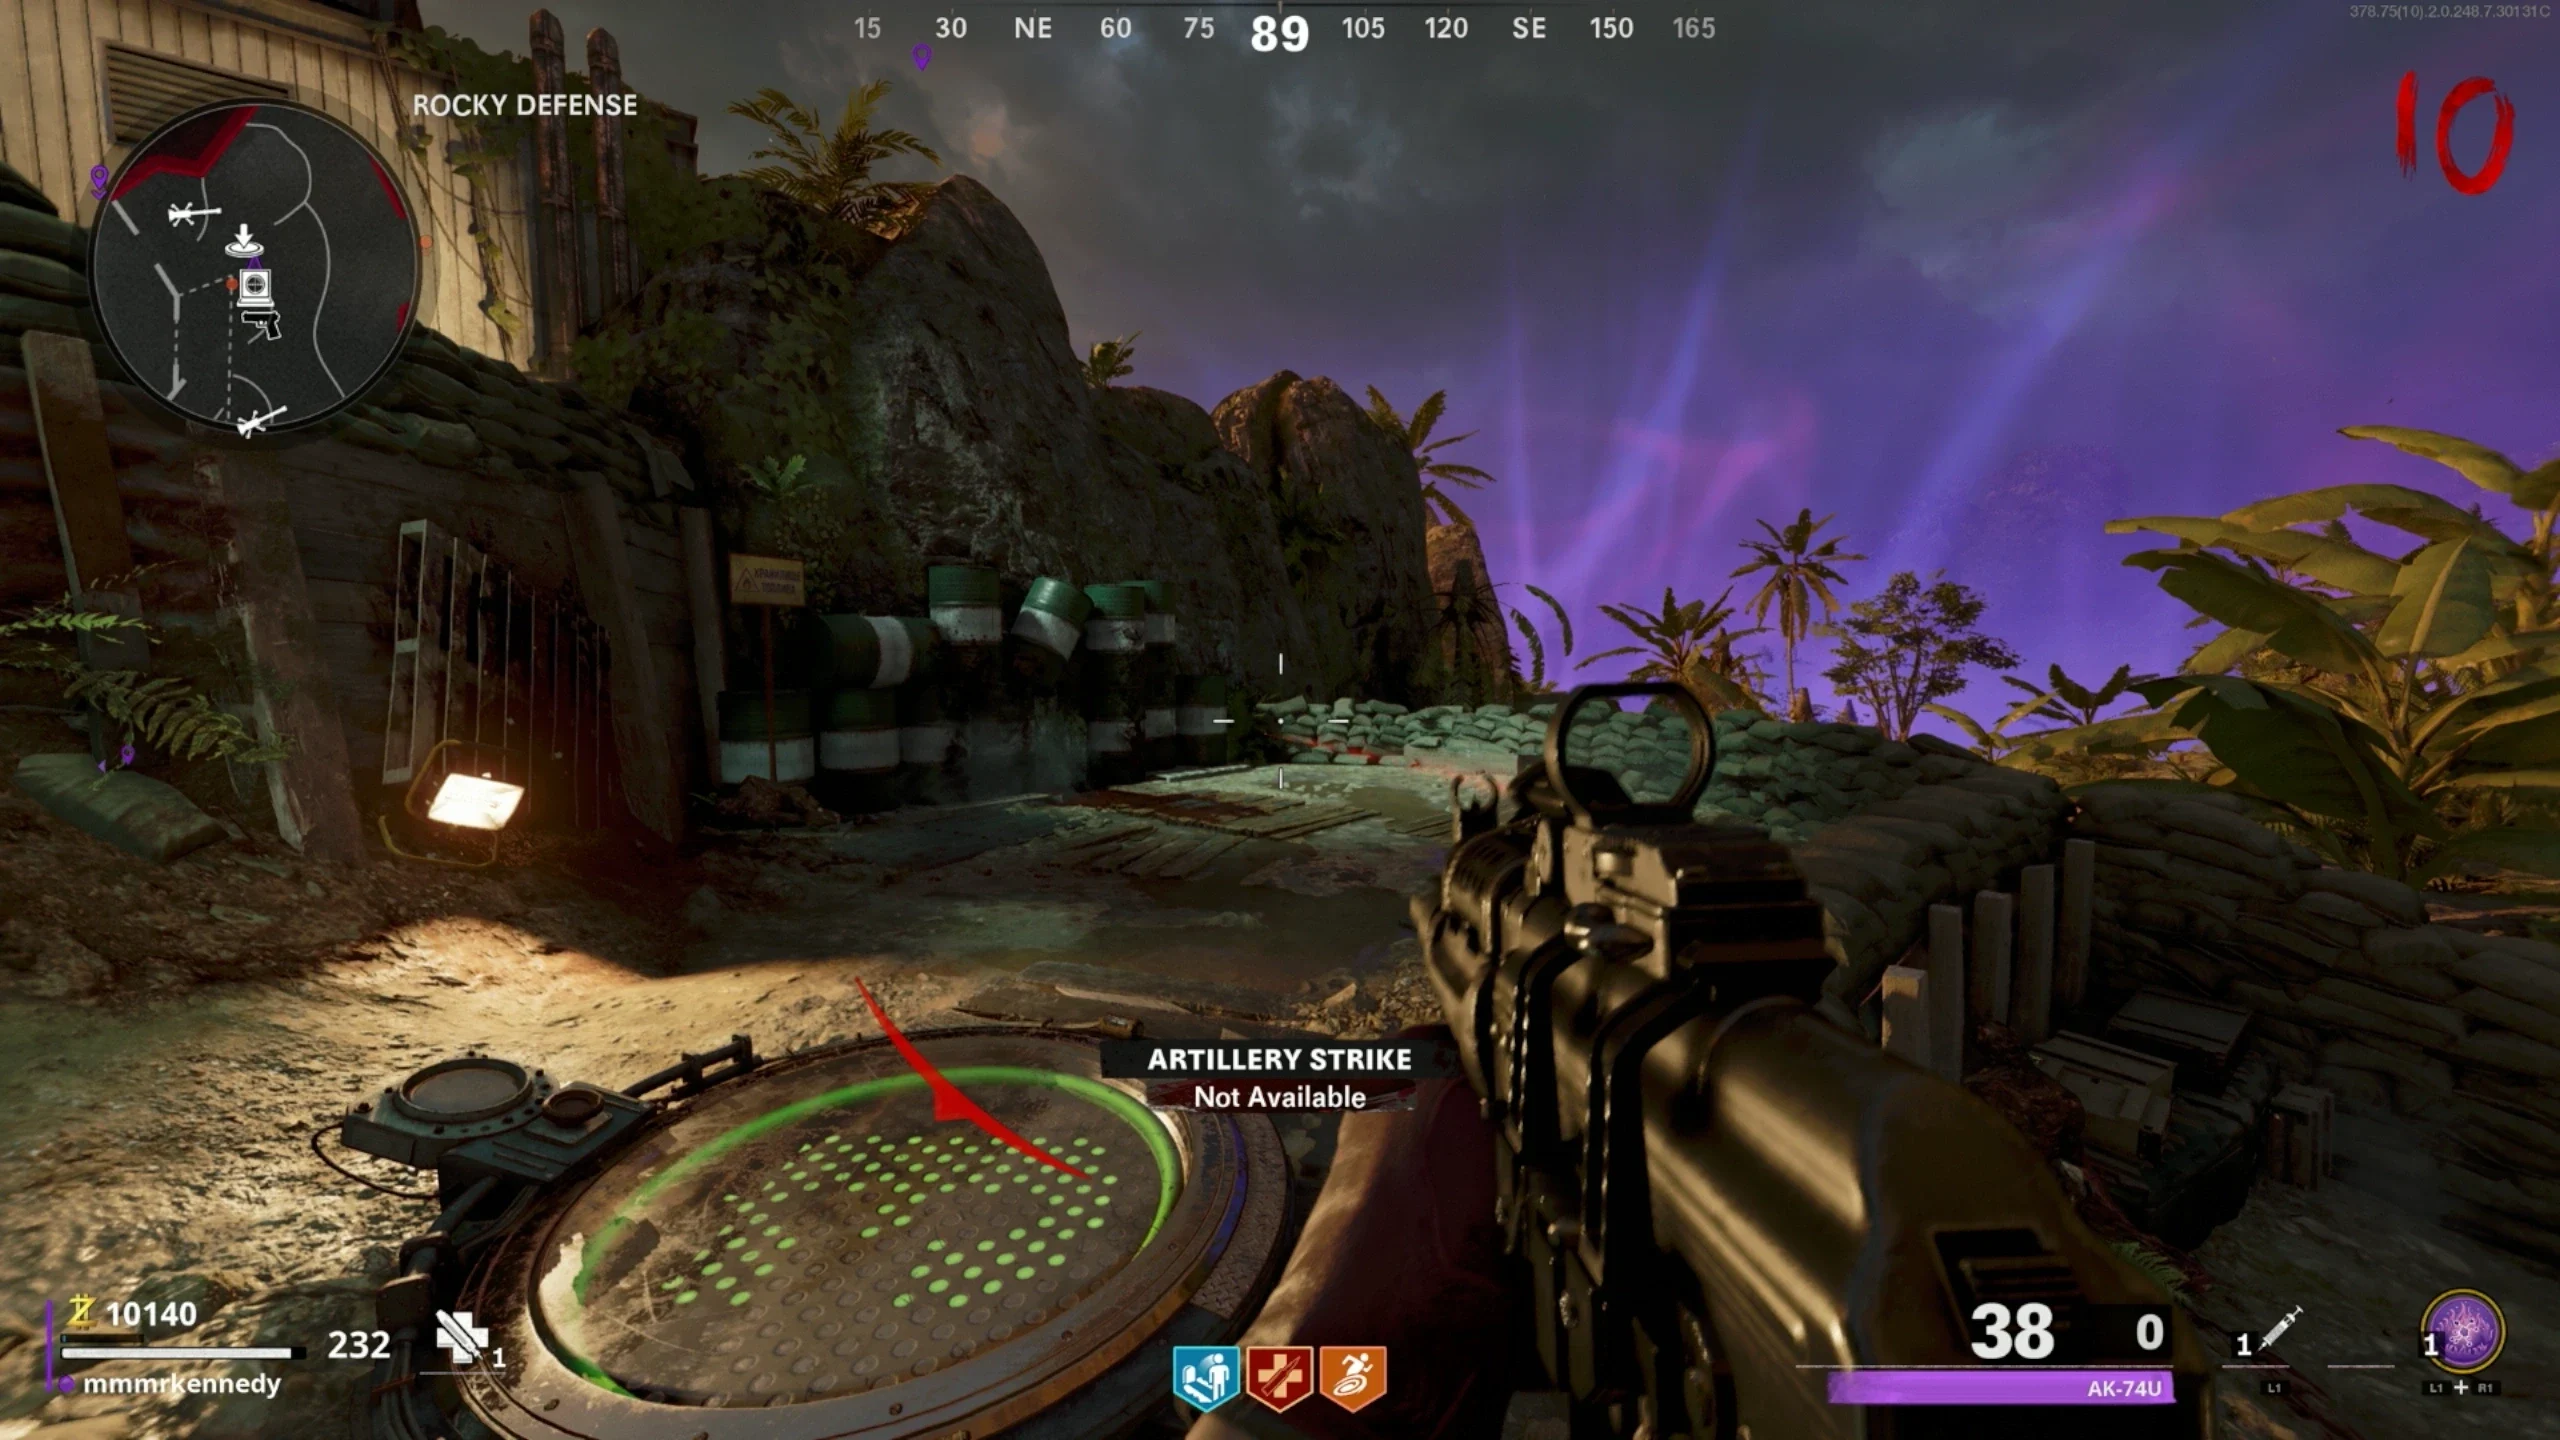
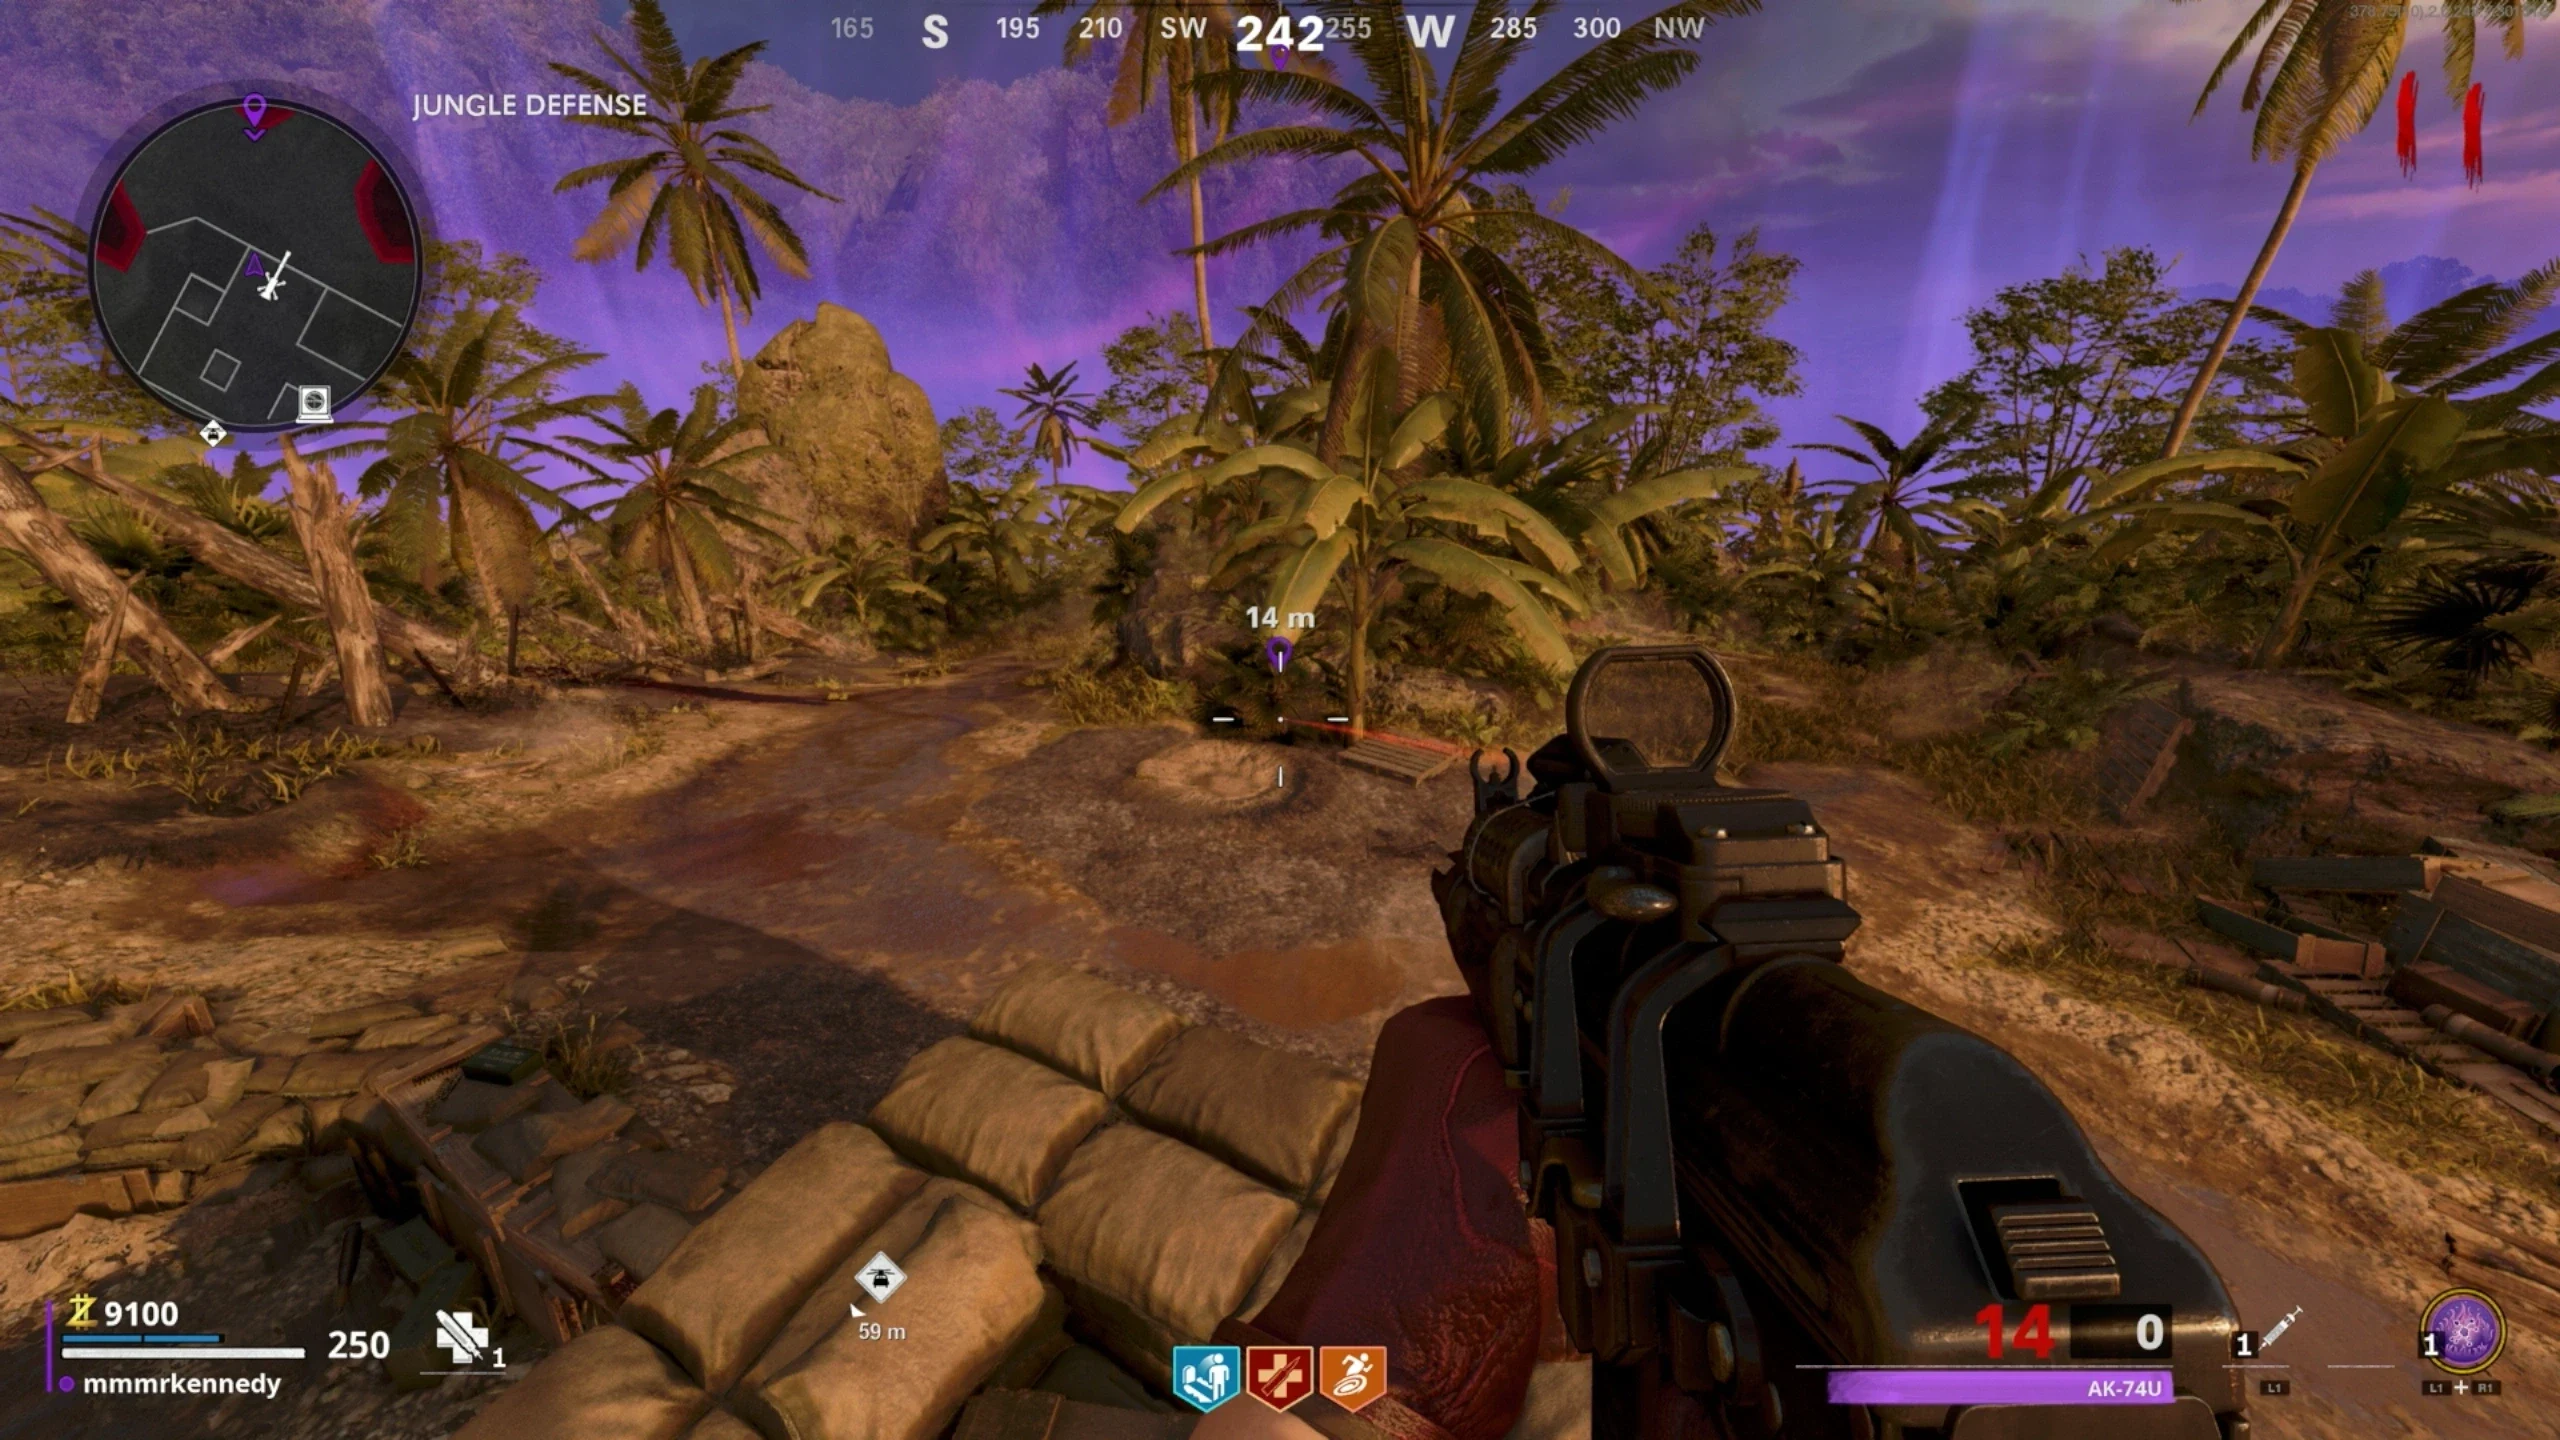
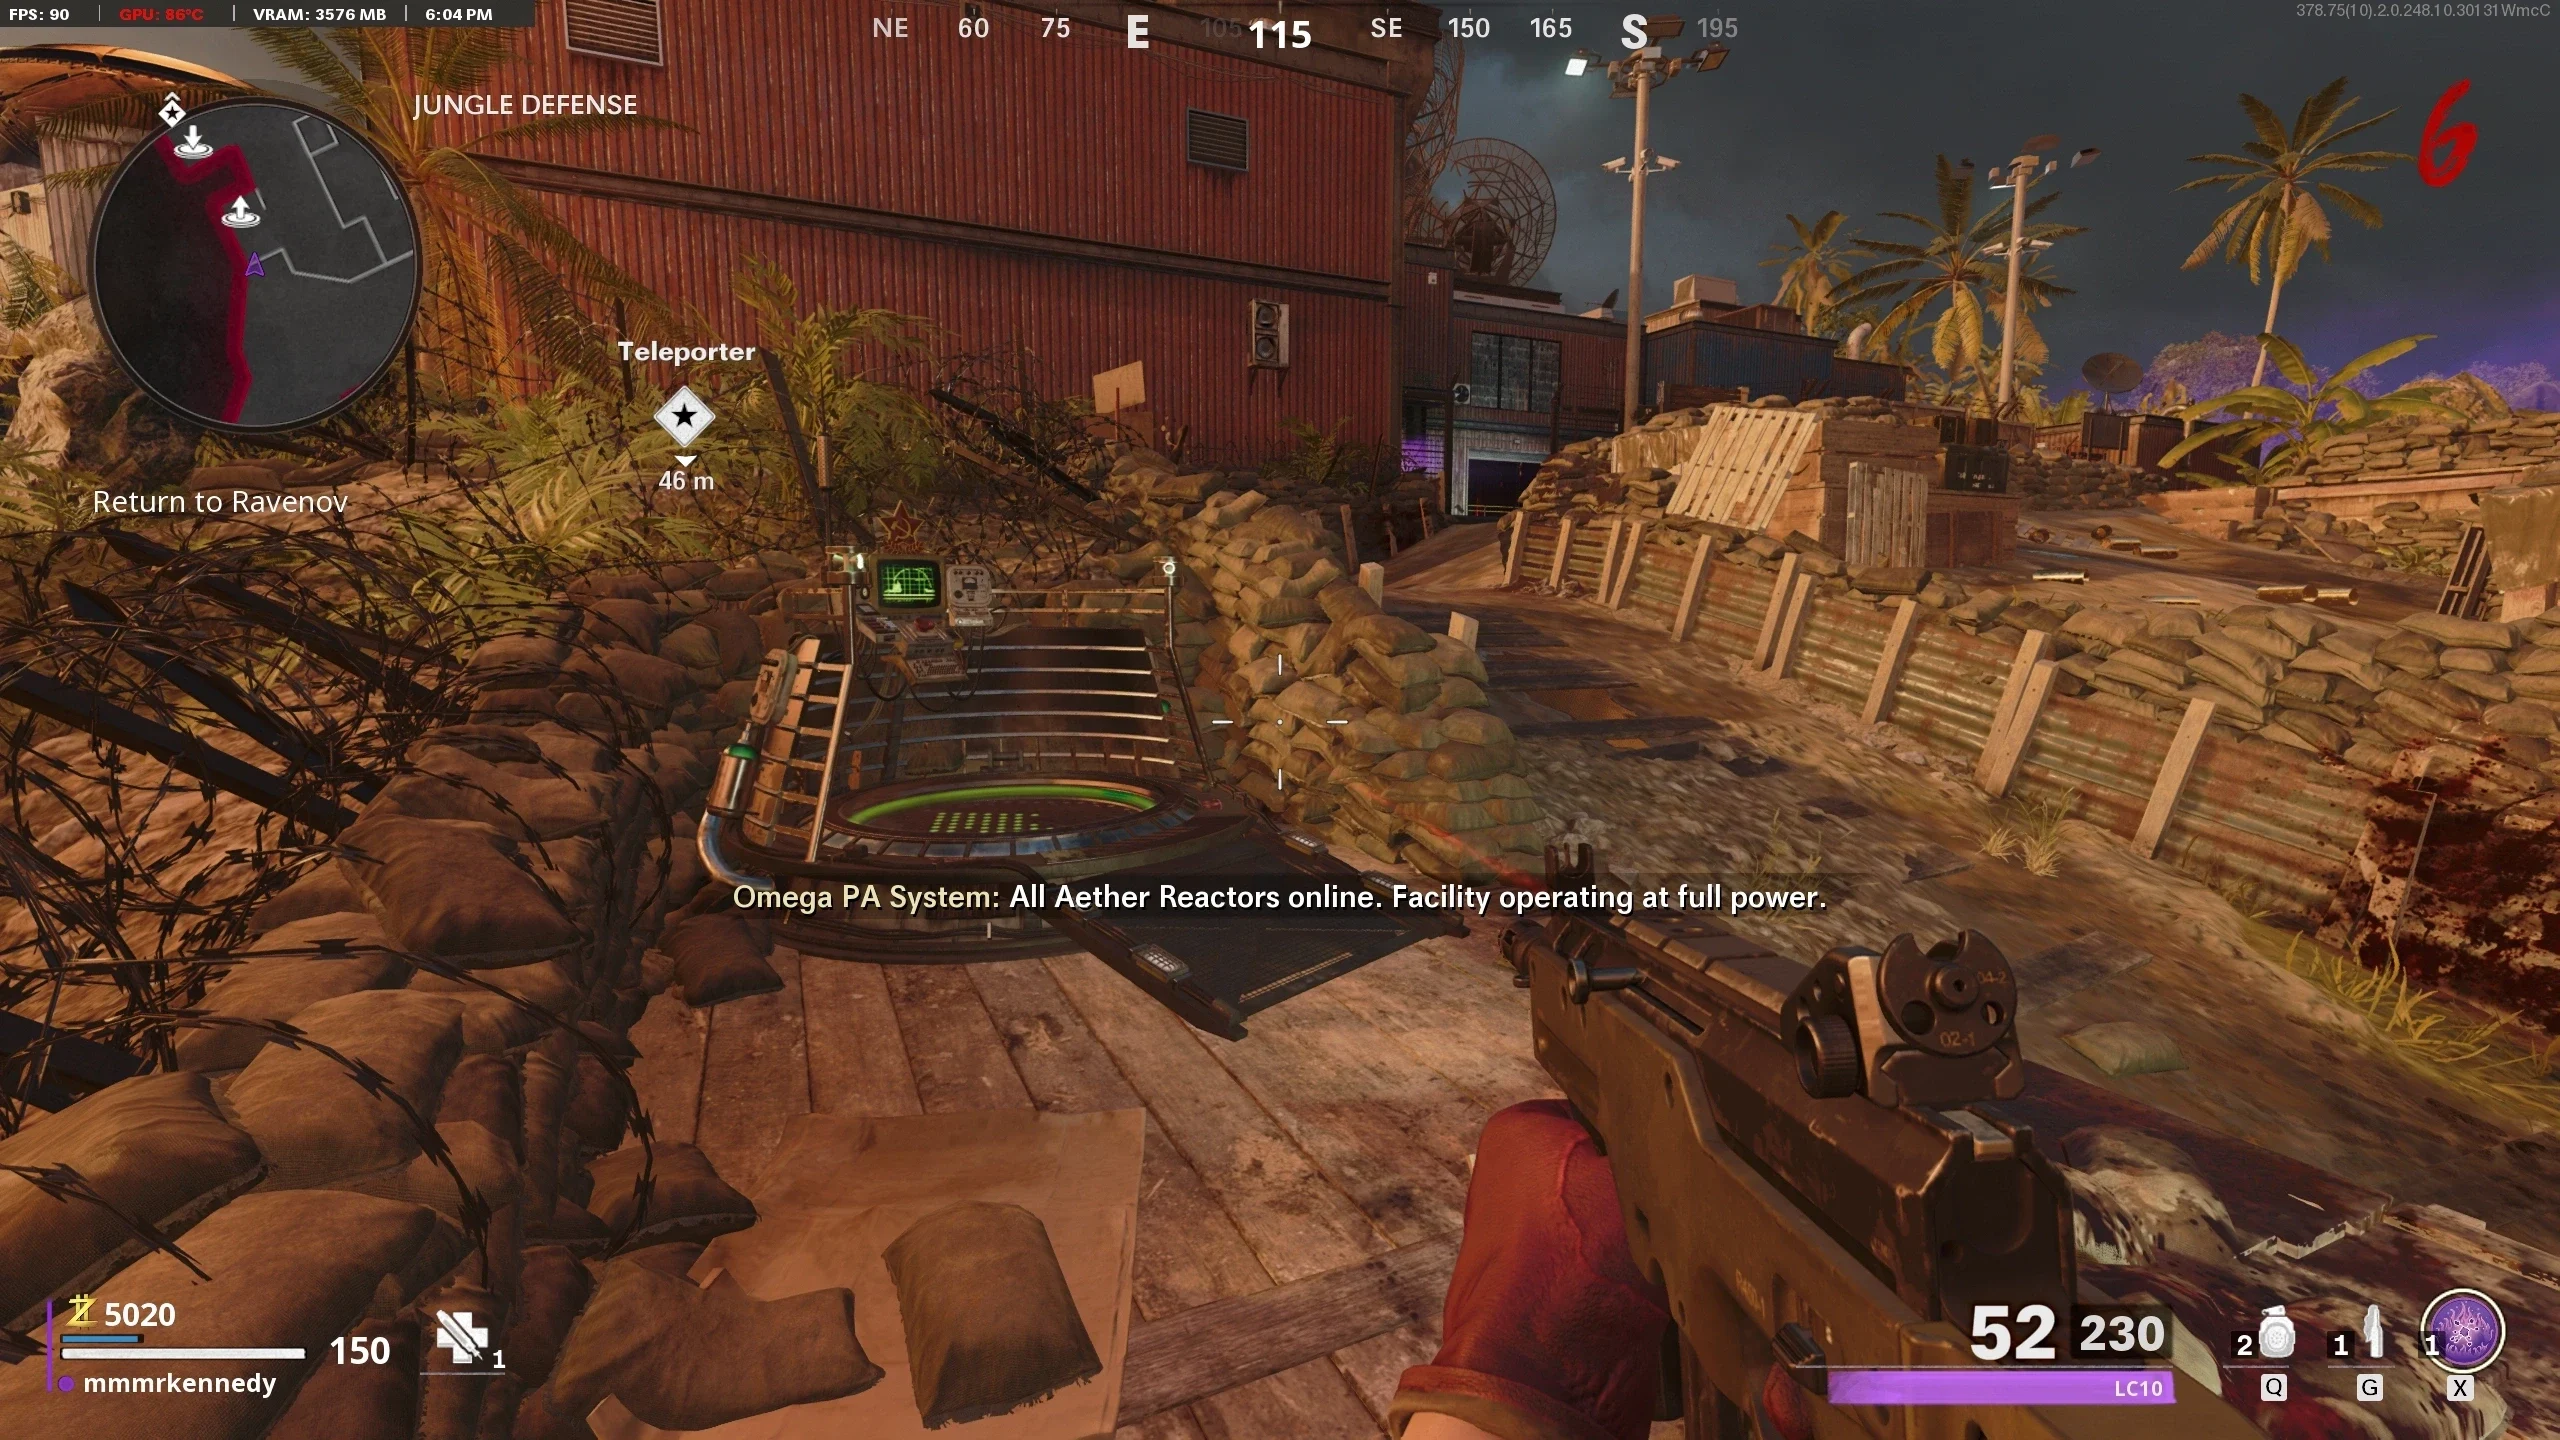
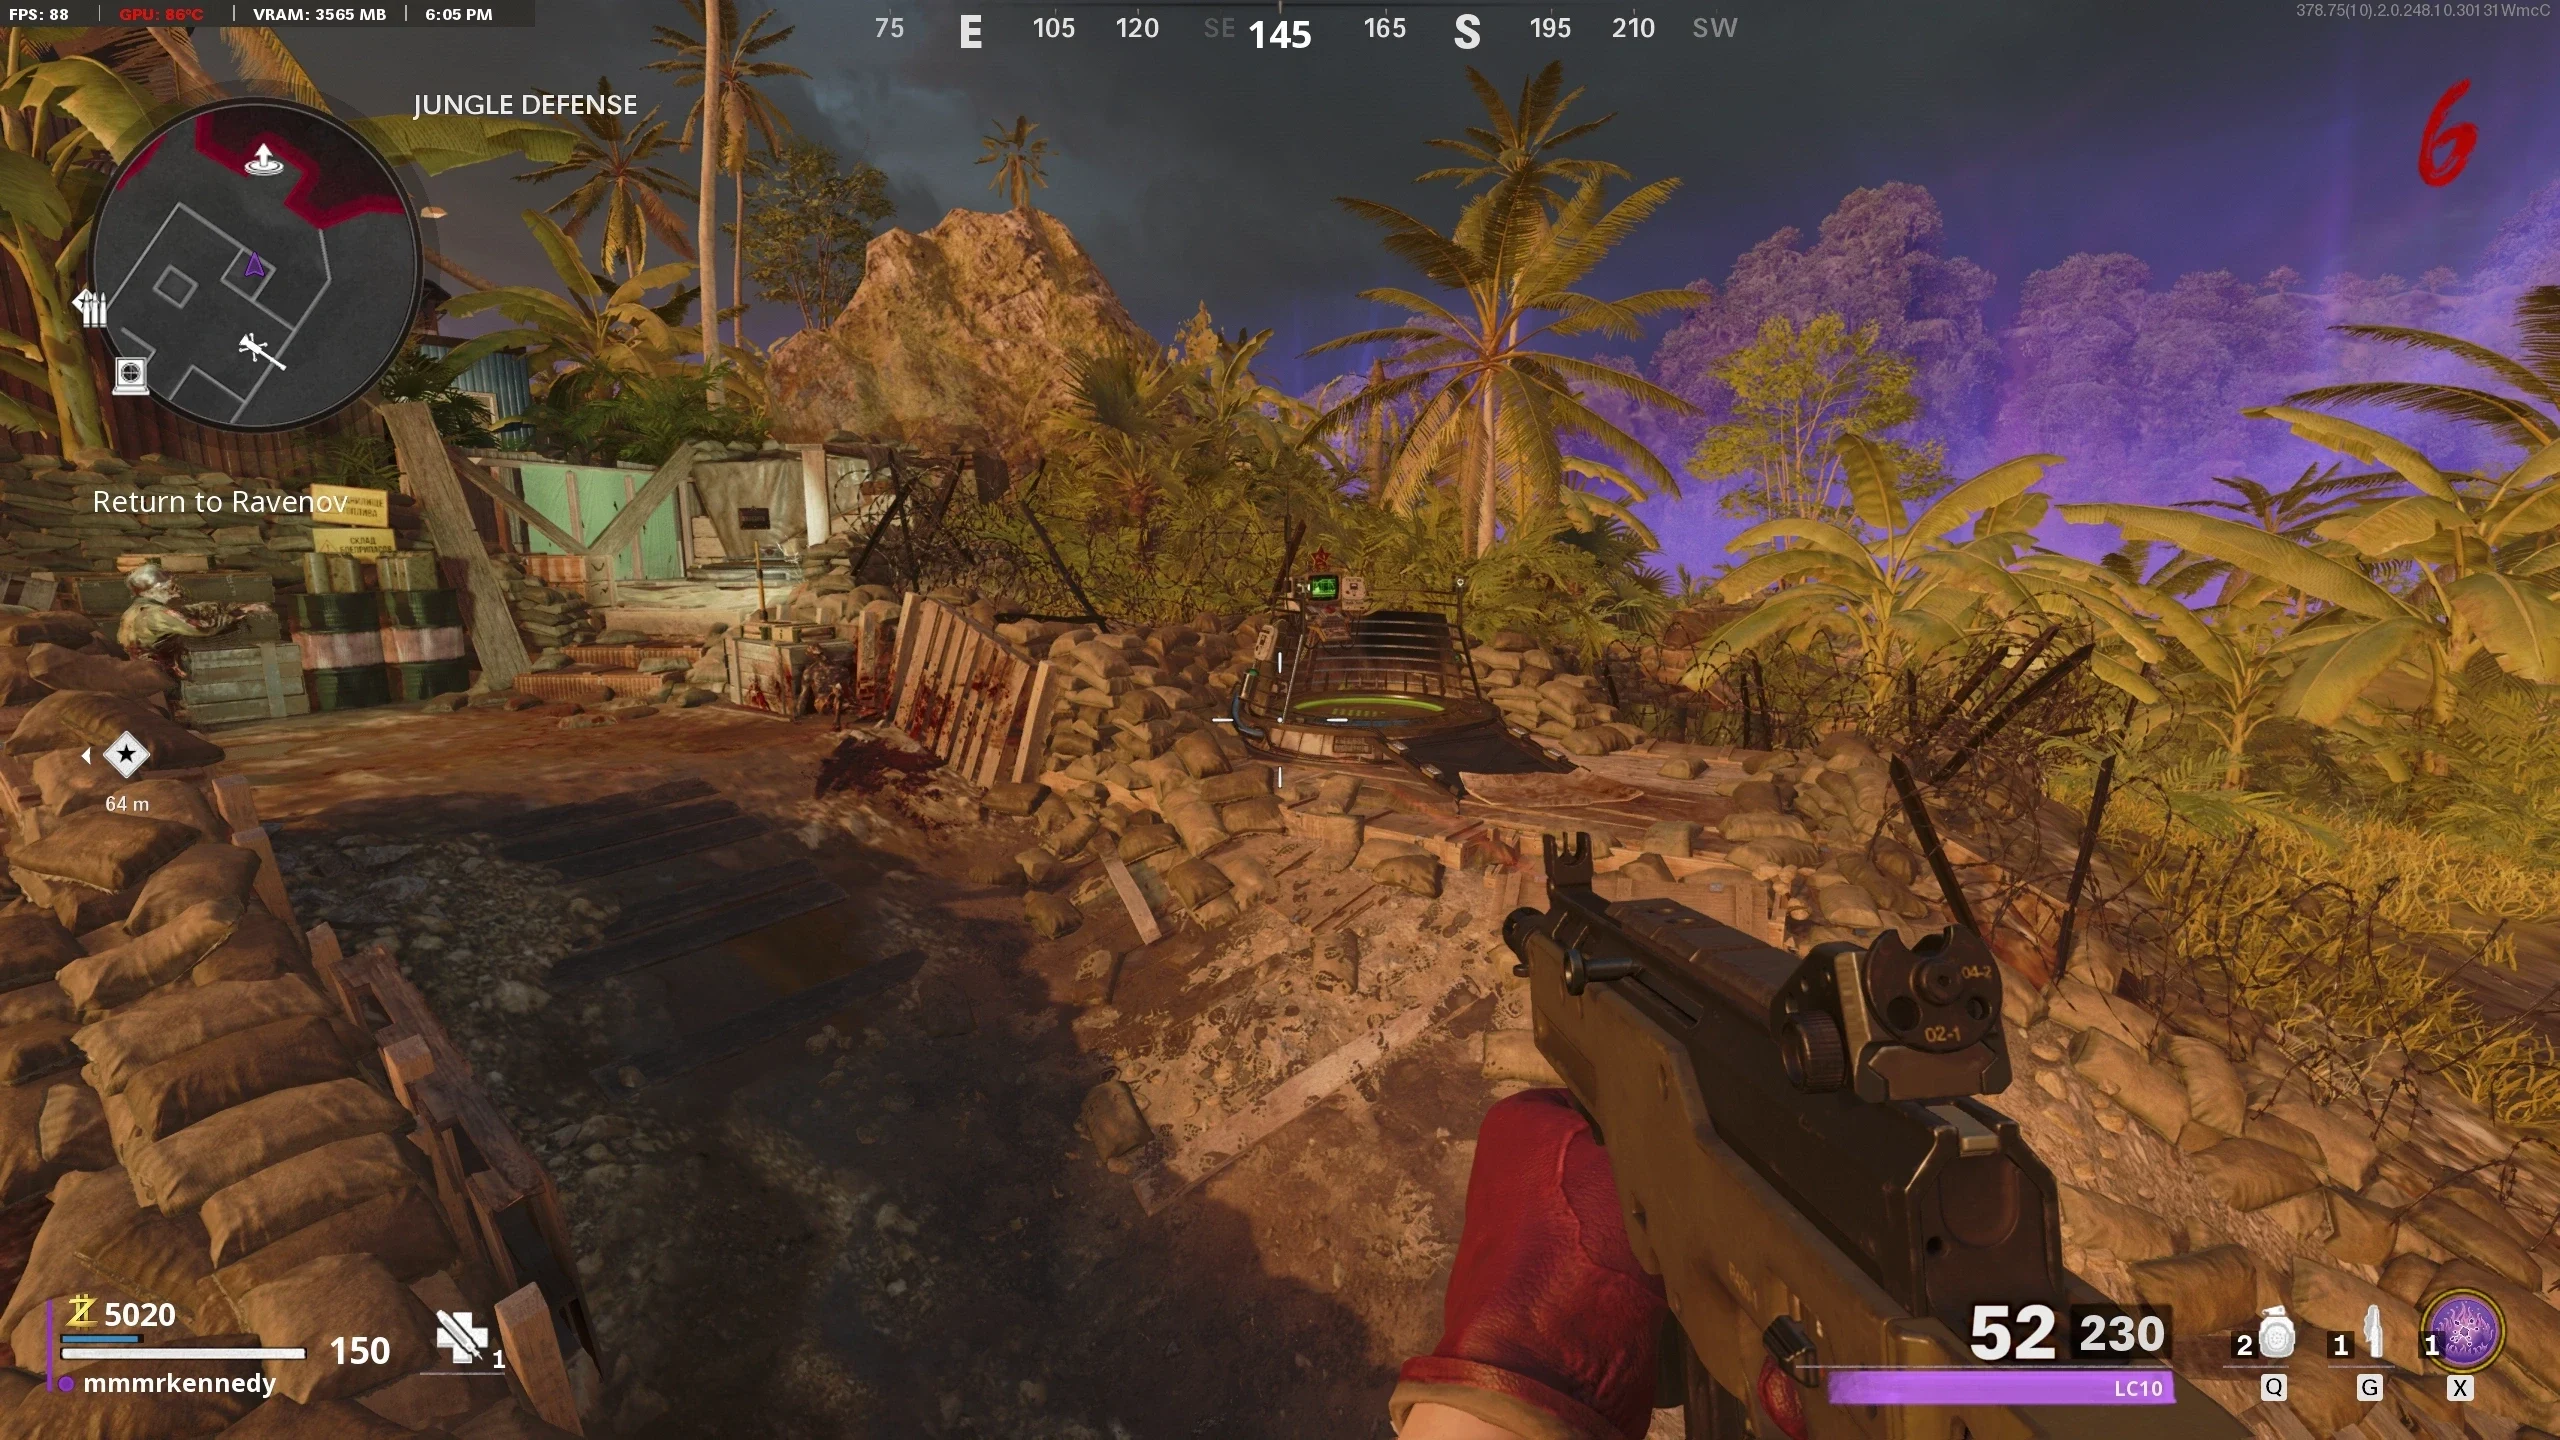
- Jungle Defence:
- Dig up the container in the Middle Lane where zombies spawn during the defence.
- A dome will spawn that you must survive inside until it disappears. Once the dome is gone, you will be able to pick up the container.
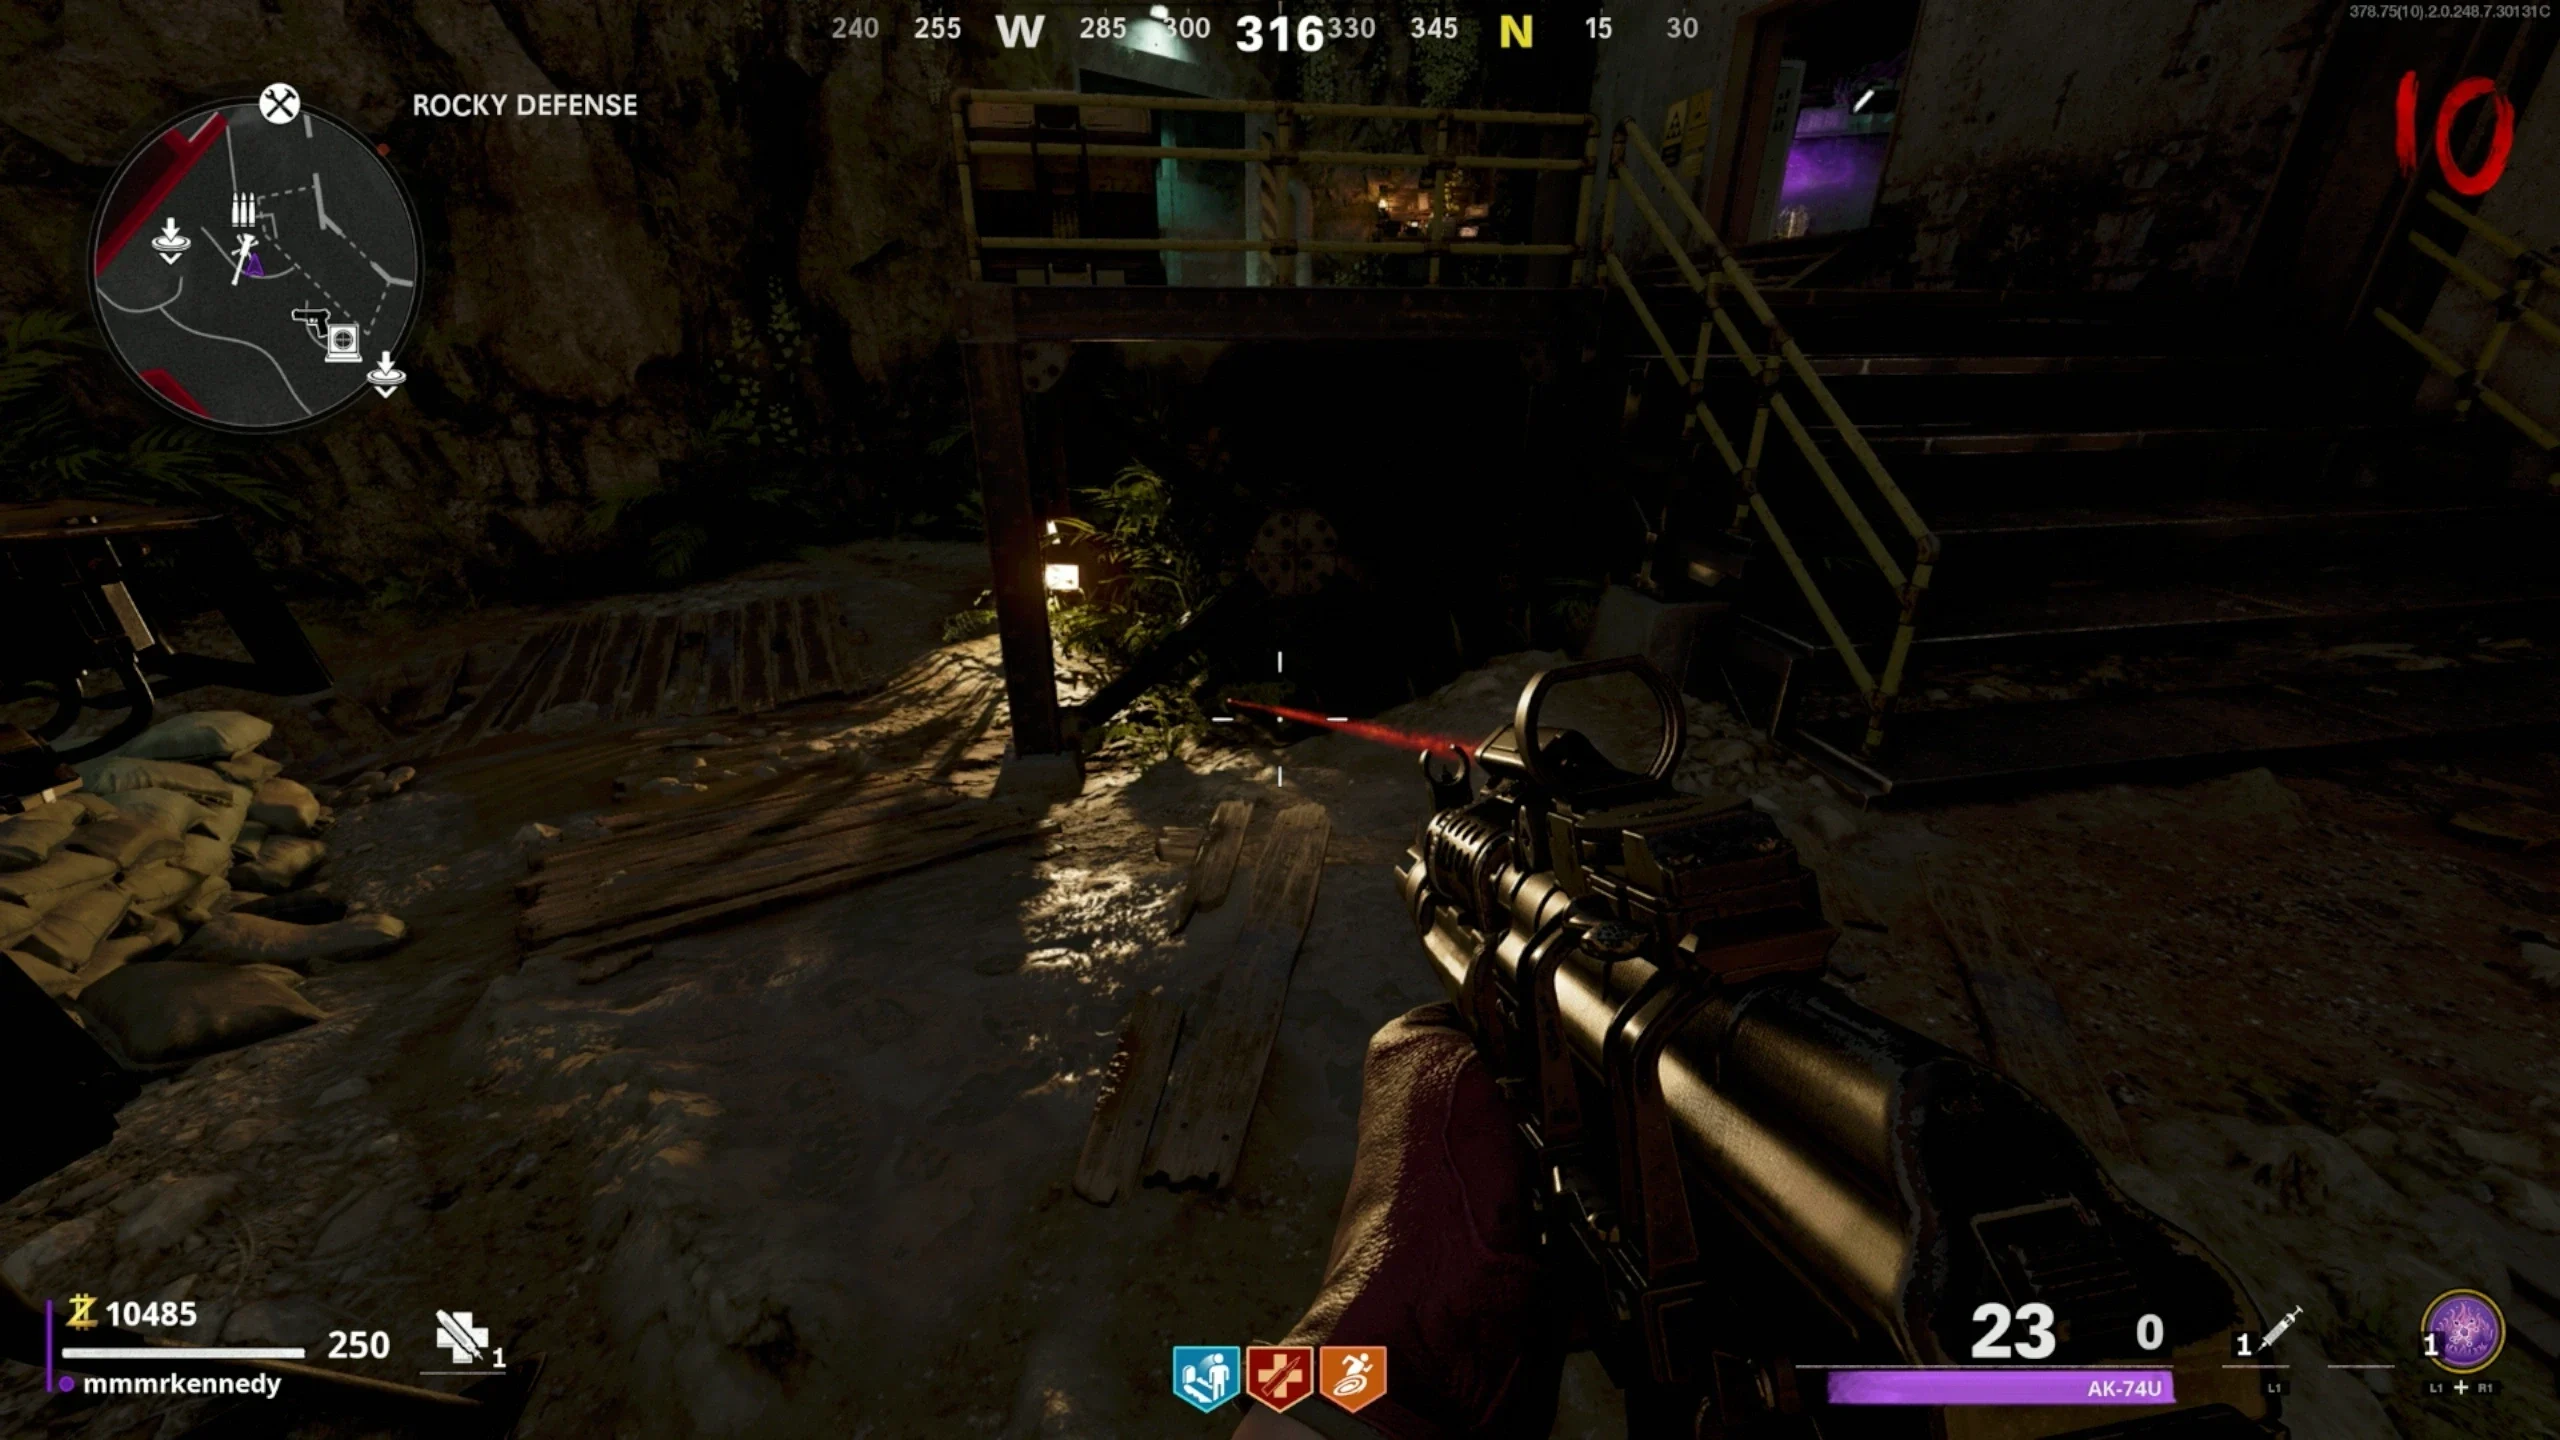
- Barracks:
- Obtain the RAI K-84.
- Dig up the container near the Door of the Field Hospital closest to the stairs going to the 'Data Center.'
- The container will then teleport to a random location in and around the 'Barracks' and 'Field Hospital.'
- Once you locate the container, avoid approaching it and instead shoot it with the RAI K-84's Alt Fire Mode to stop it from moving. While the container is affected by the RAI K-84, pick it up.
- If you fail to pick up the container quickly enough or get too close, it will teleport to a new location, where you can repeat the above.
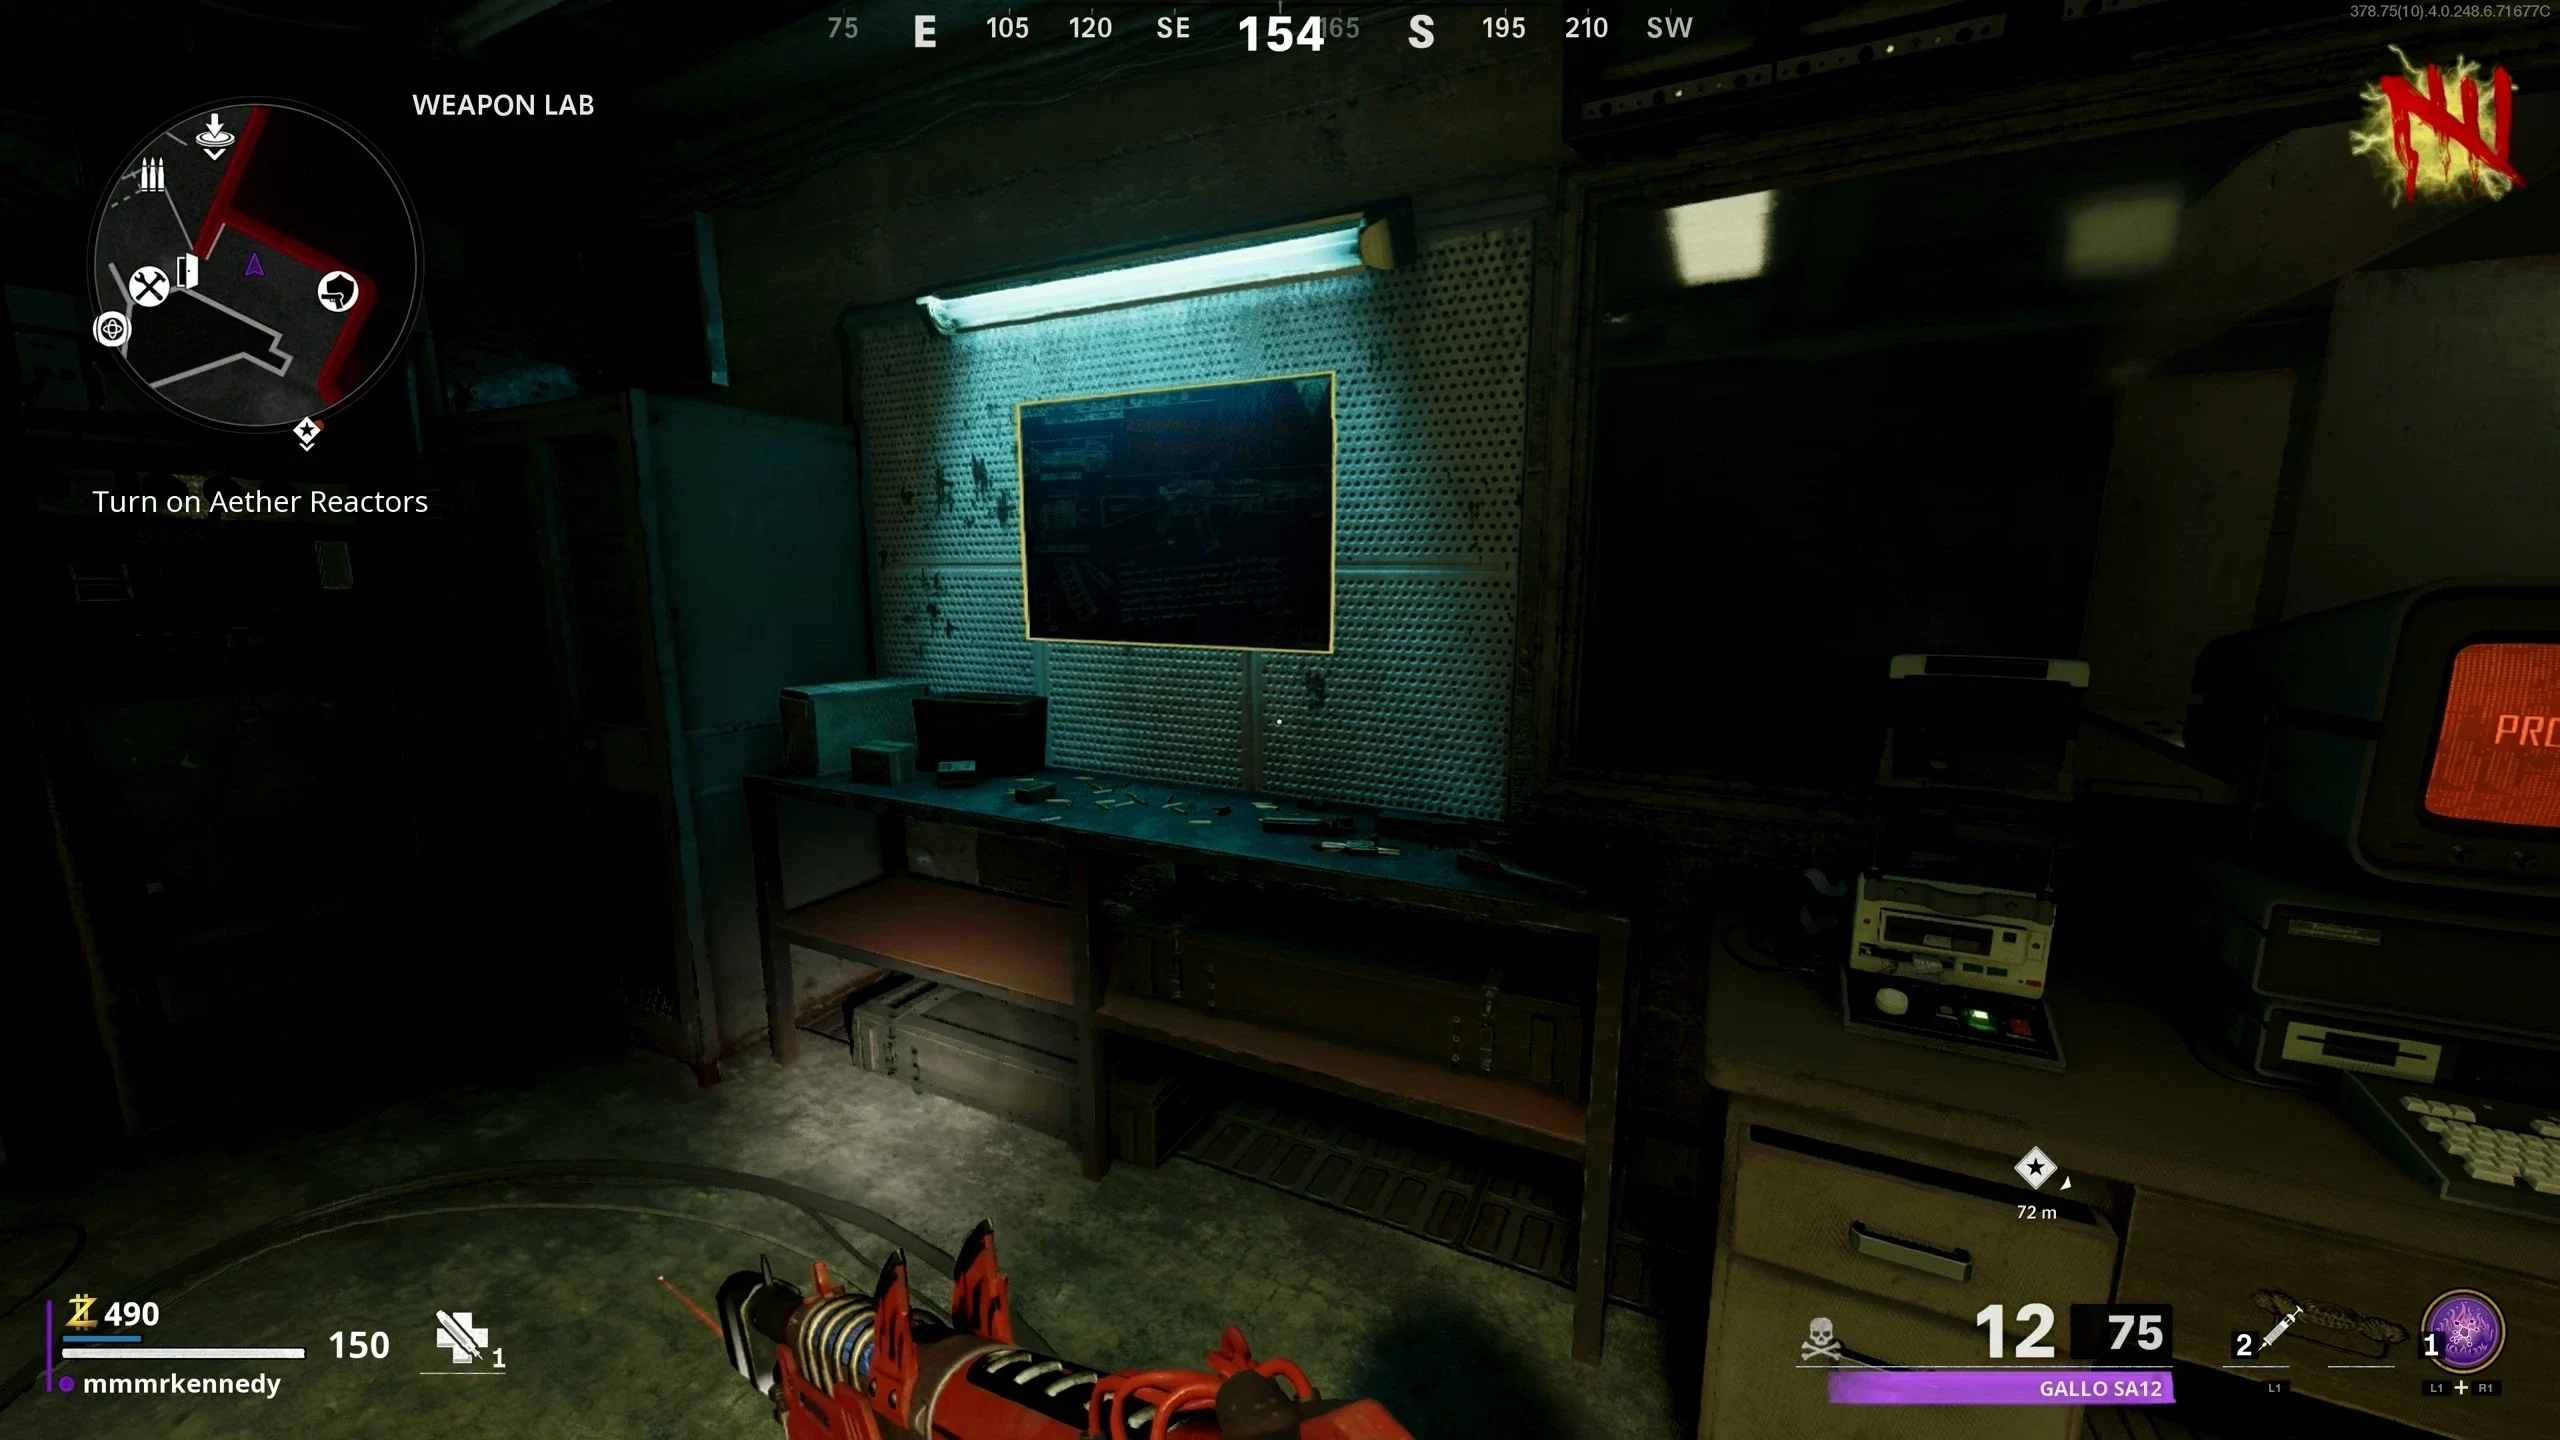
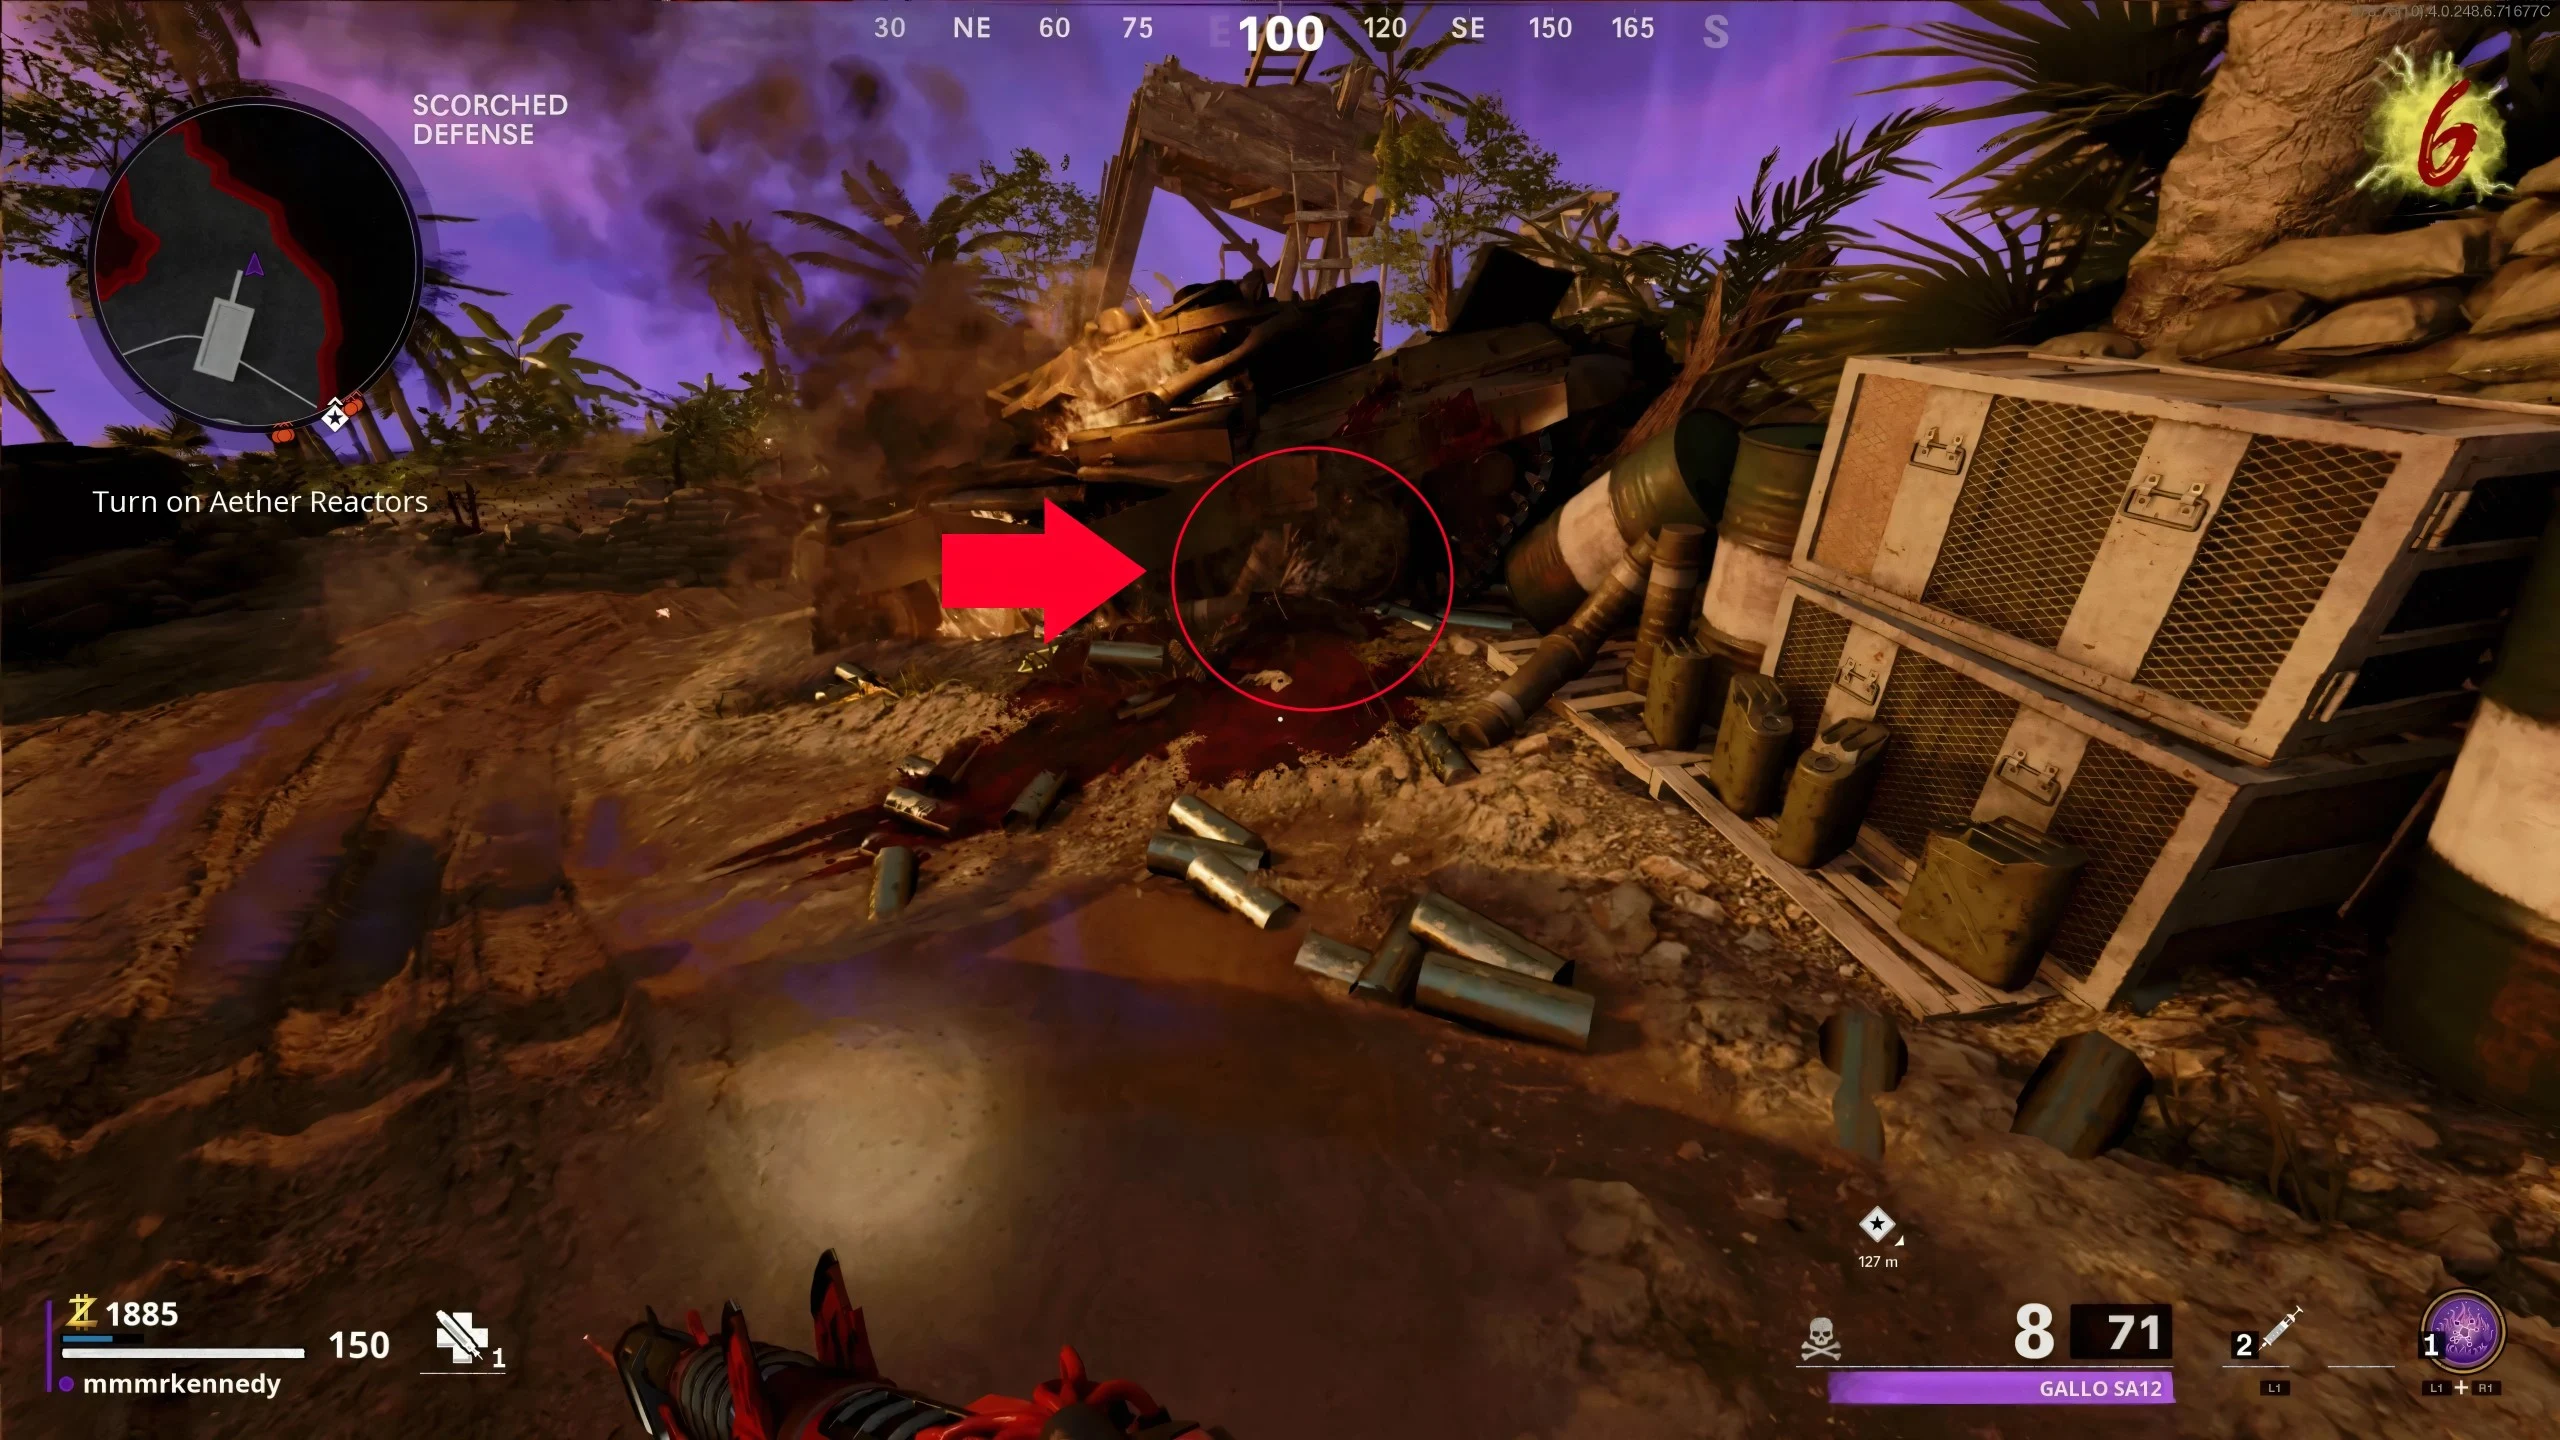
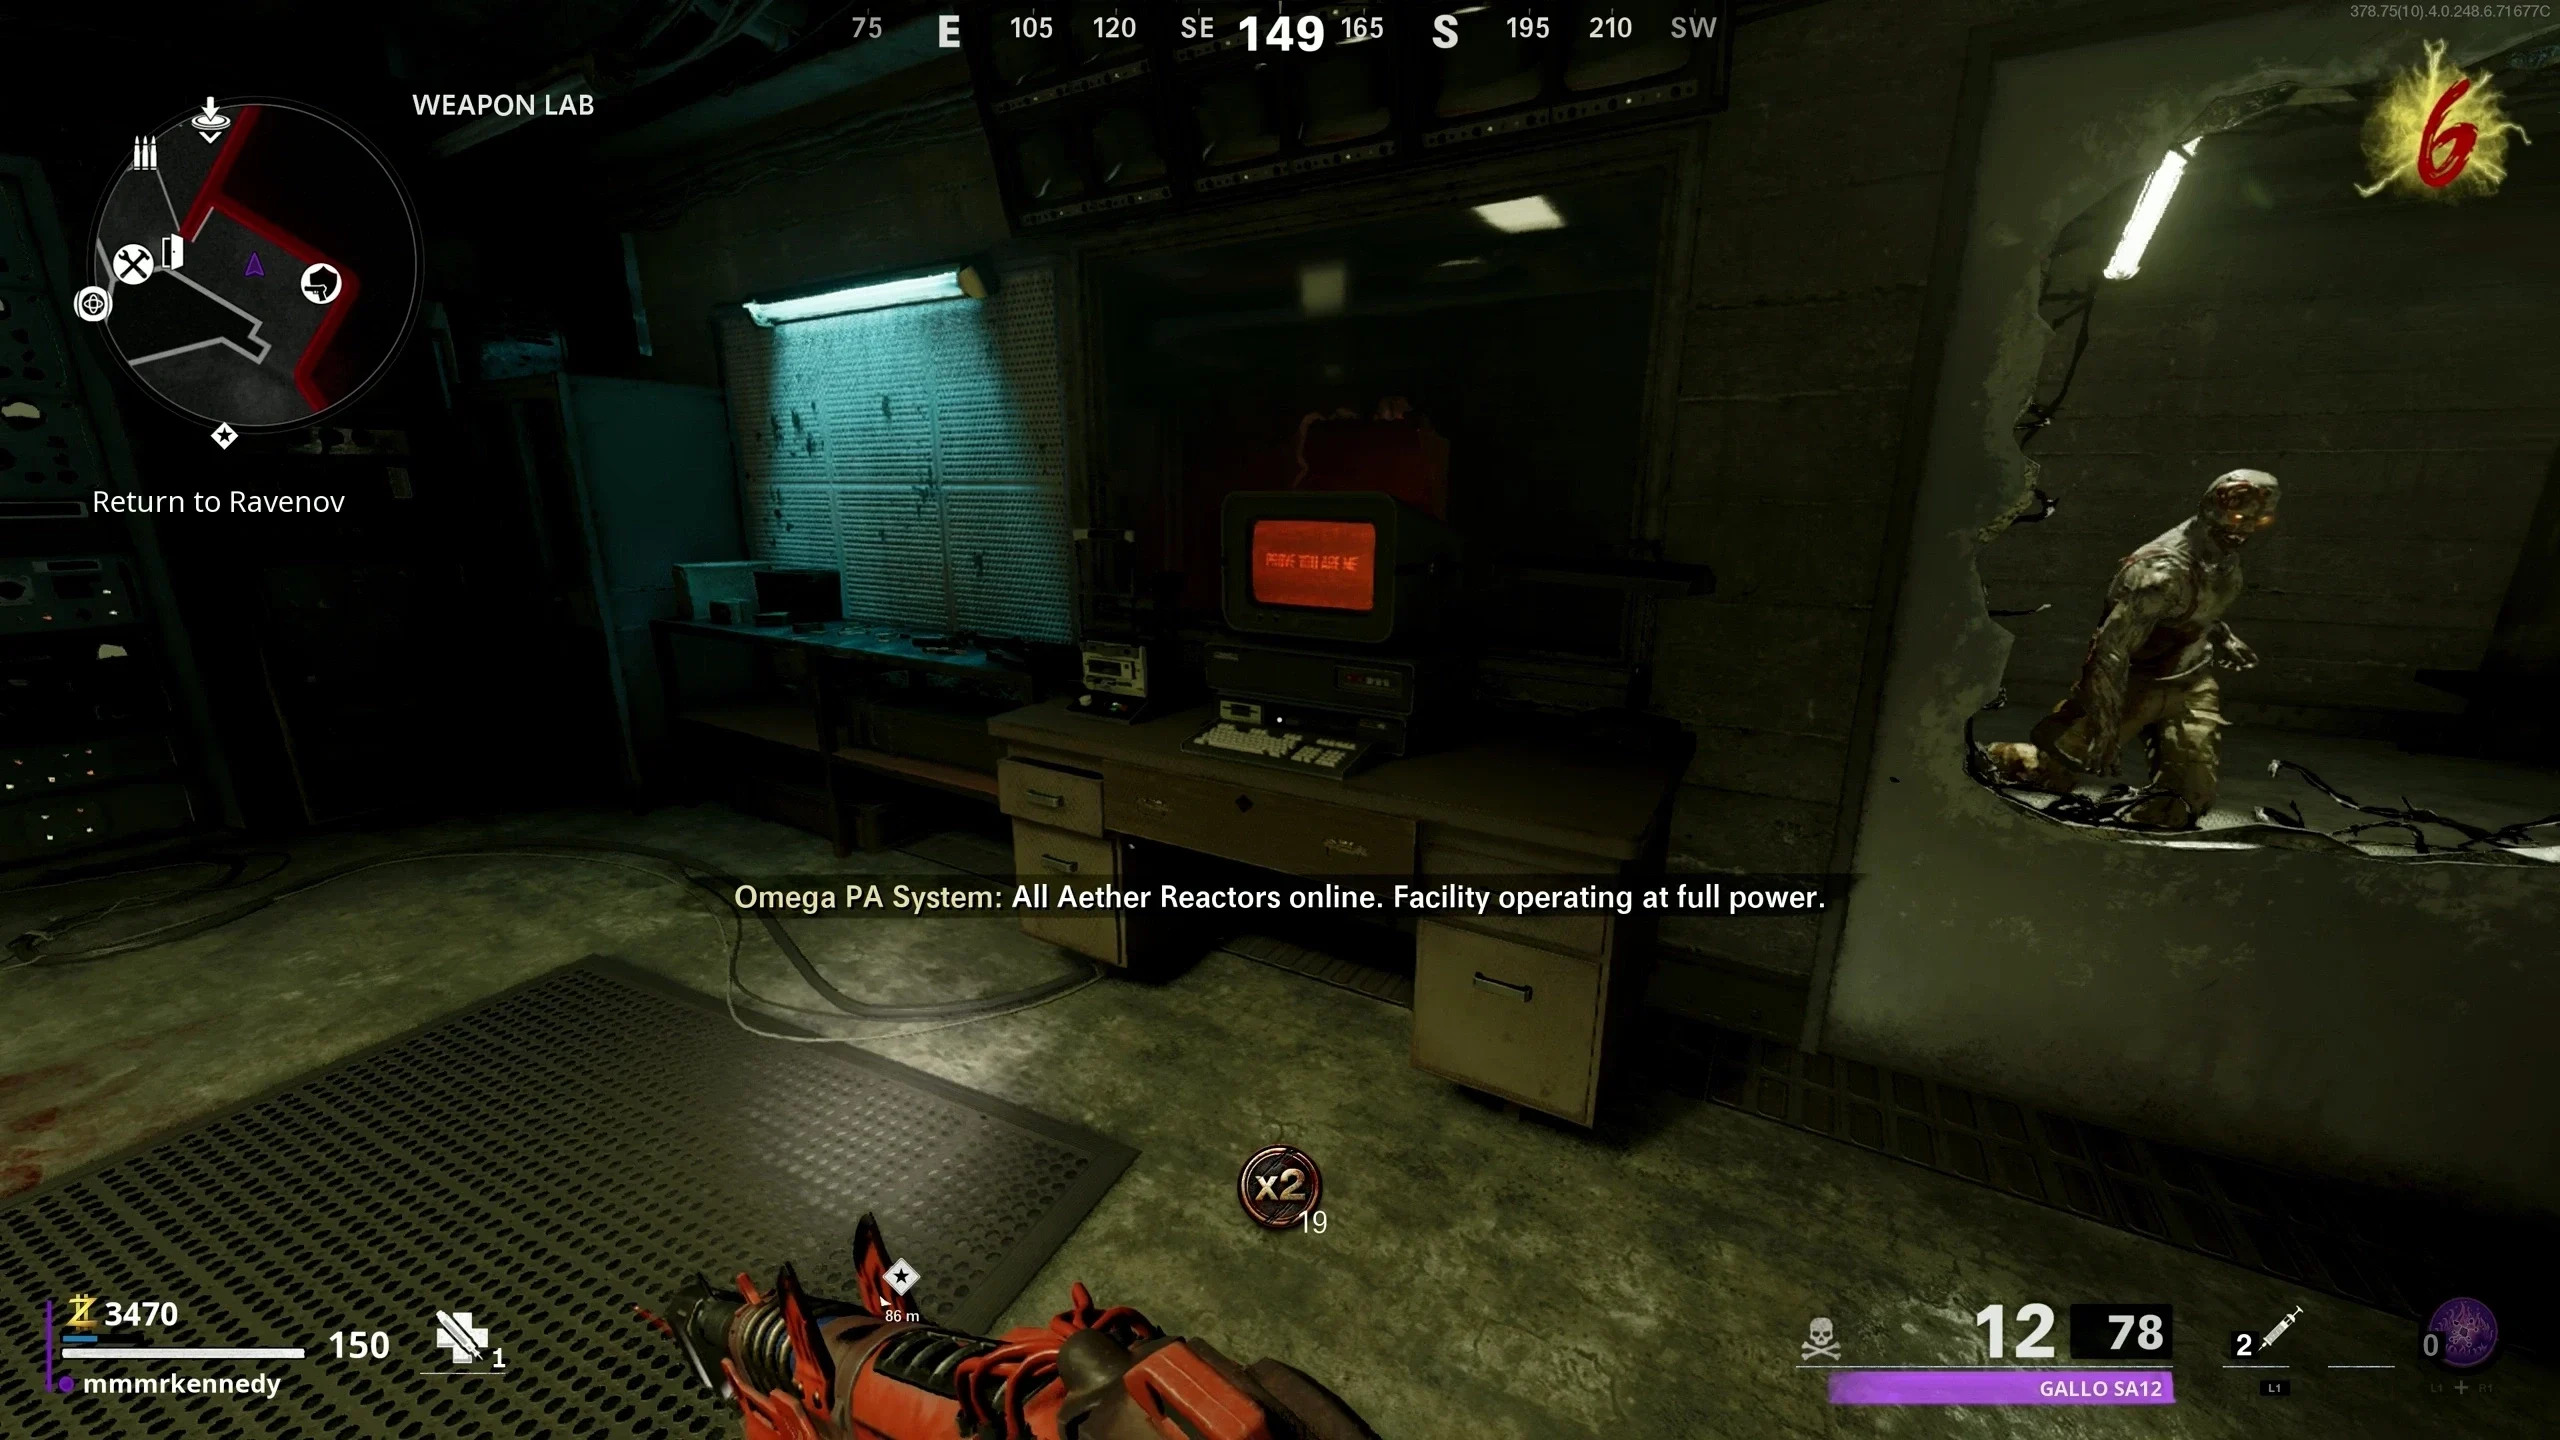
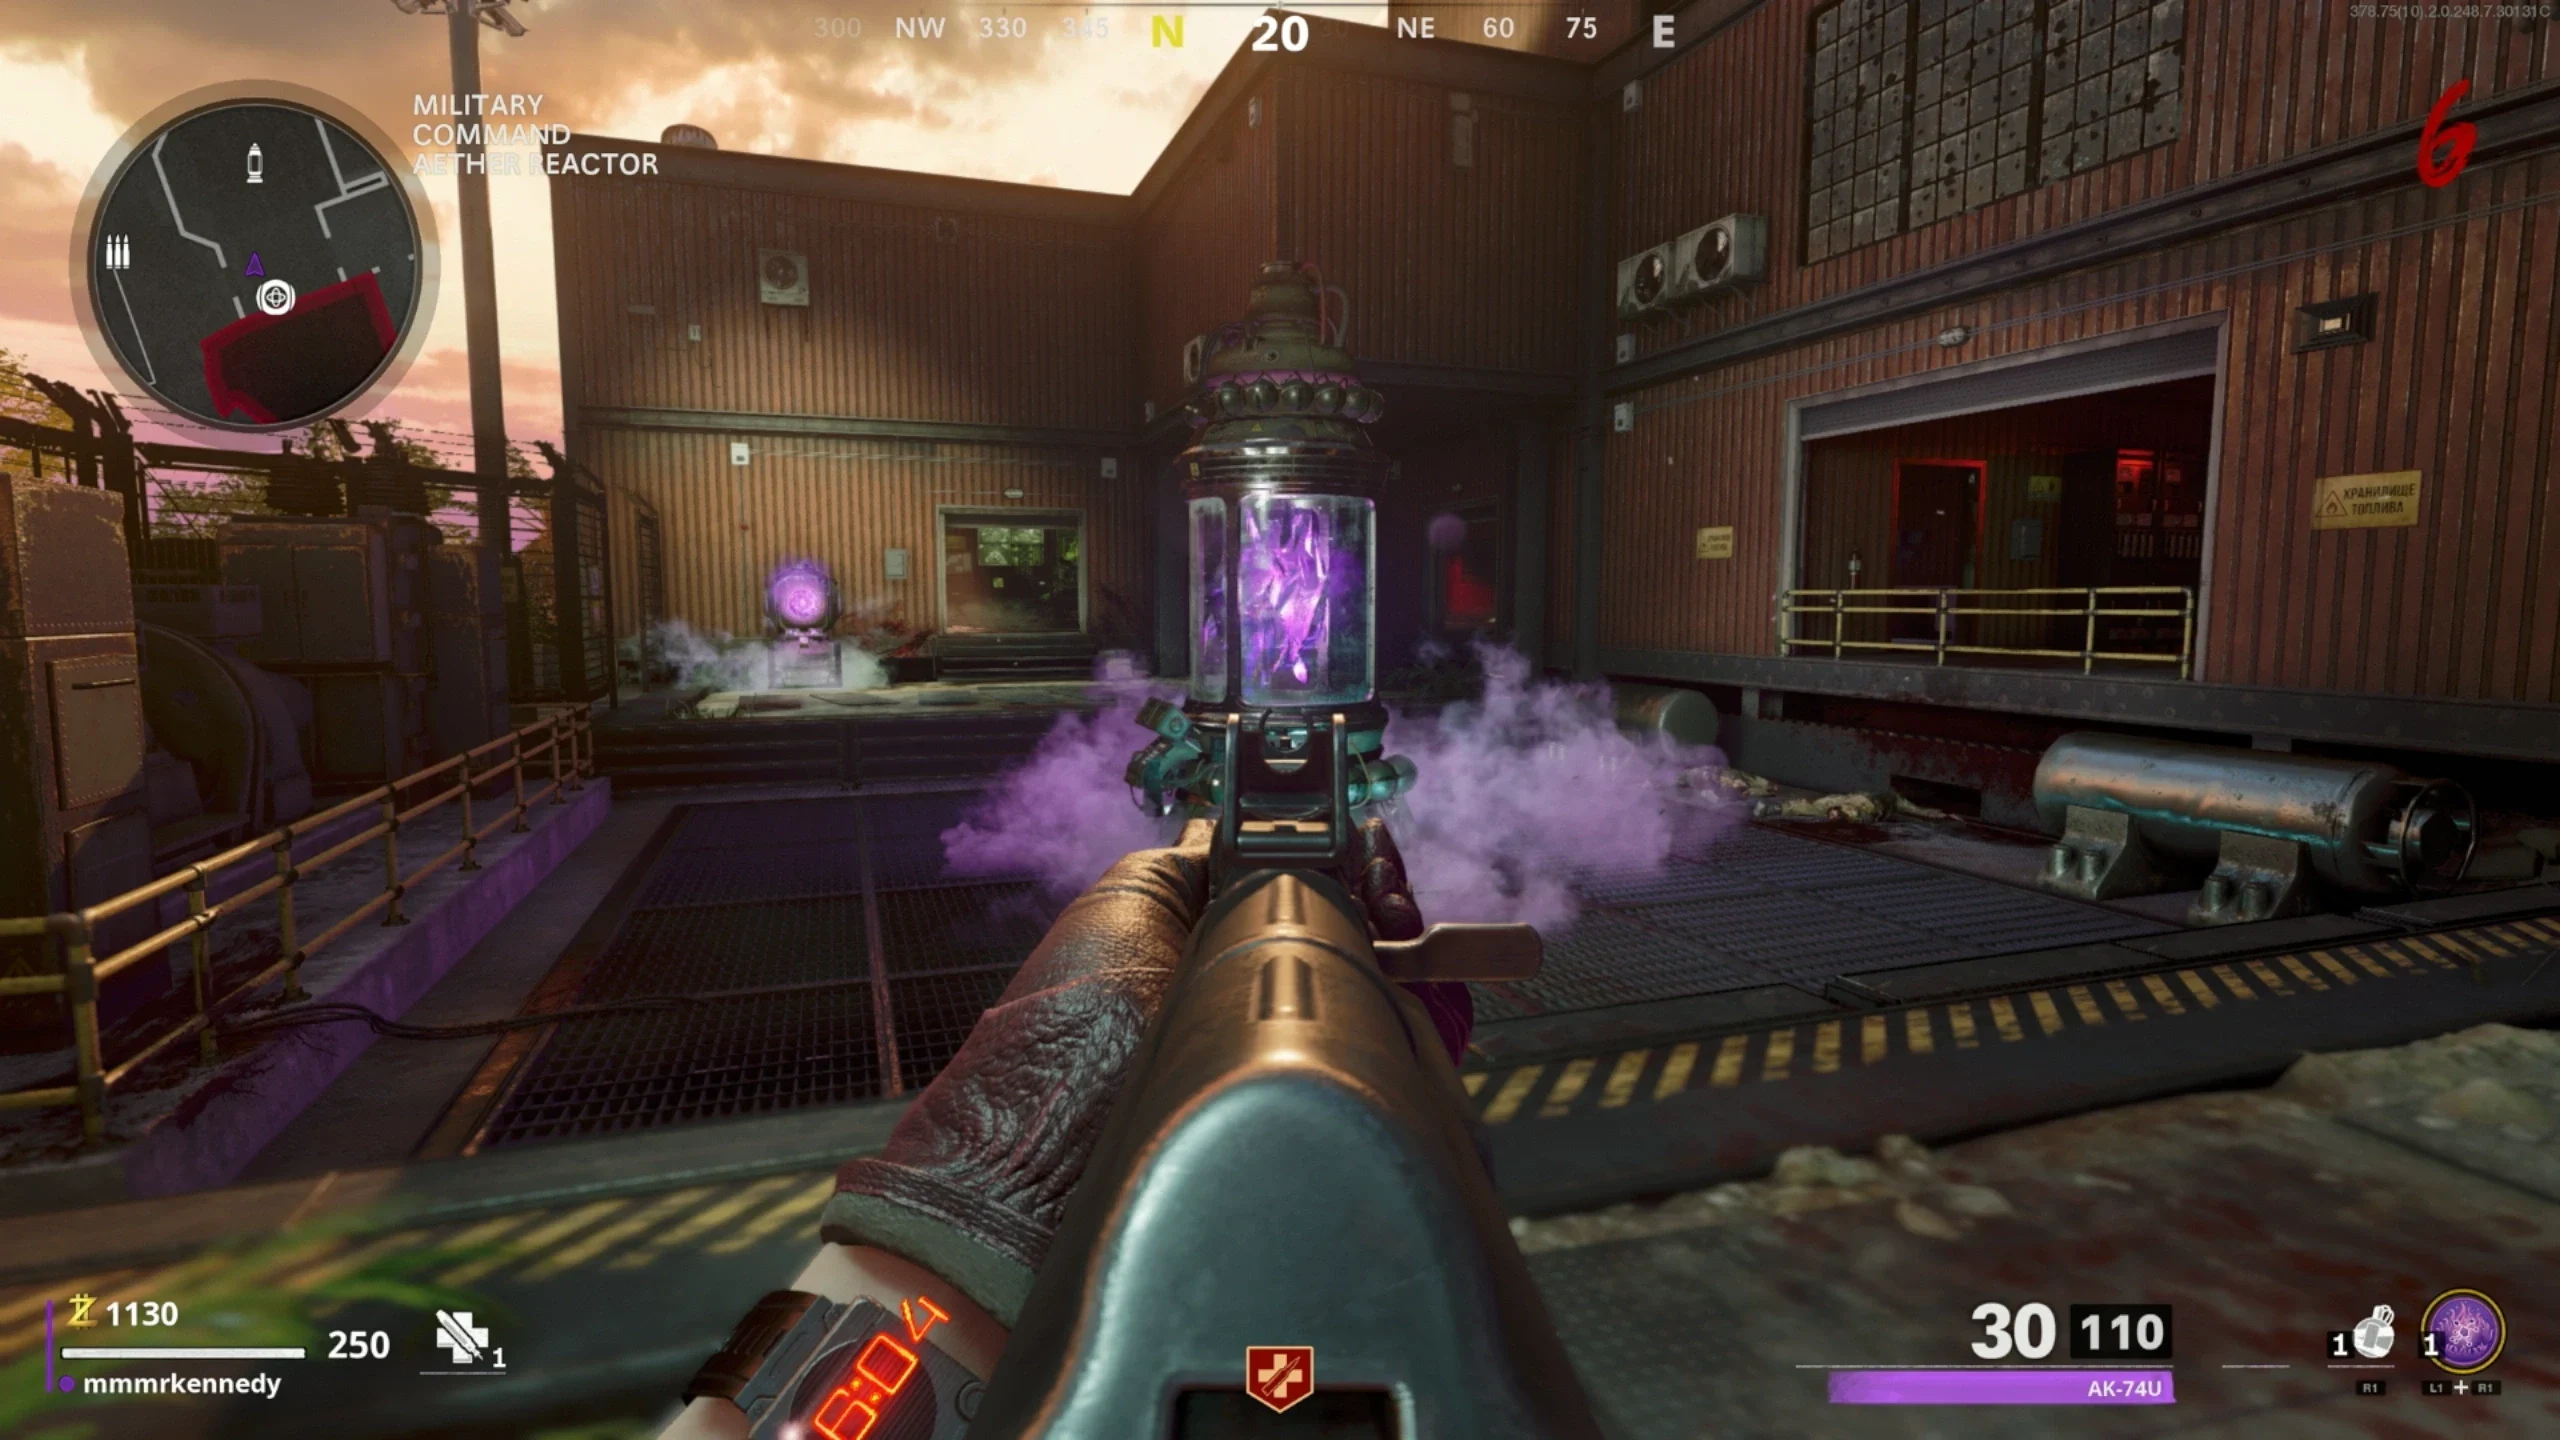
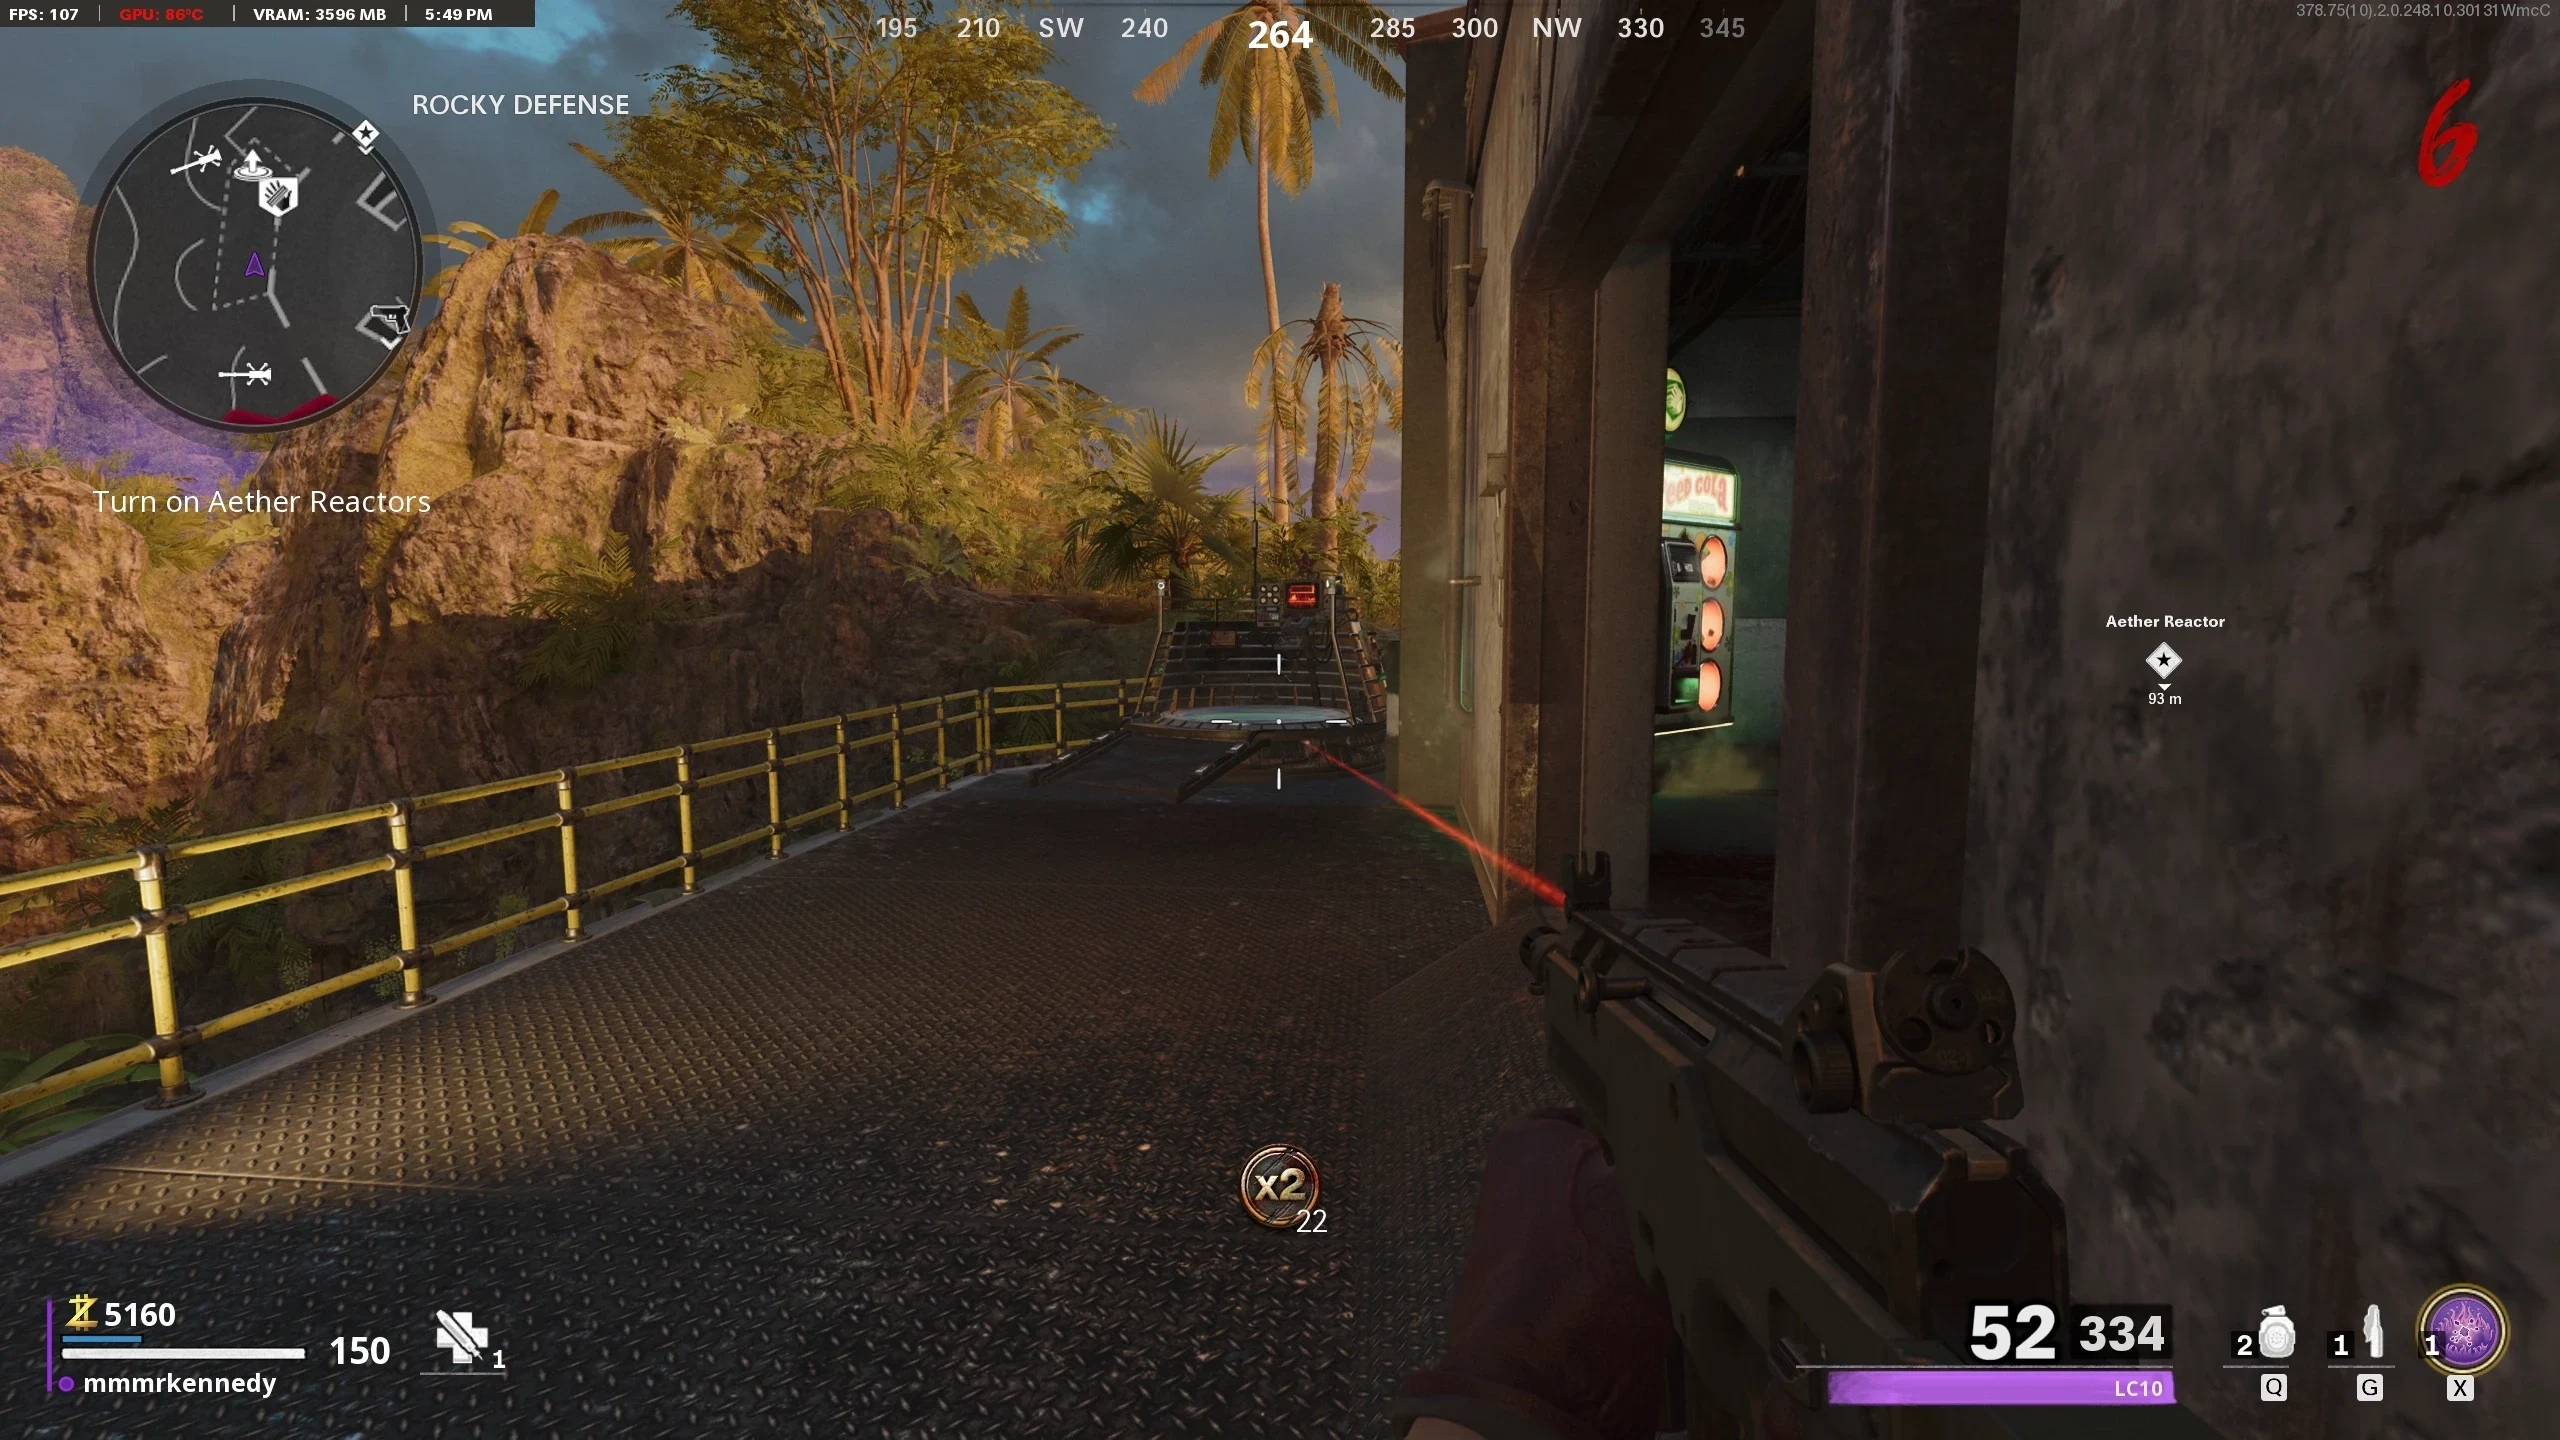
- Once you collect all three containers, interact with each of the three Aether Reactors around the base. Locations:
- In the 'Planning Office,' interact with this computer. Move the marker to the yellow dot that shows a question mark instead of either the US or USSR flag. Press interact to confirm alignment.
- Return to the OPC and interact with the Terminal to begin a cutscene.
- You will be teleported to spawn where you must fight Orda.
- Shoot Orda till its health bar hits 0. Orda's mouth is a critical damage point when it is orange.
- Avoid getting near Orda as it has an attack where it slams its arm on the ground which can one-hit down you.
- You still have access to Pack-a-Punch, Wunderfizz, Workbench, and the Armoury station making this boss fight straightforward.
Prerequisites
The RAI K-84 is required for the Easter Egg, but not until step 16.
Creating the Serum
Collect the Mimic's Memories
Stabilize the Breach
Warning: Point of No Return. Once you interact with the Terminal, you will be put into the Boss Fight
Orda Boss Fight