'Pyrrhic Victory' Main Easter Egg Quest
Stats (Solo): Difficulty - 5/10, Est. Completion Time - 20 to 40 Mins
- Unlock Pack-a-Punch.
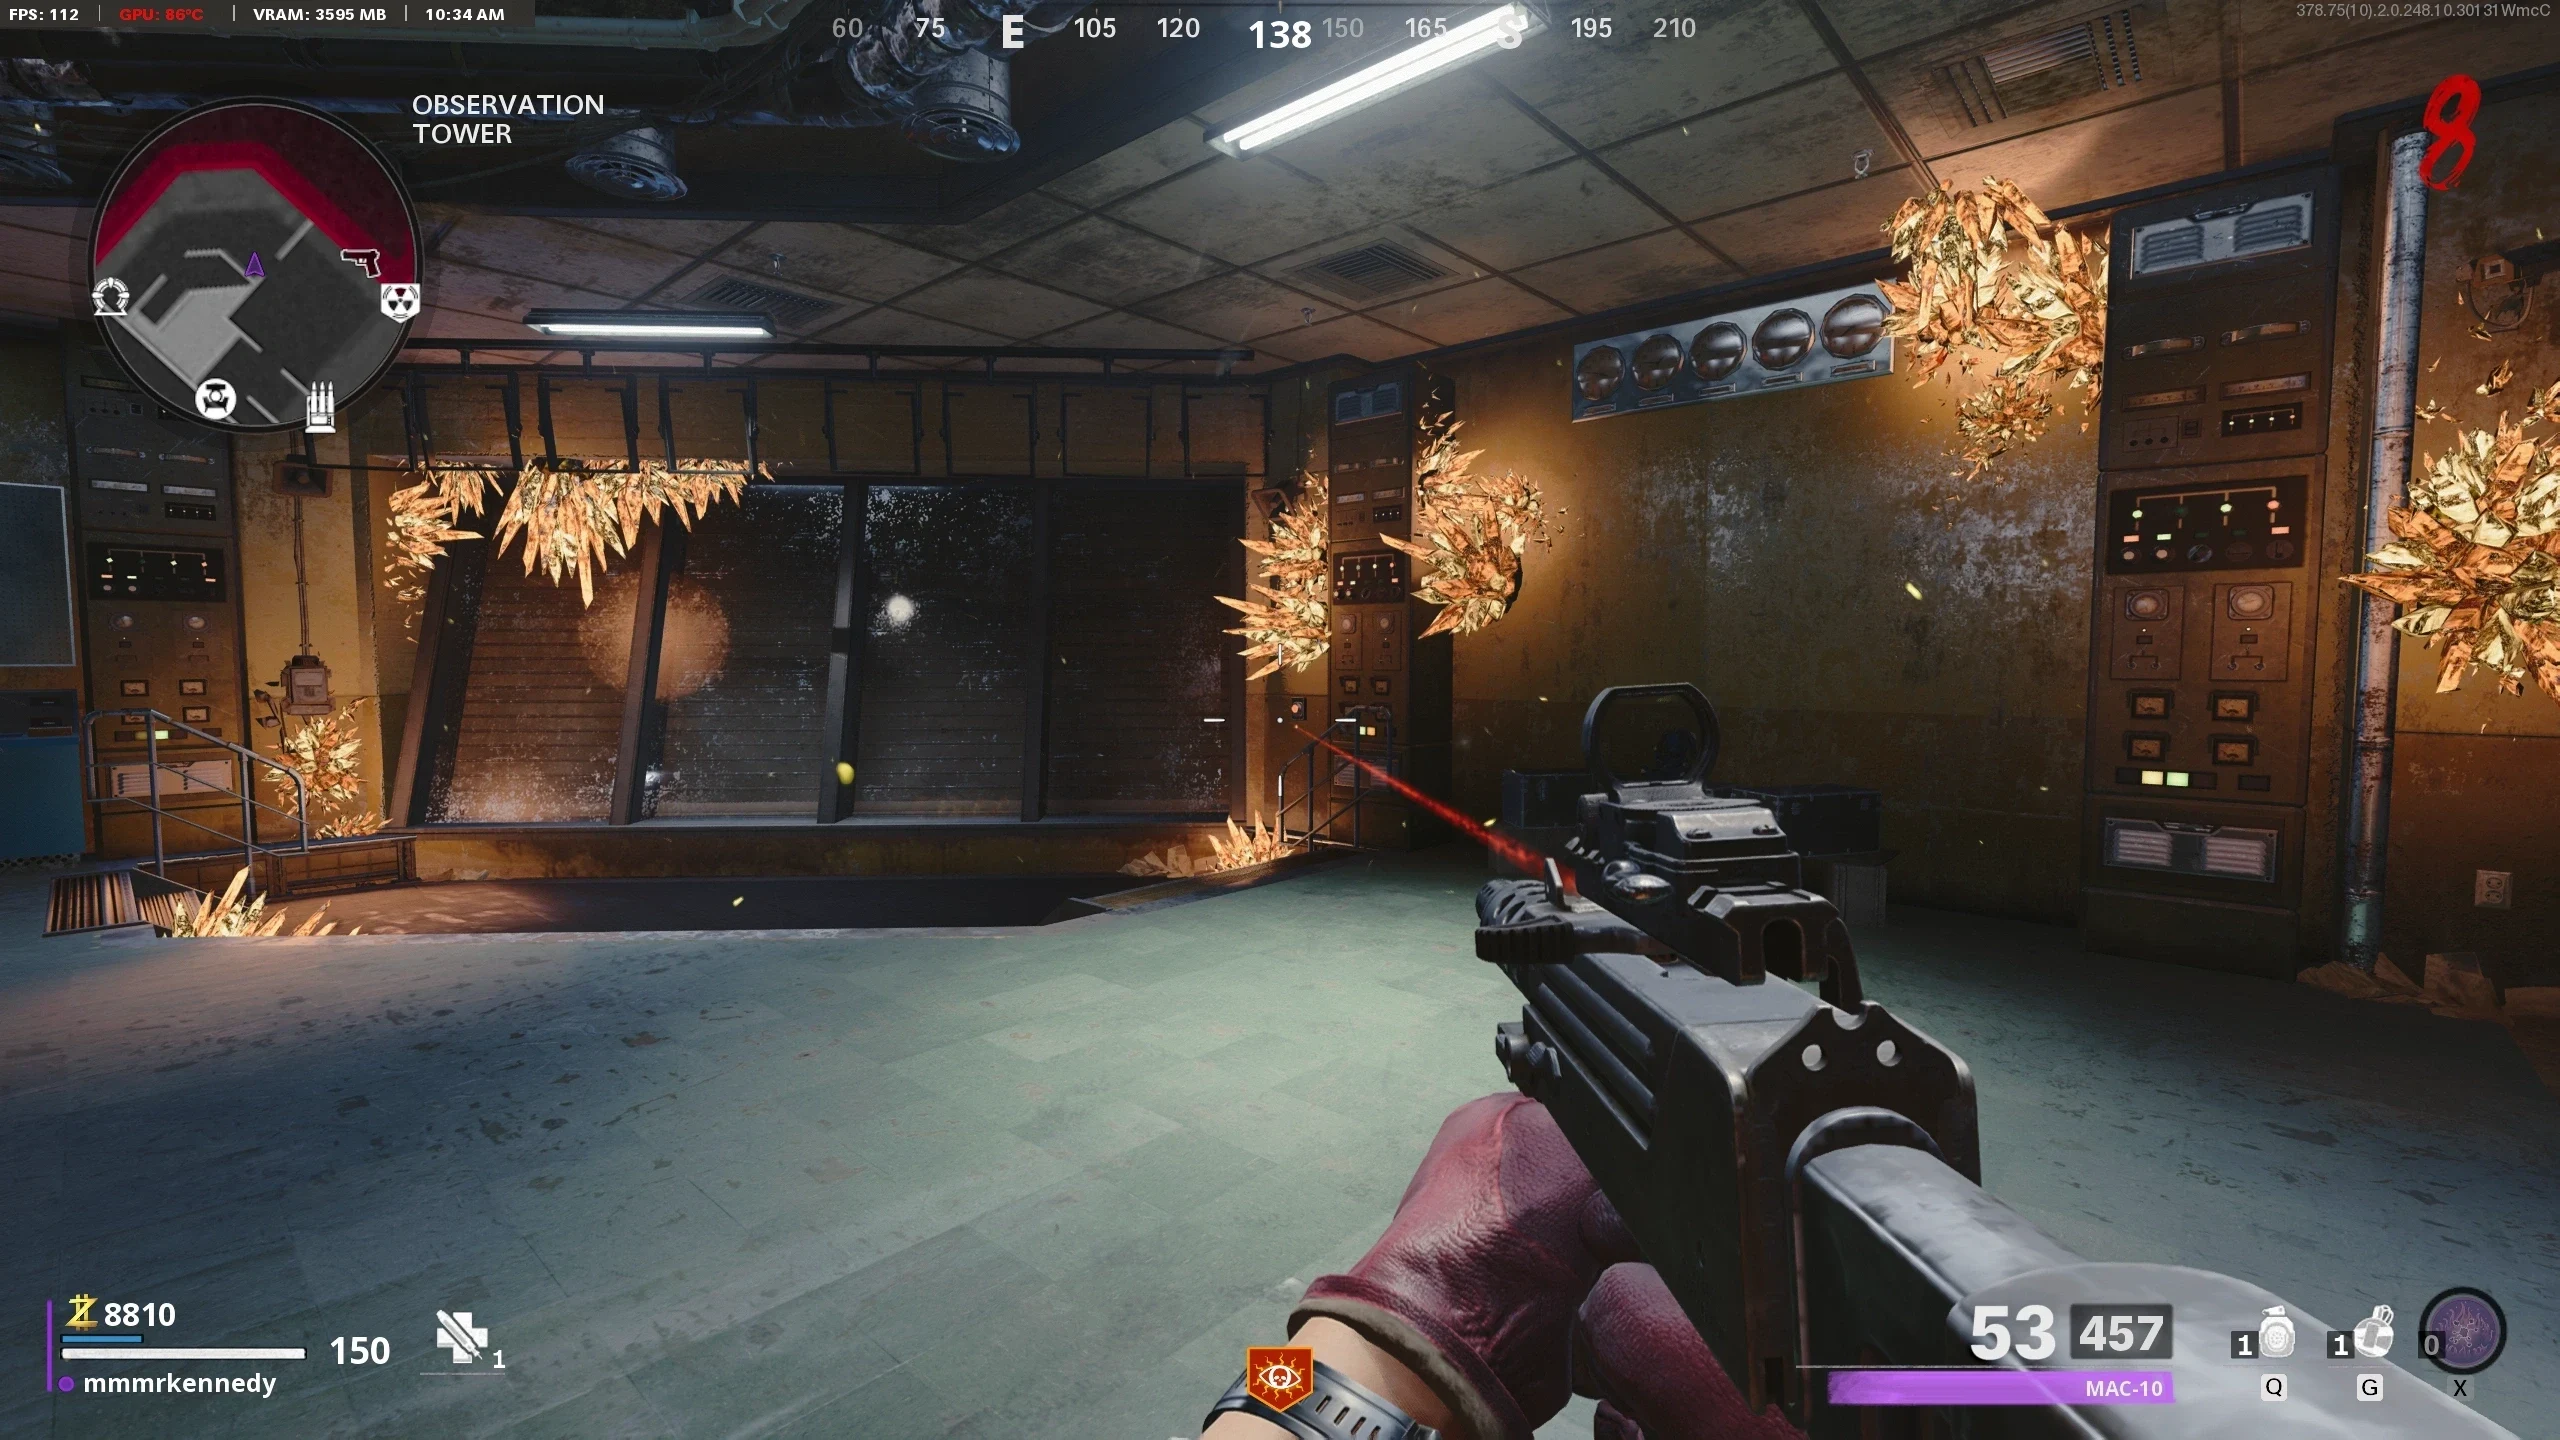
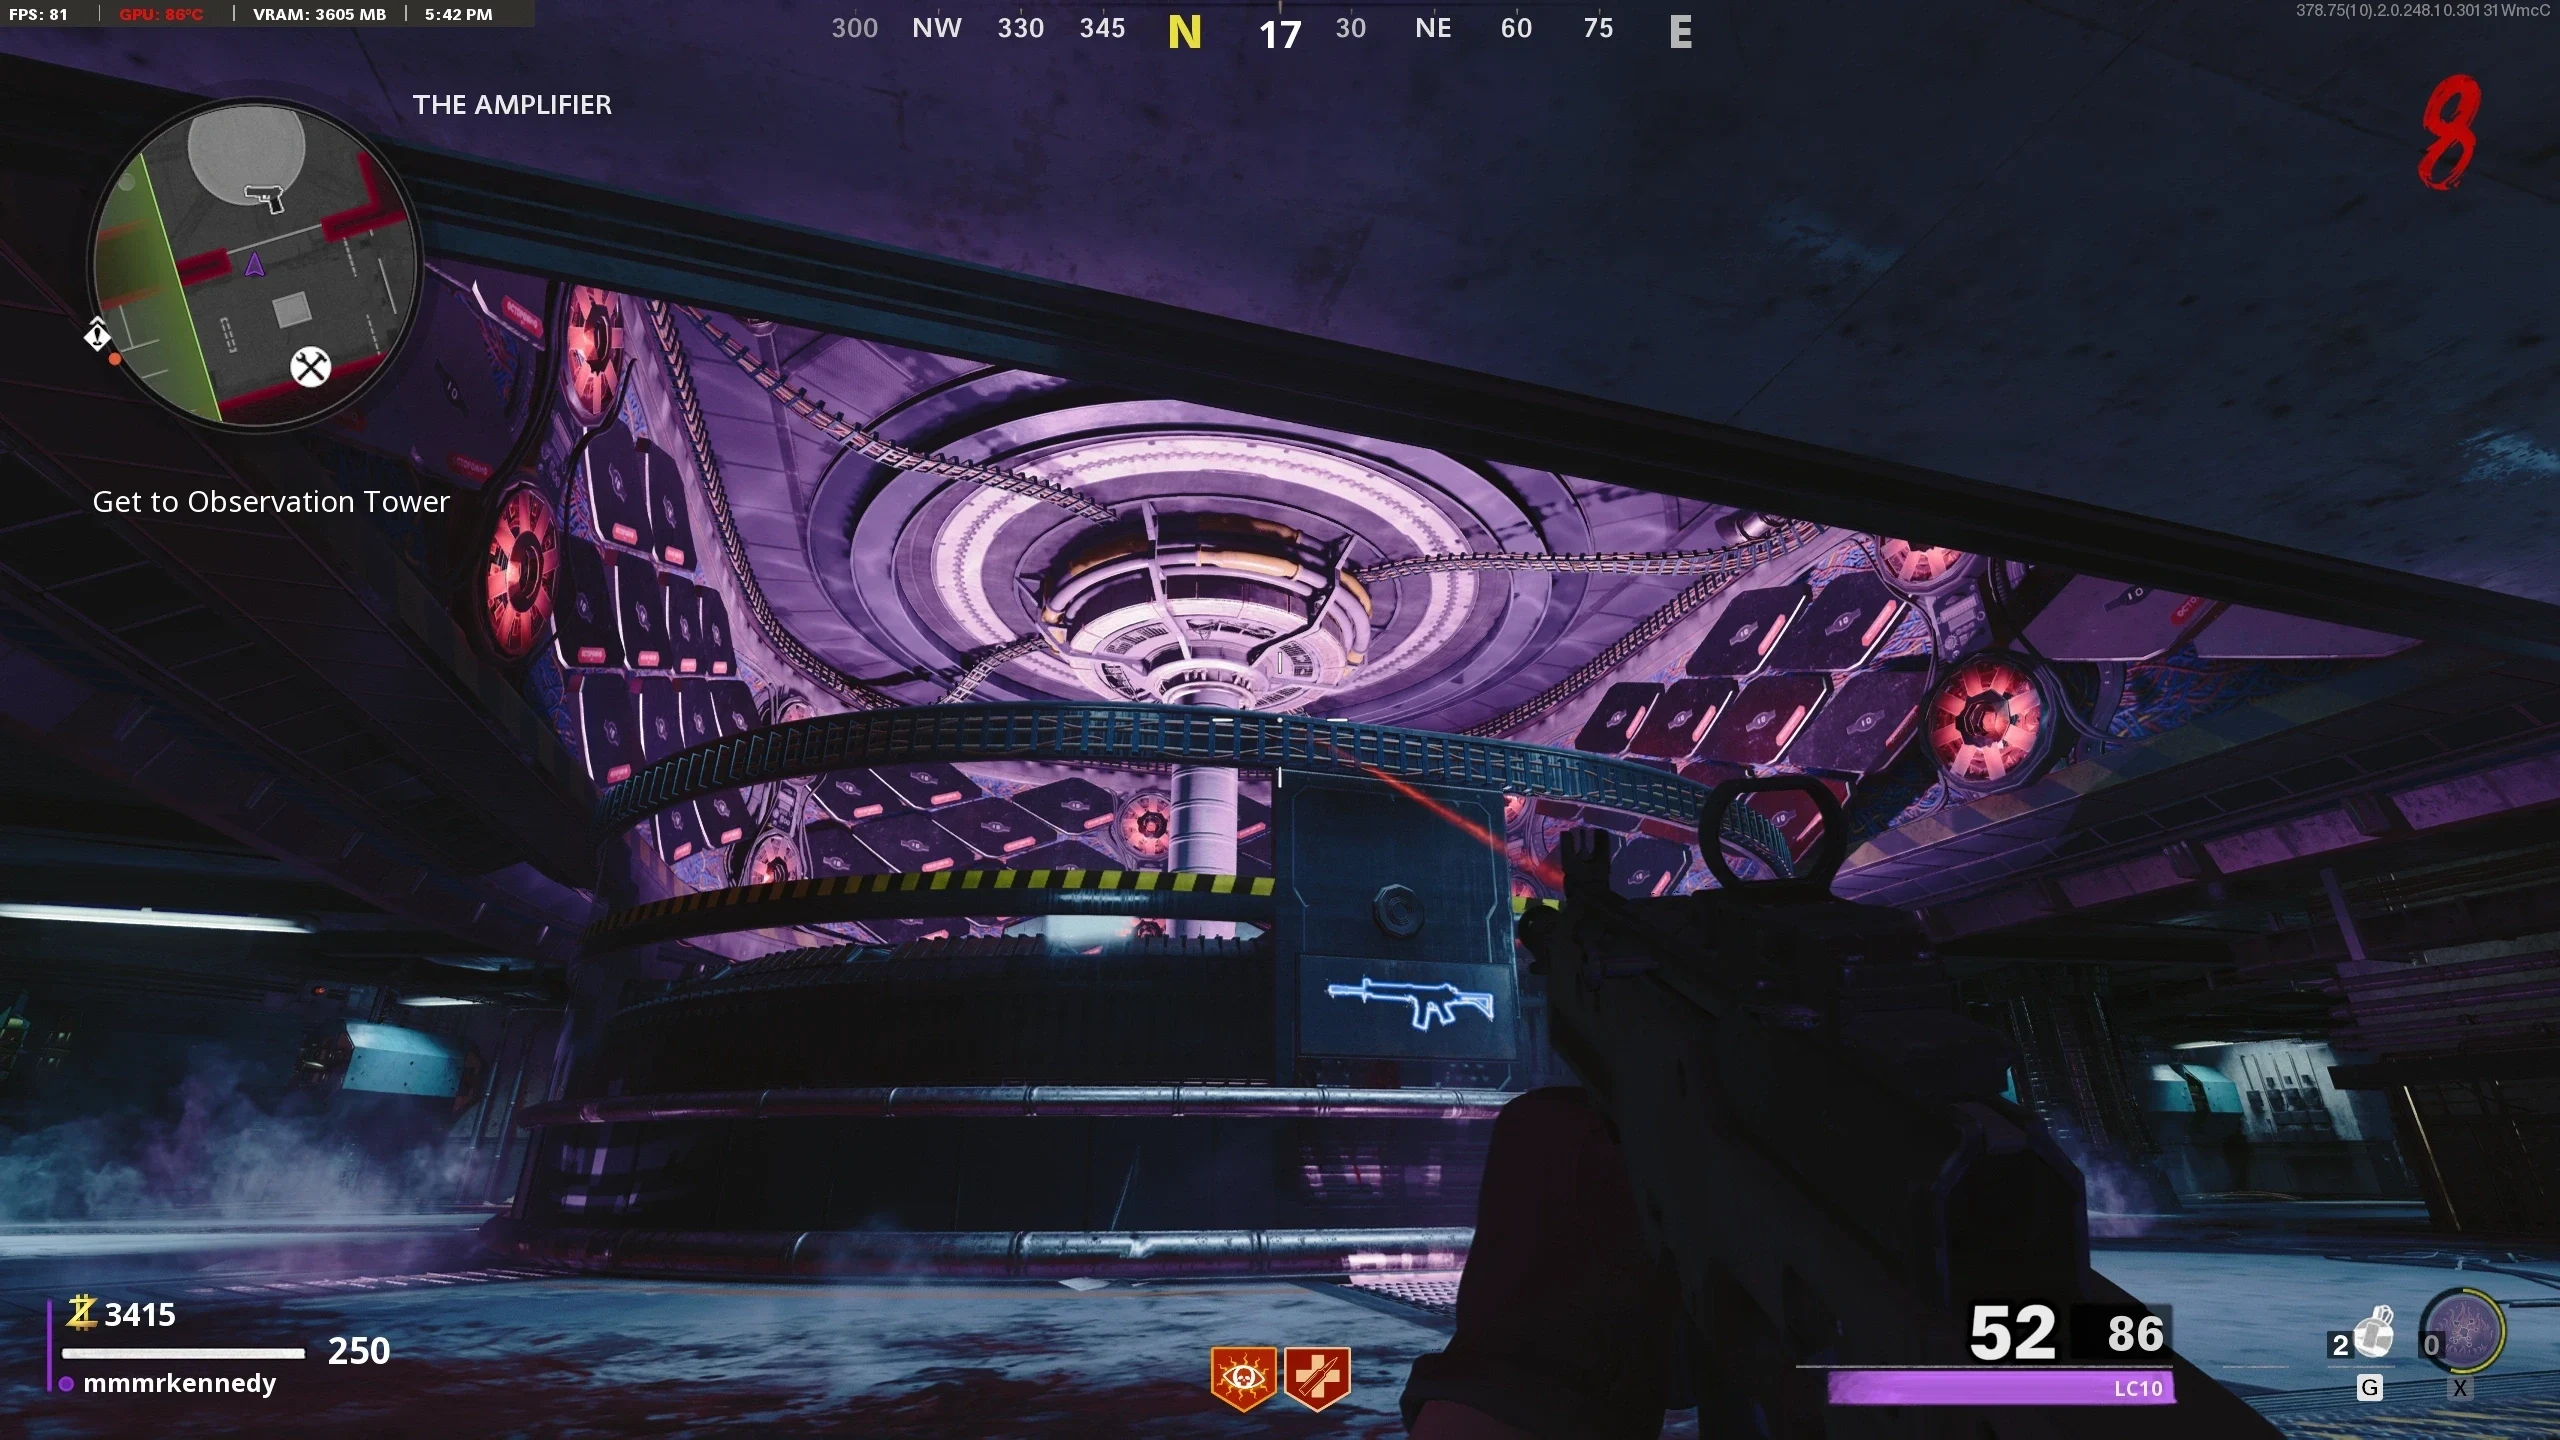
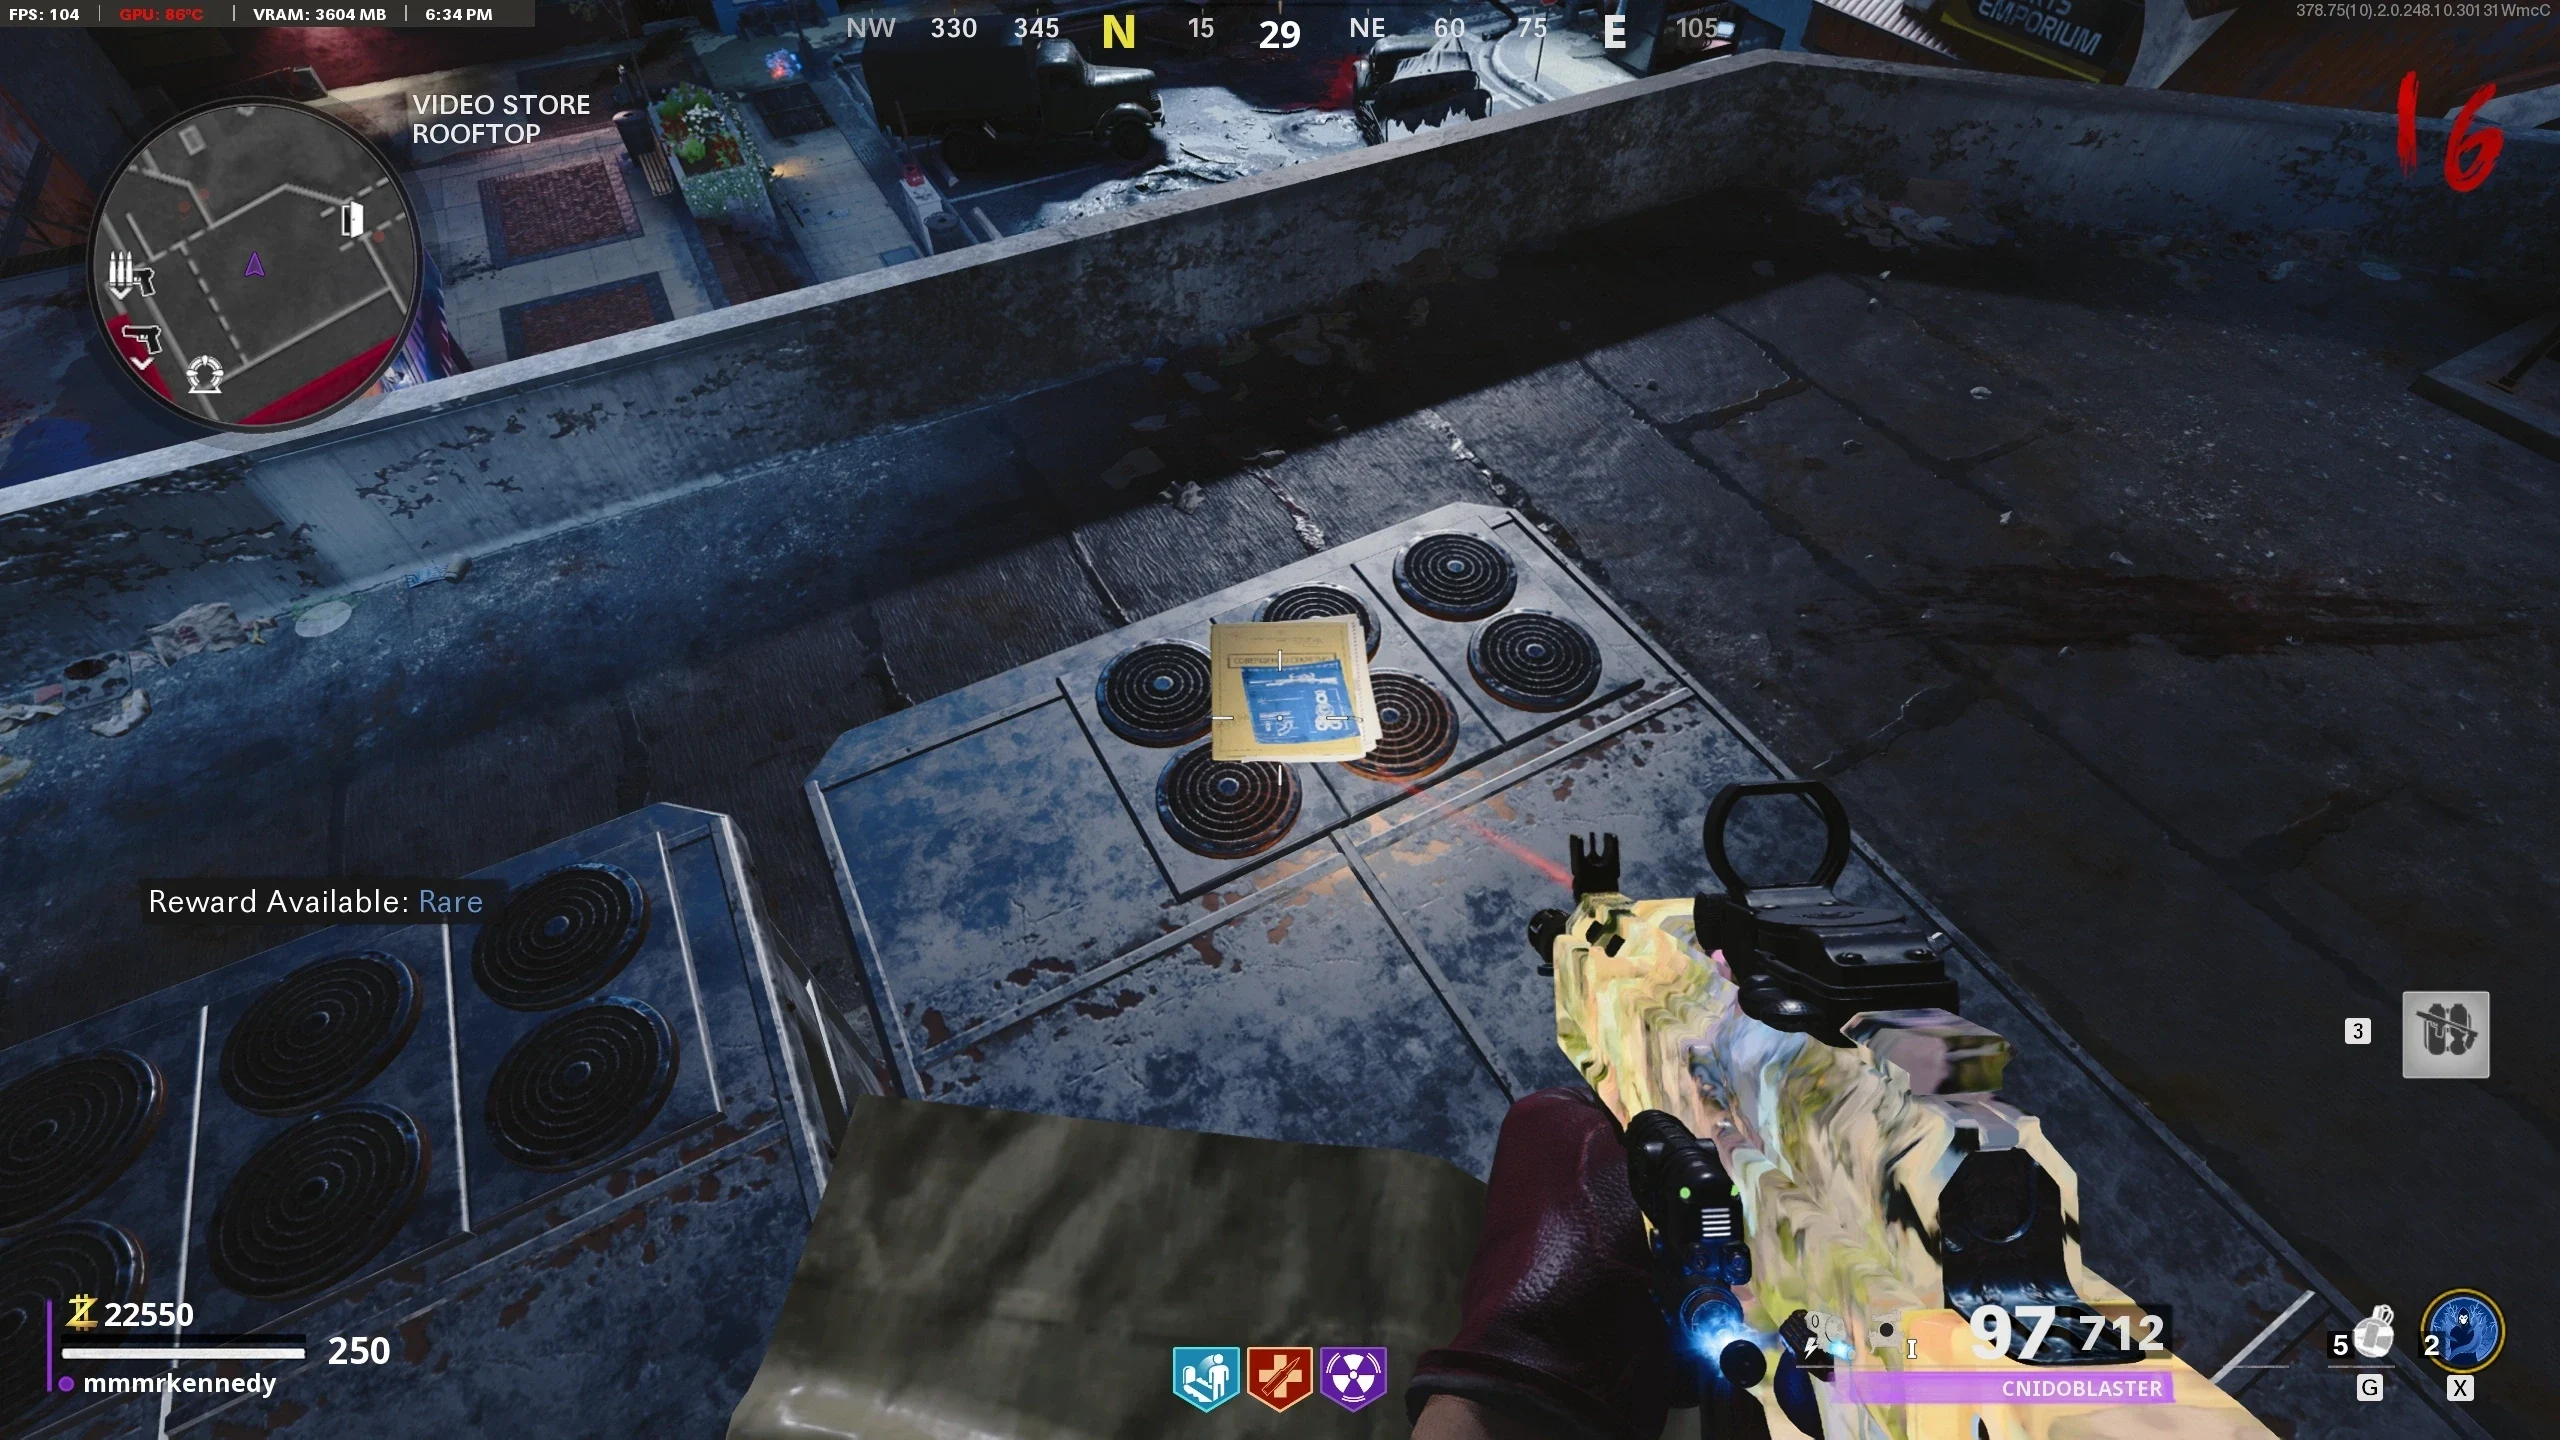
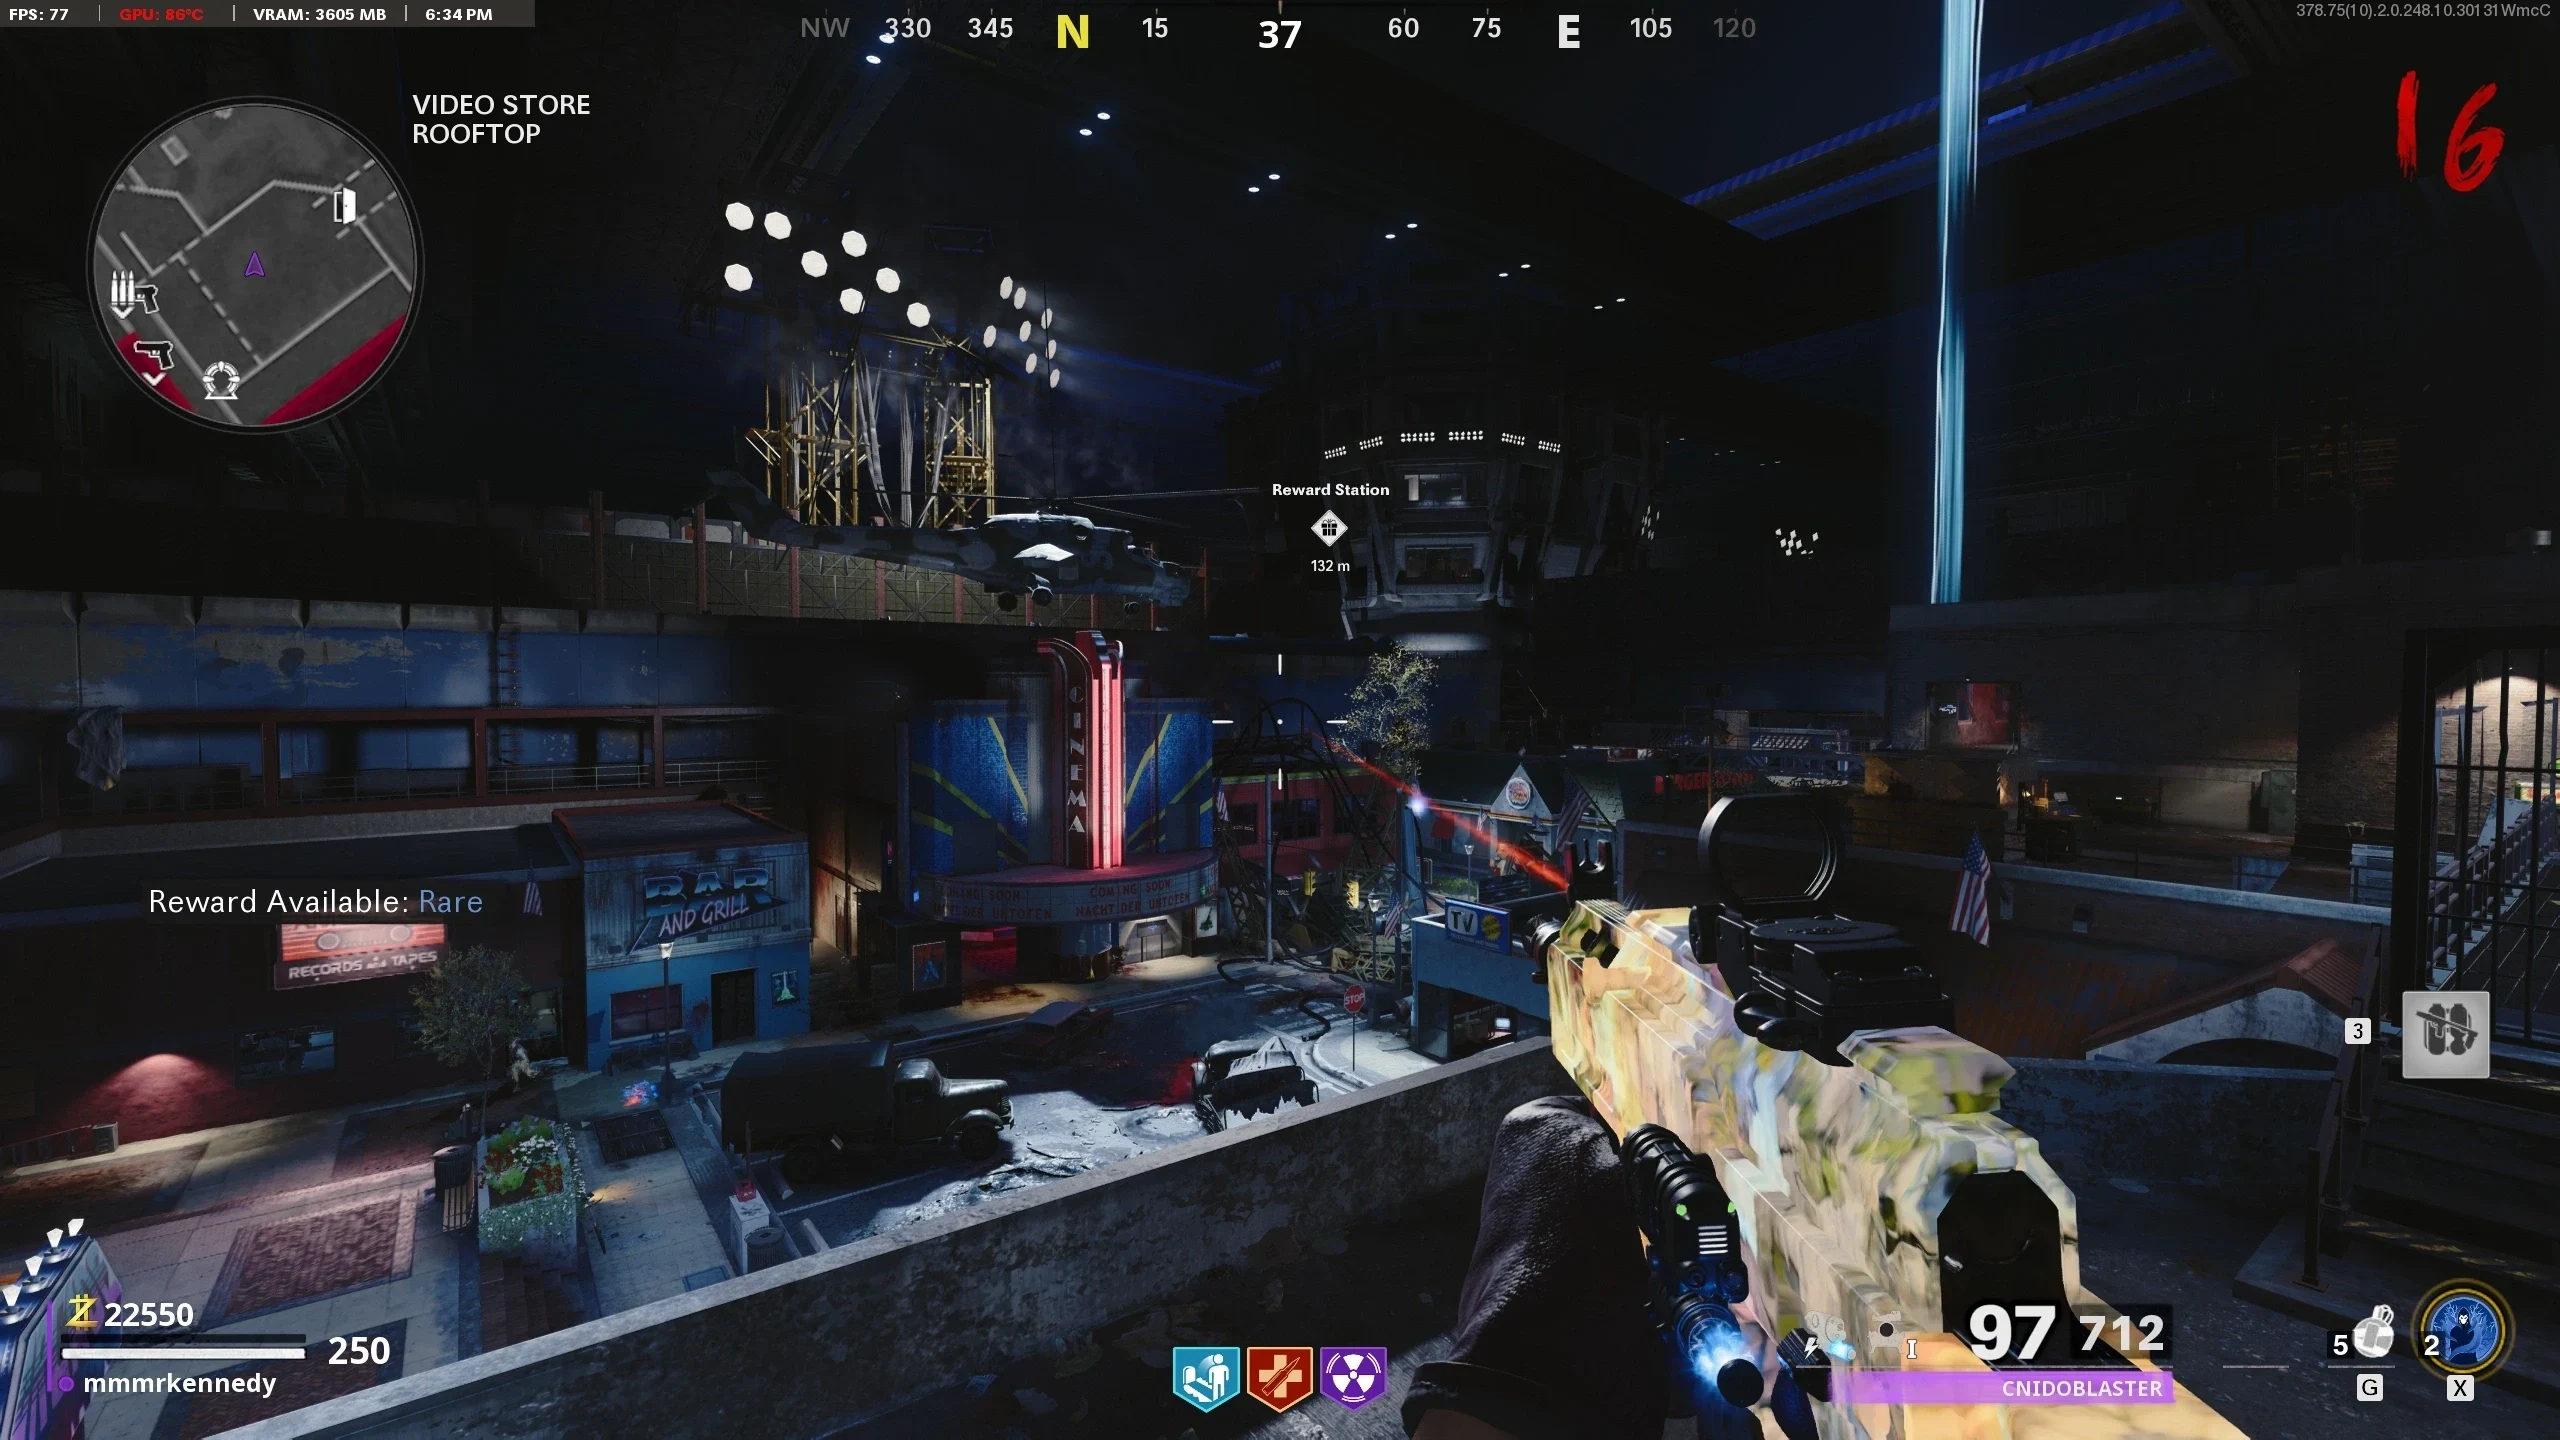
- Interact with the Button on the Observation Tower.
- Obtain the Chrysalax. Note: The Chrysalax is required to fill the Fuel Tank. Since sub-steps can be completed at any time in any order, it's recommended to complete the other steps (Obtain the Monitoring Device or Obtain the Housing Unit) while crafting the Chrysalax.
- Similar to the Chrysalax, the player needs to collect three items to start the boss fight. The items can be collected at any time in any order.
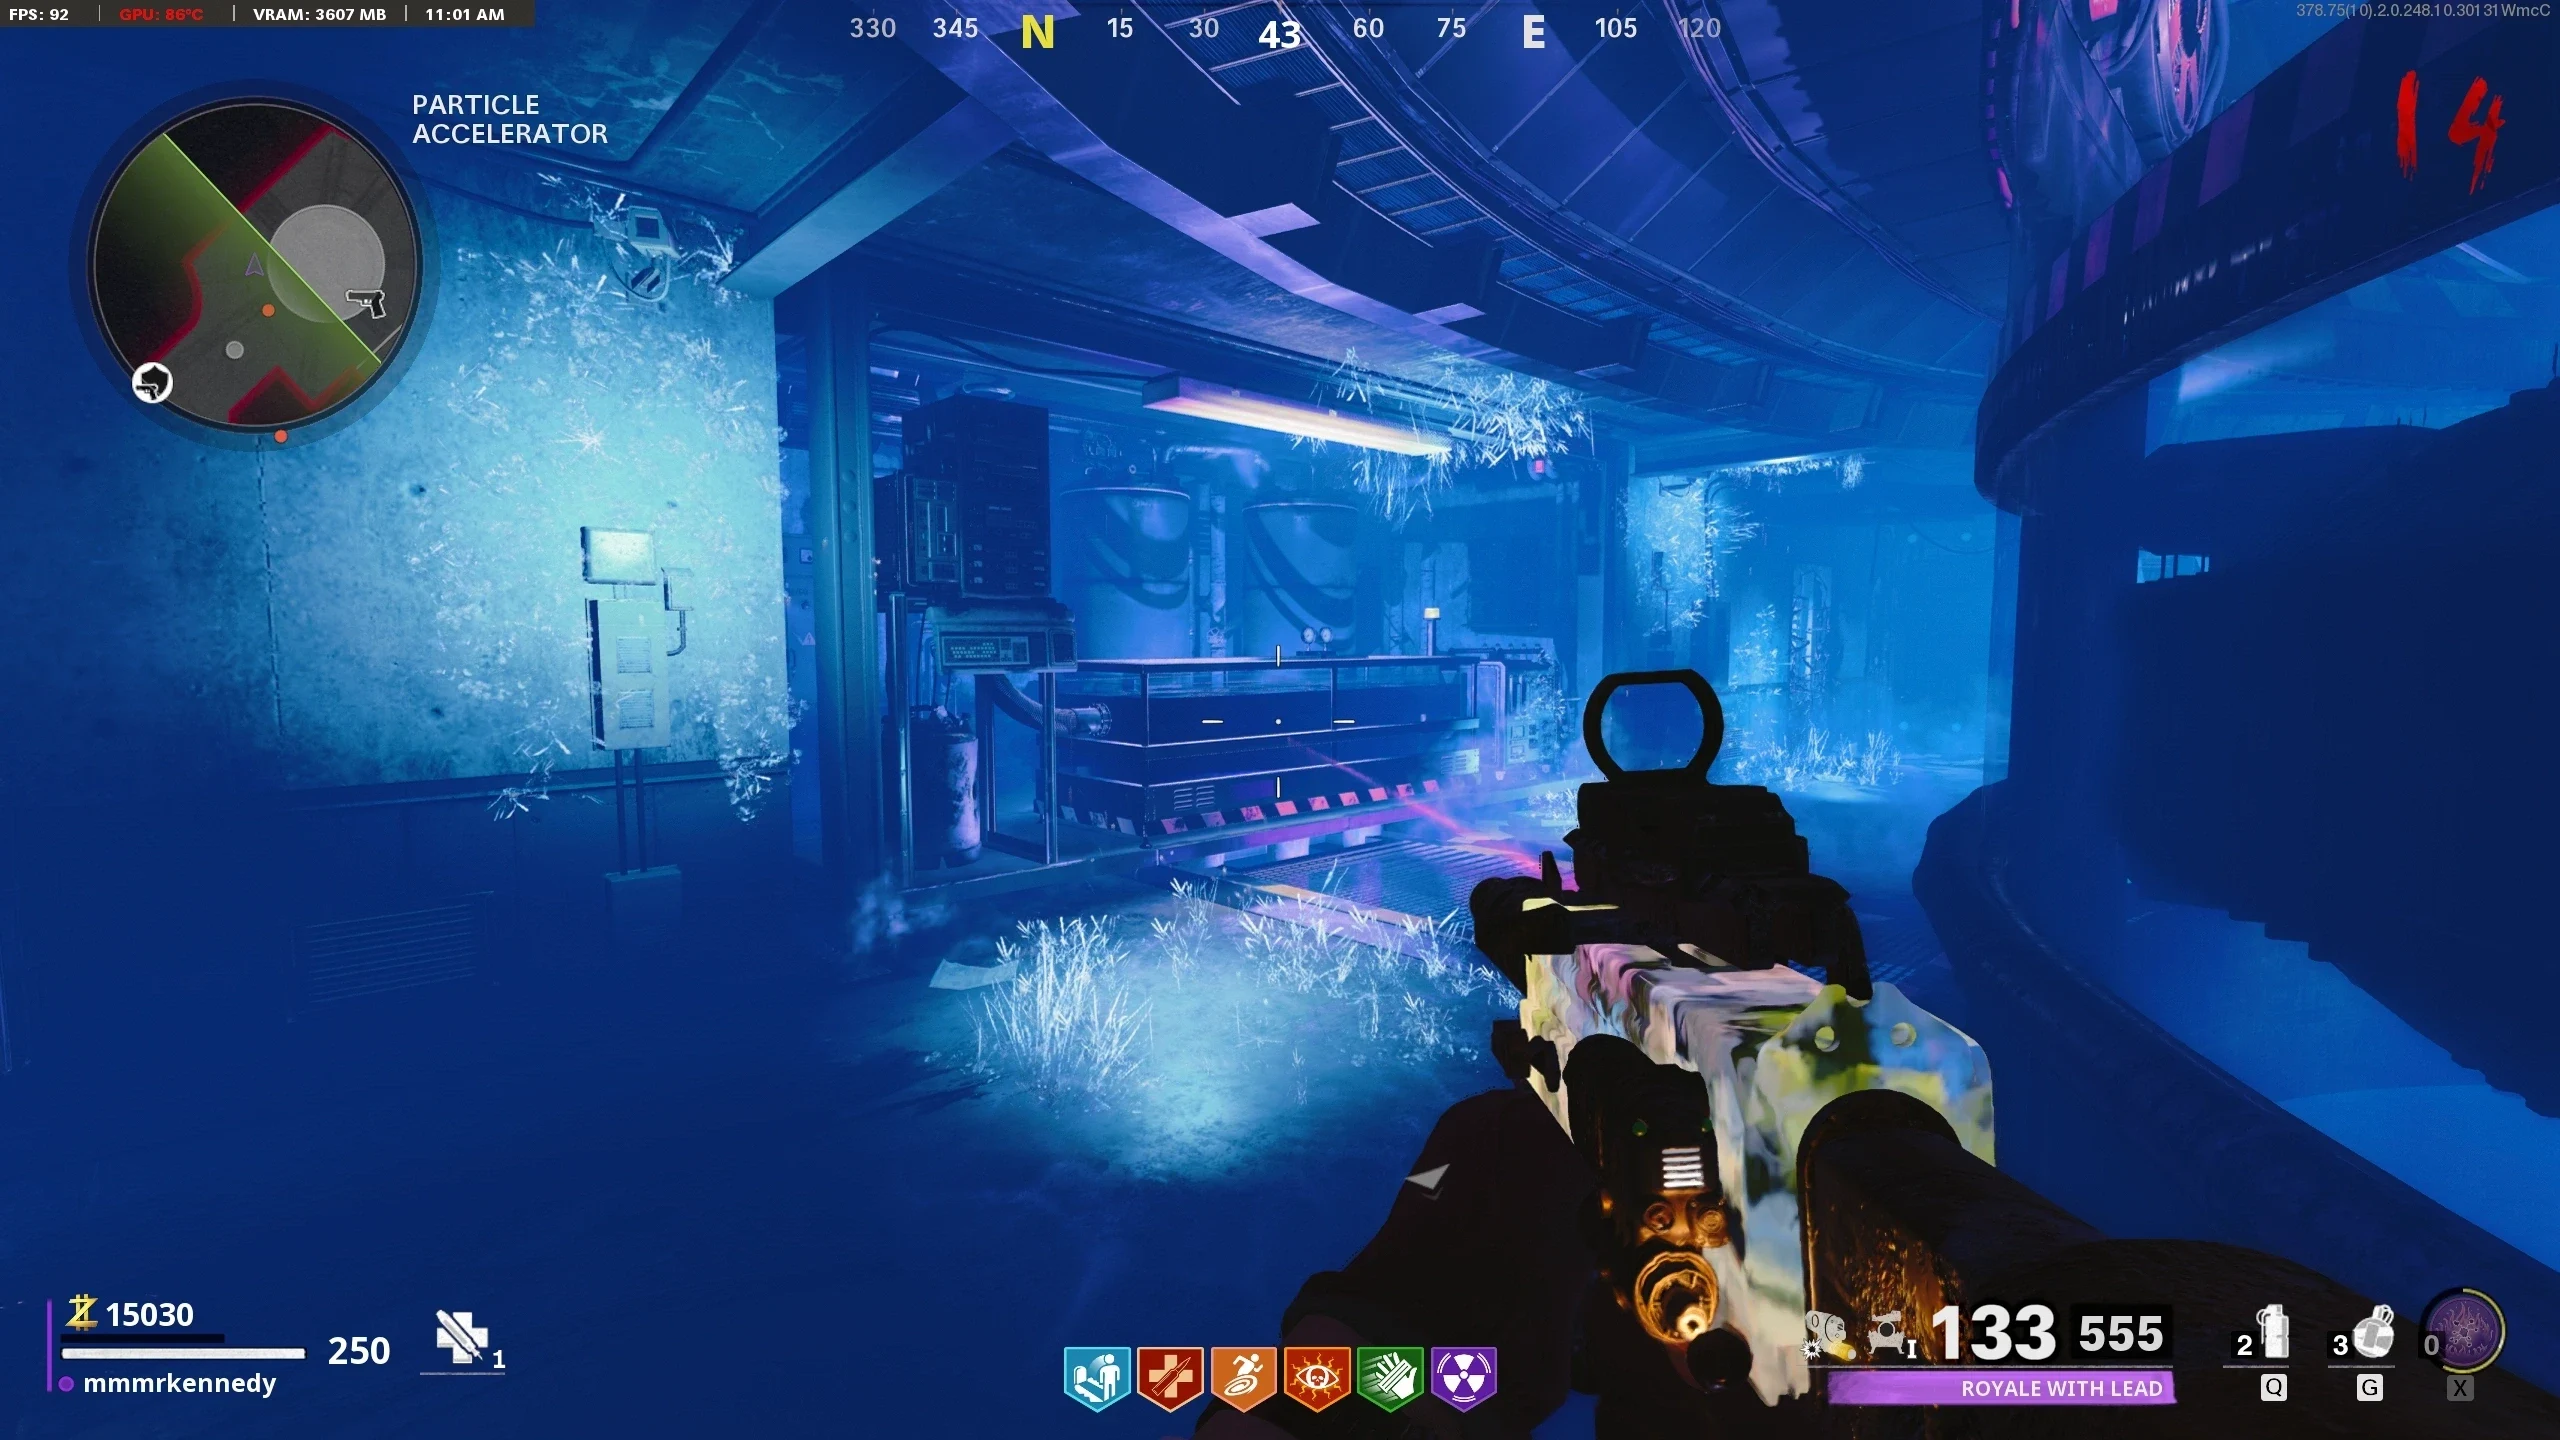
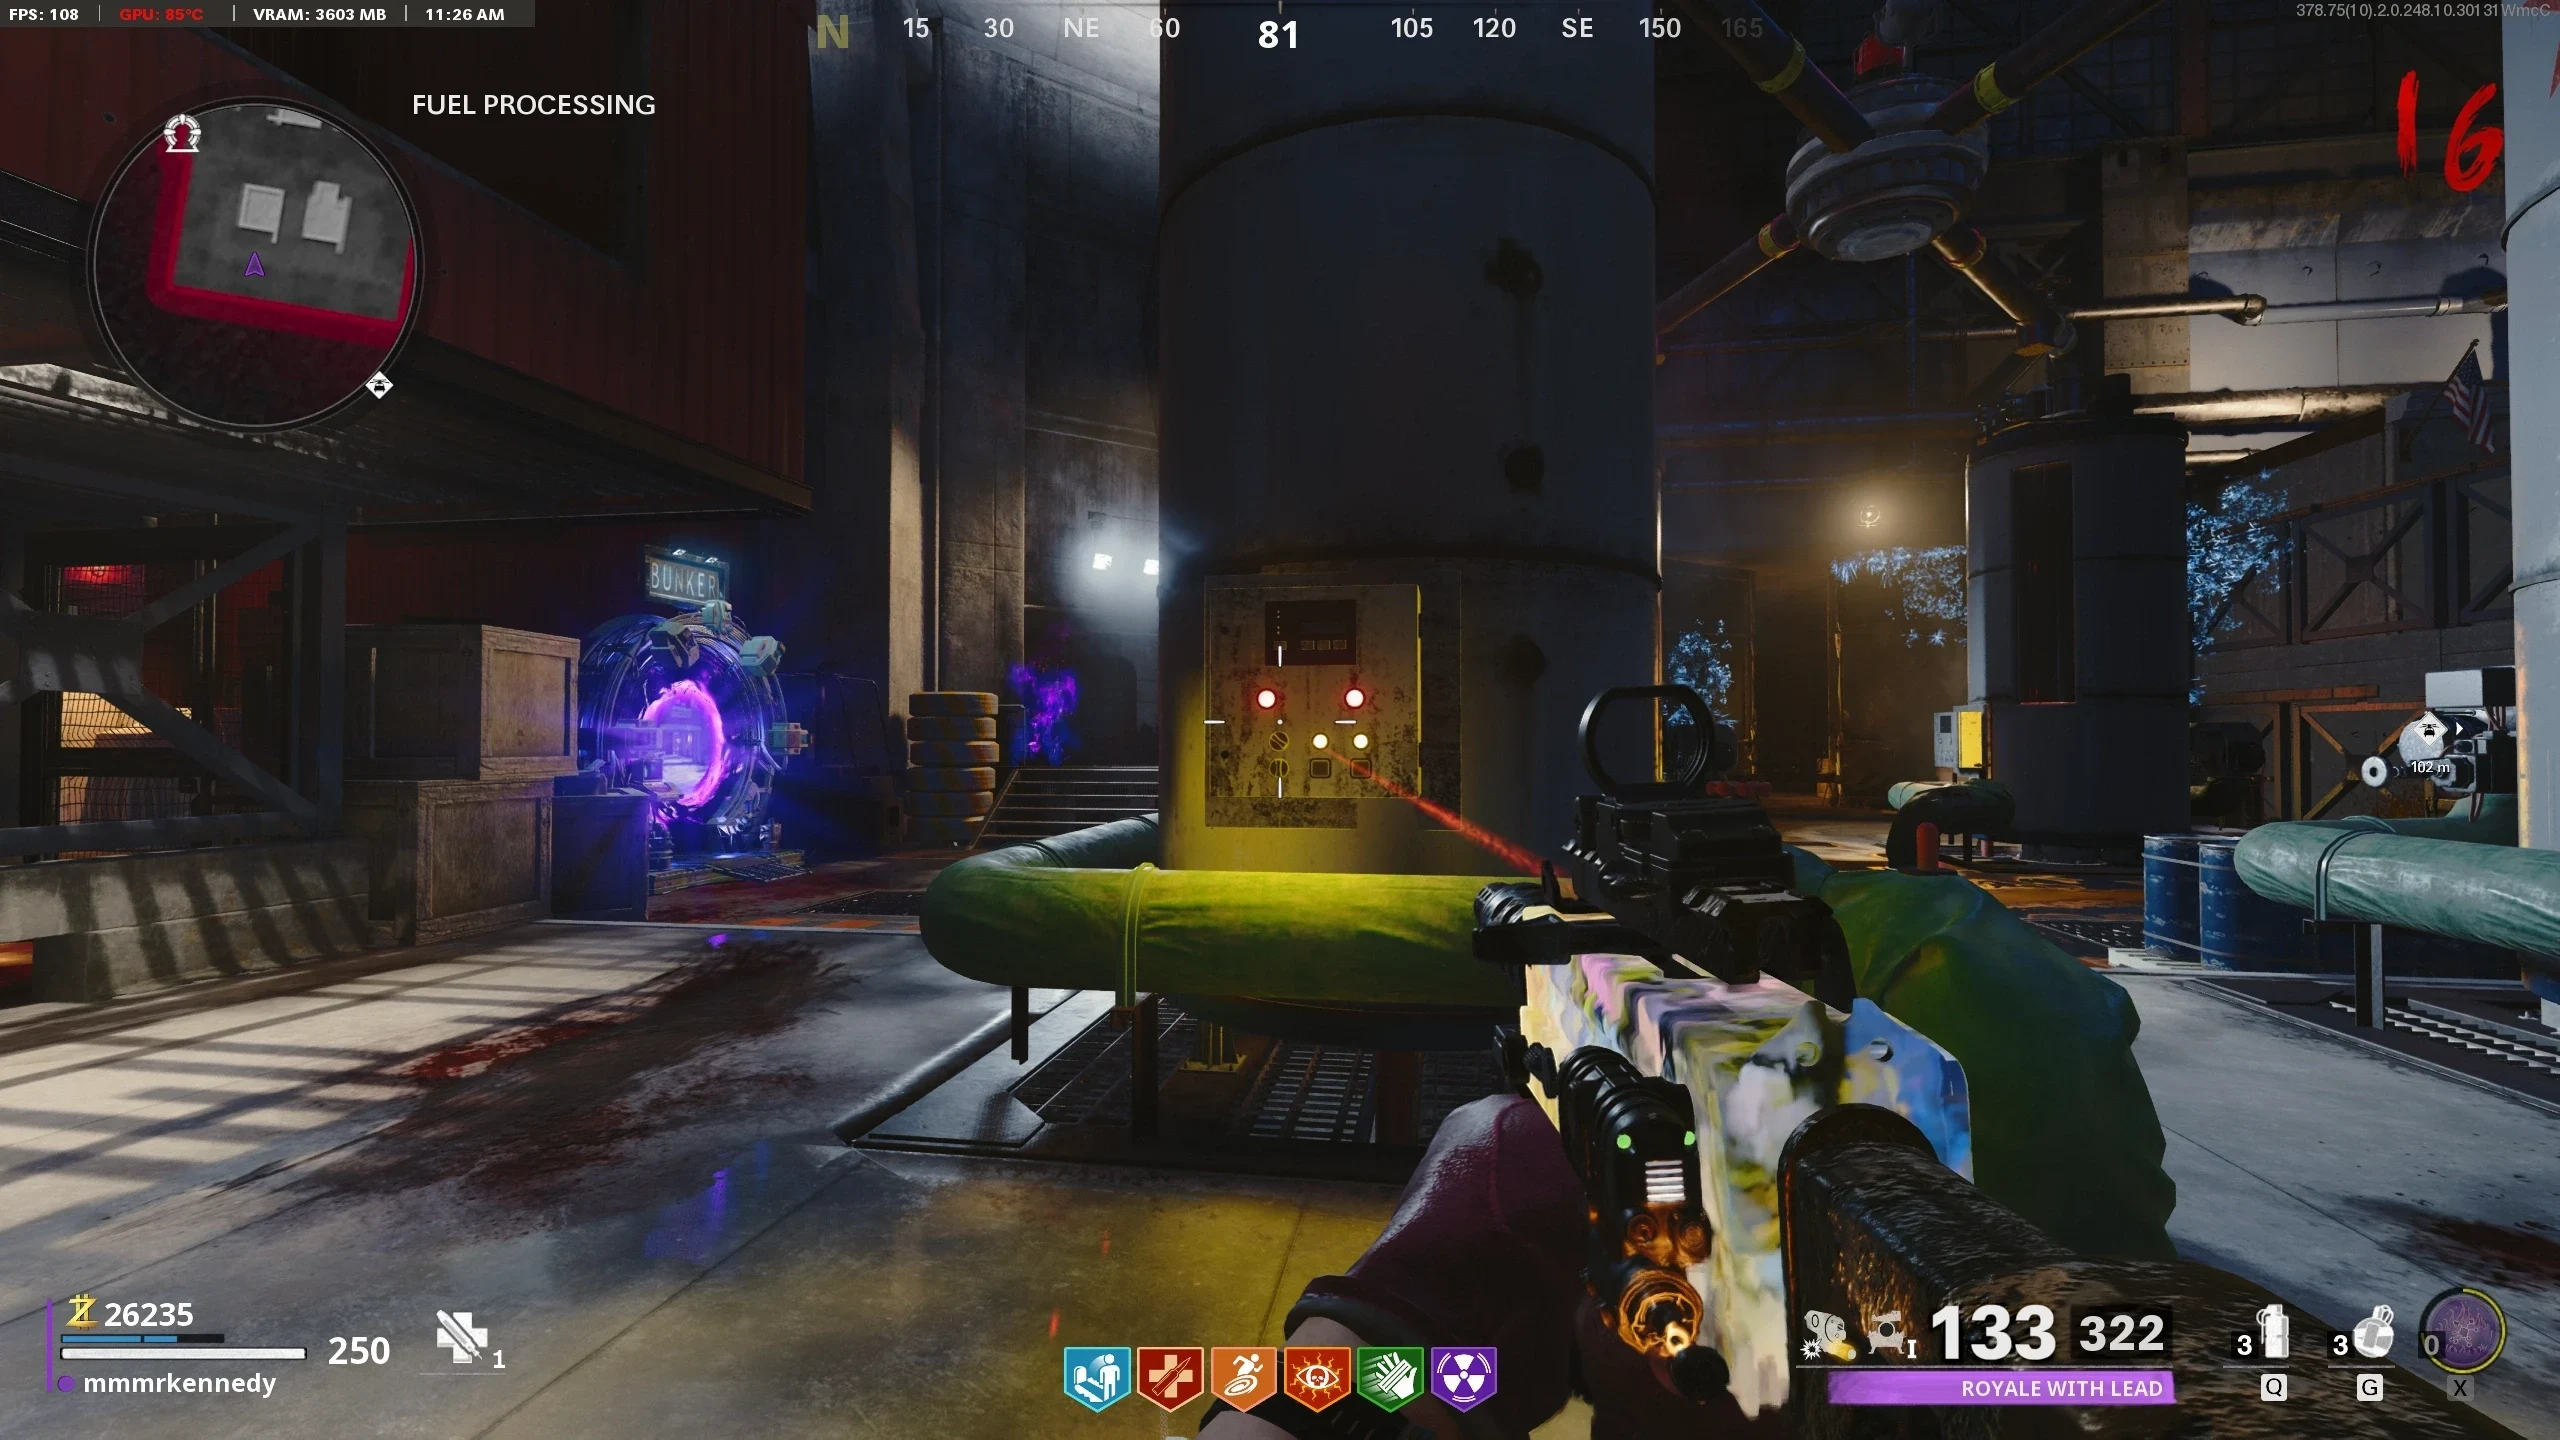
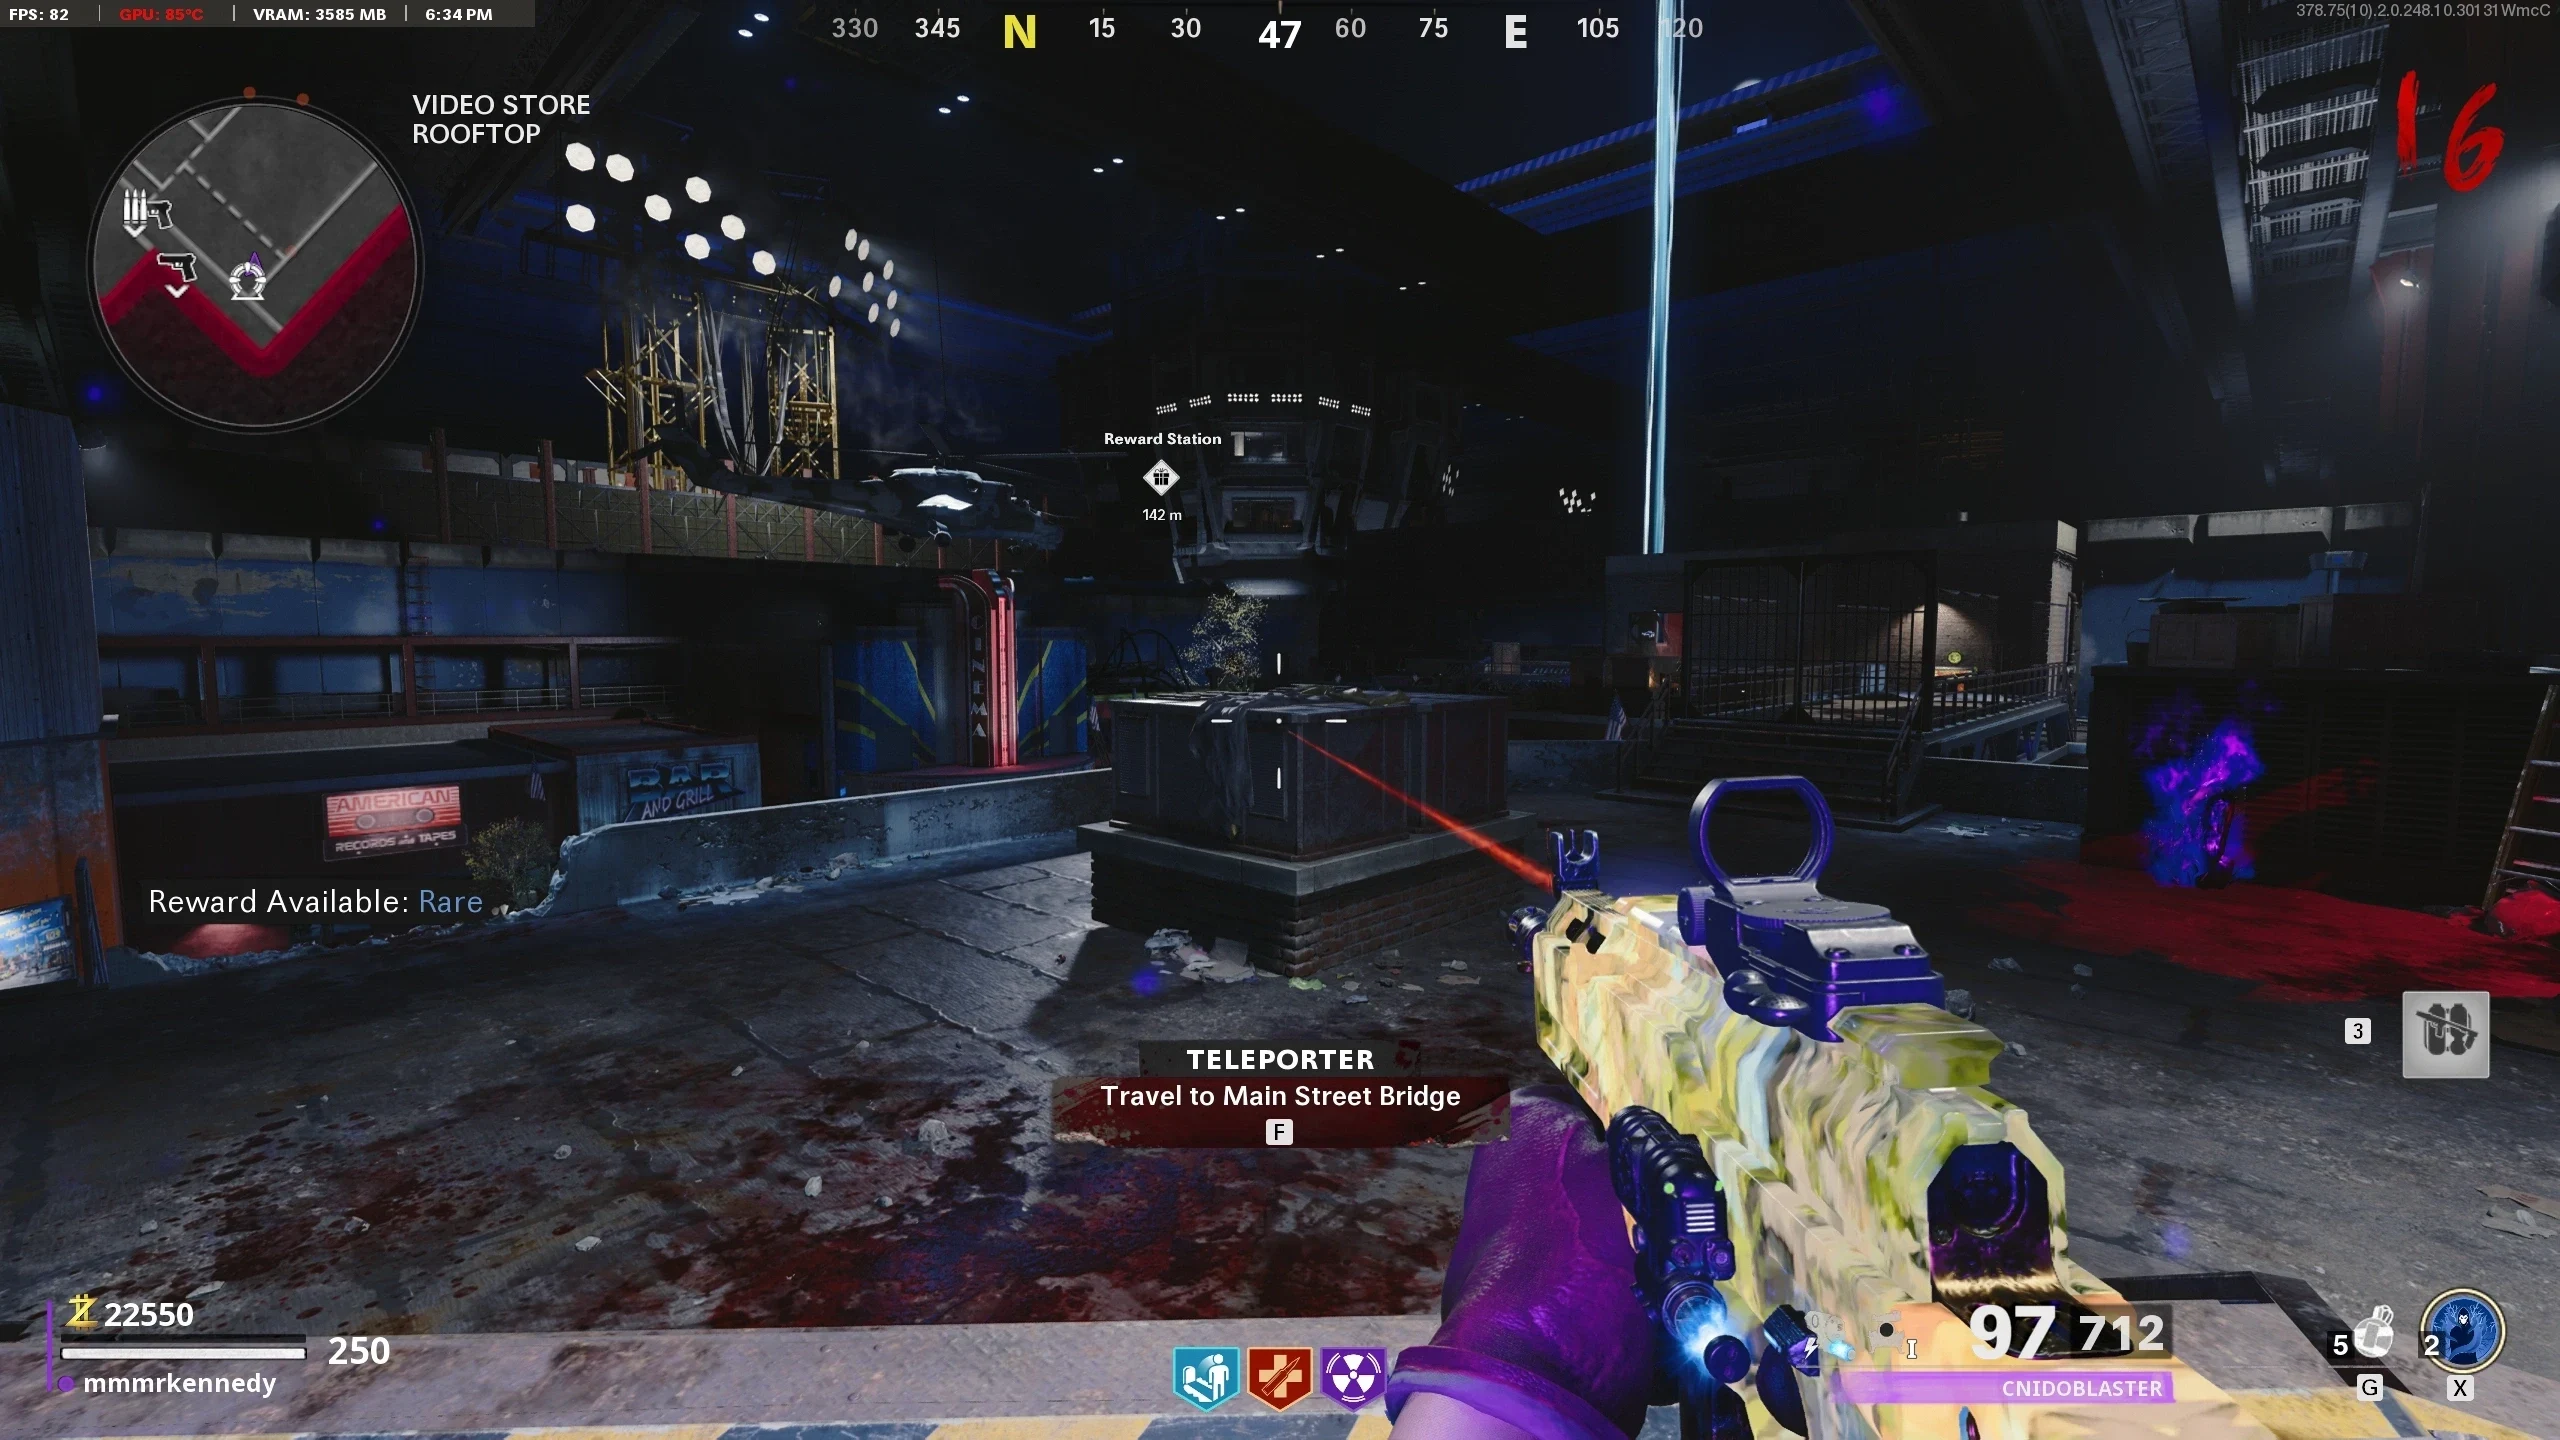
- Navigate to 'Fuel Processing,' each player must simultaneously interact with the Processing Tanks to activate them. The number of Processing Tanks that need to be activated depends on the number of players in the game.
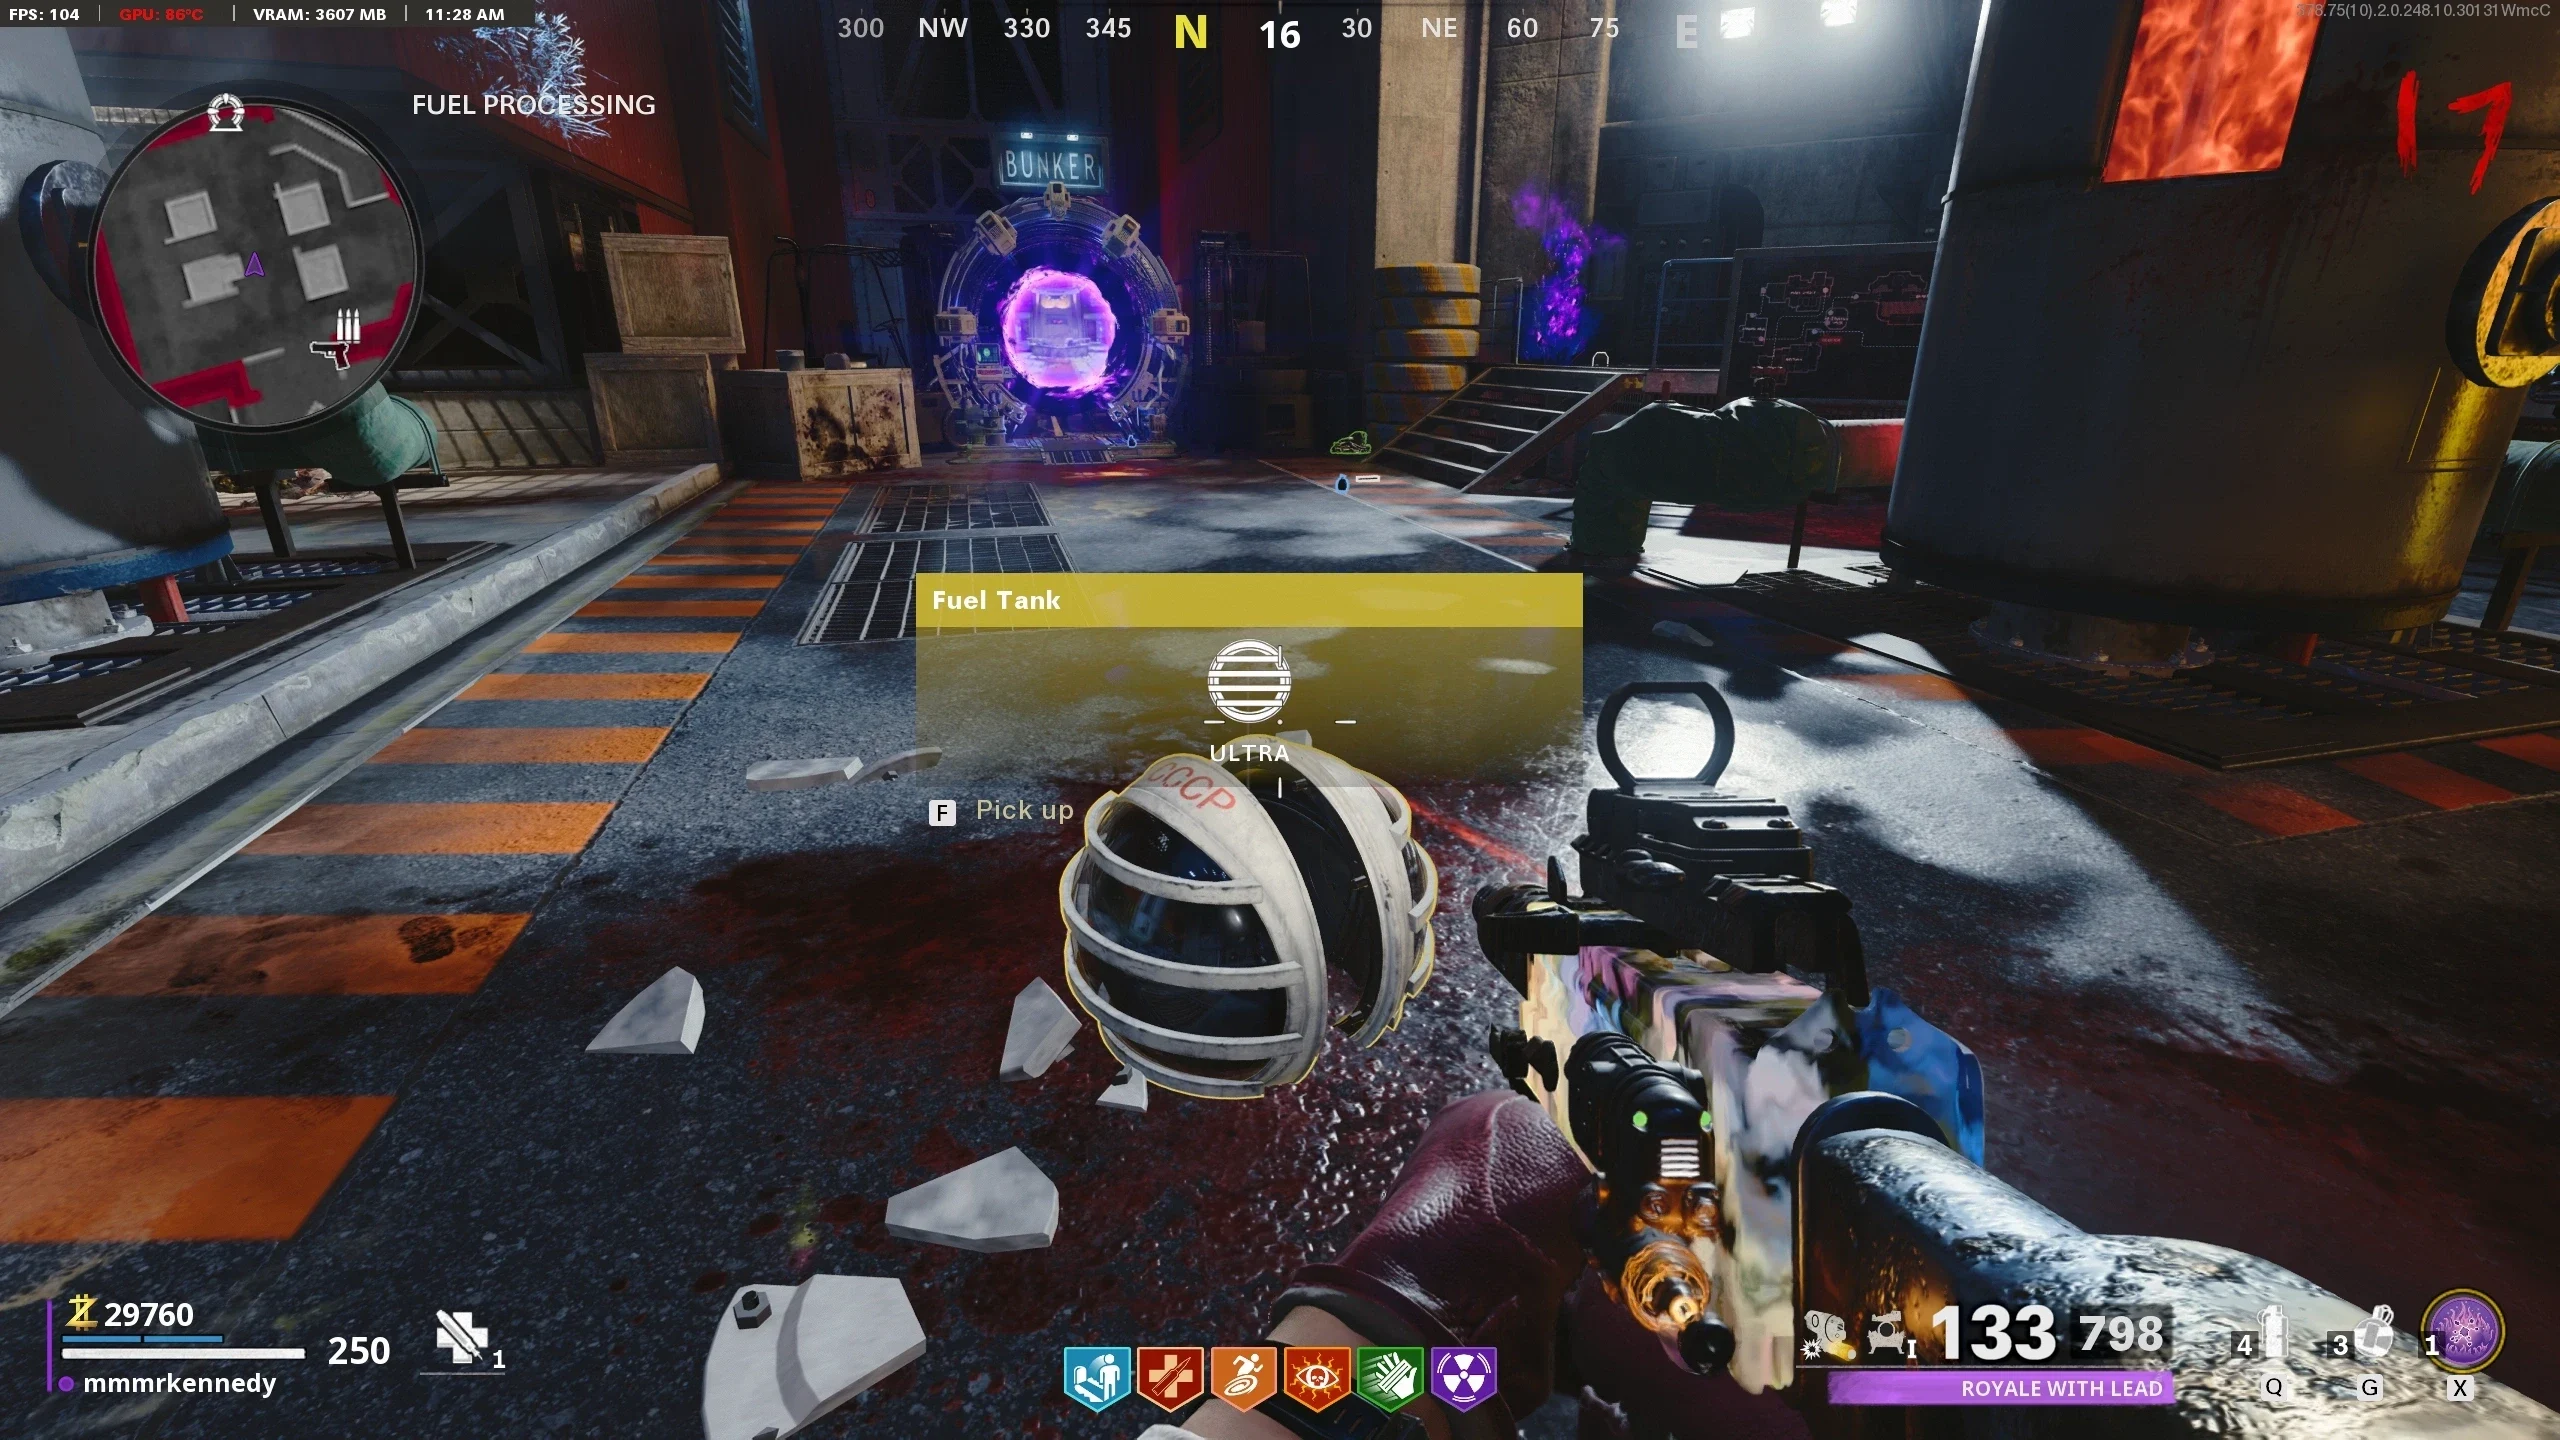
- Once the Tanks have been activated, the area will be locked down and enemies will start to spawn. The player(s) must survive until the lockdown ends and the Fuel Tank falls to the floor.
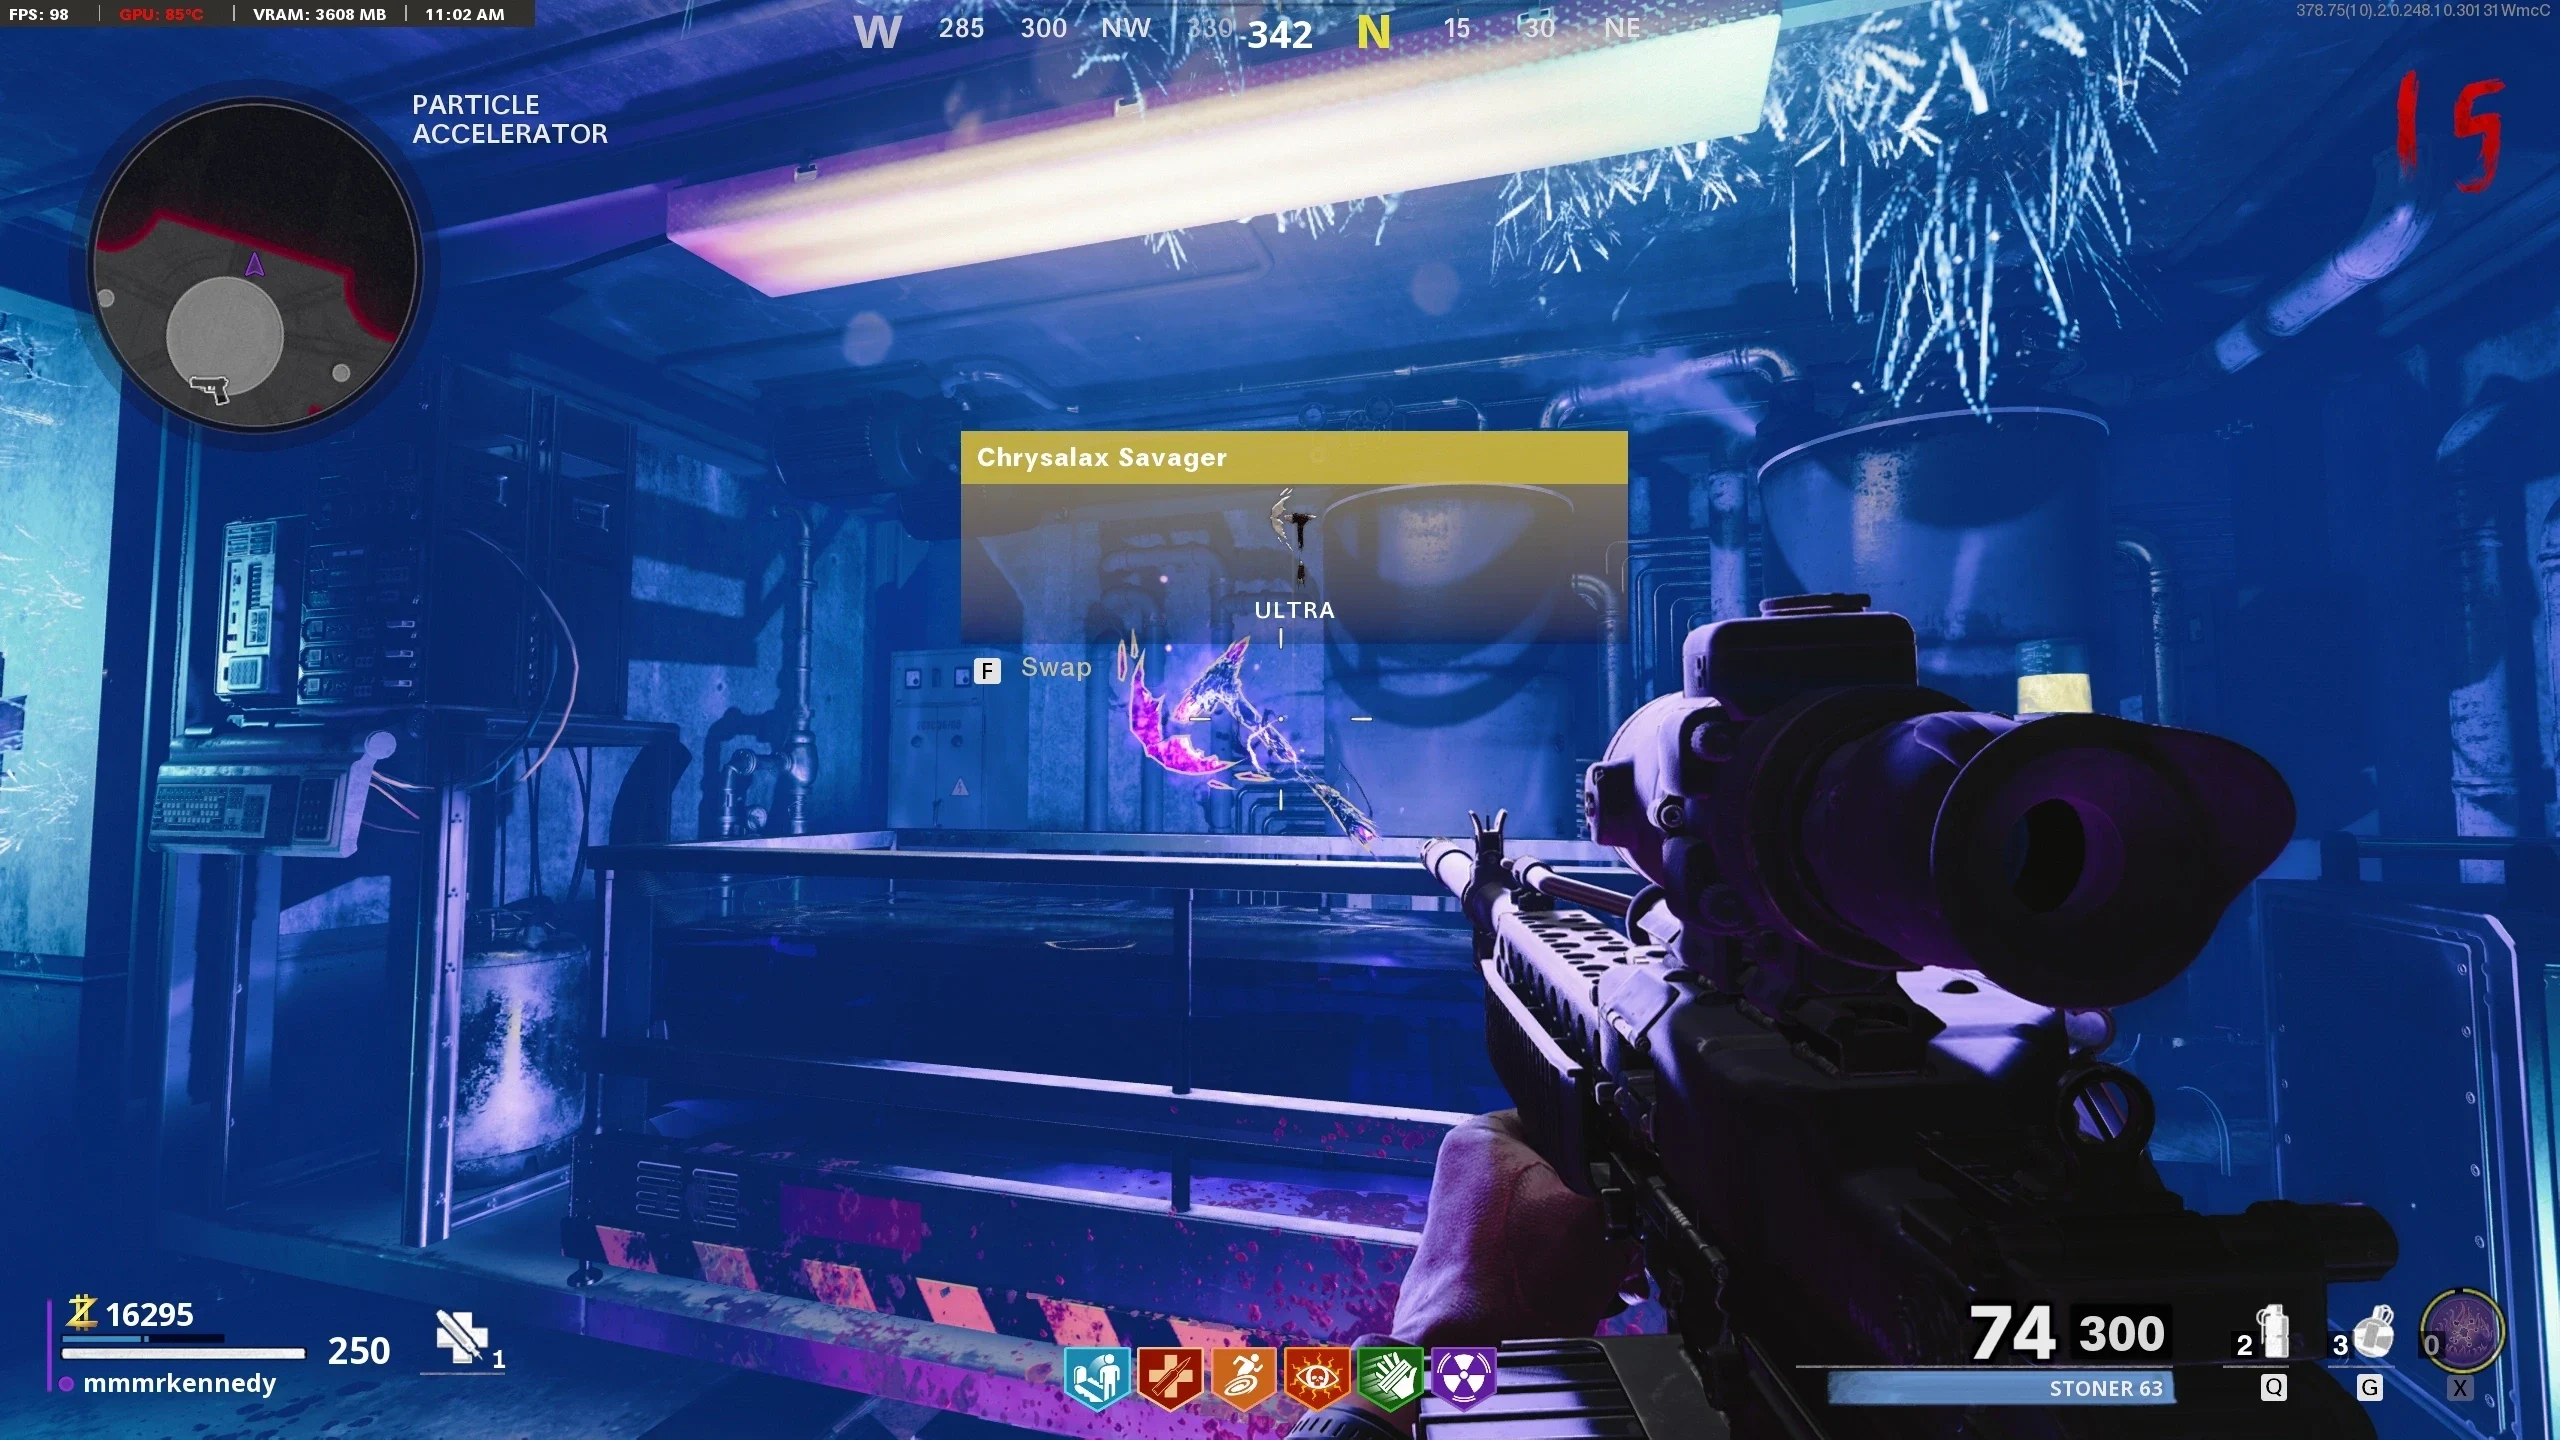
- Obtain the Chrysalax.
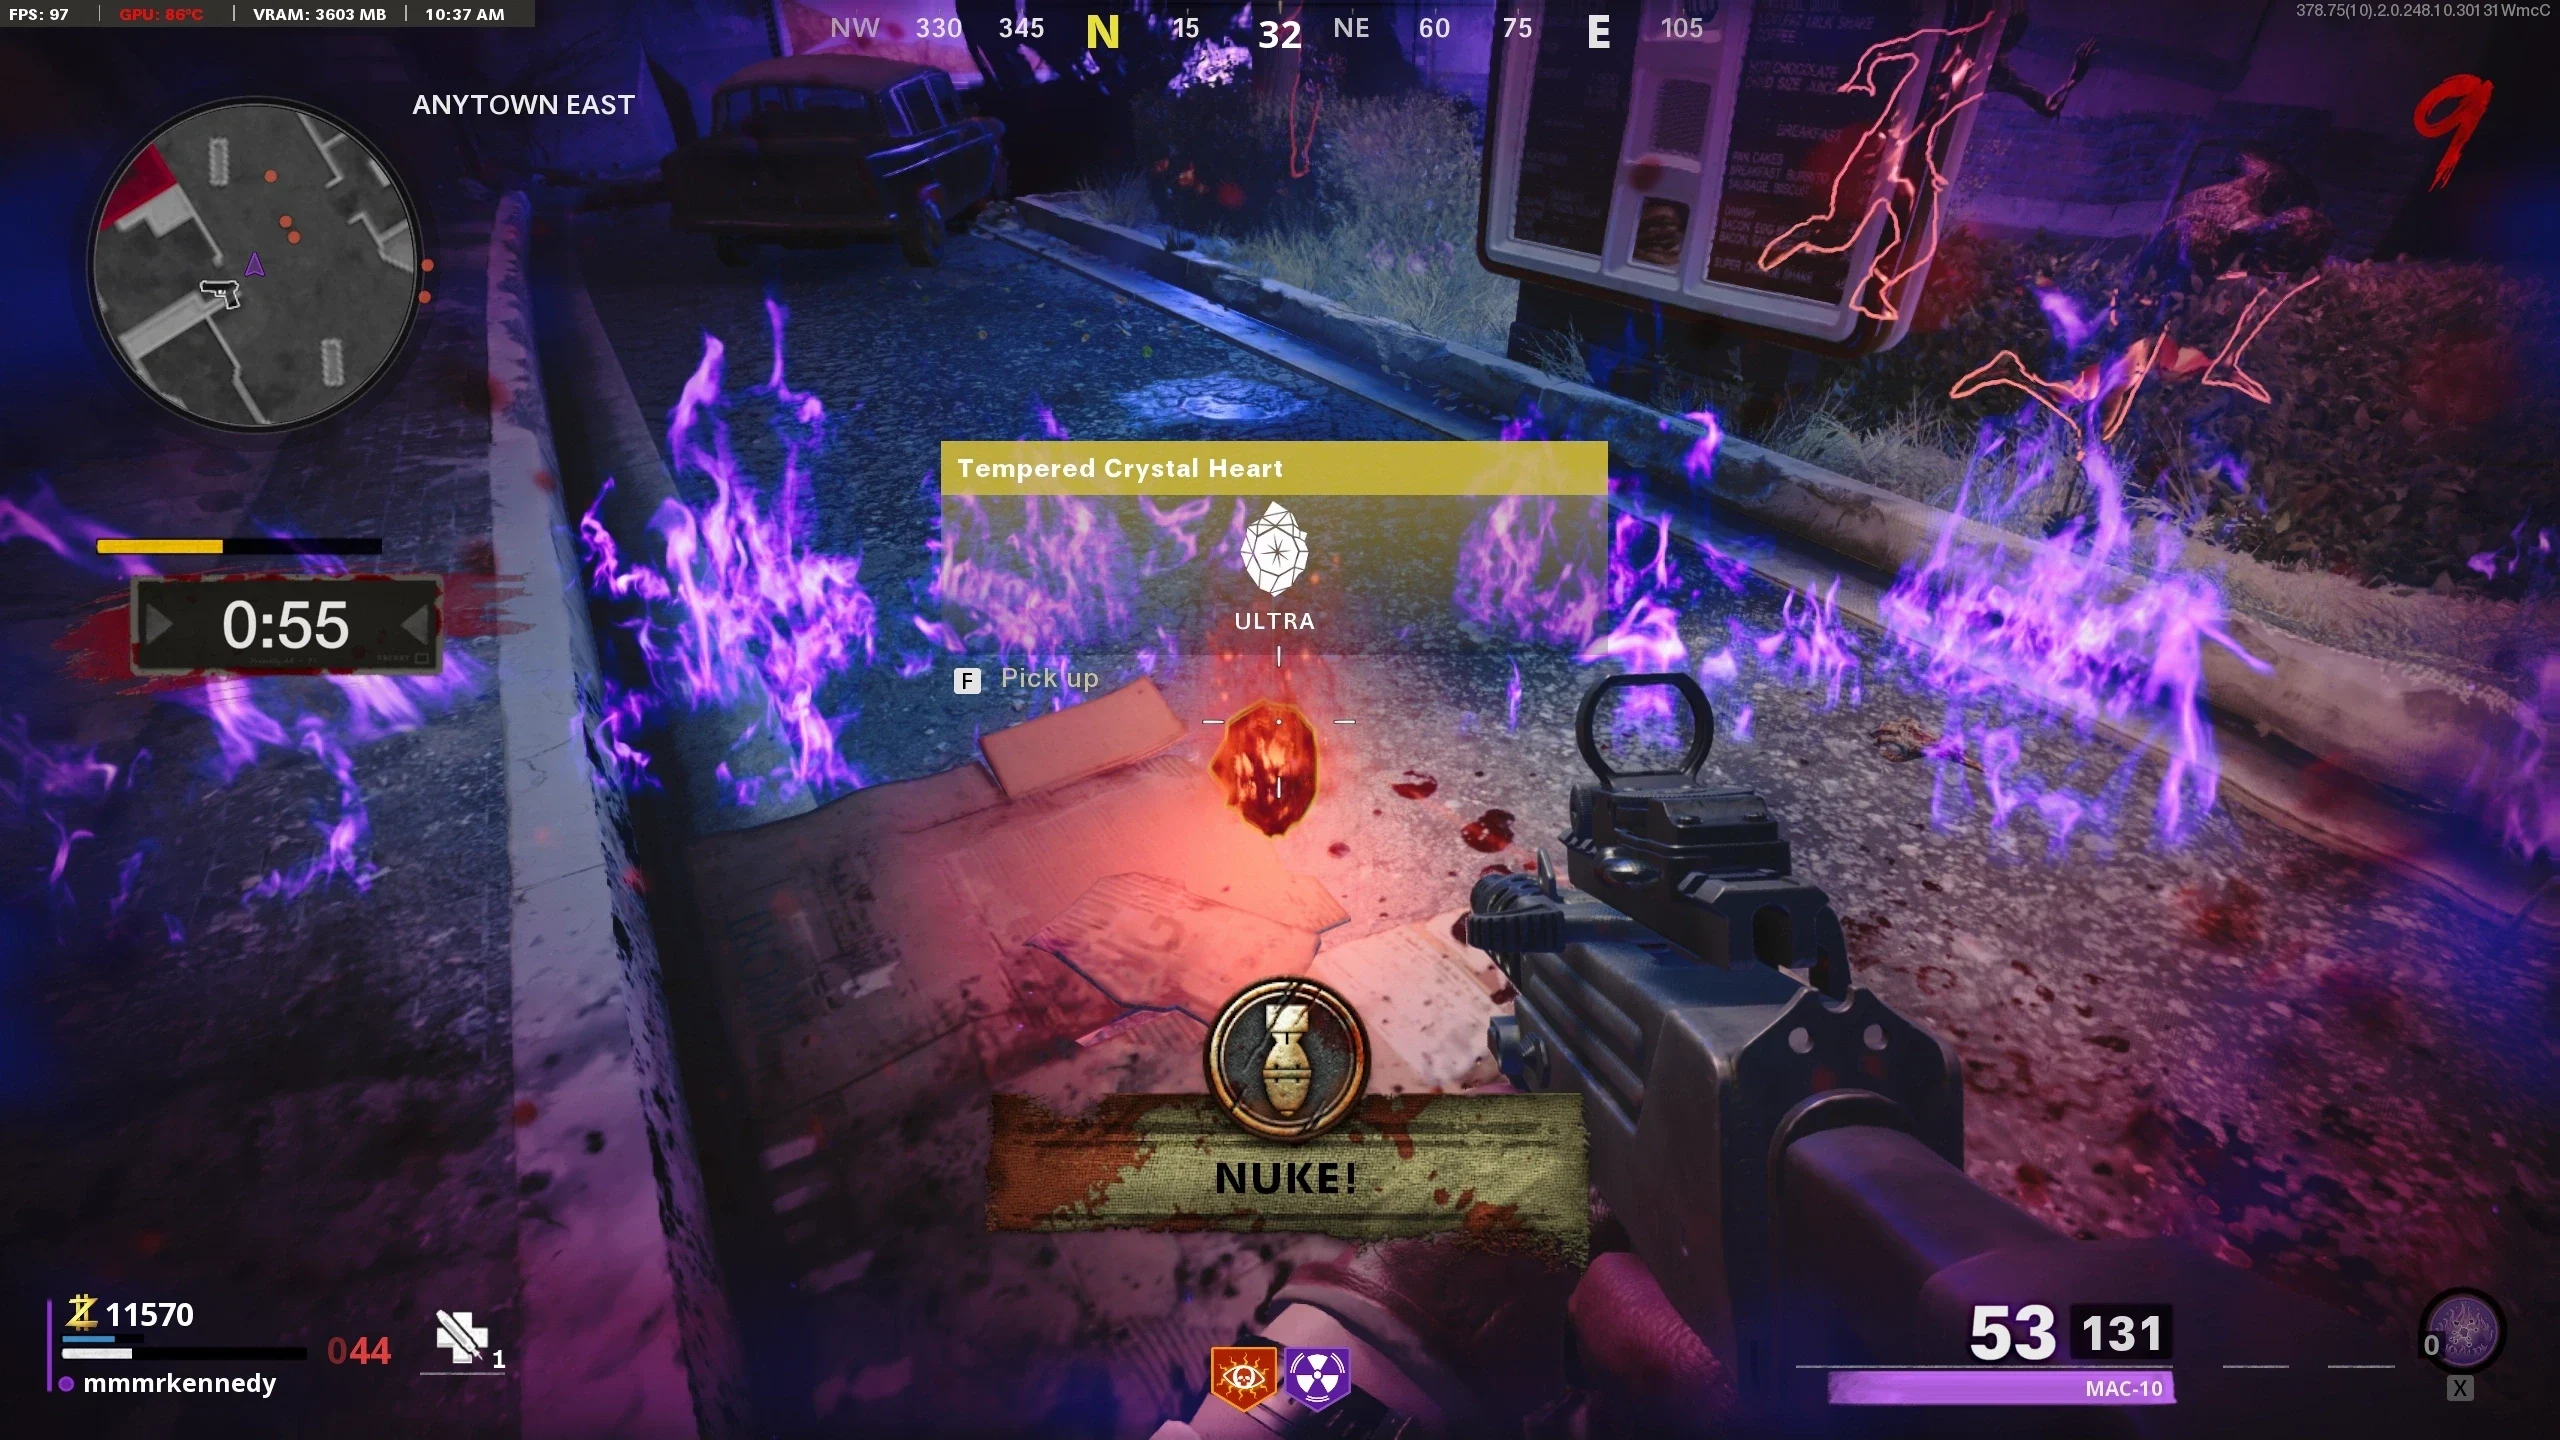
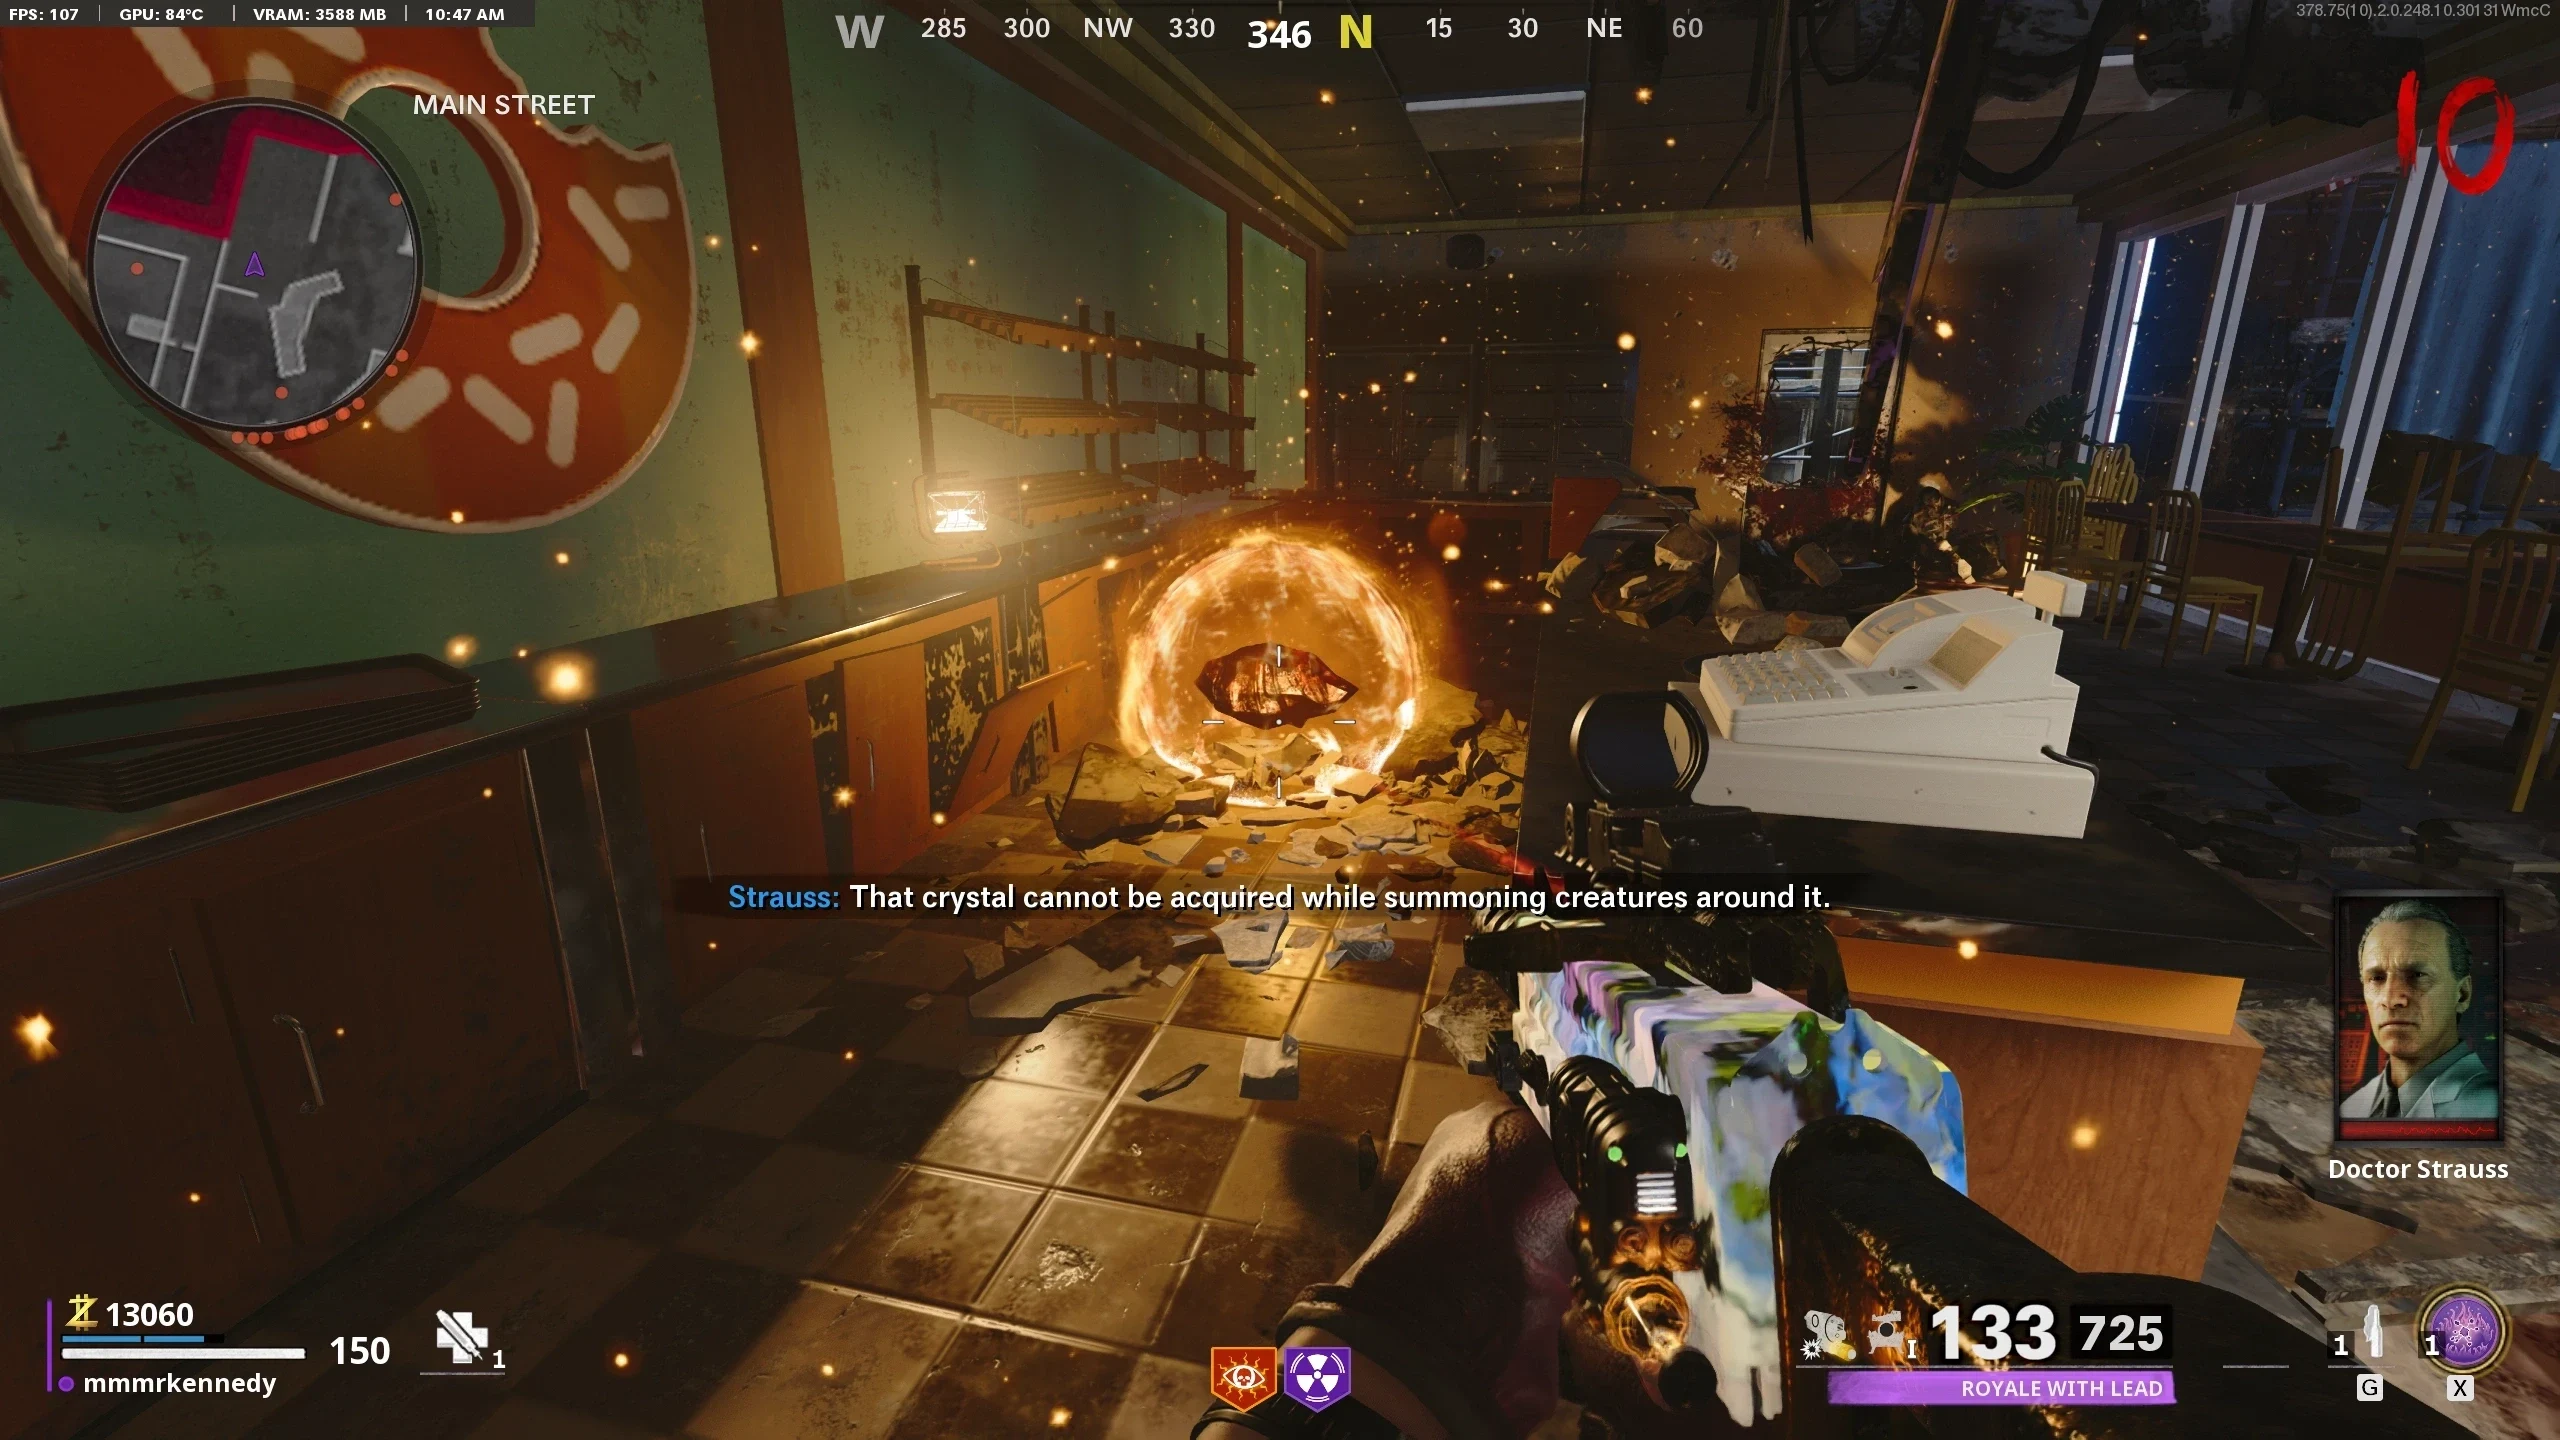
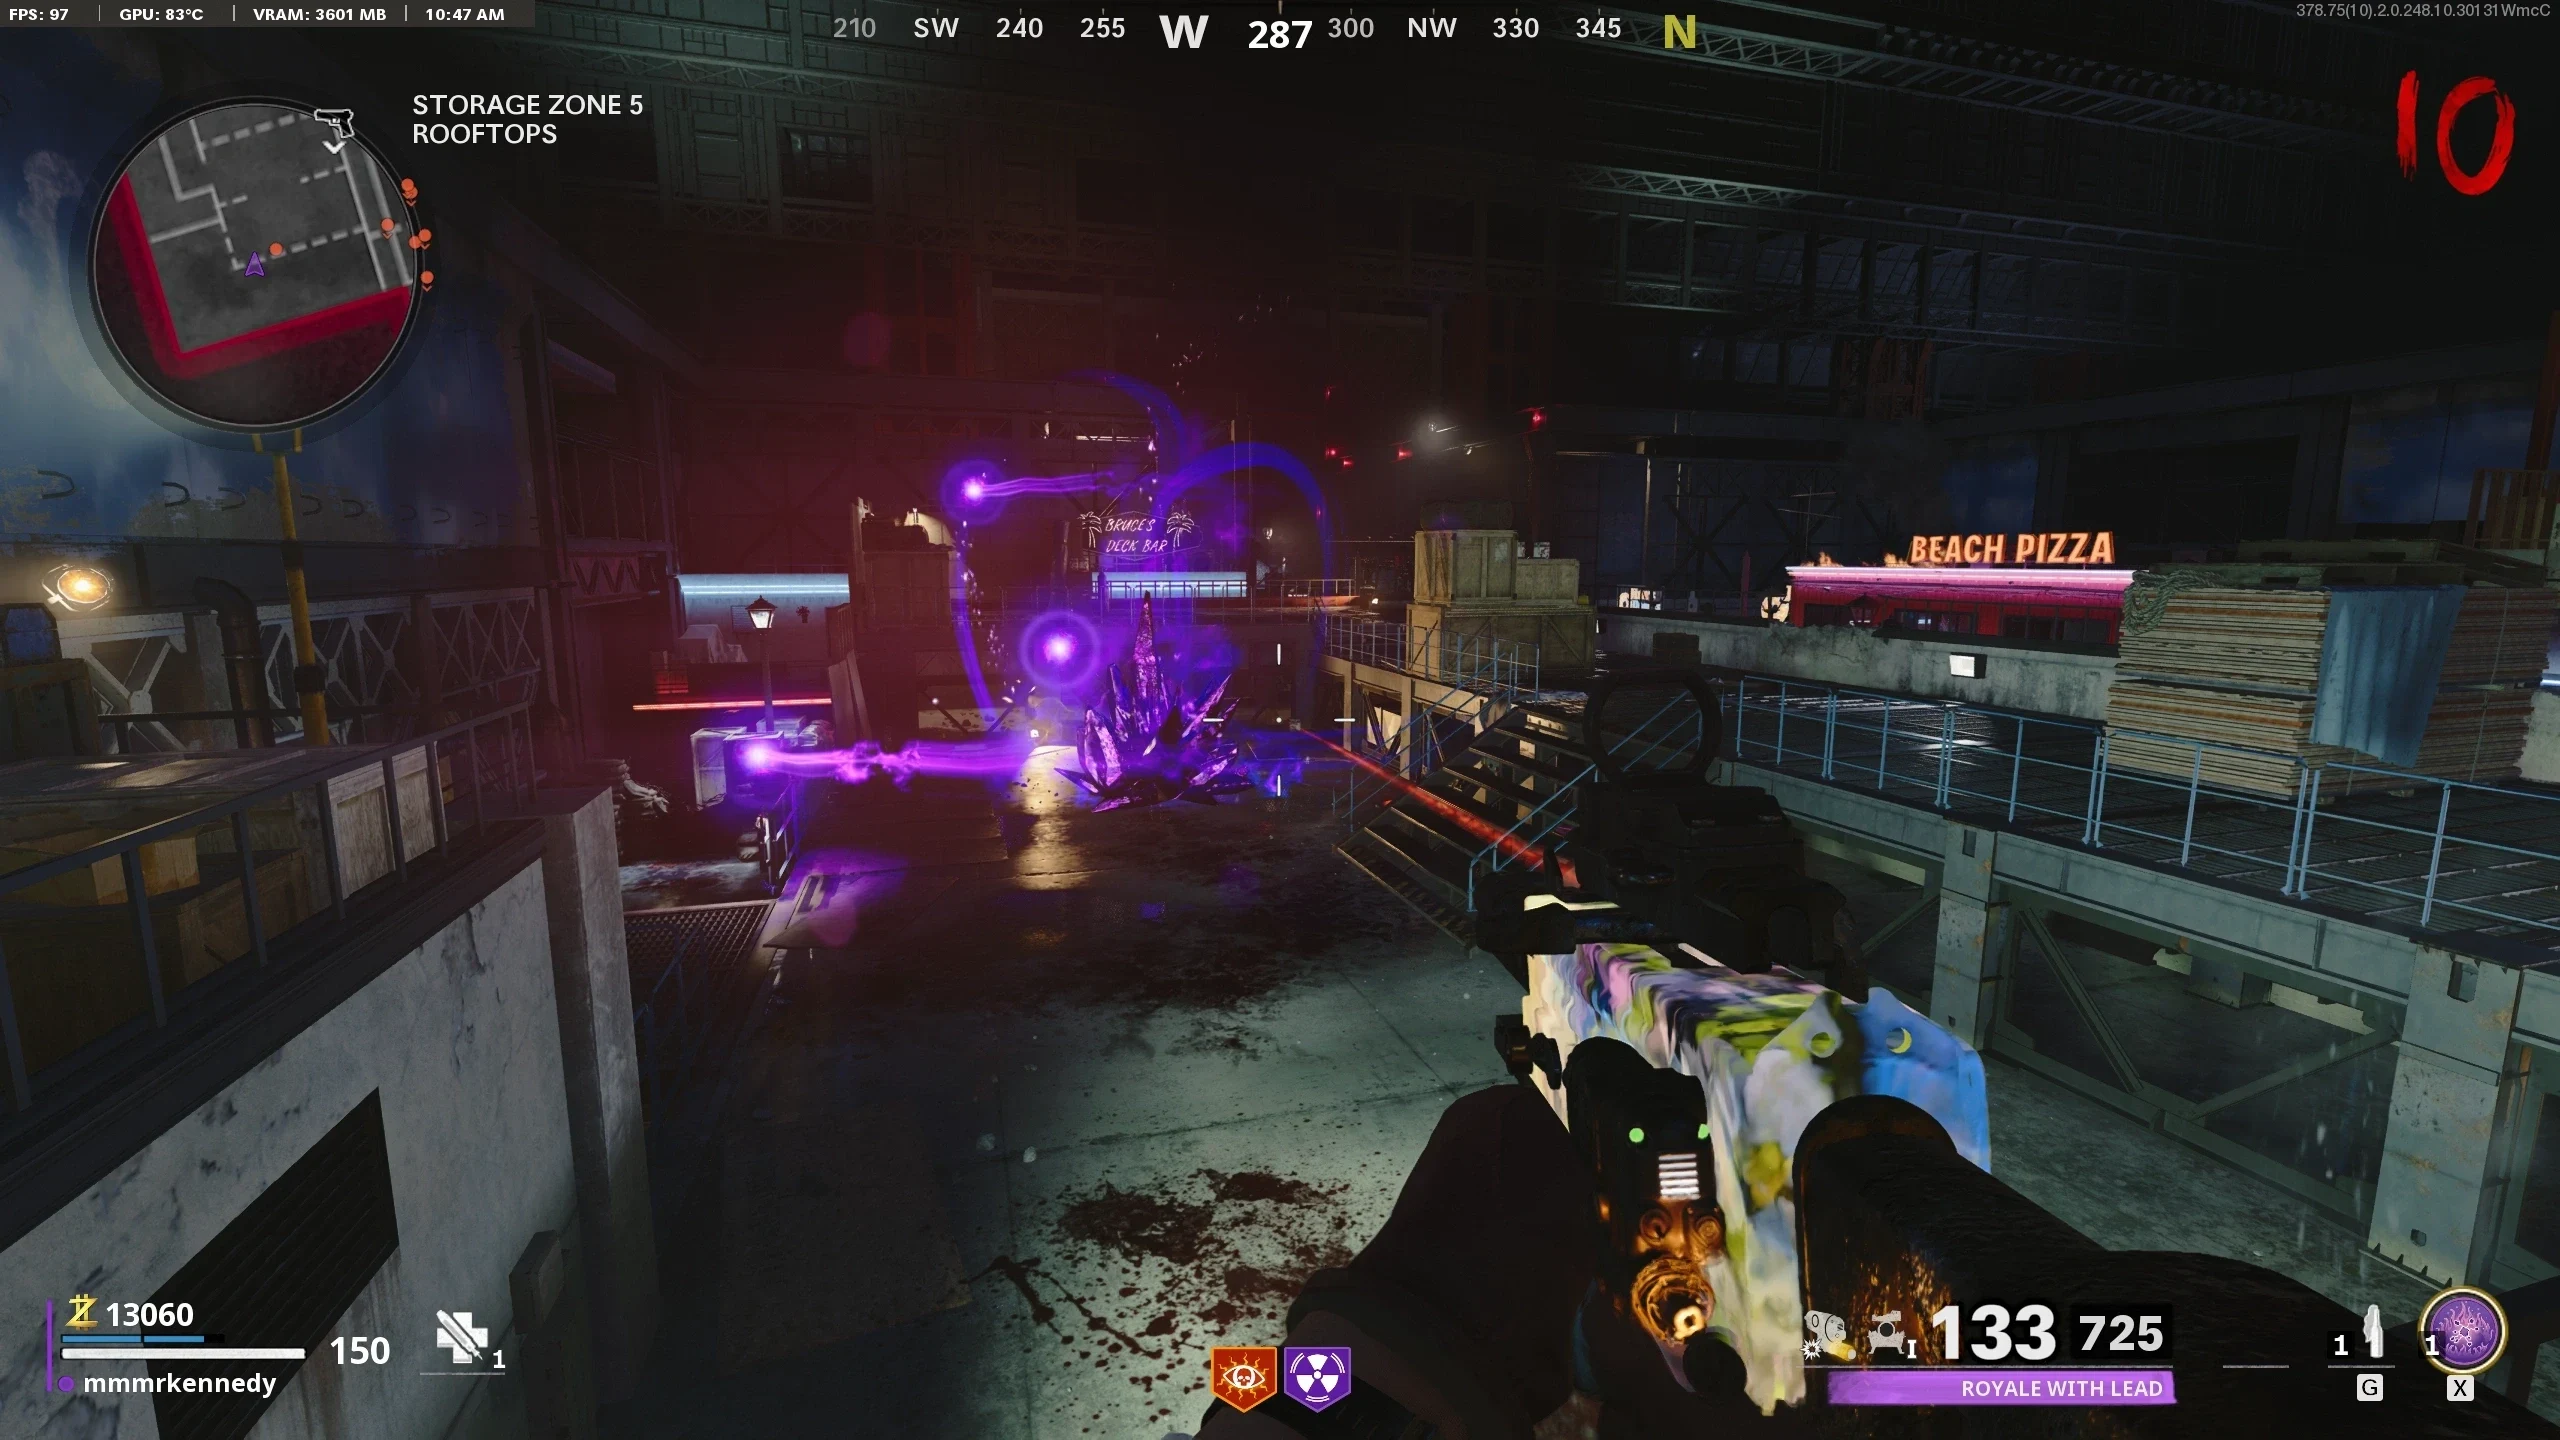
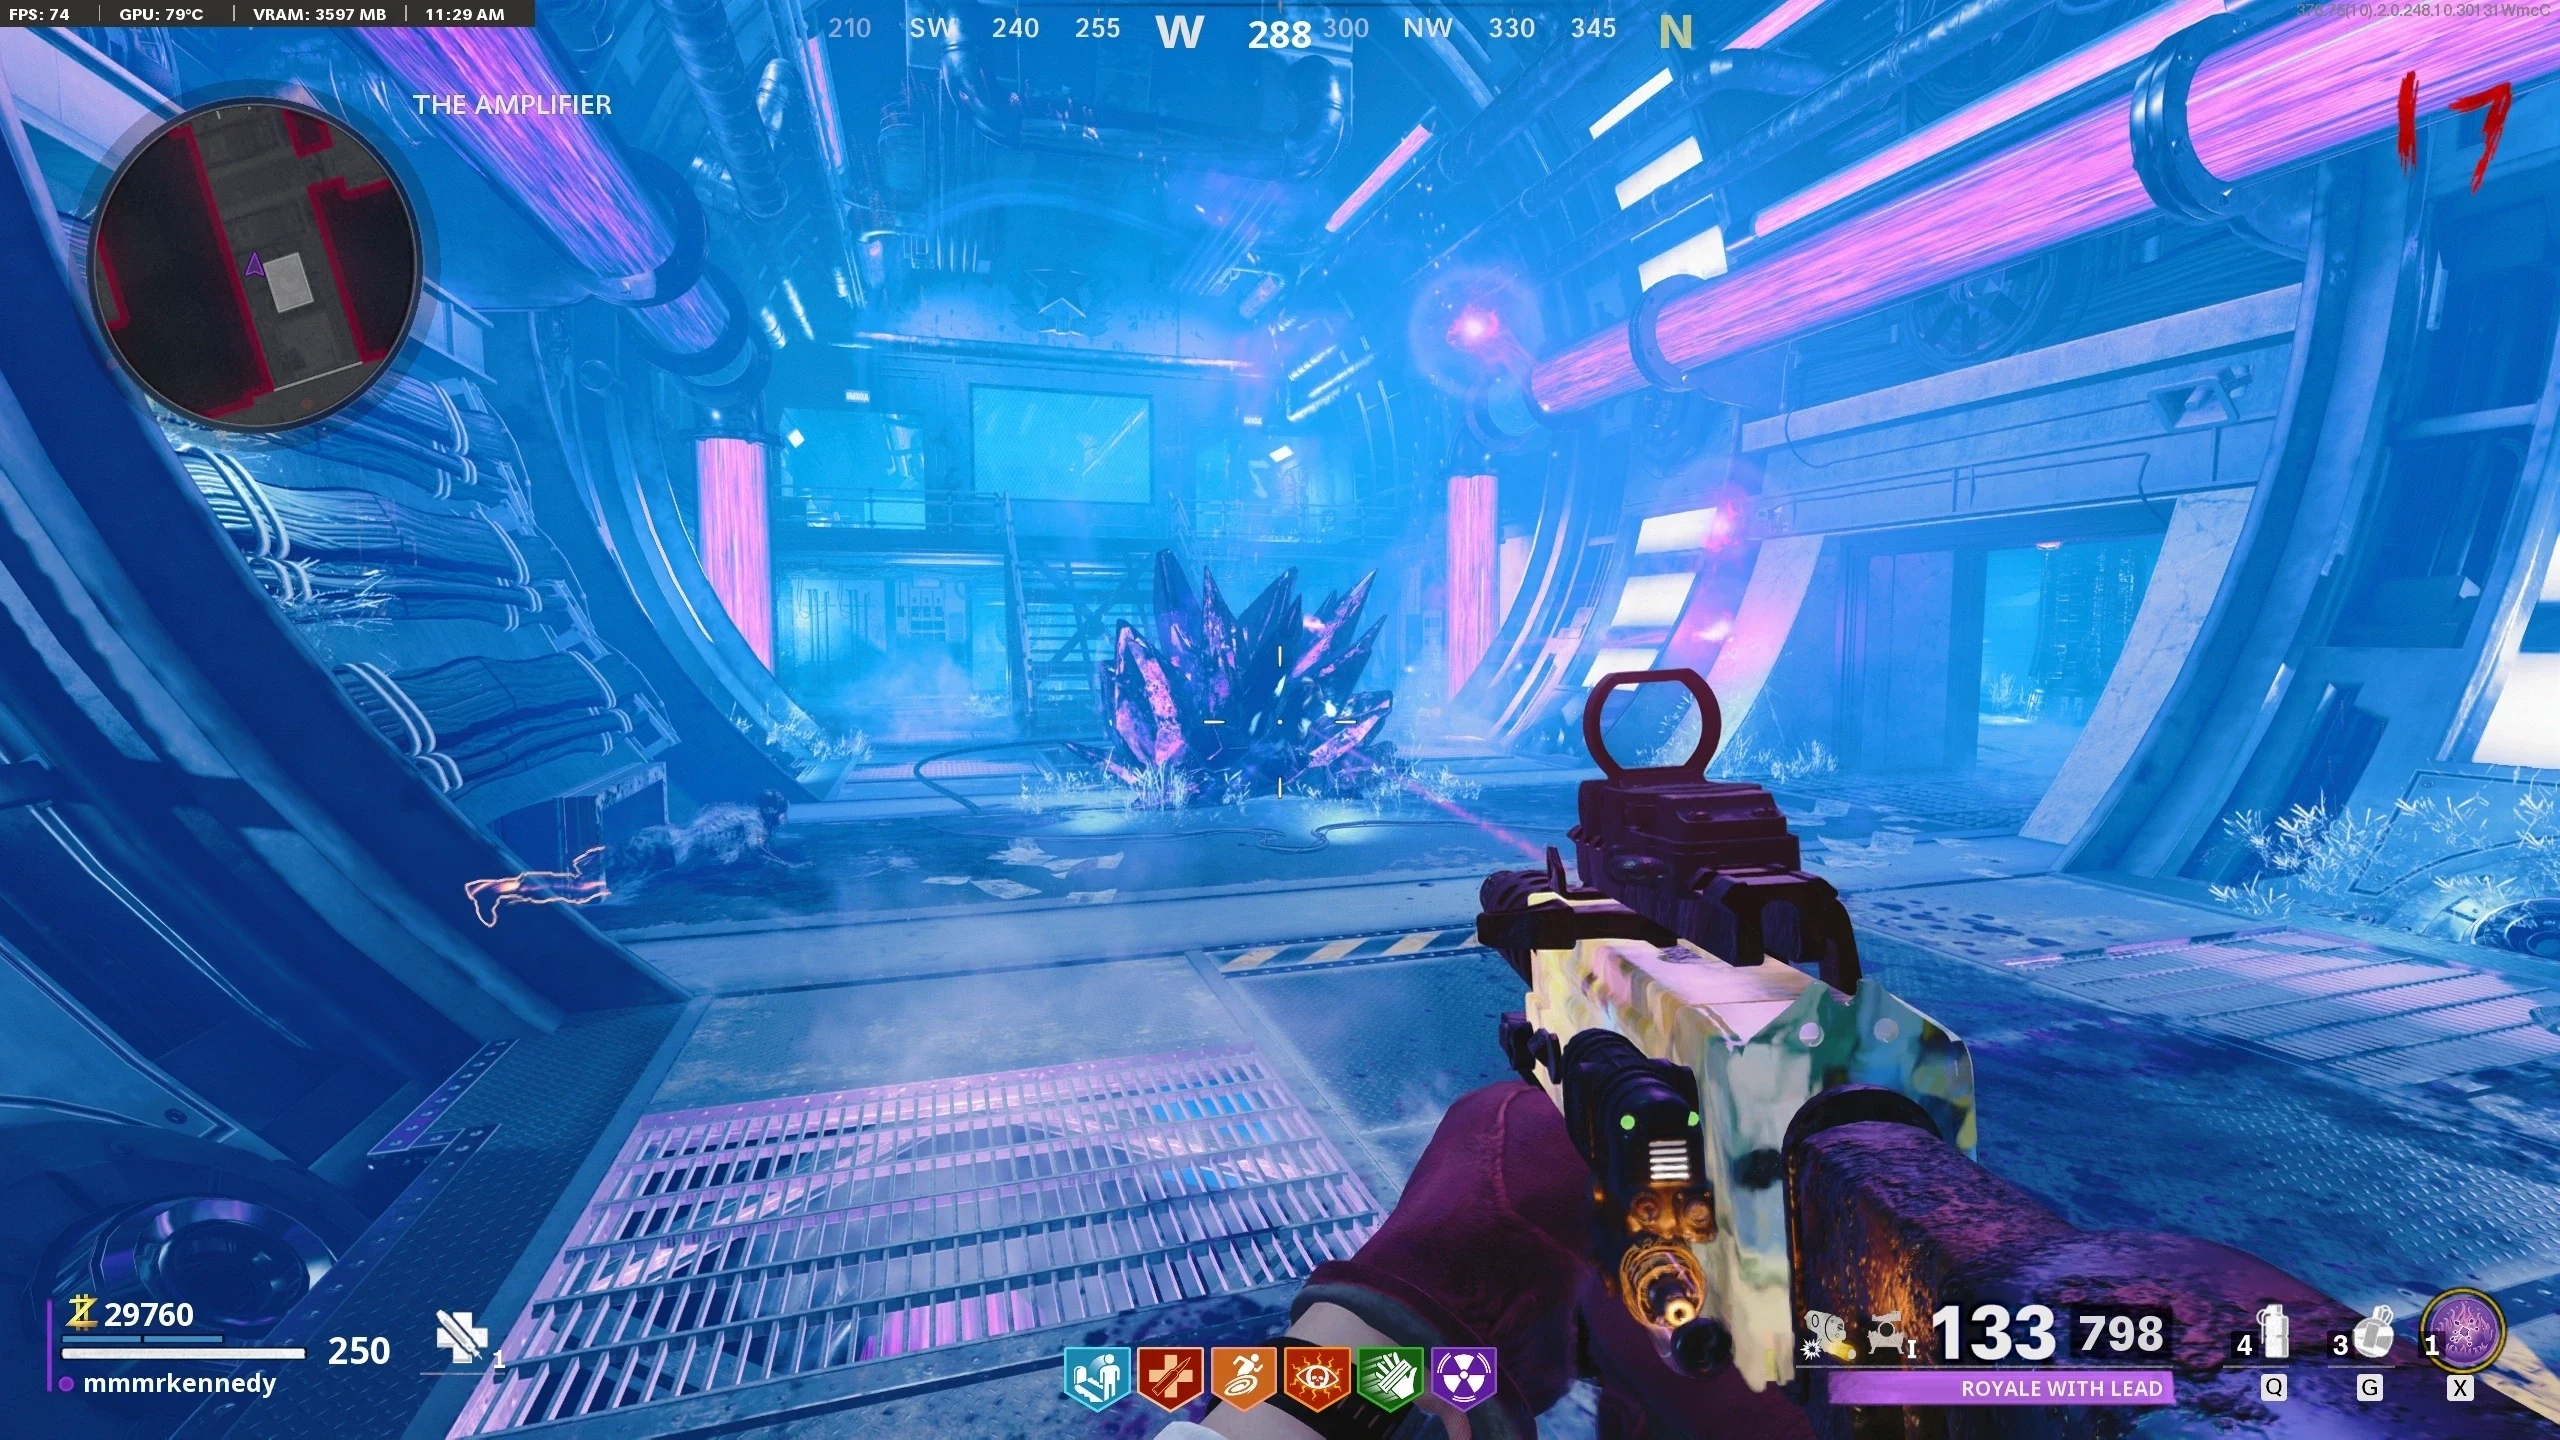
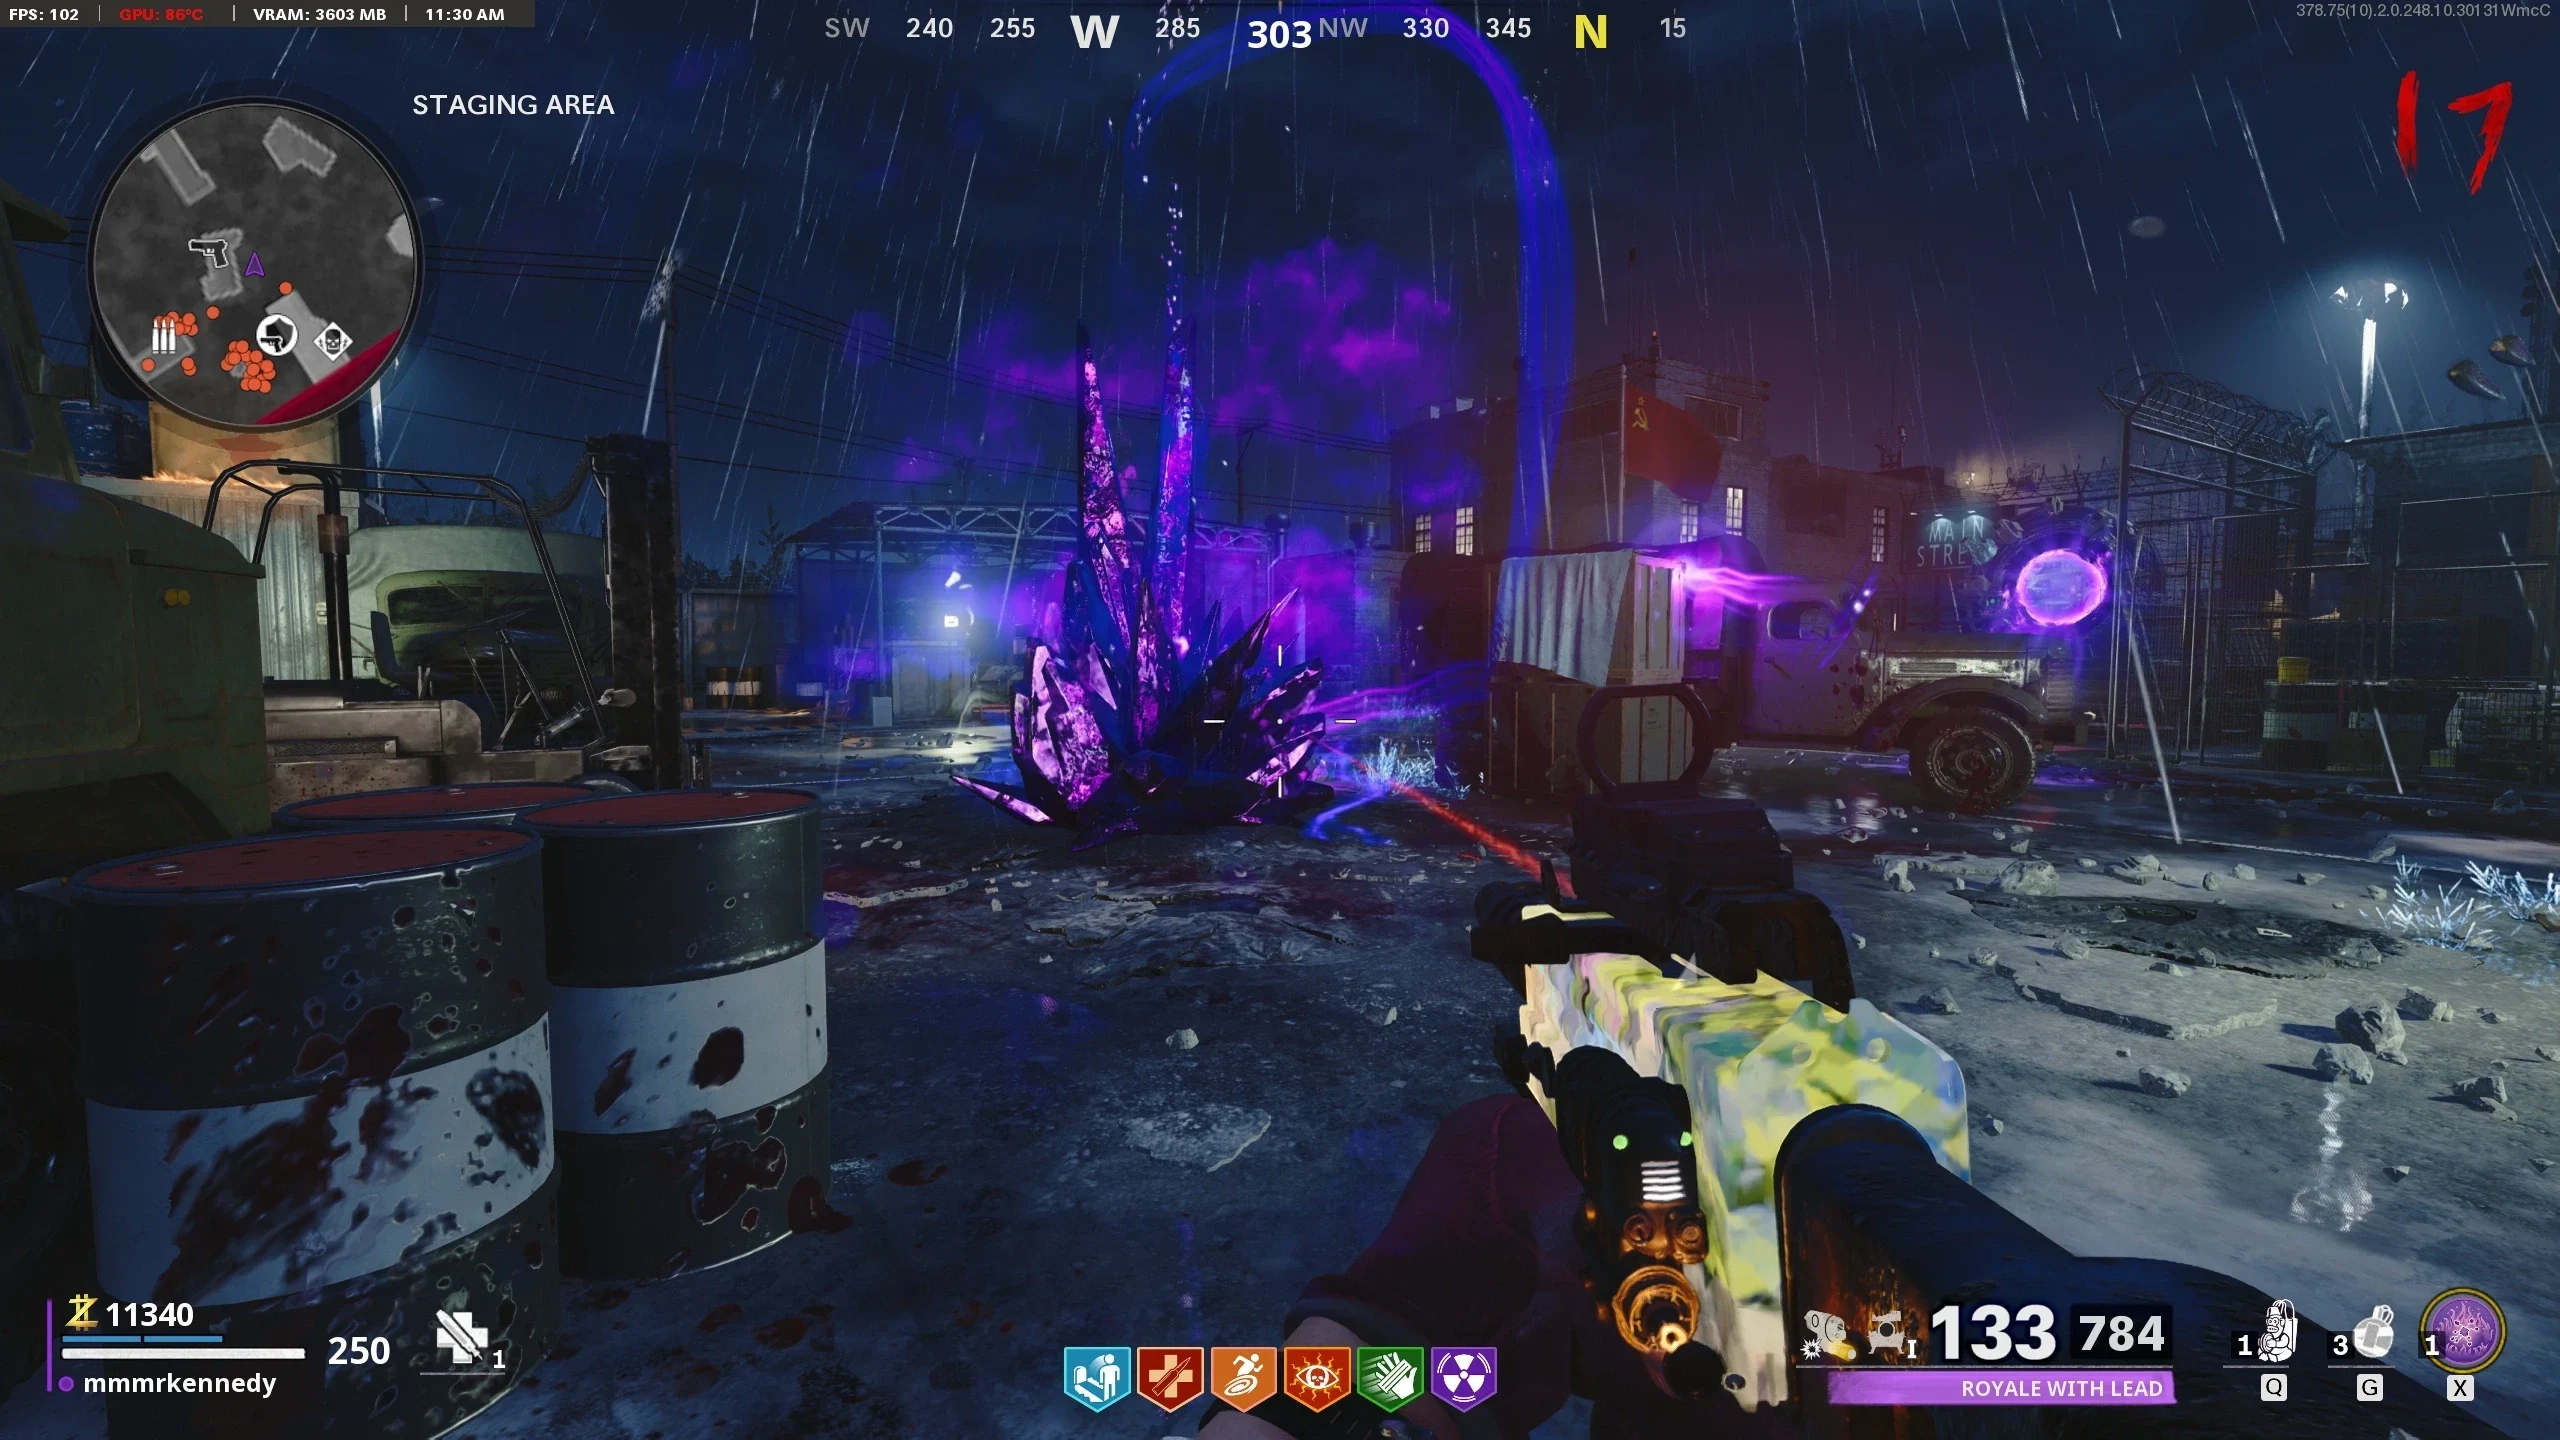
- Find three large Aetherium Crystals and shoot the three orbs flying around the crystal. The best weapon for this is the Chrysalax's Gun Form because of its high damage. Once the orbs are destroyed, melee the Large Crystal with the Chrysalax to destroy it.
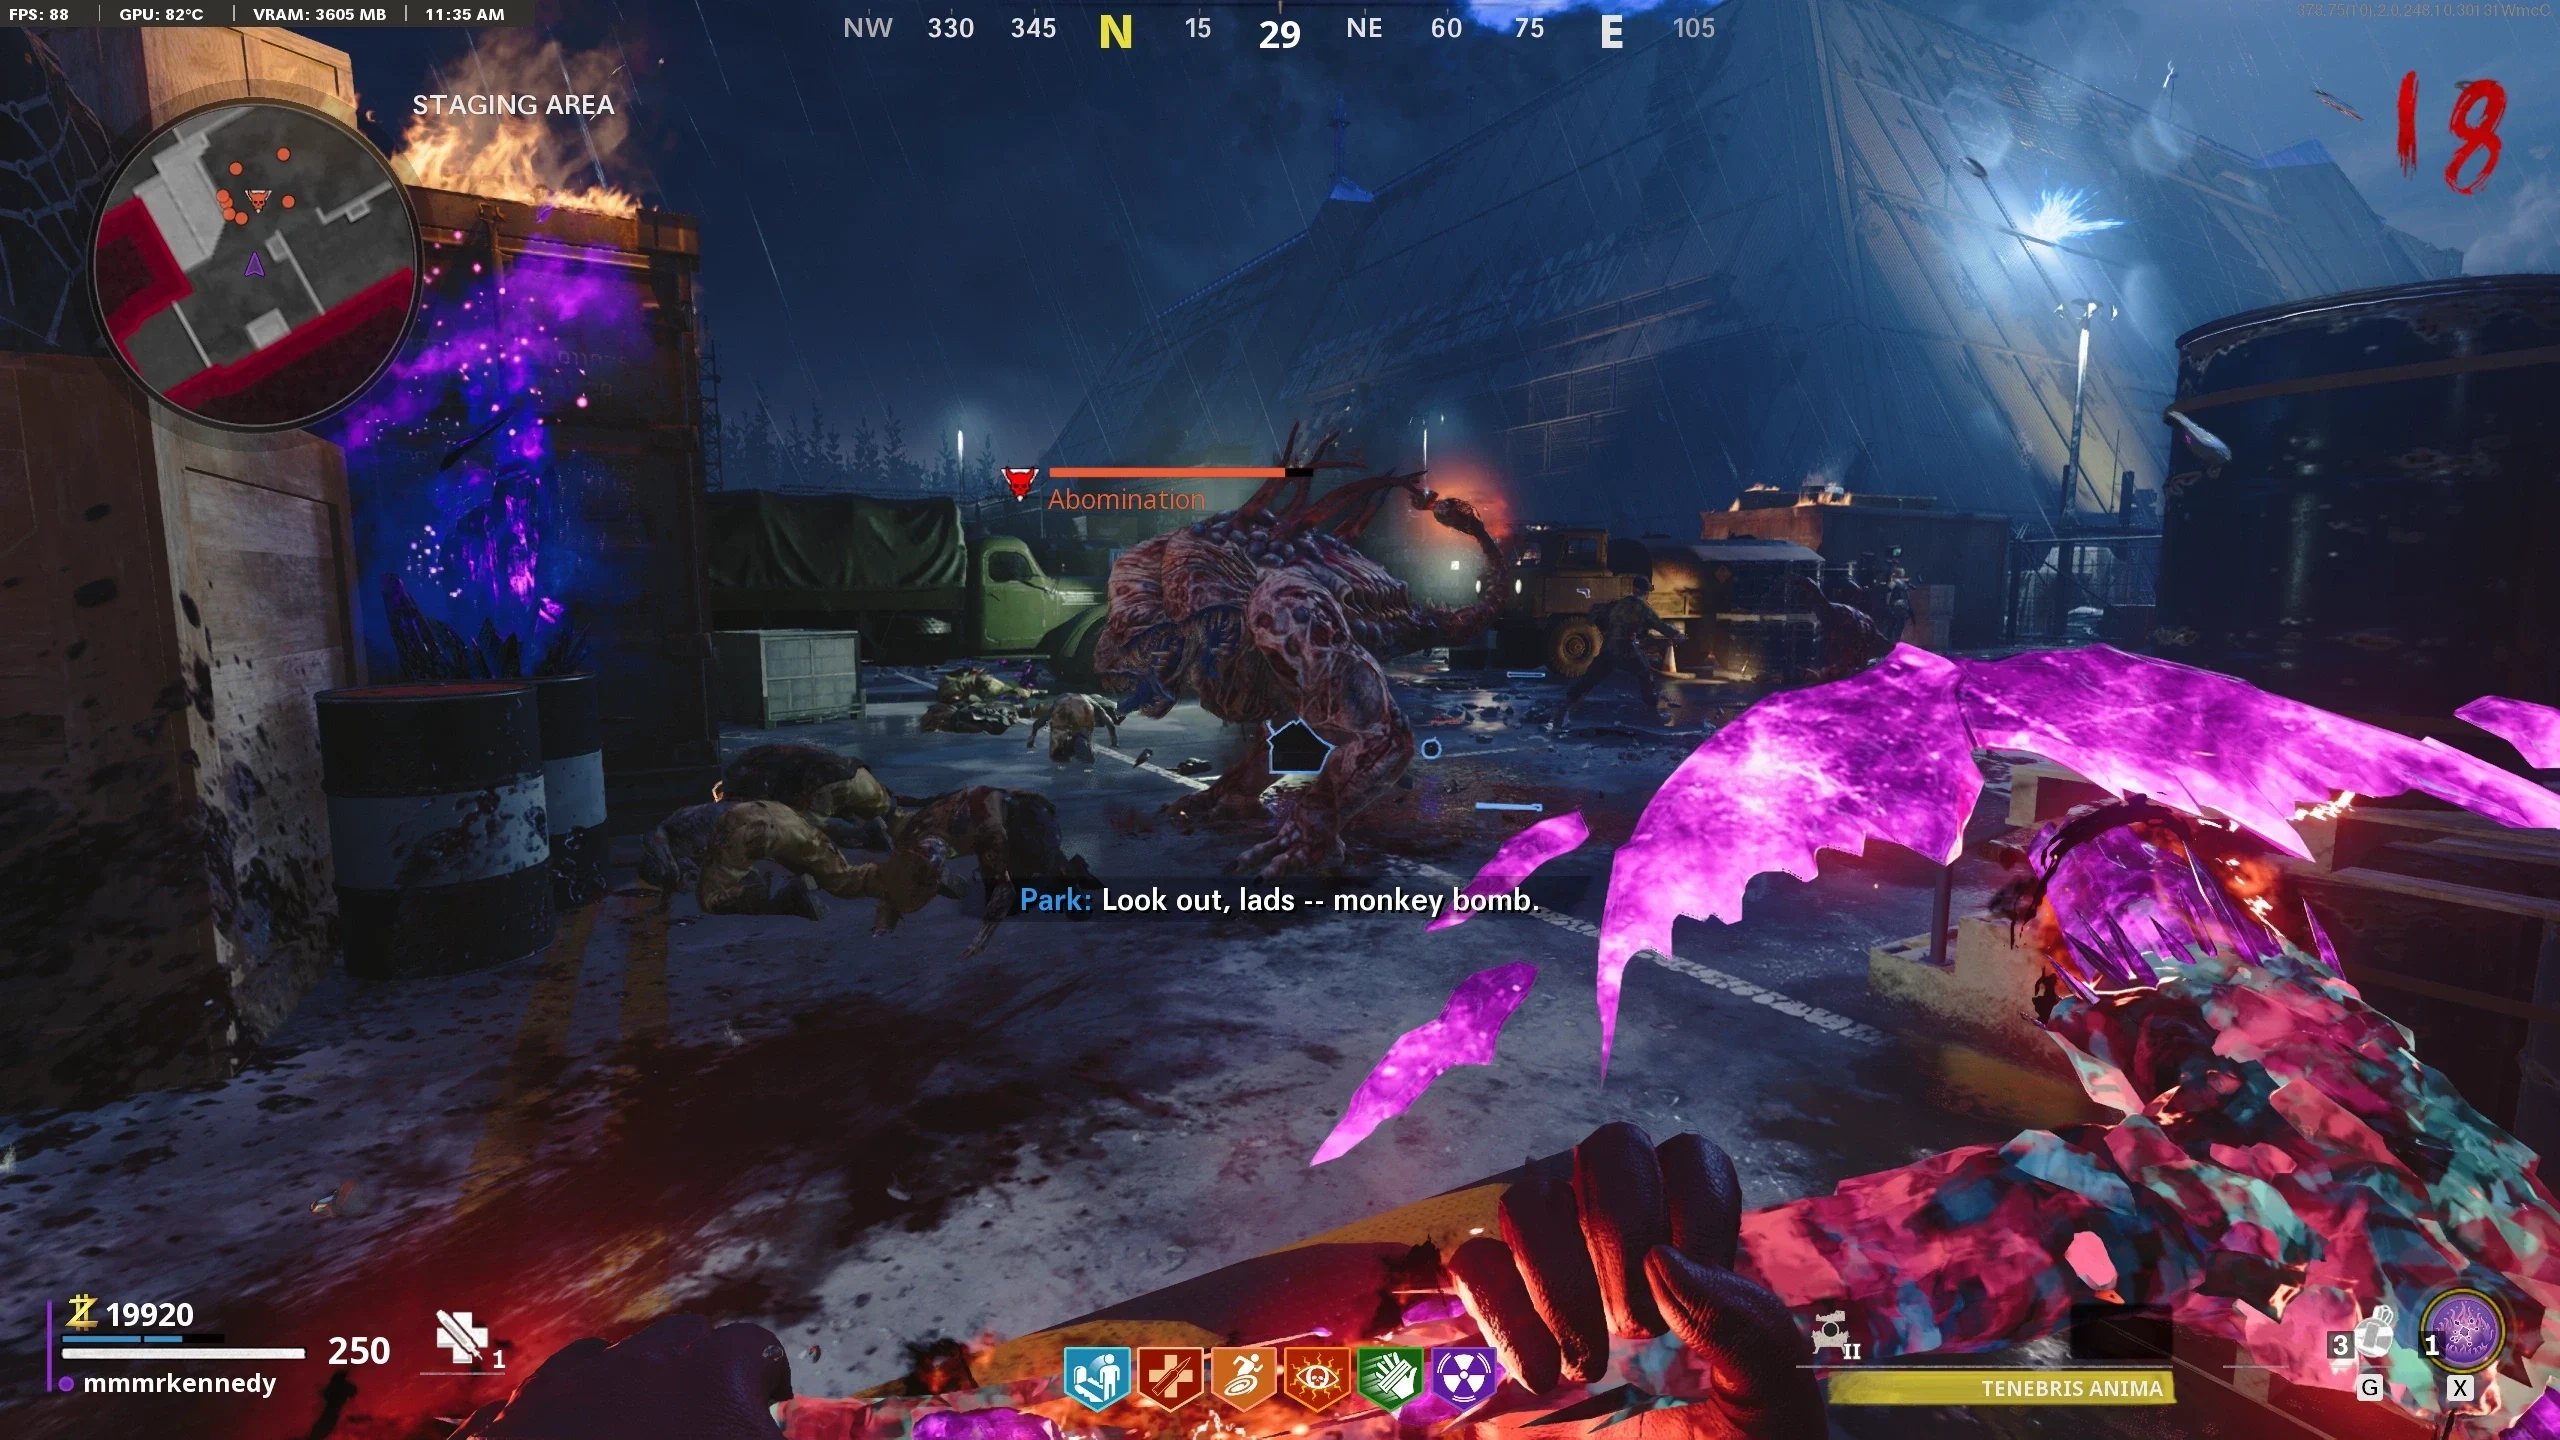
- Once destroyed, the Crystal will break into a Crystal Shard which will replace your tactical equipment when picked up. After picking up the Crystal Shard, an Abomination will spawn nearby.
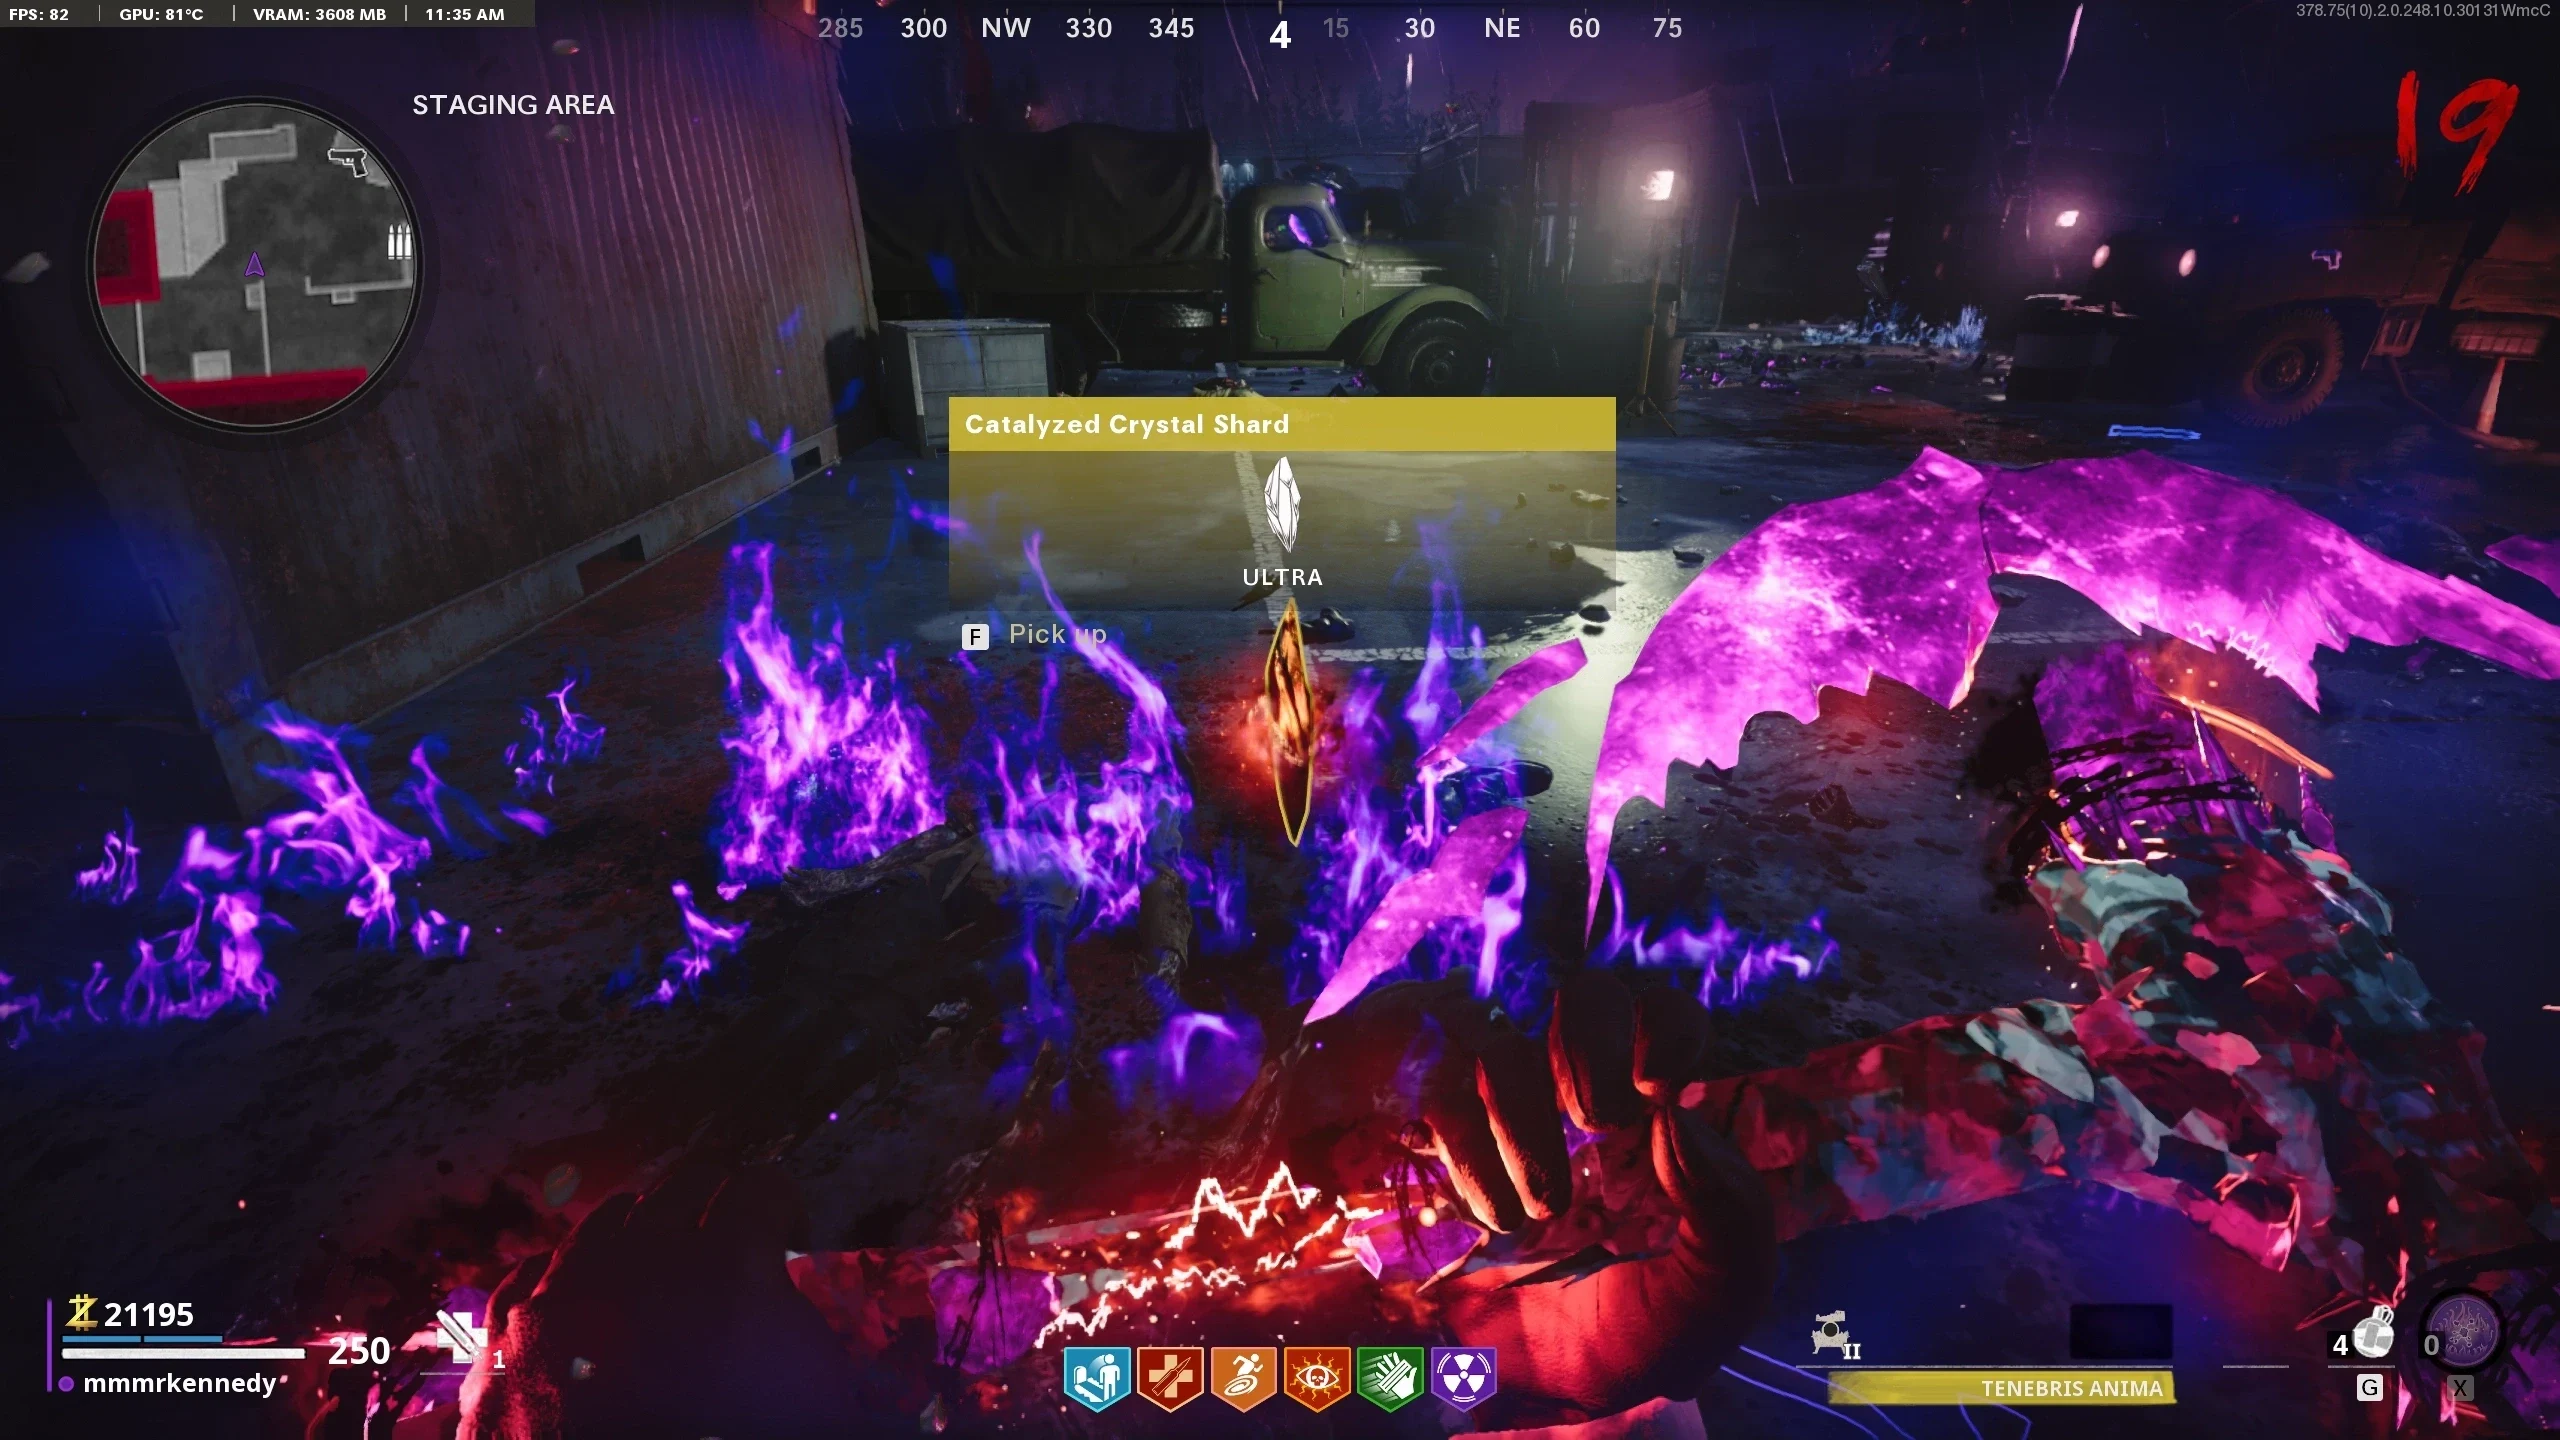
- Throw the Shard into the Abomination's mouth. After it swallows the Crystal, and its tail becomes red, kill it and collect the Catalyzed Crystal Shard that it drops.
- Repeat Steps 8-10 for the other two large Crystals.
- Obtain a Pack-a-Punched Weapon with Dead Wire.
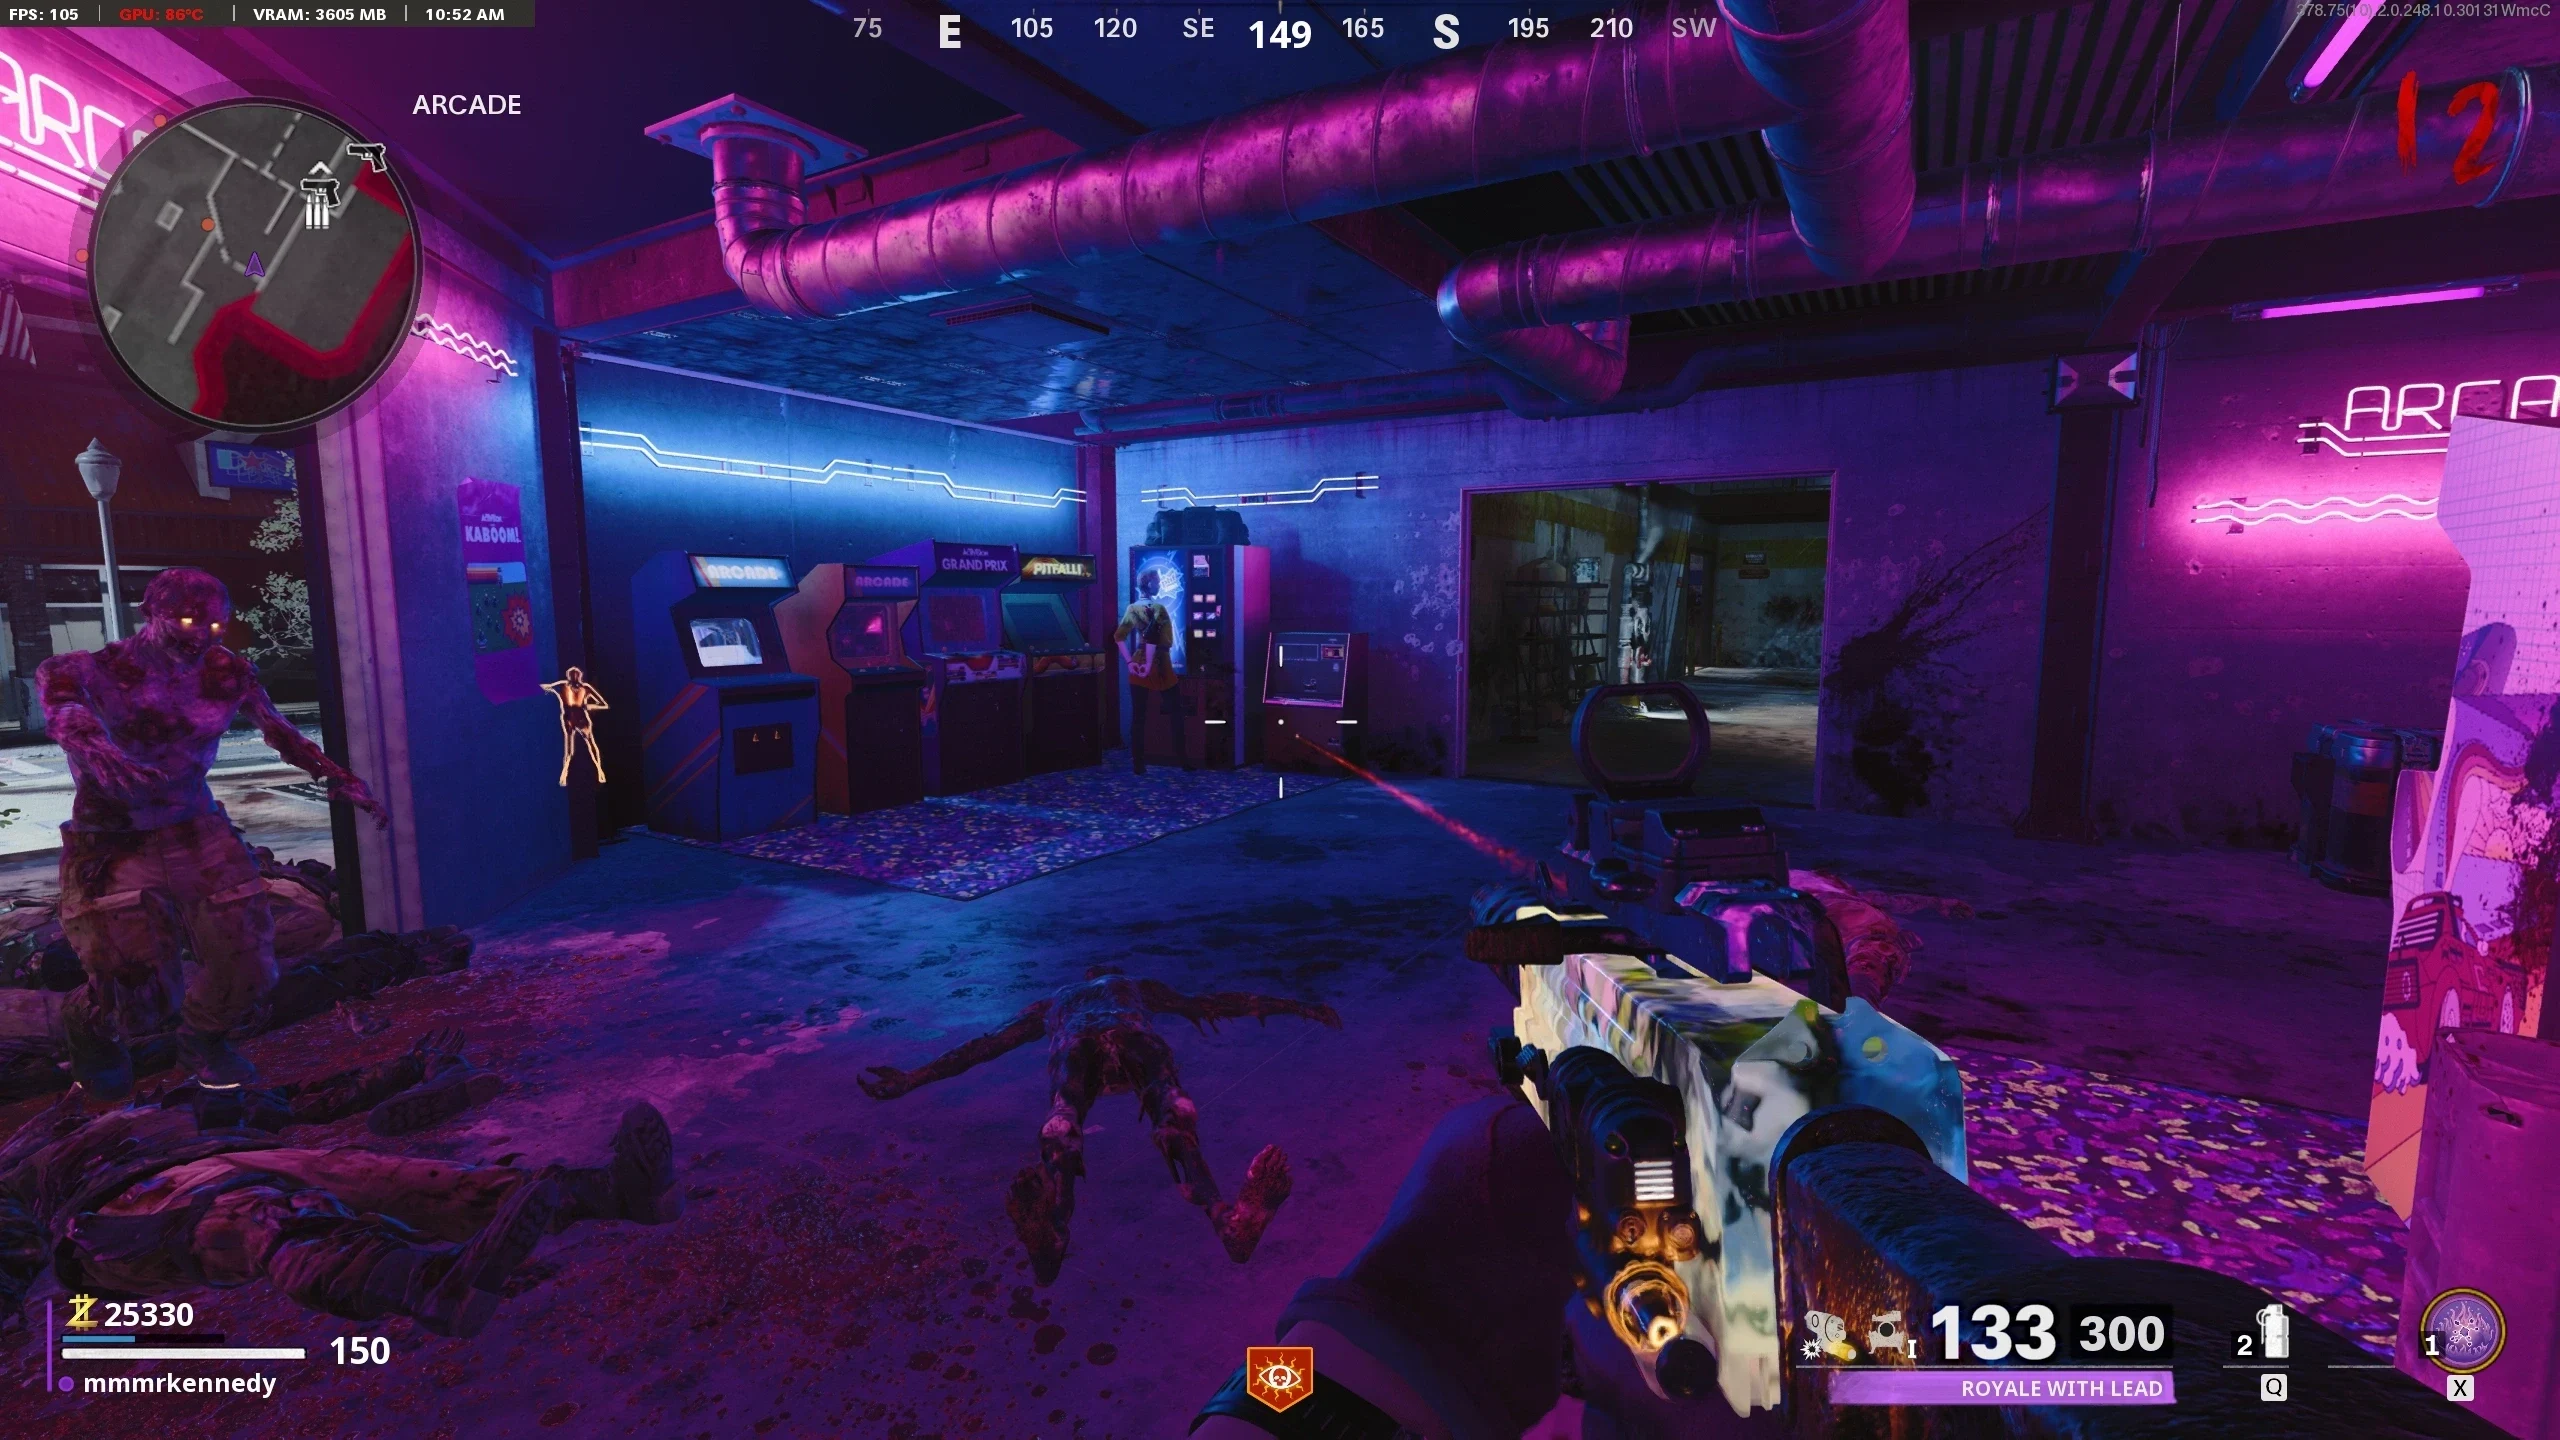
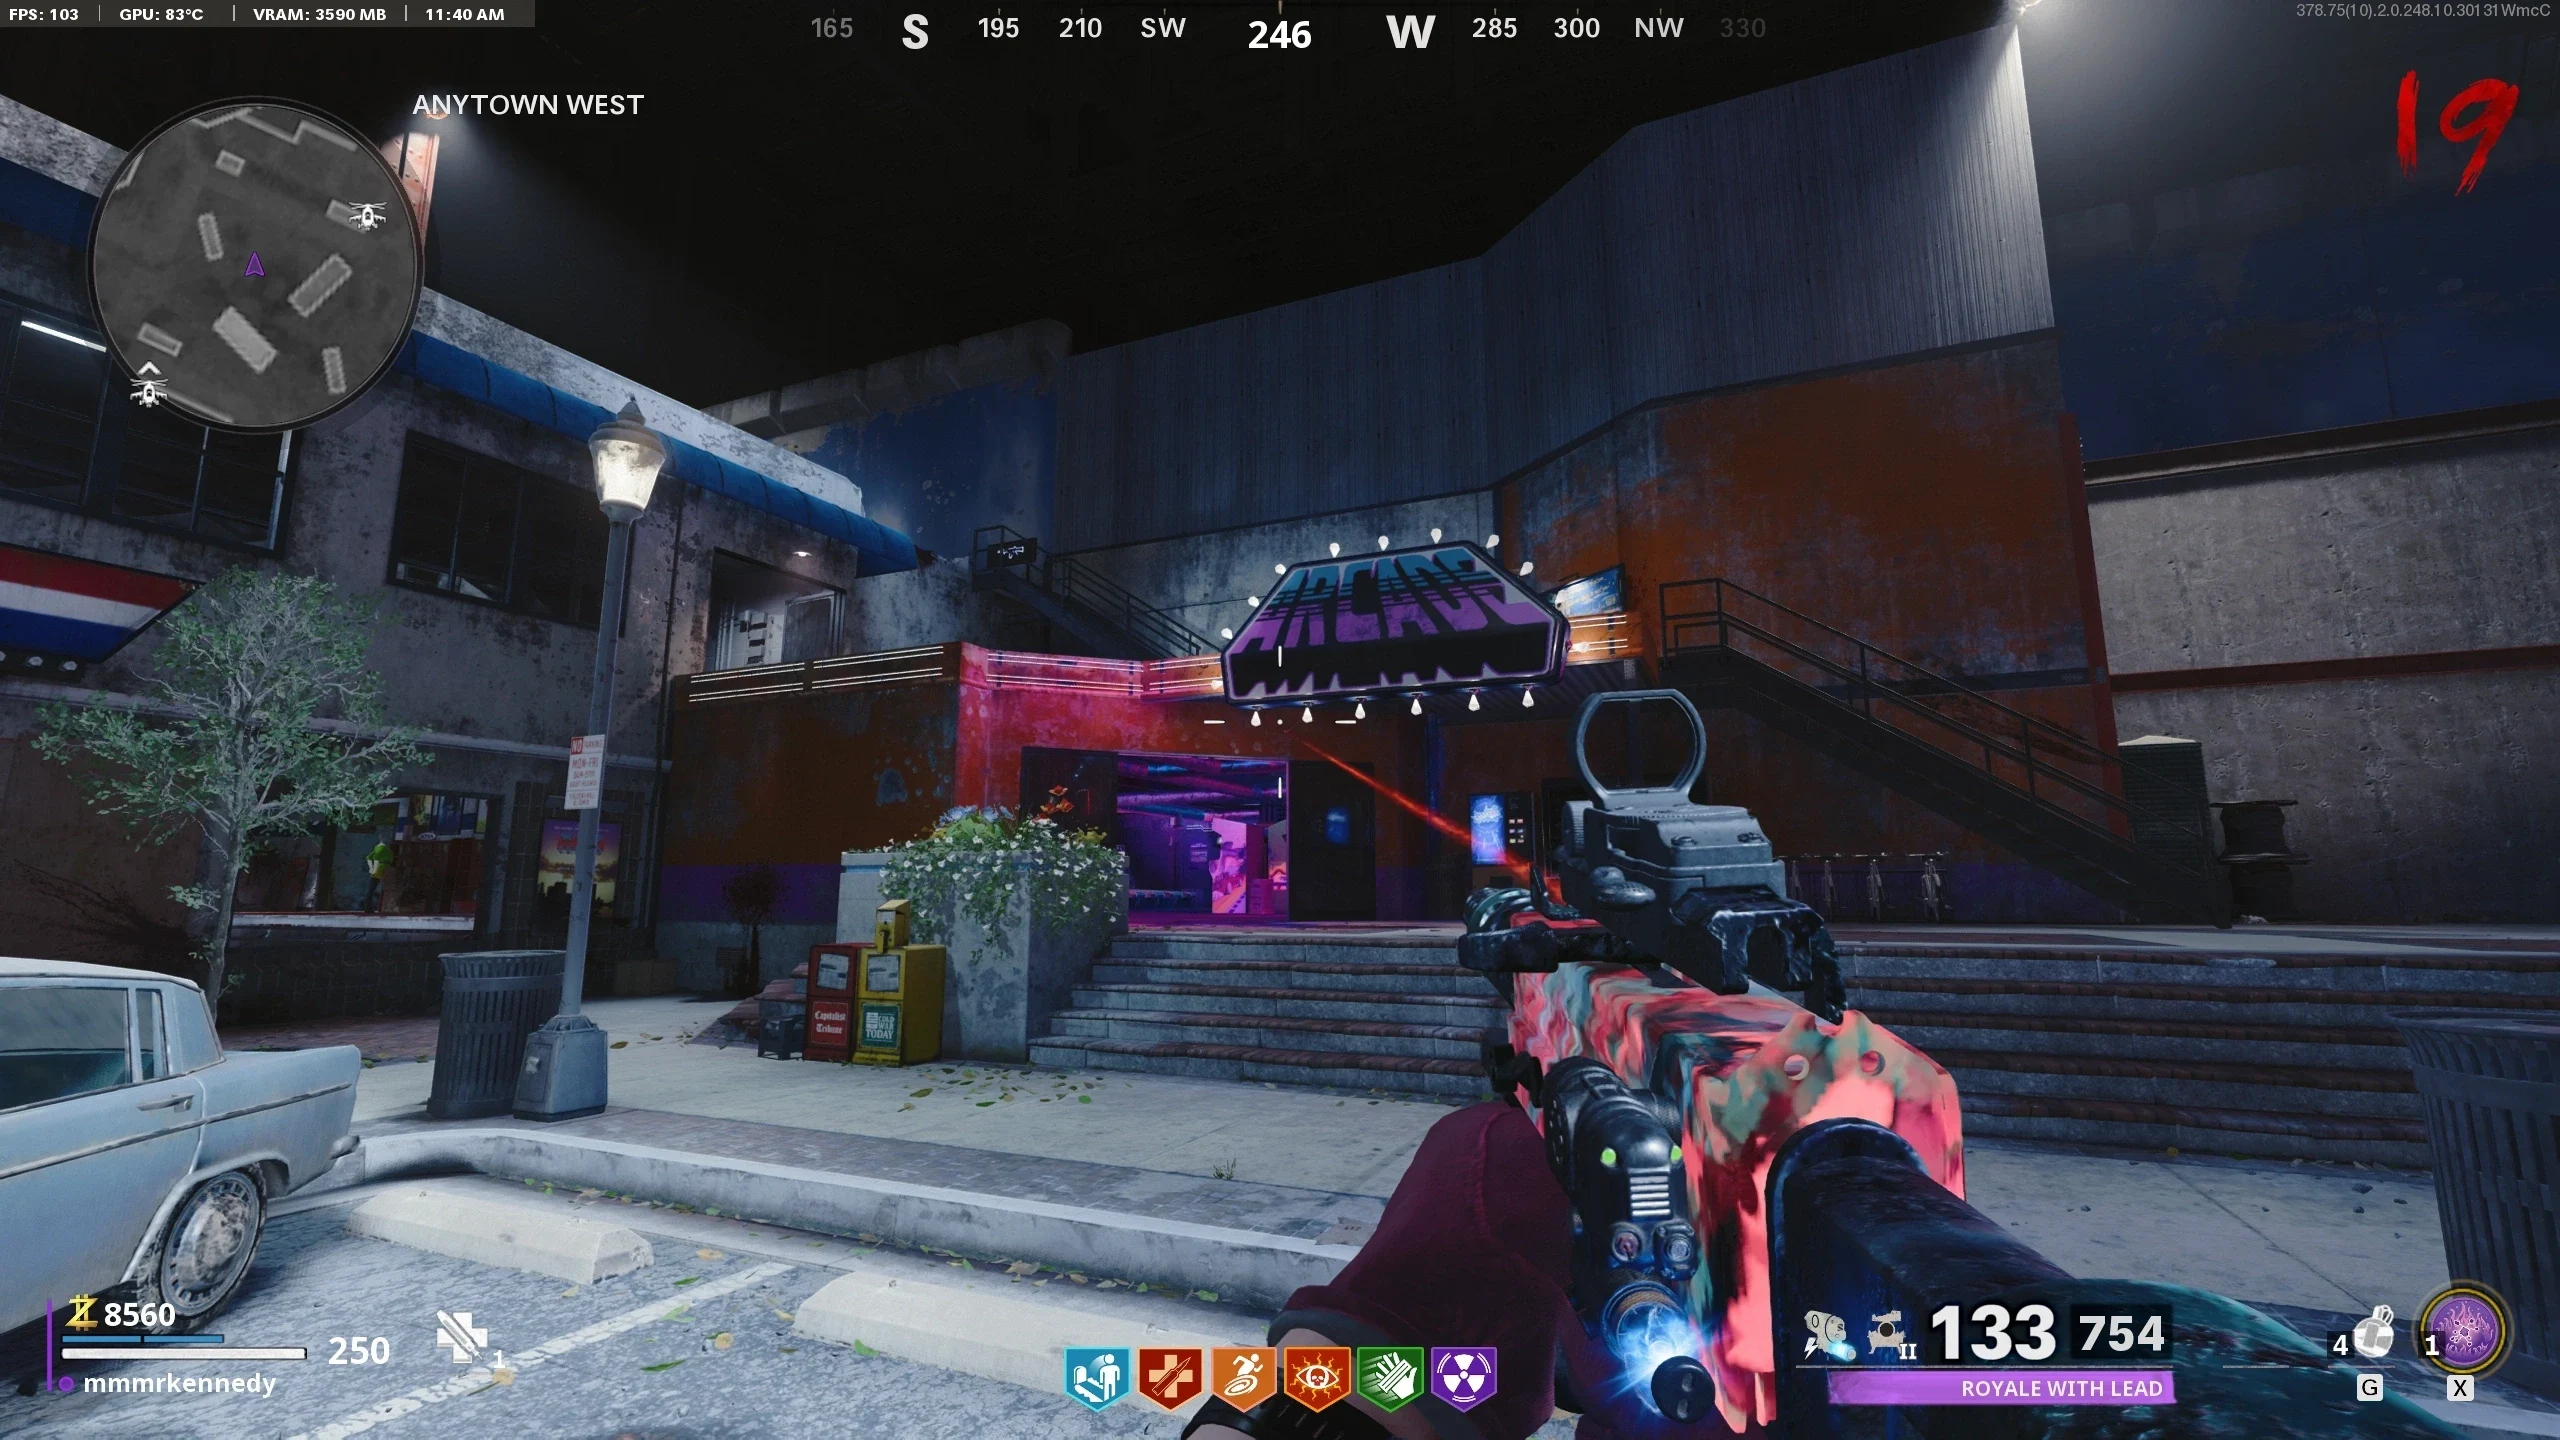
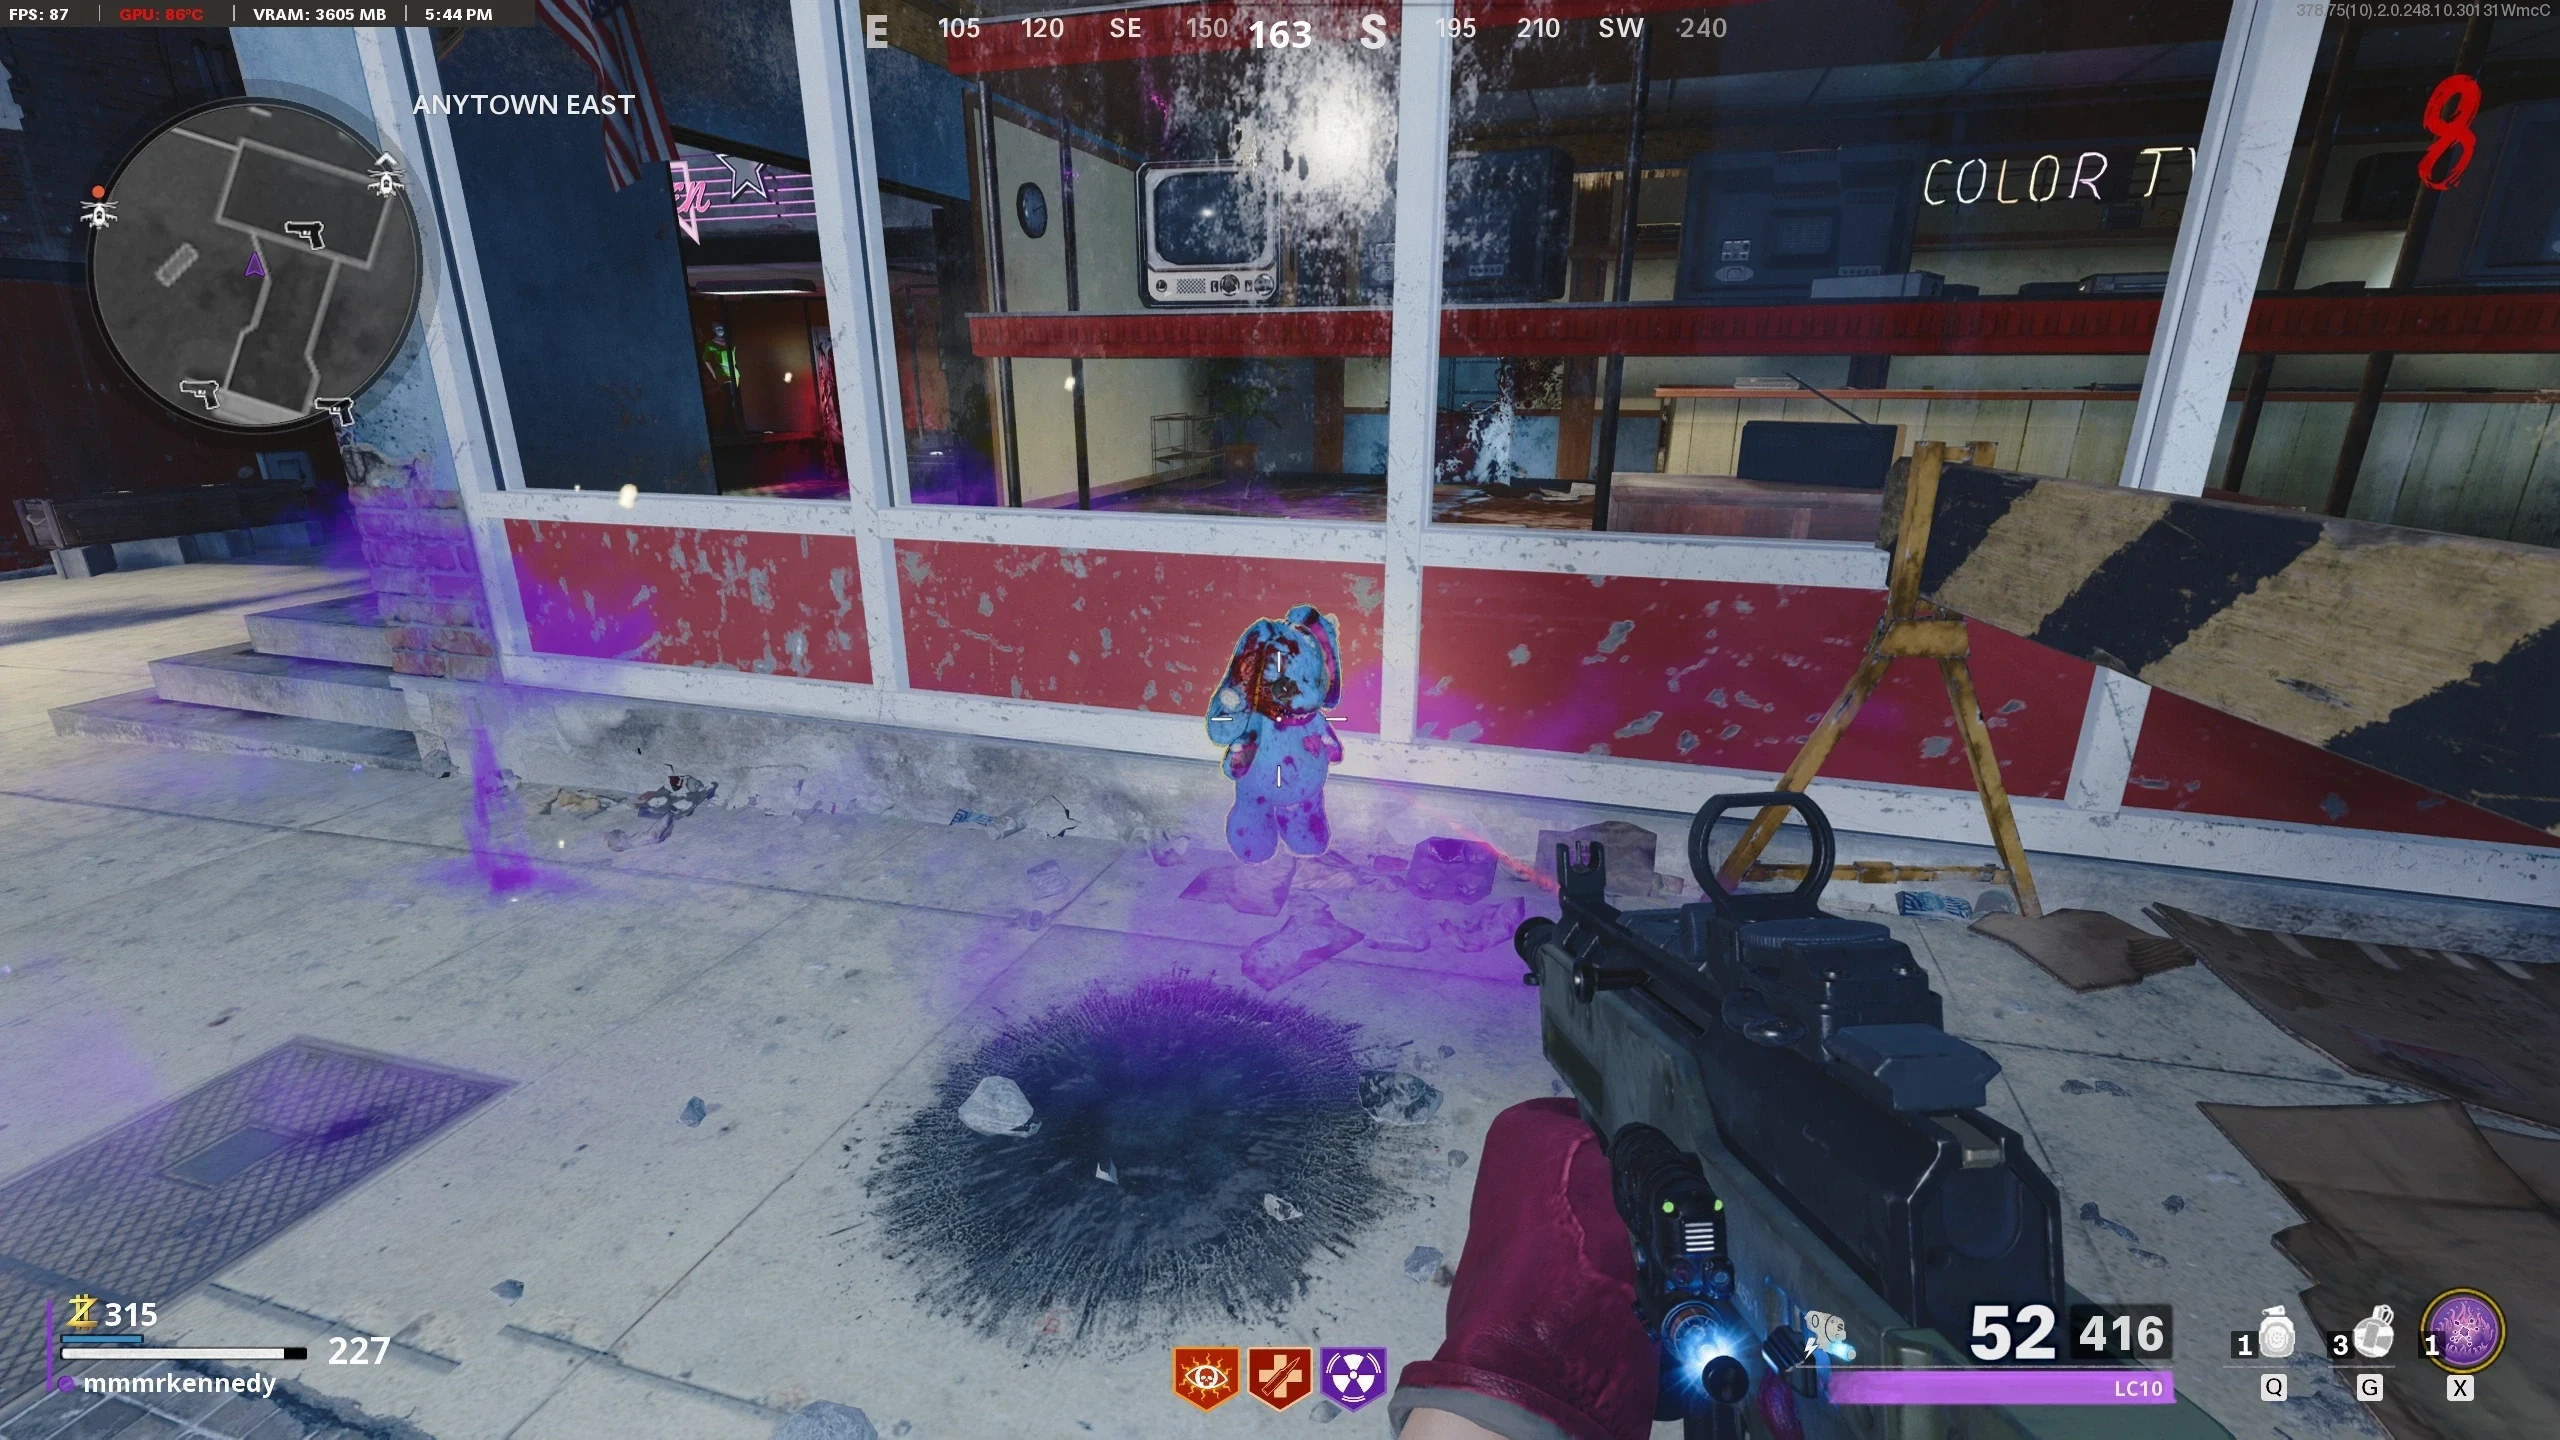
- Obtain from Zombie Drops or Buy an Arcade Token.
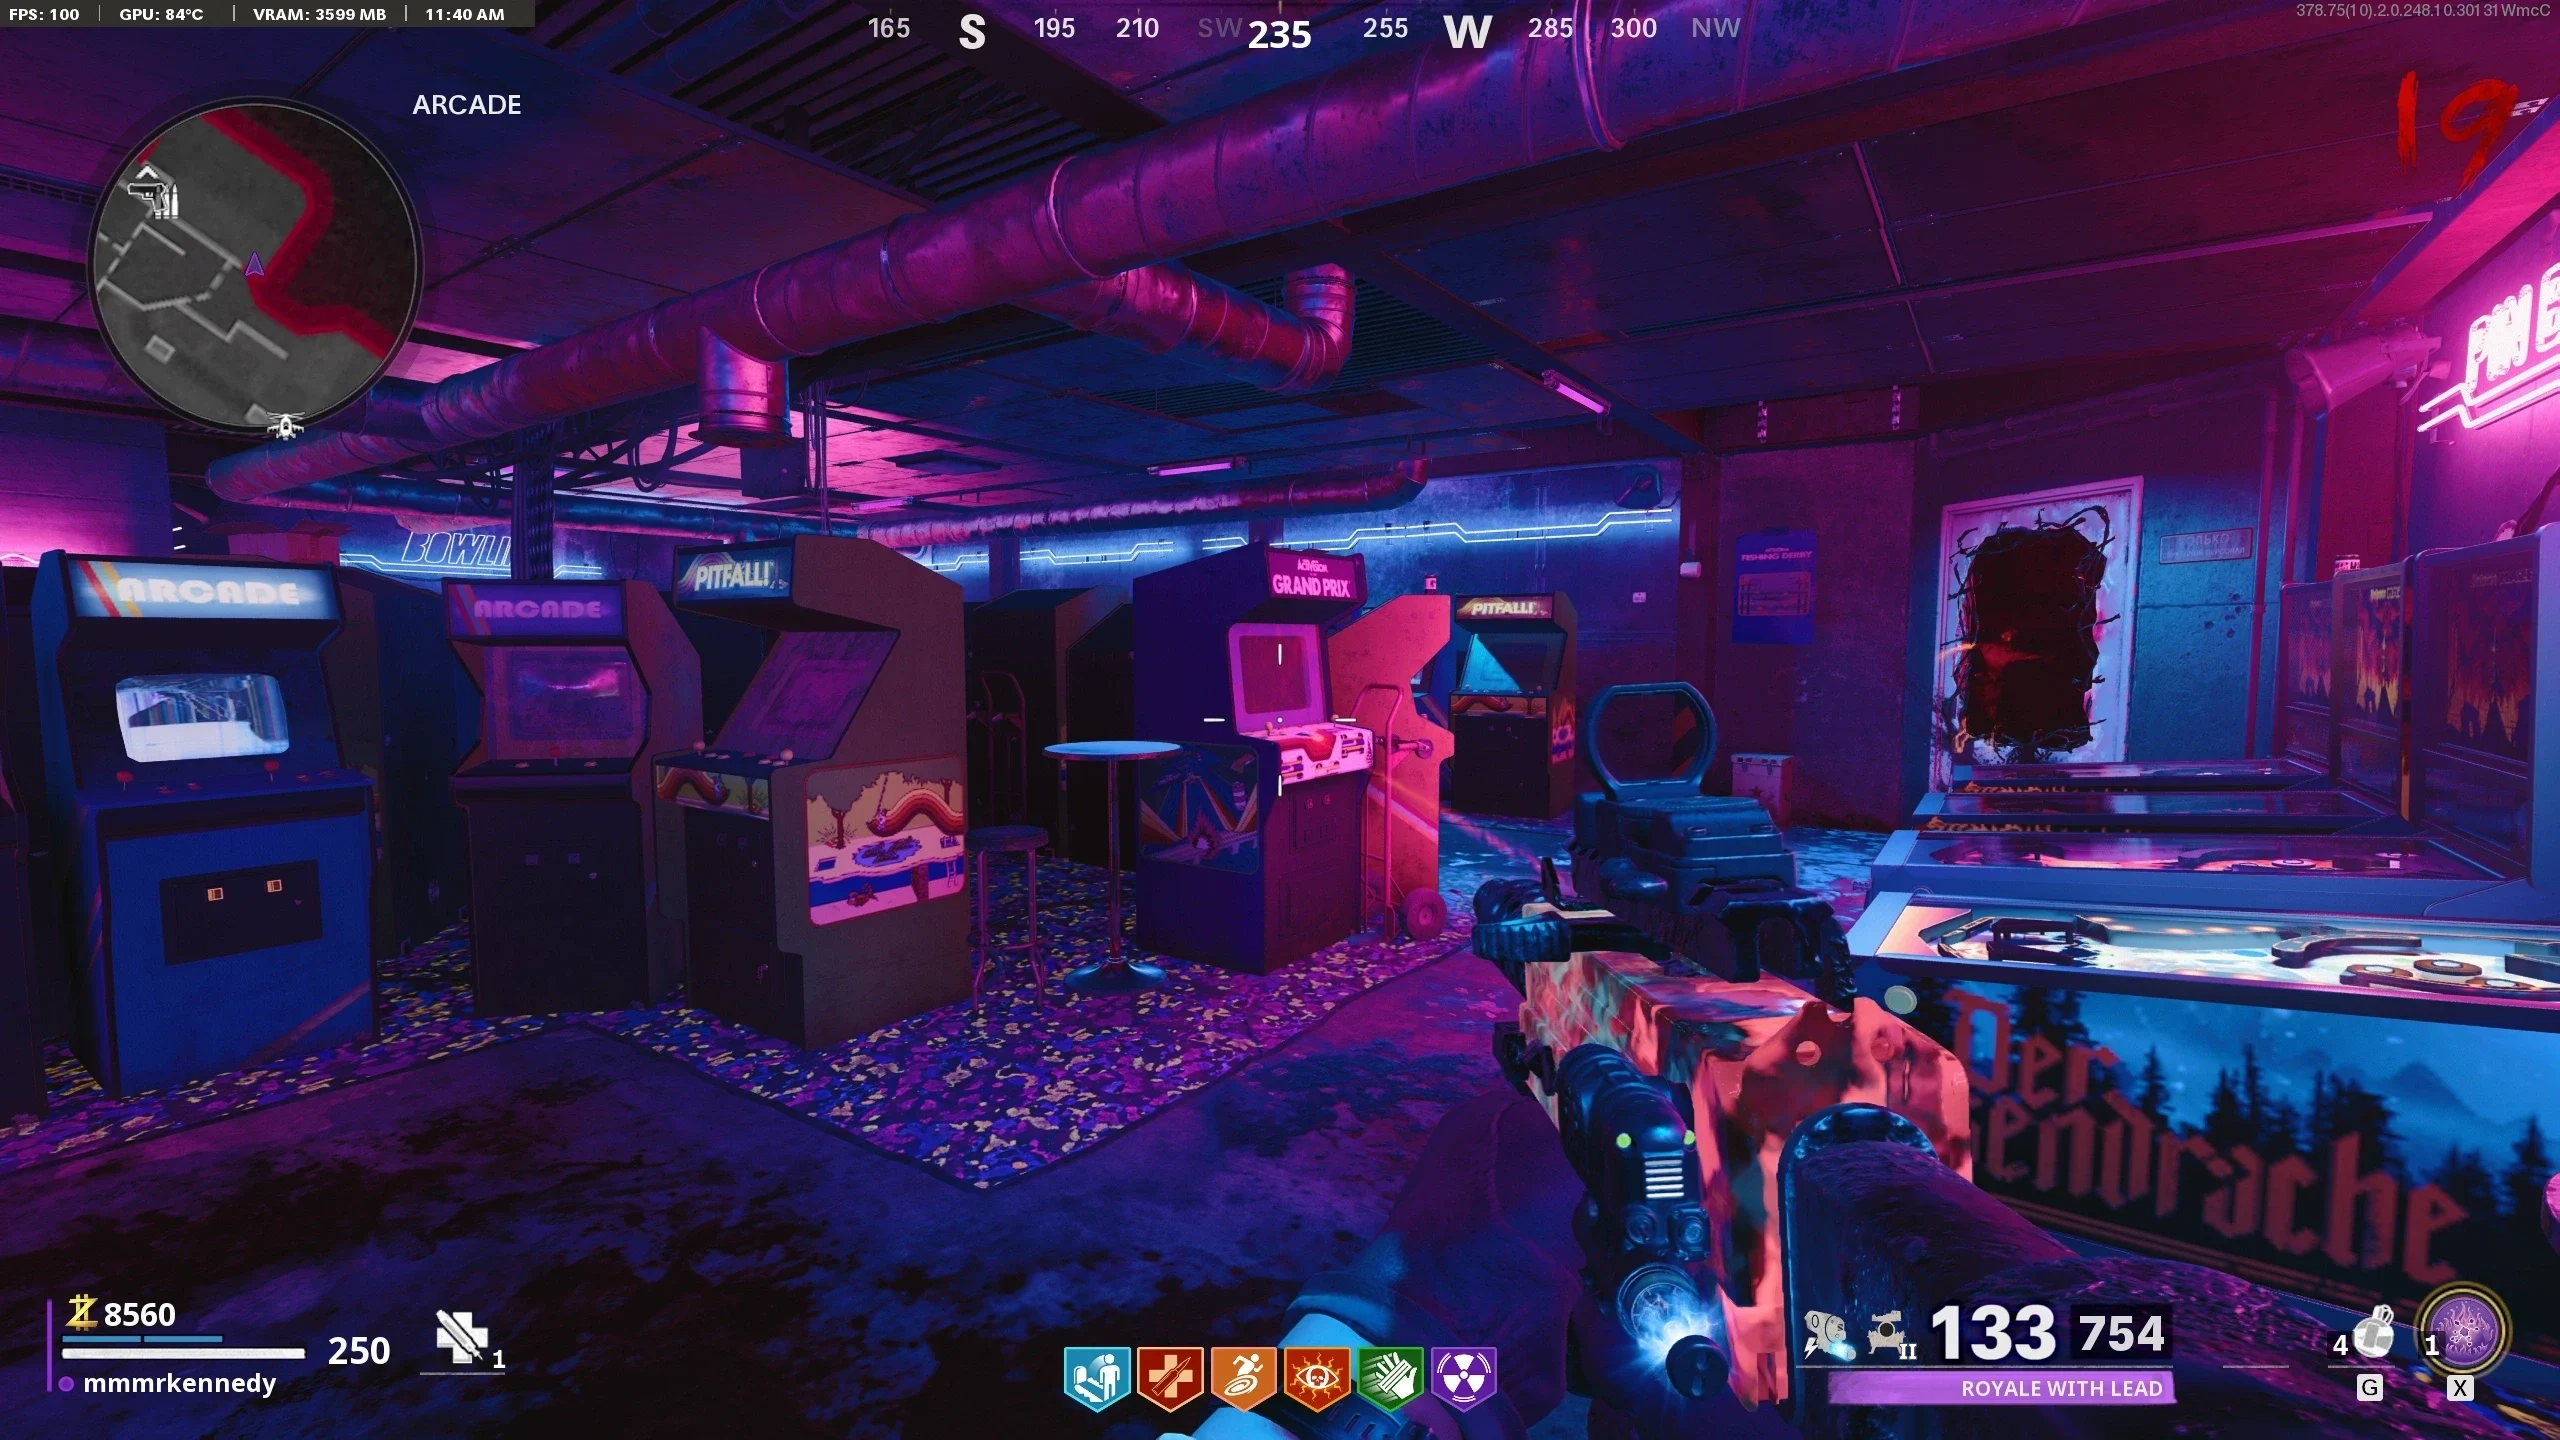
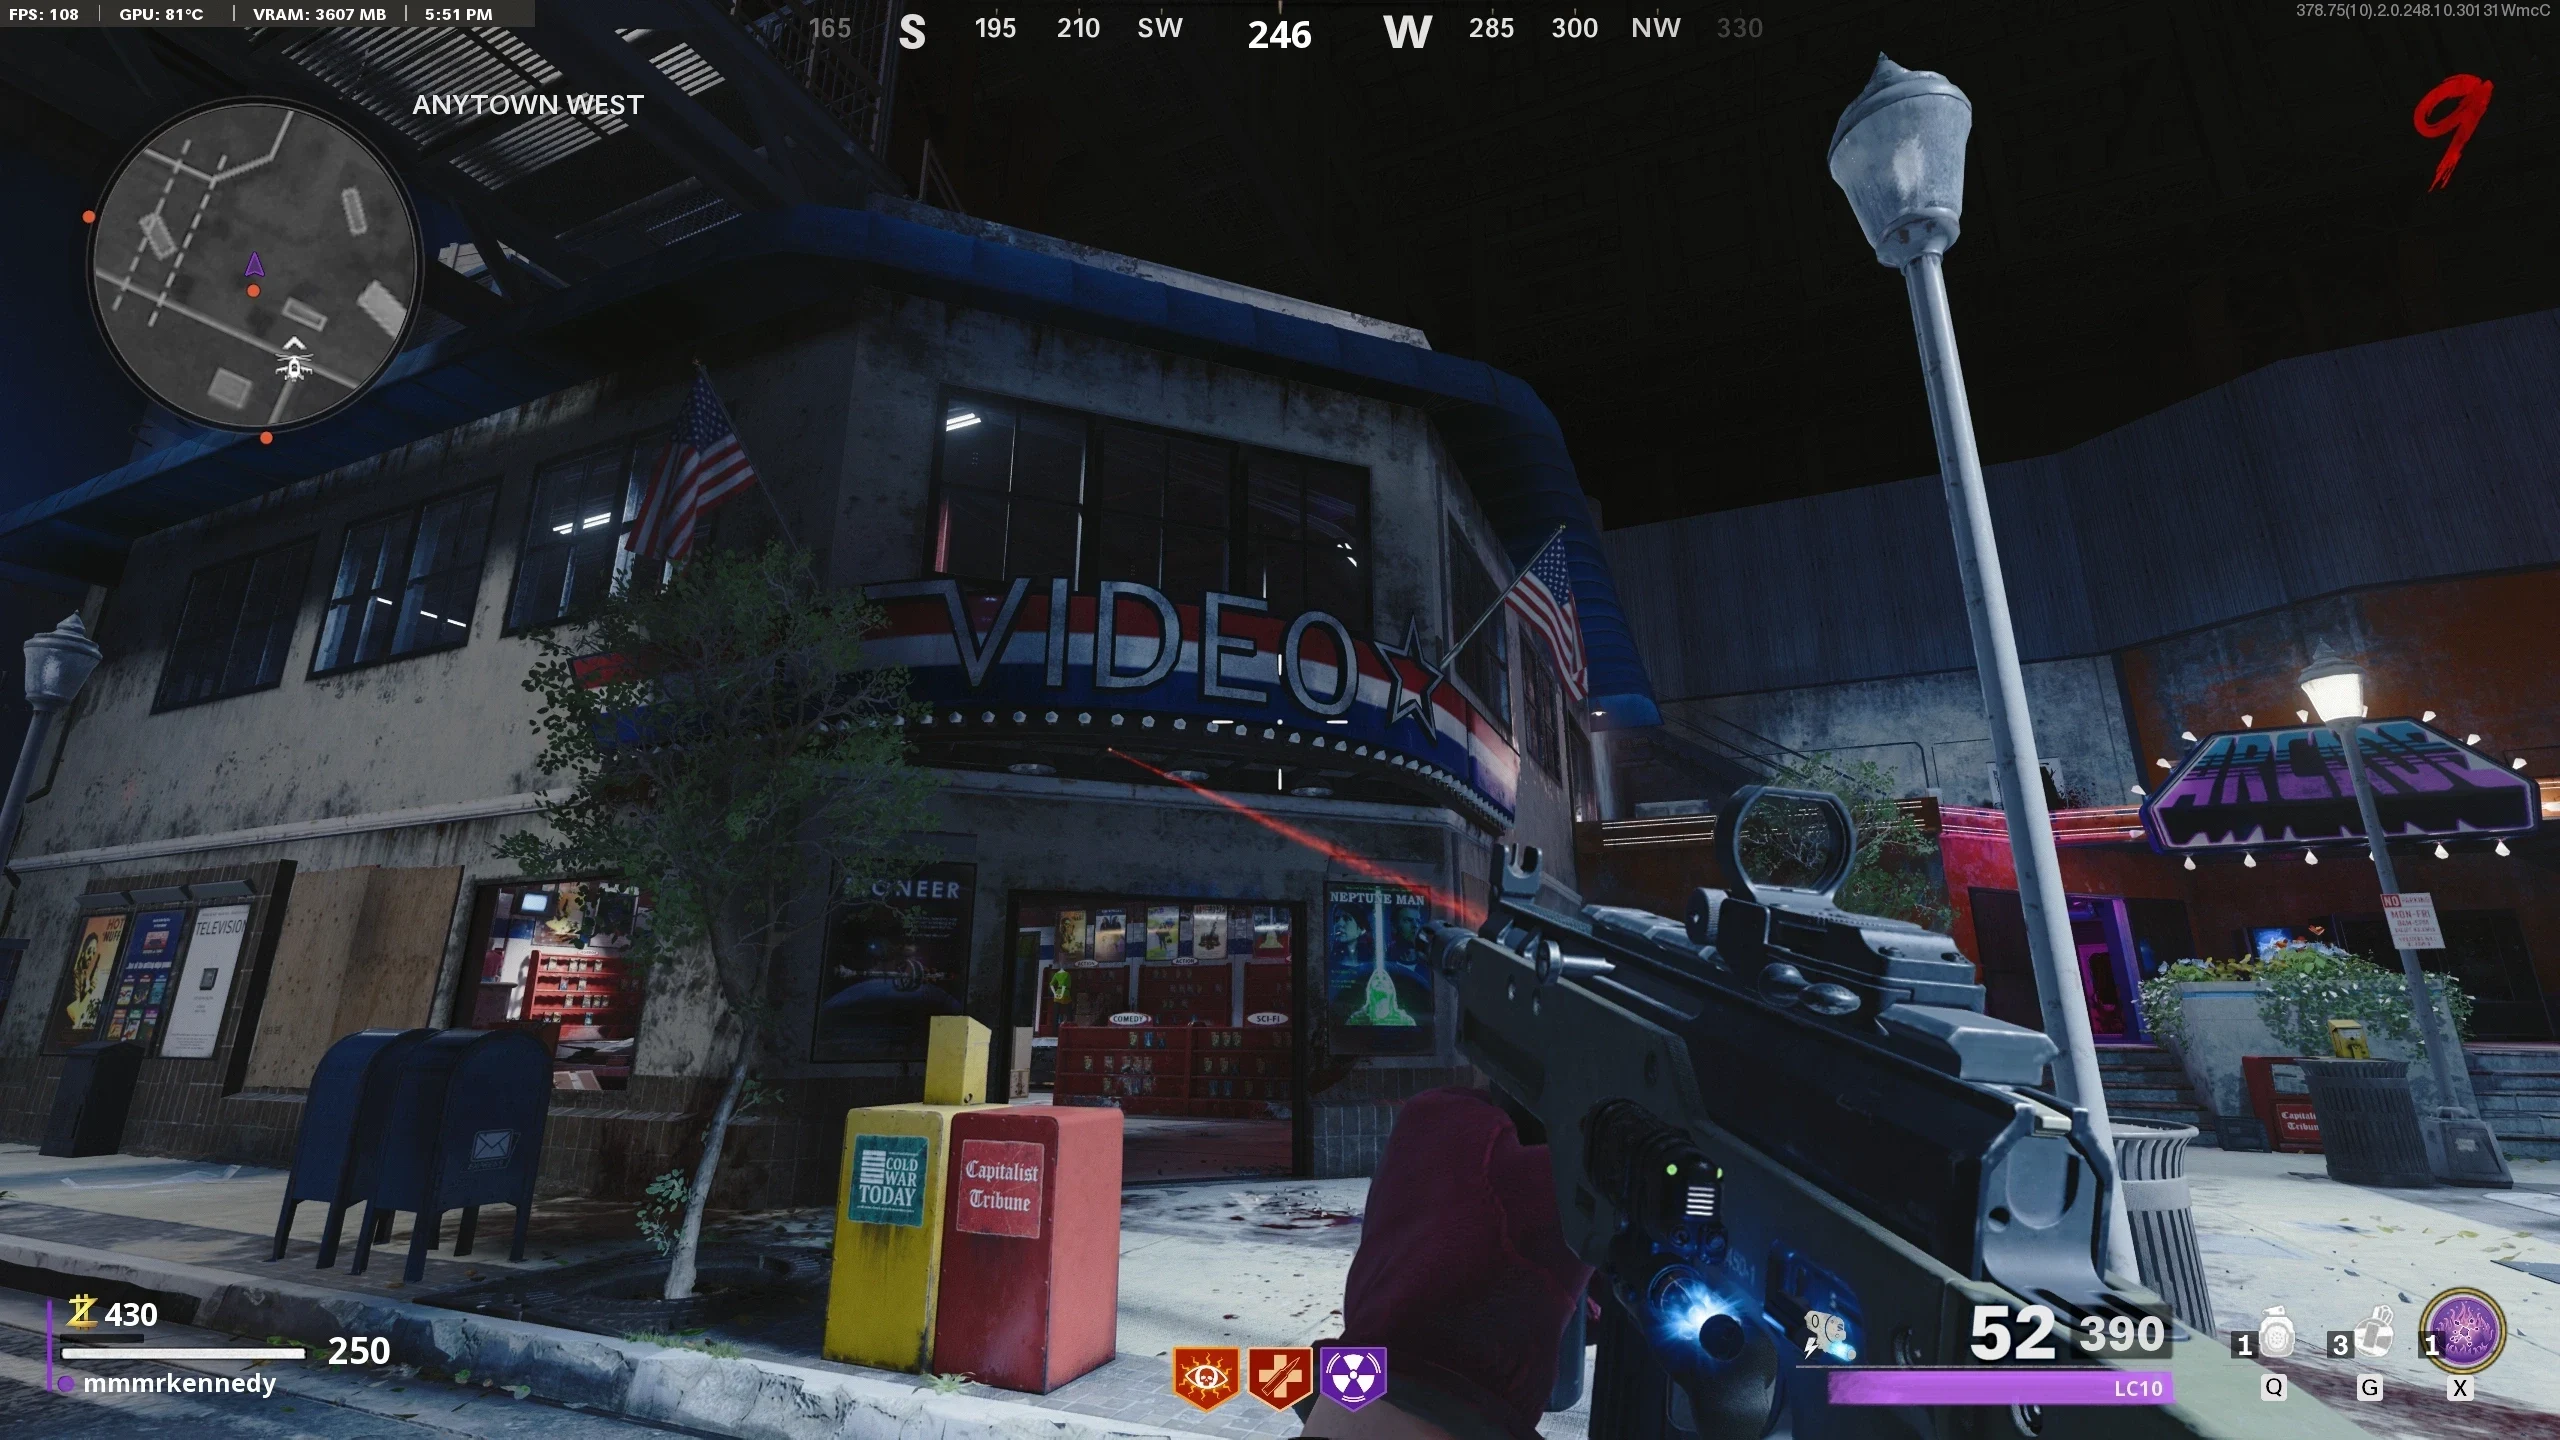
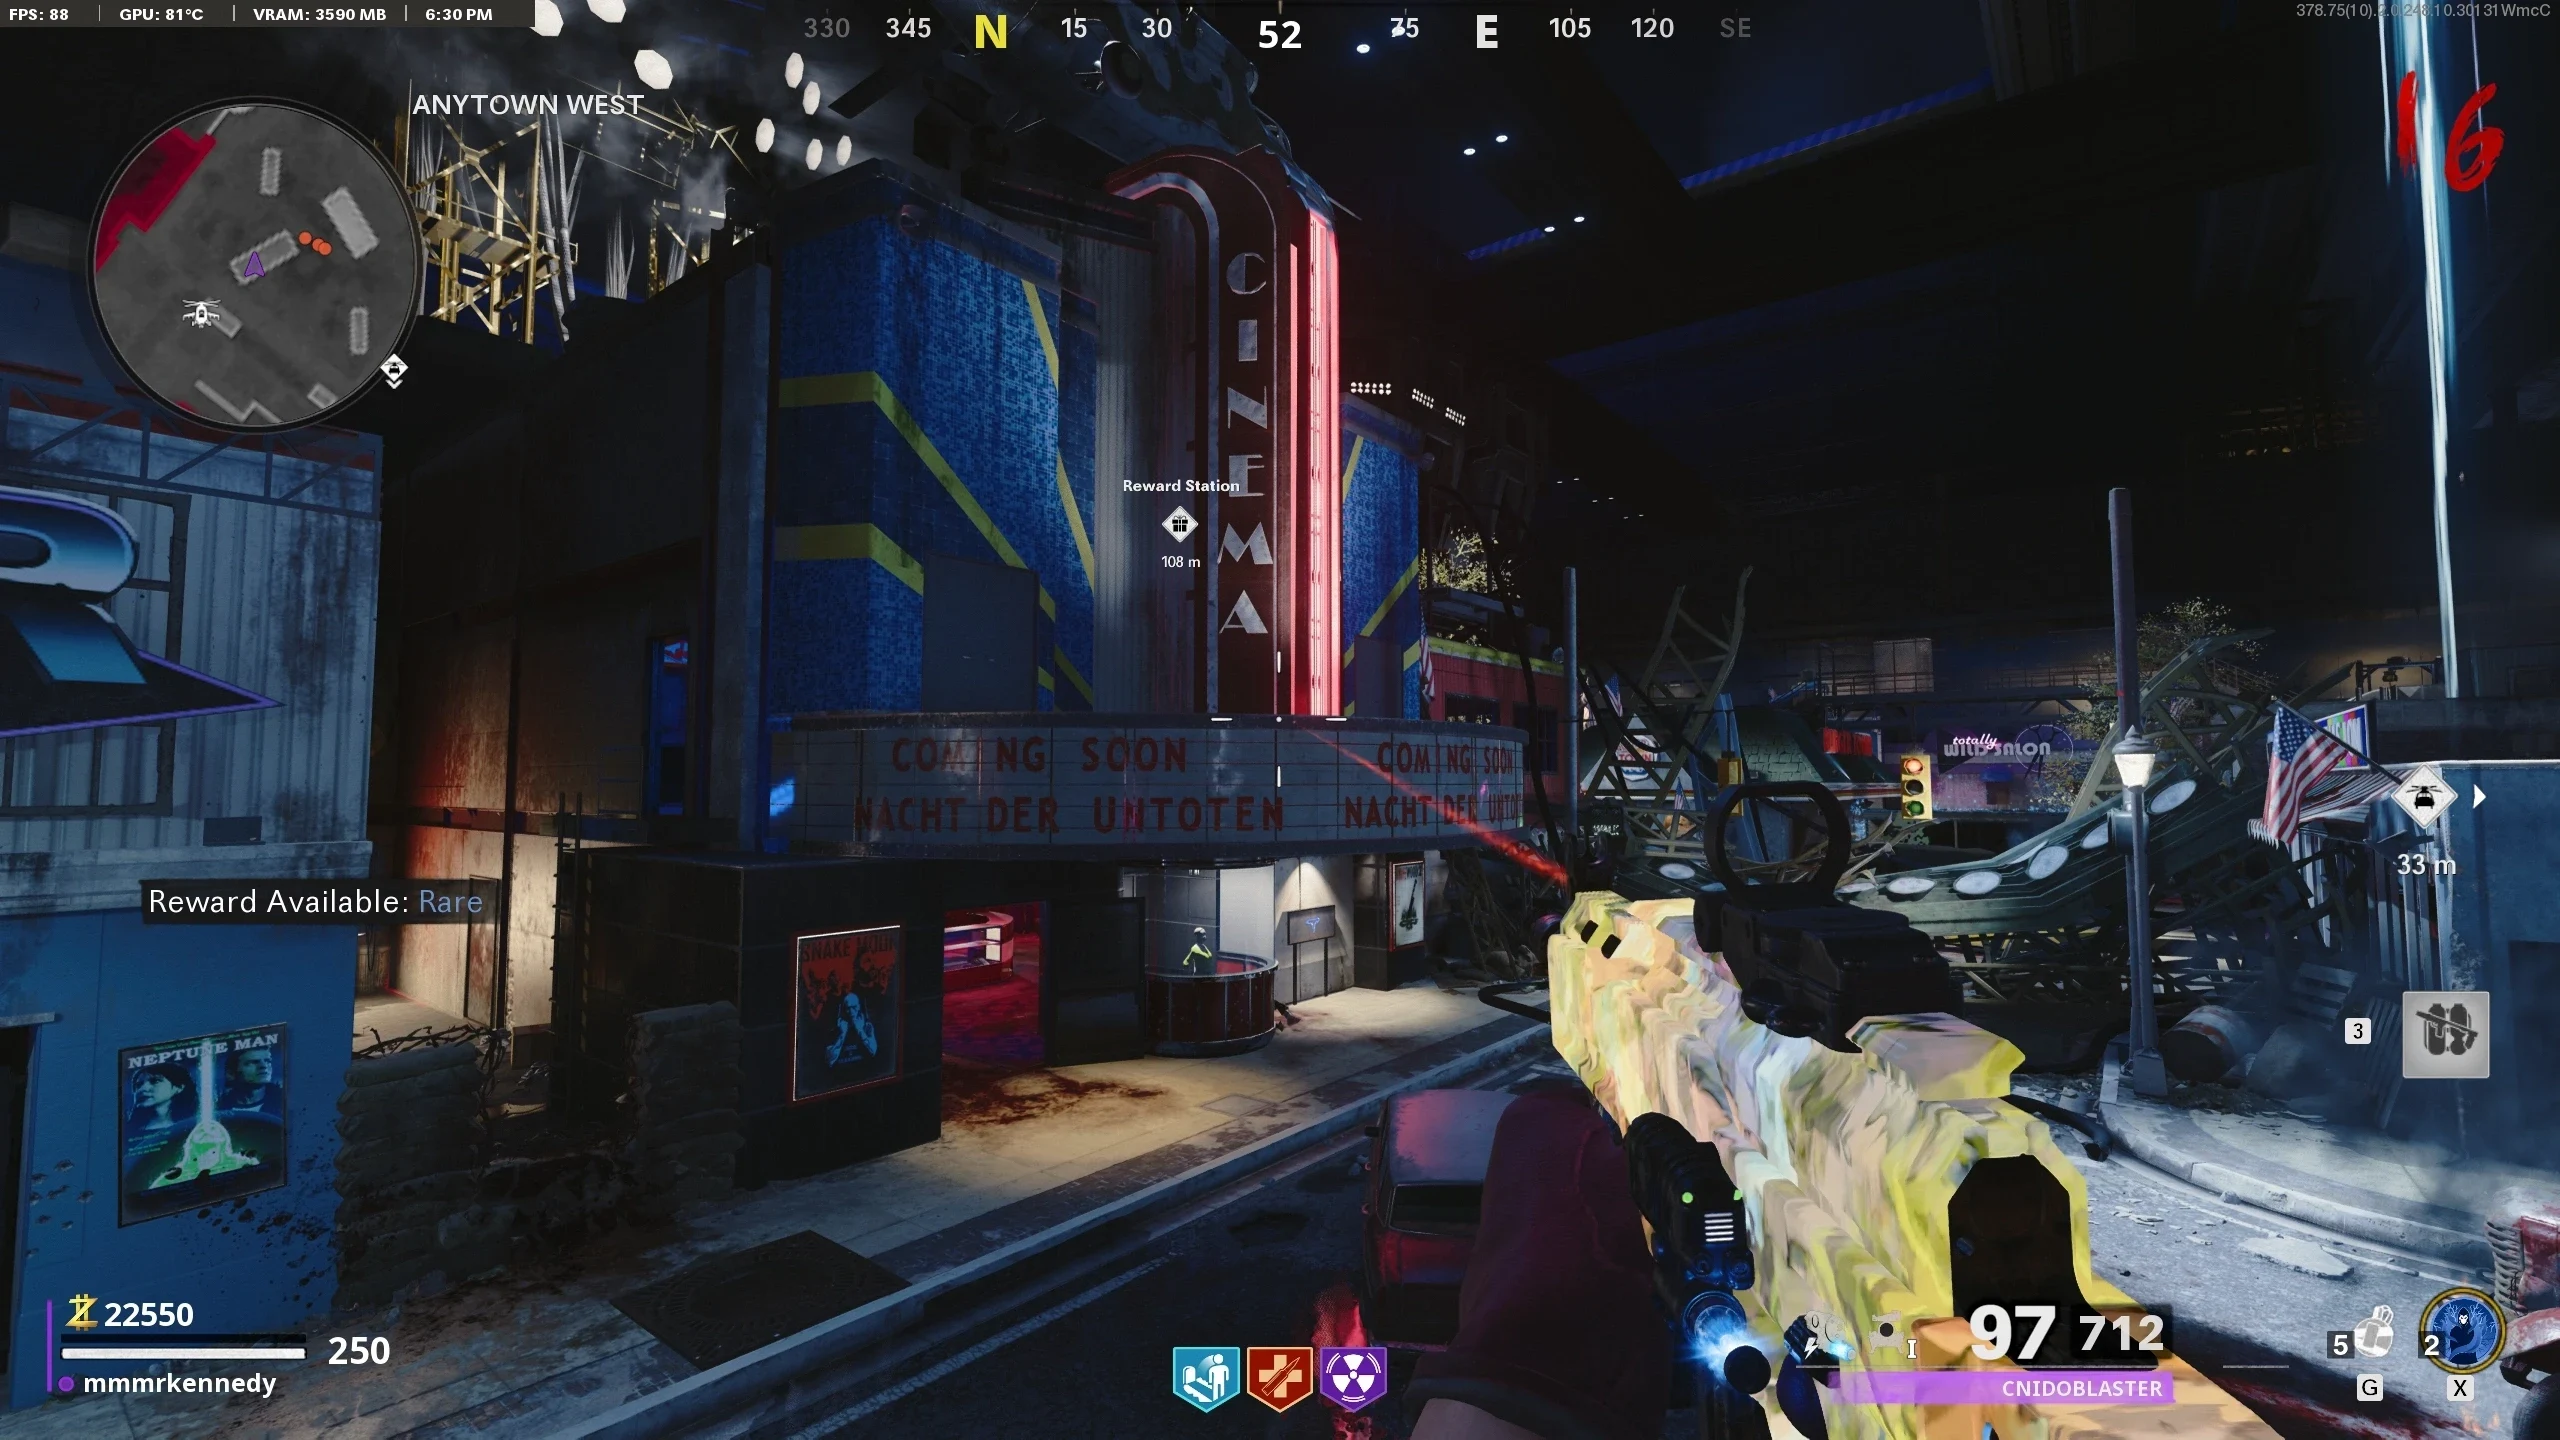
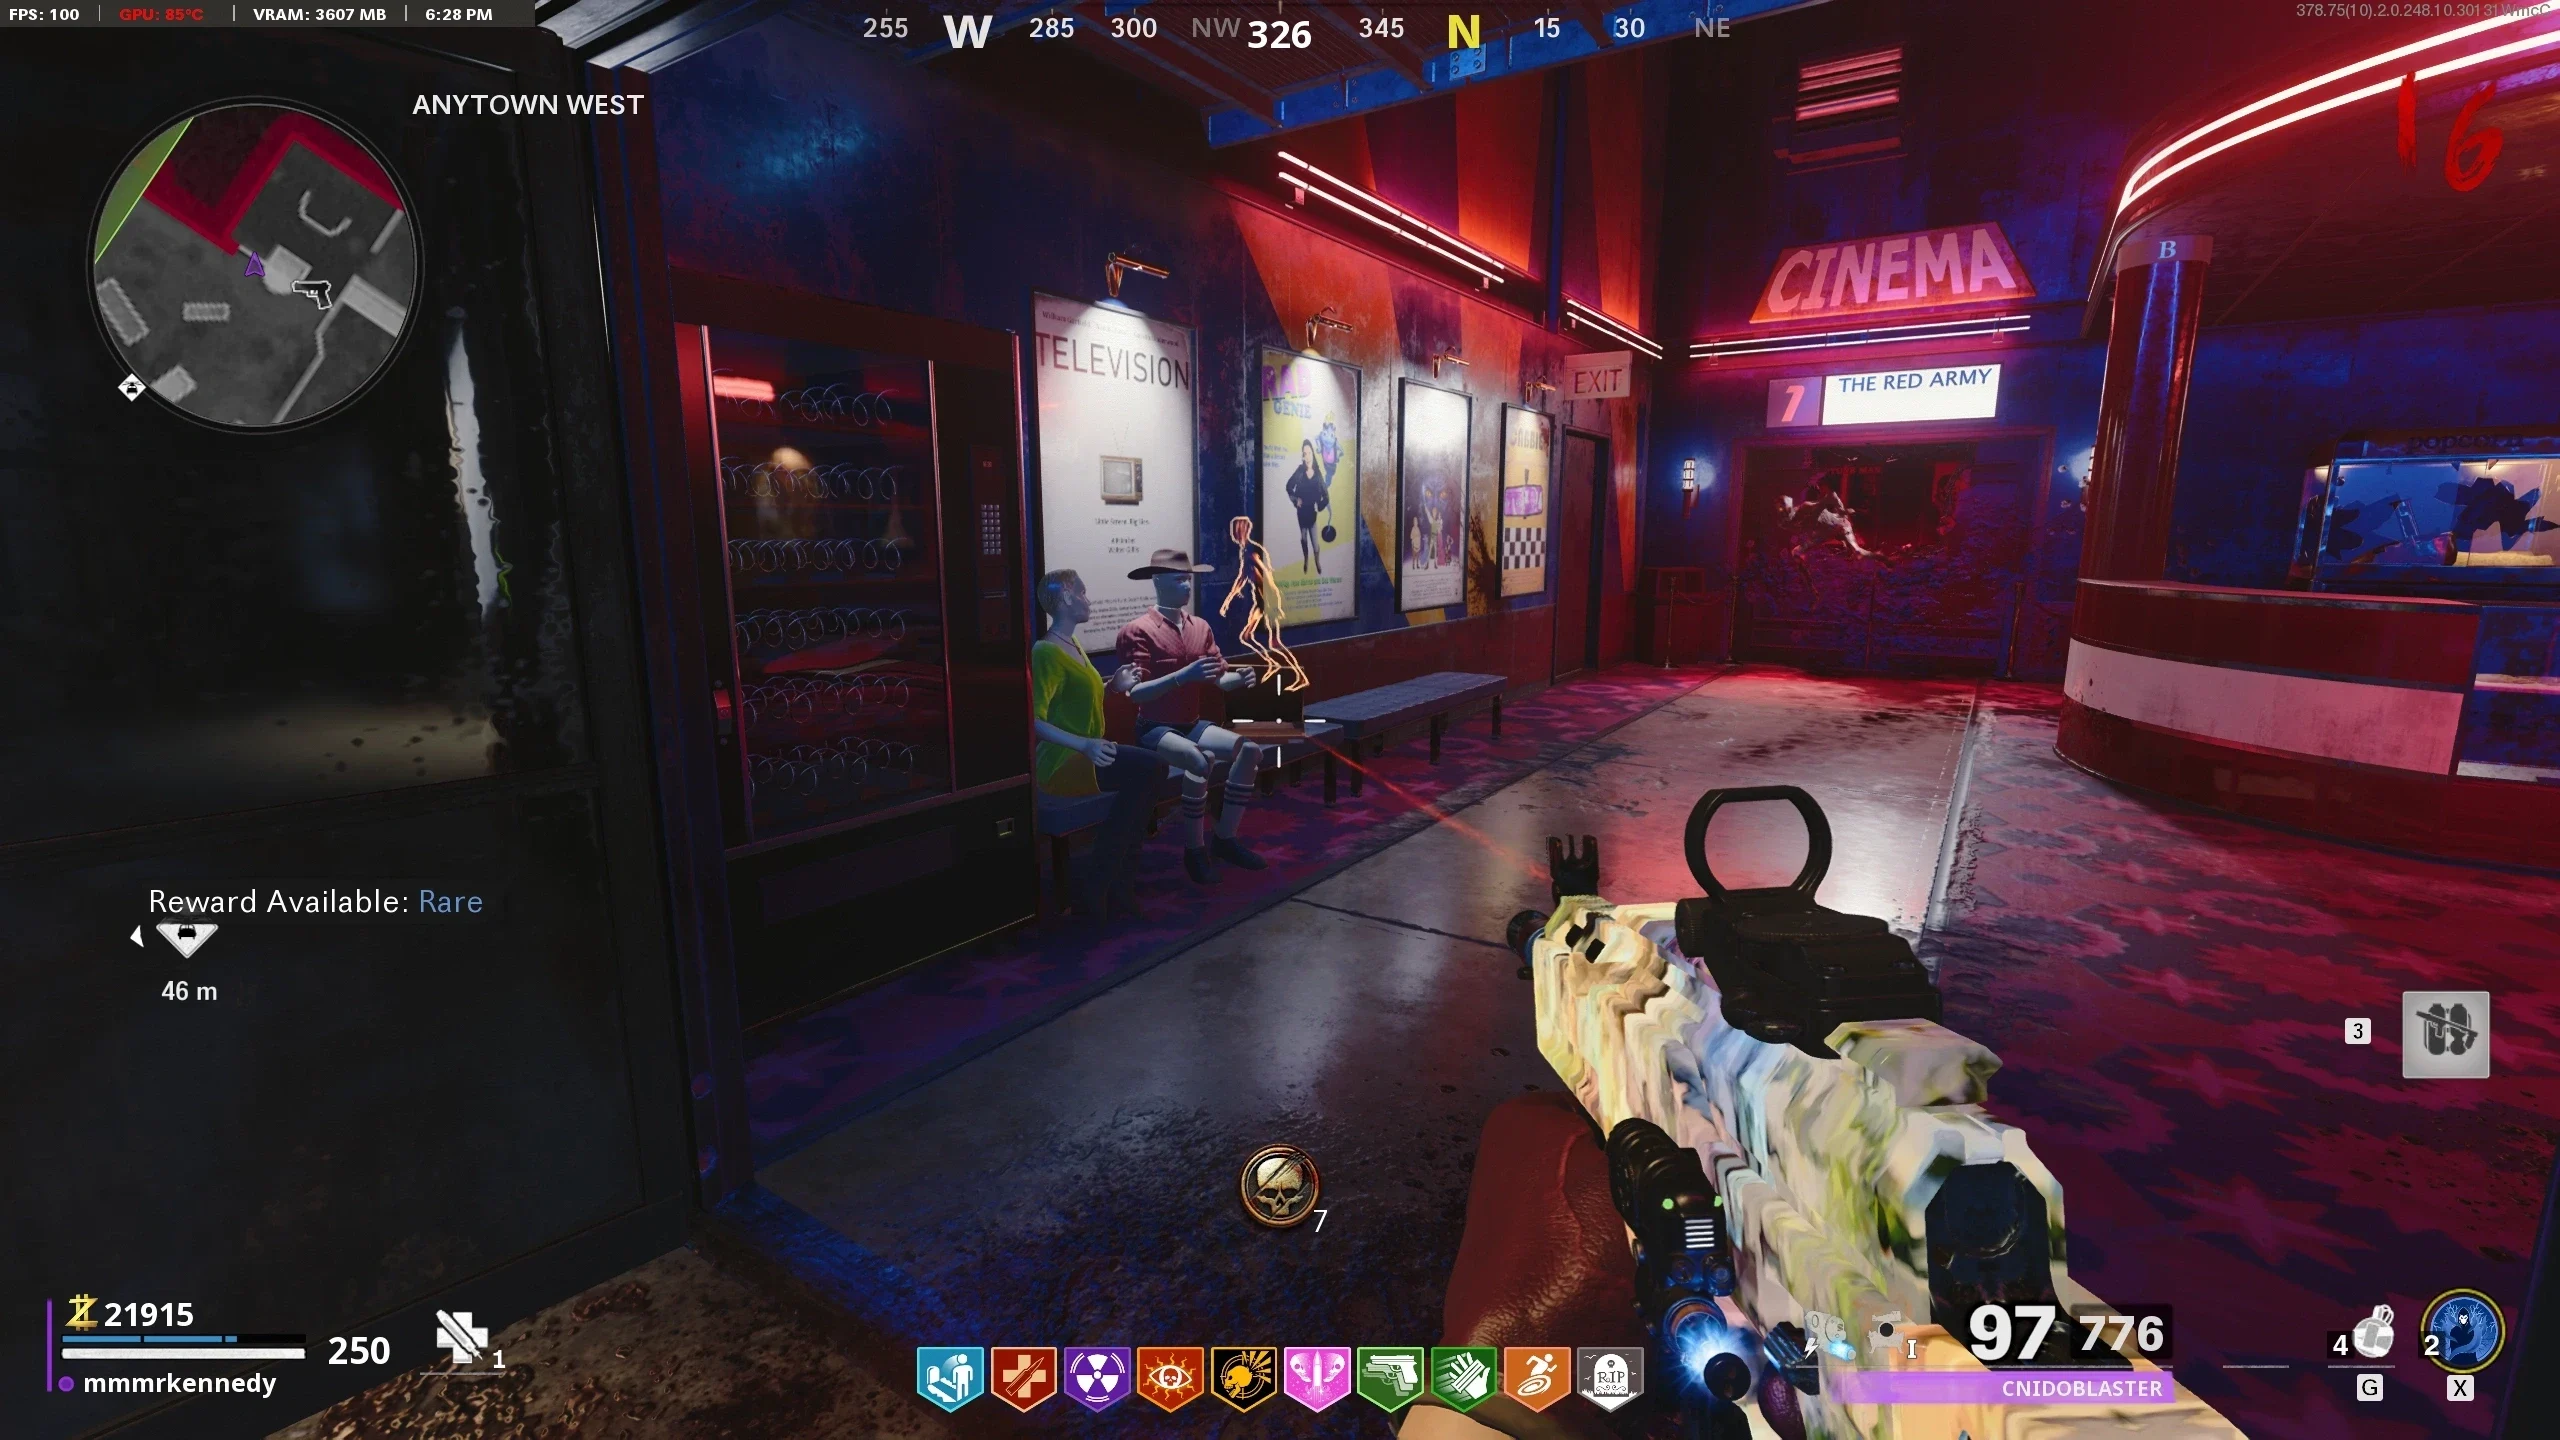
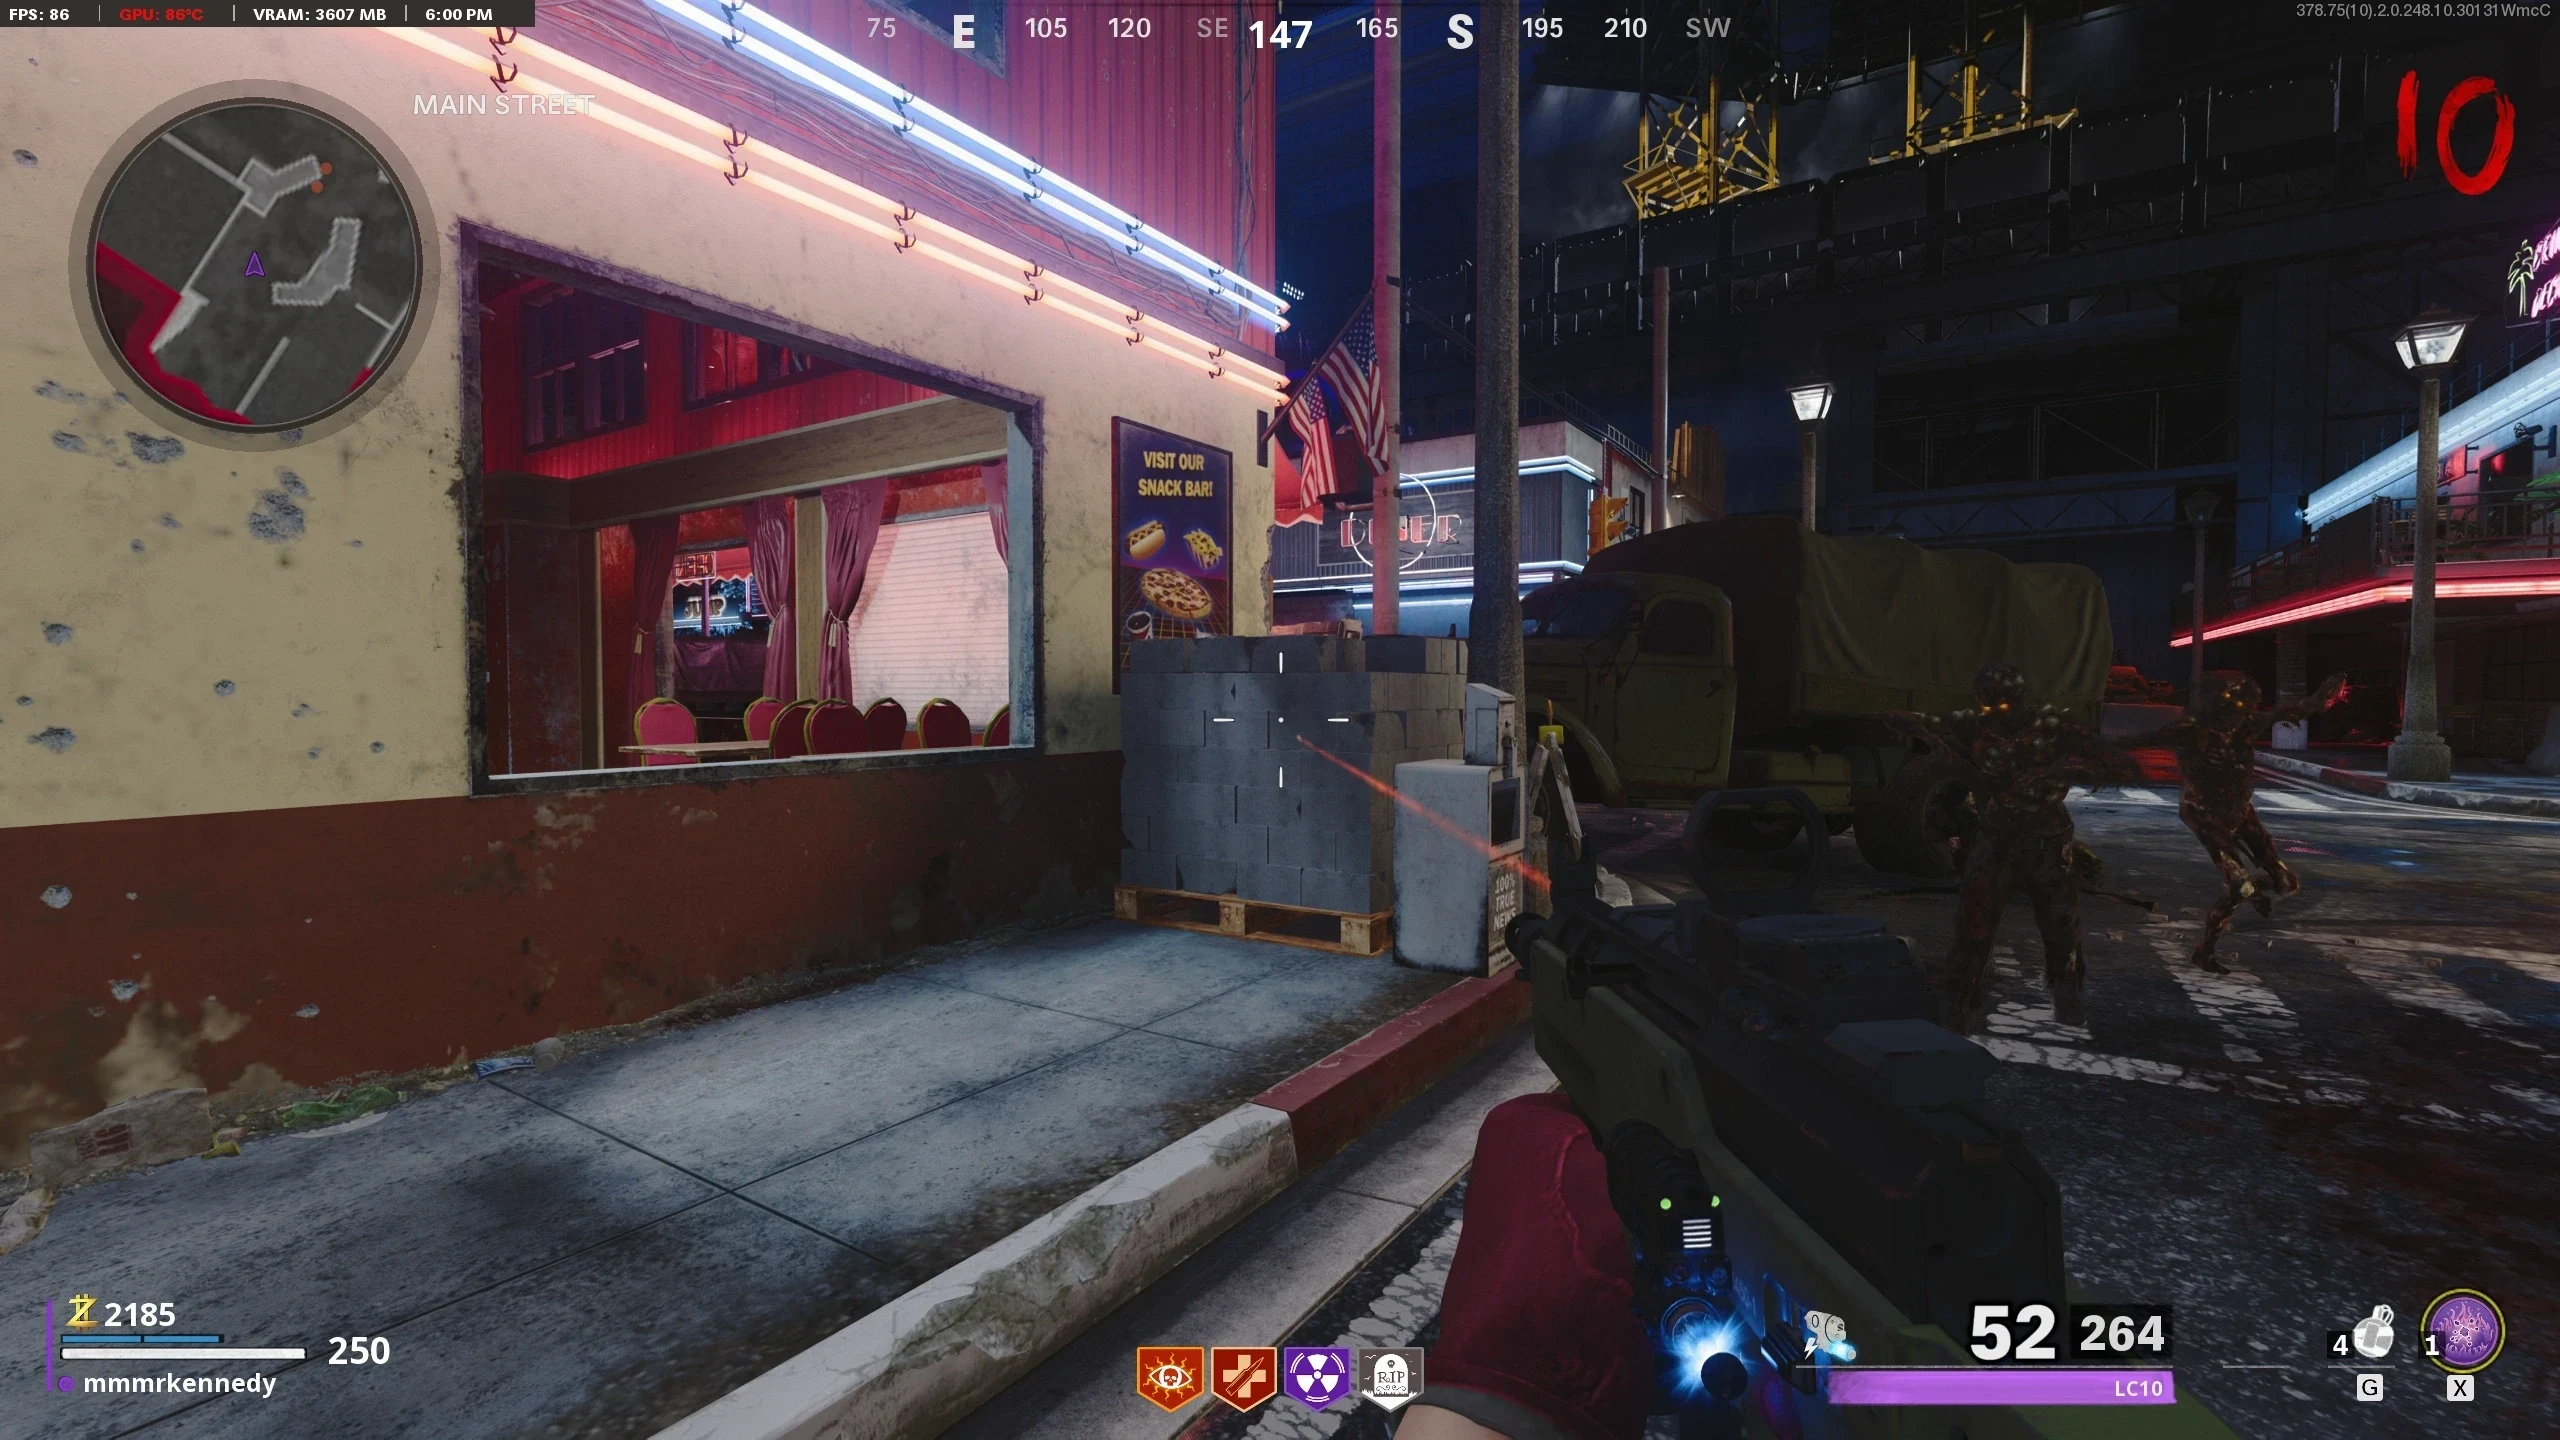
- Navigate to the Arcade and electrocute a Zombie near the Grand Prix Arcade Machine.
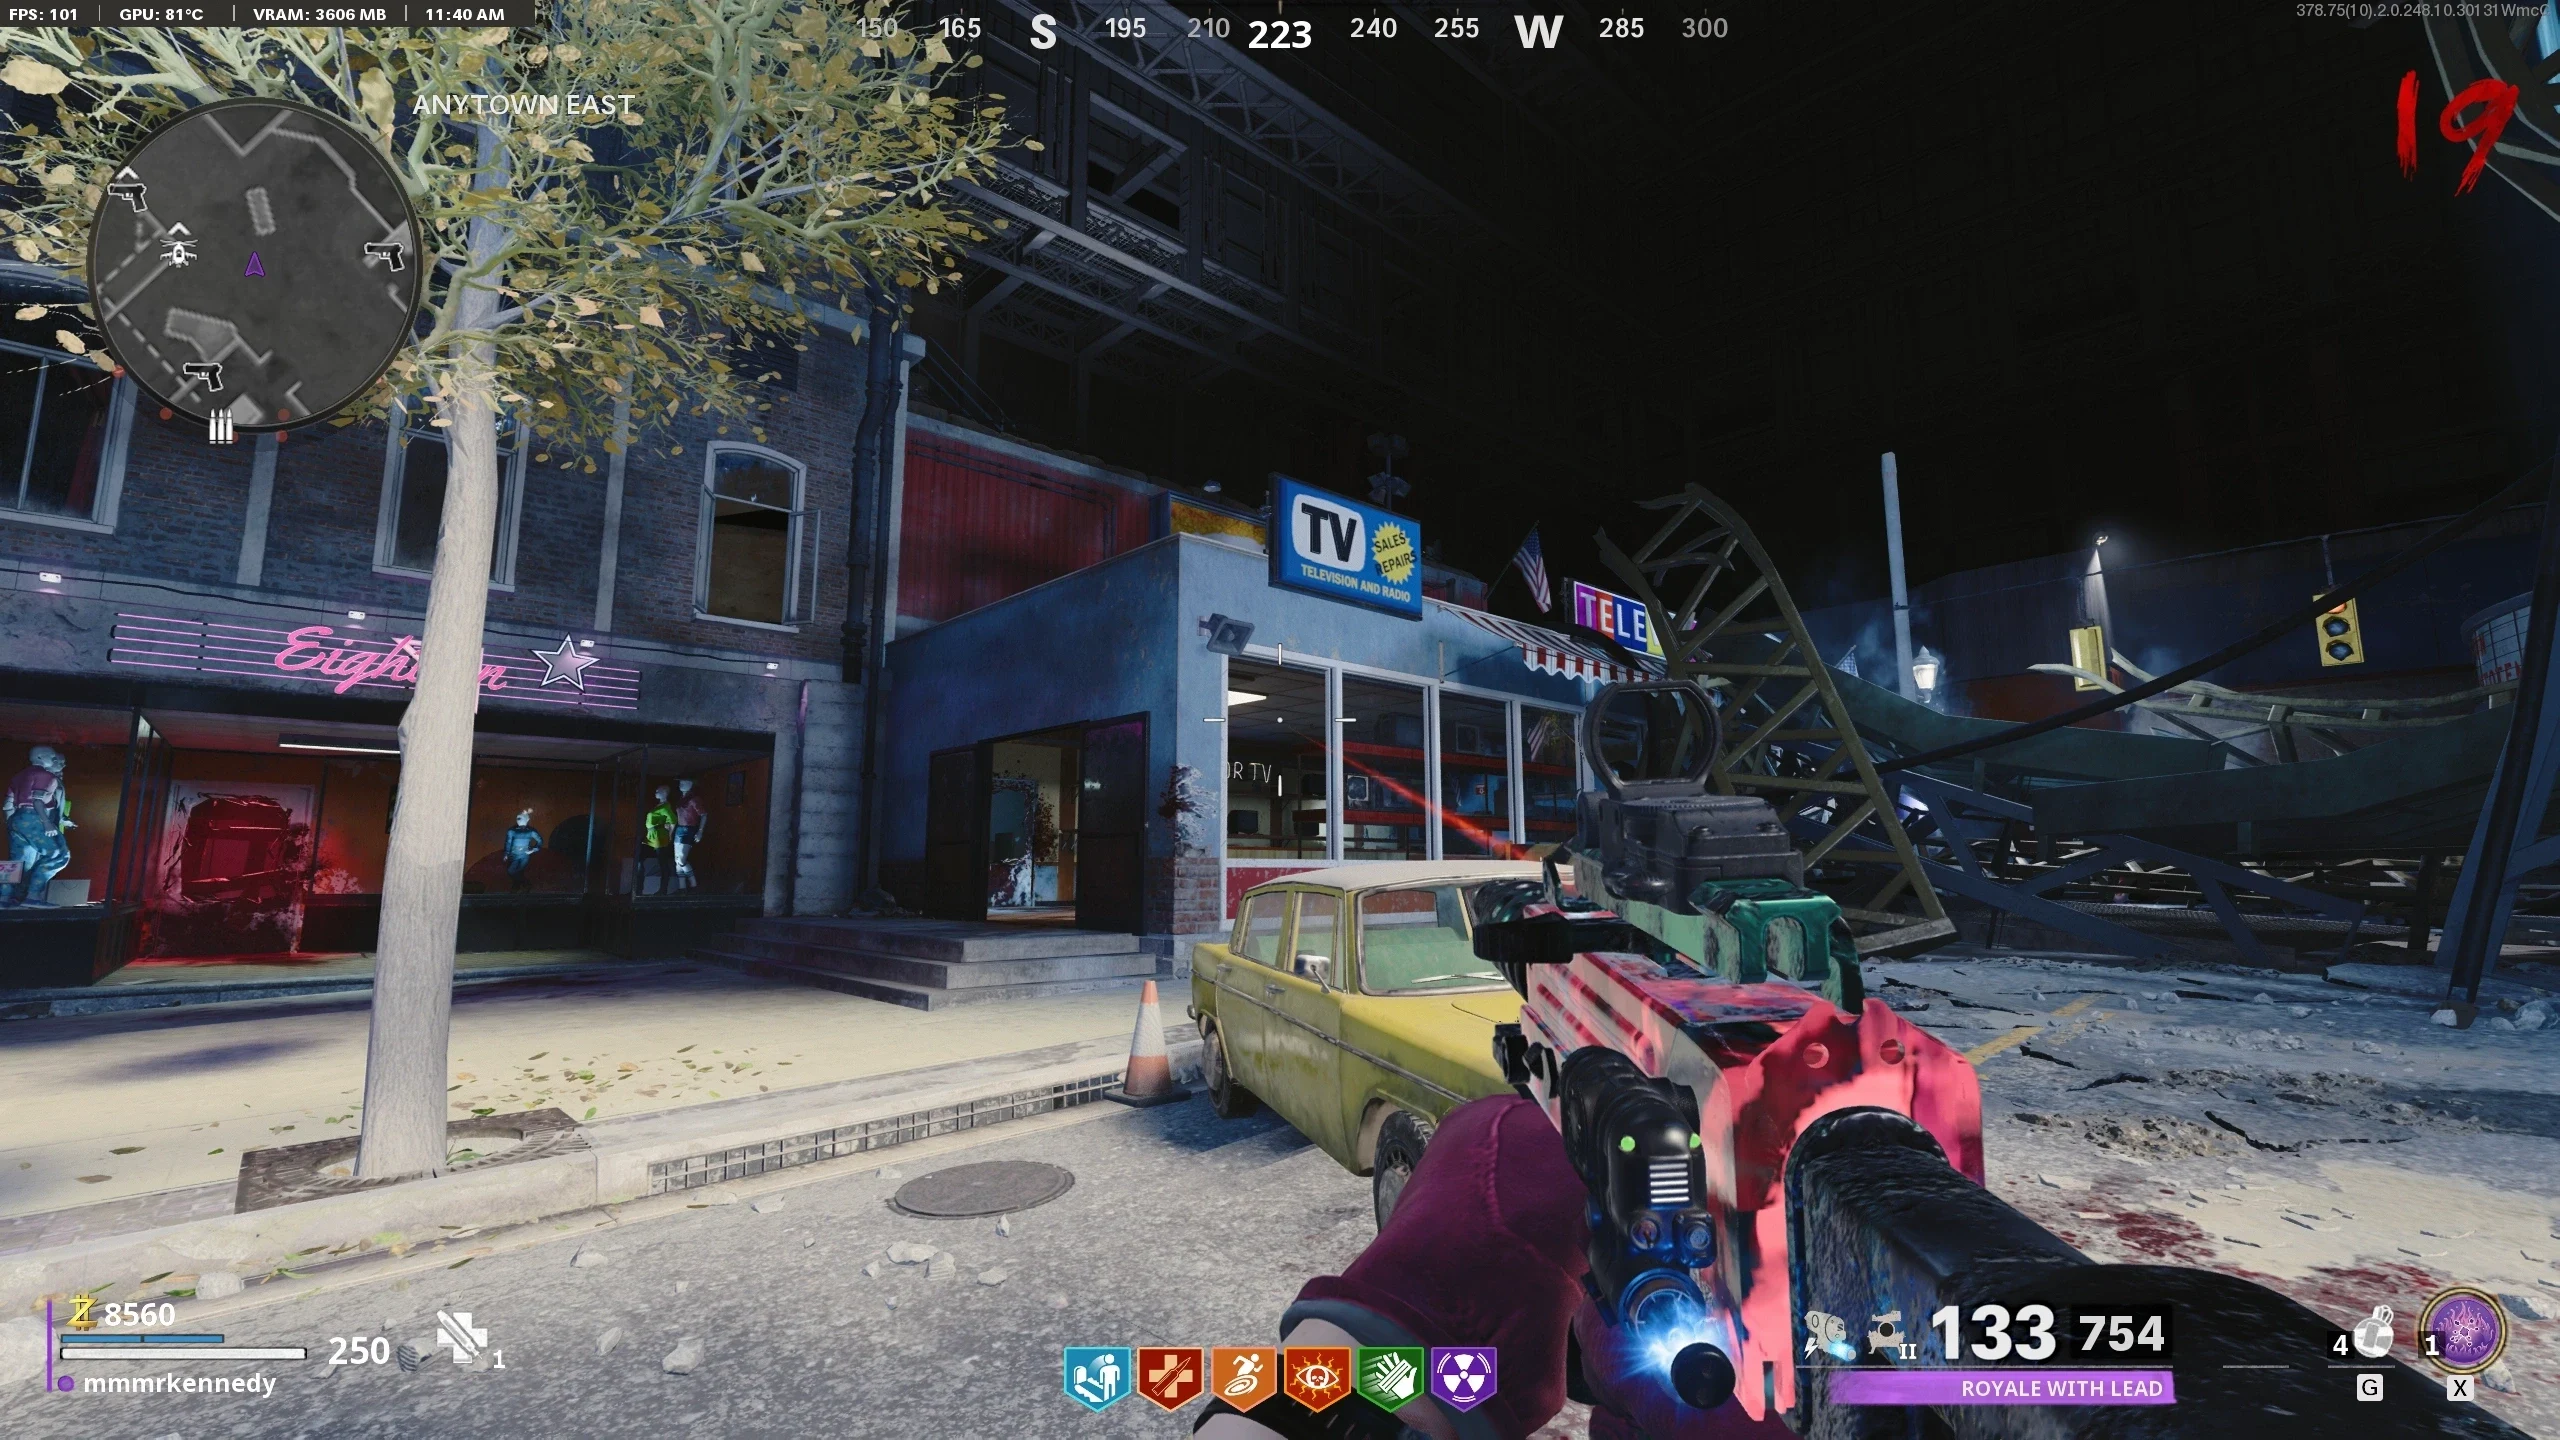
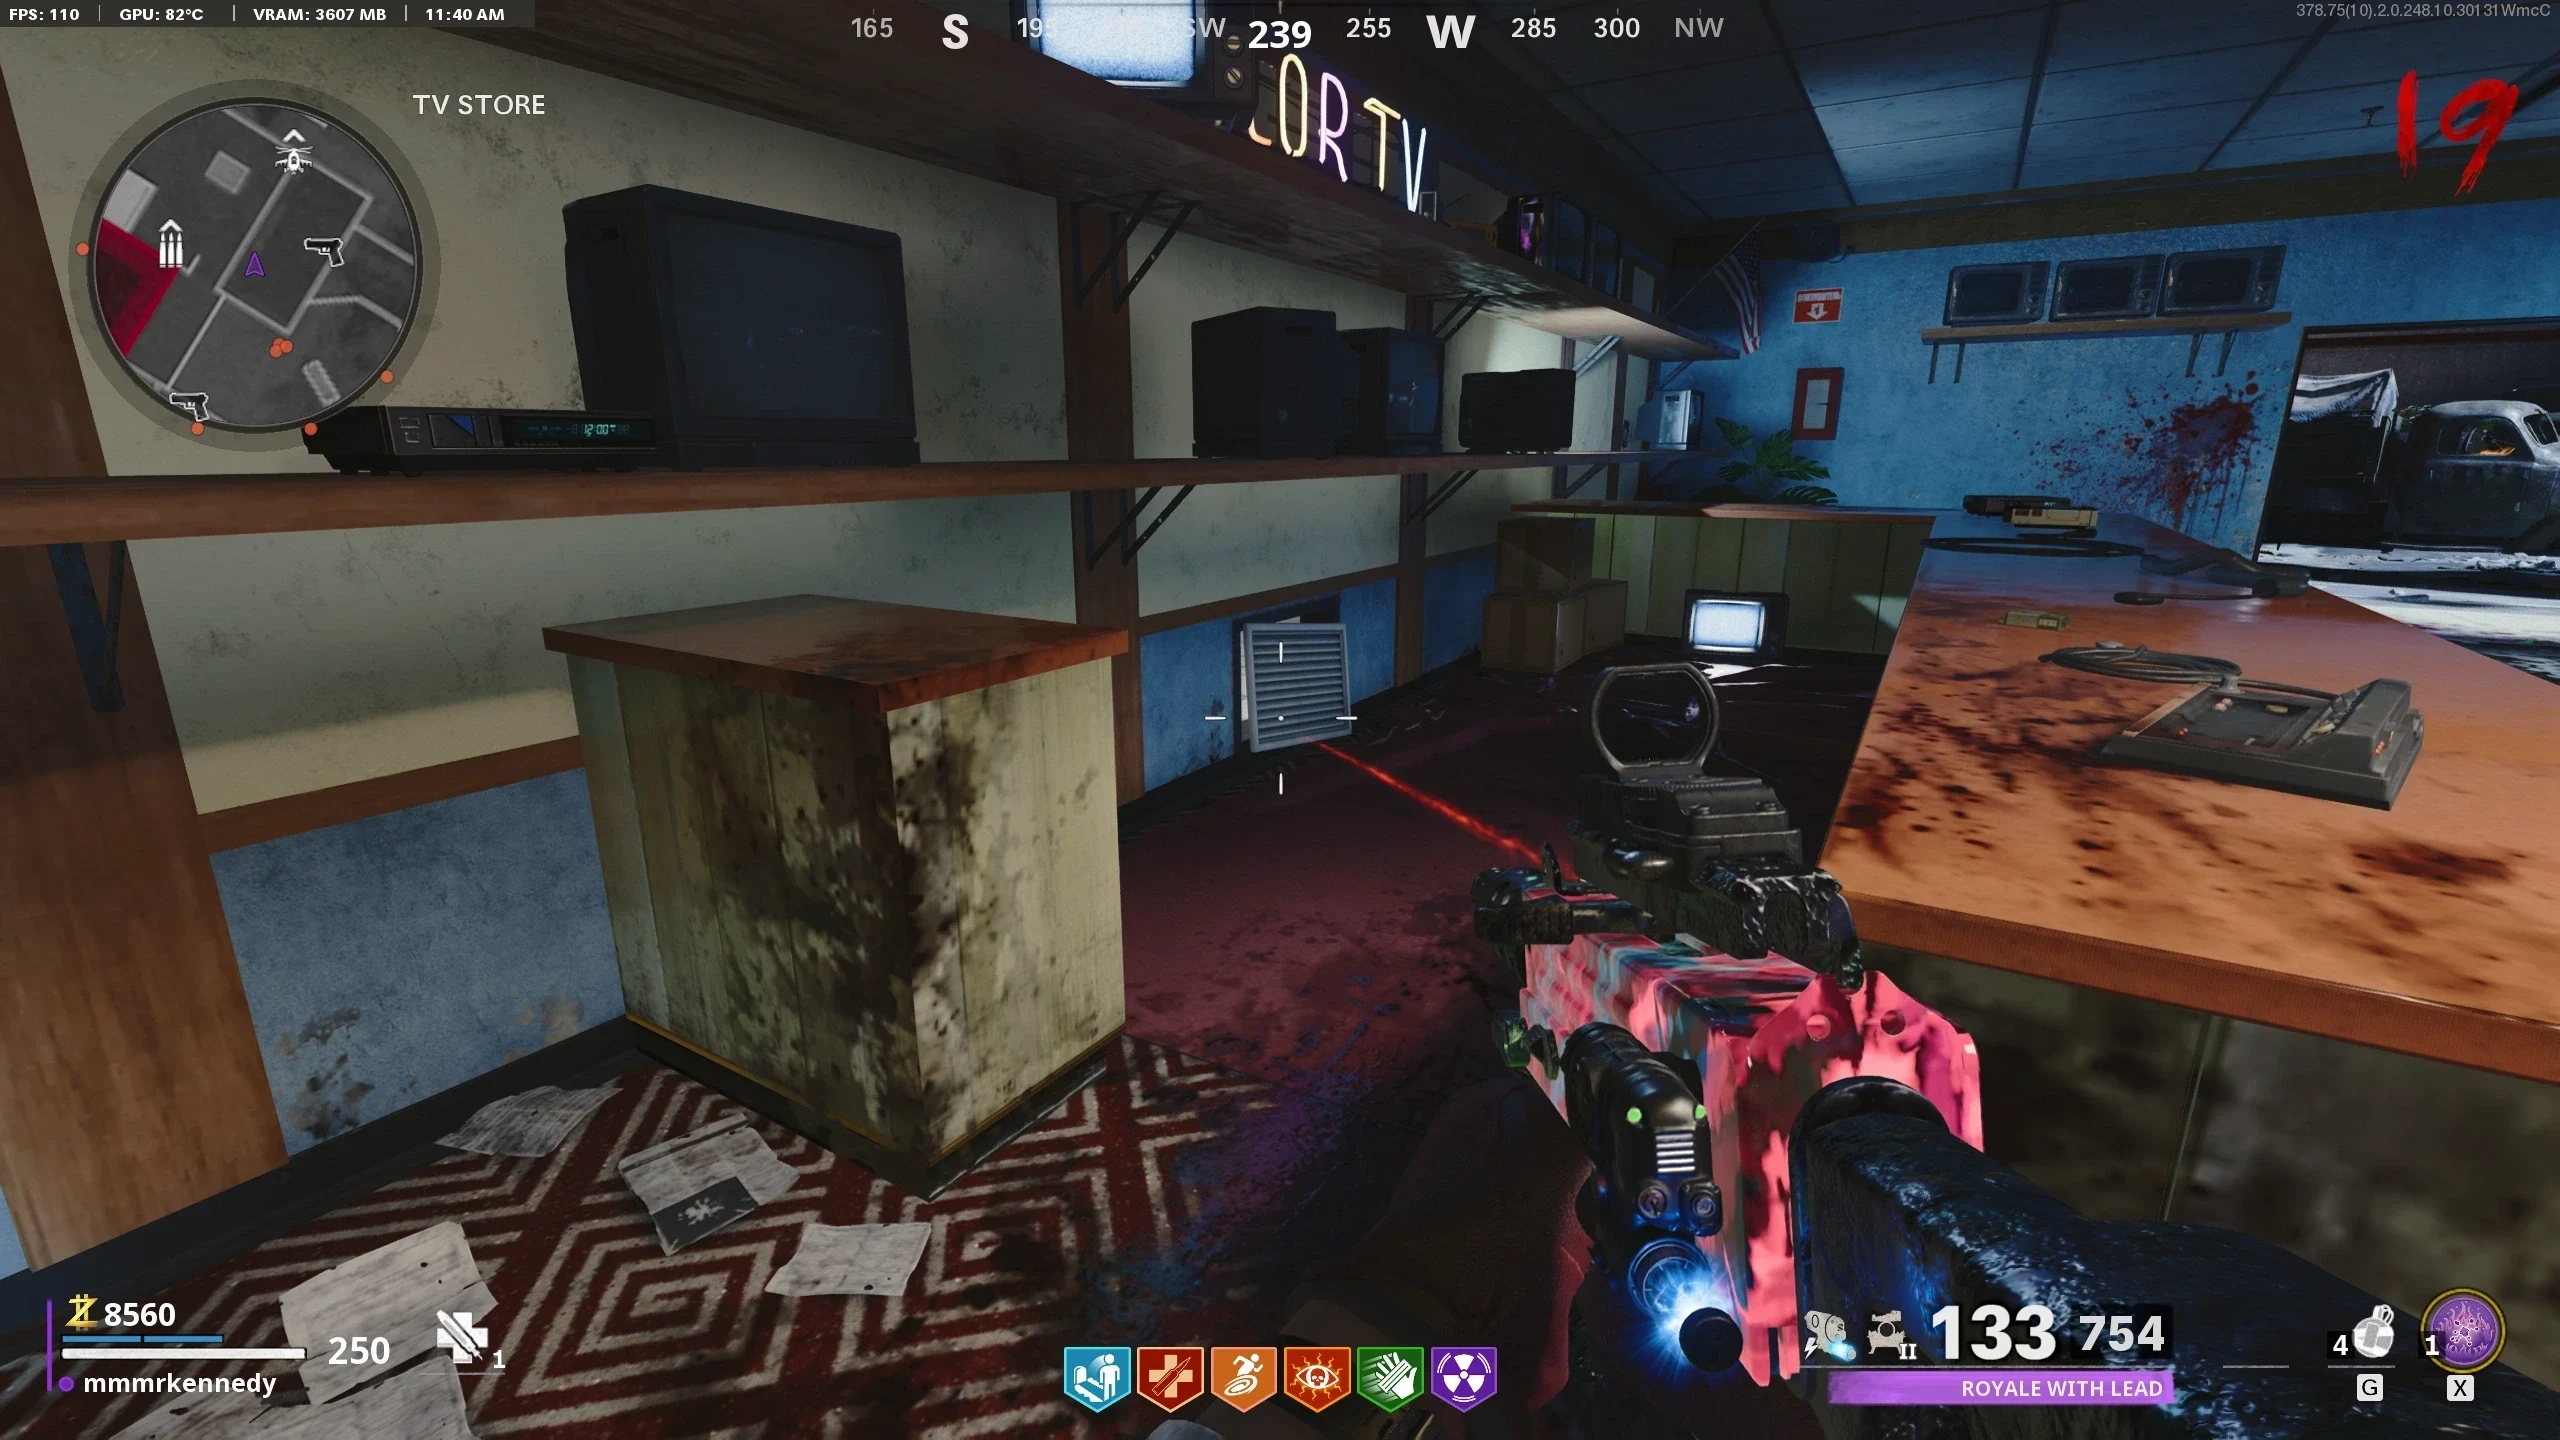
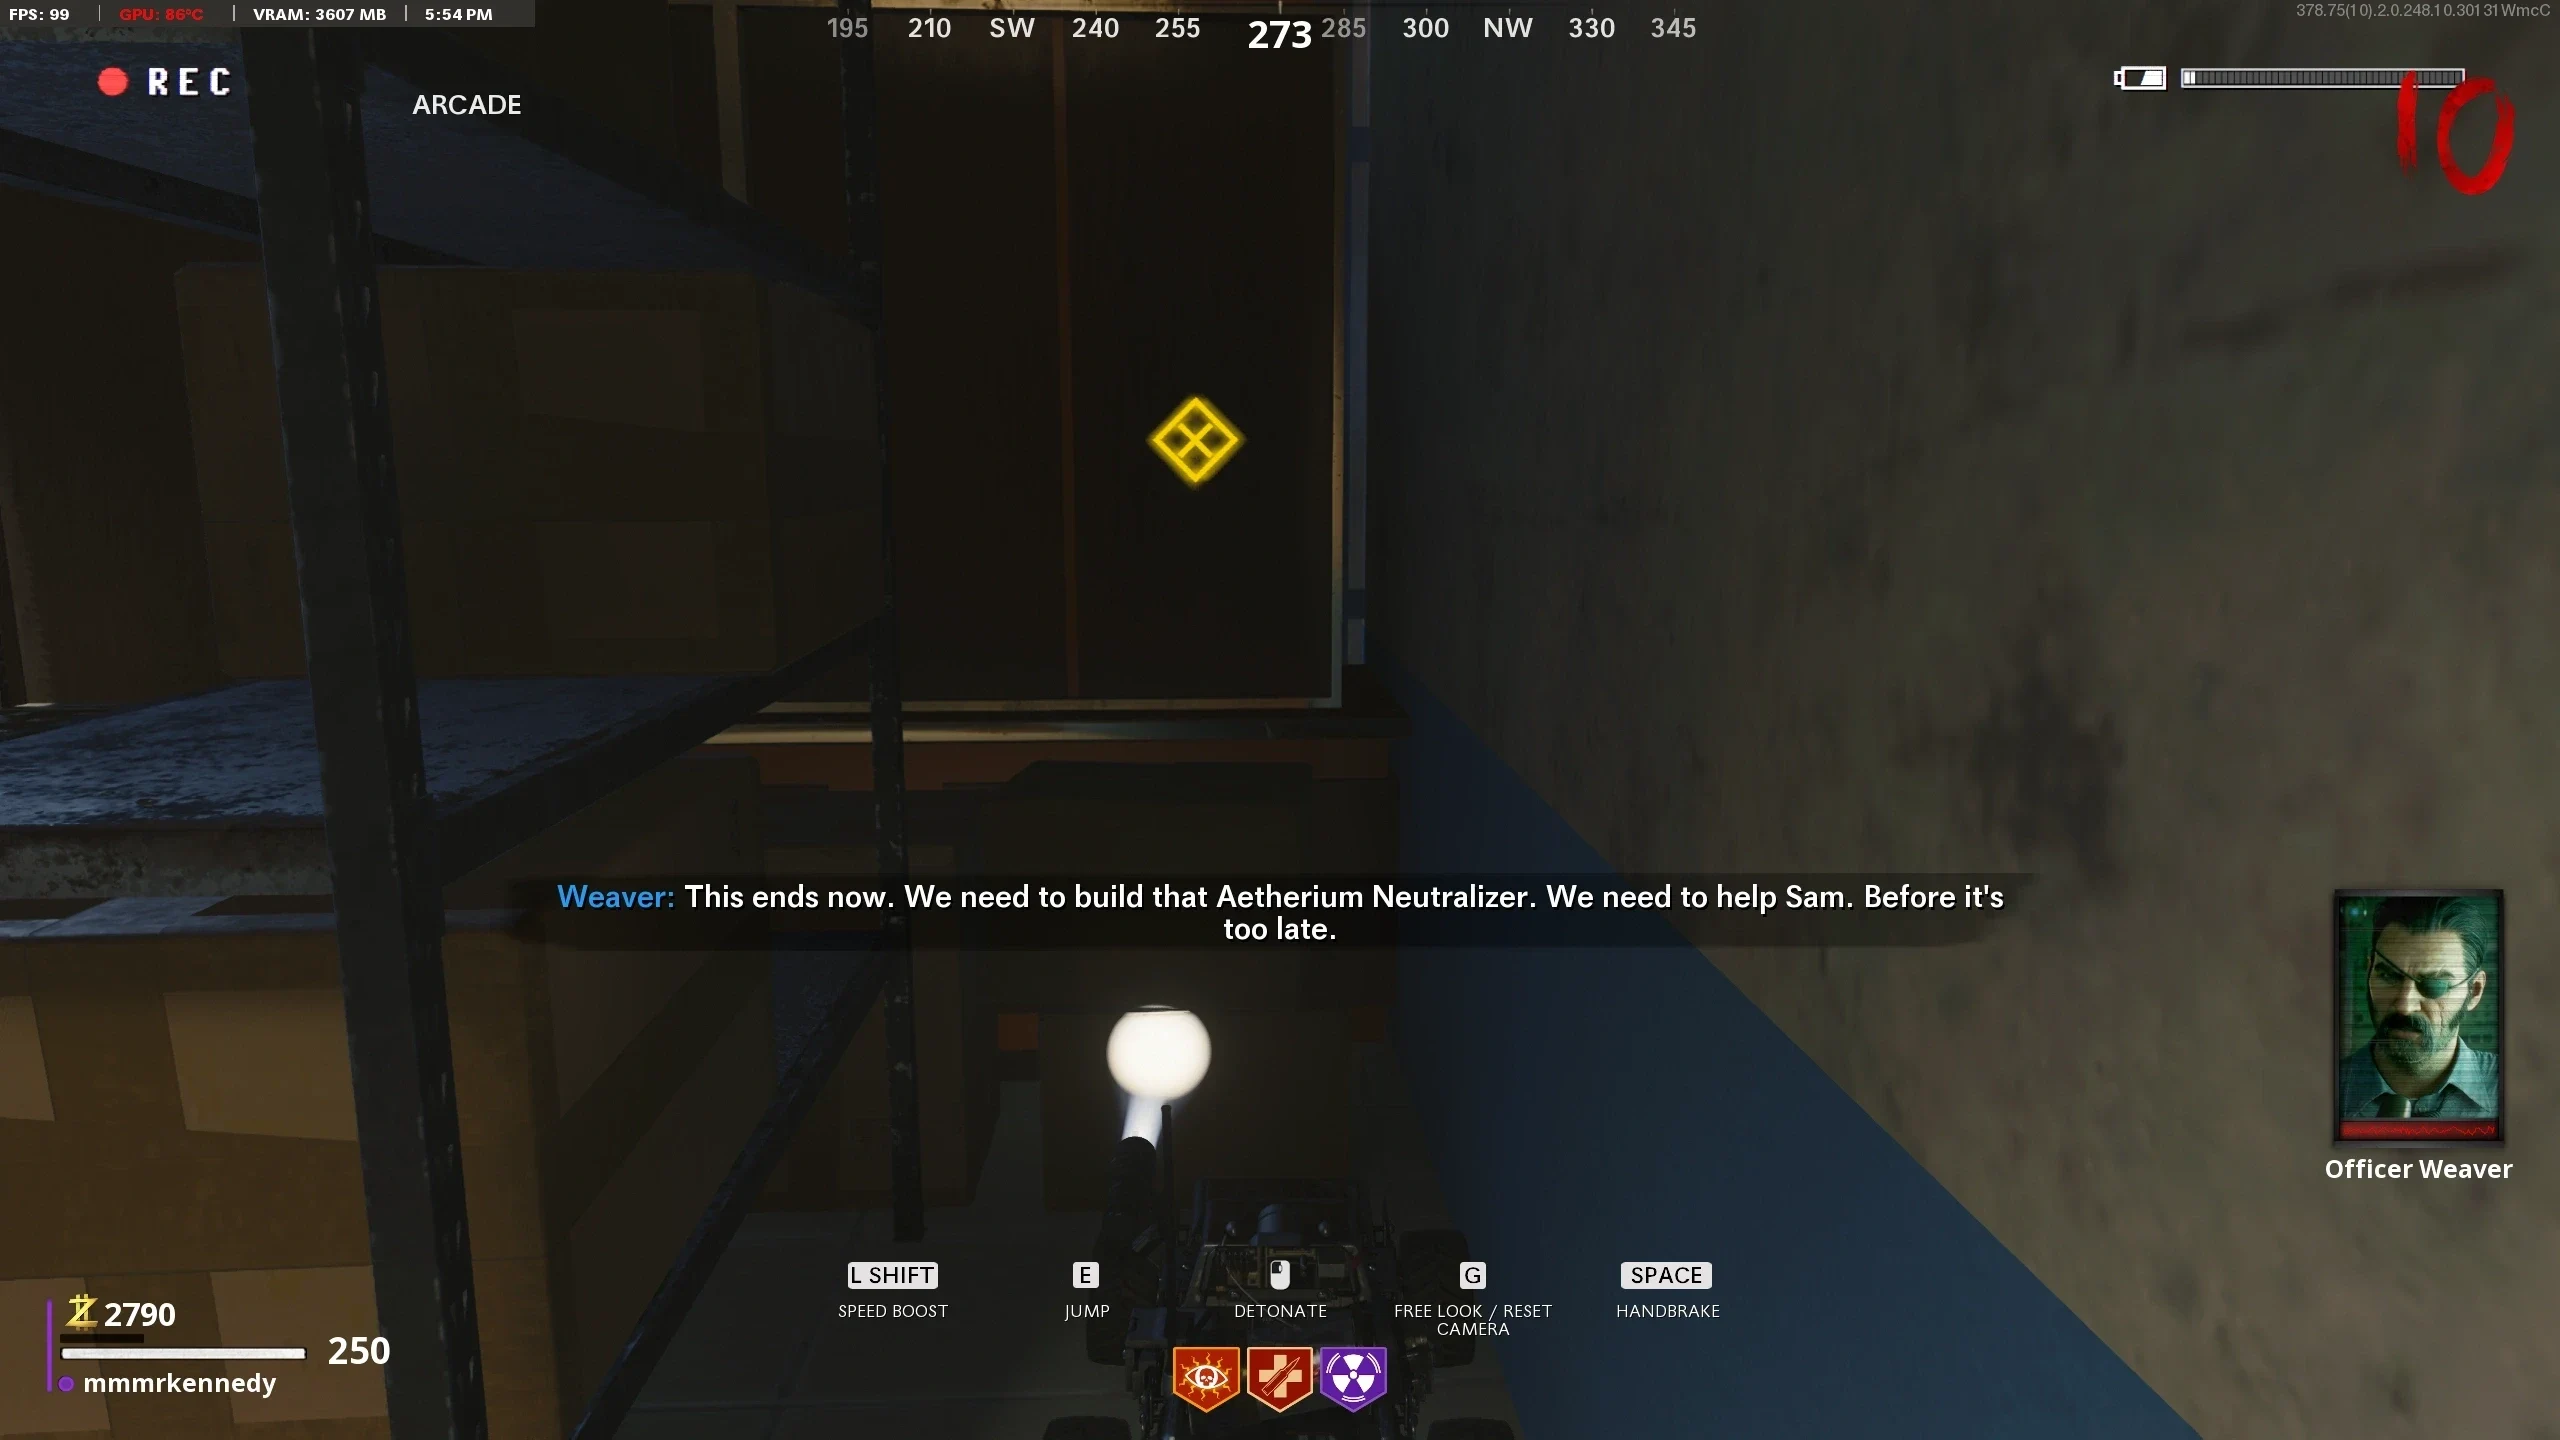
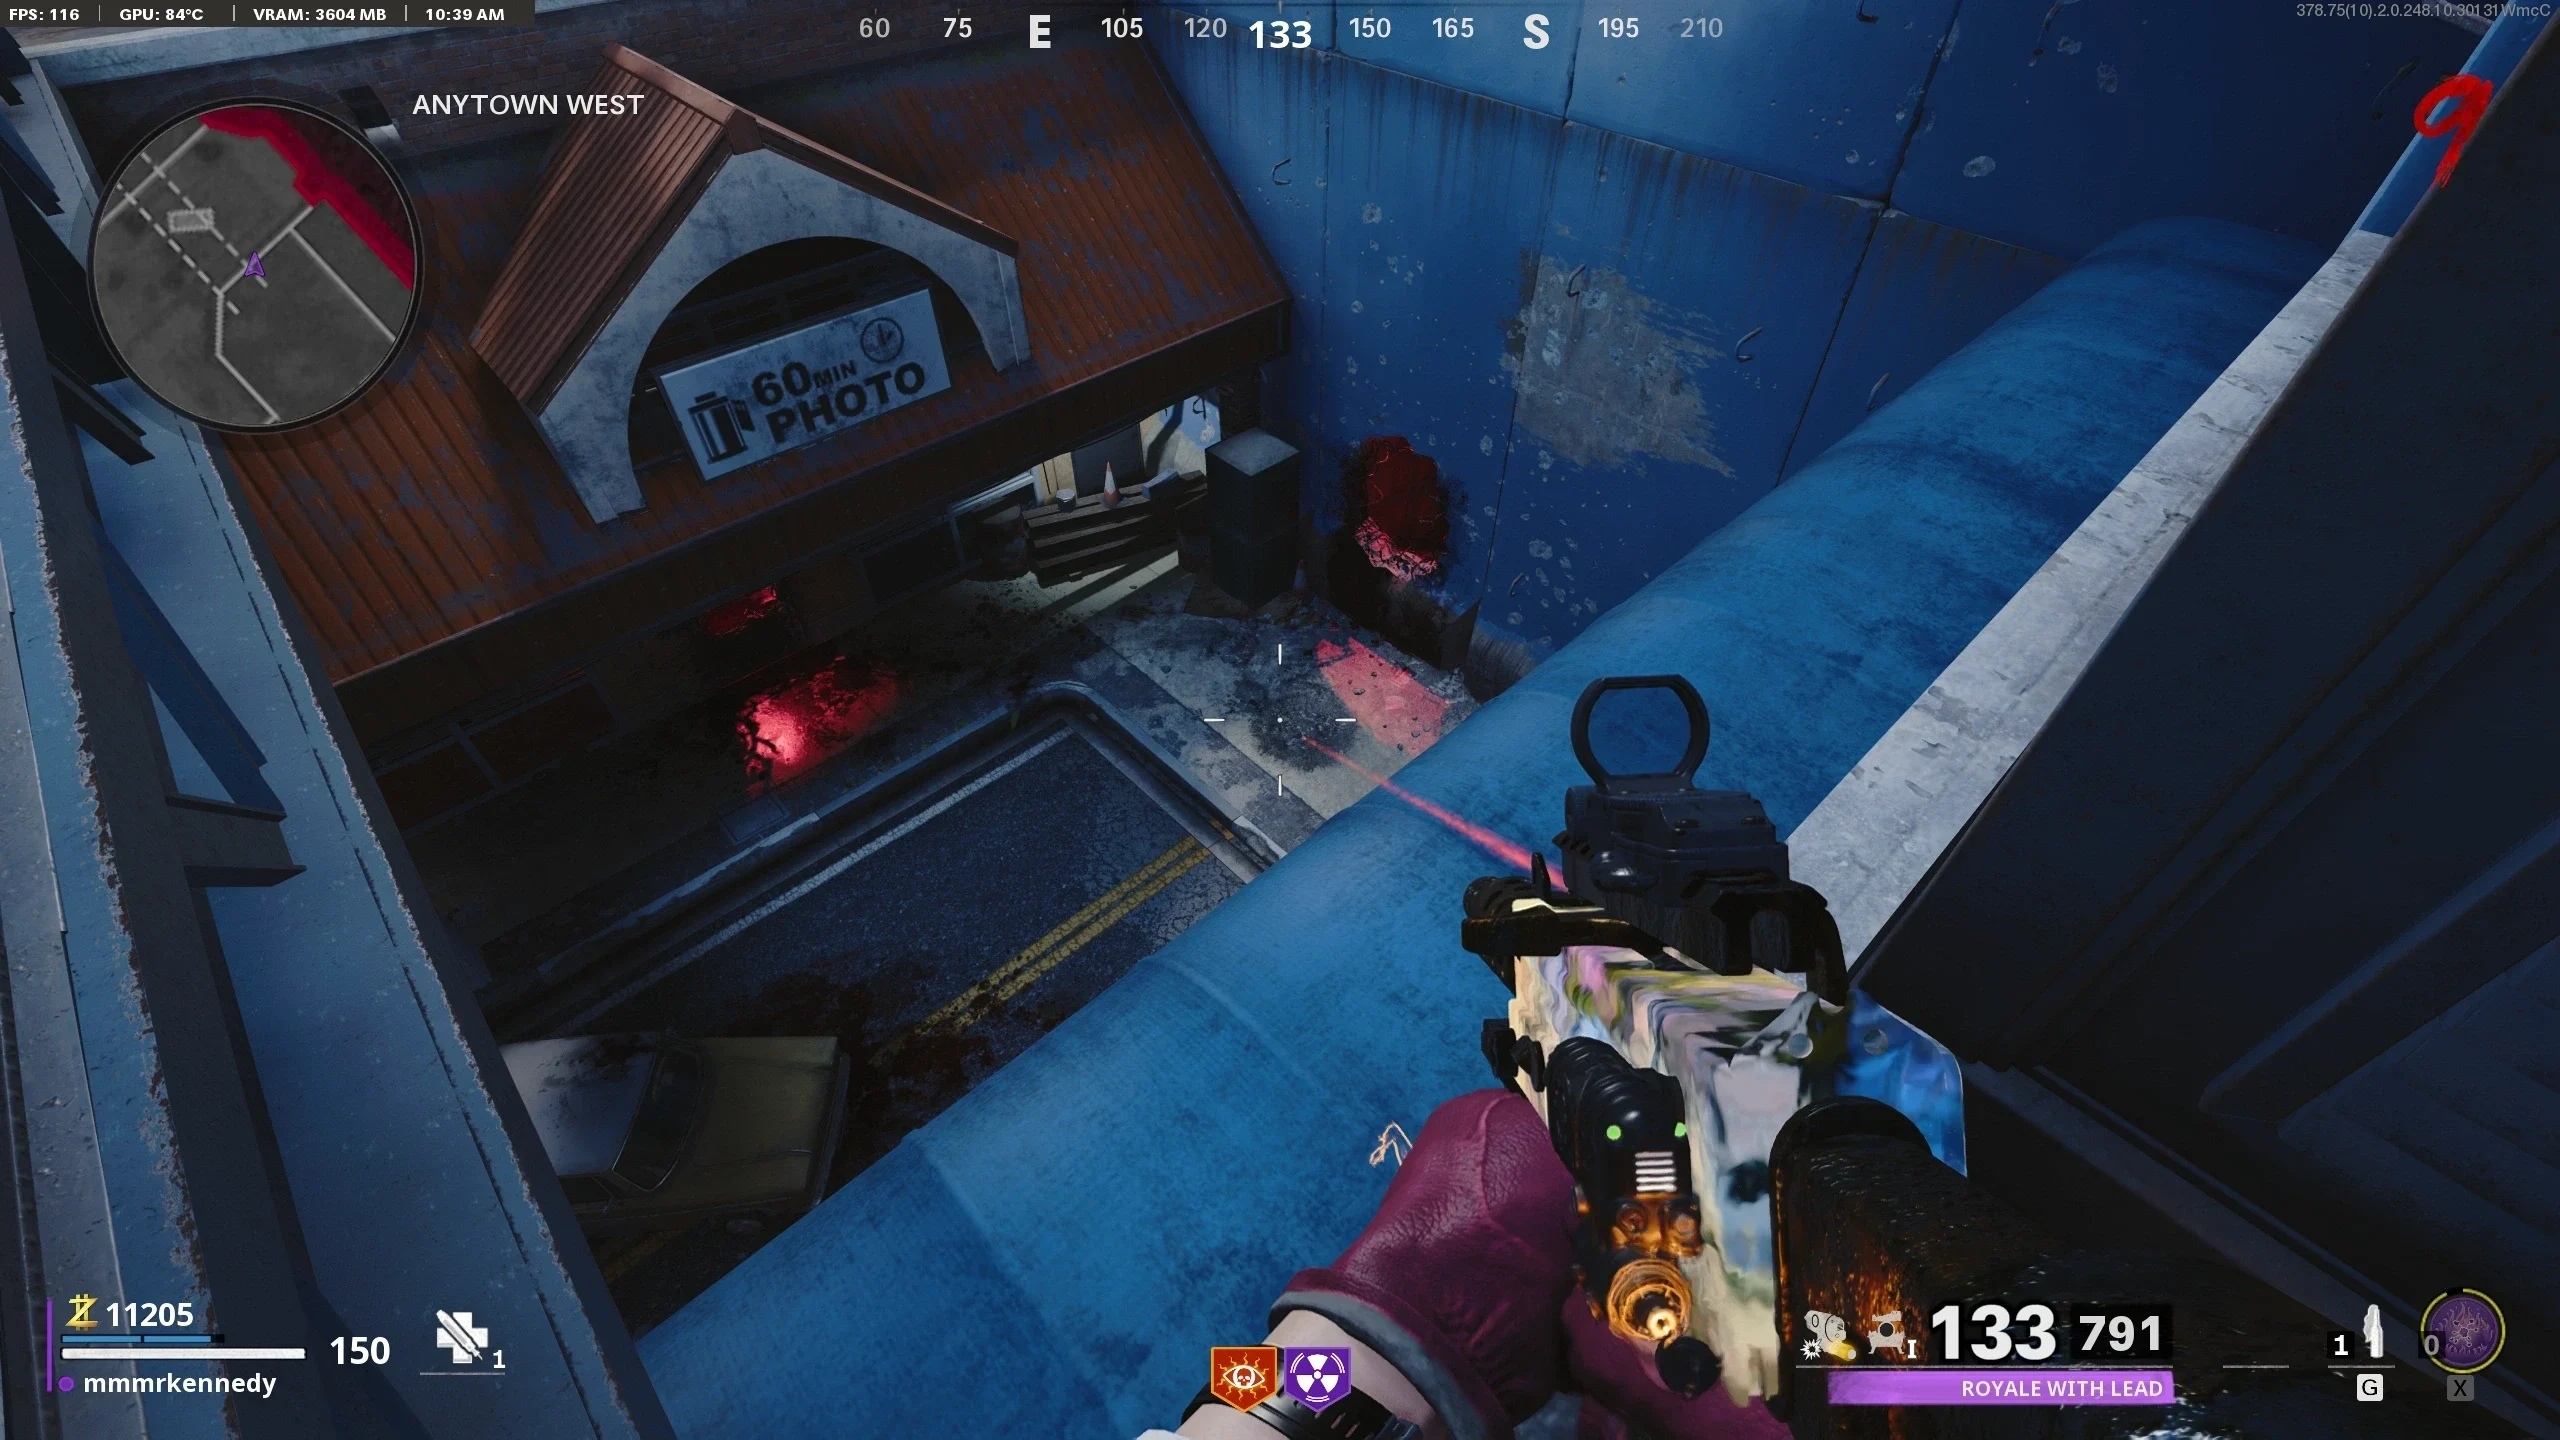
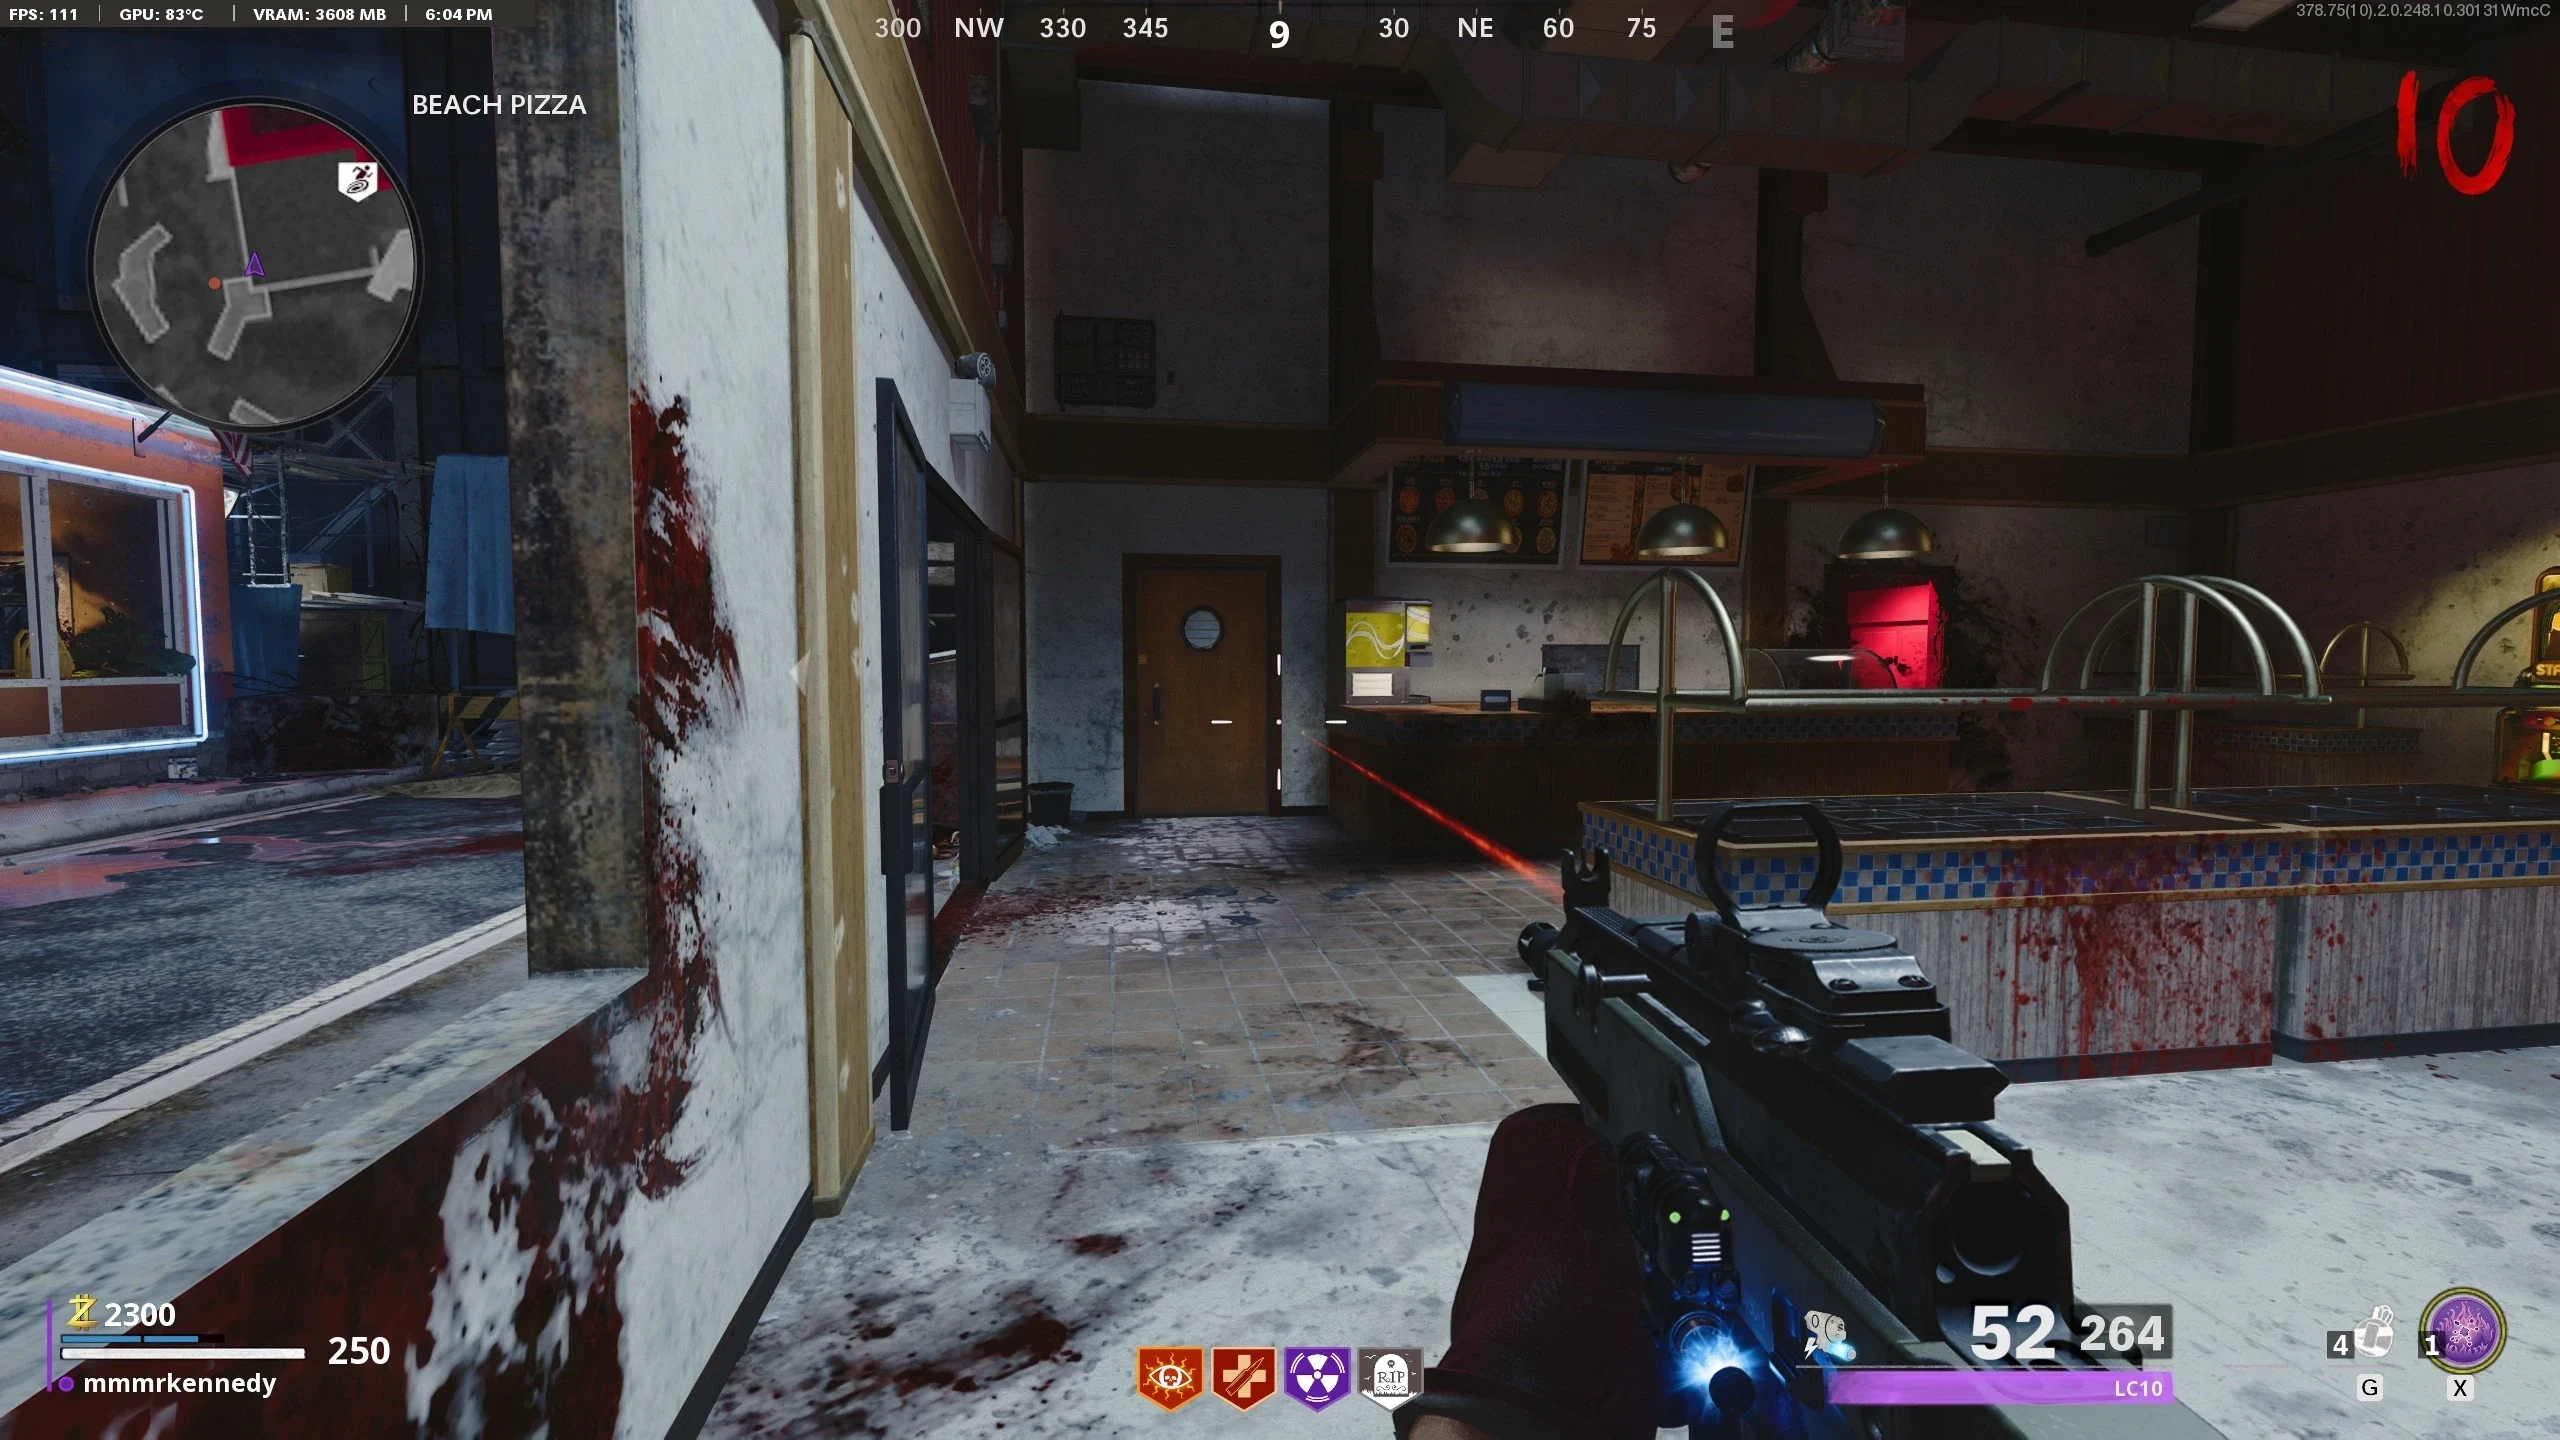
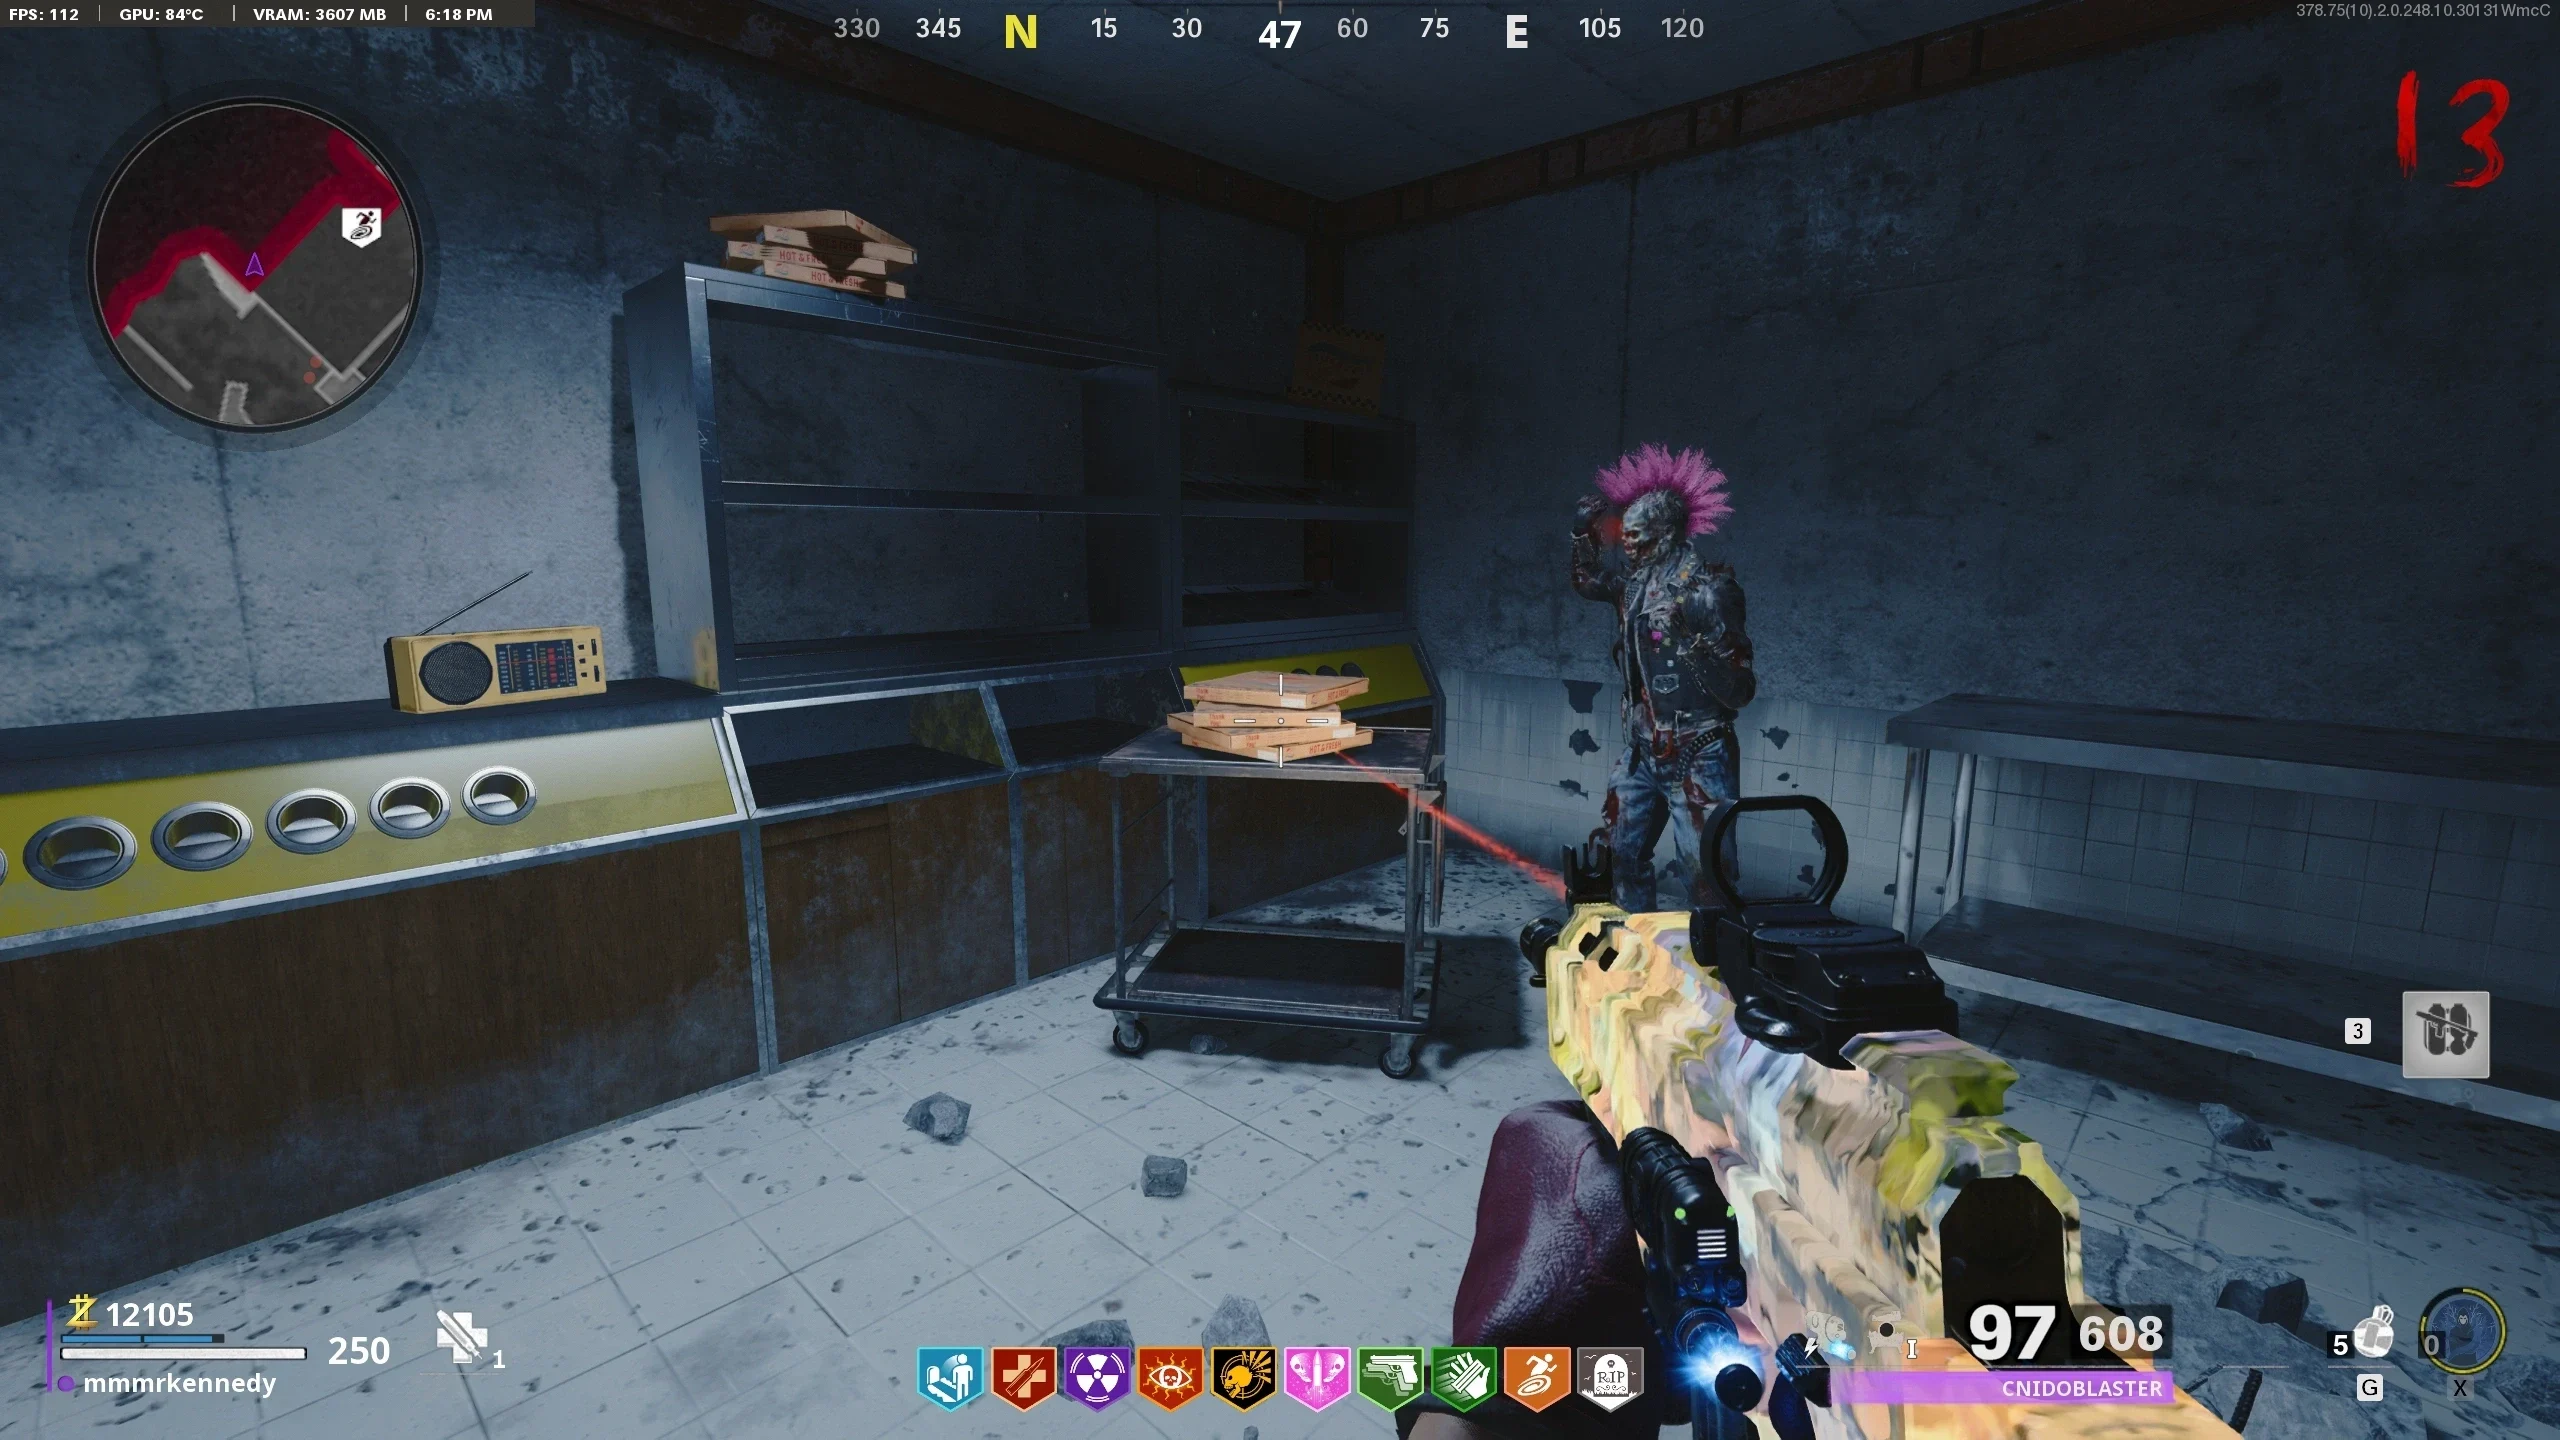
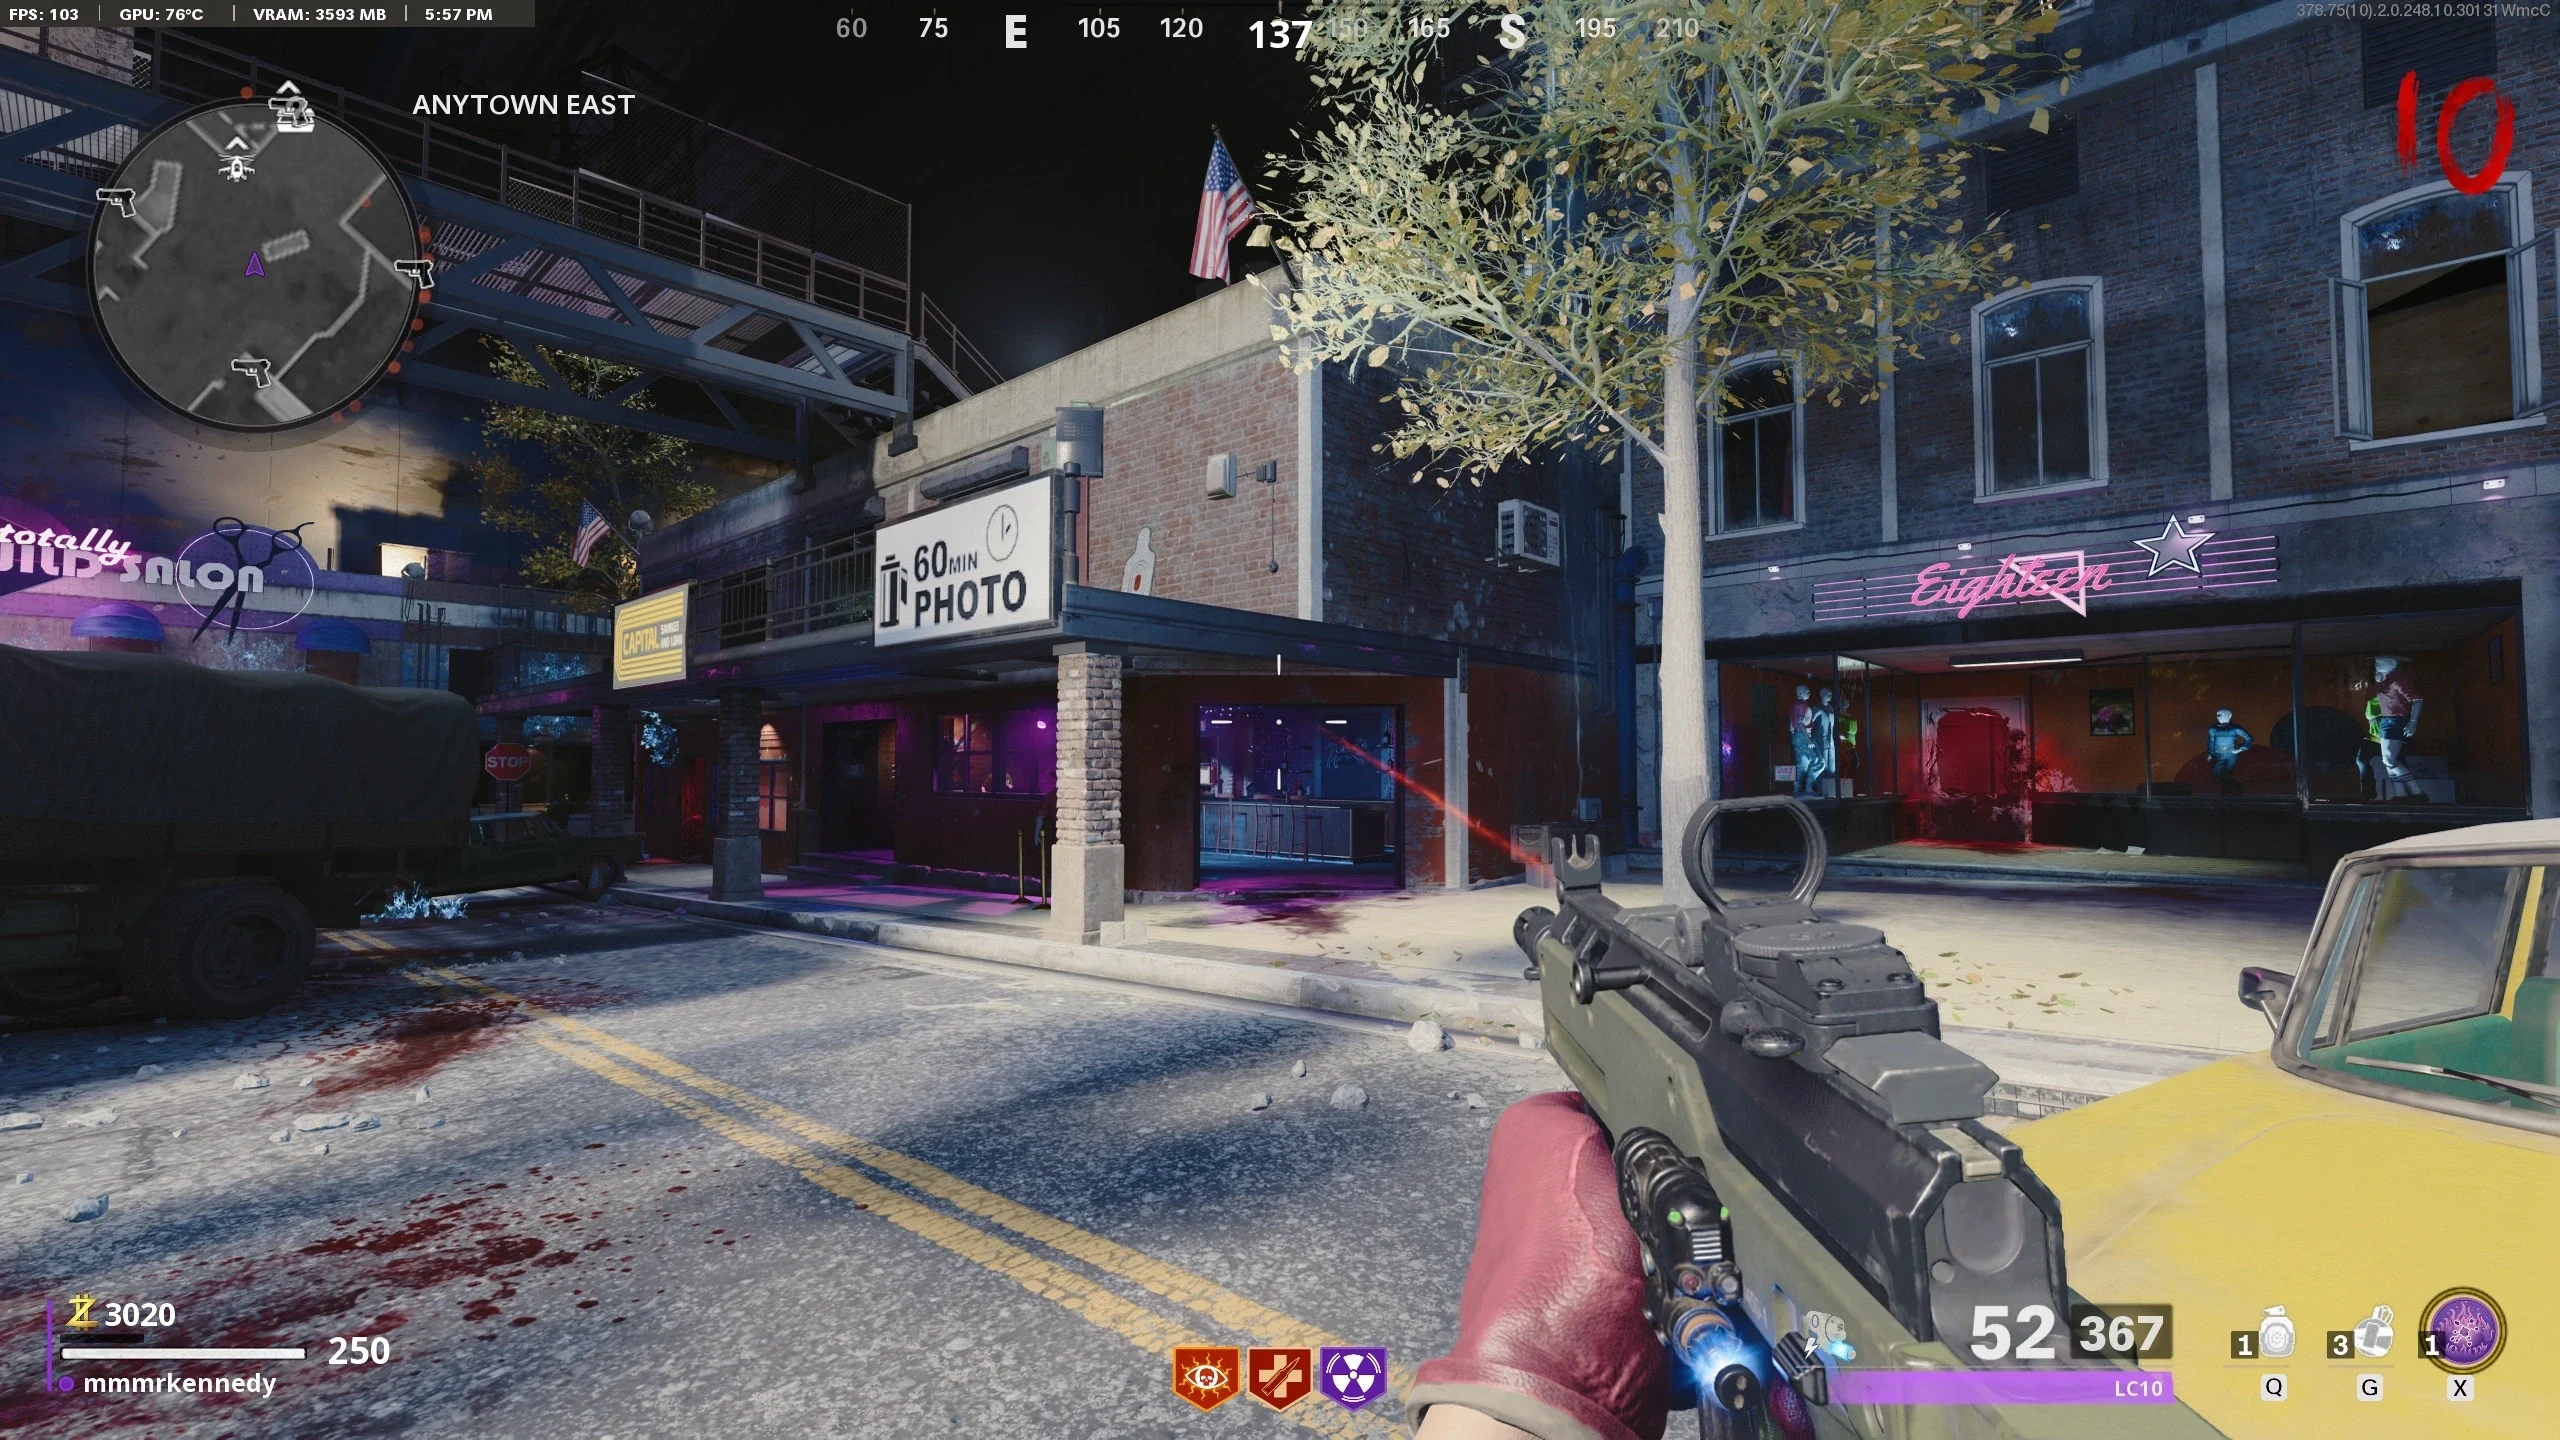
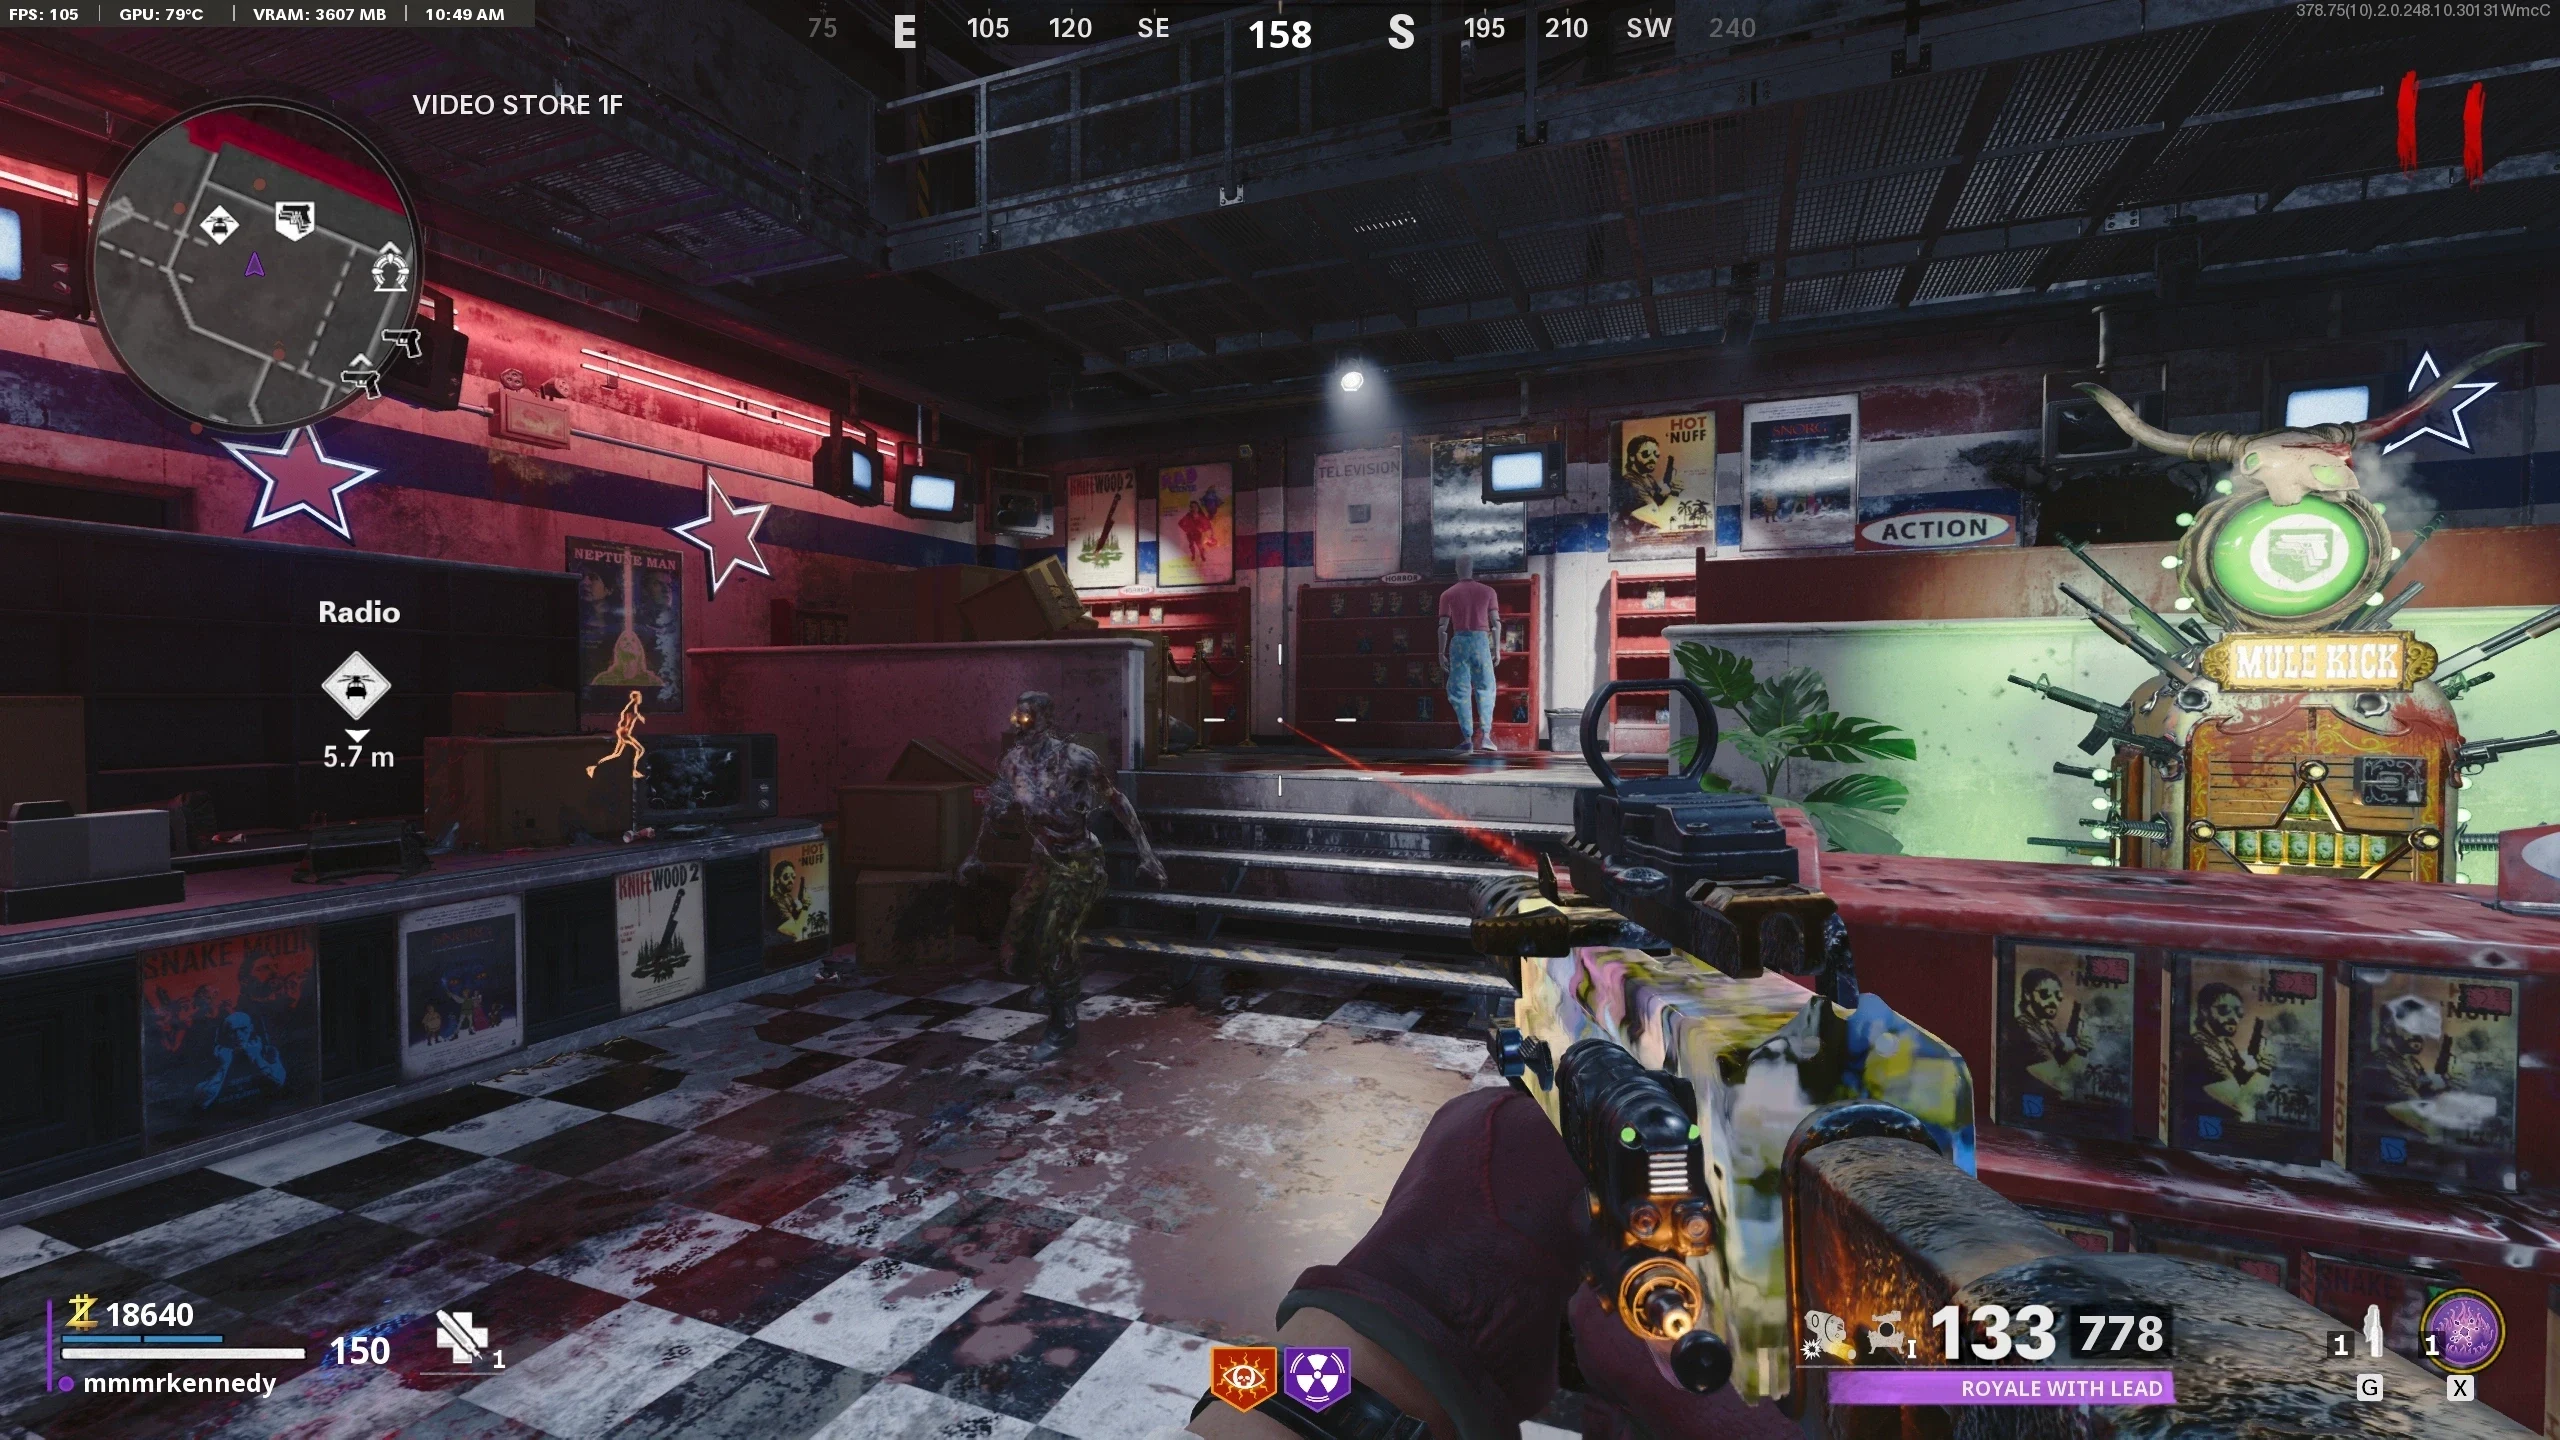
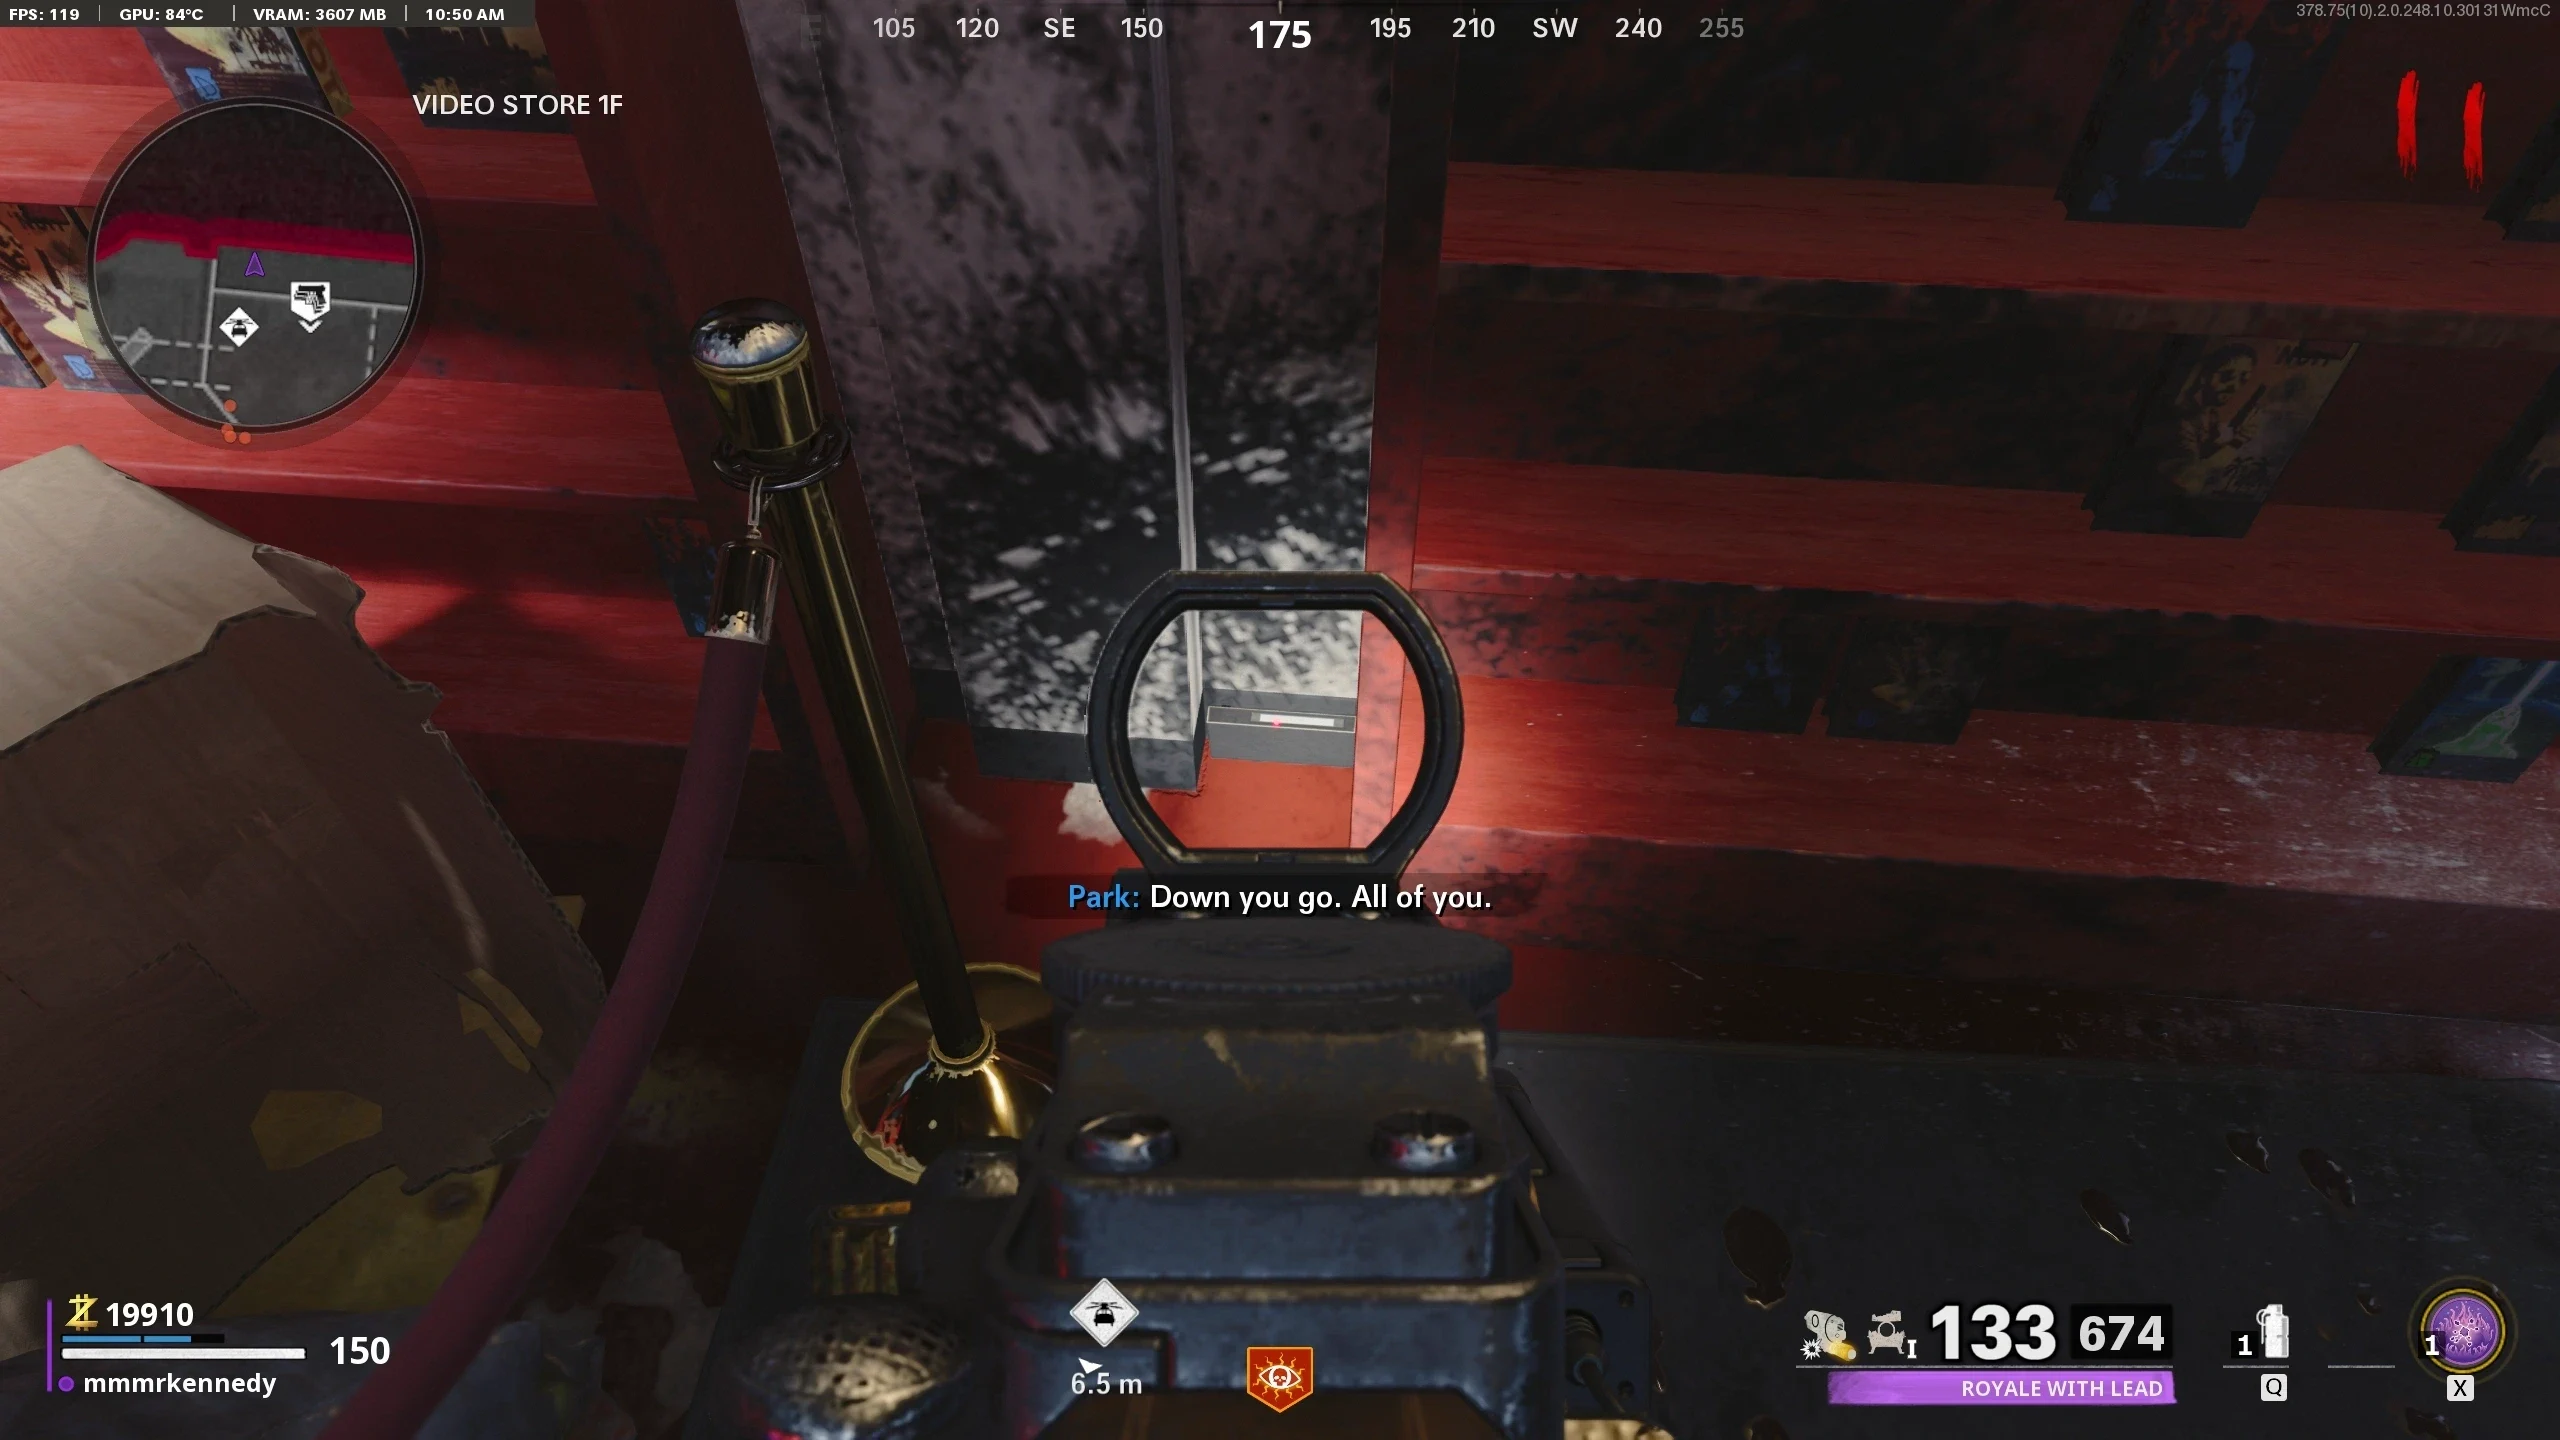
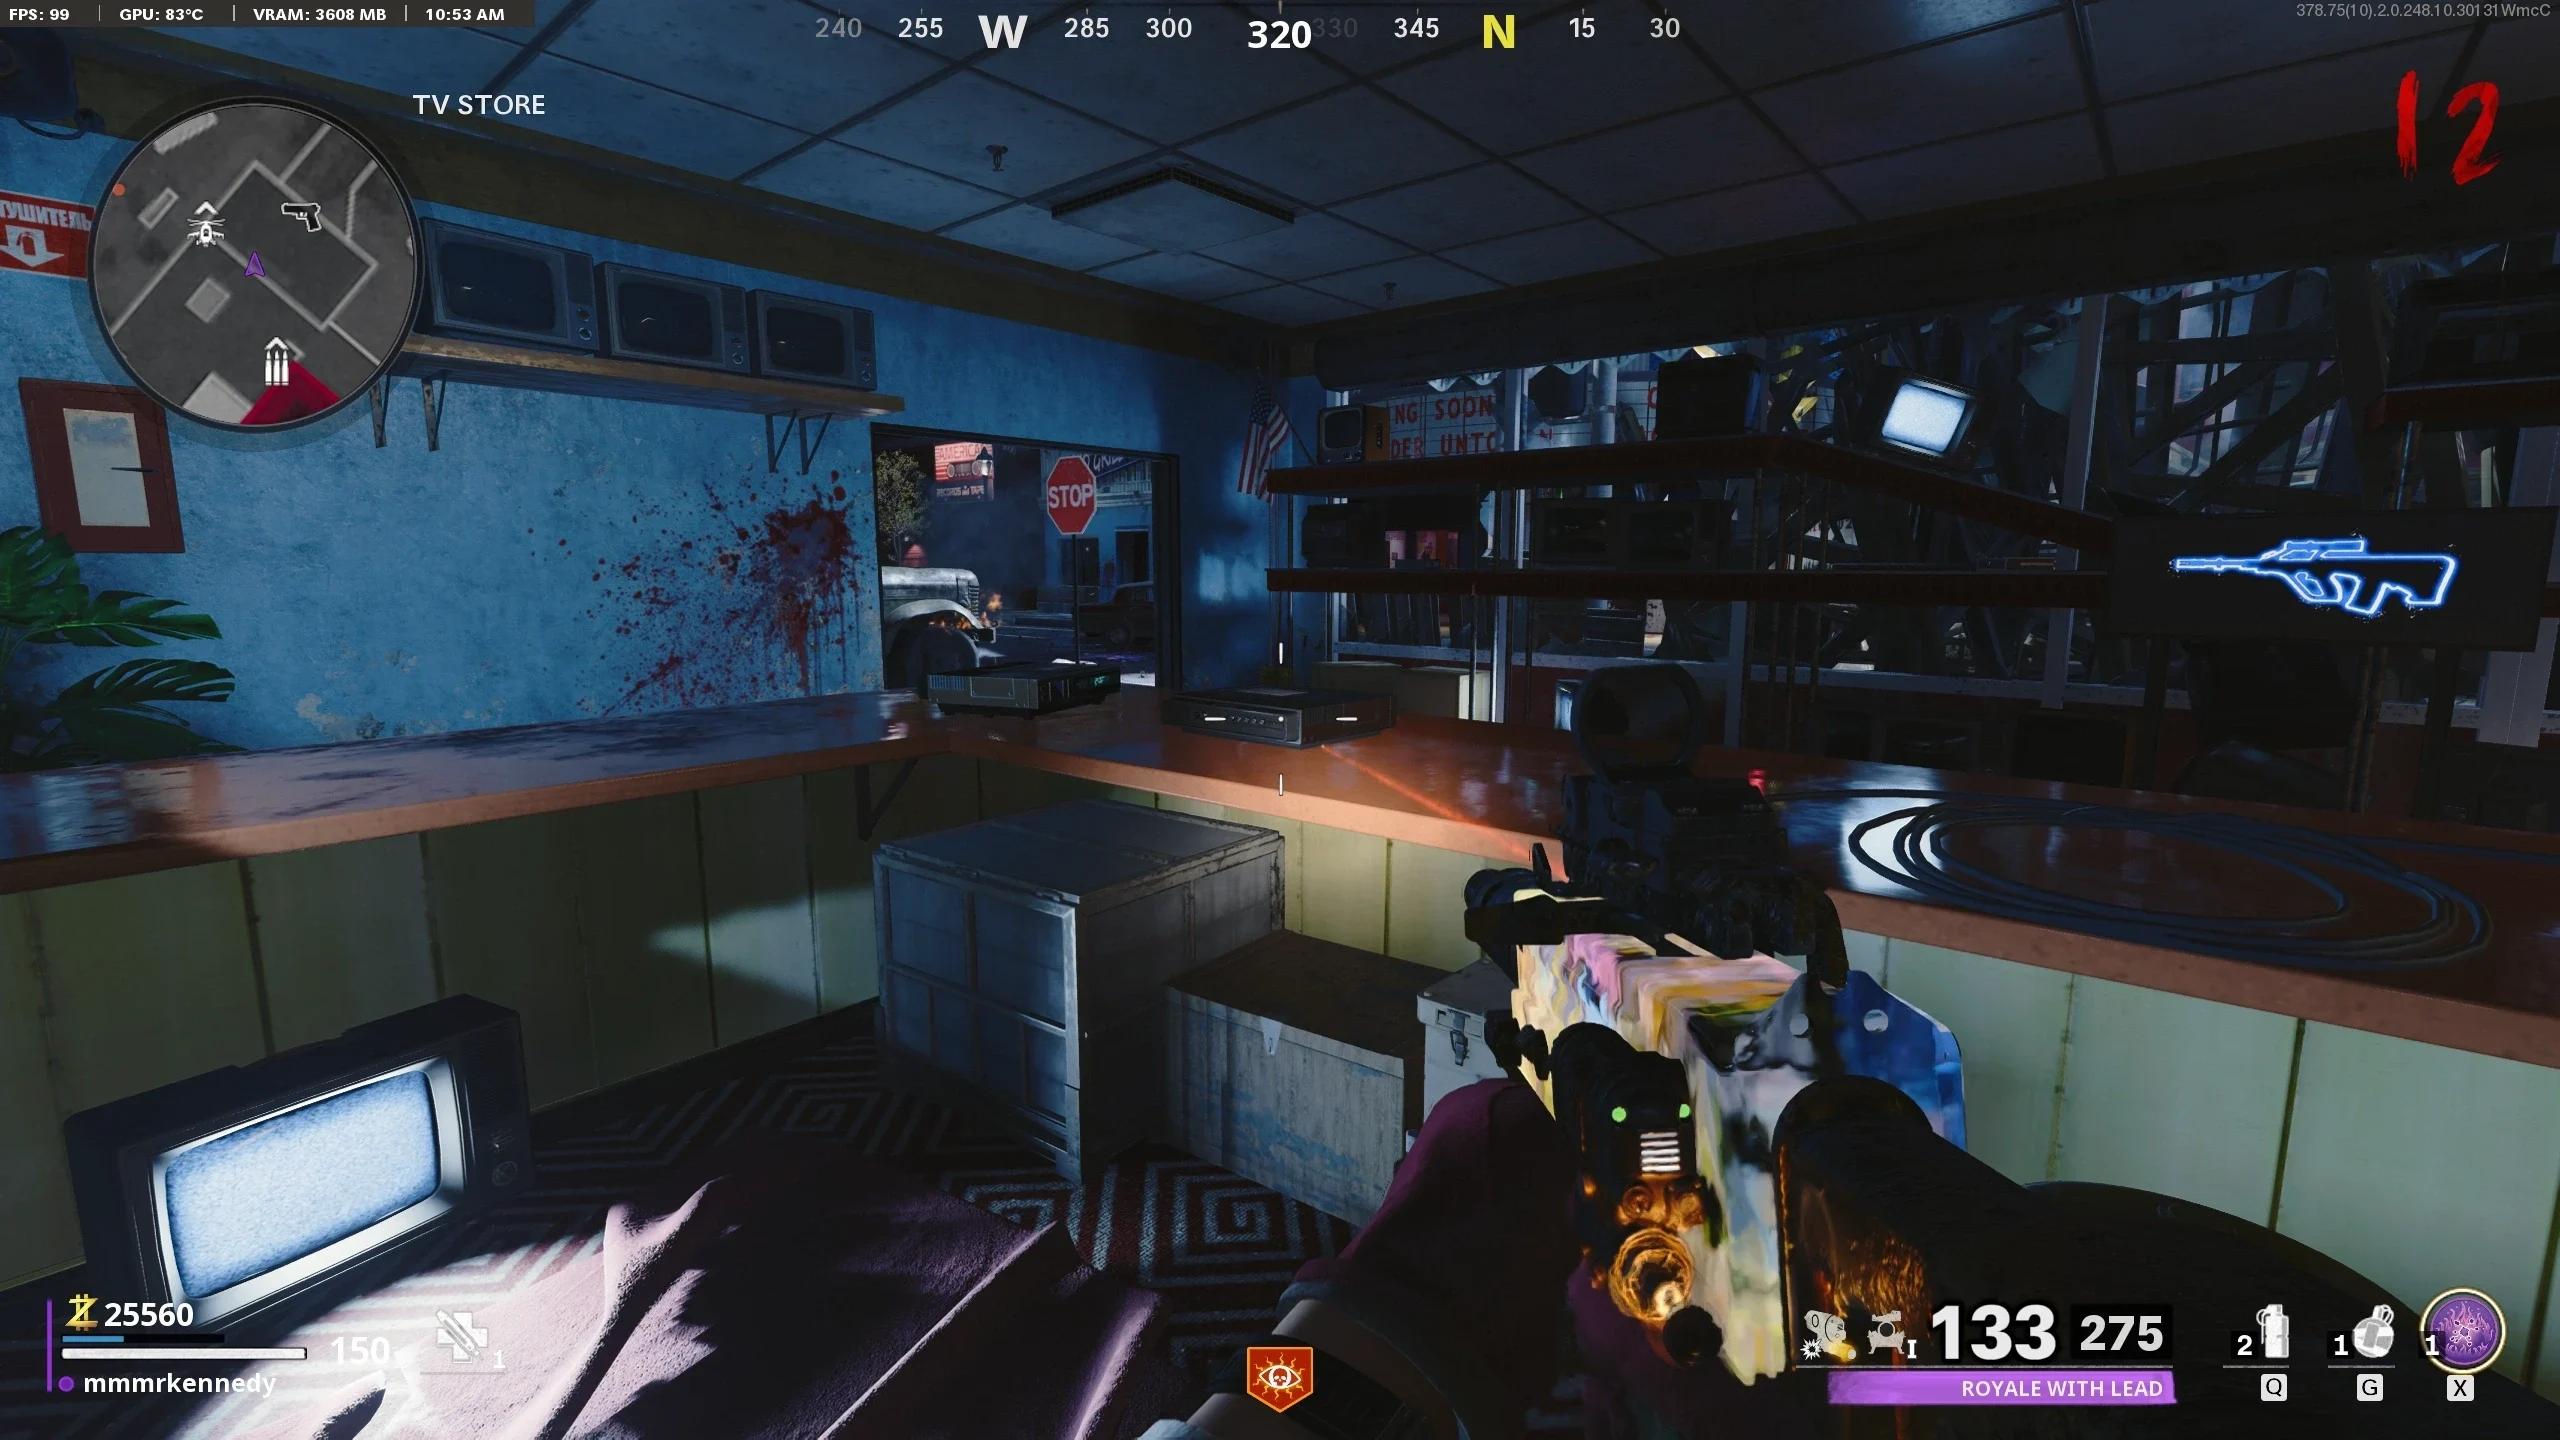
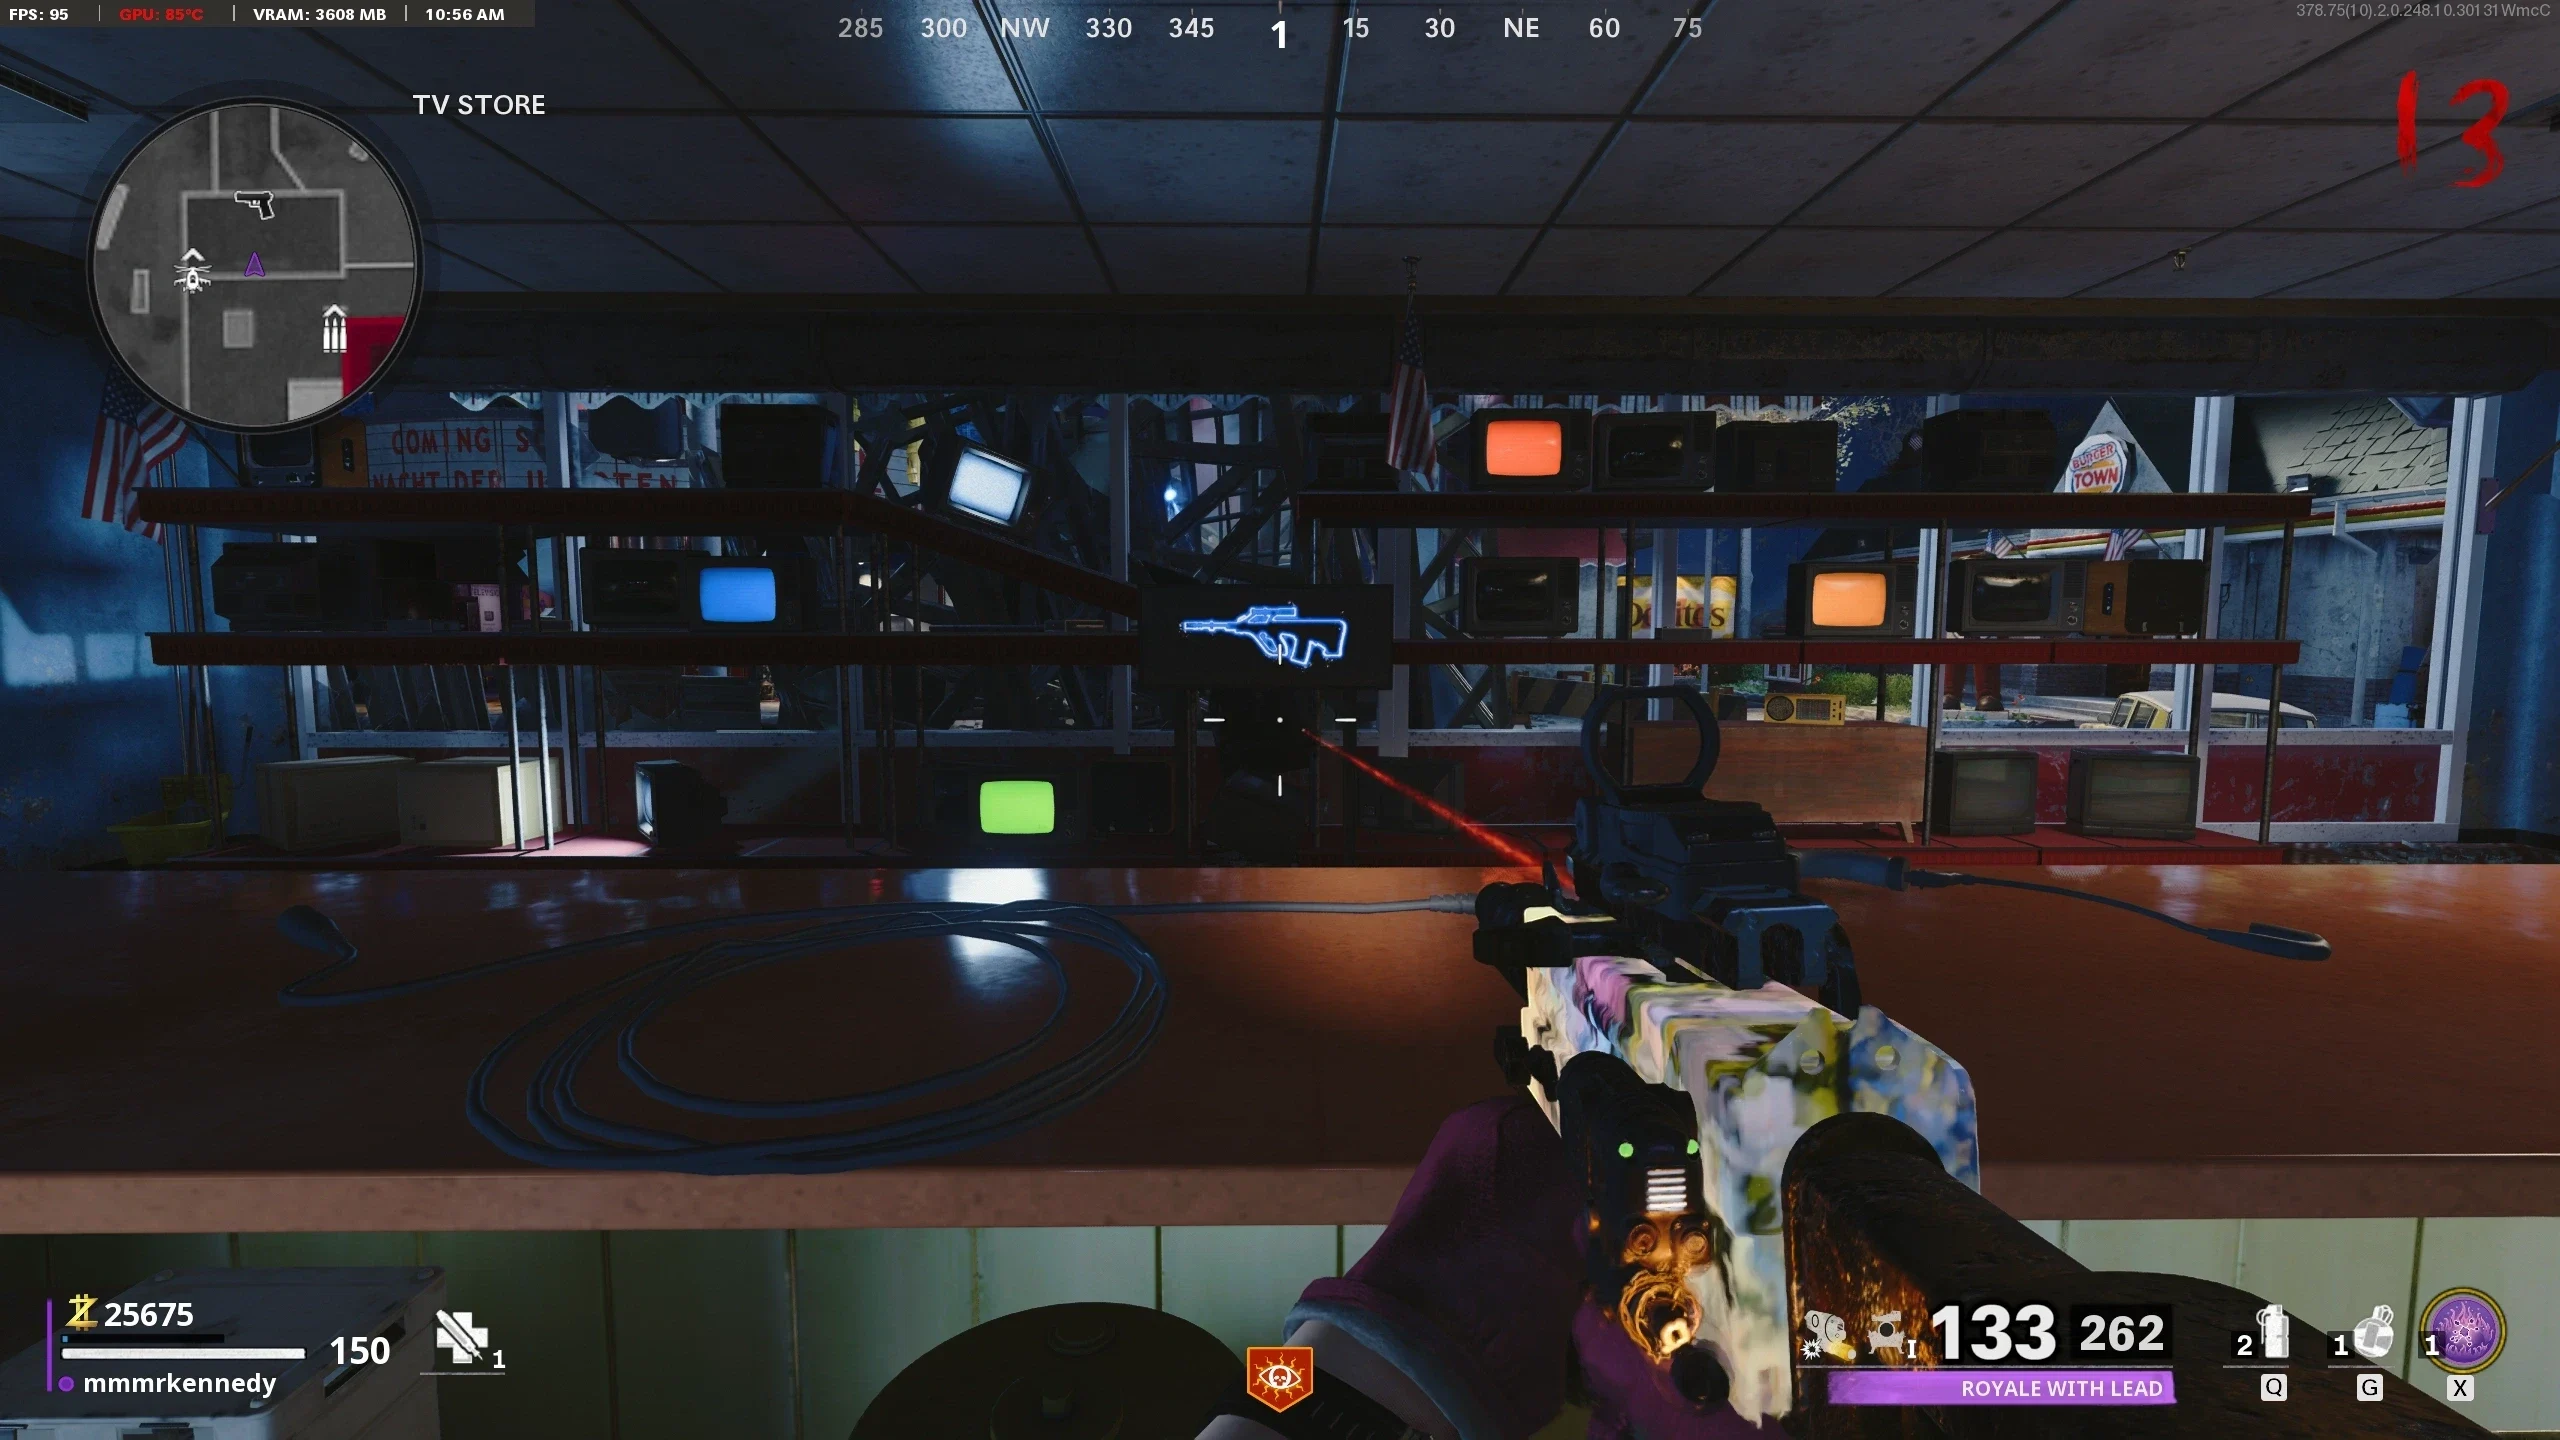
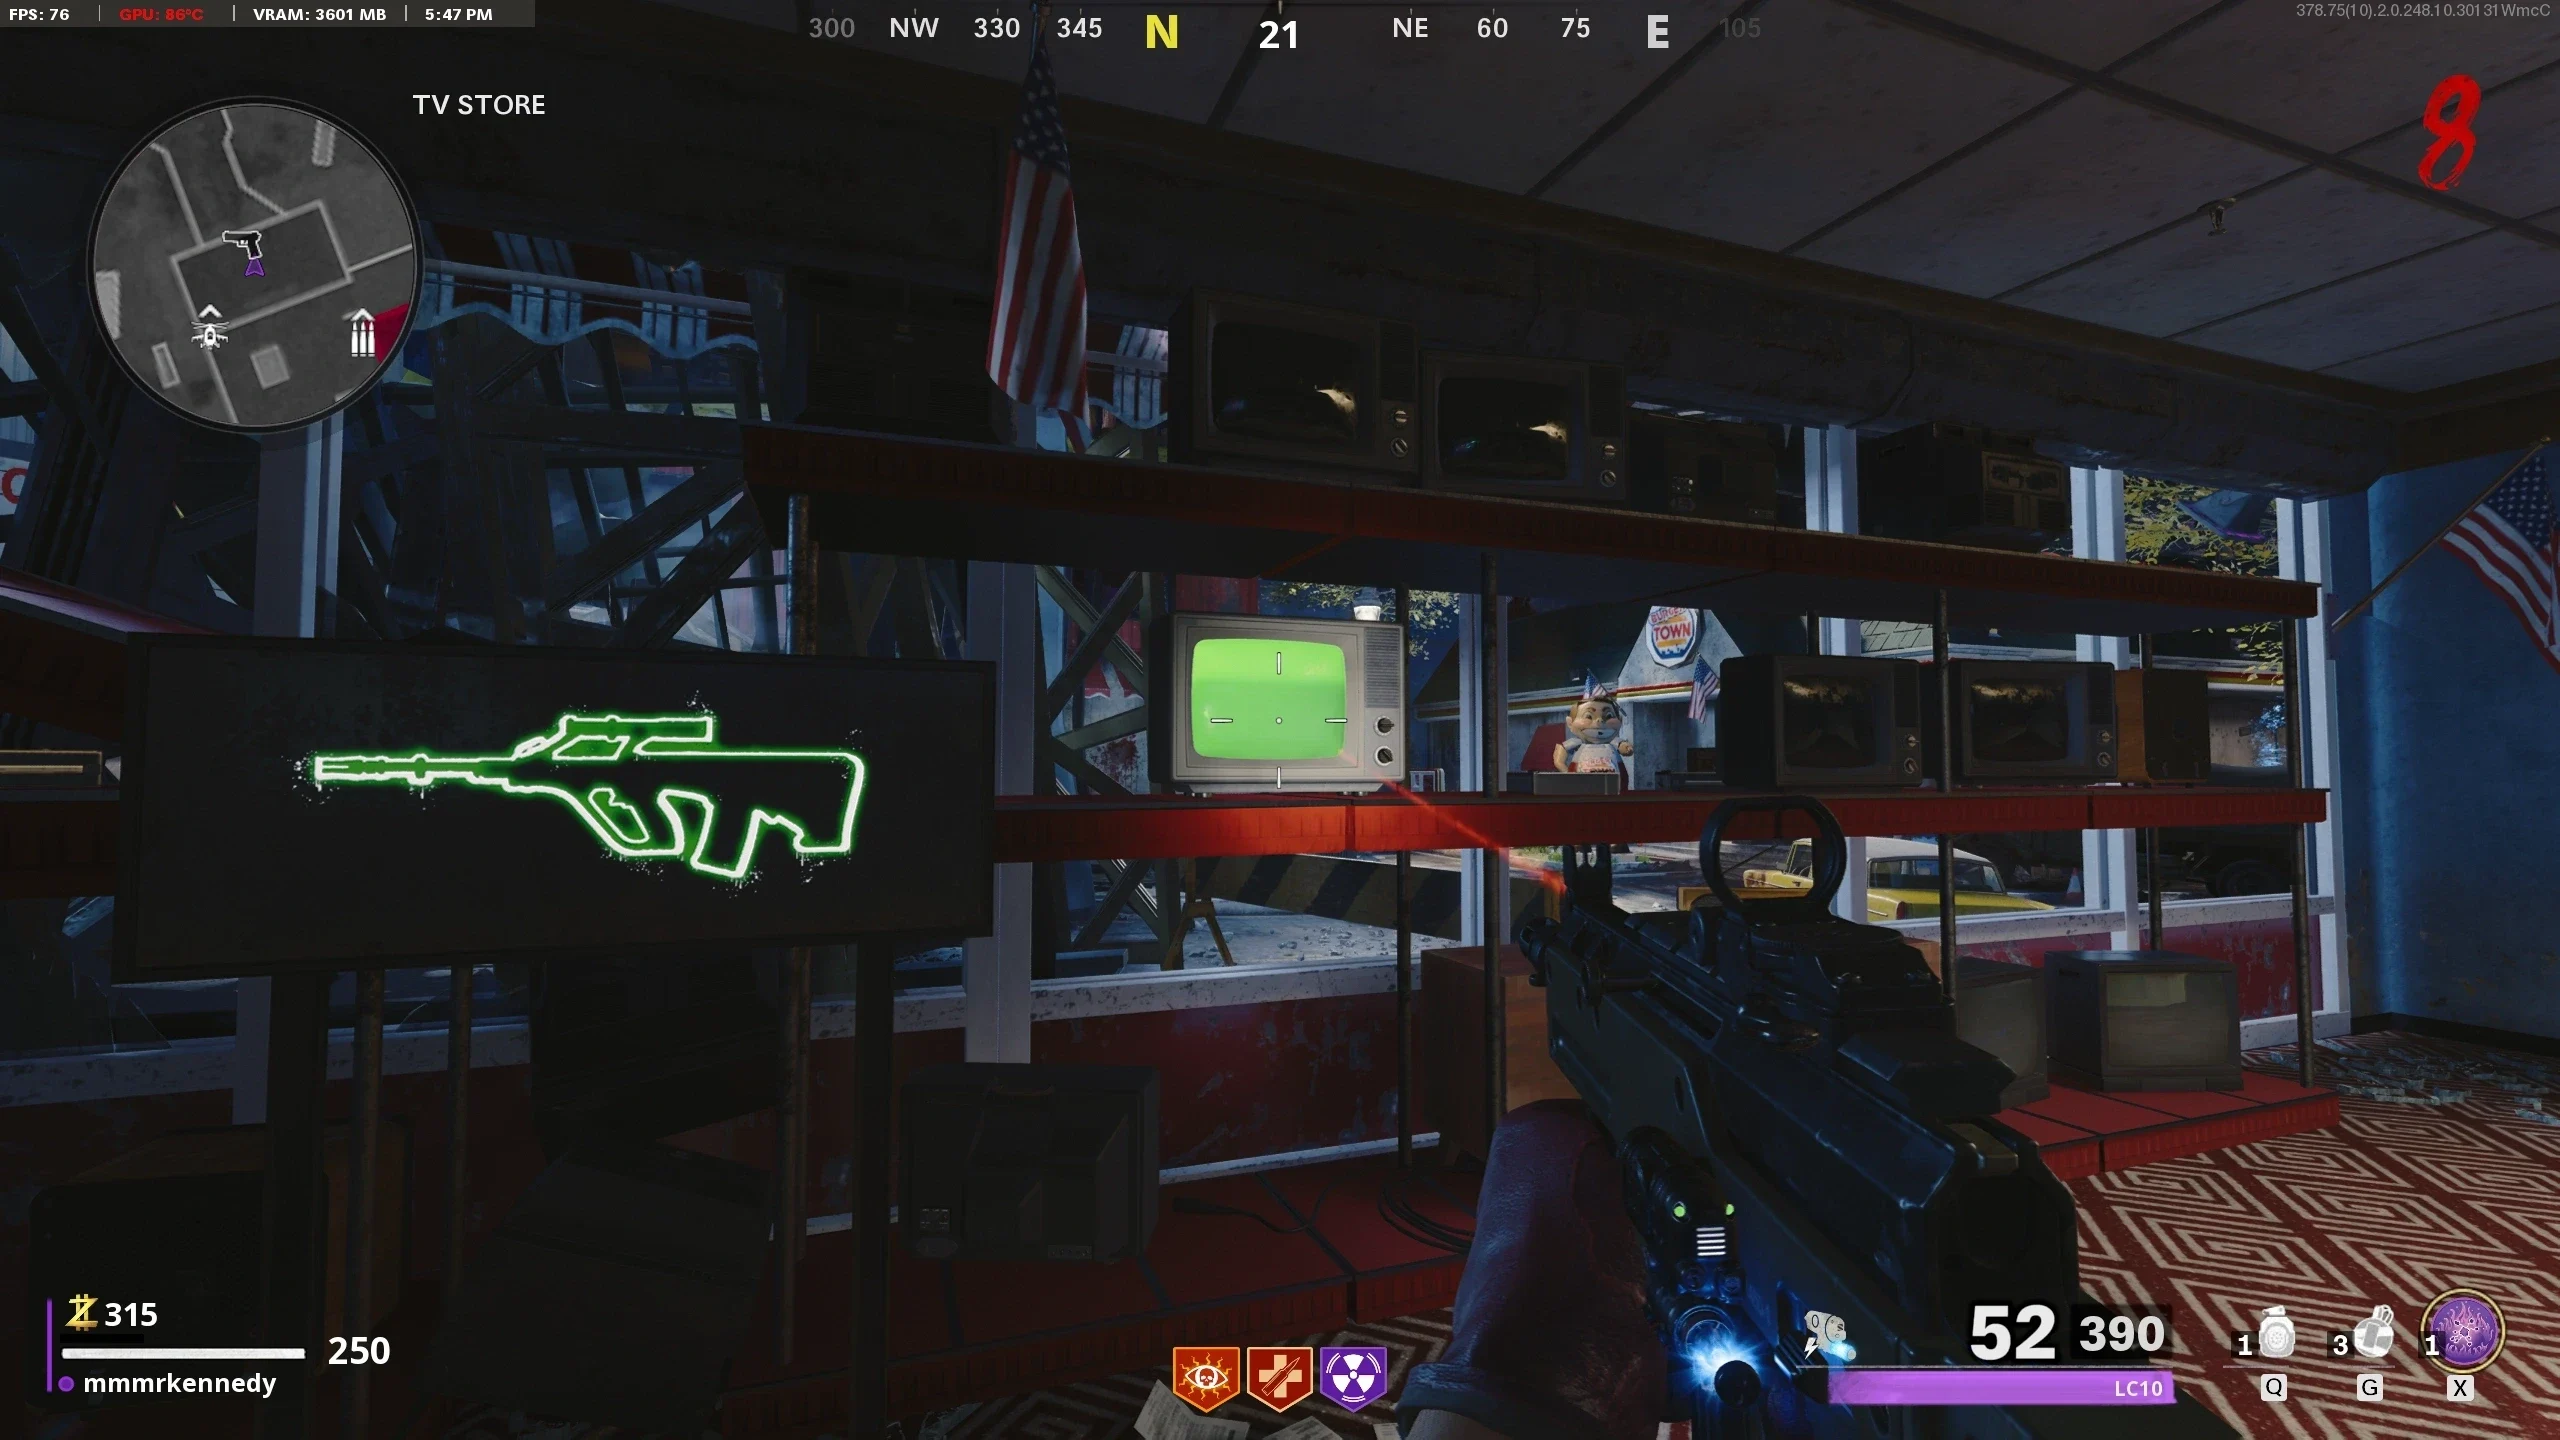
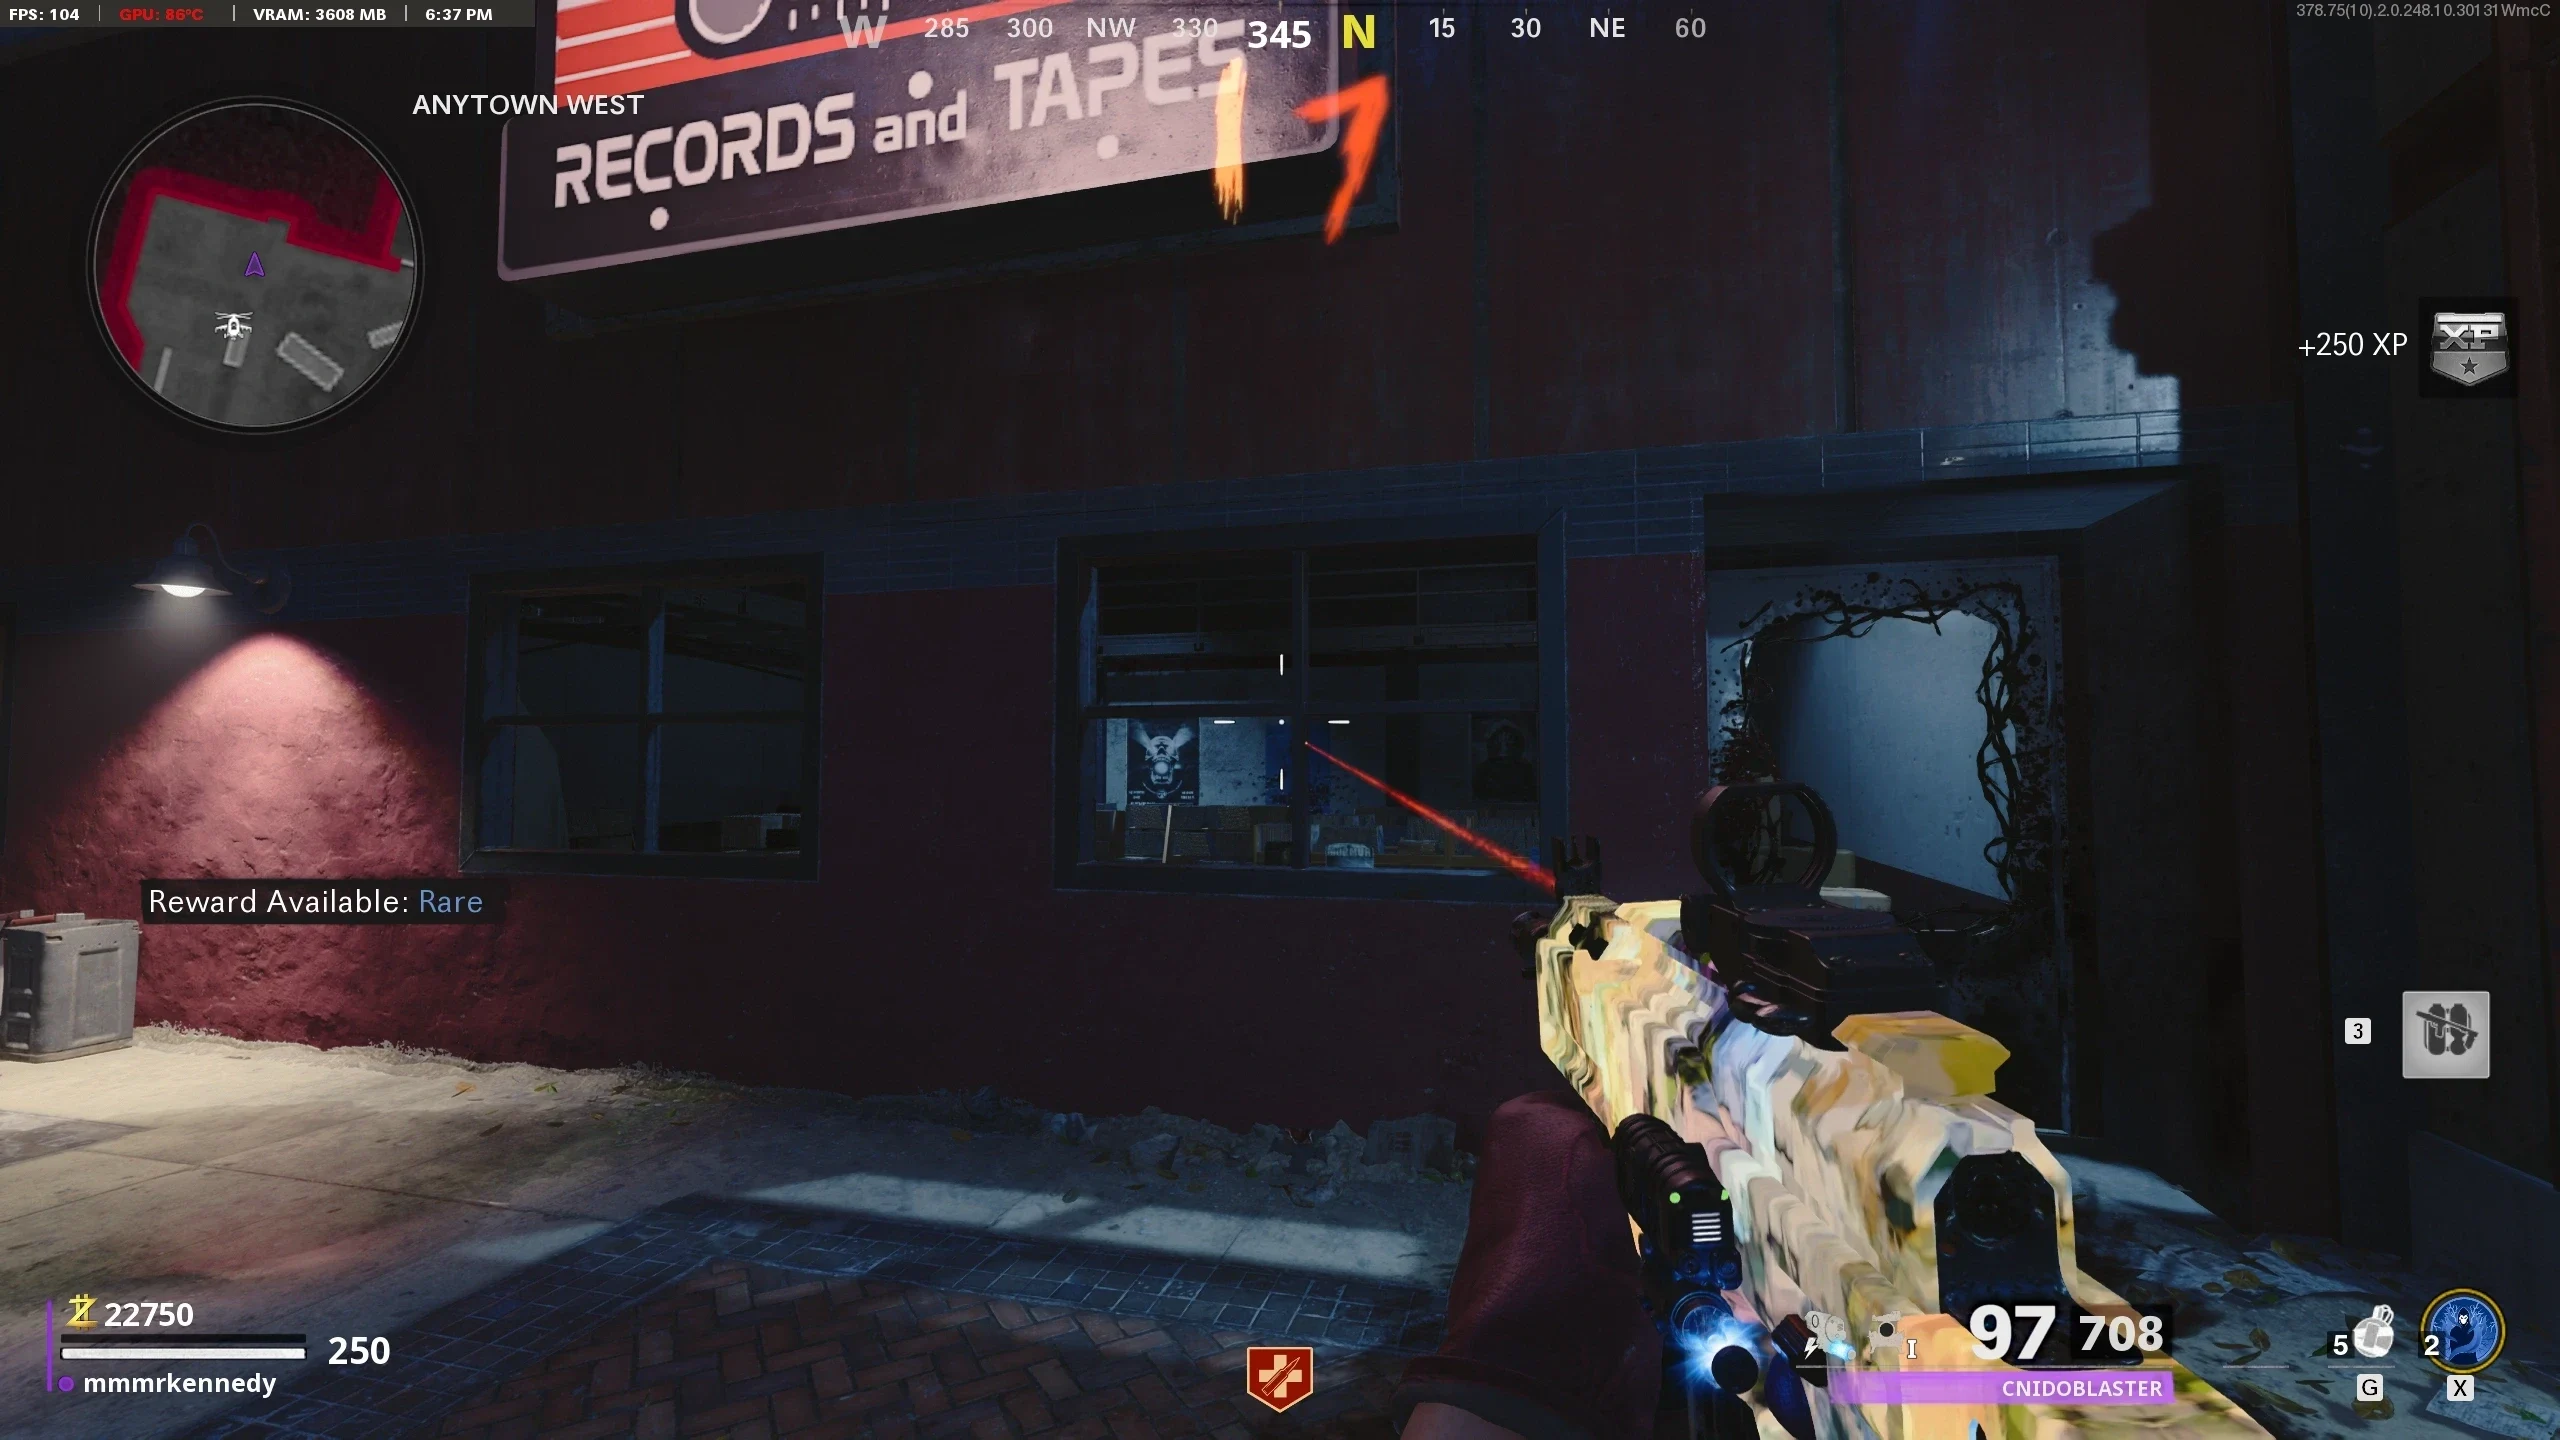
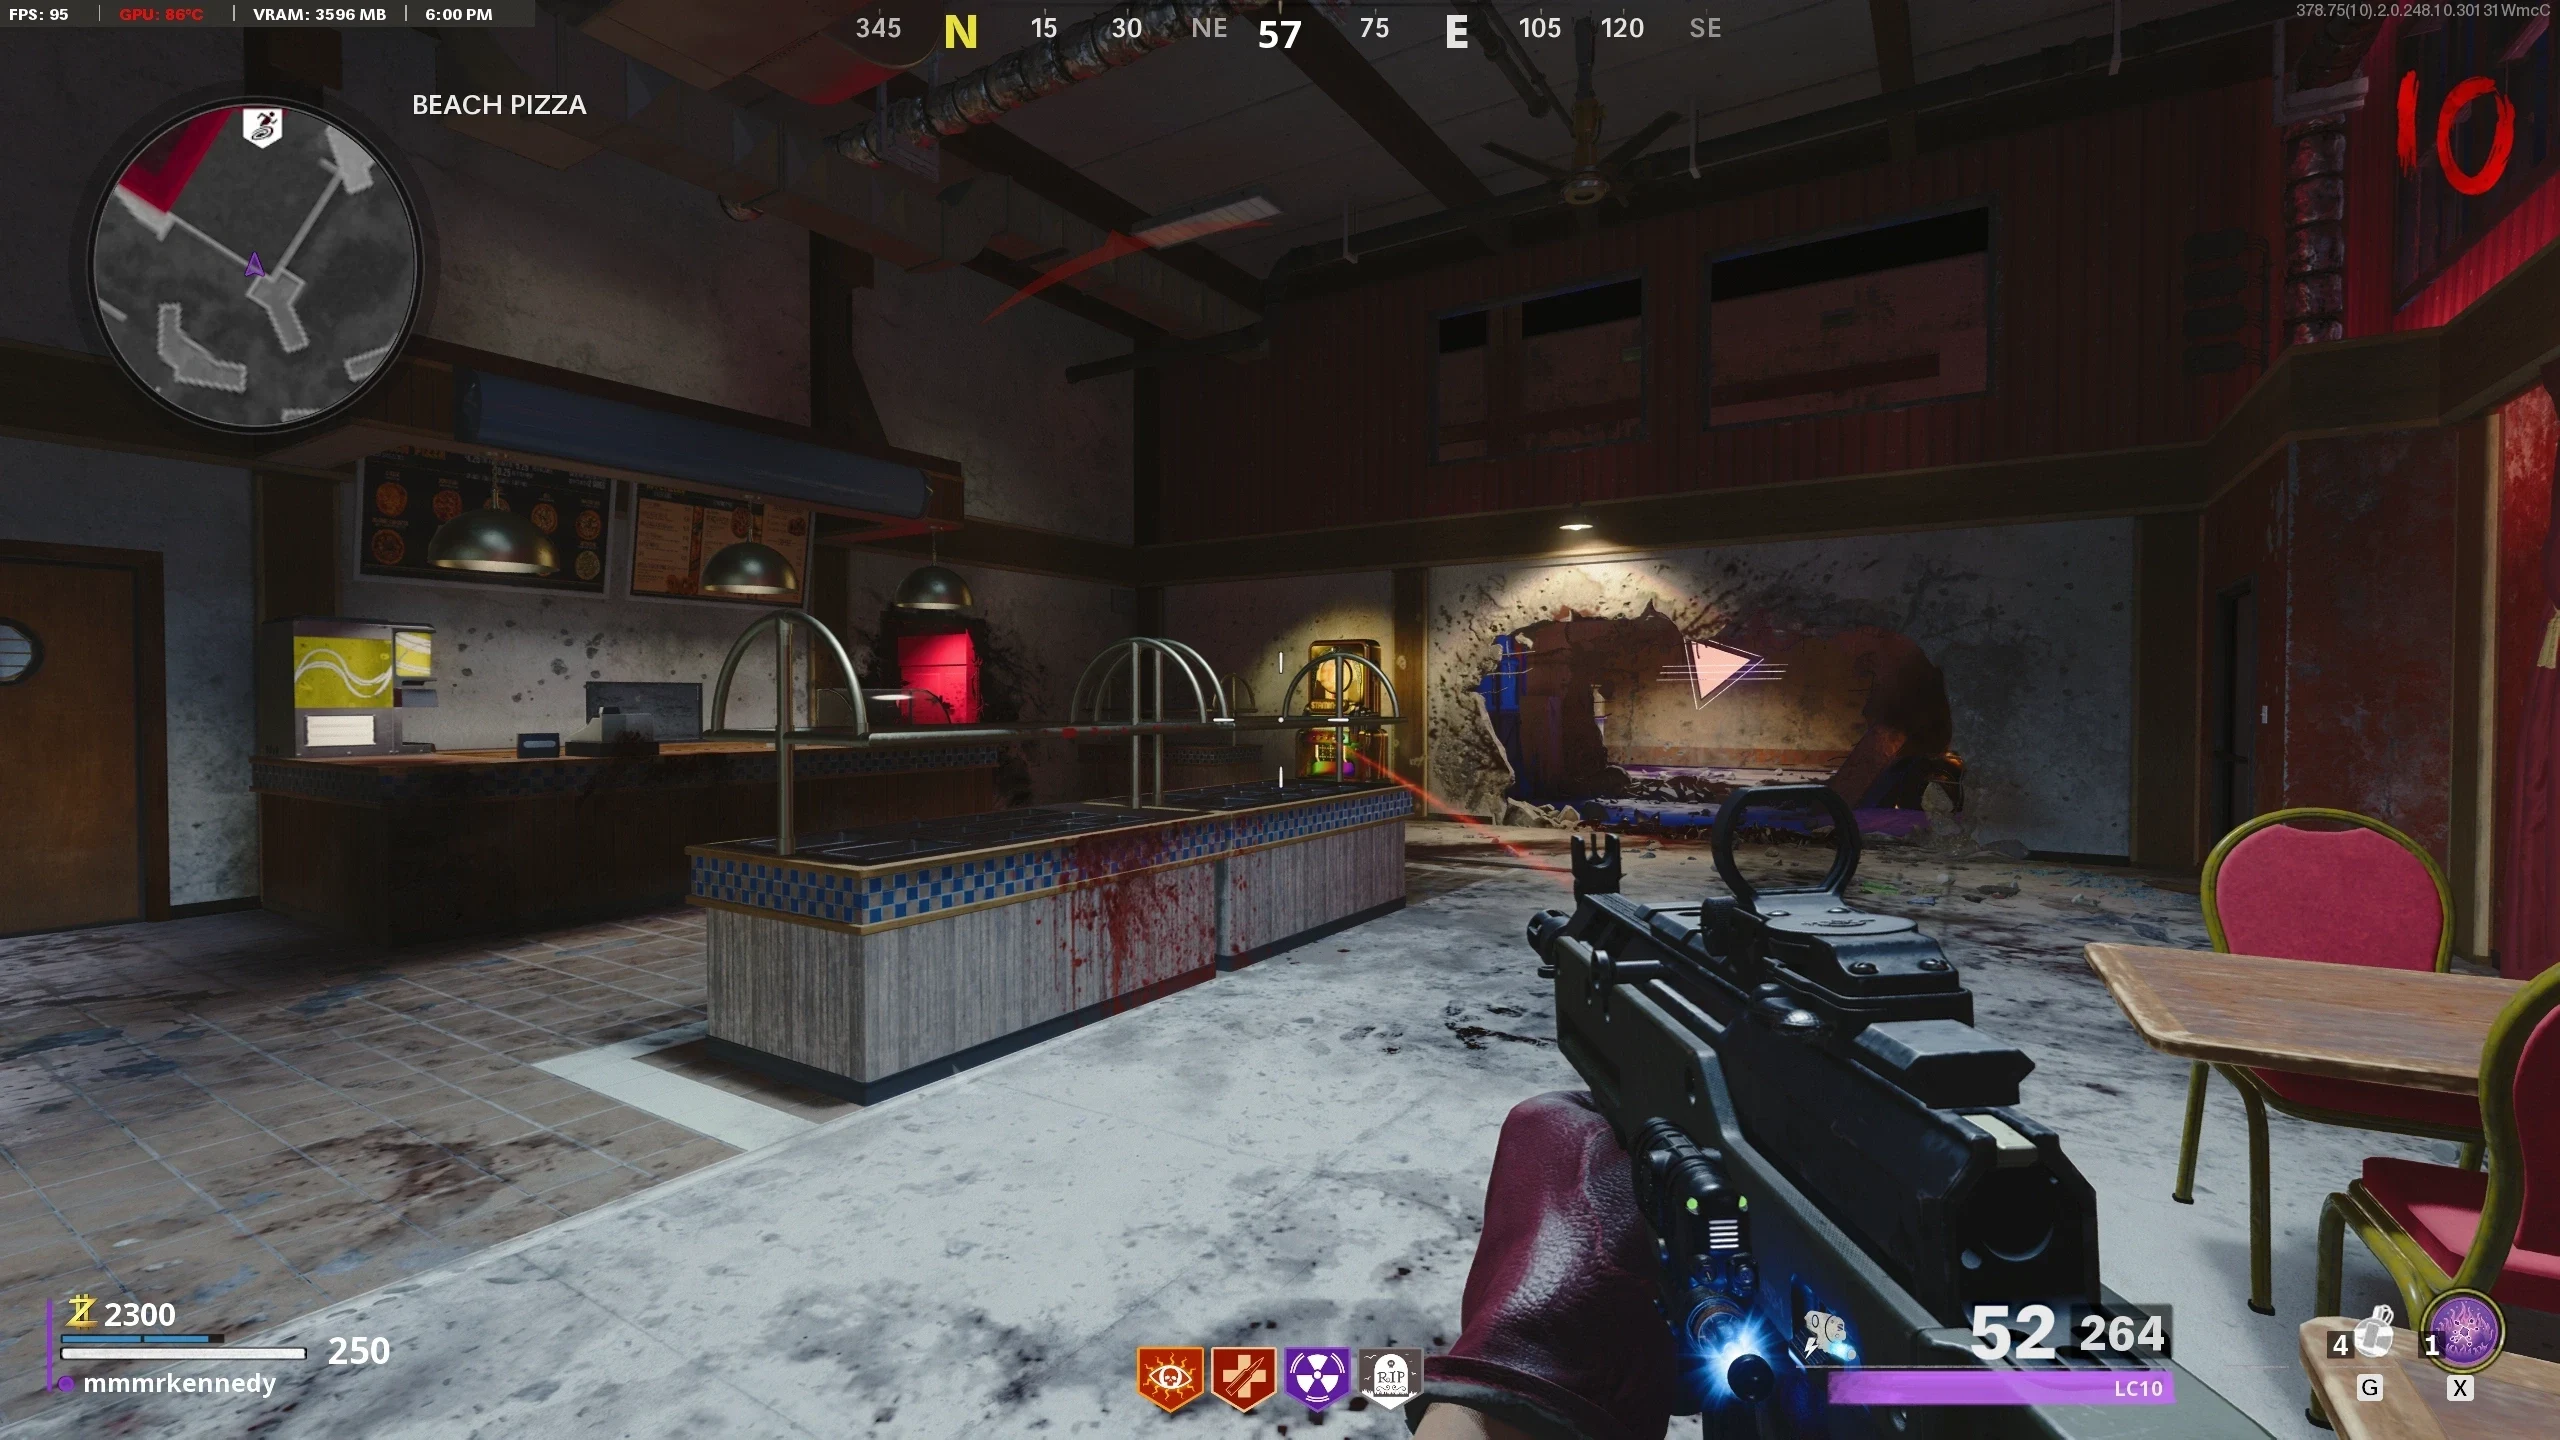
- Interact with the Arcade Machine to spawn an ARC-XD. Drive the ARC-XD to the TV Store and locate the Loosened Vent behind the counter.
- Destroy the vent cover with the passive pulses from the ARC-XD and drive through the vent. Position the ARC-XD between the shelf and wall and detonate the ARC-XD.
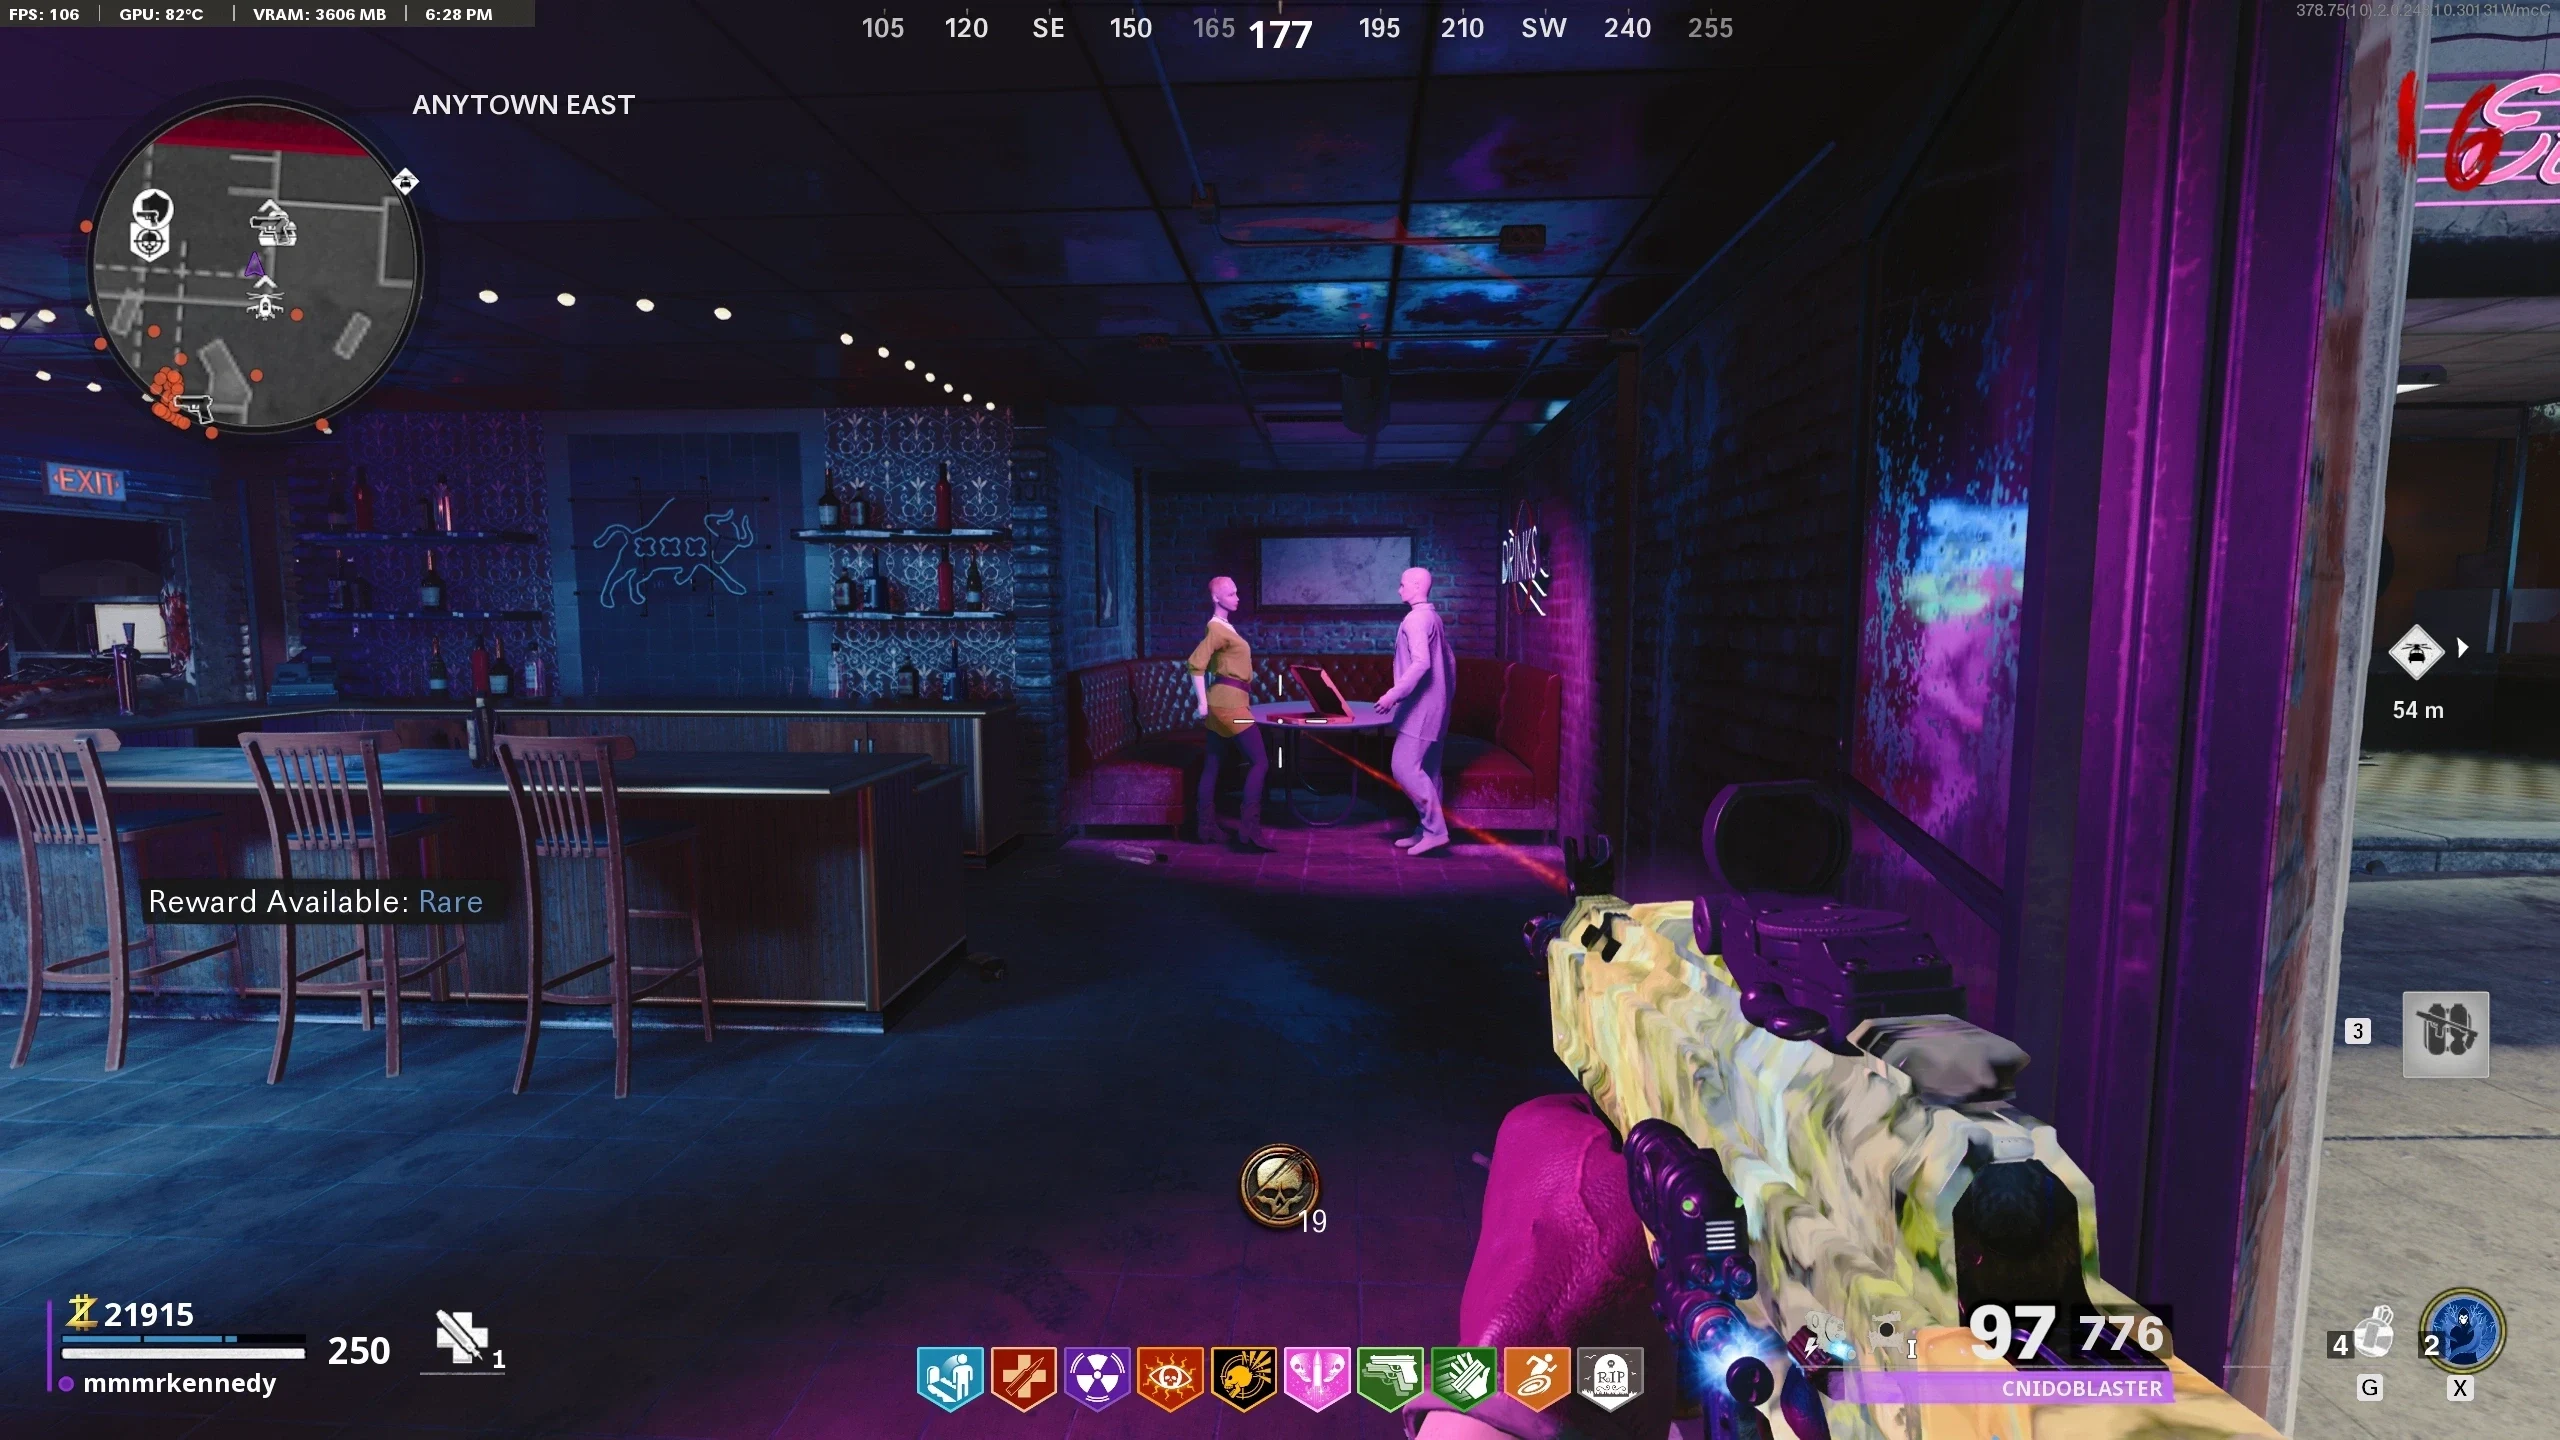
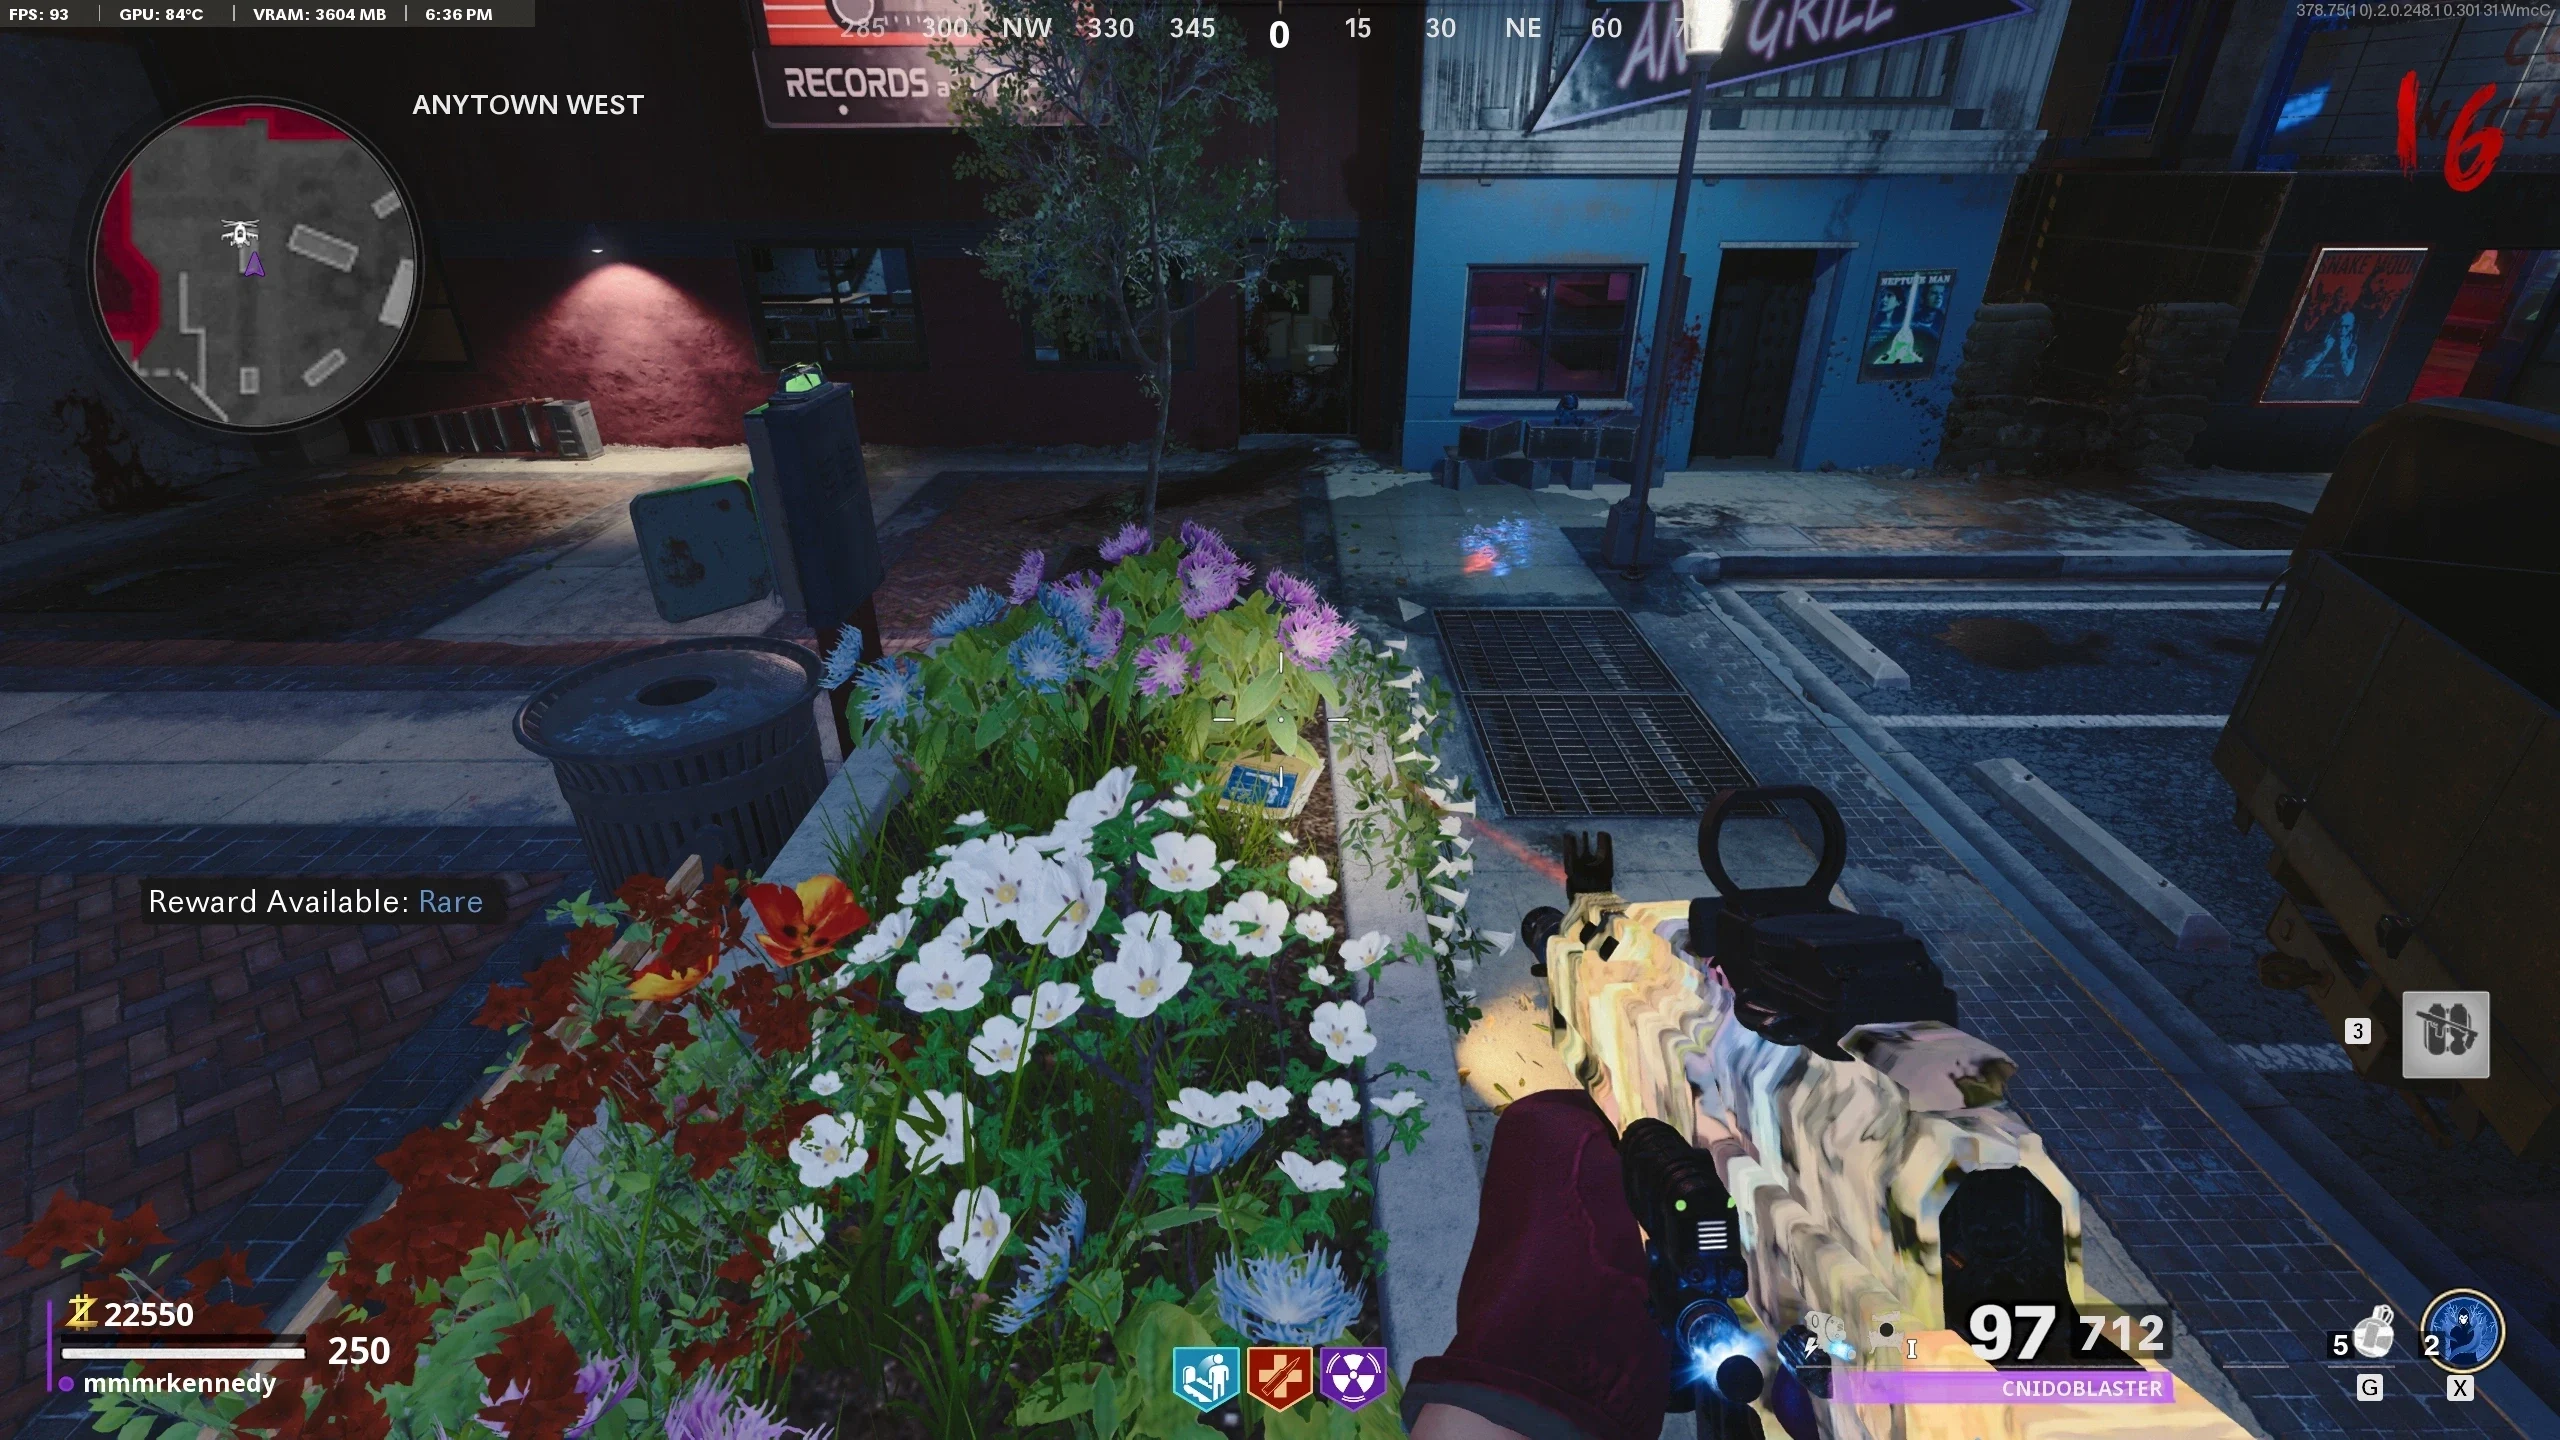
- Go to the TV Store and pick up the Monitoring Device from the shelf.
- Wait for an Abomination to spawn.
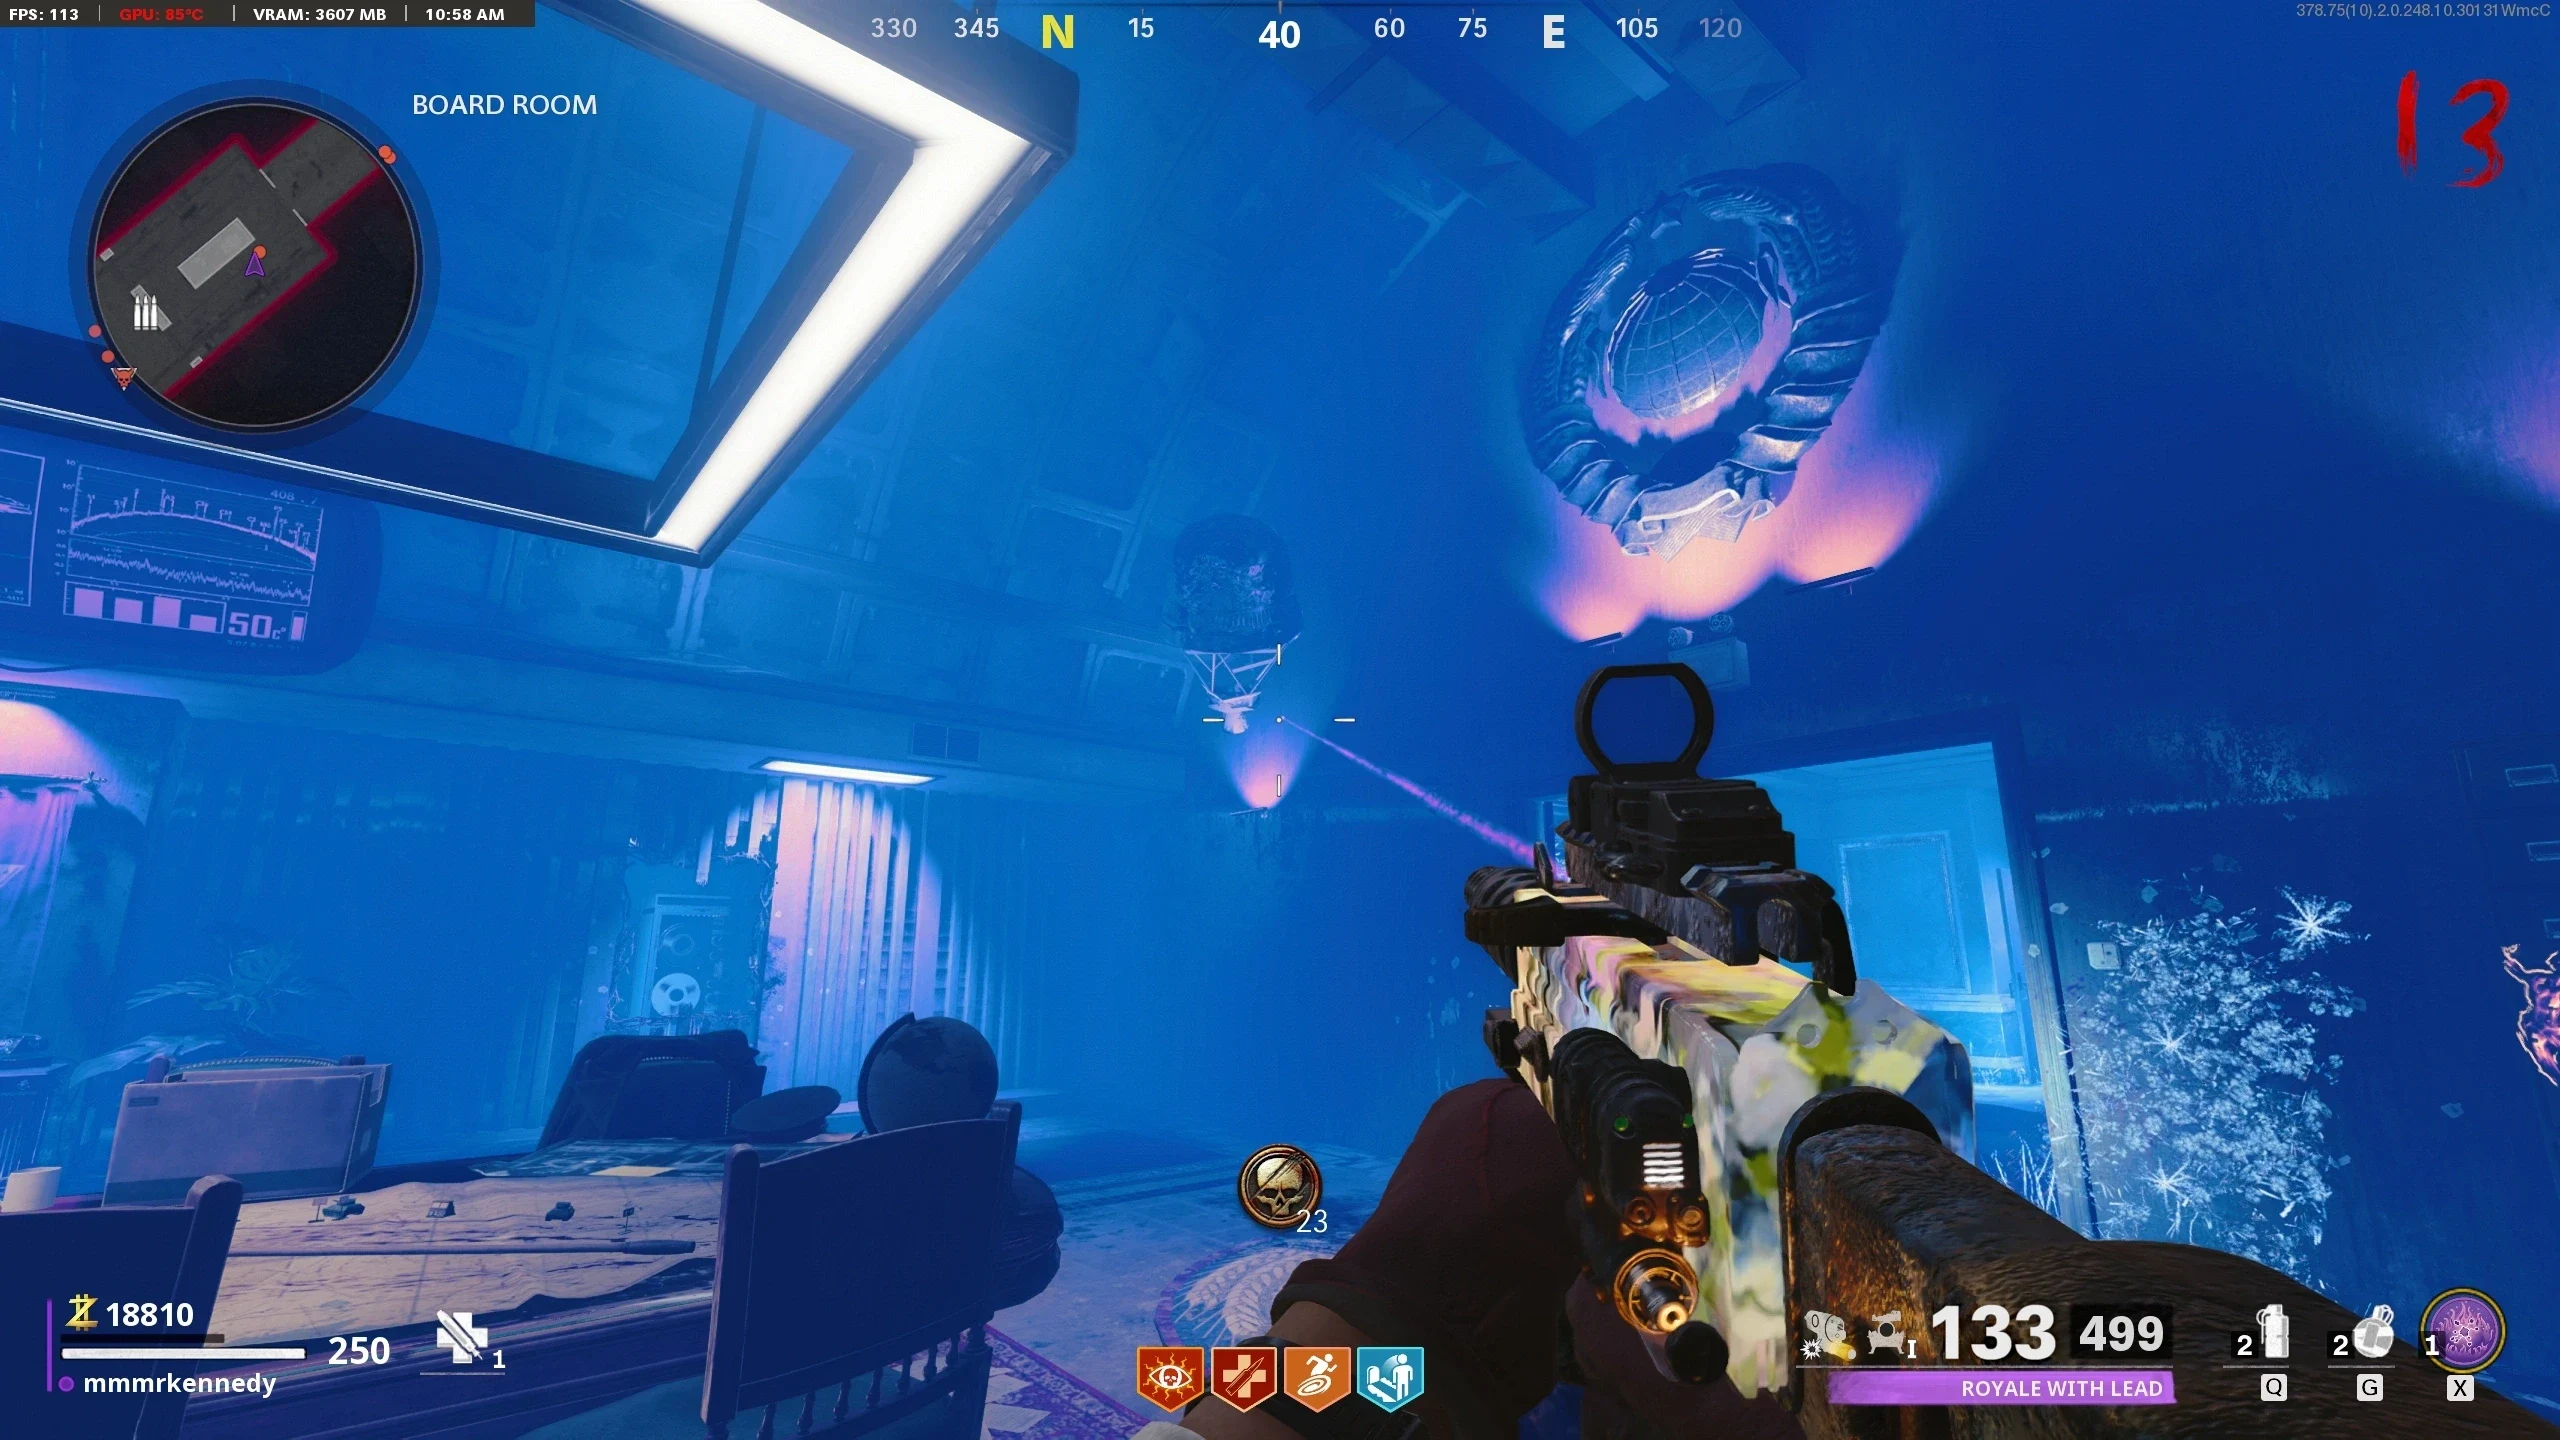
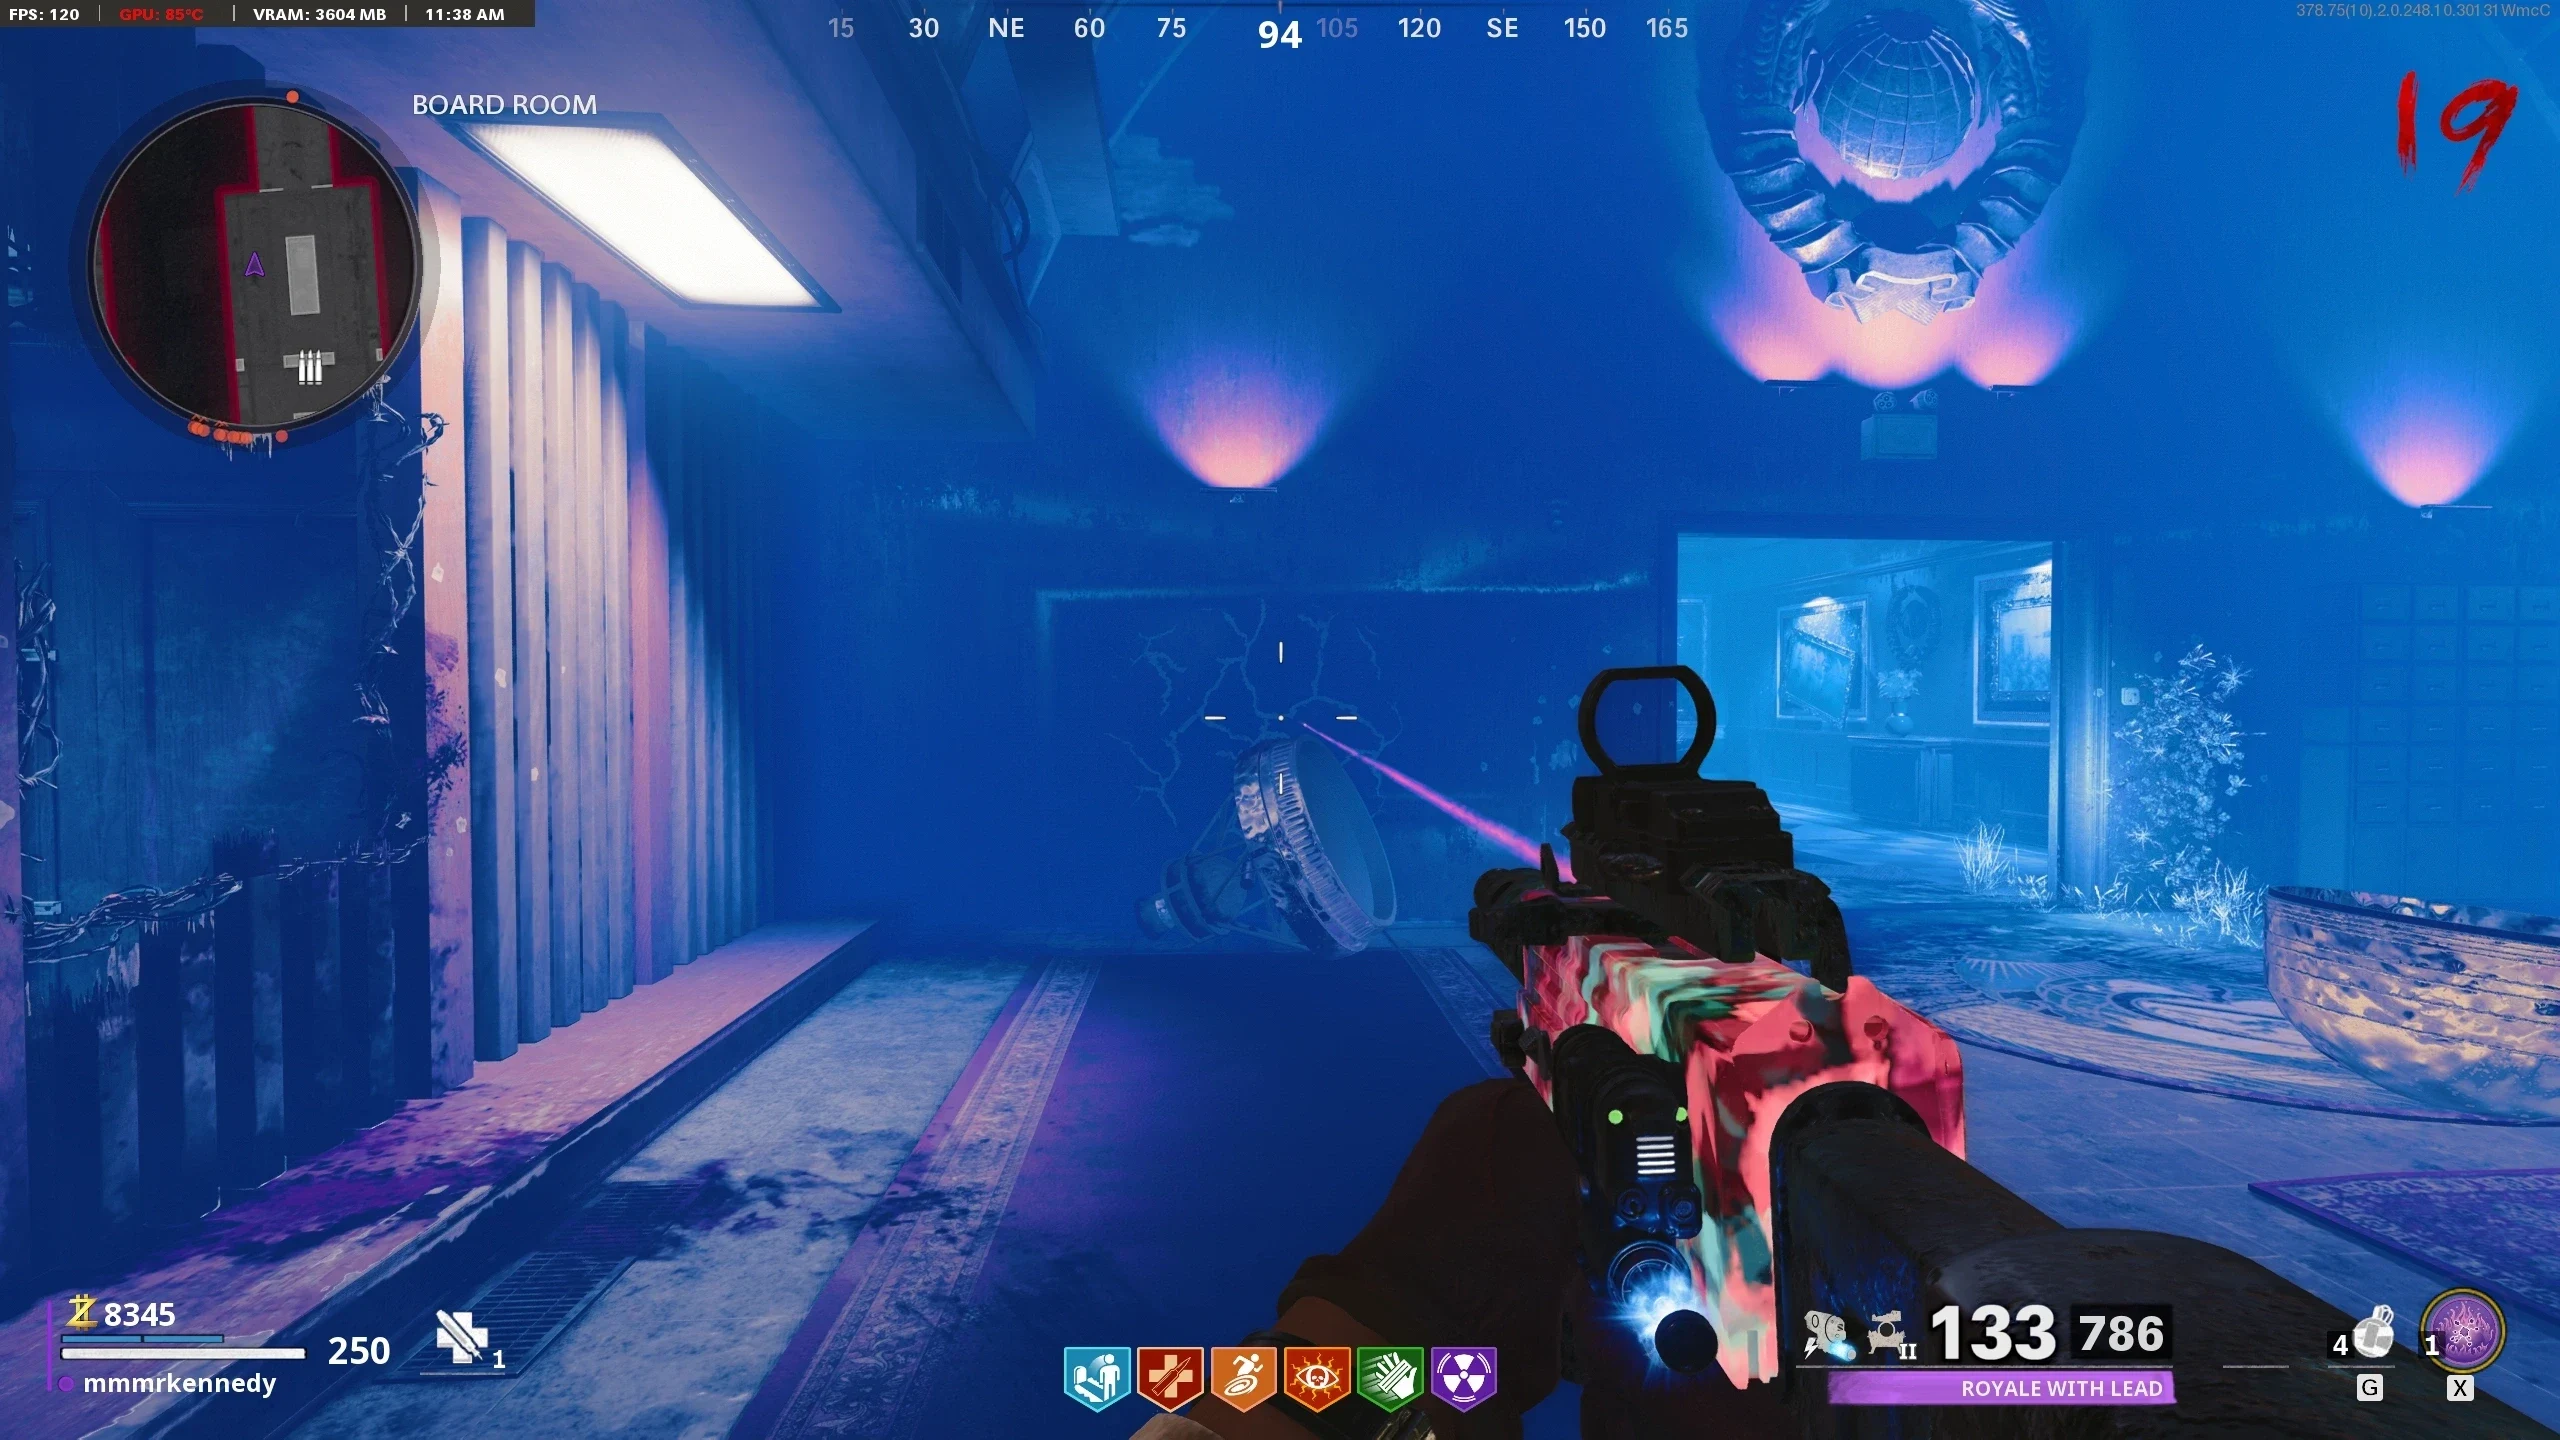
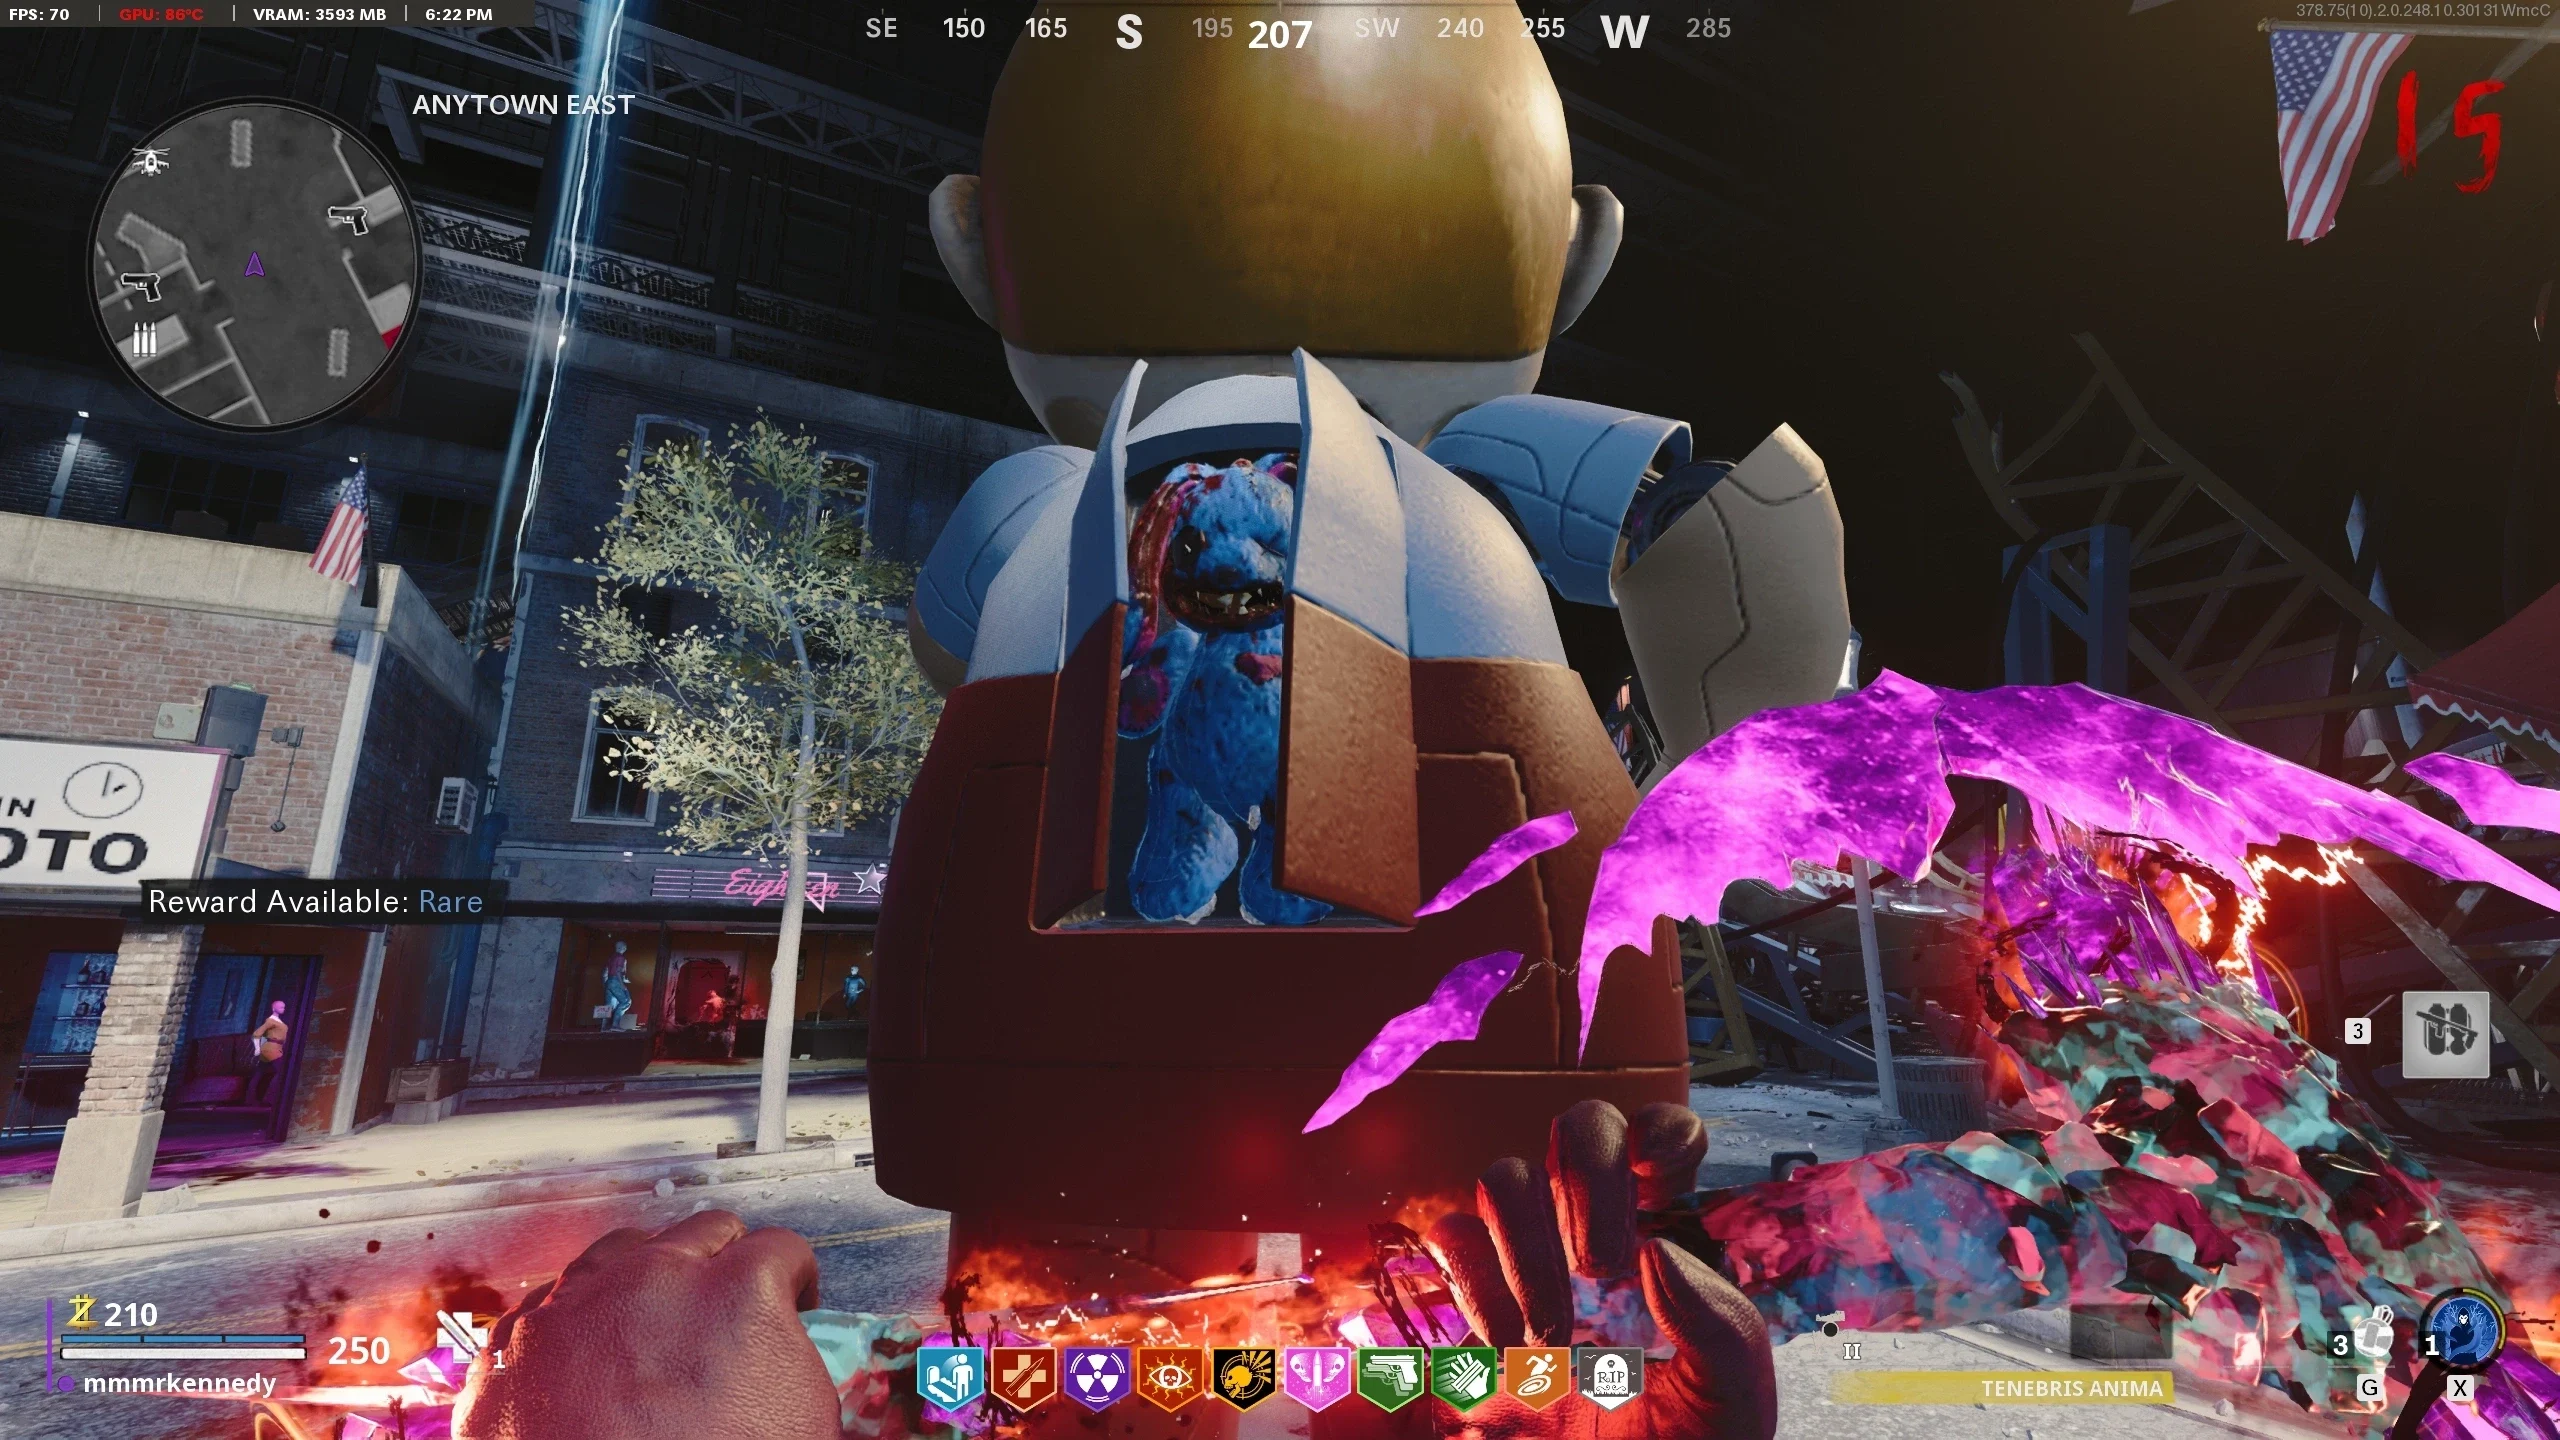
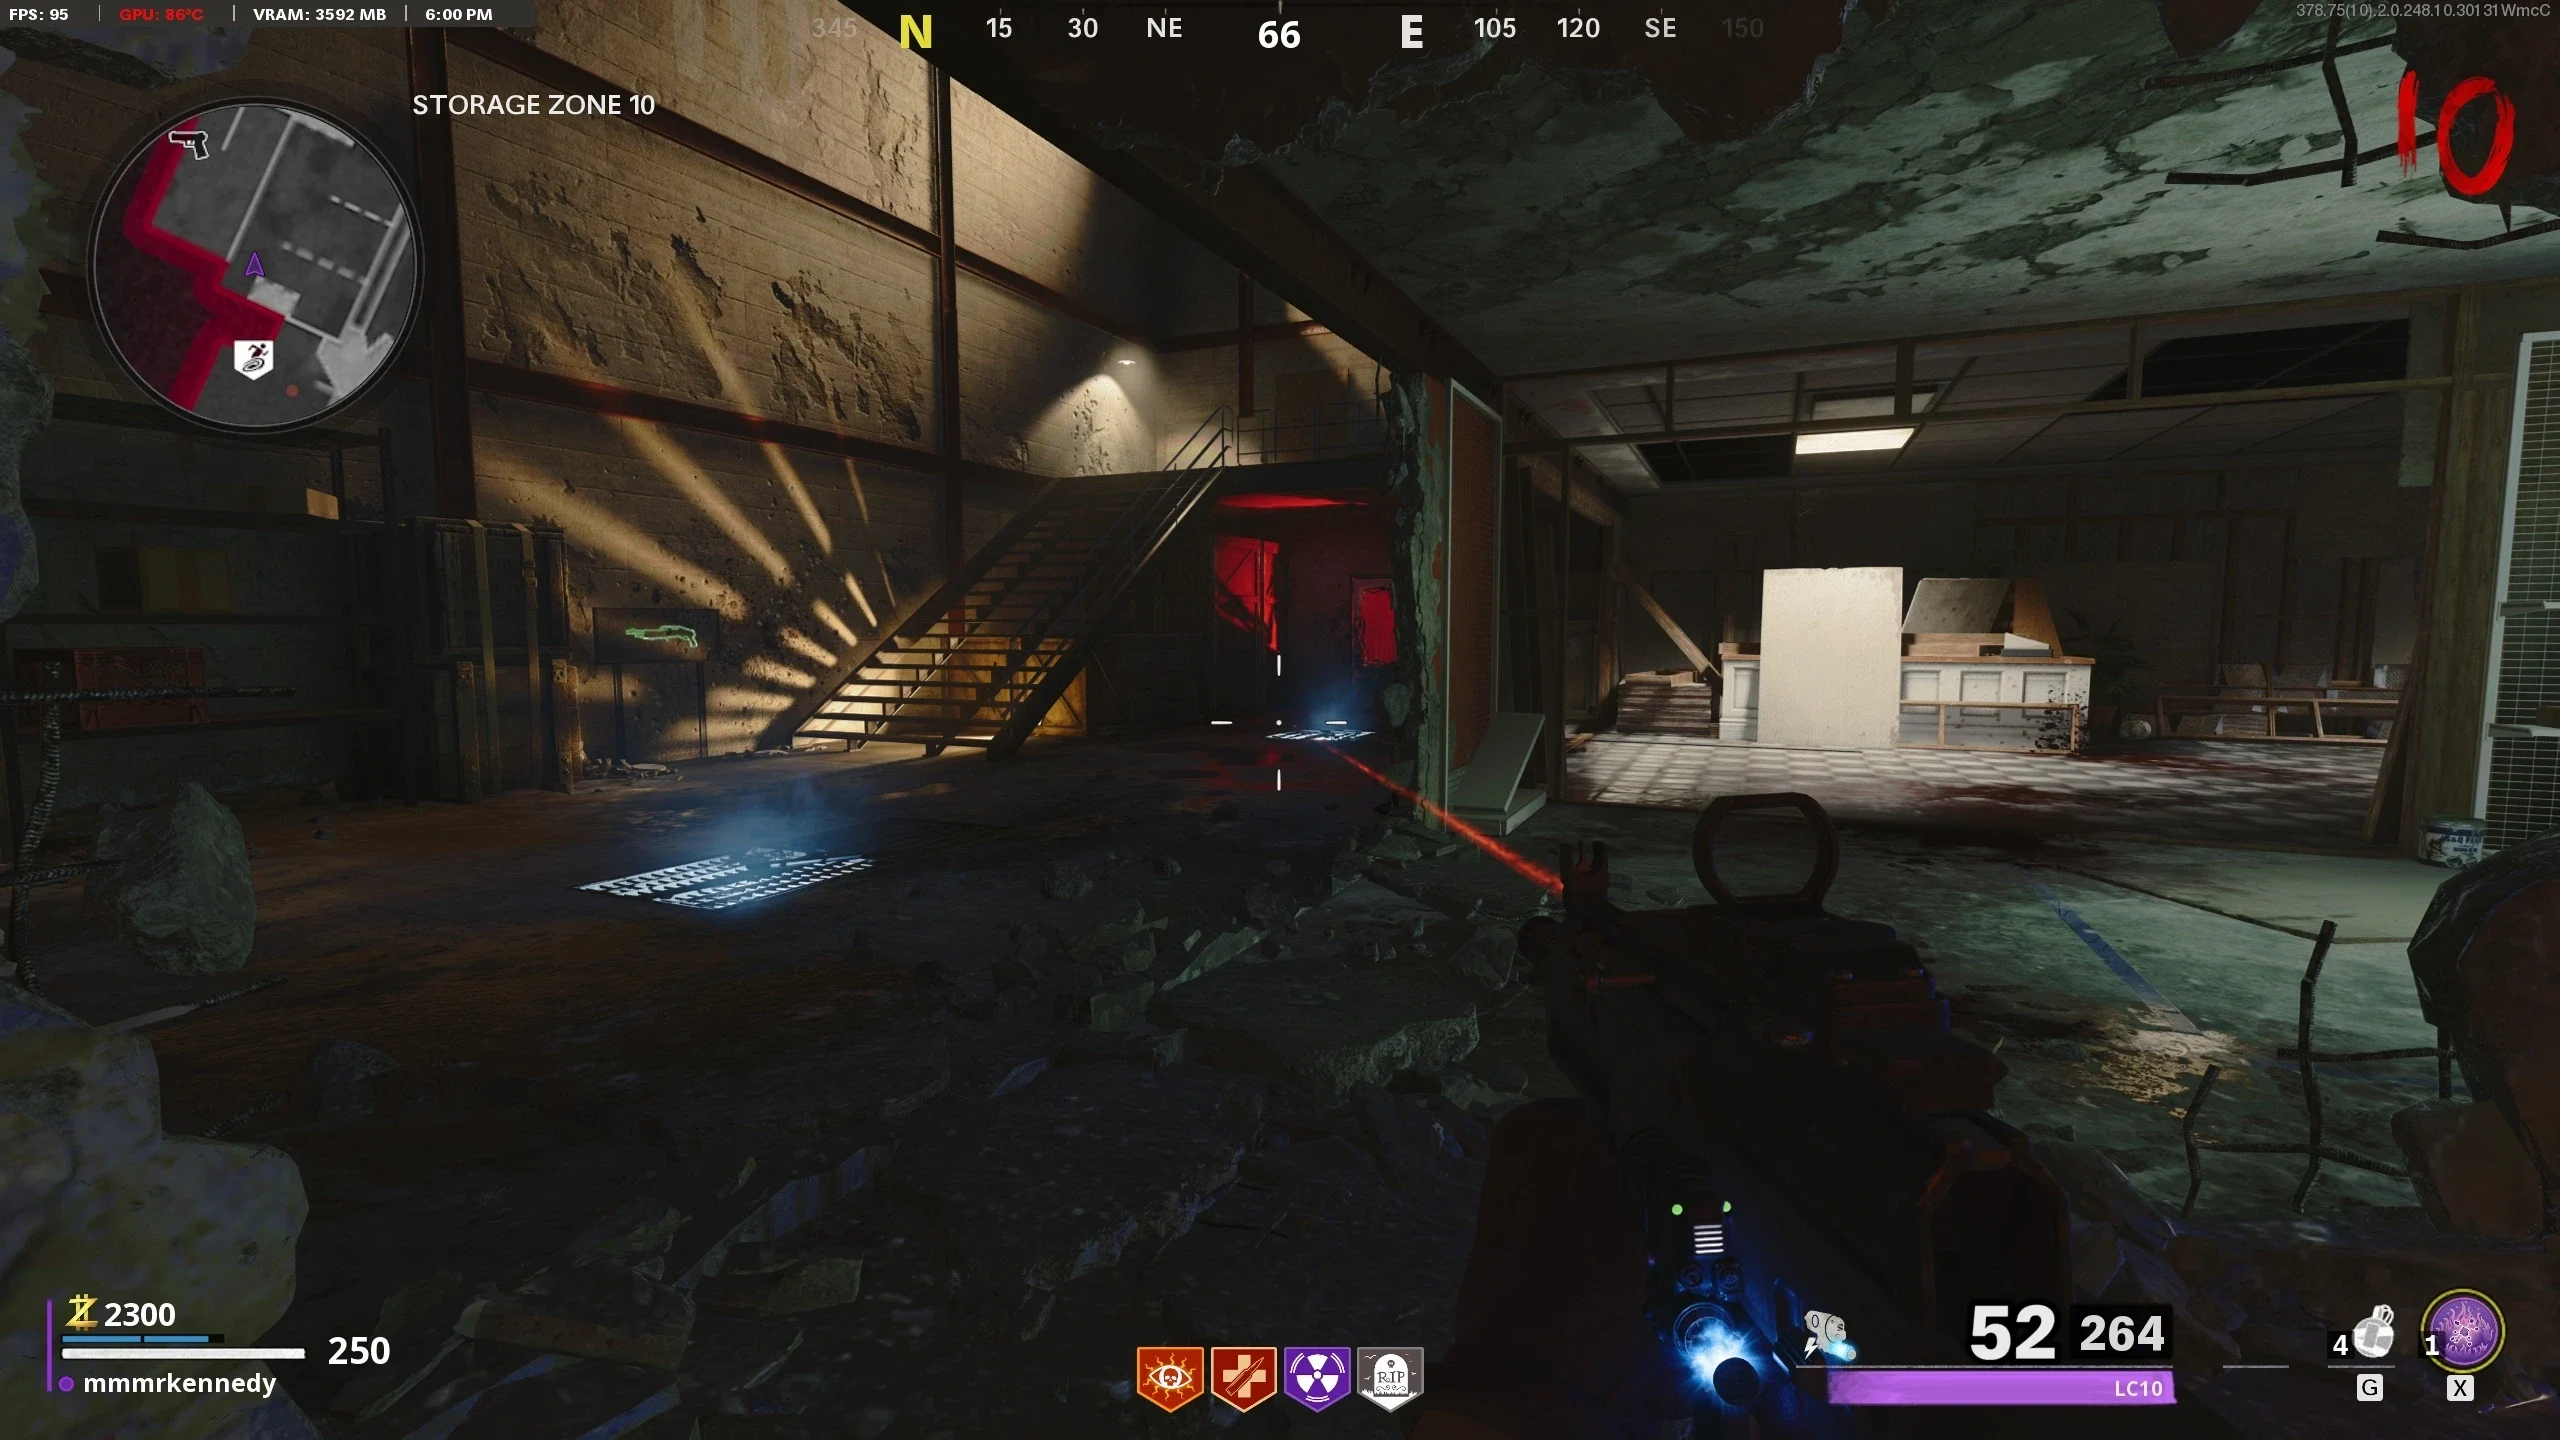
- Navigate to the 'Board Room' (Wunderfizz Room) and locate the Housing Unit.
- Stand below the Housing Unit by the wall and bait the Abomination into charging this wall. Make sure to move out of the way of the Abomination, so it hits the wall.
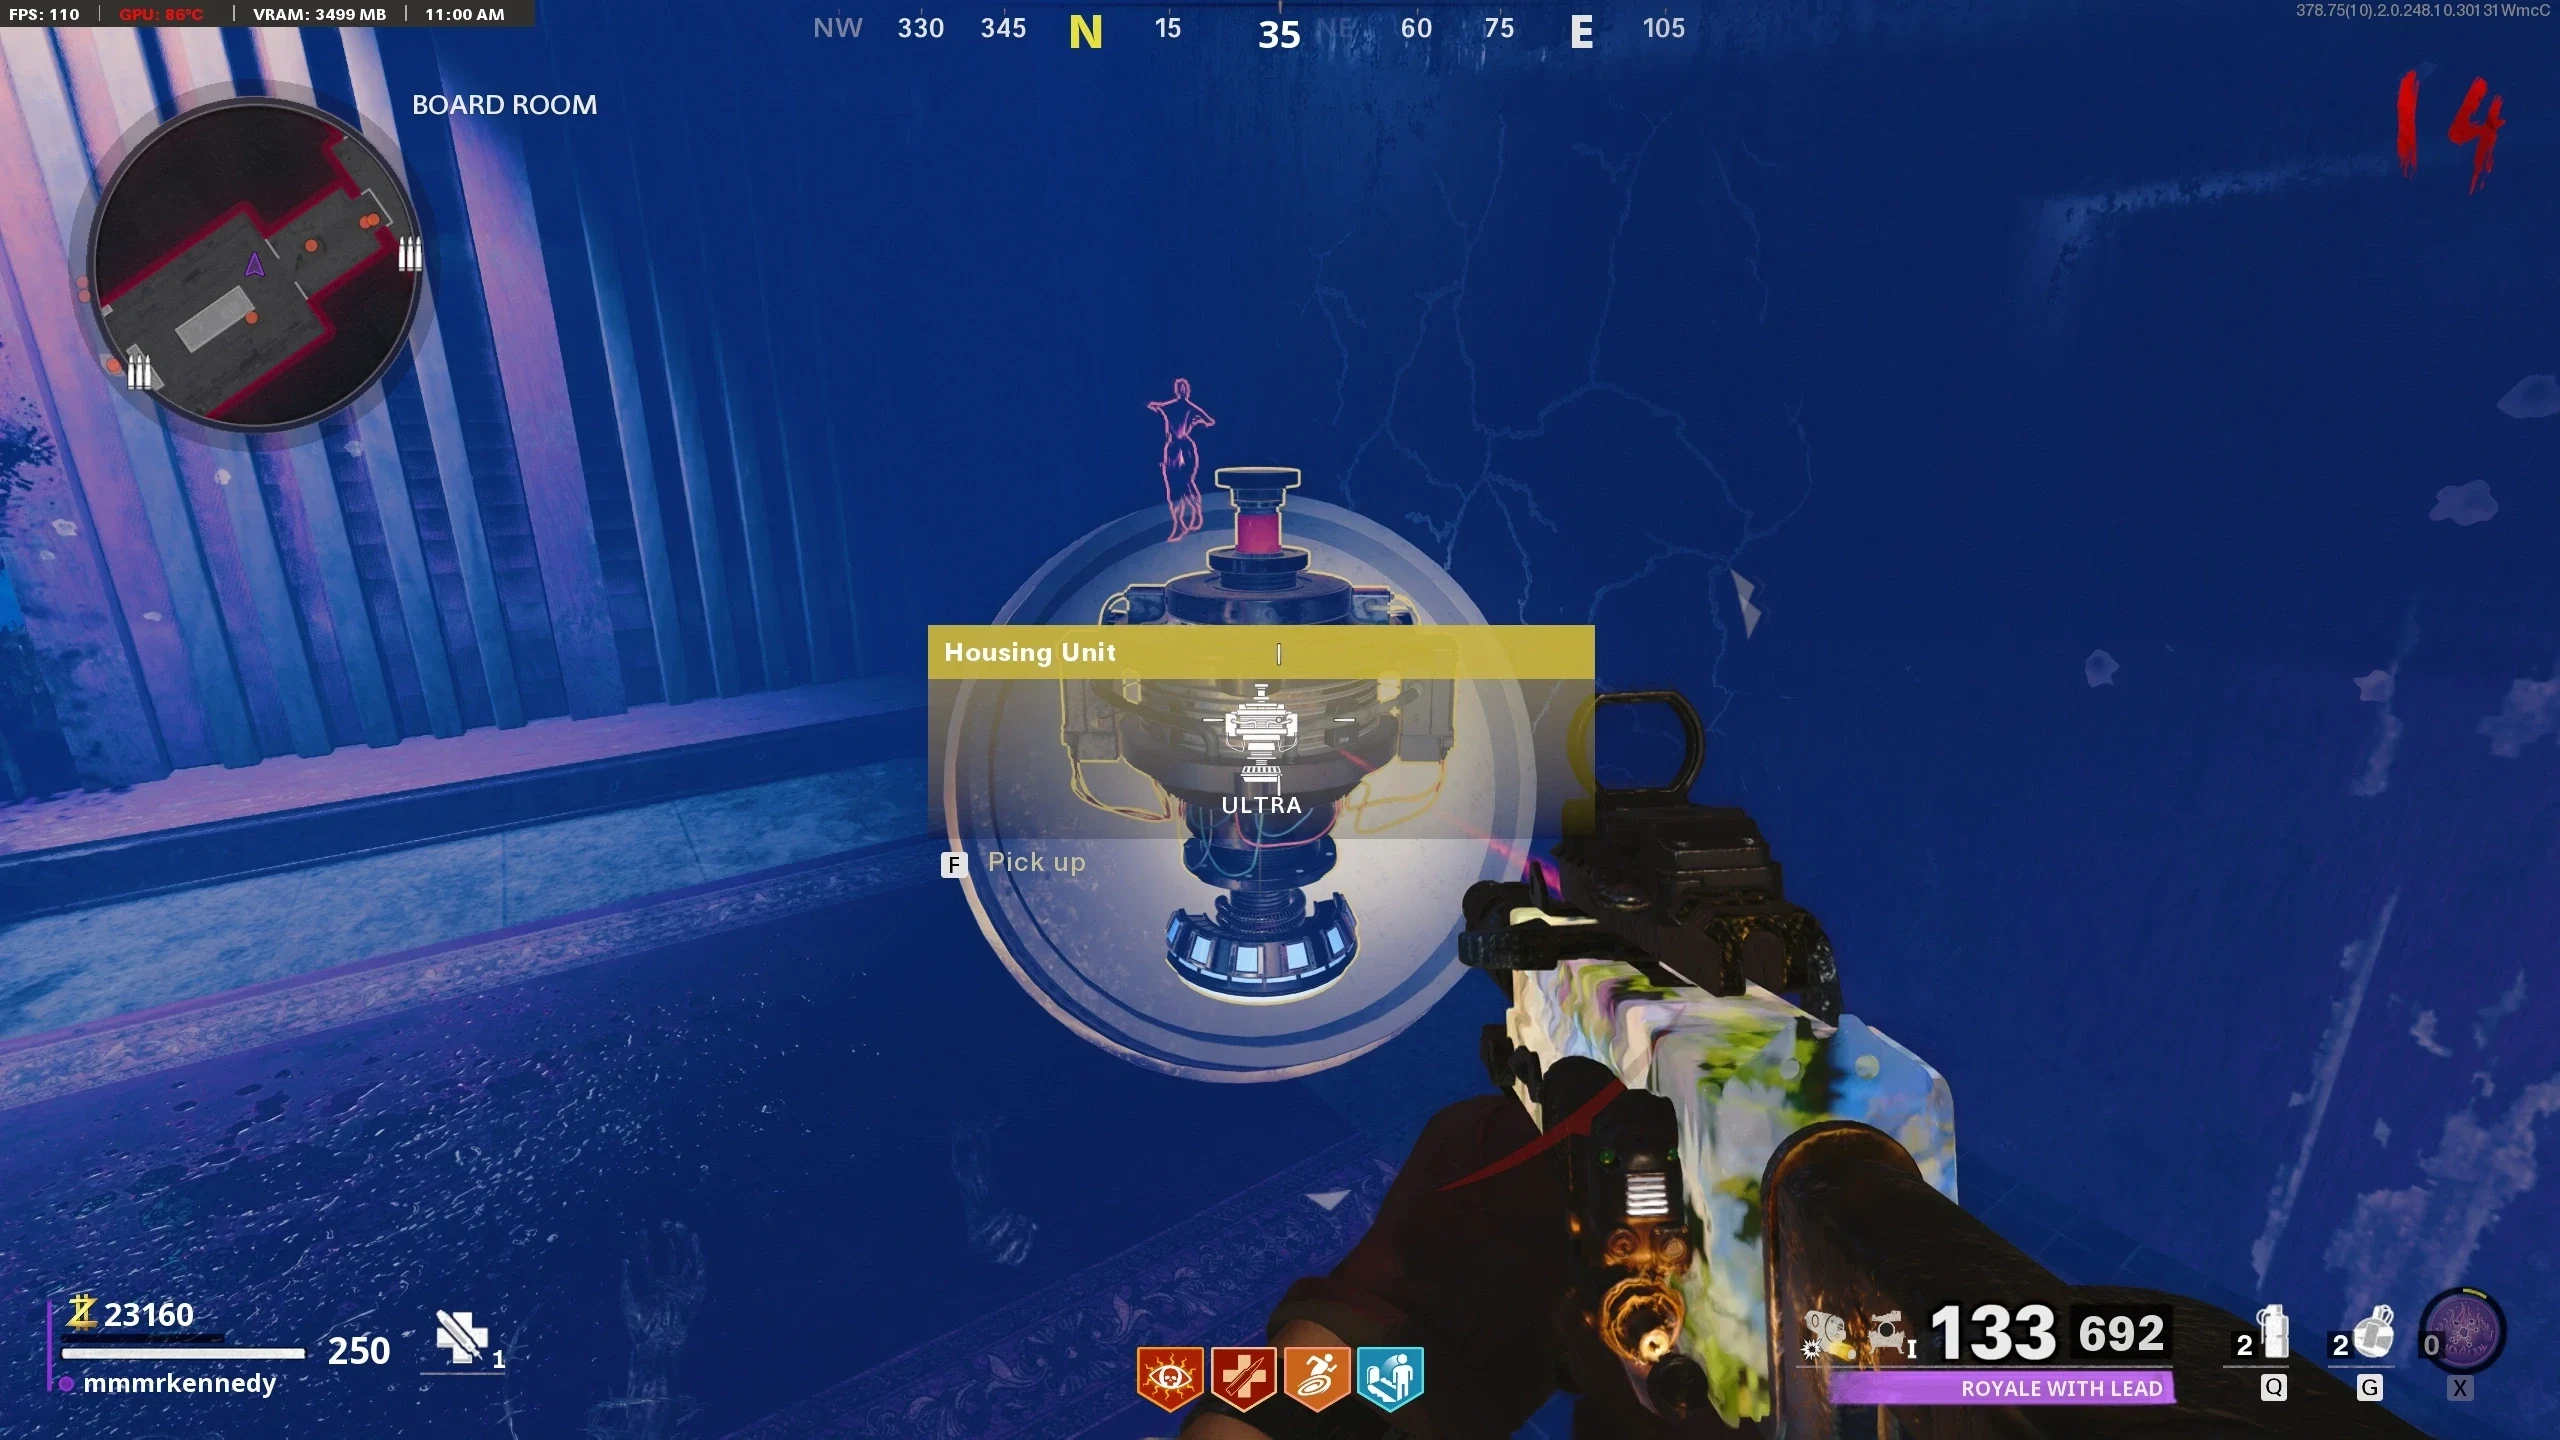
- If the Abomination successfully hits the wall, the Housing Unit will fall to the floor and be available for pickup.
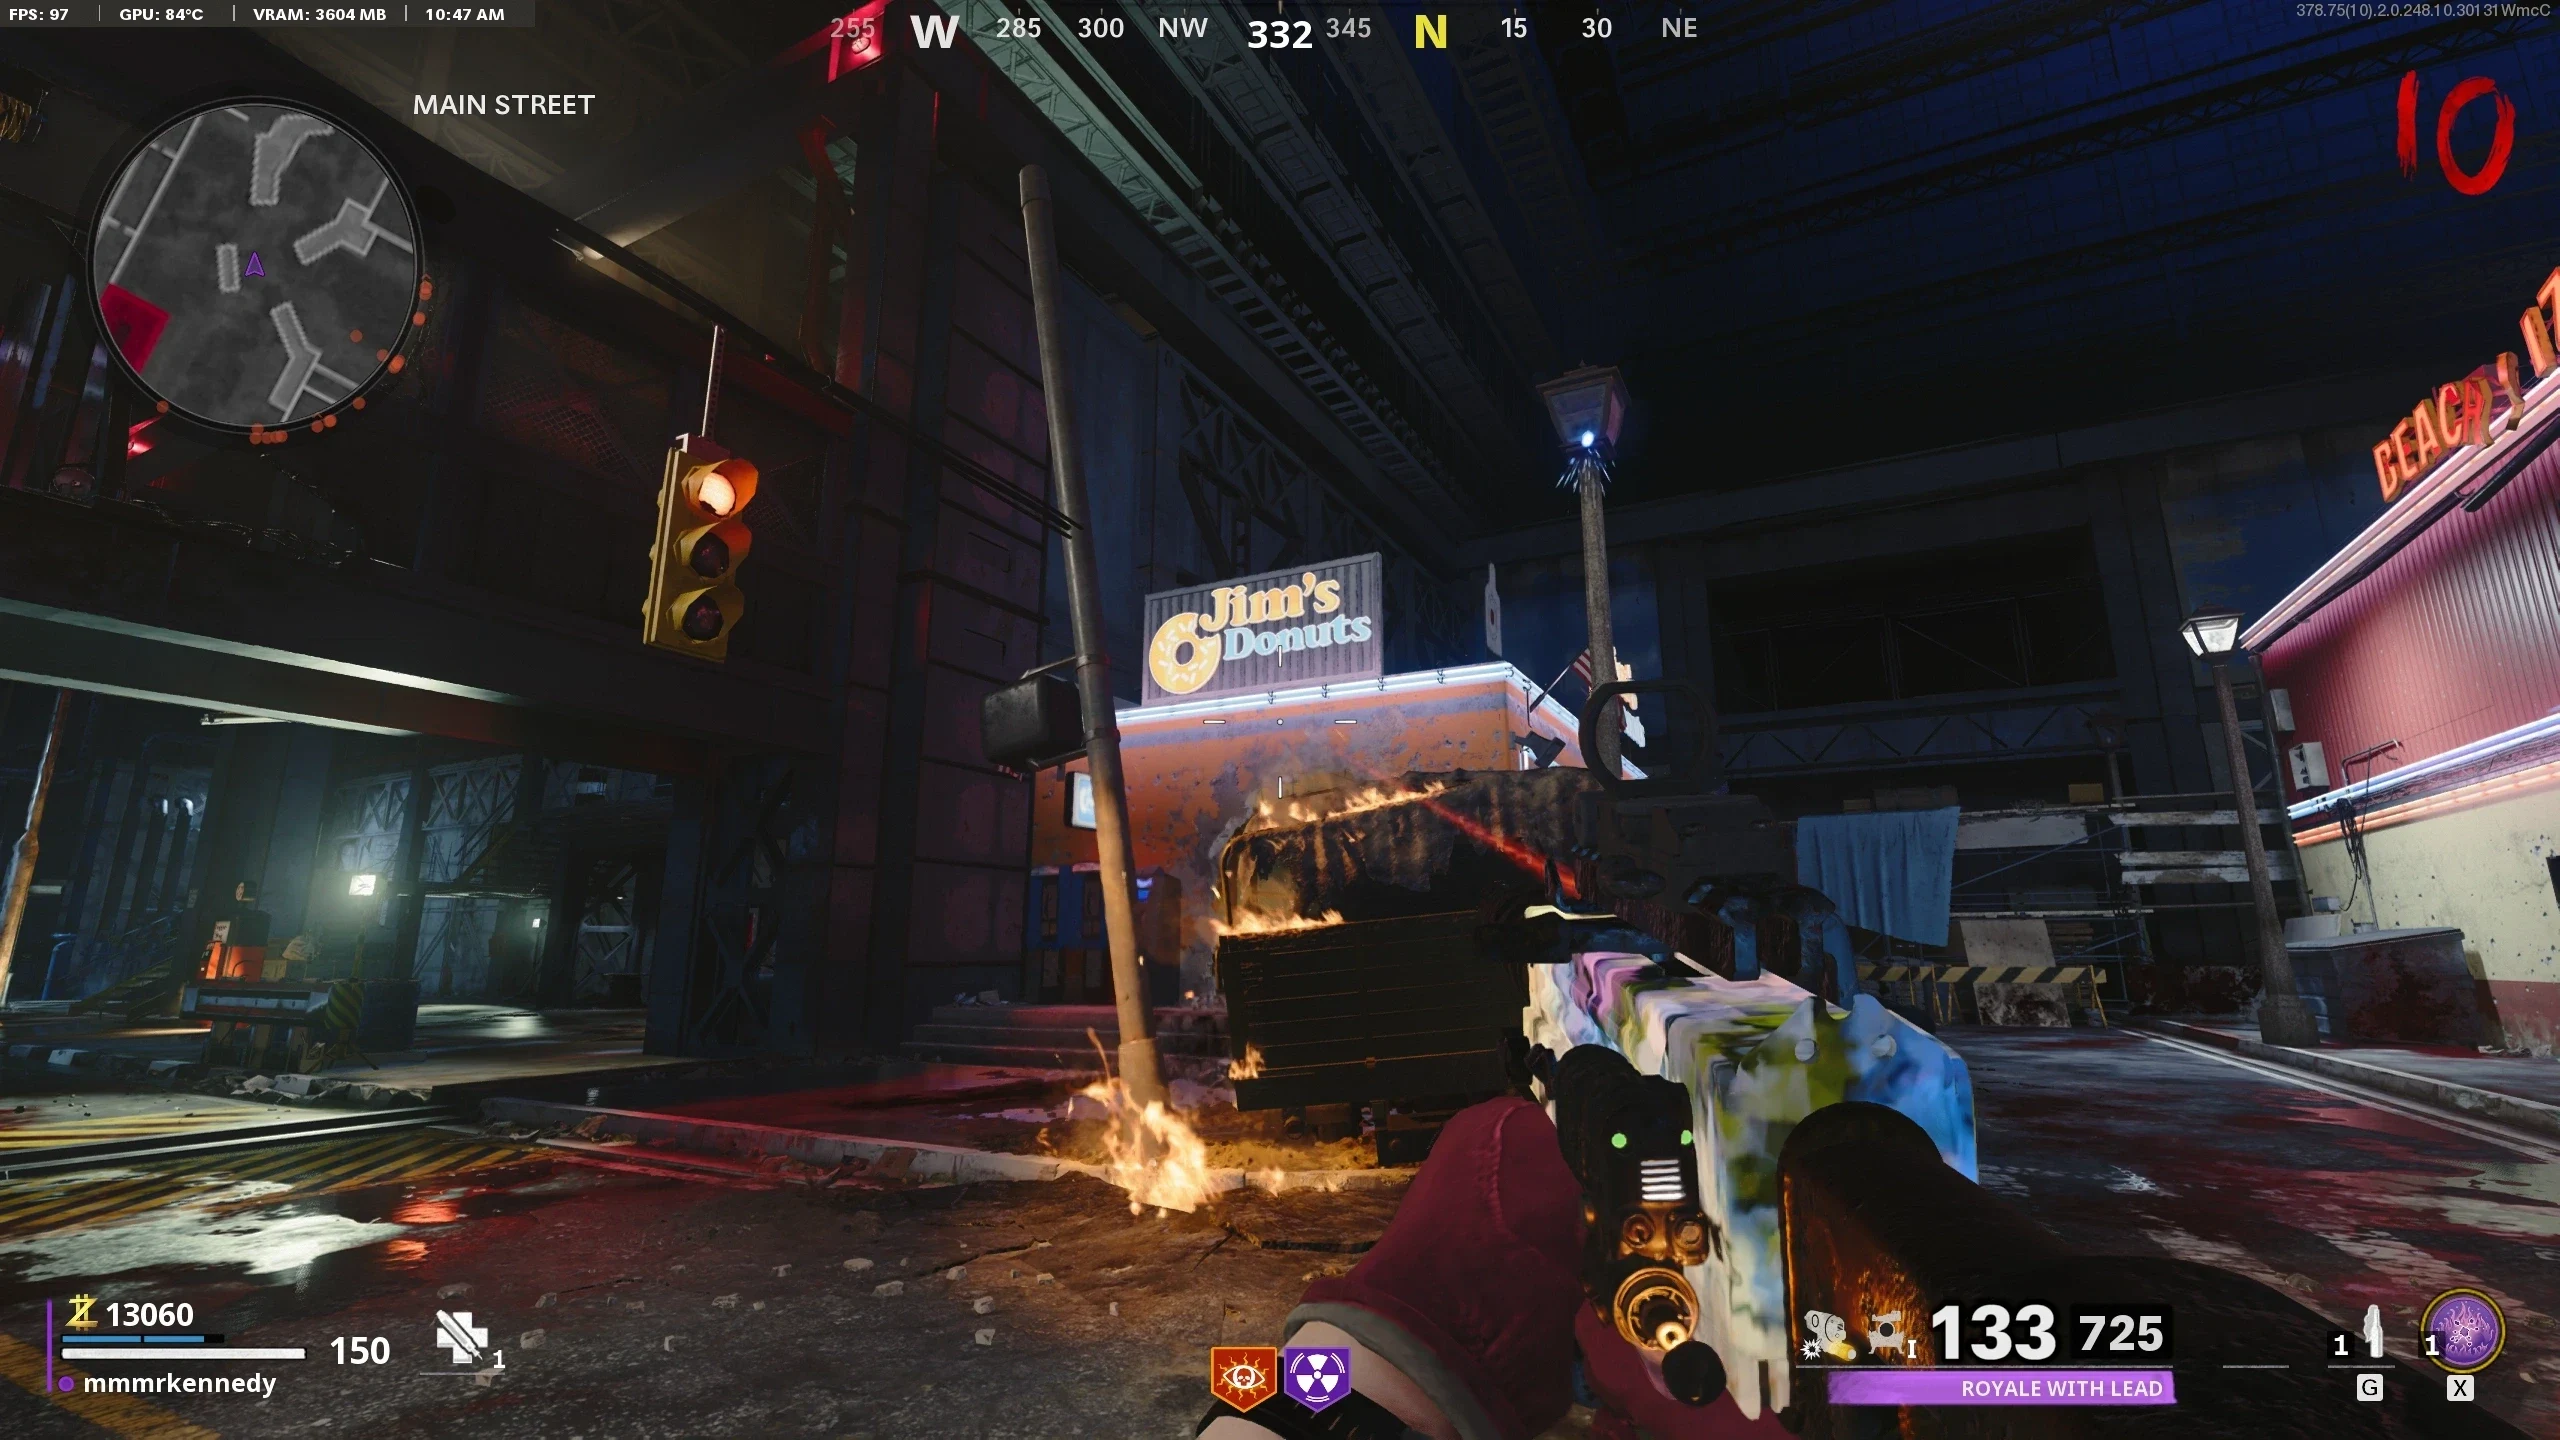
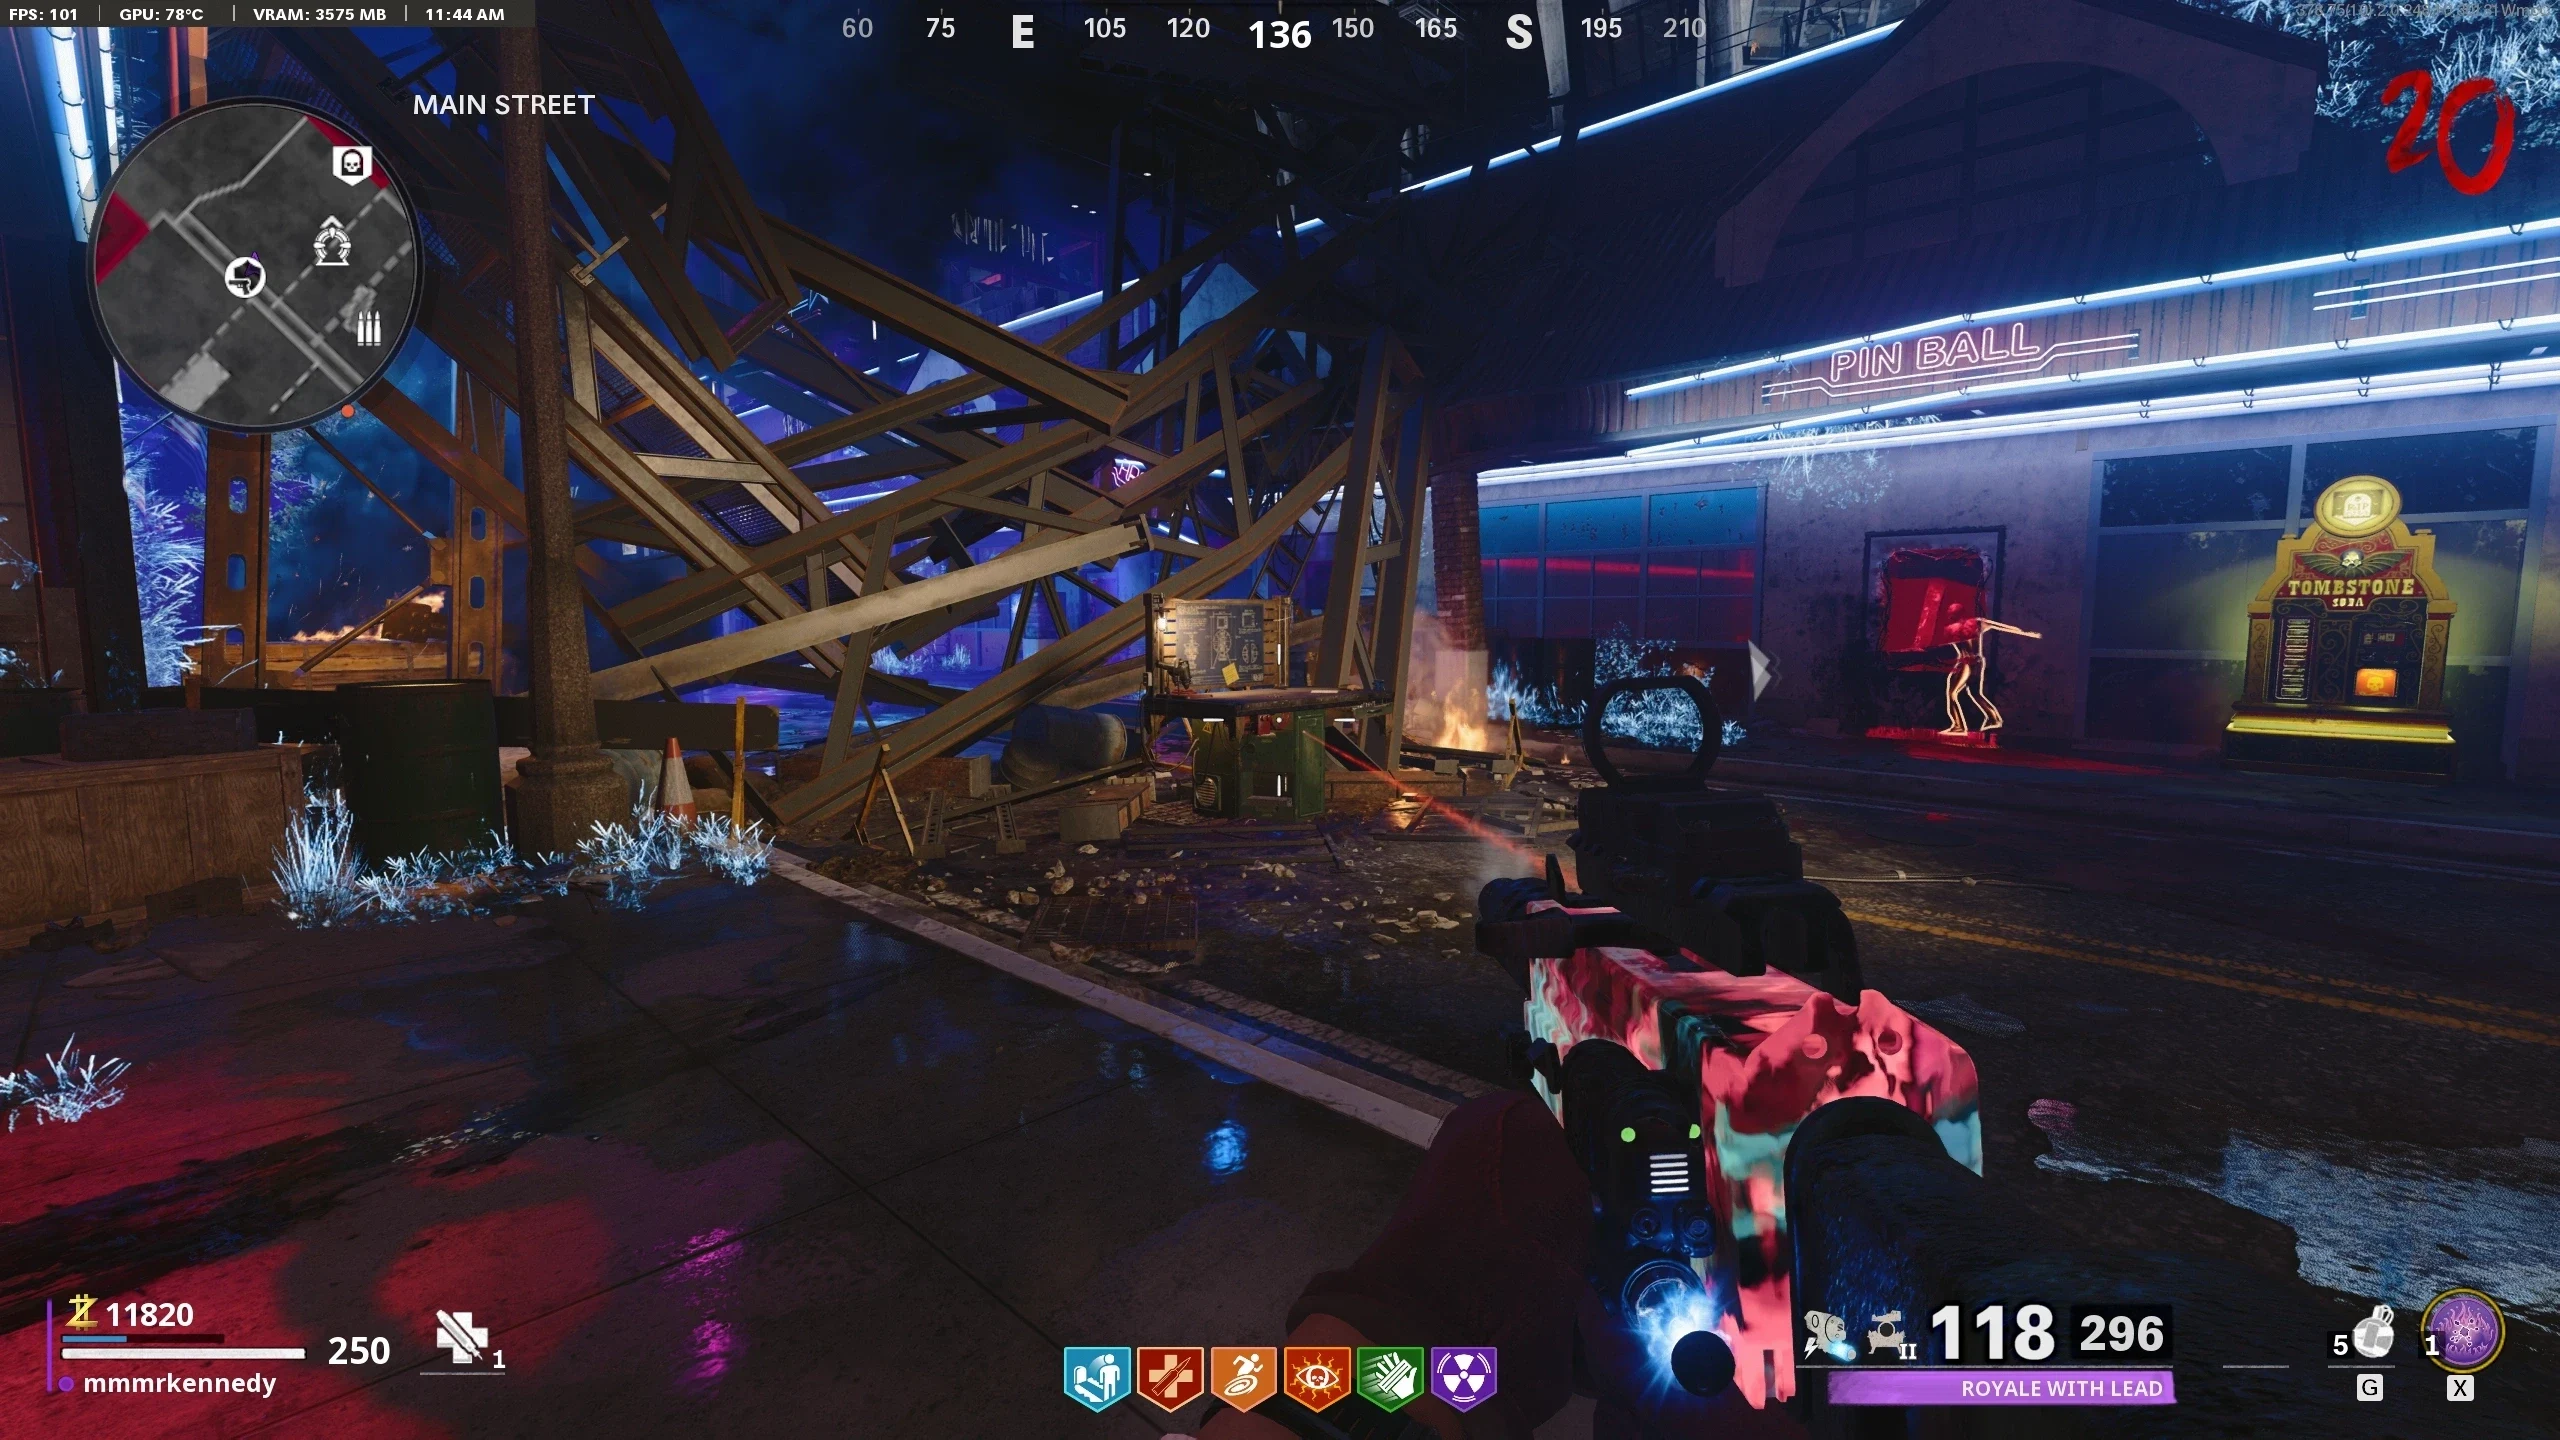
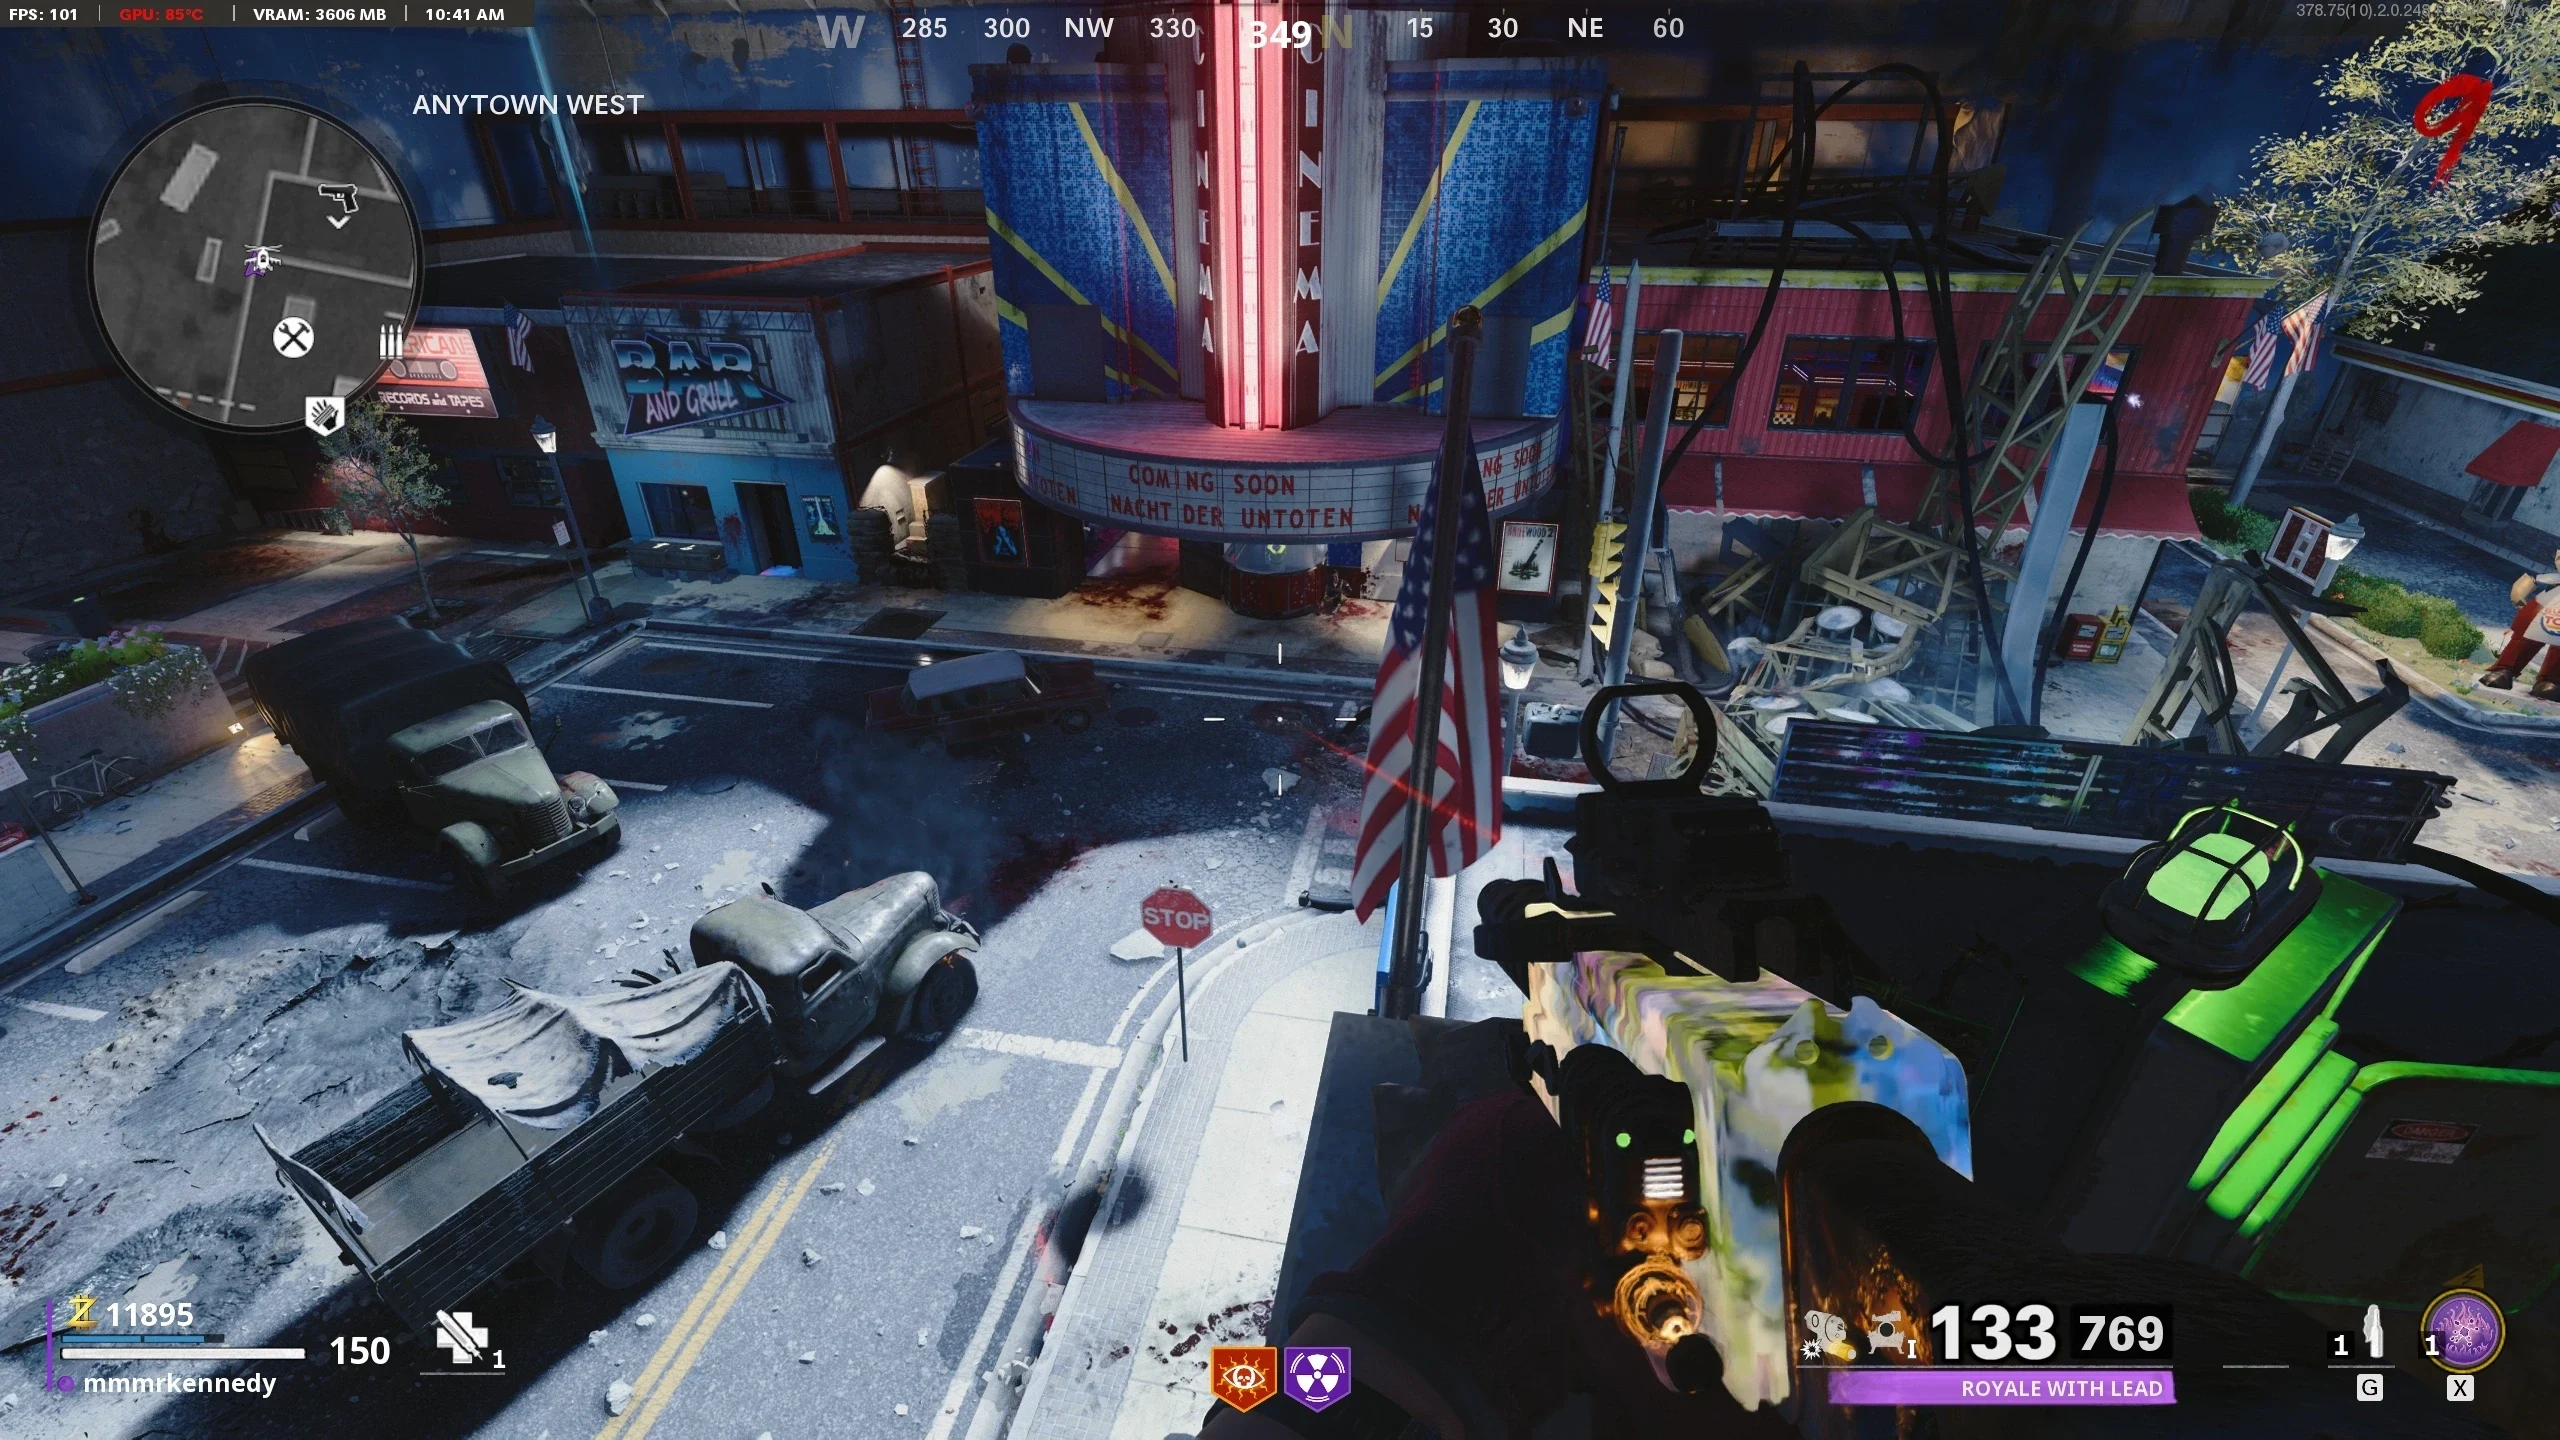
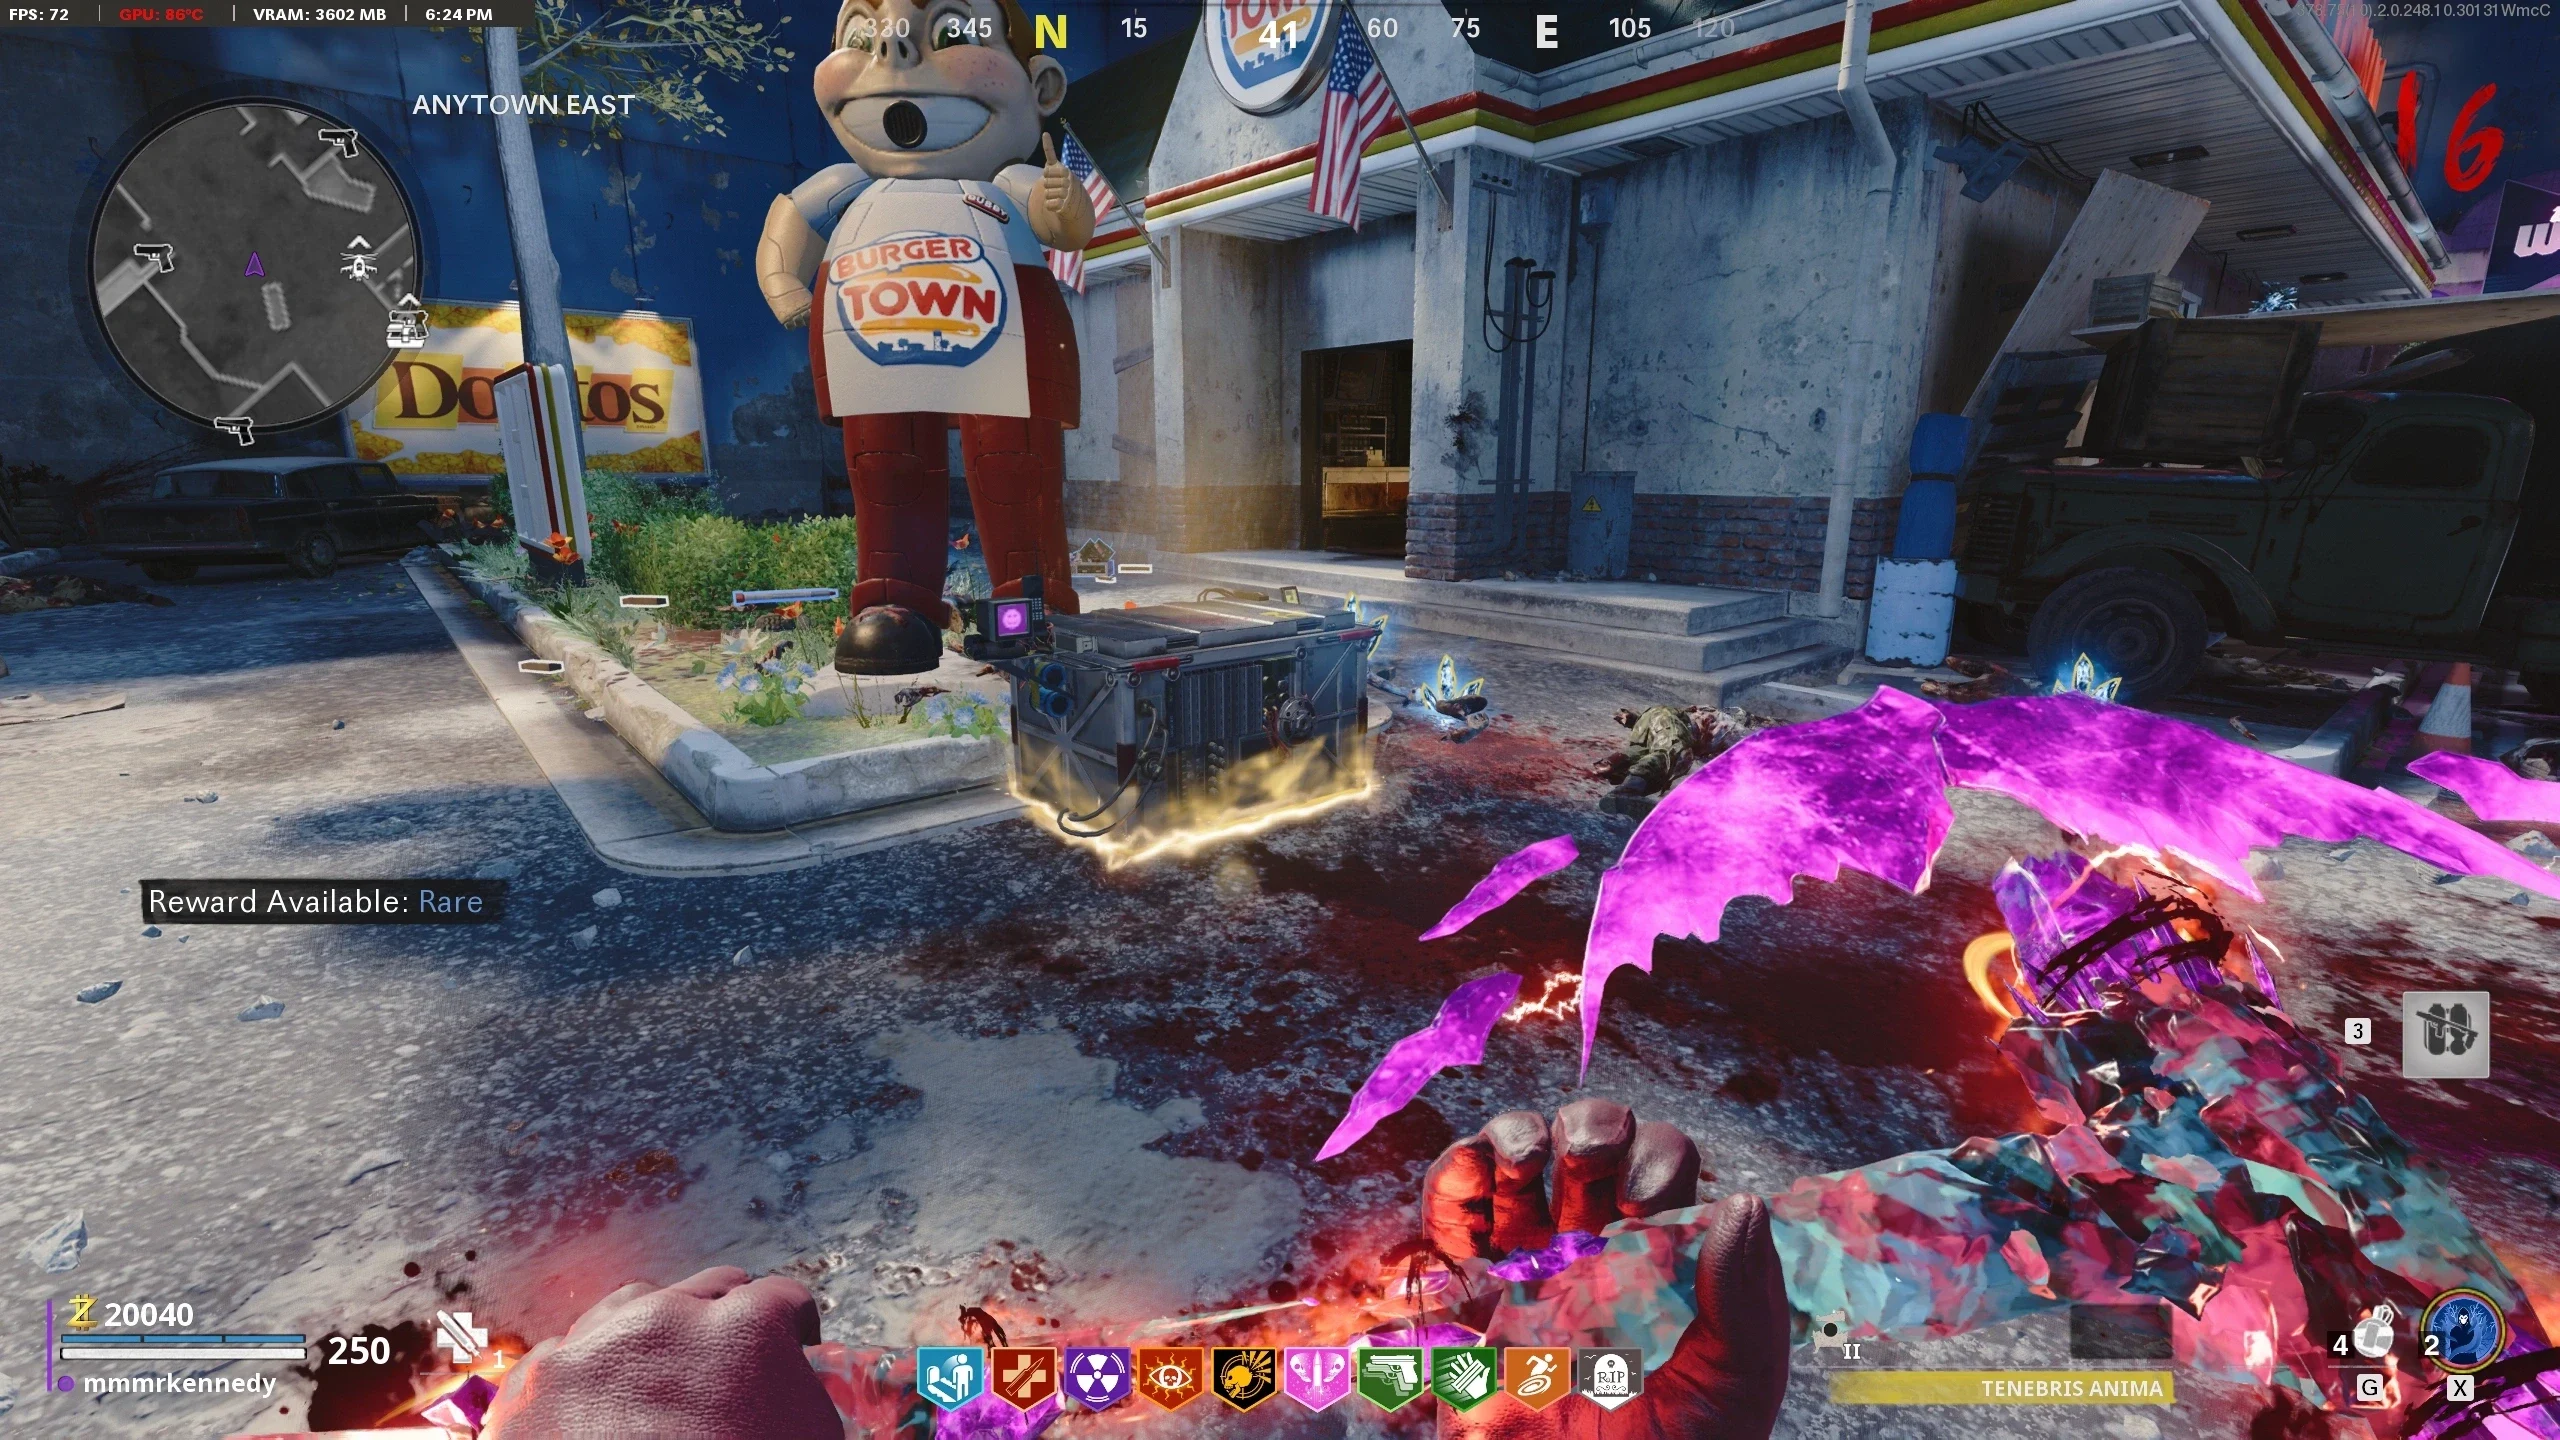
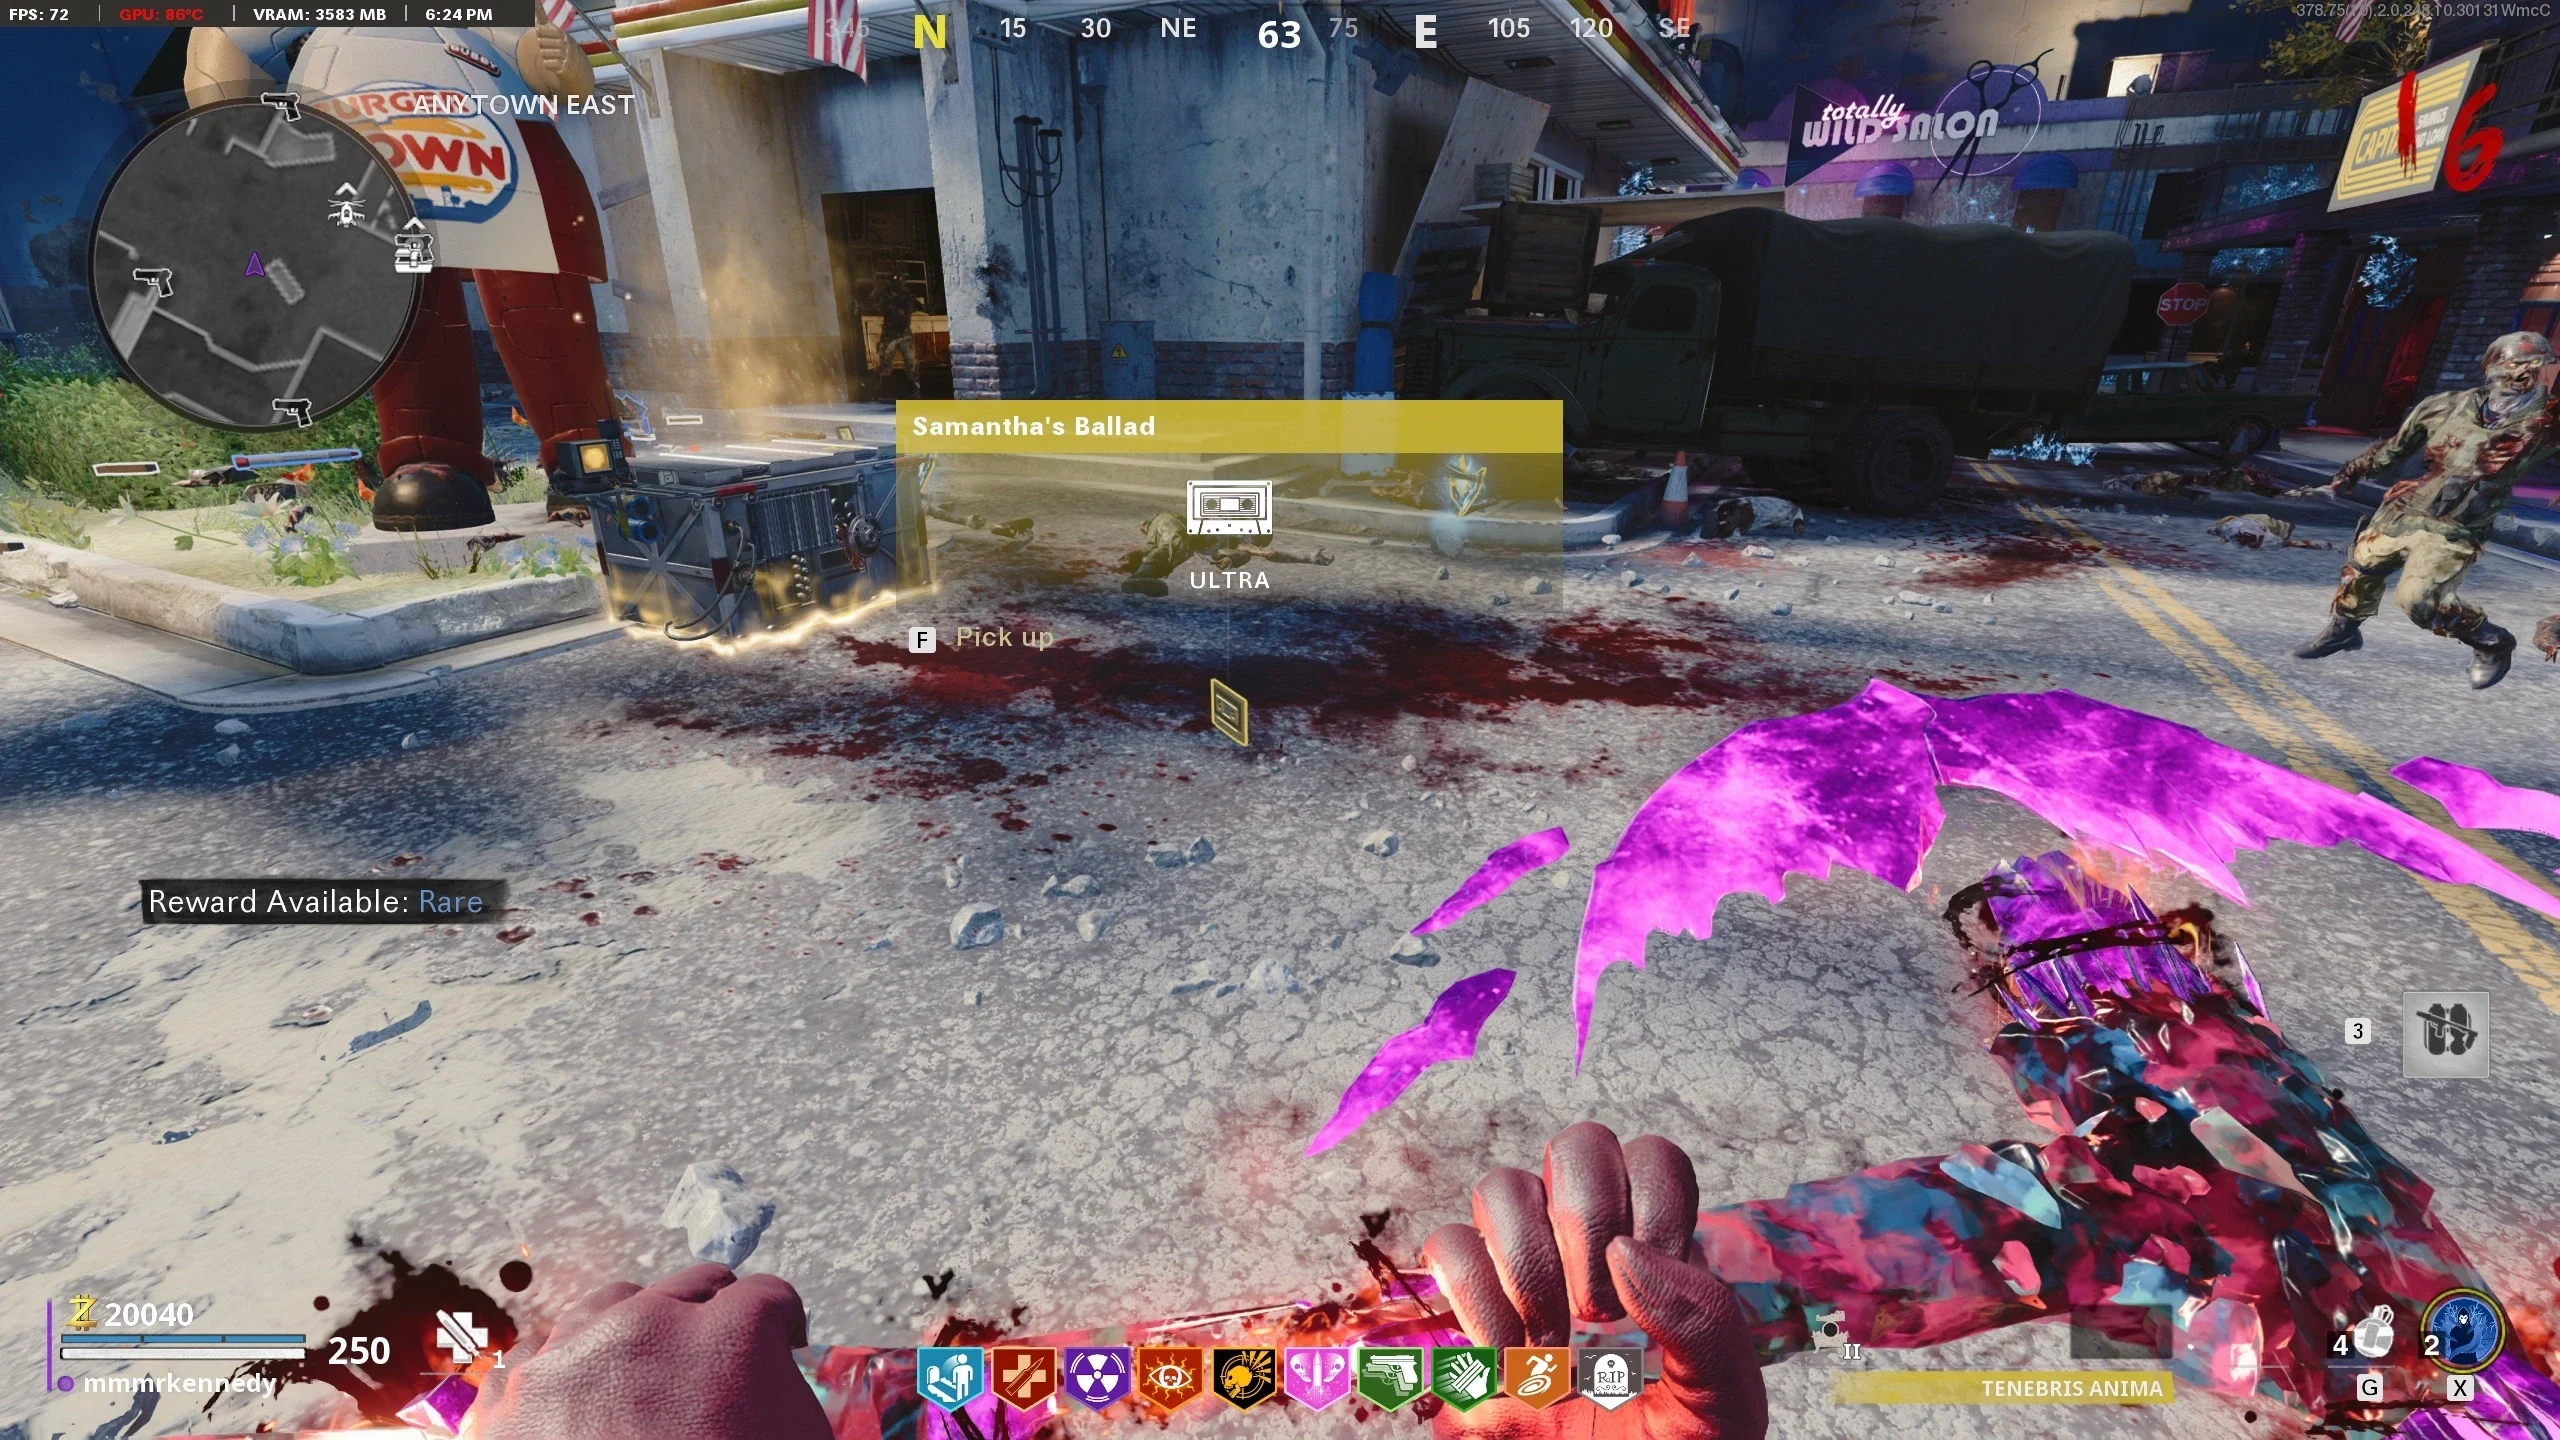
- Navigate to 'Main Street' and craft the Aetherium Neutralizer at the workbench by Tombstone.
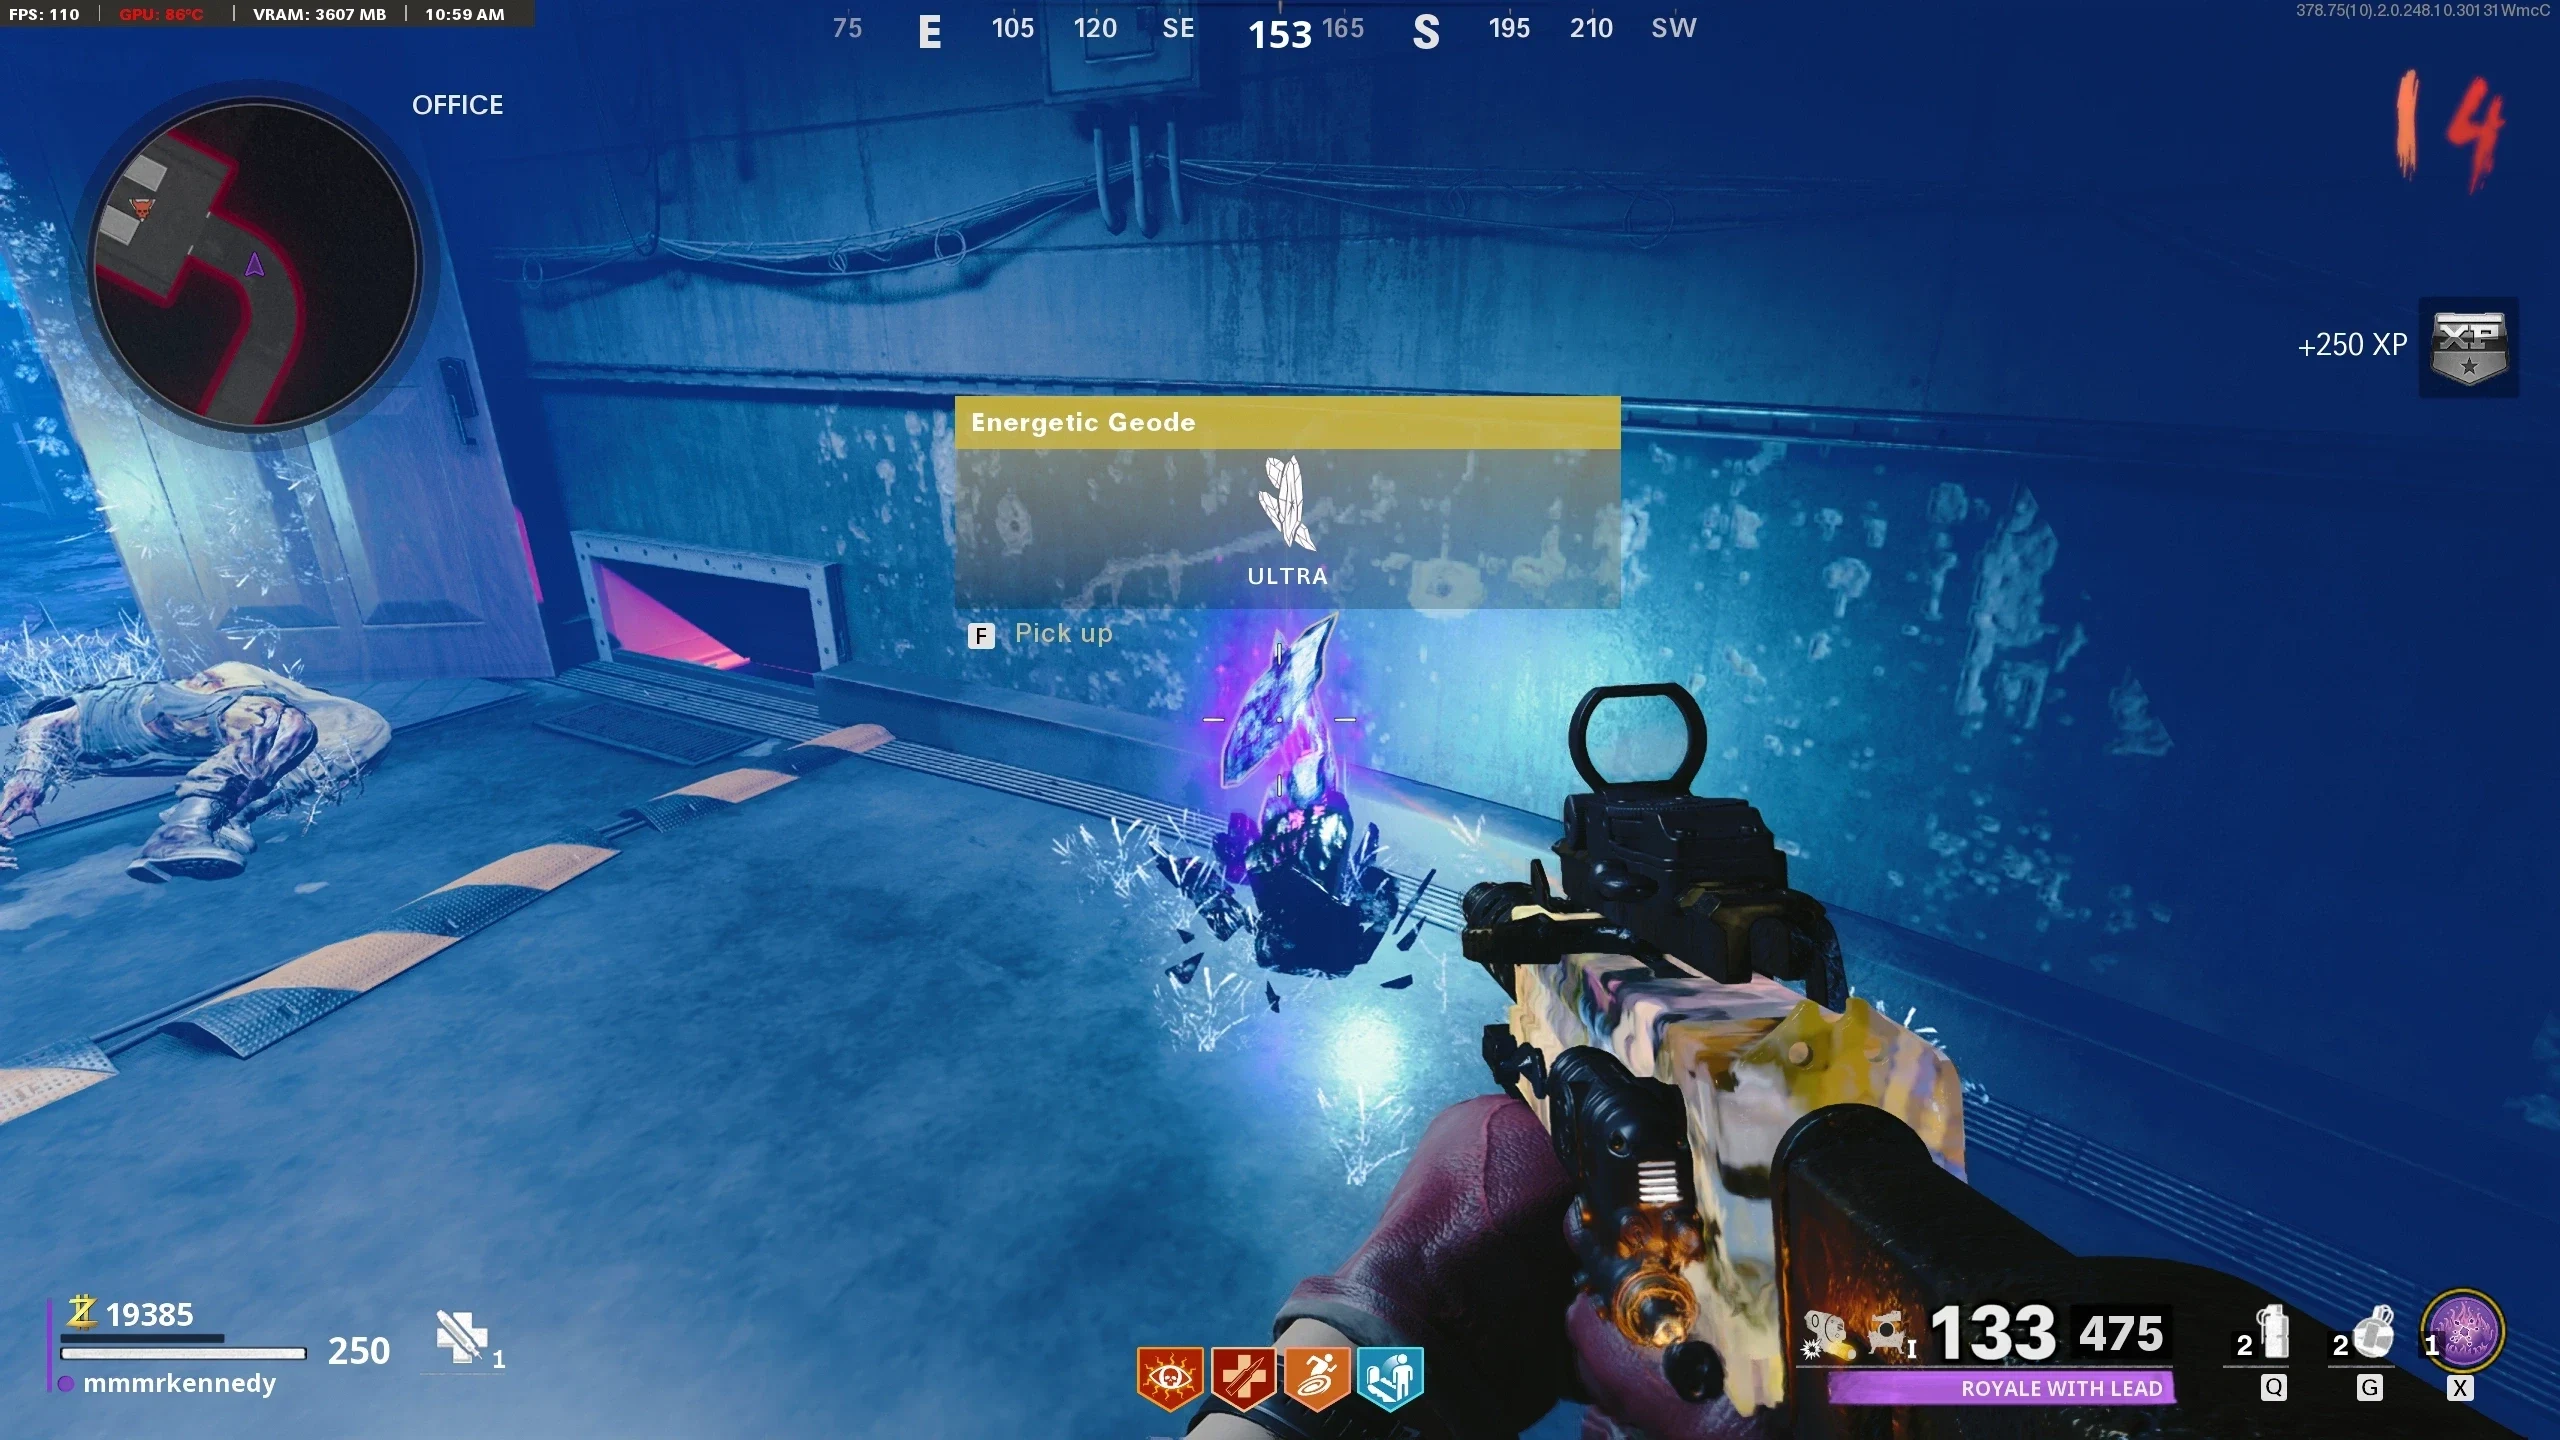
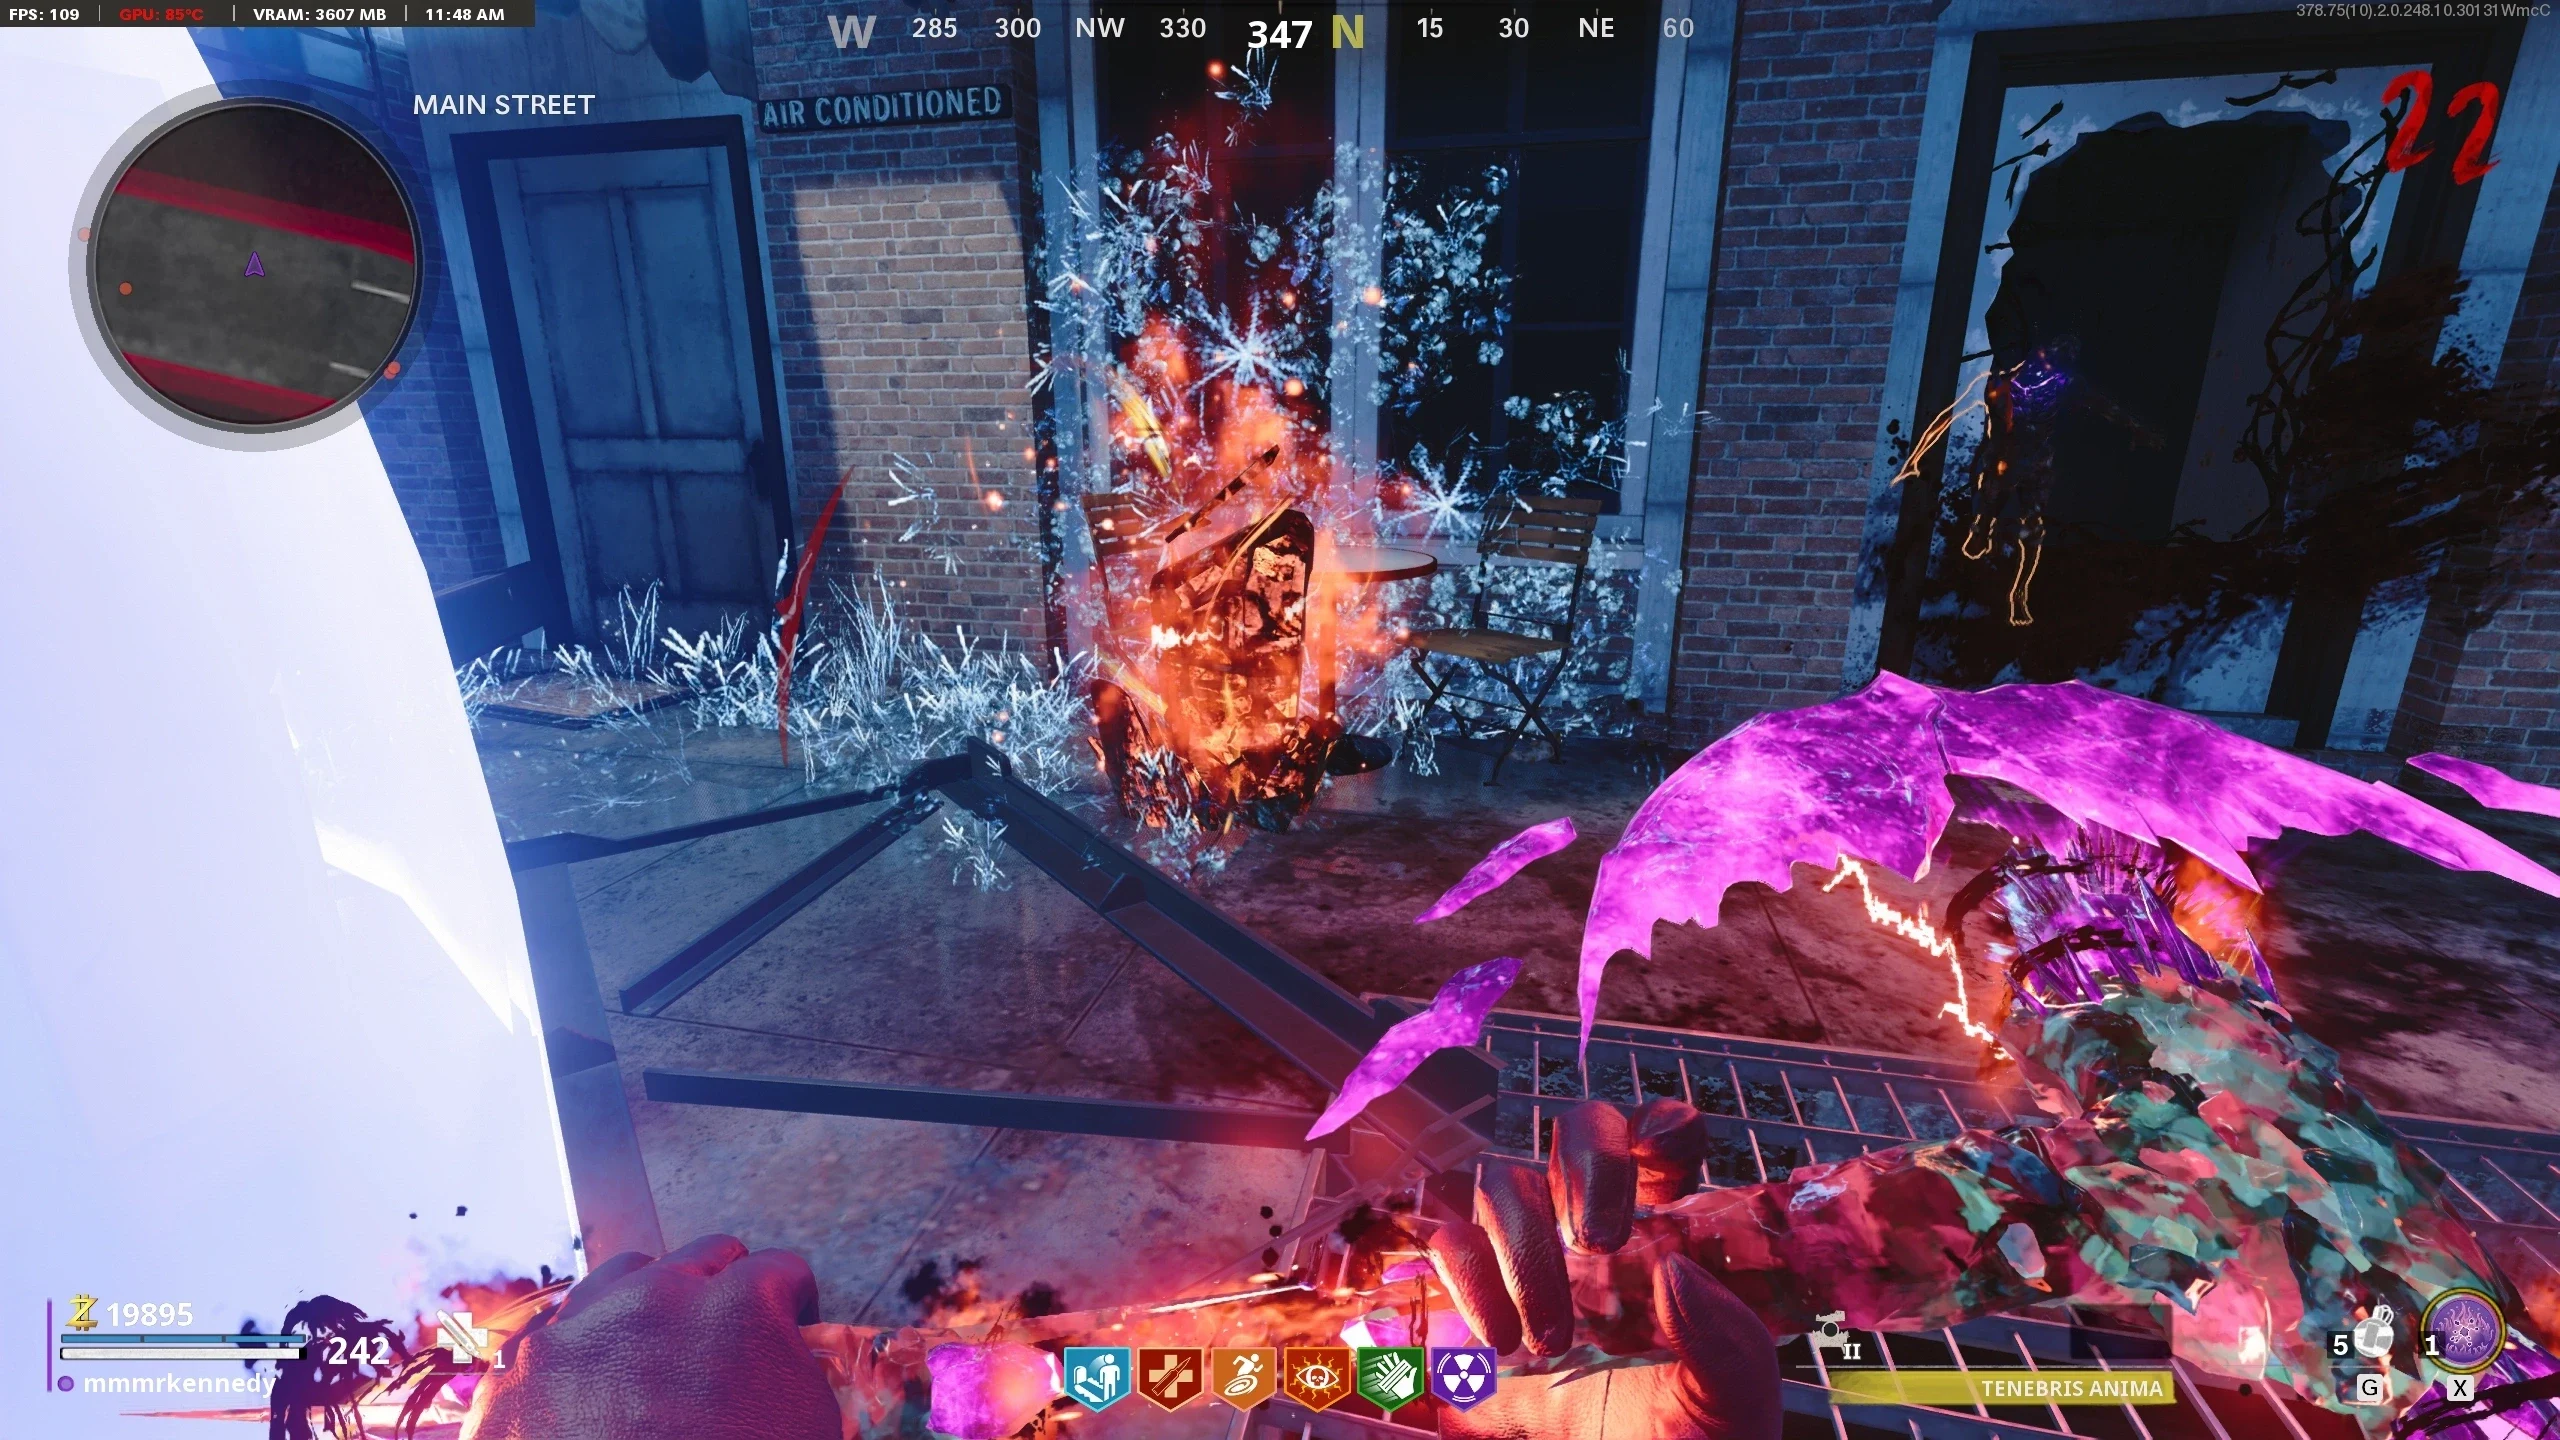
- Interact with the Neutralizer to begin escorting it. The Neutralizer requires Catalyzed Crystal Shards for fuel, which can be obtained by destroying Orange Dark Aether Crystals.
- Escort the Neutralizer, refuelling when required, till you reach the Containment Door.
Prerequisites
Obtain and Fill the Fuel Tank
Obtain the Monitoring Device
Obtain the Housing Unit
Assemble and Escort the Aetherium Neutralizer
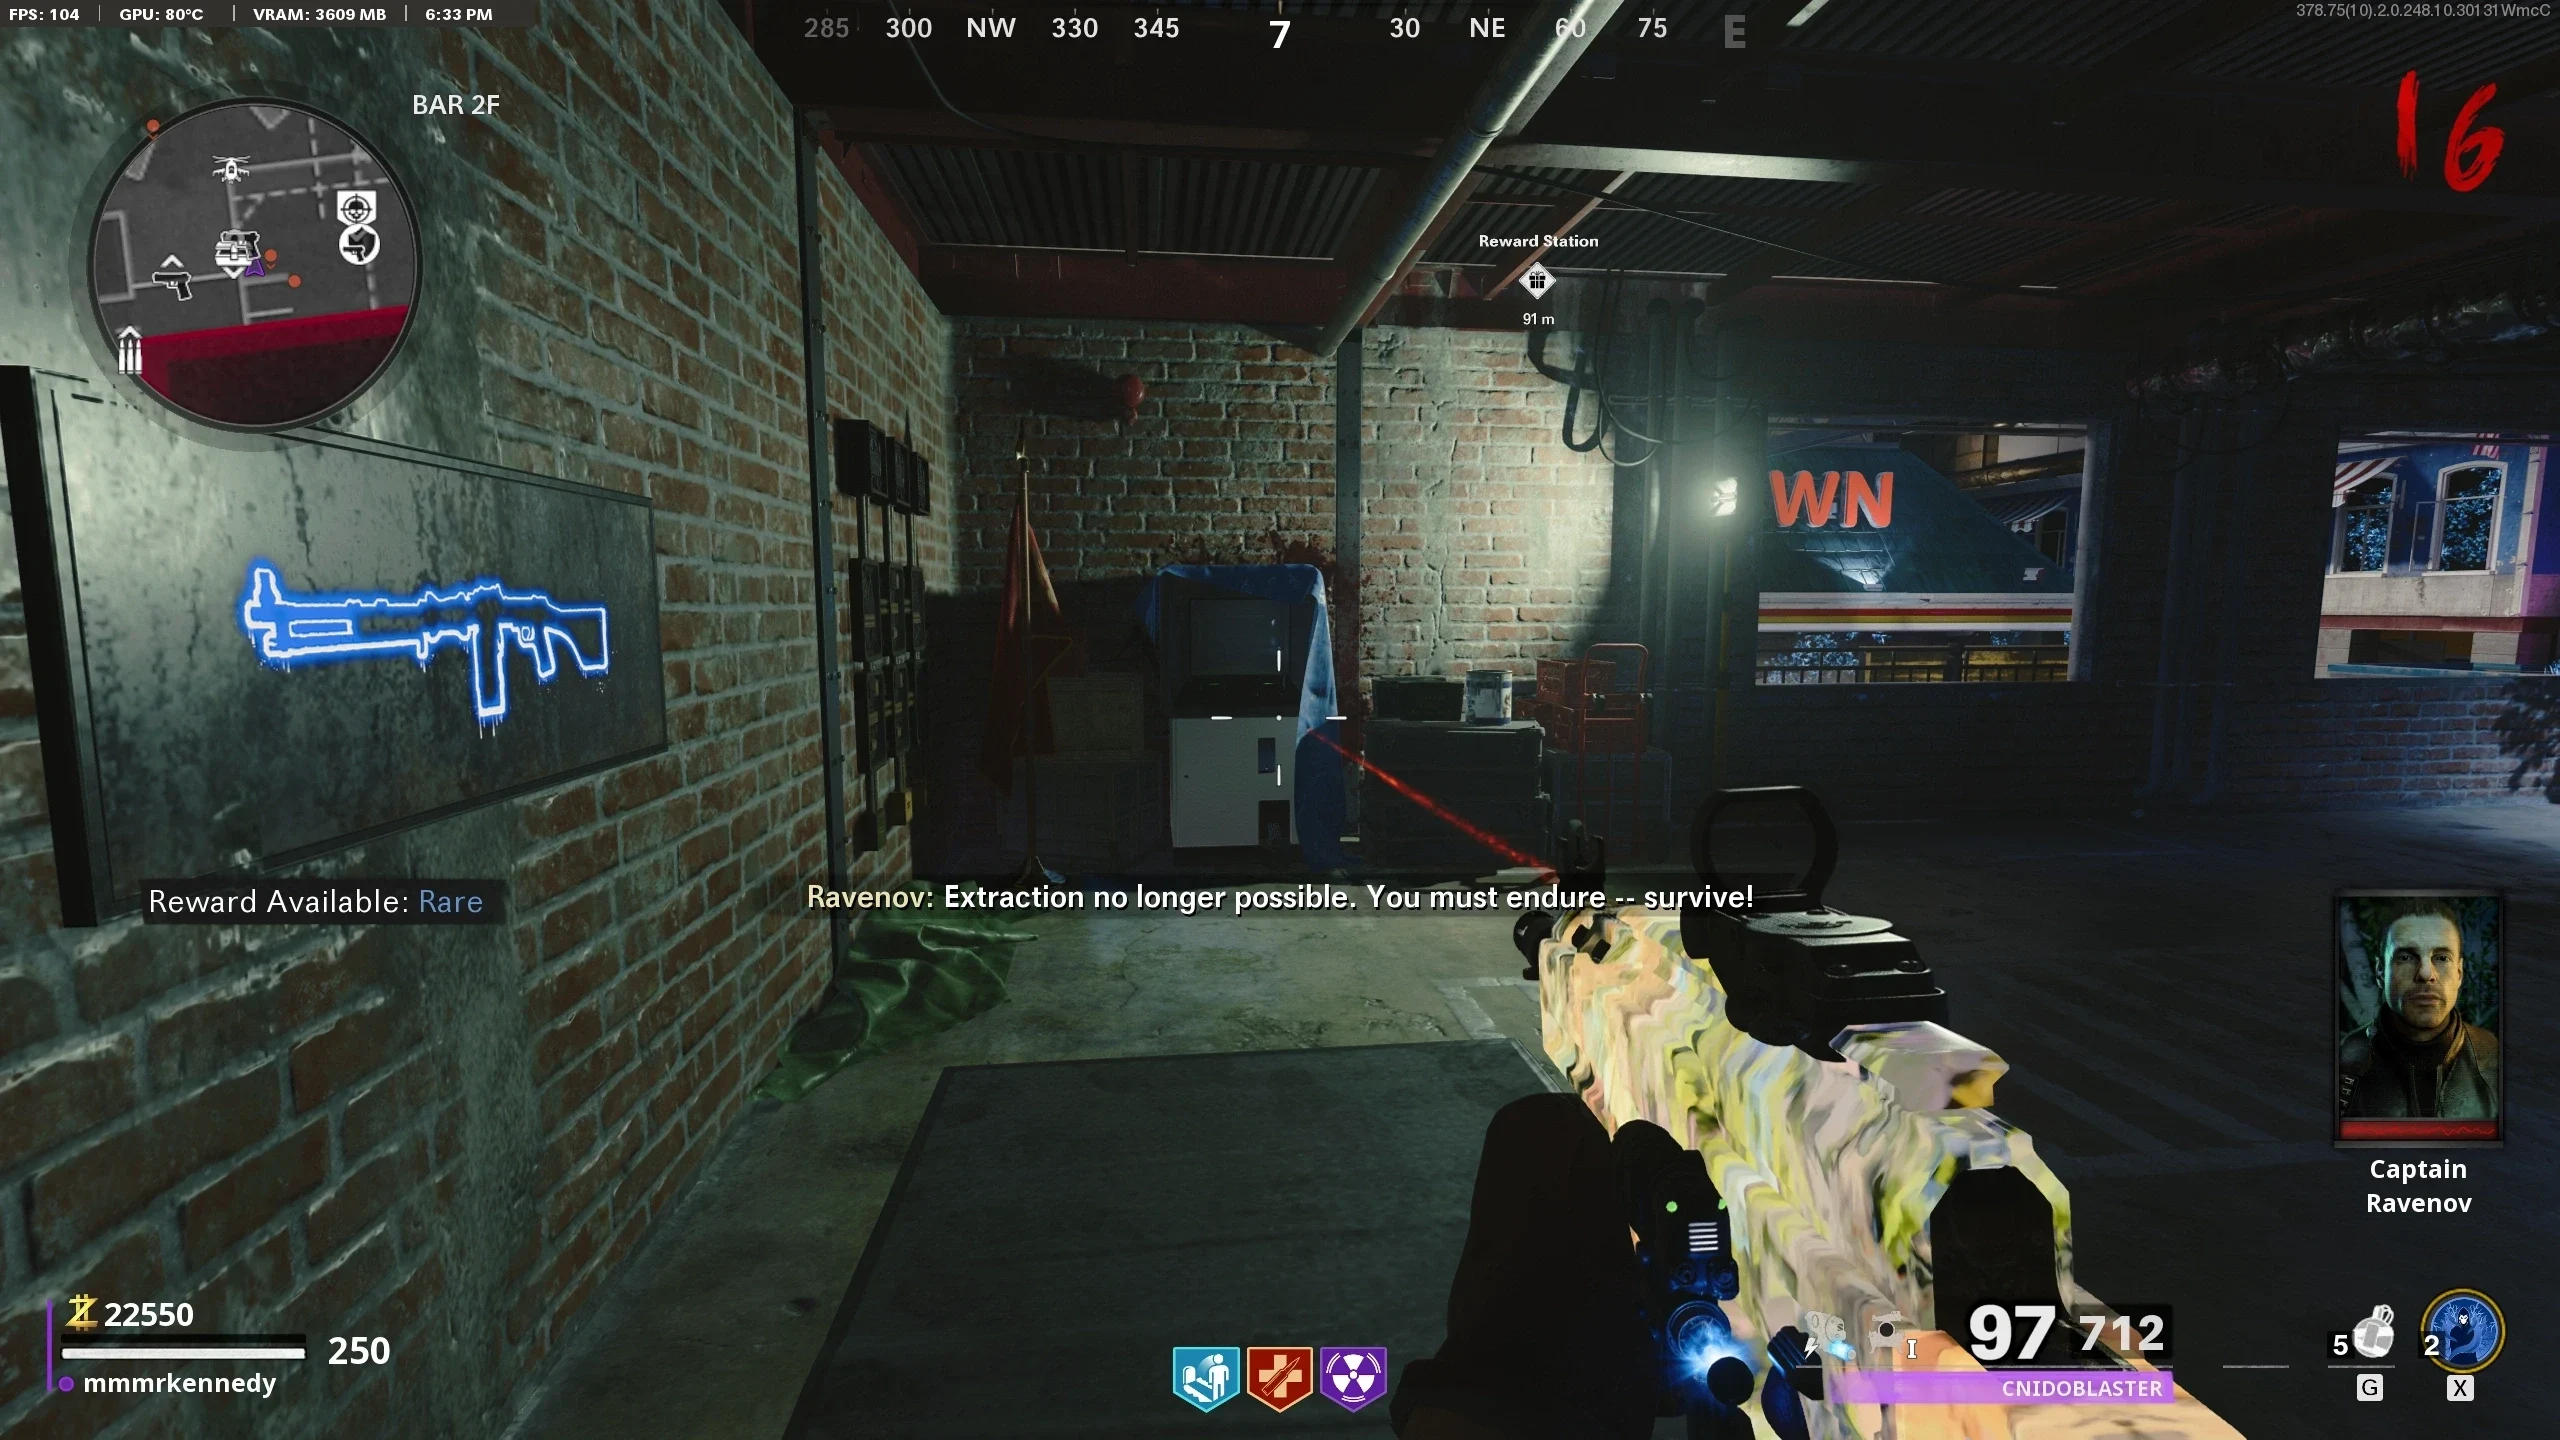
Warning: Point of No Return. Once you activate the Neutralizer, you will be put into the Boss Fight. There will still be an opportunity to buy perks, armour, scorestreaks and use PAP, but you can no longer explore the map or gain points.
Warning: This is your last opportunity to buy perks, armor, scorestreaks, and use the Pack-a-Punch. You cannot come back here during the boss fight.
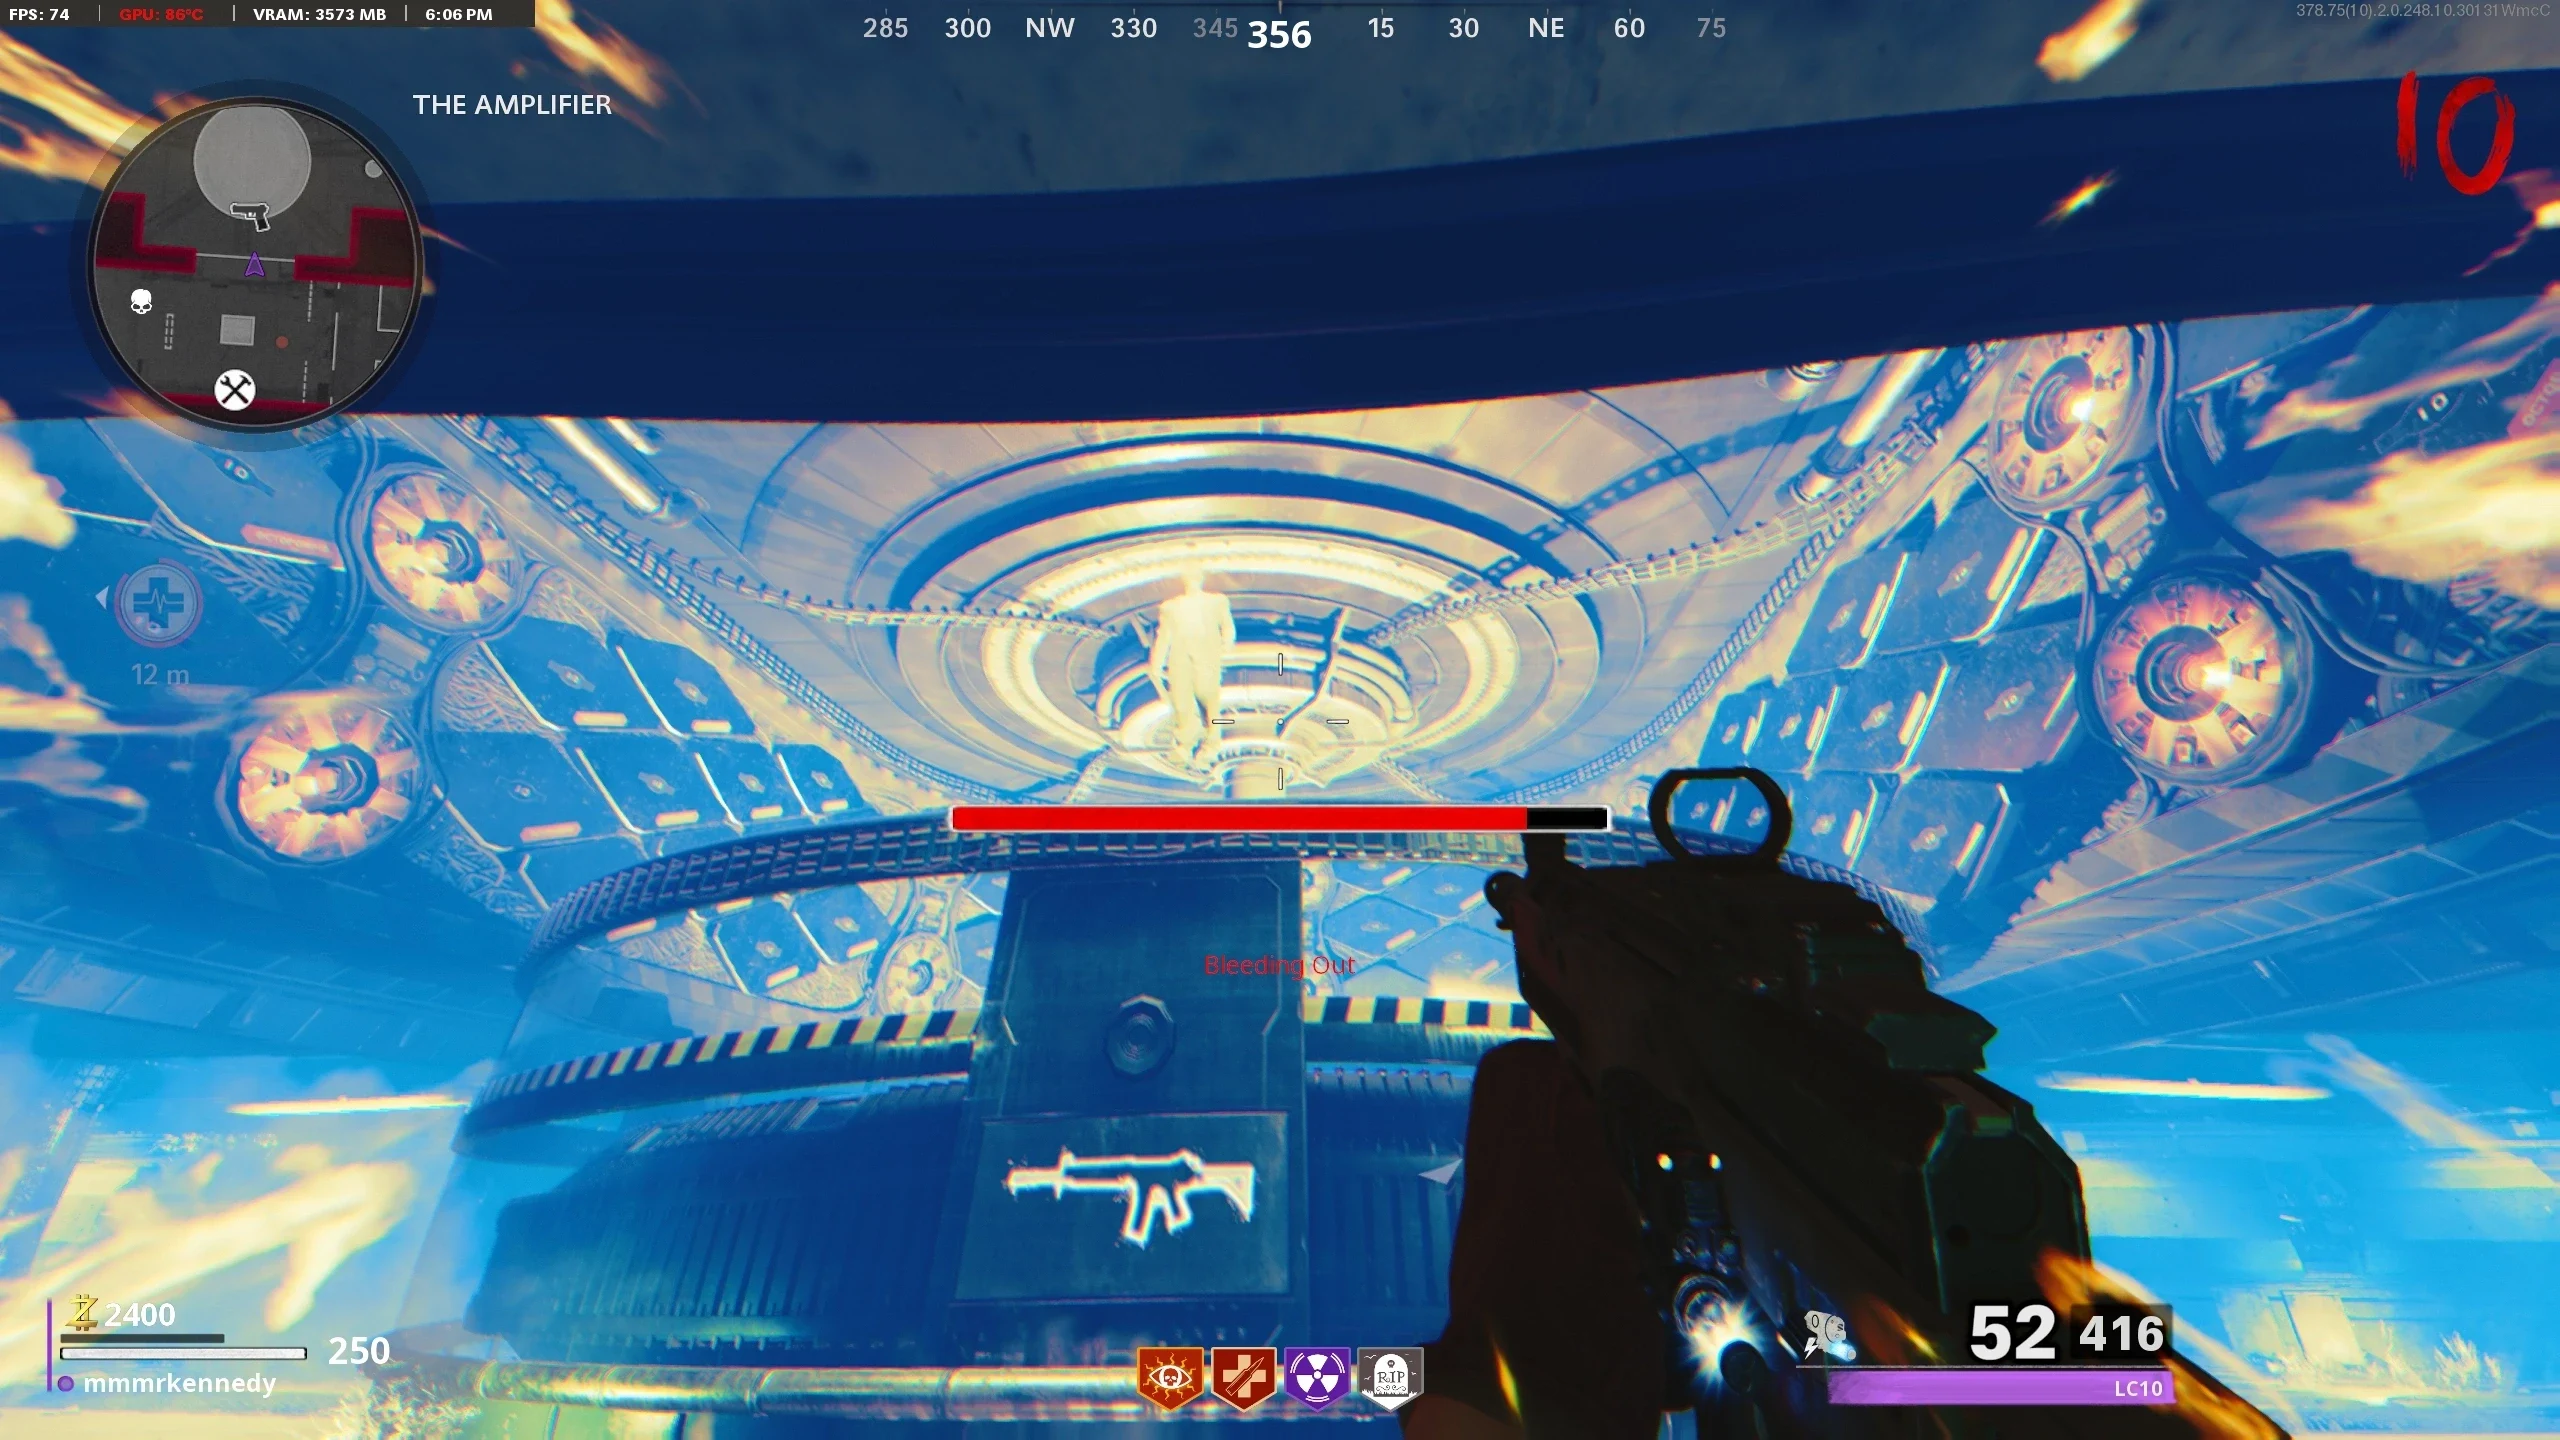
- To simplify the explanation of this boss fight, I'm going to split this into two parts: How to Attack the Forsaken and How The Forsaken Attacks.
- How to Attack:
- The Forsaken has four armoured spots that need to be broken to be able to damage him. These spots can only be broken in the following order:
Either of the two shoulders, the other Shoulder, the Lower Torso and the Top of the Head. - Once one of these spots has been broken, a weak spot will be revealed. You need to shoot these weak spots with either of the two laser cannons.
- To charge the cannons, you must charge Sam by killing zombies in the circle below her.
- Once she is charged, she will activate one of the cannons allowing you to shoot the Forsaken.
- Repeat Steps 1-4 for each of the four armoured/weak spots.
- How The Forsaken Attacks:
- The Forsaken has four attacks: Lightning Slam, Blizzard, Energy Ball and Laser Eyes
- Lightning Slam: While he still has arms, The Forsaken can raise one of his arms and slam it on the ground which will produce electric shockwaves. Any players caught under the hand will be instantly downed. The shockwave ripples out from the Hand, doing less damage the further from the hand they get.
- Blizzard: If you destroy the right arm first, the Forsaken will start attacking with the Blizzard attack. The Forsaken will raise his damaged arm and spawn two areas of frost that slow players within it.
- Energy Ball: If you destroy the left arm first, the Forsaken will start attacking with the Energy Ball attack. The Forsaken will raise his damaged arm and produce tracking energy orbs that will do damage to any player in its radius.
- Once both arms are destroyed, the Forsaken will no longer use his Lightning Slam attack, however, he will still use the Energy Ball and Blizzard Attacks.
- Once both arms are destroyed, the Forsaken will shoot a laser out of his eyes that tracks one player, doing damage if they're in the area.
- Once the last weak spot has been shot, the health bar hits 0 and disappears, a narrative sequence will begin and the Forsaken will slowly damage all players till they go down. The players can down themselves (via explosives or letting the Zombies down them) before being killed by the Forsaken to skip some voice lines.
- Once all players are downed and the voice lines are finished, a cutscene will start. After it is finished, an in-game cutscene will start followed by the final cutscene.
Forsaken Boss Fight