'Tin Man Heart' Main Quest
Stats (Solo): Difficulty - 5/10, Est. Completion Time - 40 Mins to 1 Hr
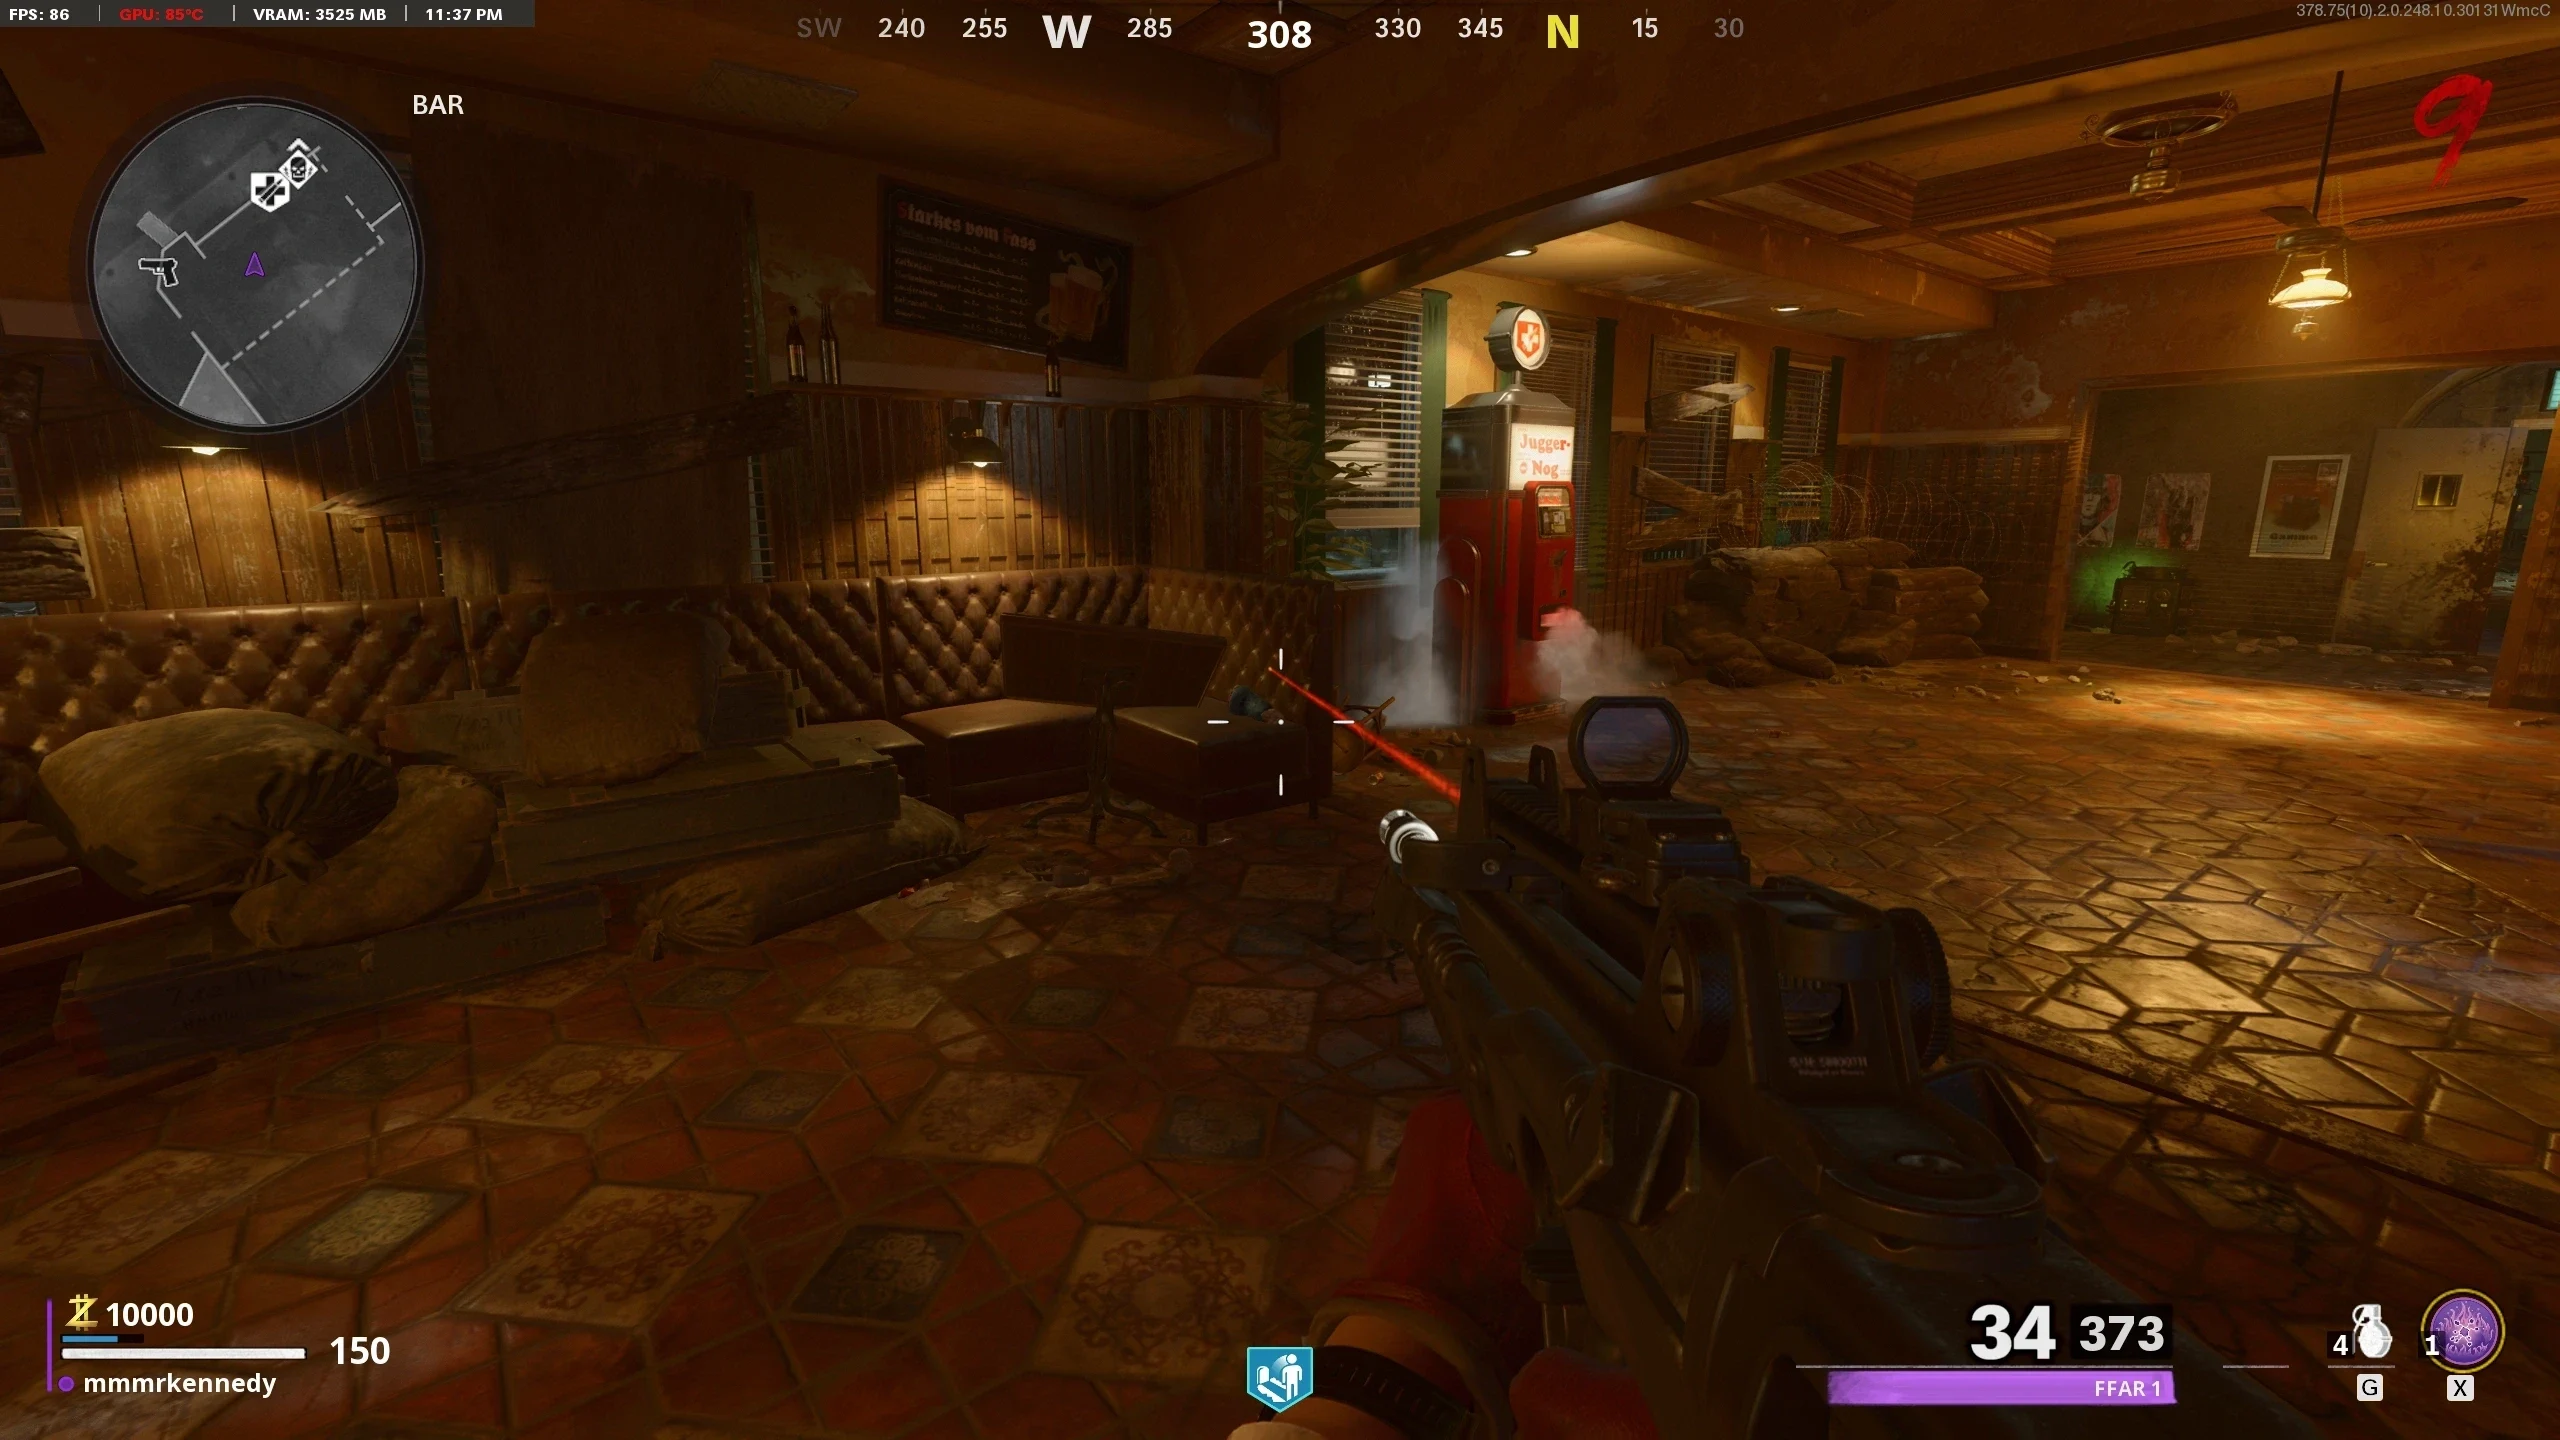
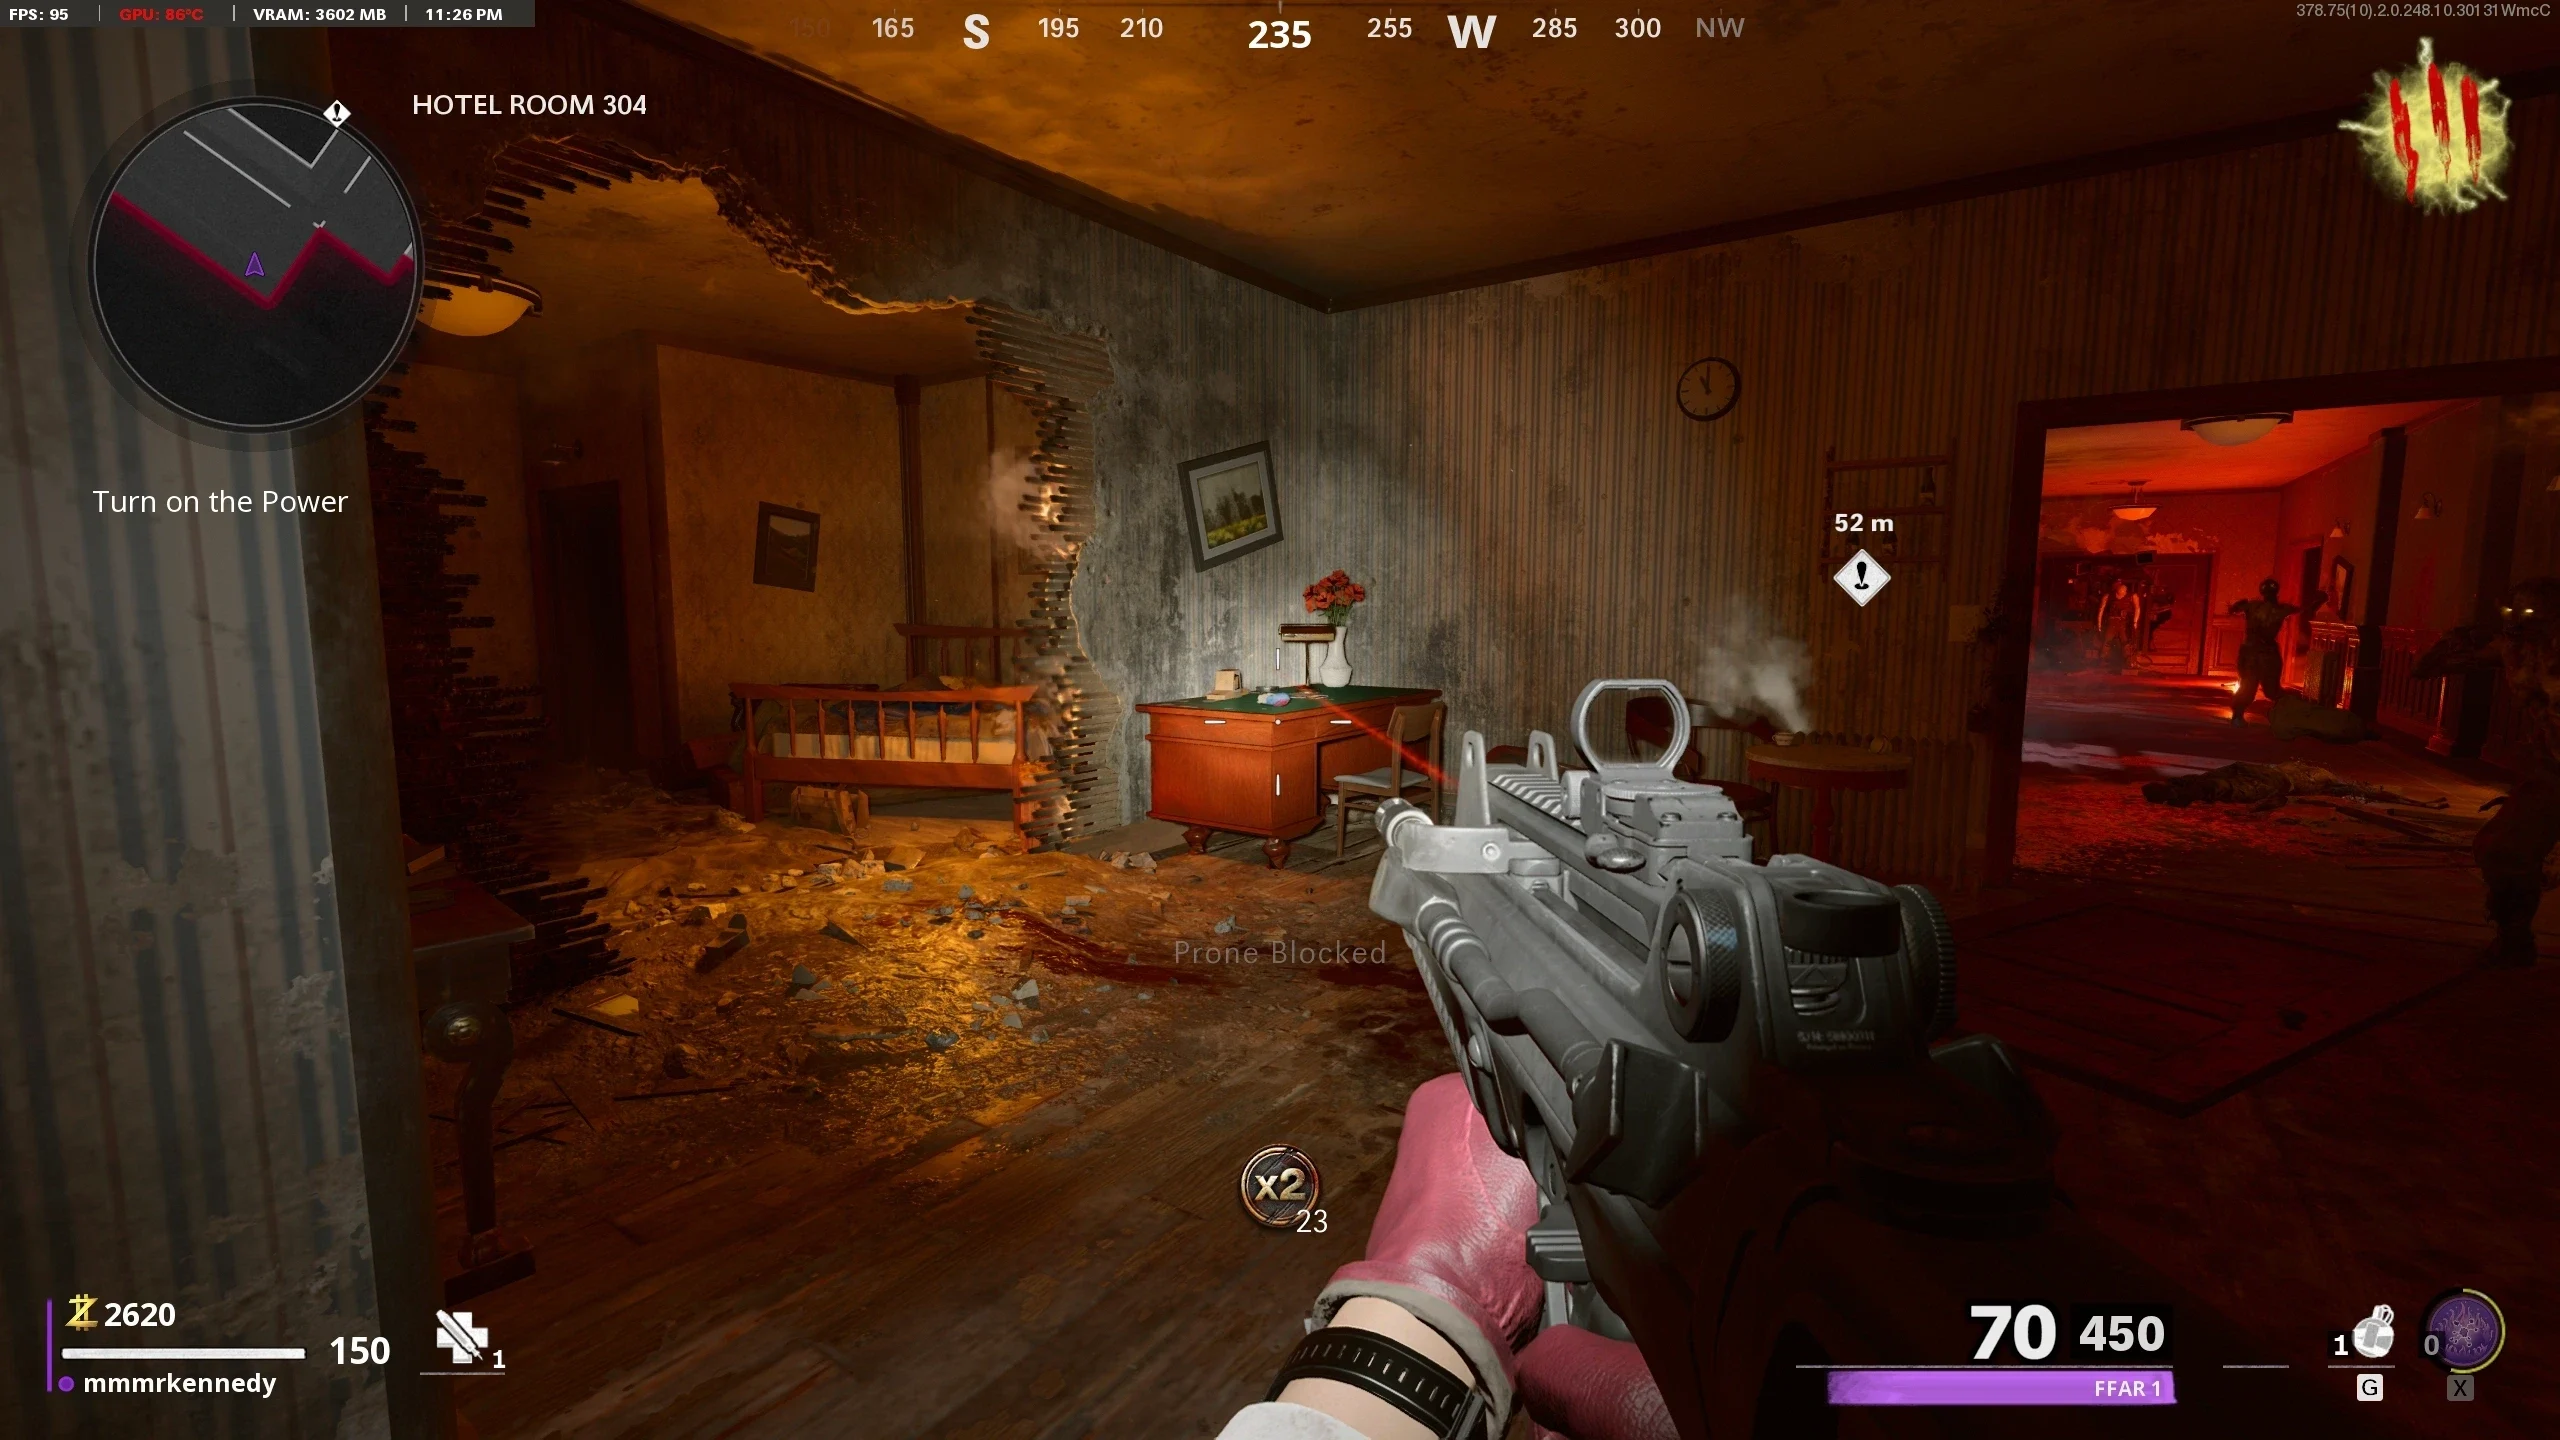
- Turn on Power and unlock Pack-a-Punch.
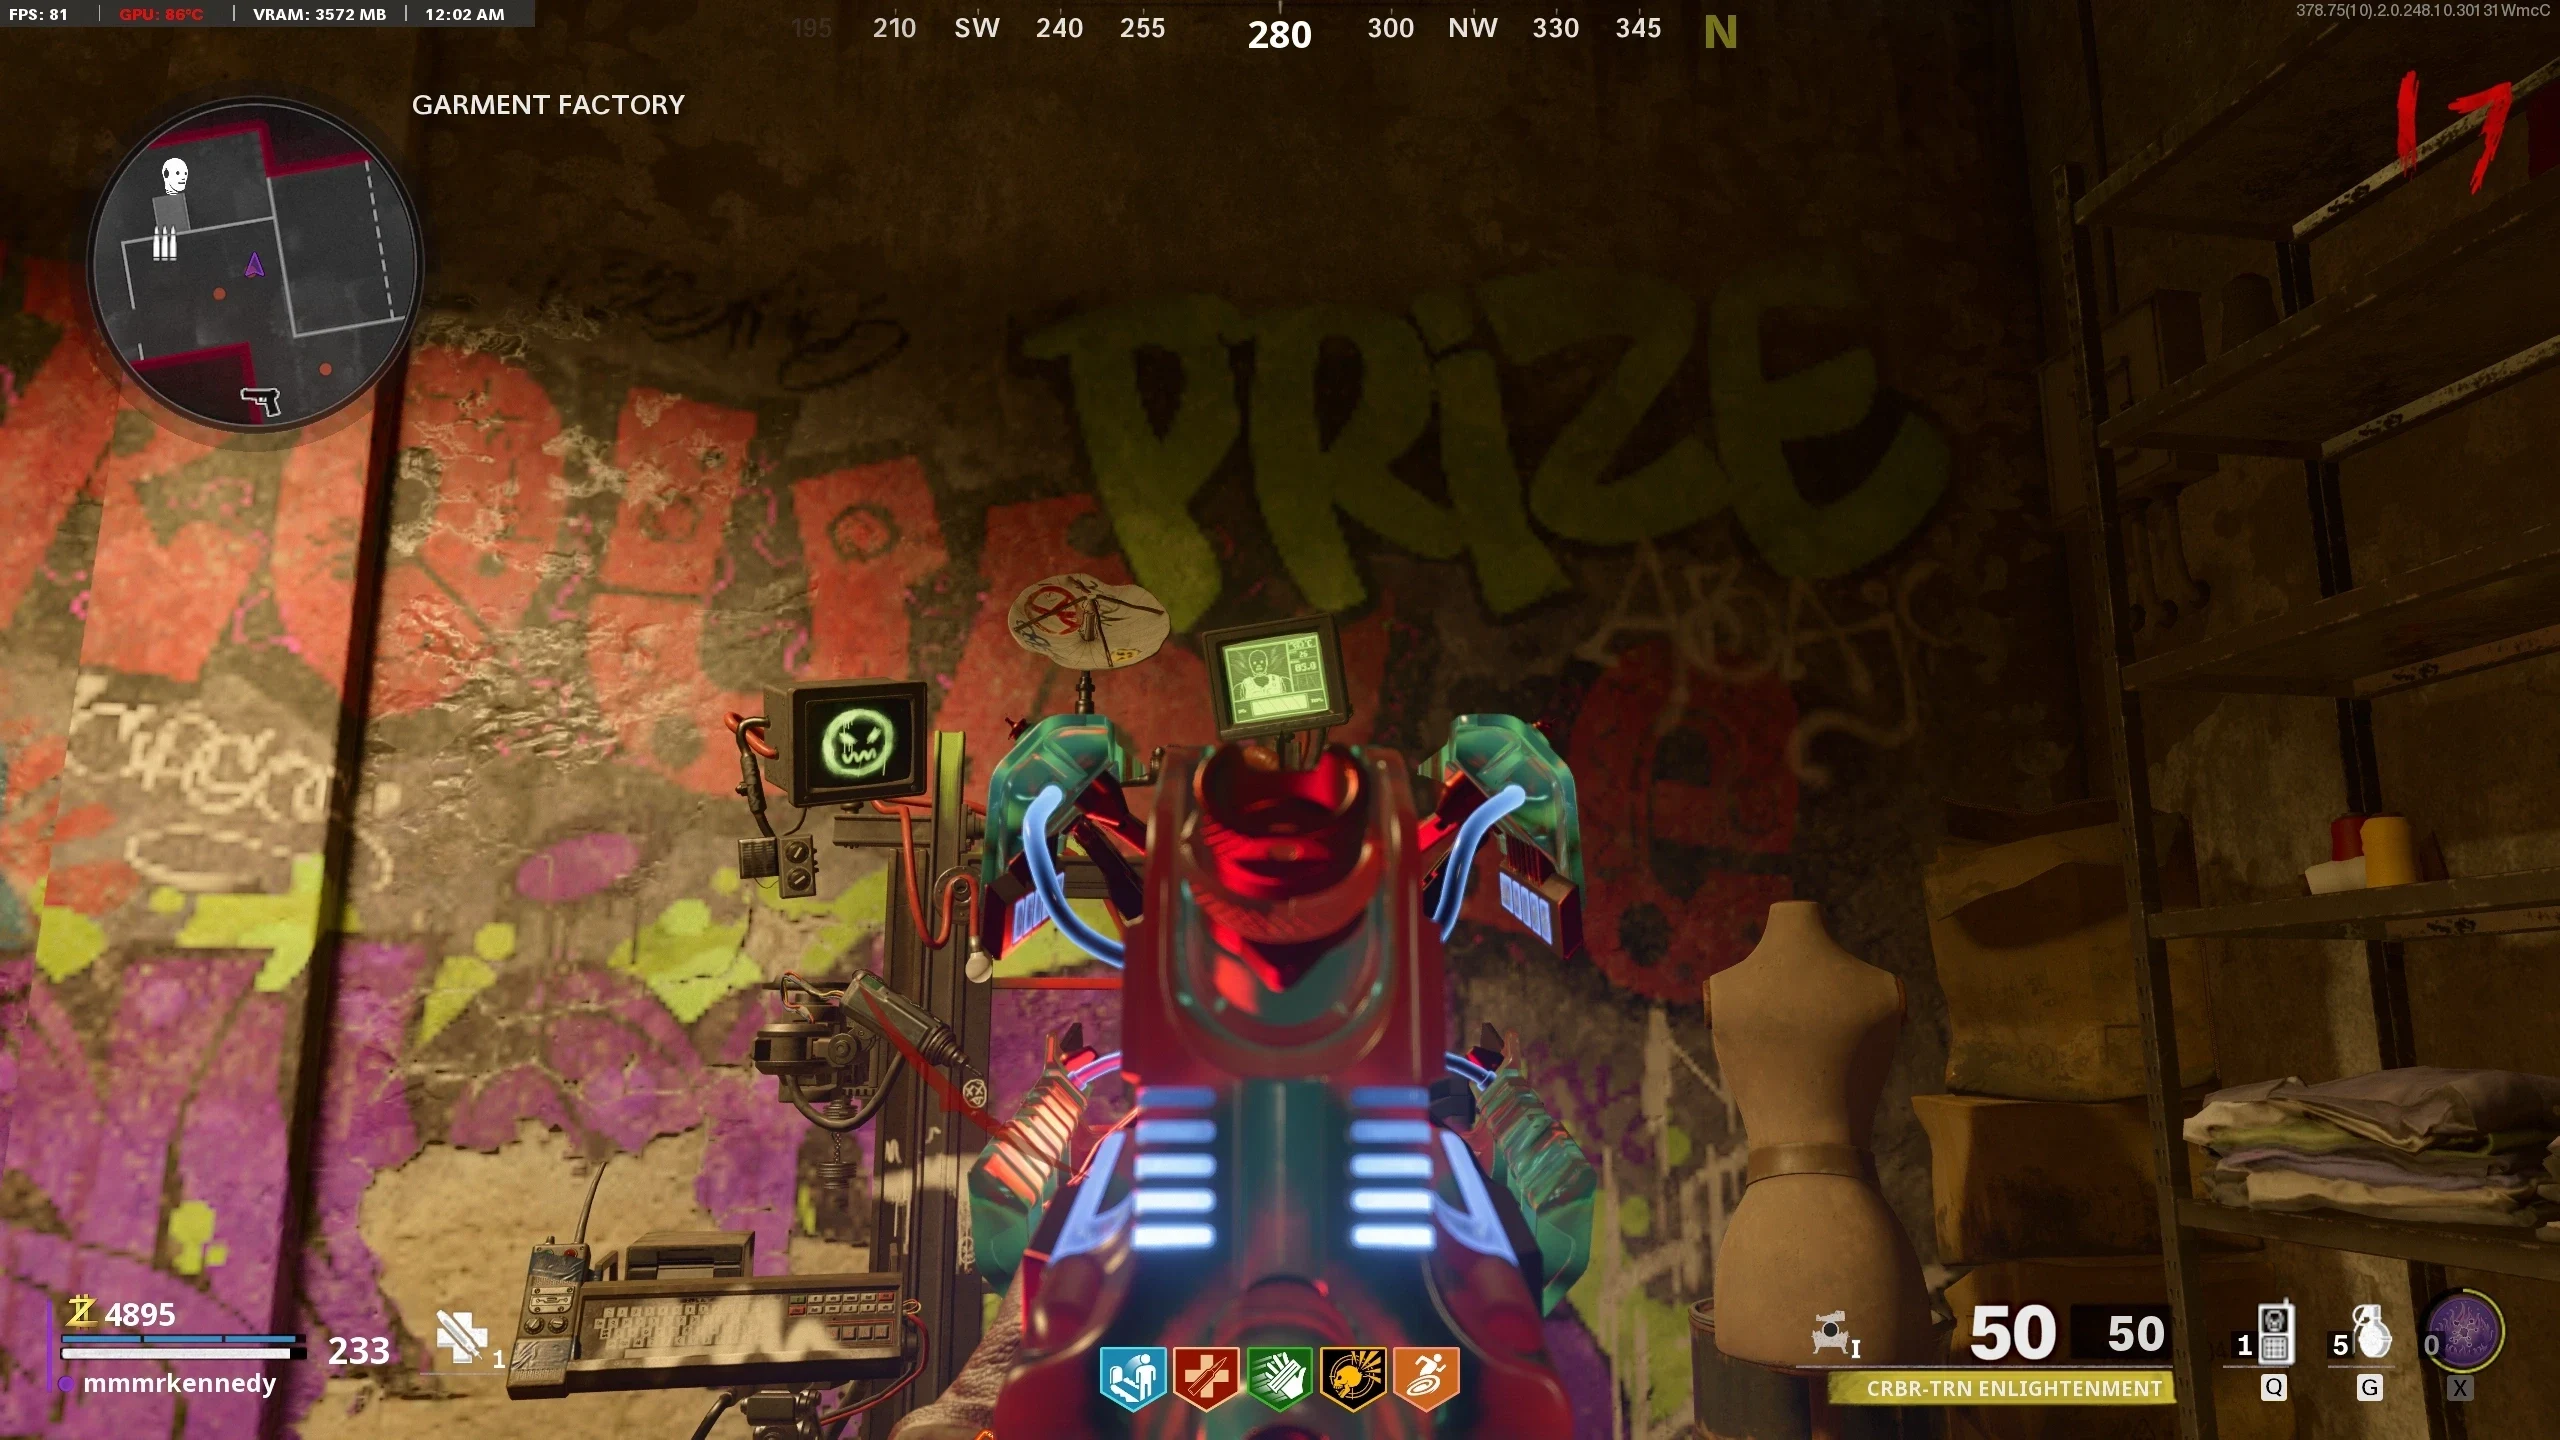
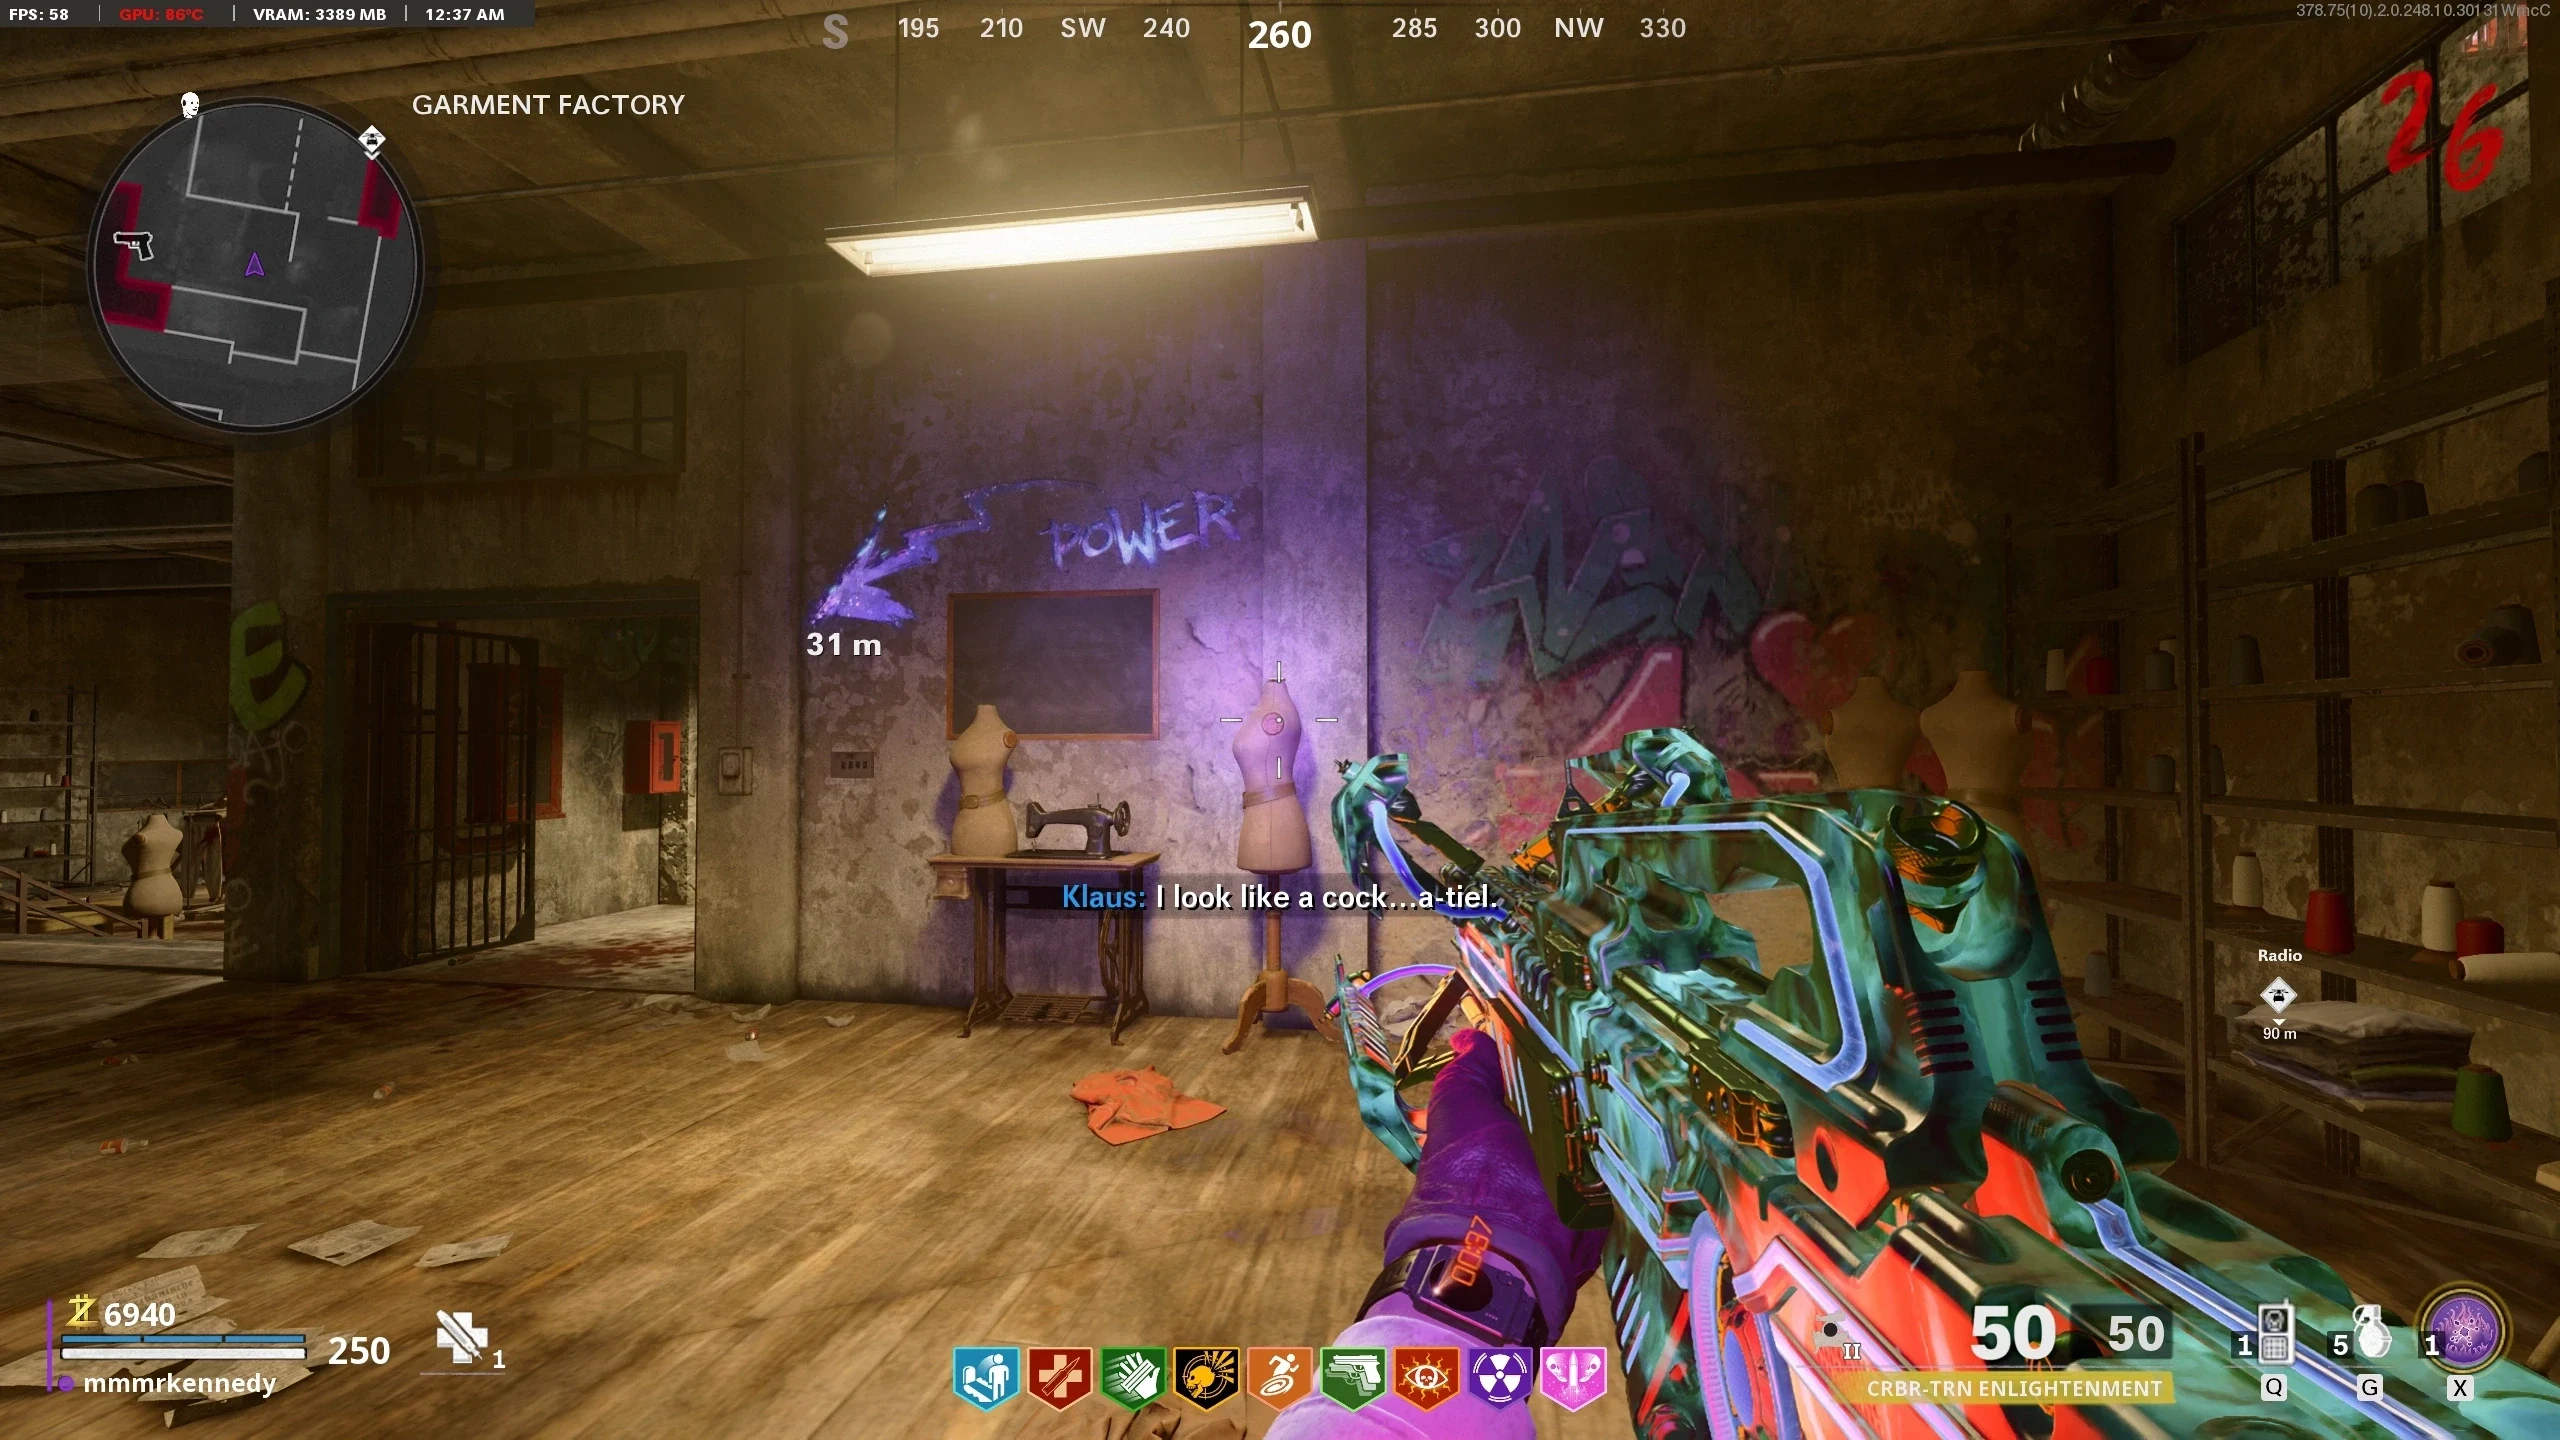
- Assemble and Fully Upgrade Klaus - Note: Upgraded Klaus is required for Step 15, and Un-upgraded Klaus is required for Step 5.
- Obtain the CBRS-S.
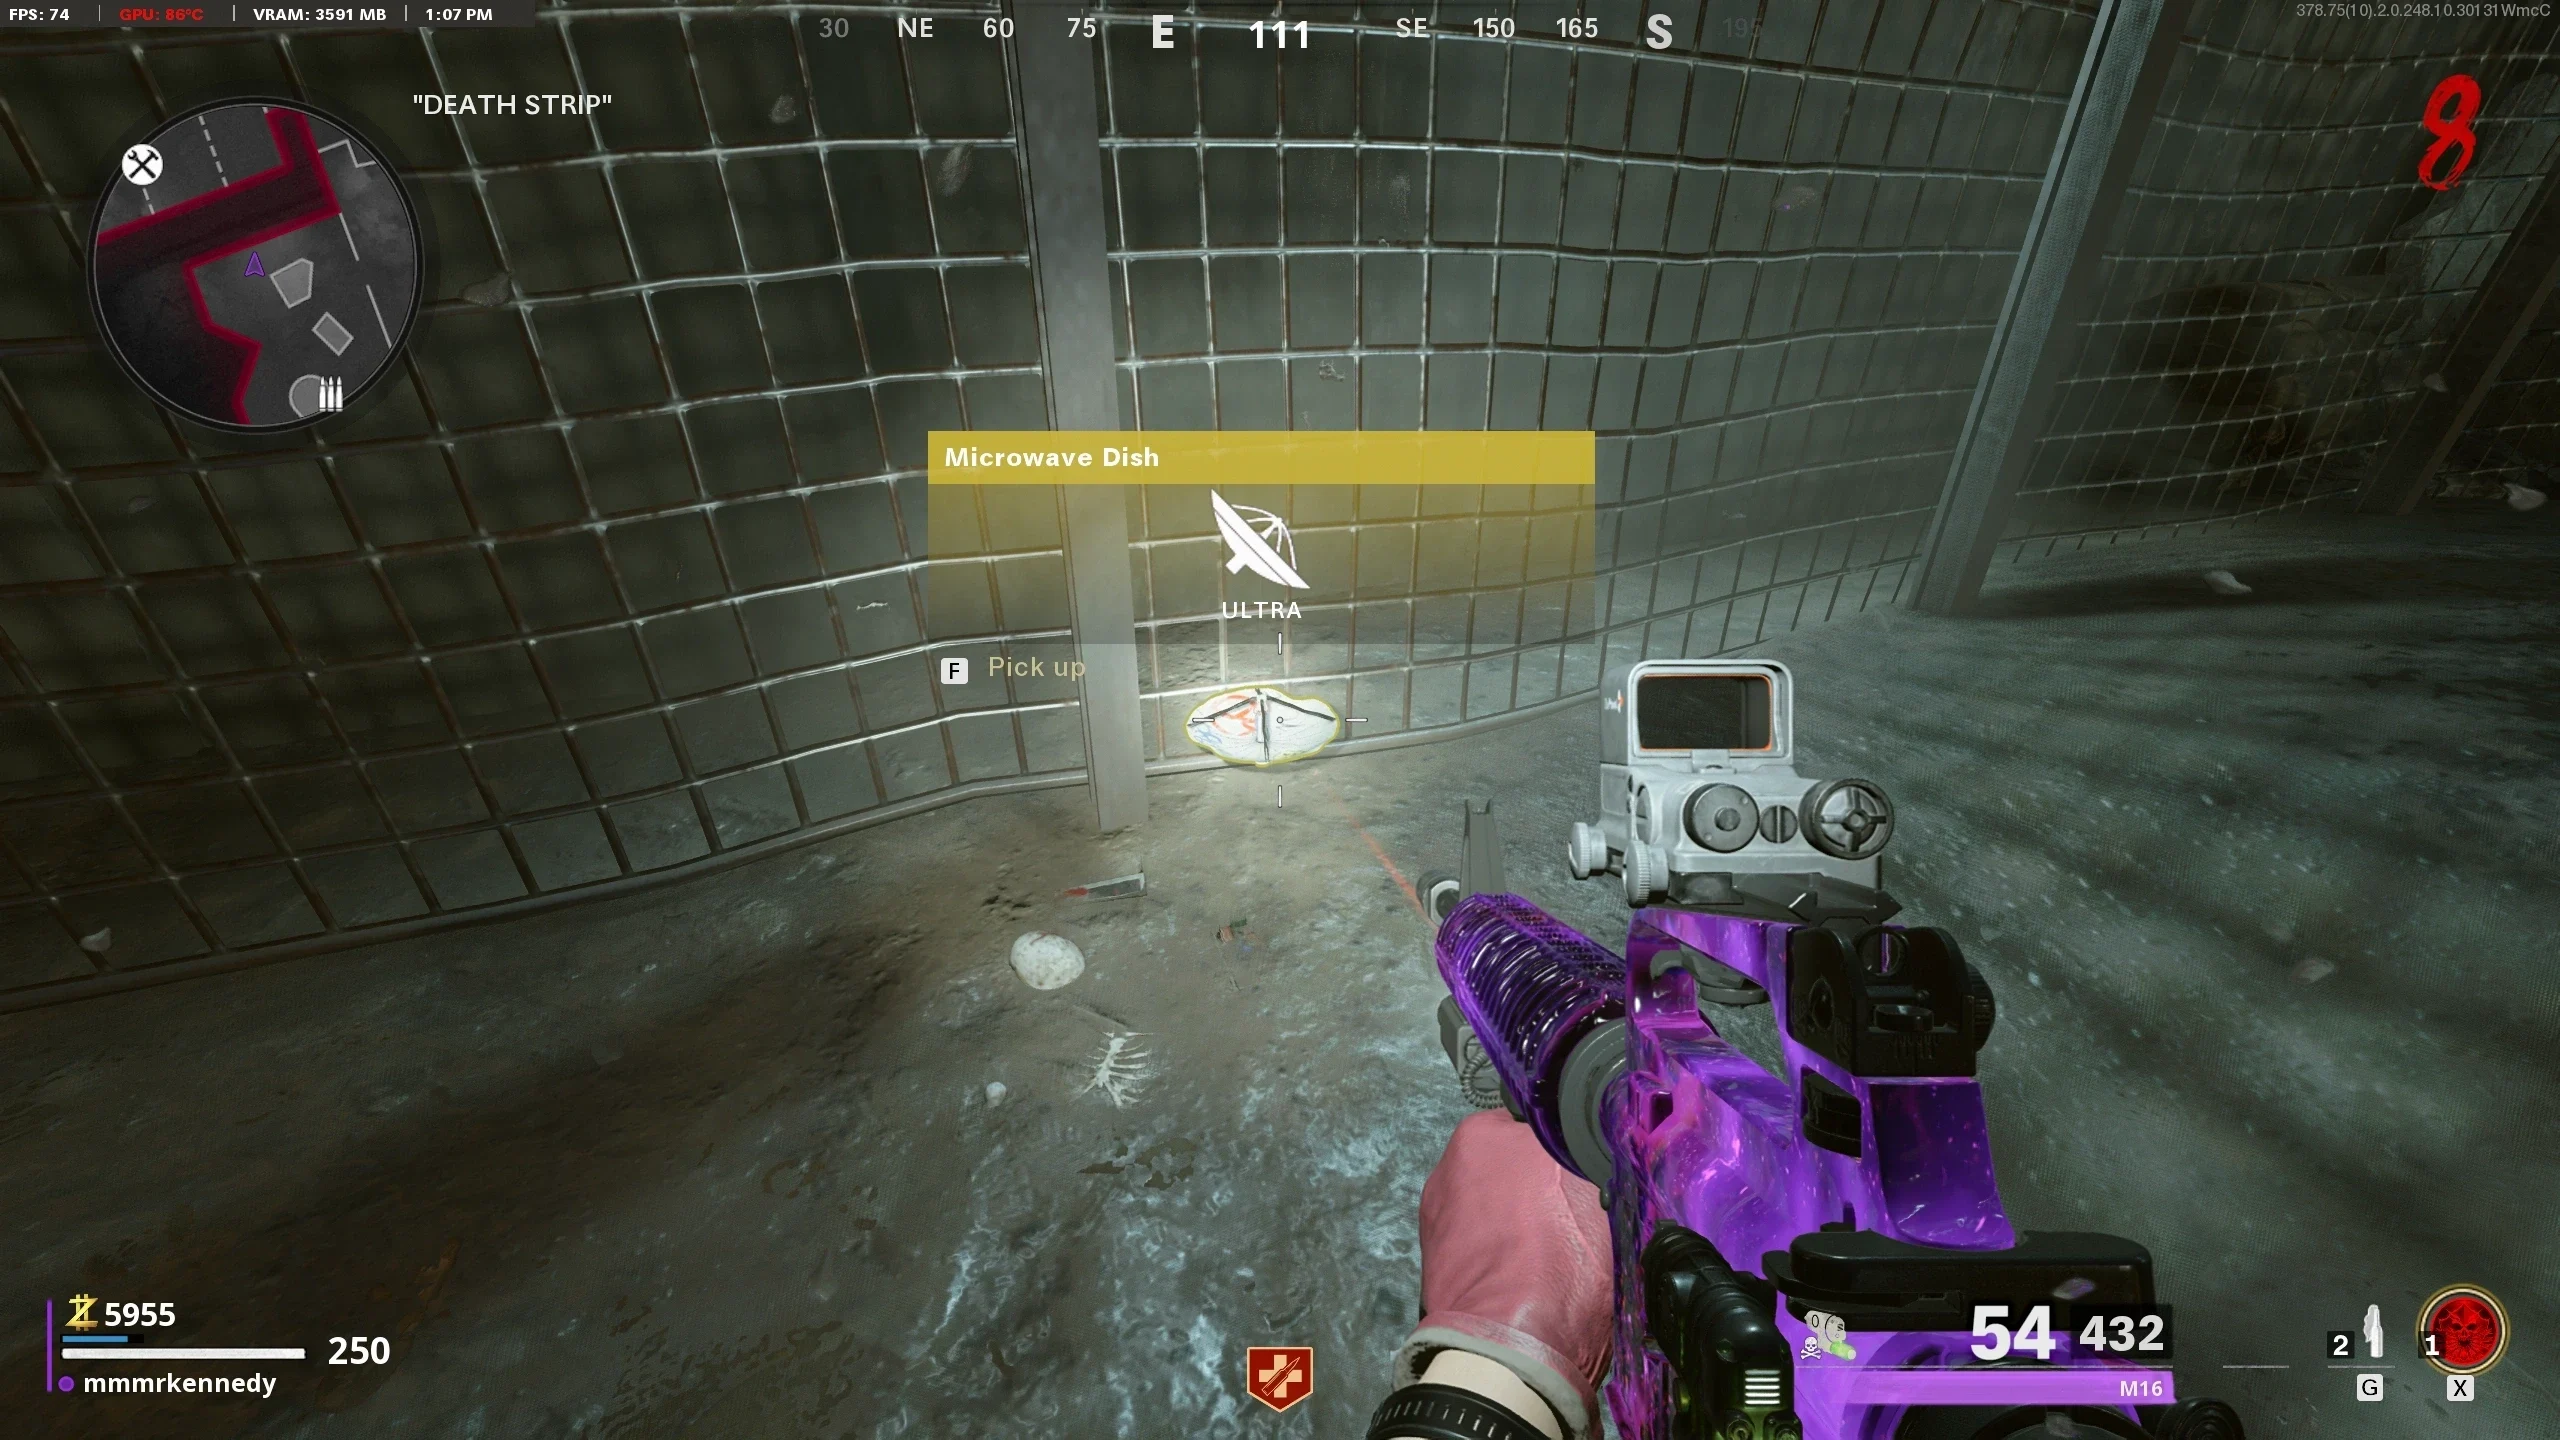
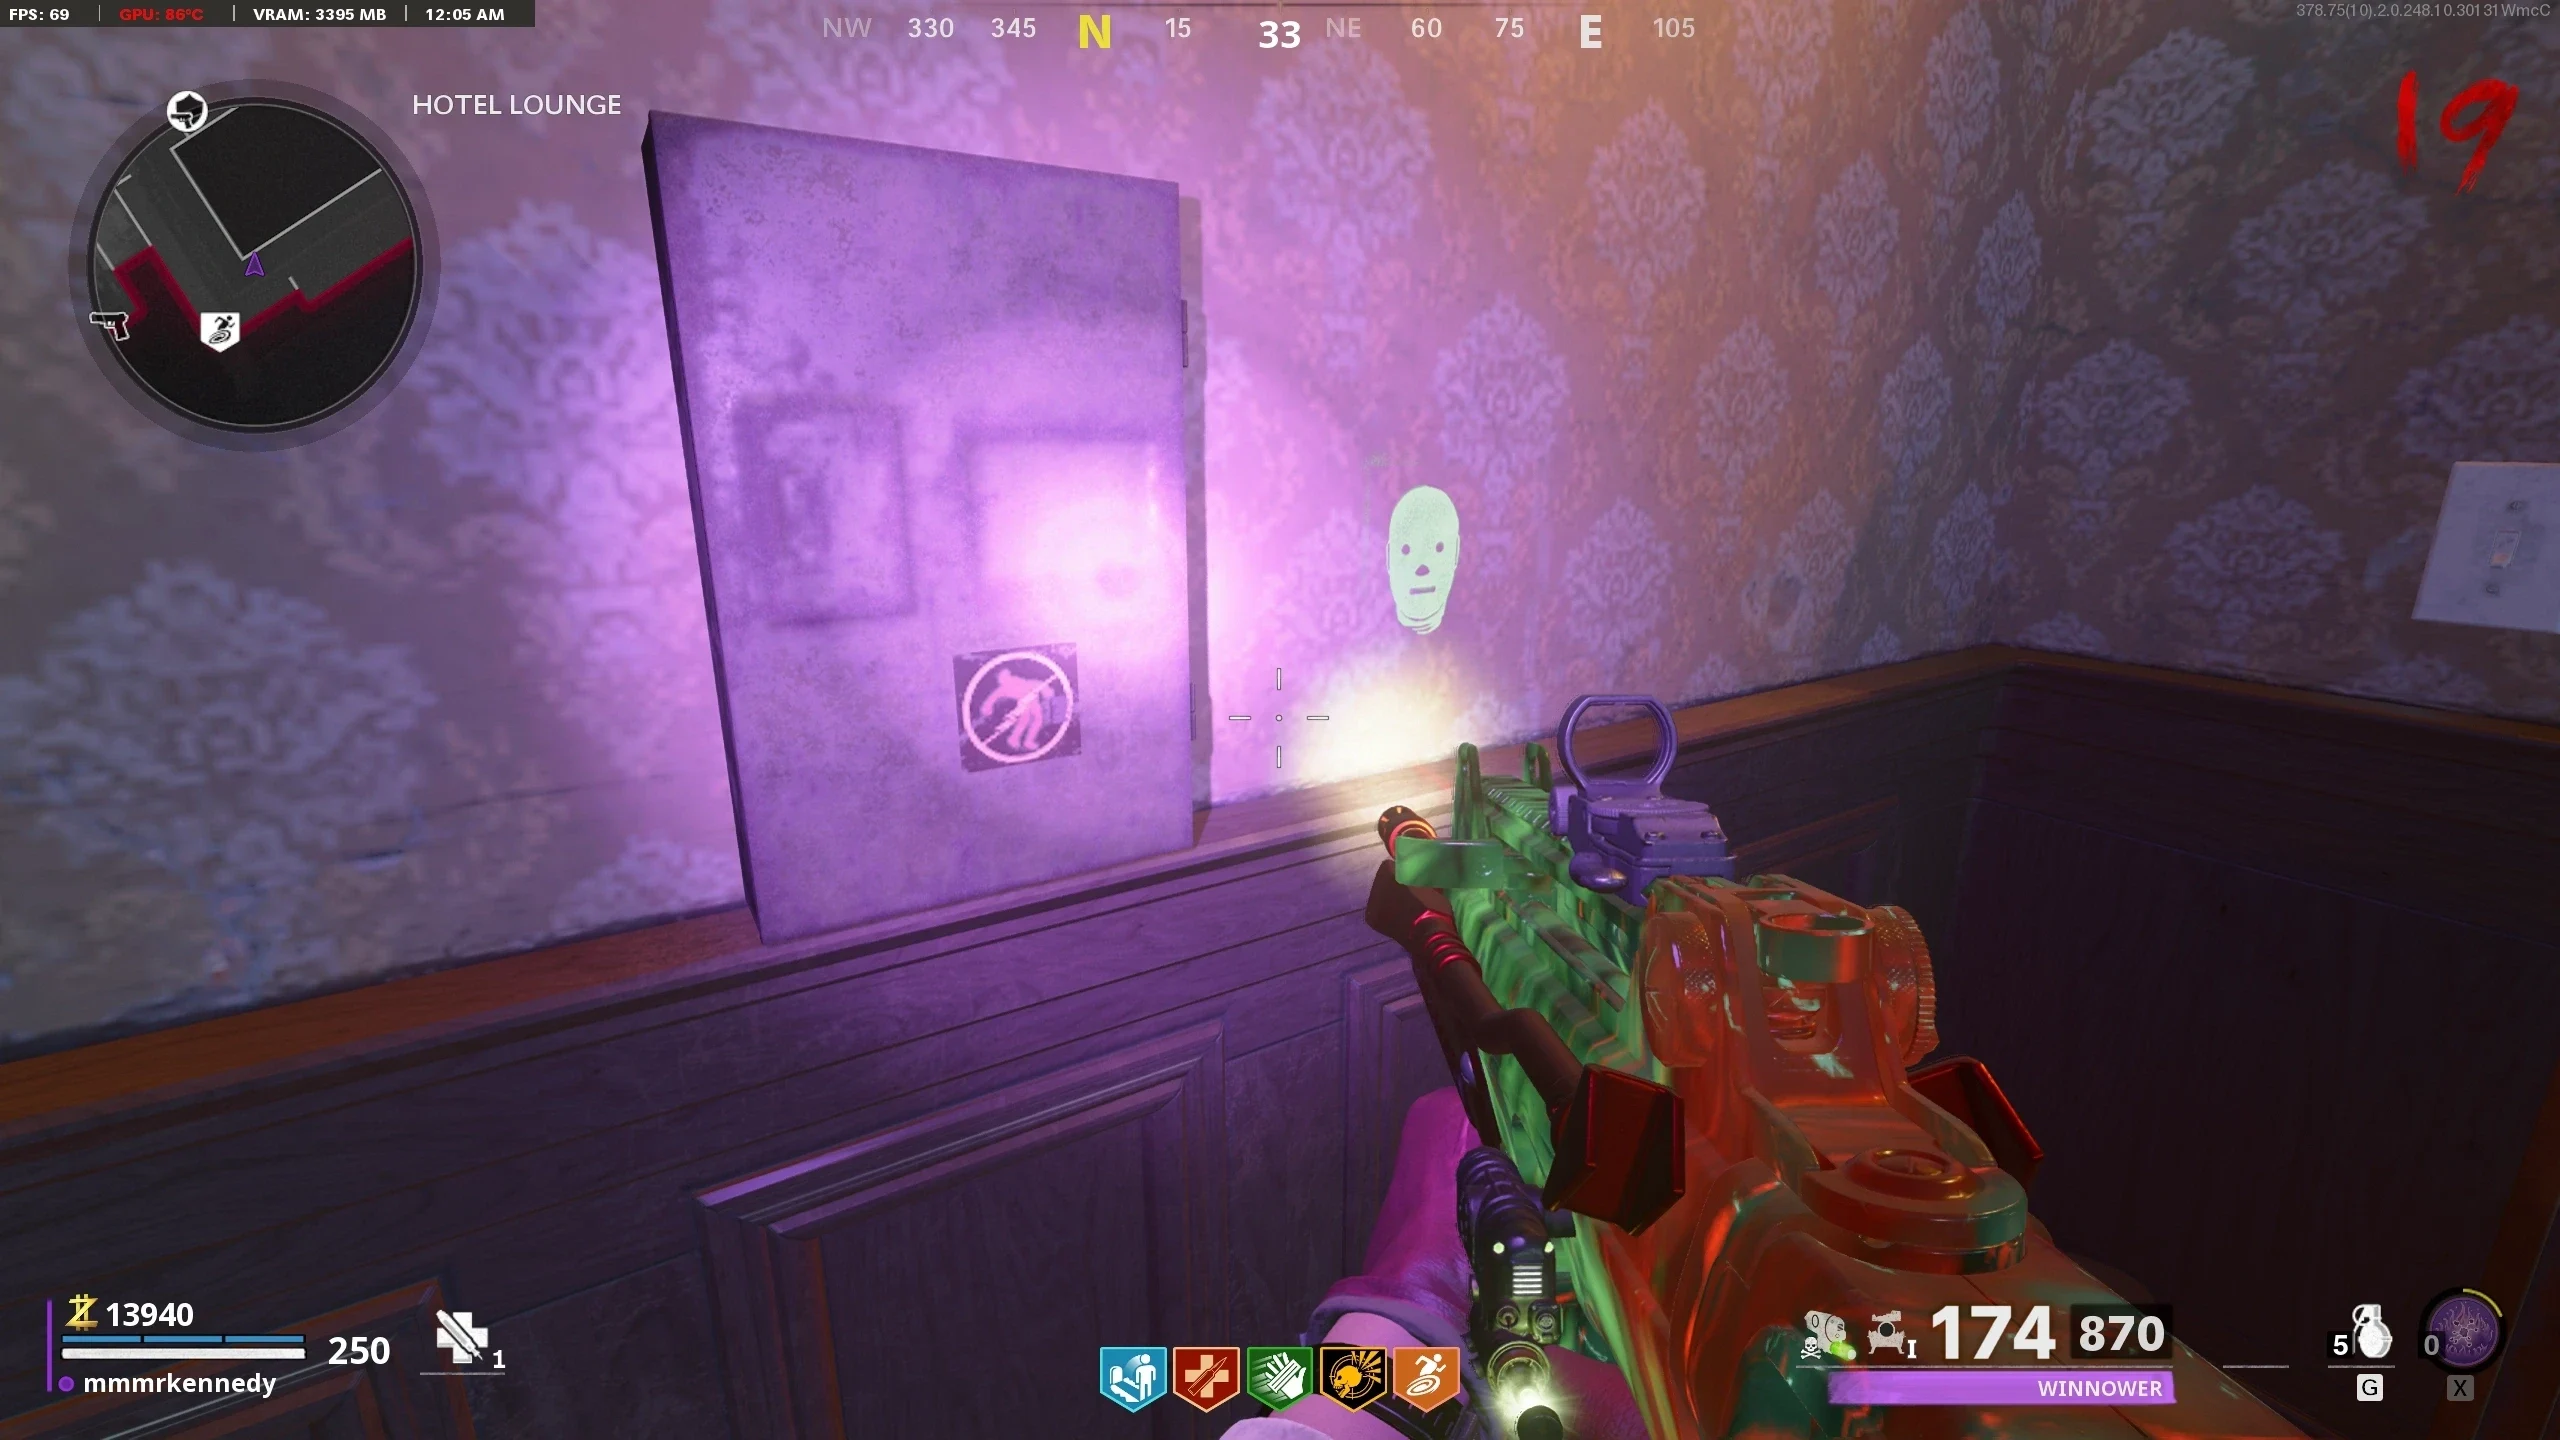
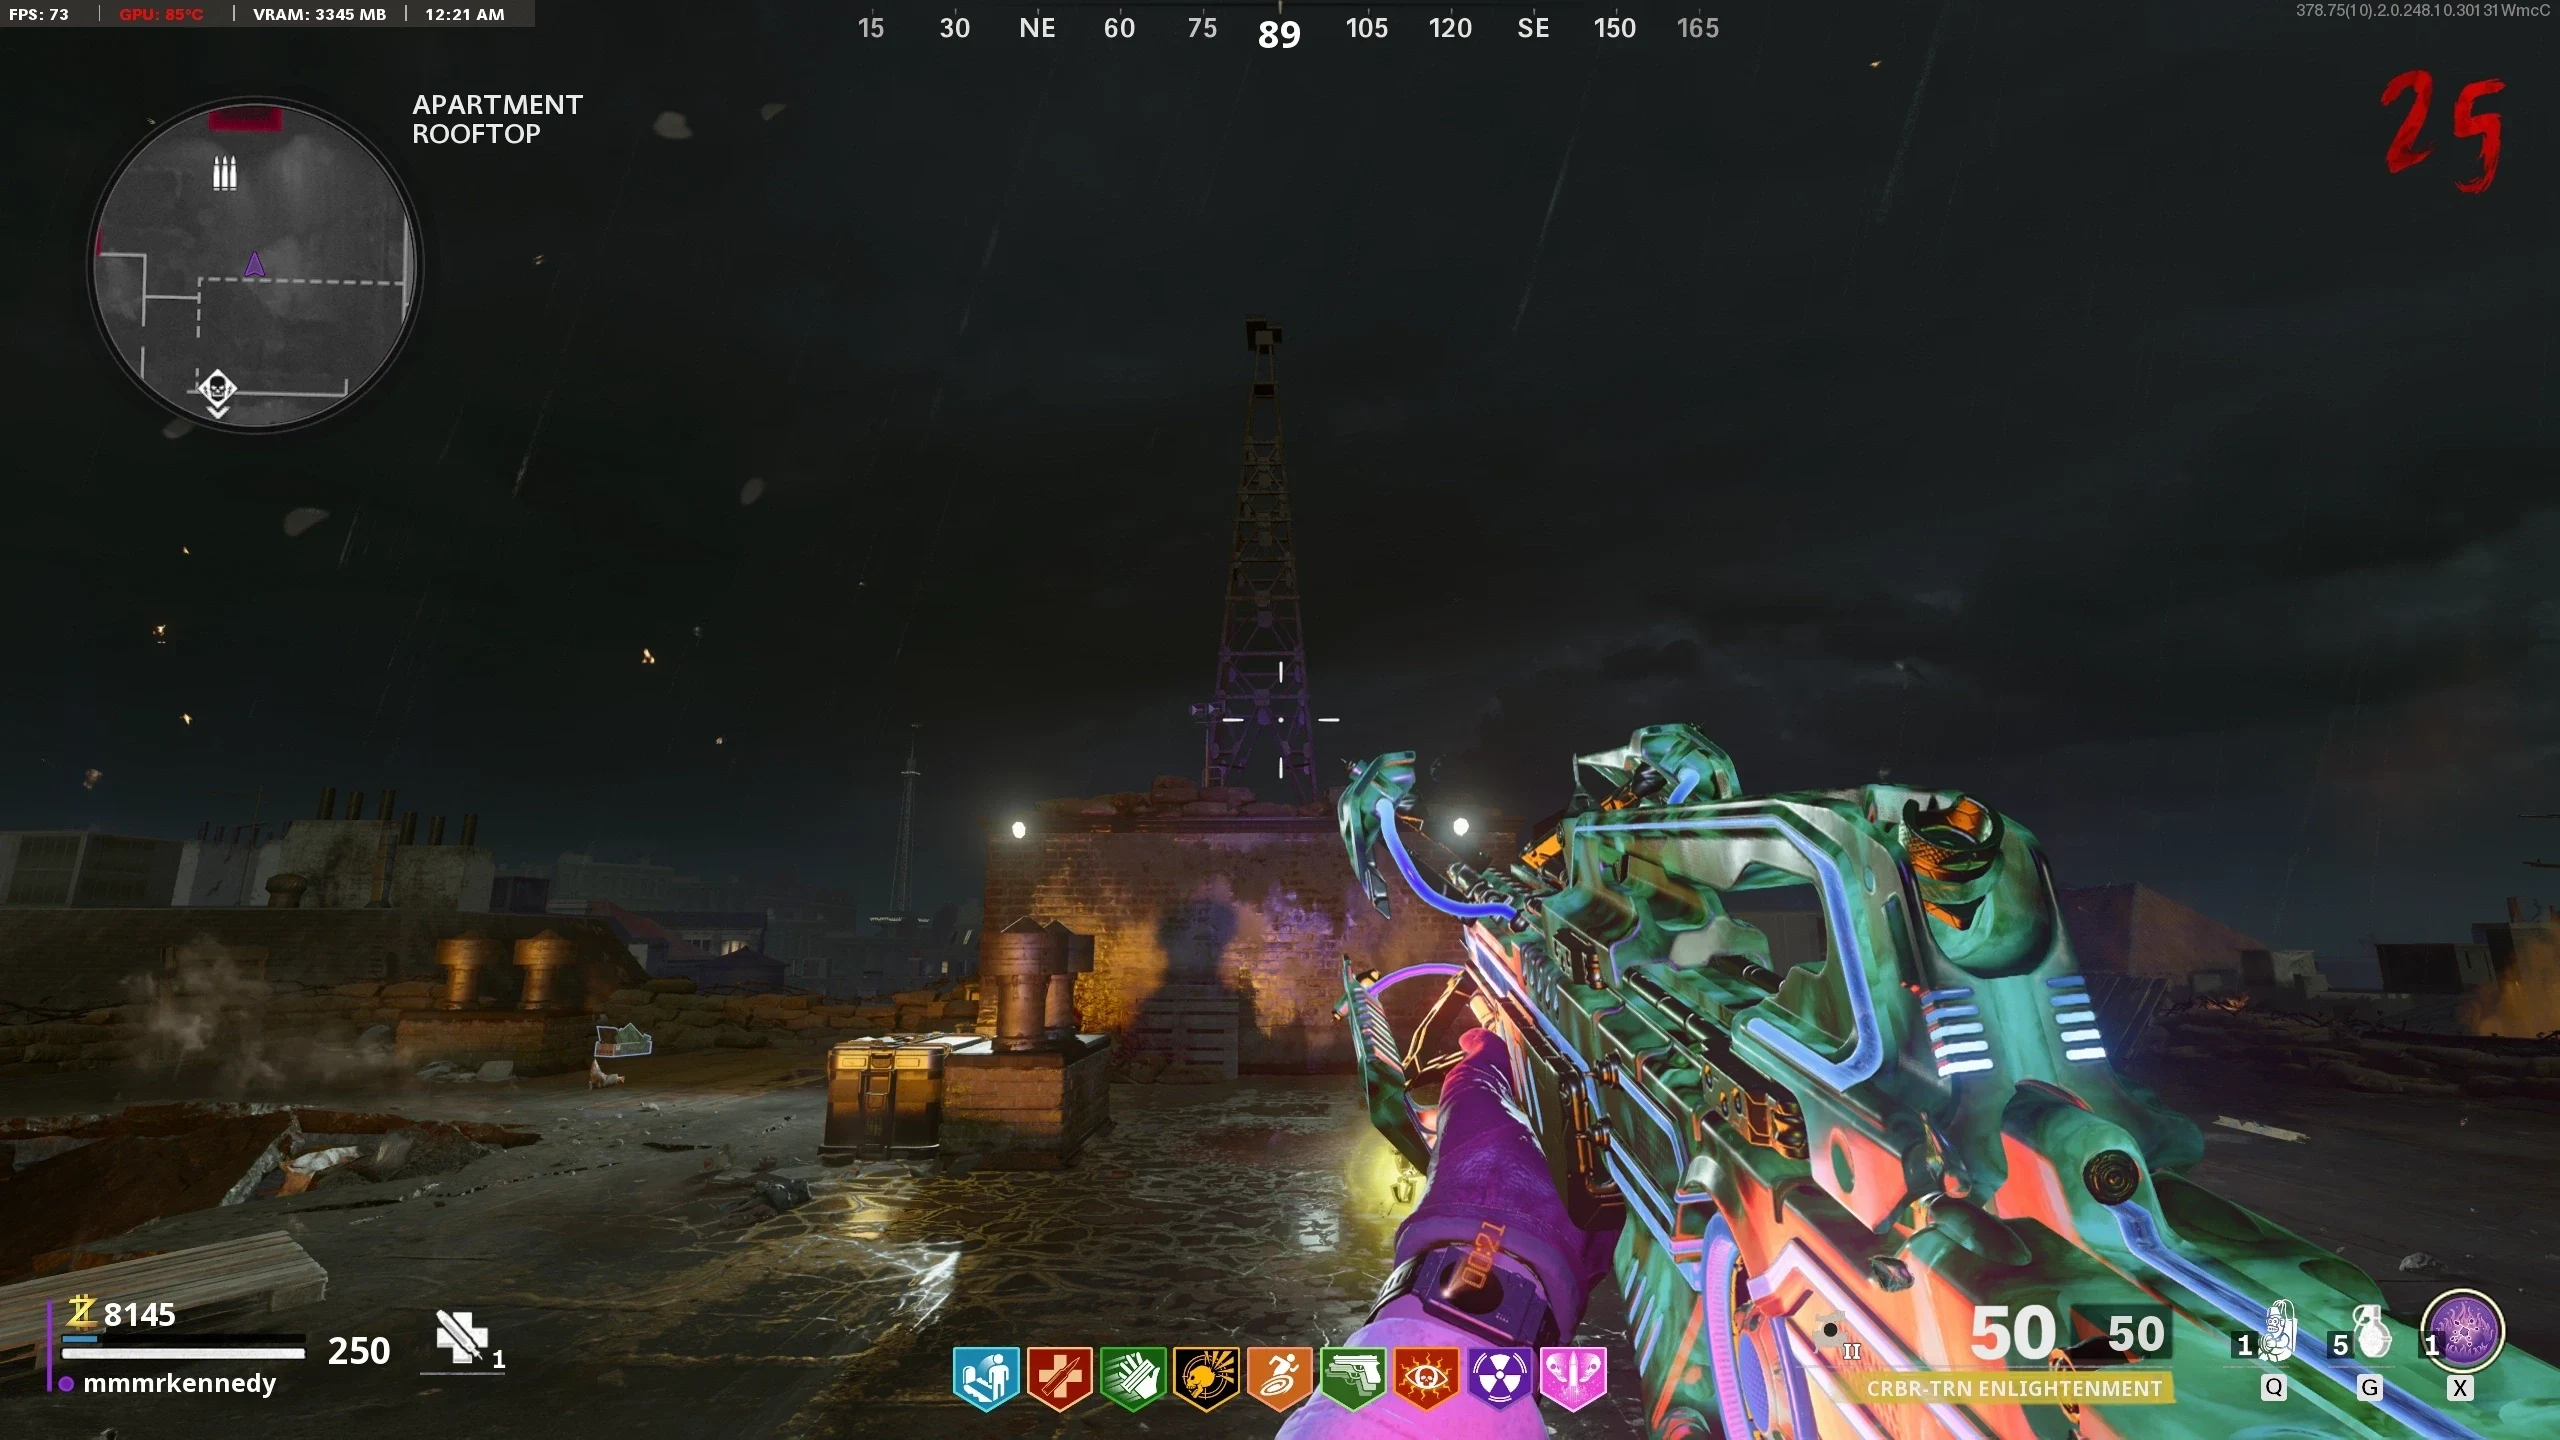
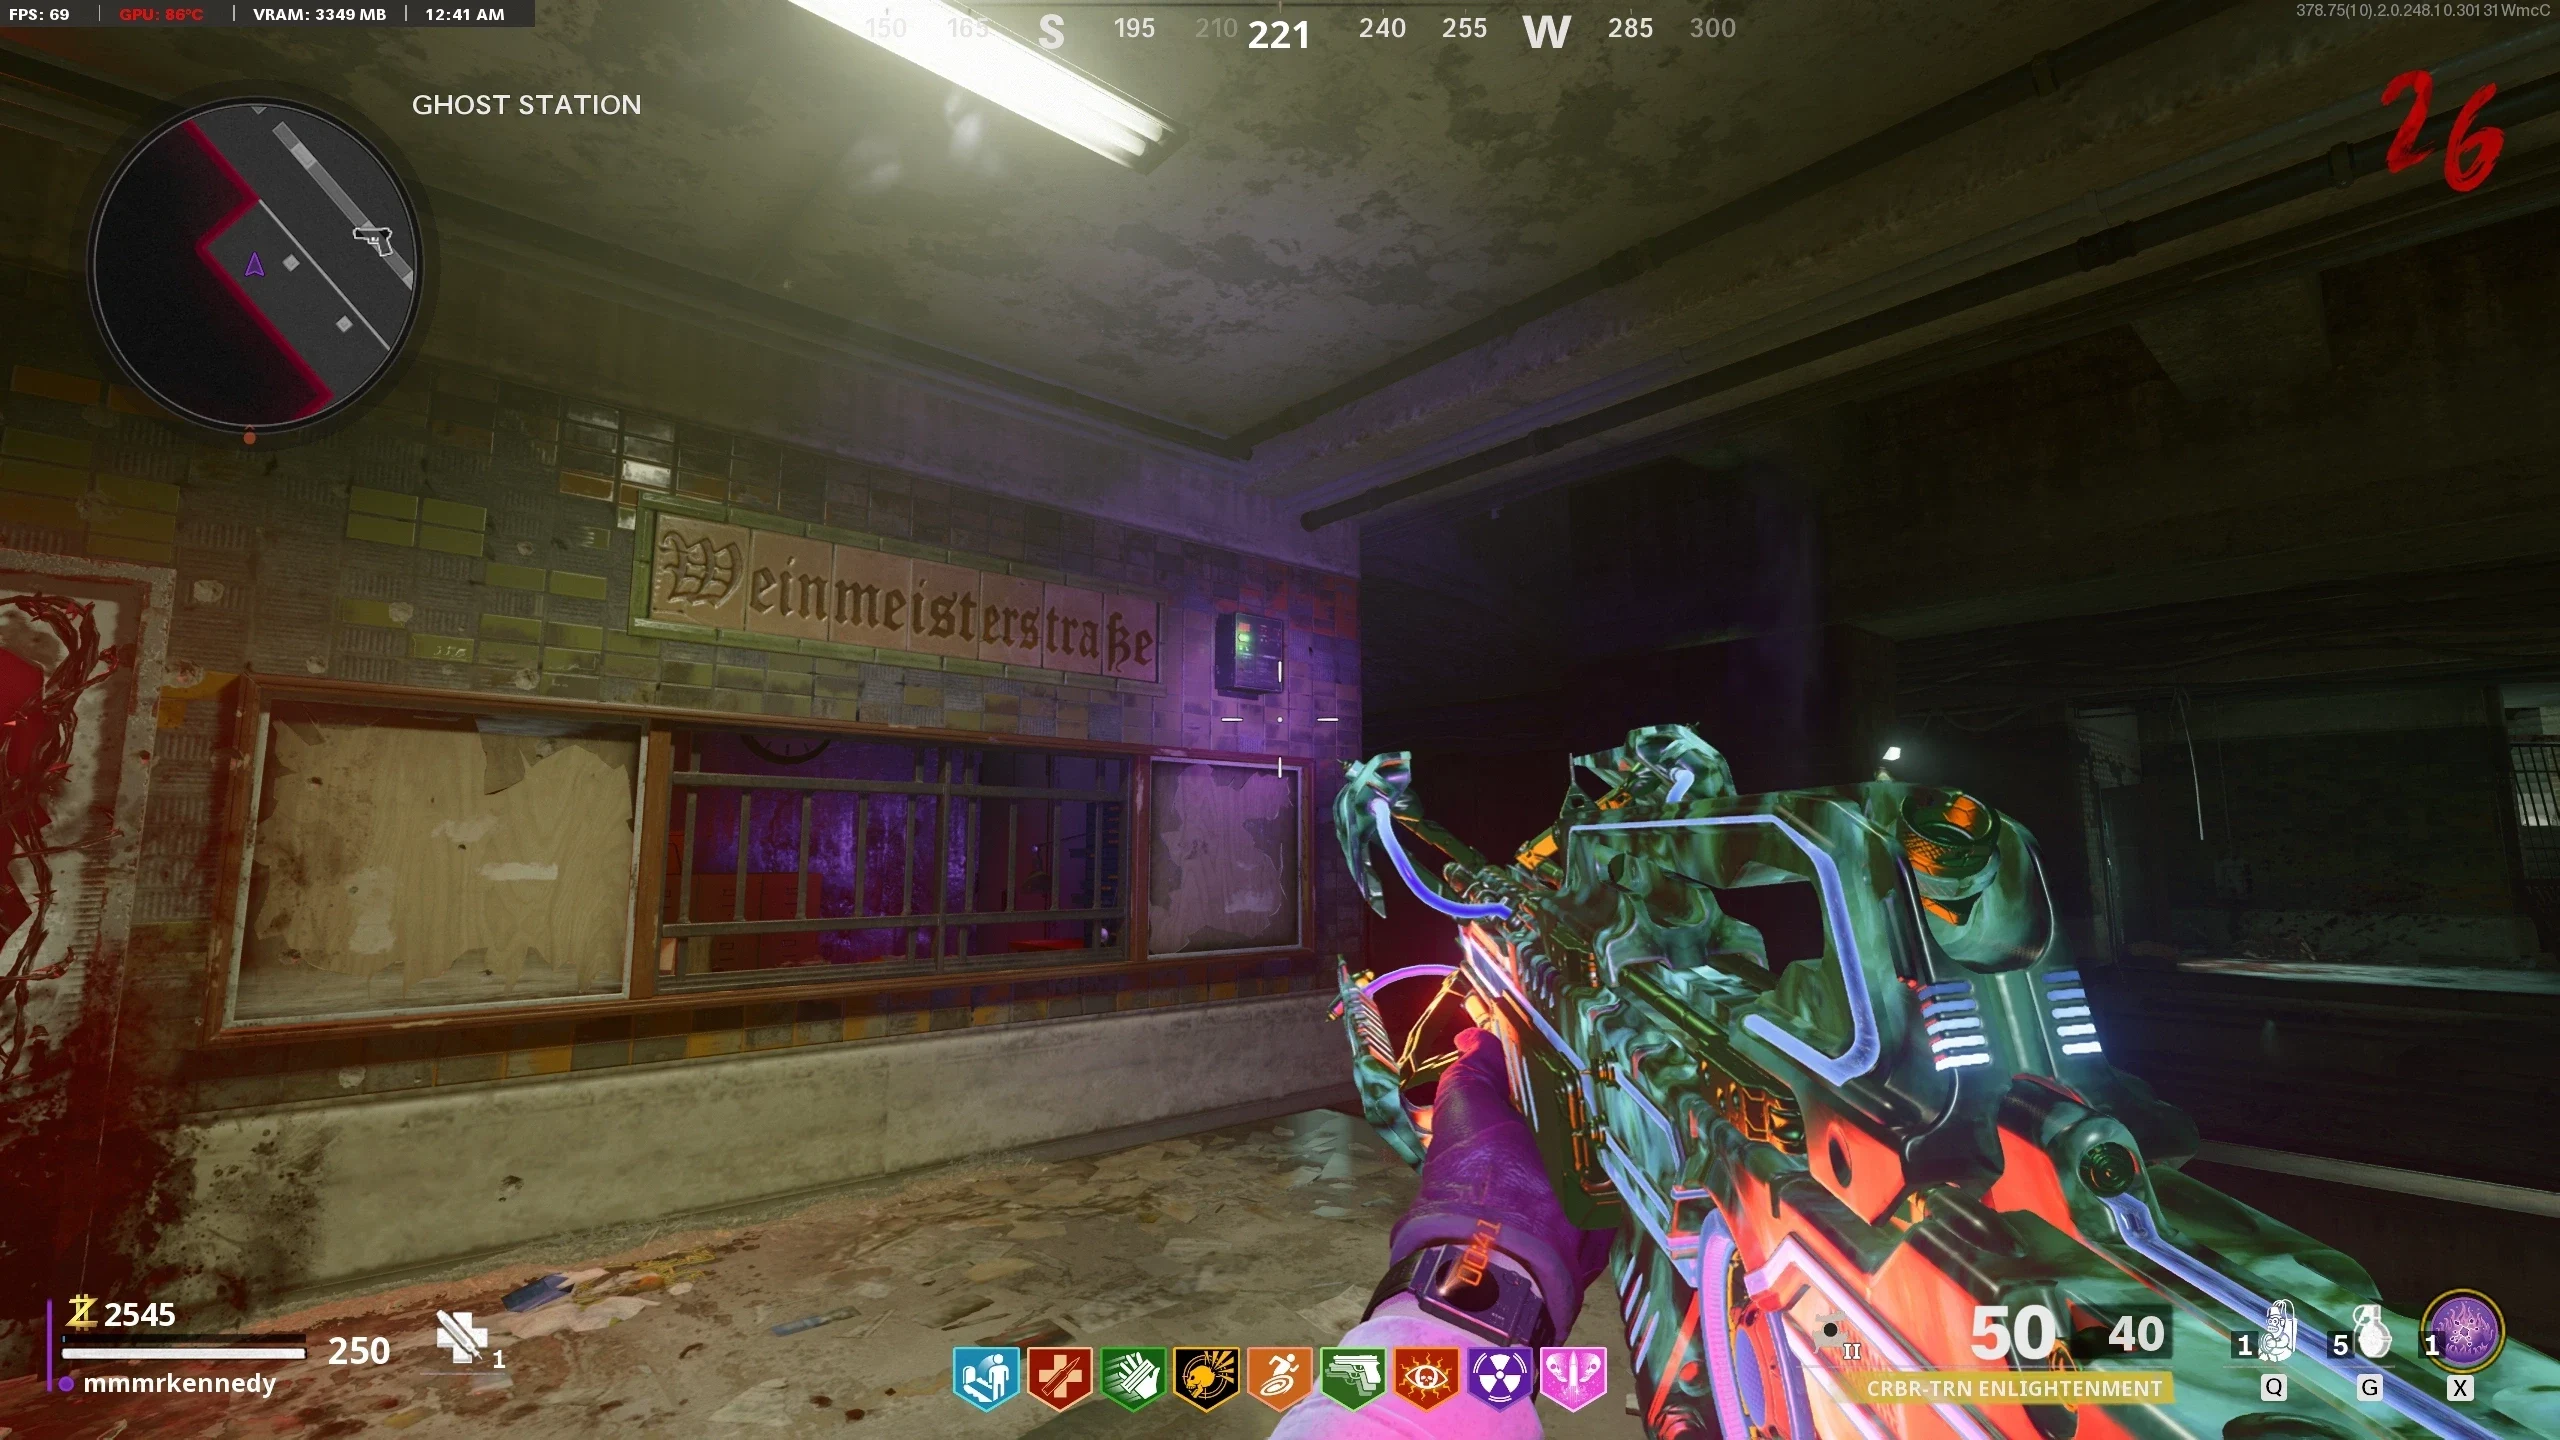
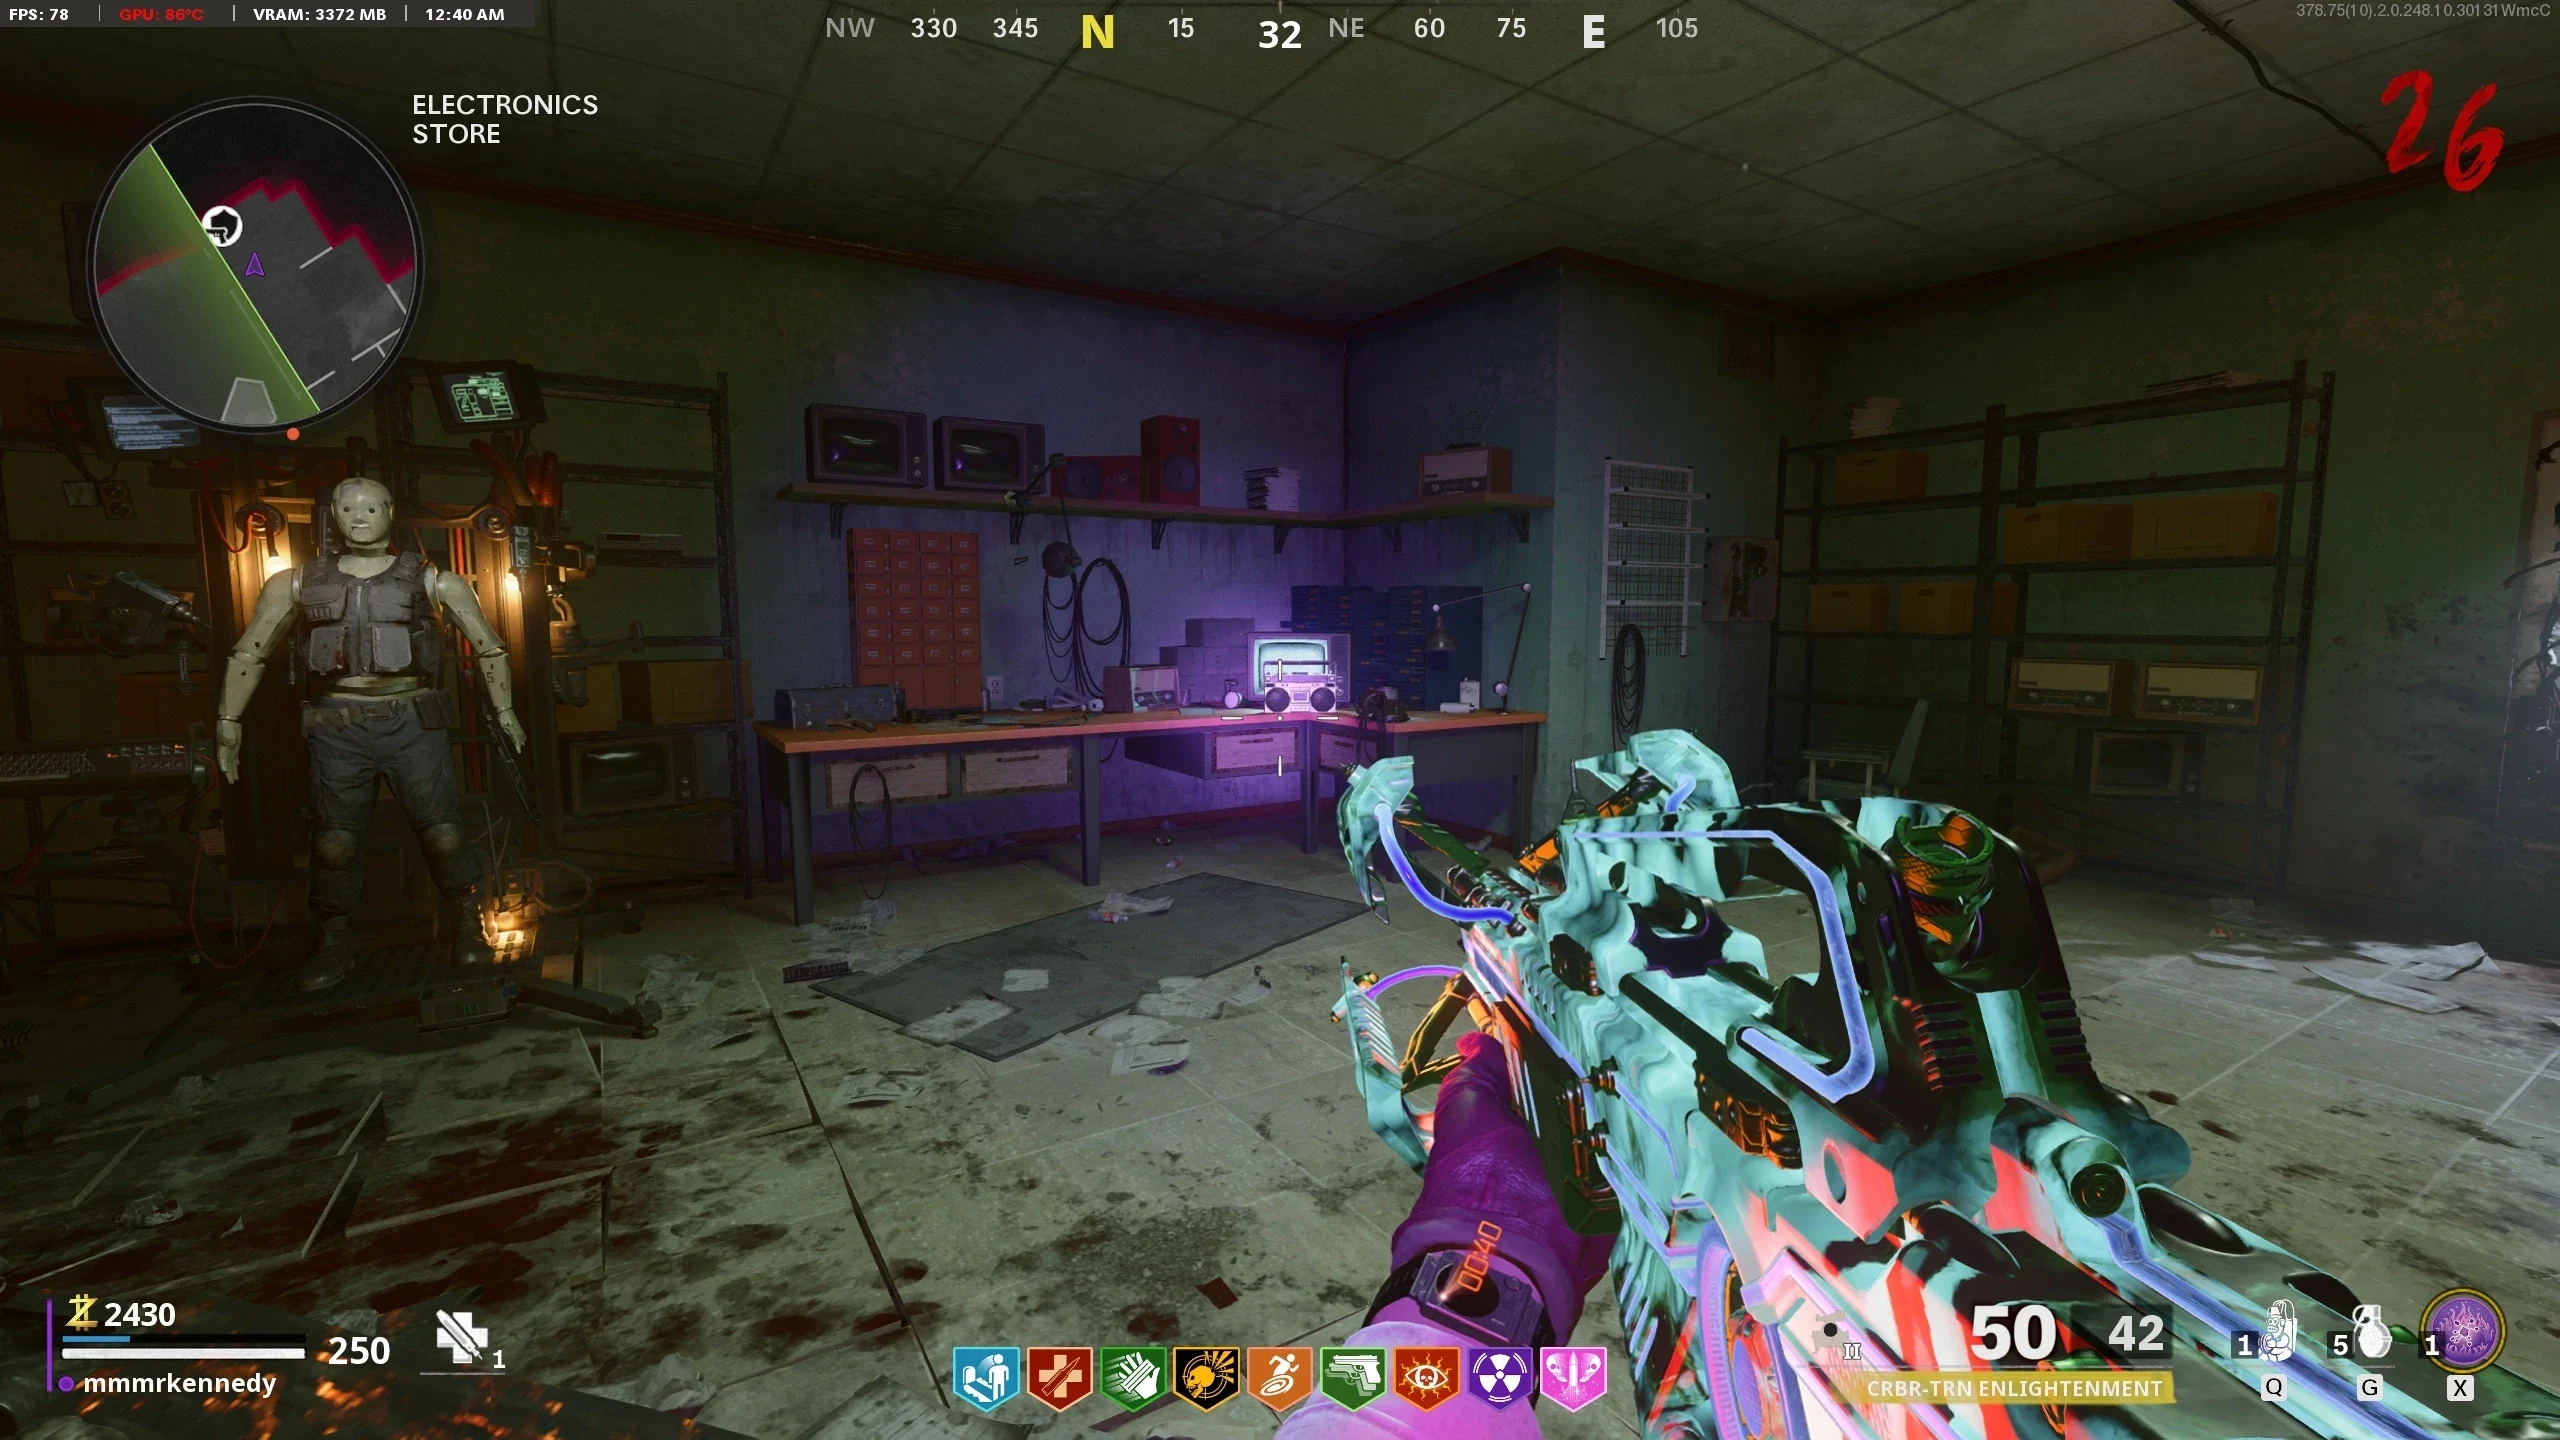
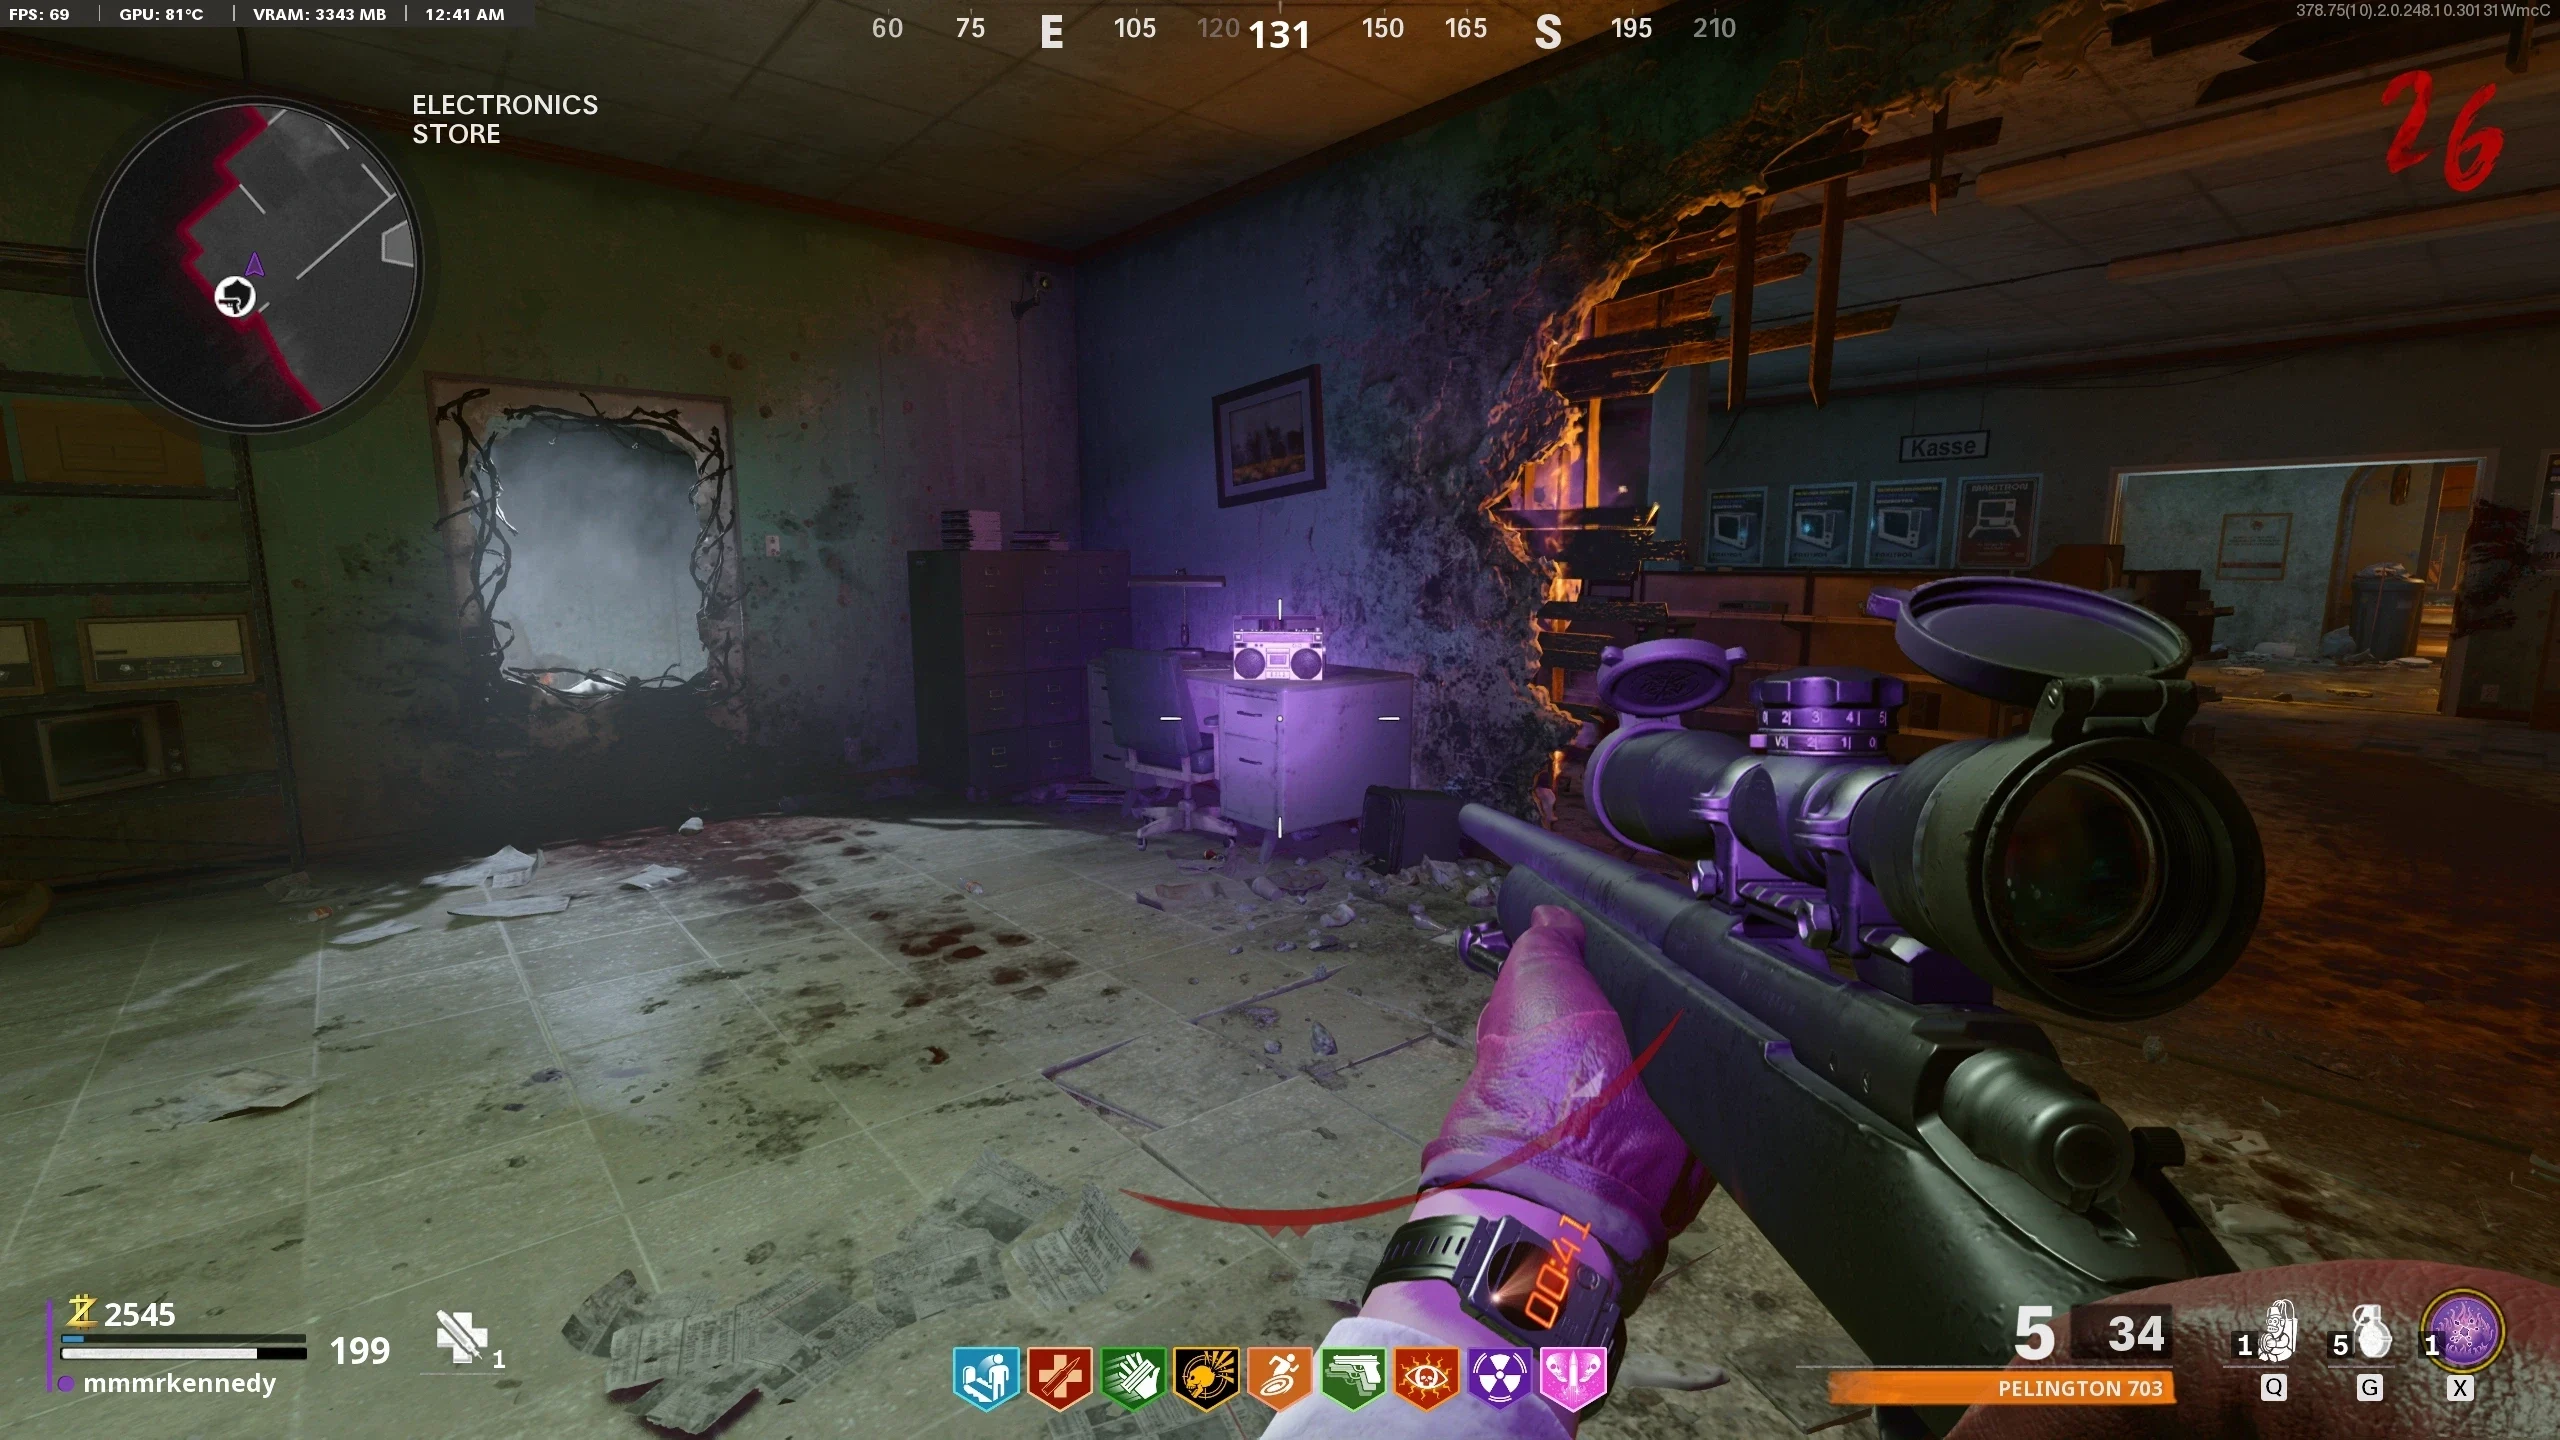
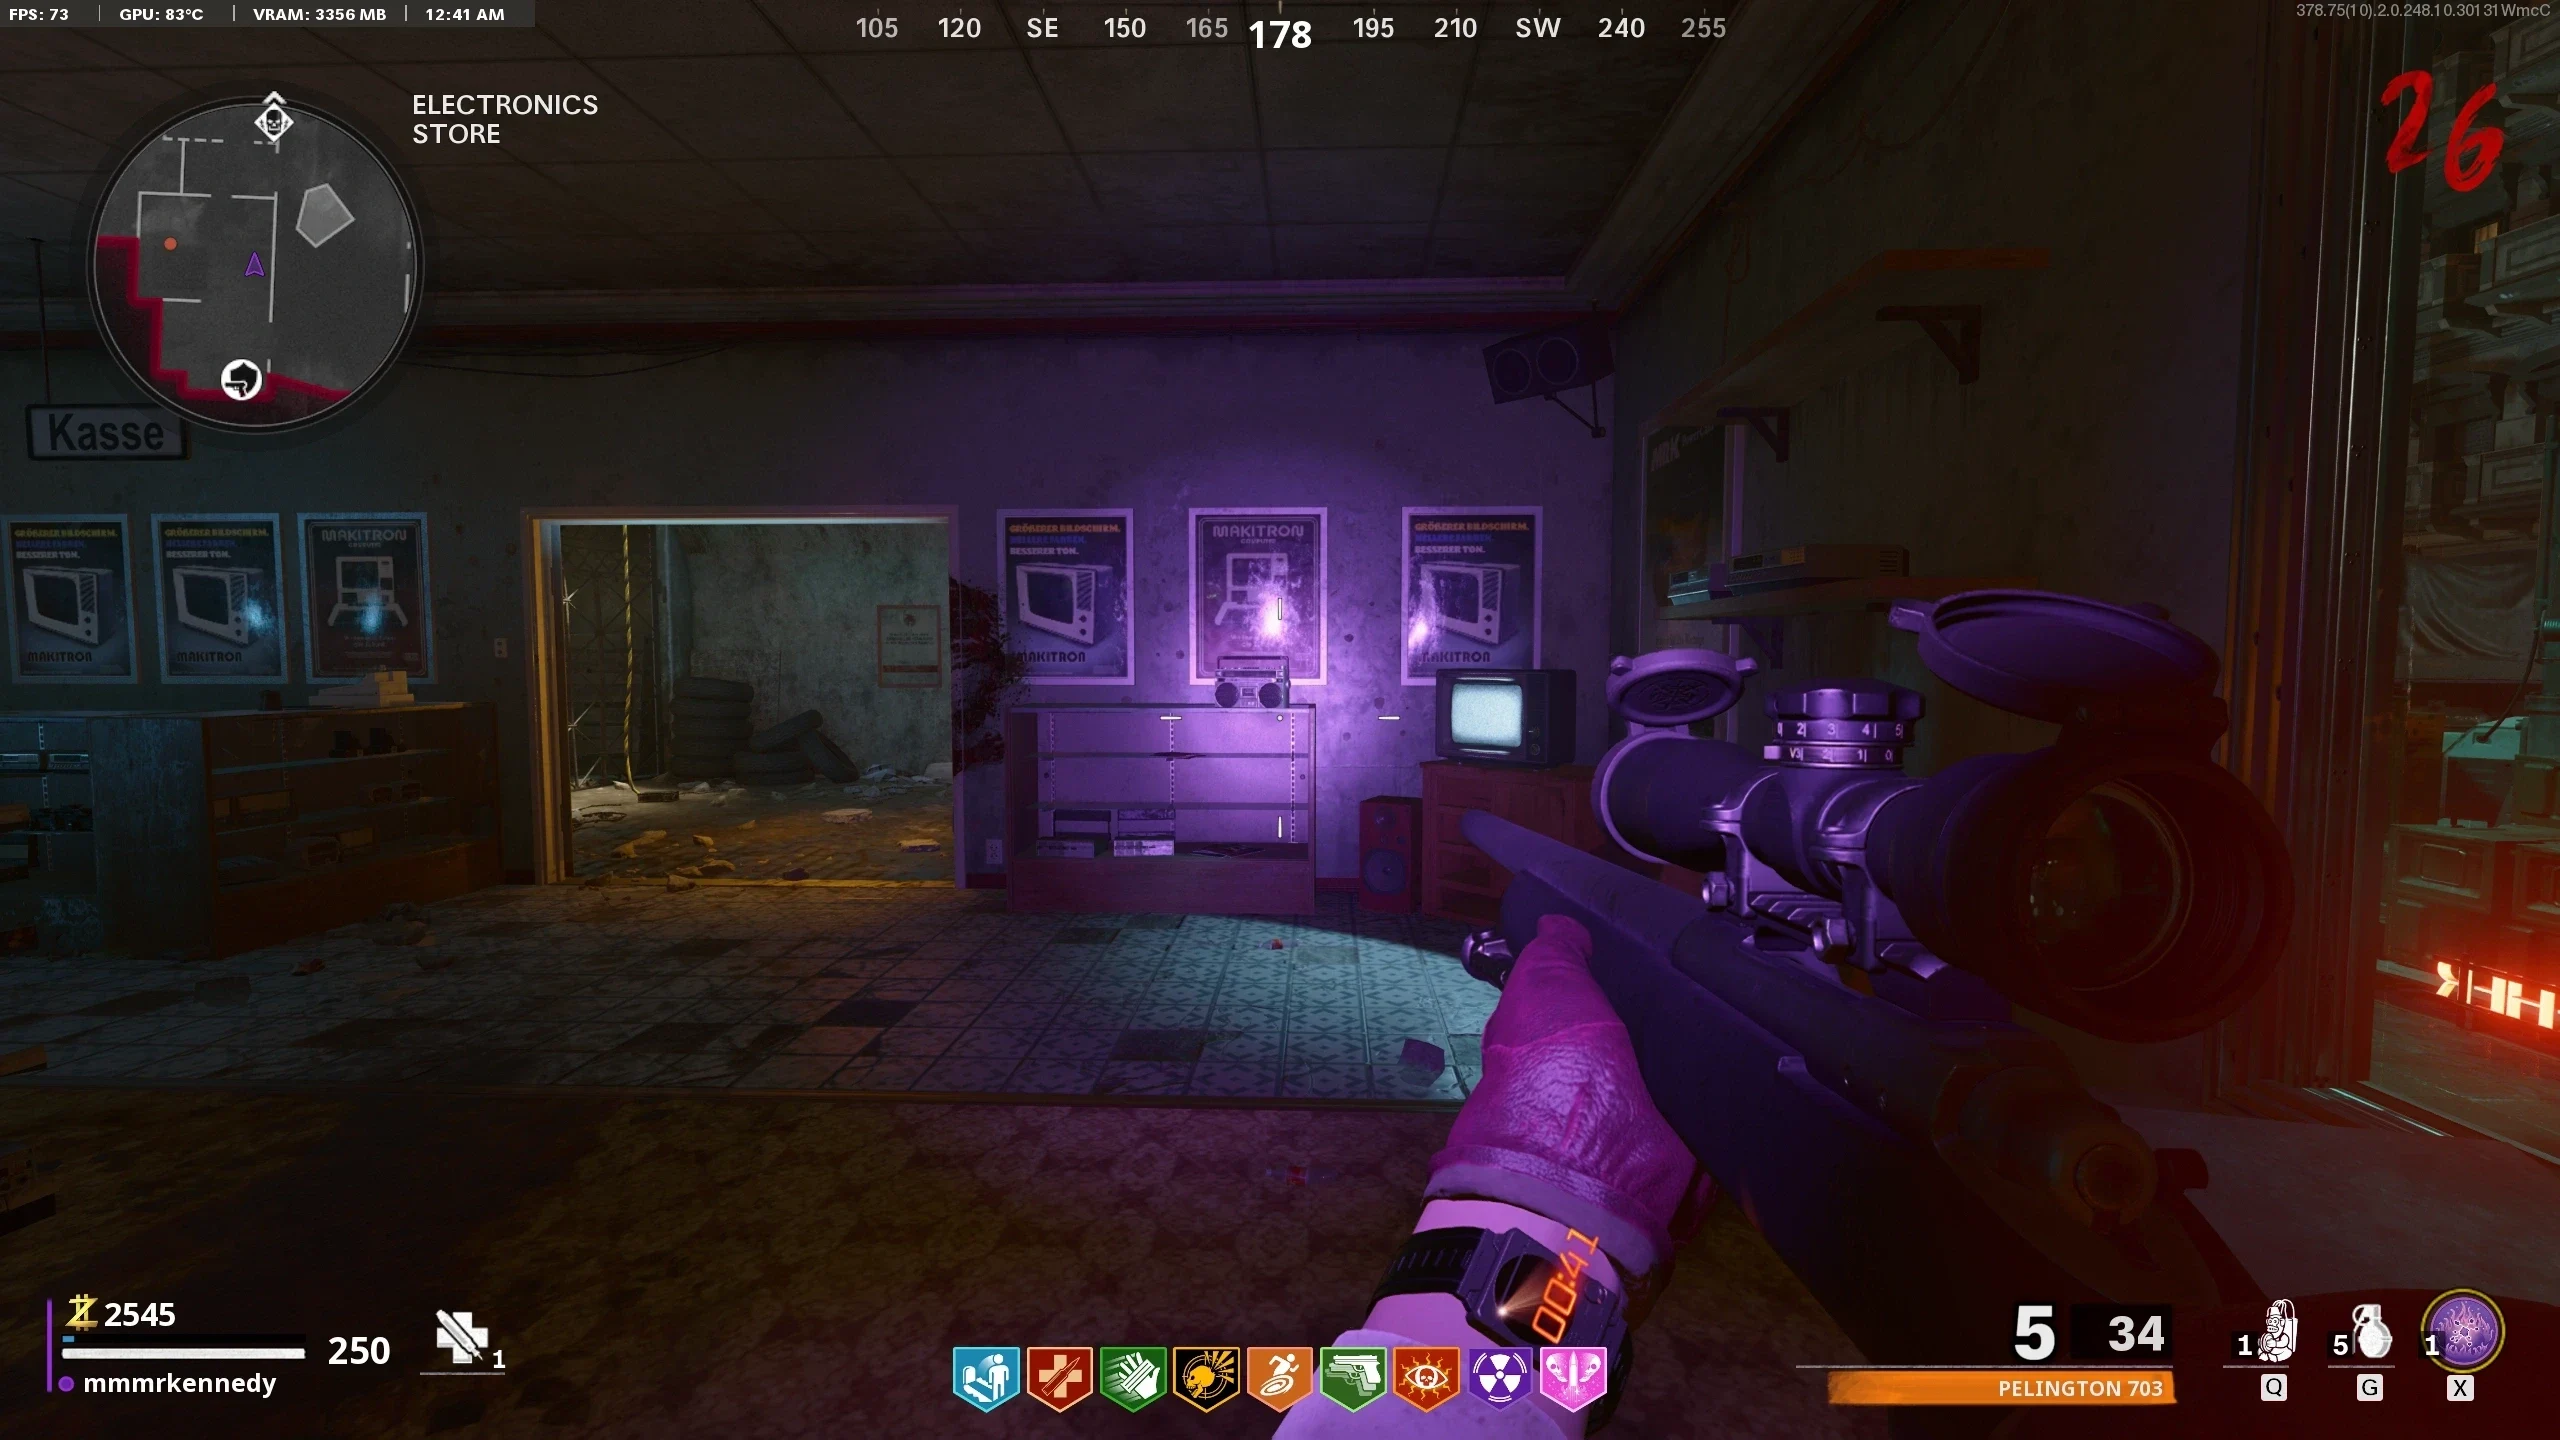
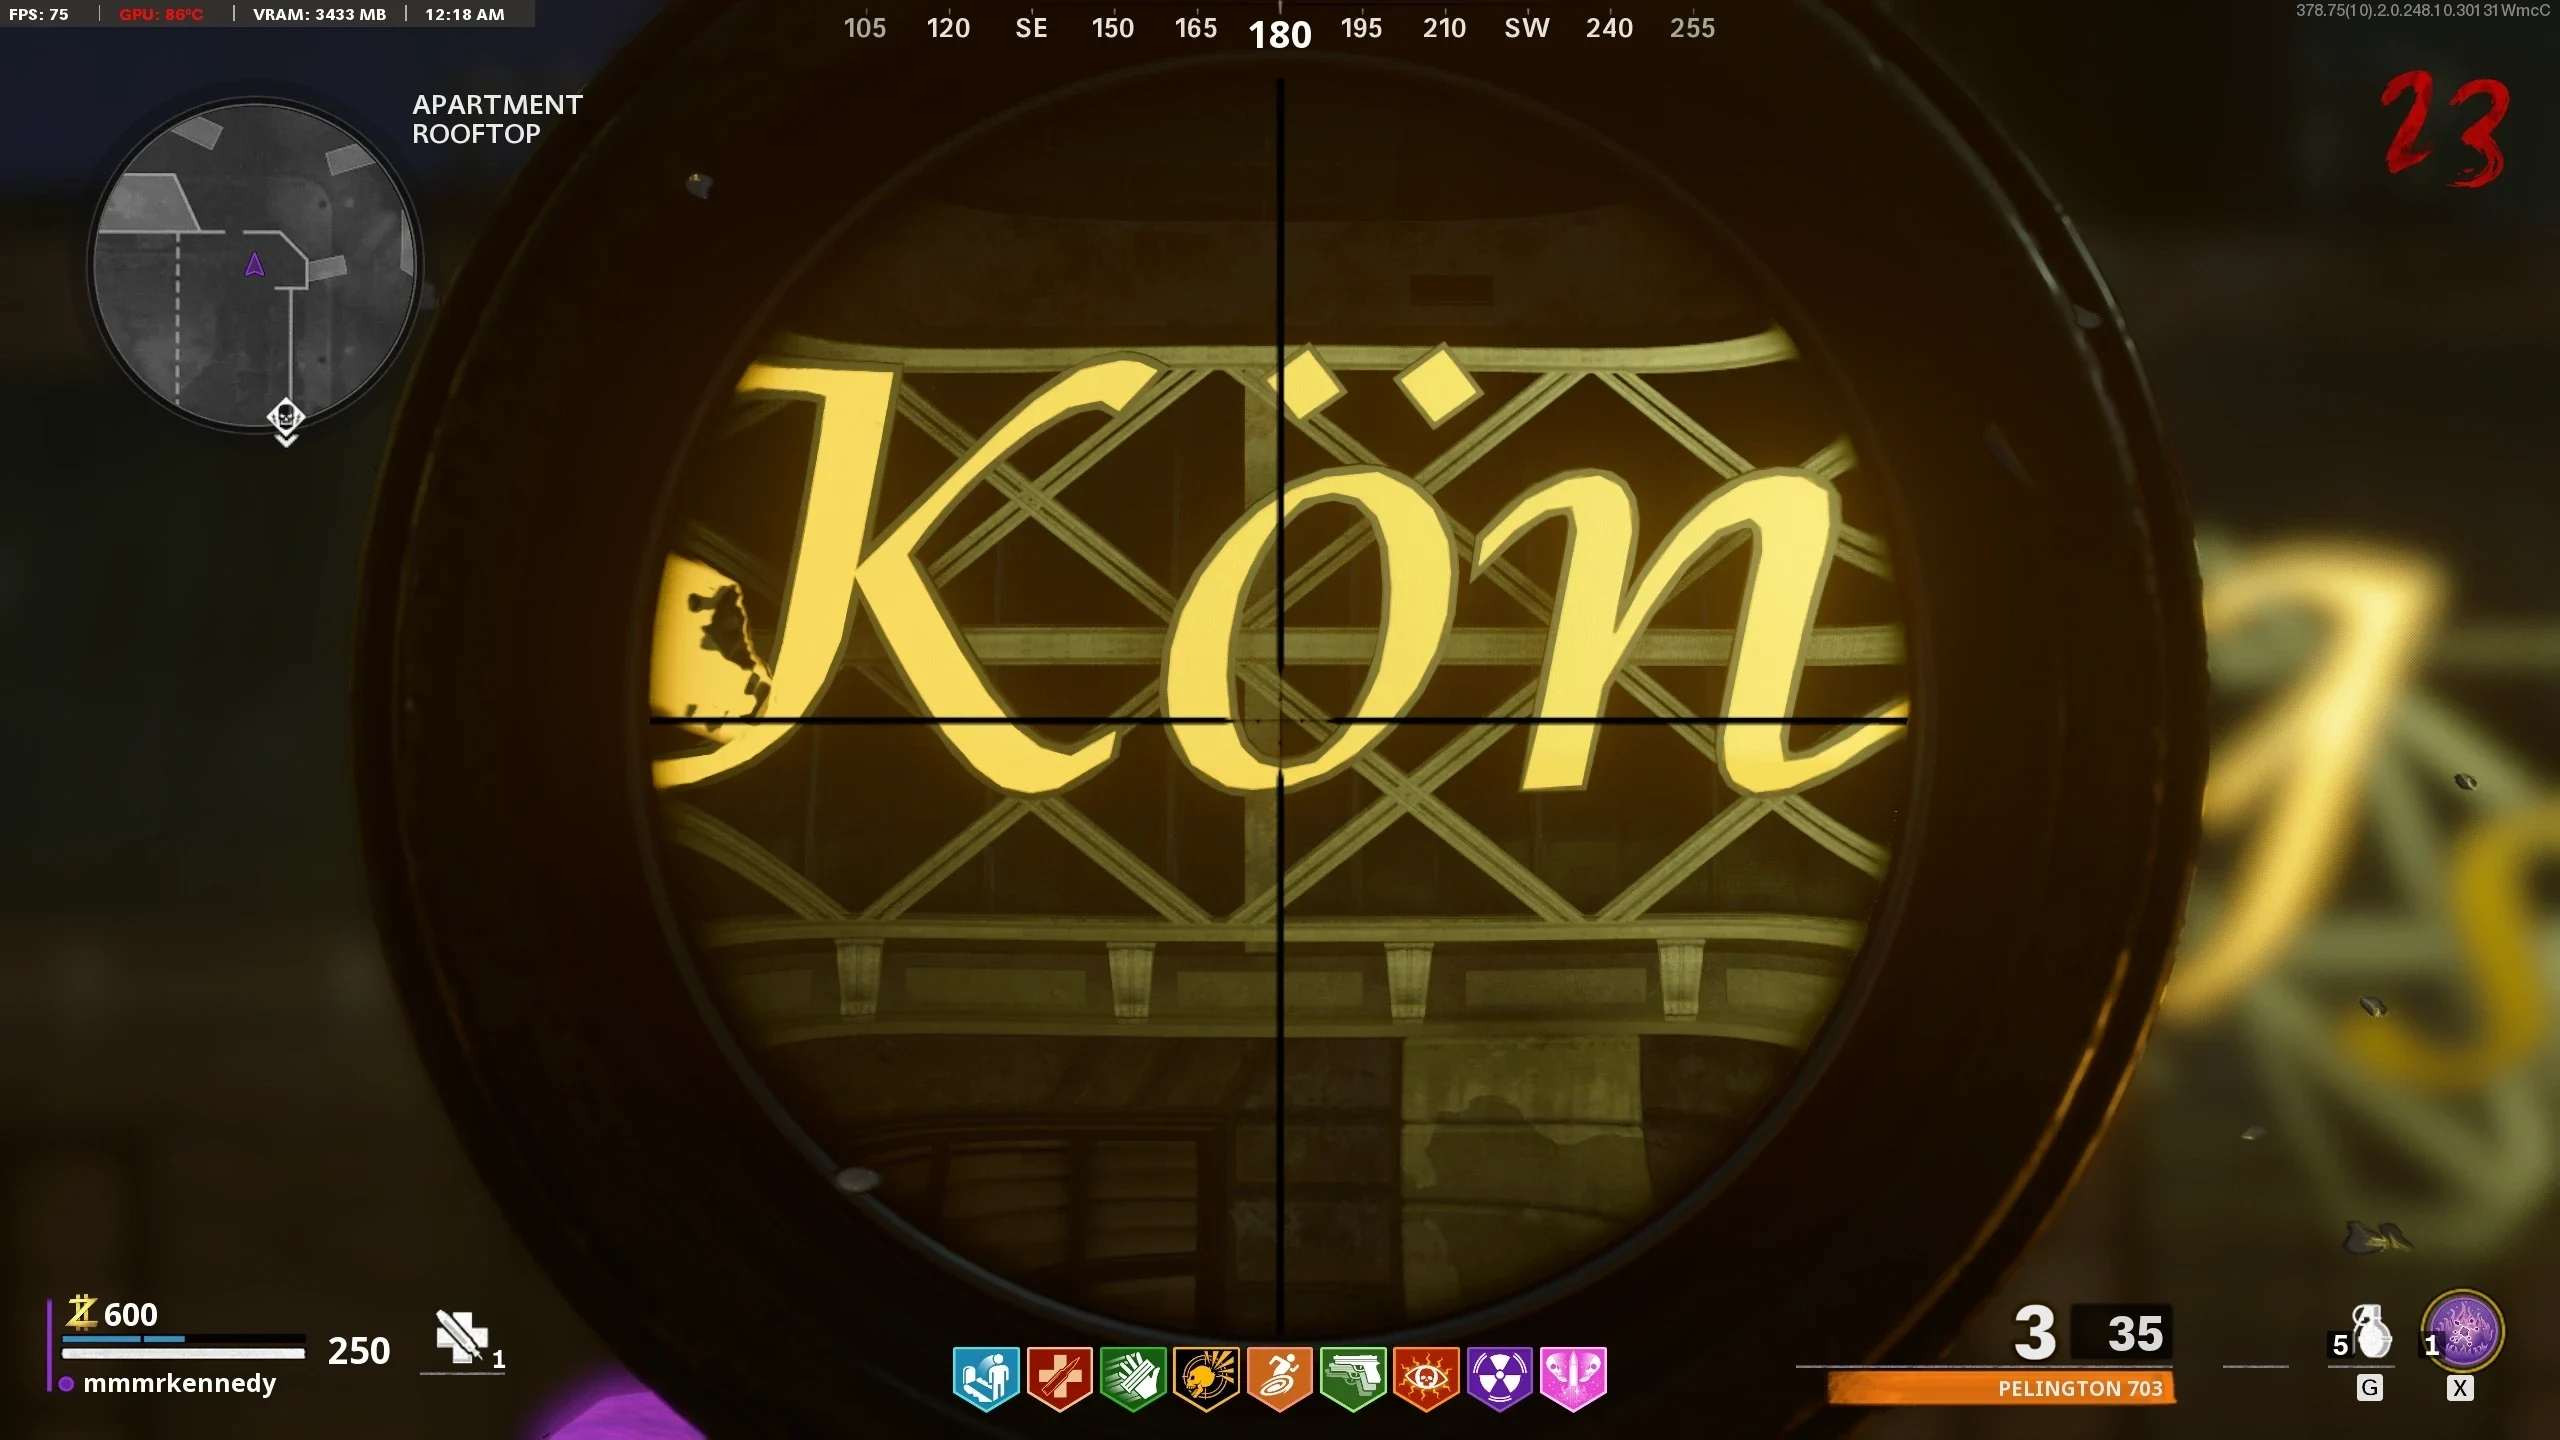
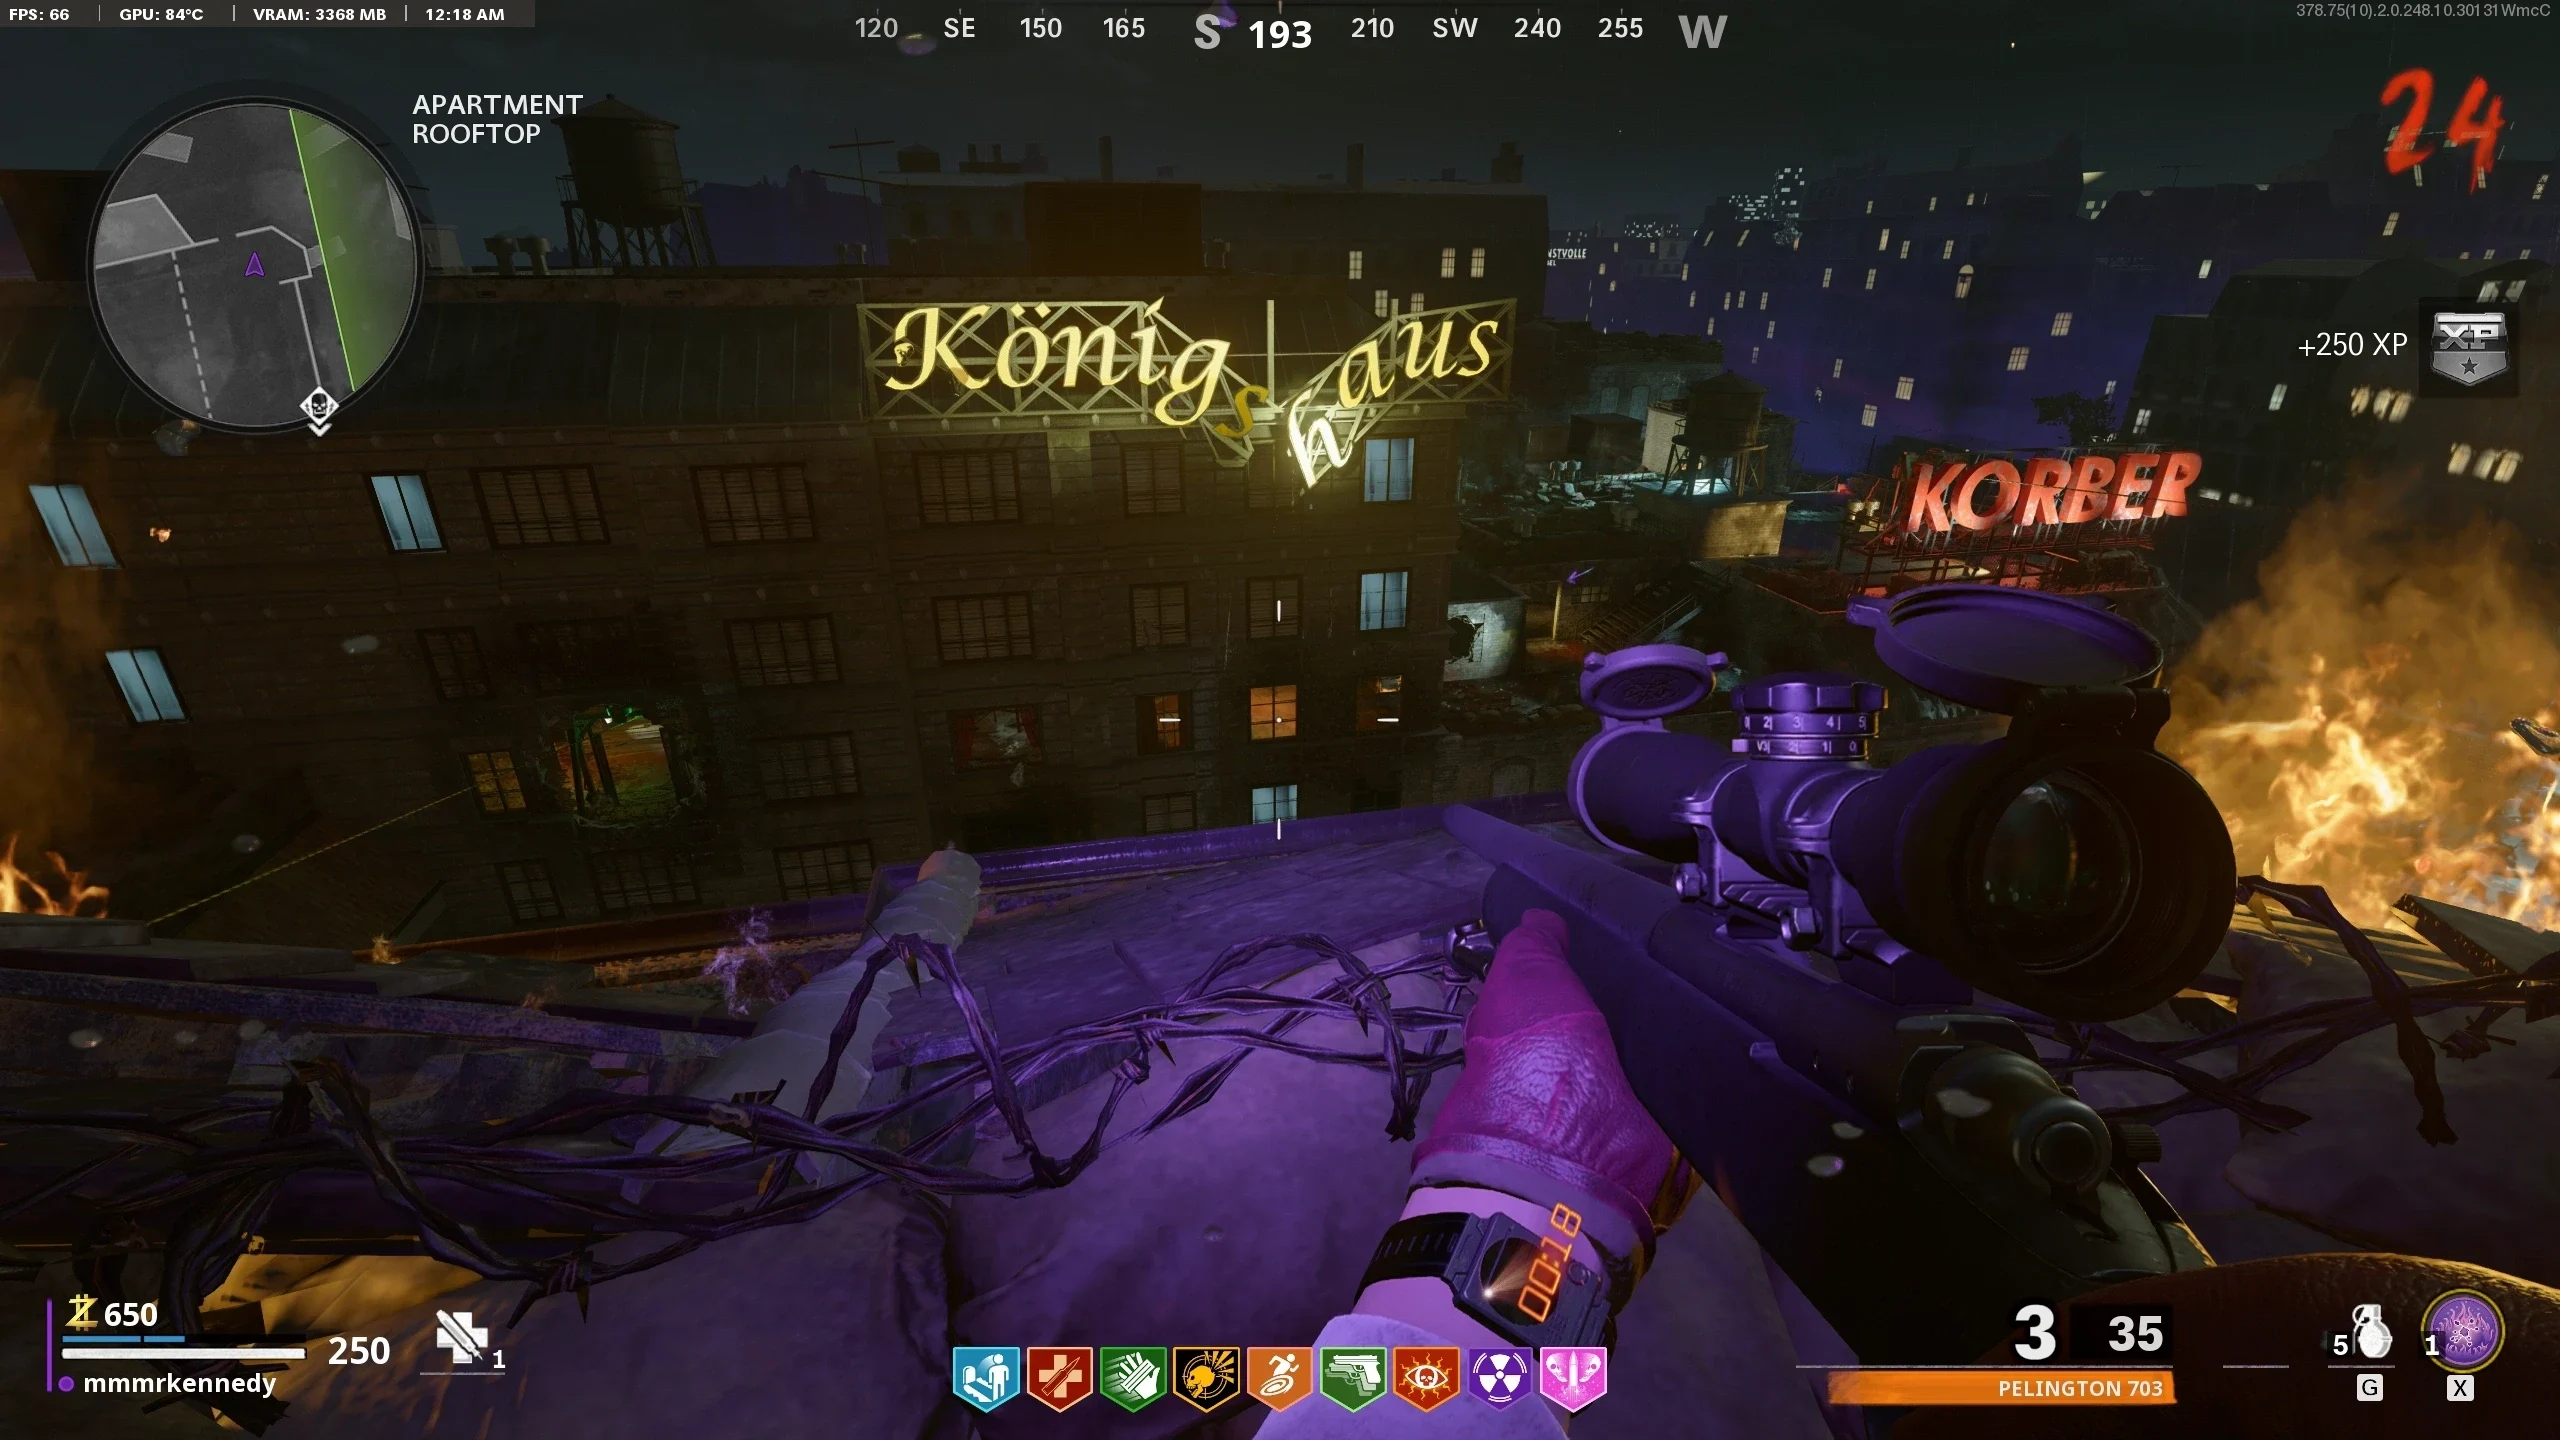
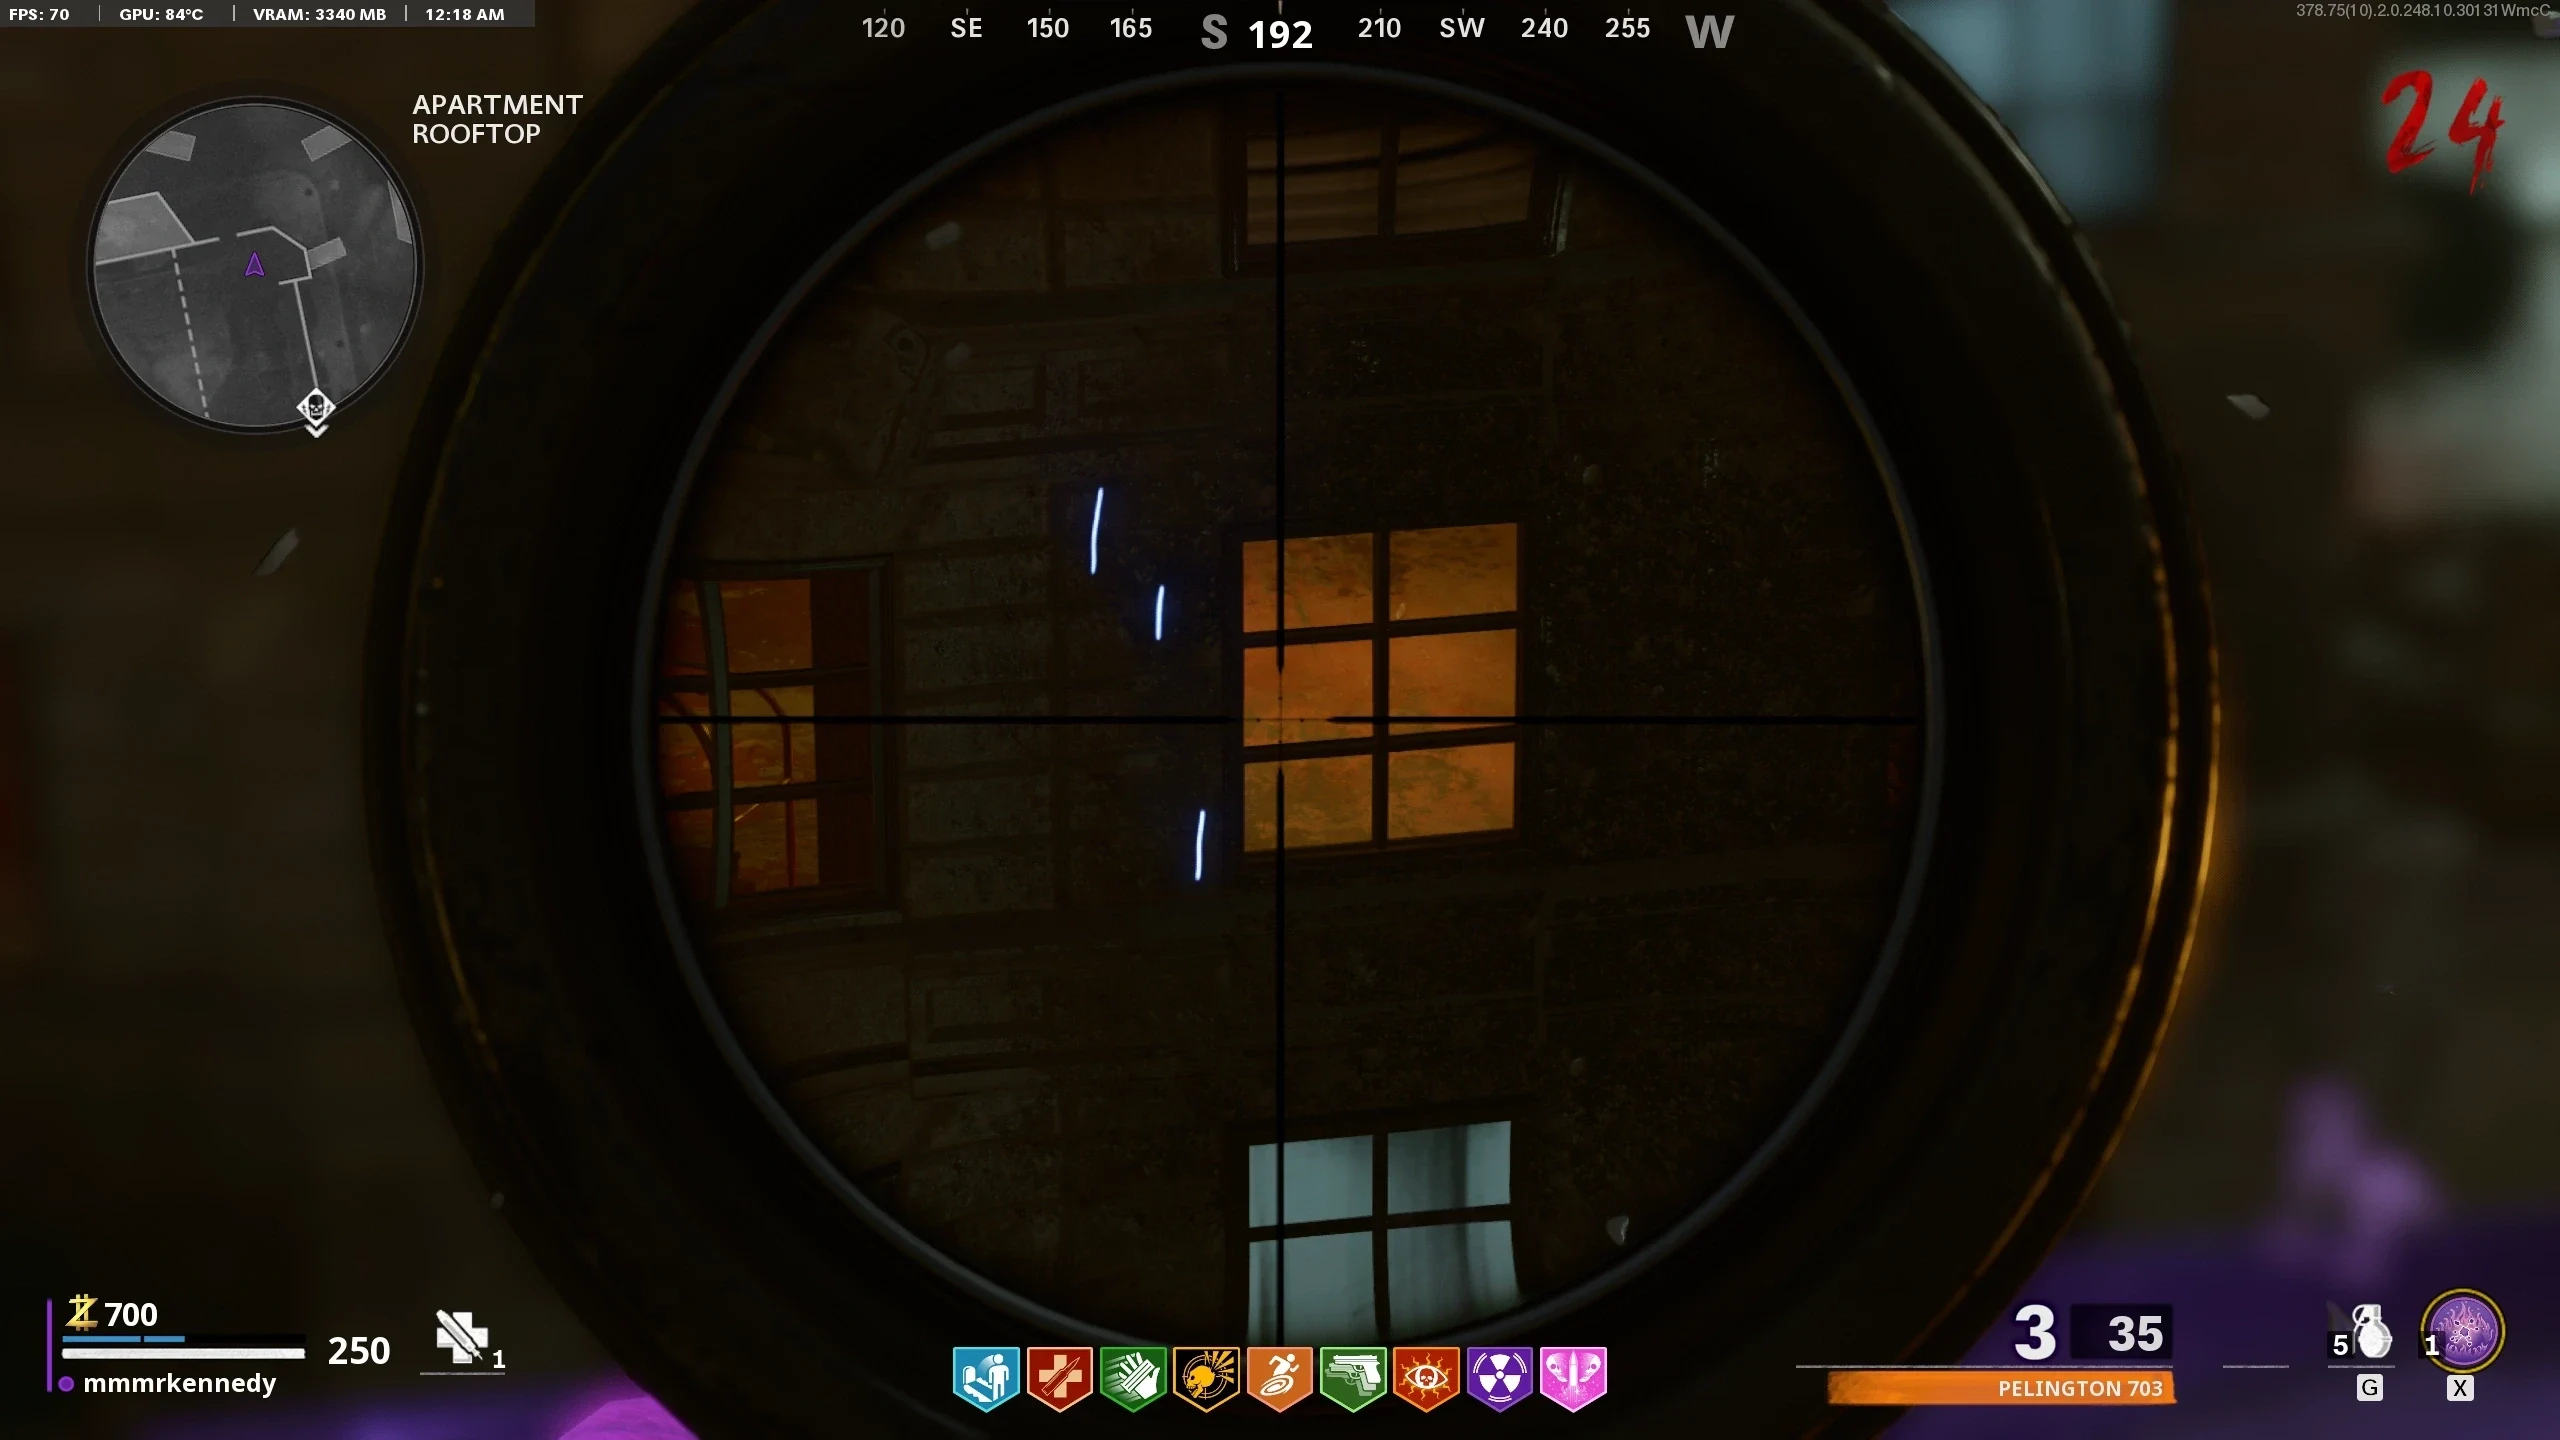
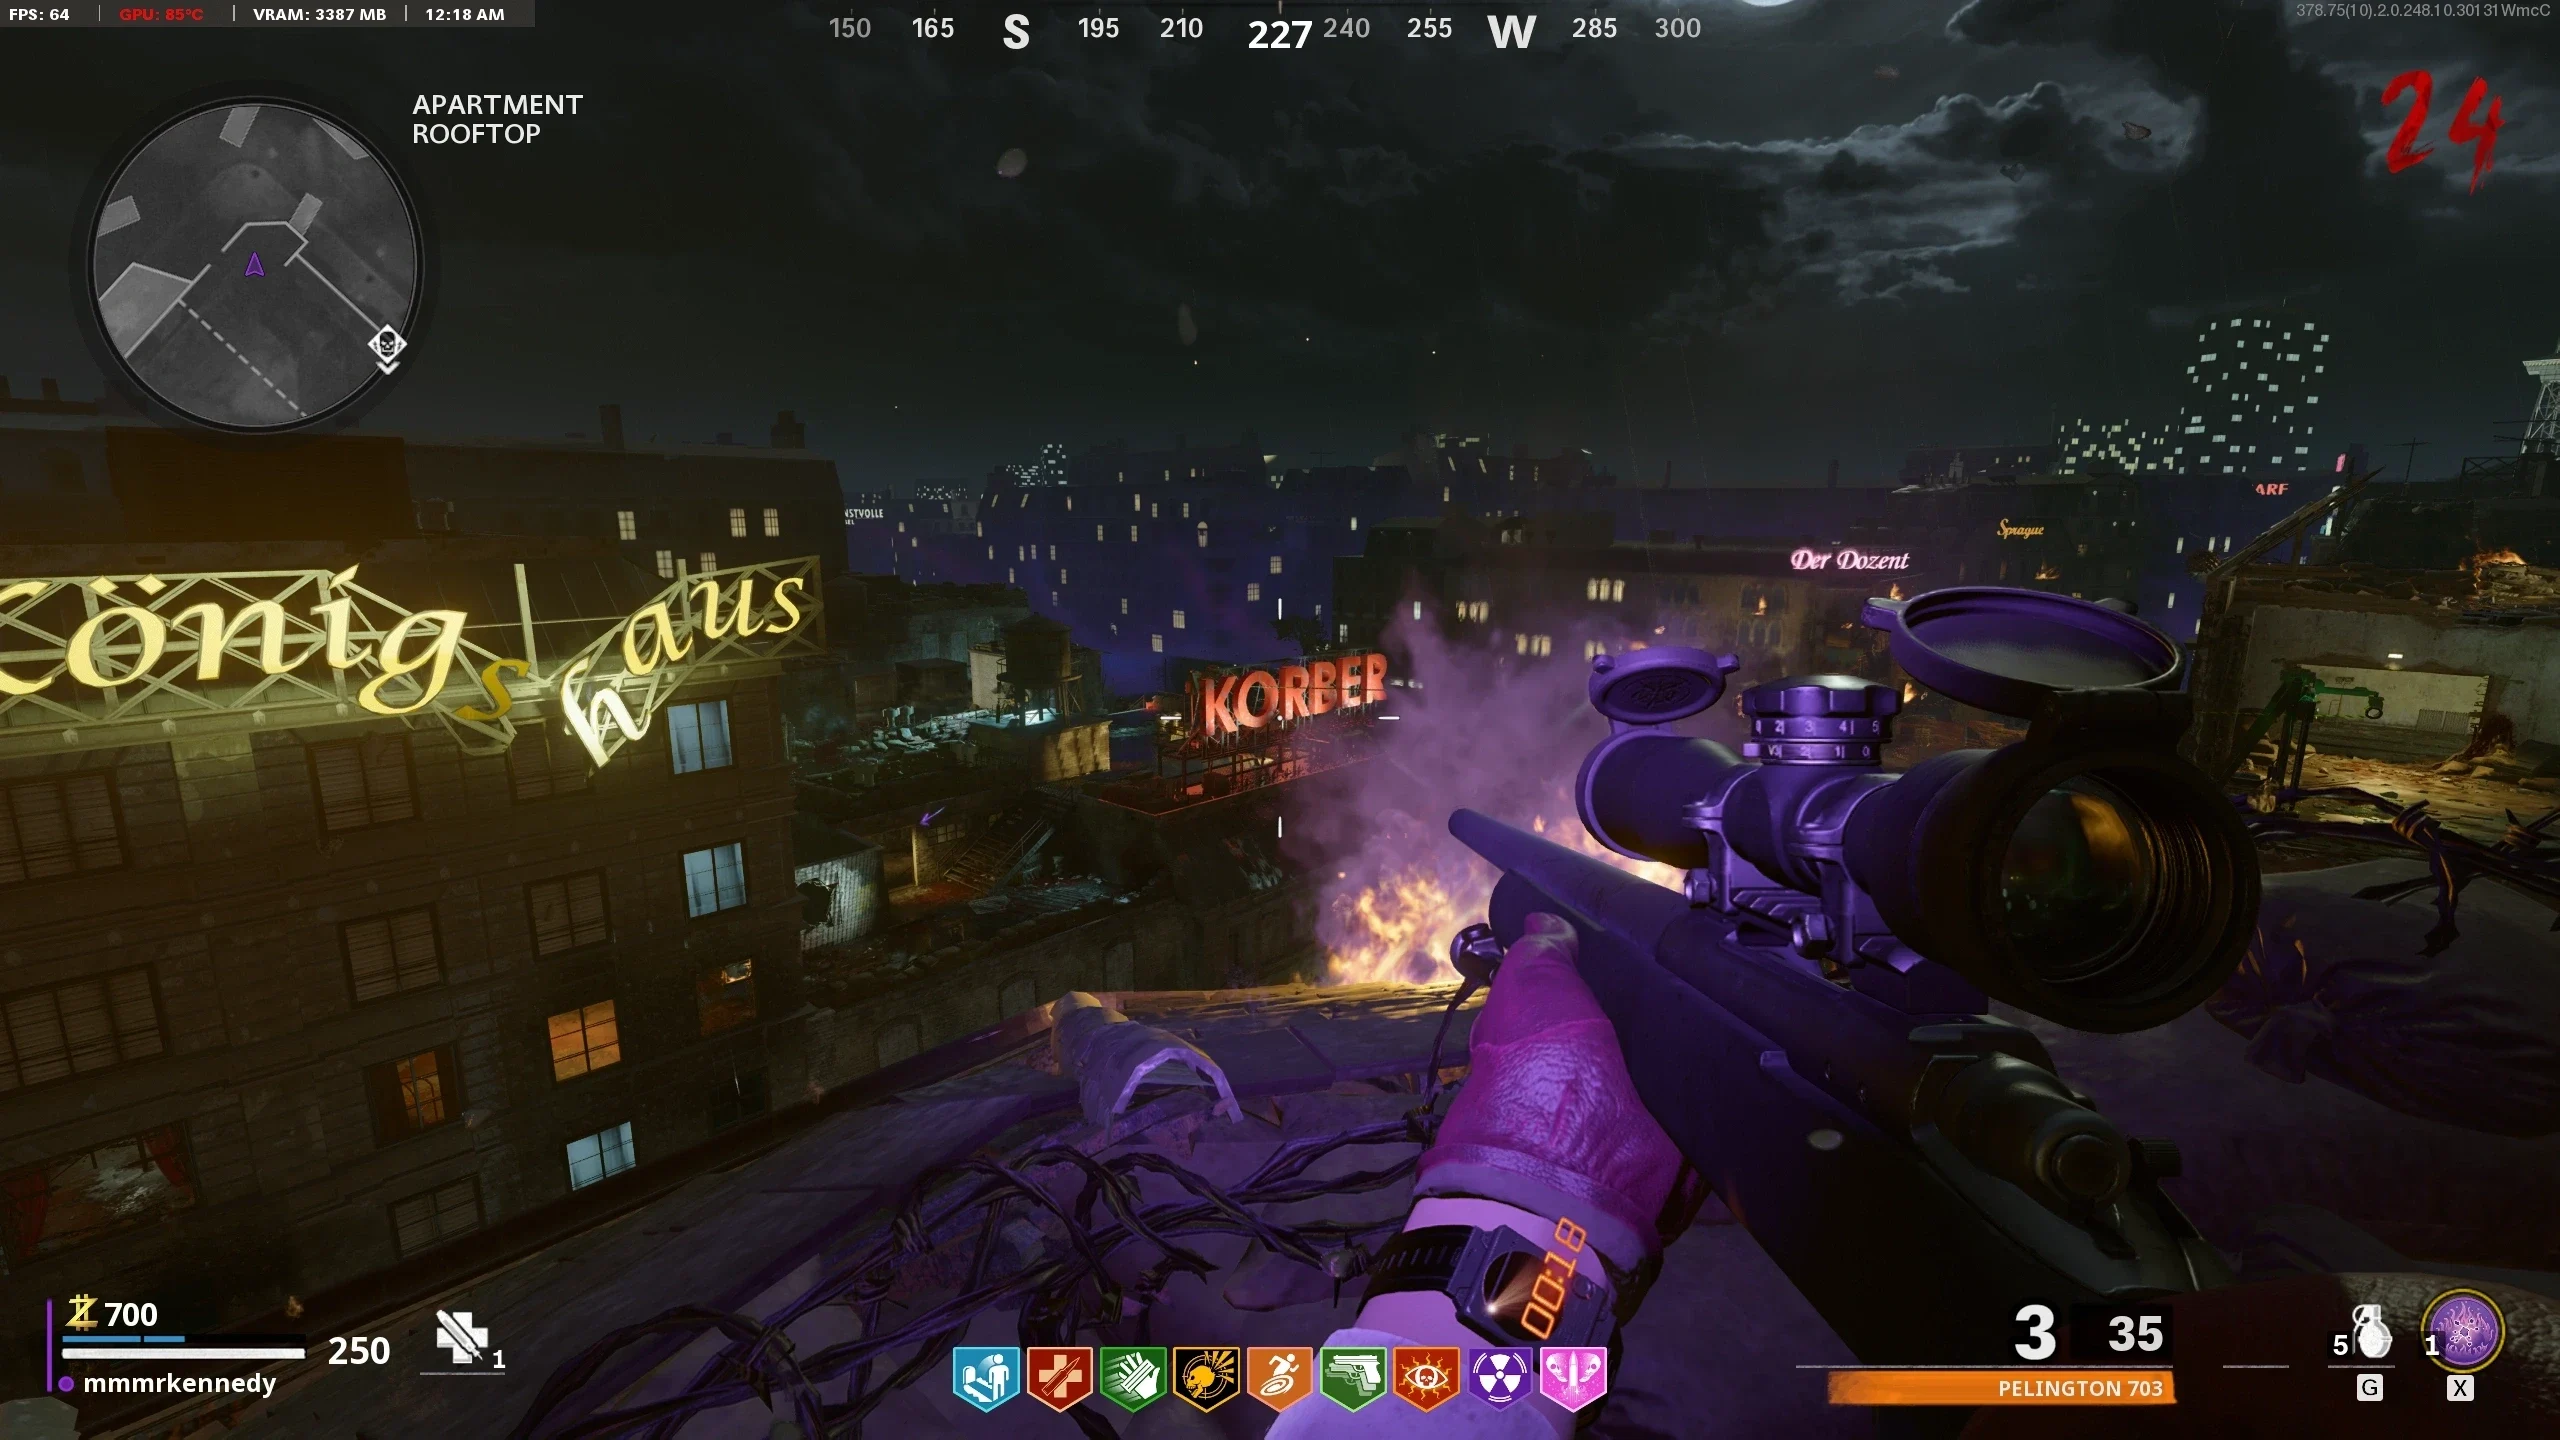
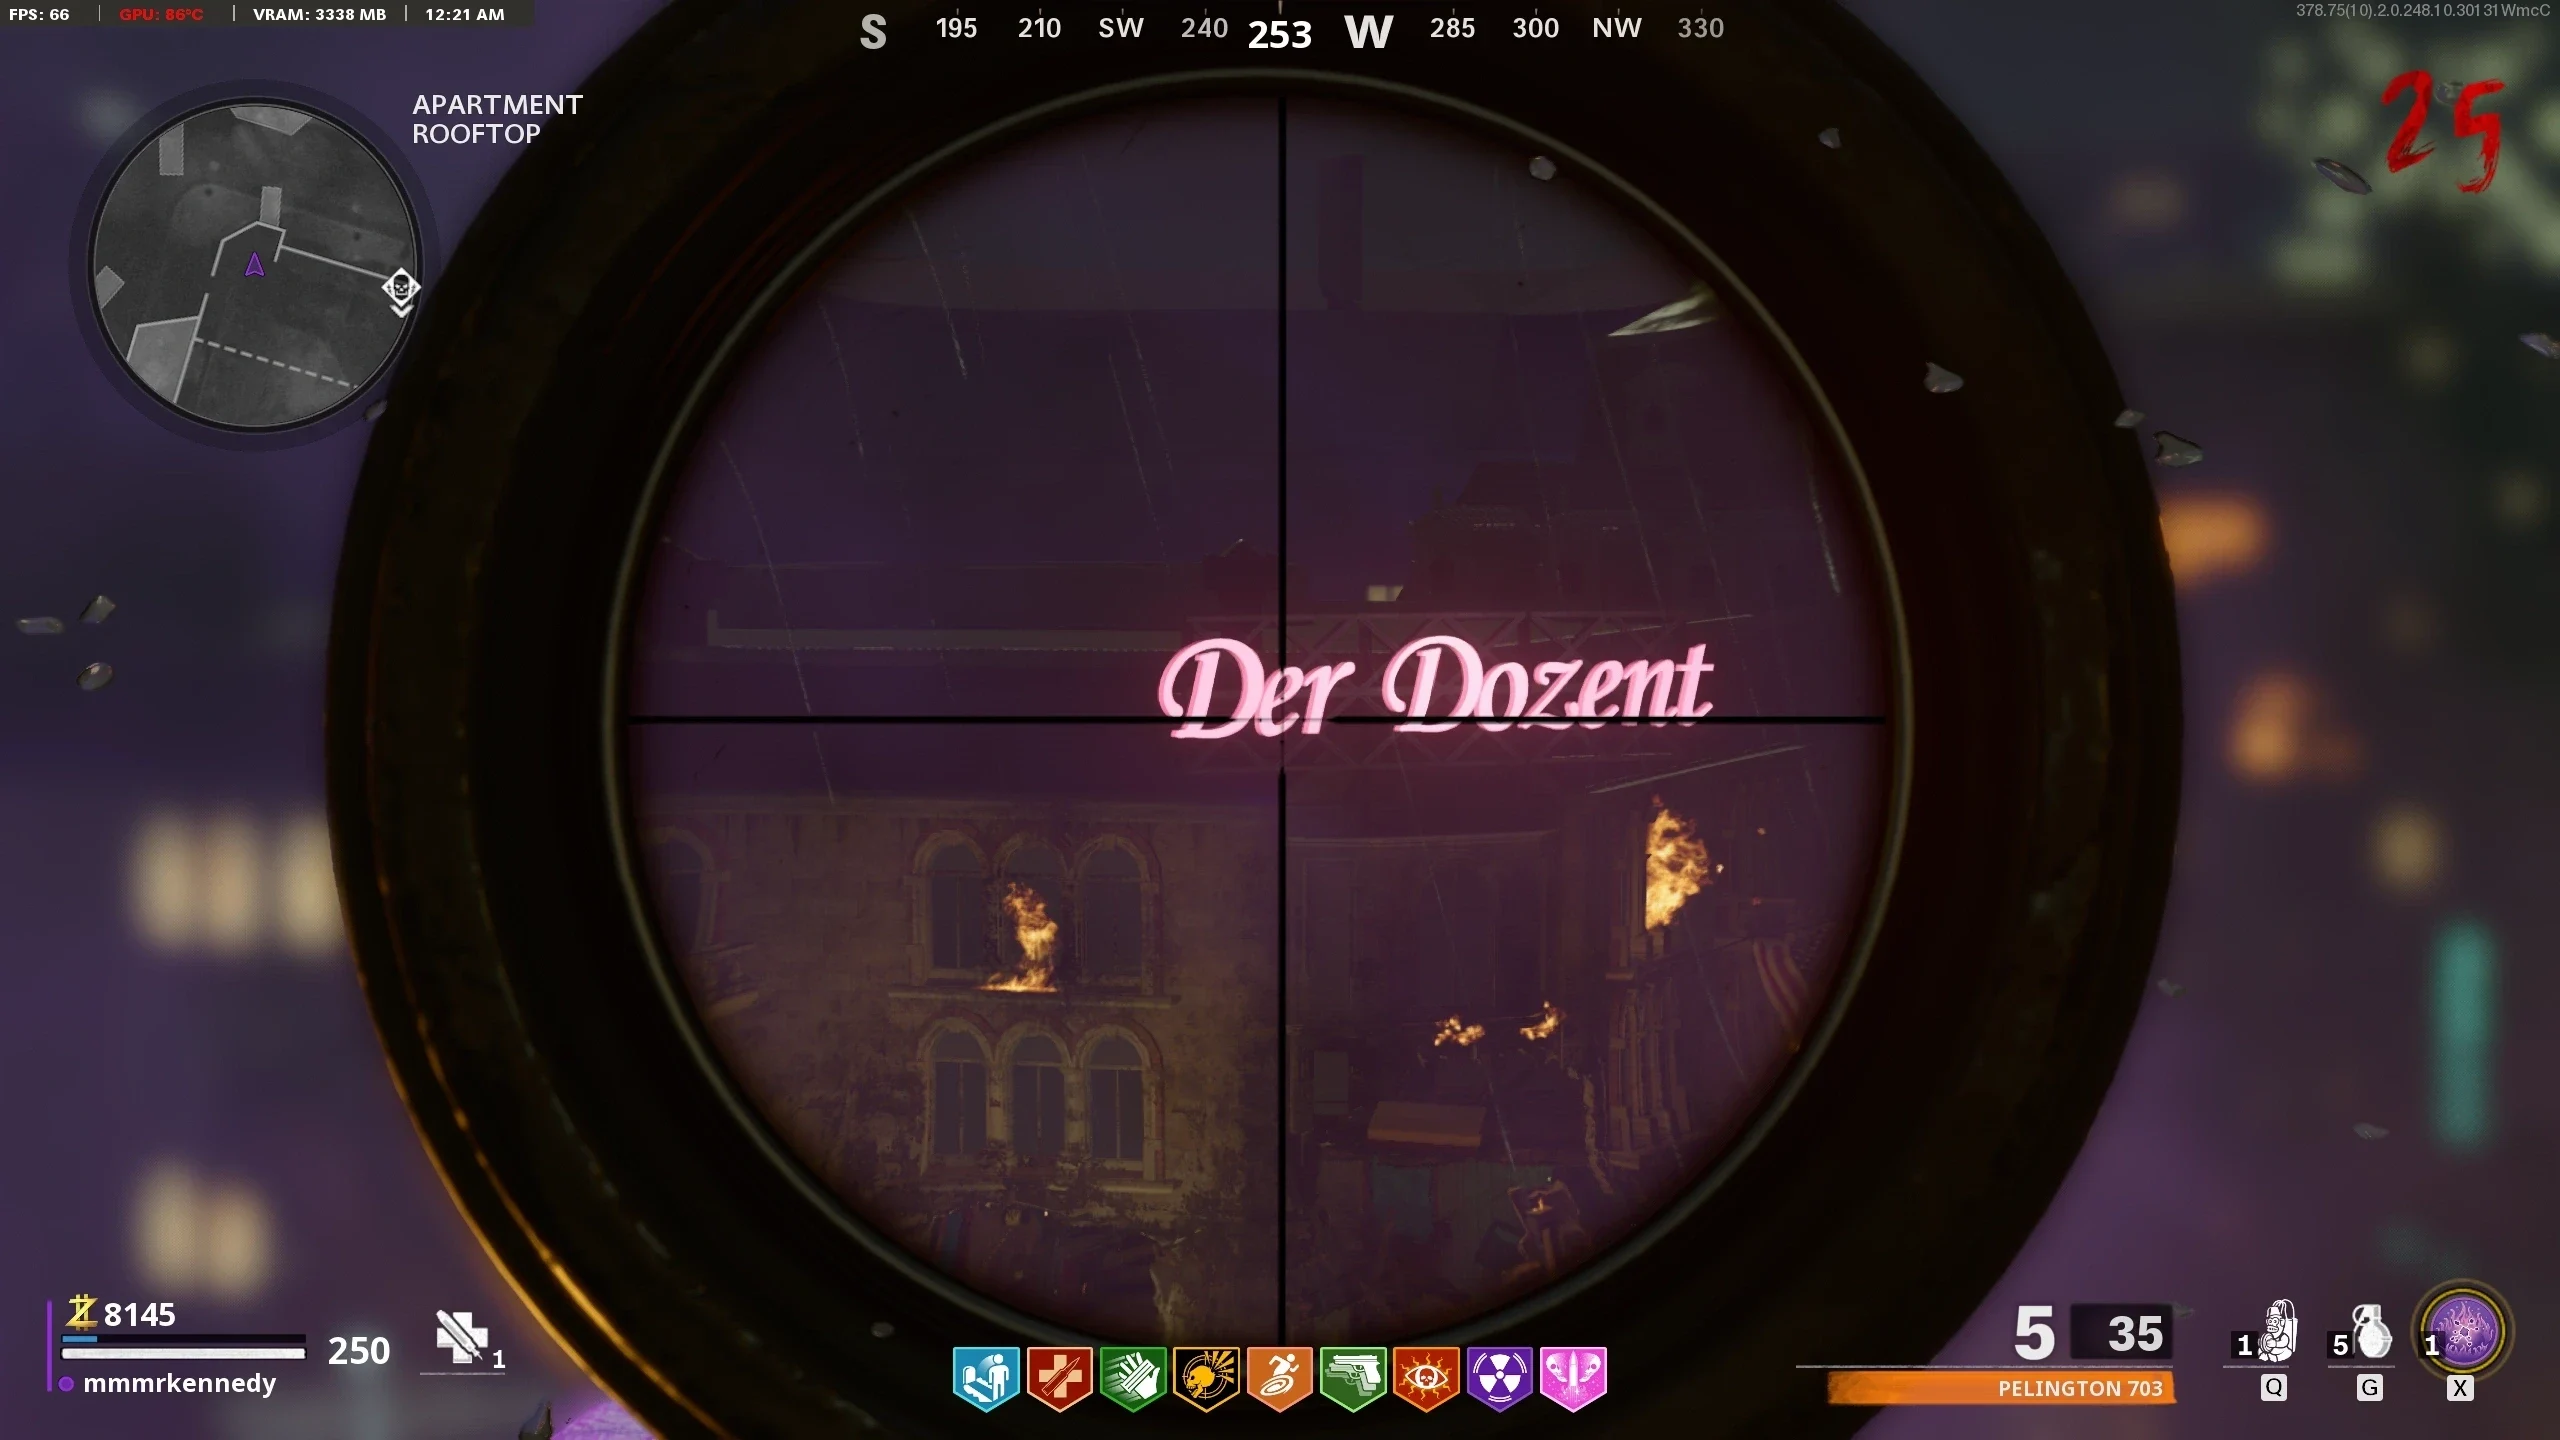
- The player must craft the Hacking Helm. There are three items, two of which are only on one spot. The objects below must be shot with the CBRS-S to make them drop the parts. Locations:
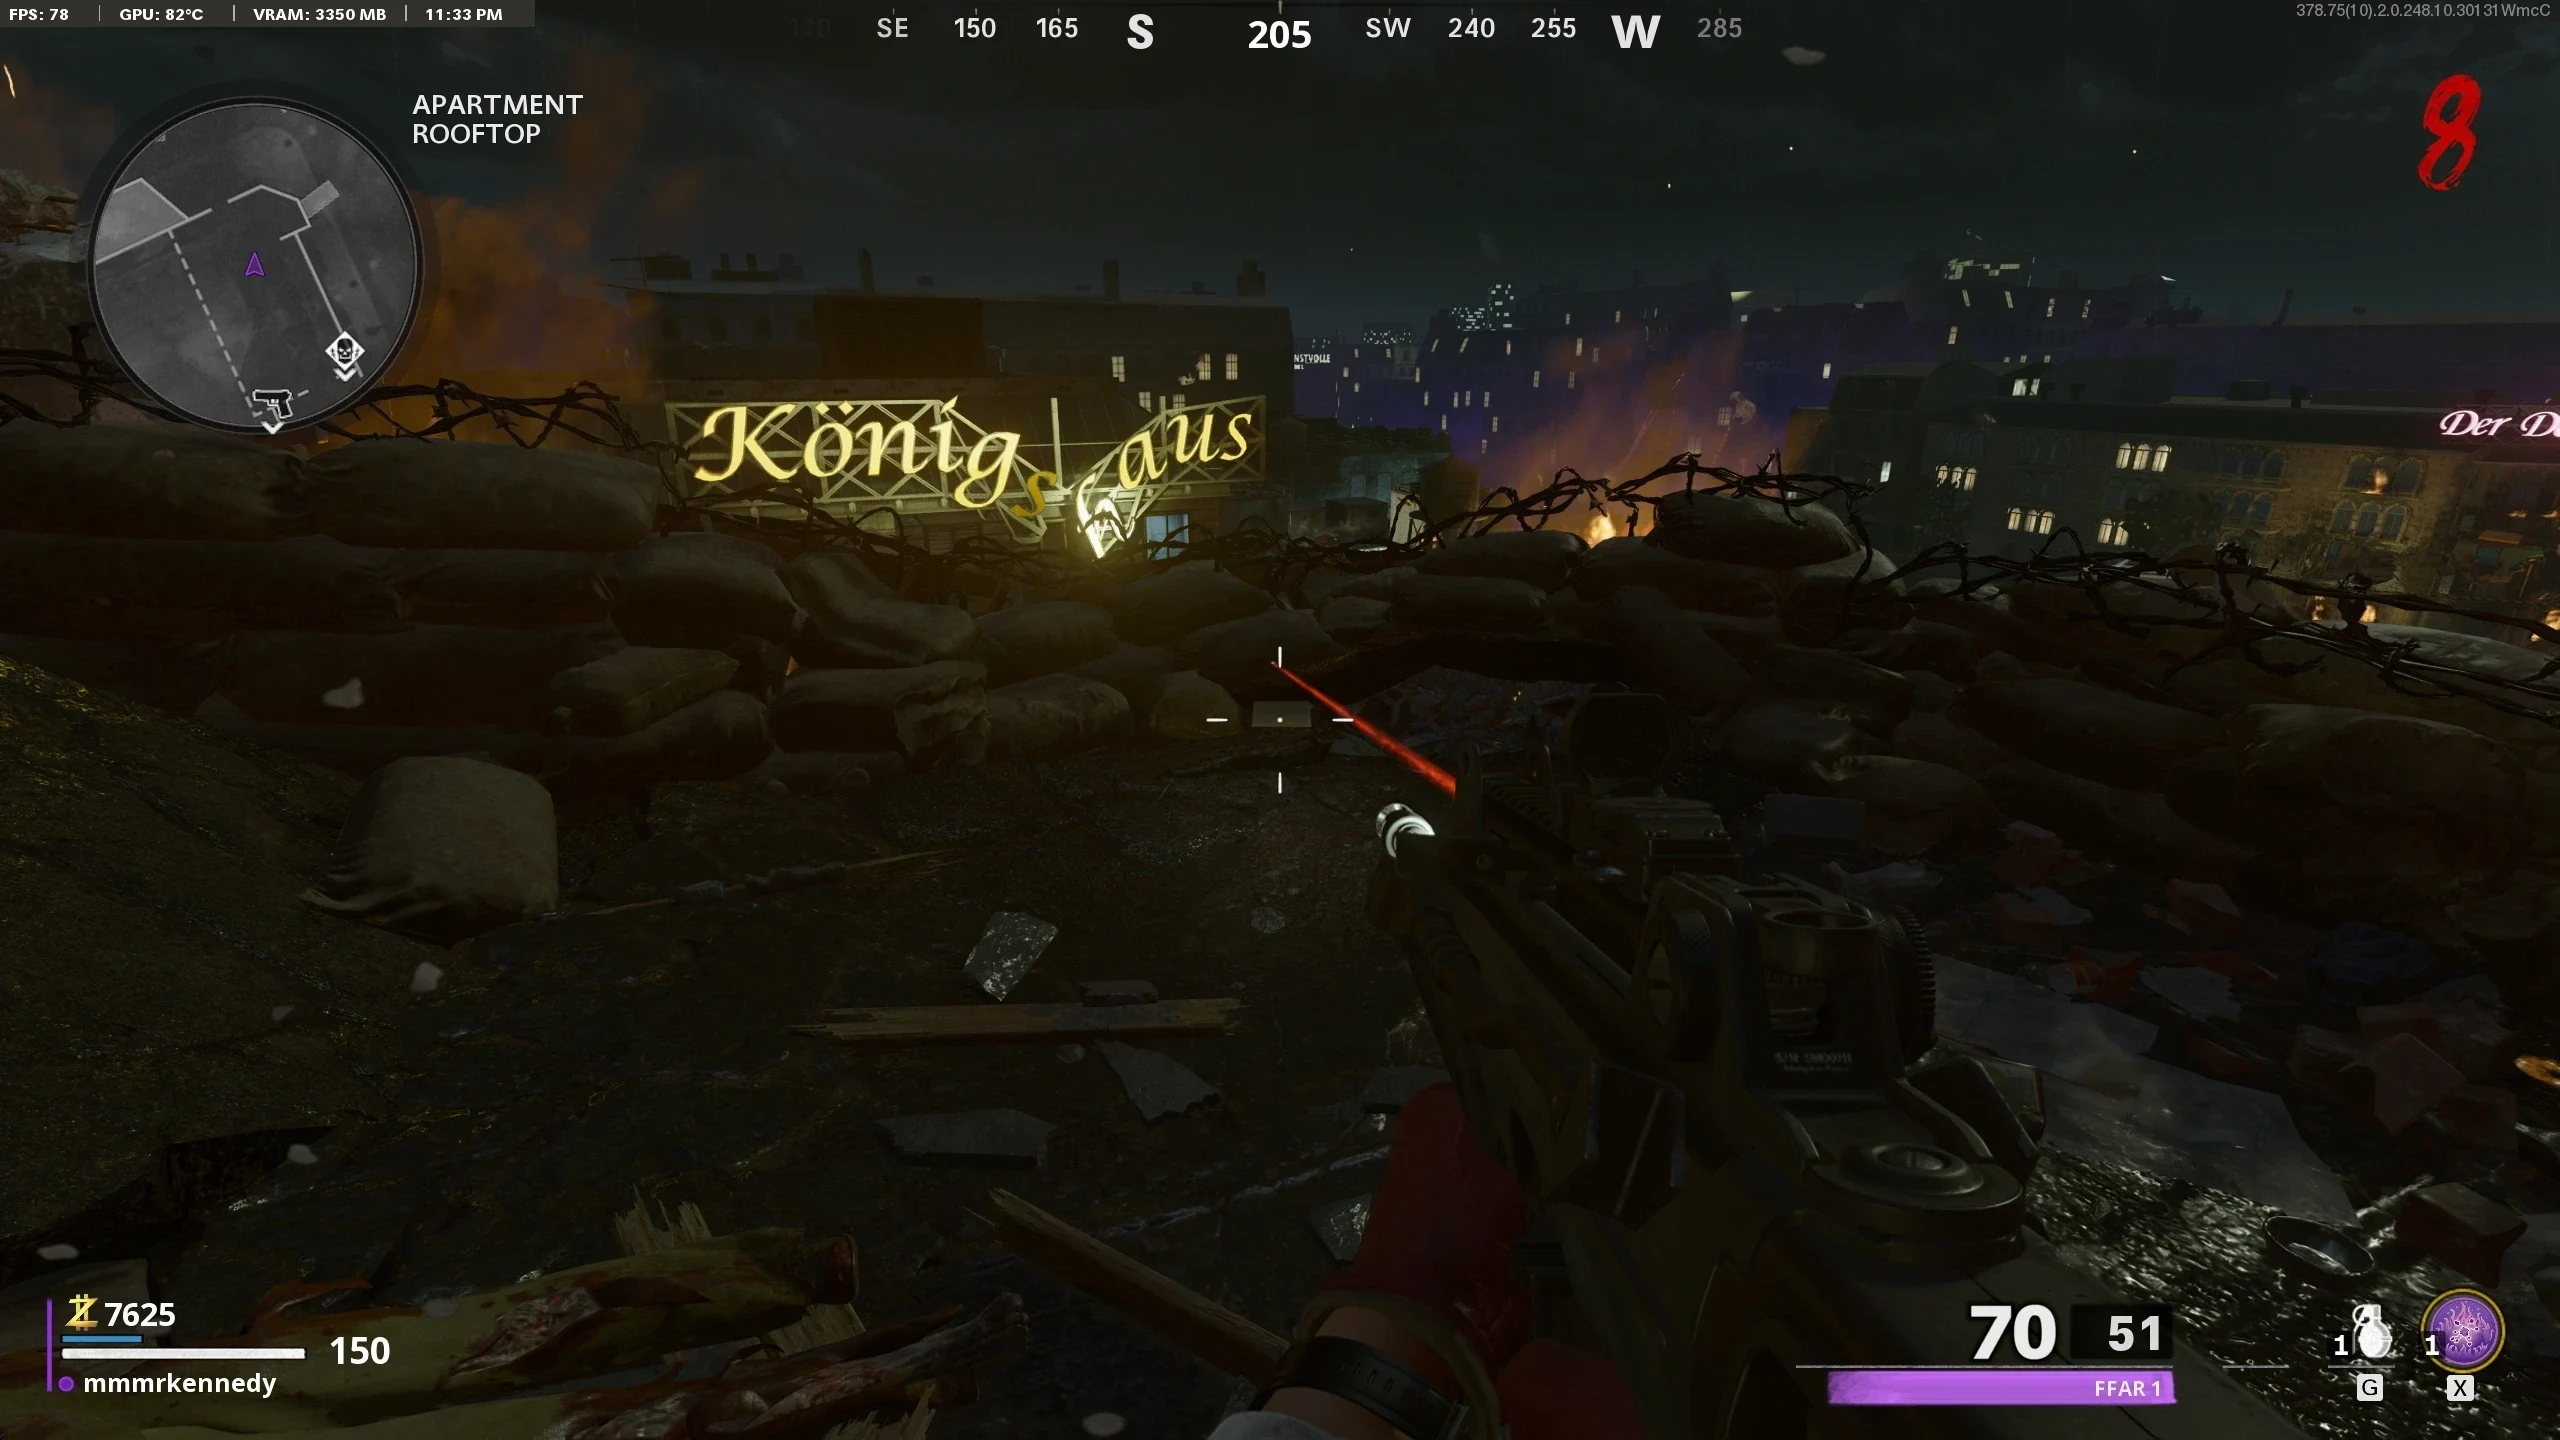
- 'Apartment Rooftop' - Radio Tower
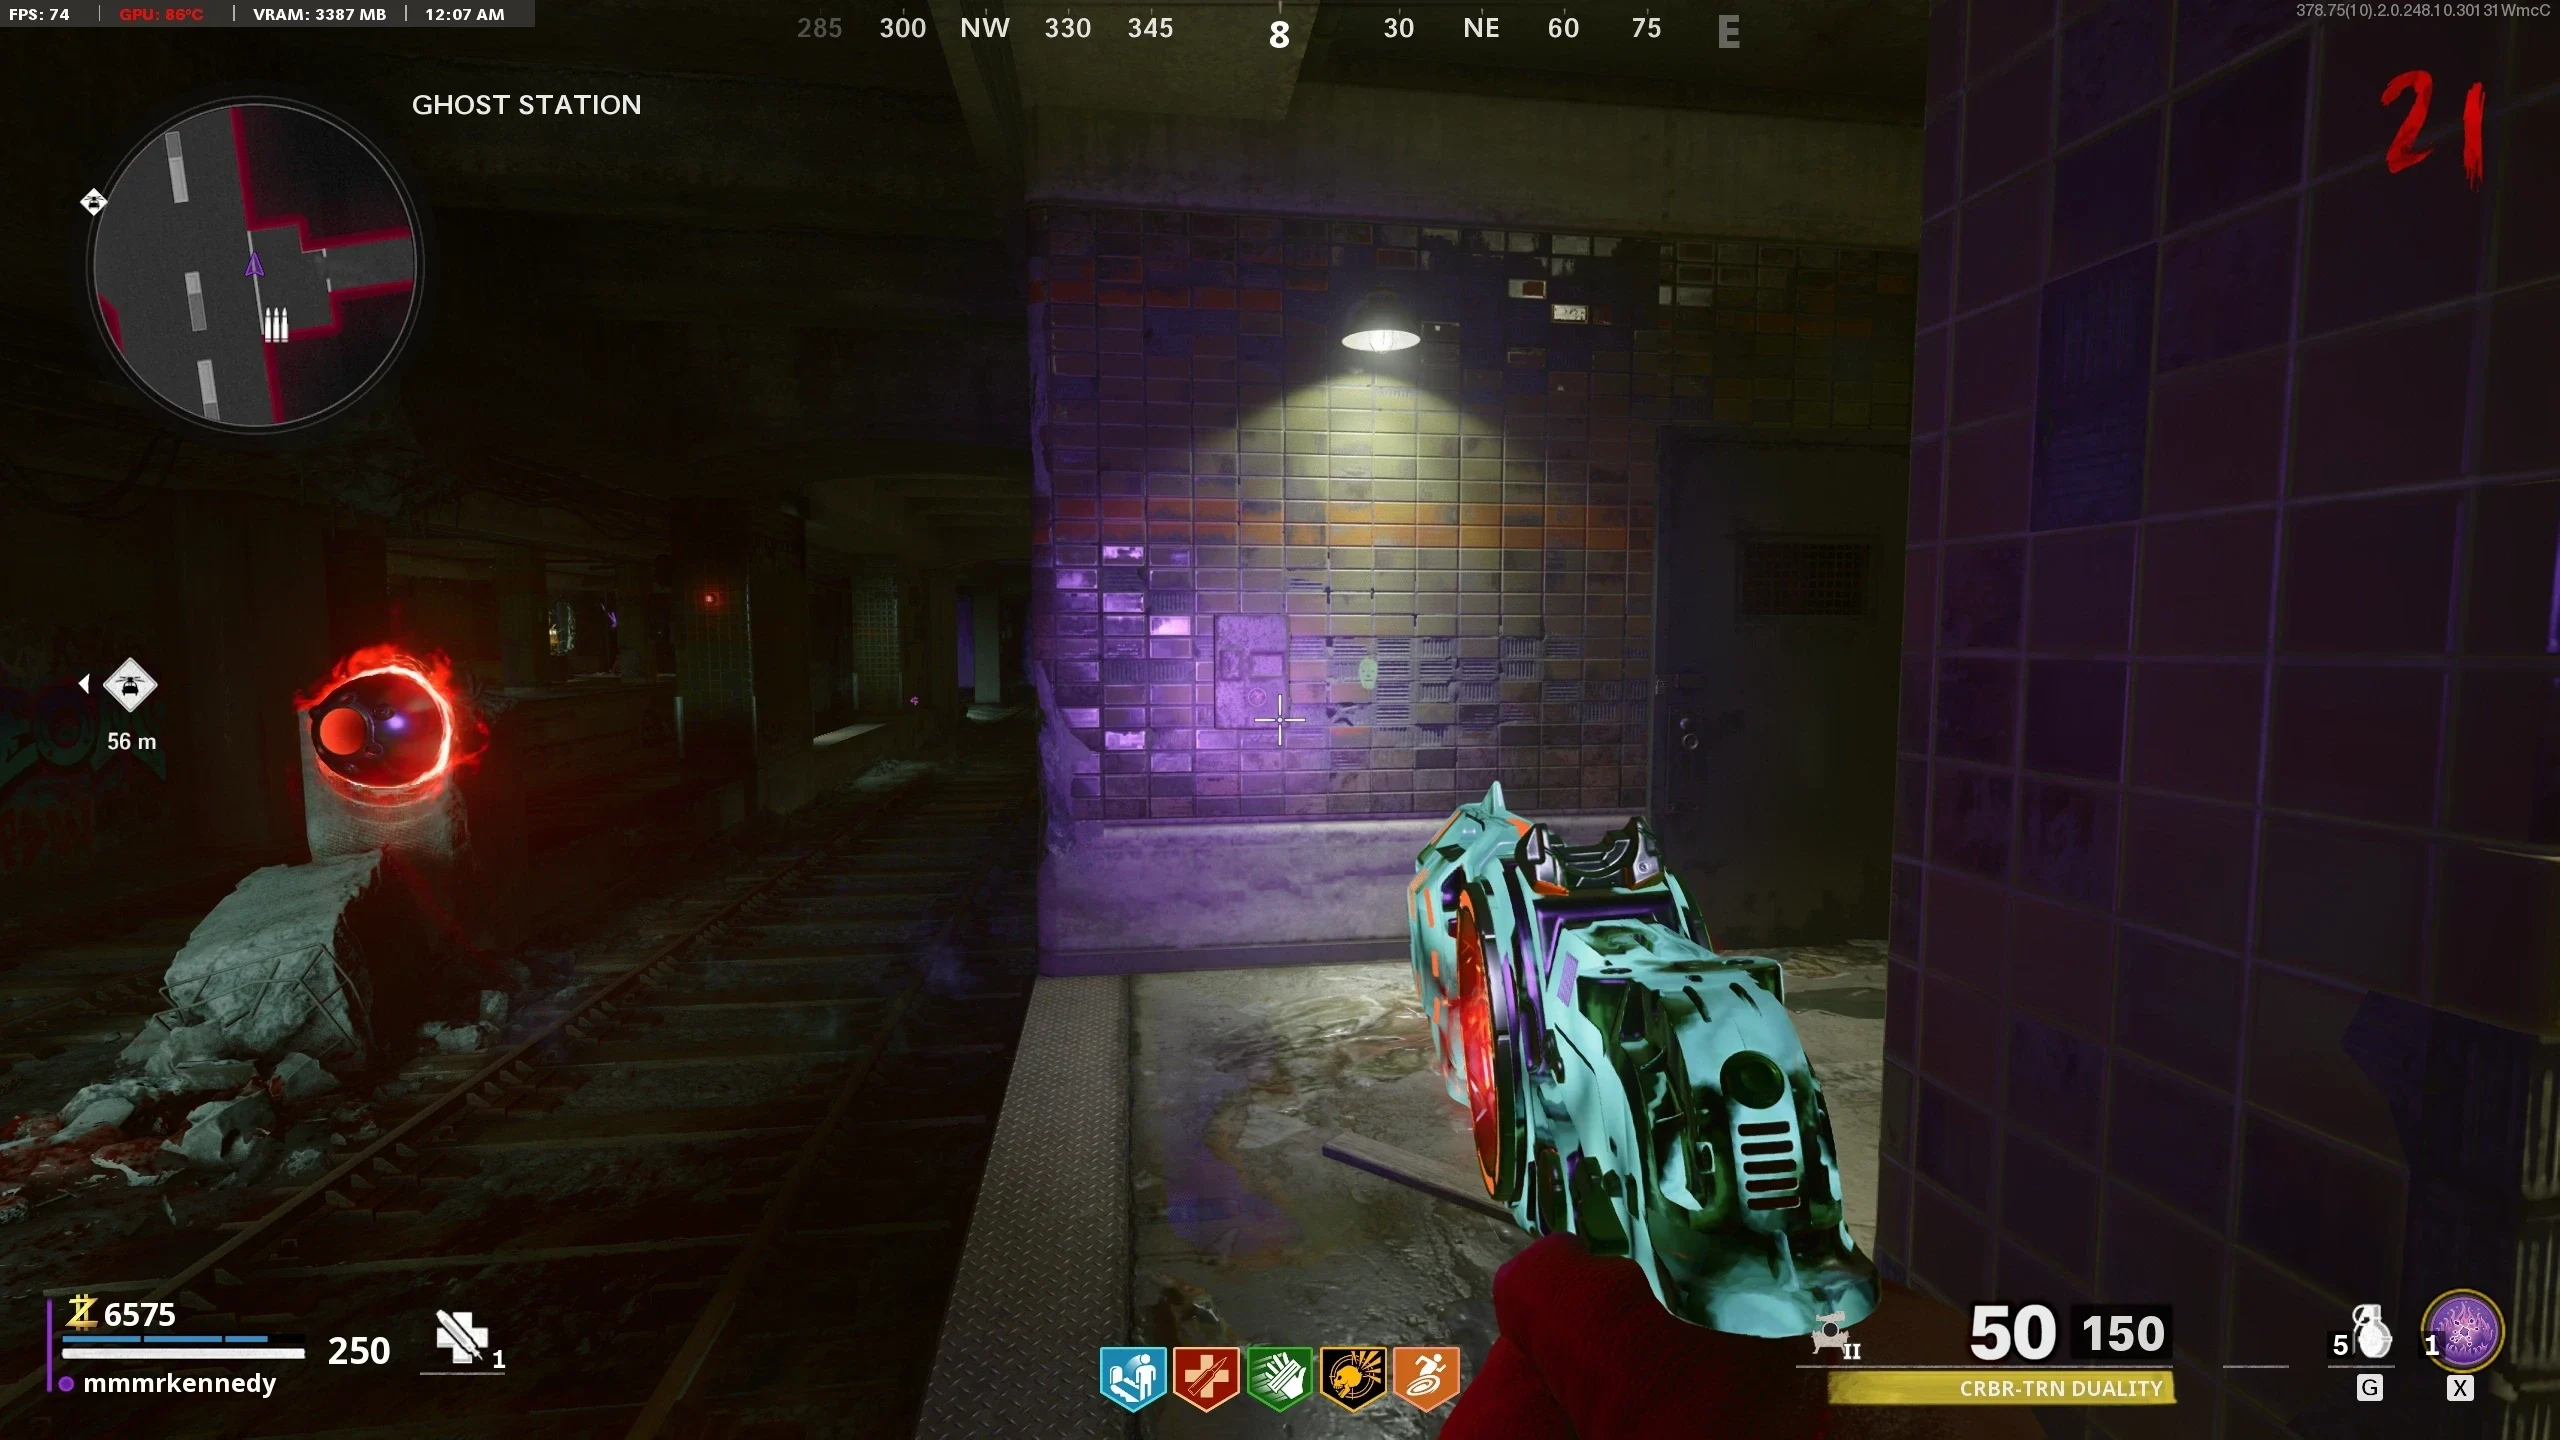
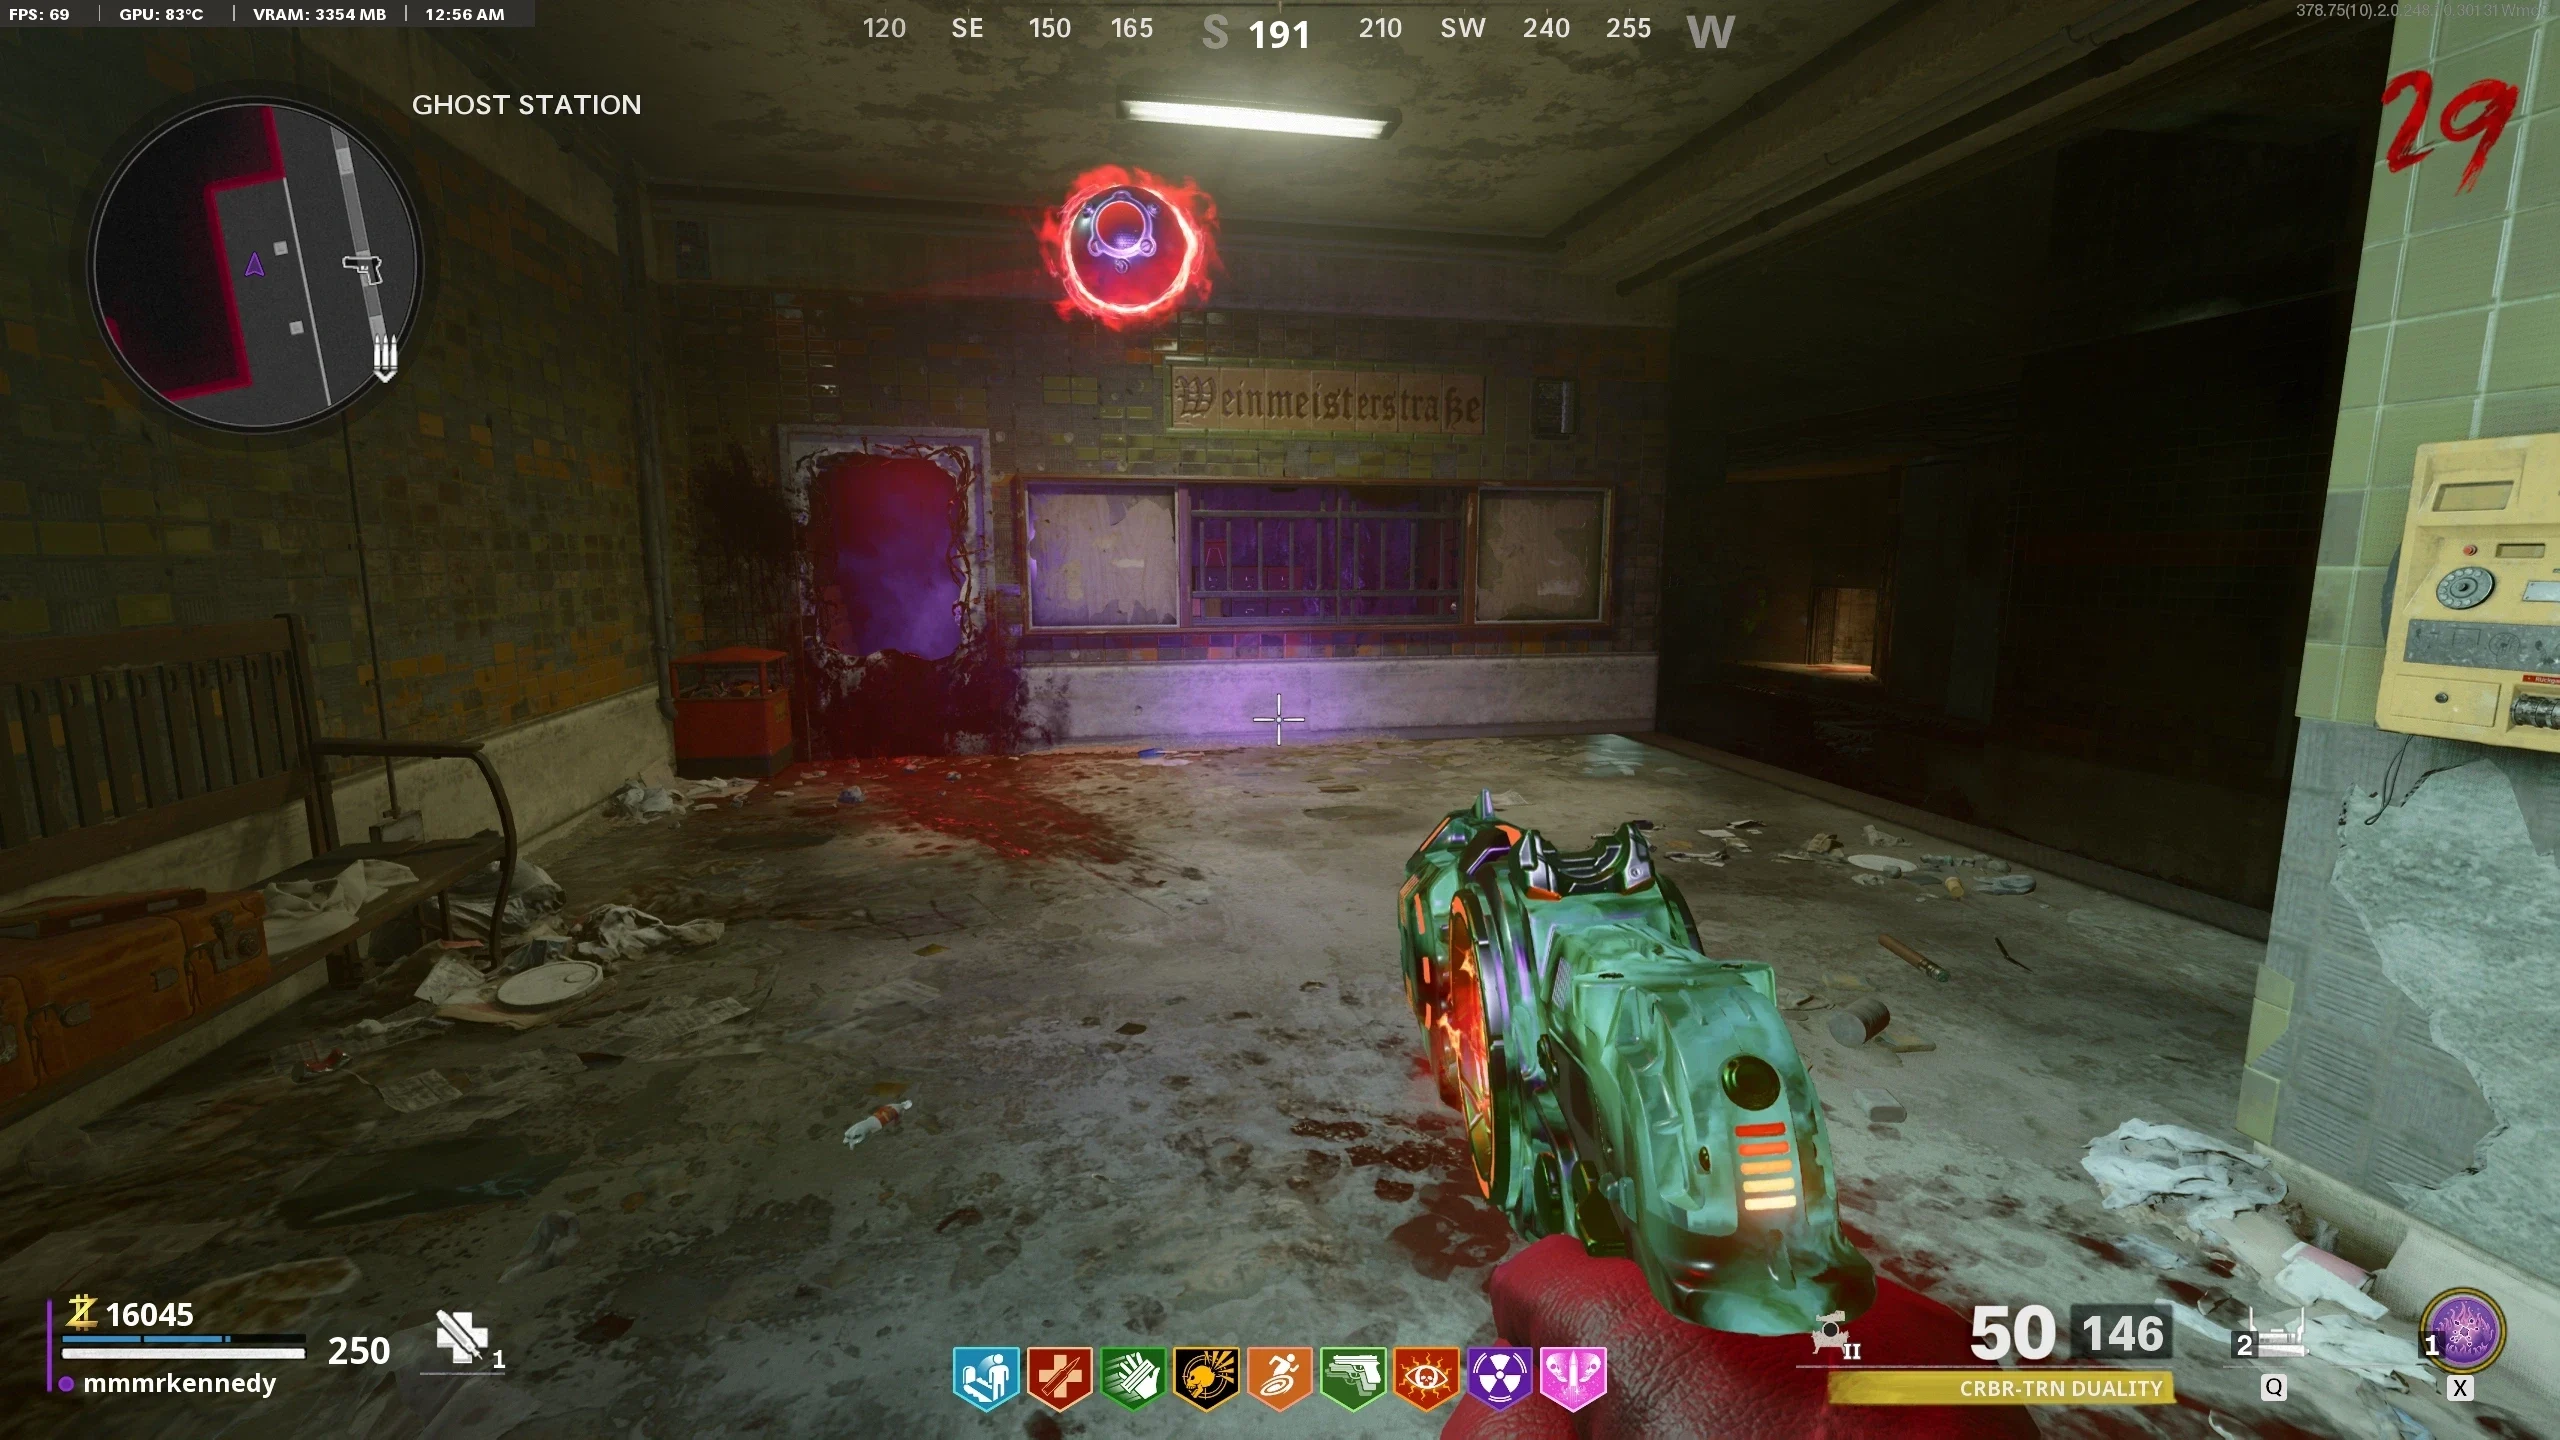
- 'Ghost Station' - Box on the wall, near the M16 wallbuy
- 'Electronics Store' - Boombox: Location 1, Location 2, Location 3
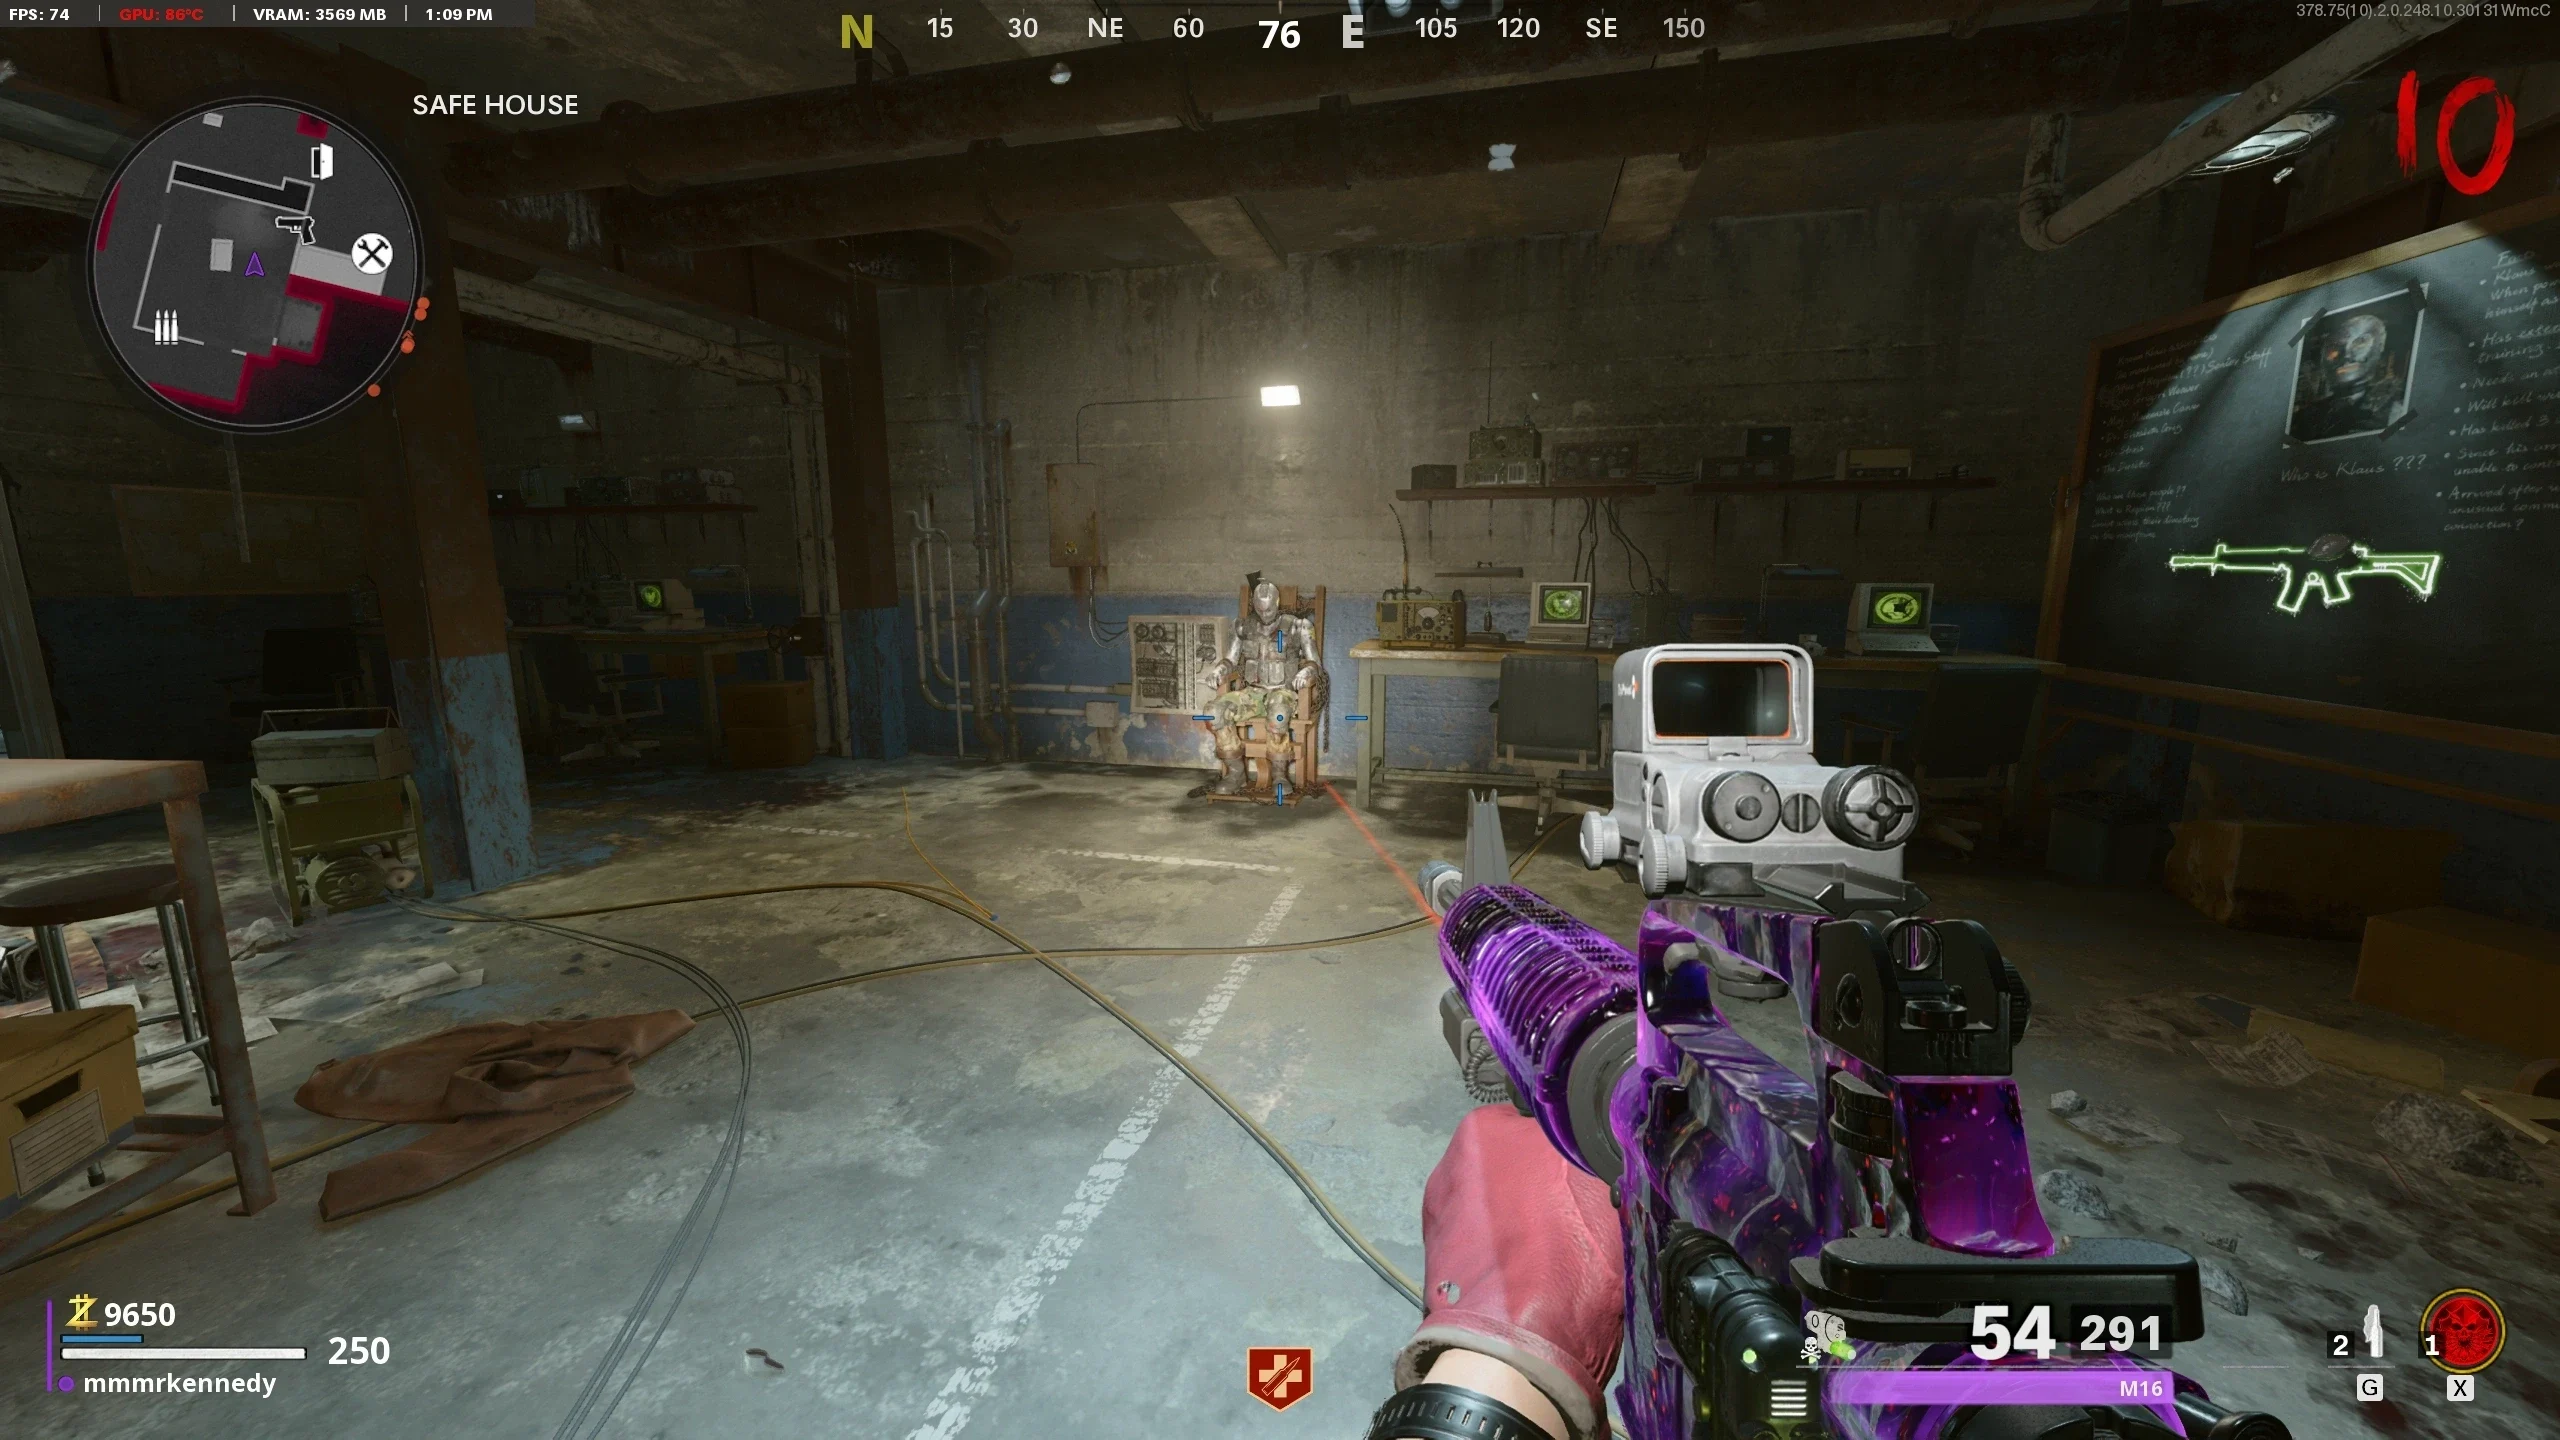
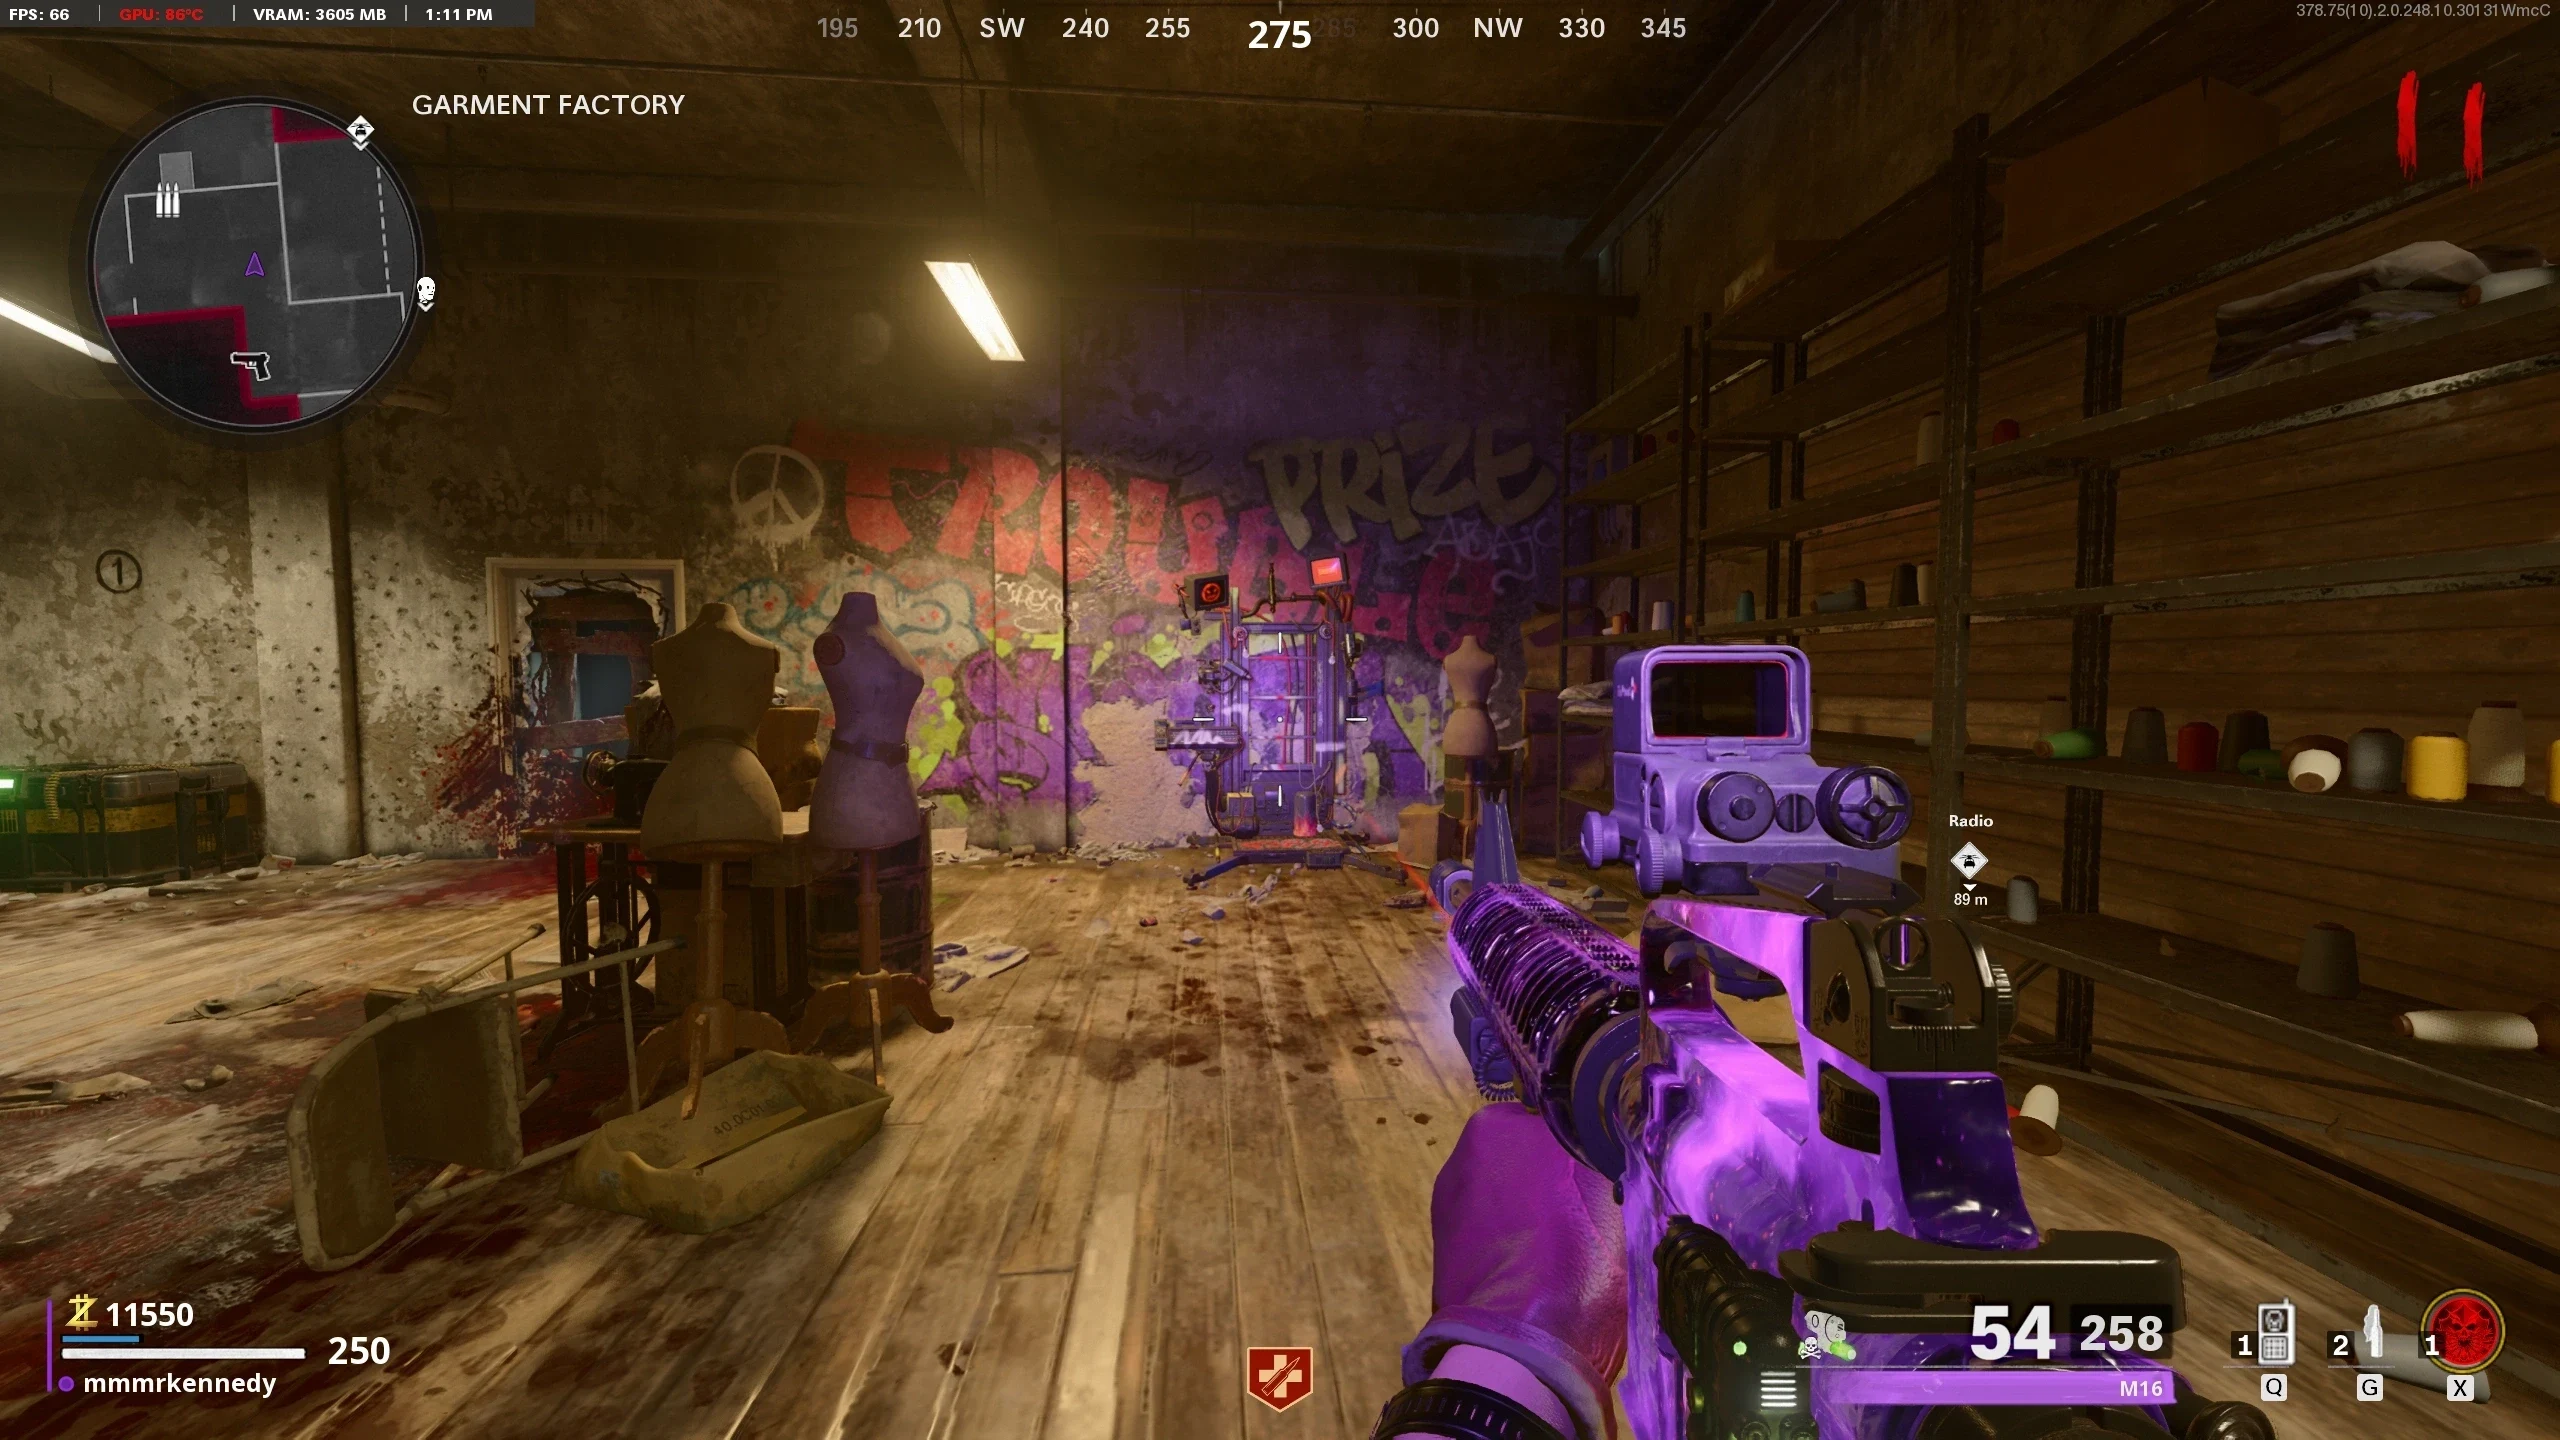
- Once all three items have been collected, navigate to the Safe House and craft the Hacking Helm on Klaus.
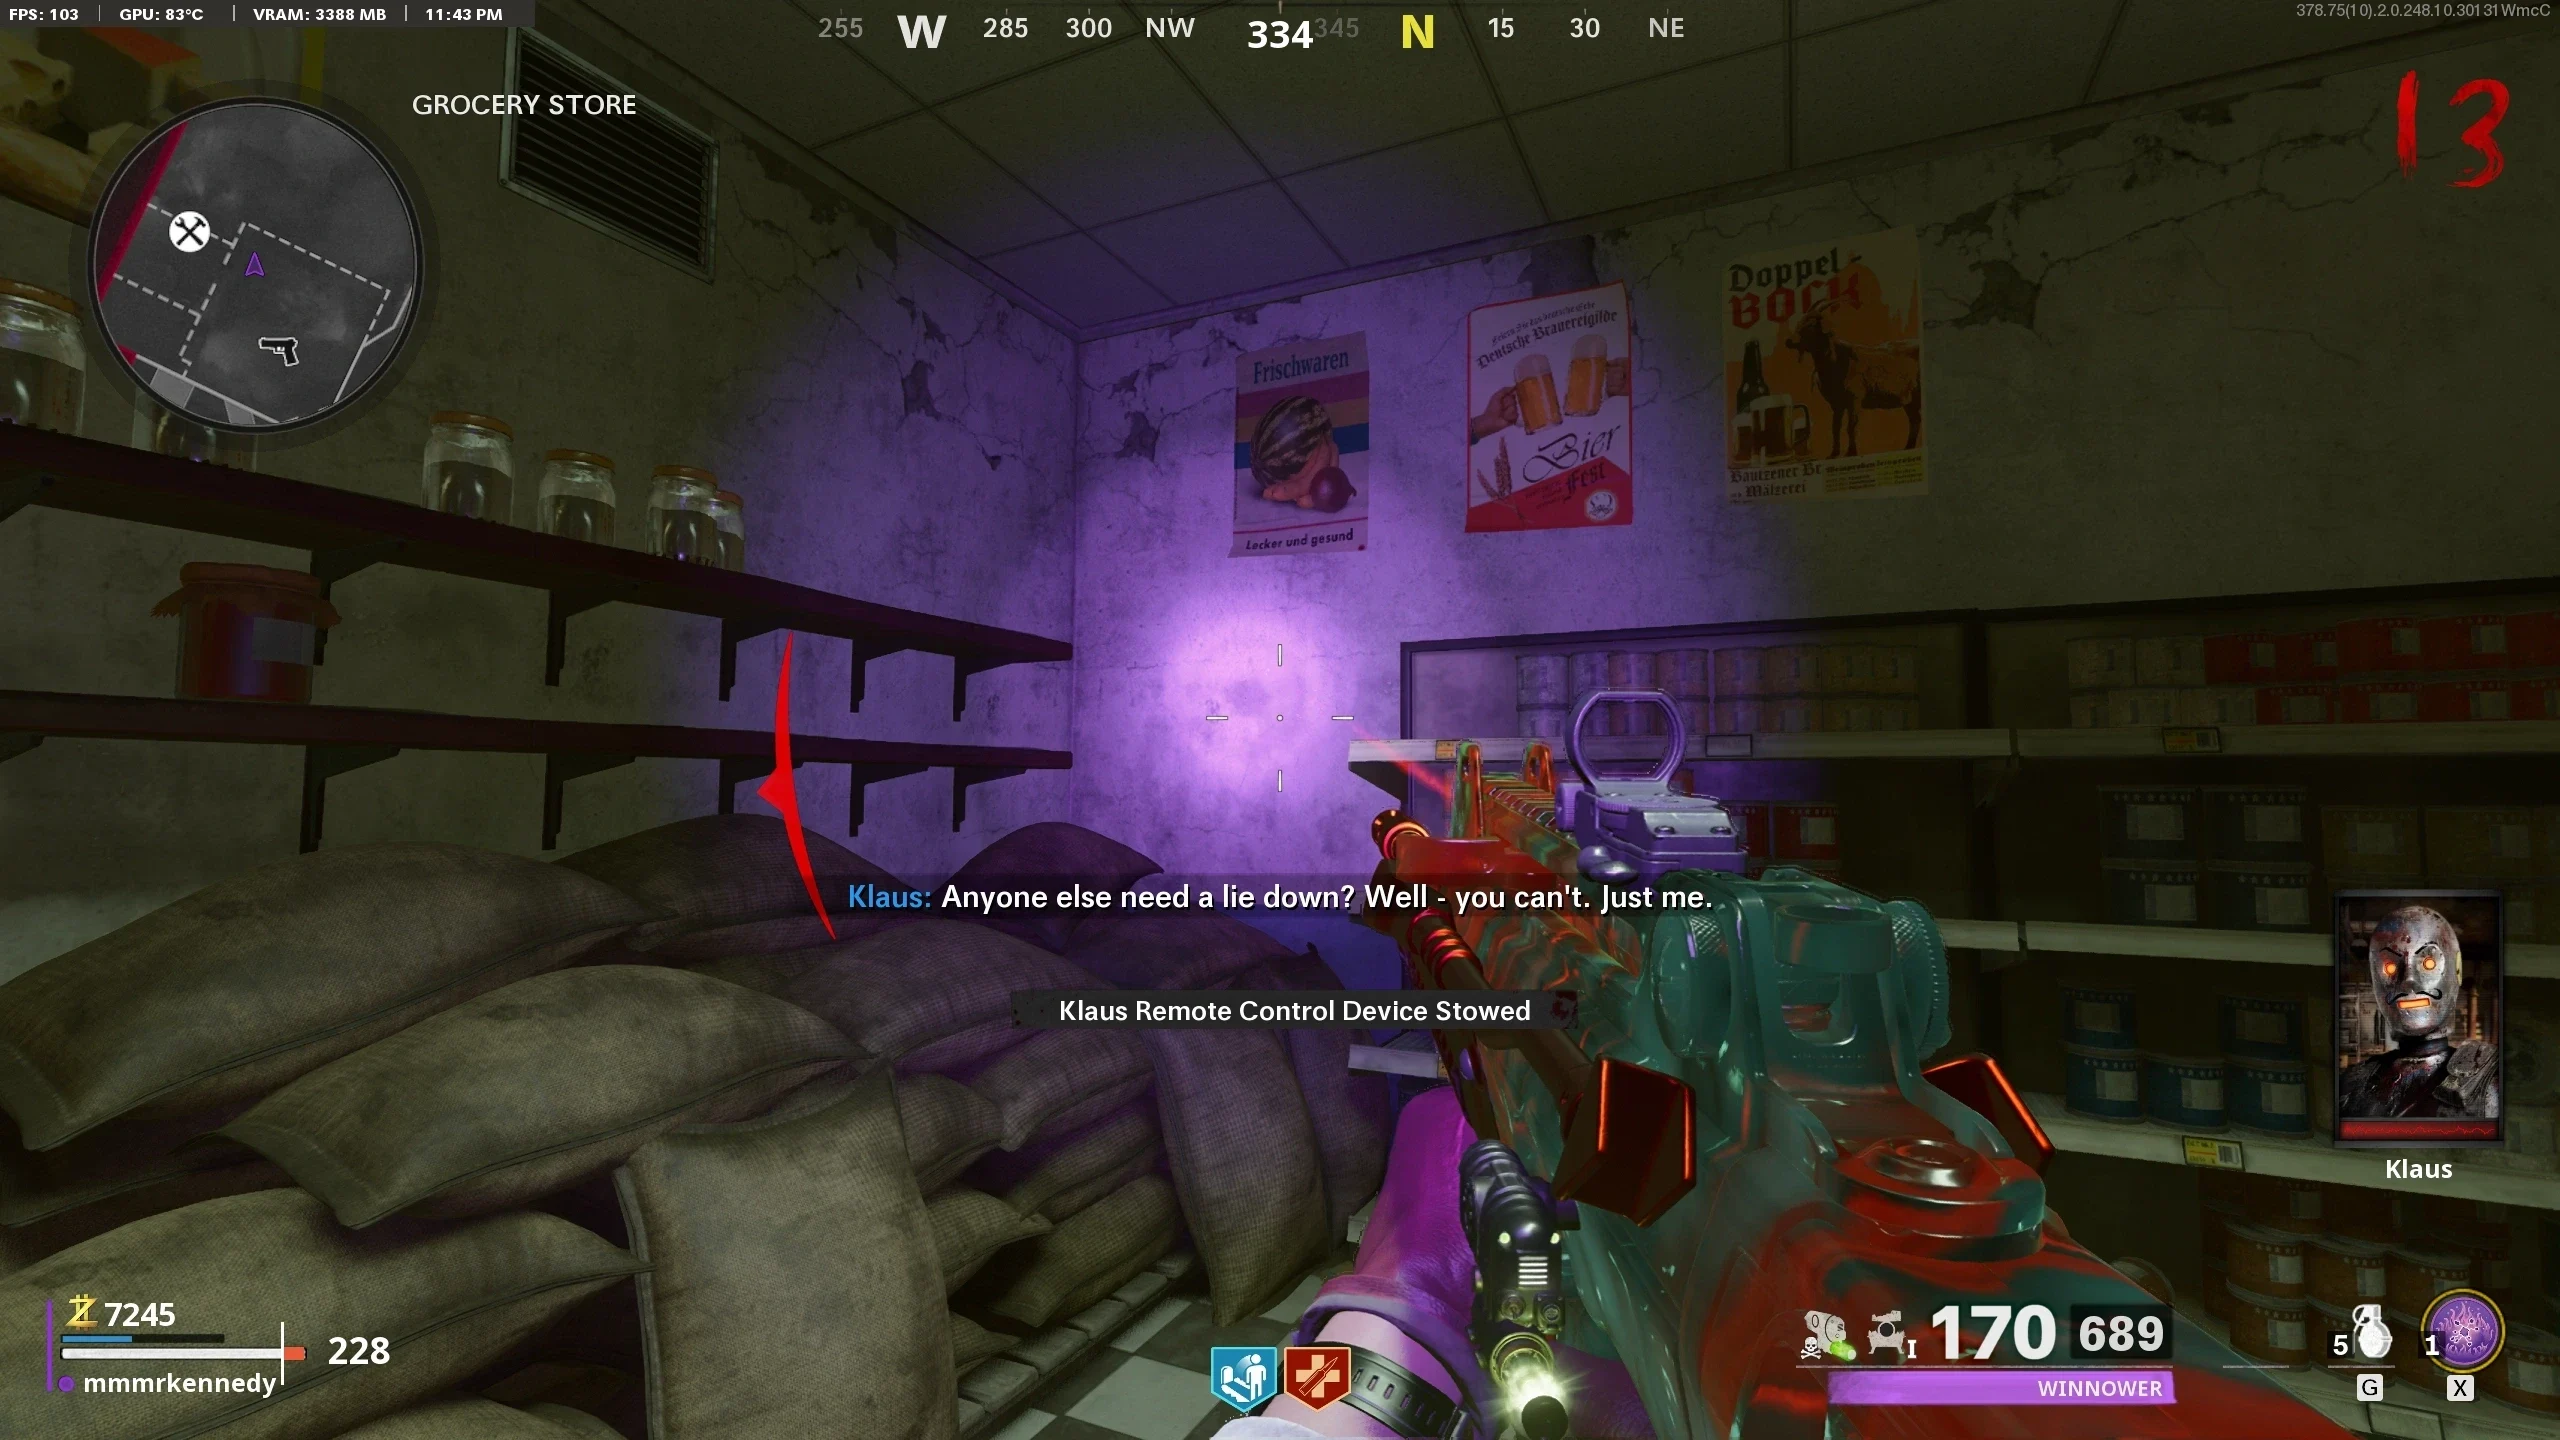
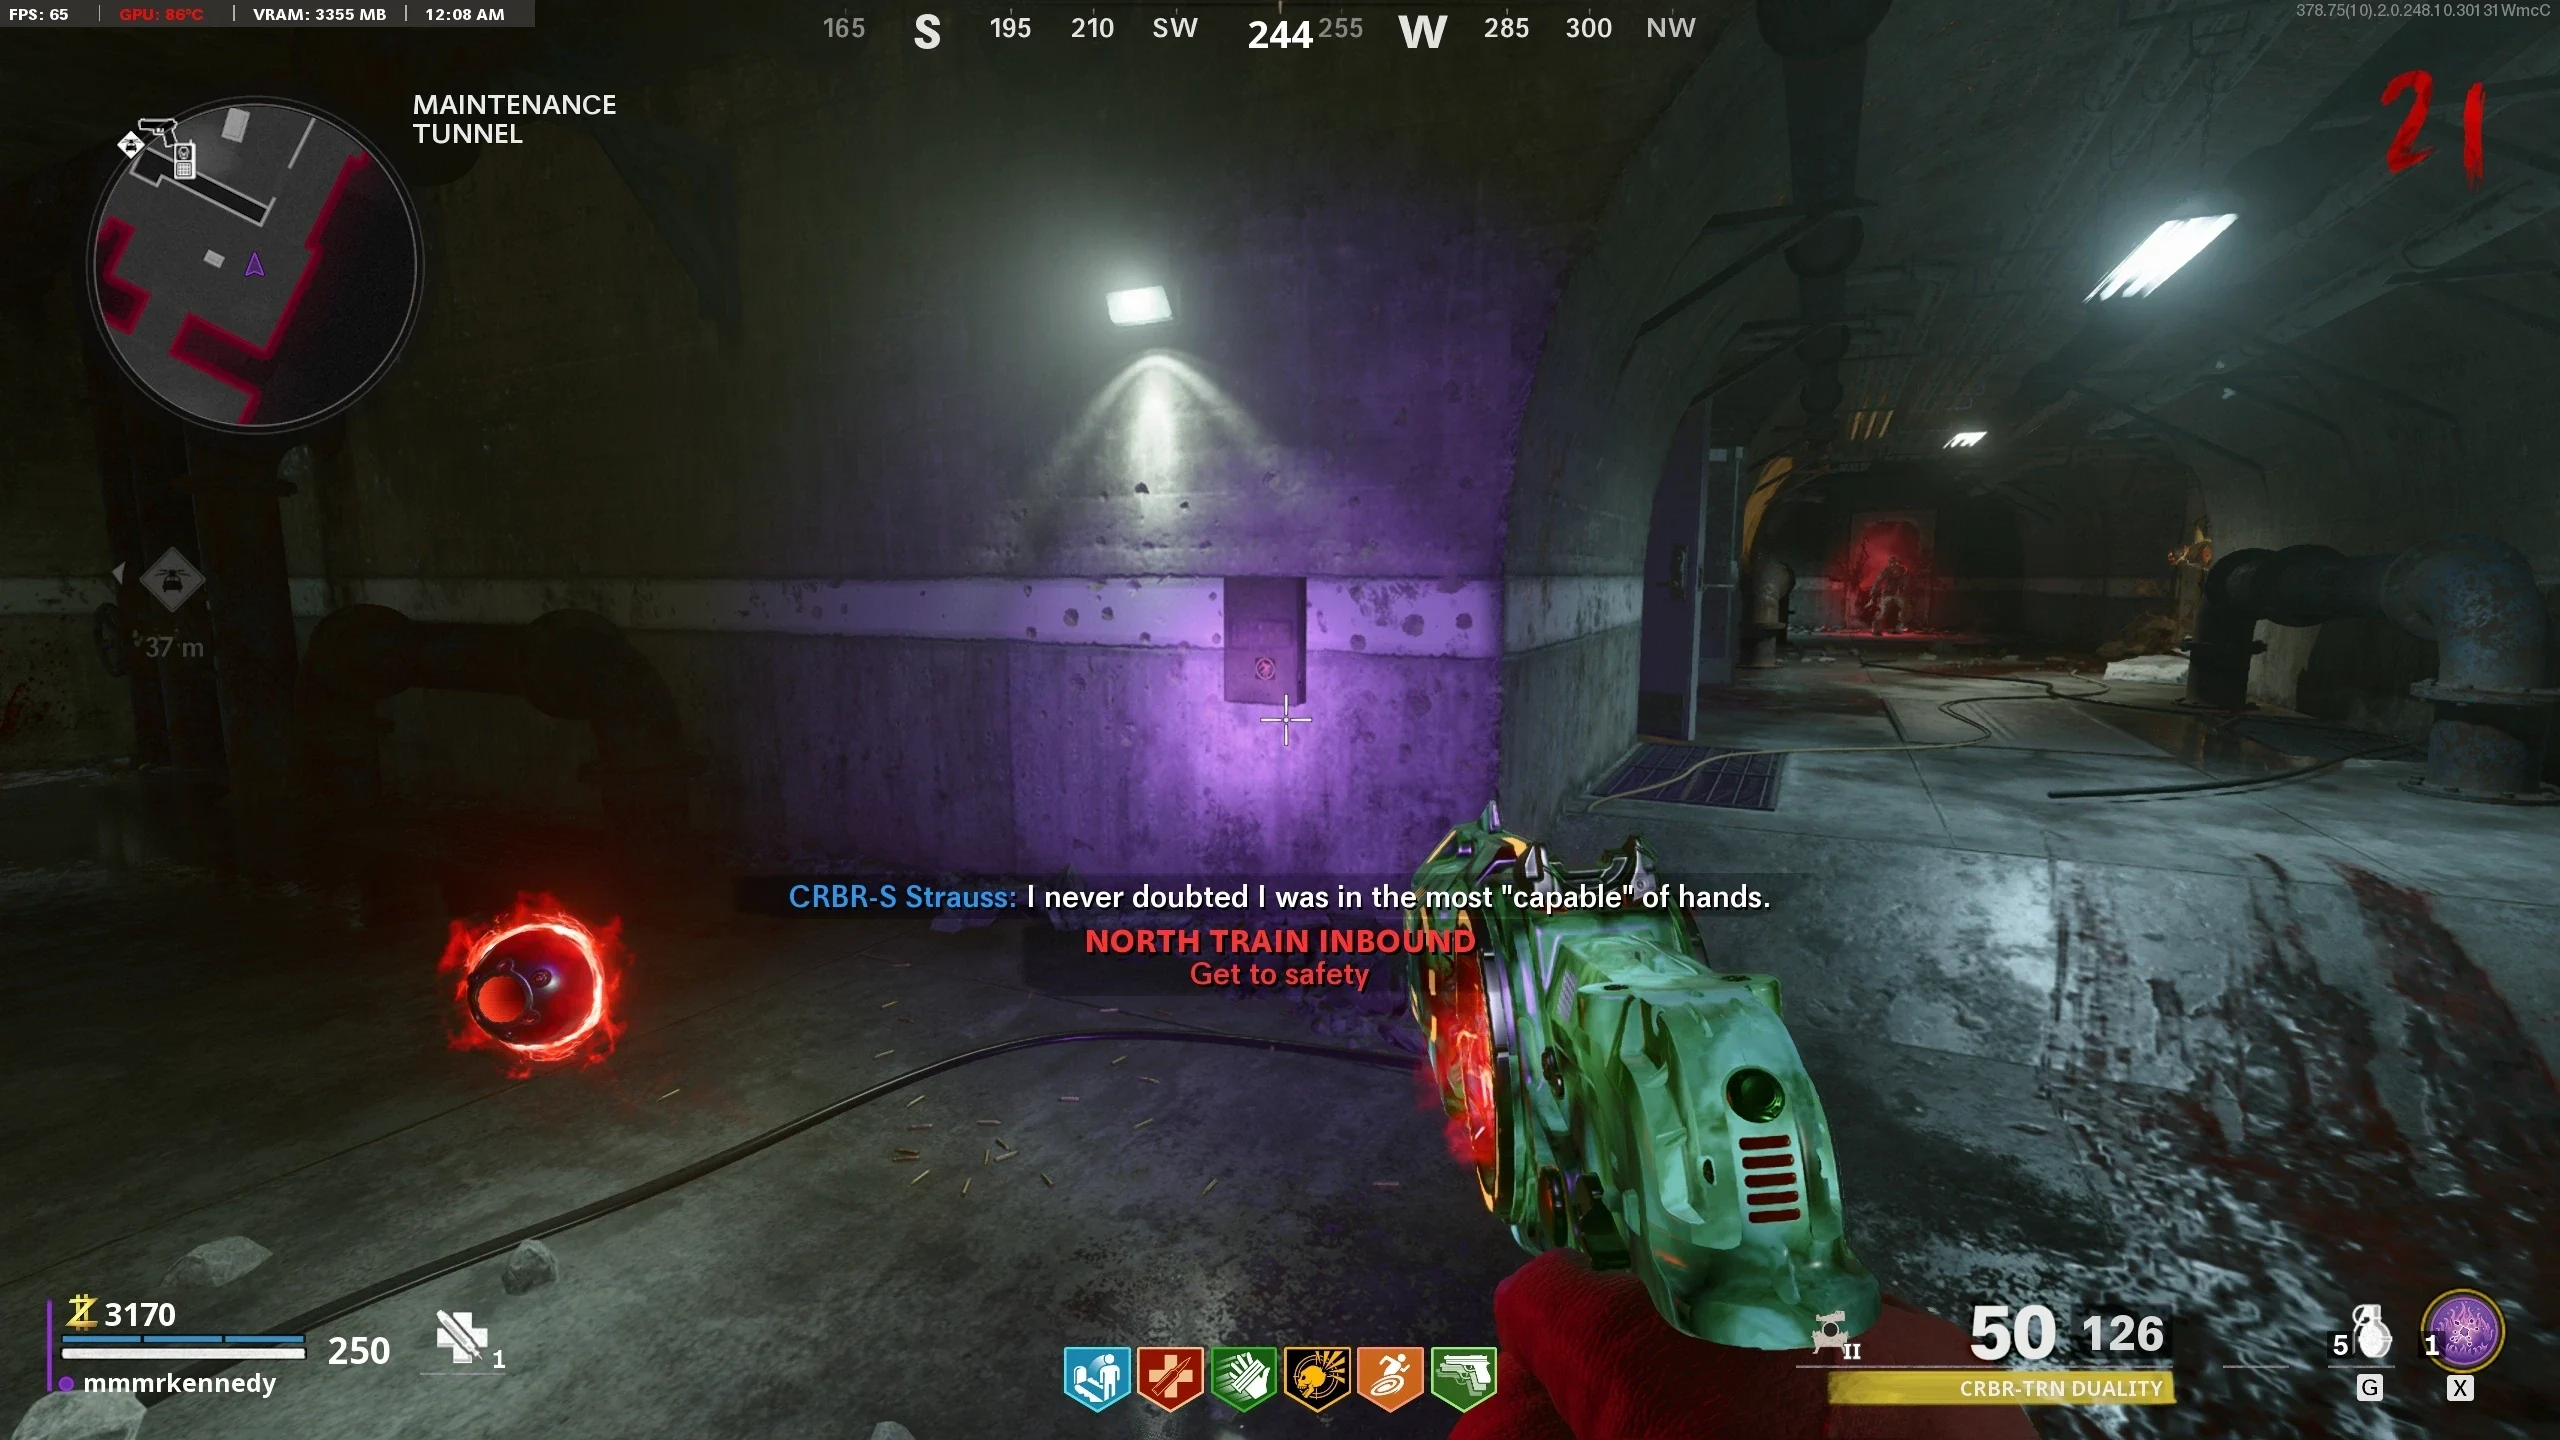
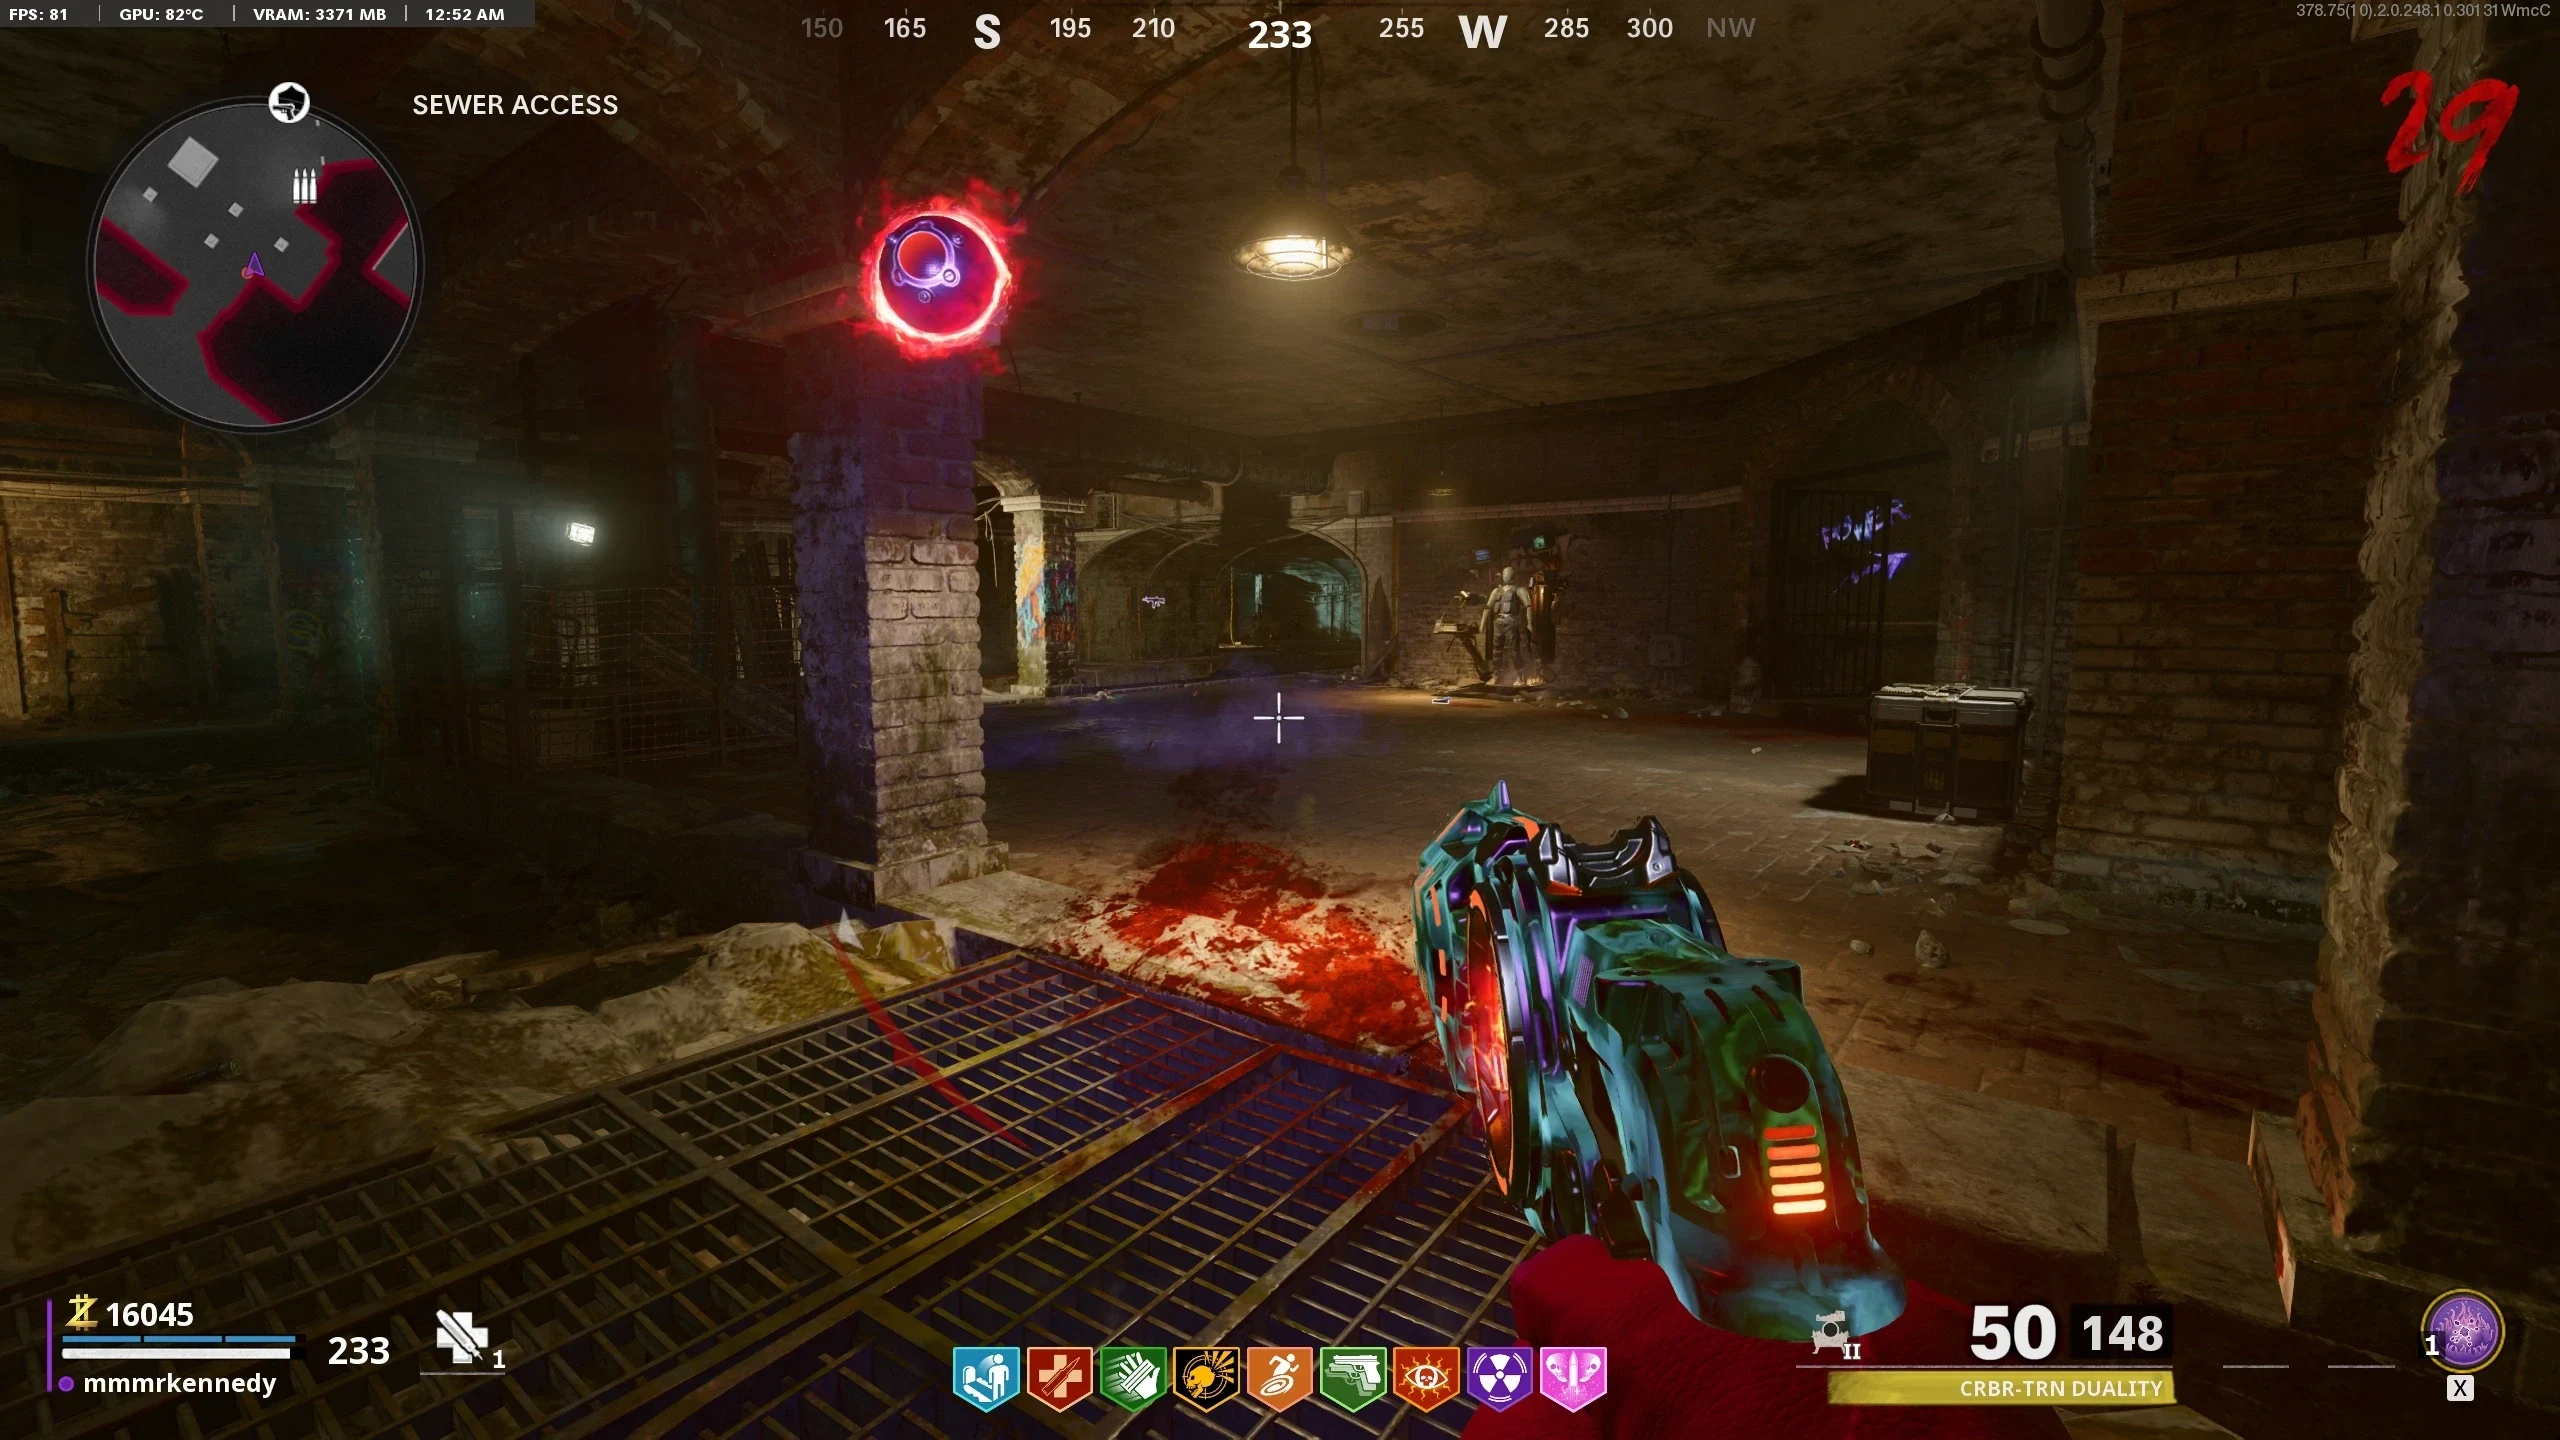
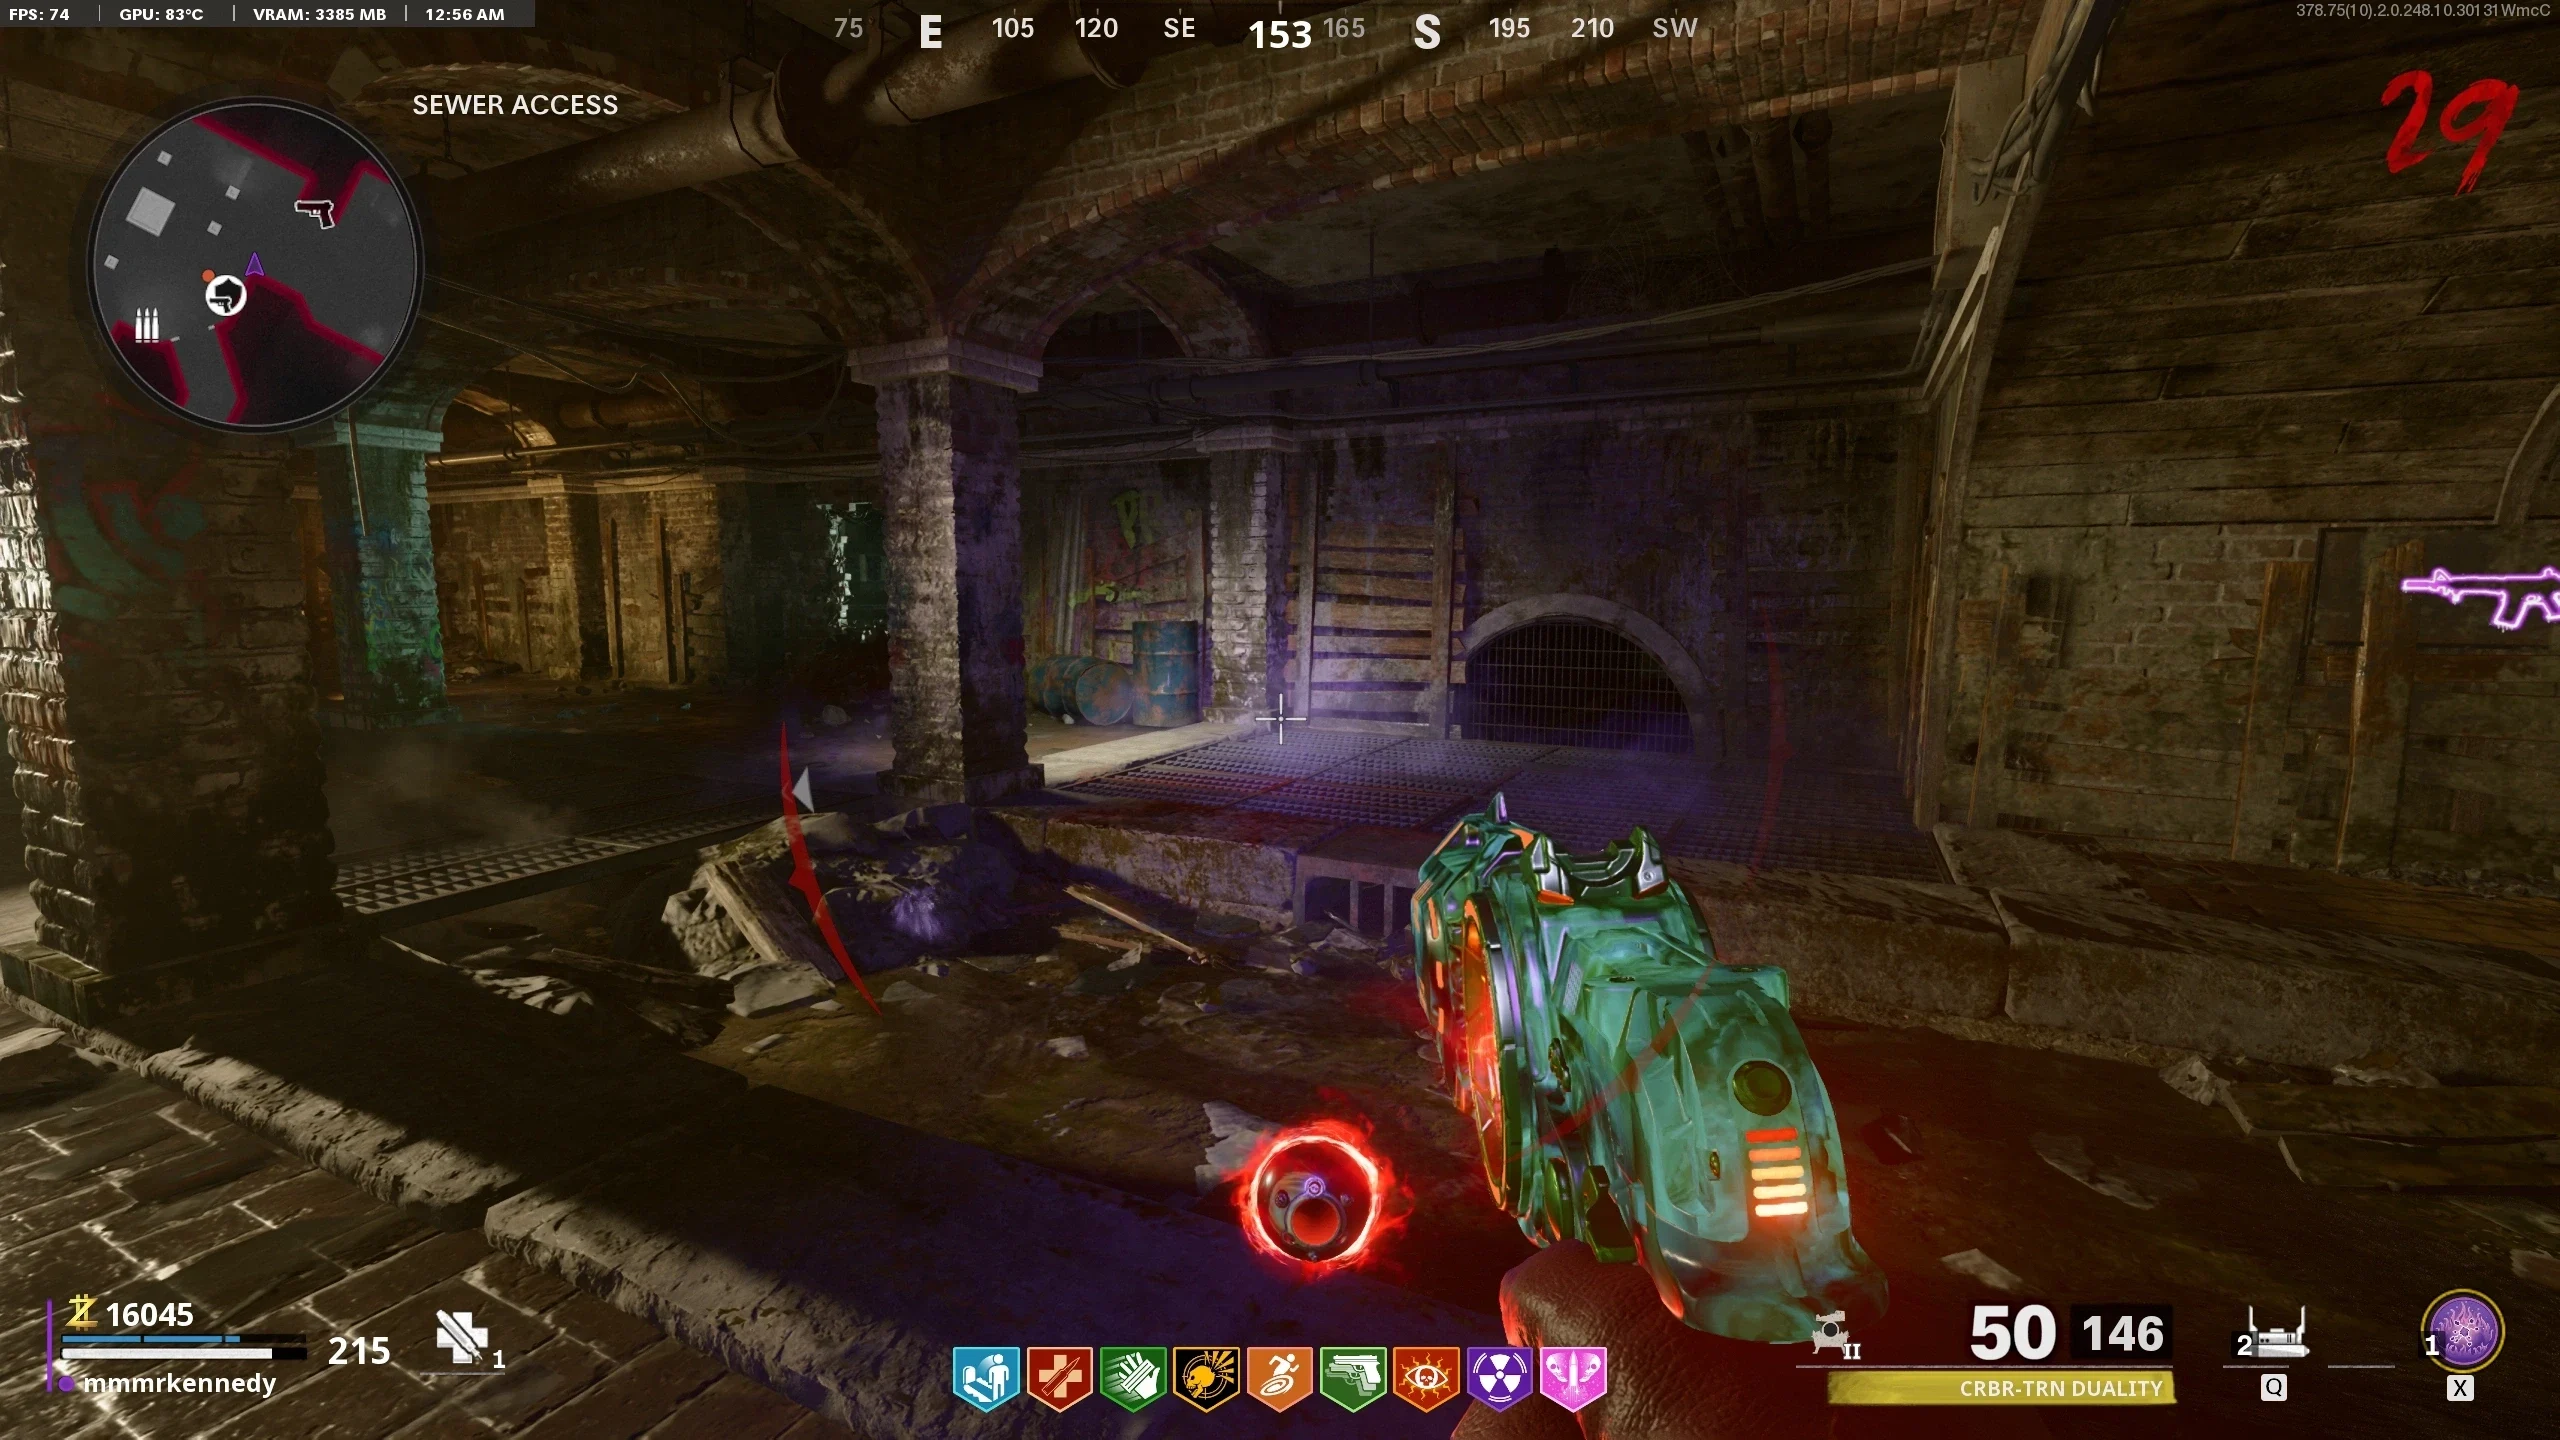
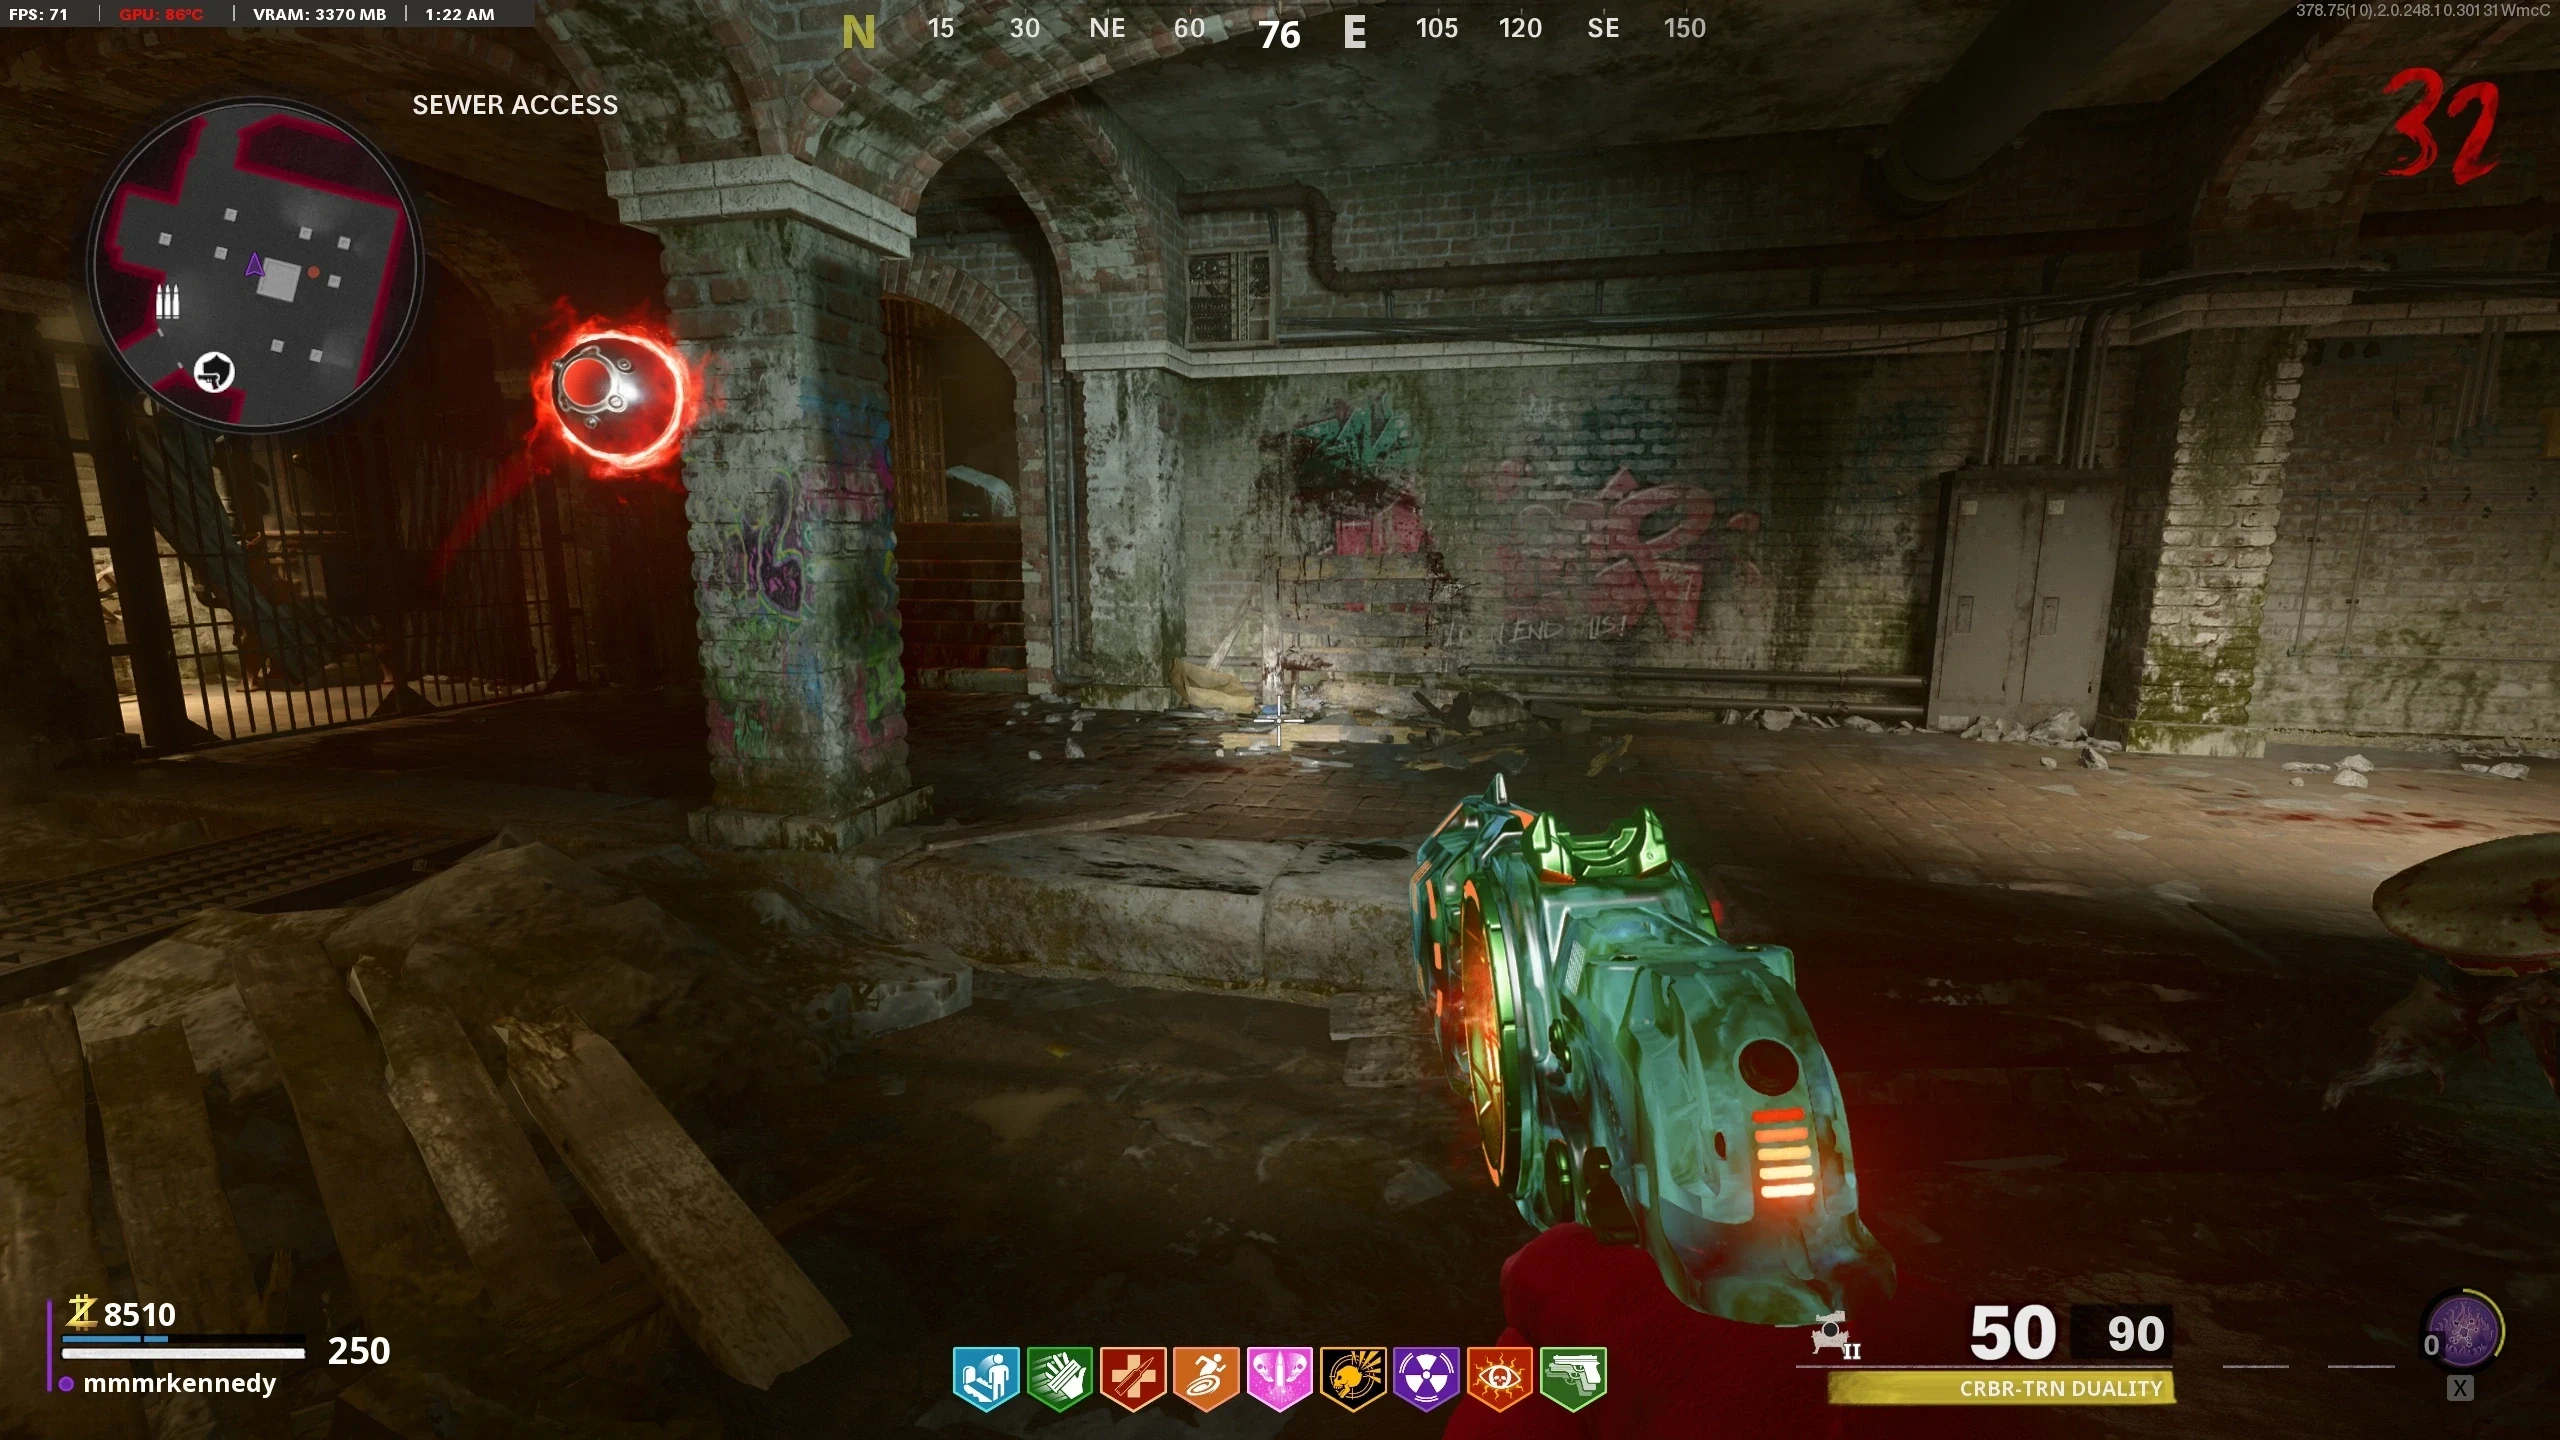
- Navigate to Sewer Access and use the Klaus Remote Control to Command Klaus to break this brick wall to reveal the metal wall.
- Obtain the Blazer Mod Kit (Laser Beam Variant of the CBRS-S) and shoot the Metal Wall till it melts.
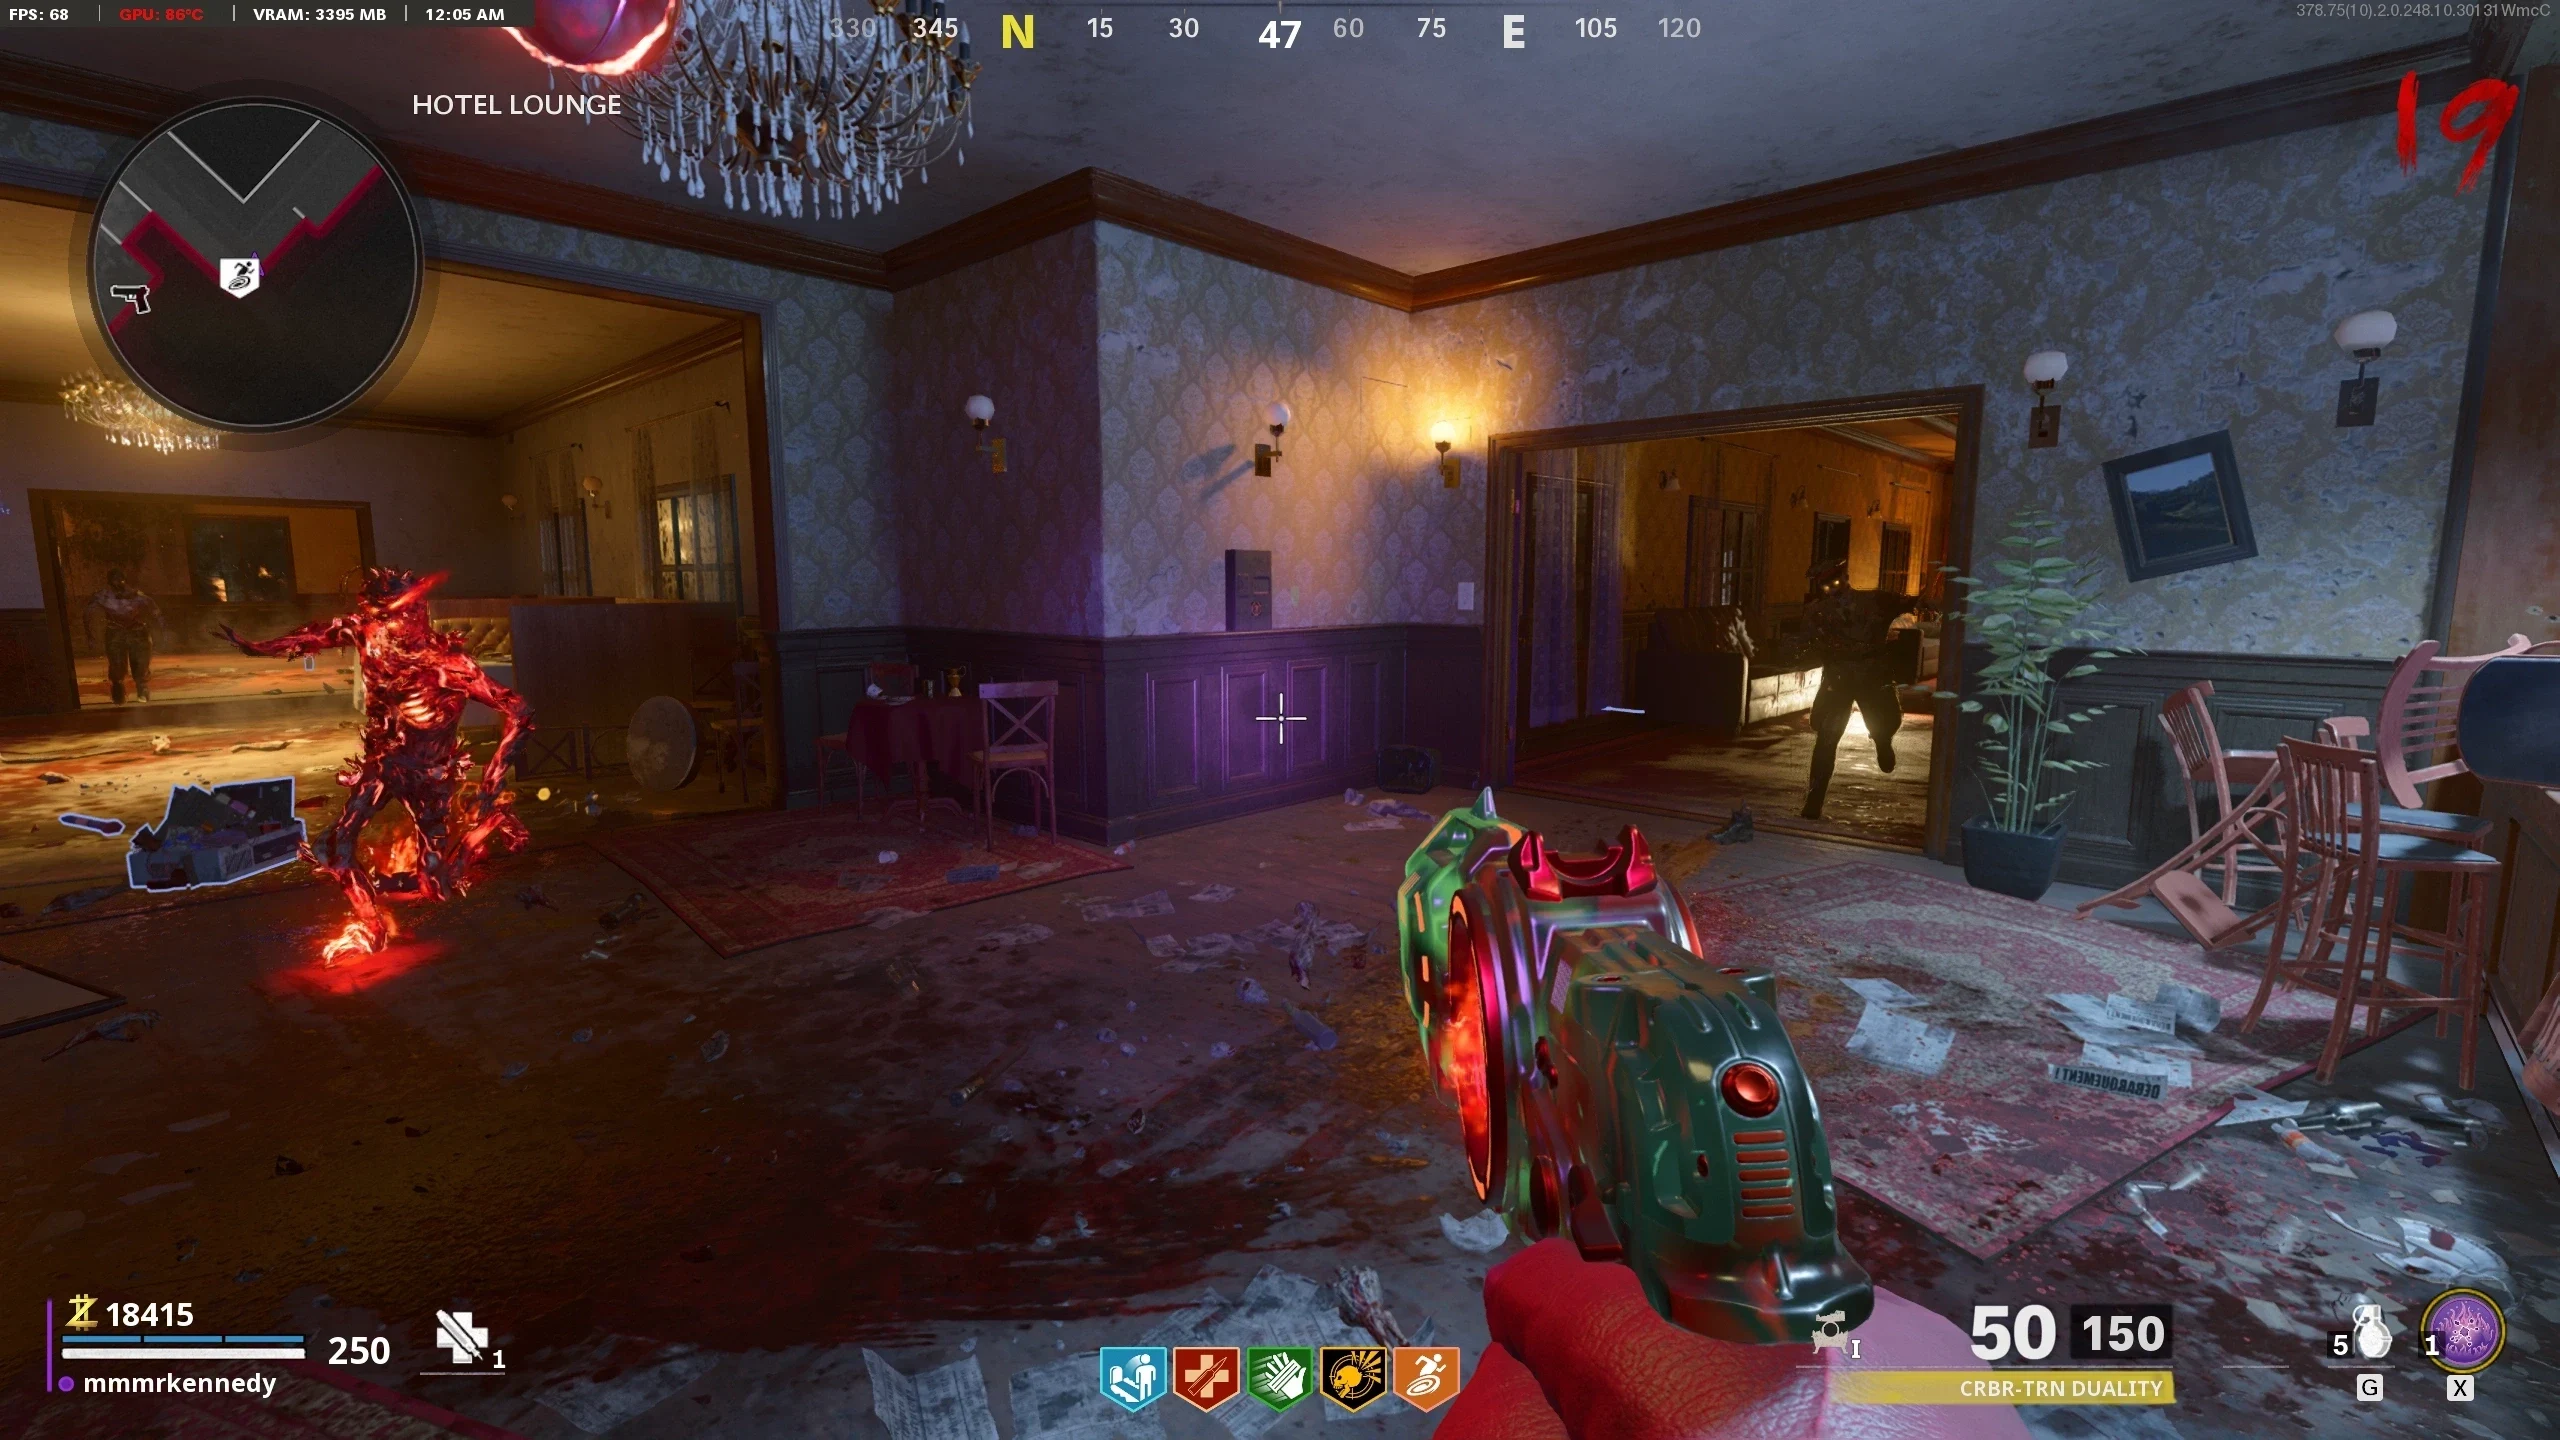
- Once a player enters the lab, the current round will end and a Tormentor round will begin.
- Once the Tormentor round is over, collect the three empty canisters from the Conversion Unit.
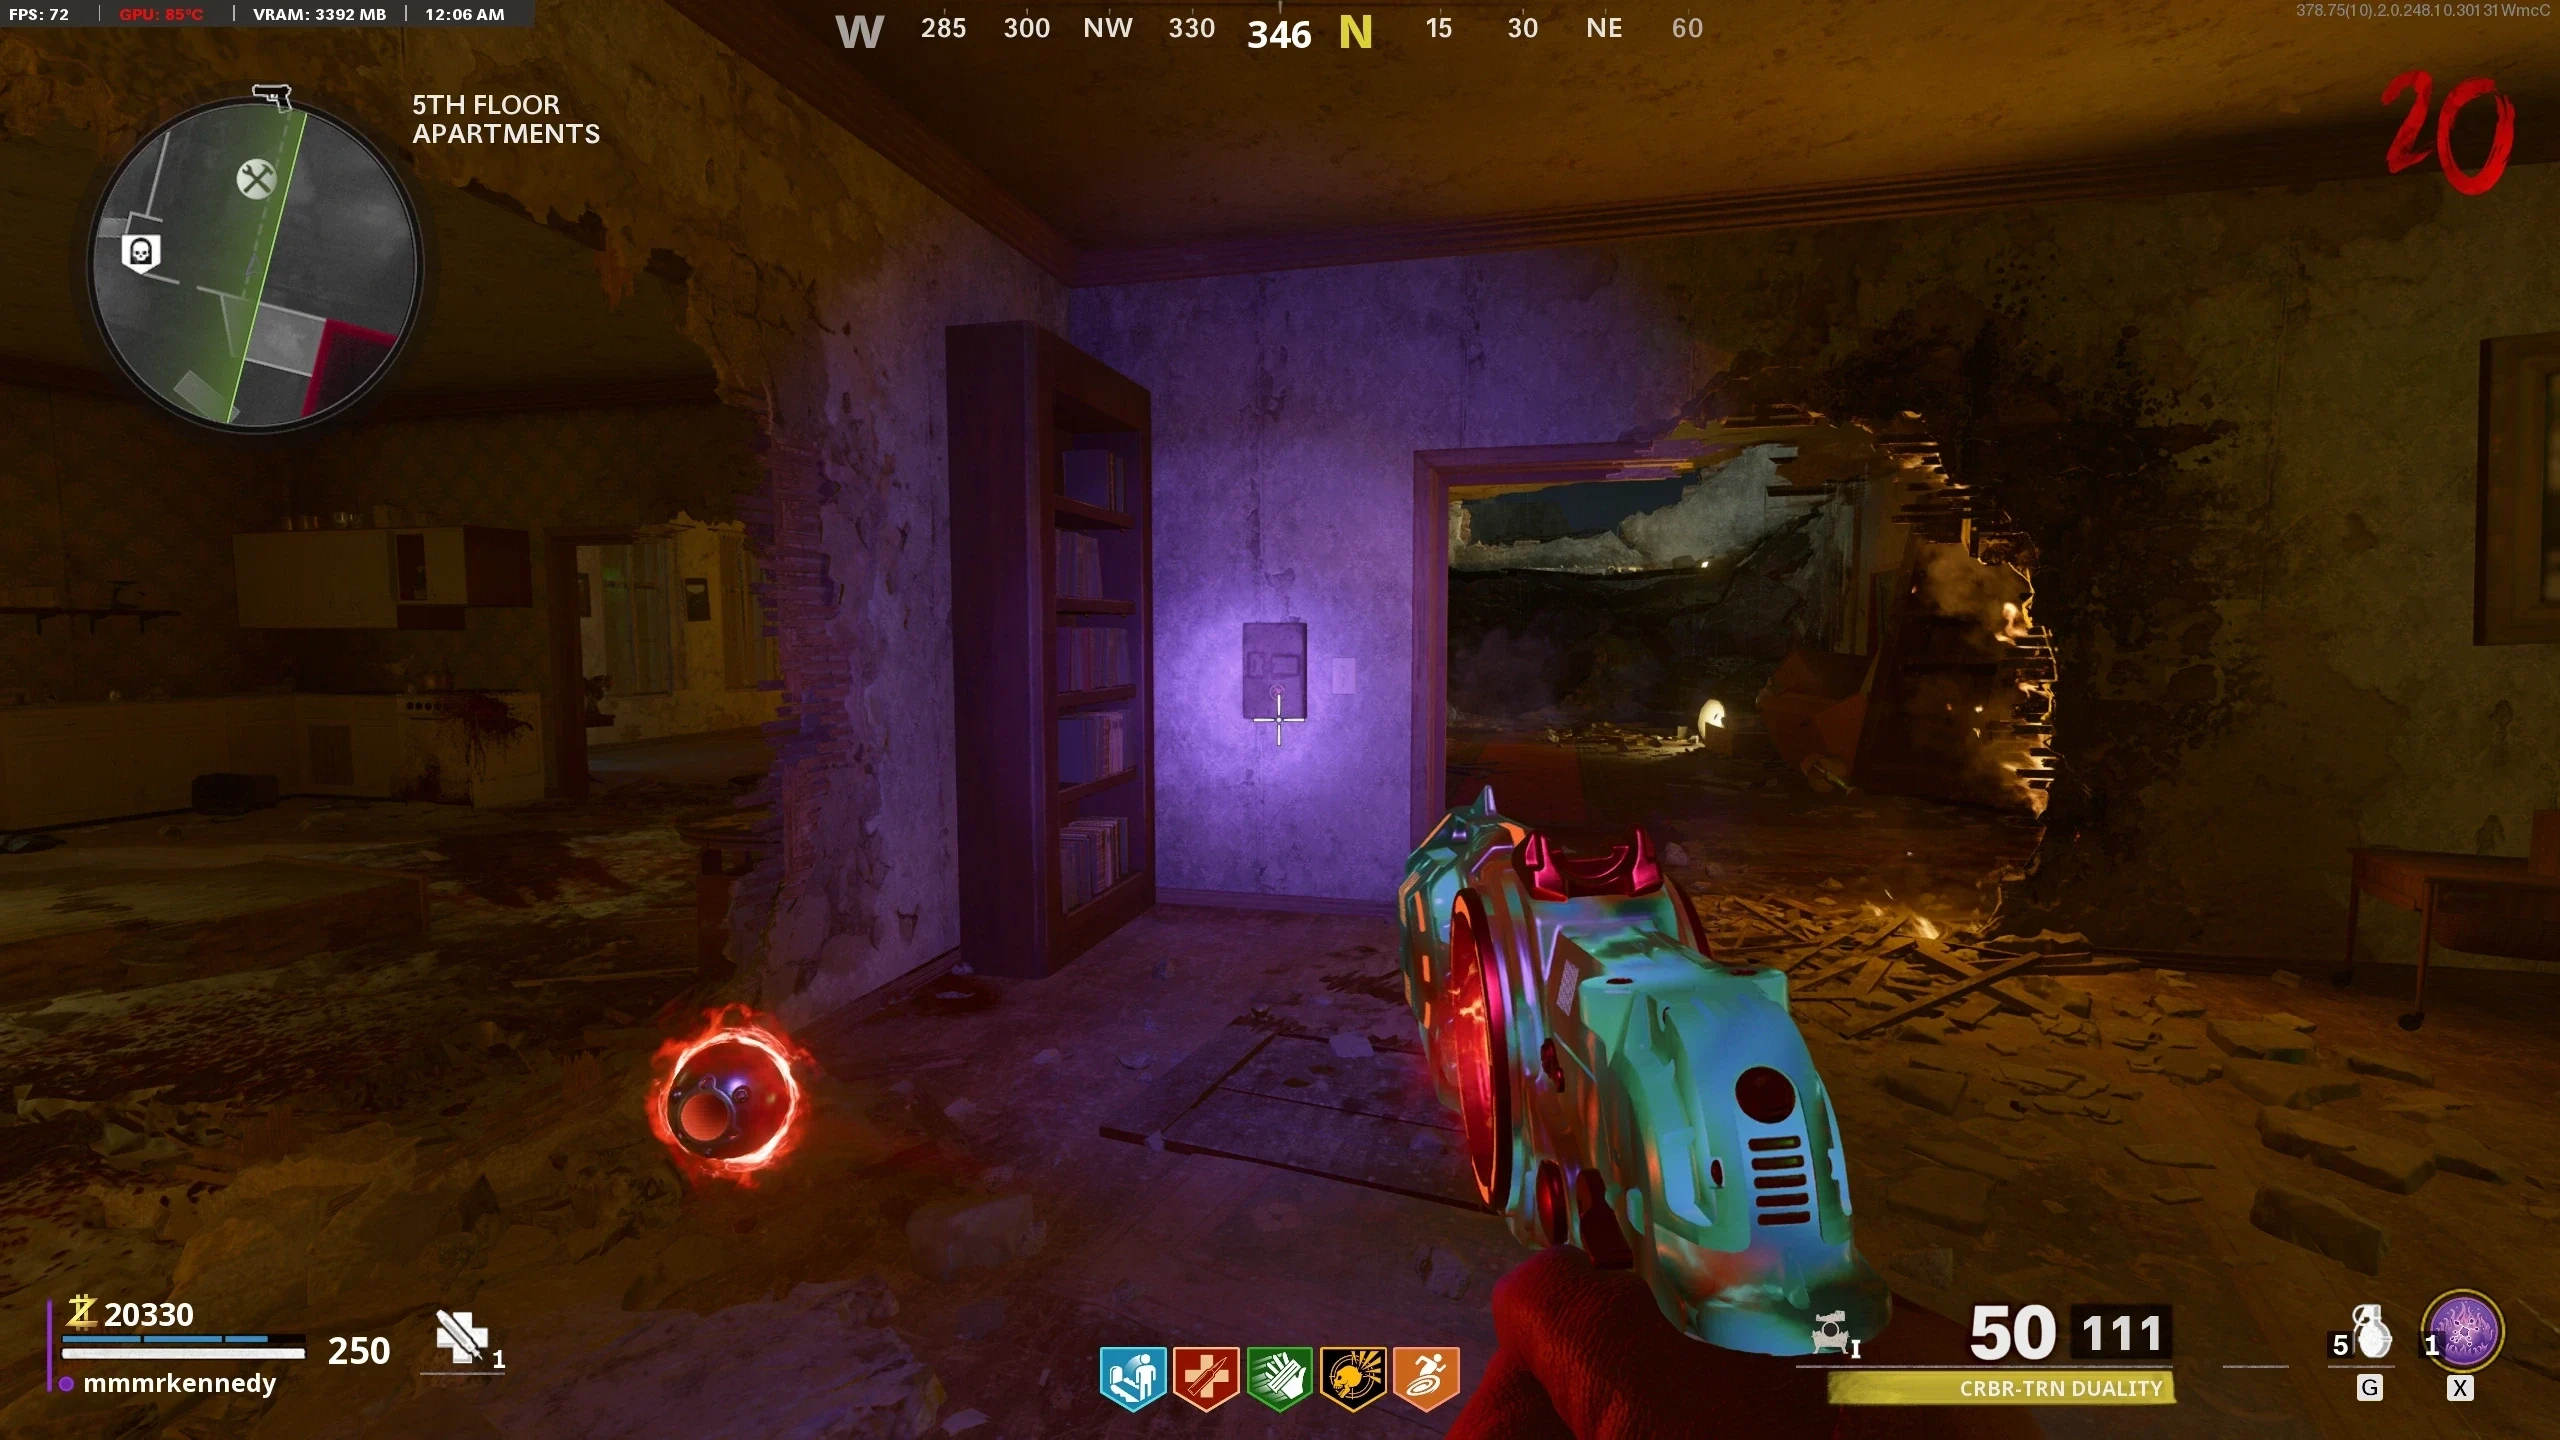
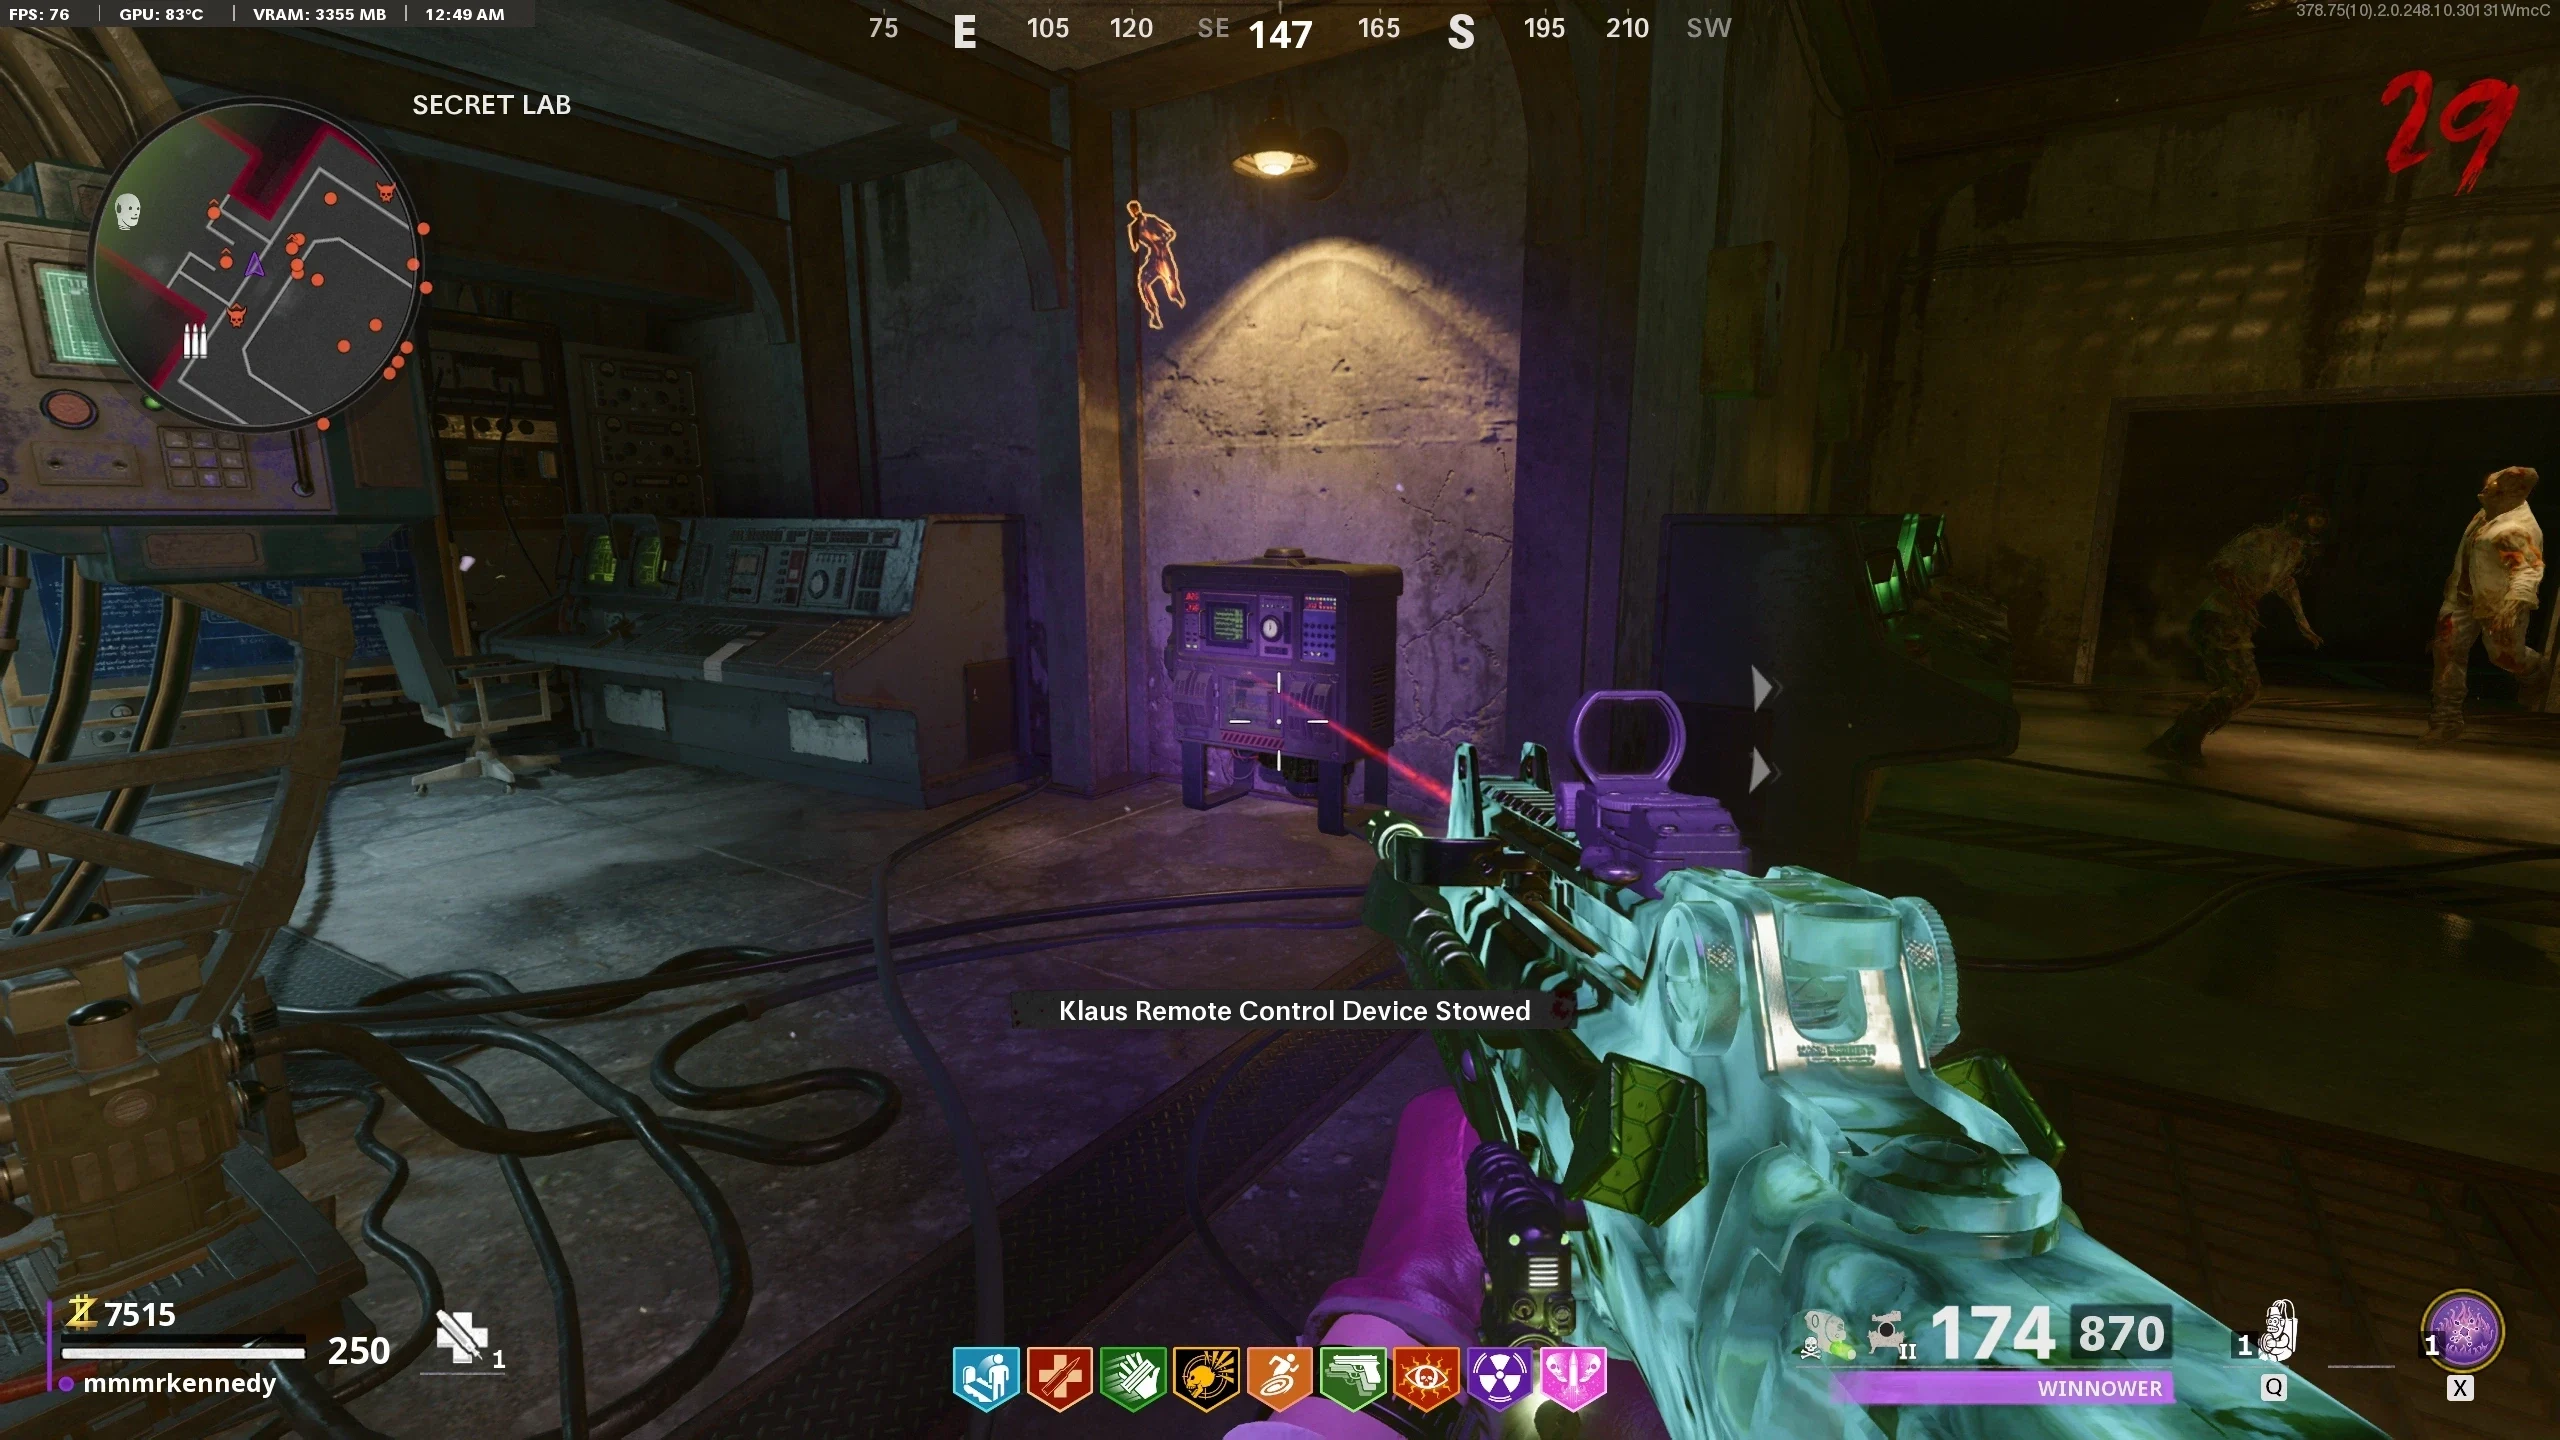
- Shoot this machine with the CBRS-S to open it. Once open, the player can pick up an Endstation Lure.
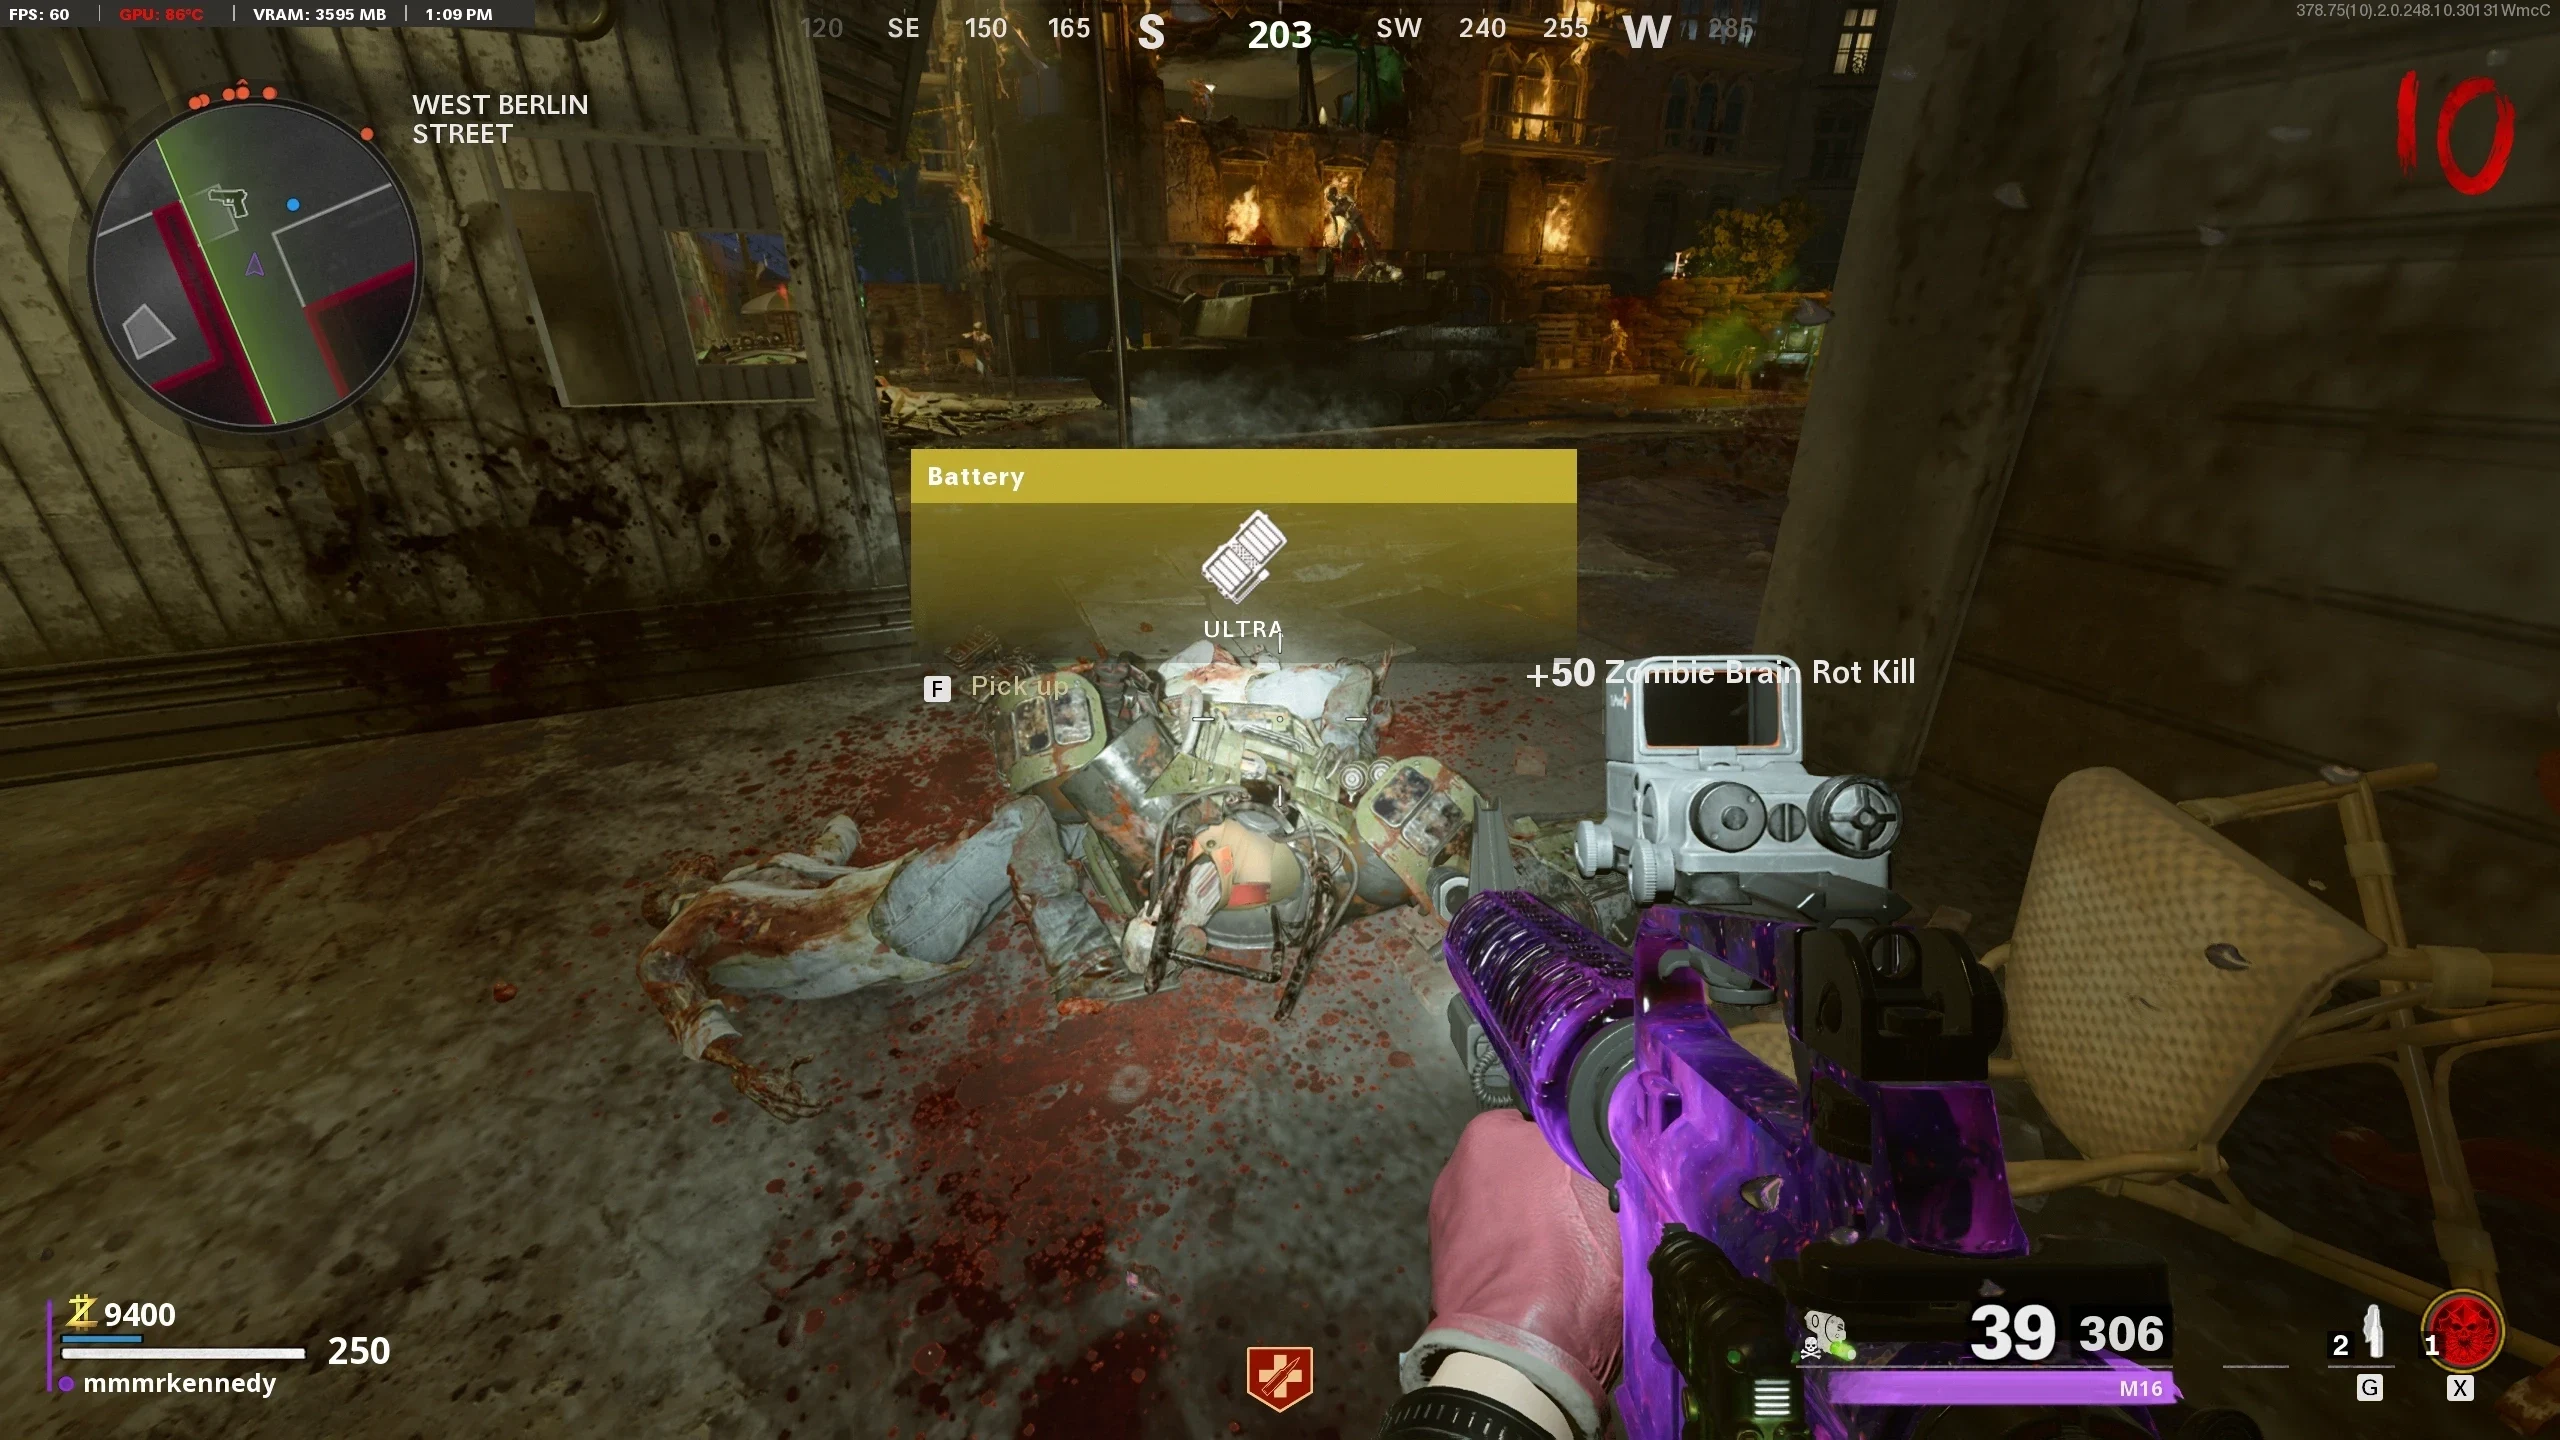
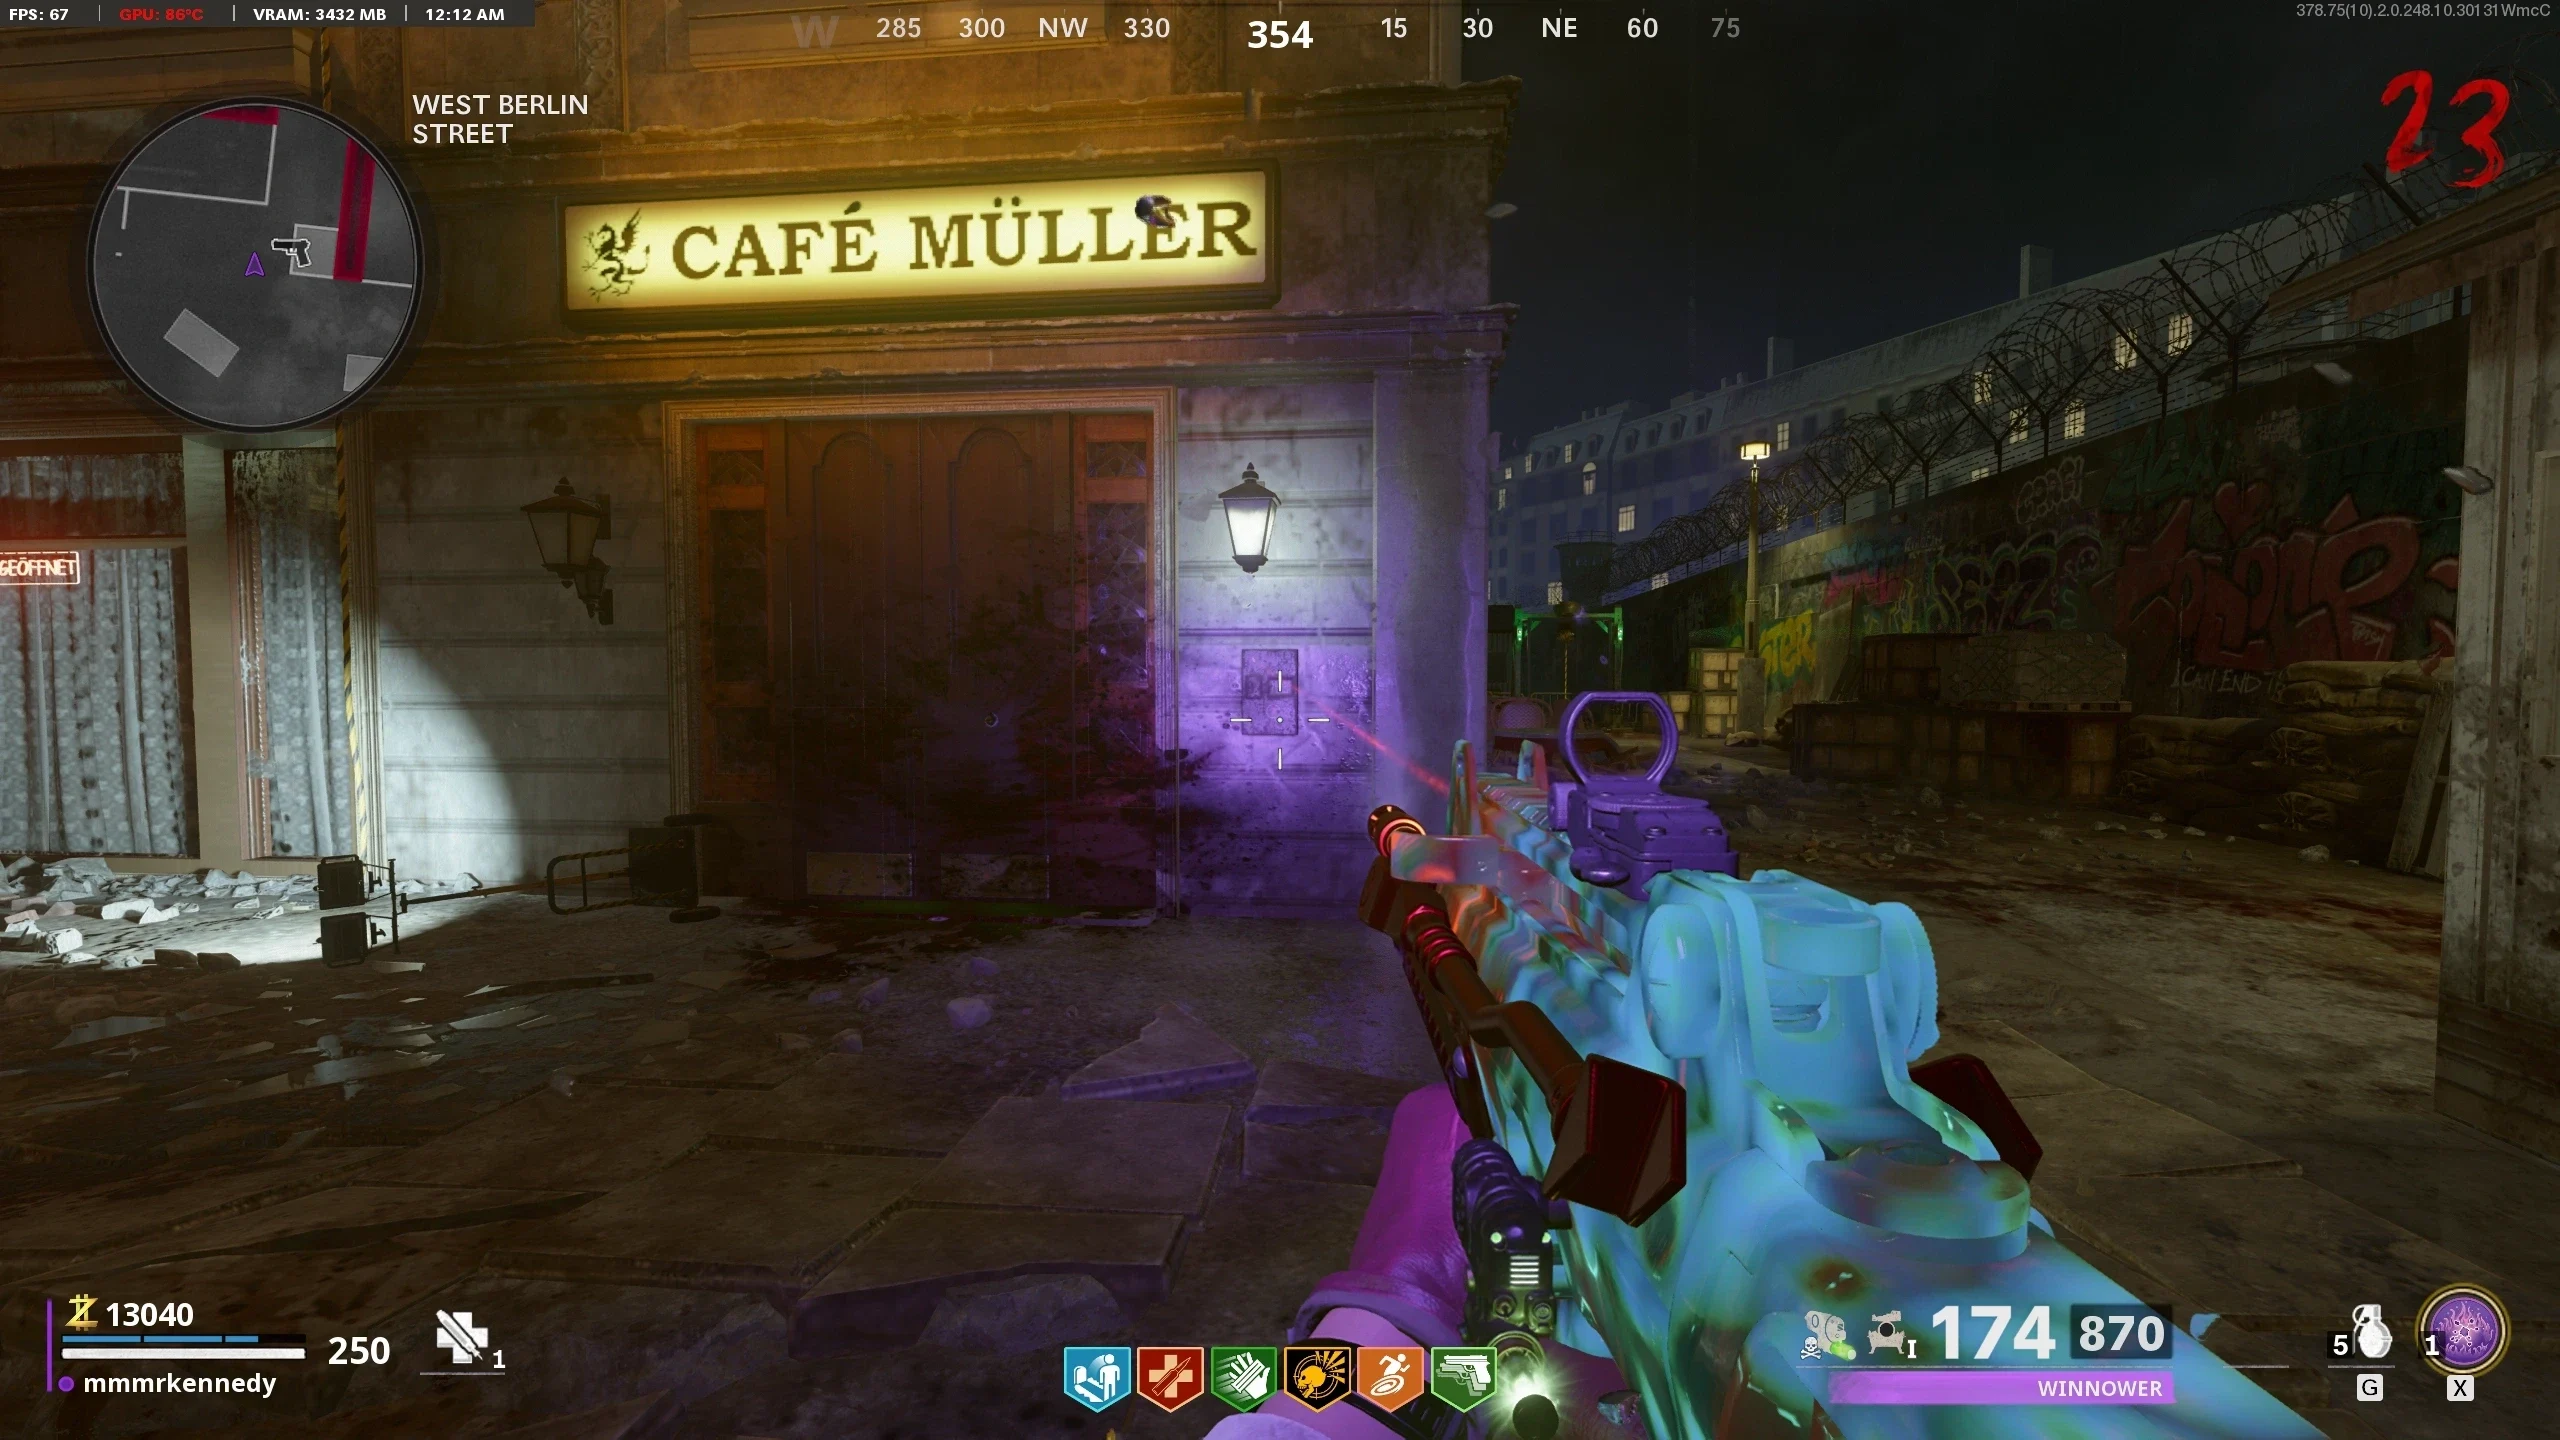
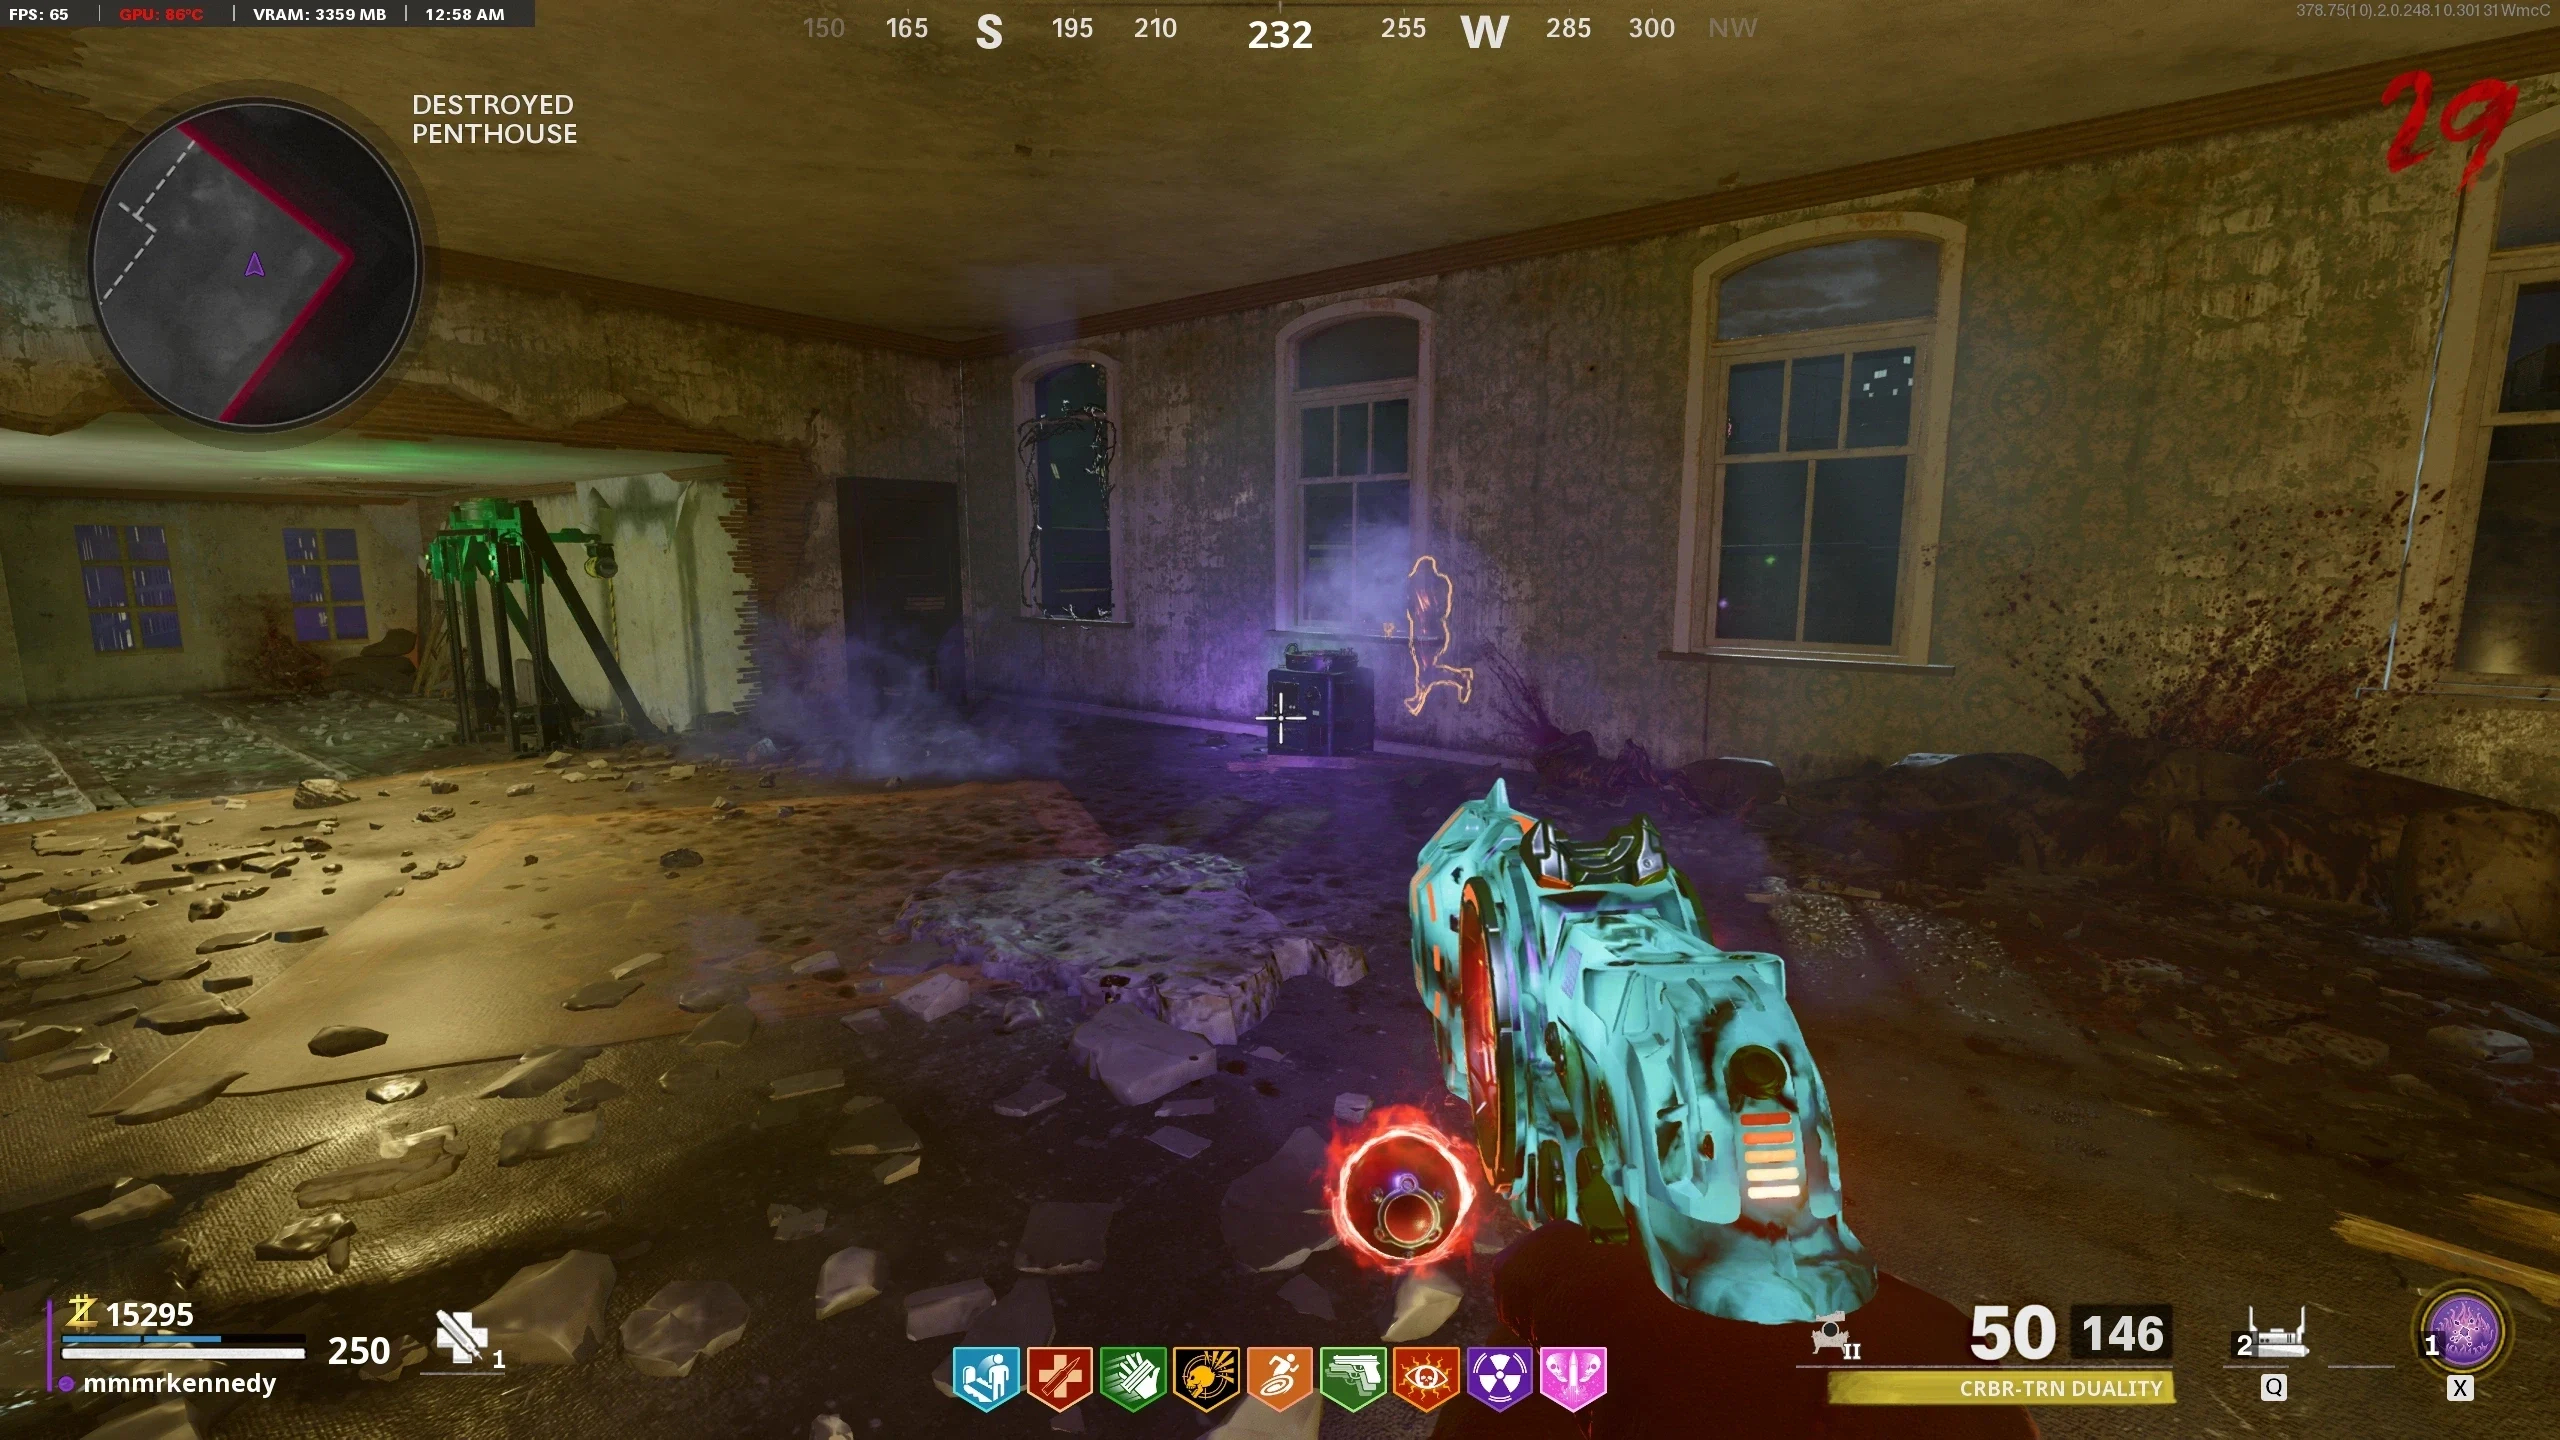
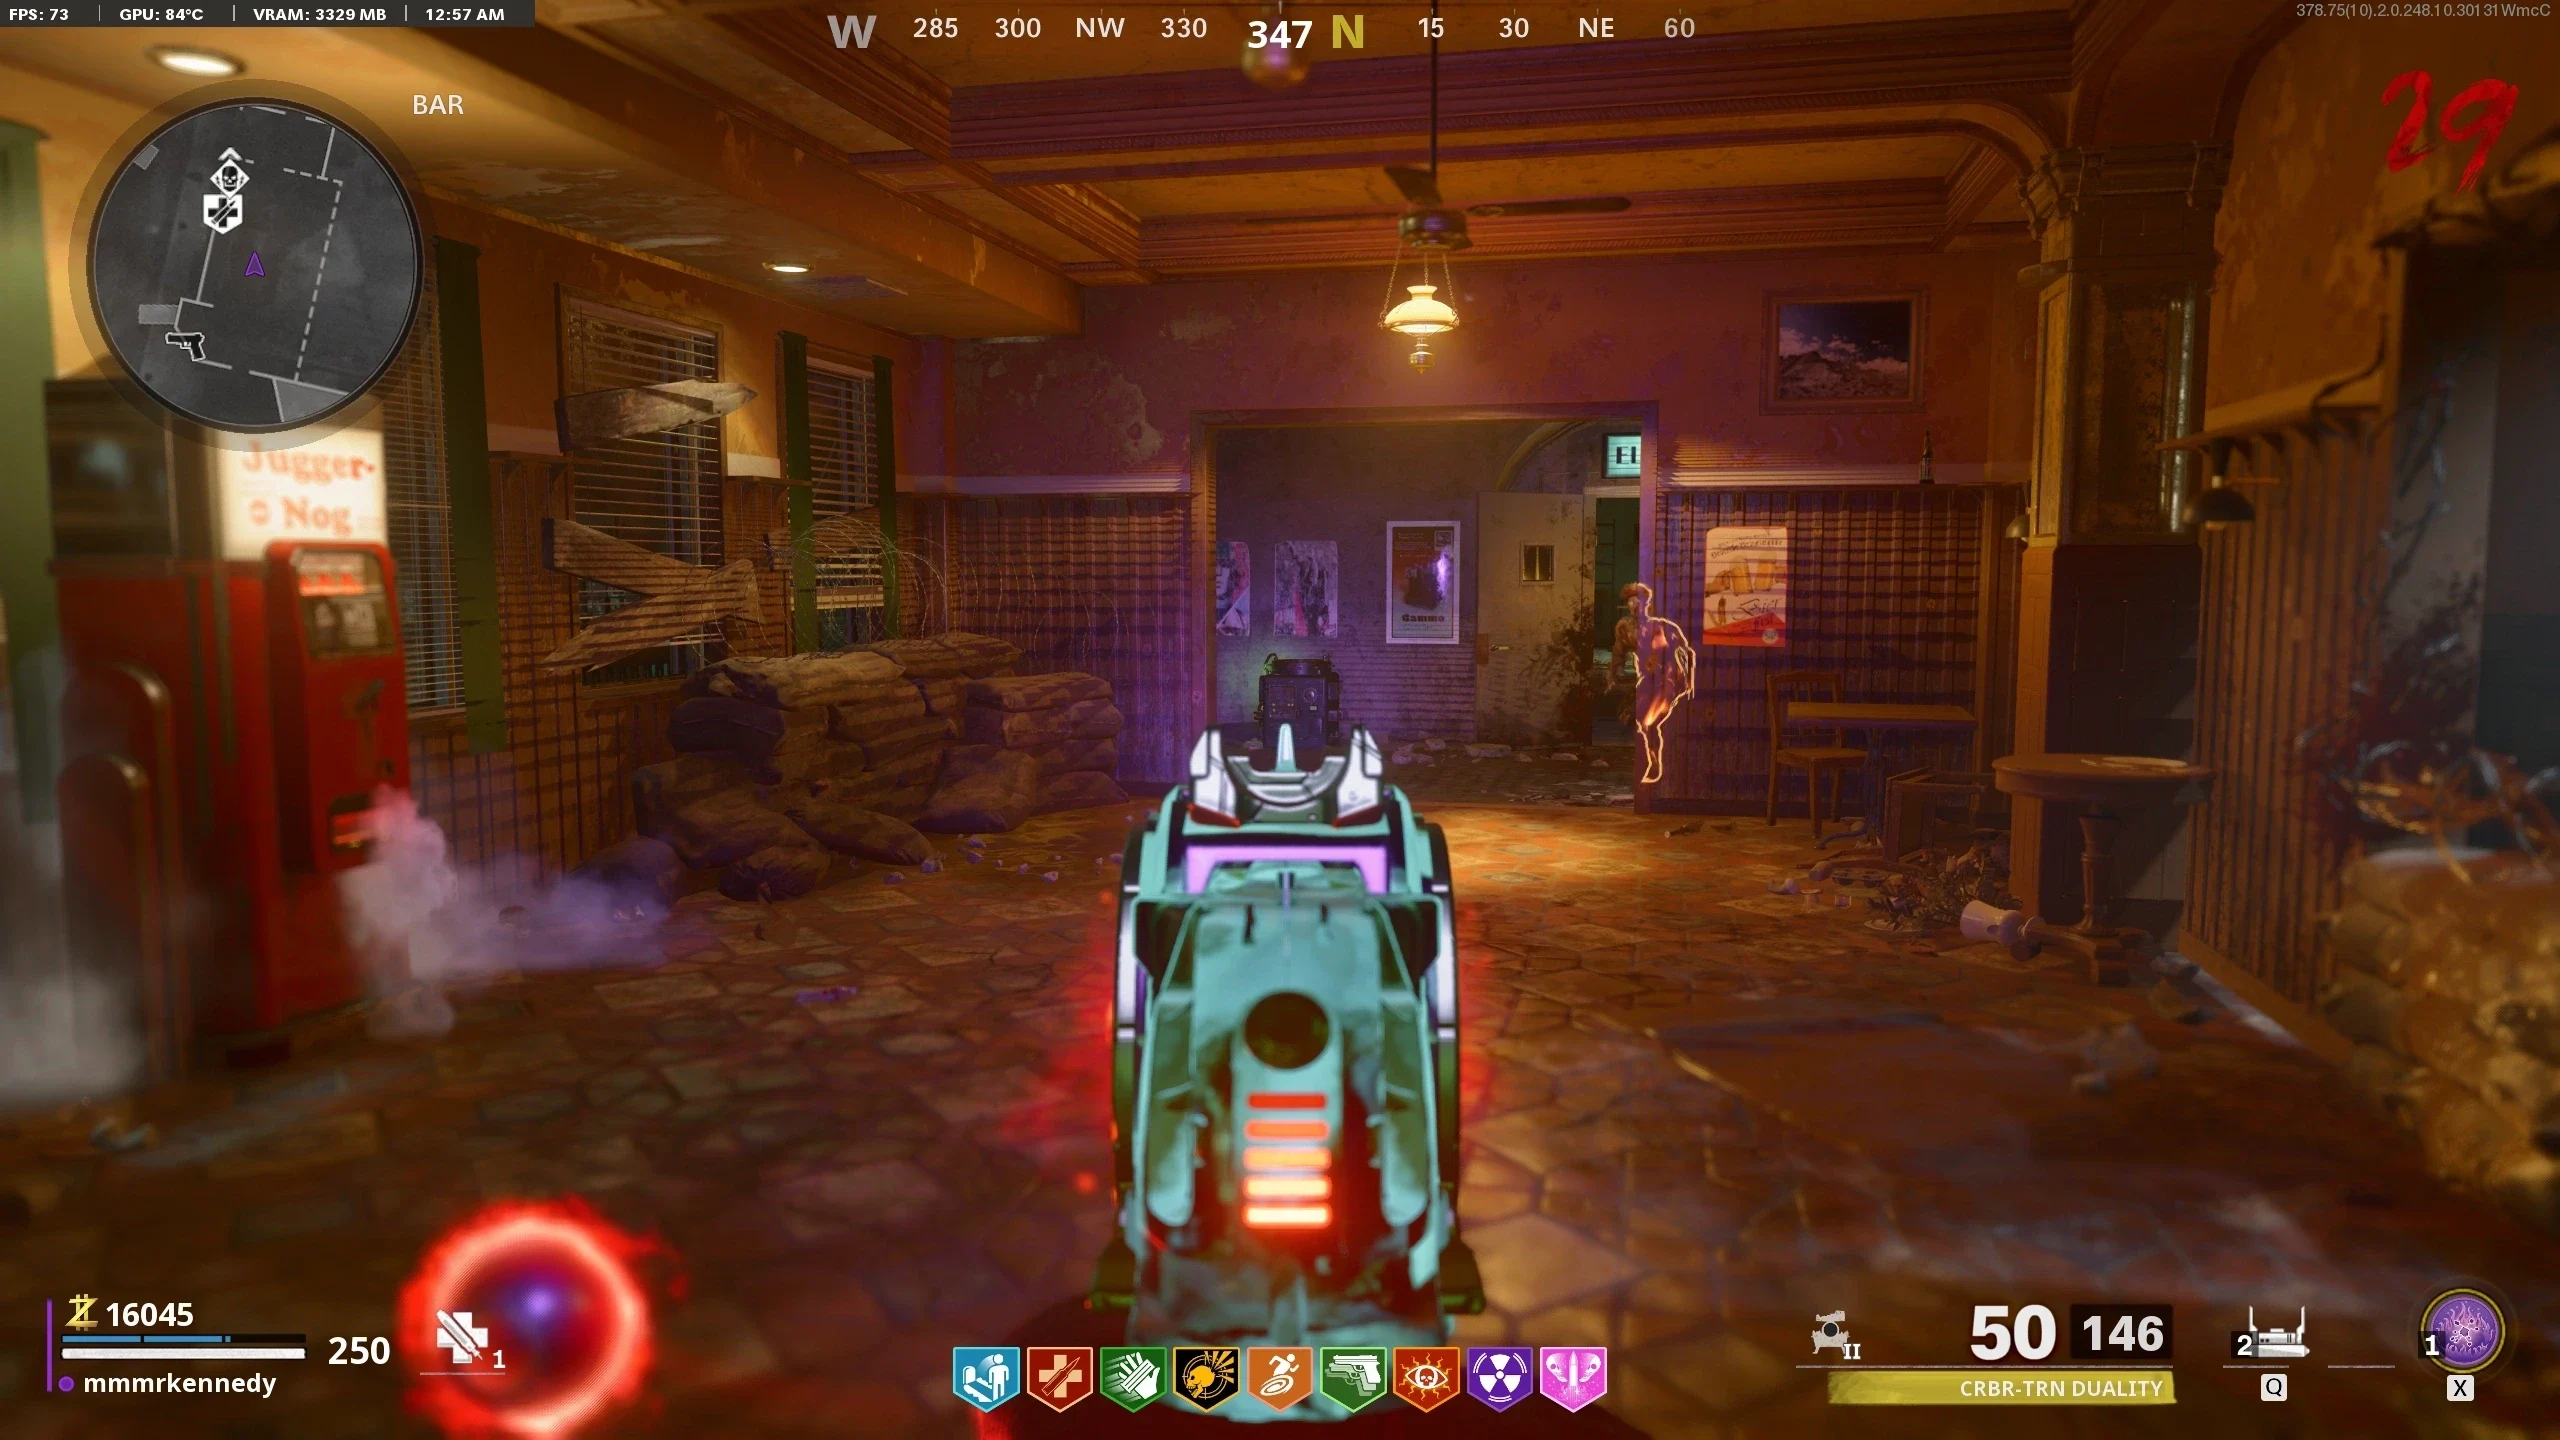
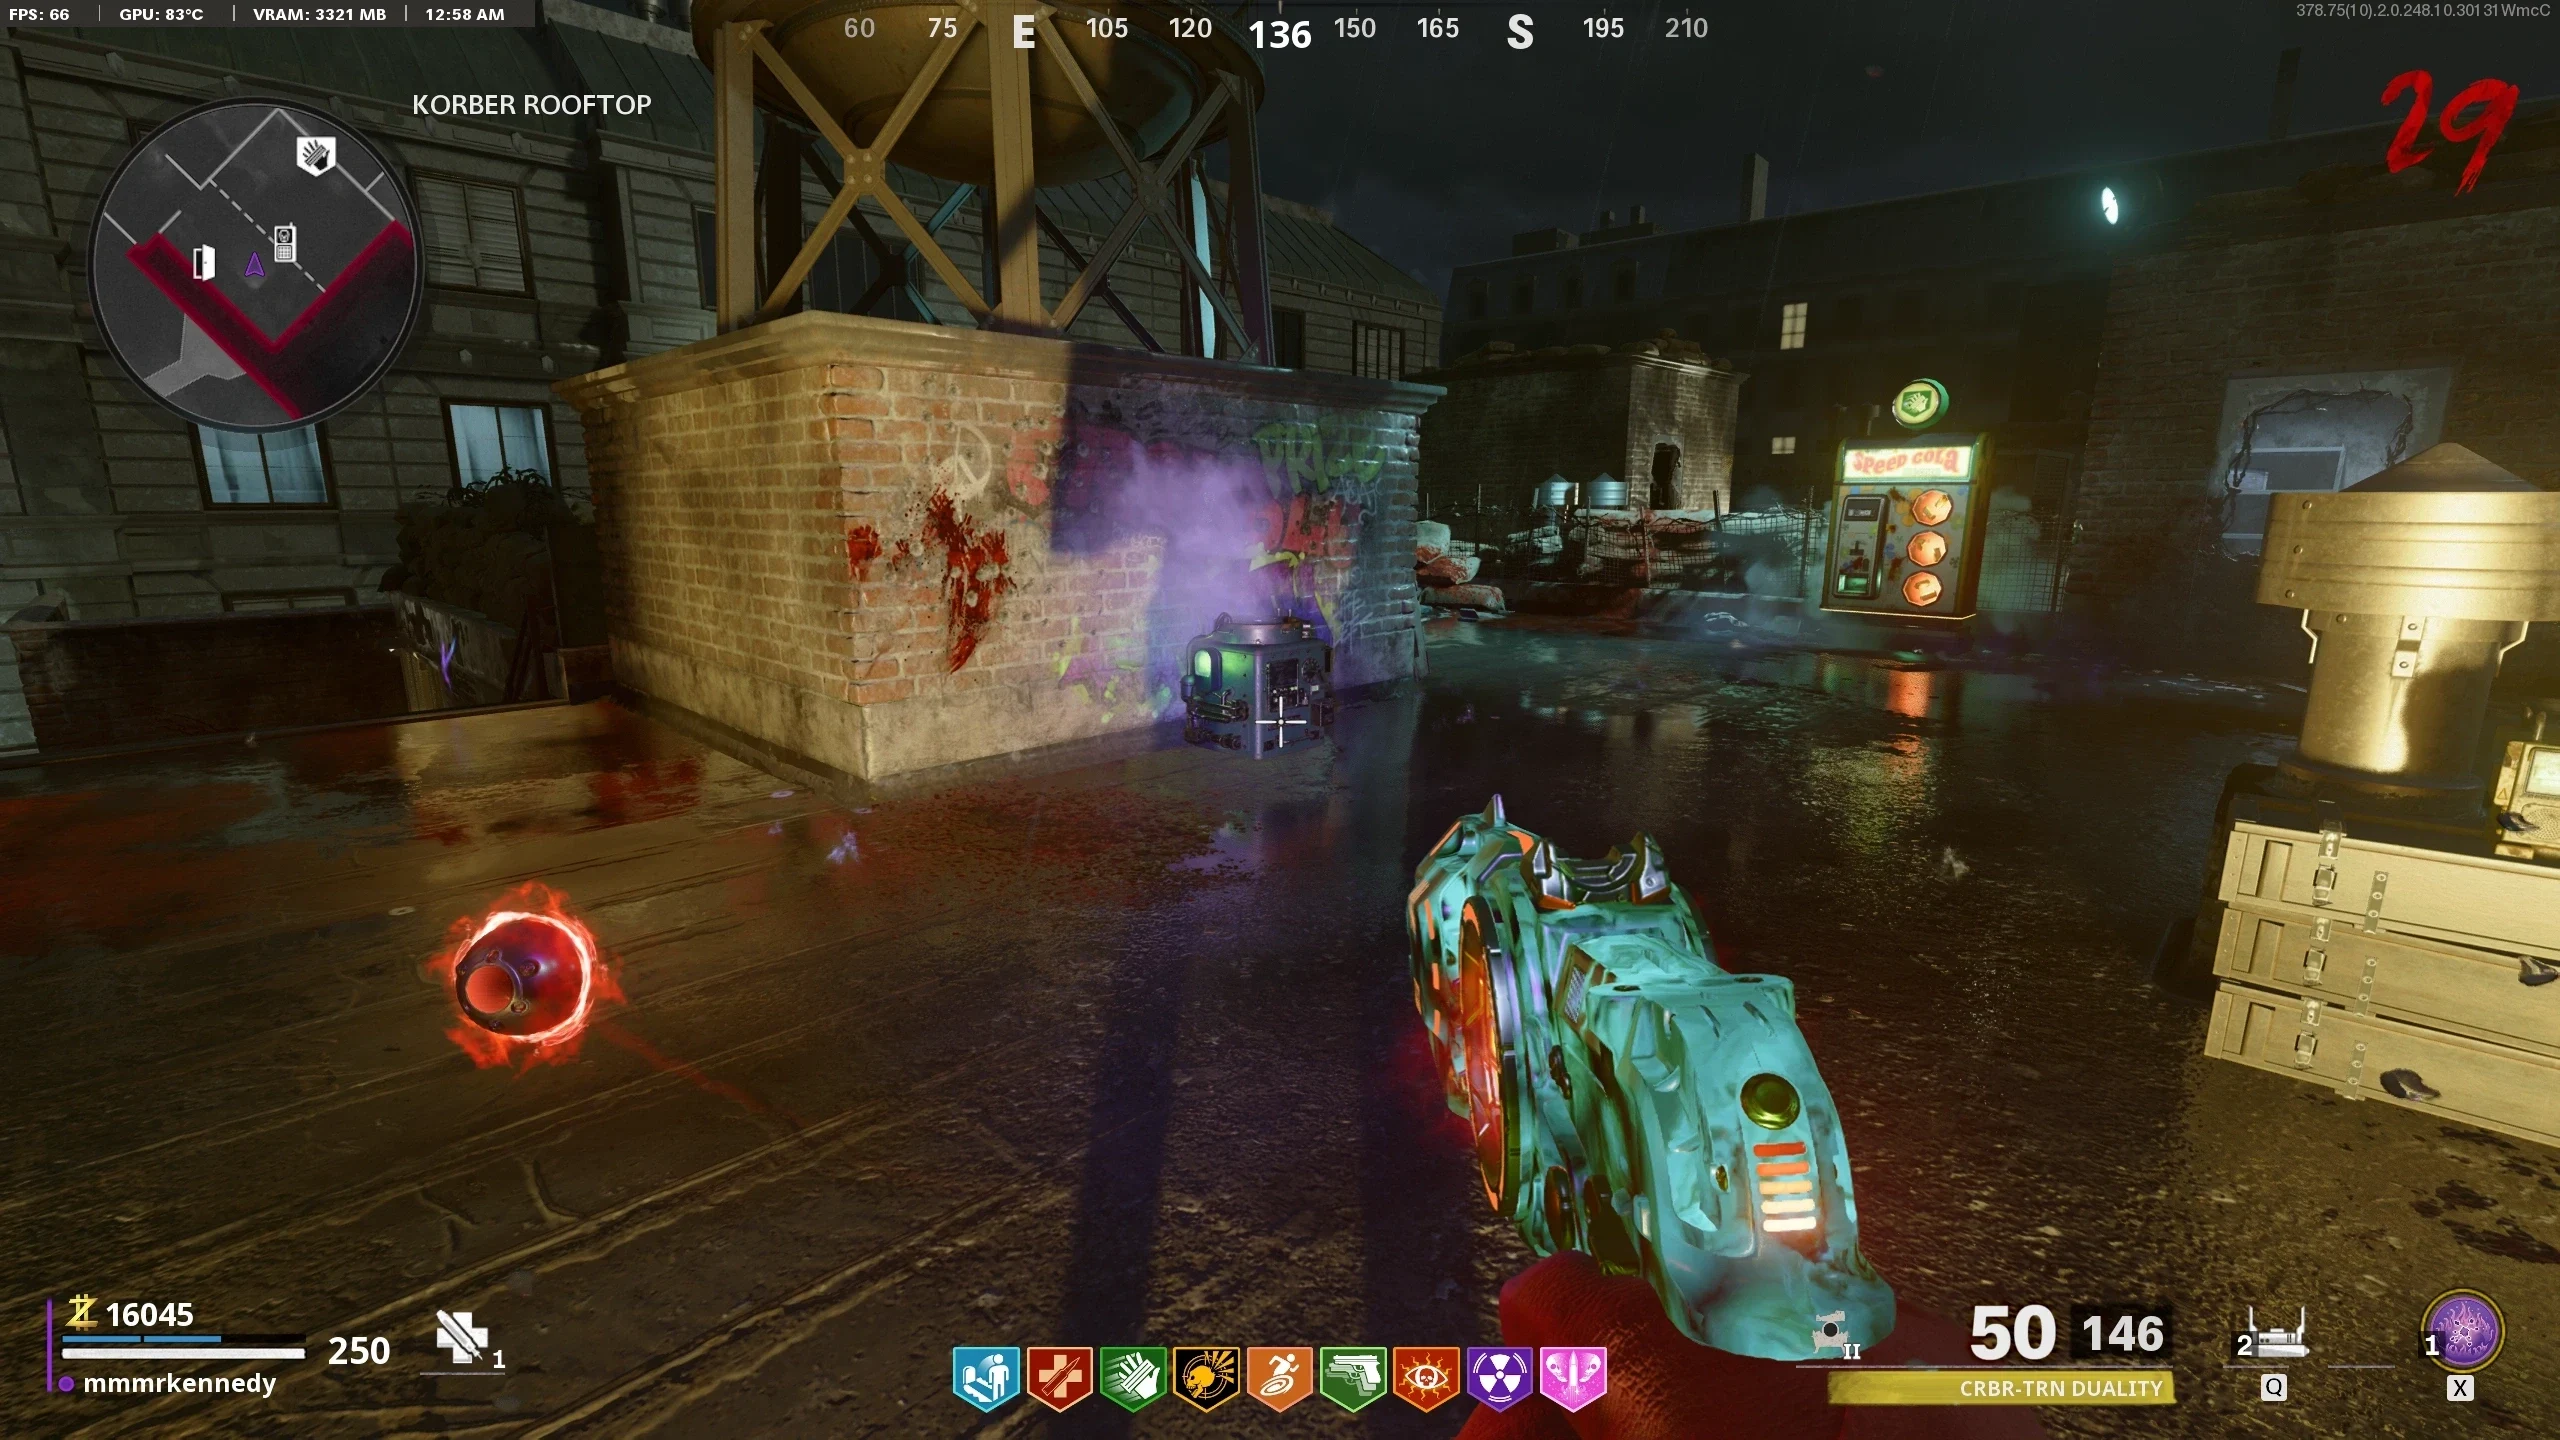
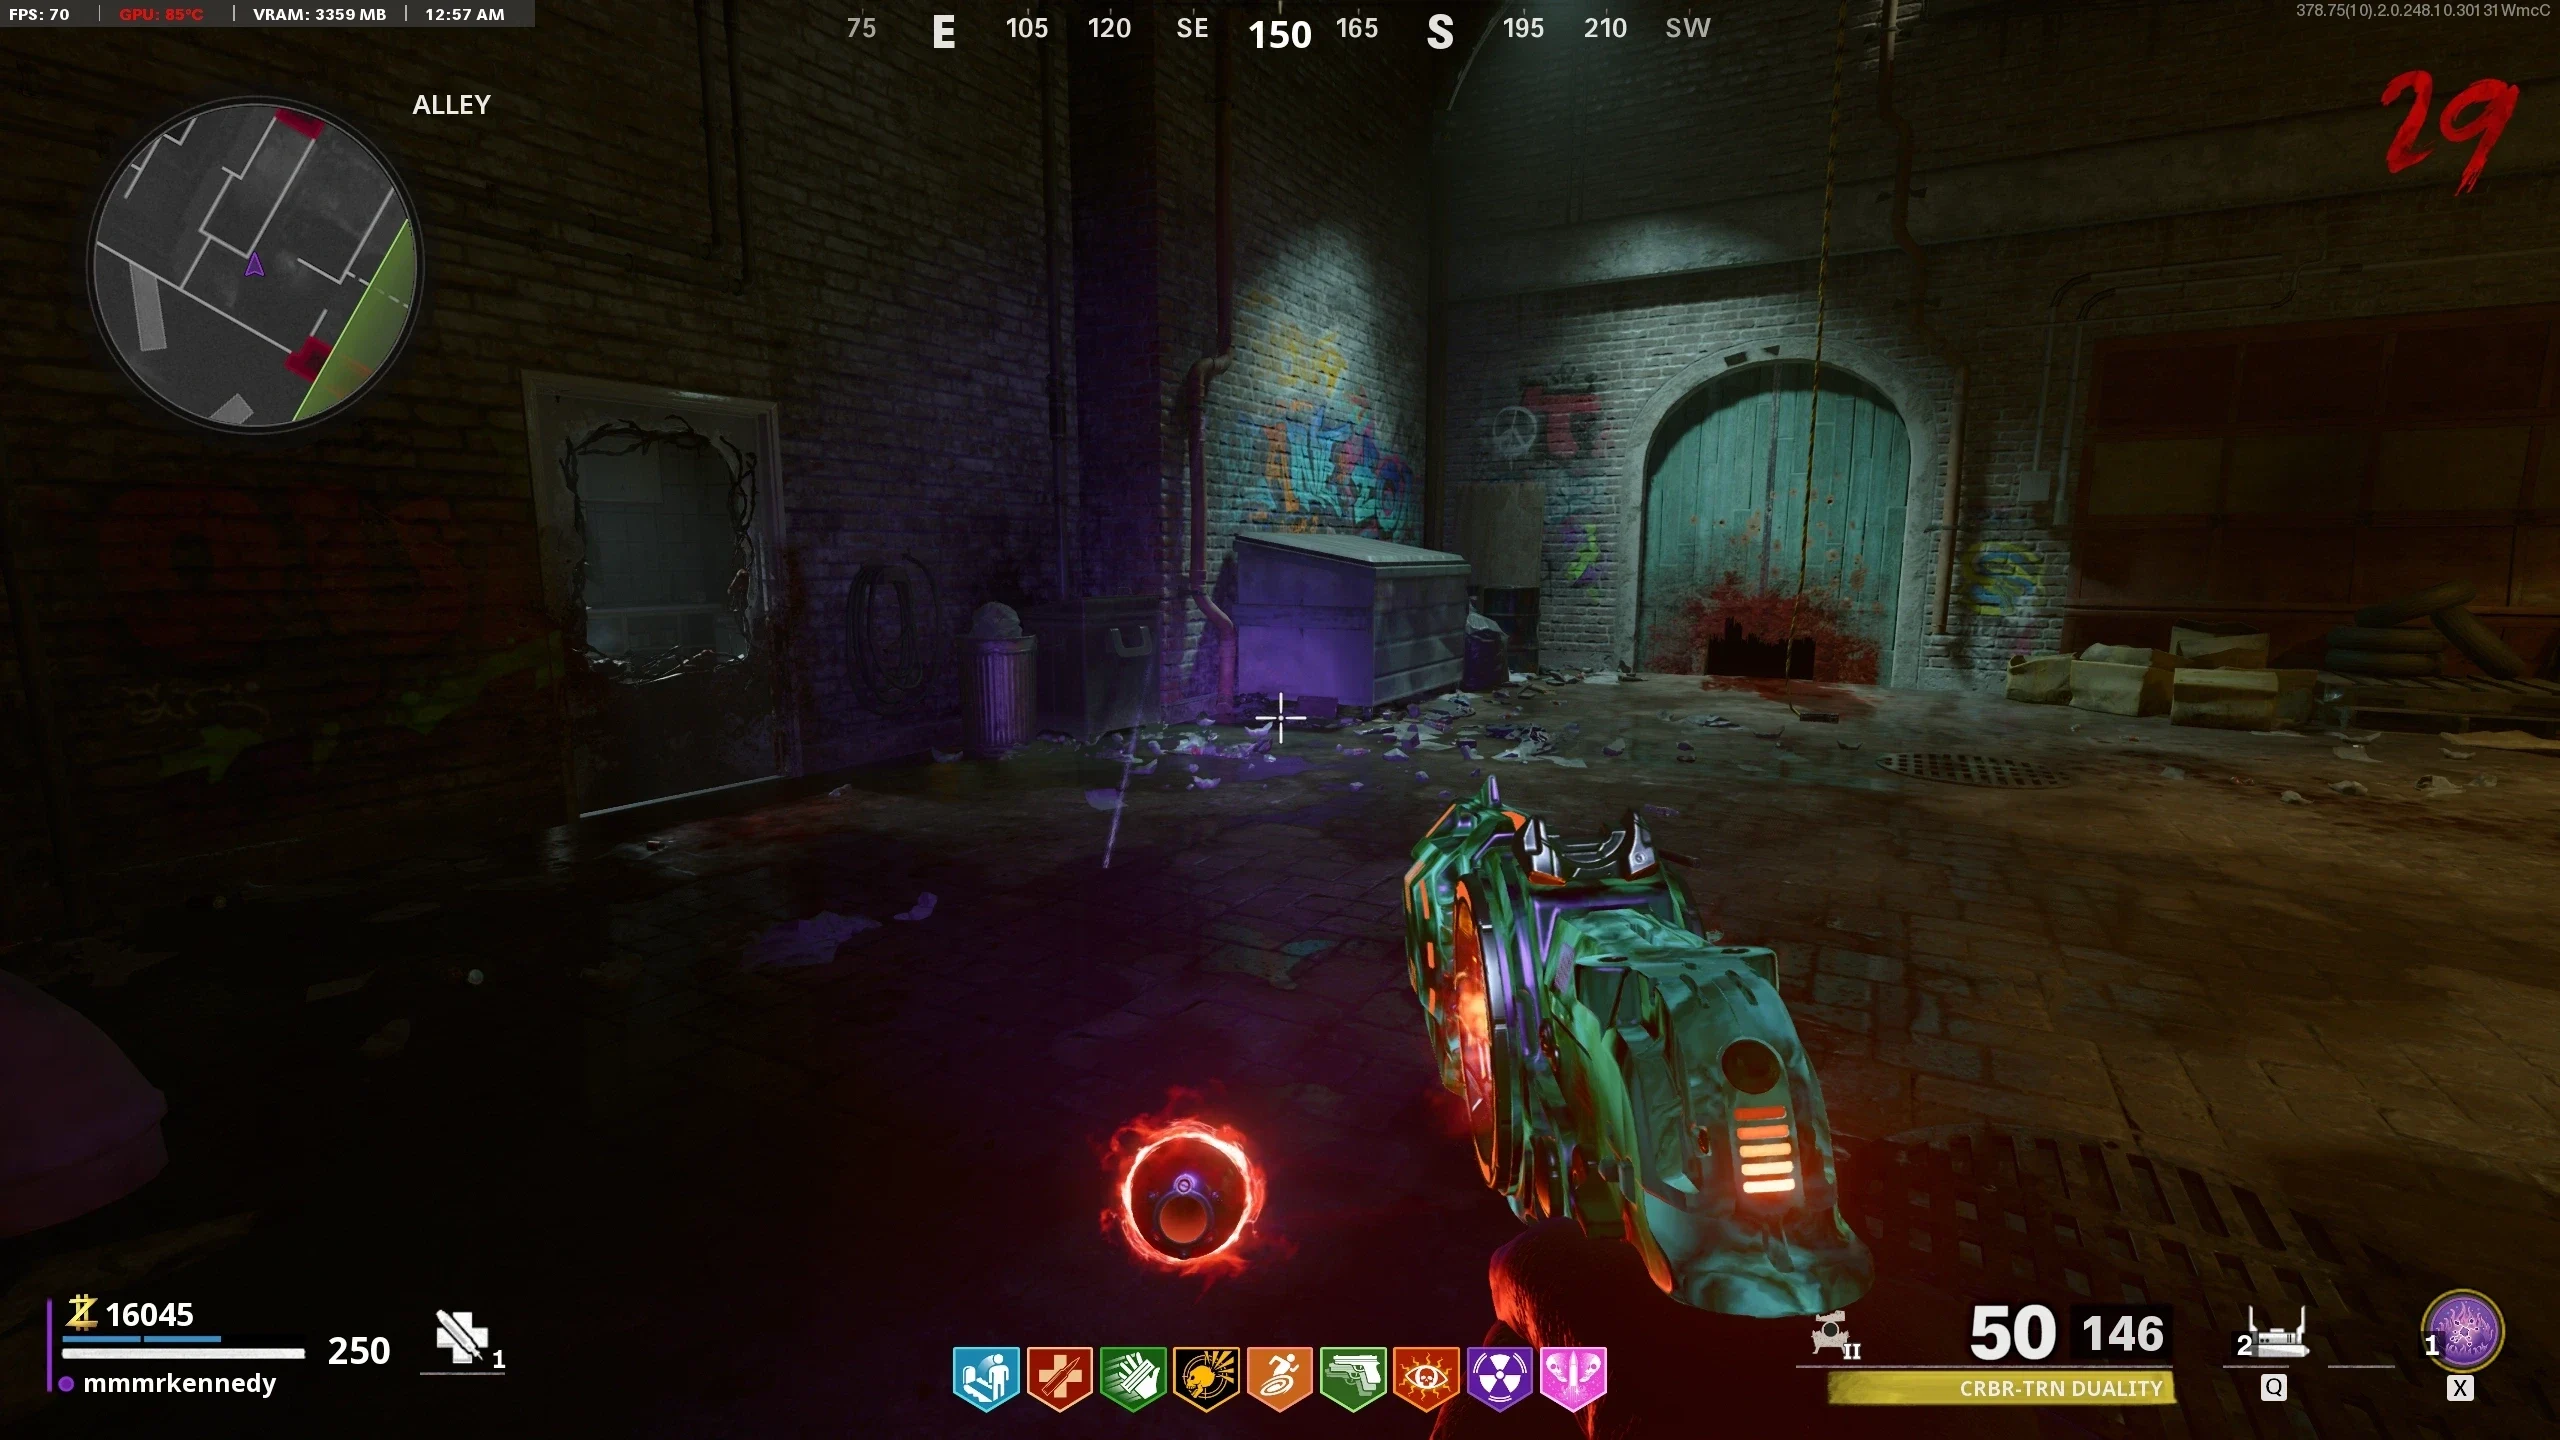
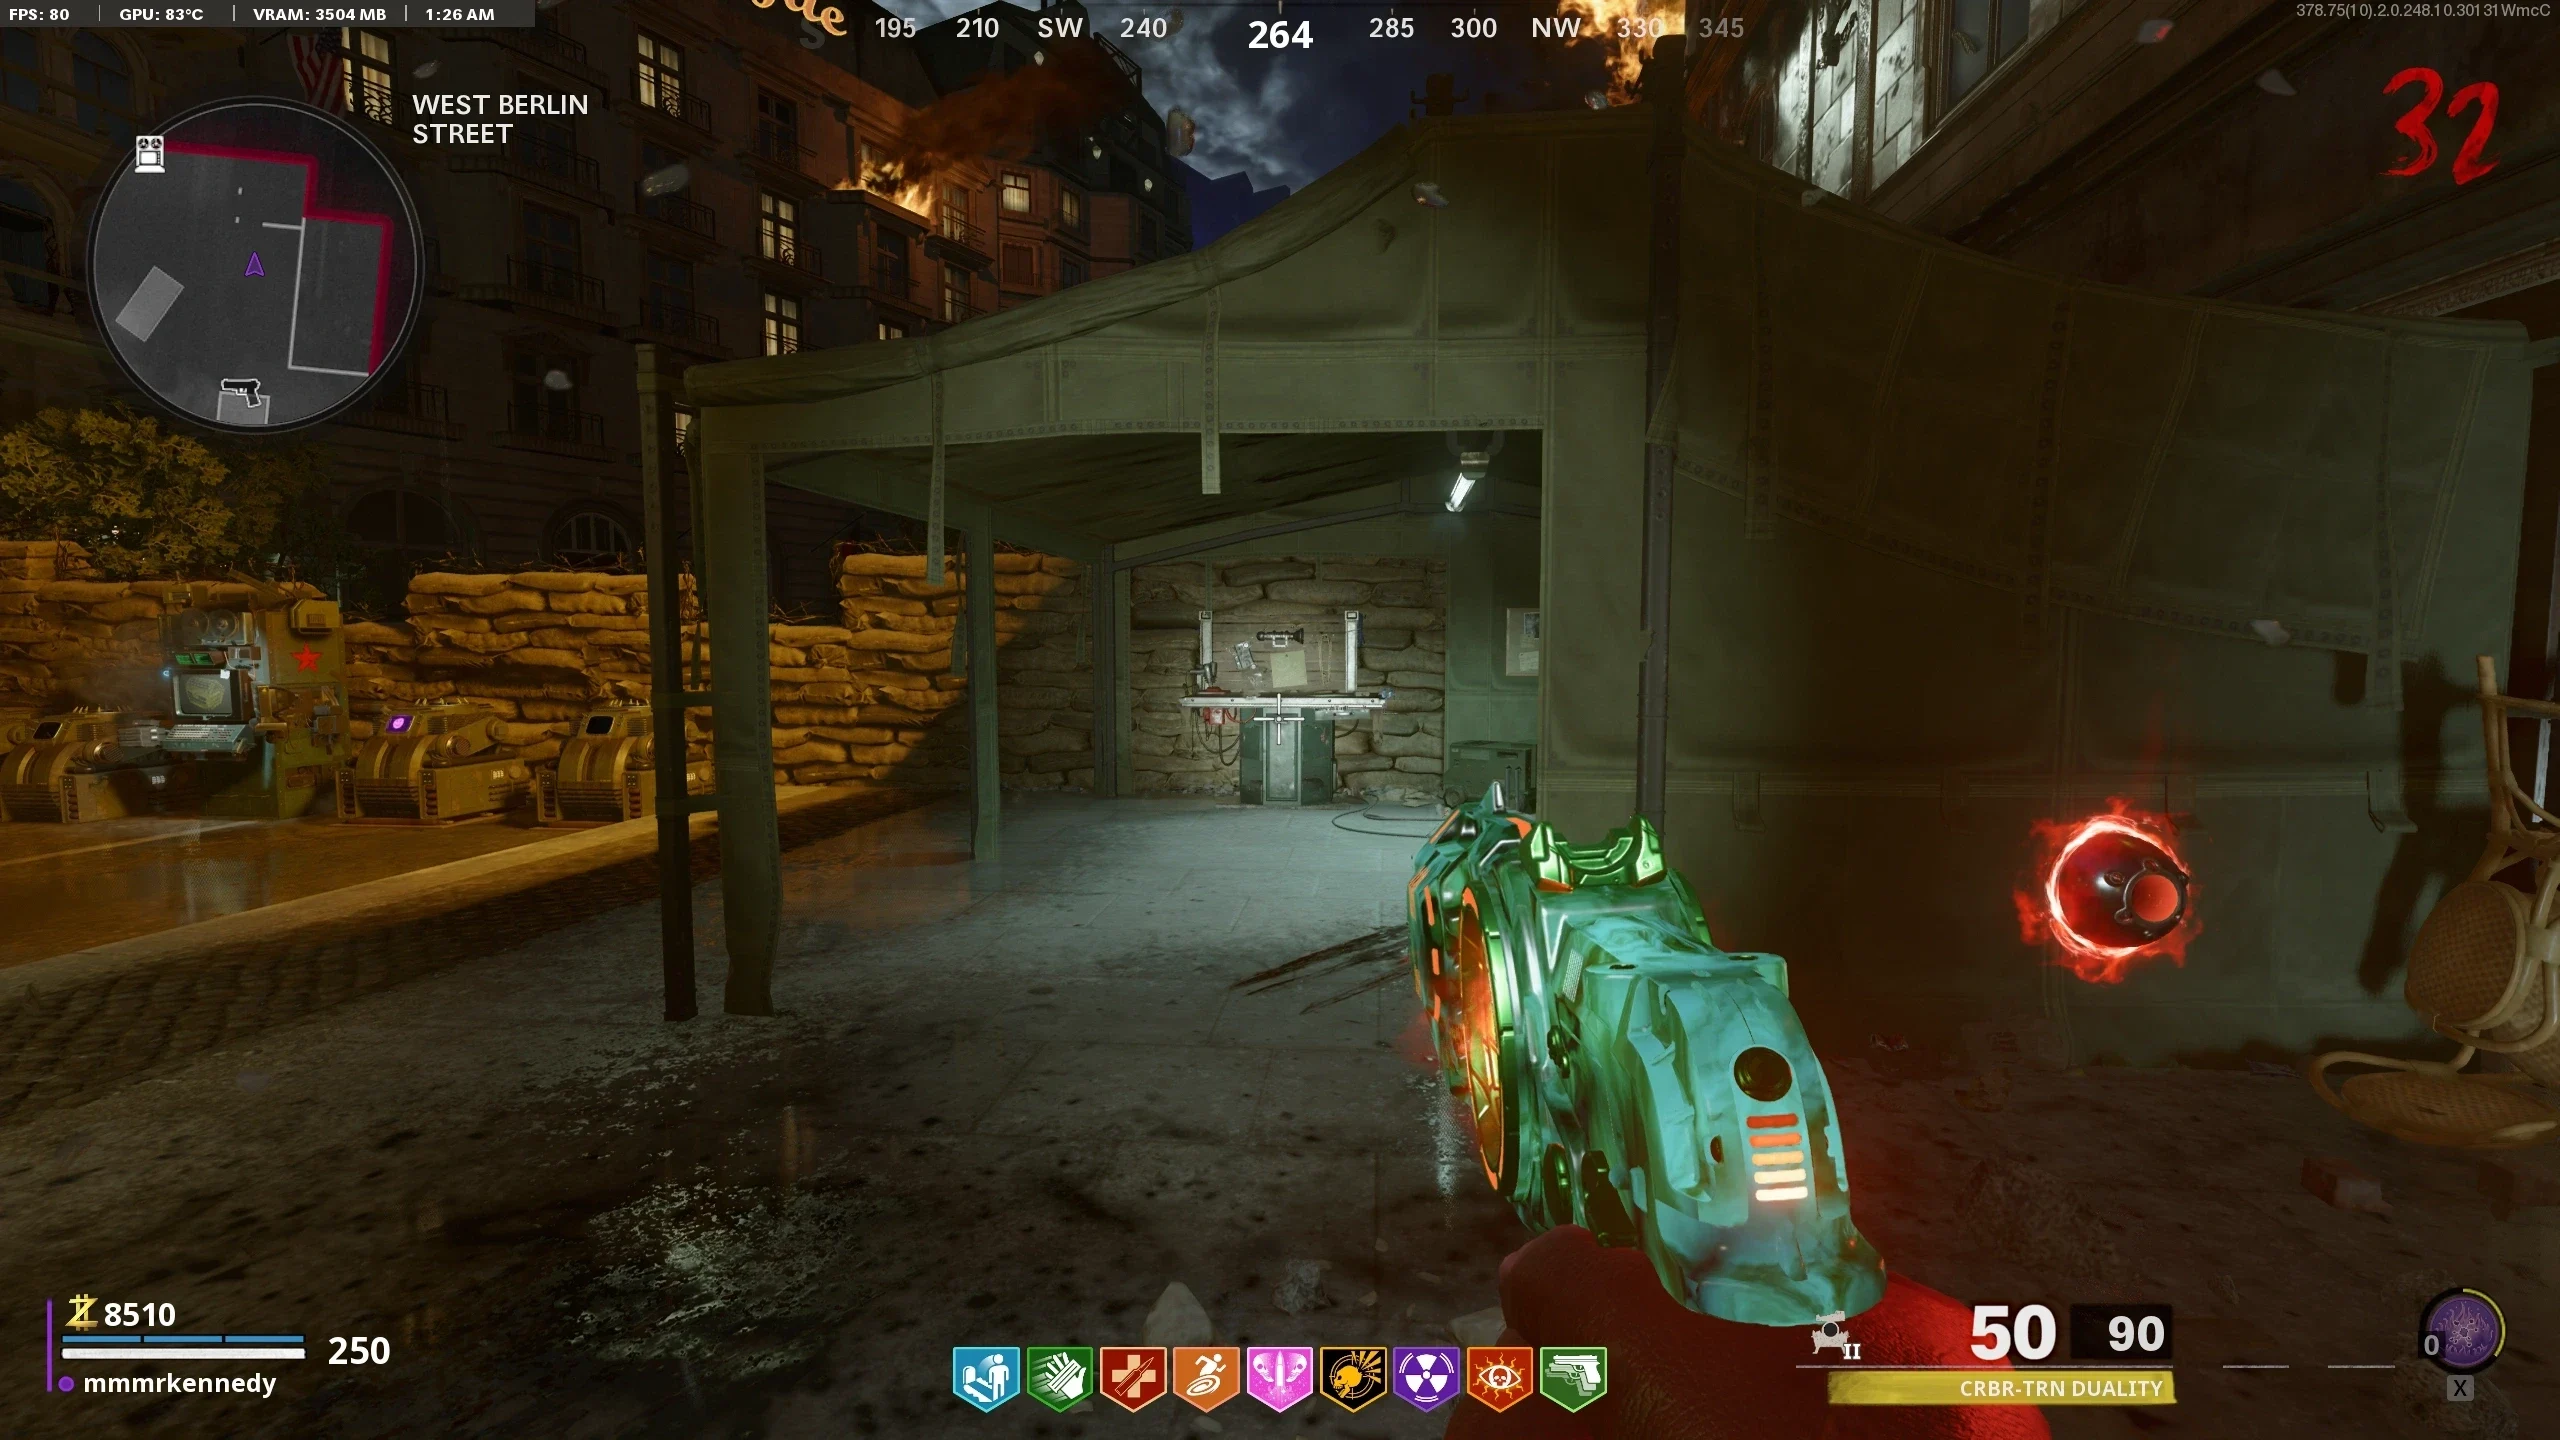
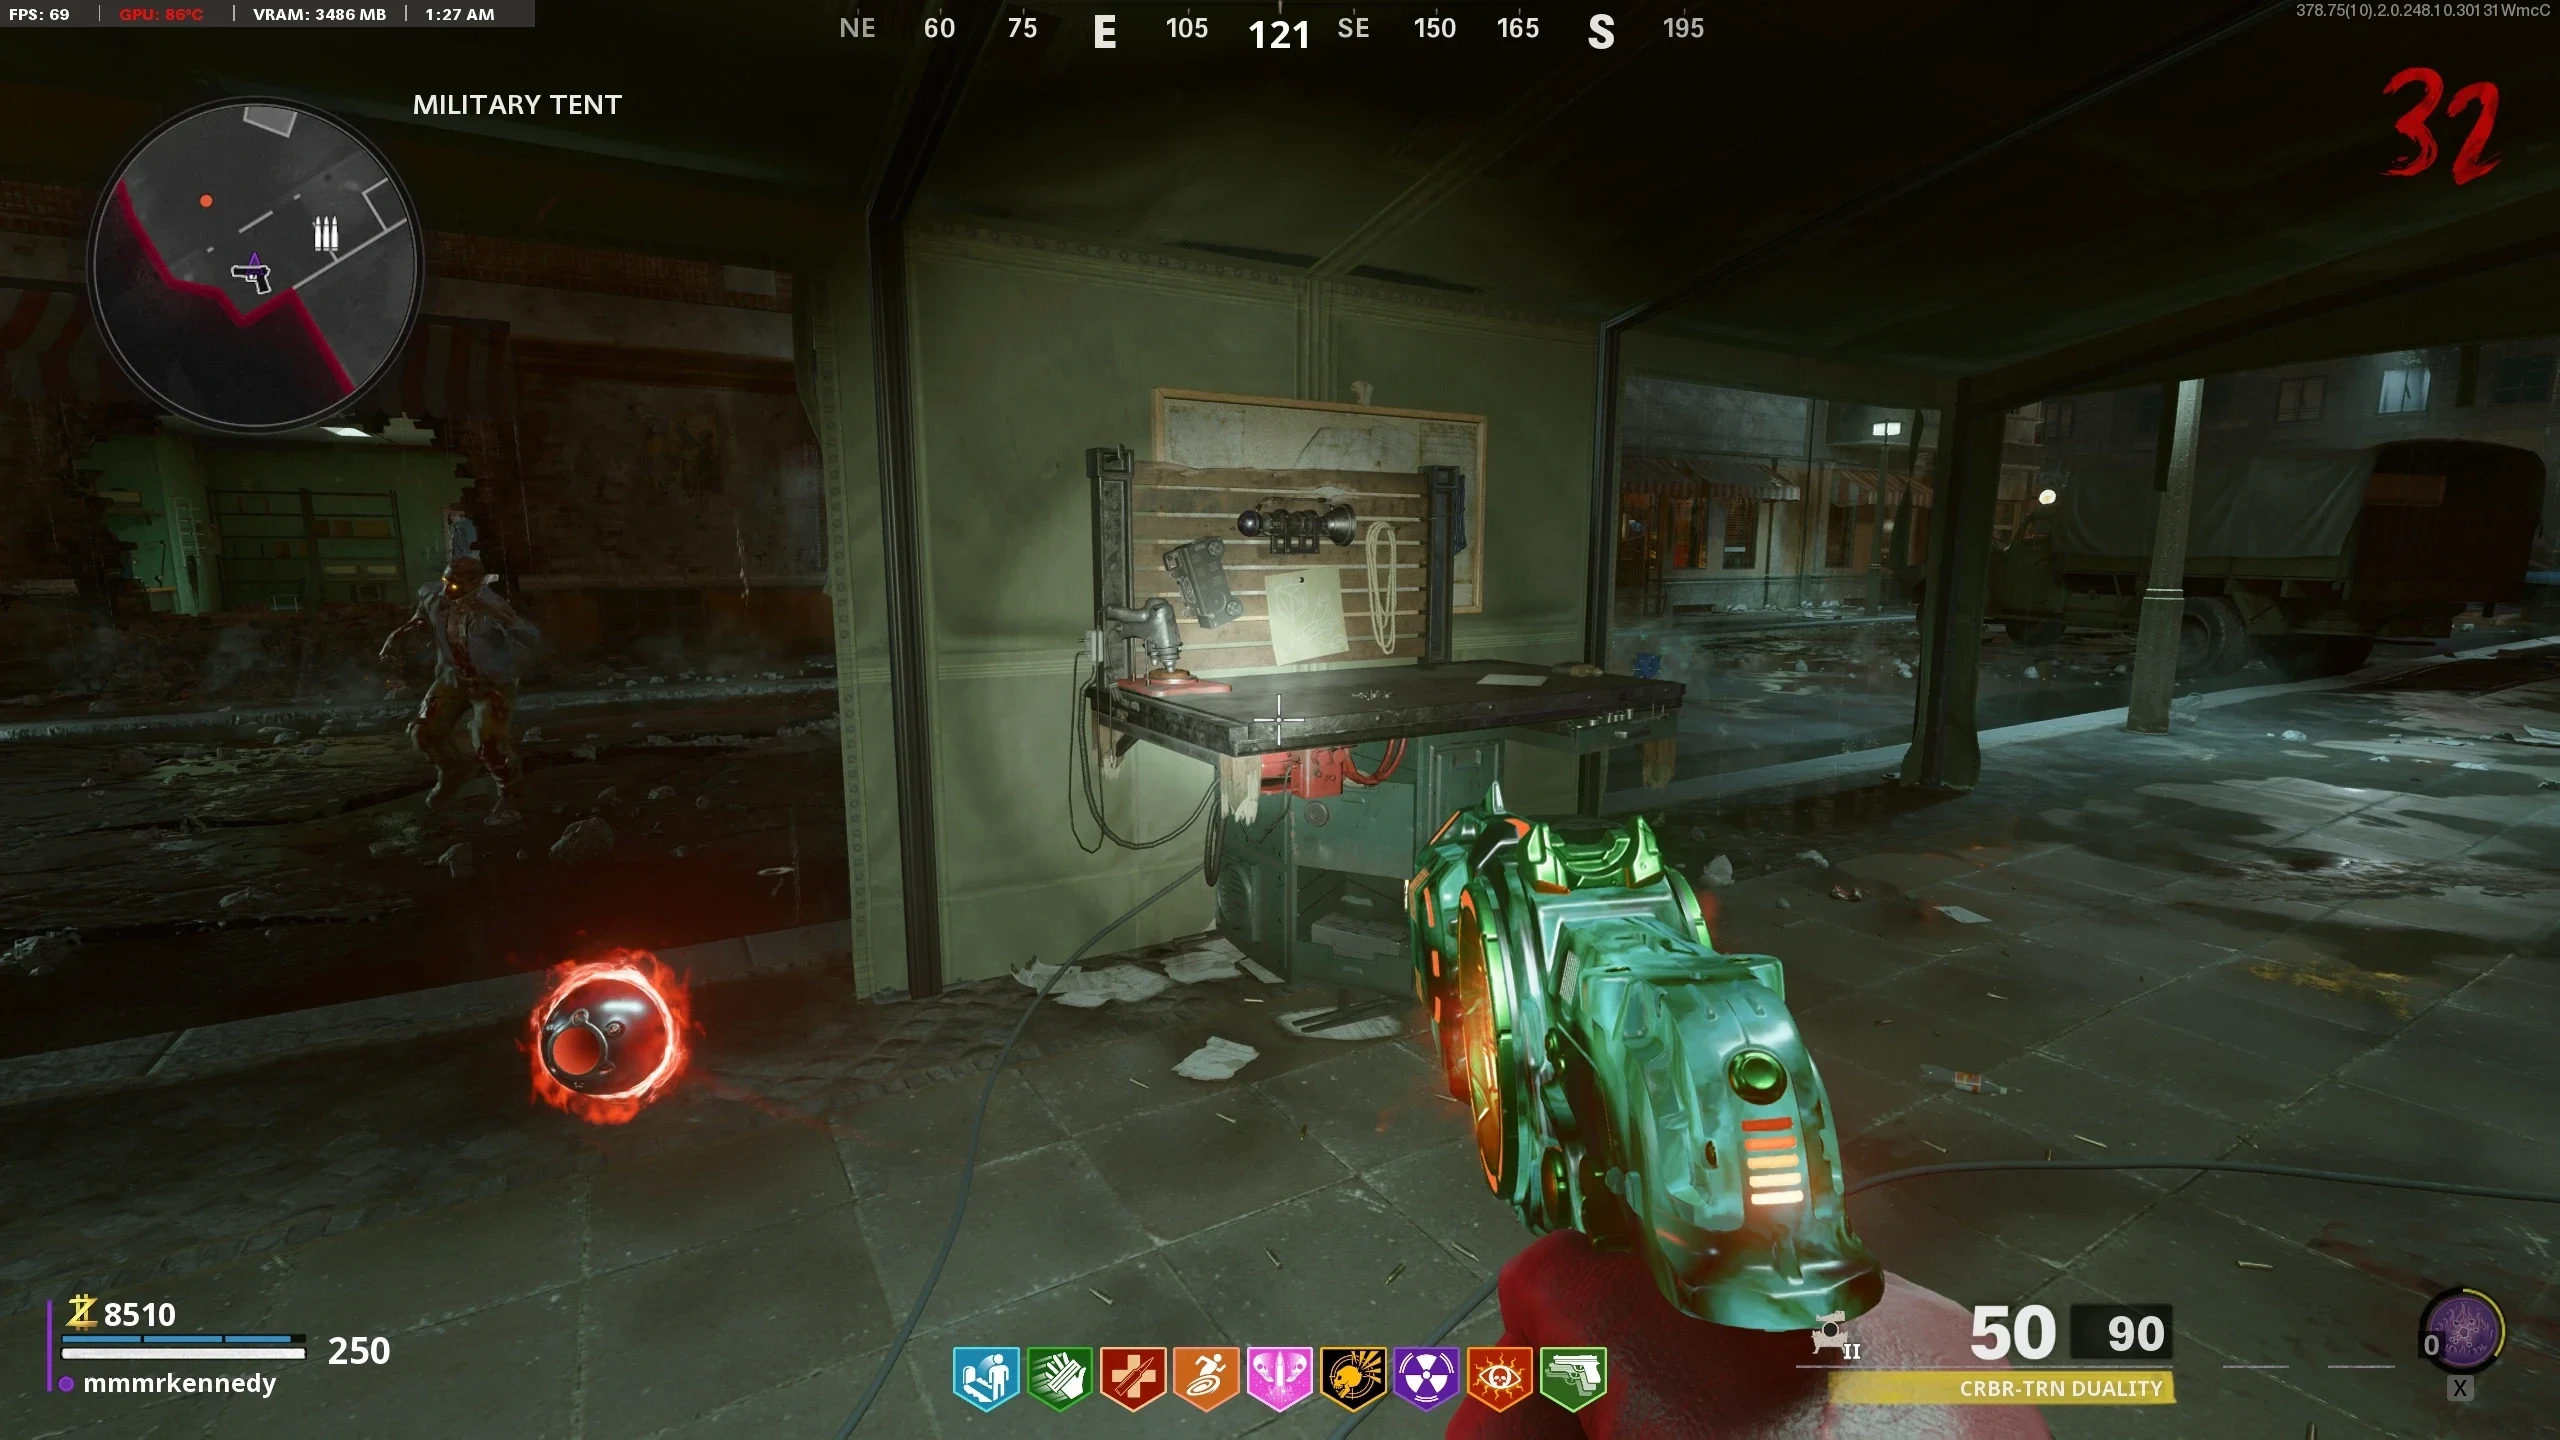
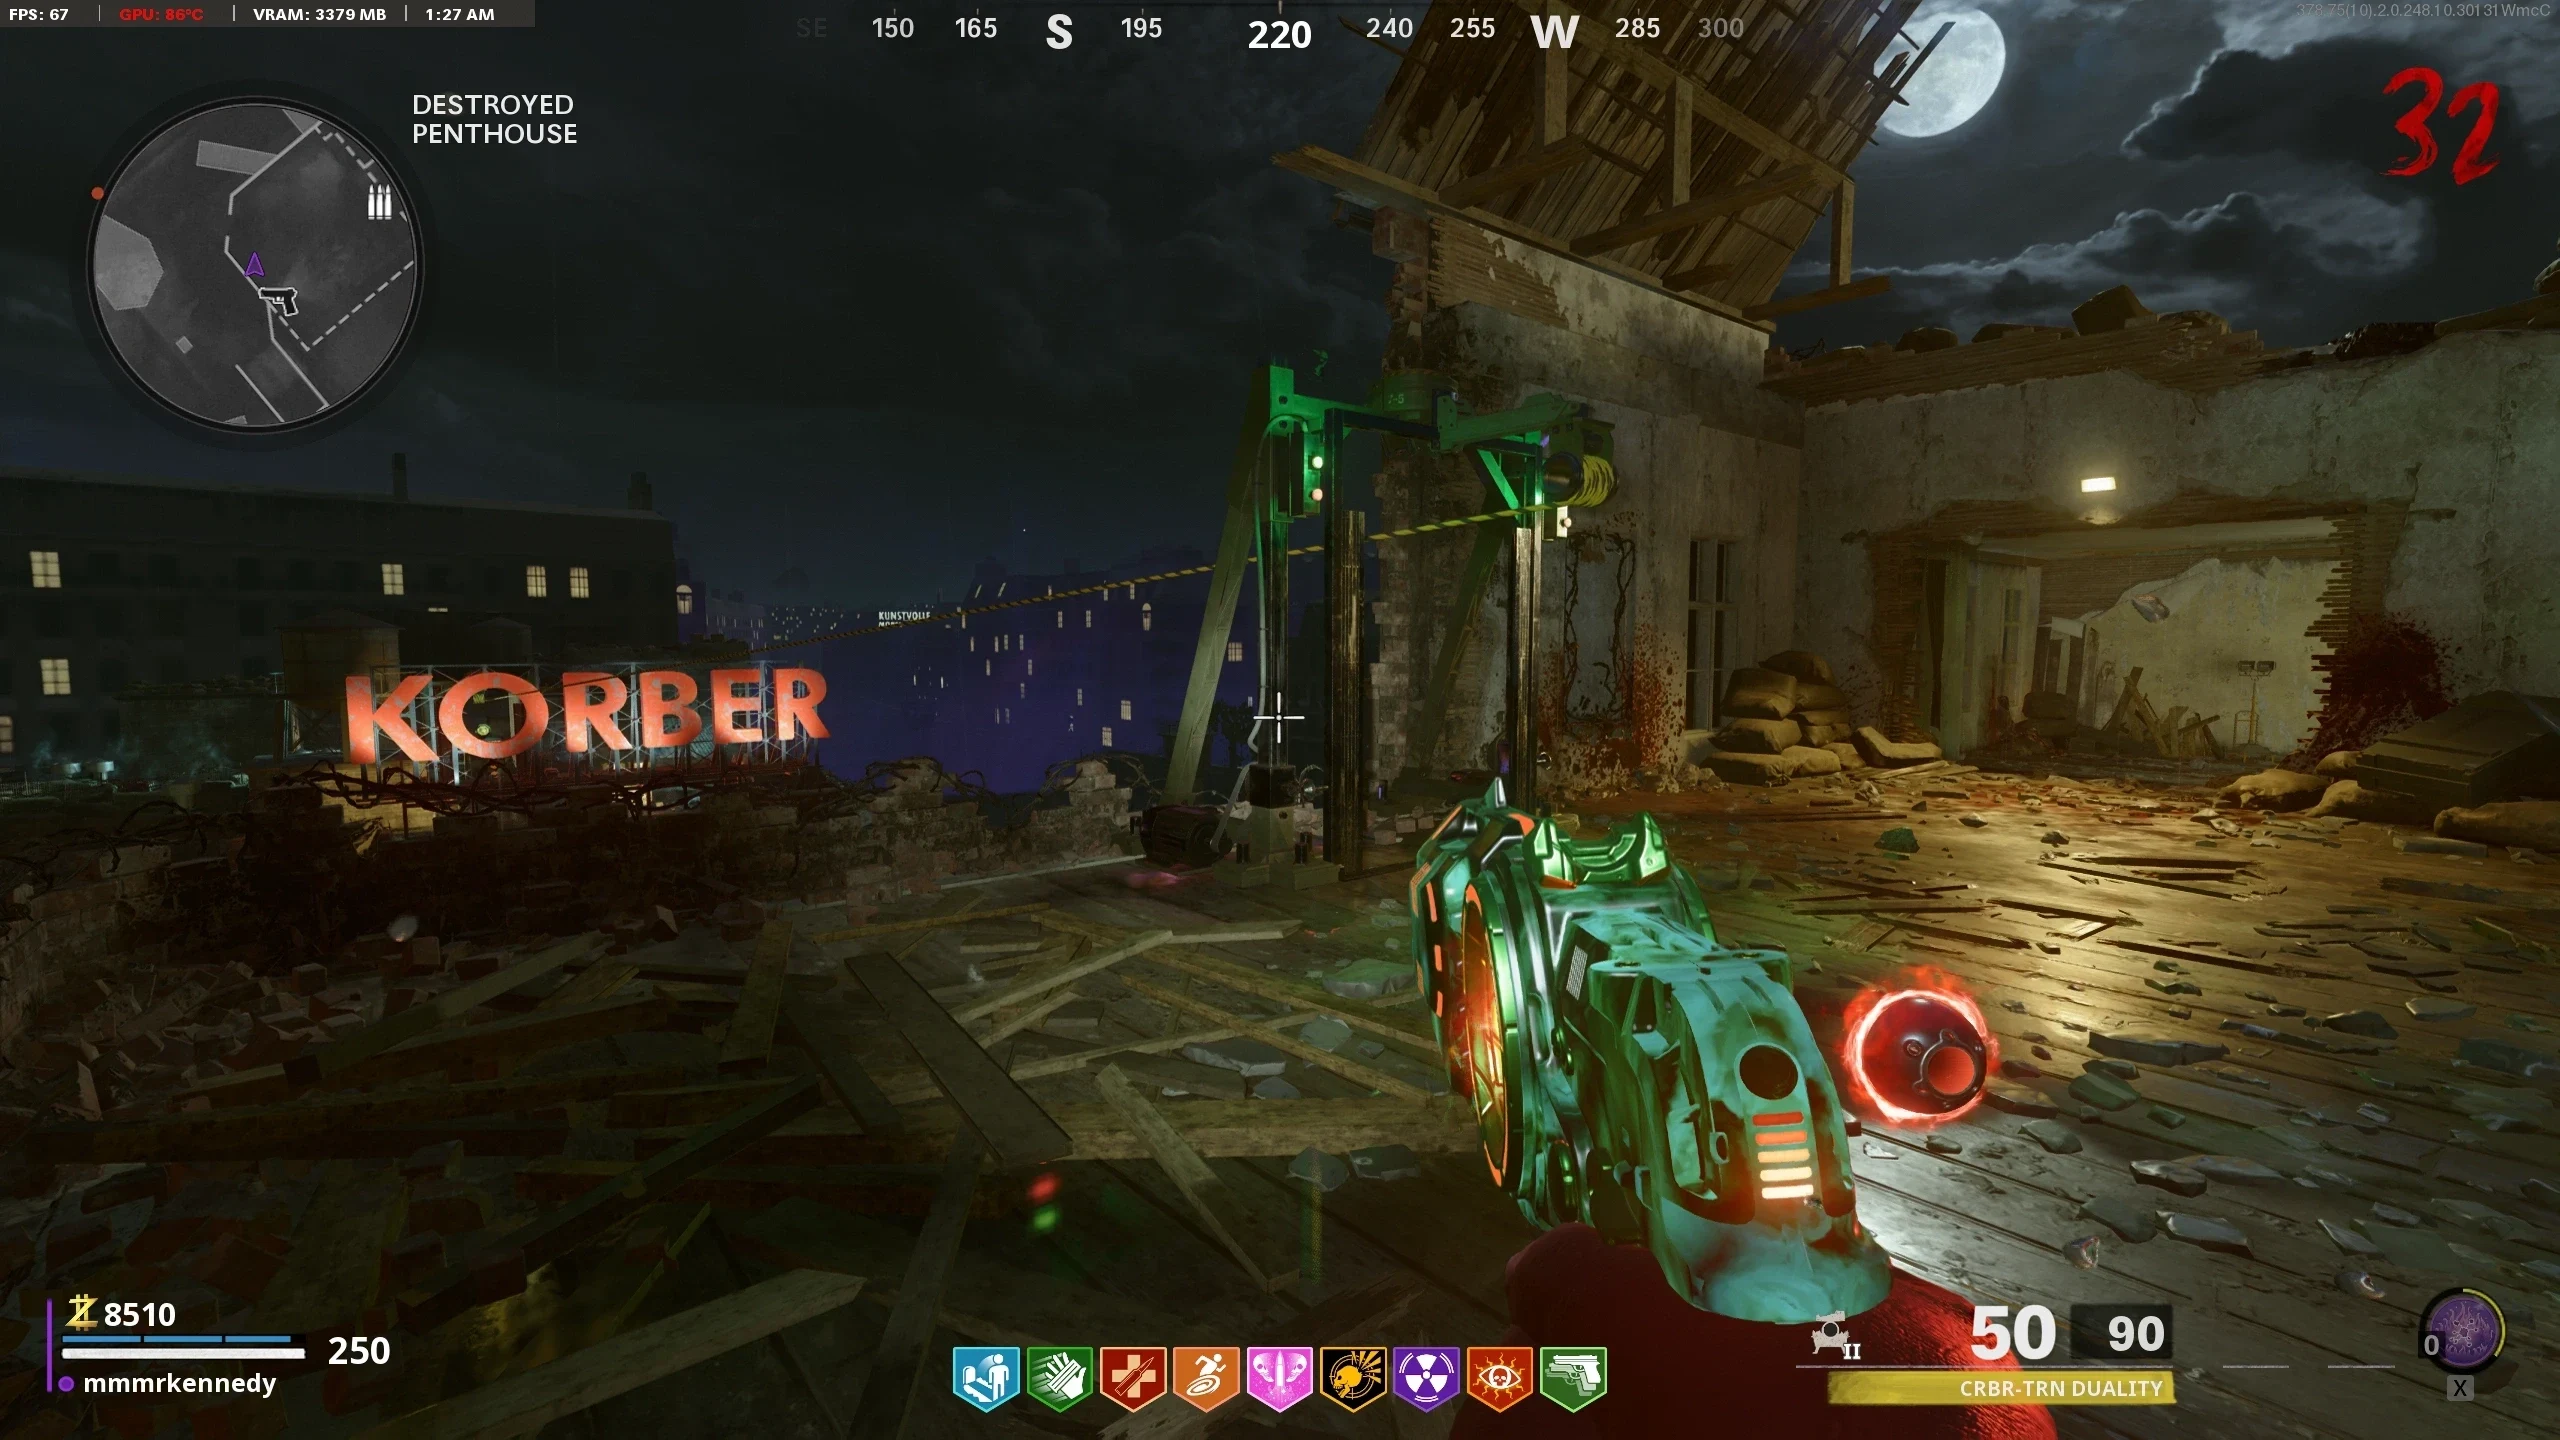
- Find three harvesters in the locations below. Only three of the seven harvesters spawn each game, so some spots will be empty. Locations:
- West Berlin Street
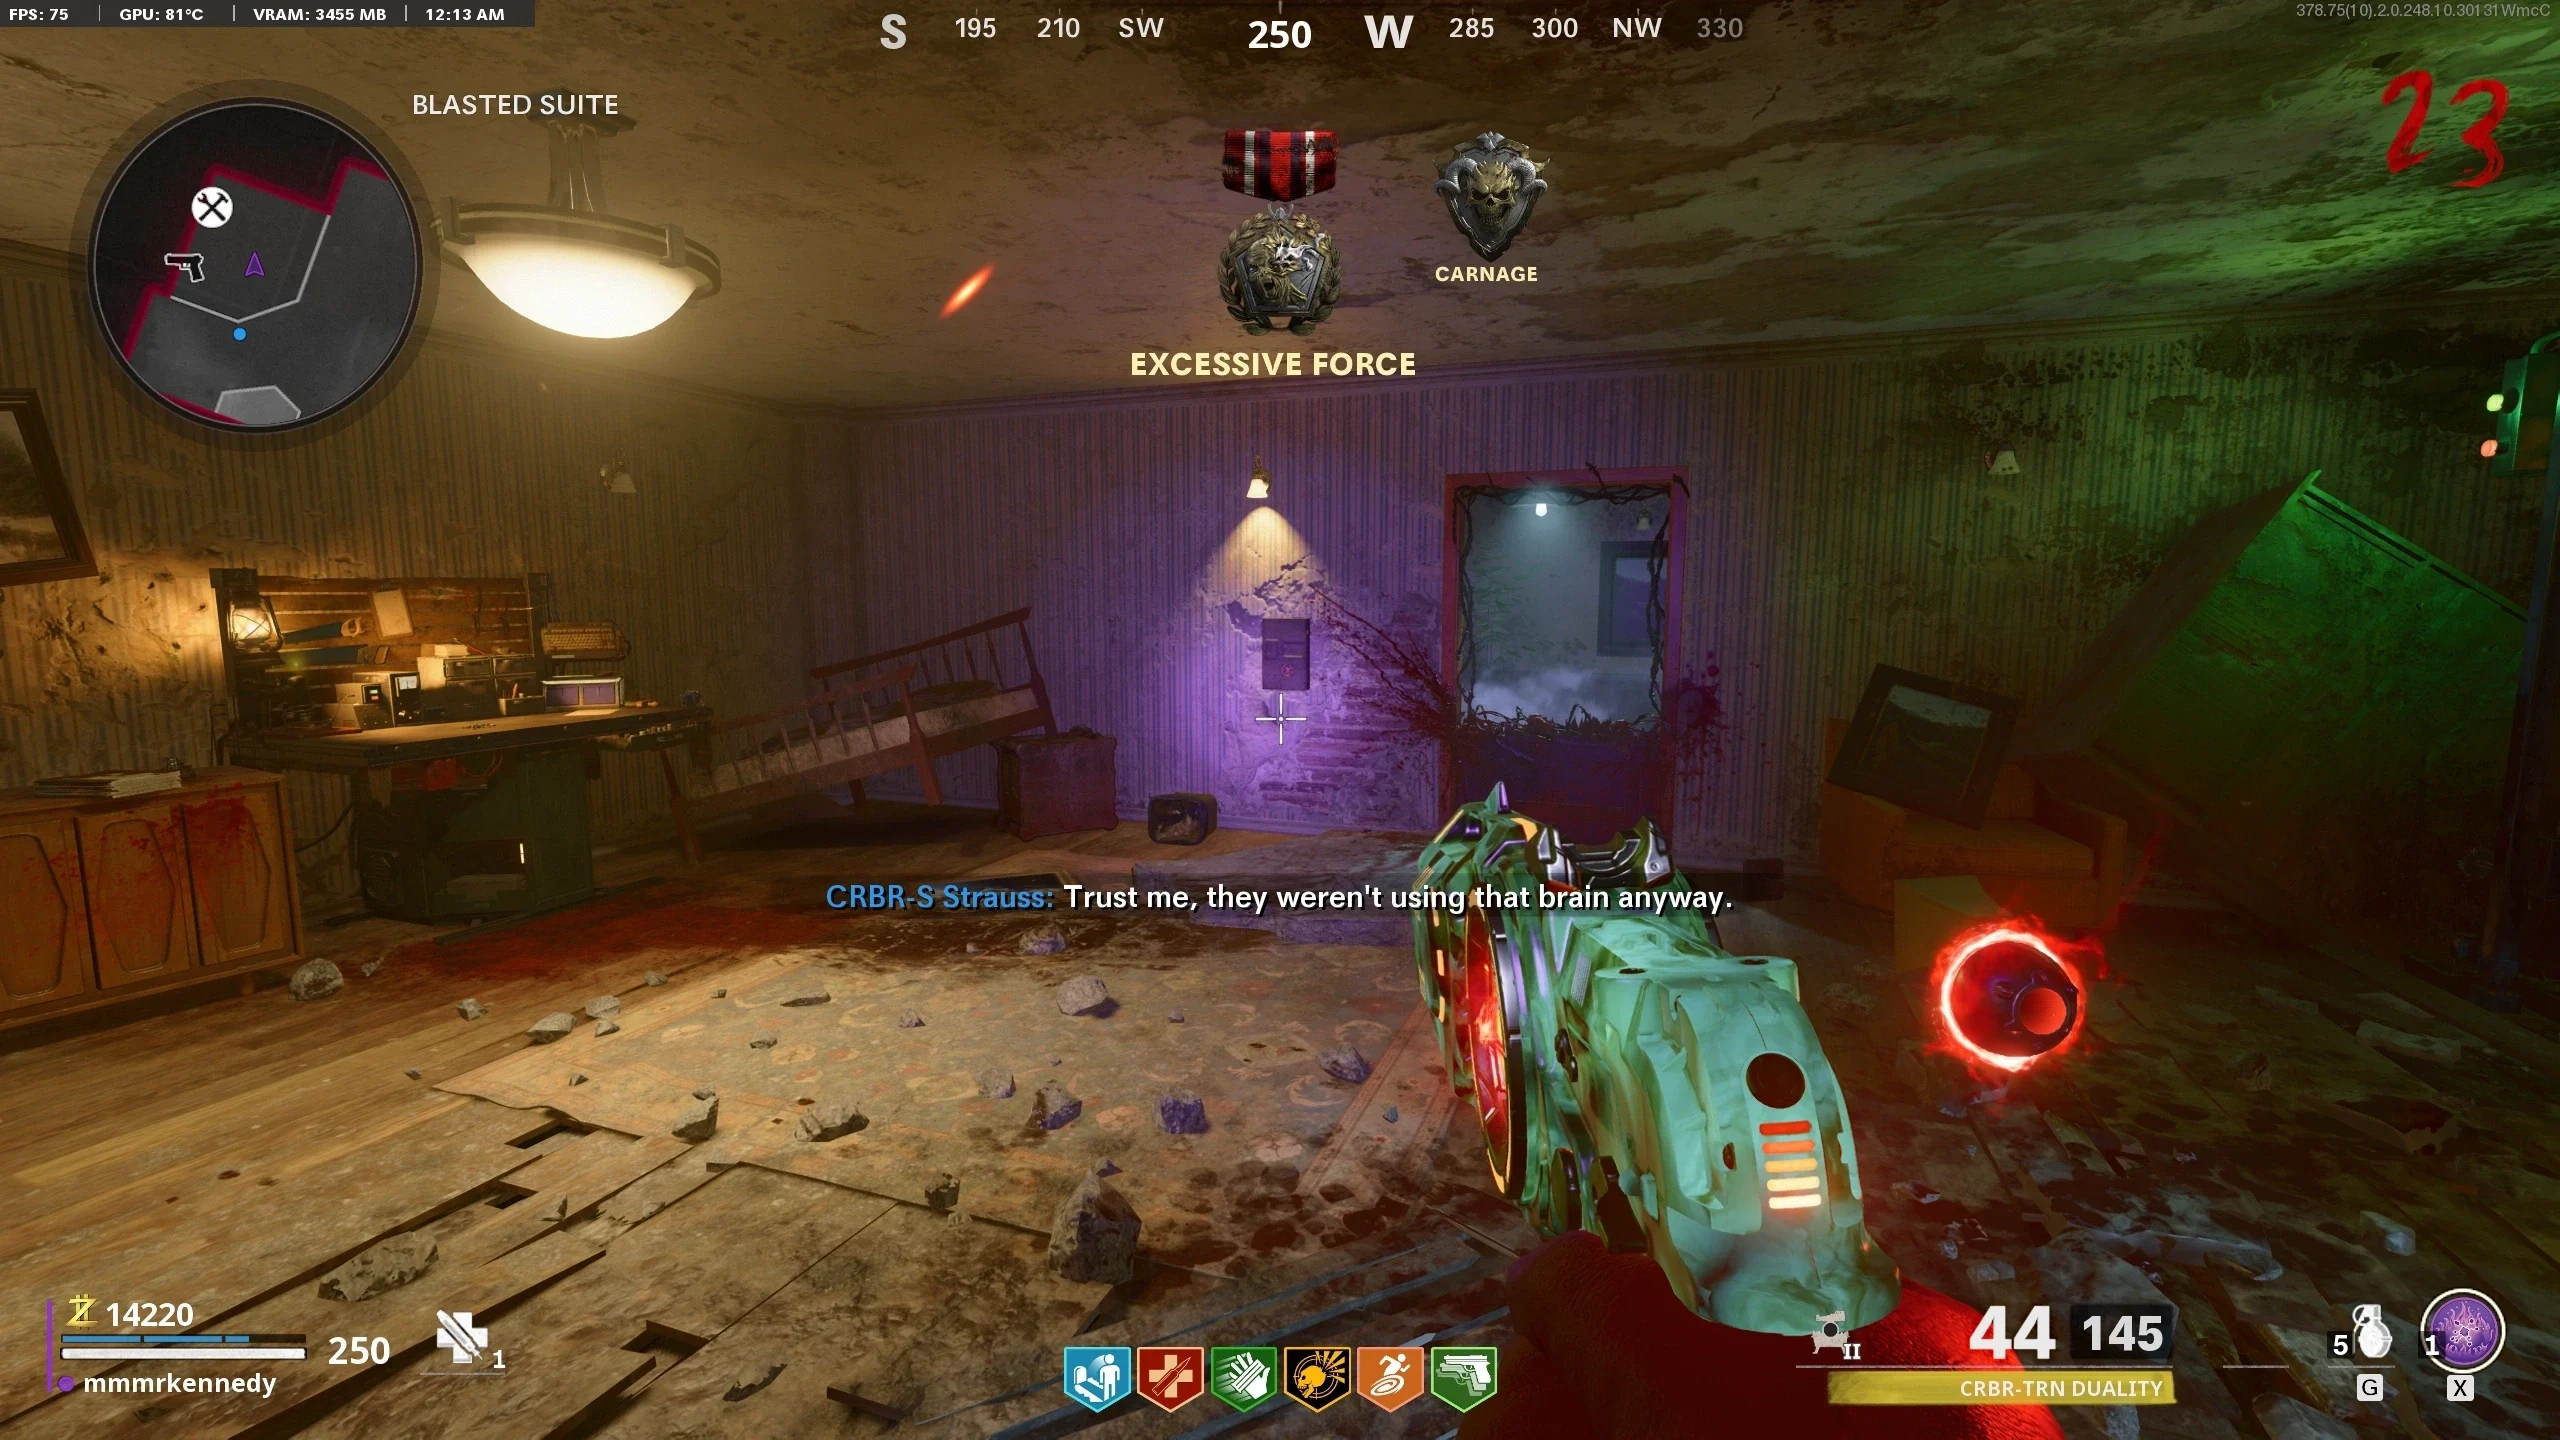
- Destroyed Penthouse (Below Quick Revive)
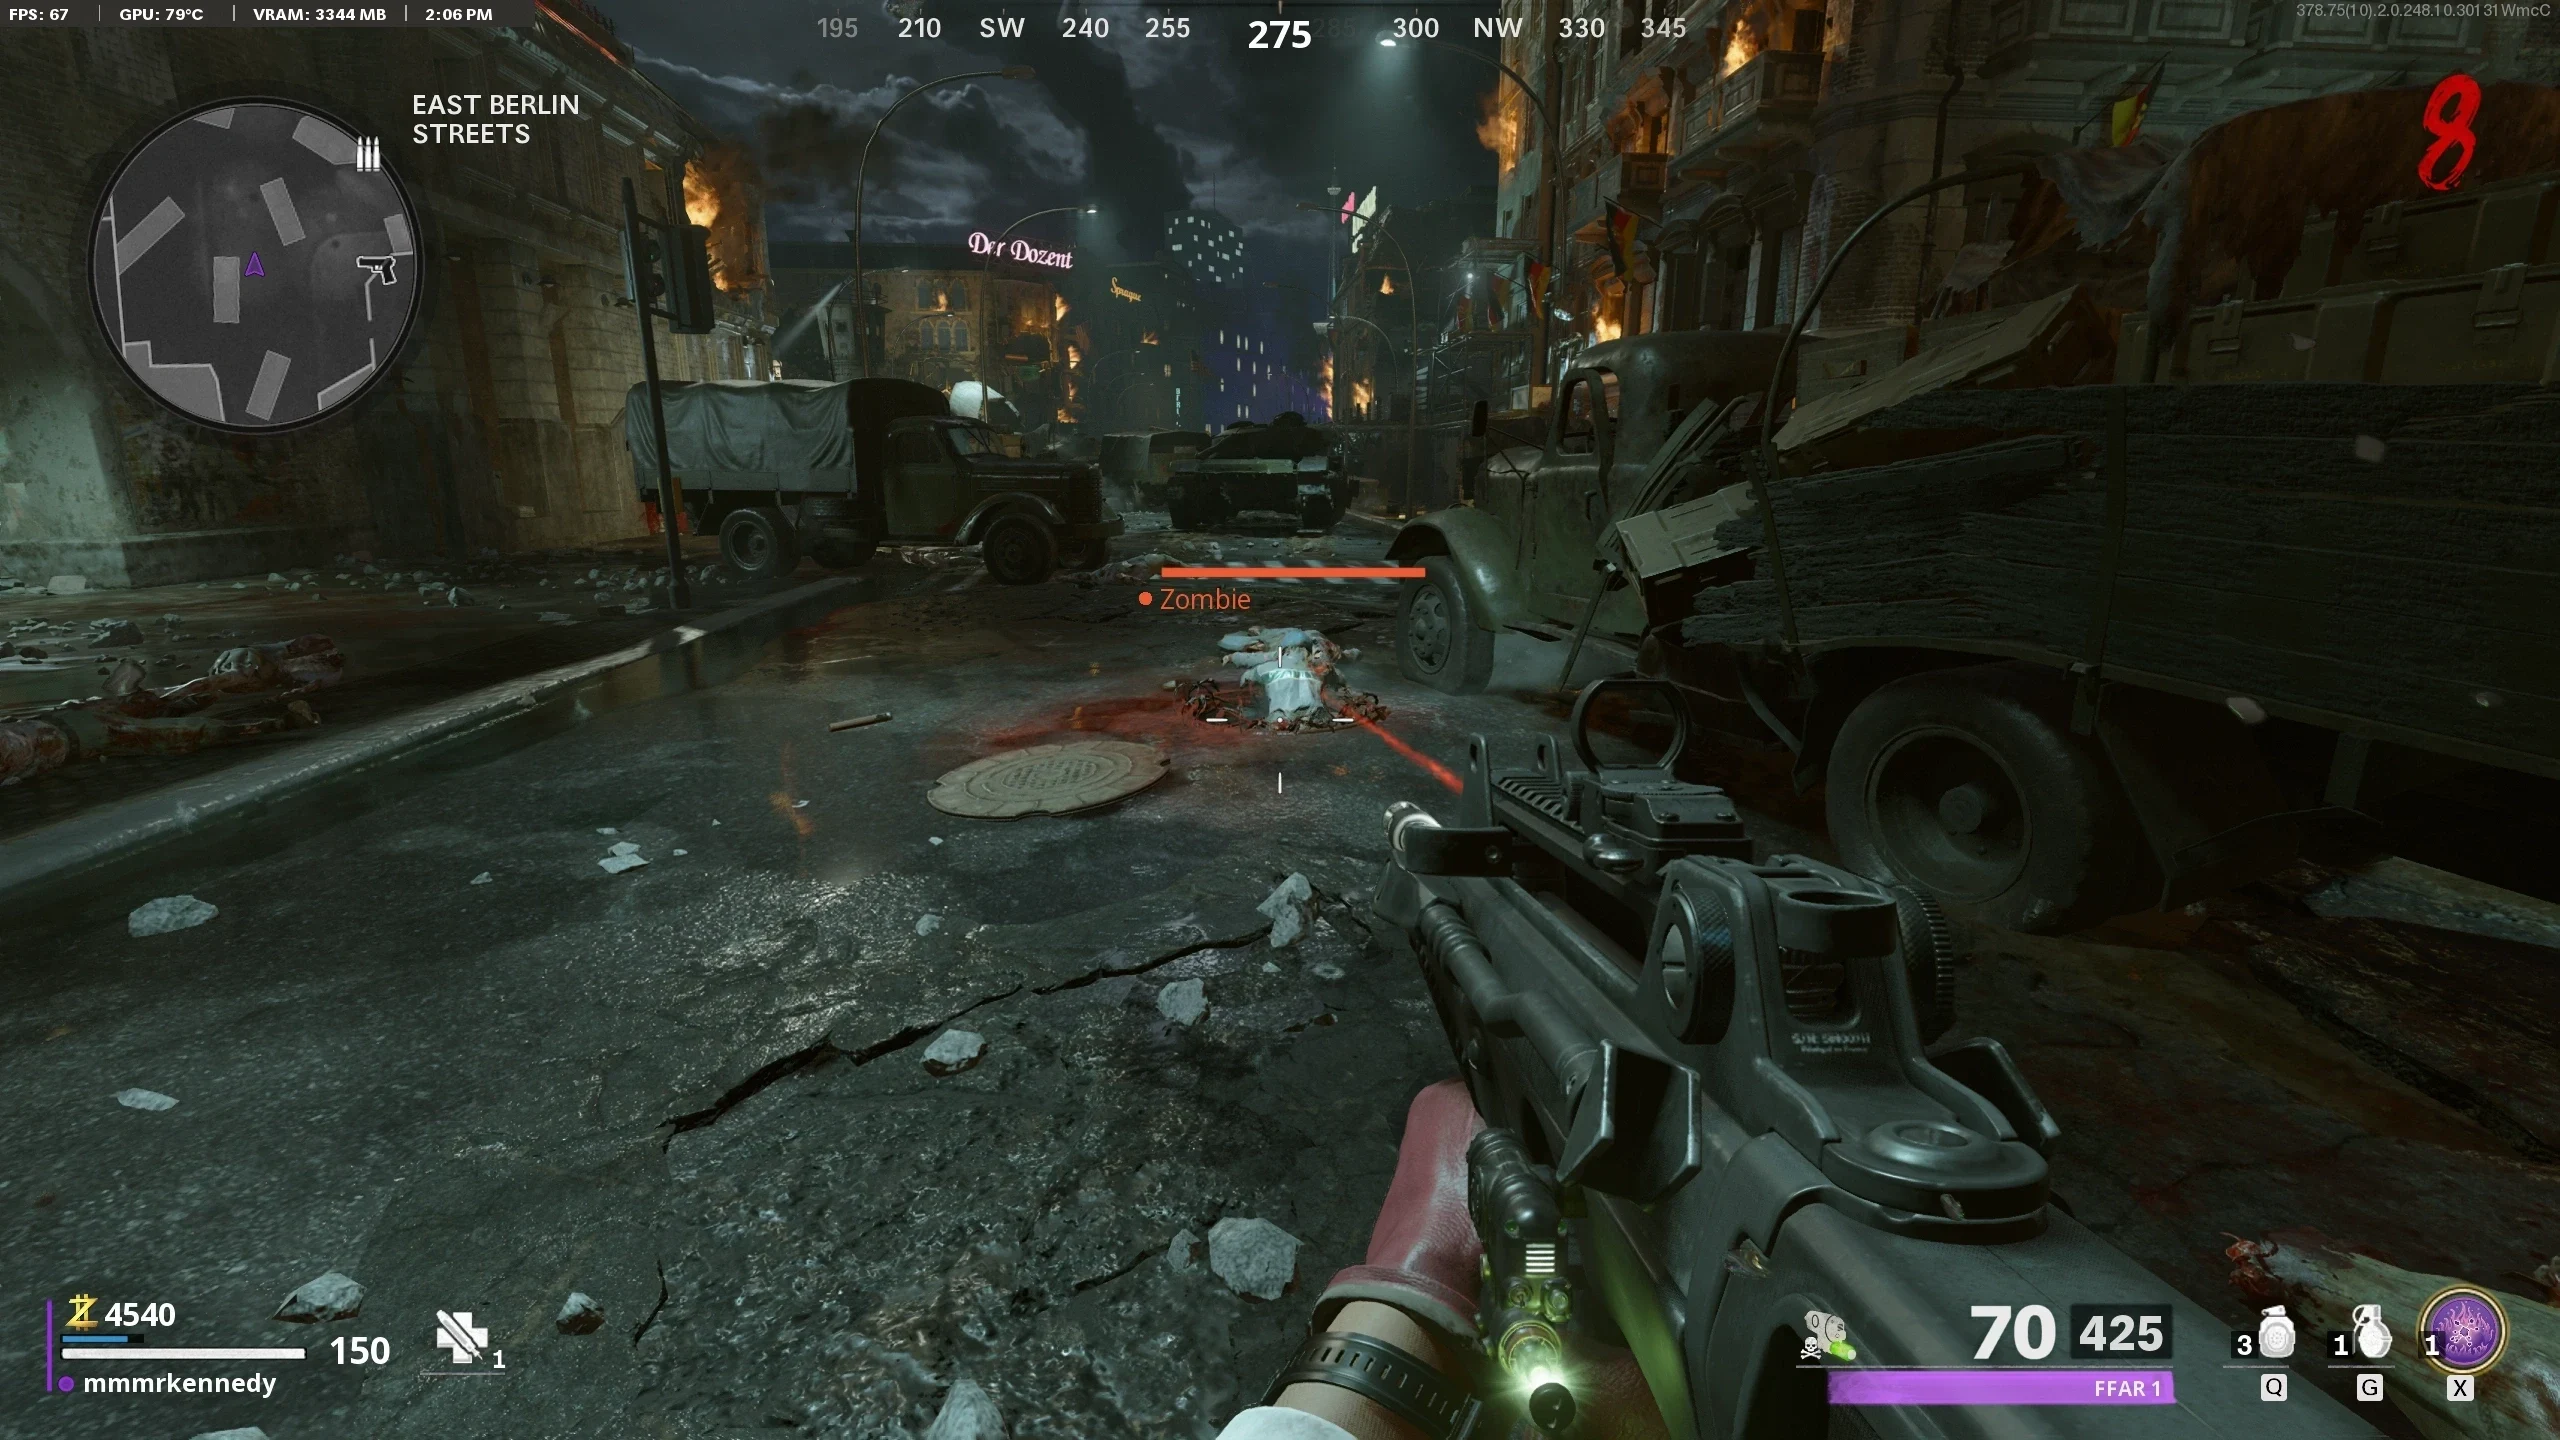
- East Berlin Street
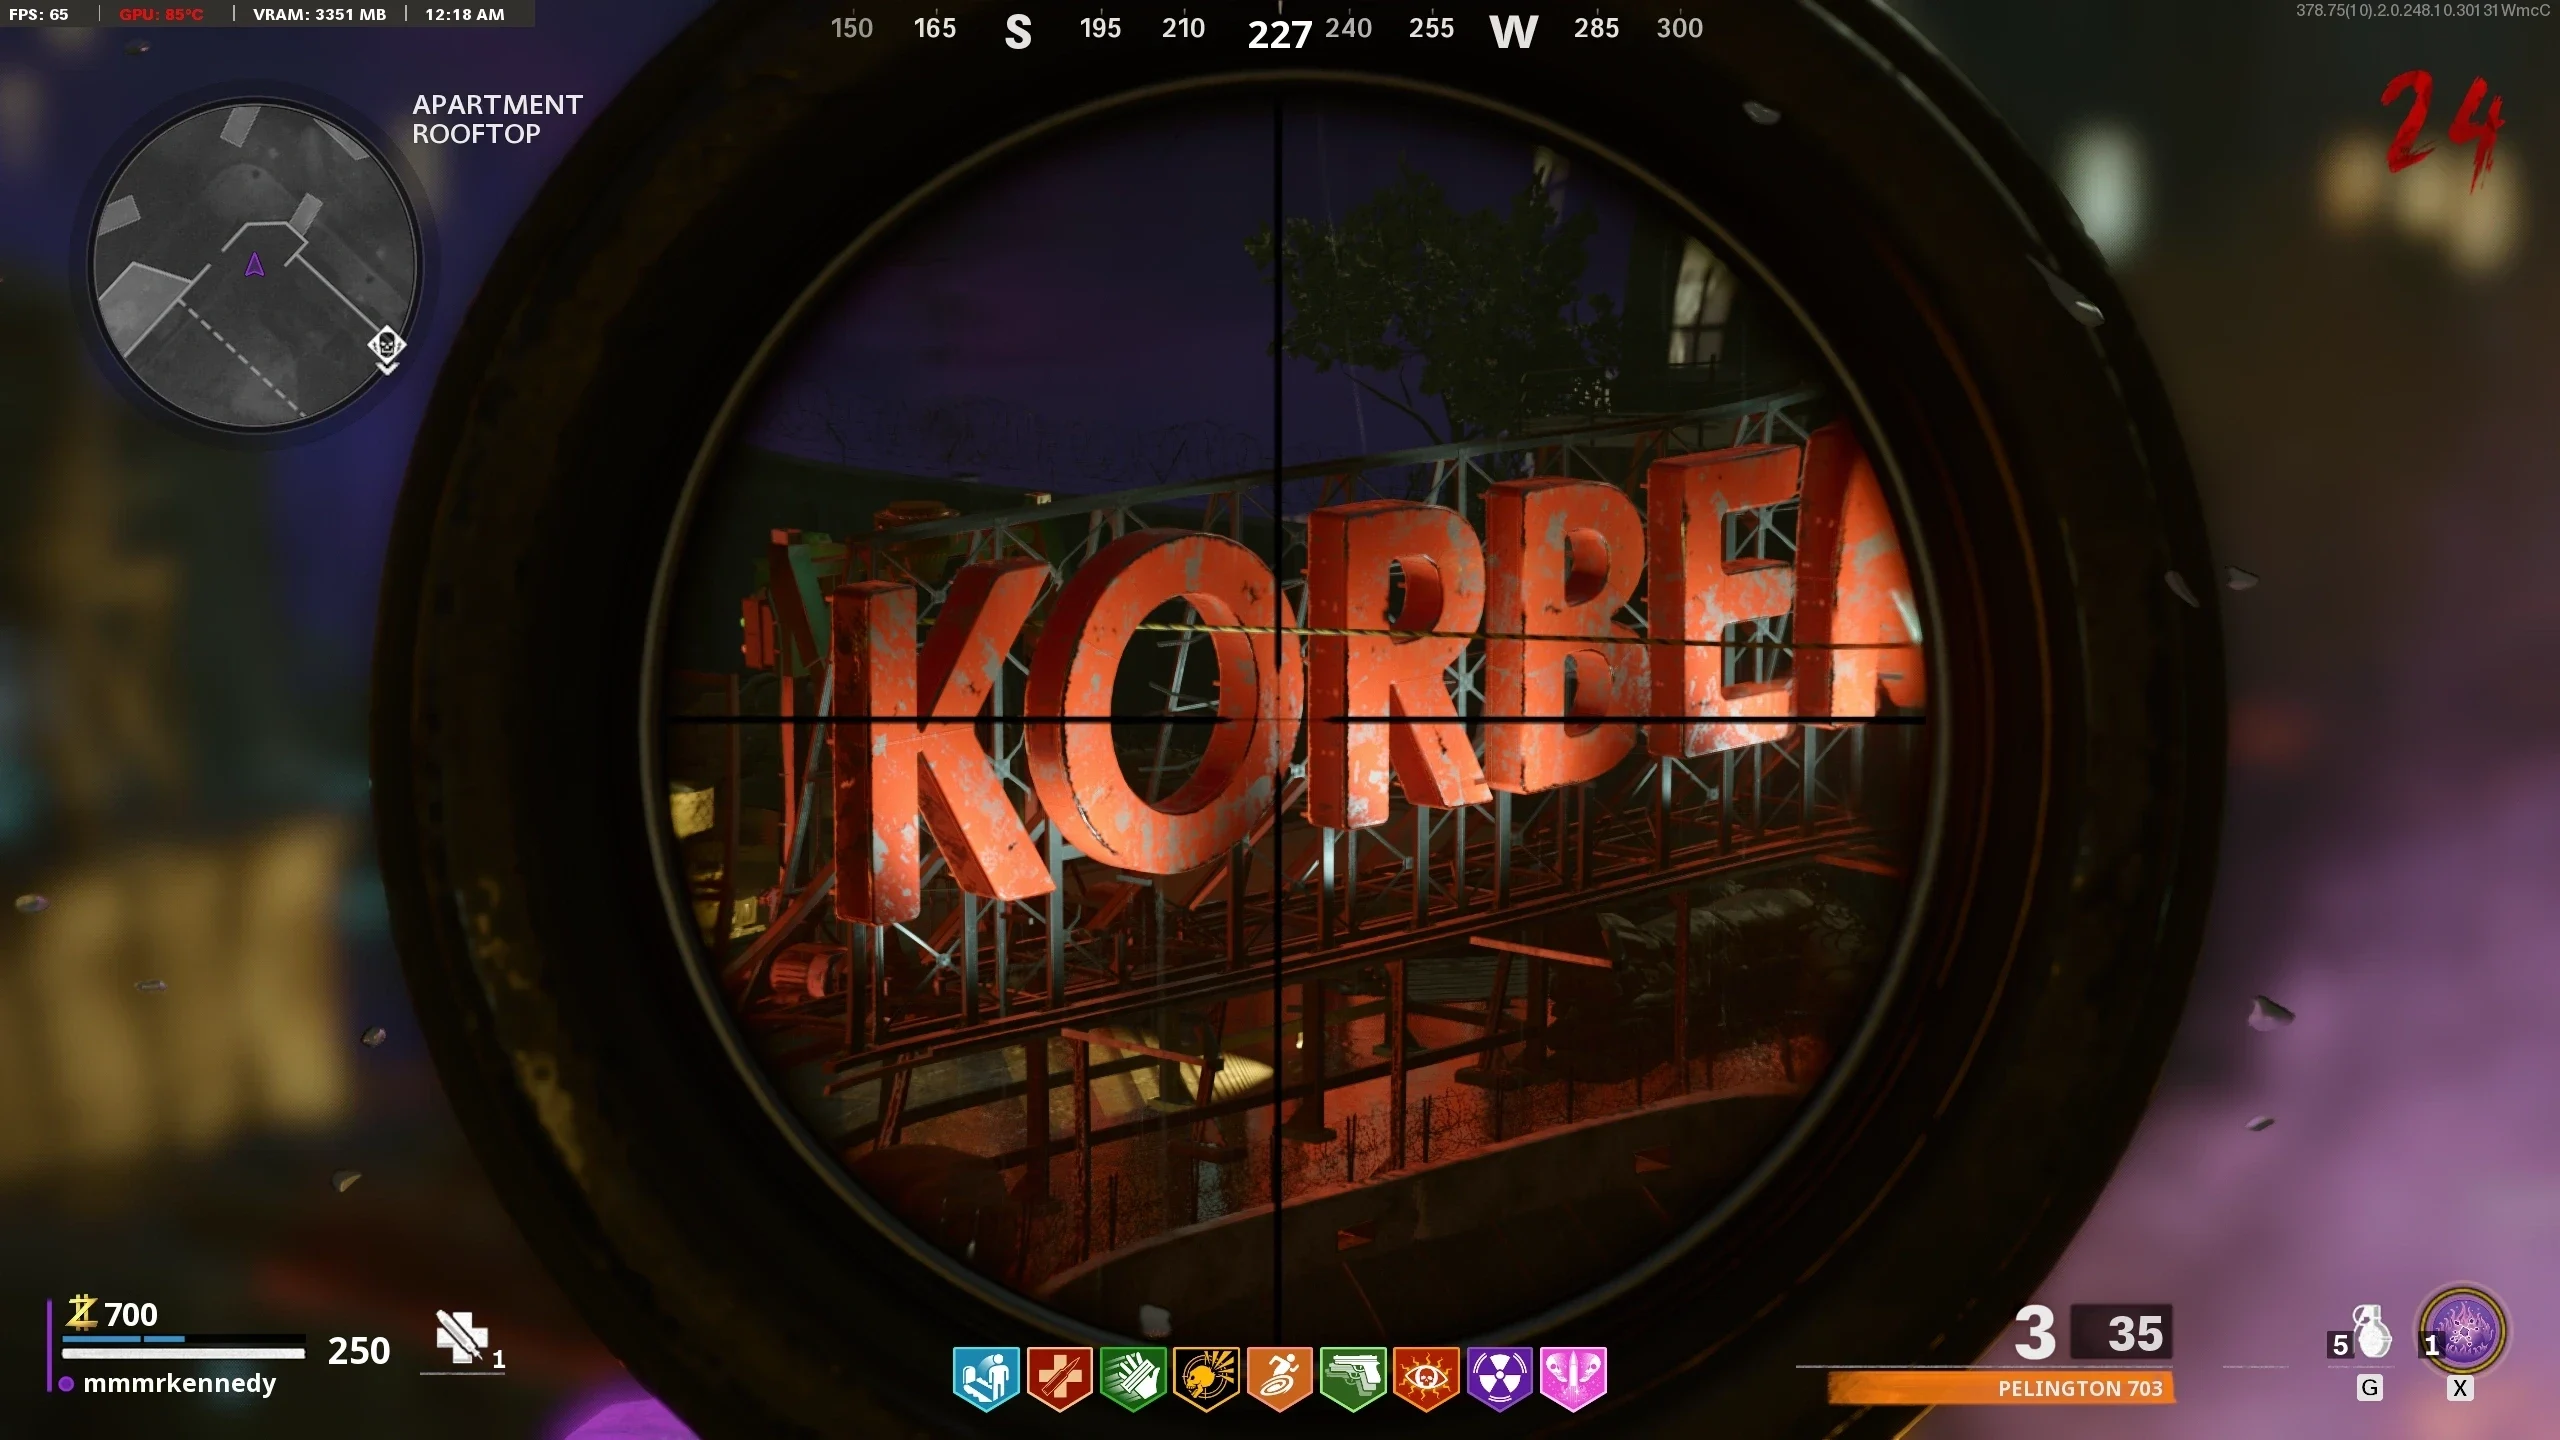
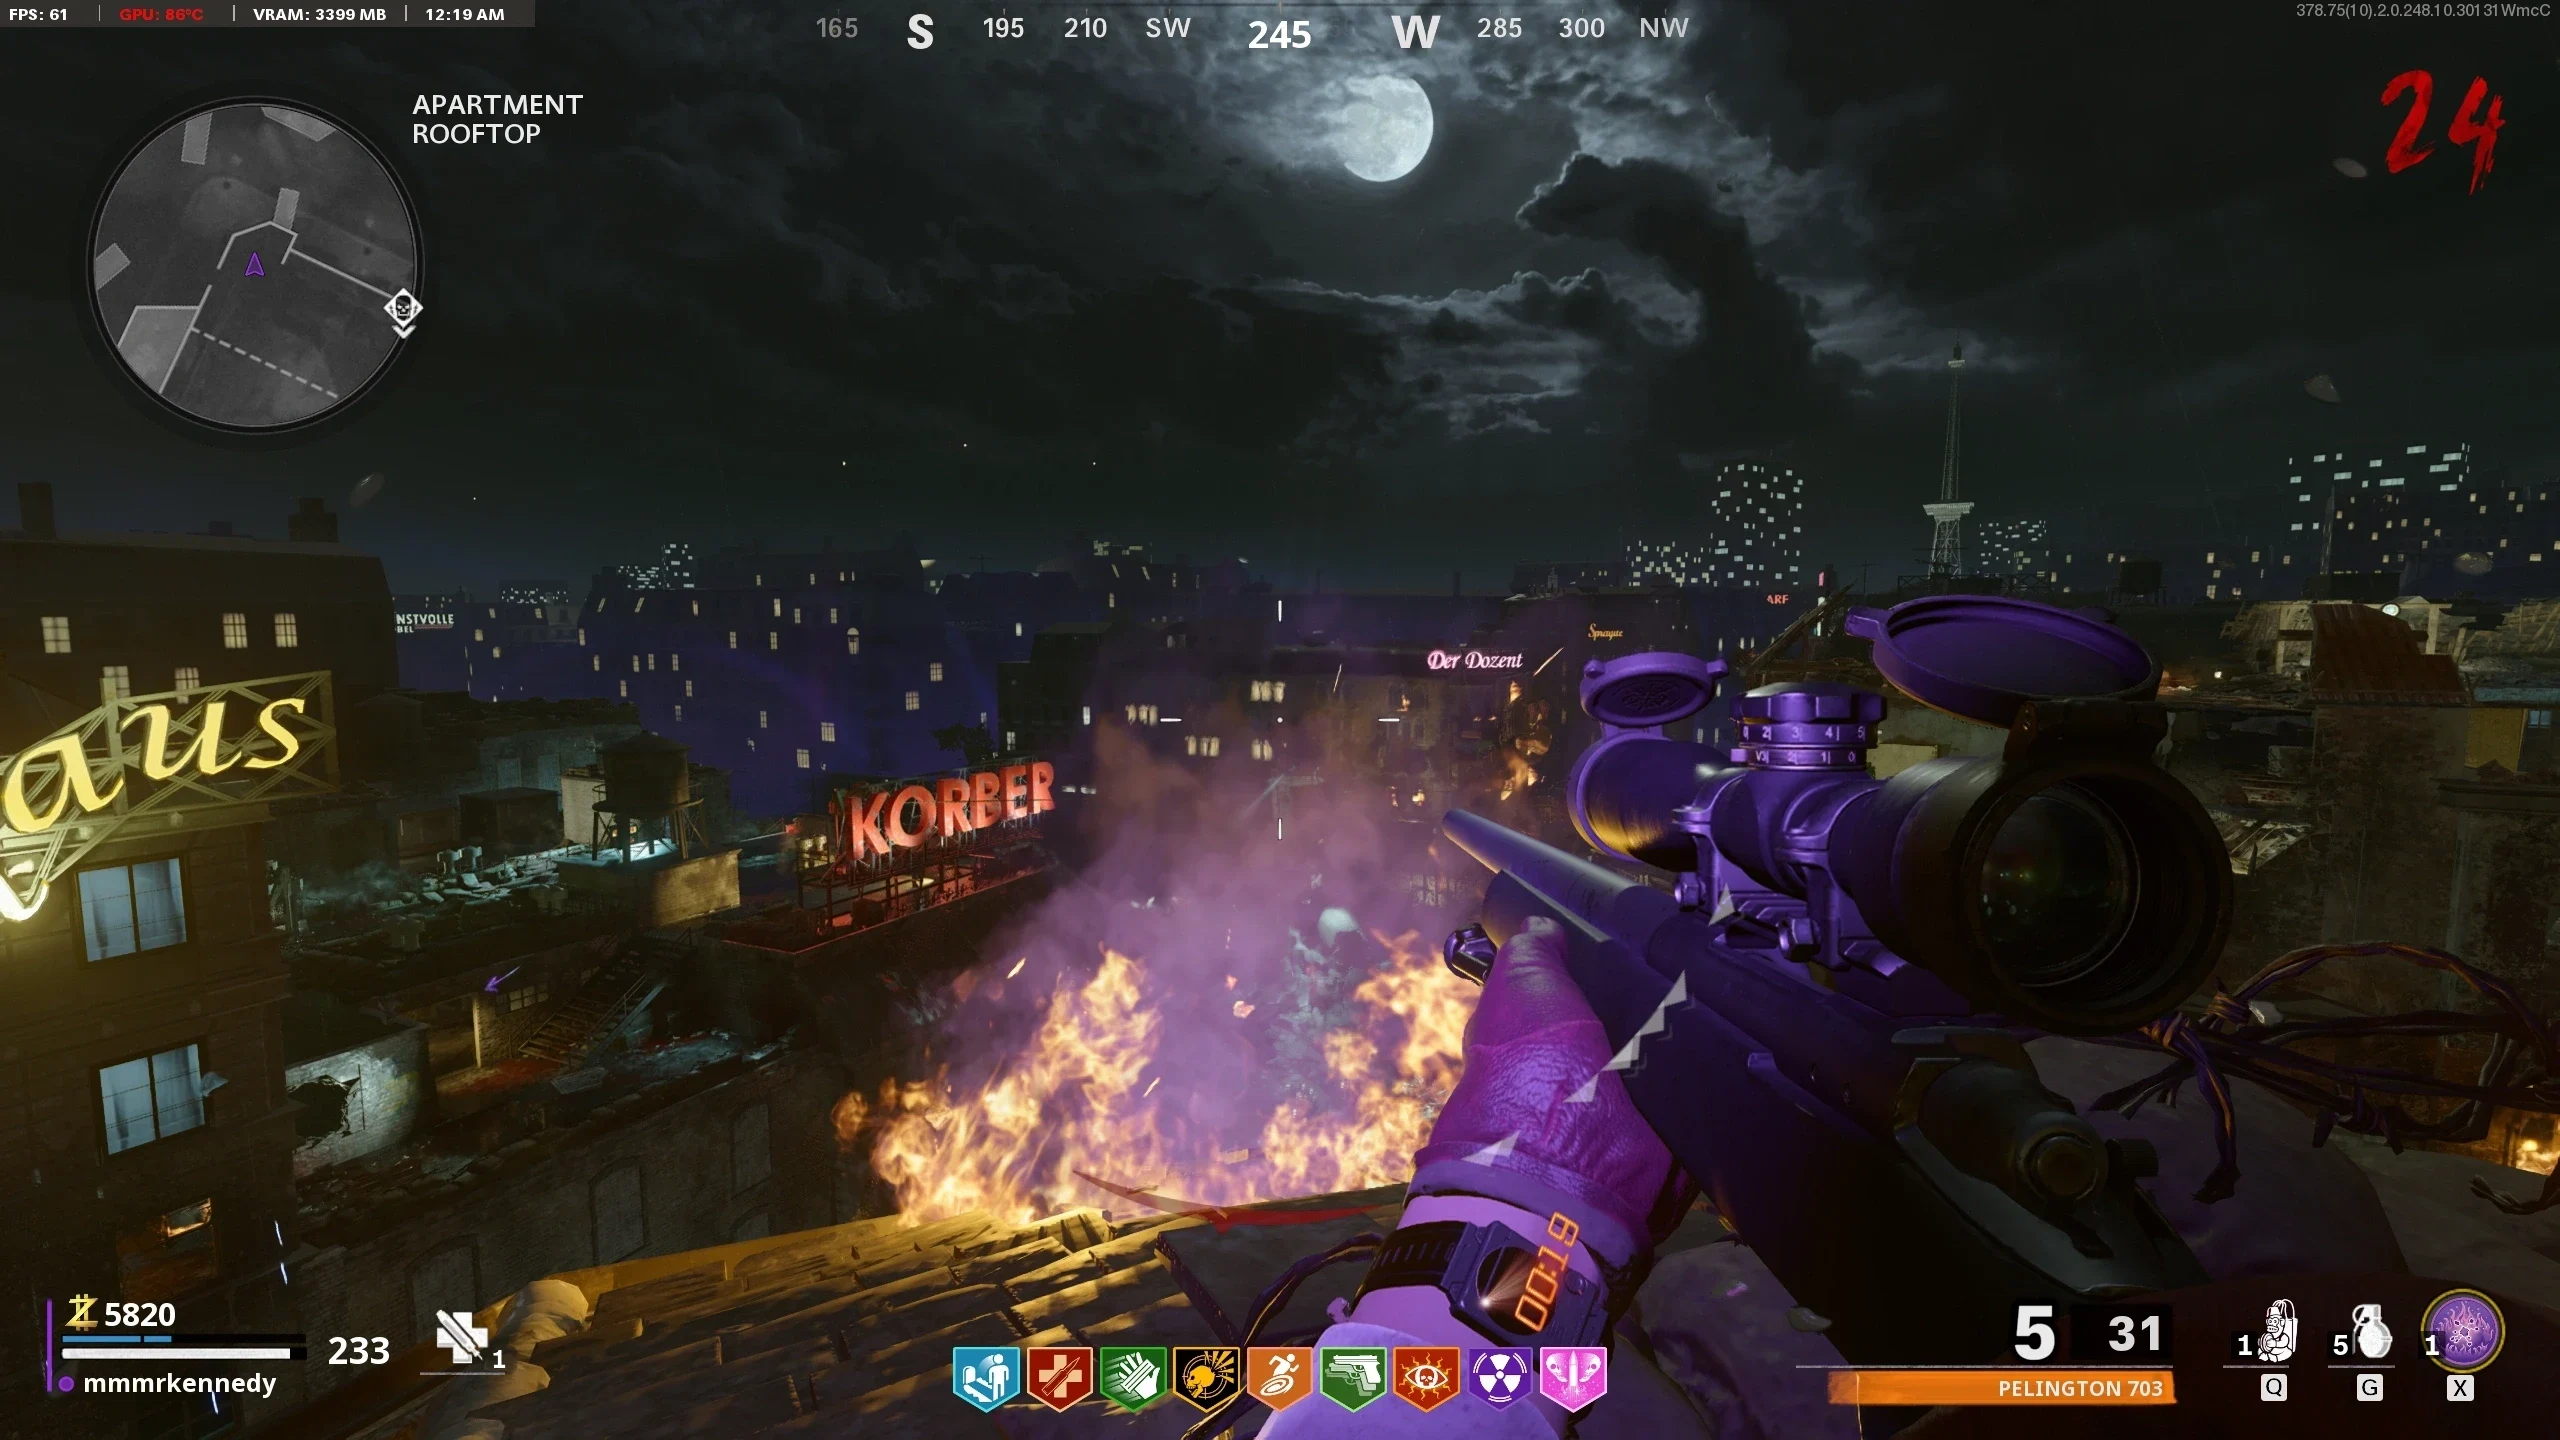
- Korber Rooftop
- Alley
- Sewer Access
- Ghost Station
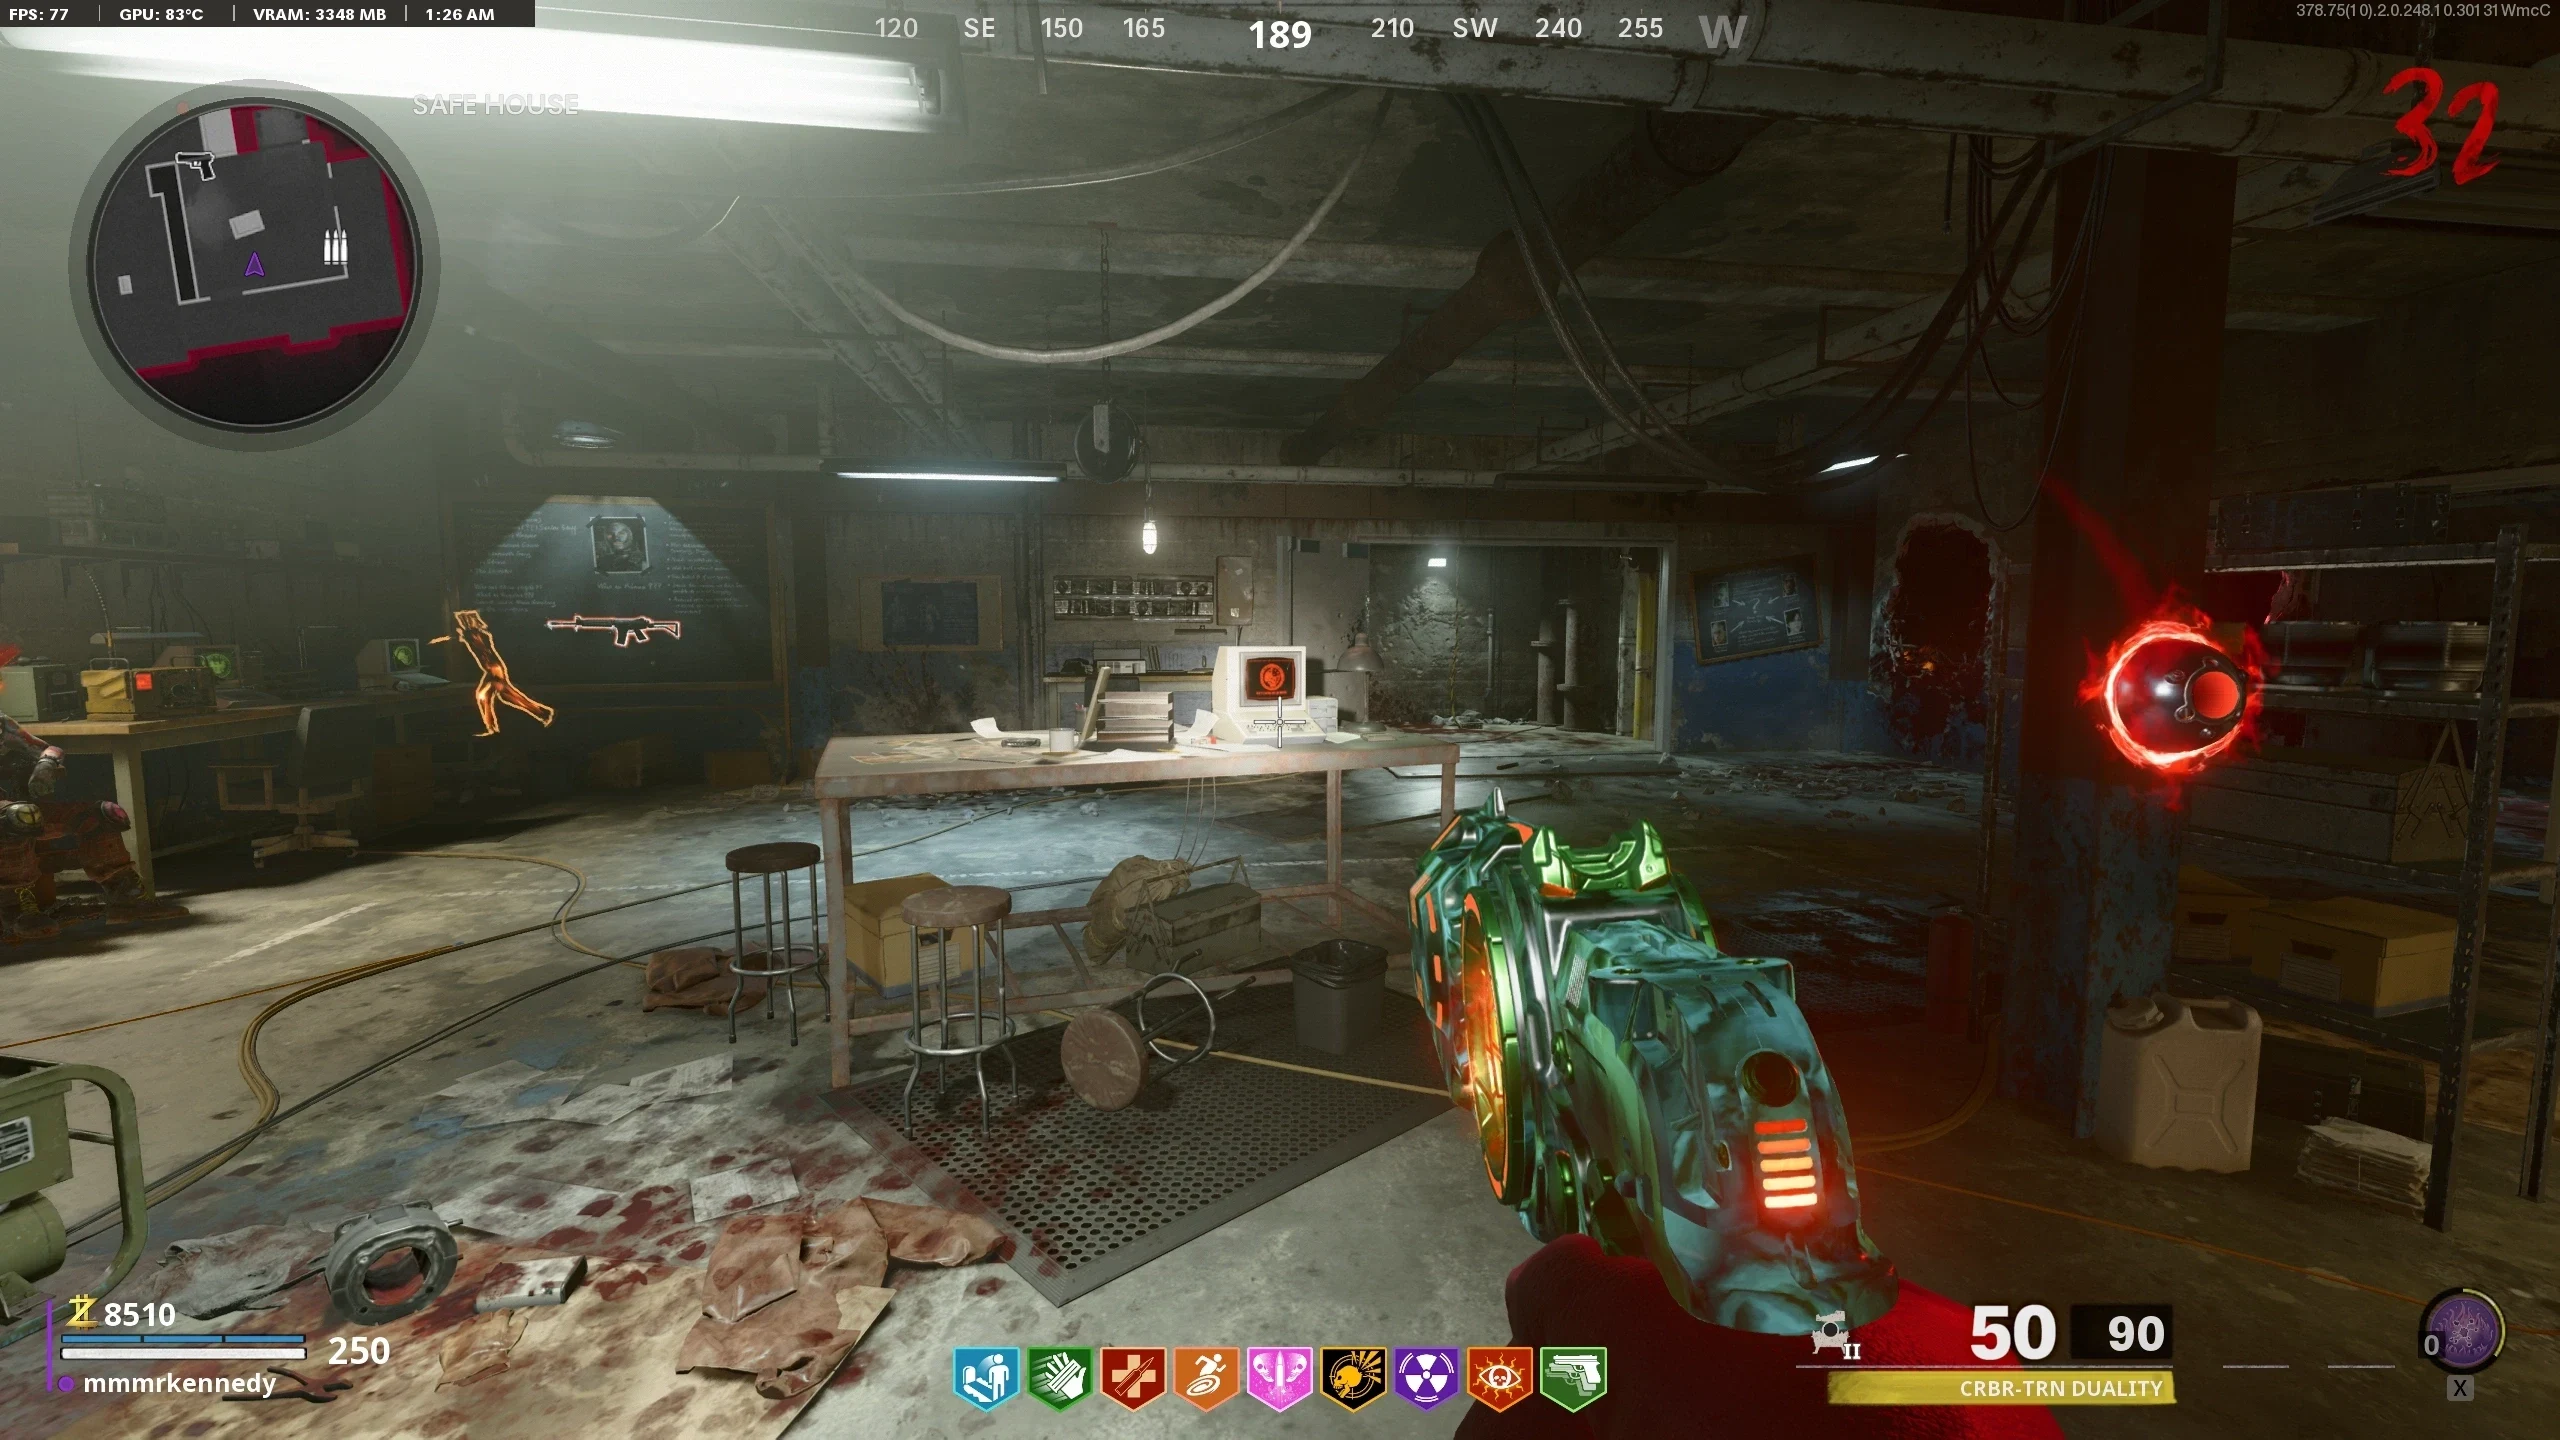
- Insert the canister into the harvester. Once the canister is fully inserted, throw the lure on top/near the Essence Harvesters to spawn Tempests. Kill the tempests near the harvester to charge the canister. Once all tempests are killed, pick up the canister. If the canister can't be picked up, try killing more tempests with another lure.
- Bring the filled canister to the Conversion Unit and deposit it.
- Repeat Steps 11-13 for the other two Canisters.
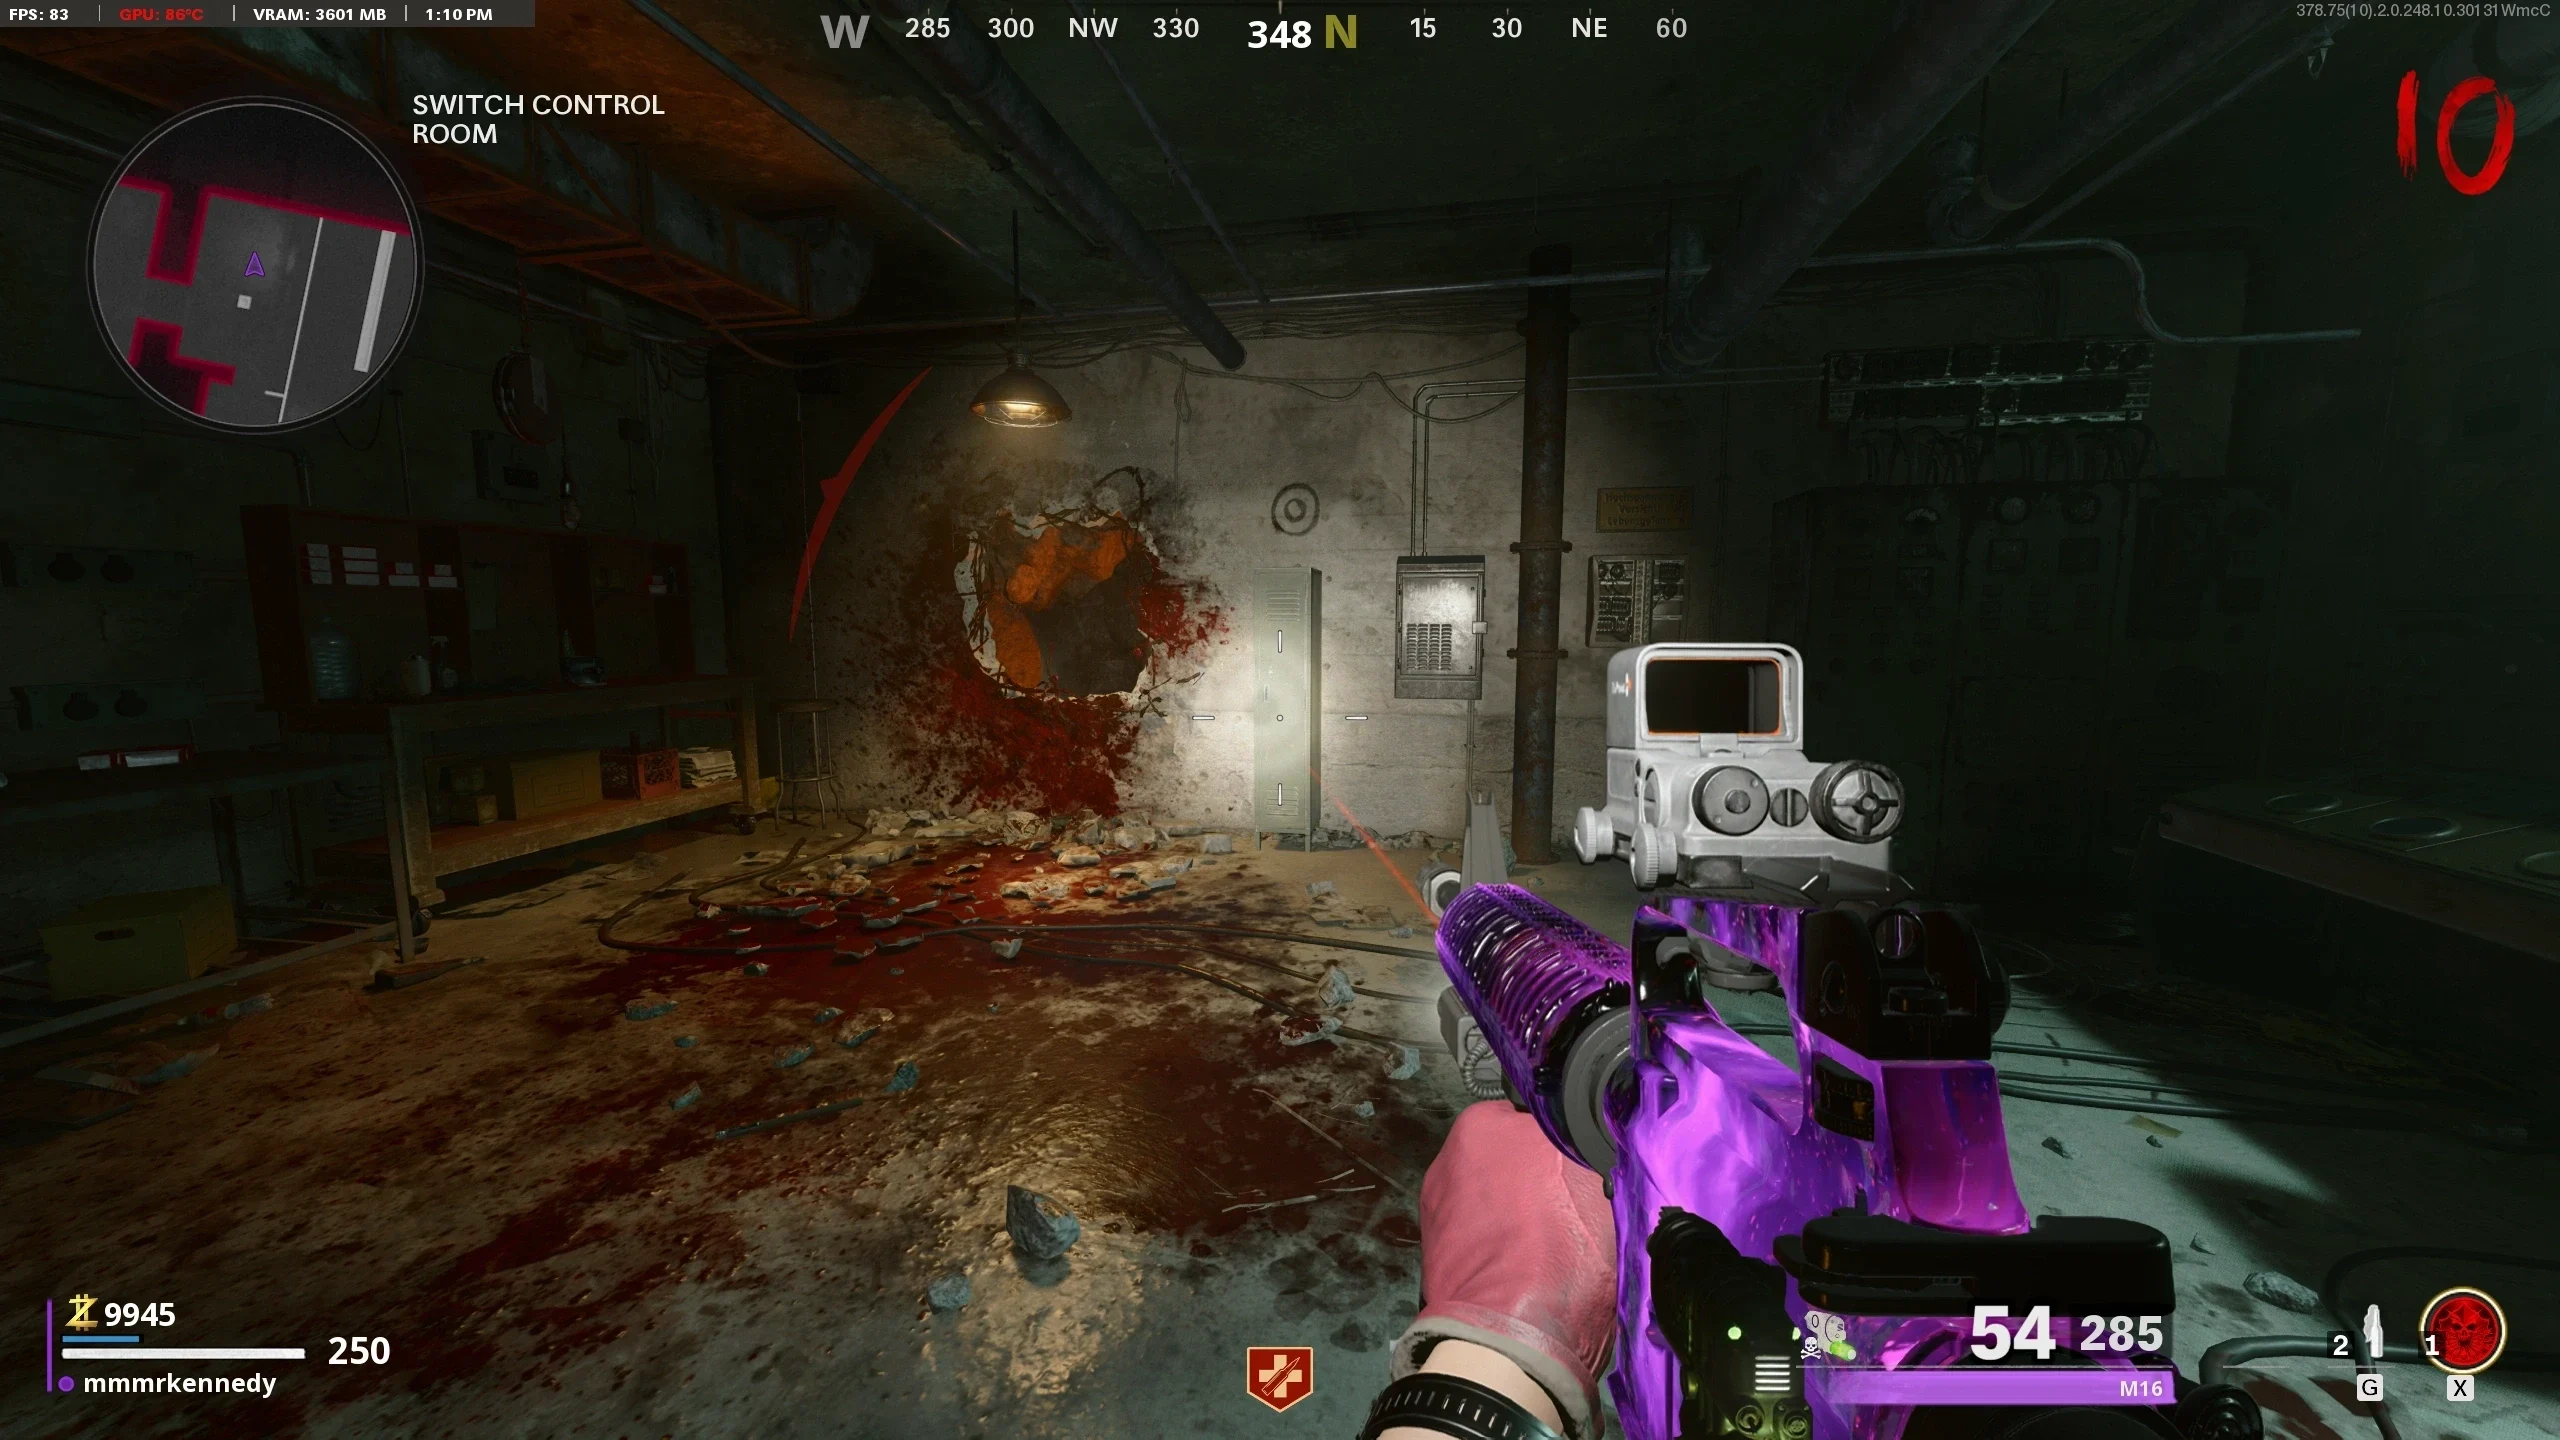
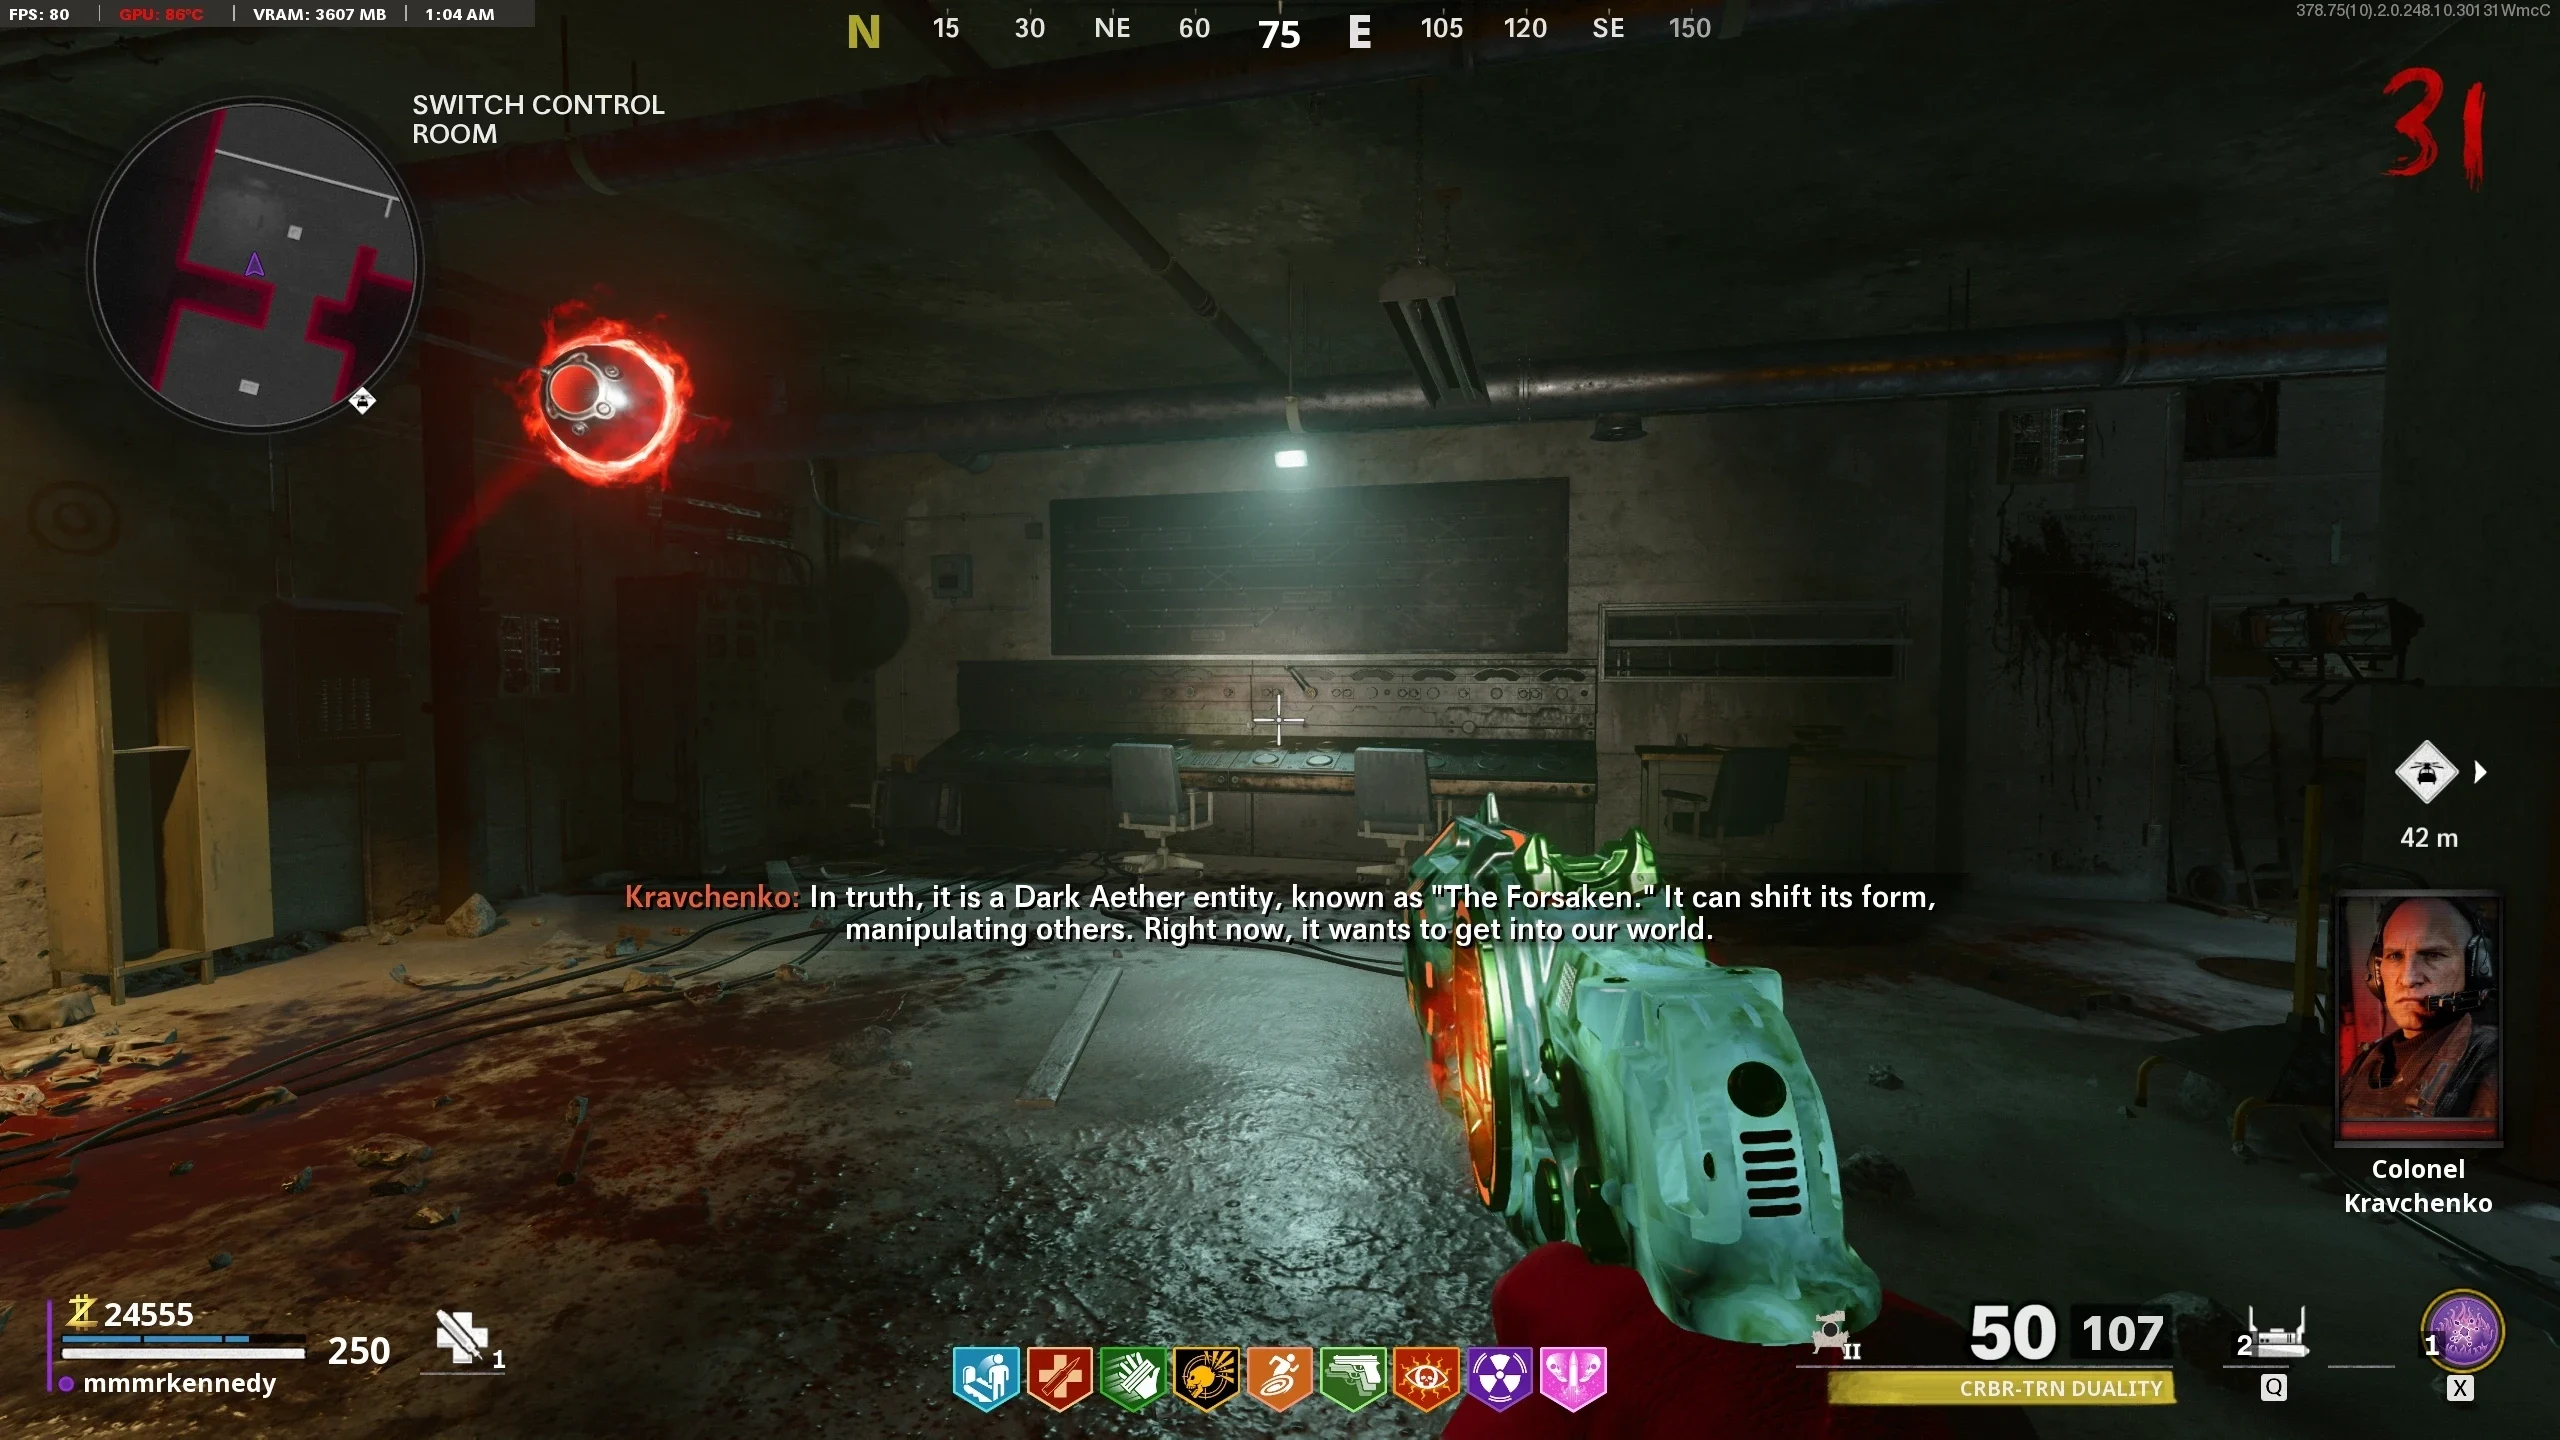
- Navigate to the 'Switch Control Room' and interact with the Railway Switch.
- Fully upgrade Klaus.
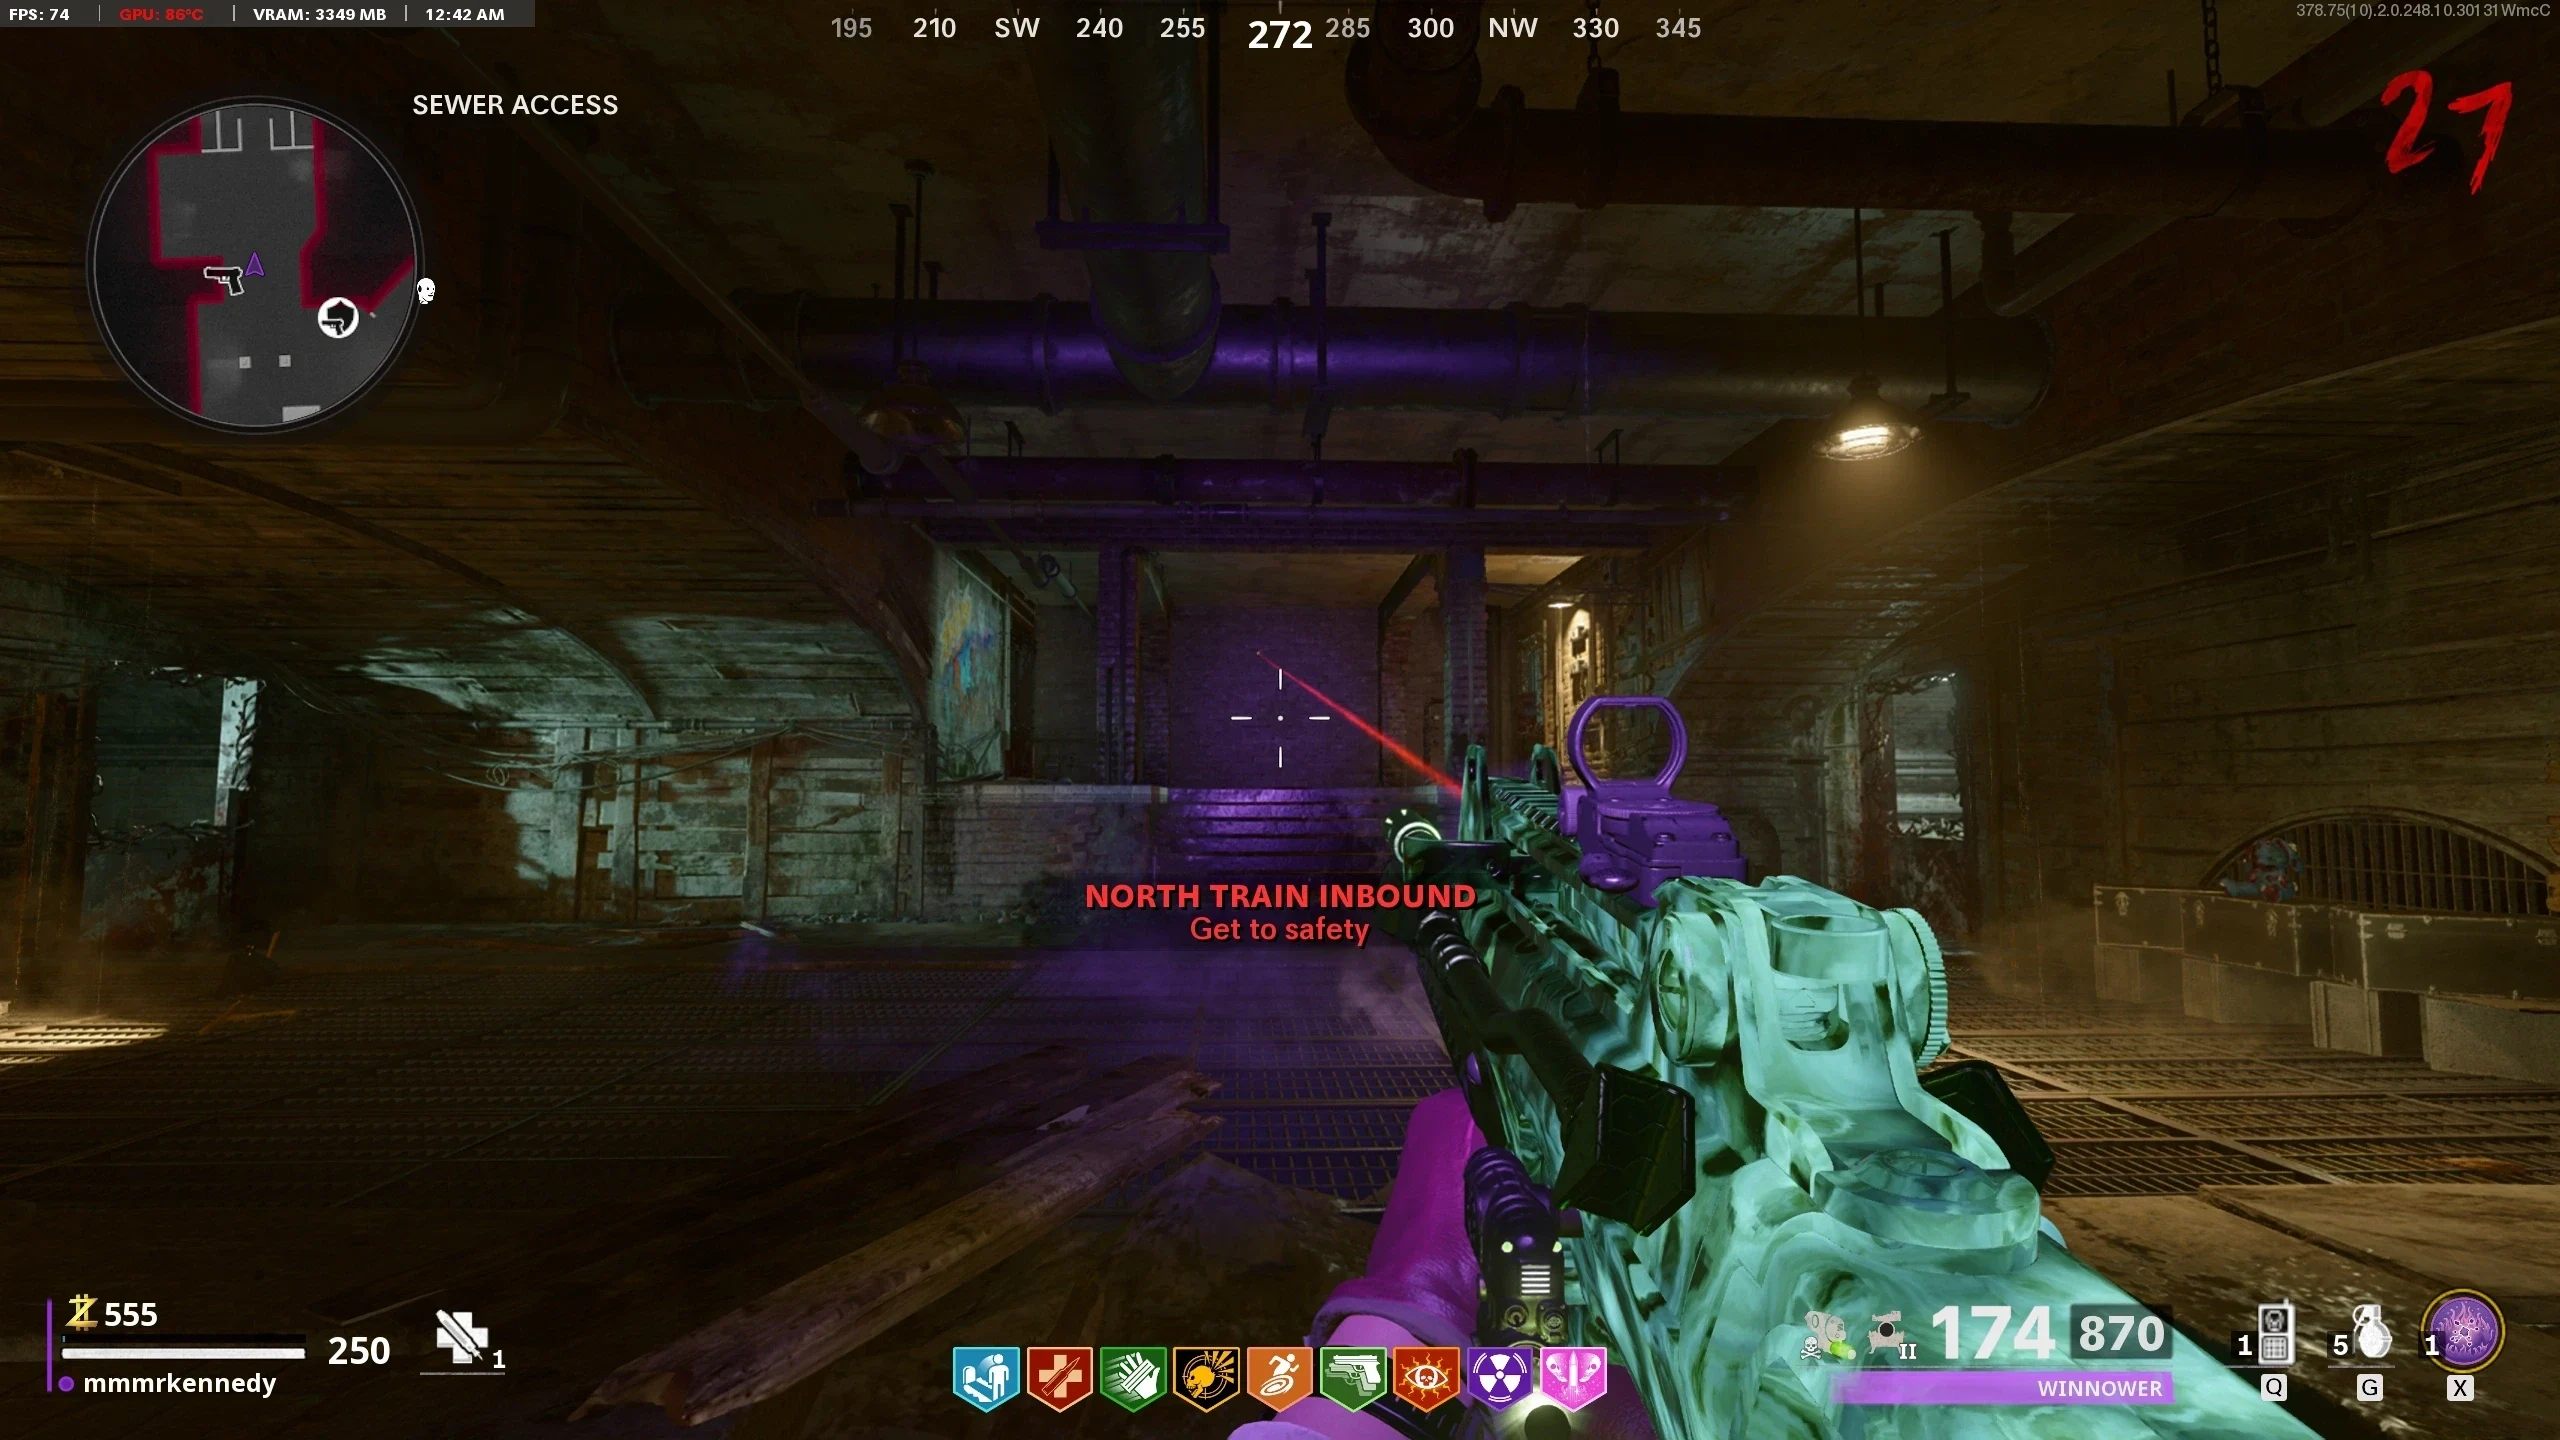
- Command Klaus to stand on the track furthest from Mule Kick near the M16 wallbuy. If done correctly, when the train comes, Klaus will stop it, allowing the player to board it. If Klaus fails to stop the train, wait till the next round, then flip the Railway Switch and try again.
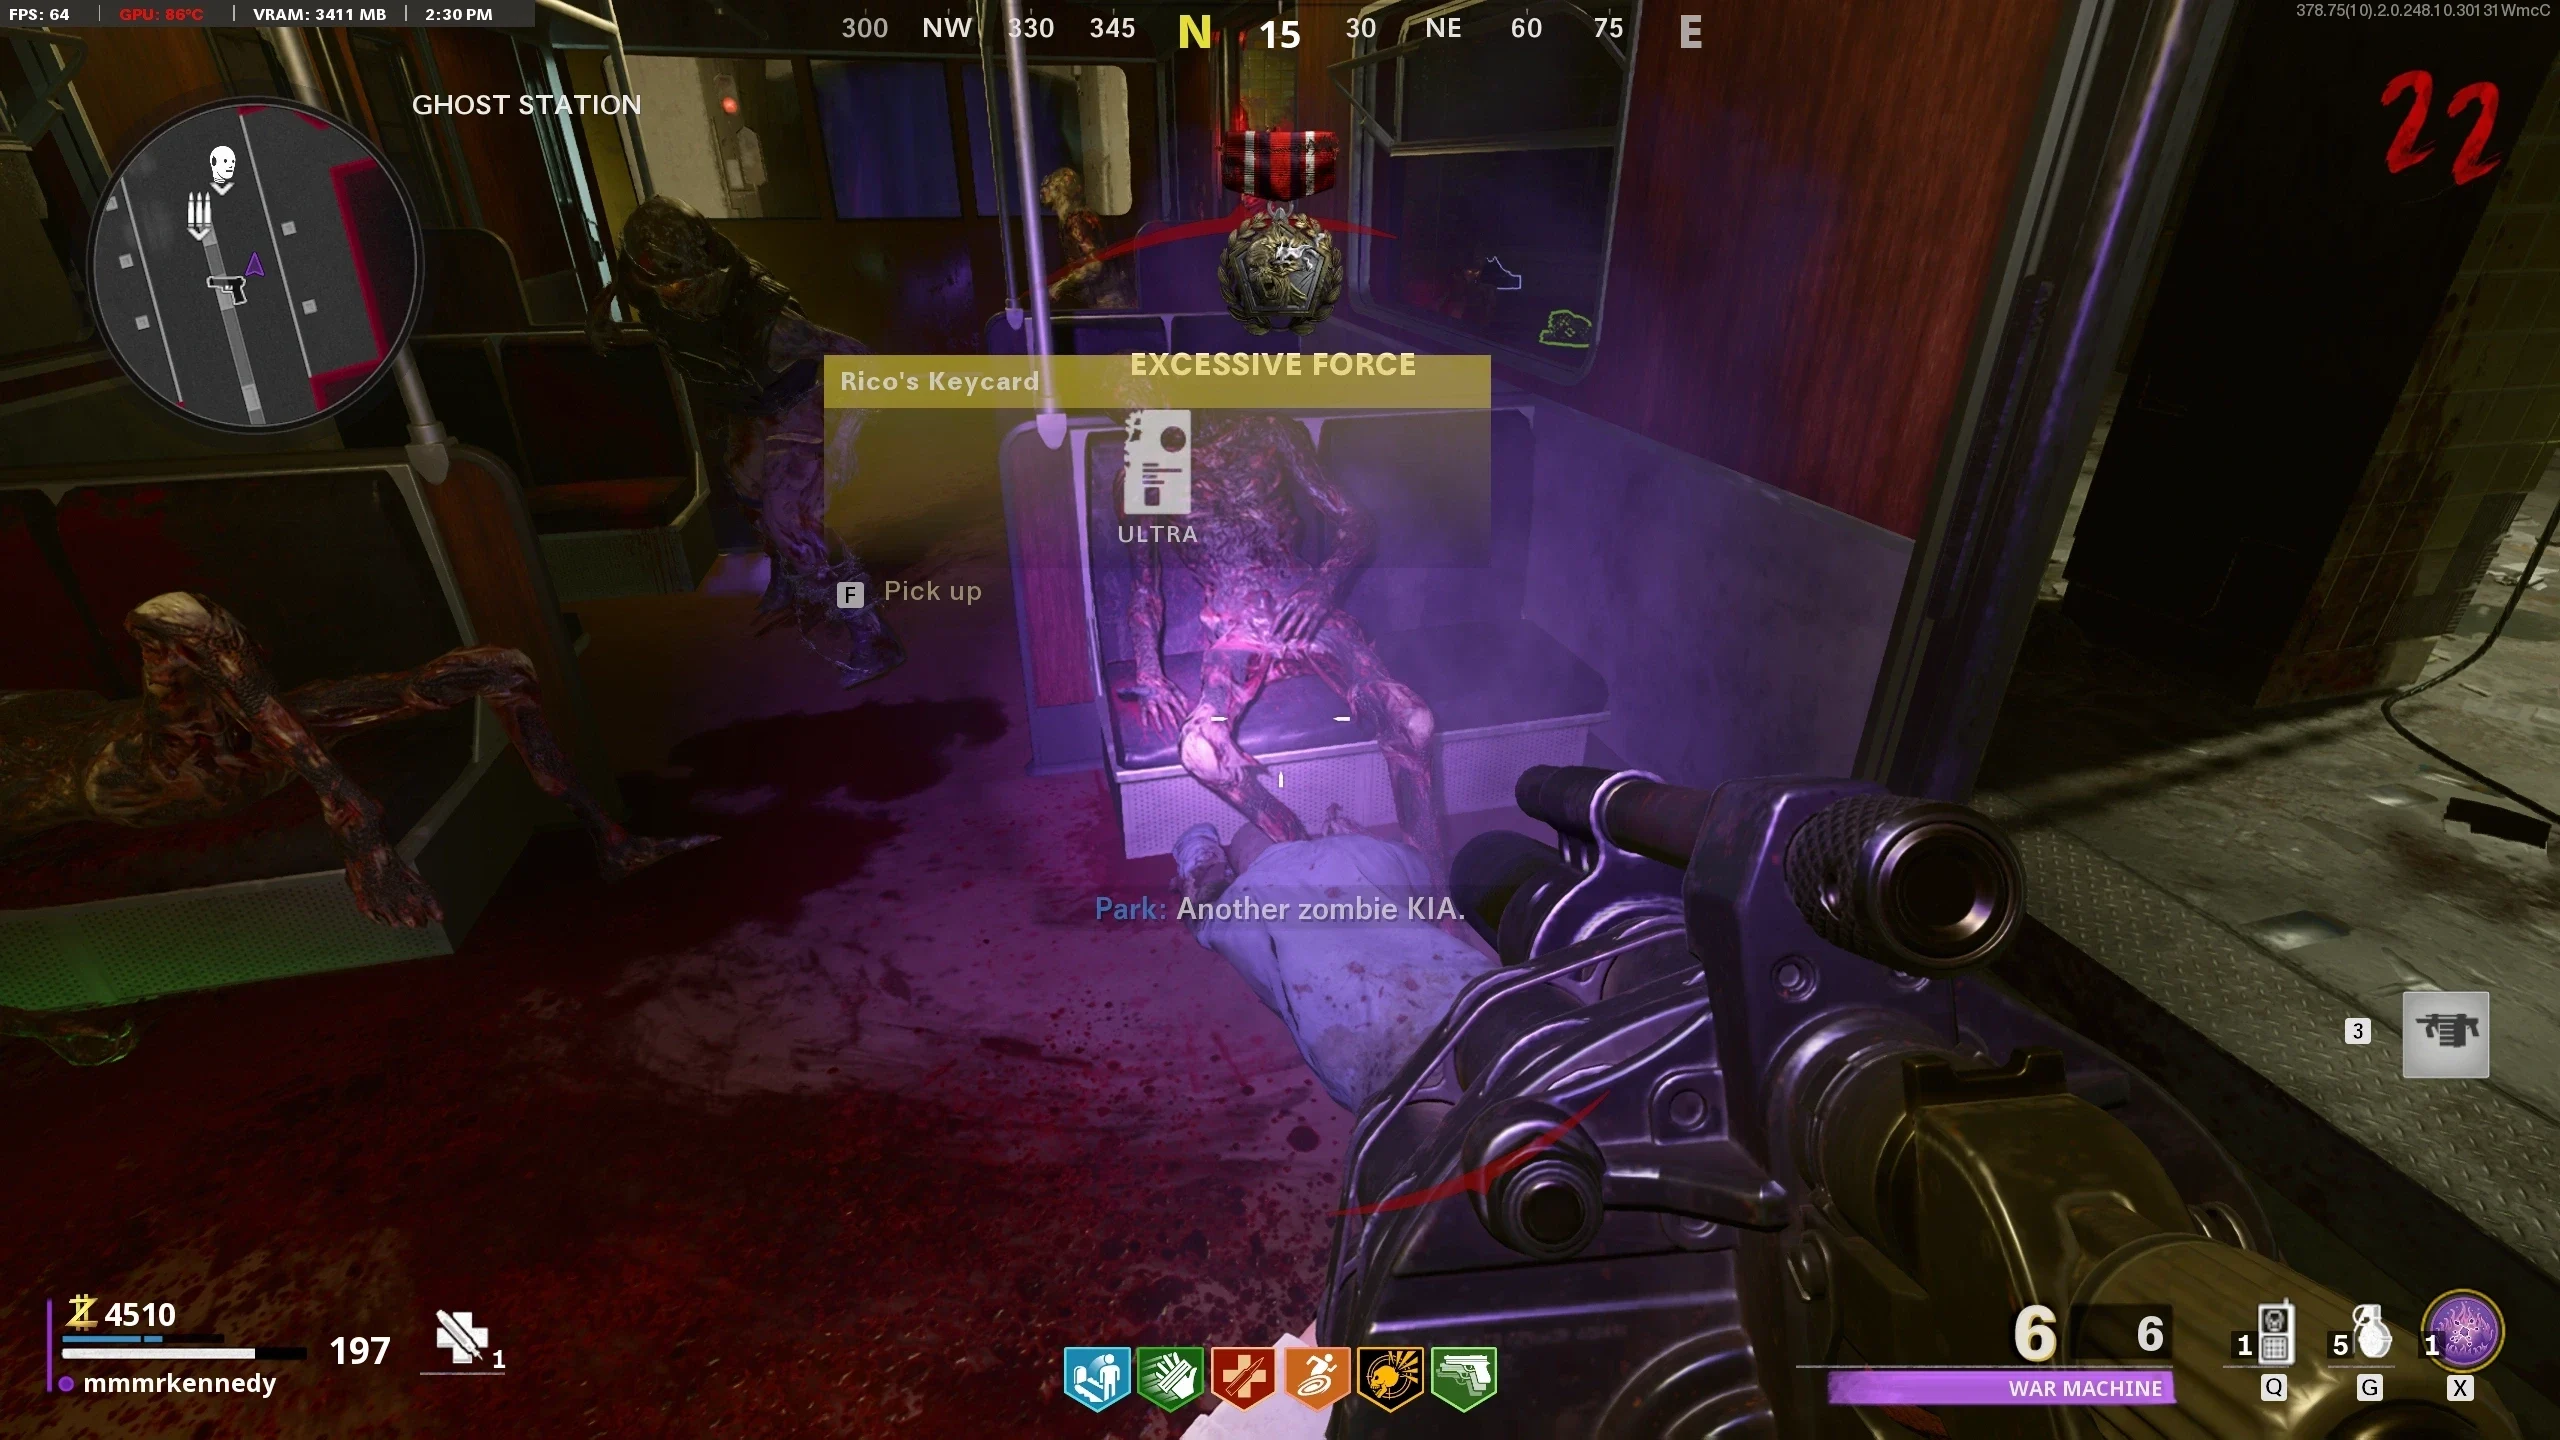
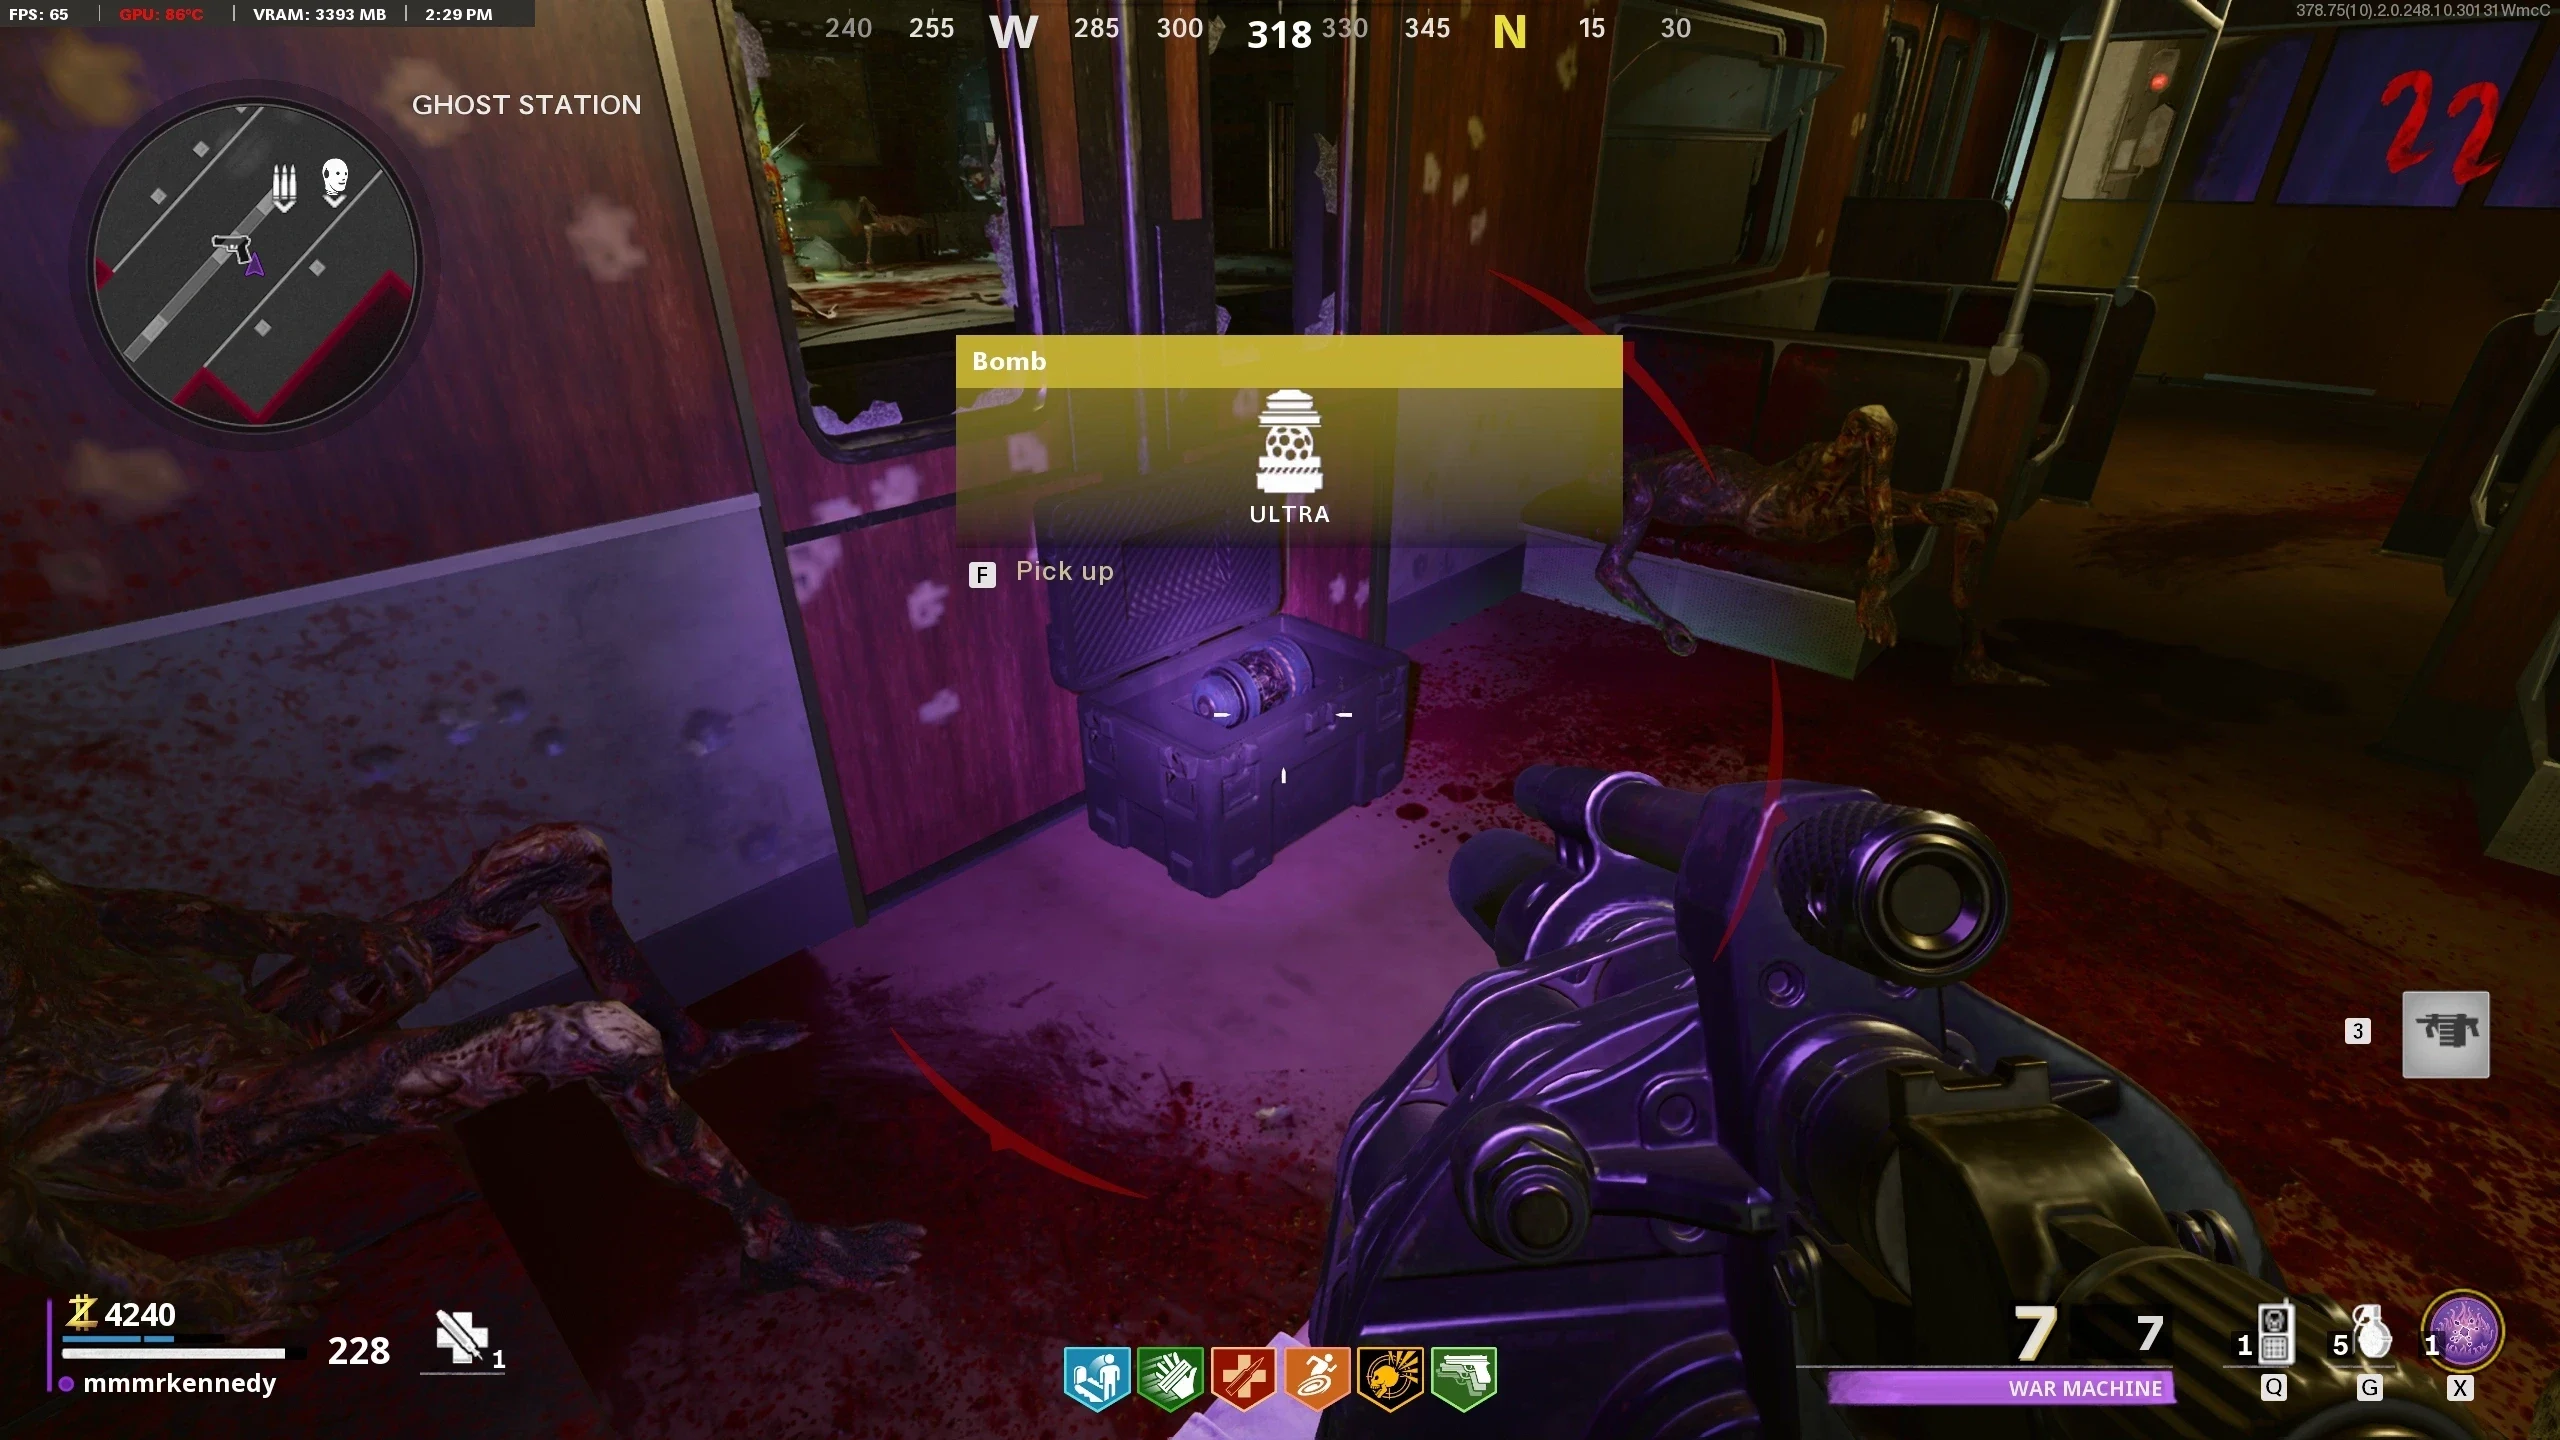
- On the train, the player must quickly pick up Rico's Keycard and the Bomb before the train leaves.
- Return to the Secret Lab and interact with the Conversion Unit to place the Bomb.
- Navigate to the Safe House and interact with this computer until the screen shows a satellite.
- Navigate to the Objective Marker and kill the HVT Megaton. Two Uranium Rocks will drop from the Megaton.
- Pick one up and bring it to one of the workbenches to craft a Uranium Device.
- Navigate to the Destroyed Penthouse Zipline and attach the Uranium Device.
- Repeat Step 22 for the other Radioactive Material and then navigate to the Korber Rooftop Zipline and attach the Uranium Device.
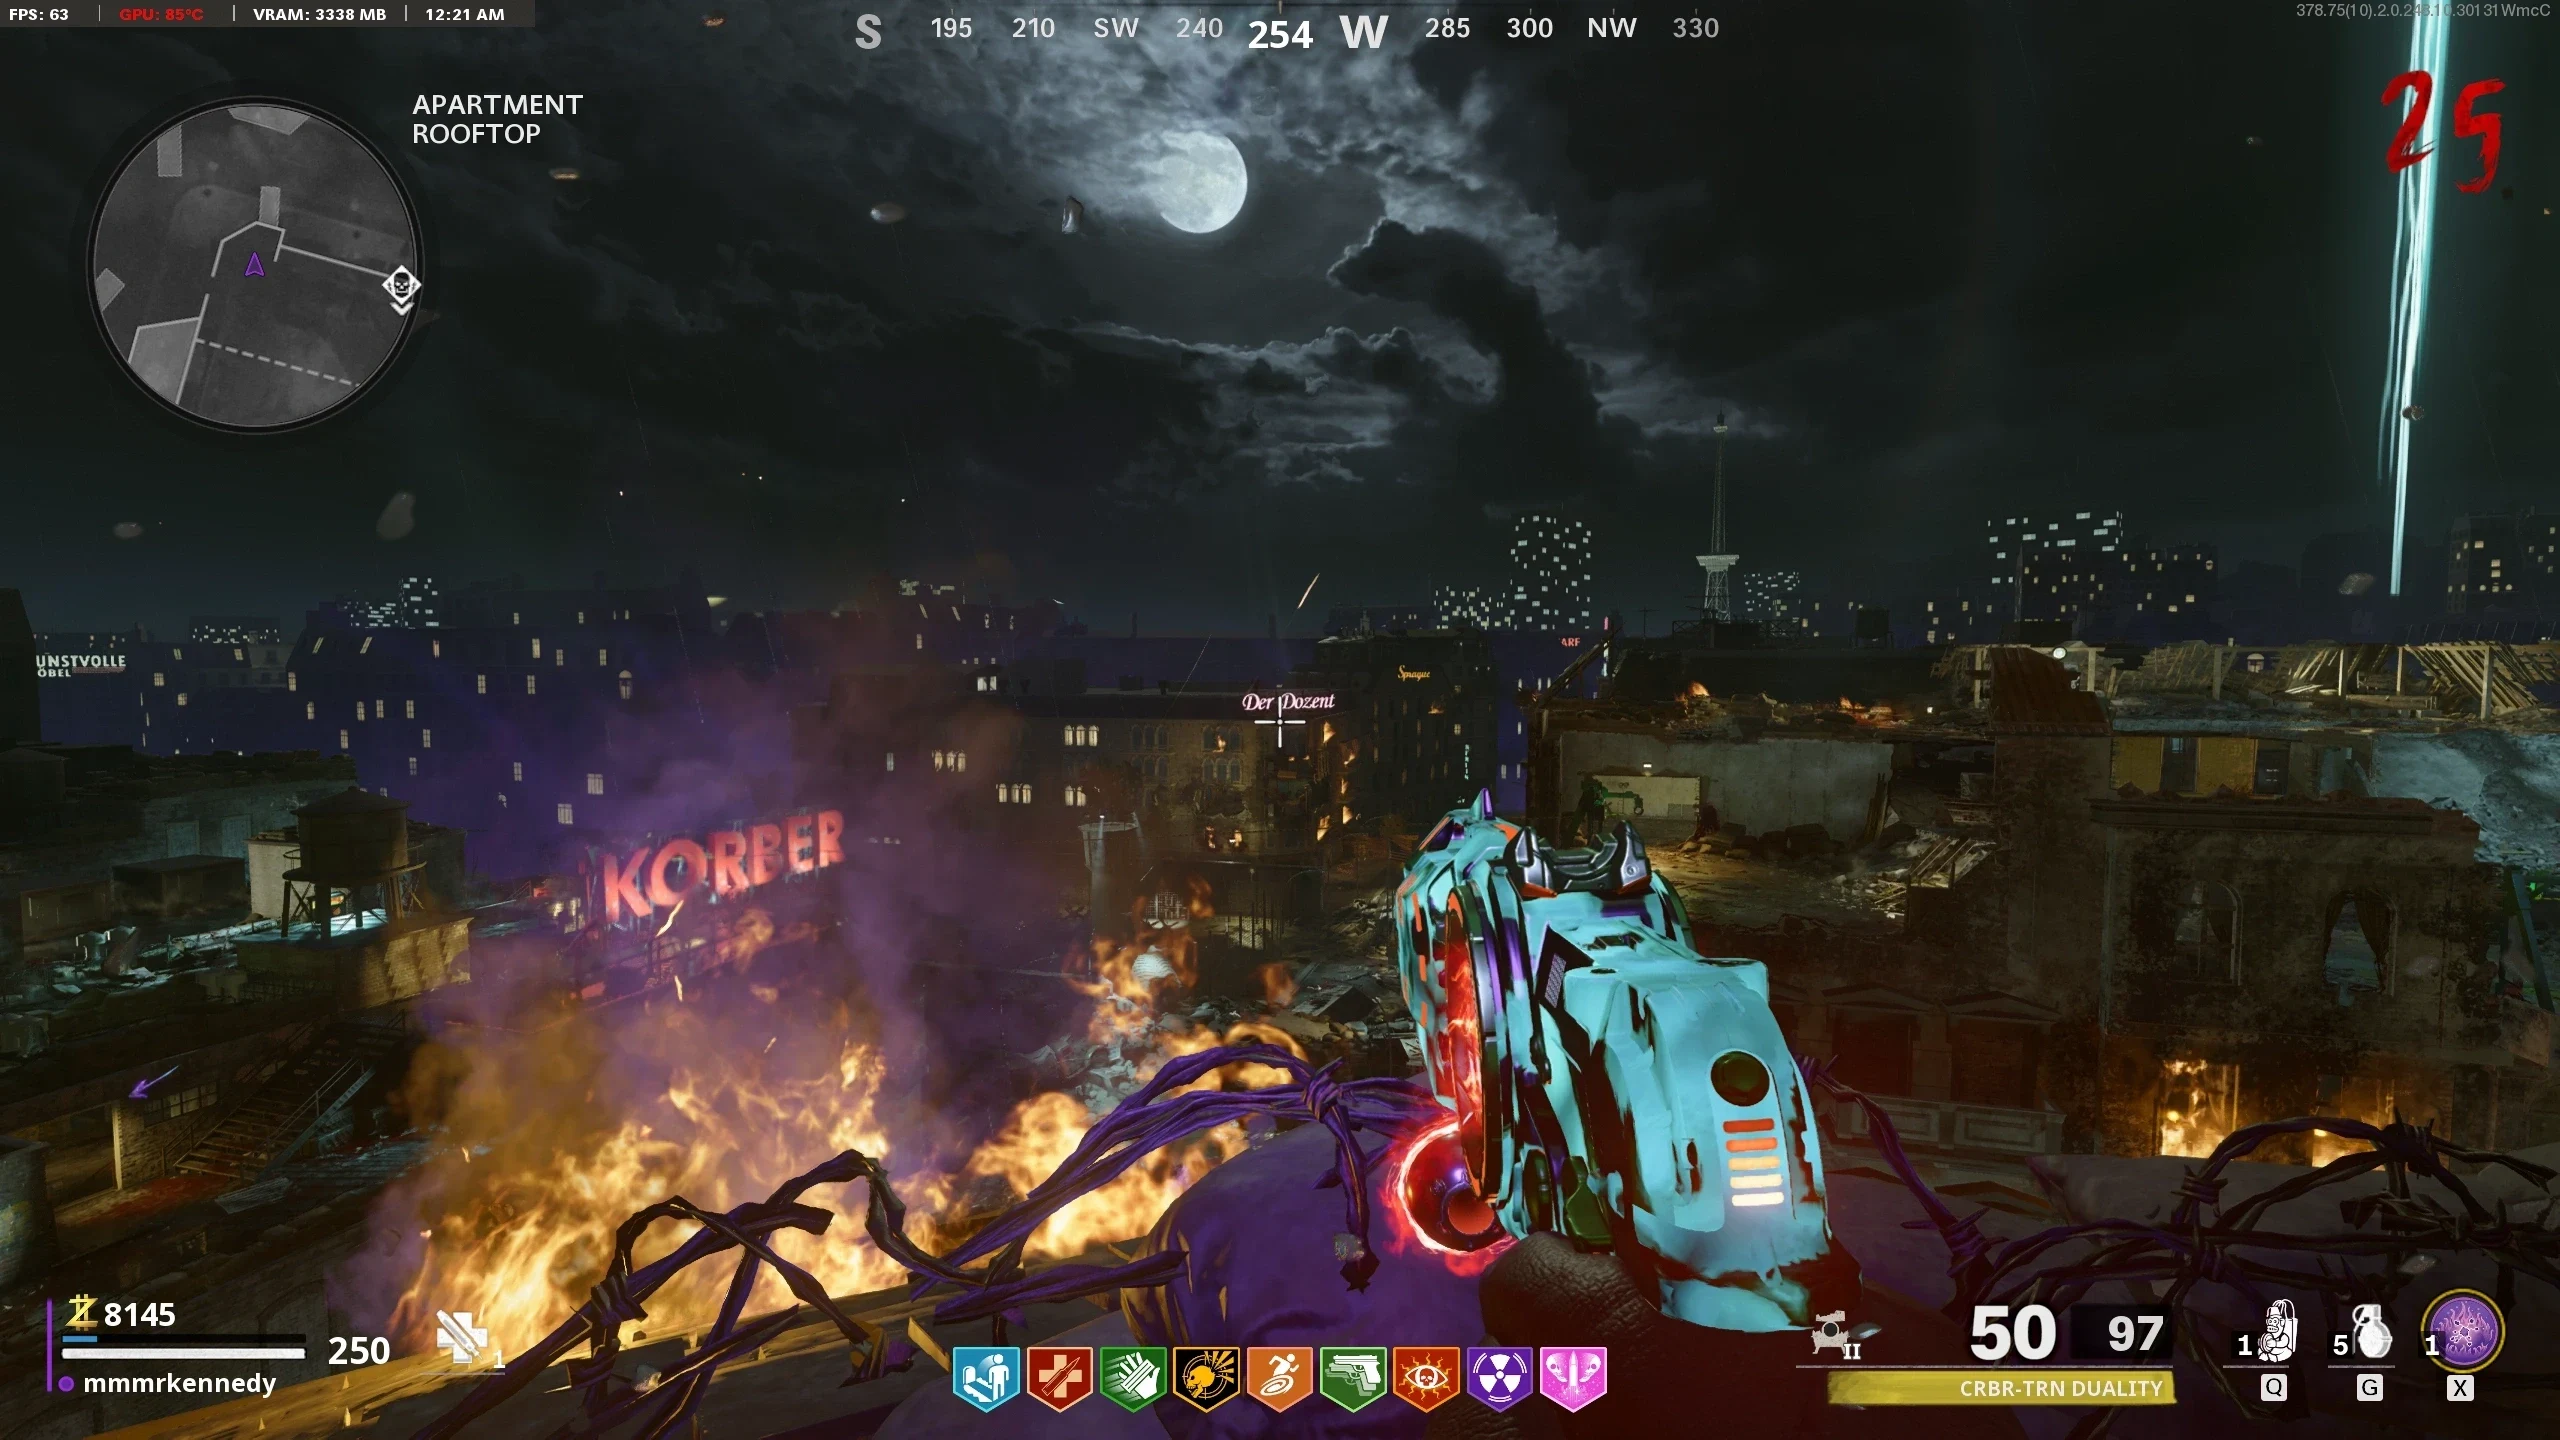
- Both Uranium Devices will shoot across the zipline, collide in the middle and land on the street below. Collect the Cleansed Uranium and return it to the conversion unit.
- Repeat Steps 20-25 to get another Cleansed Uranium.
- Valentina has three attacks, two damage dealing and one healing. They are:
- Fire (Damage): Three Orange crystals will appear over Valentina's Head and begin shooting at a player. The projectiles can be outrun but cannot be avoided while walking.
- Wipe (Damage): A blue aura will appear around the player's screen. All players must take cover (out of view of Valentina) to avoid being instantly downed.
- Heal: Valentina will spawn floating zombies surrounding her. Kill the zombies to stop her from healing.
- To attack Valentina, shoot her until she becomes immune and moves to a new area. She will move to four different areas before returning to the secret lab.
- Once Valentina's health bar hits 0, a cutscene will play then the player must defend Klaus as he walks the Bomb into the Portal.
- Once he makes it into the portal, the game will end and the final cutscene will start.
Prerequisites
Find the Secret Lab
Charge the Conversion Unit
Stop the Train
Obtain the Uranium
Warning: Point of No Return. Once the second Uranium is returned to the conversion unit, the Boss Fight will start.
Valentina Boss Fight