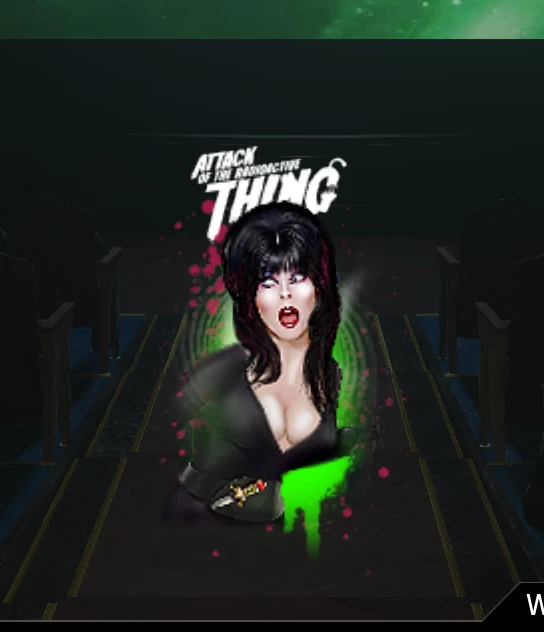
'Soul-Less' Main Quest
Stats (Solo): Difficulty - 5/10 (4/10 Dir. Cut), Est. Completion Time - 50 mins to 1:20 Hr (30 Mins to 1 Hr Dir. Cut)
- Unlock Pack-a-Punch.
- Note: Steps 3 and 4 can be done at the same time.
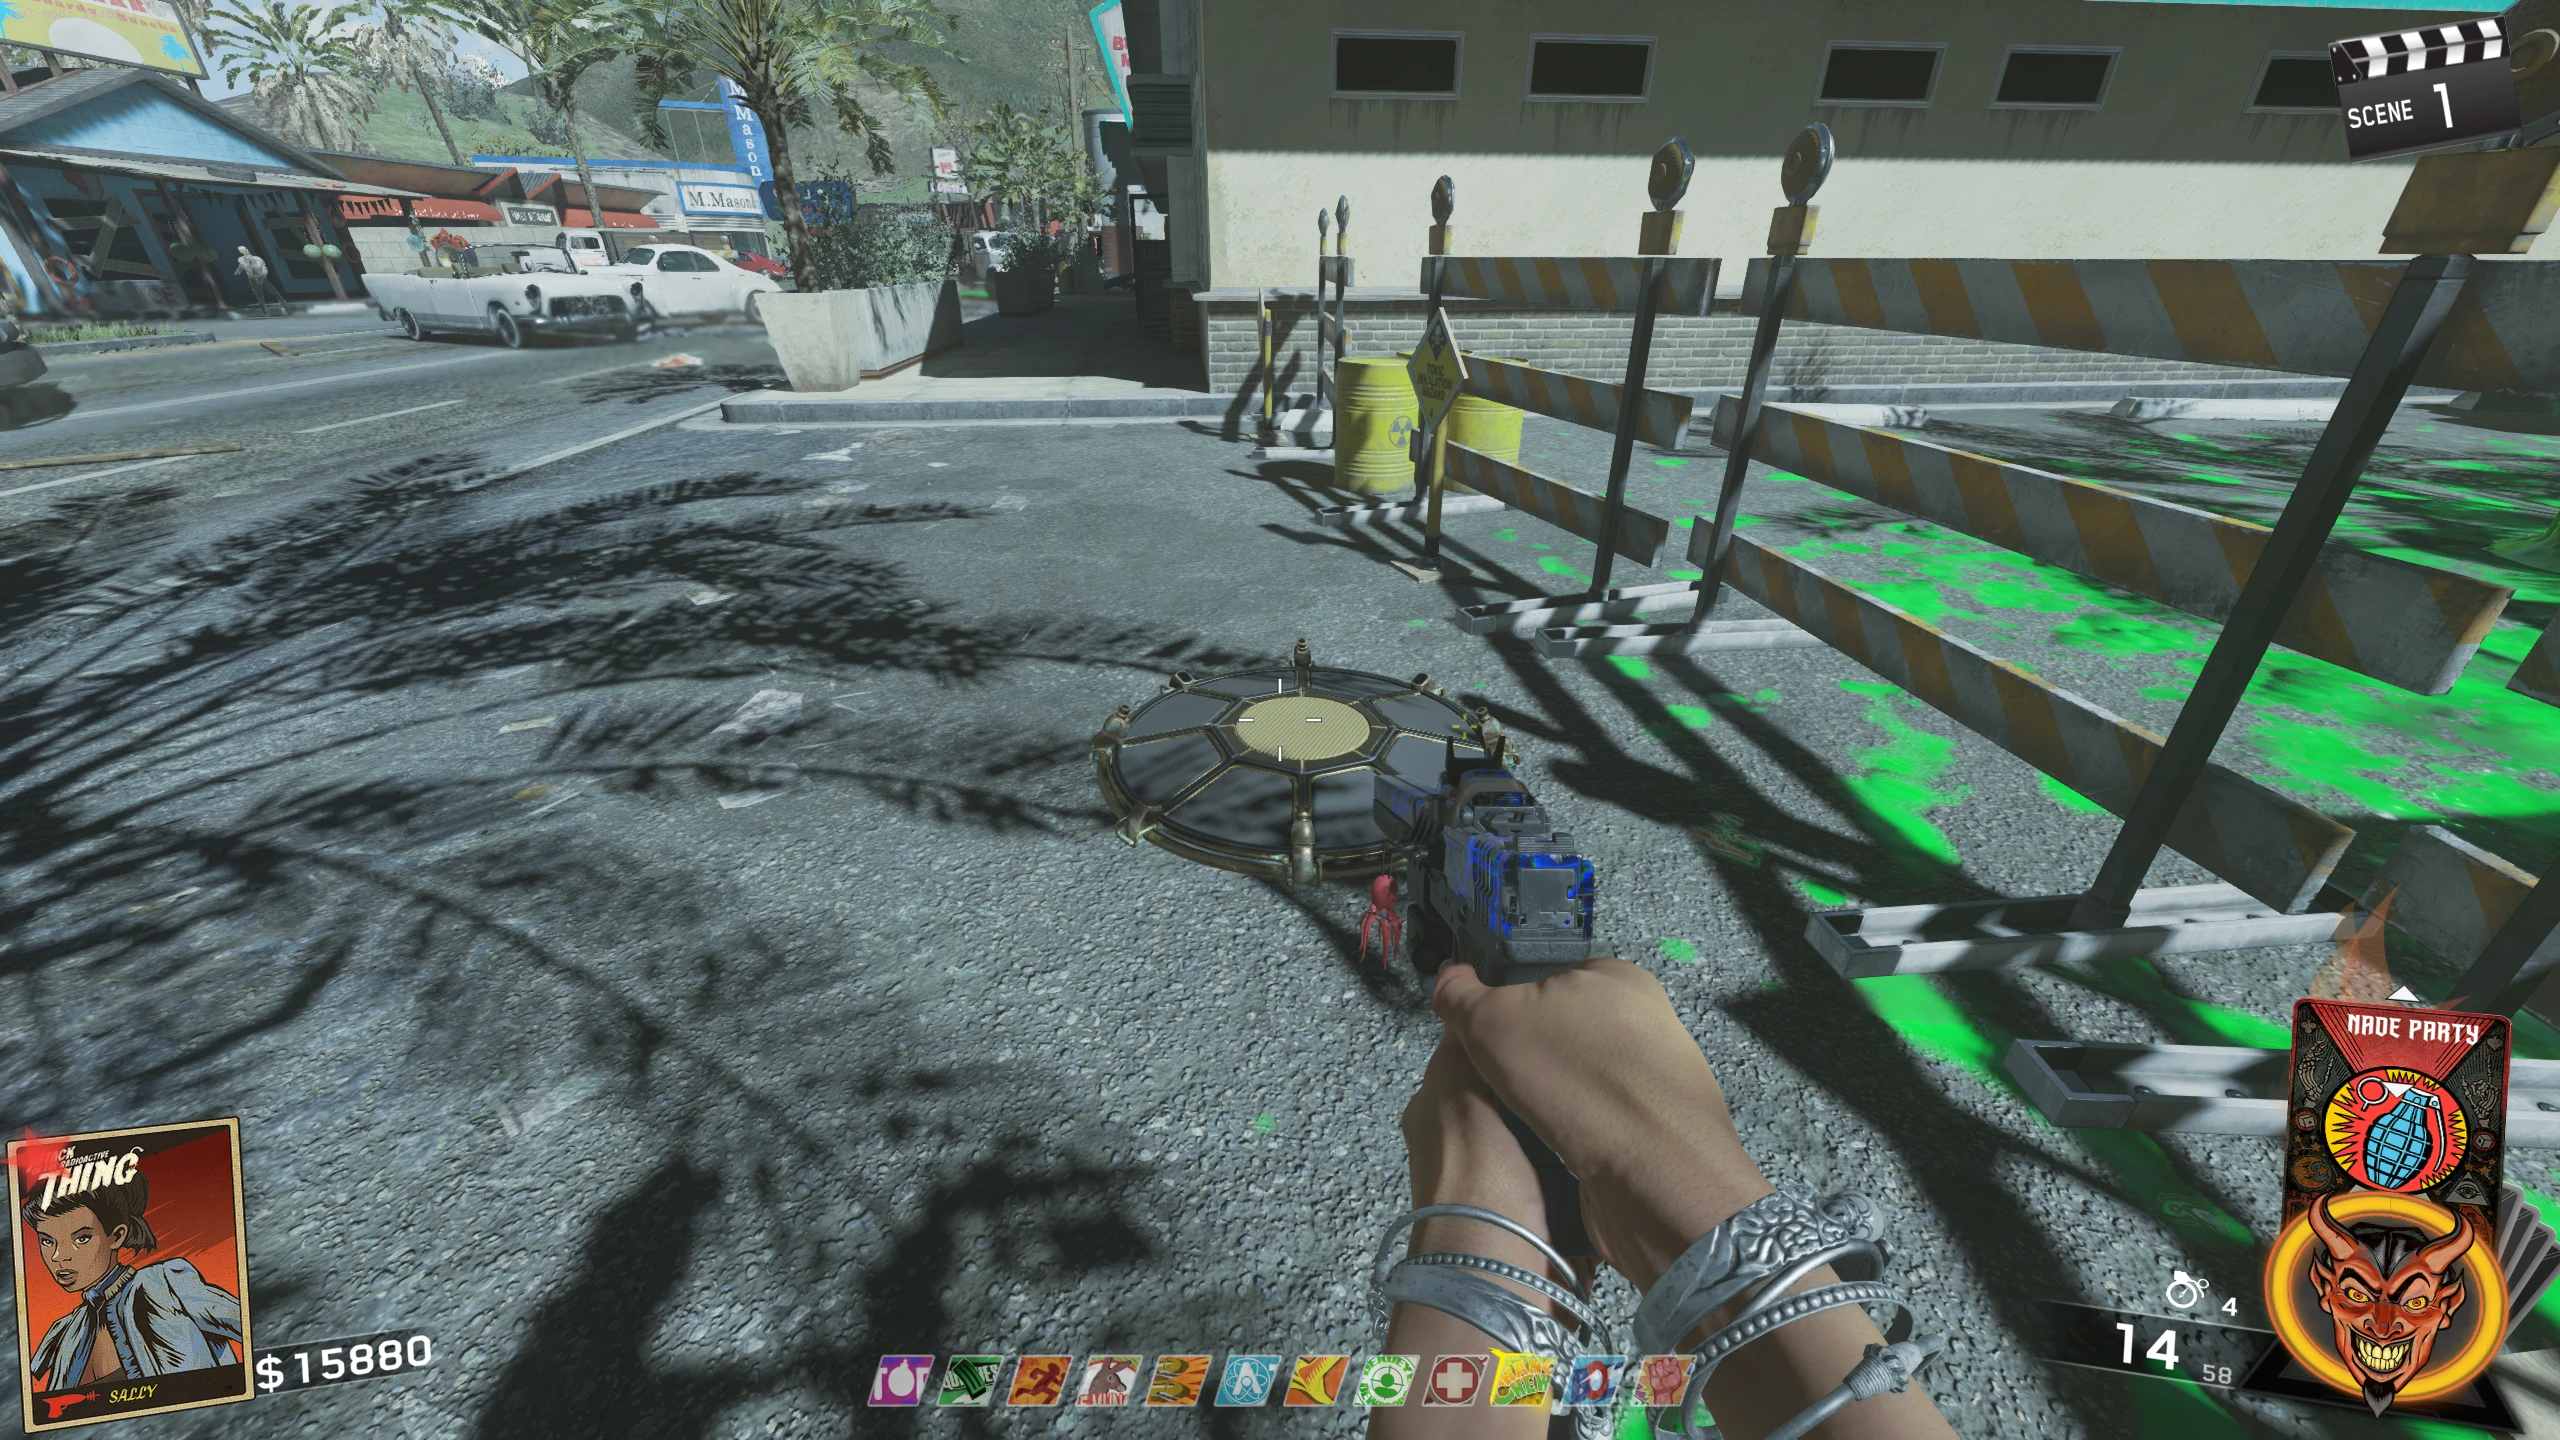
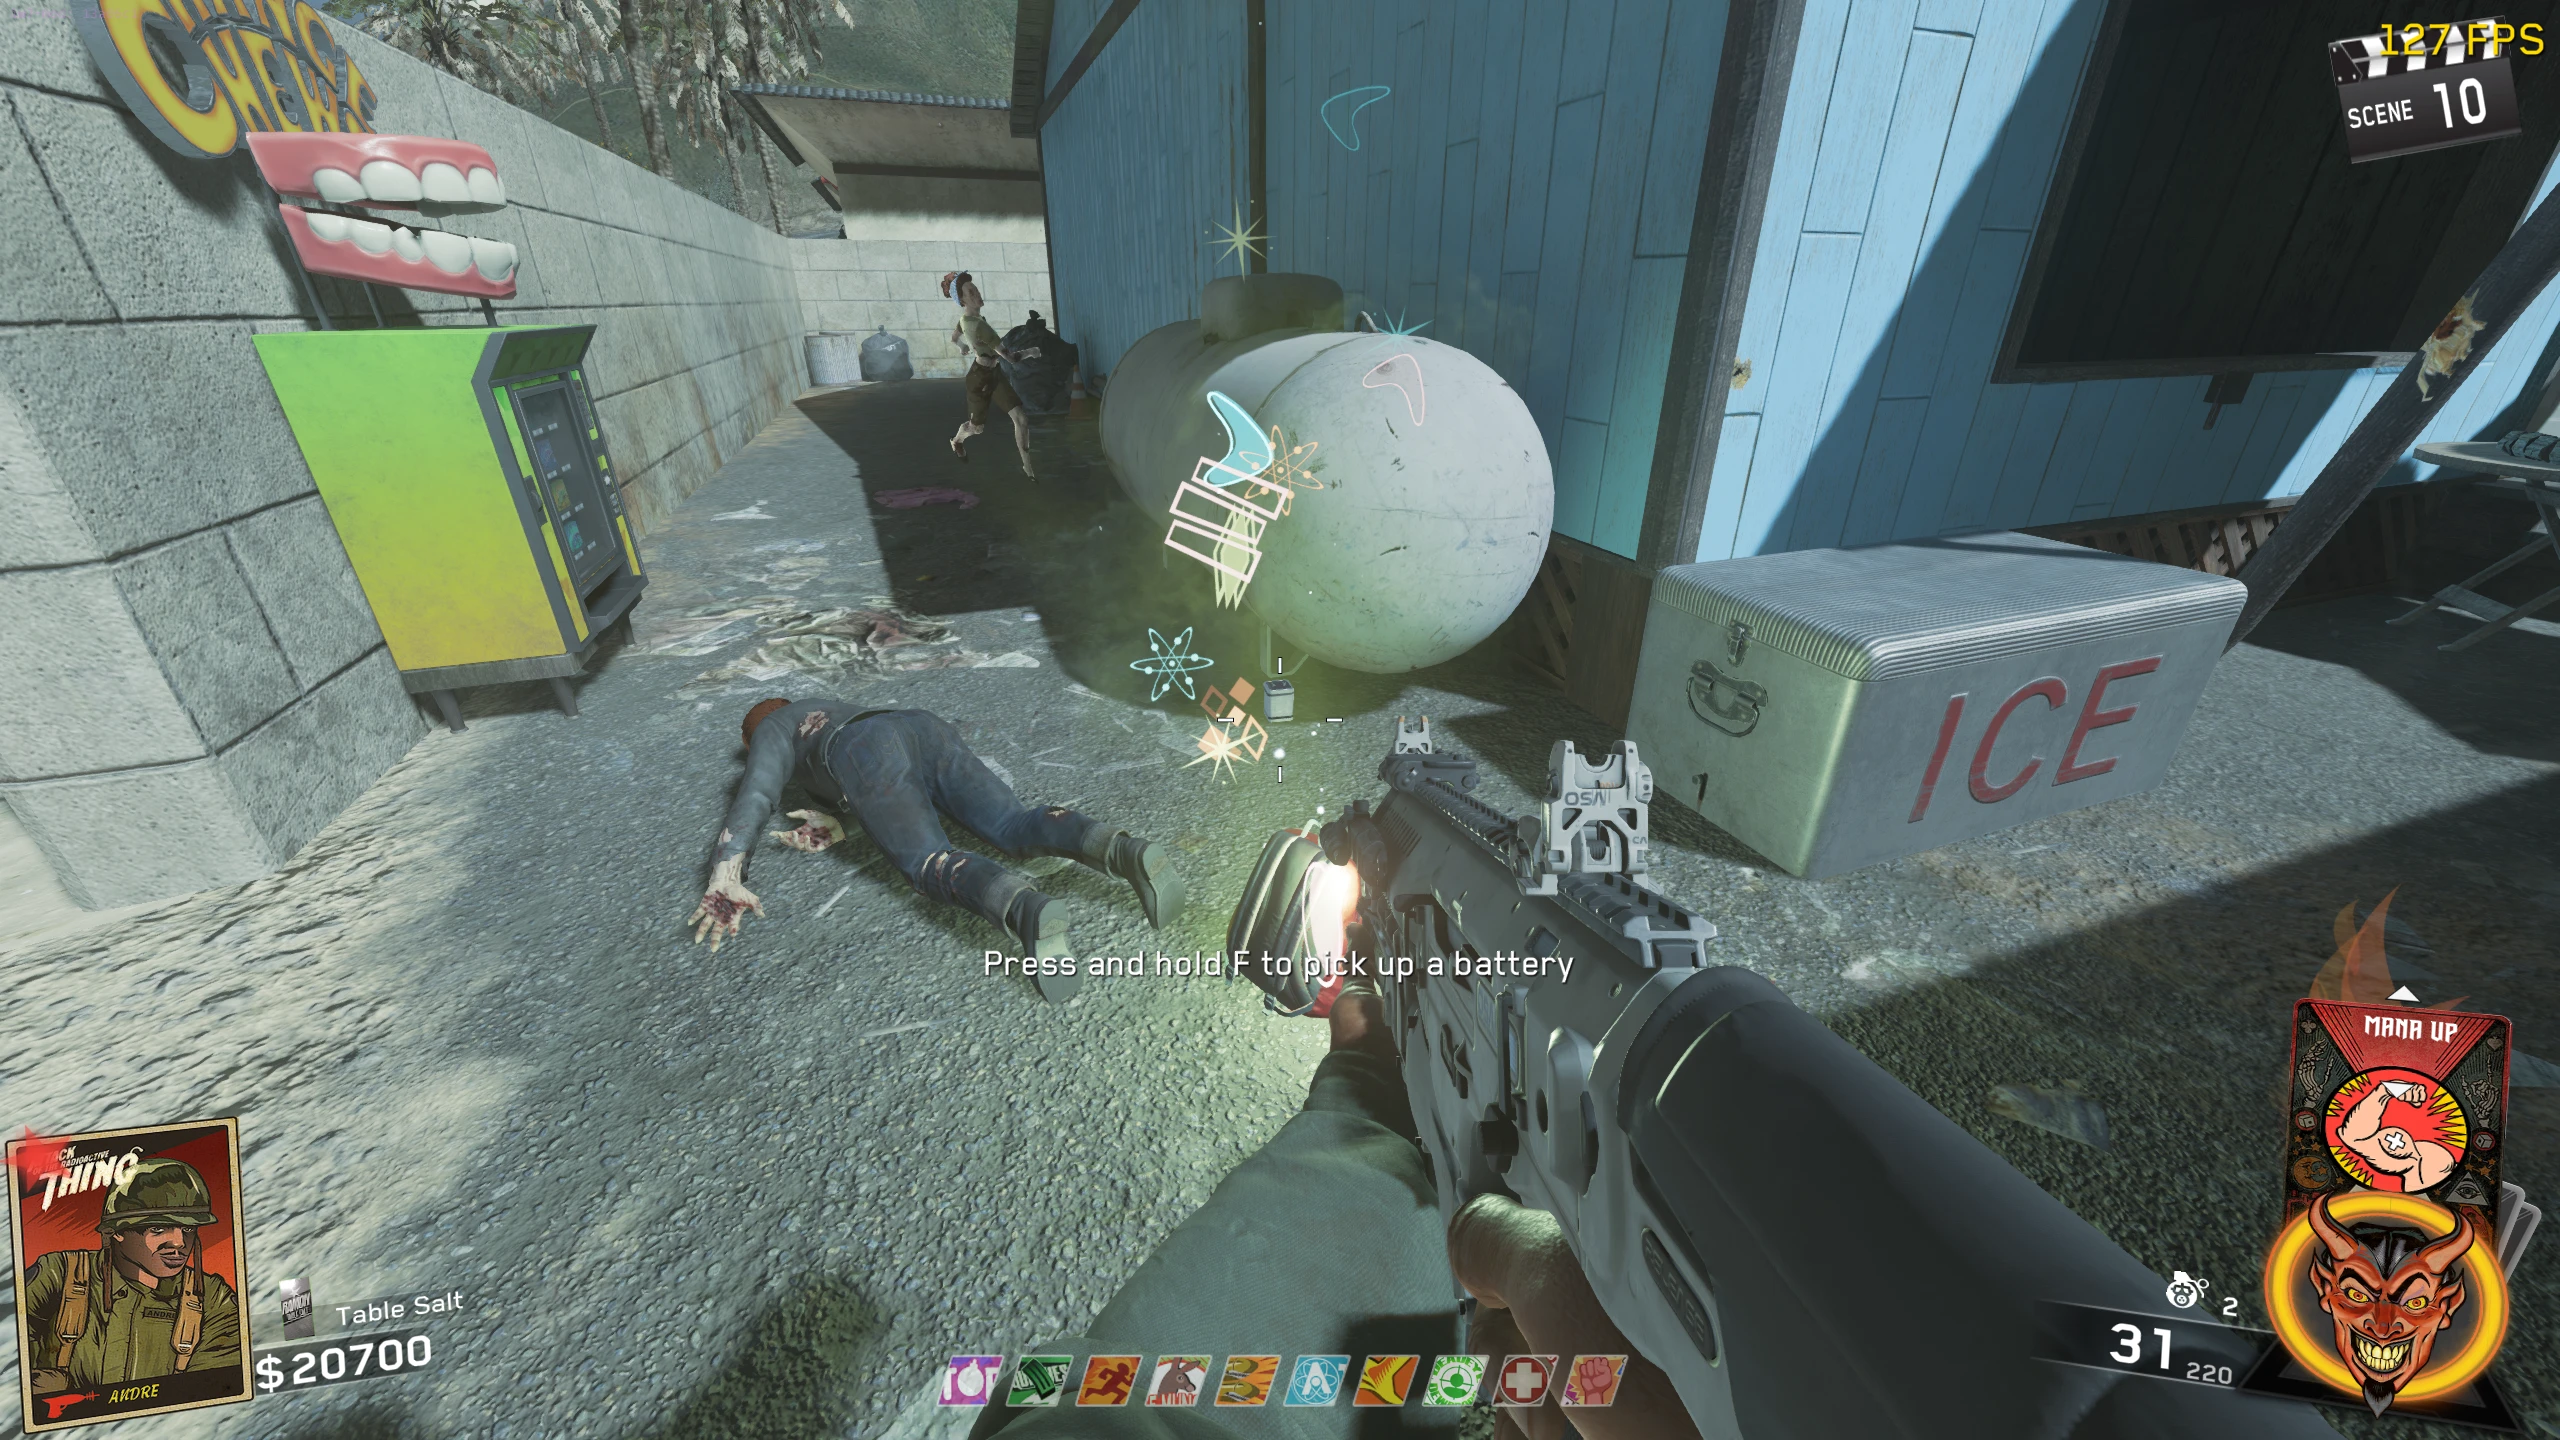
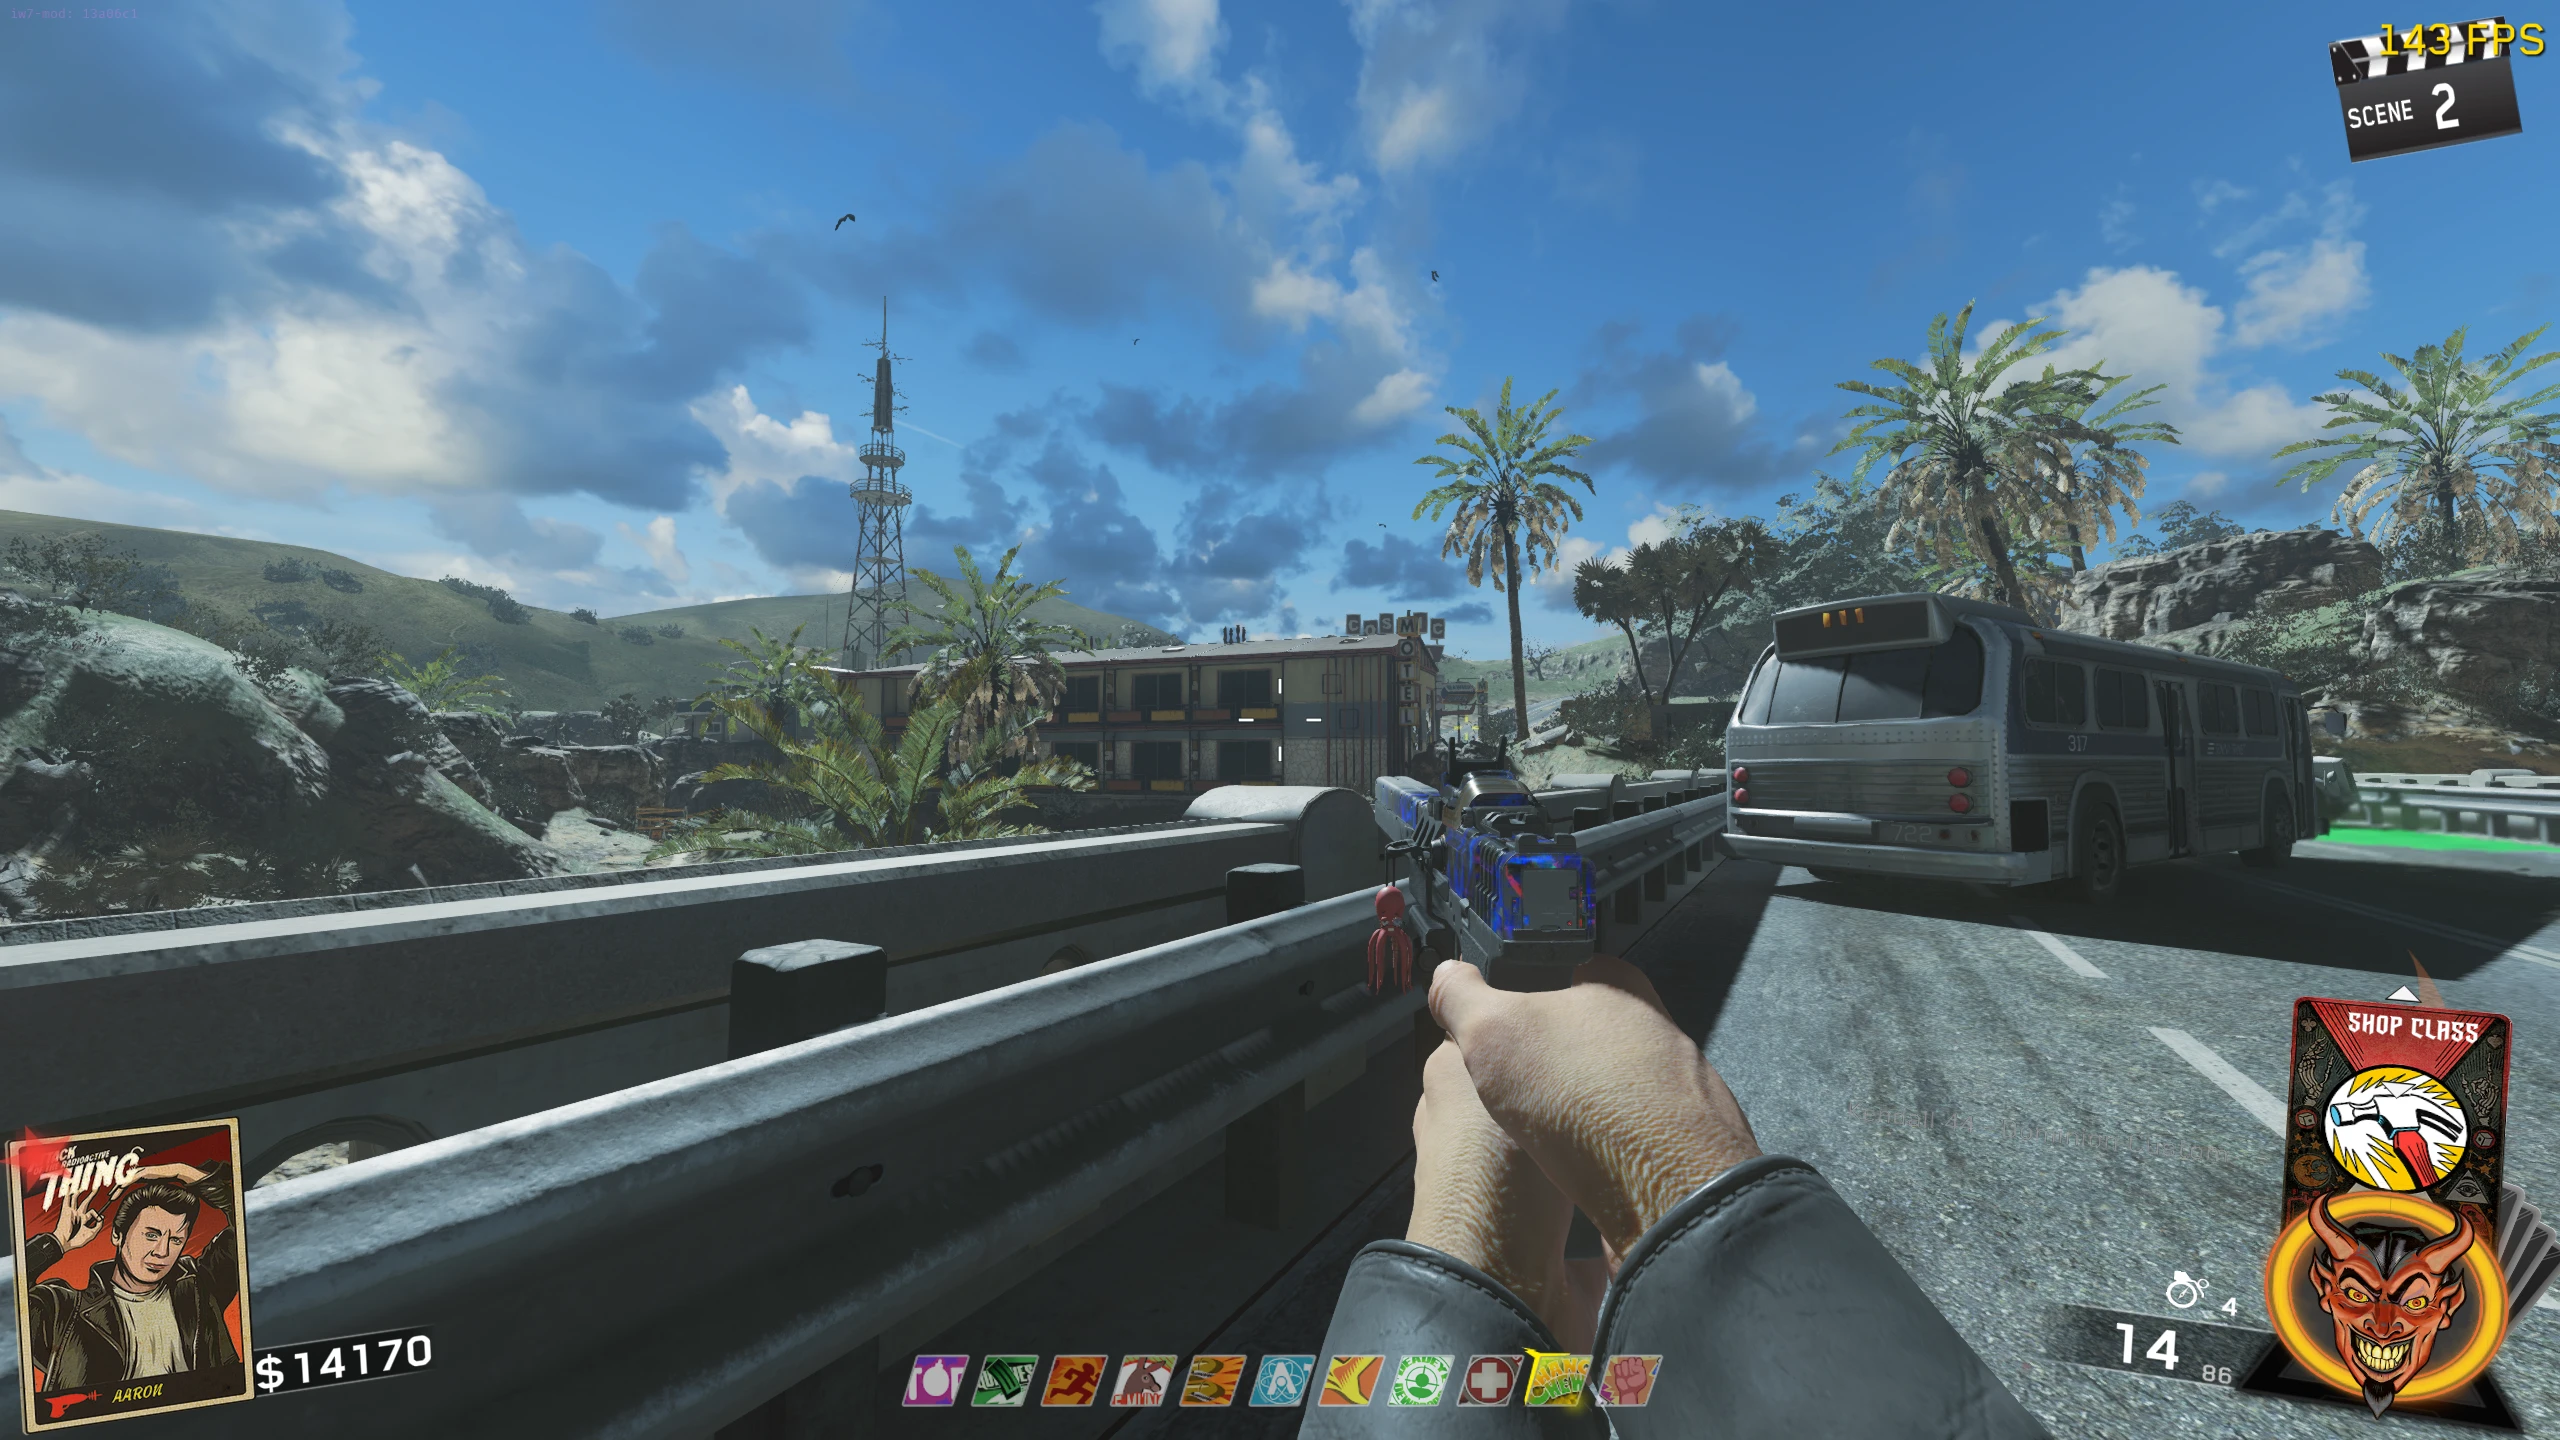
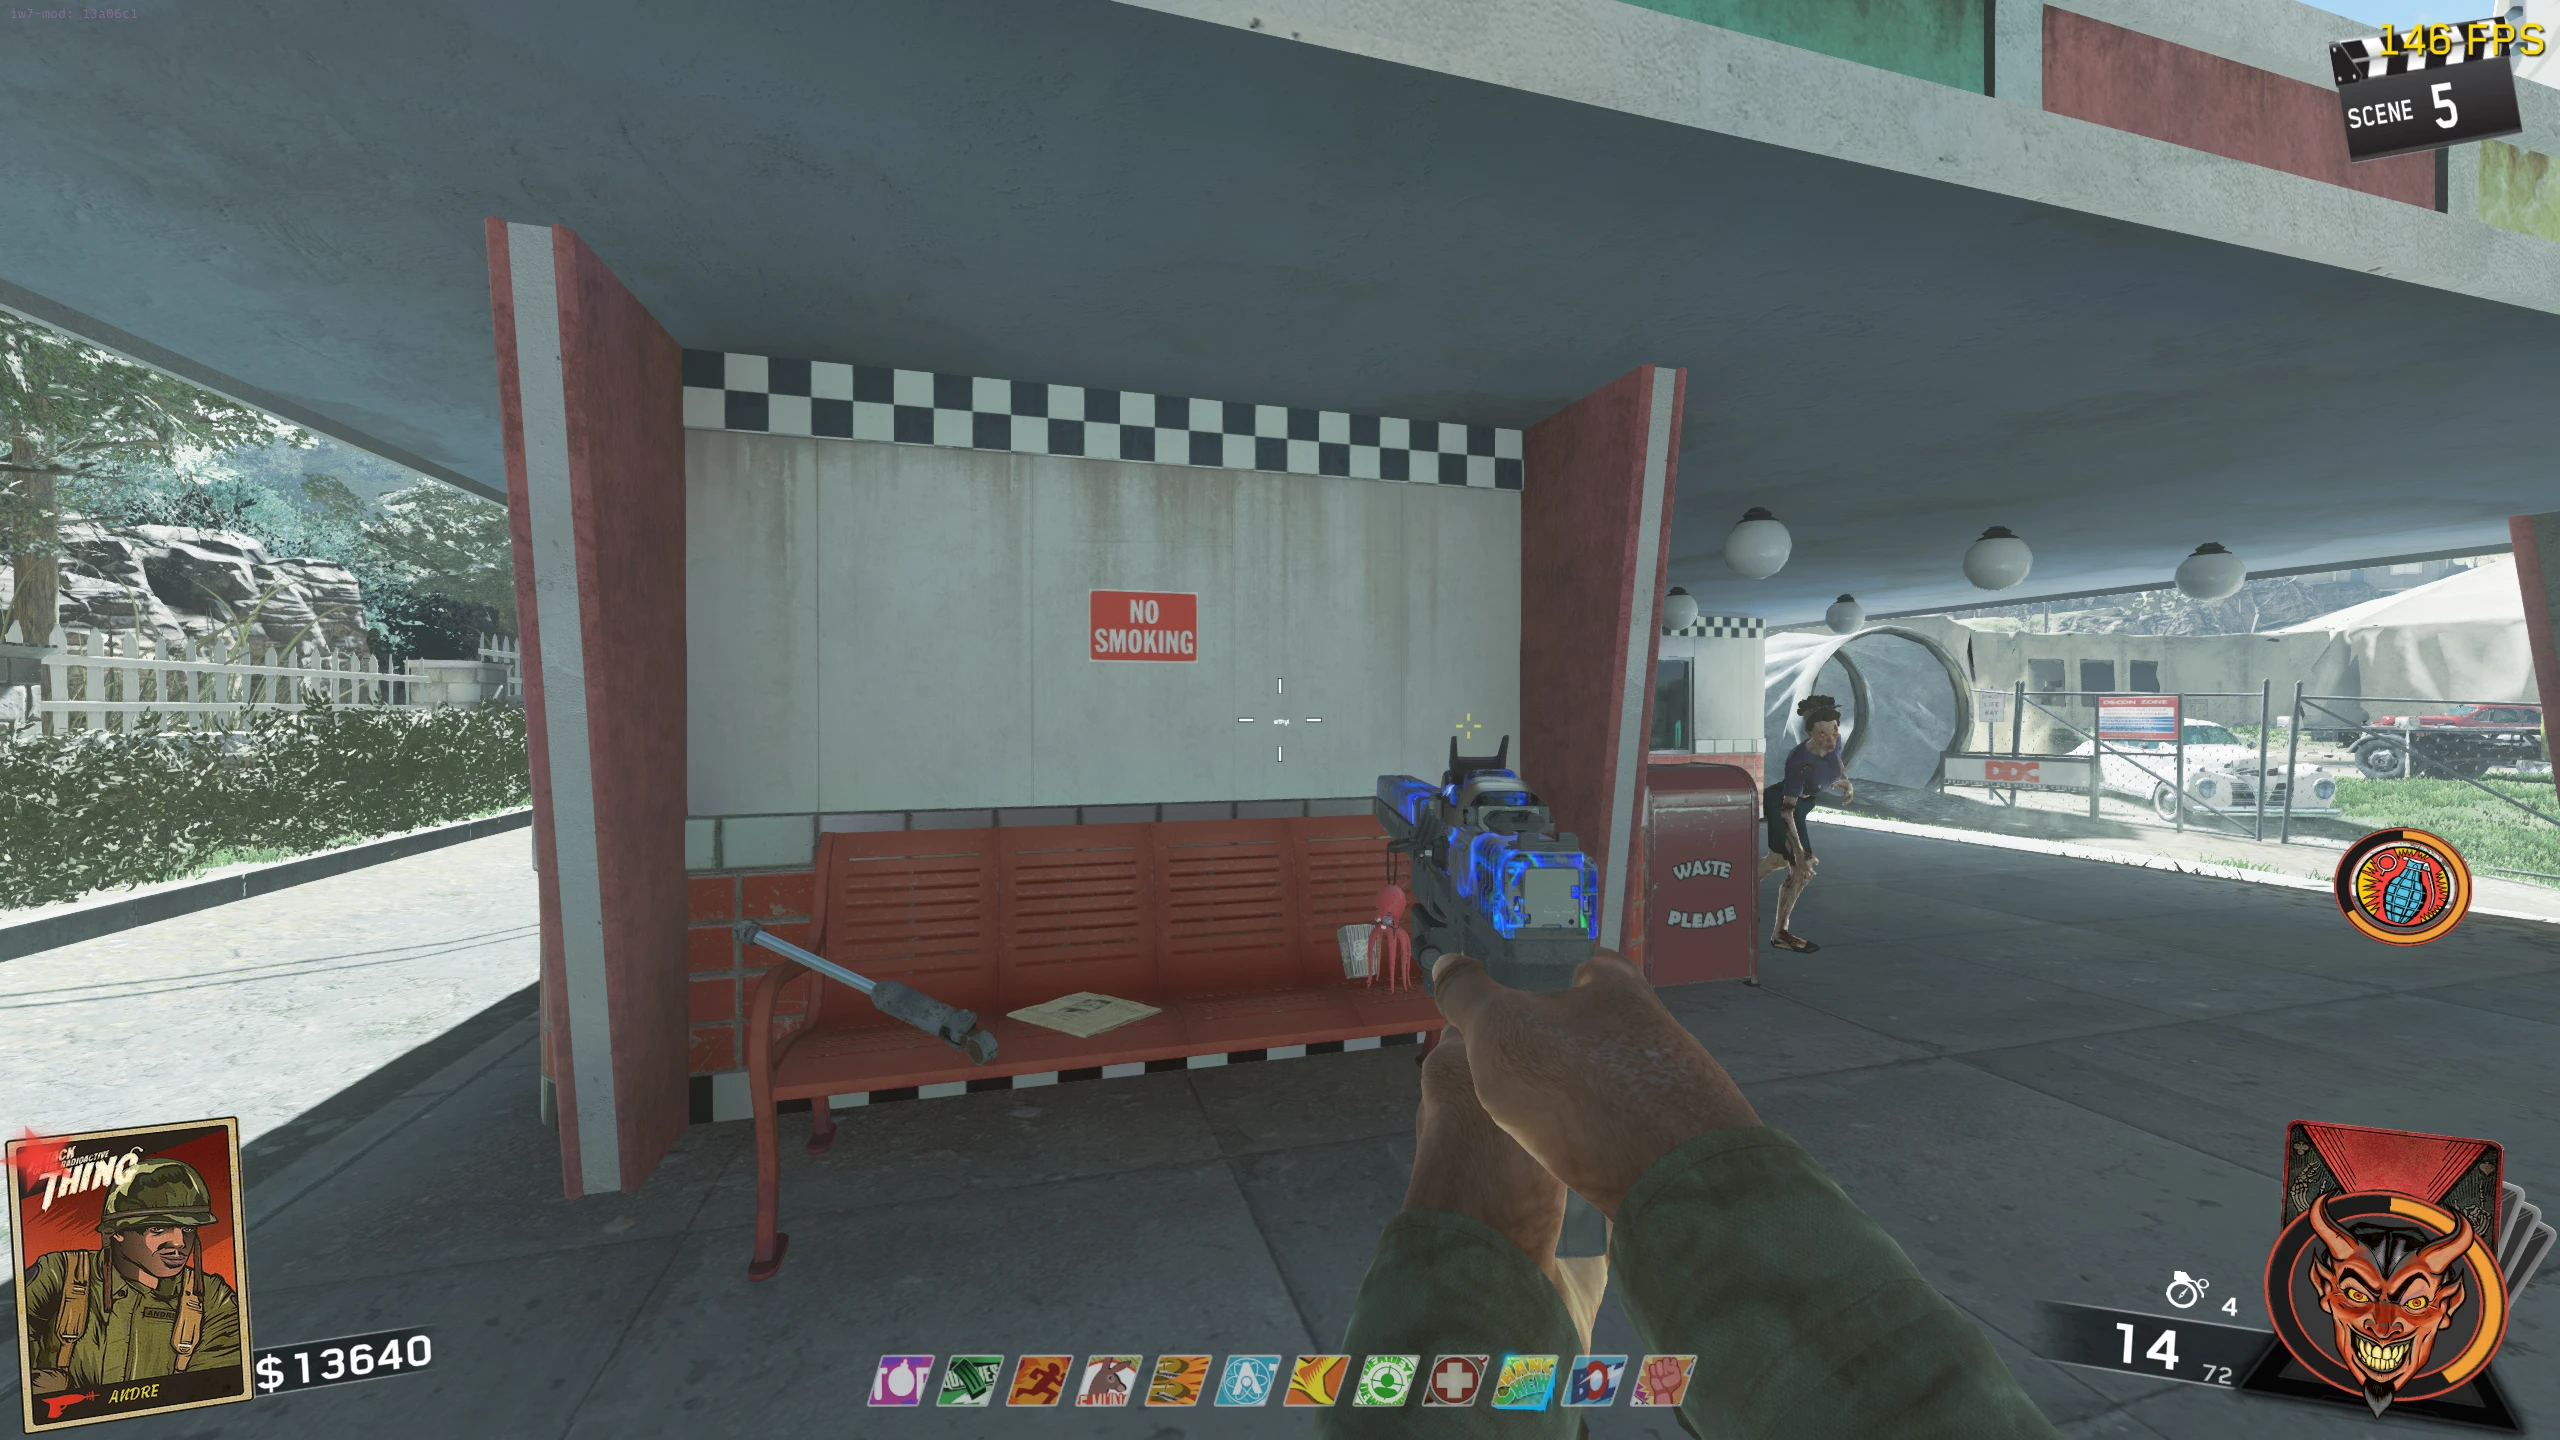
- You need to collect six body parts (Two arms, two legs, a torso, and a head) of a Zombie, which are scattered around the map. Each part can be collected at any time, in any order.
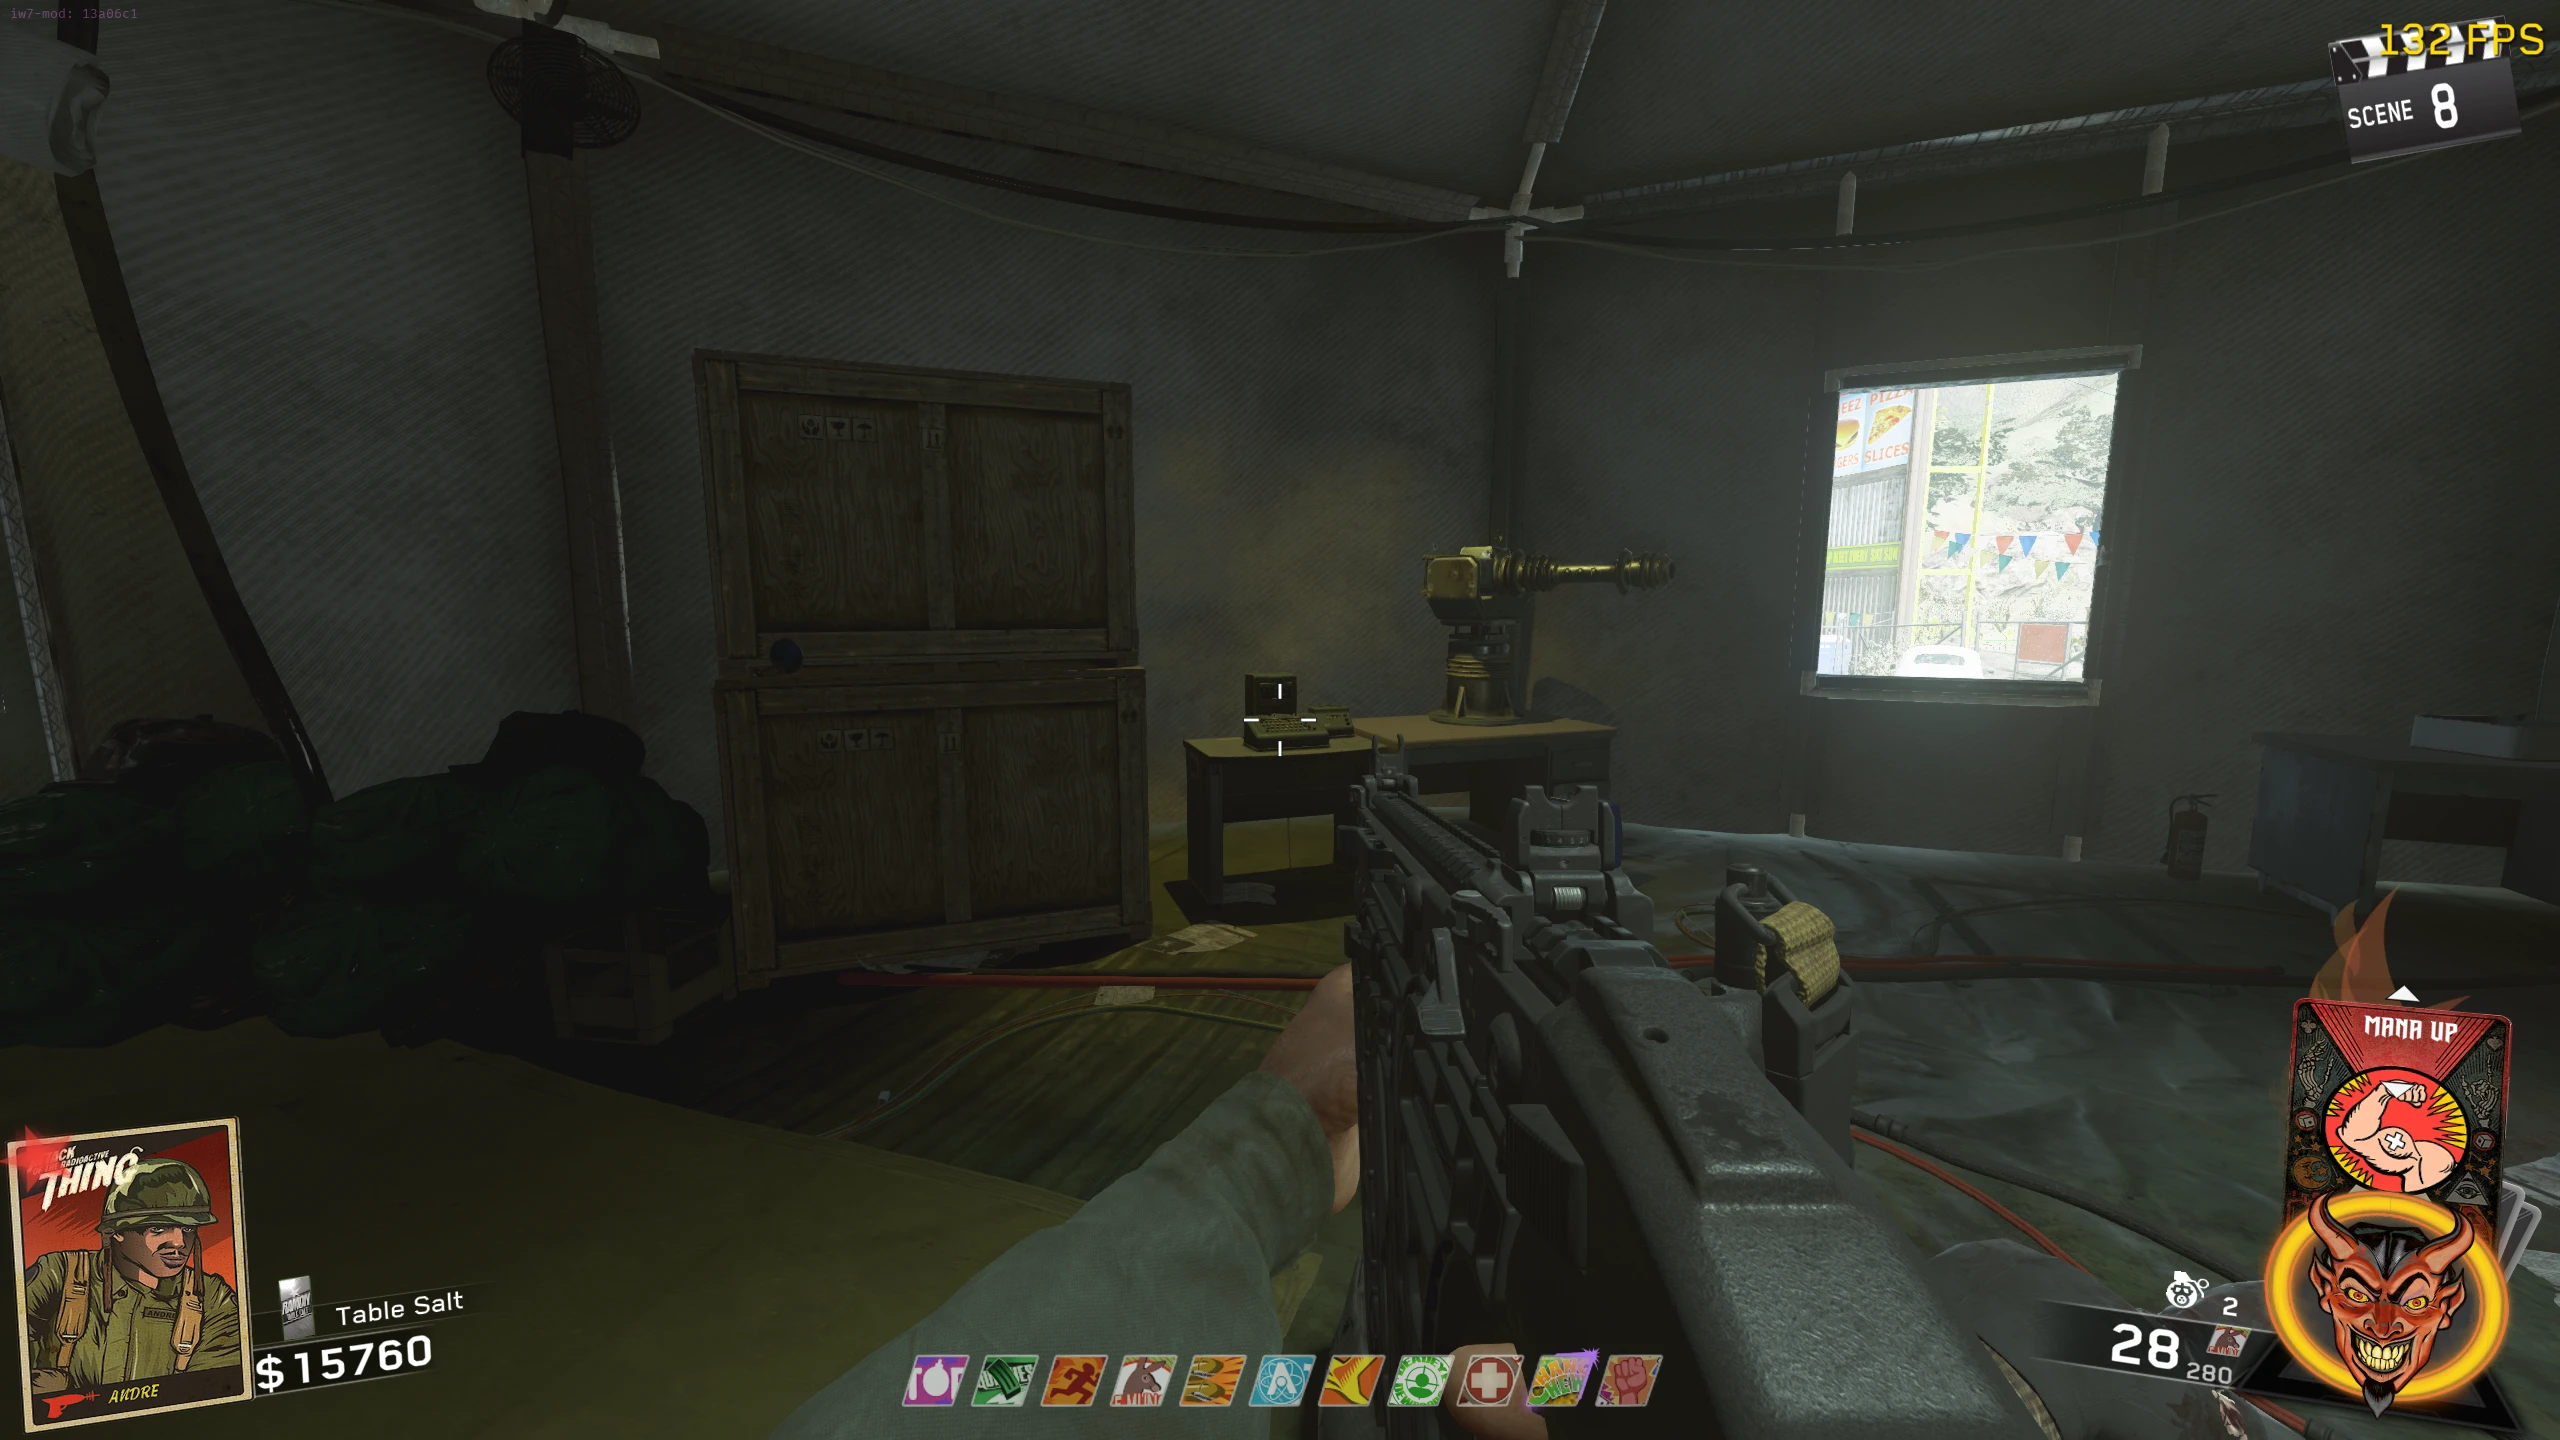
- Head
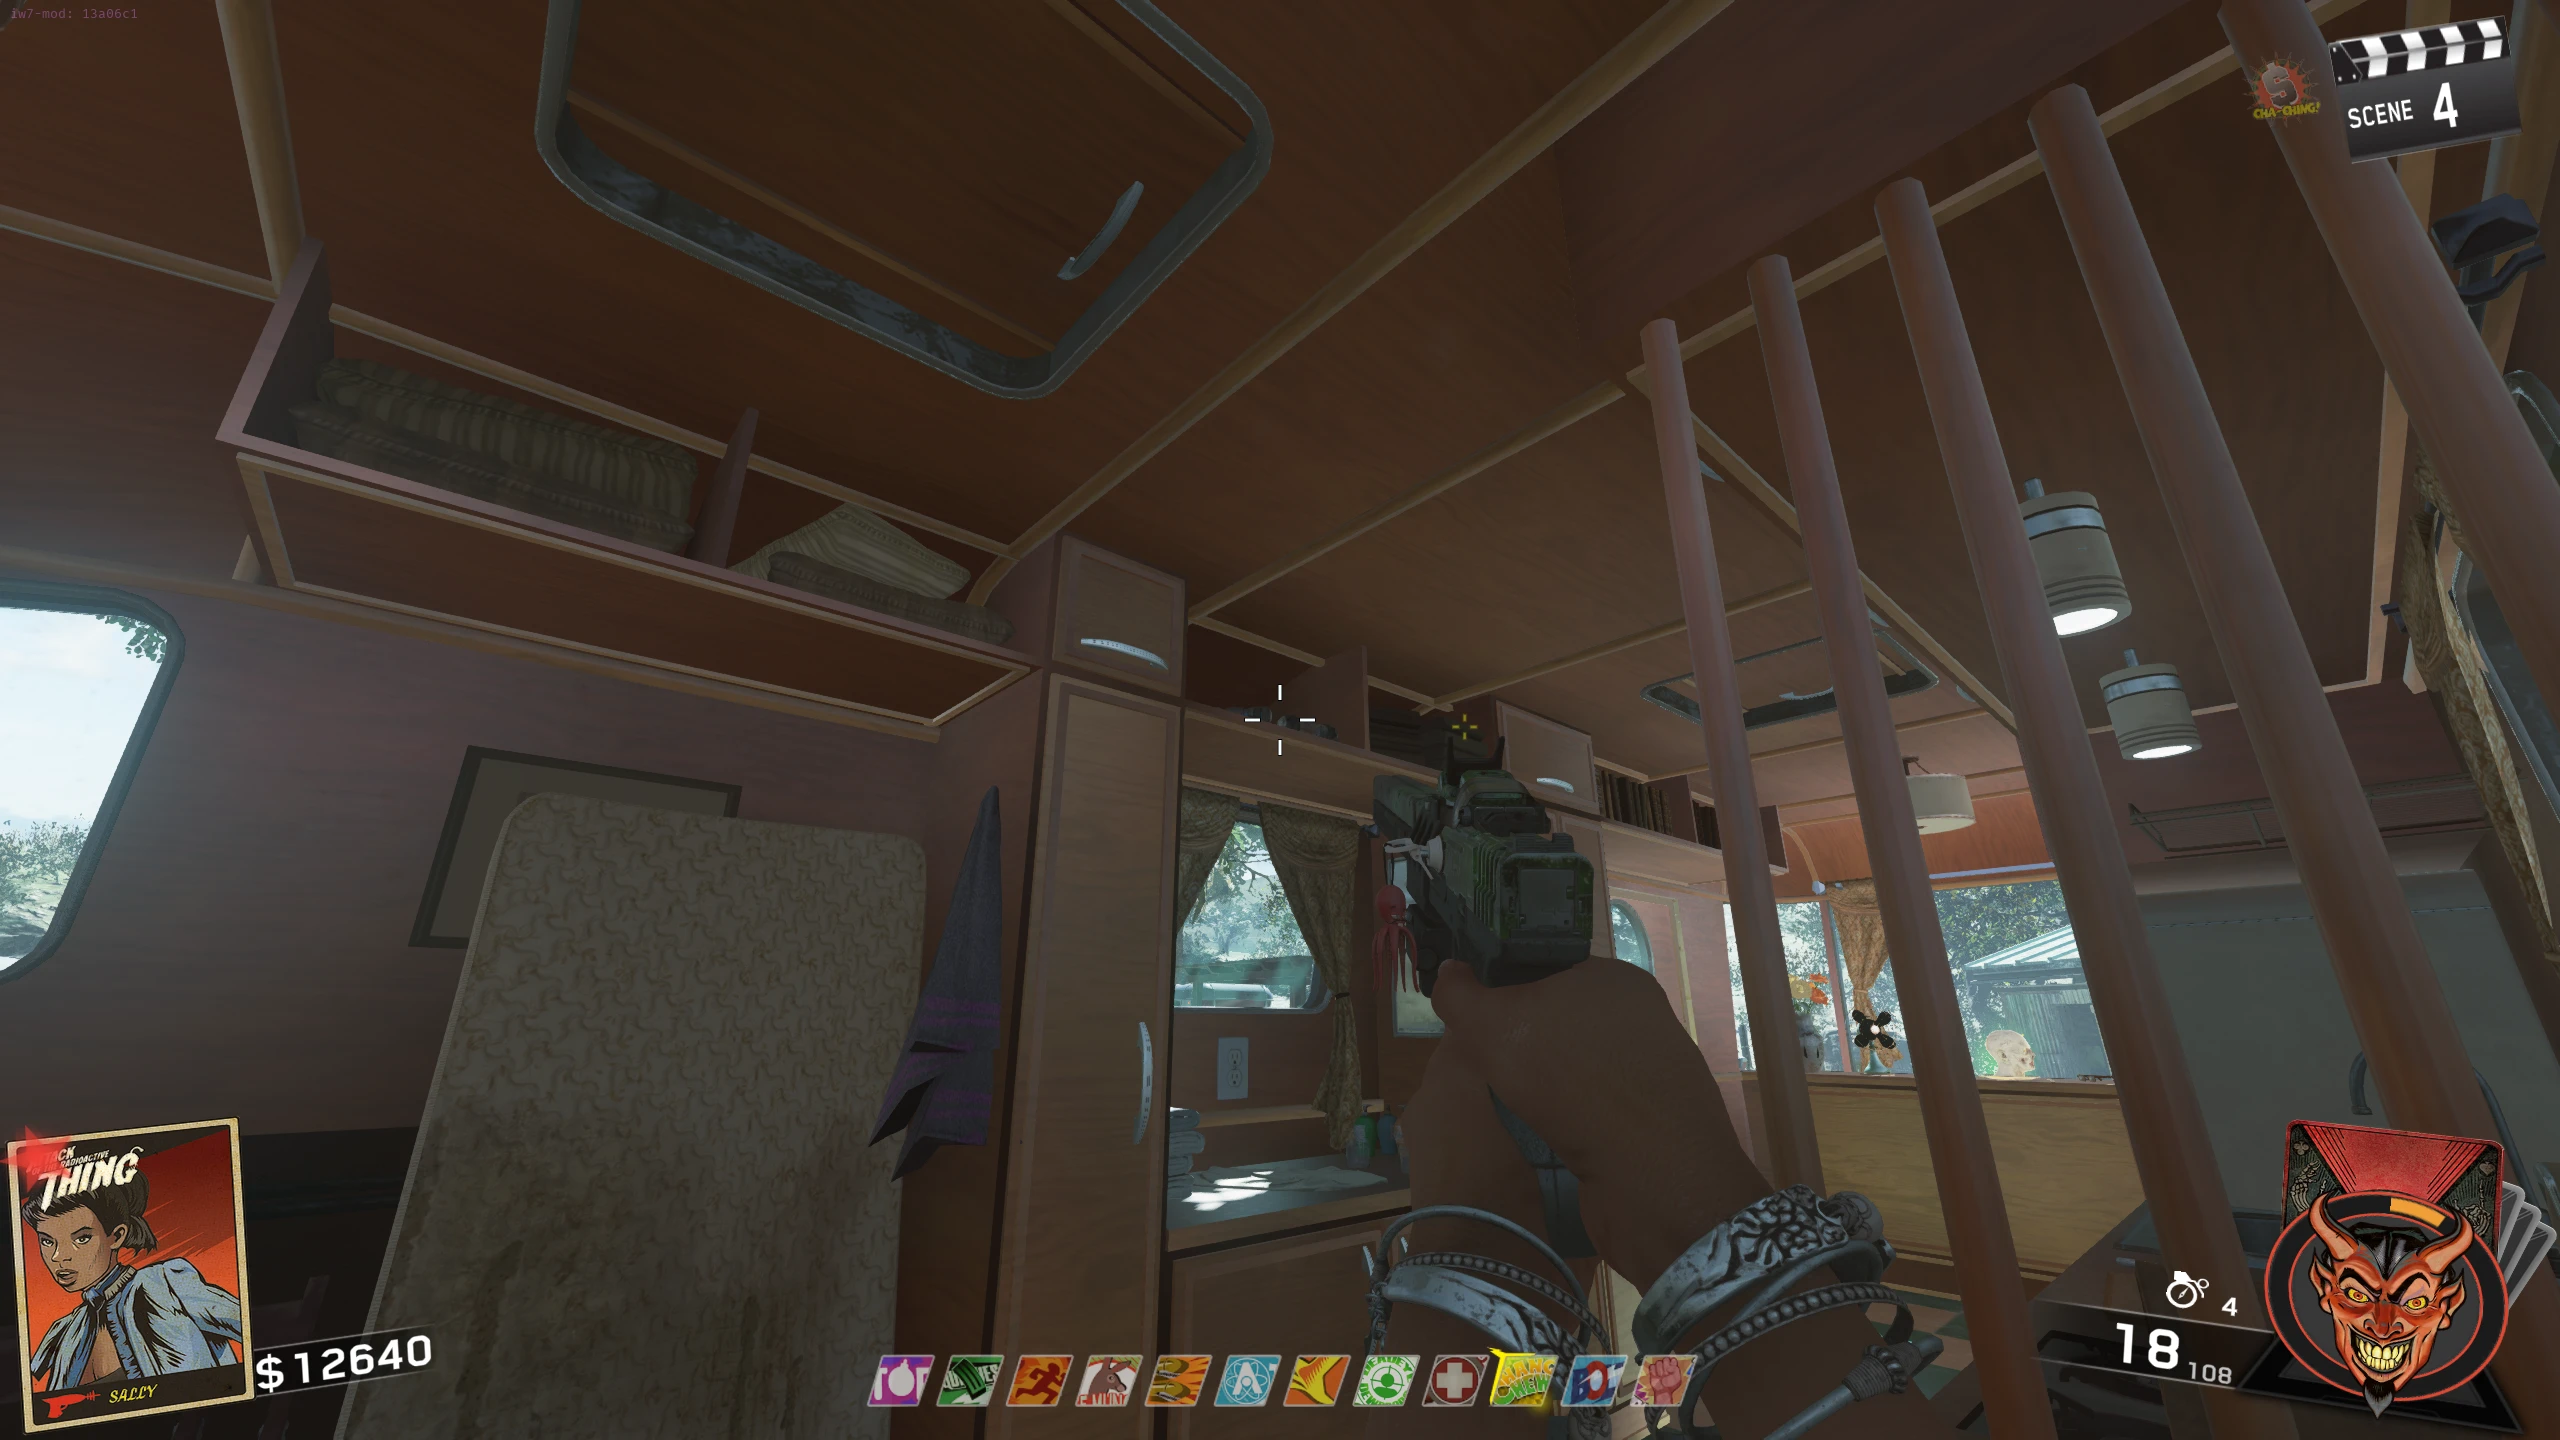
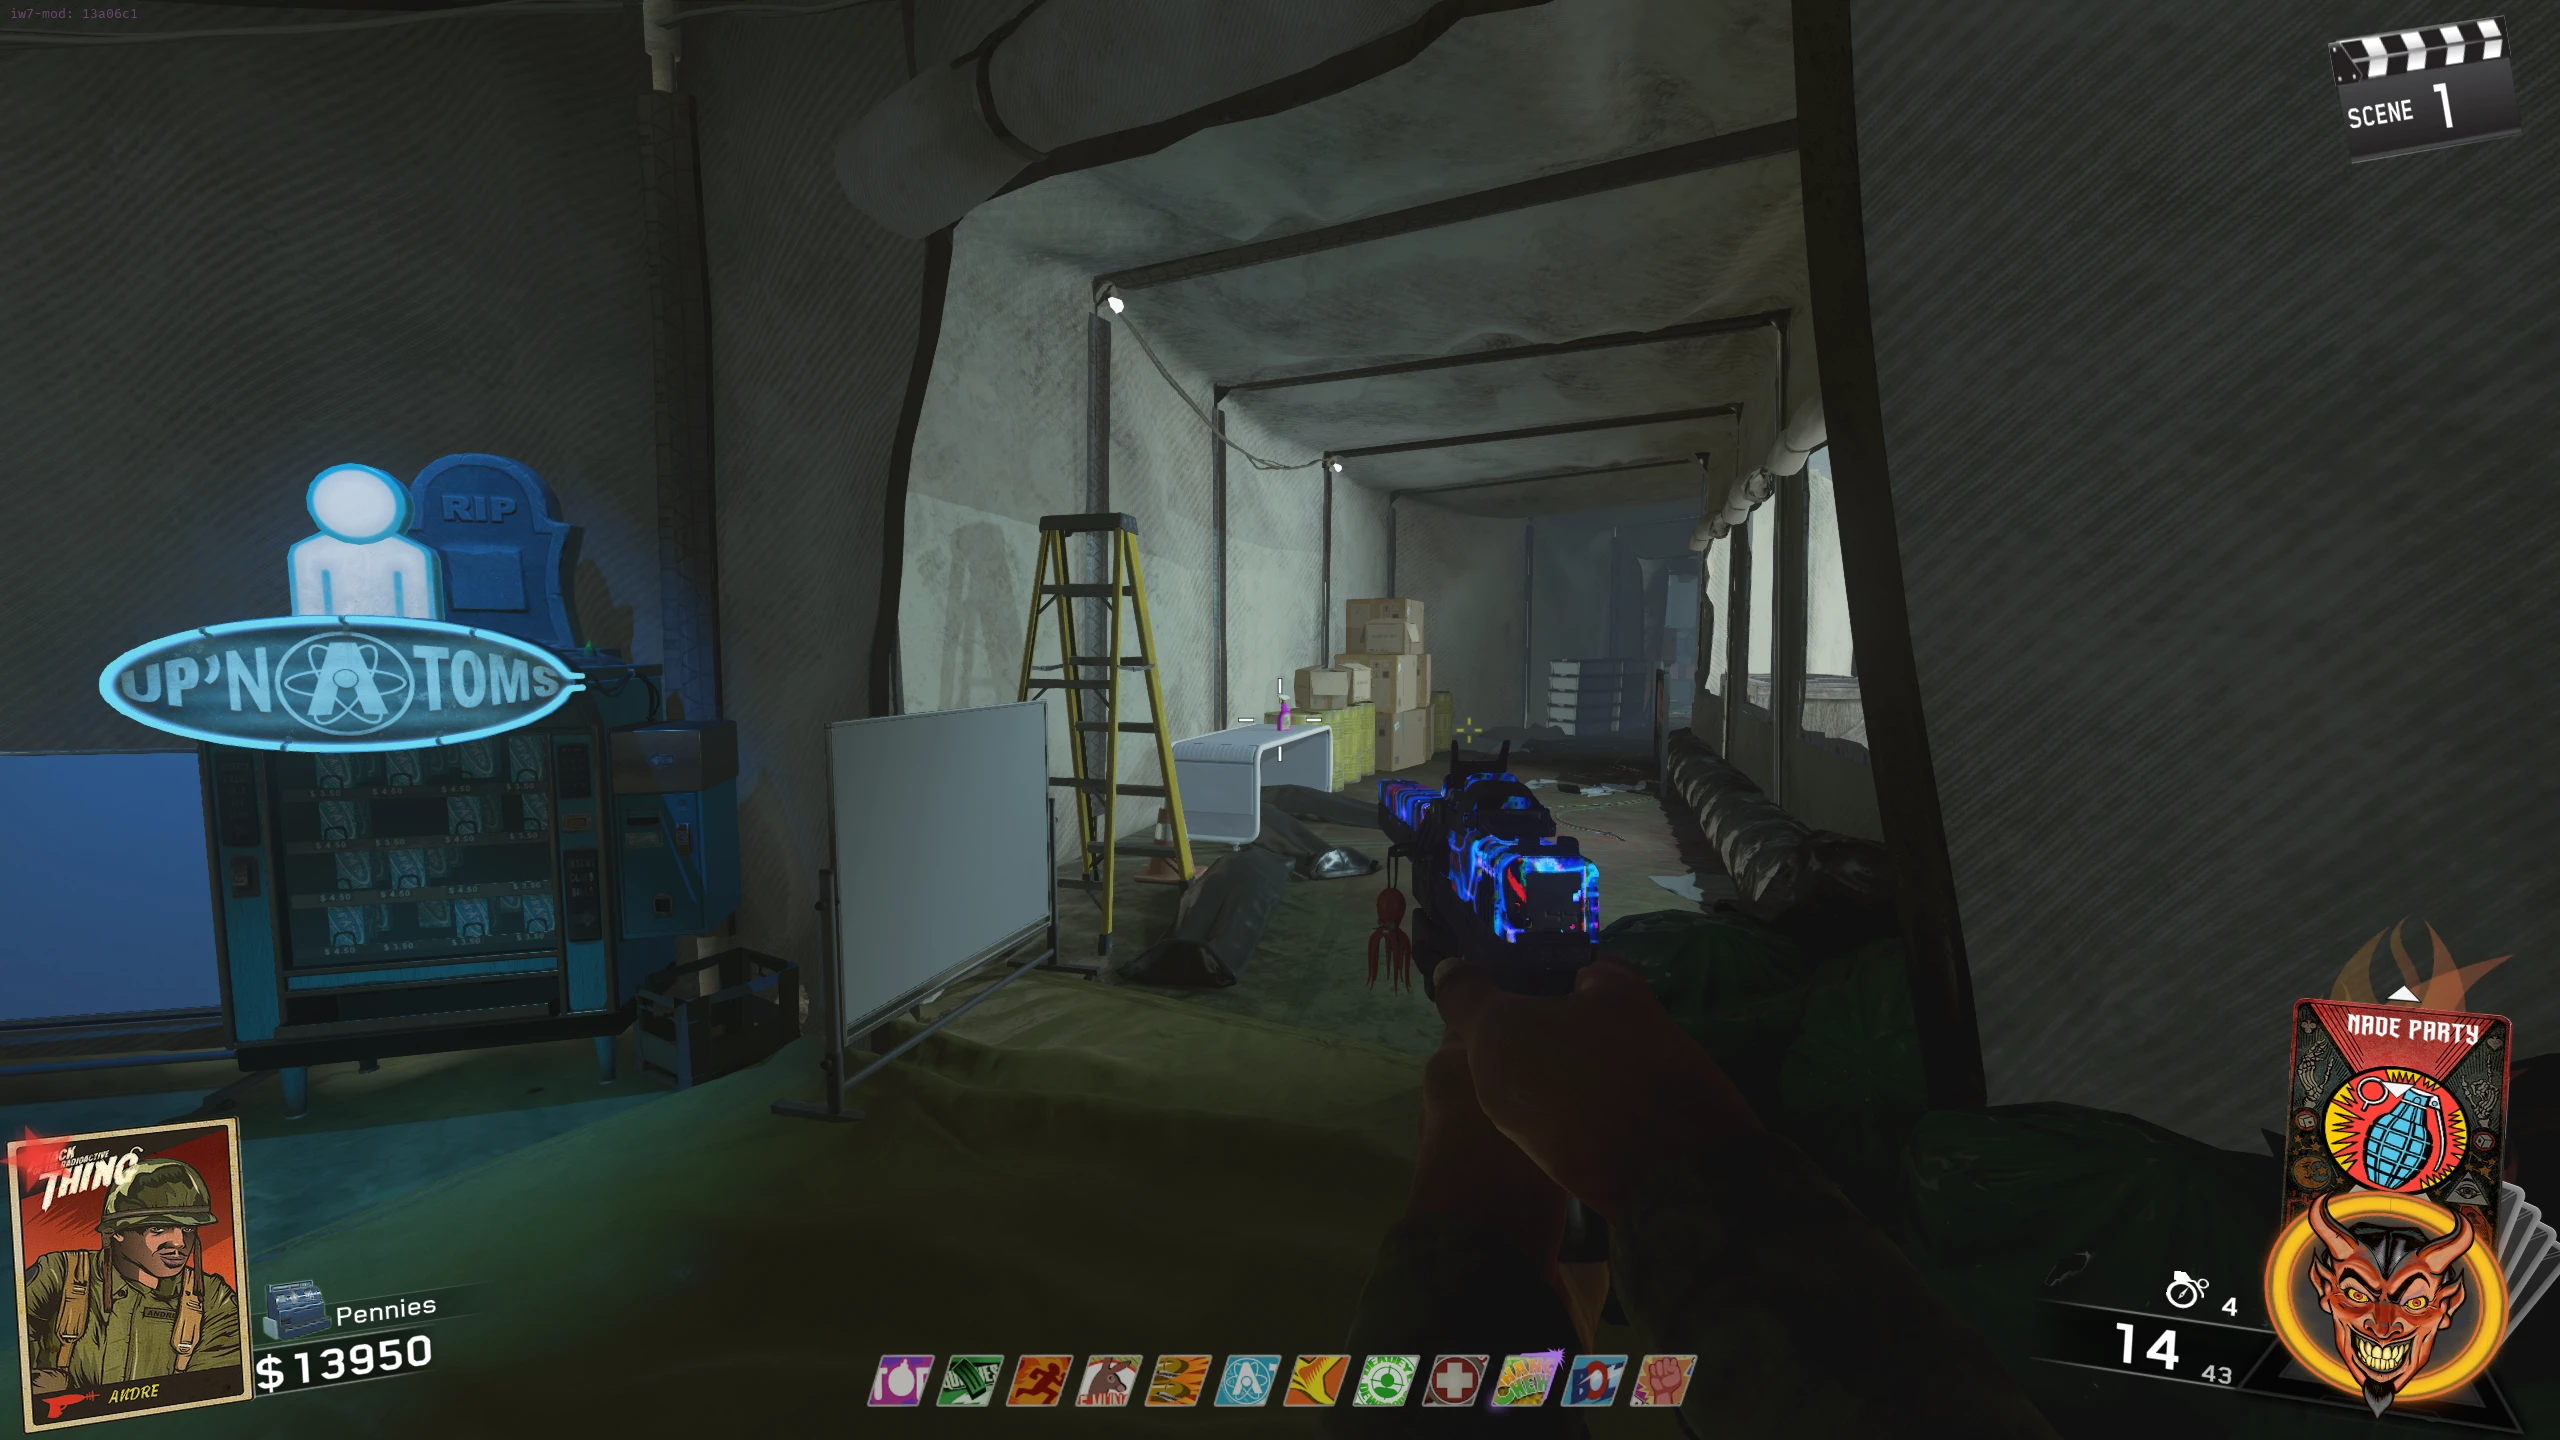
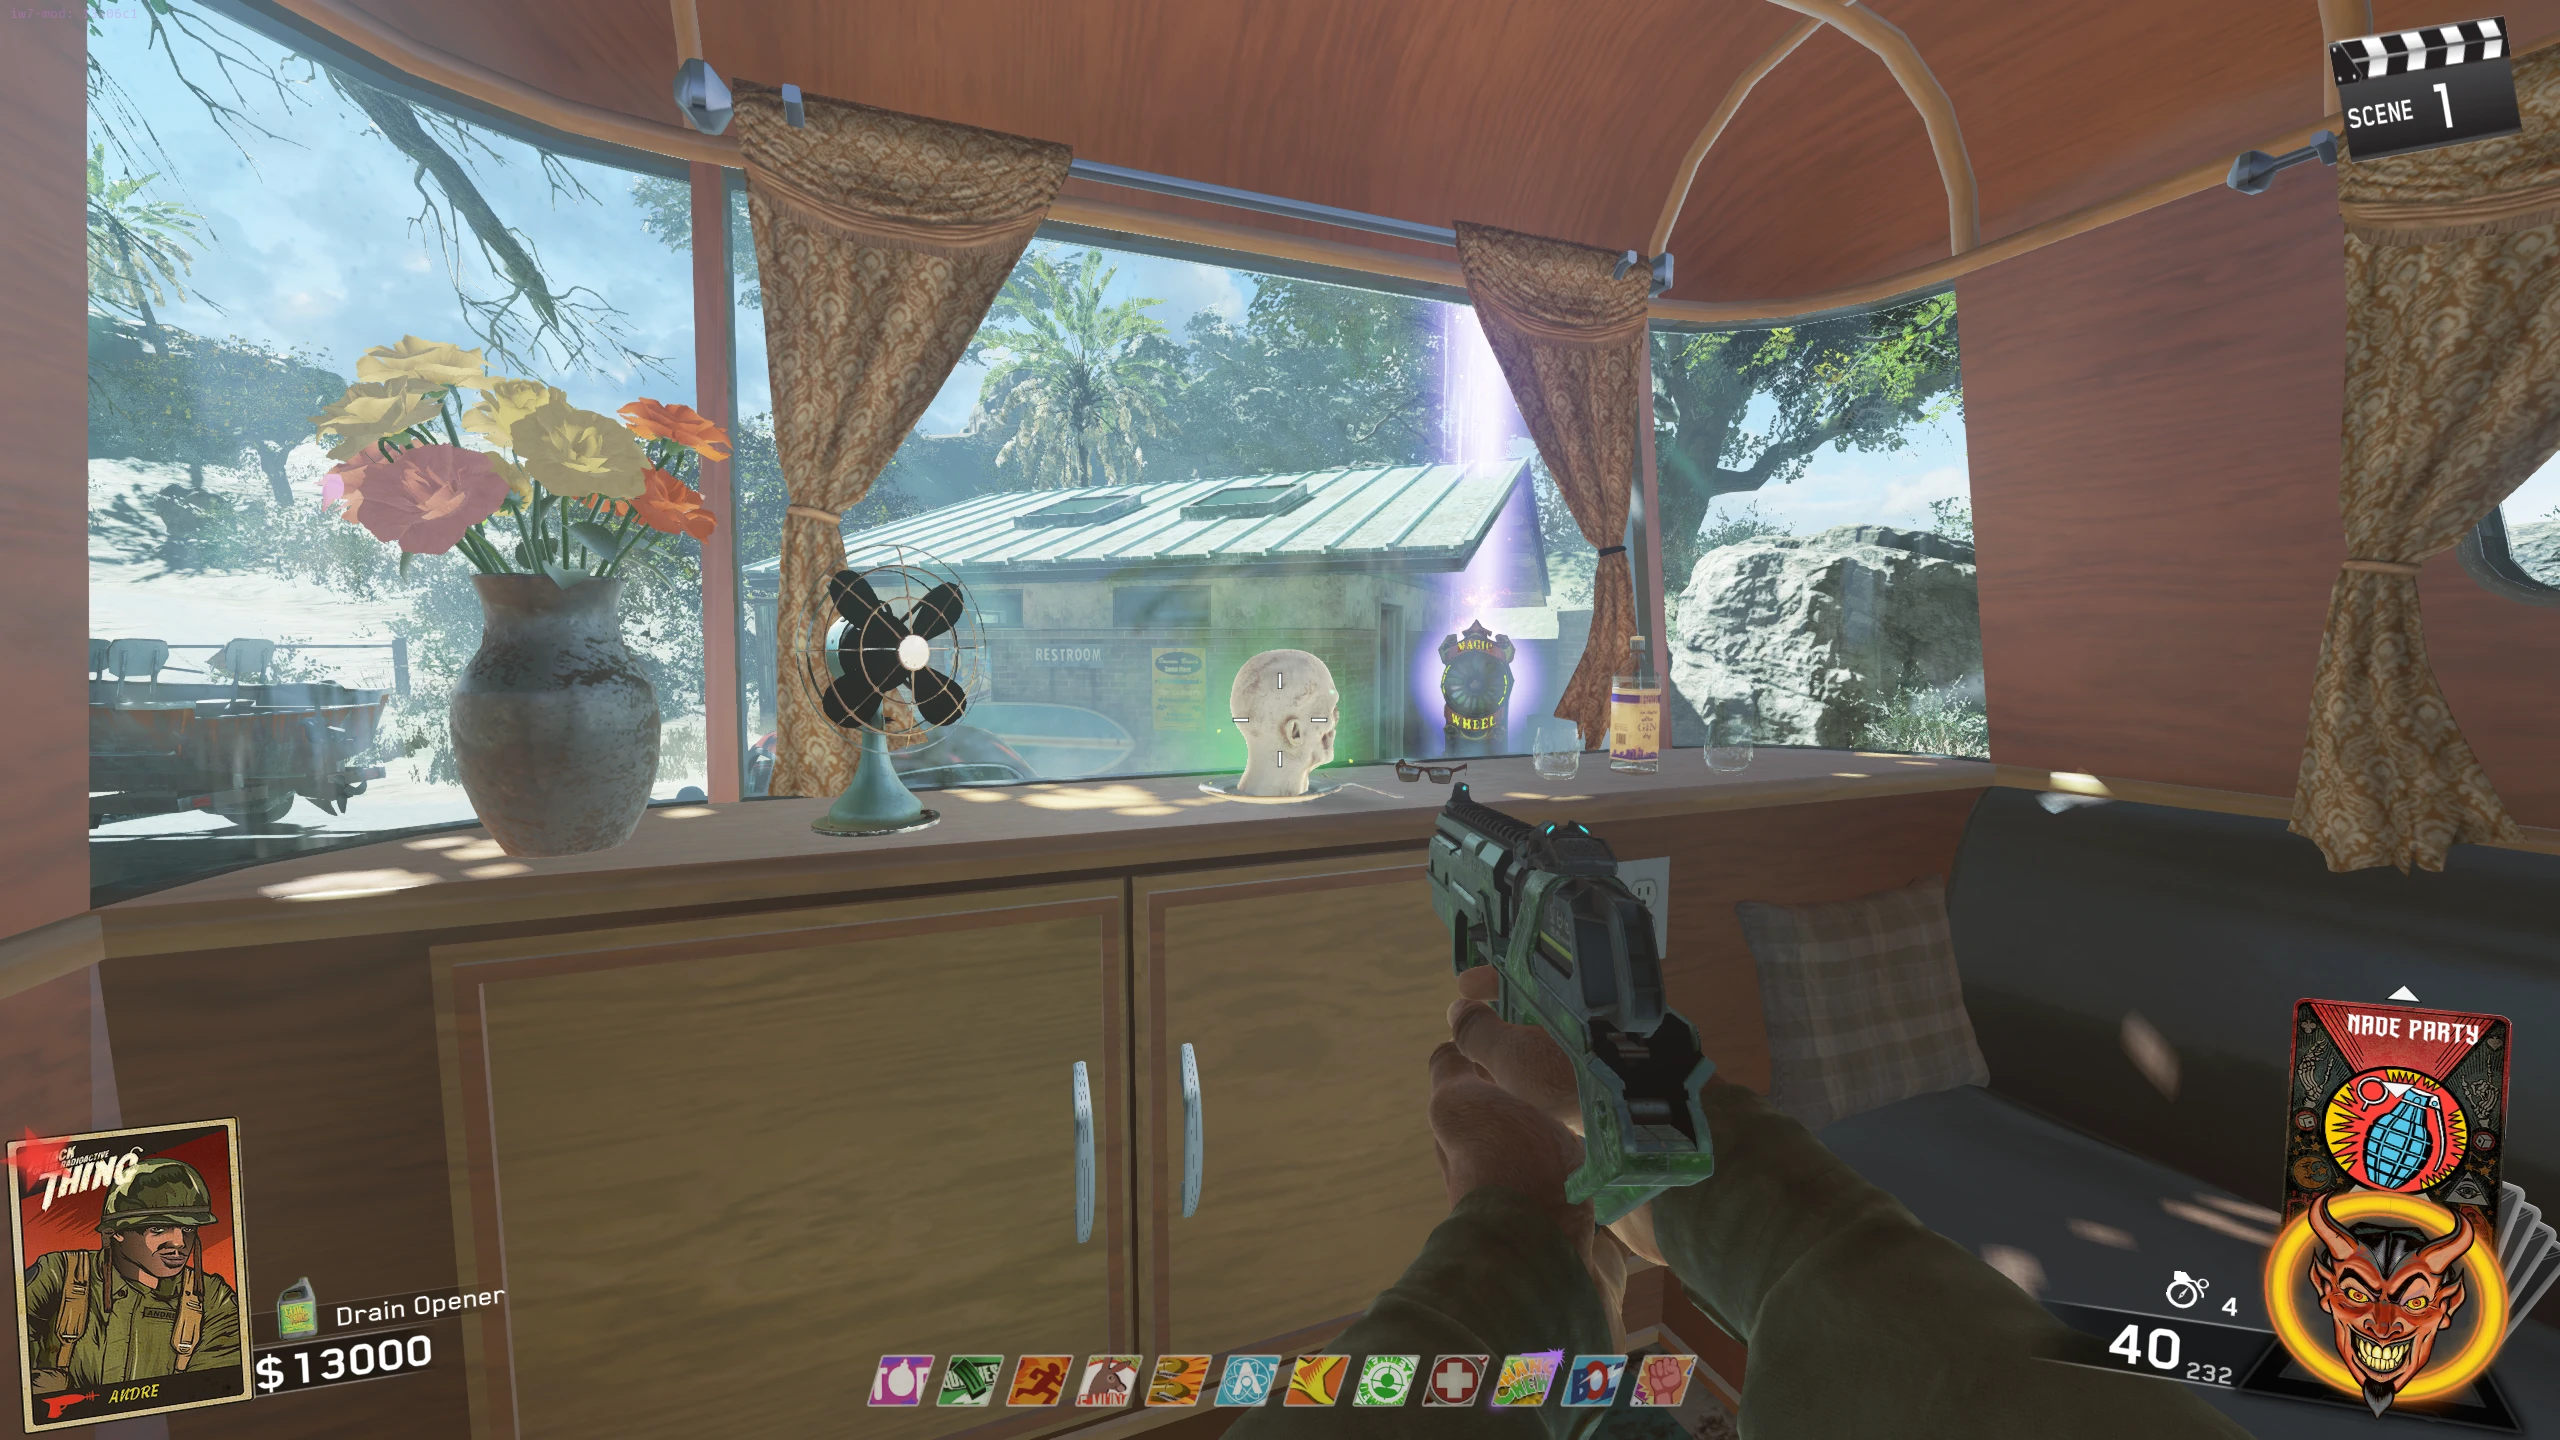
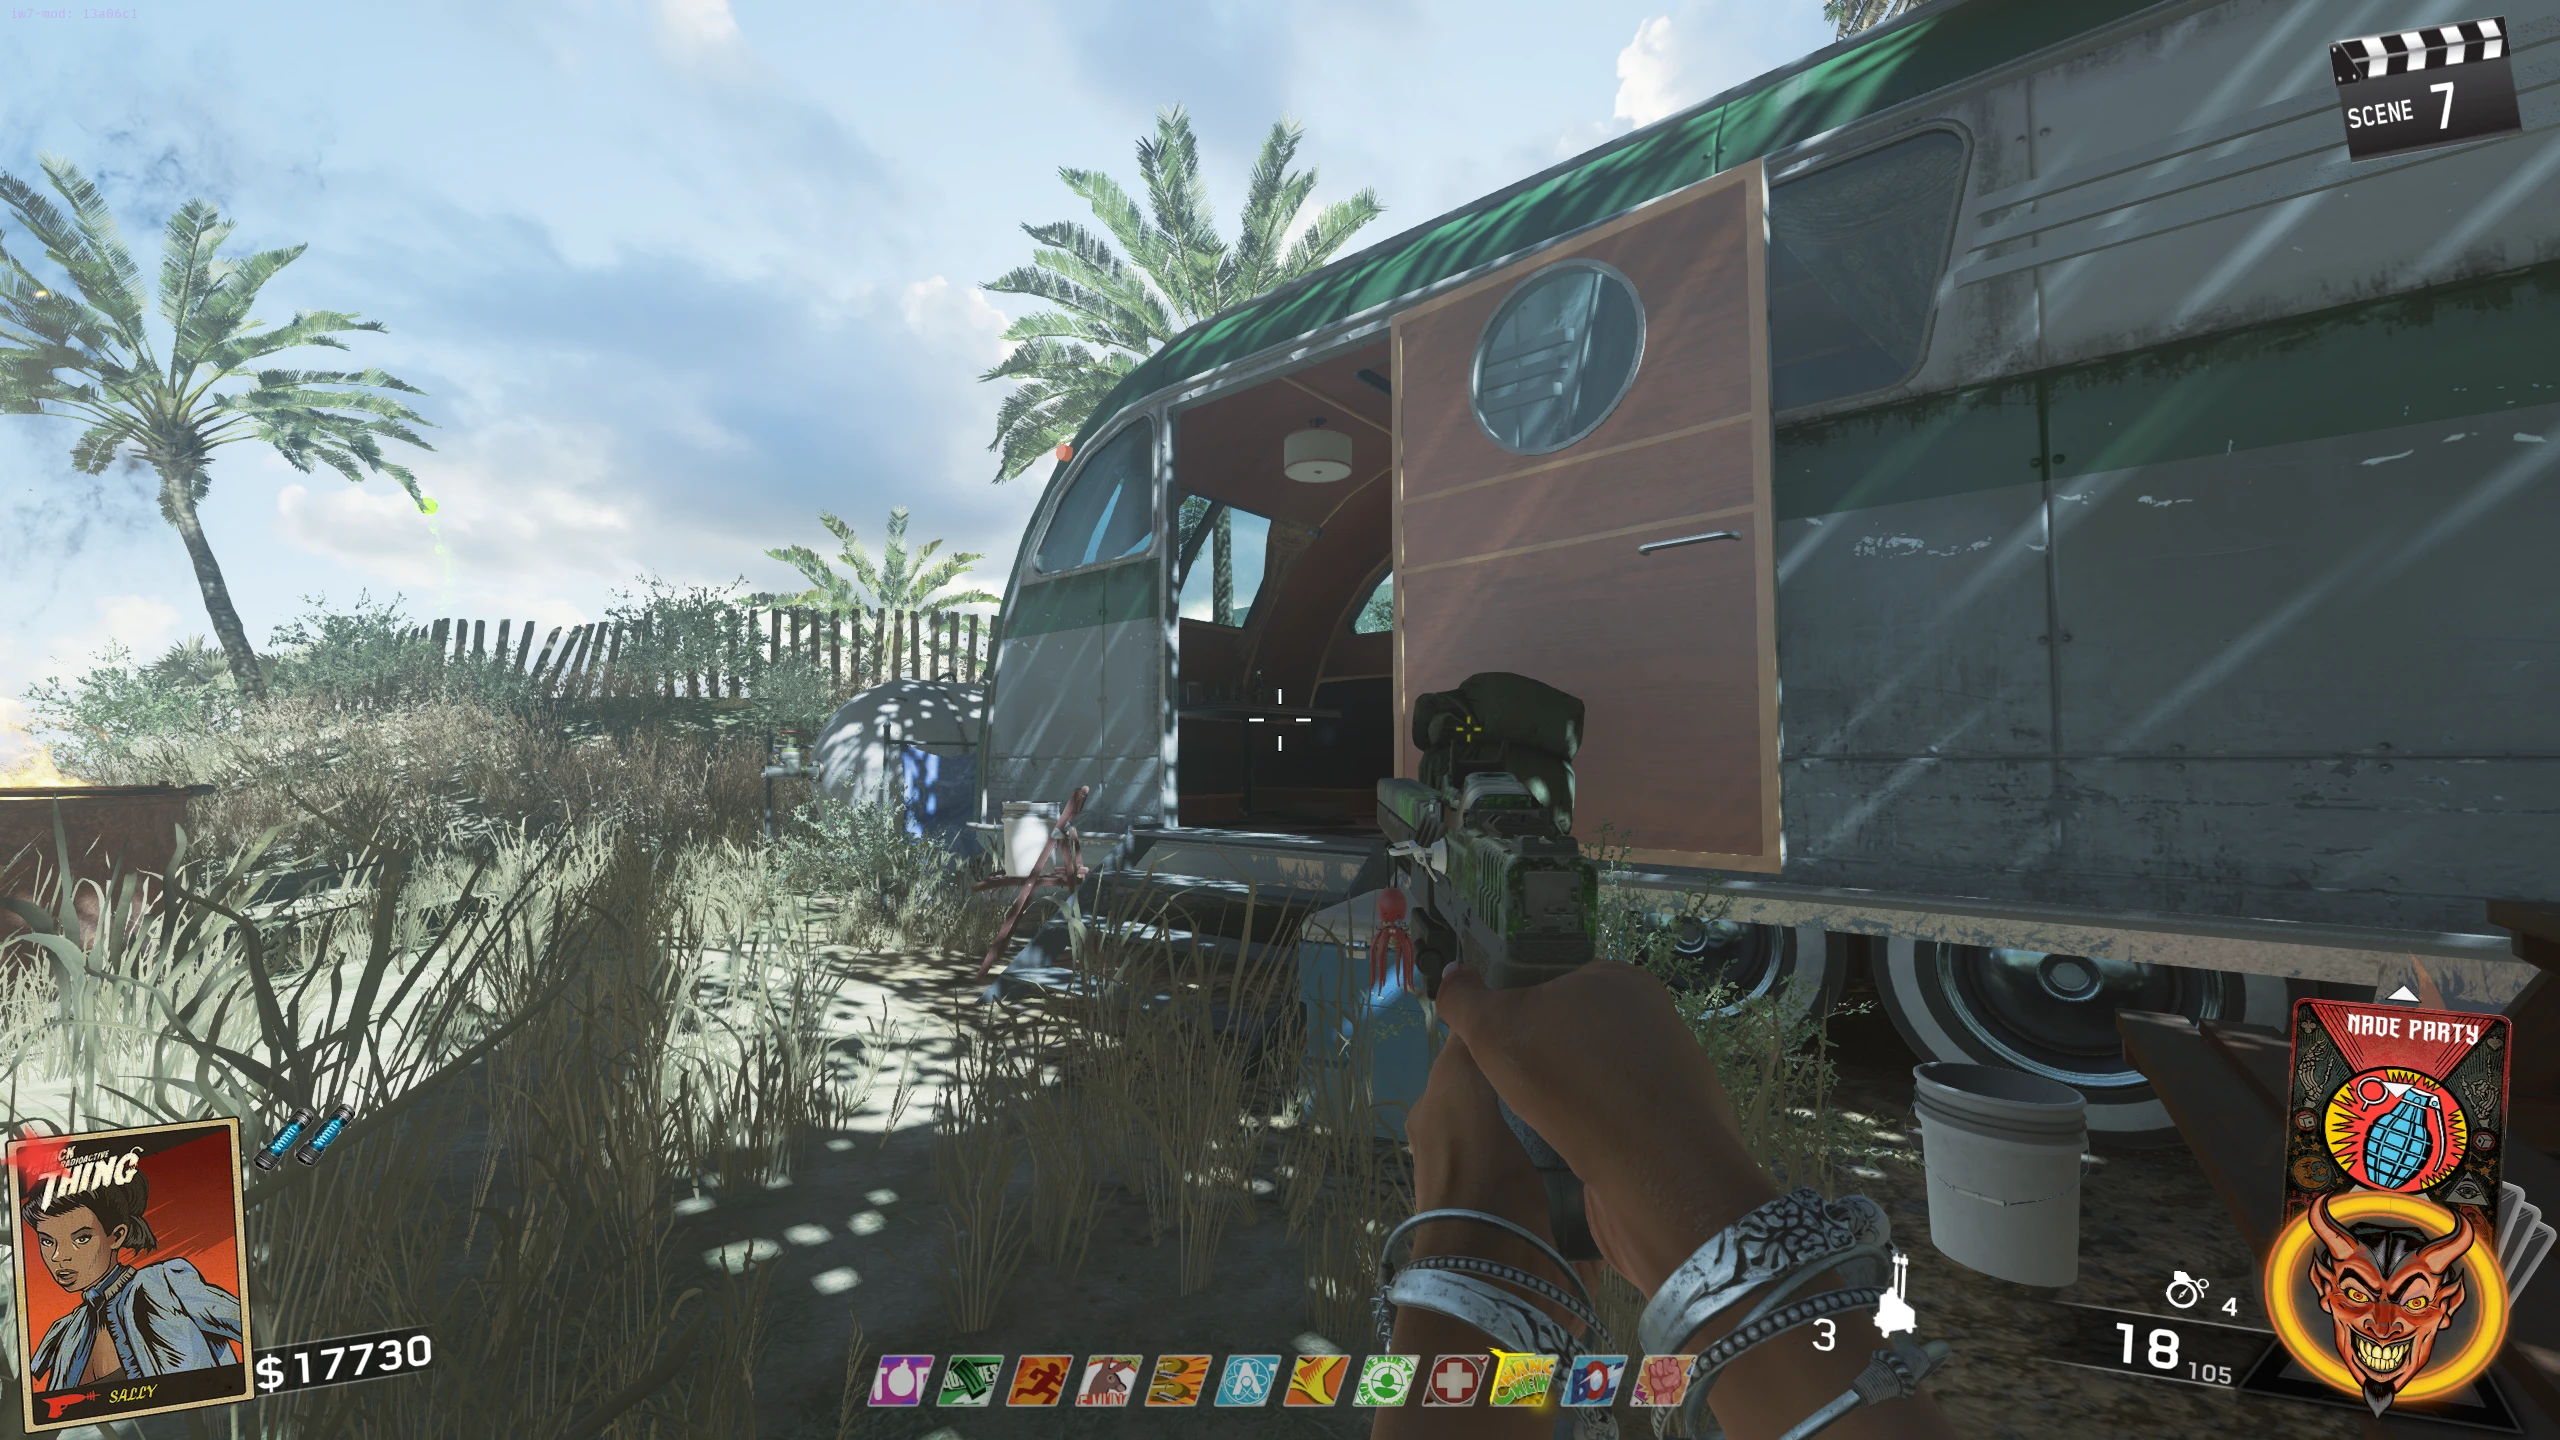
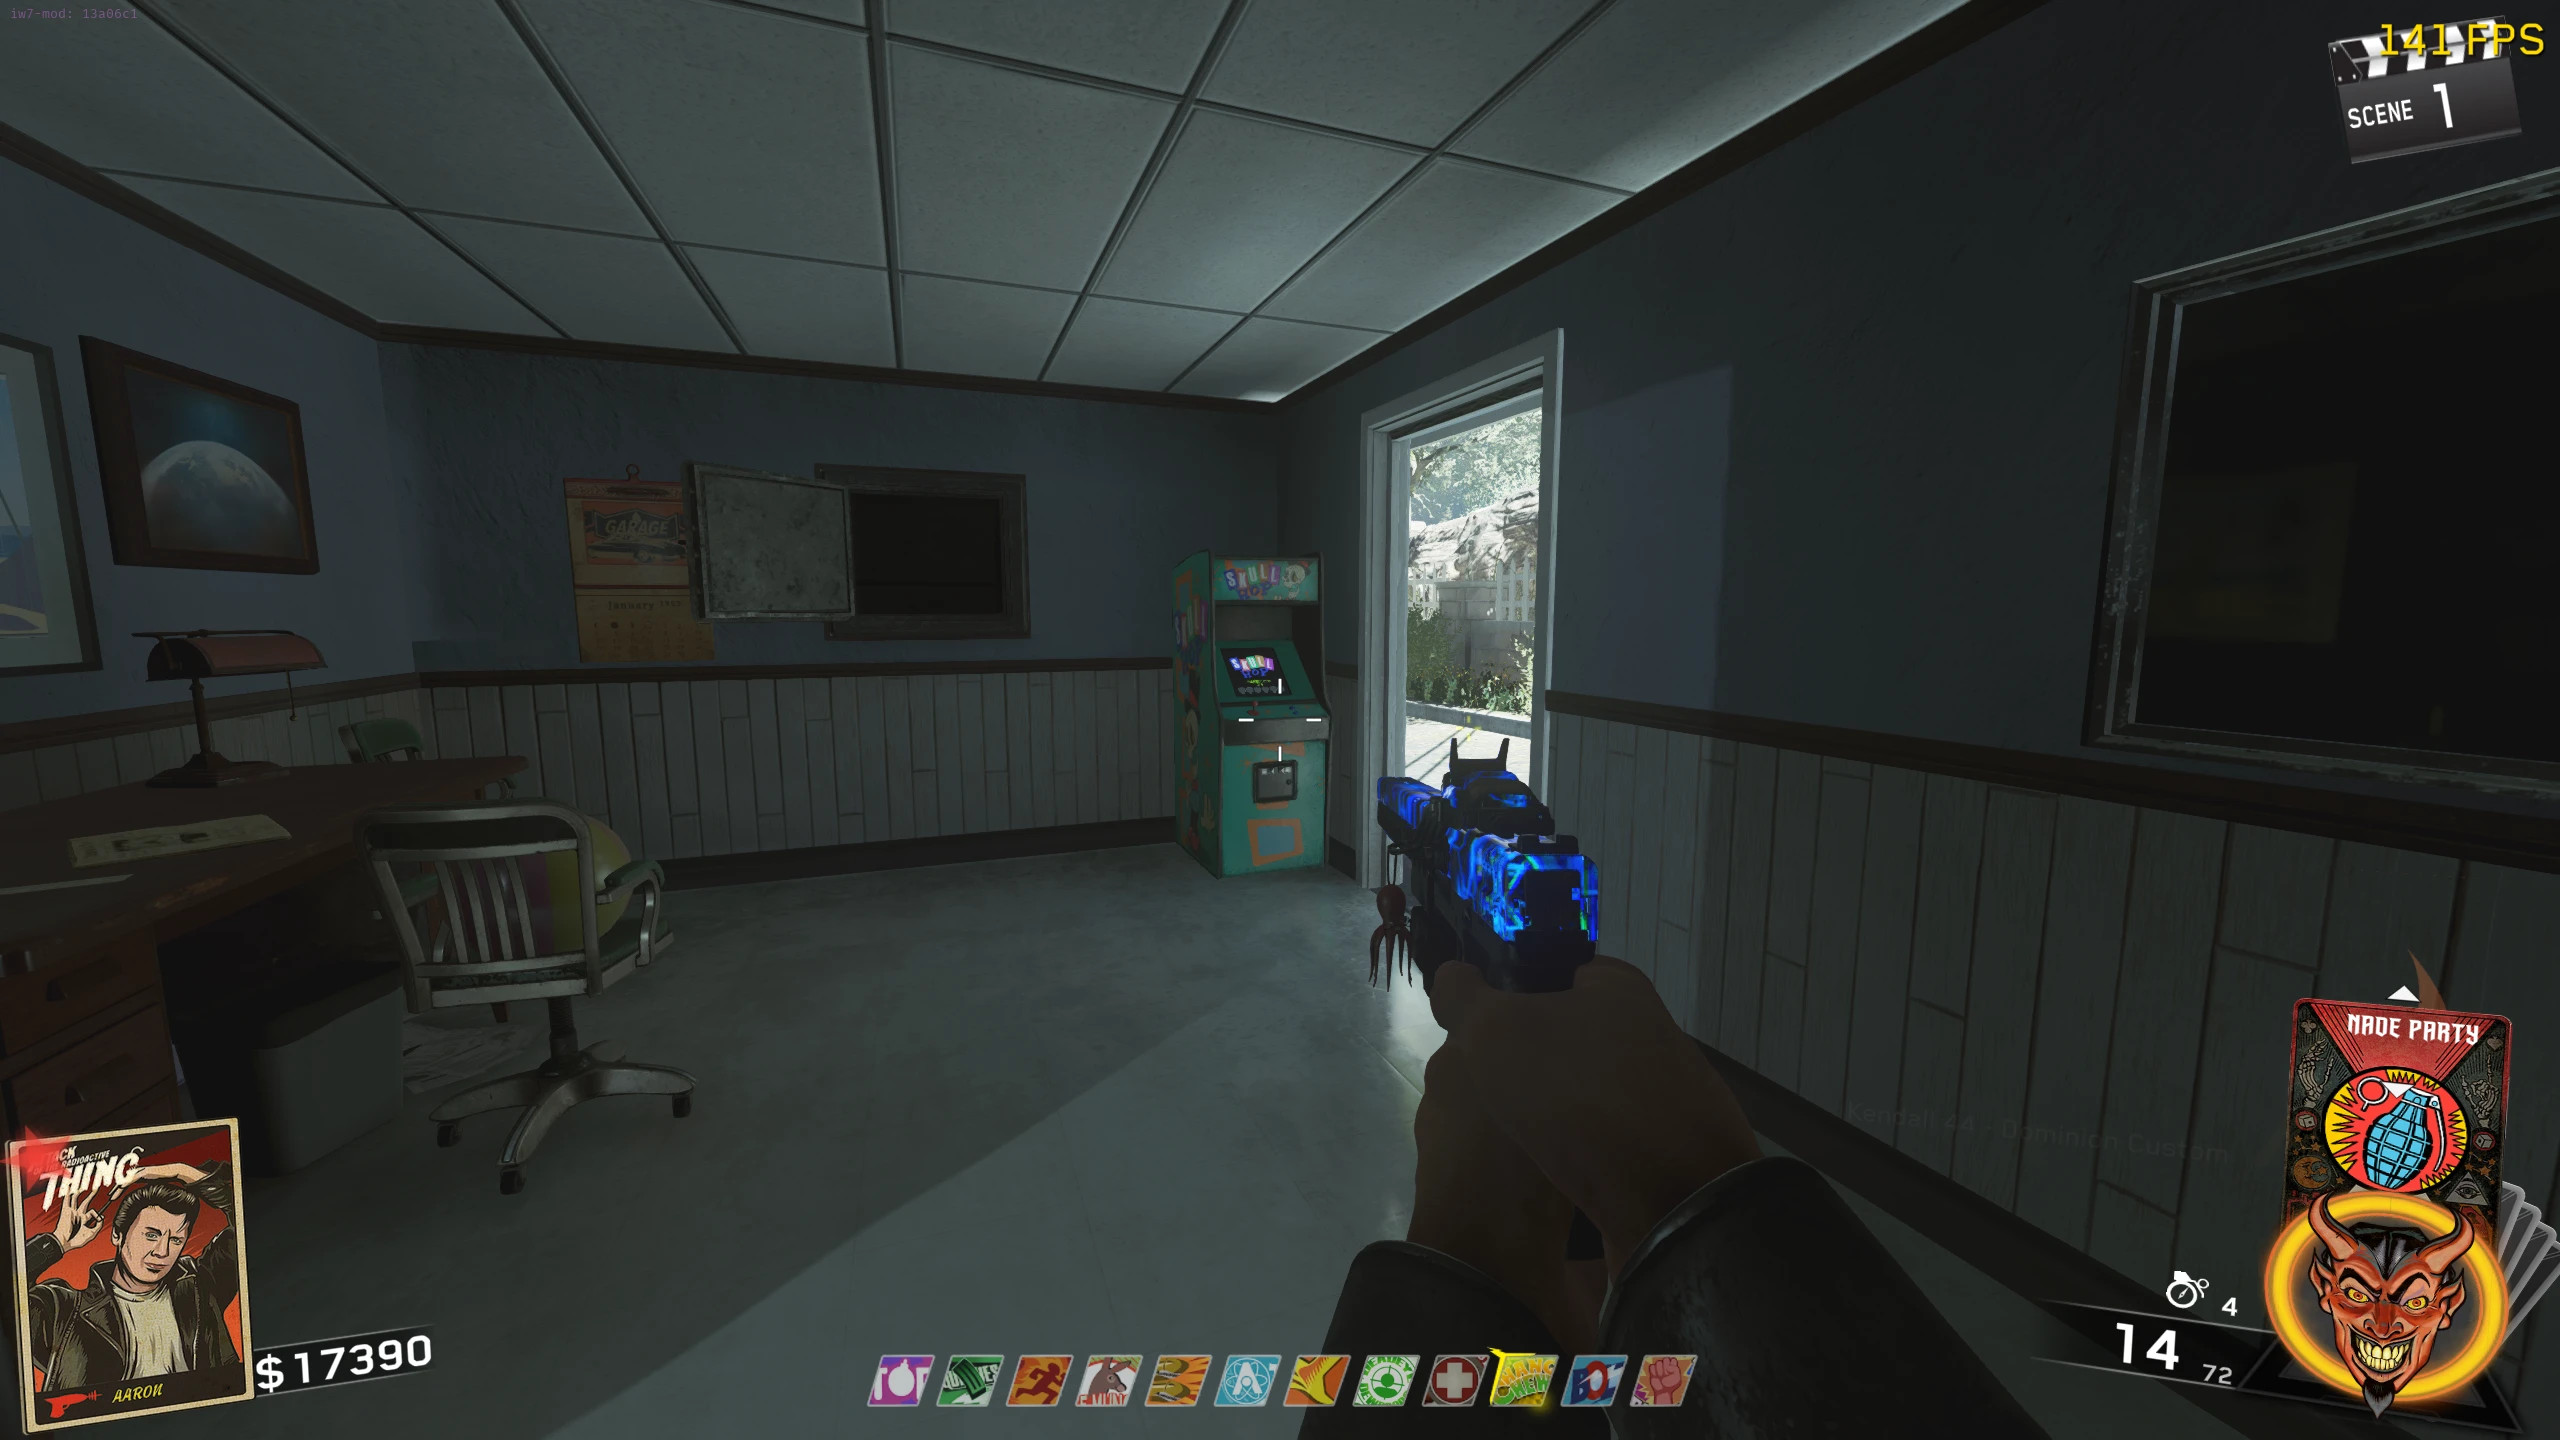
- After unlocking Pack-a-Punch, enter the Projector room and press the button on the wall. Now, instead of teleporting back to the map when you leave the Projector room, you will be teleported to a locked RV in the RV park.
- While in the RV, the Head can be picked up from the ledge in front of the big window.
- Torso
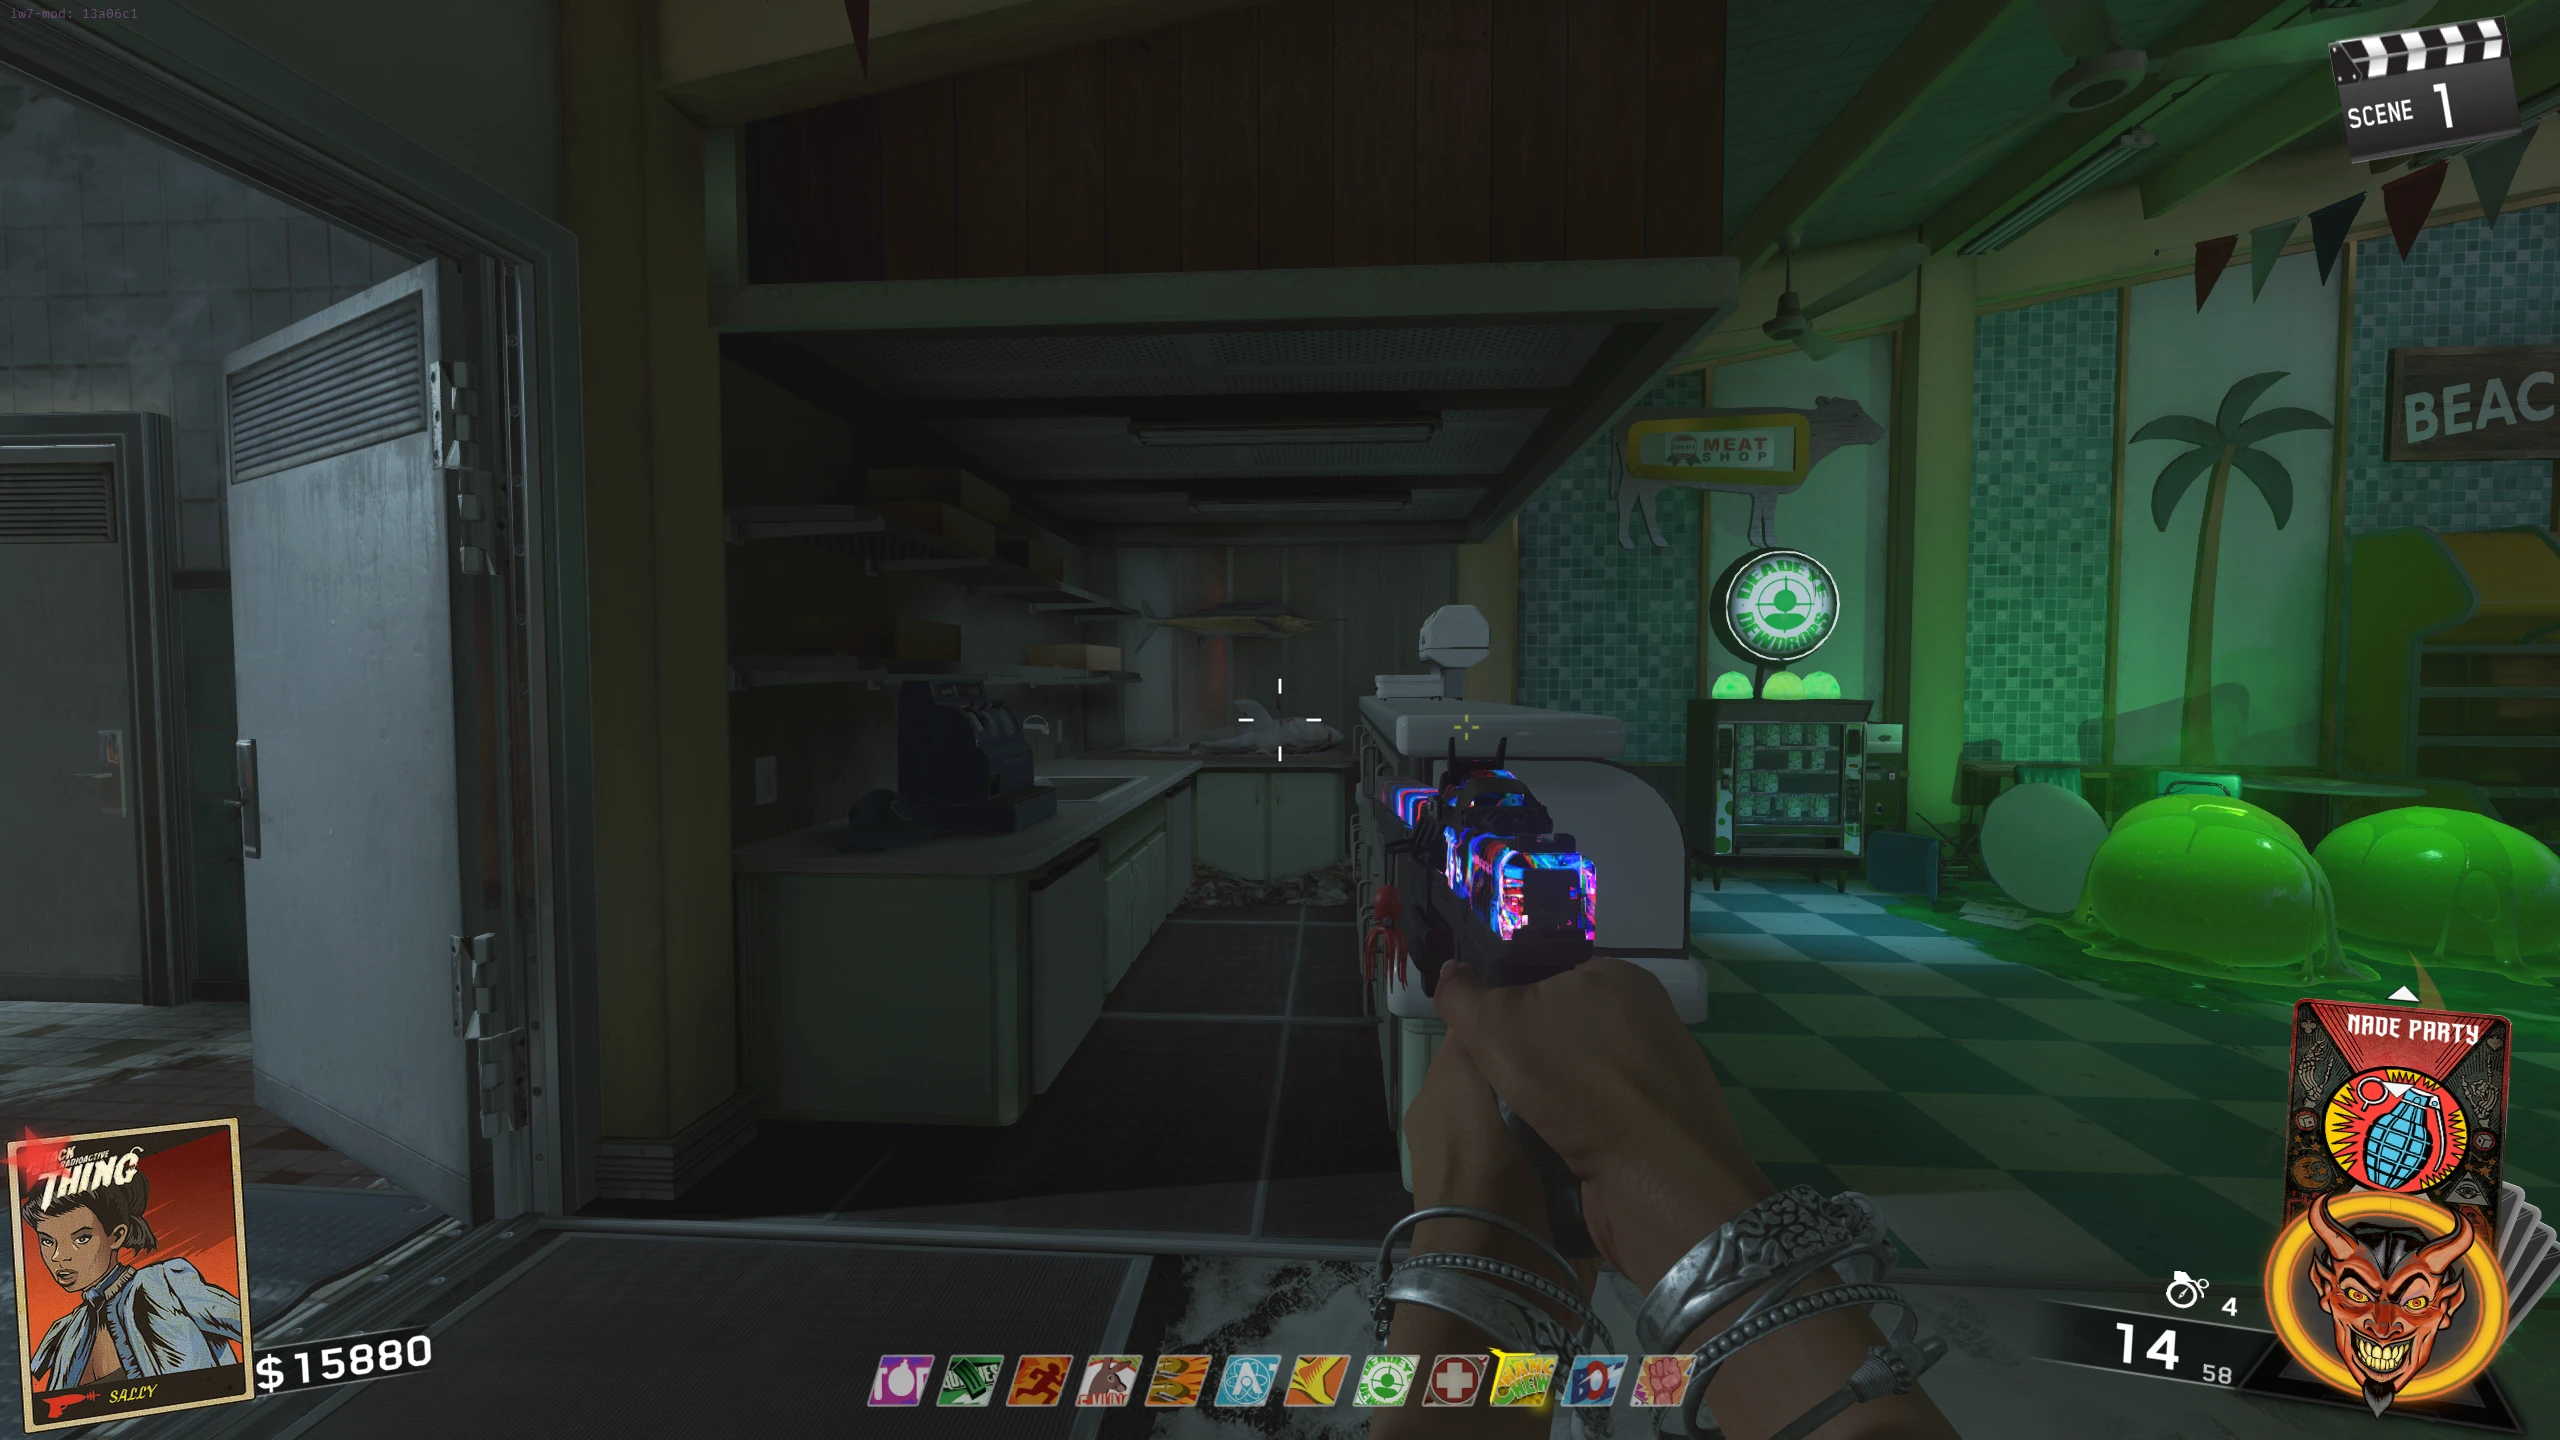
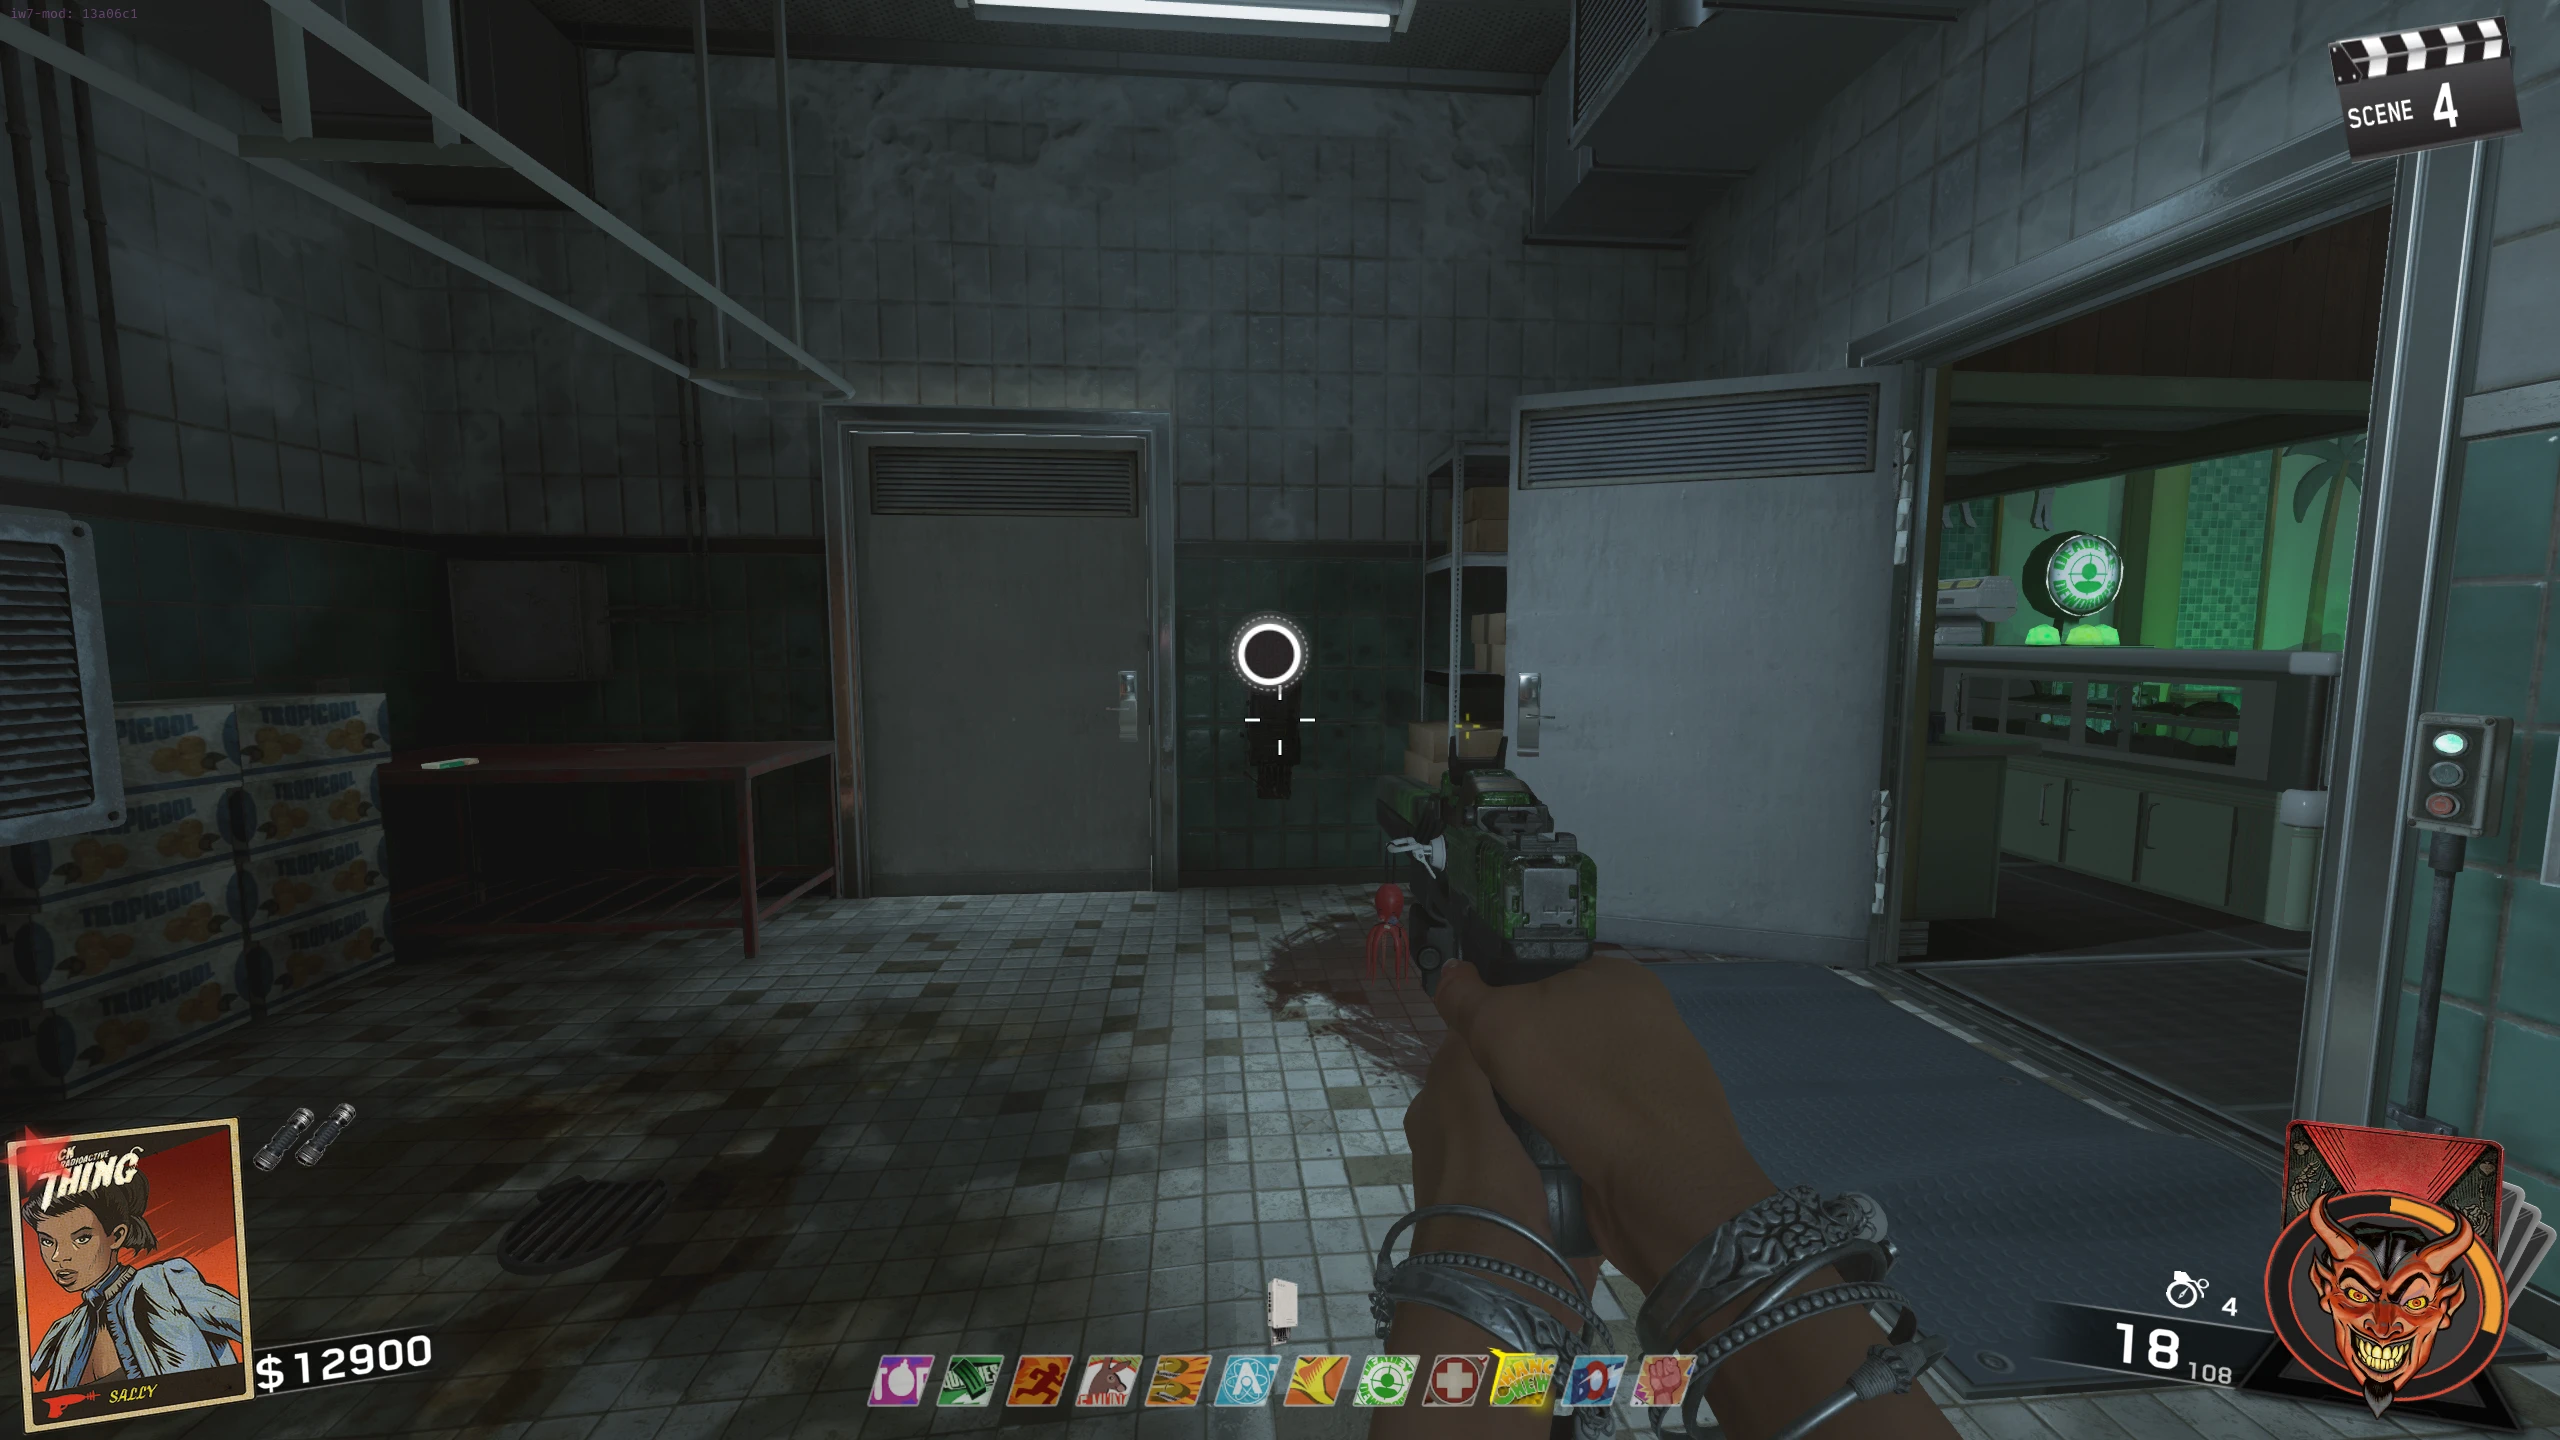
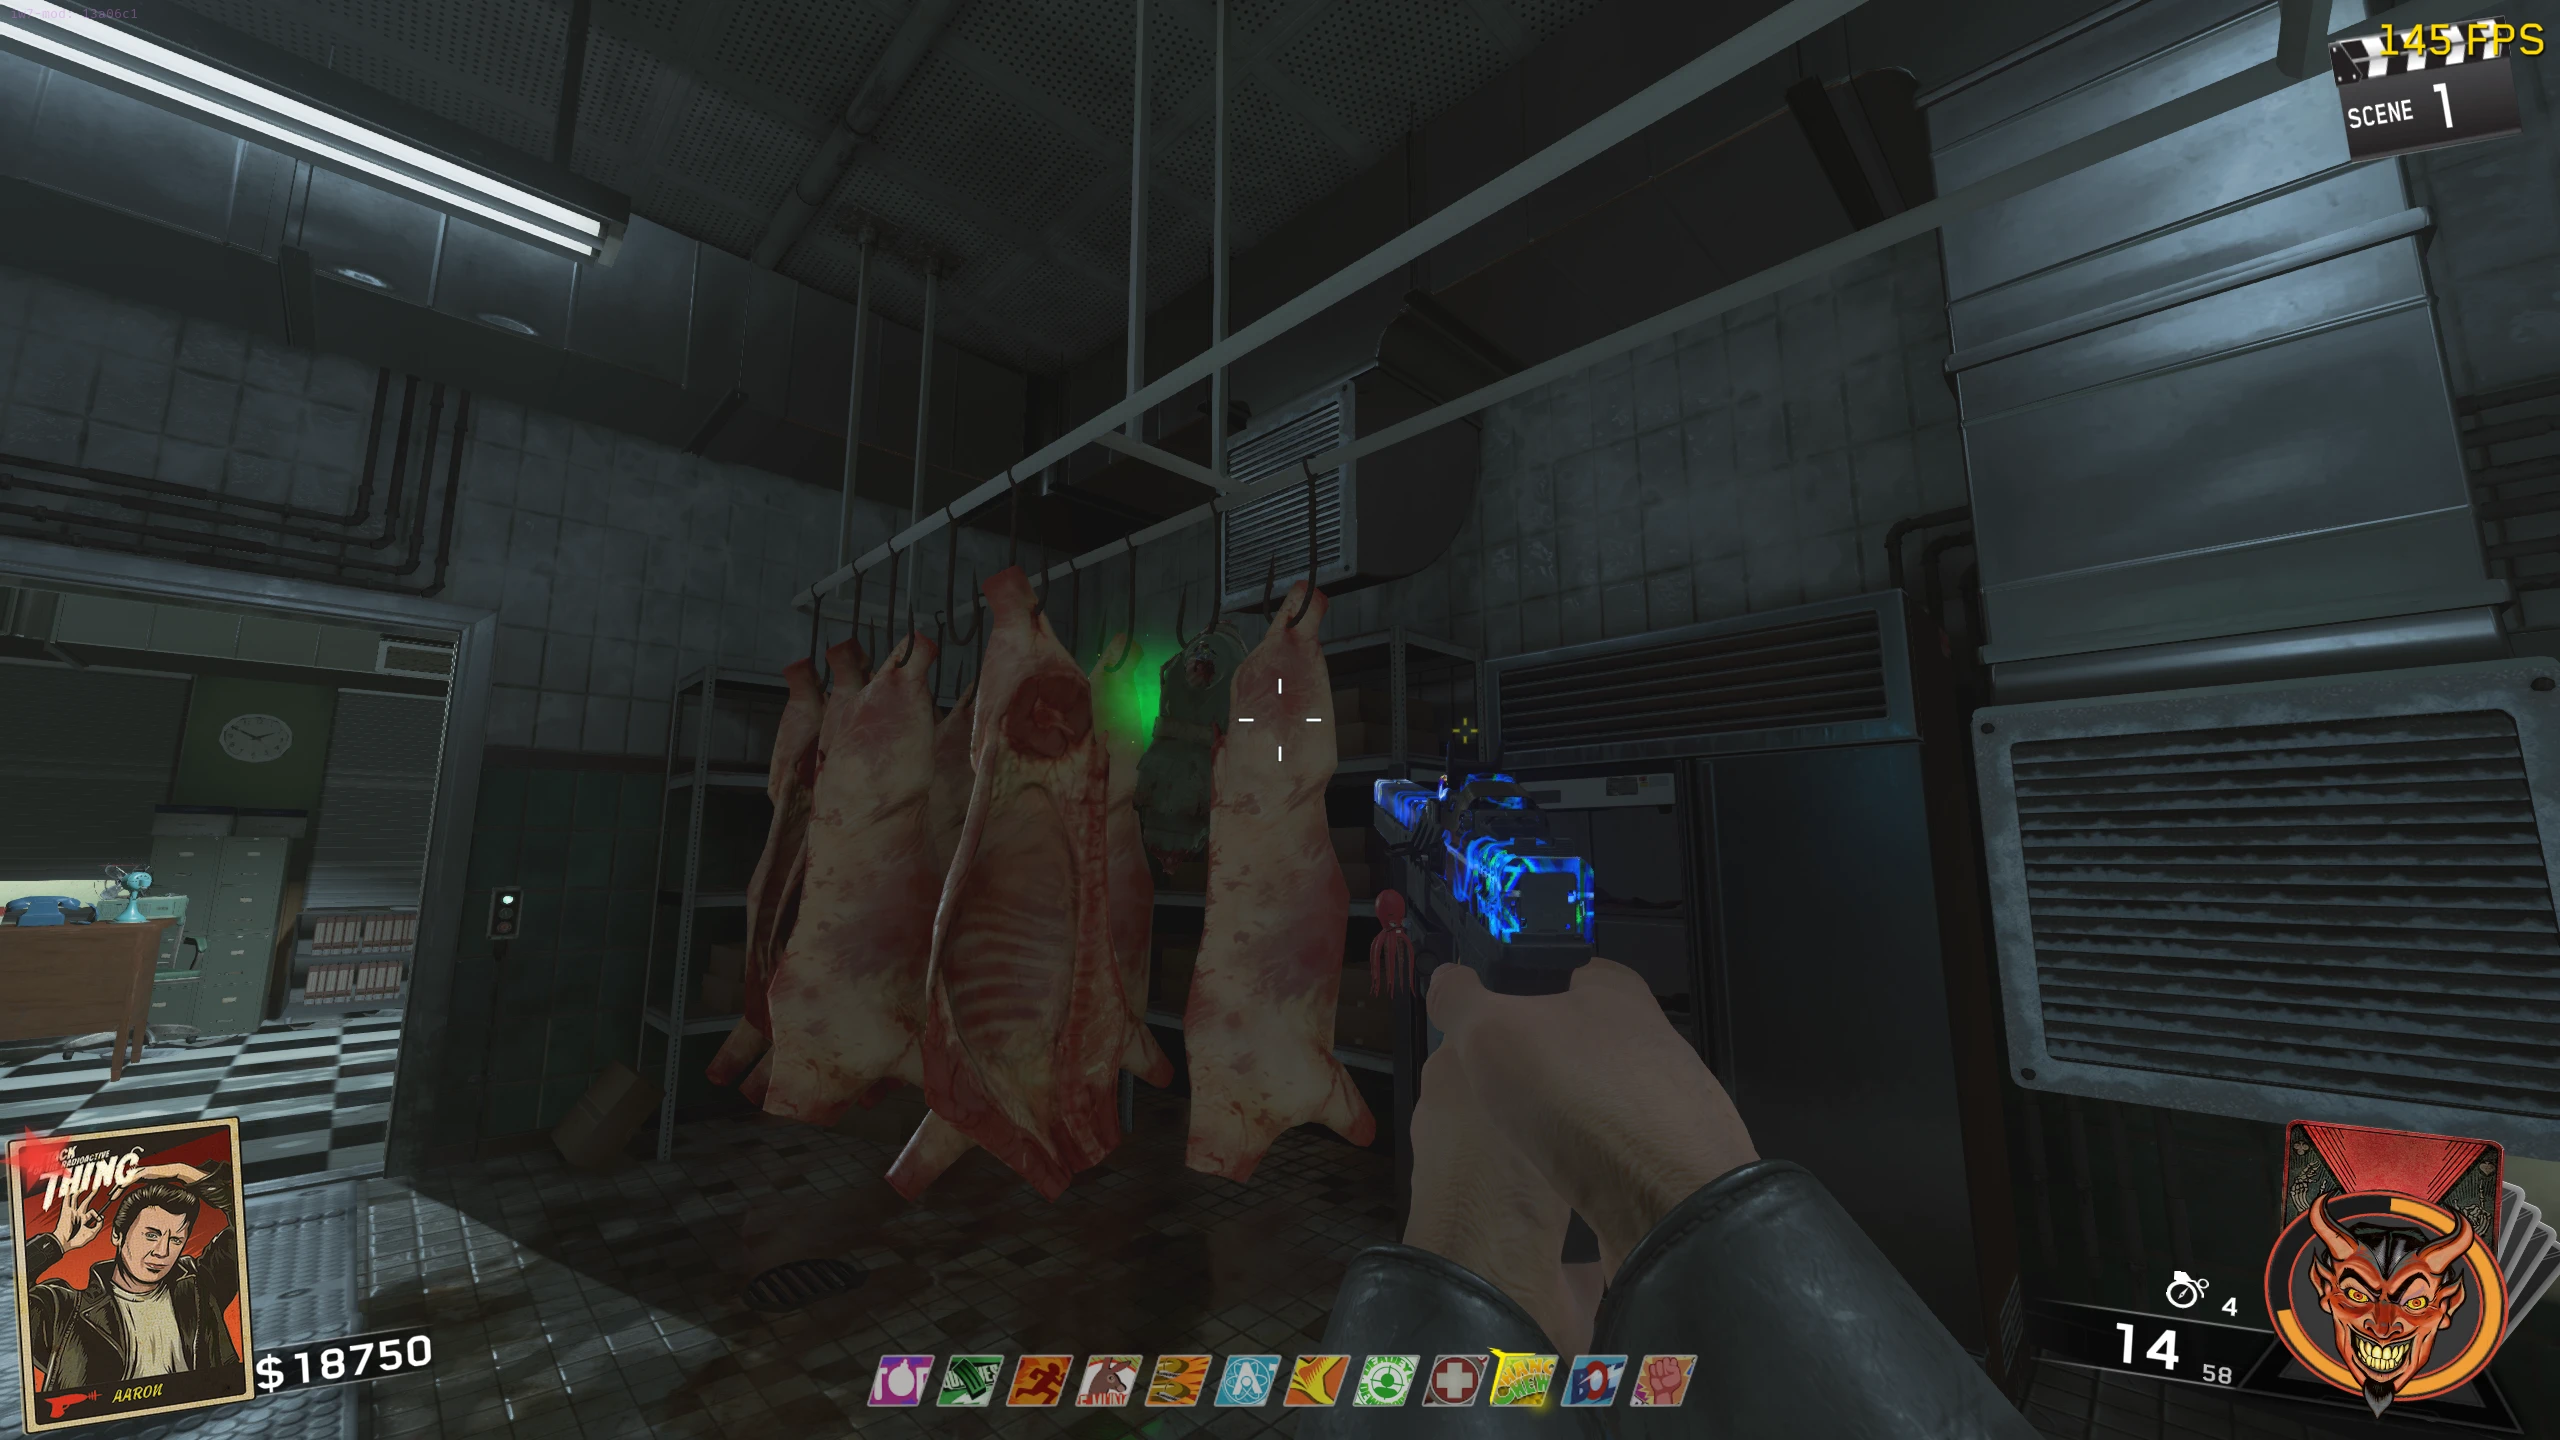
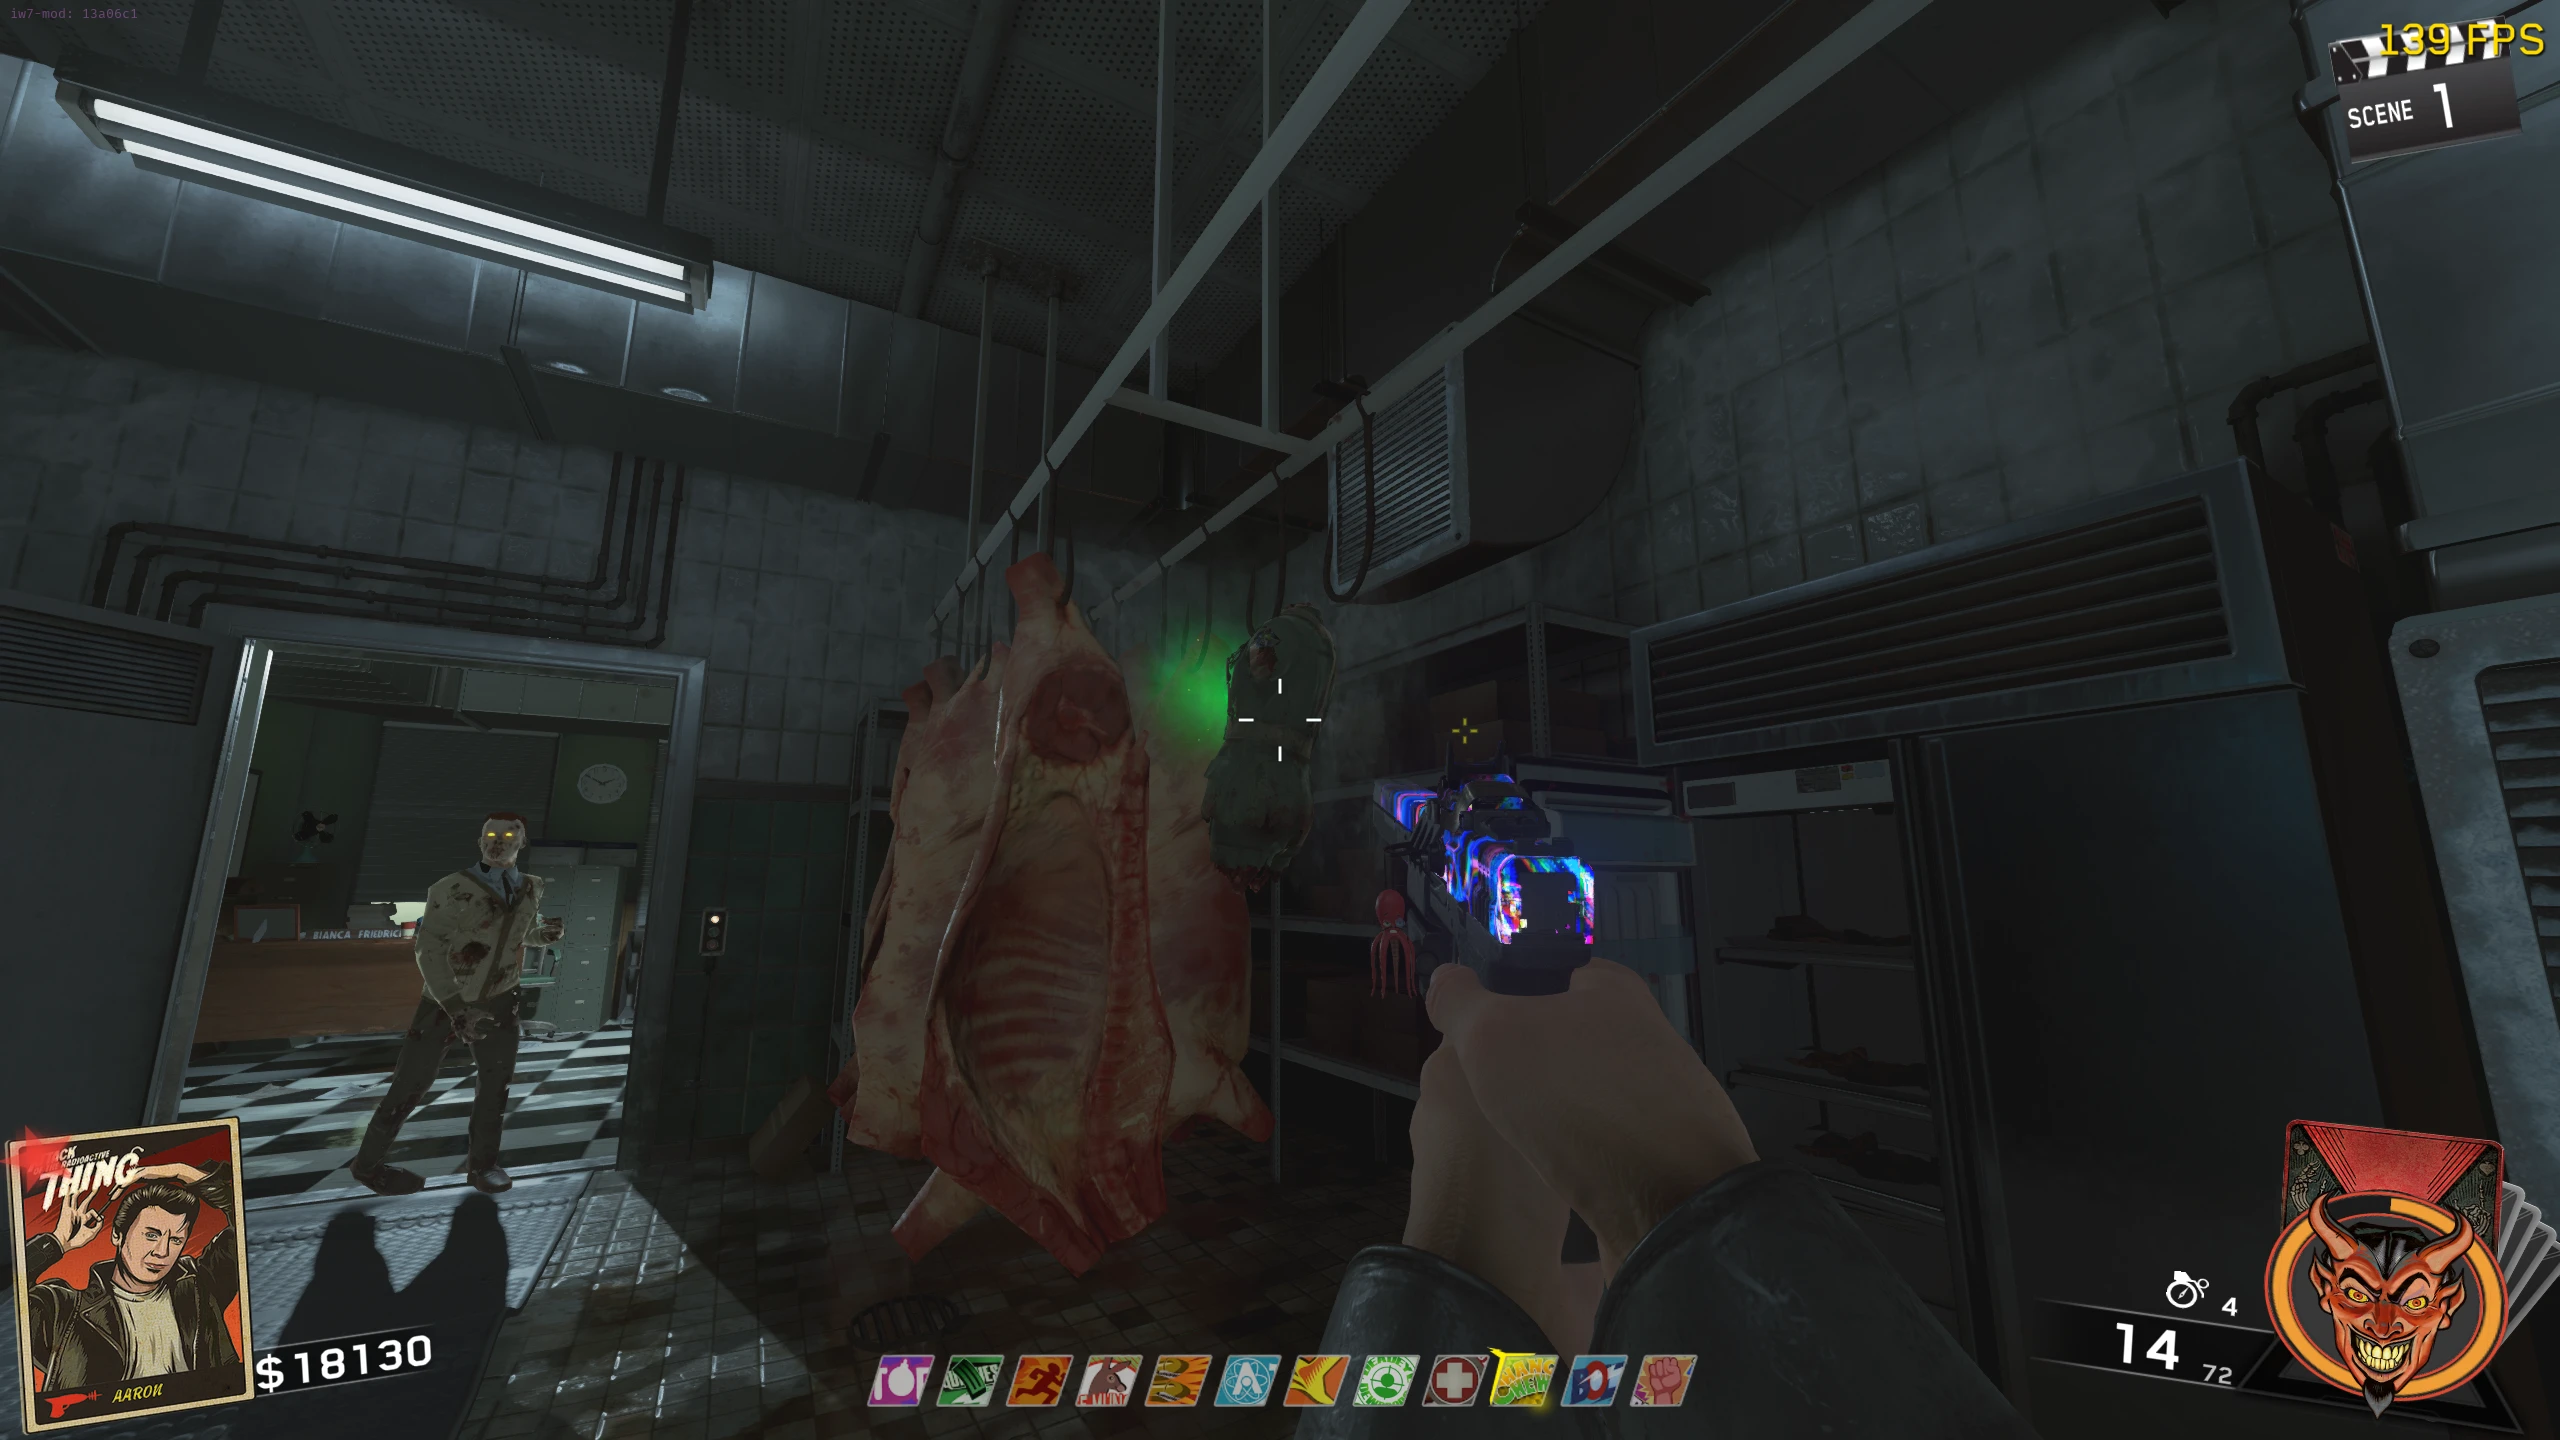
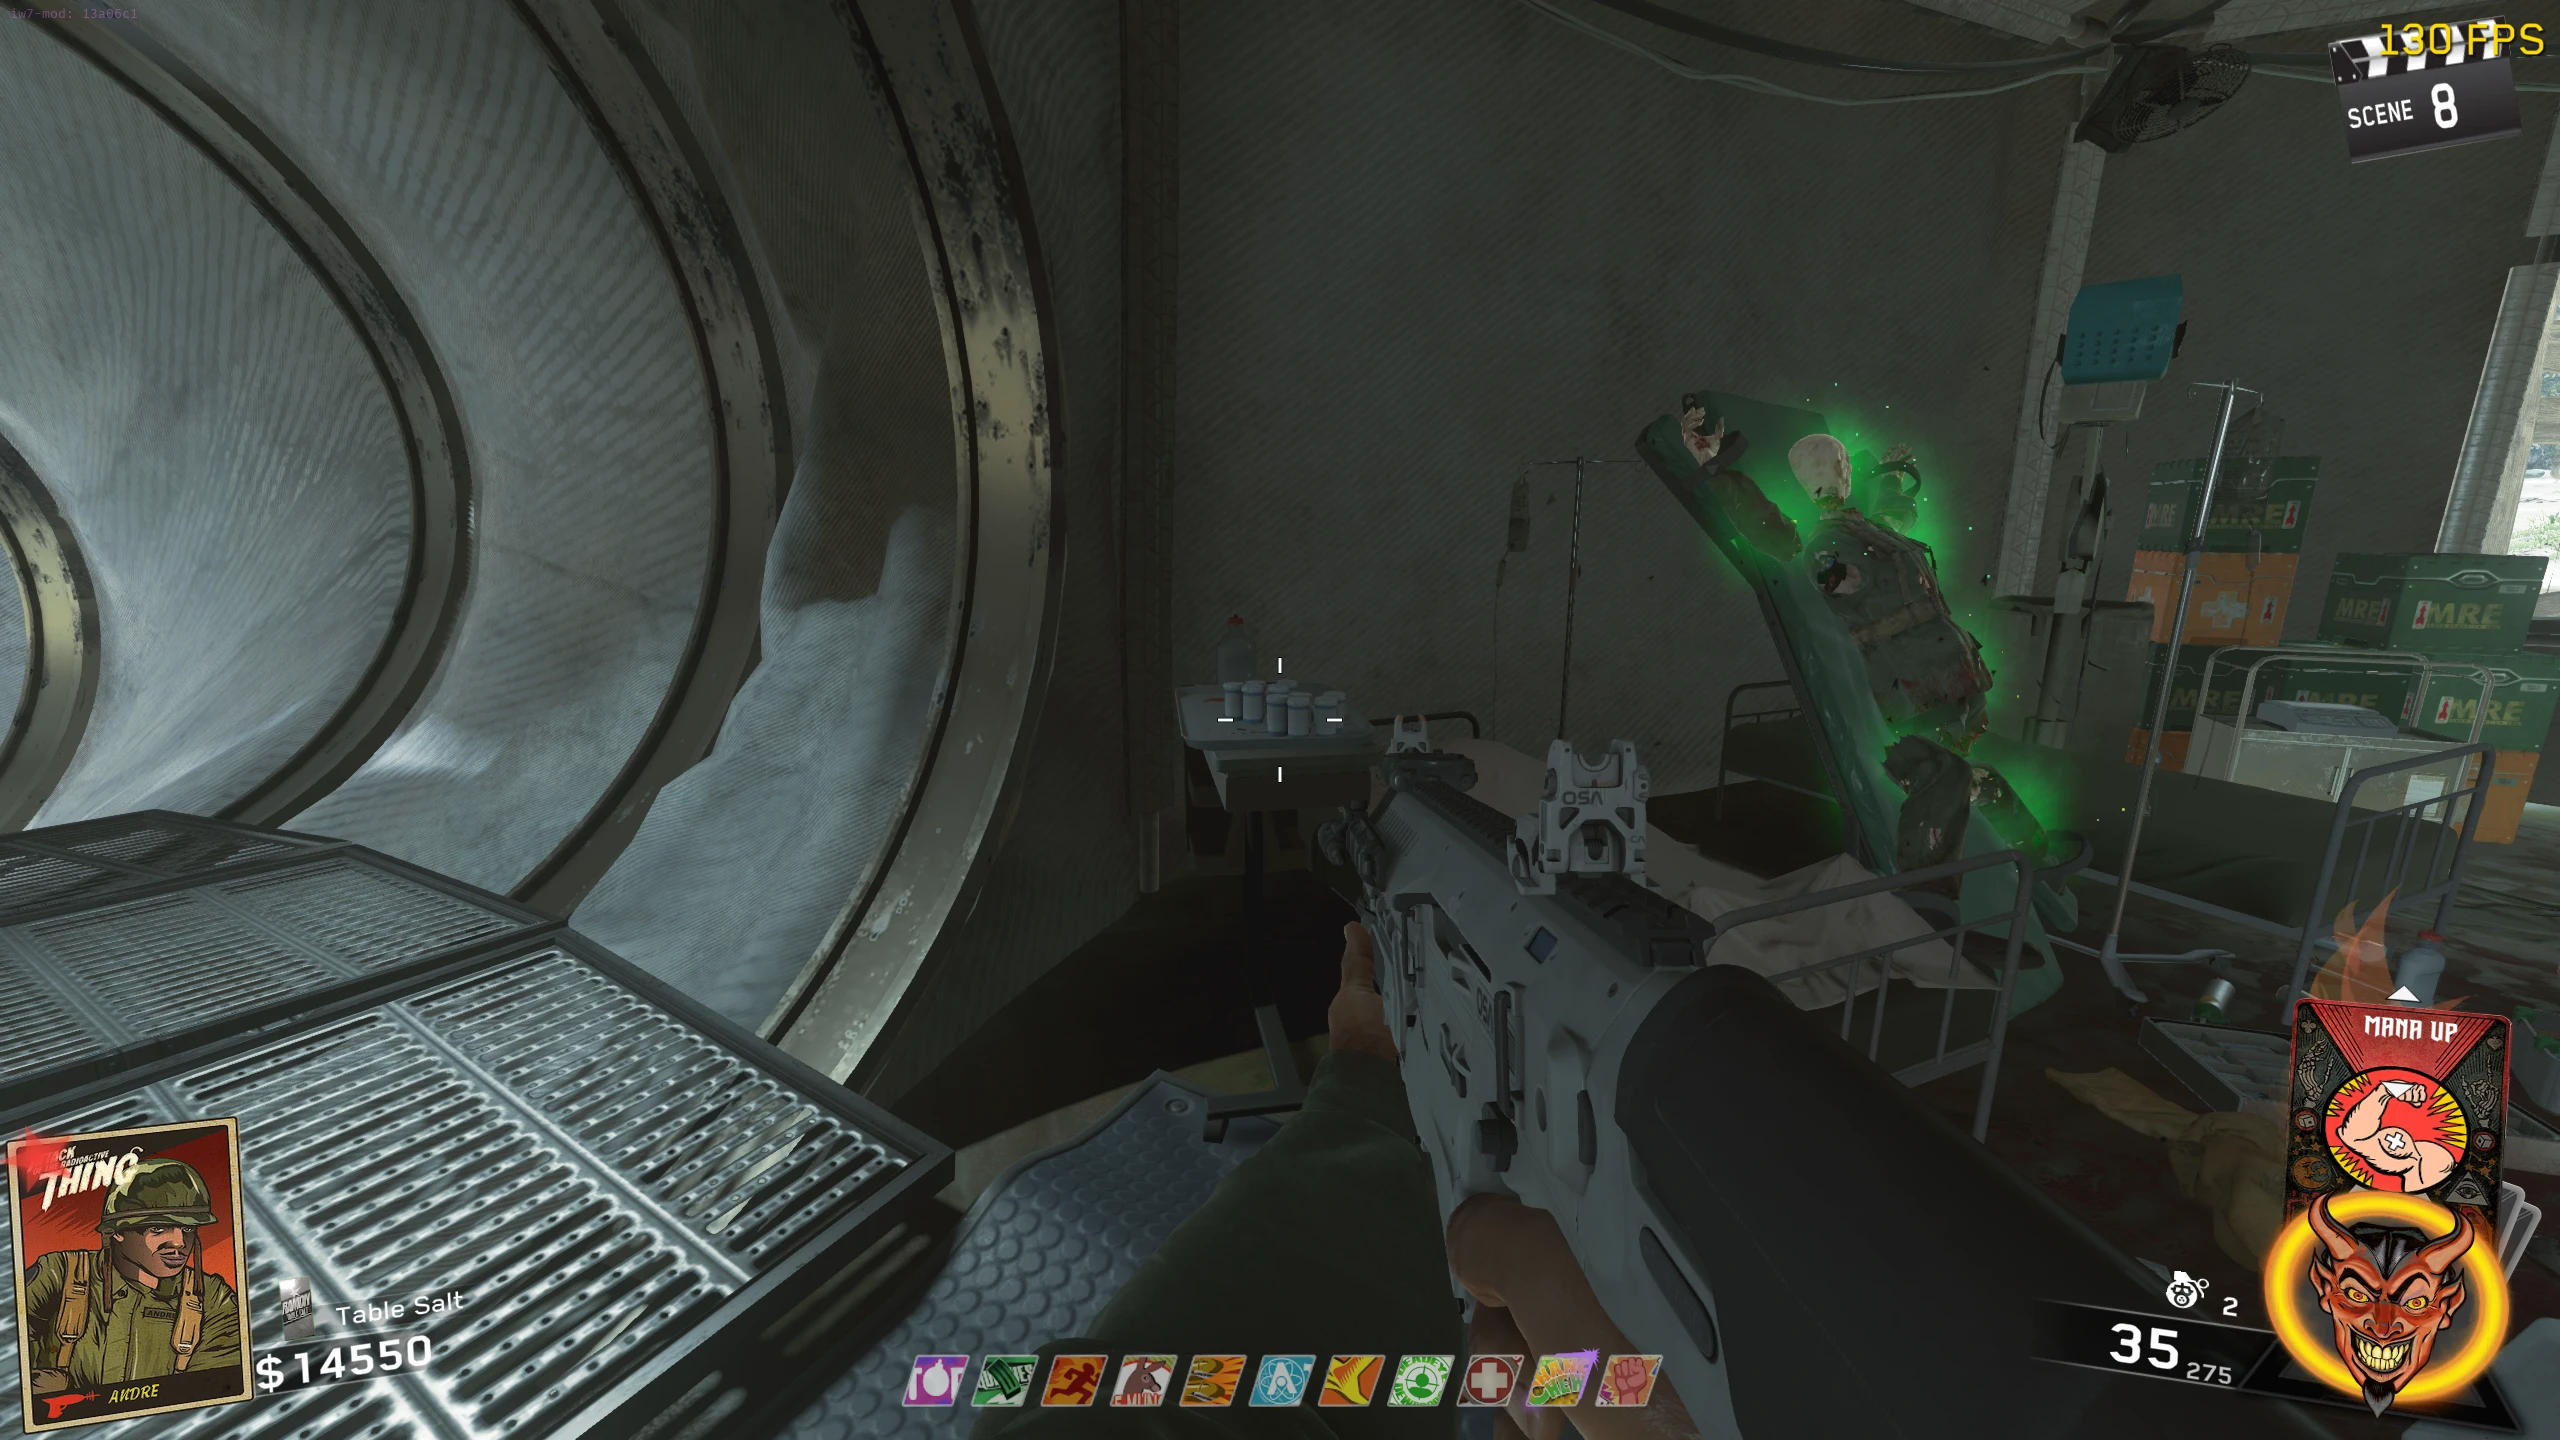
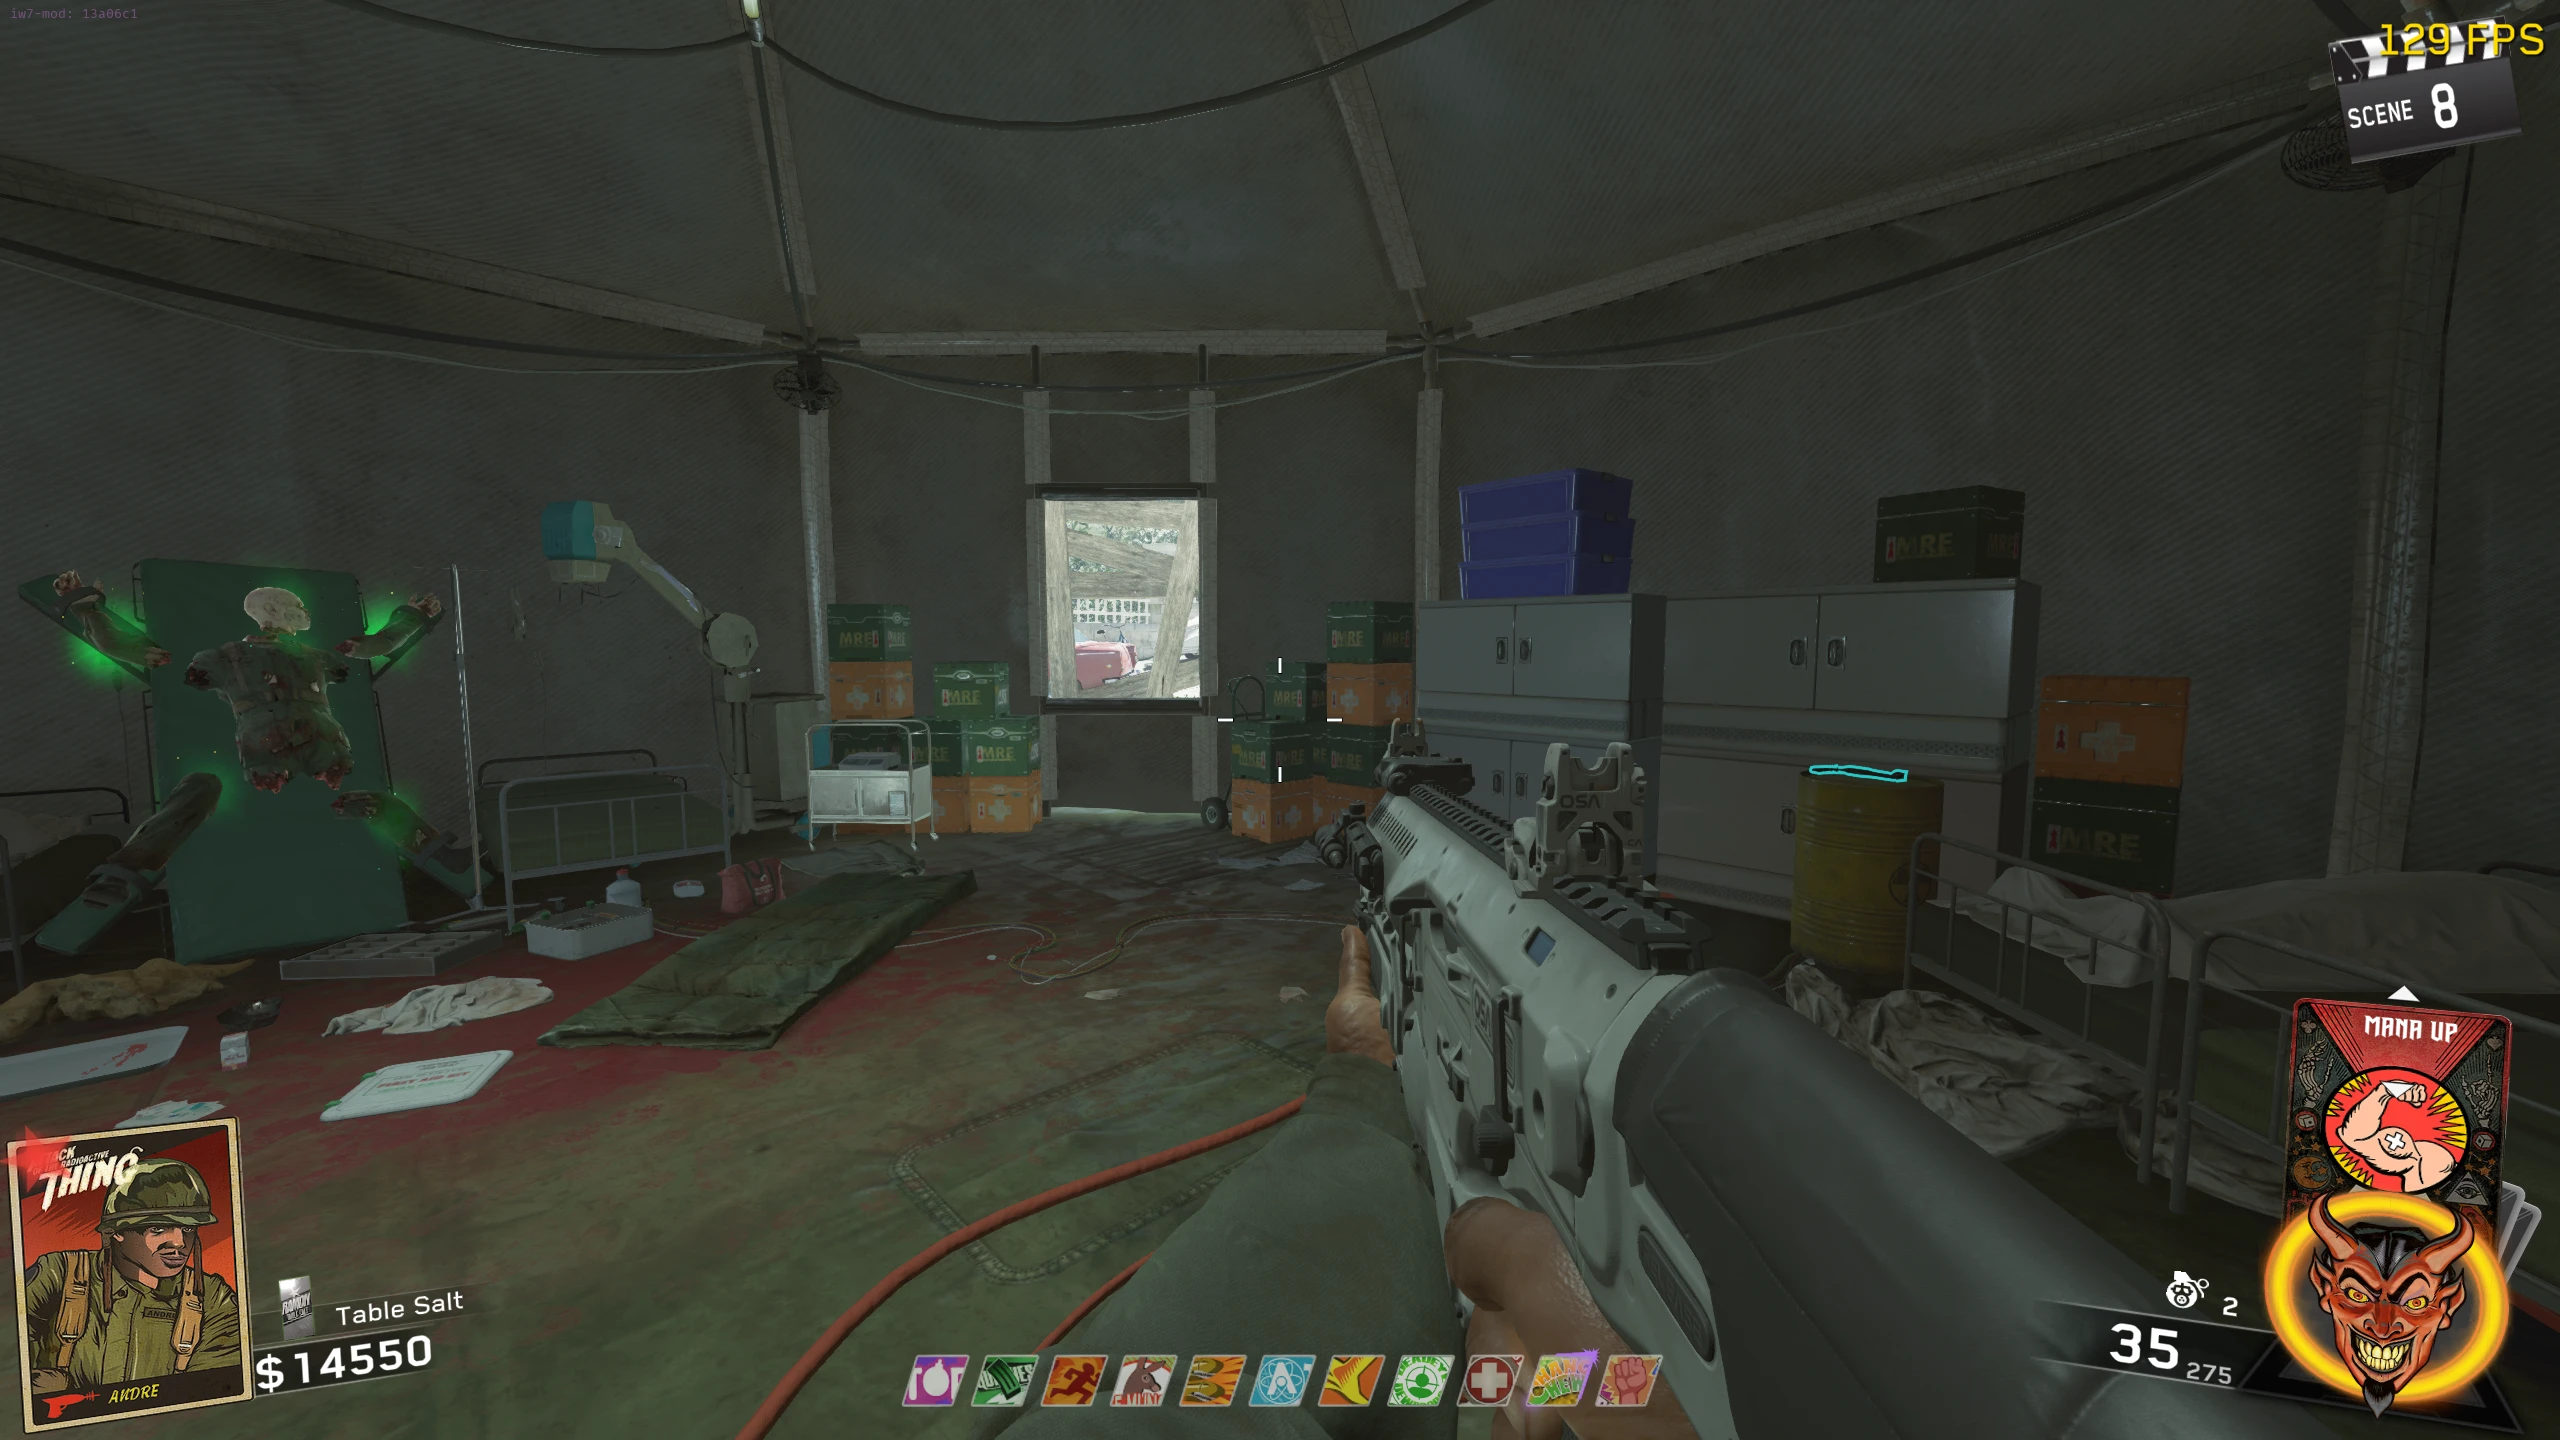
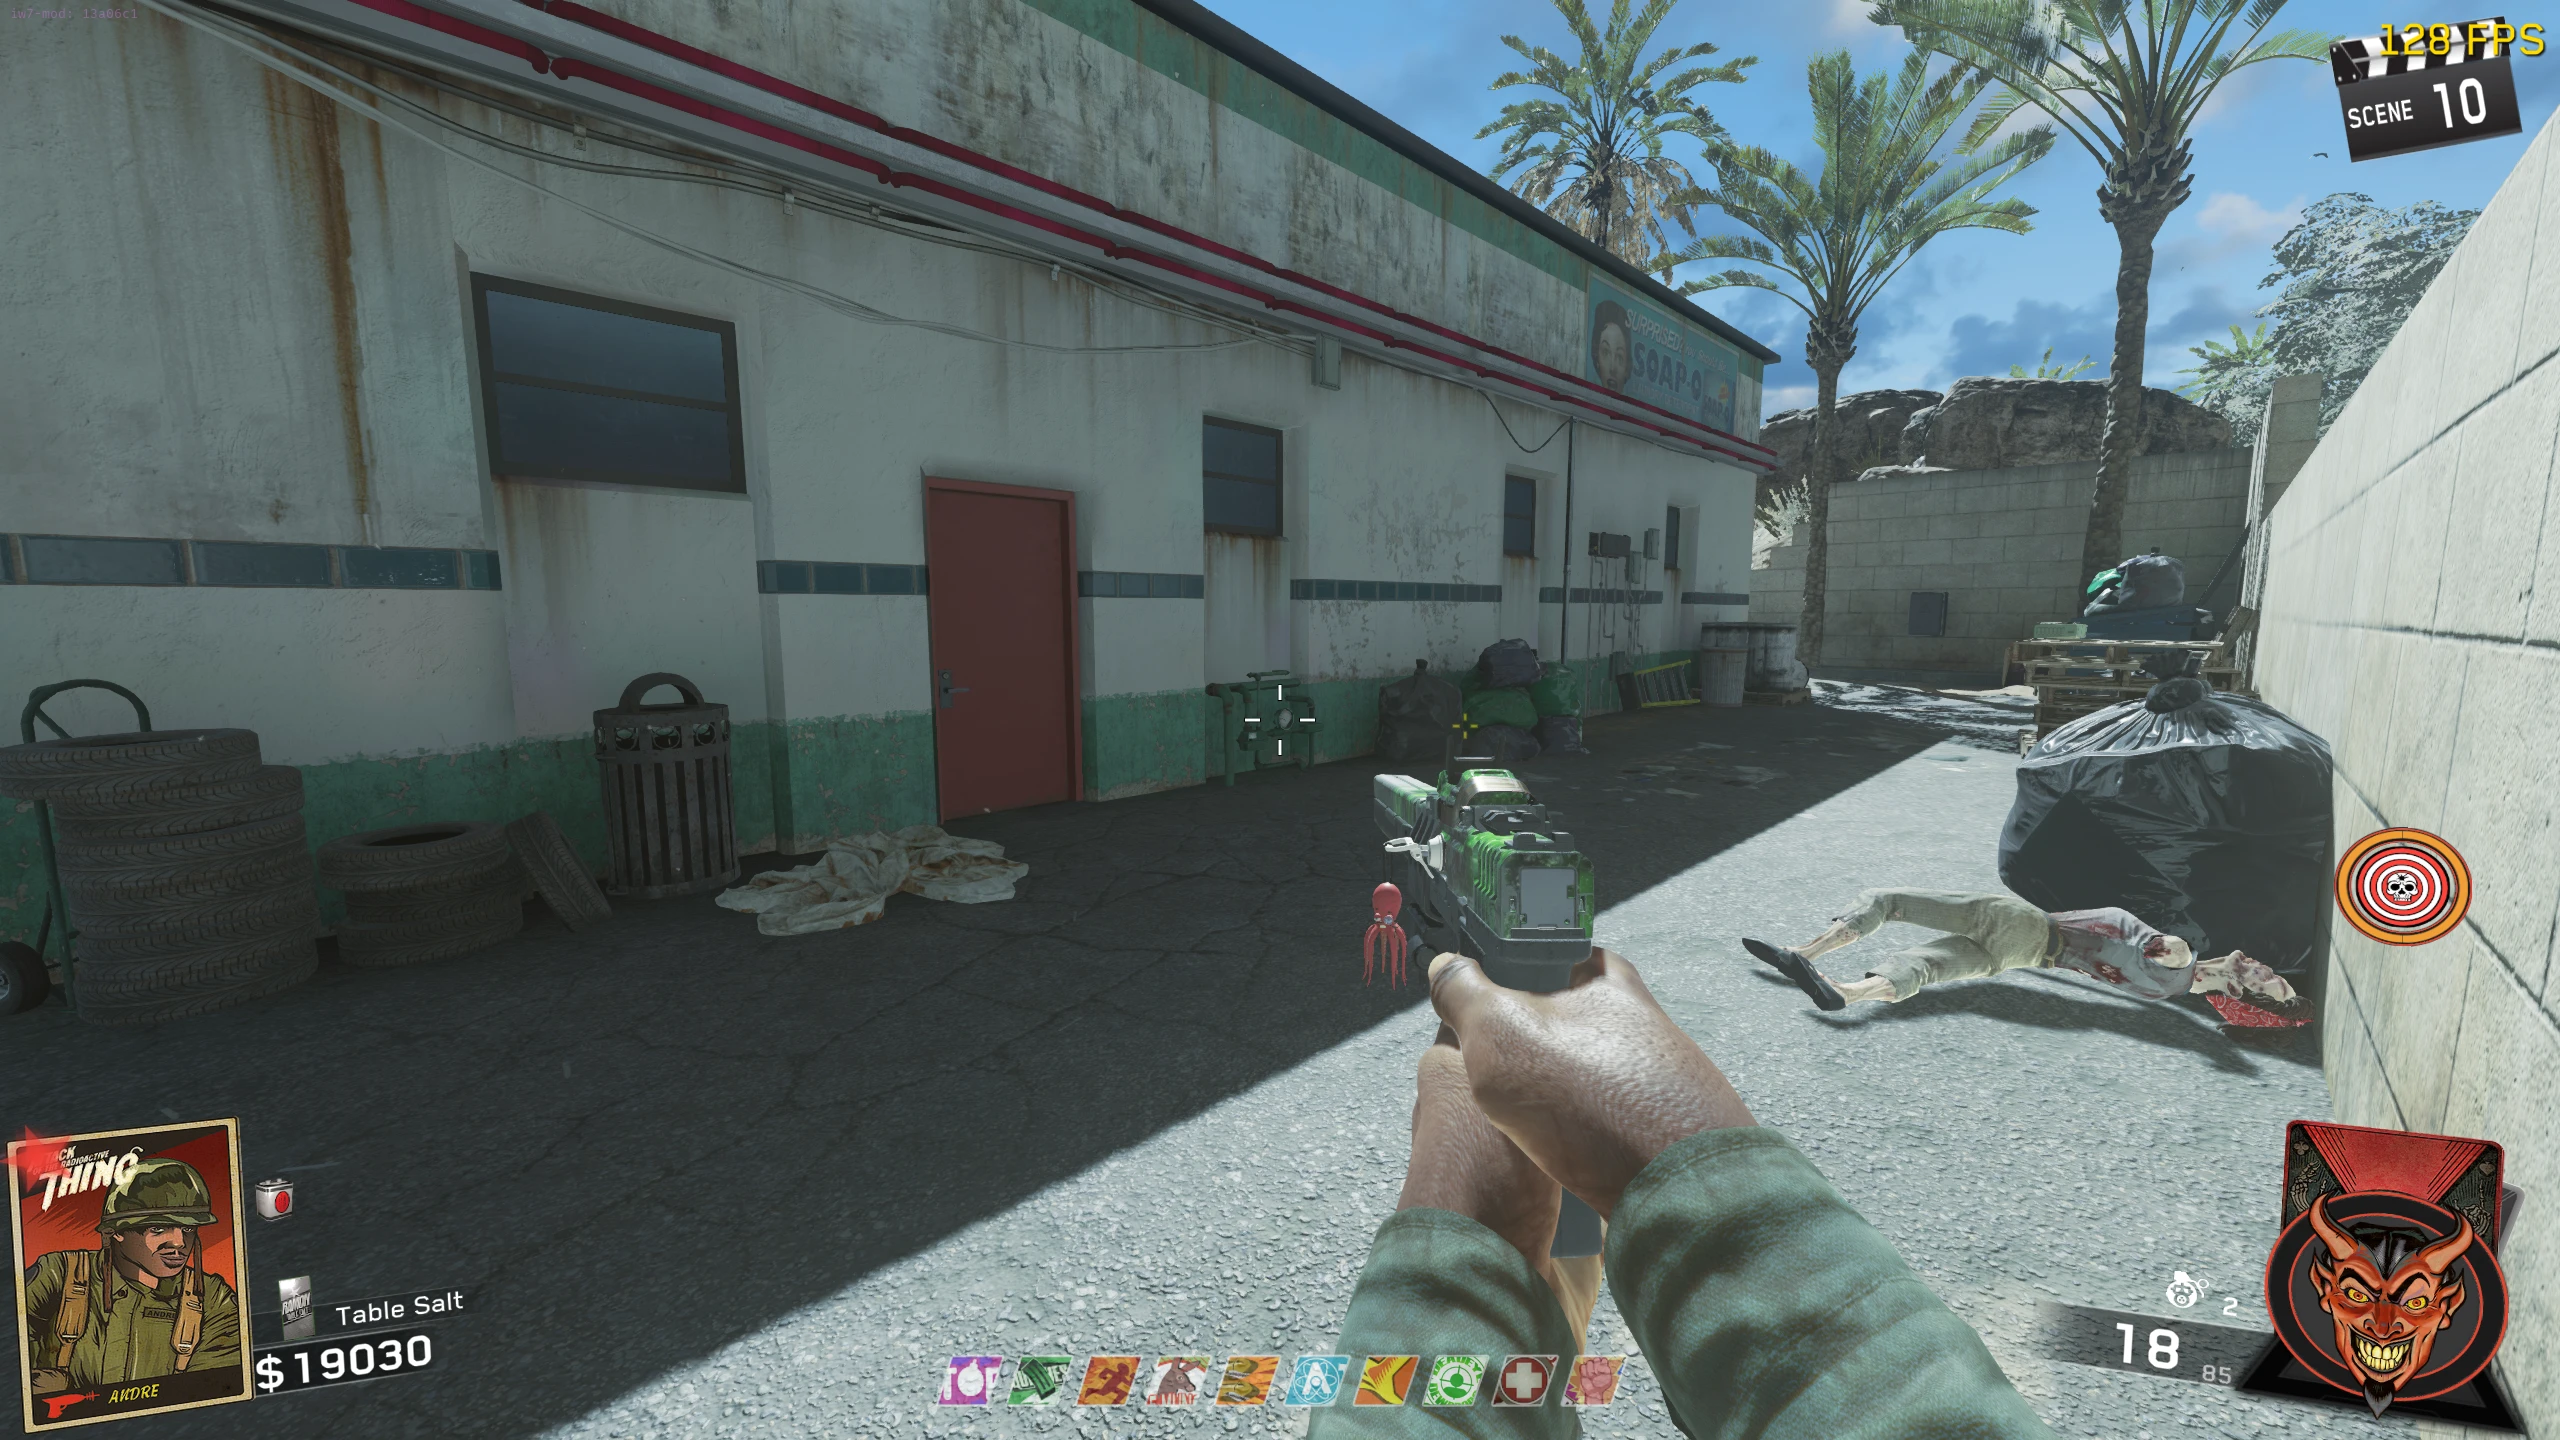
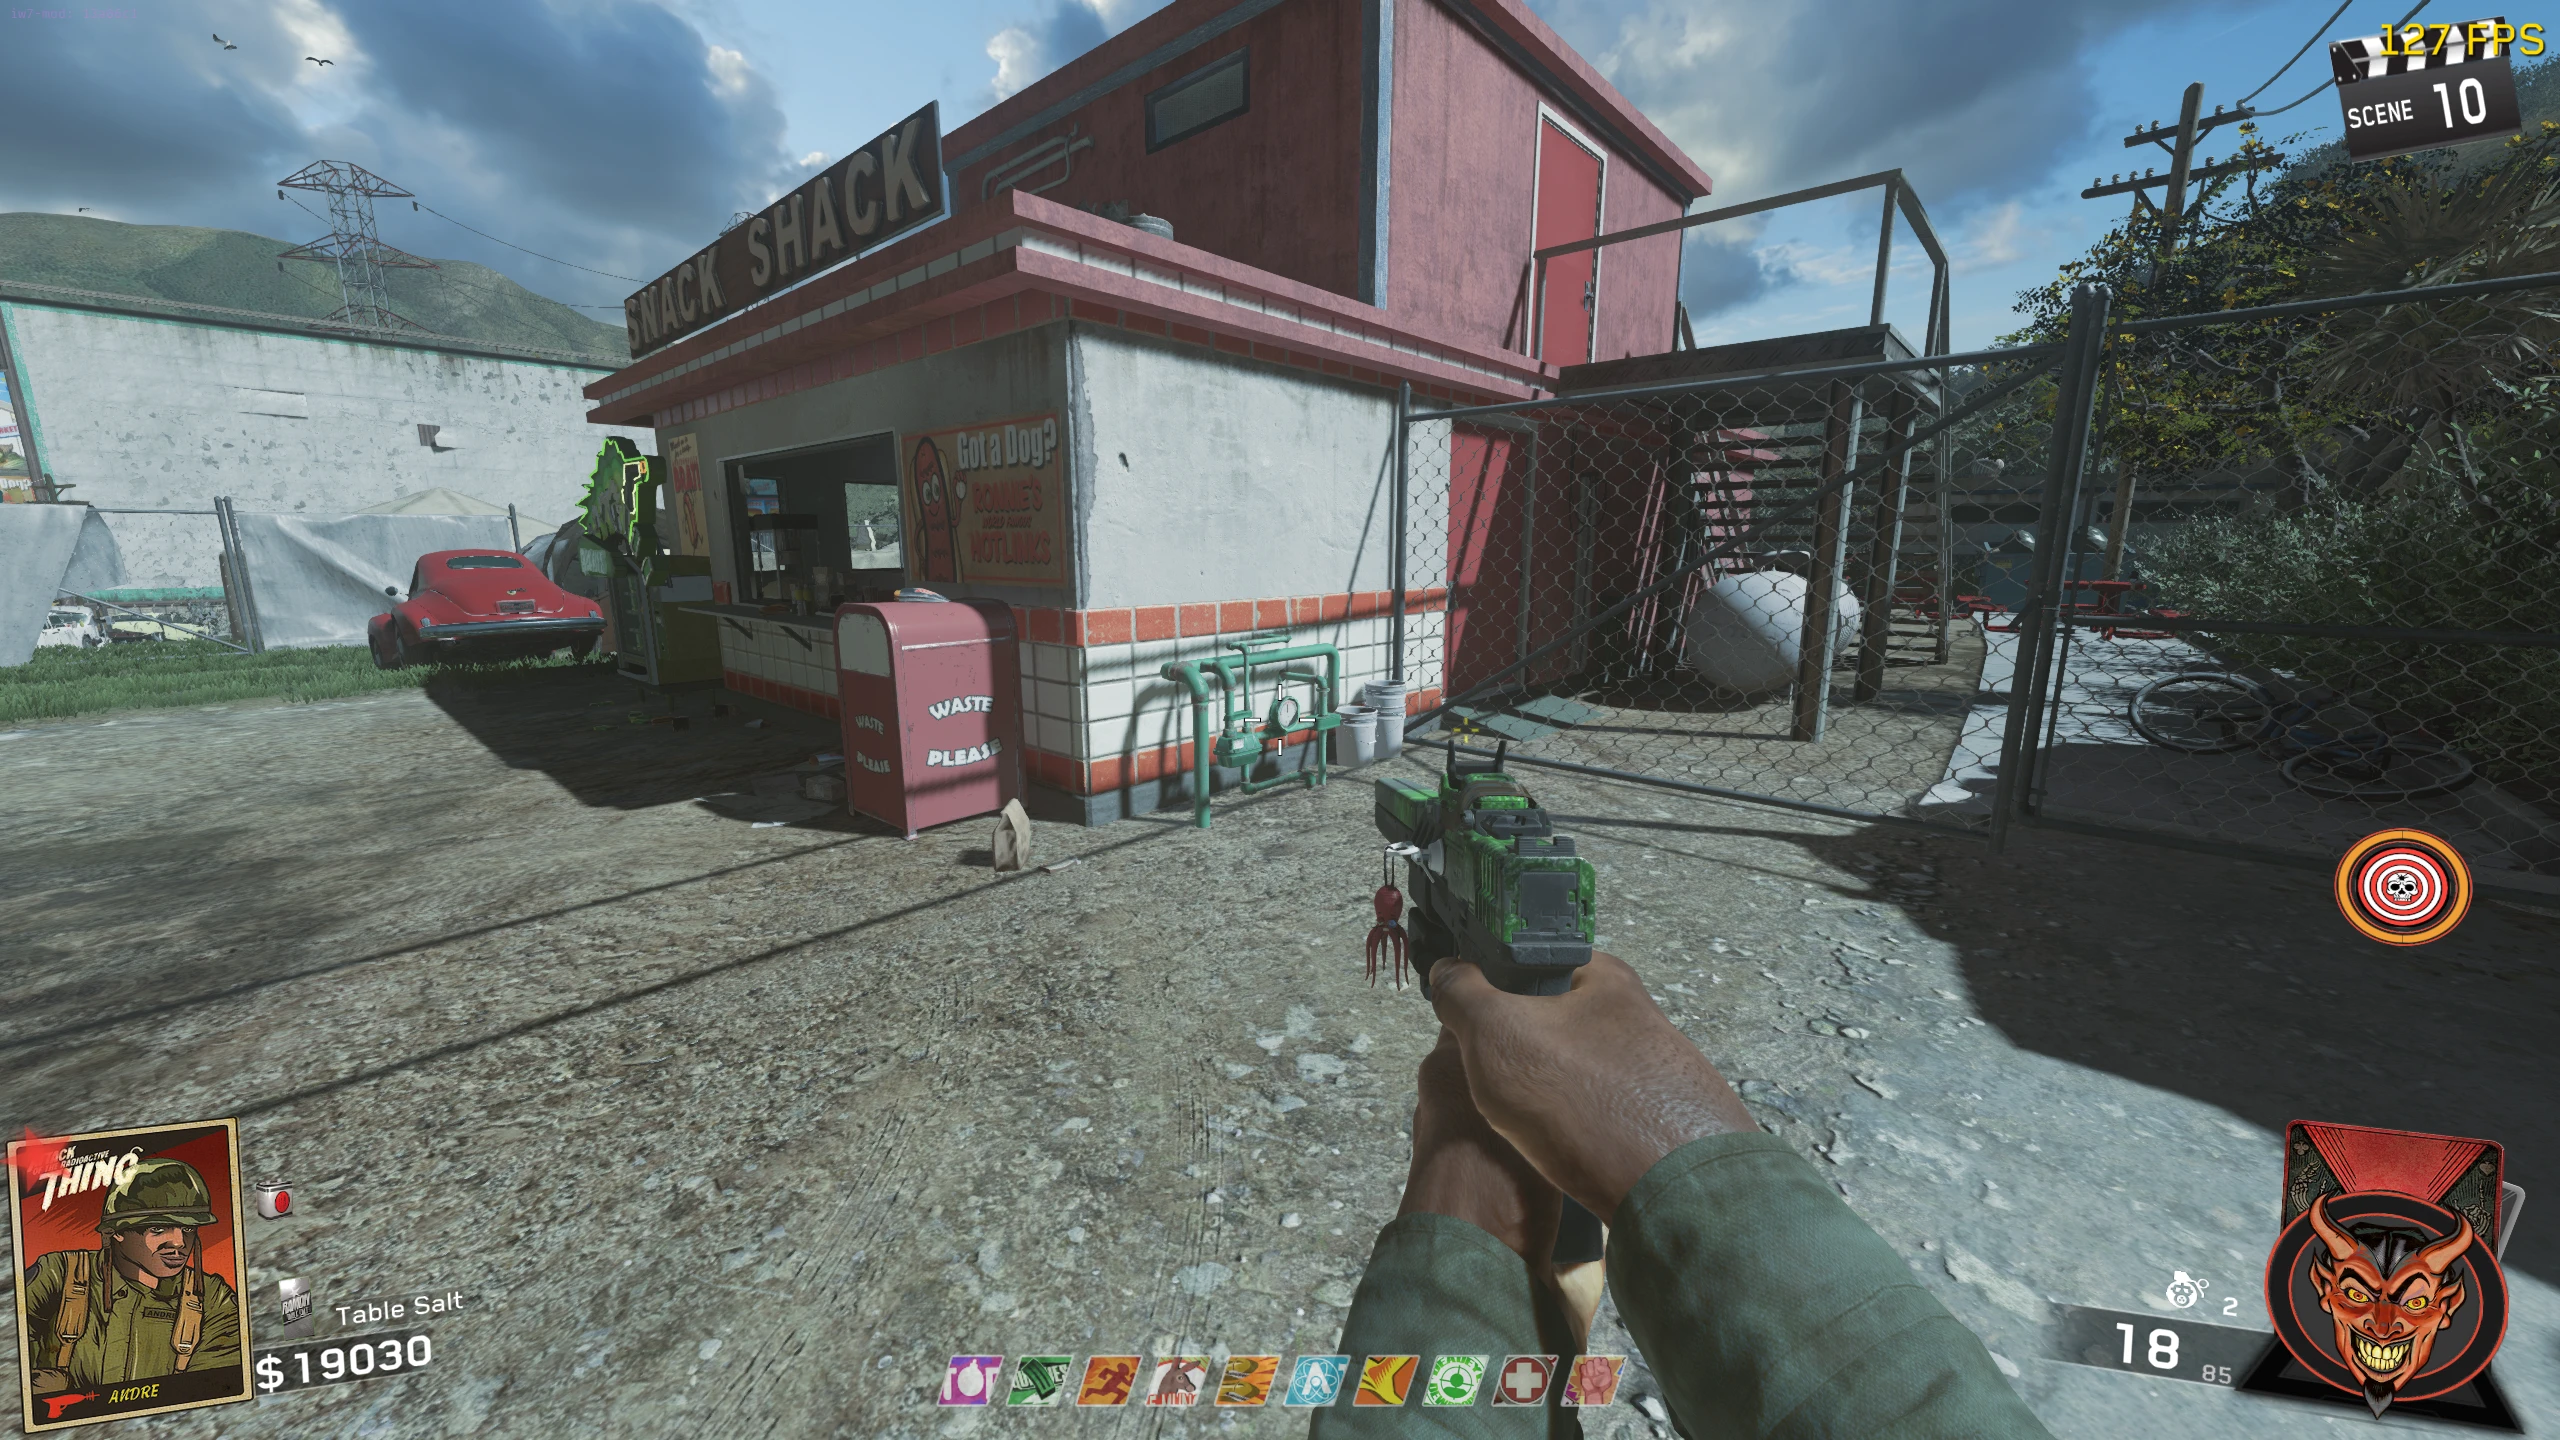
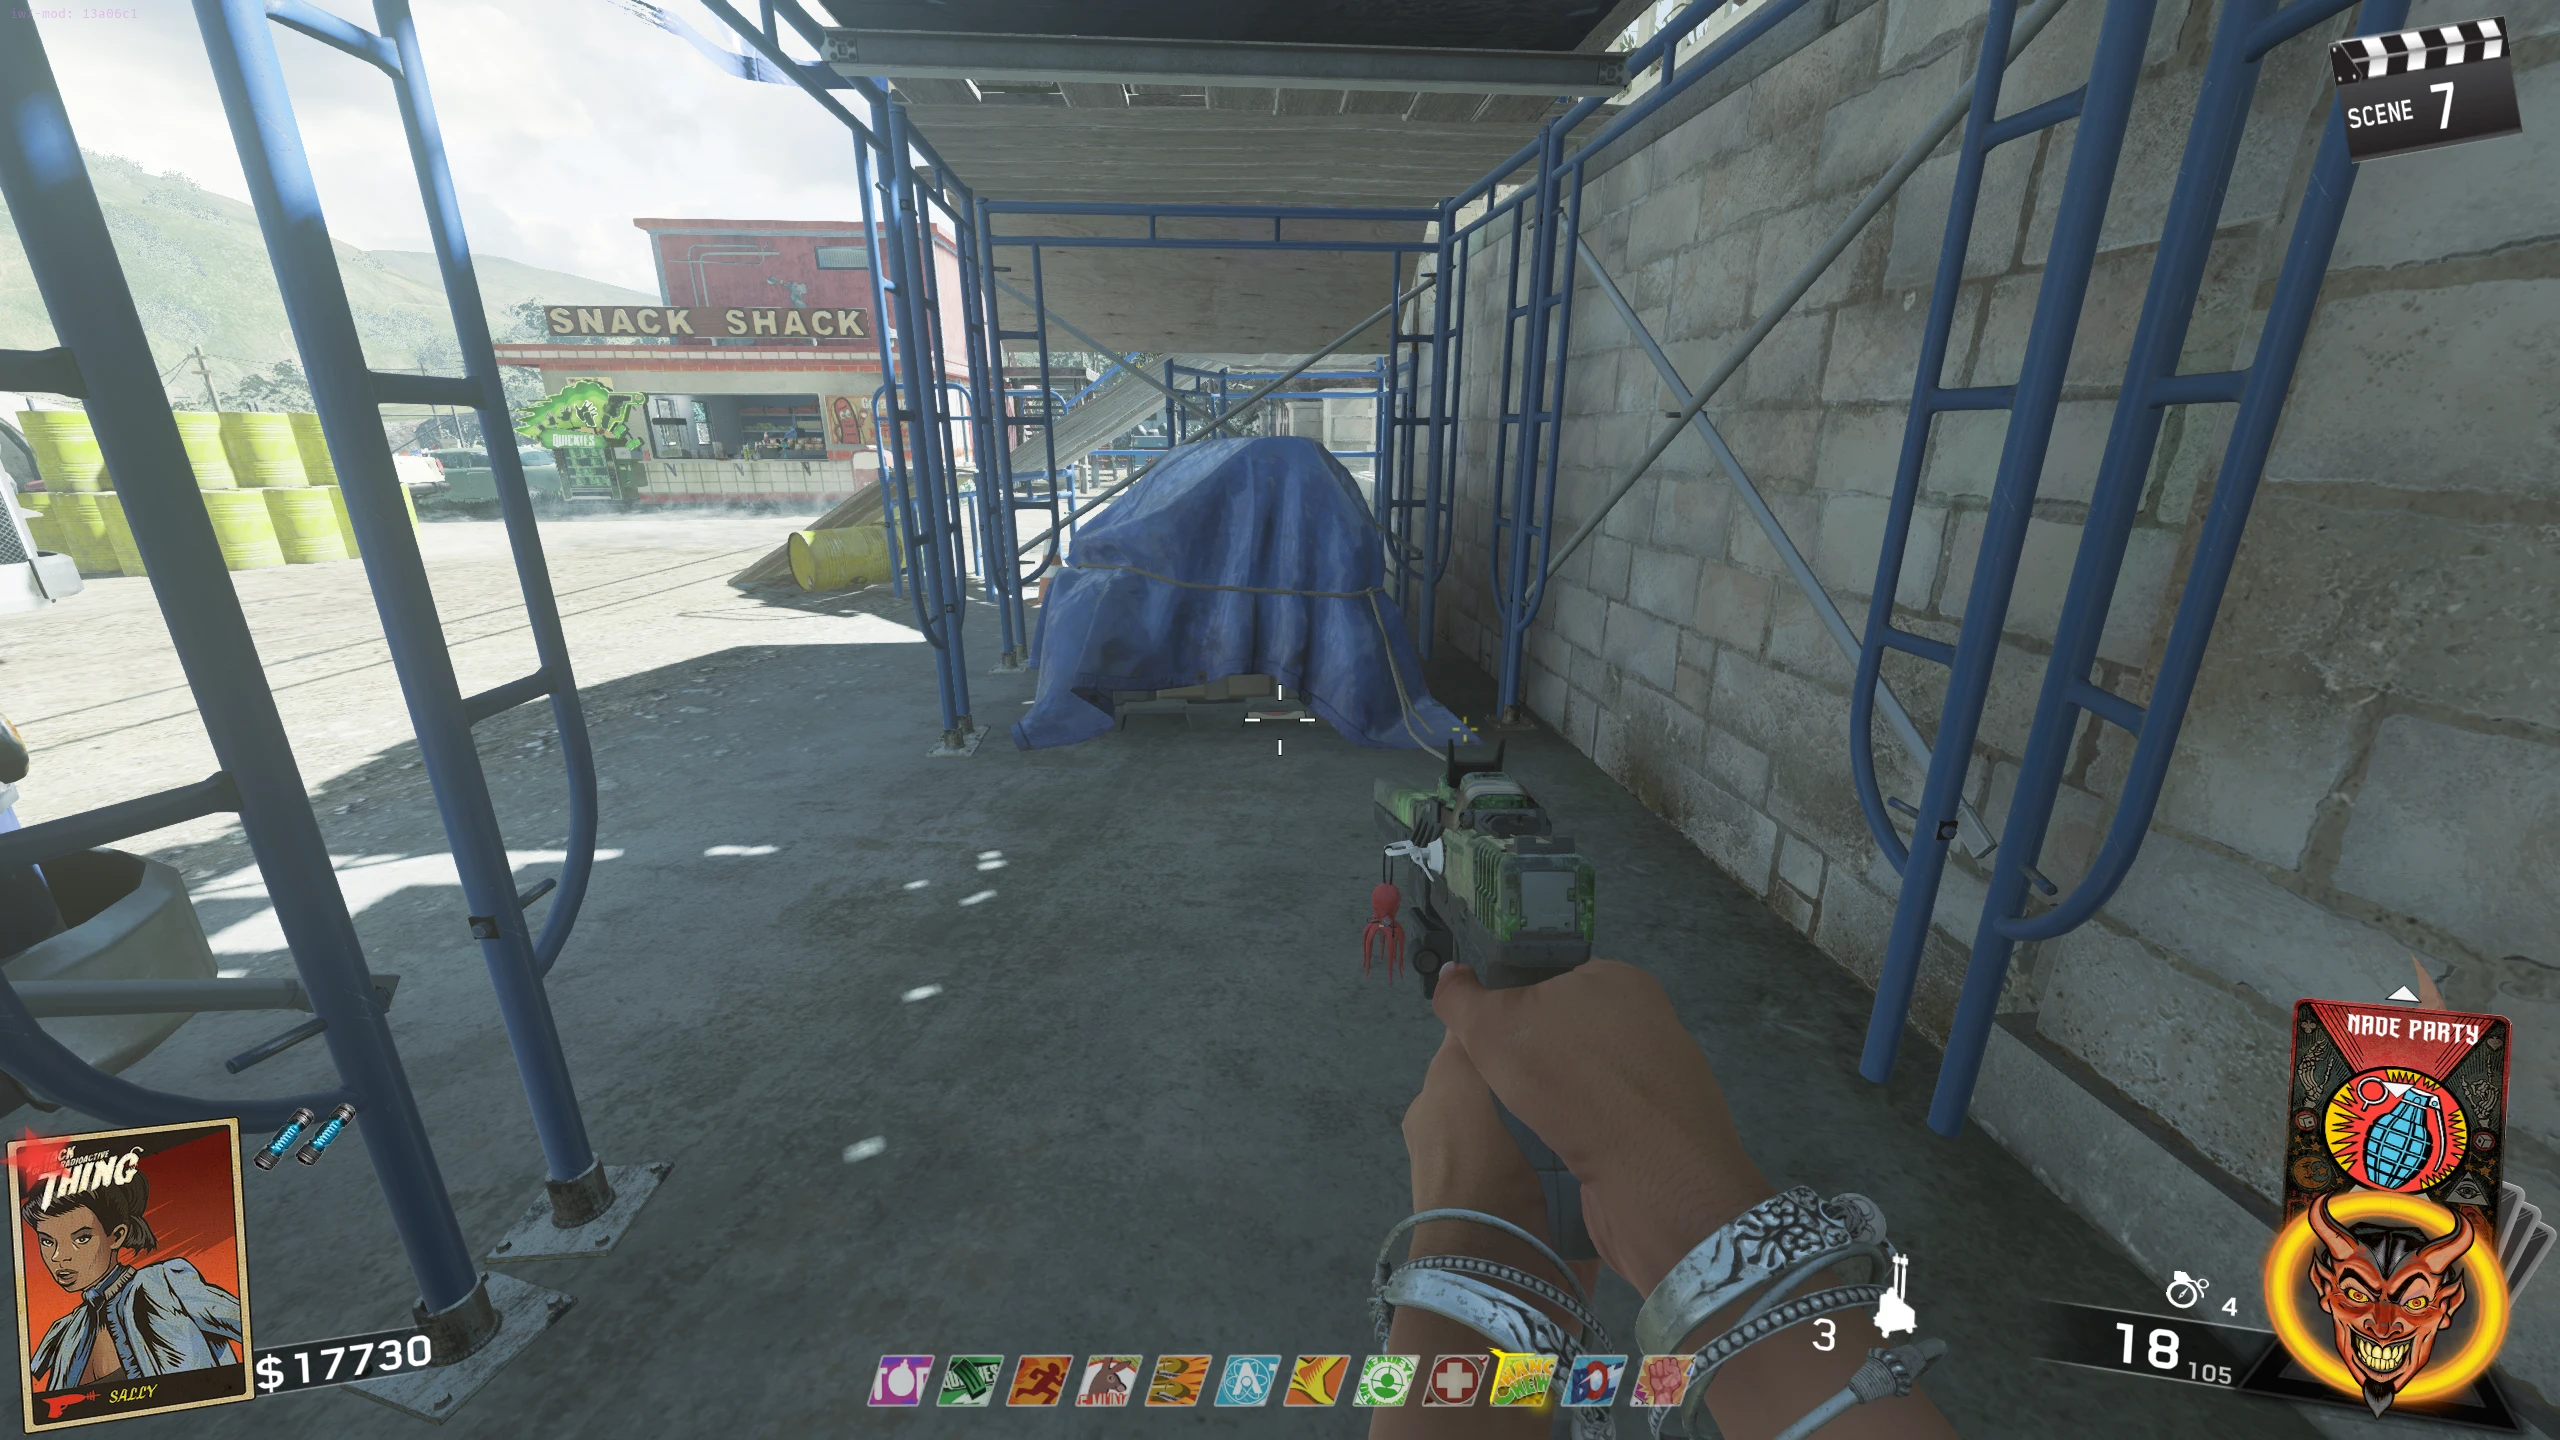
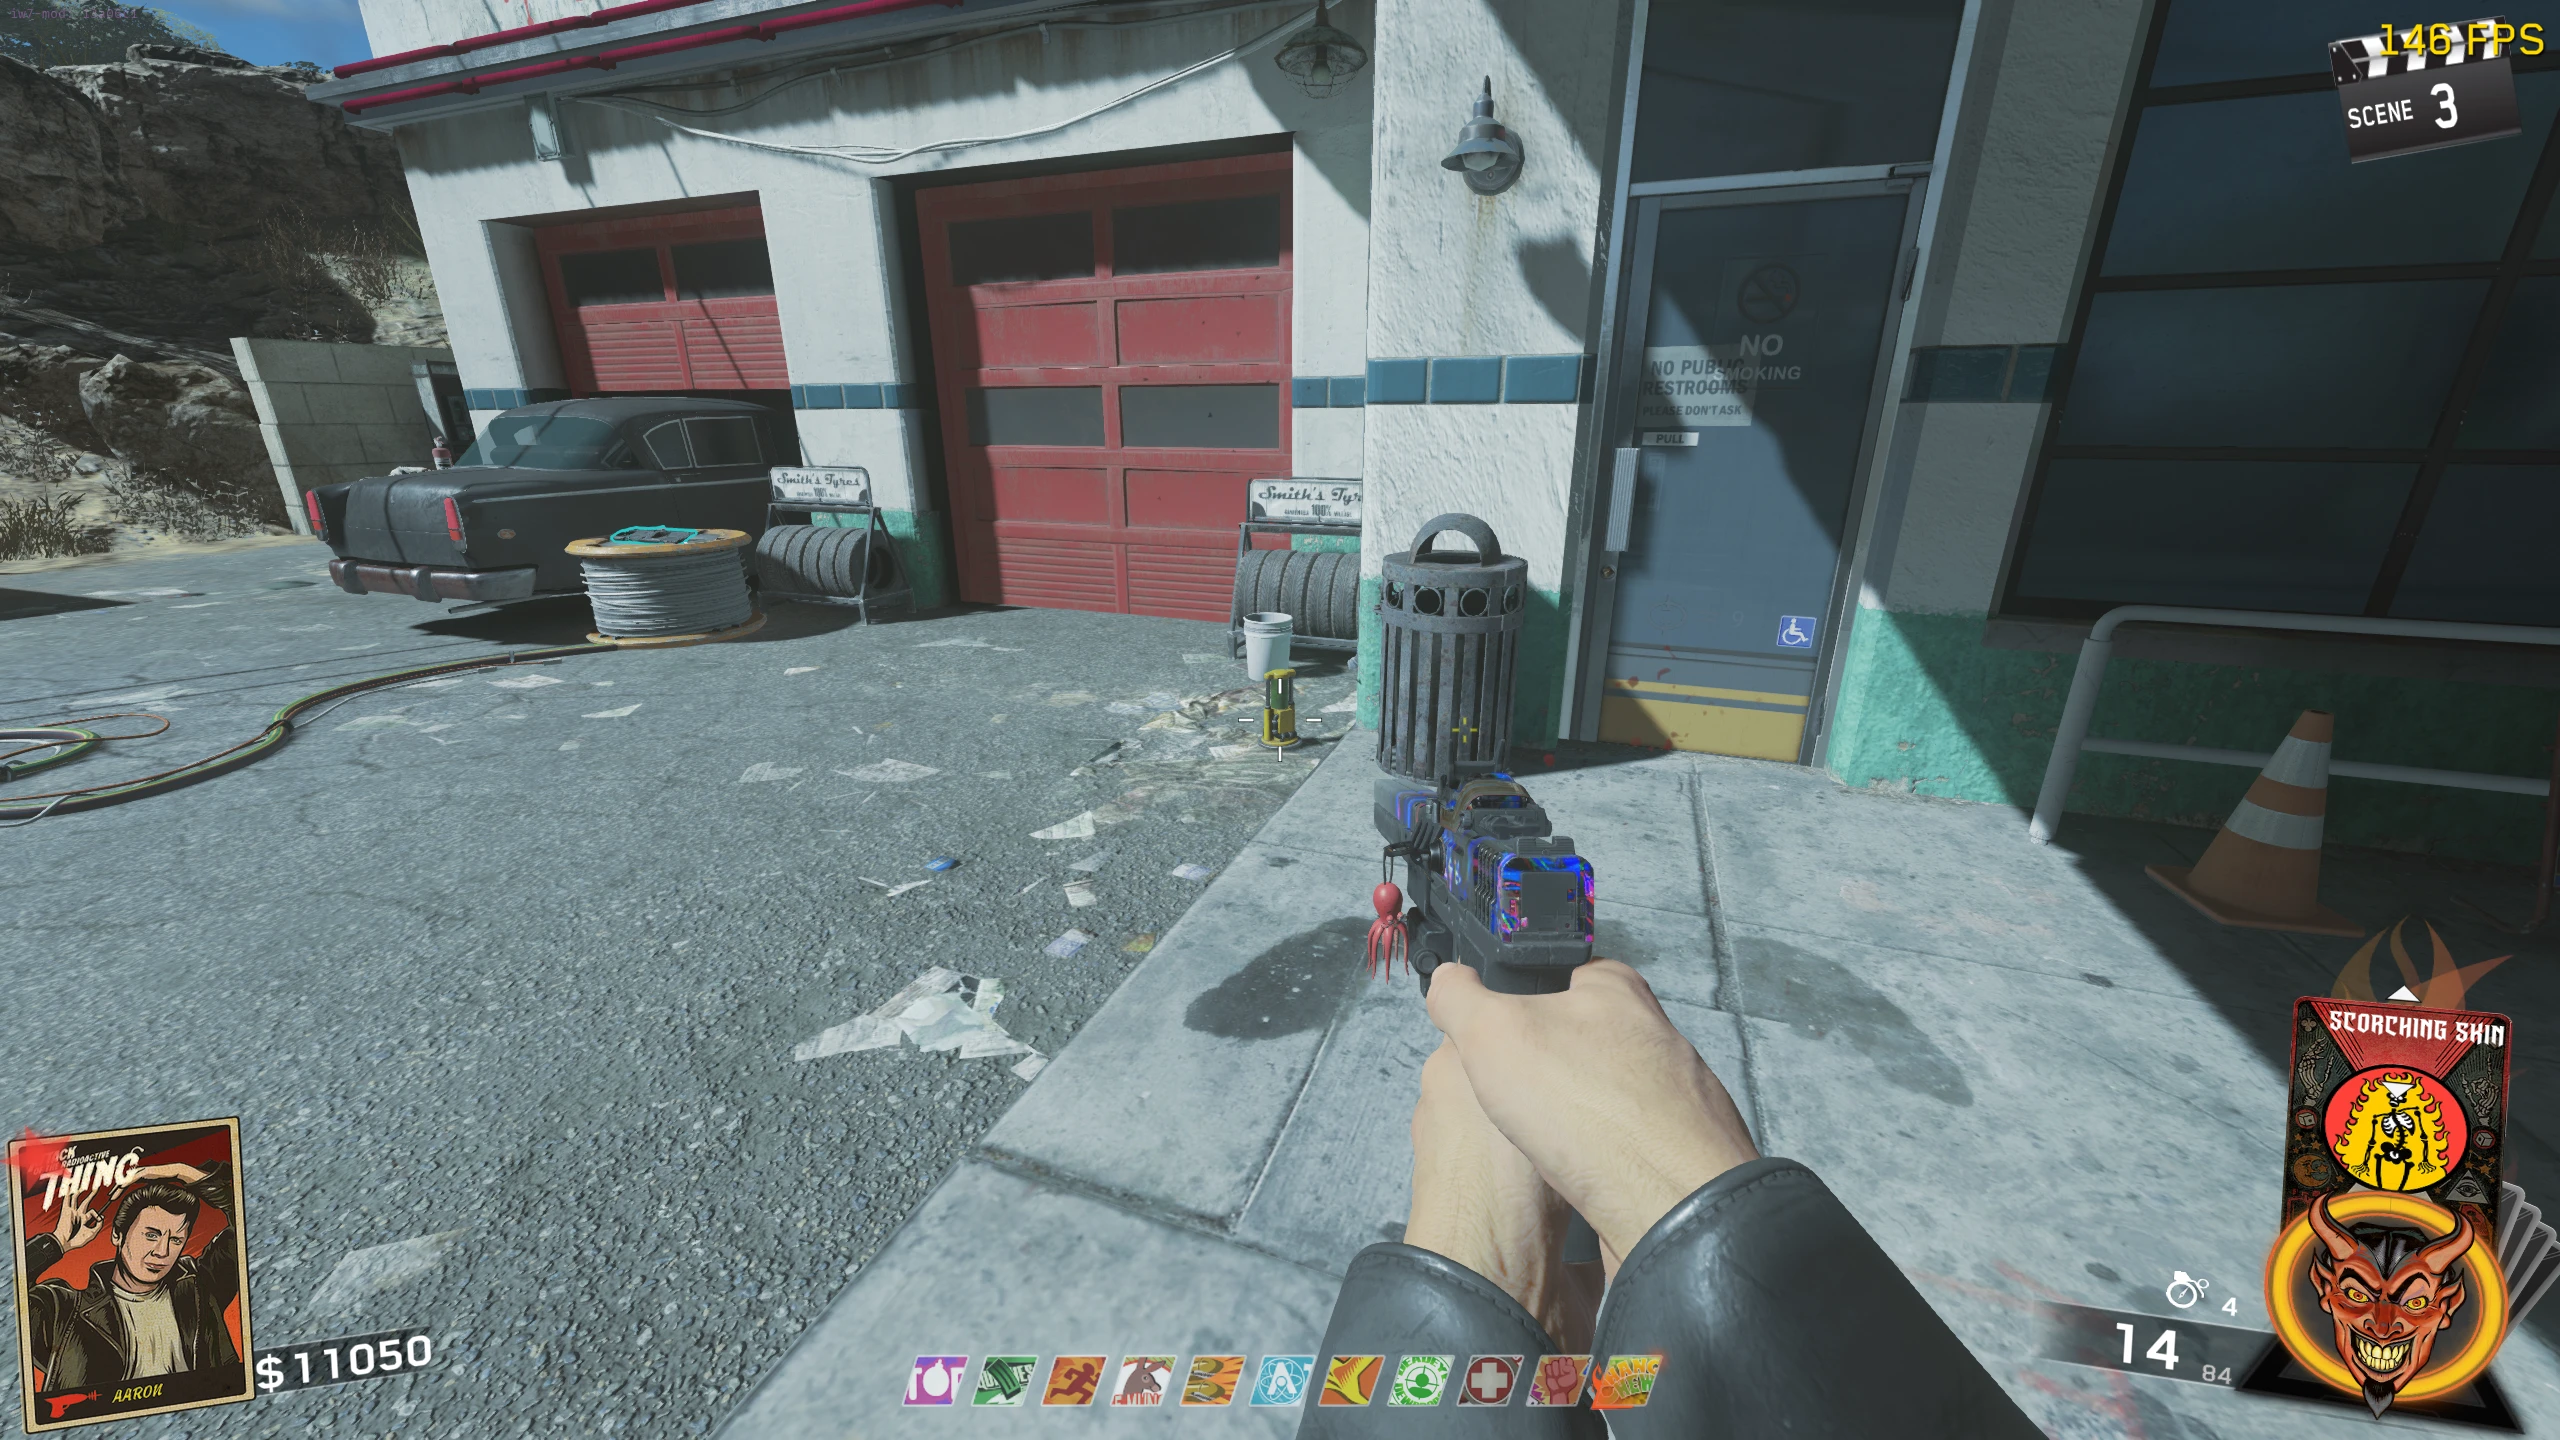
- Repair the freezer trap and pick up the Crowbar from the maintenance room of the Motel.
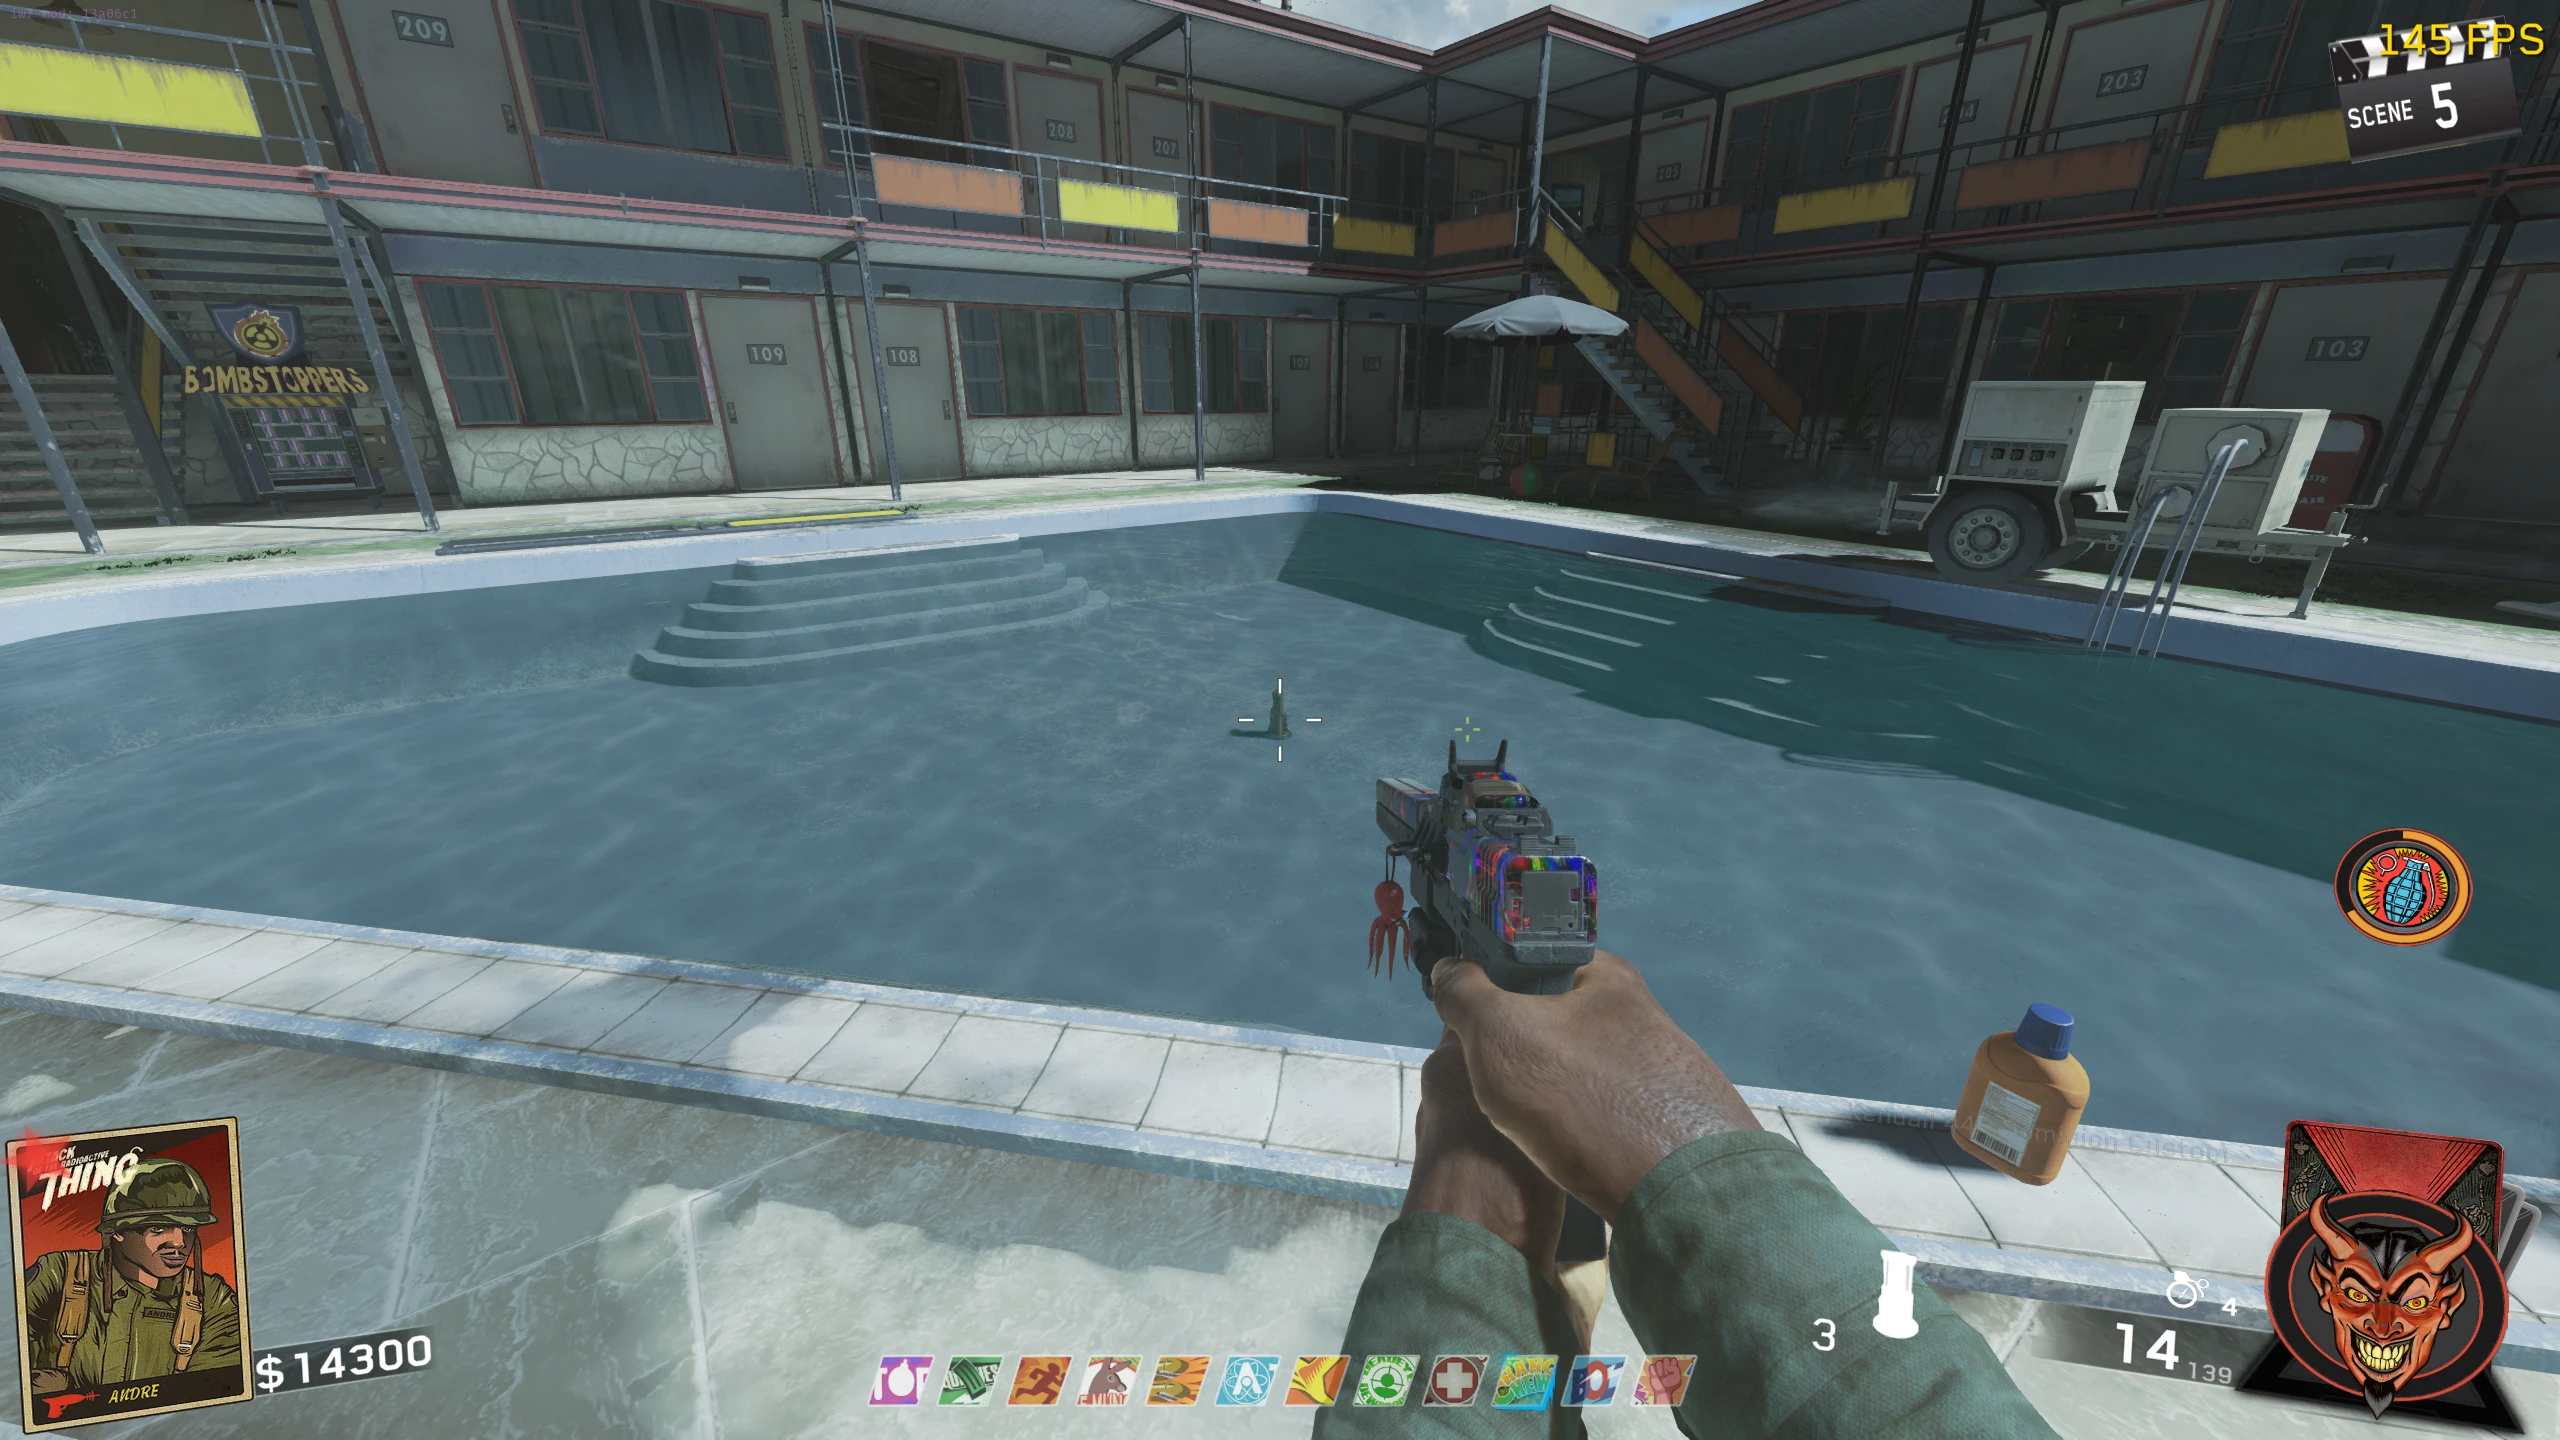
- Activate the Freezer Trap and melee the hanging pig to the right of the hanging torso, either during or shortly after the trap ends, to remove the pig. Interact with the Torso to pick it up.
- Left Arm
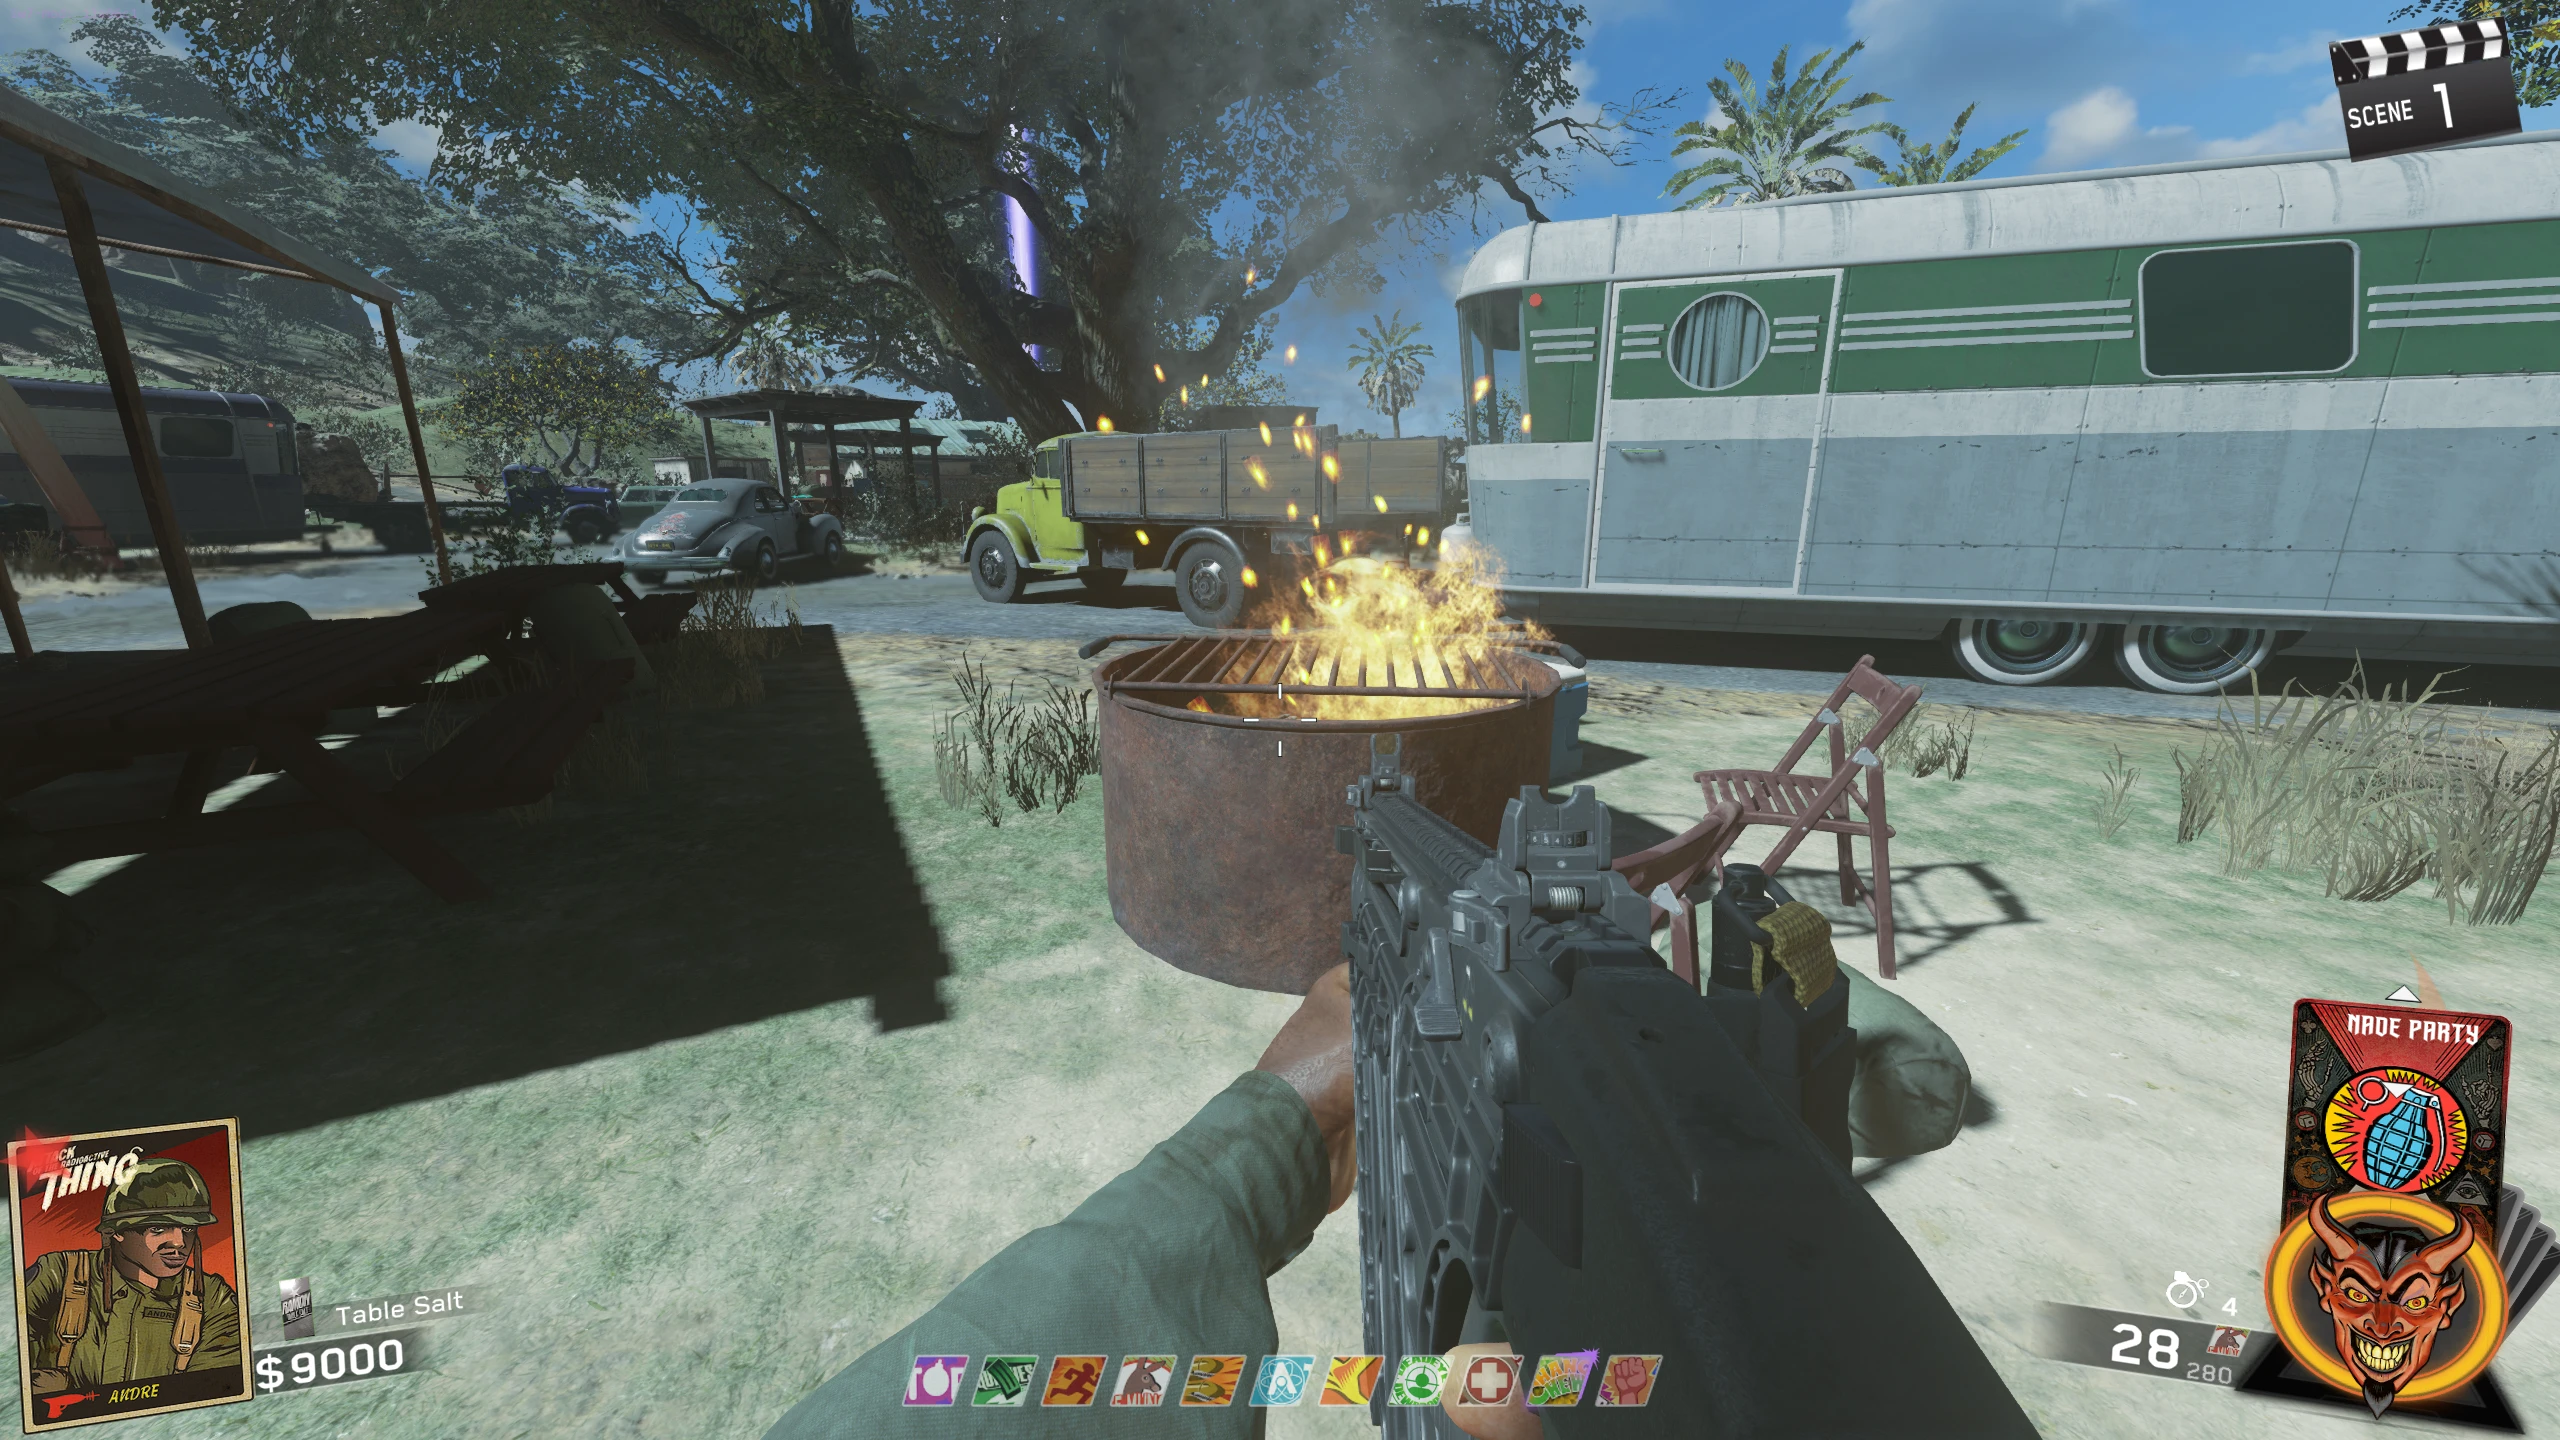
- Pick up the arm inside the Firepit right of the Volk wallbuy in the RV Park.
- Right Arm
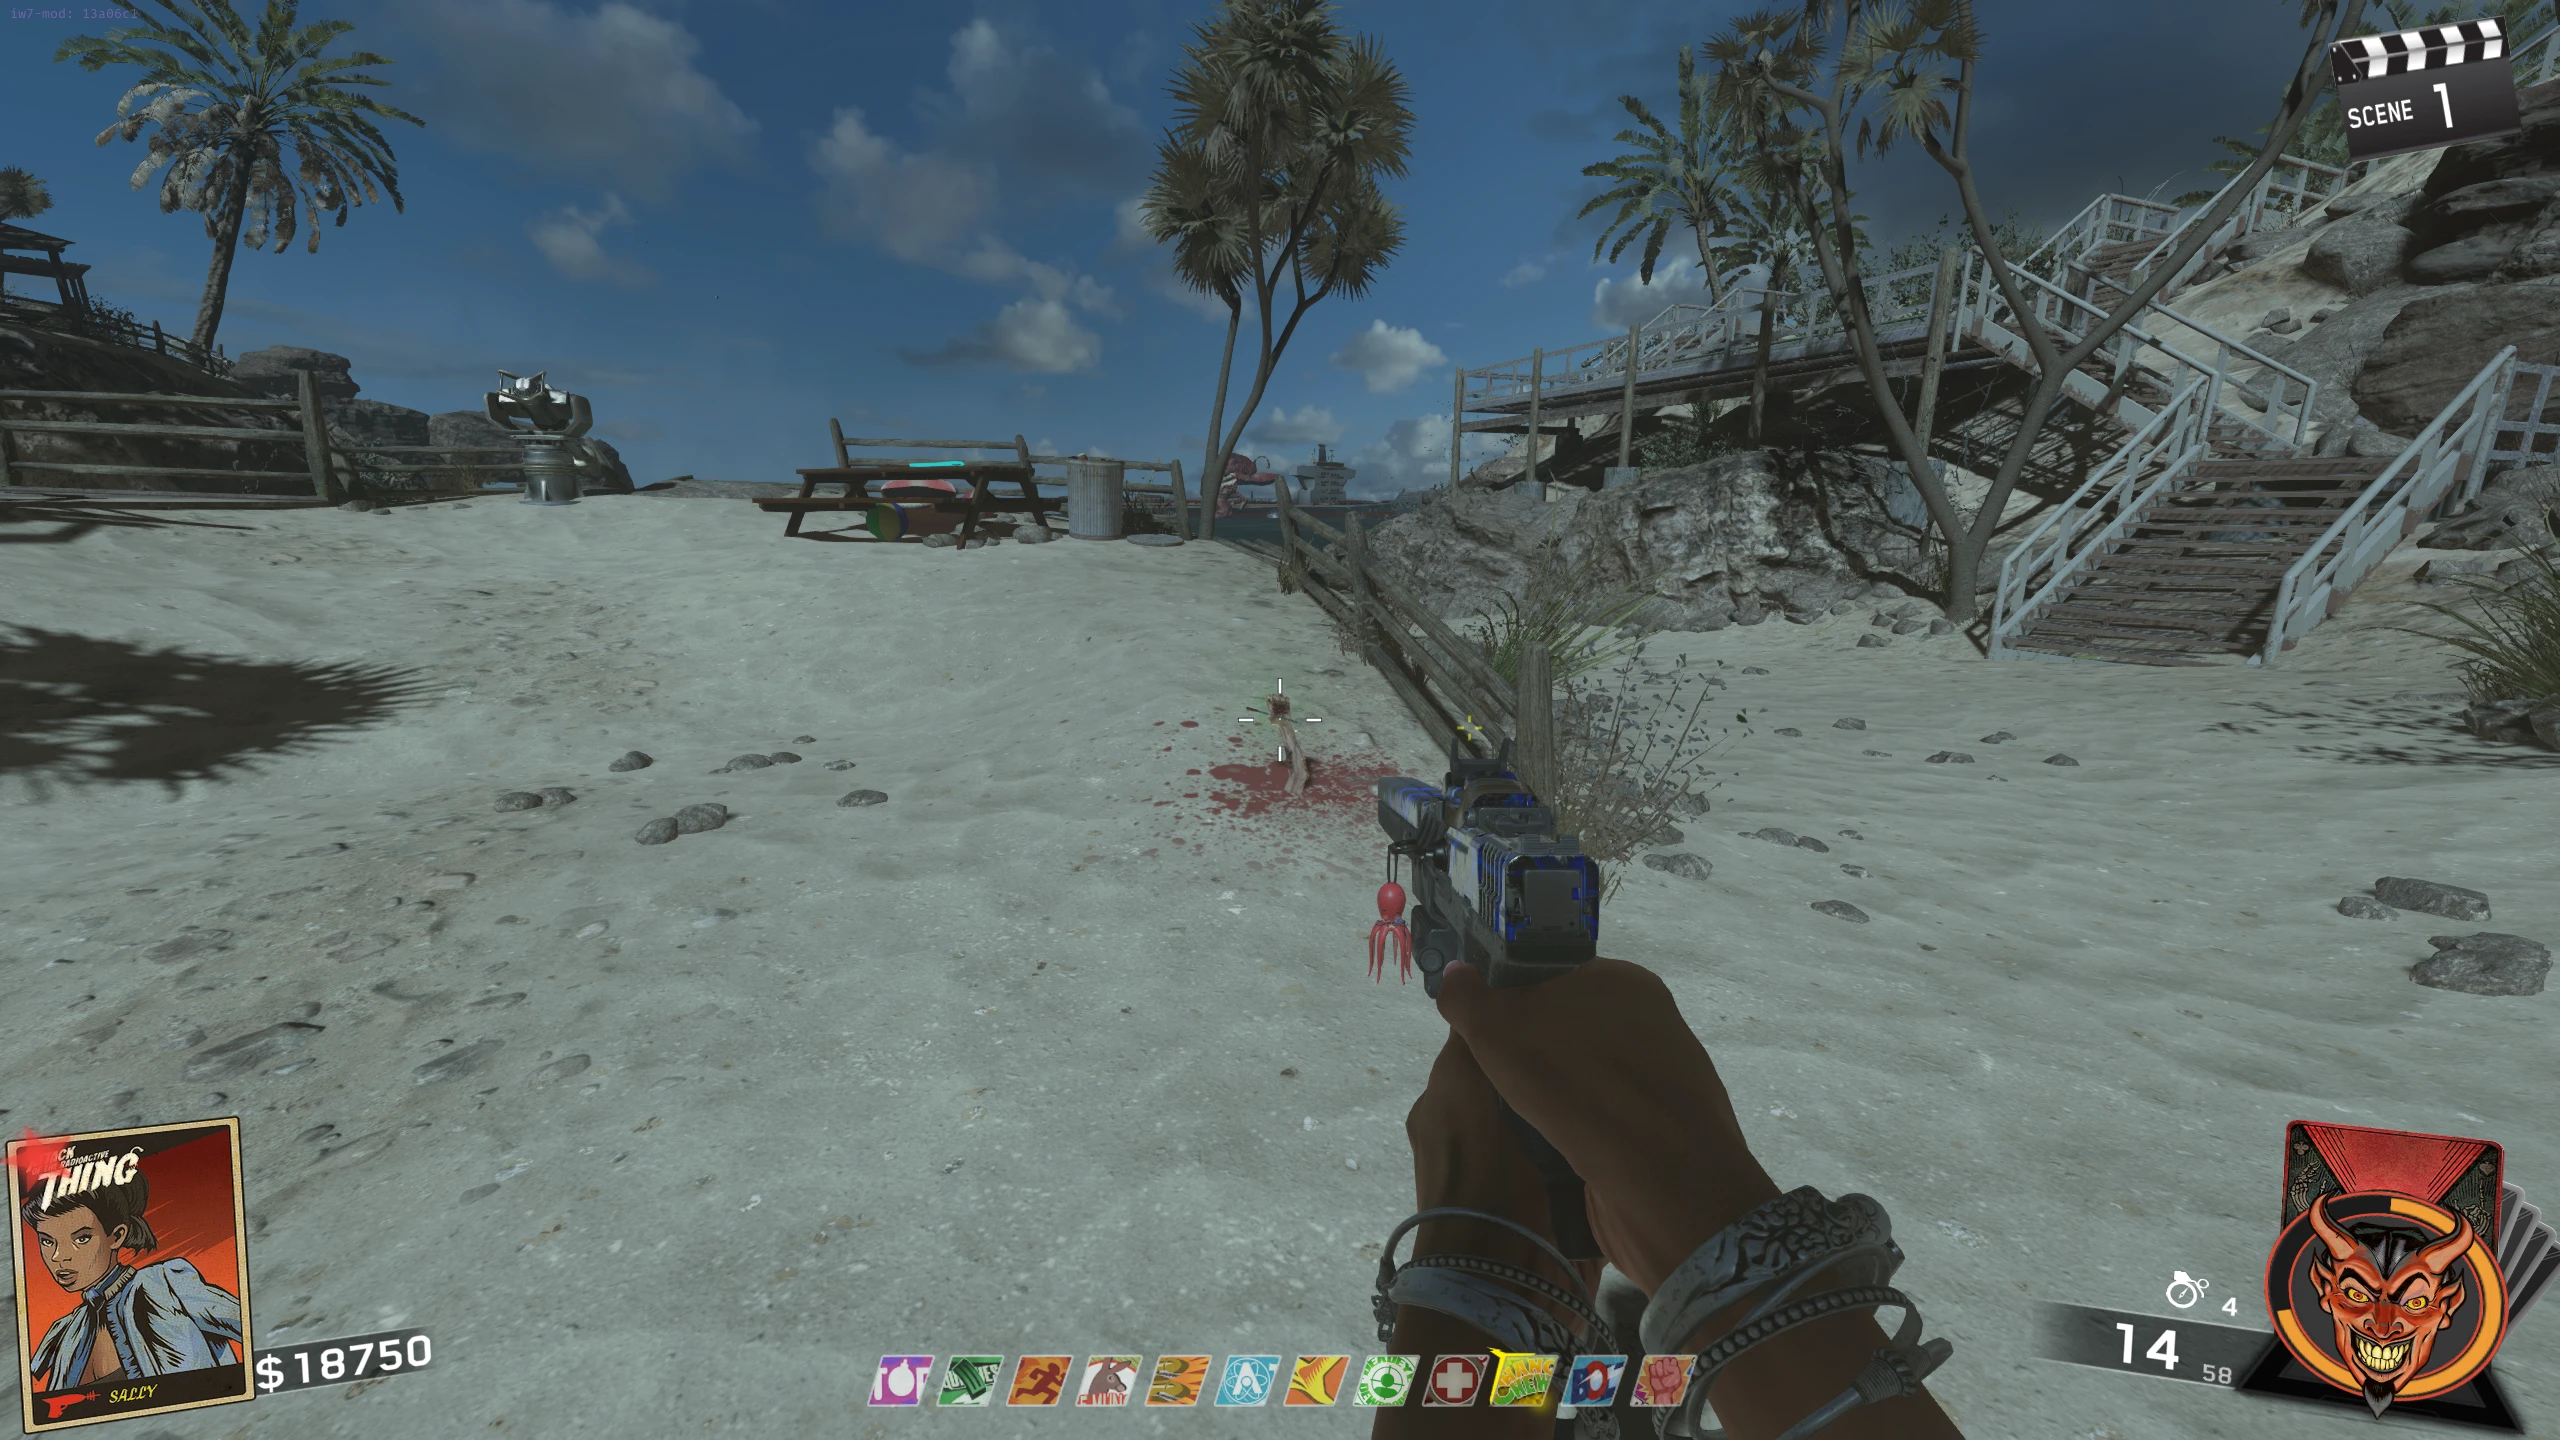
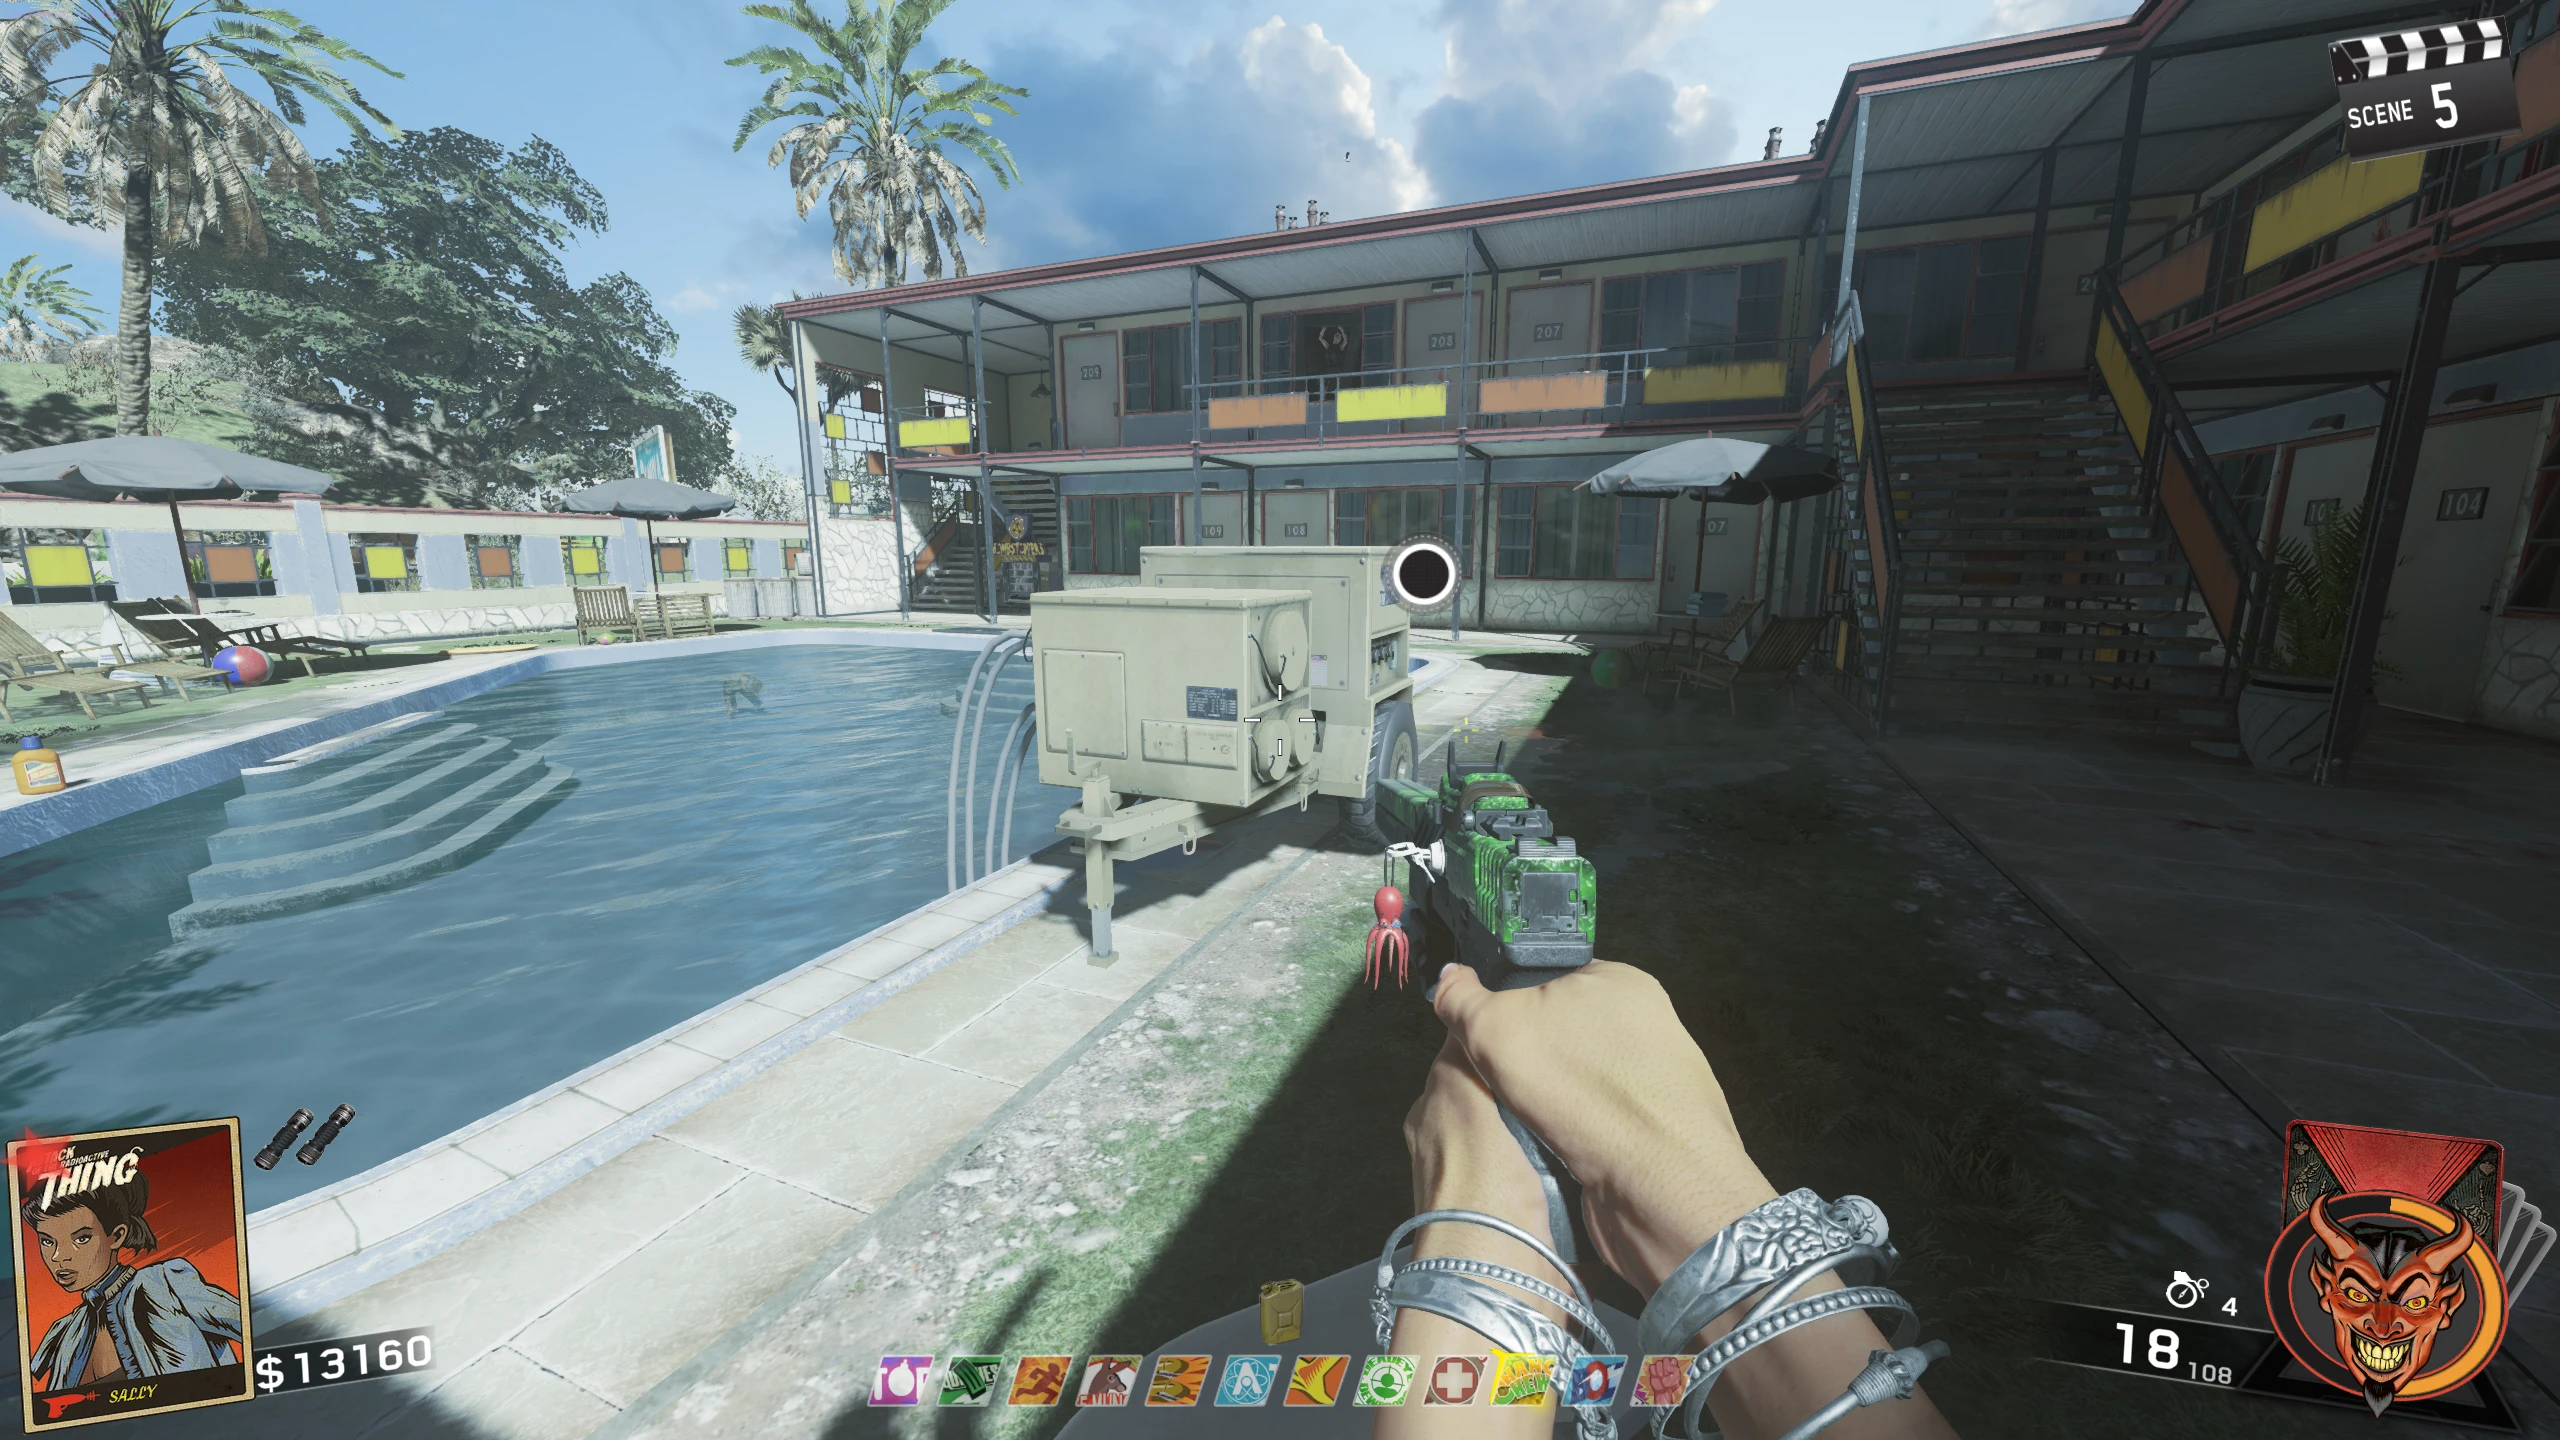
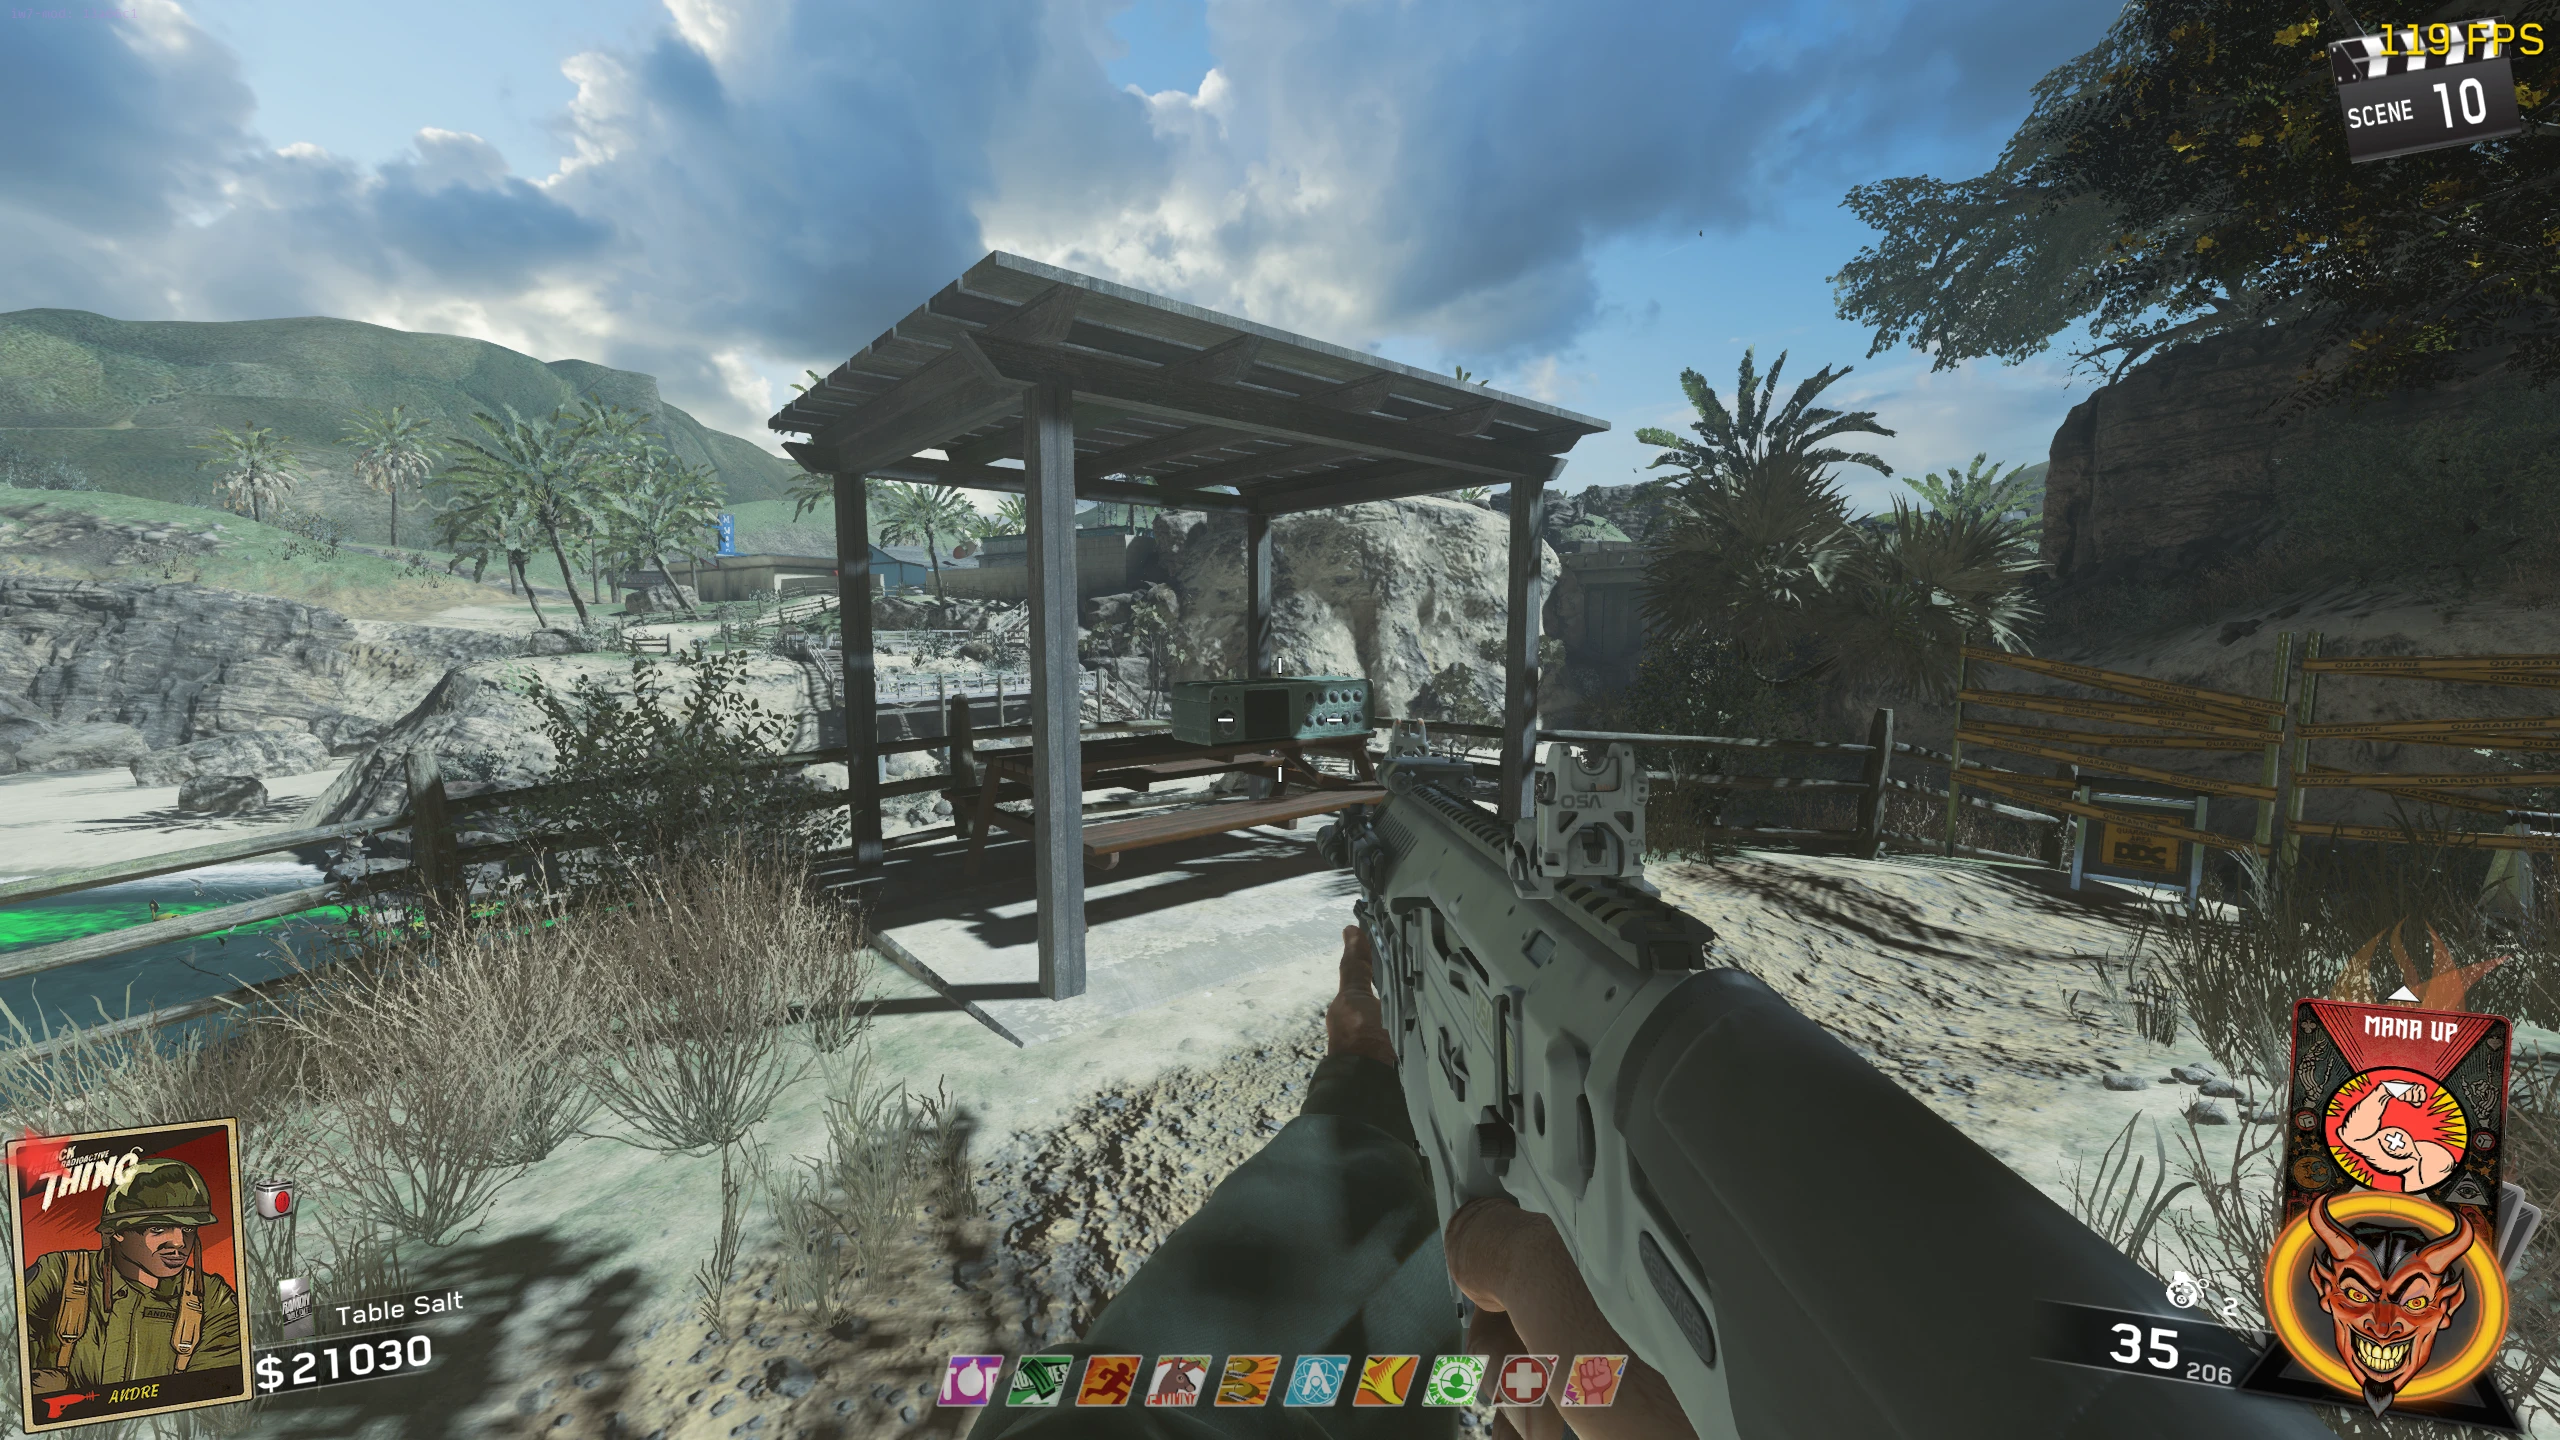
- Build the Seismic Wave Generator. Place the Seismic Wave Generator close to, but not on top of, the arm in the ground (the one that held the power switch) on the Beach.
- As the Generator slams the ground, the arm will slowly rise from the ground. Once the arm stops moving up, you can pick it up.
- Left Leg
- Obtain the Cleaver, melee and kill a Radioactive Soldier Zombie (start spawning on round 5). The Leg will drop and can be picked up.
- The first Radioactive Zombie you kill will always drop the leg.
- The leg doesn't seem to despawn (that I could determine that is; maybe it does), so if you can't get it to drop, it means it already on the ground somewhere, and you need to find it.
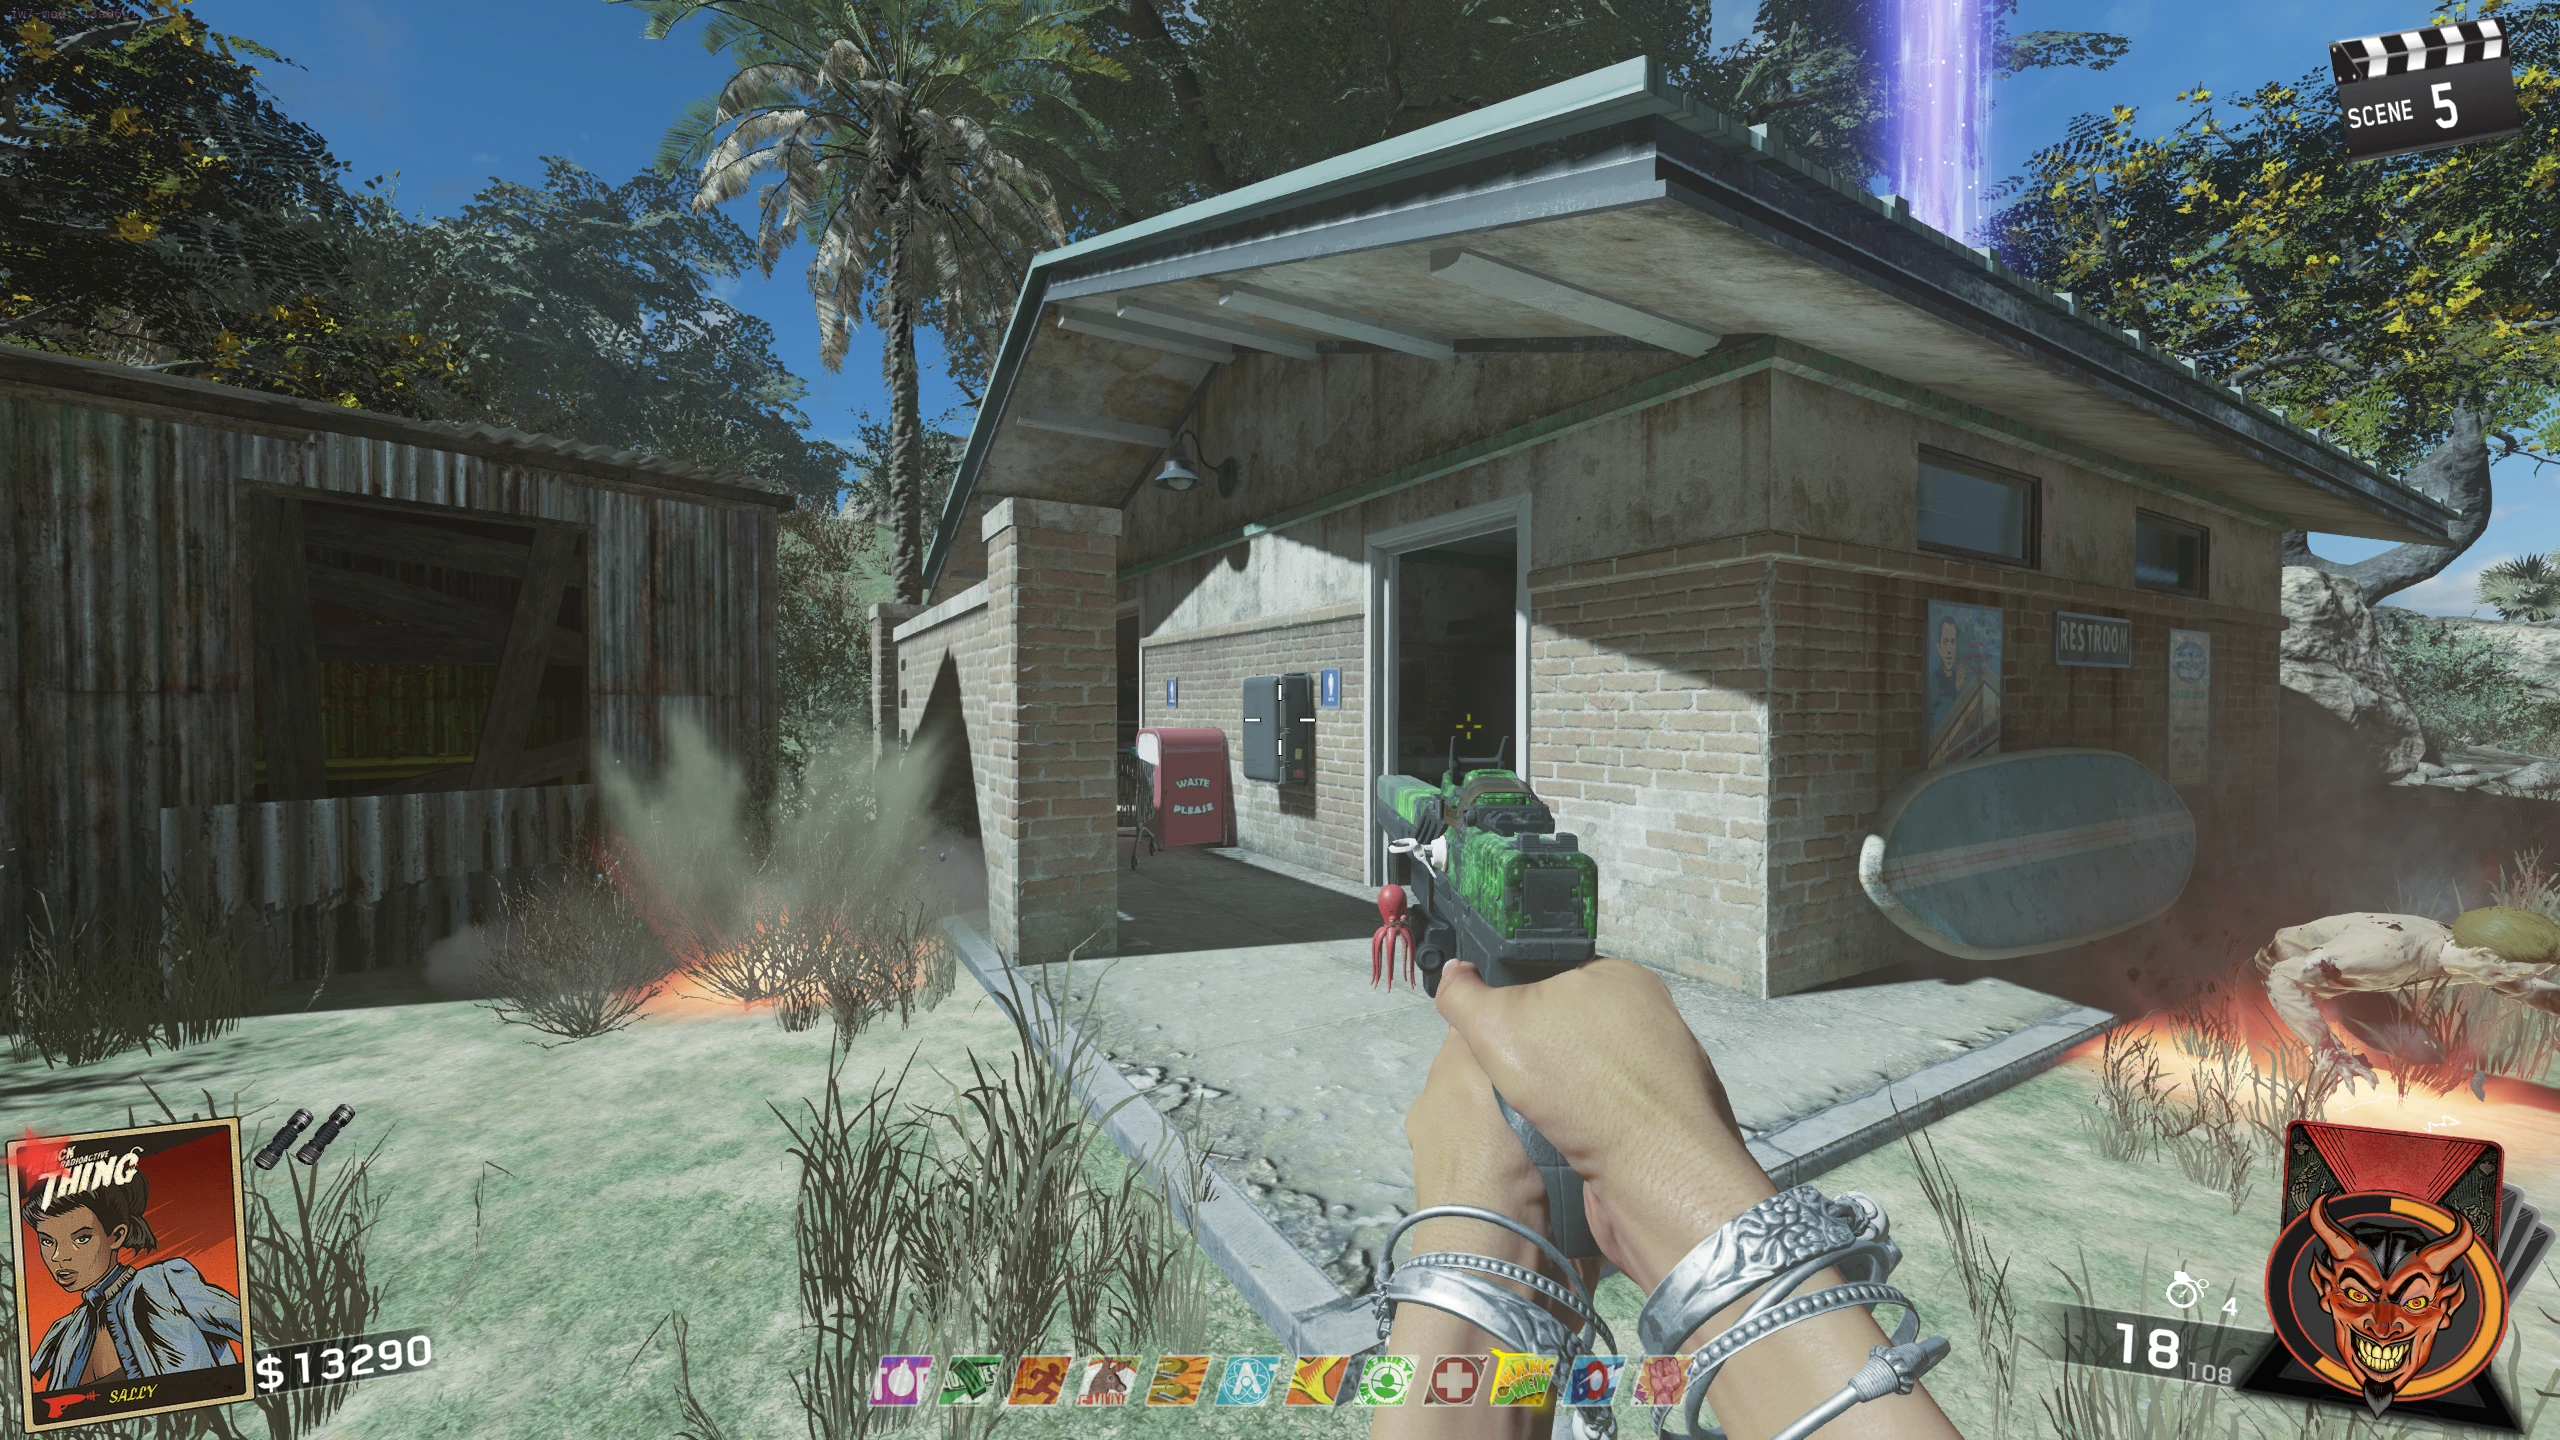
- Right Leg
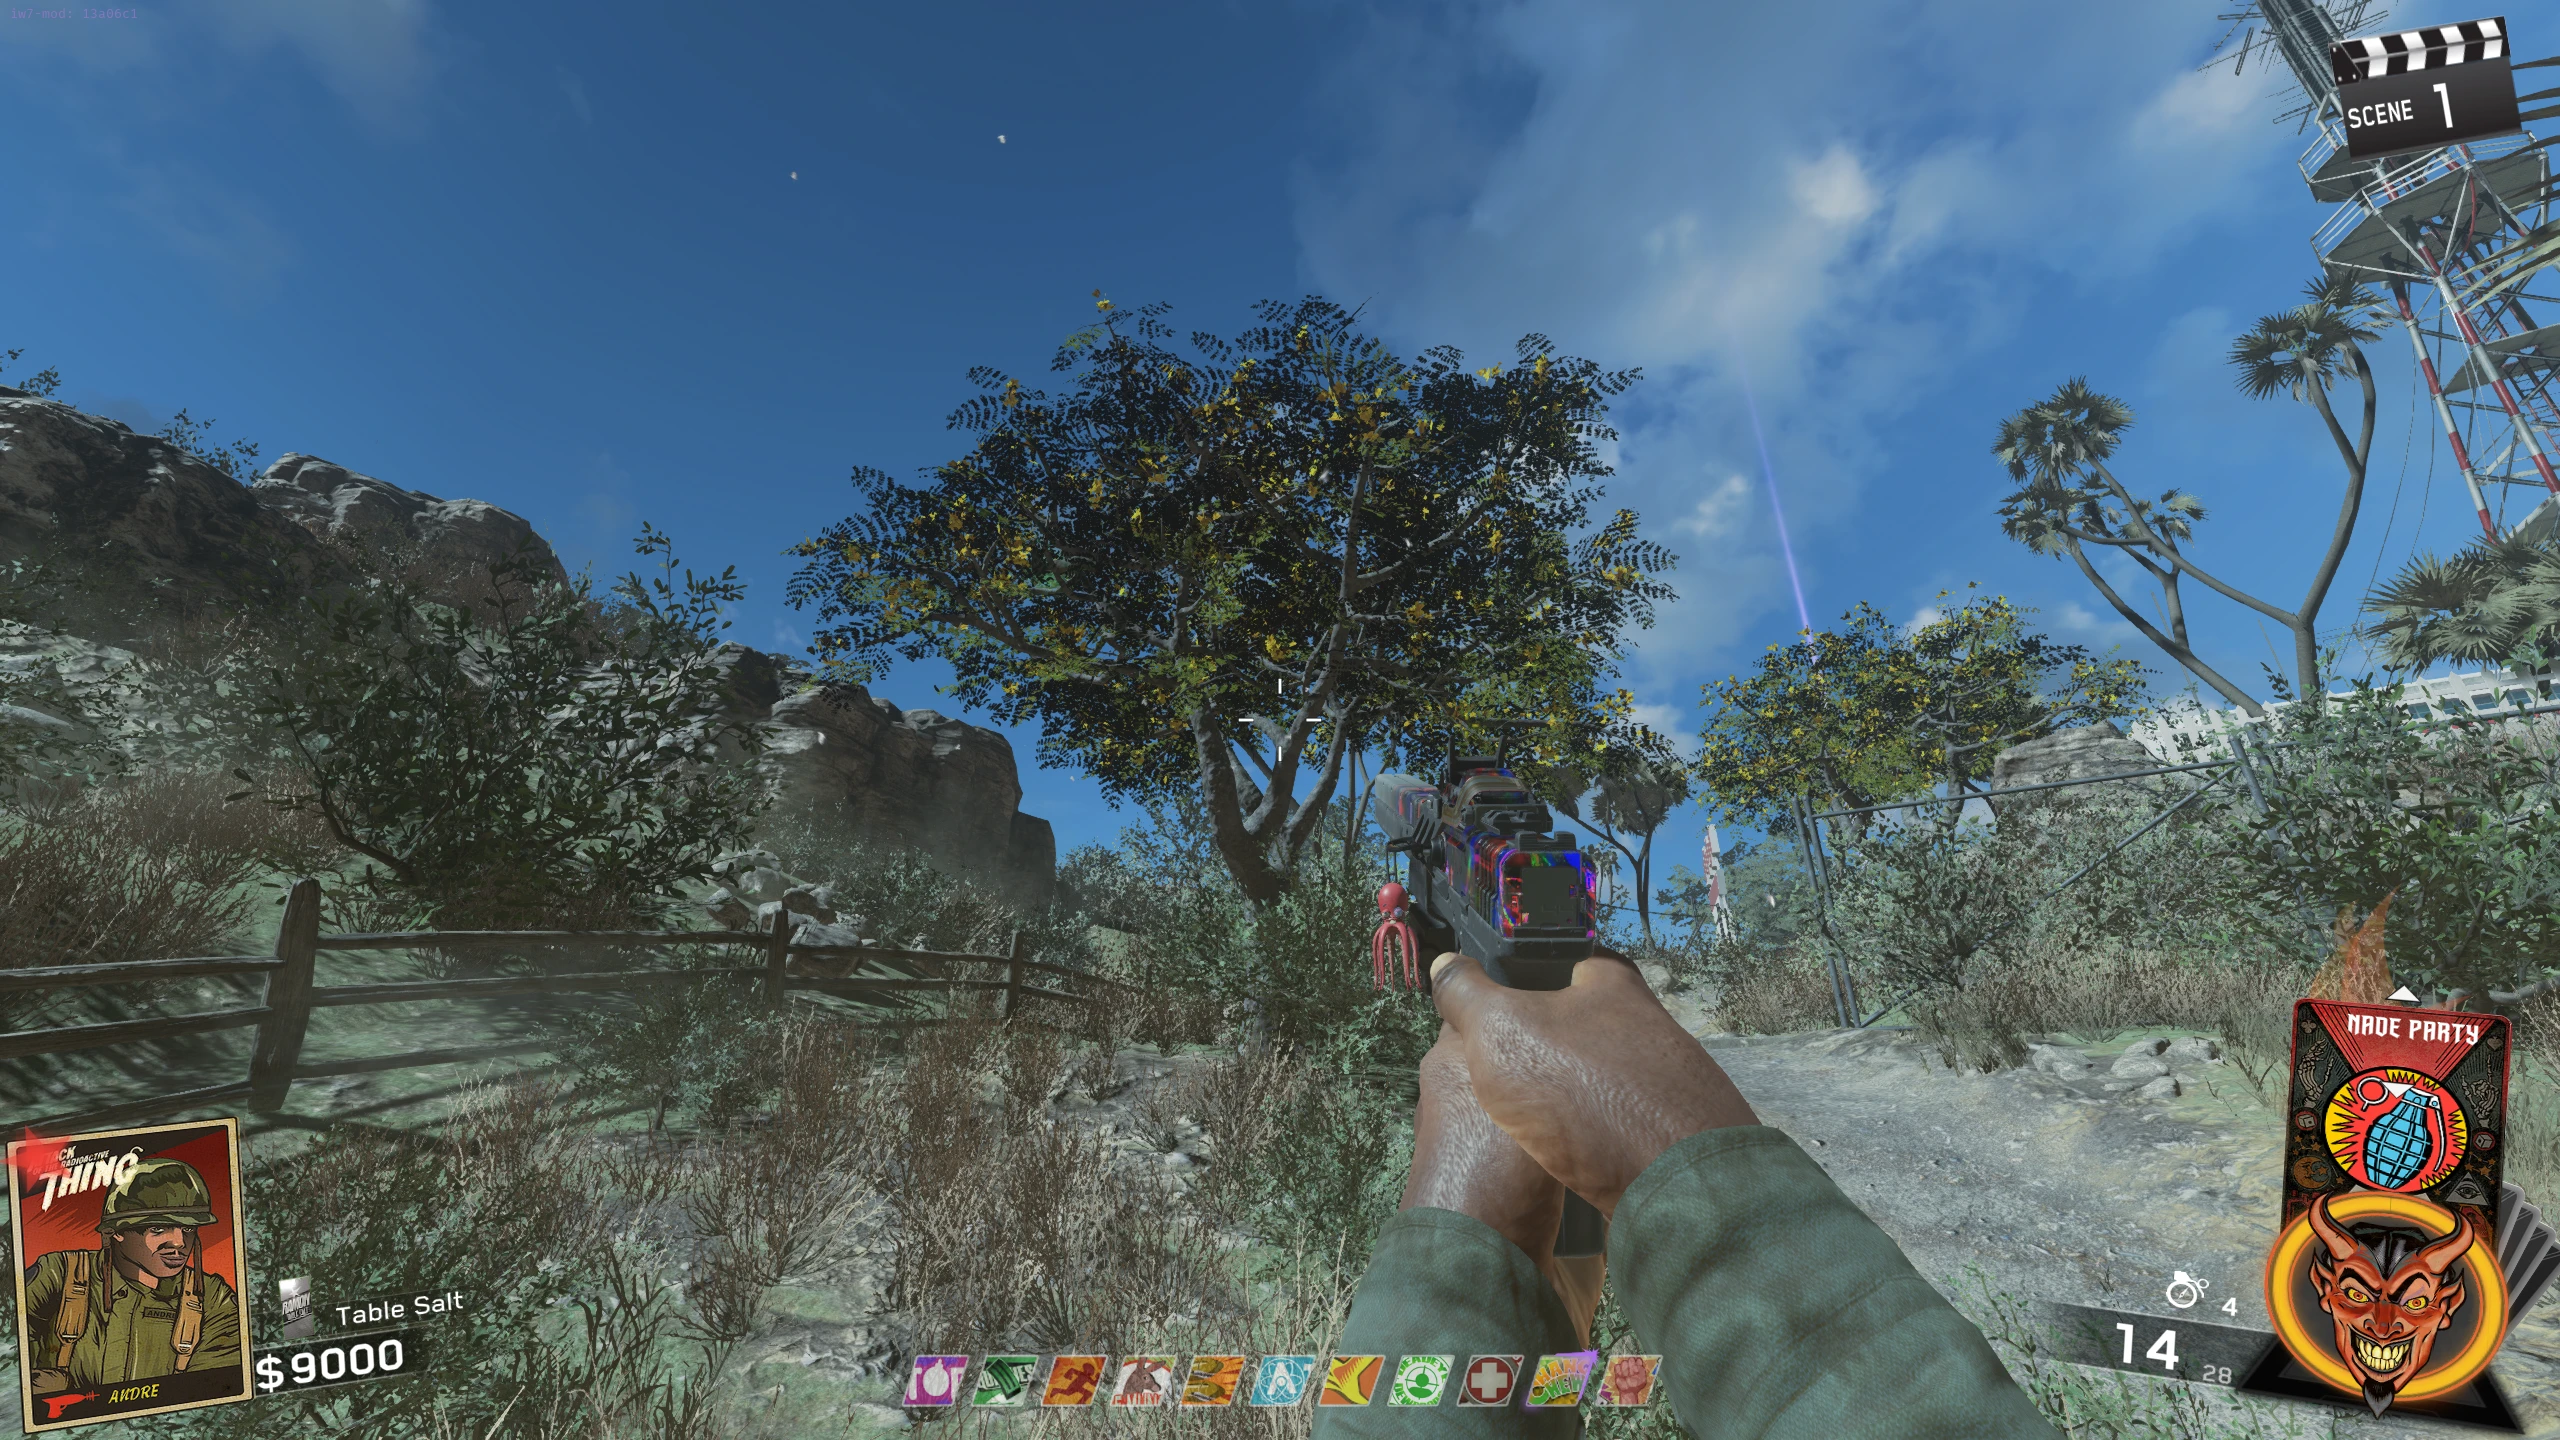
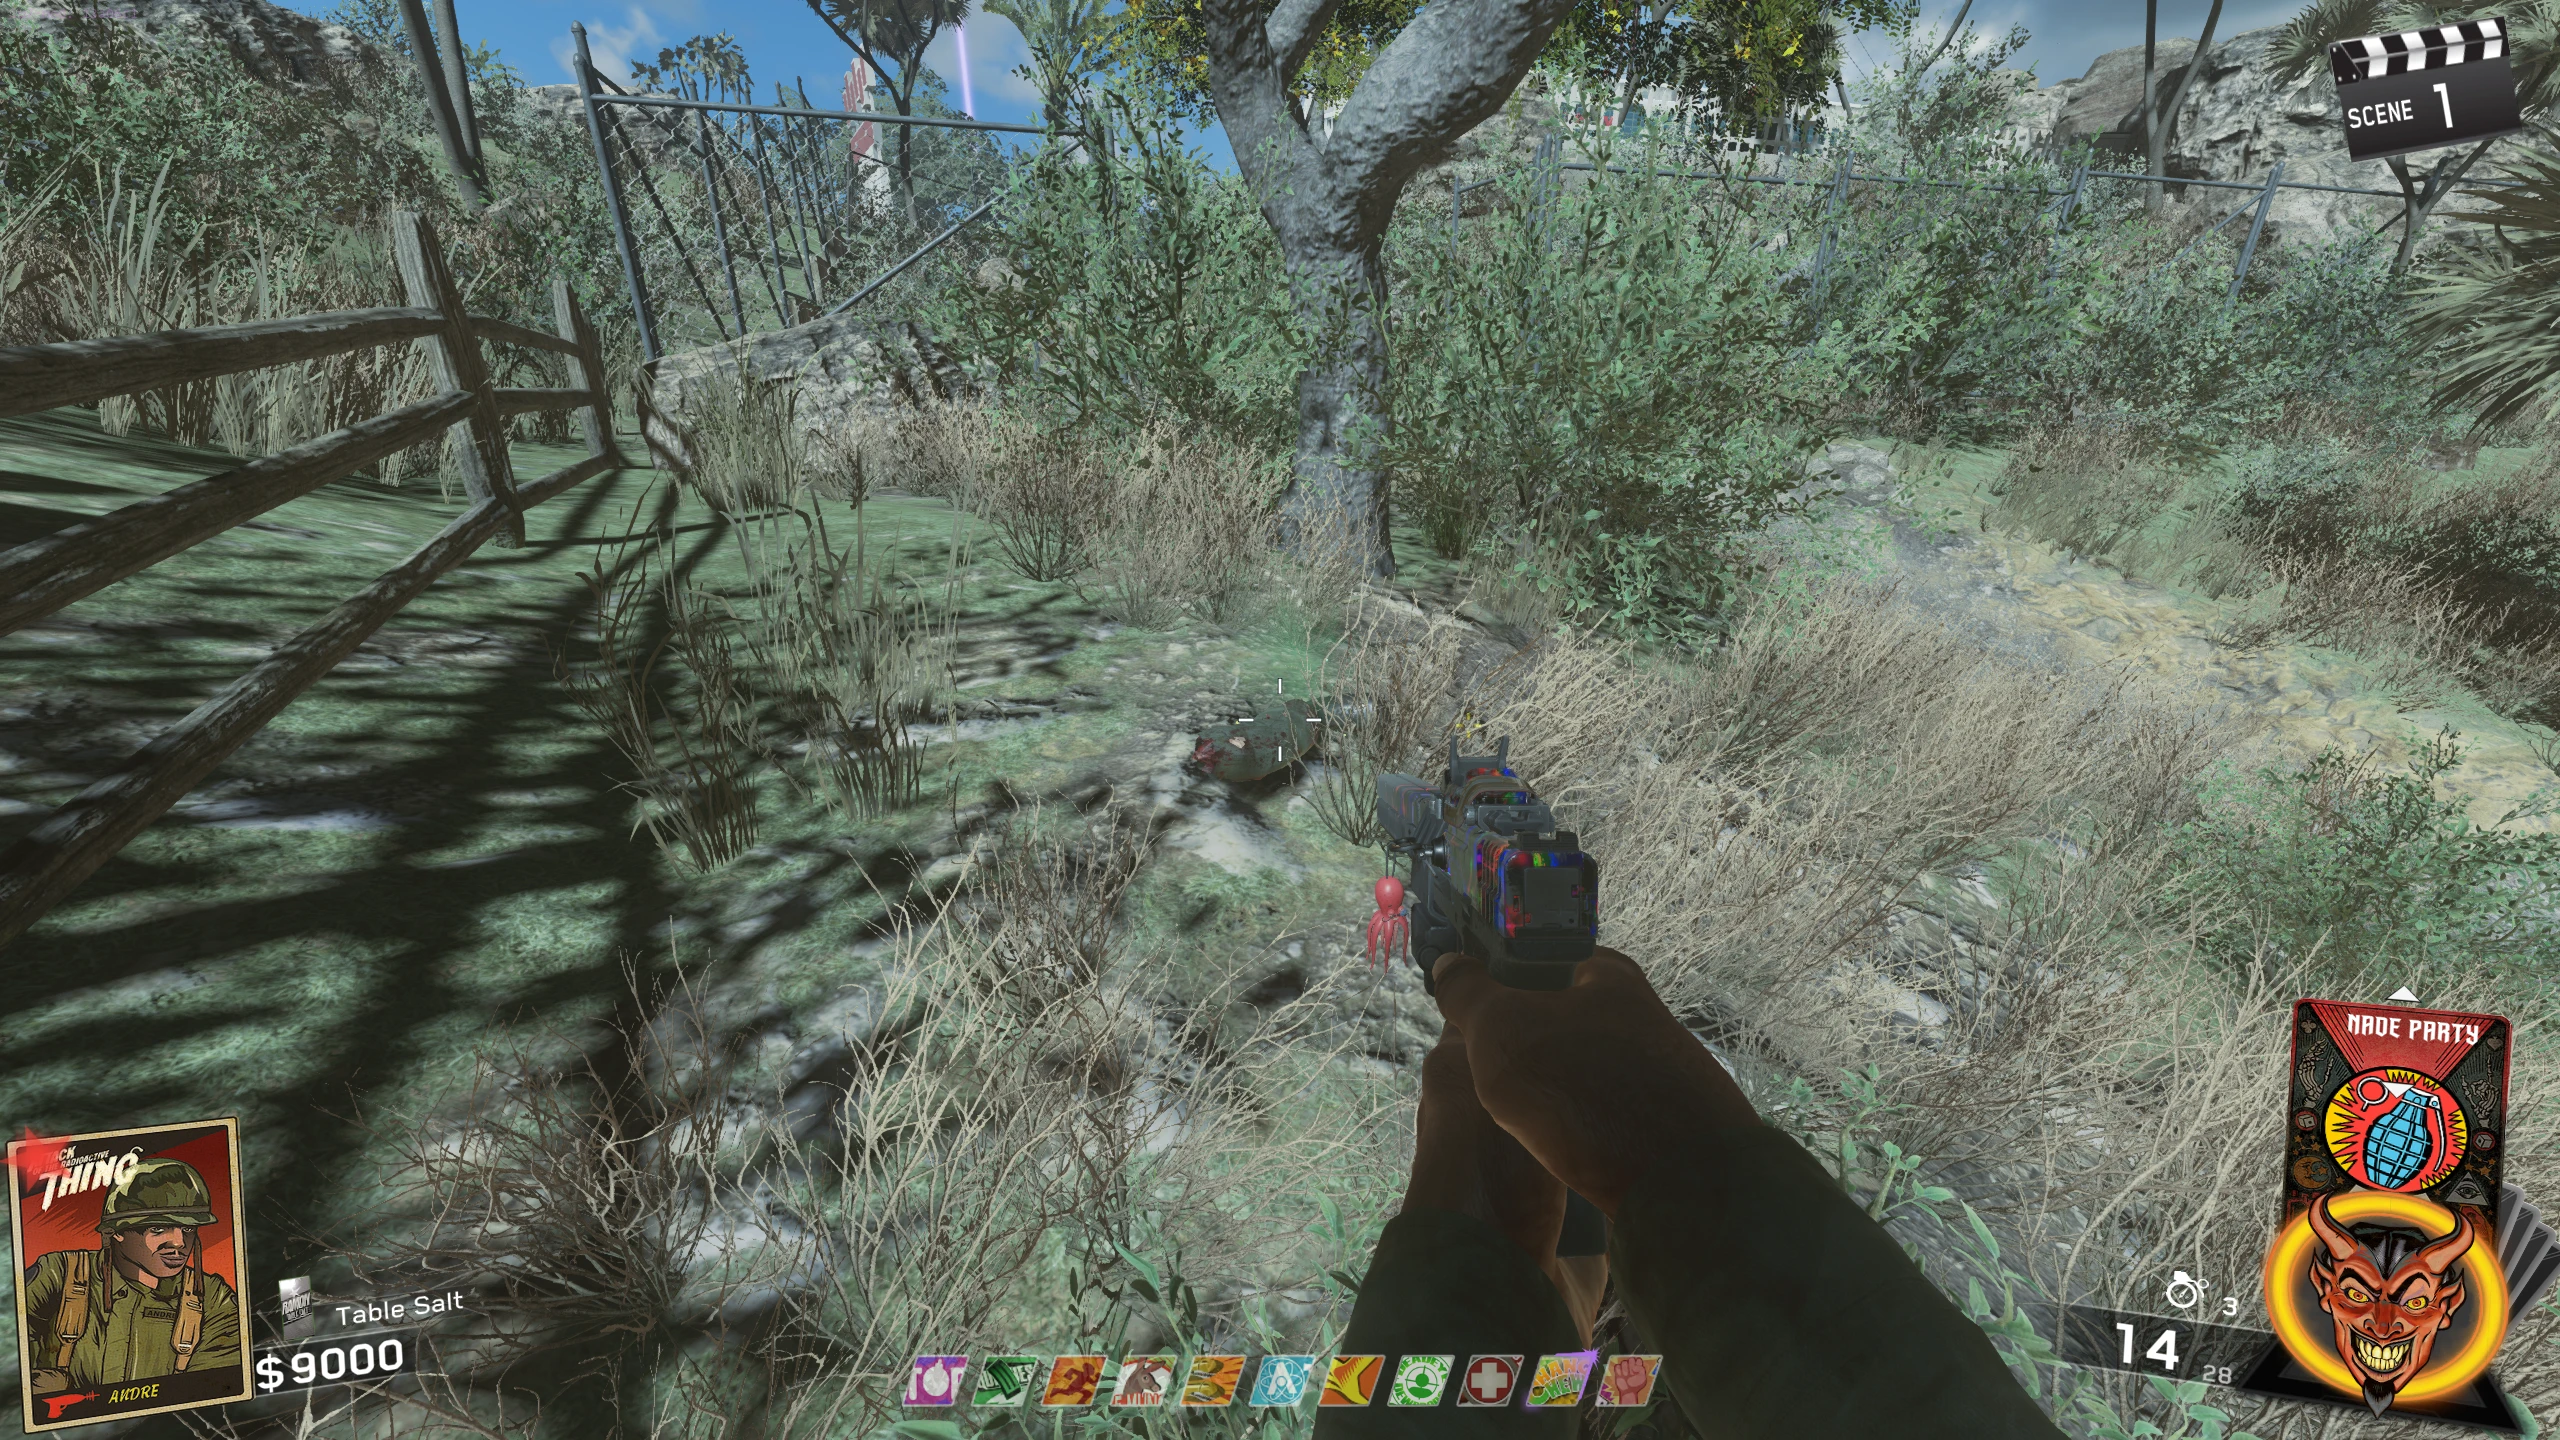
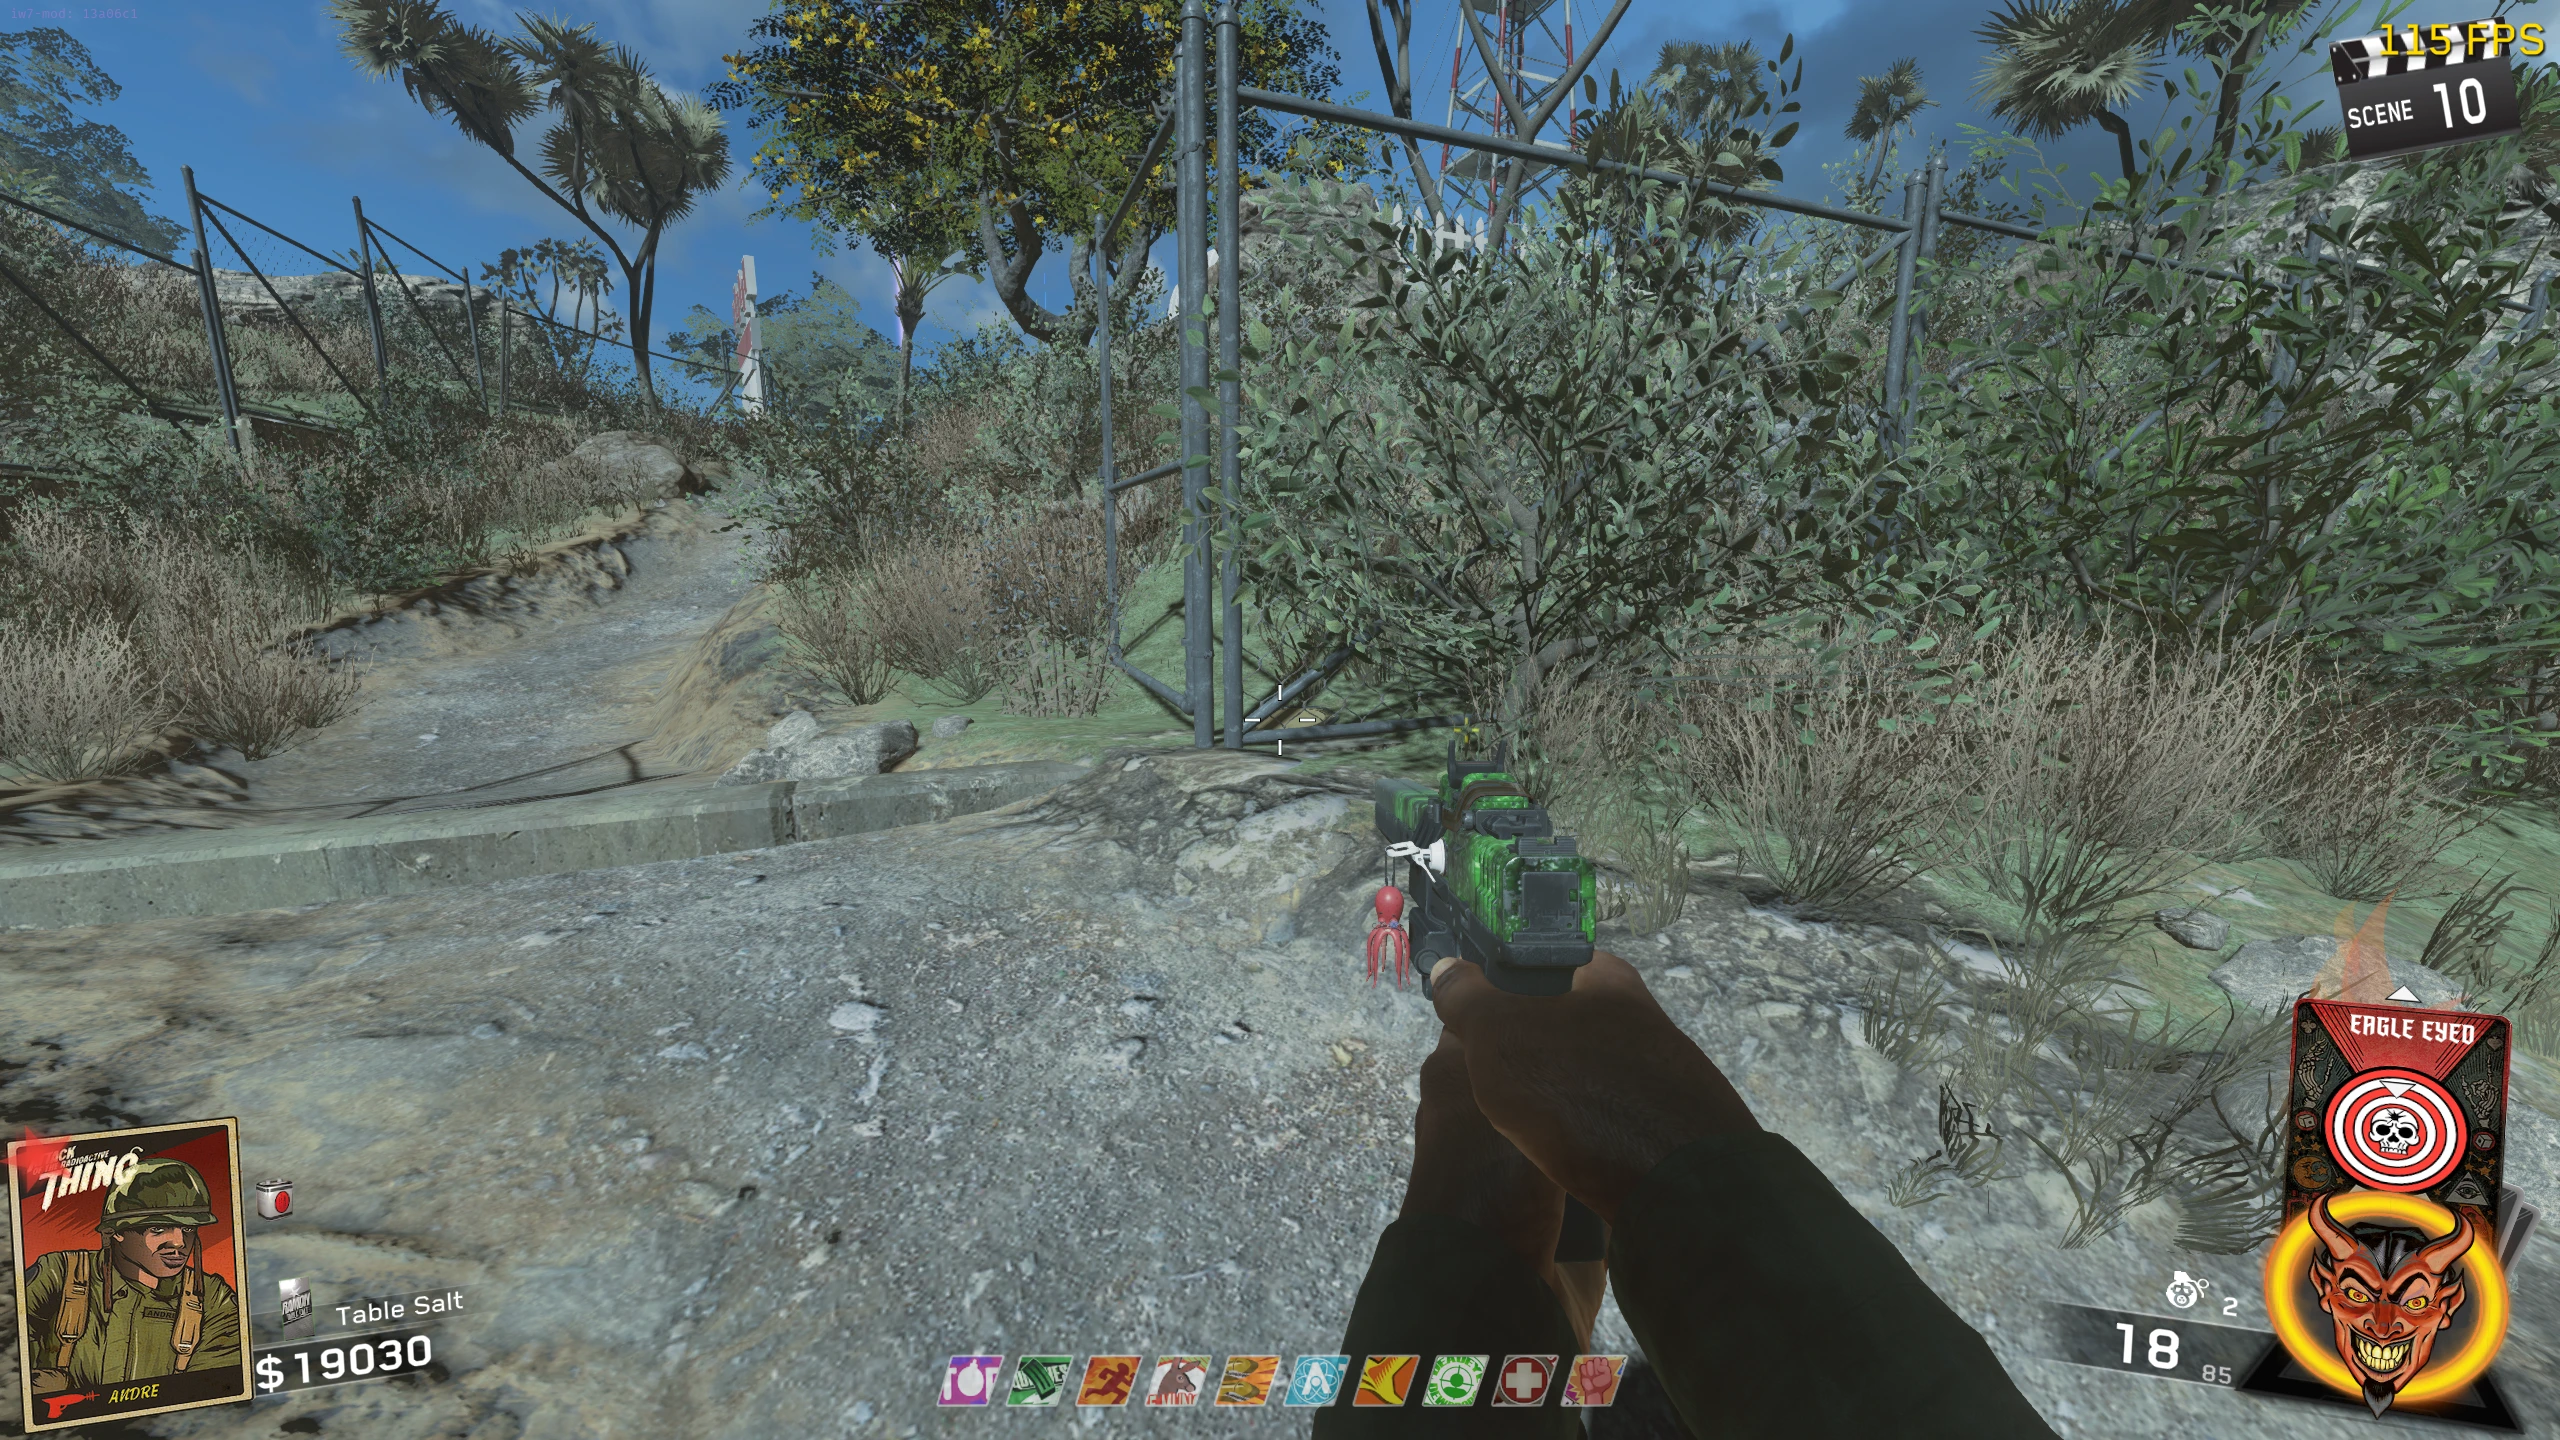
- On the path from the Snack Shack to the TV Station, the Leg can be found hanging in the last tree on the left side of the path, close to the TV station perimeter fence.
- Cook and throw a grenade at the leg to make it fall to the ground for you to pick up.
- Only standard-style grenades (Frag, Cluster) work consistently. Bio-spikes and C4 could, theoretically work, with the Bio-spike requiring a kill right below the leg to trigger the explosion close enough.
- You need to collect three different pieces of glass (Elvira's Mirror, a broken mirror piece, and a car side mirror). Each part can be collected at any time, in any order.
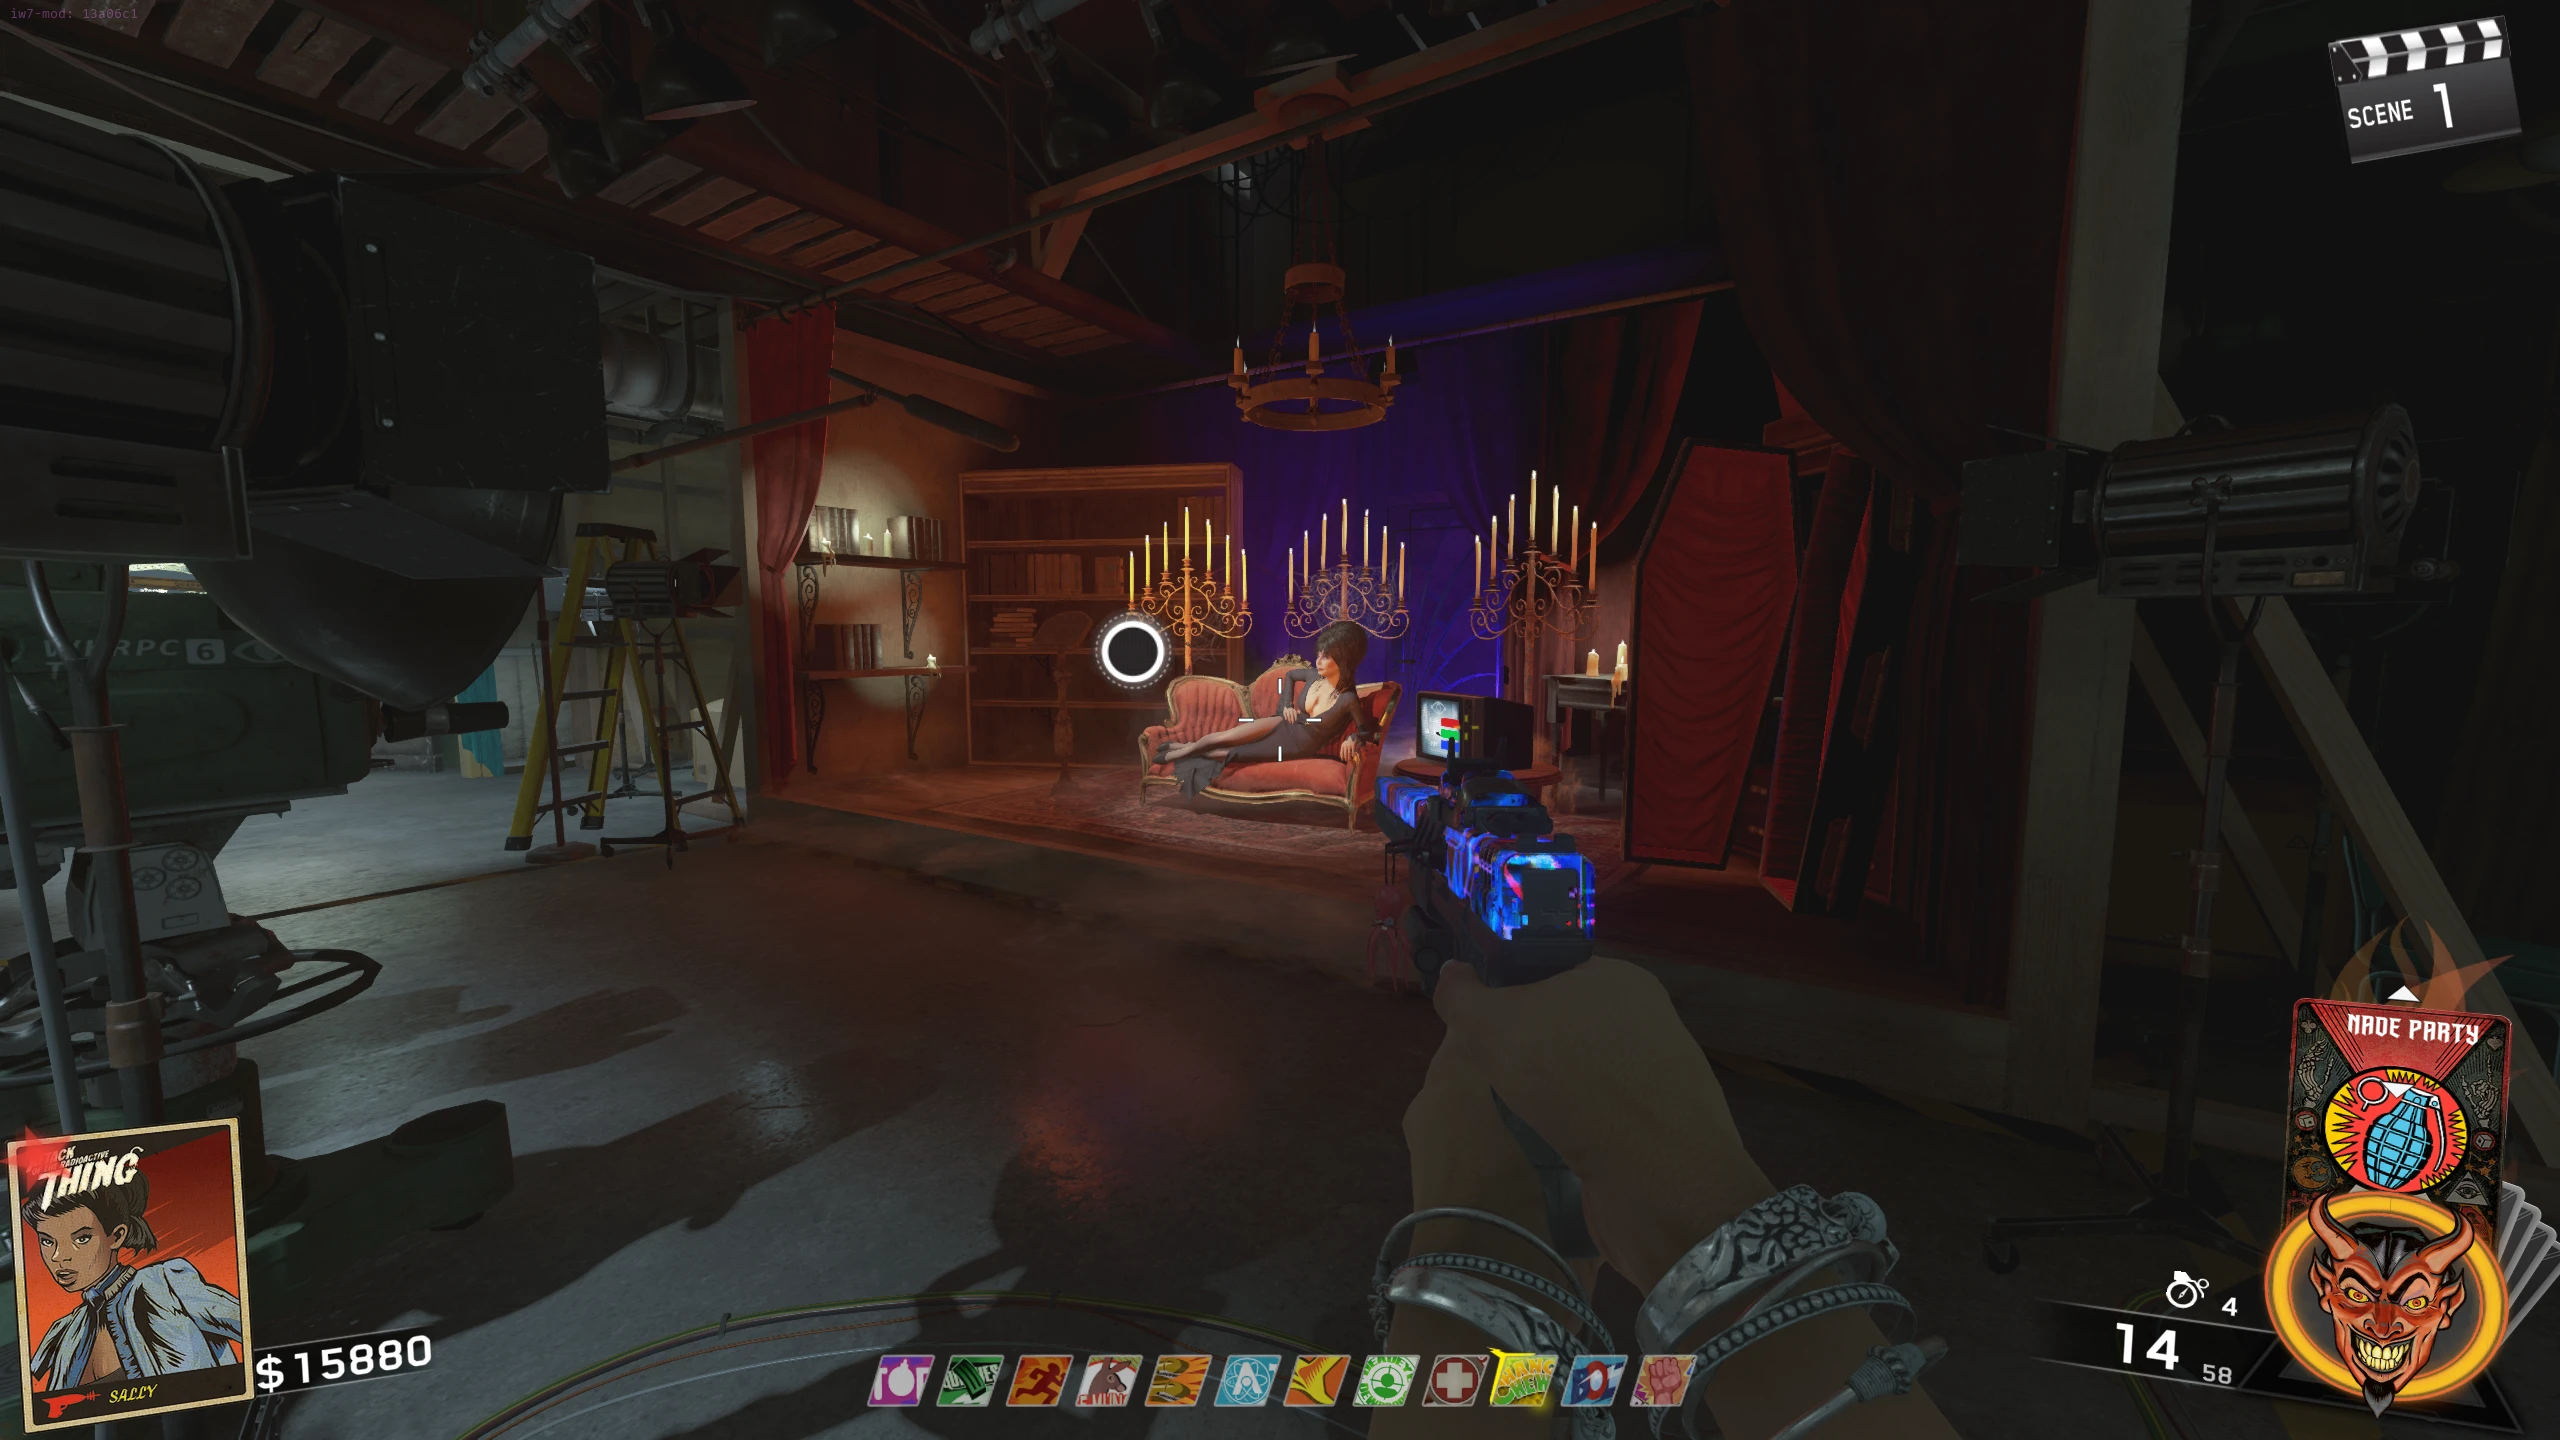
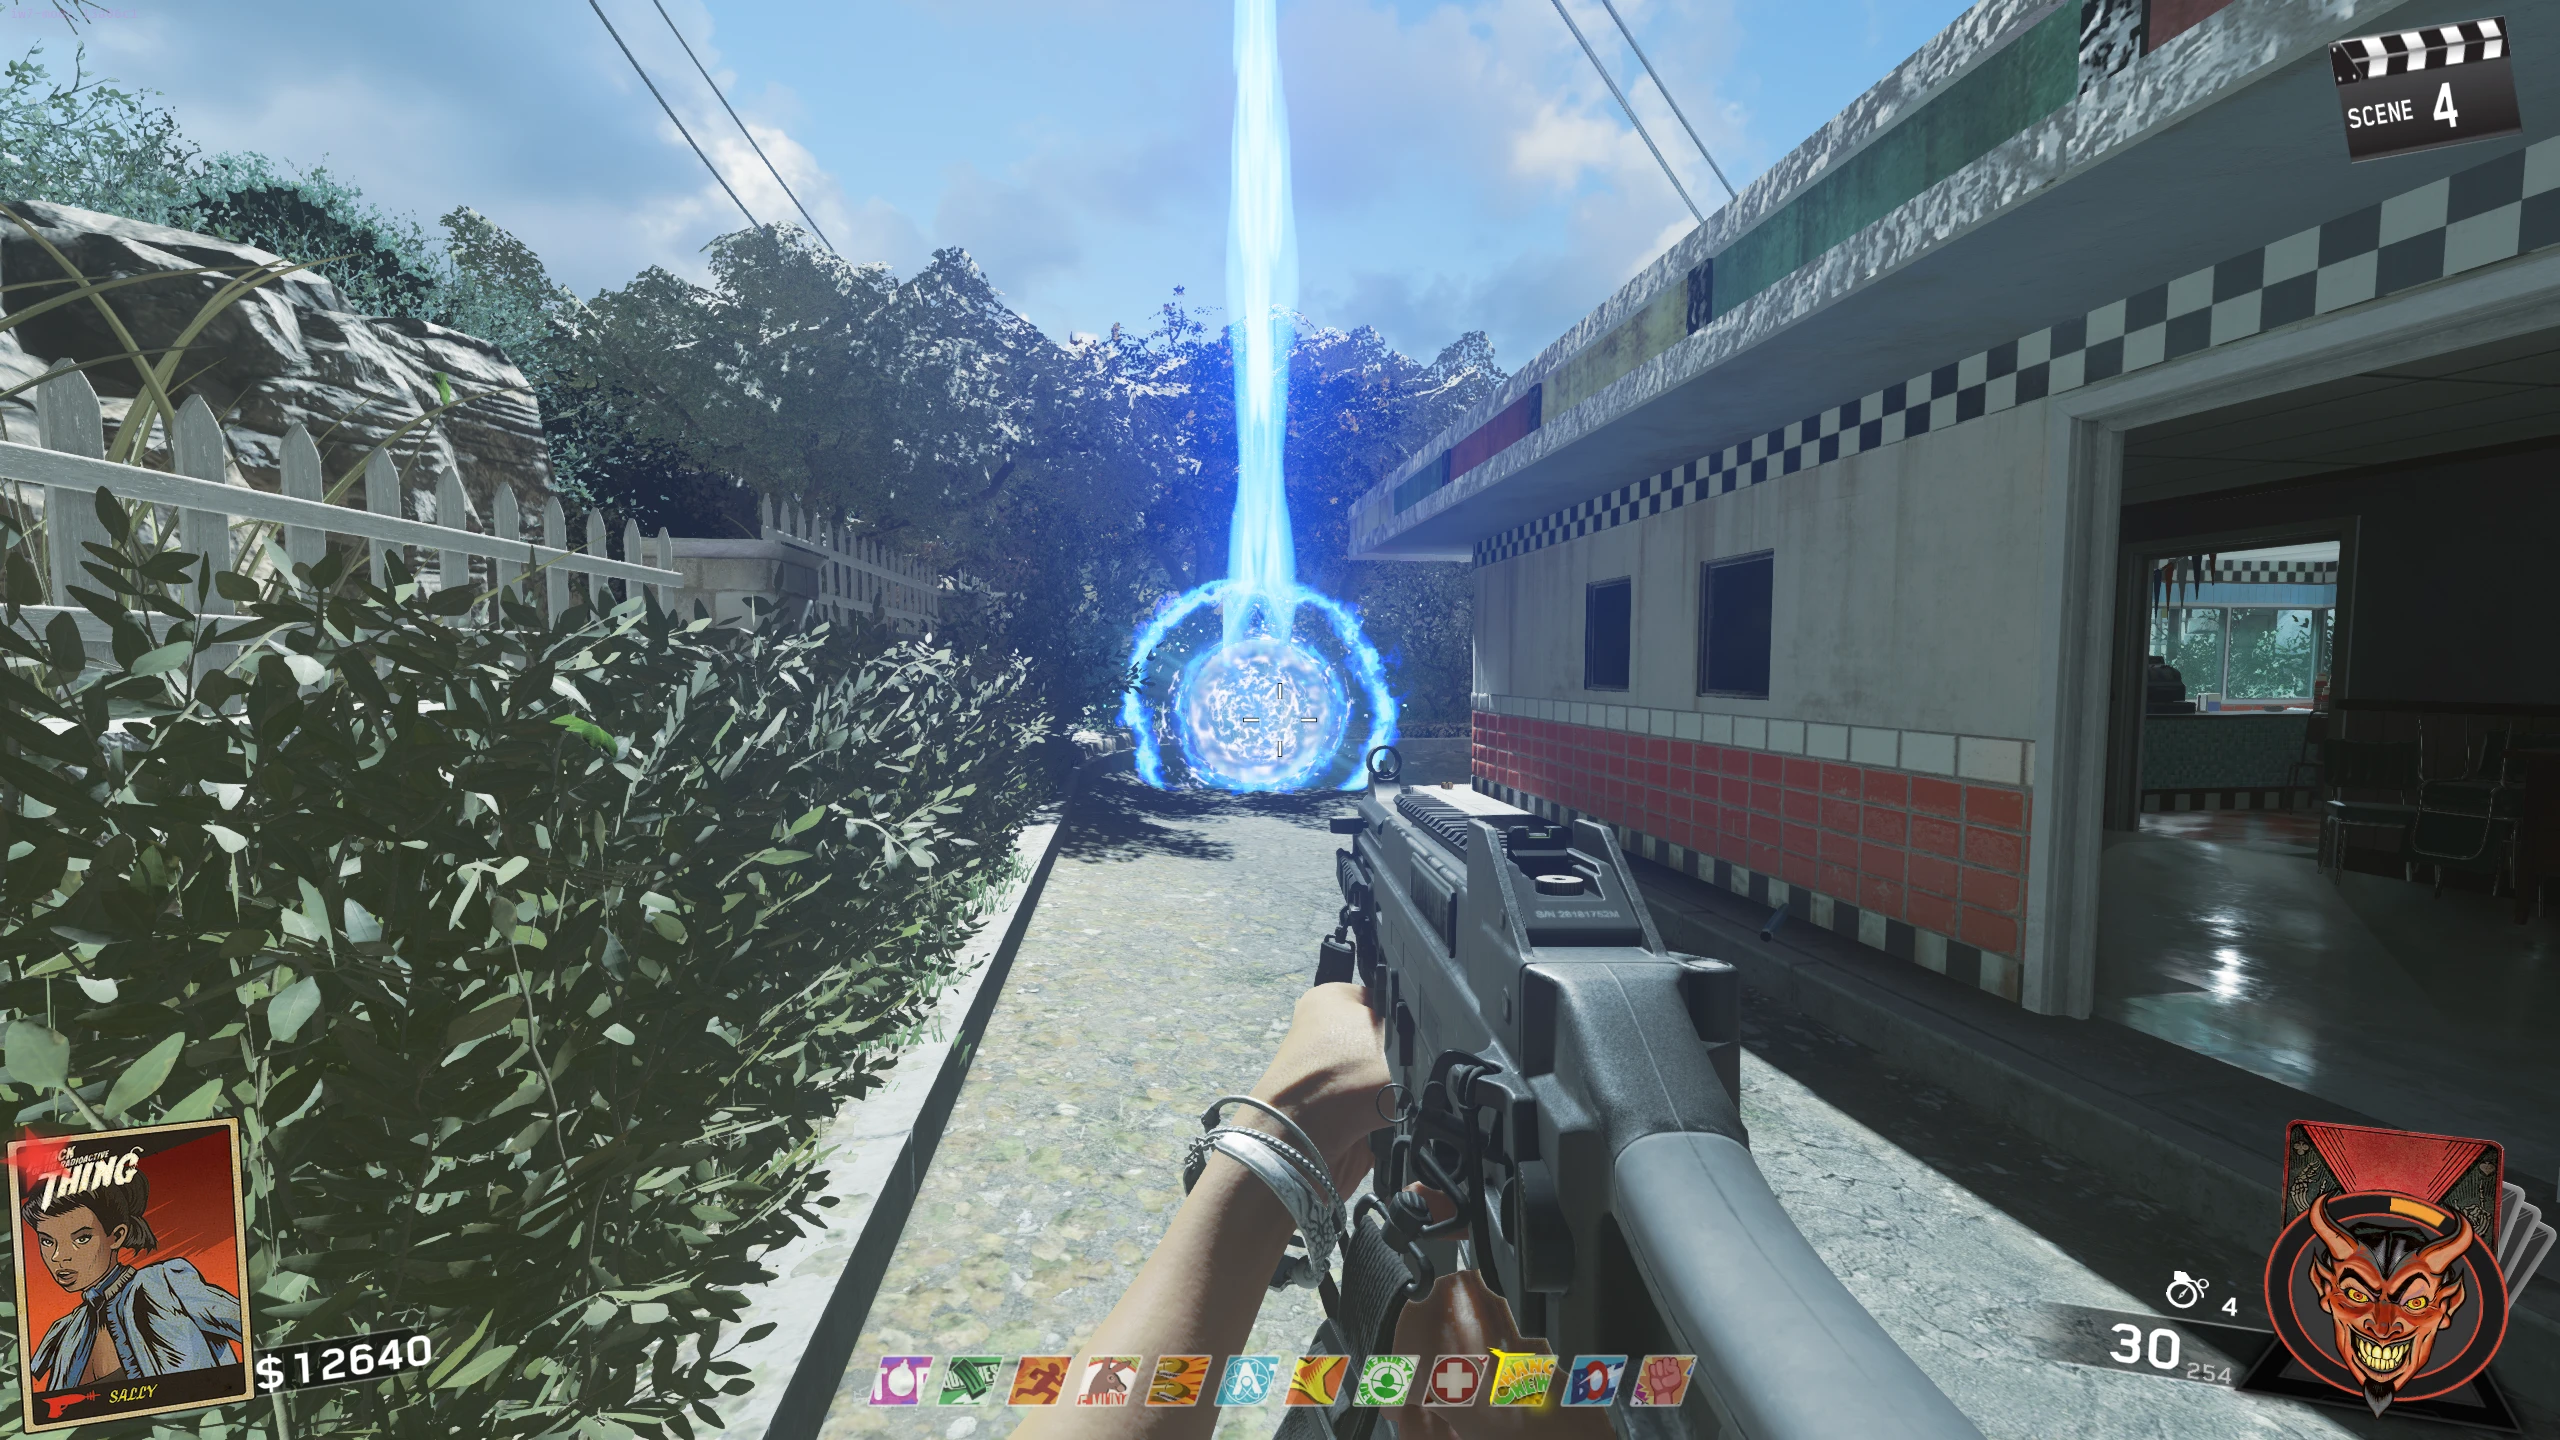
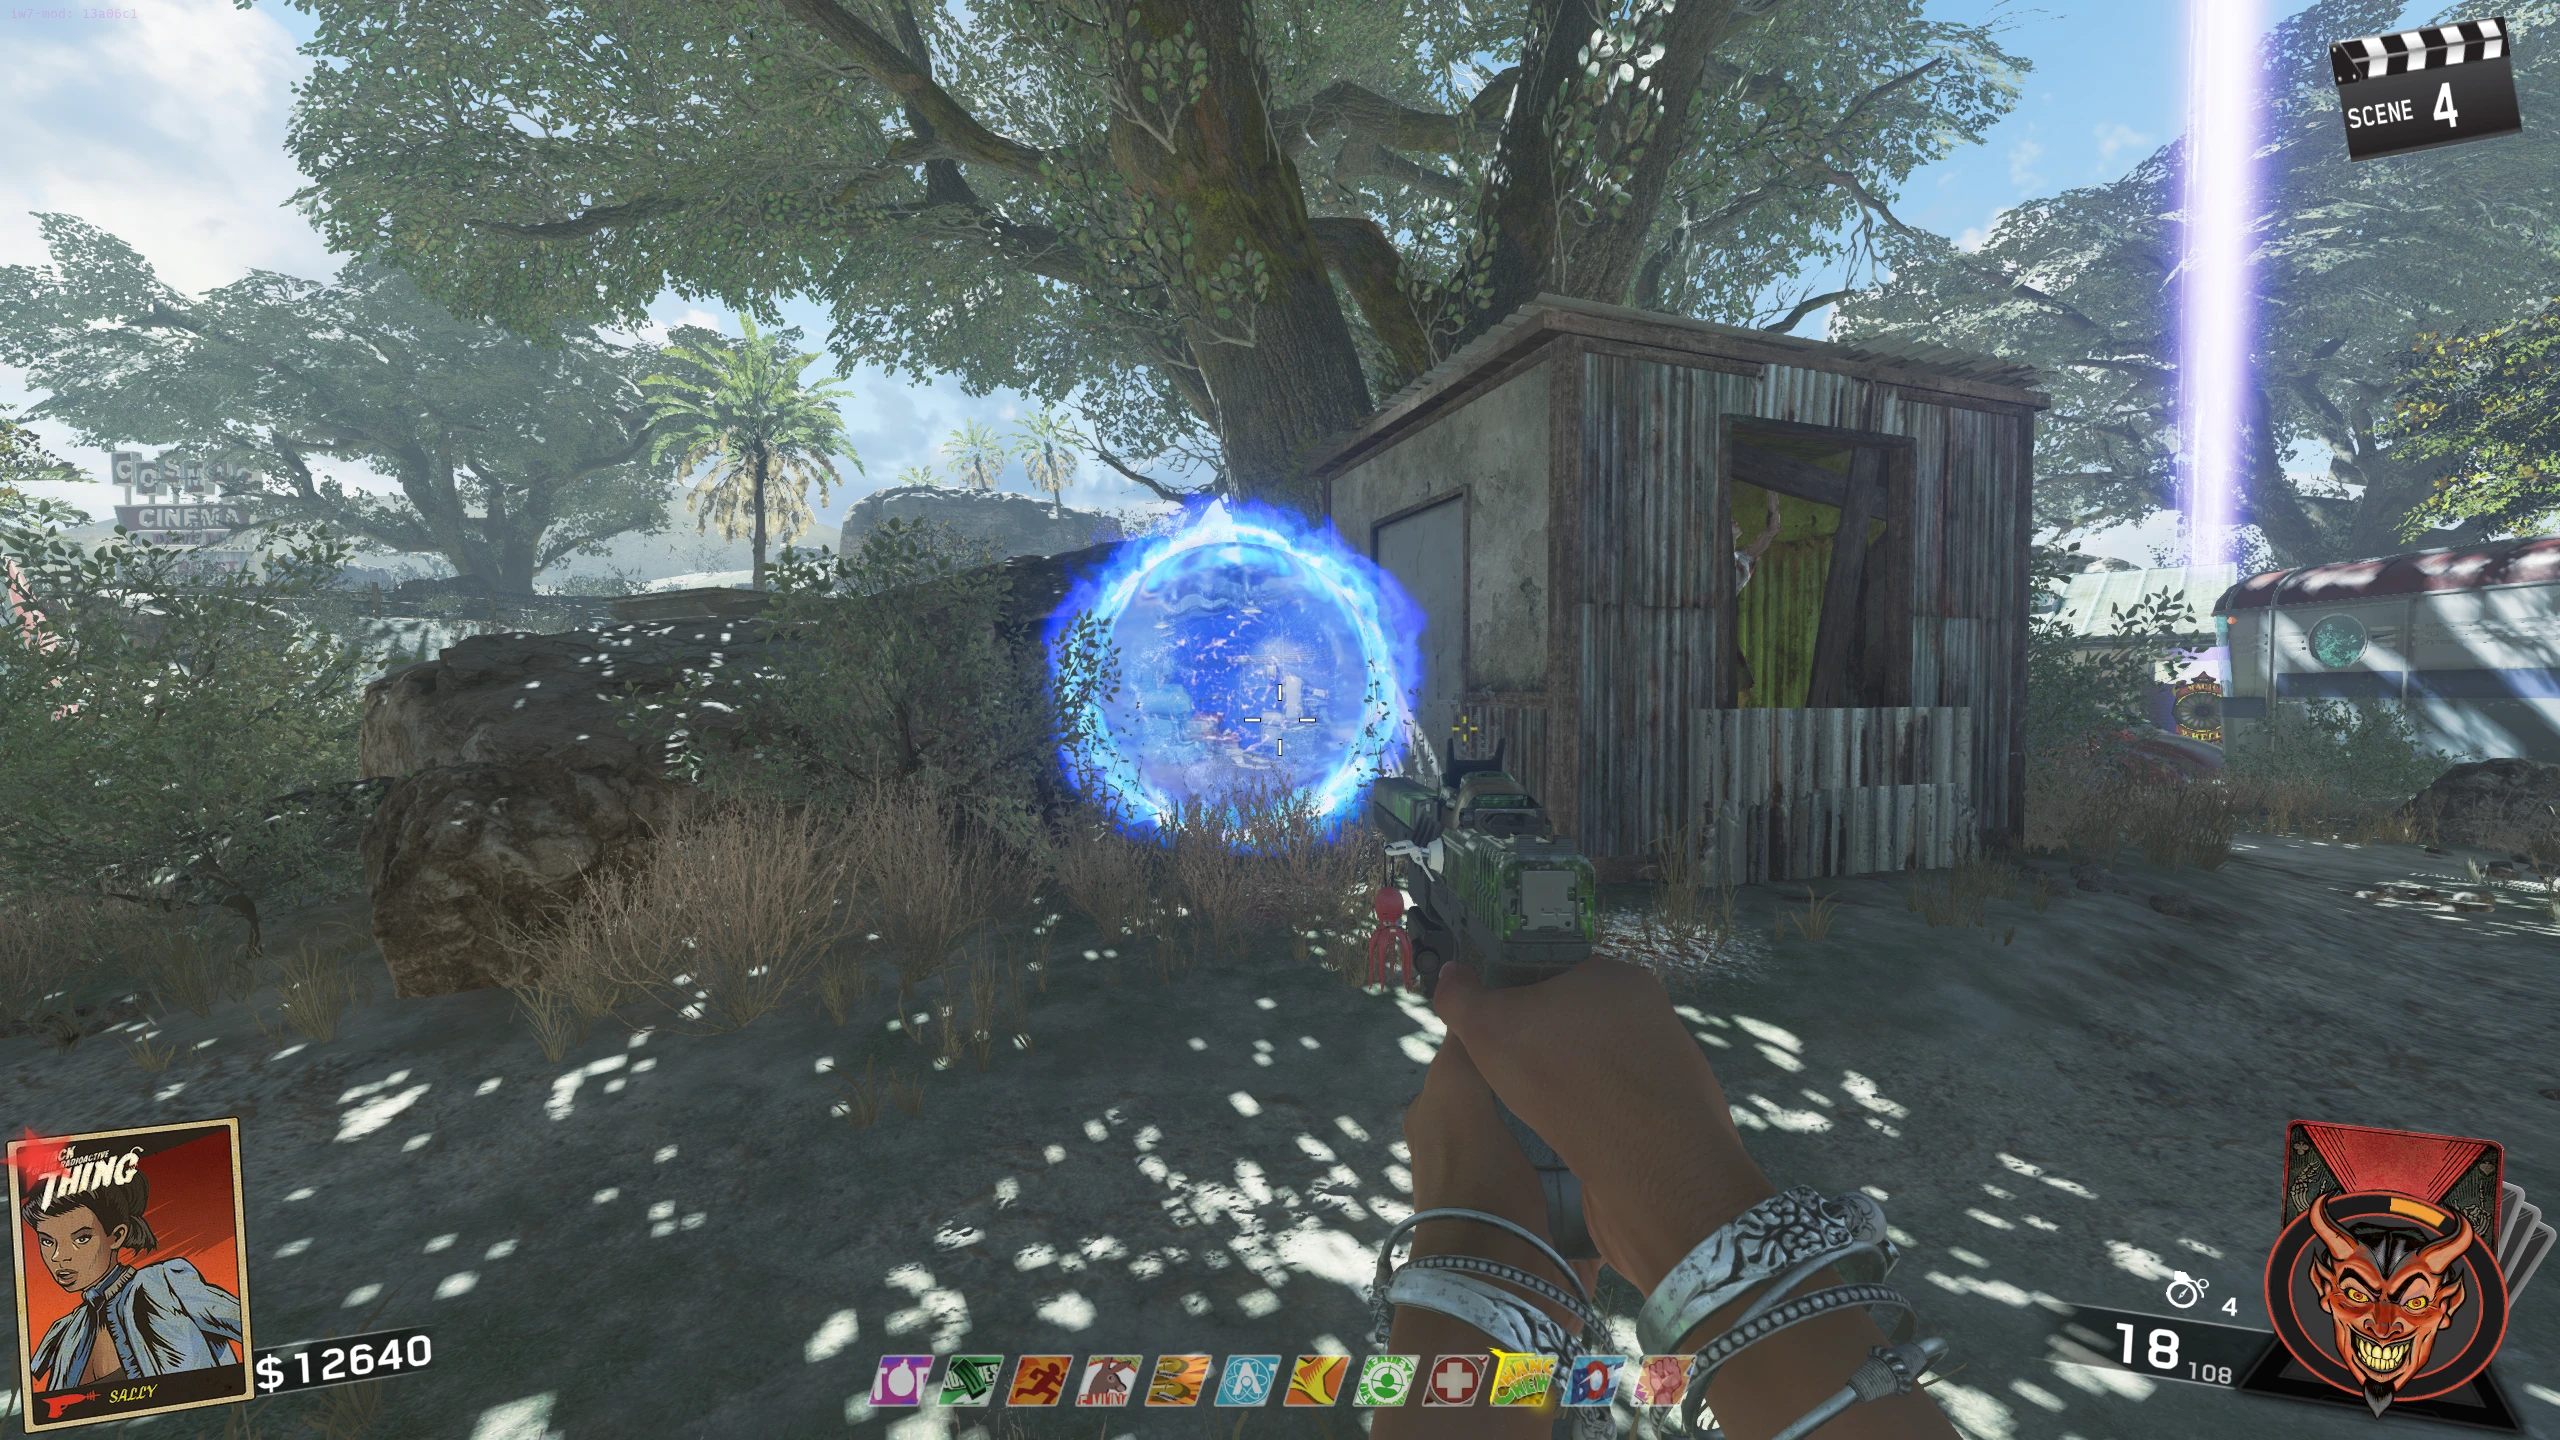
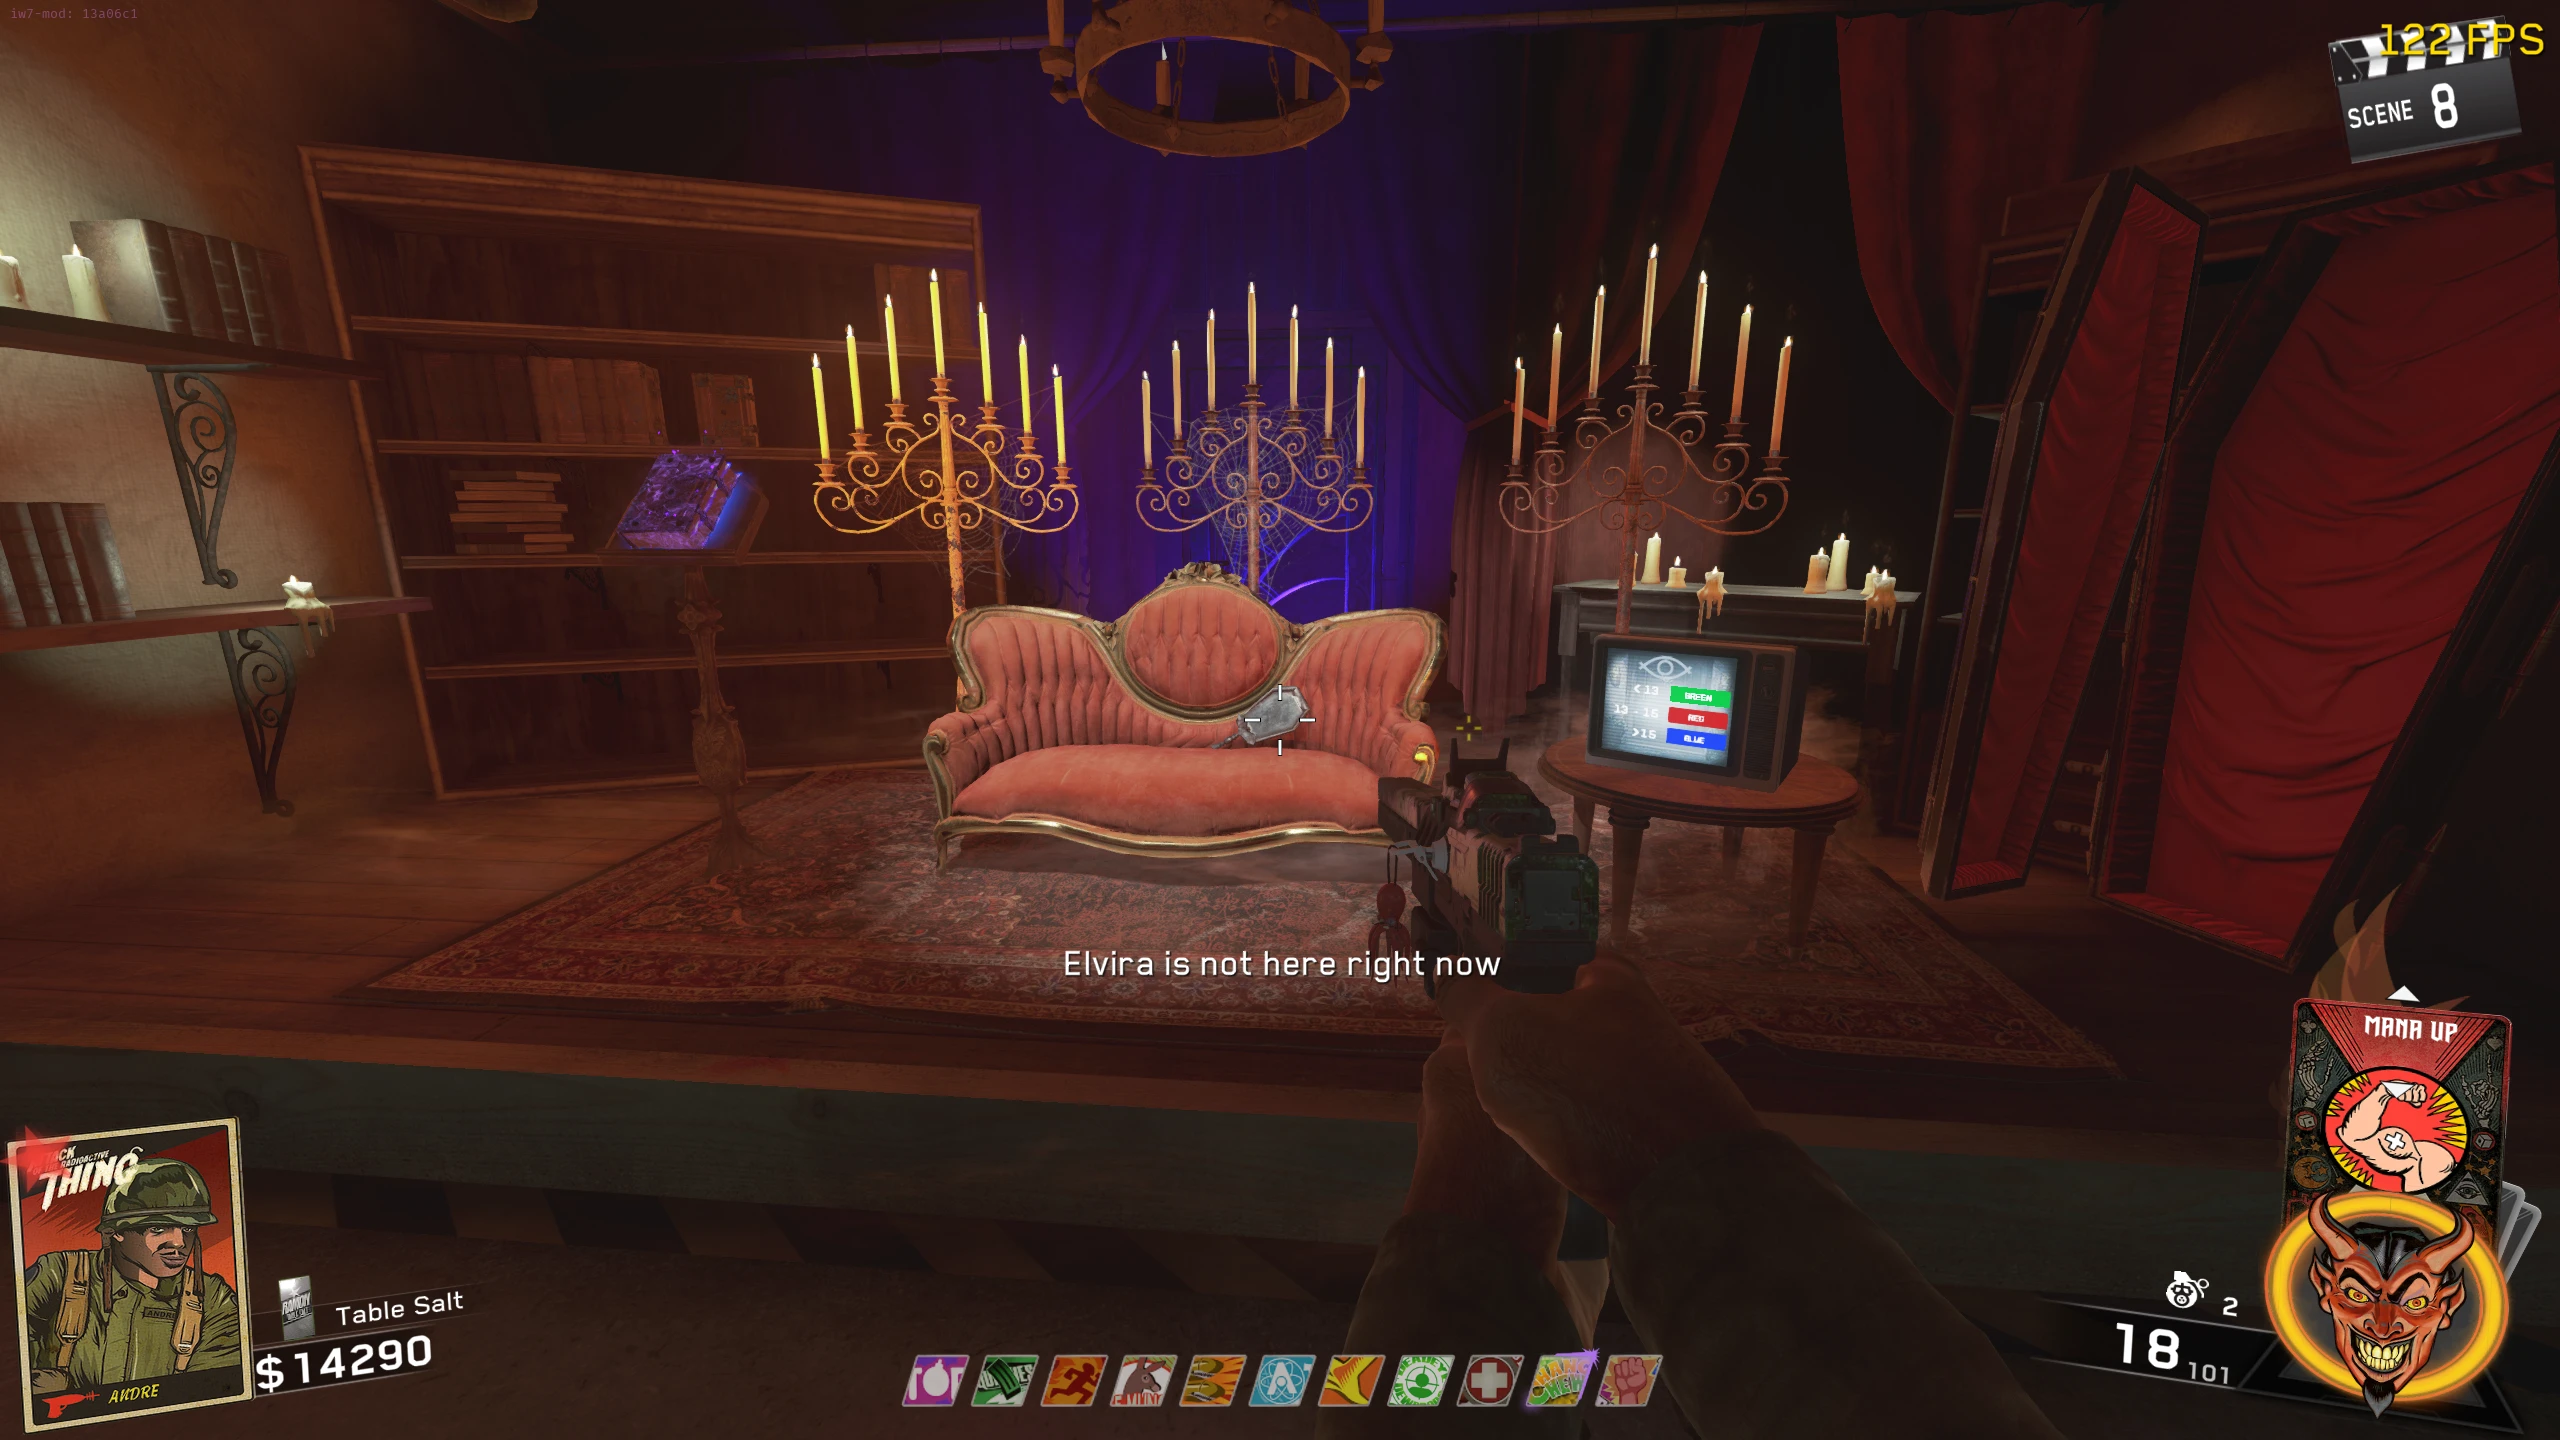
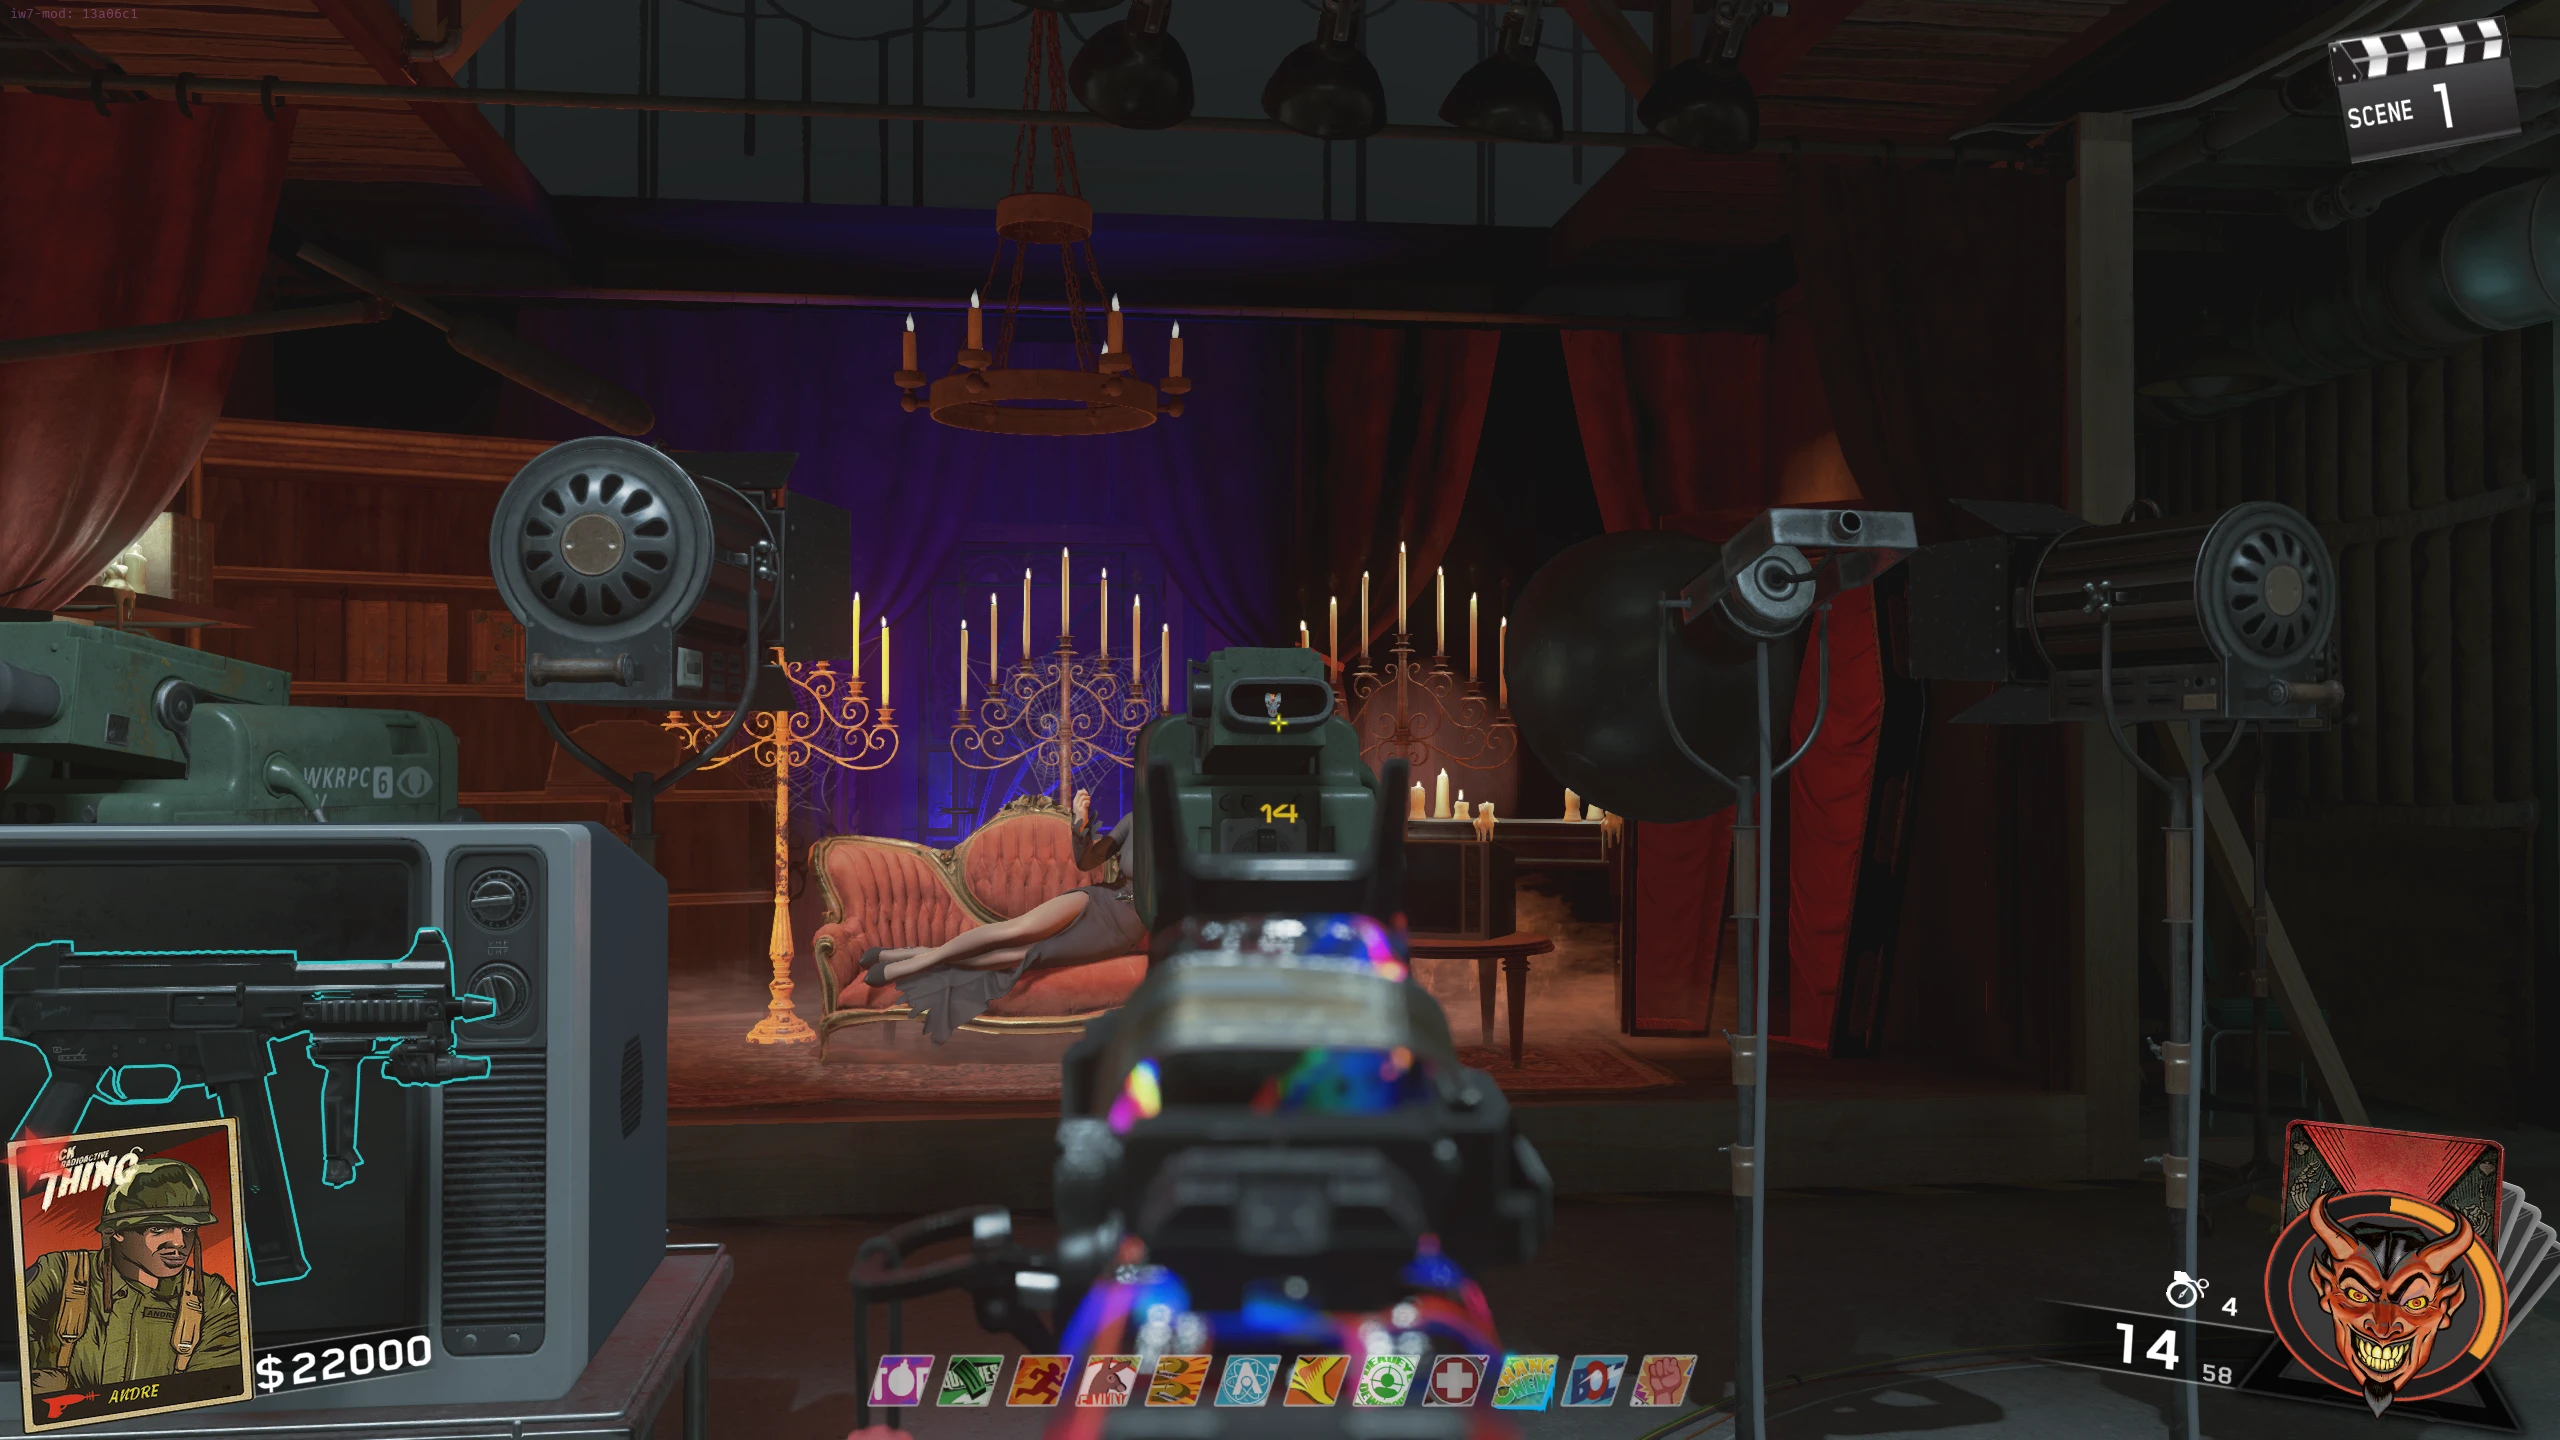
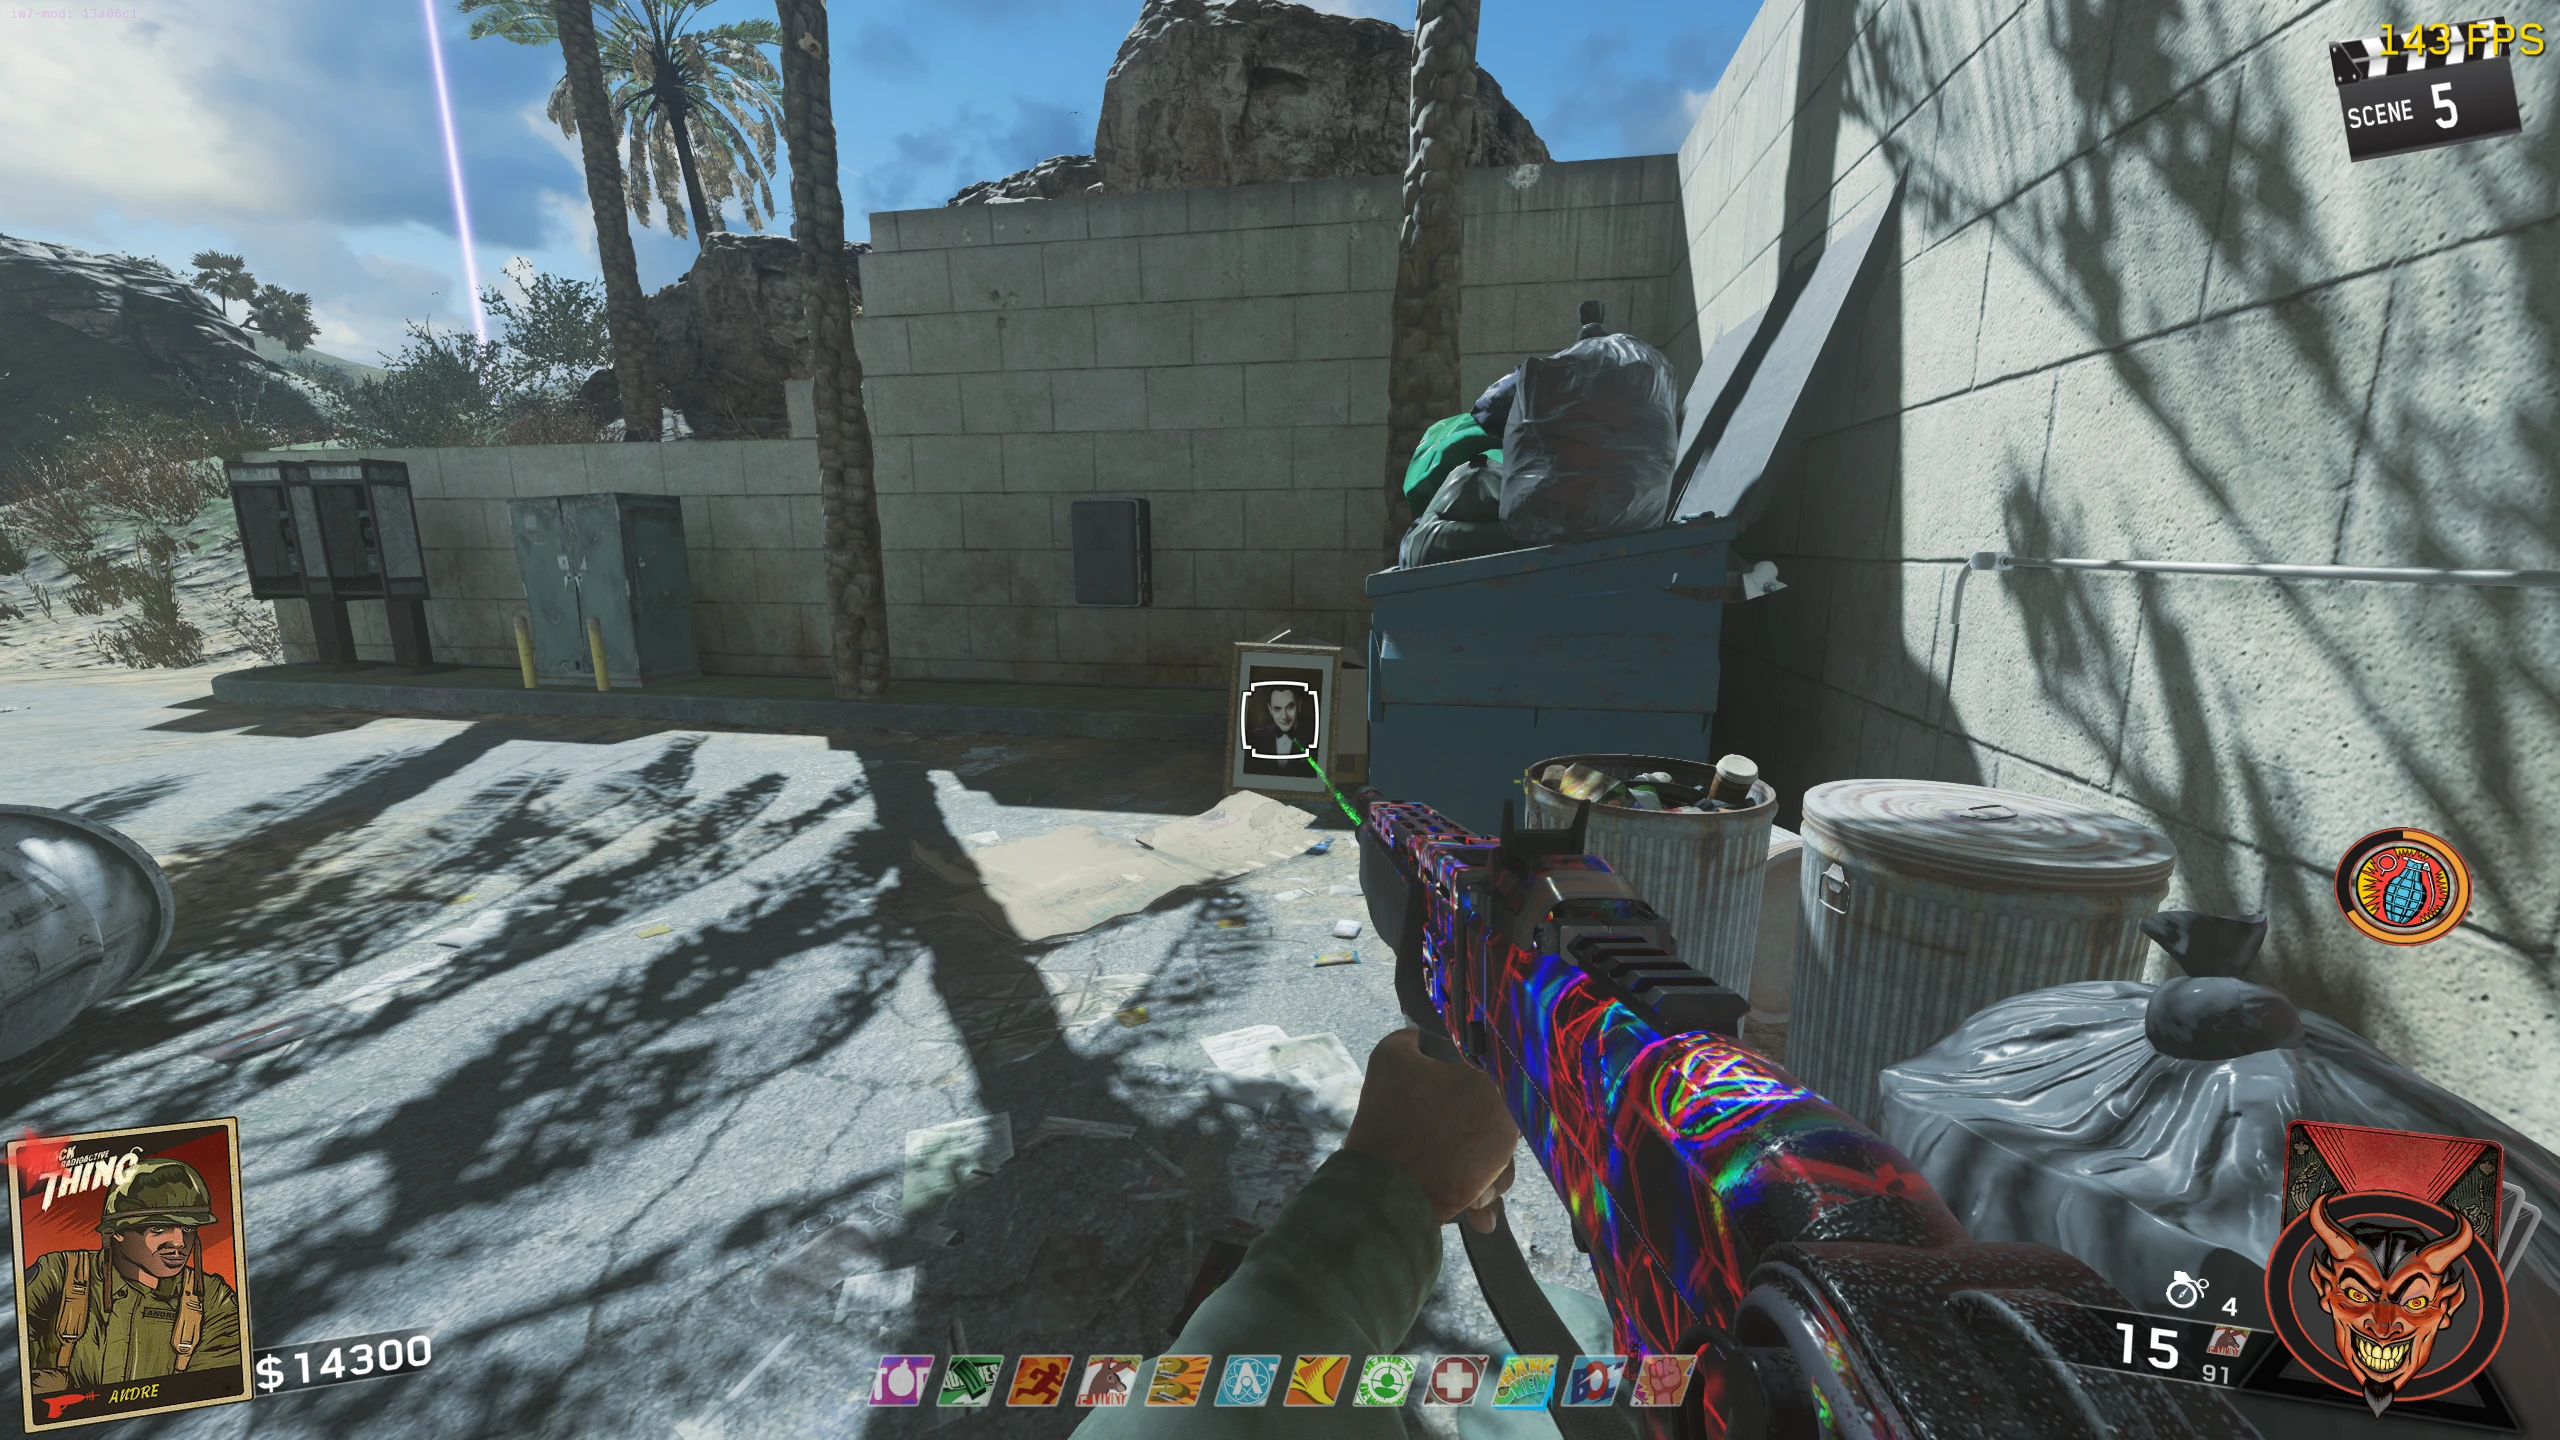
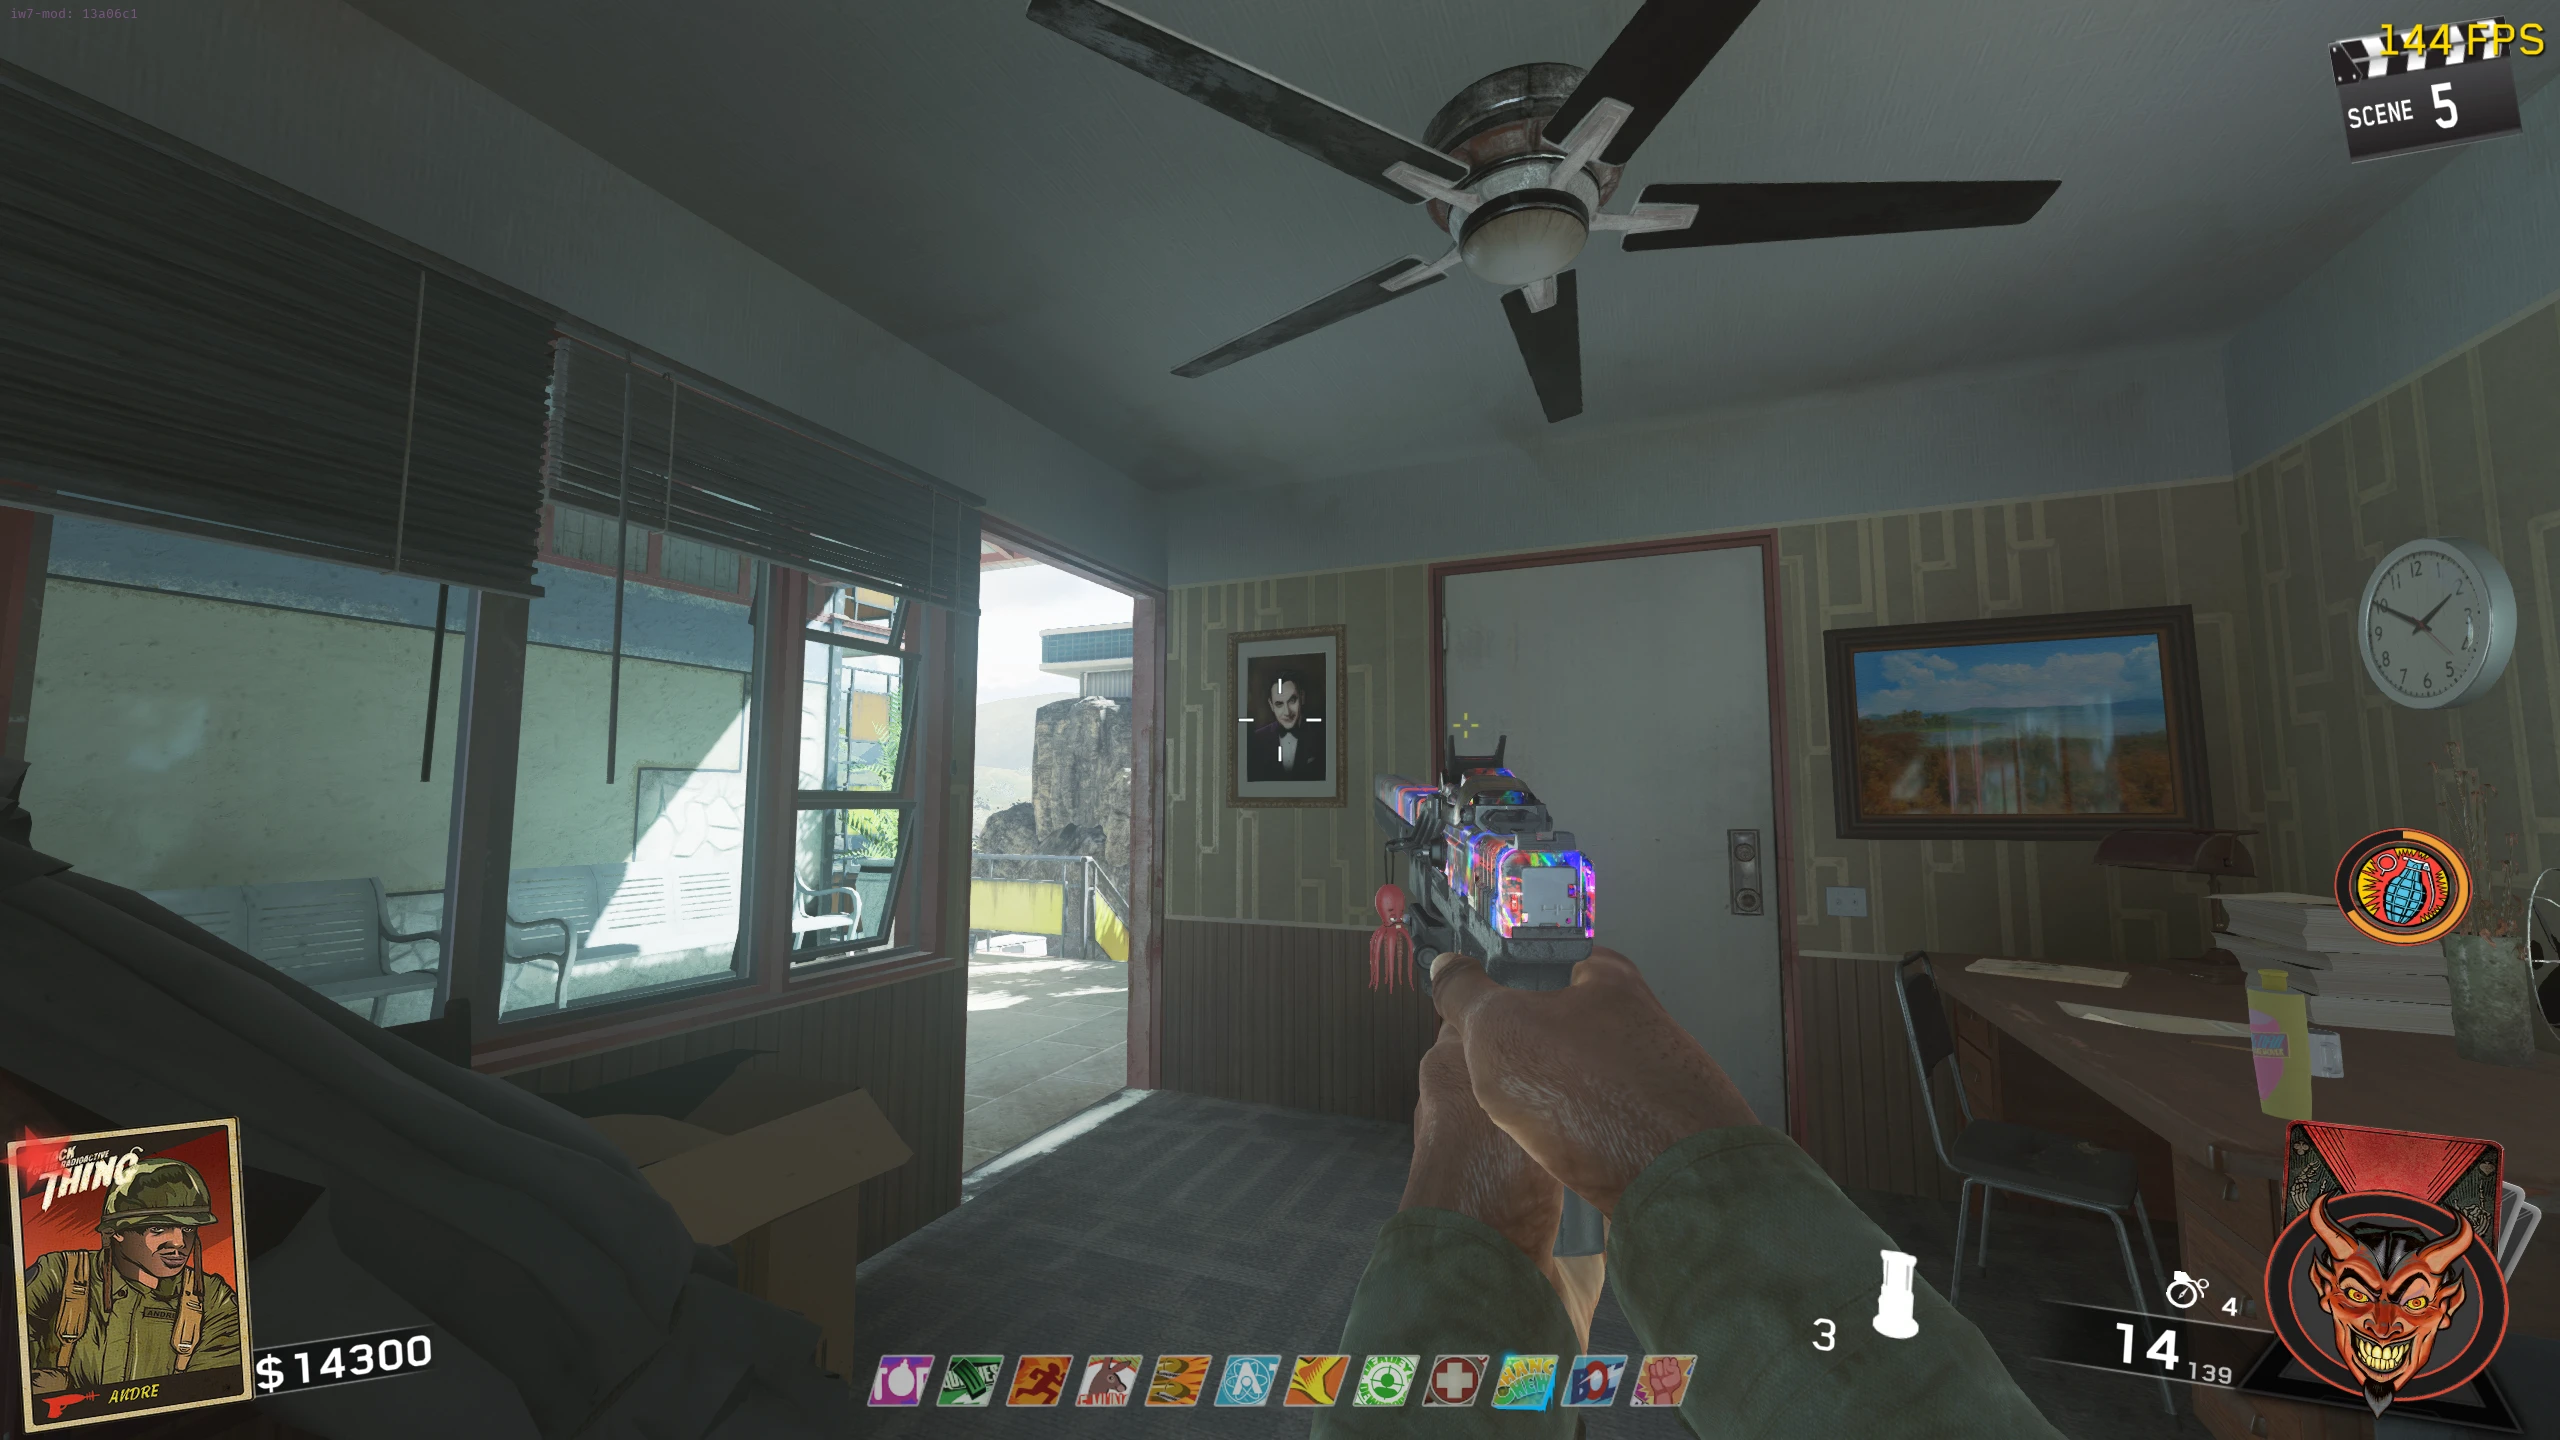
- Elvira's Mirror - You need to summon Elvira (by giving her a filled Vial) and then wait for her to "despawn". Once she's despawned, go to the TV Station and interact with the mirror on the couch; you can pick it up when it says, "Elvira is not here right now".
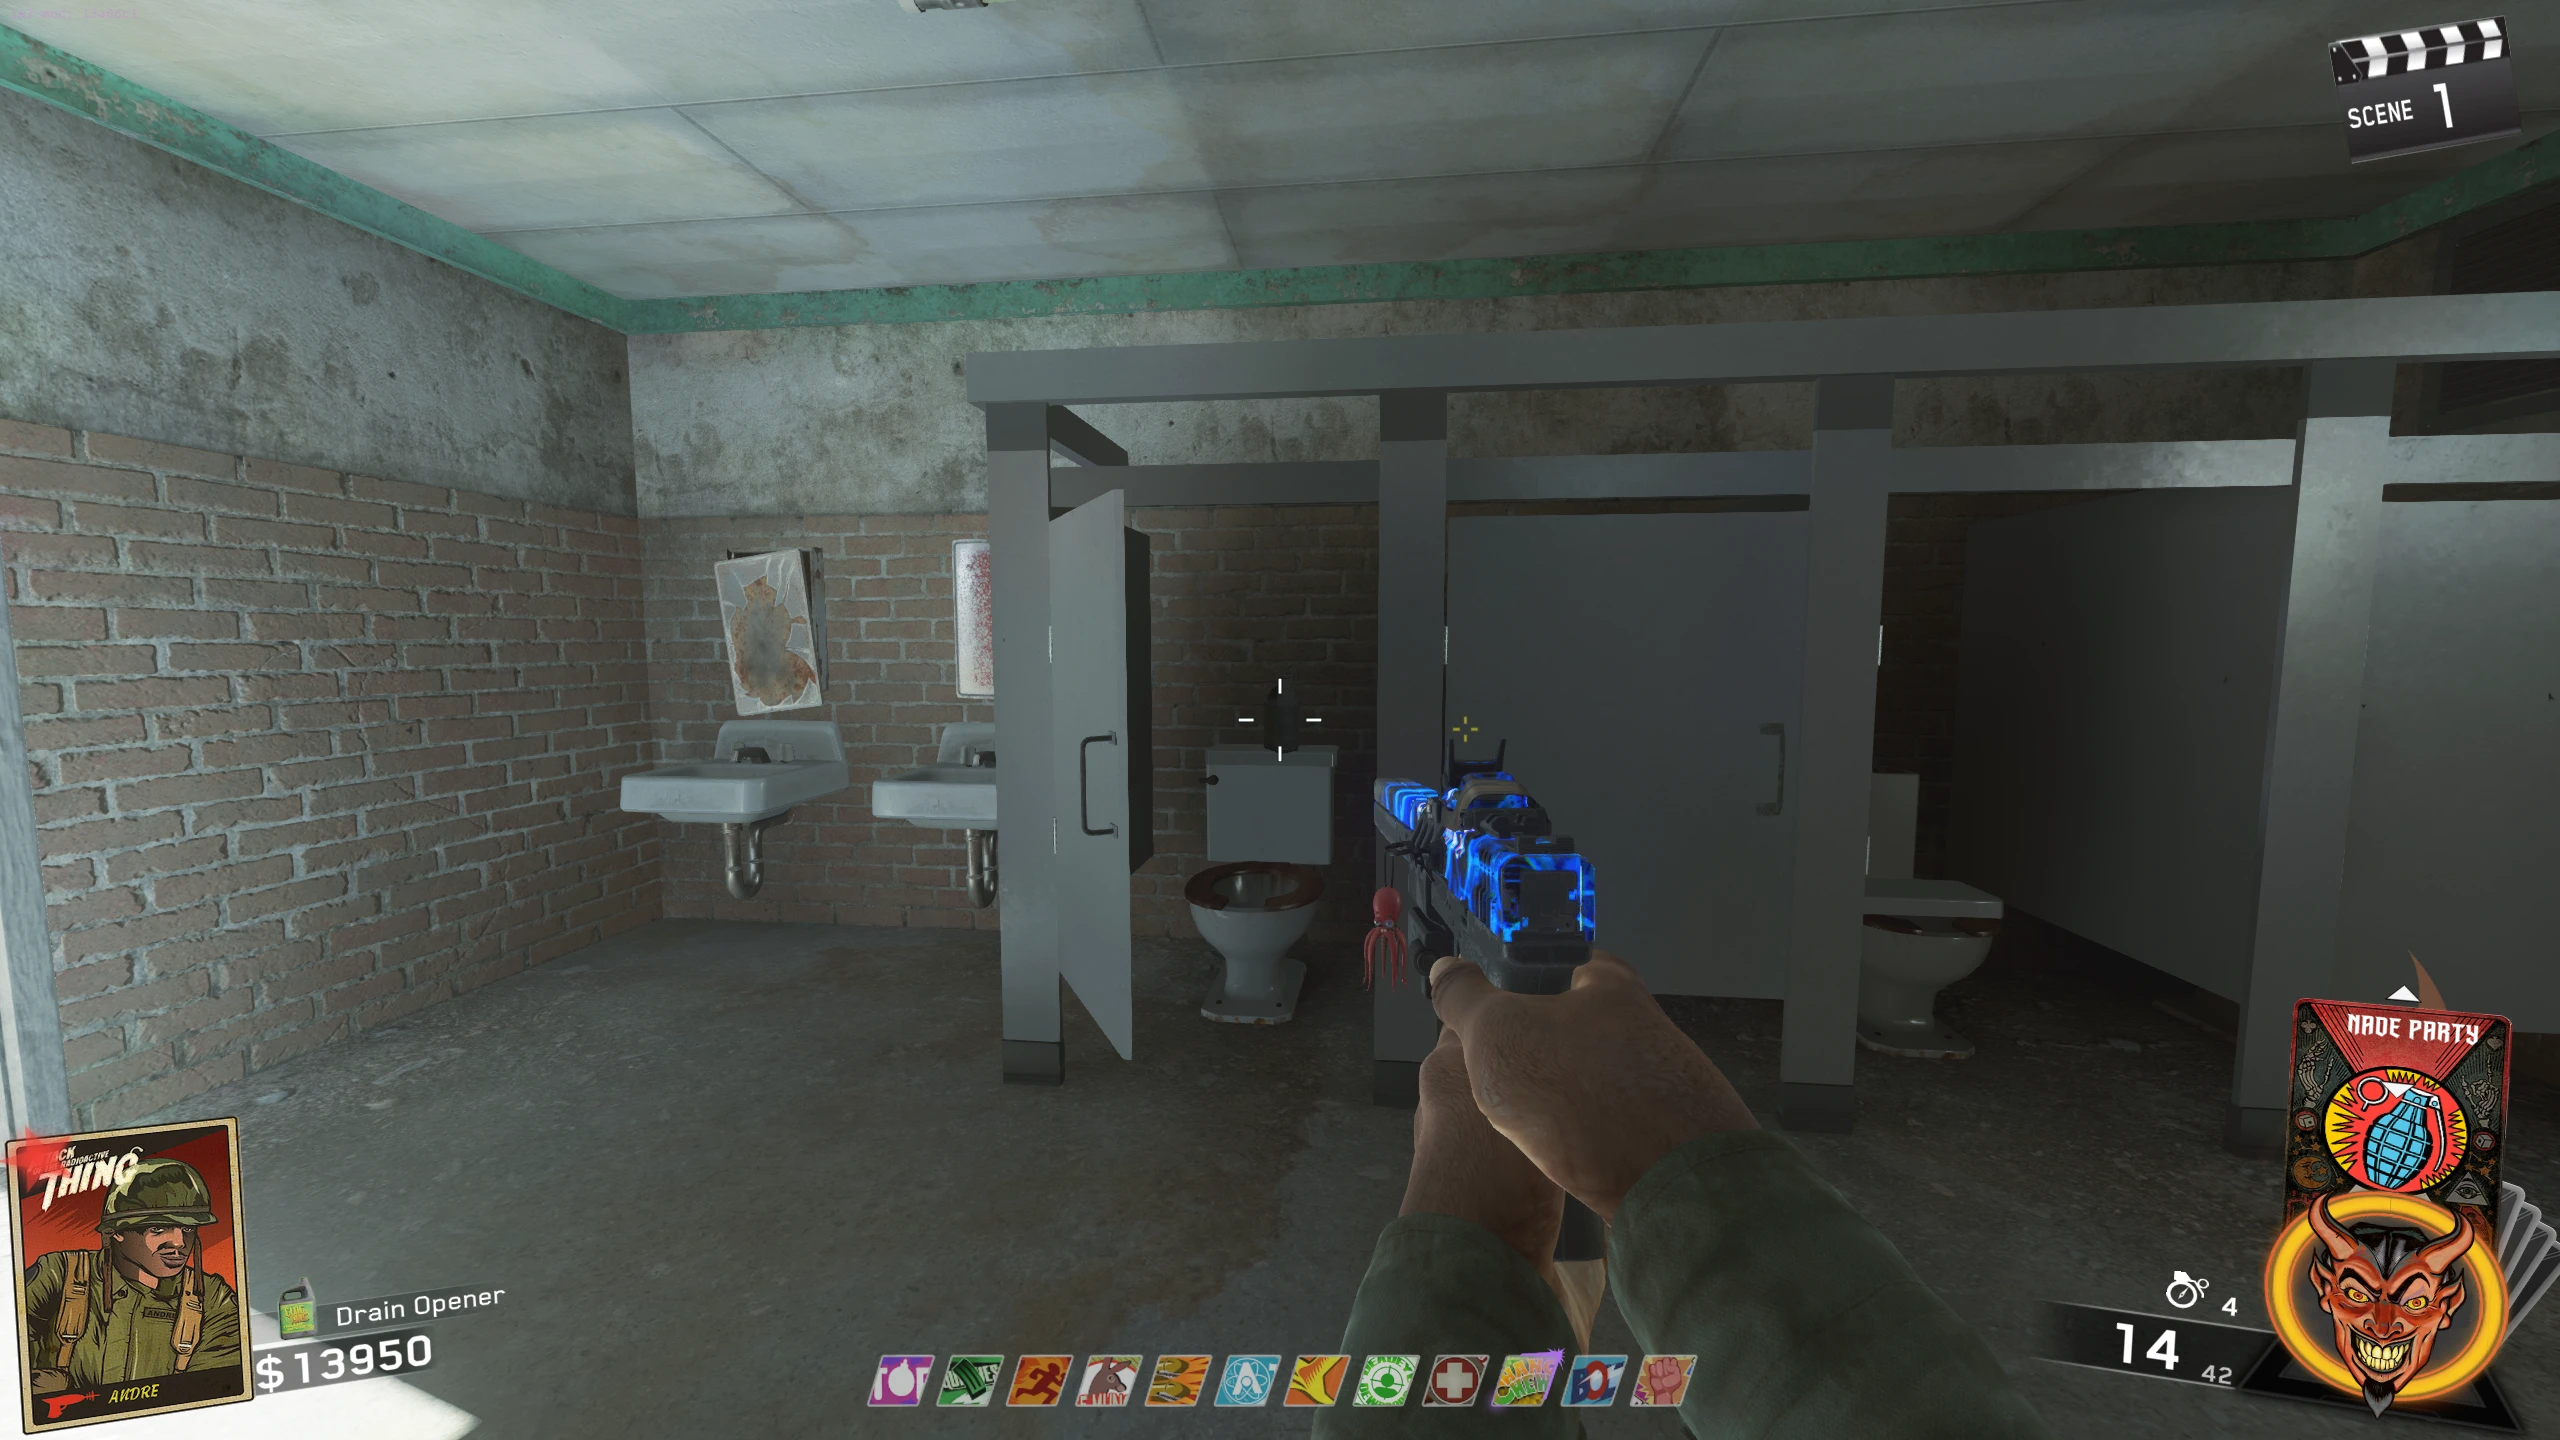
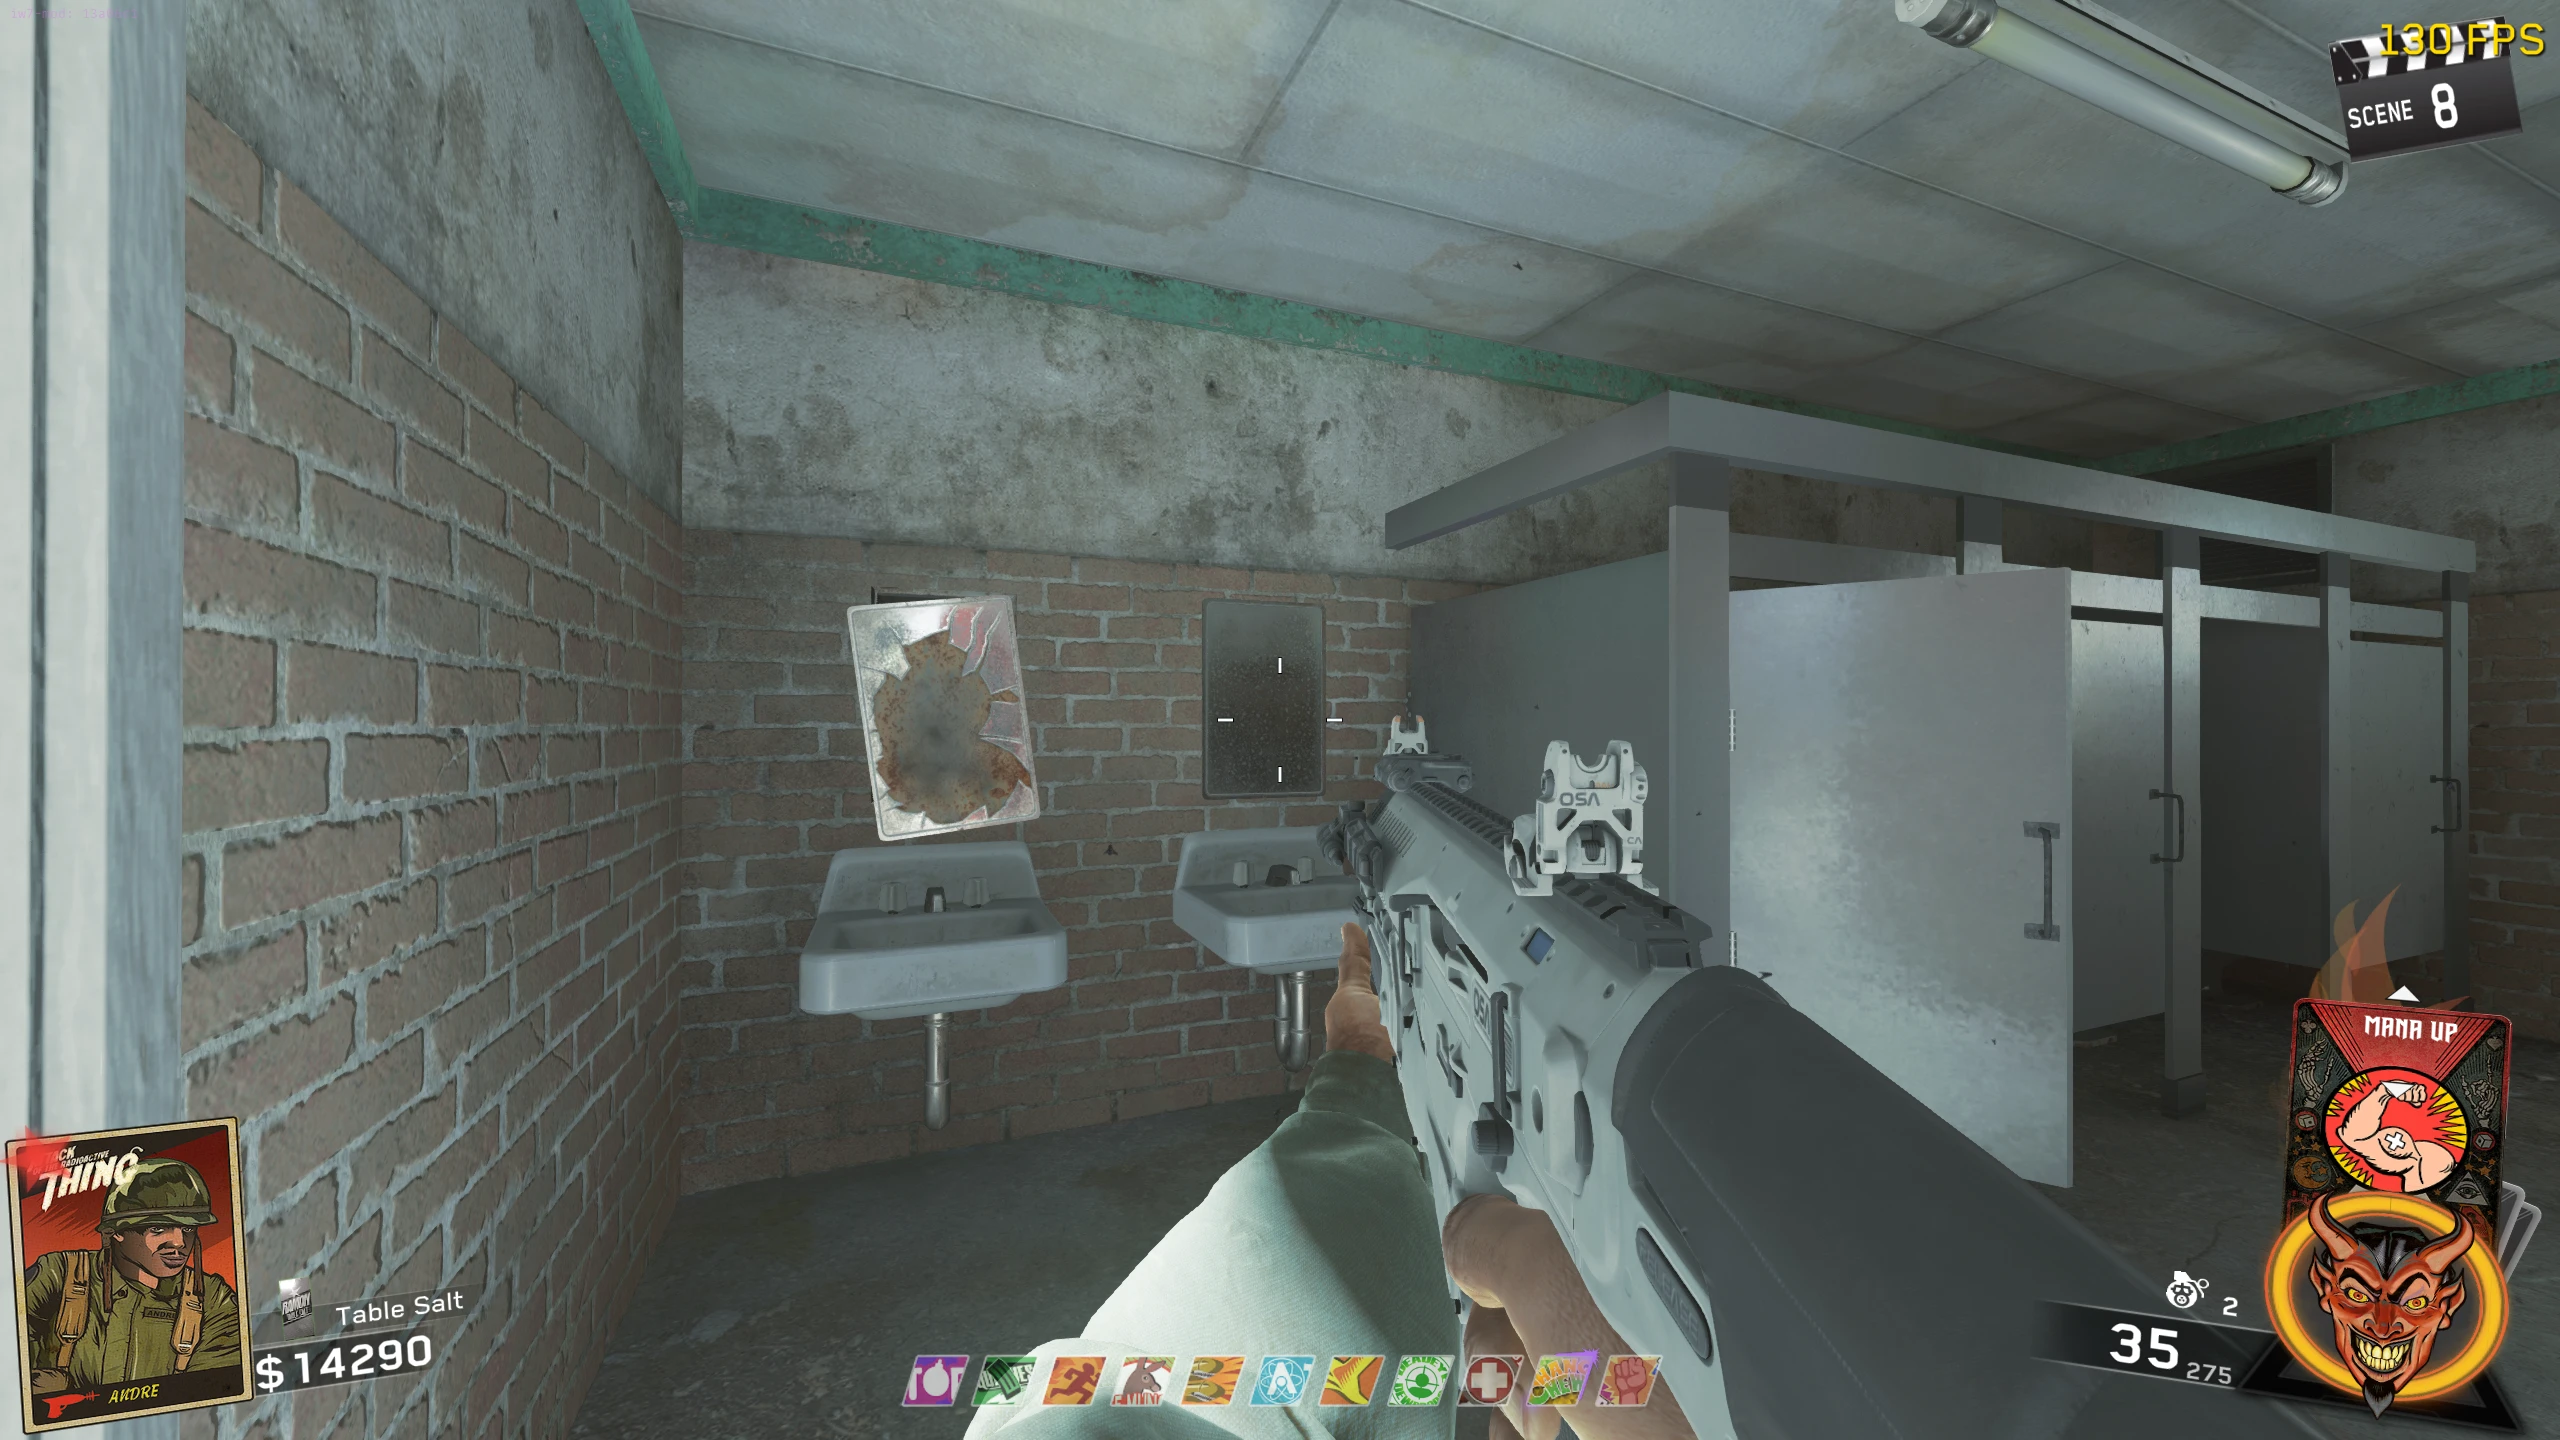
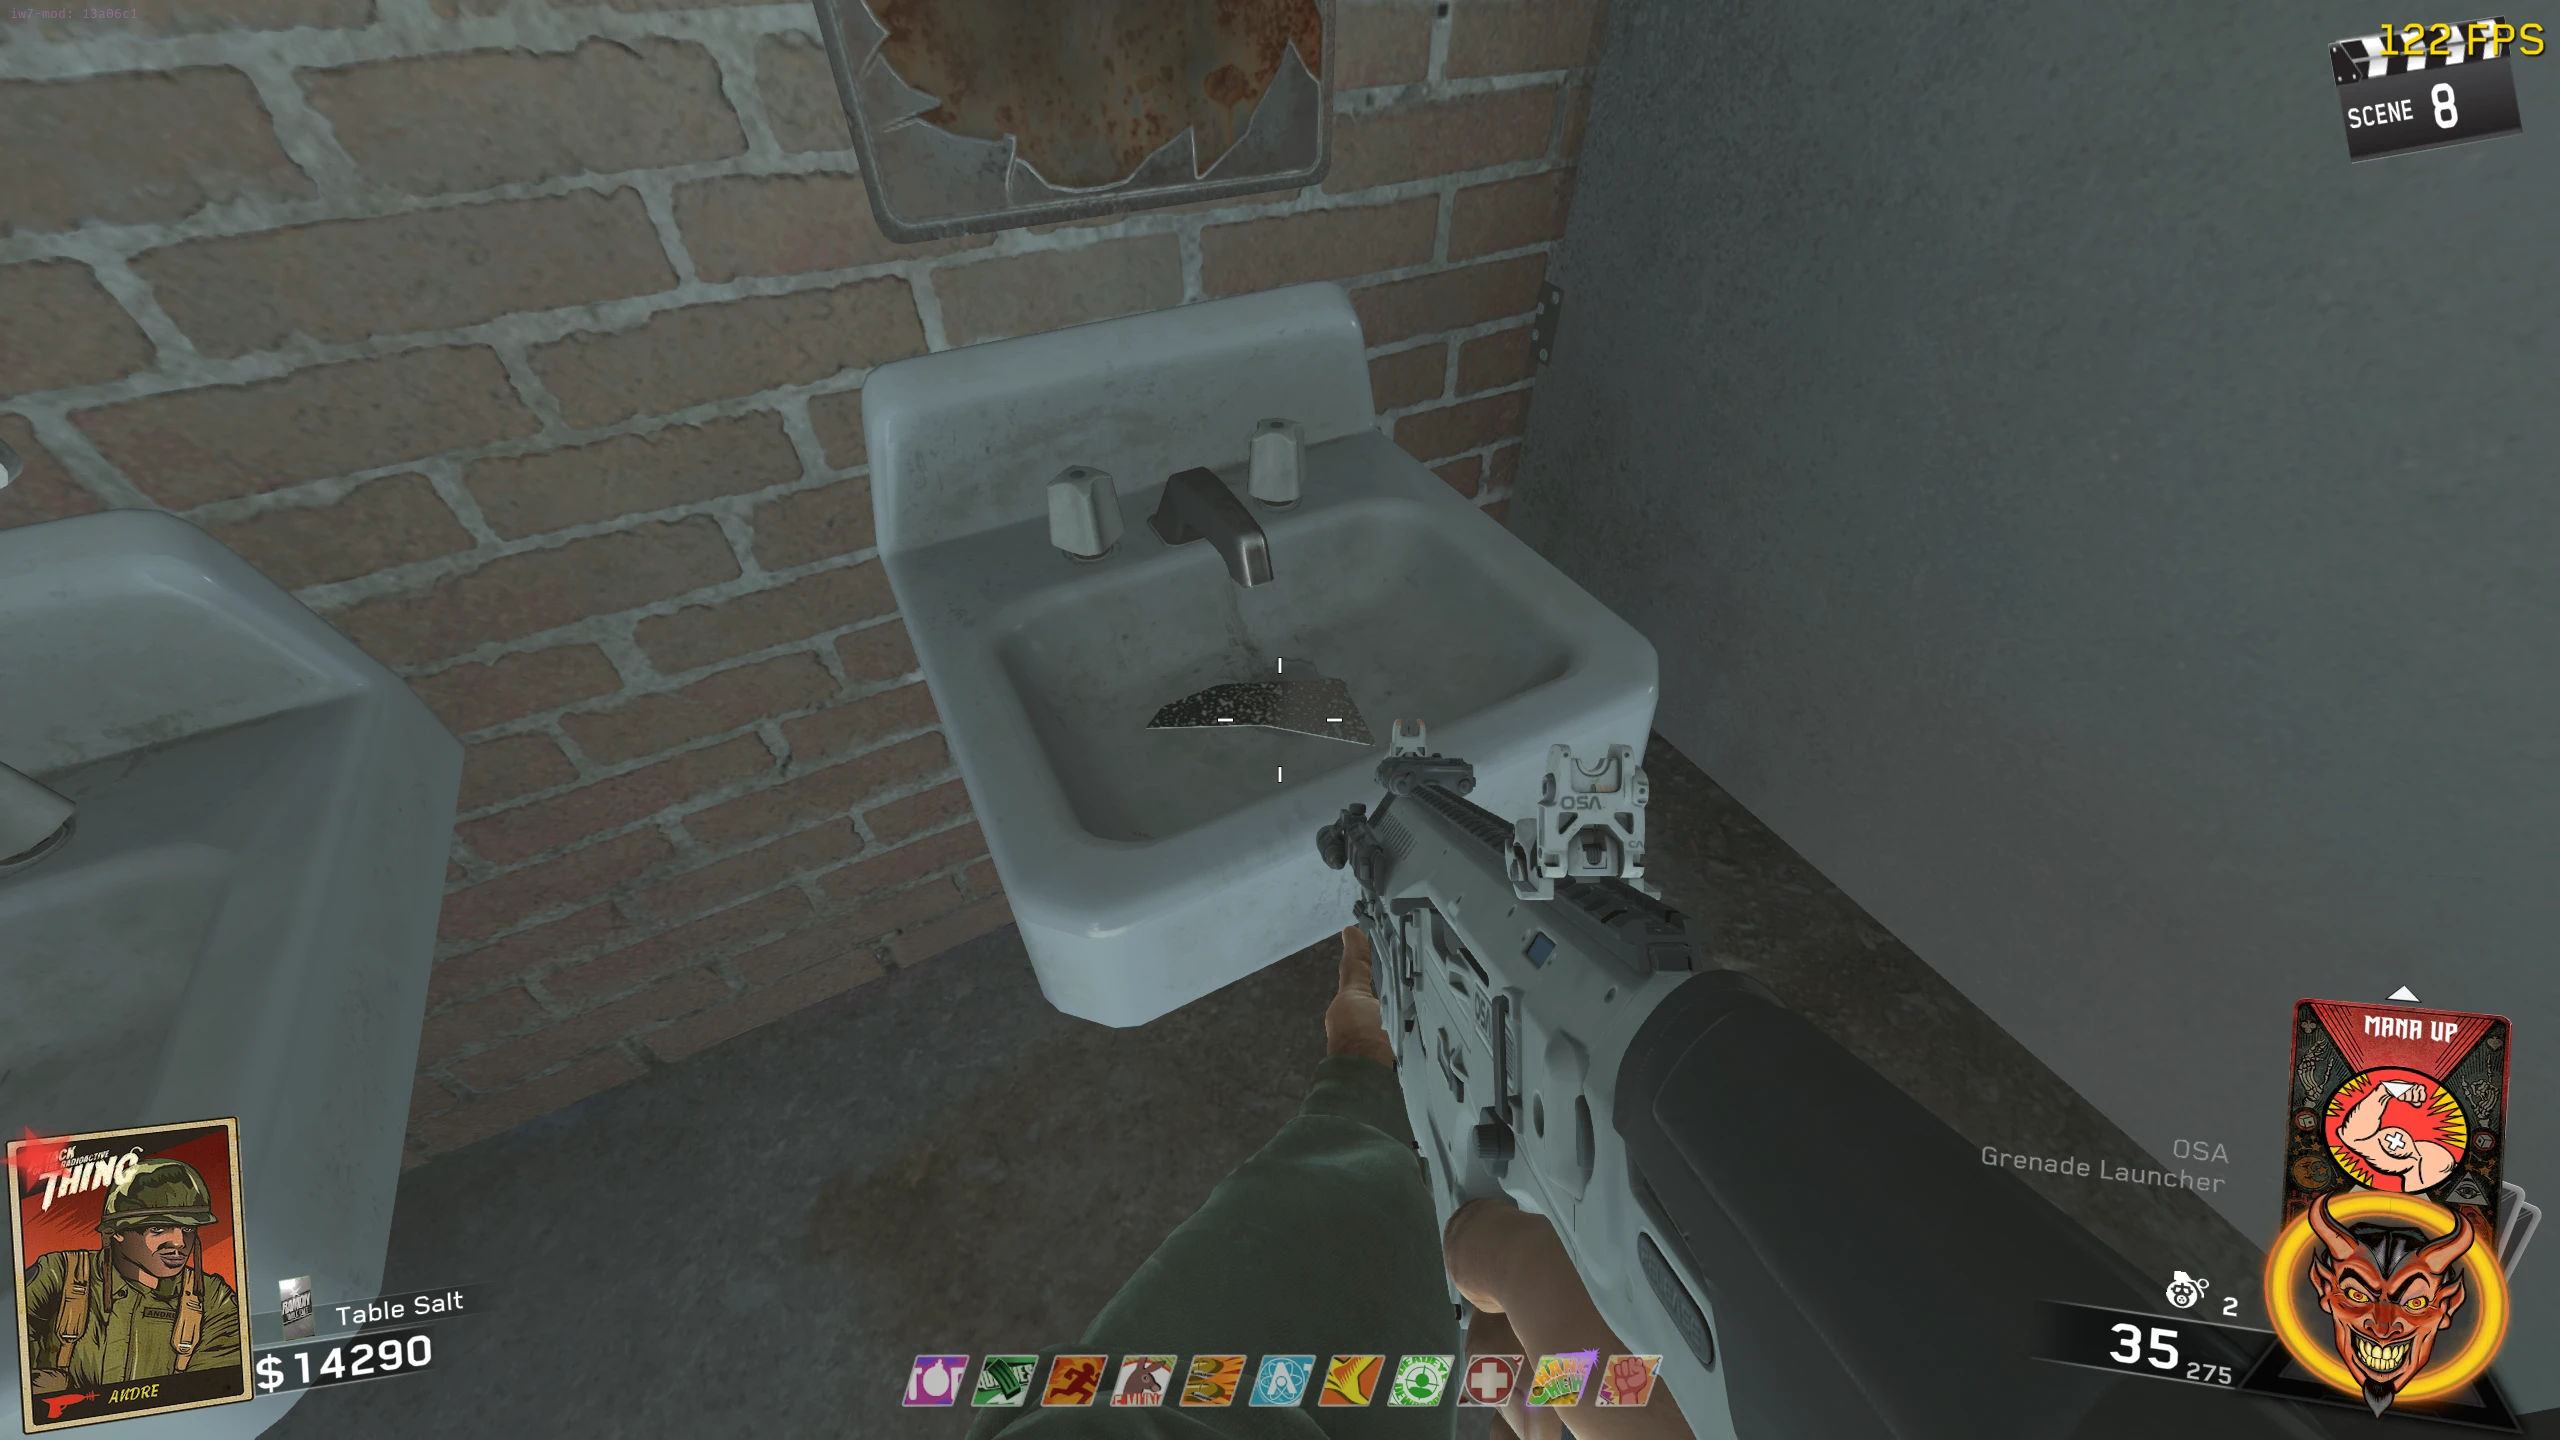
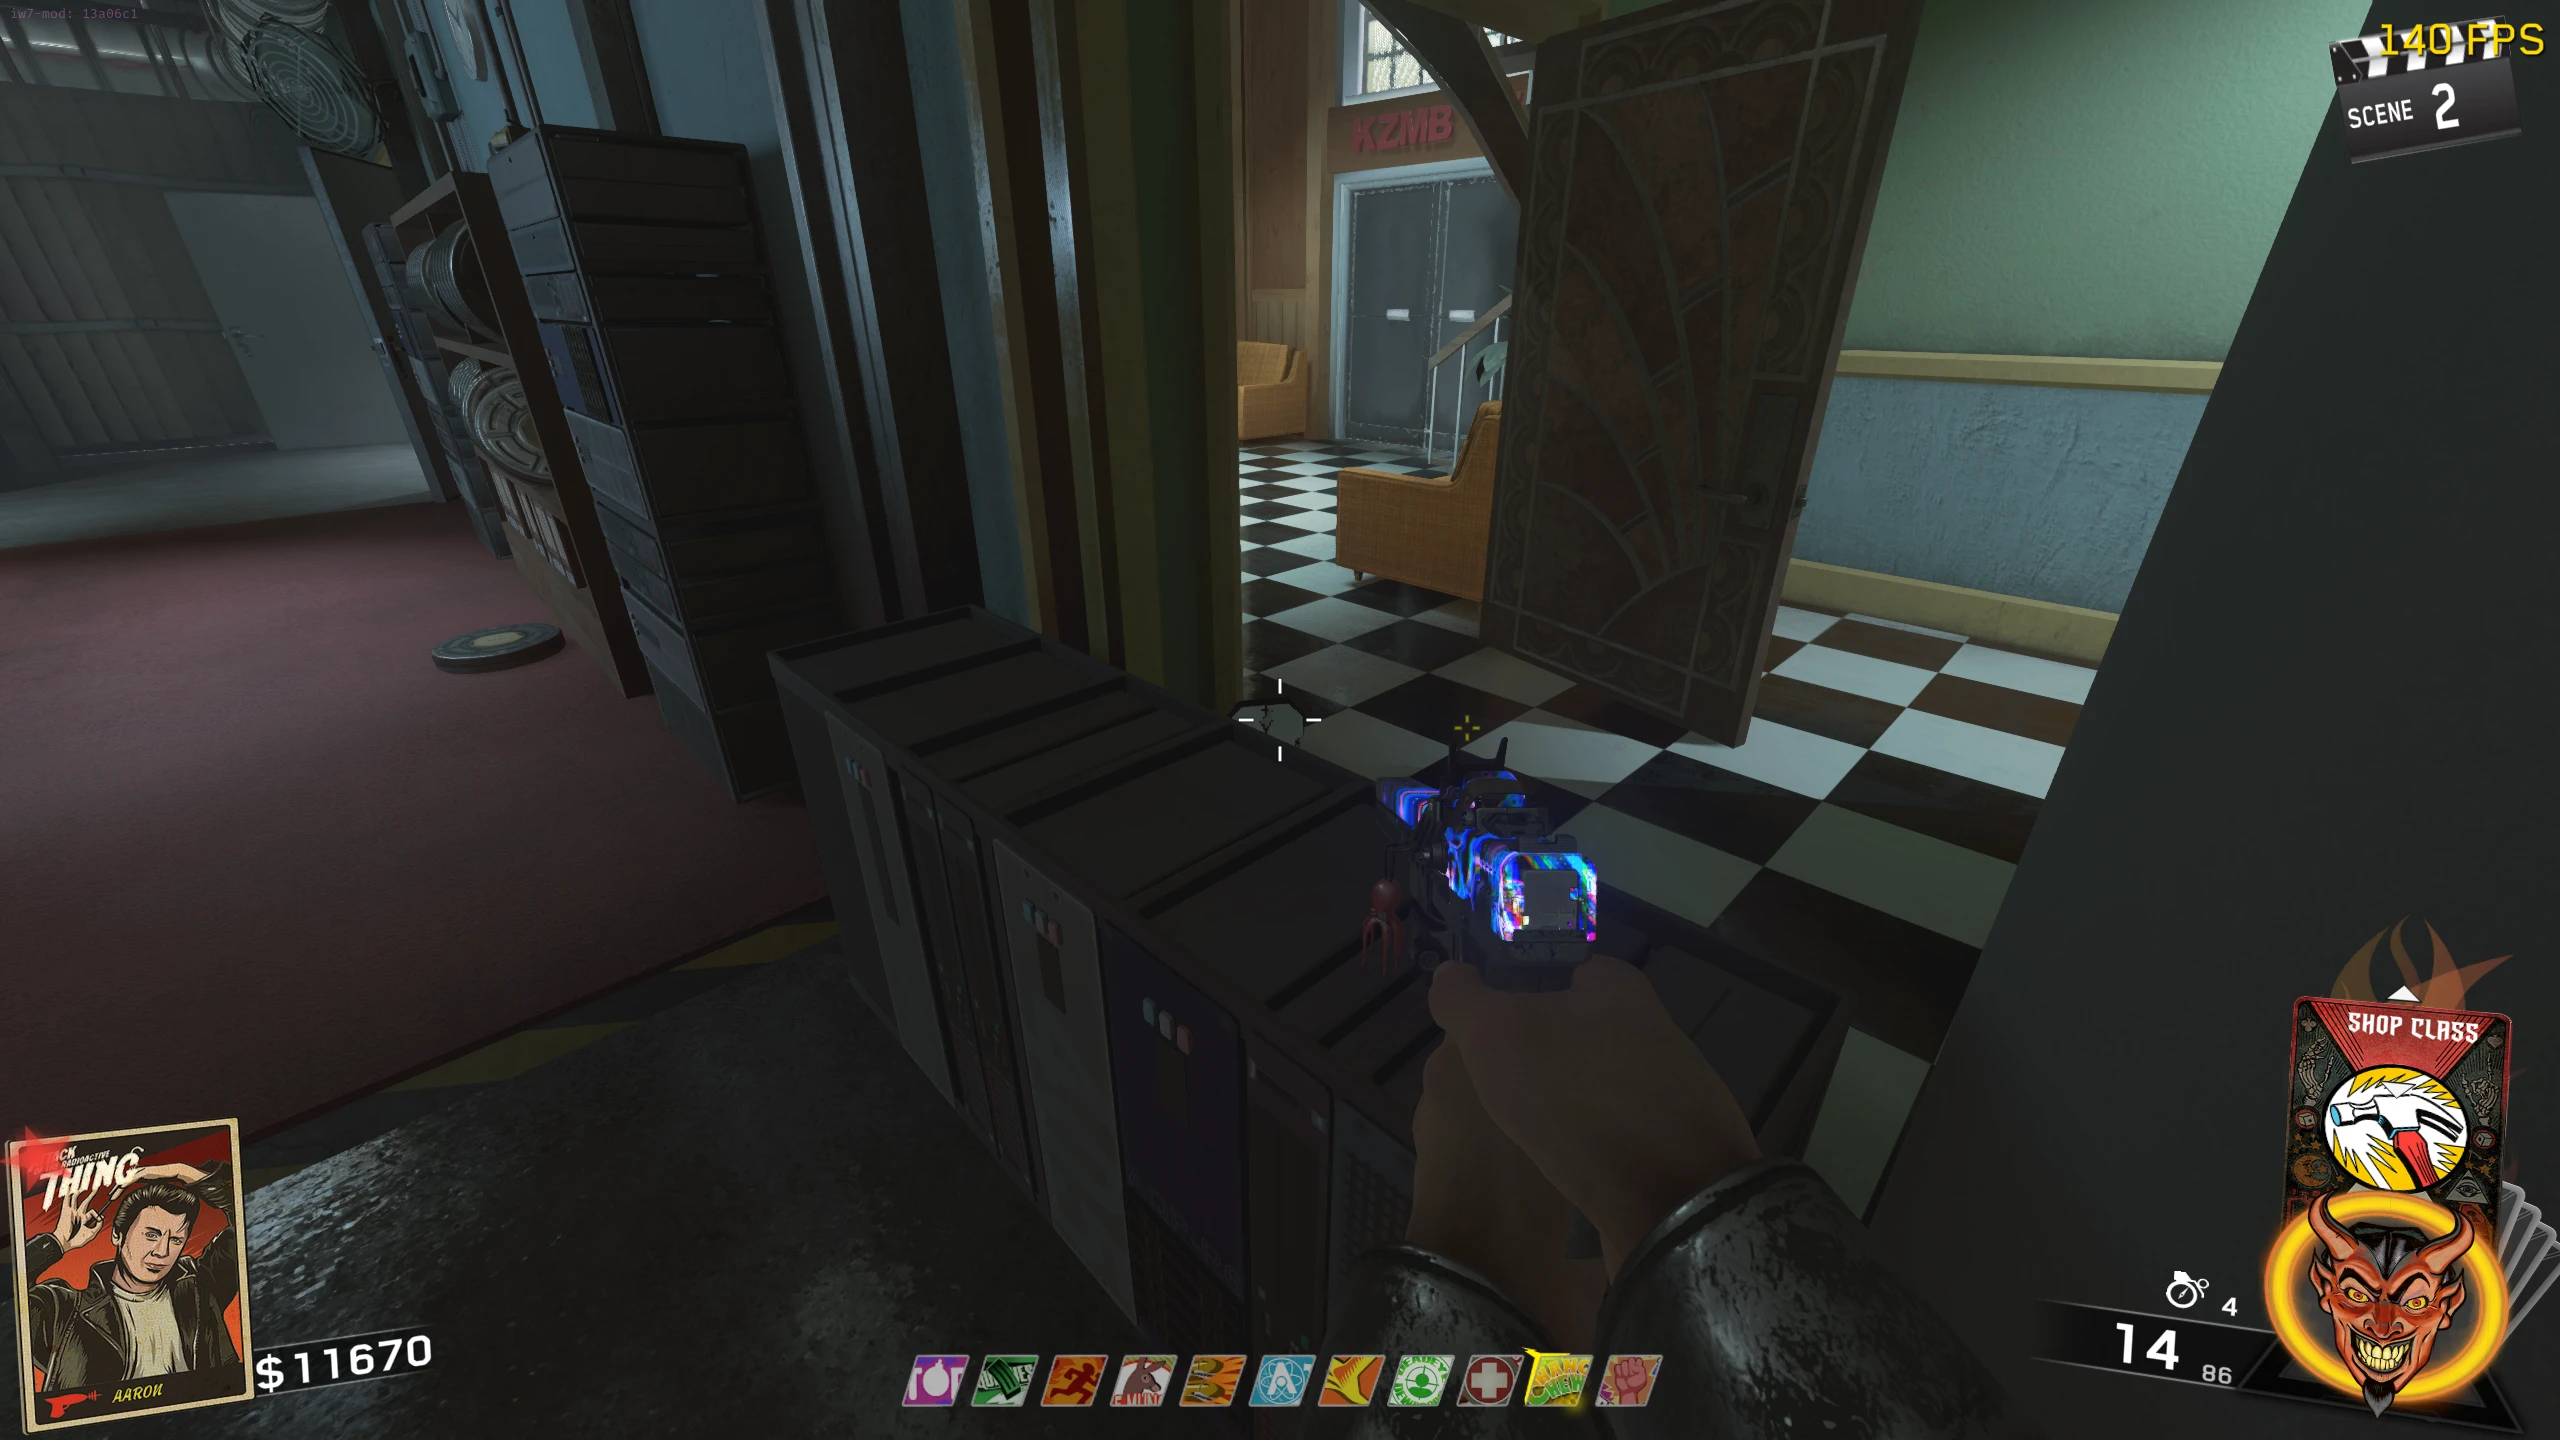
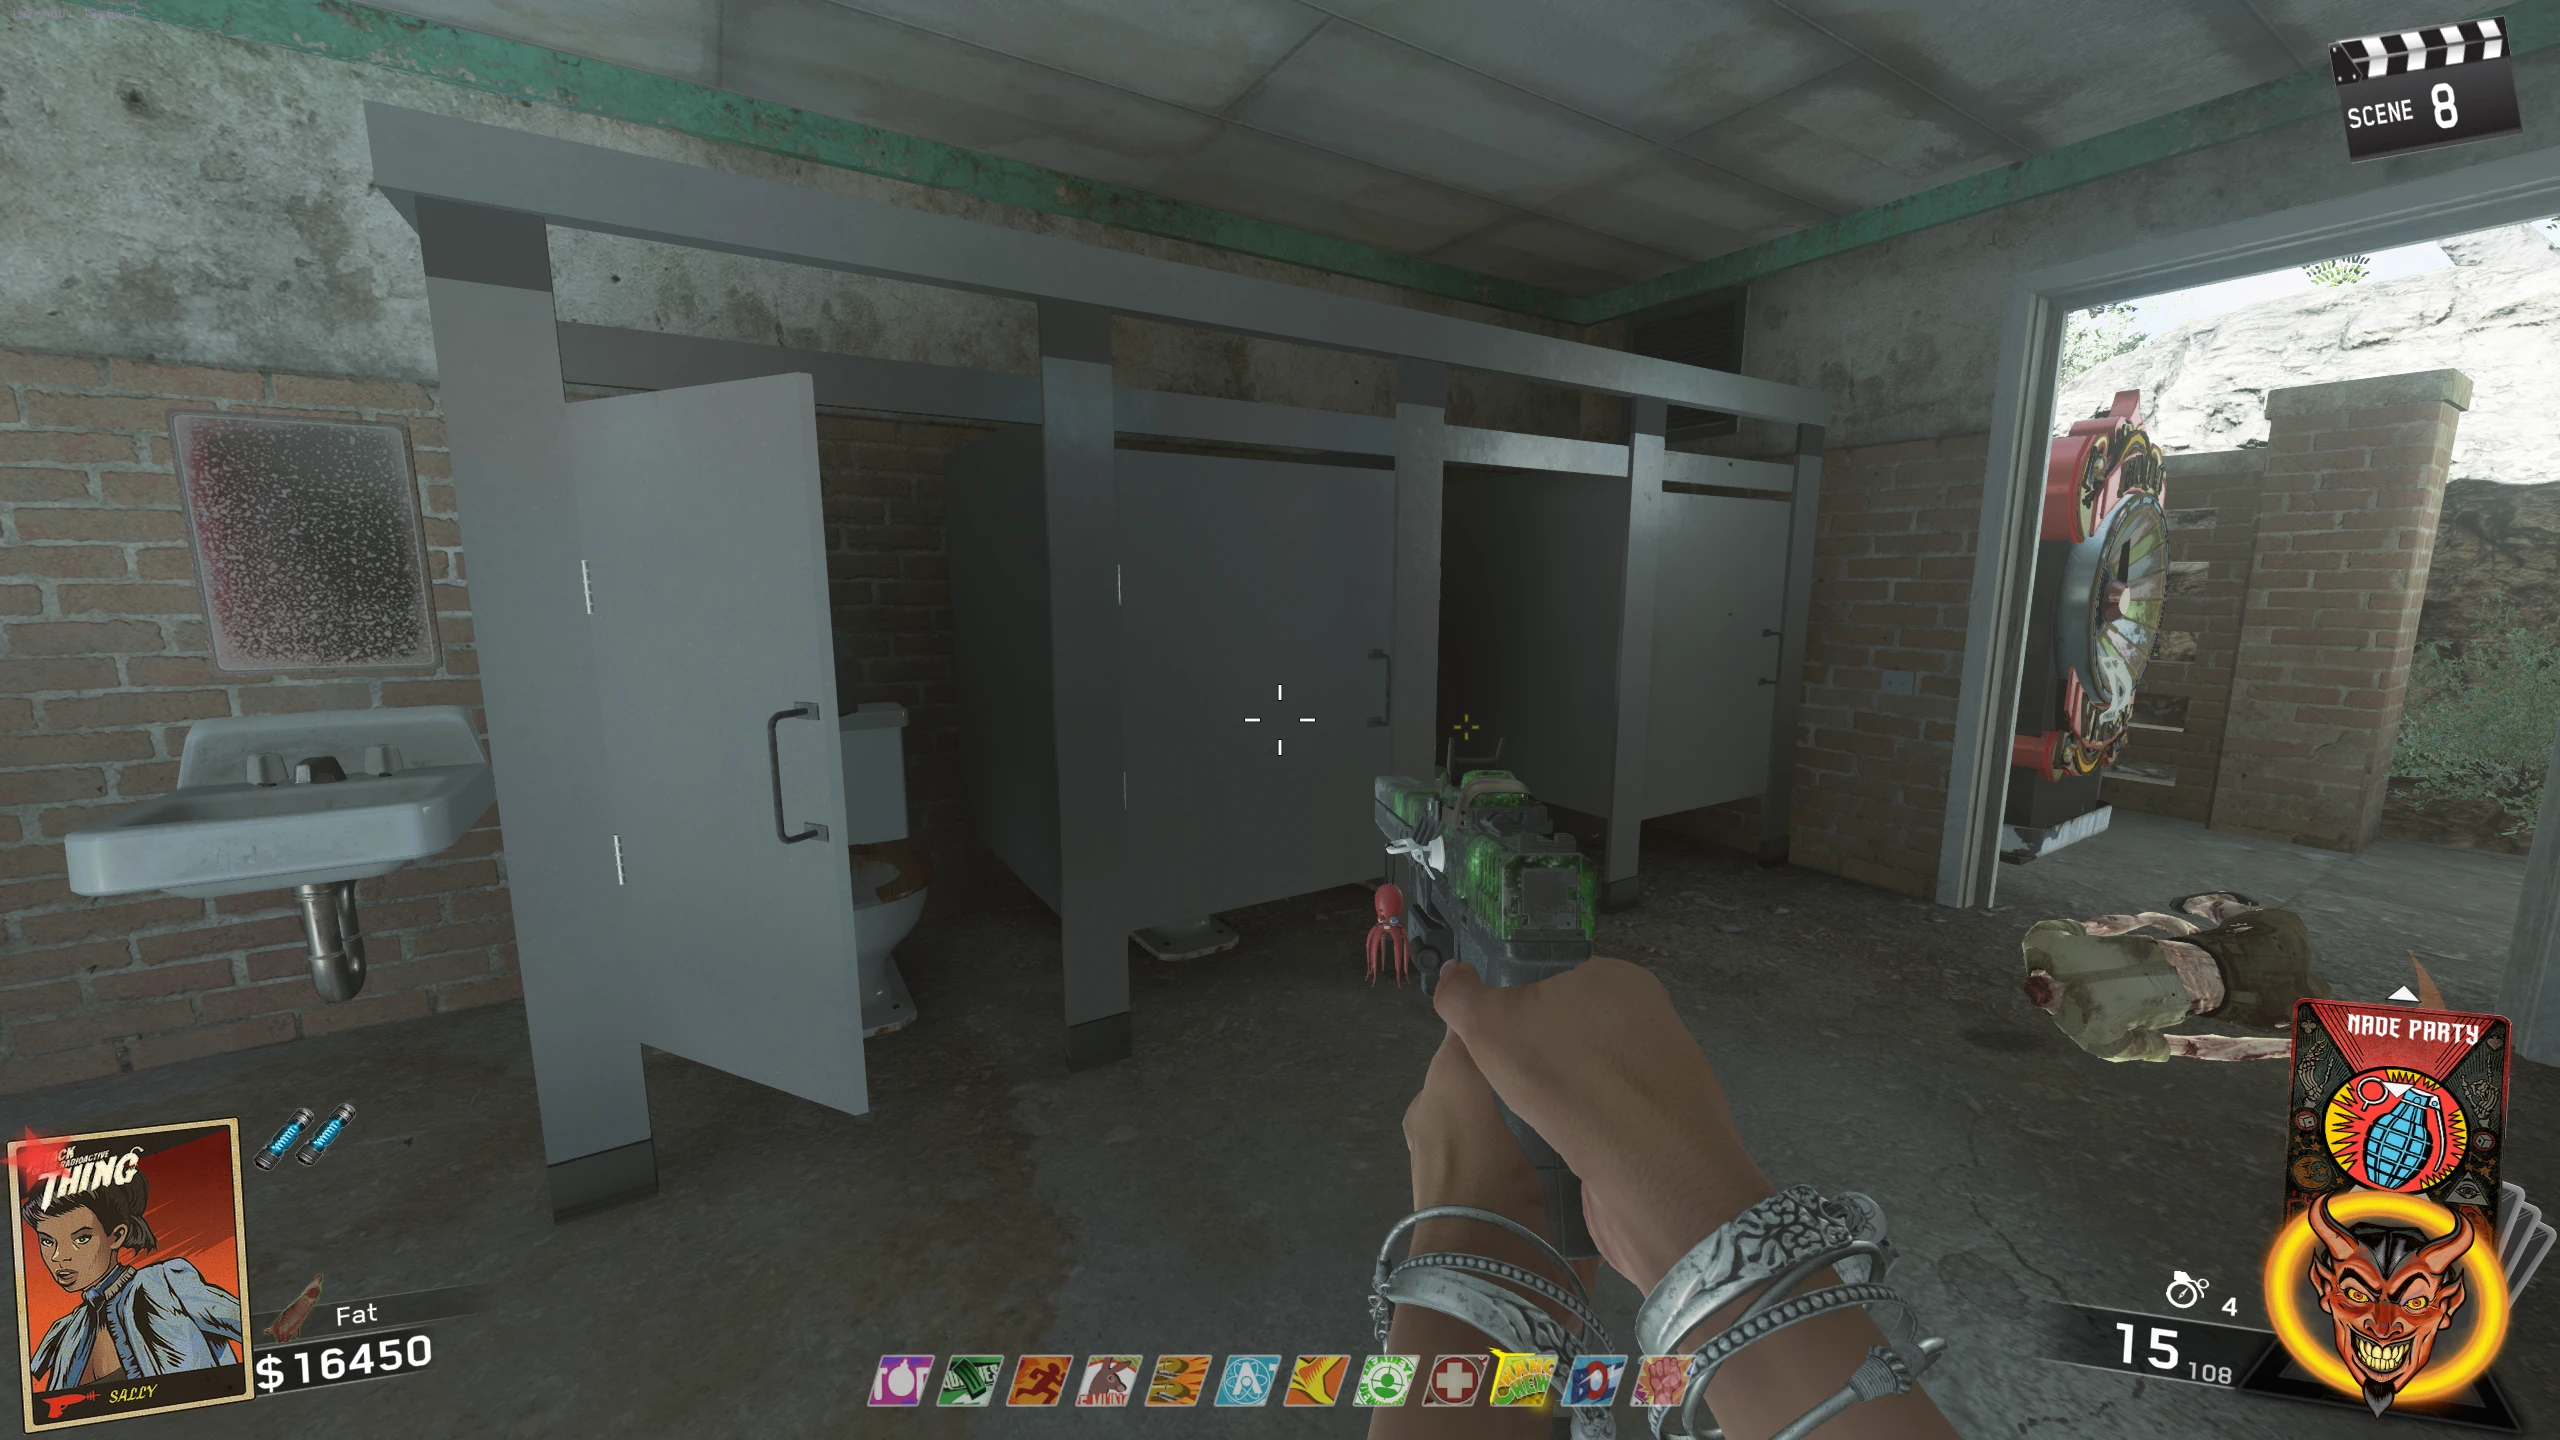
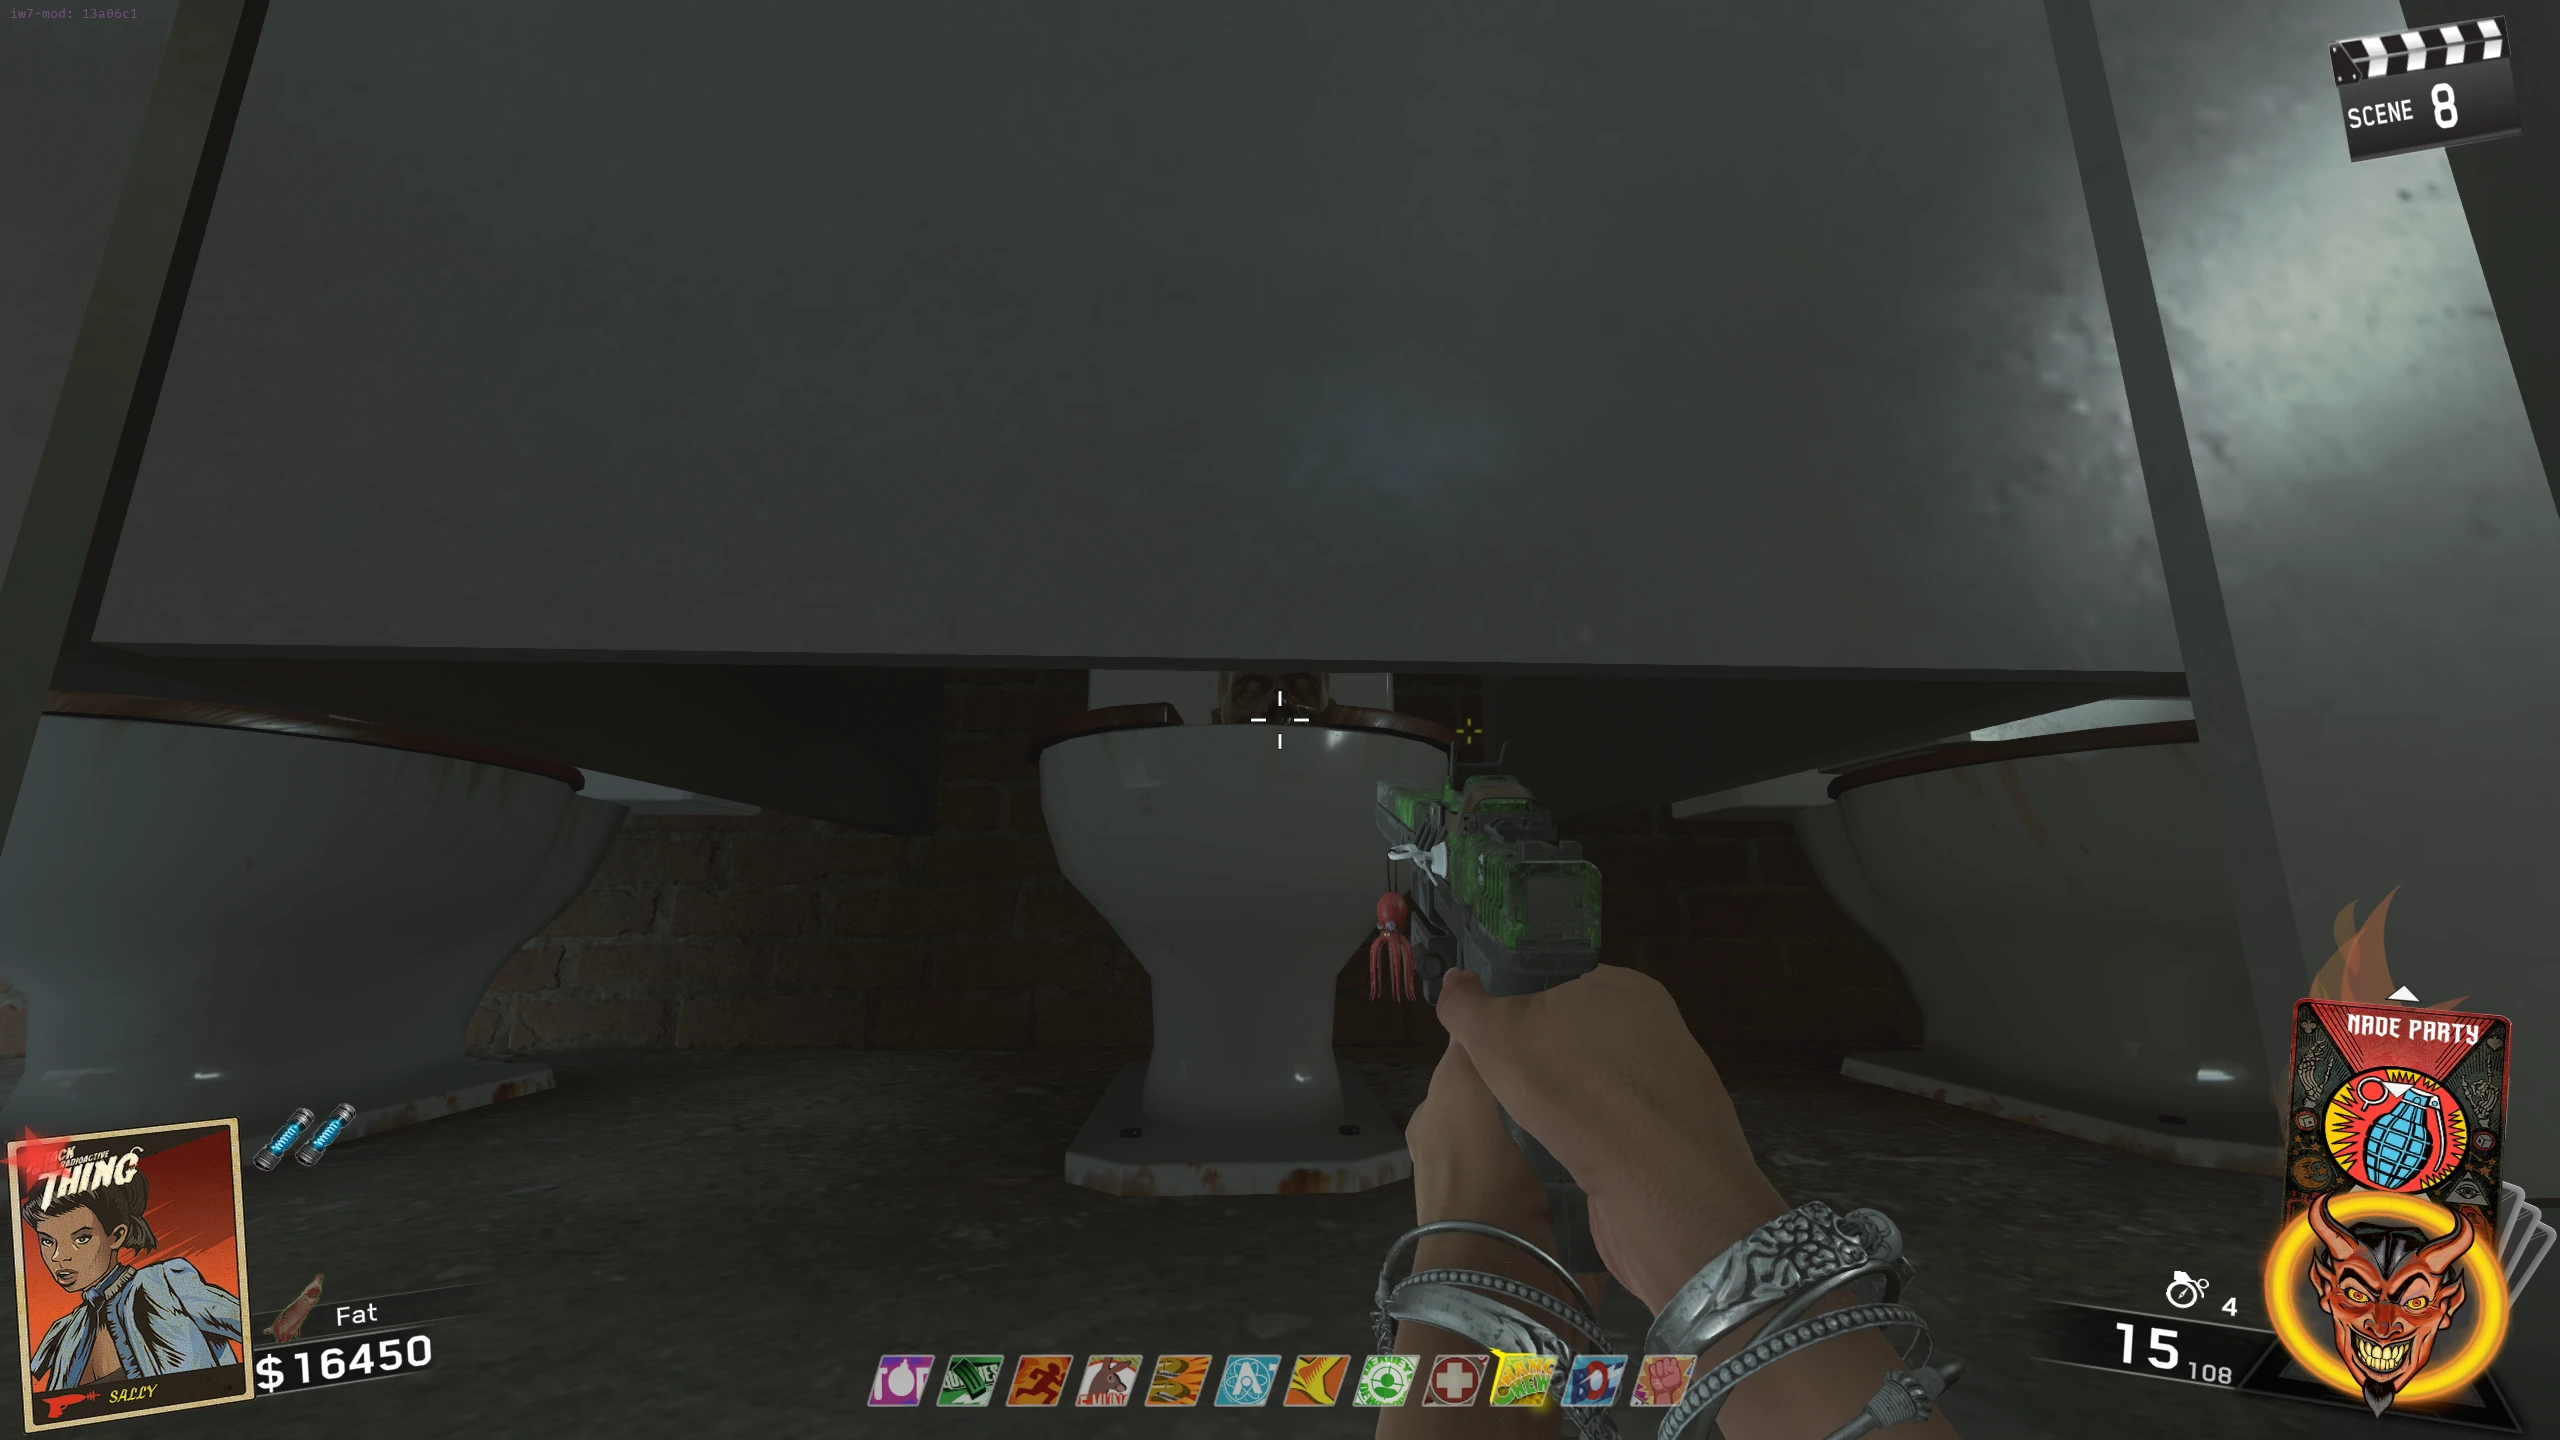
- Broken Mirror Piece - Obtain the Crowbar from the maintenance room of the Motel. Go to the RV Park bathroom, and melee the unbroken mirror. A piece of the mirror will fall into the sink below for you to pick up.
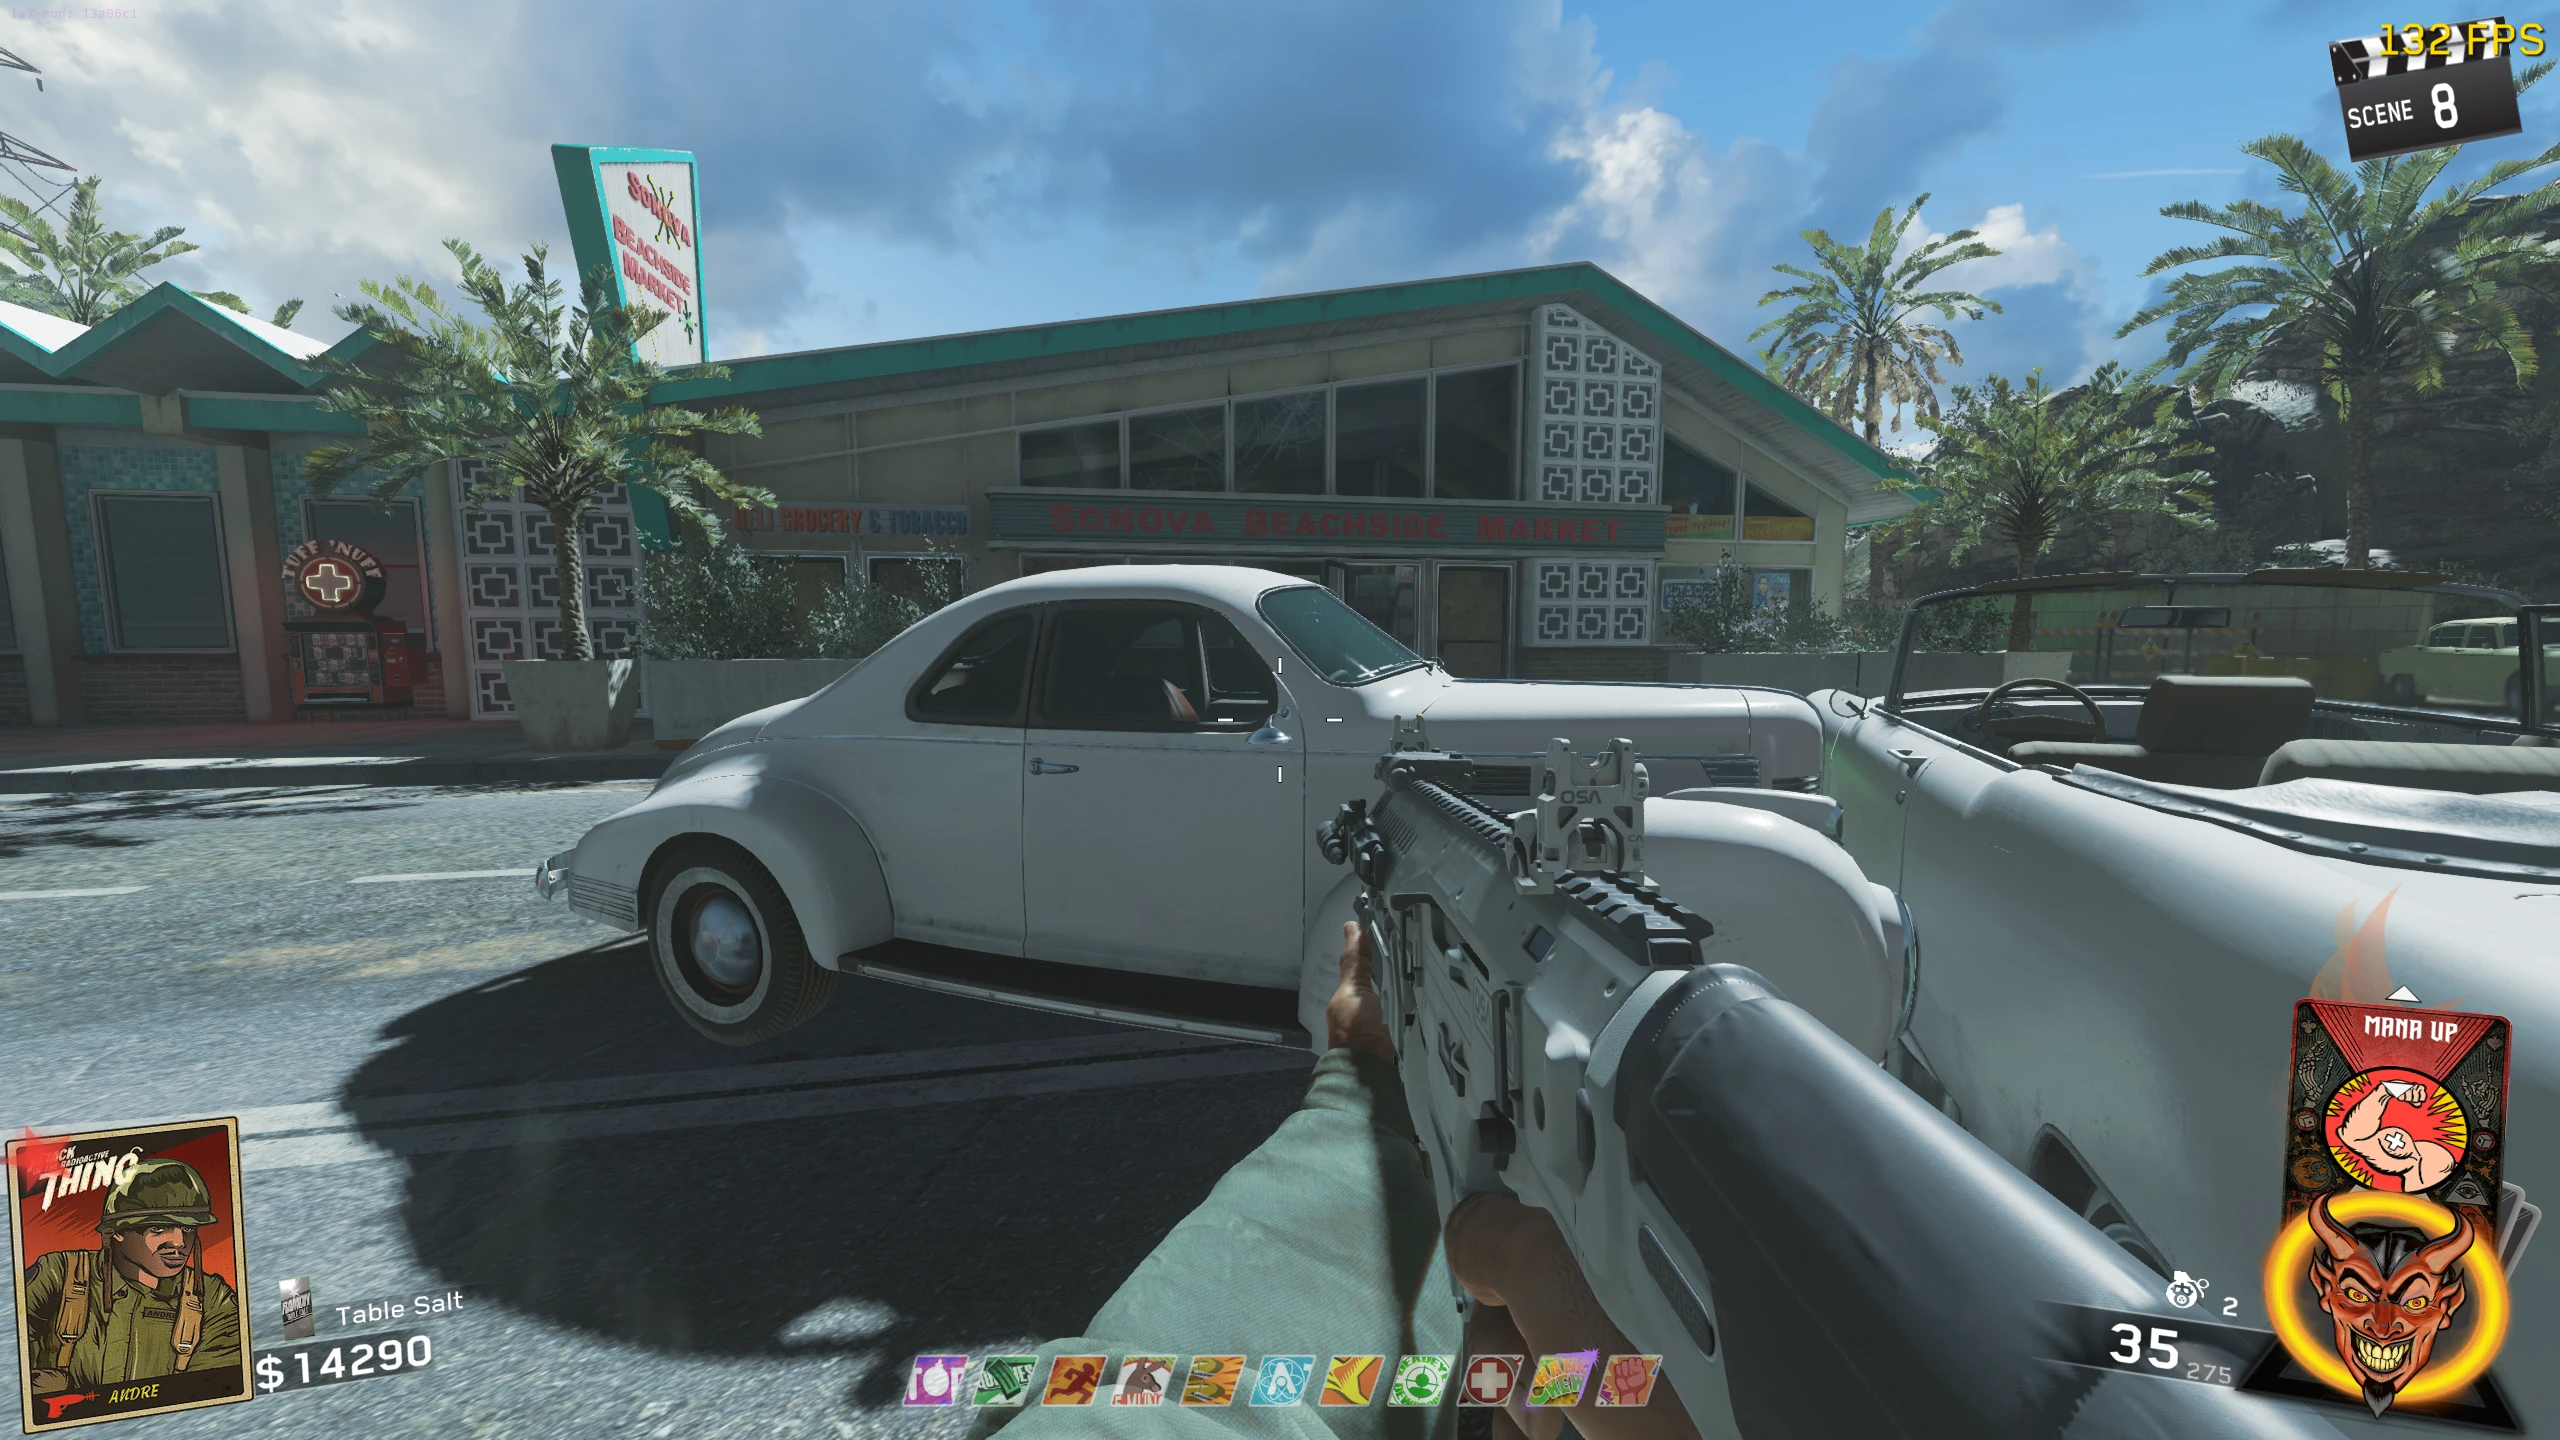
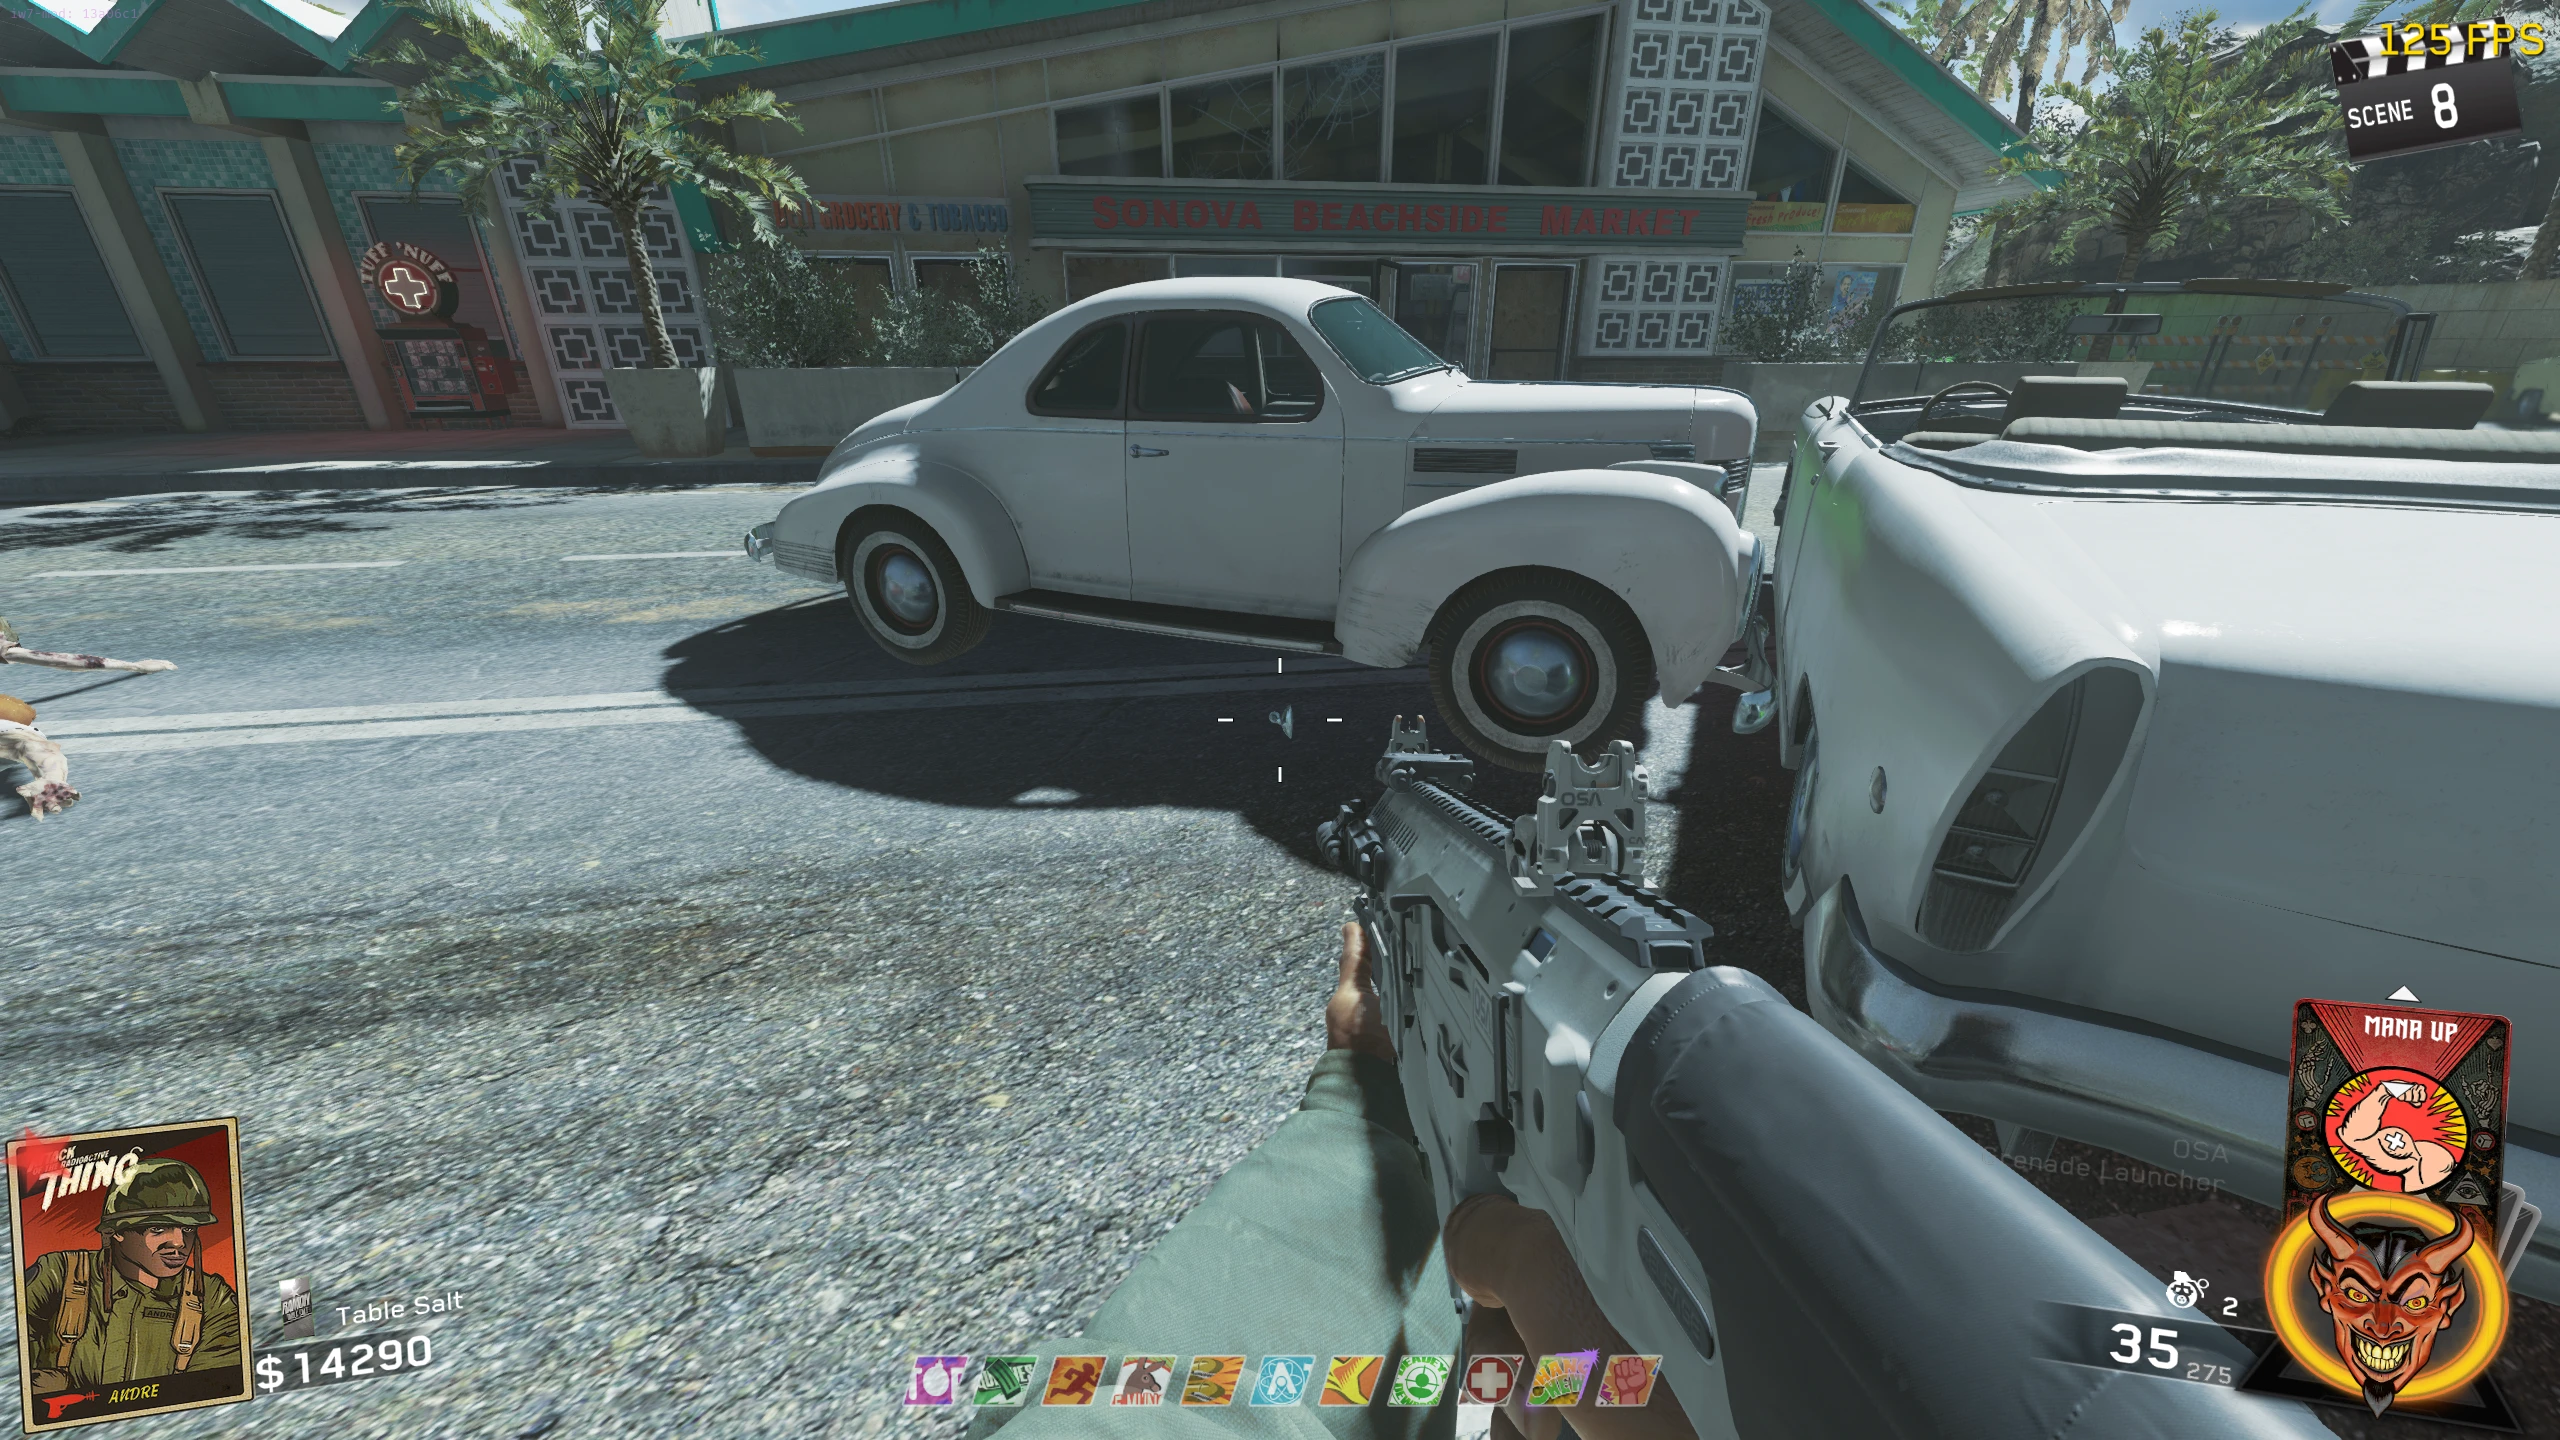
- Car Side Mirror - Obtain the Crowbar from the maintenance room of the Motel. On the main street, melee the right side mirror of the white car with a roof. The mirror will fall to the ground for you to pick up.
- Once you have all six body parts and the three pieces of glass, go to the spawn room (room with Up & Atoms) and place the body parts on the upright bed right of the tunnel out of the room. Then place the broken mirror on the table with the pill bottles left of the body. Place Elvira's Mirror on the crates, right of the Zombie spawn, right of the body. Place the Car Mirror on the large crate, across from/to the right of Up & Atoms.
- Pick up the punch card on the desk in the backroom of the Ice Cream Parlour.
- Interact with the machine in spawn (right of the car mirror) to give it the punch card.
- Interact with the machine again to begin inputting numbers. To input a number, you must press the interact button (or left click on PC) when that number's light is lit up (the numbers are 0-9, so the first light on the left is 0). Your goal is to find your combination of the numbers 3, 4, 5, 6, and 8. The numbers can be in any order, but they don't repeat.
- You have to just simply do trial and error to find the combination, as there's no way to know what the correct answer is.
- If you input three wrong numbers, you will be kicked off the machine, but you can try again immediately. The number combination doesn't reset when you fail, so if you get 864, and then fail, you can get back on the machine and enter 864 again to get back where you were.
- Taking damage from a Zombie will kick you off the machine.
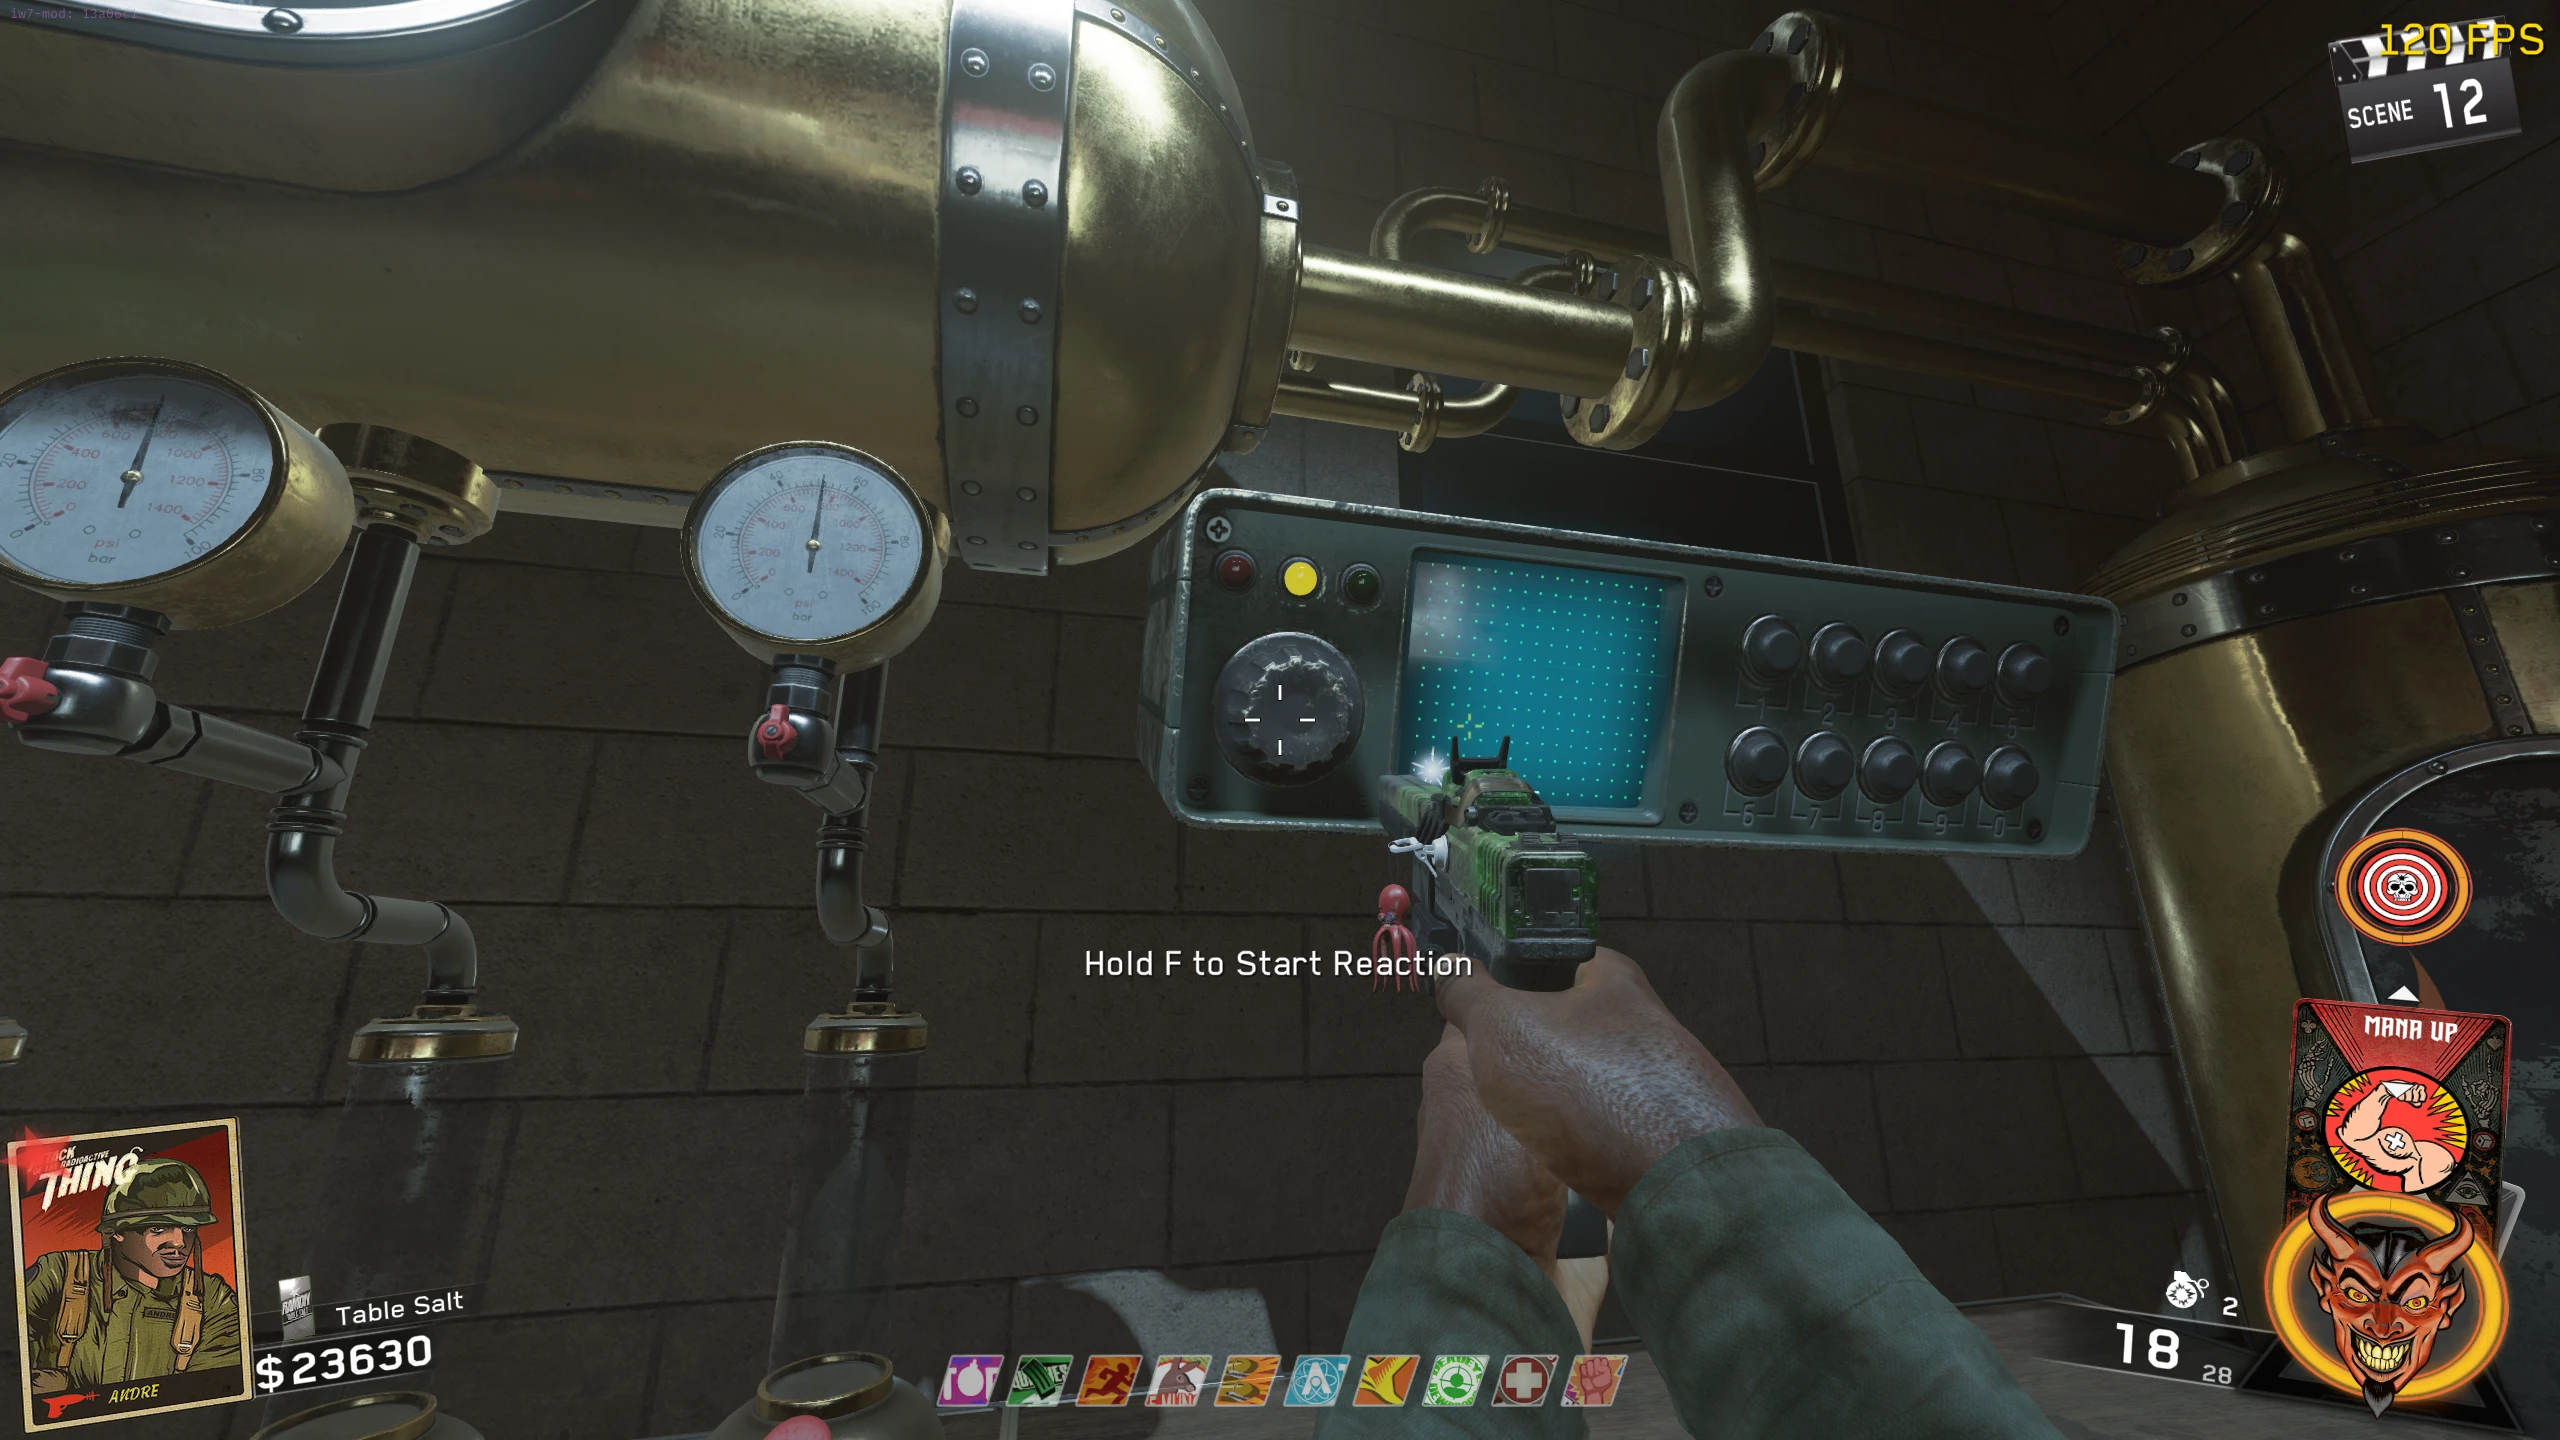
- Once you get your correct number order, make sure to remember the number, it will be used later. Interact with the machine again; this will cause a laser beam to bounce around the room, eventually hitting the body parts to form a full Zombie.
- You must now interact with the machine again and input your number backwards. Once input, interact with the machine and the Zombie will become a key for you to pick up.
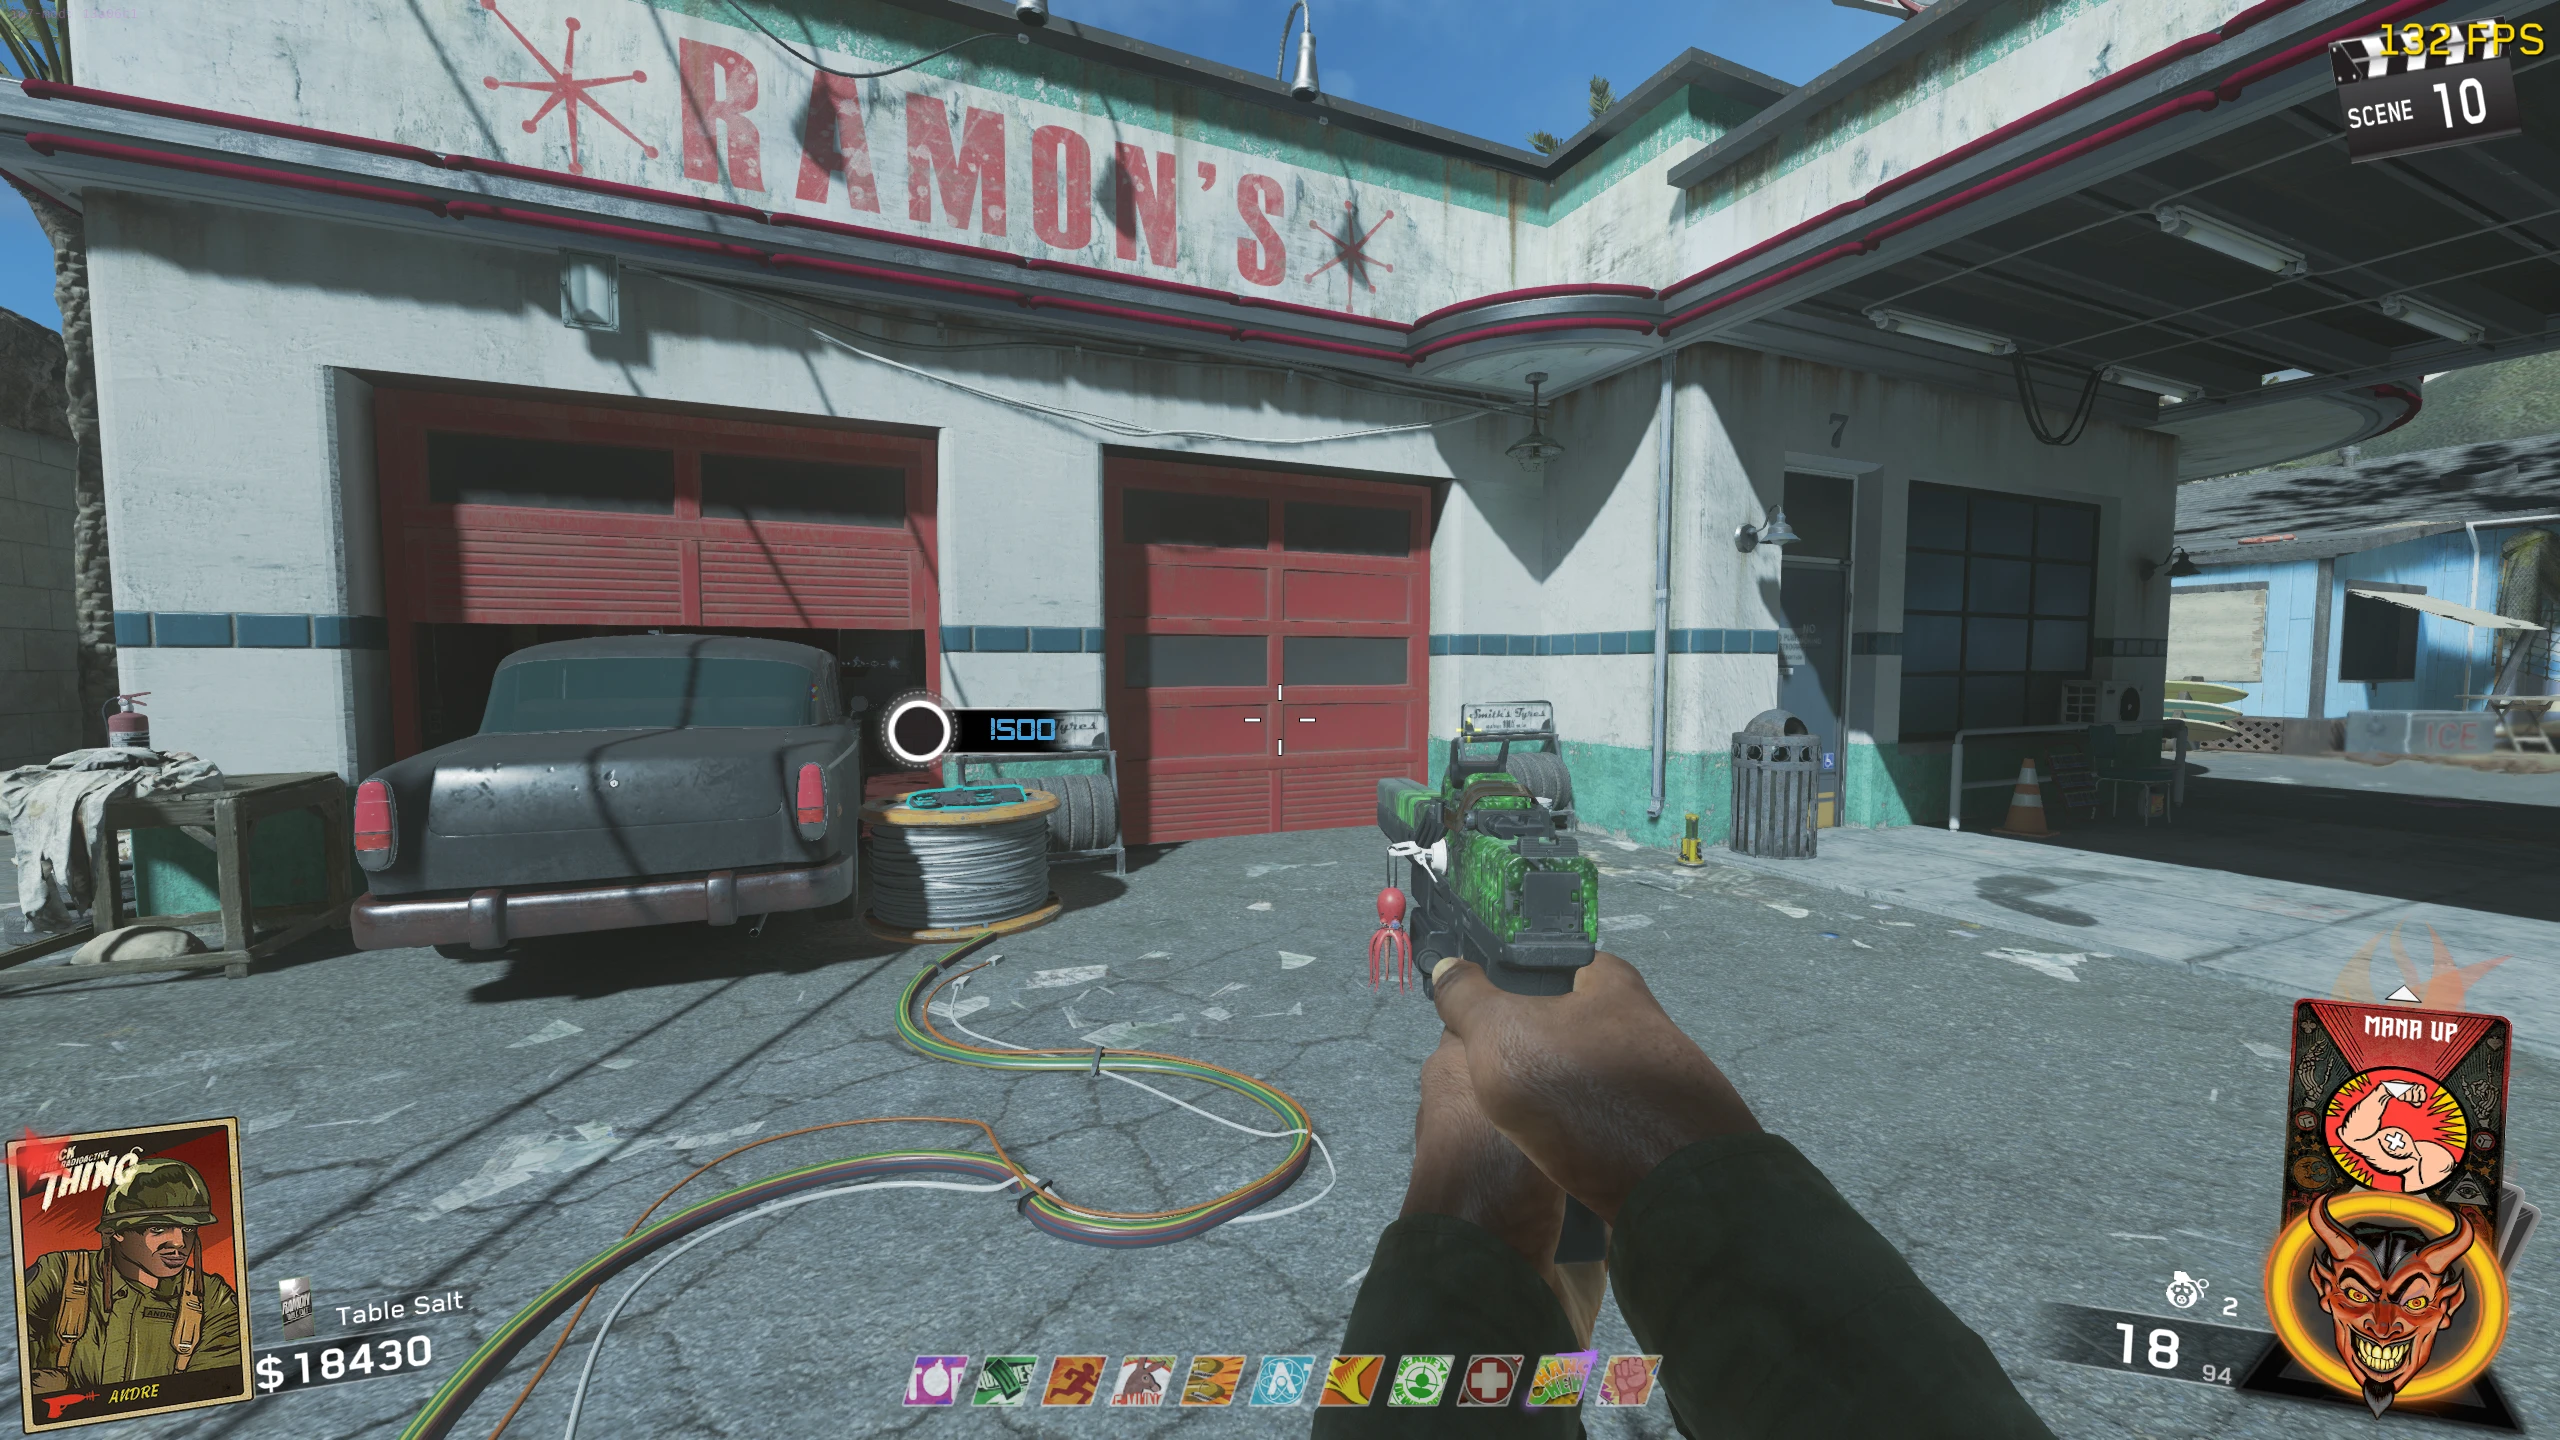
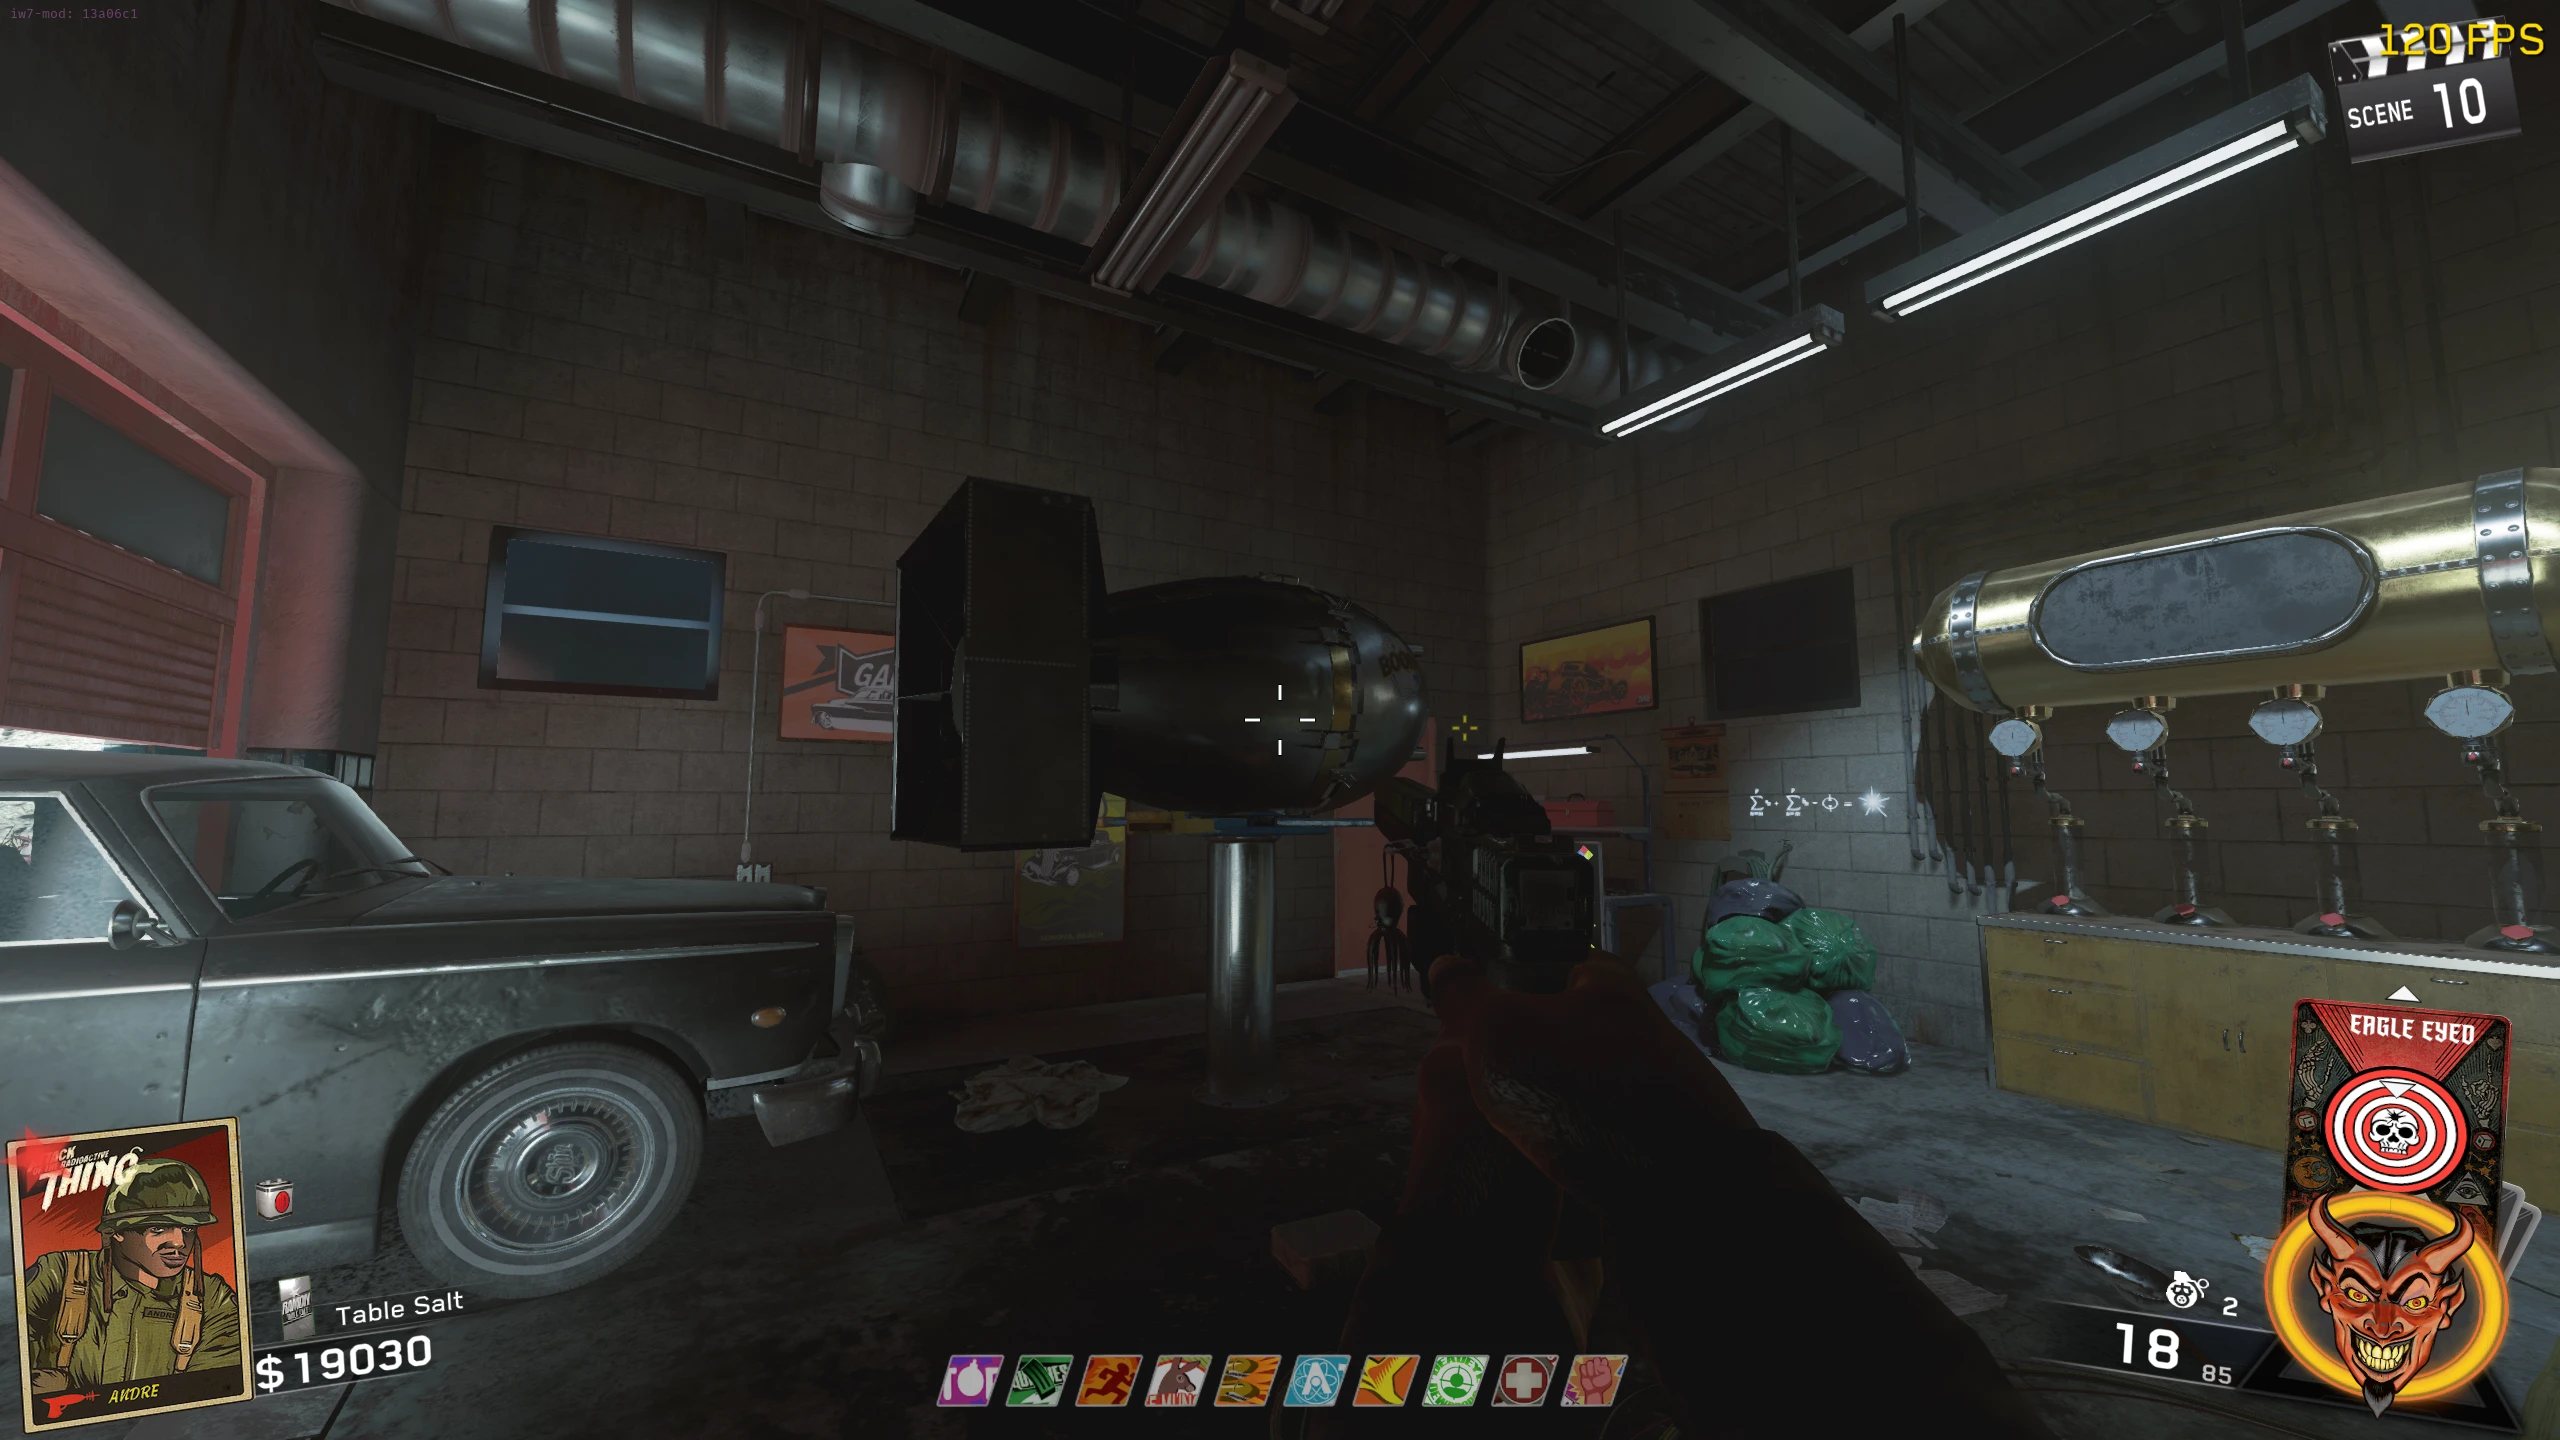
- Interact with the Garage Door of the Gas Station on the main street to open it.
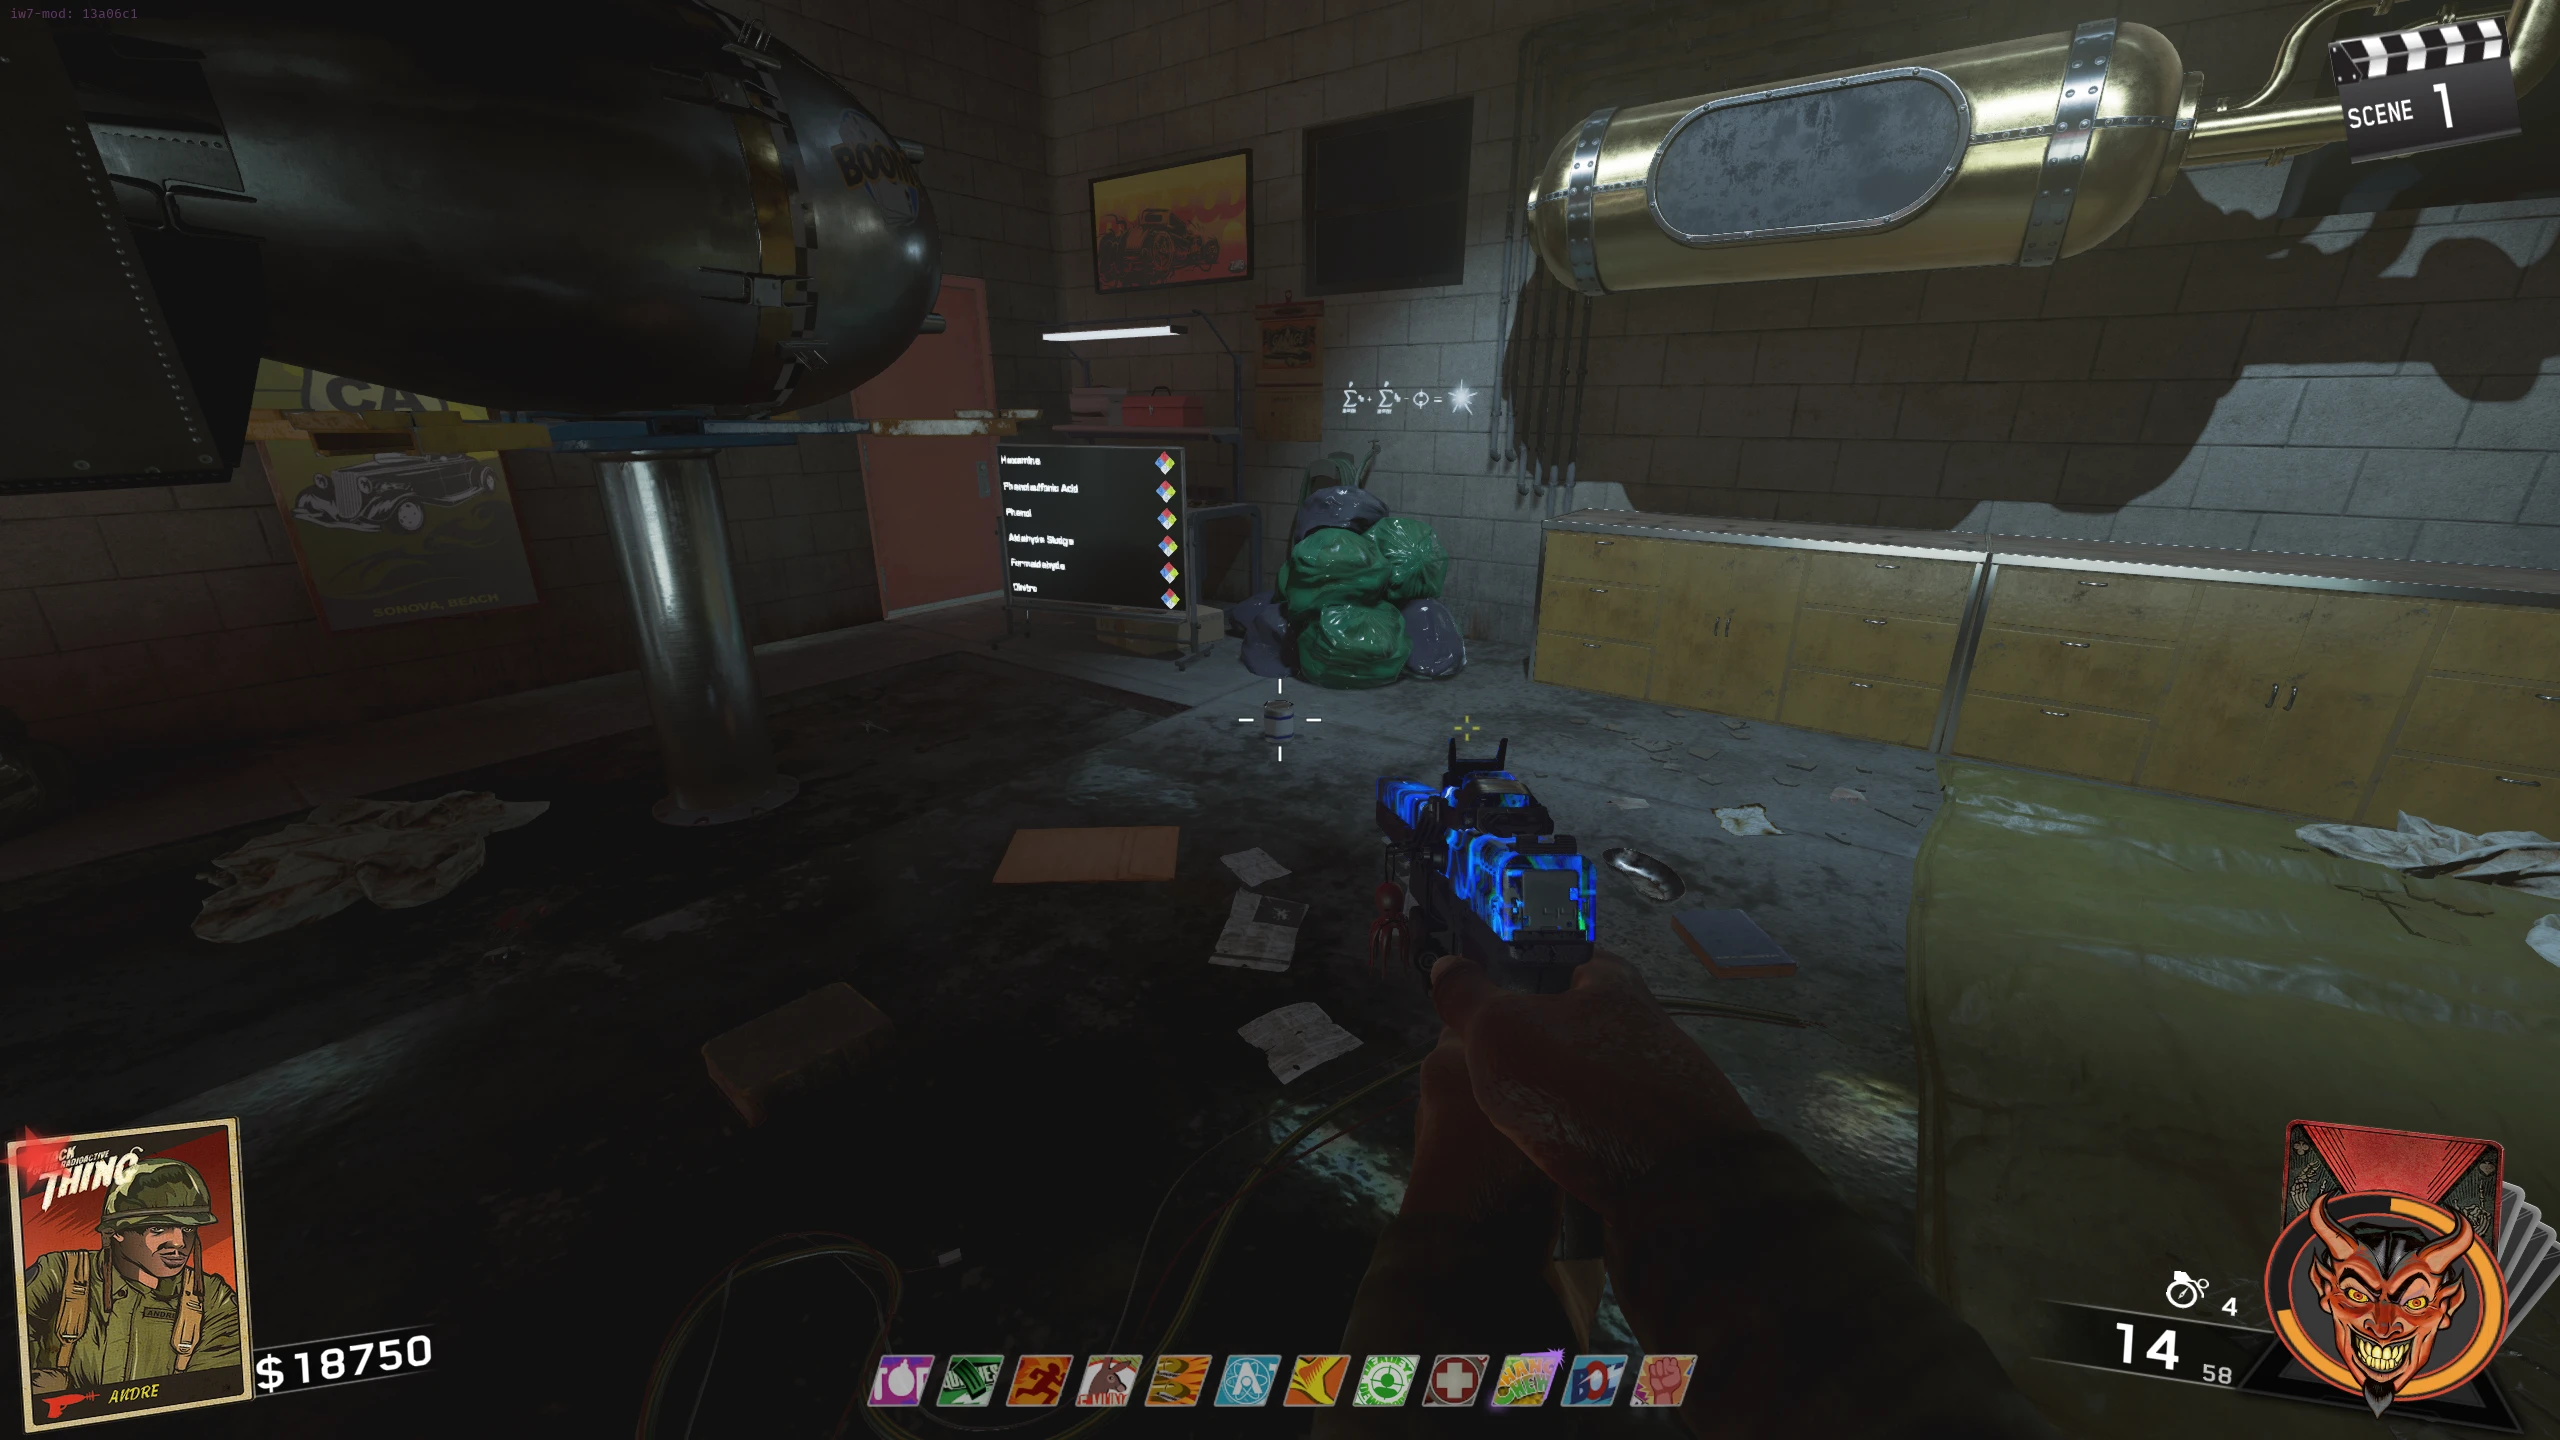
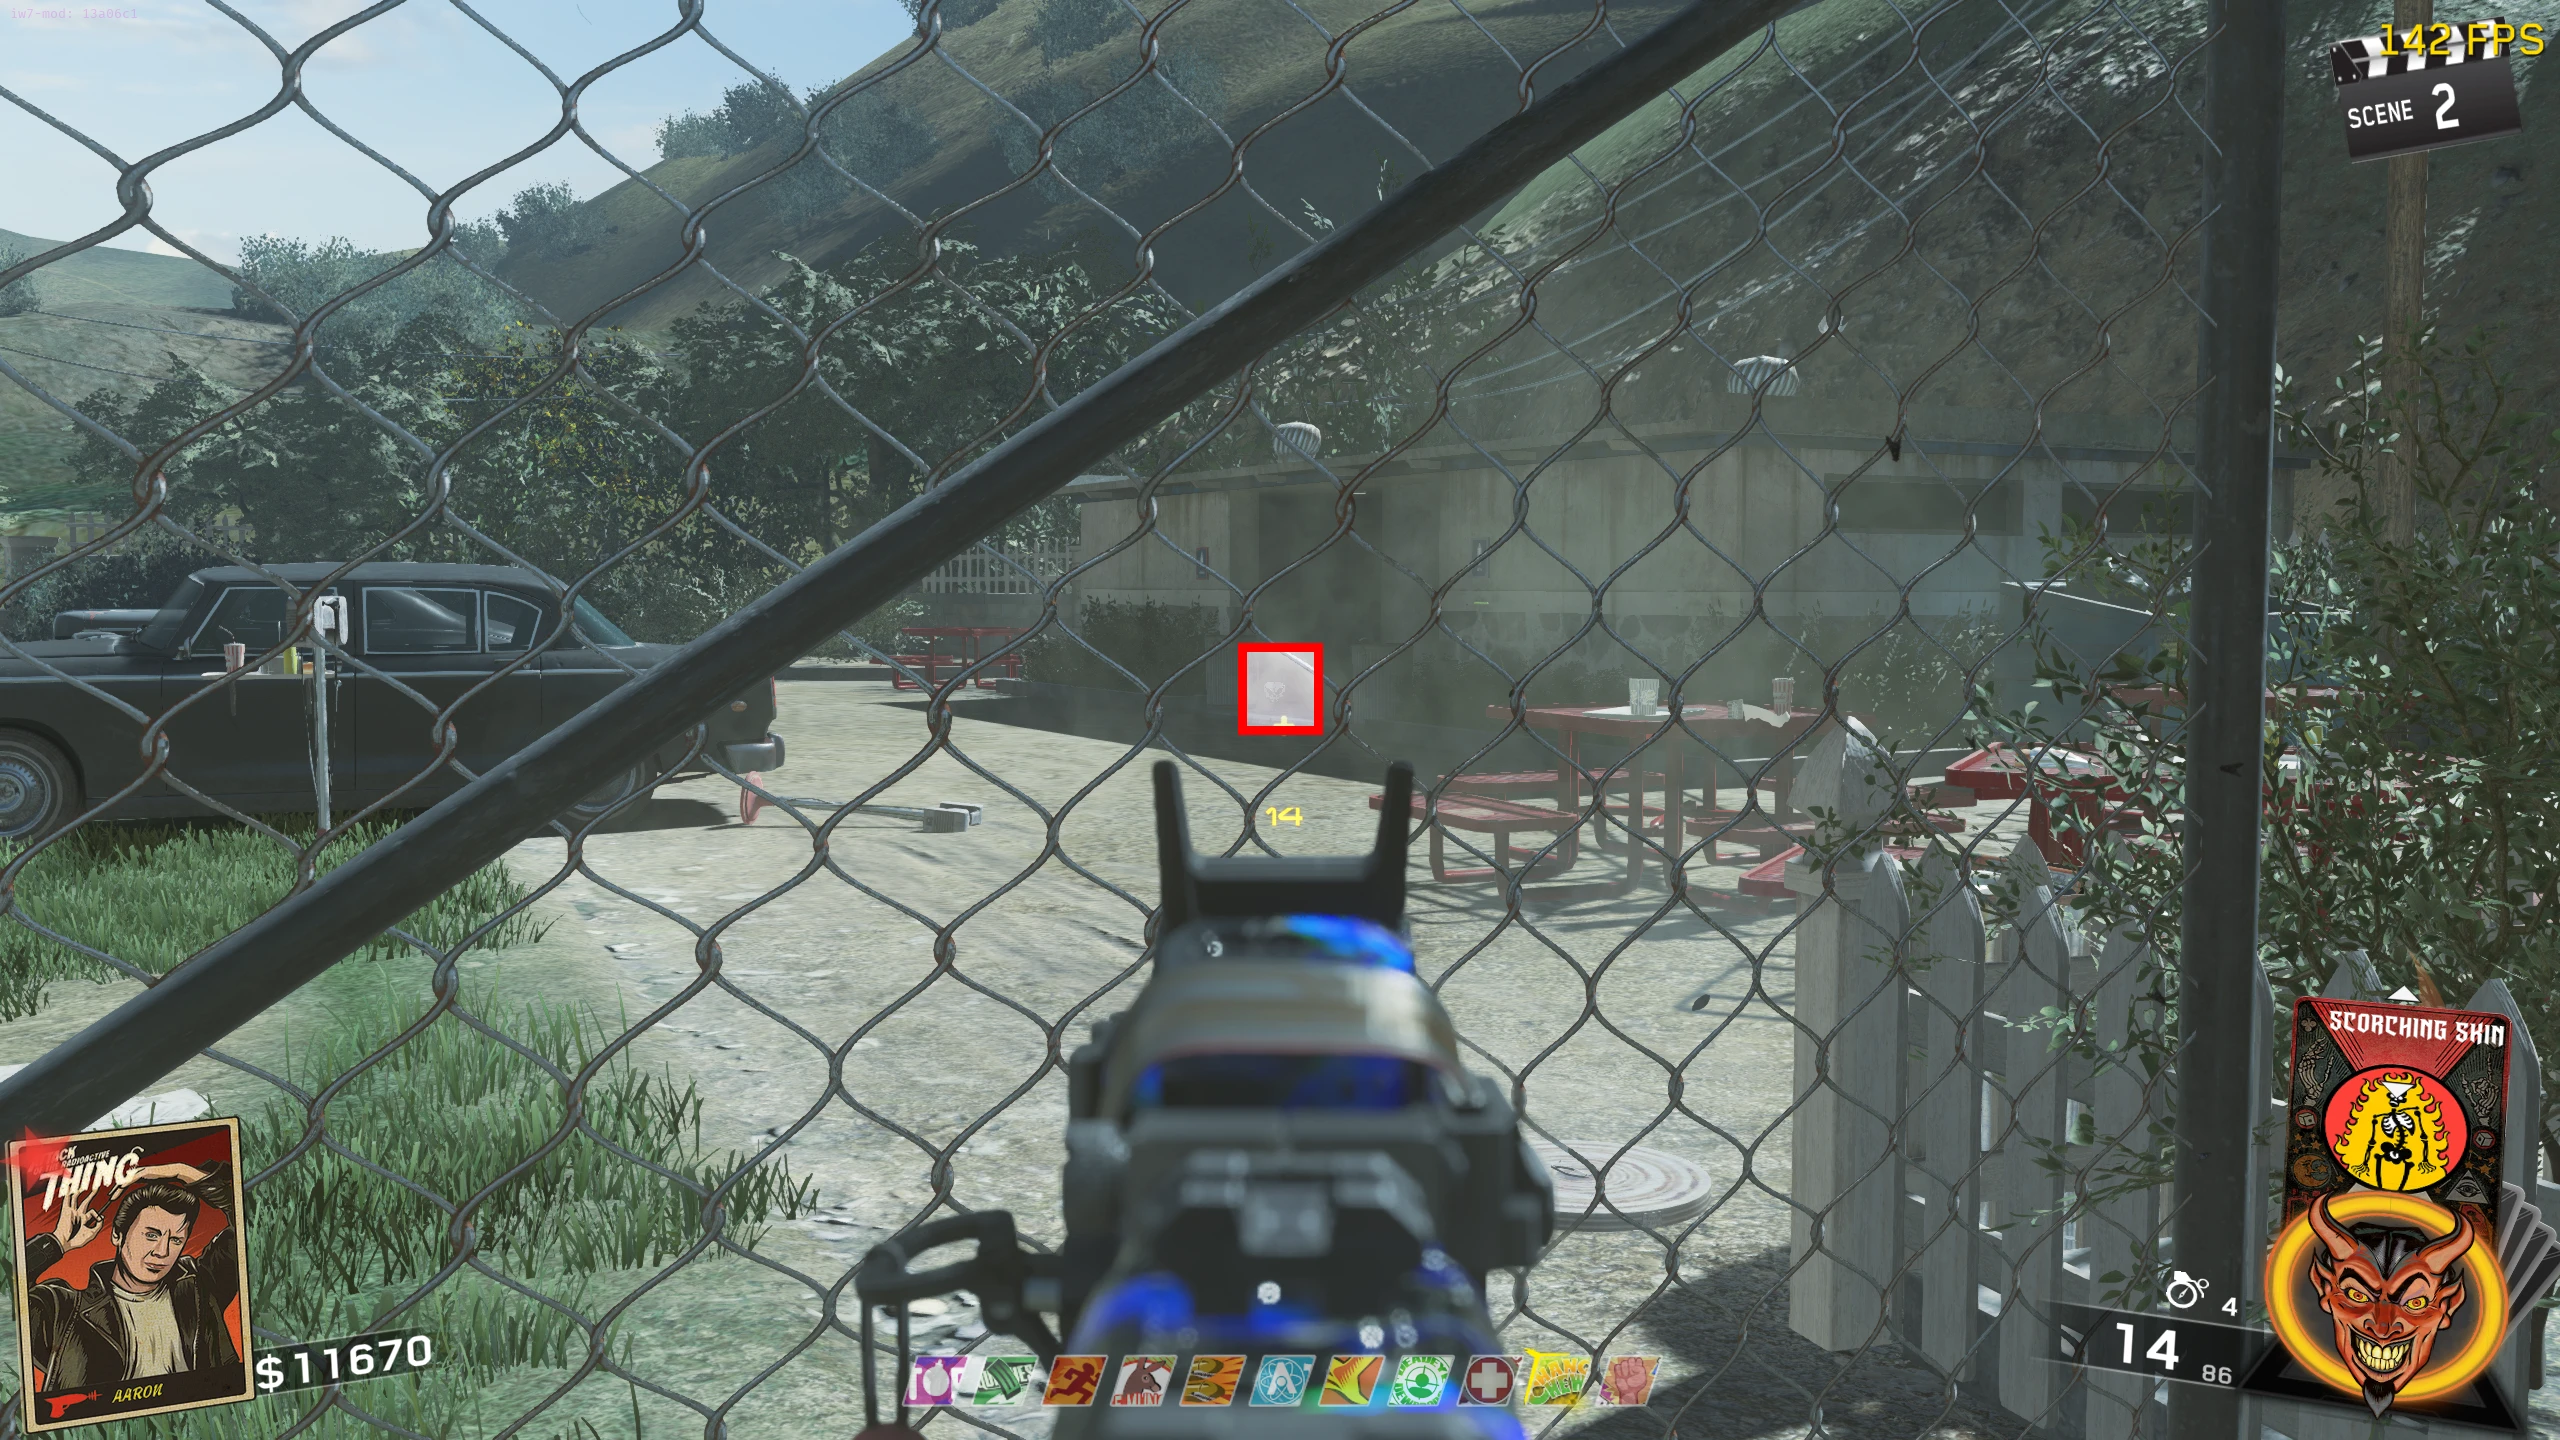
- You must now collect three parts, a Tube, a Gauge, and a Screen, to build a Chemistry Set in the garage.
- Tube - On the couch in the backroom of the Market
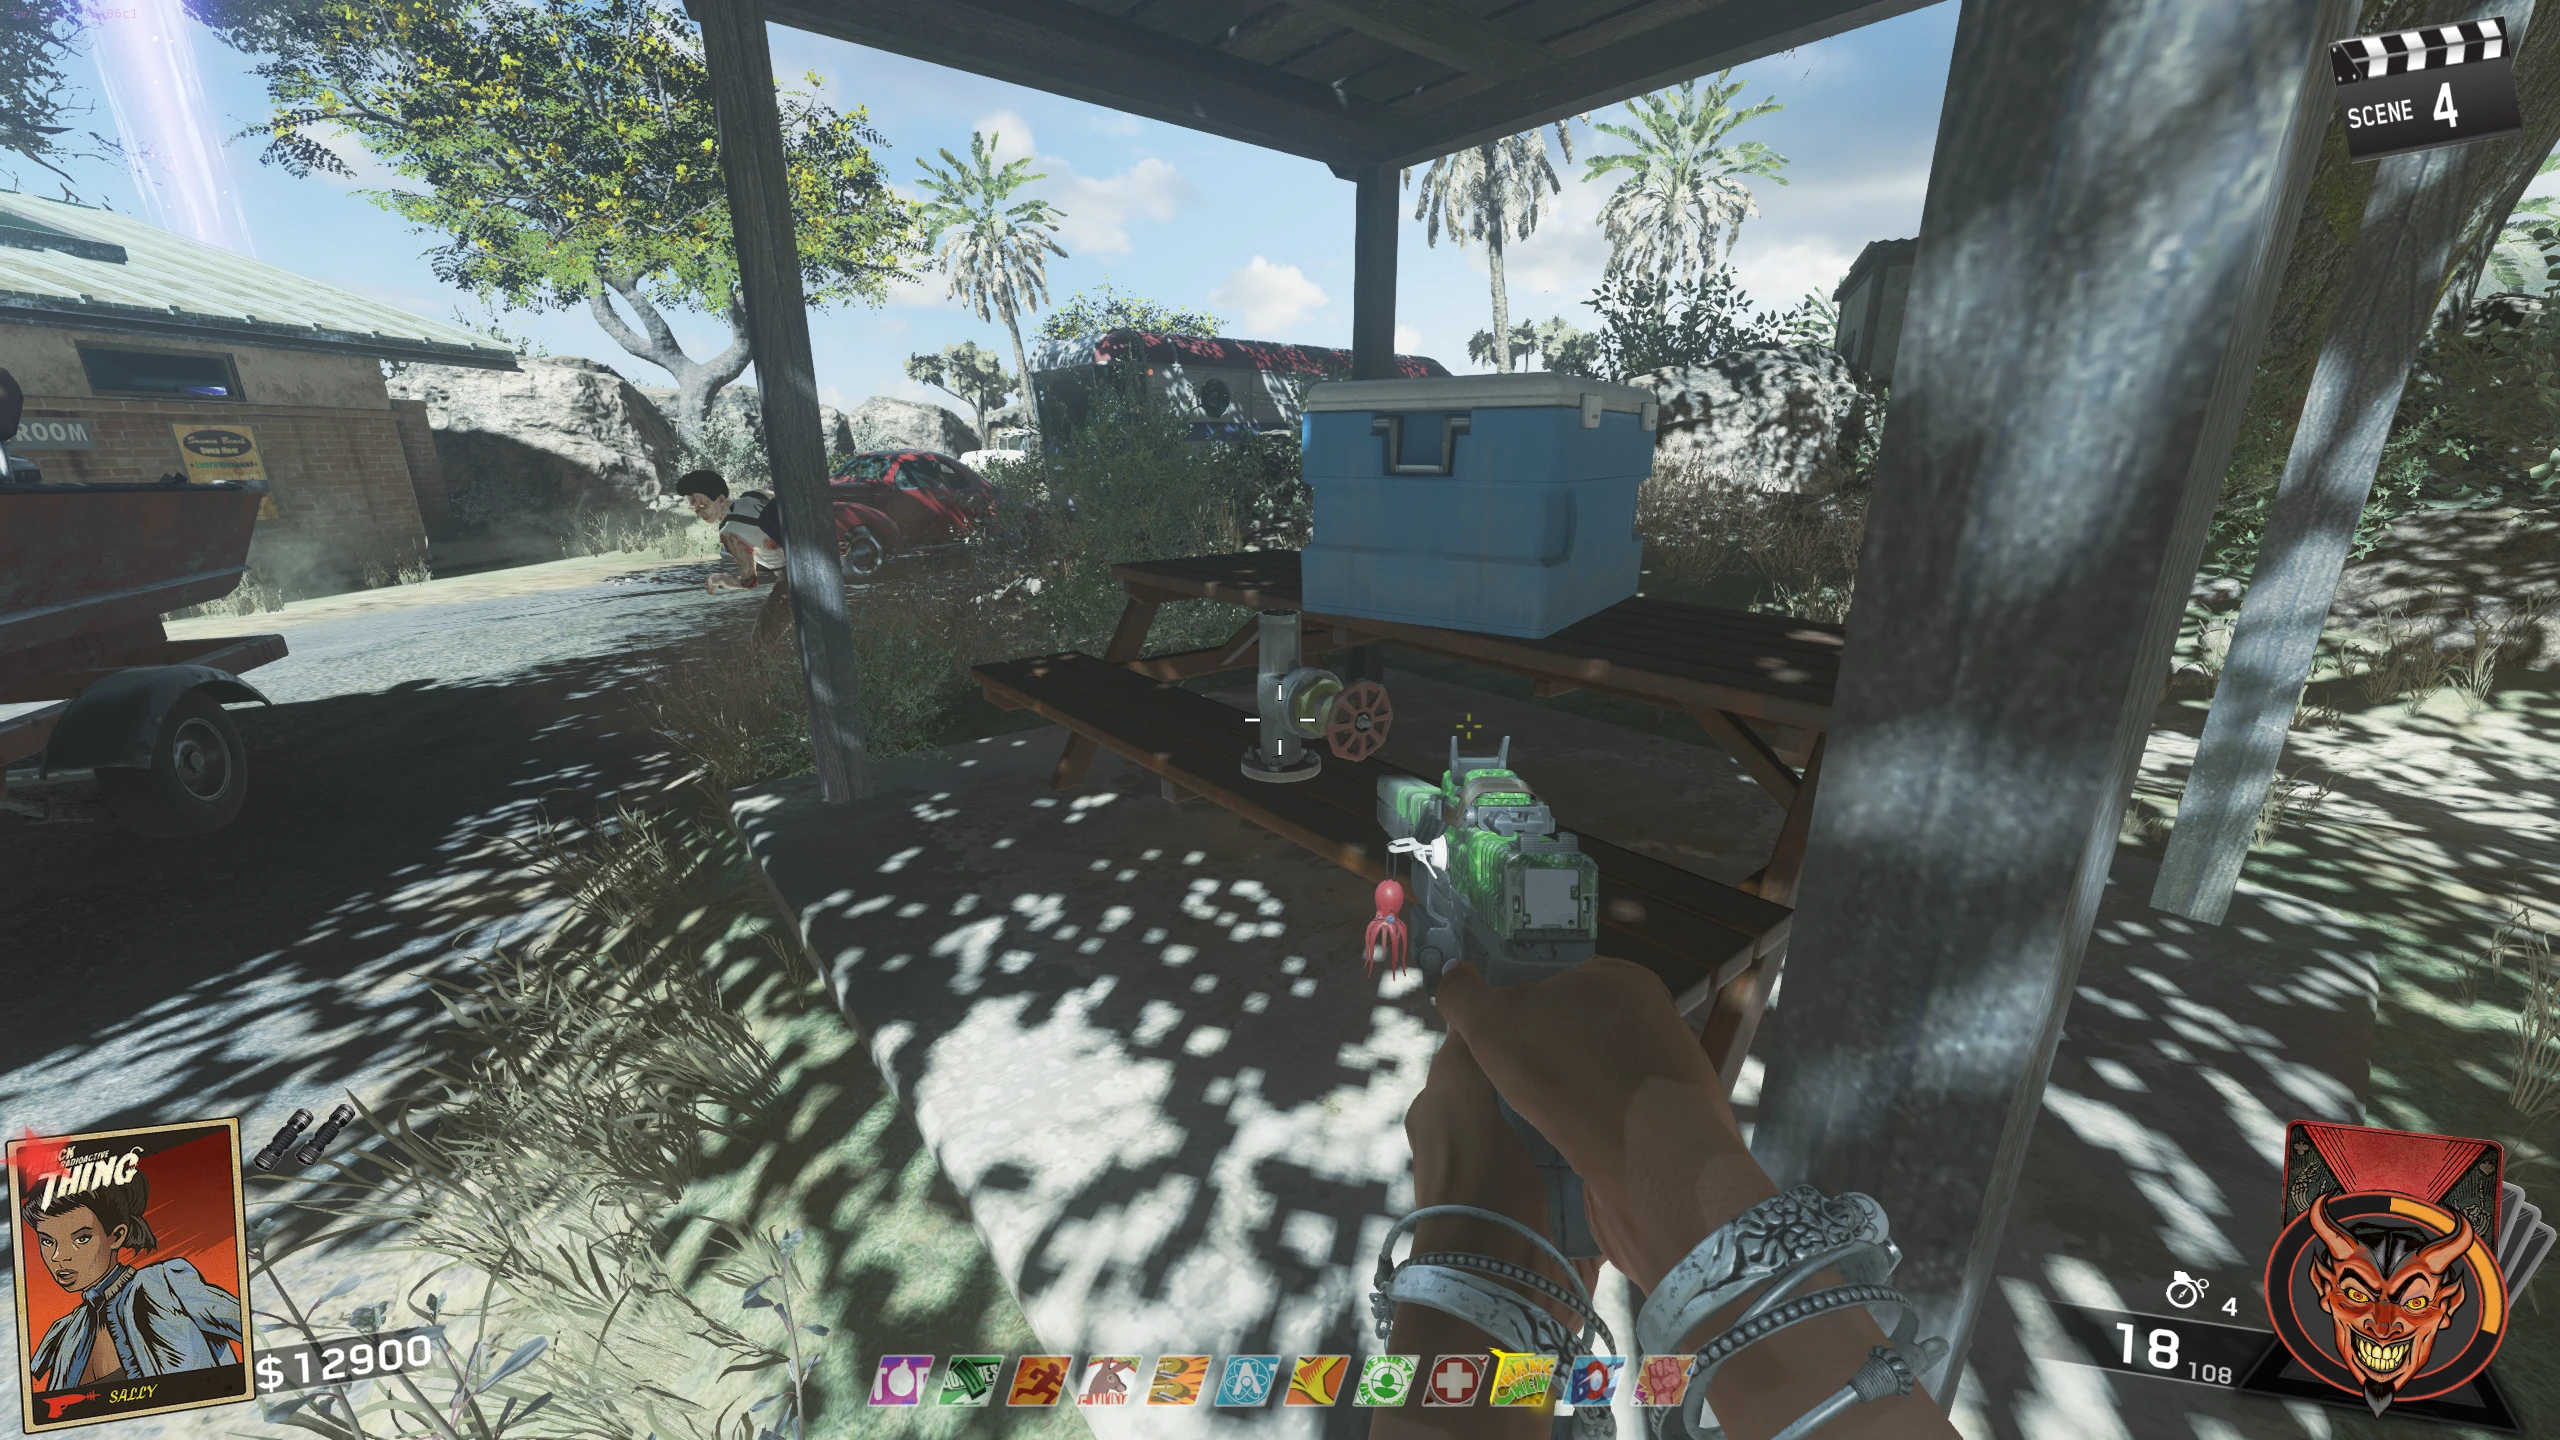
- Gauge - On the picnic table closest to Mule Munchies in the RV Park
- Screen - On the path from the RV Park to the Beach, on a picnic table
- Once you have all three parts, interact with the empty table in the Garage to place the parts.
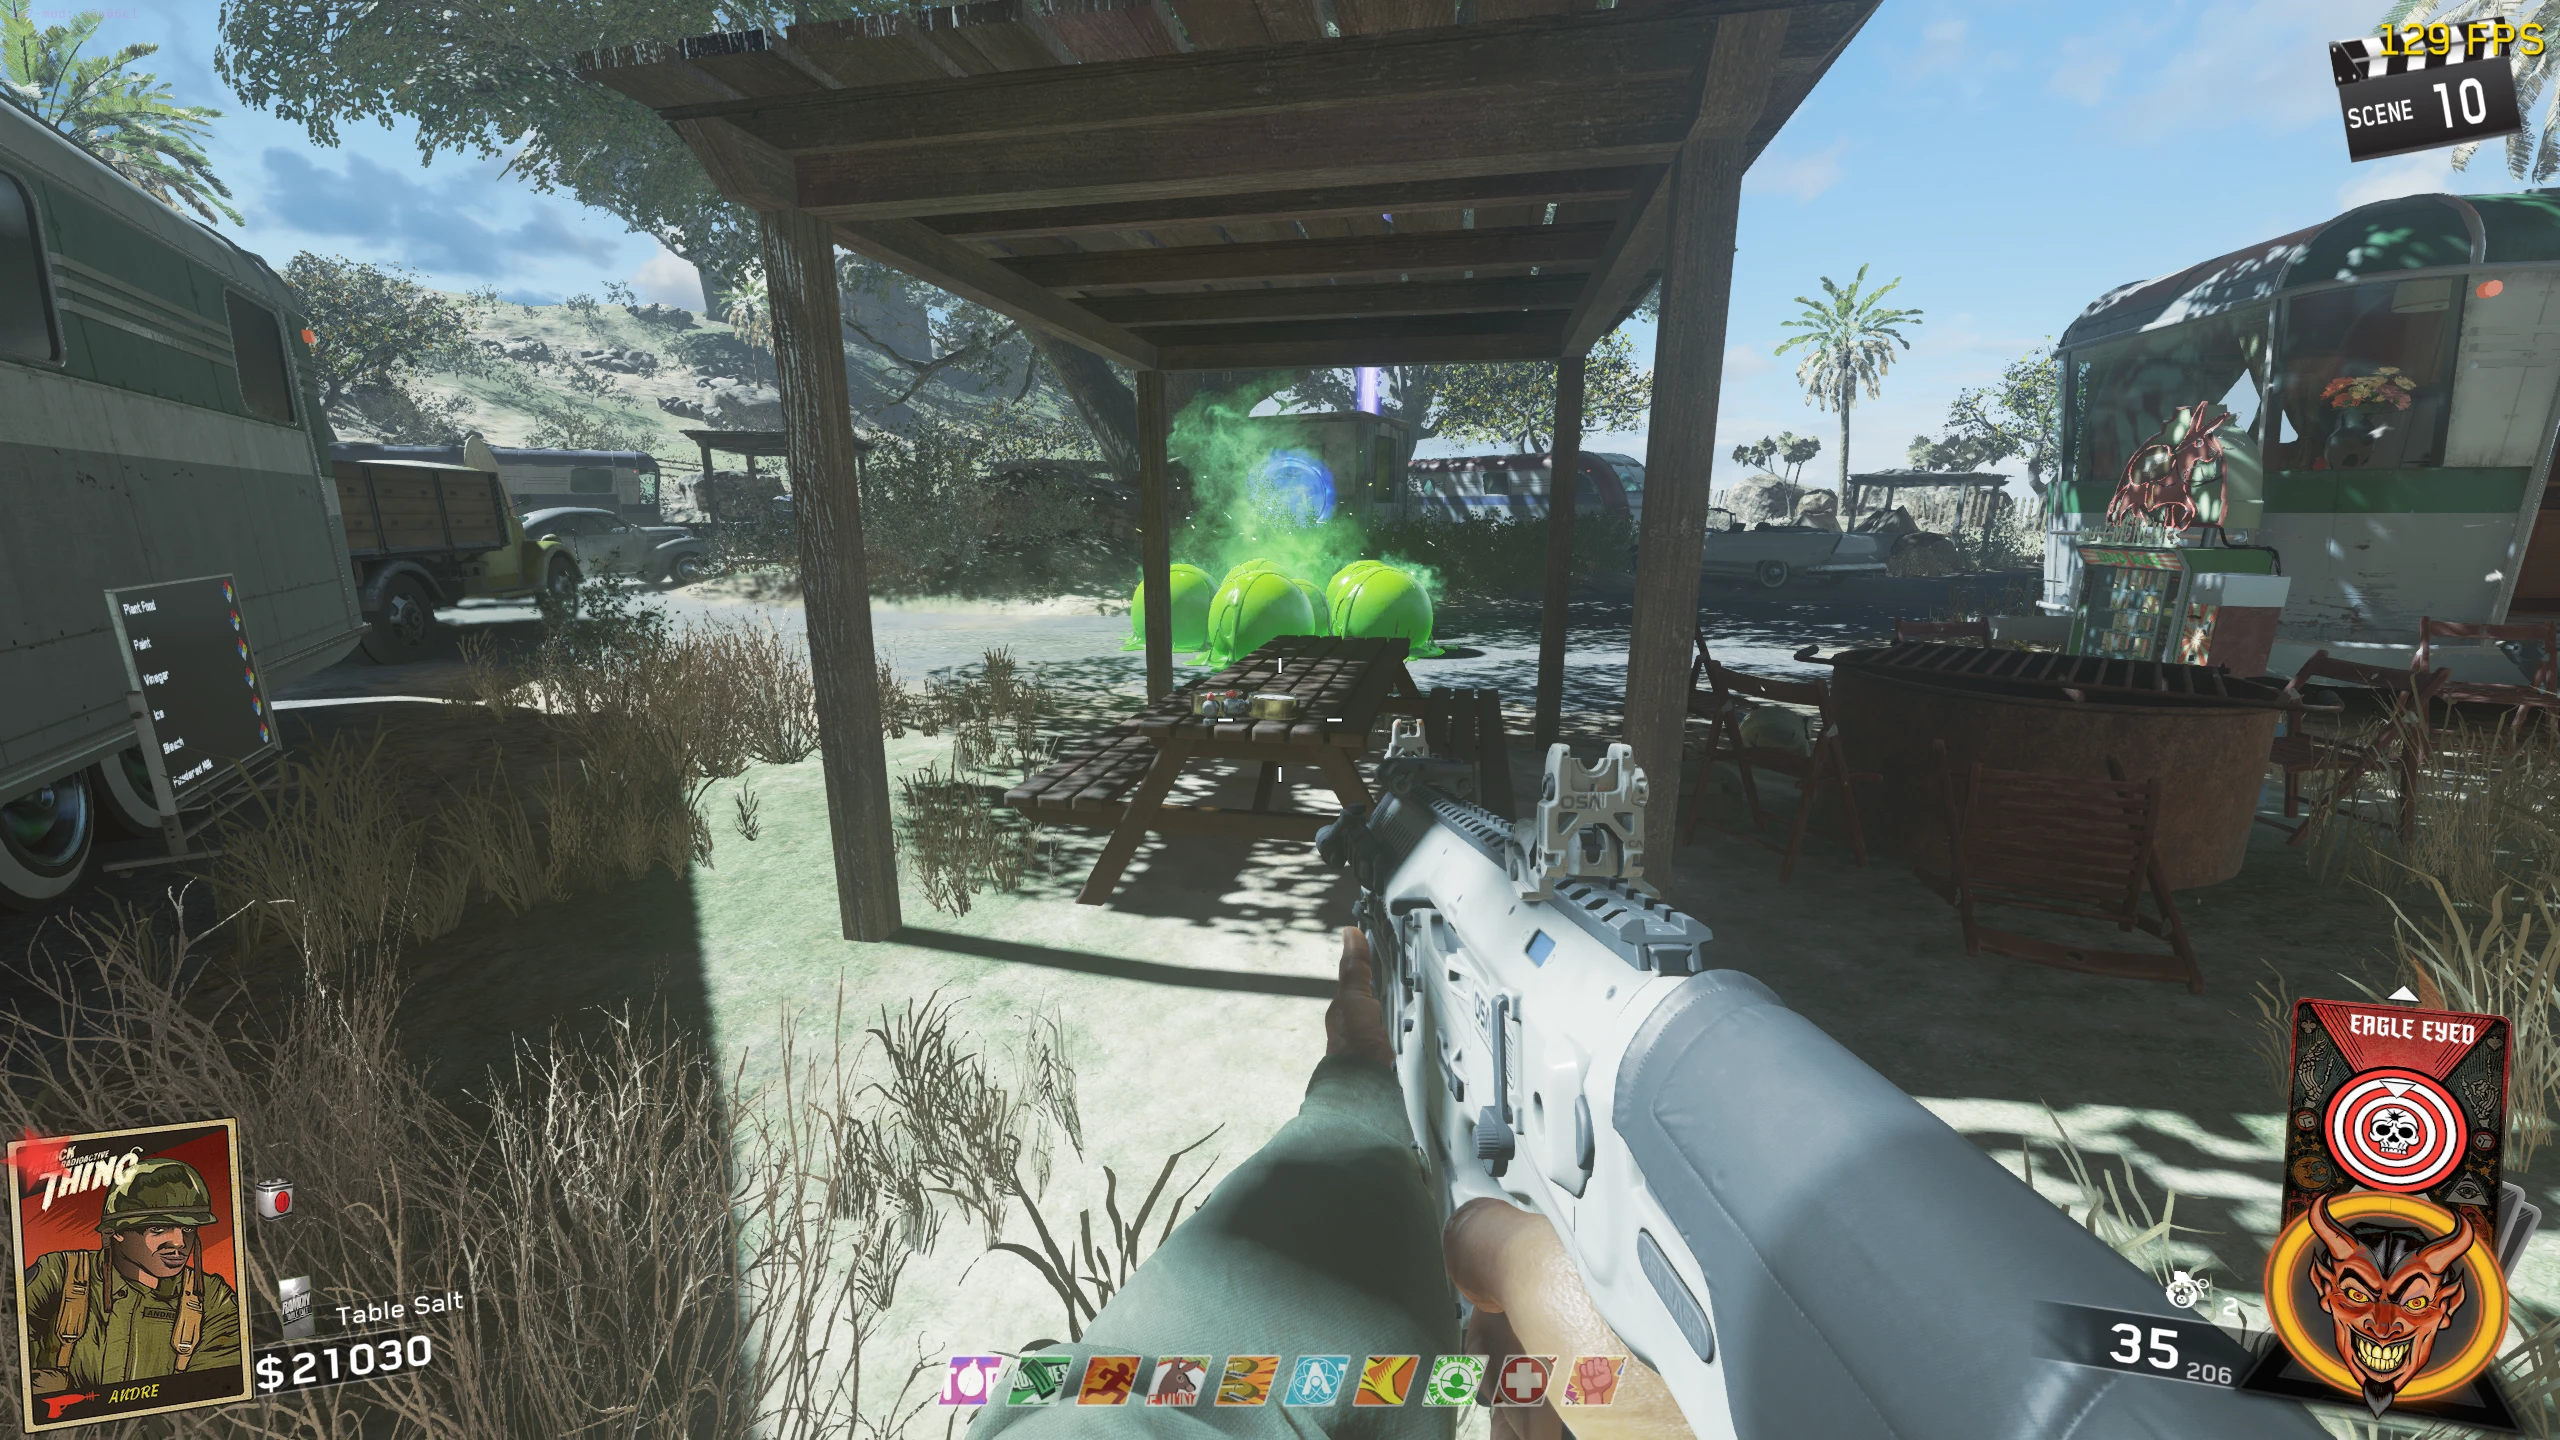
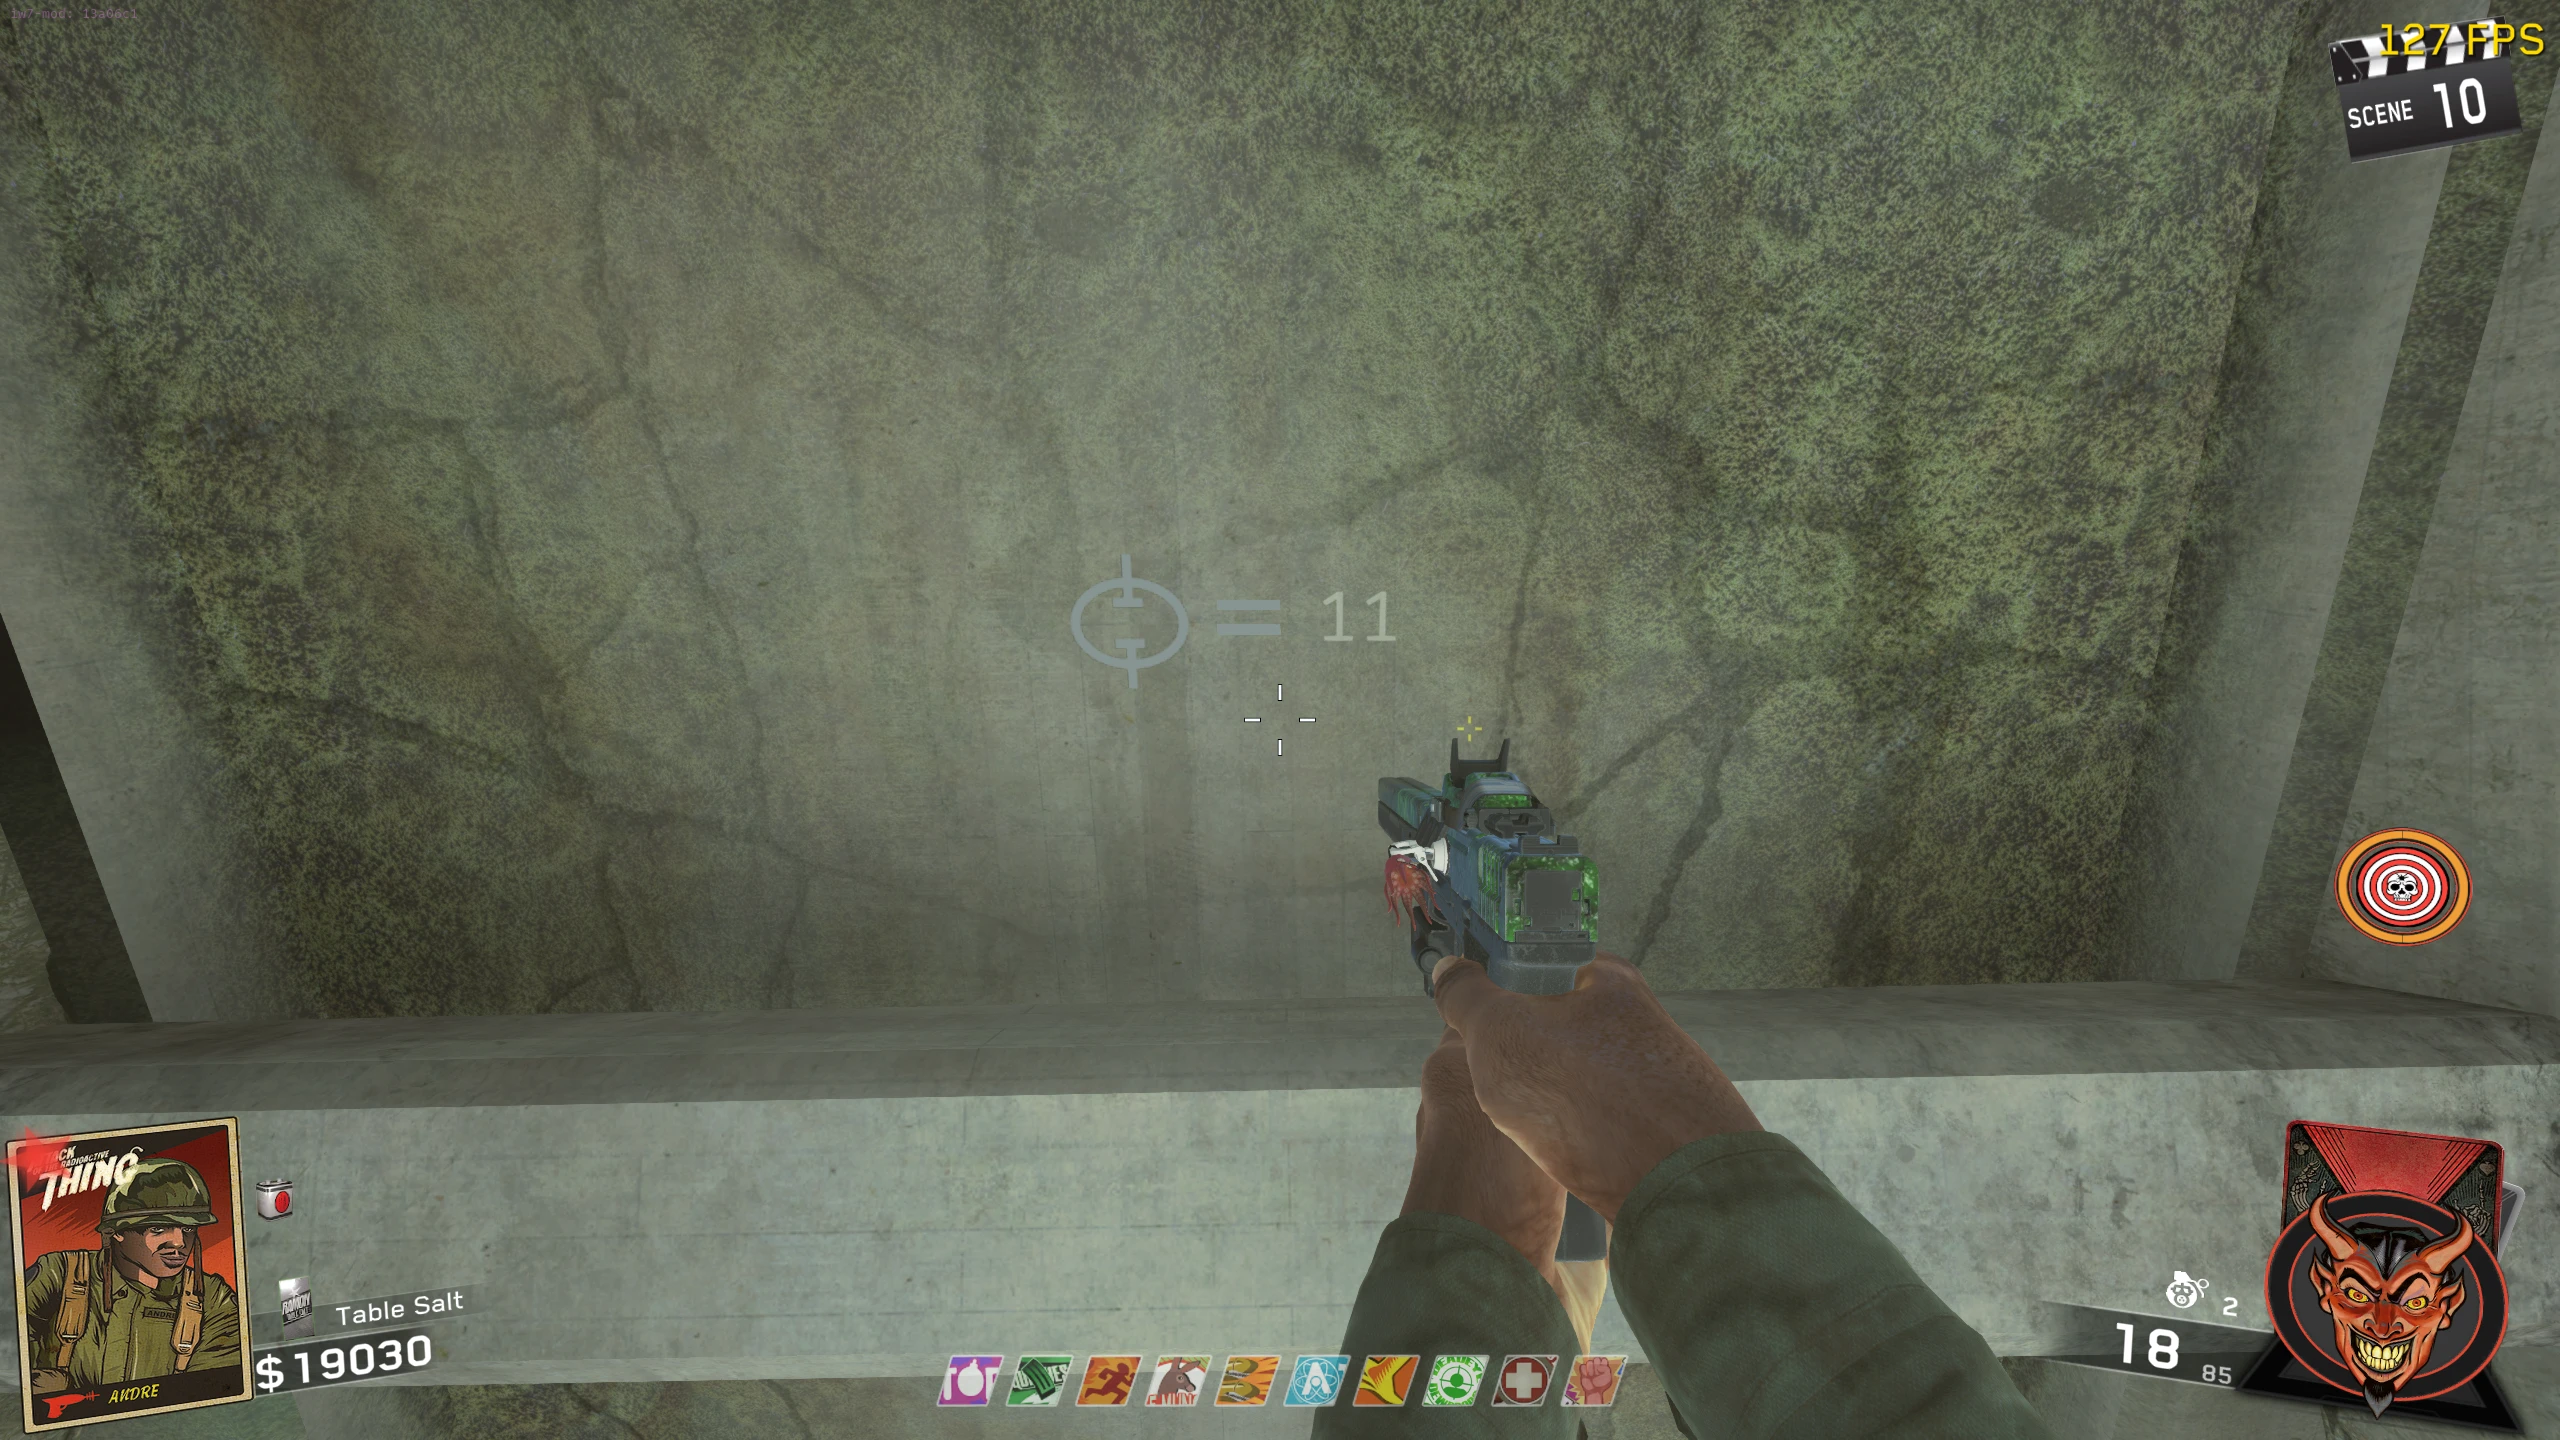
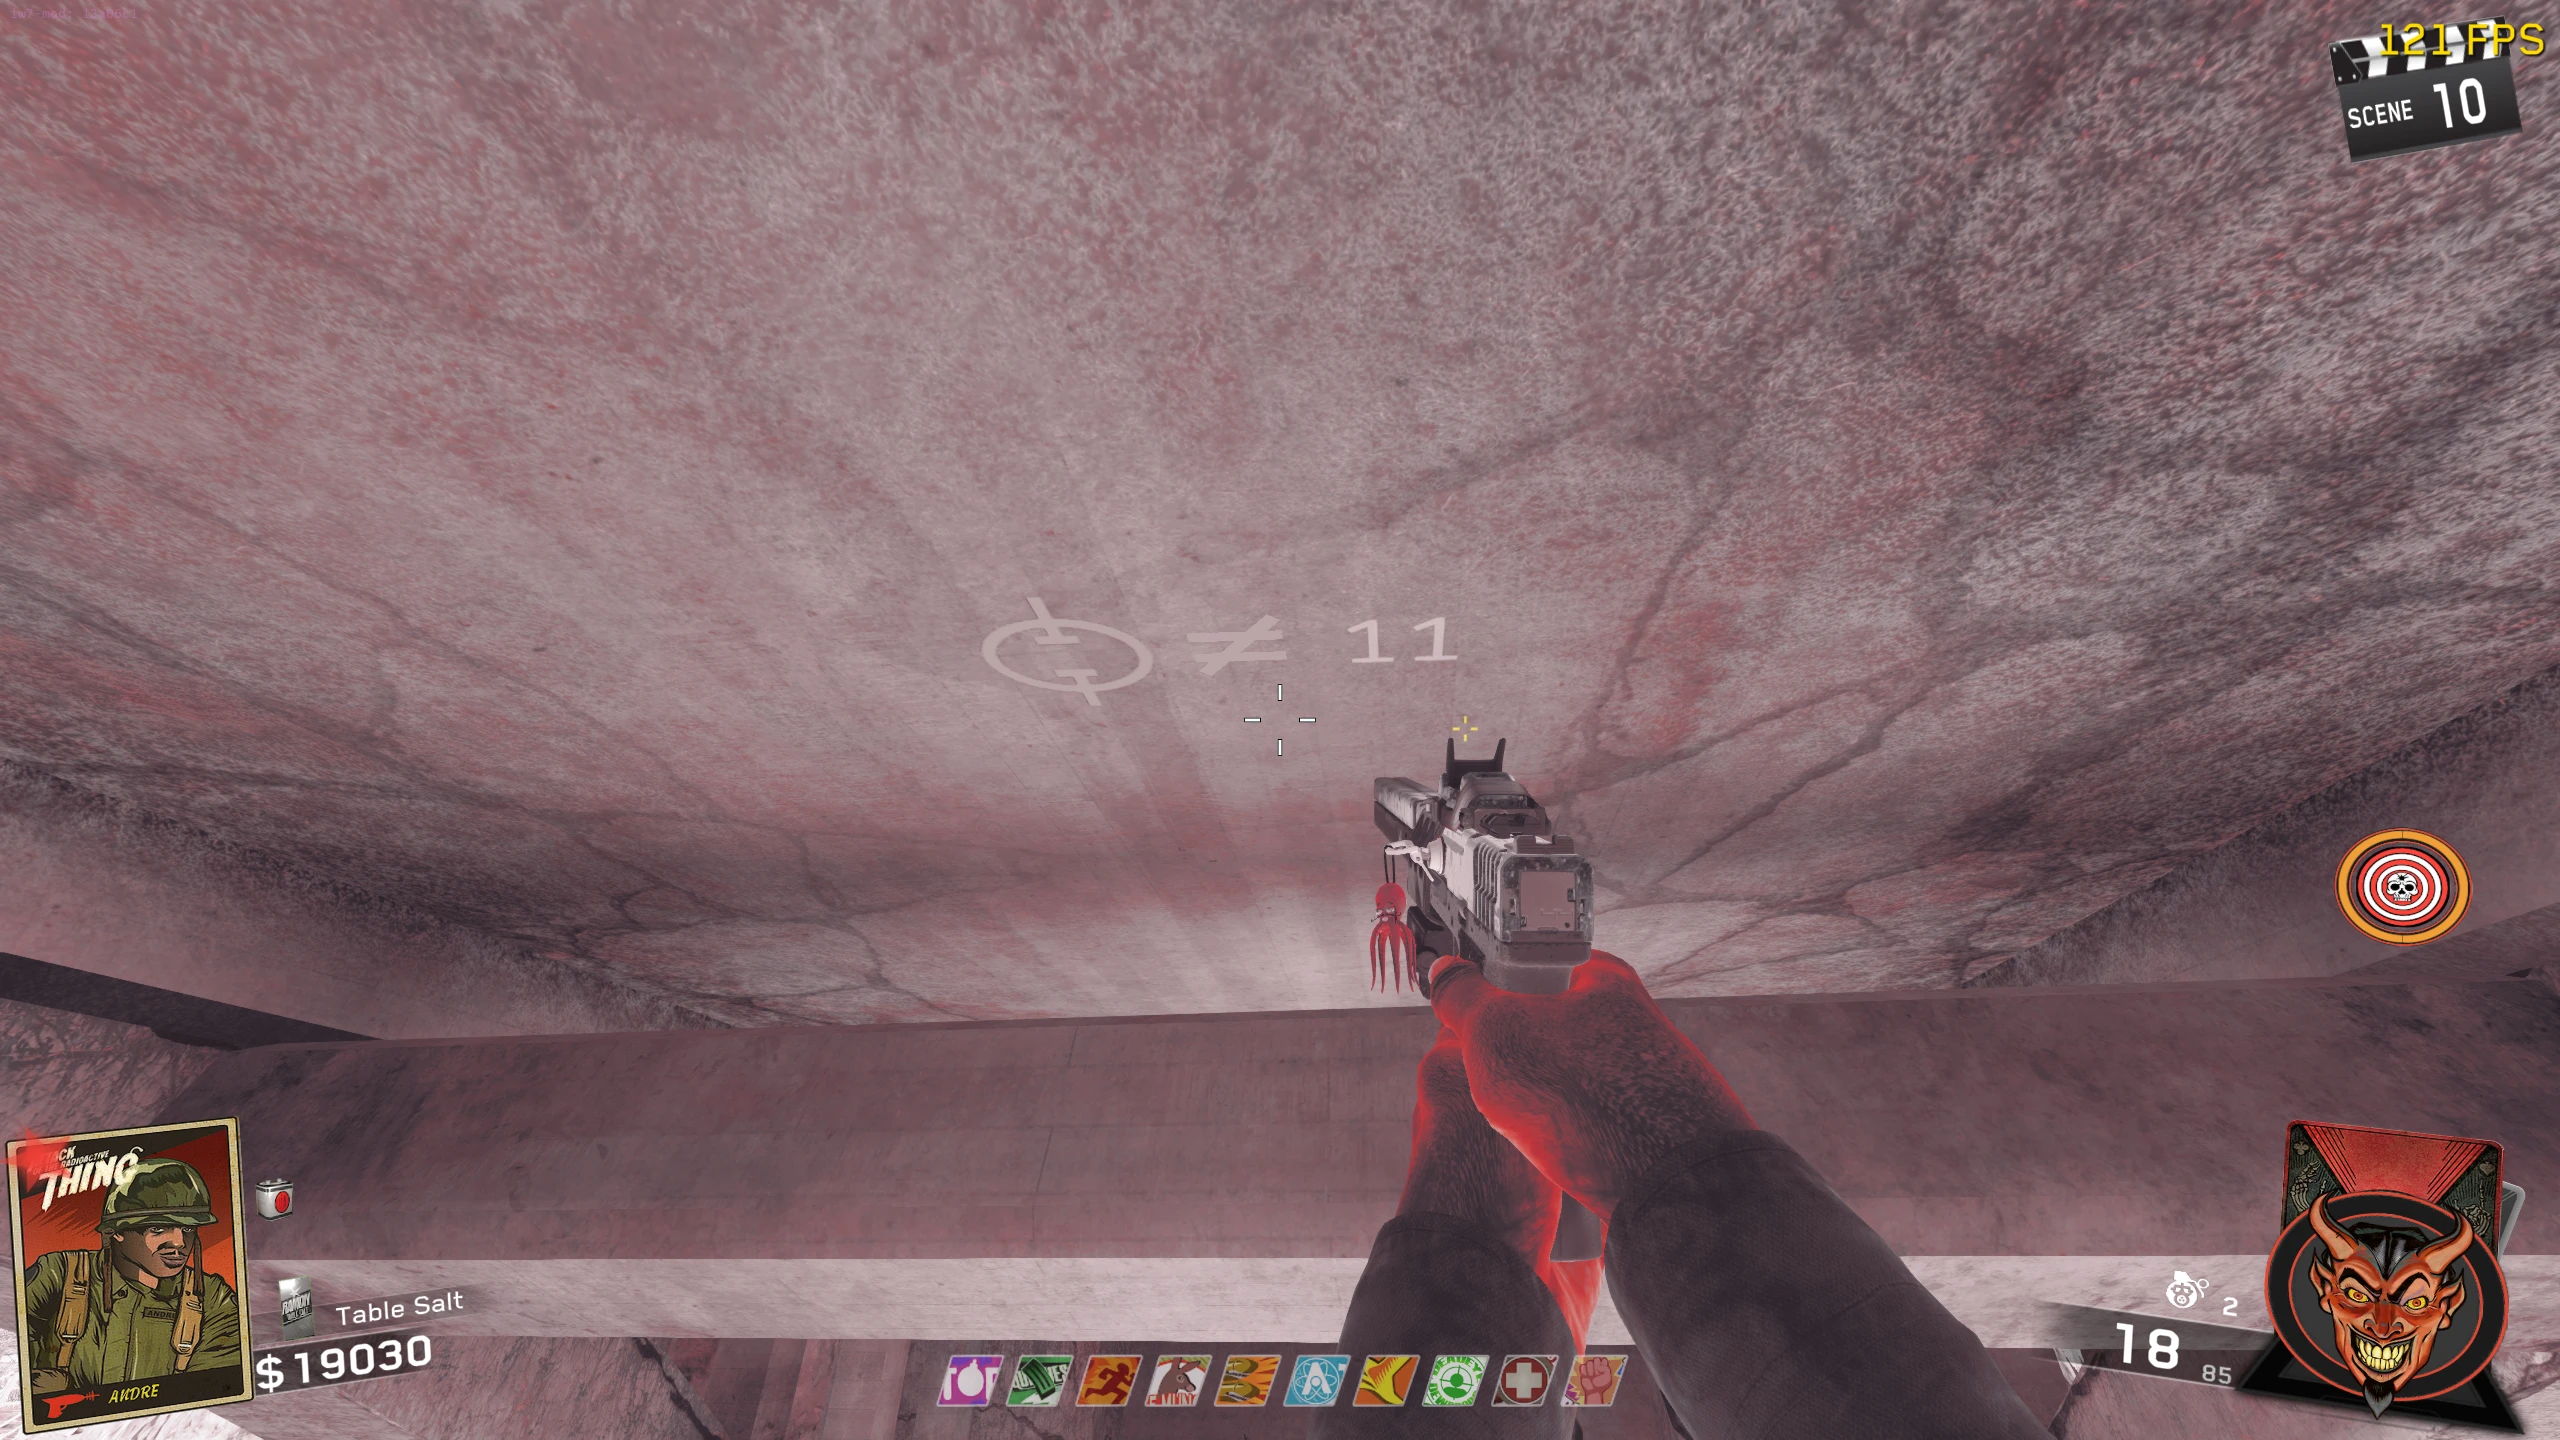
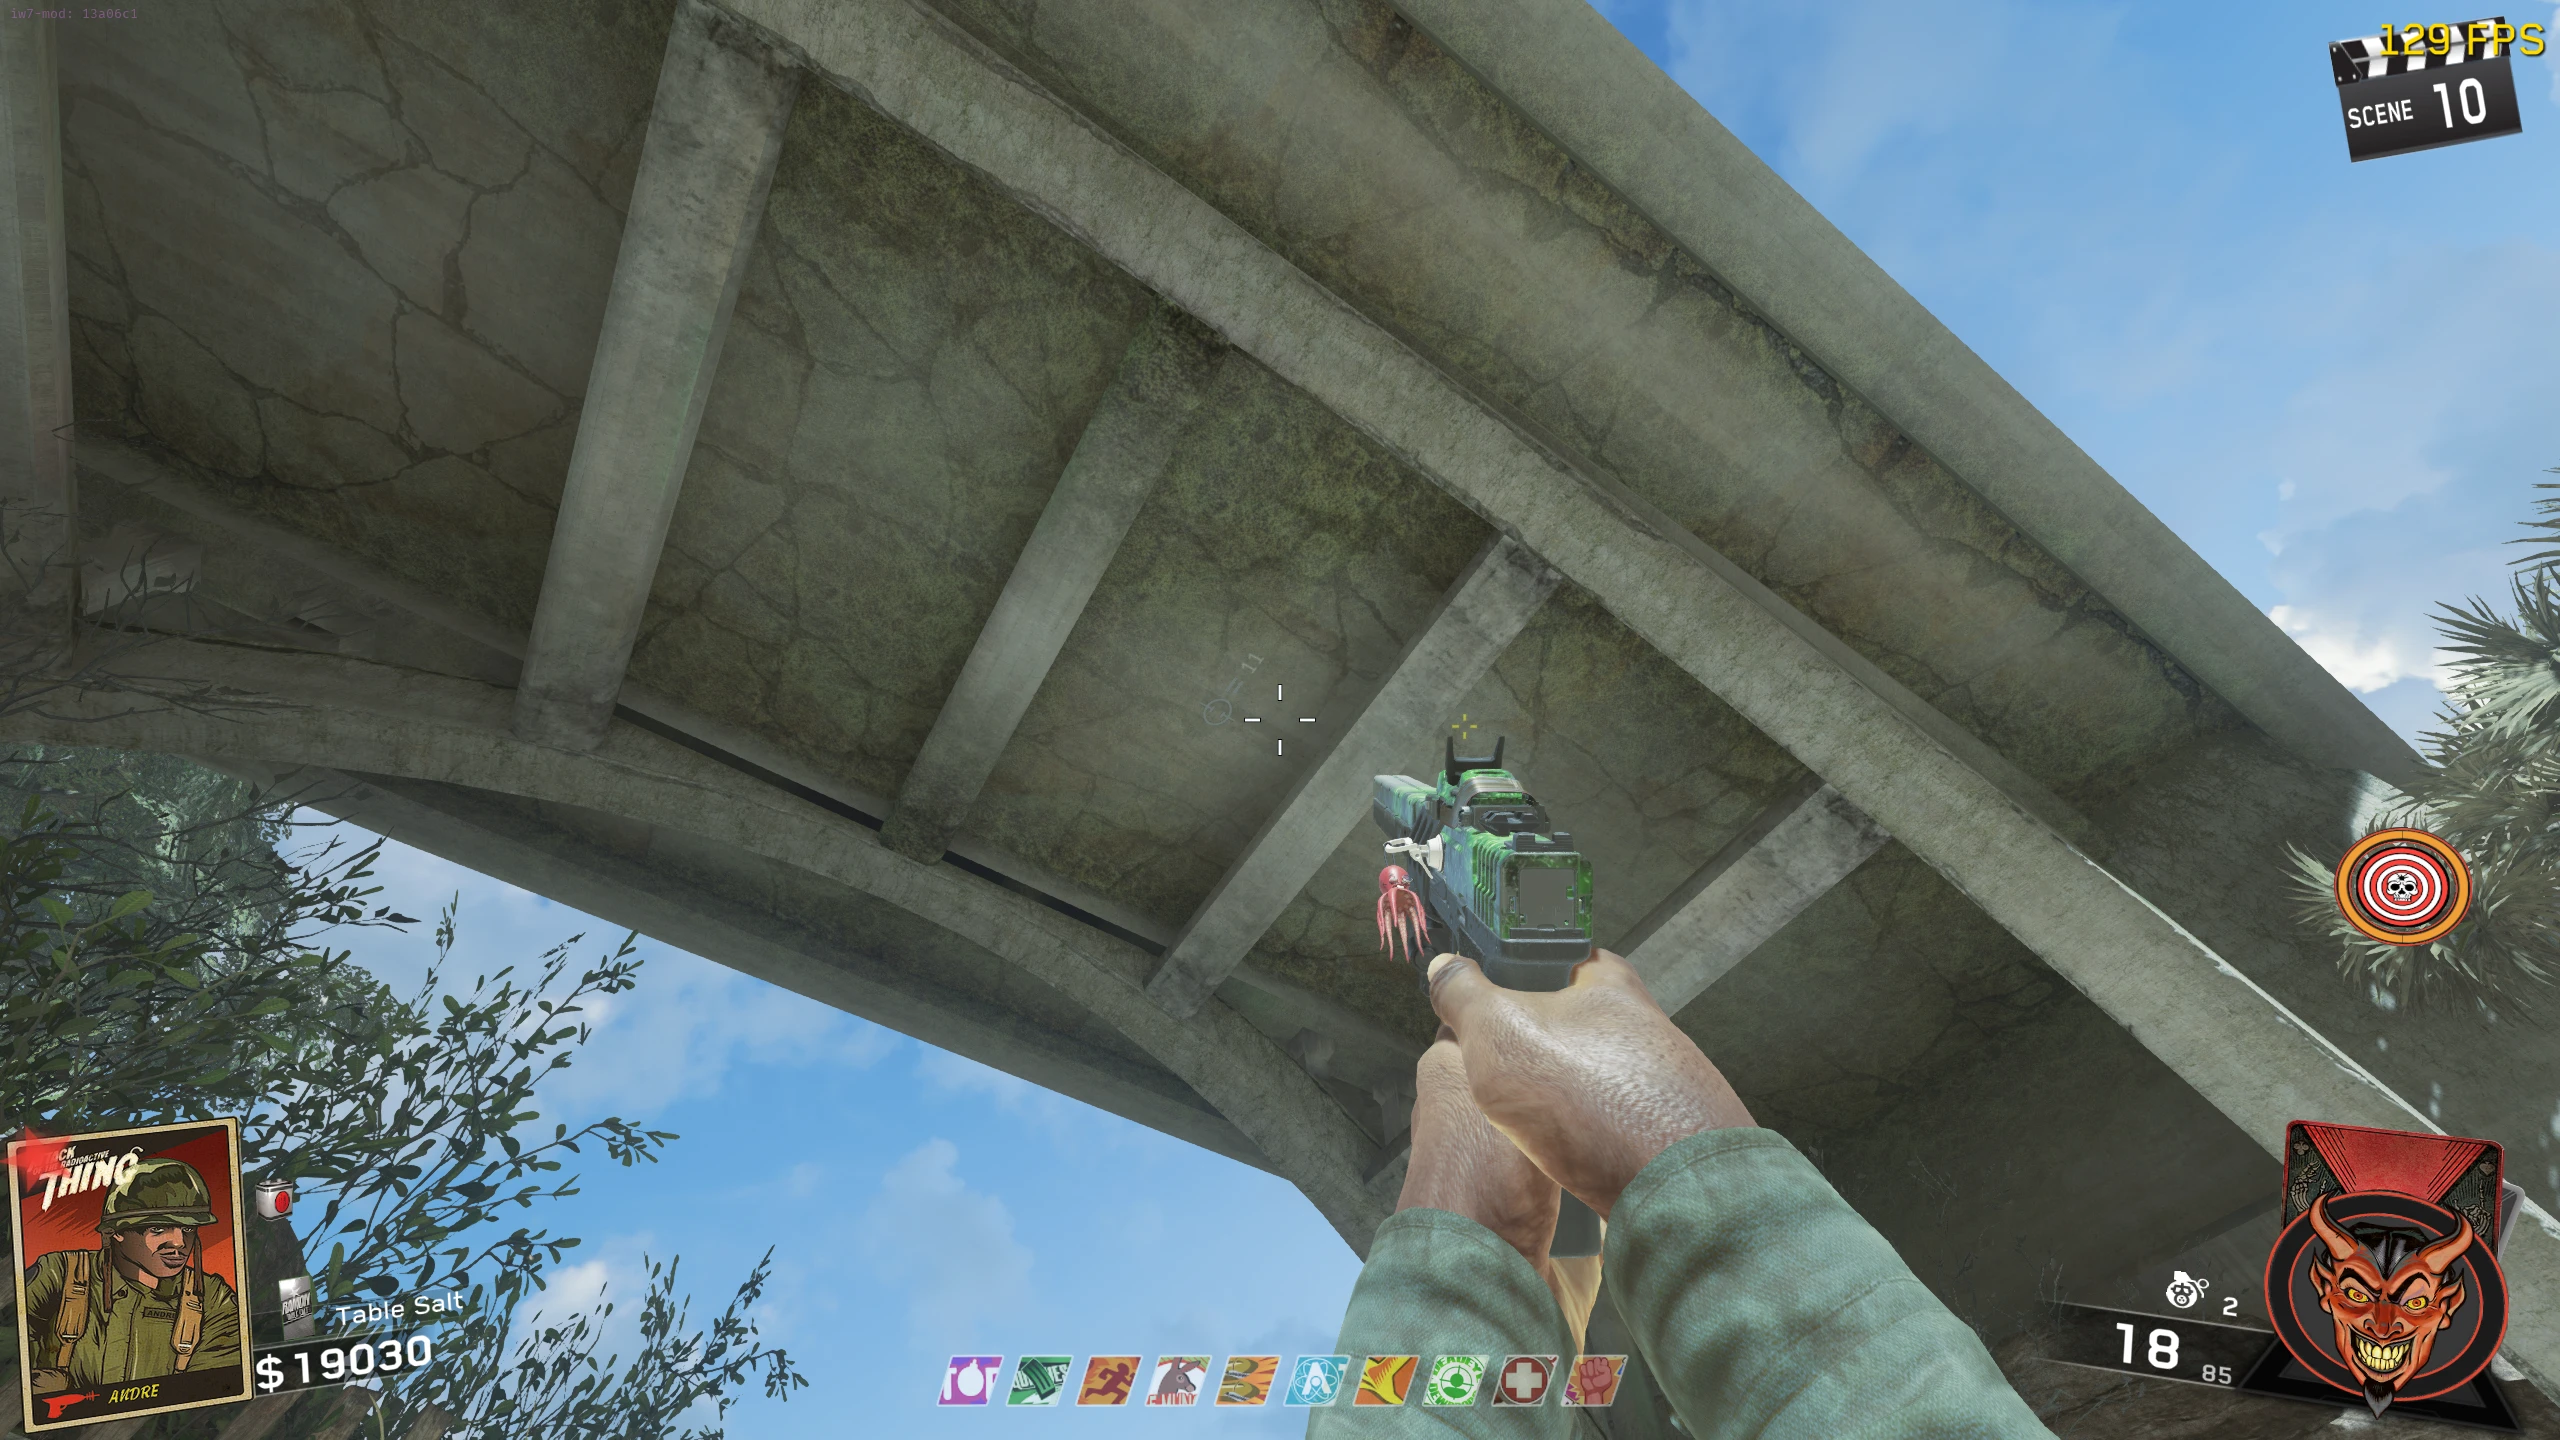
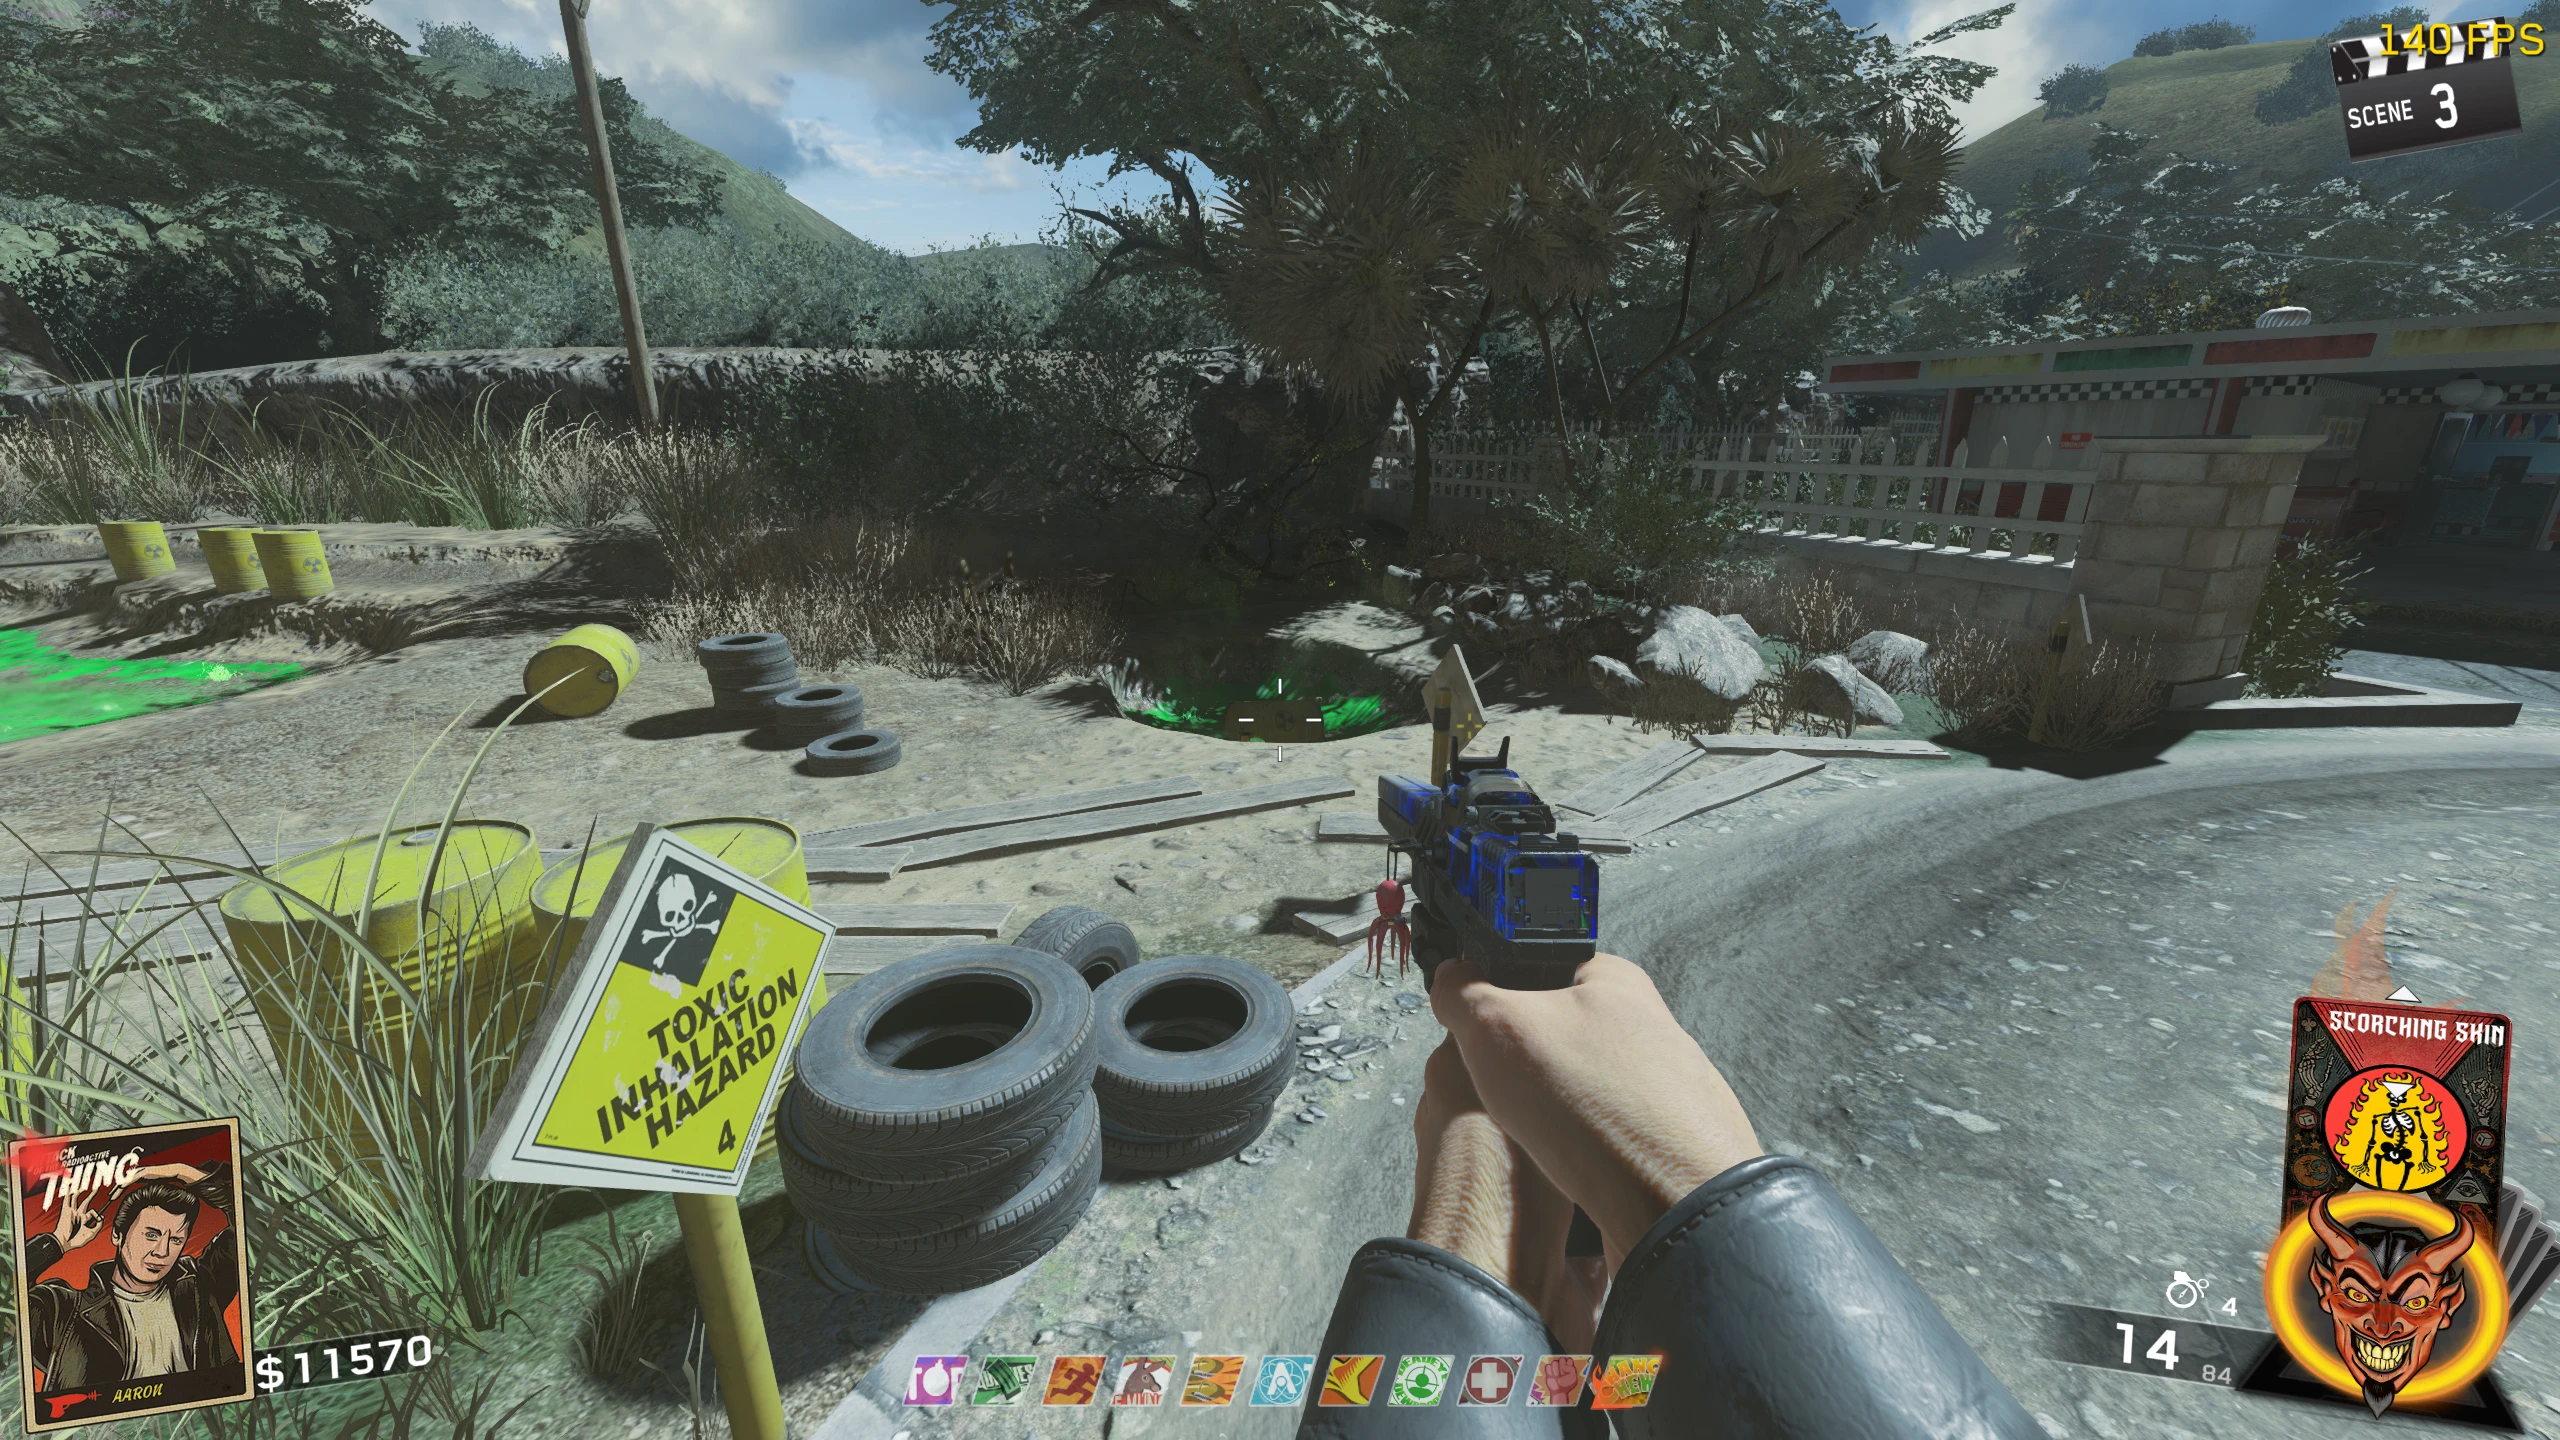
- You must now collect three parts to add to the nuke in the garage.
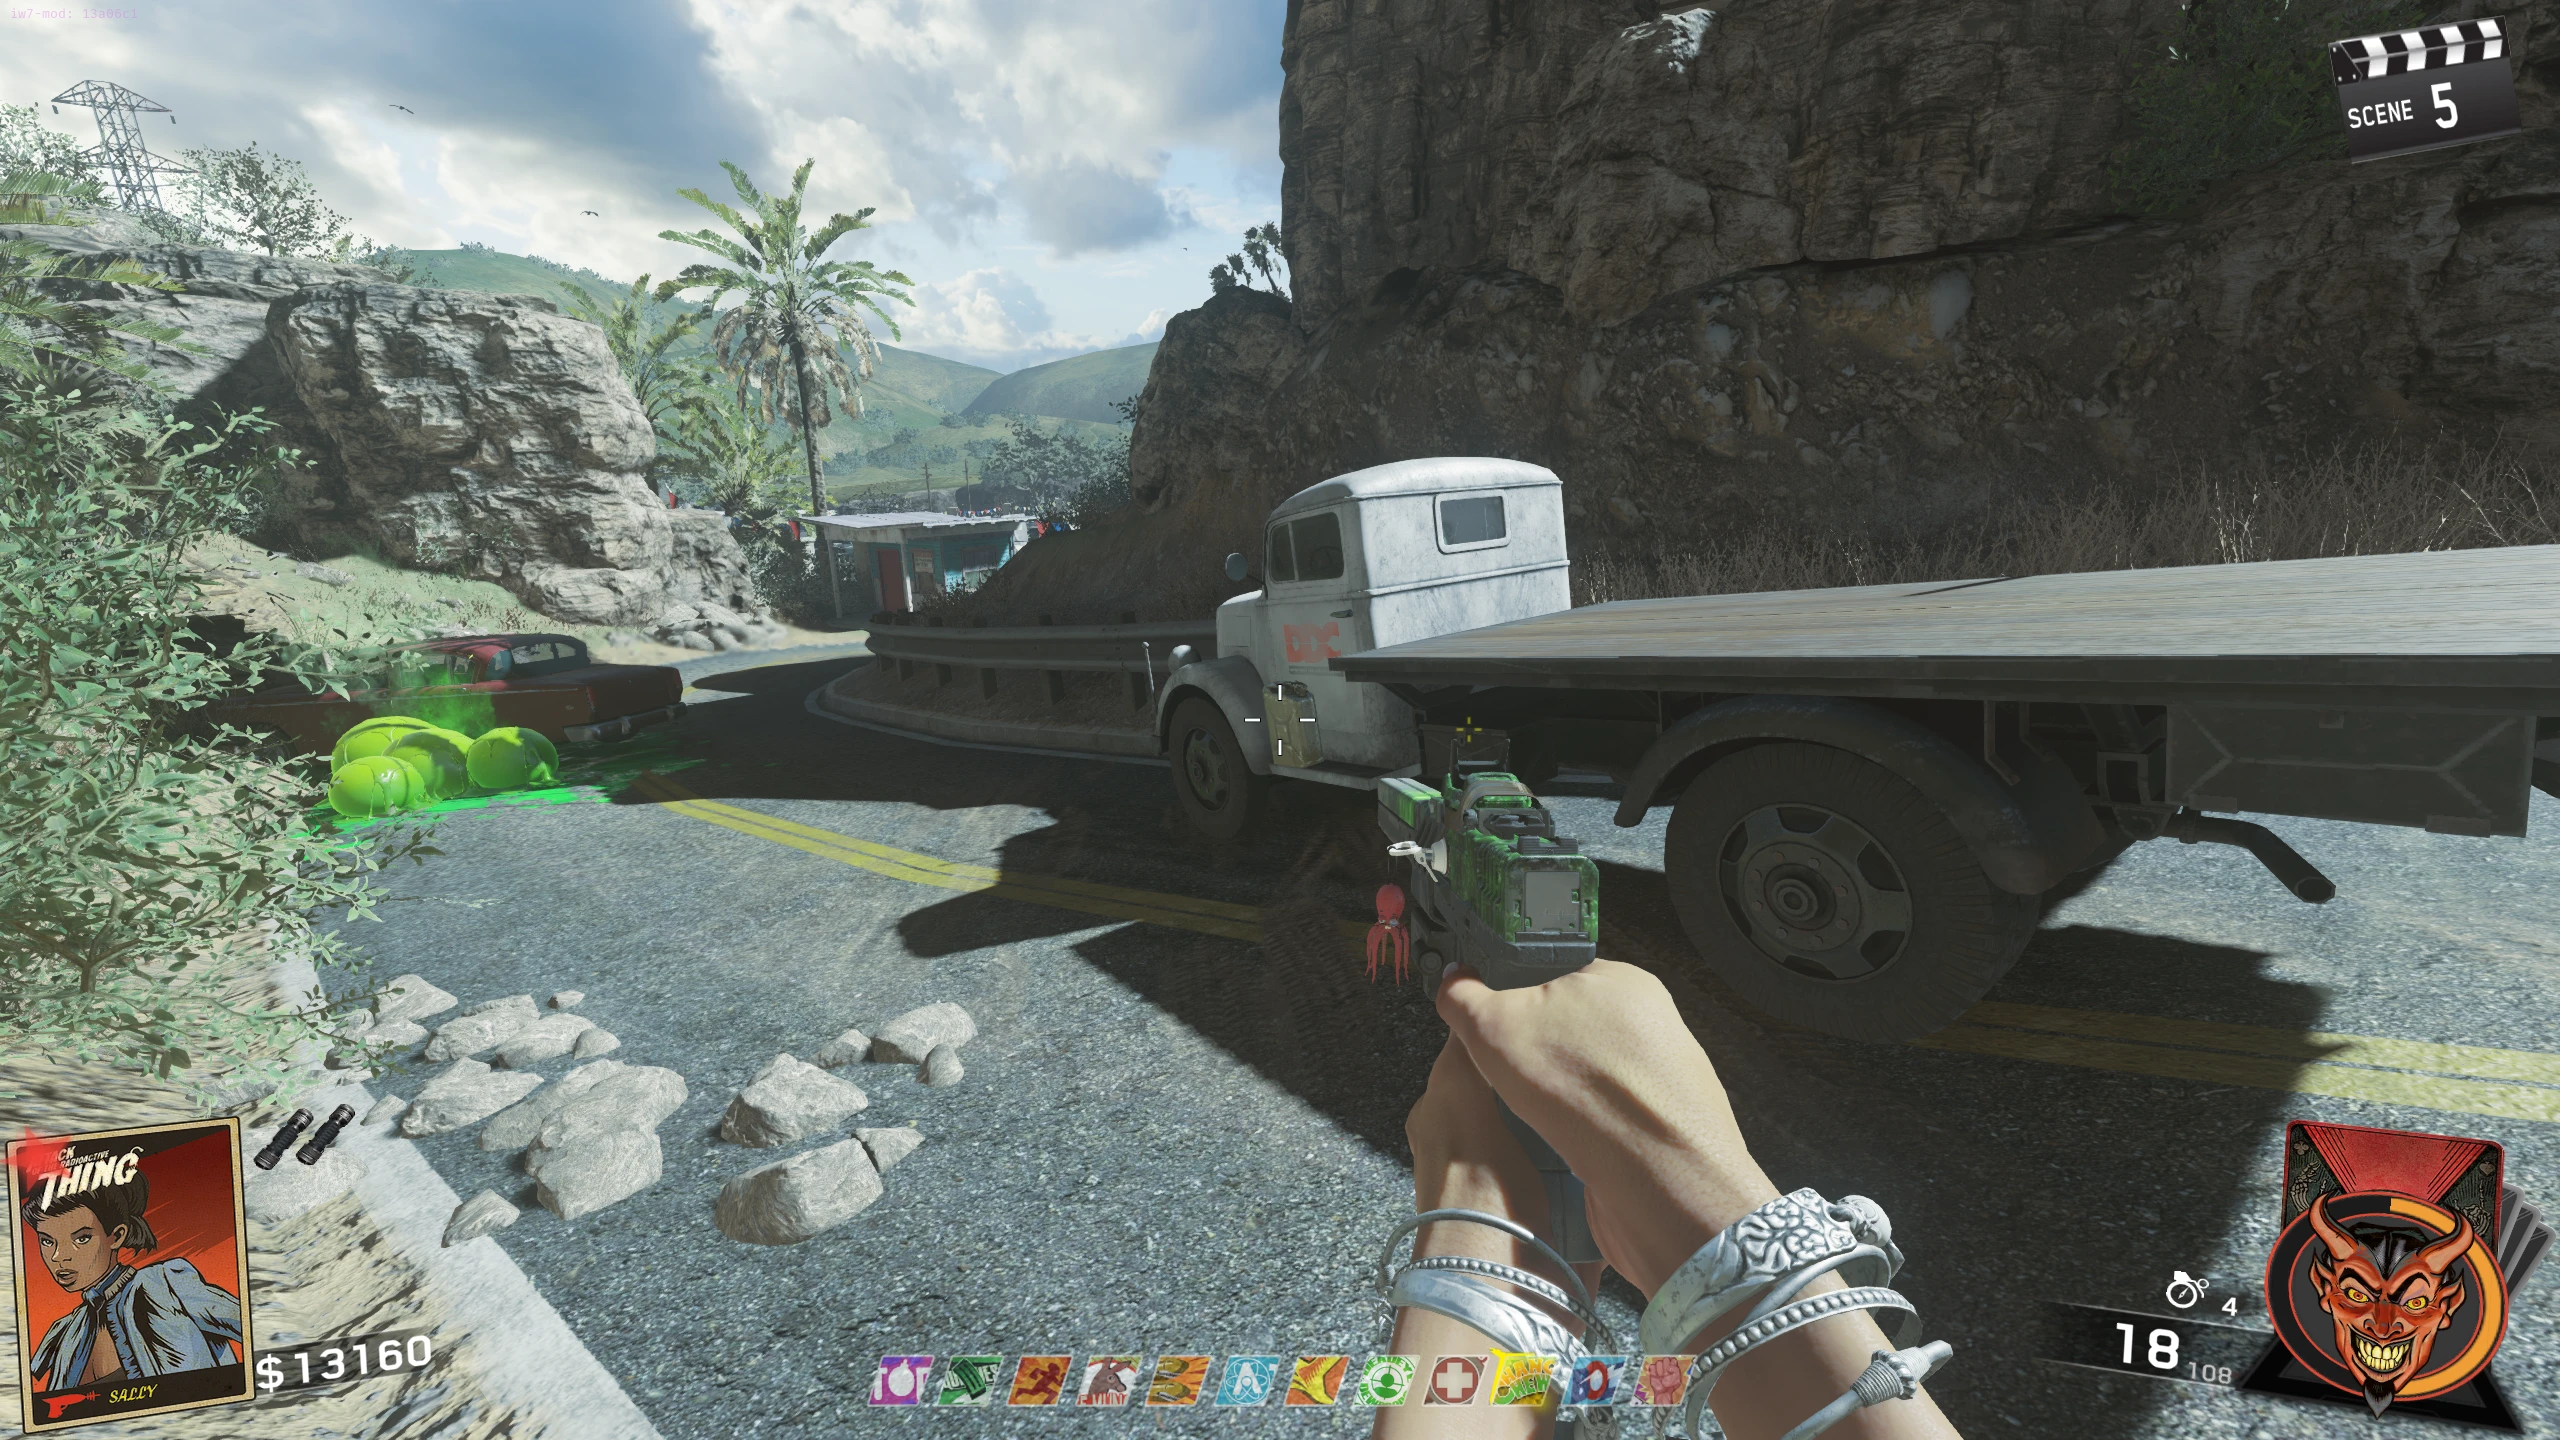
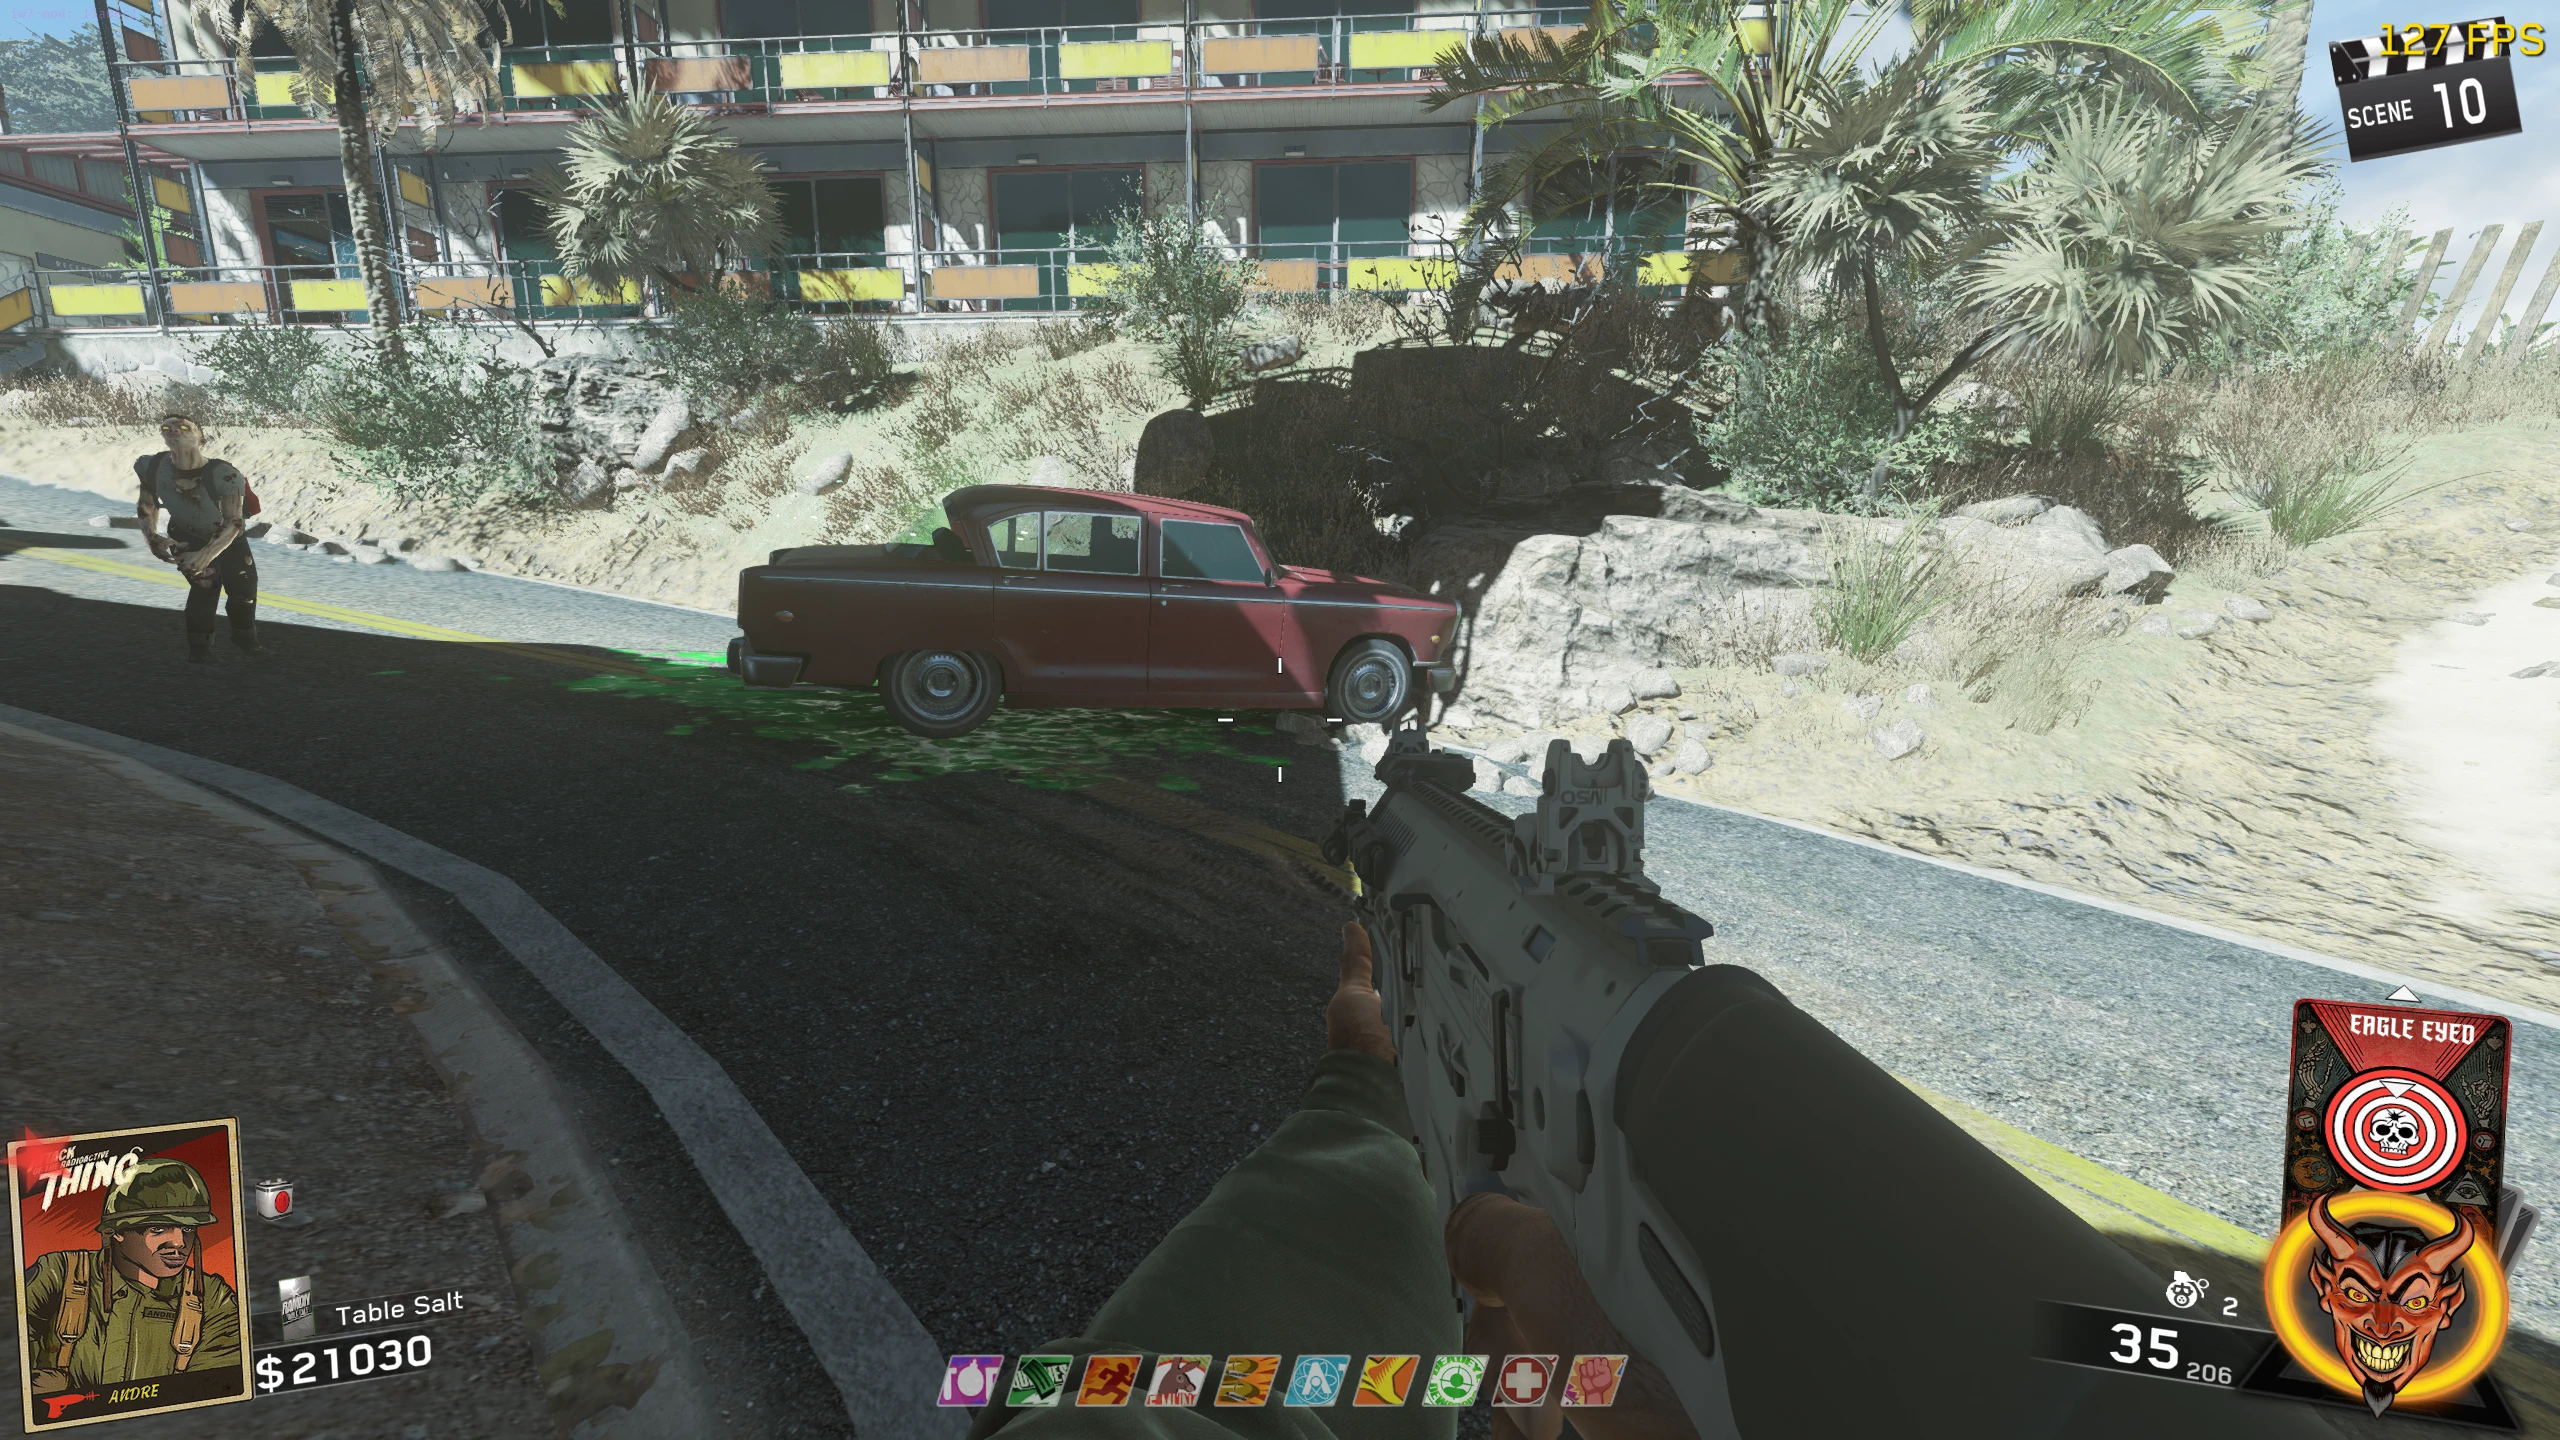
- TV Station/Motel - Under the front of the red car, on the road between the Motel and TV Station
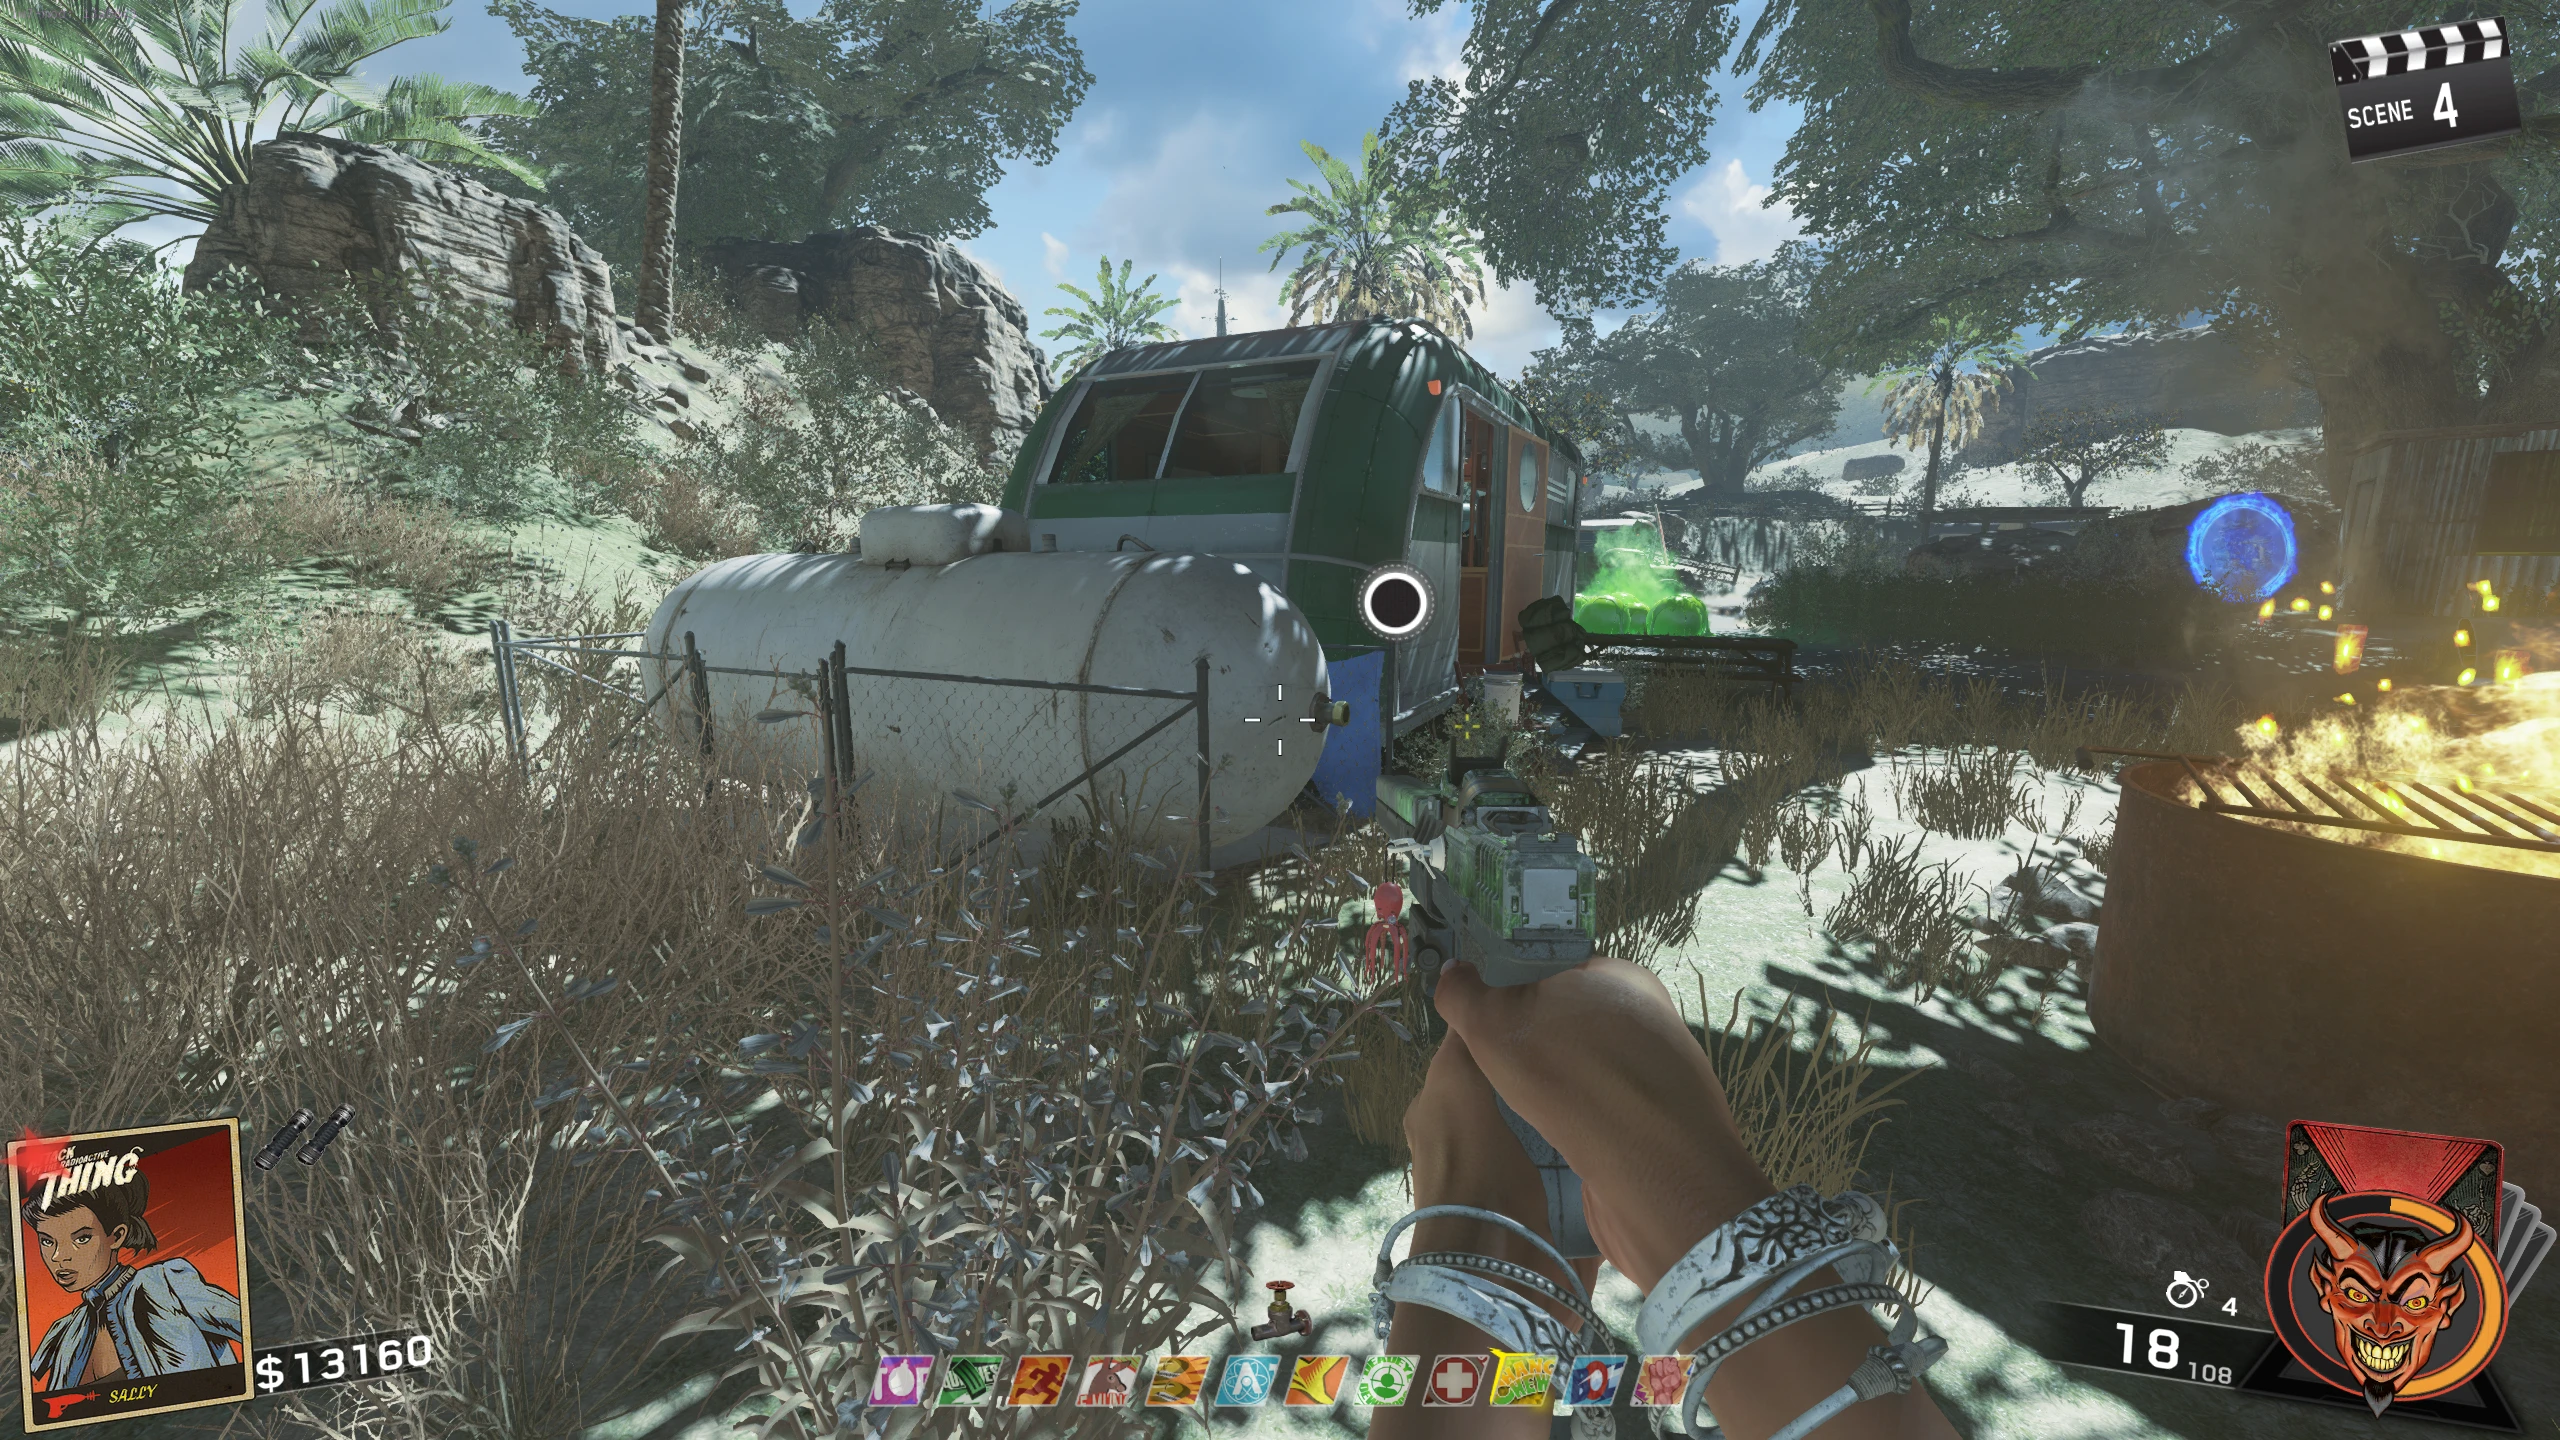
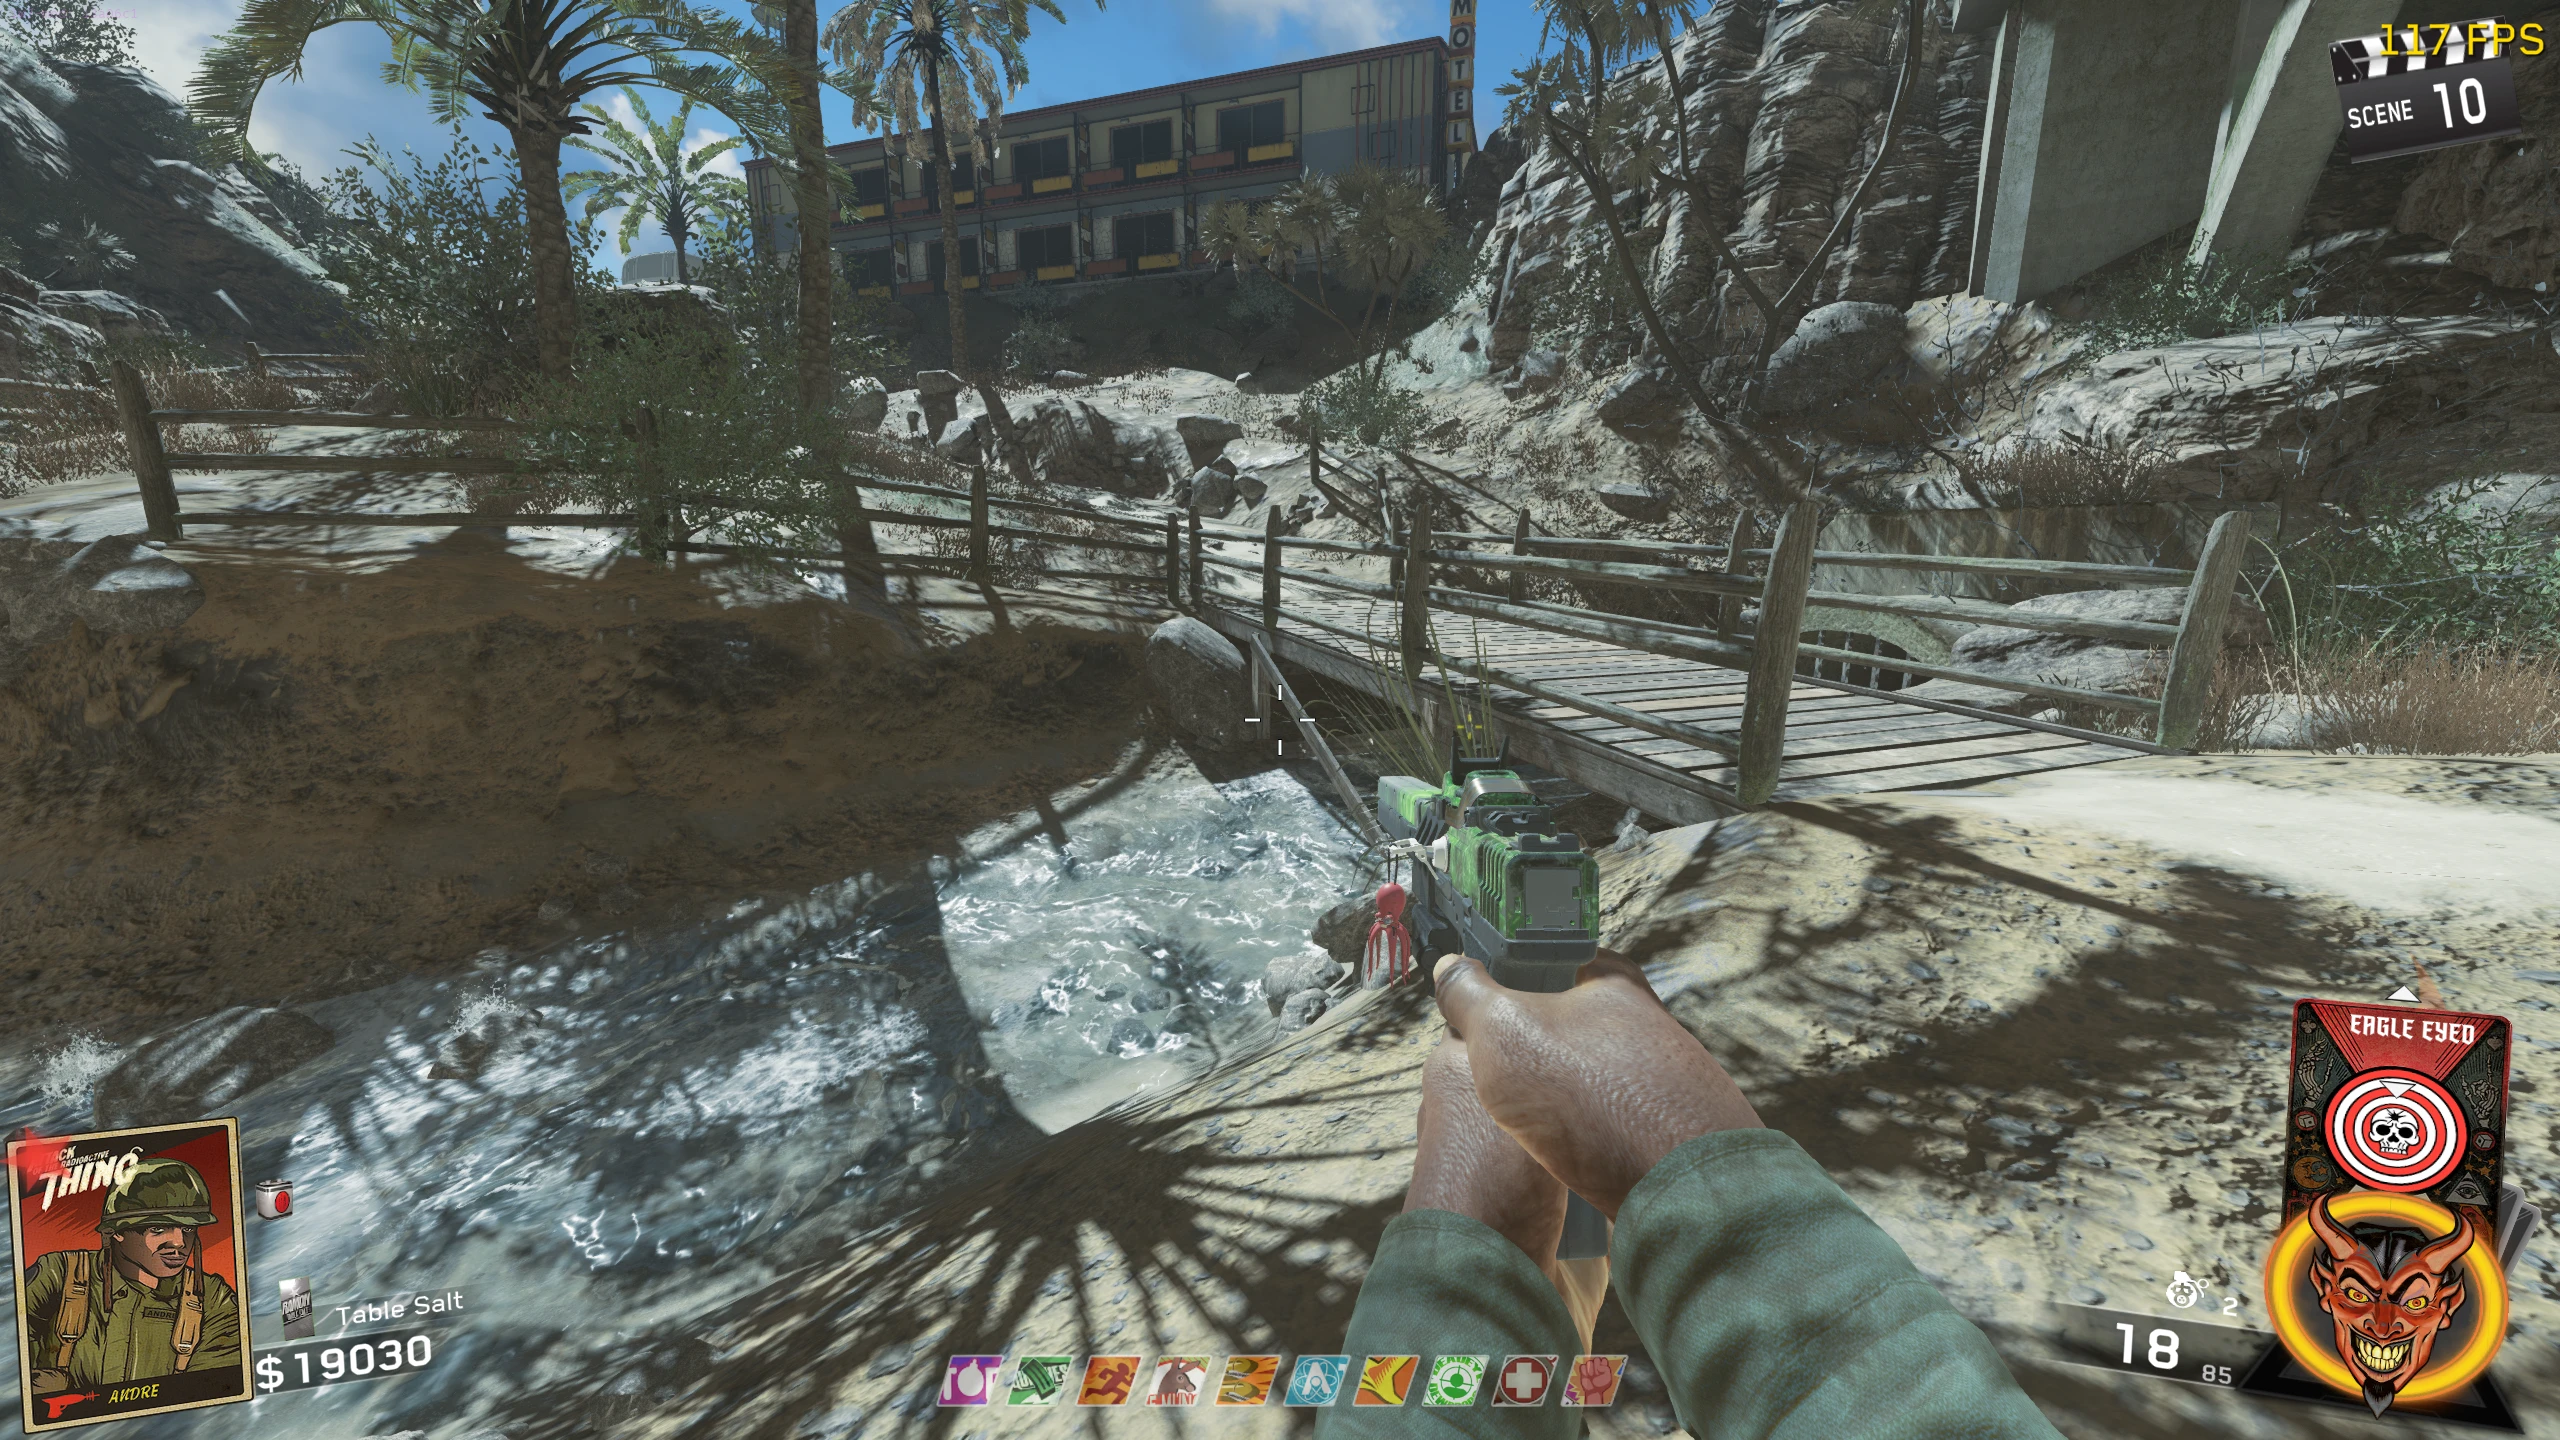
- Beach - At the end of the stream below a wooden bridge, under the big concrete bridge
- TV Station - On the right fence, behind a gate, when coming from the Snack Shack
- Once you have all three parts, interact with the nuke in the Garage to place the parts.
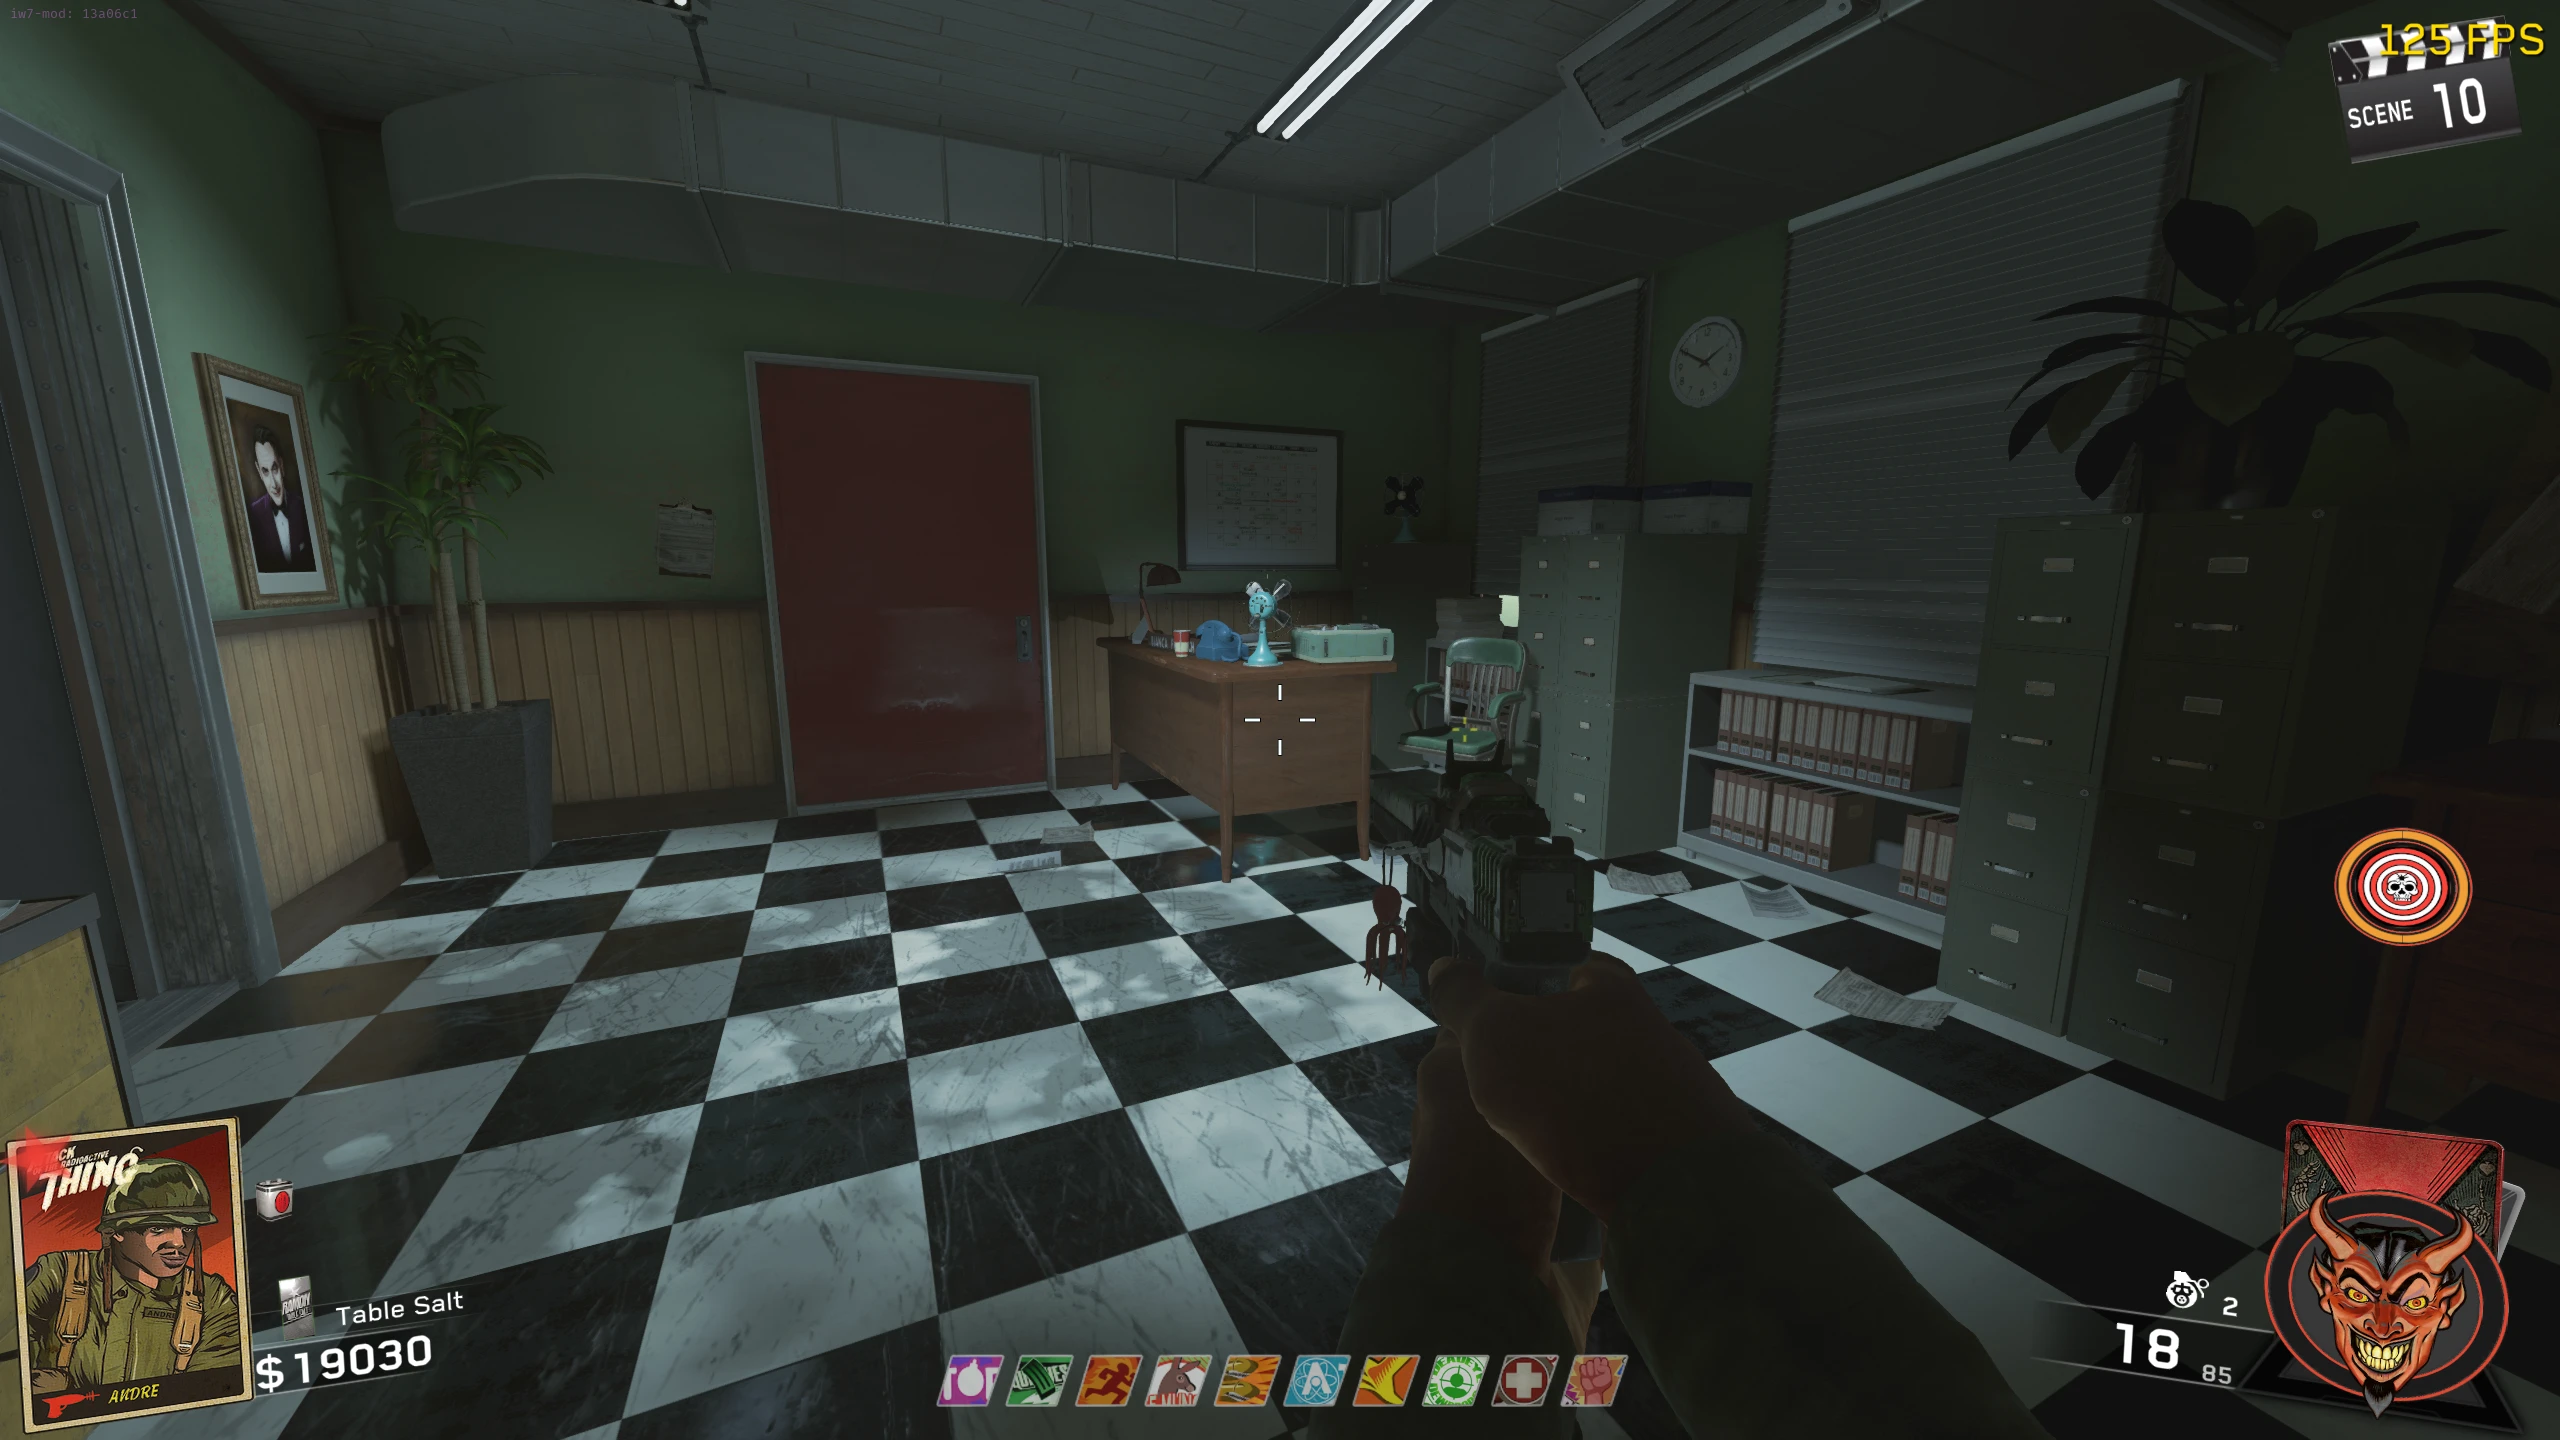
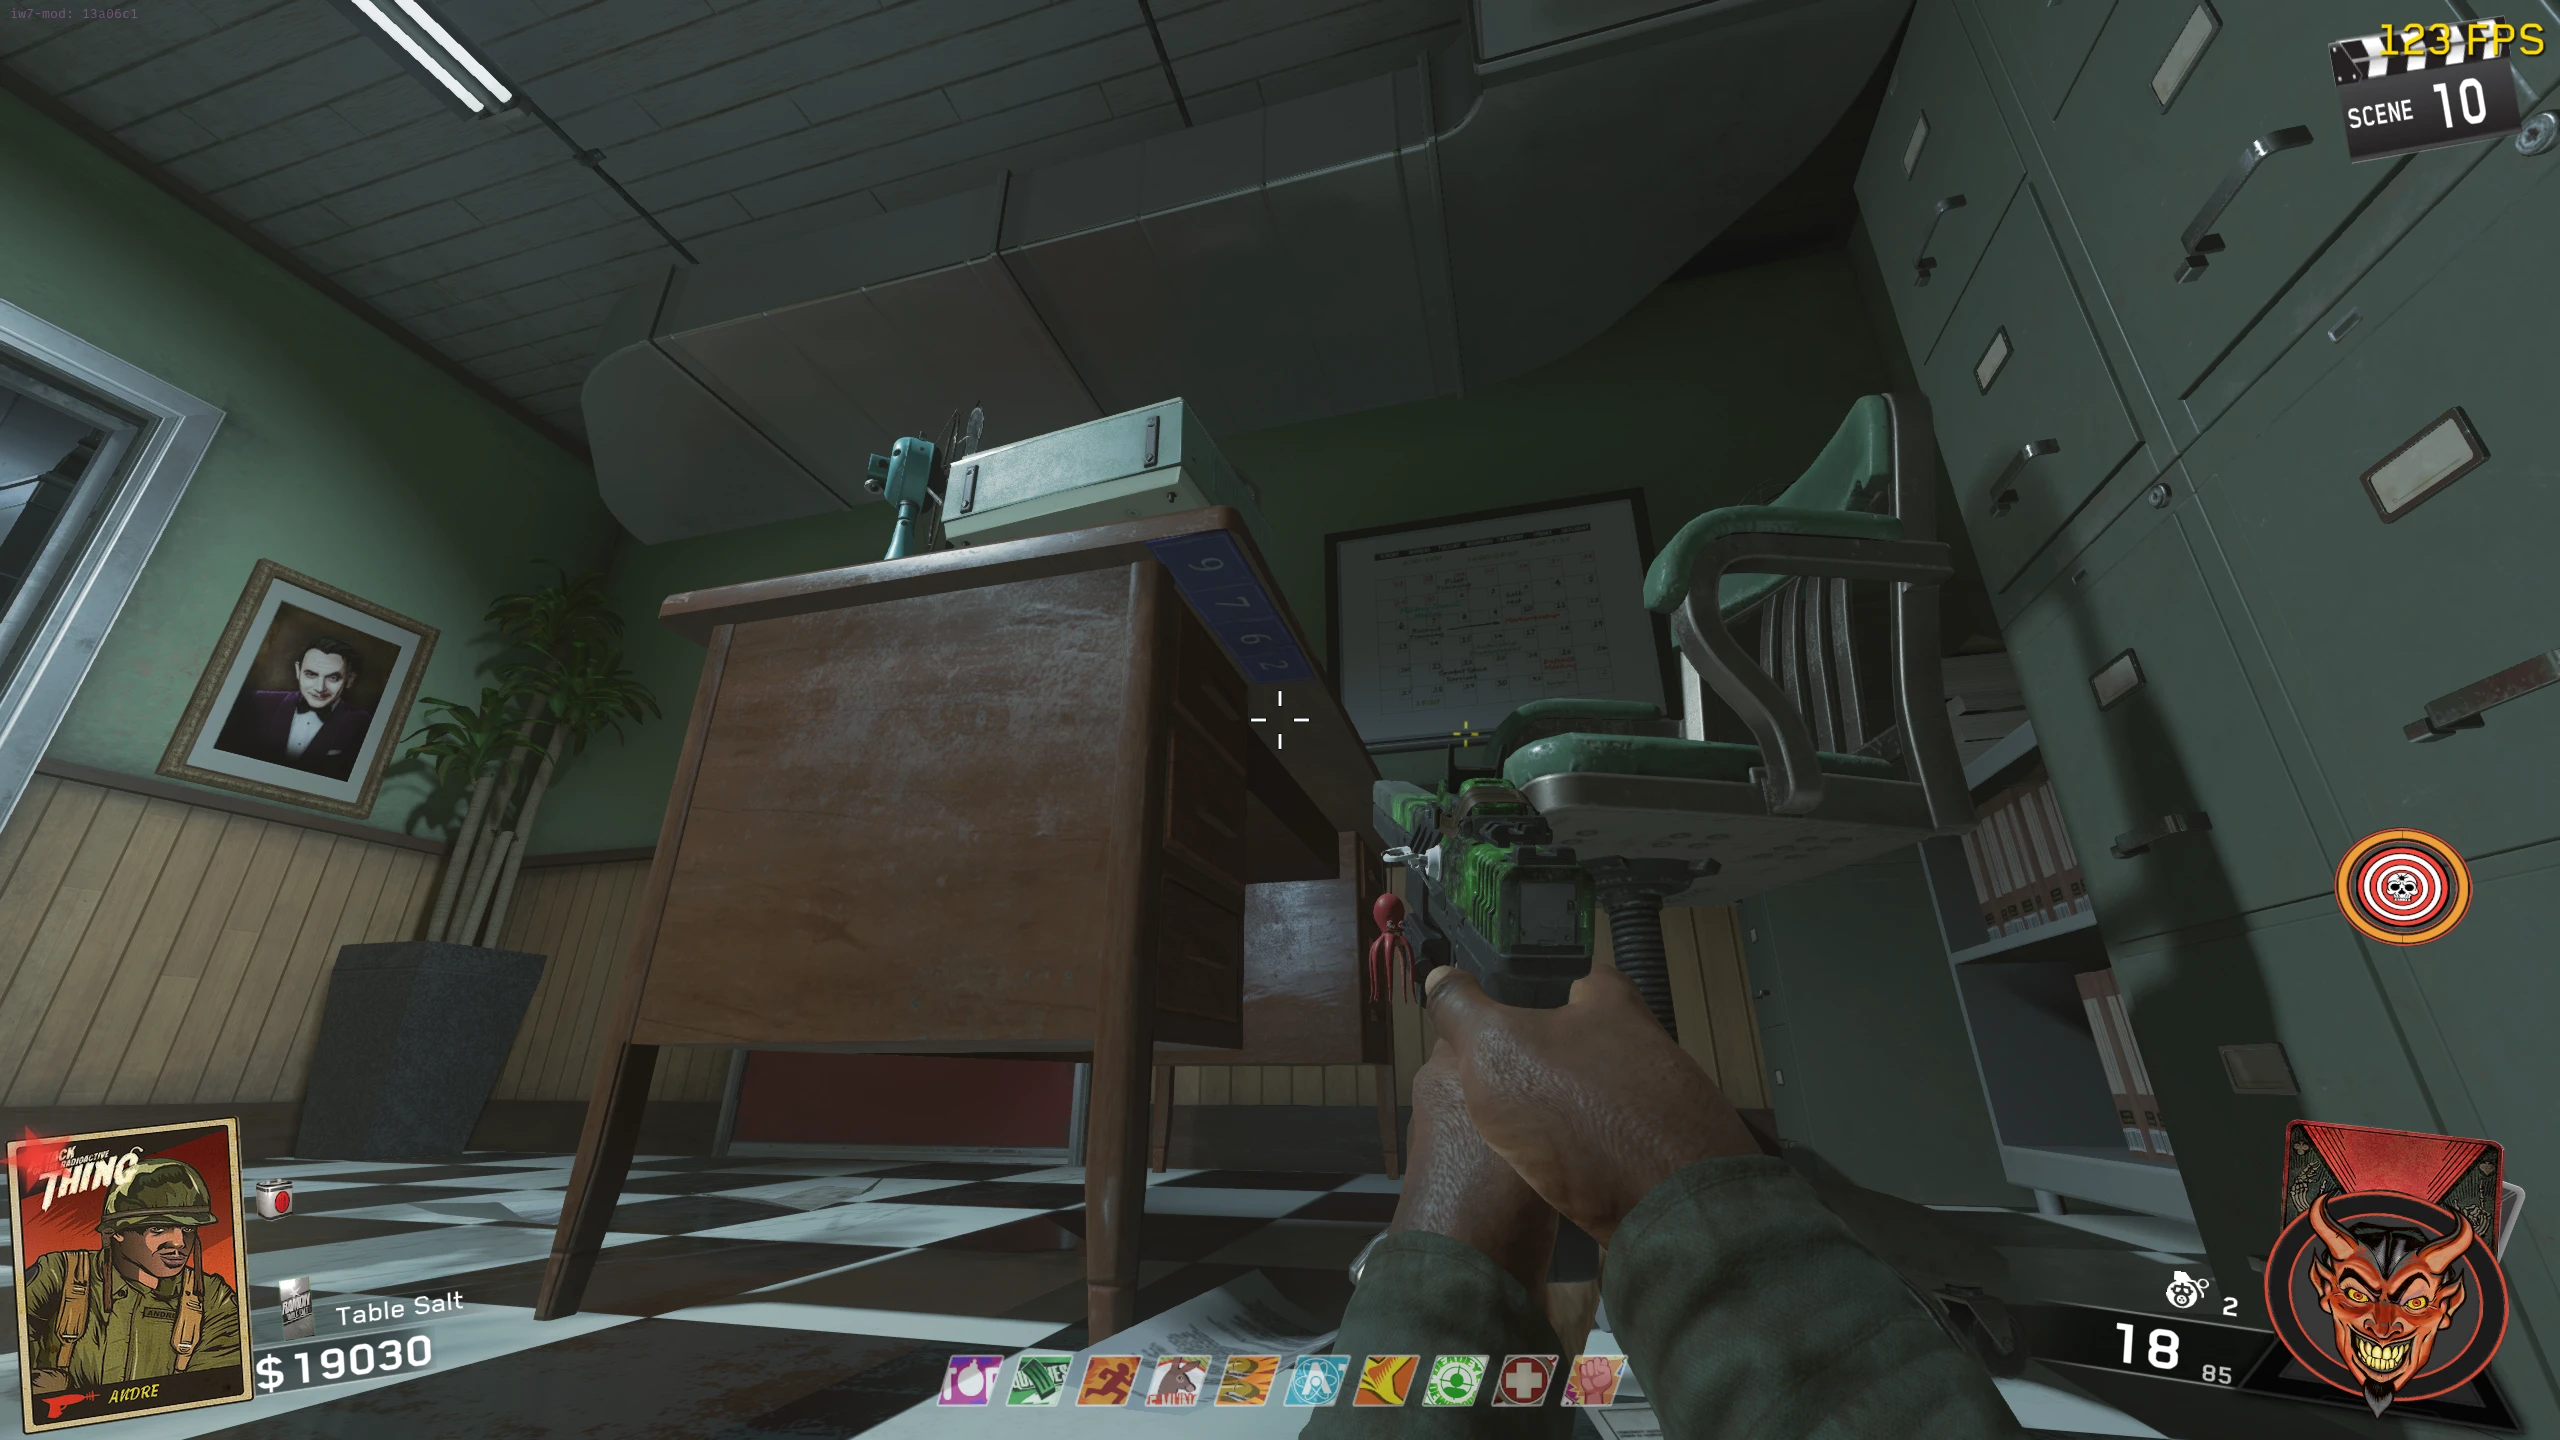
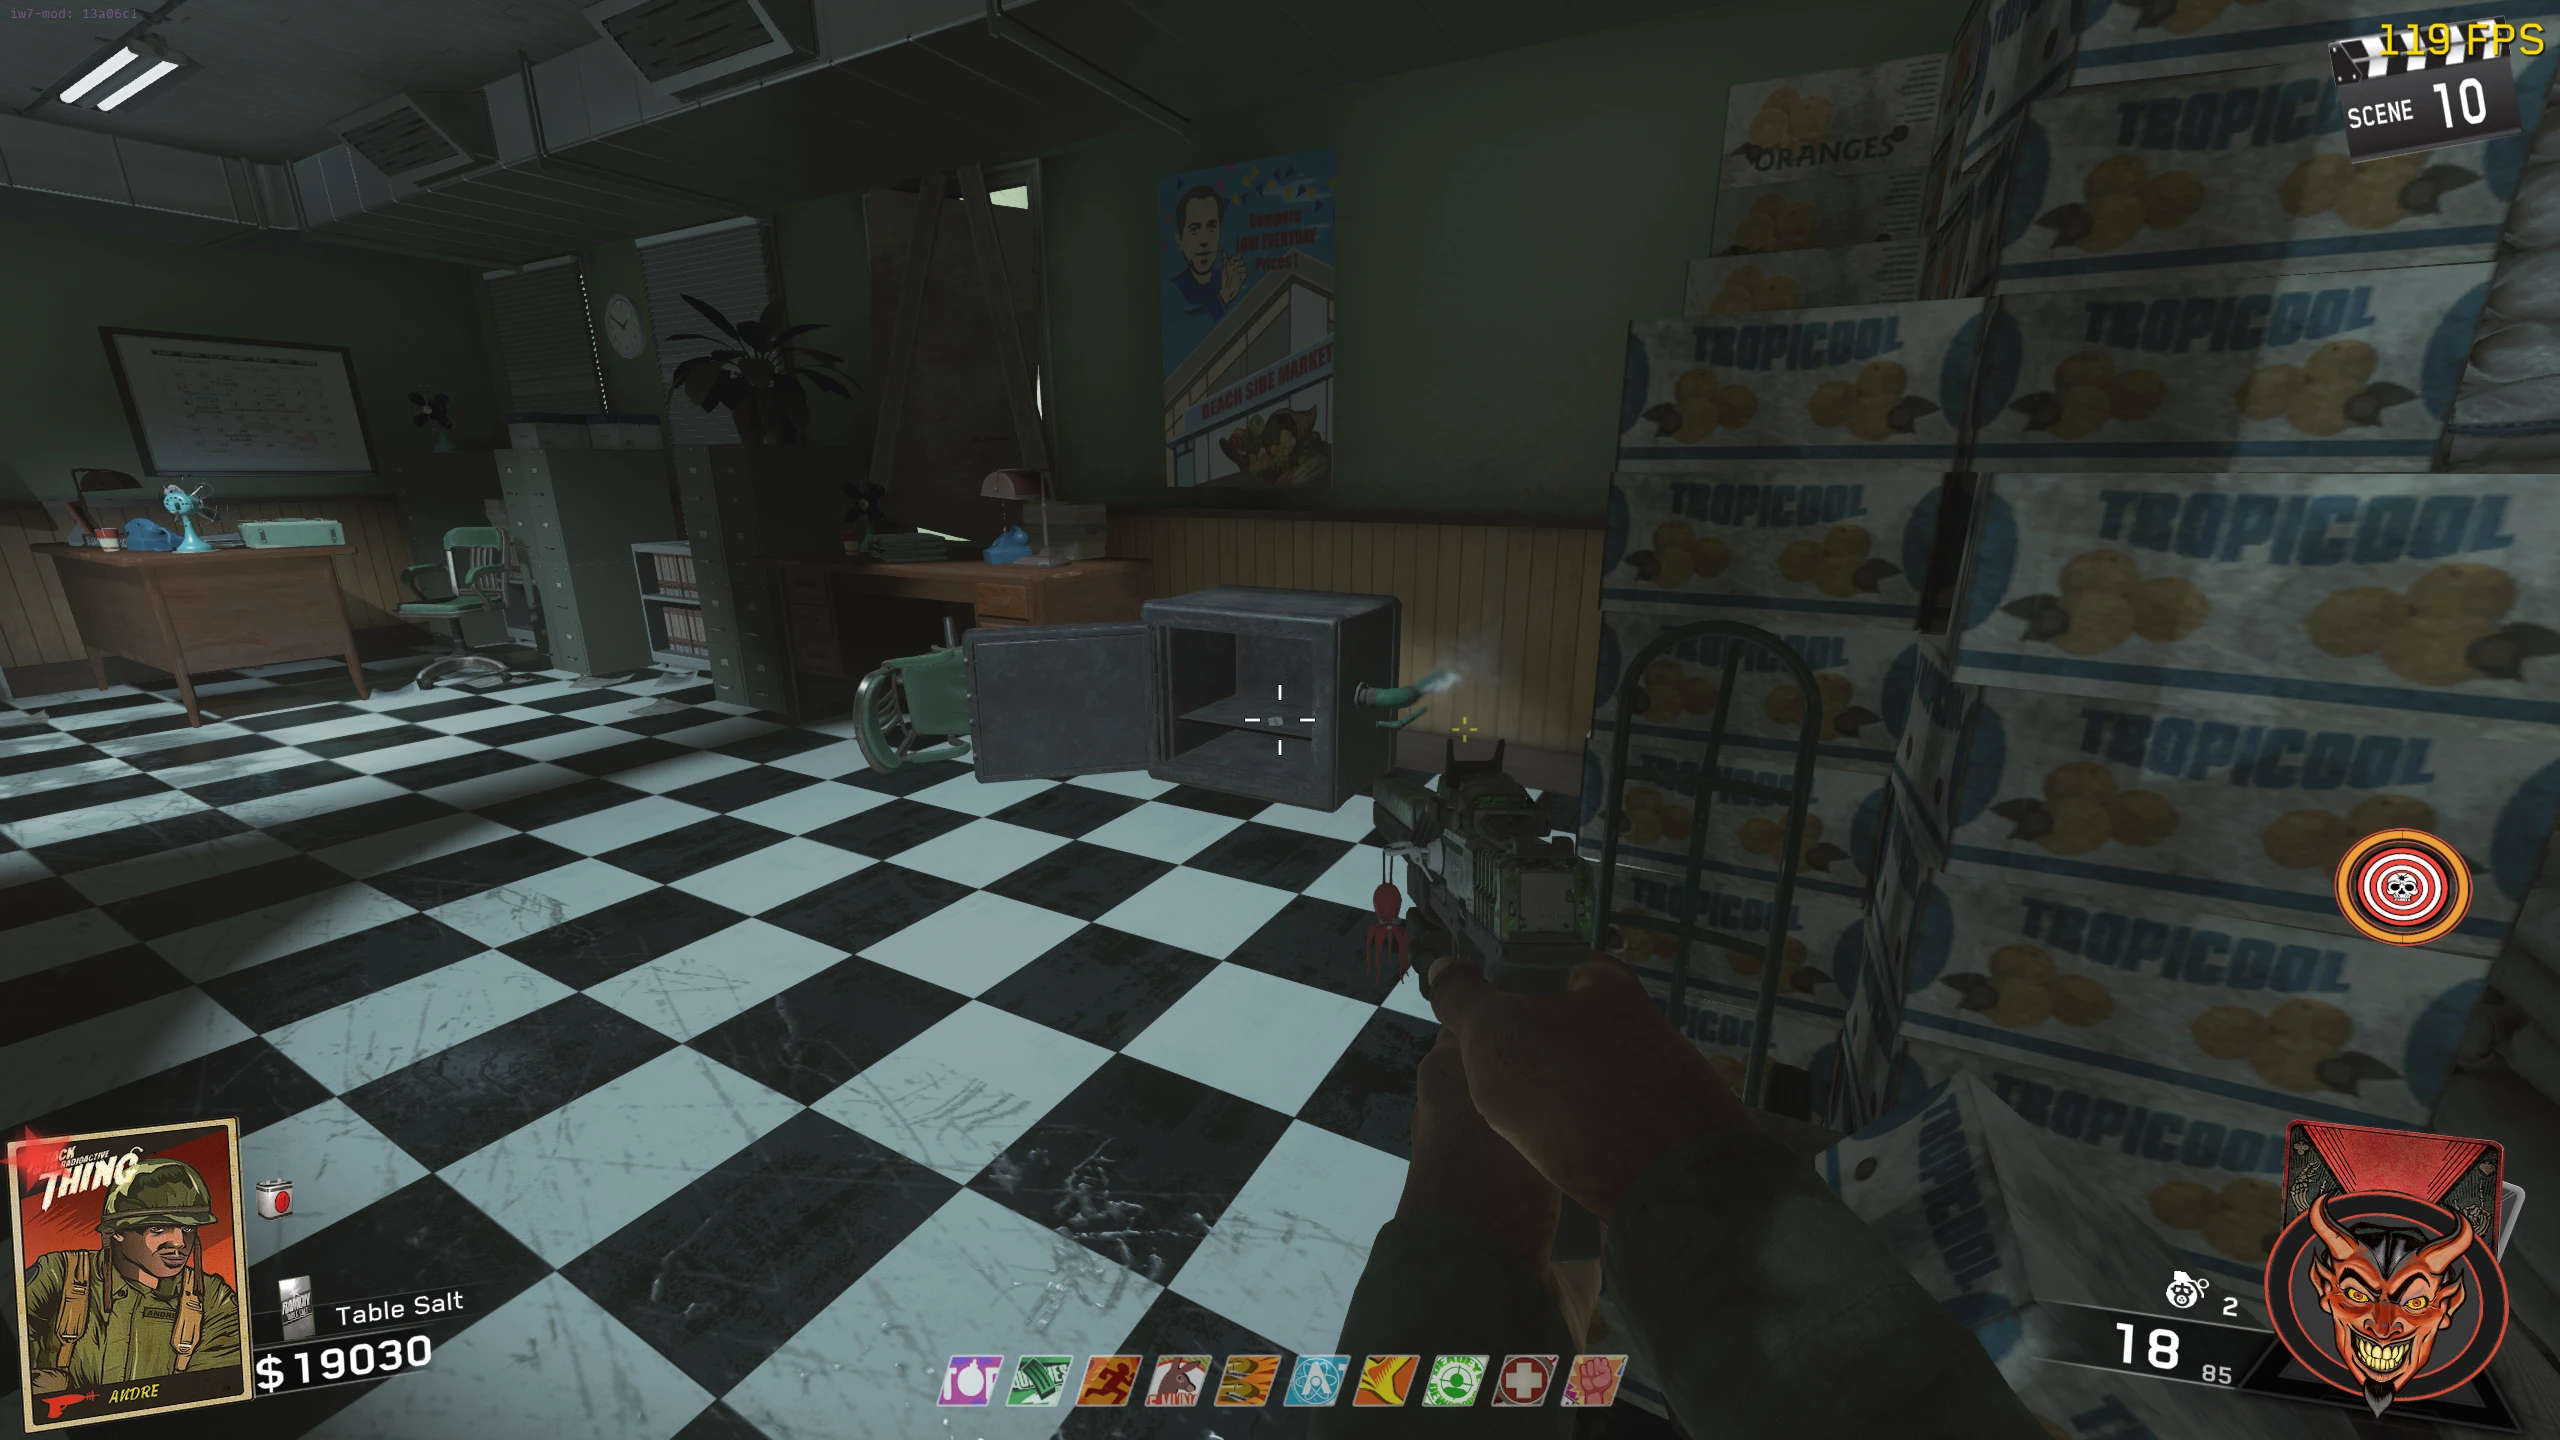
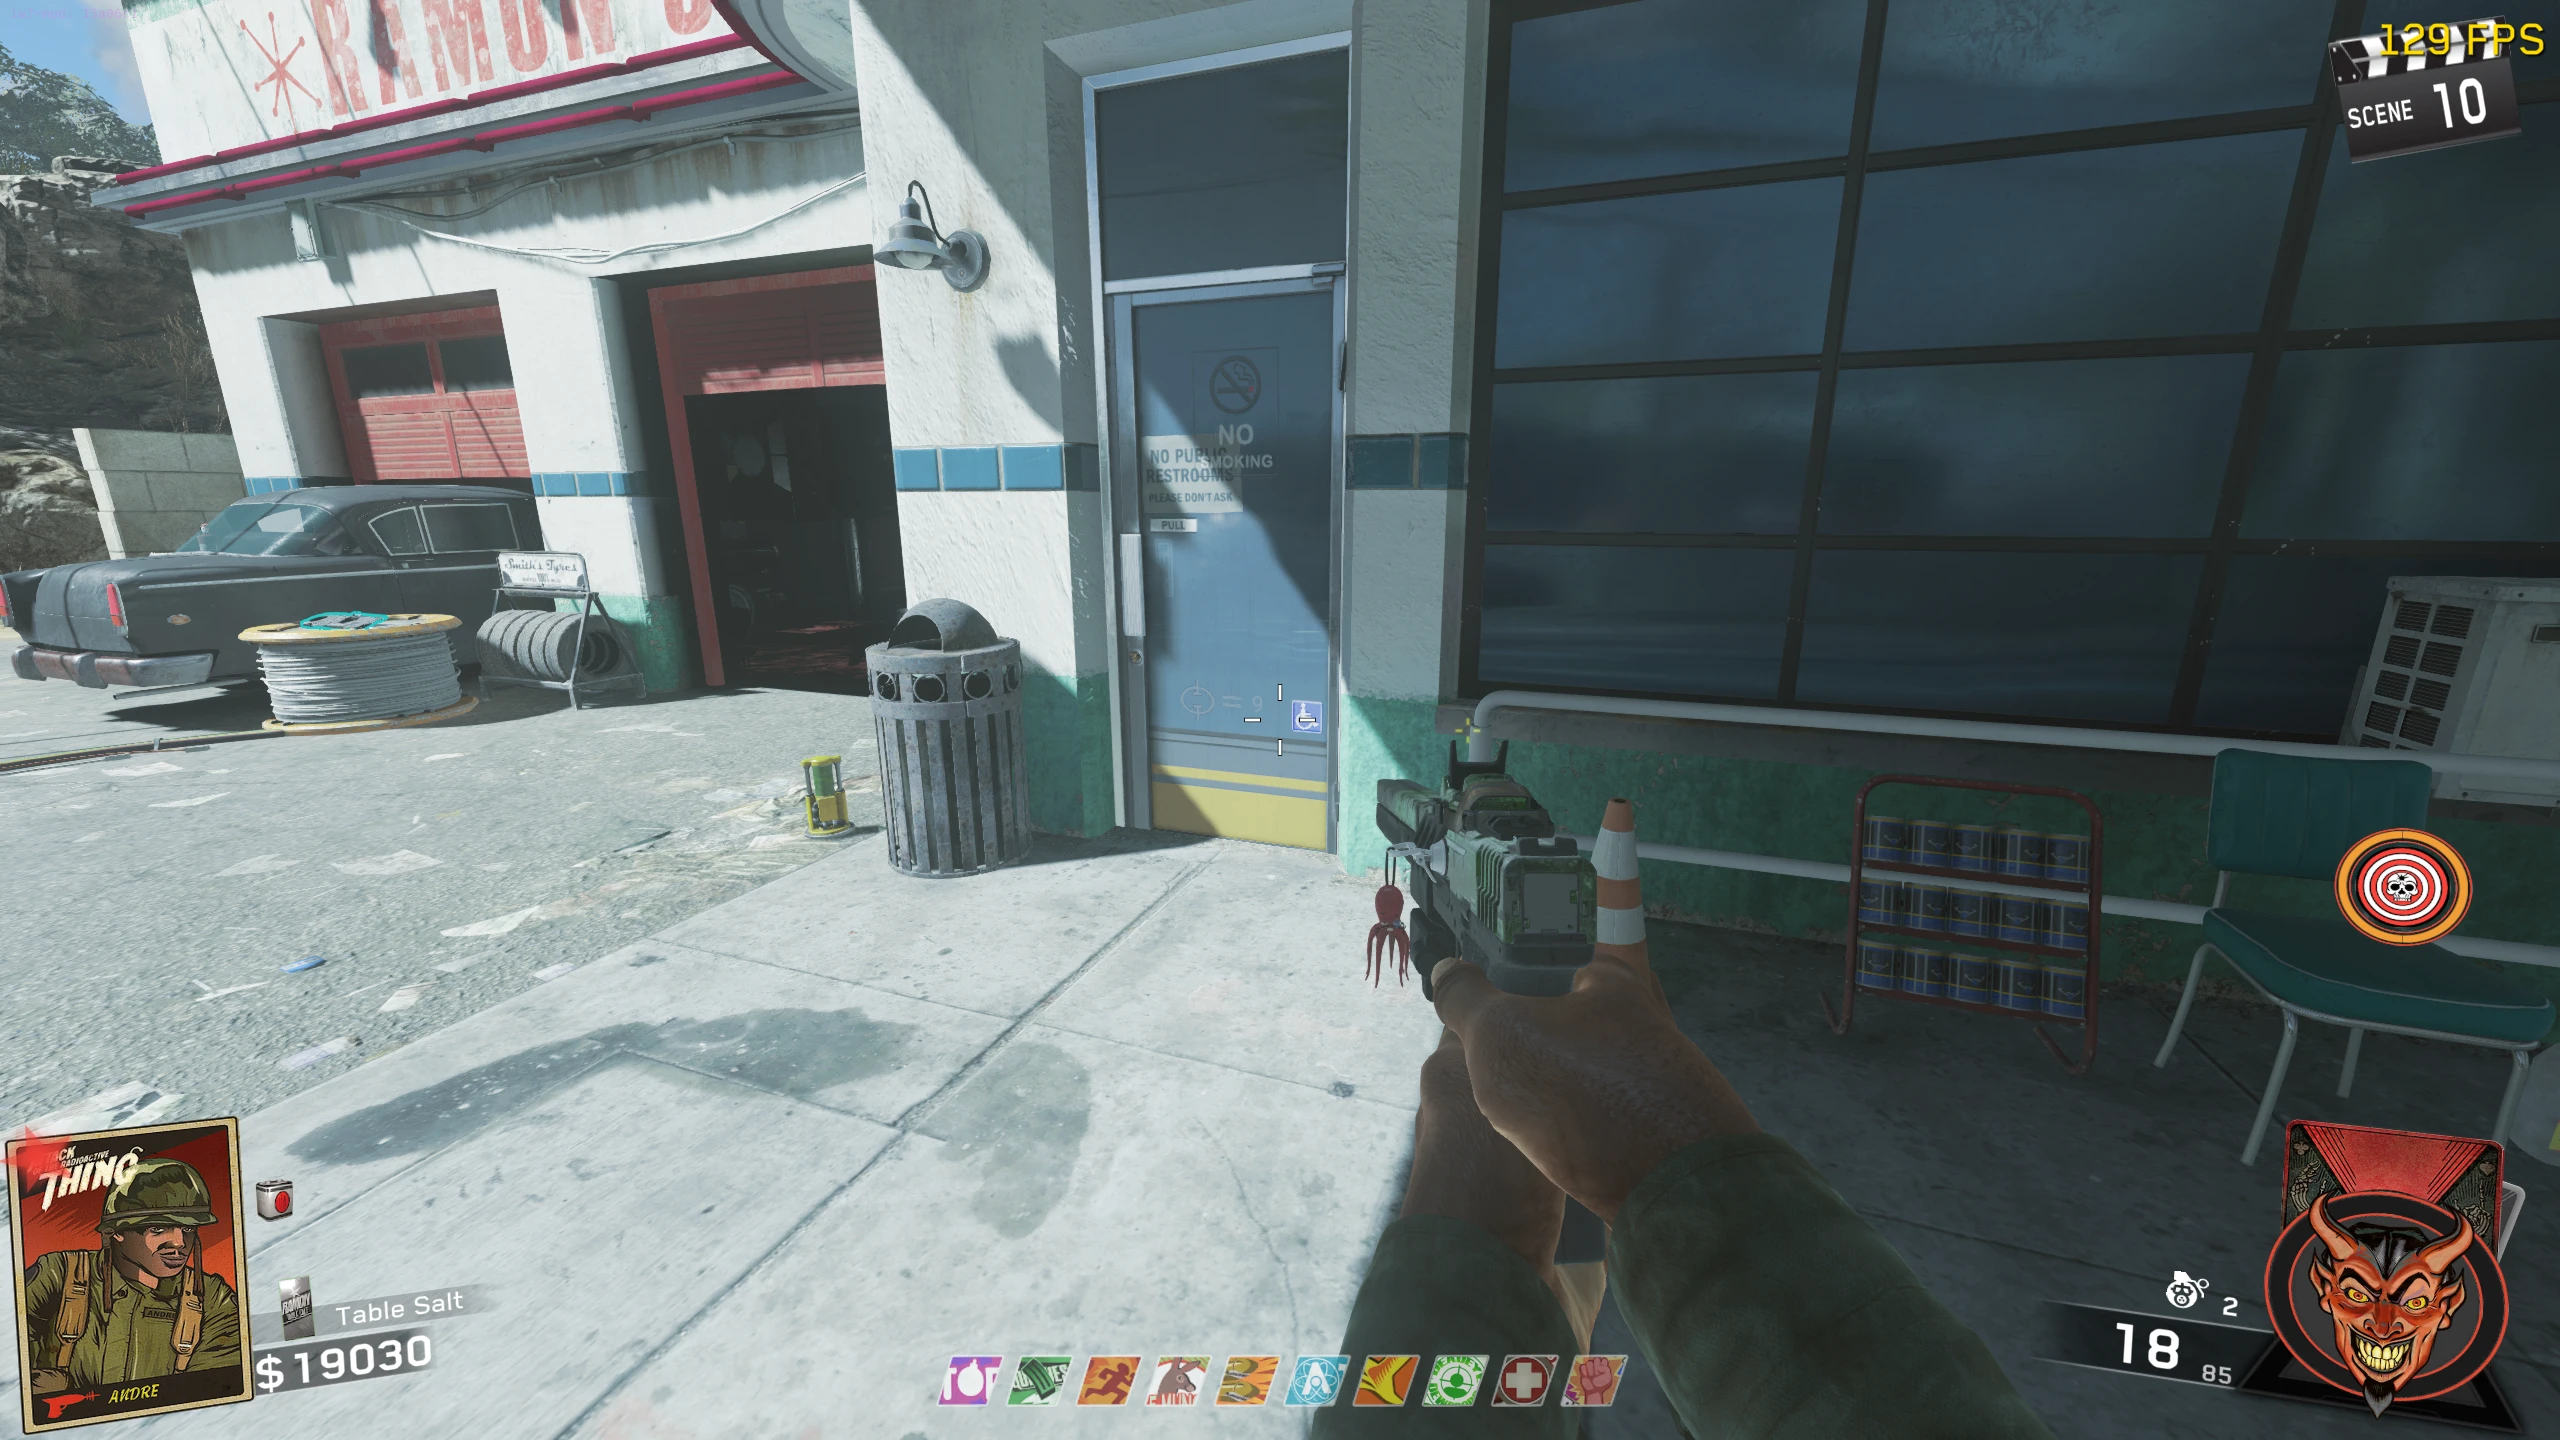
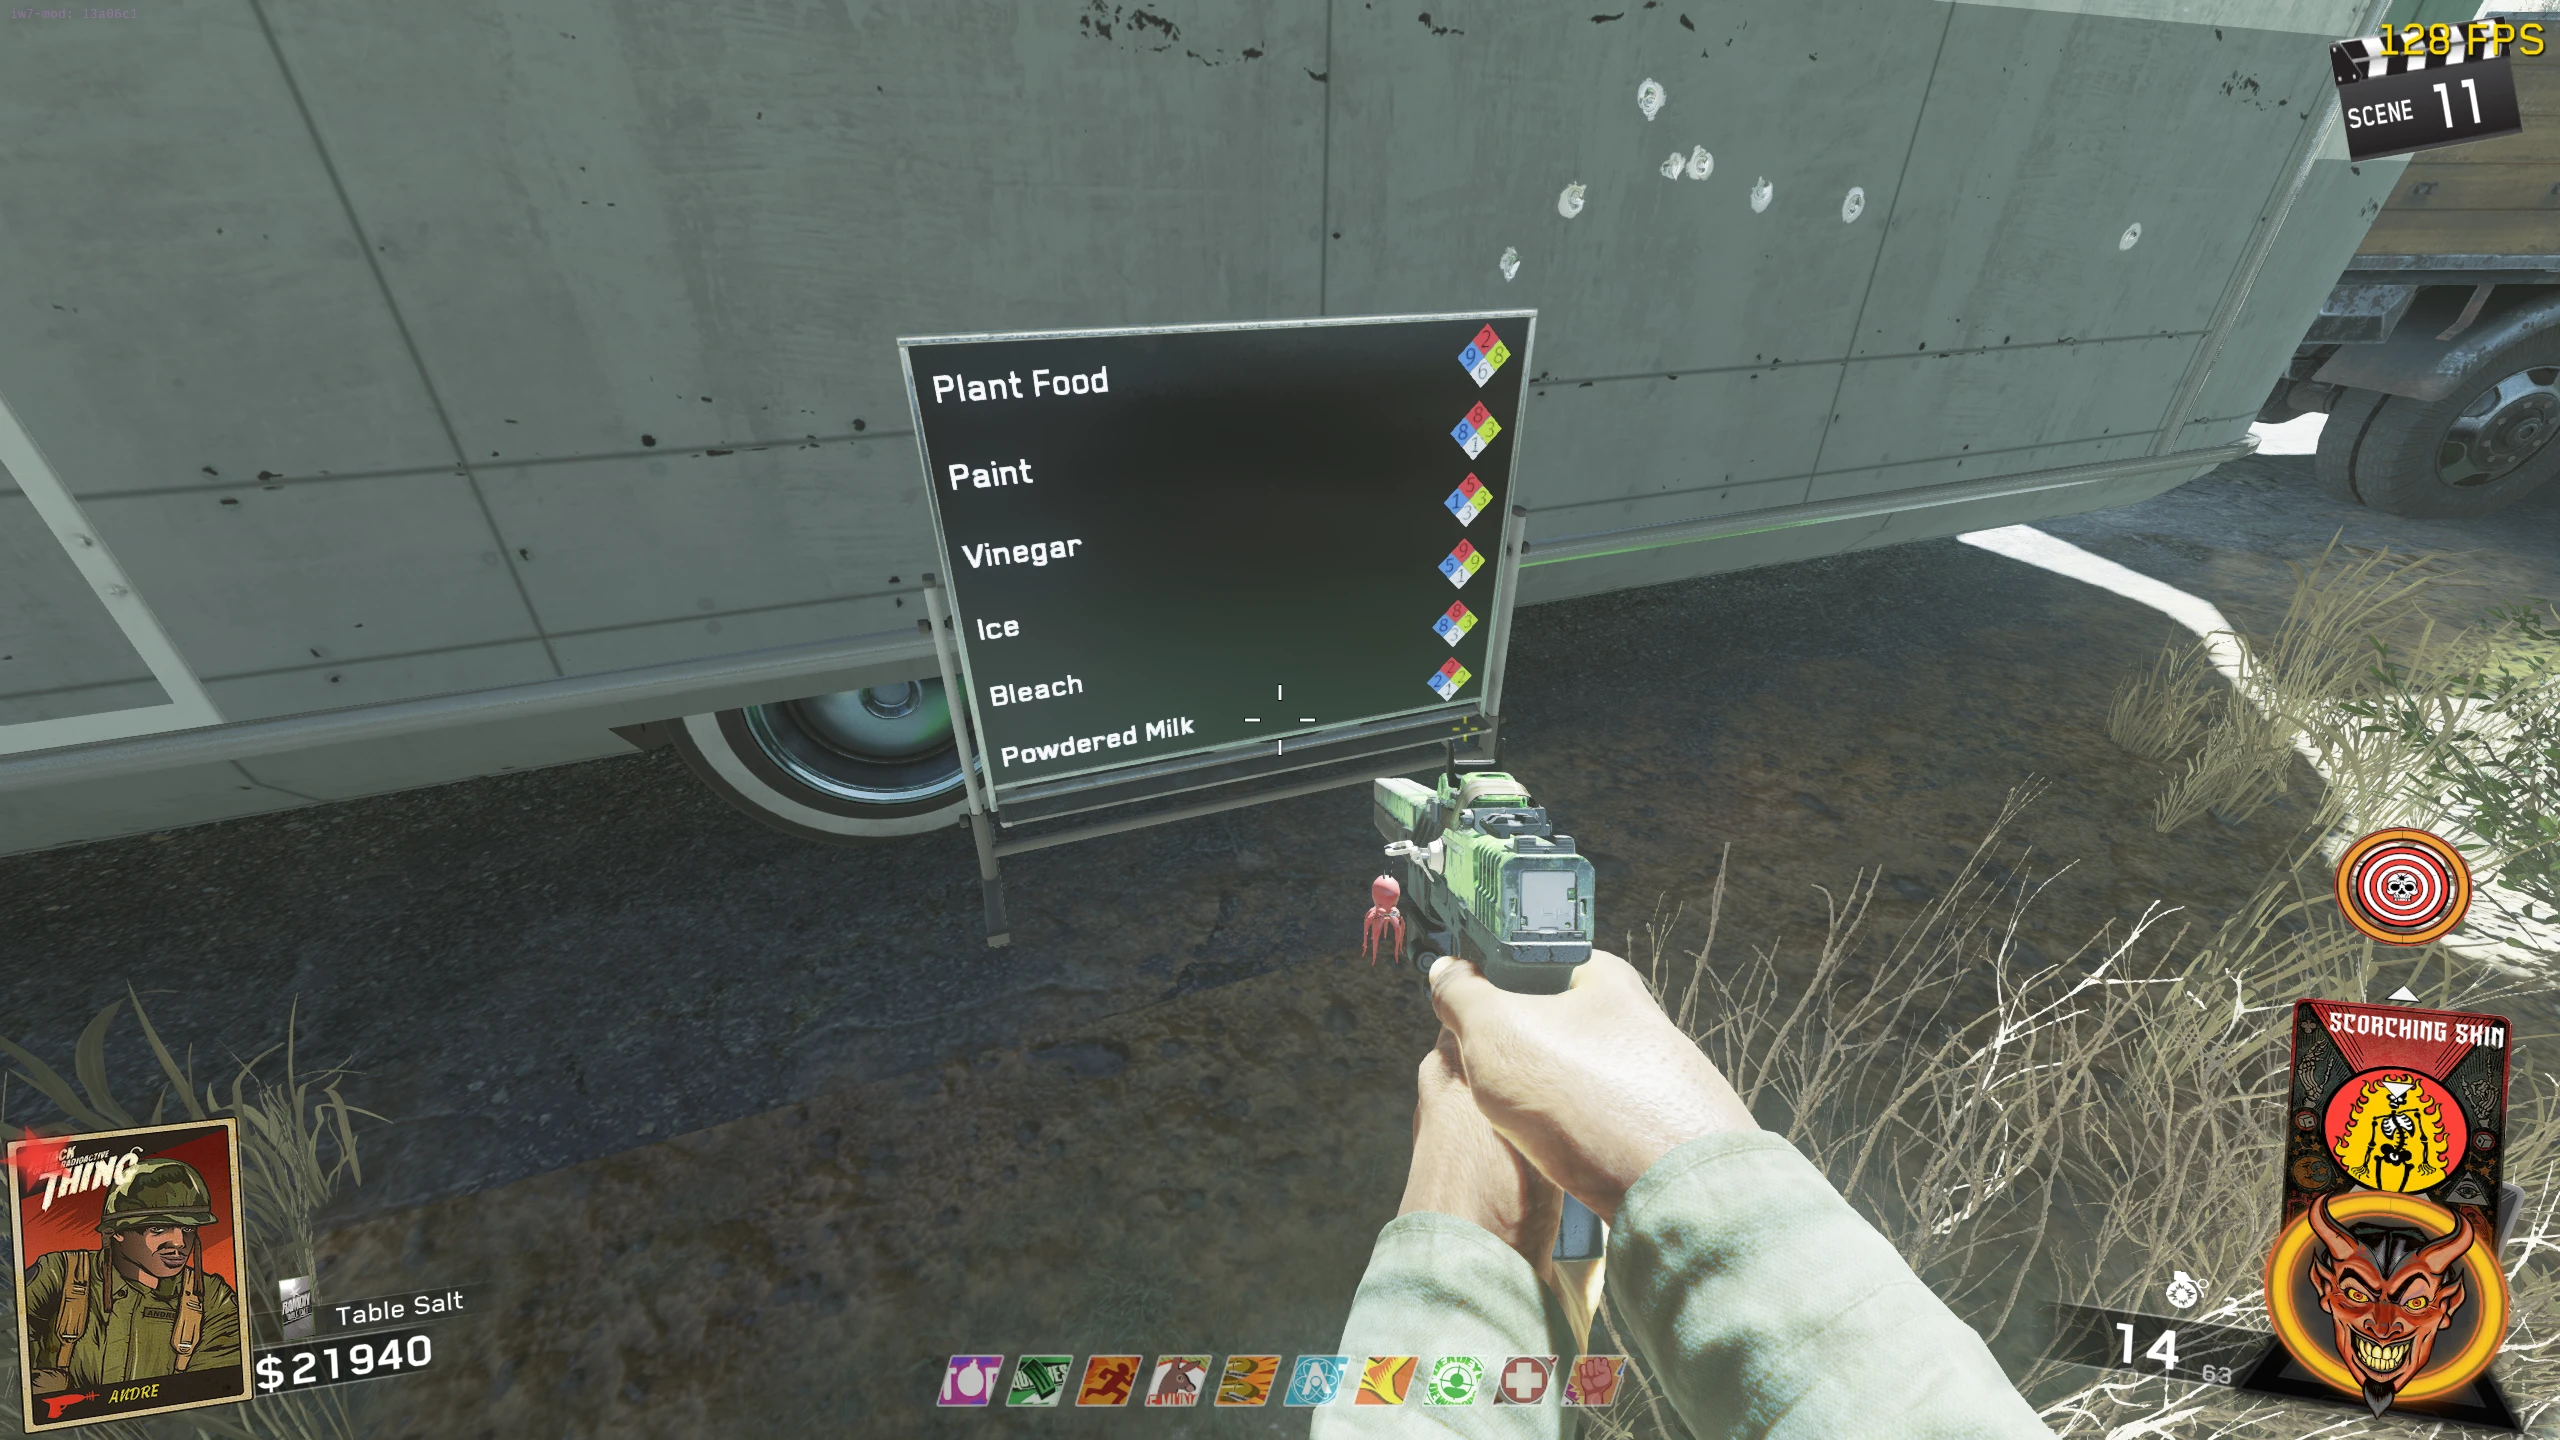
- Obtain the Crowbar from the maintenance room of the Motel. Go to the room with the safe and desk in the back of the Market. Prone on the left side of the desk, and note down the four numbers there.
- You must now set four pressure gauges around the map, to one of the numbers (any number can go with any gauge). To set a gauge, you must melee it with the crowbar while the hand is pointing at the number you want. If you stop the hand on the wrong number, you can melee the gauge again to reset it. Gauge locations:
- Gas Station - On the backside of the building
- Snack Shack - On the right side of the building
- Power Station - On the backside of the power switch building
- Motel - In the maintenance room
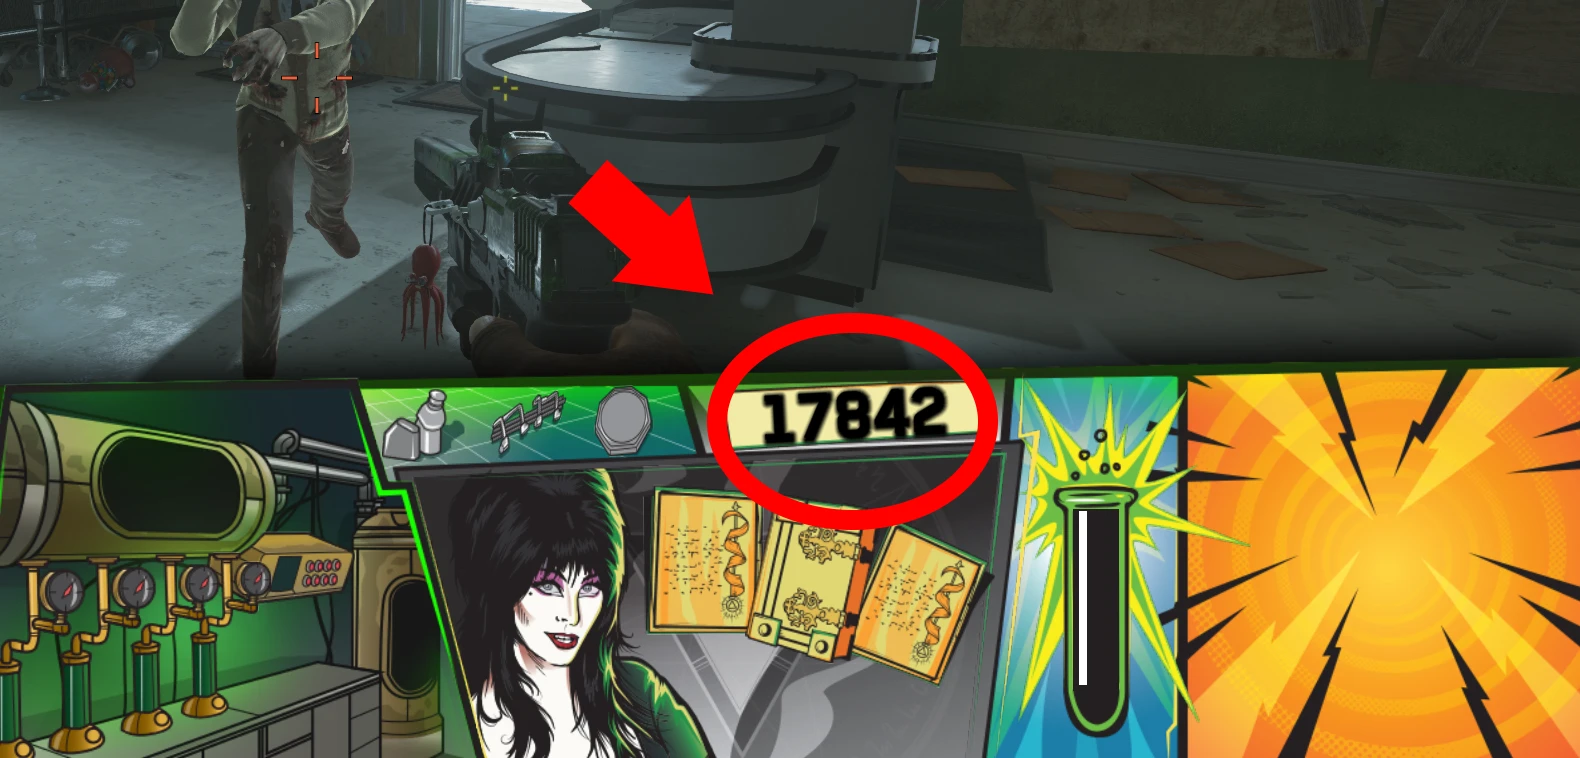
- Once all the gauges are set, go back to the Market and interact with the piece of paper in the safe. A number sequence will appear in your scoreboard menu, make sure to record it somewhere out of the game because when you need it, you won't be able to check it.
- There are two ways to do the "Chemistry Step" (the bulk of the remainder of this quest), the IW intended way or using the Solver below. Using the solver will skip a lot of the more tedious parts of this quest, and is overall simpler for you, but both will described below for you to choose.
Unlocking the Garage
Preparing for the Chemistry Step
Building the Nuke
Opening the Safe
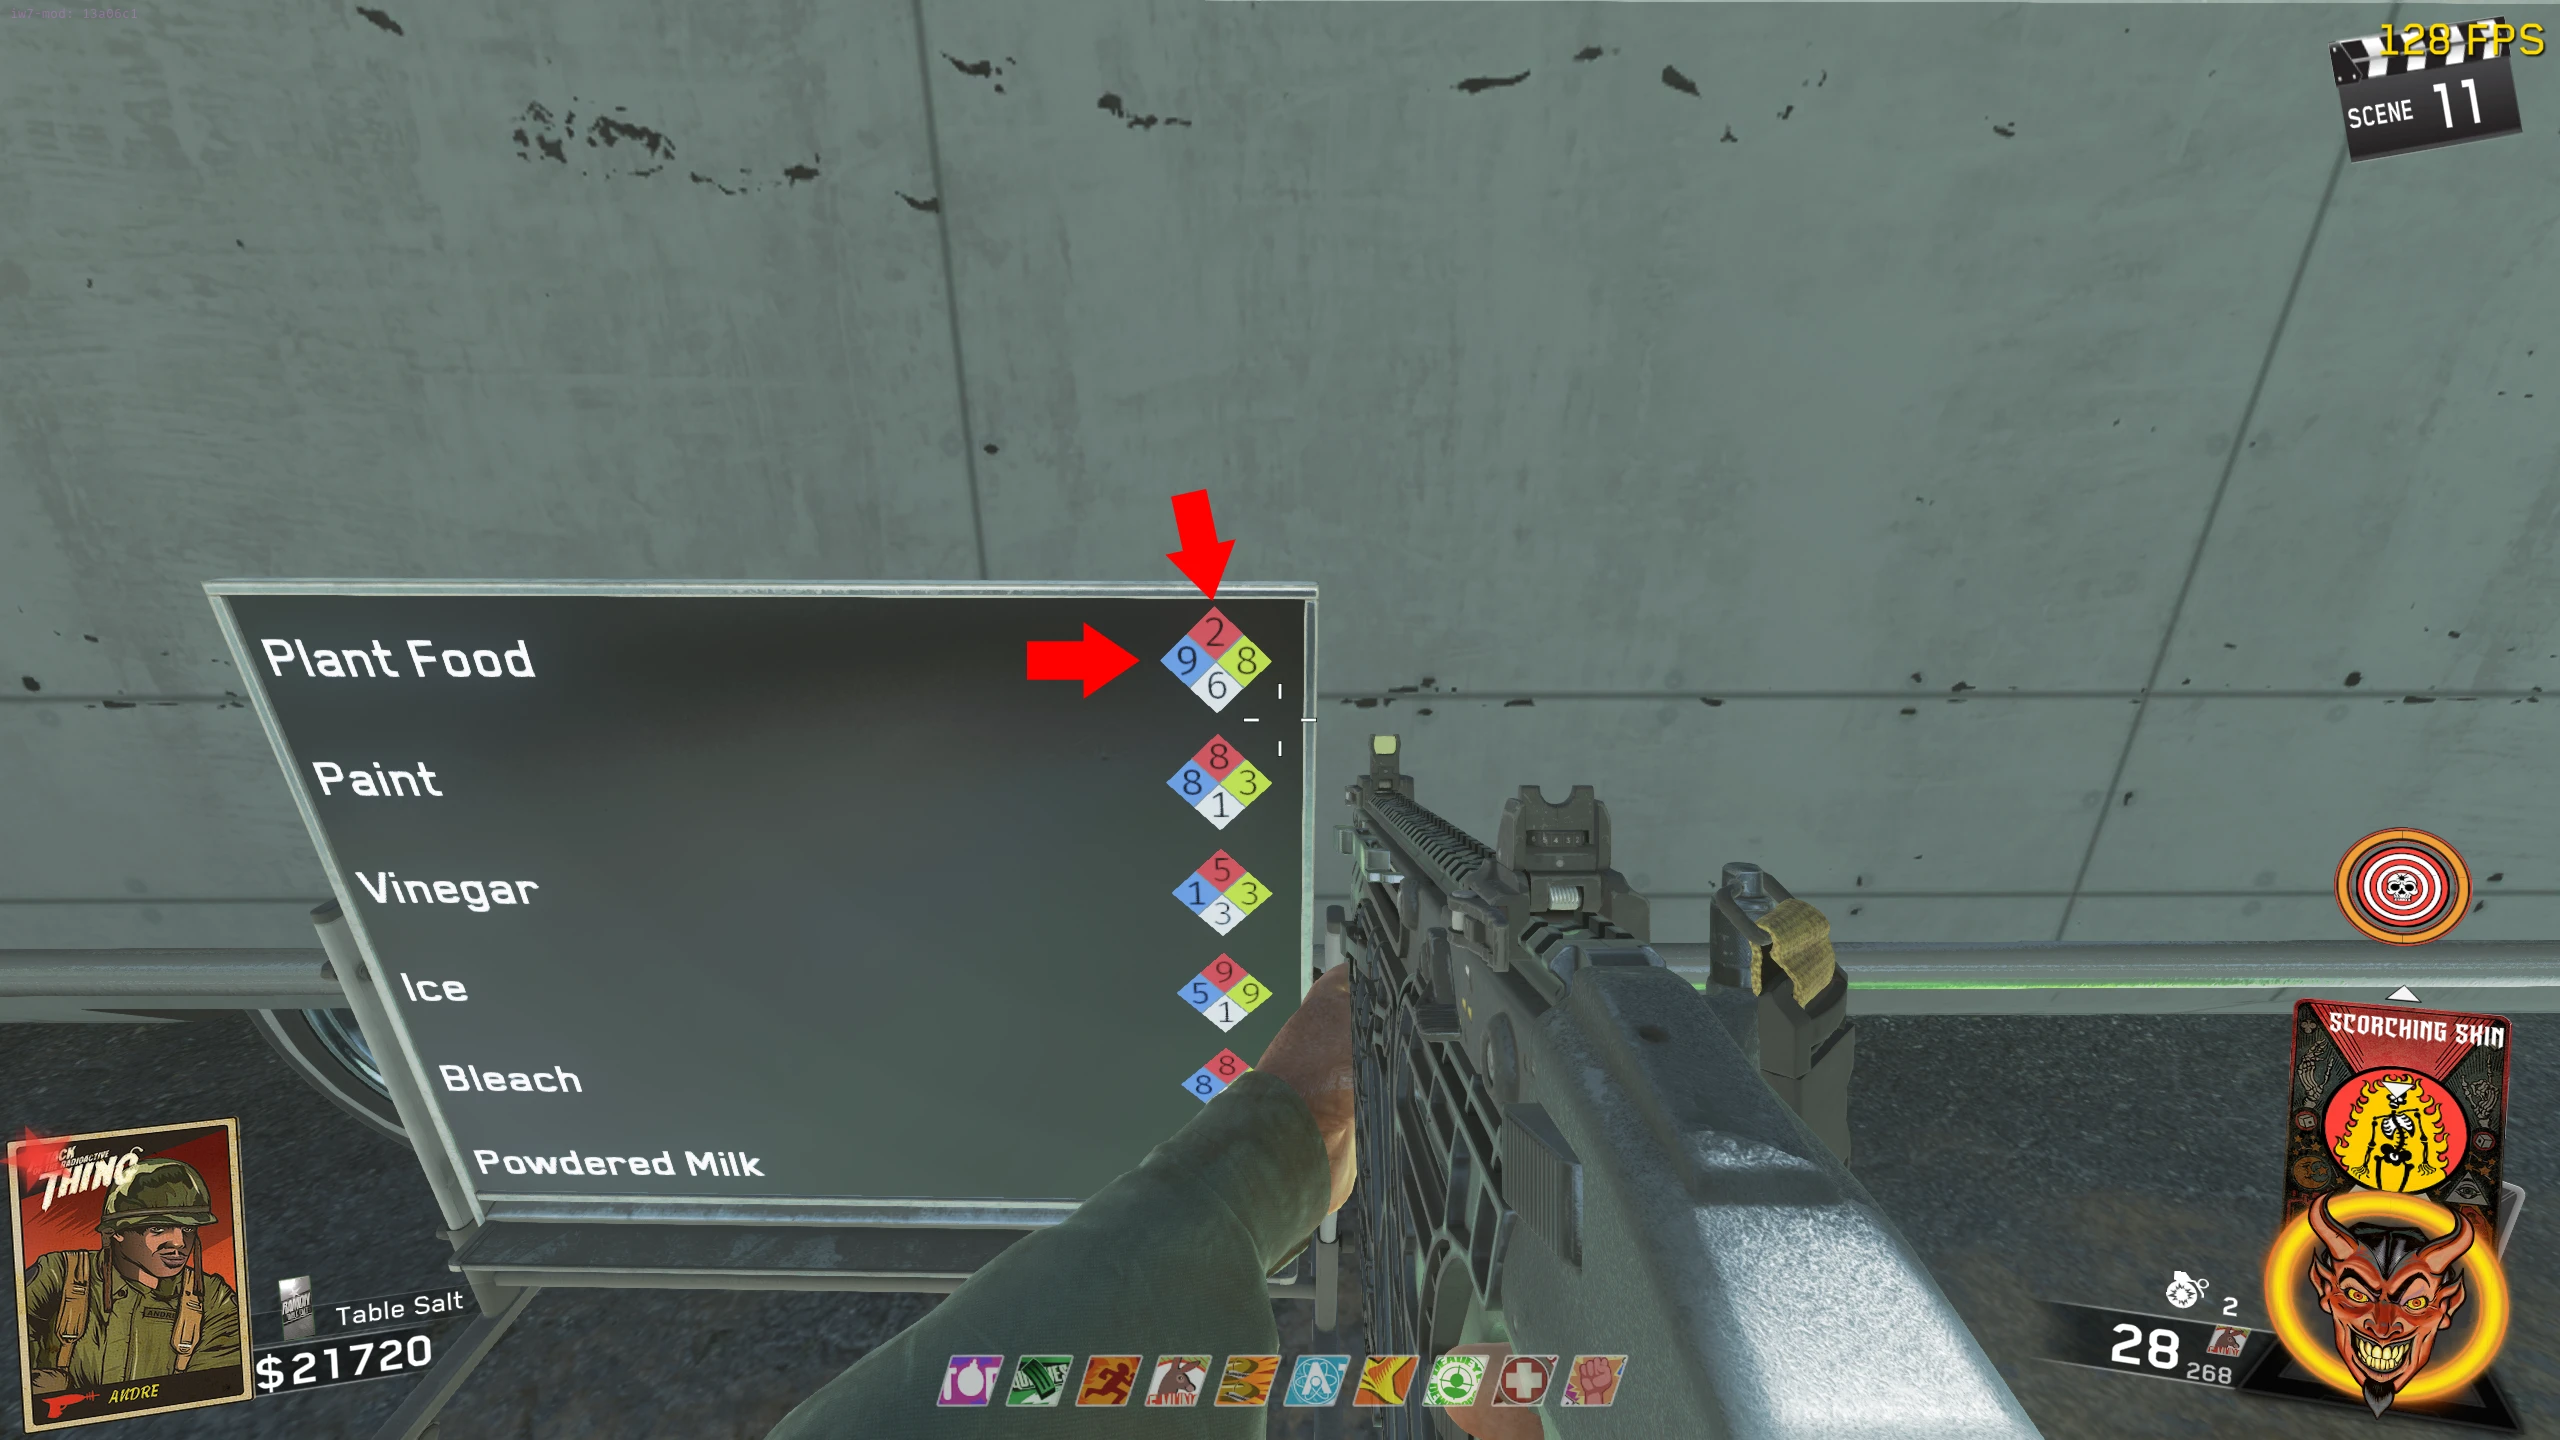
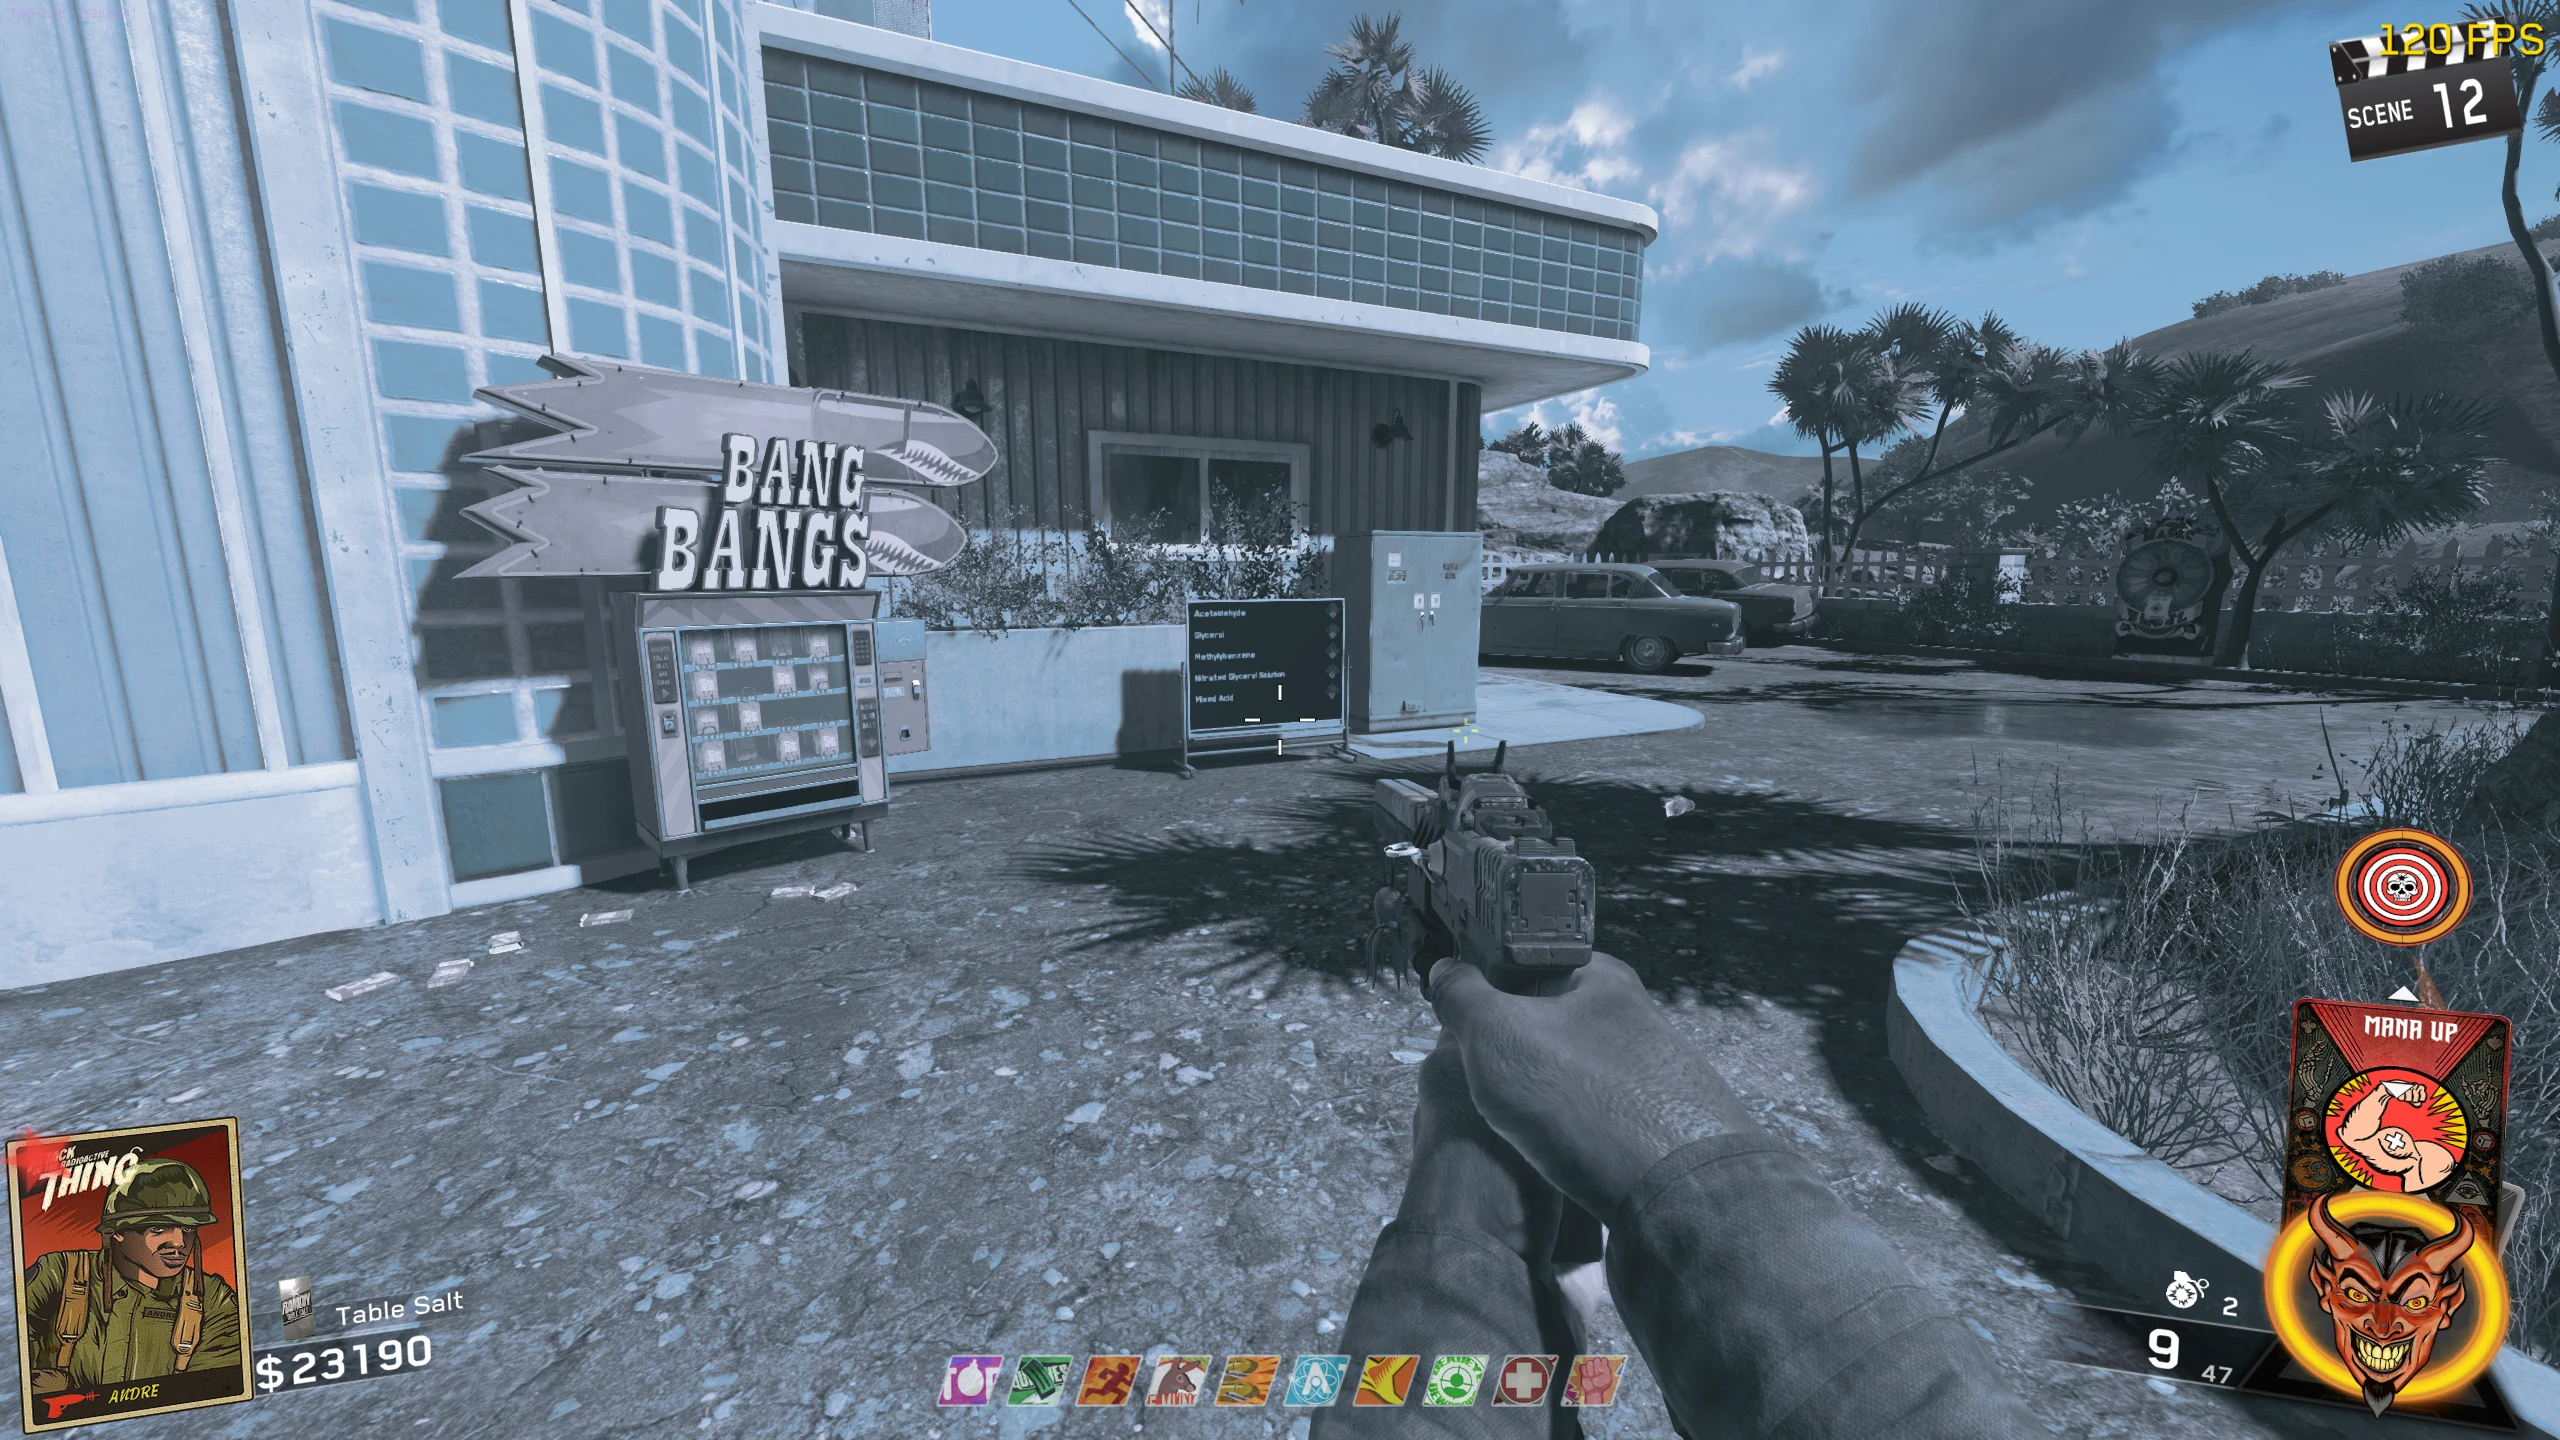
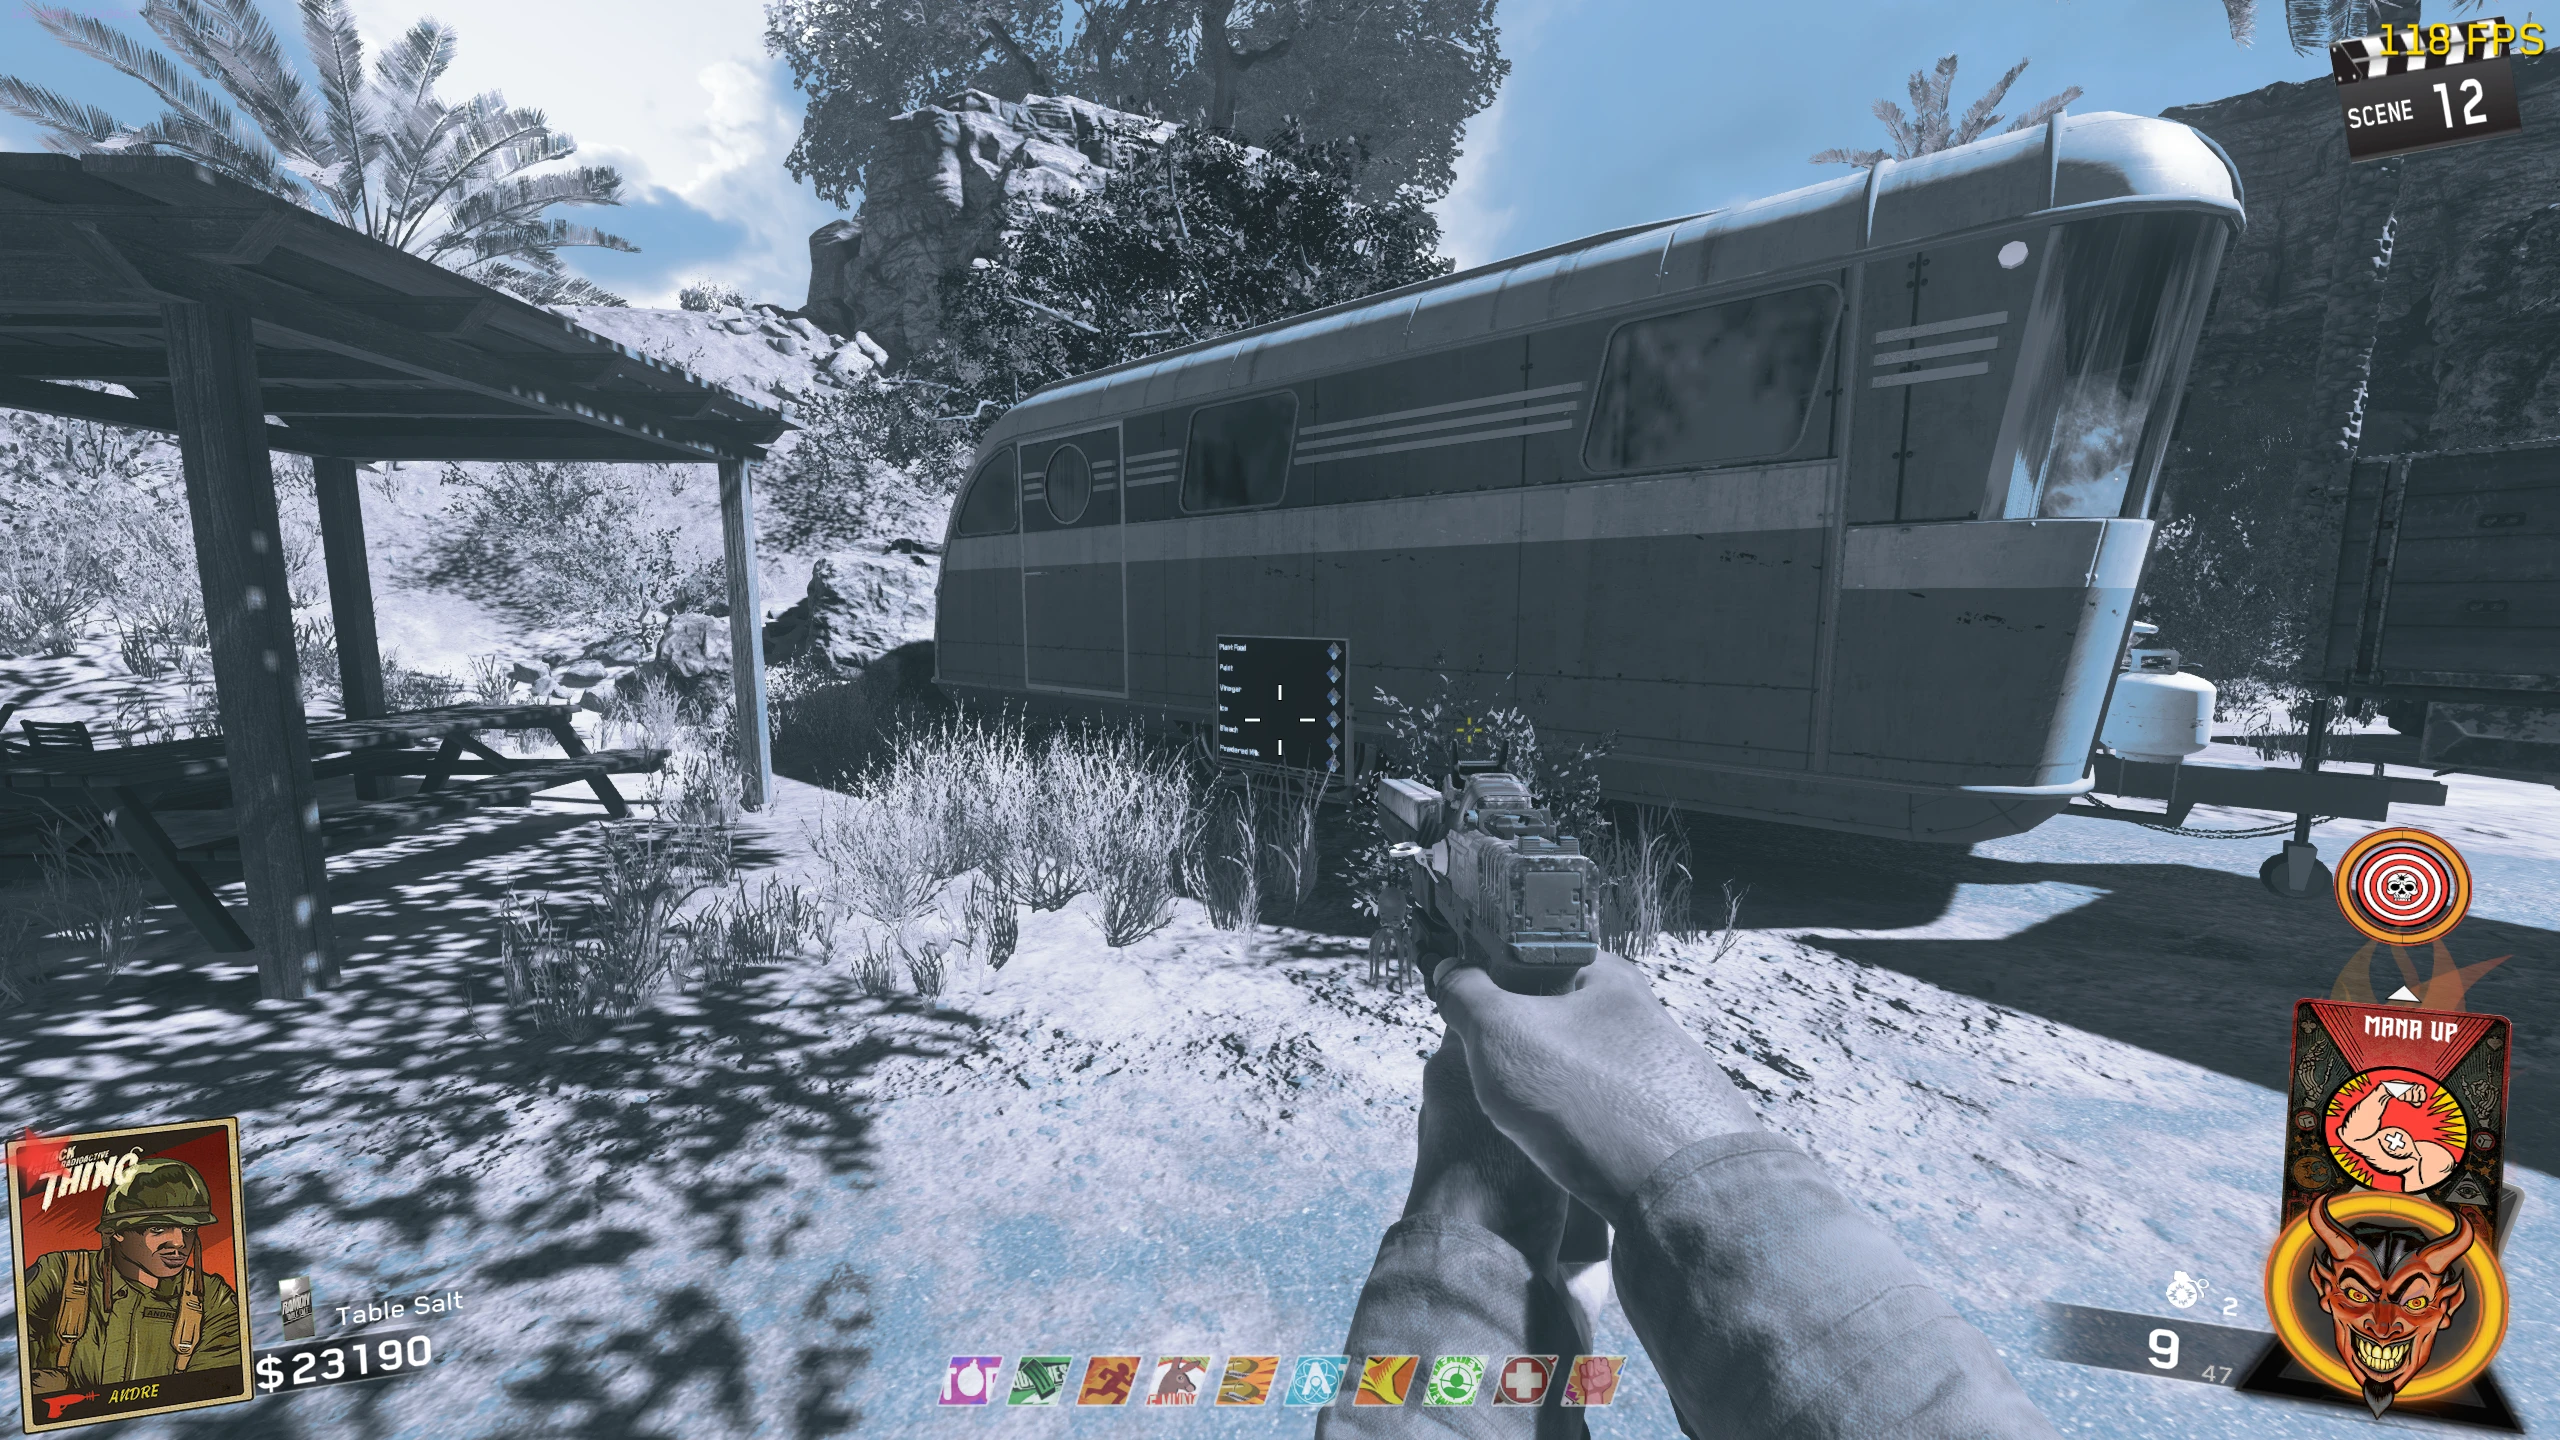
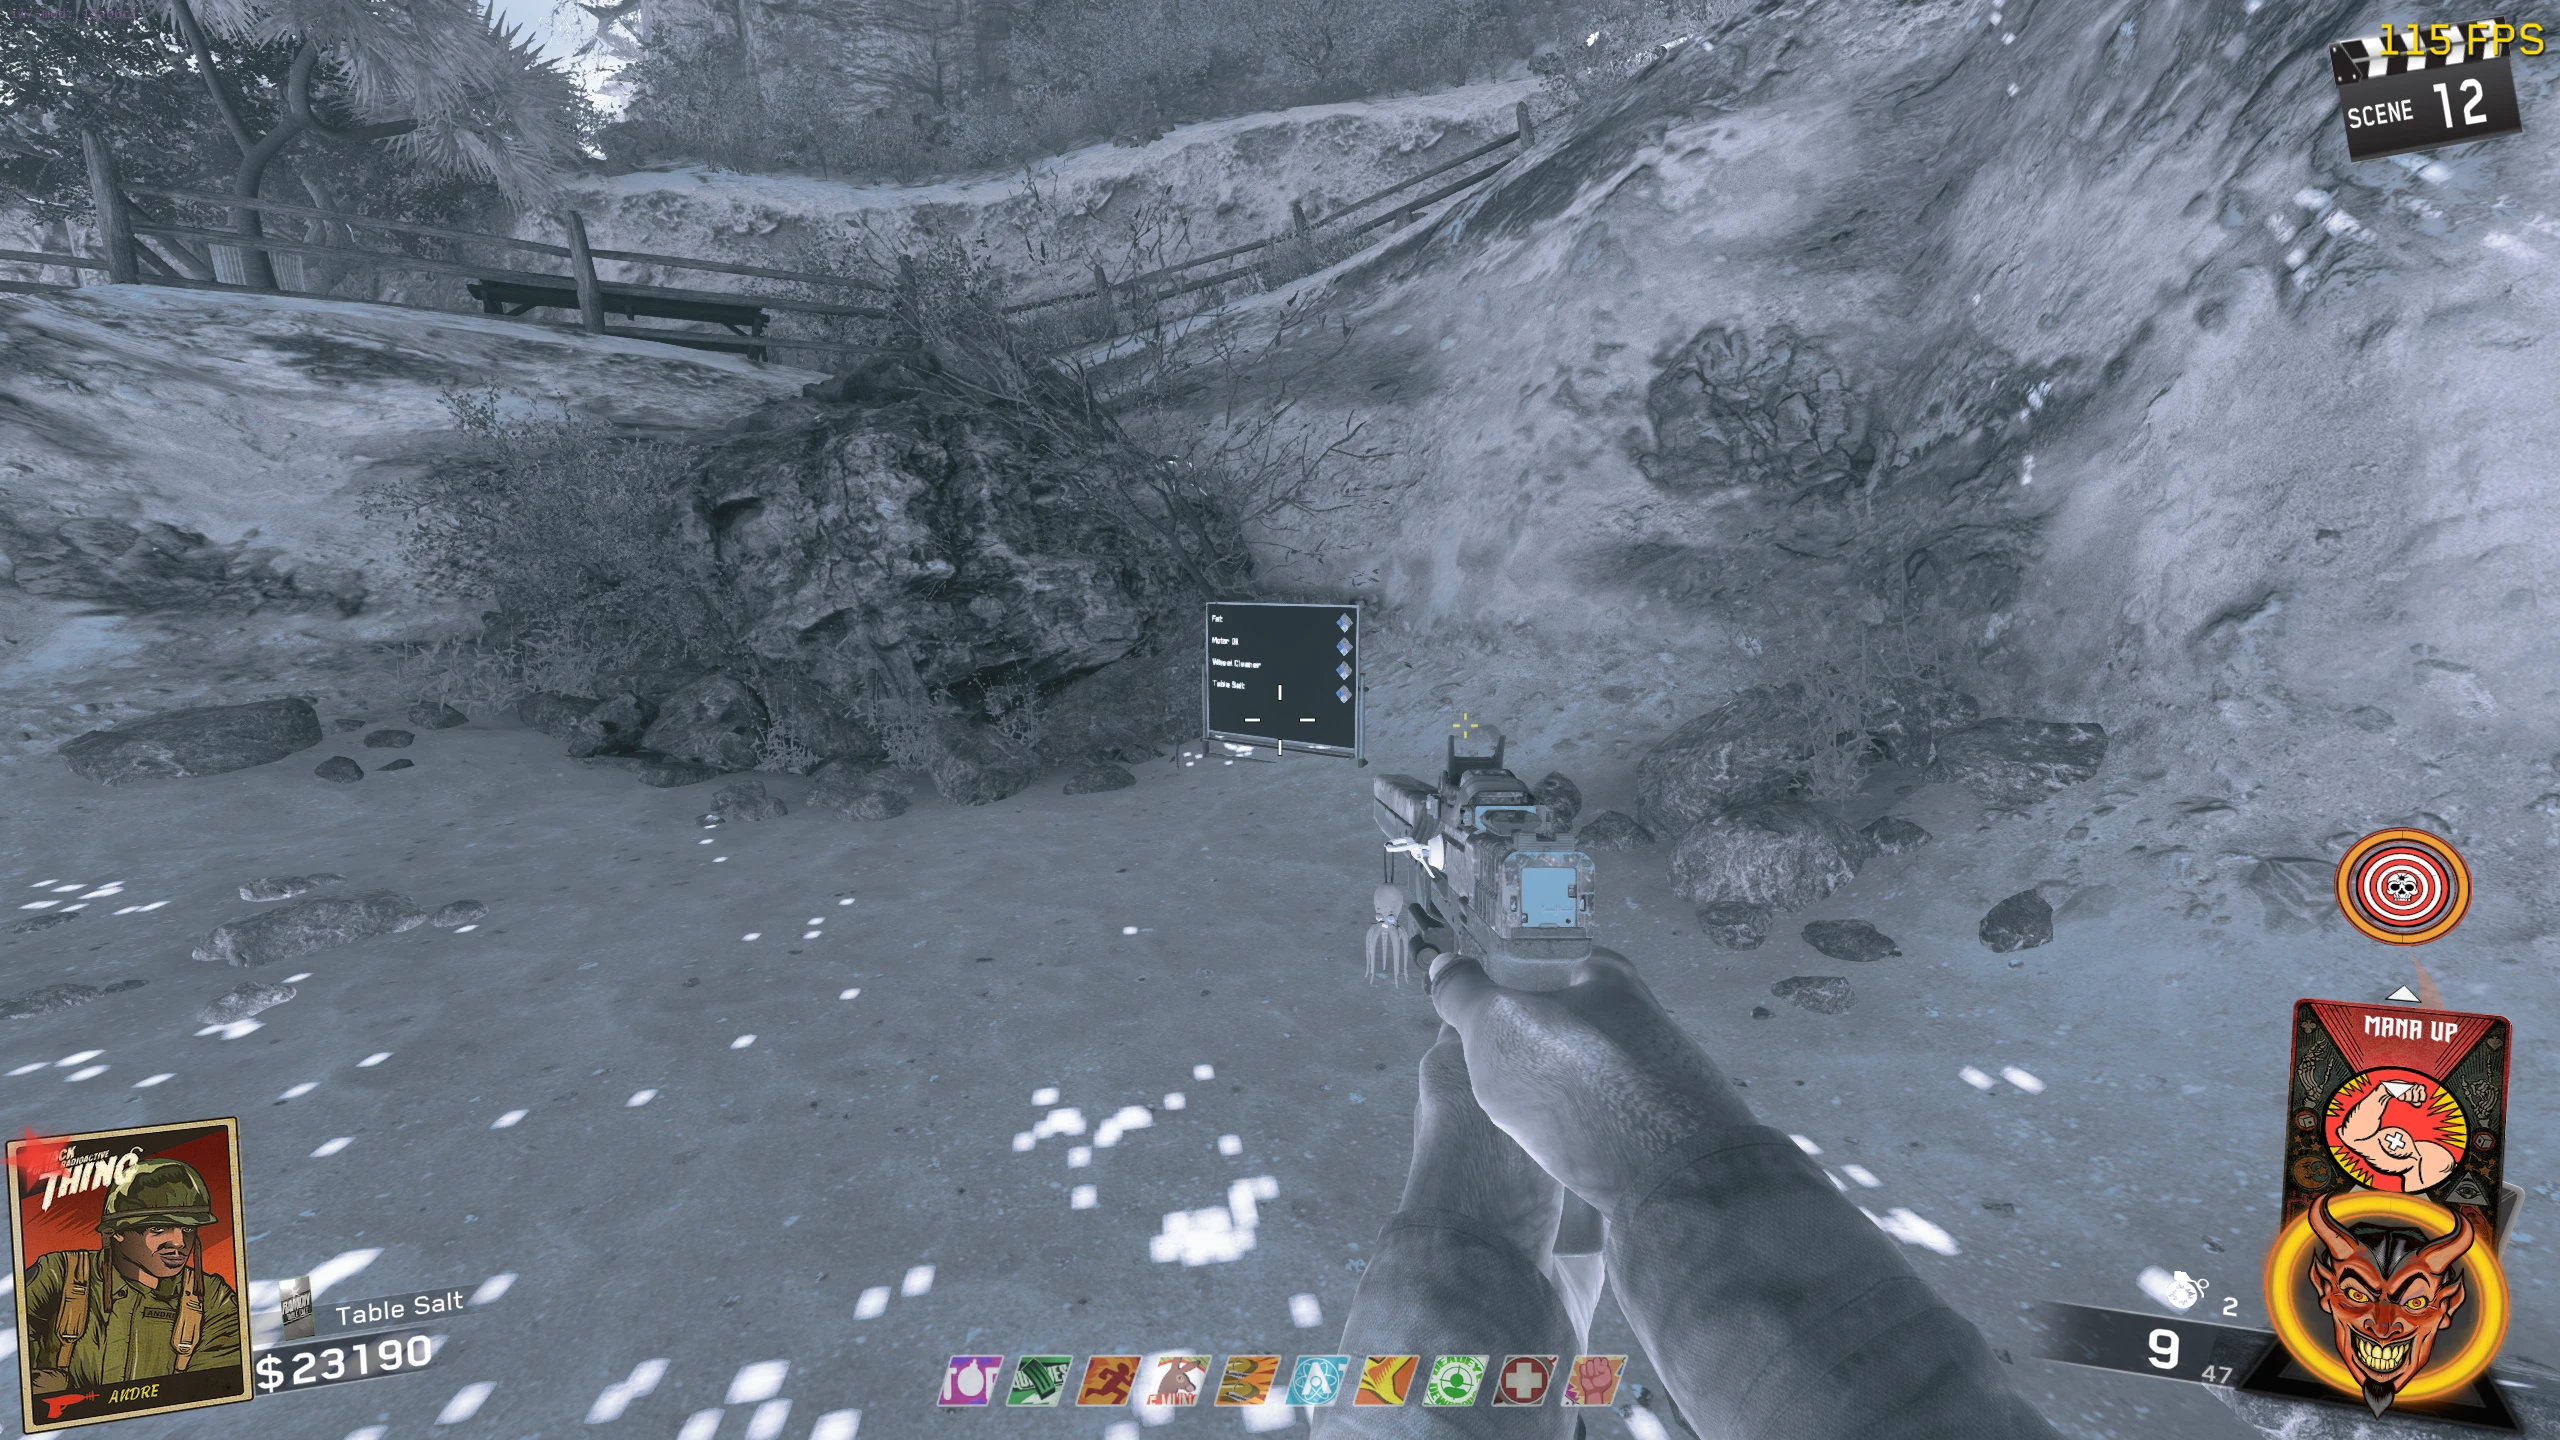
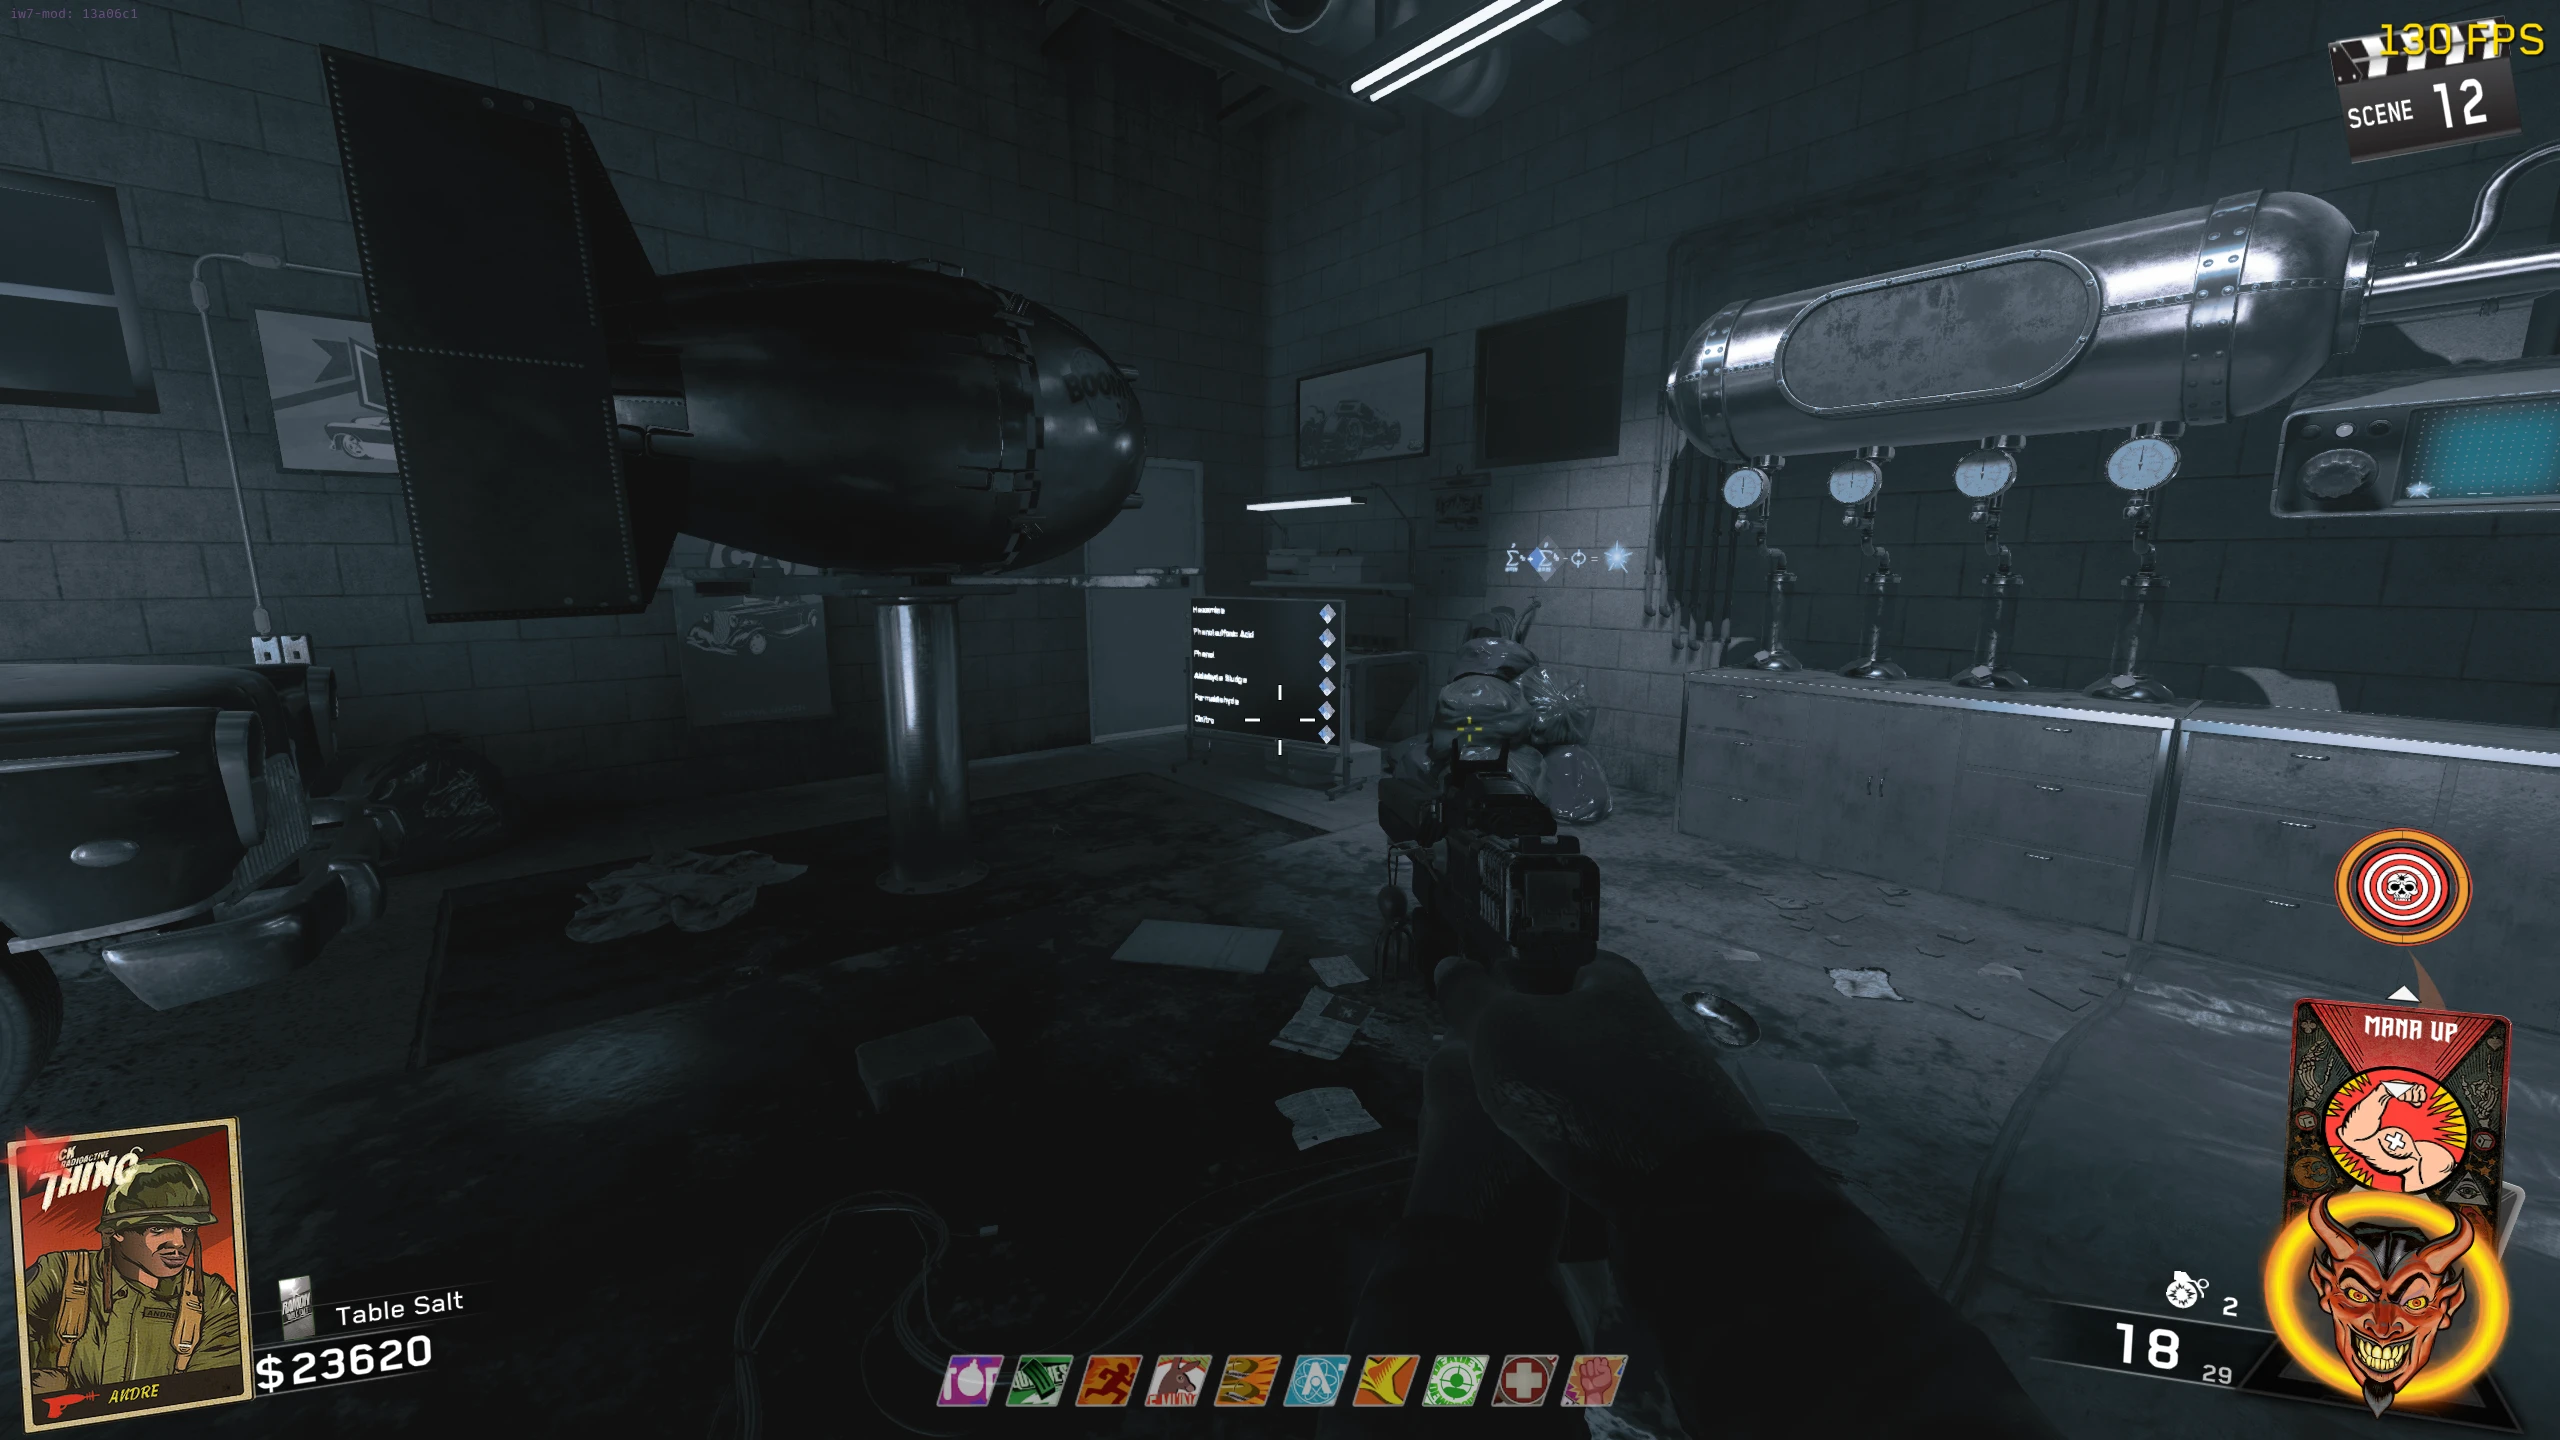
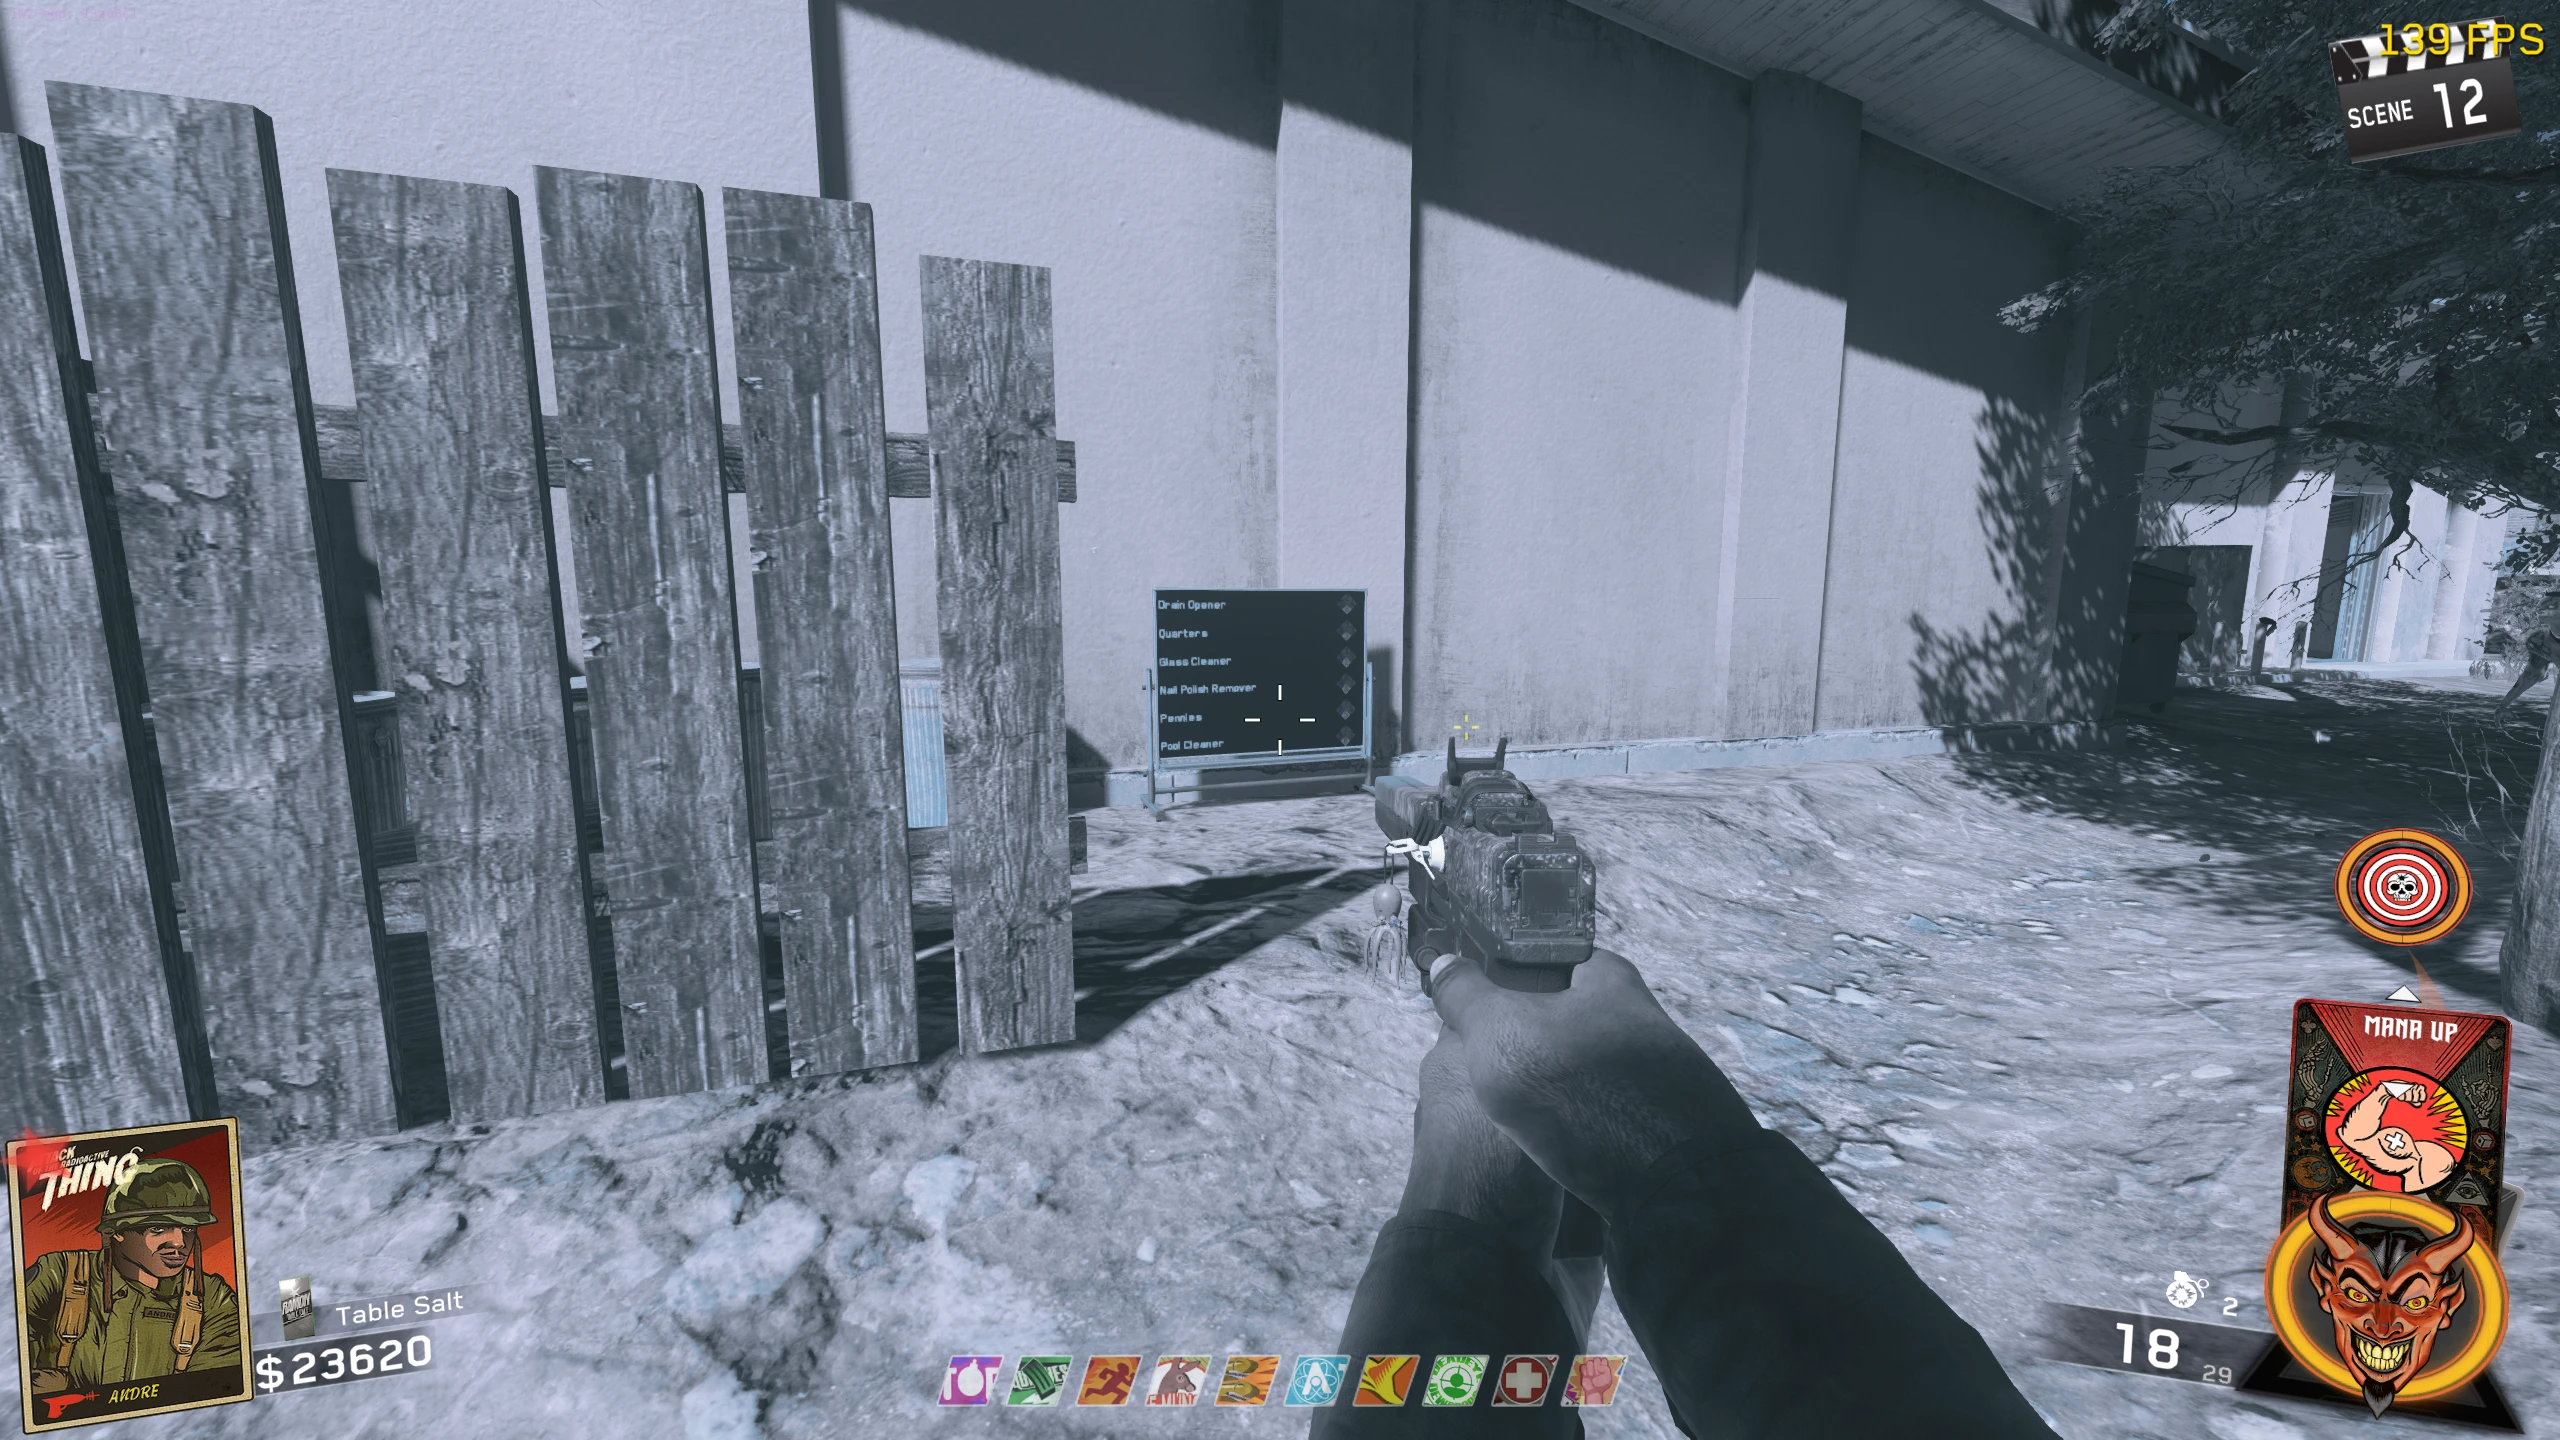
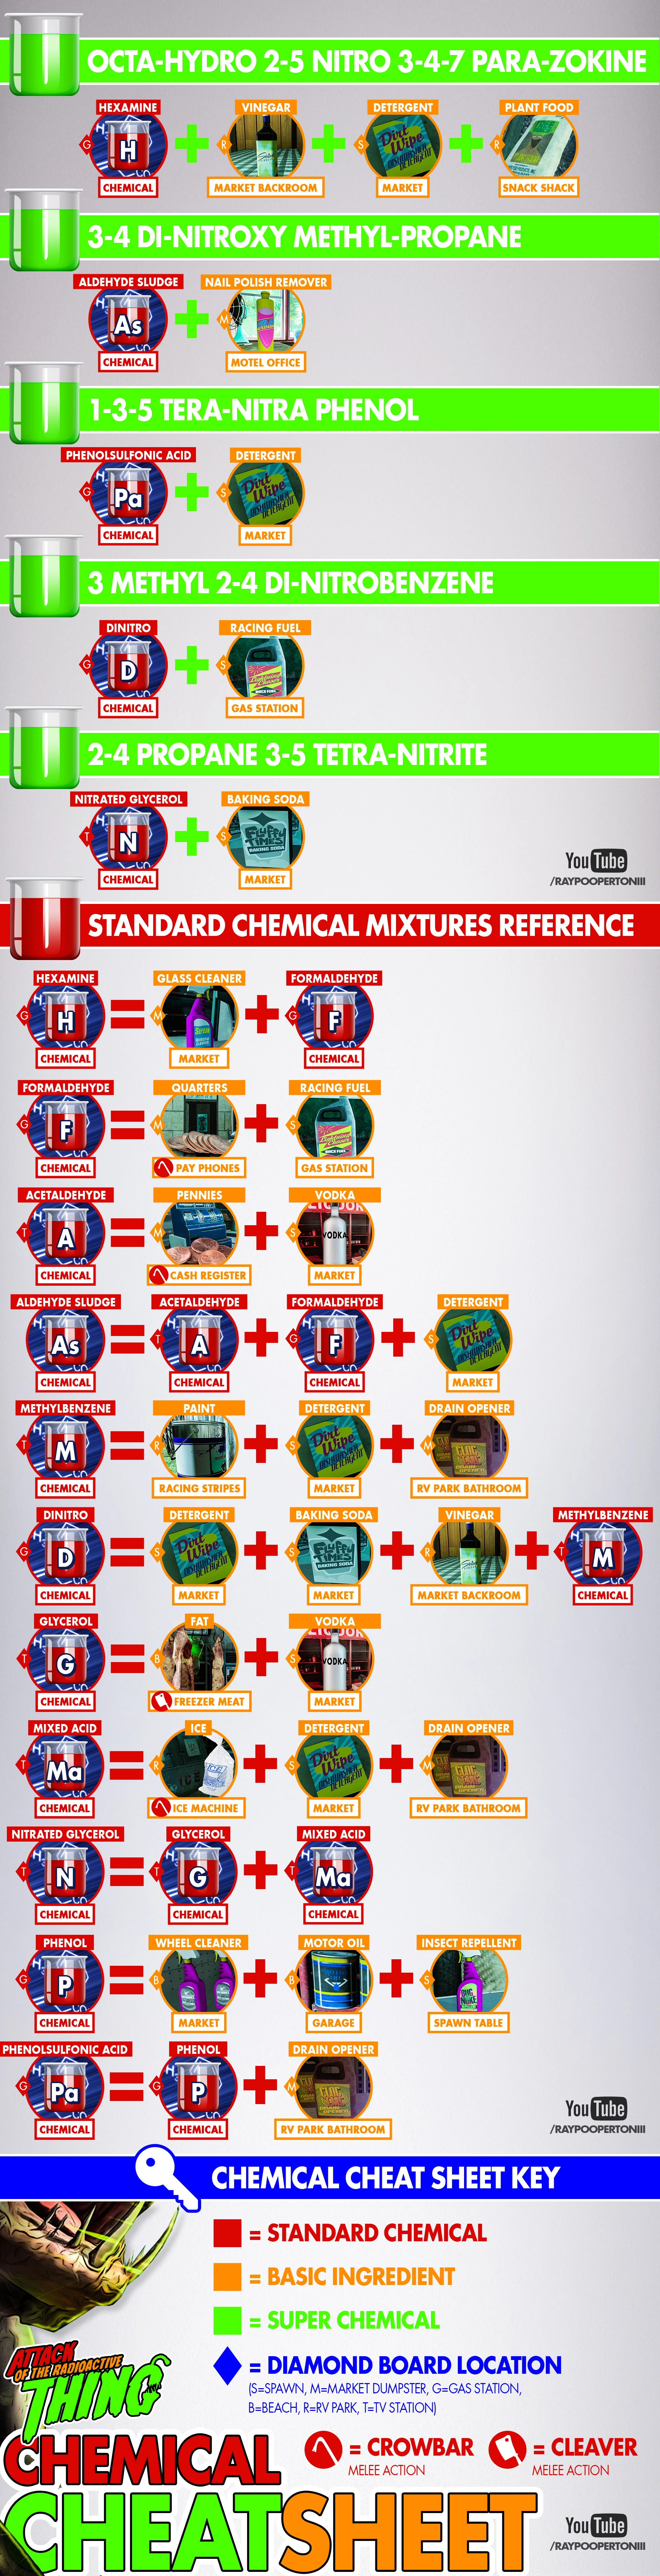
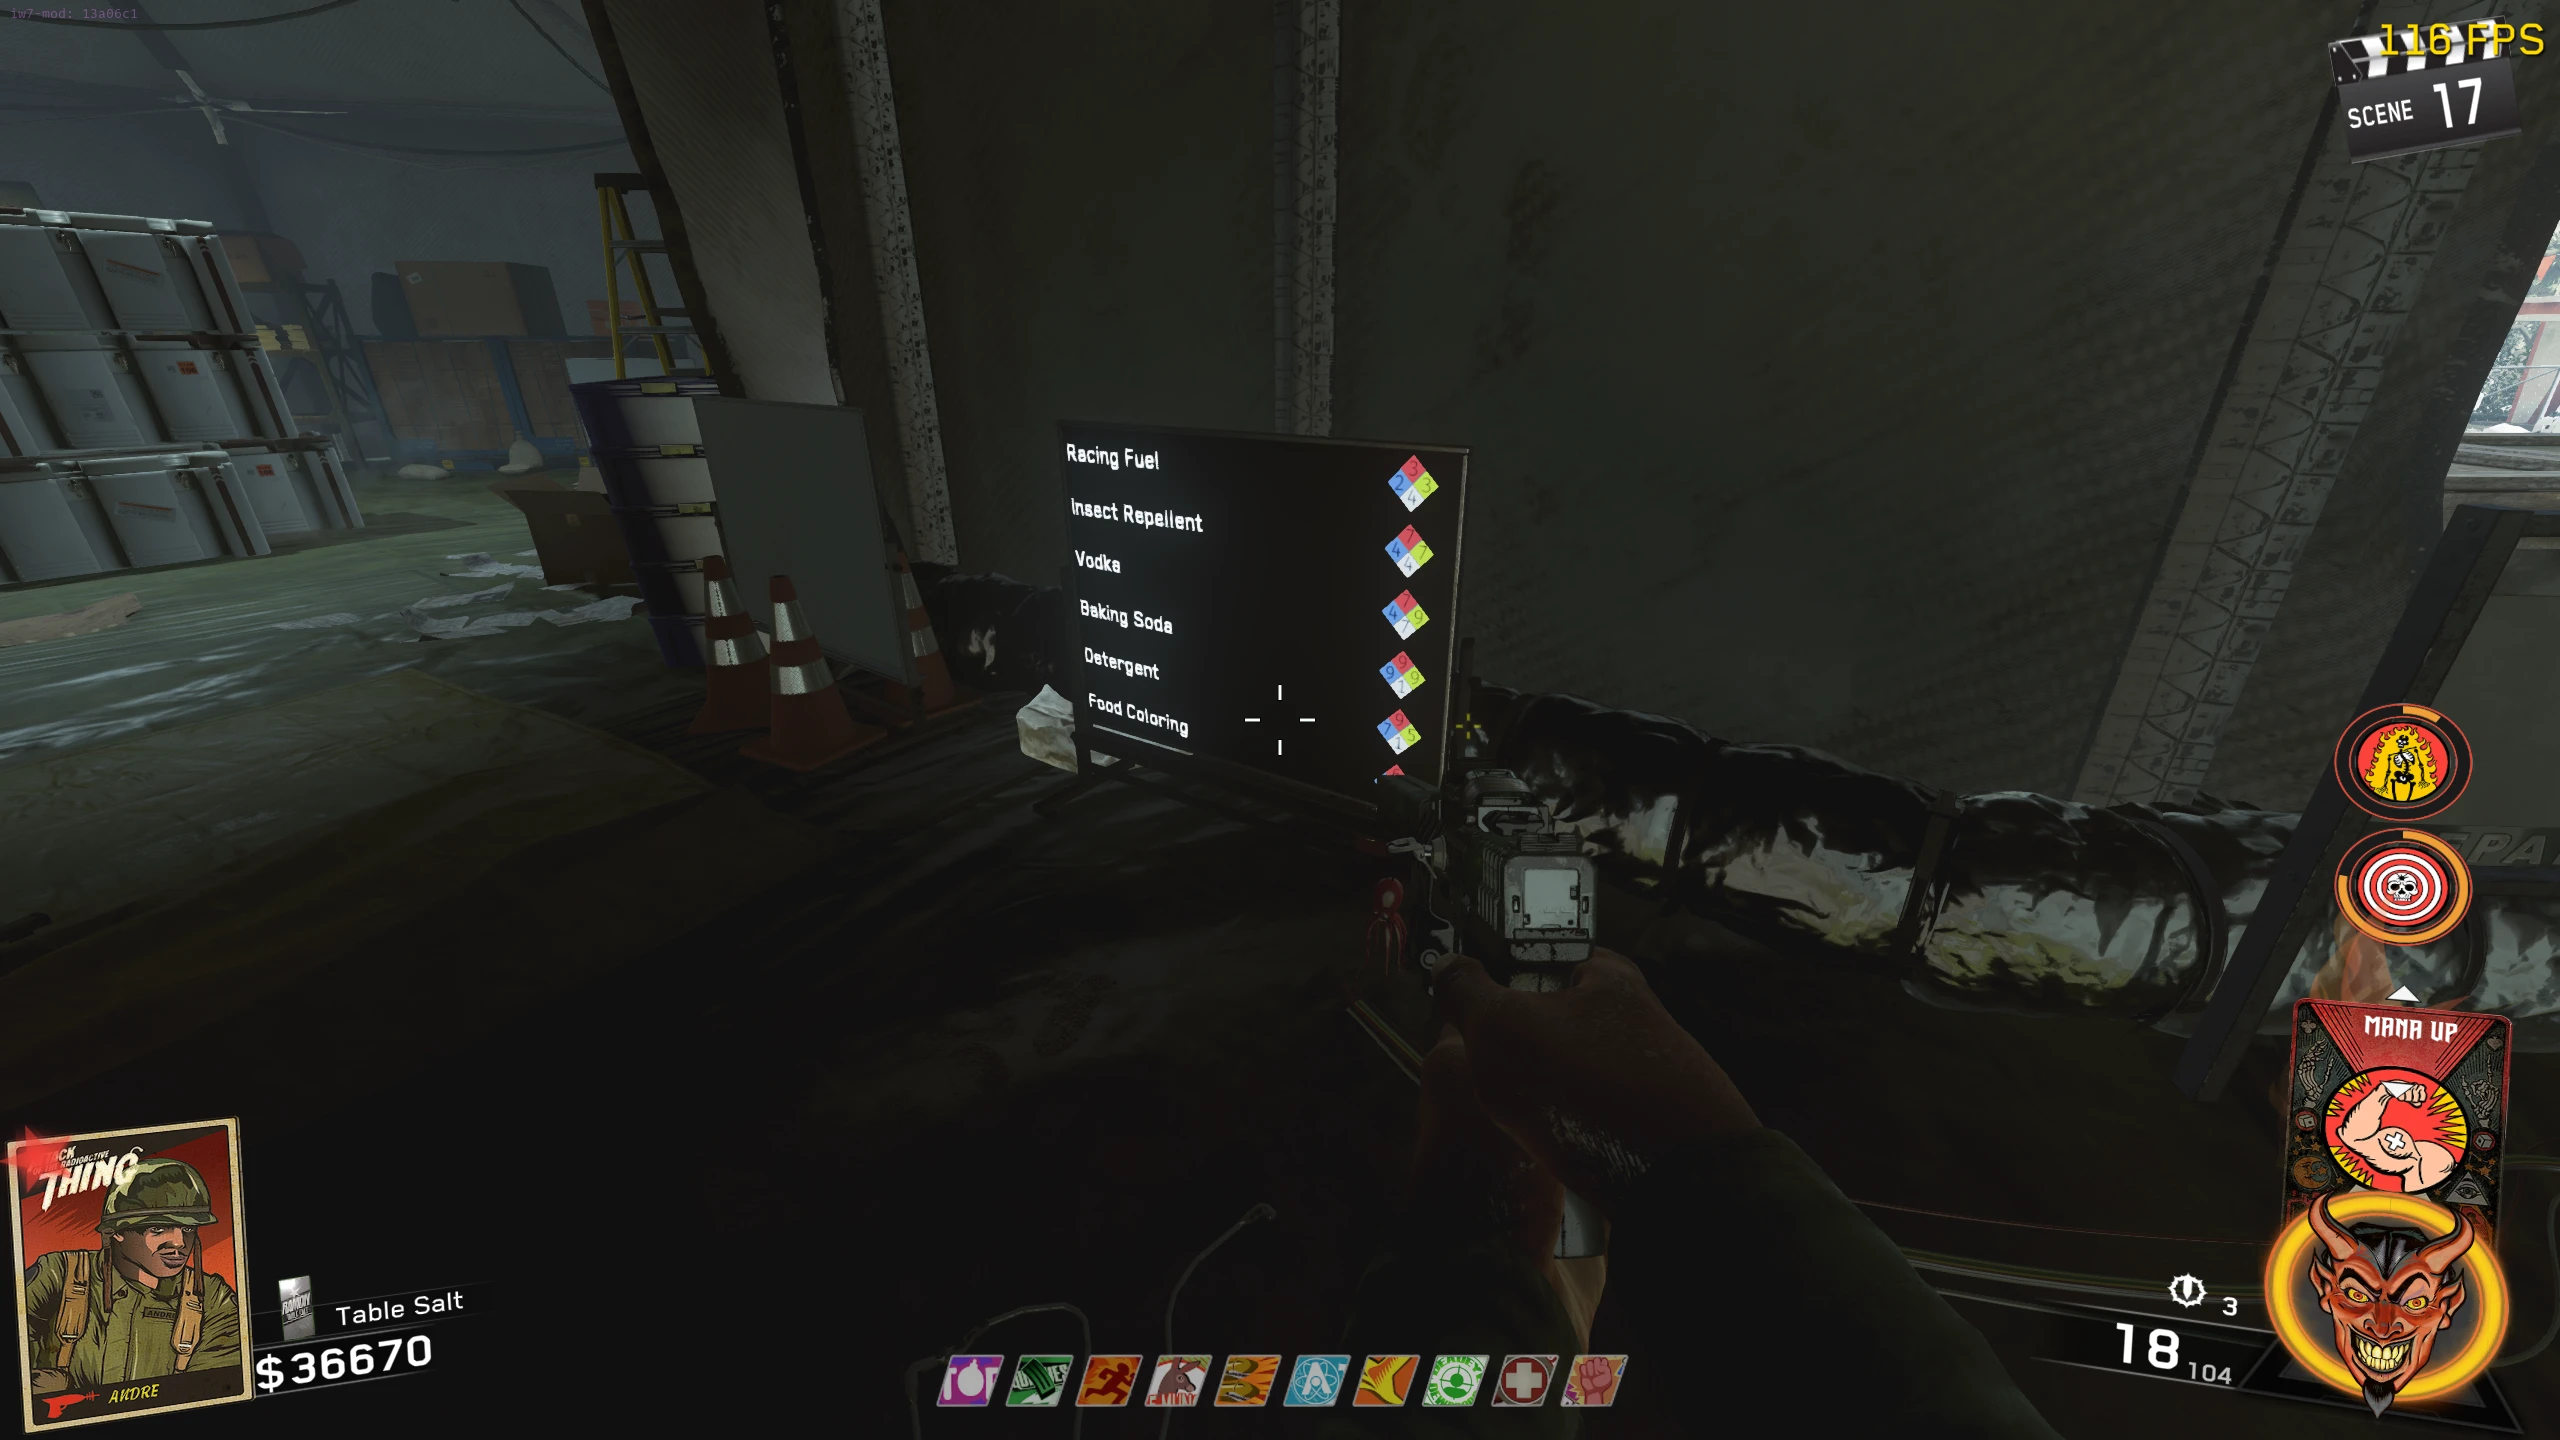
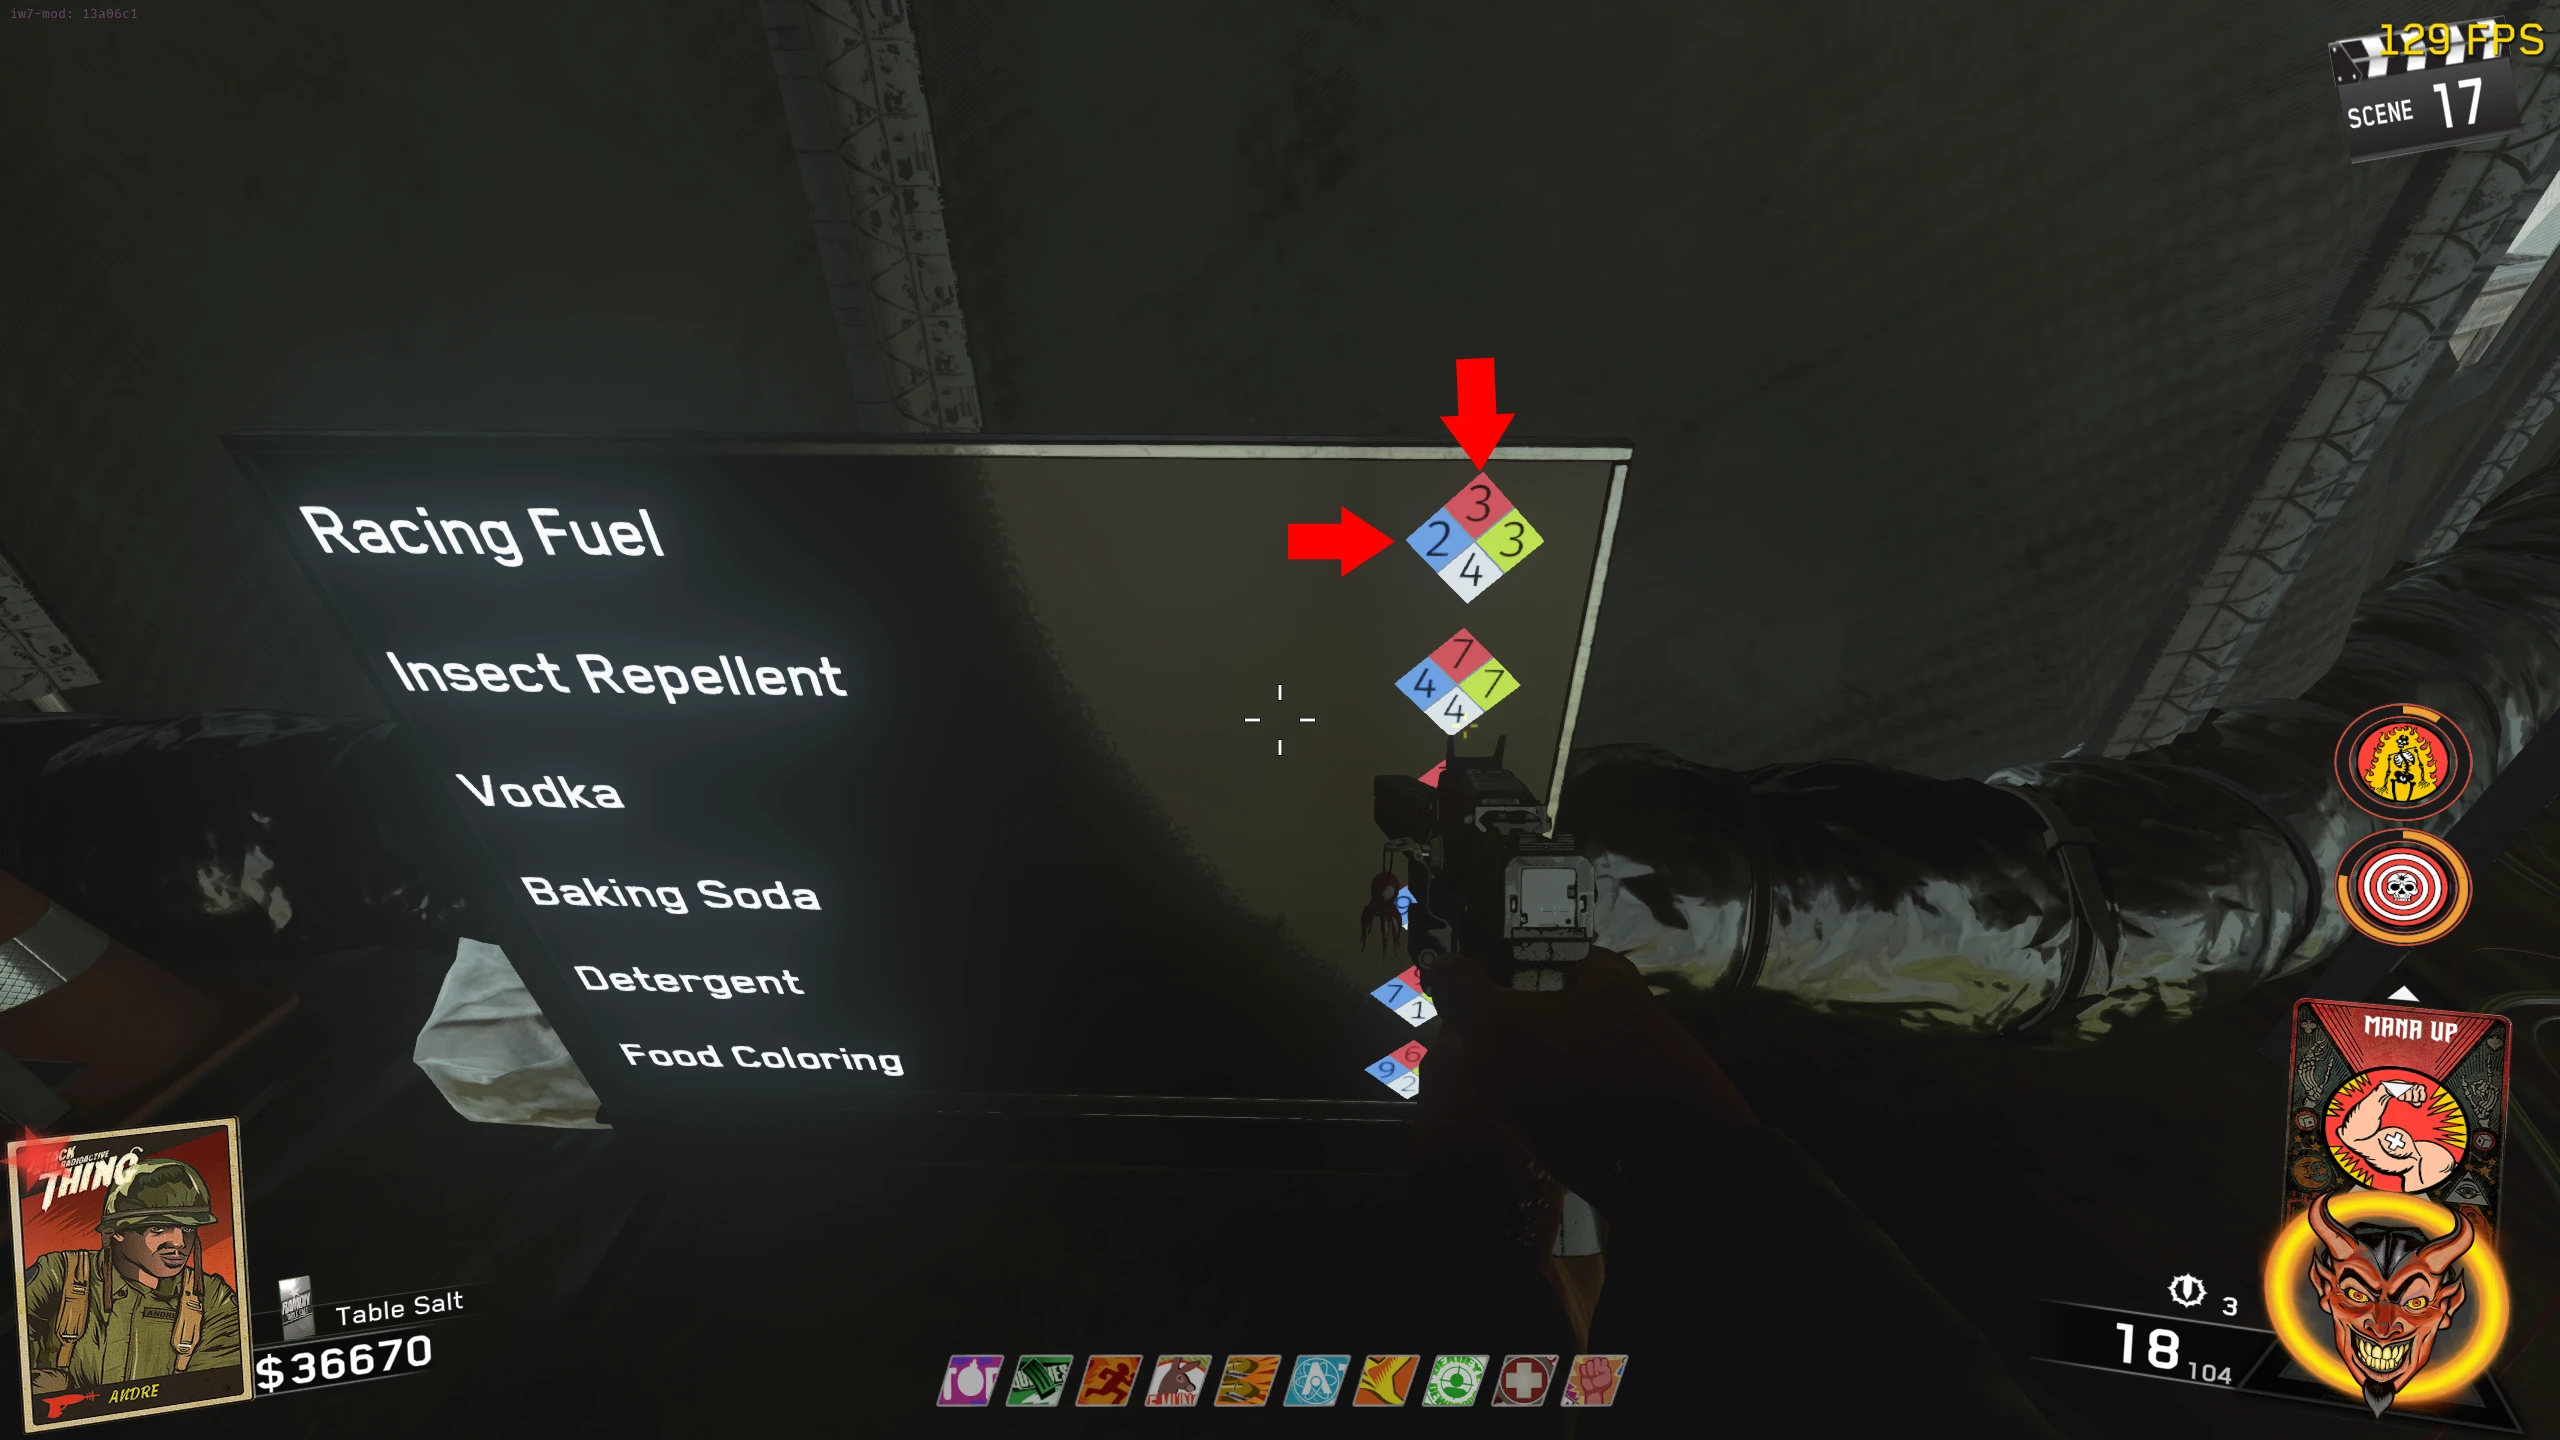
The Chemistry Step
The Intended Way (Not Recommended)
The Solver Way (Recommended)
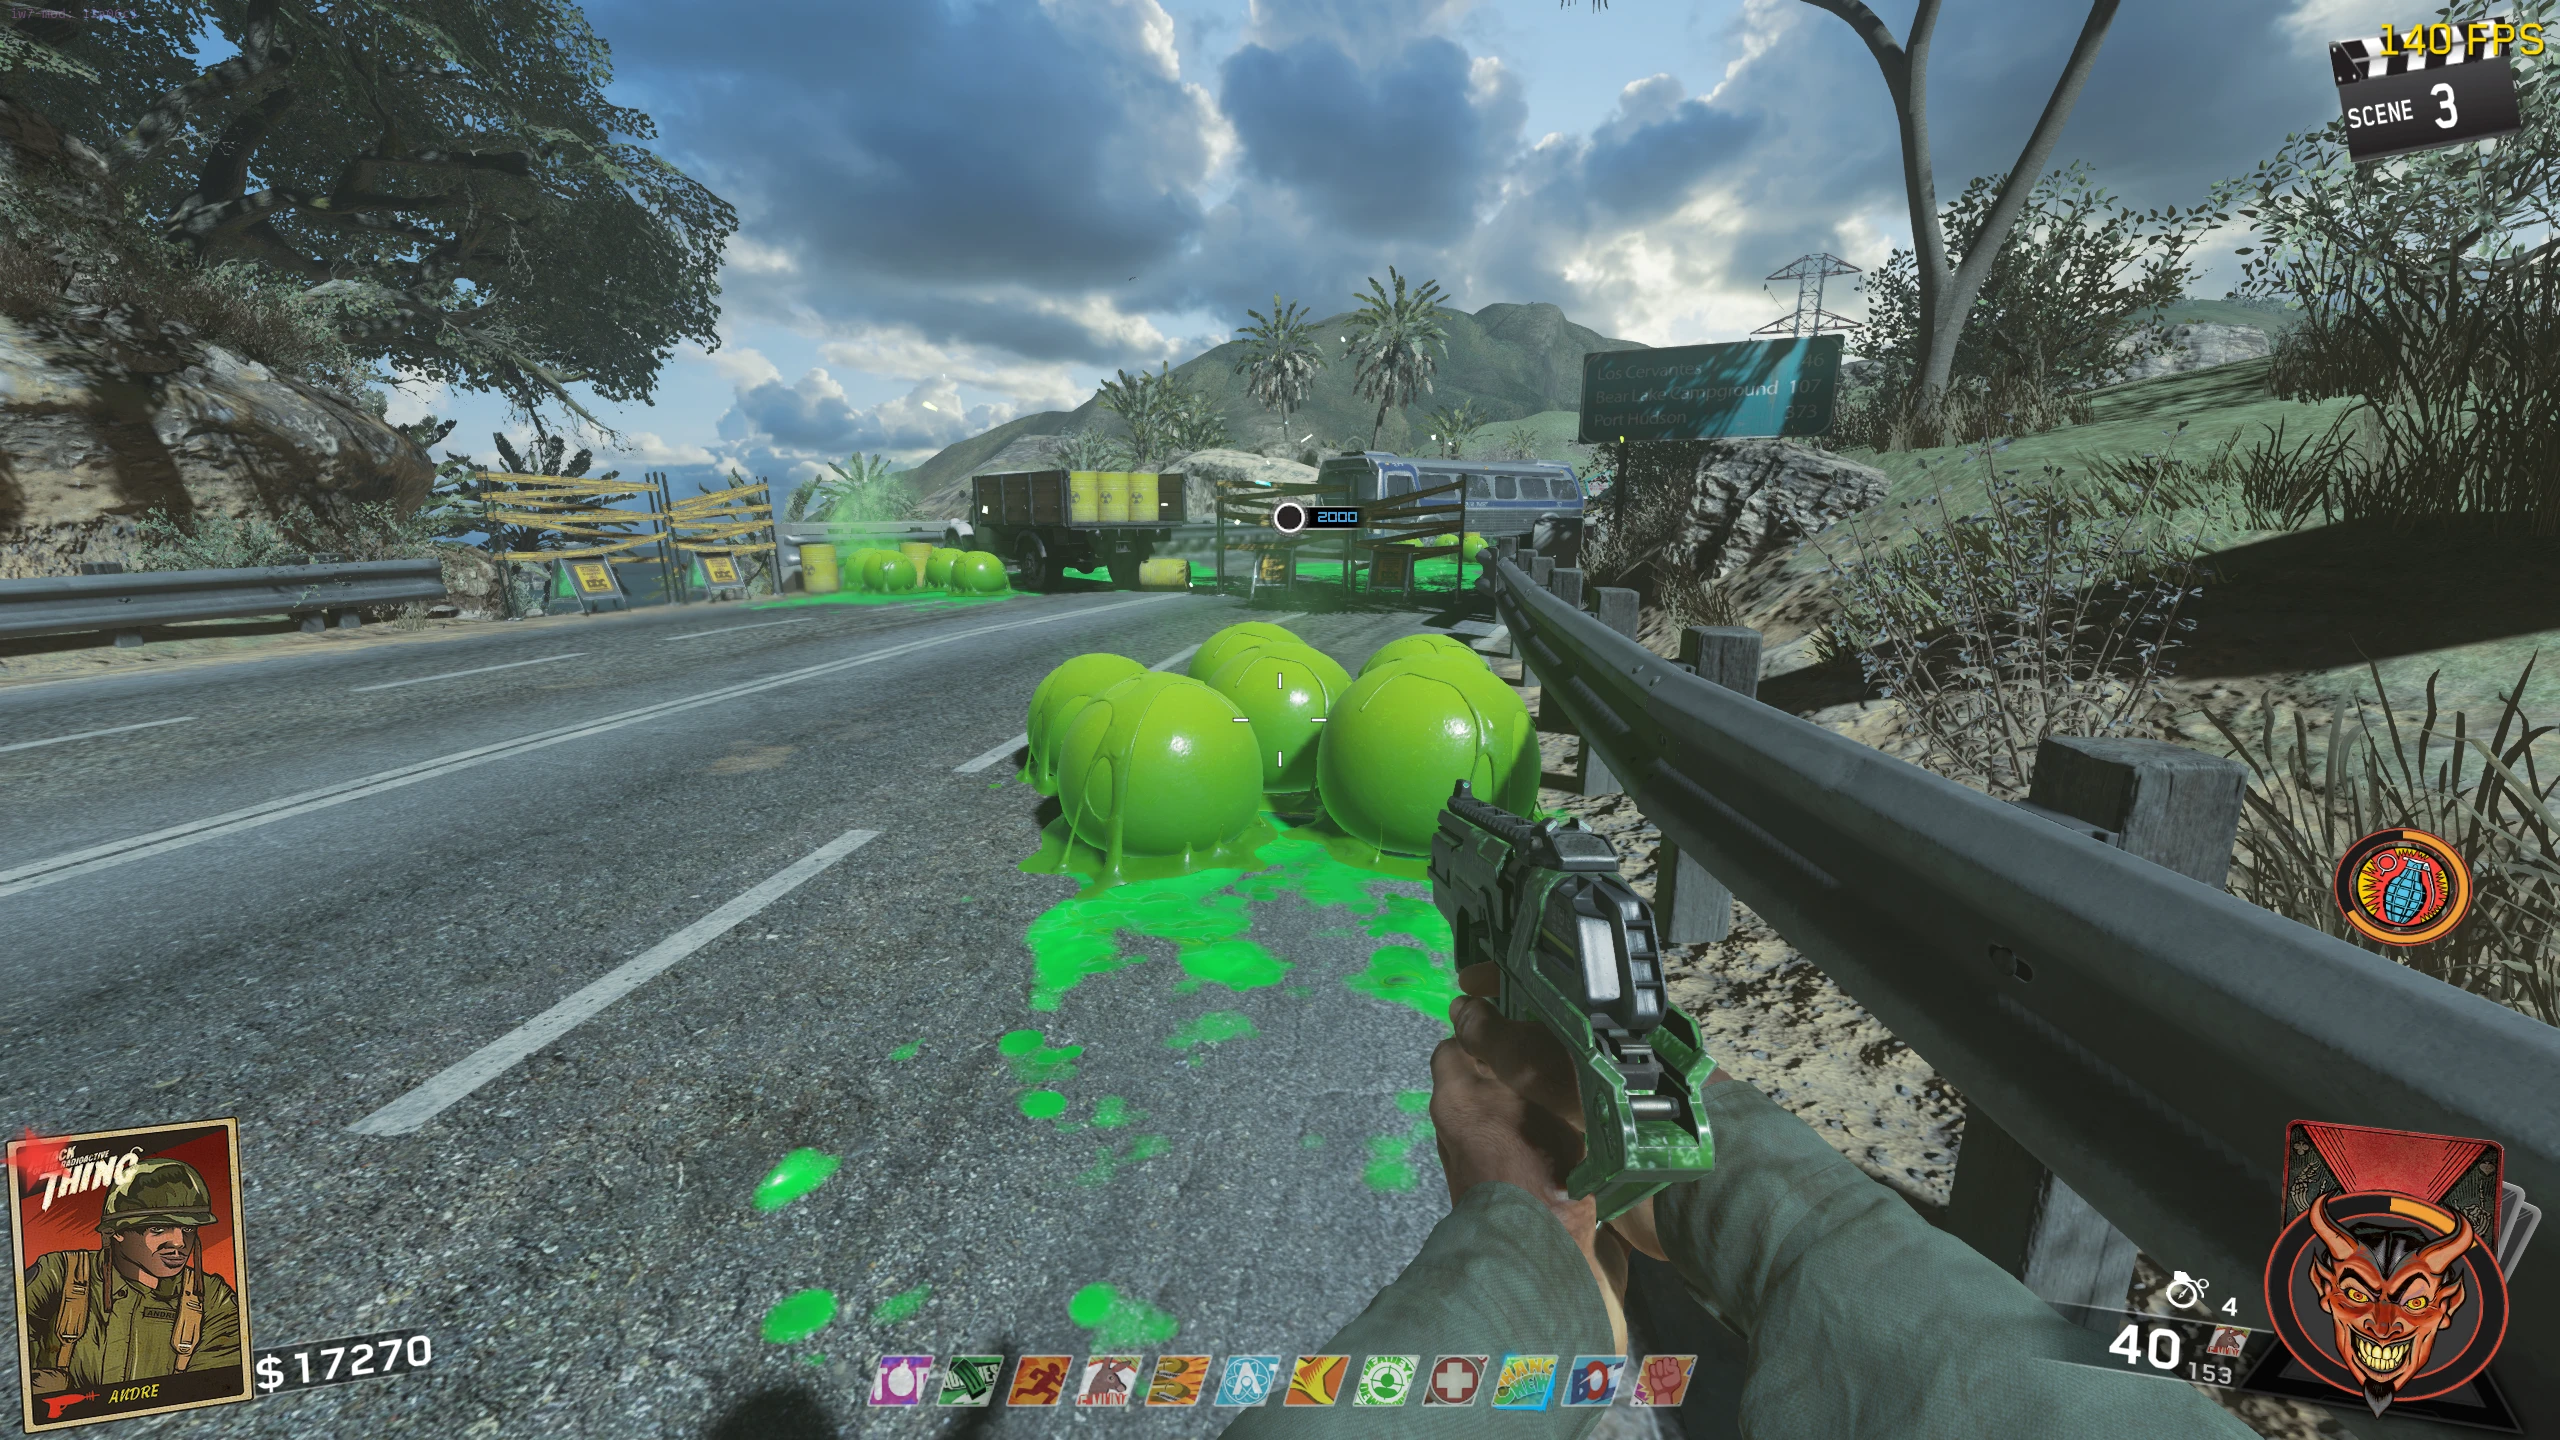
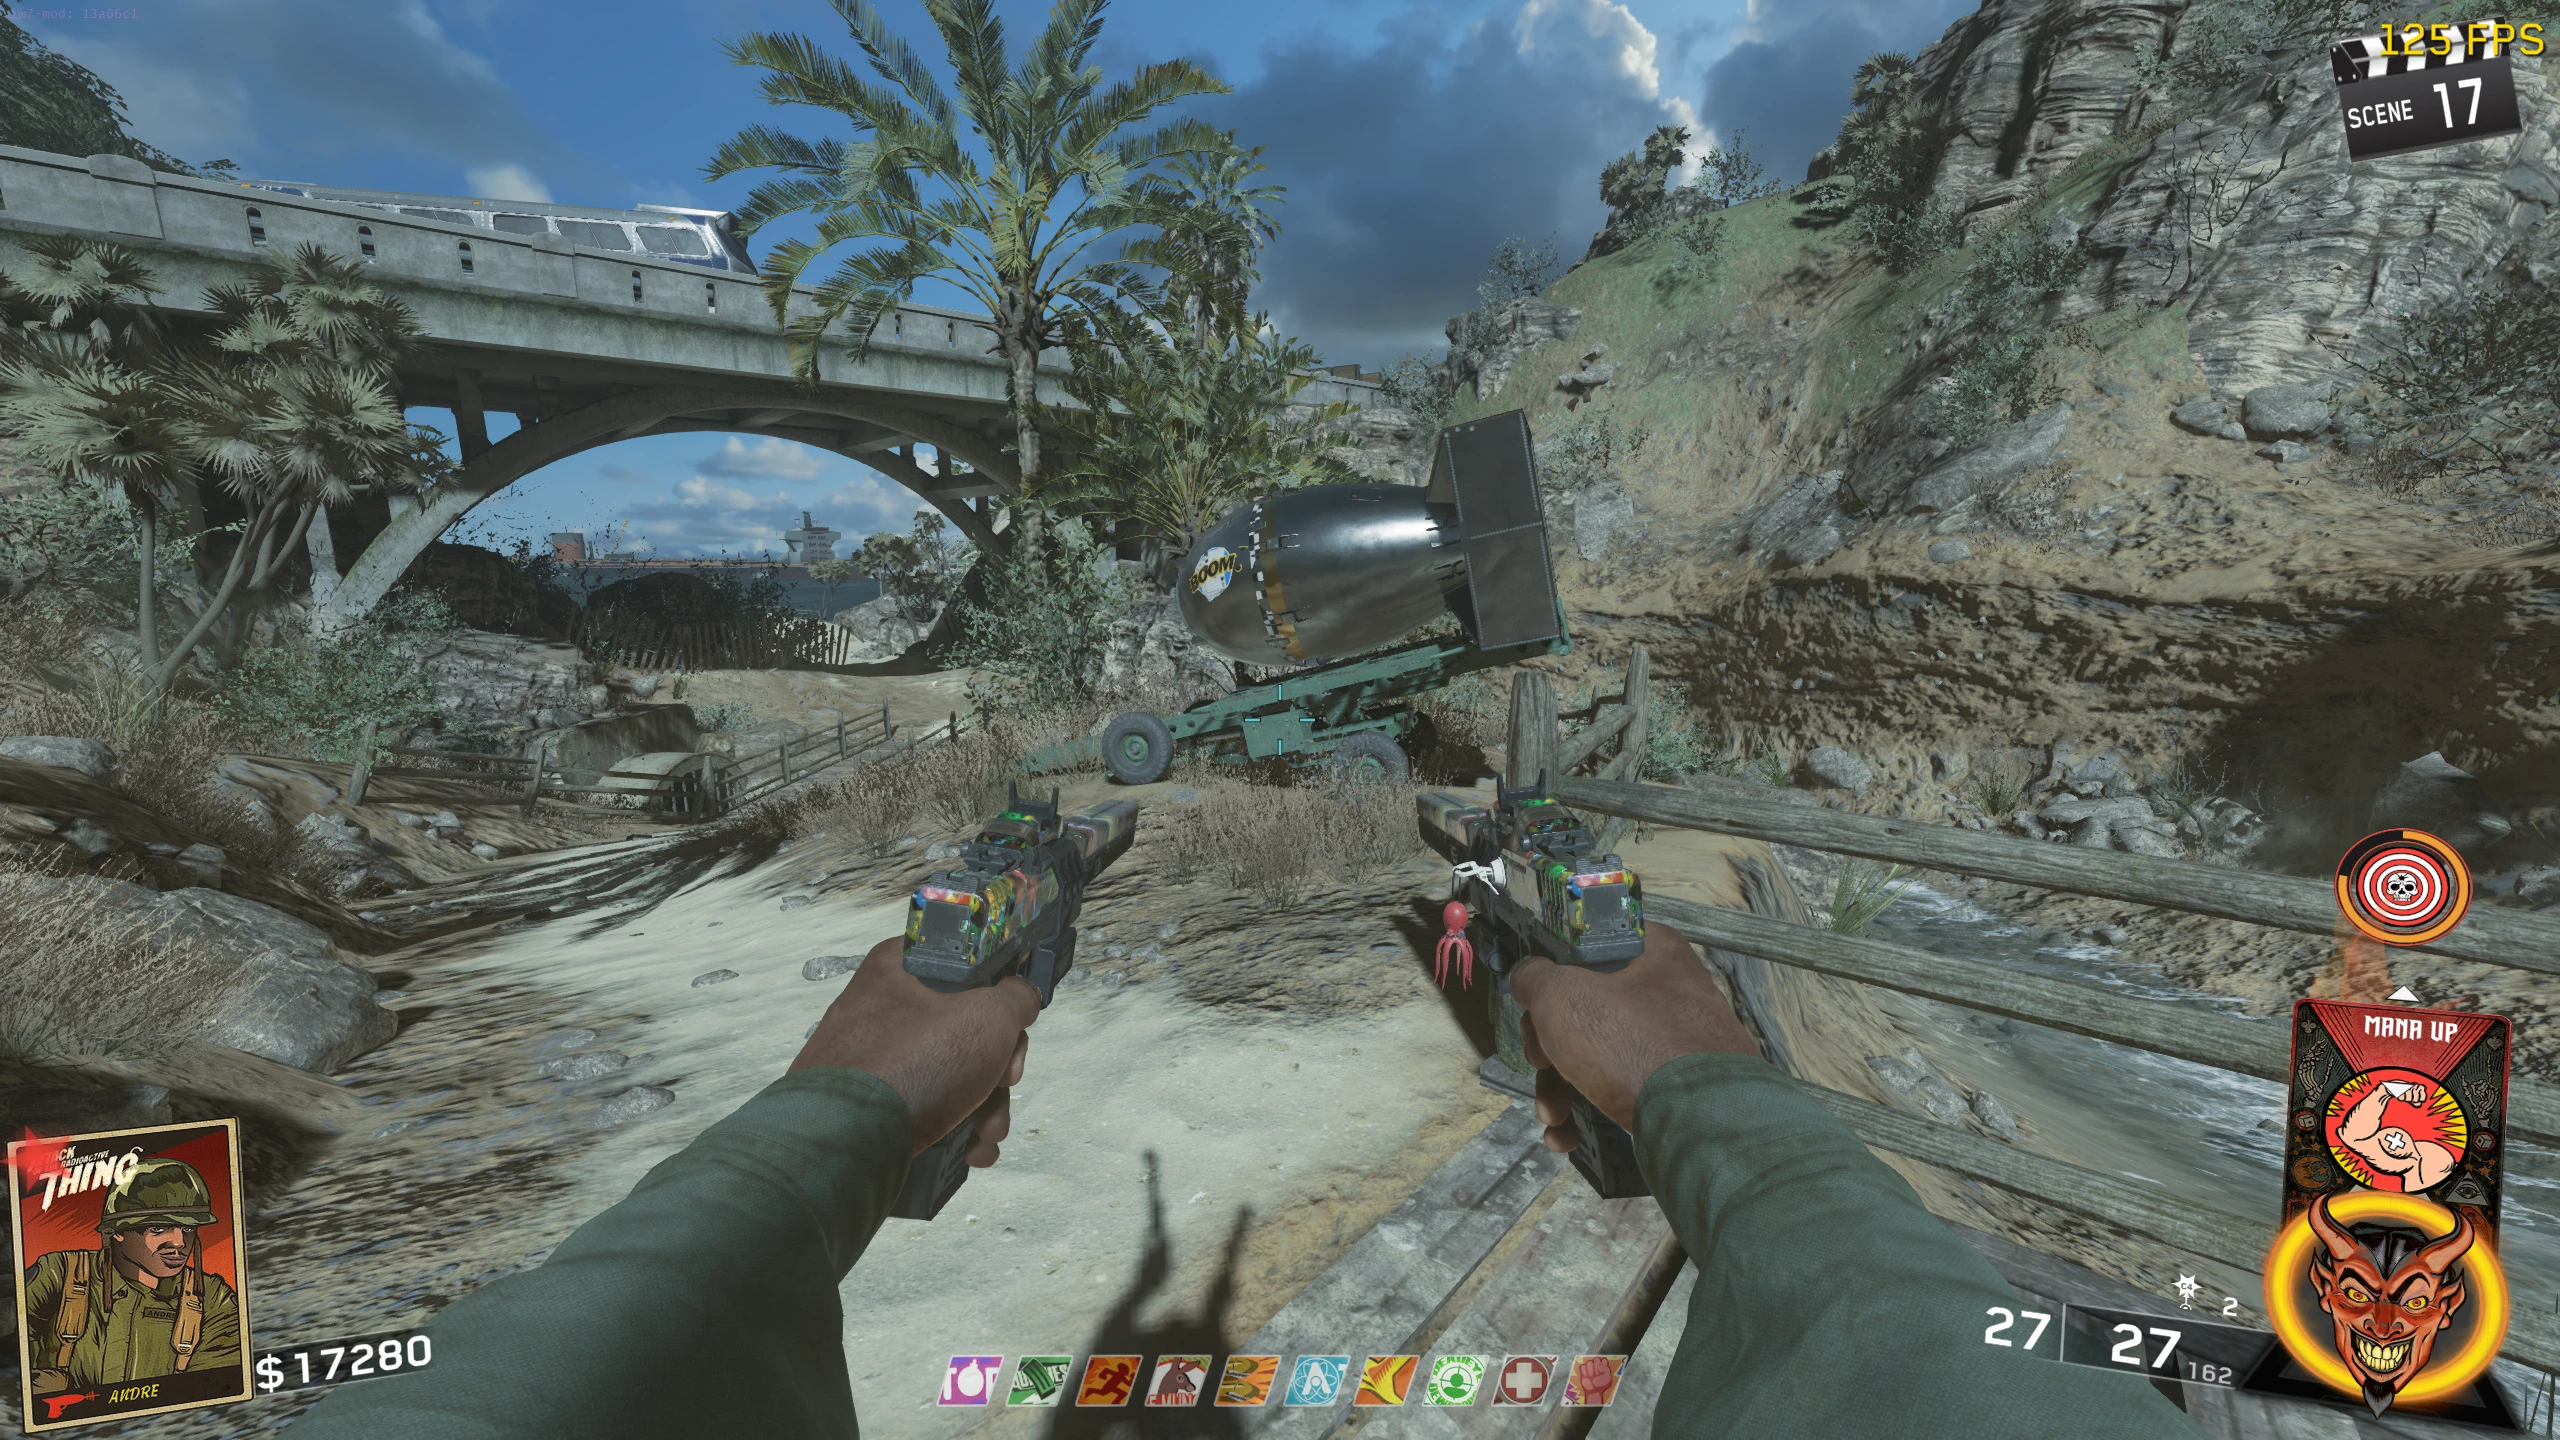
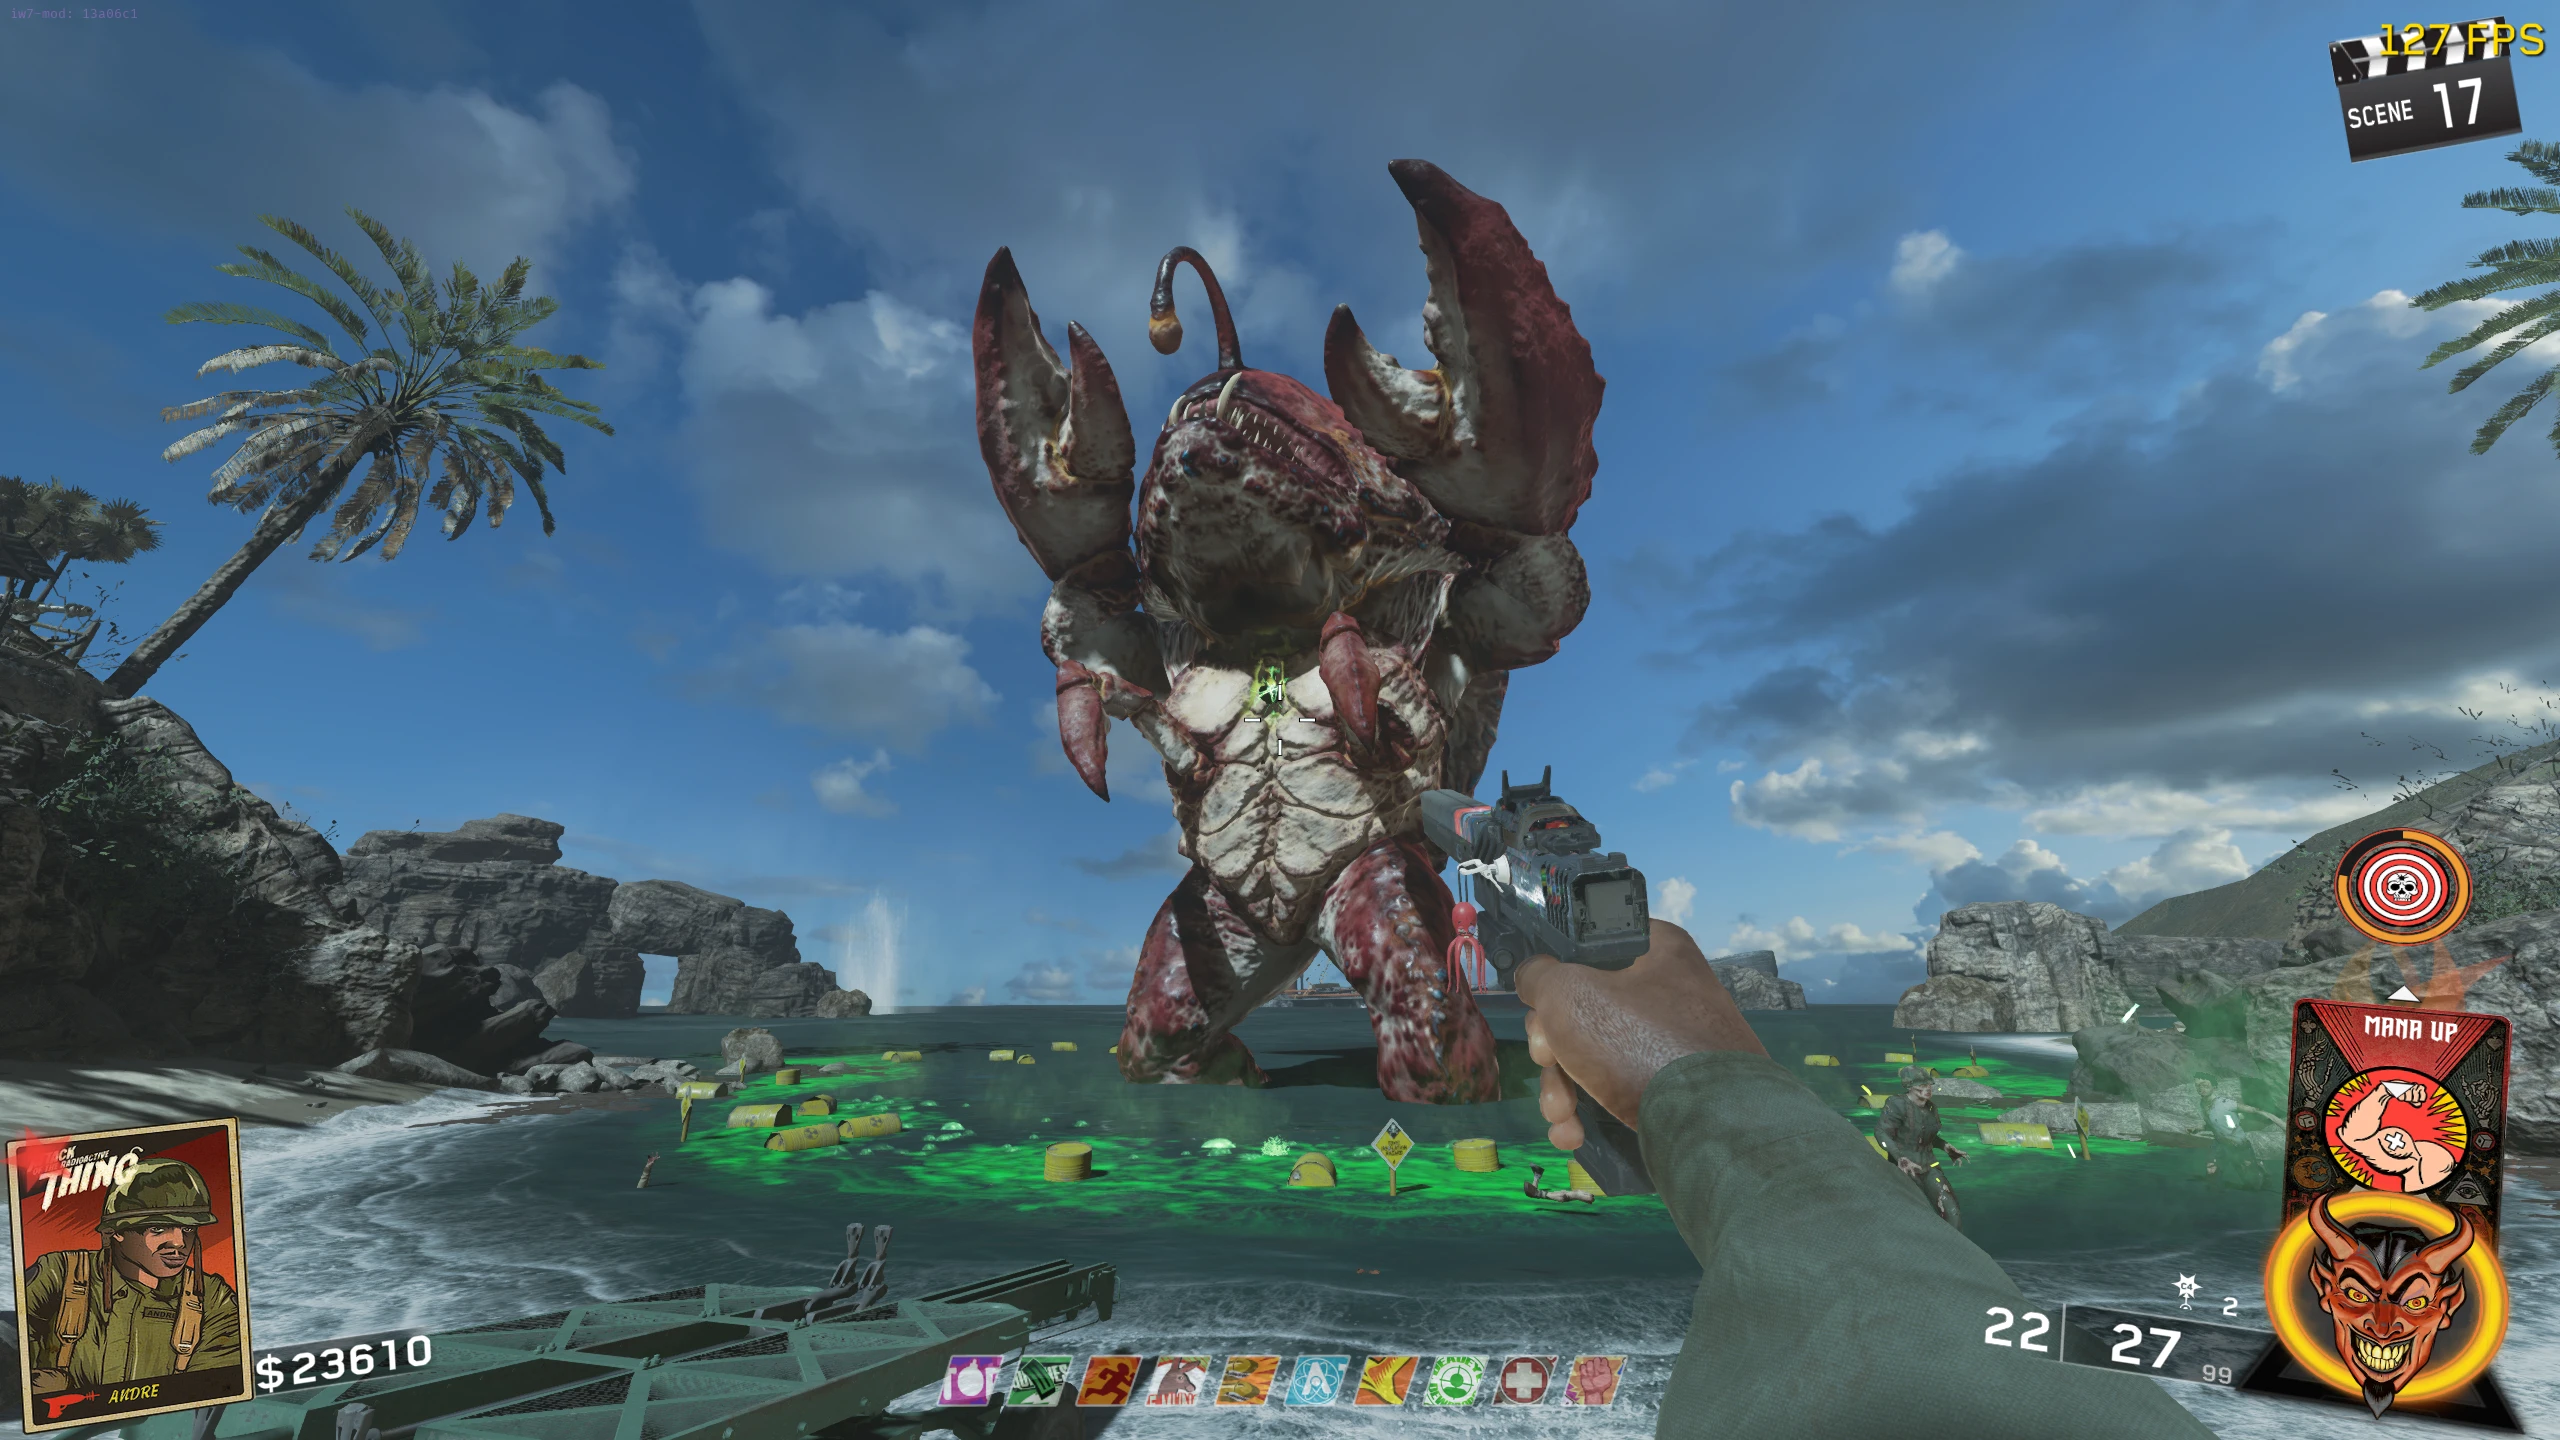
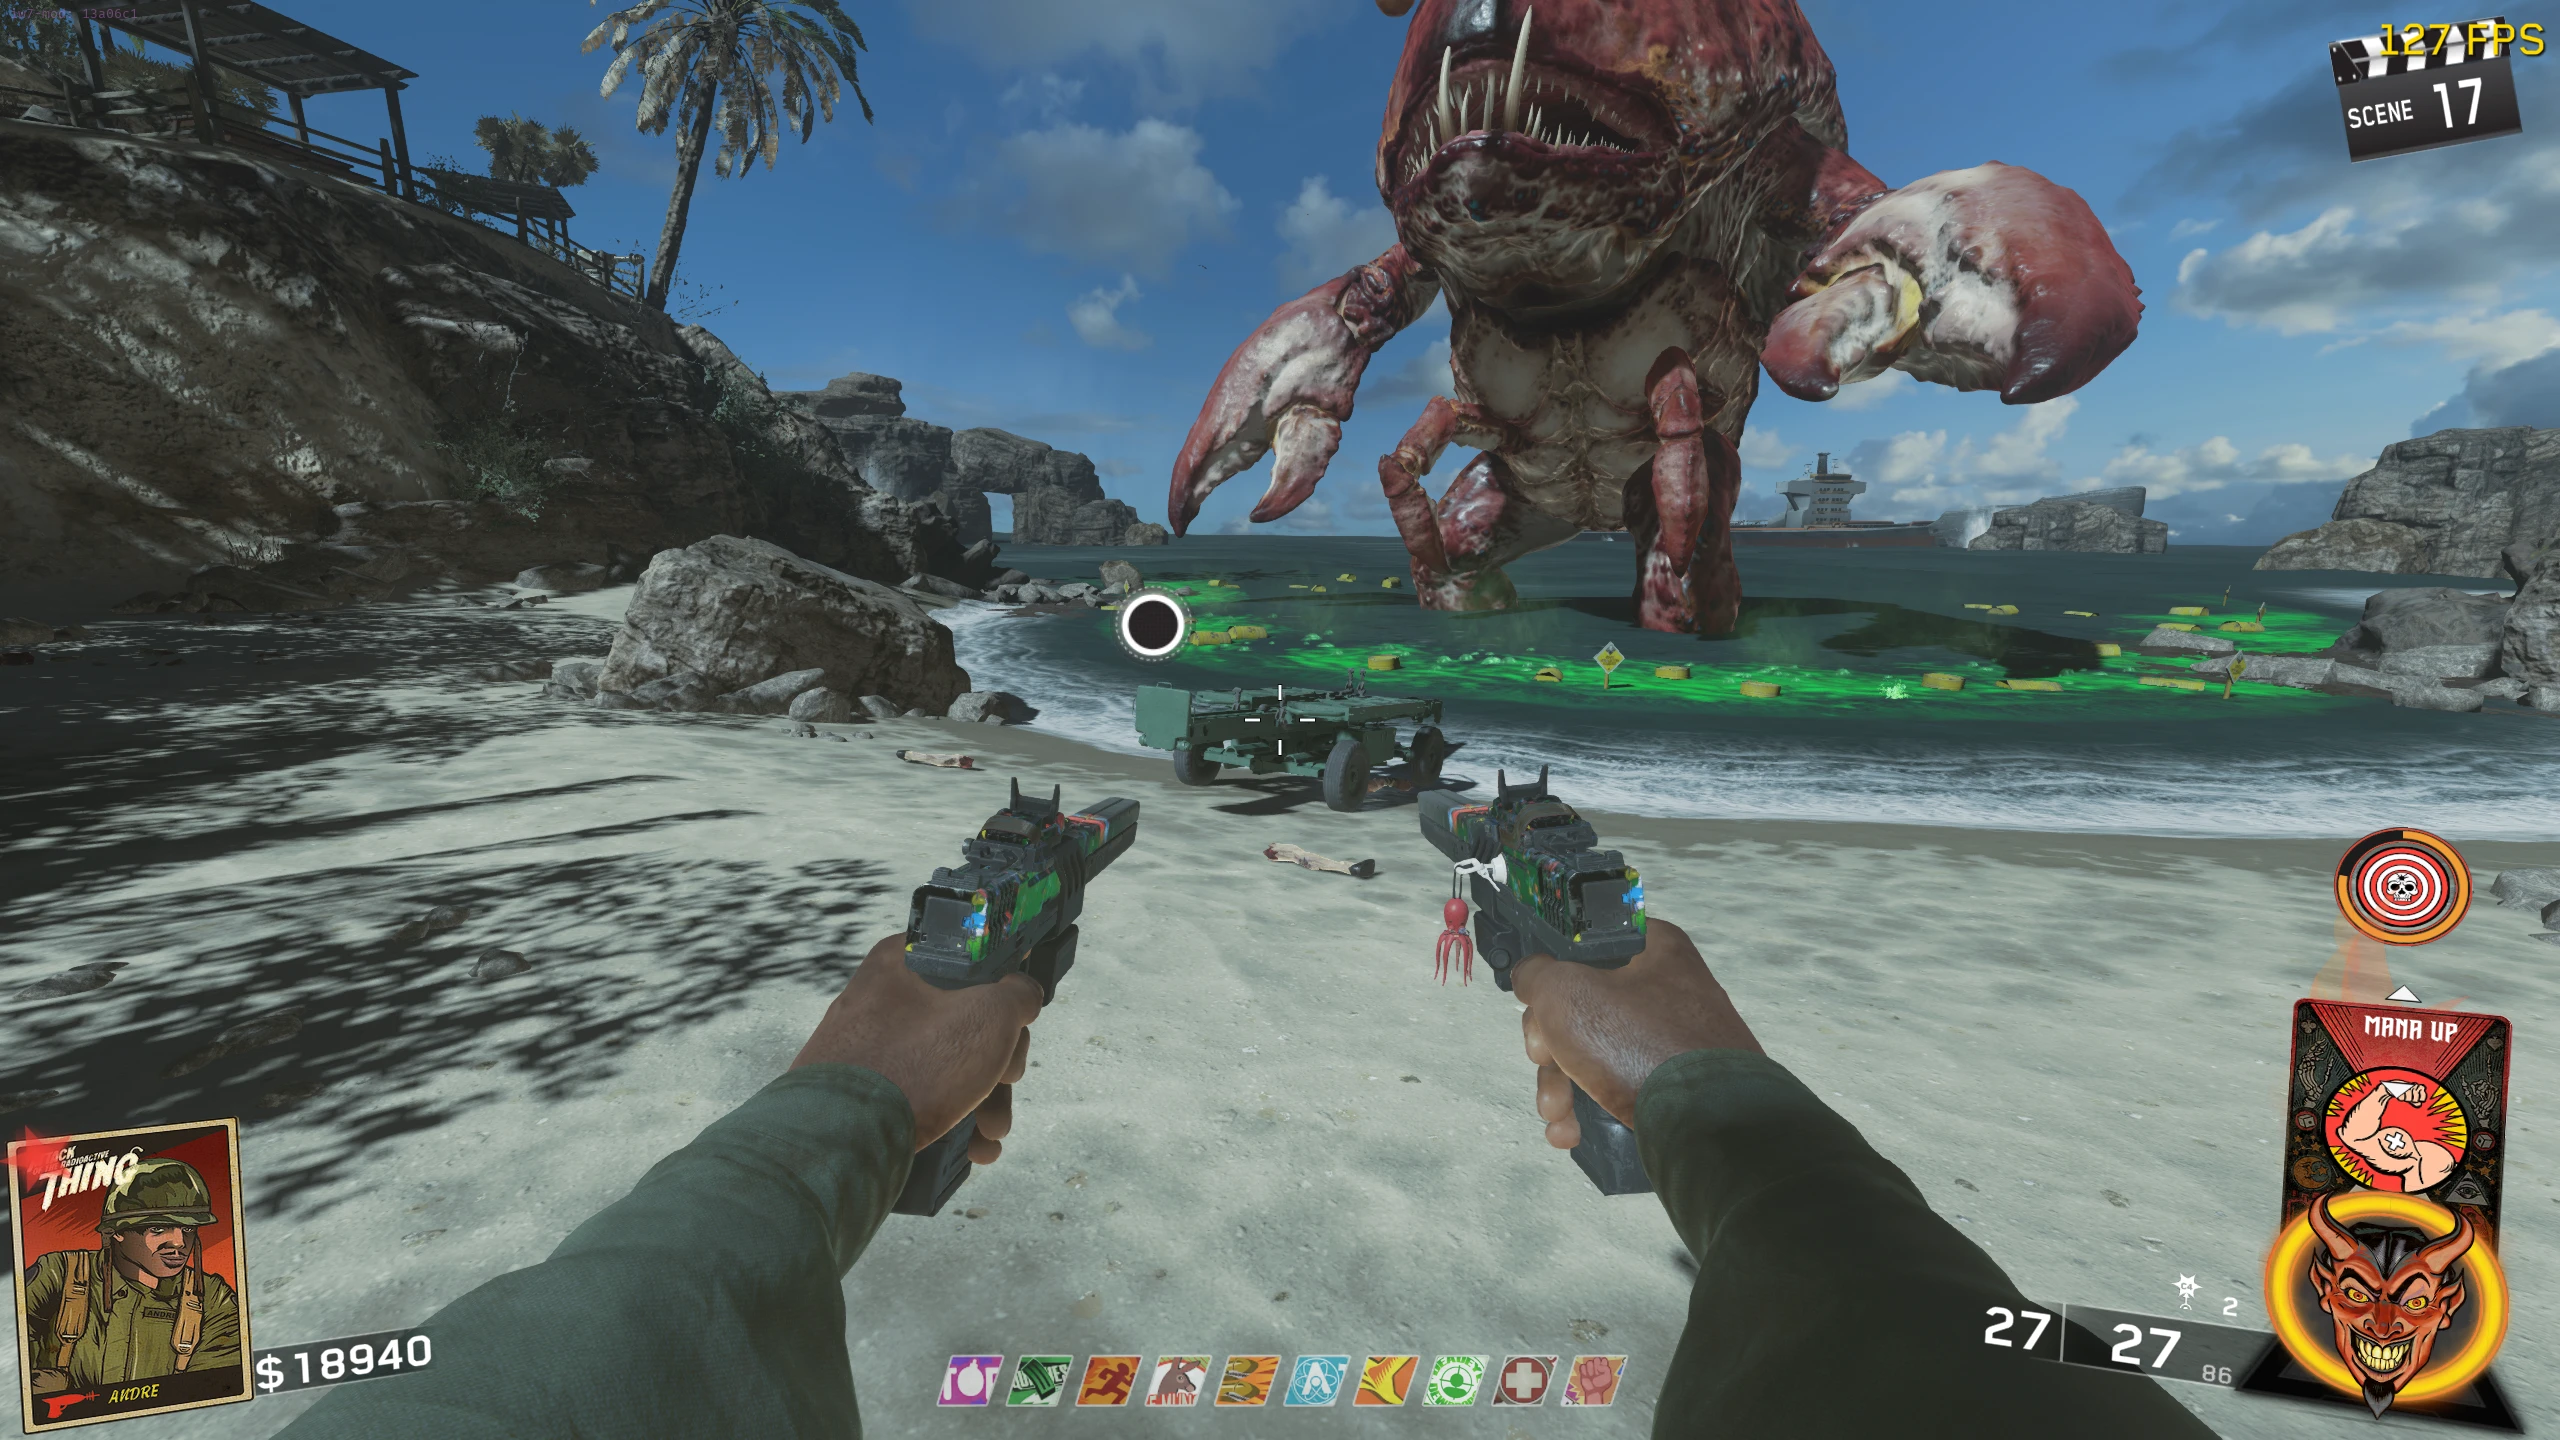
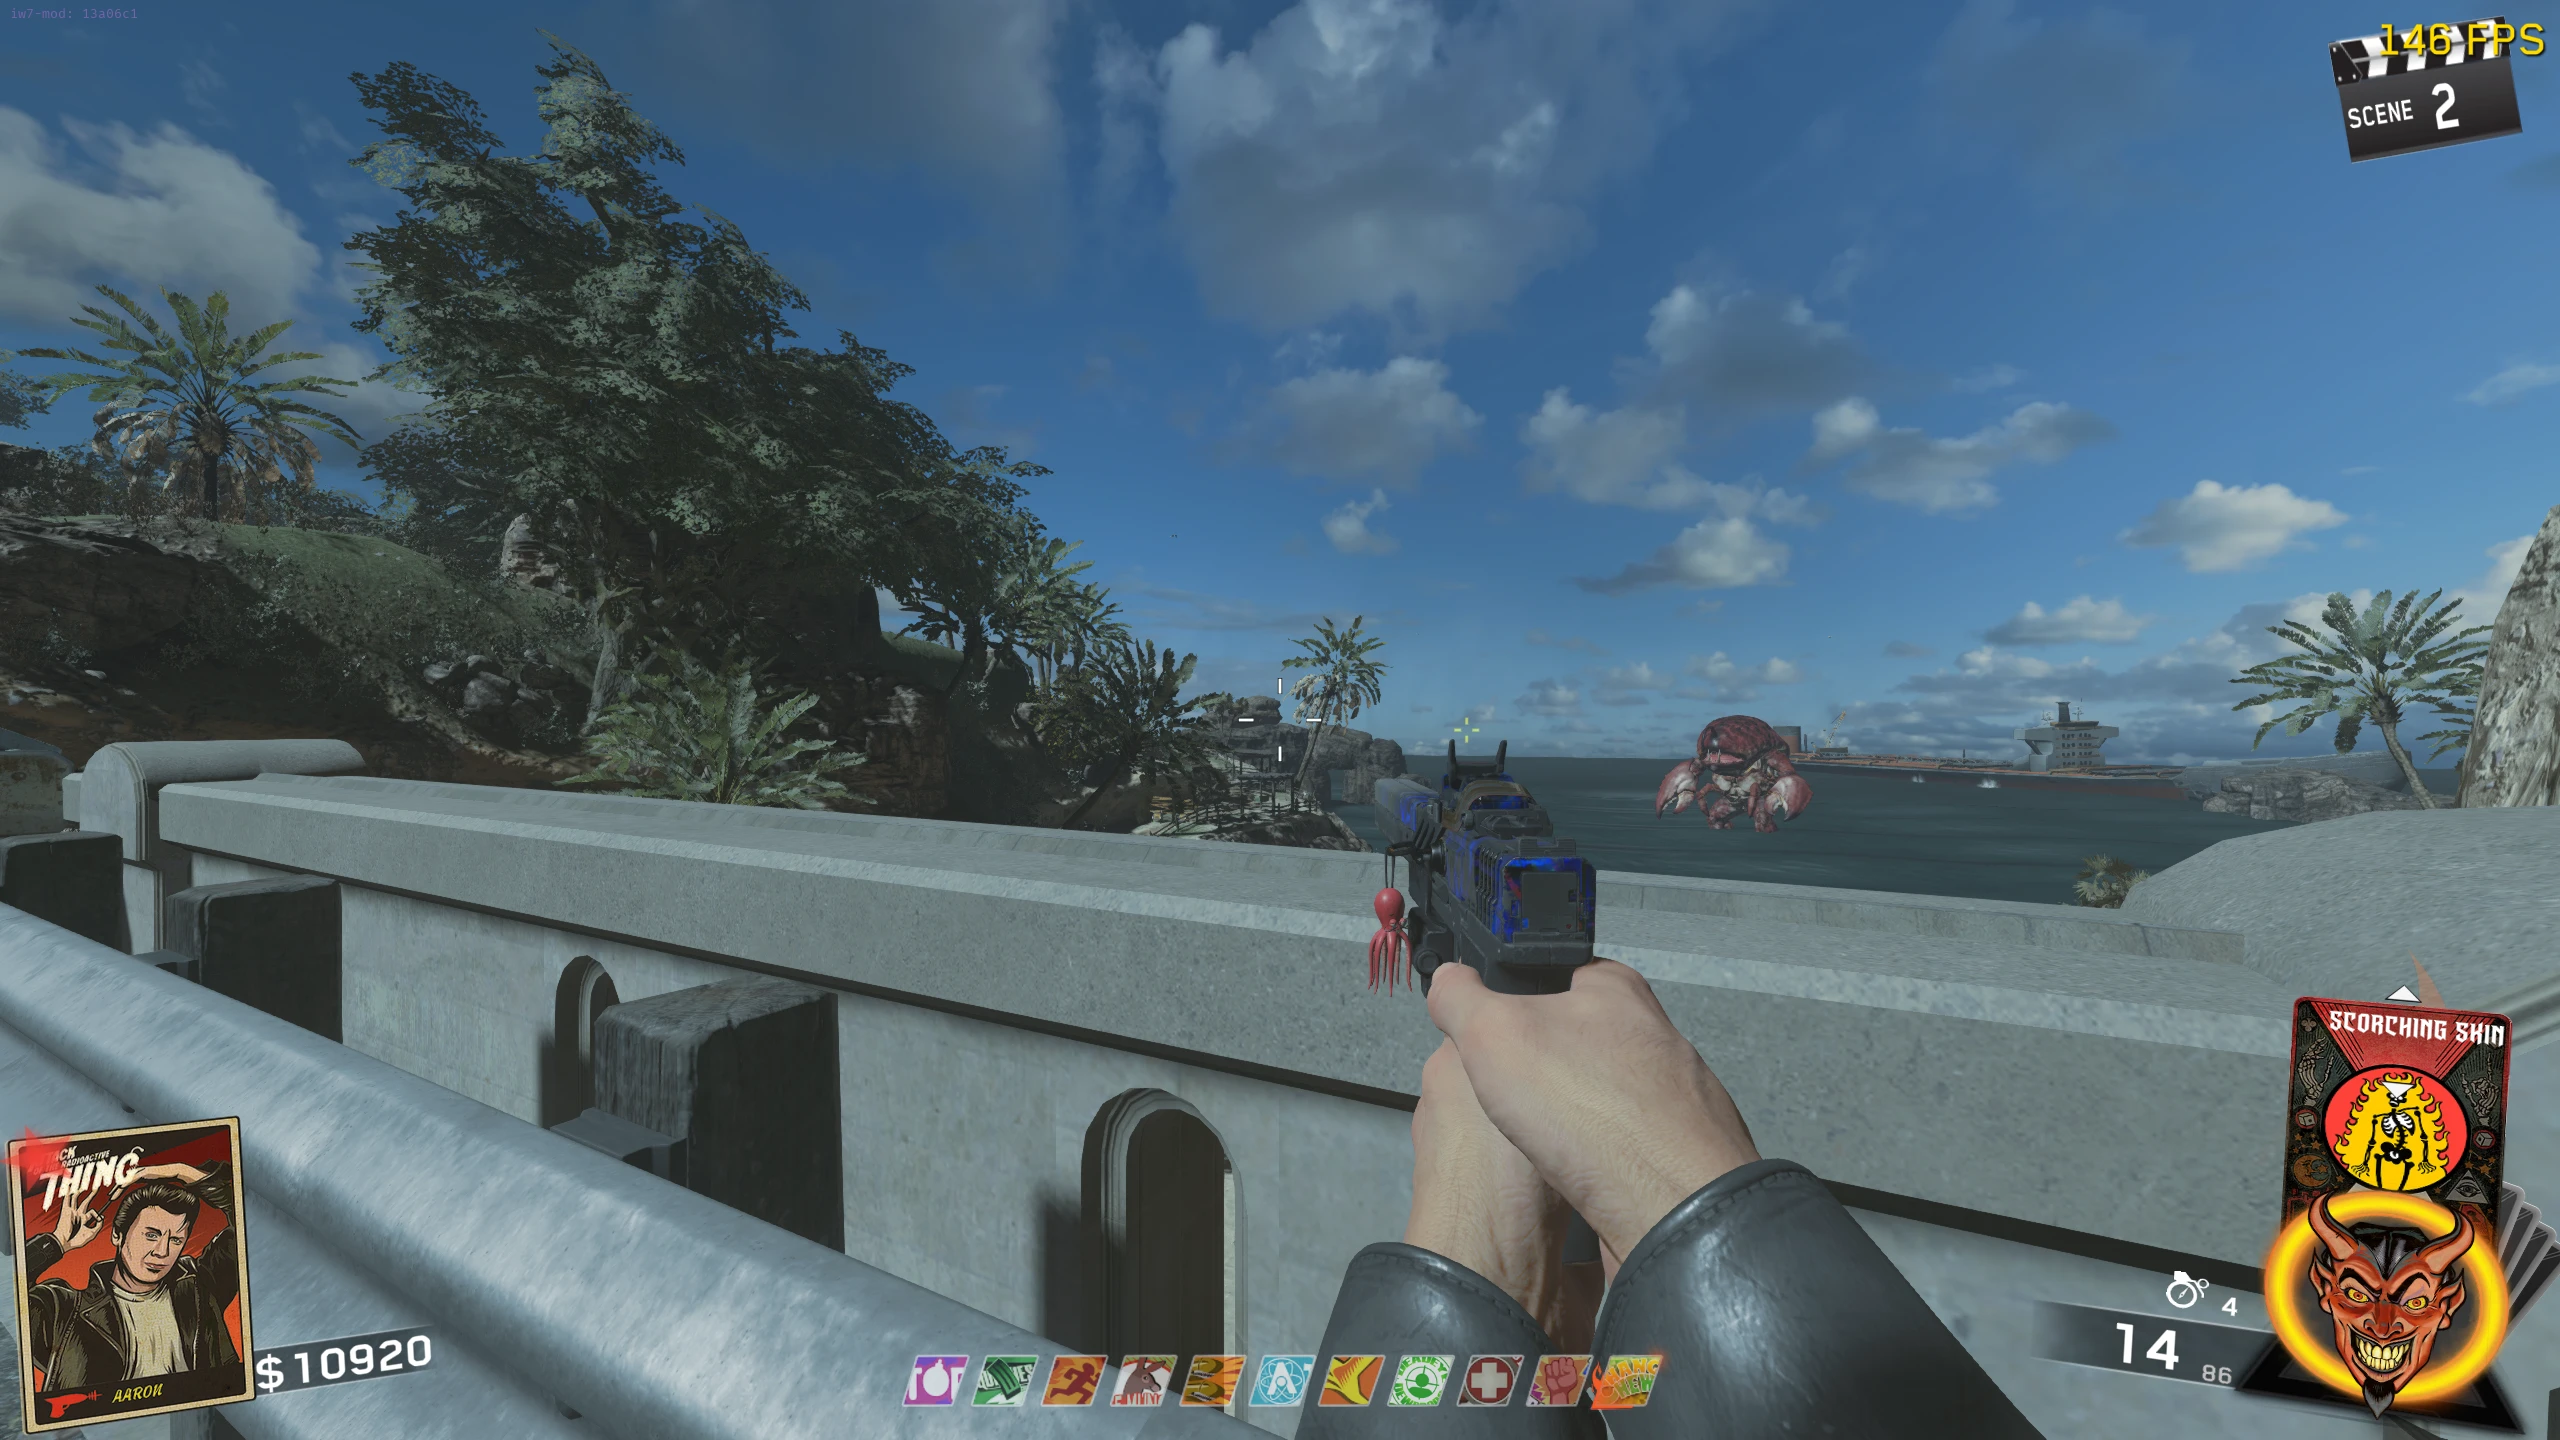
- You will be teleported to the Beach, where you have to push the Nuke Cart (by standing near it) to the water. While you're pushing the Nuke, Crog-Zilla will launch Crog eggs and Fireballs at you. It'll do this whenever the nuke stops then starts moving again. Zombies will also start spawning.
- The eggs and fireballs can be shot out of the sky. Doing this will allow you to keep the nuke moving (because you won't have to move away from it, which will stop it moving). This means that Crog-Zilla won't fire more eggs/fireballs (because it only fires whenever the nuke stops moving).
- As a side note: A Max Ammo will spawn near the OSA wallbuy when the boss fight starts. After being picked up, it will respawn after a couple minutes, so don't save it.
- Once the Nuke reaches the water, it will stop moving, and launch into Crog-Zilla's mouth.
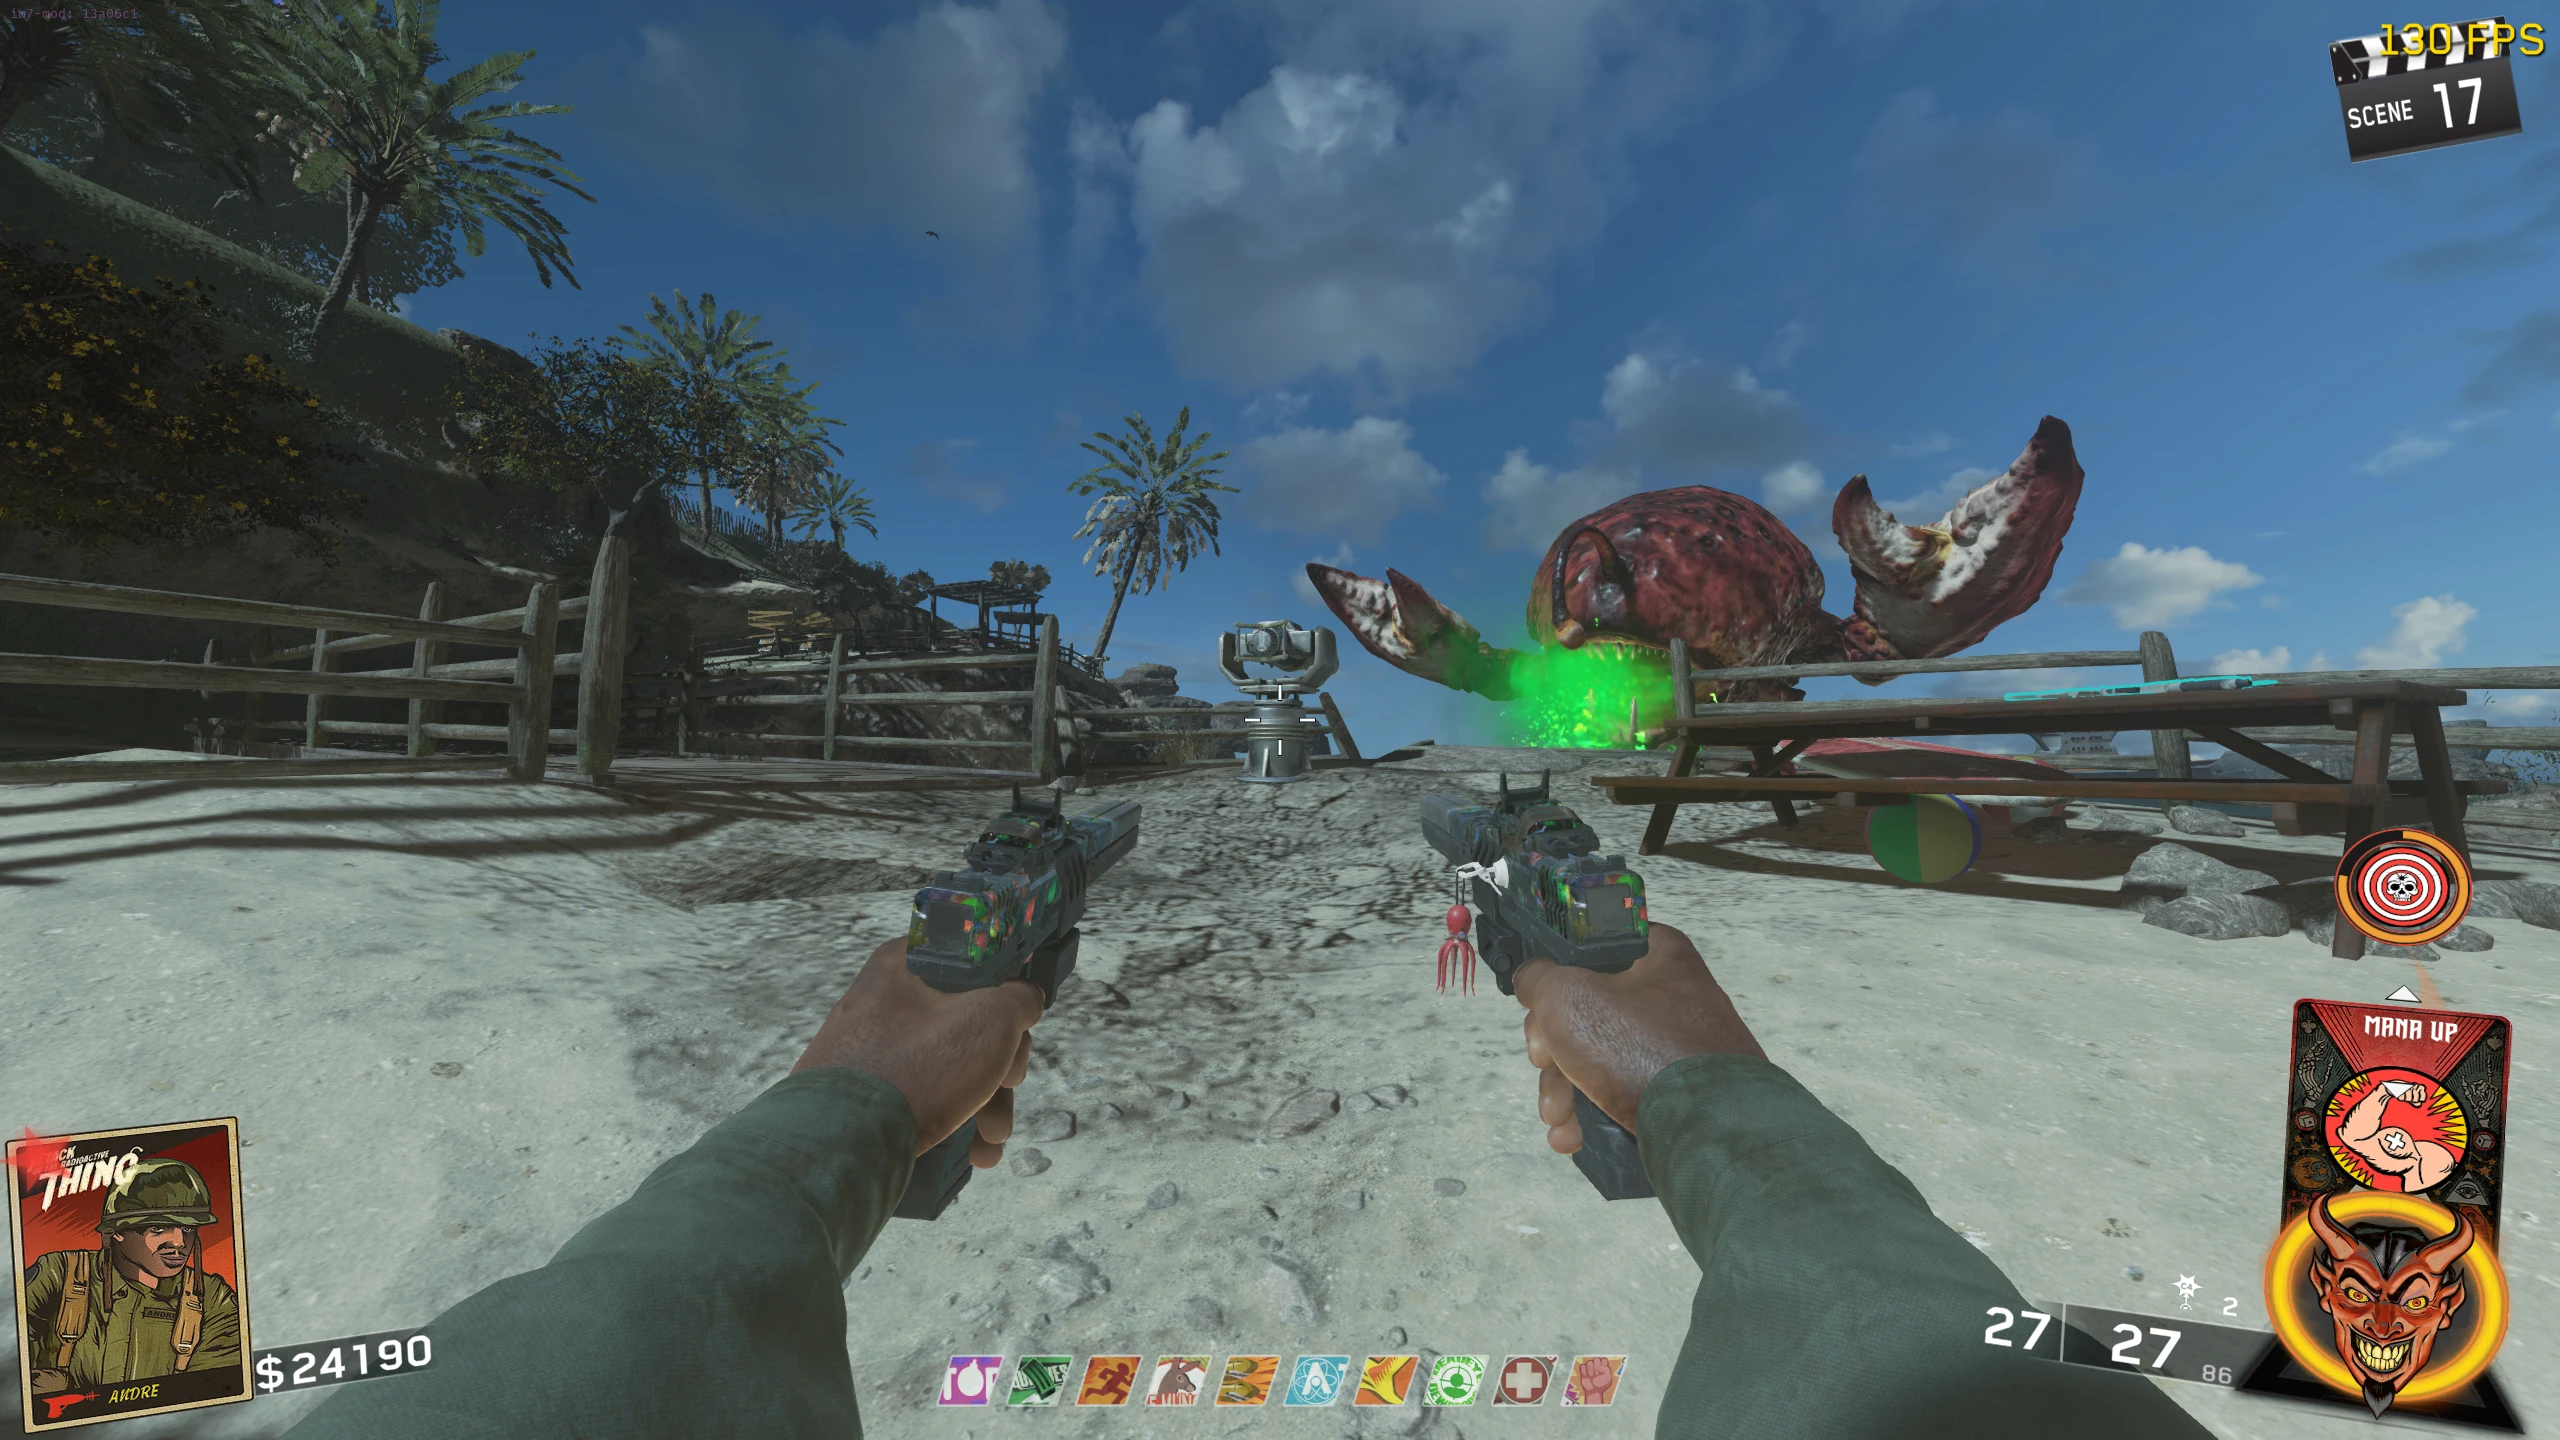
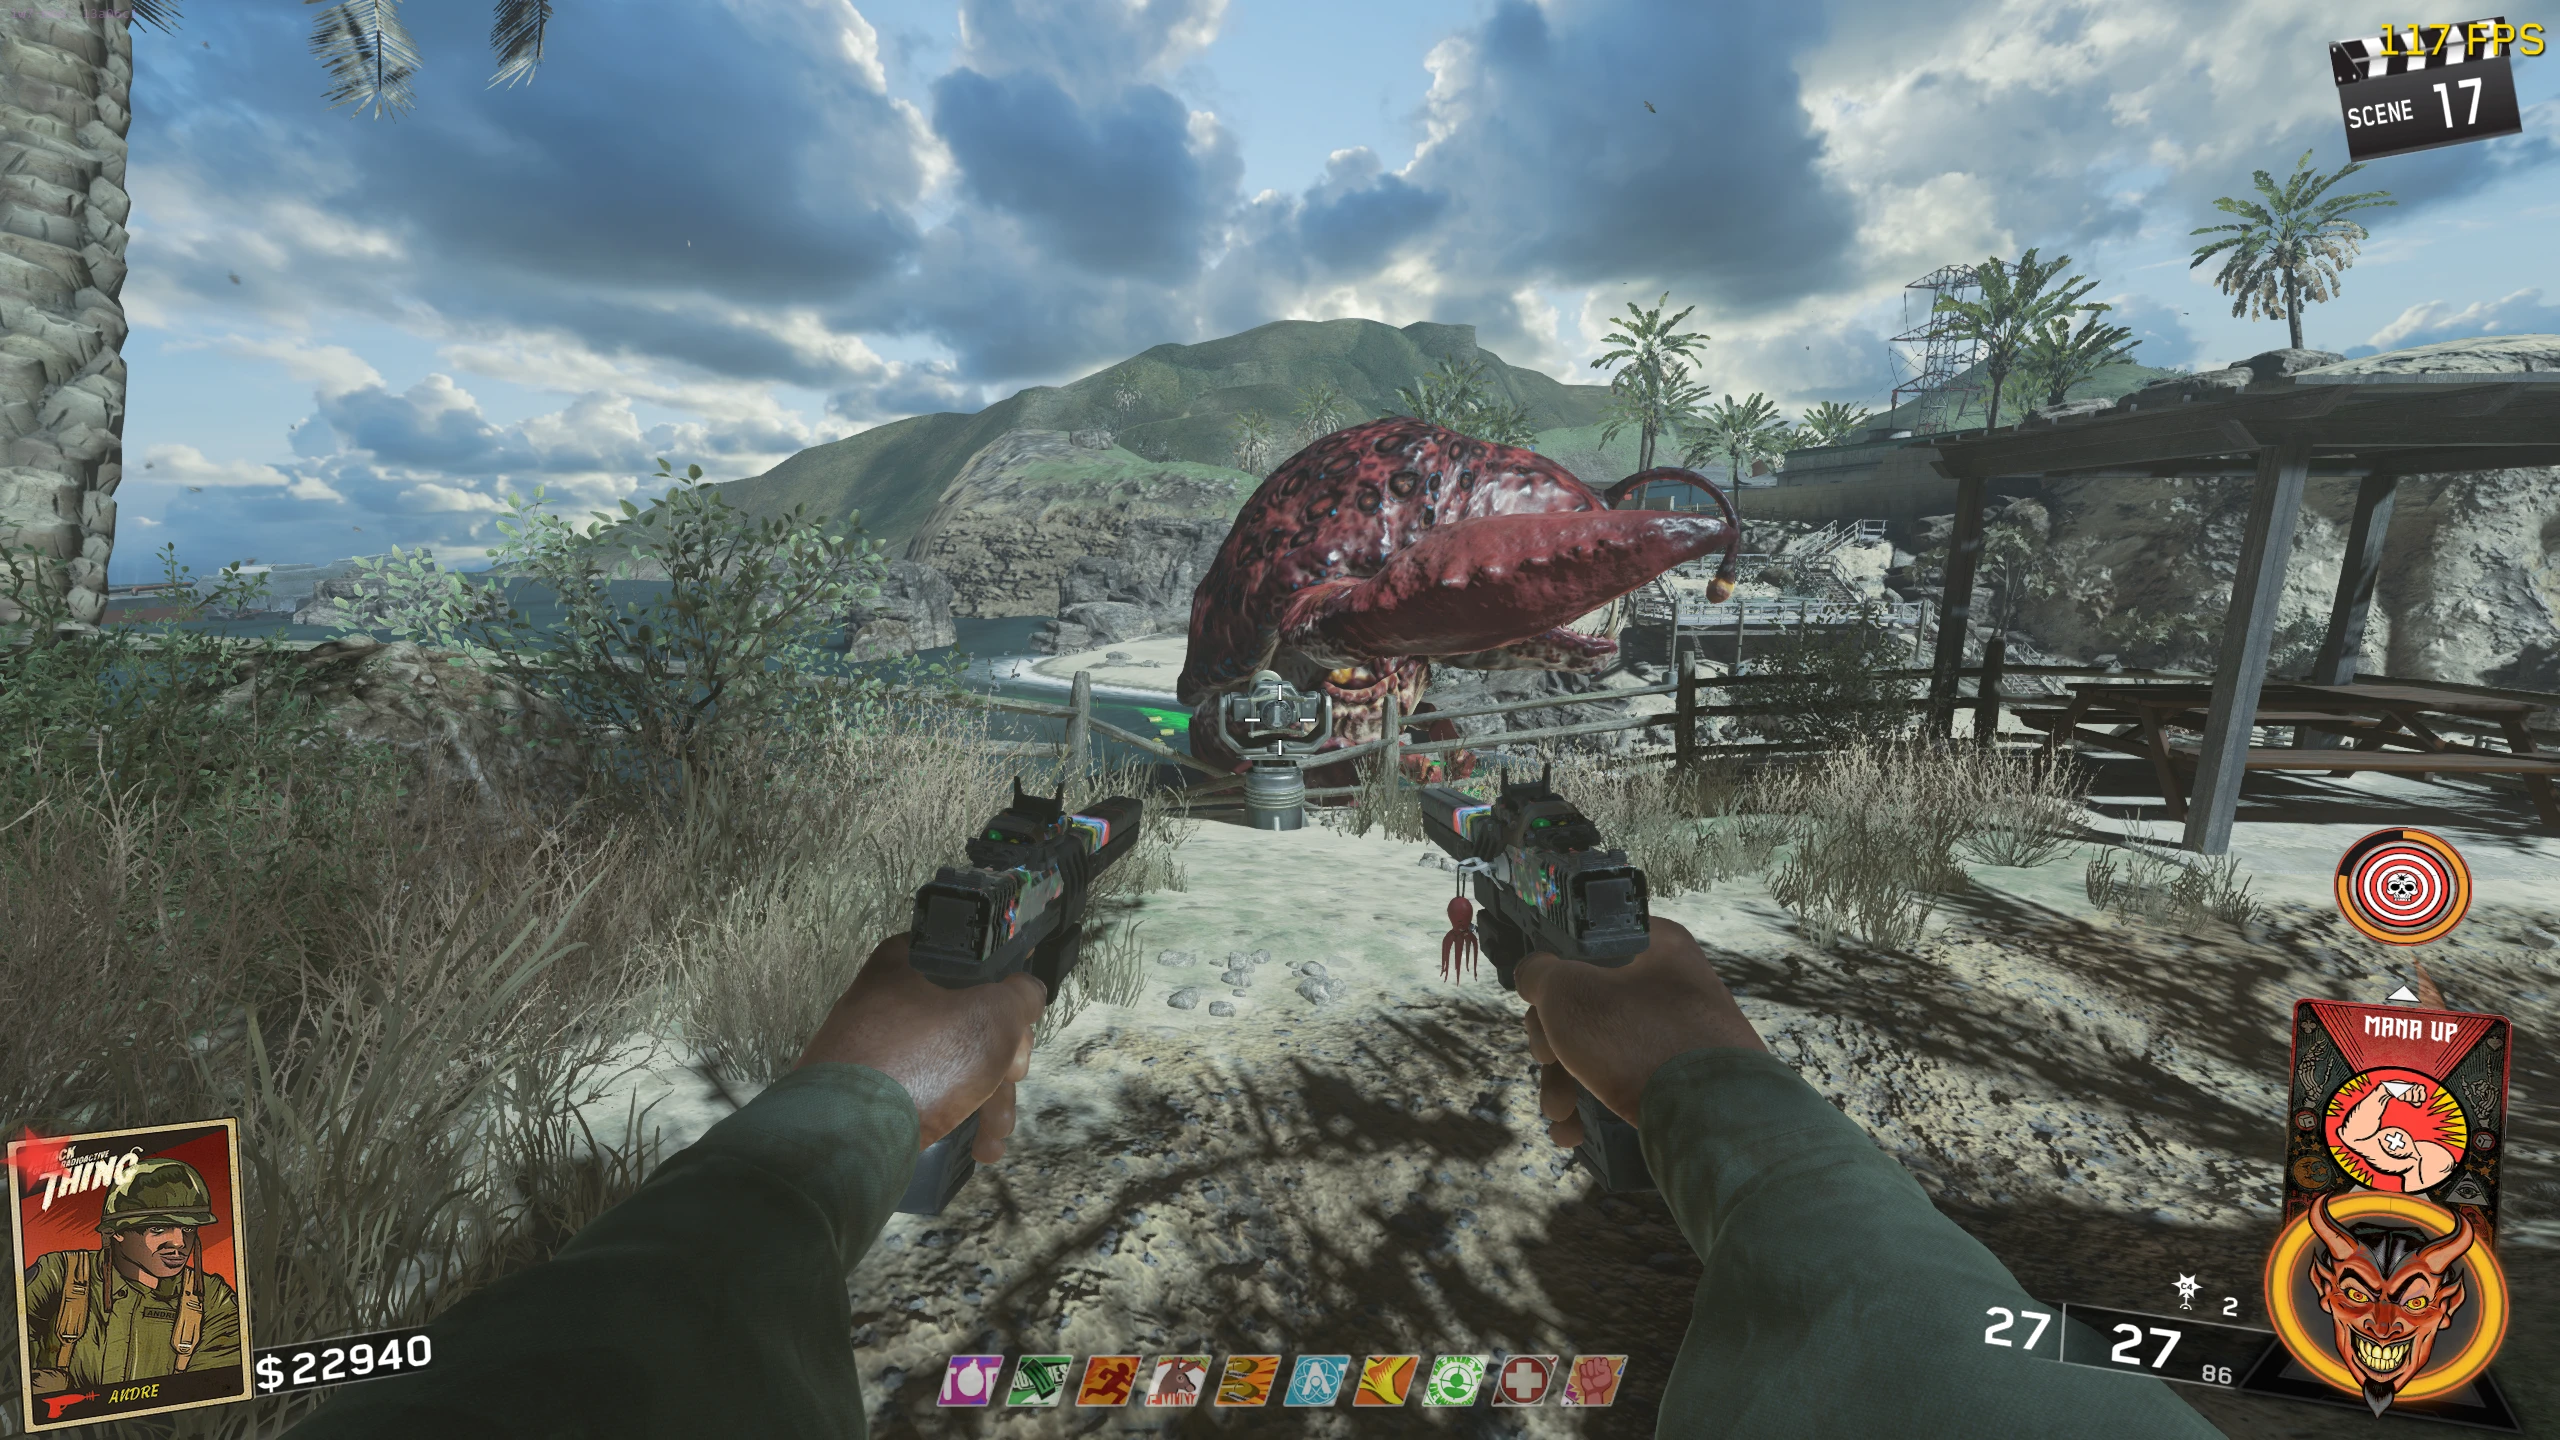
- Crog-Zilla will now get new attacks such as its insta-kill ground slam (indicated by raising either one or both claws), and laser beam (the antenna thing on its head will glow).
- To avoid the ground slam, run from the area you're currently in (example, if you're on the elevated area near the OSA wallbuy, run across the bridge toward the RV Park. Tip: Keep moving until it slams its claw(s).
- The laser beam attack, frankly, sucks, and you will not need to move far to avoid it.
- While attacking, a part of Crog-Zilla's chest will glow. Using the death rays around the Beach, you will need to shoot the chest. After one successful hit (indicated by a skull icon), the chest will stay glowing, and you can attack it whenever. Once the chest is hit once, you can also shoot the chest with the Spartan SA3 (there is a wallbuy near where the Nuke spawned) to do damage without using a Death Ray. Death Ray locations:
- Beside the OSA Wallbuy
- On the path to RV Park
- On the path up to the main street
- On the big concrete bridge
- After hitting the chest 3-4 times, the glowing part will disappear, and Crog-Zilla will stop attacking. All players must interact with the Nuke Cart to start charging it.
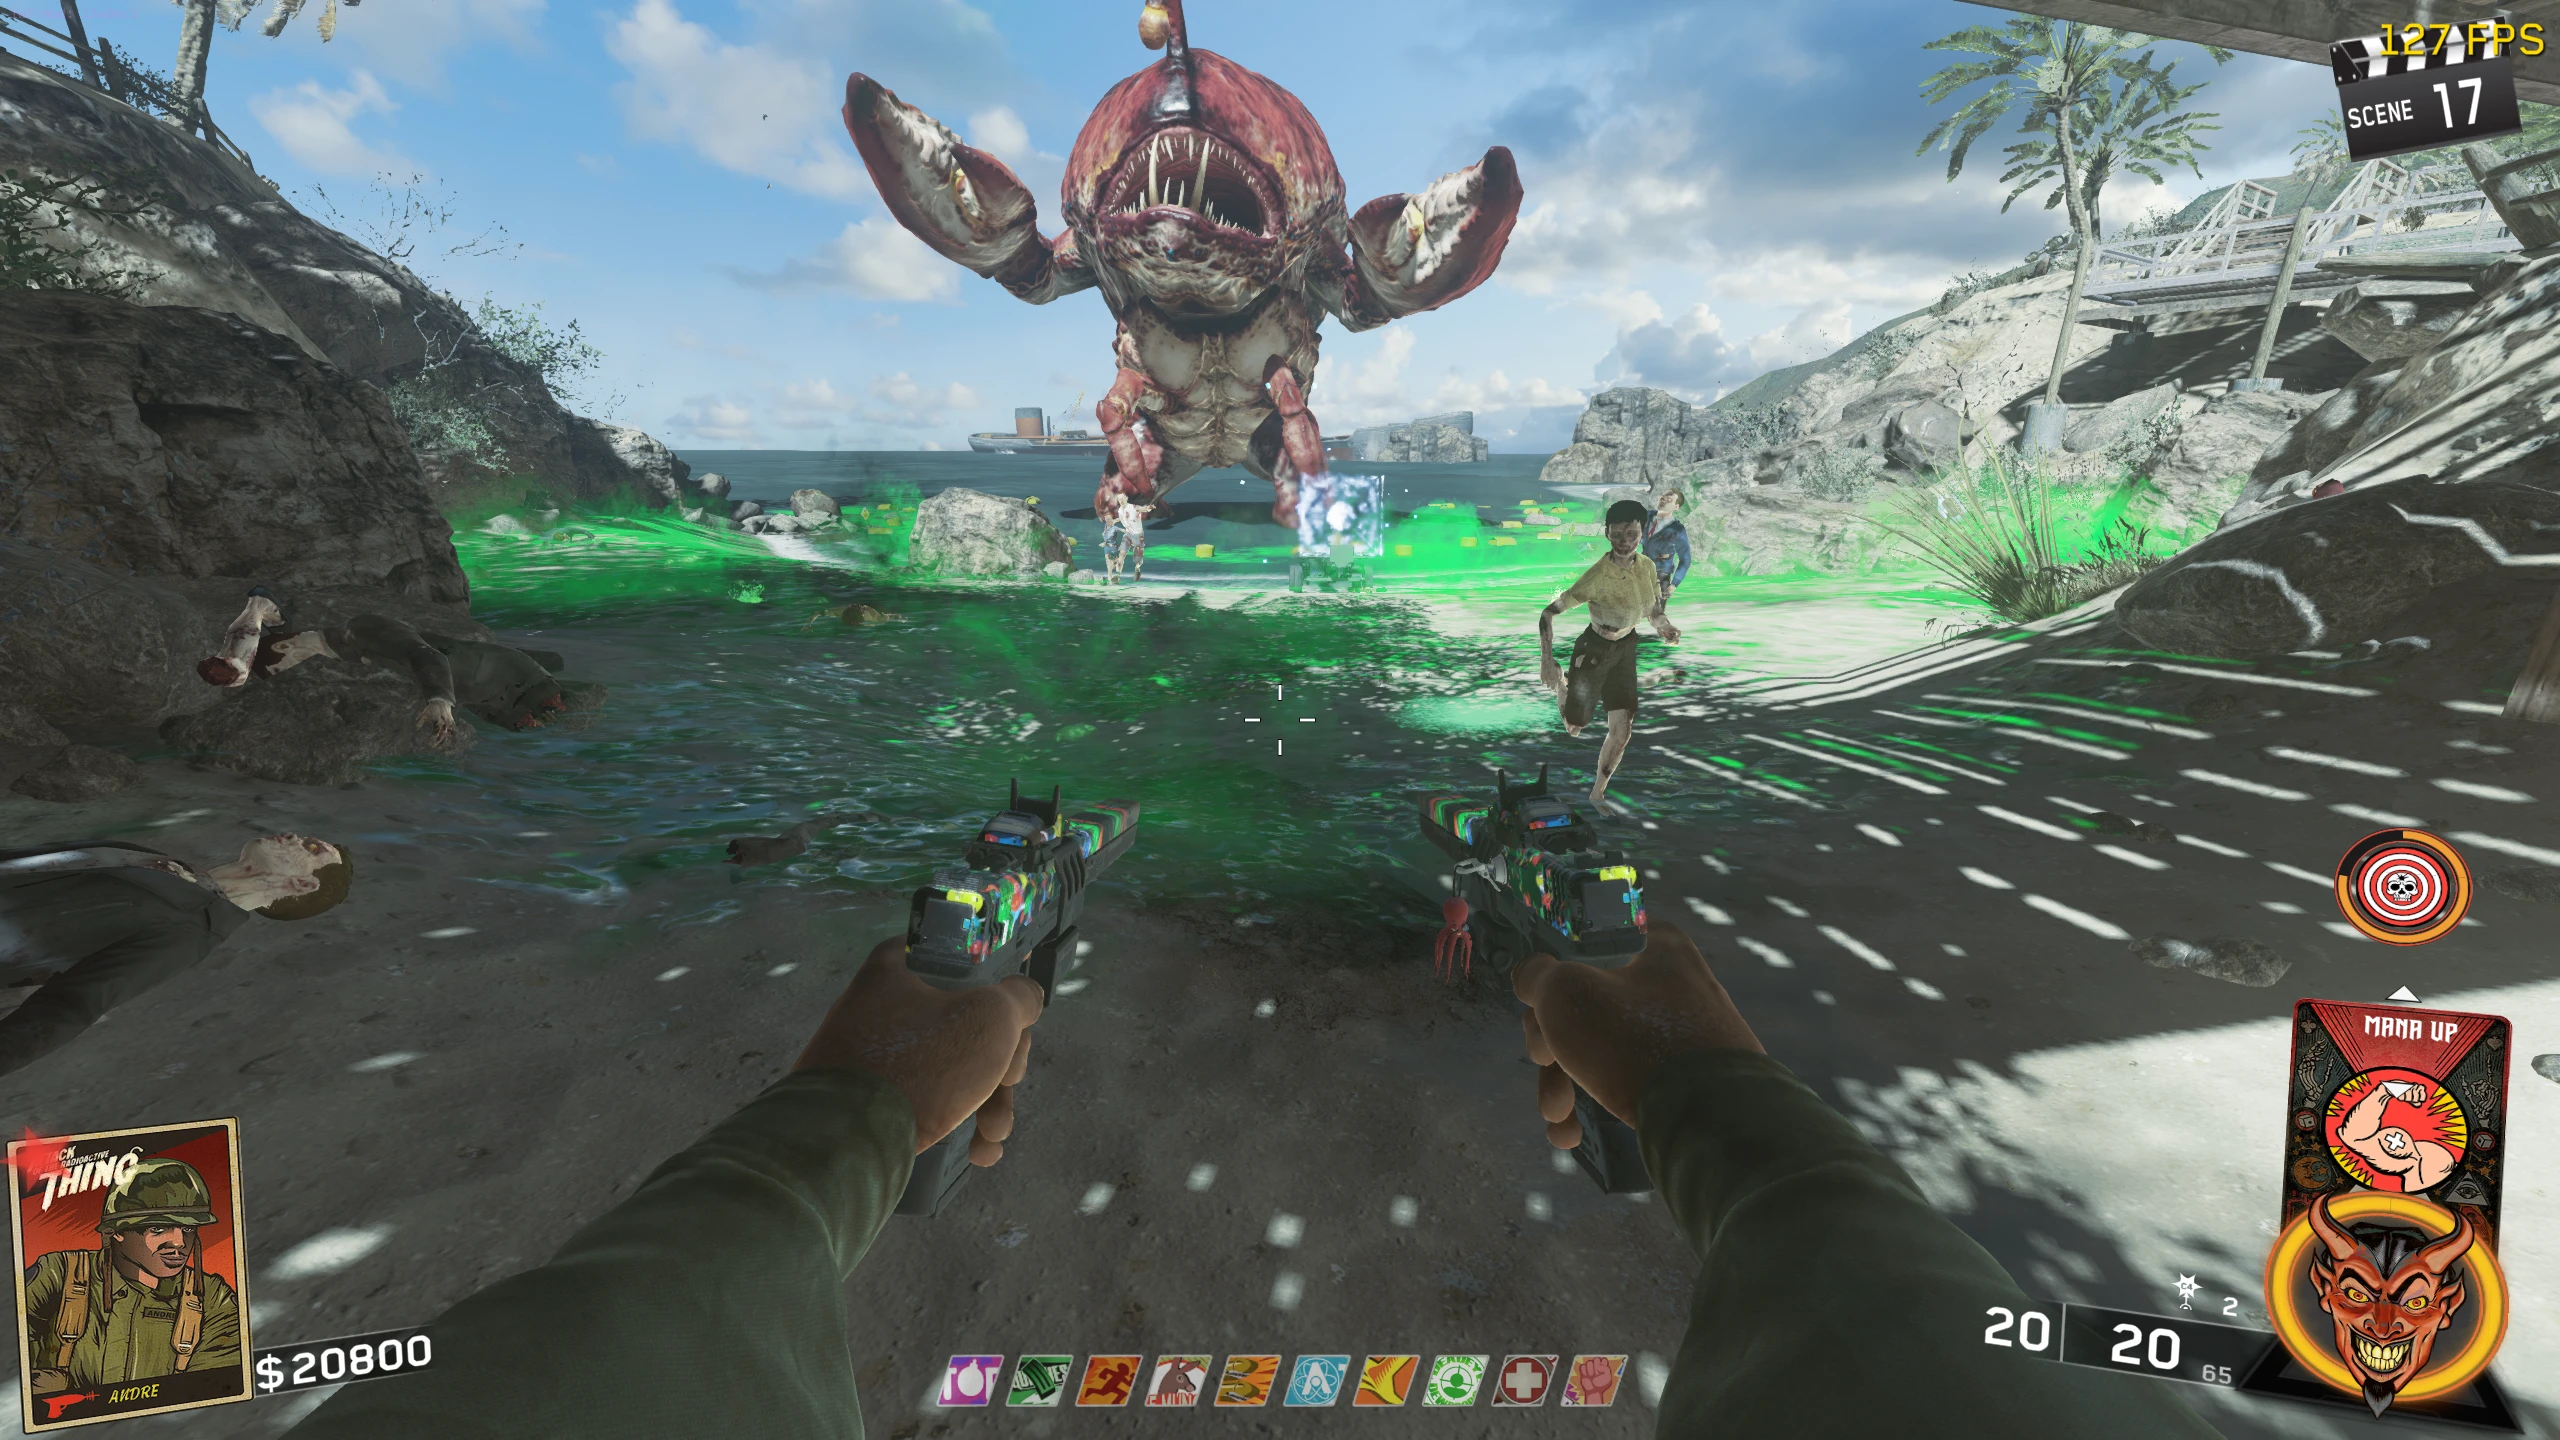
- Crog-Zilla will now "spit" radiation onto the front part of the beach. Standing in this radiation will do damage to you. Crog-Zilla will then shoot two sets of eggs/fireballs. After the two sets, Crog-Zilla will spit more radiation.
- You must defend yourself against Zombies and Crogs until the radiation makes it under the bridge, pushing you up against a wall. After the set of two eggs, the radiation will clear and lasers will spawn. All players must jump and slide to avoid the lasers to make it to the Nuke cart. There is a timer, so go through the obstacle course quickly, but don't rush yourself and make mistakes; the timer is loose enough to allow you to take your time with the more challenging jumps/slides. Try to always be moving.
- If a player doesn't make it to the Nuke in time, the lasers will disappear, then you'll have to interact with the Nuke cart again. Crog-Zilla will spit radiation again, but this time only one set of eggs will be launched per spit, making this go by a lot quicker.
- Video of all of the routes to get through the lasers (YouTube)
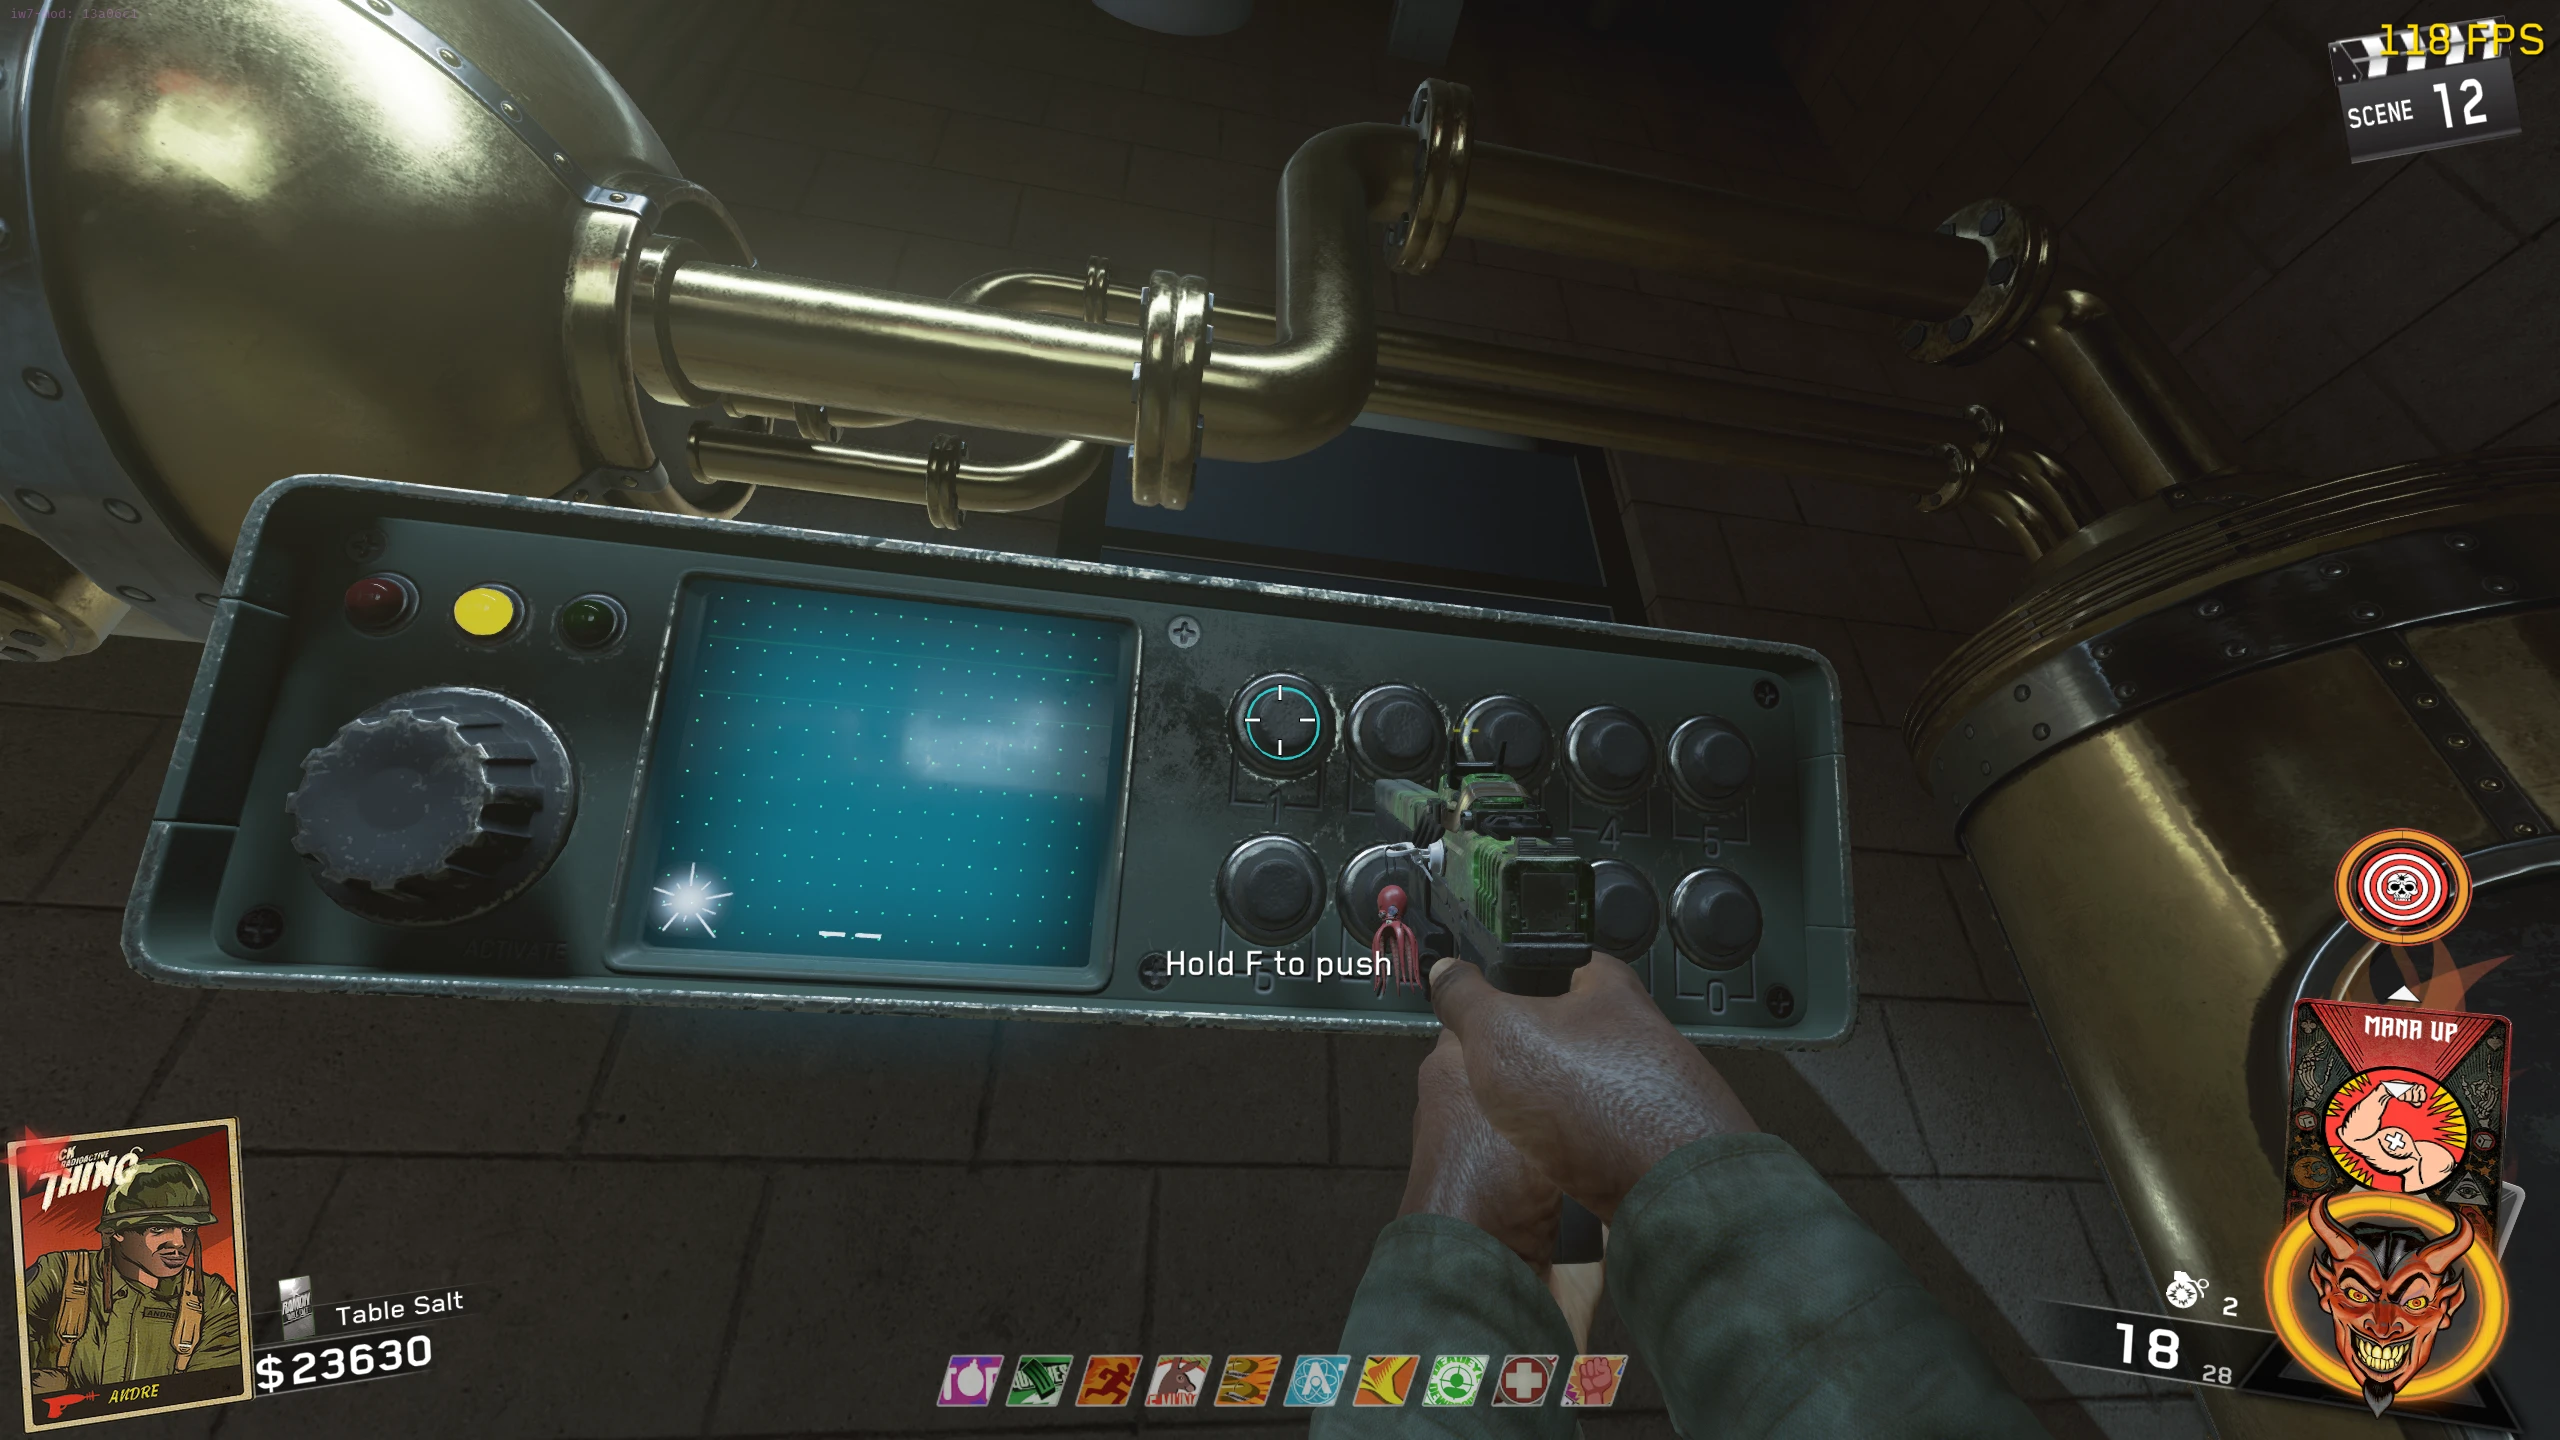
- When all players have interacted with the Nuke after making it through the lasers, you will be brought into Crog-Zilla's belly. You must input the code you got from the safe the same way you used the machine in spawn to make the Zombie. Each player gets three strikes per attempt, and three full attempts to input the code.
- If you successfully input your code but a partner in co-op doesn't, you can't go over and do it for them; every player has to input the code.
- If you fail by getting three strikes or taking too long, you'll have to redo the radiation spit defence, and the obstacle course again.
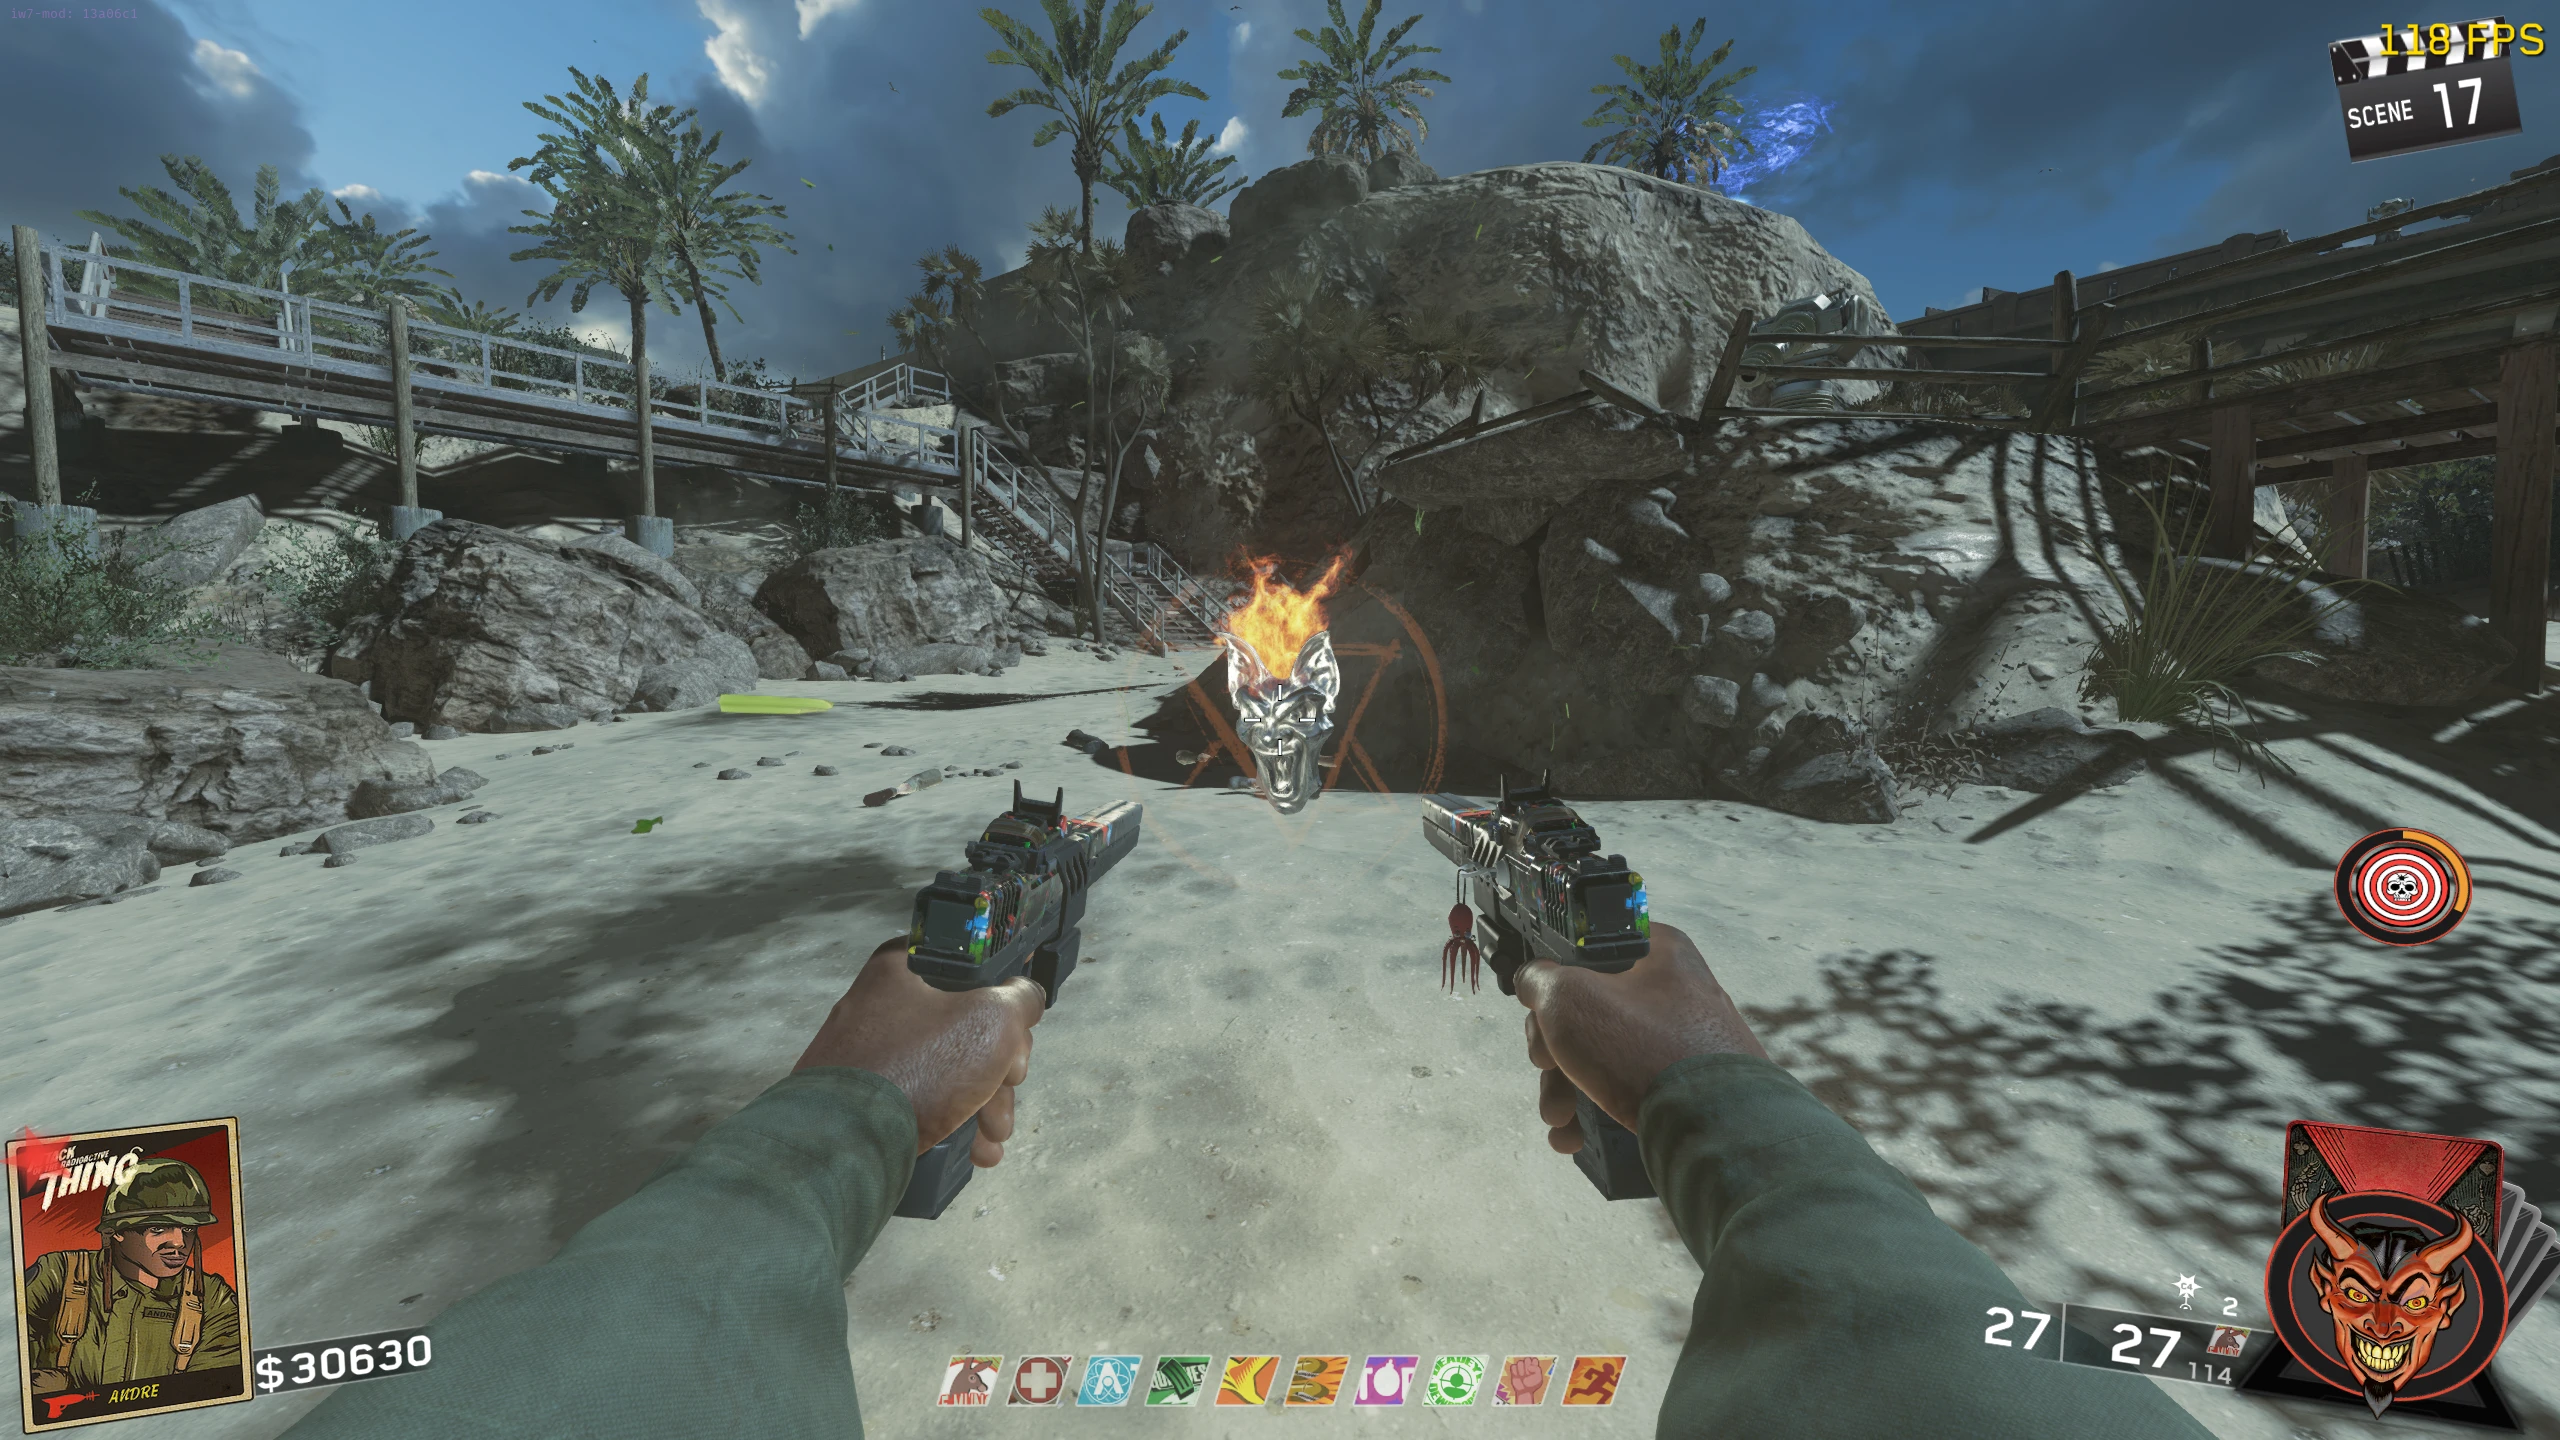
- When you have input the code correctly, you will be teleported out of Crog-Zilla and the cutscene will start. Unlike the other maps, there is no Soul Key for you to pick up after the fight as you're automatically given it, but if you're in Director's Cut mode, the Talisman will spawn on the Beach, and you will be given the Director's Cut IV animated calling card.
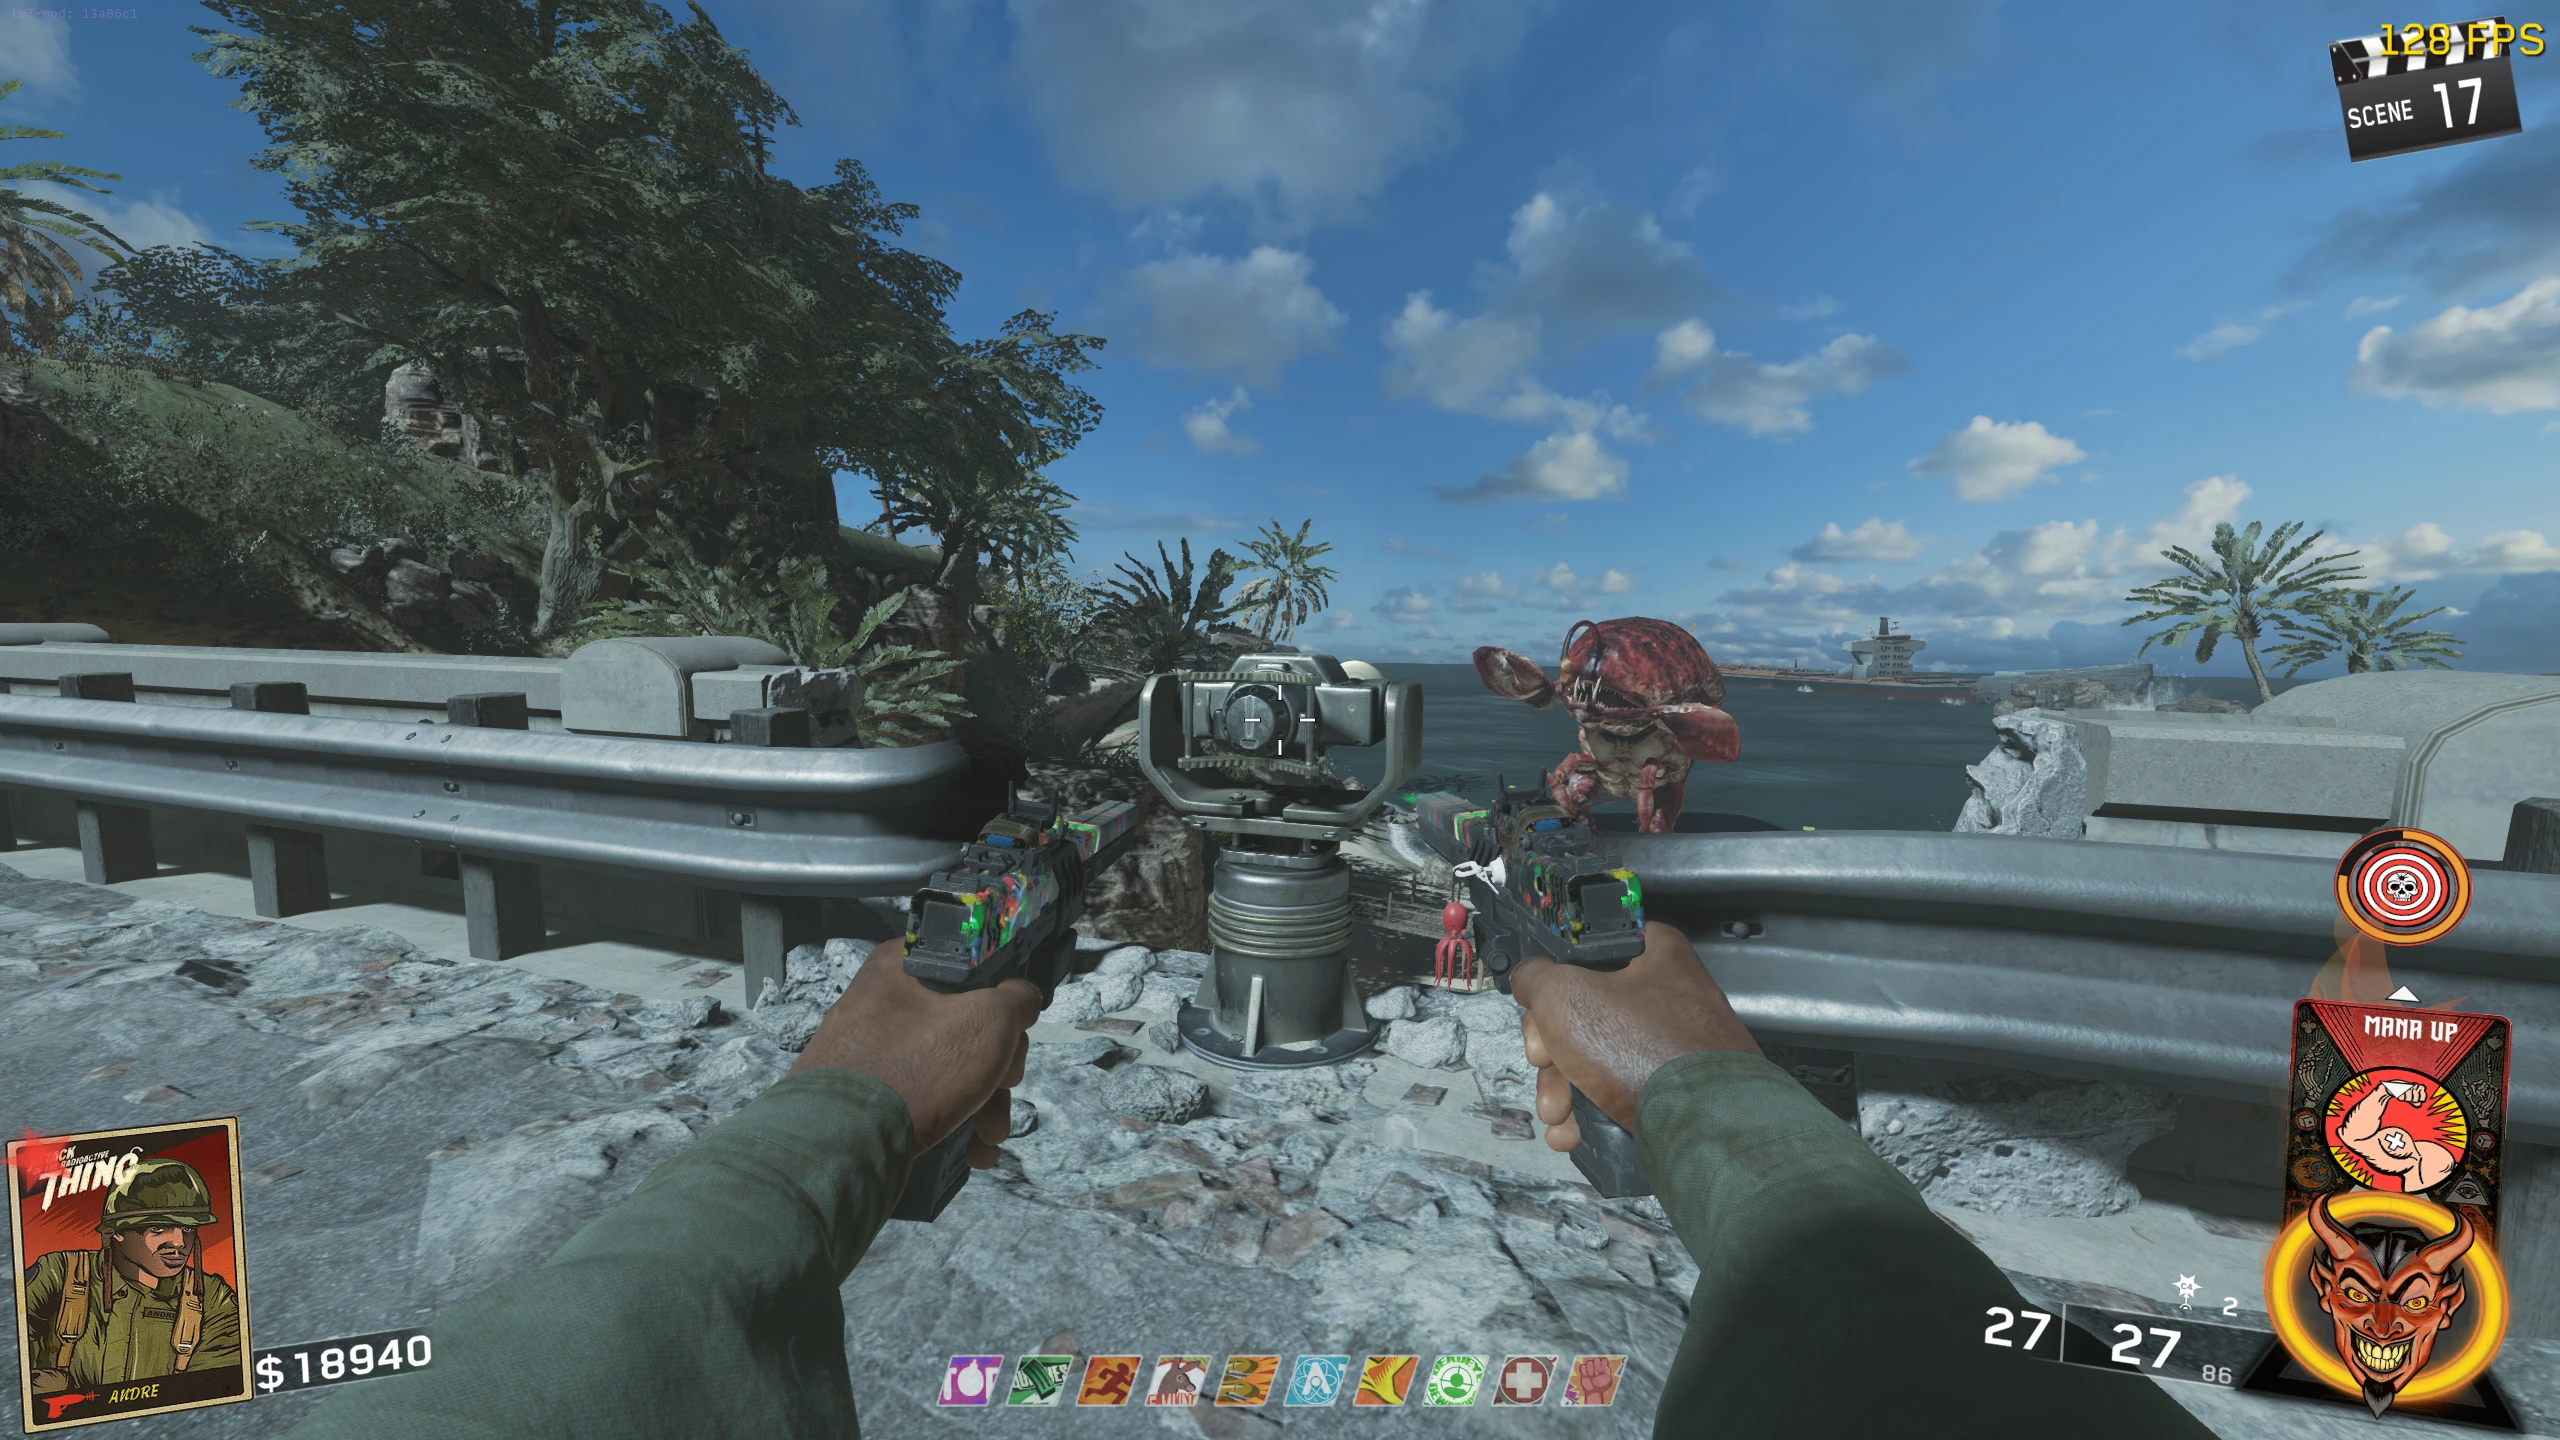
The Crog-Zilla Boss Fight