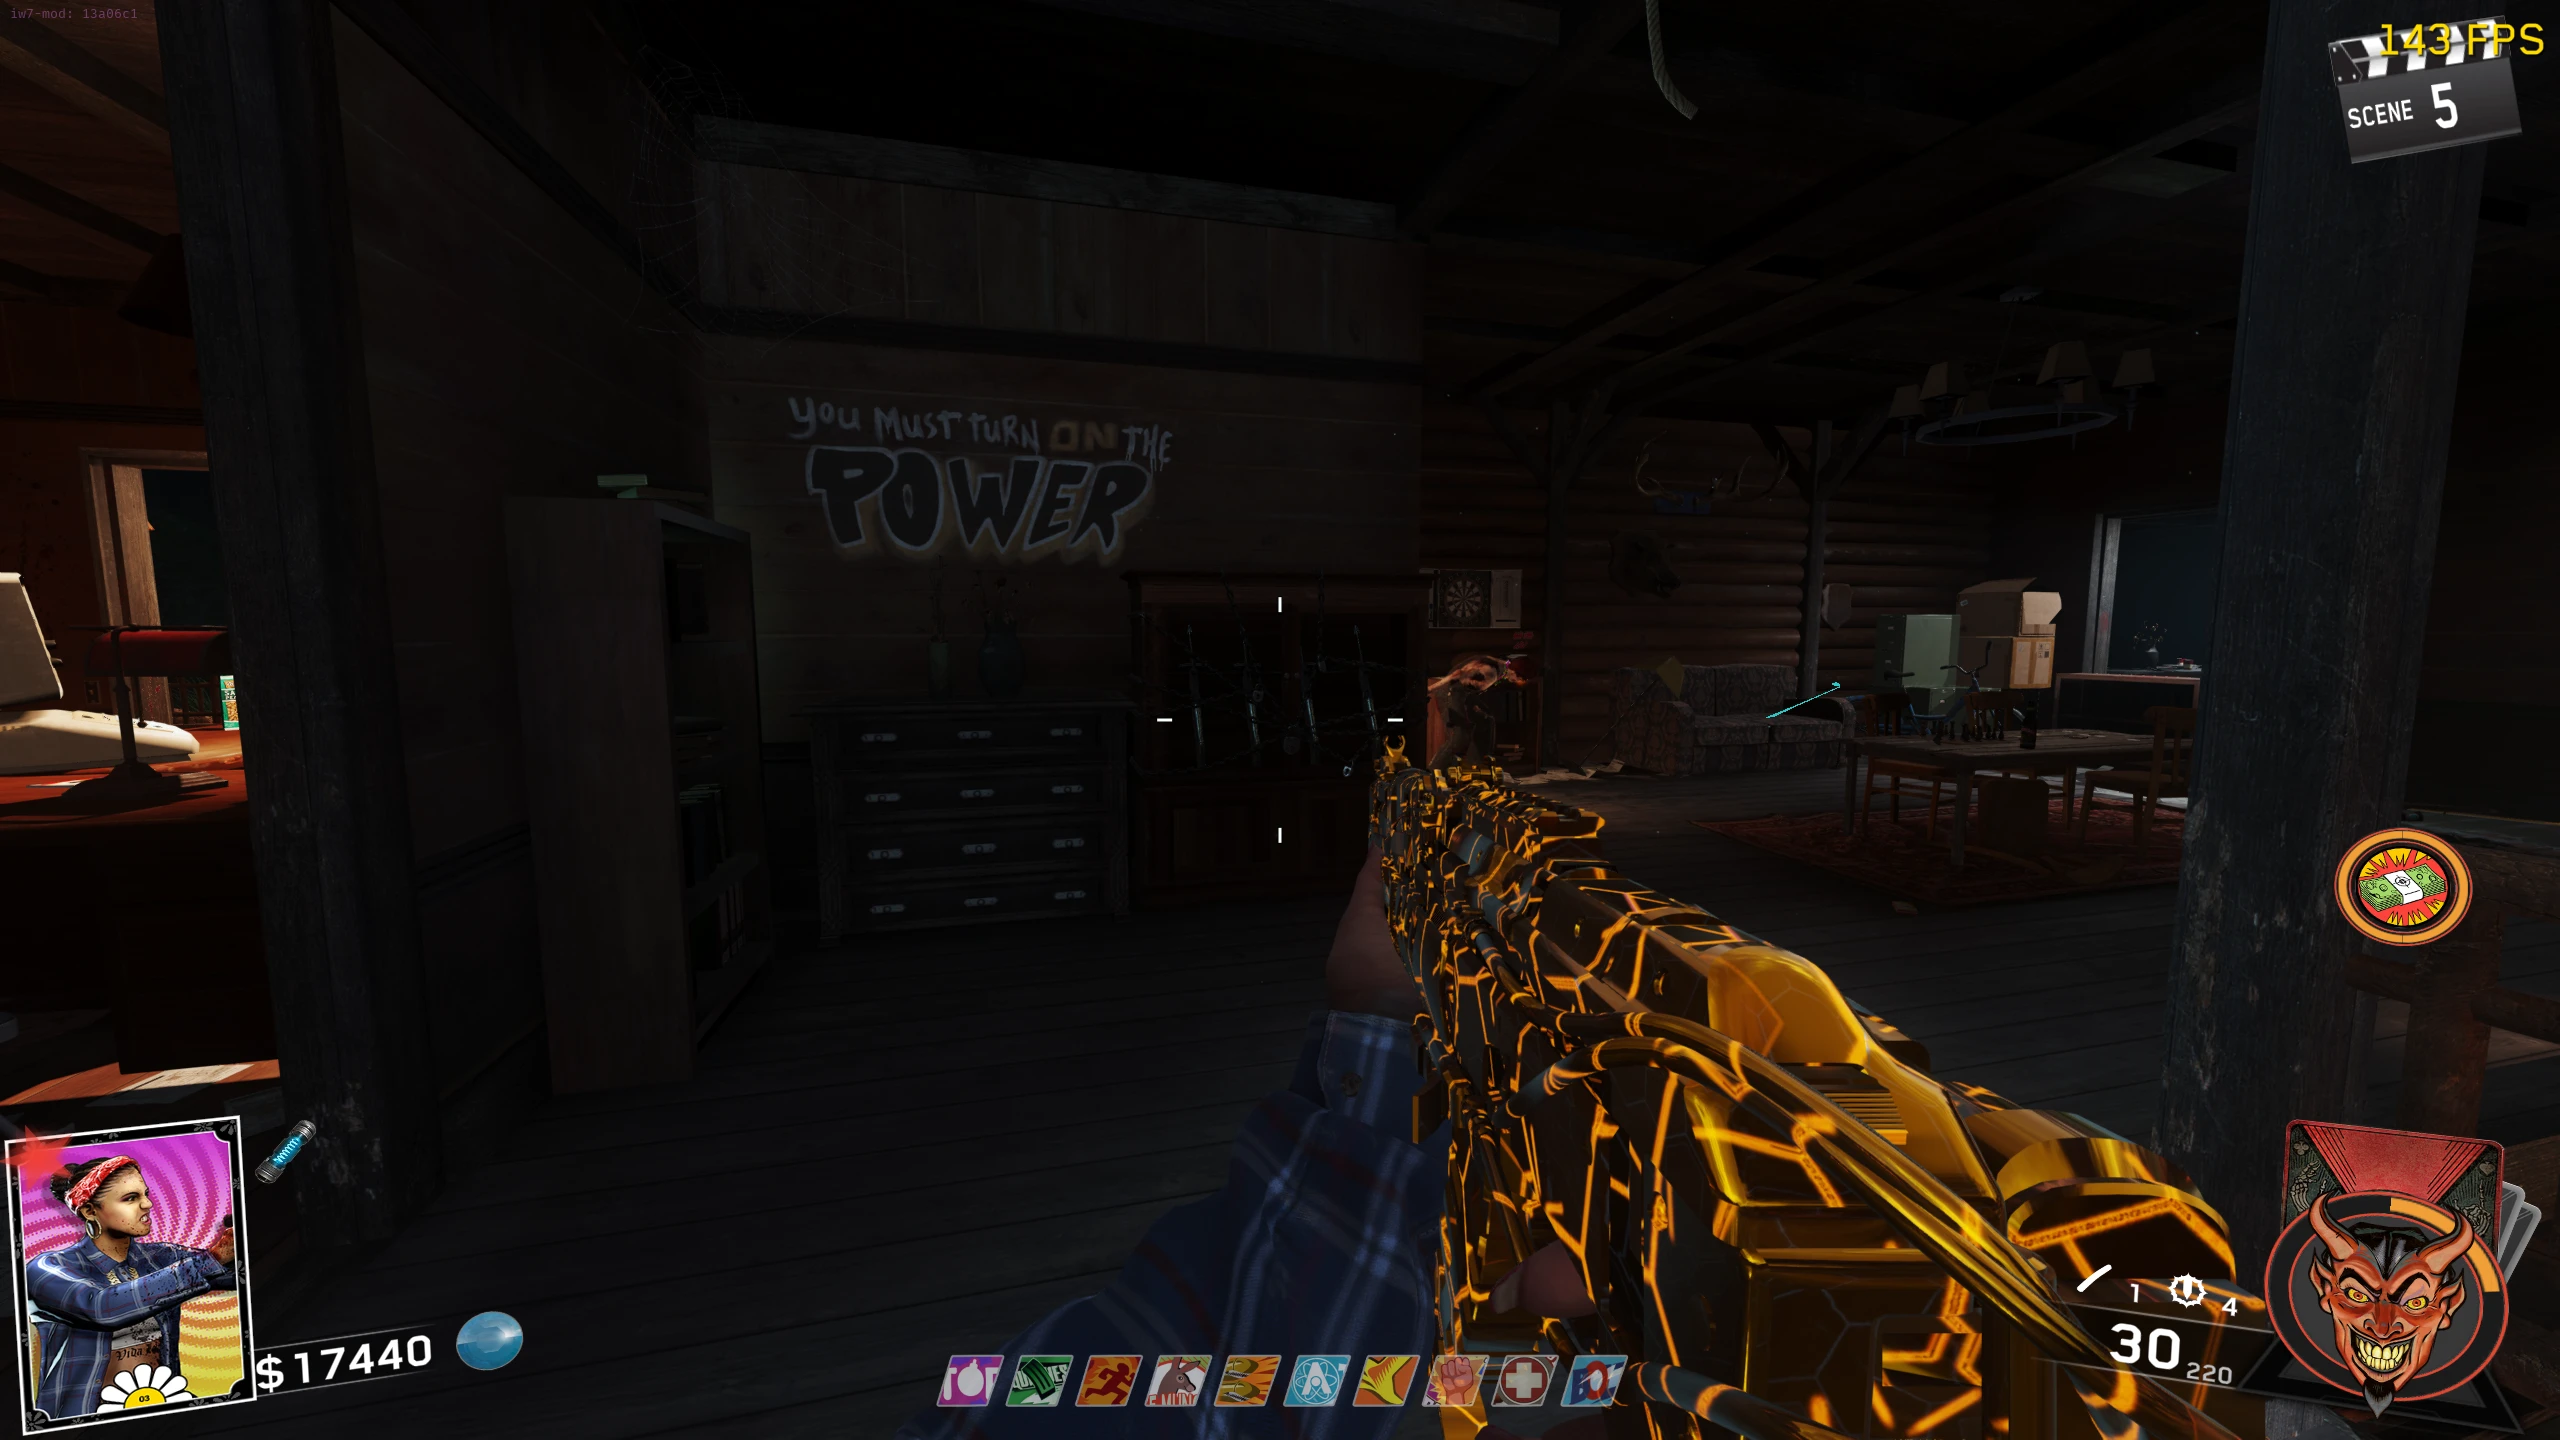
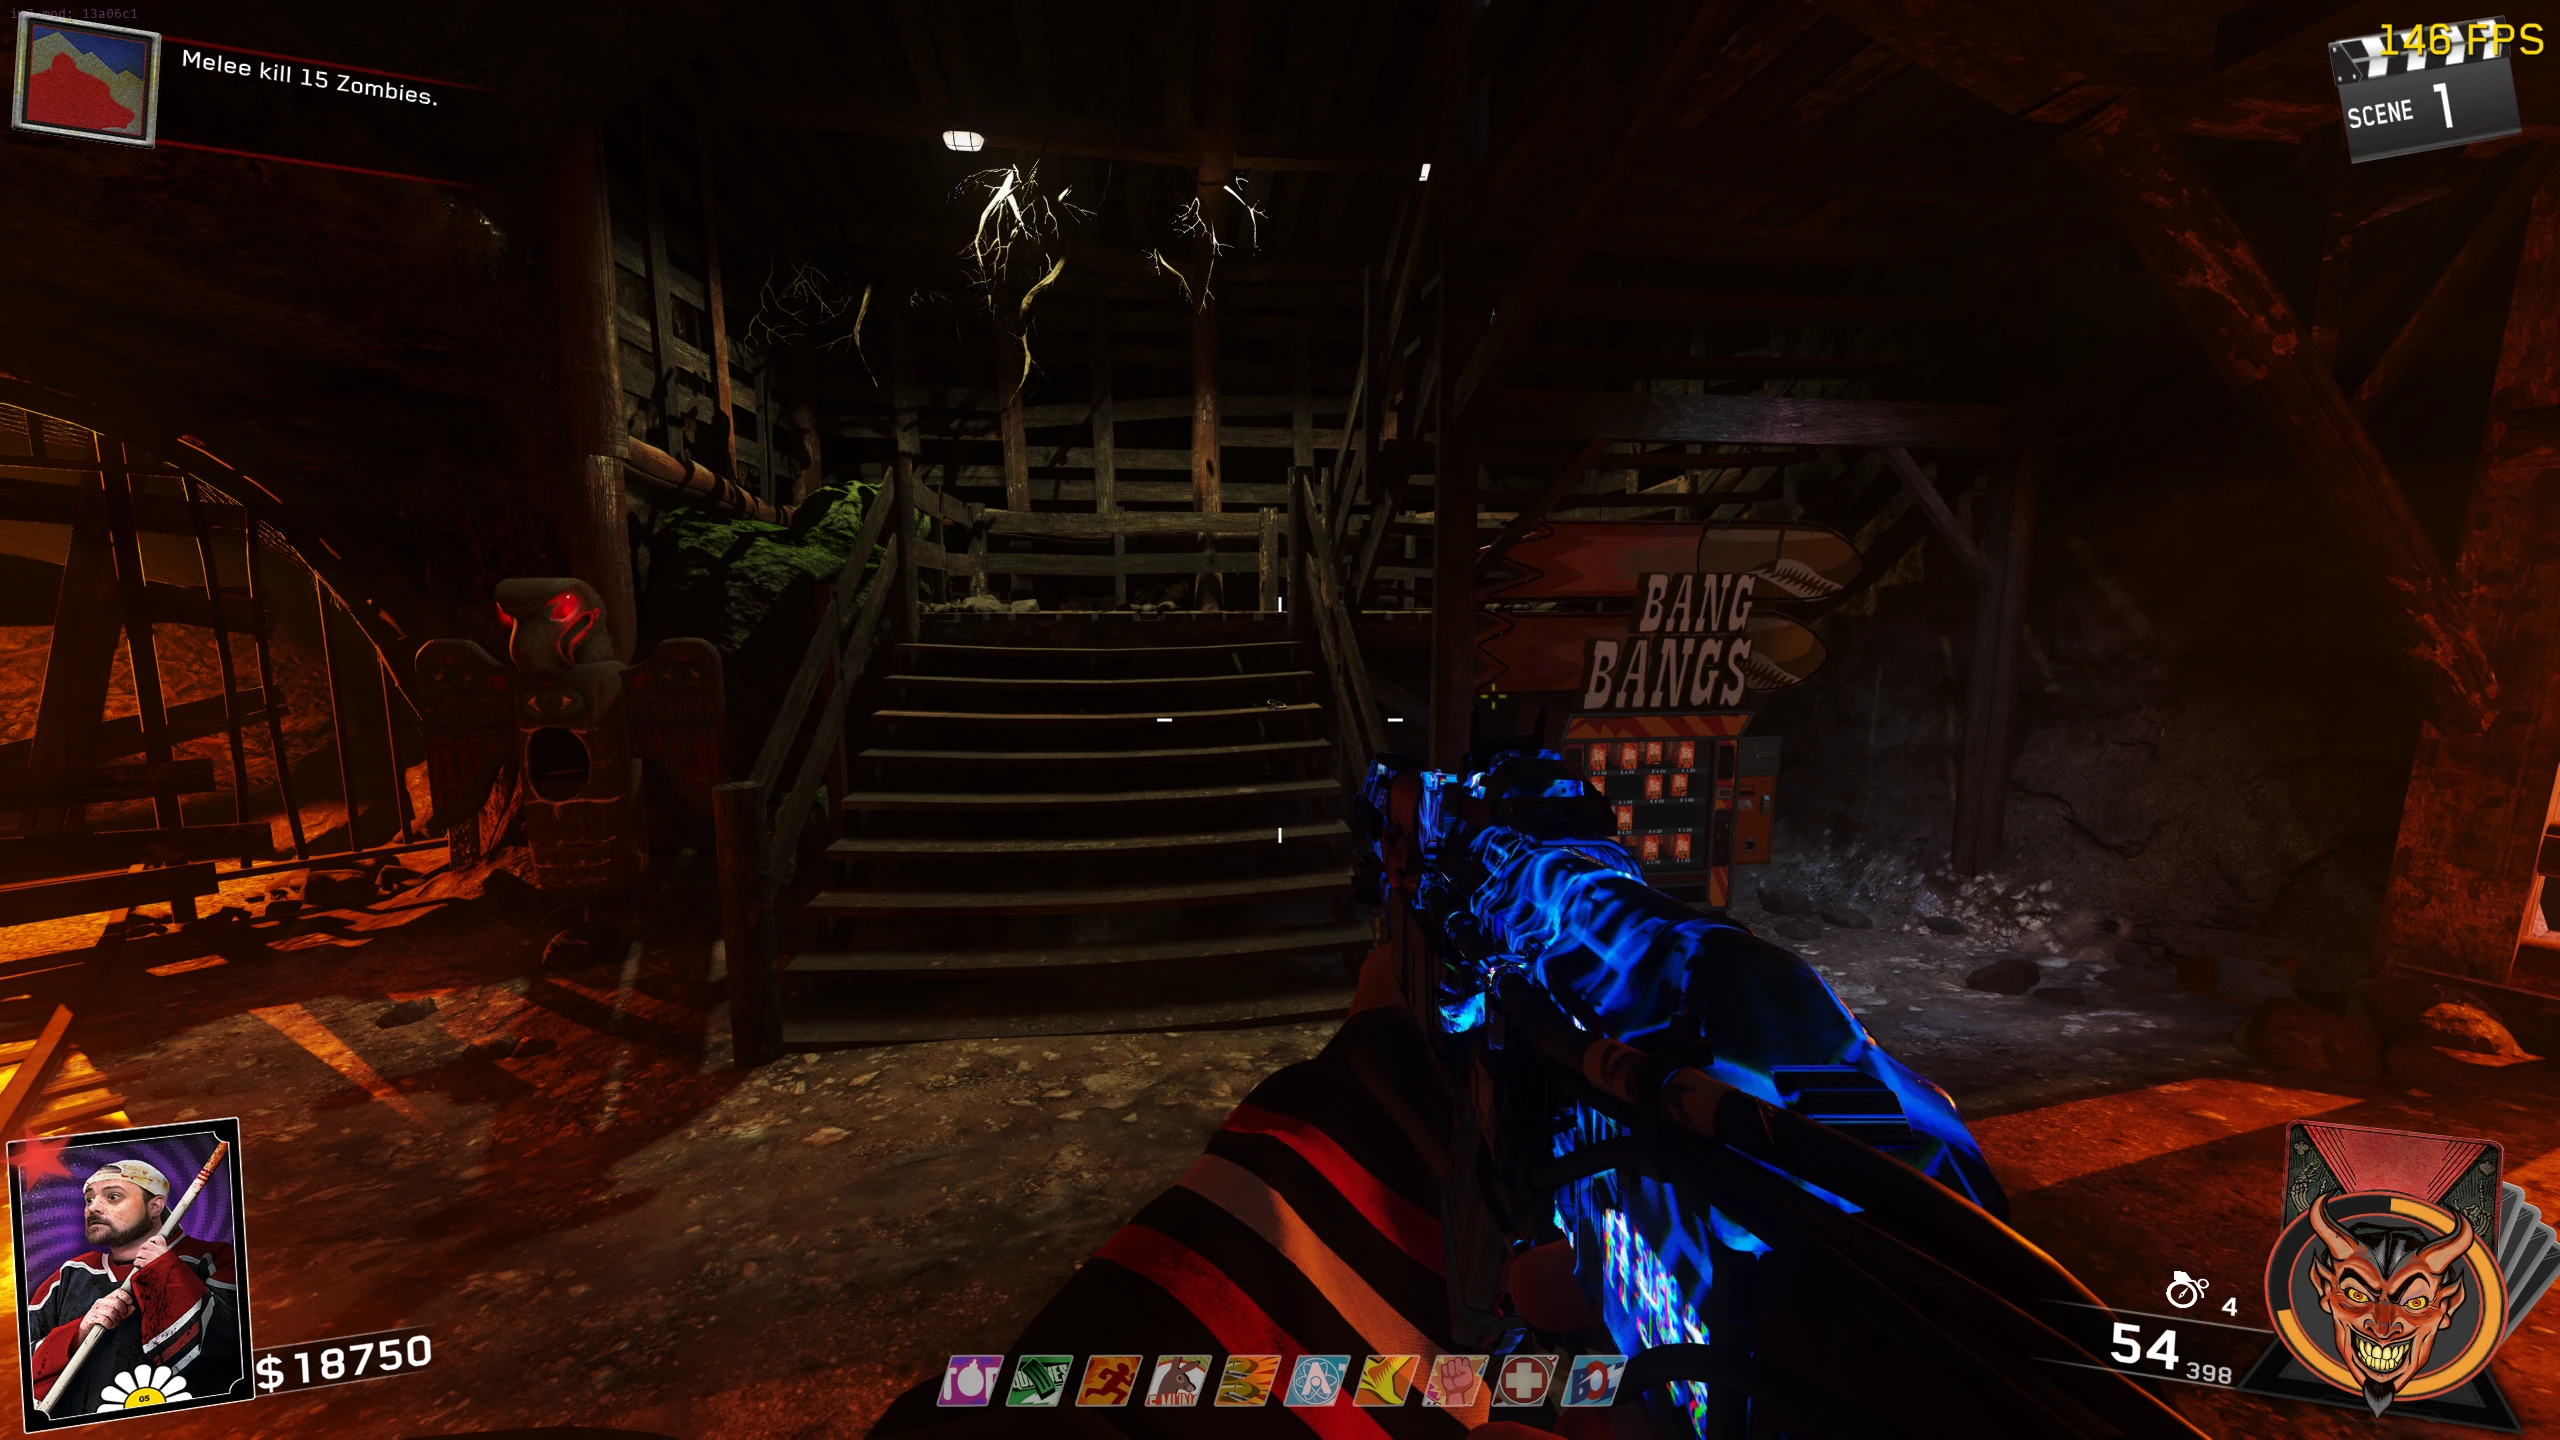
Pack-a-Punch
- Activate the Power.
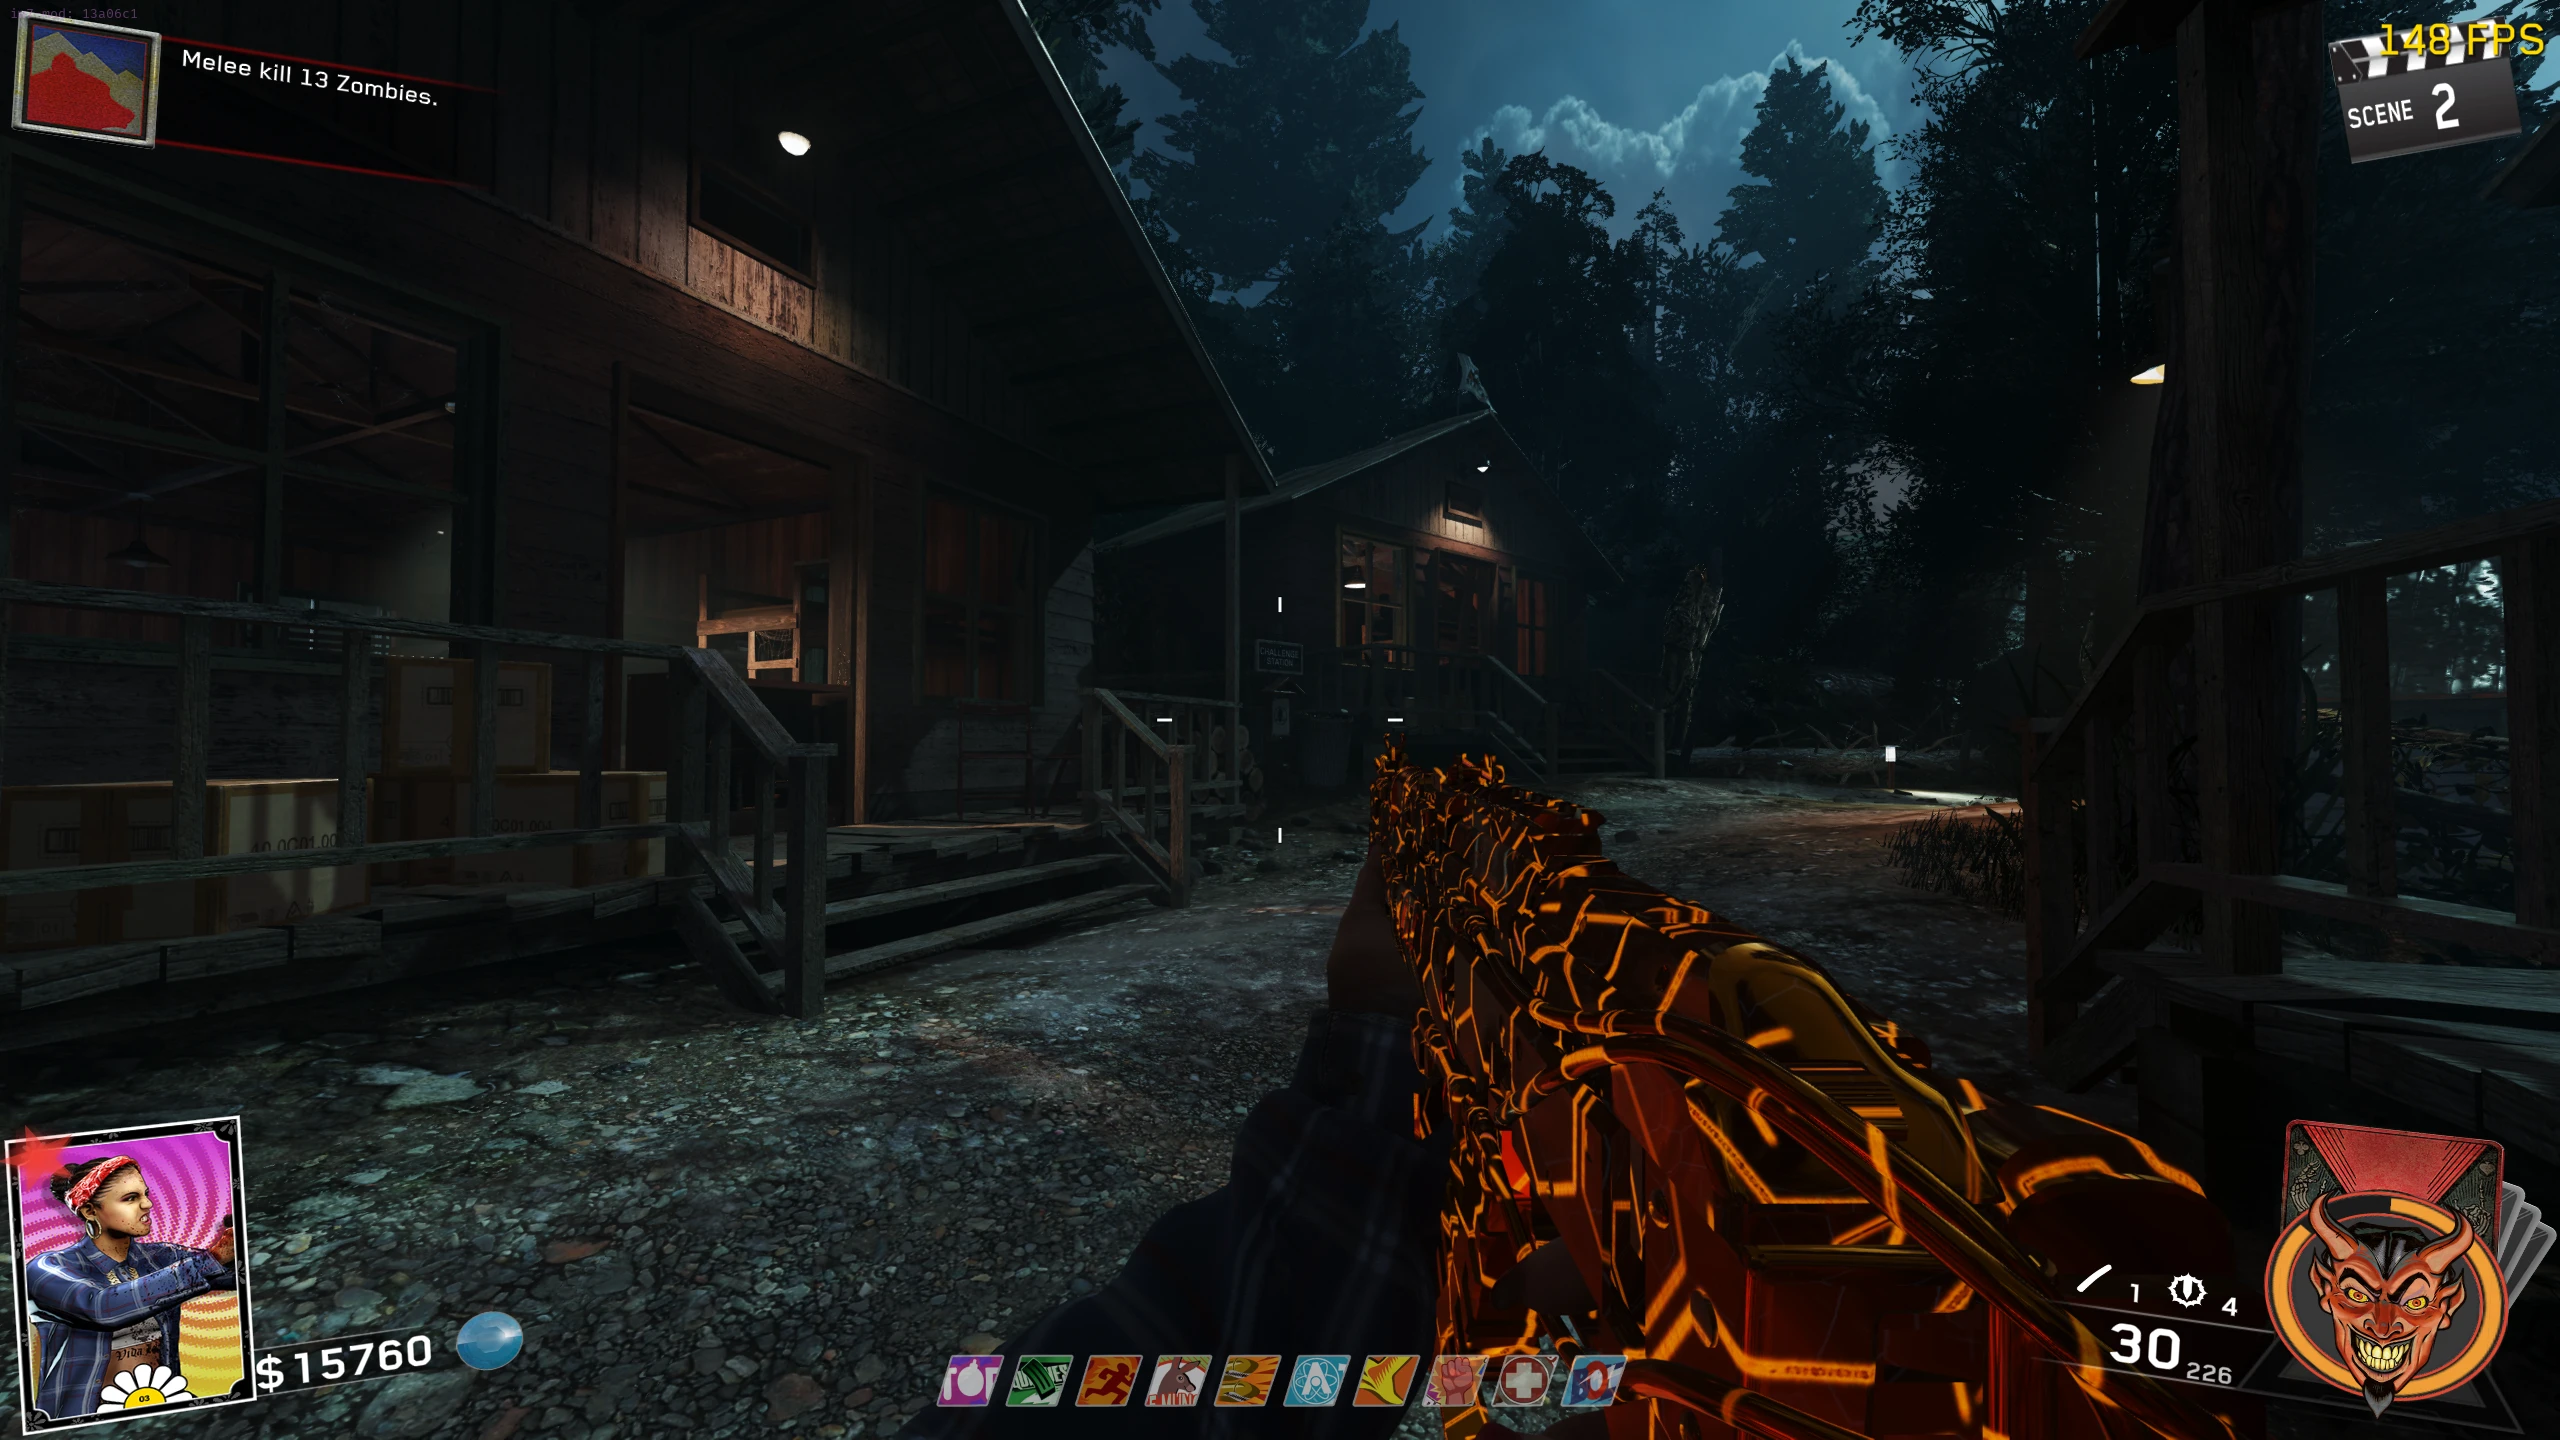
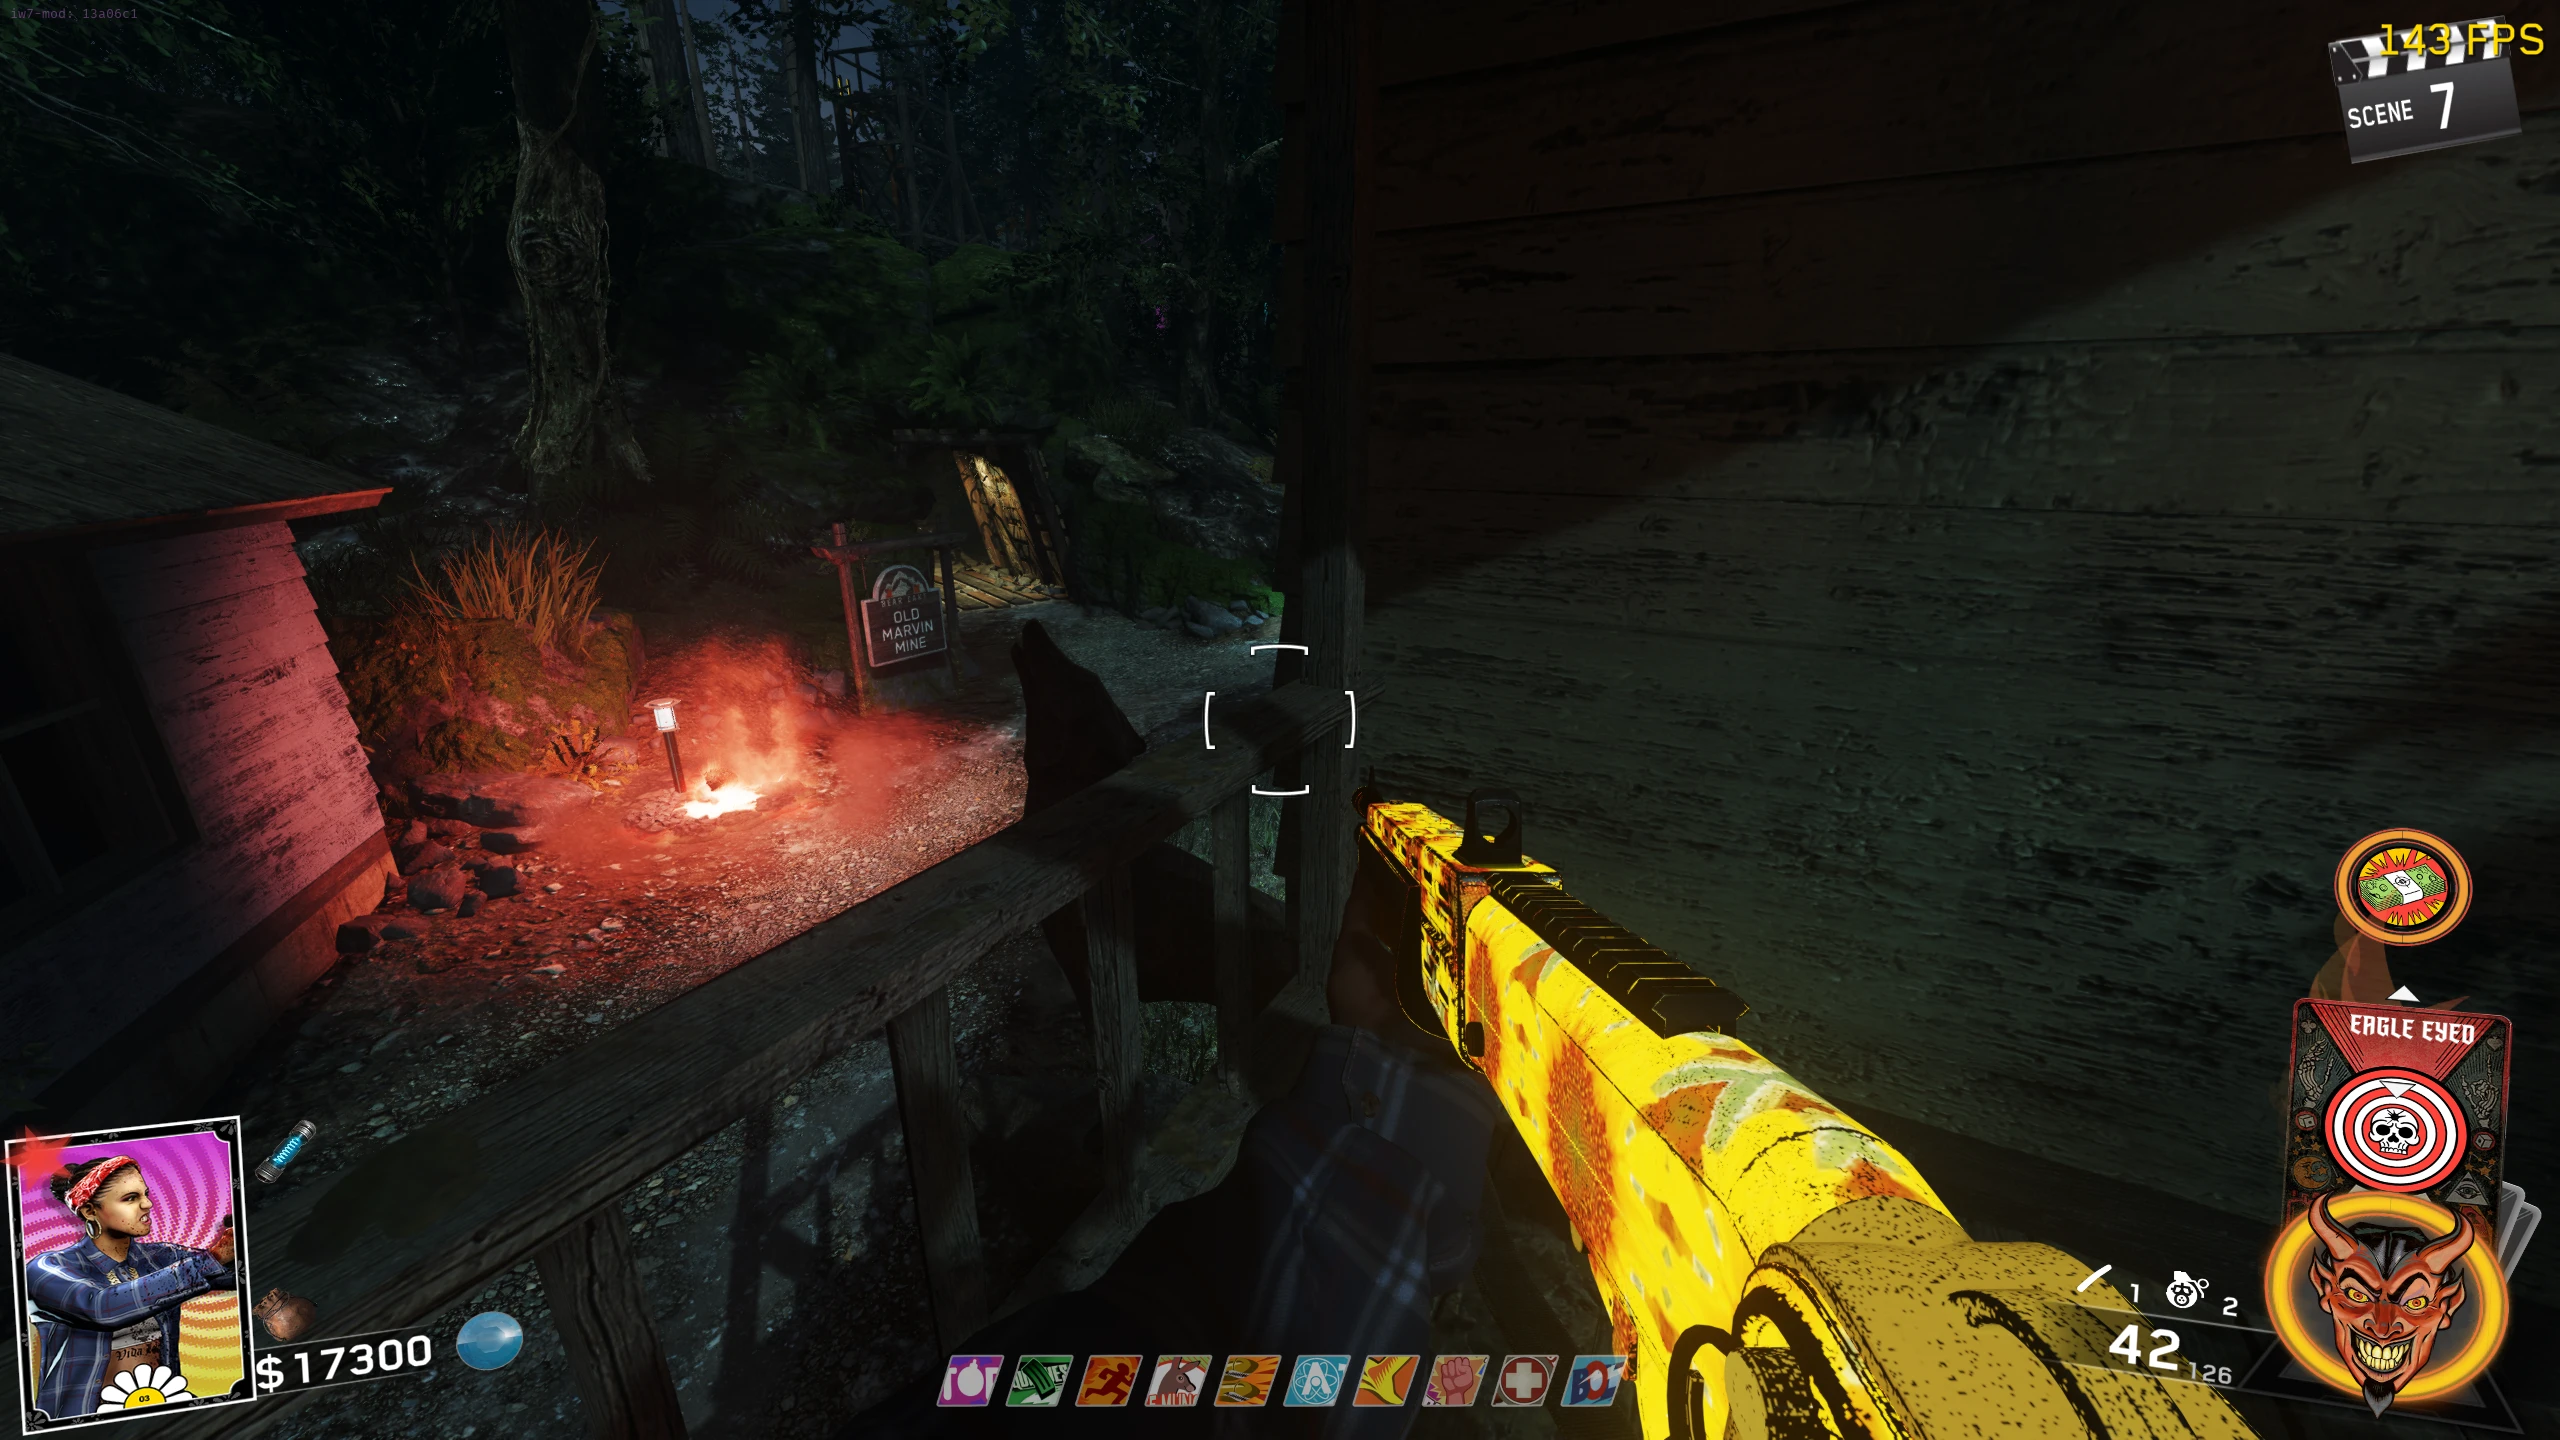
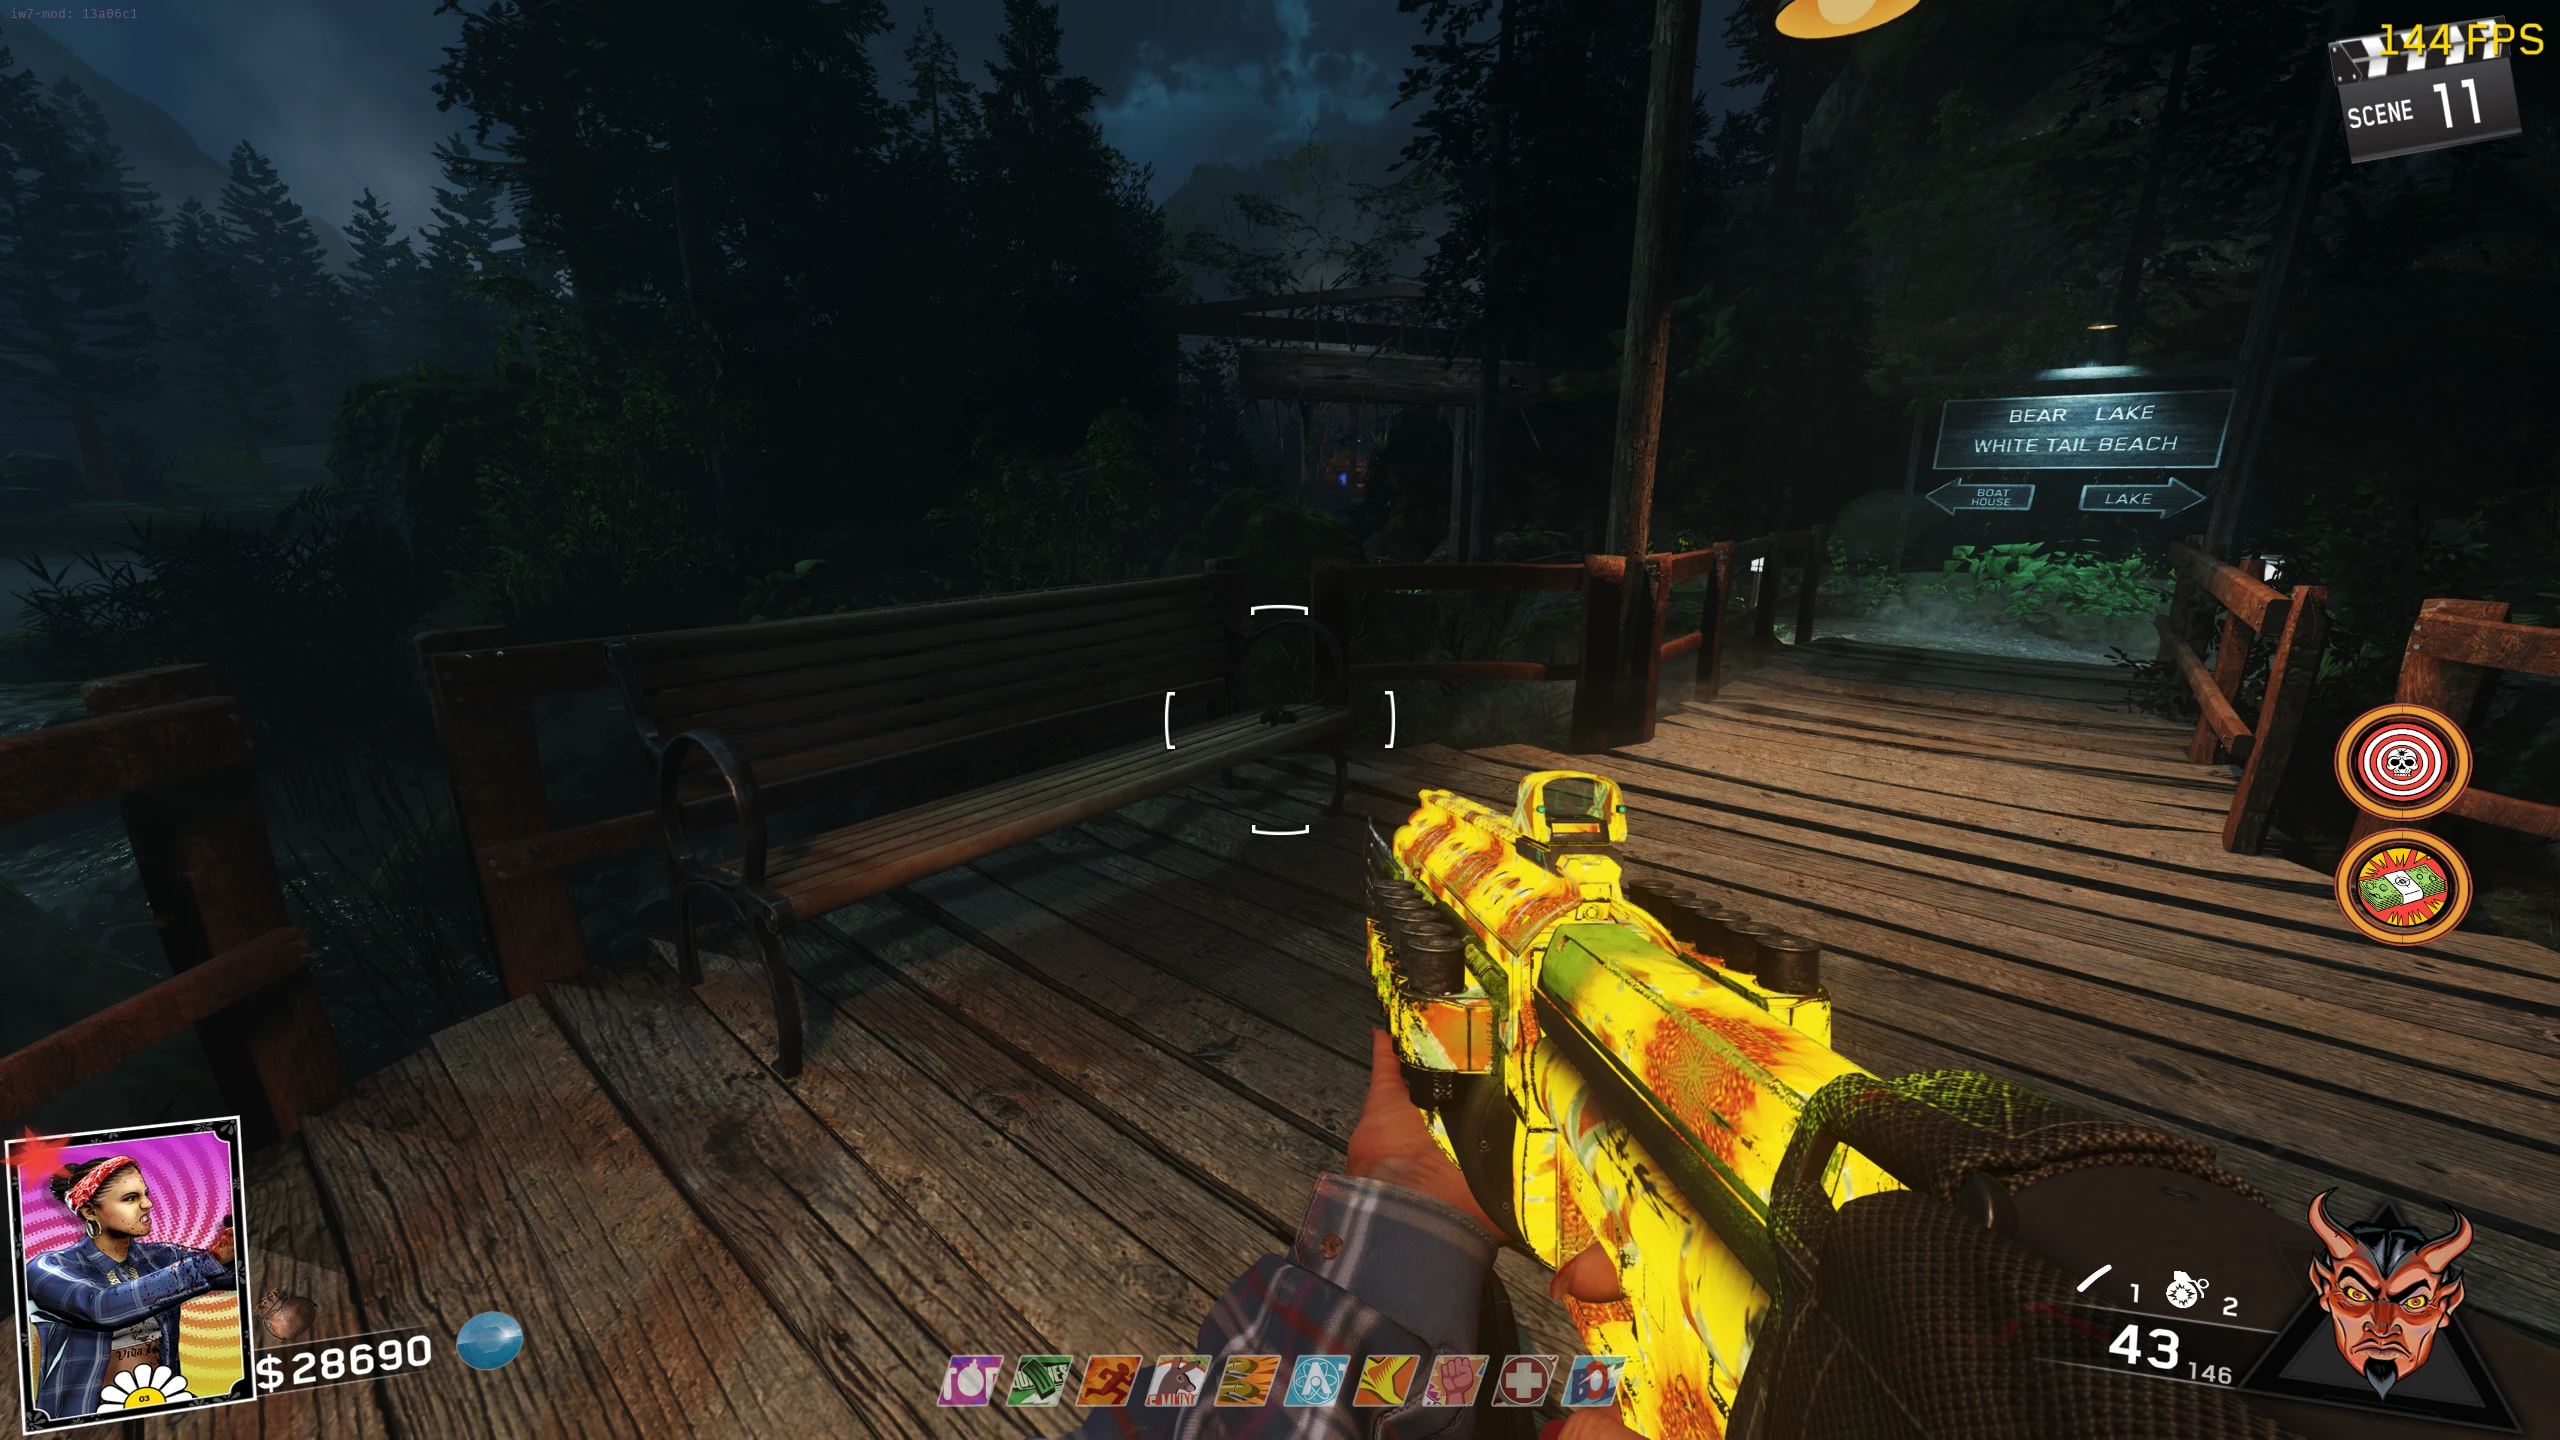
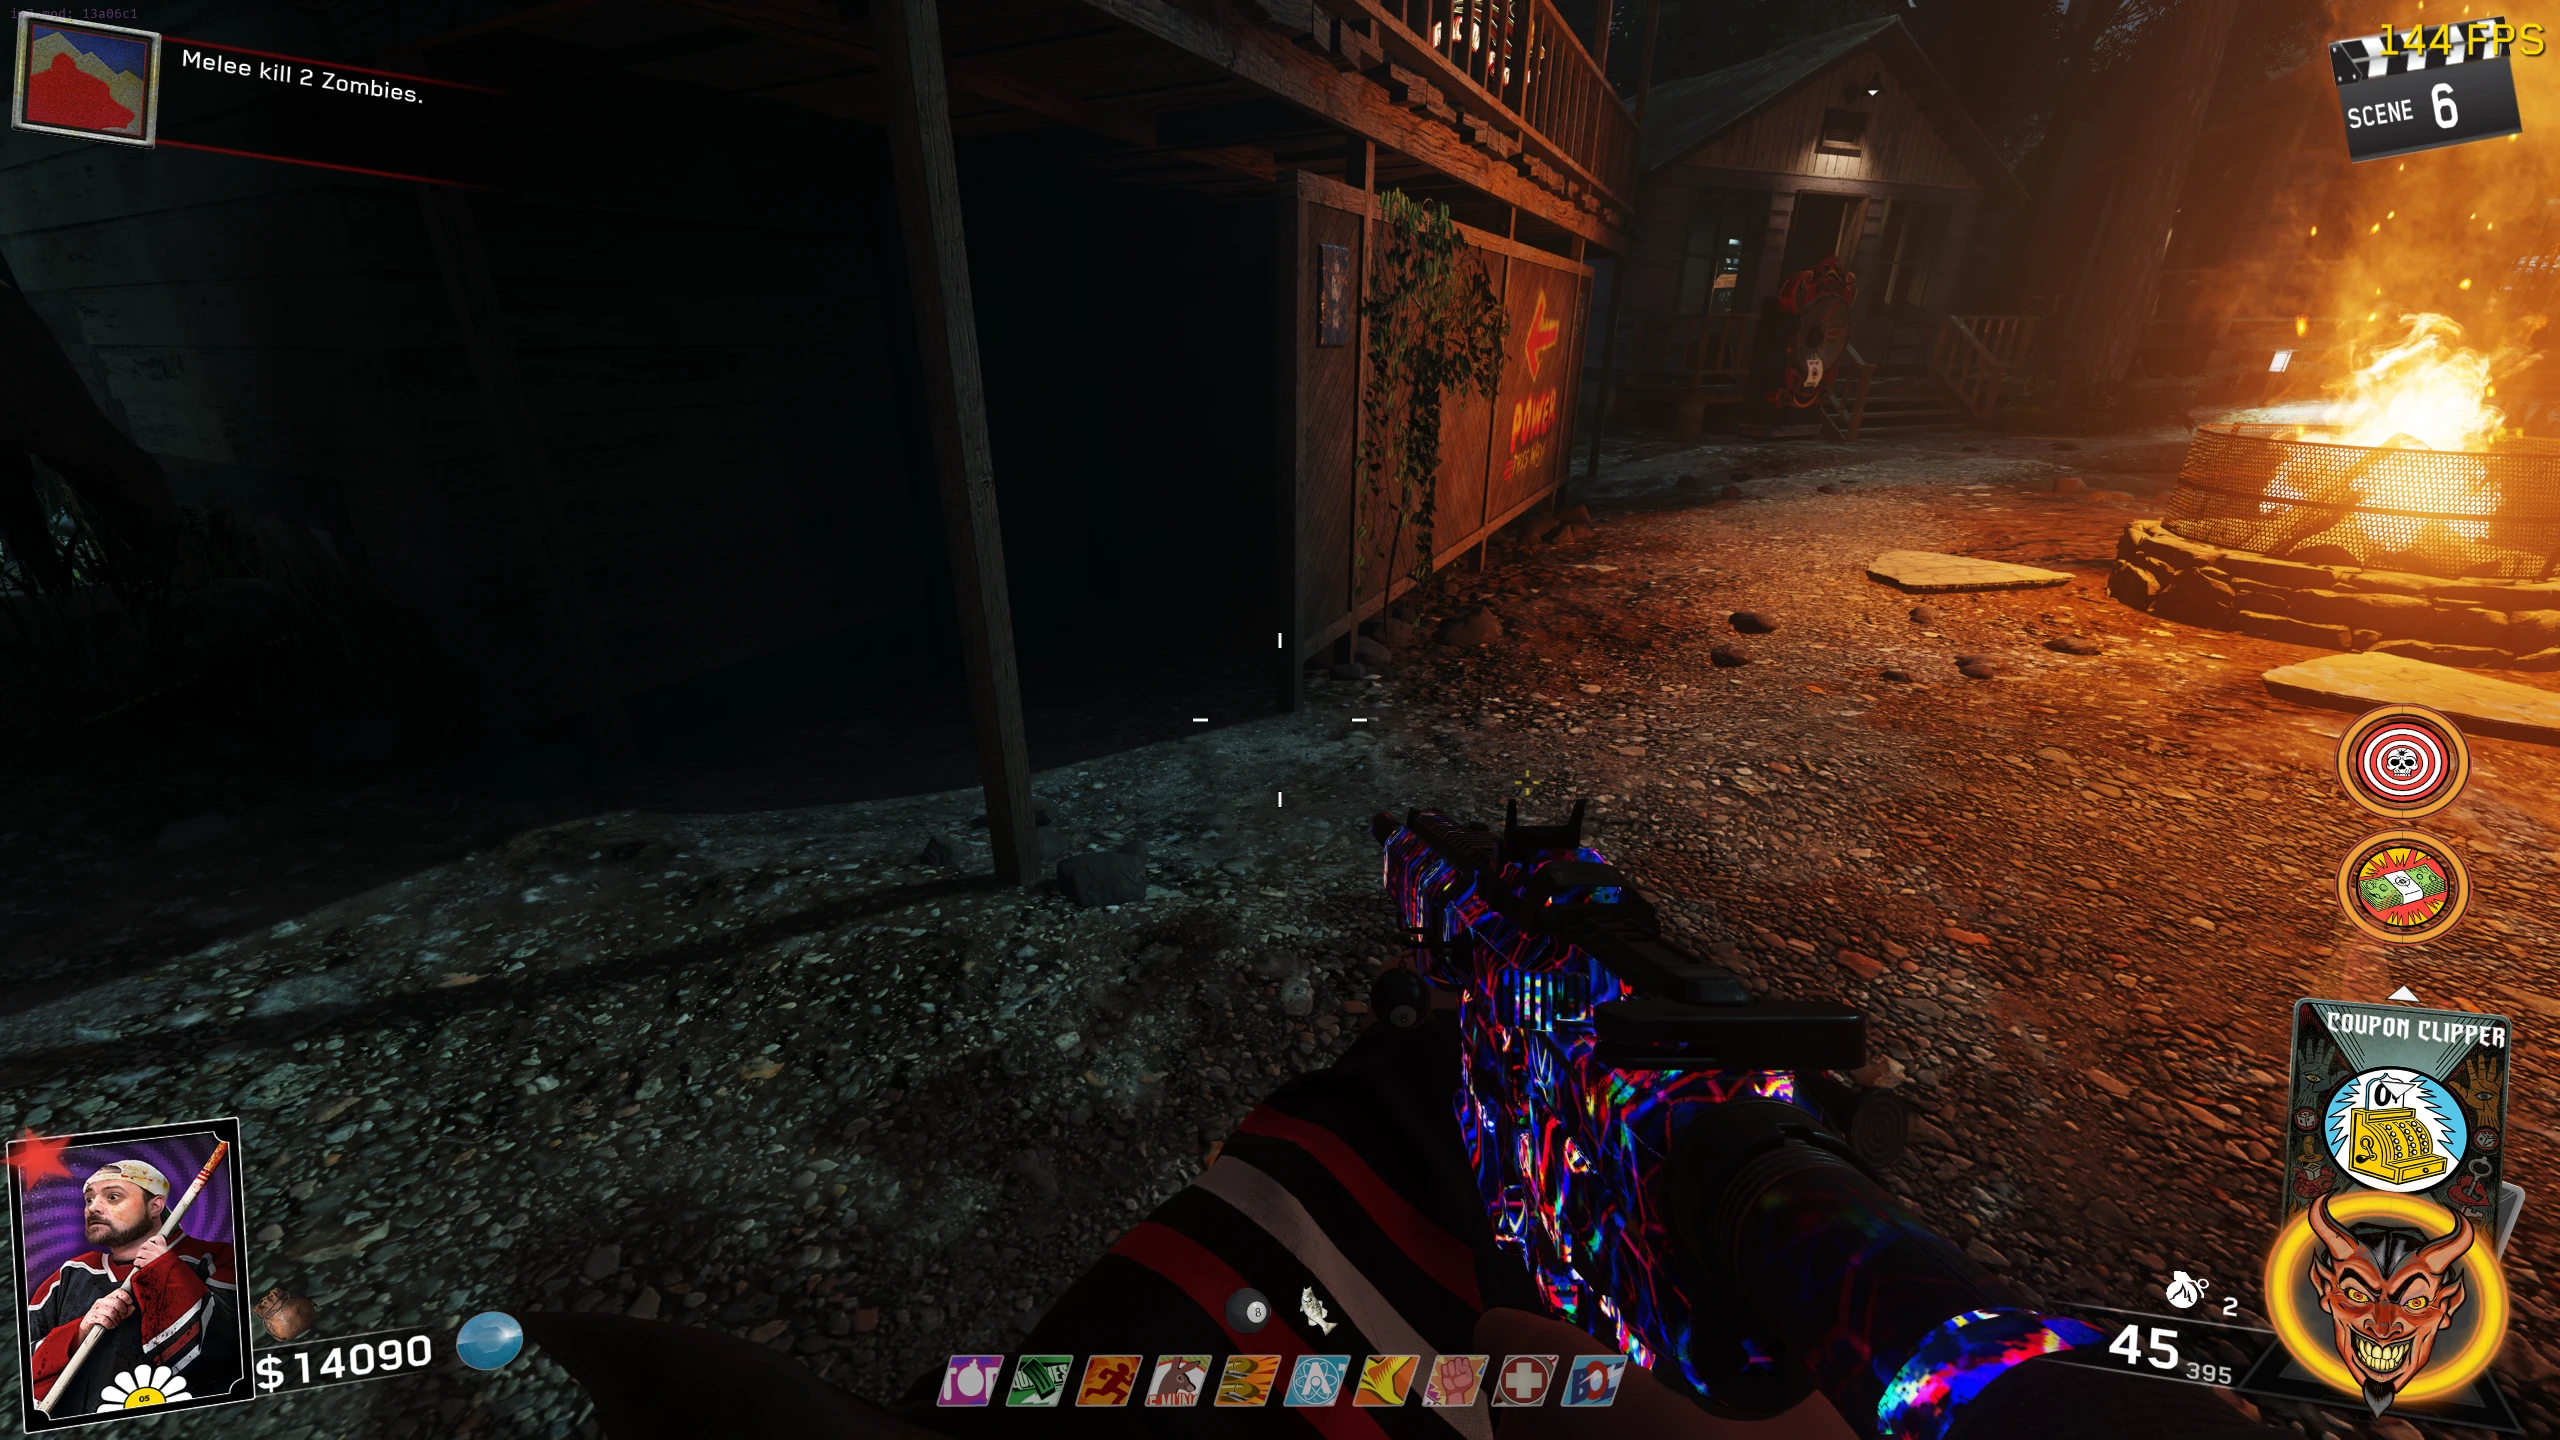
- To access Pack-a-Punch, you must build the Boat. The Boat requires three parts to be built - Handle, Engine, and Propeller:
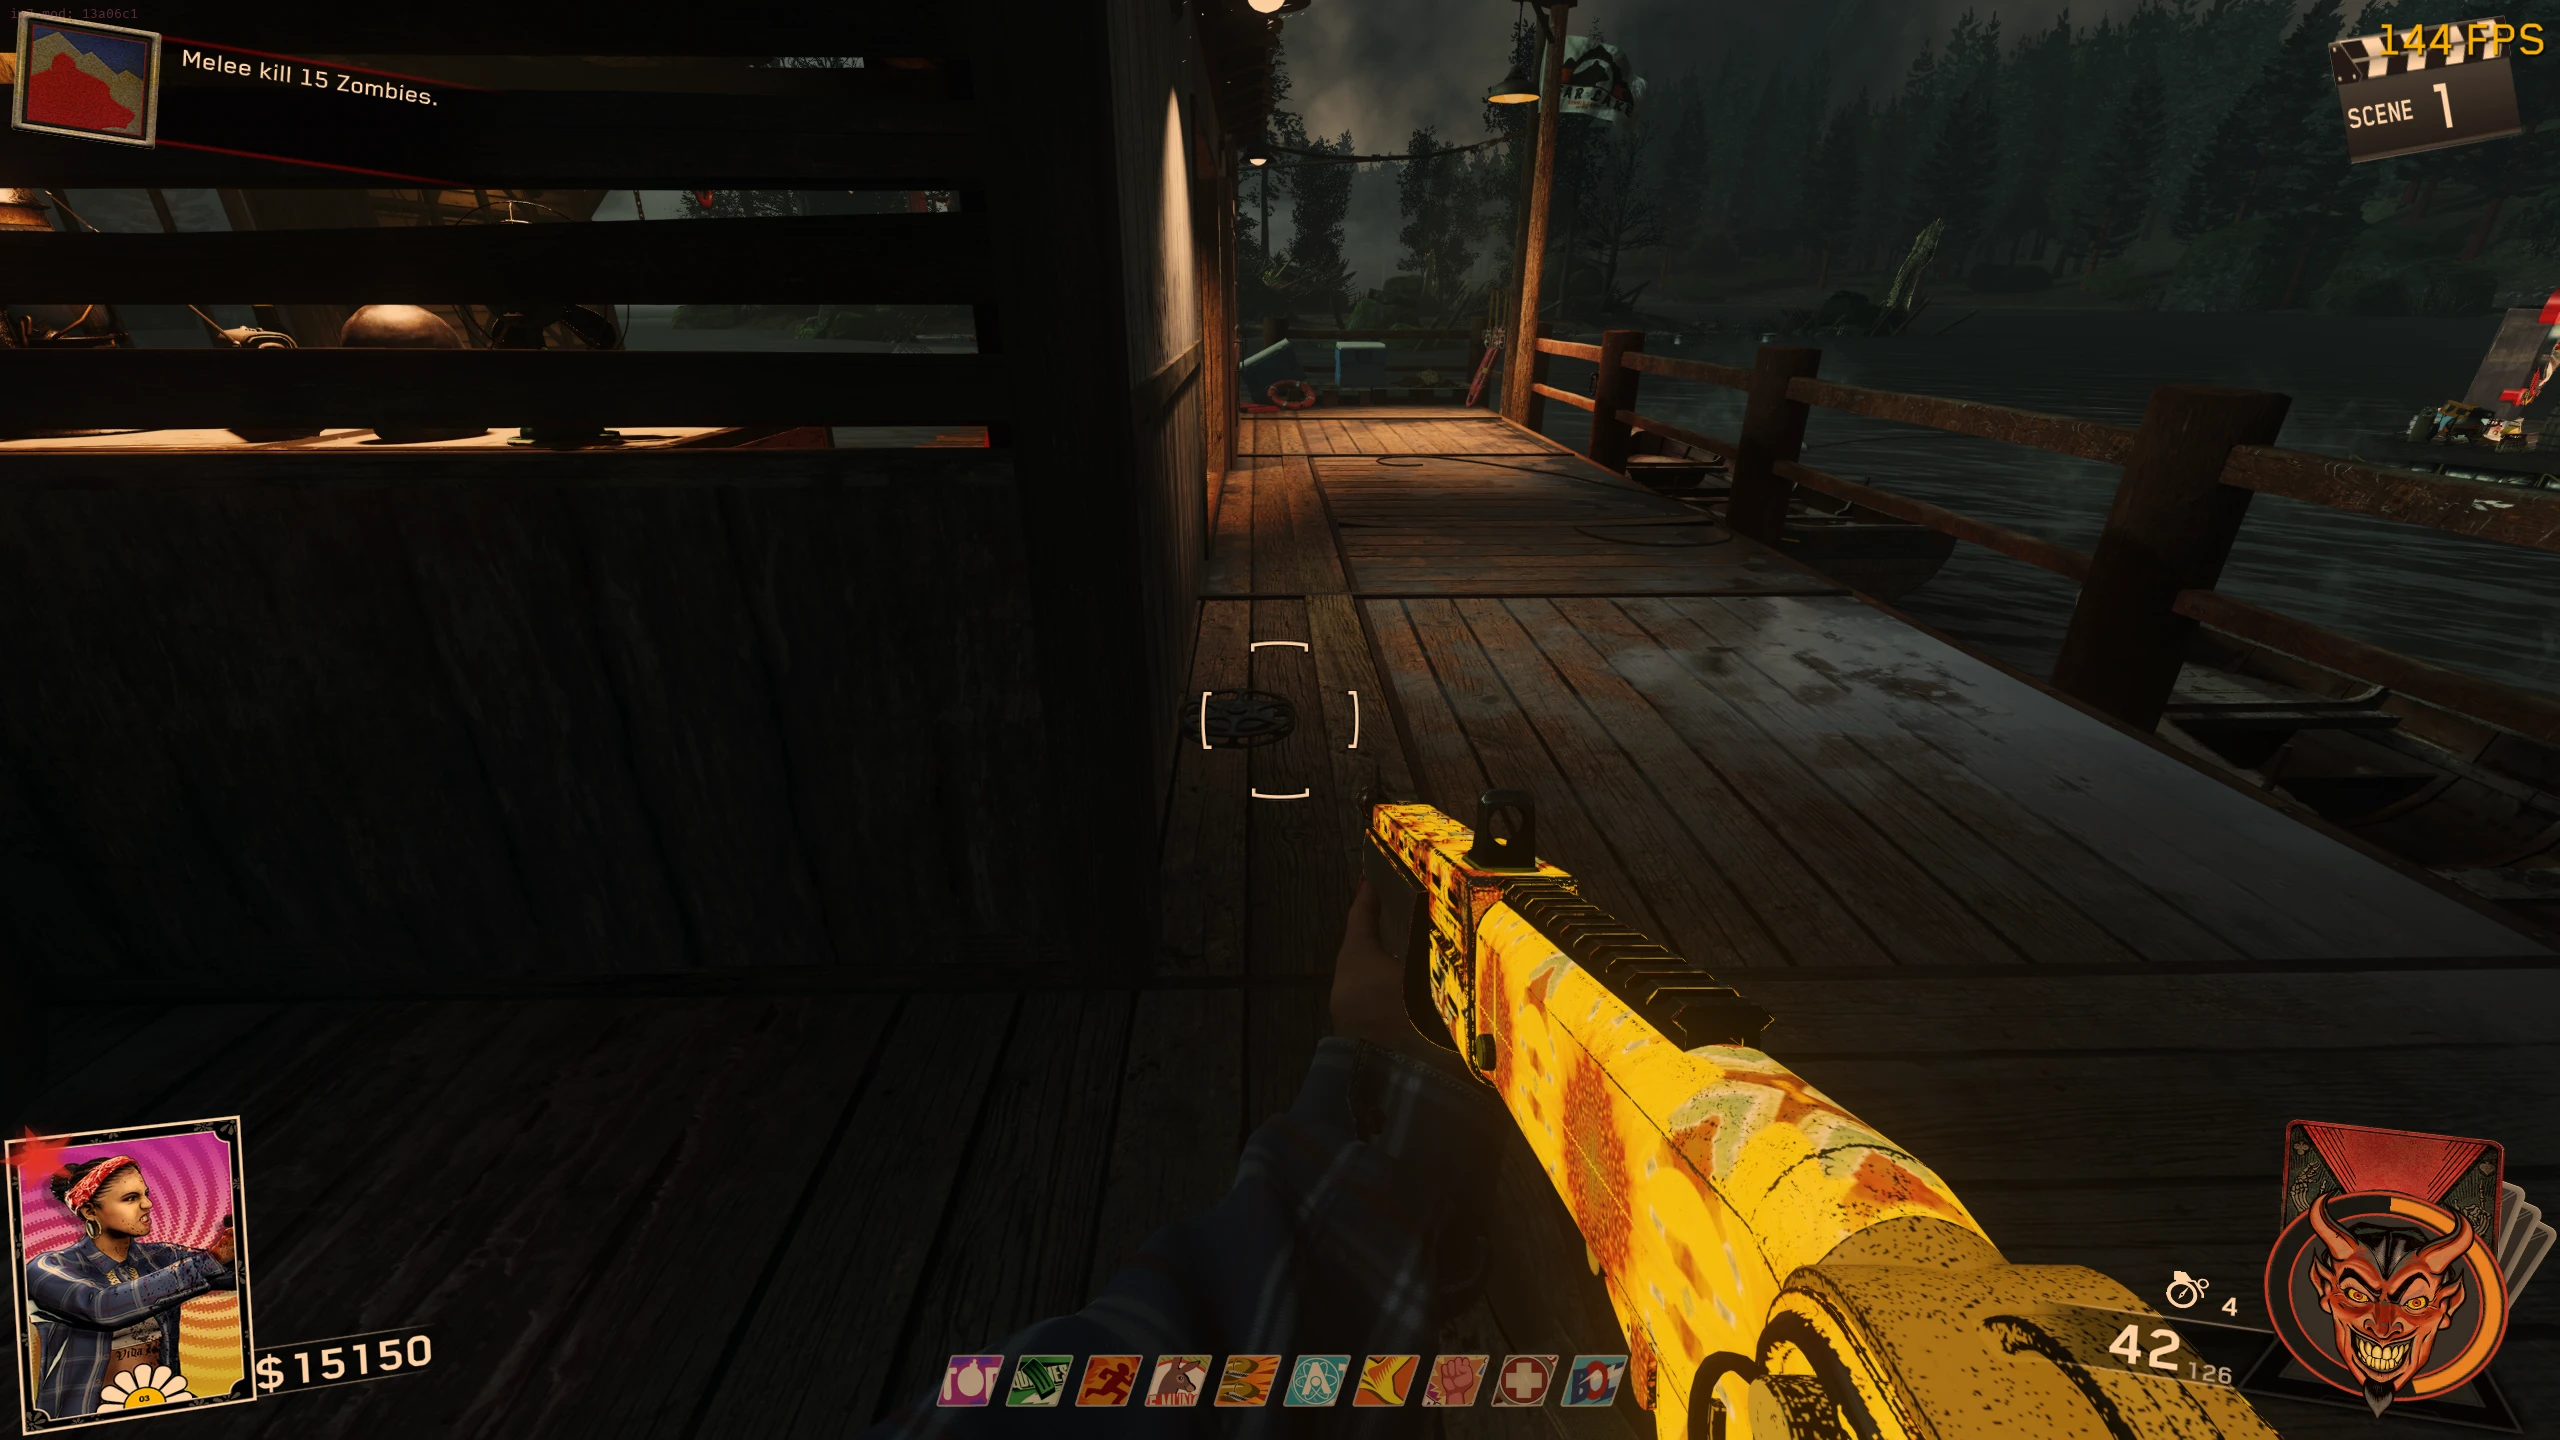
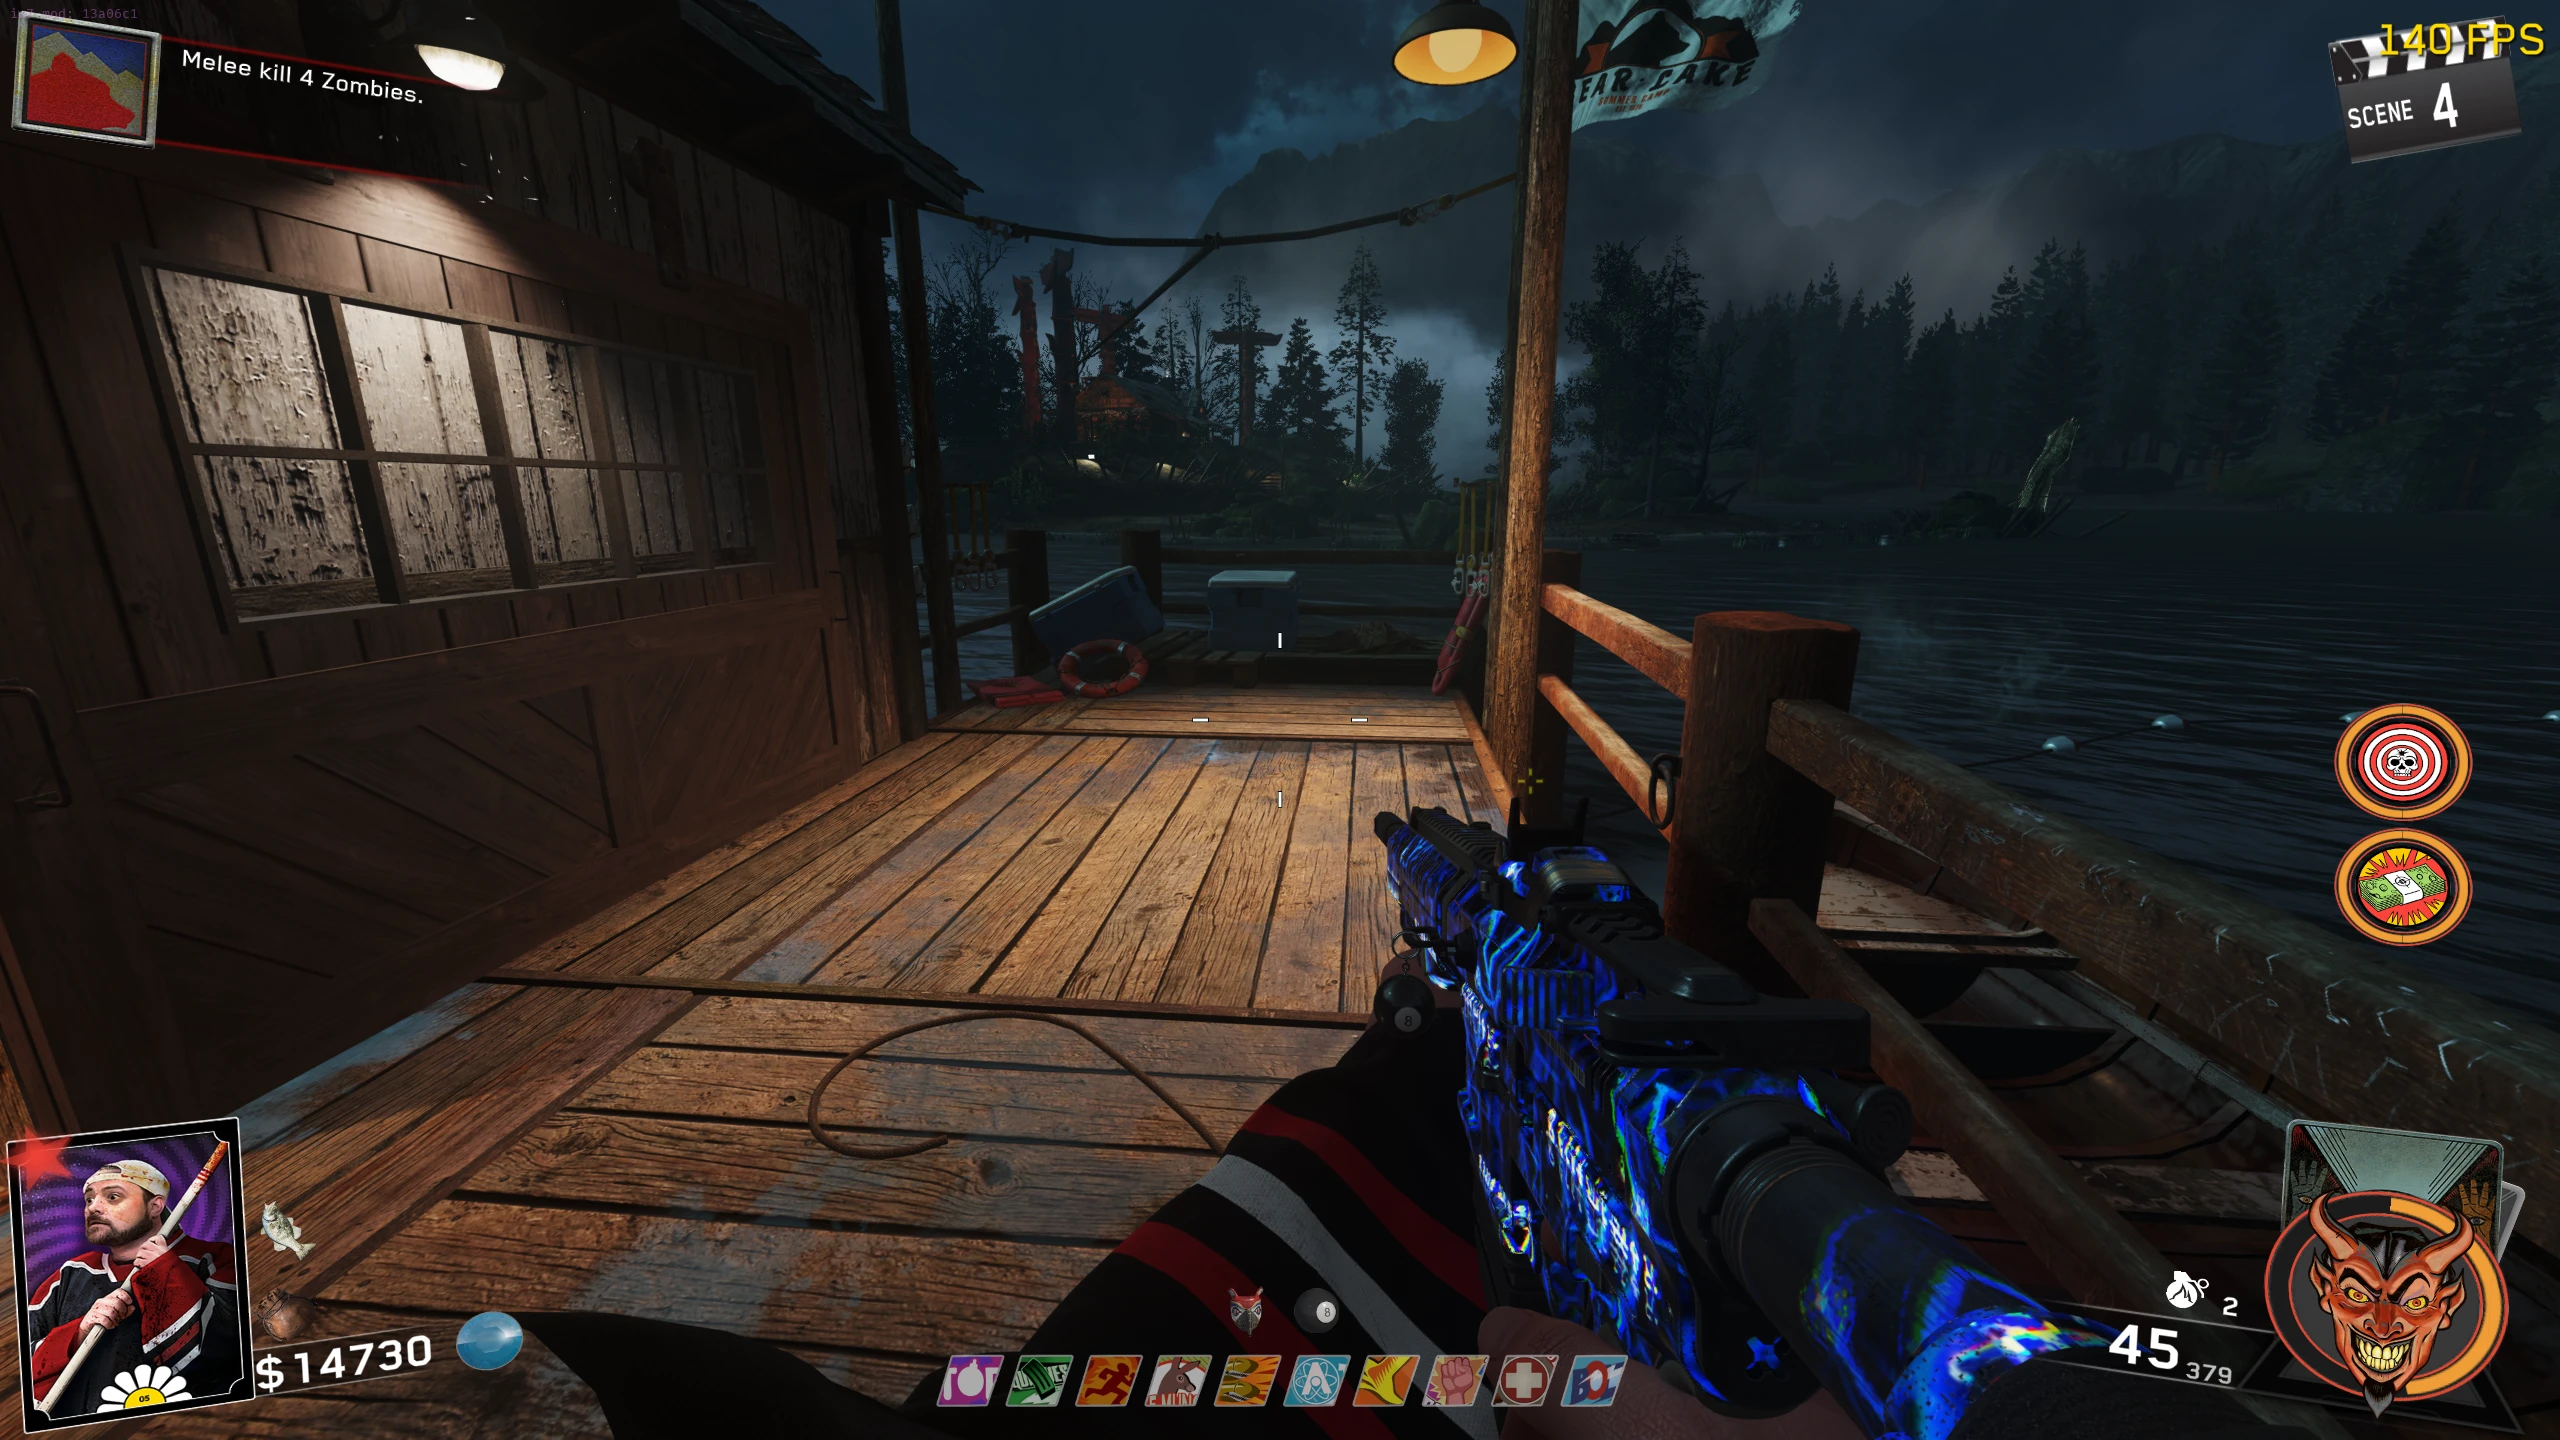
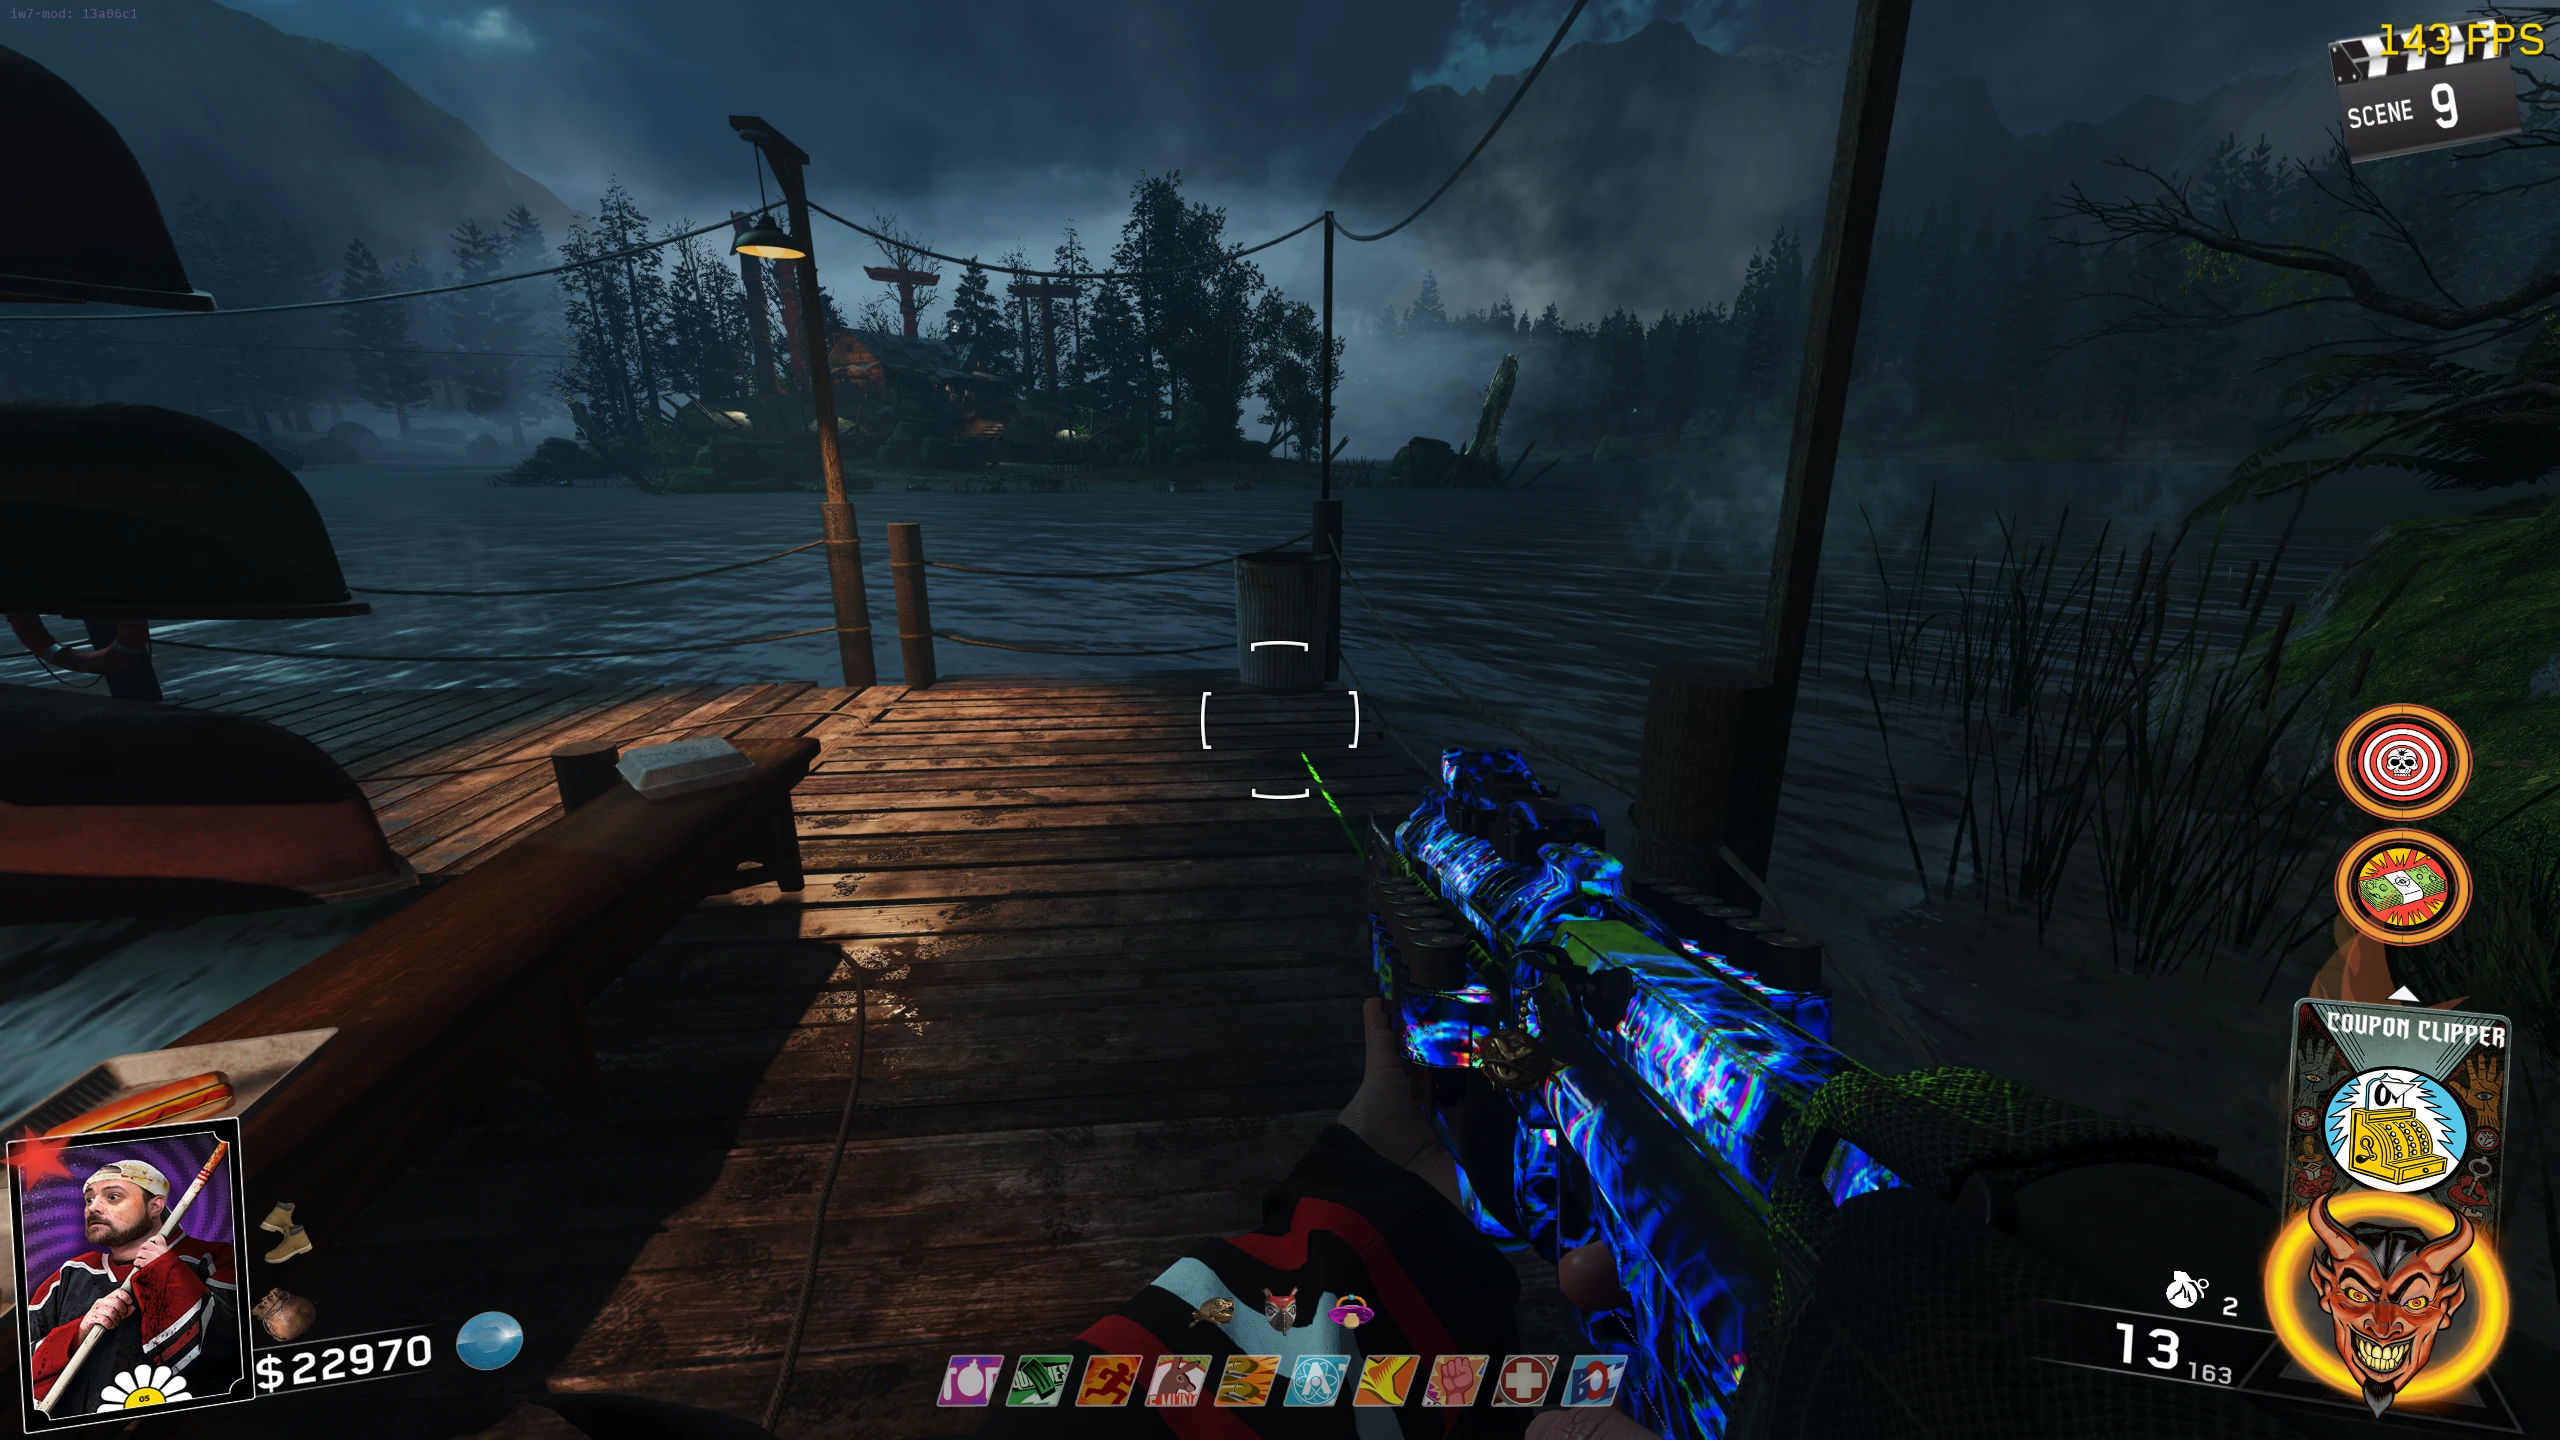
- Before you use the Boat, pick up the Film Reel on the Docks.
- Once you've collected all three parts, the Boat can be used inside the Boathouse on the Docks. After a slow ride, you will be dropped off on Turtle Island.
- Pick up the Film Reel just outside the backdoor of the Cabin.
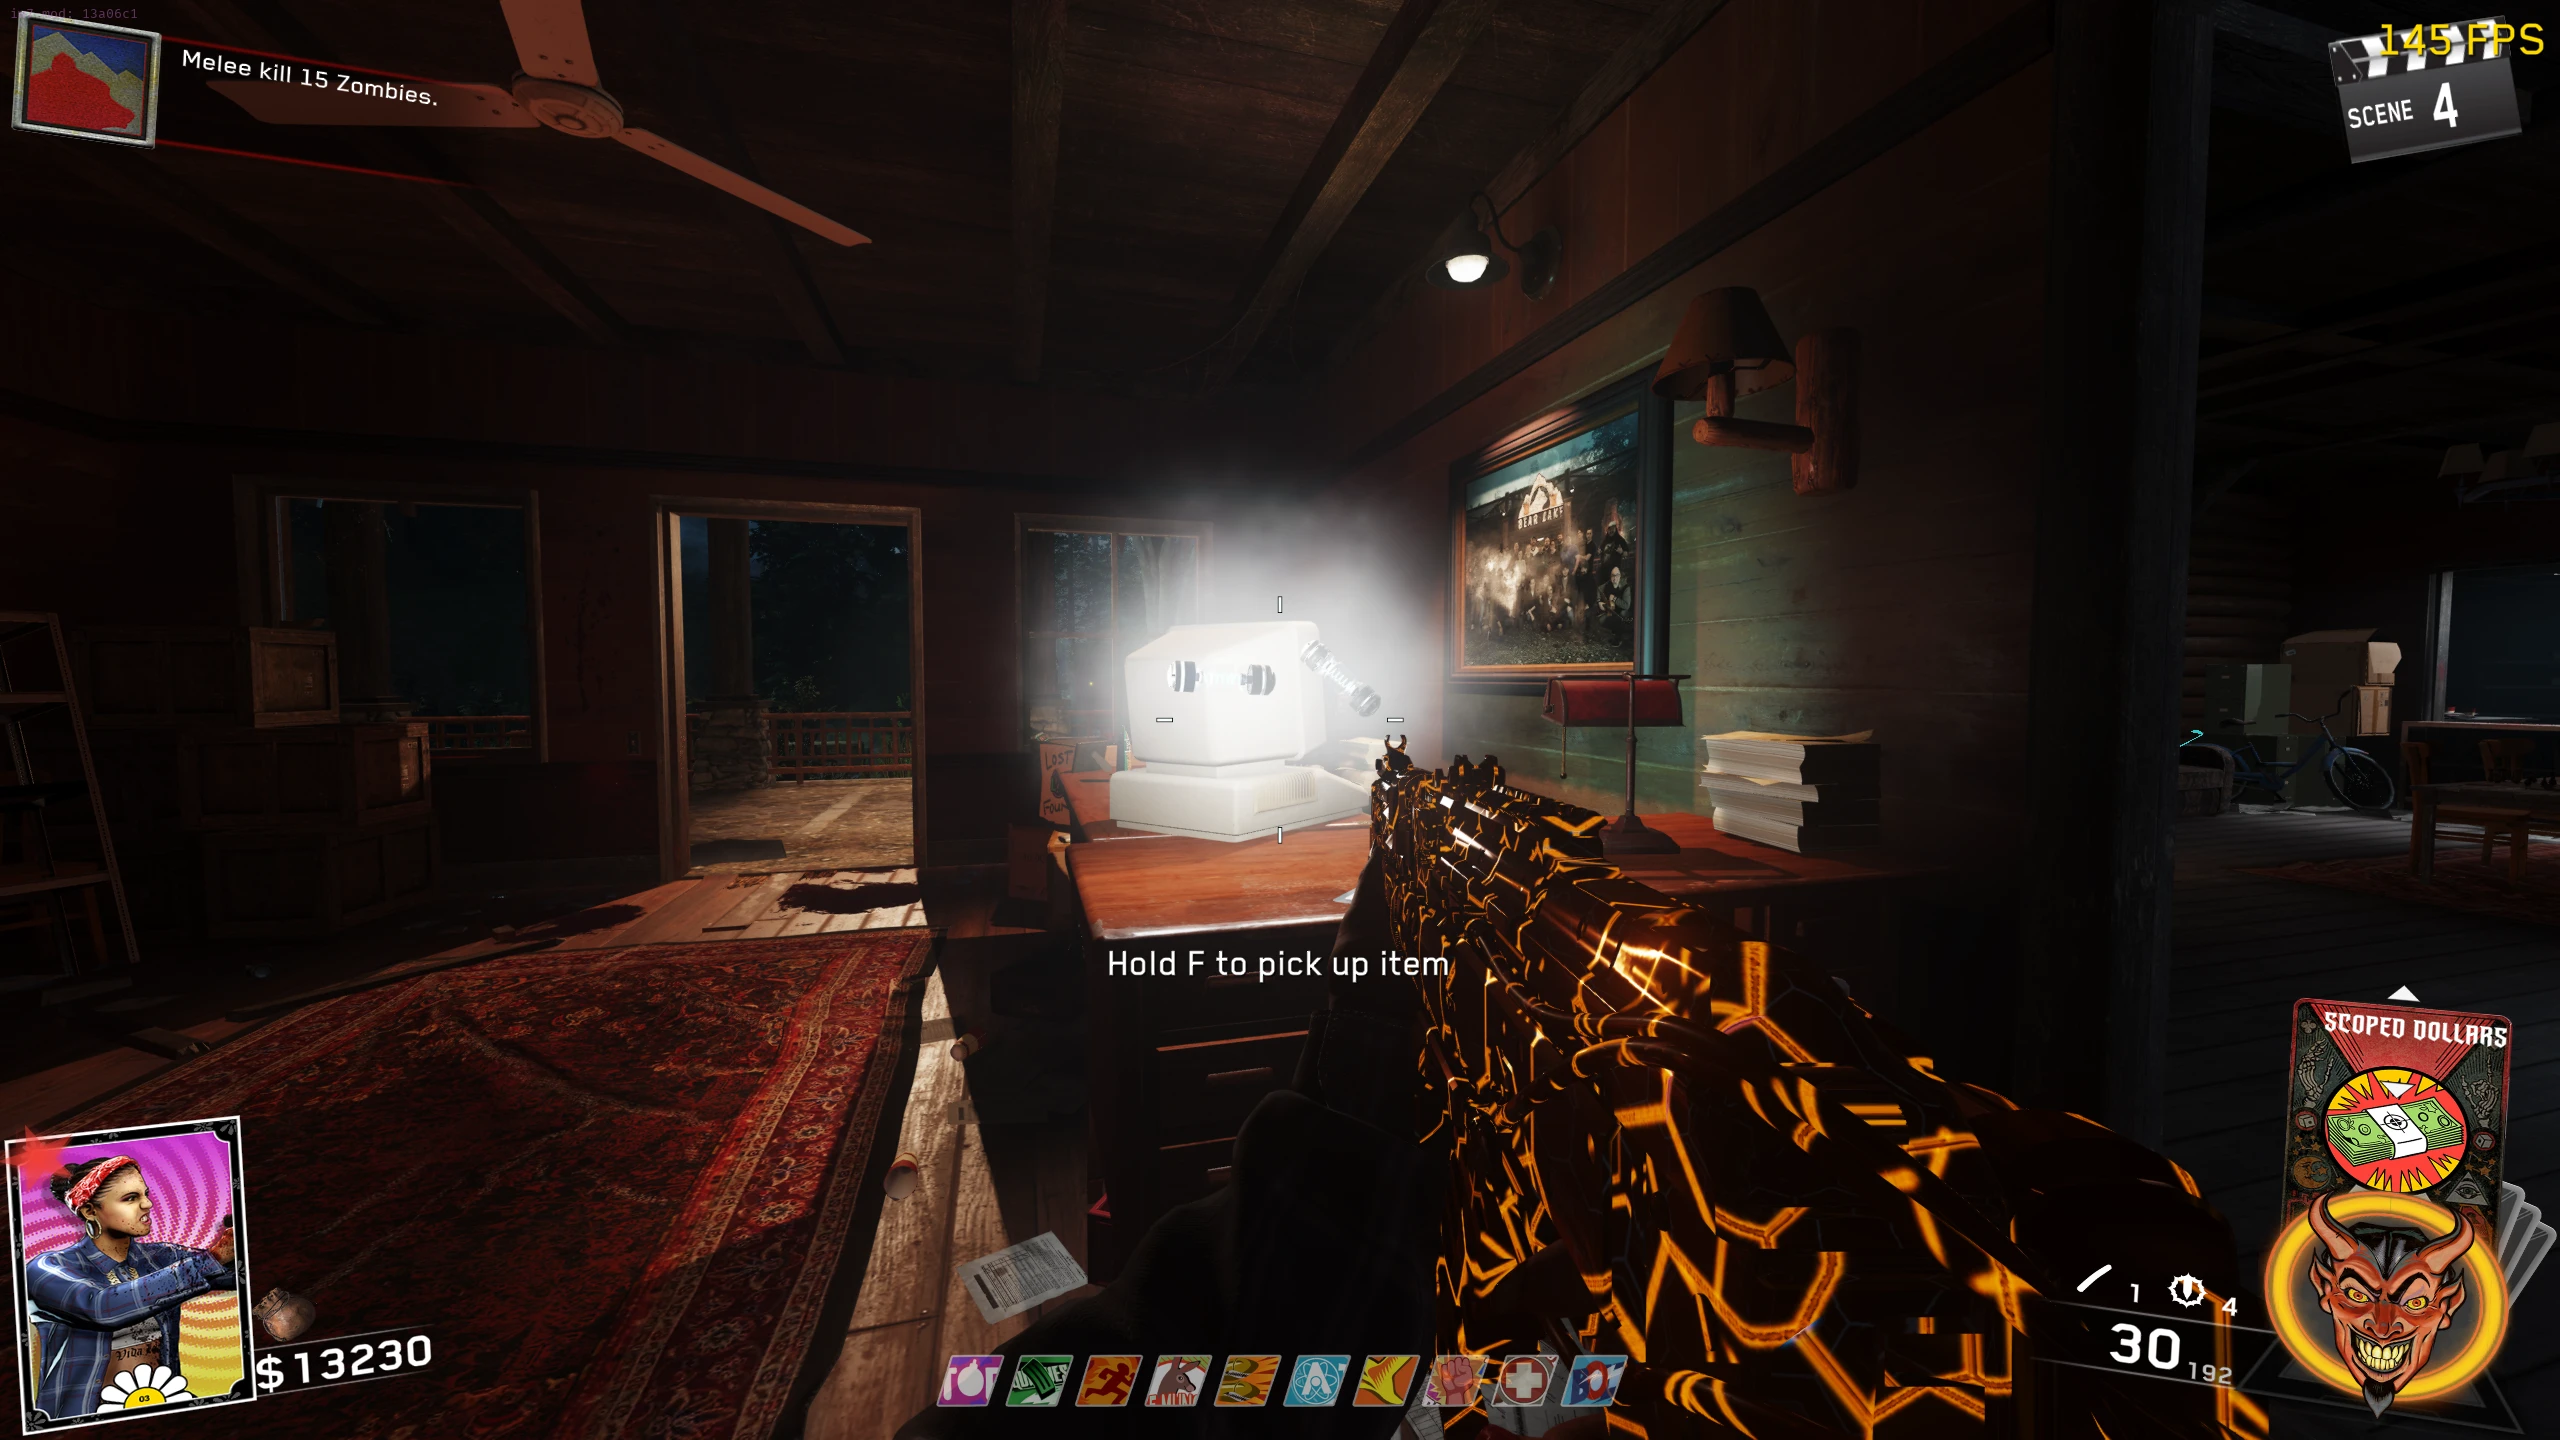
- Once you have both film reels, interact with the Broken Projector in the Cabin to fix it. This will cause the Projector to project a portal on the wall.
- Interact with the portal on the wall to teleport to the Pack-a-Punch room.
- While in the projector room, you'll have 30 seconds to use the Pack-a-Punch before you’re forcefully teleported back to the main map.
- Once you’re teleported back, the teleporter will go on cooldown for about a minute.
Double Pack-a-Punch
If you have completed the 'Sooooul Key' Main Quest on Zombies in Spaceland, the Alien Fuses will already be present in the Pack-a-Punch Projector every game you play, and you will not have to do the following steps.
- Activate the Power.
- Interact with the Computer in the Spawn room. The computer will begin to make internet dial-up sounds.
- After three rounds, the Alien Fuses will appear behind the Computer for you to pick up.
- Unlock the Pack-a-Punch.
- The Alien Fuses can now be inserted into the Pack-a-Punch Projector. Once inserted, you will be able to Pack-a-Punch any Pack-a-Punched weapon again for 10,000 Points.
- If you have not completed the 'Sooooul Key' Main Quest on Zombies in Spaceland, the alien fuses will only be activated for the remainder of the CURRENT game.
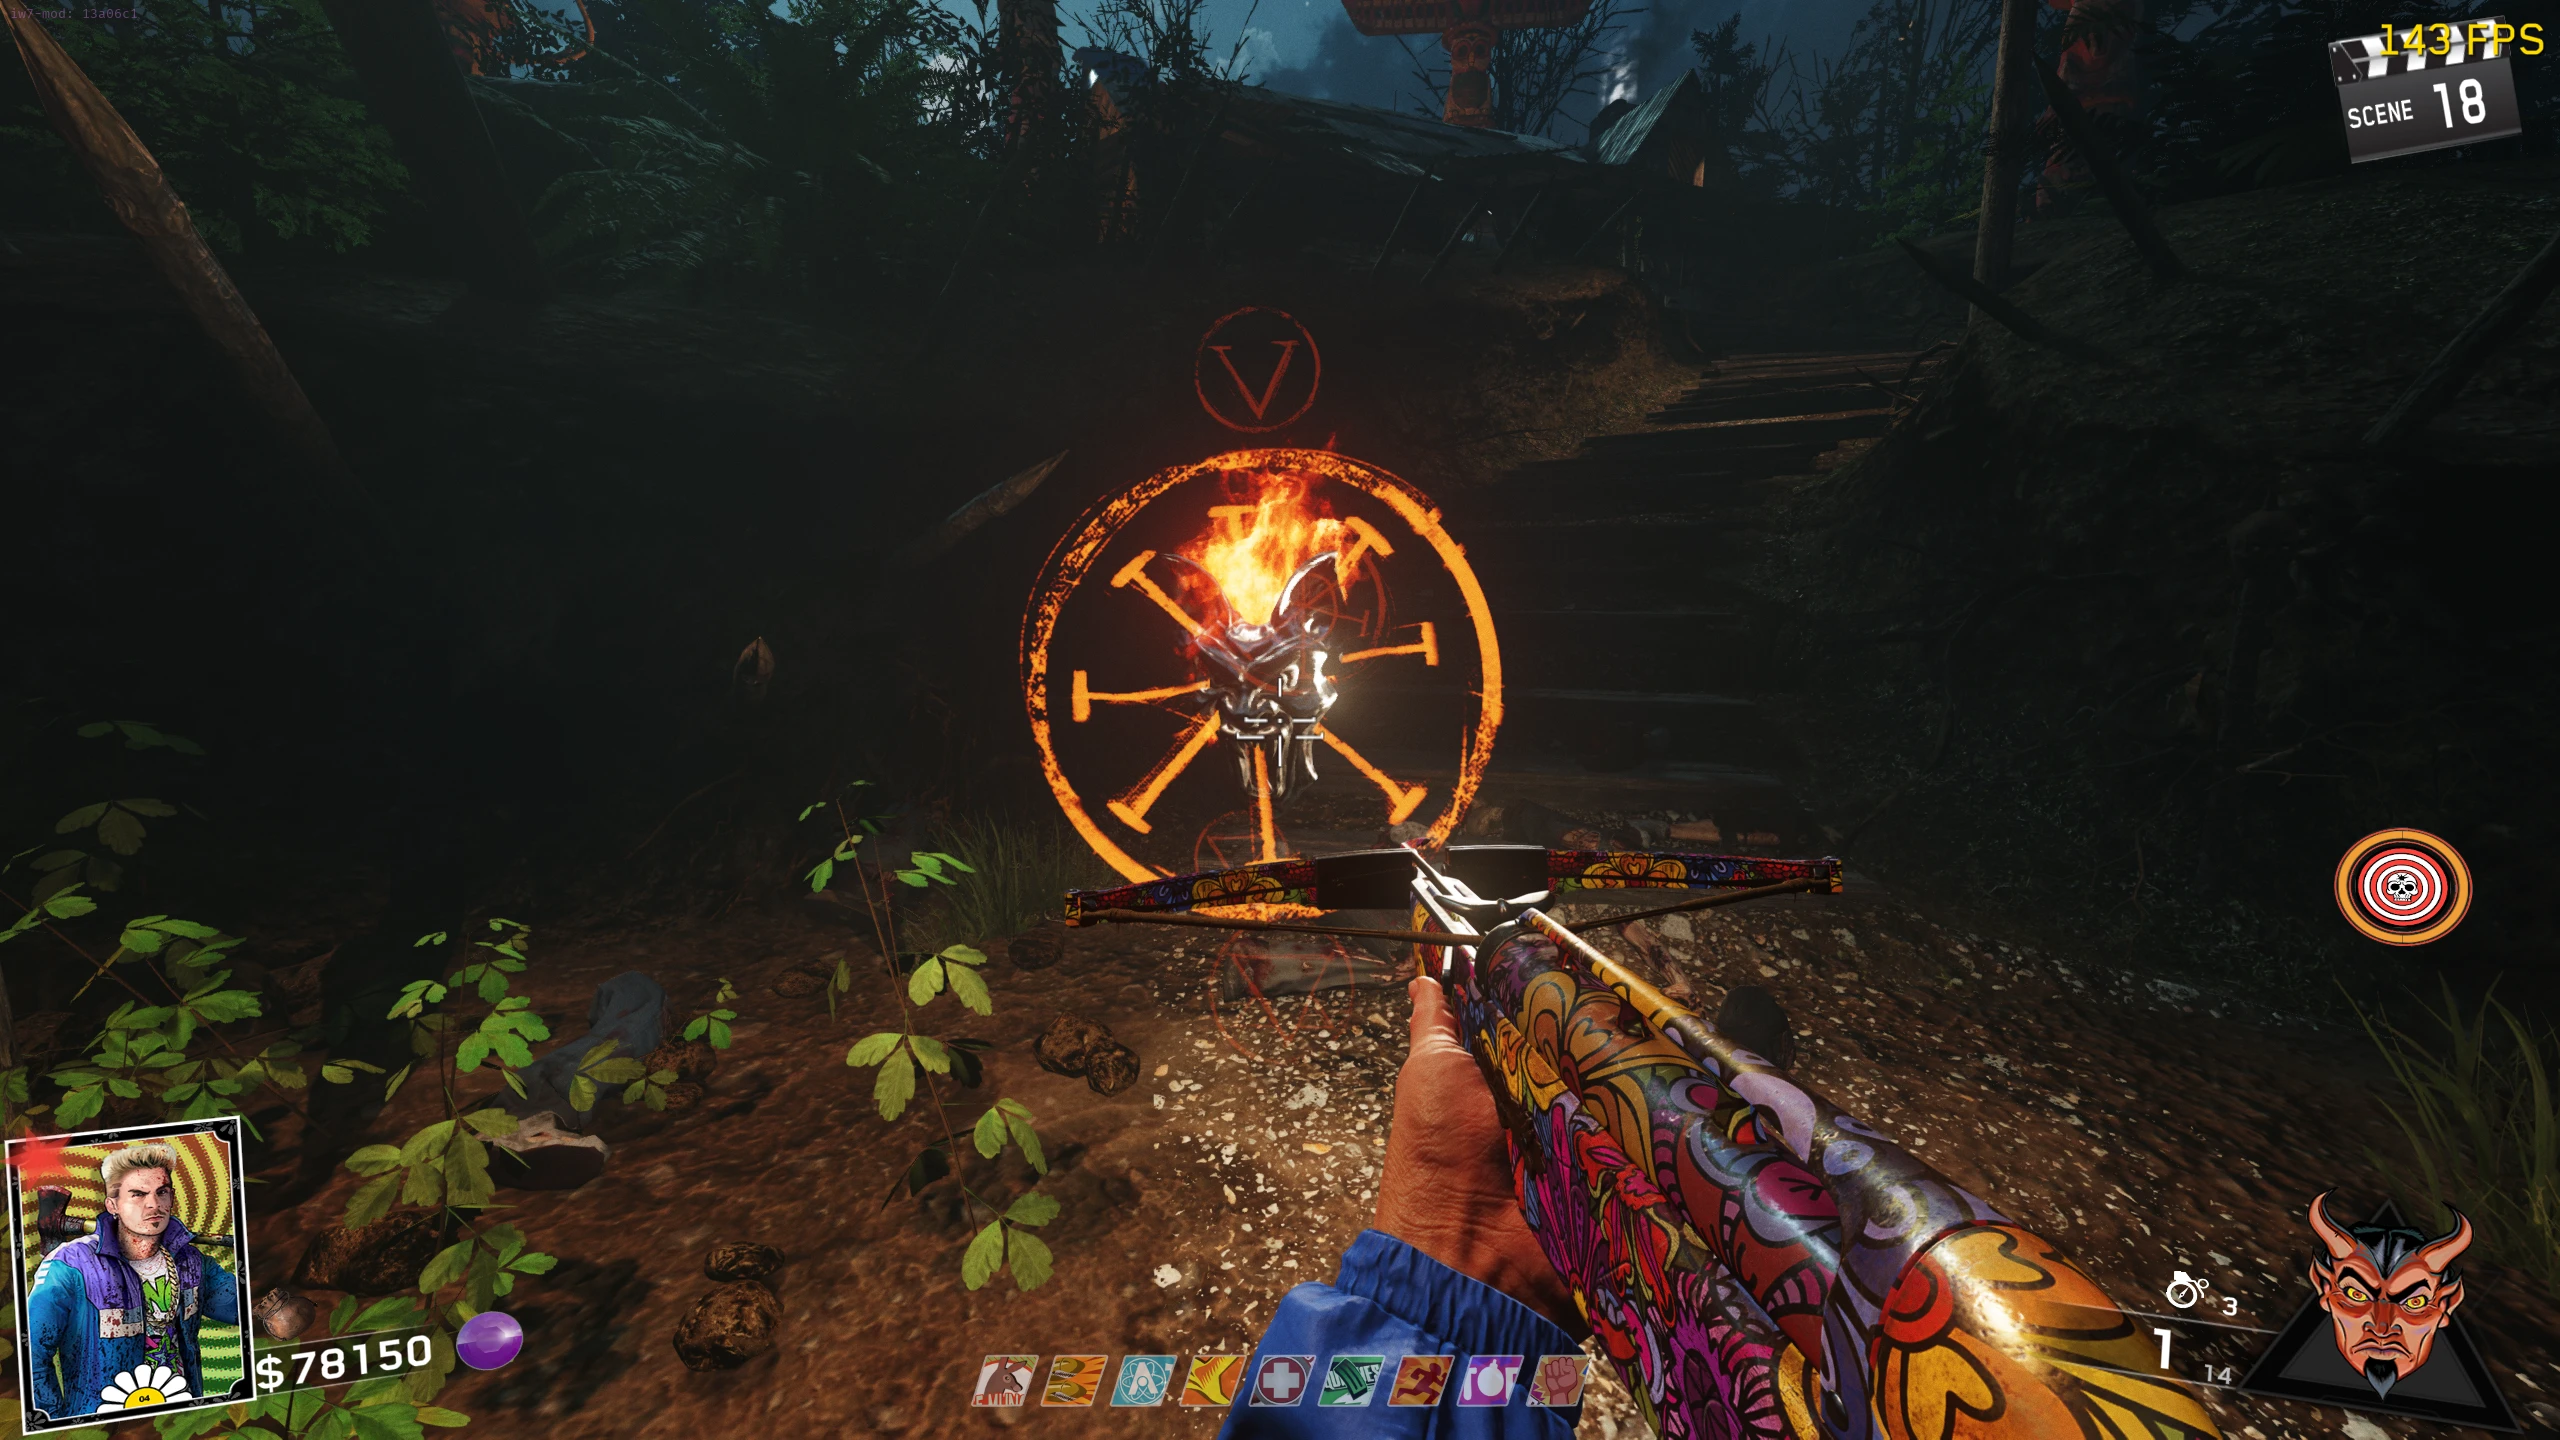
'Vlad' Crossbow Wonder Weapons
The Vlad Crossbow is a crossbow that fires explosive bolts. The Vlad can be upgraded into four variants, Whirlwind EF-5, Trap-o-matic, Acid Rain or Ben Franklin. The Vlad and its variants can't be upgraded using the Pack-a-Punch machine, even with the Fuses installed.
- Unlock the Pack-a-Punch.
- While on Turtle Island, interact with this Bucket in the Bathroom of the Cabin to pick up a Hot Dog. This will replace your tactical equipment with a throwable Hot Dog which will go on a one-second cooldown after being thrown.
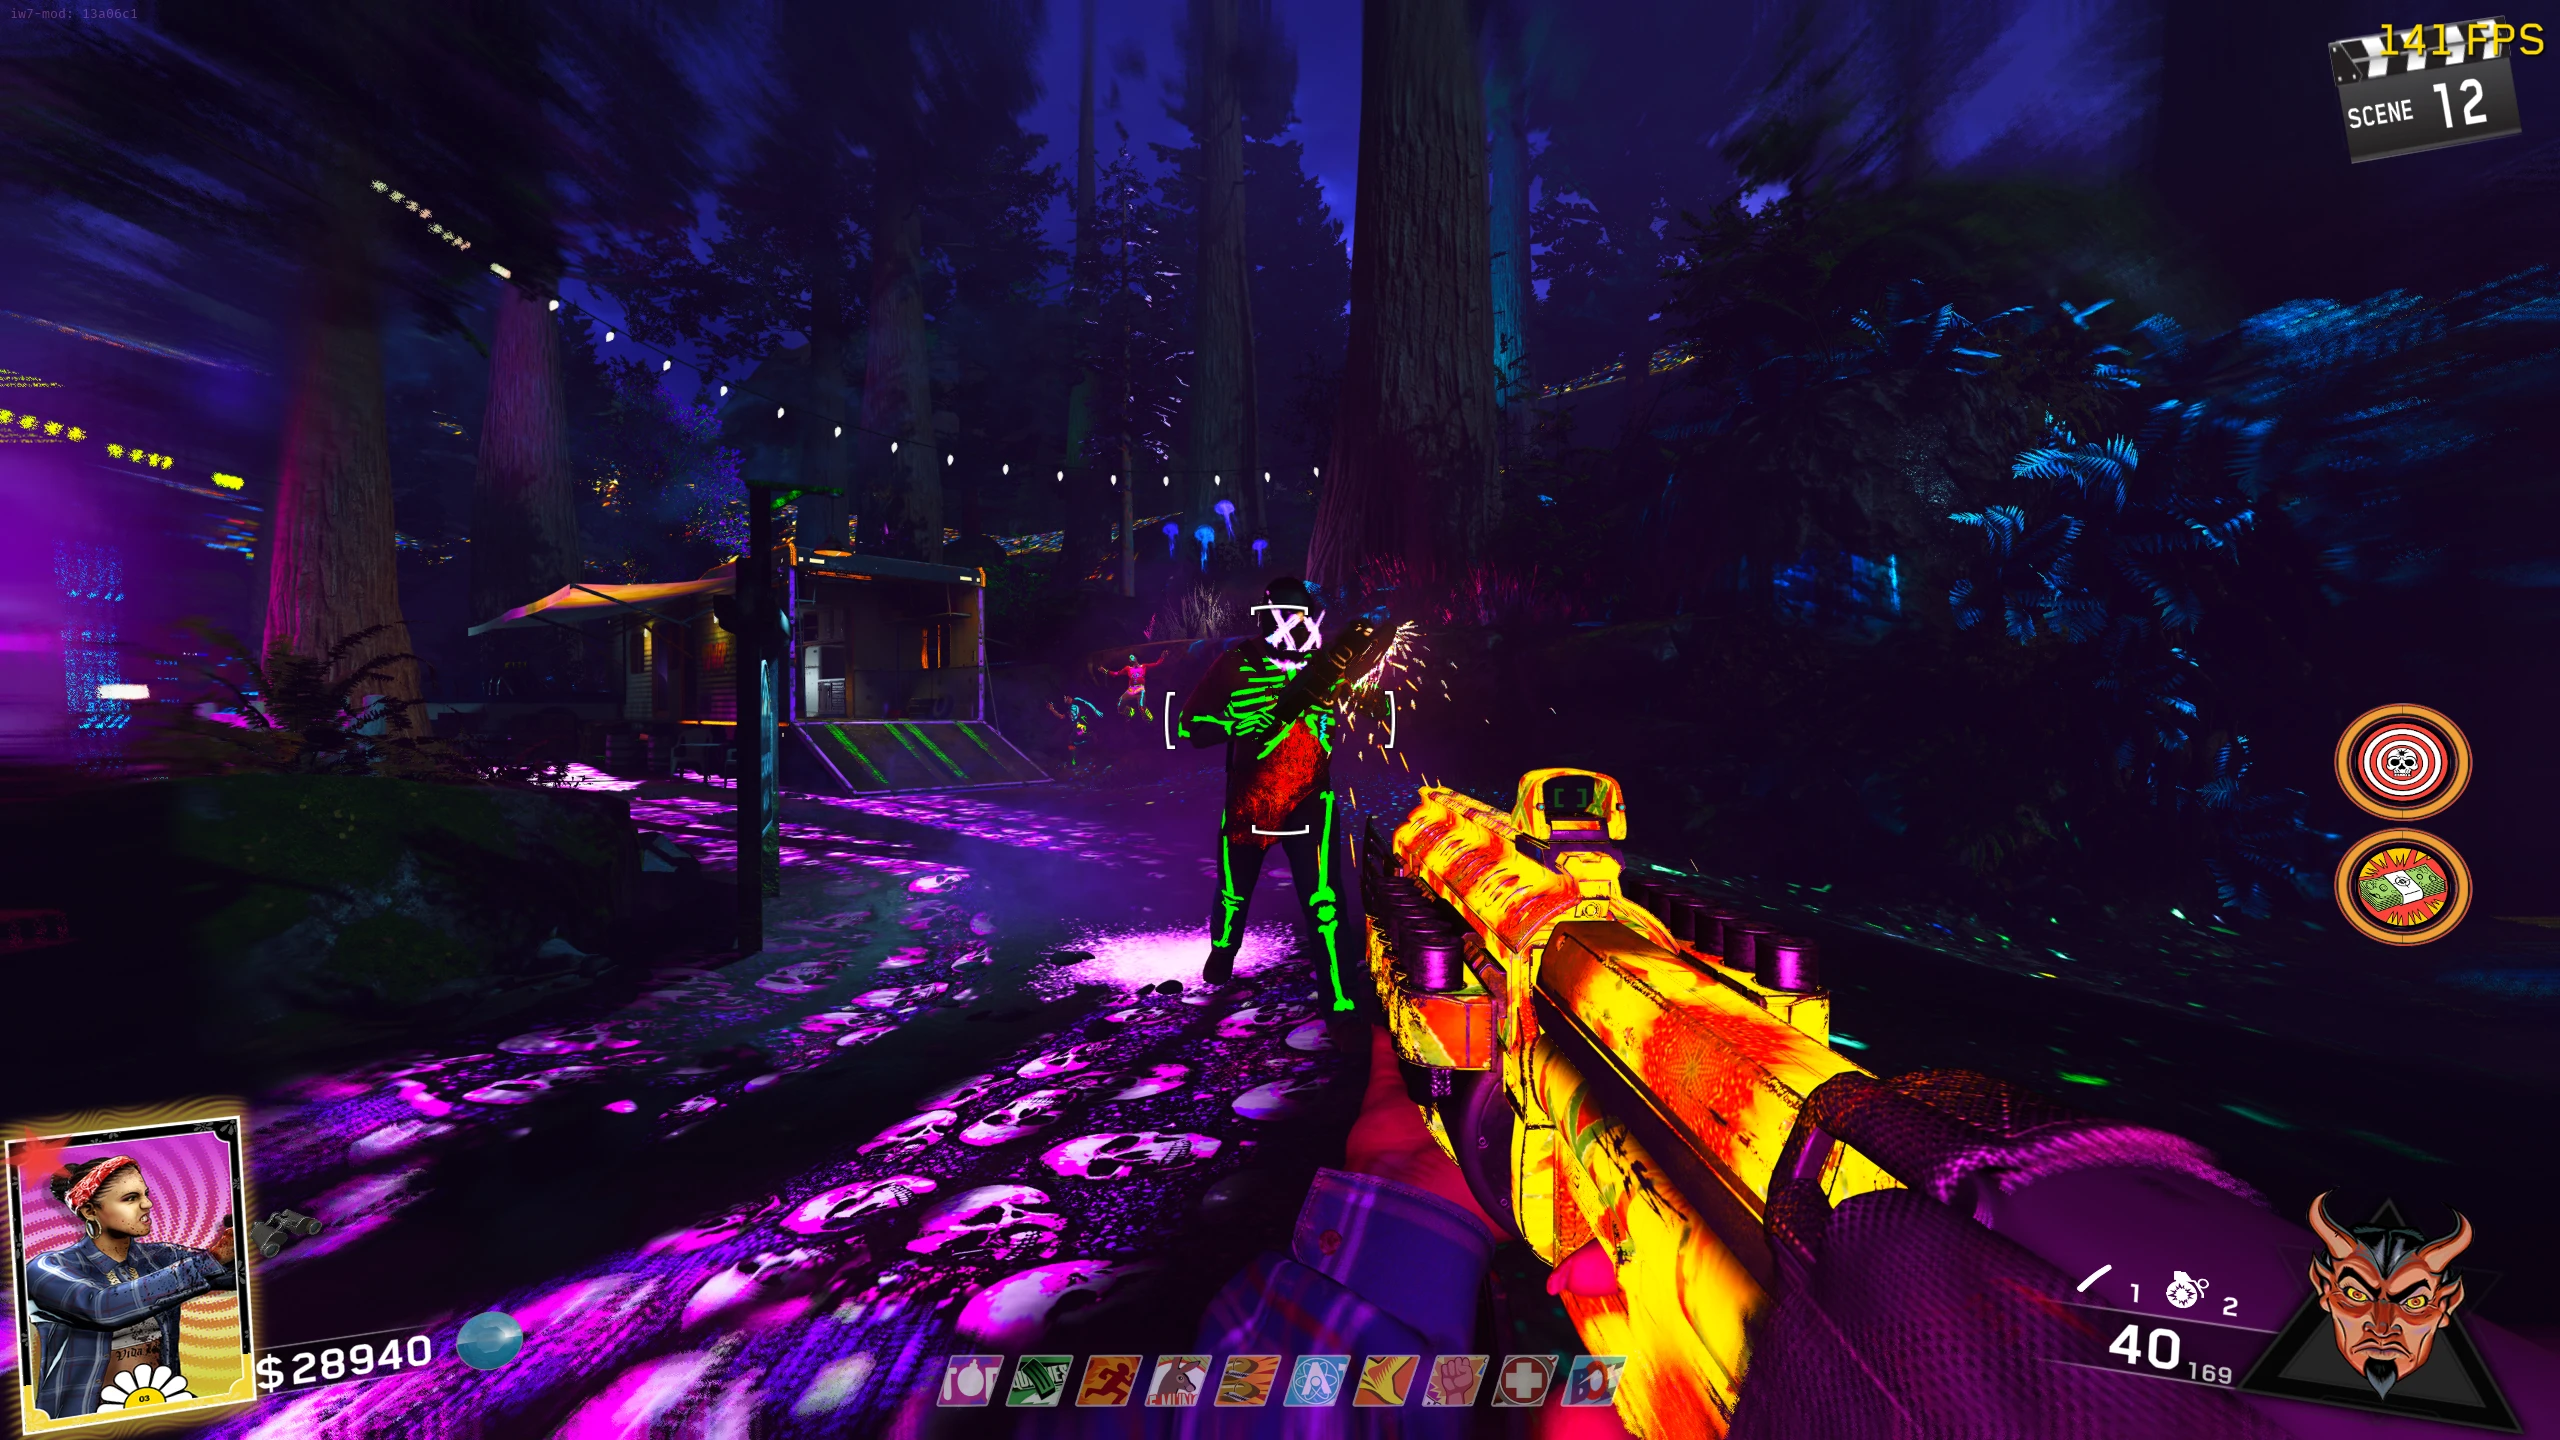
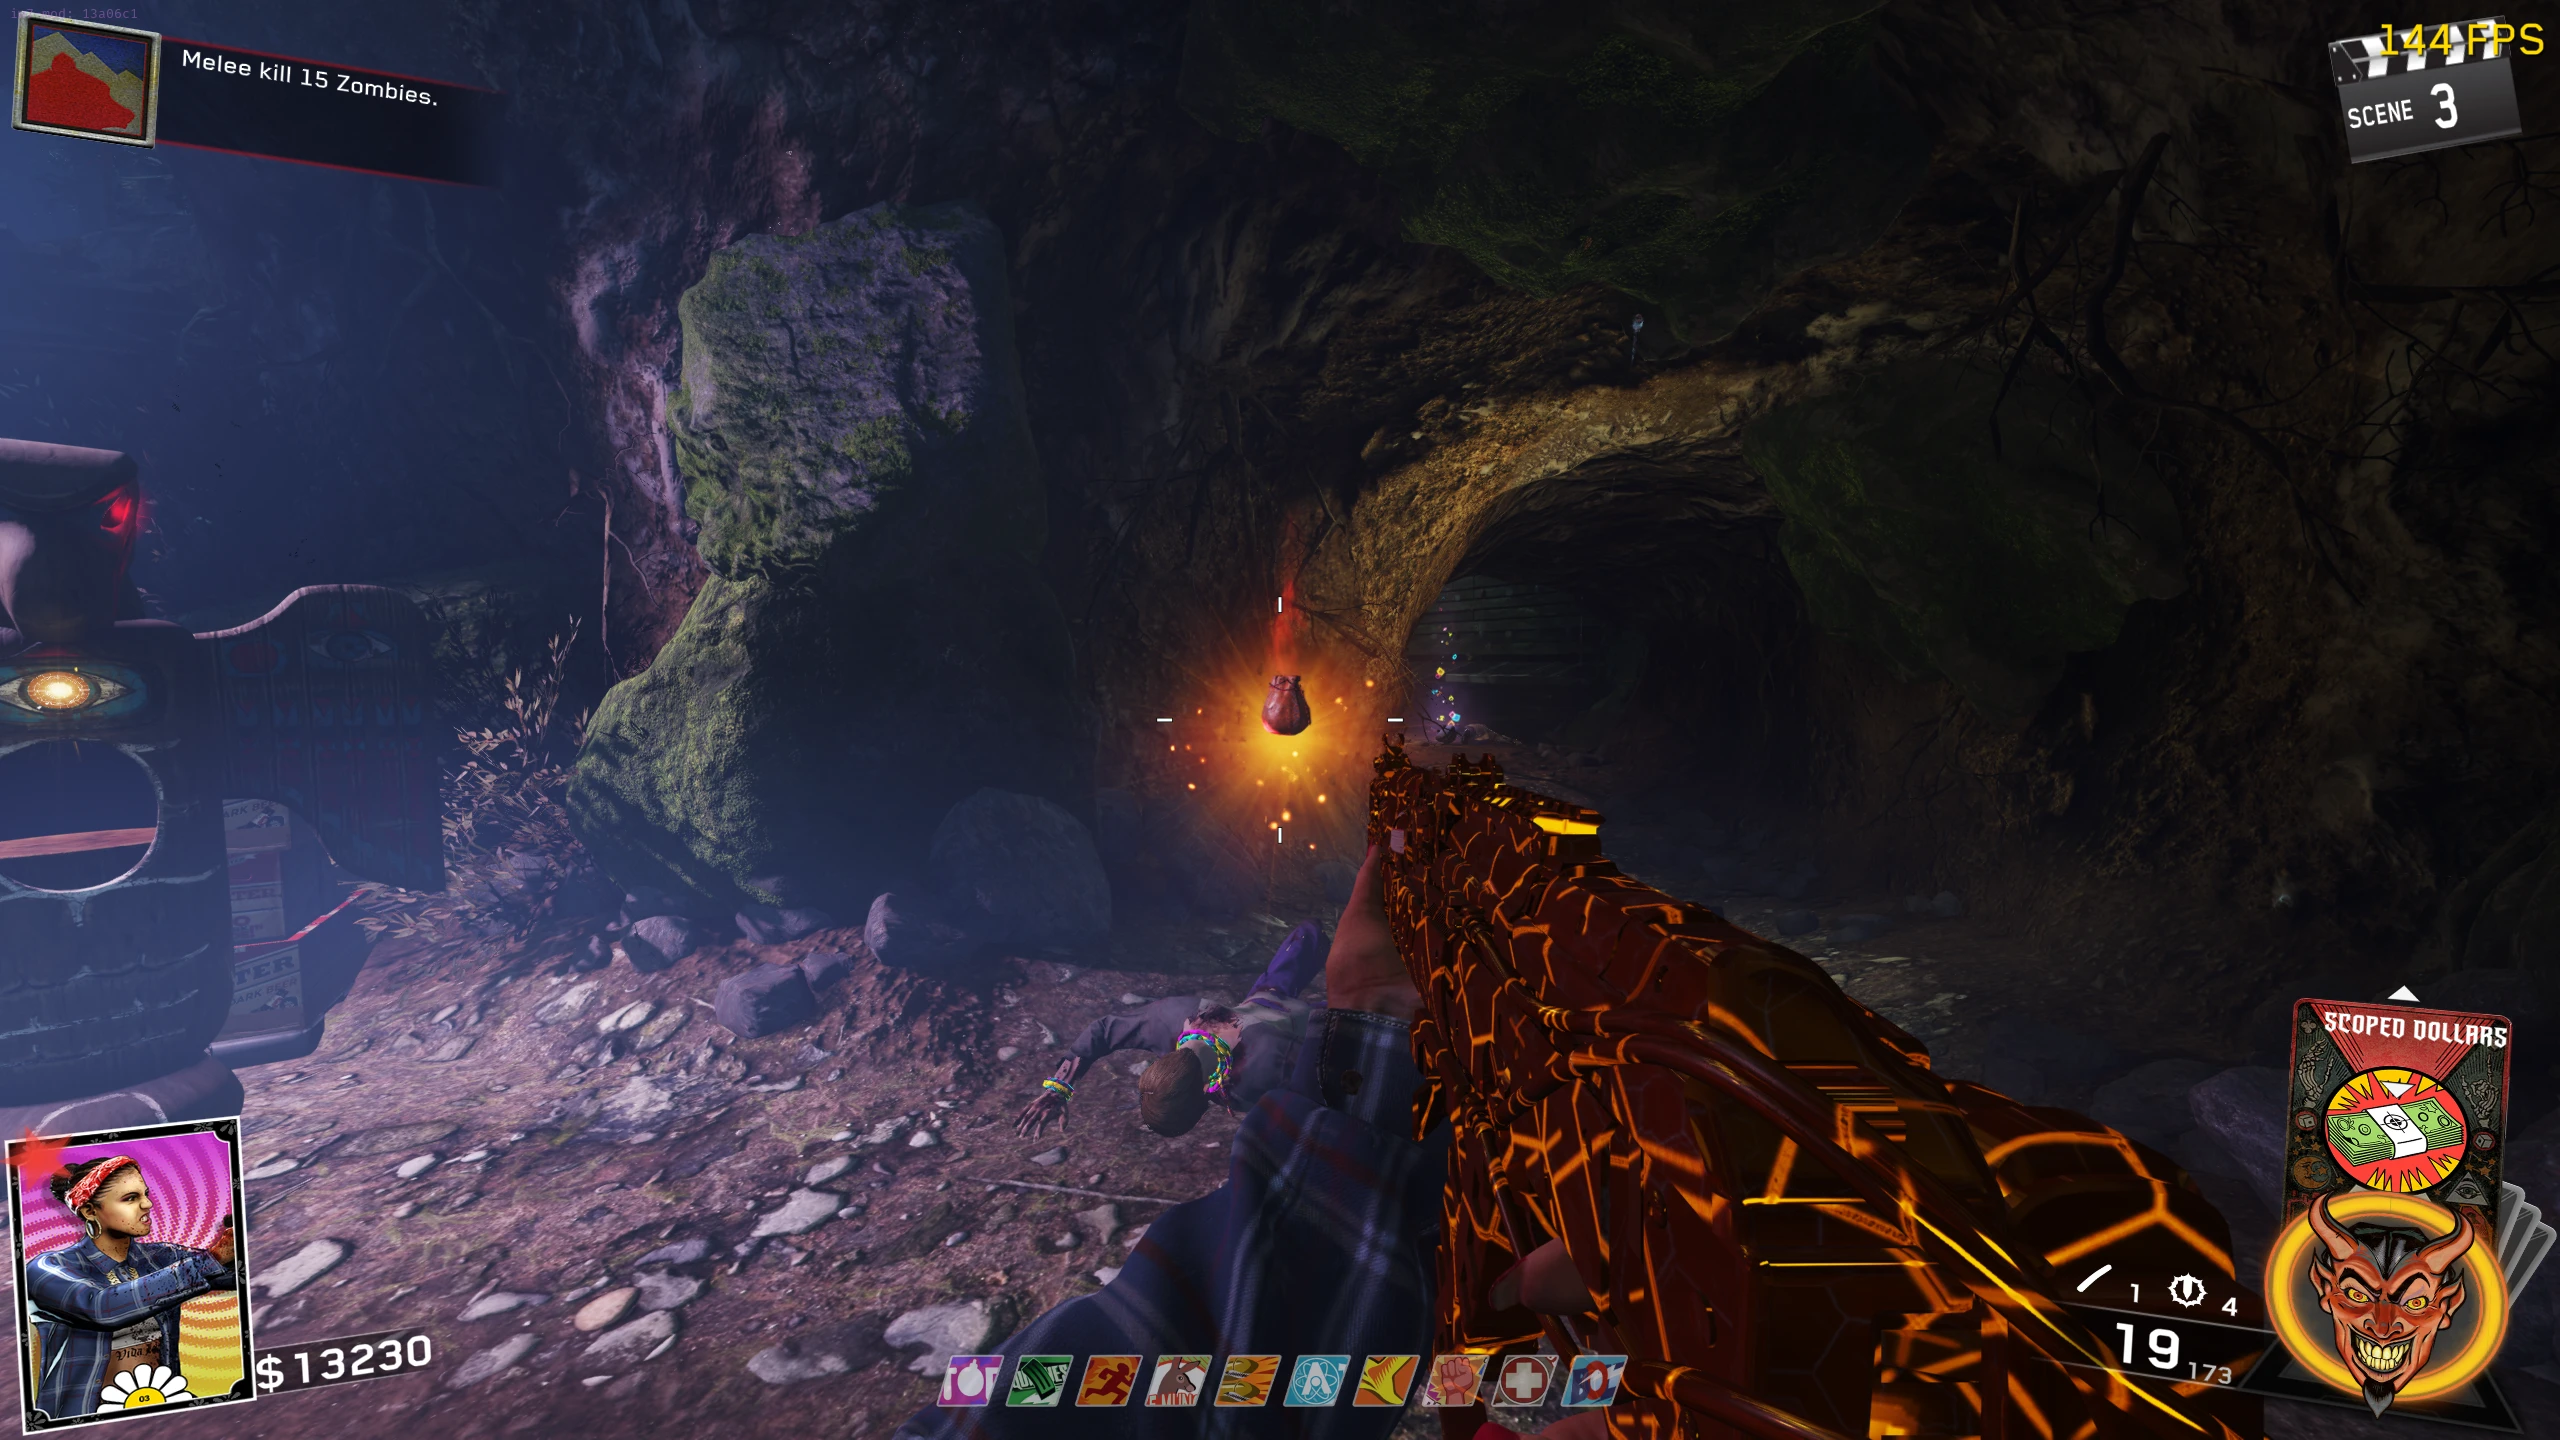
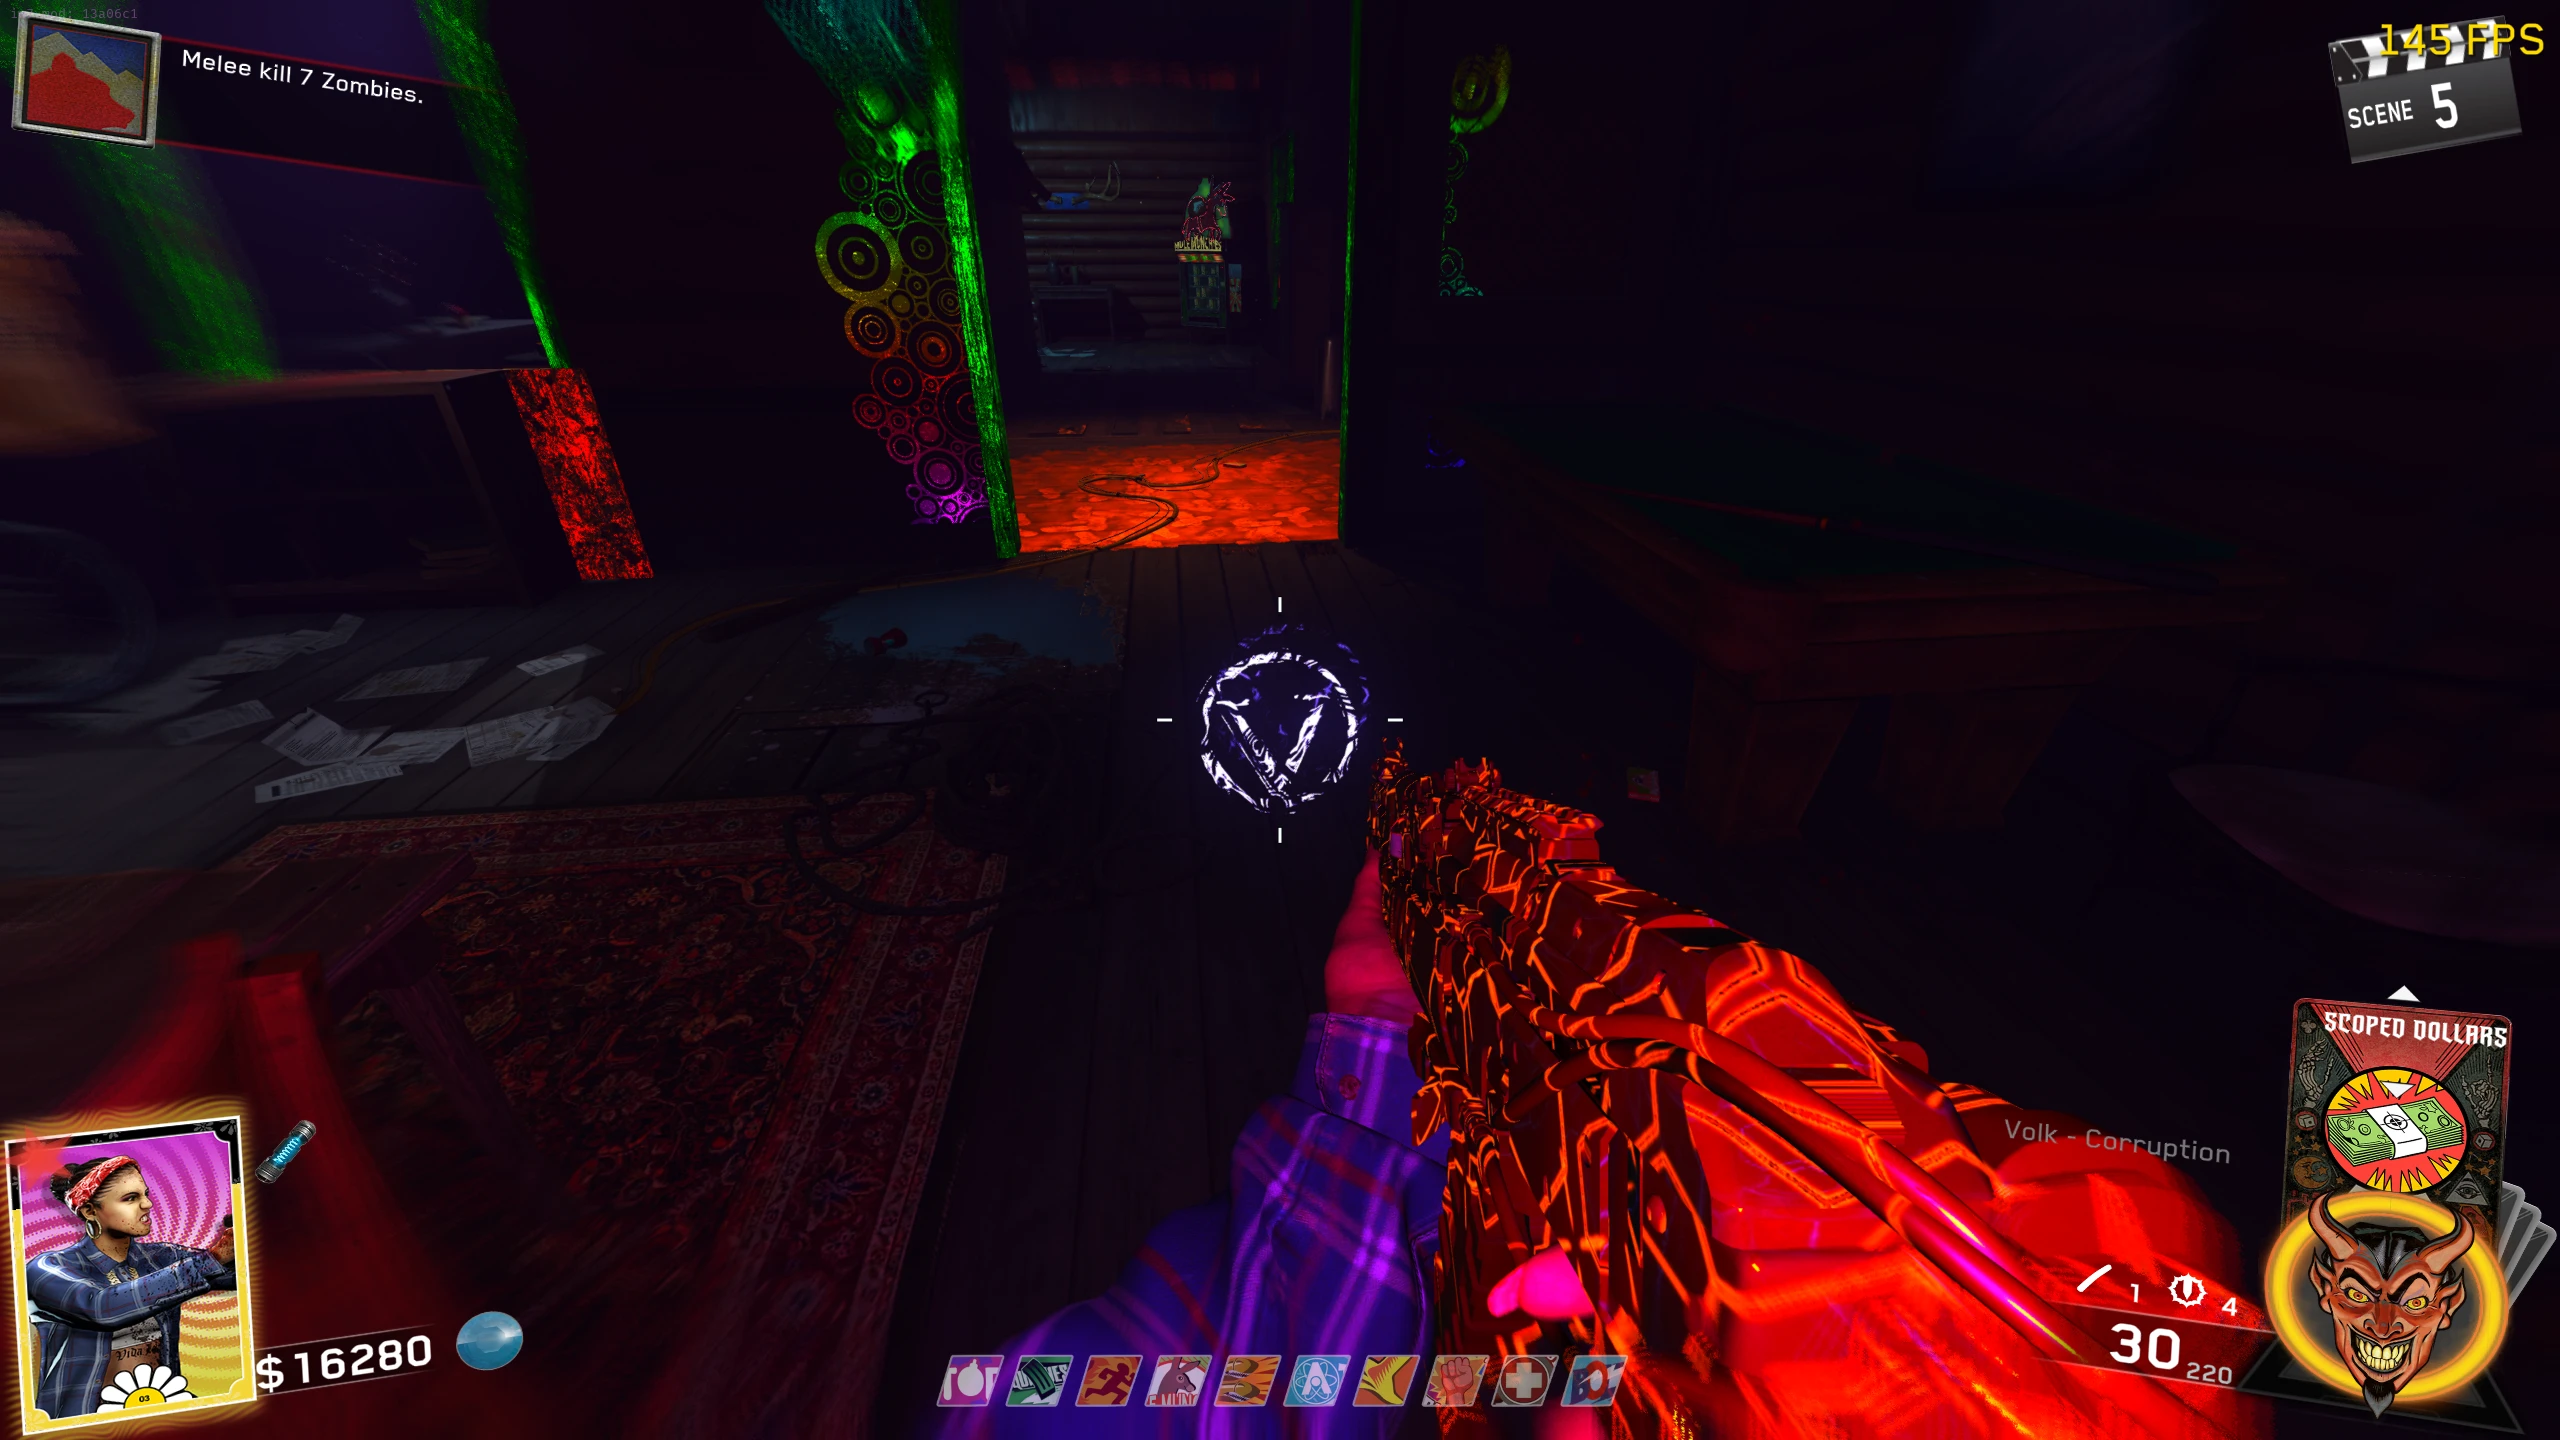
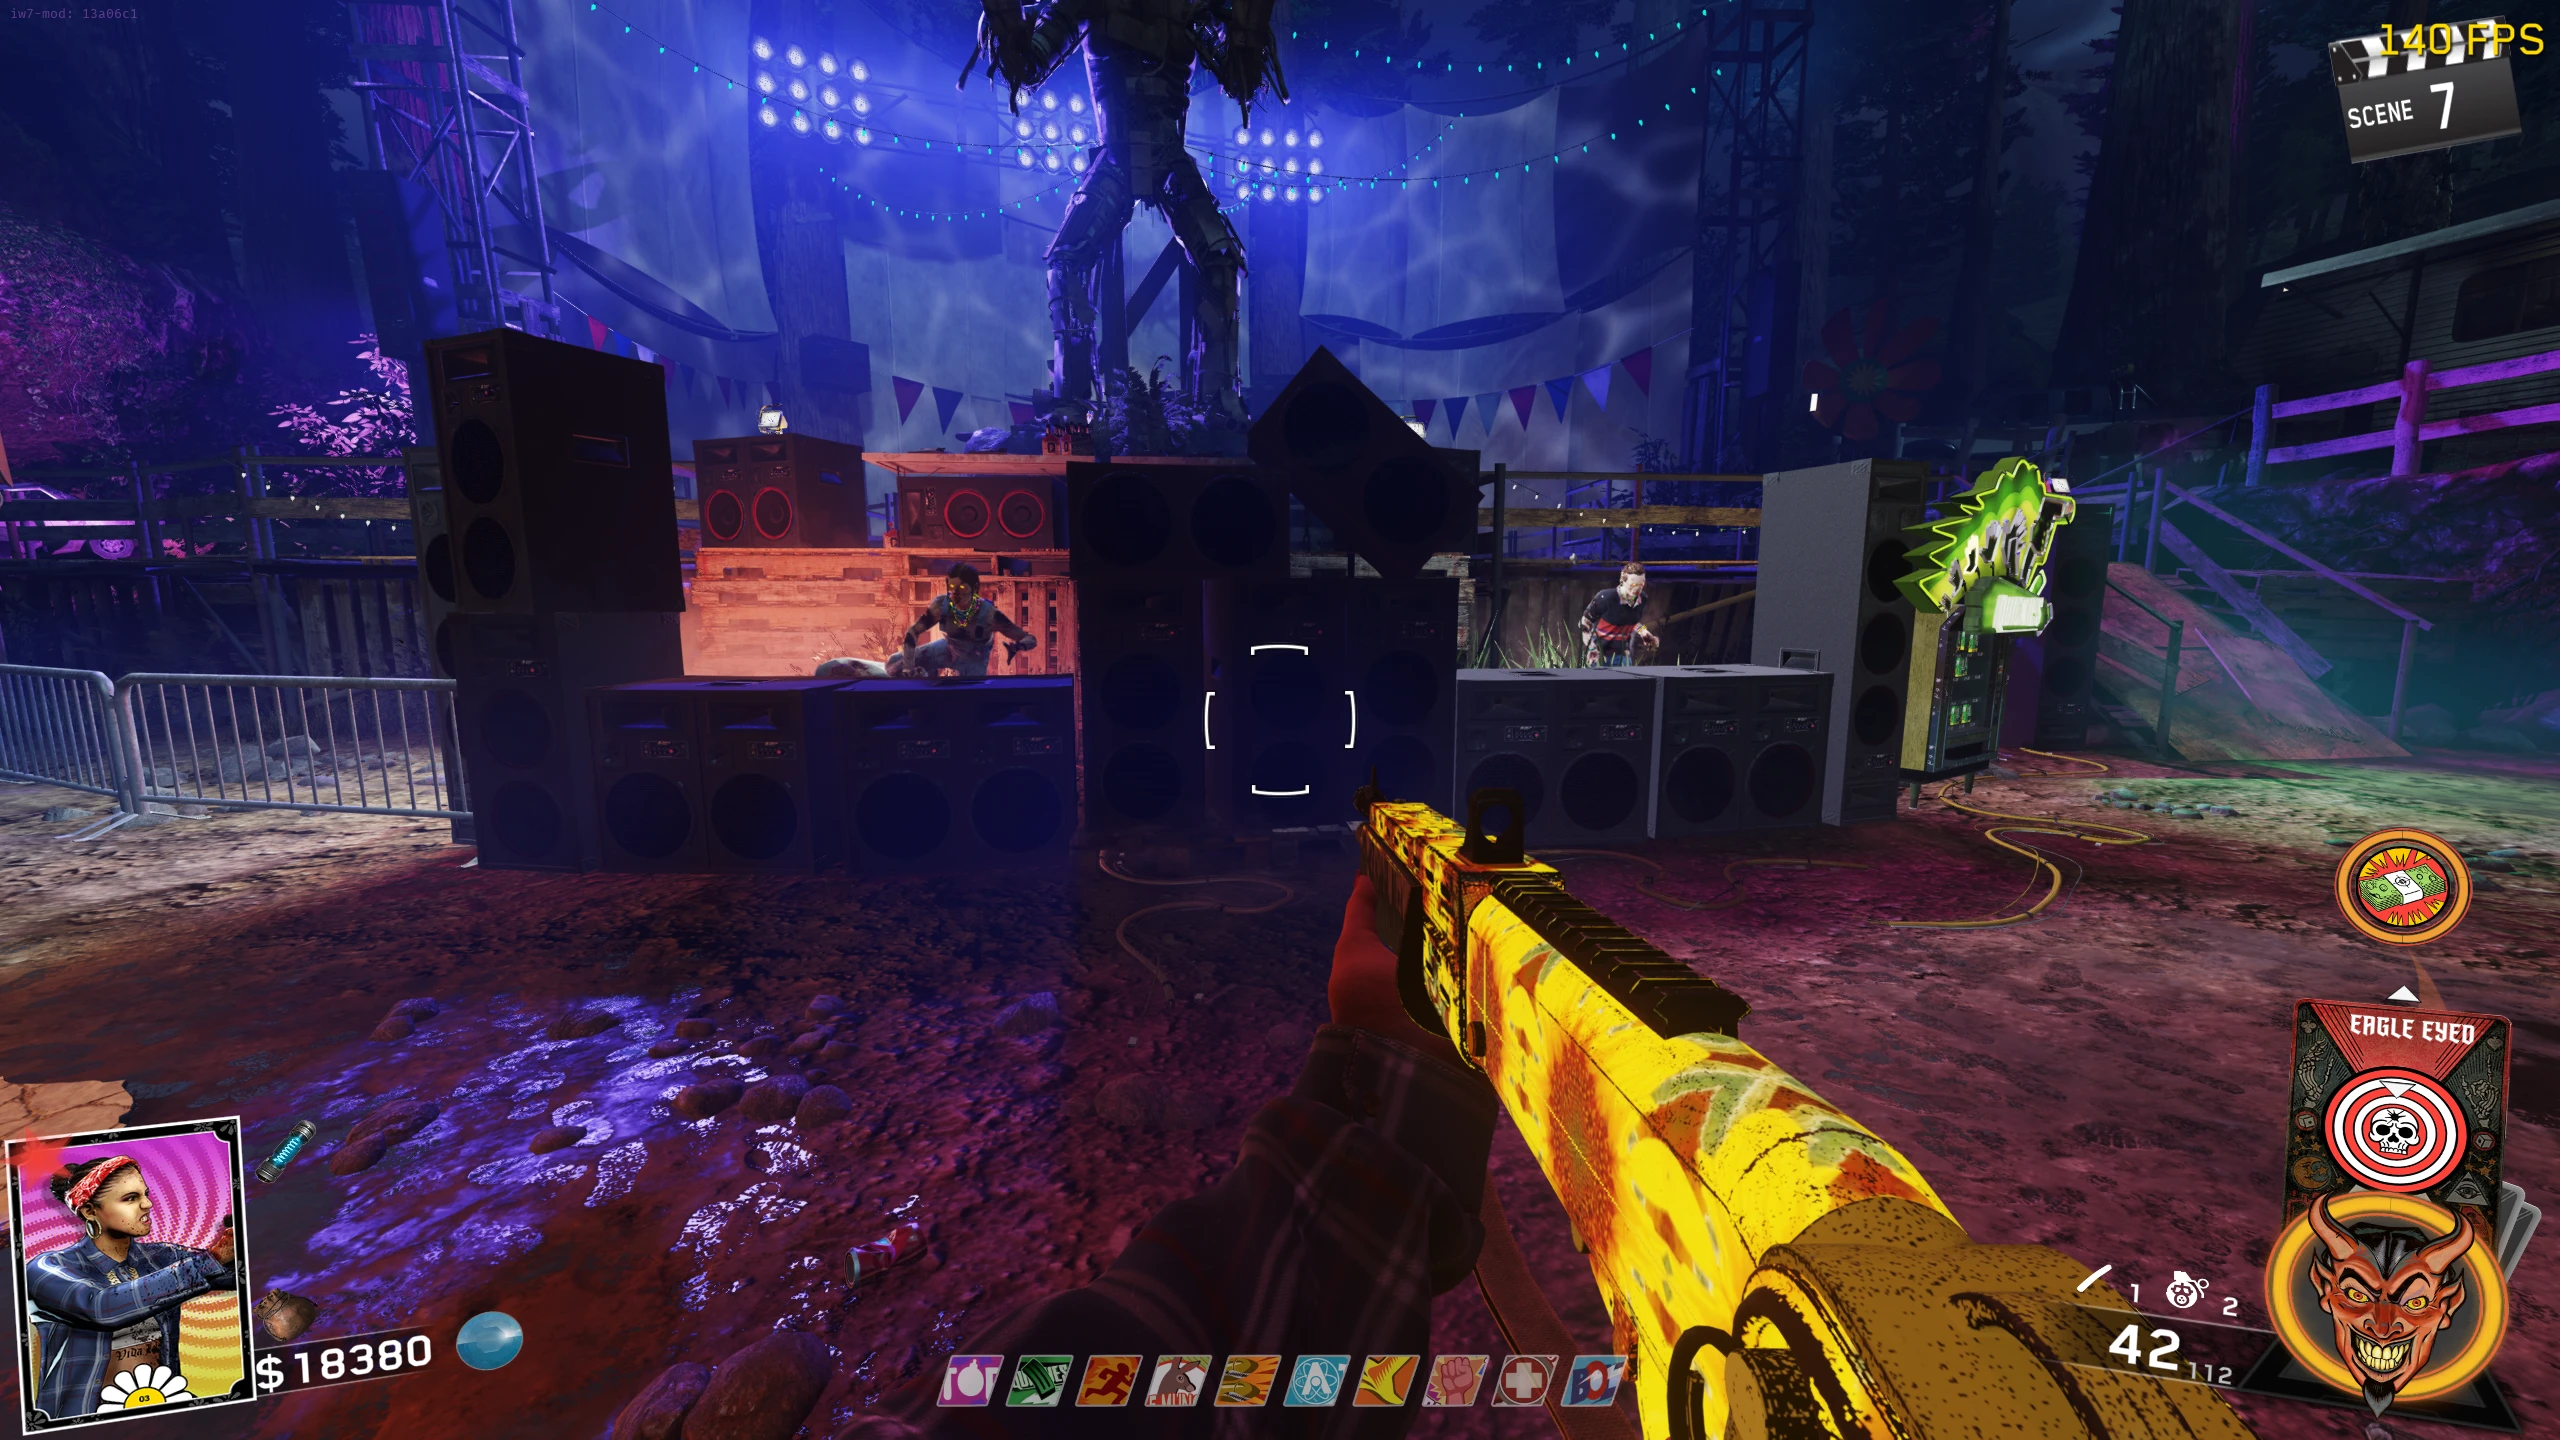
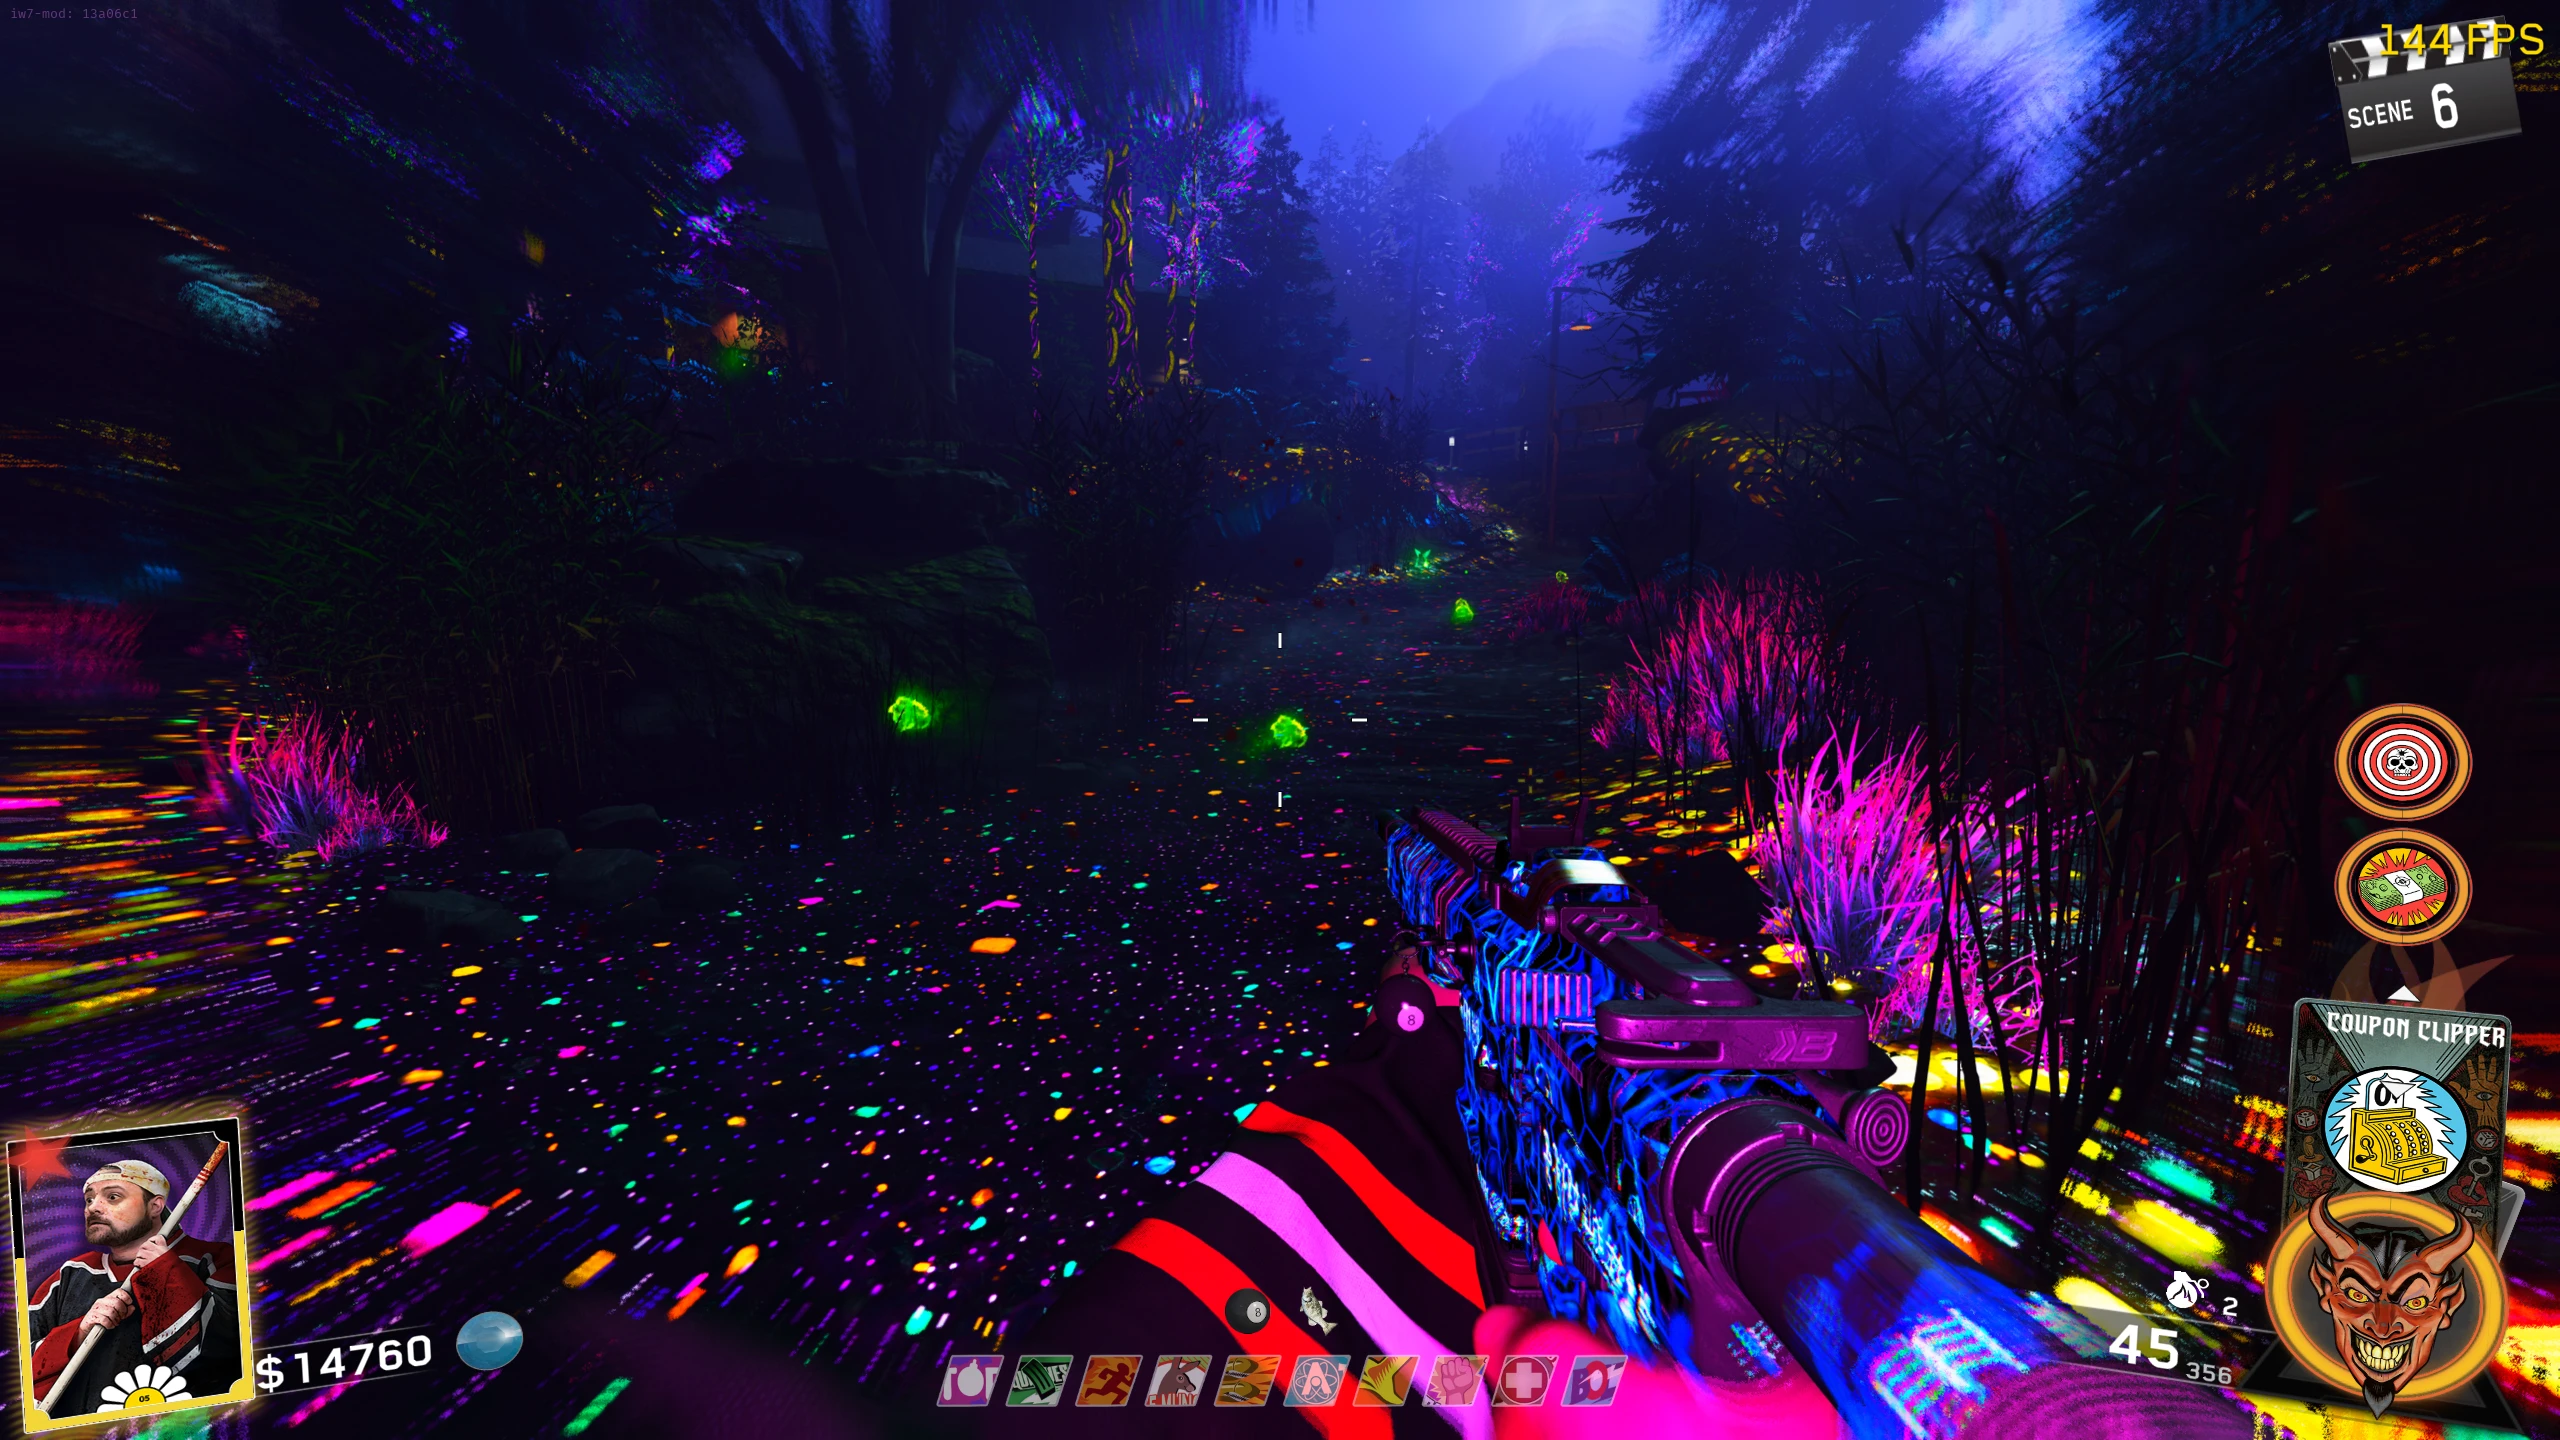
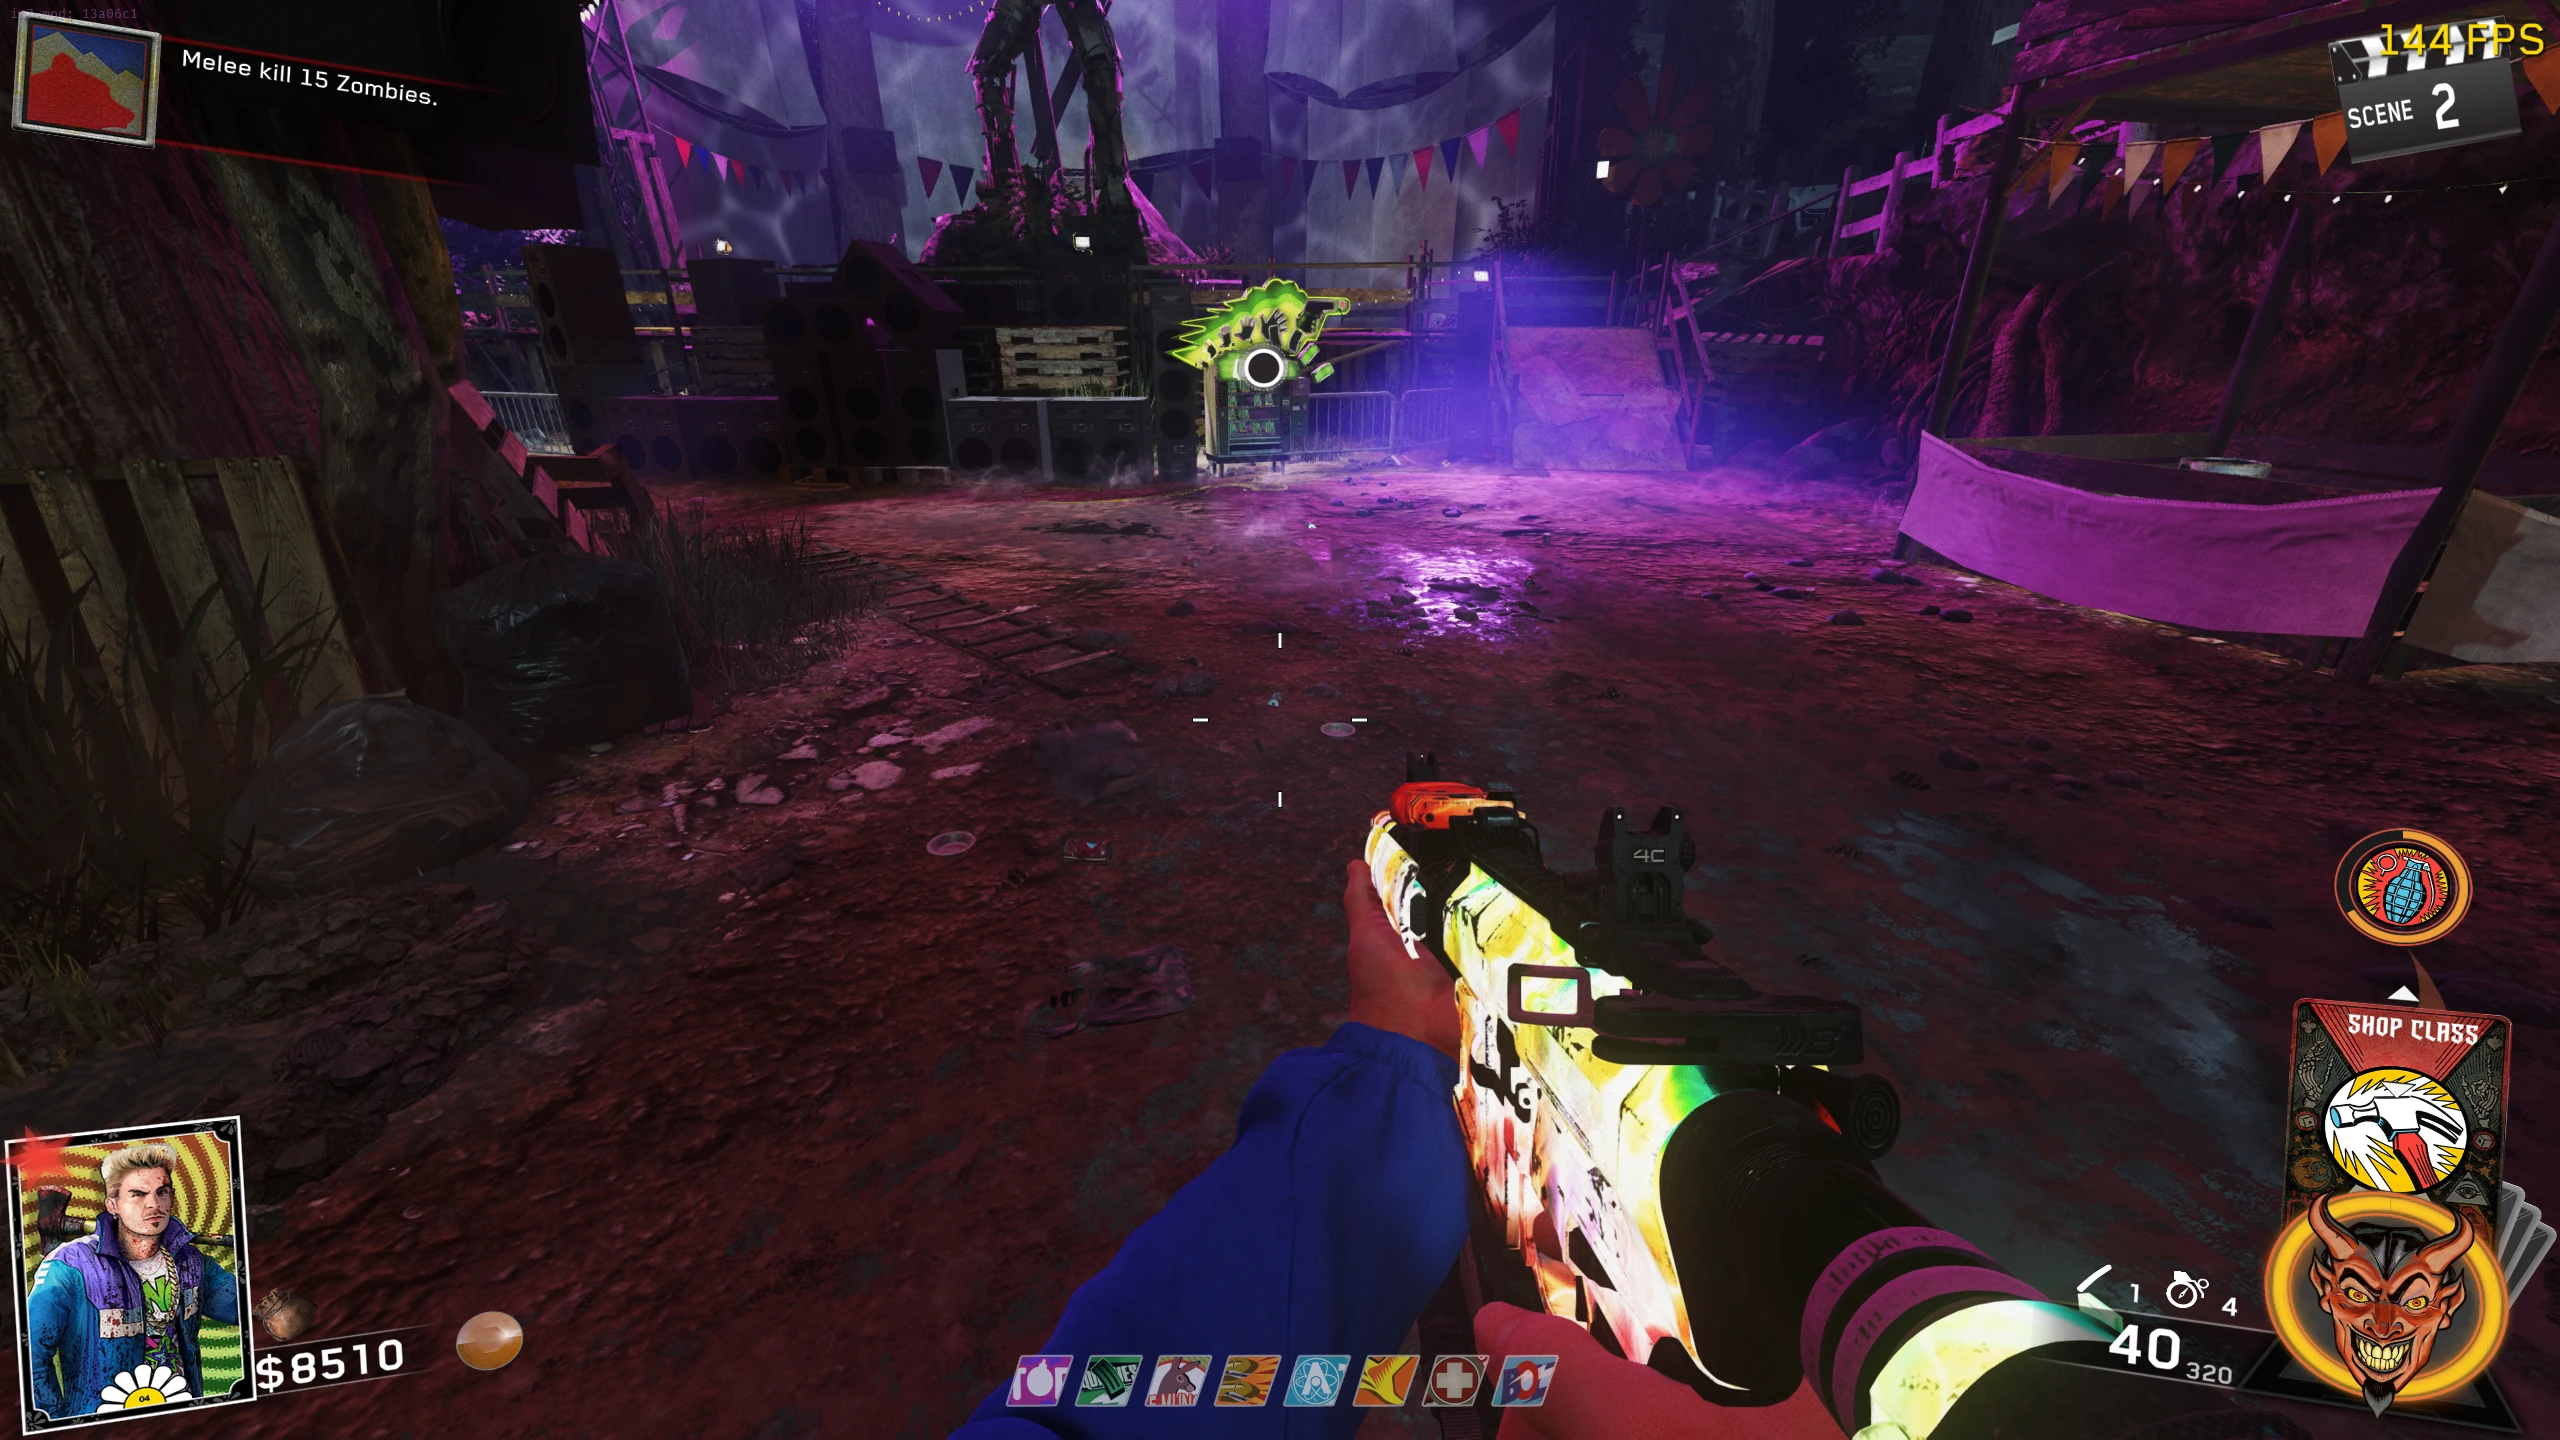
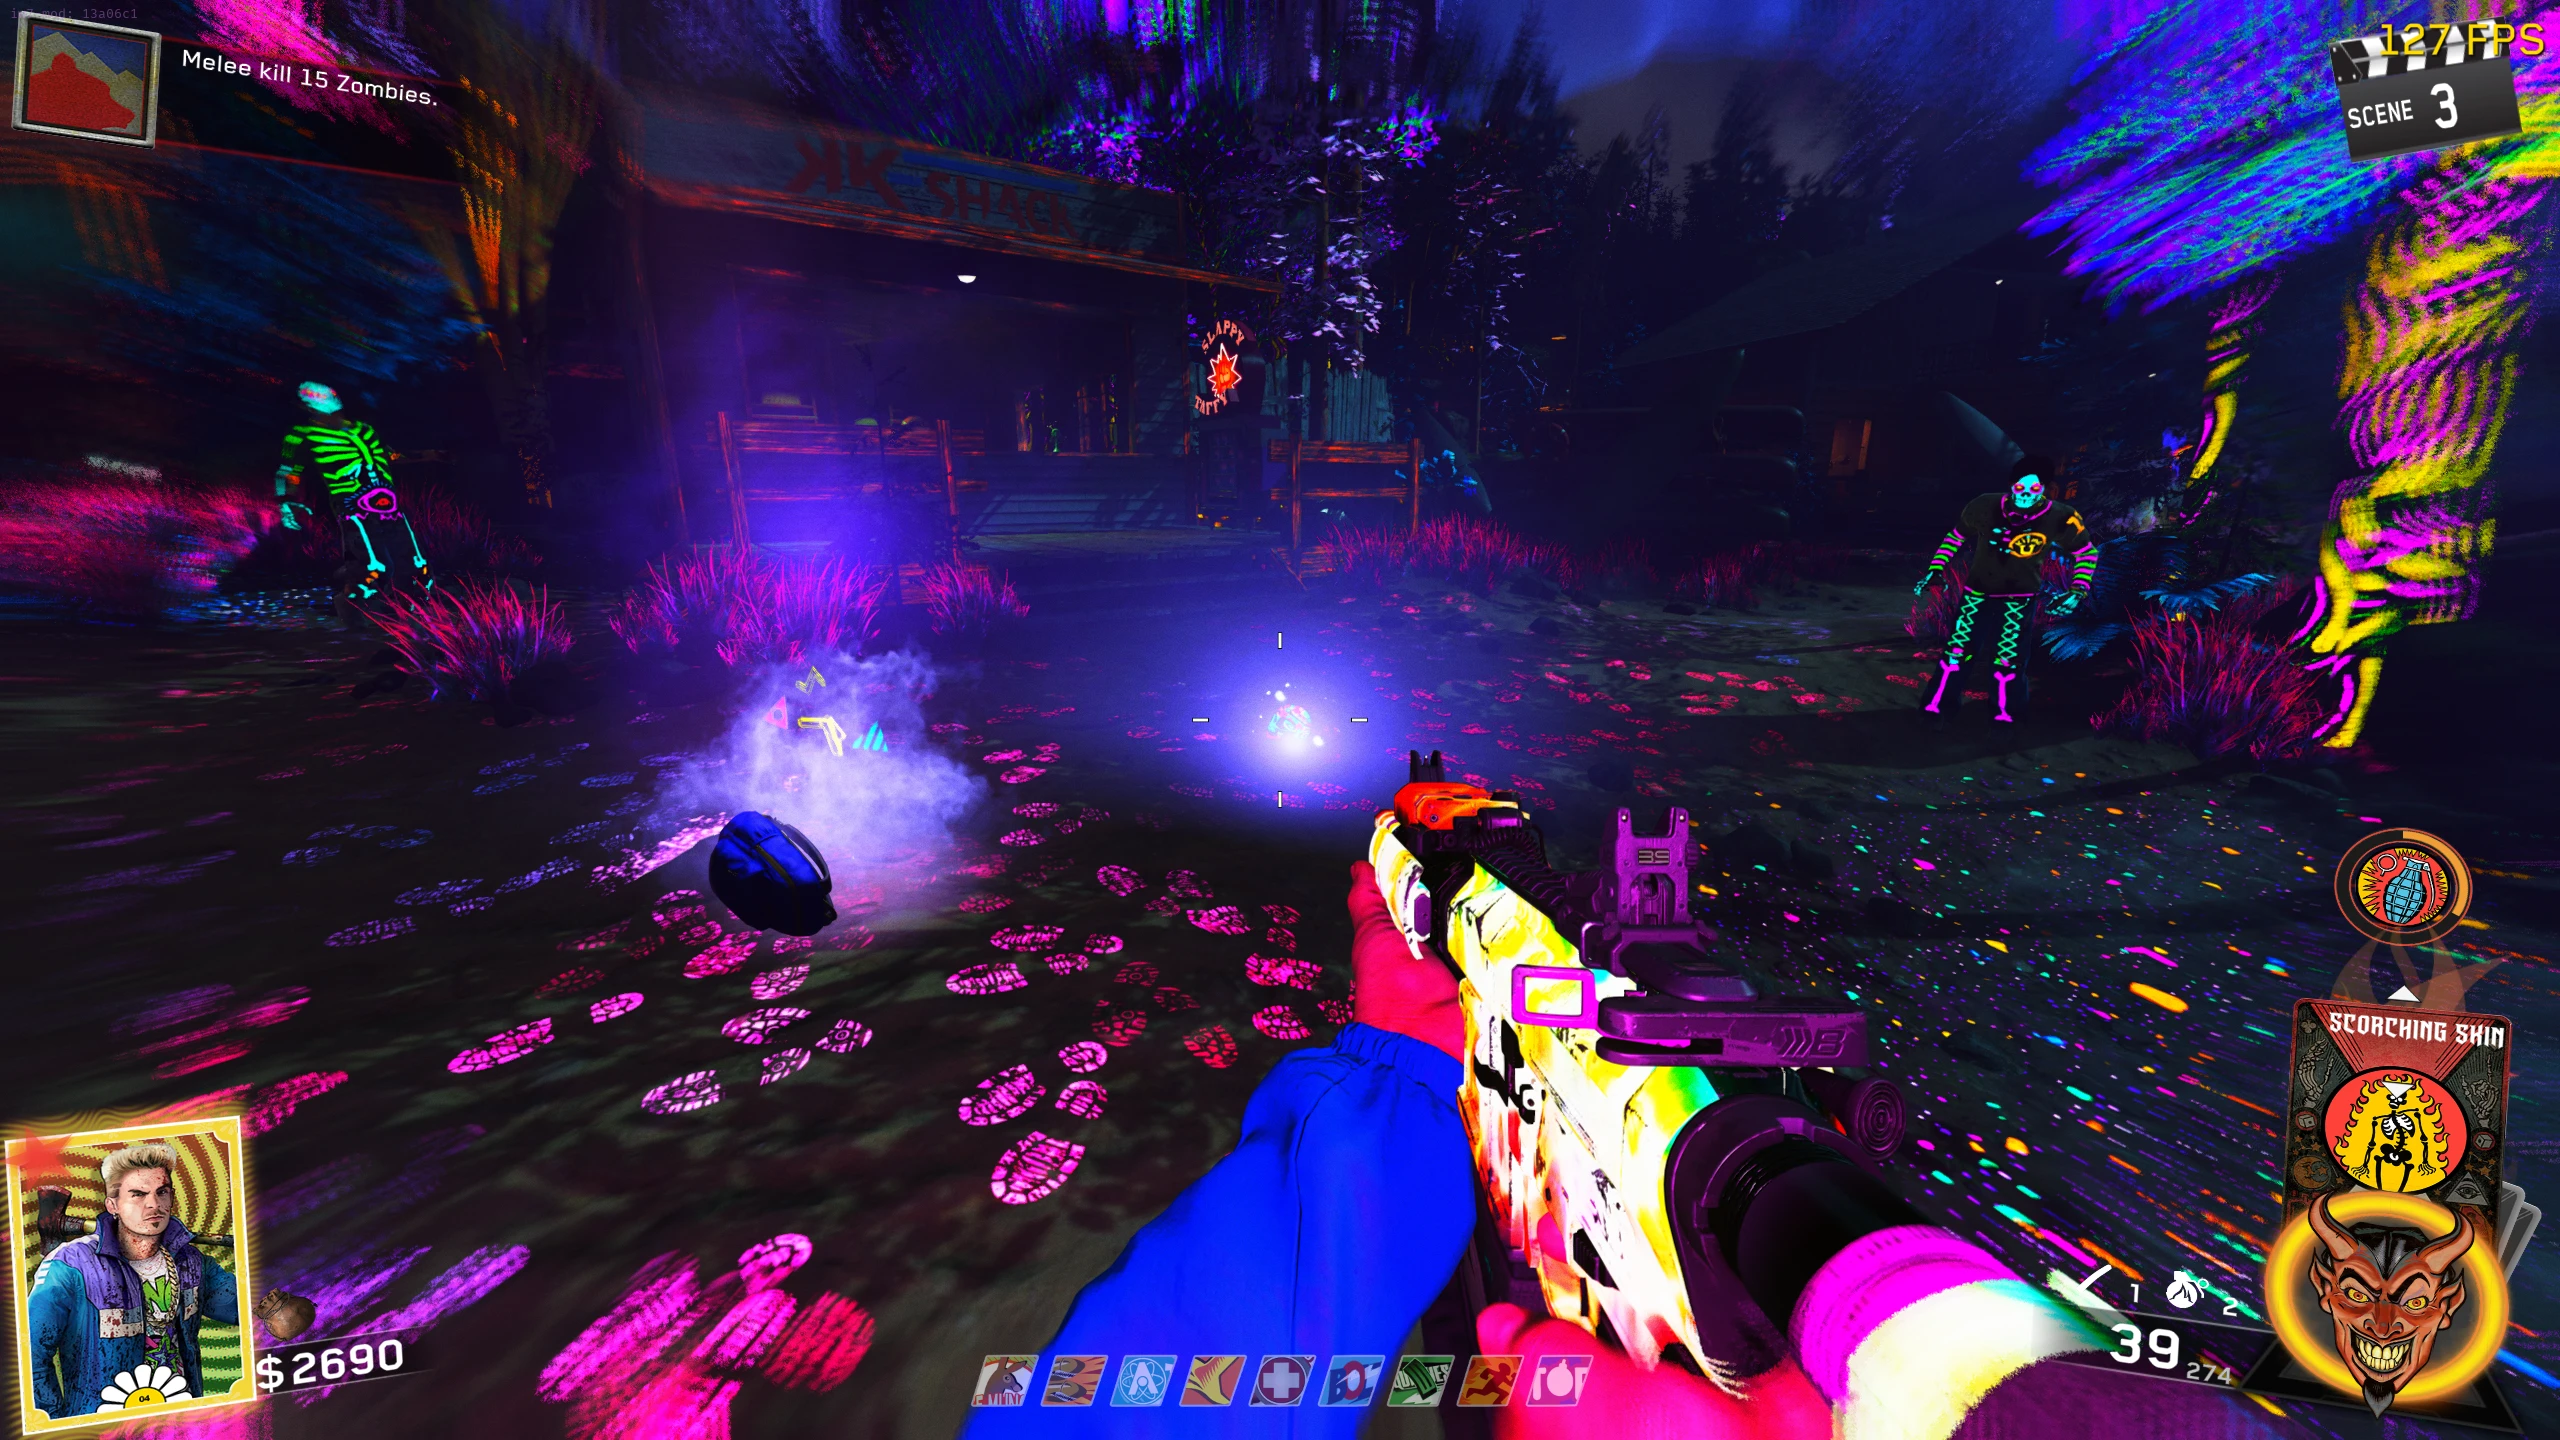
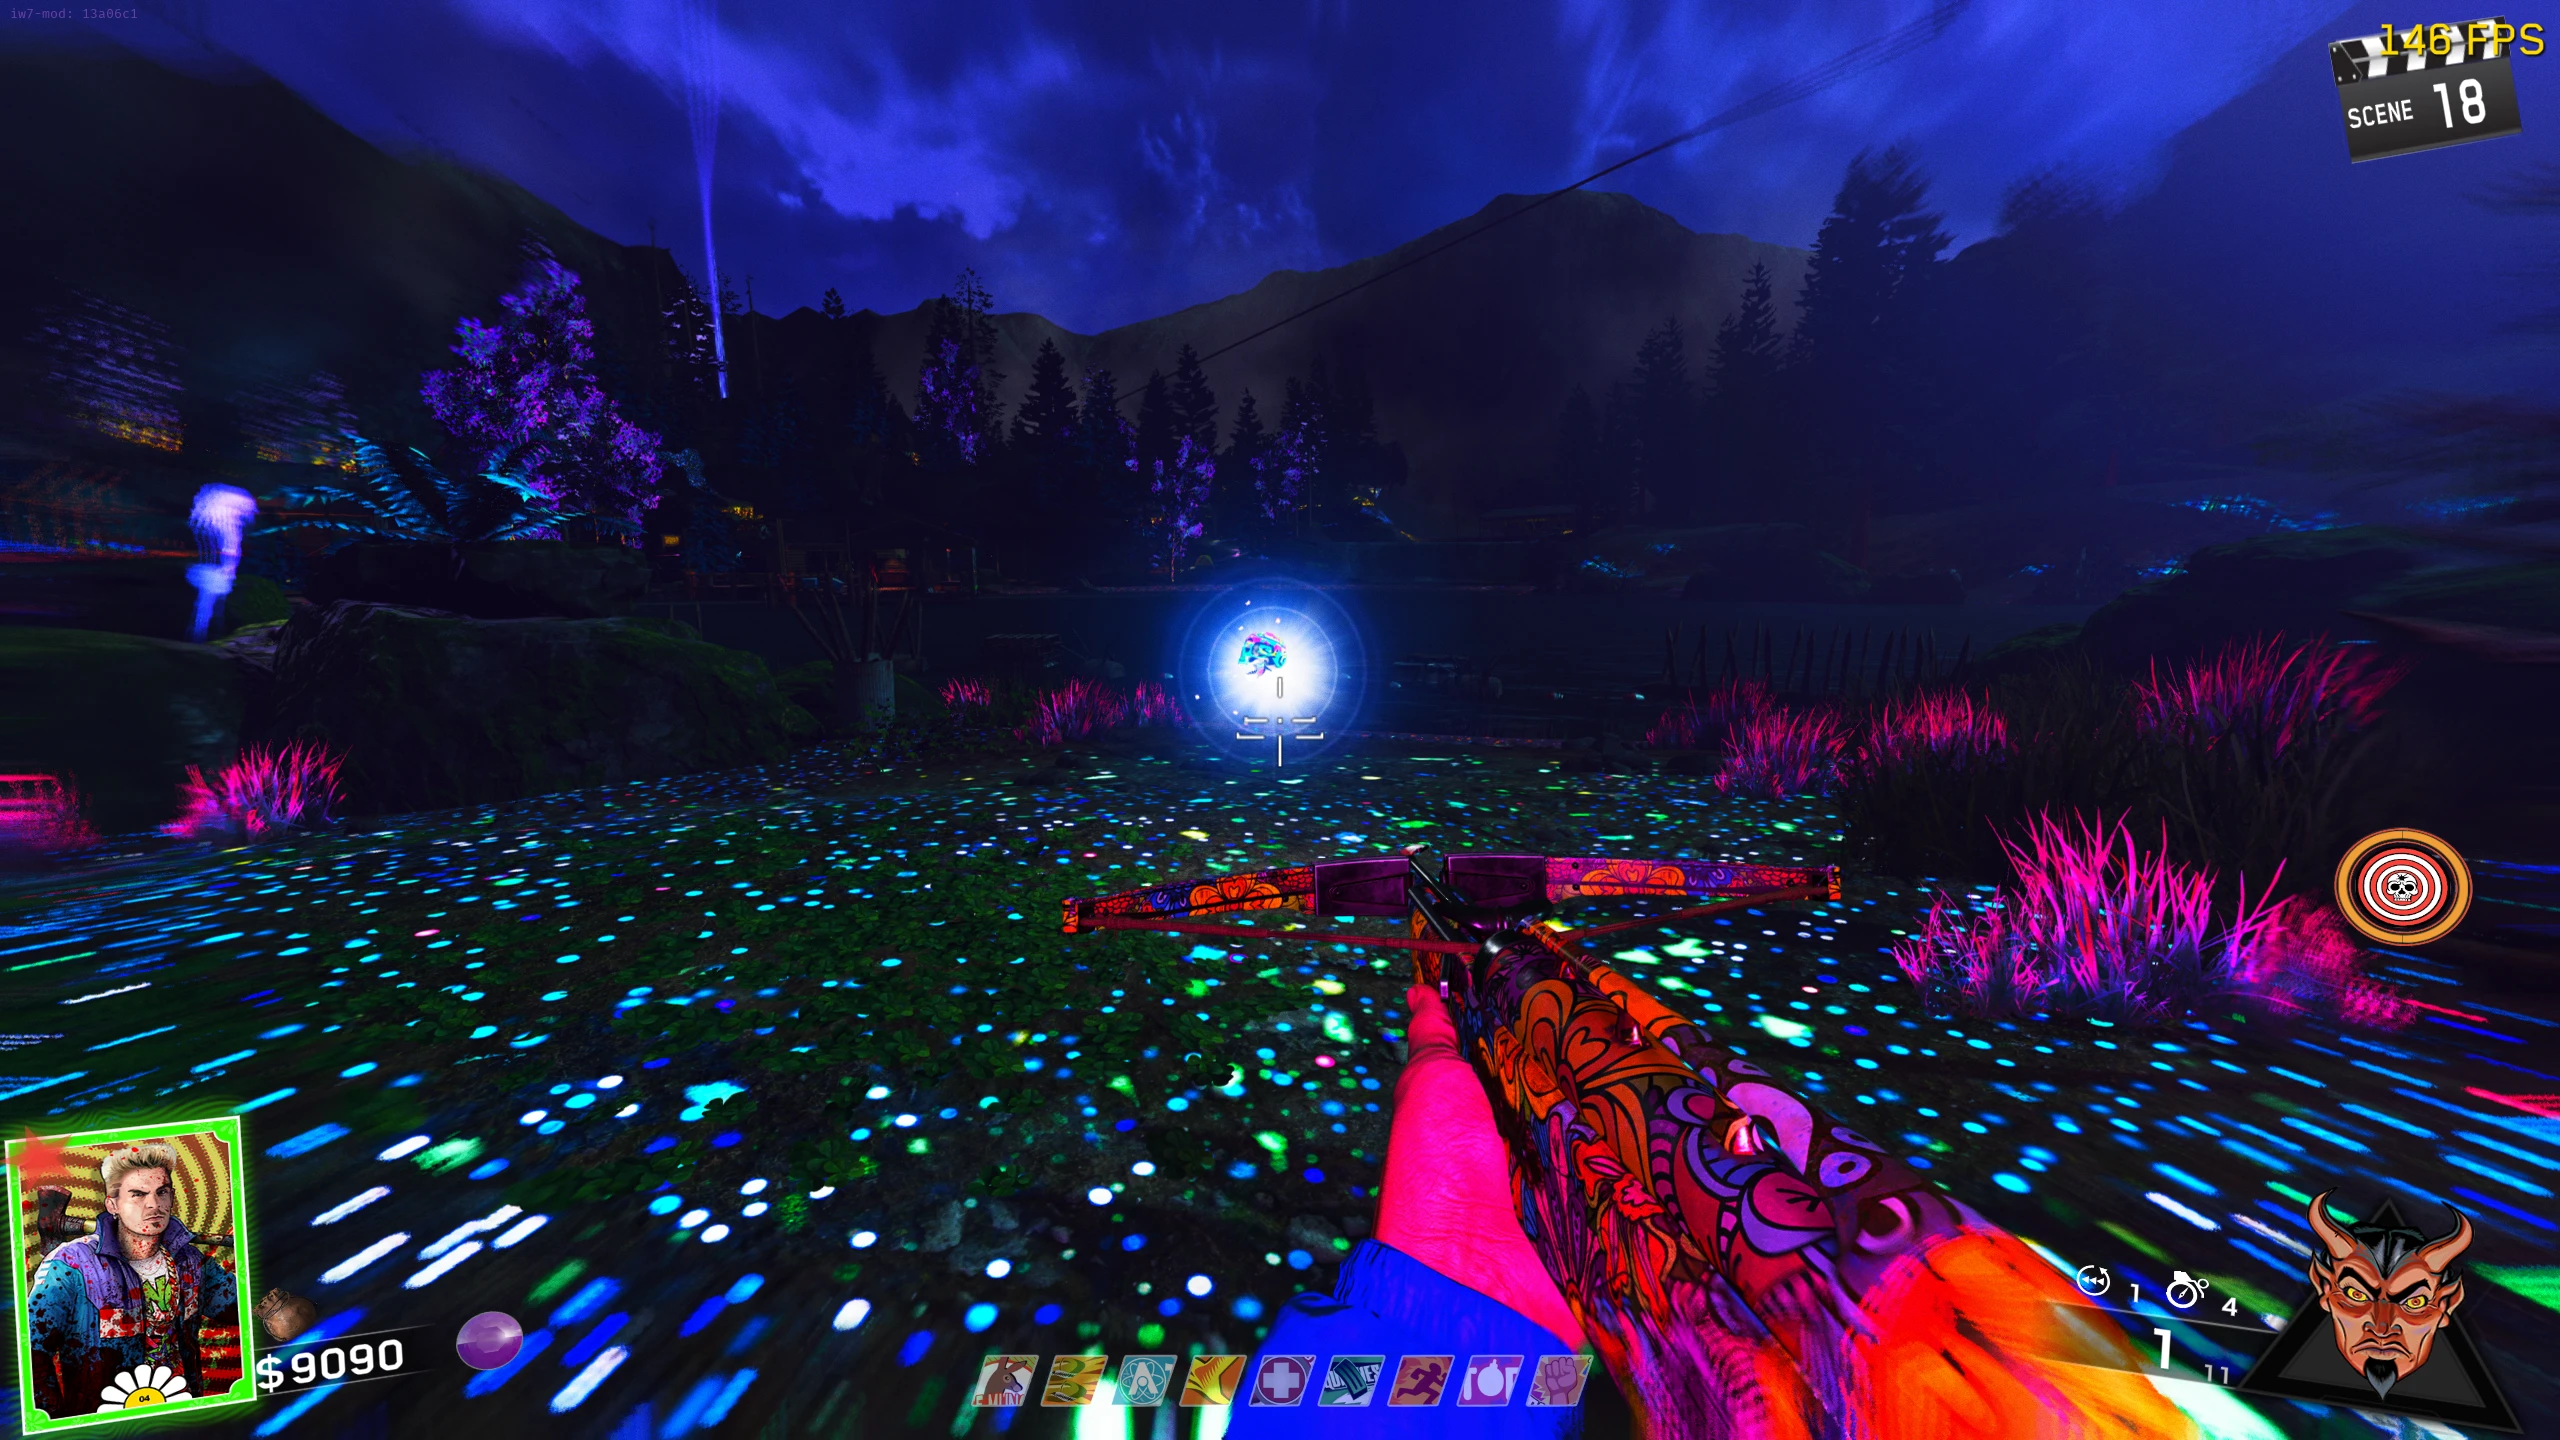
- Pick up a Rave Mode Pouch, which Zombies randomly drop. Interact with the Fireplace in the Bear Lodge (you can enter Rave Mode at any fire location, the spawn fire just works the best) to enter Rave Mode.
- For more information on Rave Mode, see the Rave Mode section.
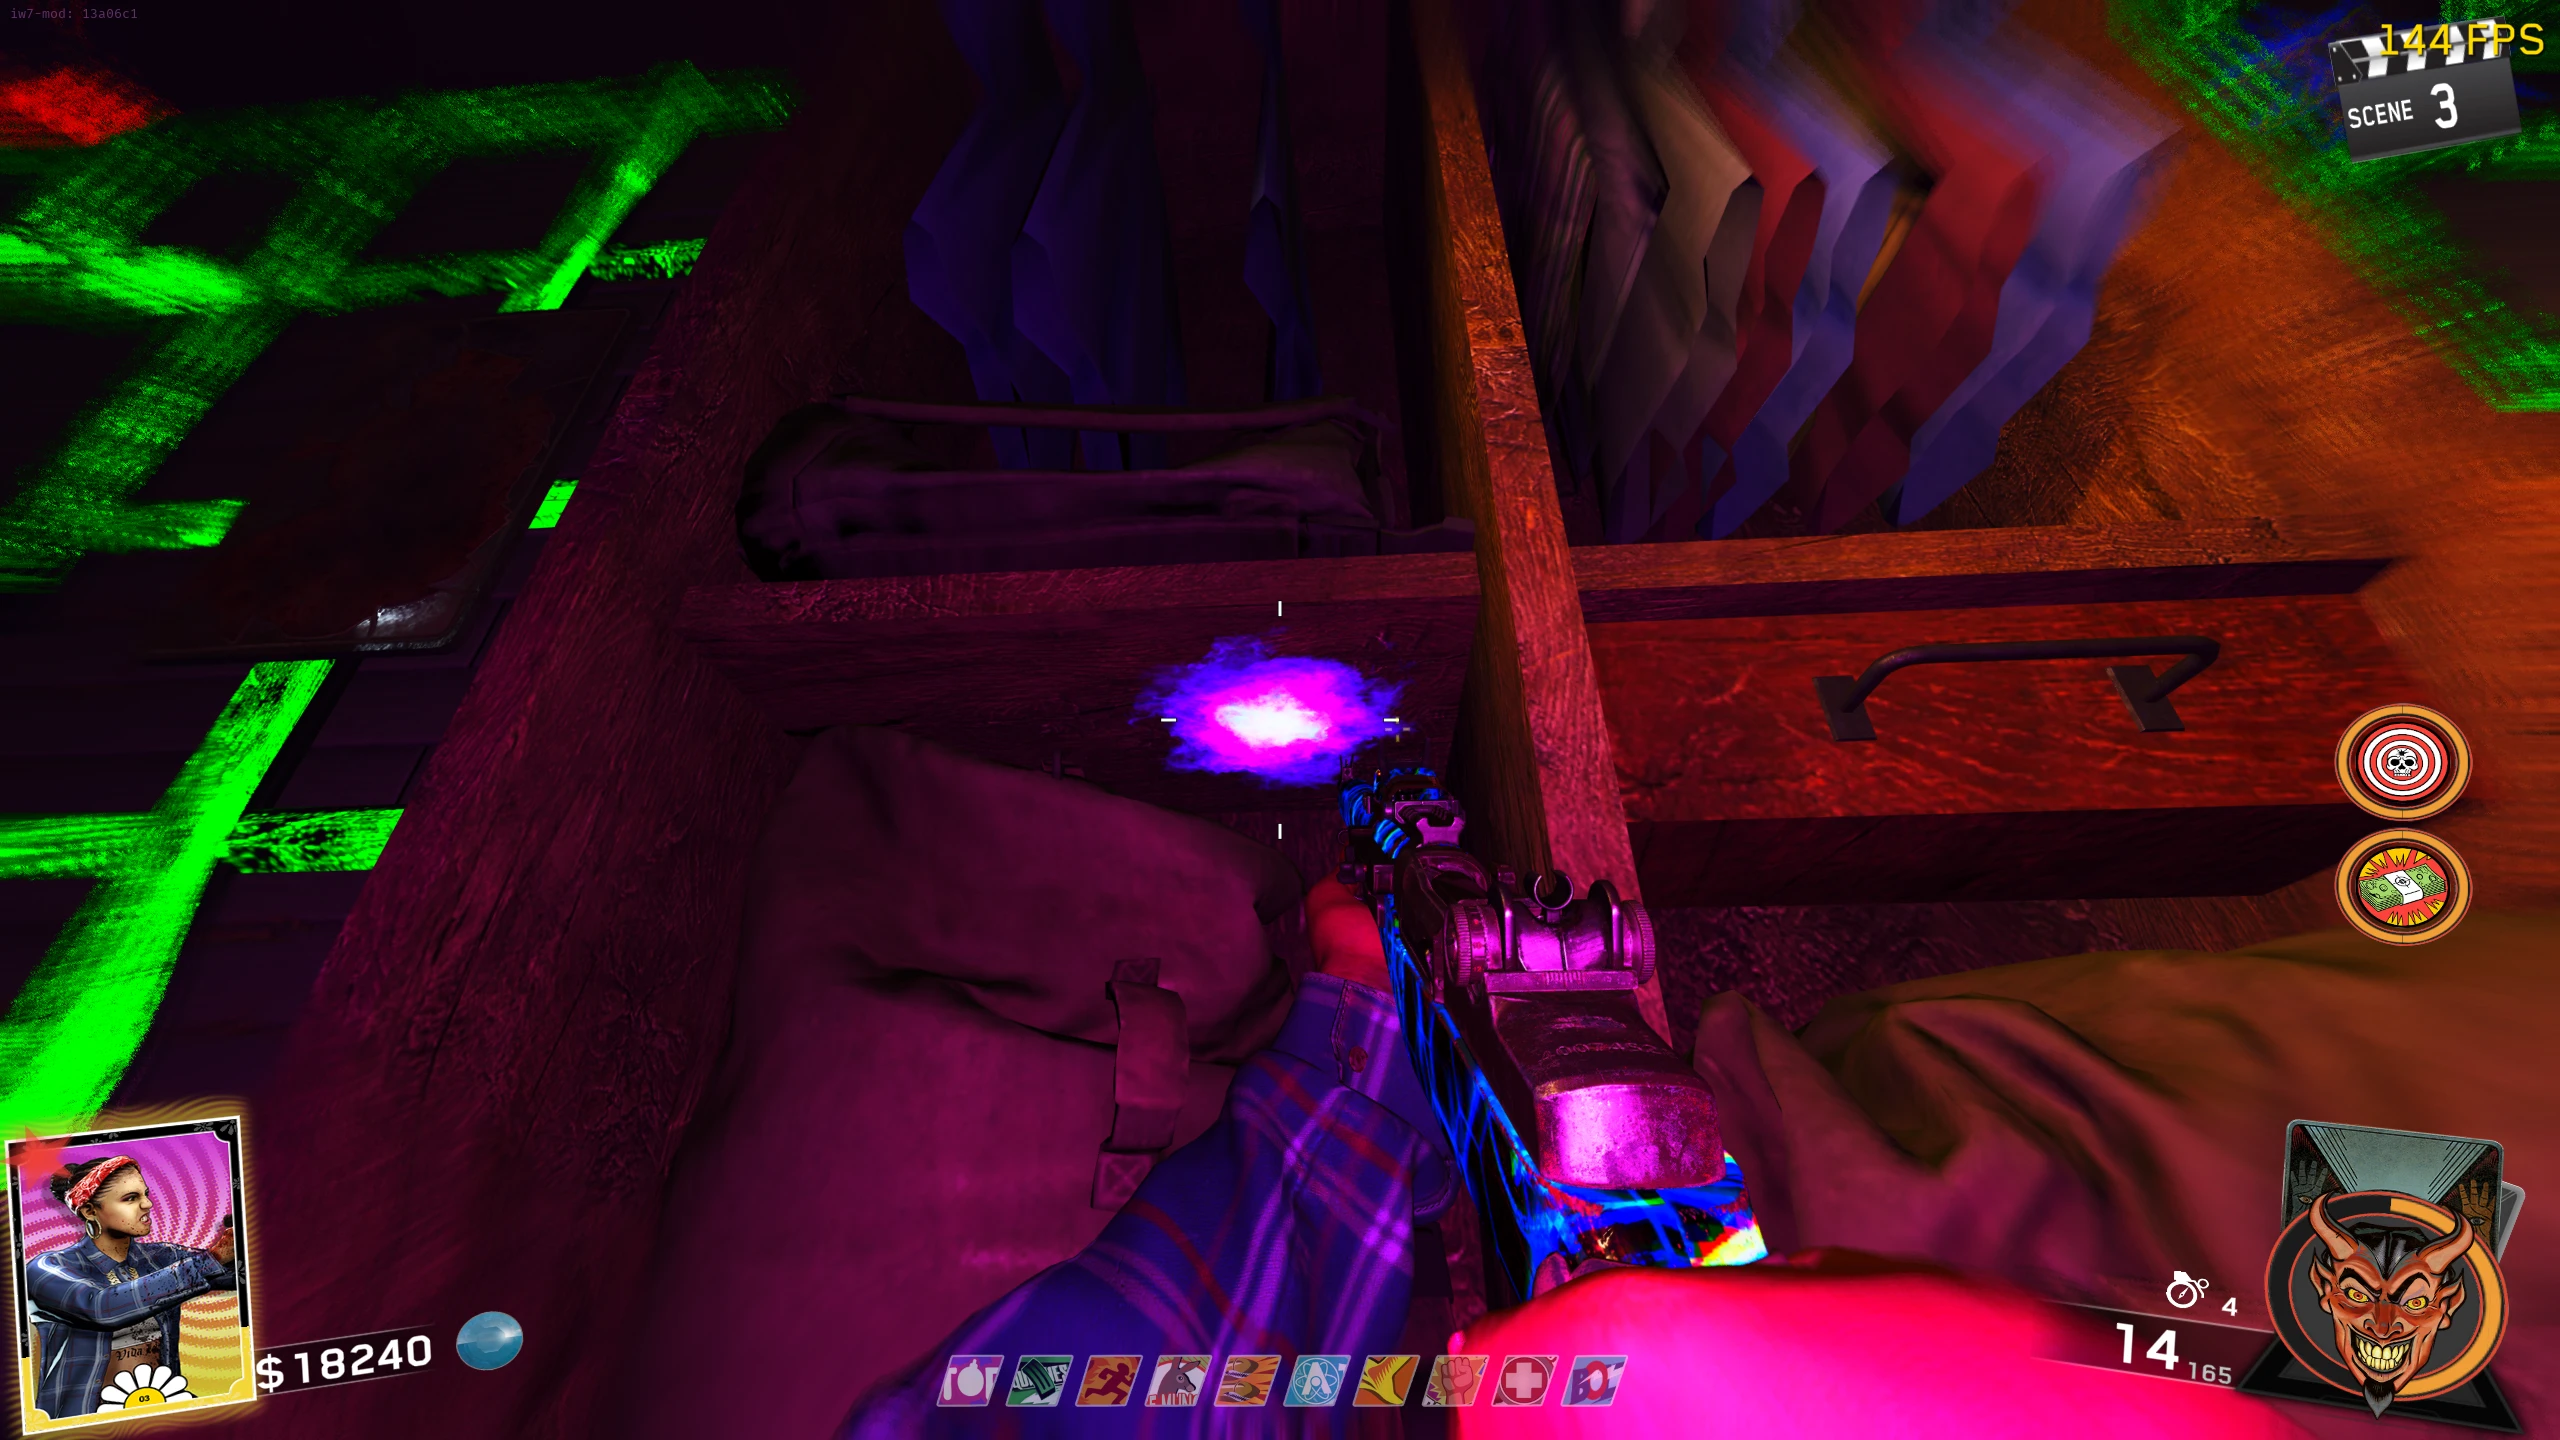
- Around the map, there are three Deer heads mounted on walls. While in Rave Mode, throw a Hot Dog at a Deer head to cause it to fly off the wall and start floating around. While the Deer's head is in the air, shoot it with any weapon till it breaks. This will drop a Glowing Symbol for you to pick up. Deer head Locations:
- Once you have collected all three symbols, exit Rave Mode (by waiting out the timer, killing Zombies to lower the timer, or going down). Once you're out of Rave Mode, interact with the Crossbow Cabinet in the Bear Lodge. The lock on the cabinet will disappear, and the Vlad will become available for pickup.
Vlad Upgrade Variants
The Whirlwind EF-5 will fire a projectile that will blow back any Zombies caught in its area (very similar to the Thundergun). The Trap-o-Matic will make the crossbow akimbo, and if two (or more) bolts are fired close enough together on the ground, a laser will connect them, killing any Zombie that walks through it. The Acid Rain will rain acid on the area around where the bolt lands for a couple of seconds. The Ben Franklin will cause a bolt of lightning to strike where the bolt lands; the bolt of lightning is small and will only kill a few Zombies.
There are four upgrades with each of them roughly sharing the same steps to get, except for Step 6. Also, the Vlad is not required until Step 5.
- Around the map are four different animal statues, each corresponding to an upgrade. All the statues share the same pool of spawn locations, for example, in one game the Deer statue might spawn where the Owl spawned previously. You only need to collect the statue for the upgrade you wish to get, instead of needing to collect them all.
- Deer: Whirlwind EF-5 (Wind) Crossbow
- Eagle: Trap-o-Matic Crossbow
- Owl: Acid Rain Crossbow
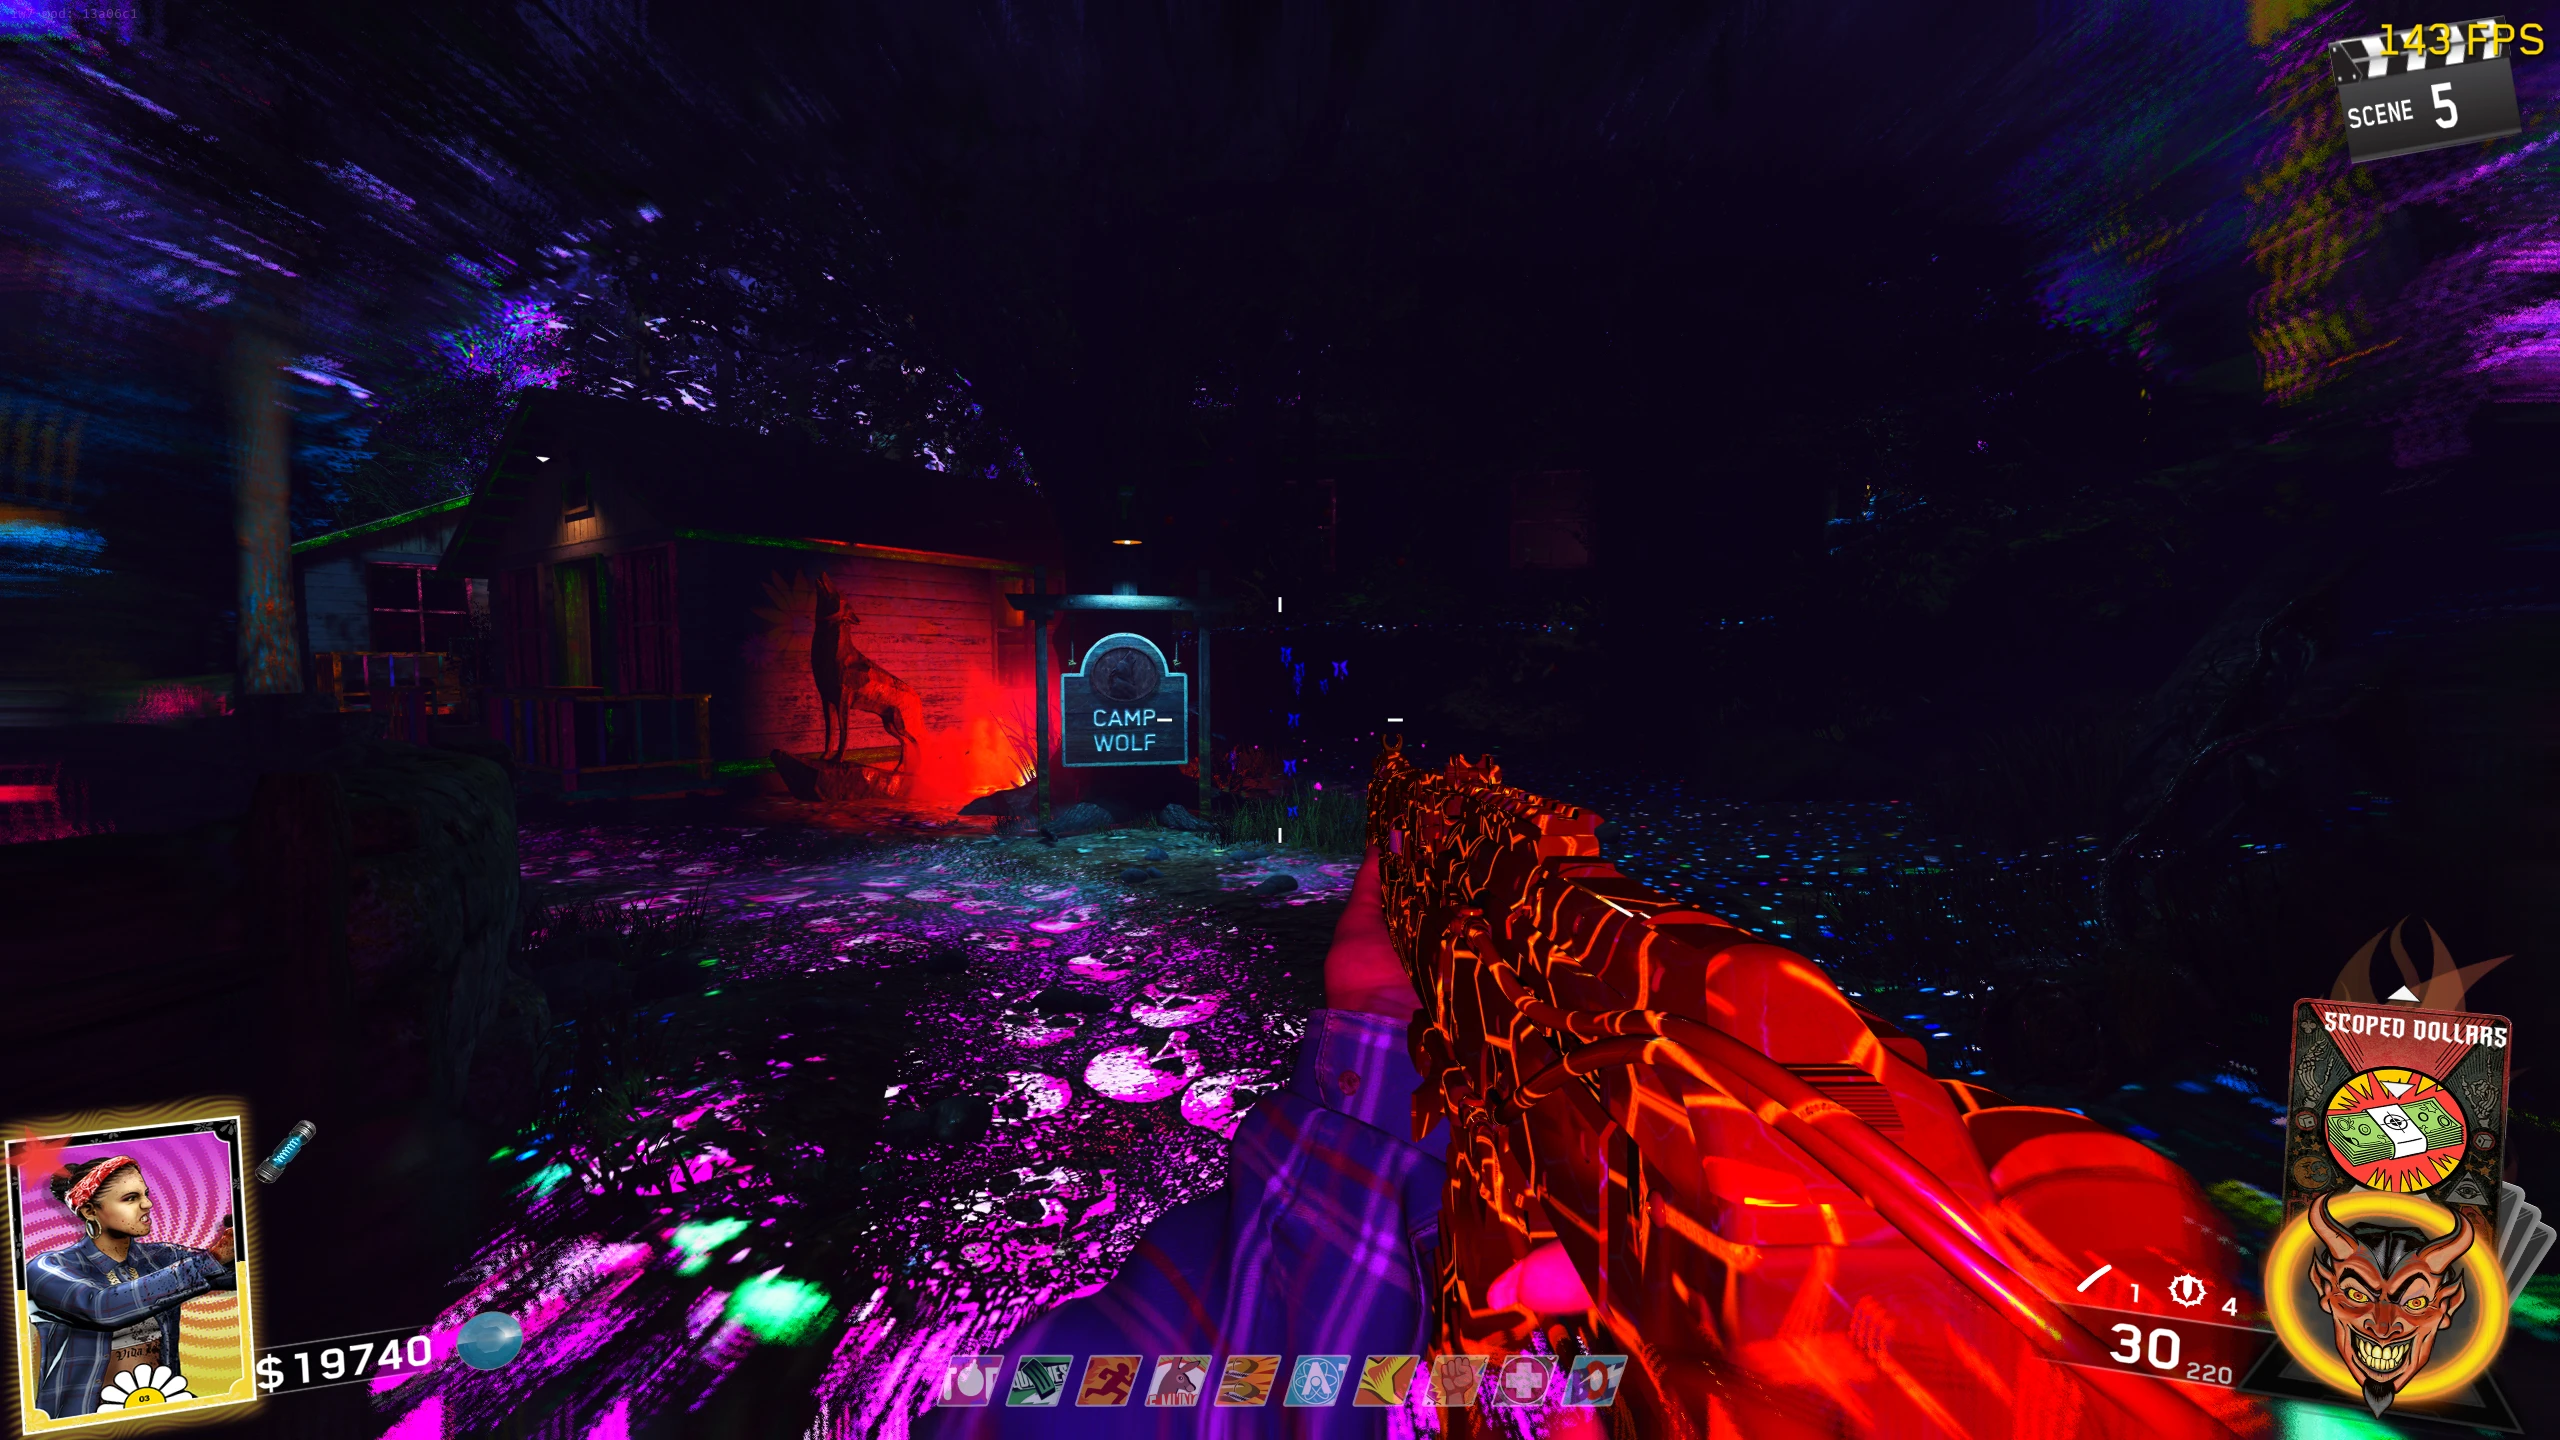
- Wolf: Ben Franklin (Lightning) Crossbow
Statue Spawn Locations:
- Once you've collected the statue(s) for the upgrade you wish to get, place them on the Speakers (two on each side of the speaker stack in the middle) left of the Quickies Perk Machine in the Rave area.
- You must now damage, but not kill, about eight Zombies near the speakers to cause them to explode into a red mist. If you kill a Zombie normally, it will just die instead of exploding.
- If you have multiple statues placed down at the same time, the kill progress will be shared between the statues meaning you will only need to get eight kills to charge all four statues.
- Once enough Zombies are "killed", a sound will play, and you'll be able to pick up the statues.
- Obtain a Vlad Crossbow.
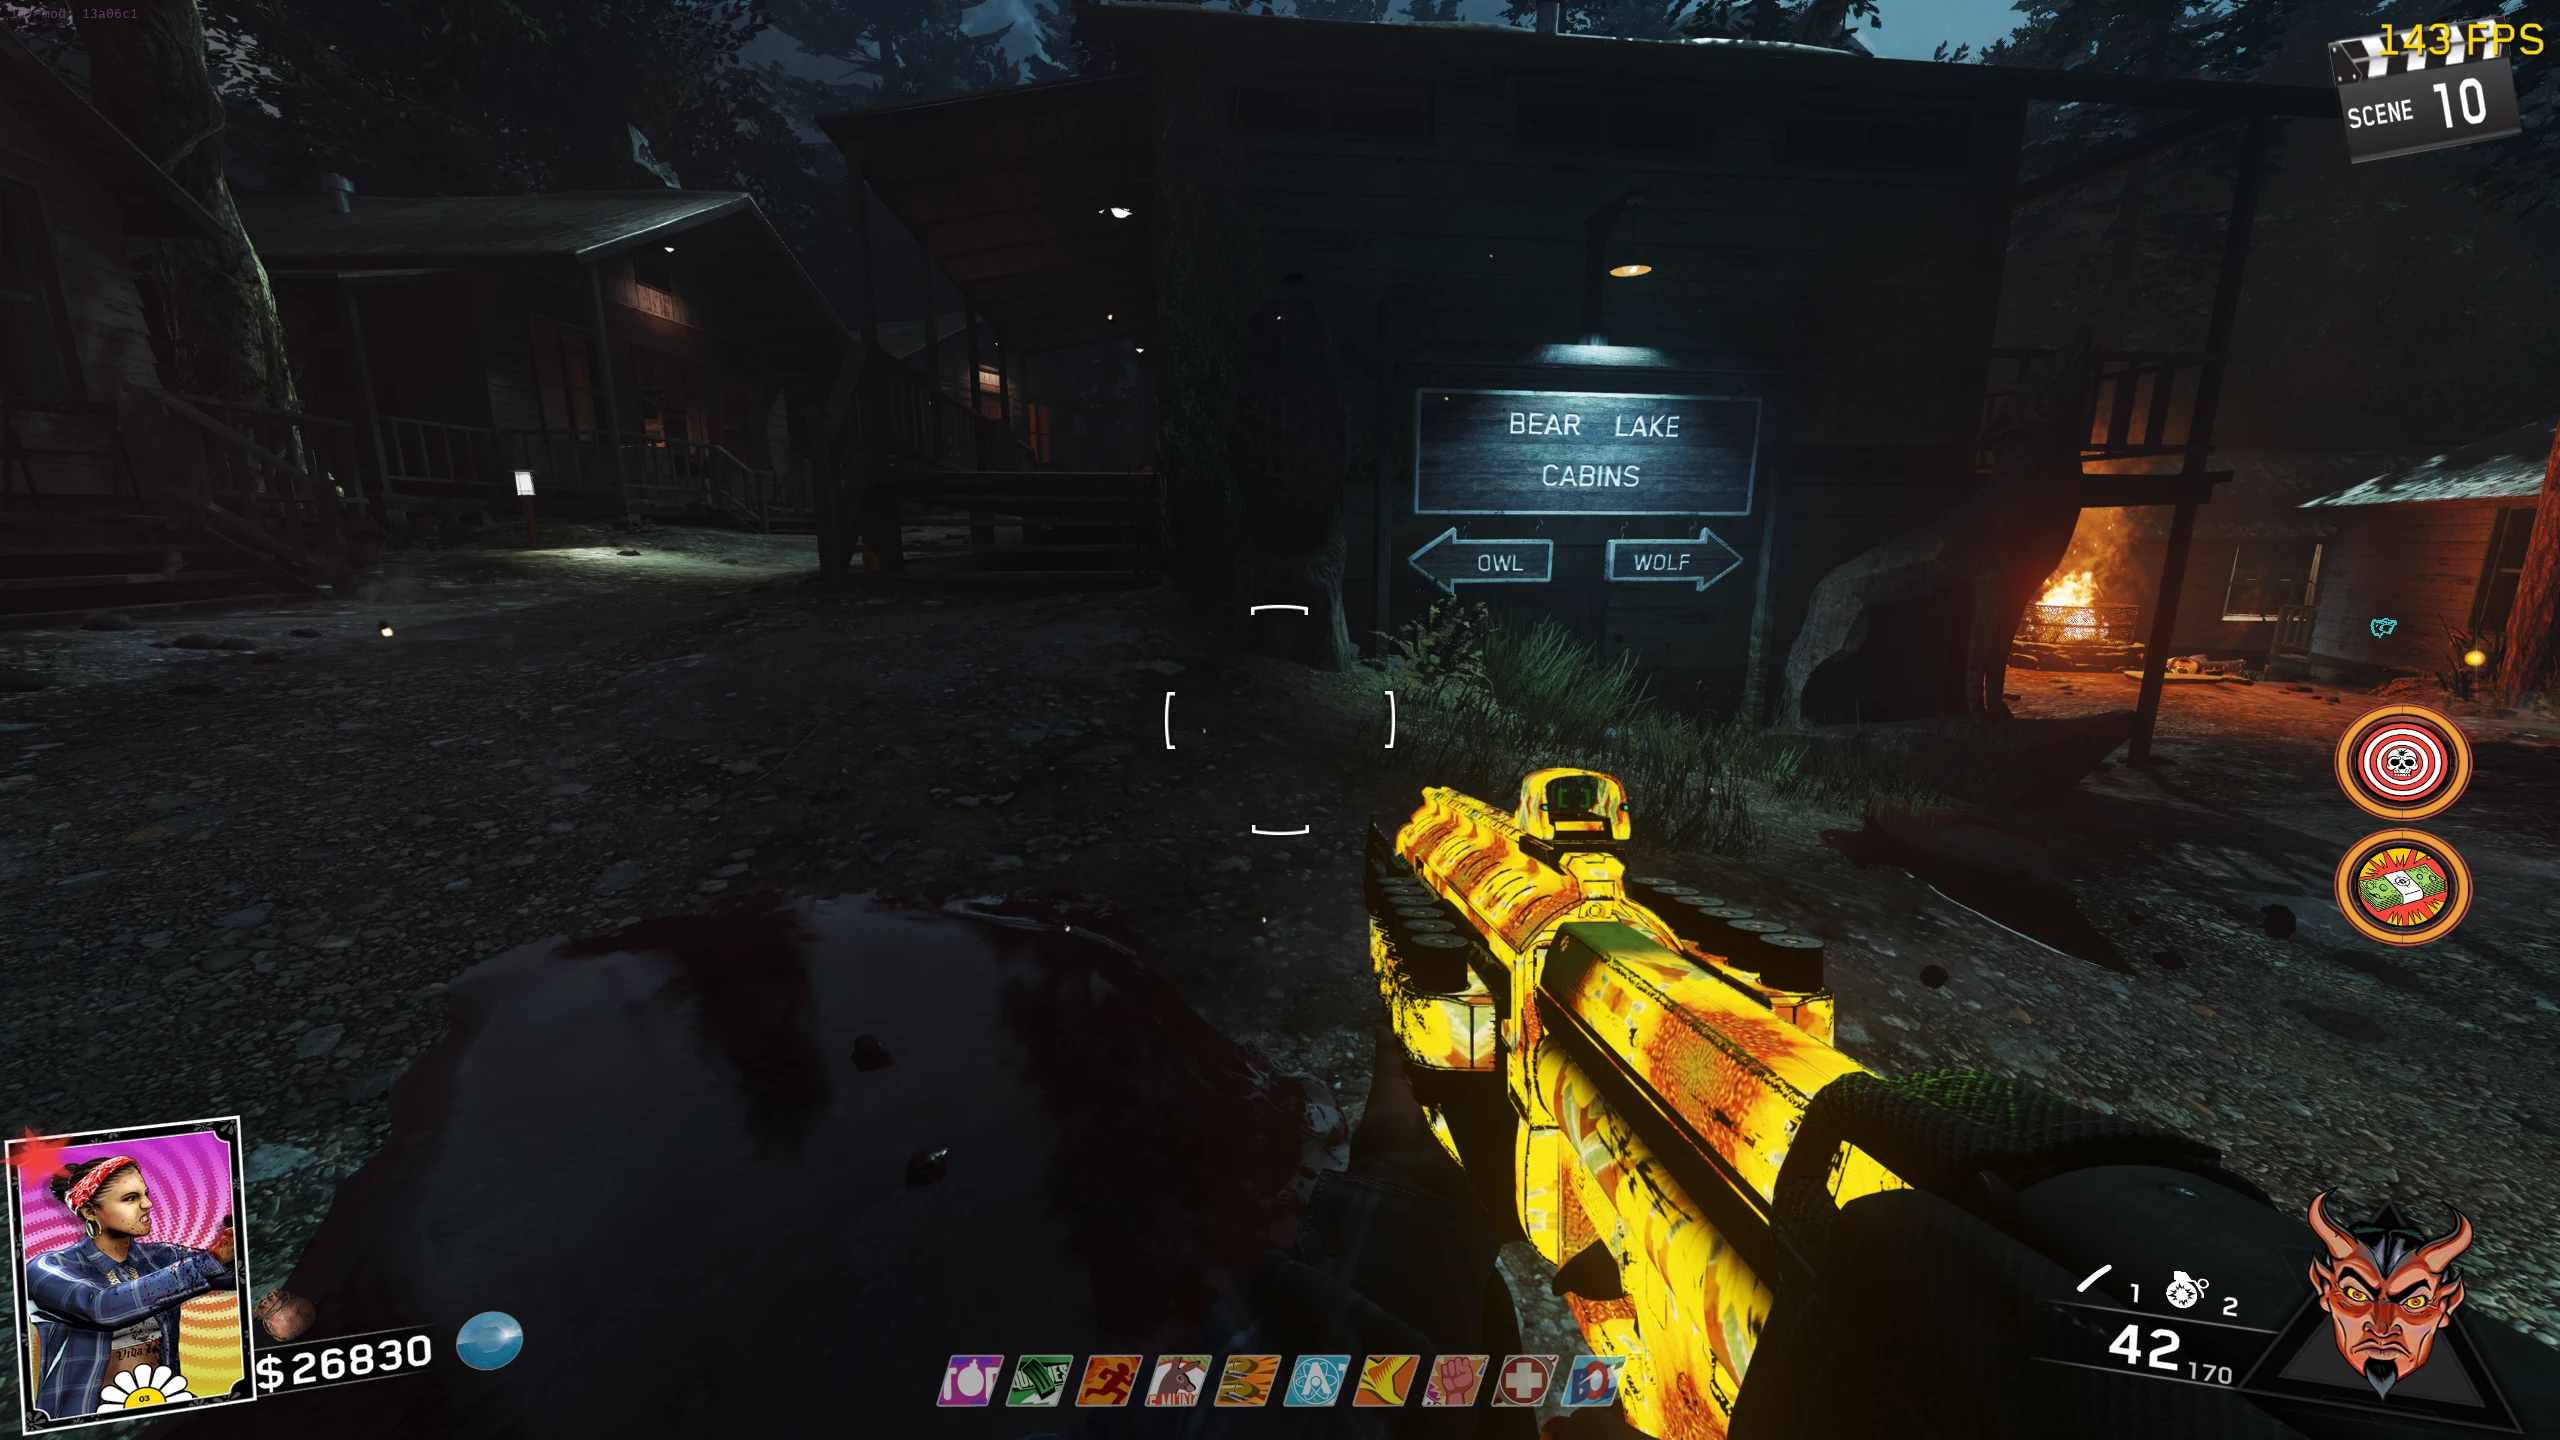
- You must now place the statue in front of an identical big statue in one of the following locations around the map. Some statues can be placed in two different locations; when placing these statues, they will appear in both locations, instead of just the one you placed it at. Statue Location:
- Once the statue is placed down, get about 20 kills using the Vlad (direct impact or explosion both work) near the statue.
- An upgraded Vlad CAN'T be used to charge a statue, you must use an un-upgraded Vlad.
- Once you get enough kills, you can pick up the statue to upgrade the Vlad.
- If you no longer want the Vlad you have, it can be placed back in the cabinet, or it will automatically be returned to the cabinet if you buy a new weapon.
- You can carry as many different Vlads as you want. For example, you could carry two upgraded Vlads, or an upgraded and un-upgraded Vlad.
'Smiley' Chainsaw Wonder Weapon
The Smiley is a Circular Saw that can either shoot the saw blades as a projectile or it can be held up as the blades spin, damaging anything that runs into them. Killing an enemy while the Saw is being held up will cause one "ammo" to be used up. The Smiley can't be Pack-a-Punched and is the only weapon that can kill the Slasher.
- Complete the Main Quest (must be done every game you want to use the weapon) or play the map with Director's Cut (unlocked by completing all 5 Main Quests) enabled.
- Once the Boss is defeated (or once you spawn in while in Director's Cut), the Smiley can be picked up from the rack left of the Zombie on the wheel in the Bear Lodge Basement. The Smiley will automatically be returned to the rack if you buy a new weapon.
Charms
The Charms are small items that give the player small, unique upgrades. A Charm can be equipped on any standard weapon, but a weapon can only hold one charm at a time. When a charm is equipped for the first time, some audio backstory will play about the characters.
Binoculars (Co-op Ability) --- Electric Cherry between players
- Ability: Works like electric cherry between two players when you reload (you need to be close to your teammate when you reload).
- The Binoculars can be found in one of the following locations:
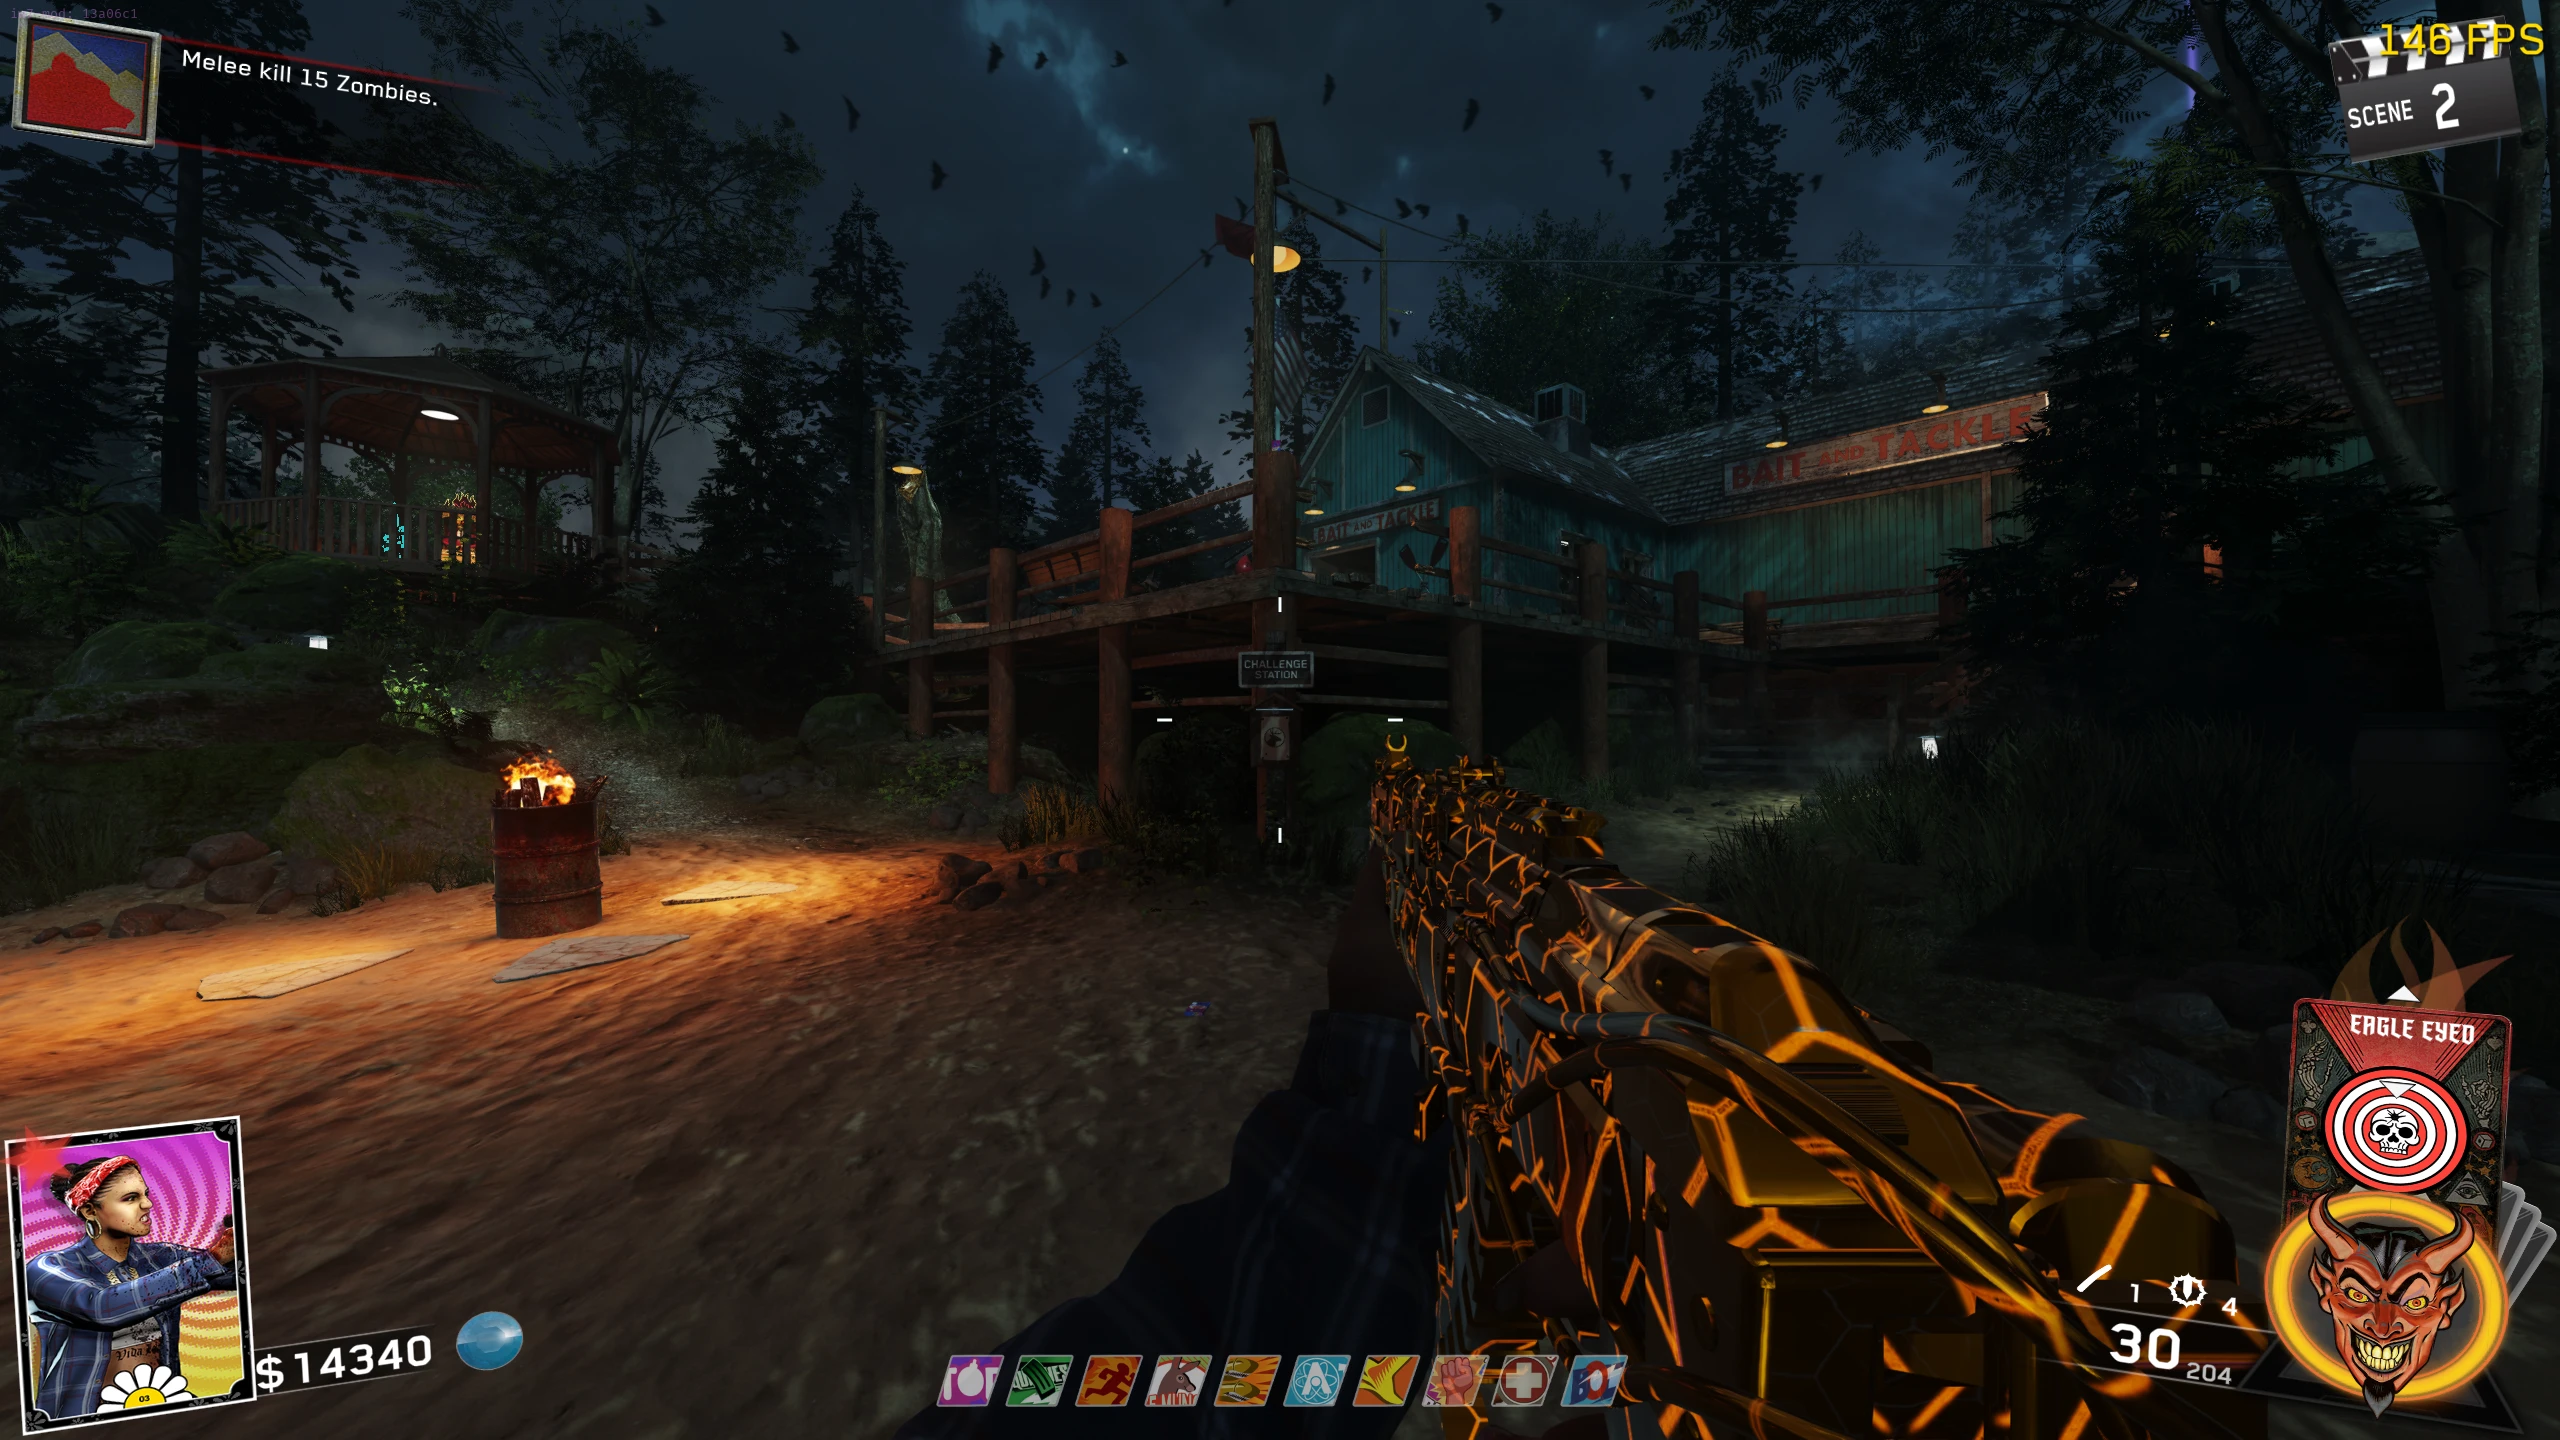
- Once you have the Binoculars, place them on the Bench outside the Bait and Tackle building (on the wooden deck on the beach).
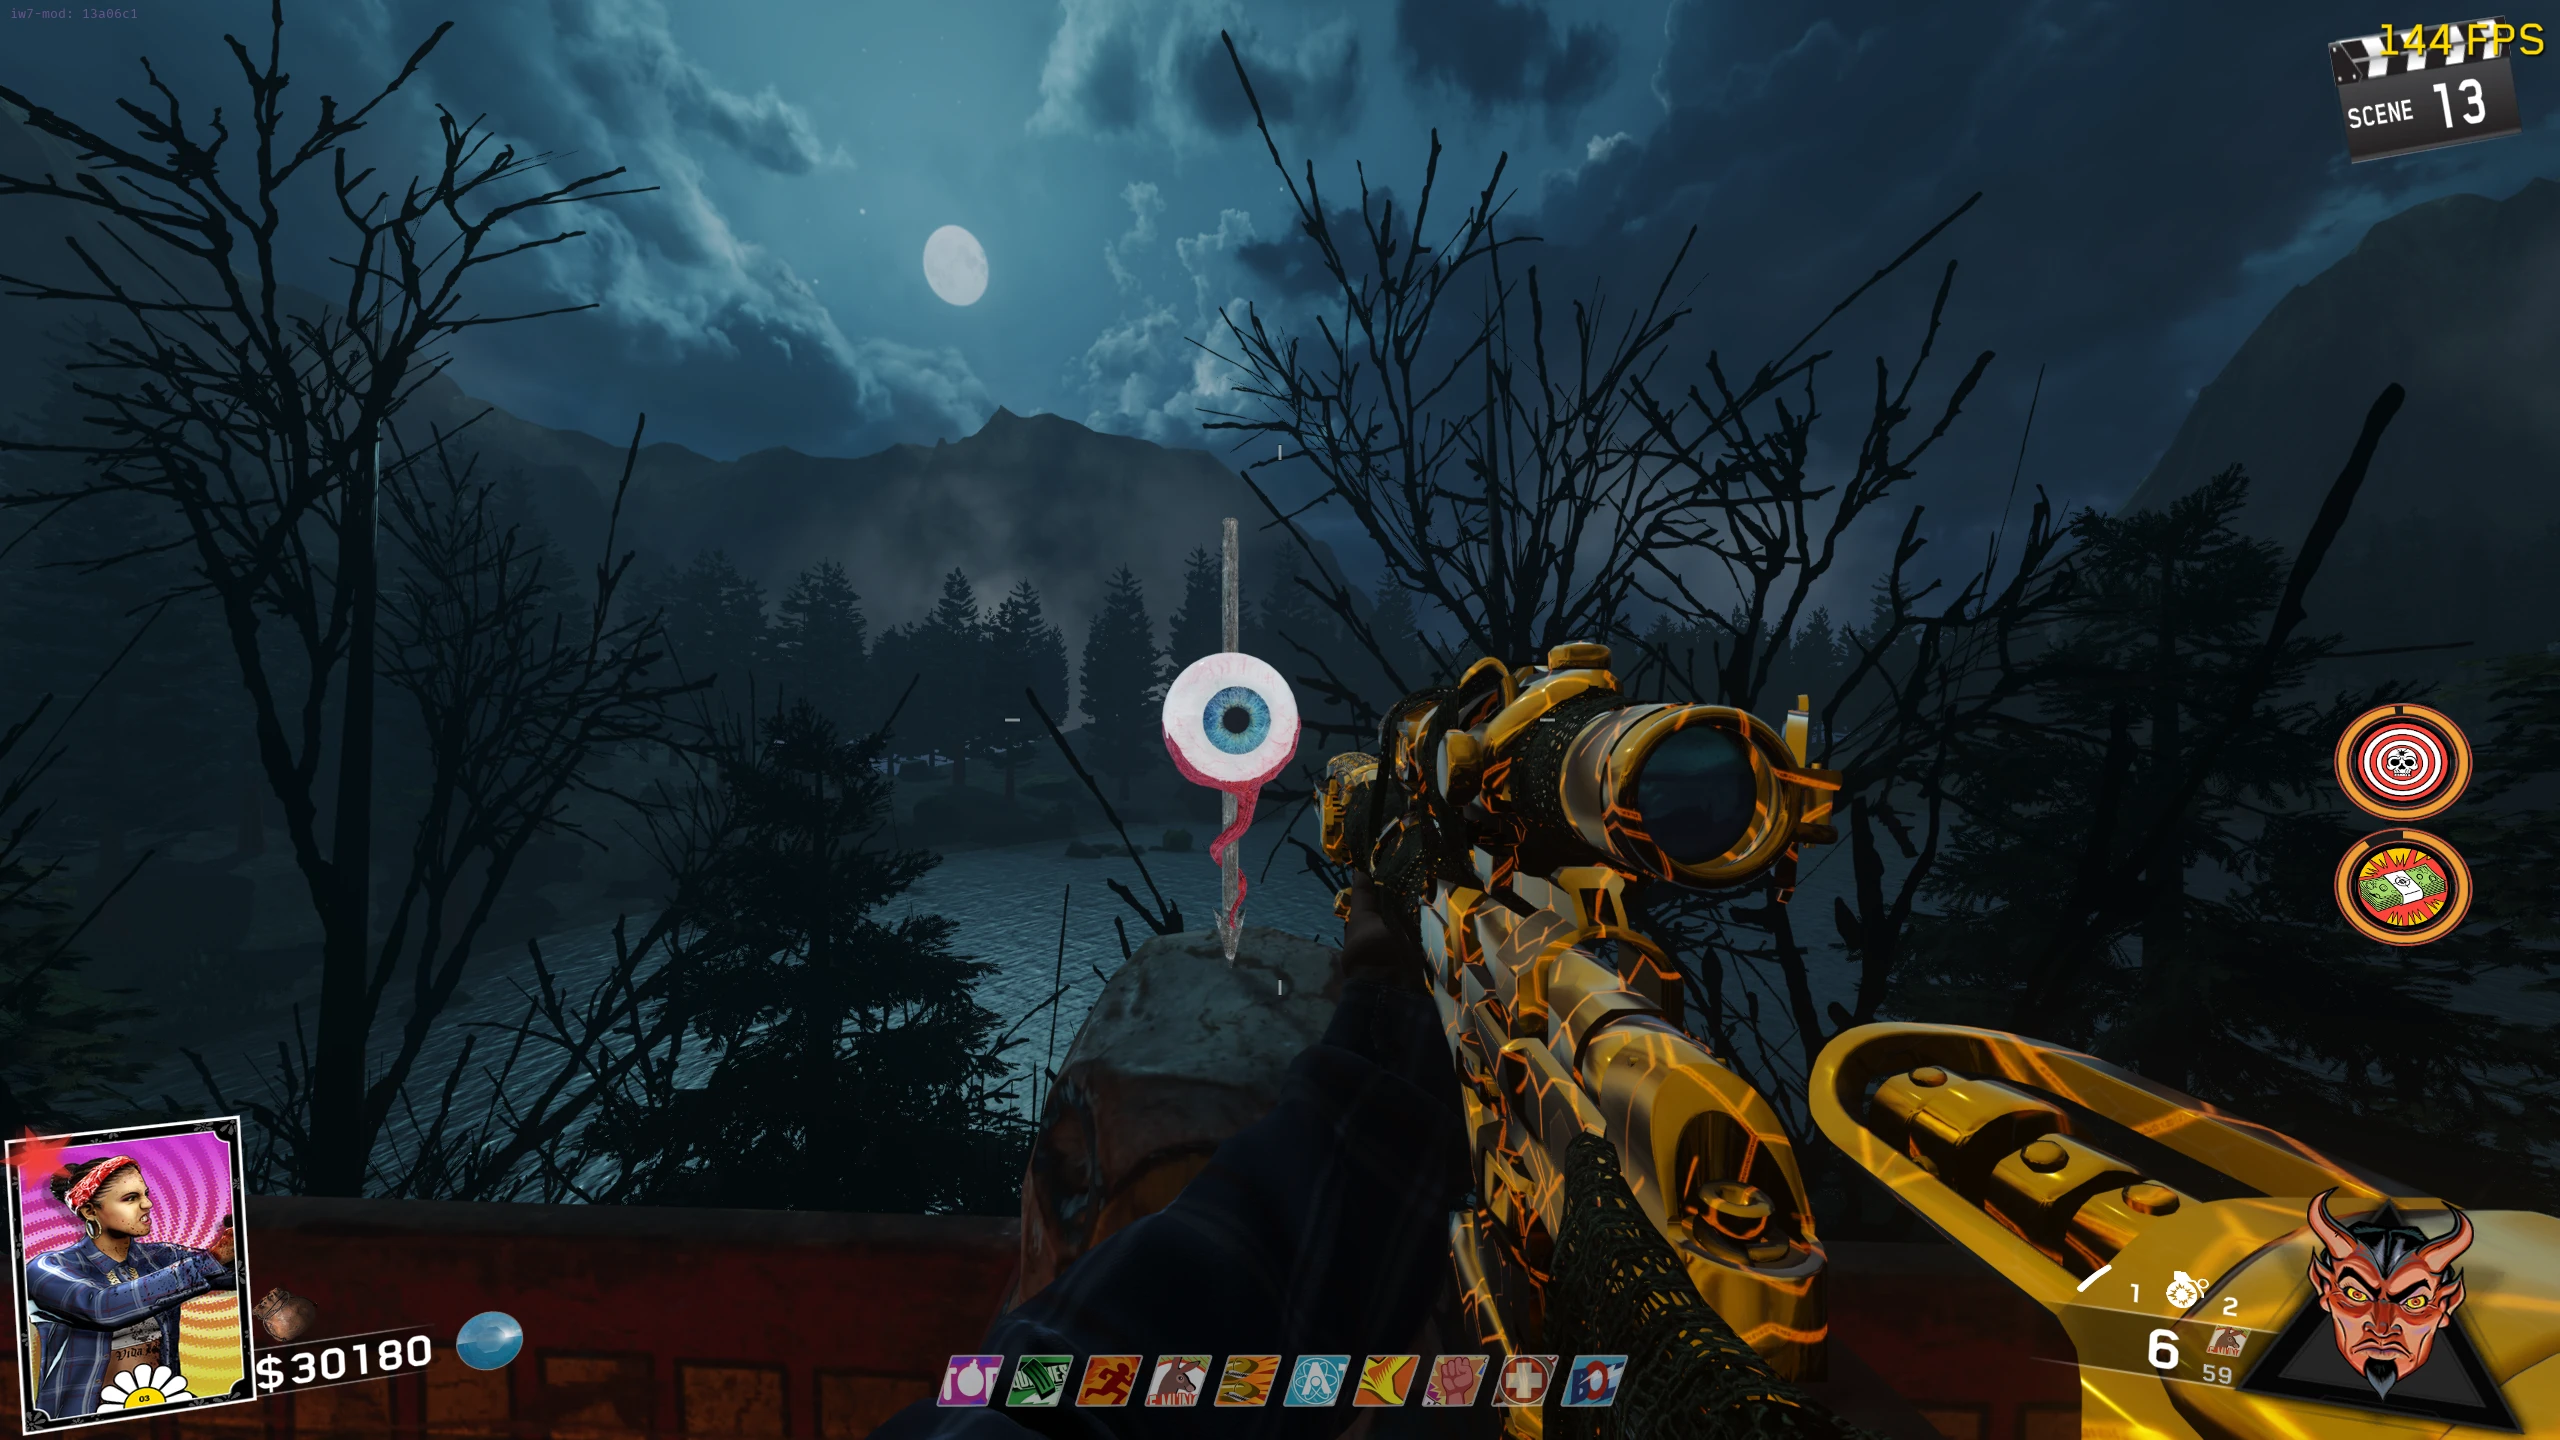
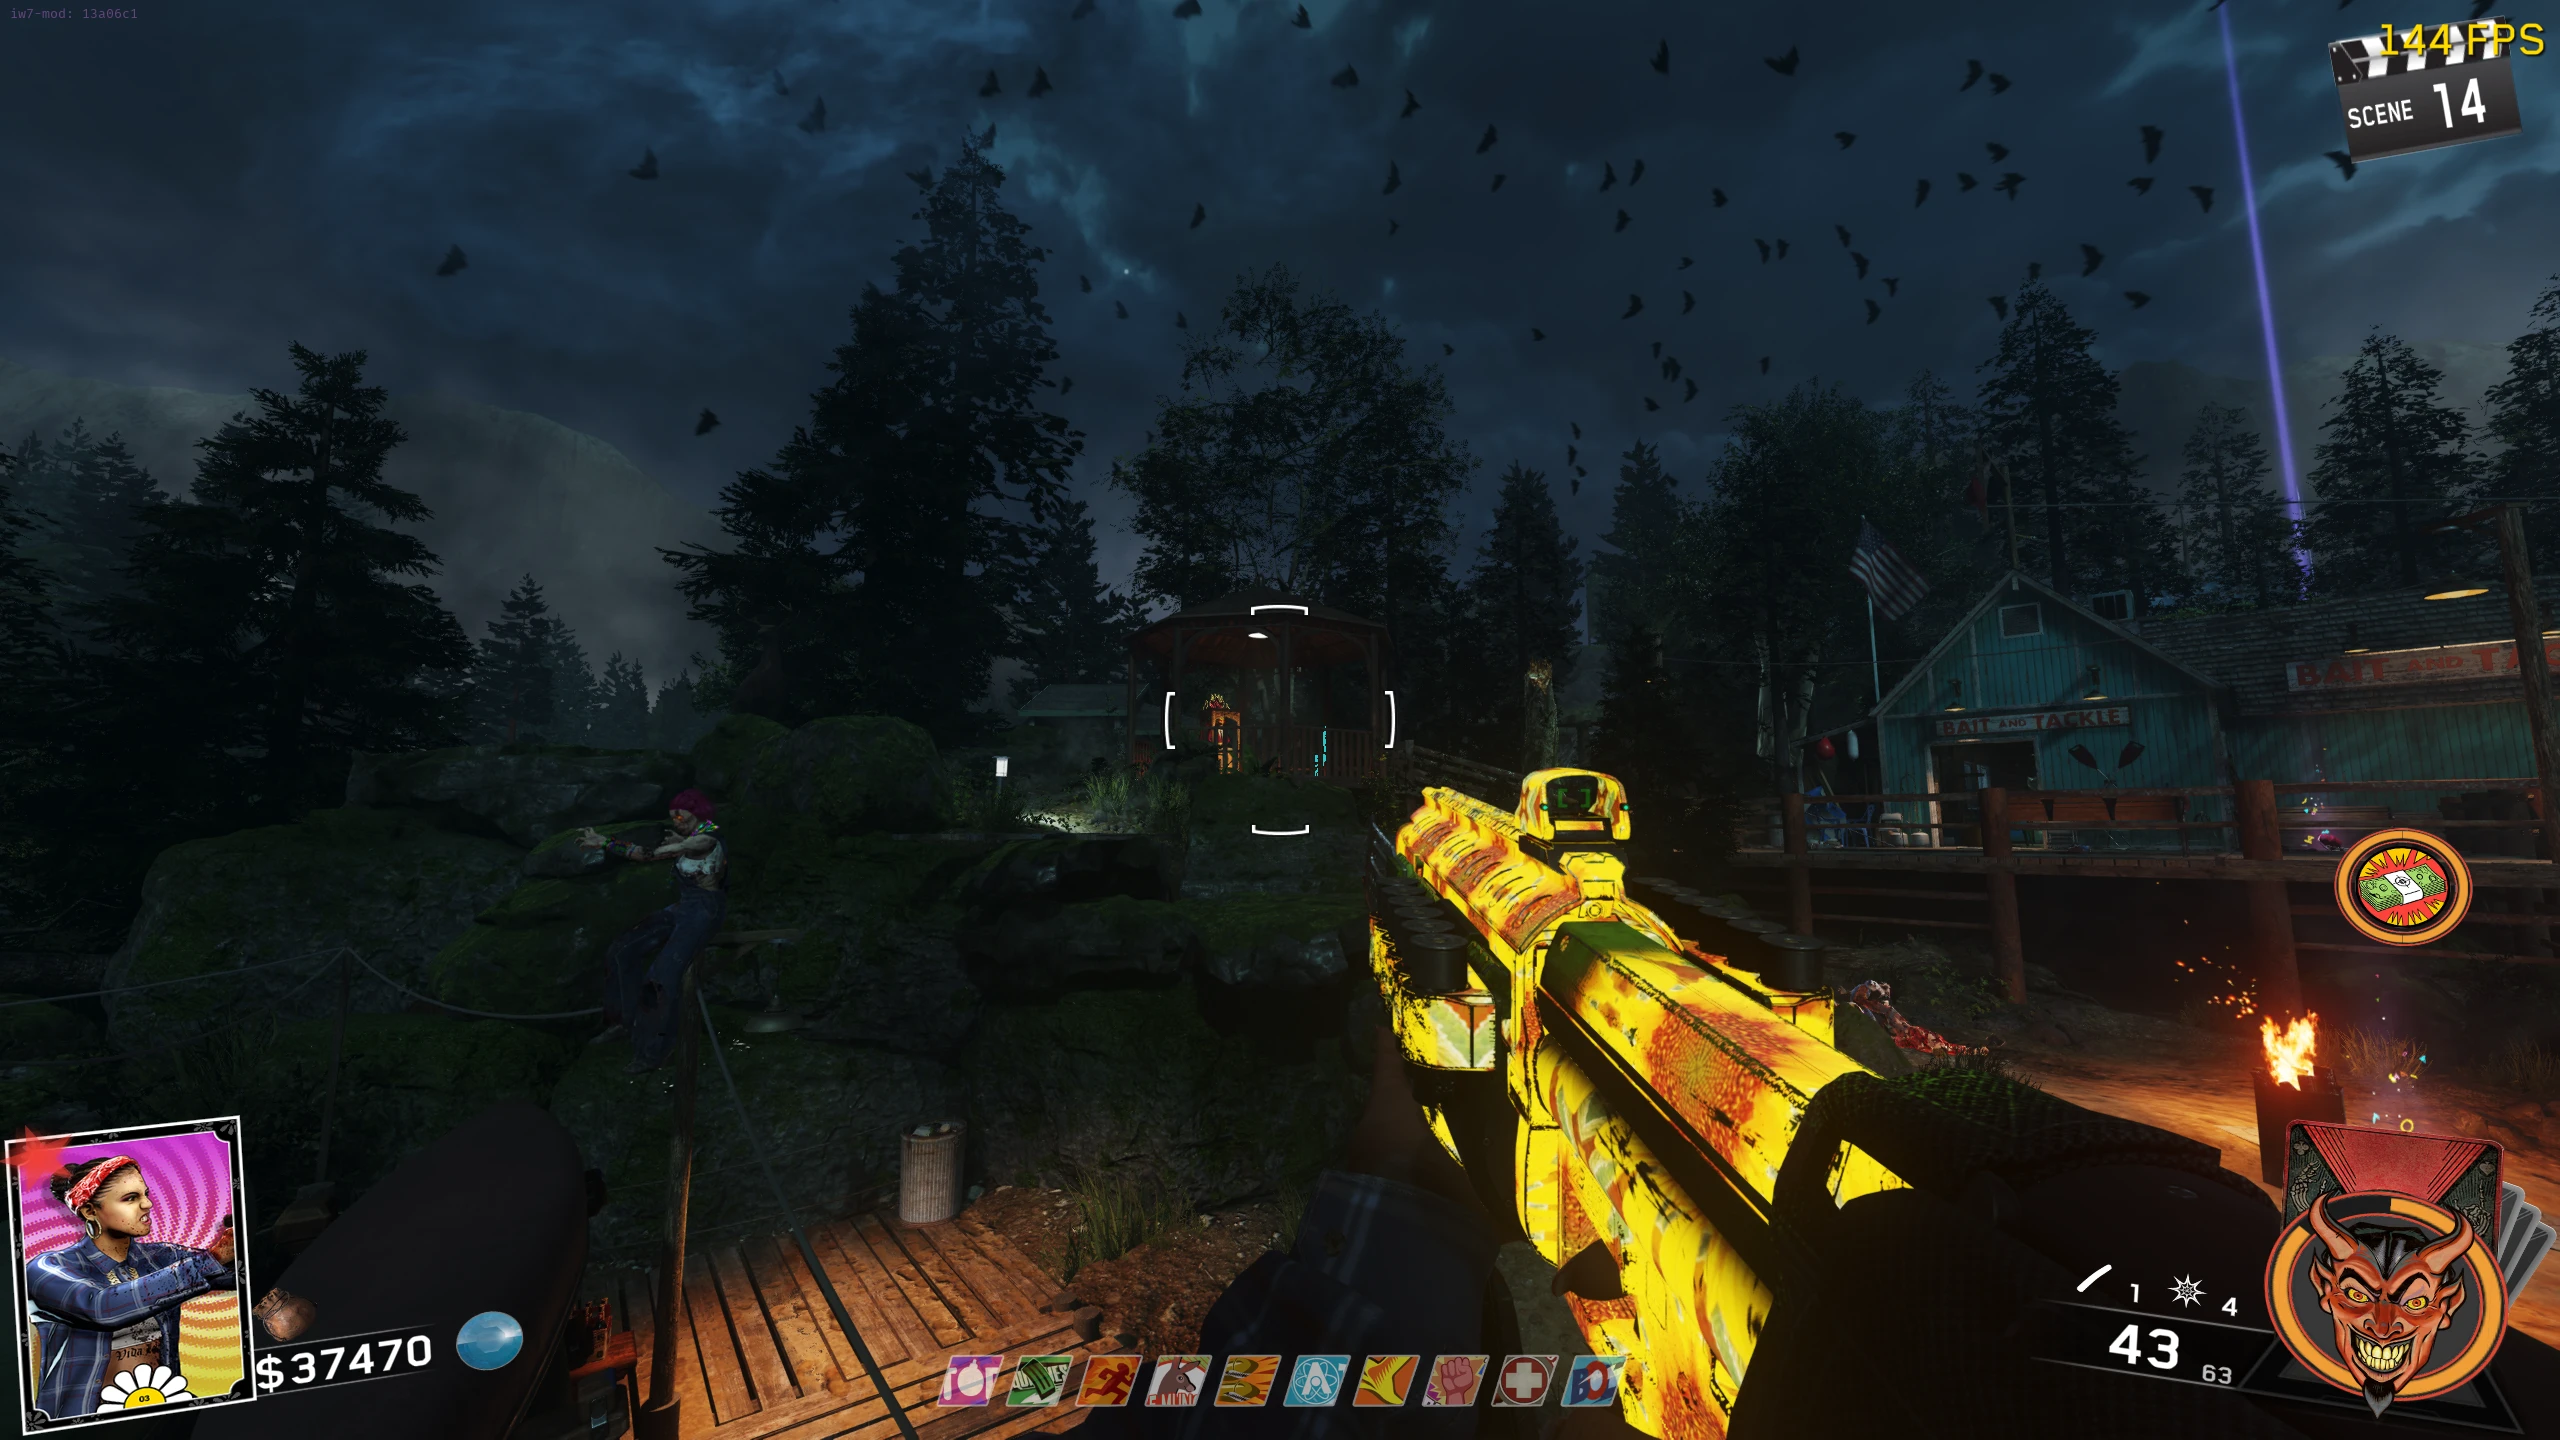
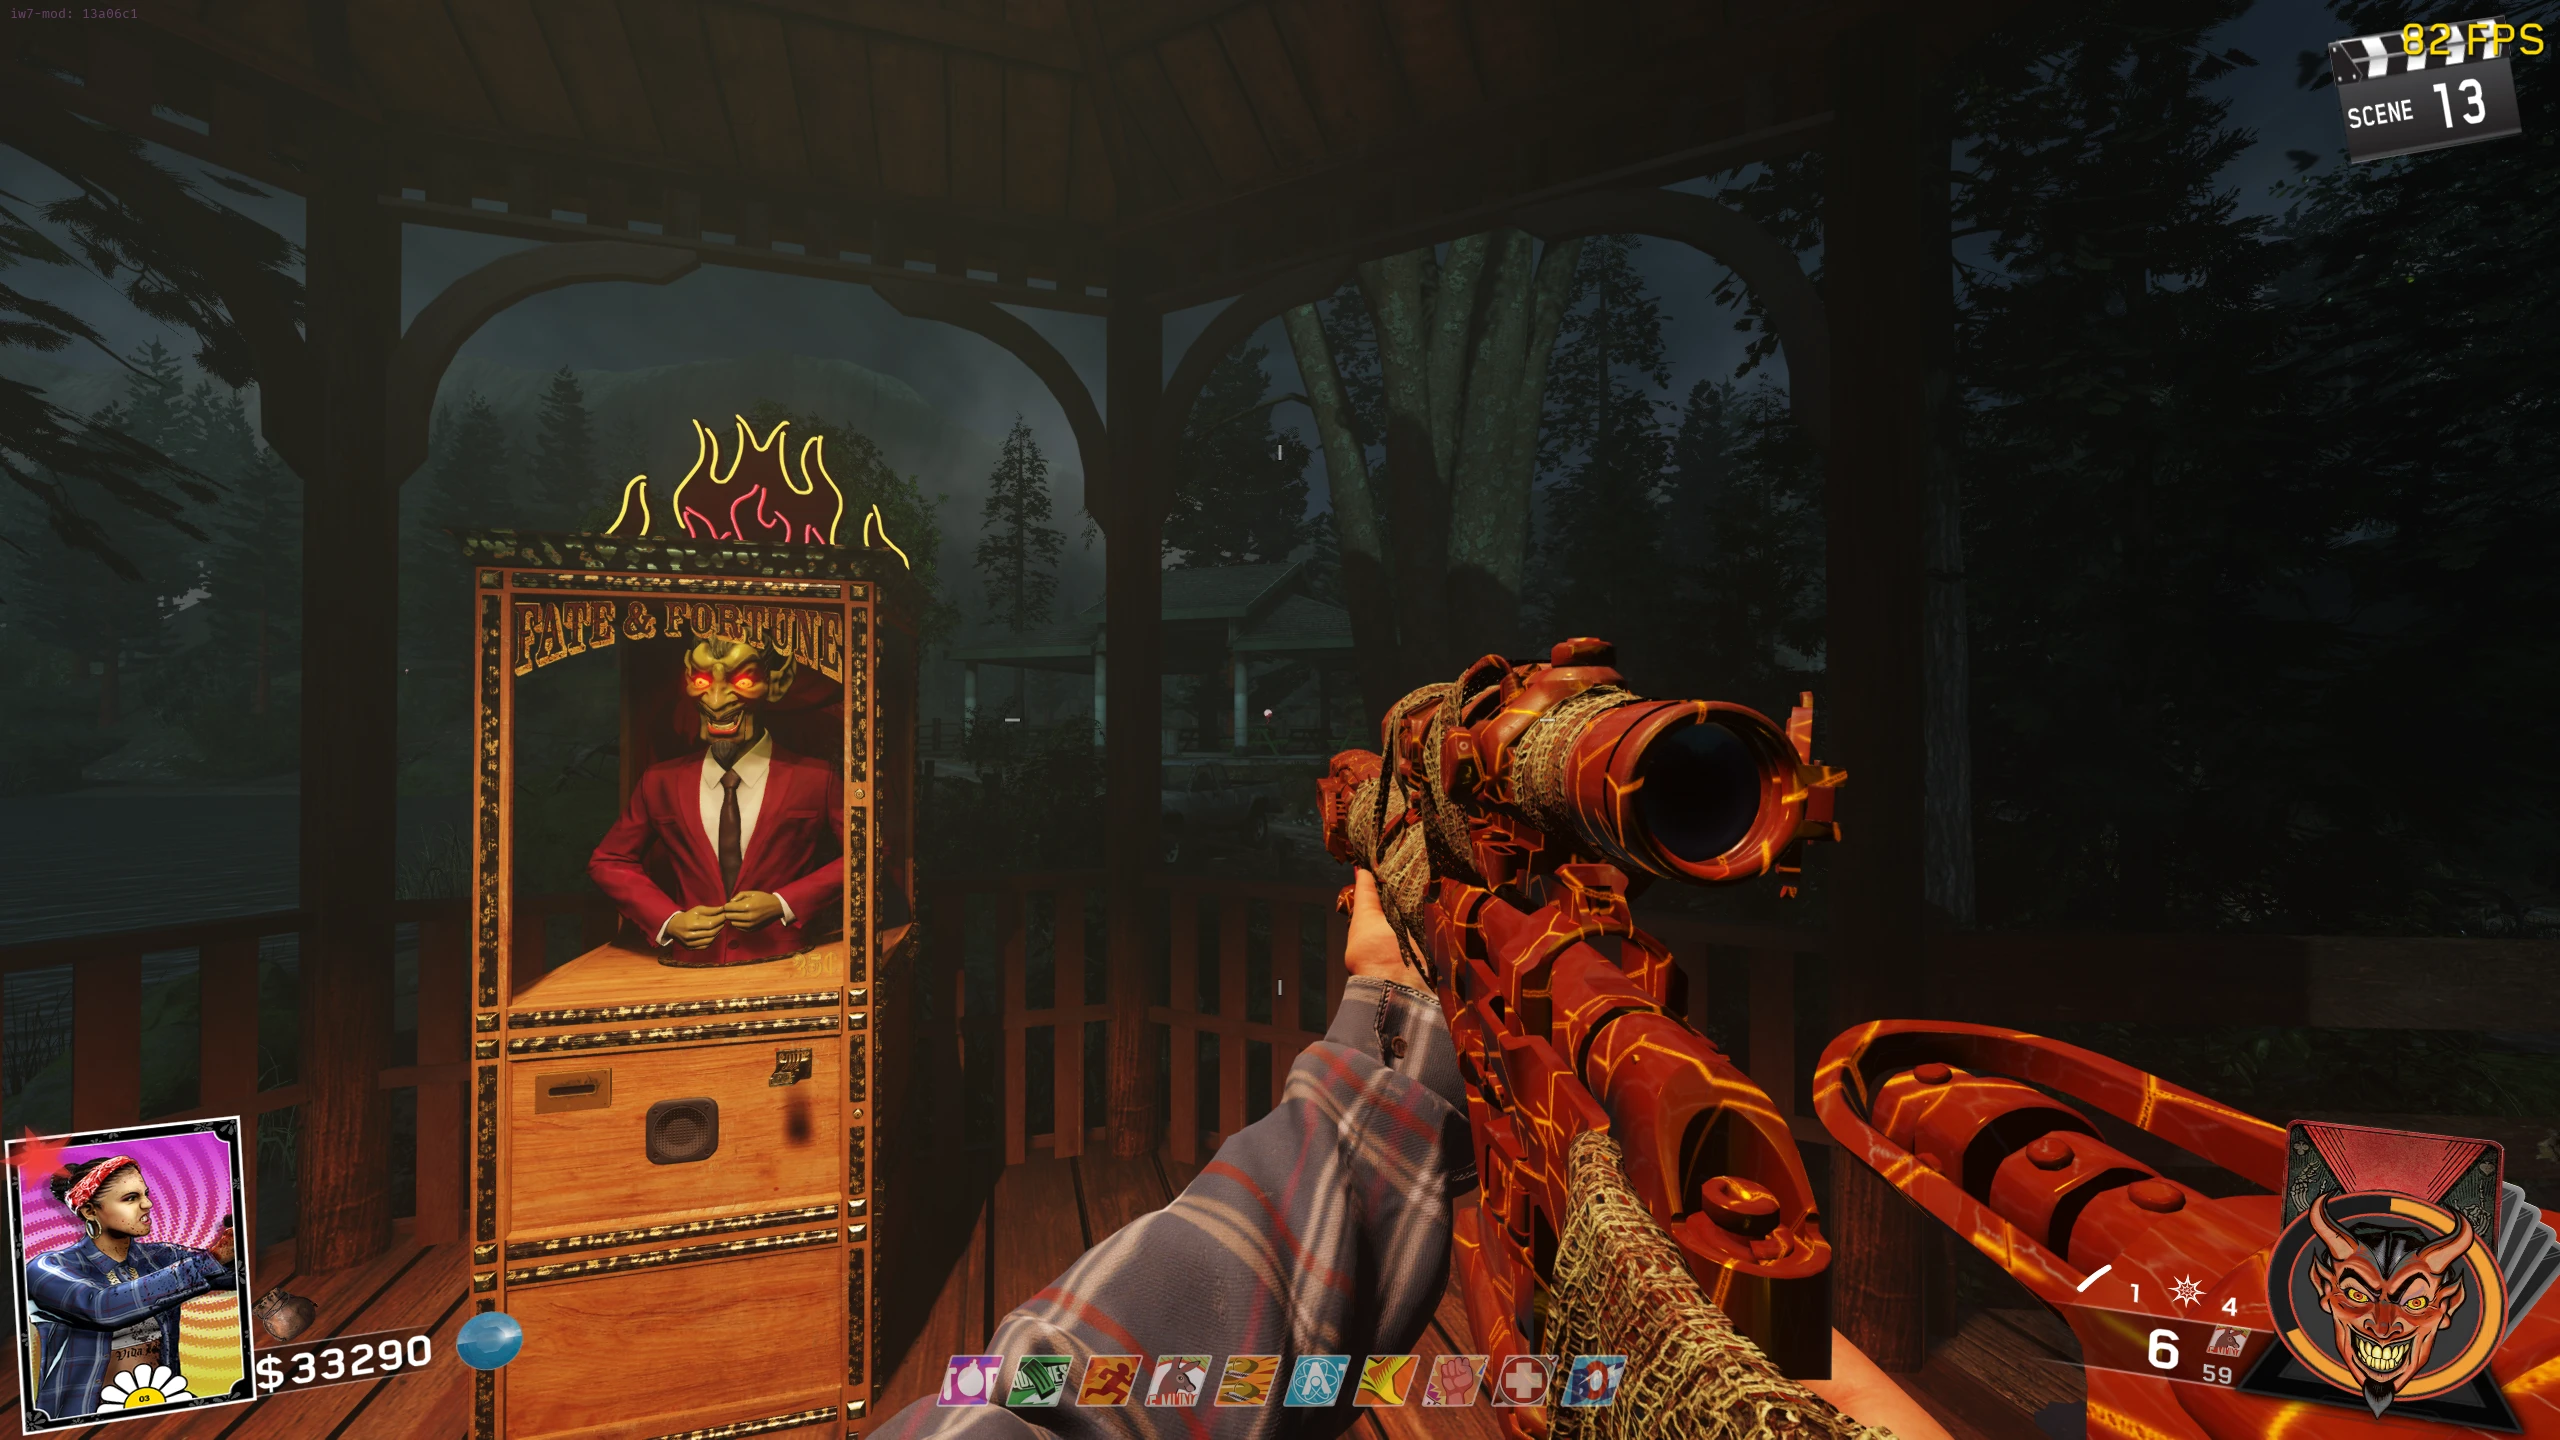
- Eight eyeballs will spawn (locations below) that you must shoot to cause them to disappear. The eyeballs can be seen from anywhere but can only be shot while standing in the Gazebo (that has the F&F Card Machine inside) near the bench. It's recommended to buy the KBS Longbow from the wallbuy in the Gazebo because some eyes spawn far away and could be hard to shoot without a sniper. Eye locations:
- Once all eight eyeballs have been shot, the Binoculars can be equipped from the bench.
Shovel (Co-op Ability) --- Explosive Revive
- Ability: Upon reviving a downed teammate, an explosion will go off, killing all surrounding Zombies.
- The Shovel can be found in one of the following locations:
- In the swamp beside the Mess Hall, place the shovel on the Grave to spawn five Skeletons (they act like normal Zombies). Kill the Skeletons; once they are dead, the Shovel can be equipped from the Grave.
Arrowhead --- Auto-aim to Head
- Ability: Auto lock onto the head when aiming down sights.
- The Arrowhead can be found in one of the following locations:
- Place the Arrowhead on the countertop of the small building beside the Archery Range.
- Enter Rave Mode (the closest fire is either the Rave Area or the Amphitheatre). Return to the Archery Range and shoot the eight targets that spawn (one at a time) on the hay bails.
- Once all eight targets are shot, the Arrowhead can be equipped from the countertop.
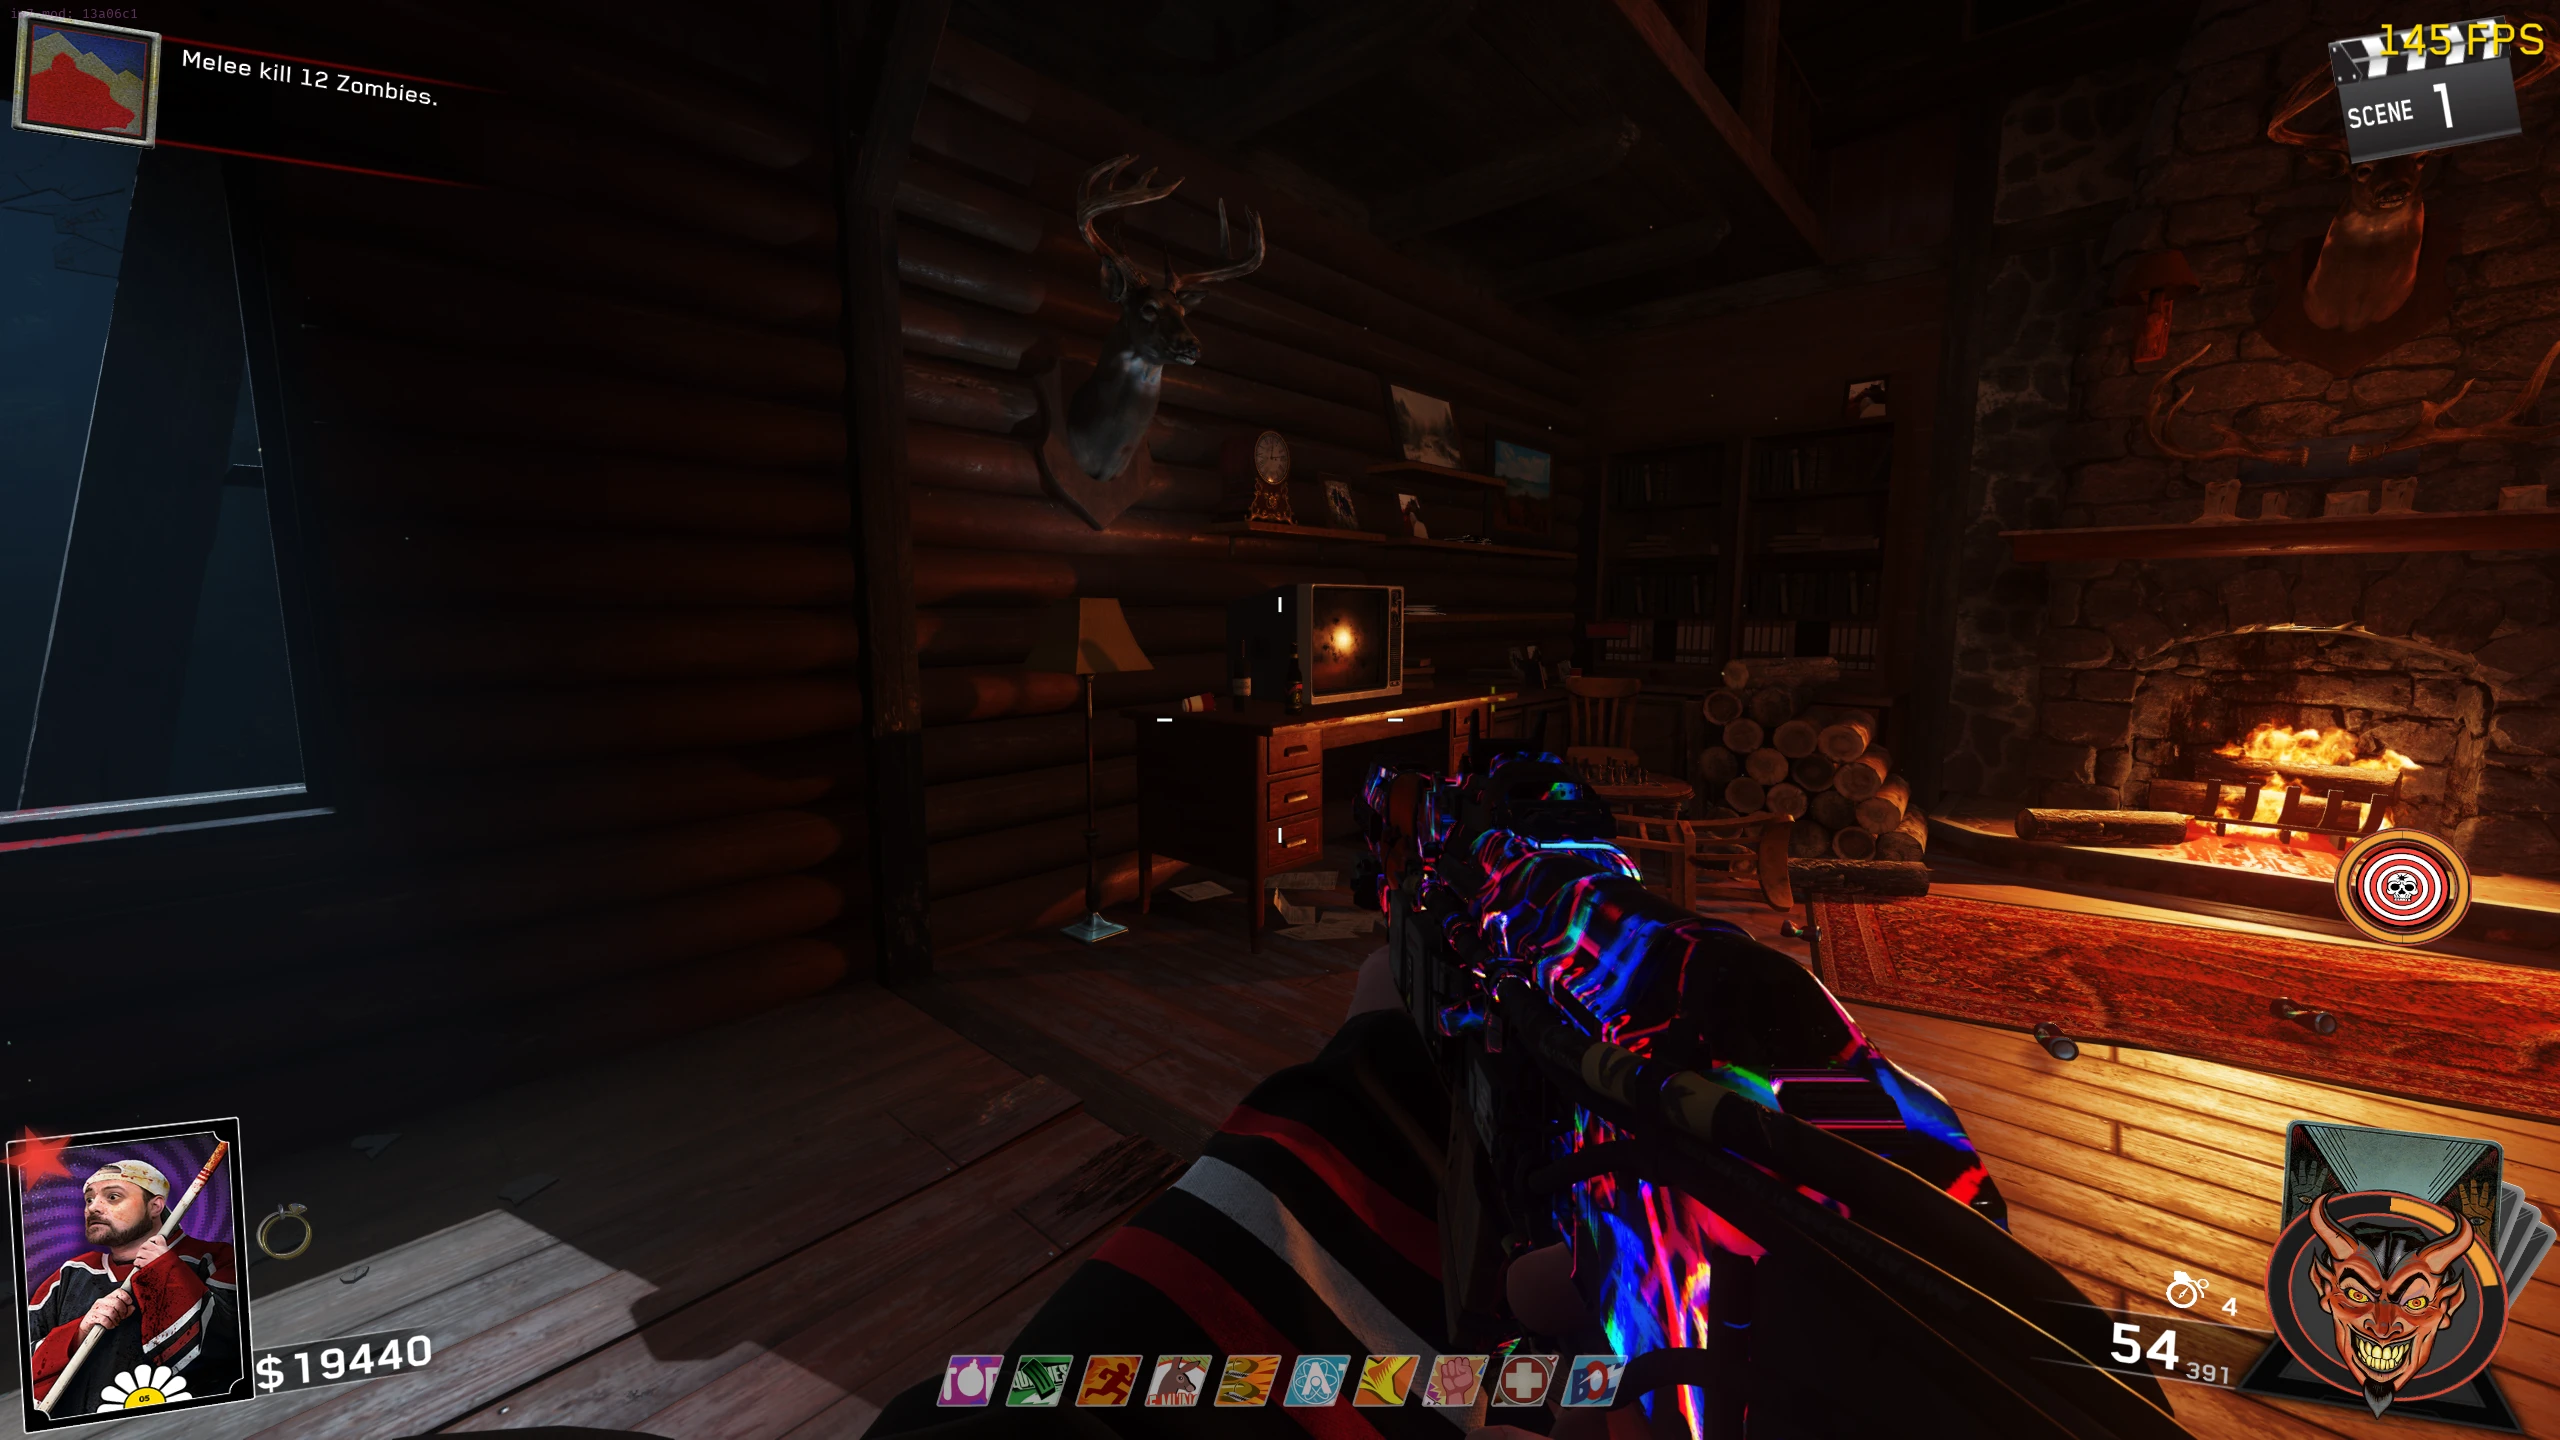
Ring --- Melee damage regens health
- Ability: Regain health when doing melee damage.
- The Ring can be found in one of the following locations:
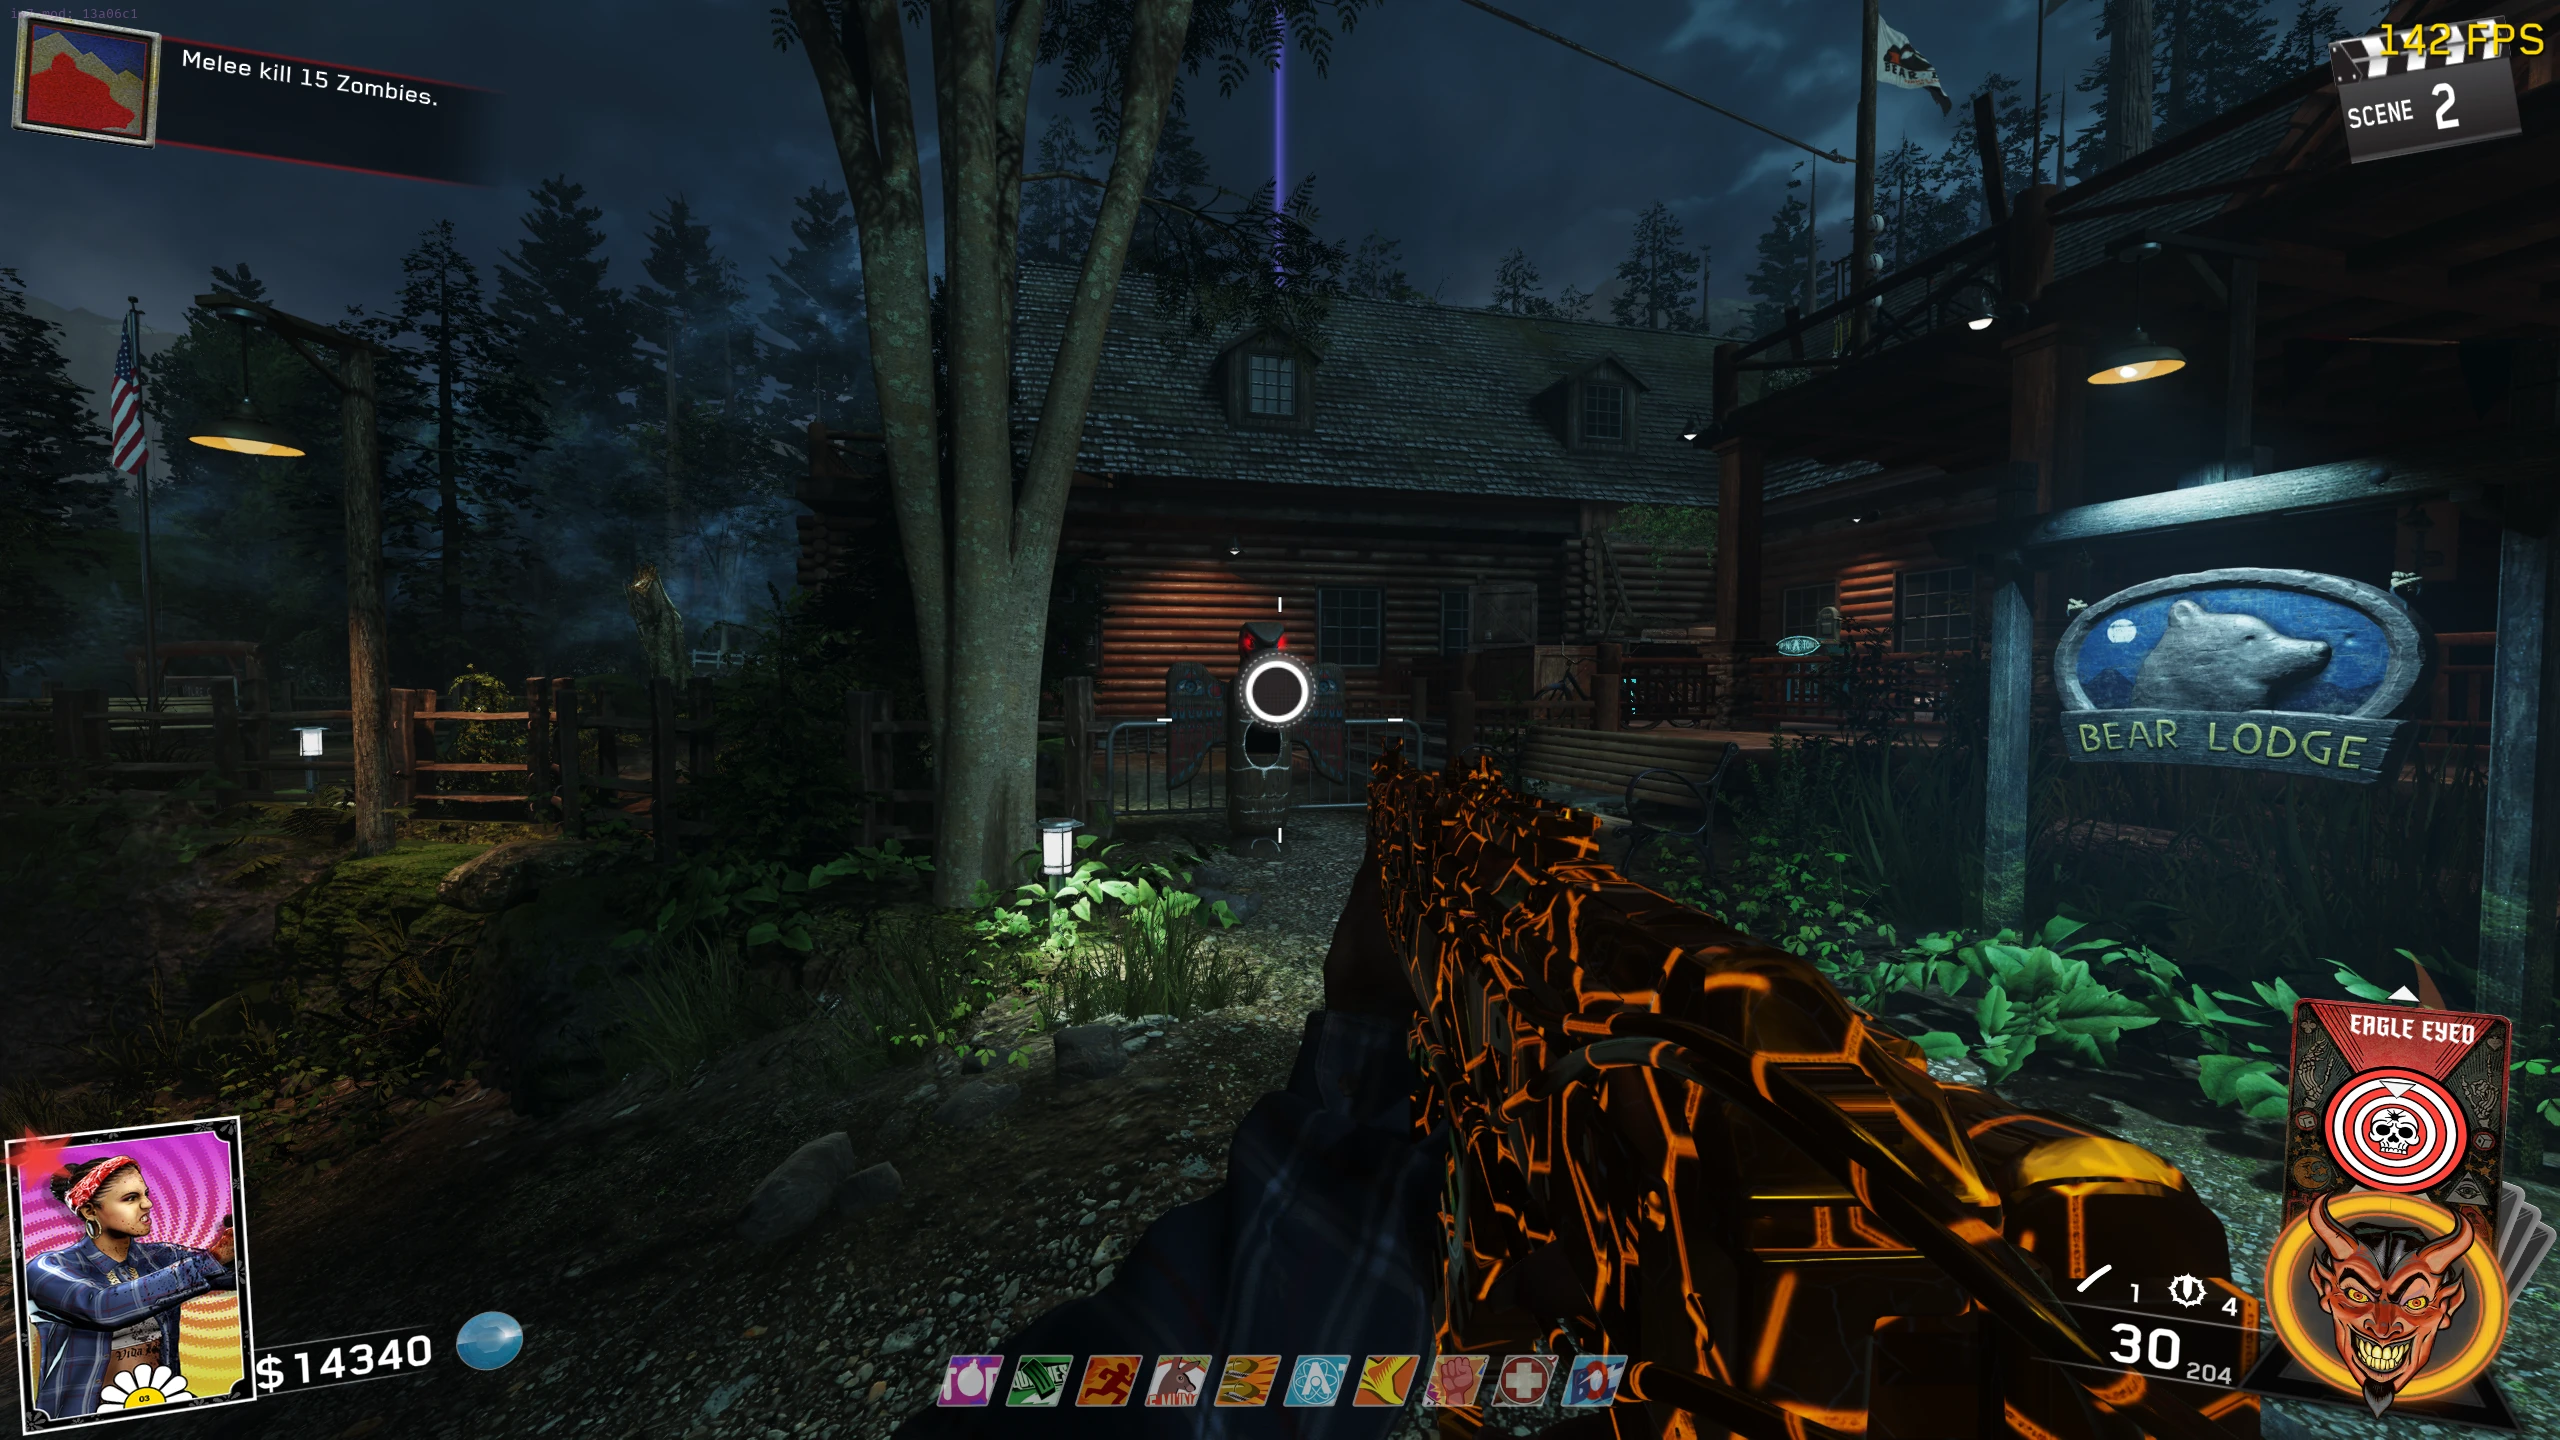
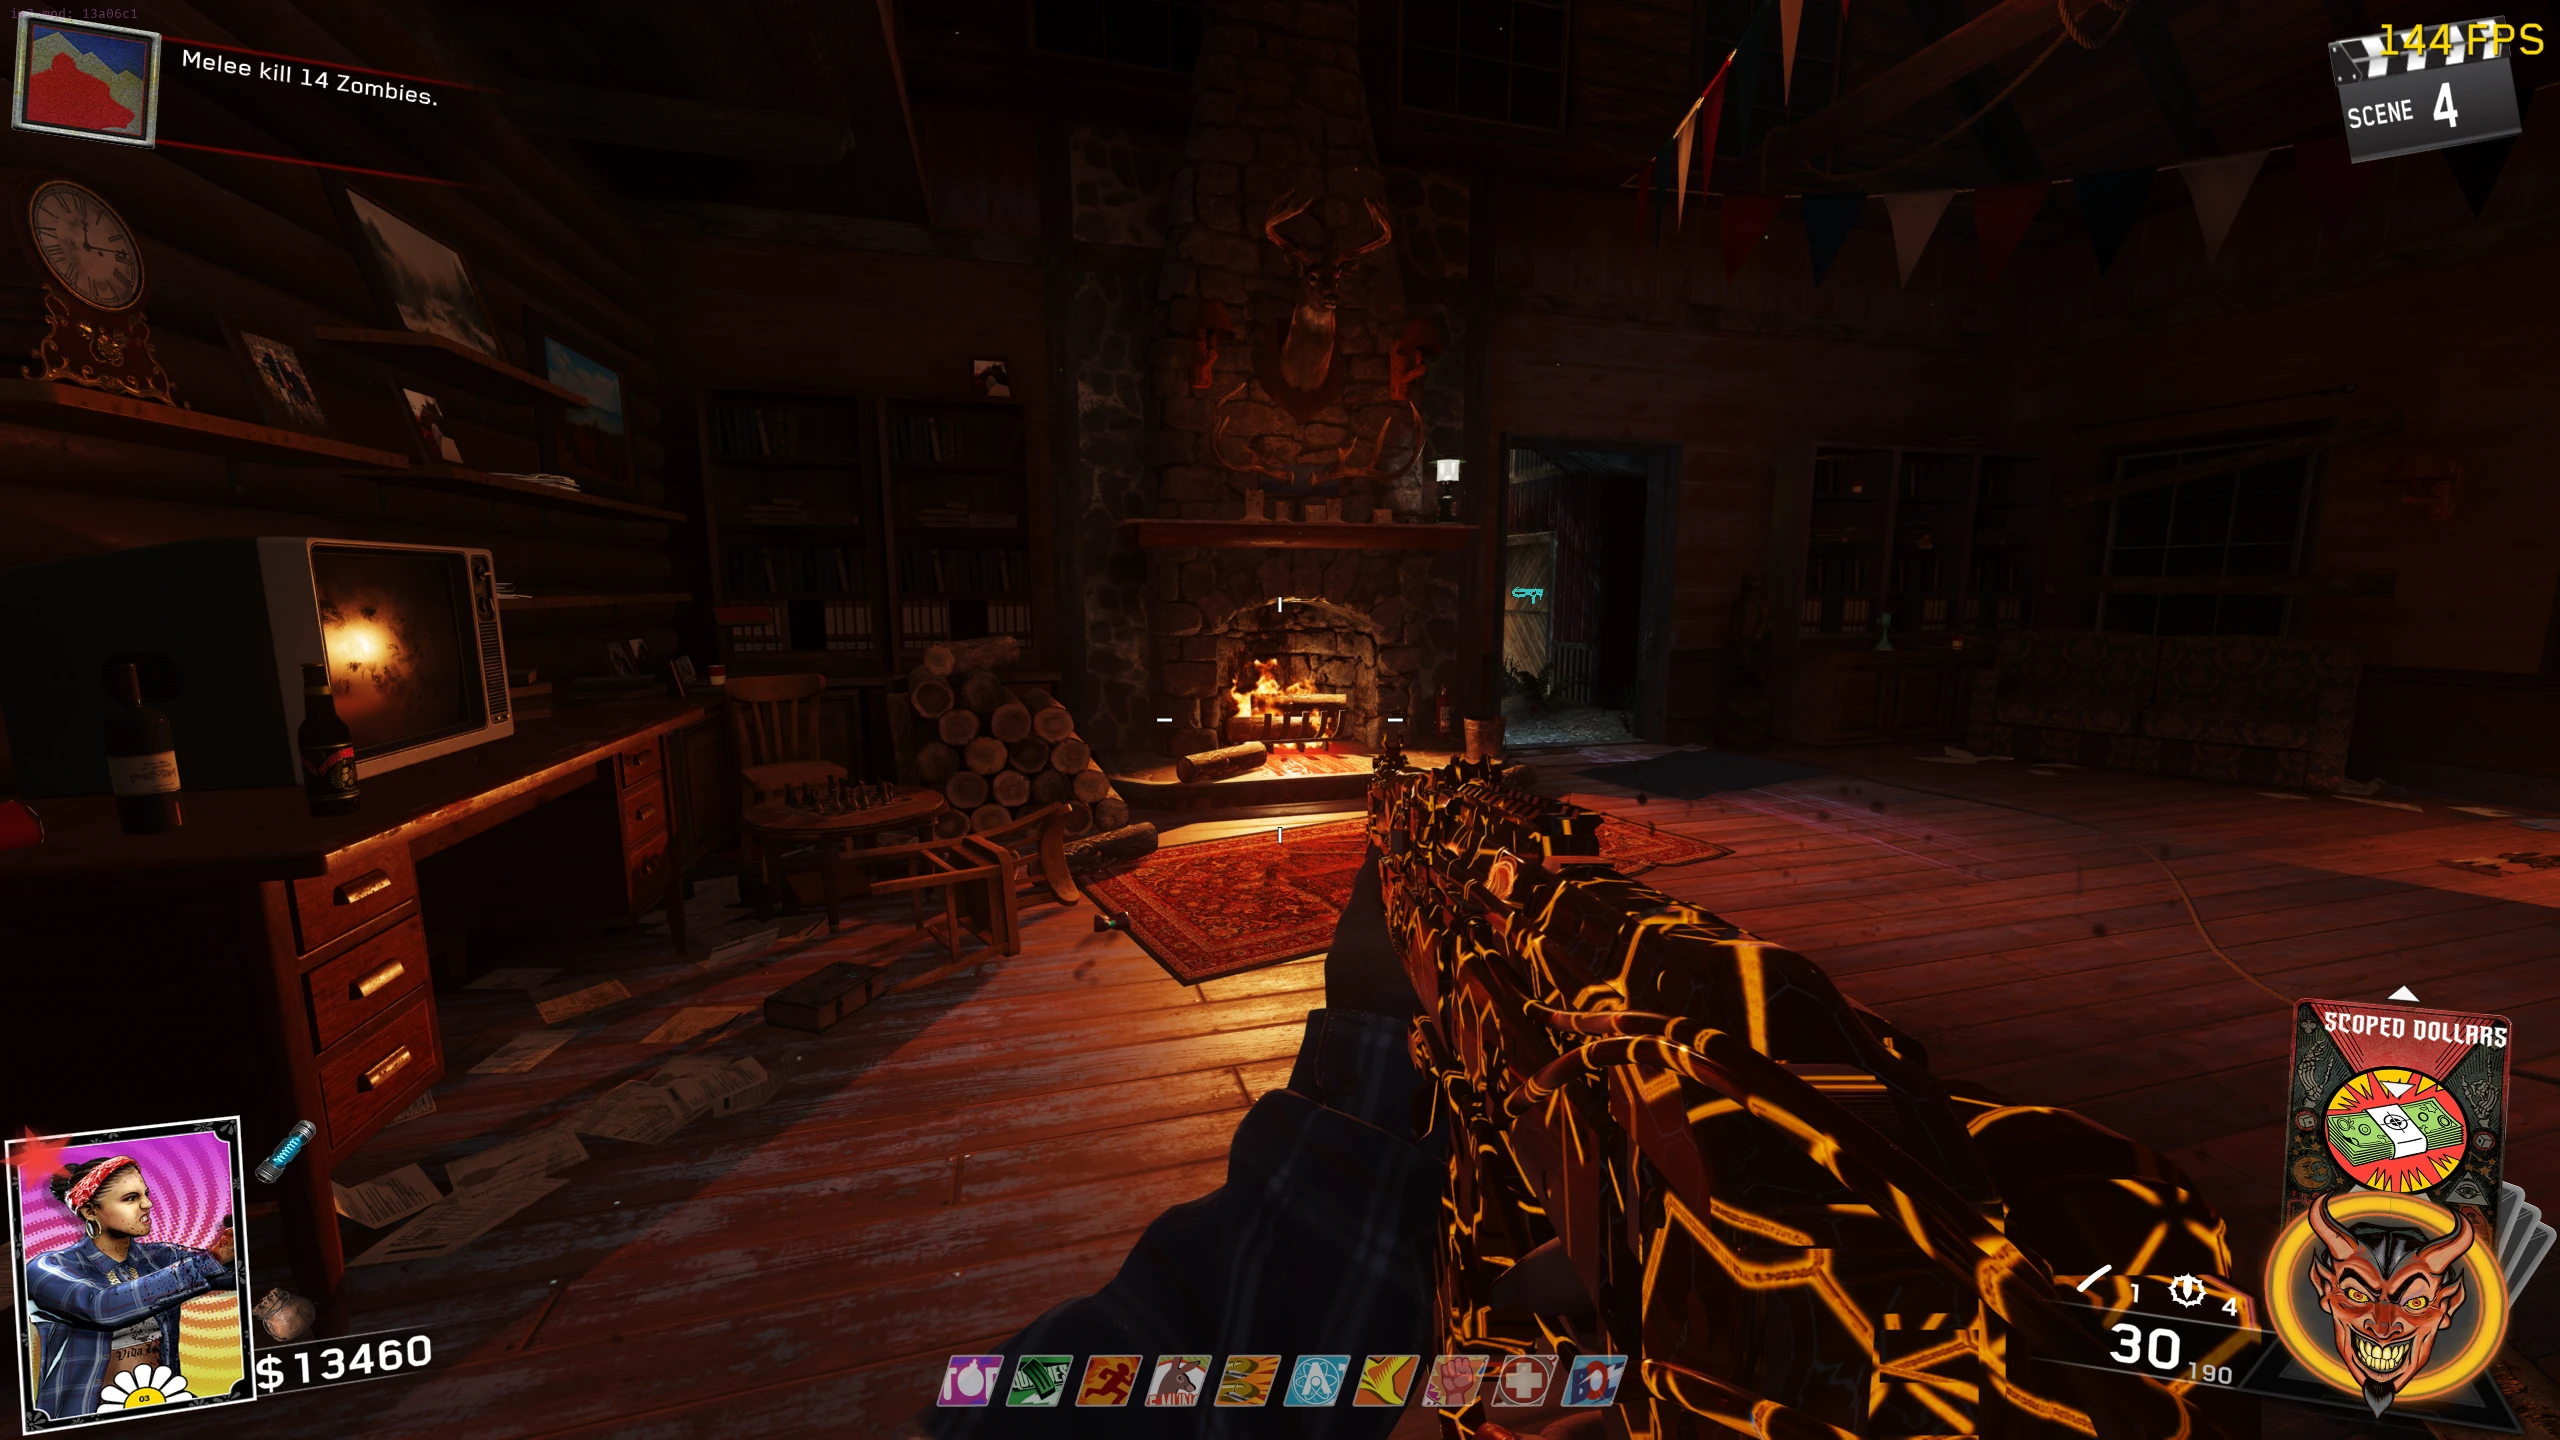
- Place the Ring on the table left of the TV near the fireplace in the Bear Lodge.
- Rotate two lamps so that they’re pointing their light at the Ring on the table. Lamp locations:
- Once both lamps are pointed at the Ring, the light coming from the lamps will disappear, and the Ring can be equipped from the table.
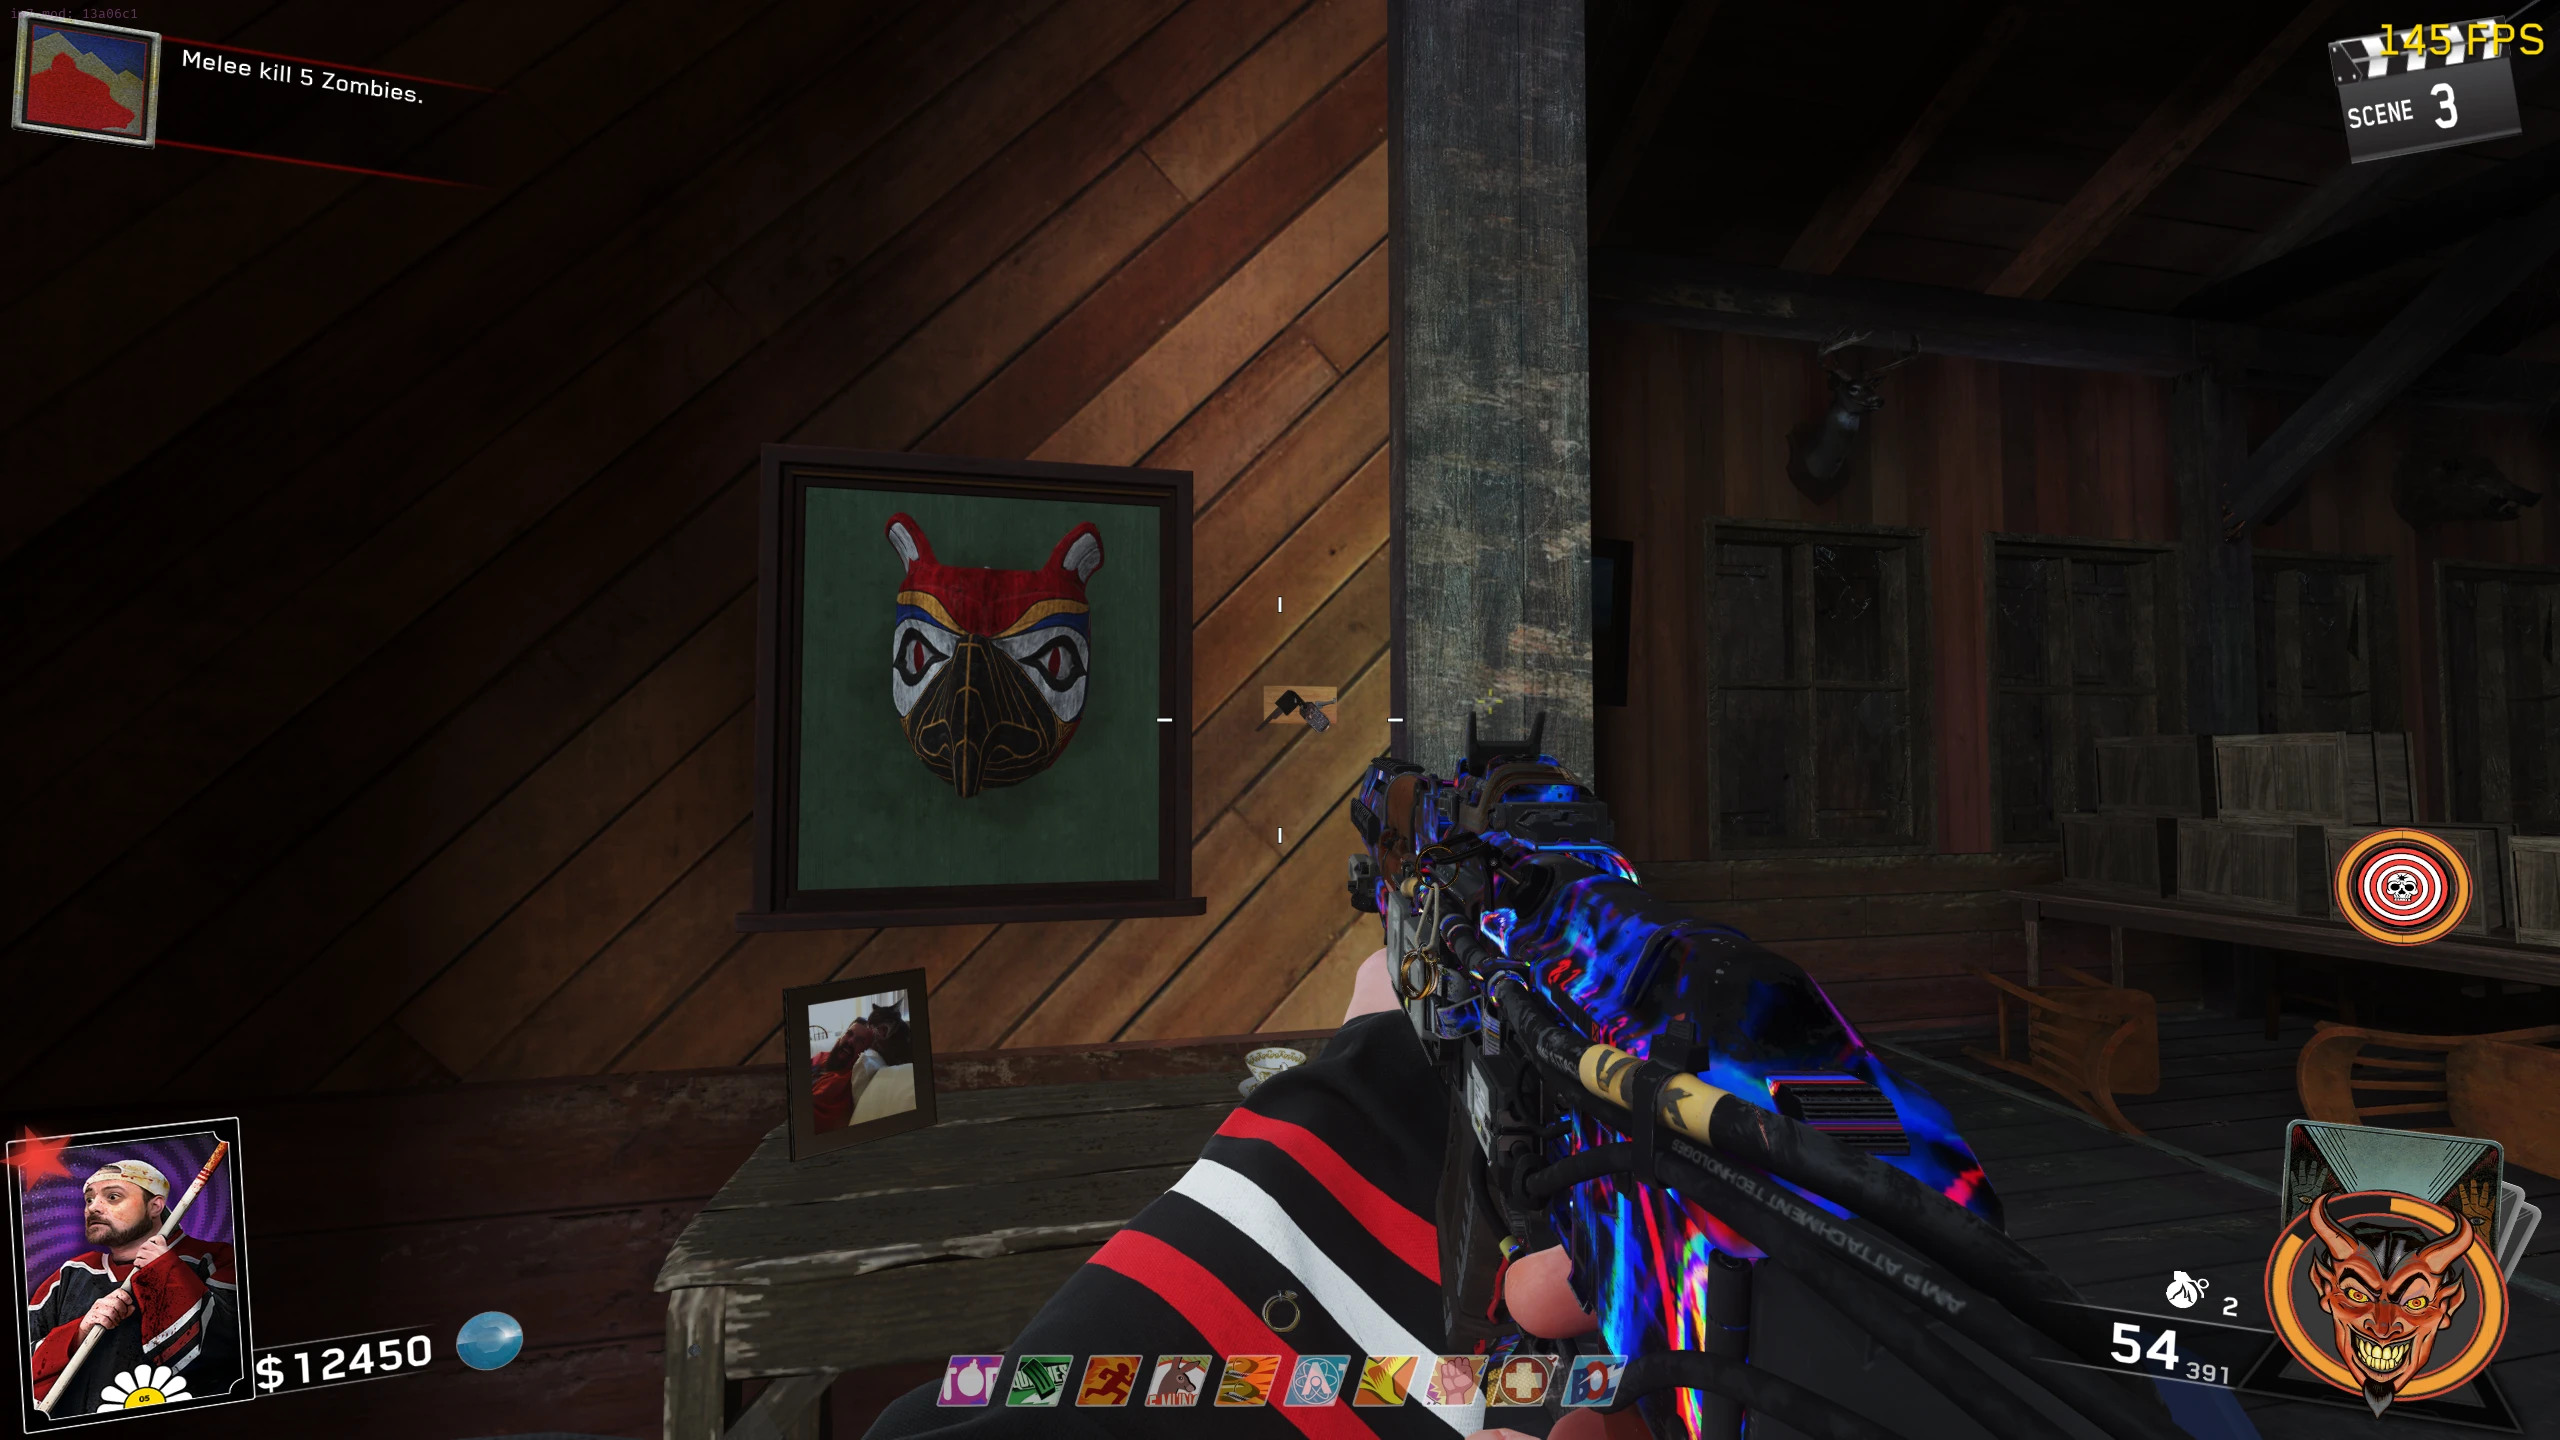
Bird Mask --- Auto reload stowed weapons
- Ability: Any weapon that isn't being held will refill its magazine from its reserve ammo over time.
- The Bird Mask can be found in one of the following locations:
- Place the Bird Mask on the blank picture frame on the wall in the Mess Hall.
- Shoot the keys on the wall beside the mask till they fall.
- Once the keys fall, the Bird Mask can be equipped from the wall.
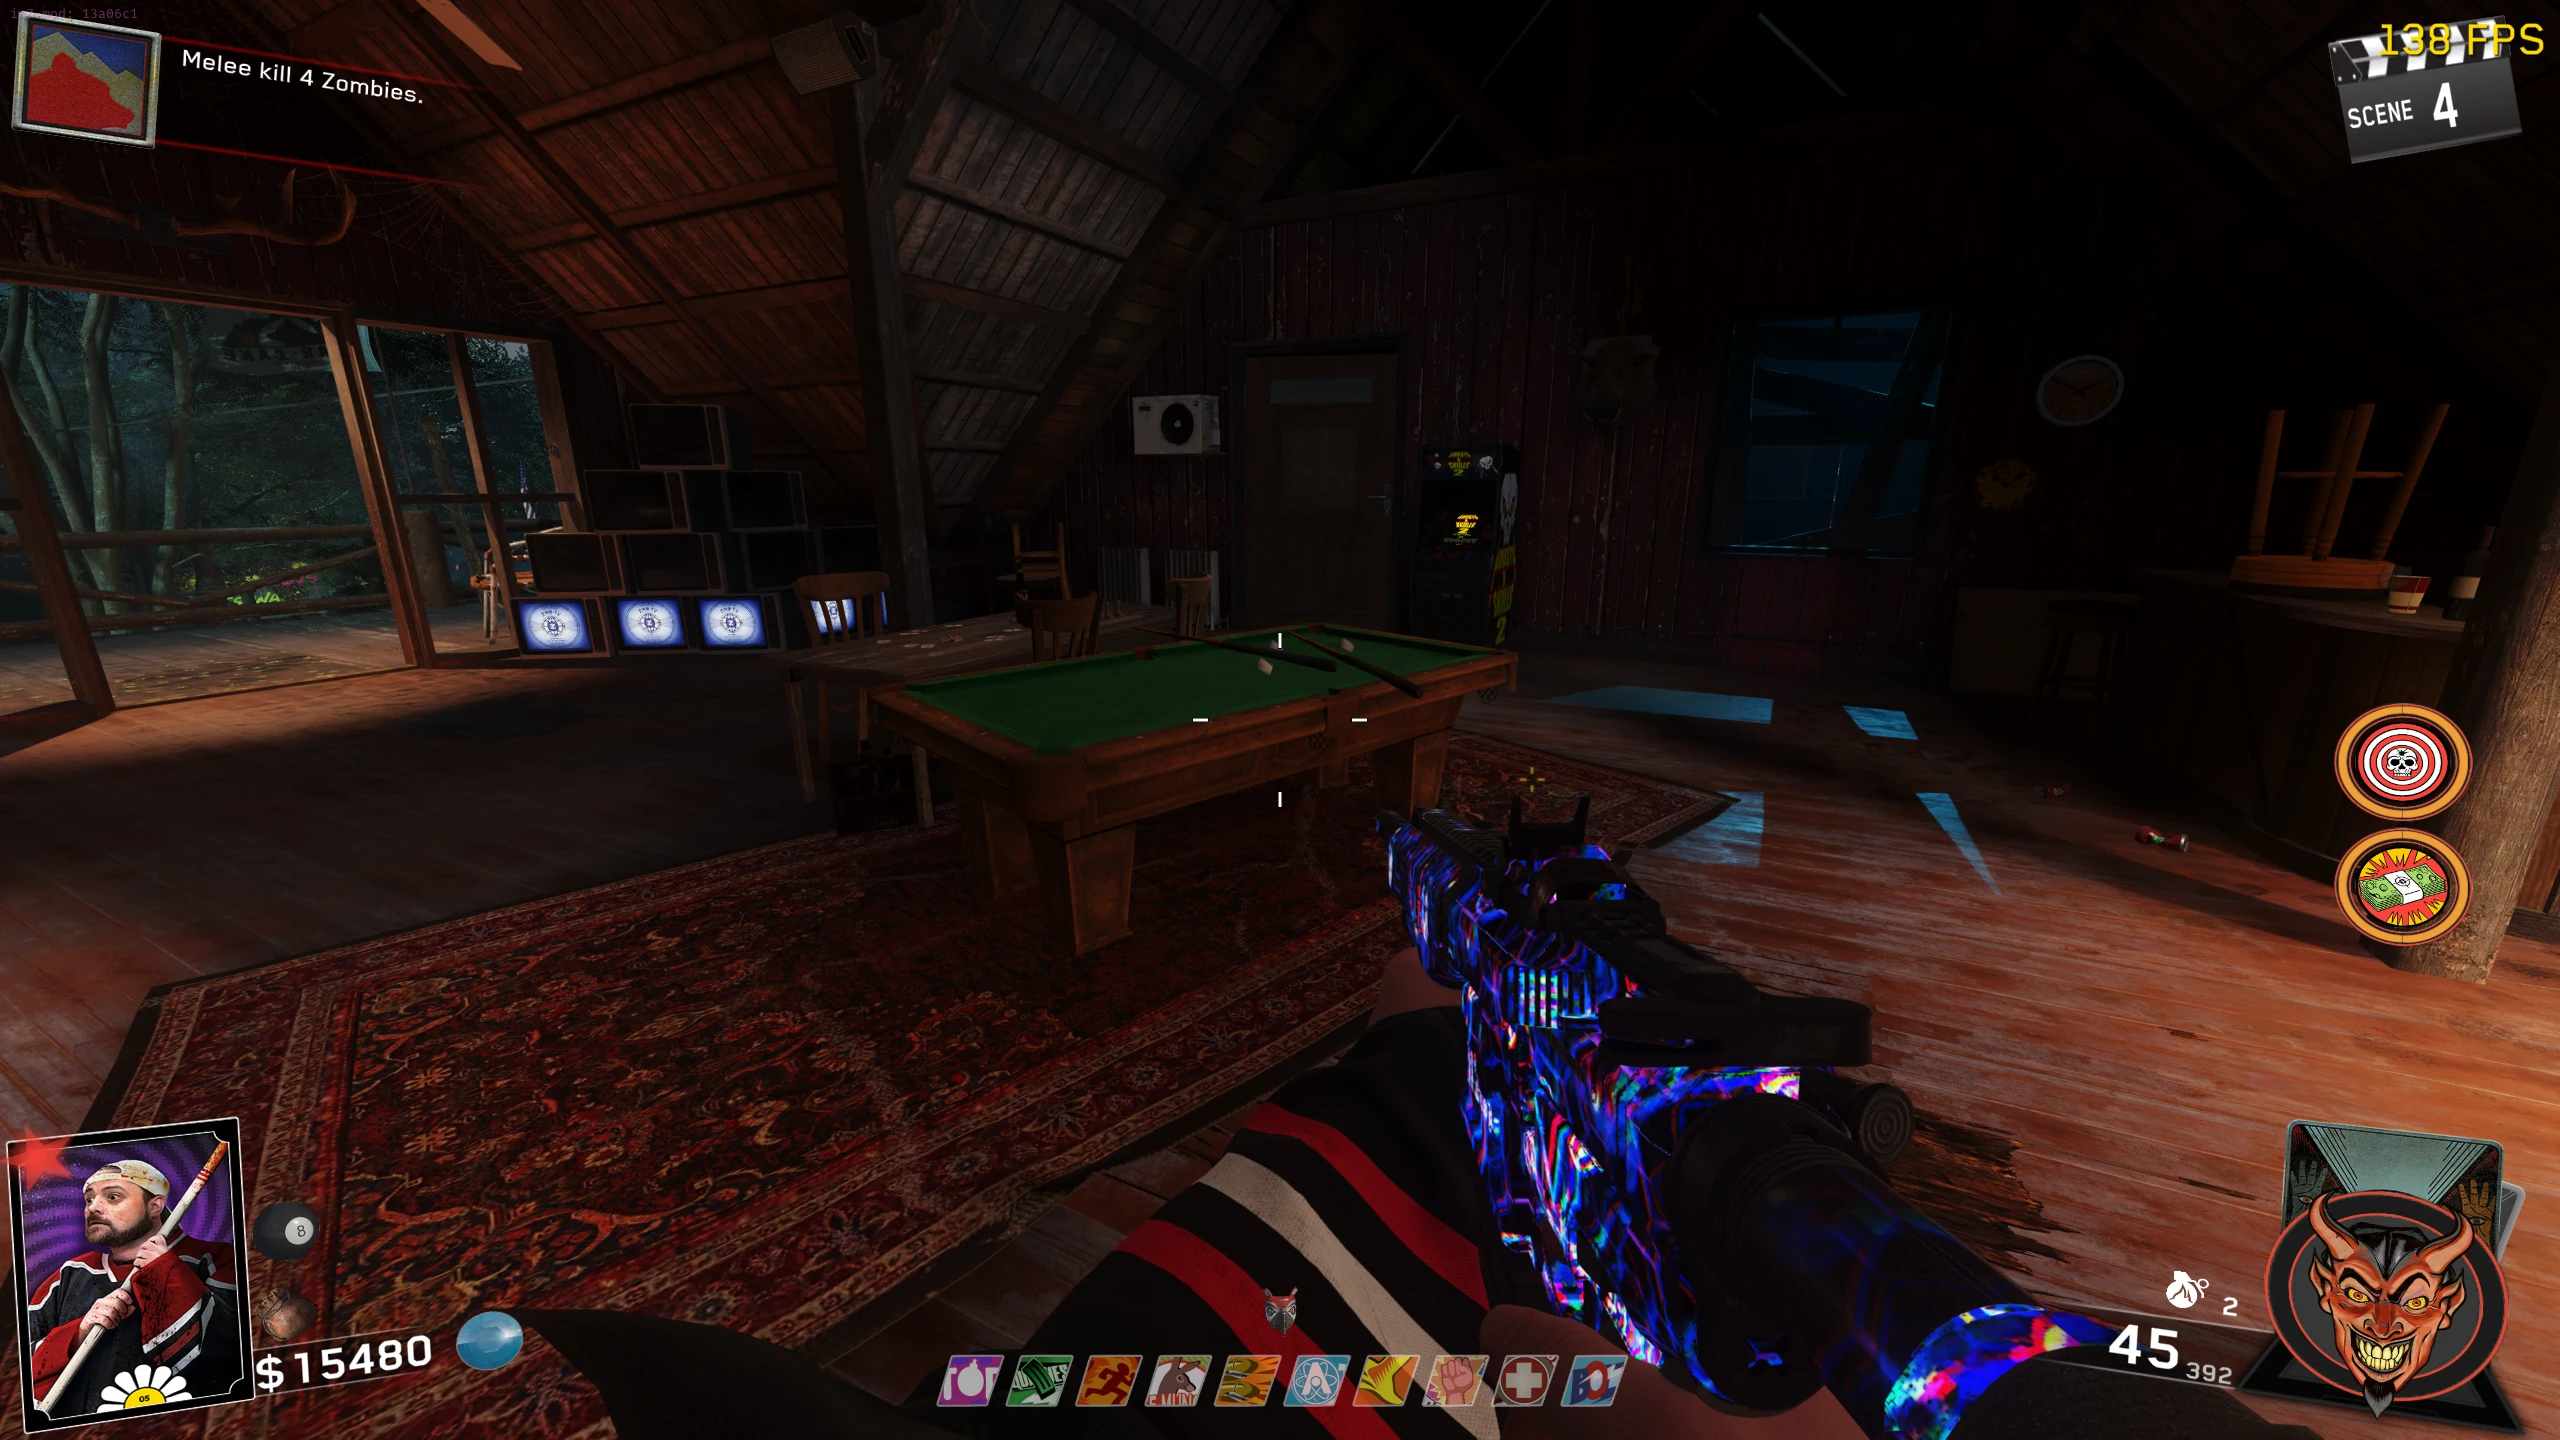
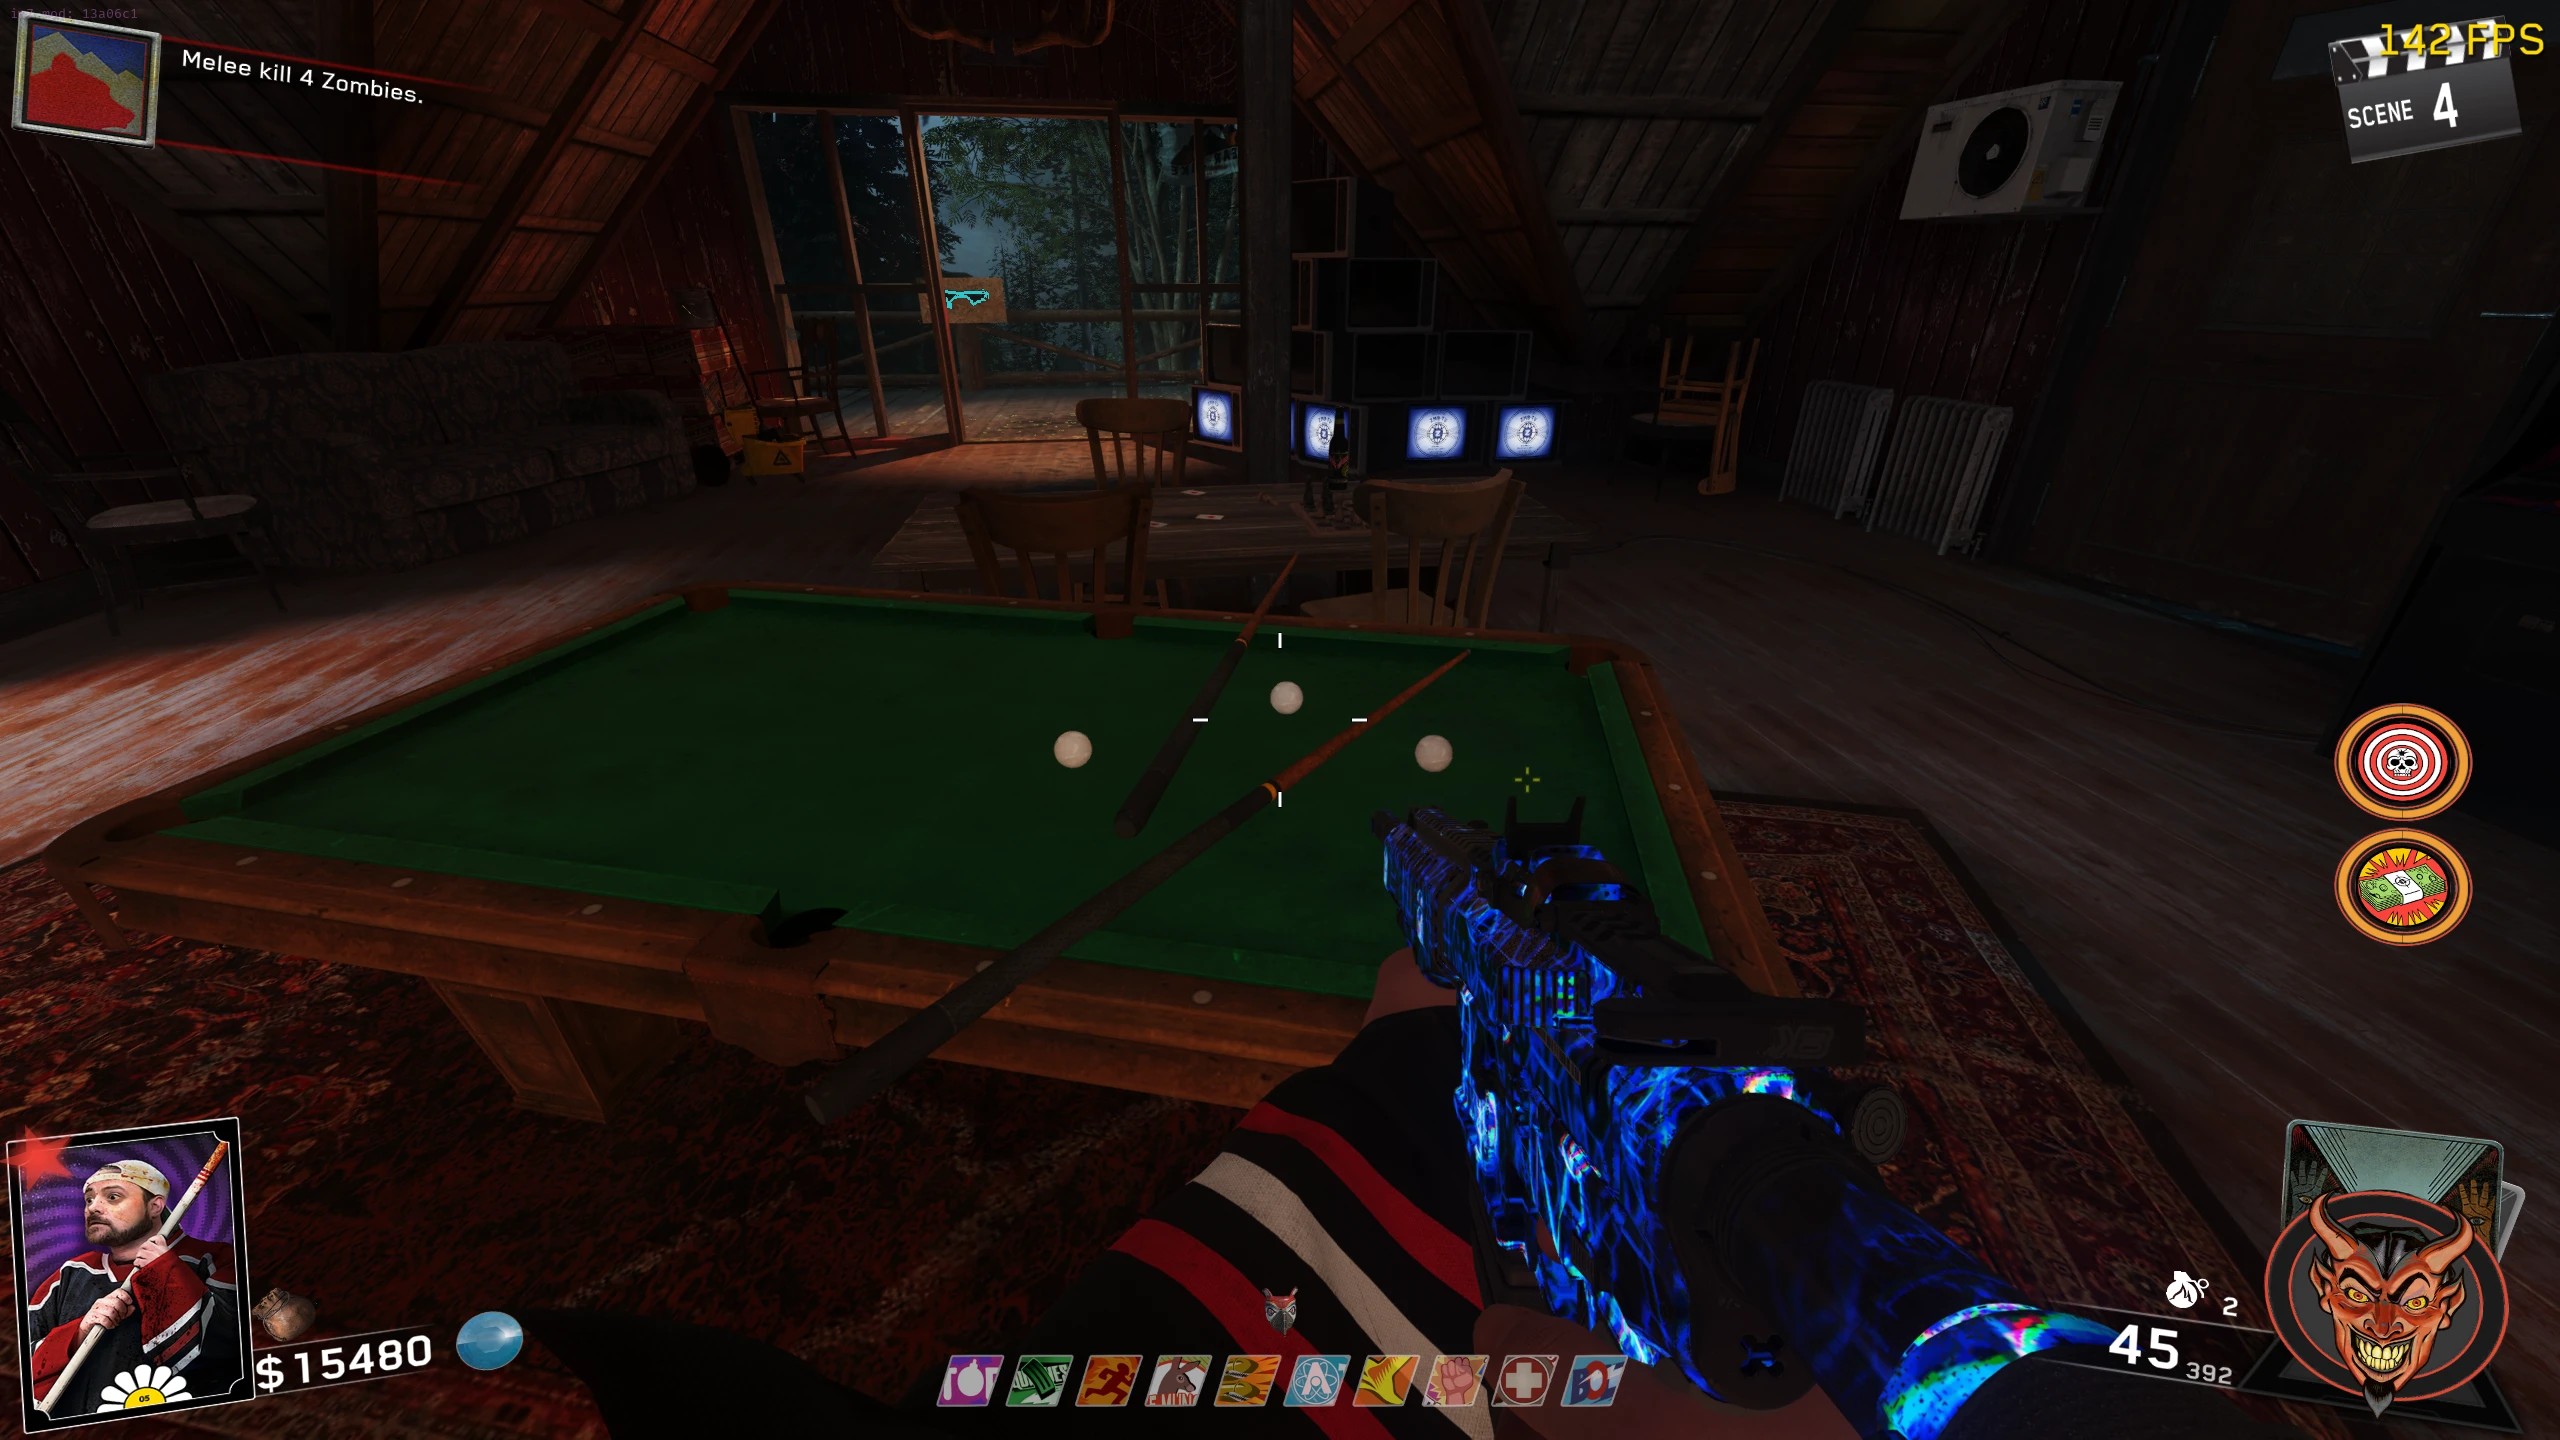
8 Ball --- Sliding does damage
- Ability: Sliding into a Zombie will do damage.
- The 8 Ball can be found in one of the following locations:
- Place the 8 Ball on the Pool Table on the upper floor of the Bear Lodge.
- Shoot all three White Balls on the Pool Table.
- Once the balls are gone, the 8 Ball can be equipped from the table.
Fish --- Sprint faster over time
- Ability: Sprinting without interruption (jumping, sliding, or slowing down) will increase your sprint speed over time. Jumping, sliding, or slowing down will reset you back to the default sprint speed.
- The 8 Ball can be found in one of the following locations:
- Place the Fish on the end of the Dock near the Boathouse.
- A Blue Wisp will float around in the water; Throw a grenade at and explode the wisp.
- Once the wisp has exploded, the Fish can be equipped from the dock.
Frog --- Sprint in water
- Ability: Lets you sprint in water.
- The Frog can be found in one of the following locations:
- Place the Frog near the Sewer Tunnel entrance in the Swamp beside the Mess Hall.
- Enter Rave Mode (the closest fire is outside the Mess Hall). Five Spirit Frogs will spawn around the Swamp while in Rave Mode. While in Rave Mode, you can slam the ground by jumping and meleeing at the height of your jump. You must ground slam all five Frogs; slamming a Frog will cause it to disappear.
- Once all five frogs are gone, the Frog can be equipped from where you placed it.
Pacifier --- Damages Zombies that hit you
- Ability: Damages Zombies that hit you.
- The Pacifier can be found in one of the following locations:
- Place the Pacifier on the countertop separating the Kitchen and the Dining area in the Mess Hall.
- Once you place the Pacifier, you will be locked in the Mess Hall until you kill 15-20 Zombies (the number of kills required seems random).
- Once you get enough kills, the Pacifier can be equipped from the countertop.
Boots --- Explosive Headshots
- Ability: Headshots will cause Zombies' heads to explode dealing damage to nearby Zombies.
- The Boots can be found in one of the following locations:
- Place the Boots on the red footprints in the Cabin connecting Camp Owl and Wolf. Follow the red footsteps to the window (walk back and forth over the footprints to get it to move quickly).
- Go to the Bear Lodge and follow the newly spawned red footsteps near the doorway out to Up & Atoms.
- Go to the docks, and follow the footsteps beside the Reaver wallbuy.
- Once you've followed all the footprints, return to the Cabin in the Owl/Wolf Camp, and pick up the Boots from the floor to equip them.
'Locksmith' Main Quest
Stats (Solo): Difficulty - 4/10 (2/10 Dir. Cut), Est. Completion Time - 40 Mins to 1 Hr (25 to 35 Mins Dir. Cut)
Prerequisites
- Unlock Pack-a-Punch.
- Talk to Kevin Smith in the attic of the cabin on Turtle Island.
Photo #1 Challenge
- Pick up the Photo piece behind the Burning Man in the Rave Area.
- Get a weak weapon that can easily shoot the arms off of Zombies. I recommend the Banshee from the wallbuy just out of spawn because it seems shotguns can shoot off arms easily. Also, keep the Banshee for the next Photo Challenge as well as it can be useful there too.
- Place the picture on the ground in front of the huge bonfire in Thunderbird Amphitheatre. This will activate Rave Mode and a timed challenge where you must shoot 10 arms off of the Zombies.
- You have about 1:10 Mins to shoot the arms off. If you fail, a random perk will be taken from you, but you can retry immediately after failing.
- Once you shoot enough arms off, the Photo will start glowing, and you can interact with it. When you interact with it, a Slasher will spawn which you must kill. Once you kill the Slasher, it will drop a max ammo, a nuke will go off, and the Photo can be picked up.
Photo #2 Challenge
- Go back and talk to Kevin.
- Pick up the Photo piece by the doorway in the Tuff 'Nuff Room upstairs in the Bear Lodge.
- Place the picture on the ground in front of the Quickies Perk Machine in the Rave Area. This will activate Rave Mode and a timed challenge where you must shoot 10 legs off of the Zombies.
- You have about 1:10 Mins to shoot the legs off. If you fail, a random perk will be taken from you, but you can retry immediately after failing.
- Once you shoot enough legs off, the Photo will start glowing, and you can interact with it. When you interact with it, a Slasher will spawn which you must kill. Once you kill the Slasher, it will drop a max ammo, a nuke will go off, and the Photo can be picked up.
Skull Challenge
- Go back and talk to Kevin.
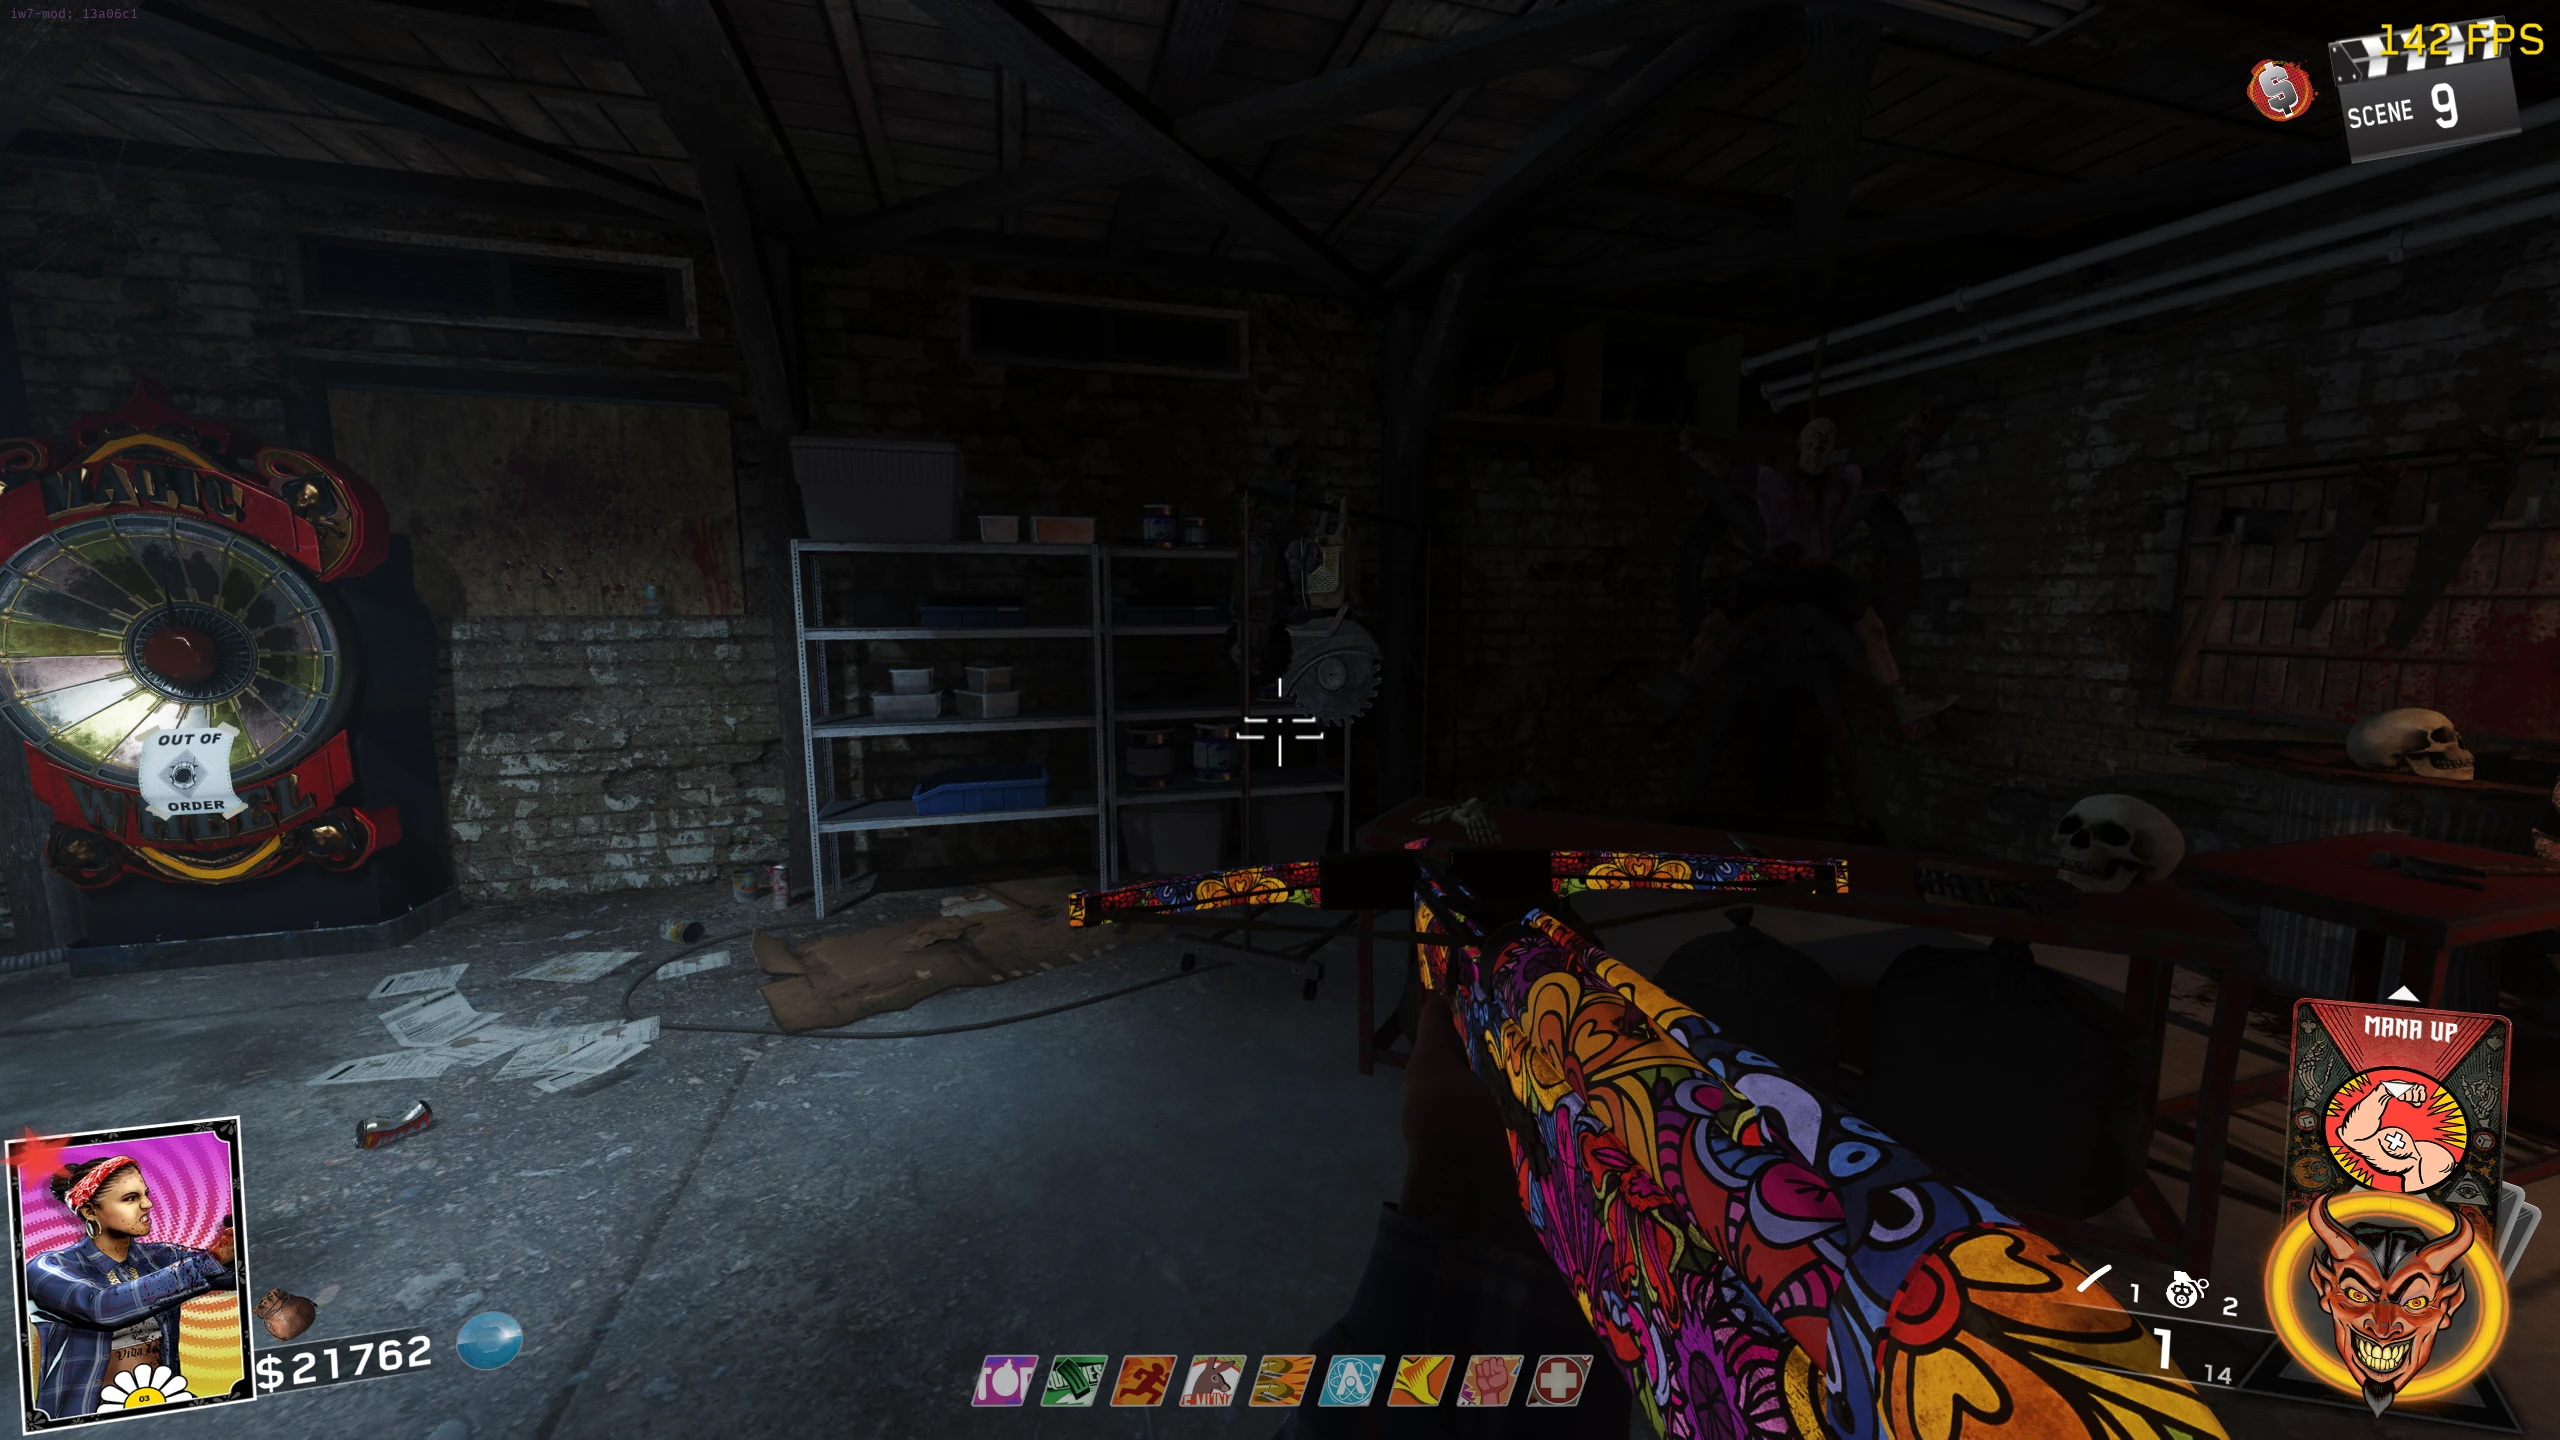
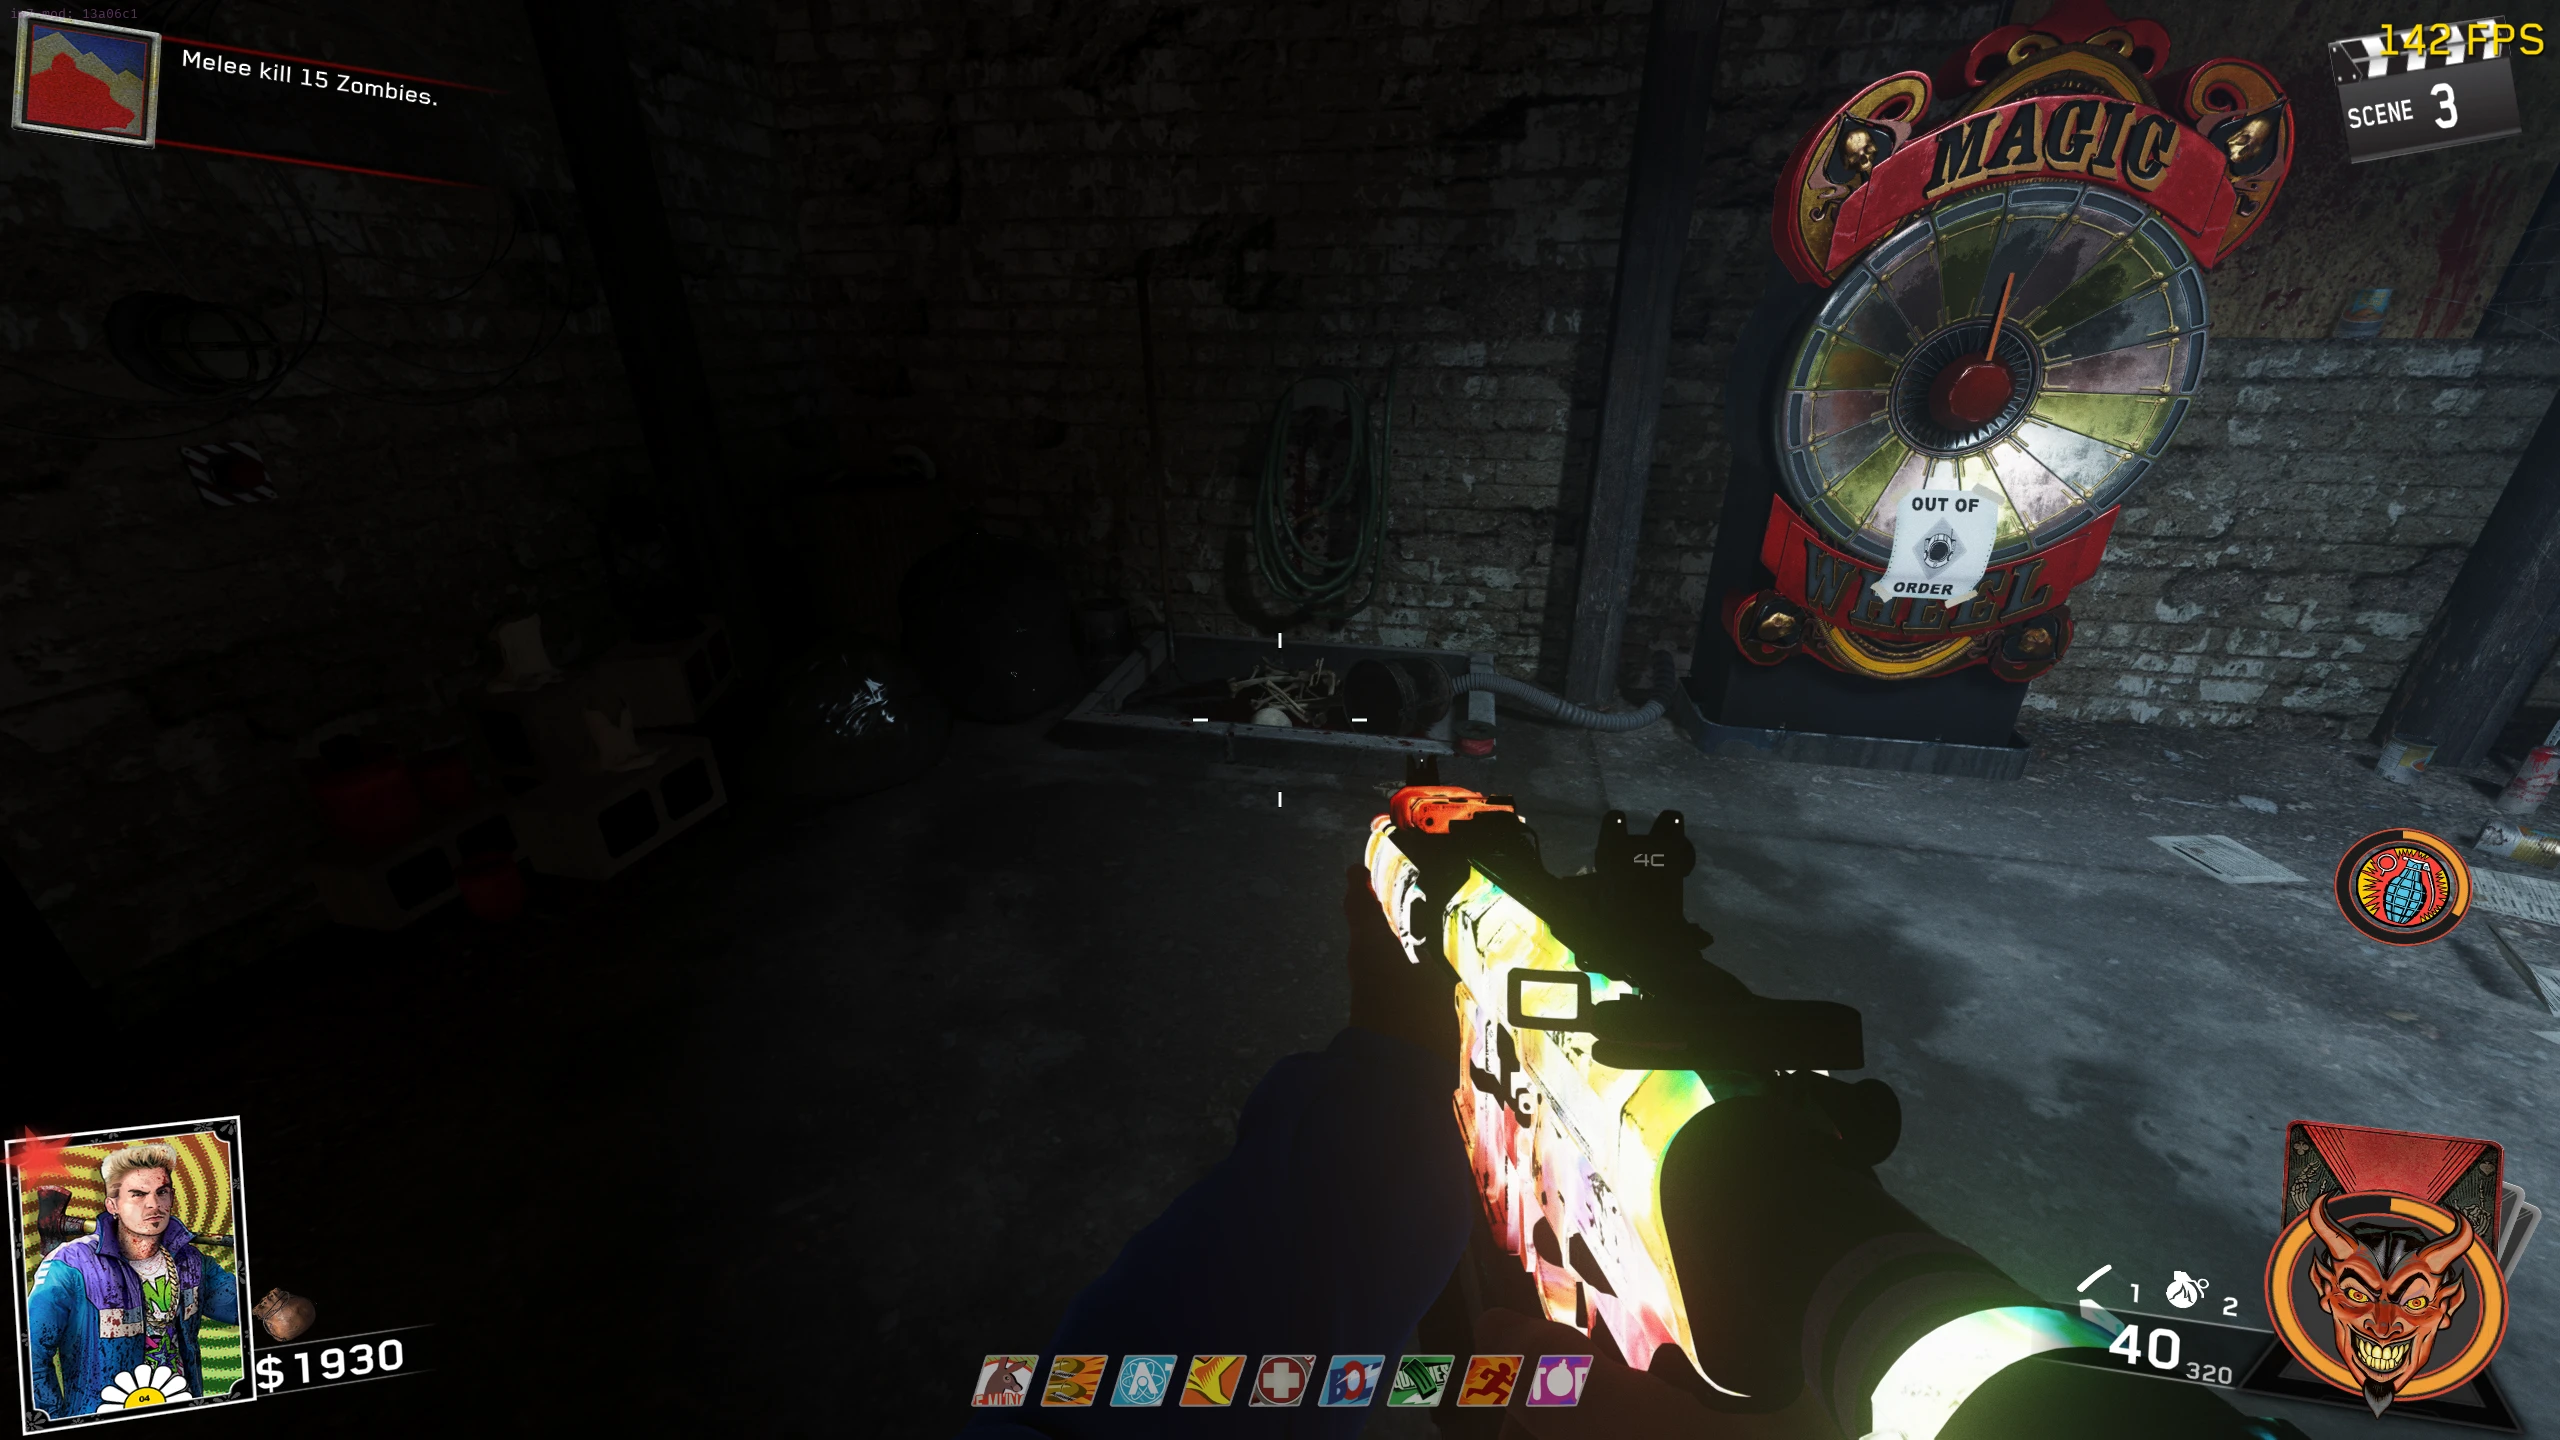
- Pick up the Skull on the floor, left of the Magic Wheel in the Bear Lodge Basement.
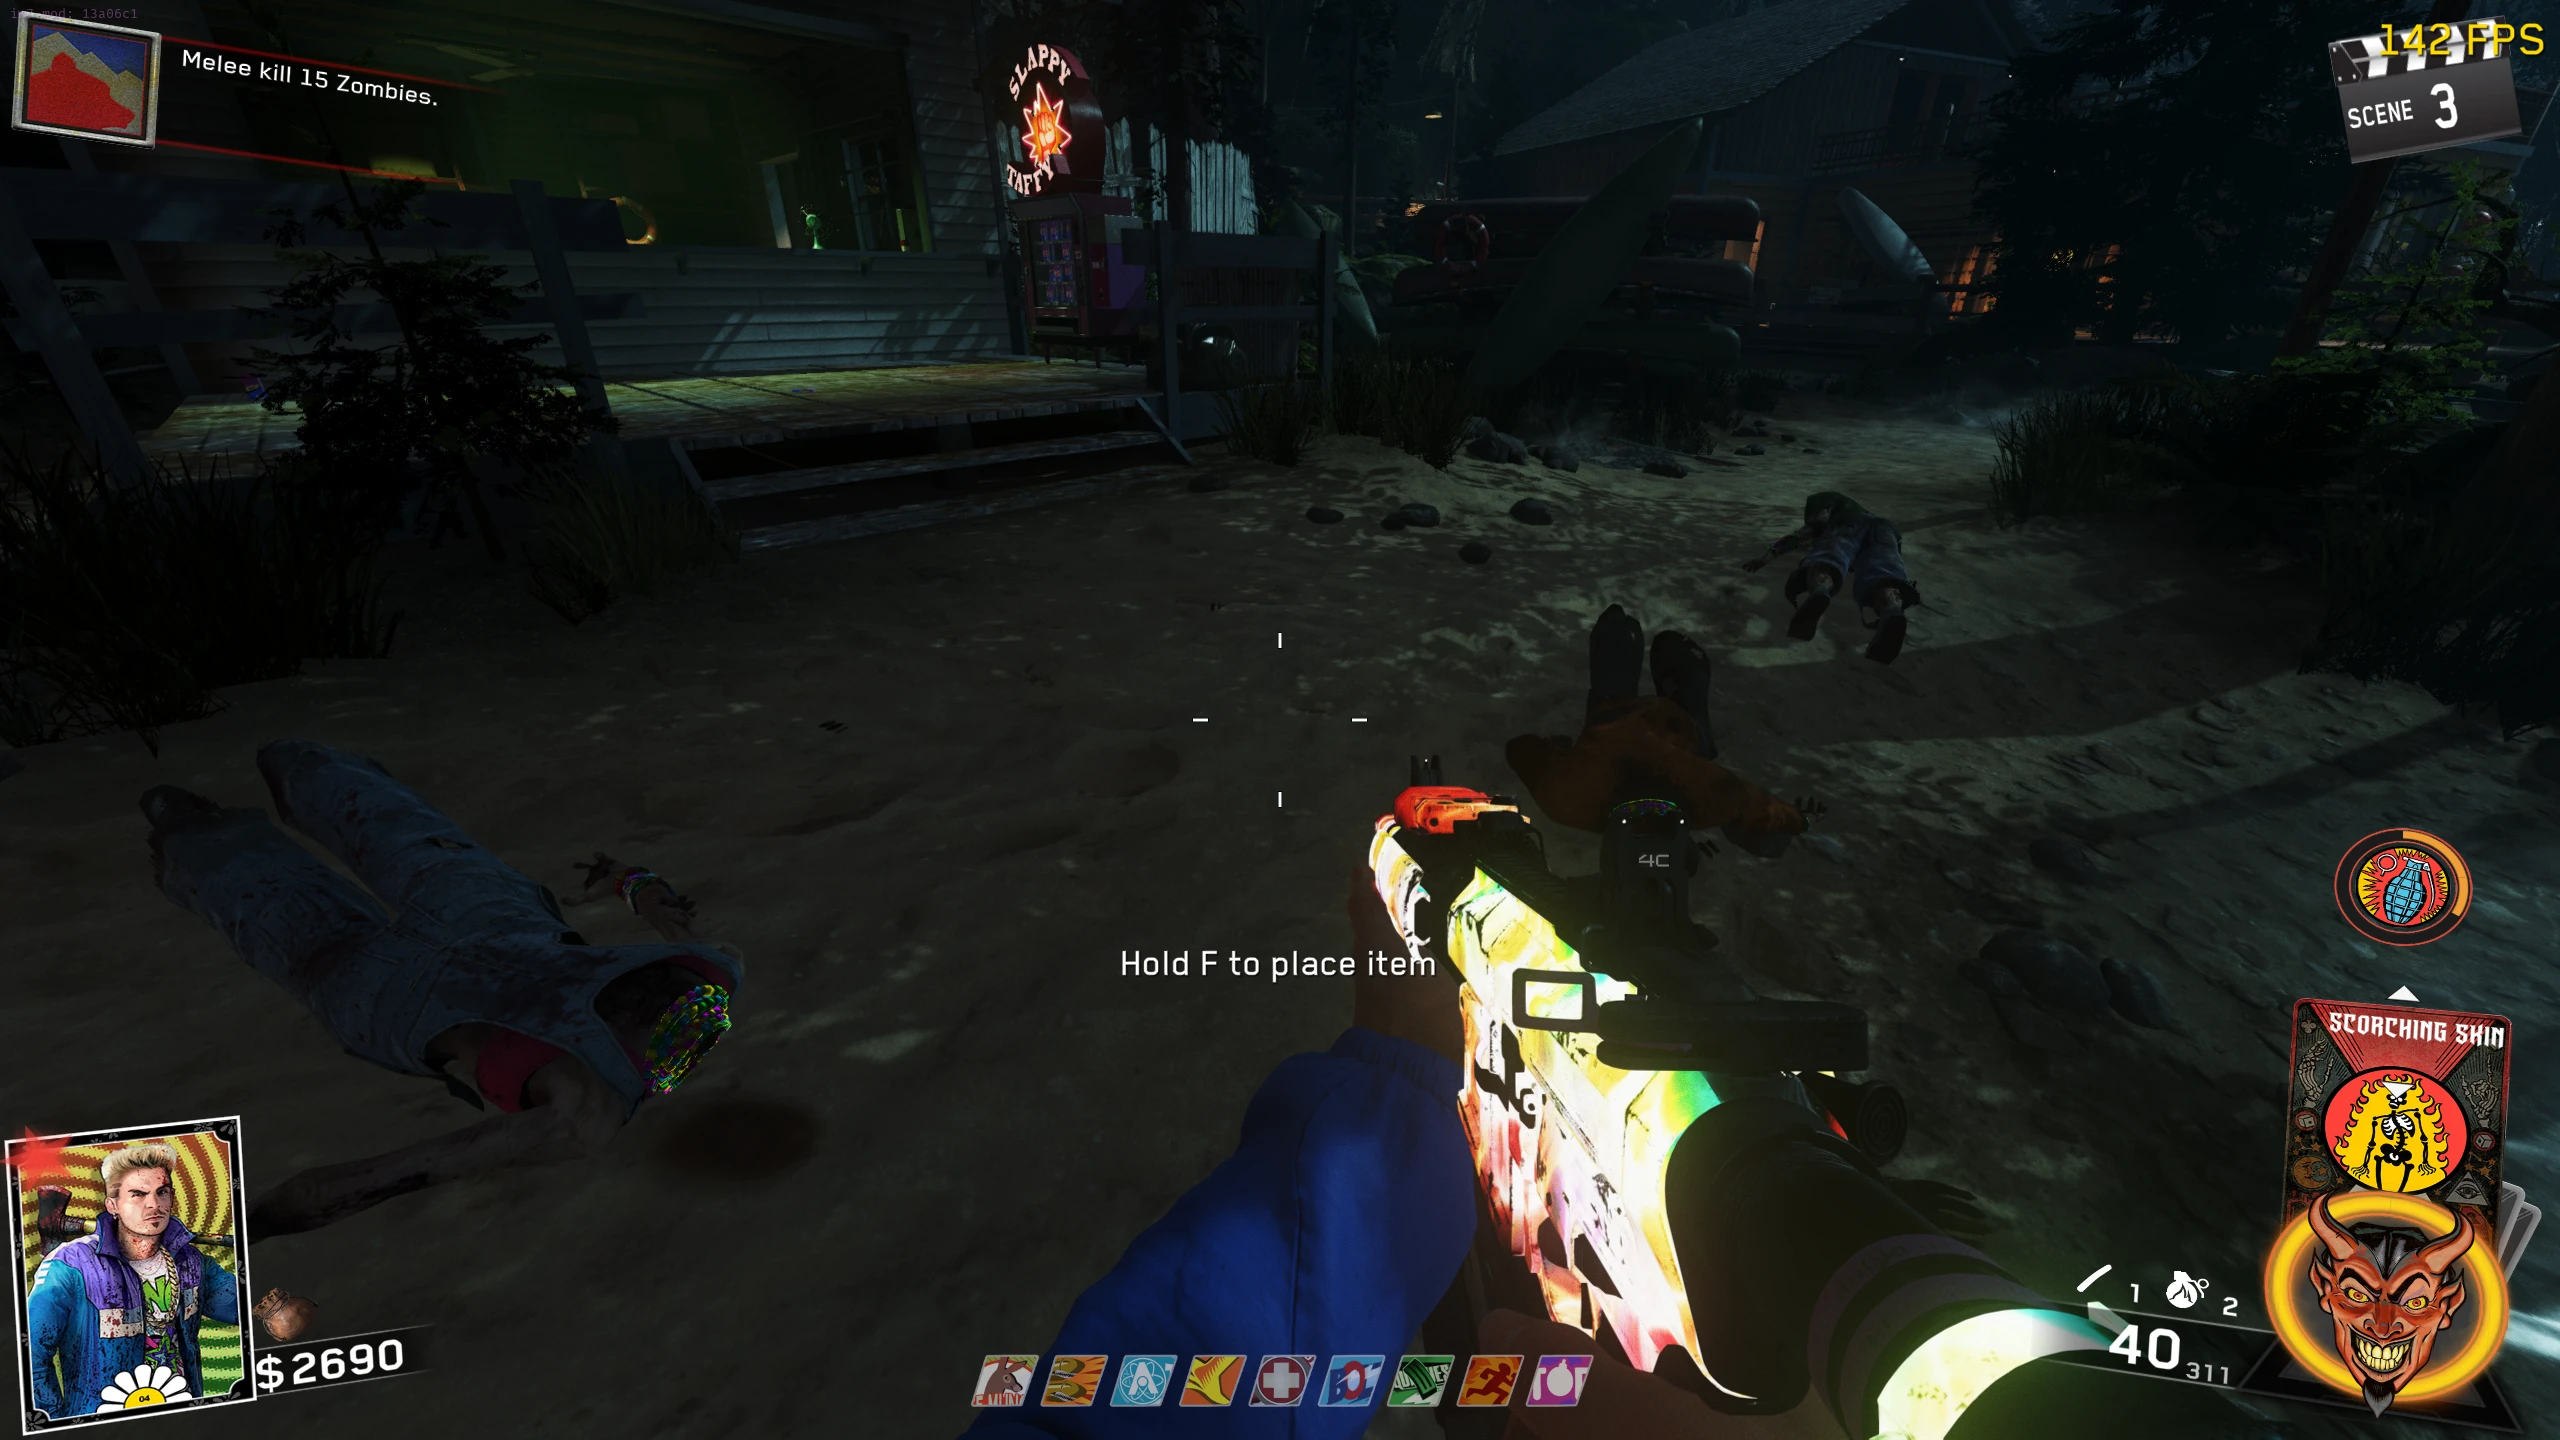
- Place the skull on the Beach in front of Slappy Taffy. This will activate Rave Mode and a timed challenge where you must get 10 headshots.
- You have about 1:10 Mins to get the headshots. If you fail, a random perk will be taken from you, but you can retry immediately after failing.
- Once you get the required headshots, the Skull will start glowing, and you can interact with it. When you interact with it, a Slasher will spawn which you must kill. Once you kill the Slasher, it will drop a max ammo, a nuke will go off, and the Skull can be picked up.
Warning: Point of No Return. Once the button(s) are pressed, the Boat will bring you to the Boss Fight instead of Pack-a-Punch.
- In the Bear Lodge Basement, all players must interact with the buttons on the wall that don't have the lights above them illuminated. Three buttons are right of the stairs, and the fourth is on the left of the Magic Wheel.
- An alarm-type noise will play if the all buttons are hit at the same time.
- All players must enter the Boat at the same time. After the Boat ride, the boat will stop near Turtle Island and the Super Slasher will spawn.
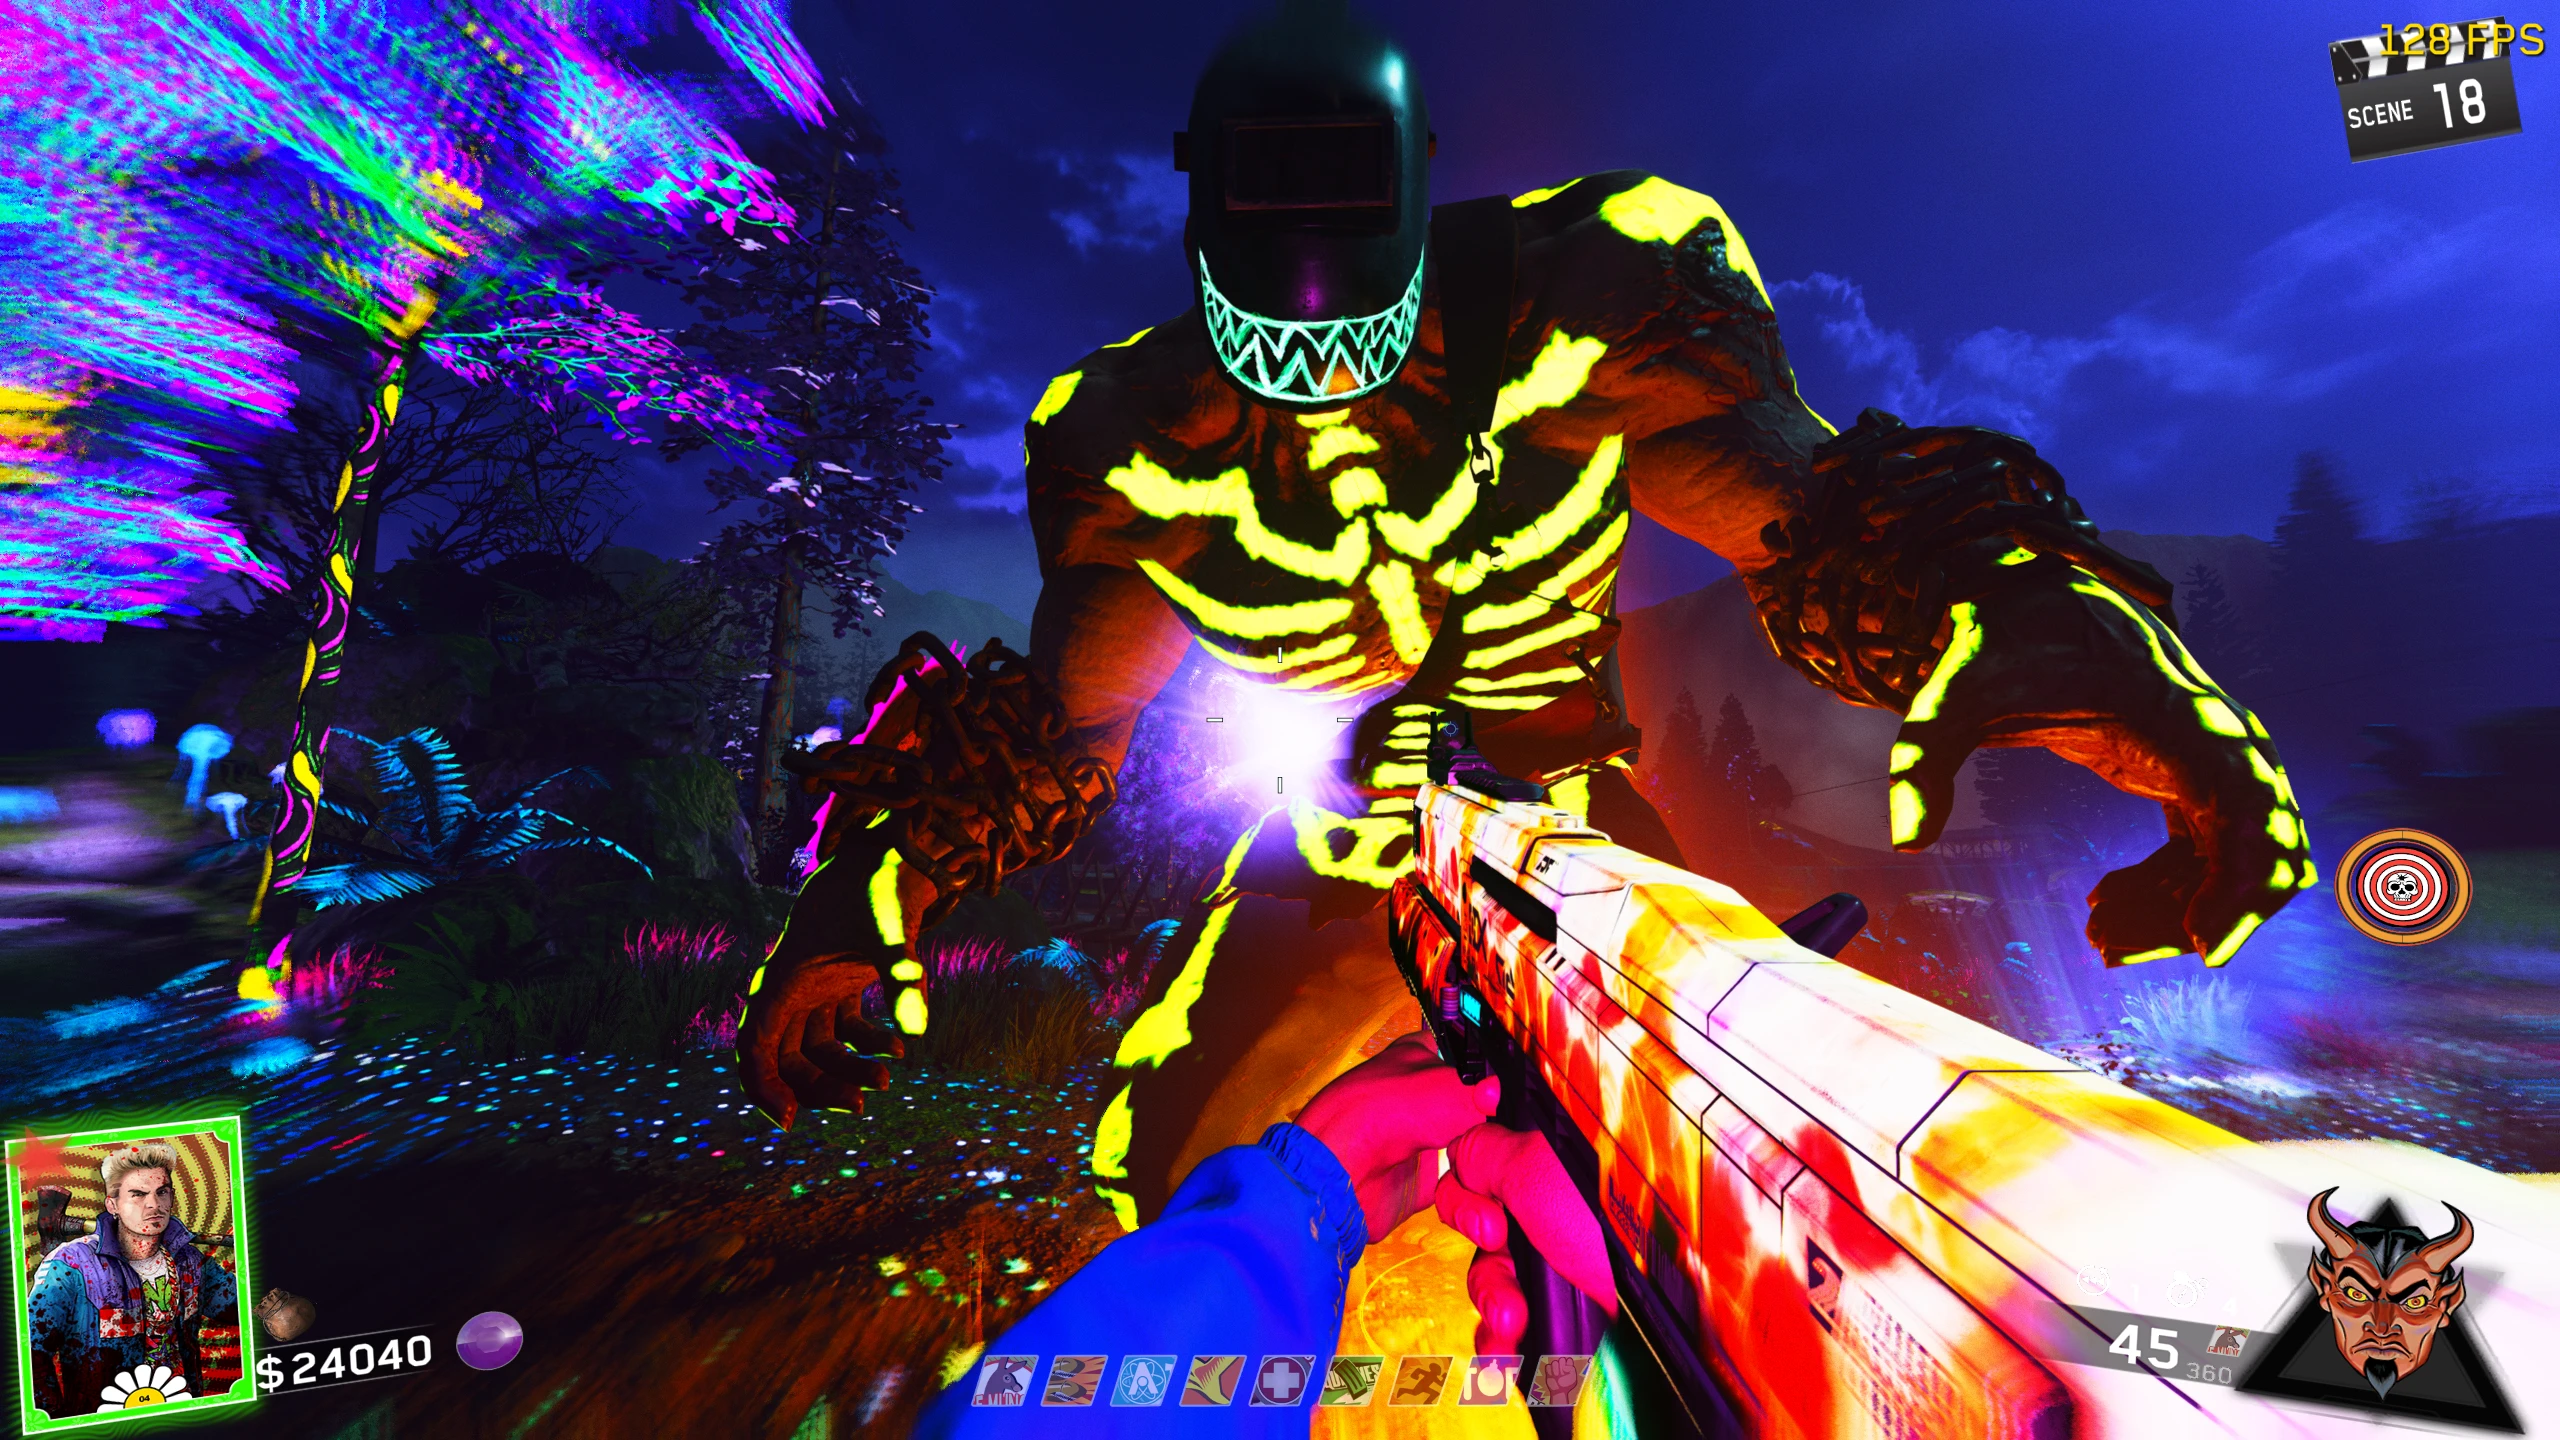
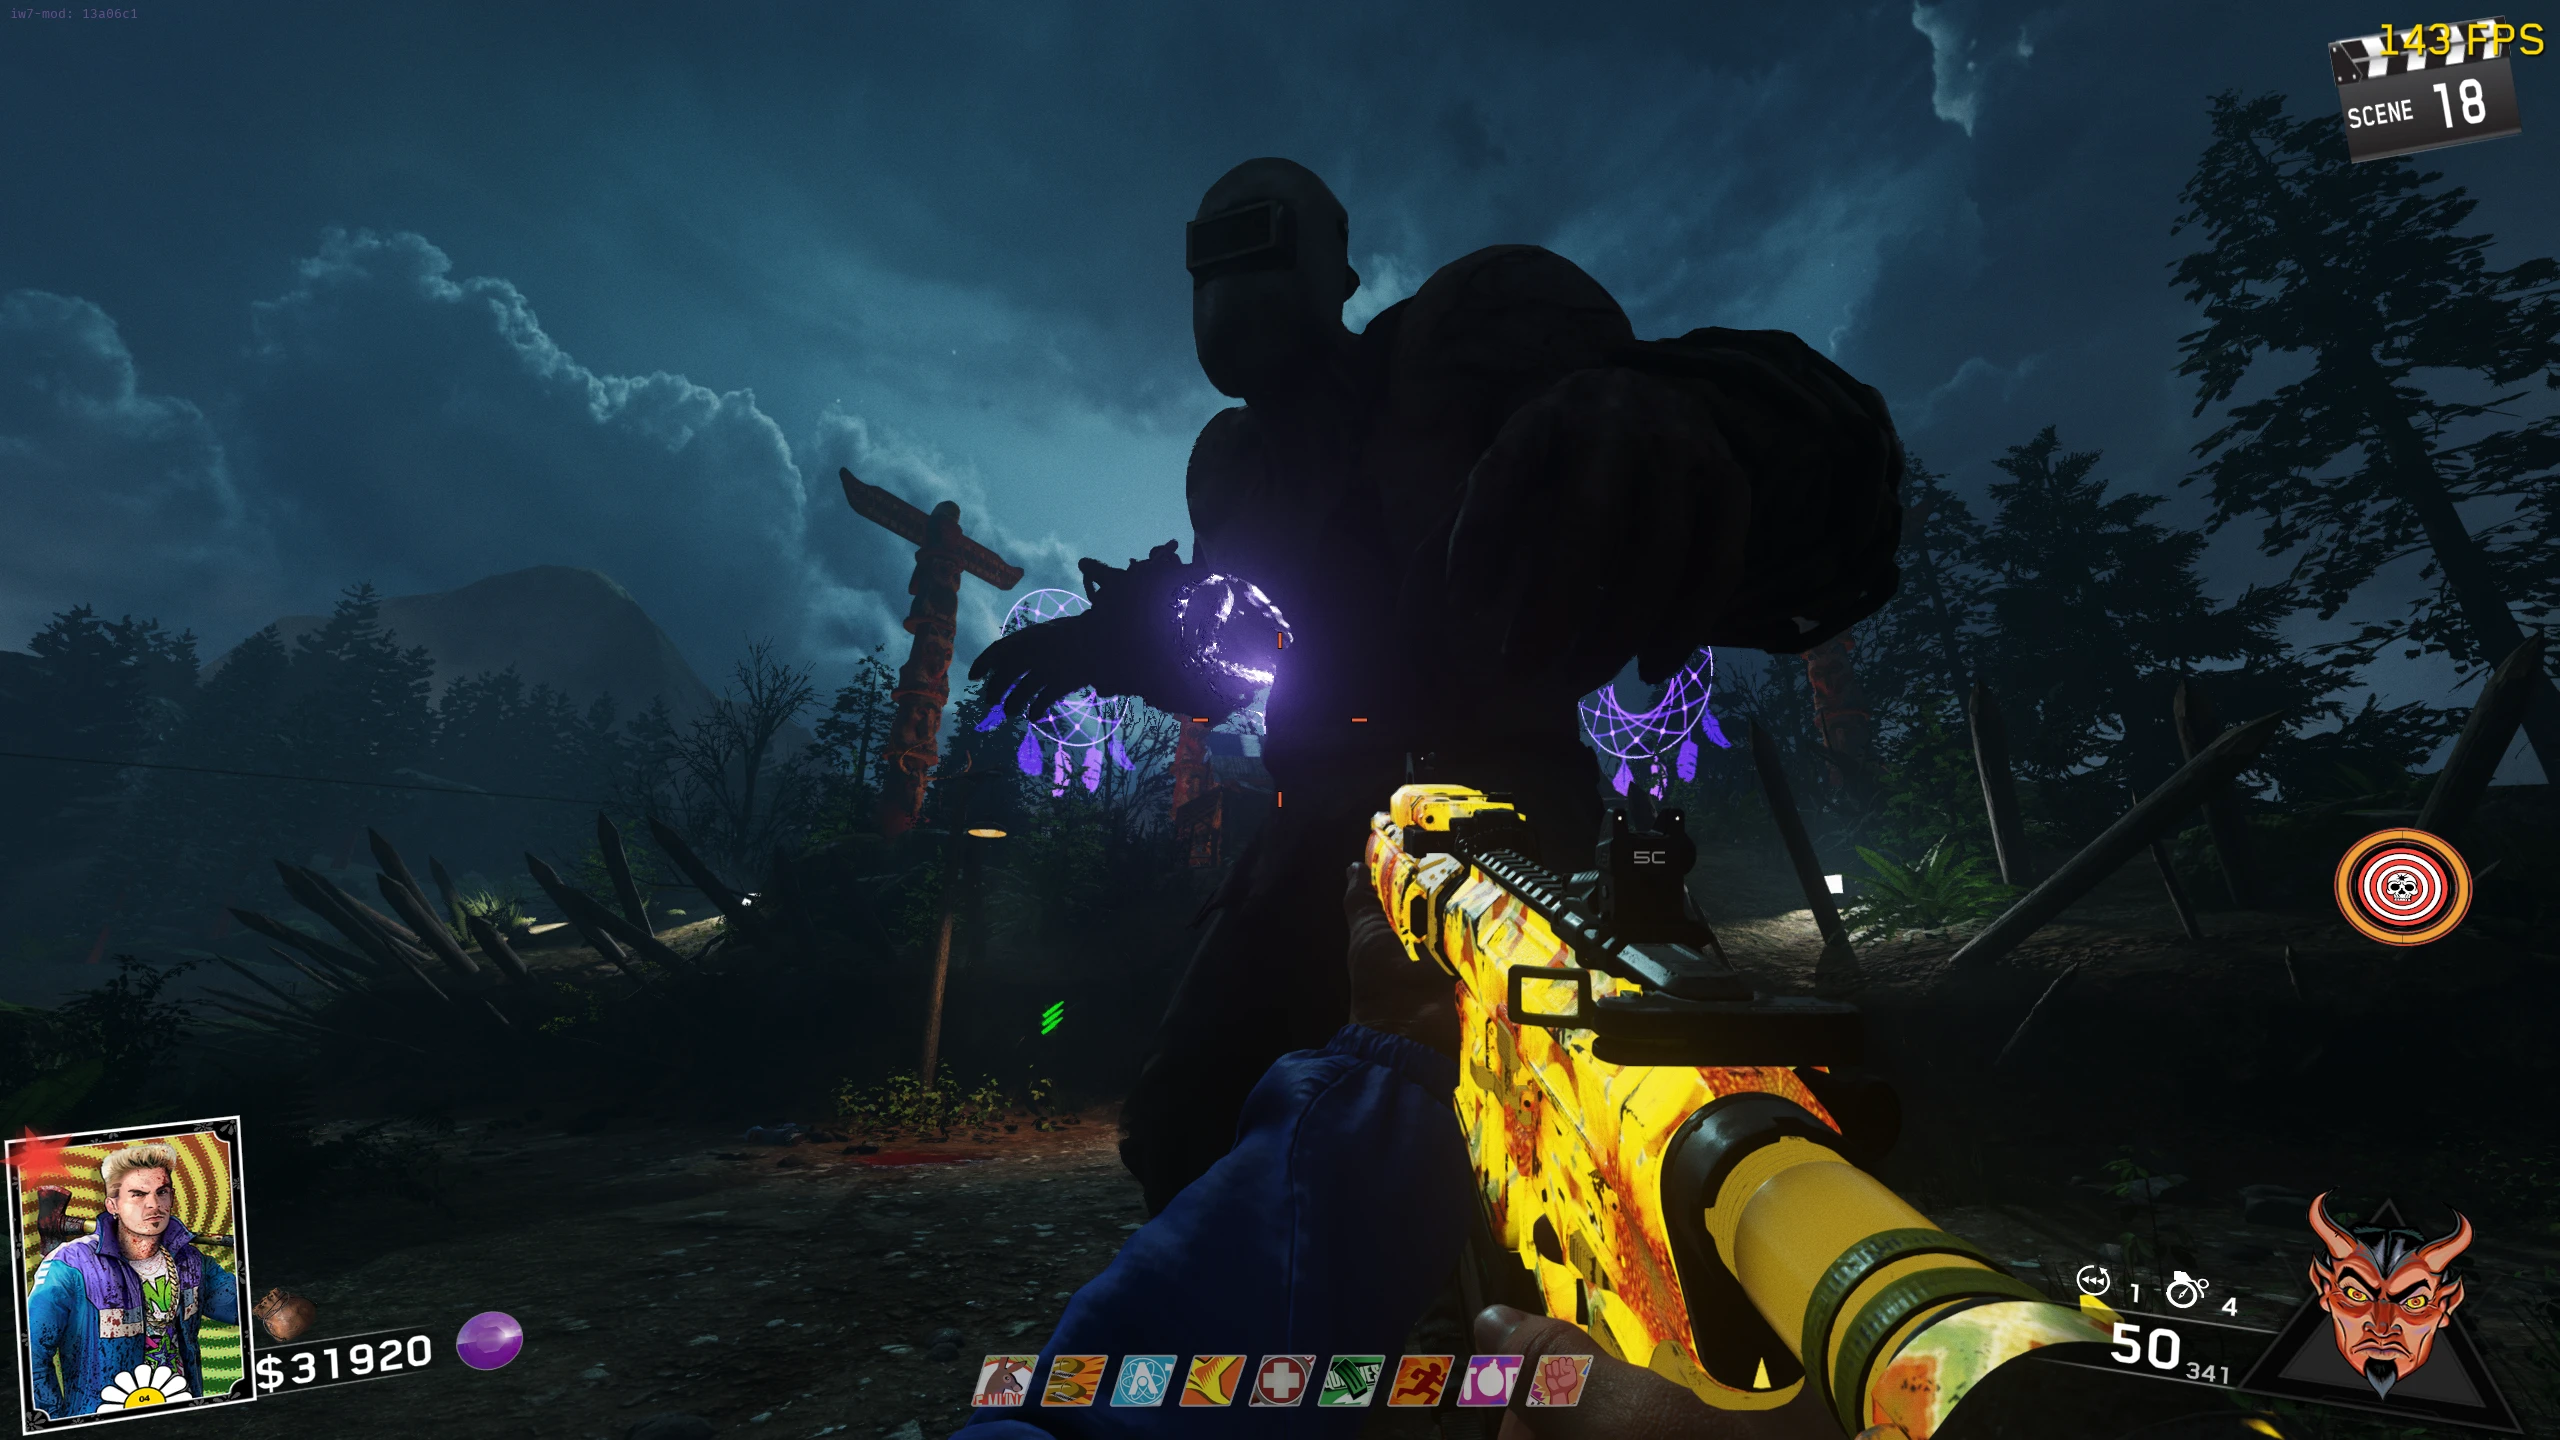
Super Slasher Boss Fight
Recommended Weapons: FHR-40, Mauler (Sentinel Variant Recommended), RPR-Evo, NV4, Acid Rain, Whirlwind EF-5.
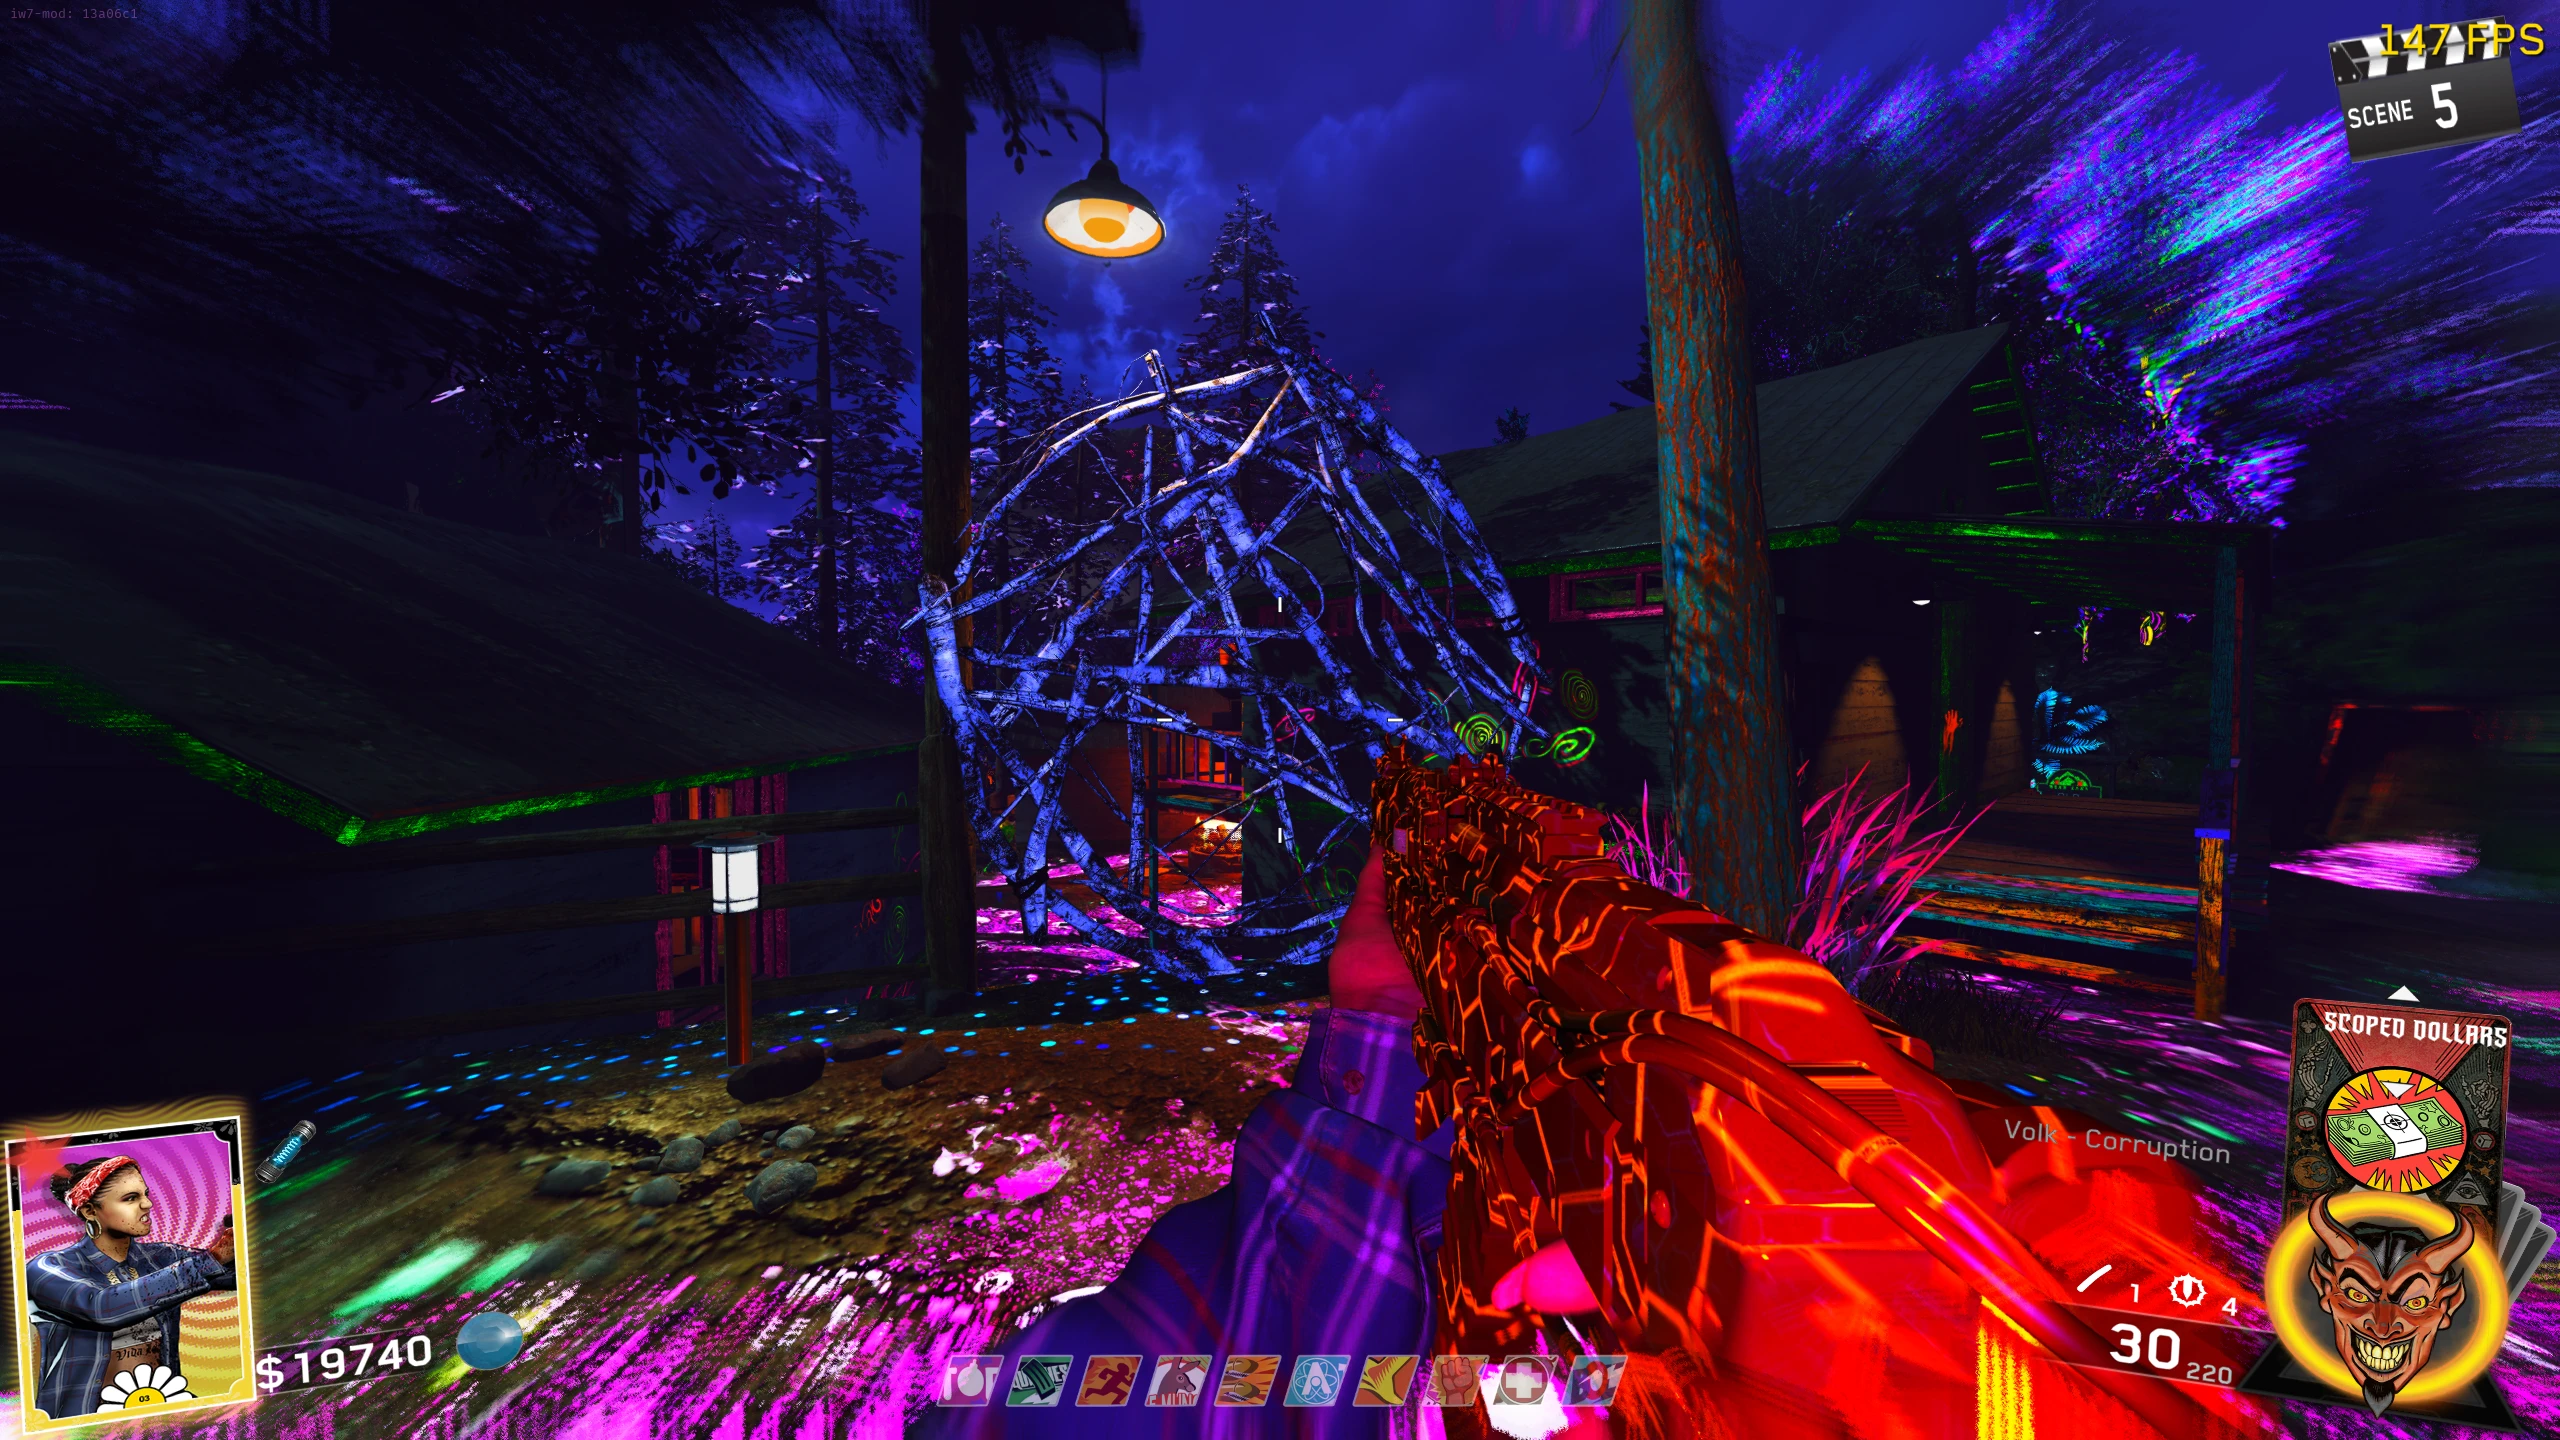
- Once you're on the island, you will be put into Rave Mode, and you must find and charge two (more on Co-op) Skulls with about 30 Zombie souls each. As a Skull is being charged, it will slowly move up into the air. Once it's fully charged, a large beam of light will illuminate the skull in the sky. Shortly after being fully charged, the skull will slowly start to fall; it can be "re-charged" as it is falling to get it back to the max without it completely resetting. If you don't recharge the falling skull quickly enough, it will reset and will need to be fully recharged with souls.
- Once all skulls are charged, they will combine and form a circle on the ground. You must bait the Super Slasher into walking or slaming (indicated by this floor effect) onto the circle. When the Super Slasher is in the circle, his lower torso area will start glowing. You must shoot the glowing area; if done correctly, you will exit Rave Mode.
- After a couple of seconds, a symbol will appear somewhere on the Slasher's body. Shoot the symbol till it disappears; repeat this about eight times, until the Slasher visible recoils, and pounds on his chest.
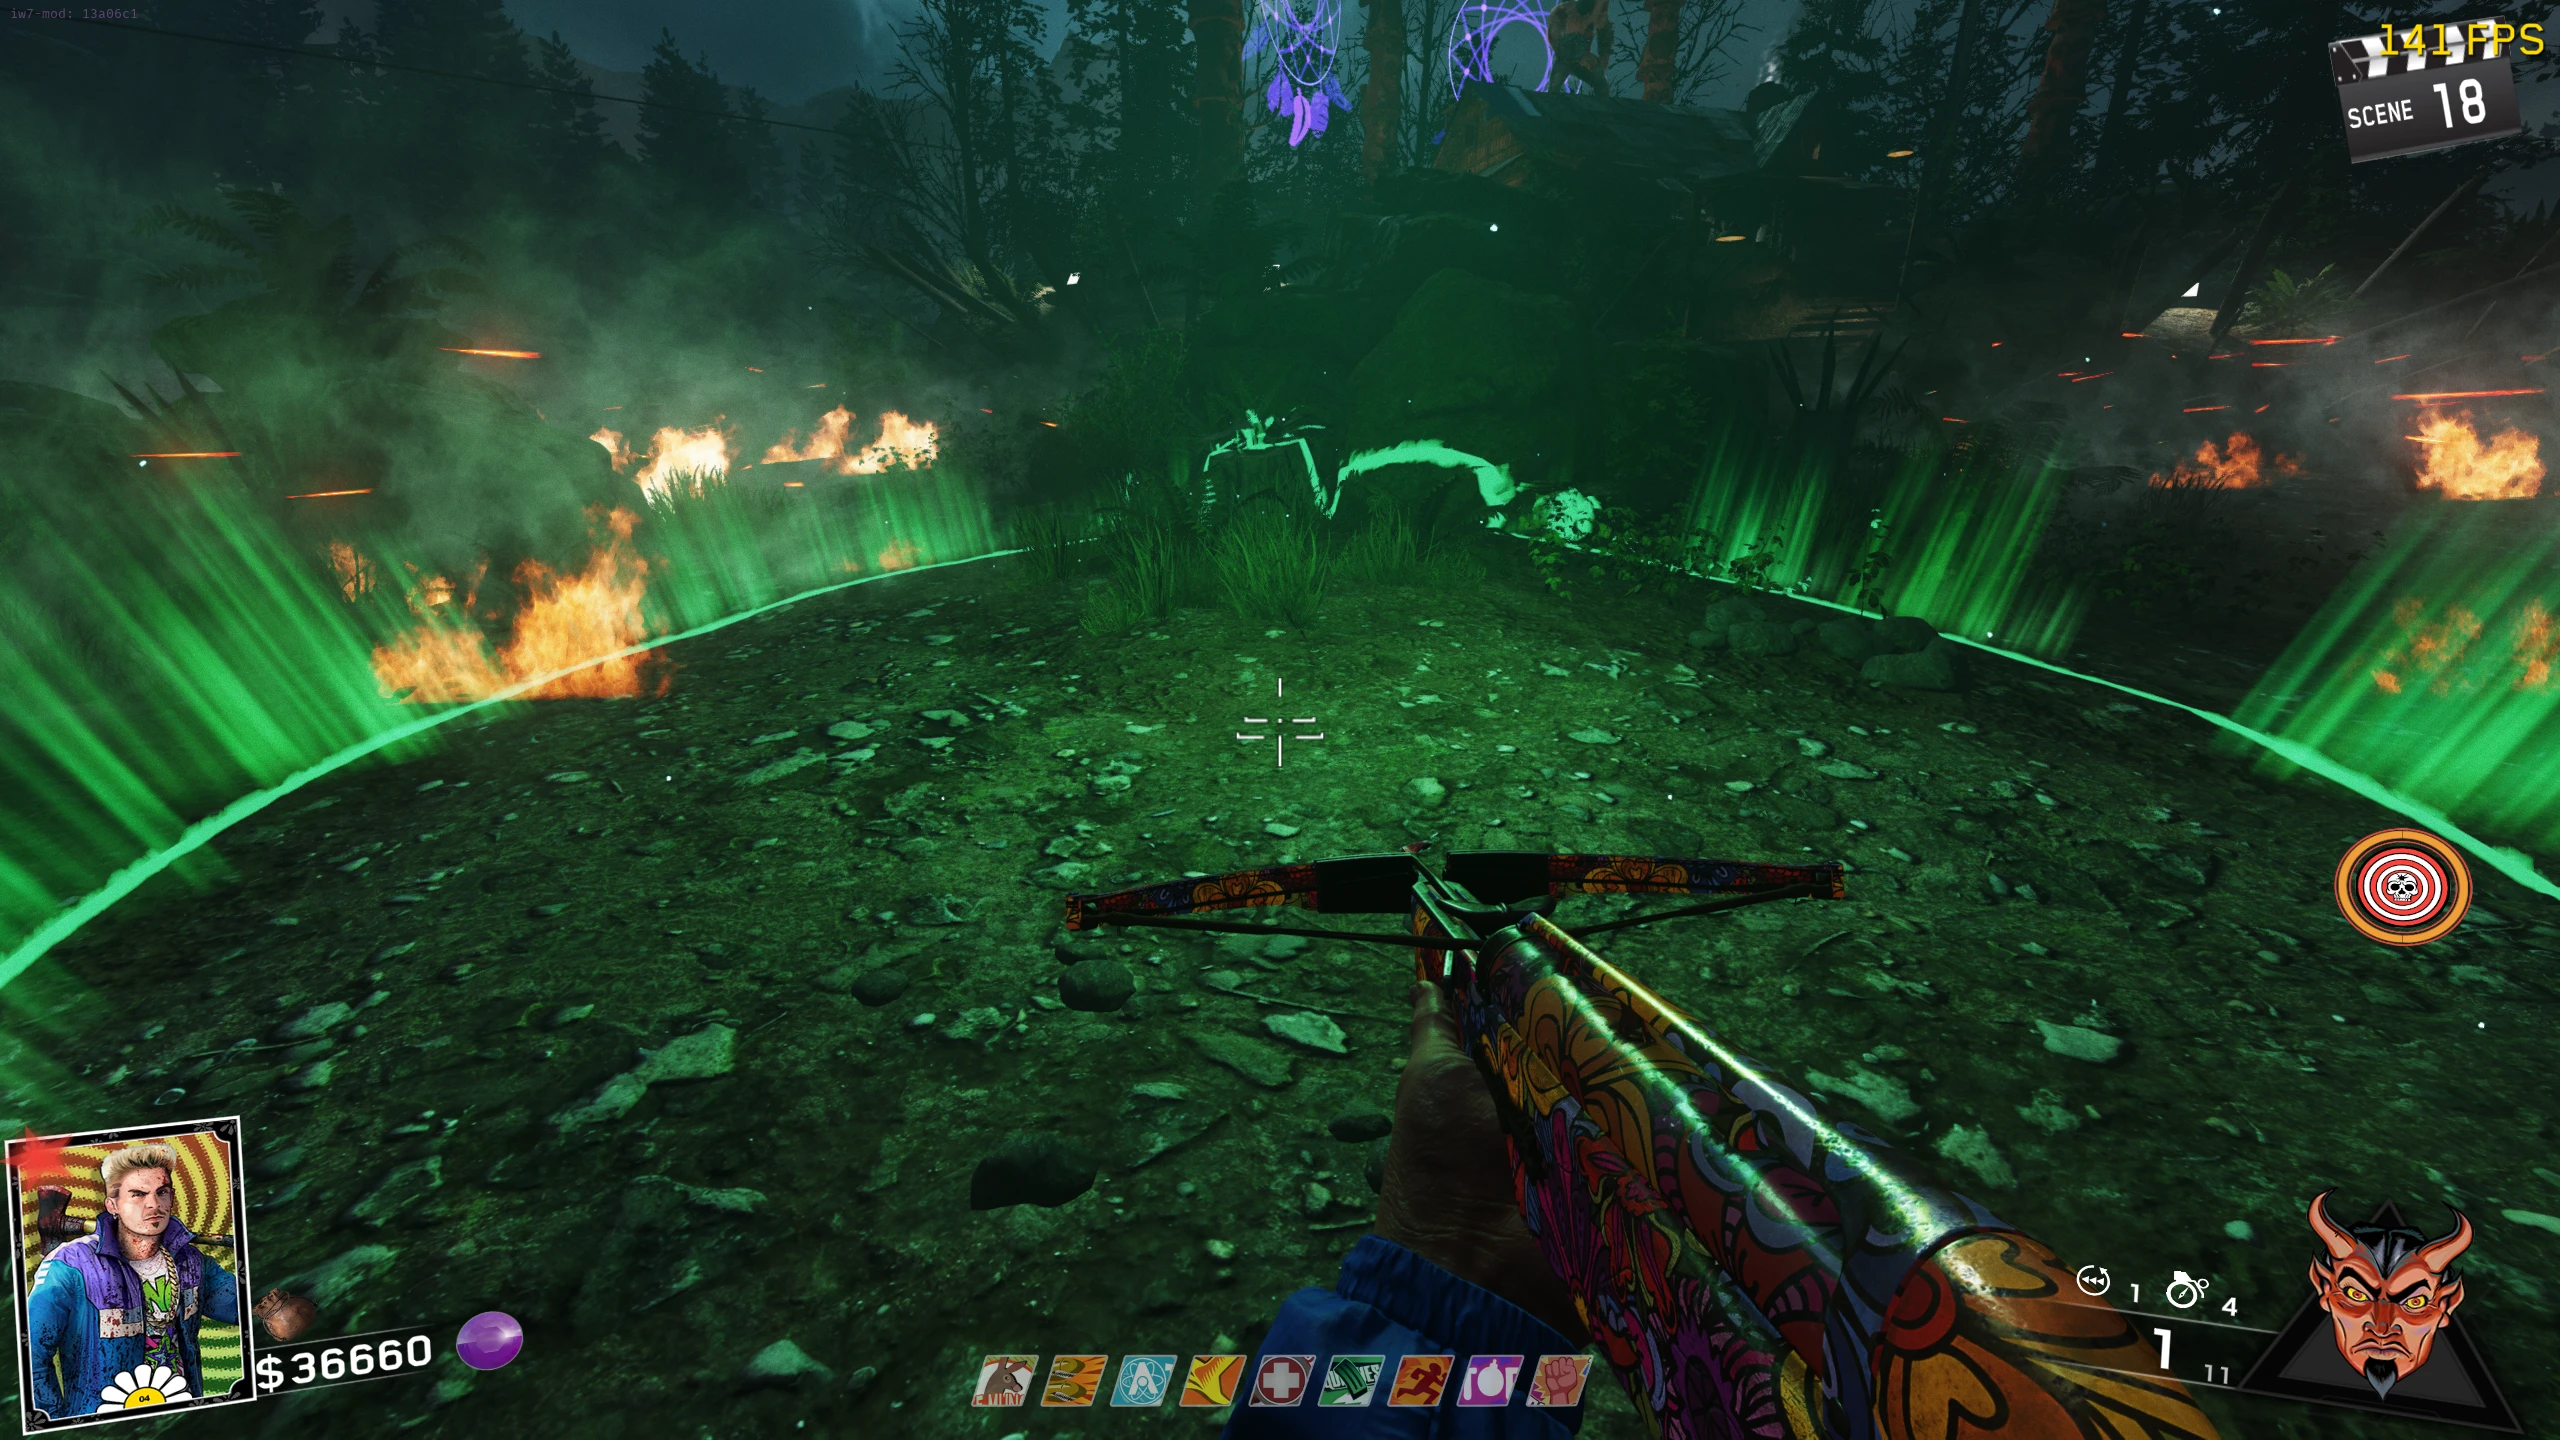
- The Slasher will then spawn two saw blades on the ground that follow players. He will then jump up onto the Cabin, and summon a wind storm. All players must hide behind a rock in the Green Circles on the ground to avoid taking damage. While you're in the circle, skeletons will start spawning. The skeletons take much more damage to kill when compared to regular Zombies.
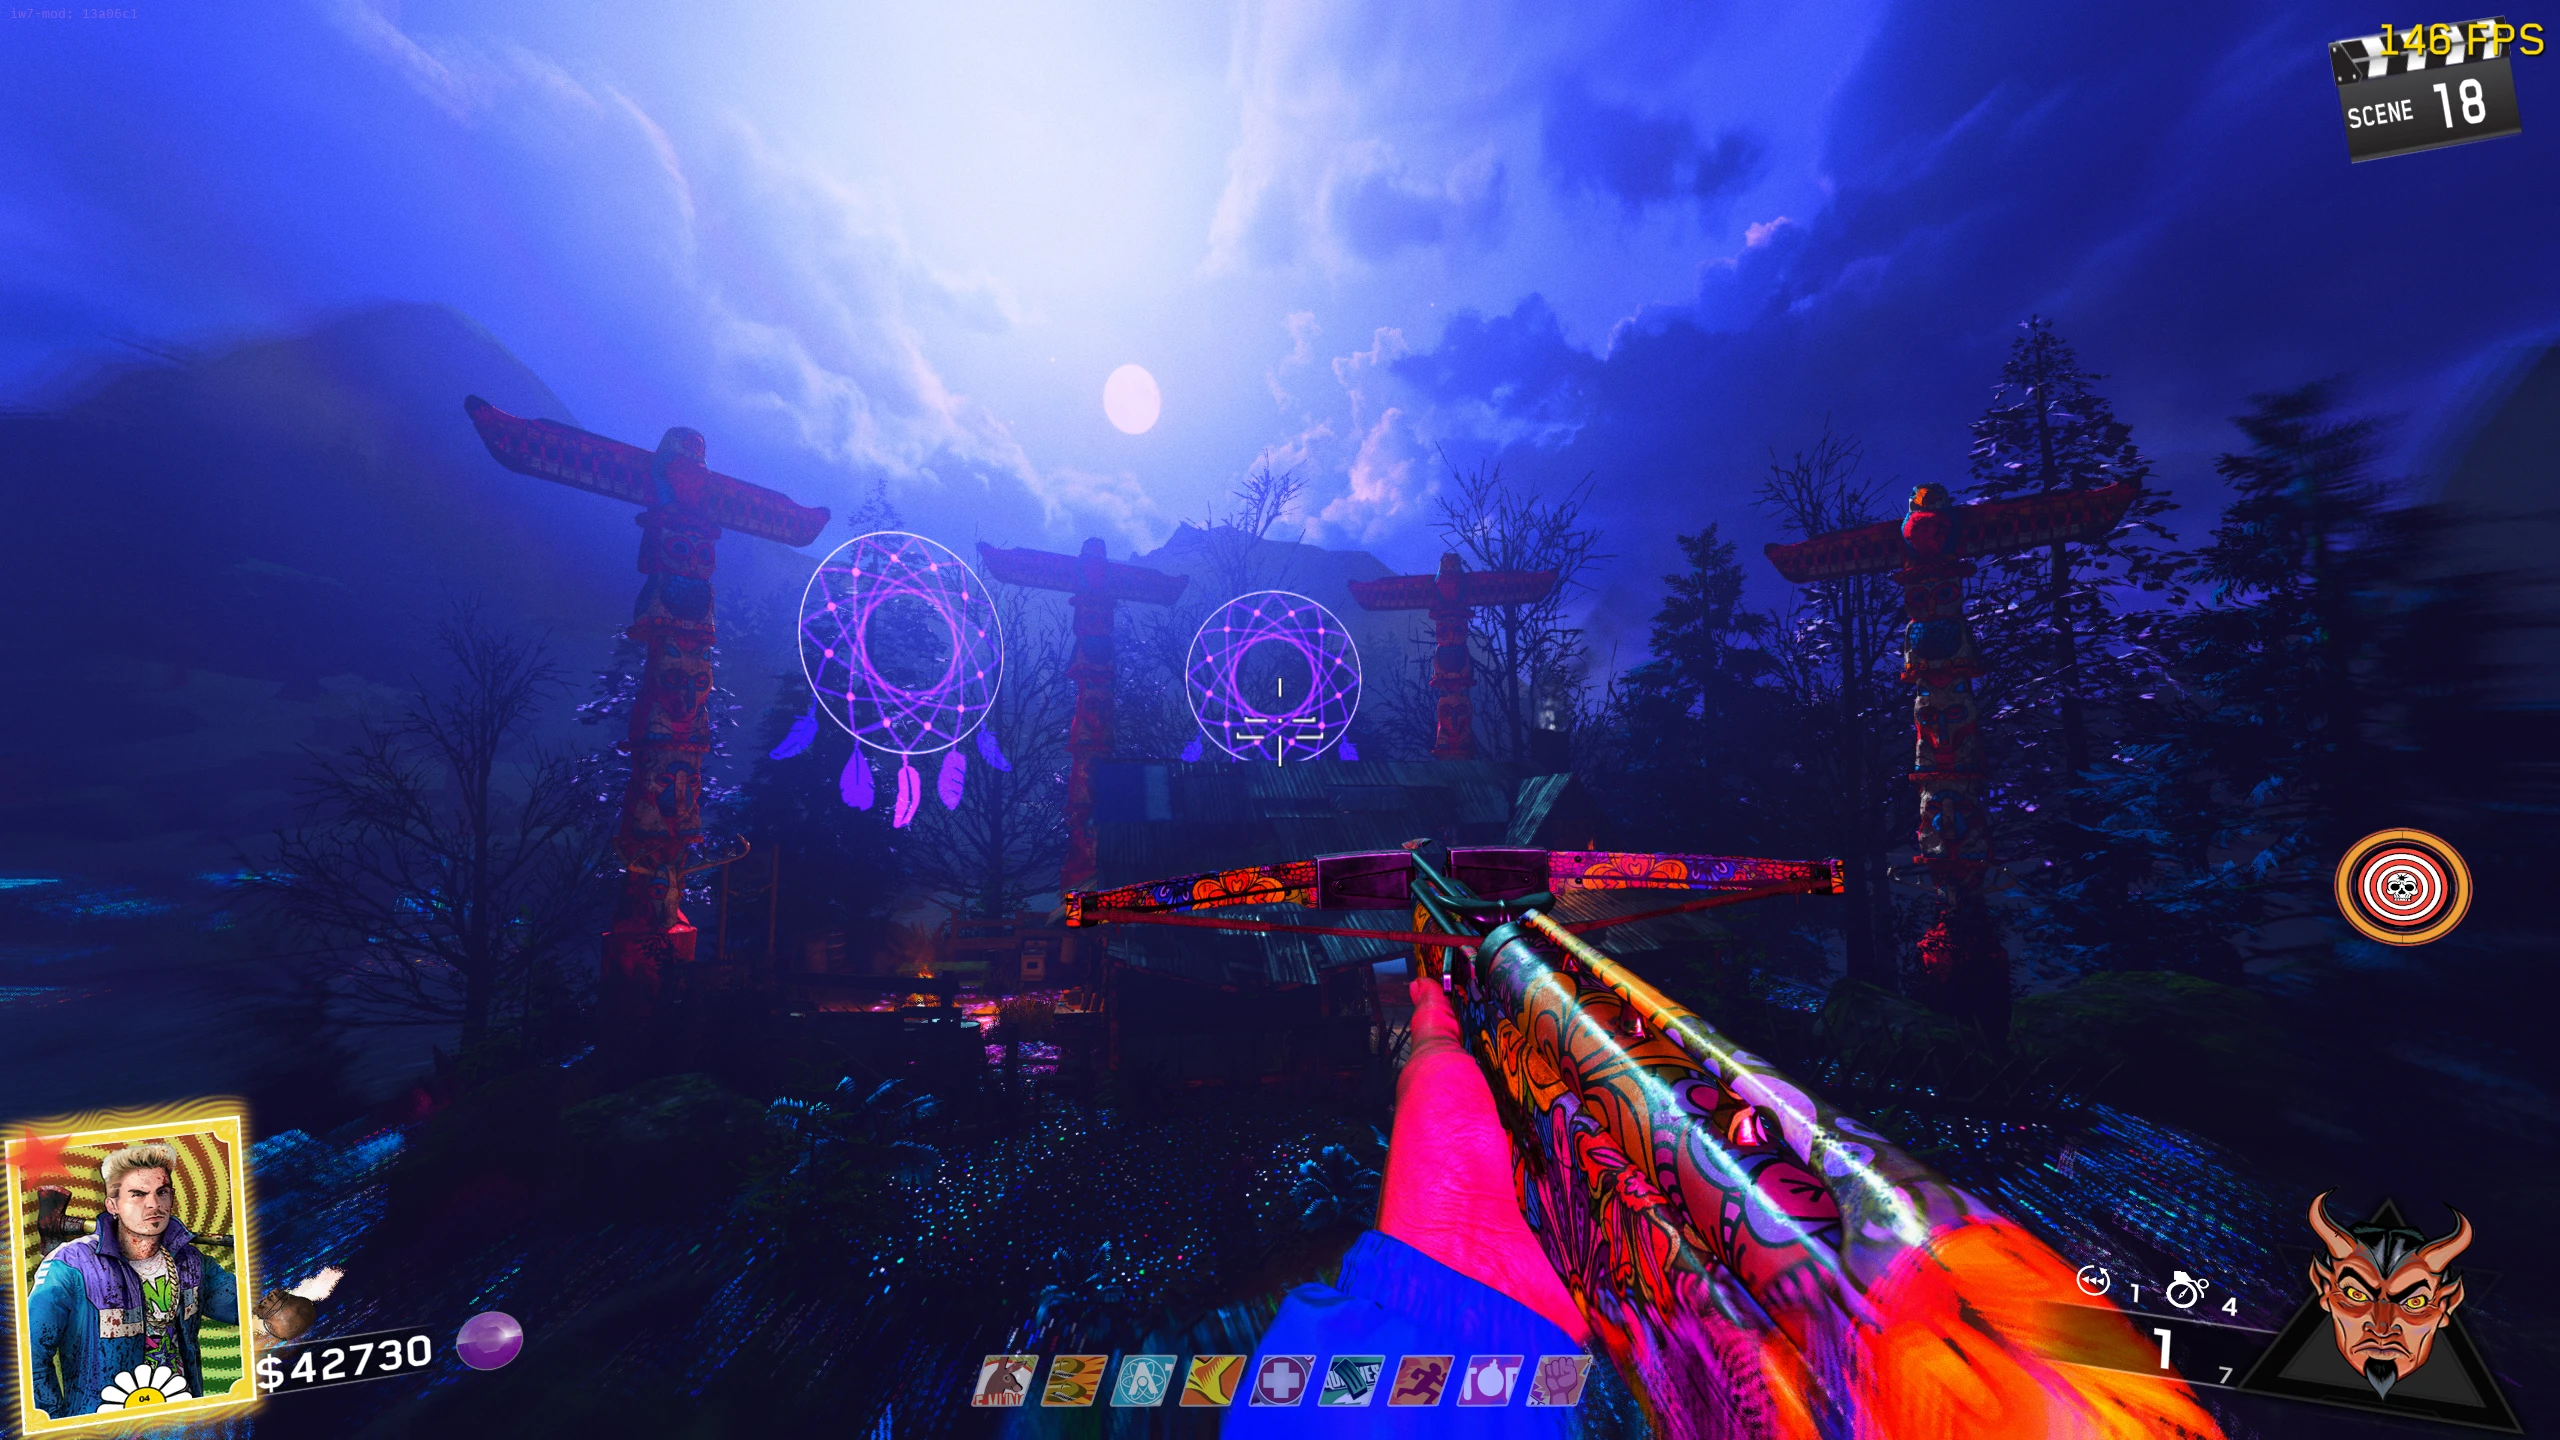
- After about 30 seconds, the wind will stop, and the circle will disappear. You will be put back into Rave Mode, where you must repeat Steps 1-4 two more times. The Dreamcatchers above the Cabin indicate how many times you have shot the symbols on the slasher (Step 3), starting with 3 and going down every time you complete the step. The only difference between phases is that during the Rave Mode section, walls will spawn blocking off some pathways in the arena.
- On your third run-through, the wind storm will not happen. Instead, you need to shoot the Super Slasher till he is dead. Once he is dead, part of the Soul Key will spawn which will start the ending cutscene once picked up. If you're in Director's Cut, the Talisman will spawn where the Soul Key was, and you will be given the Director's Cut II animated calling card.
Ghosts 'N Skulls 2
Ghosts 'N Skulls 2 is an arcade game where players must clear skulls by firing ghosts at them. To unlock the machine, they need to complete a specific set of side tasks to get six skulls. Completing the game unlocks all perks permanently (except for Up 'N Atoms in solo games), and allows you to get six revives on solo instead of the standard three or infinite Afterlife Arcade visits on Co-op.
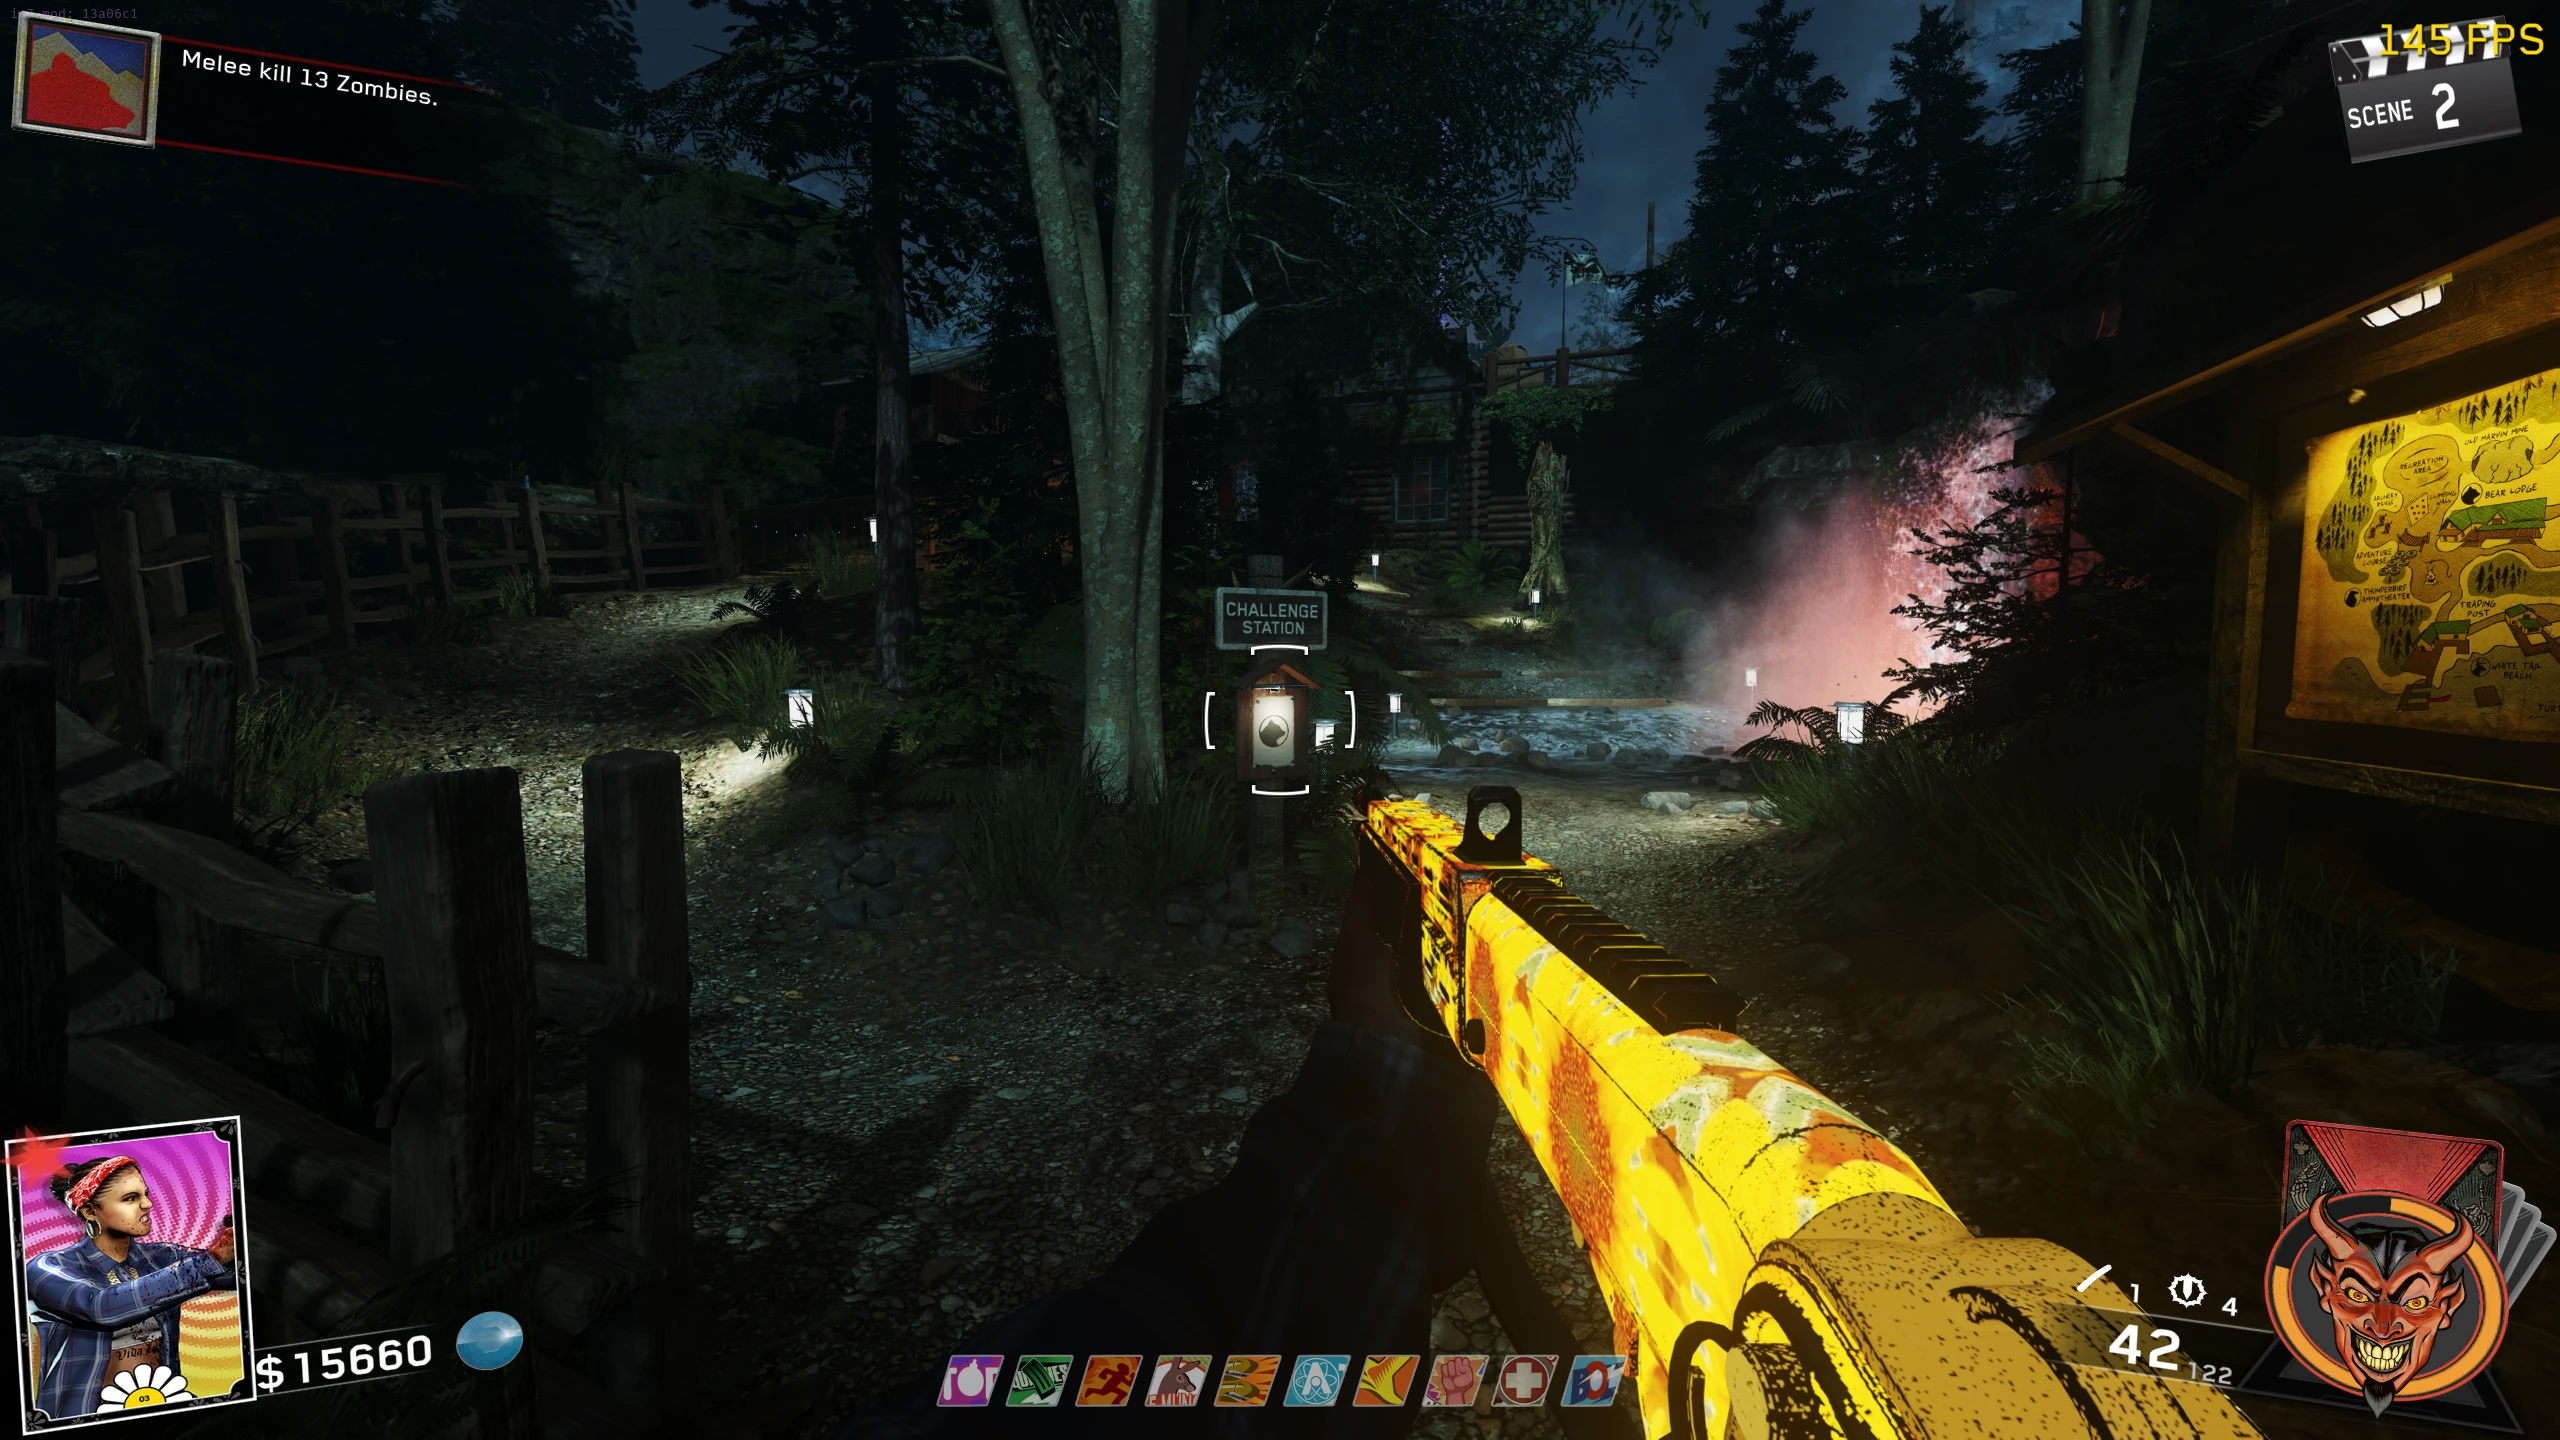
- You can check your current progress by looking at the Ghost N' Skulls 2 Arcade Cabinet on the Upper Floor of the Bear Lodge.
Skull 1/6 - Trap Kills
- You need to achieve a certain number of kills using specific traps, in the order below. All kills must be in a single use of the trap. If you get more or less than the required number of kills, you need to retry that trap (instead of retrying from Trap 1).
- A website like Zombacus can be used to calculate the number of Zombies each round. This makes it easier to know how many Zombies you need to kill to be left with the number you need to kill with the trap. When using the website, Infinite Warfare is considered to have a "Normal" spawn system. The website doesn't factor in special rounds (like the Bigfoot rounds), so the numbers on those rounds will not be correct.
- Log Swing Trap: 1 Kill
- Woodchipper Trap: 9 Kills
- Rave Stereo Trap: 9 Kills
- Waterfall Trap: 2 Kills (I recommend leaving more than two Zombies so the round doesn't end with the two trap kills, since there is a Zombie spawn inside the Waterfall).
- Assuming you got the correct number of kills, the completion sound will play once the Waterfall trap deactivates.
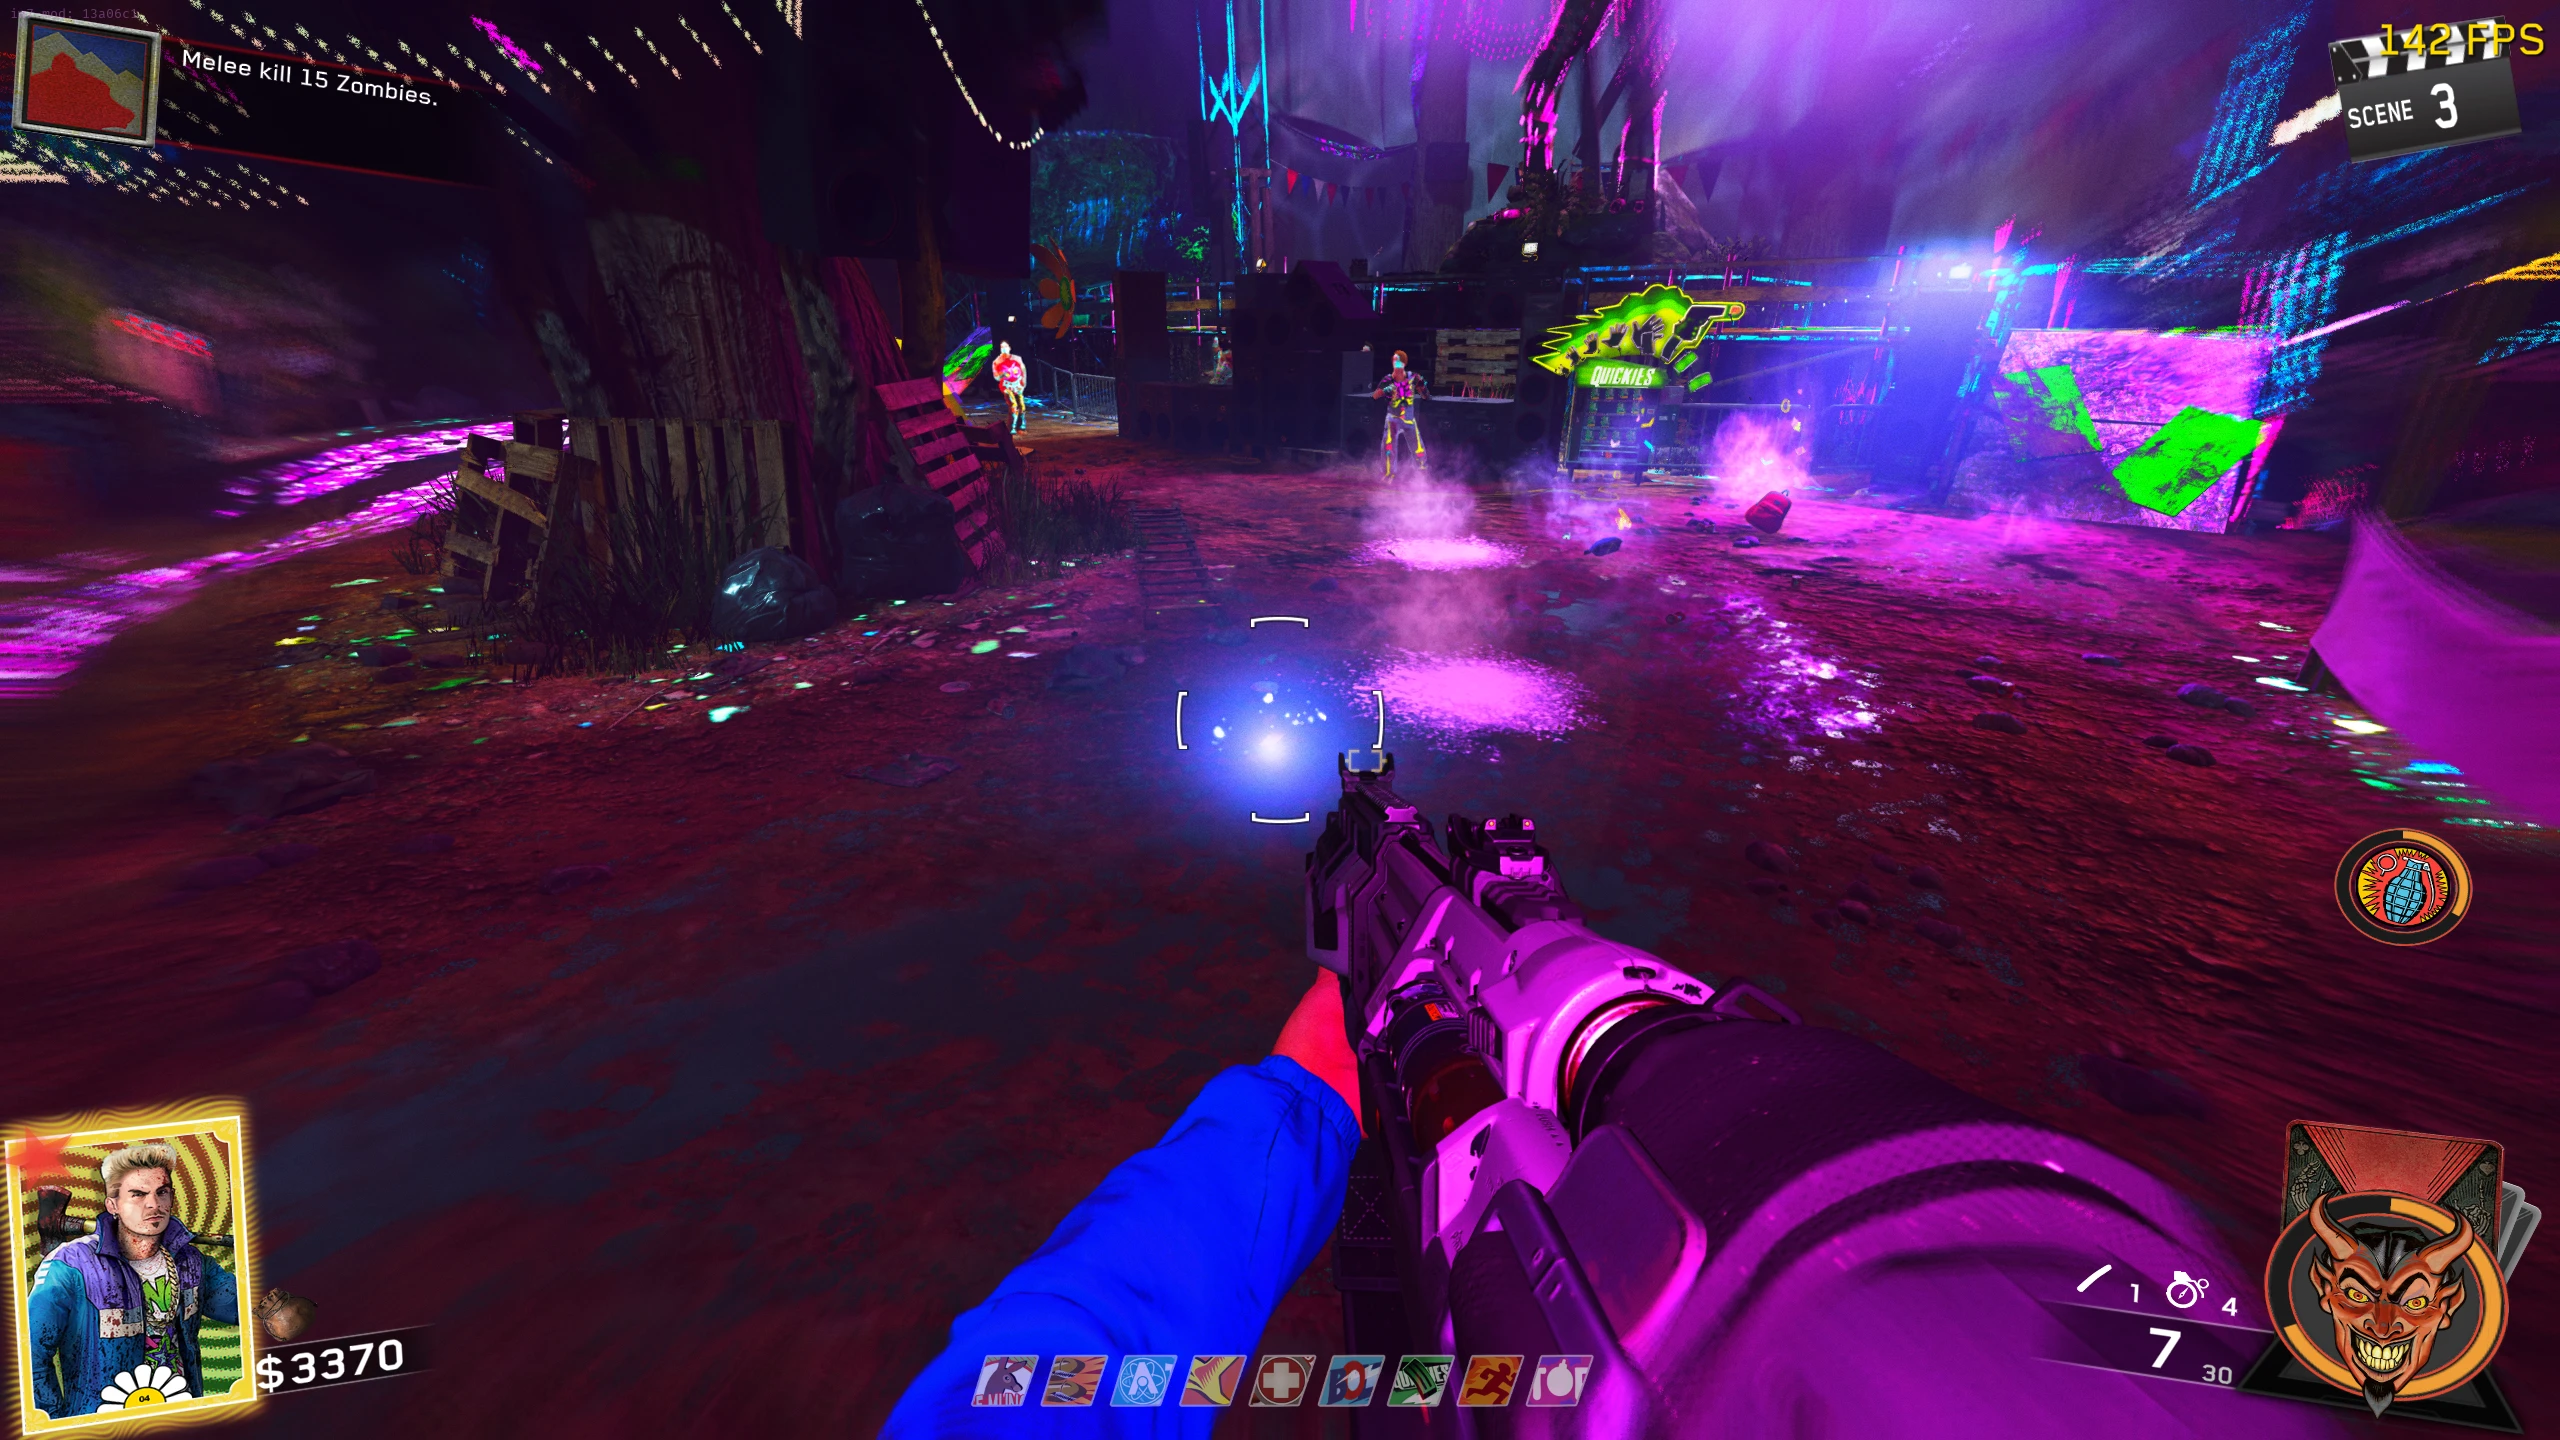
Skull 2/6 - Rave Mode Symbols
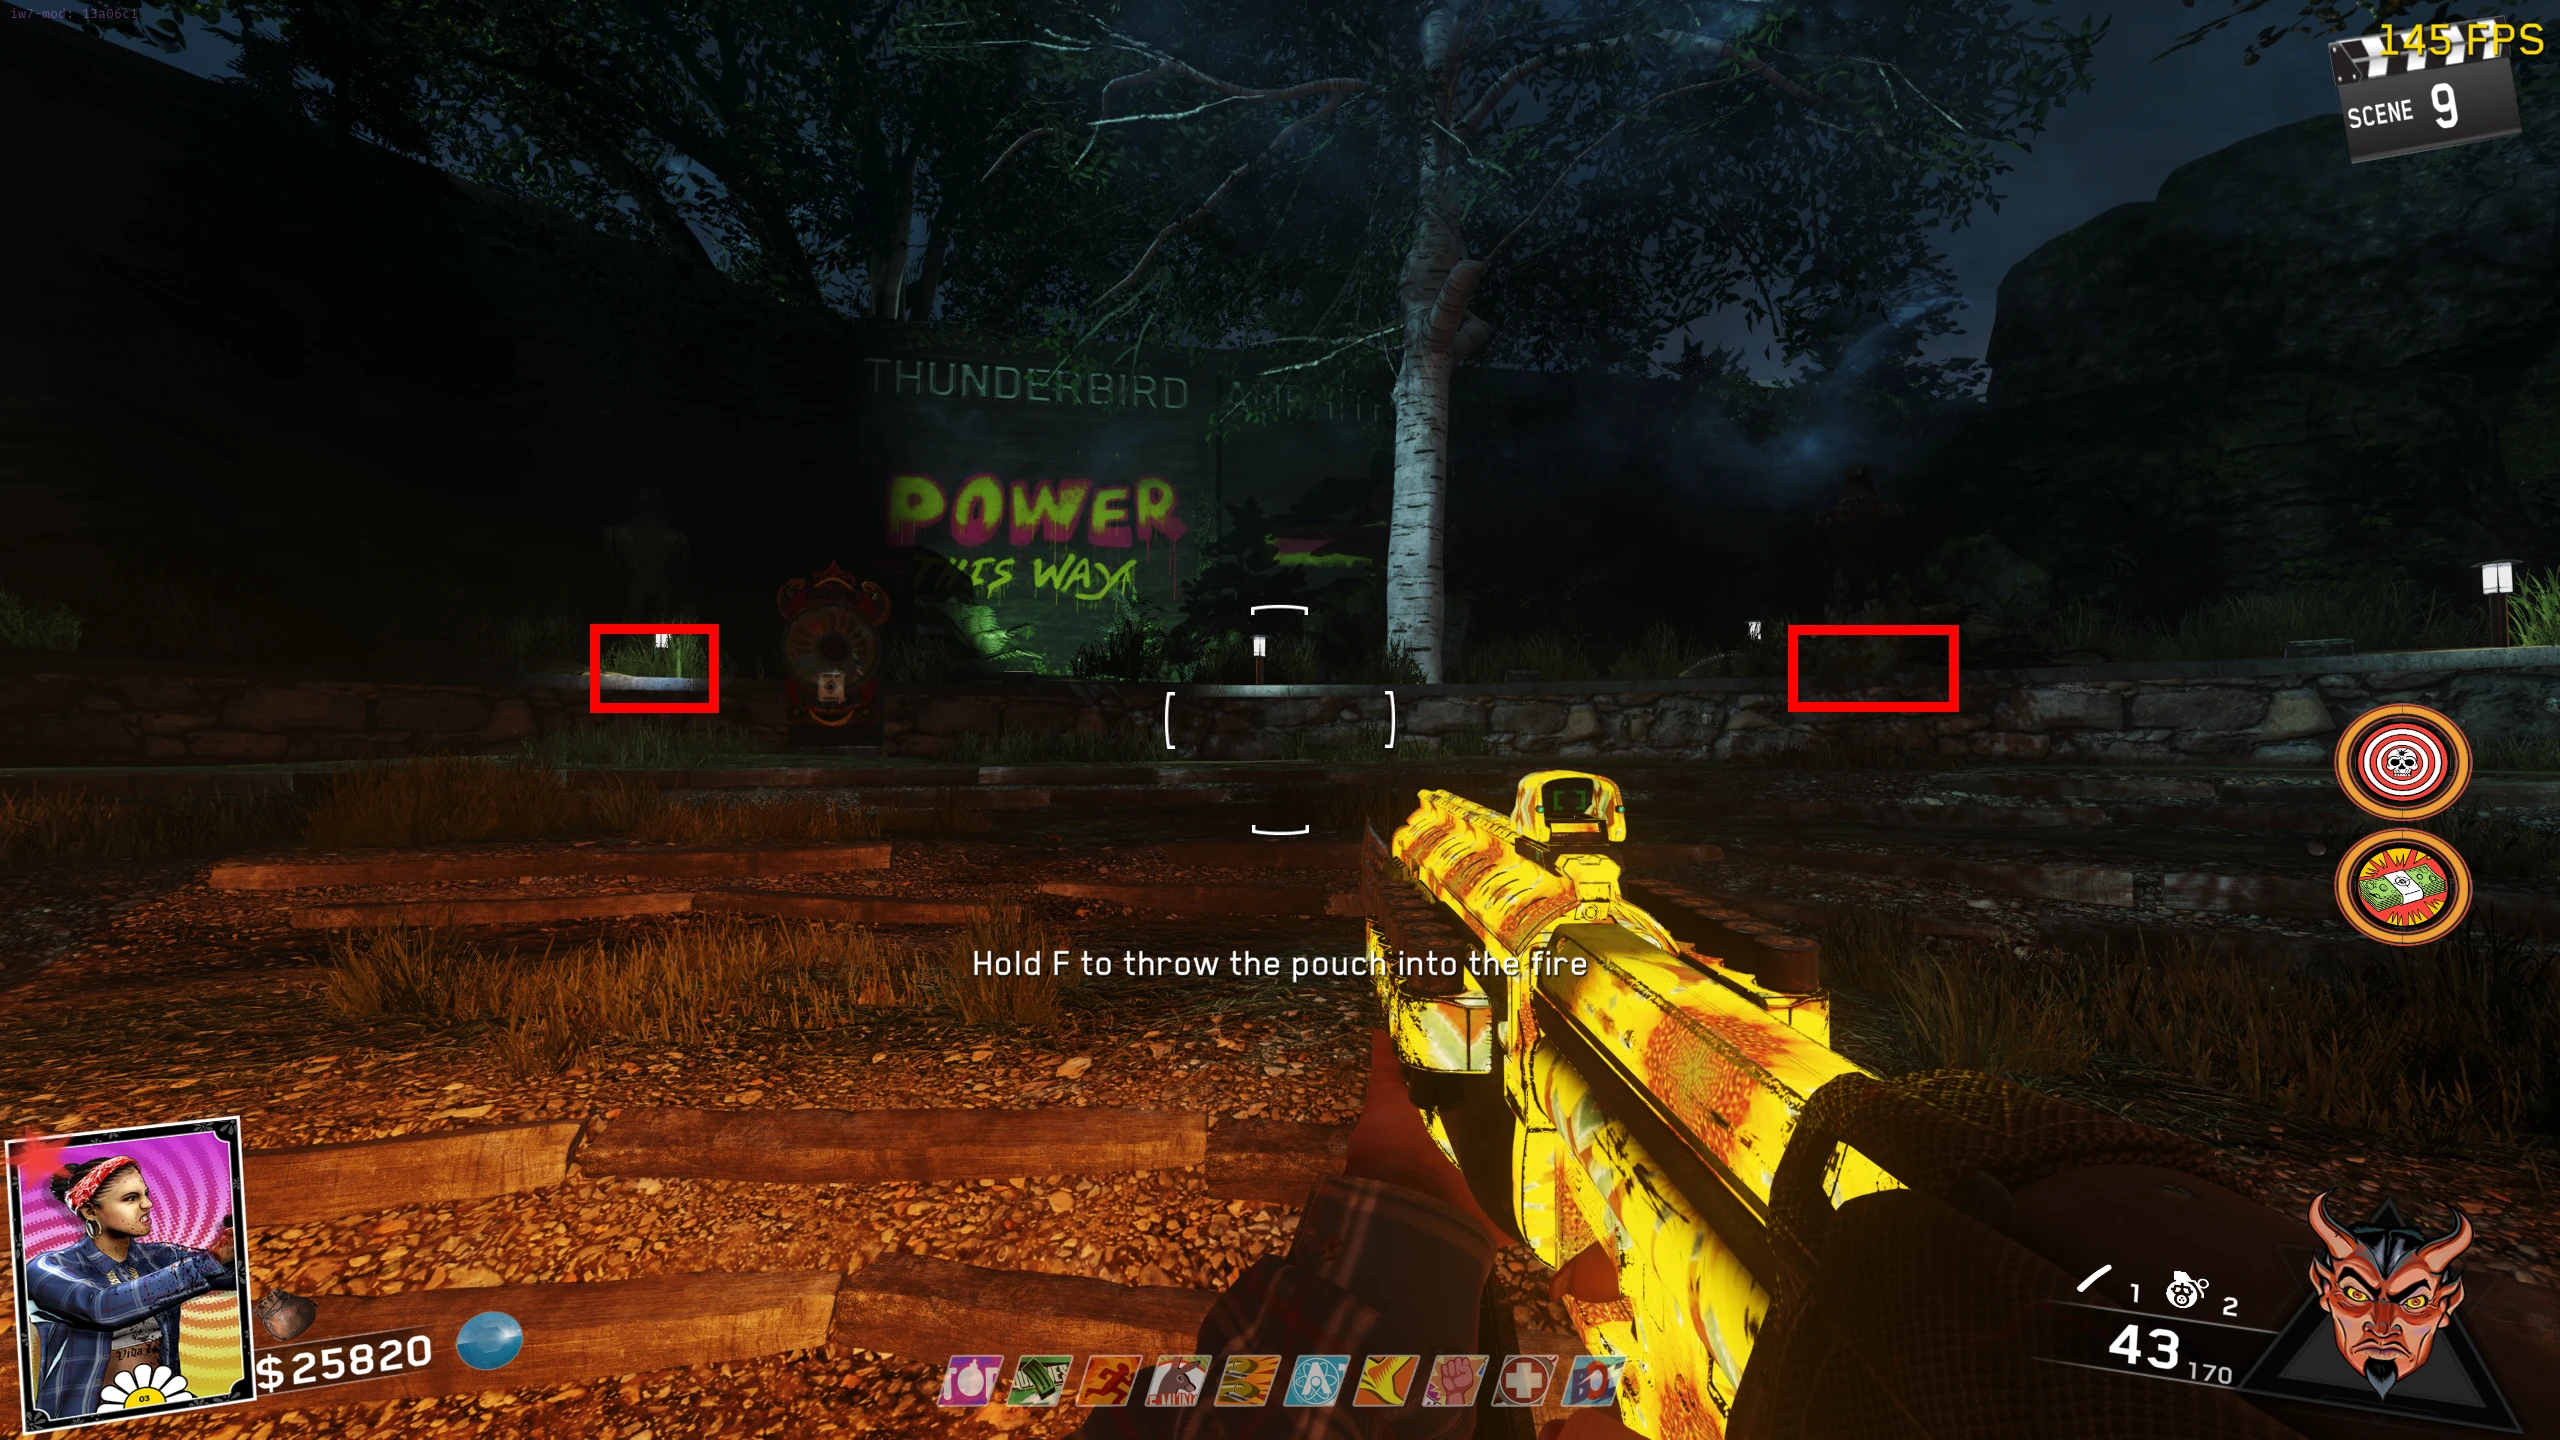
- Wait one round after completing Skull 1. Enter Rave Mode and aim at the Green Symbol on the Ghost N' Skulls 2 Machine until it disappears. You must now leave Rave Mode.
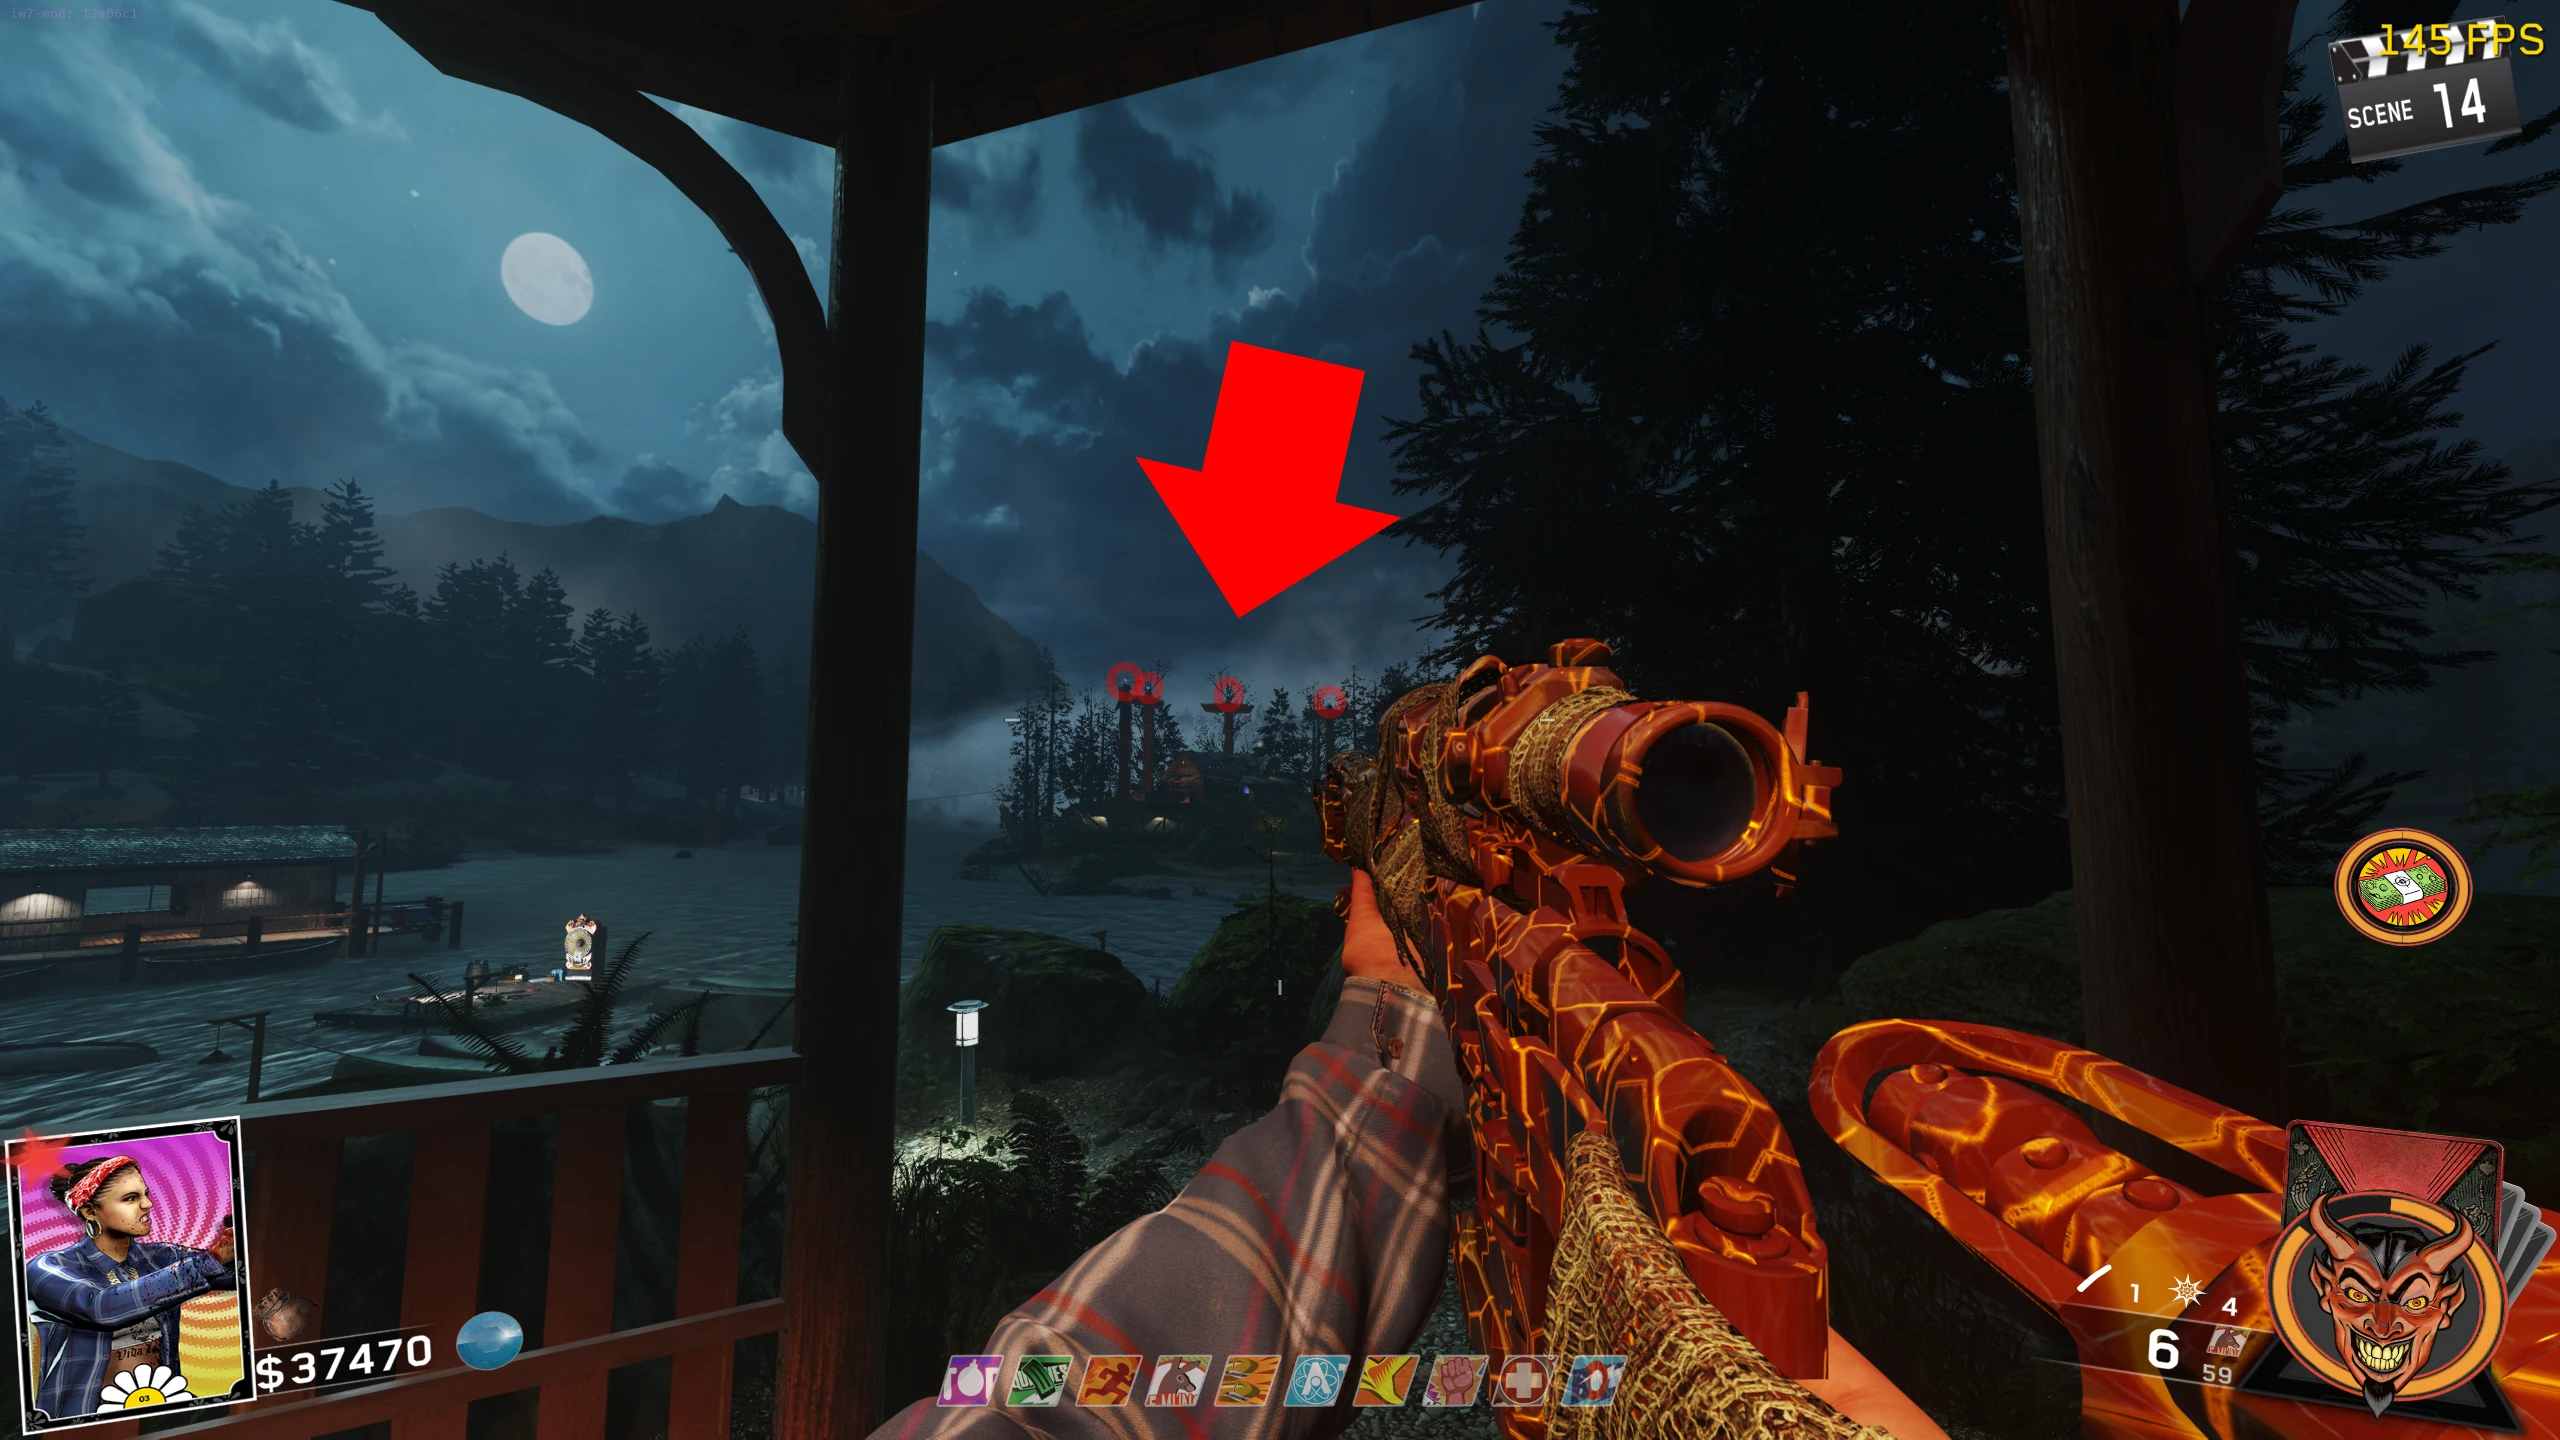
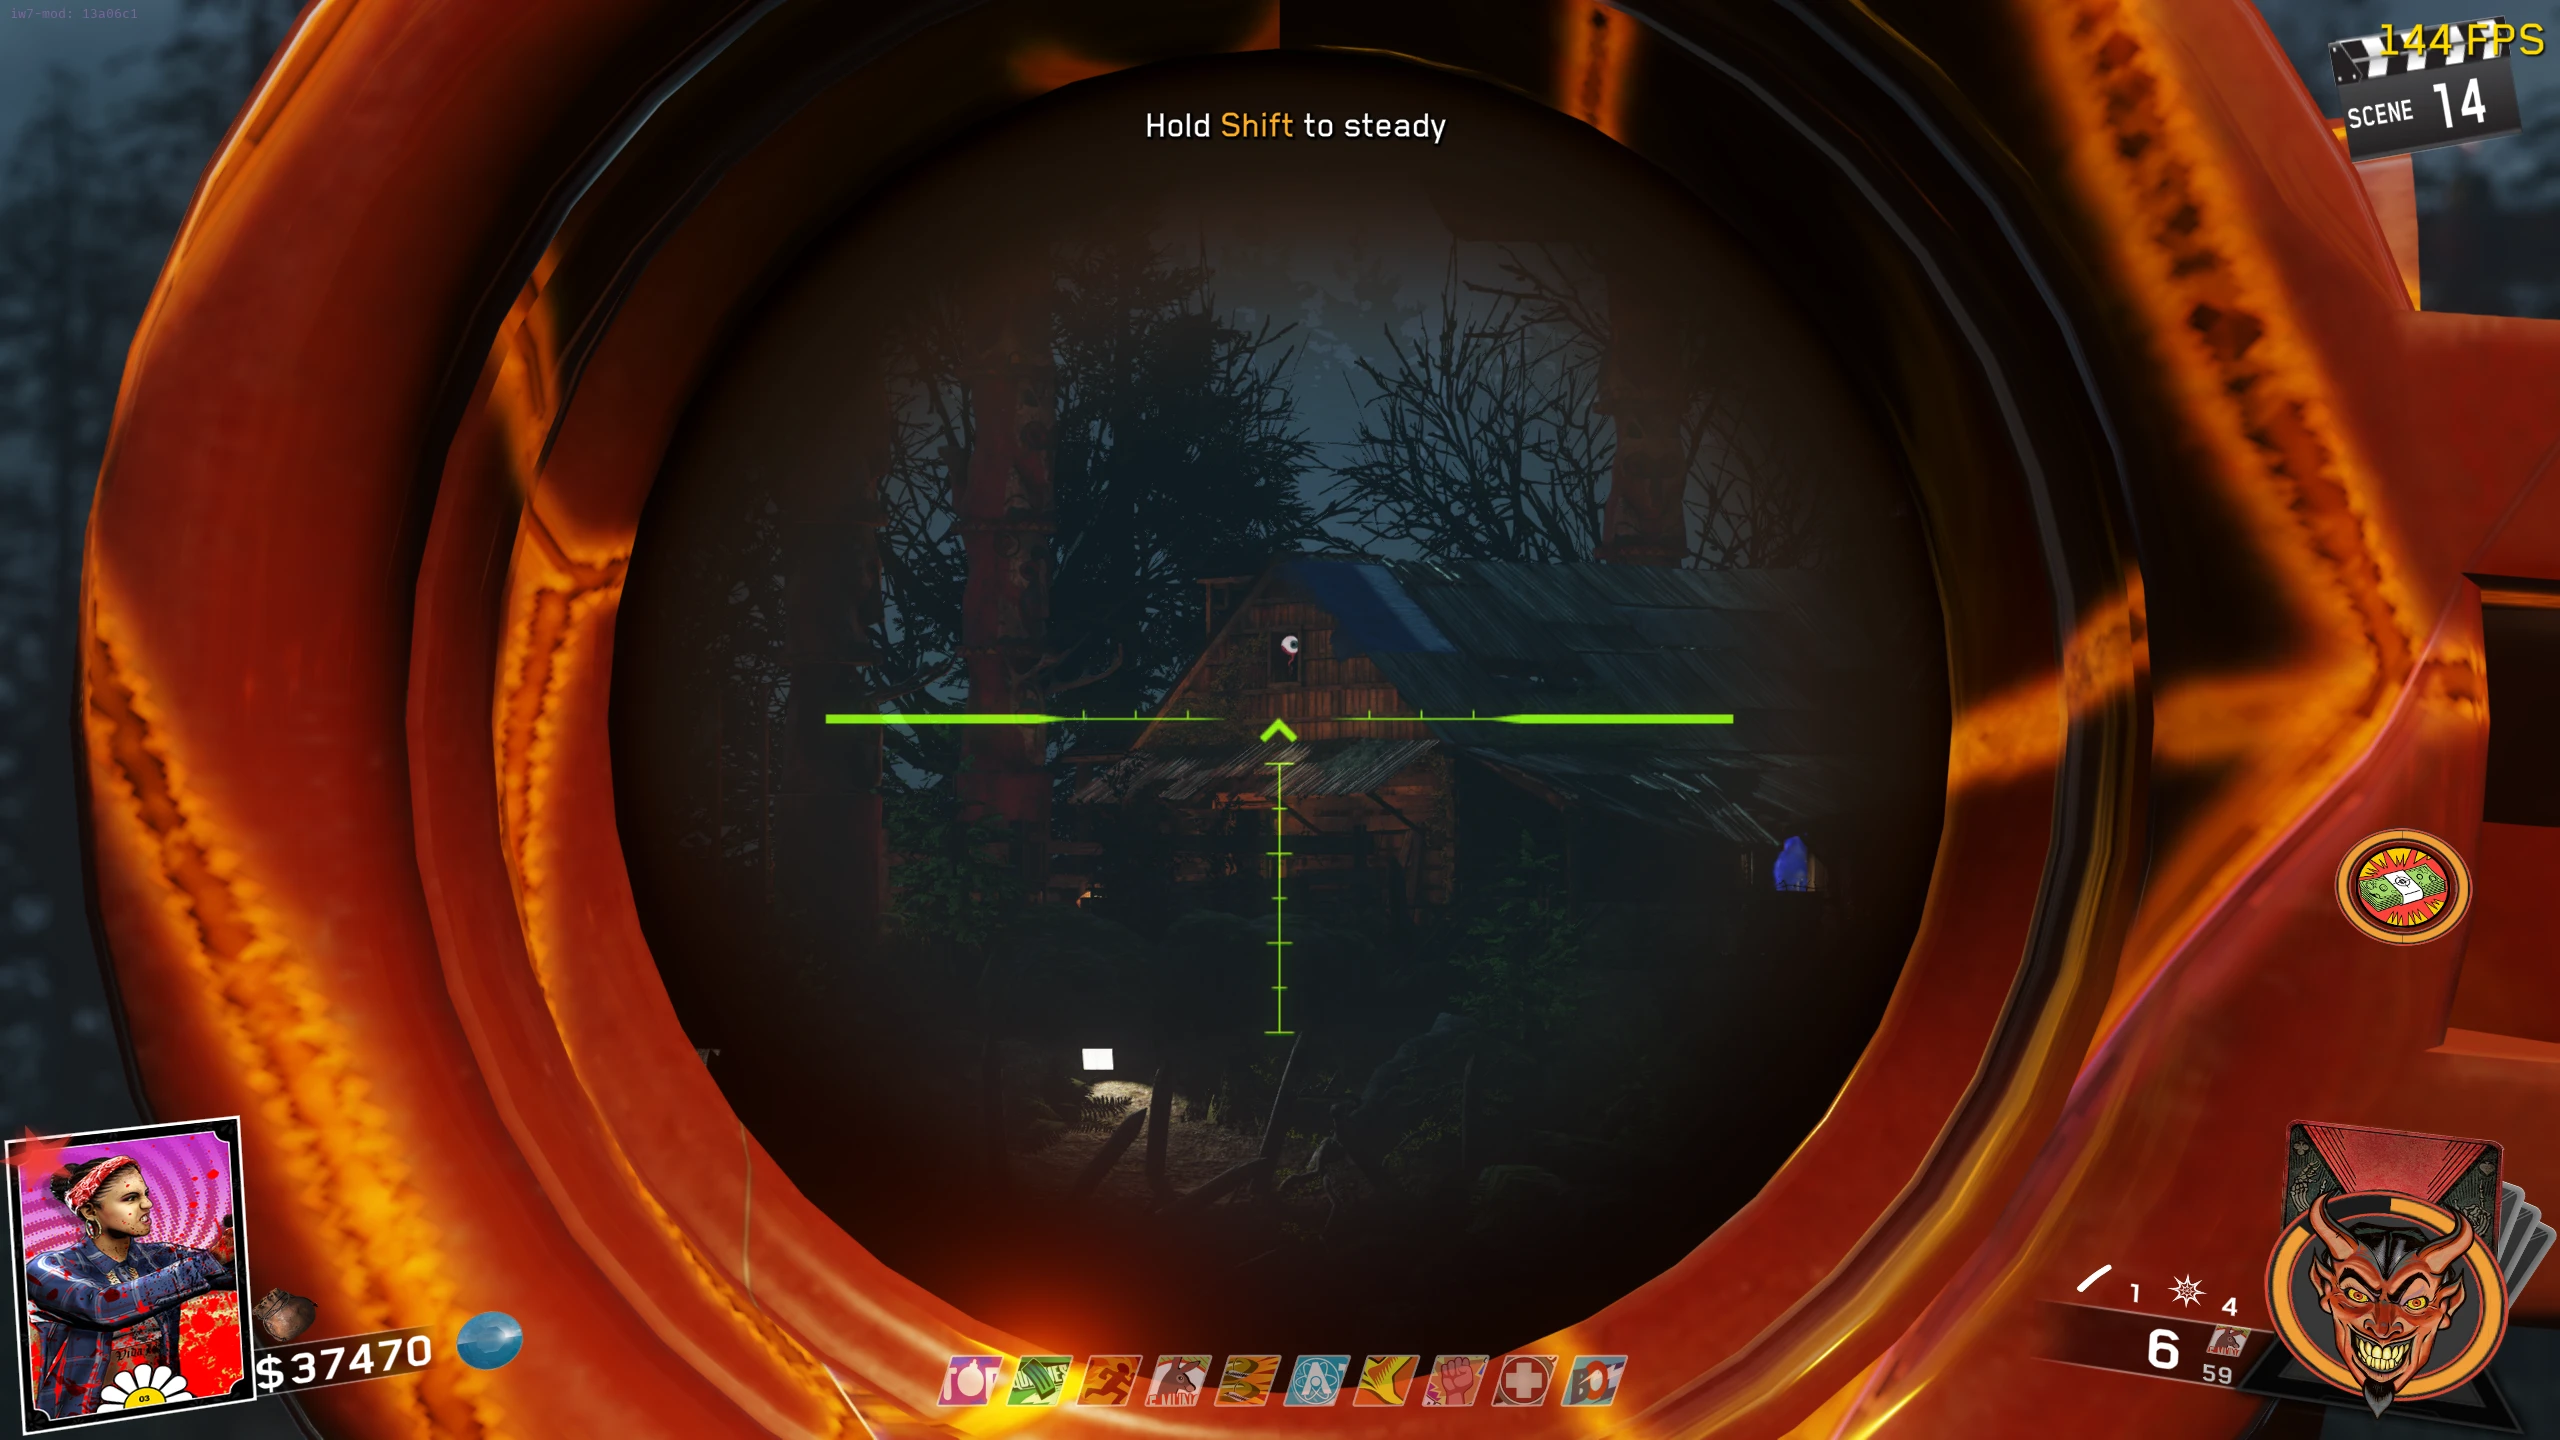
- Wait another round after aiming at the symbol on the Arcade Machine. Enter Rave Mode at the campfire on Turtle Island (again, this can be done at any campfire, but this campfire allows you to see all locations with one Rave Mode Pouch). Around the map, there will be the same type of green circle with a symbol inside. You must find that one with the same symbol as on the Arcade Machine (while in Rave Mode) and aim at it till it disappears.
- Only five of the possible locations will have symbols, four of which will be wrong. Aiming at incorrect symbols will cause a fail. You will have to wait one round, then go back to the Arcade Machine to get a new symbol, and then wait another round to get the other set of symbols to spawn.
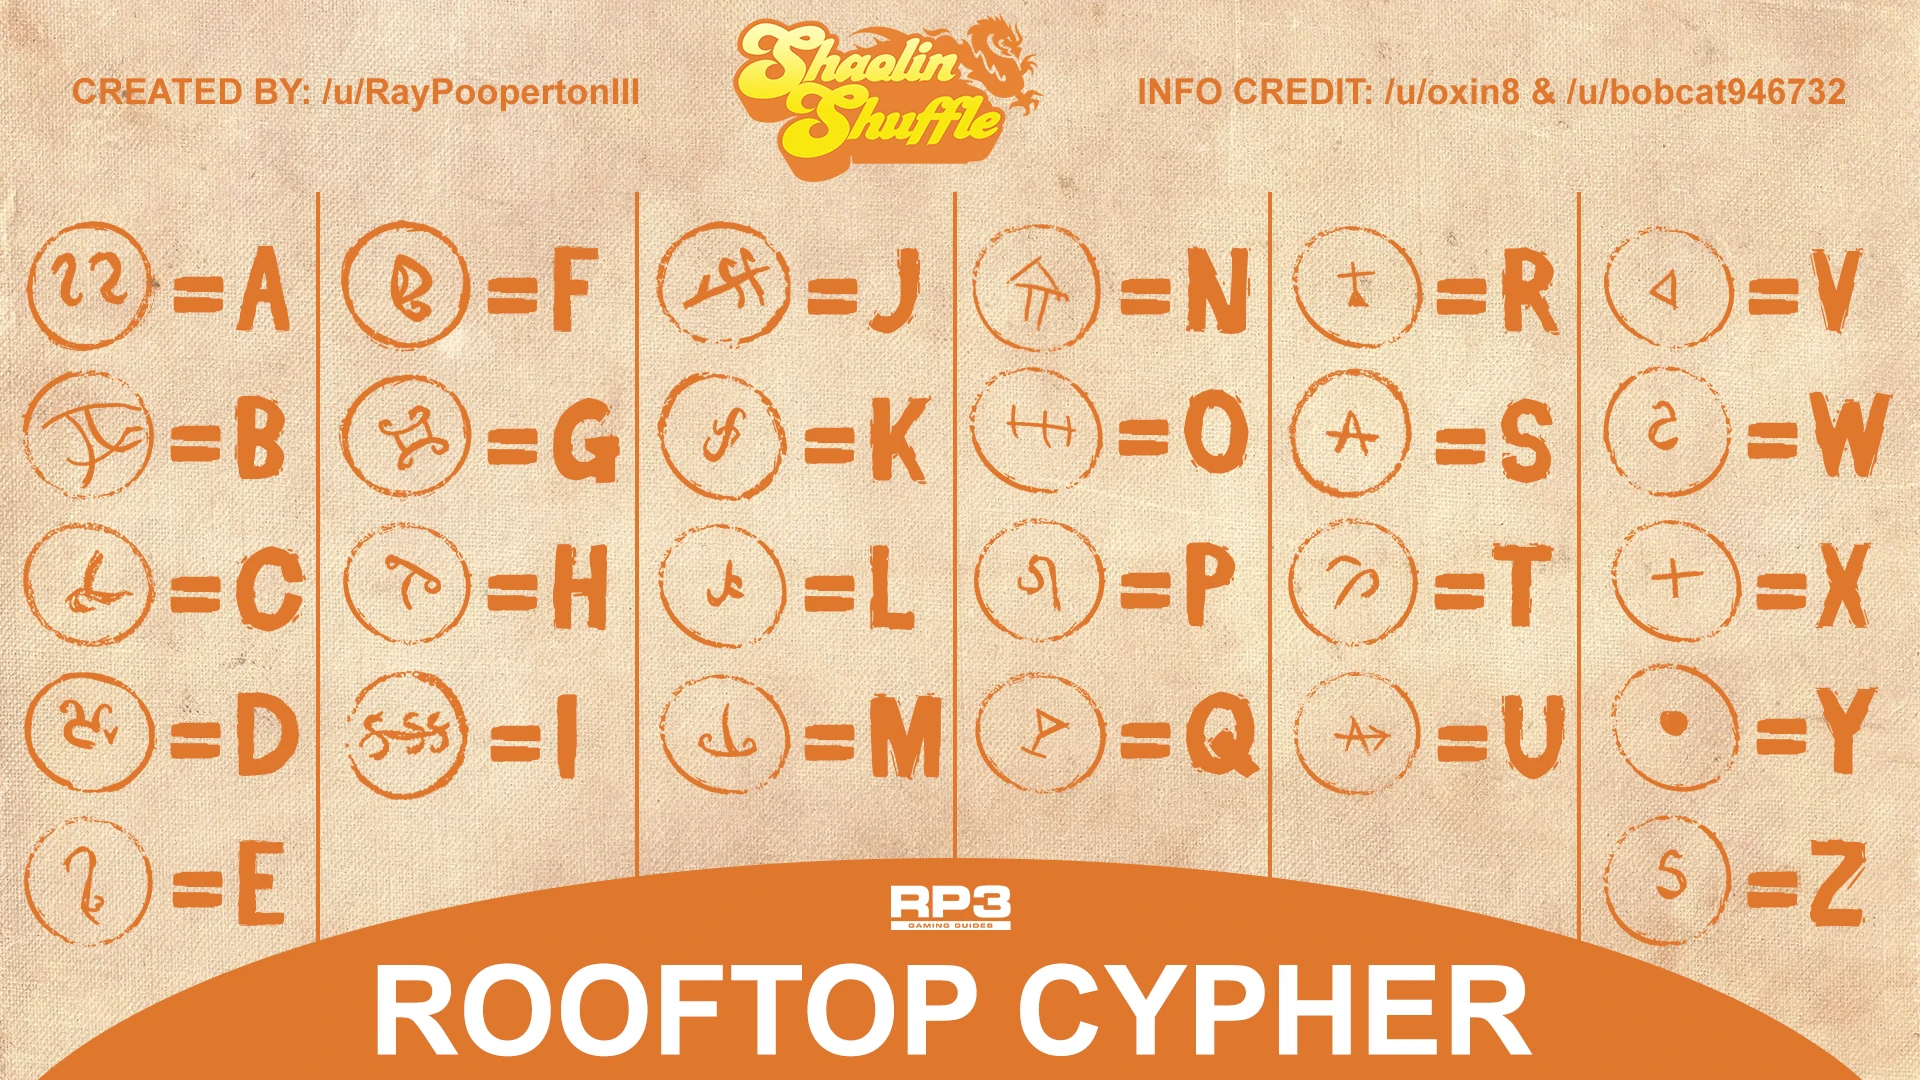
- Here is a Graphic containing all the possible symbols (ignore the letters, this graphic was made for another step in Shaolin Shuffle).
- Symbol Locations:
- Once you've looked at the correct symbol, the completion sound will play.
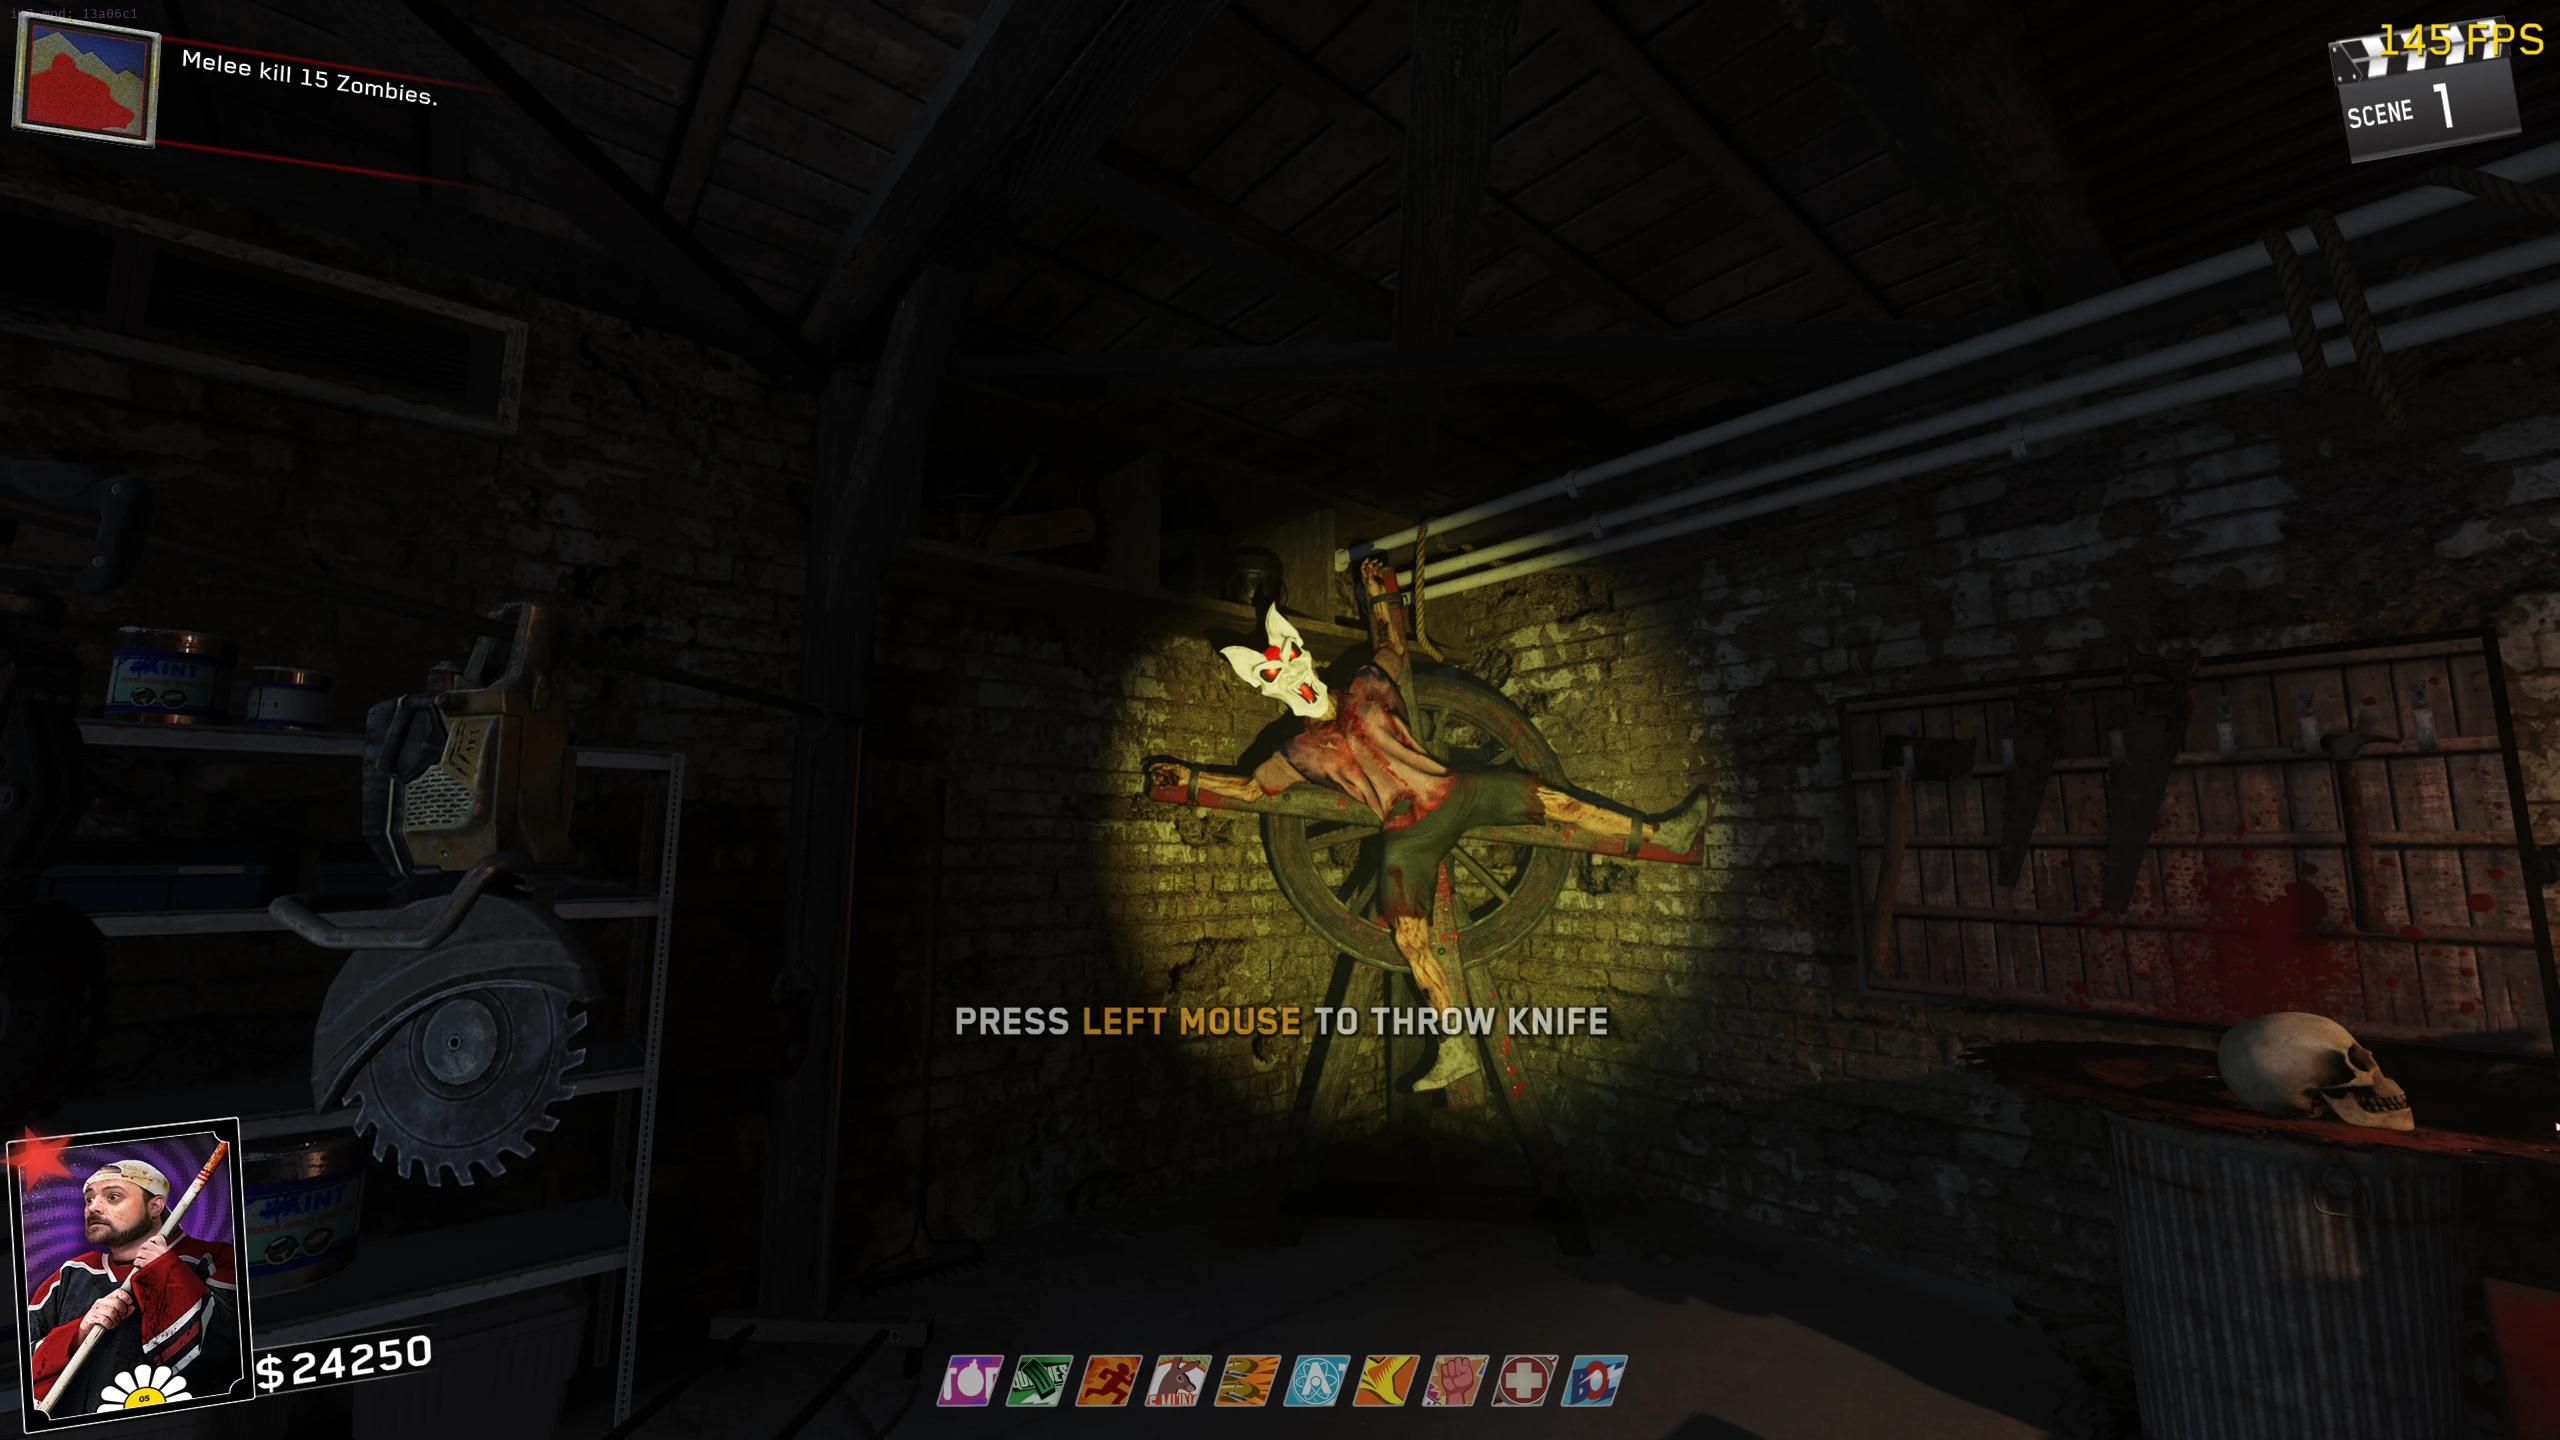
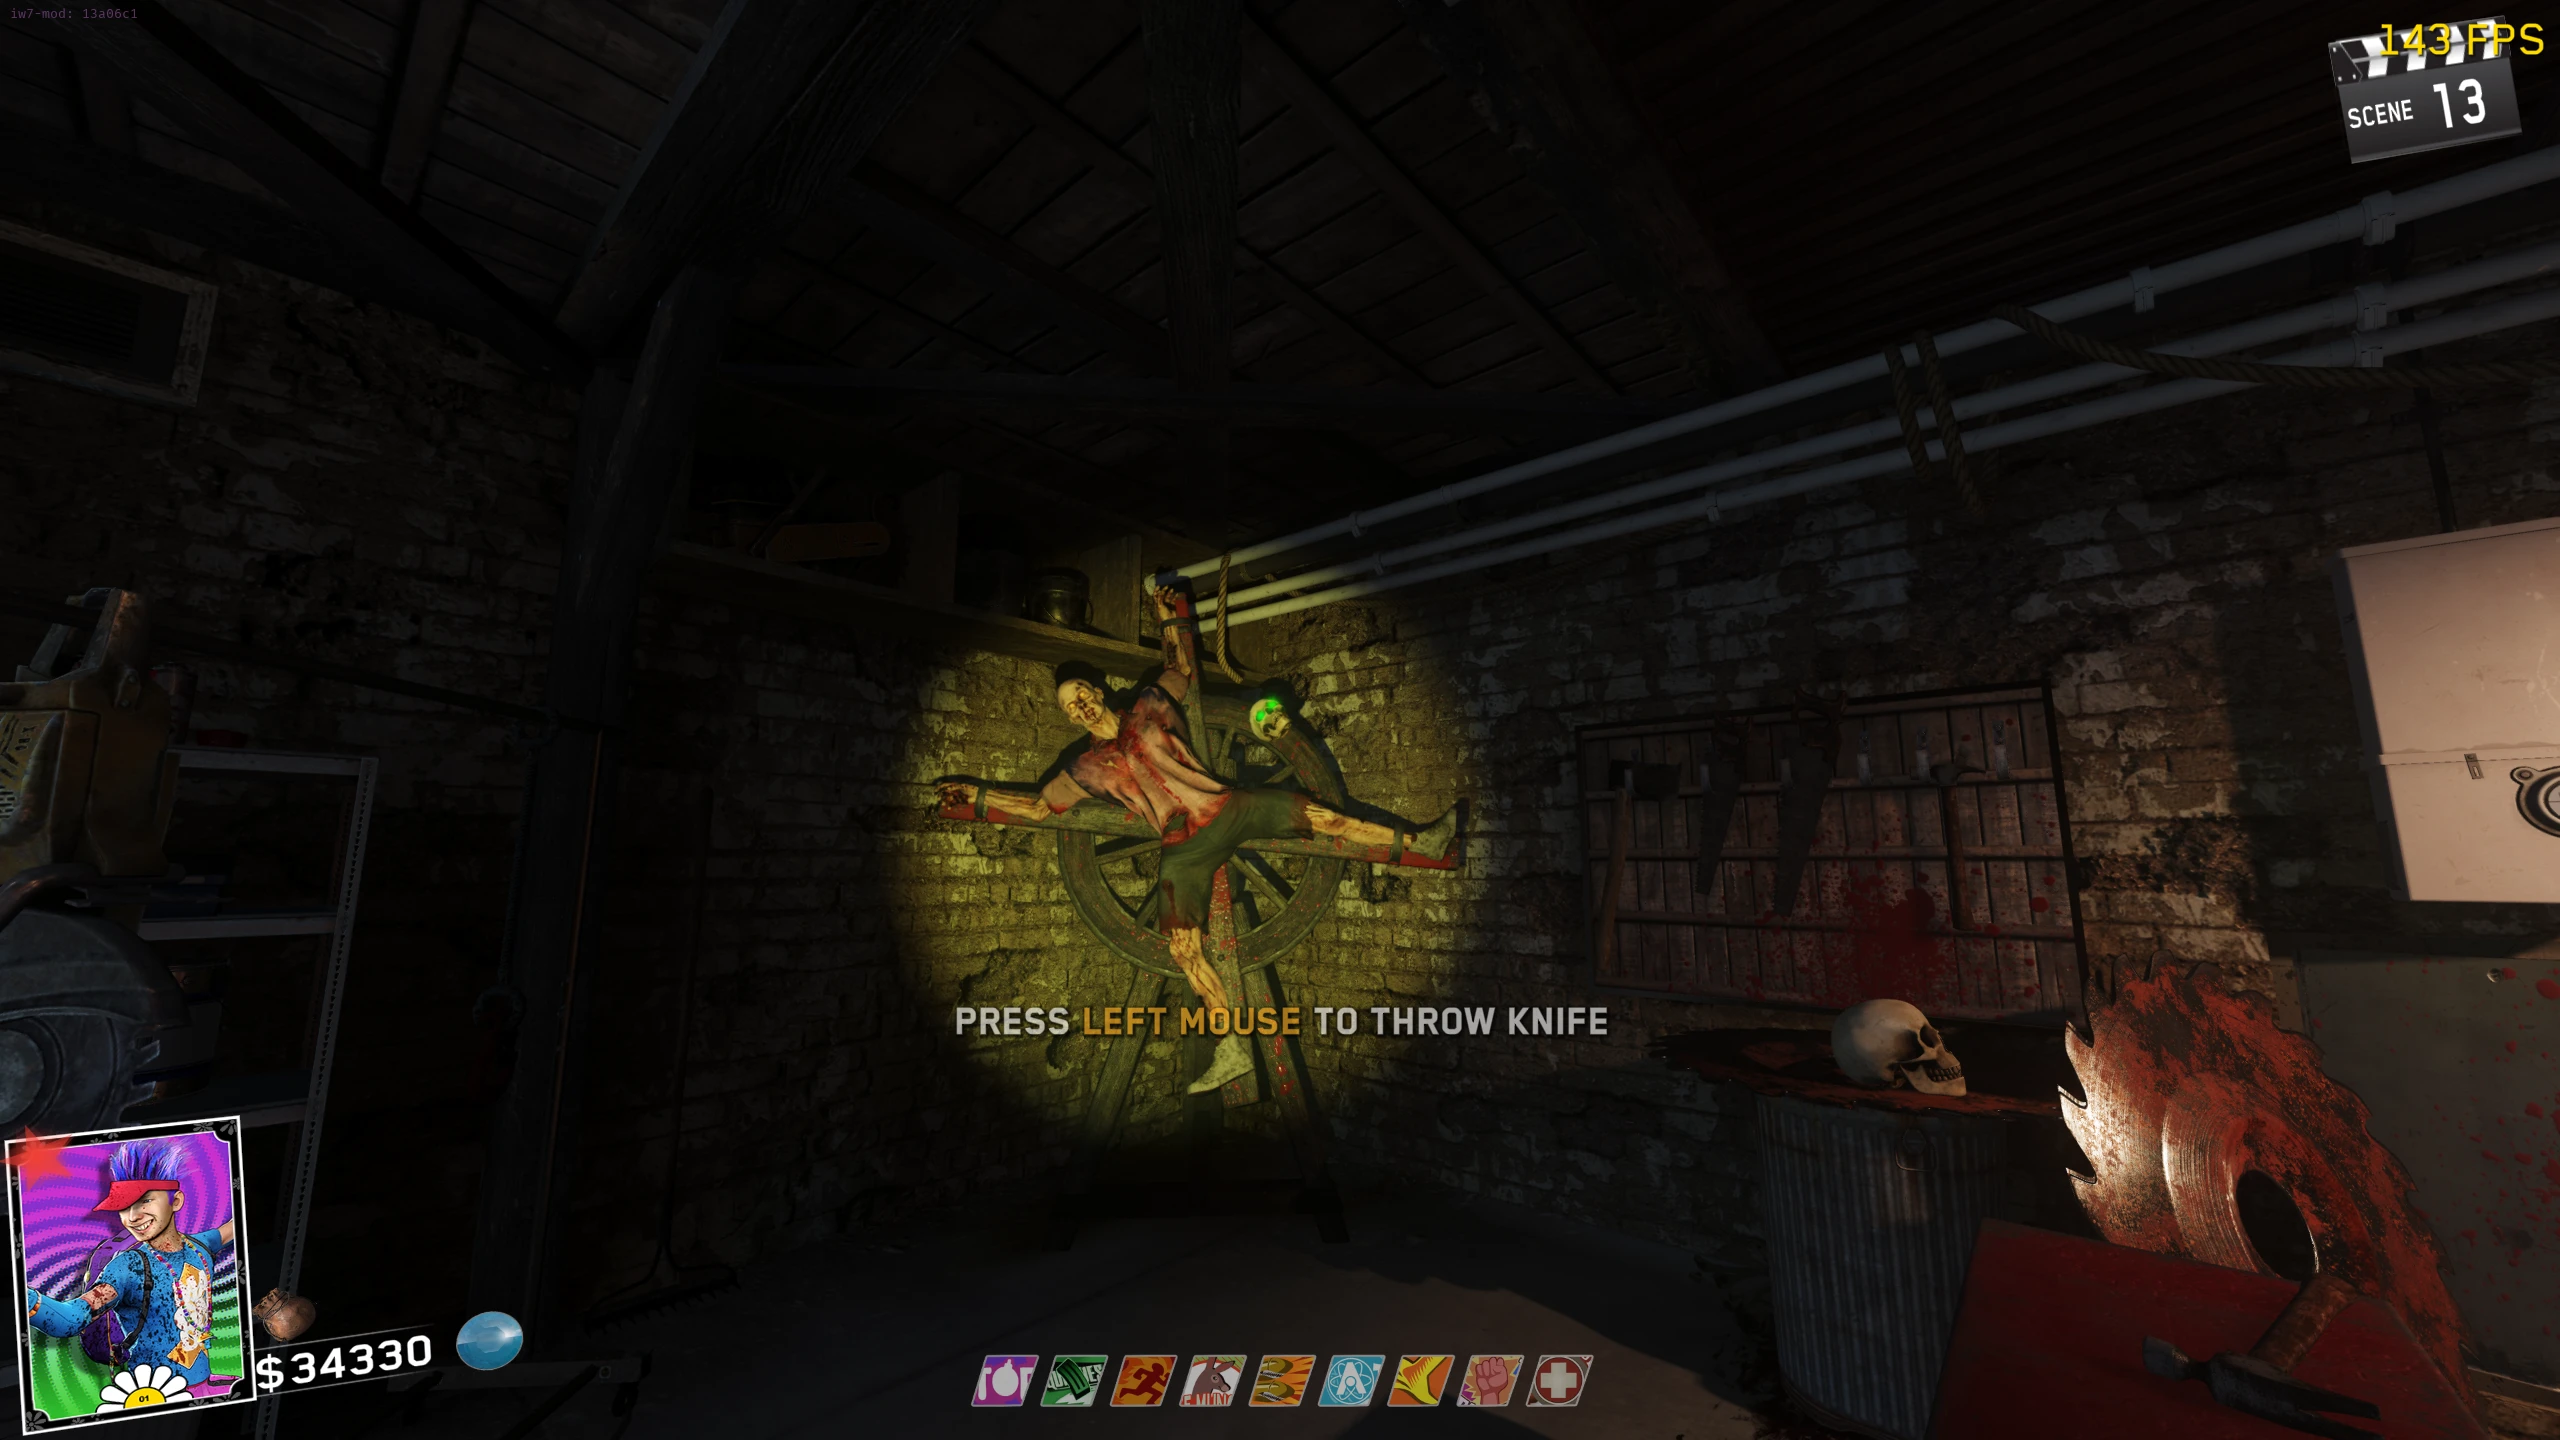
Skull 3/6 - Knife Throwing Game
- Go to the Bear Lodge Basement and play the Knife Throwing Game. As you are playing, a Skull will appear somewhere on the wooden wheel. Throw a knife at the skull; if done correctly, the Skull will disappear, you will be awarded with $50, and the completion sound will play.
- If you fail to throw the knife at the skull in time, you will have to wait till the next round to retry since the Knife Game can only be played once per round.
Skull 4/6 - Spell SKULL with Symbols
- Wait one round after completing Skull 3 (if this round is a special round, you must wait till the next round). While in Rave Mode (start at the campfire on Turtle Island), spell out the word "SKULL" by aiming at green symbols (same locations as Skull 2) around the map. Here is a Graphic containing the matching symbols and letters. The symbol locations:
- All the symbols don't have to be "activated" in the same Rave Mode. You can leave and return to Rave Mode, and your progress will be saved.
- If you aim at the wrong symbol, you will have to activate all five symbols, and then retry on the next round.
- Symbol Locations:
- Once you aim at all five letters in the right order, the completion sound will play.
Skull 5/6 - Boat Shooting Gallery
- Get a weapon with a decent amount of ammo (Assault Rifle, like the NV4, or LMGs are recommended); you don't need to Pack-a-Punch it, though it is recommended for the increased ammo capacity.
- Ride the Boat; skulls will appear in front of you which you must shoot. Skulls that turn red are close to "escaping," and if a Skull escapes, you will fail. After about 10 seconds, all the Skulls will disappear, and the completion sound will play.
- If a Skull does escape, all the skulls will disappear, and you can retry as soon as the Boat returns to the Boathouse.
Skull 6/6 - Ben Franklin Bow
- Obtain the Ben Franklin upgraded crossbow.
- Shoot the Ghost N' Skulls Machine with the Ben Franklin. The machine will have all 6 skulls and electricity will start coming off the screen. This means that the machine is ready to be "played." All players must interact with the arcade cabinet to enter the game.
The Ghost N' Skulls 2 Mini-Game
- The game consists of three rounds, with each round requiring you to destroy all the skulls before they make it to the end (similar to Space Invaders). This one is different (compared to GNS 1) because the Skulls are now different colours. Using the Entangler (your gun), grab a coloured ghost floating around and shoot it at the same coloured skull to destroy it.
- If you hit a Skull with the wrong colour ghost, the Skull will turn red and, after a few seconds, attempt to escape by flying to the vortex at the back of the arena. You can attempt to break this skull by shooting a red ghost at it while it is escaping. If three skulls escape in one round, the game will end, and you will have to shoot the Ben Franklin at the machine to try again.
- Starting on round 2 and continuing on round 3, the Skulls will flip around, hiding their colour. On round 2, they will flip back around, but on round 3, they will not flip back. You will have to either remember which skulls are what colour or take a screenshot/picture. Despite there being a couple of different patterns for each round (meaning you might have the same pattern as a guide or a previous run), the colour of each skull seems to be random.
- Once all three rounds are completed, you will be teleported back to the Bear Lodge, with all perks permanently (except Up & Atoms in Solo), and an additional three revives on solo or infinite Afterlife Arcade visits on Co-op.