'Pest Control' Main Quest
Stats (Solo): Difficulty - 6/10 (4/10 Dir. Cut), Est. Completion Time - 1 Hr to 1:30 Hr (40 Mins to 1:10 Hr Dir. Cut)
- Obtain a Chi ability and level it up to Shurikens.
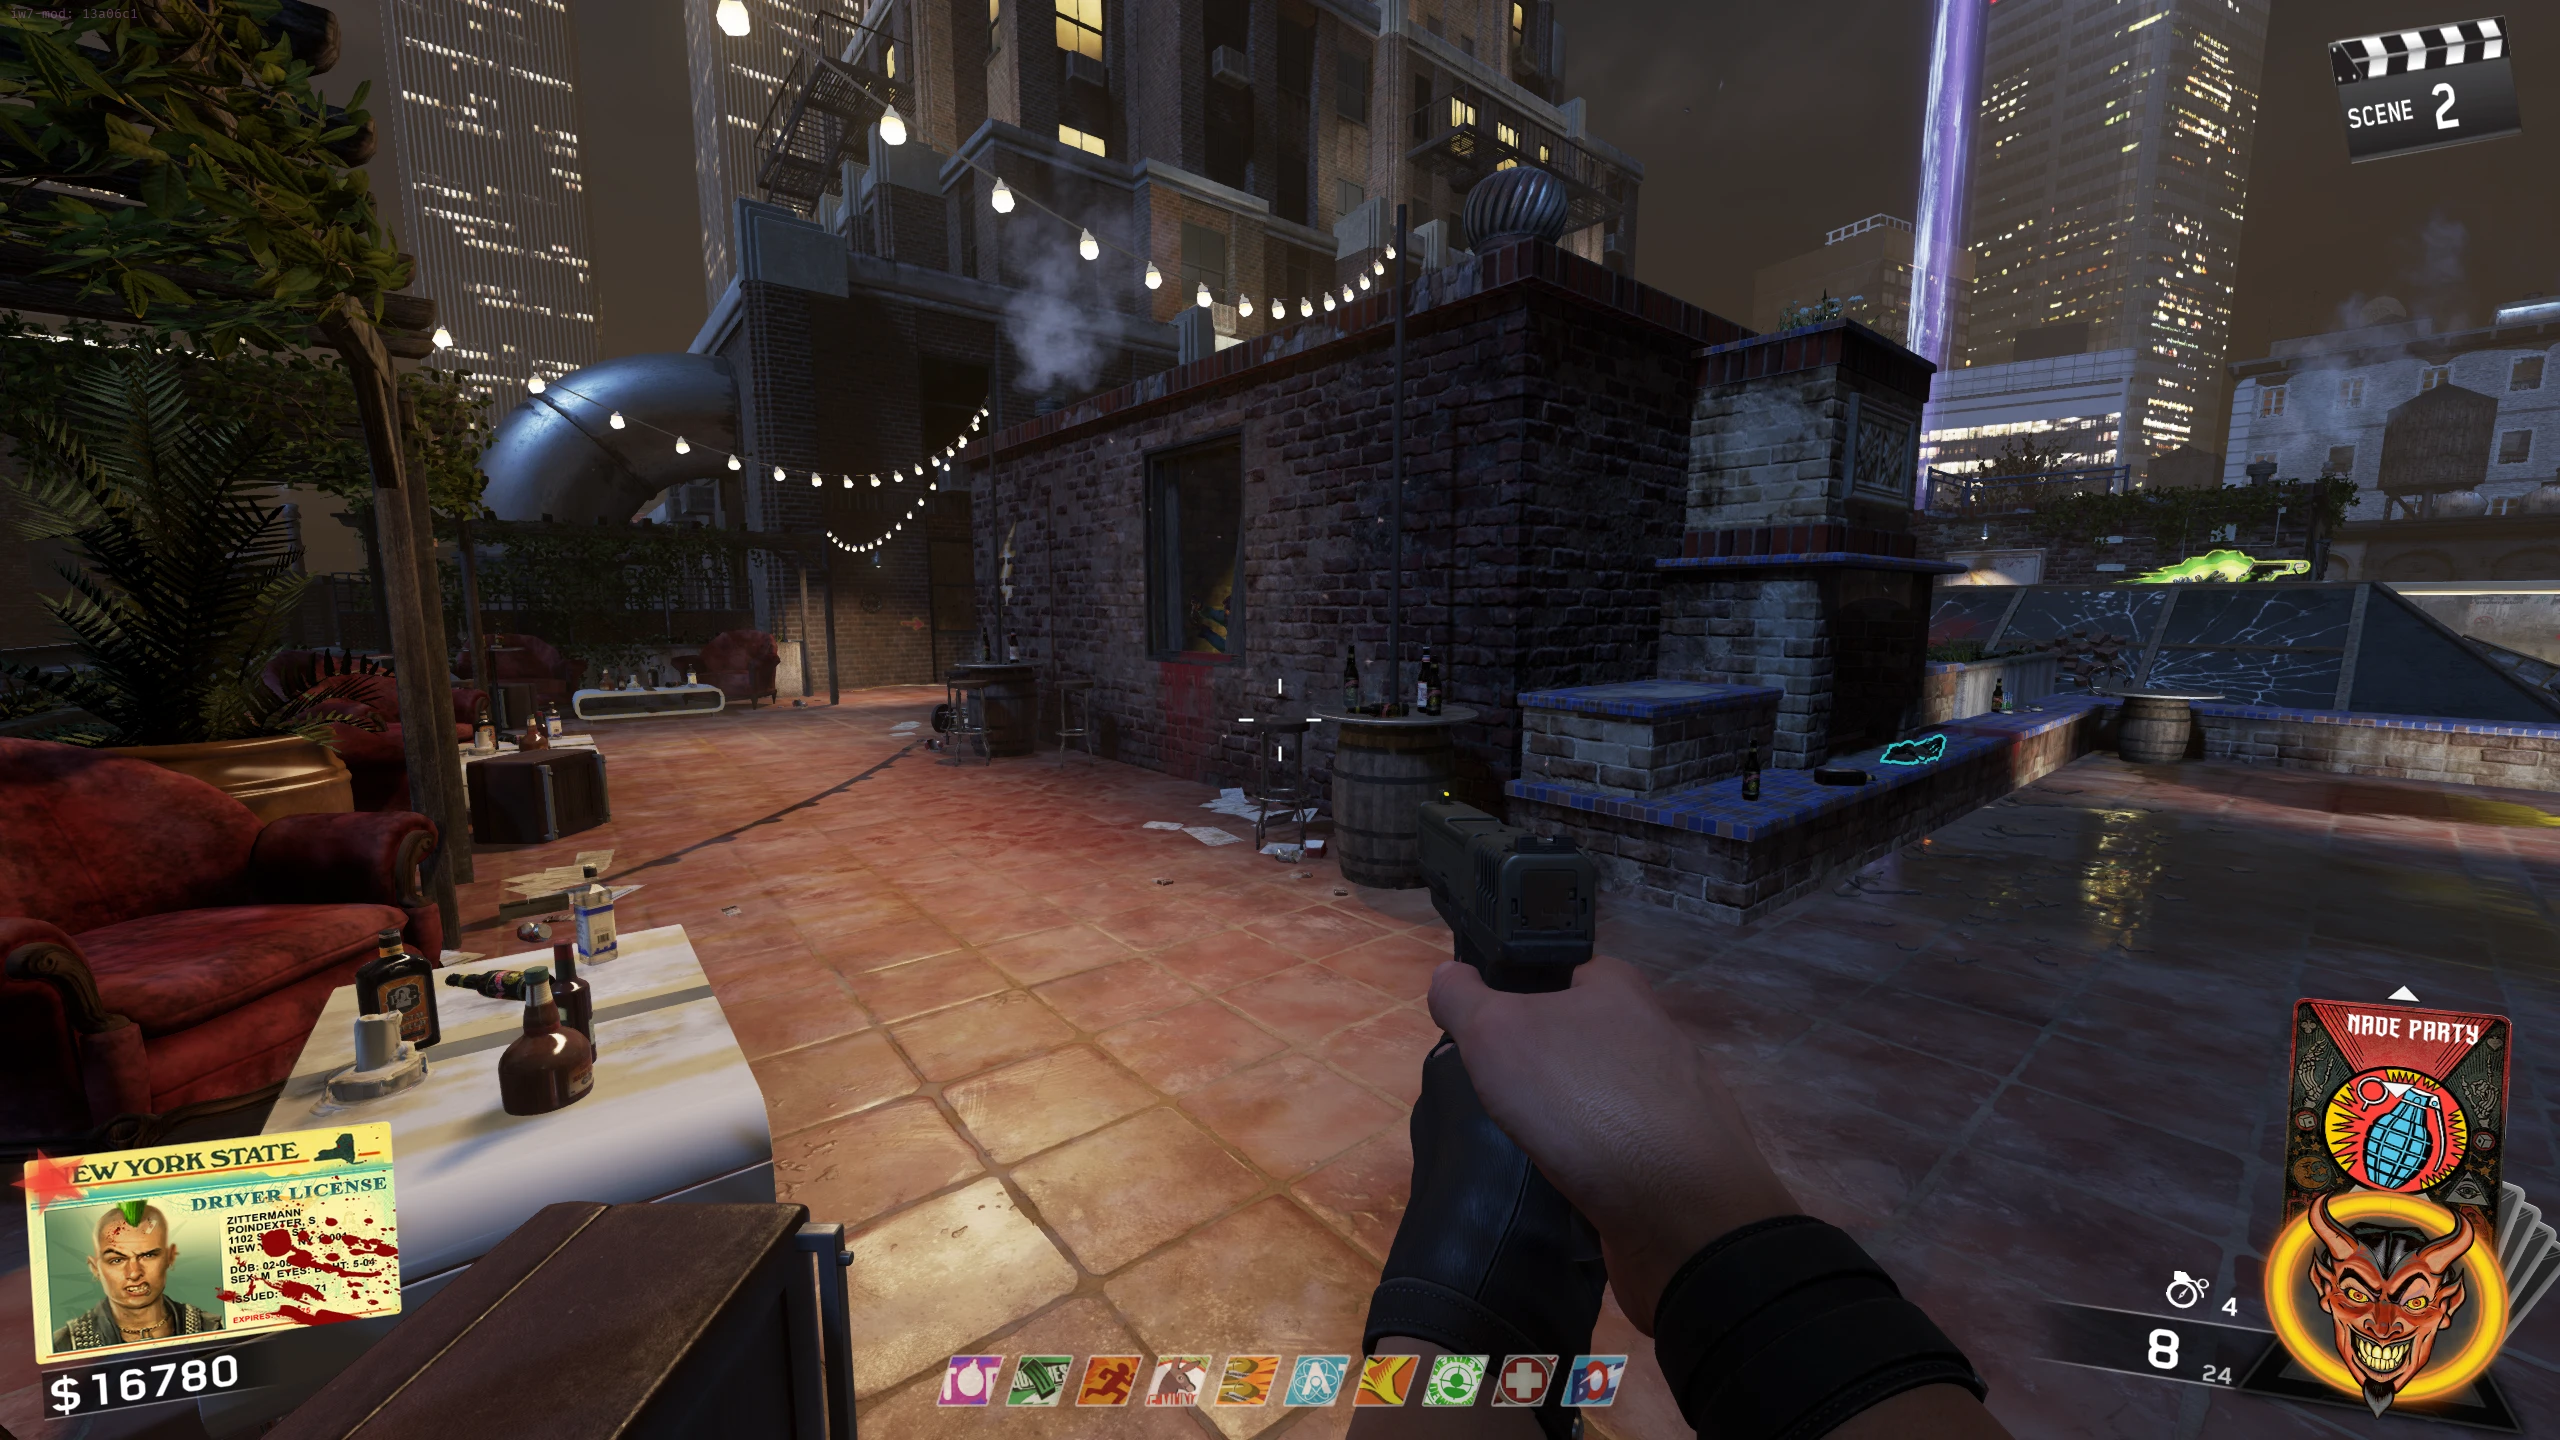
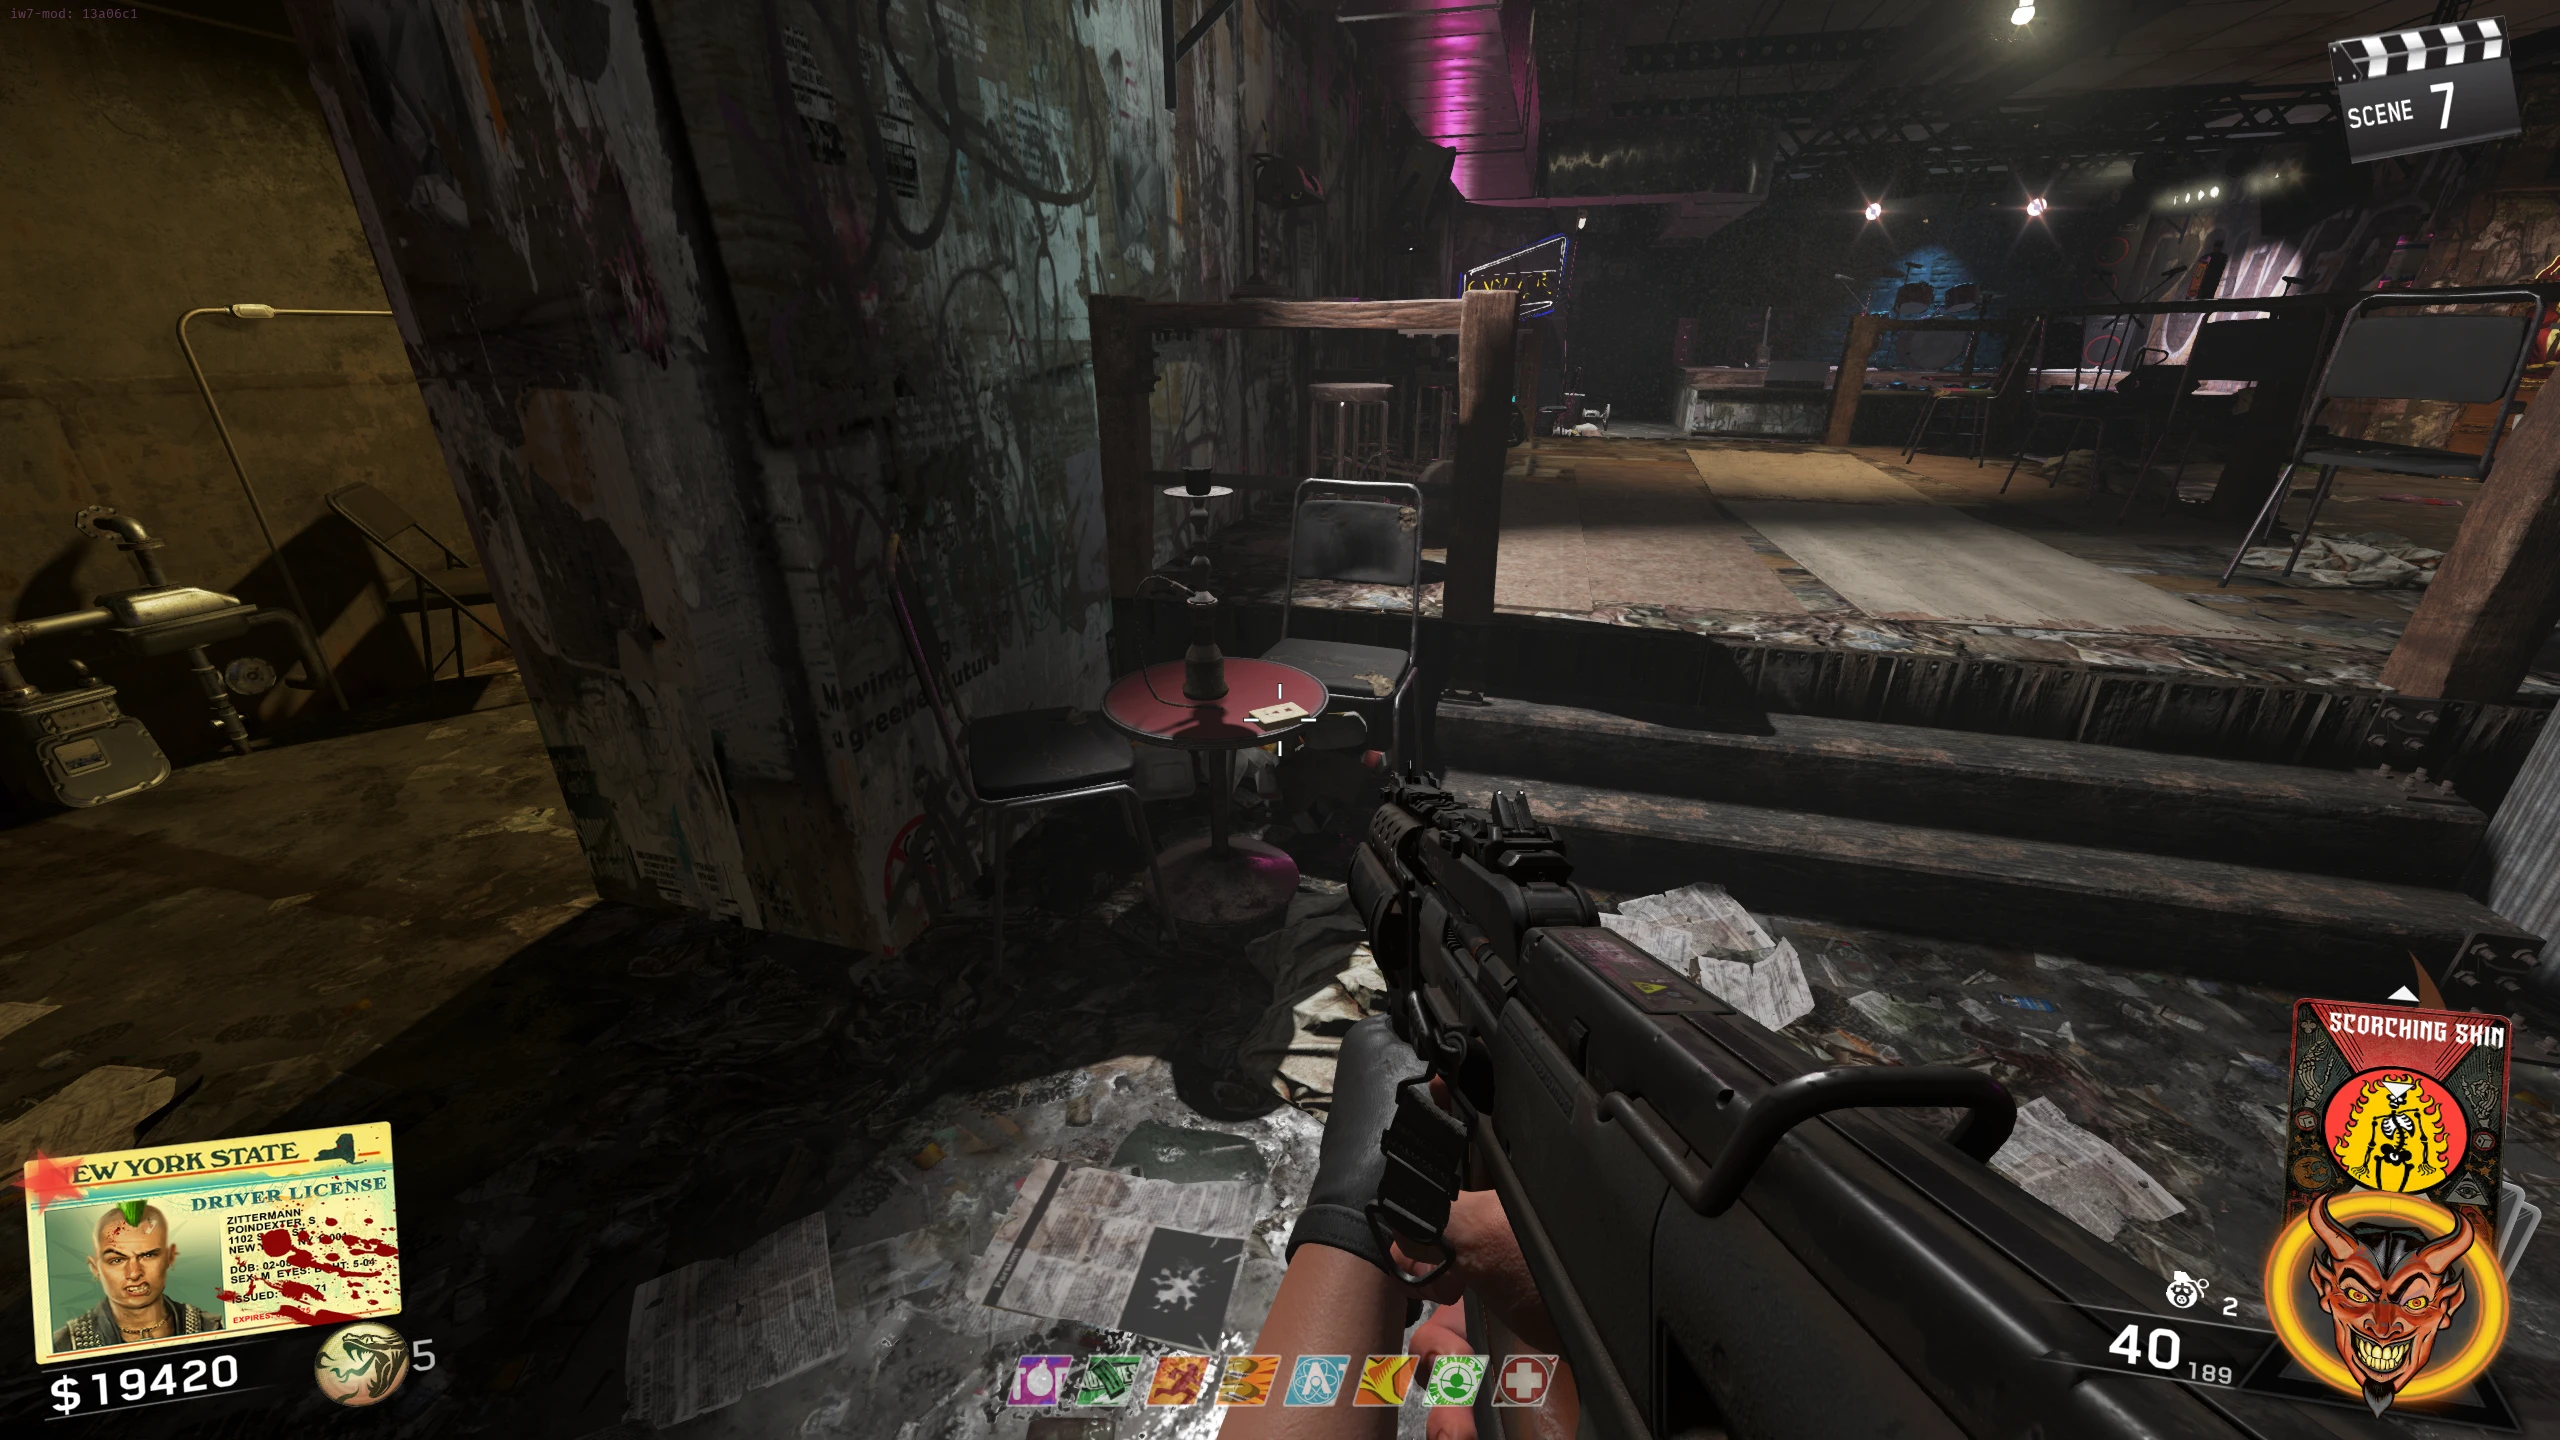
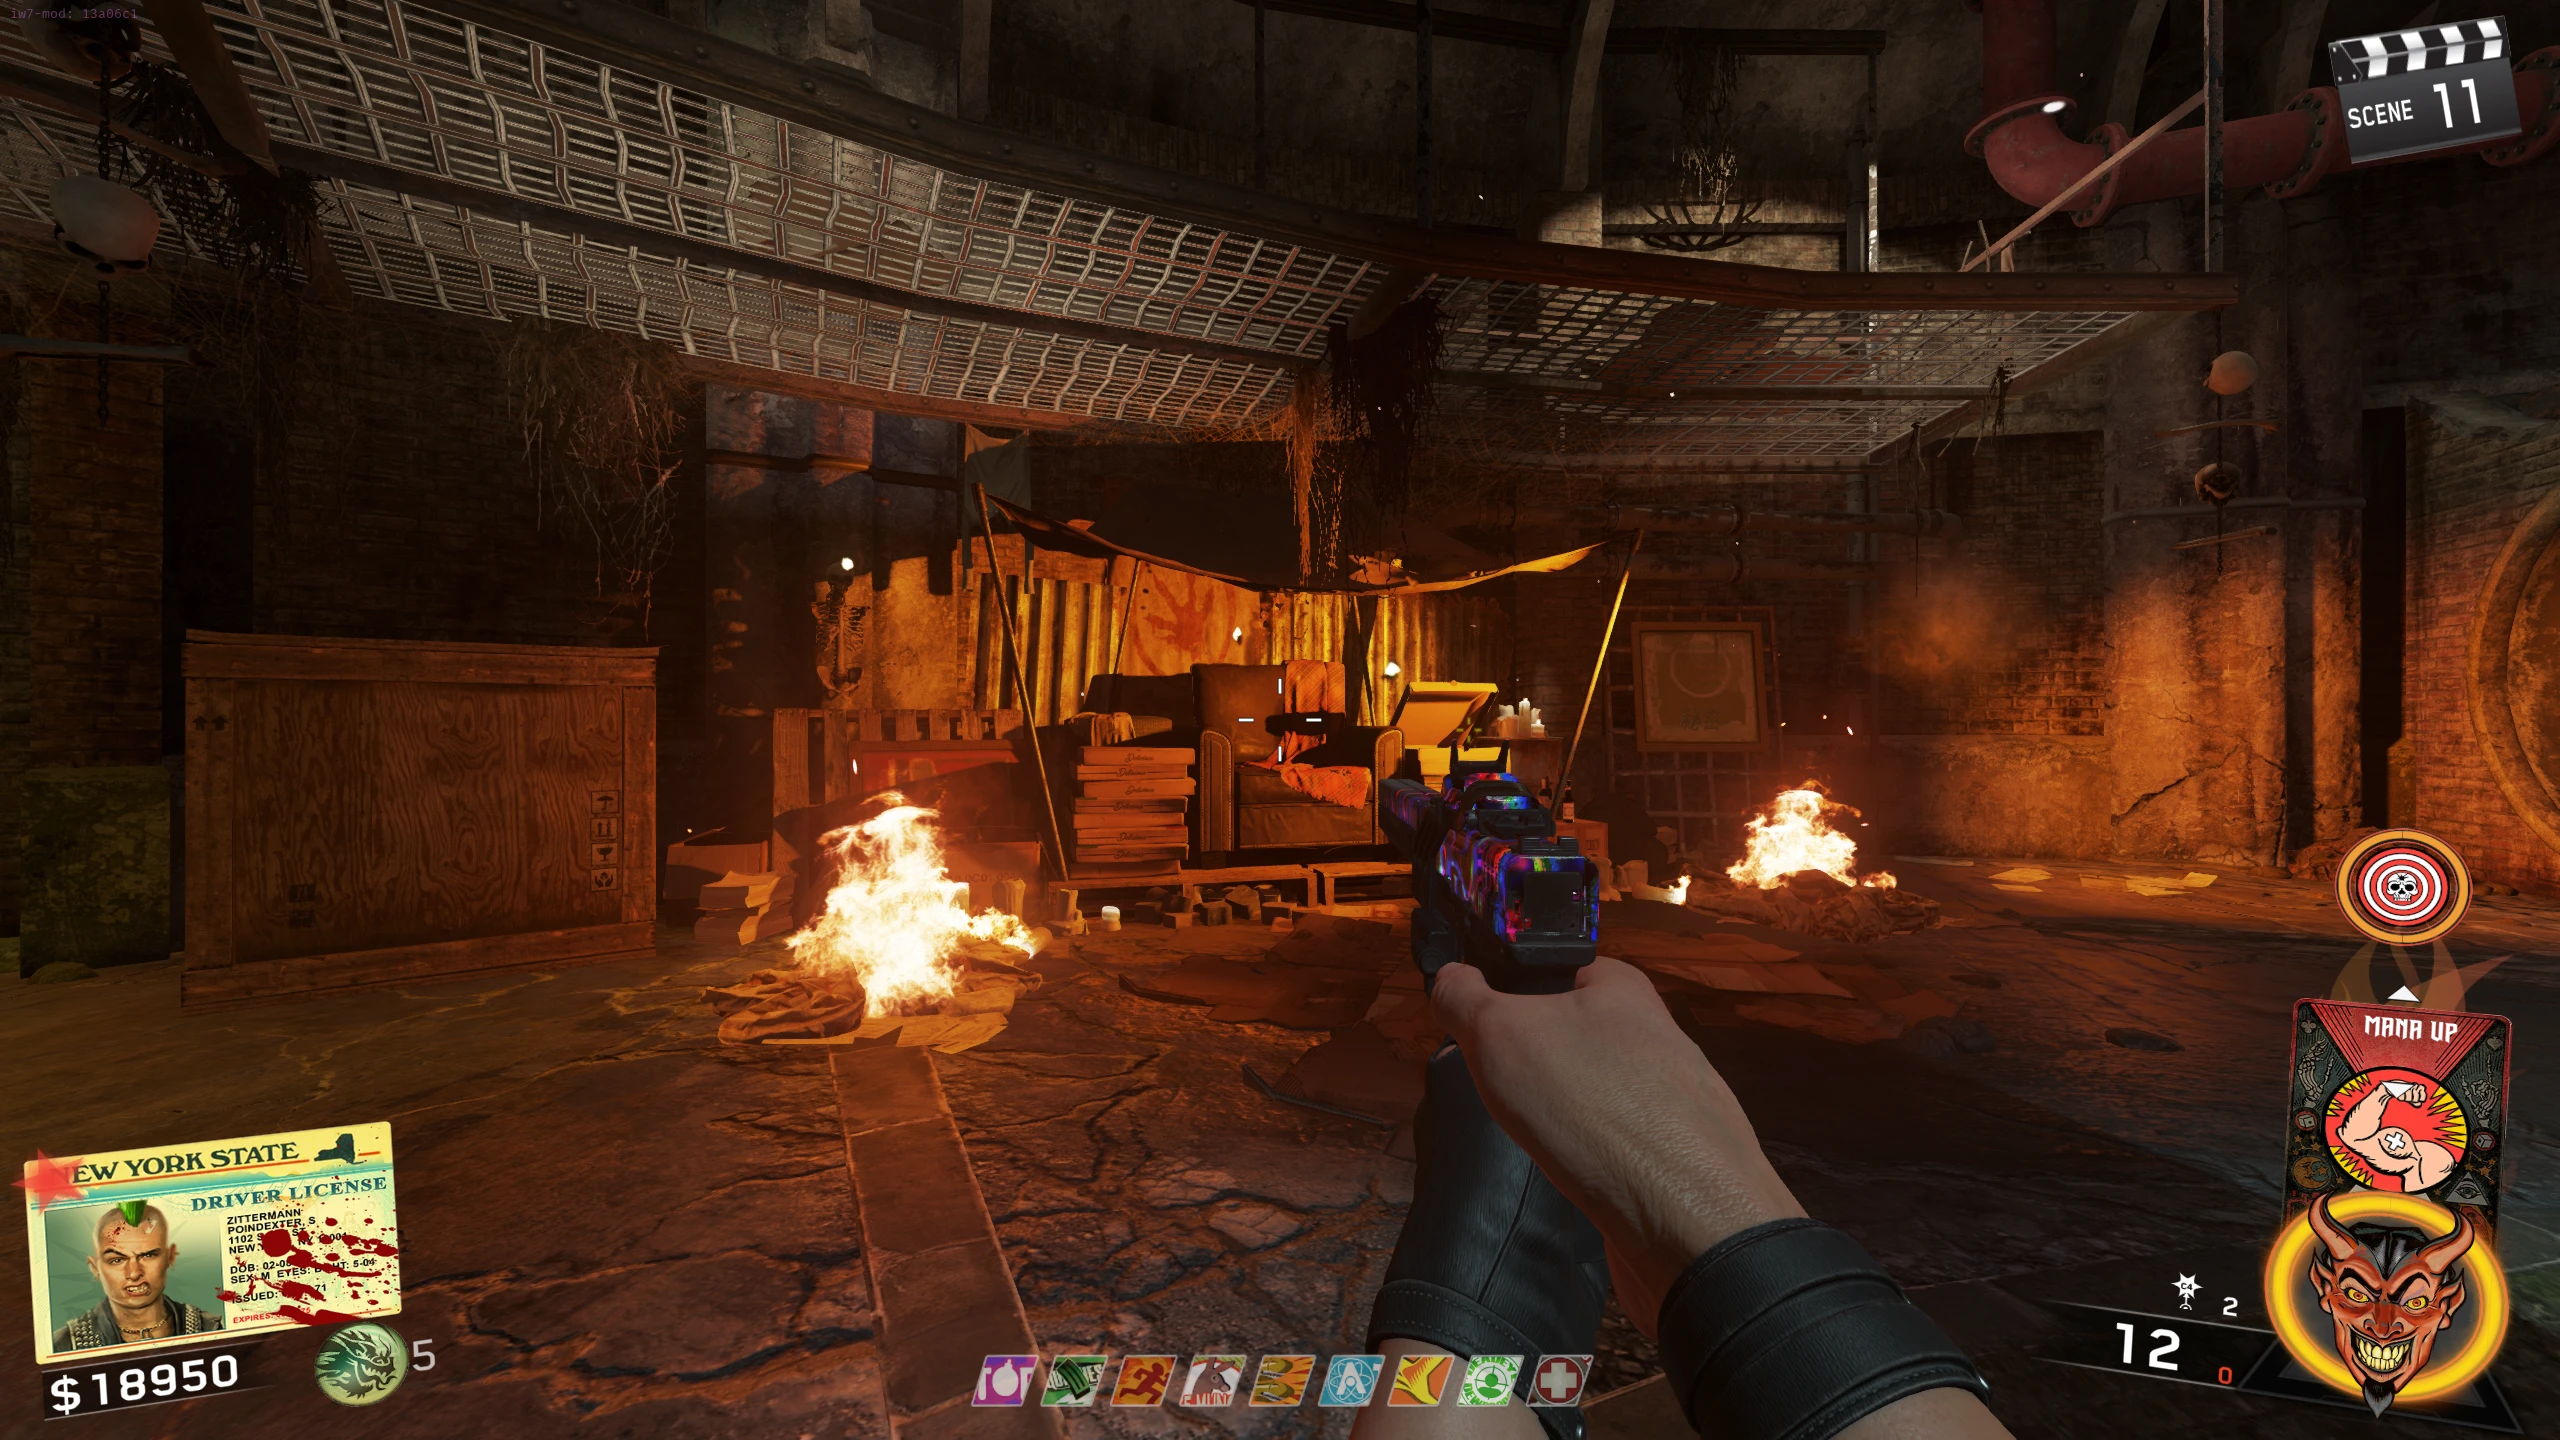
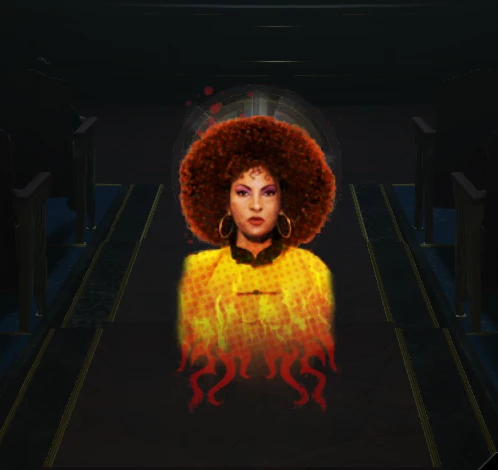
- Talk to Pam Grier (whenever you need to talk to her to complete a step, if she is already speaking, you will have to wait for her to finish before you can interact with her); you need her to say "The one who terrorizes these streets...". This will spawn rat cages around the map.
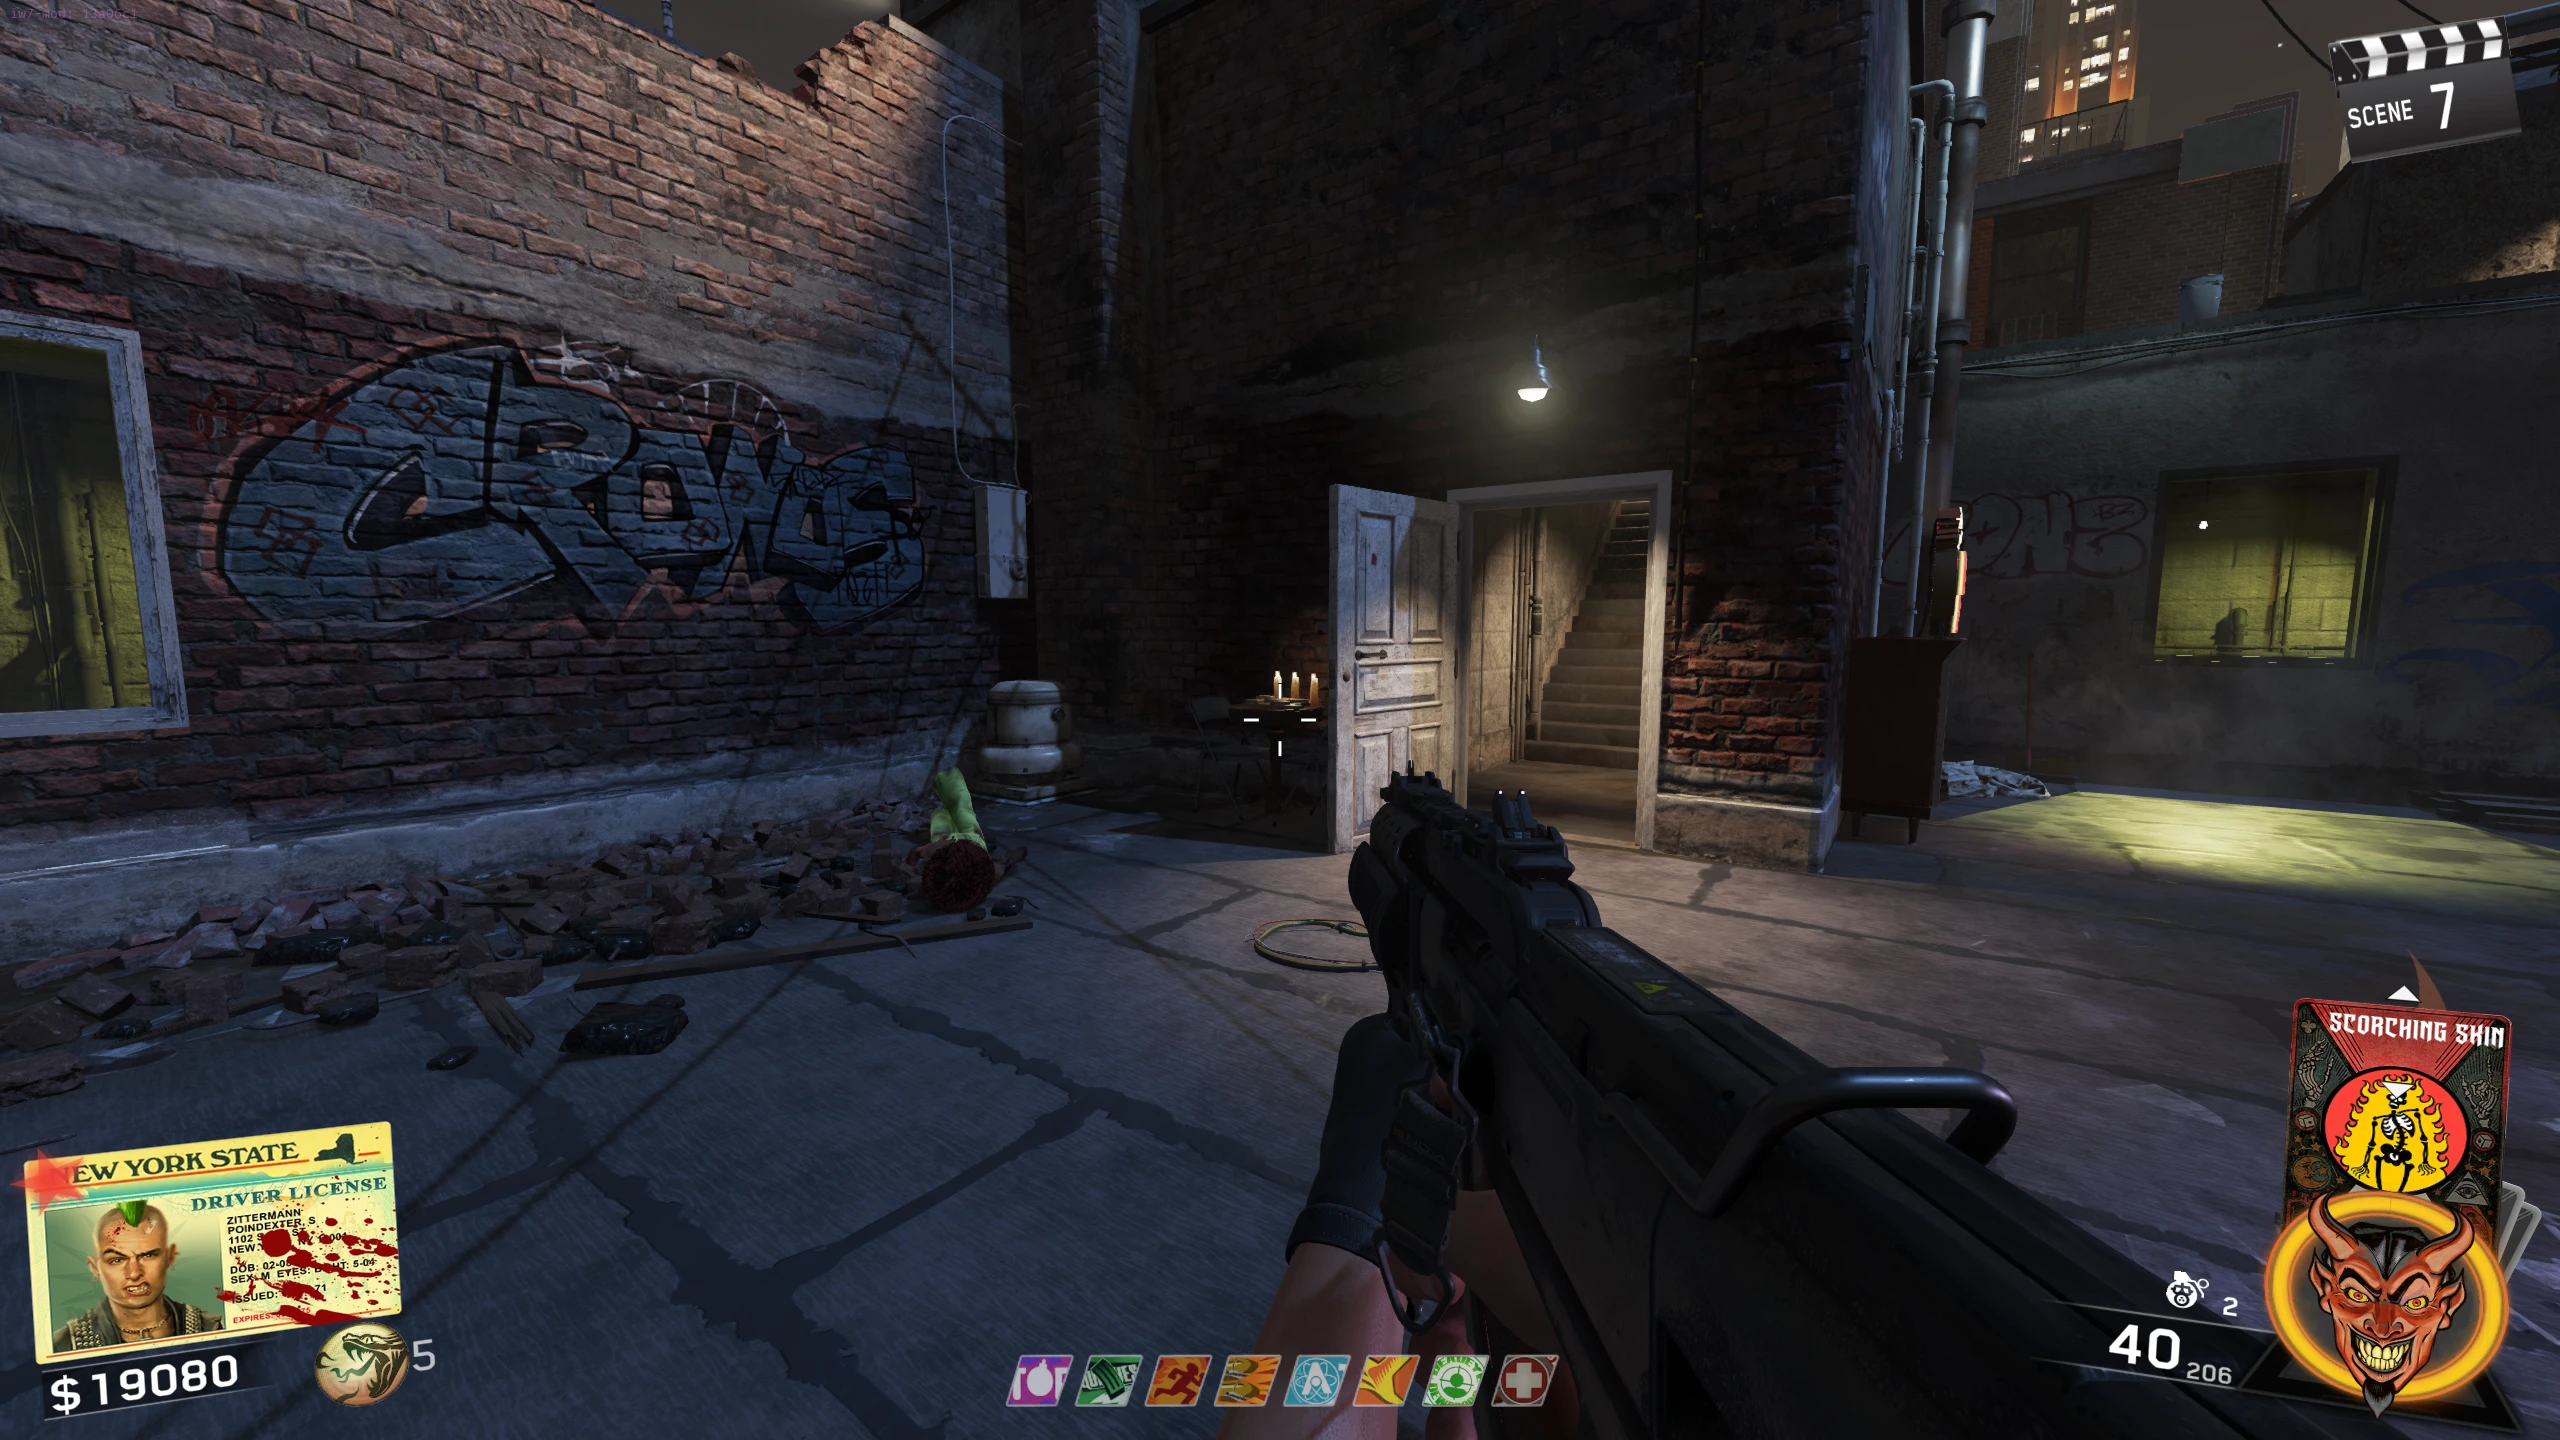
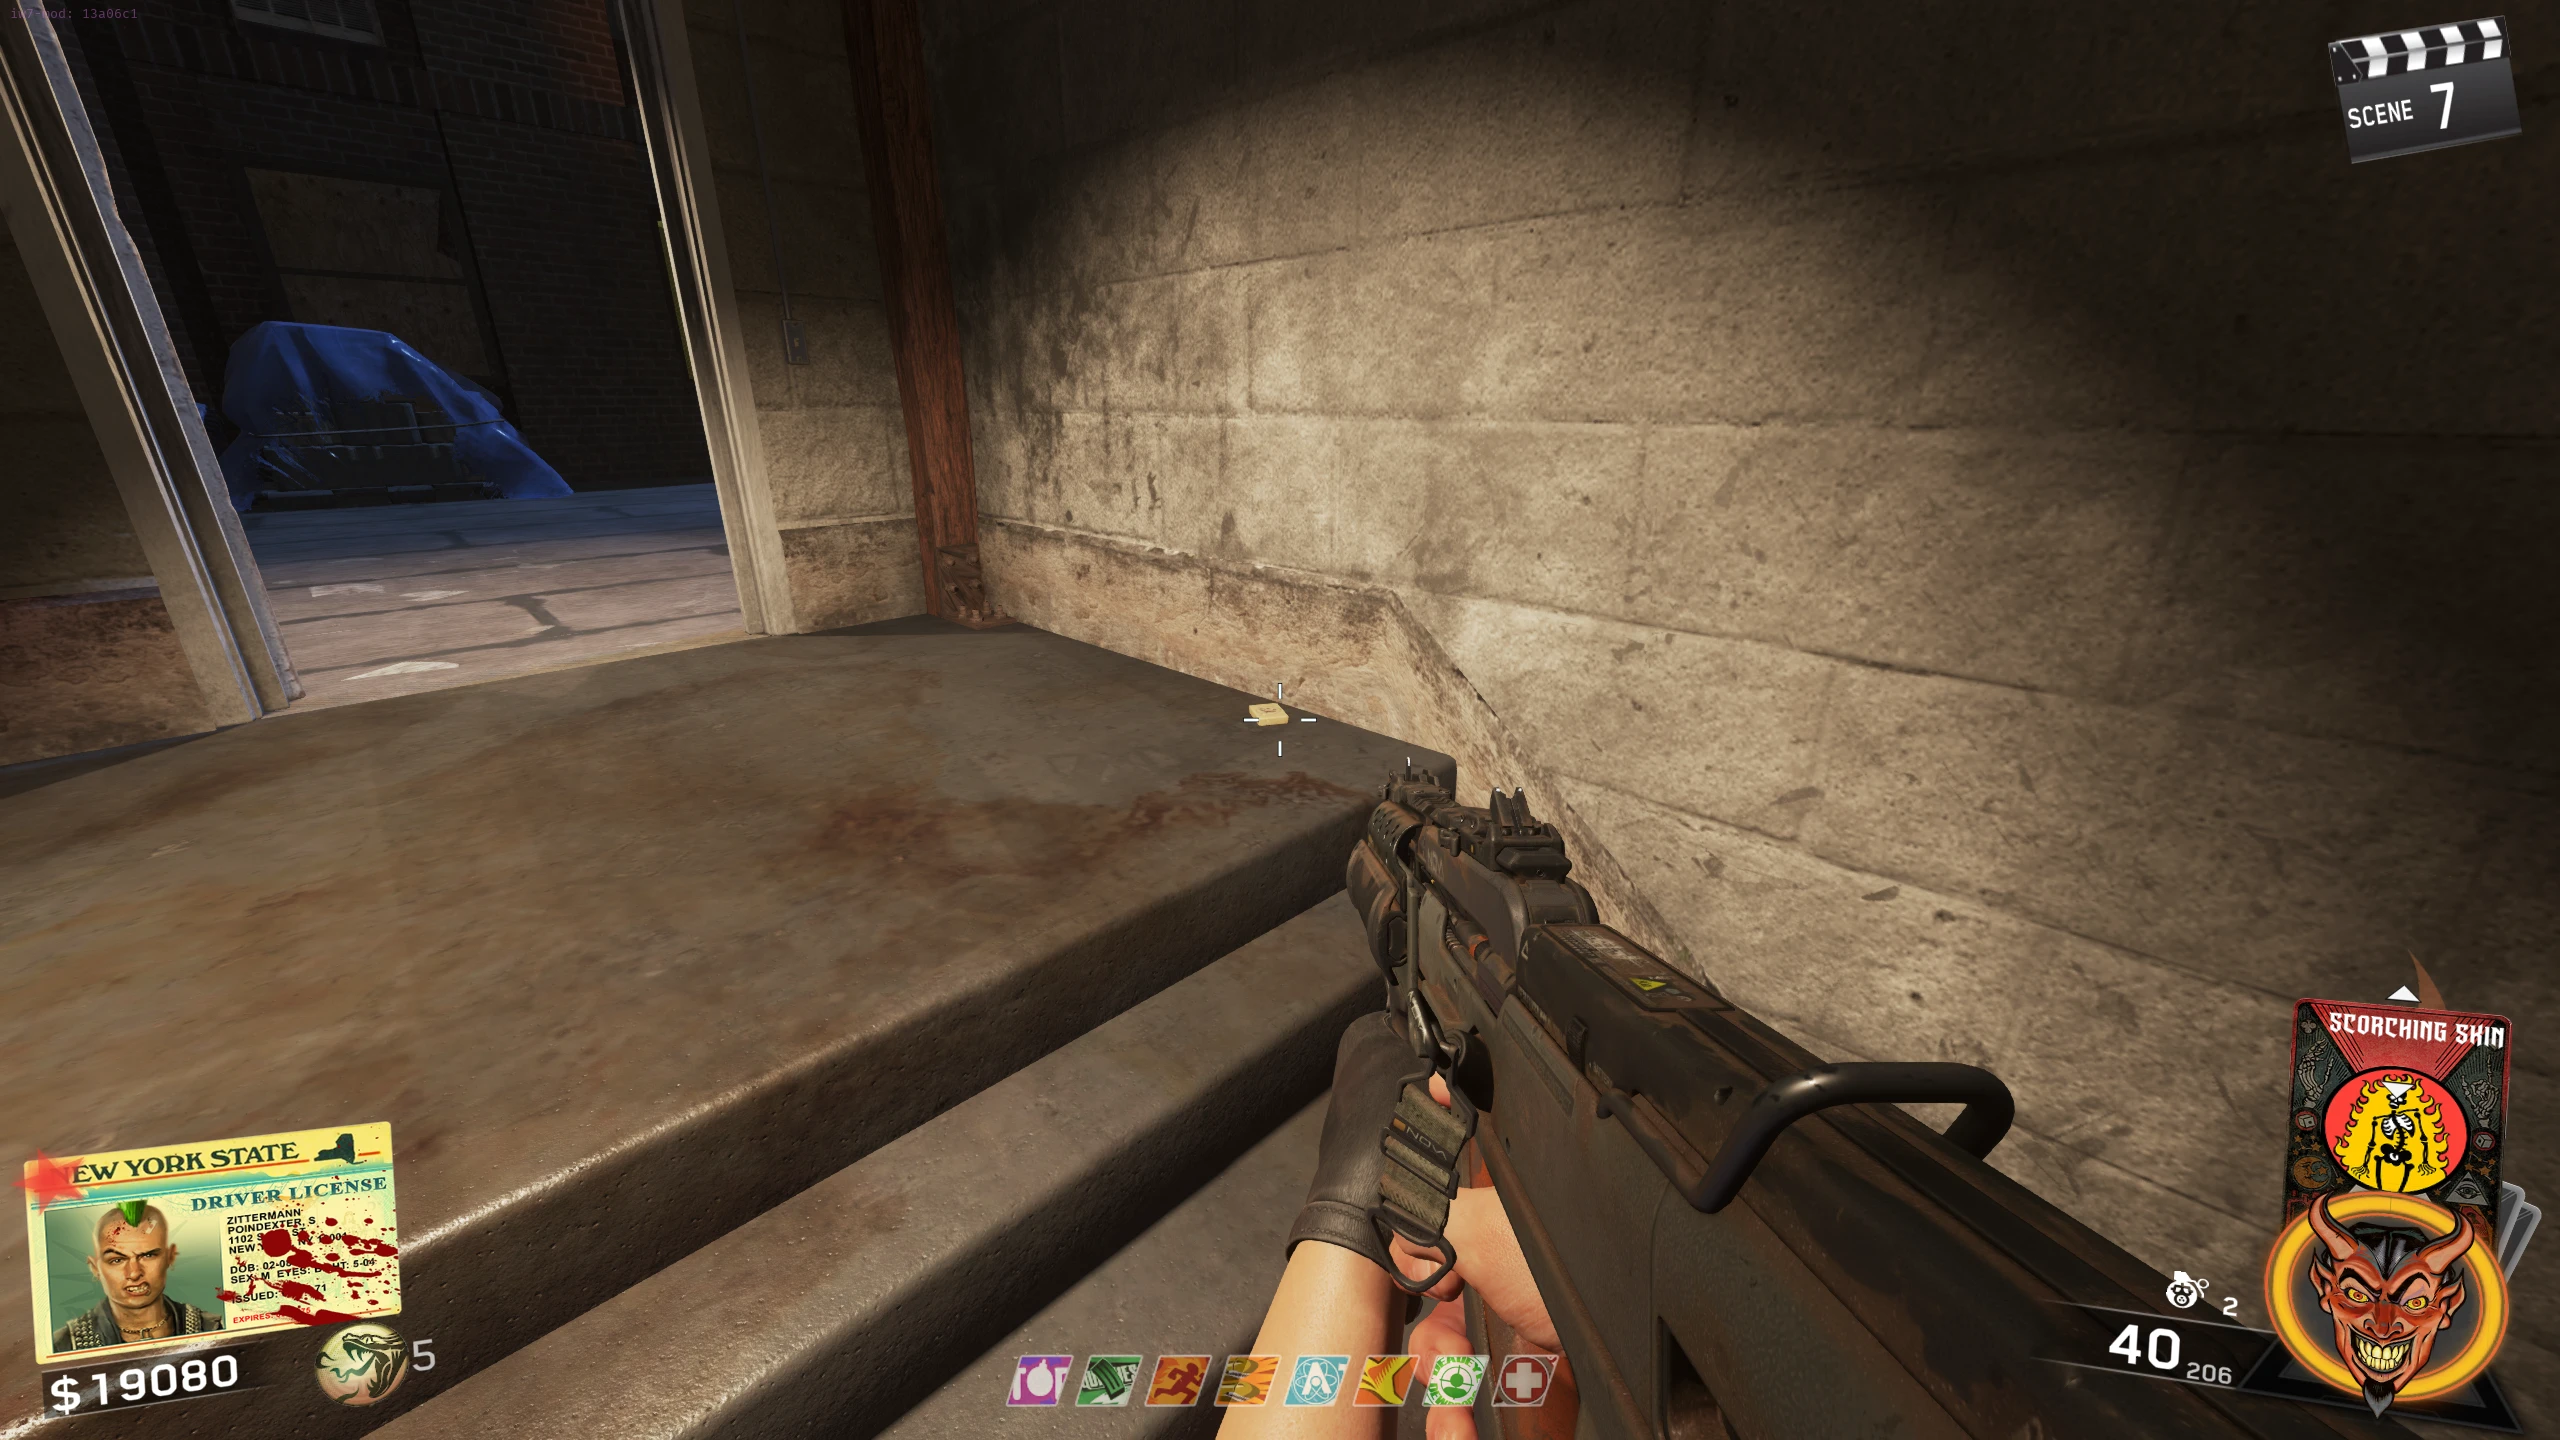
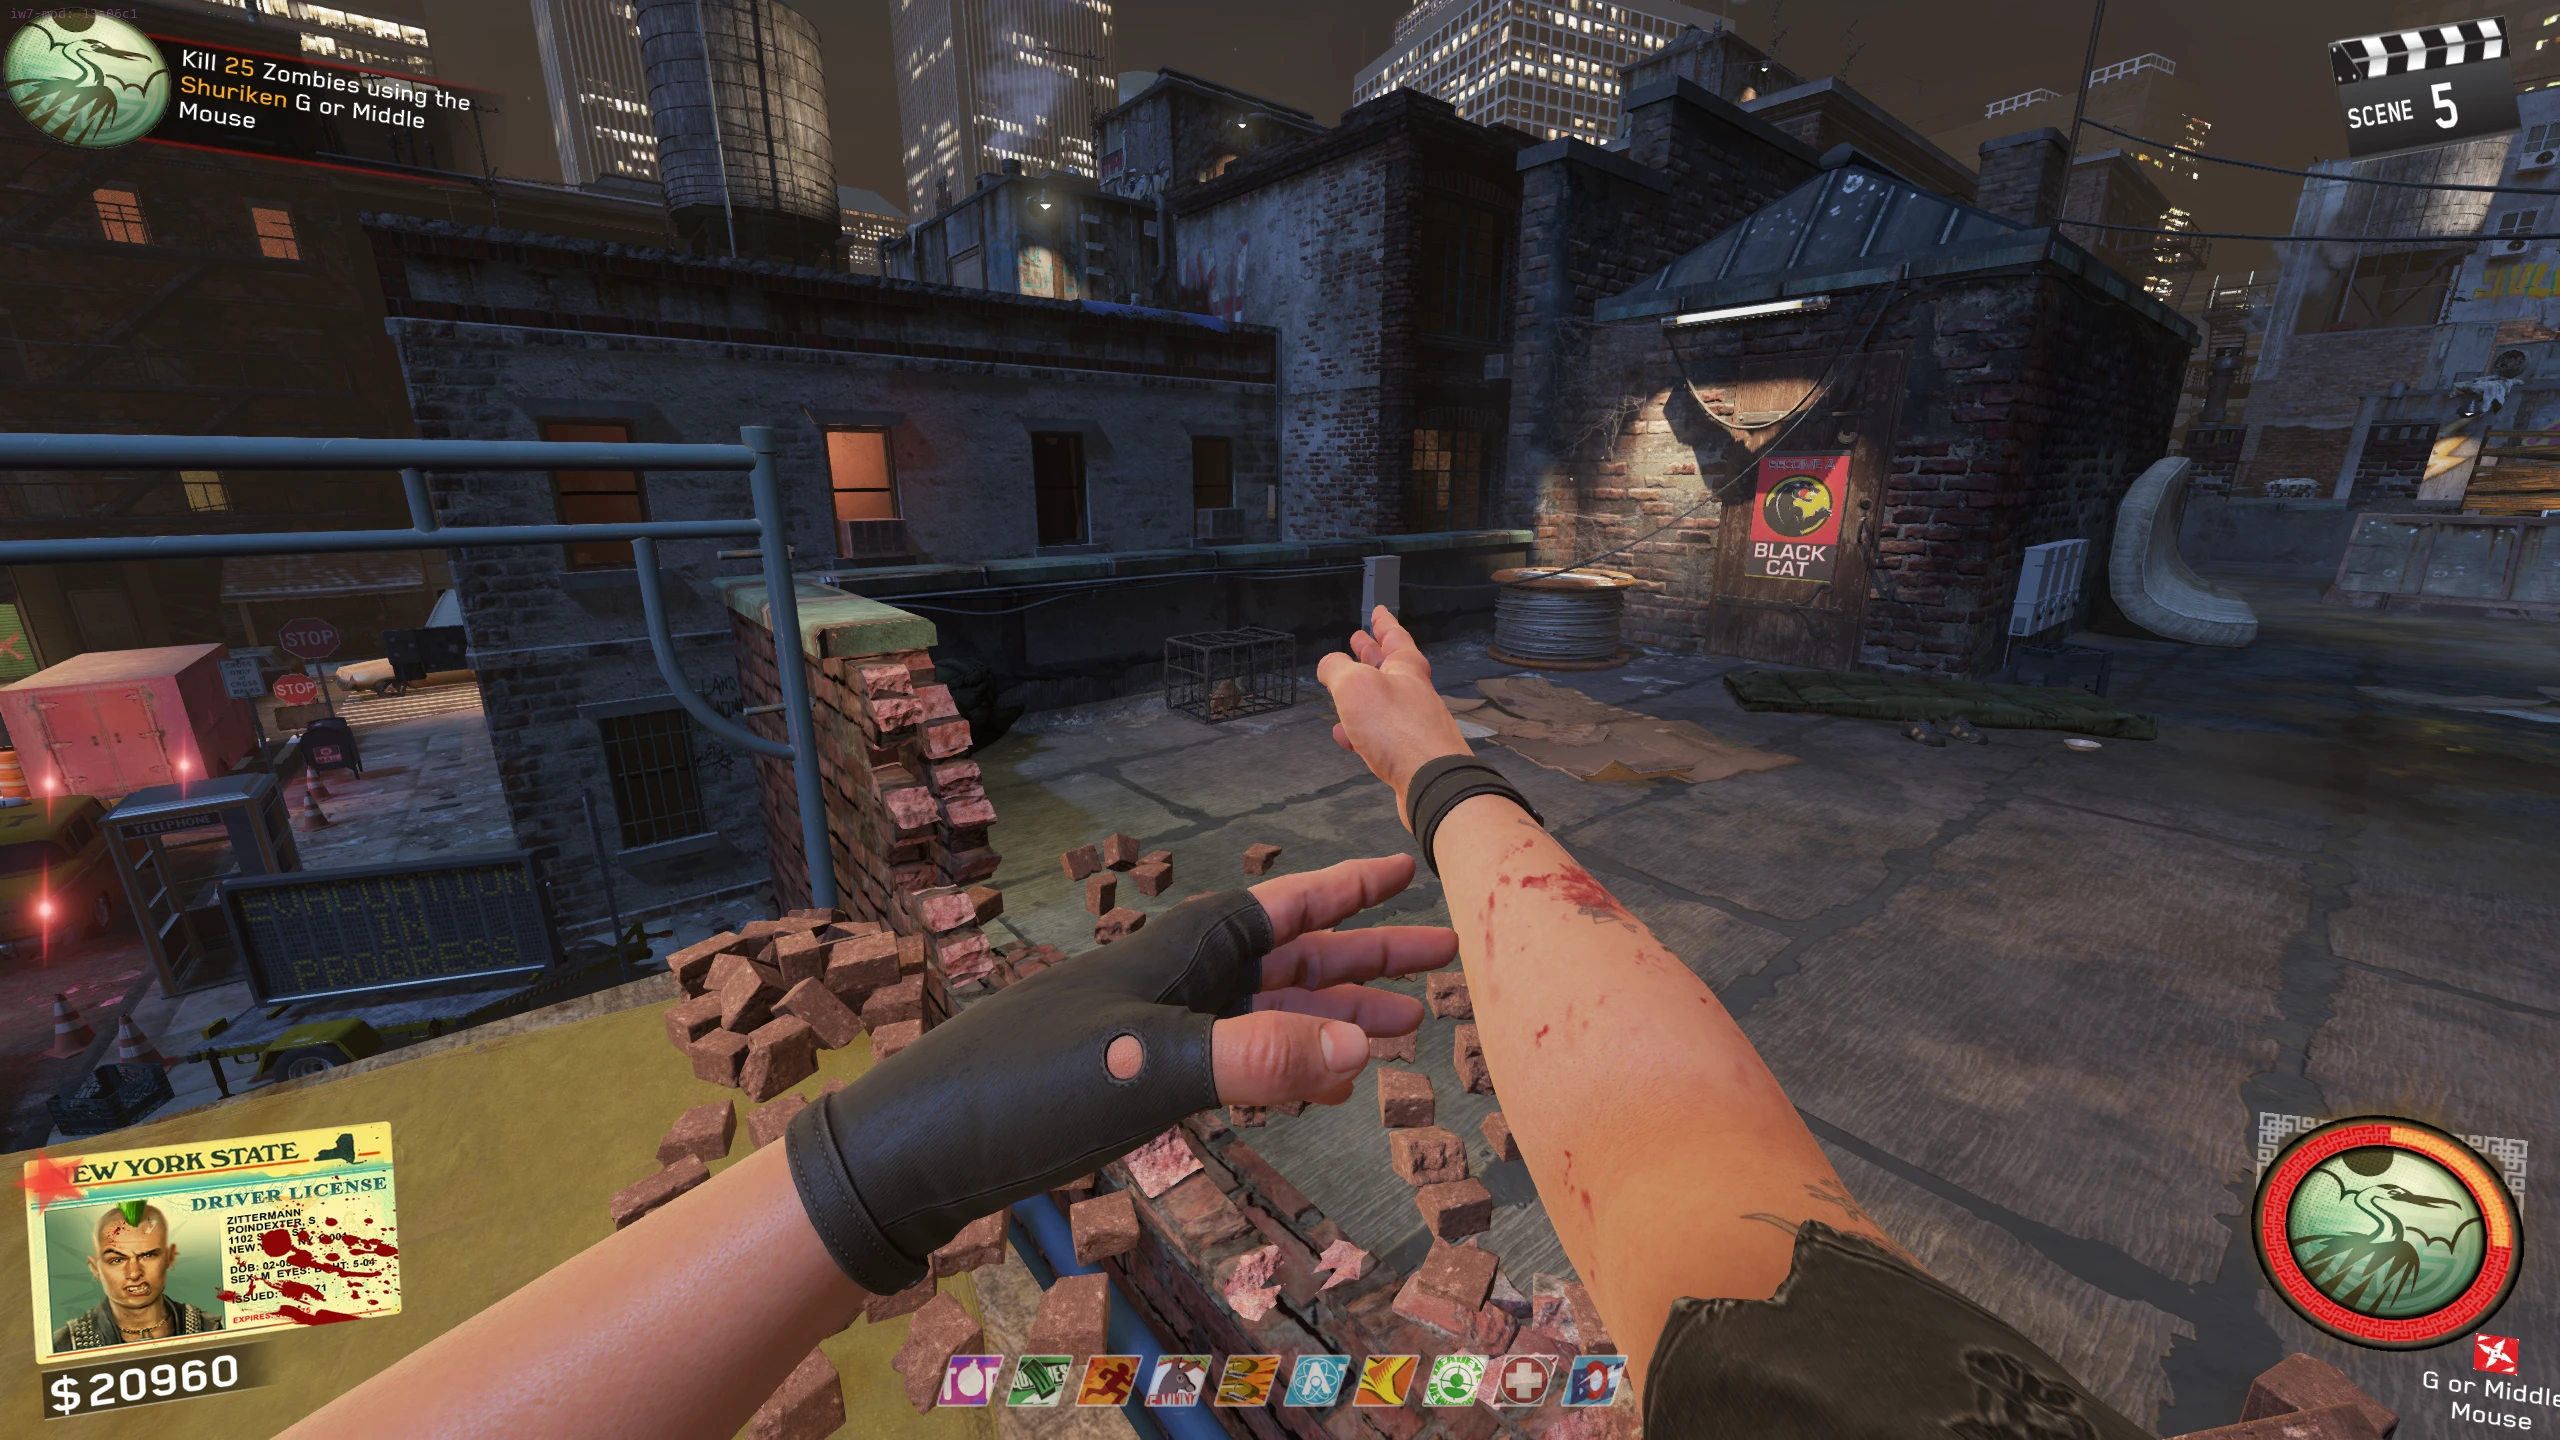
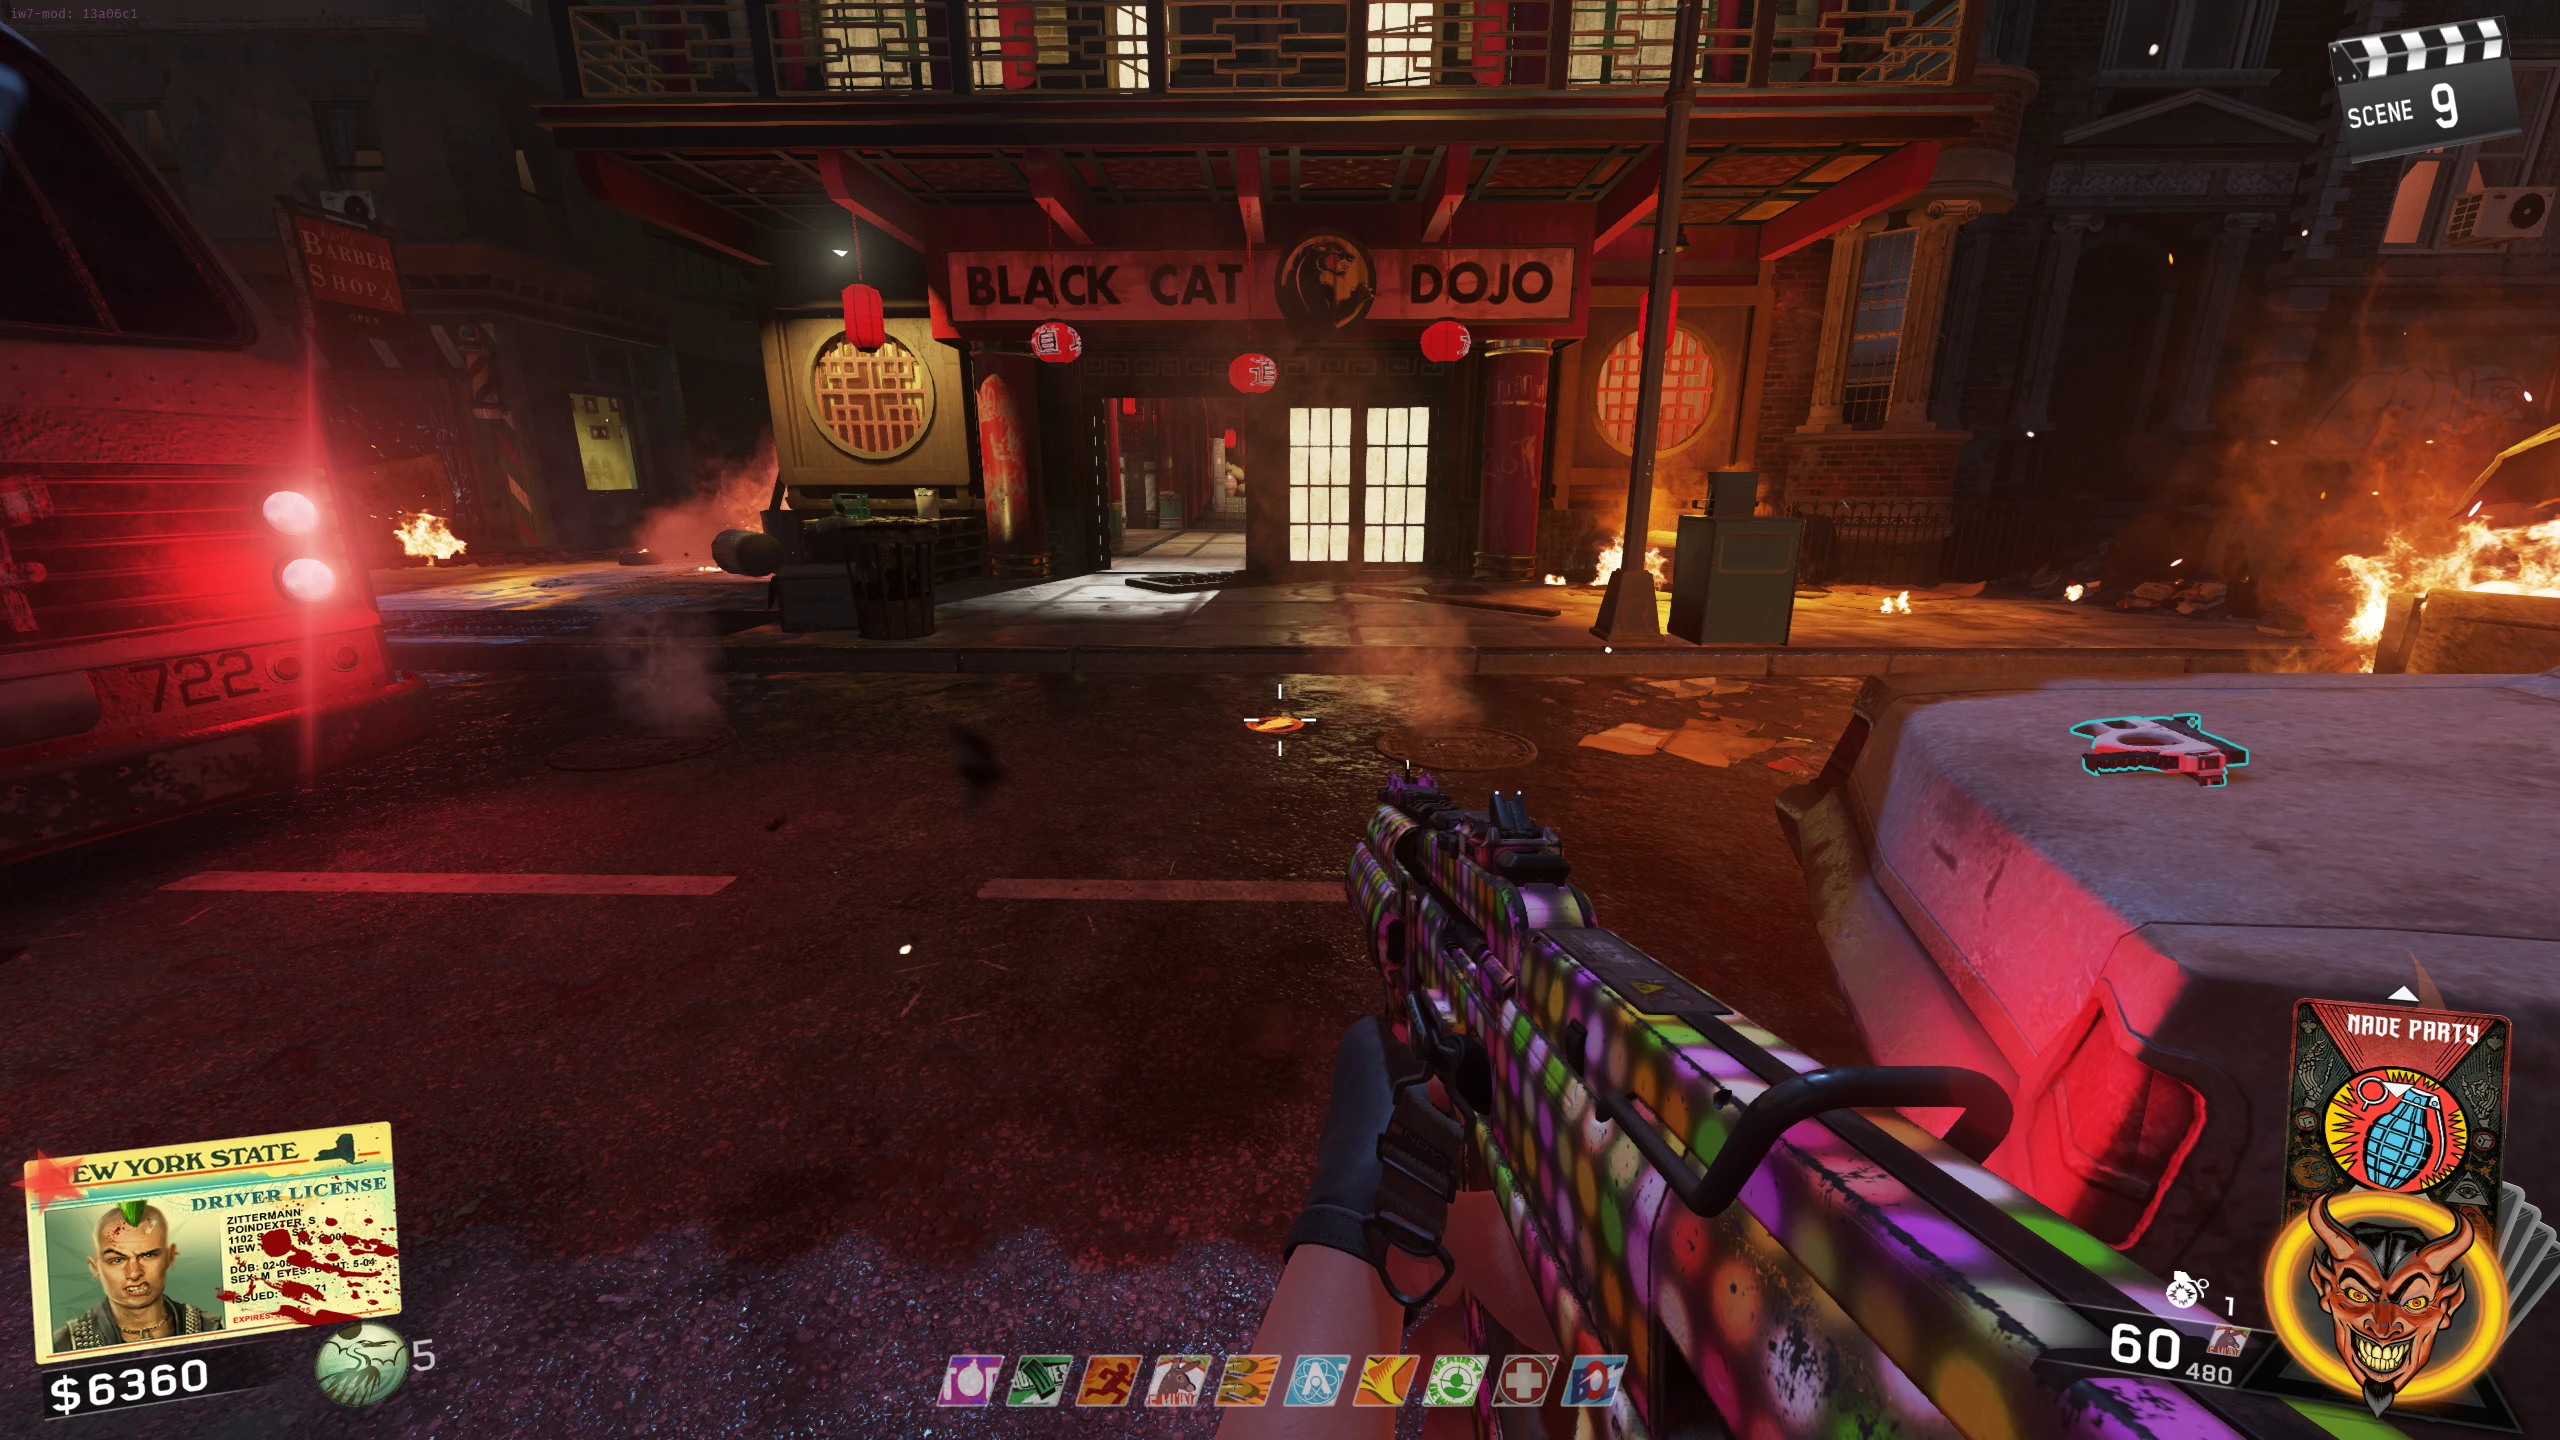
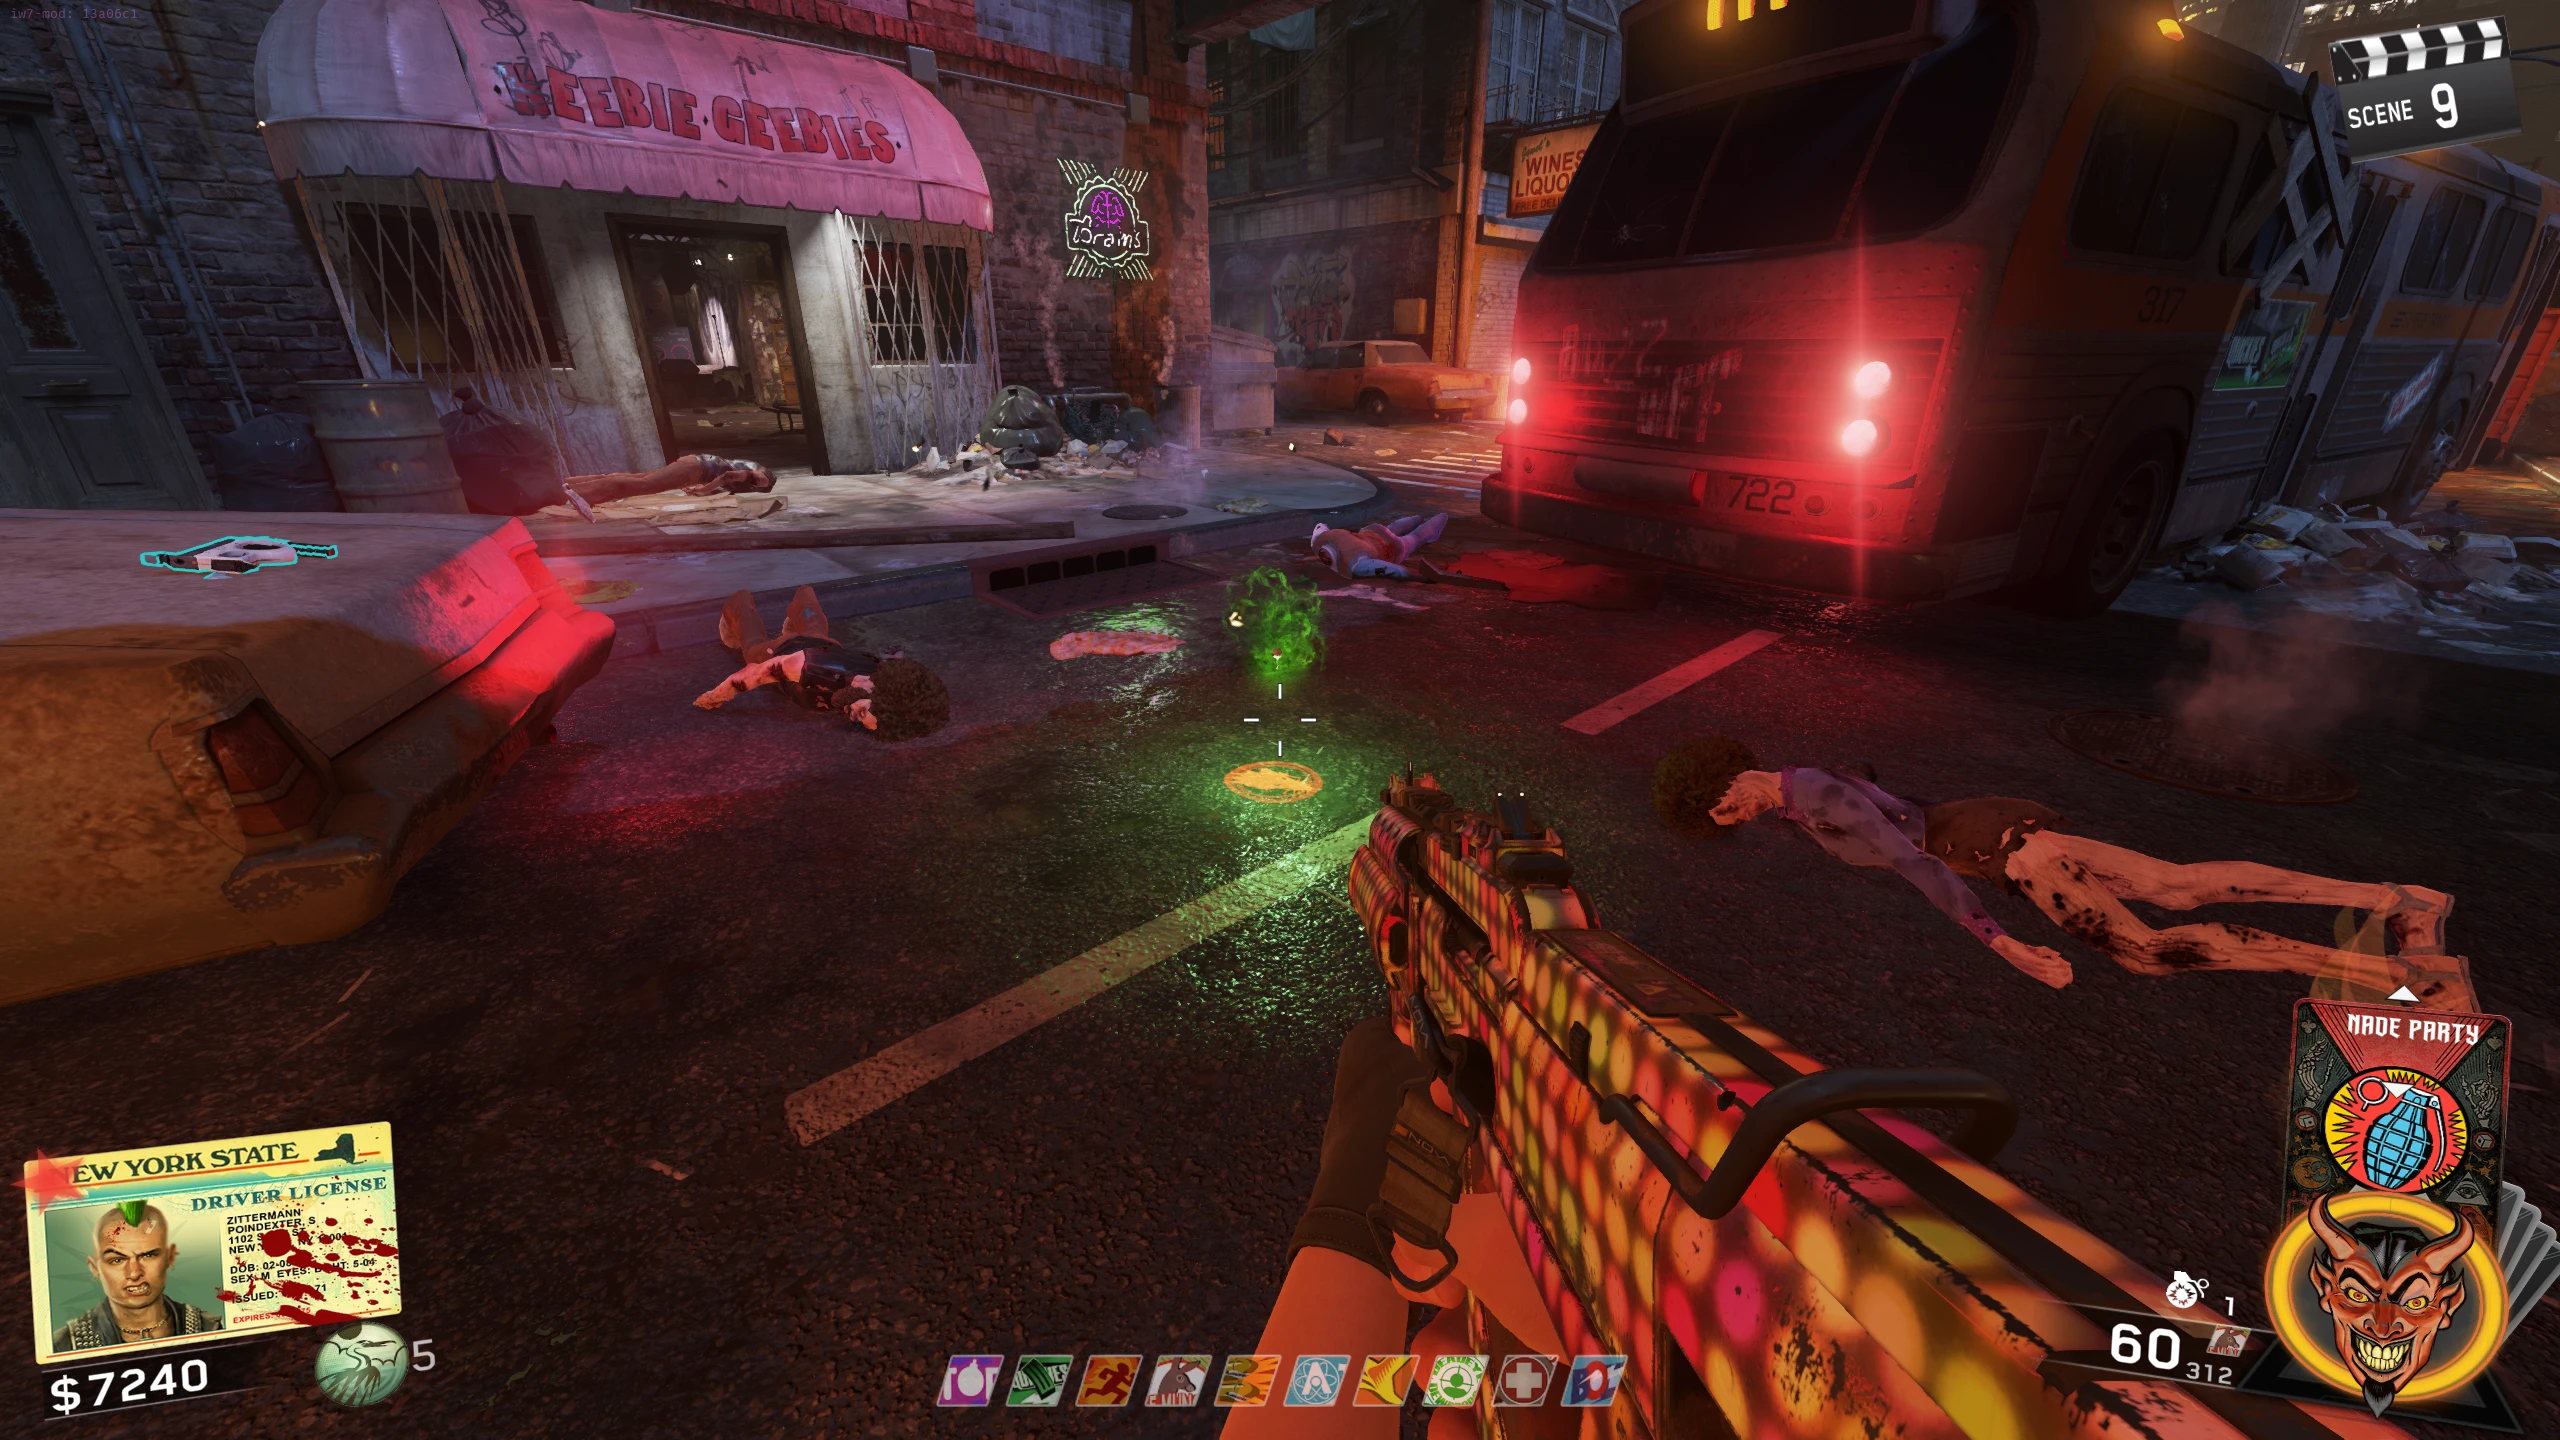
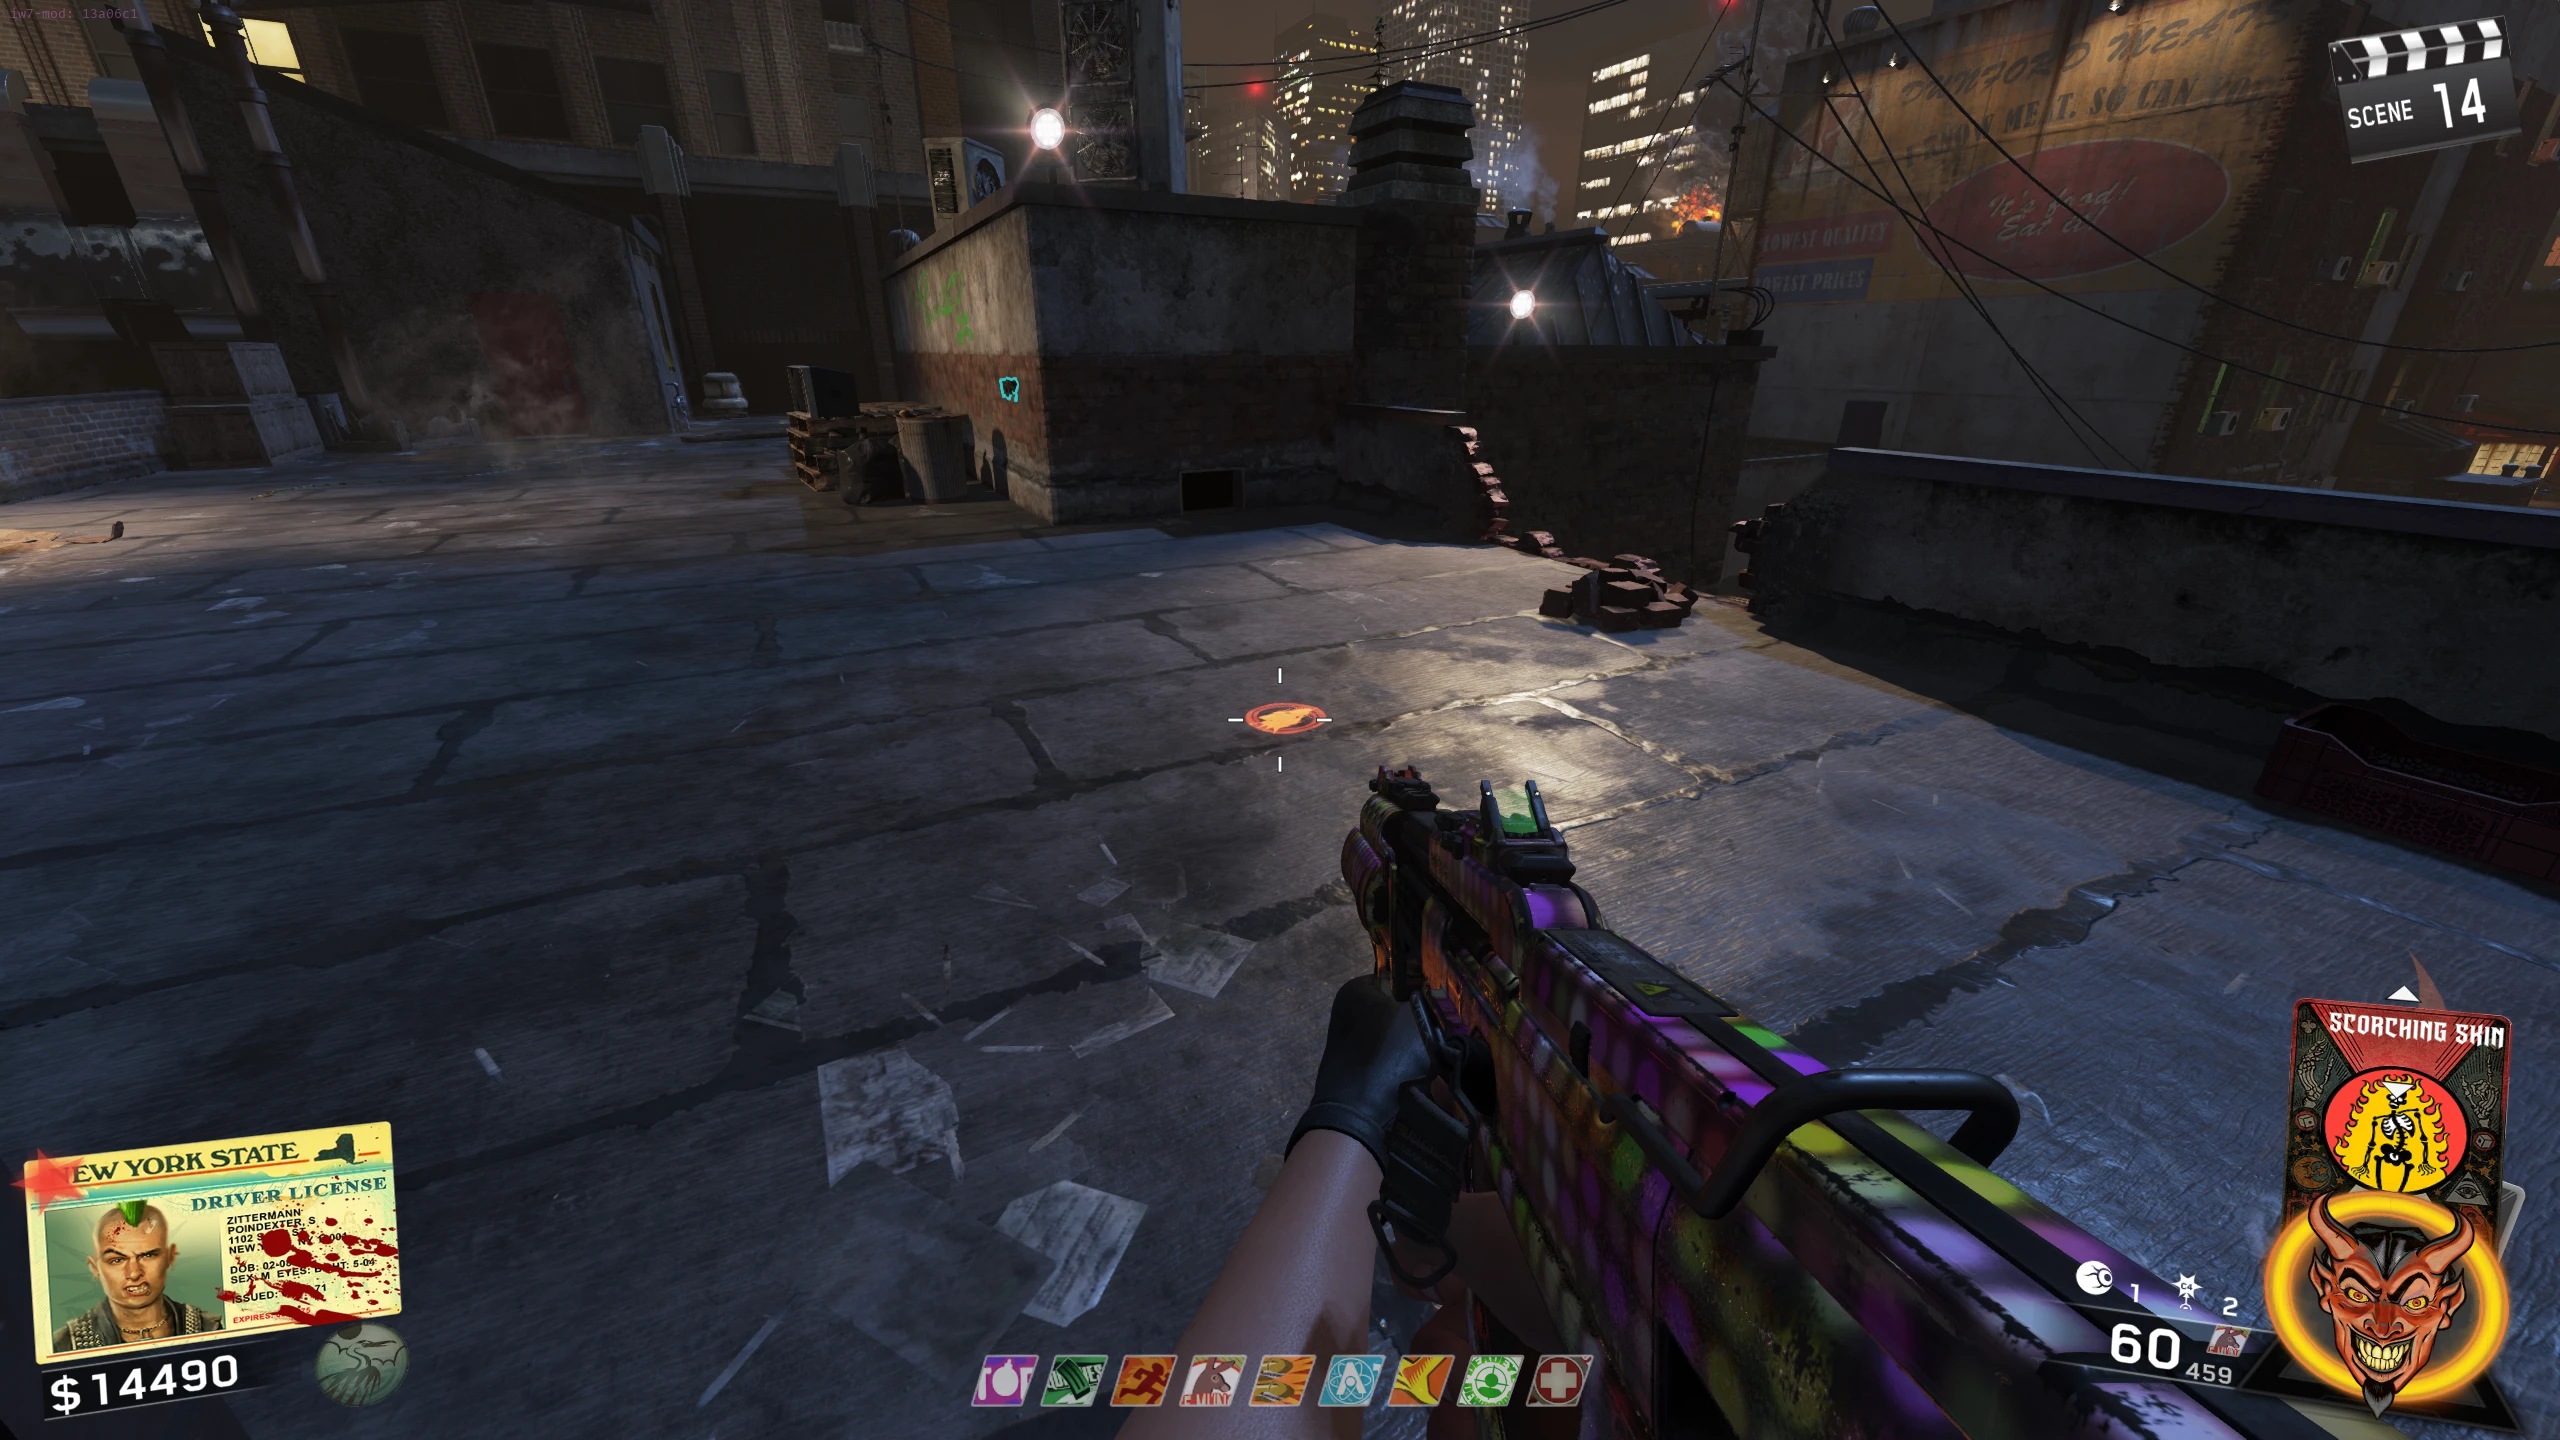
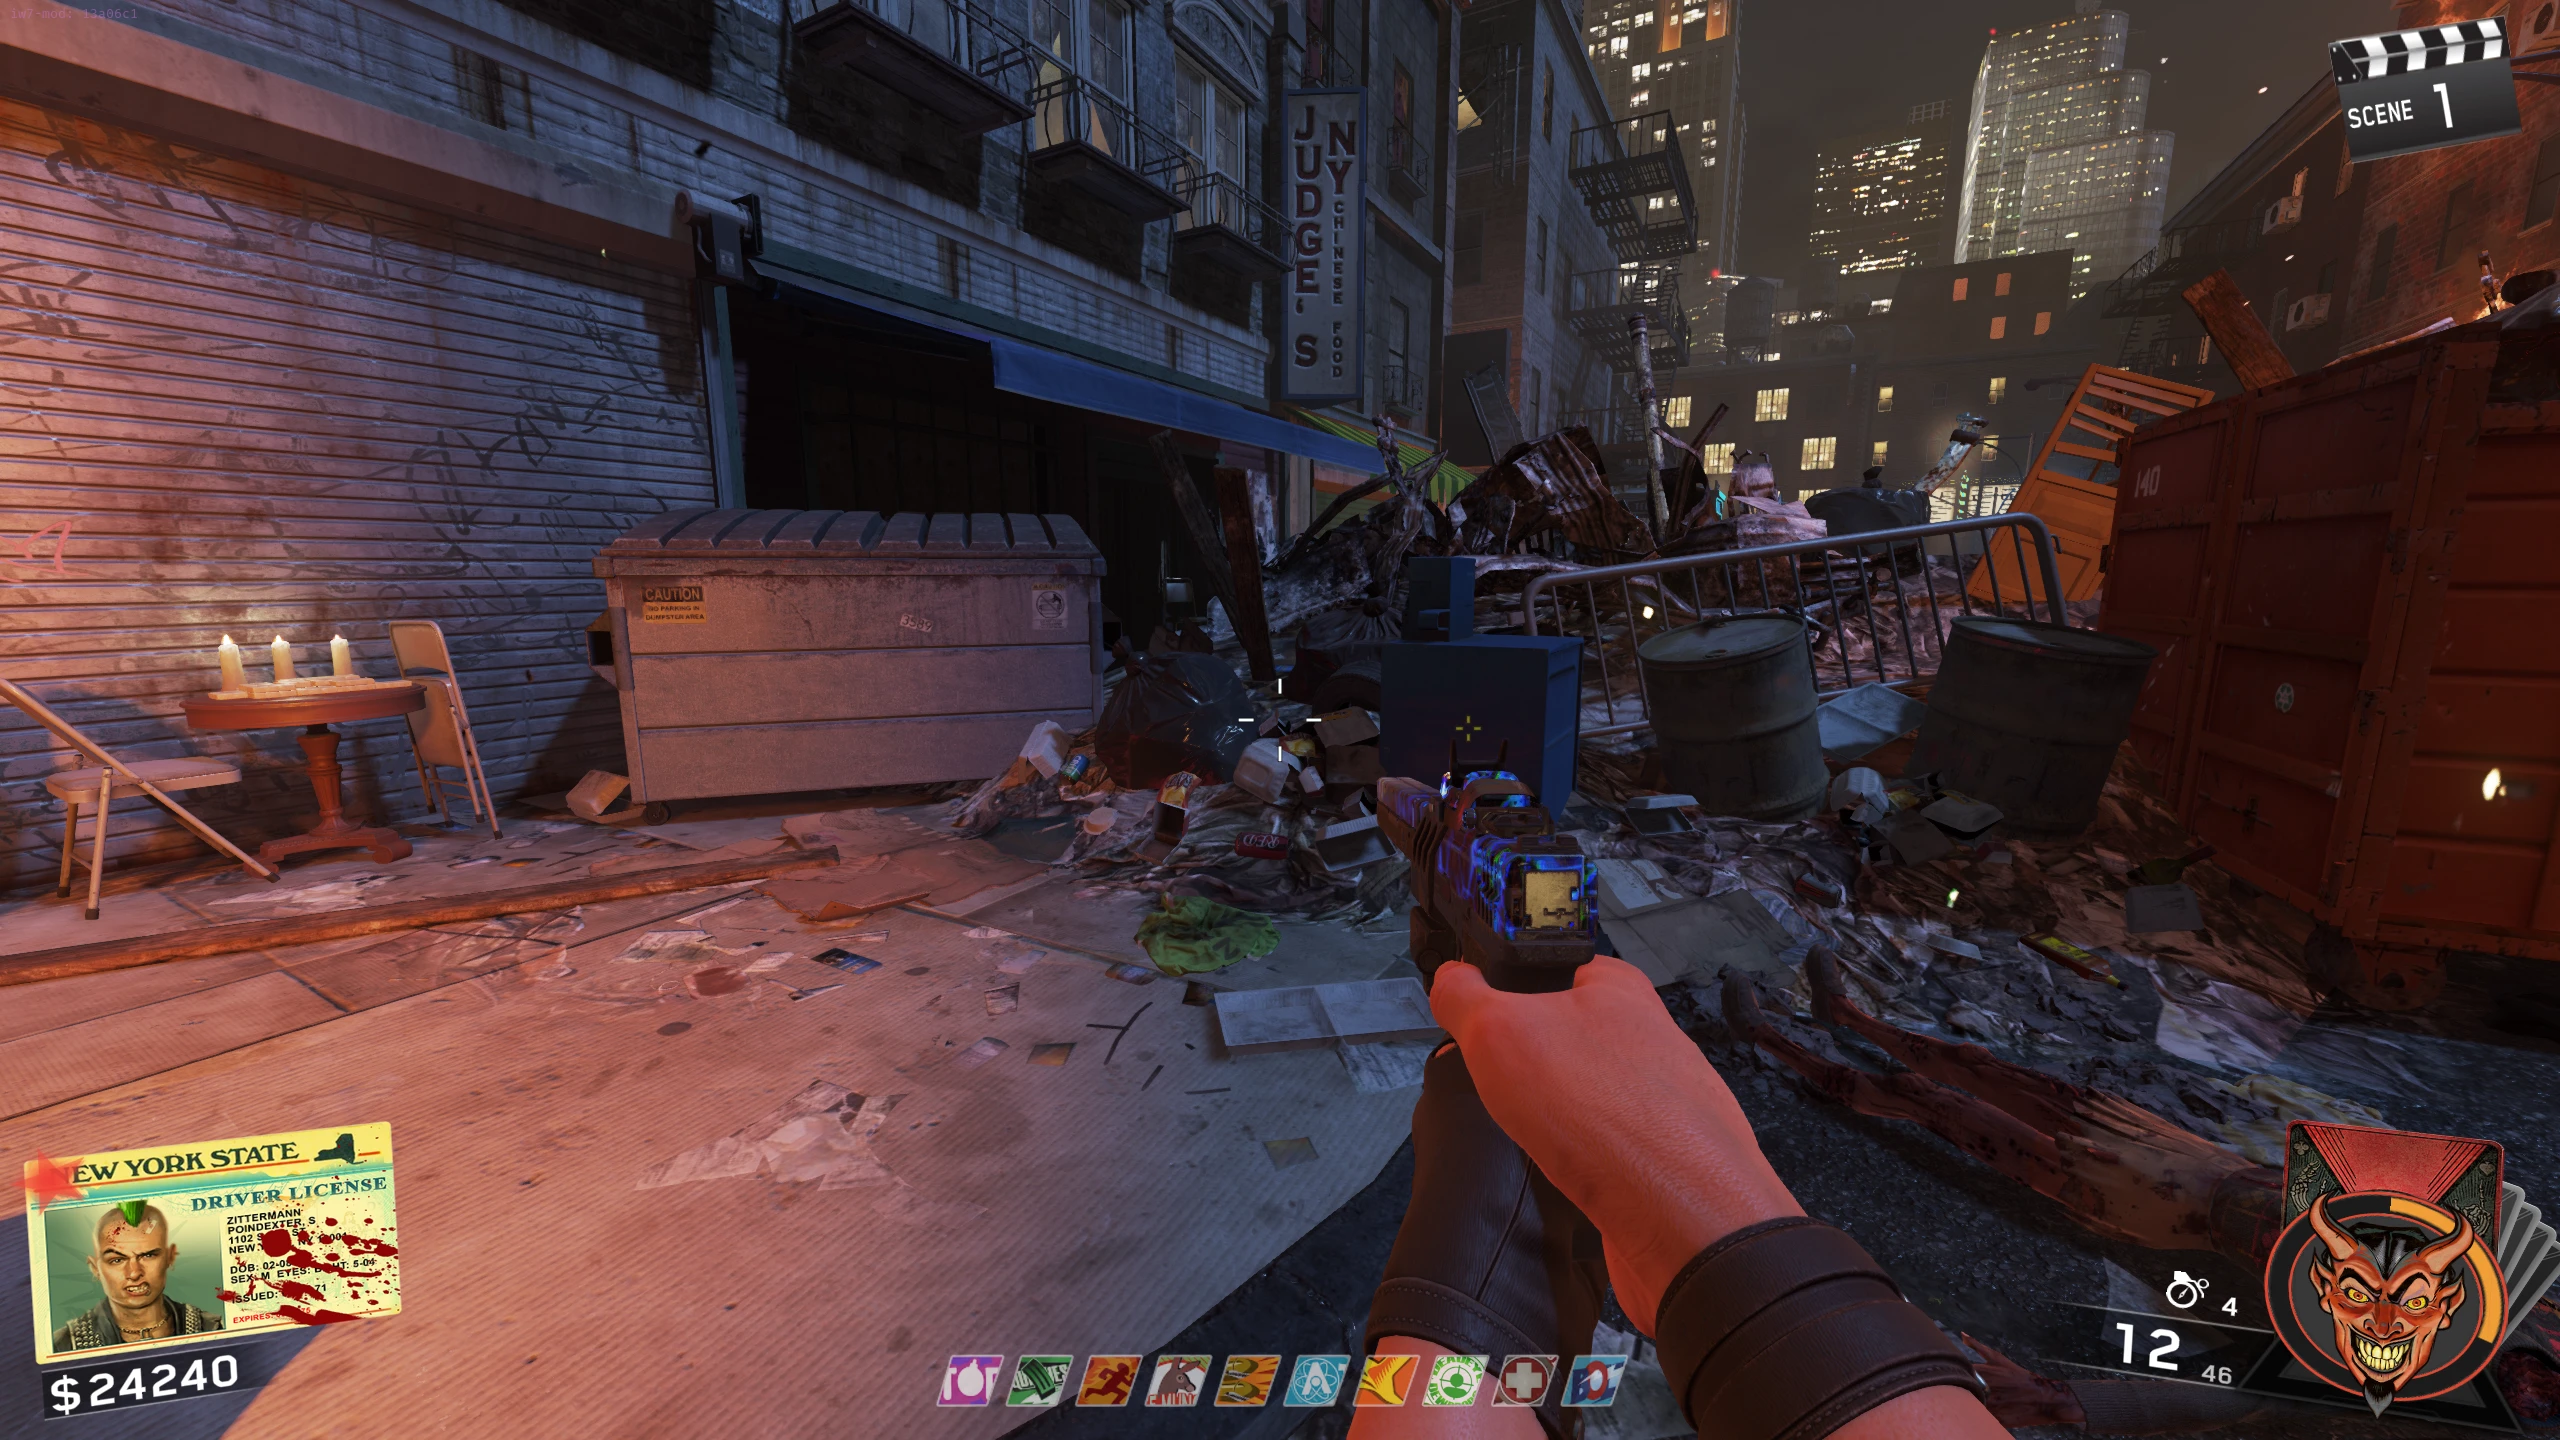
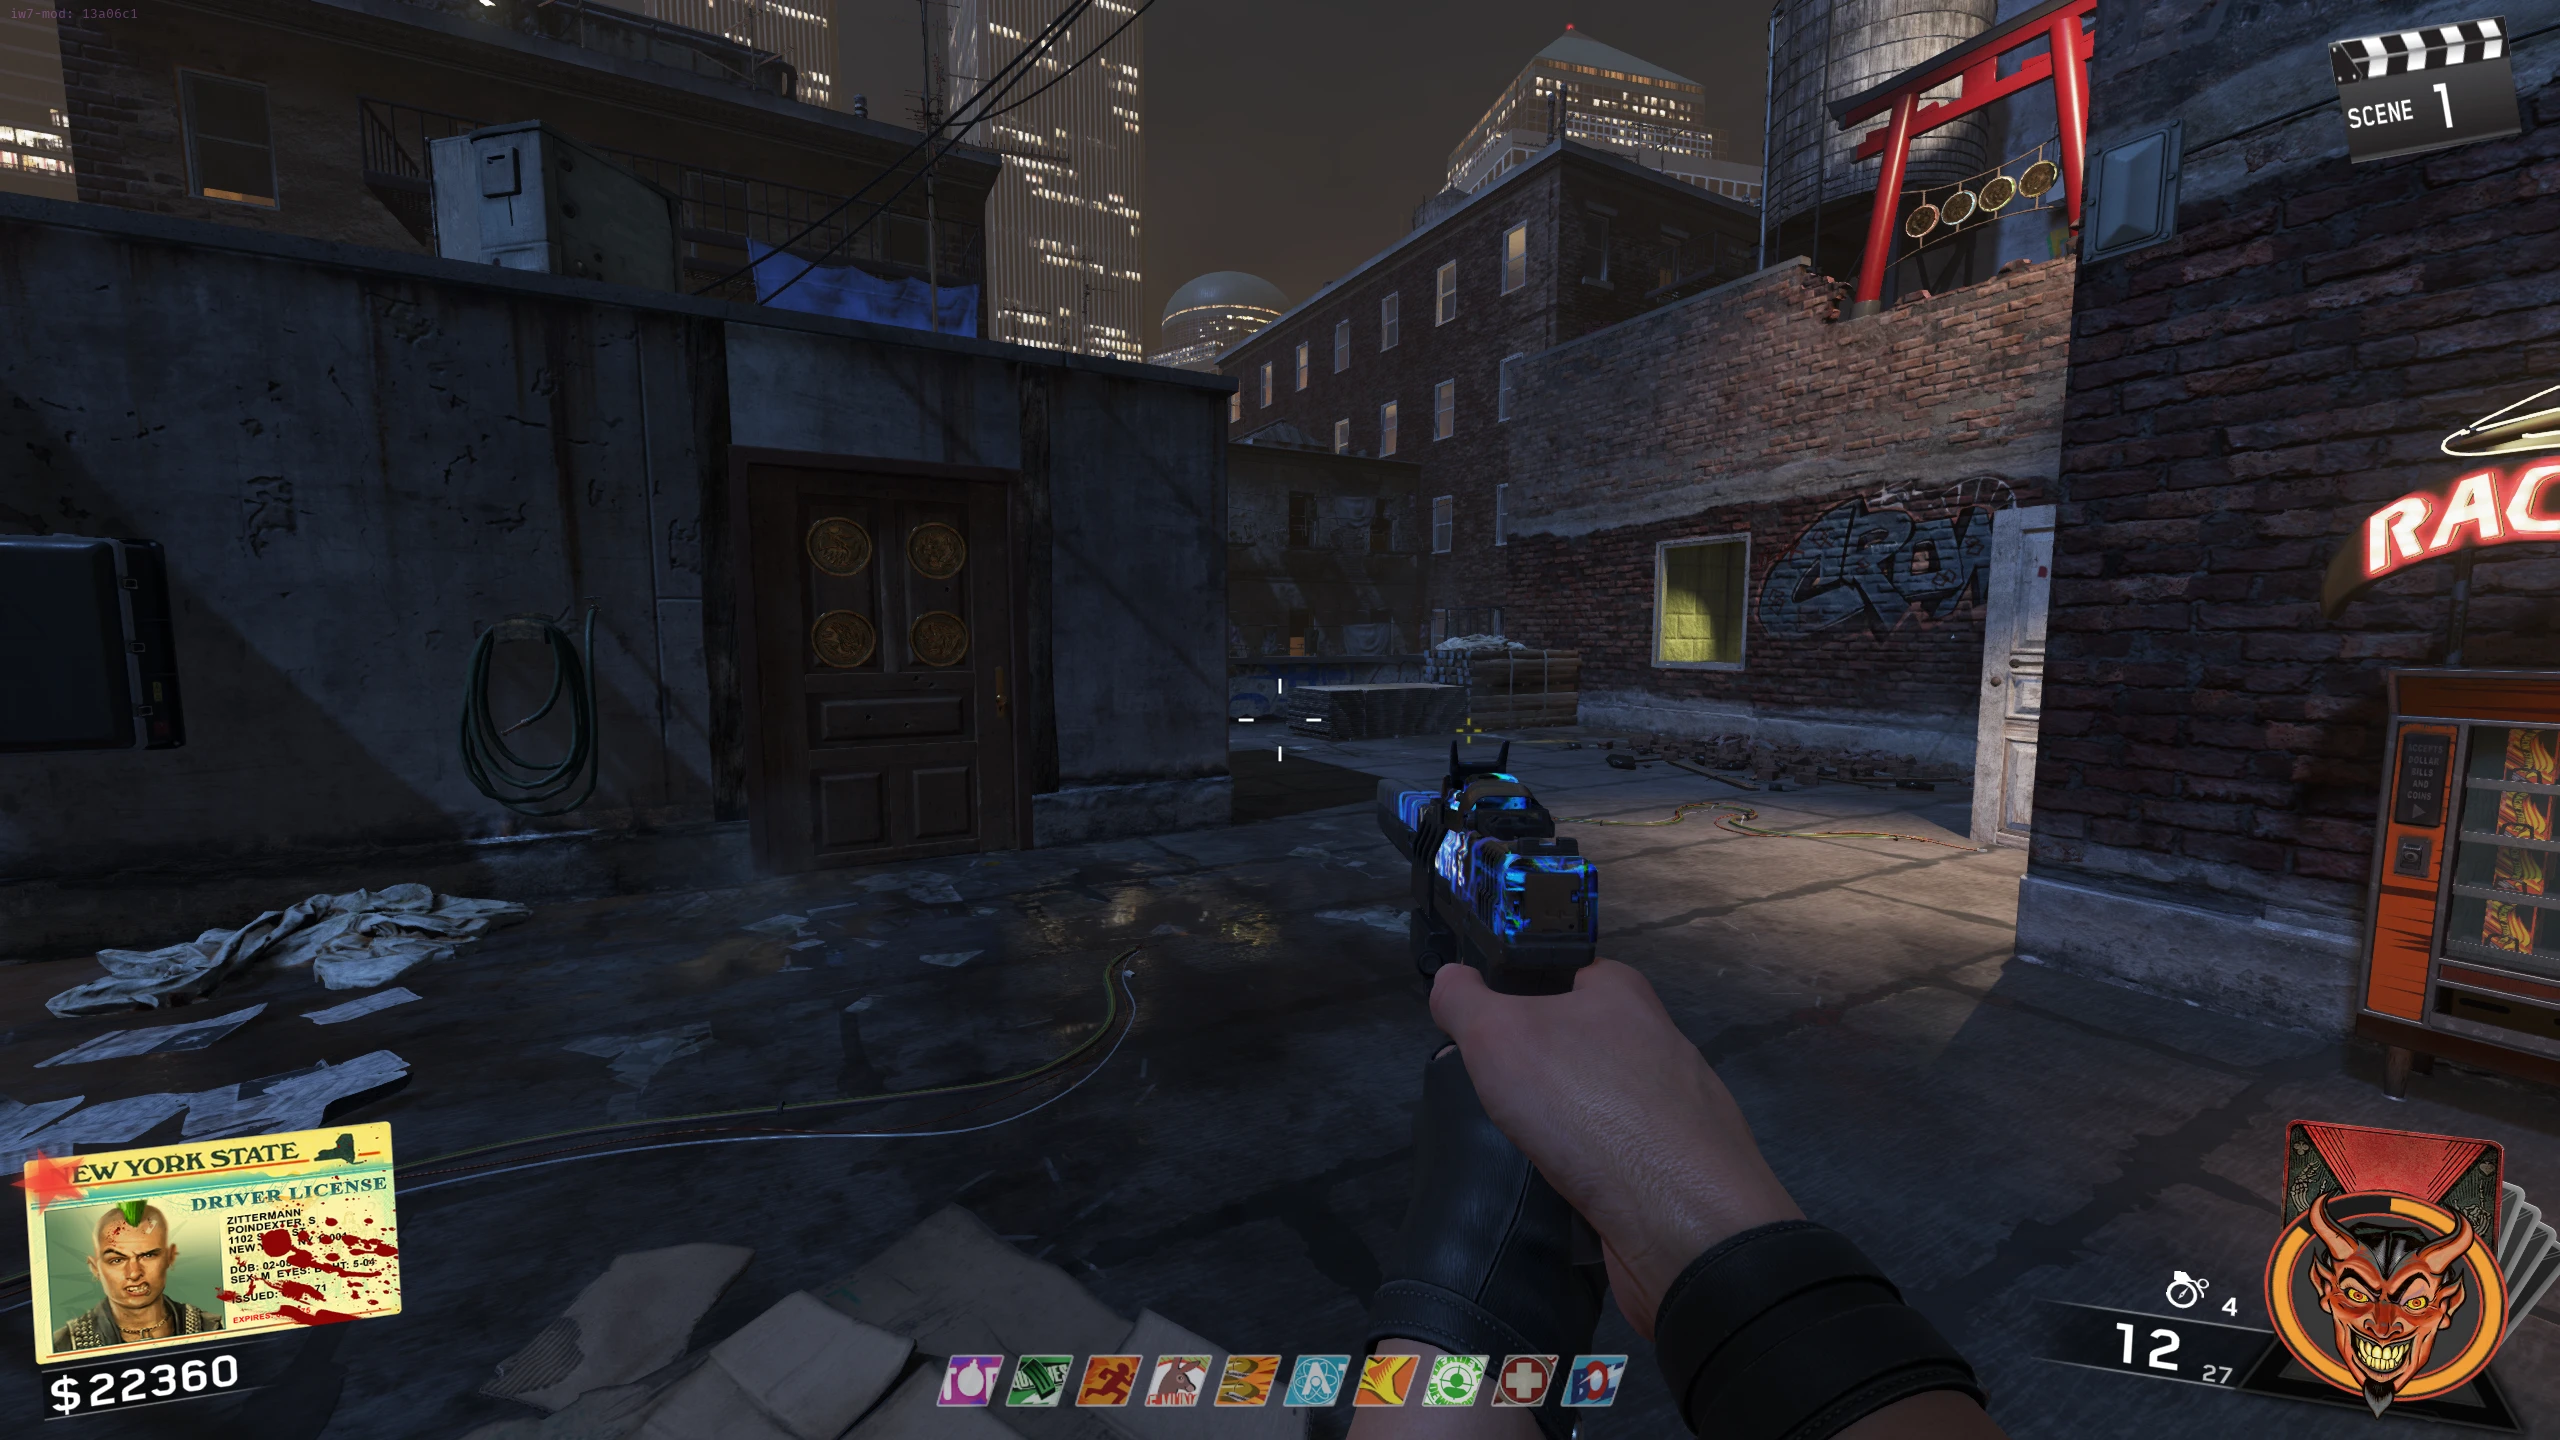
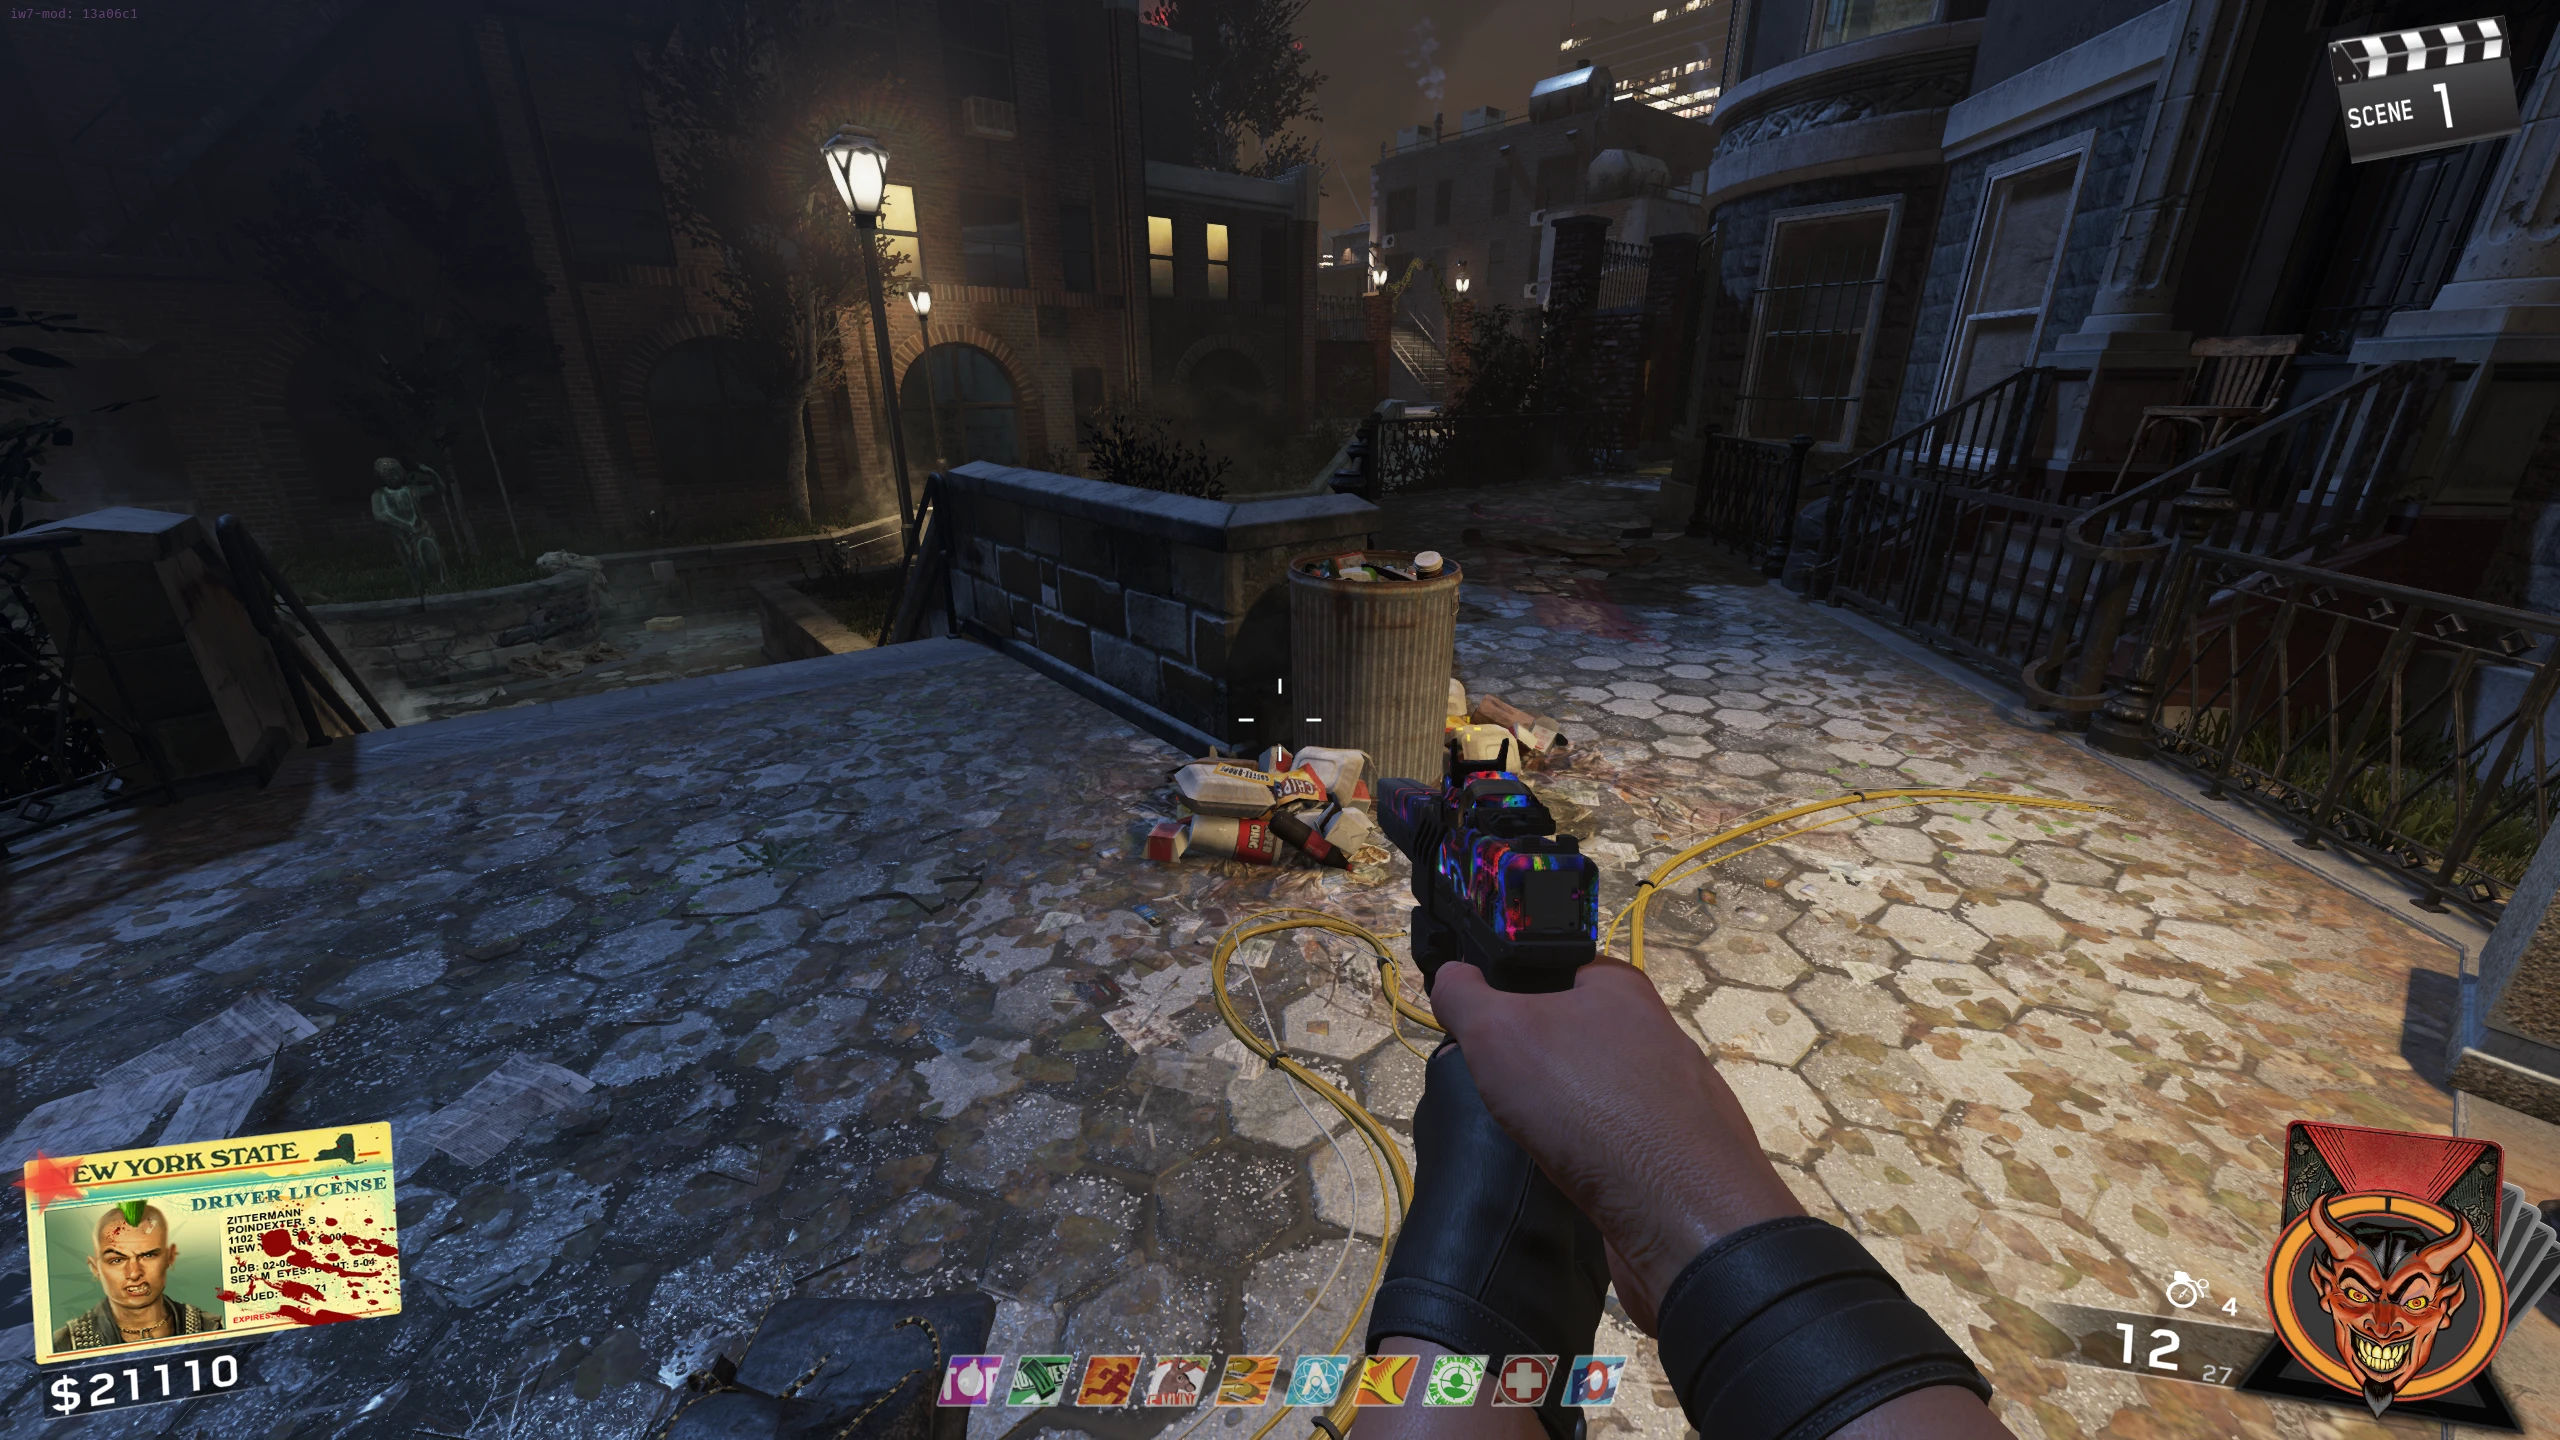
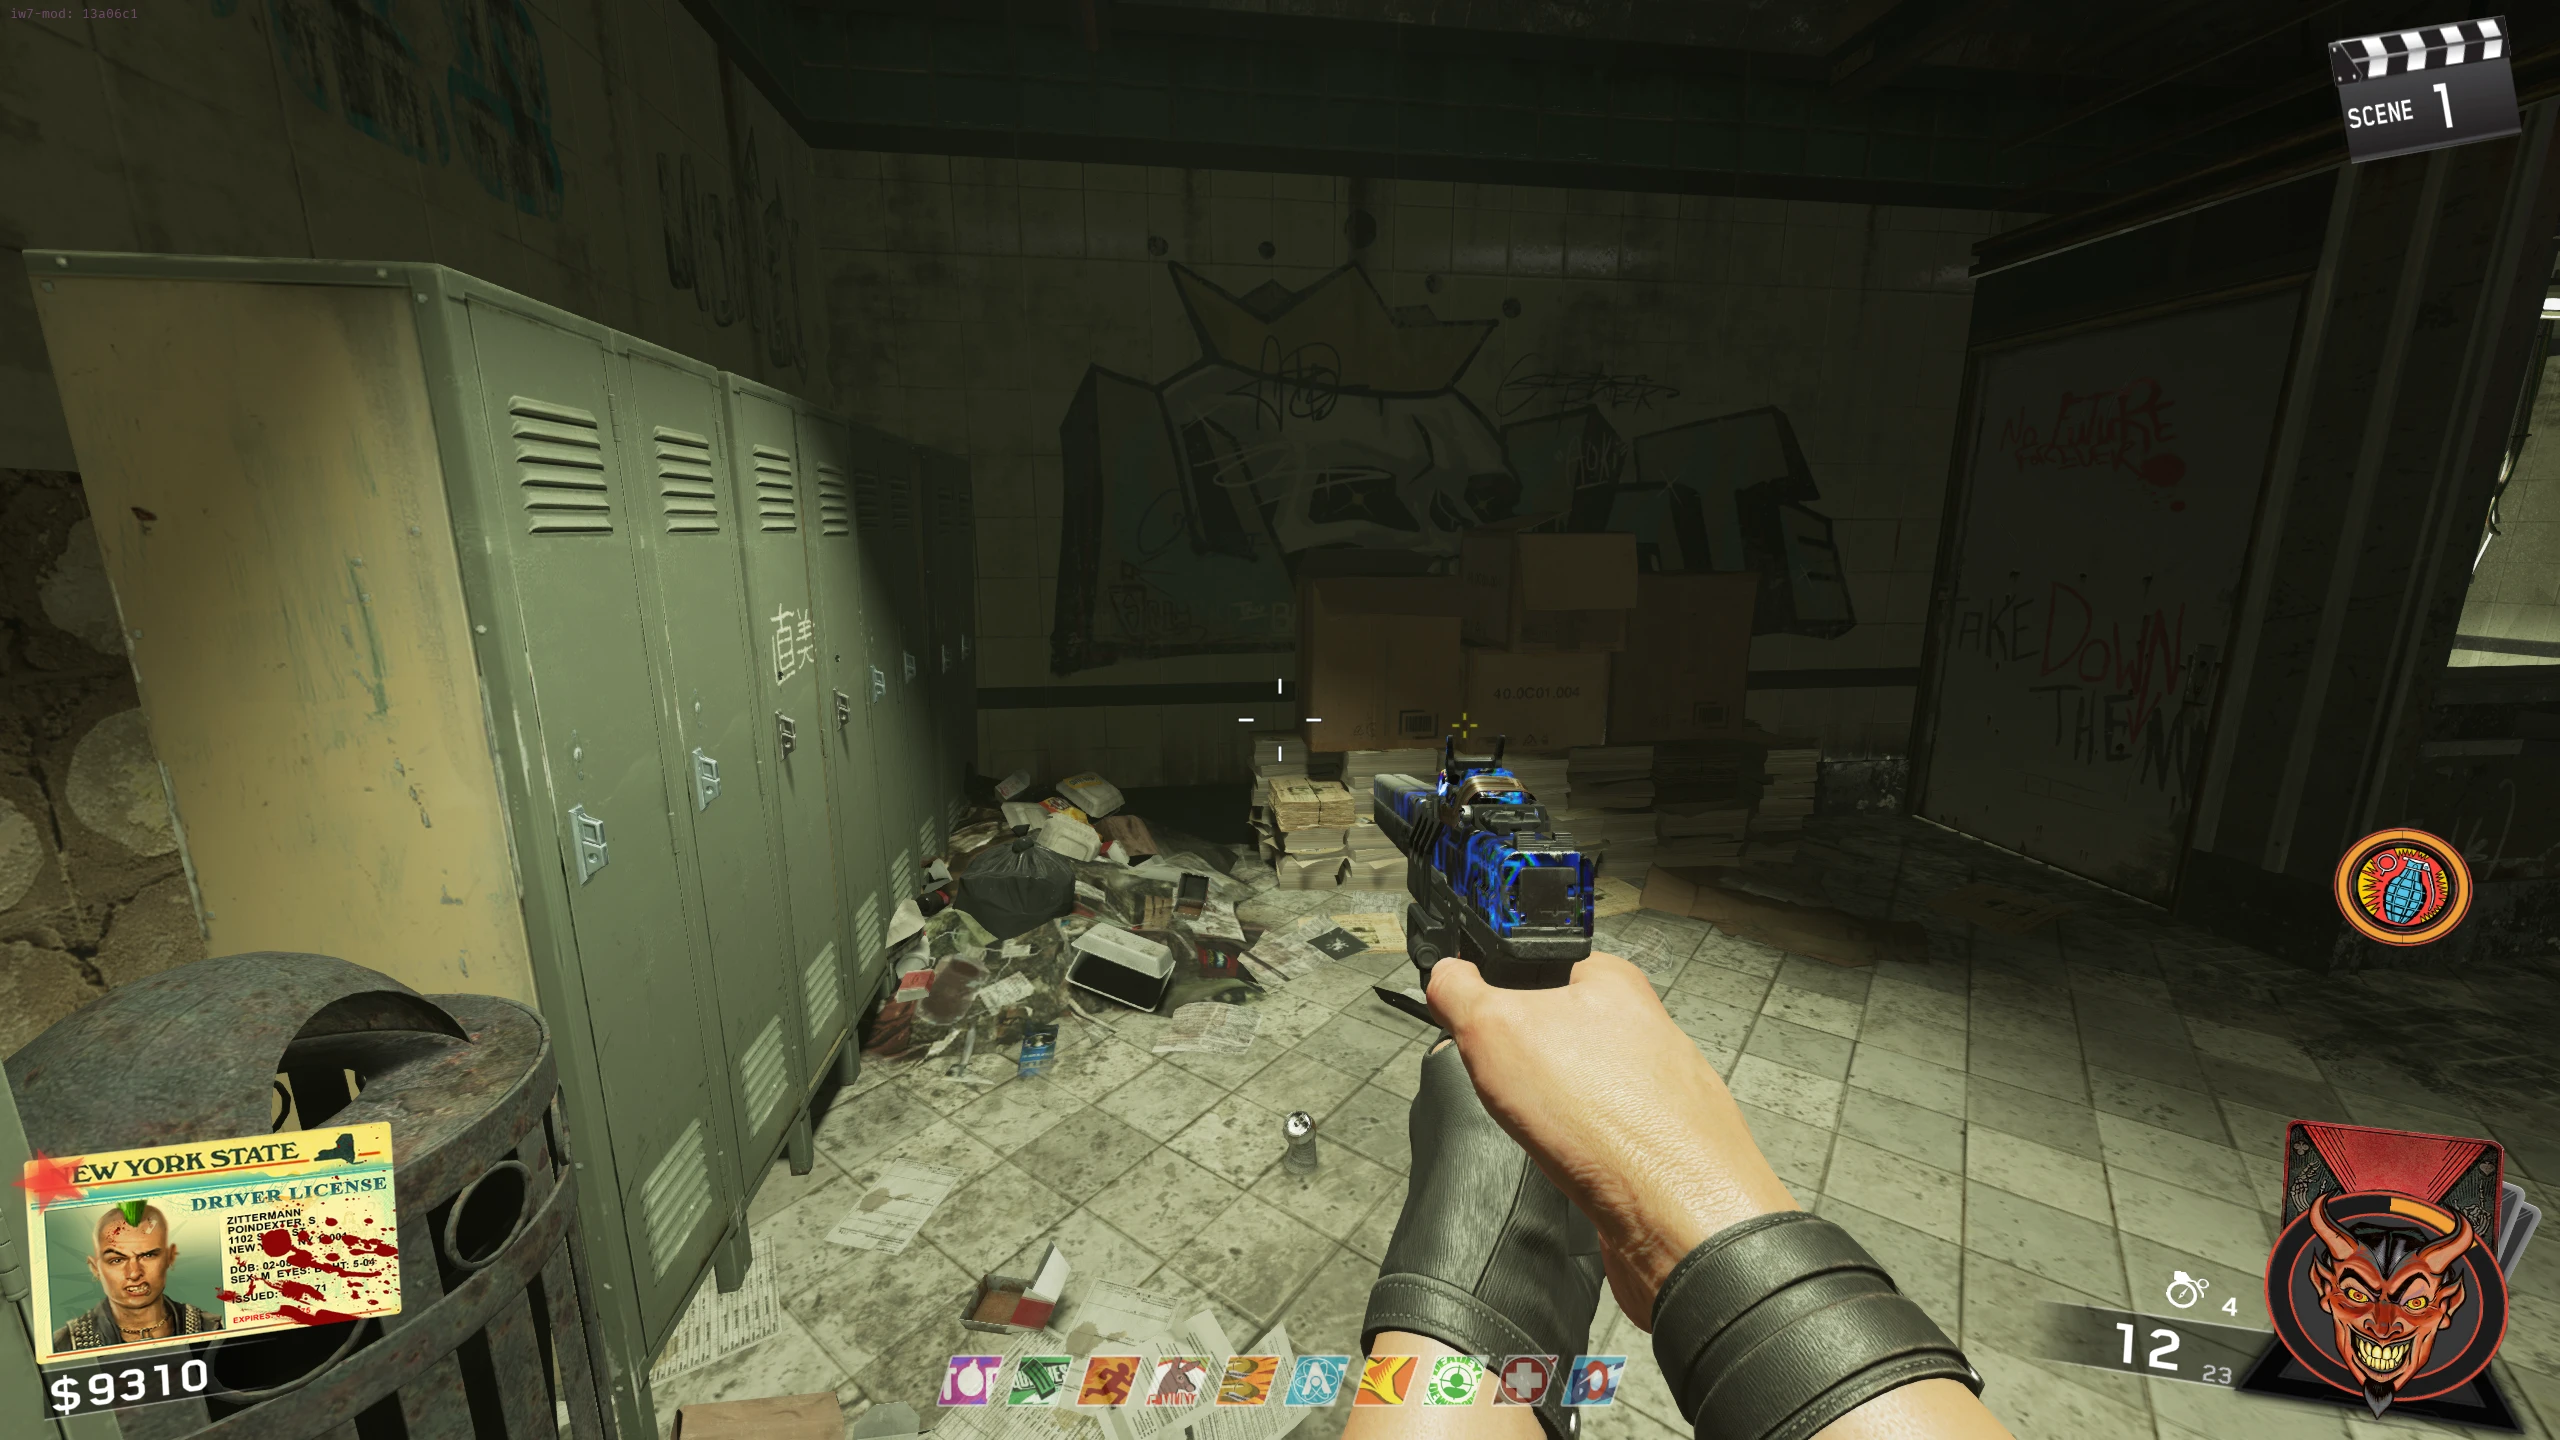
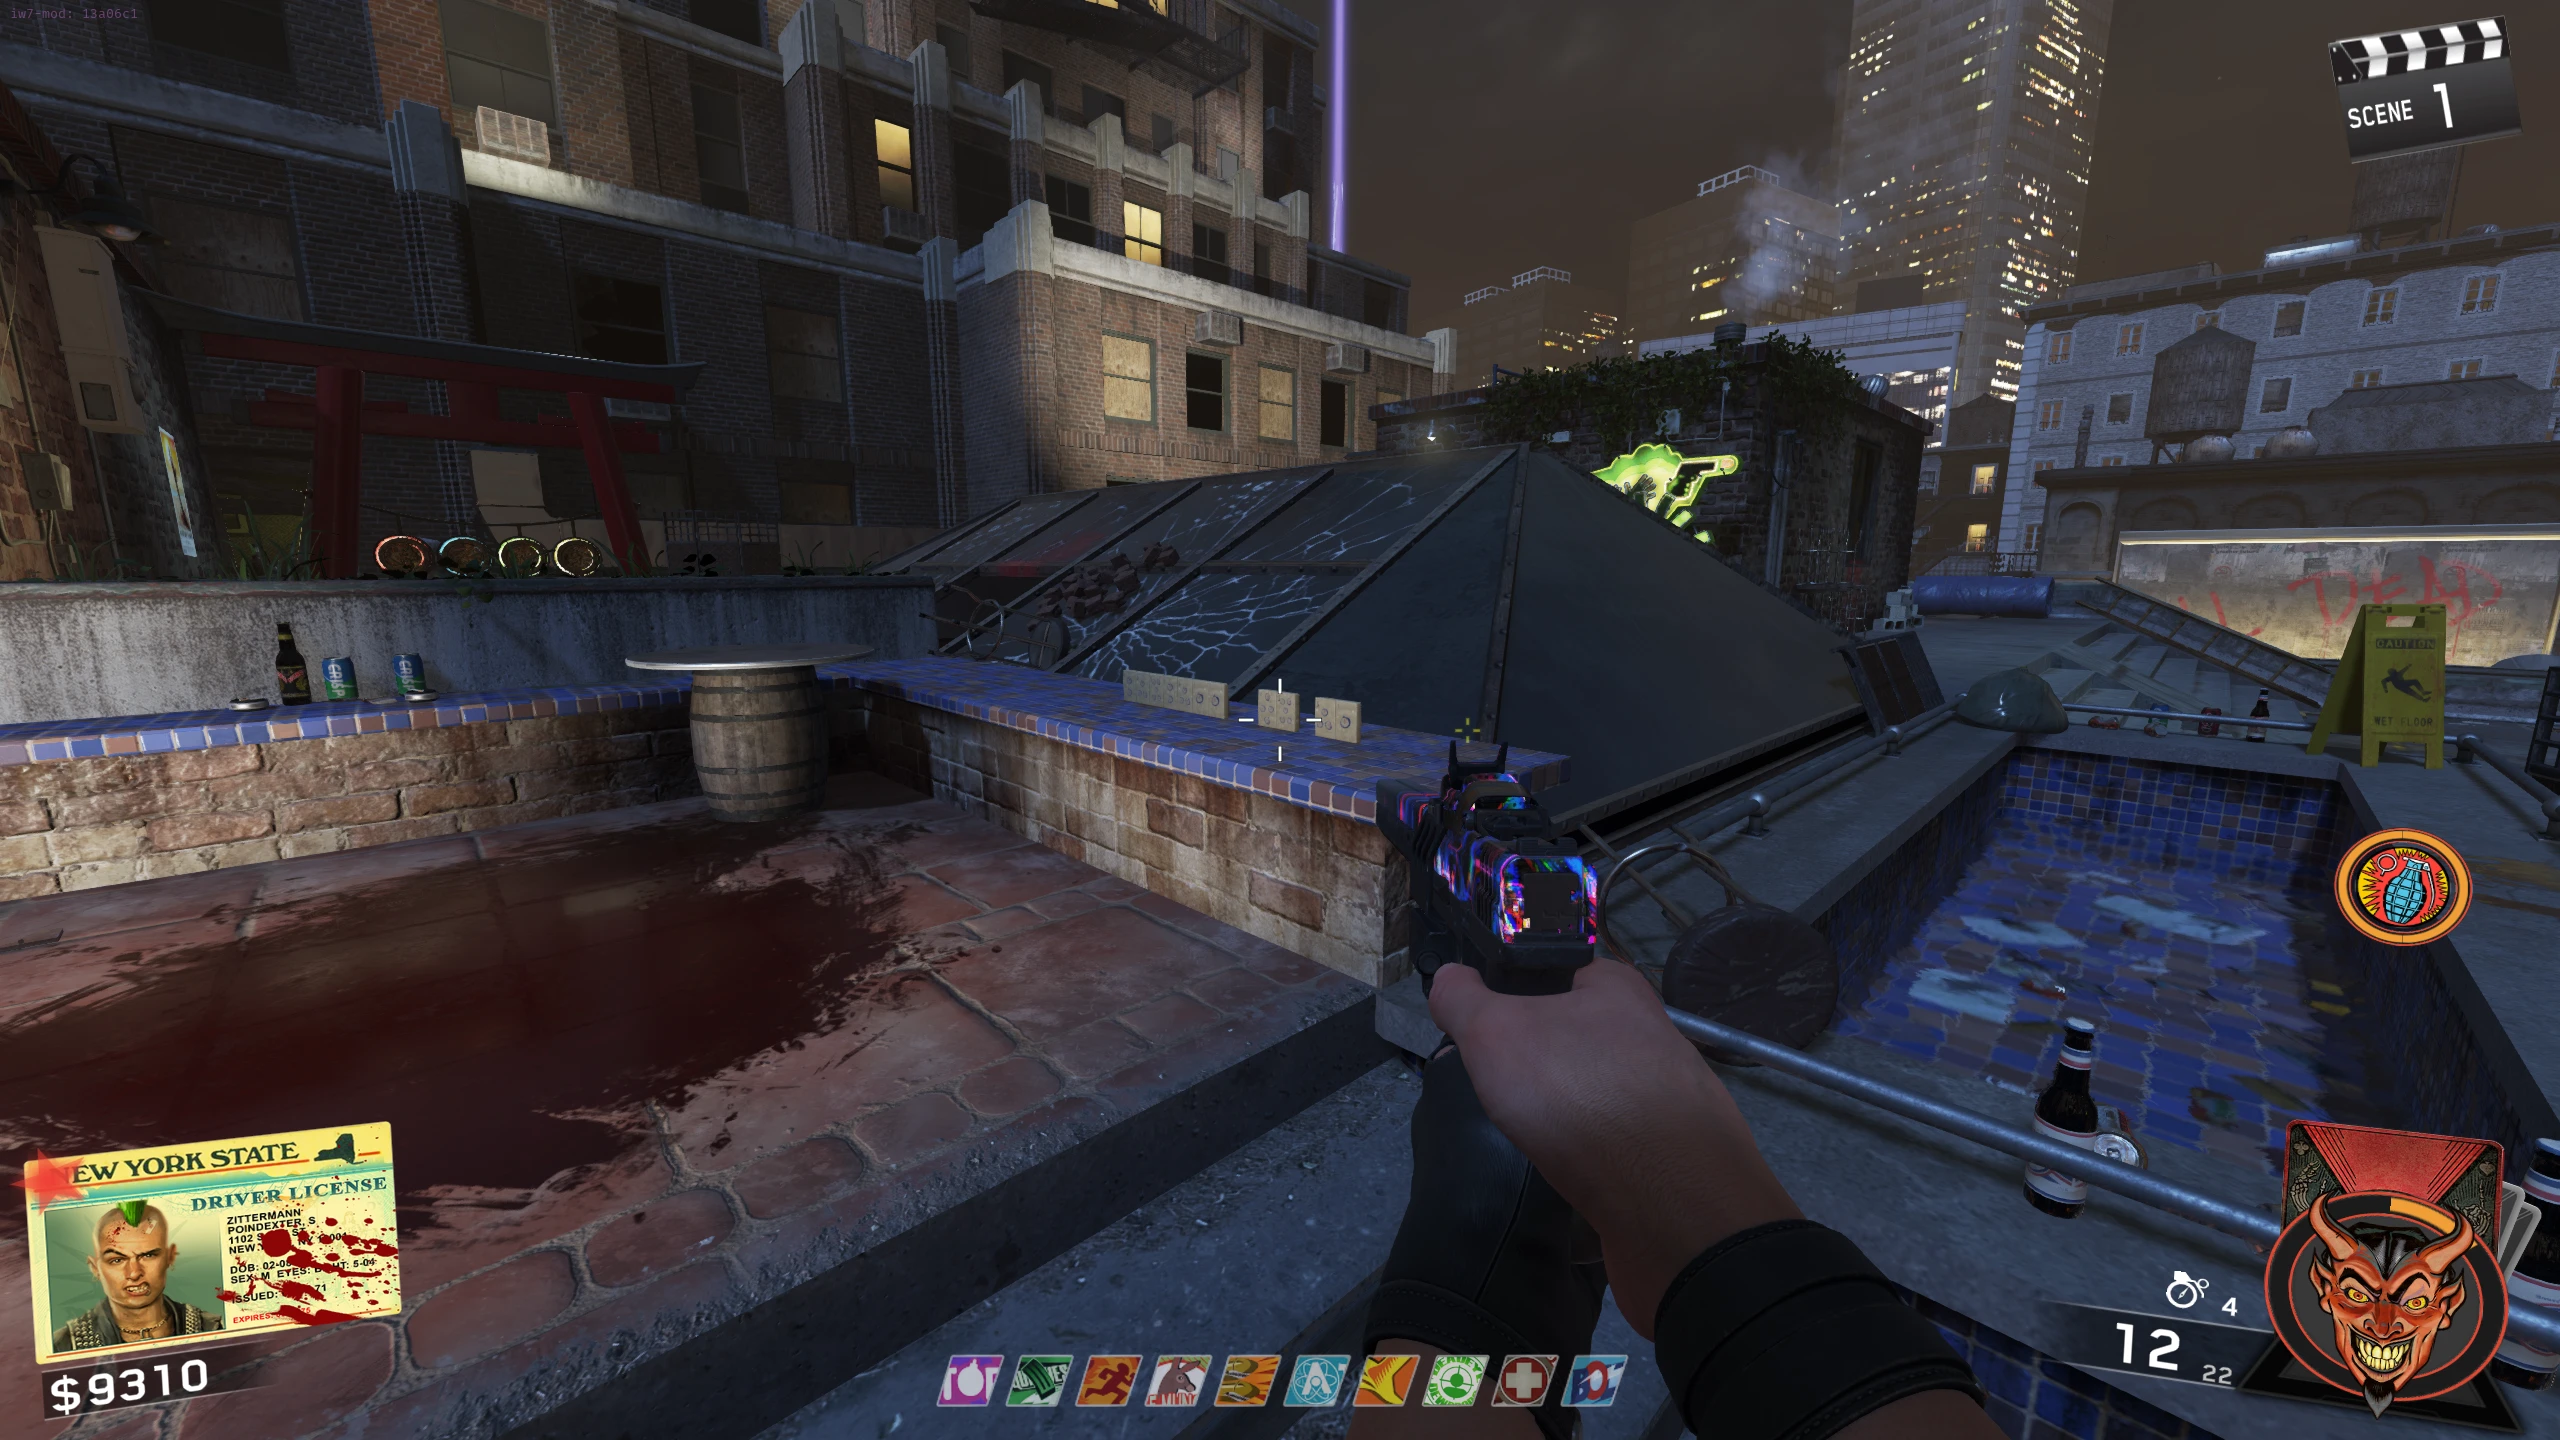
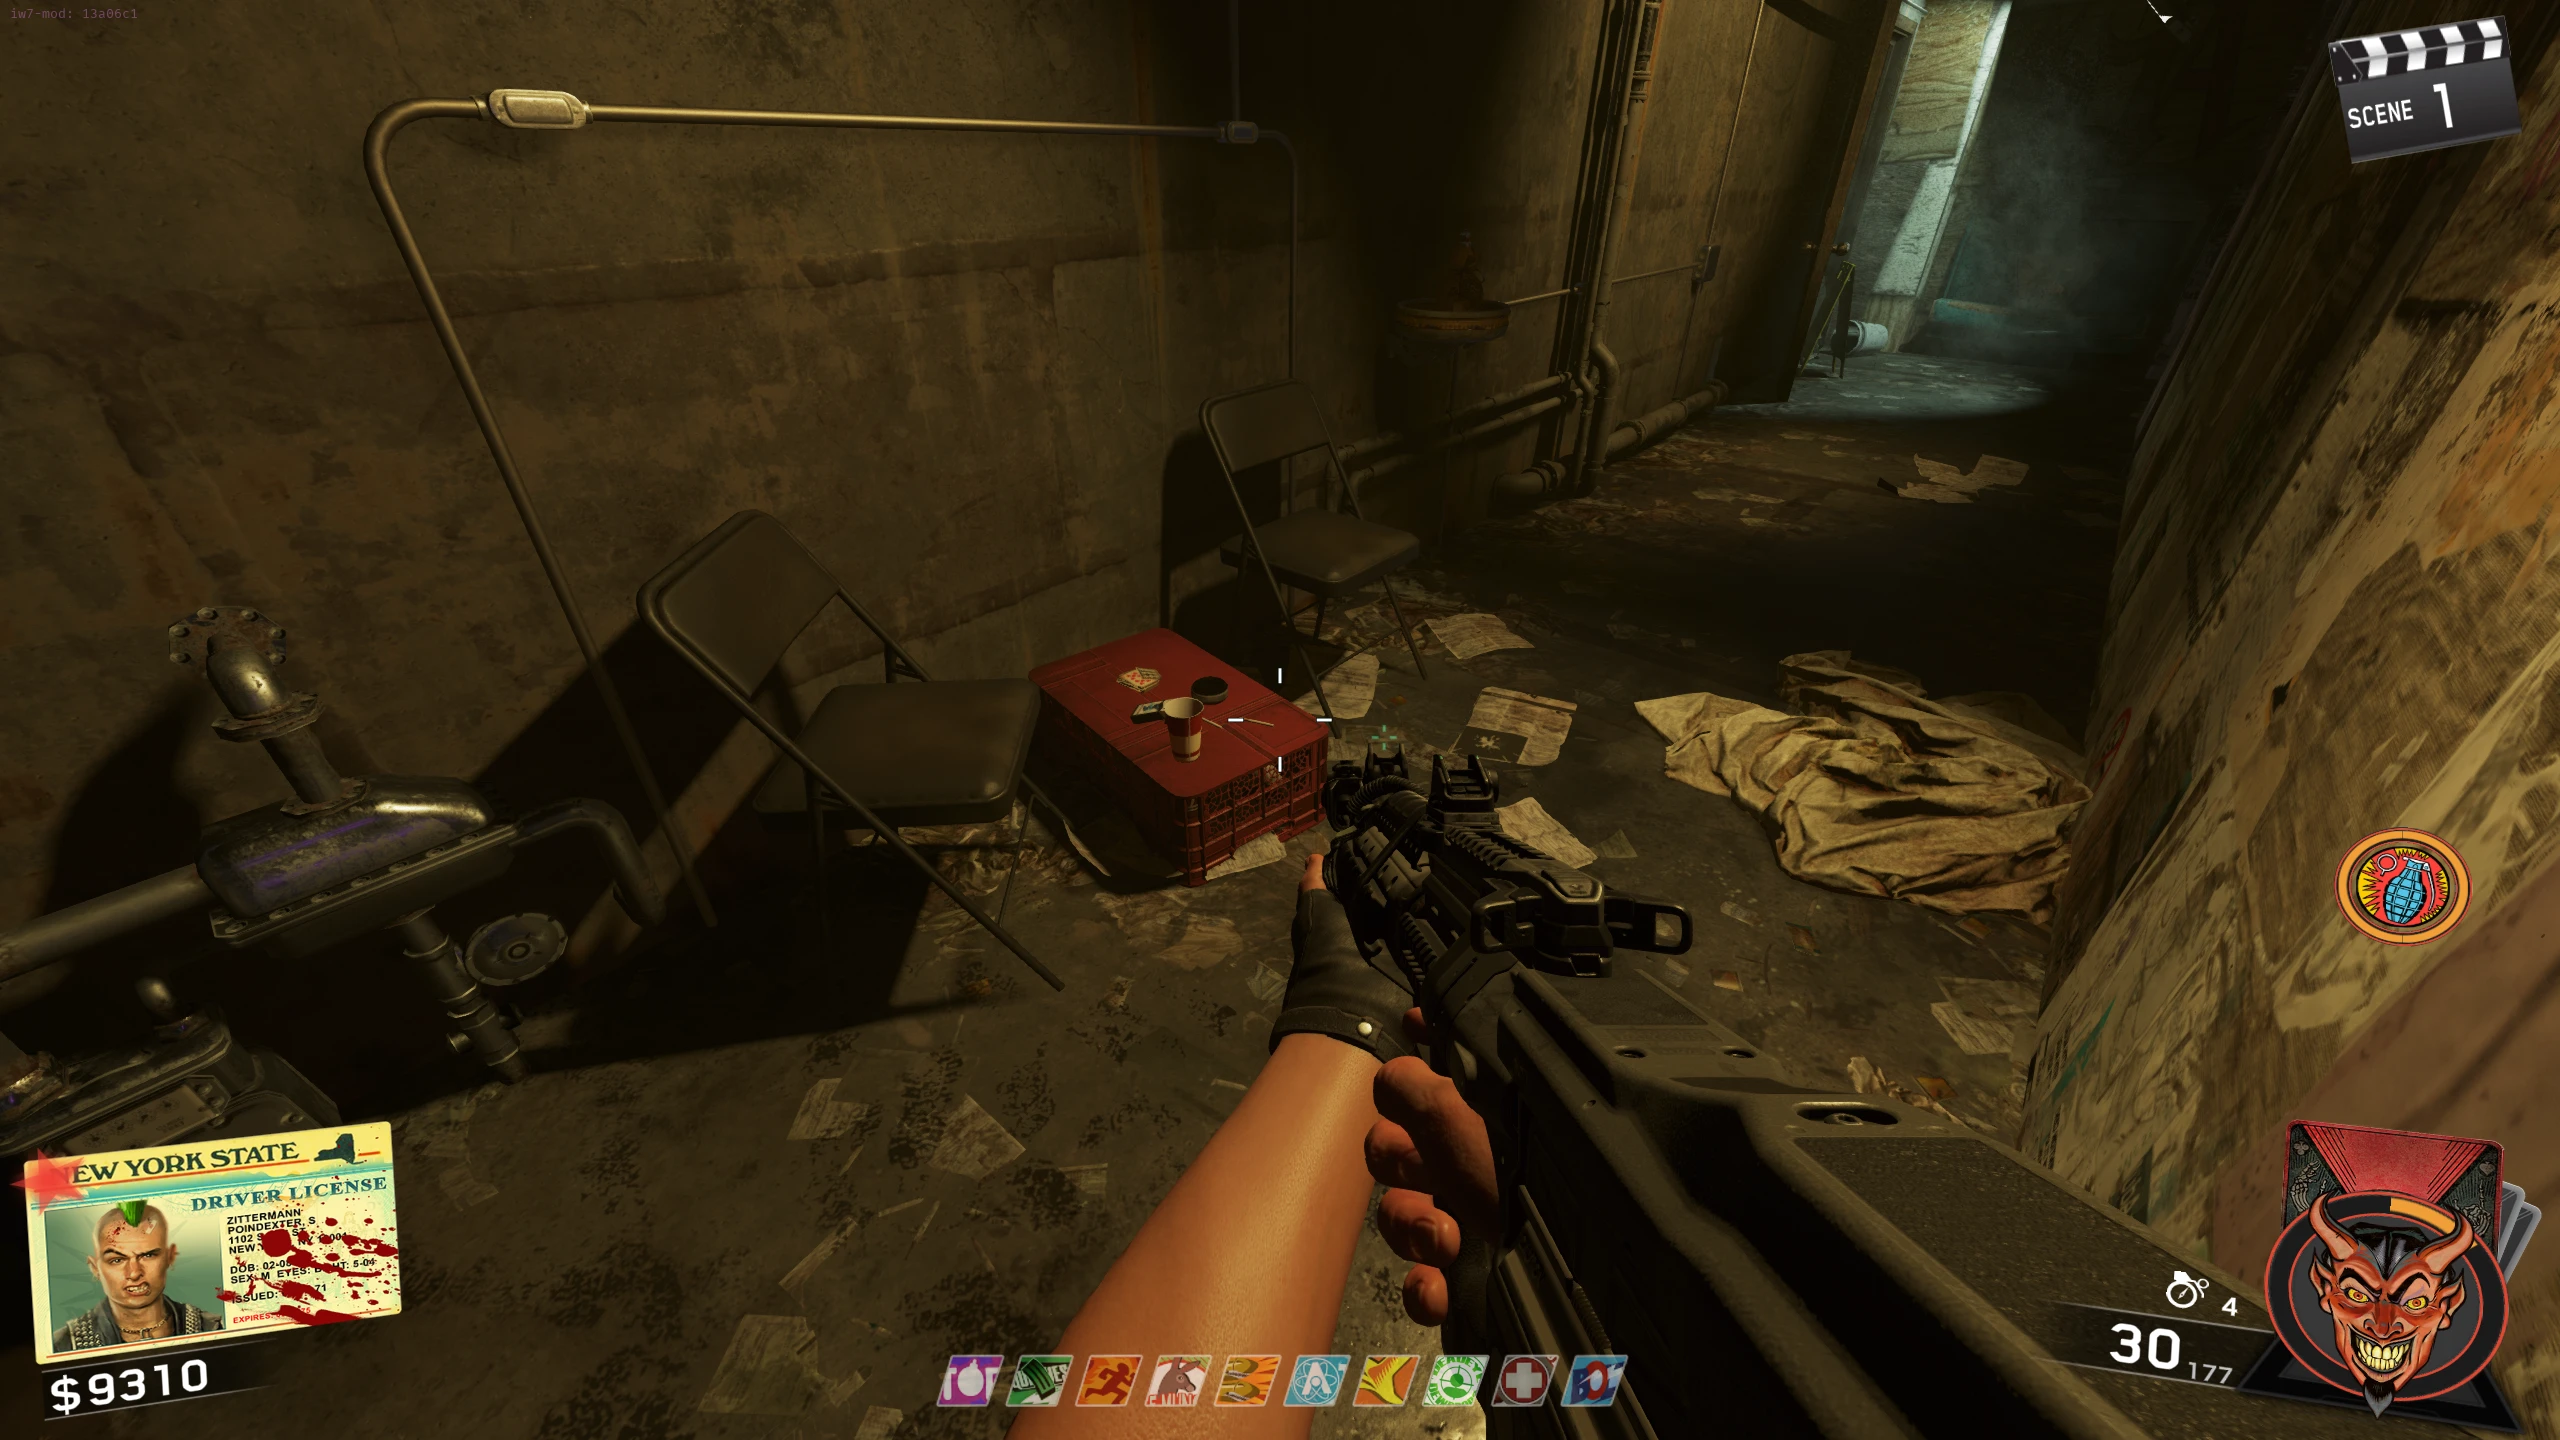
- Throw a Shuriken at one of the rat cages to release the rat (any of the rat cages will work, so where you start is just personal preference). Here are some locations close to the Dojo:
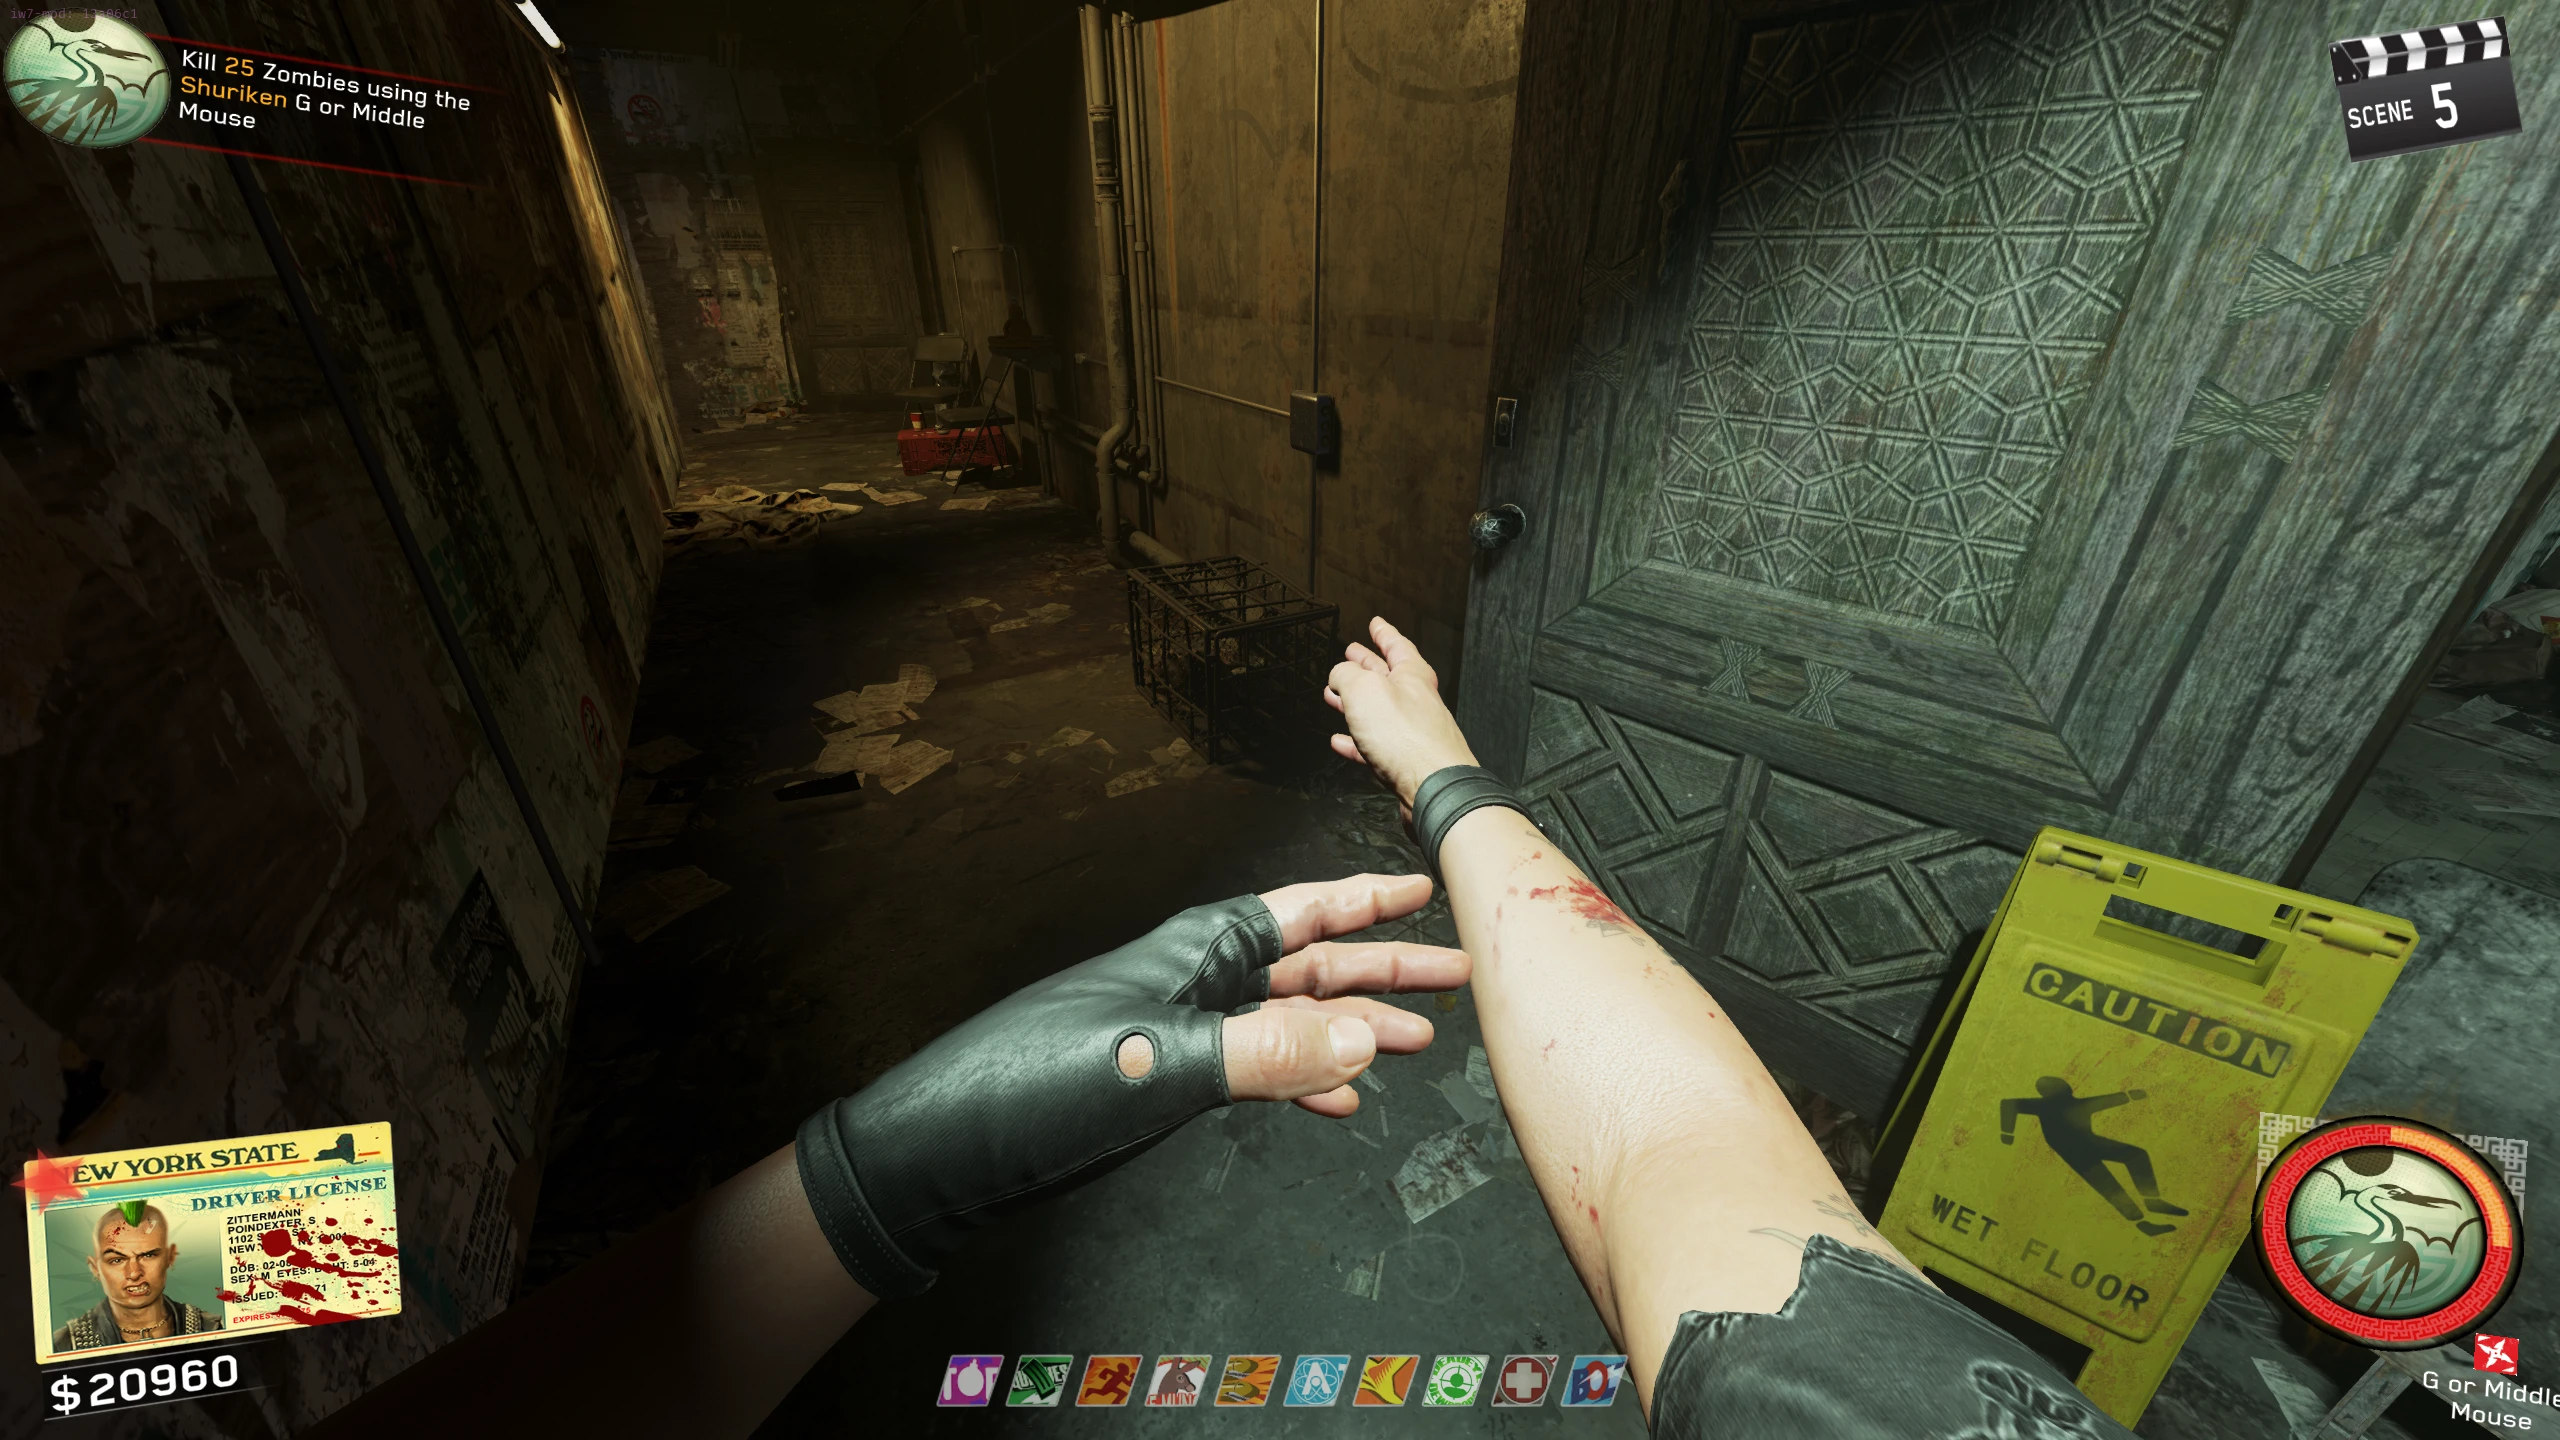
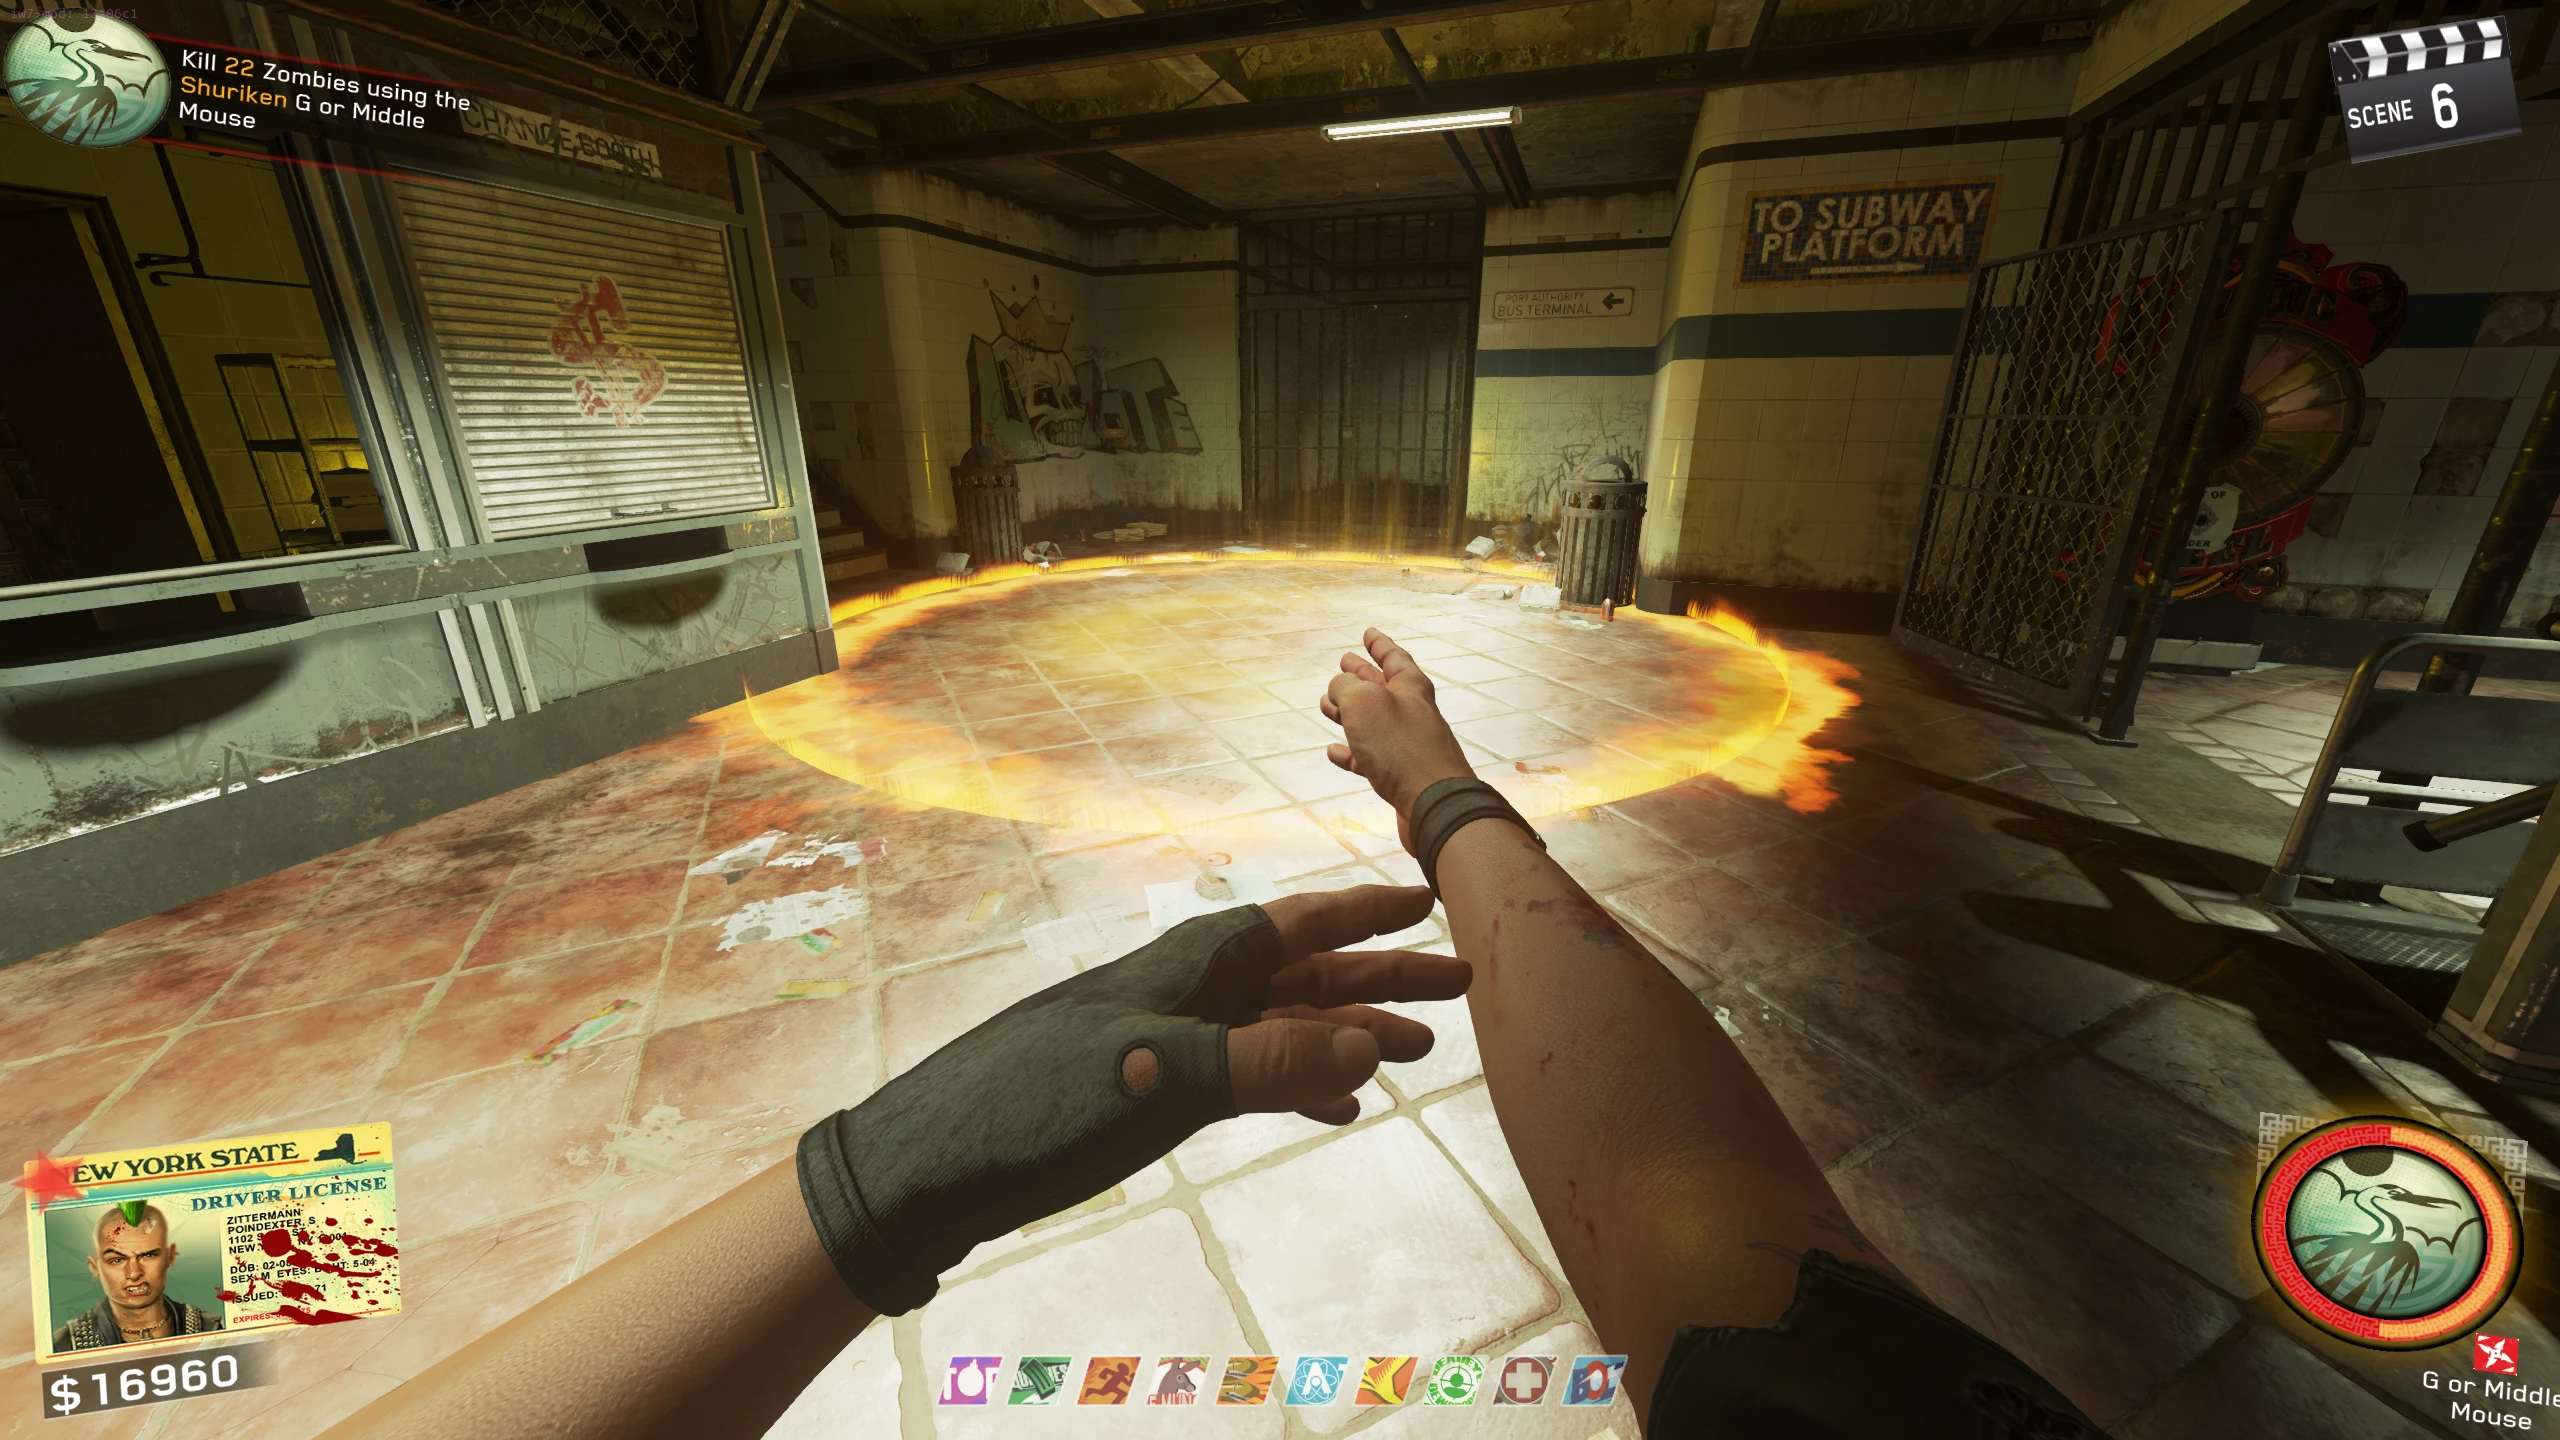
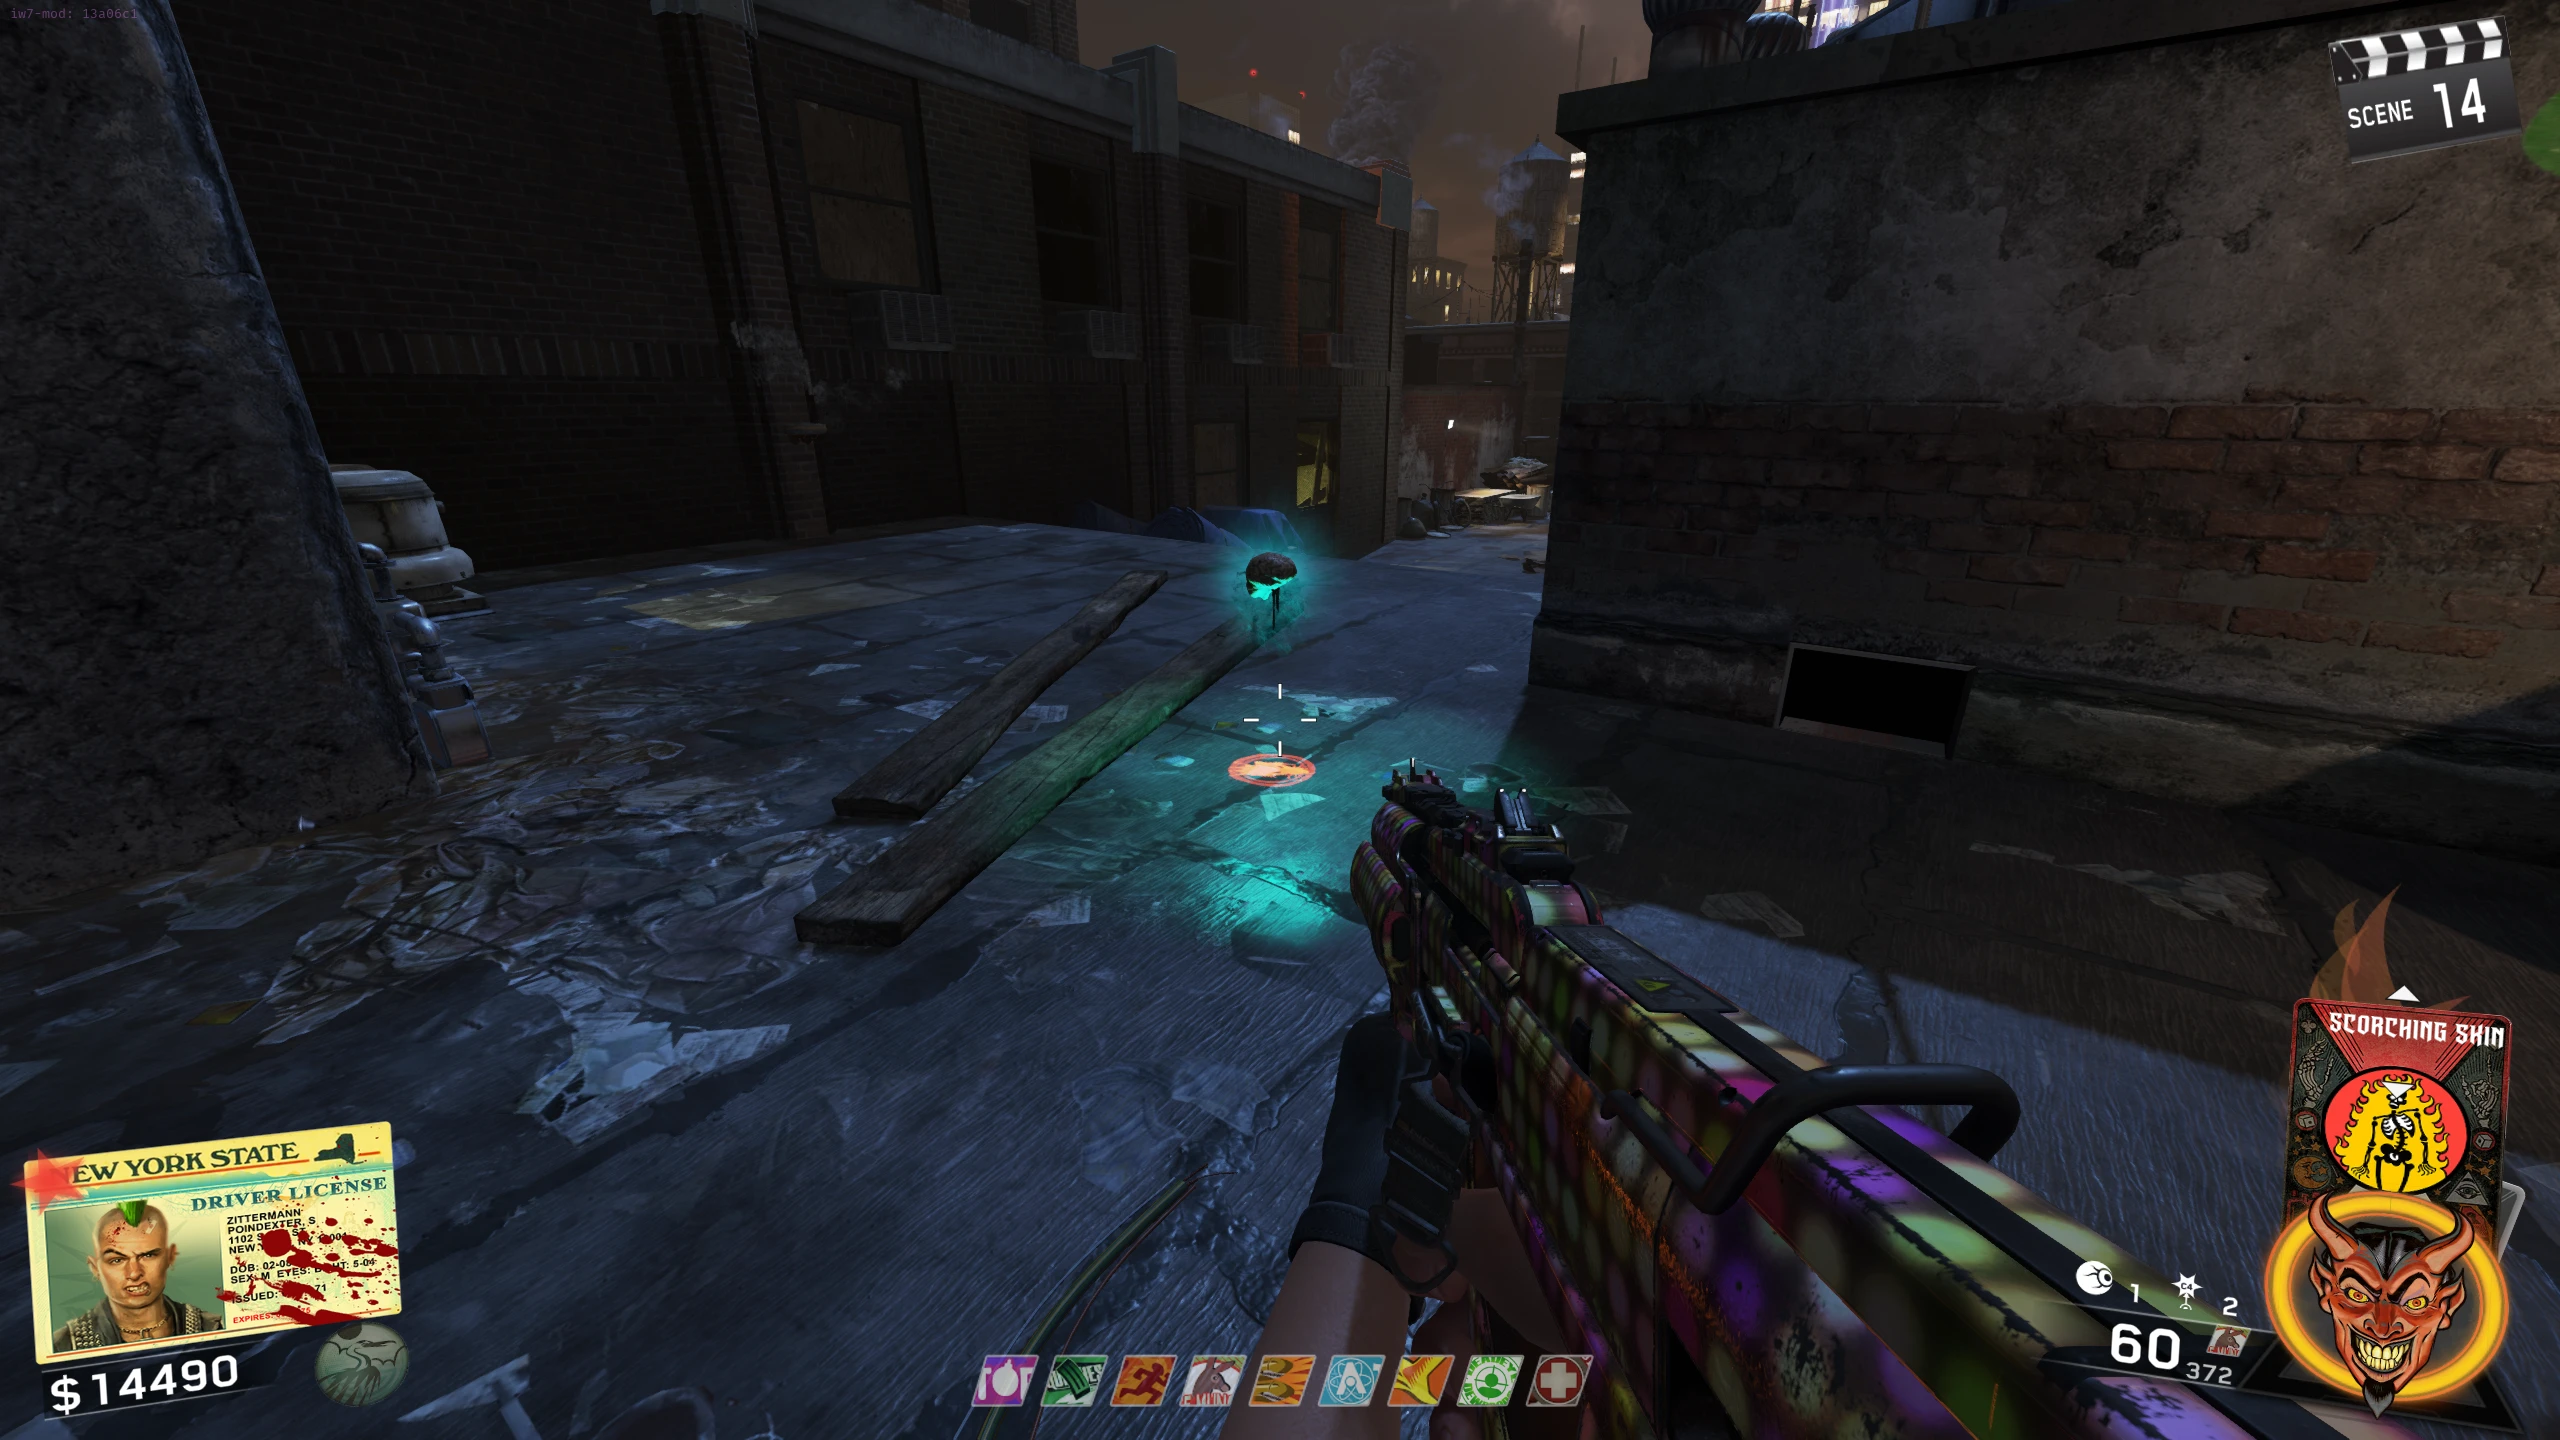
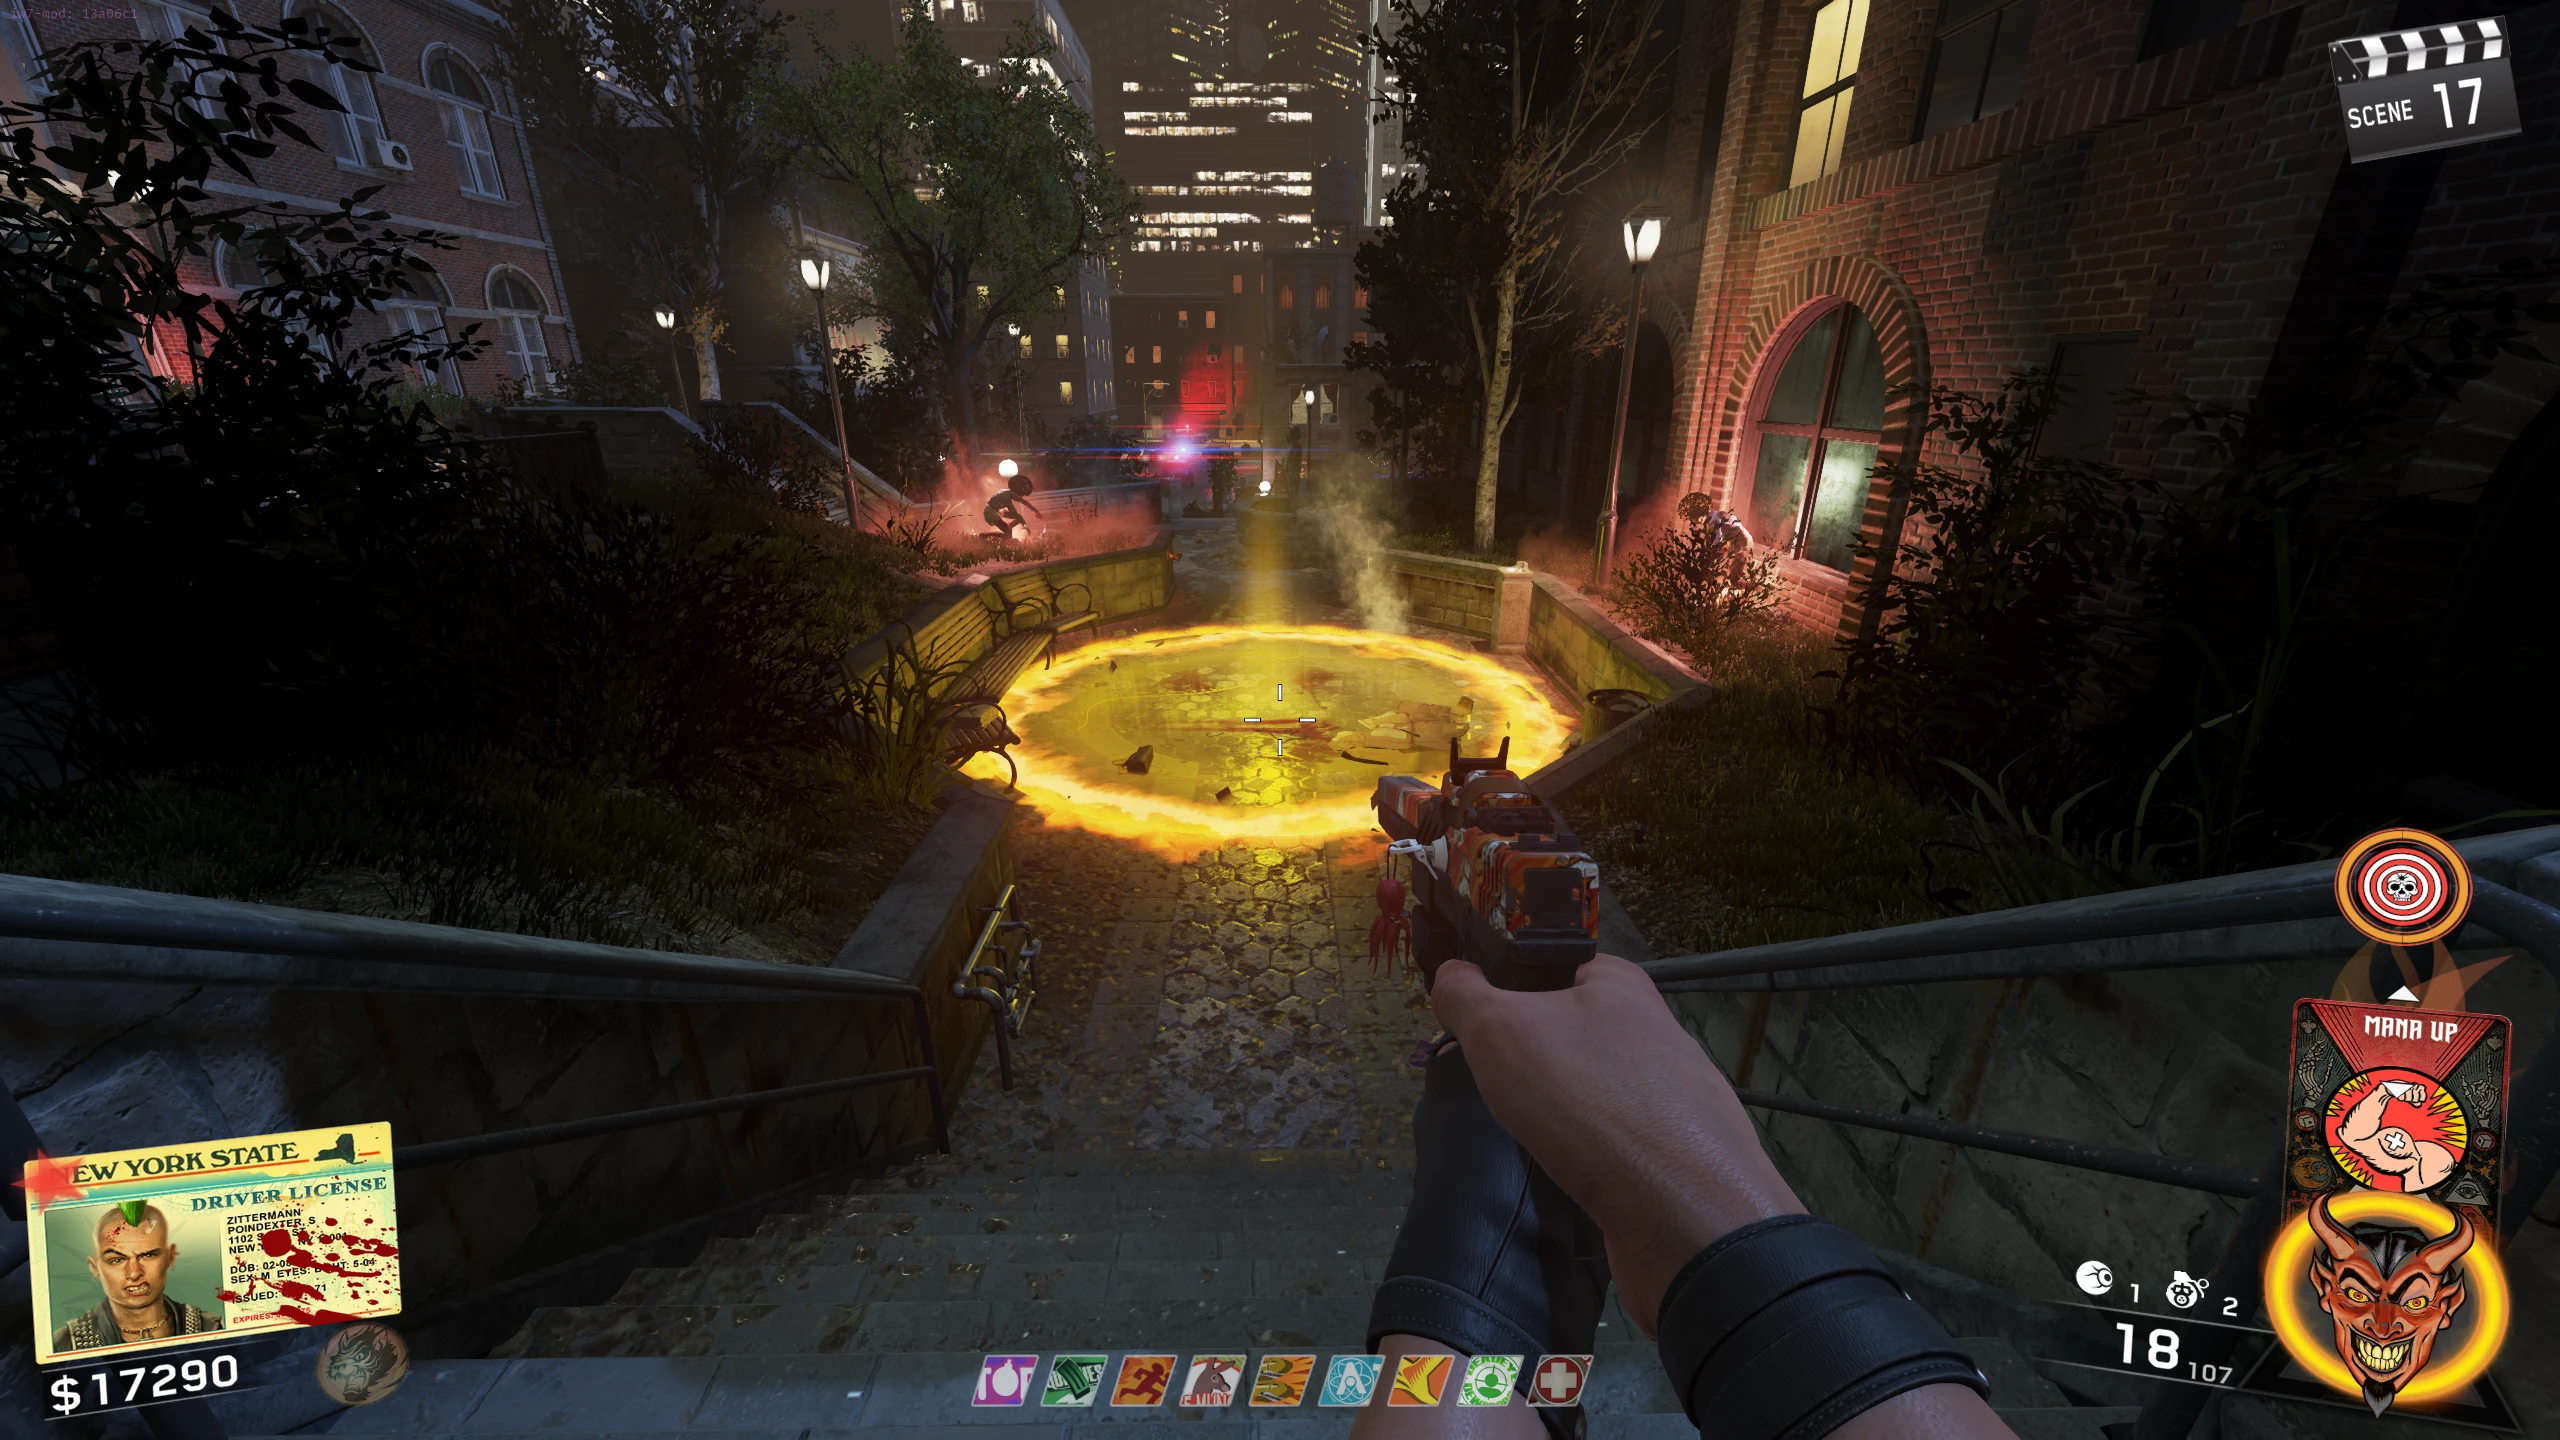
- Follow the rat as it leads you to another cage. Each time the rat enters a cage, throw a Shuriken at the cage to release the rat and continue following it. After destroying the sixth cage, the cage will just disappear without the rat walking out and a large yellow circle will appear near the last cage.
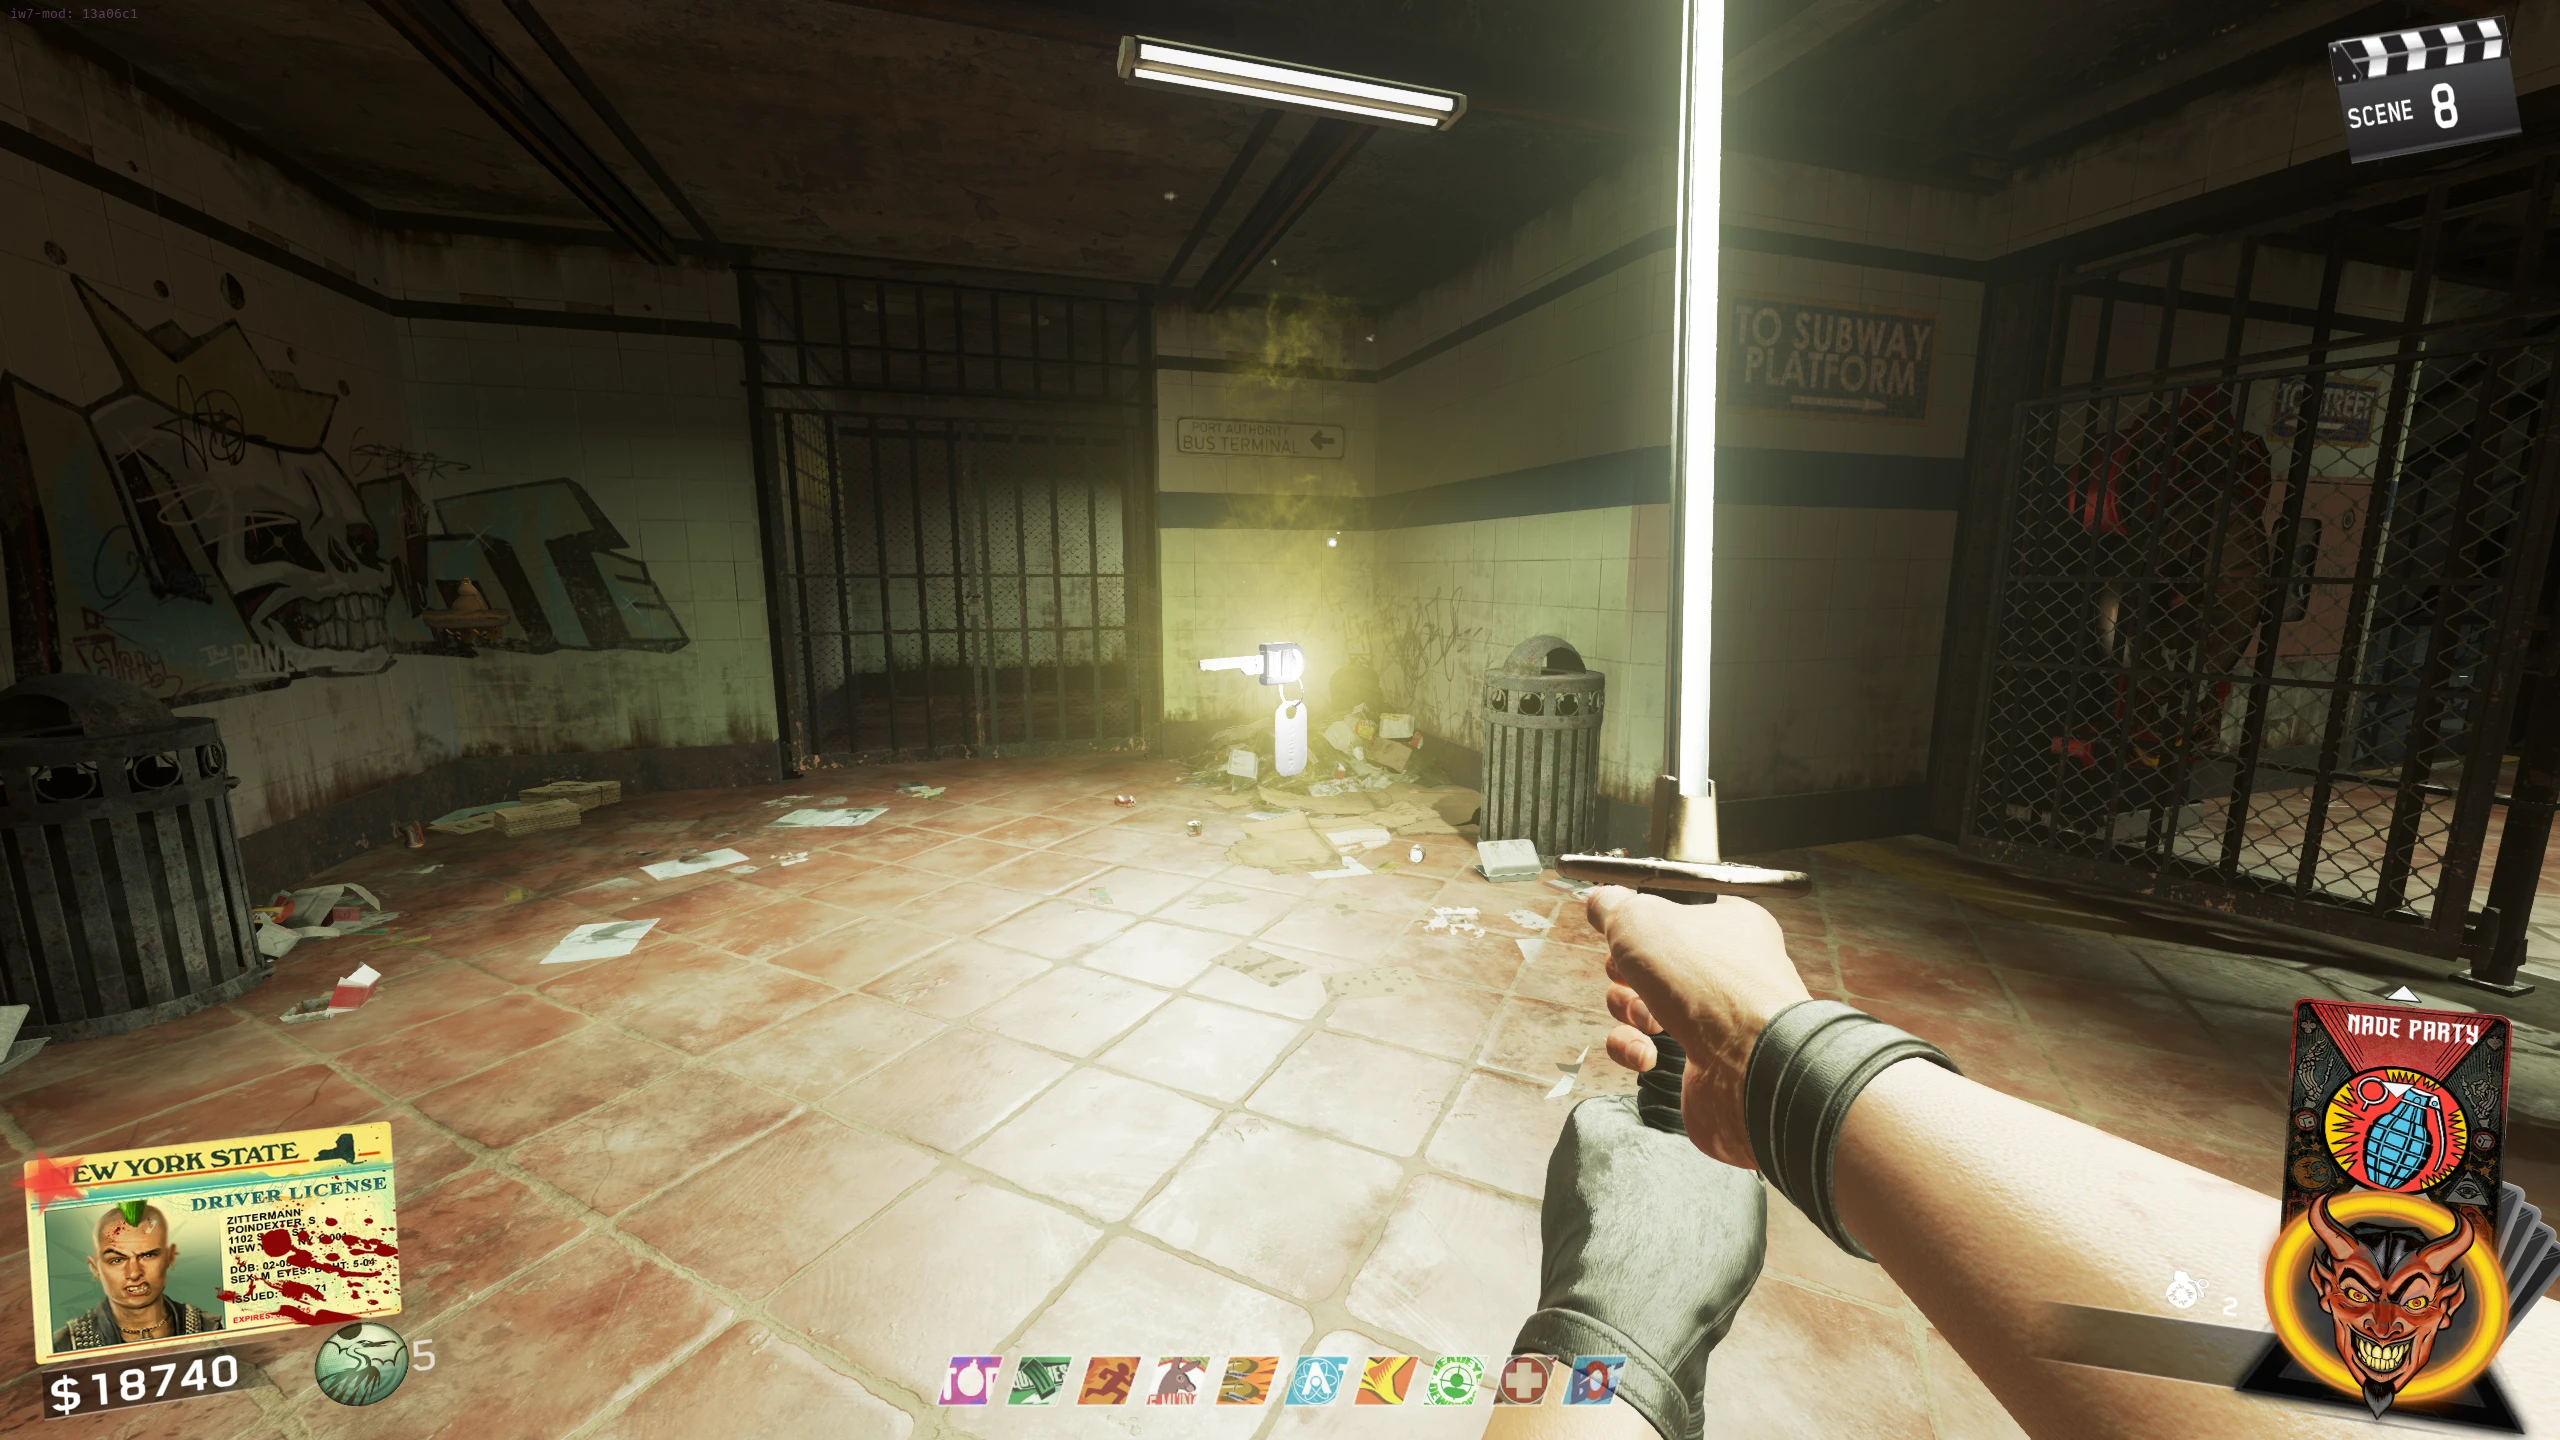
- Kill about 15-20 Zombies while THEY are inside the circle to make it disappear. Once the circle is gone, Ninja Zombies will start spawning.
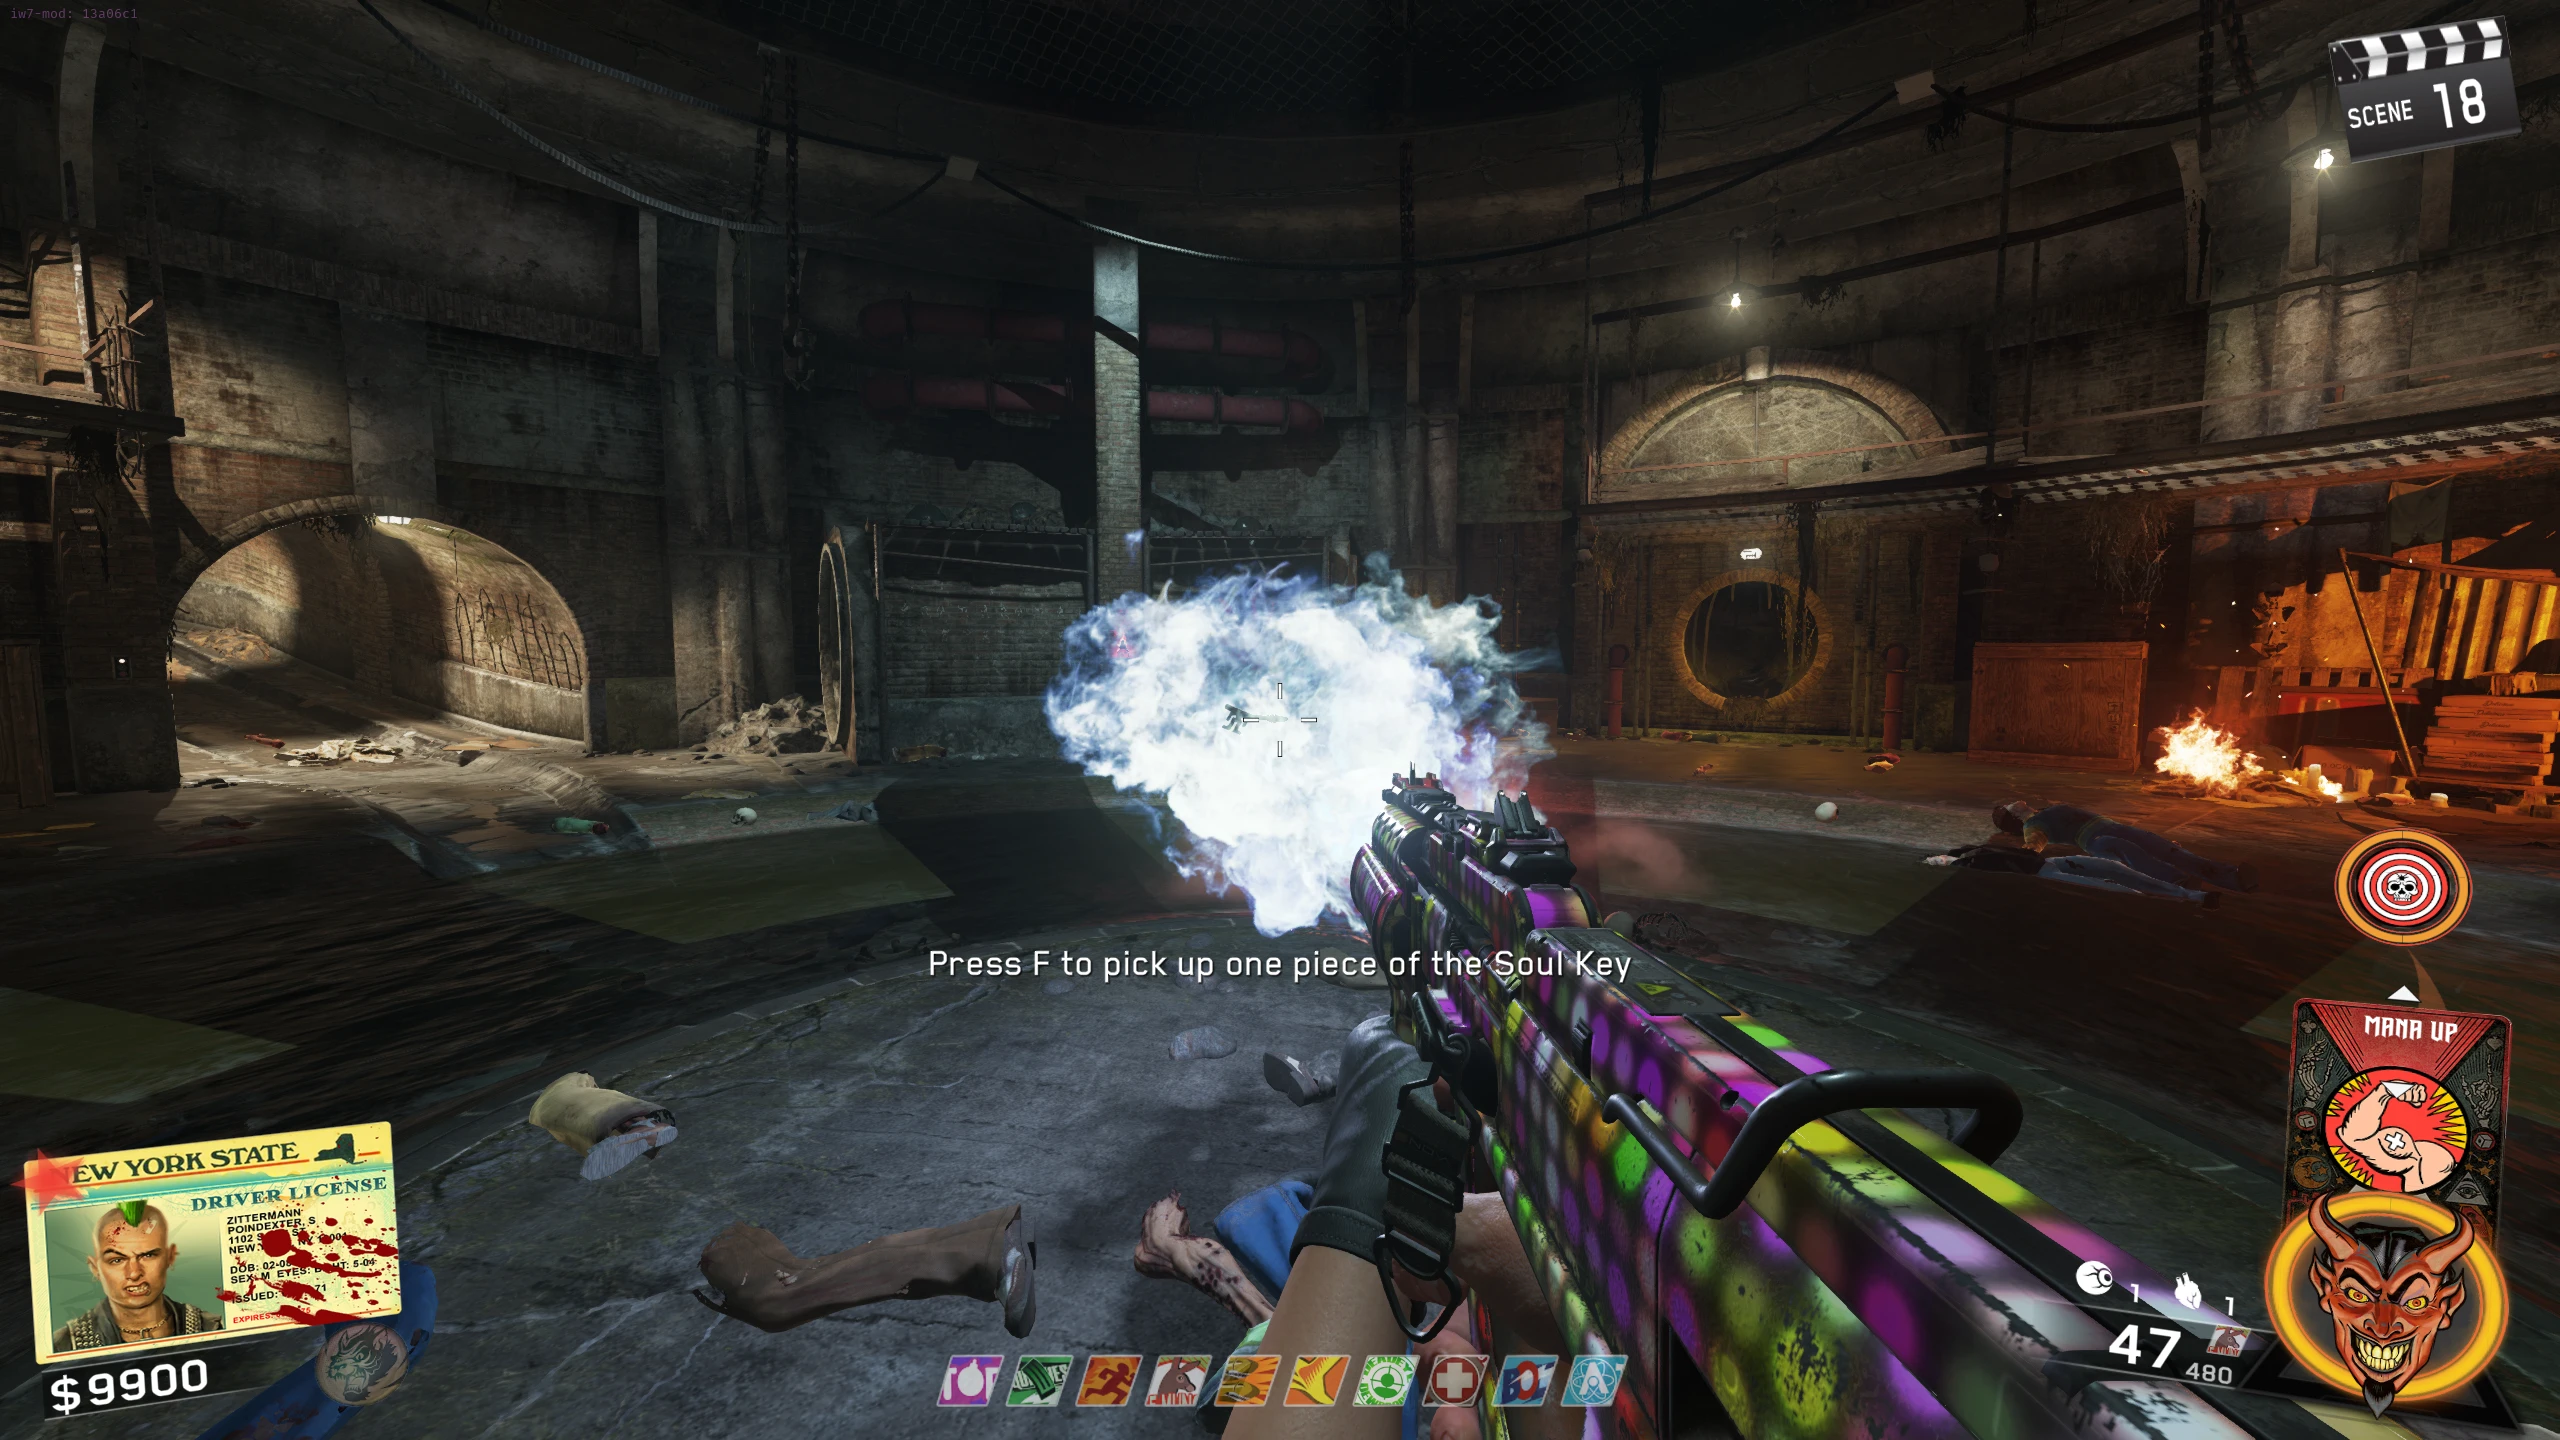
- Once all Ninjas are dead, a Key will appear where the circle was for you to pick up.
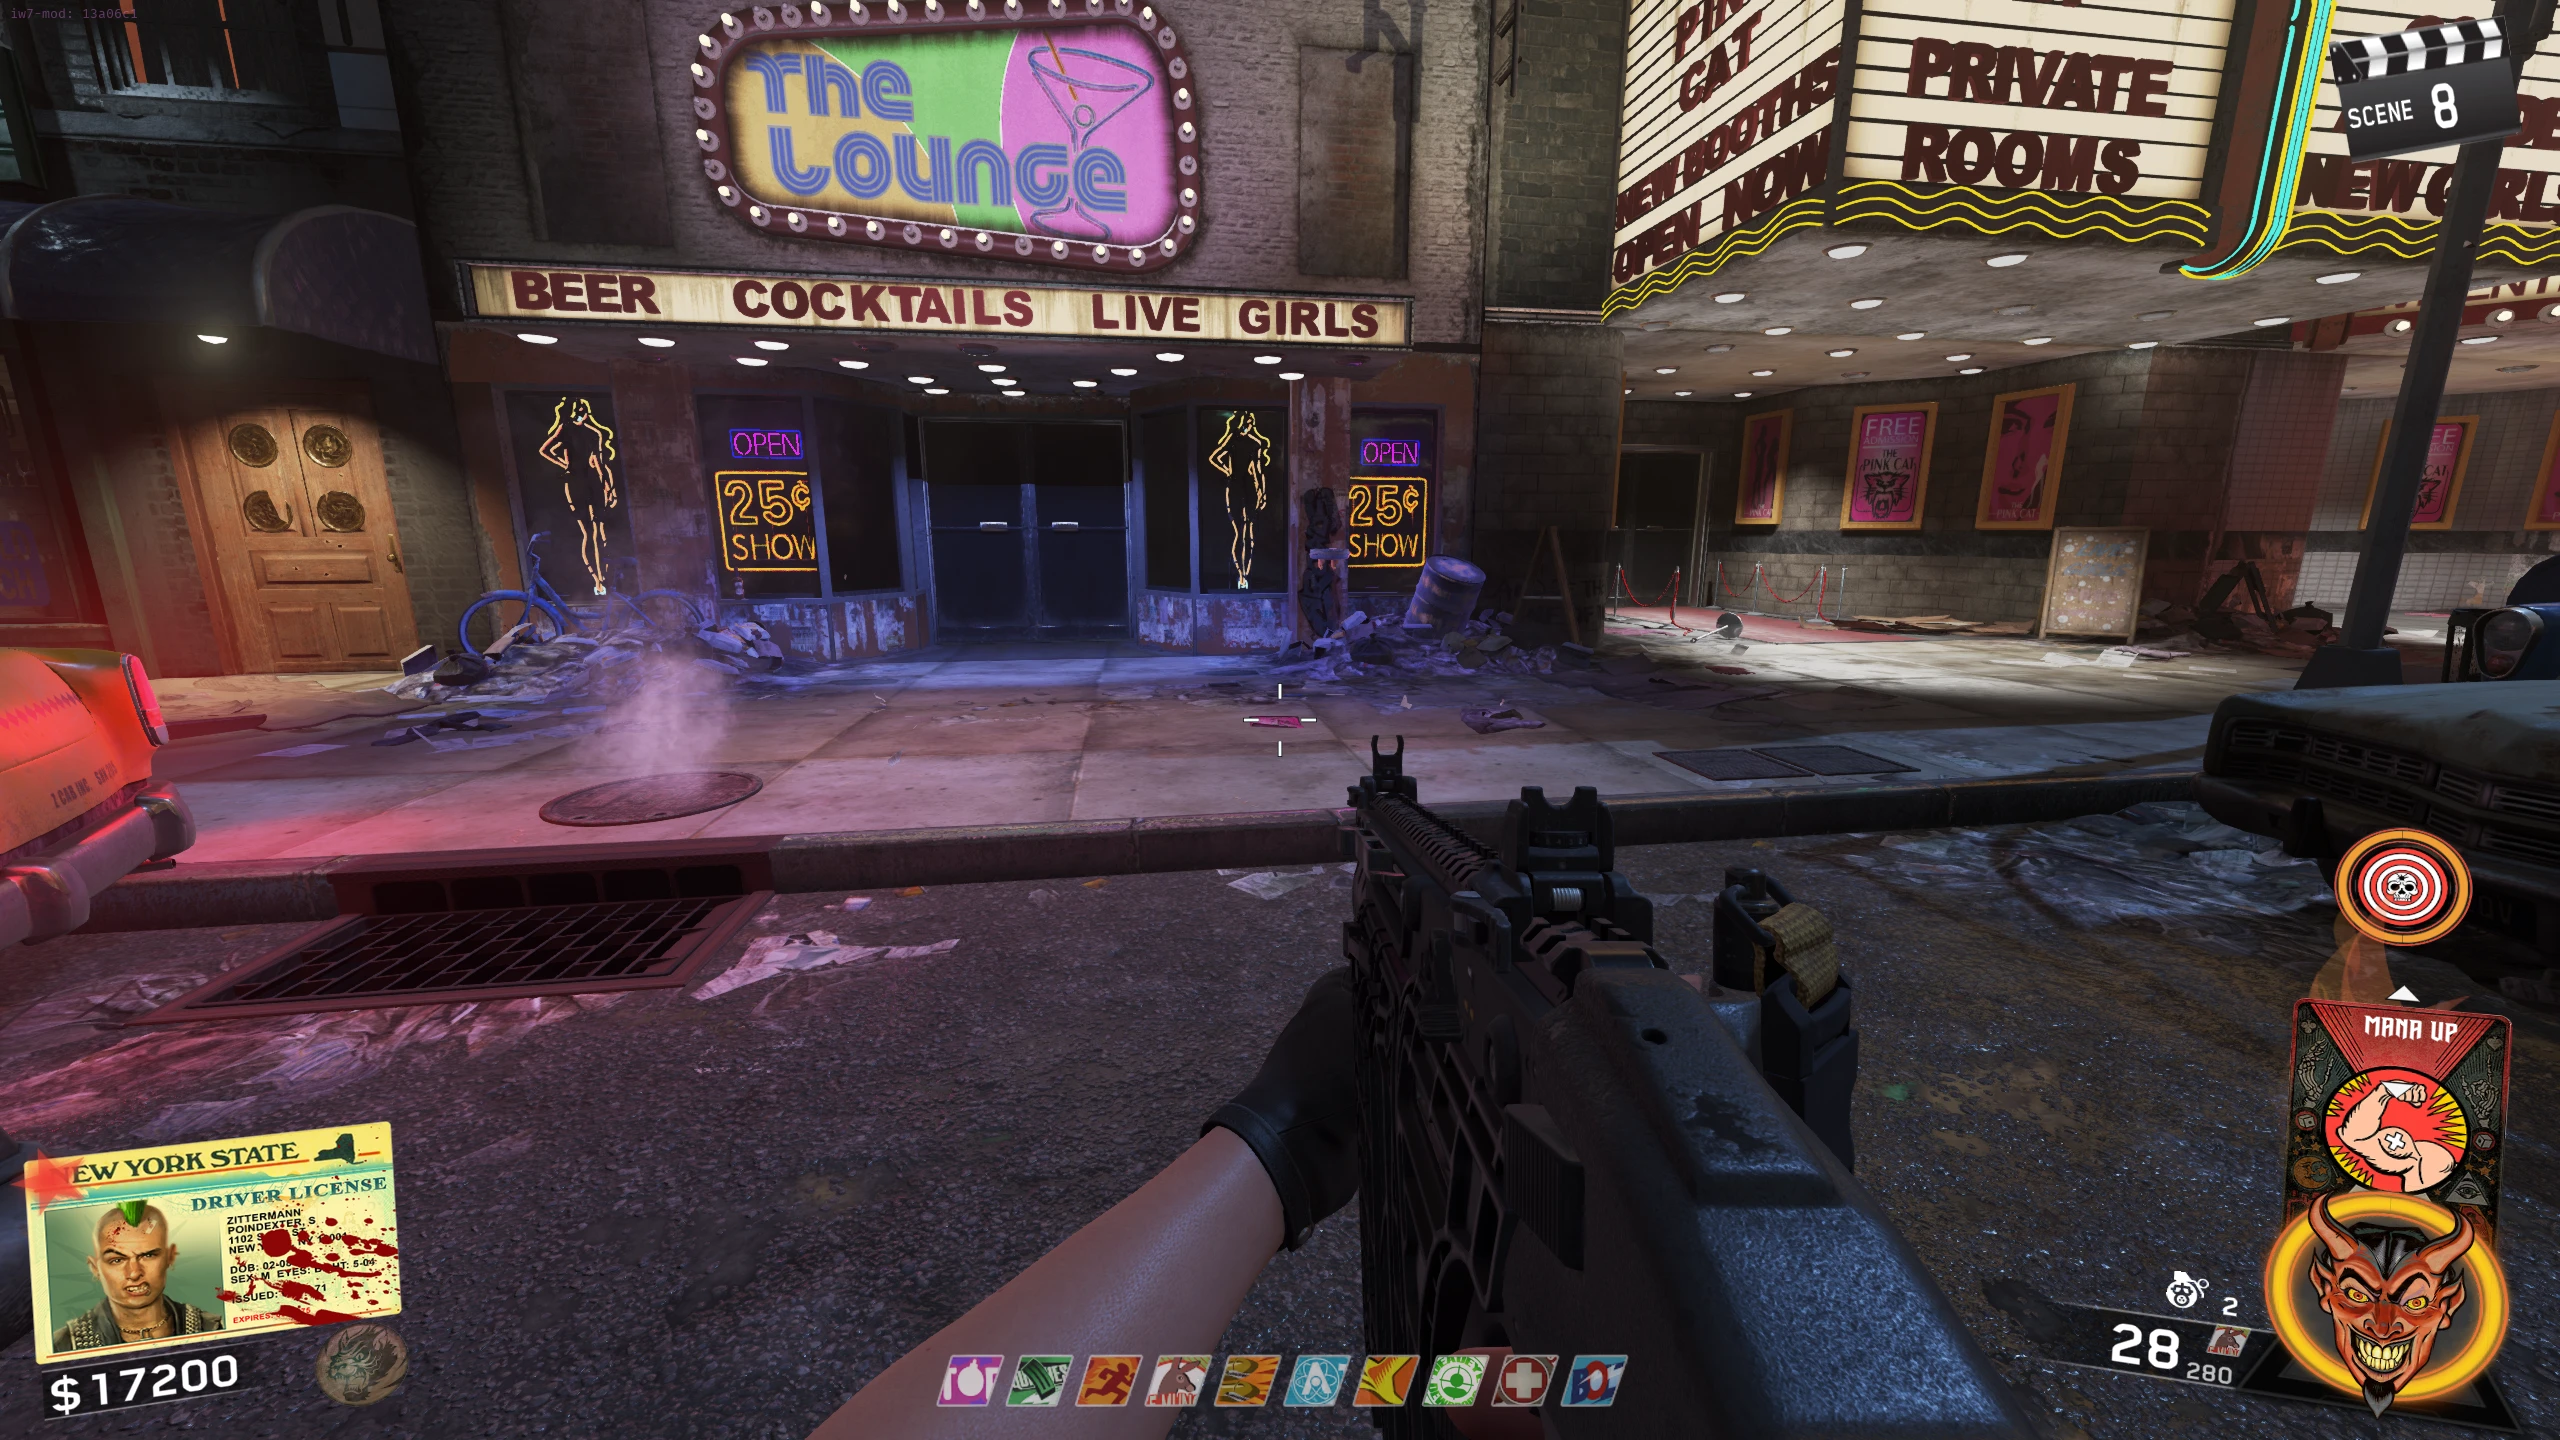
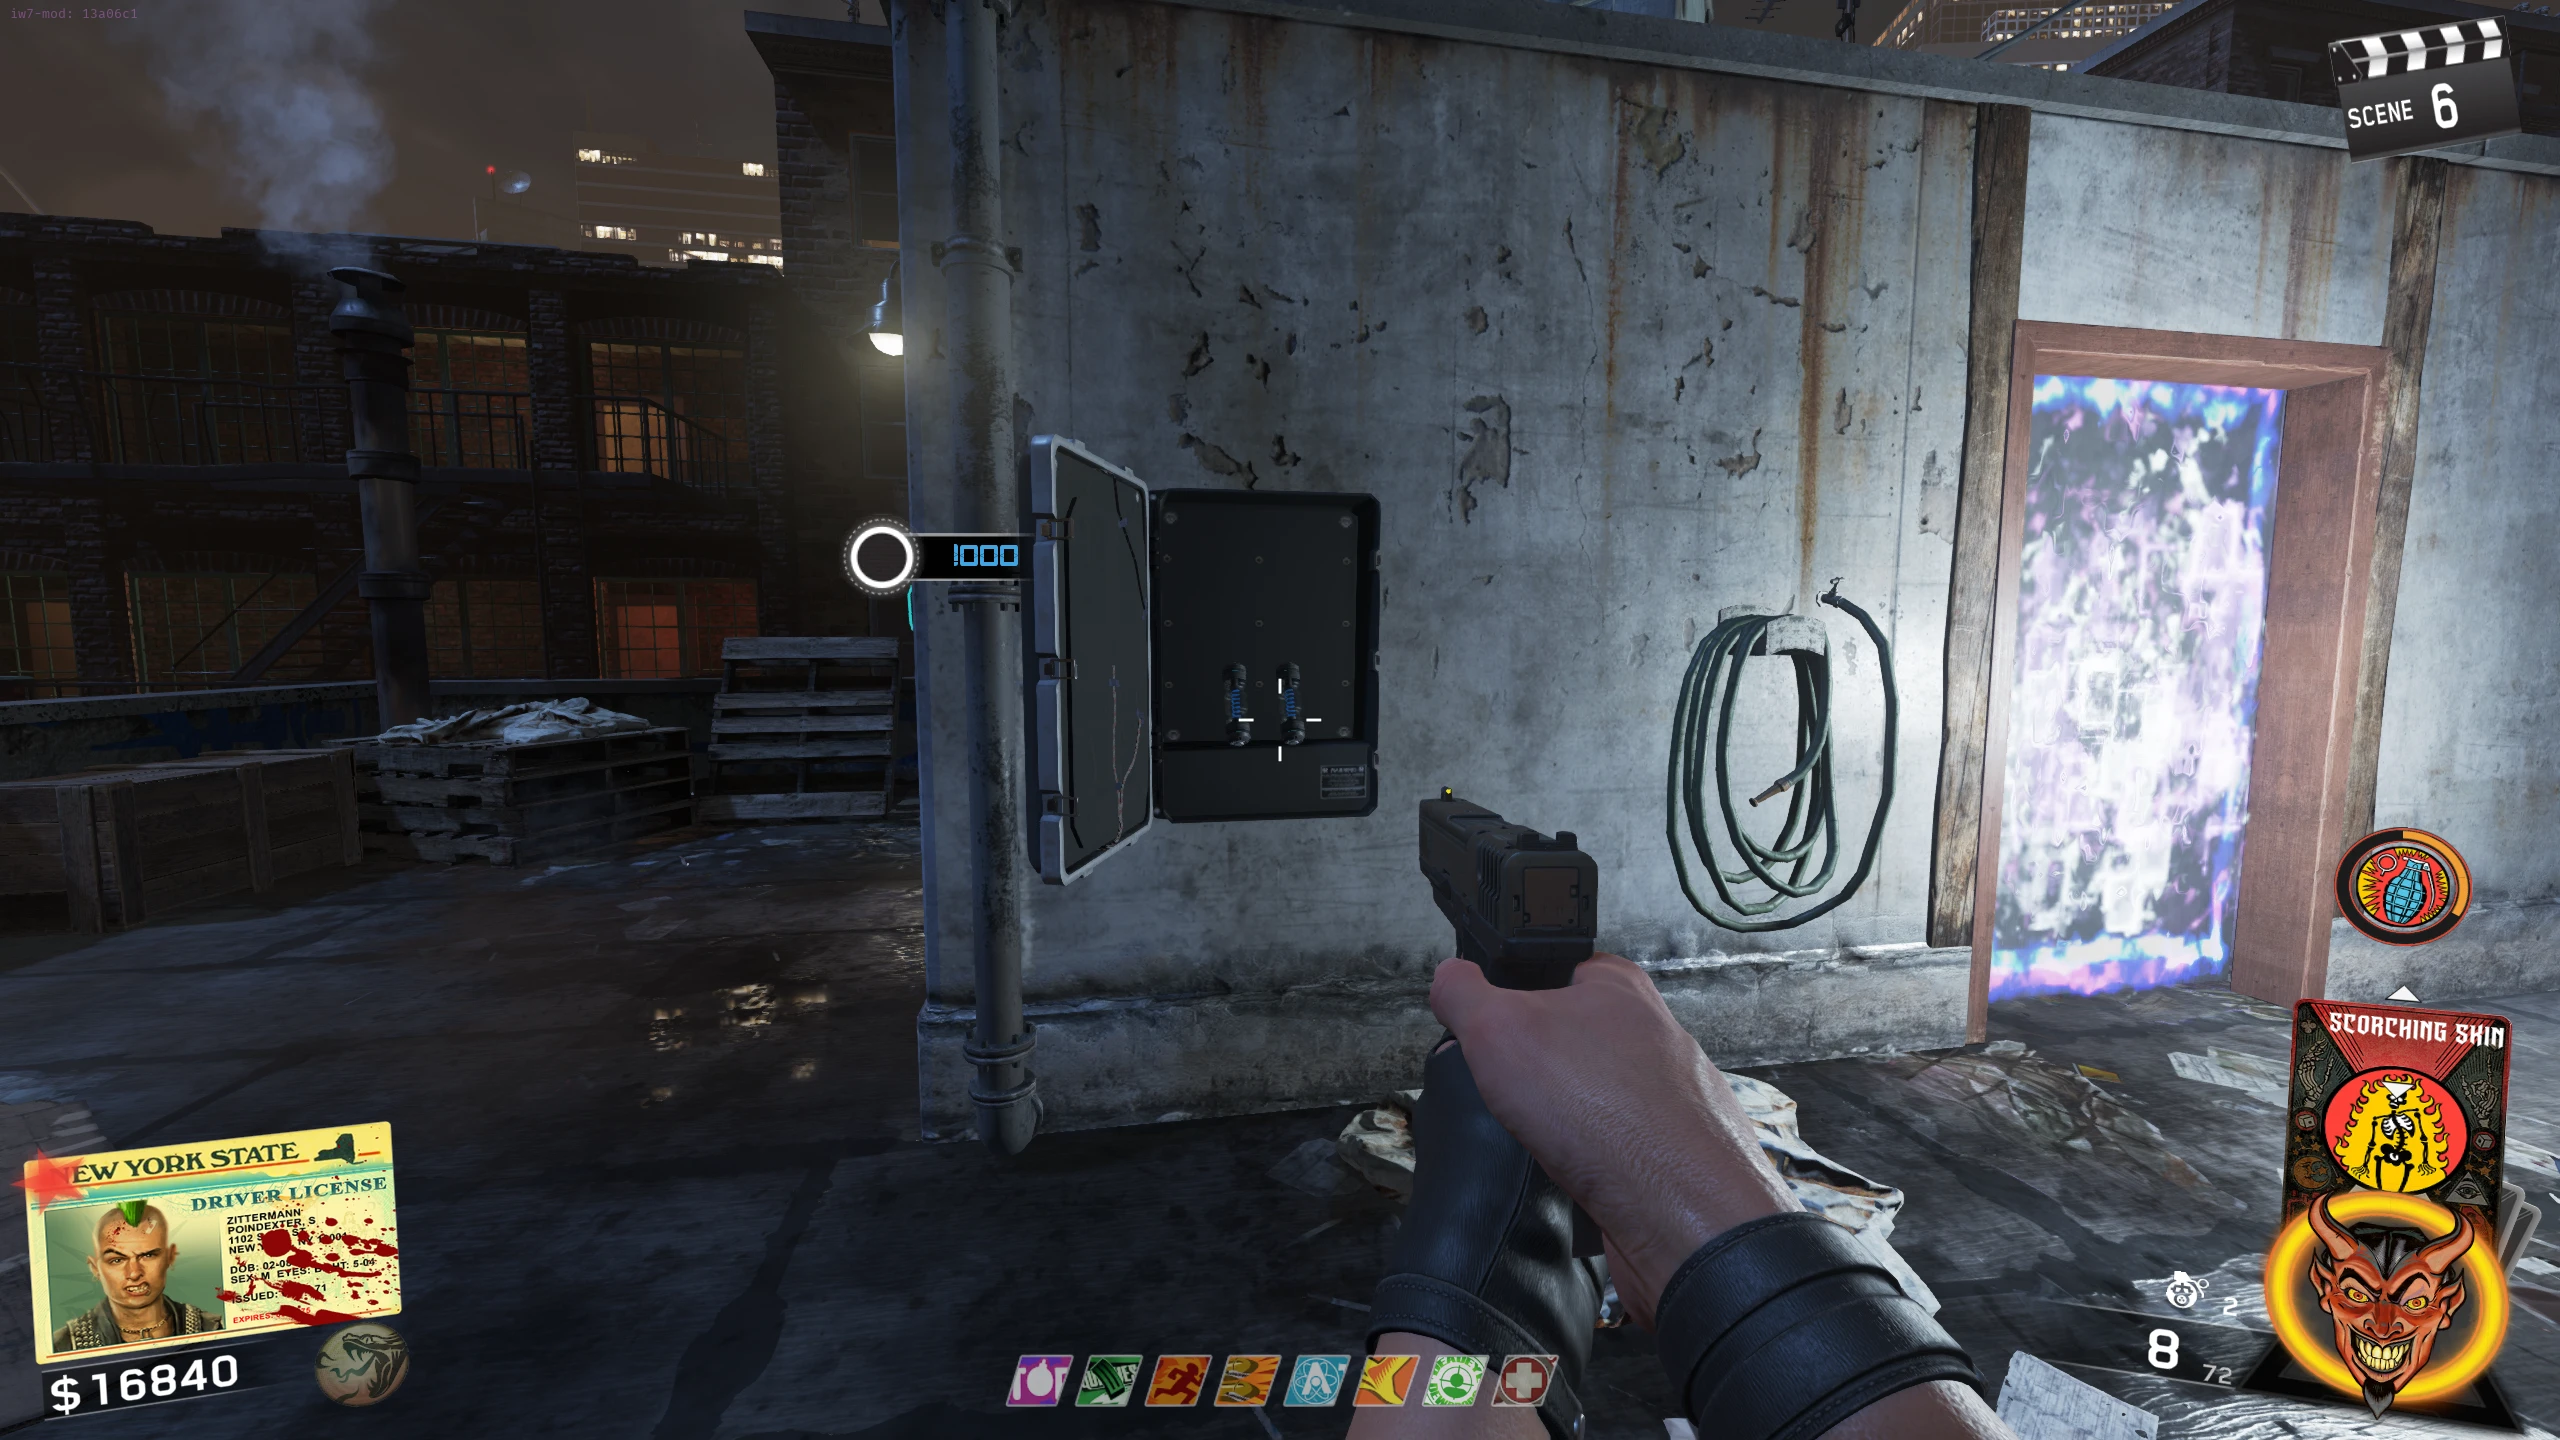
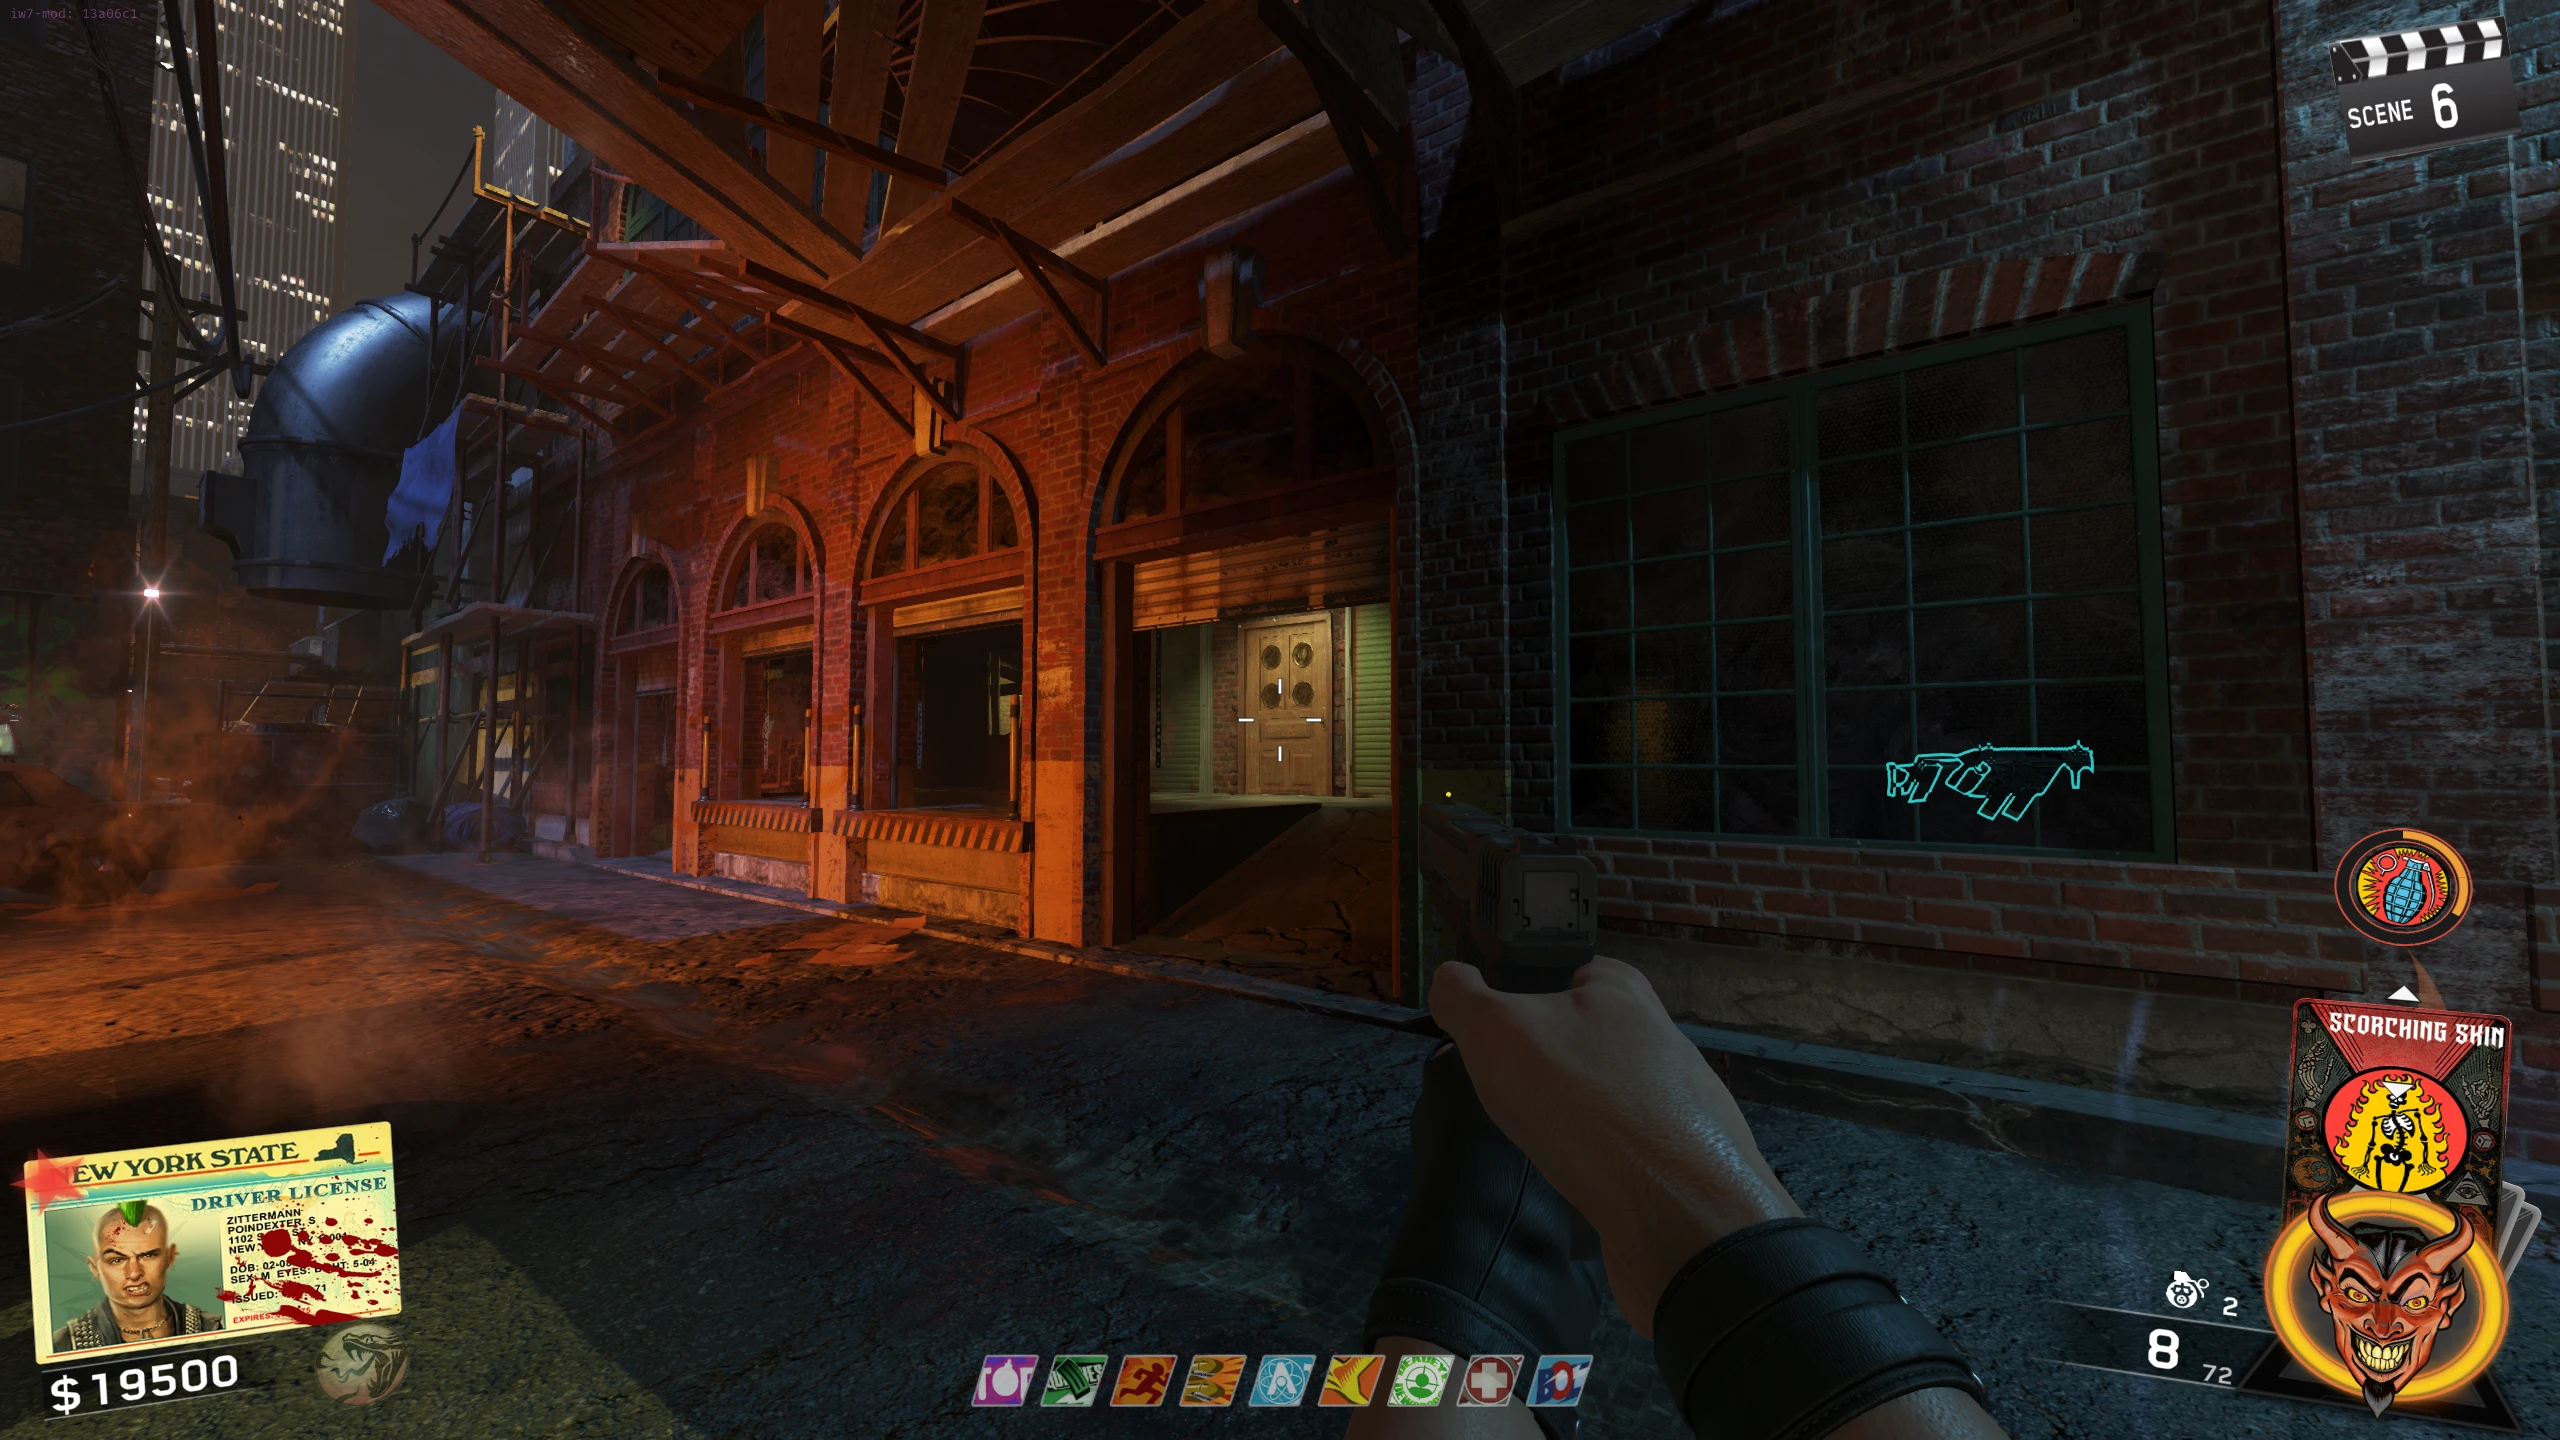
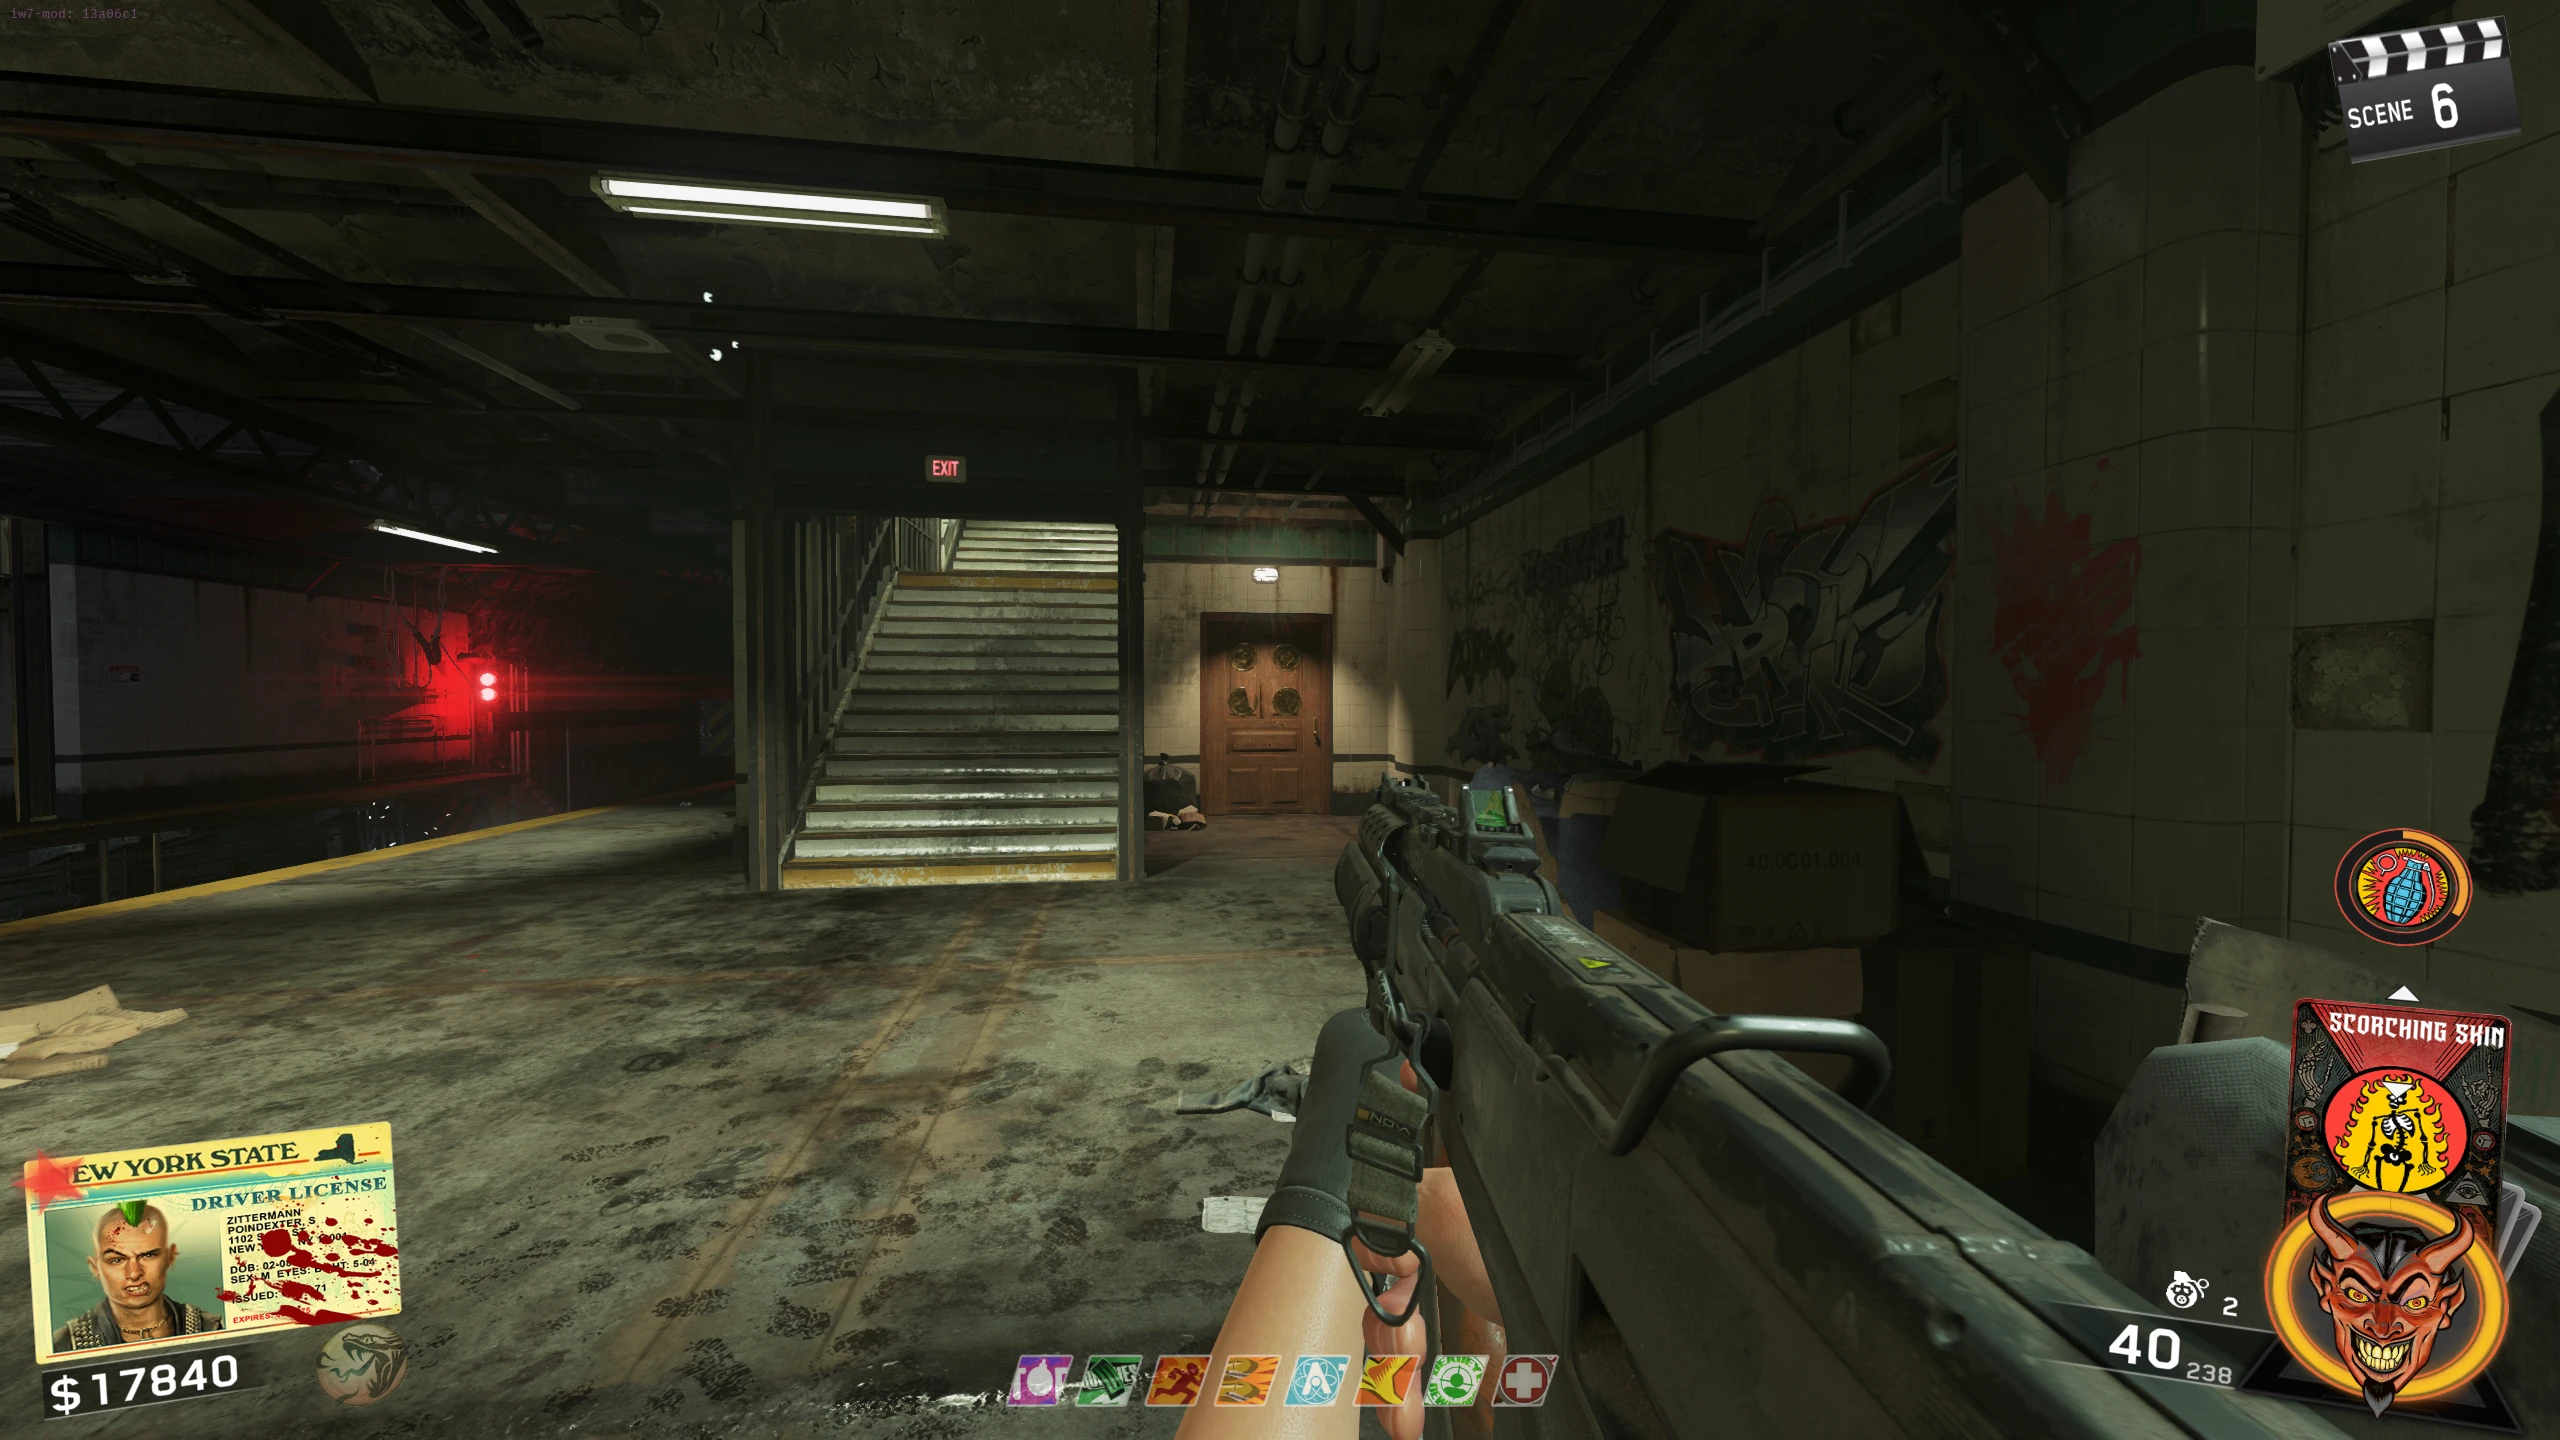
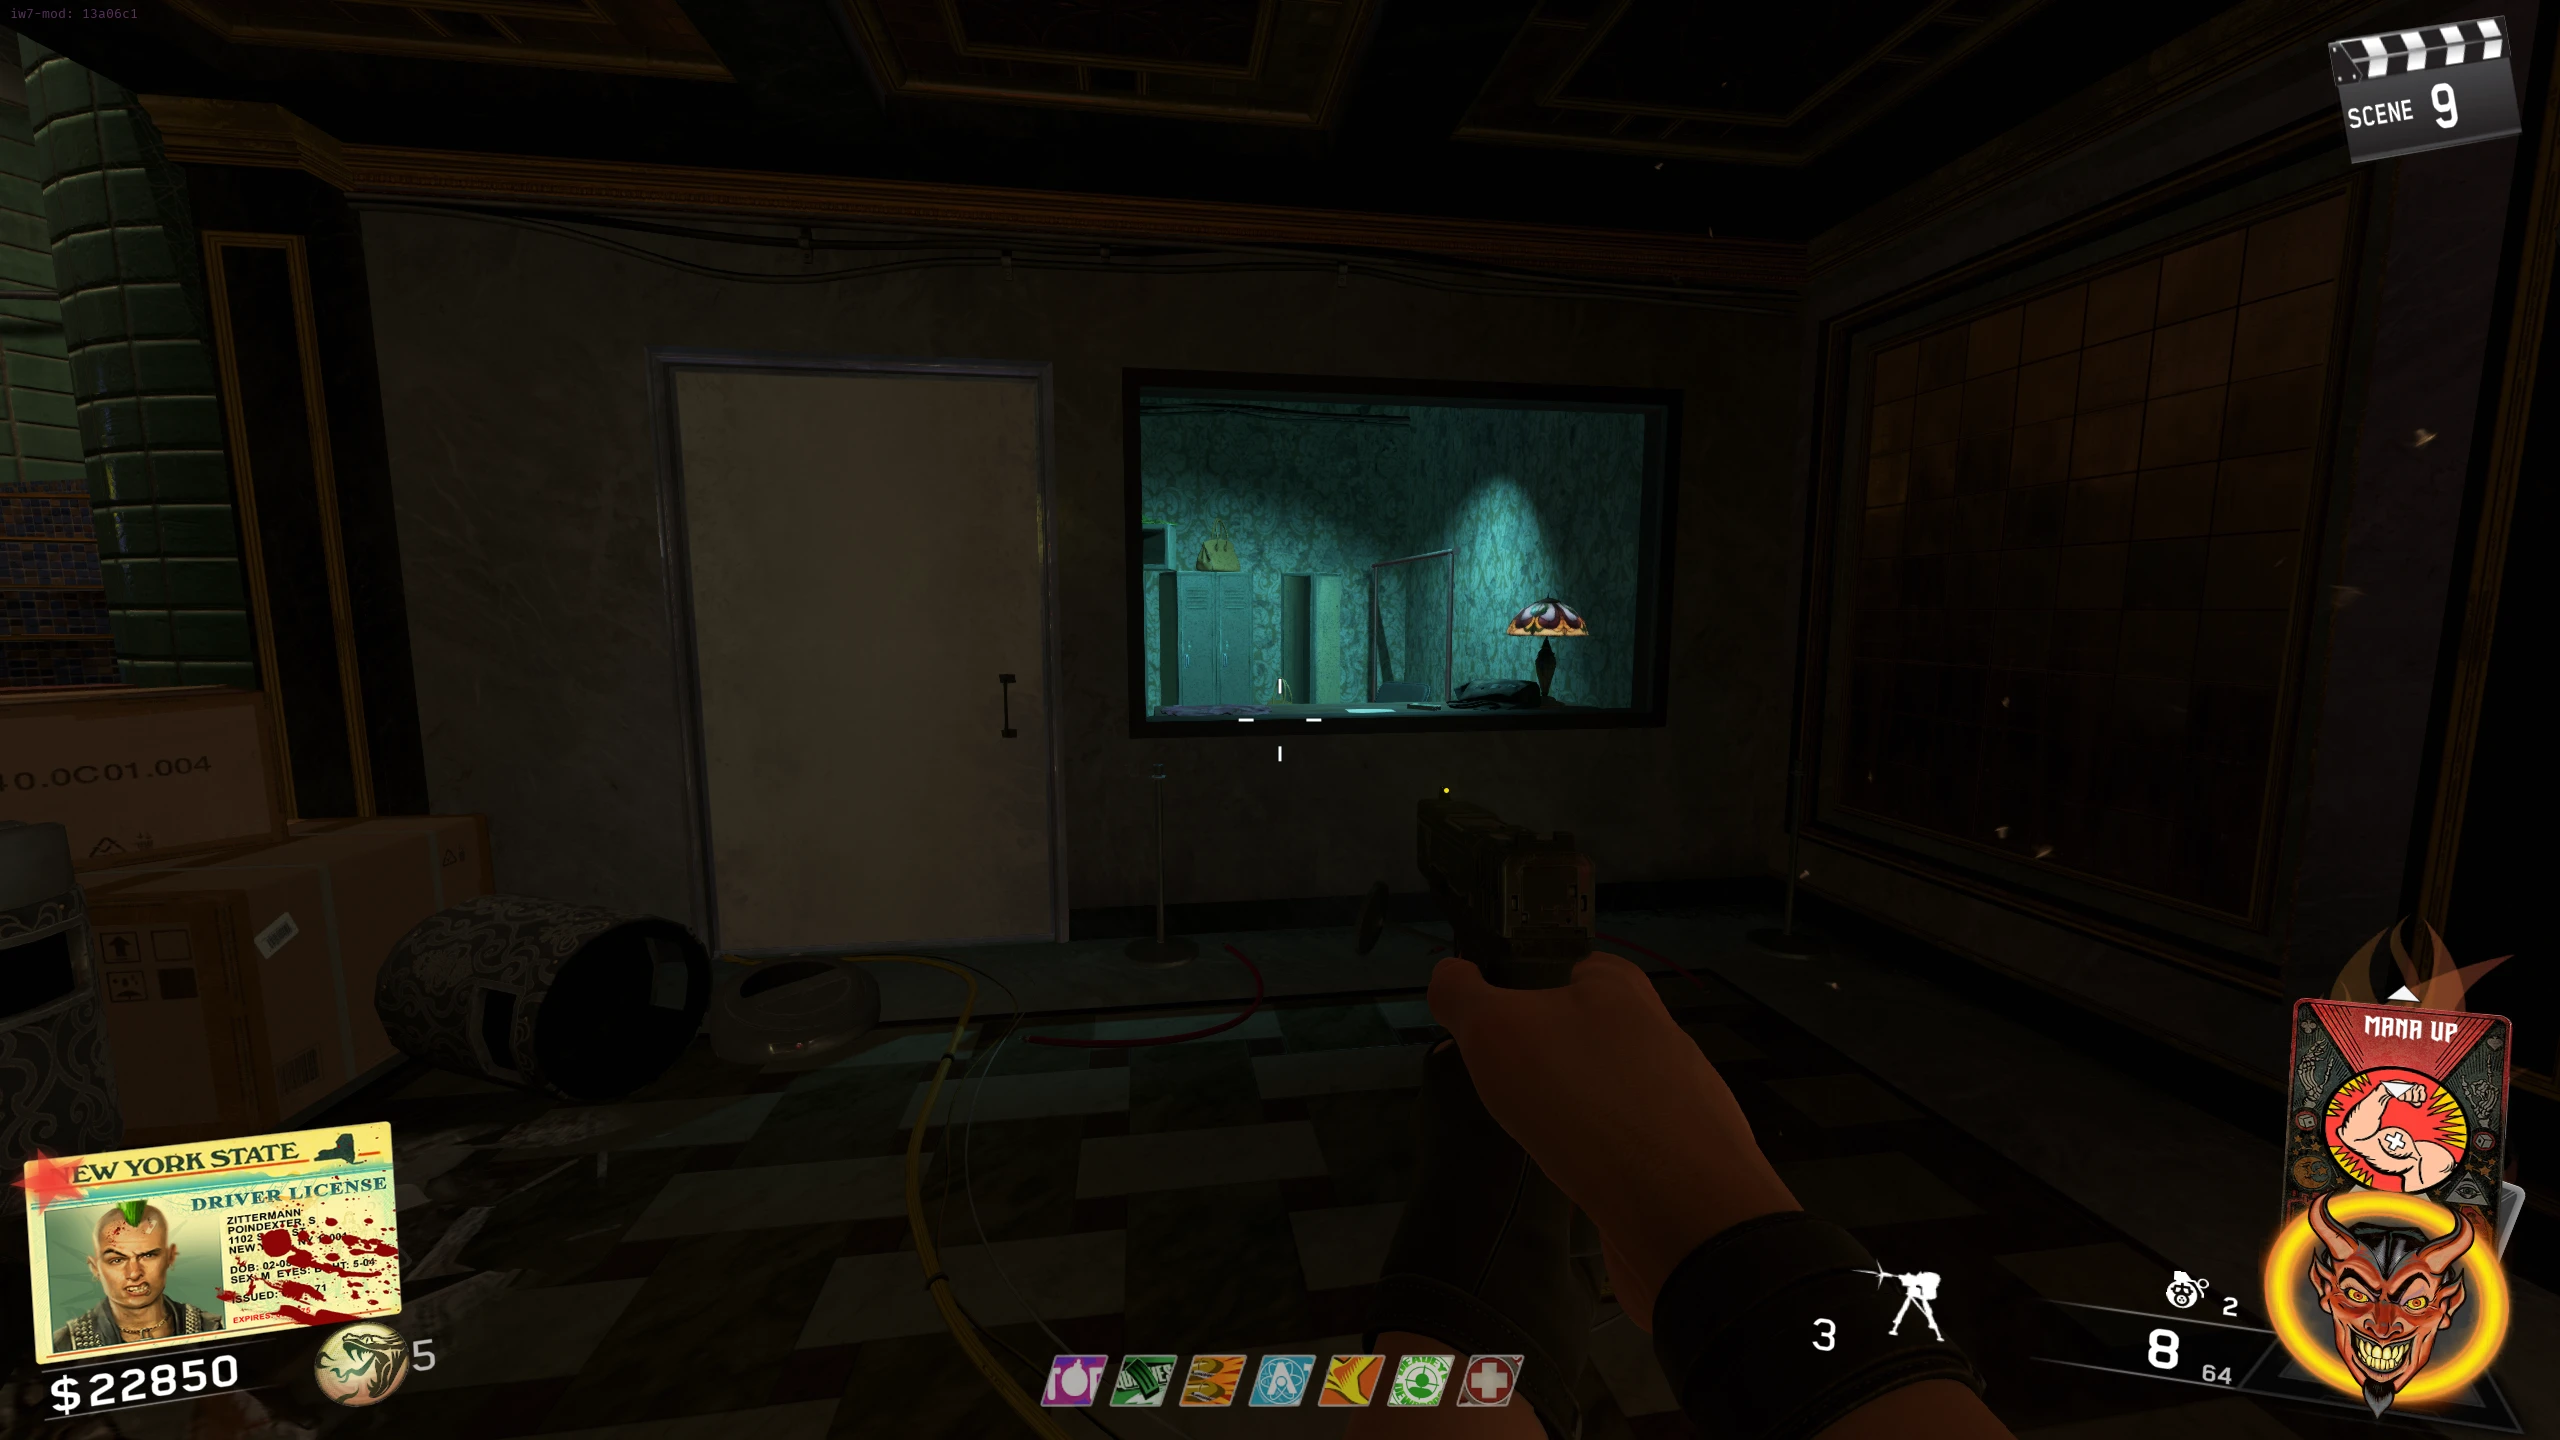
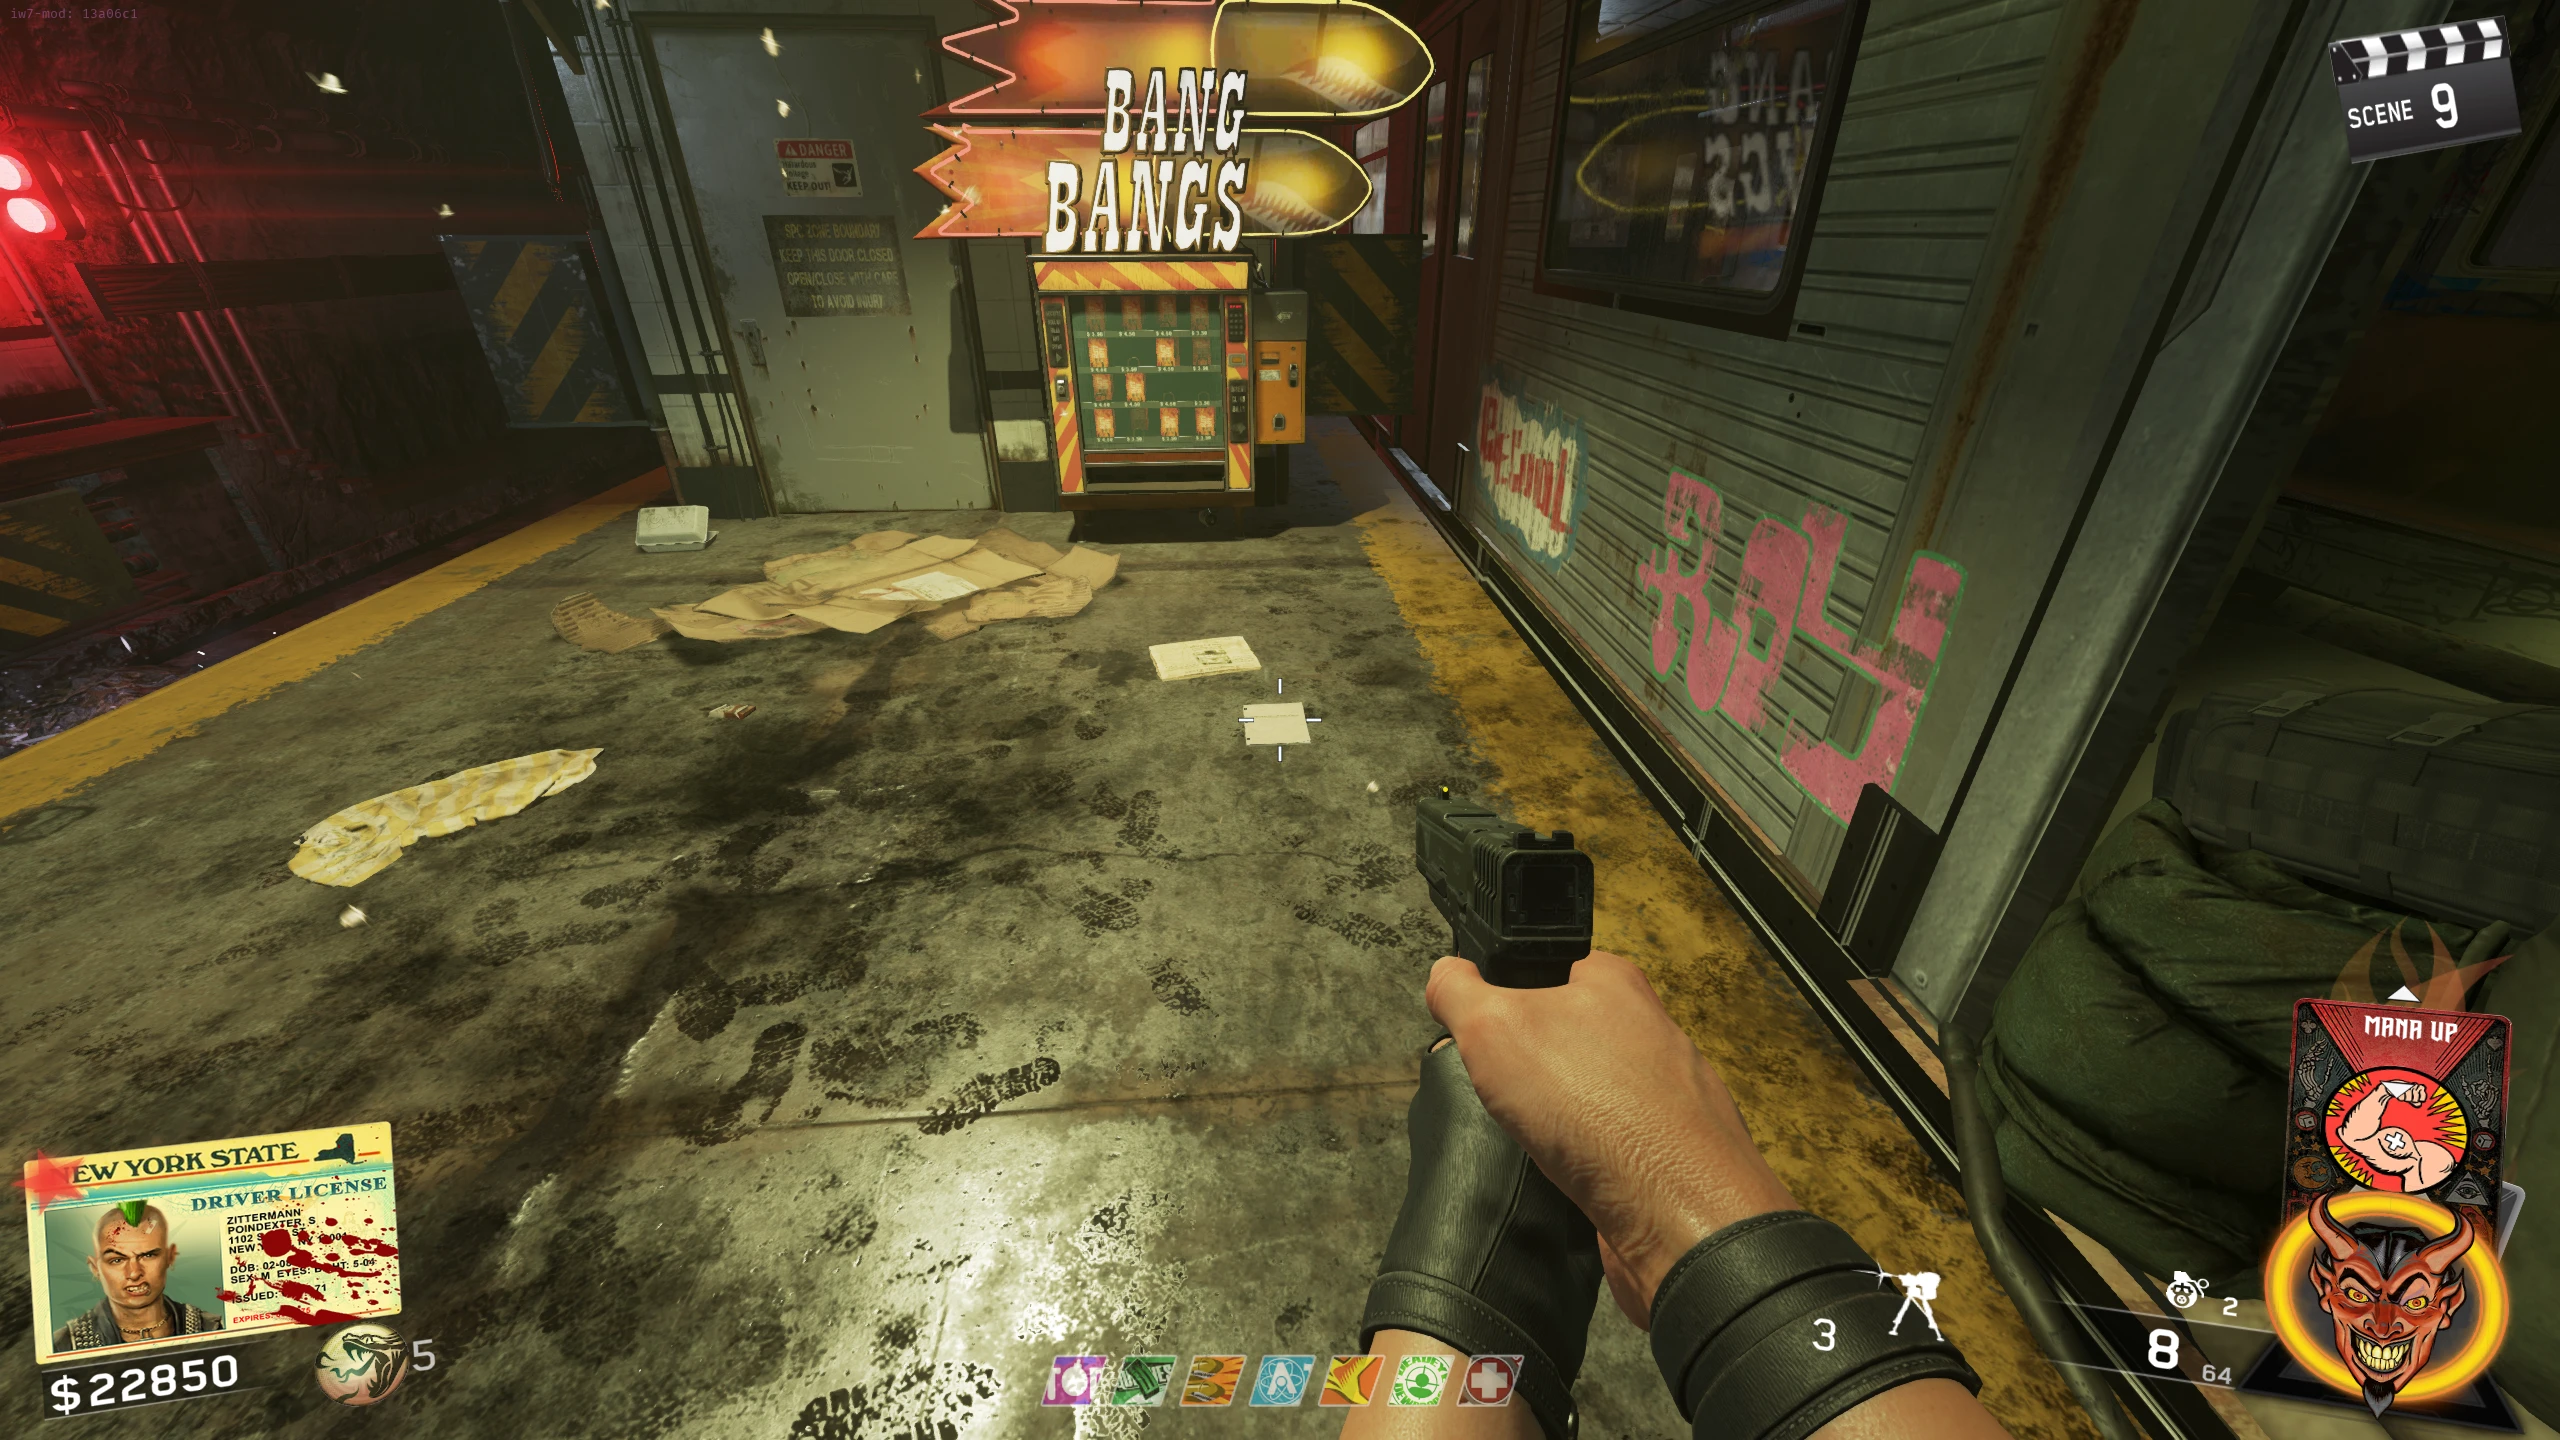
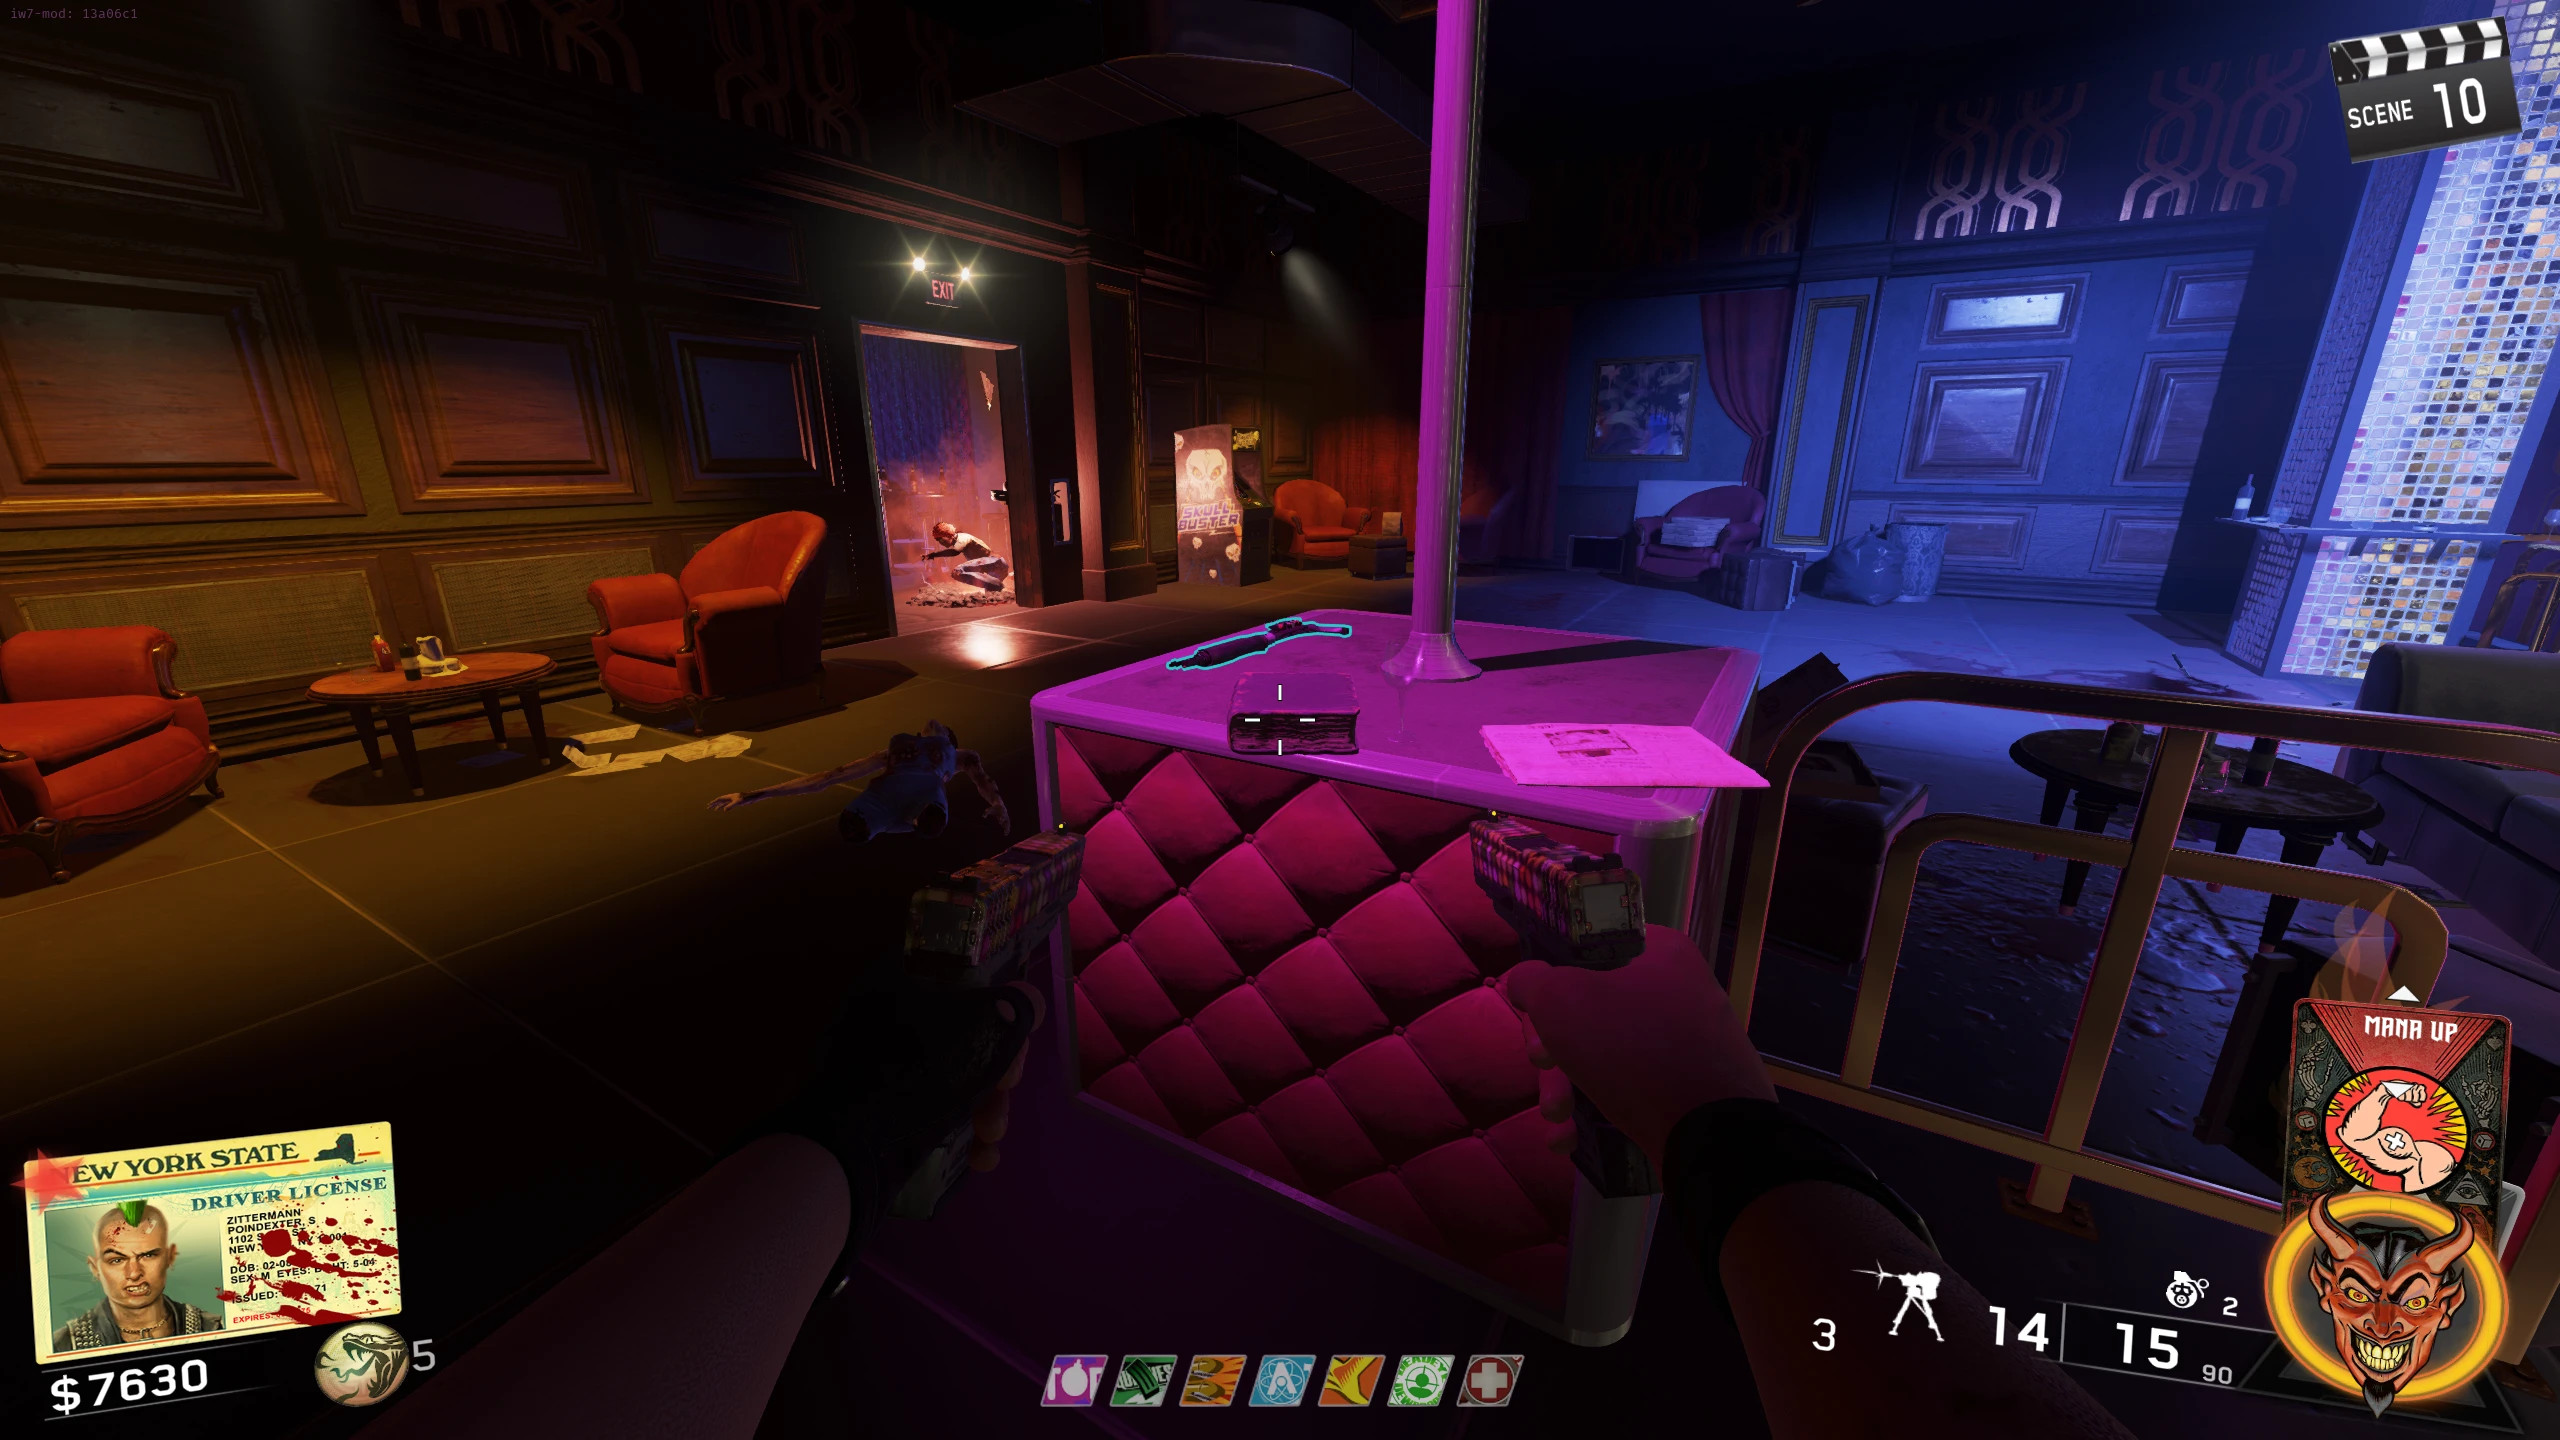
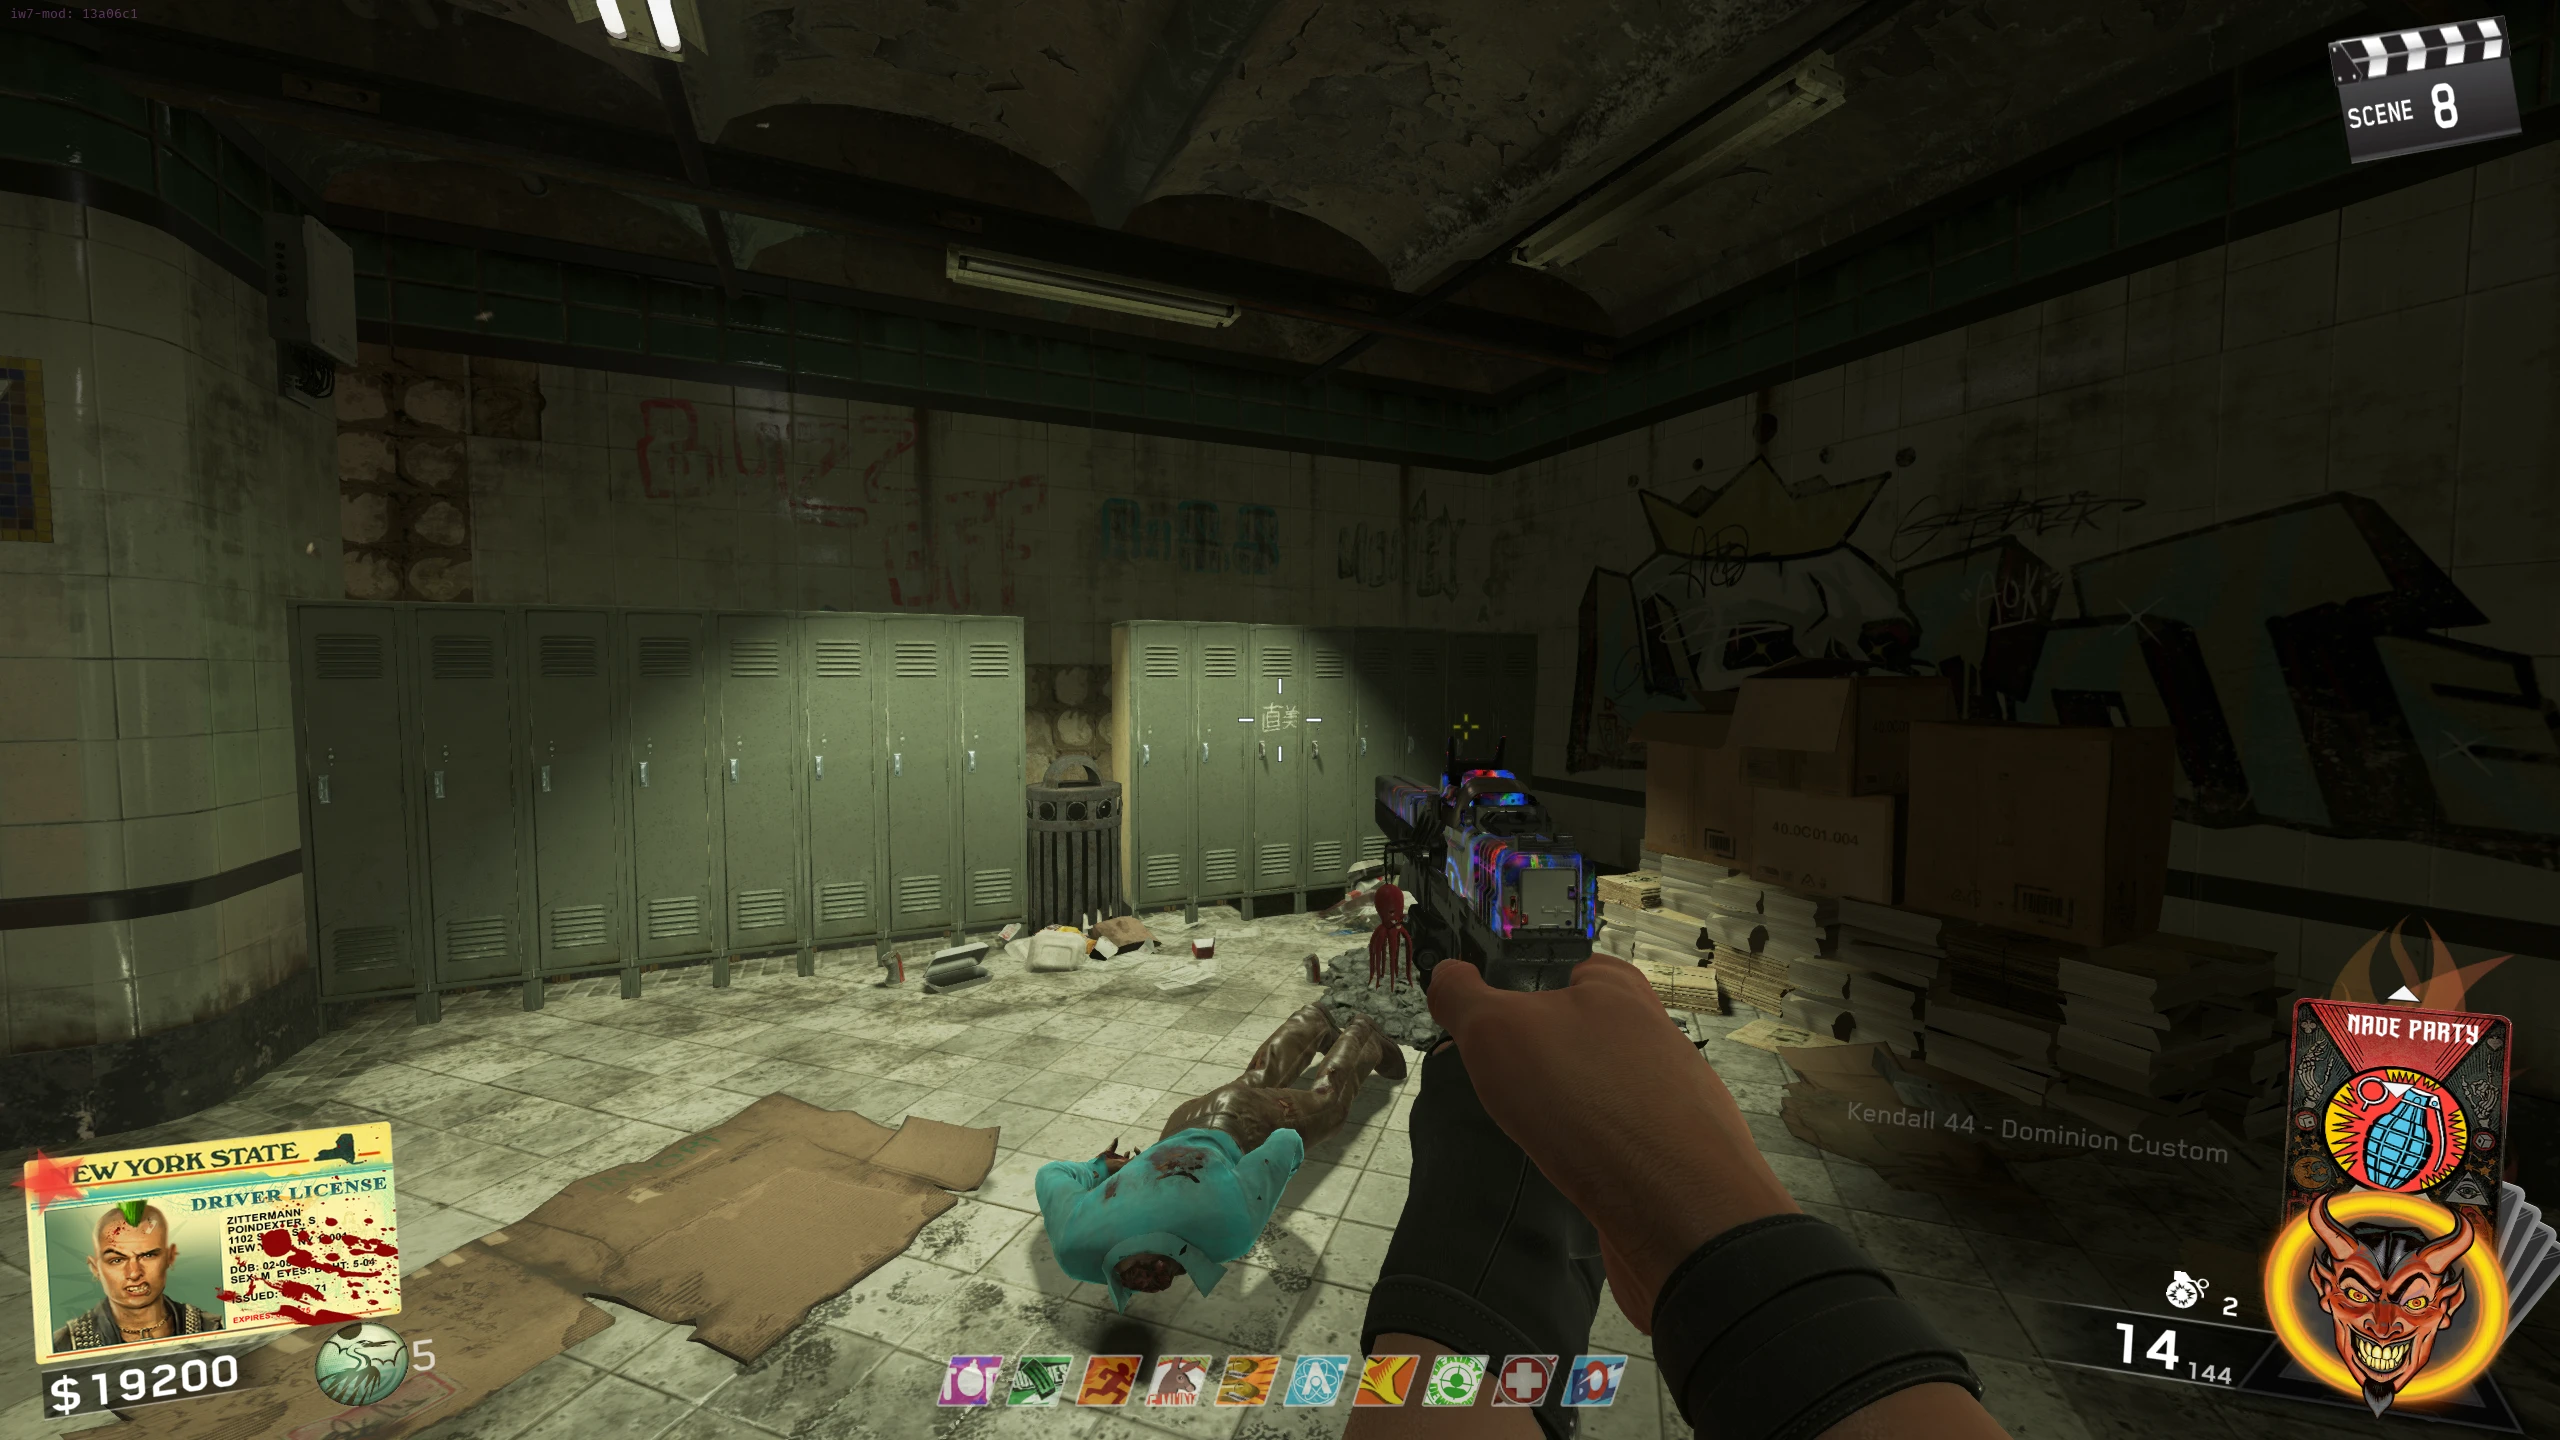
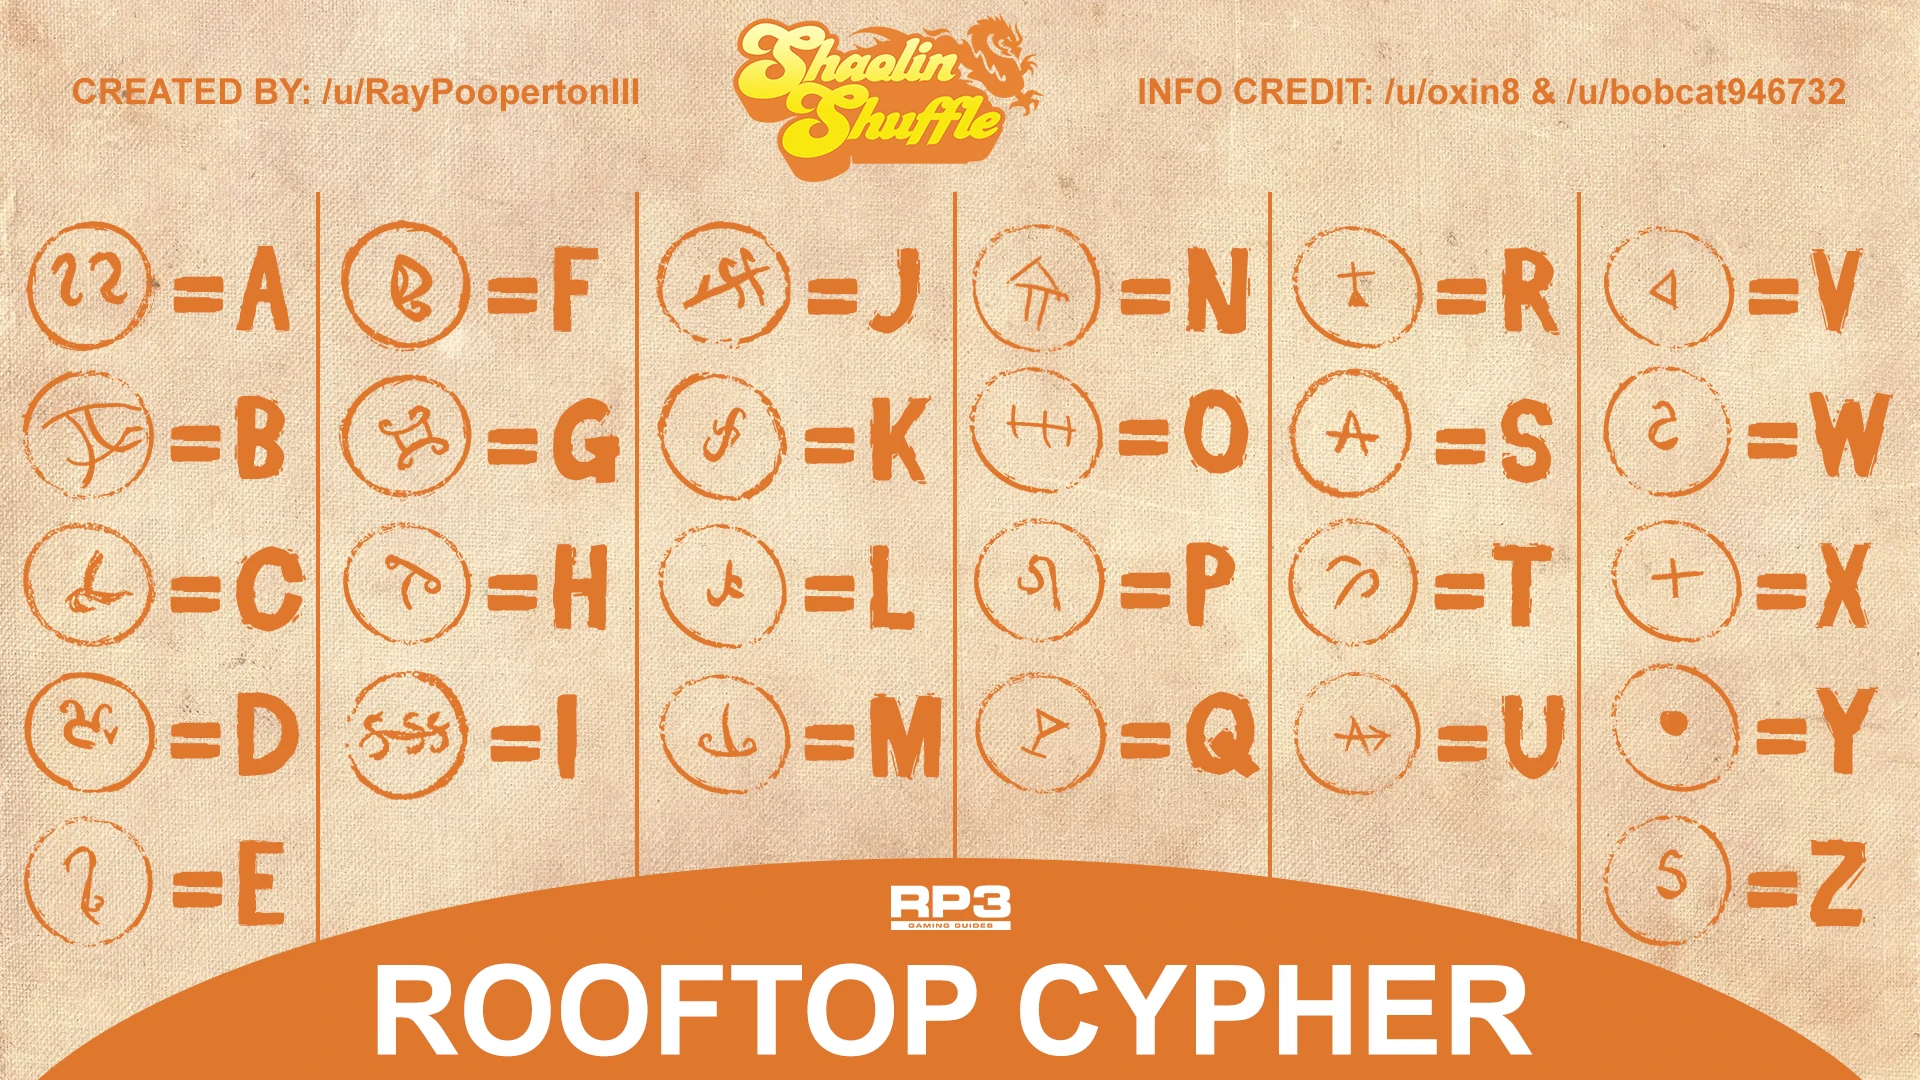
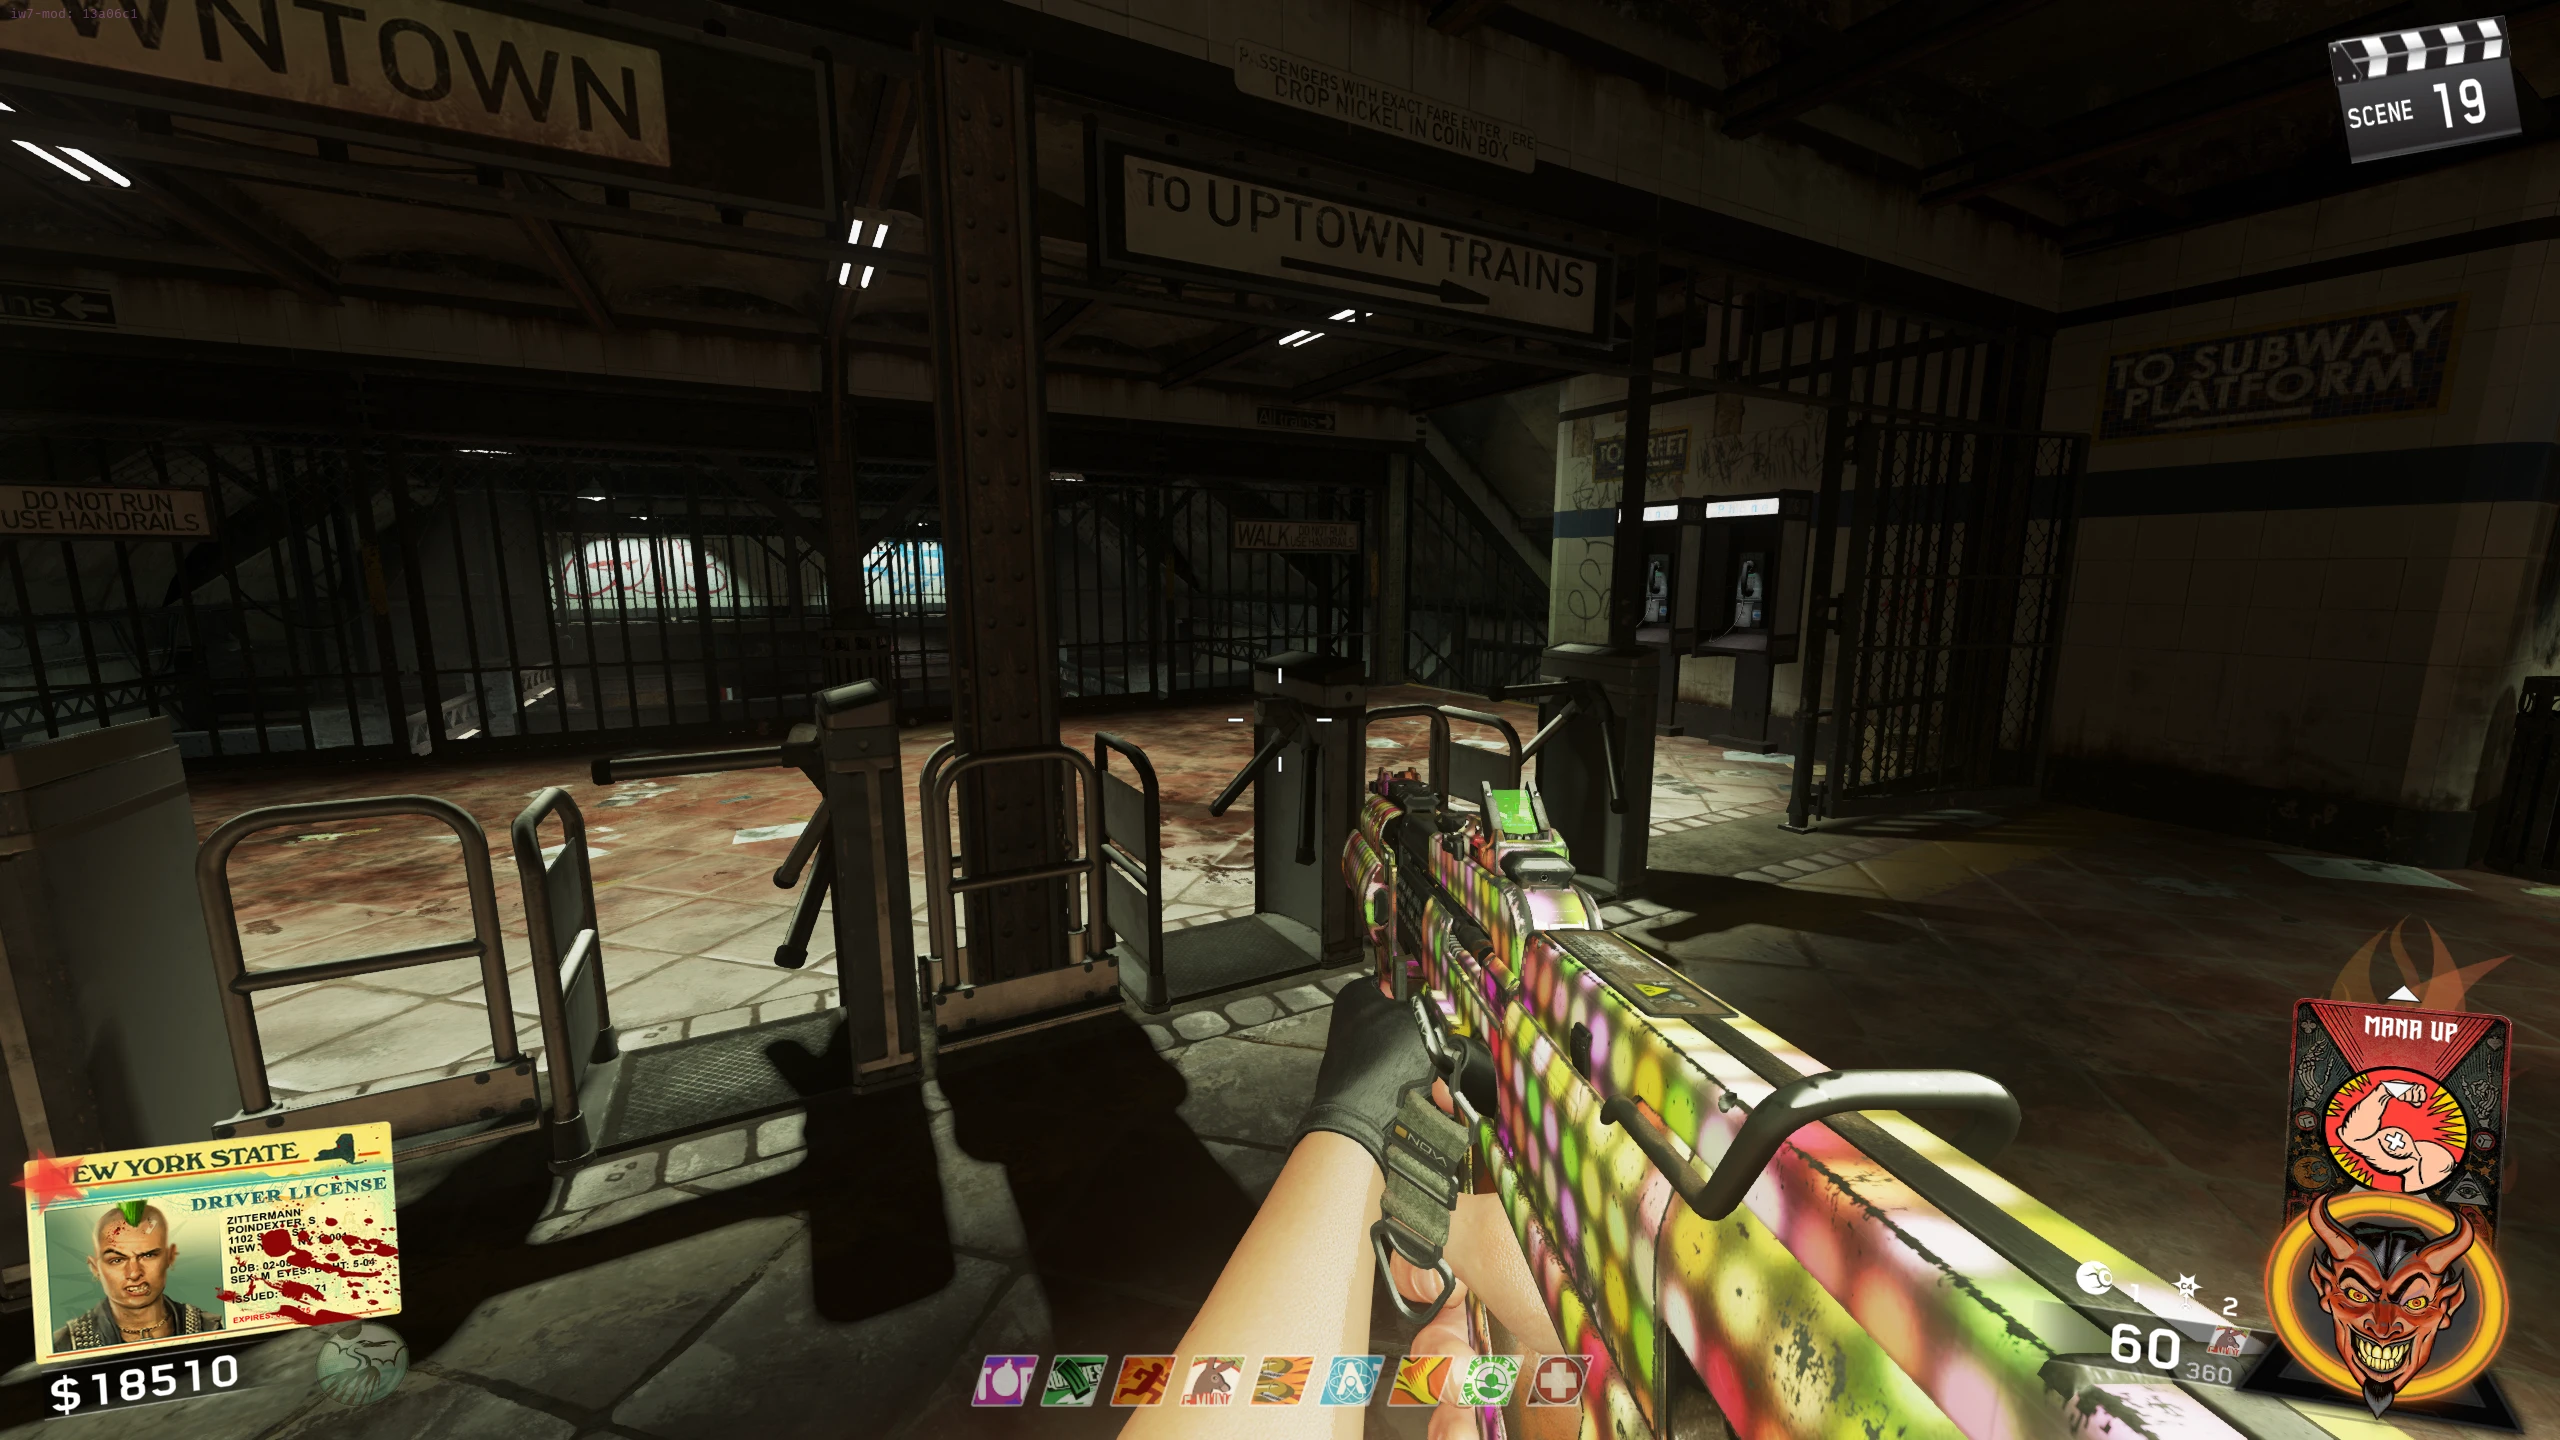
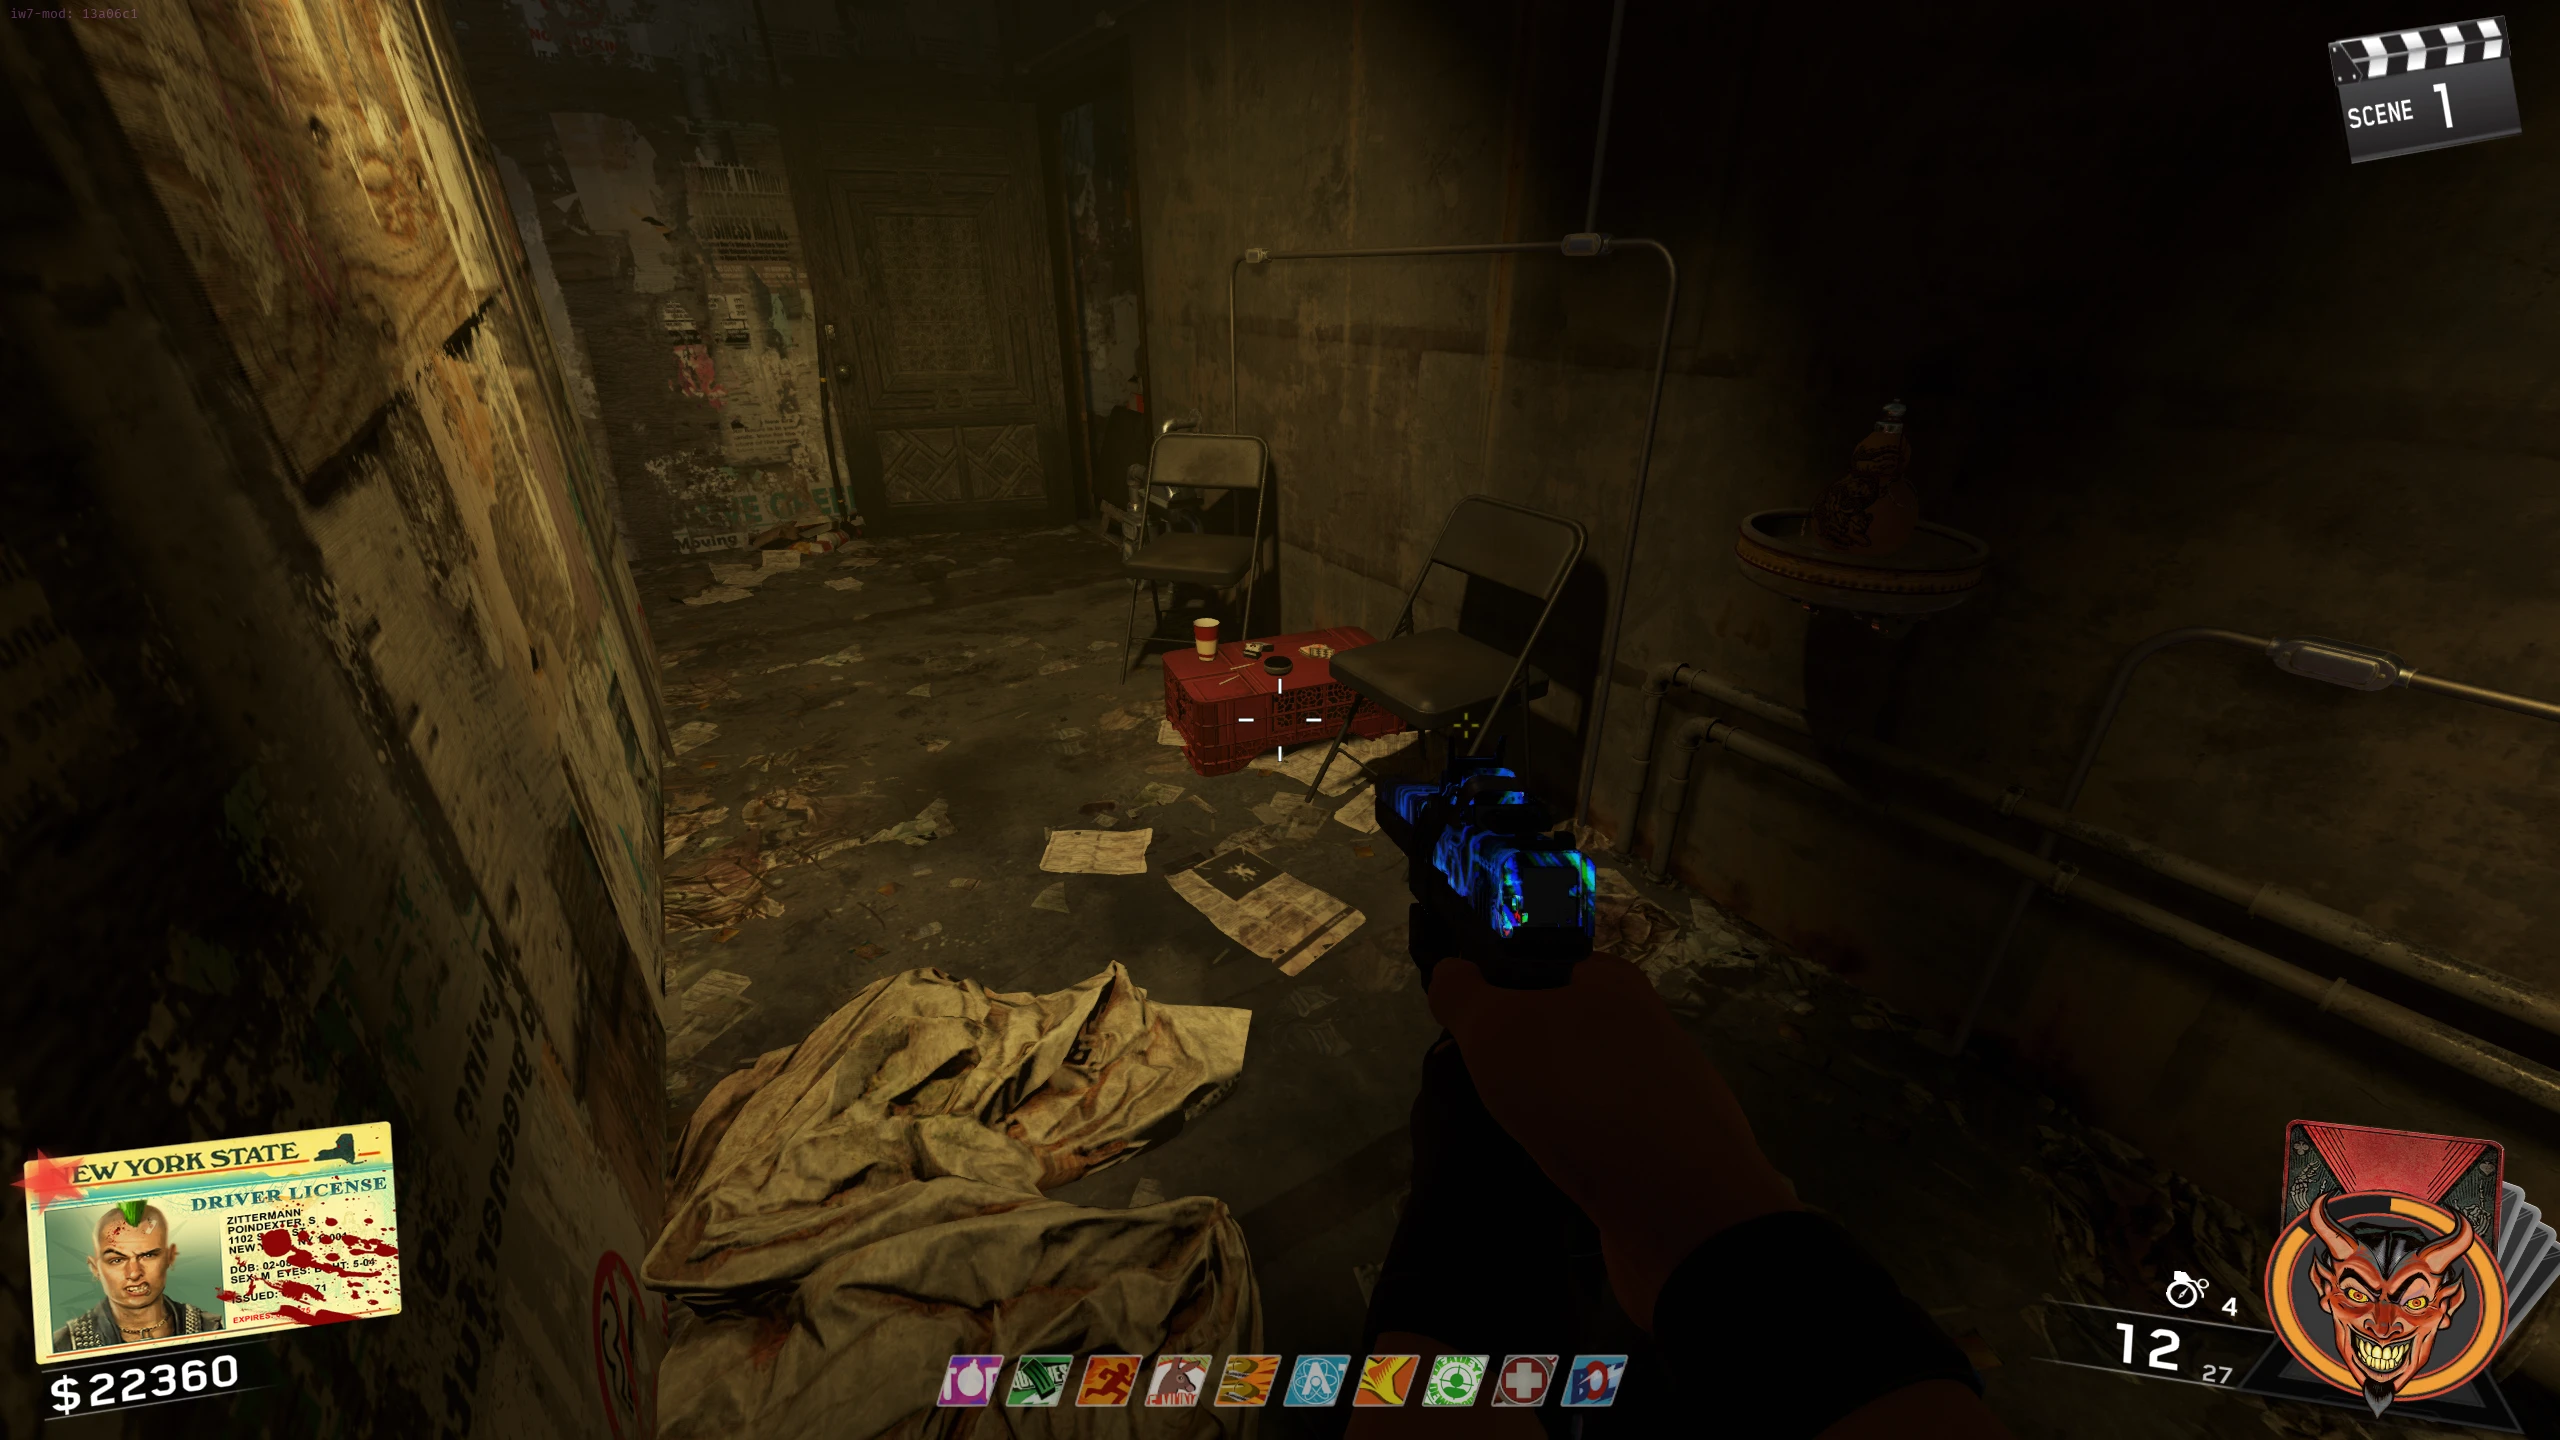
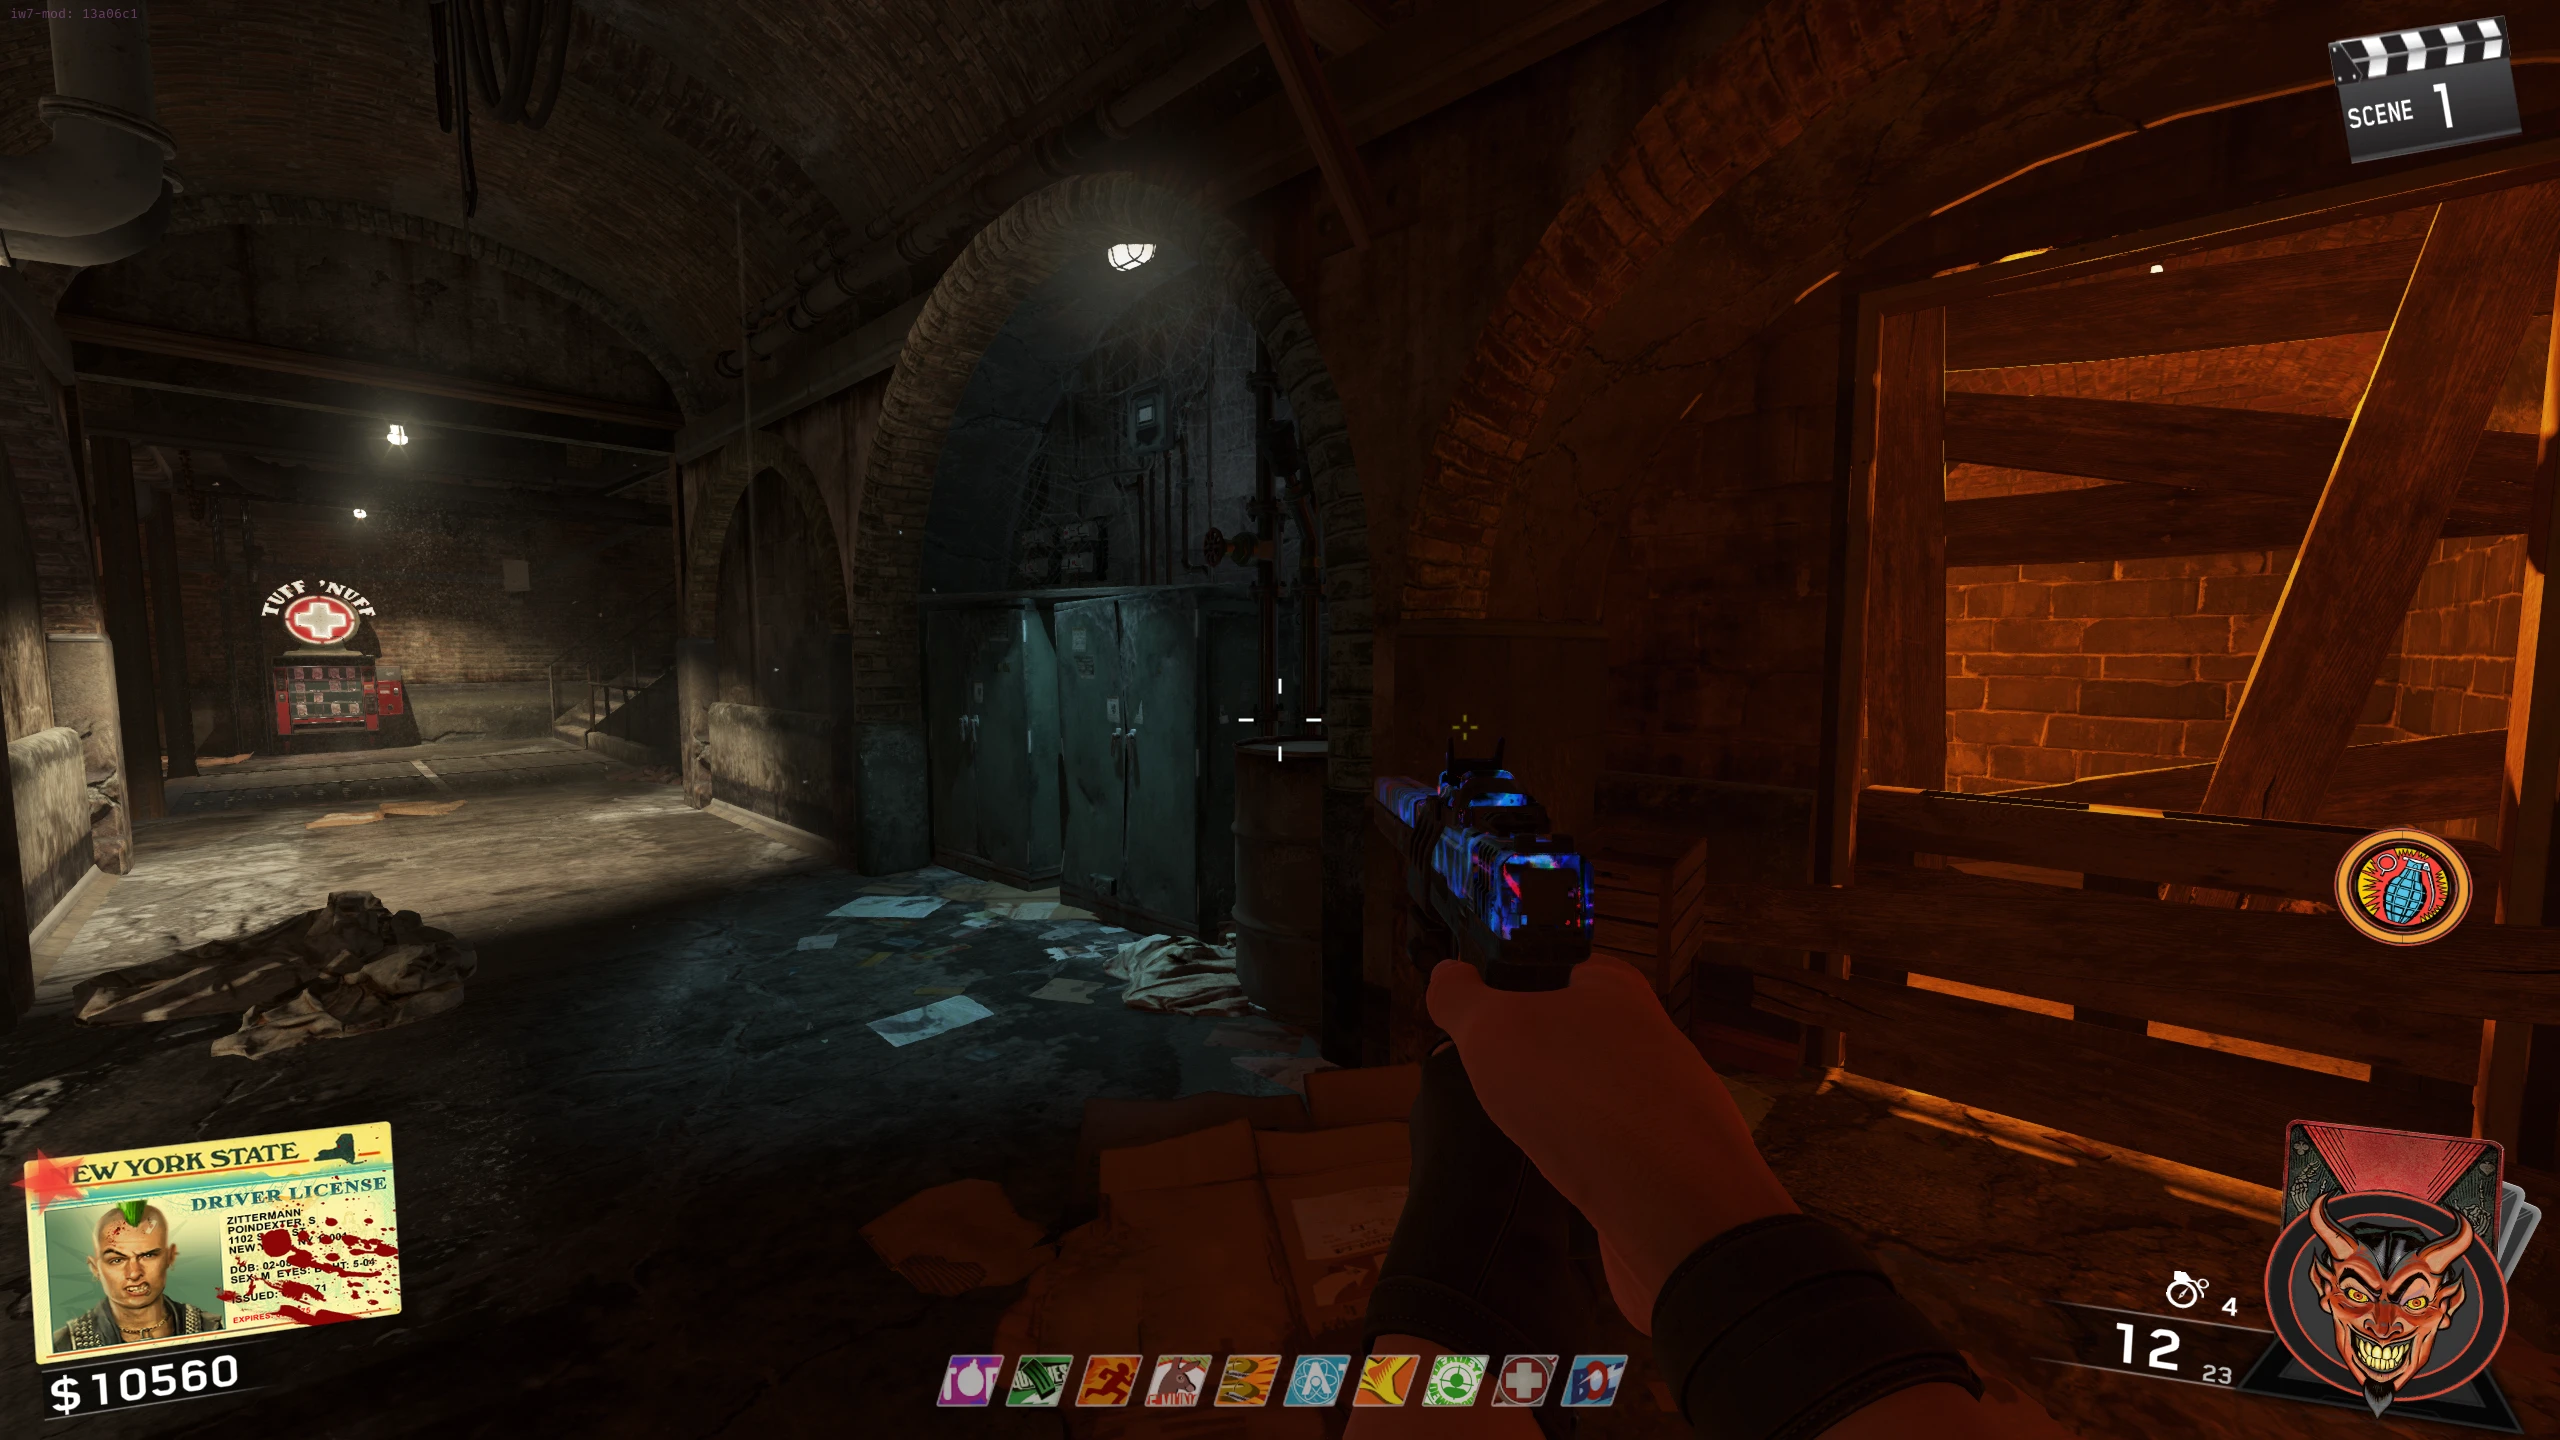
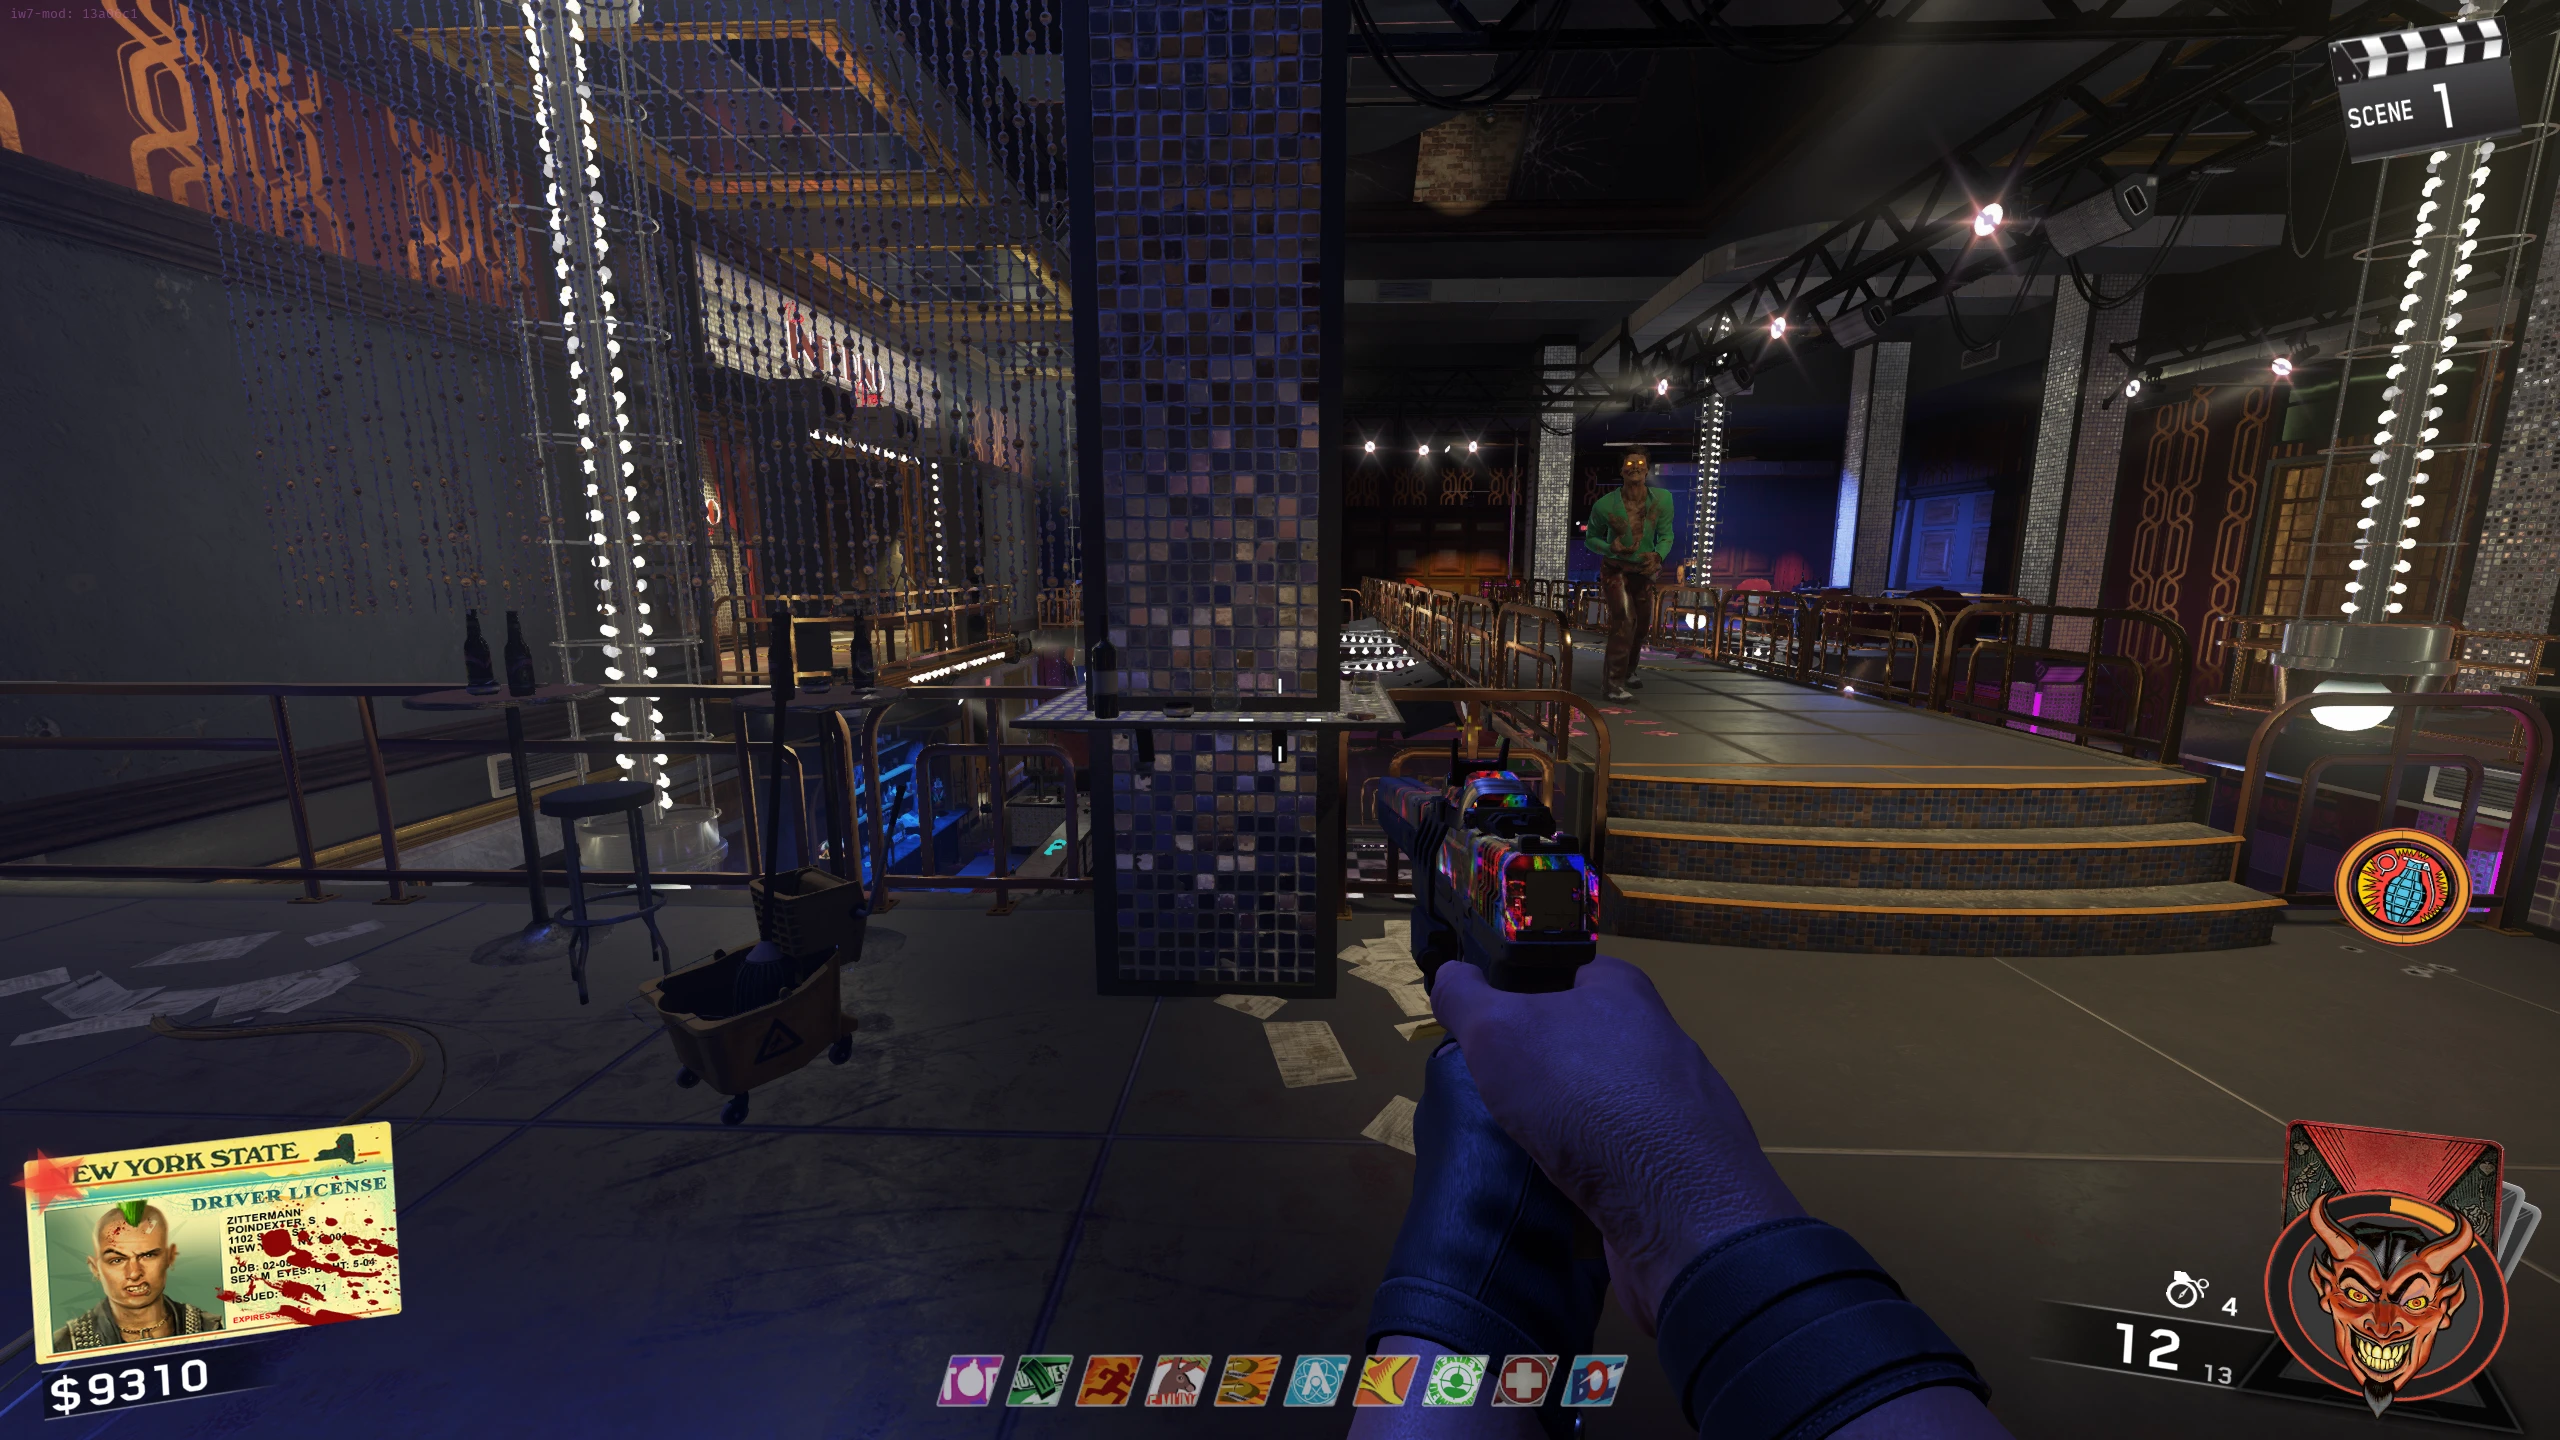
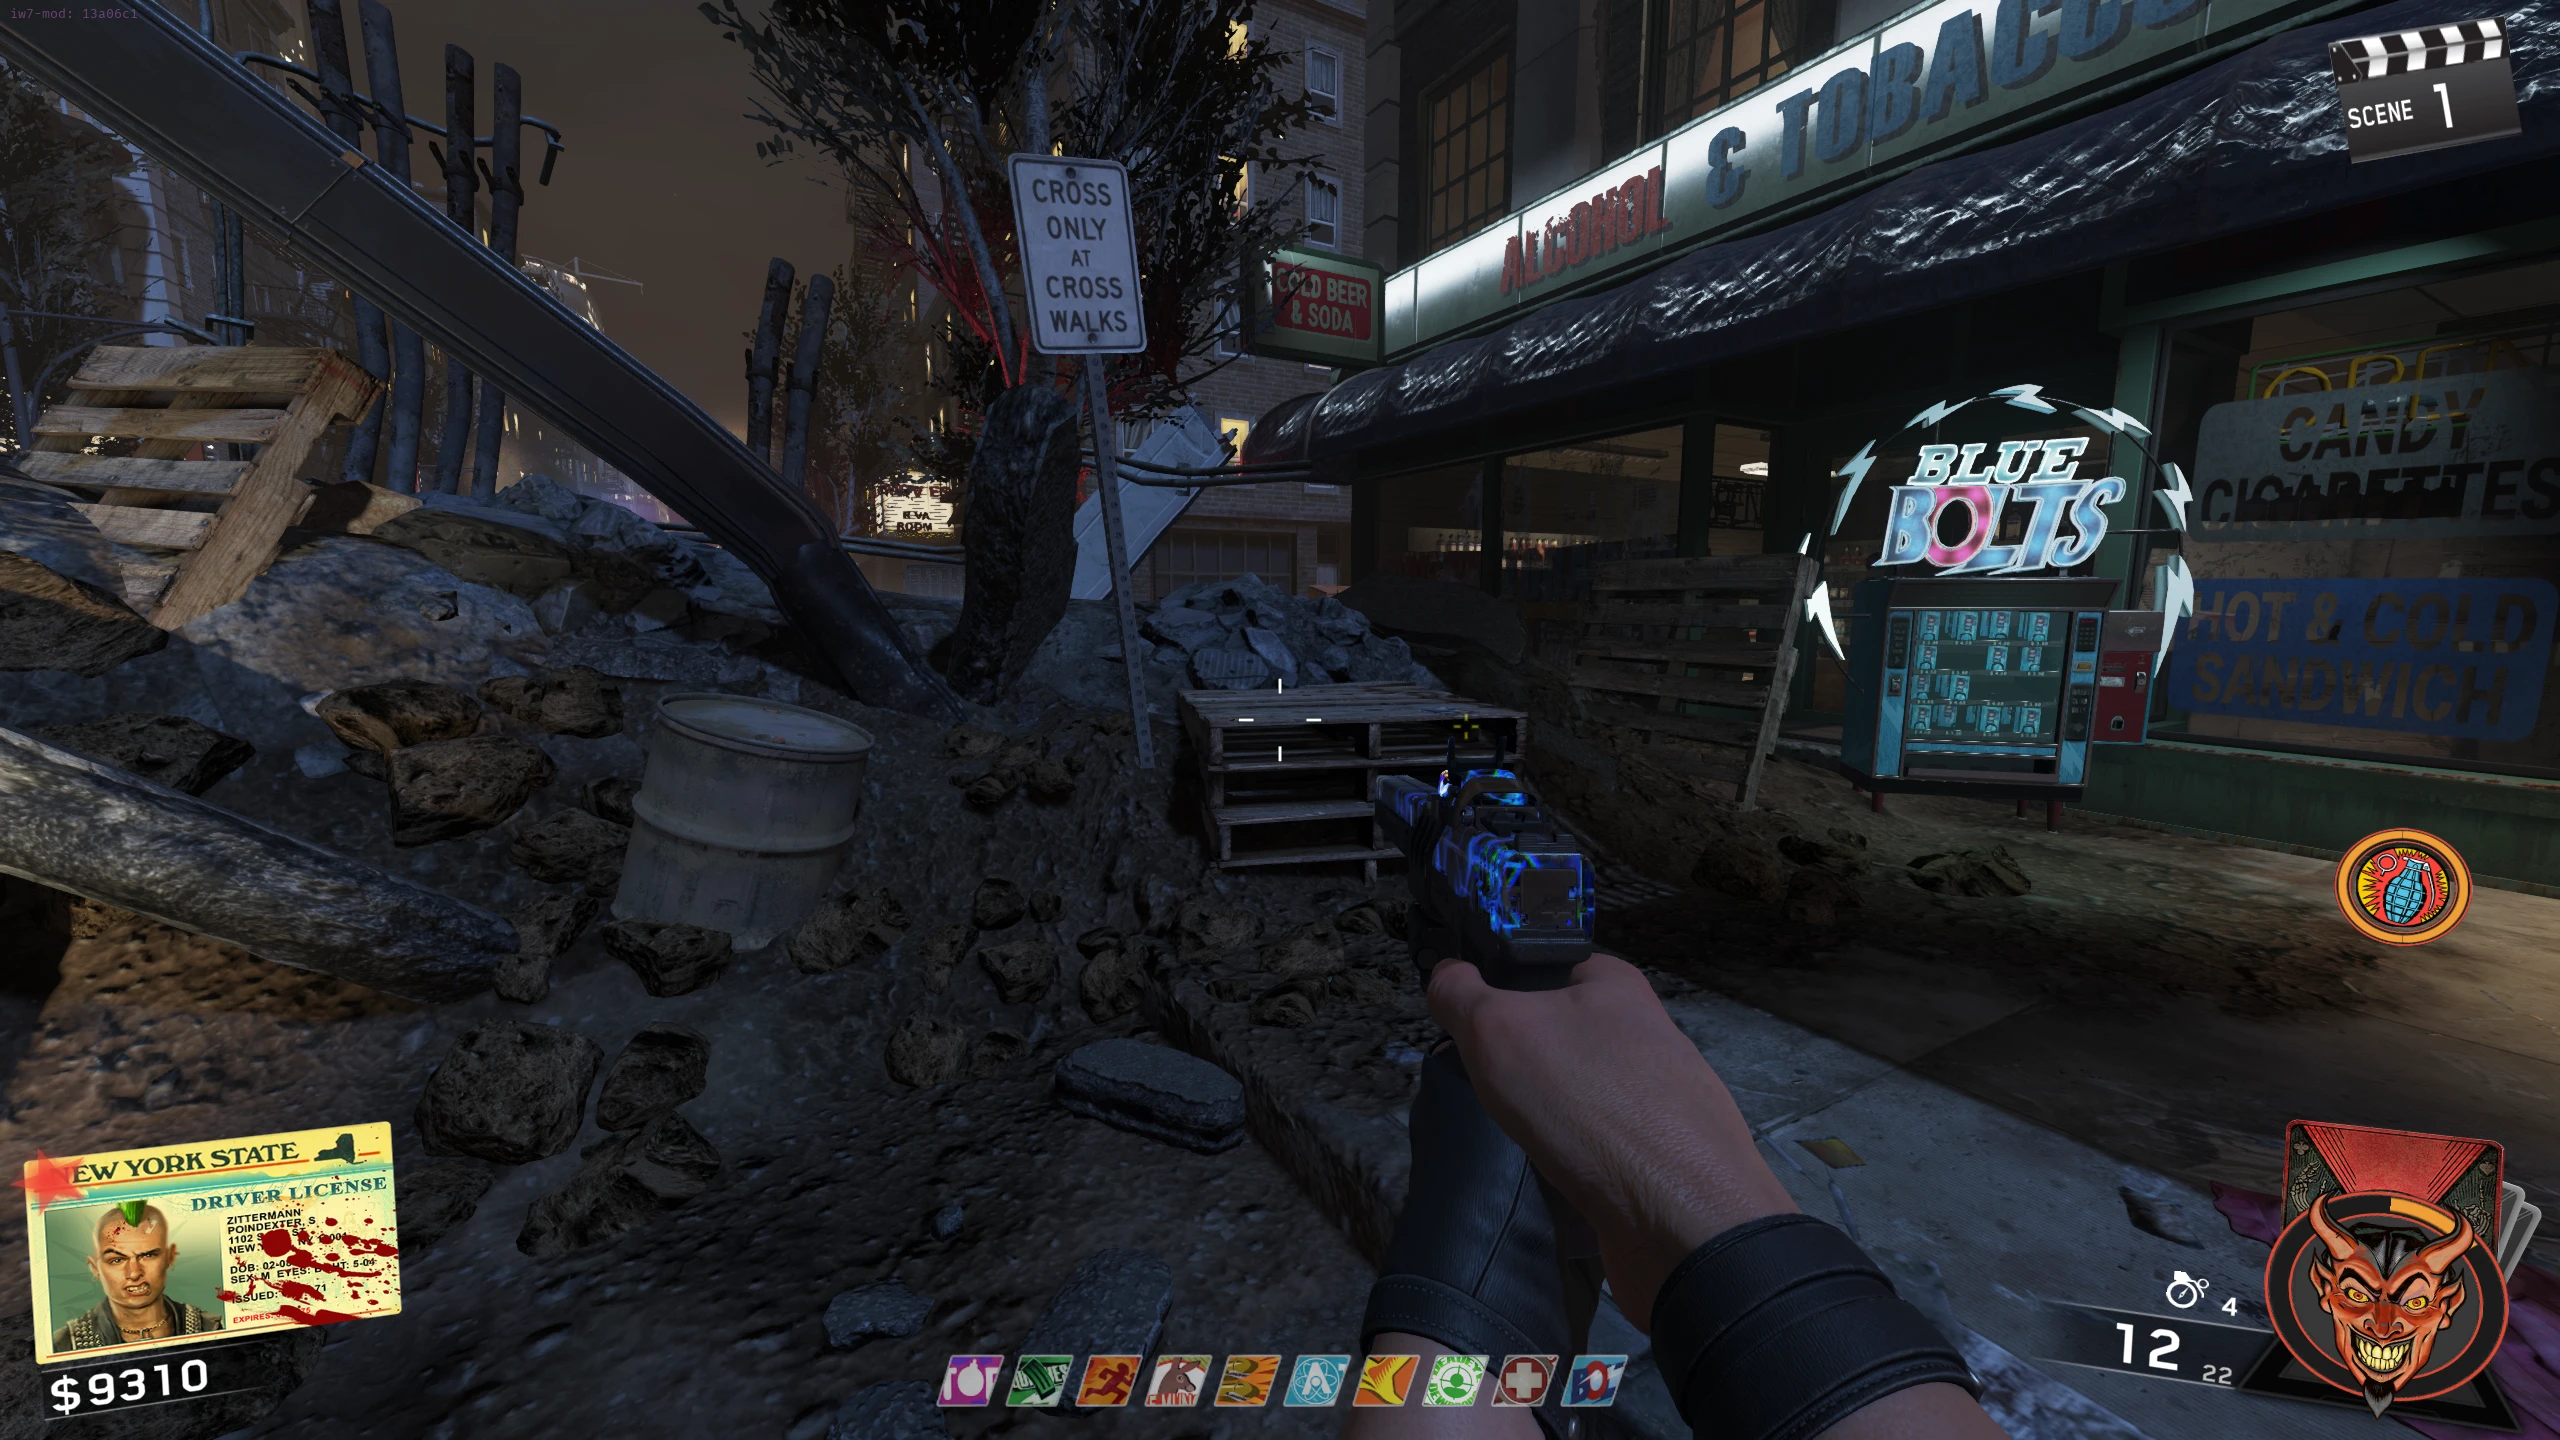
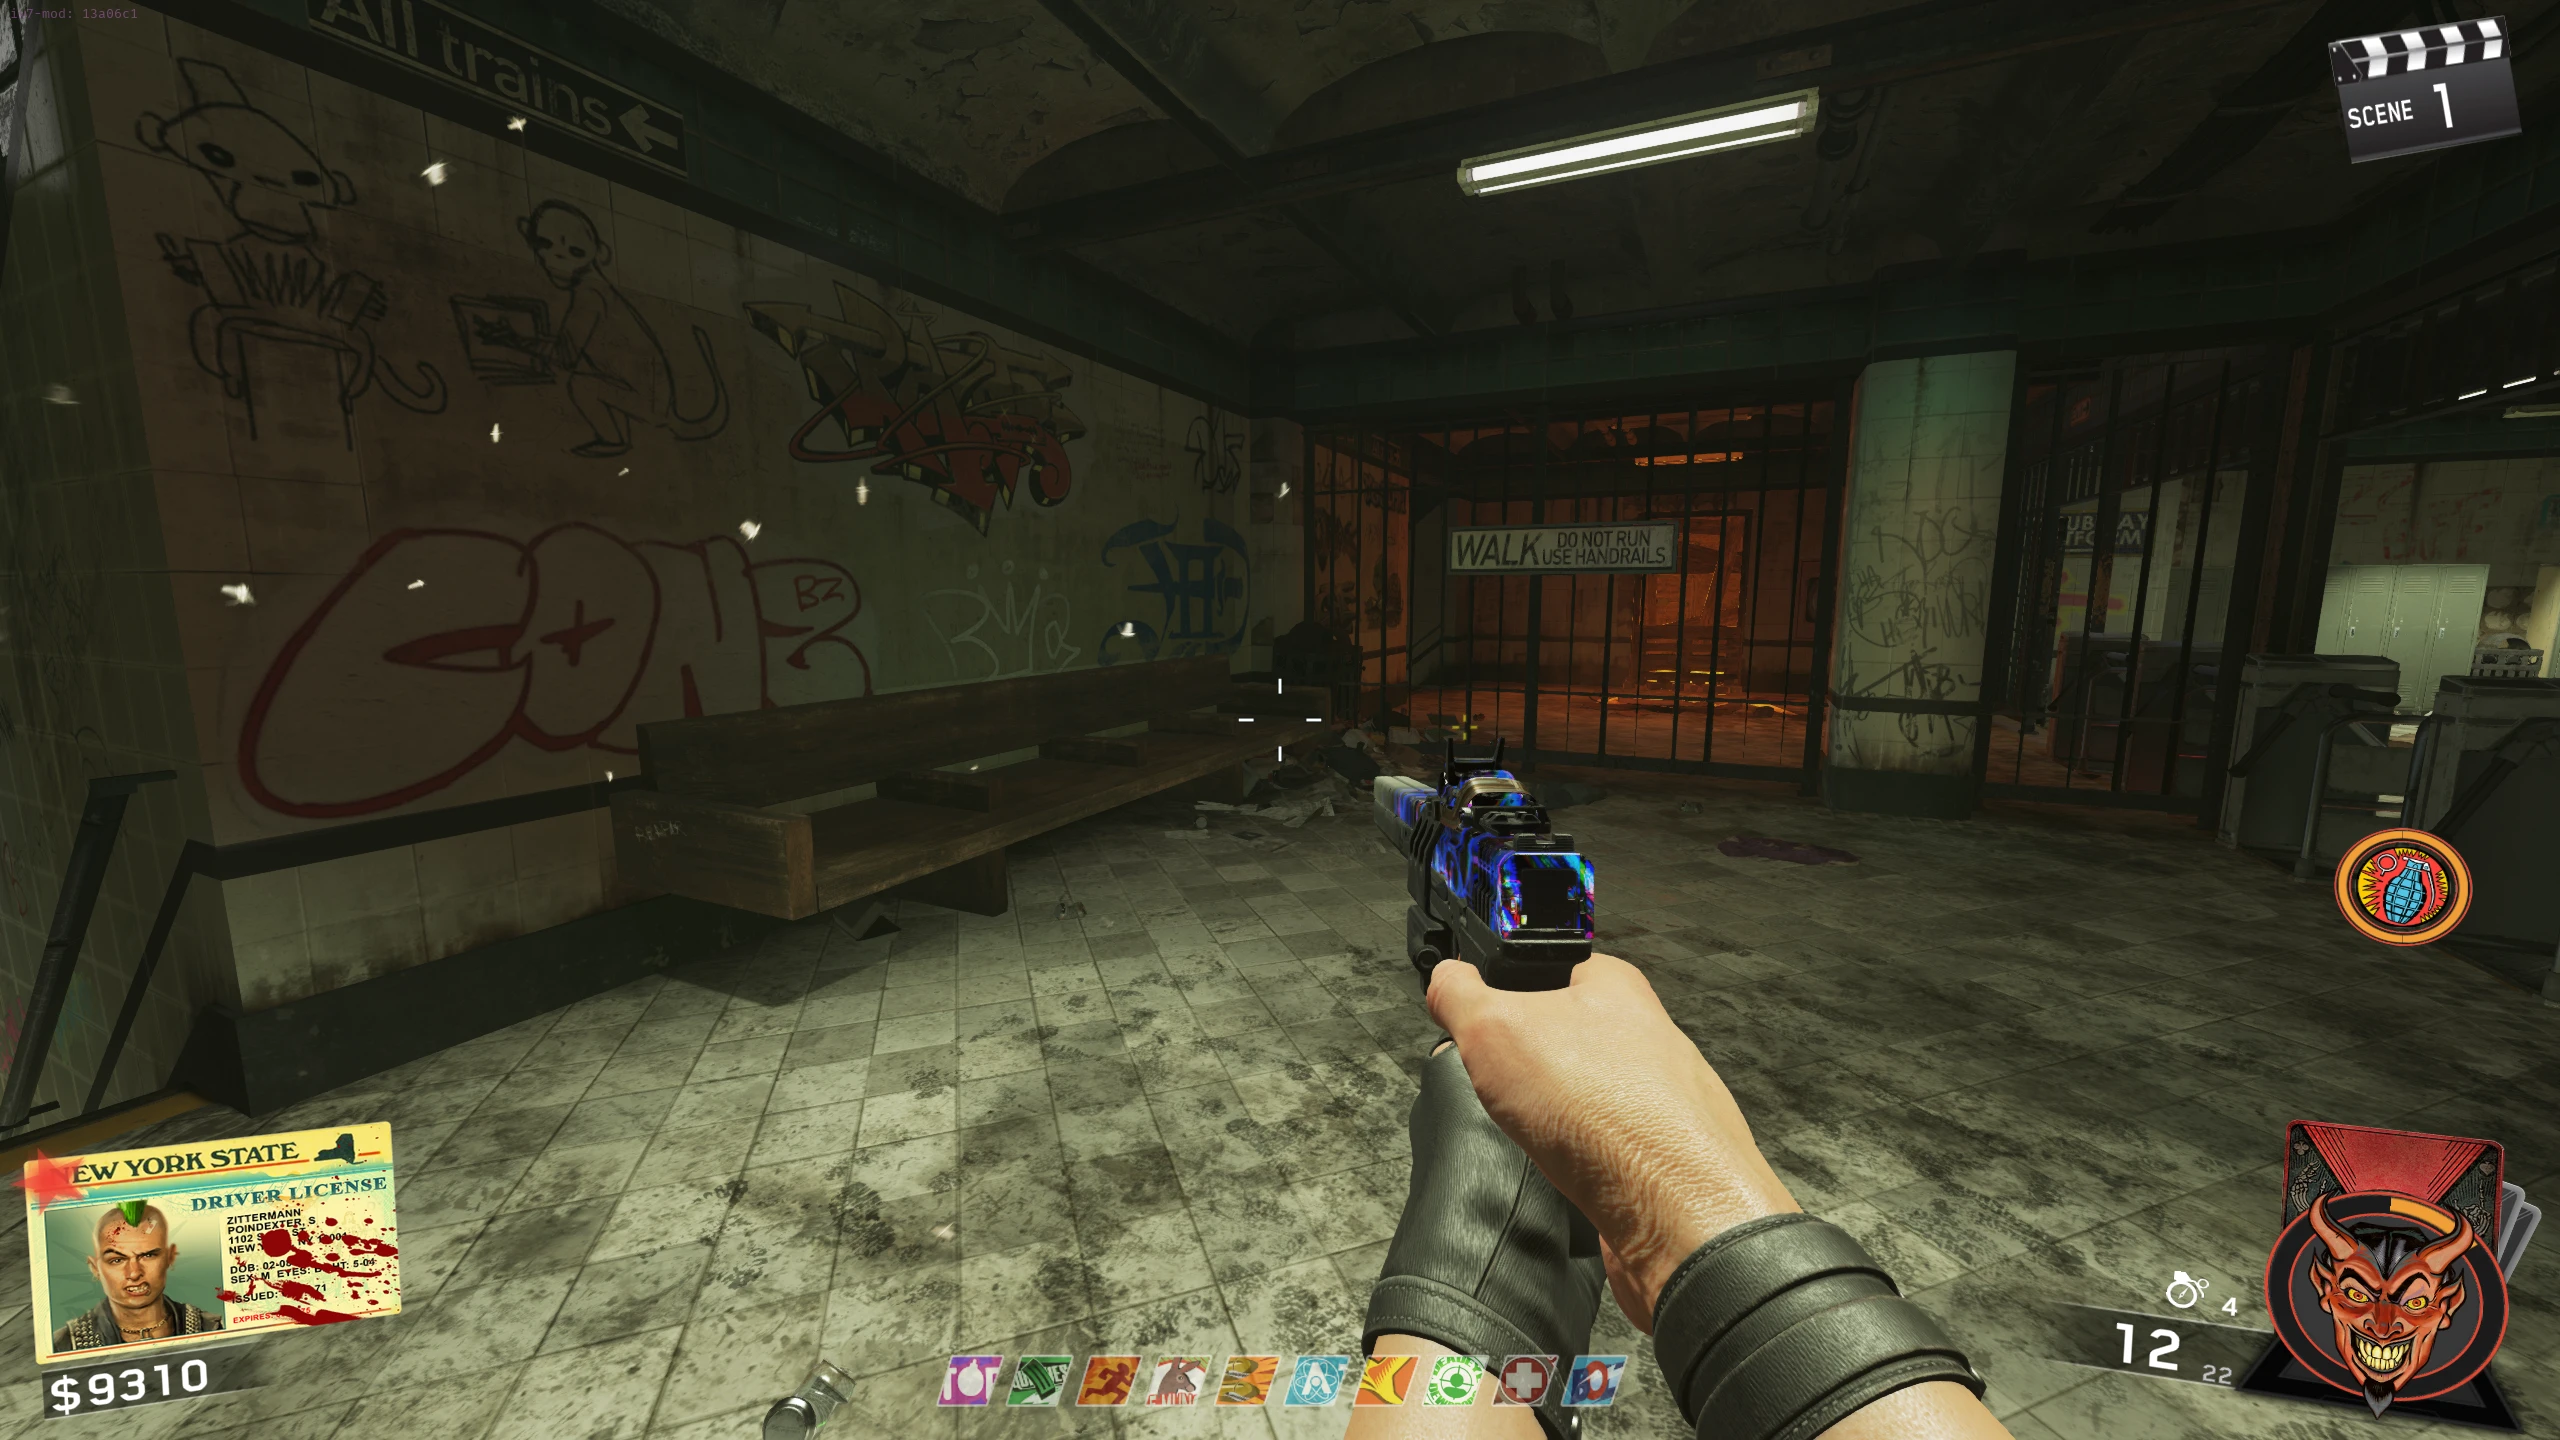
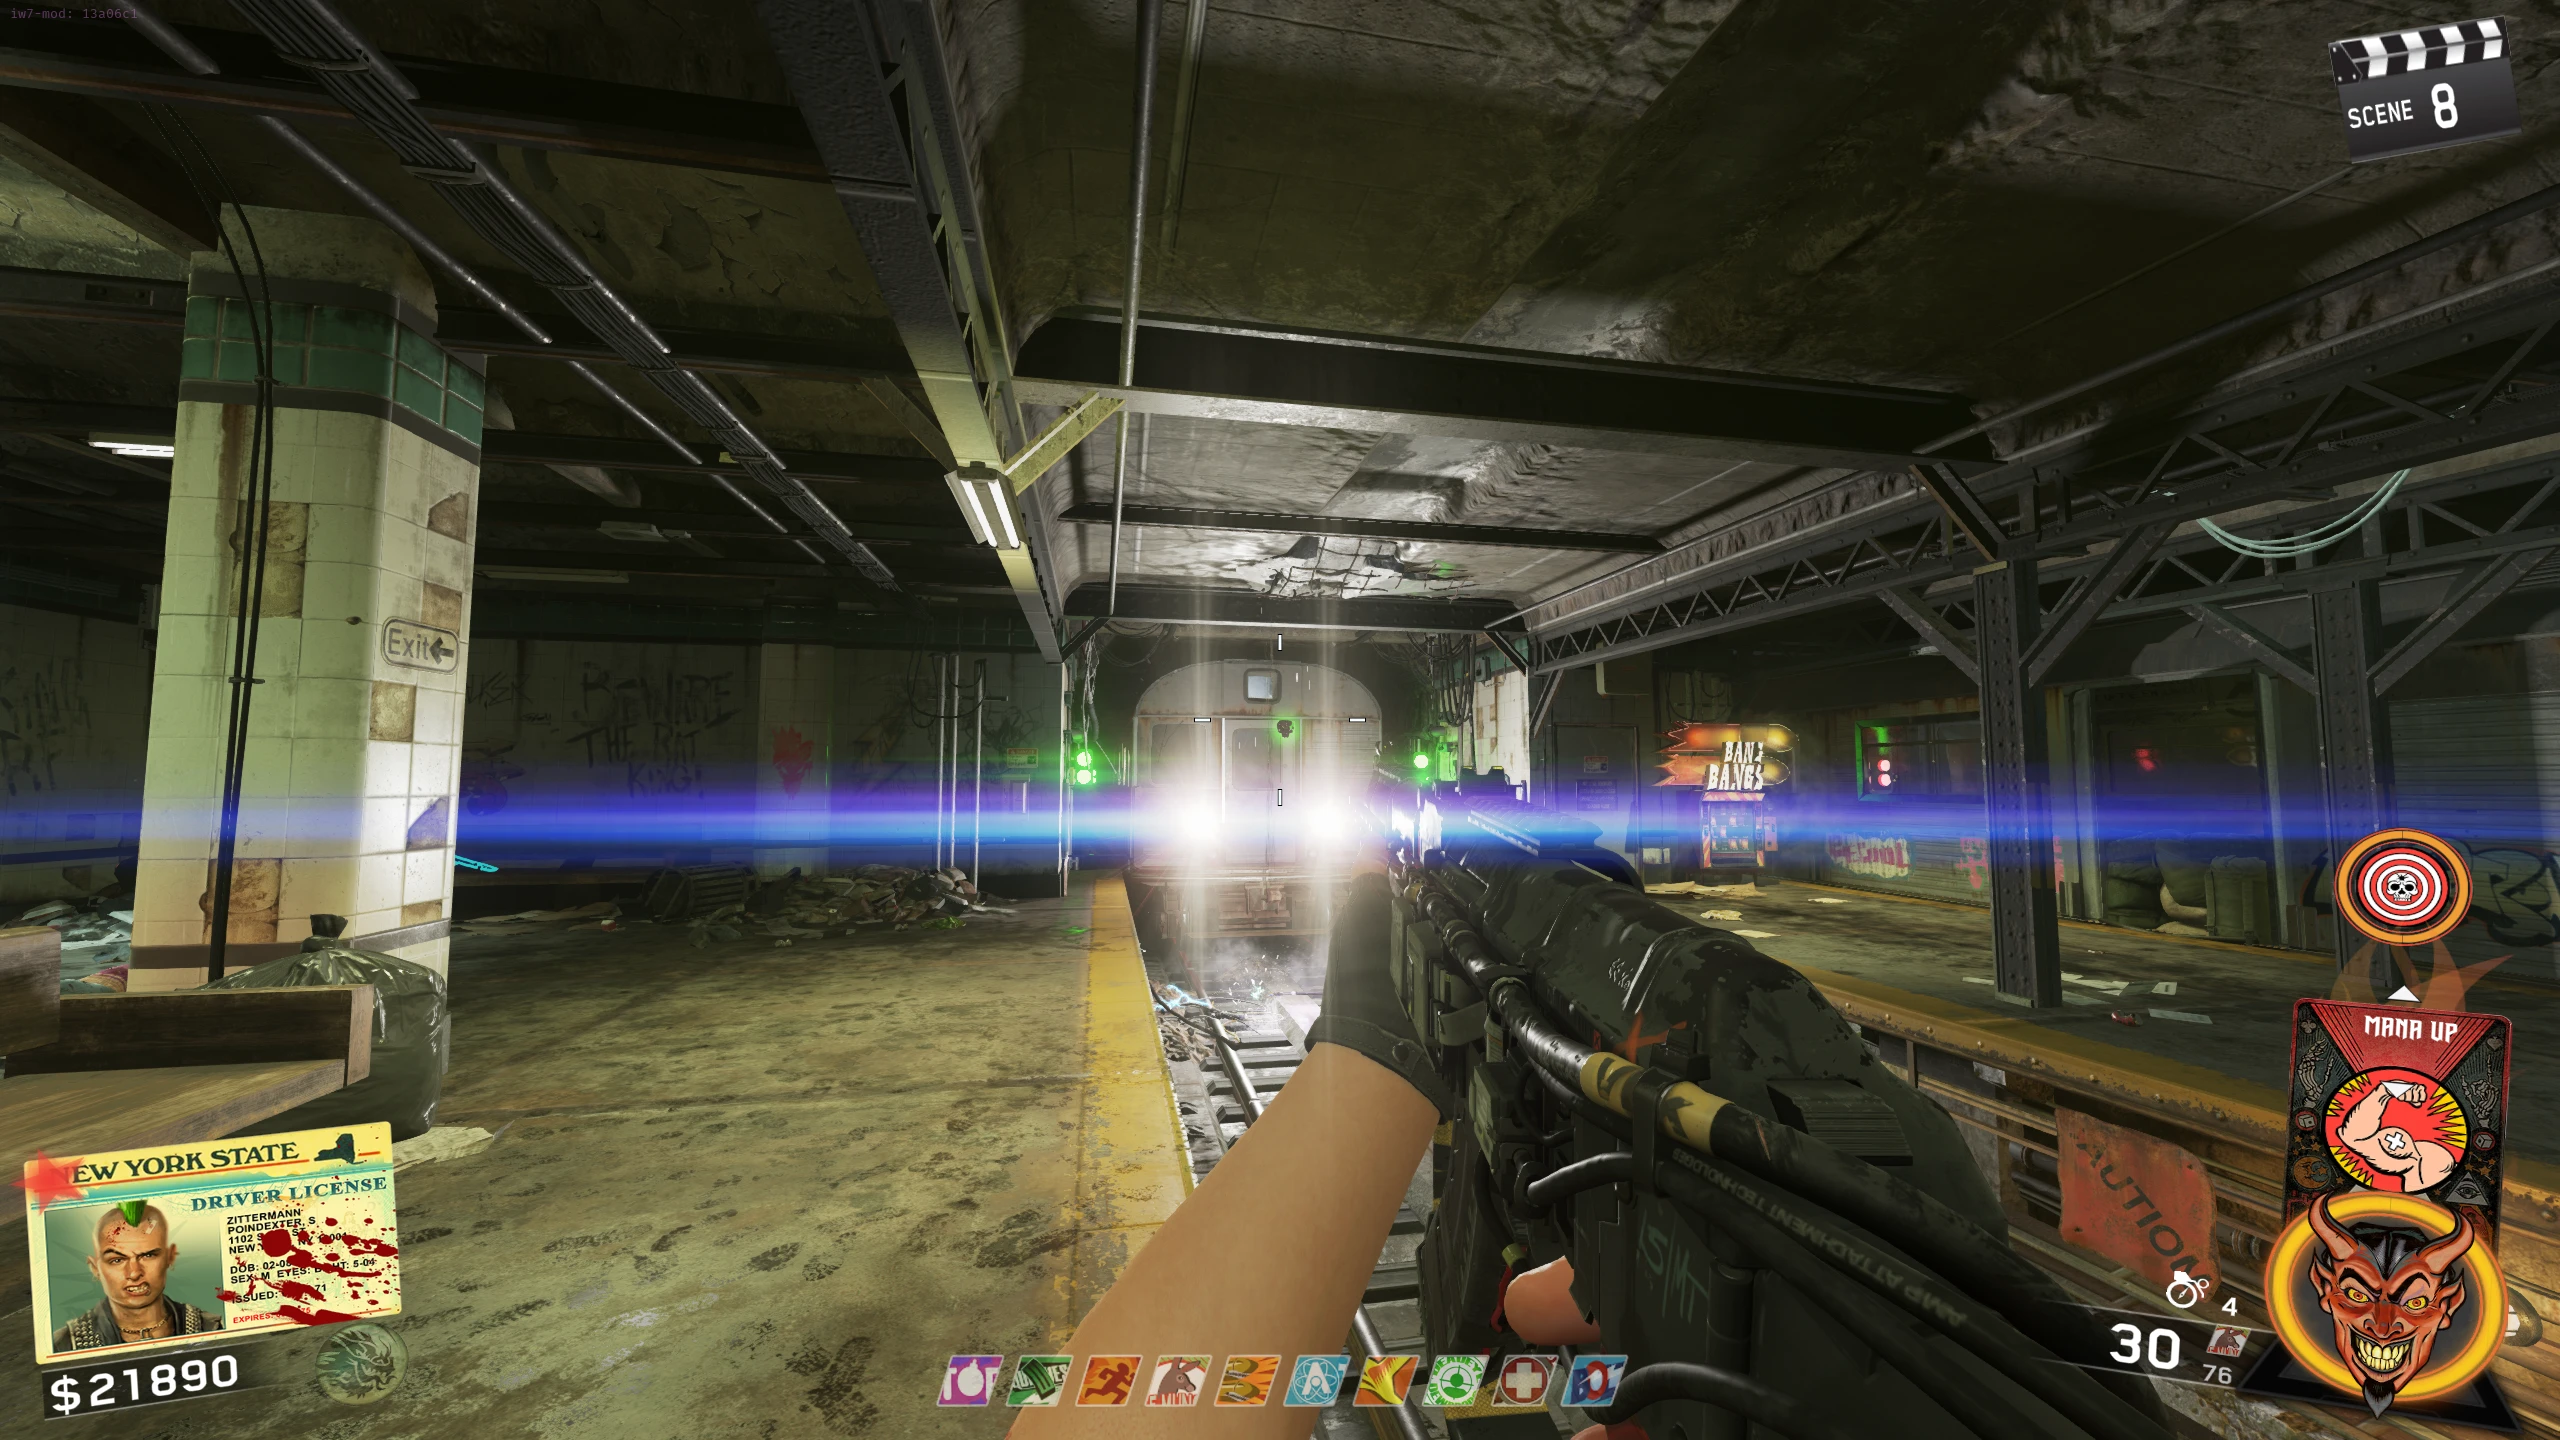
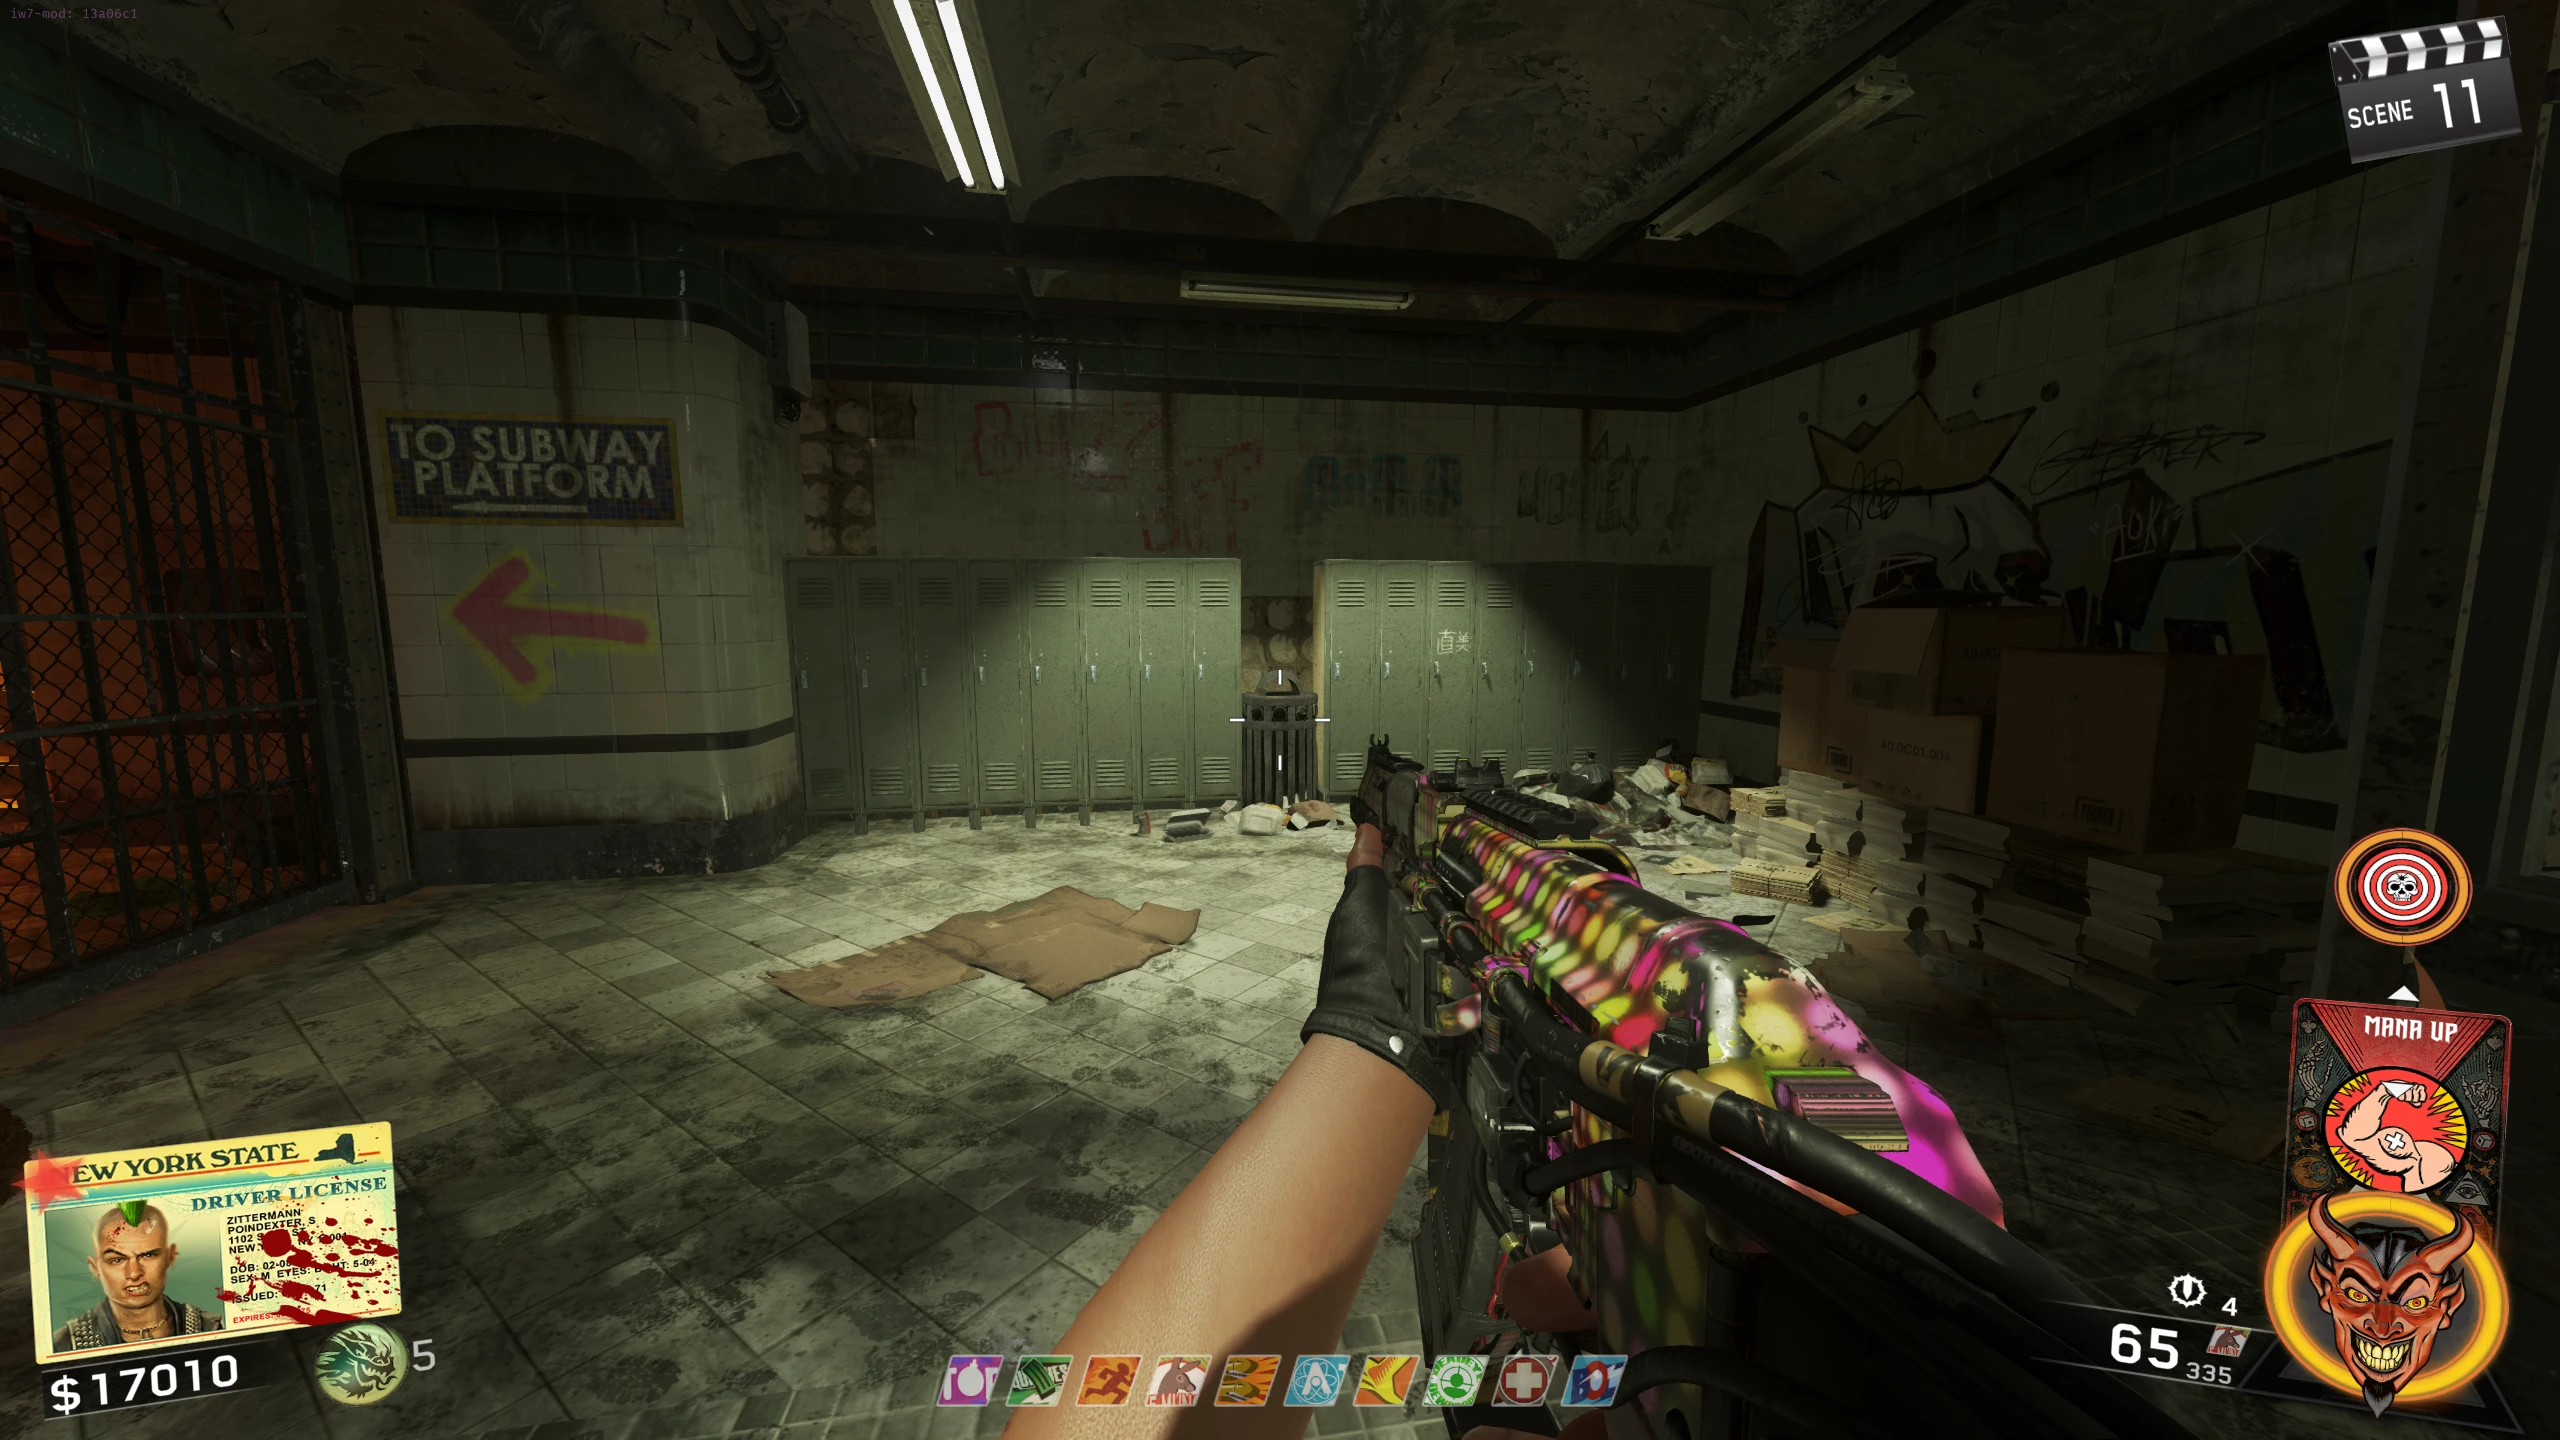
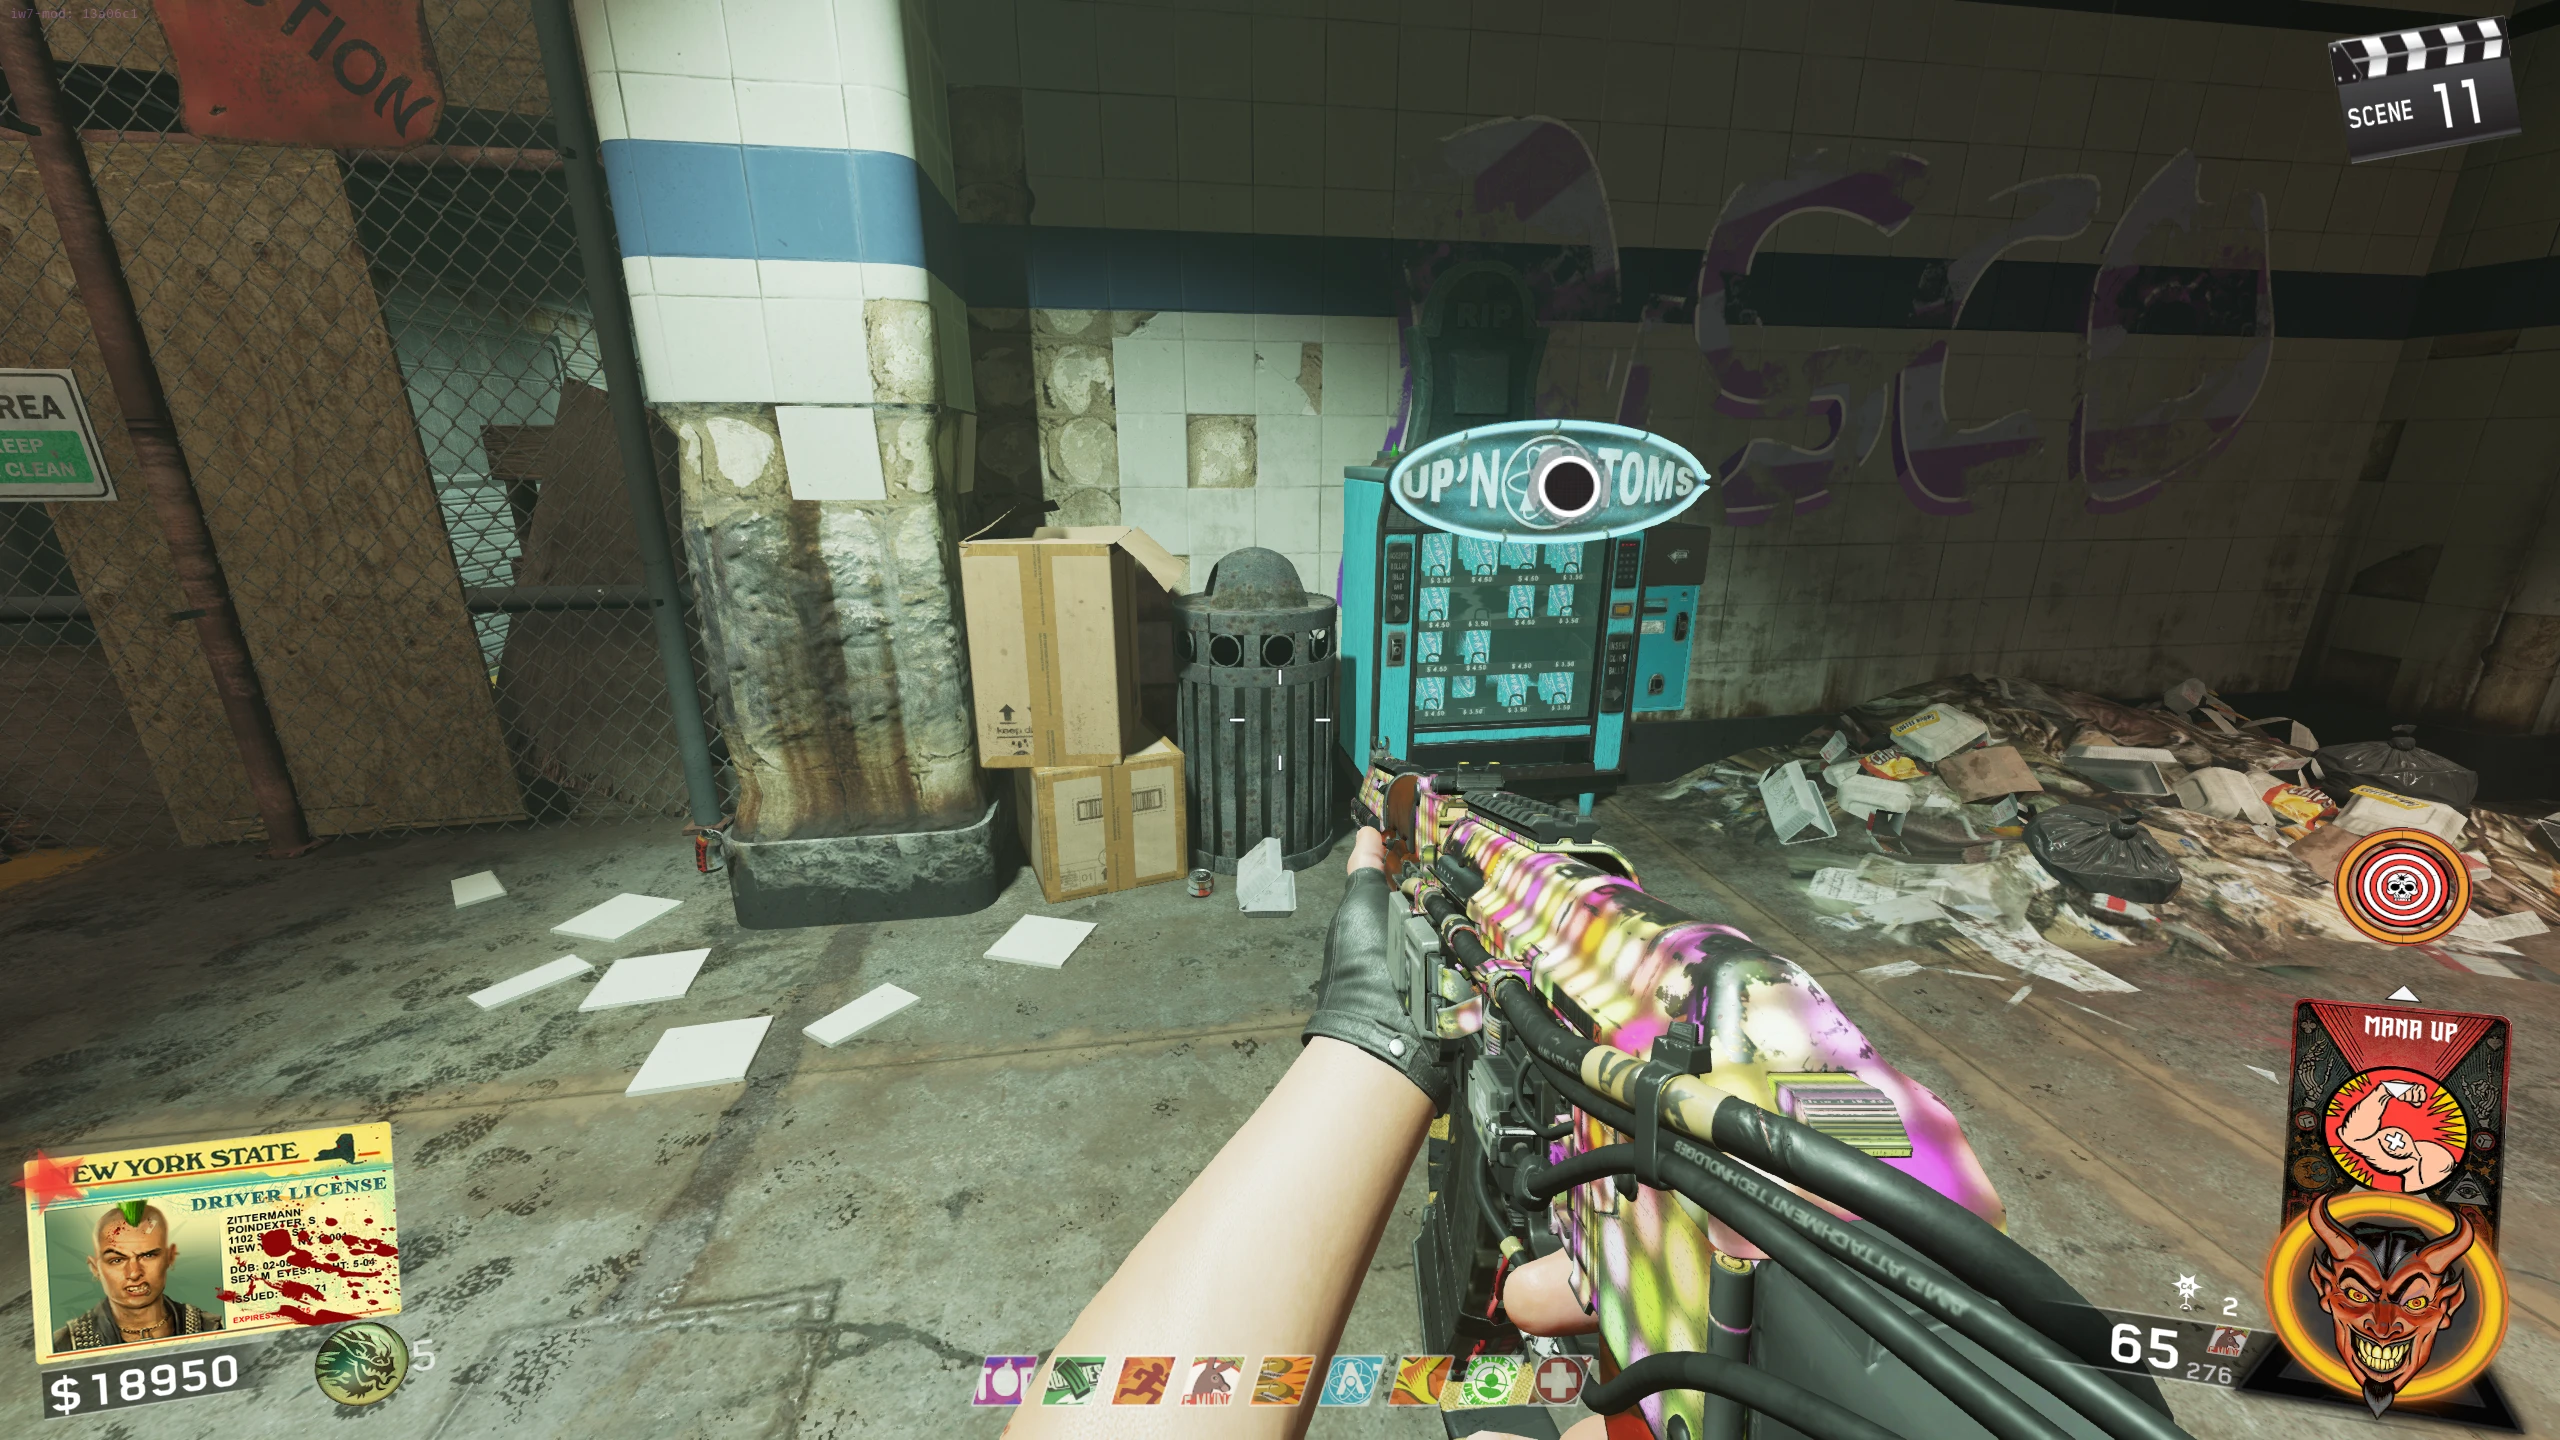
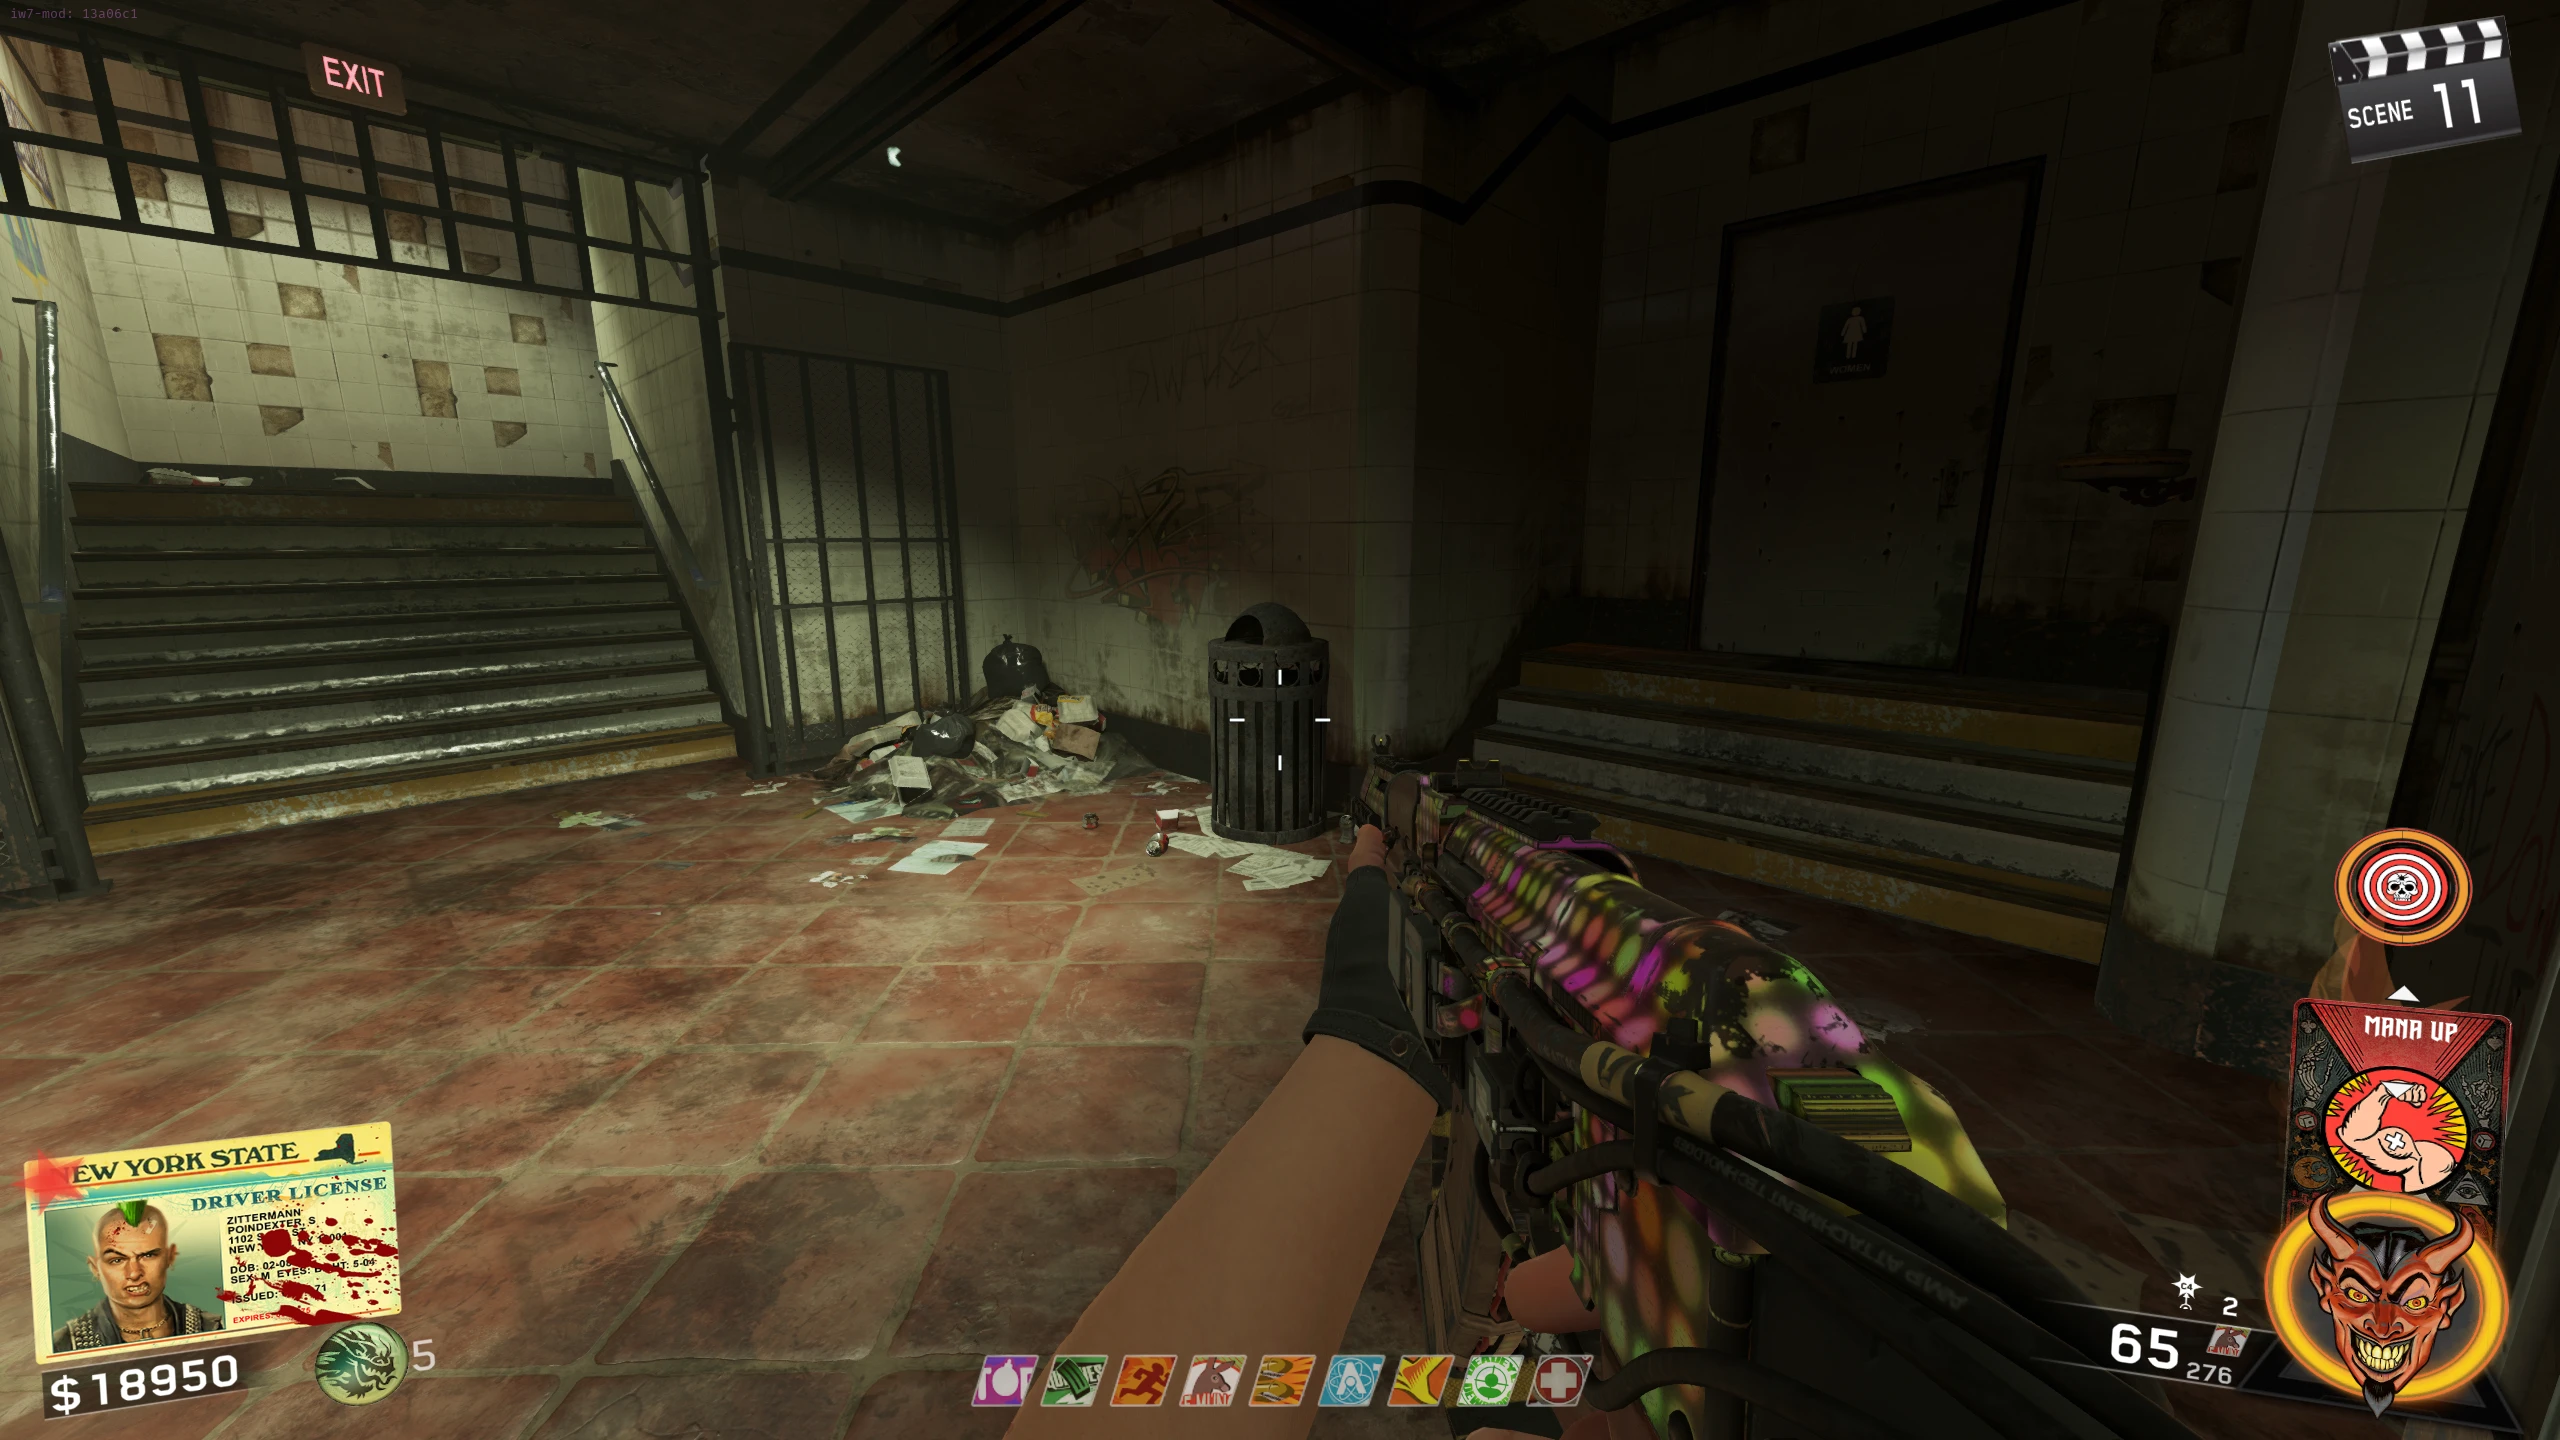
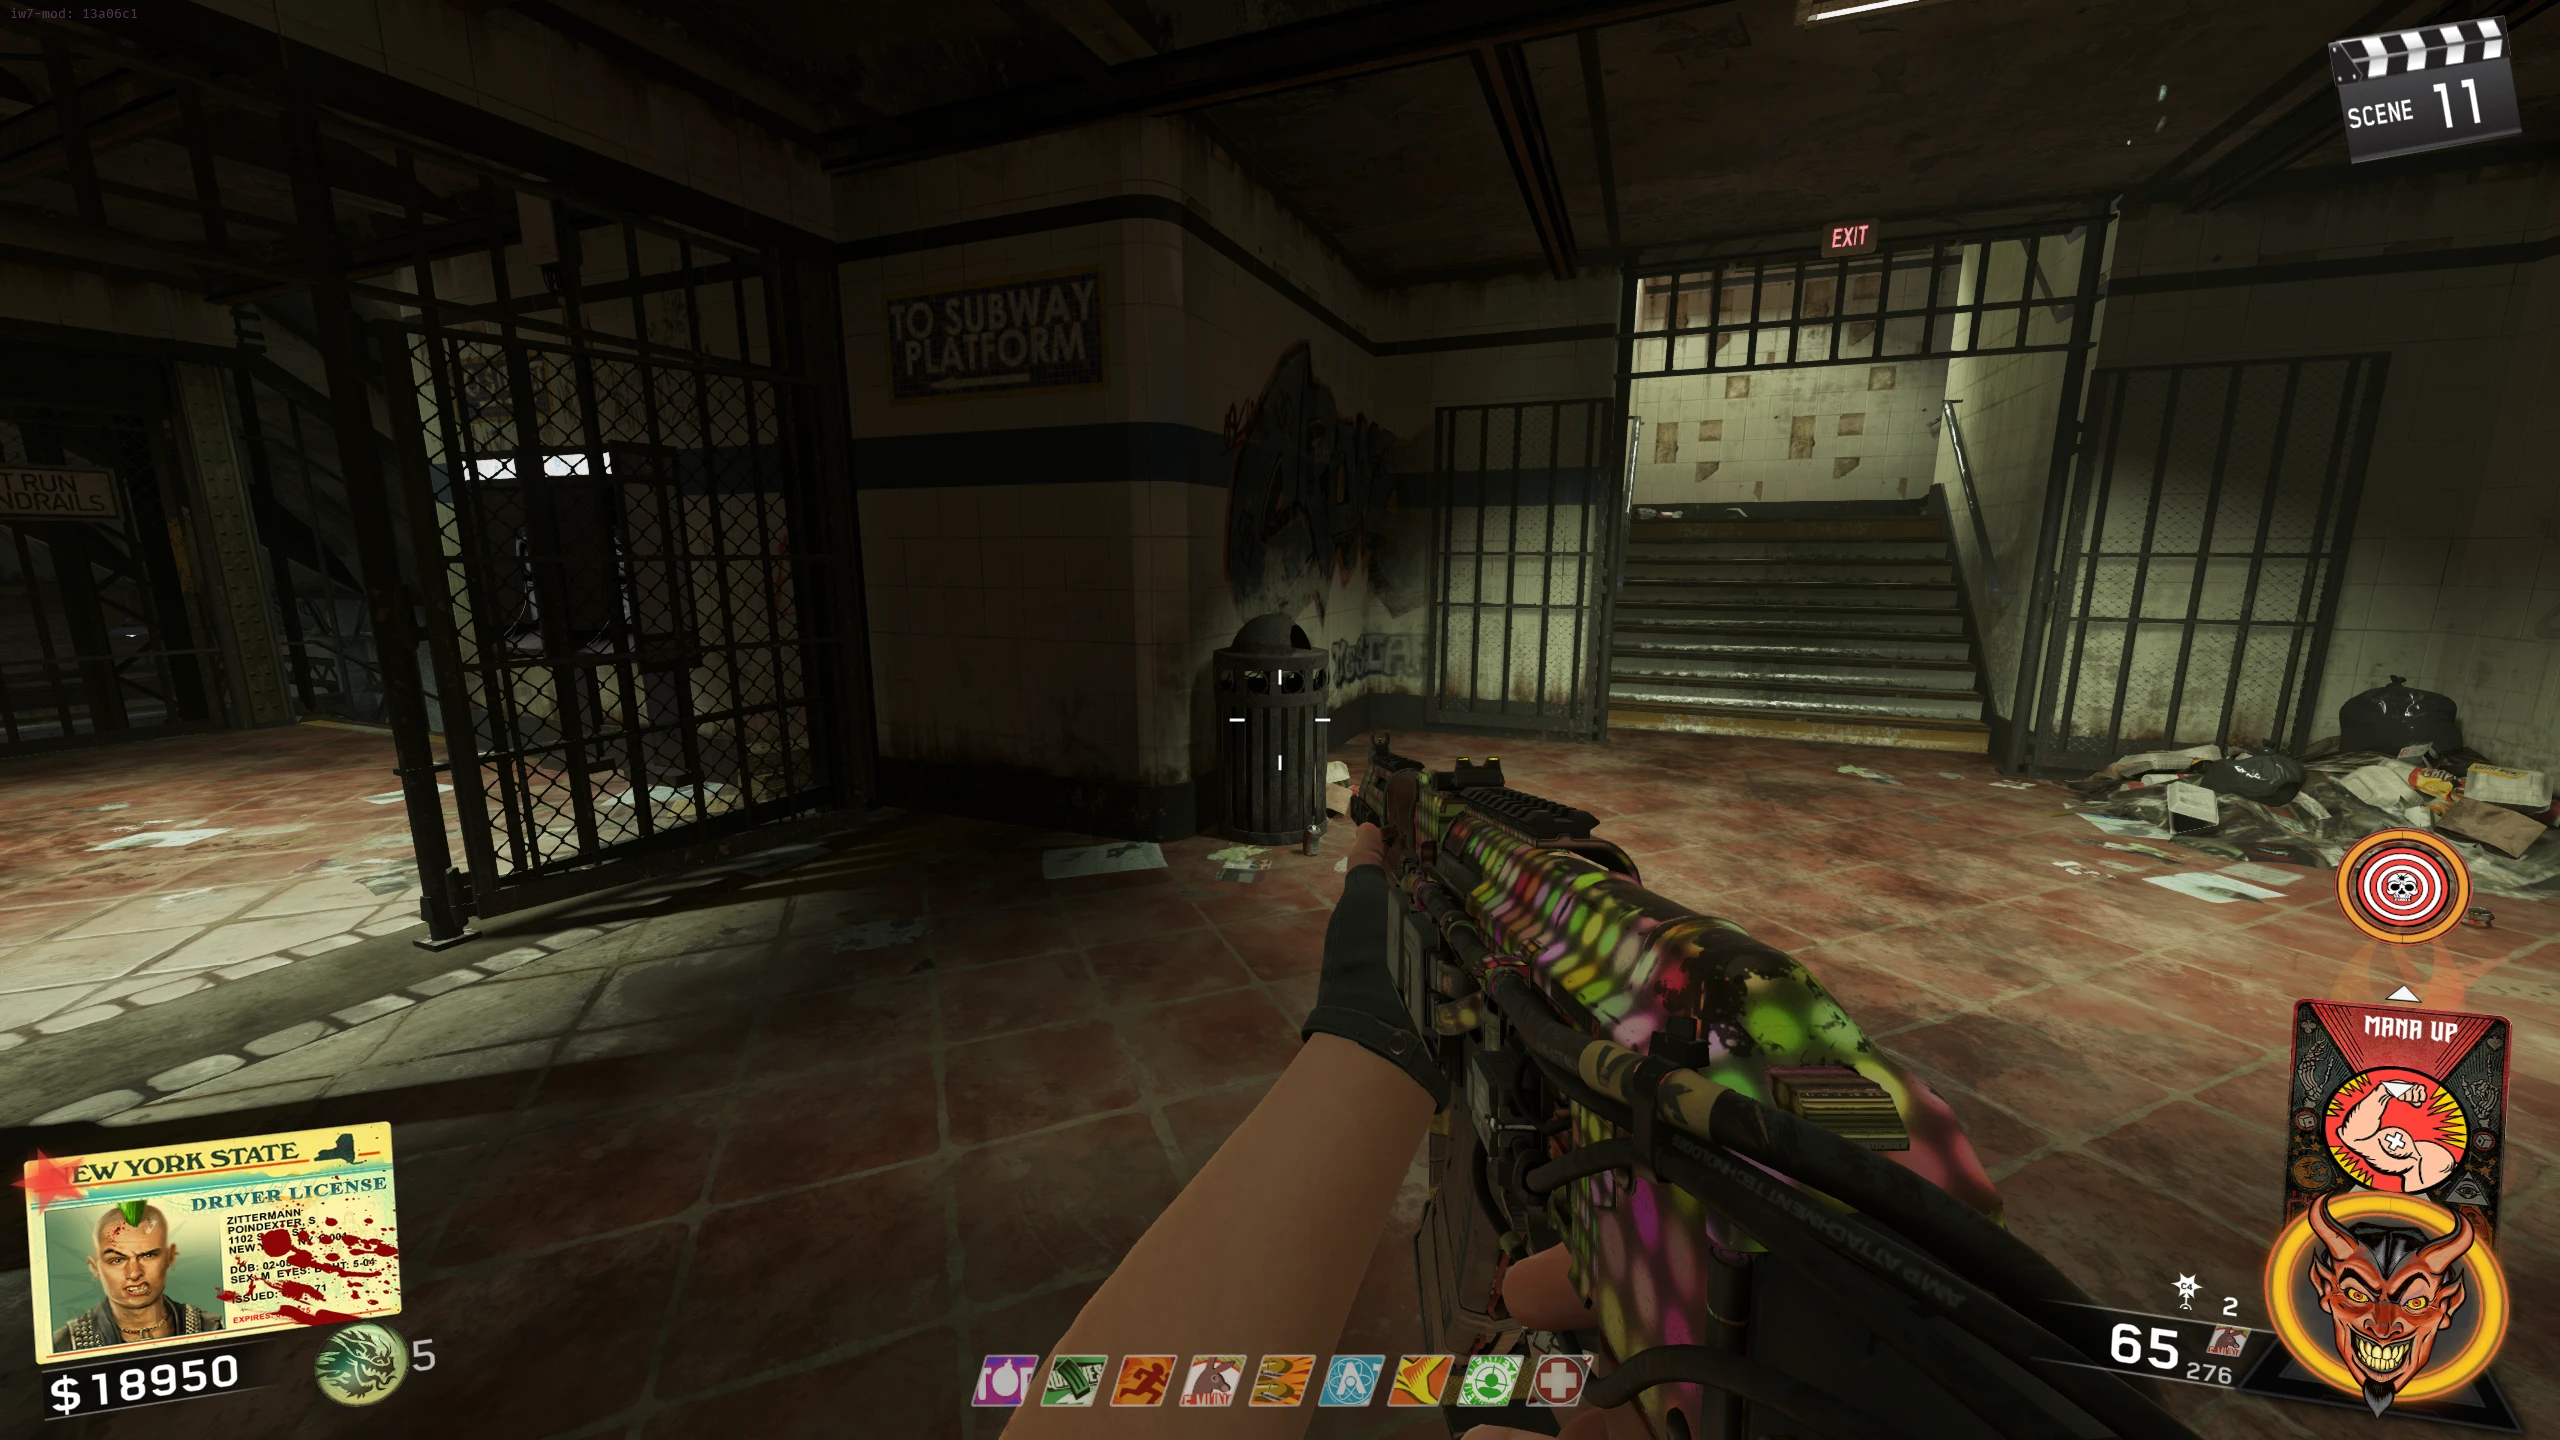
- In the Bang Bangs Subway Station, interact with the locker with symbols on it to open it.
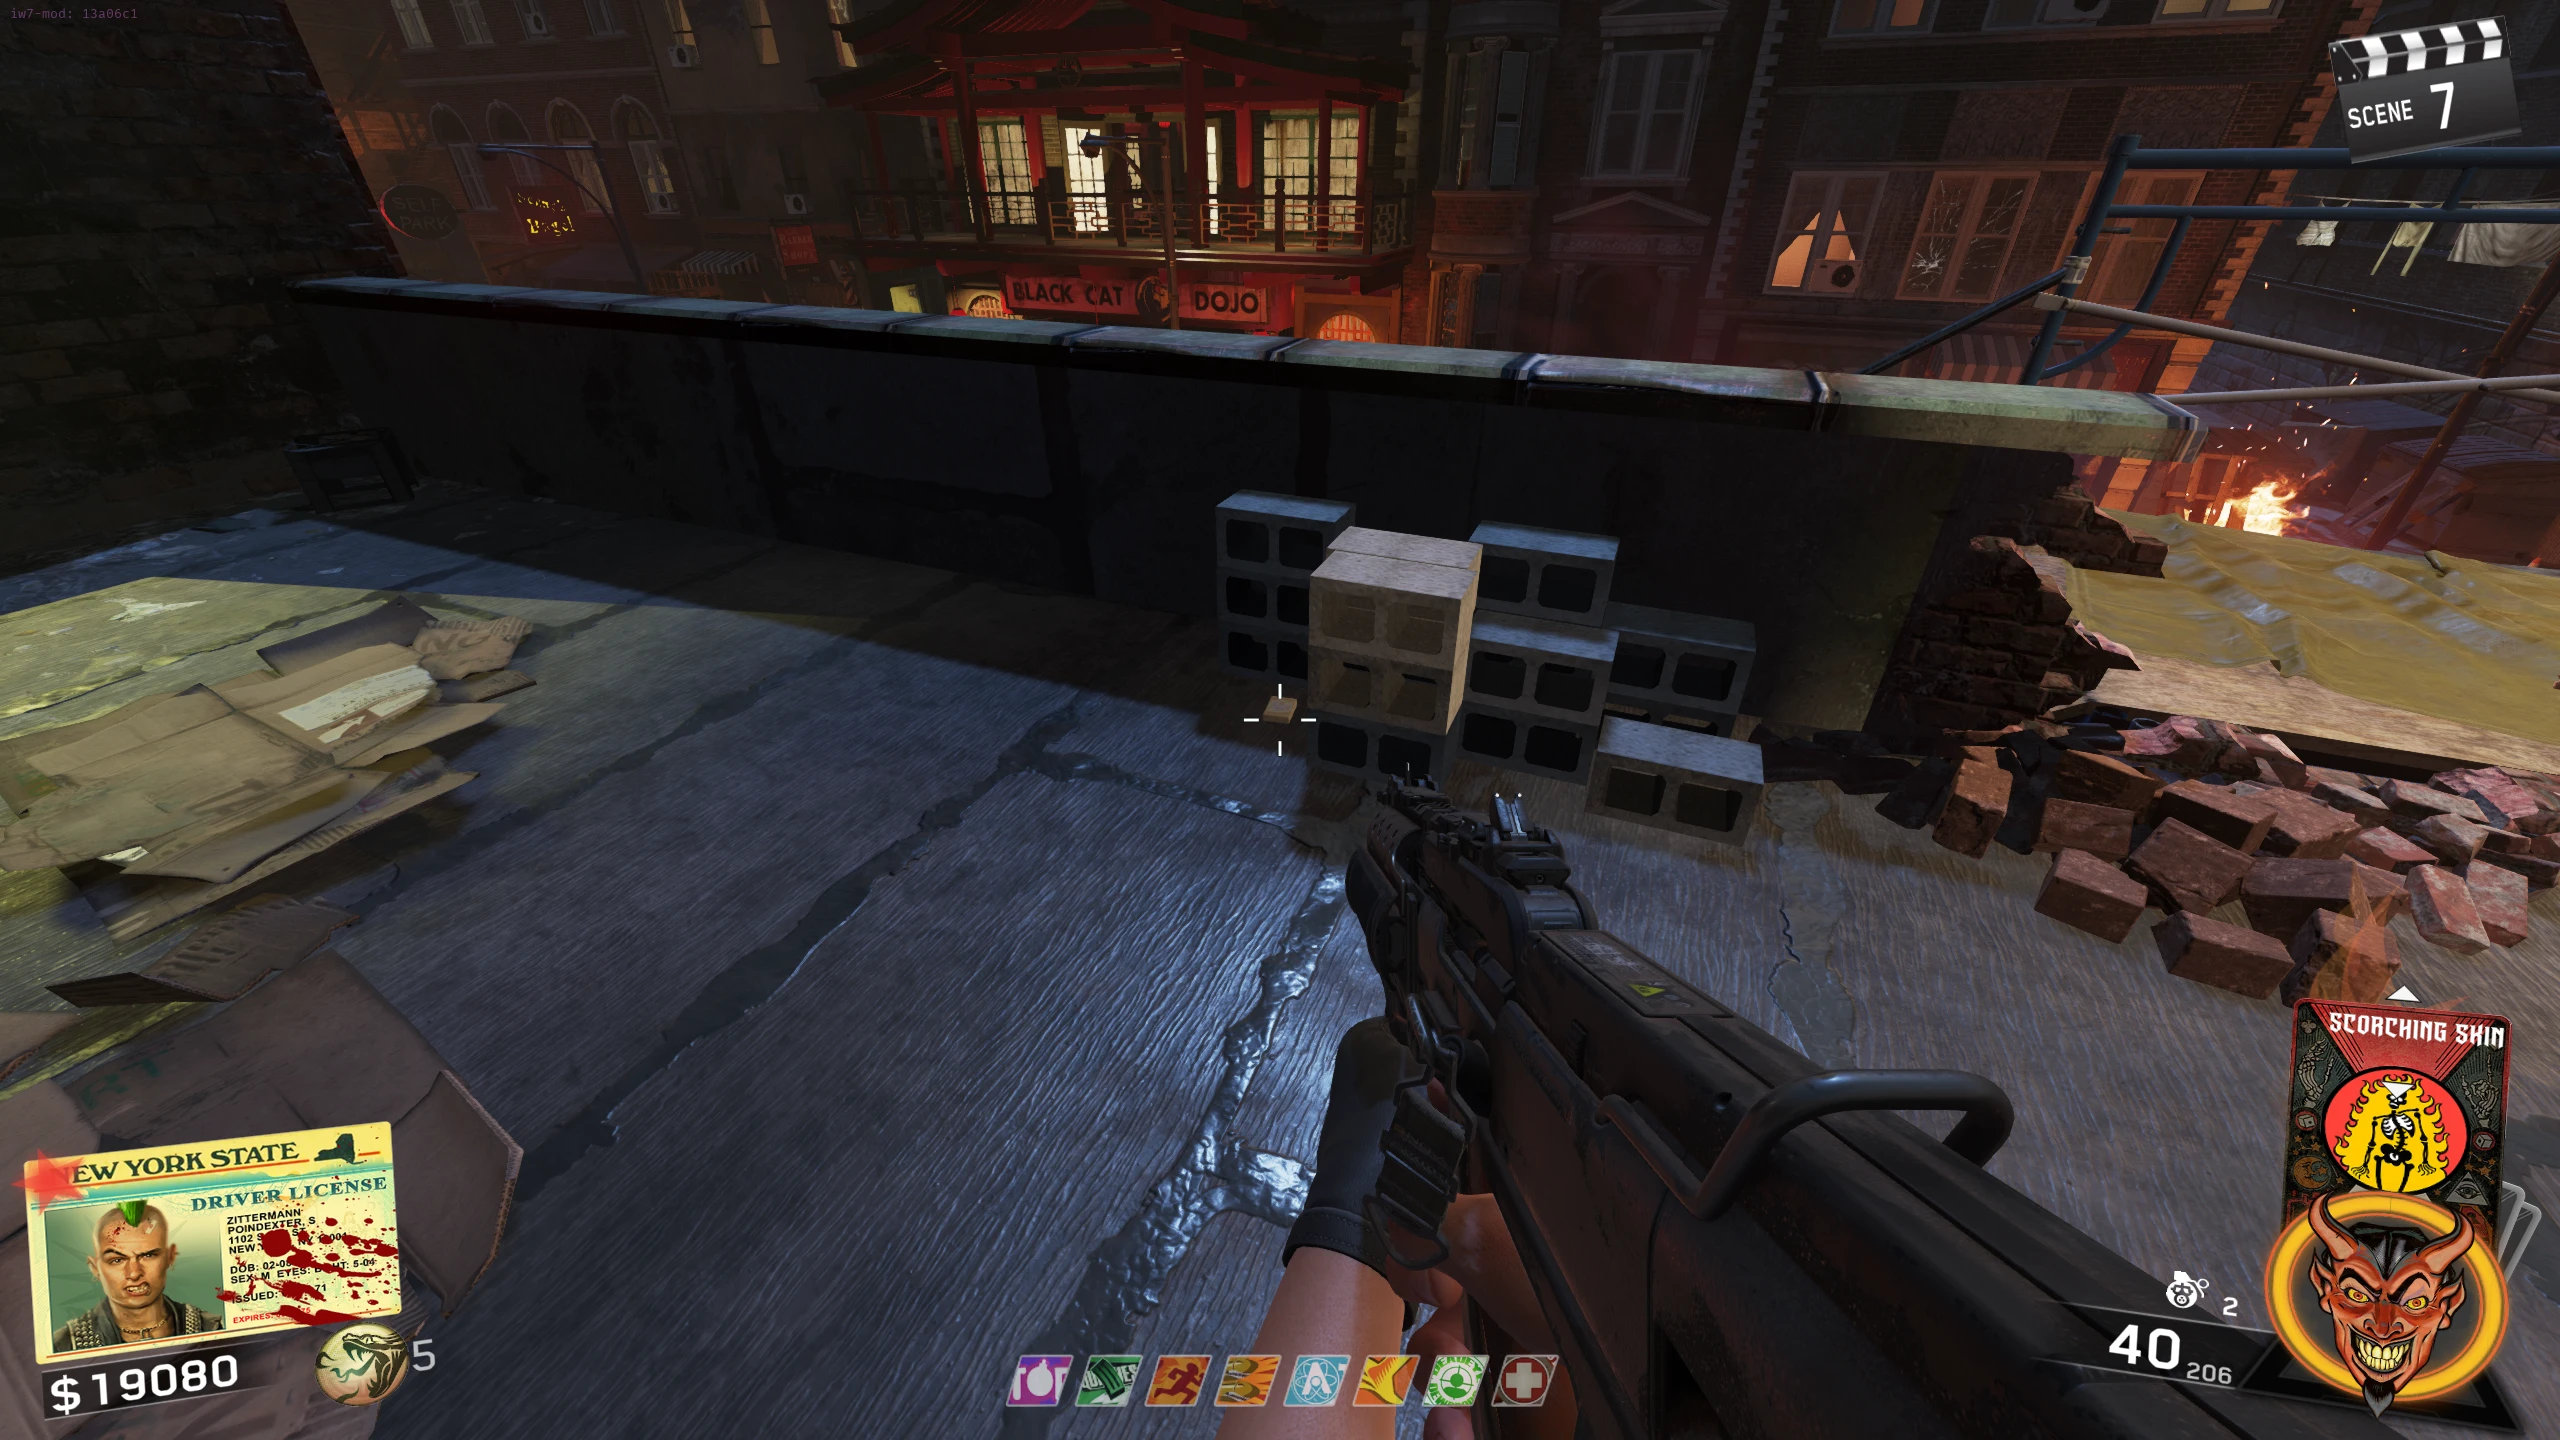
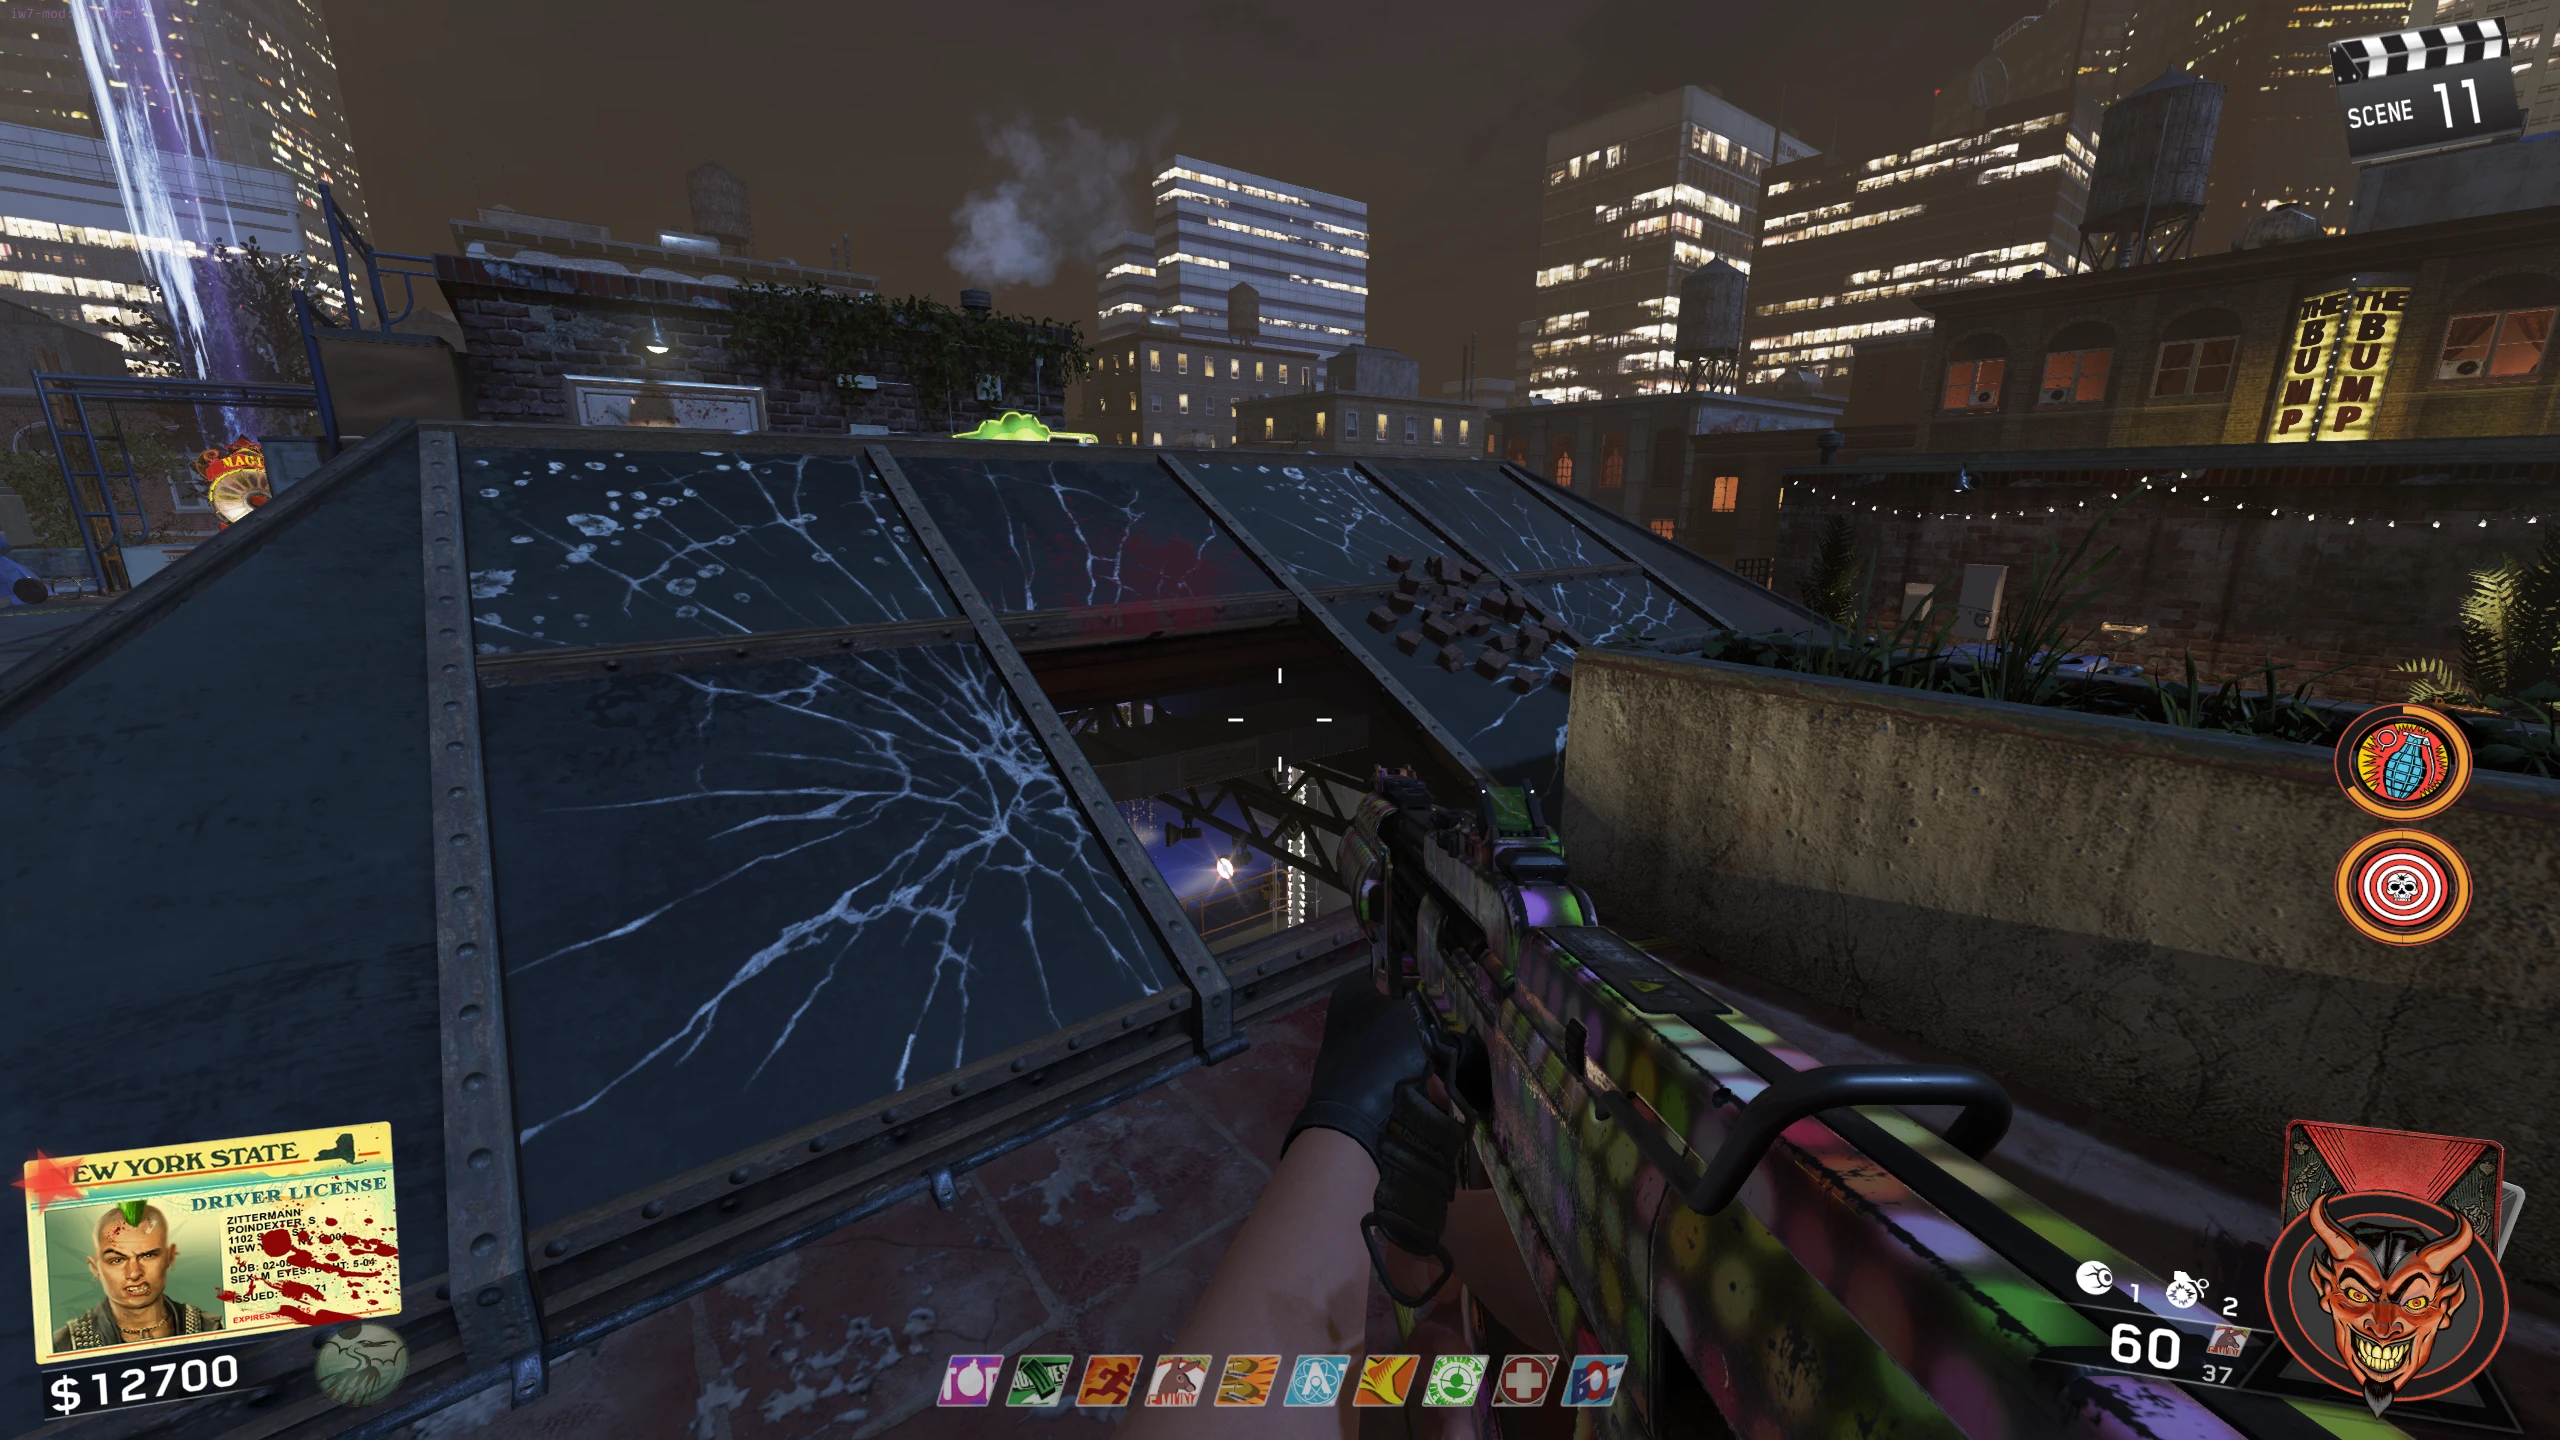
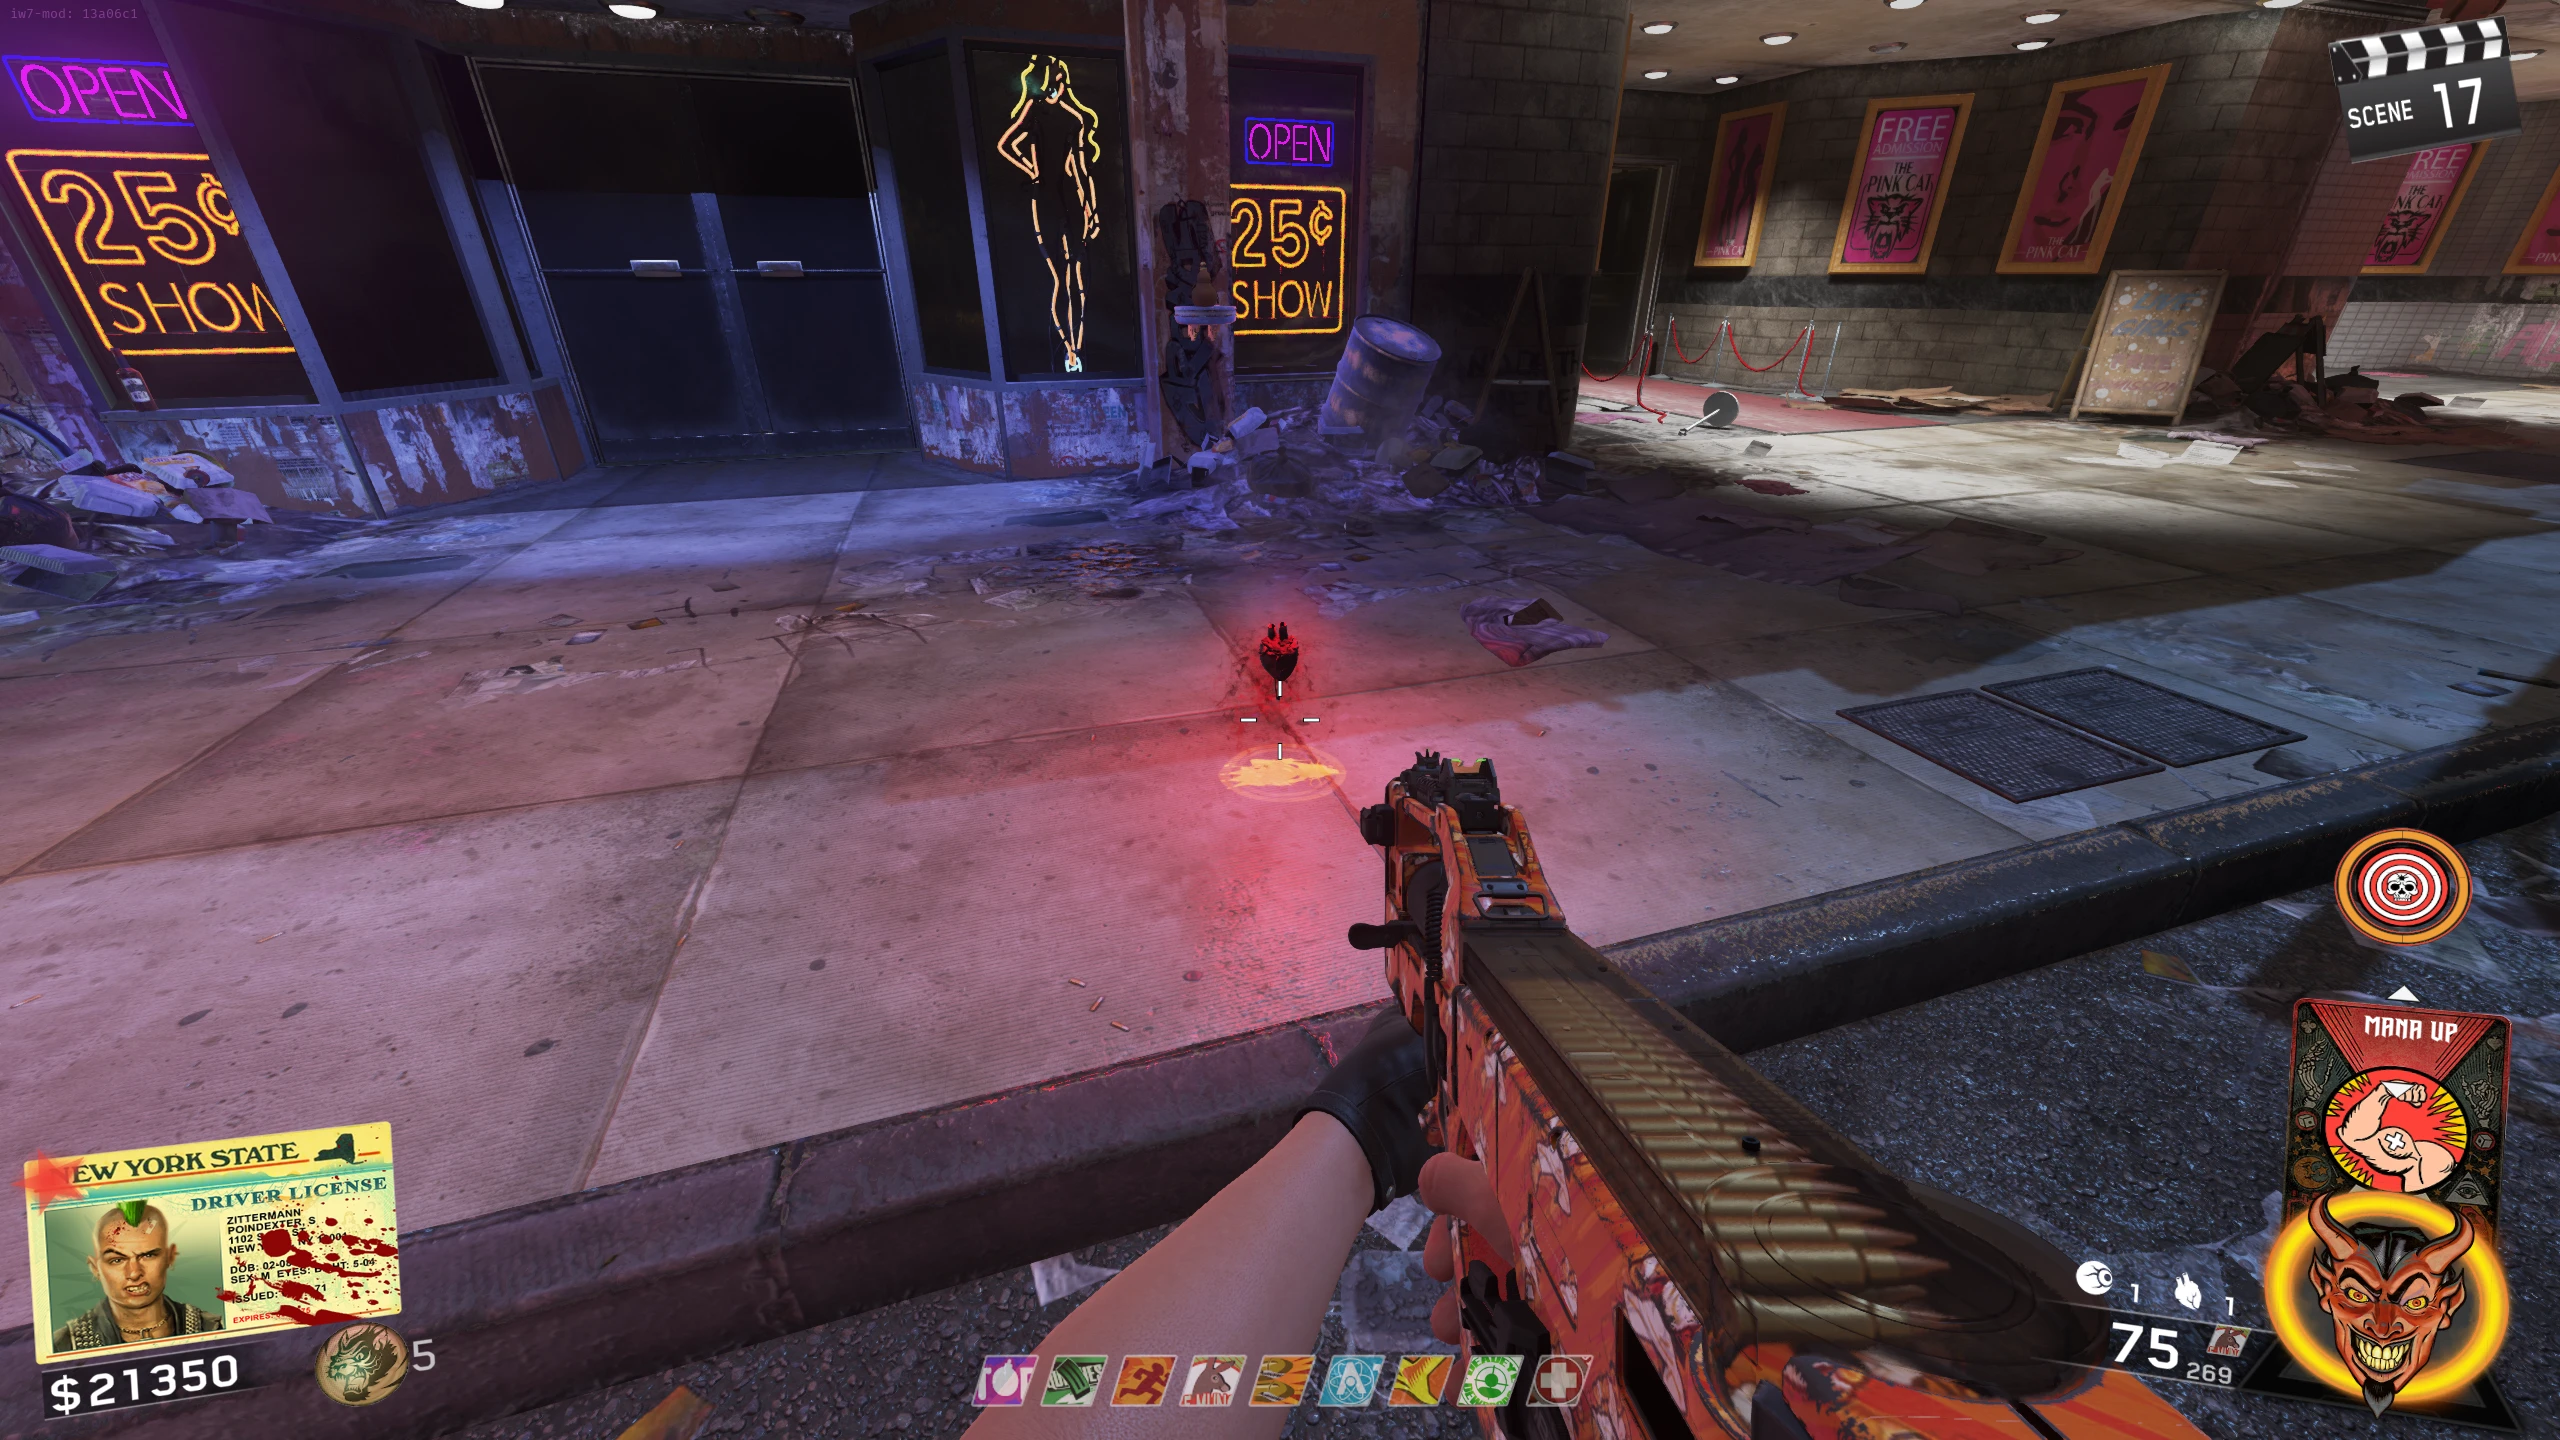
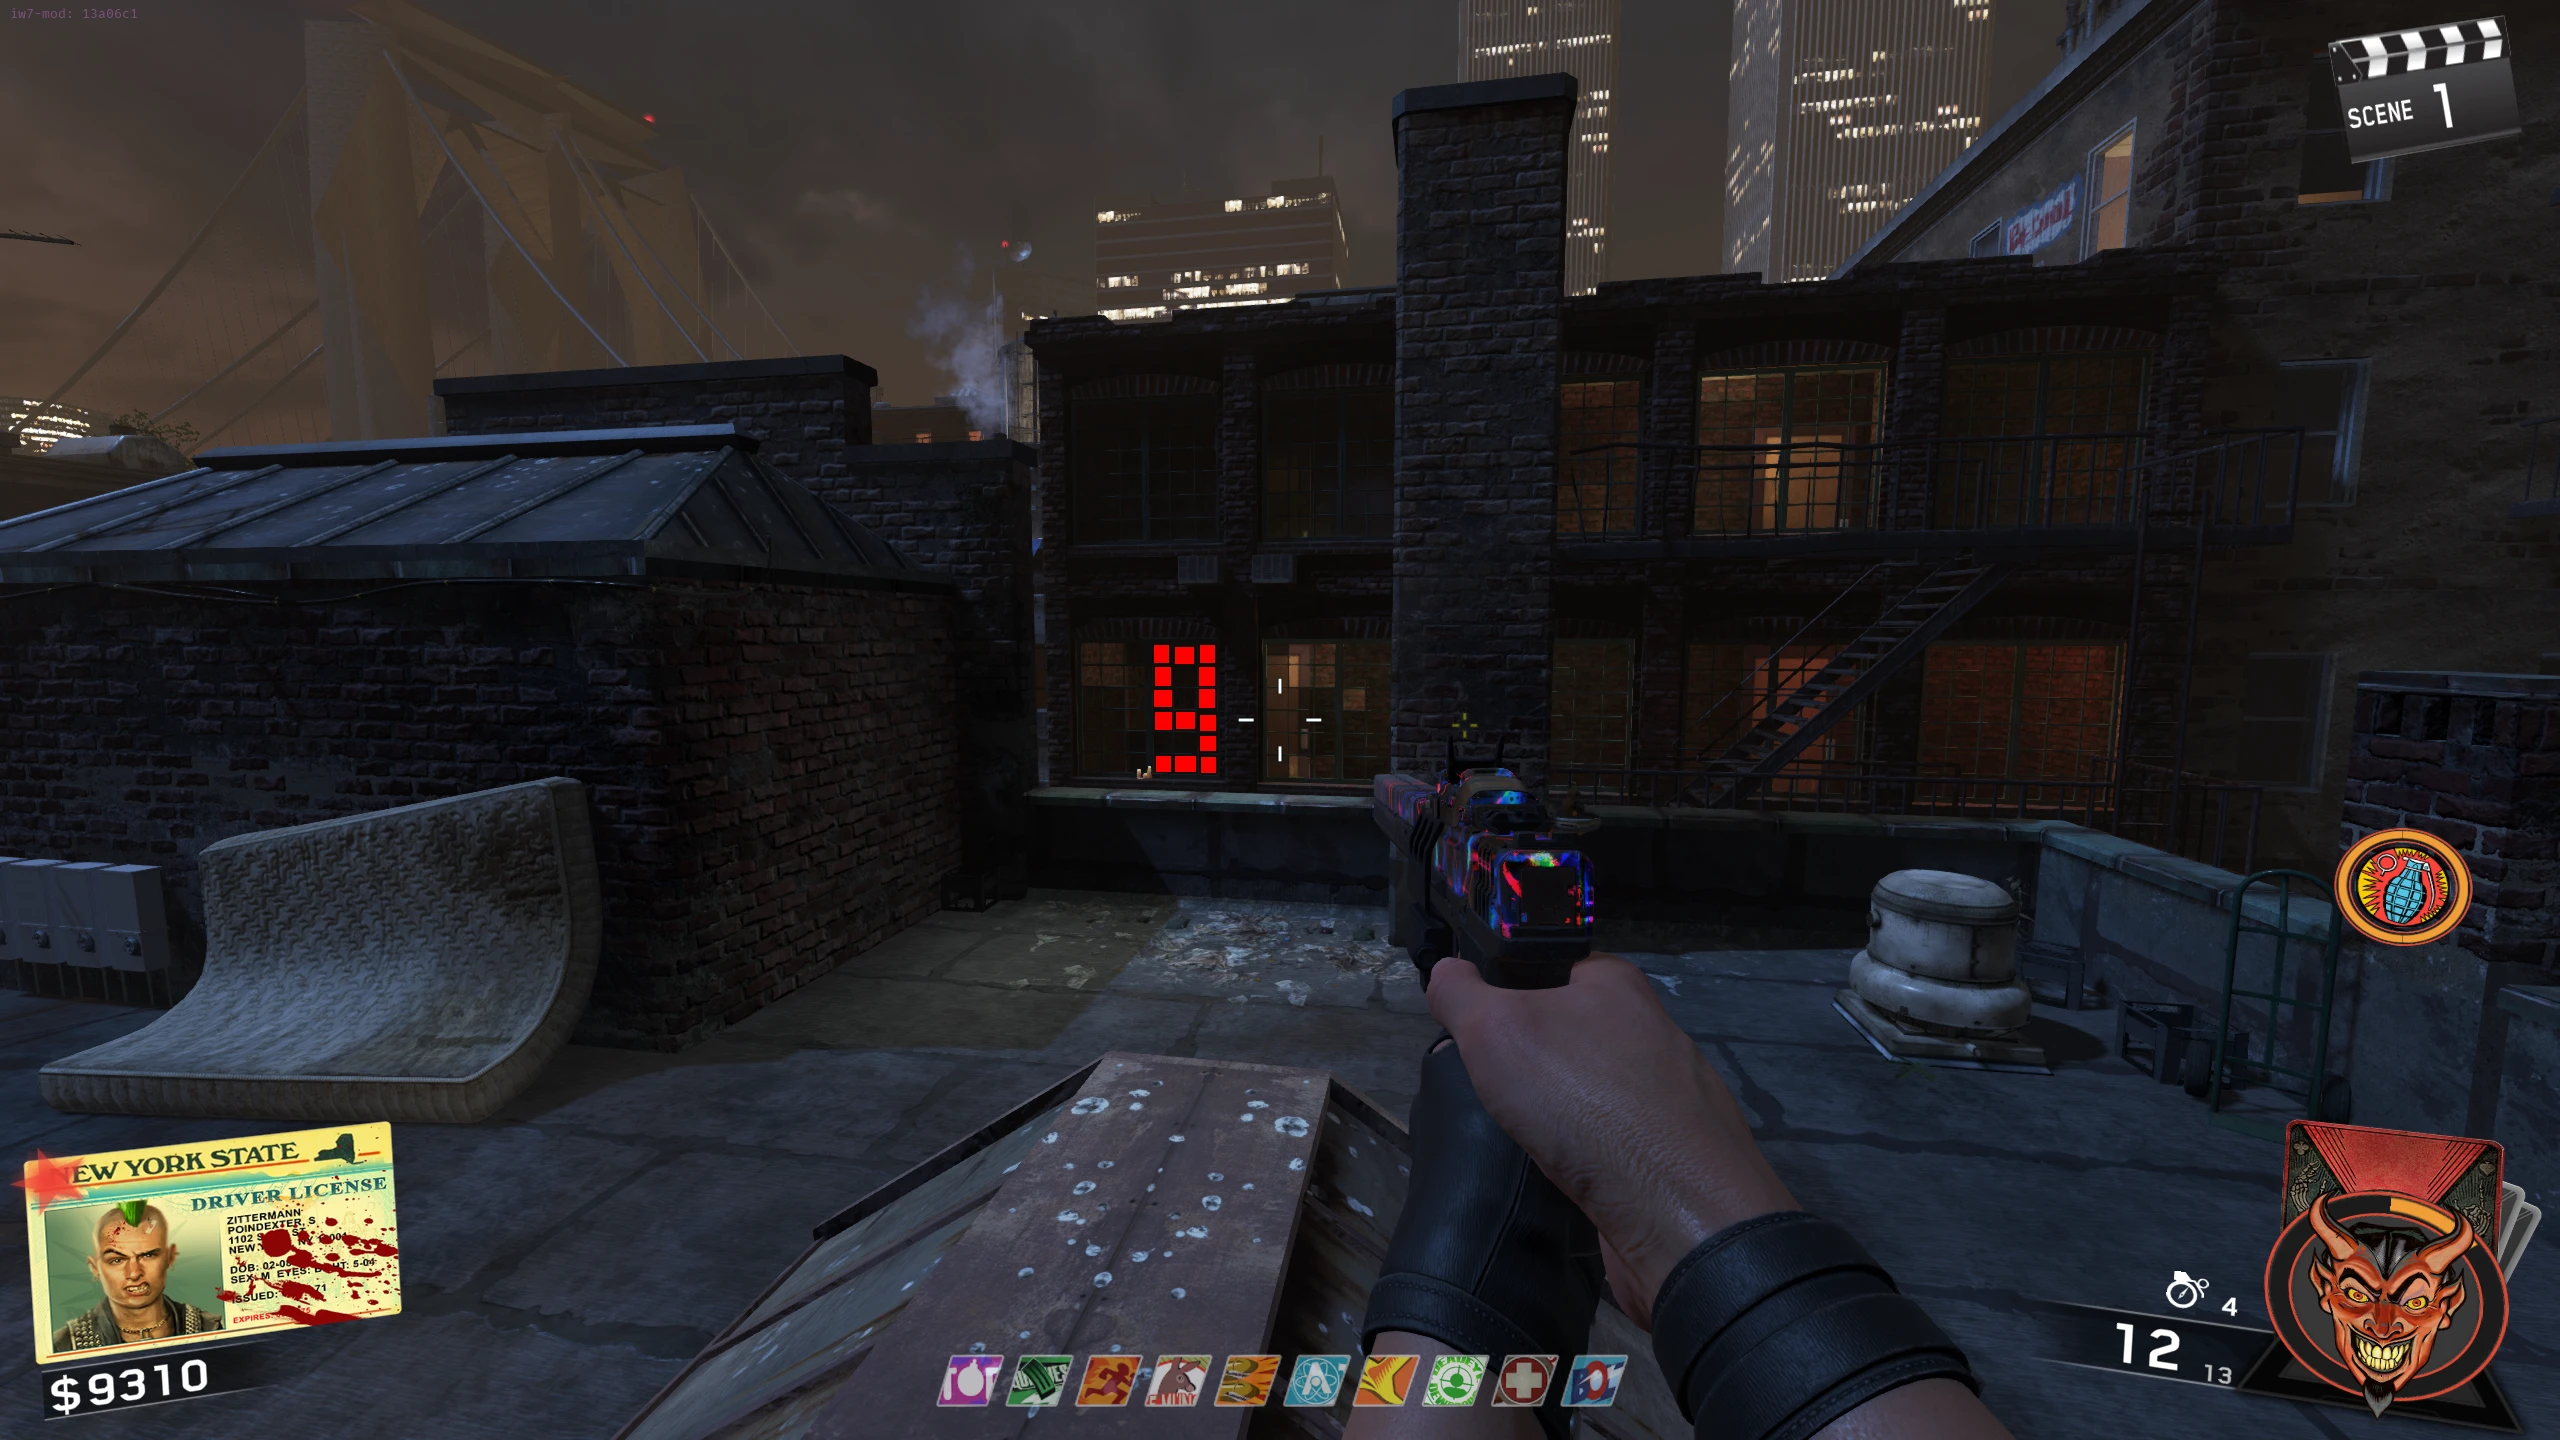
- Shoot the following symbols around the map in order. If you shoot the wrong symbol, you'll have to restart at the first symbol. Symbol Locations:
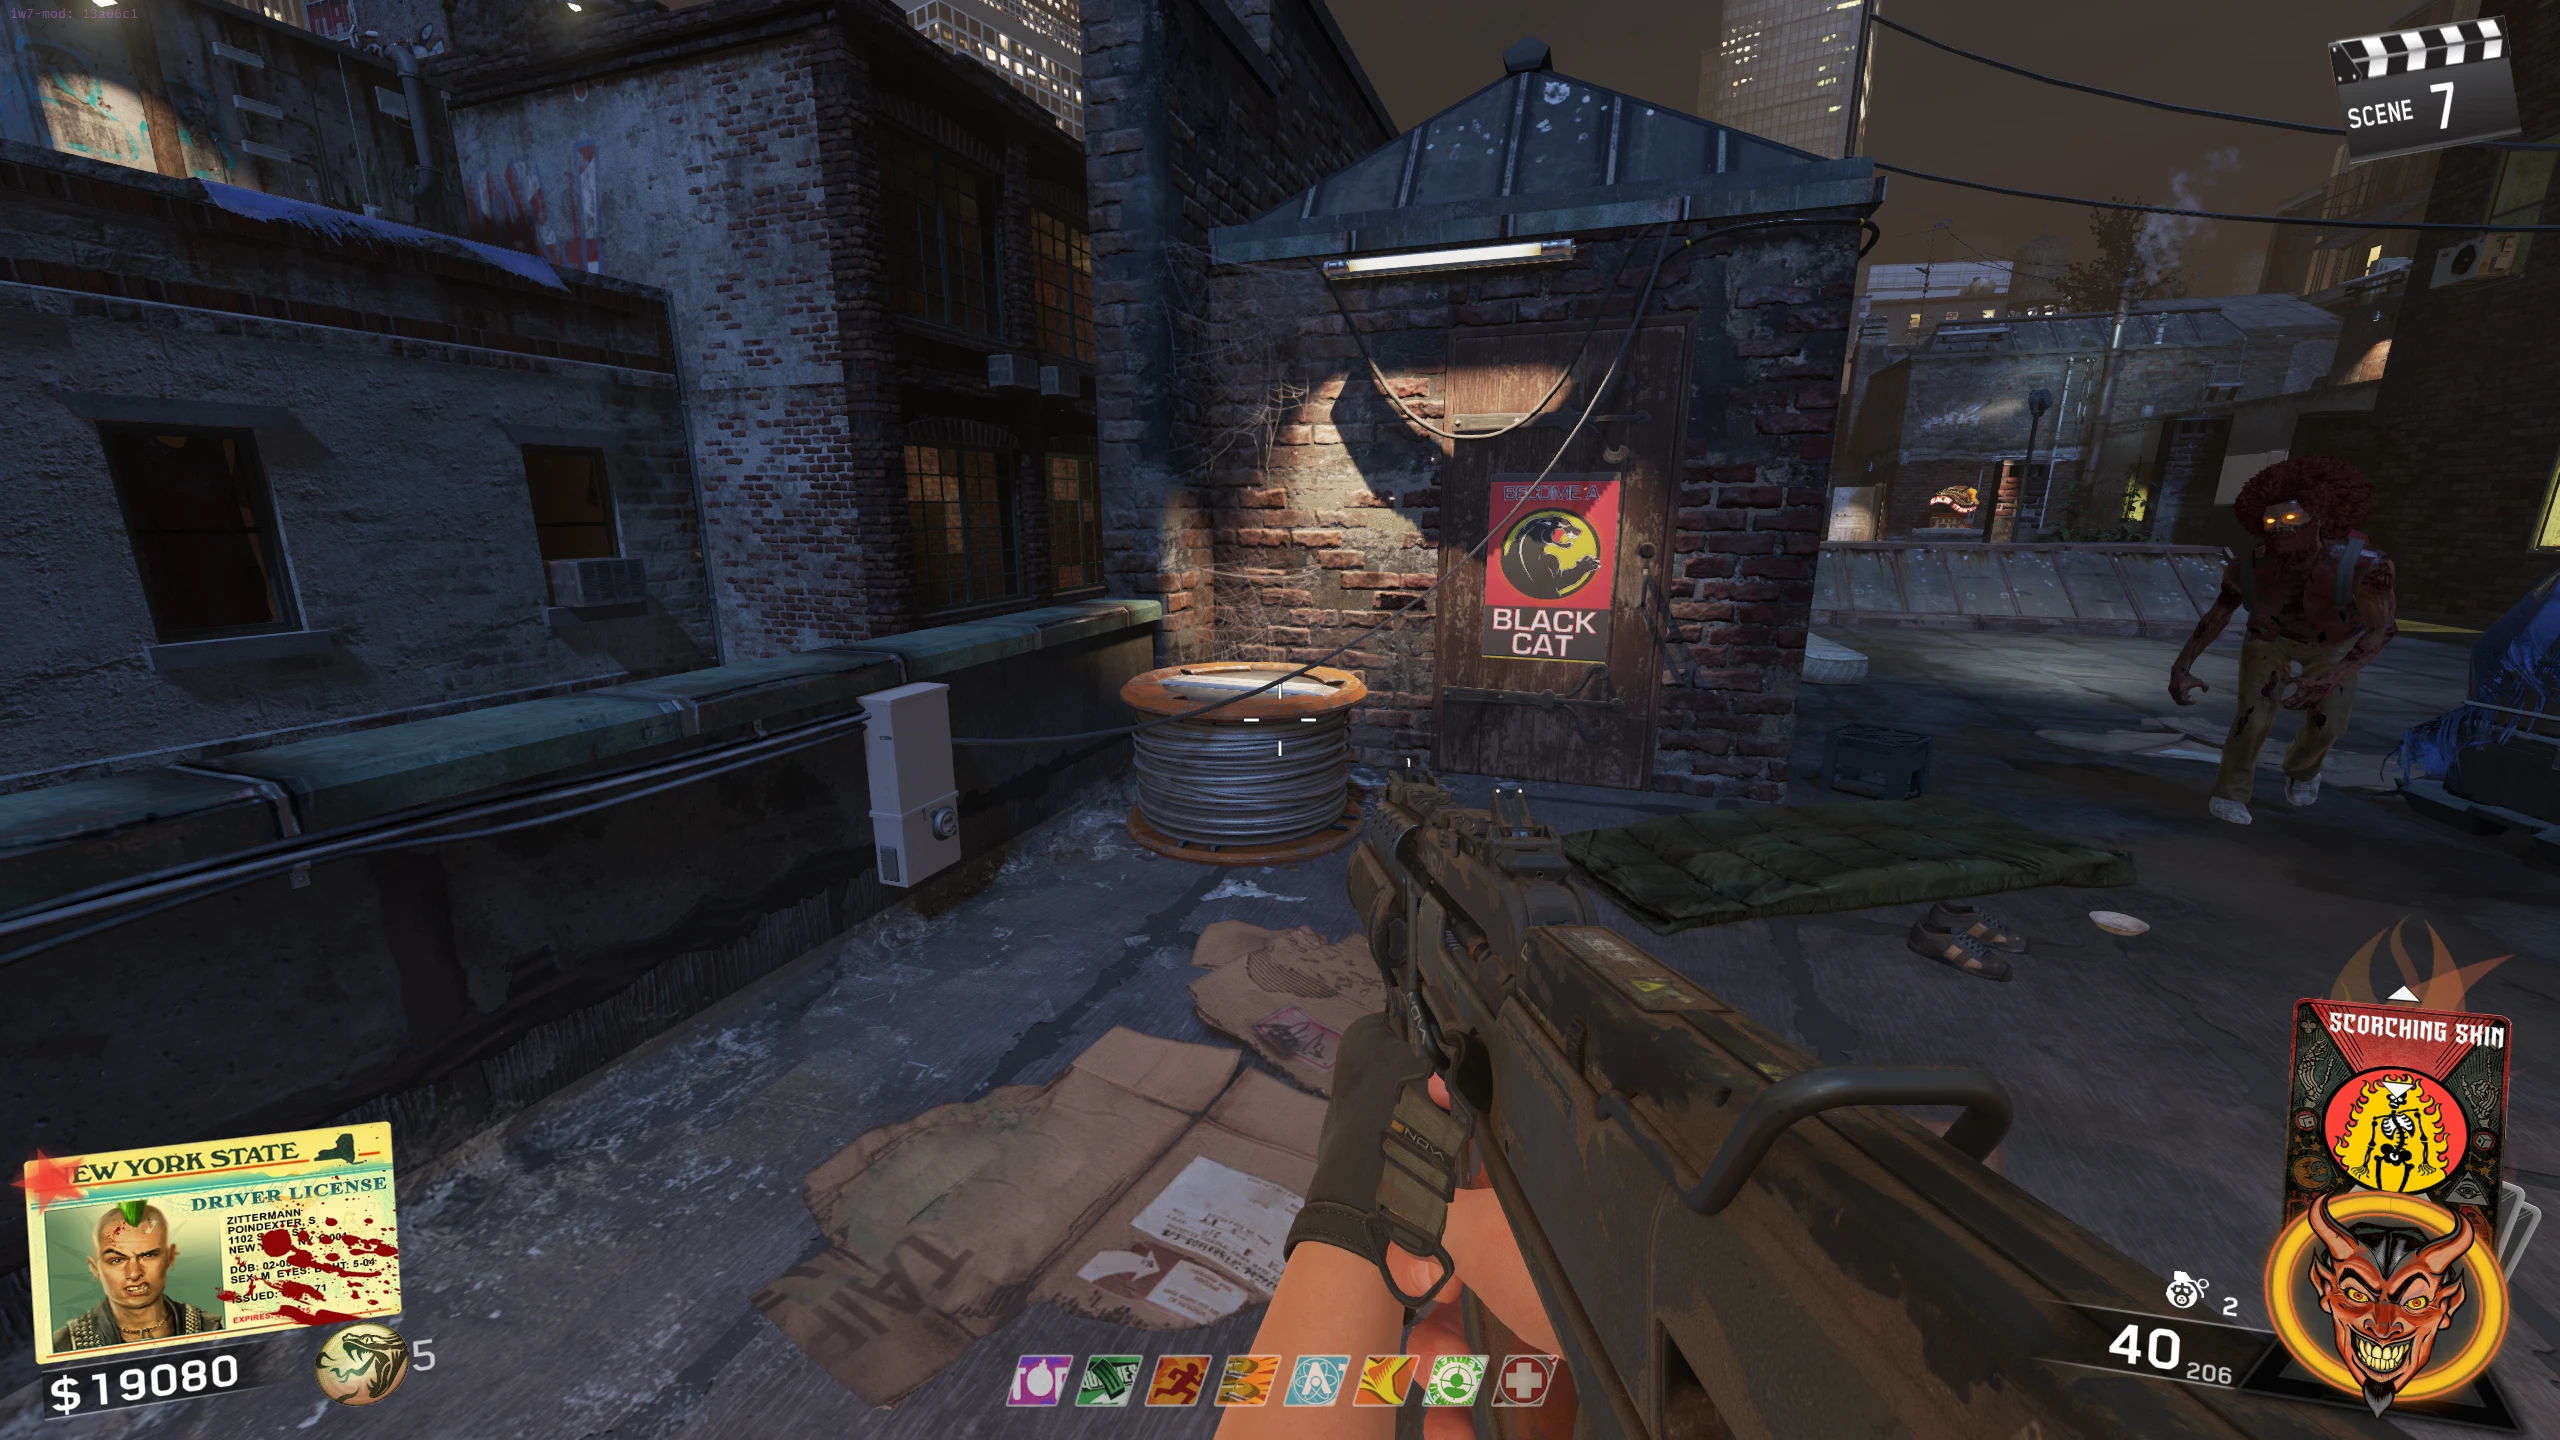
- To the right of the Dojo - First Symbol of the two
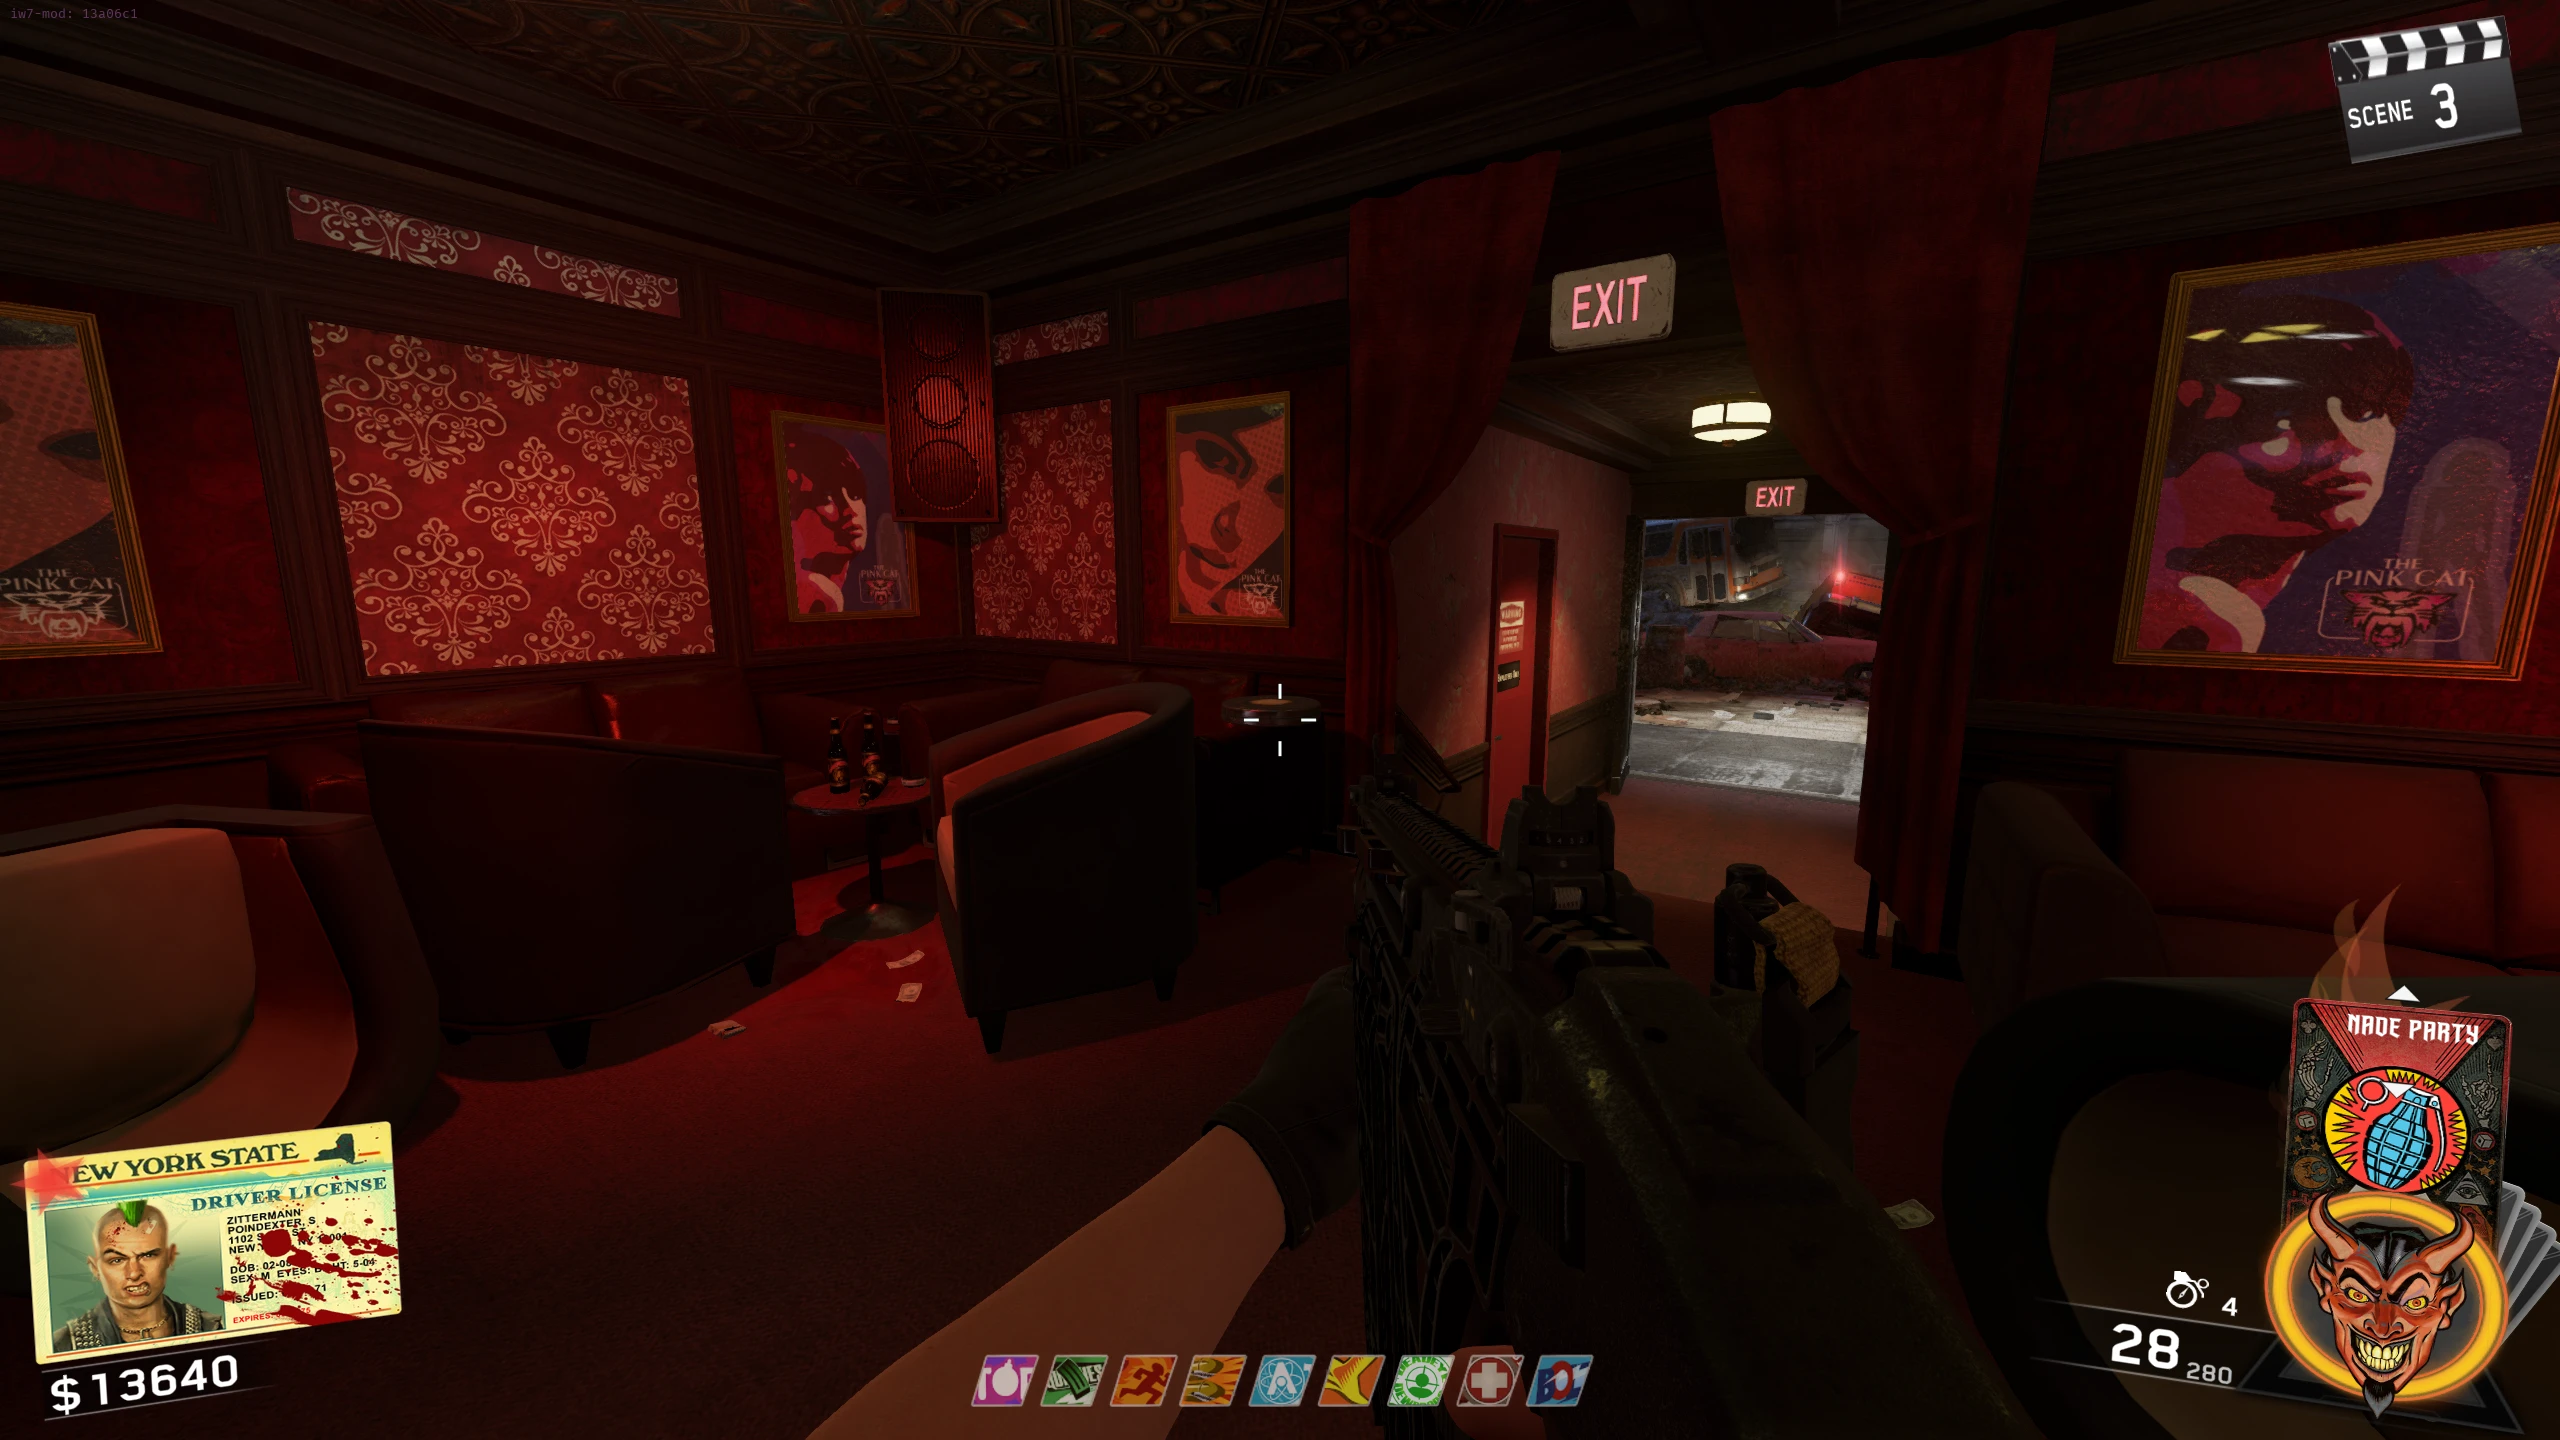
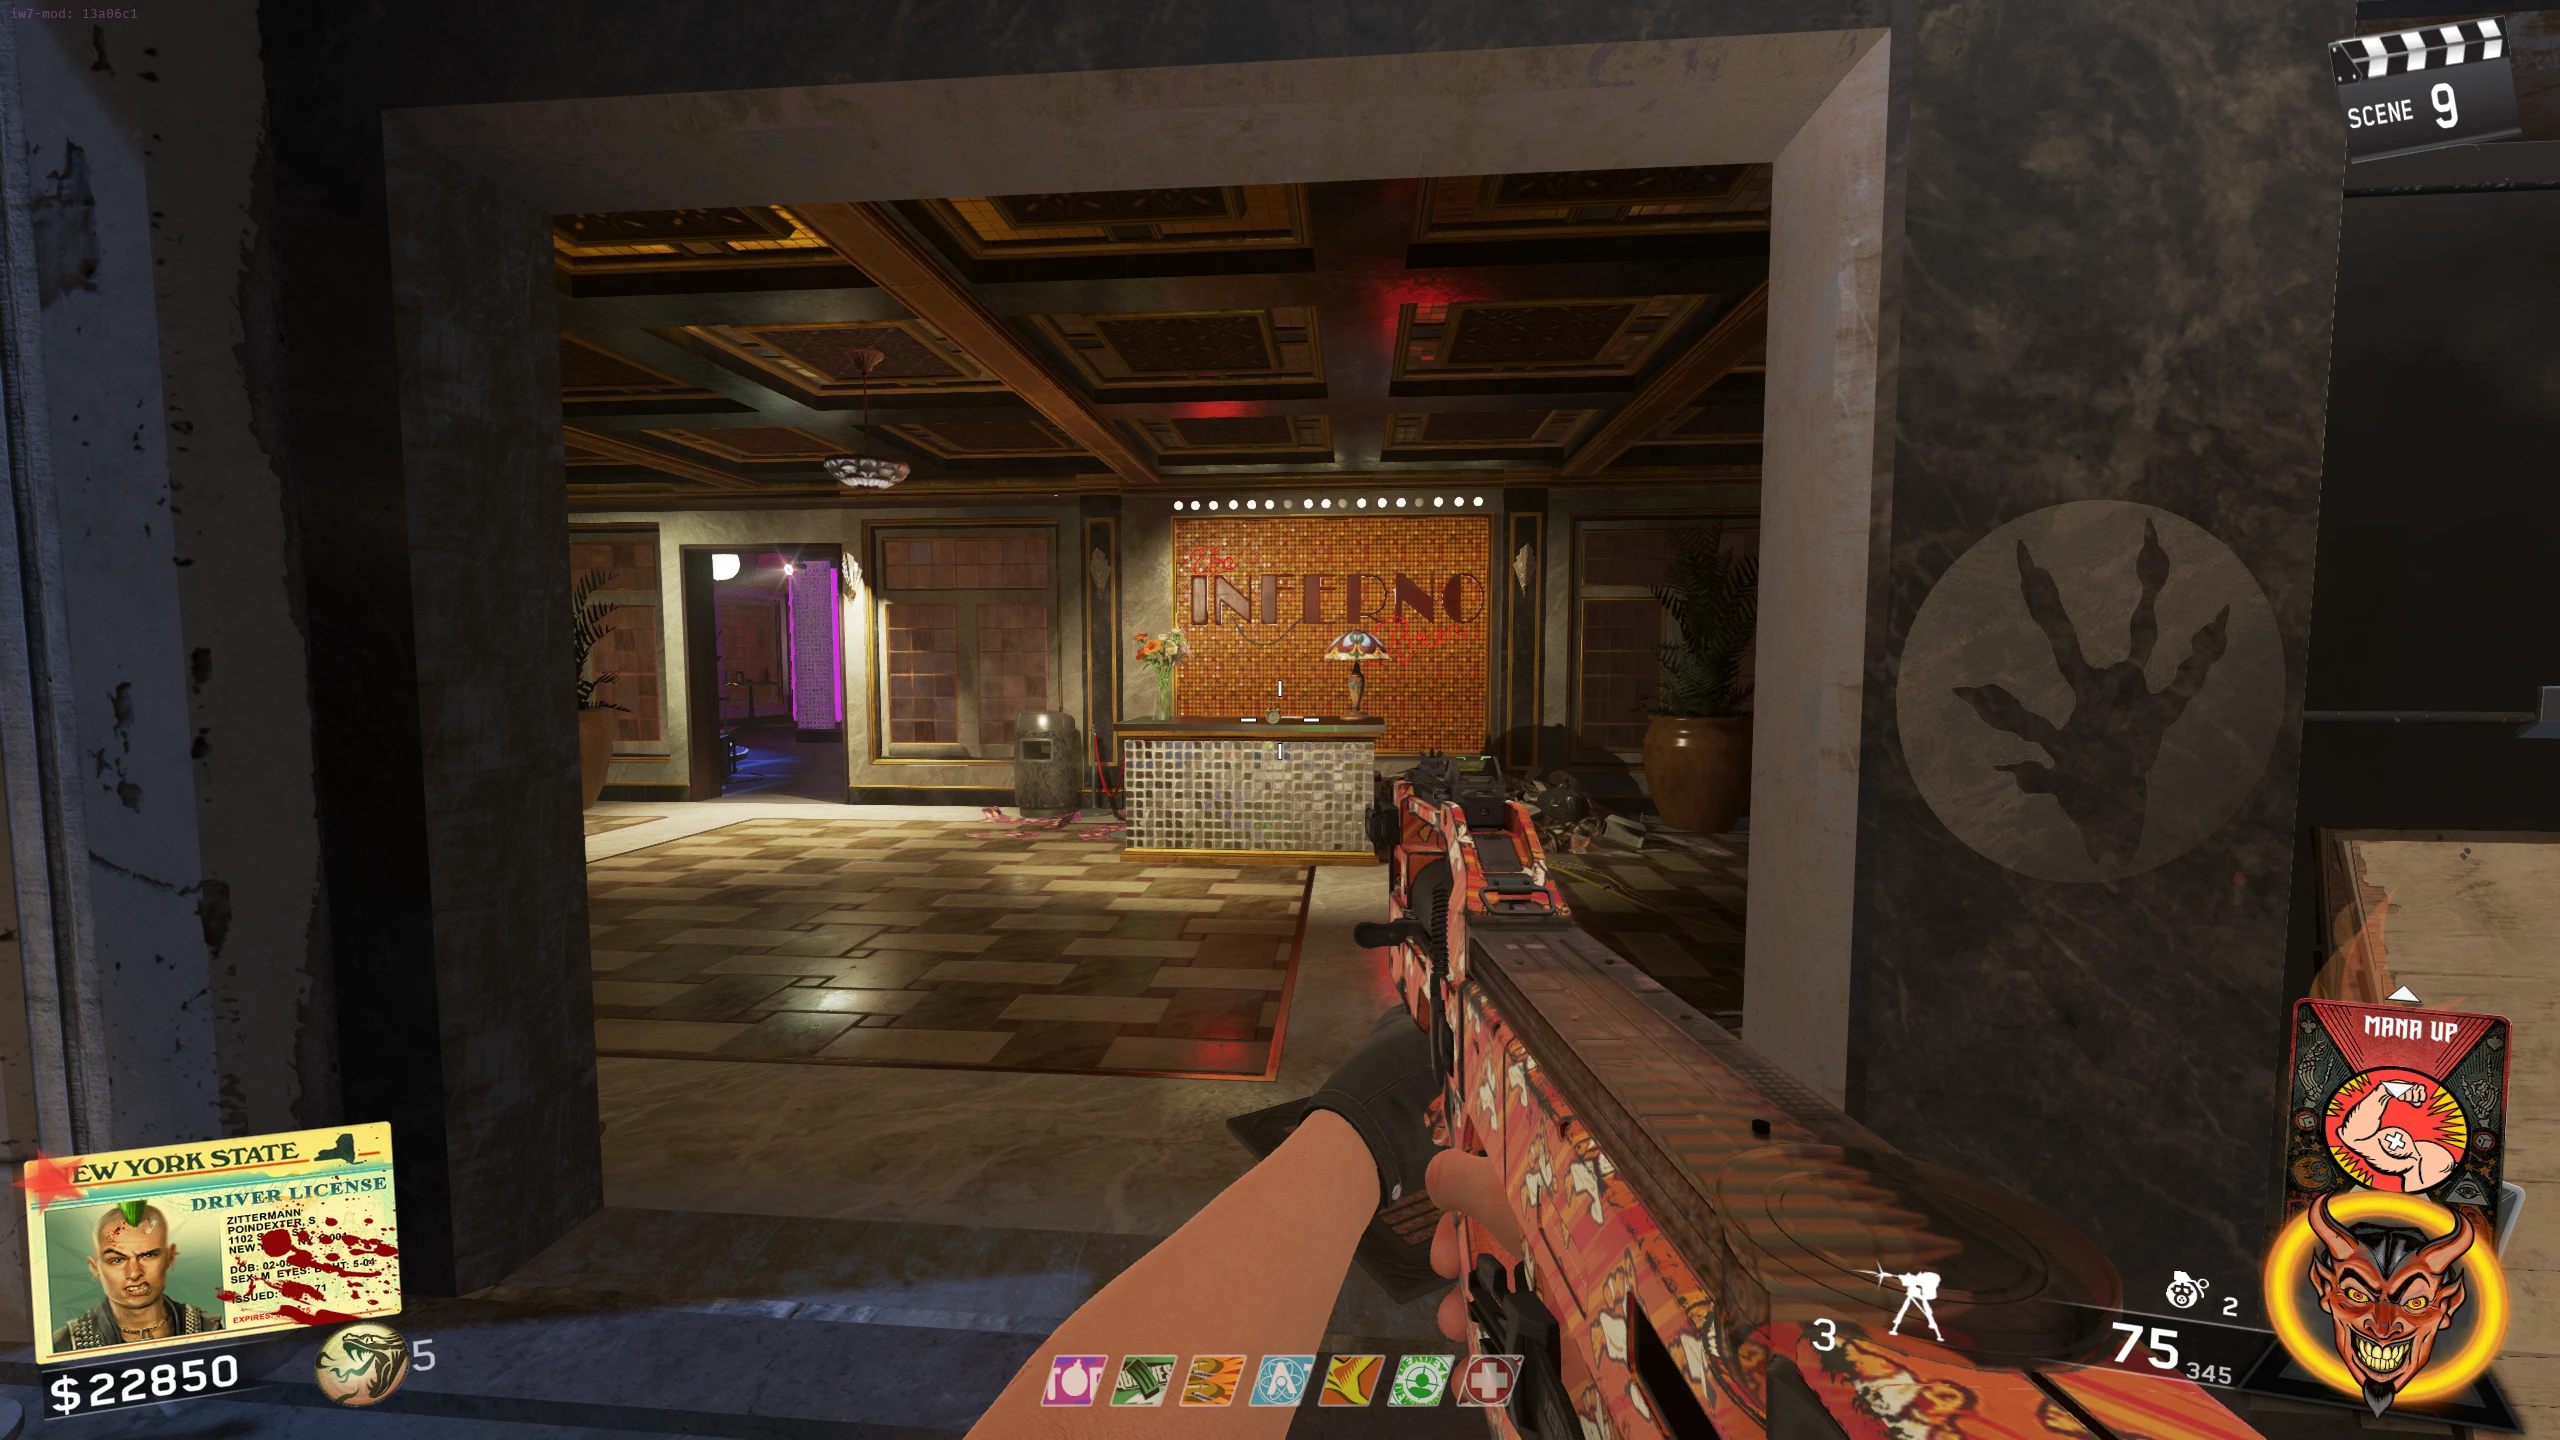
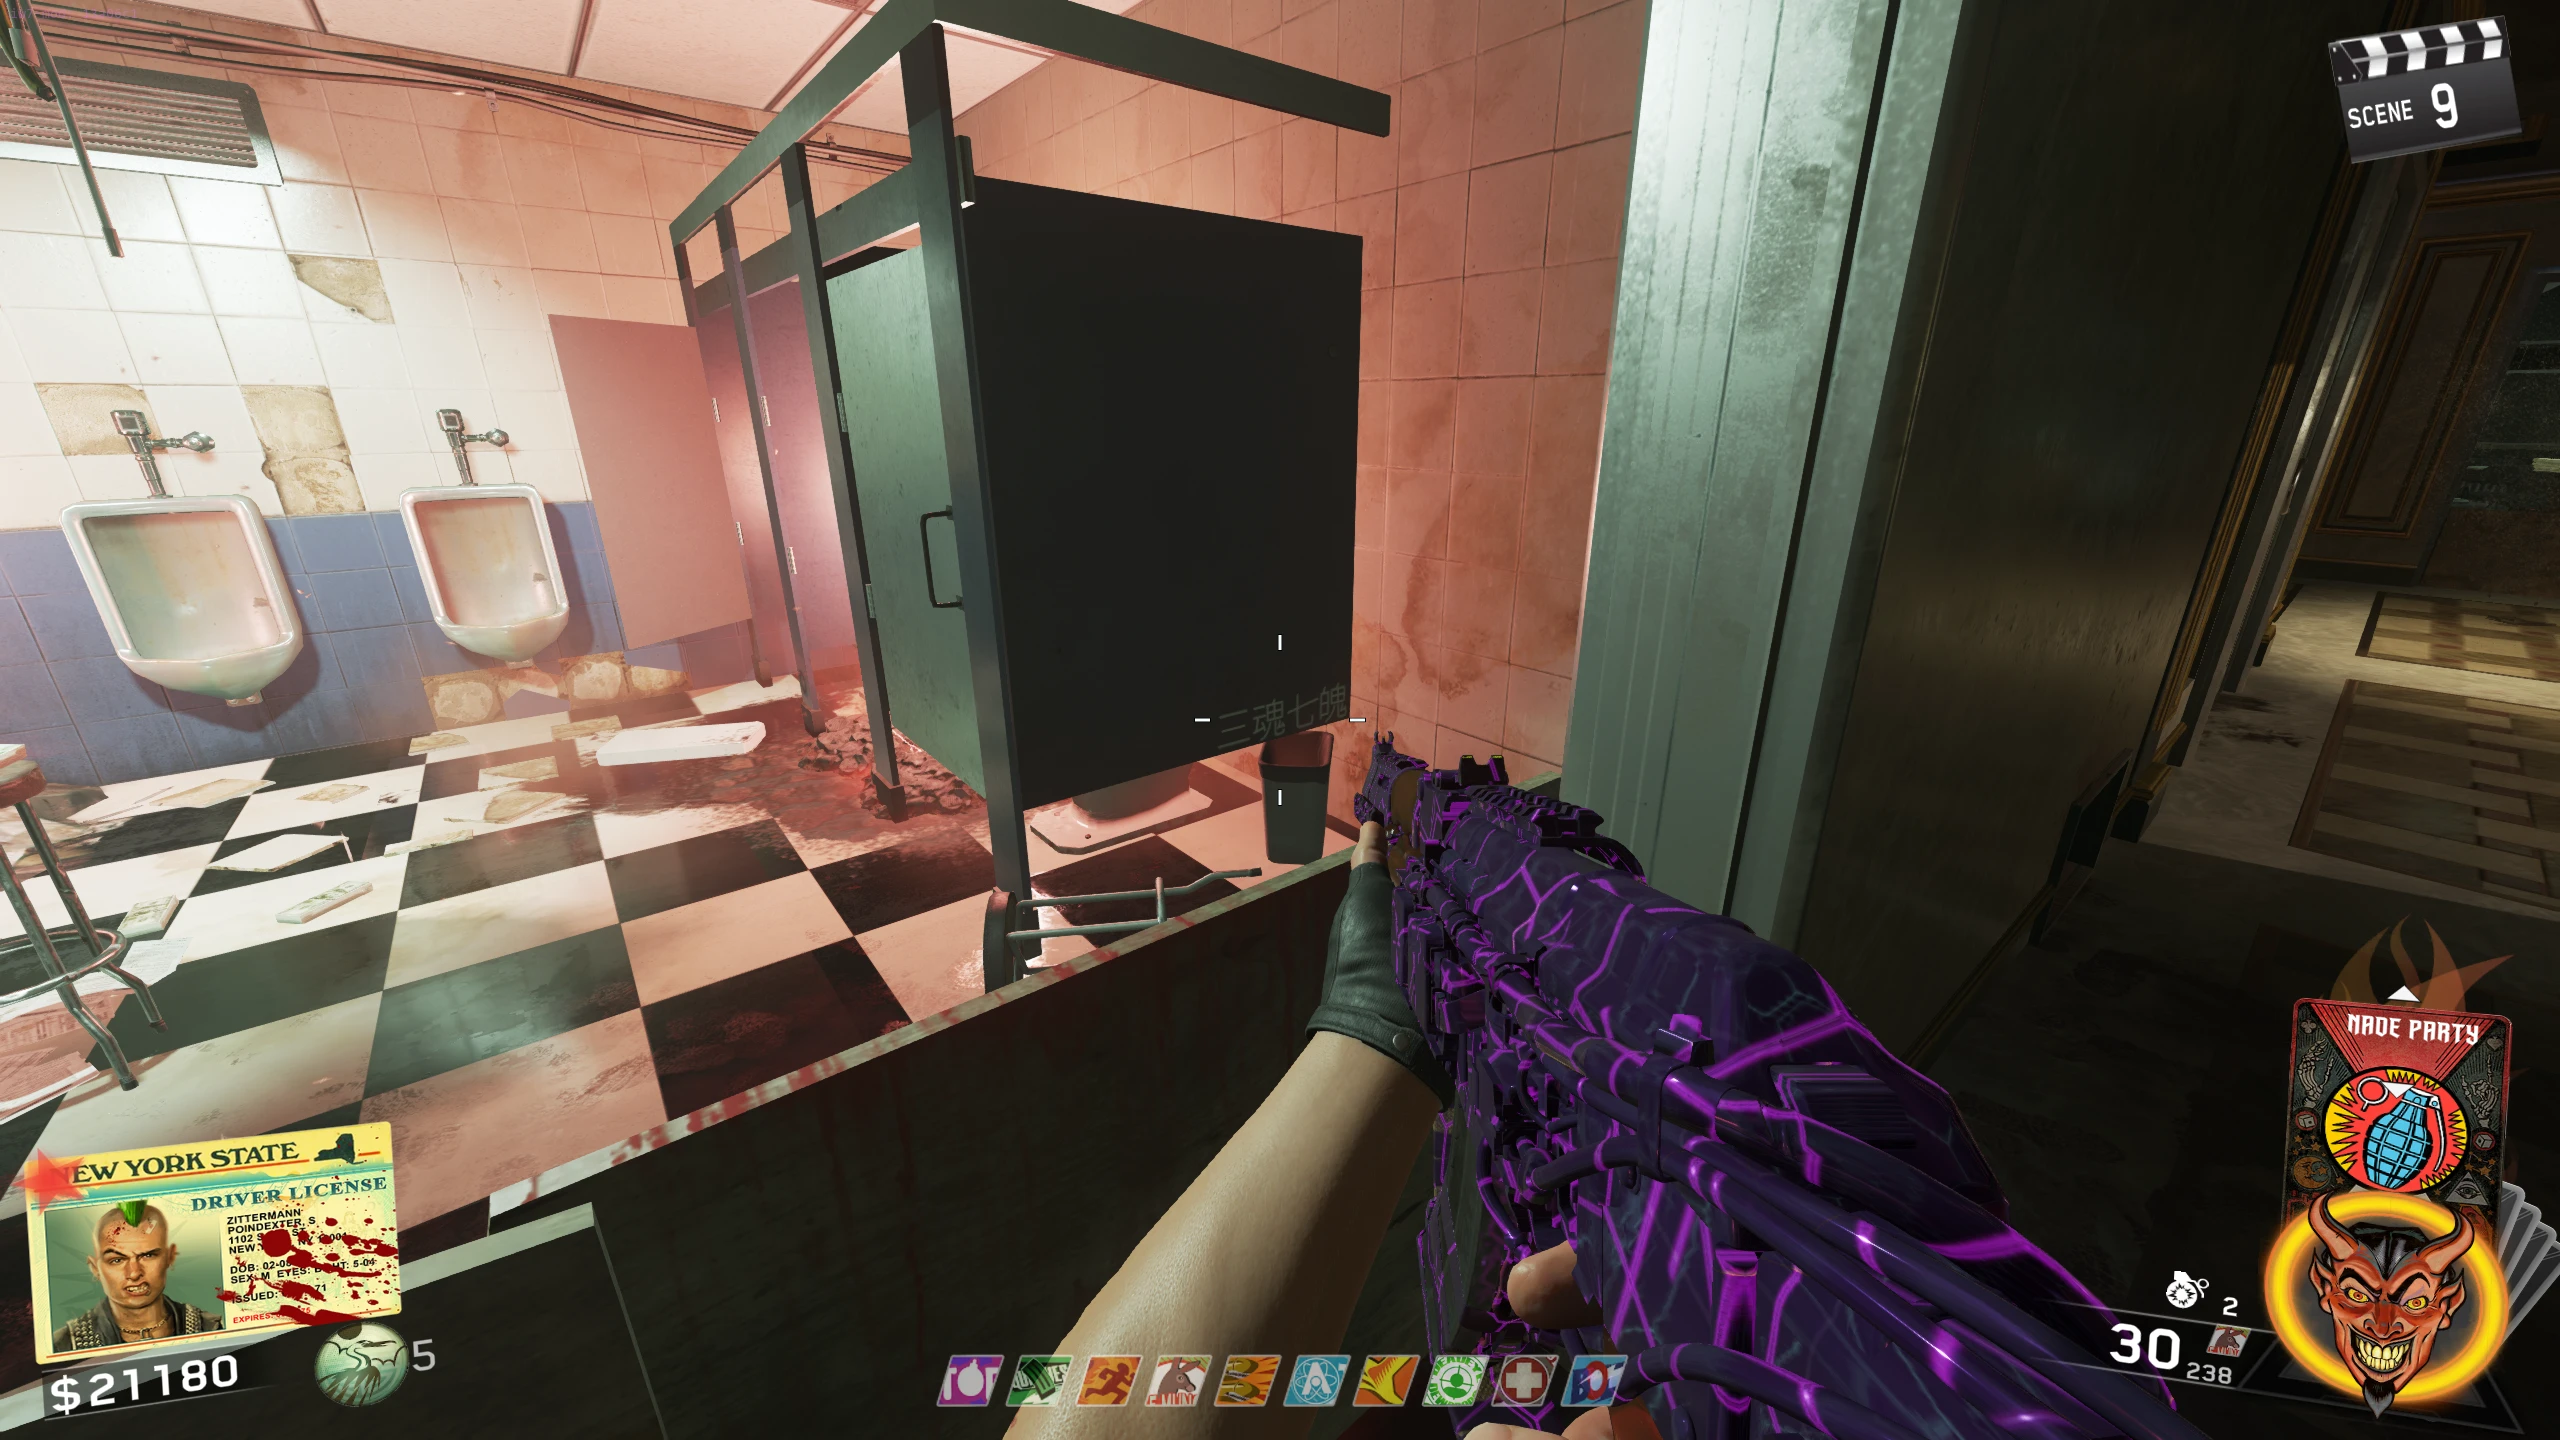
- In the bathroom on the bottom floor of the Disco - Second Symbol from left
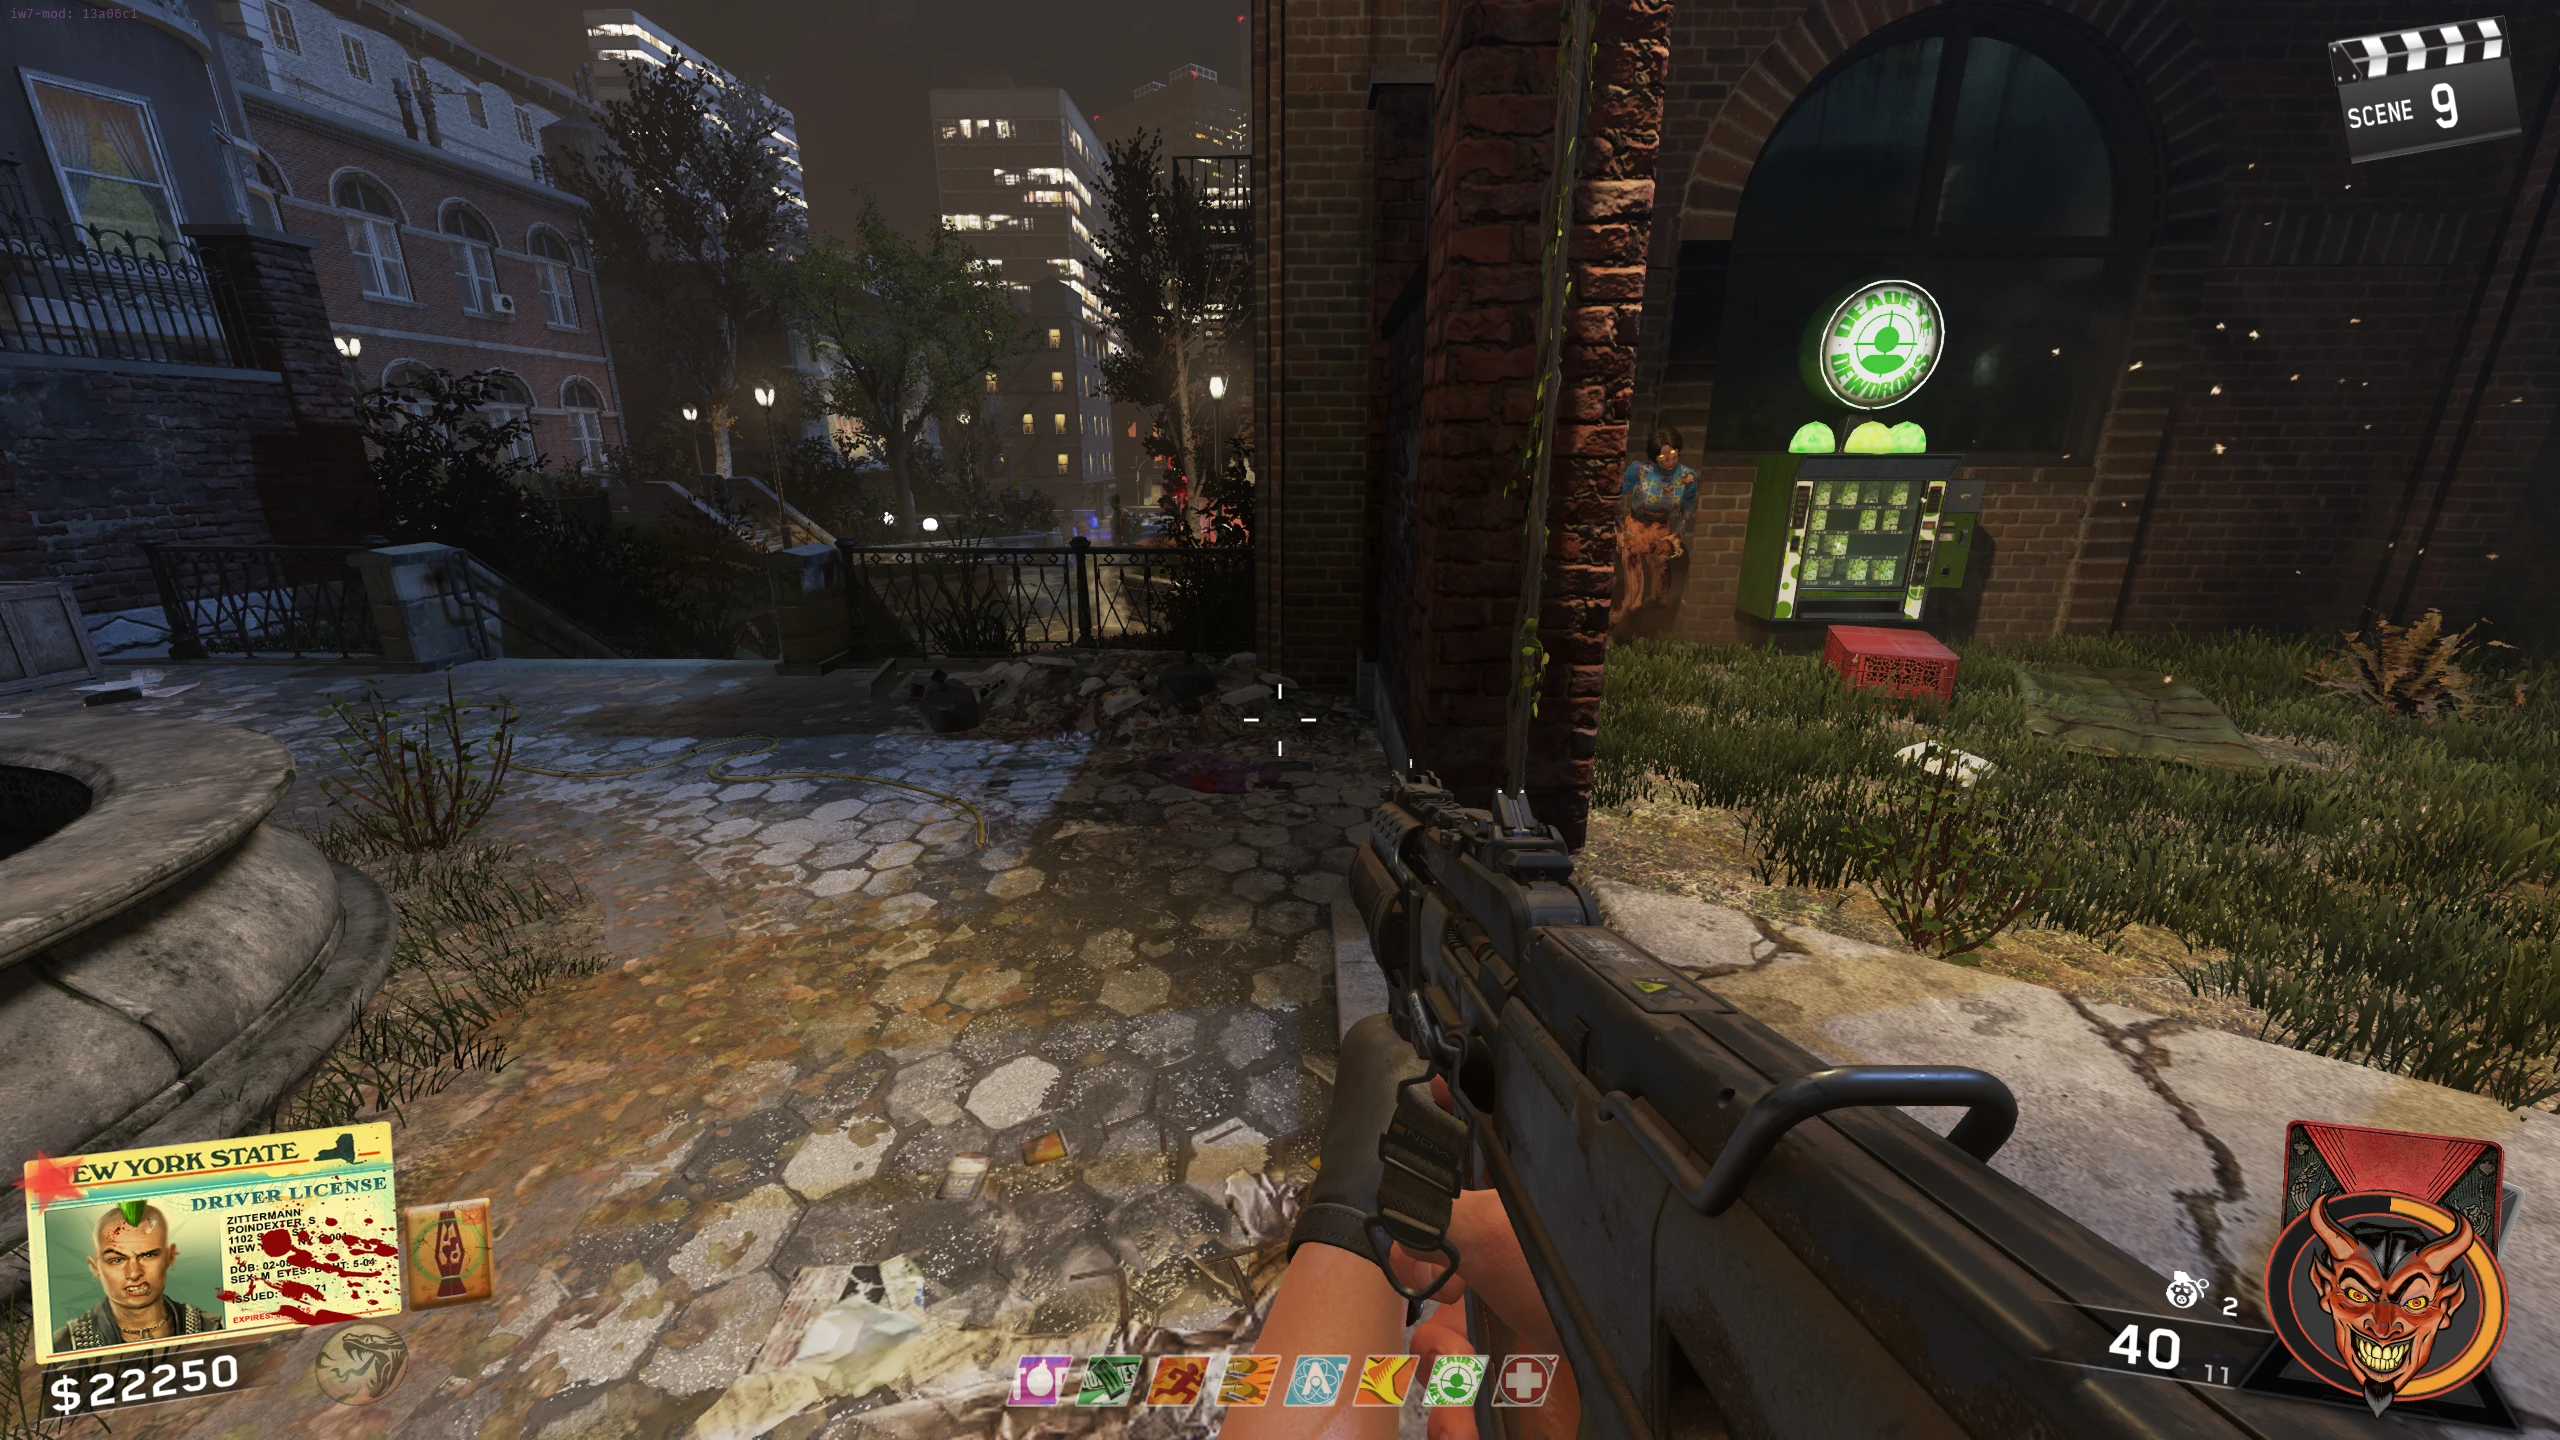
- Right of the Volk wallbuy near Deadeye Dewdrops - First Symbol from left
- Right of the Volk wallbuy near Deadeye Dewdrops - Second Symbol from left
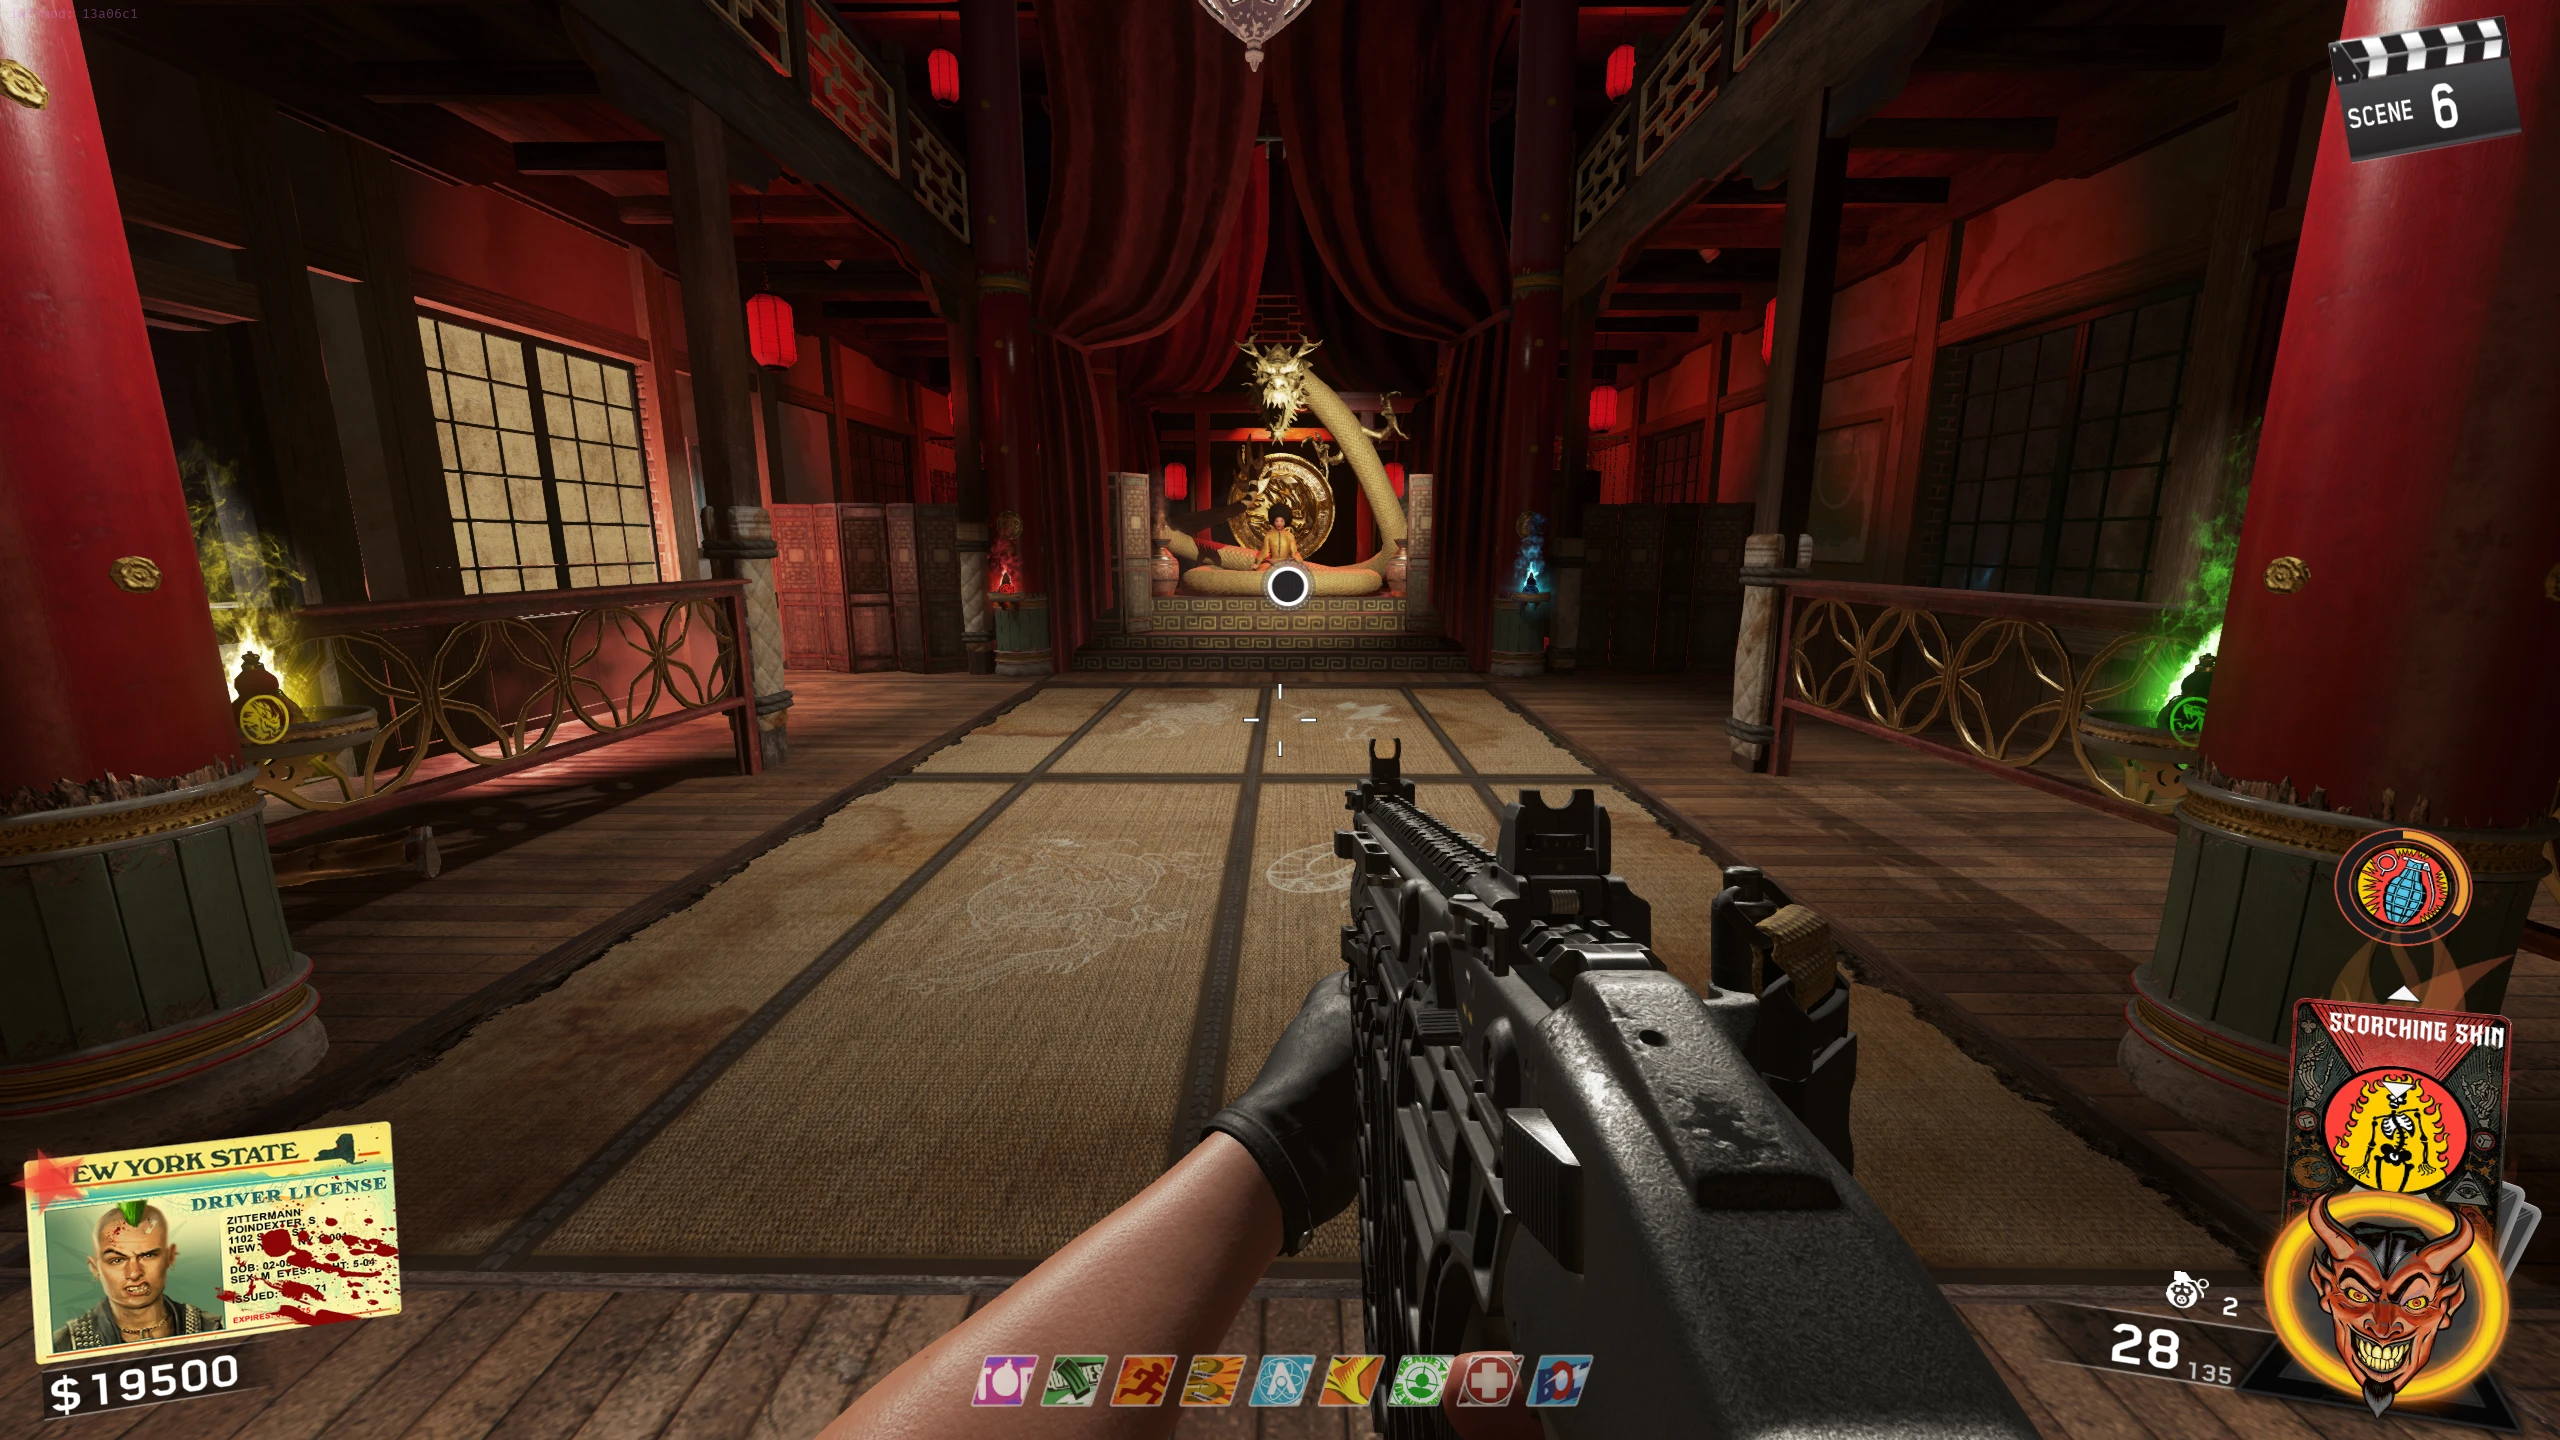
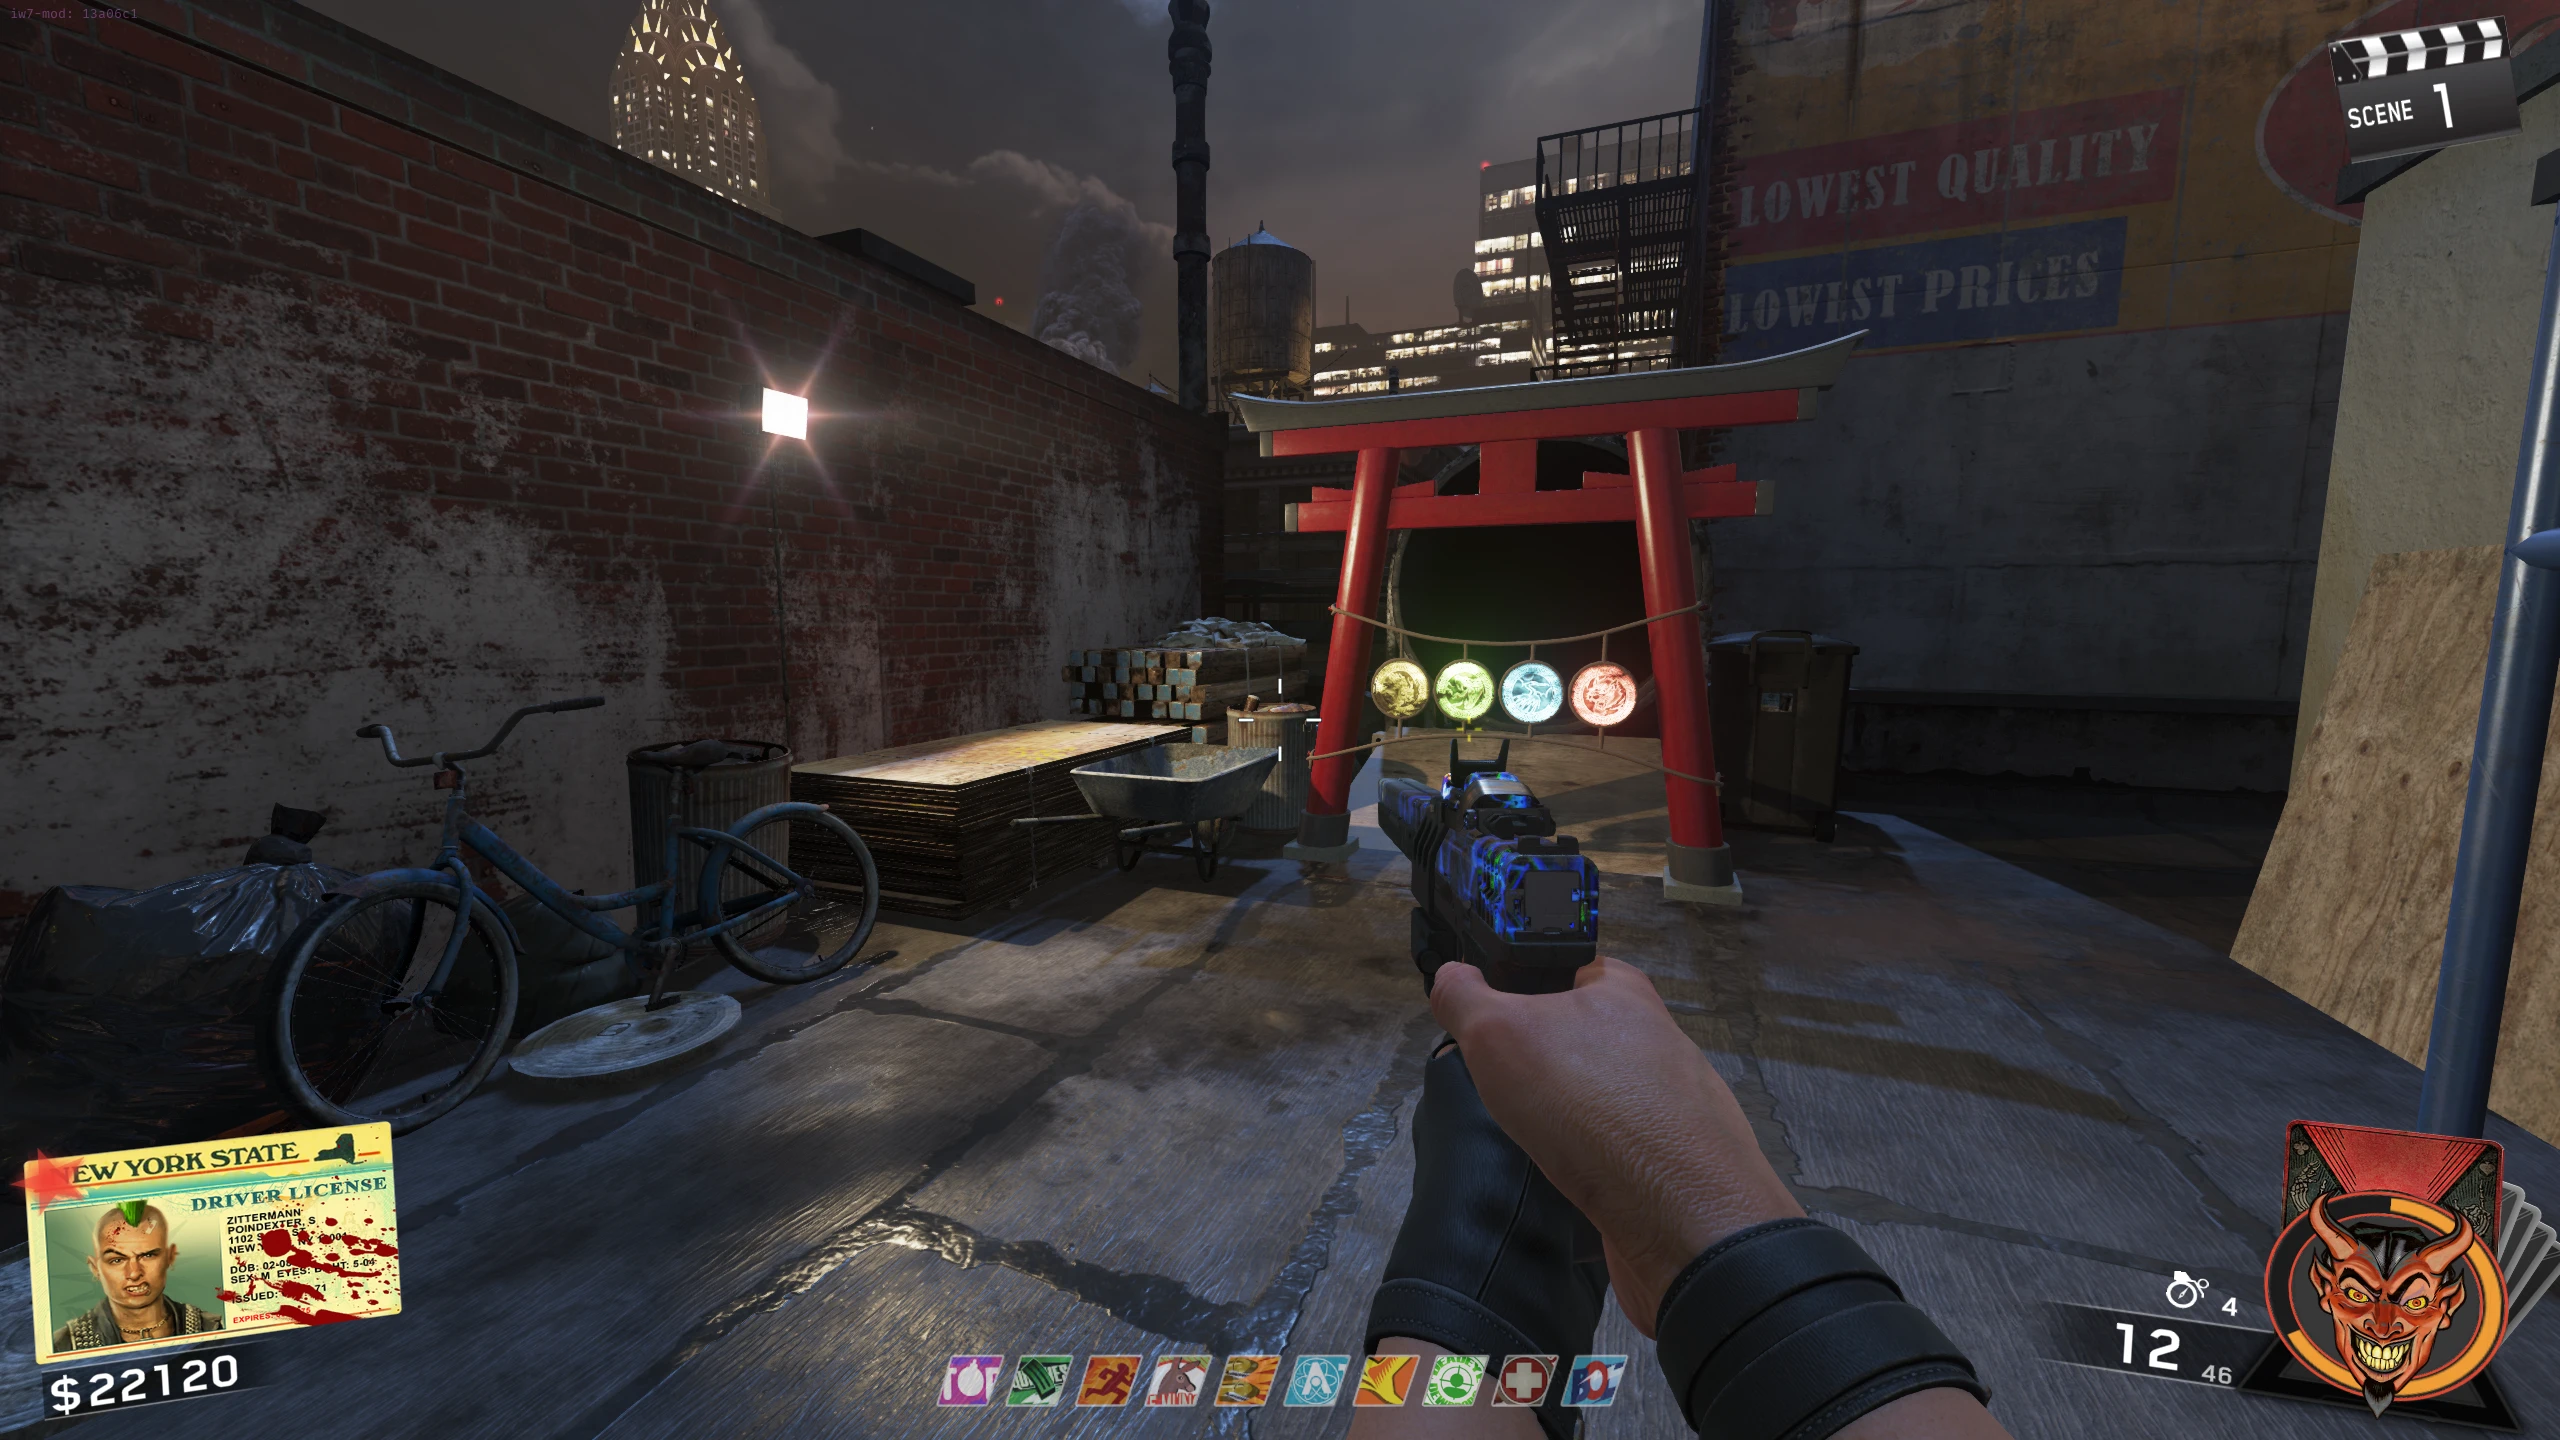
- Interact with the circle in front of the Black Cat Dojo to spawn the Rat King. Kill him and pick up the Eye he drops.
- Talk to Pam. You need her to say "You must once again face your enemy...".
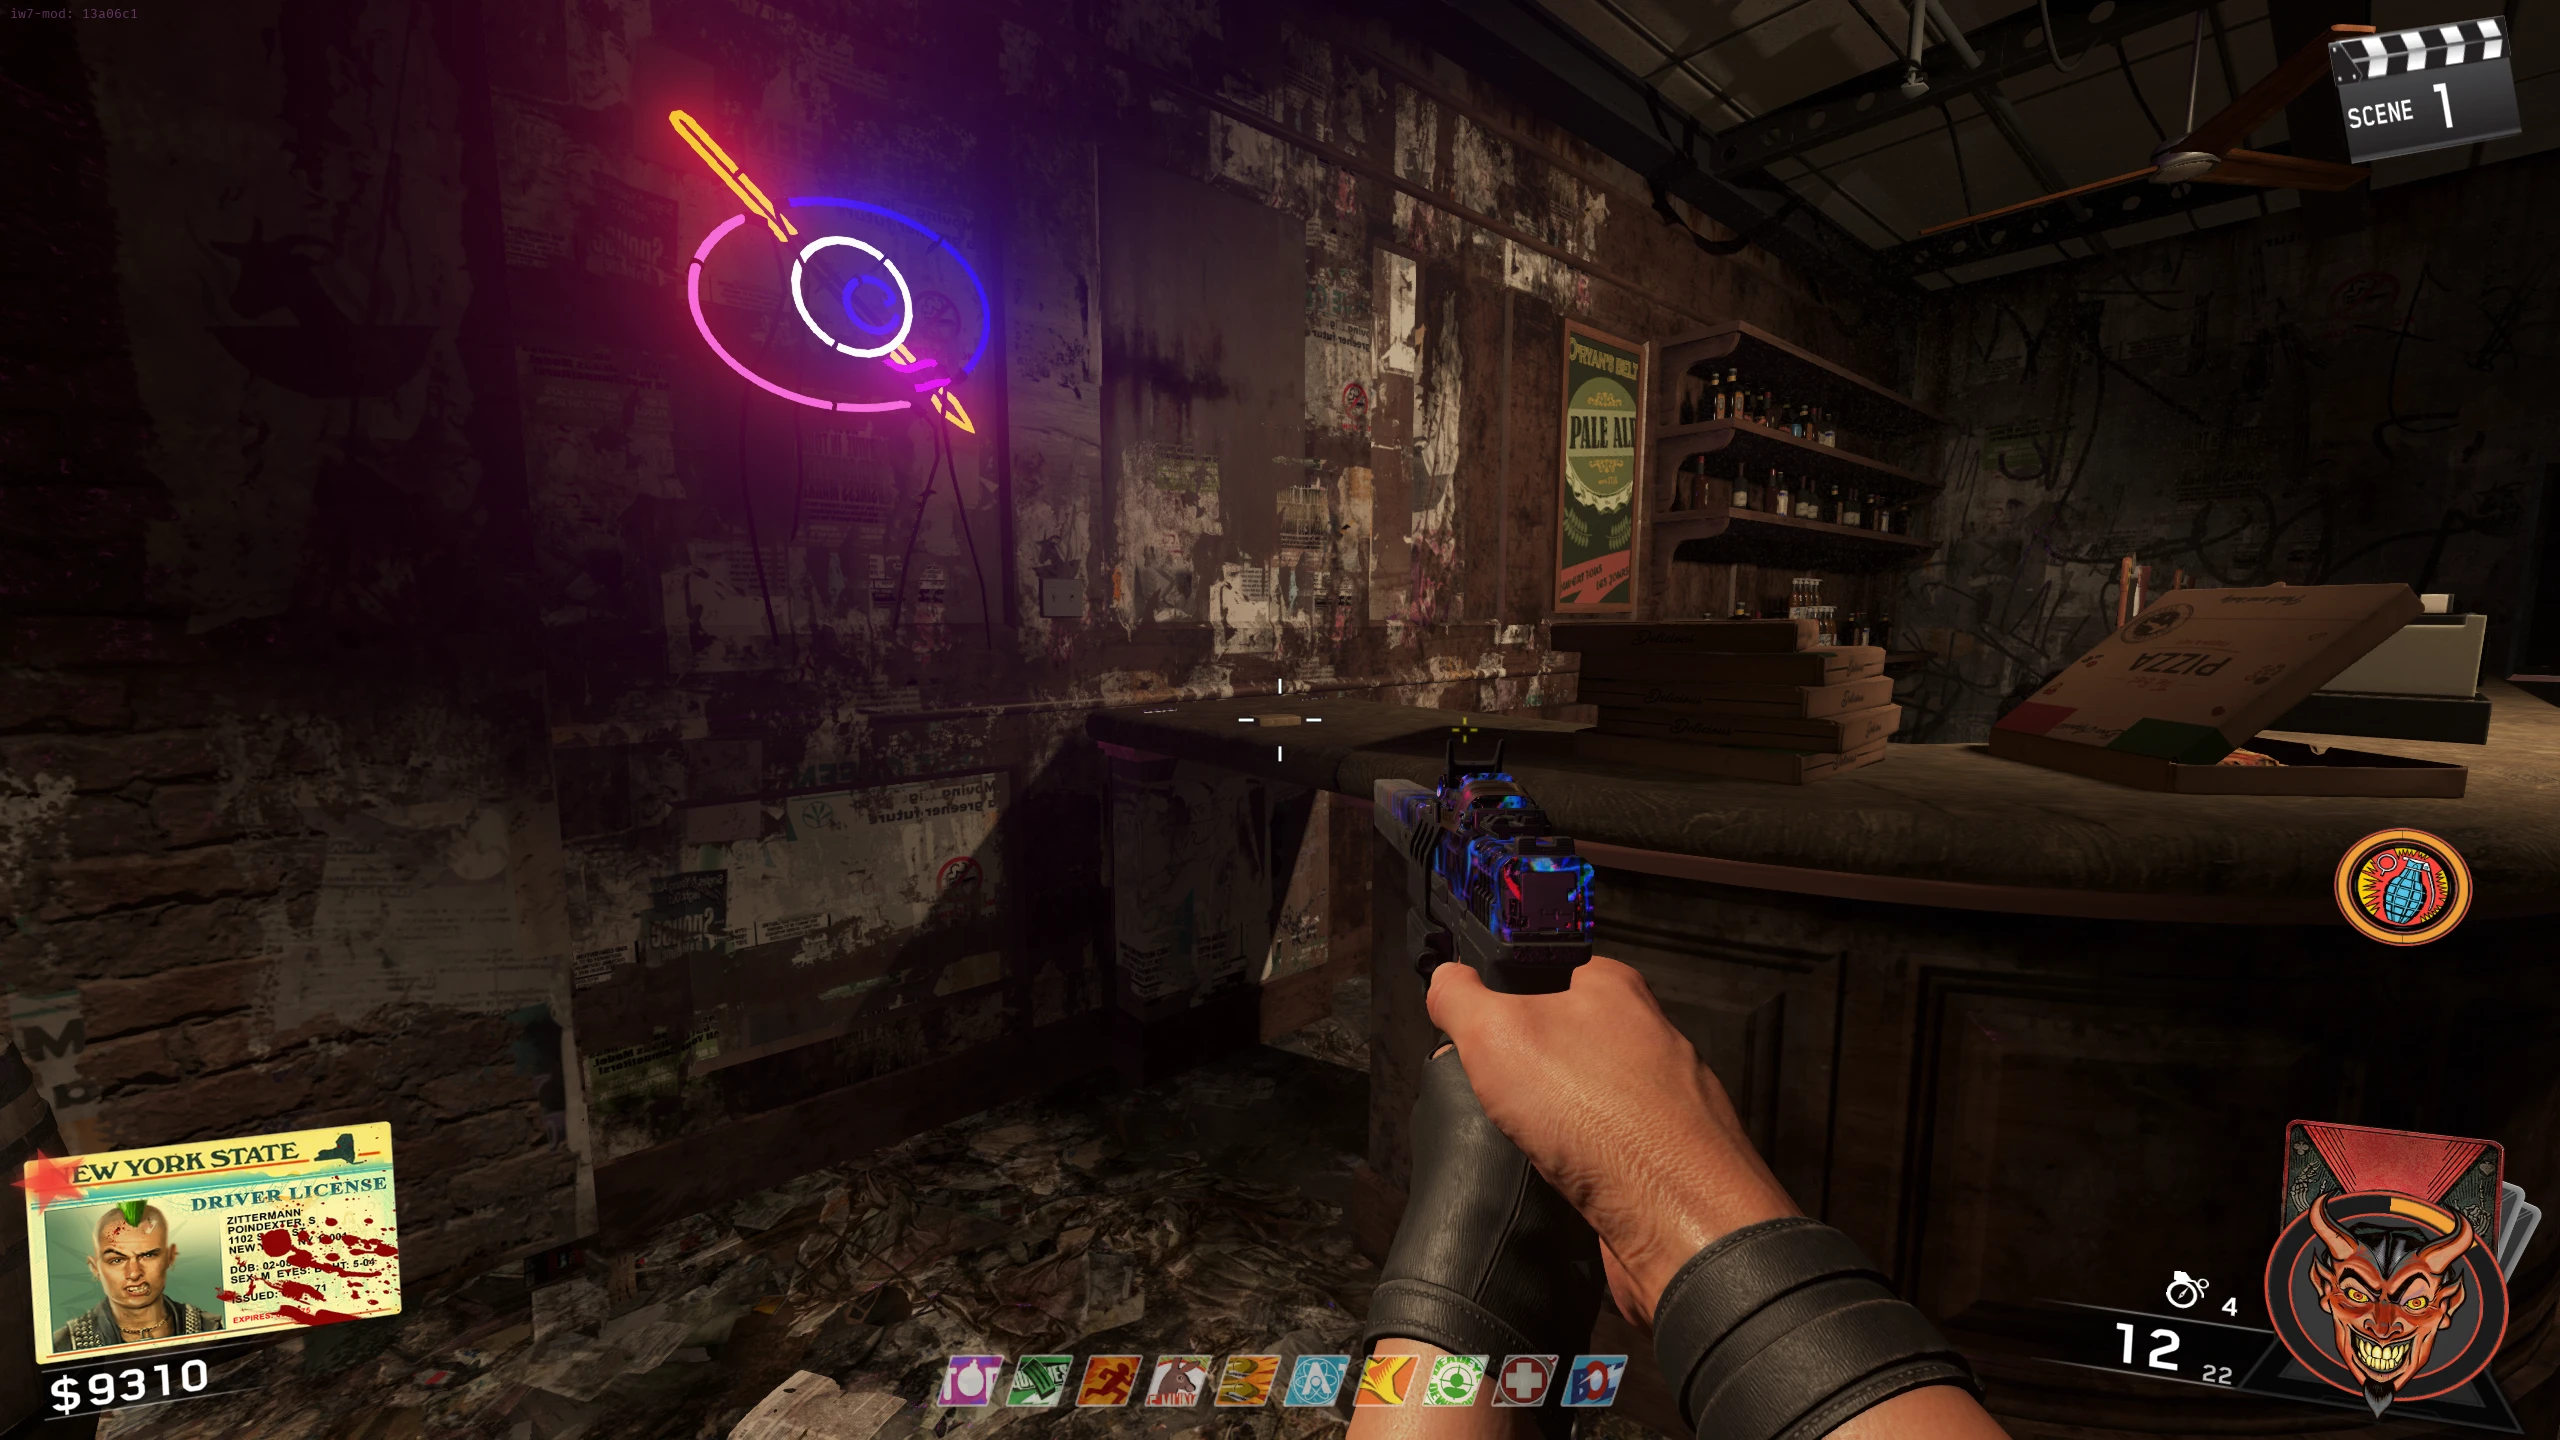
- Use the eye (in your tactical slot) to find and shoot six orange Rat King symbols around the map.
- Only one symbol spawns at a time.
- The eye will "recharge" after a few seconds.
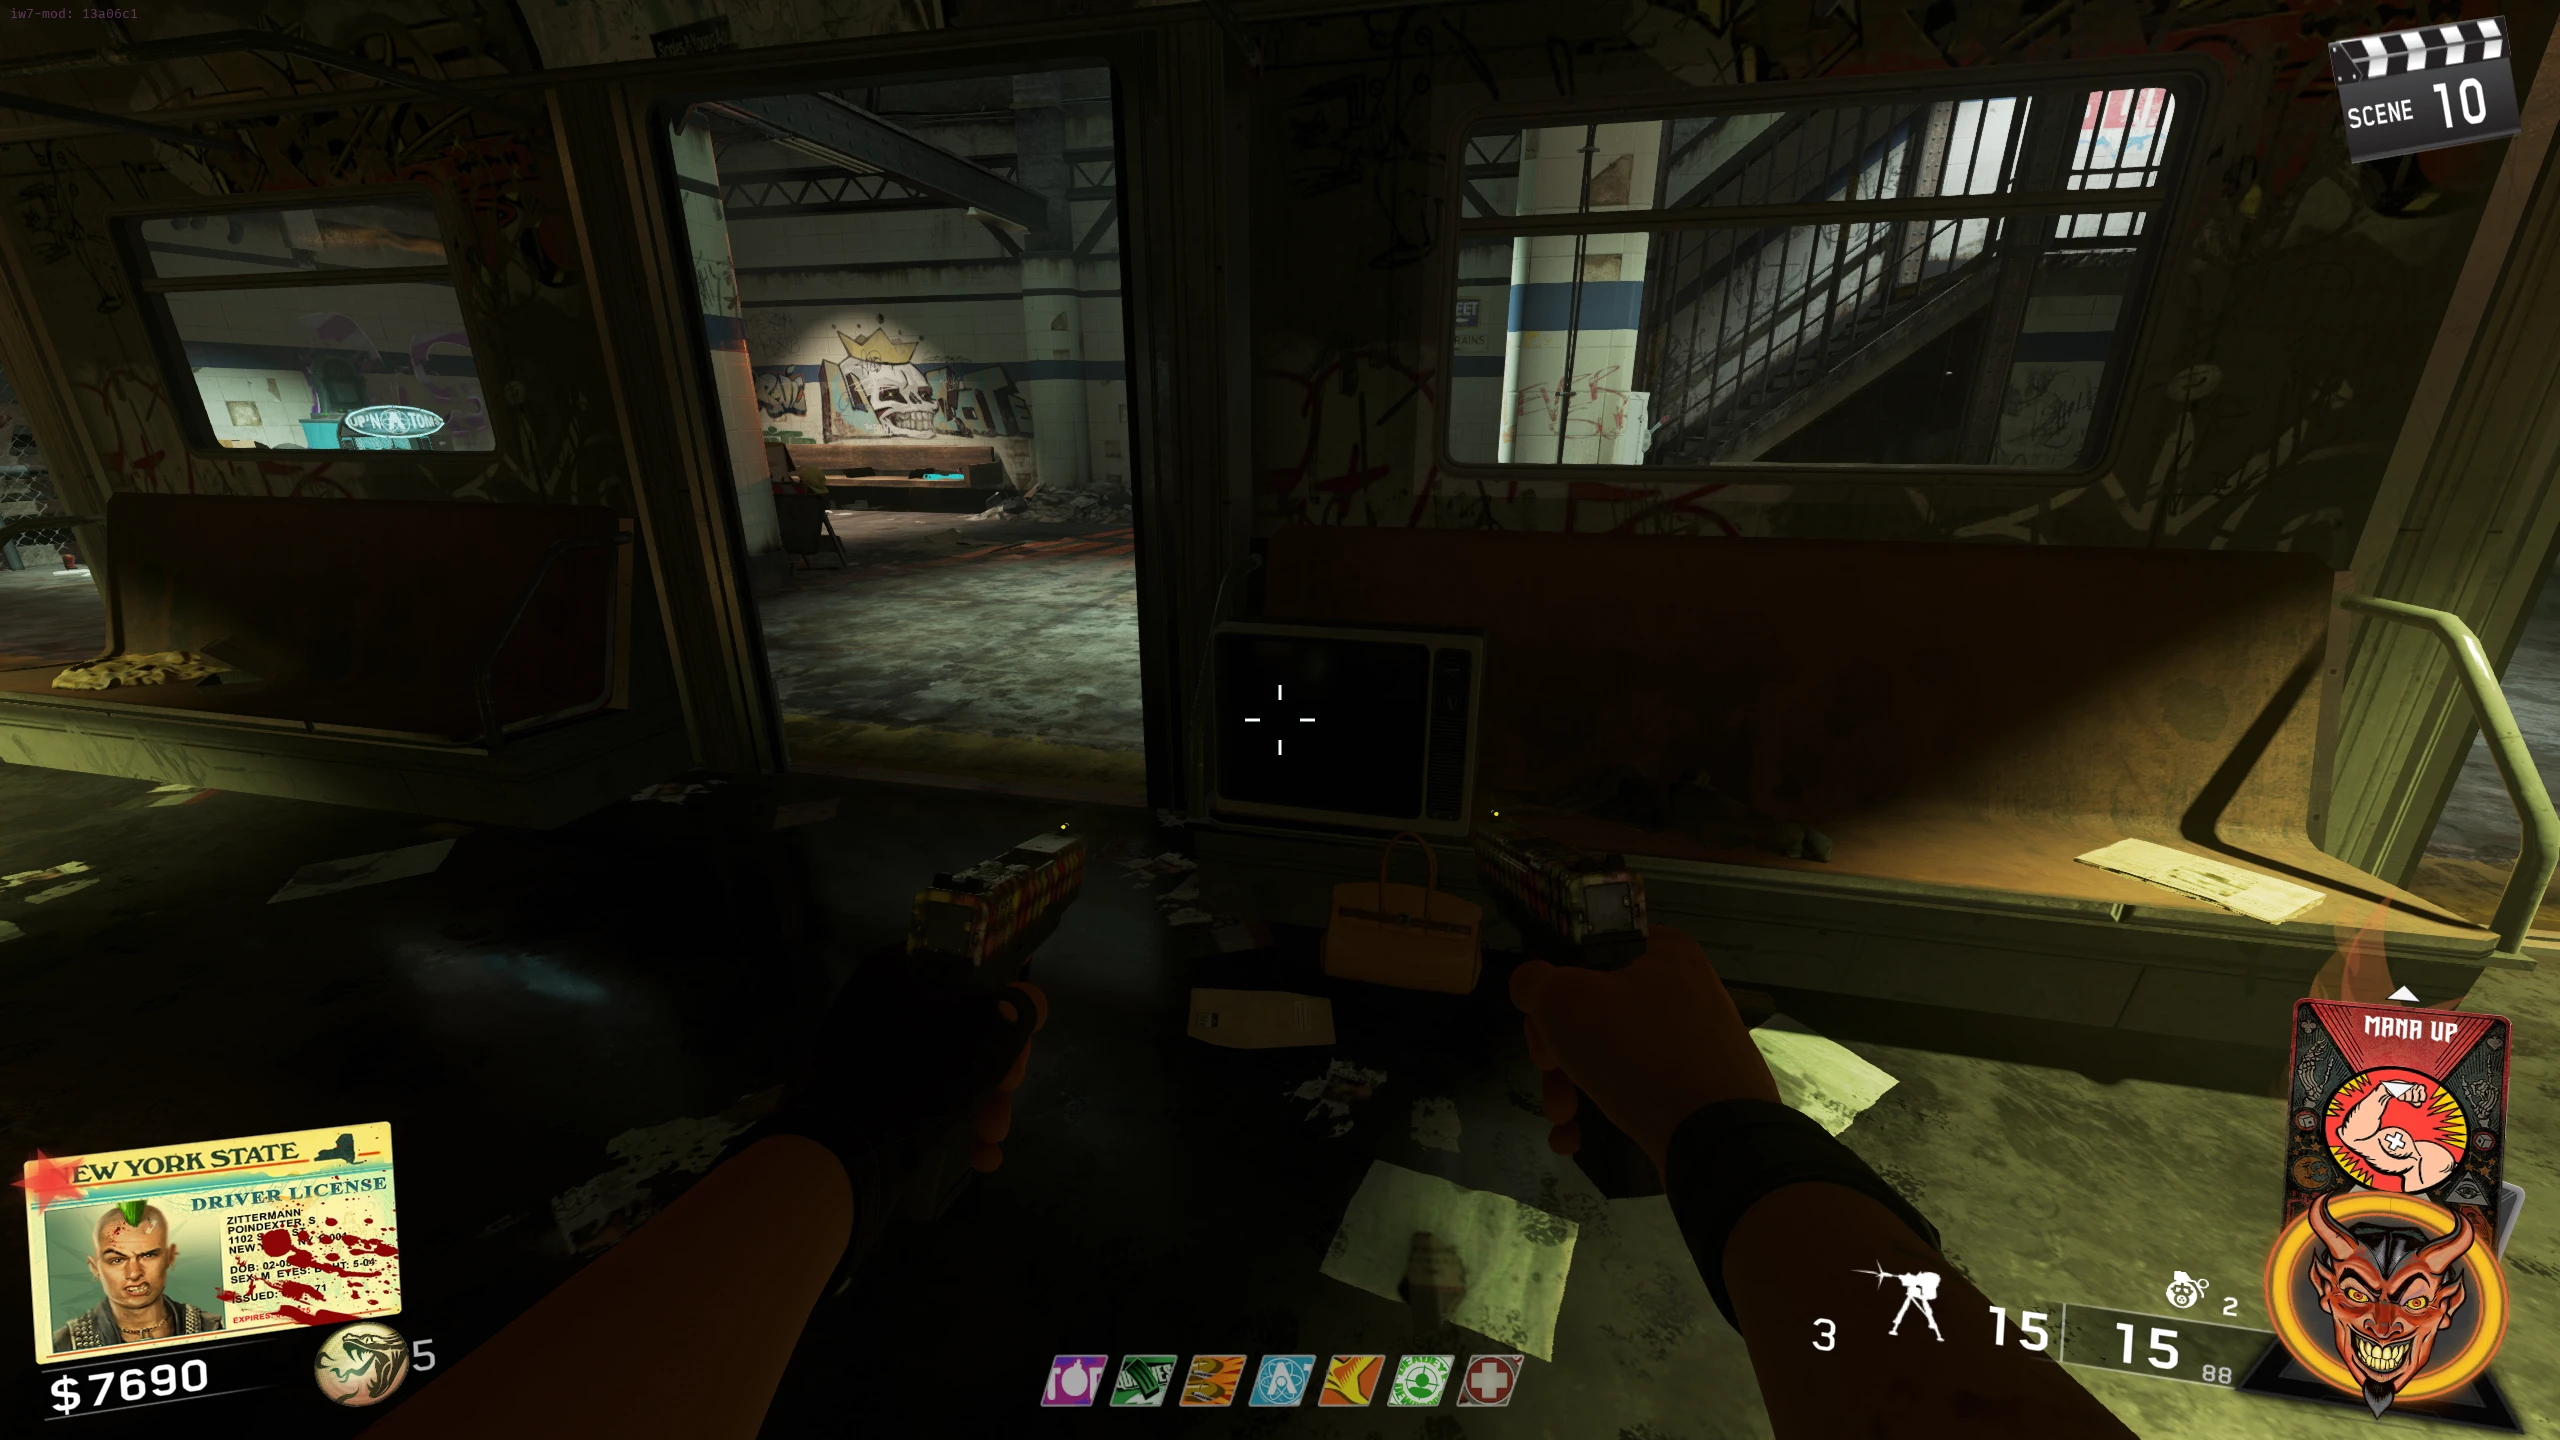
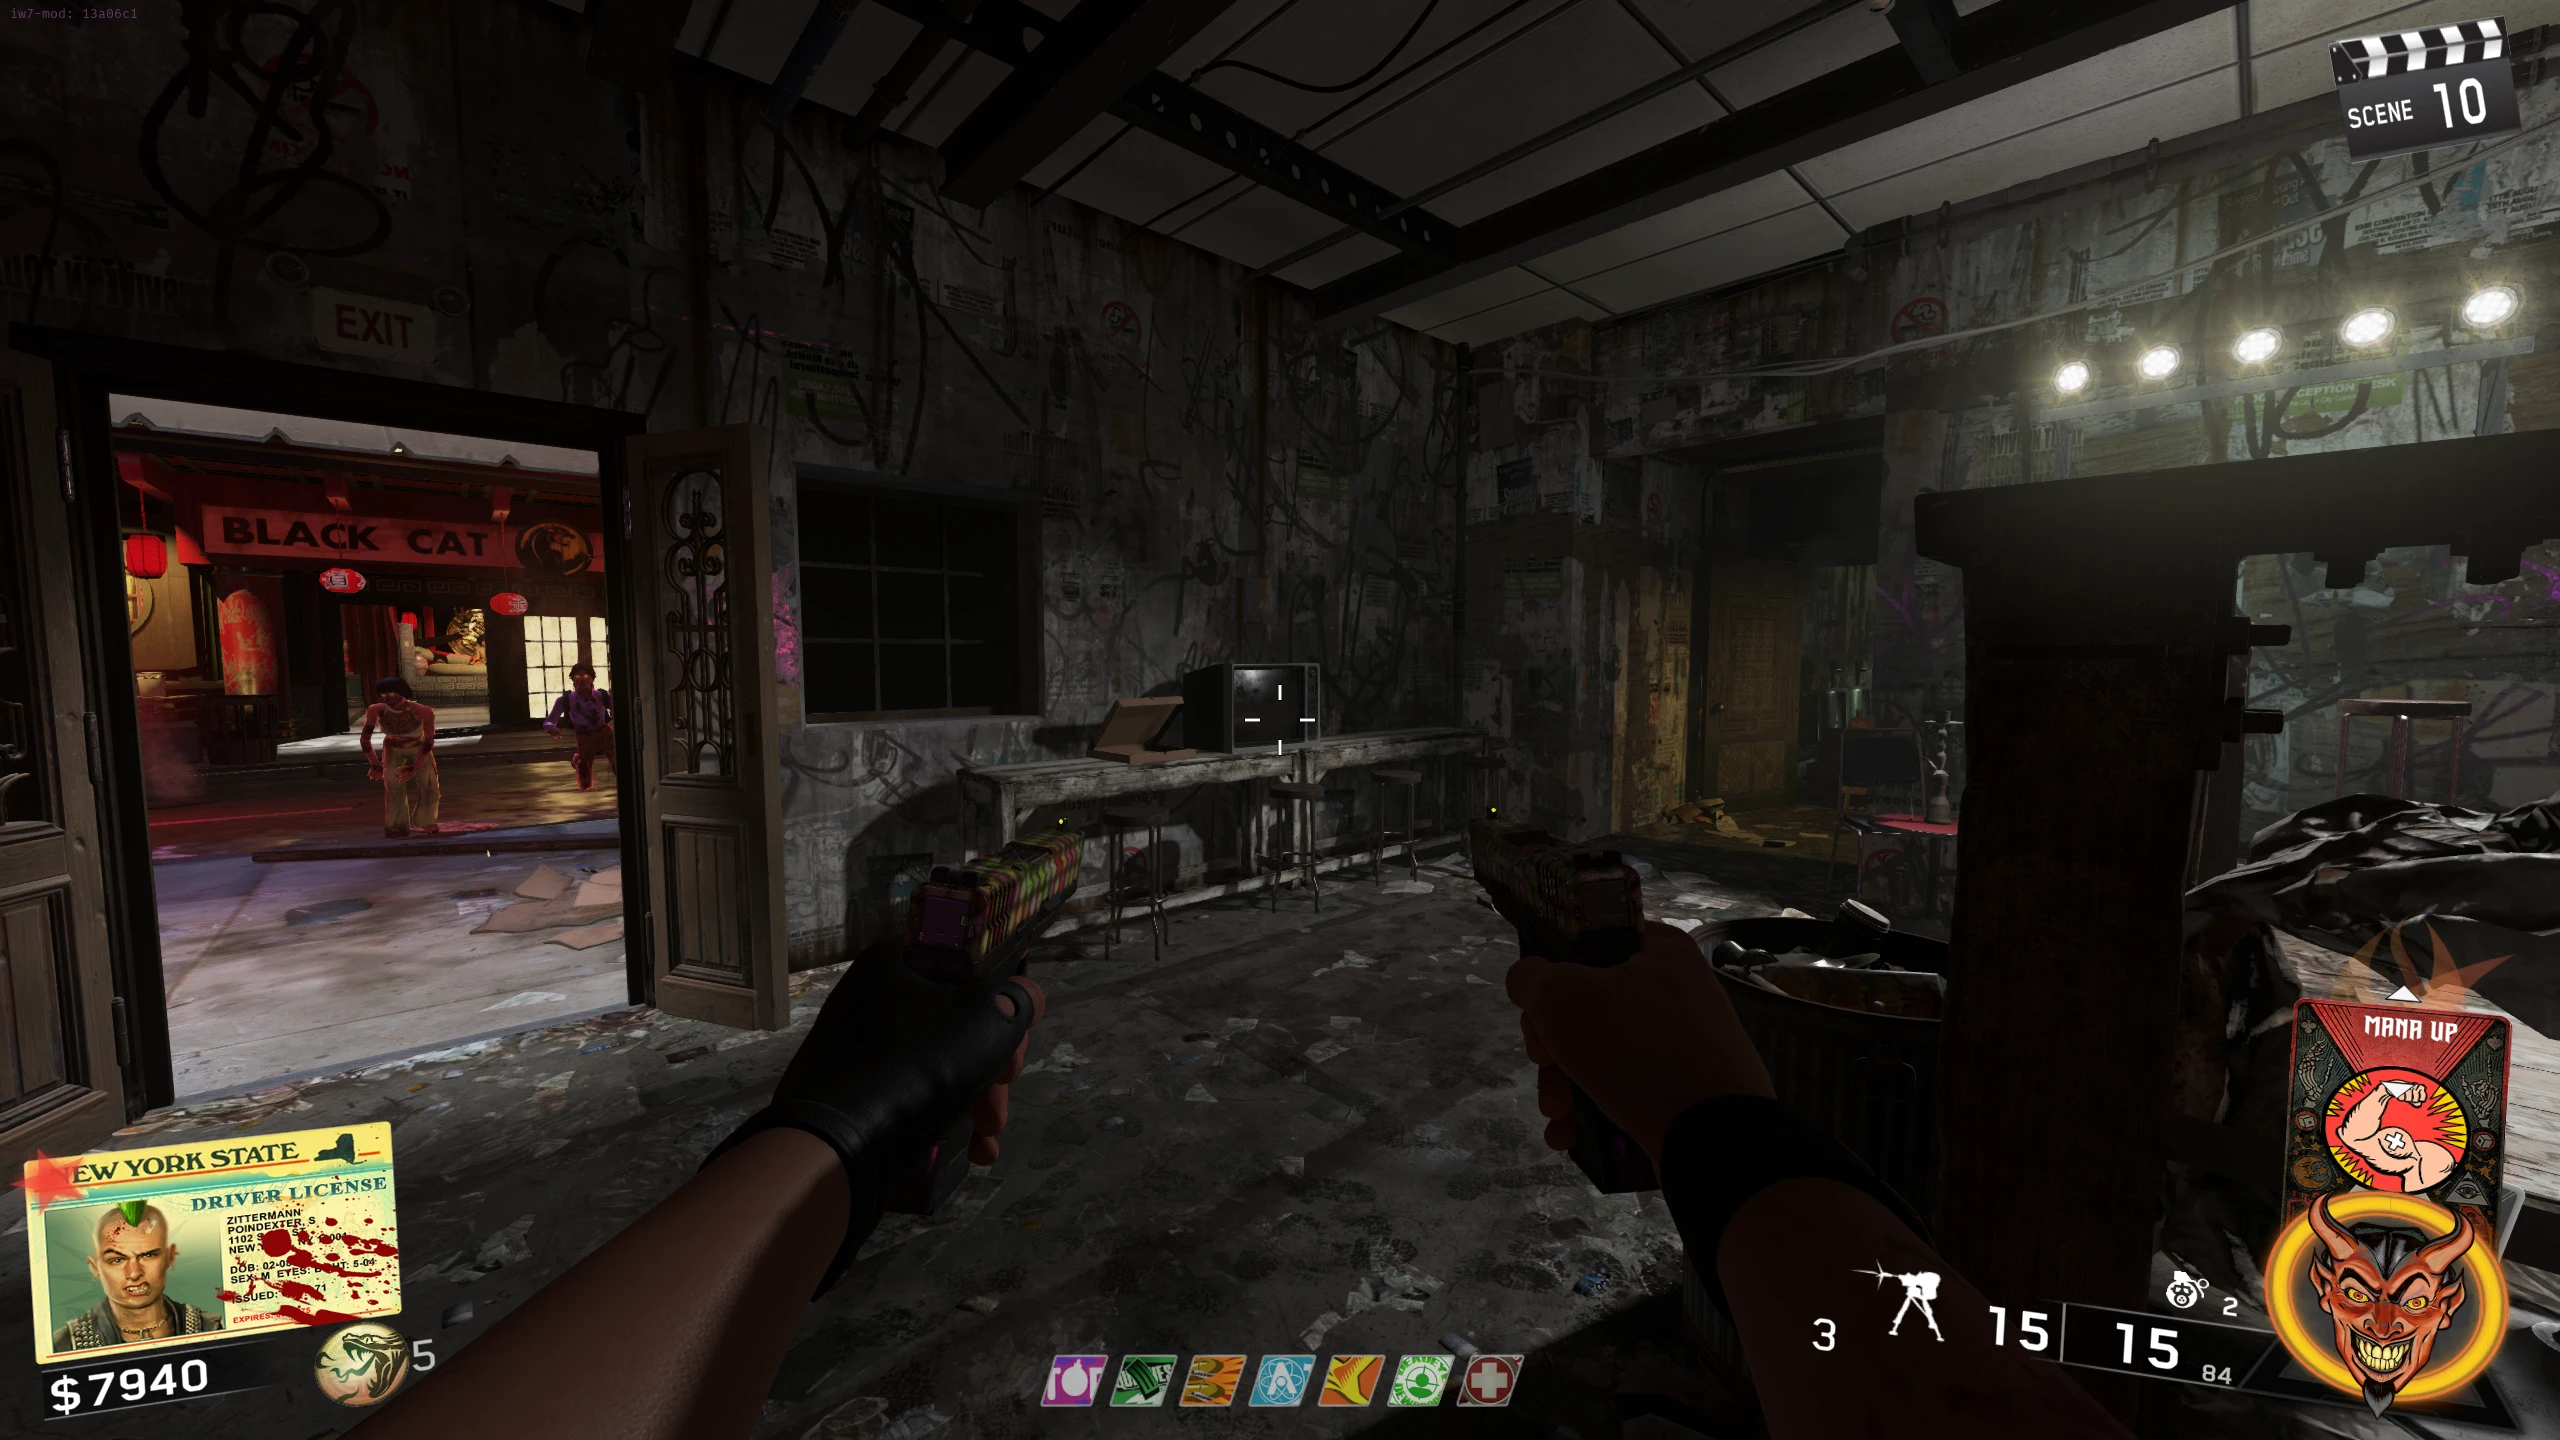
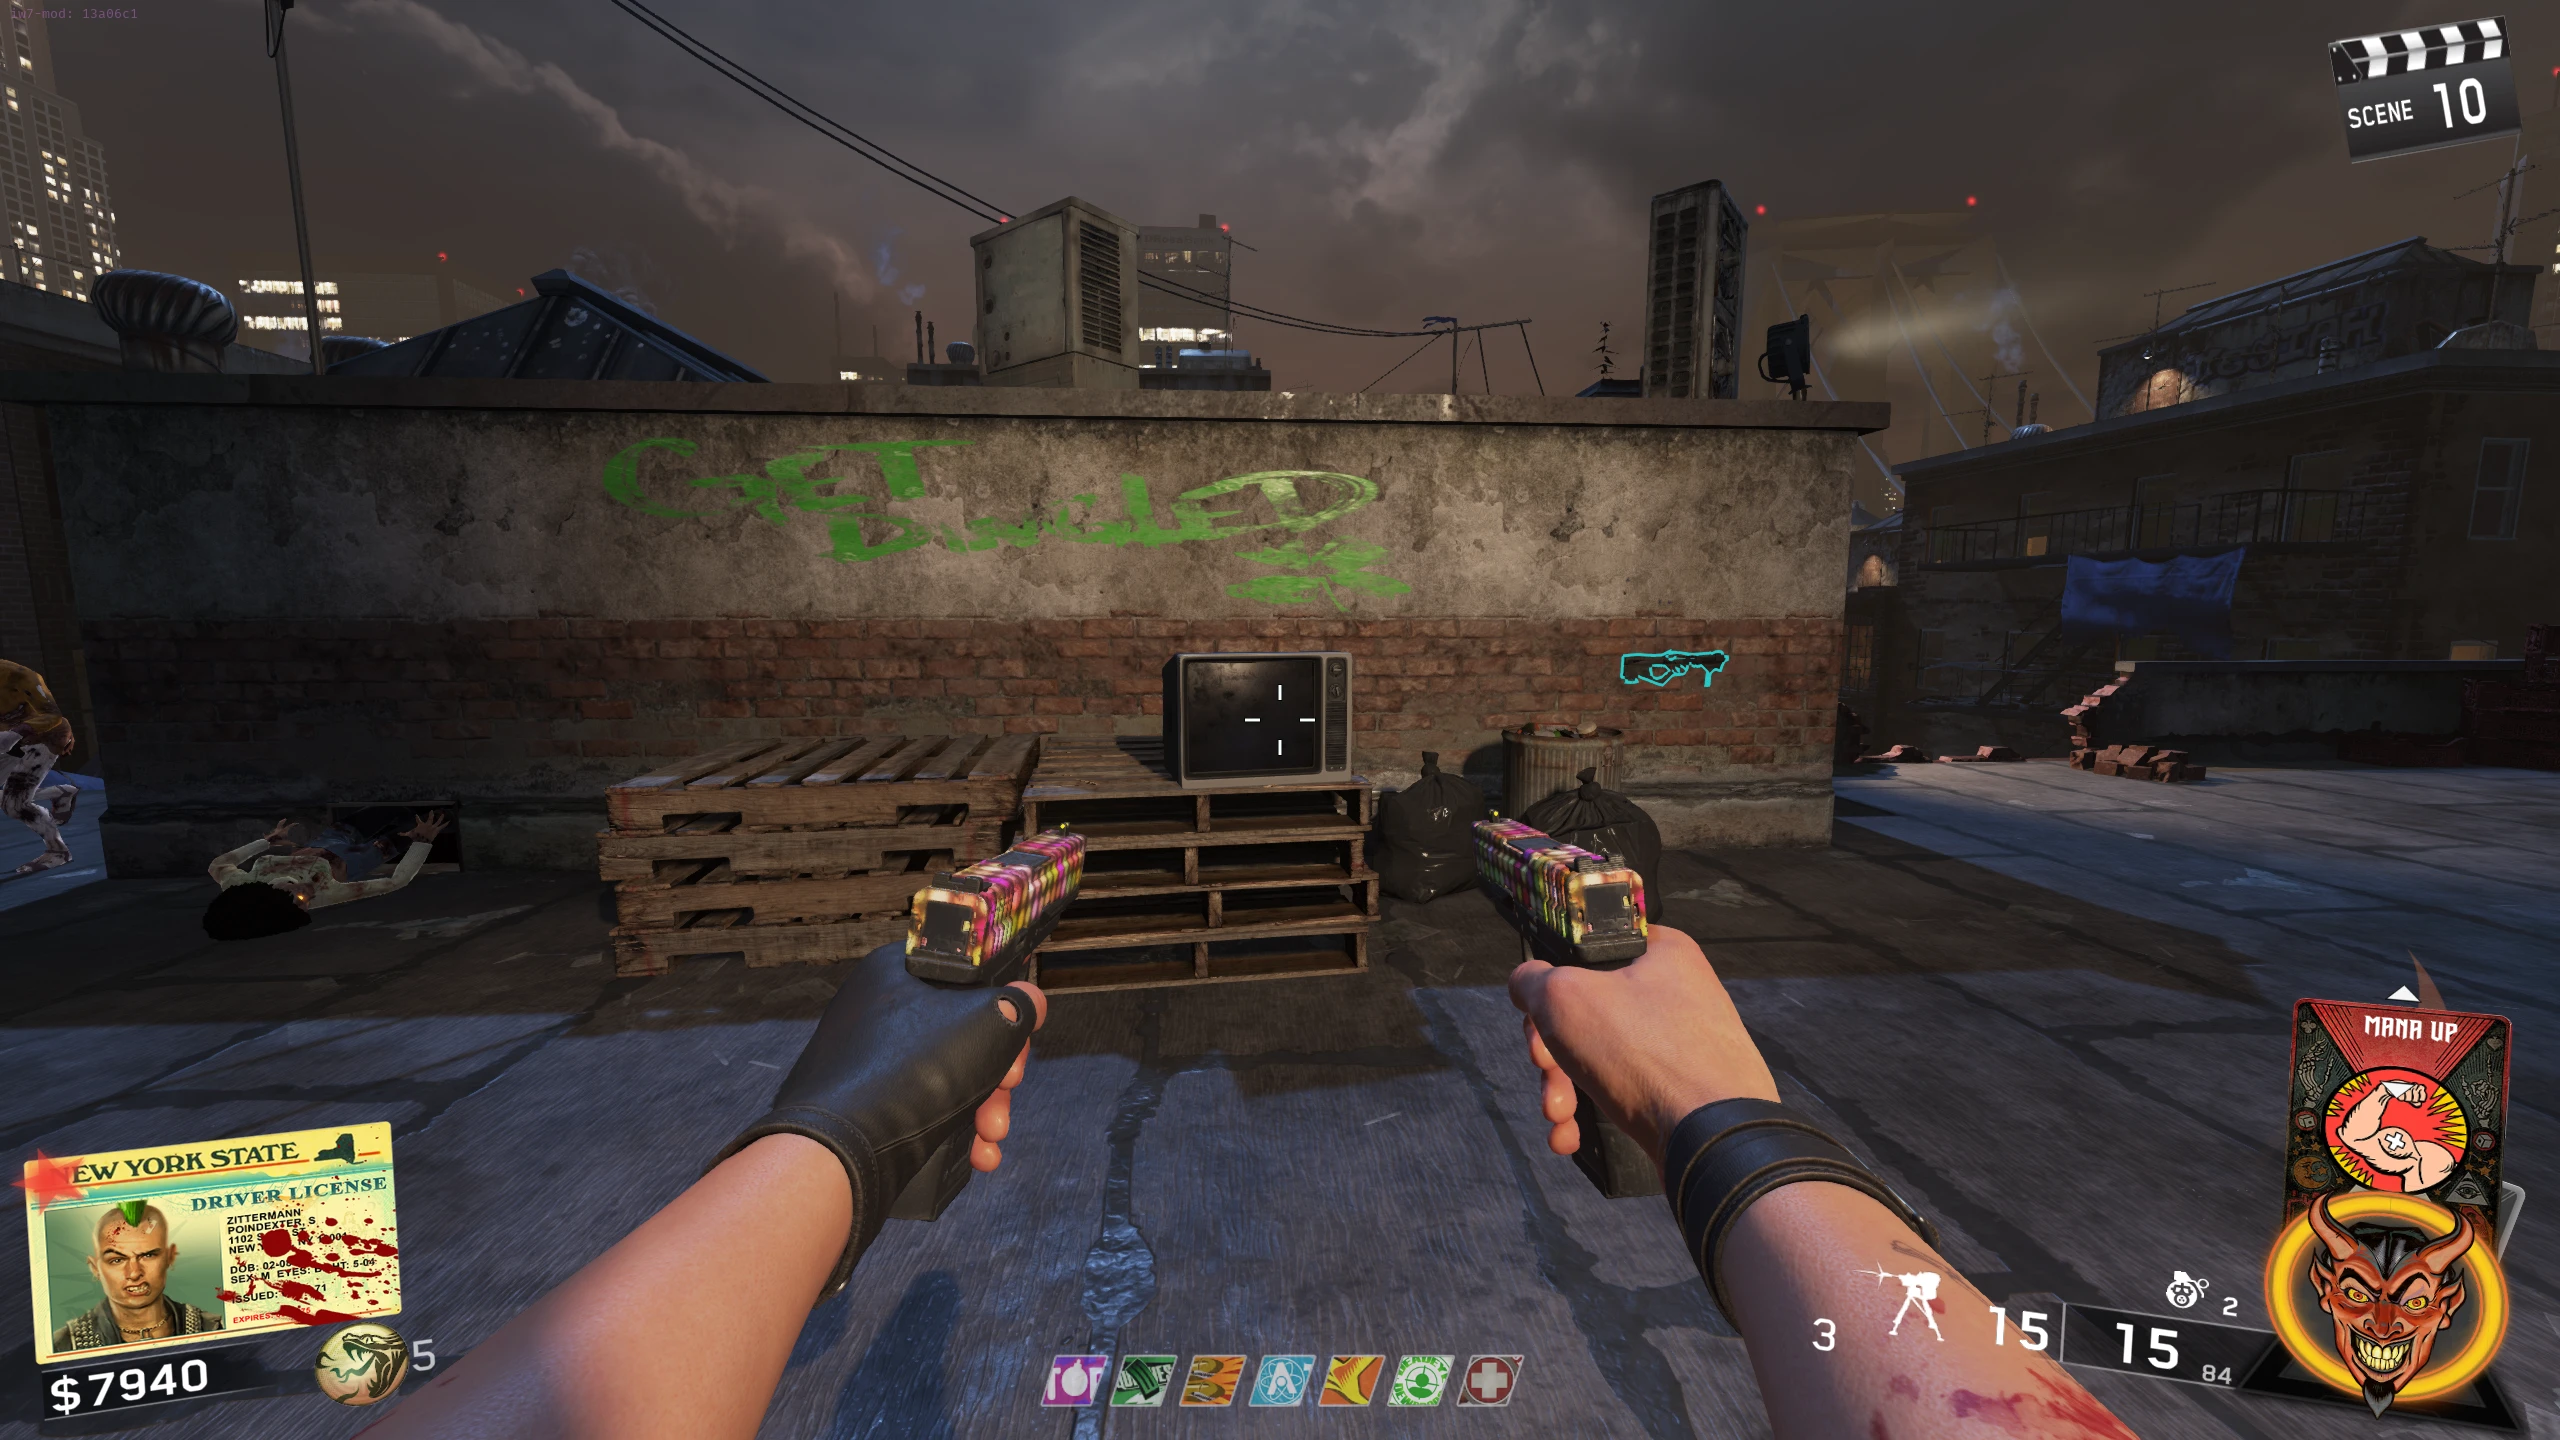
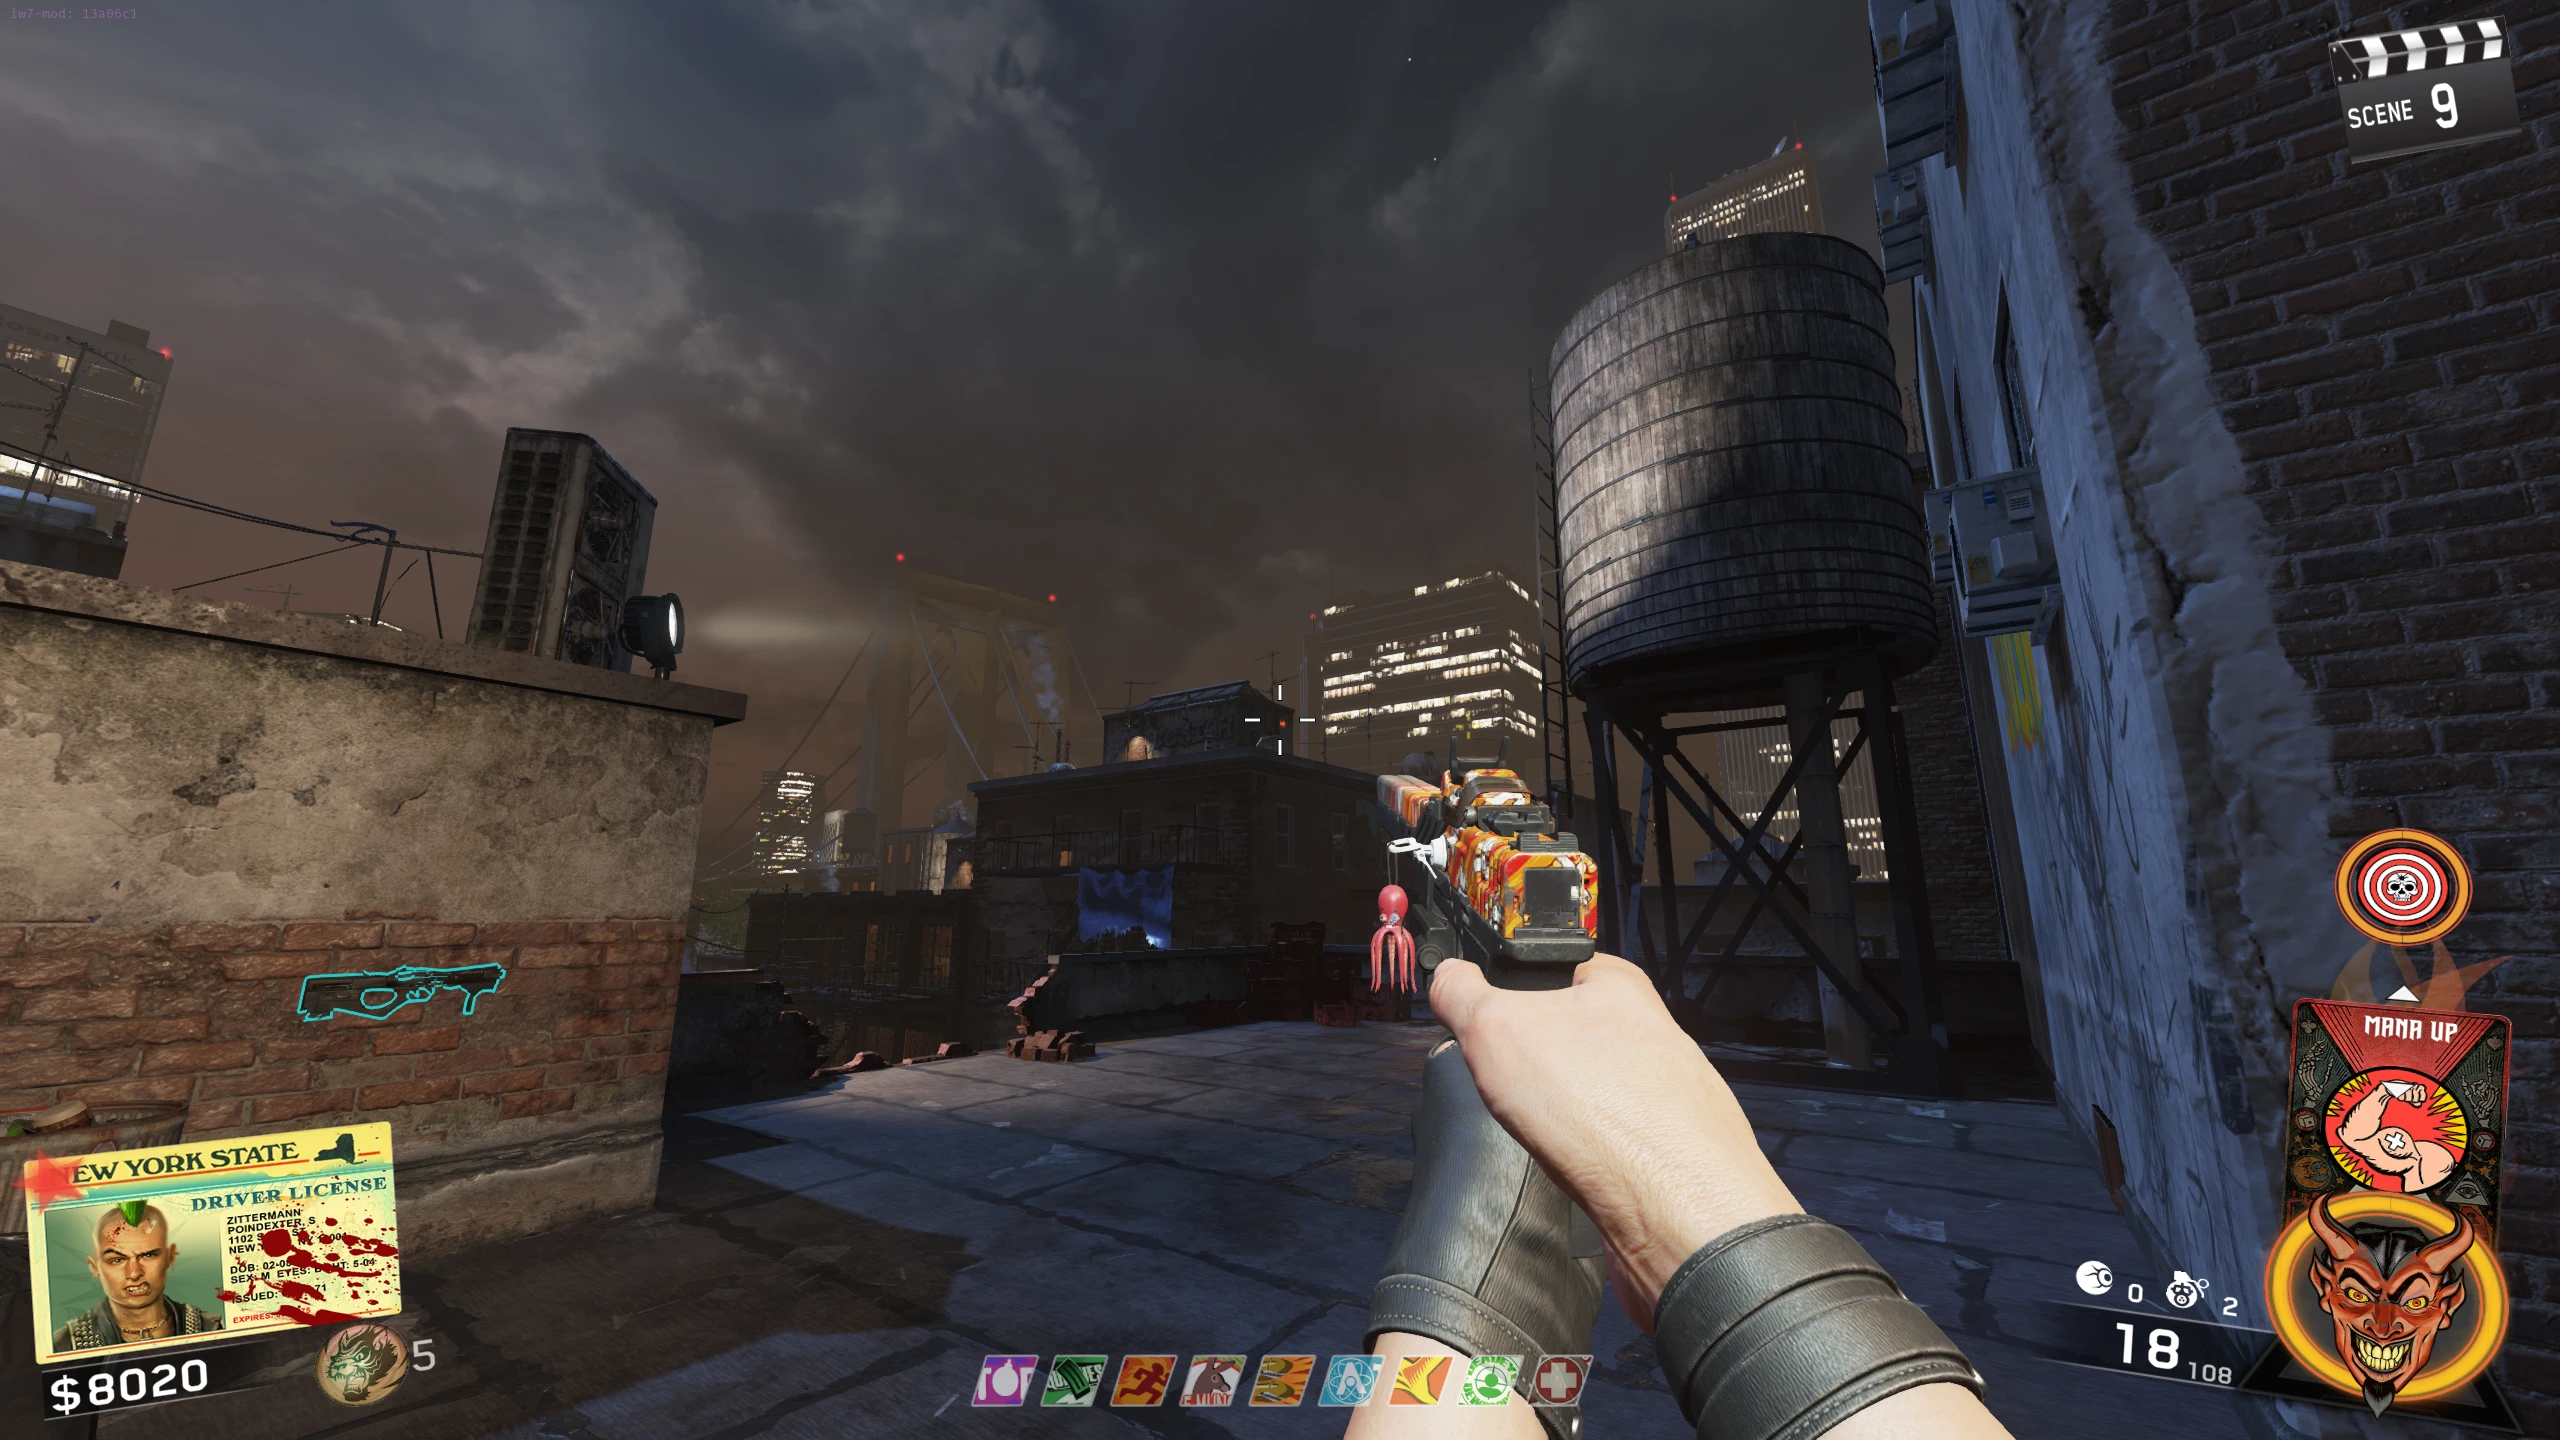
- Possible symbol locations:
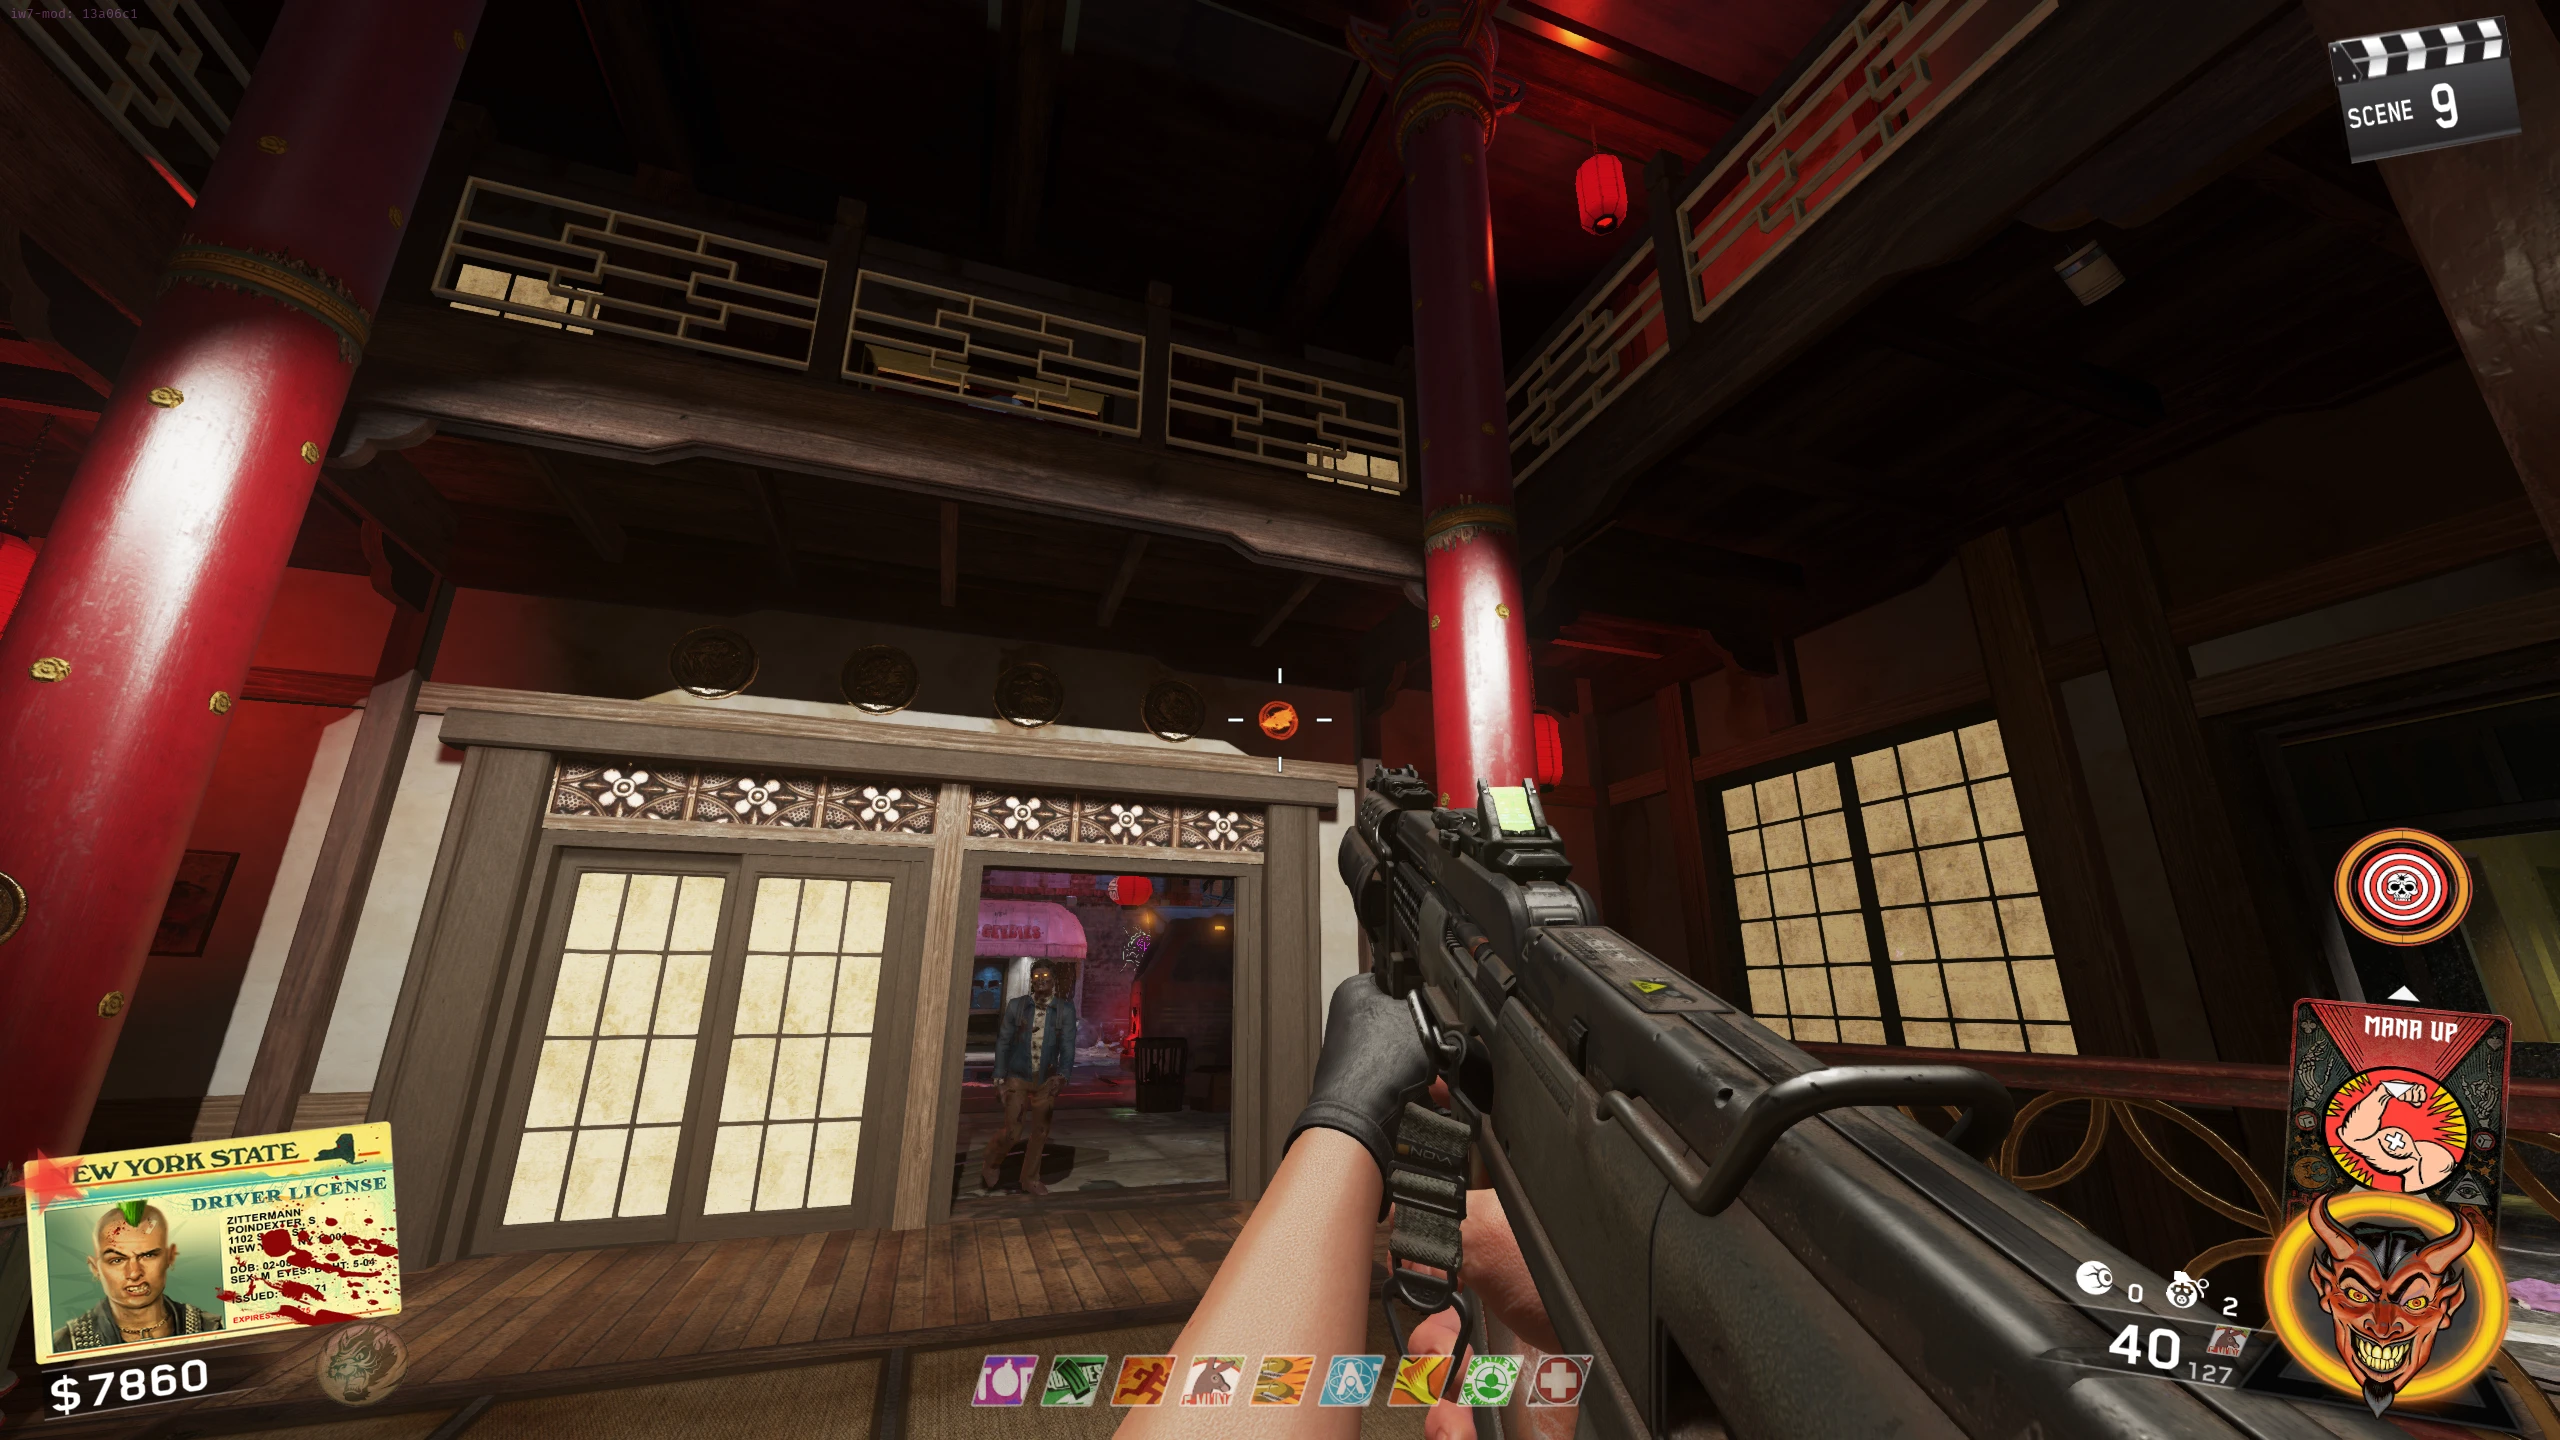
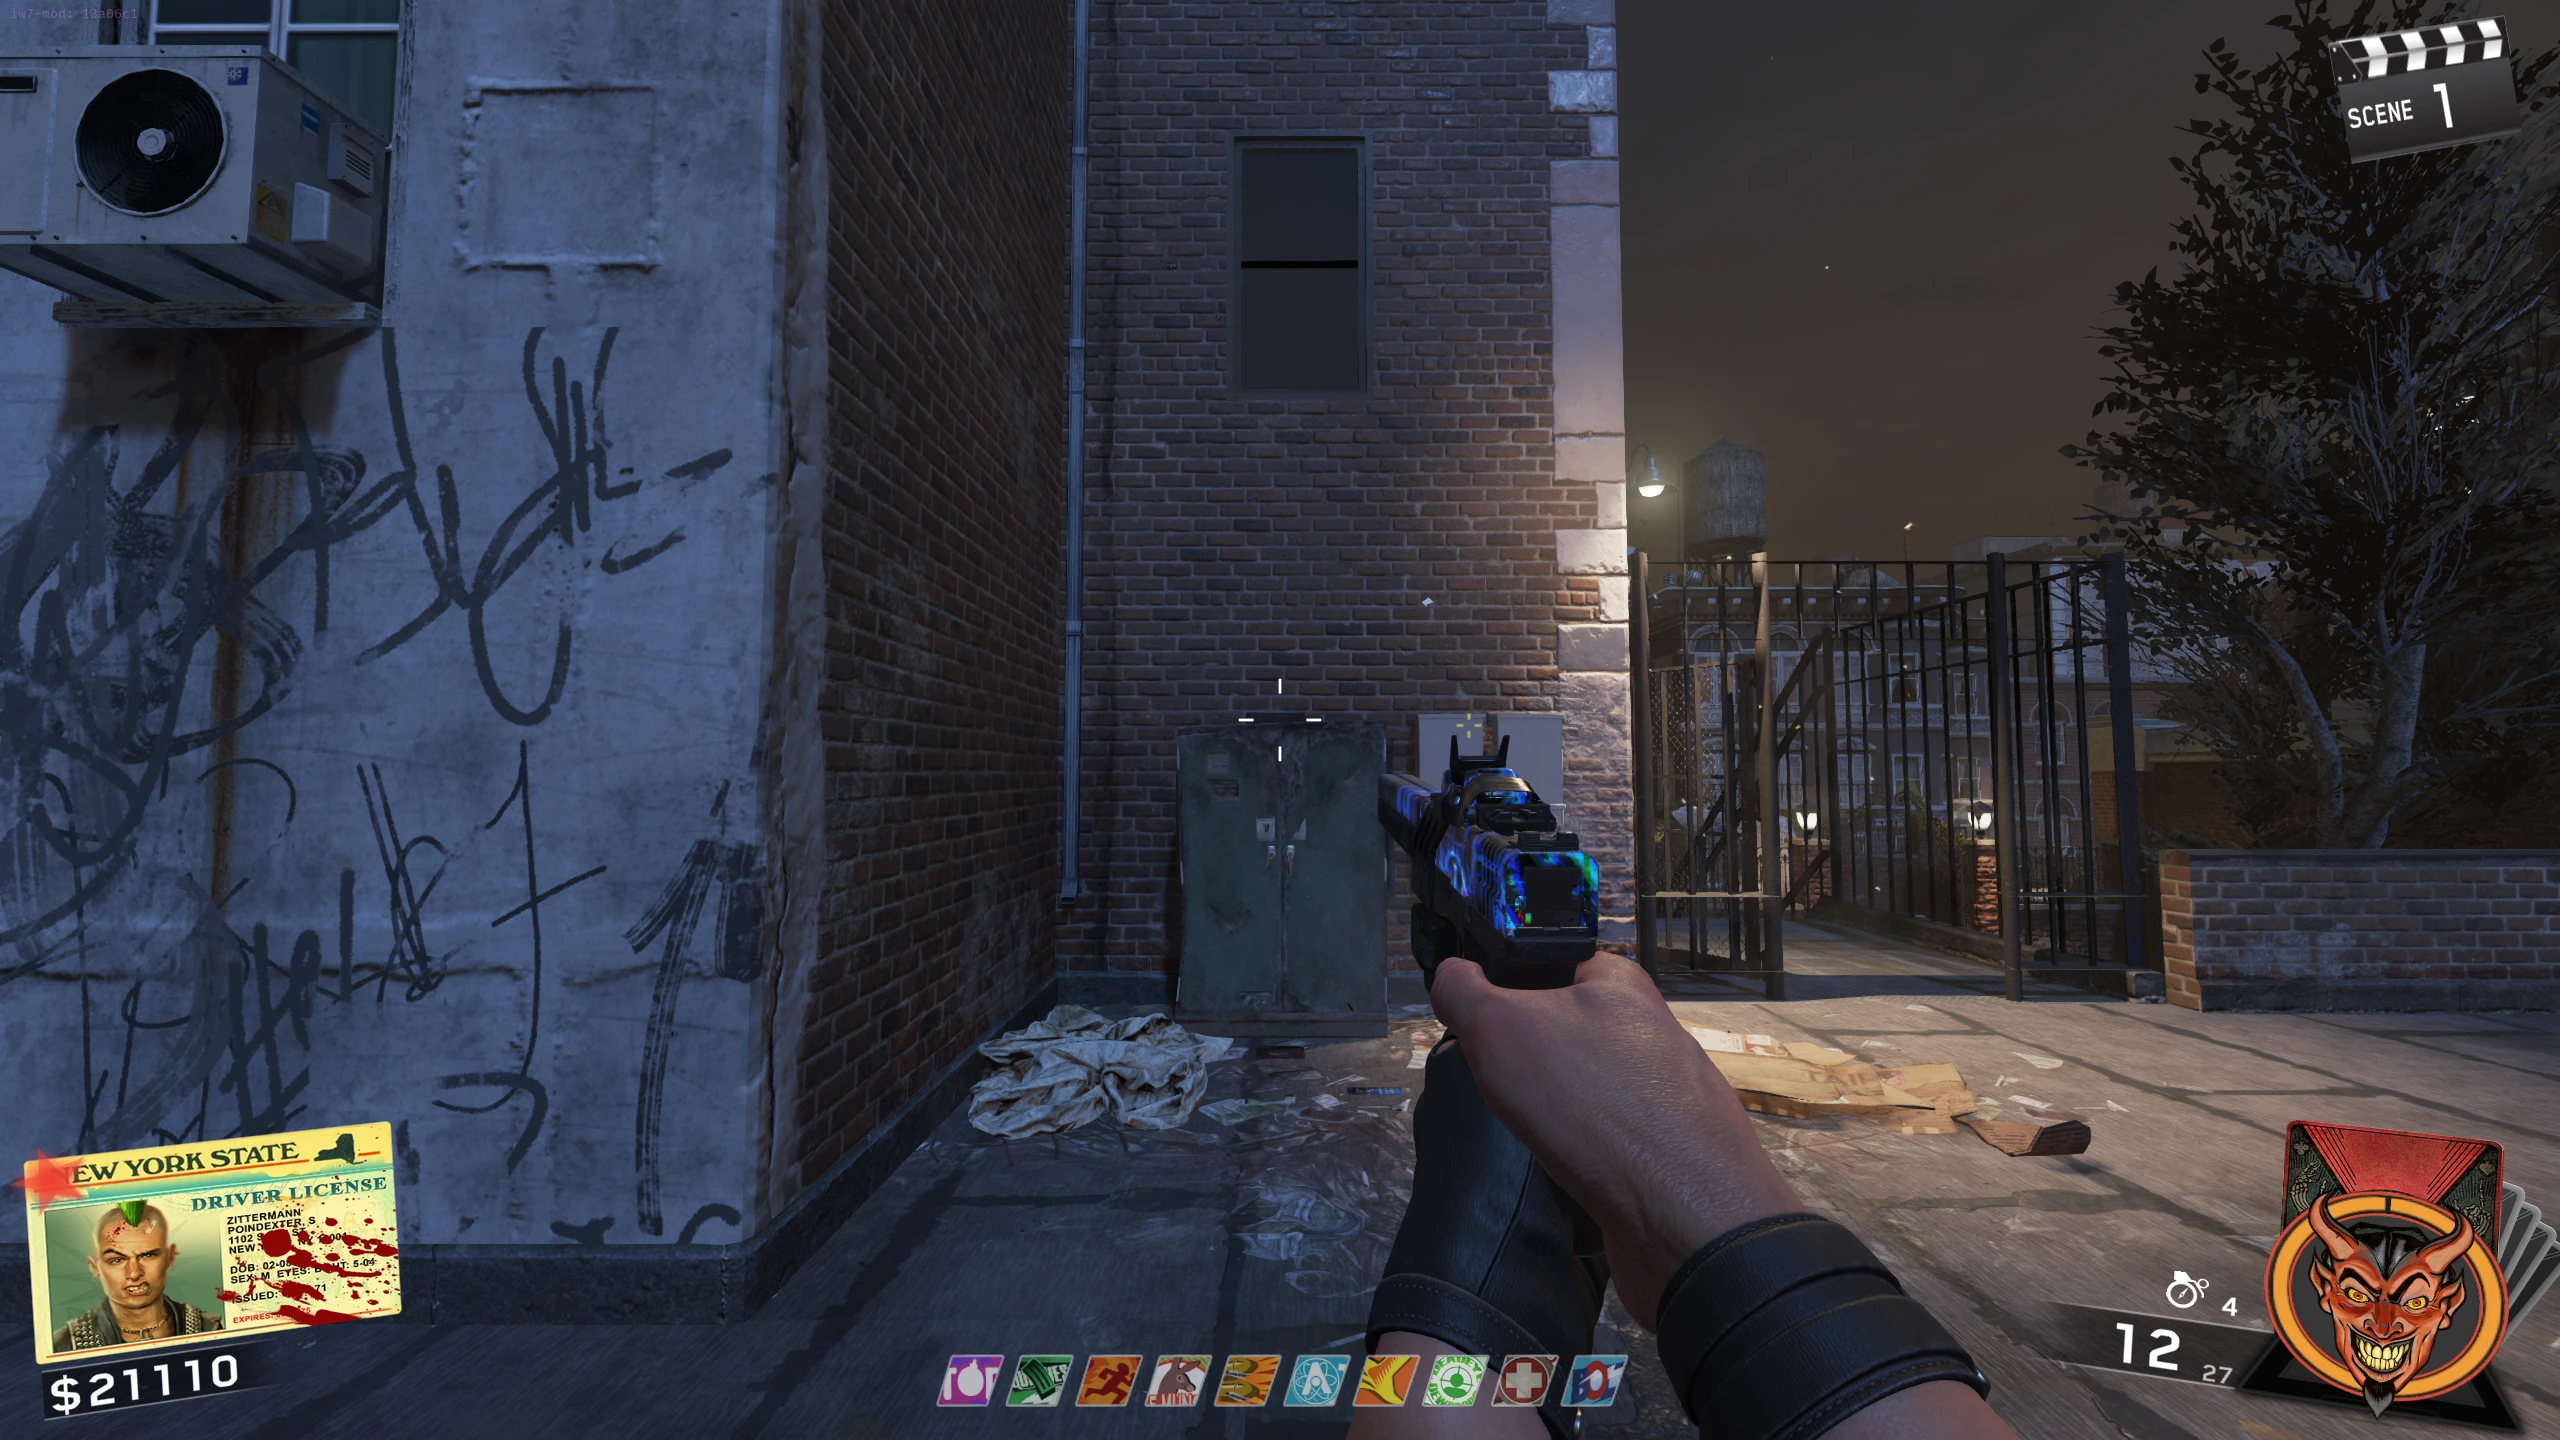
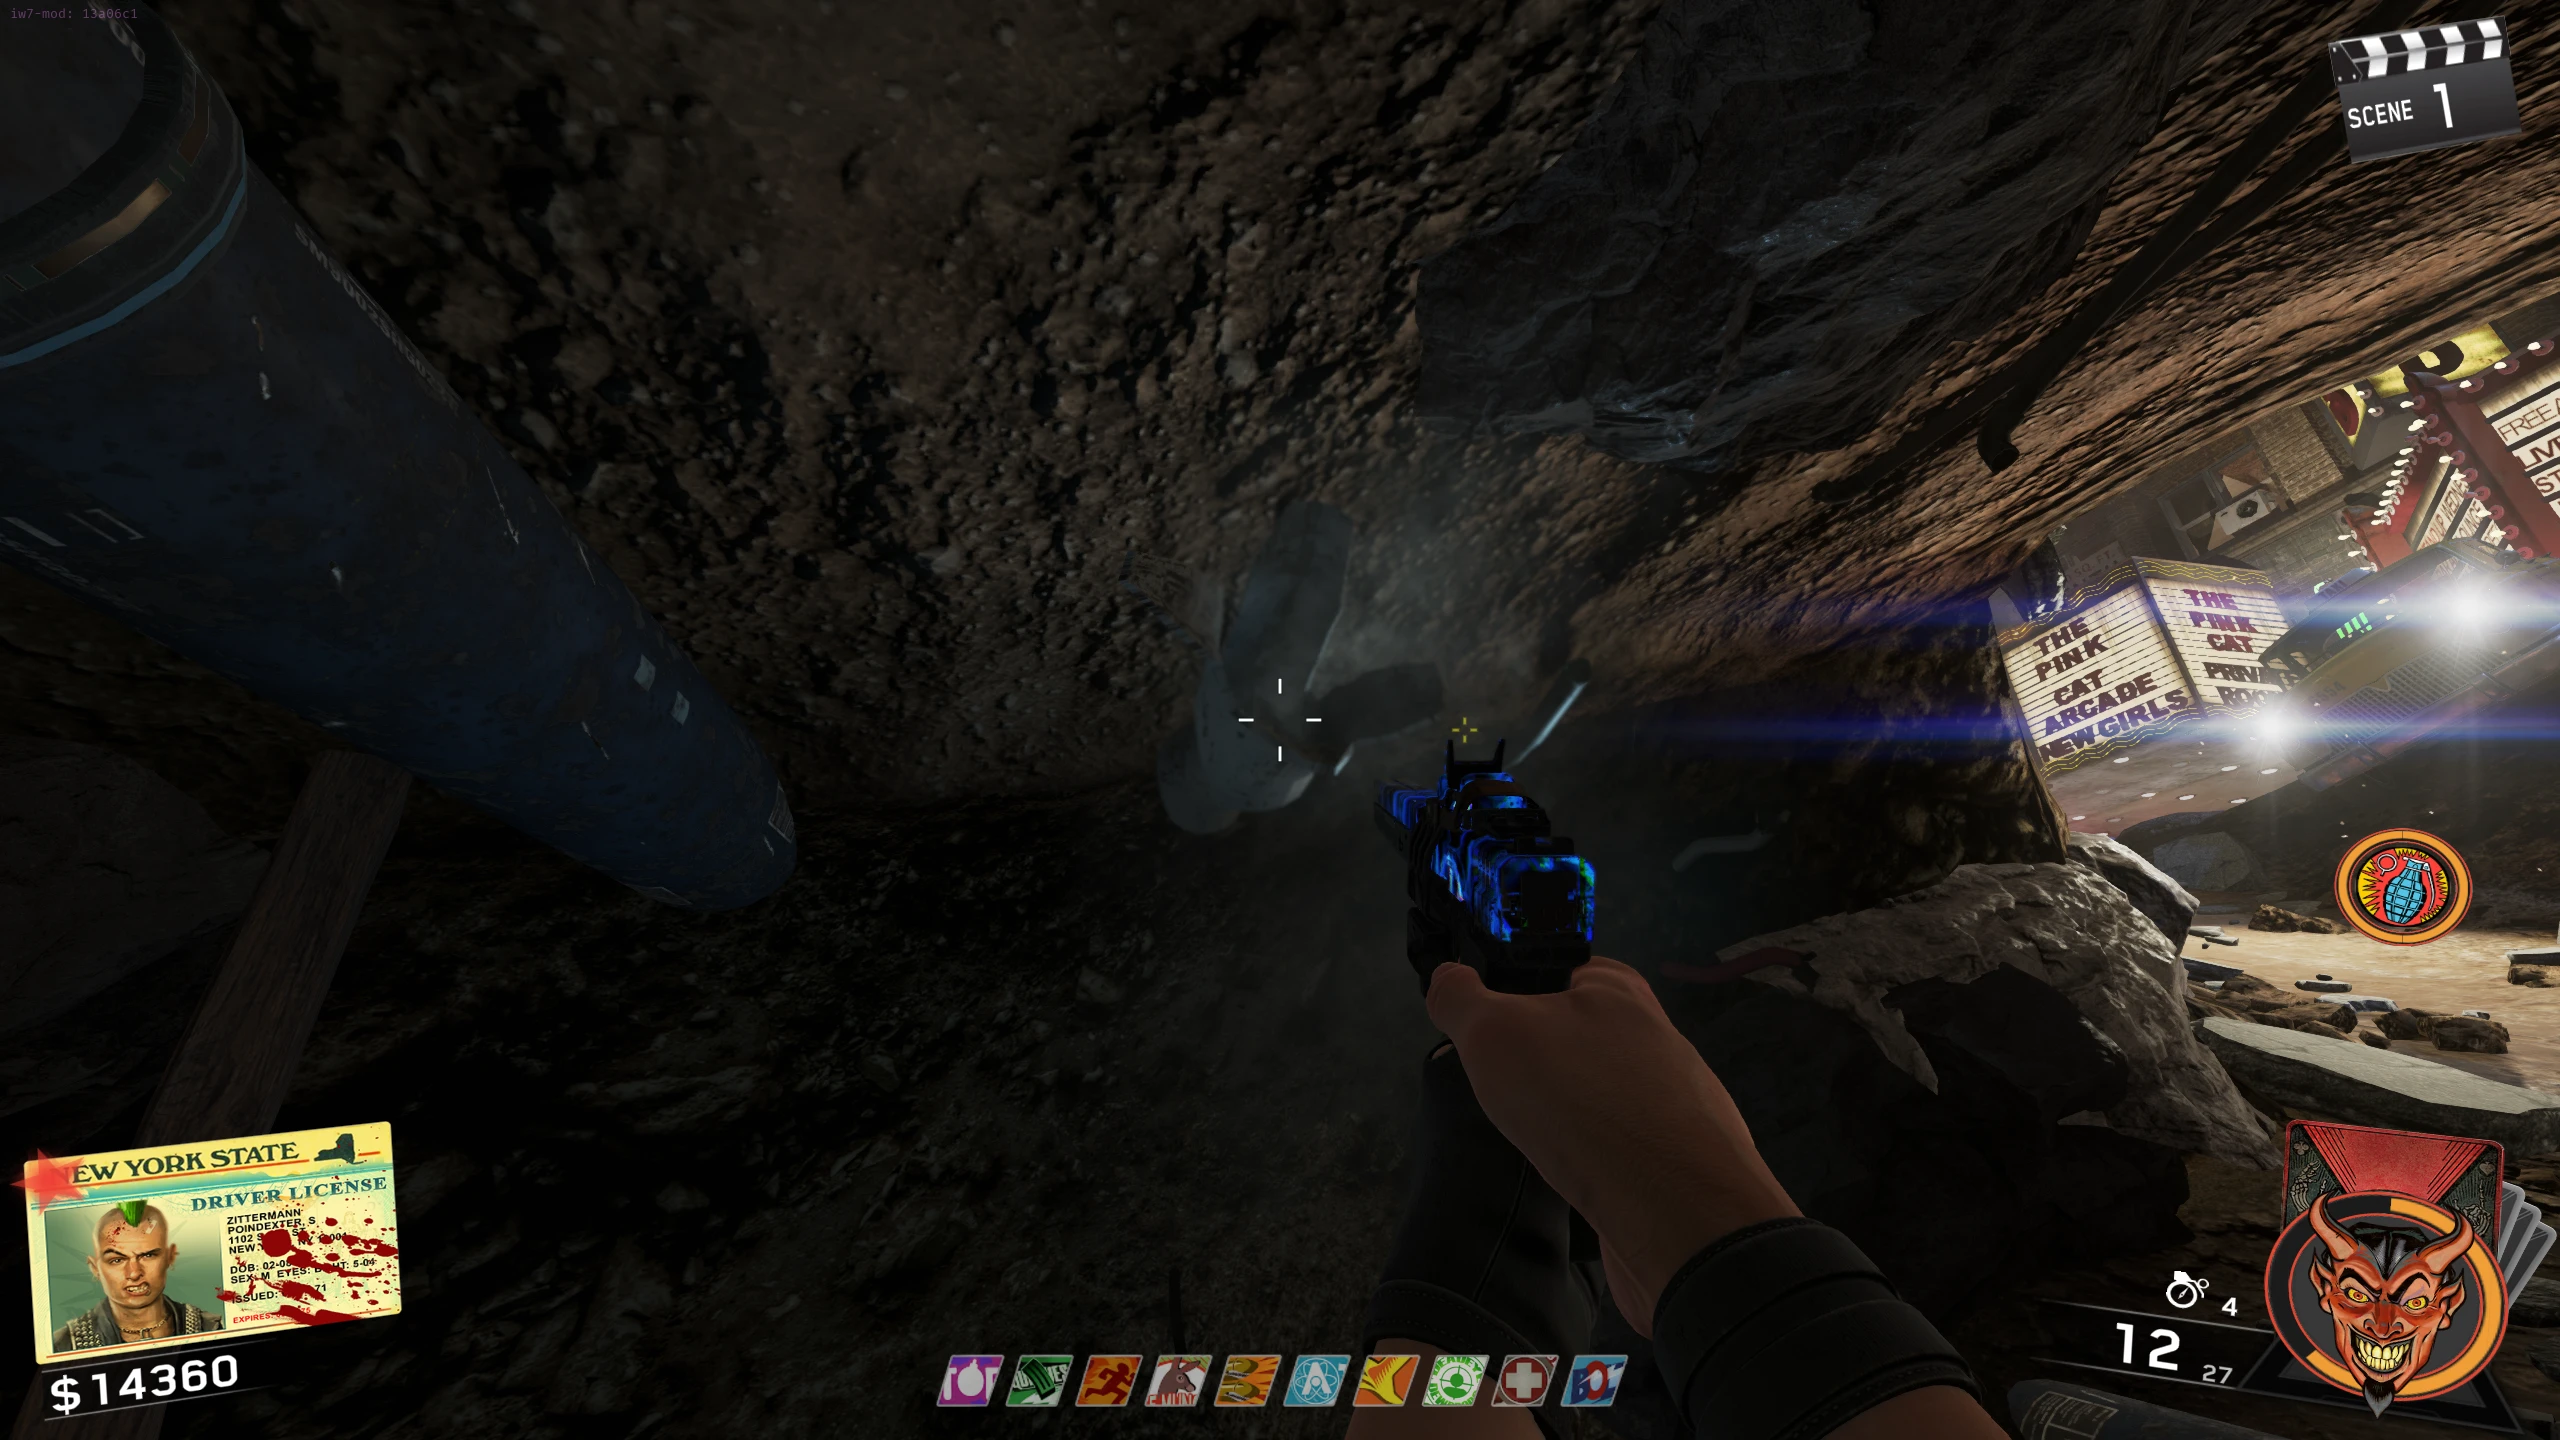
- In the spawn area above the train
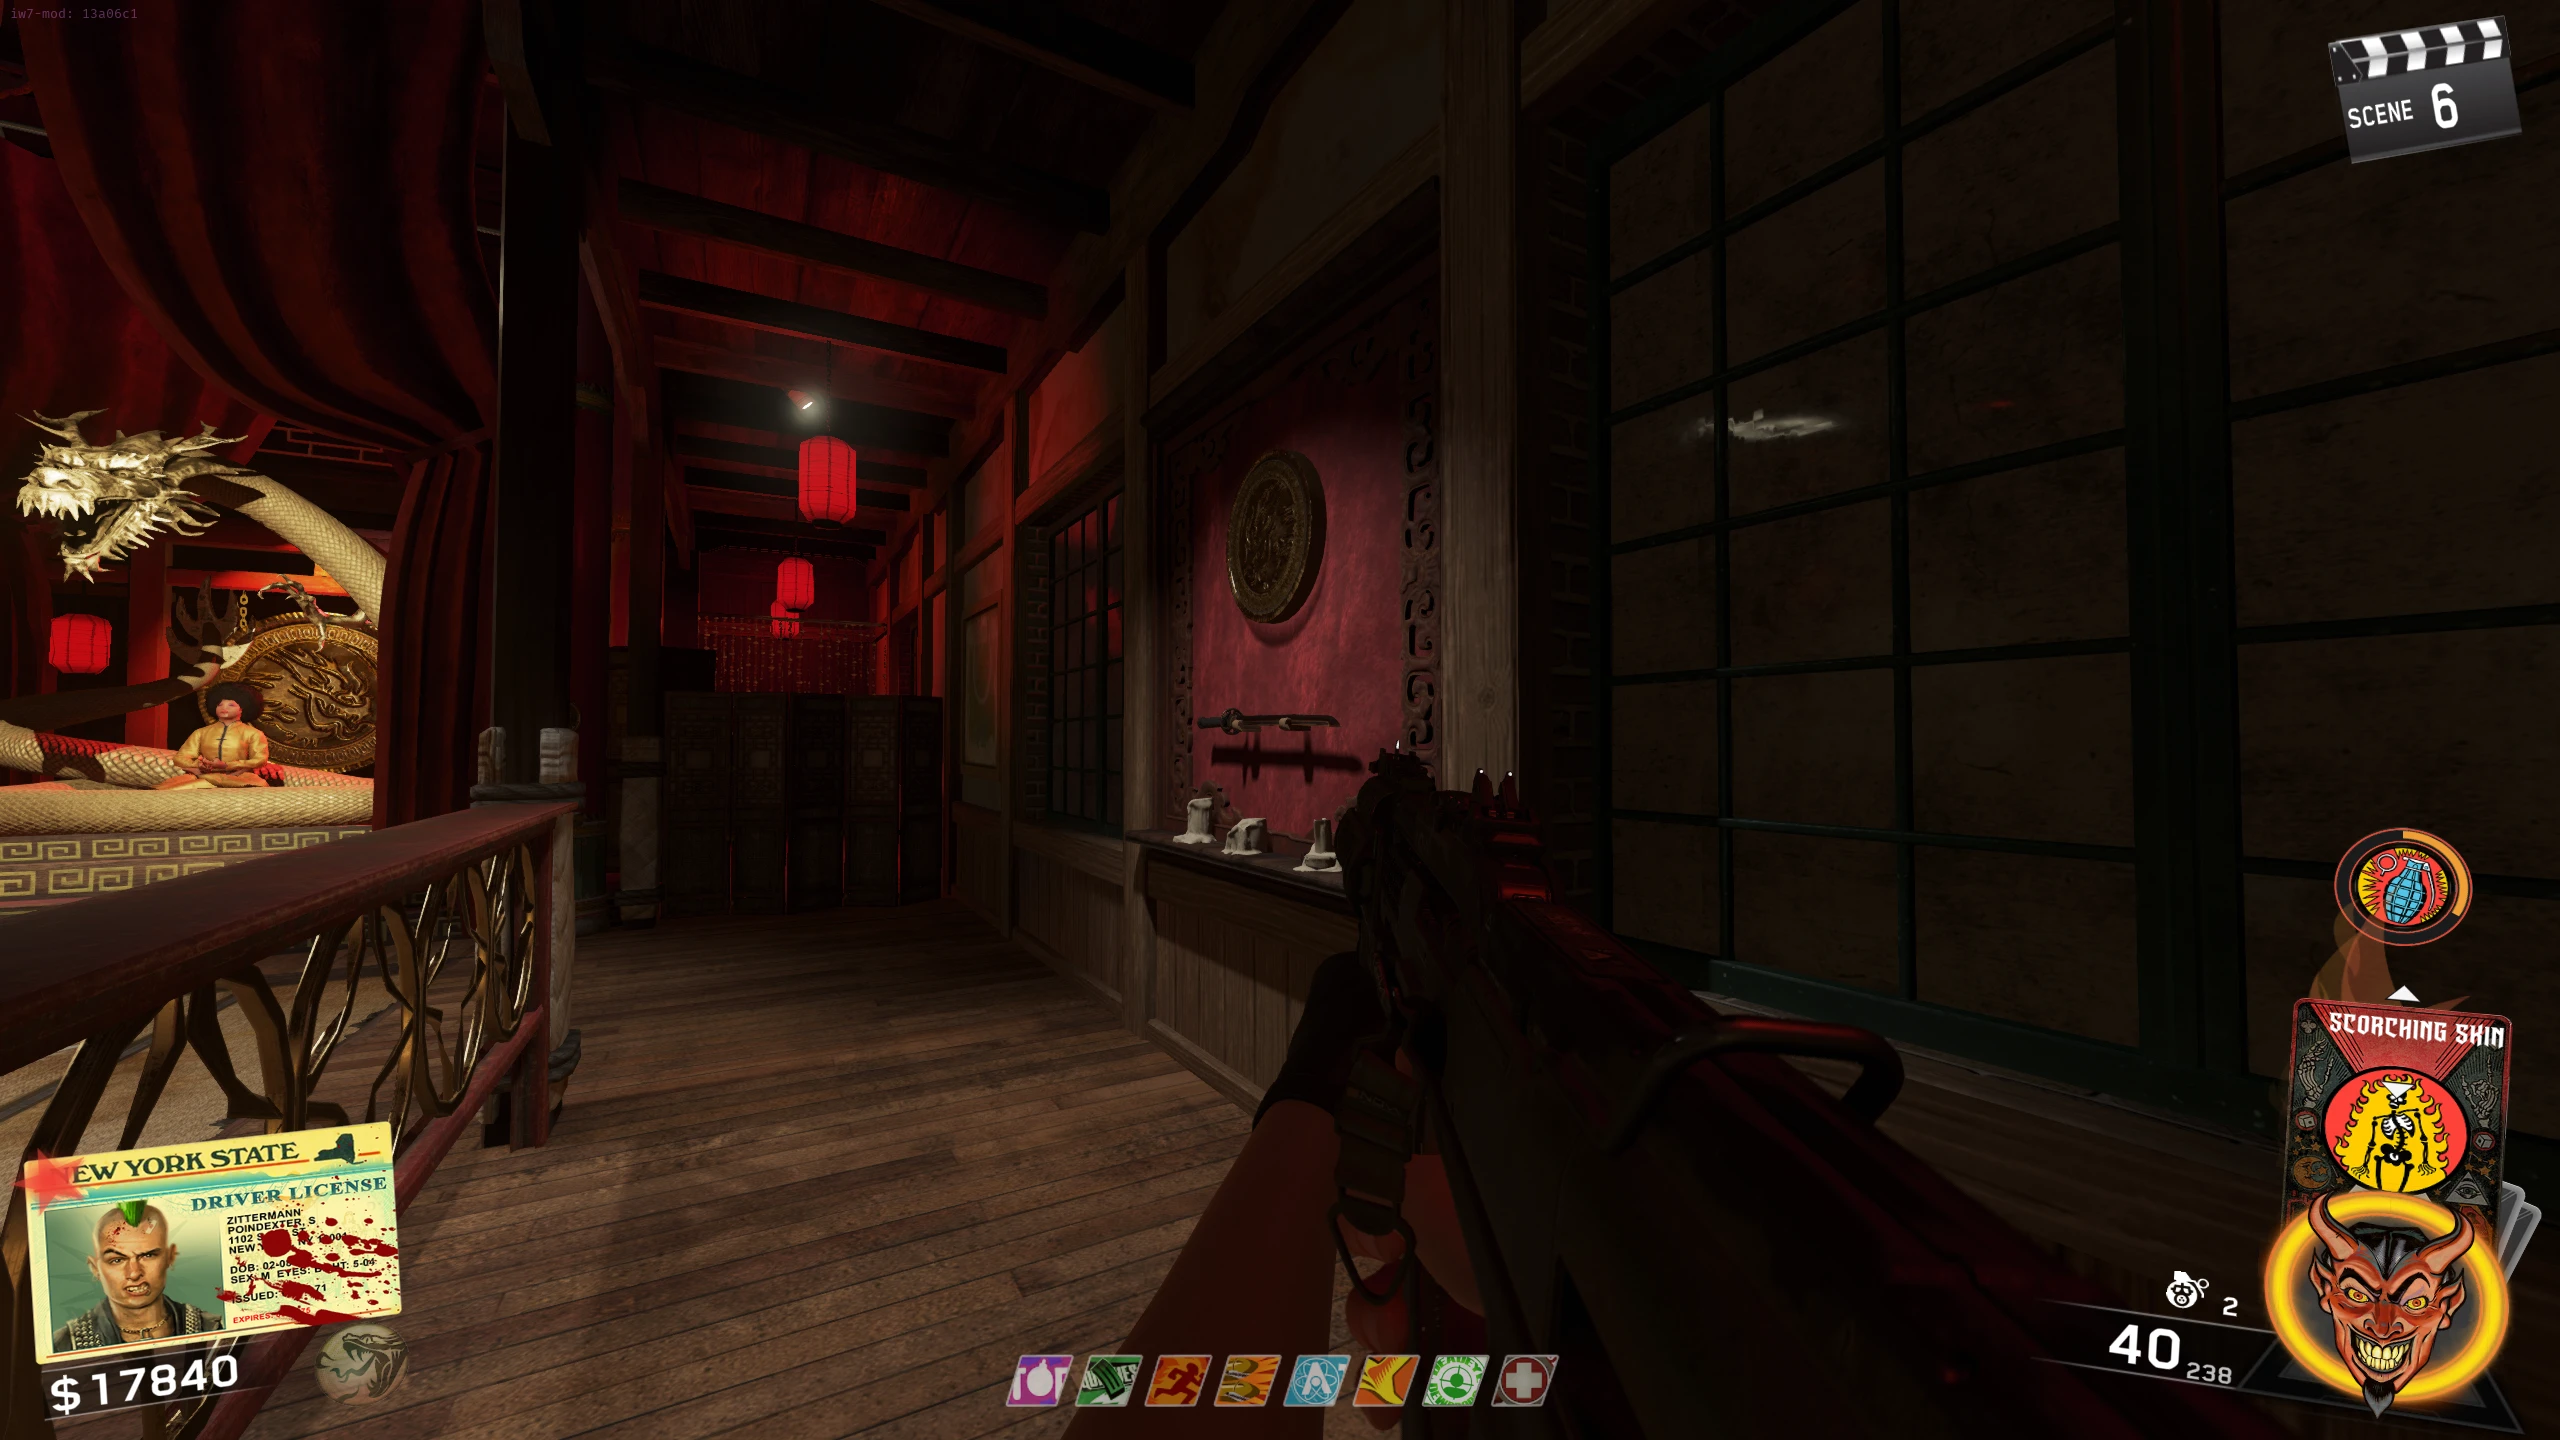
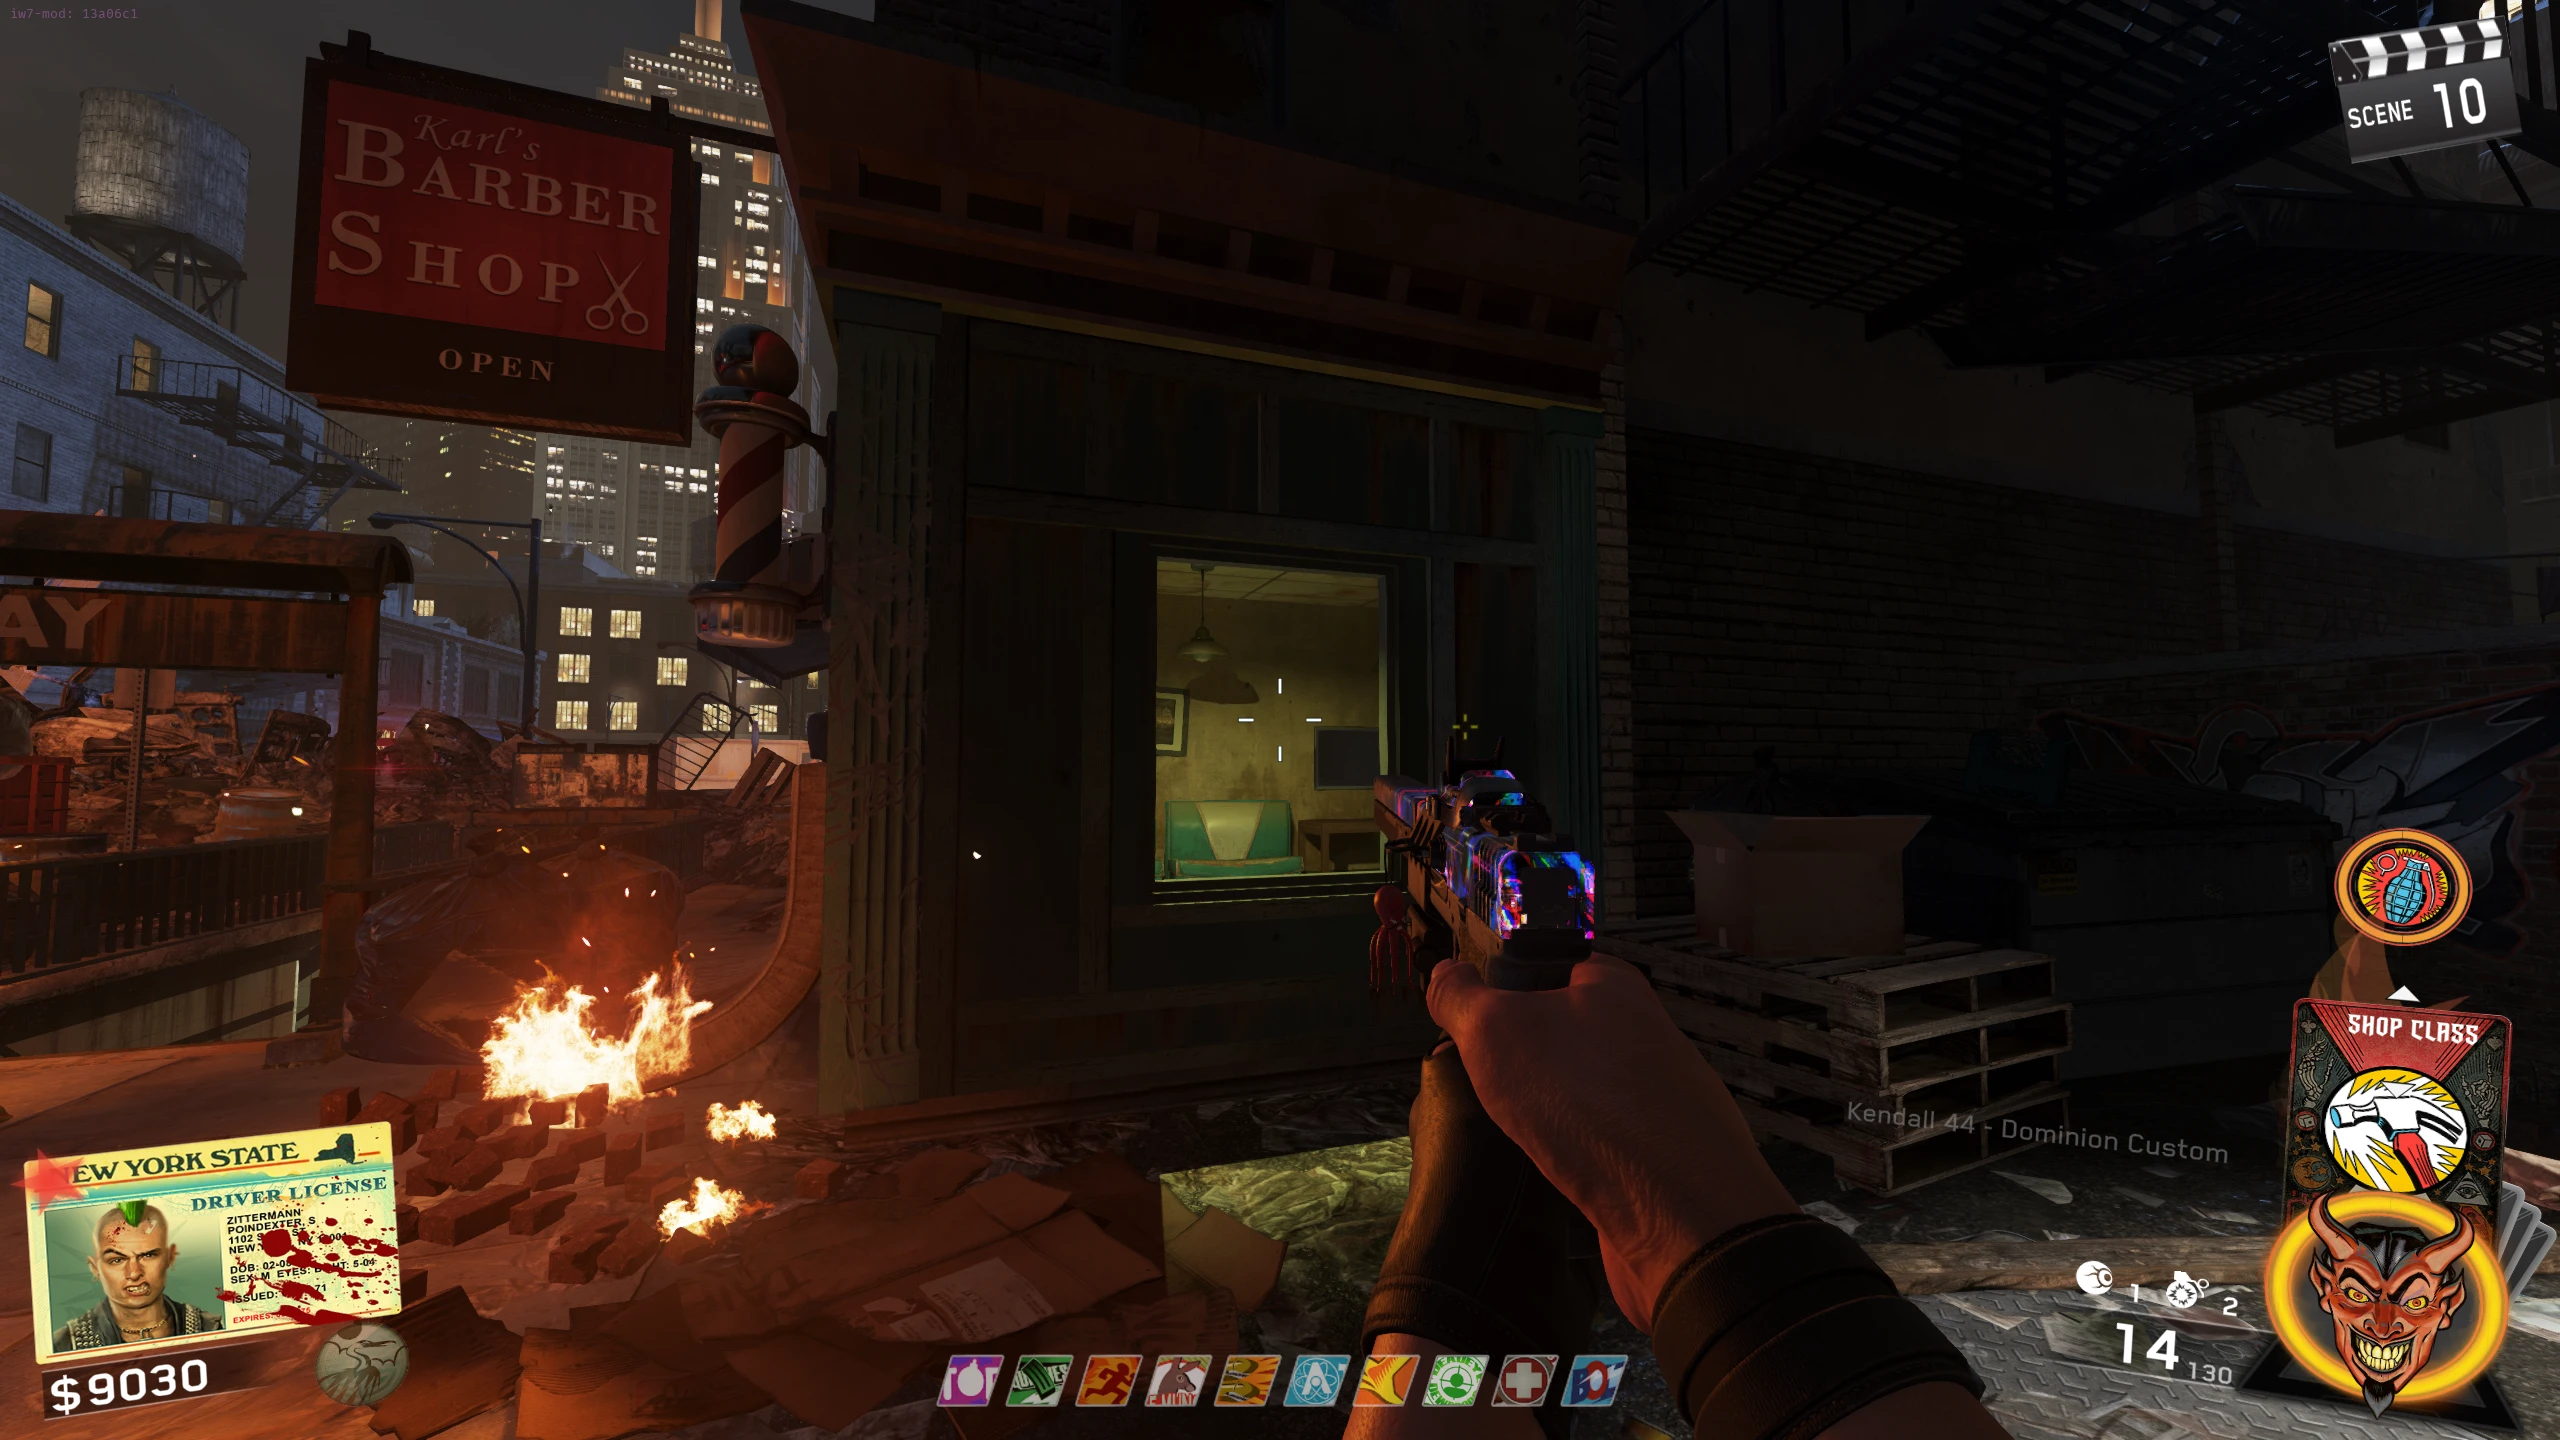
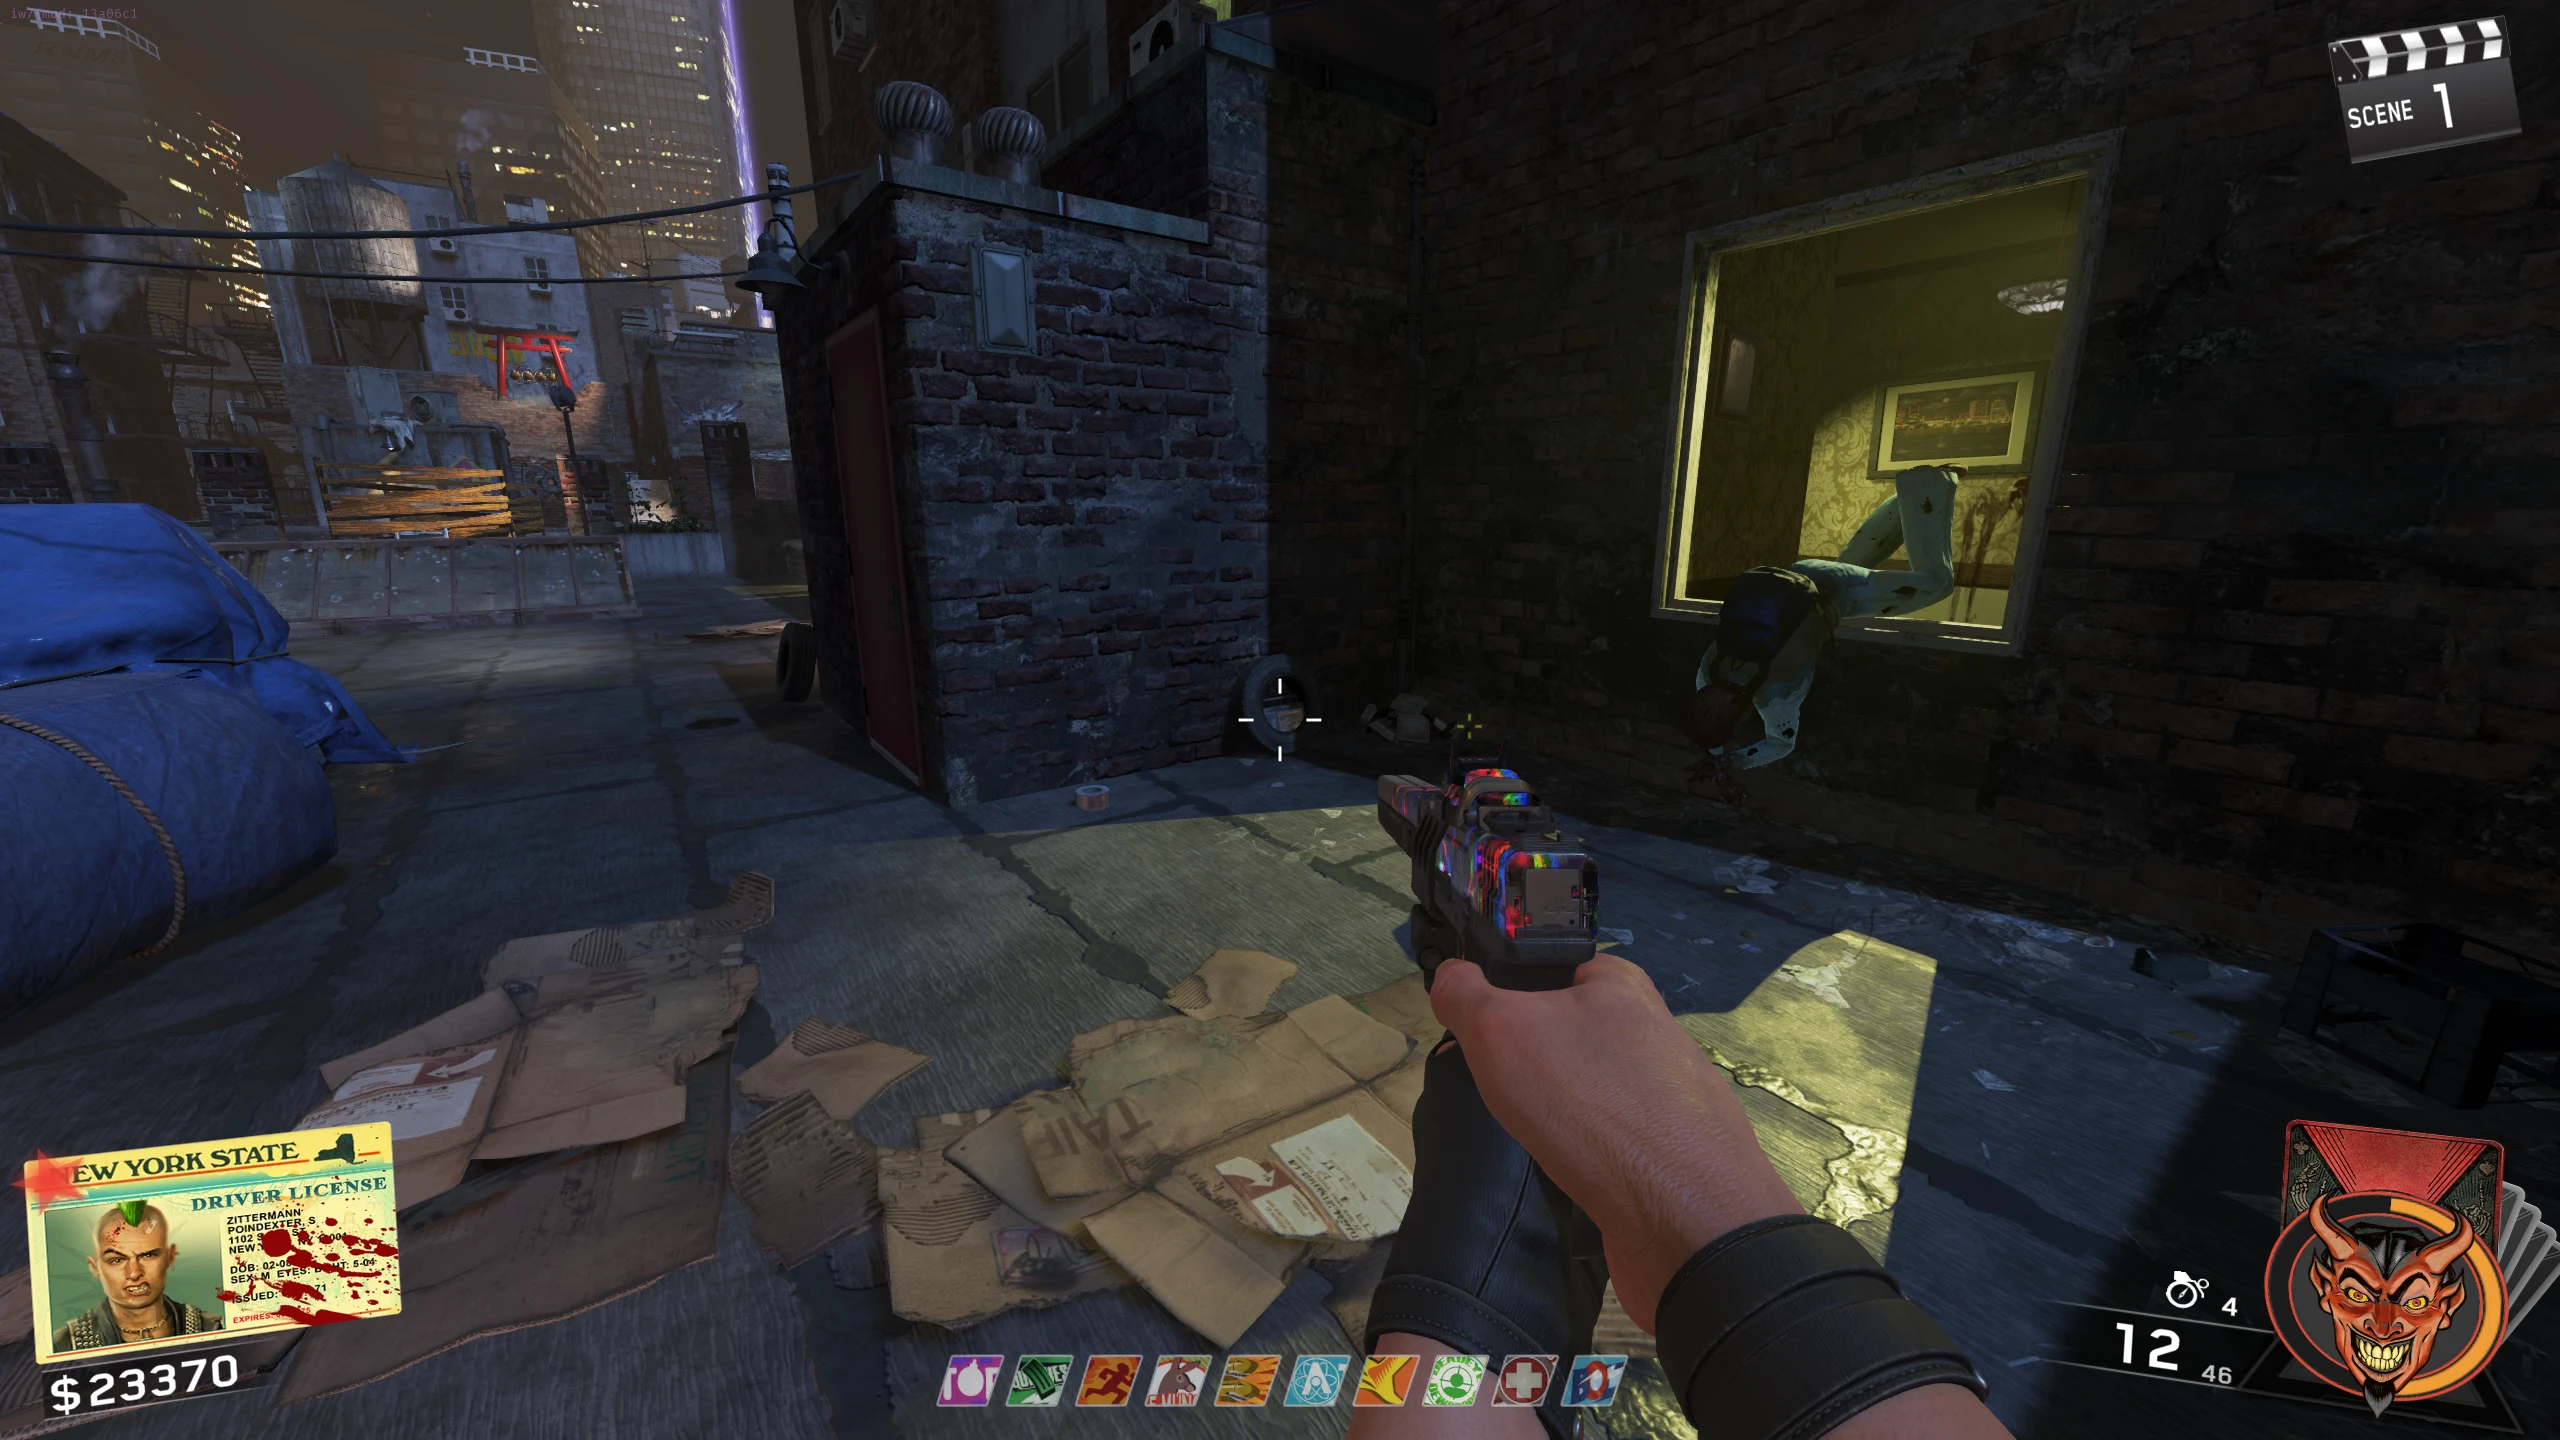
- In the window of a barber shop left of the Dojo
- Above the main door in the Dojo
- Behind a speaker on the left side of the stage in the Heebie Geebies
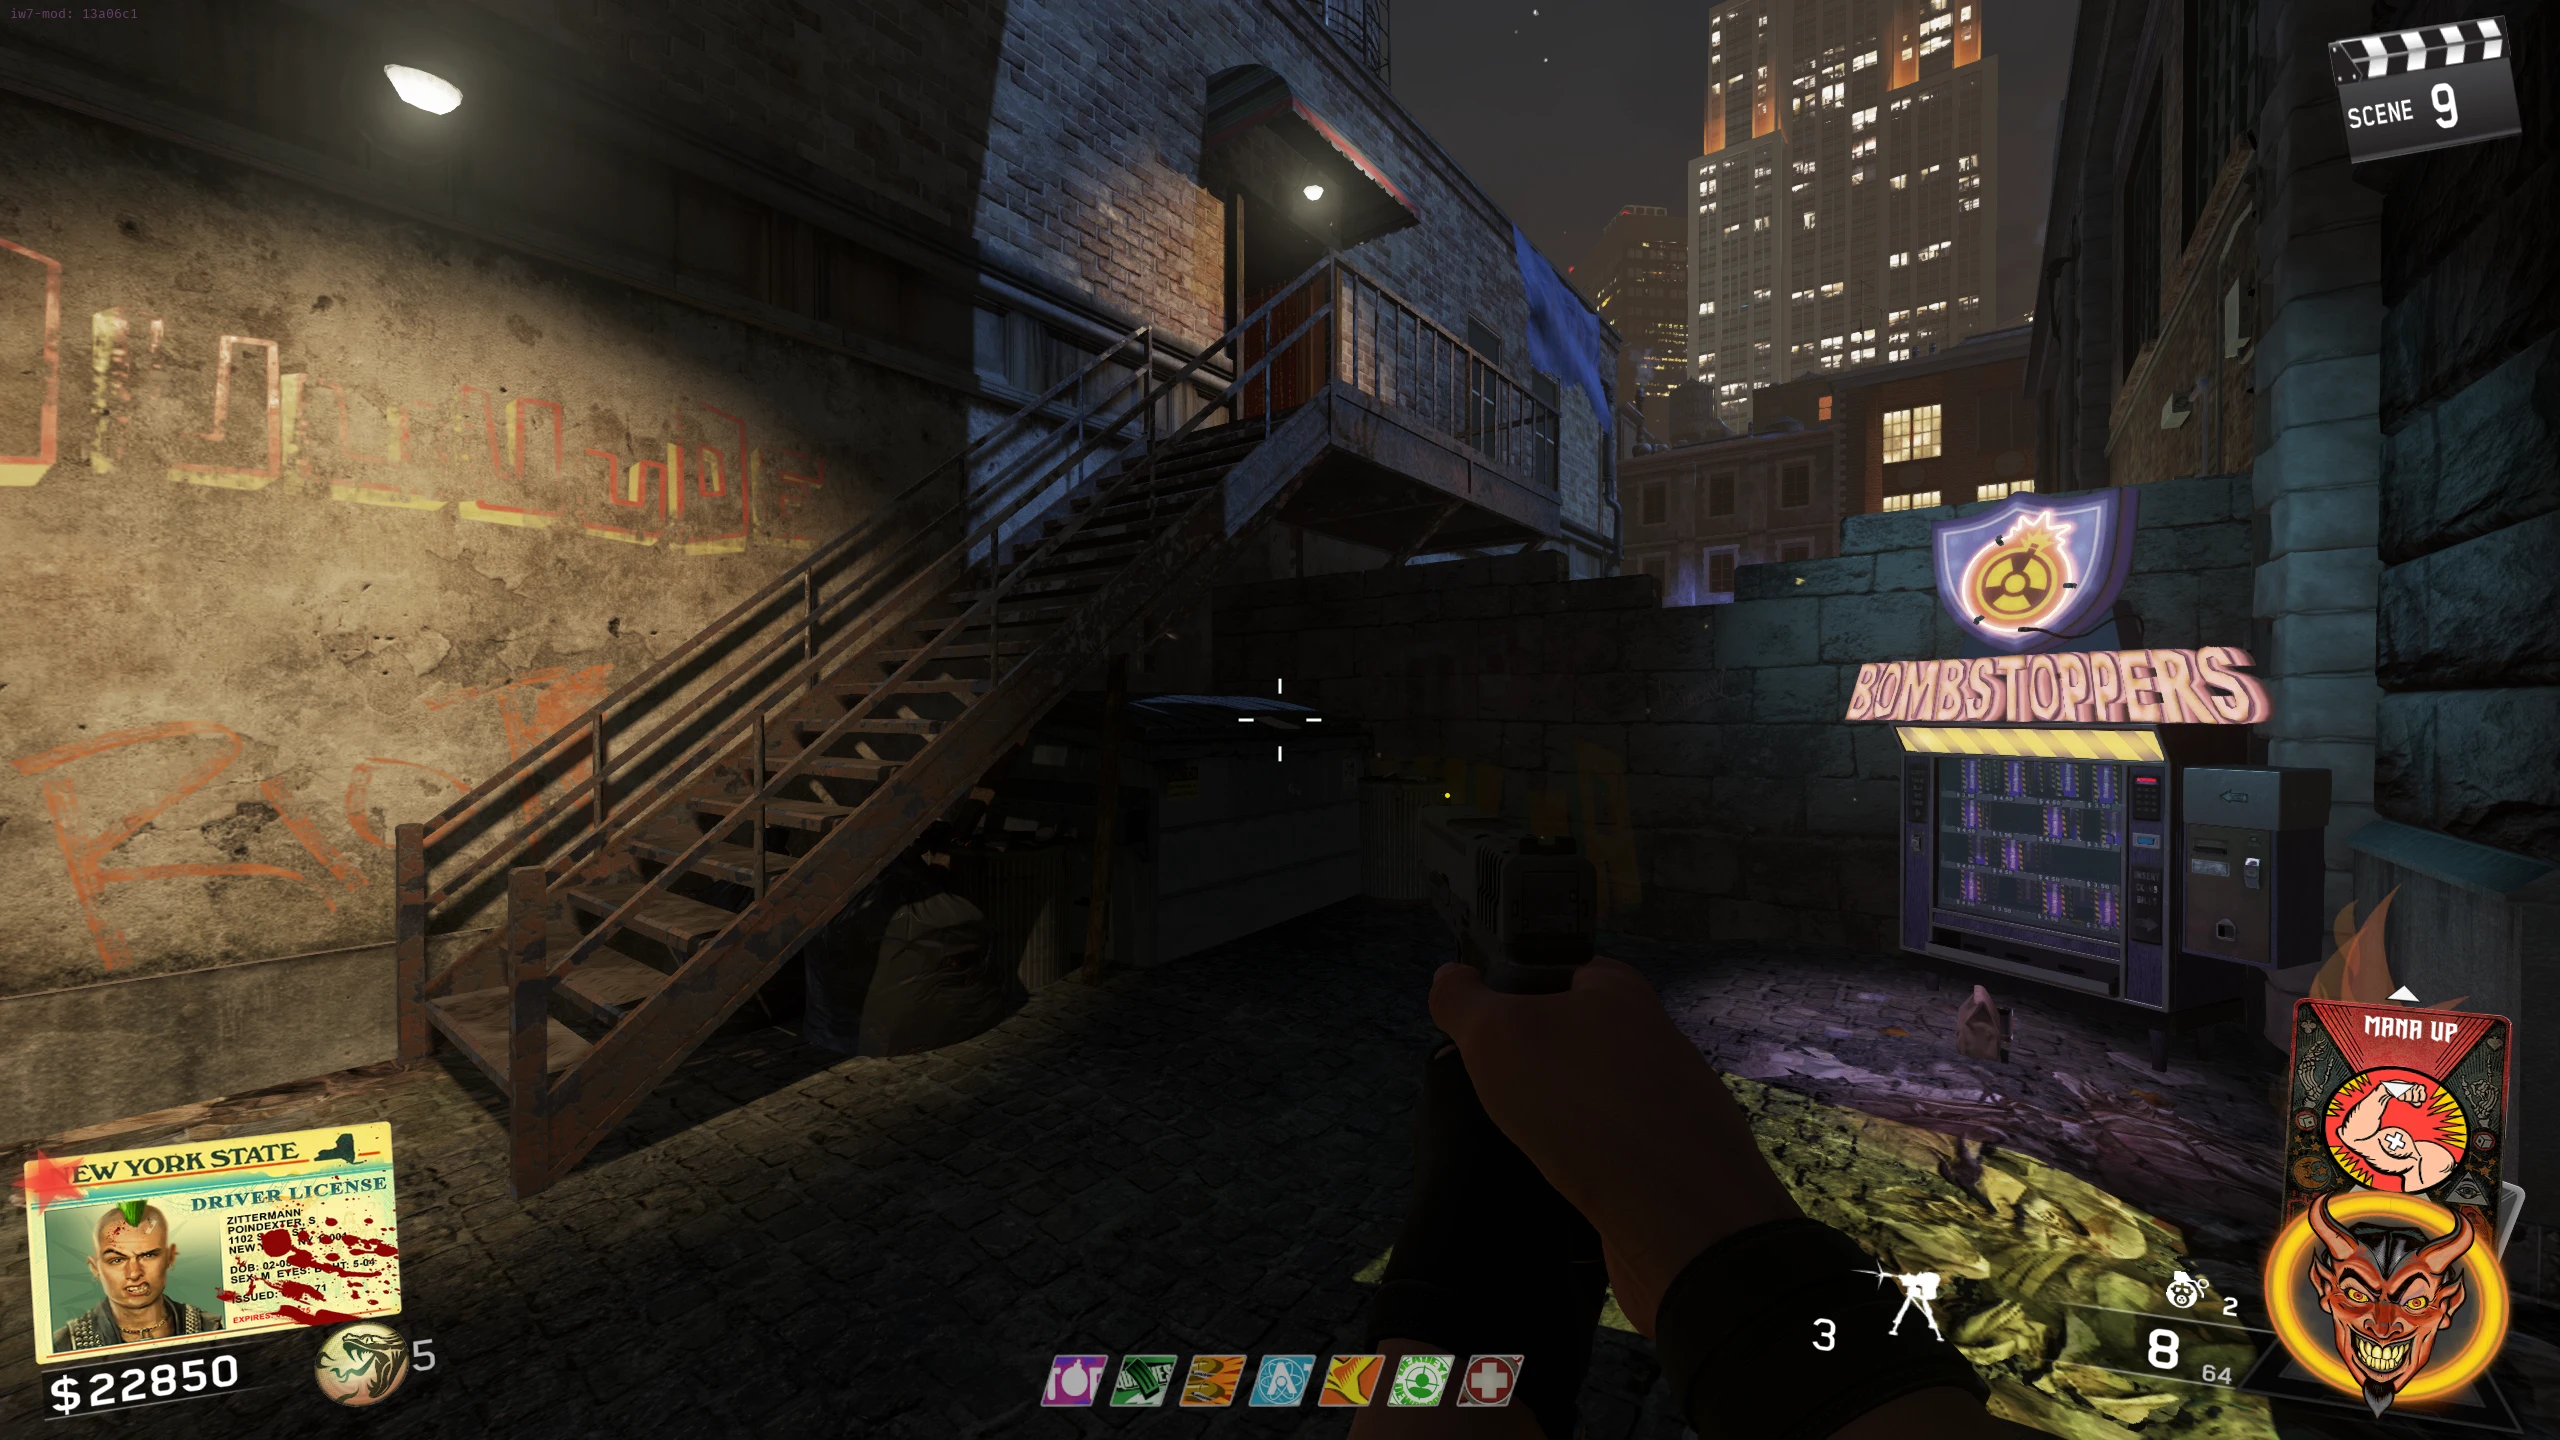
- Behind Bombstoppers, on the door of a police car
- Up the ramp from the Heebie Geebies, in the first Zombie spawn to the right
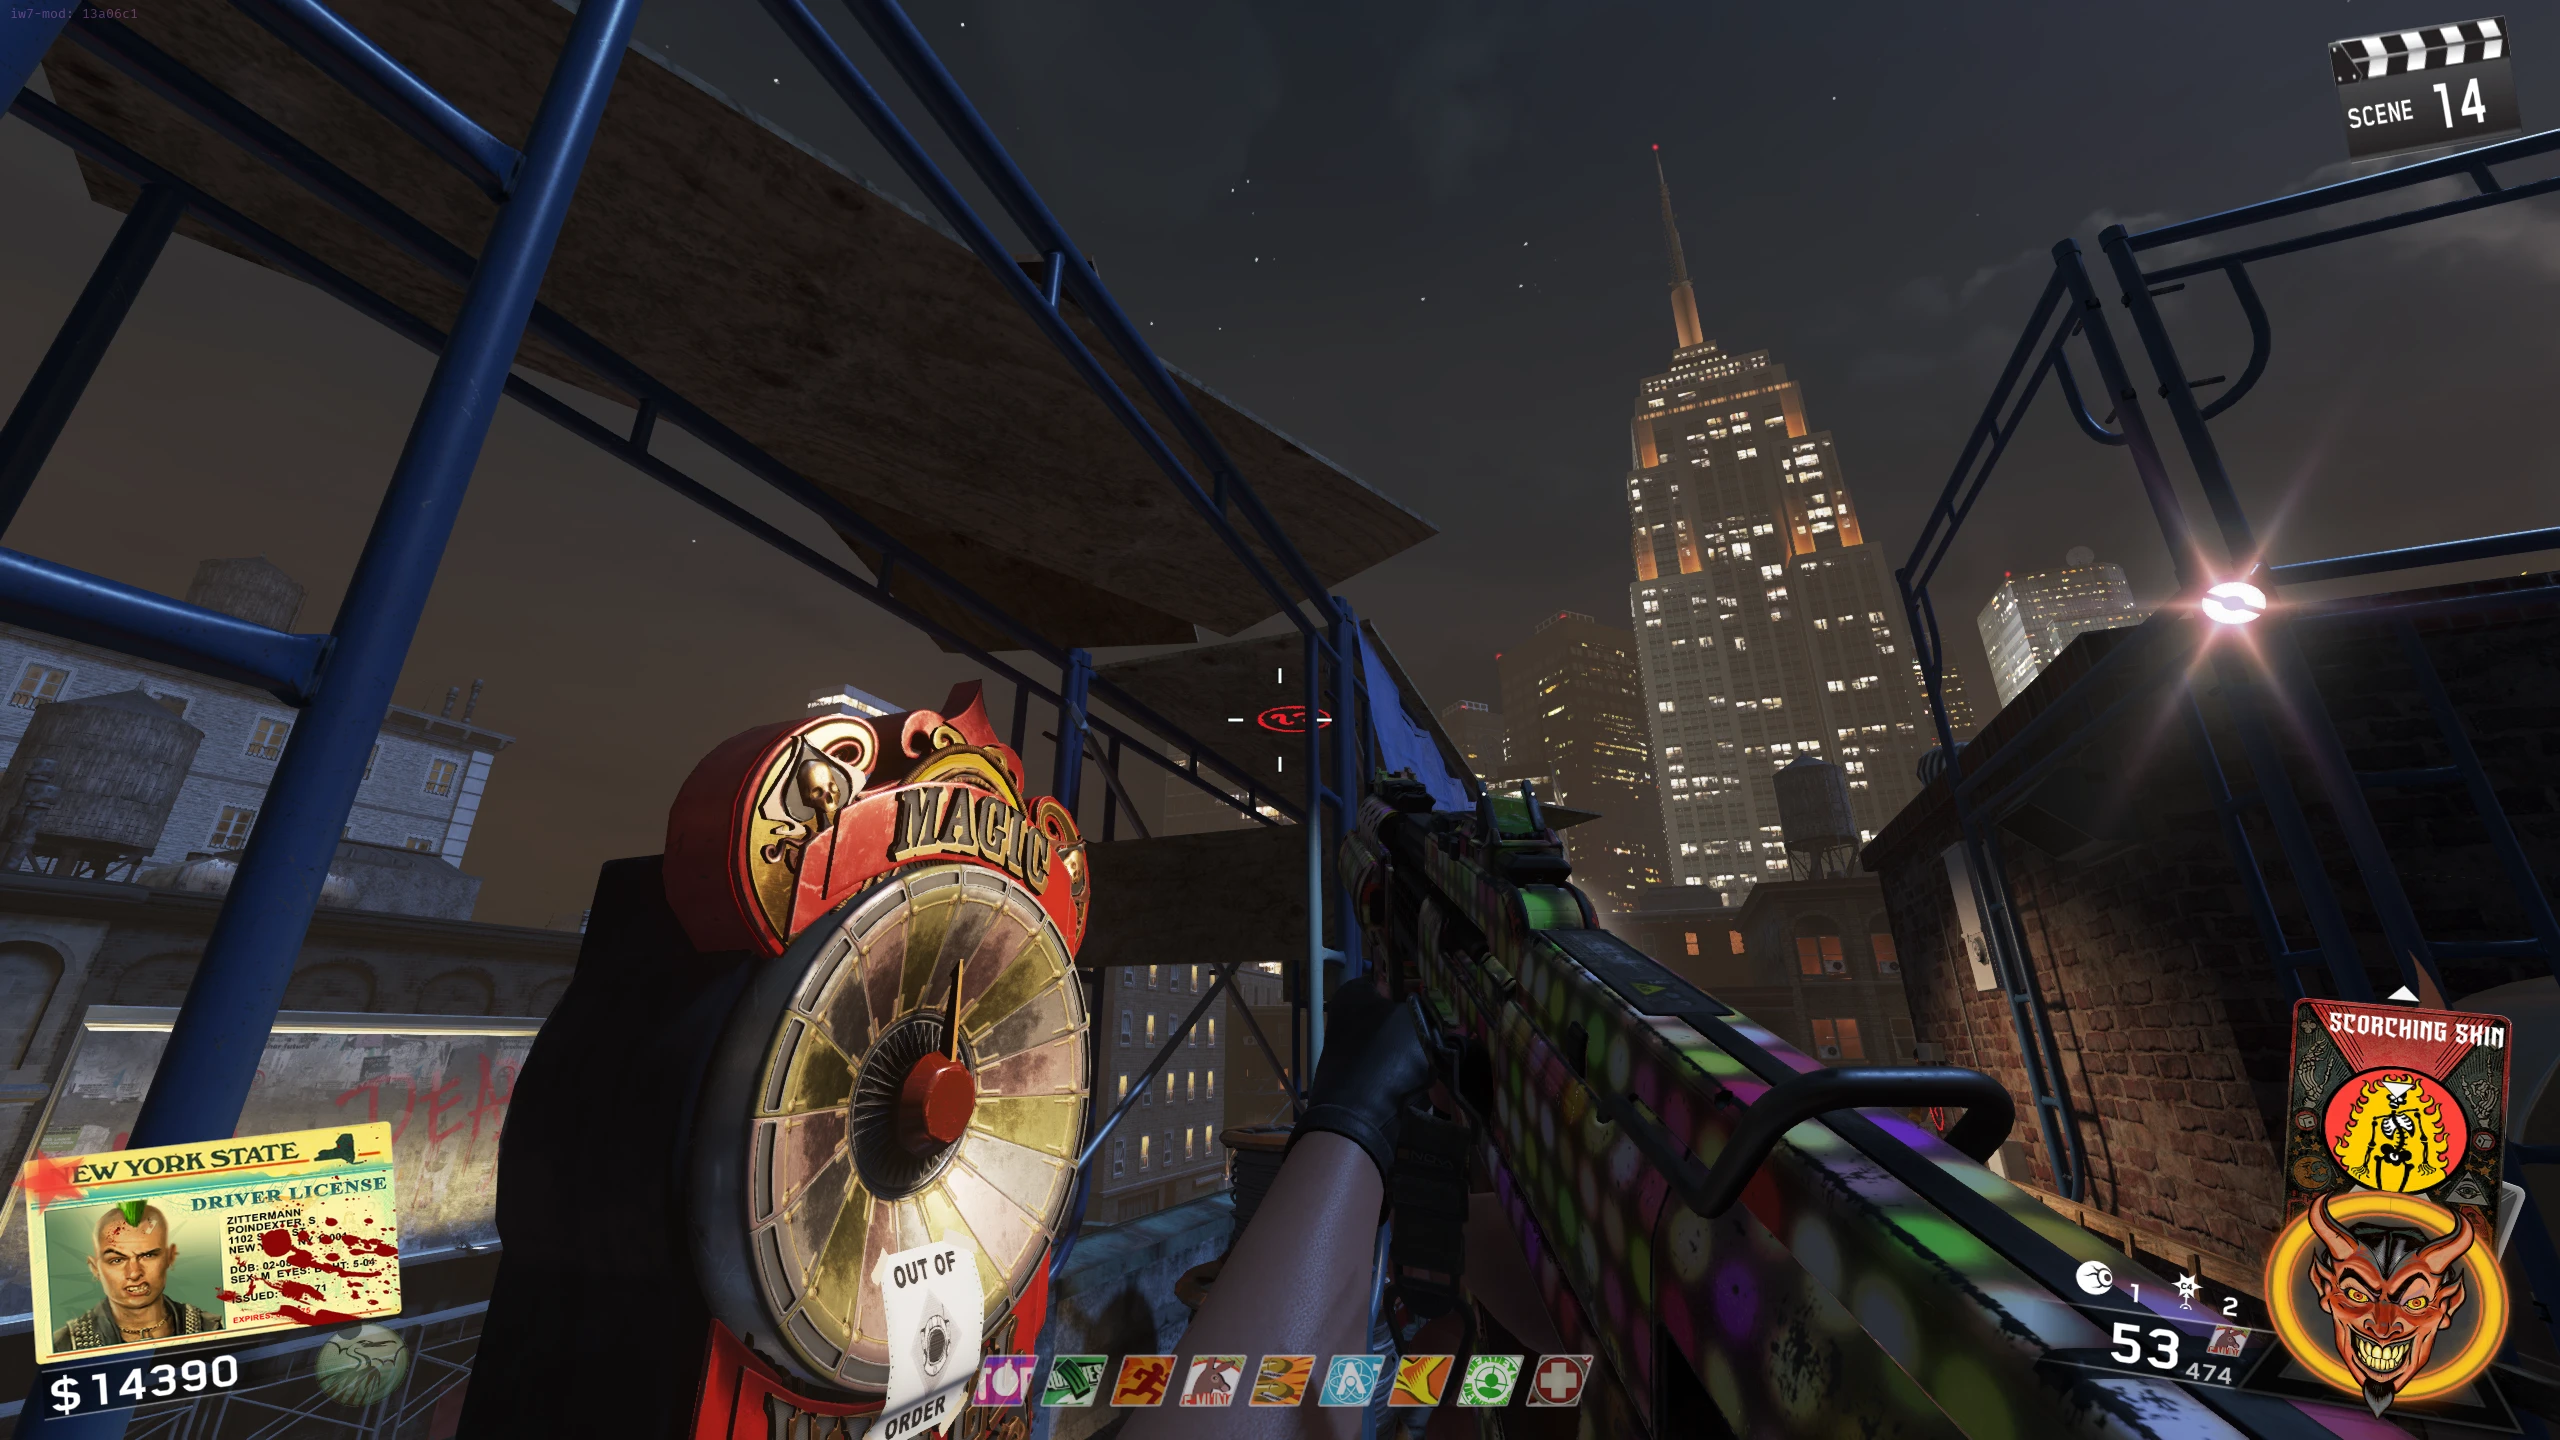
- On the far building right of the RPR Evo wallbuy near Deadeye Dewdrops
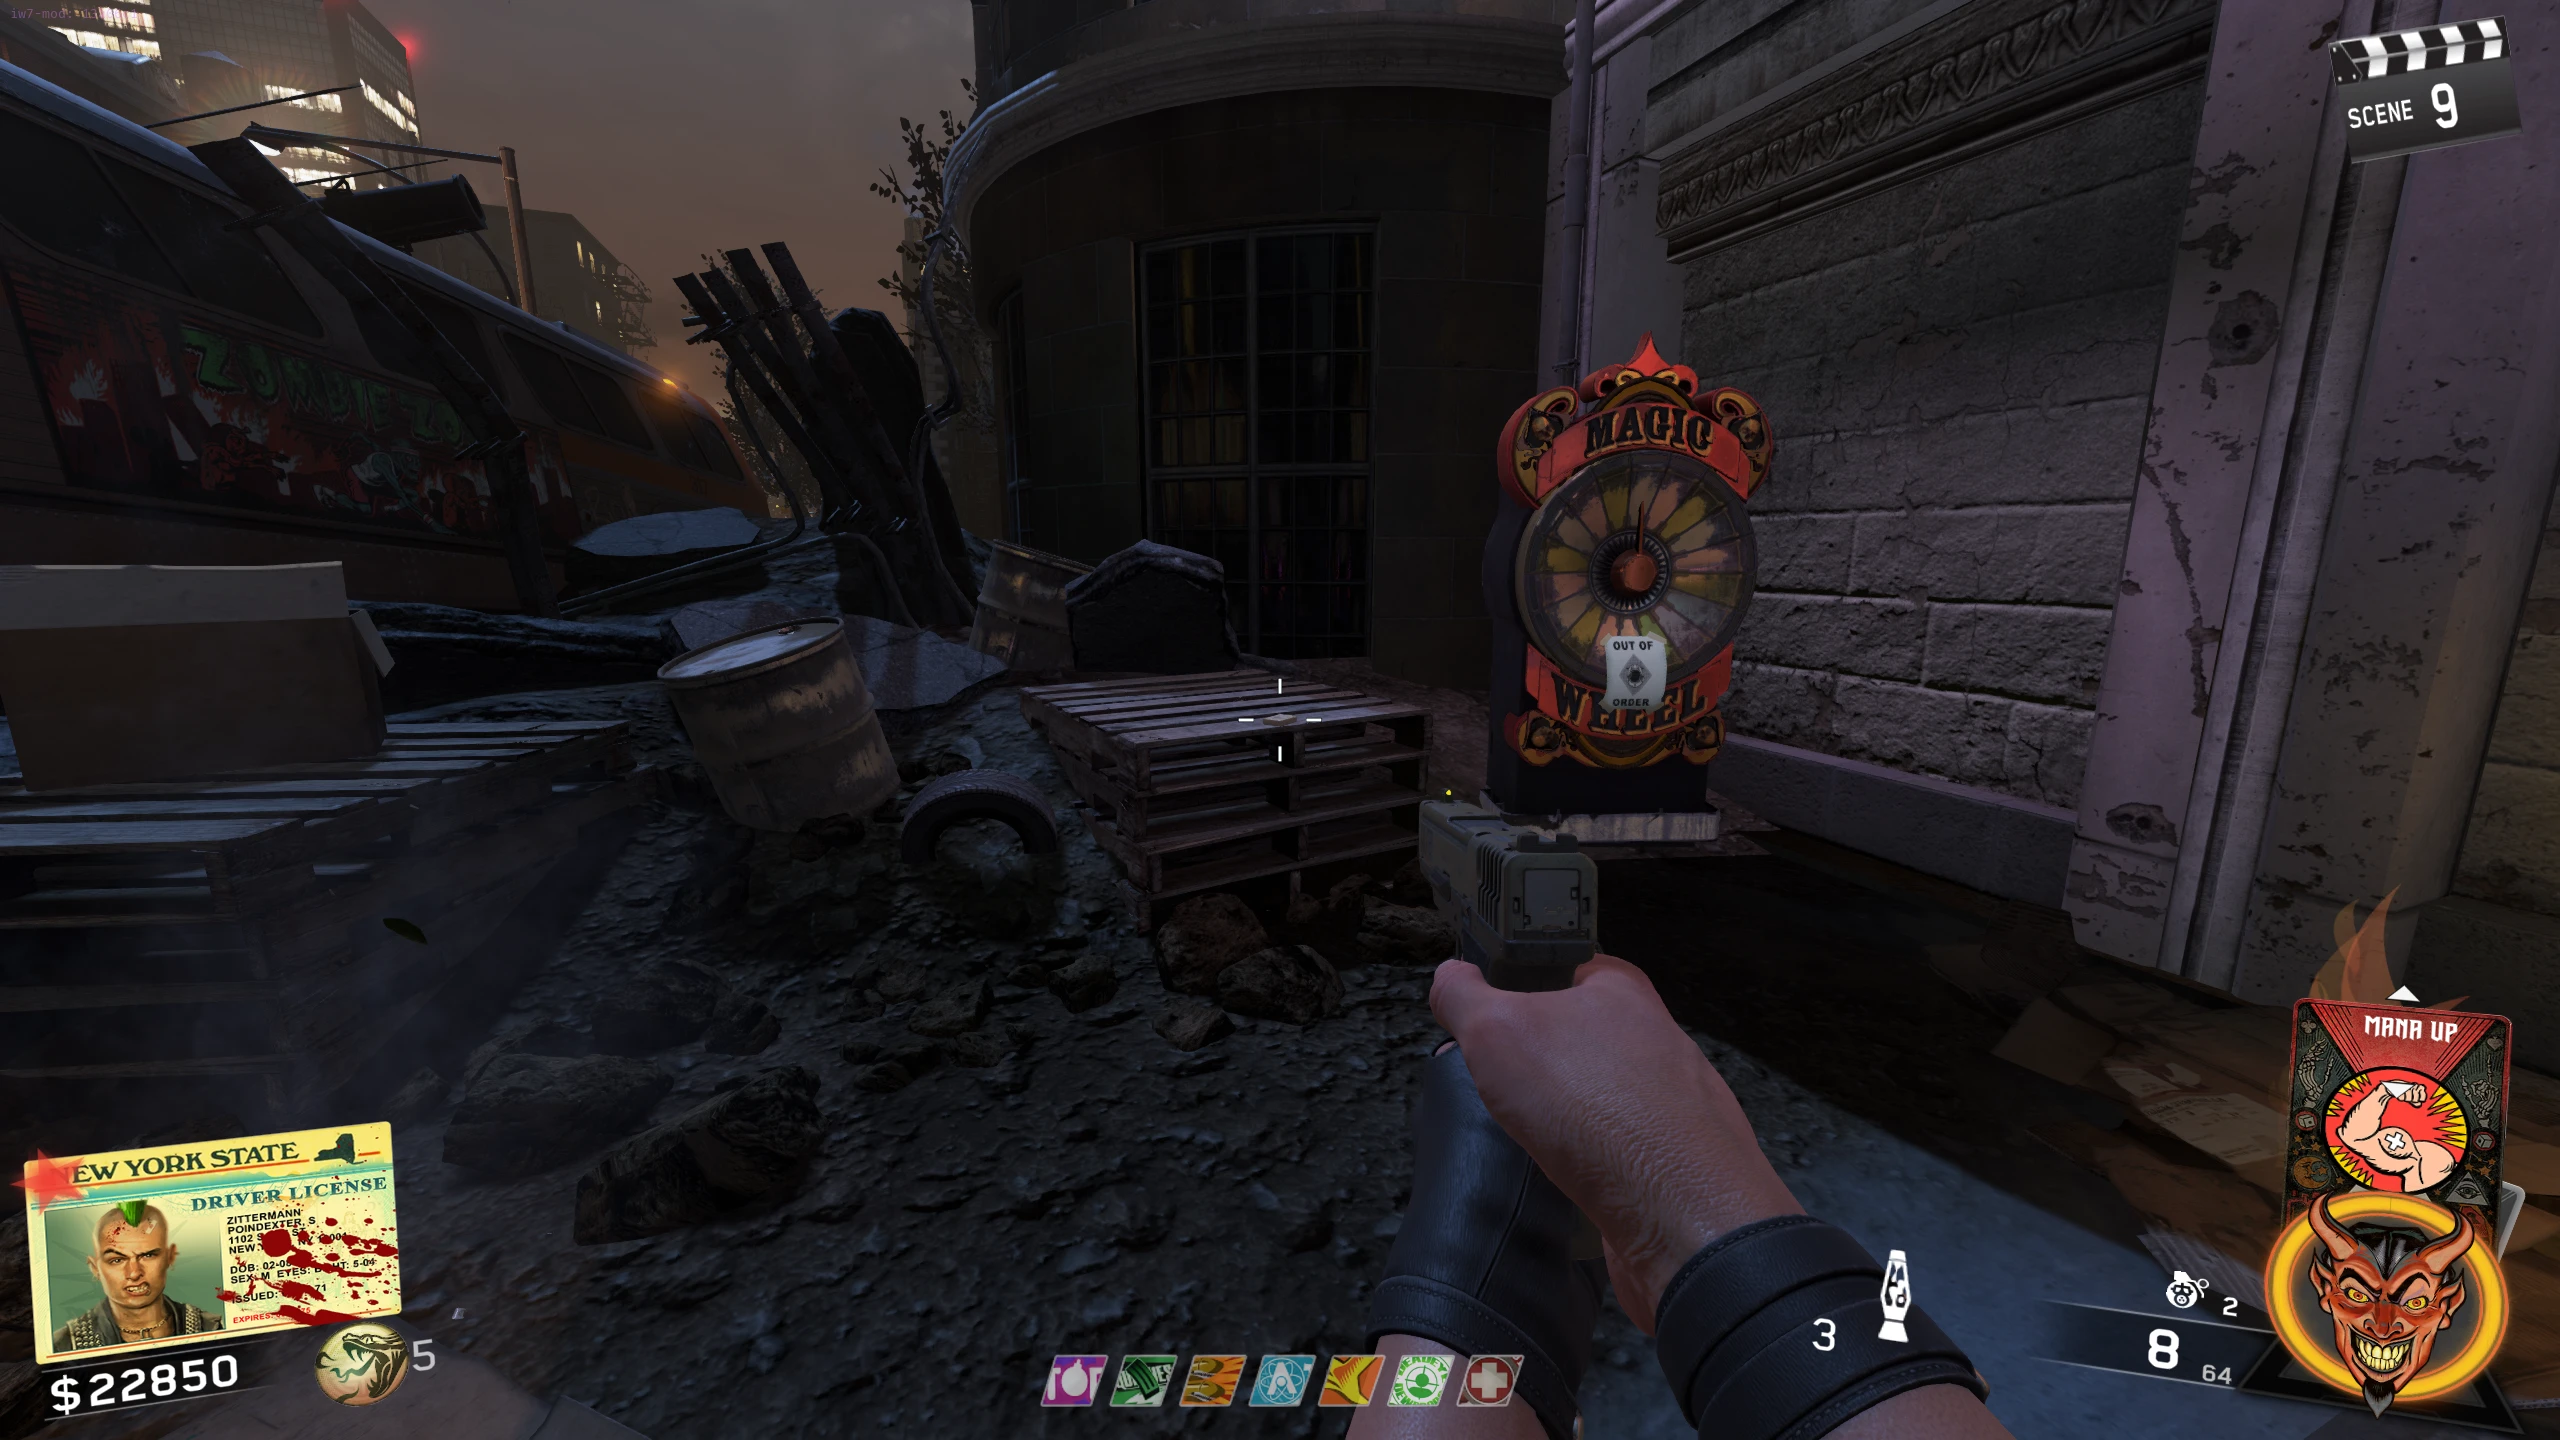
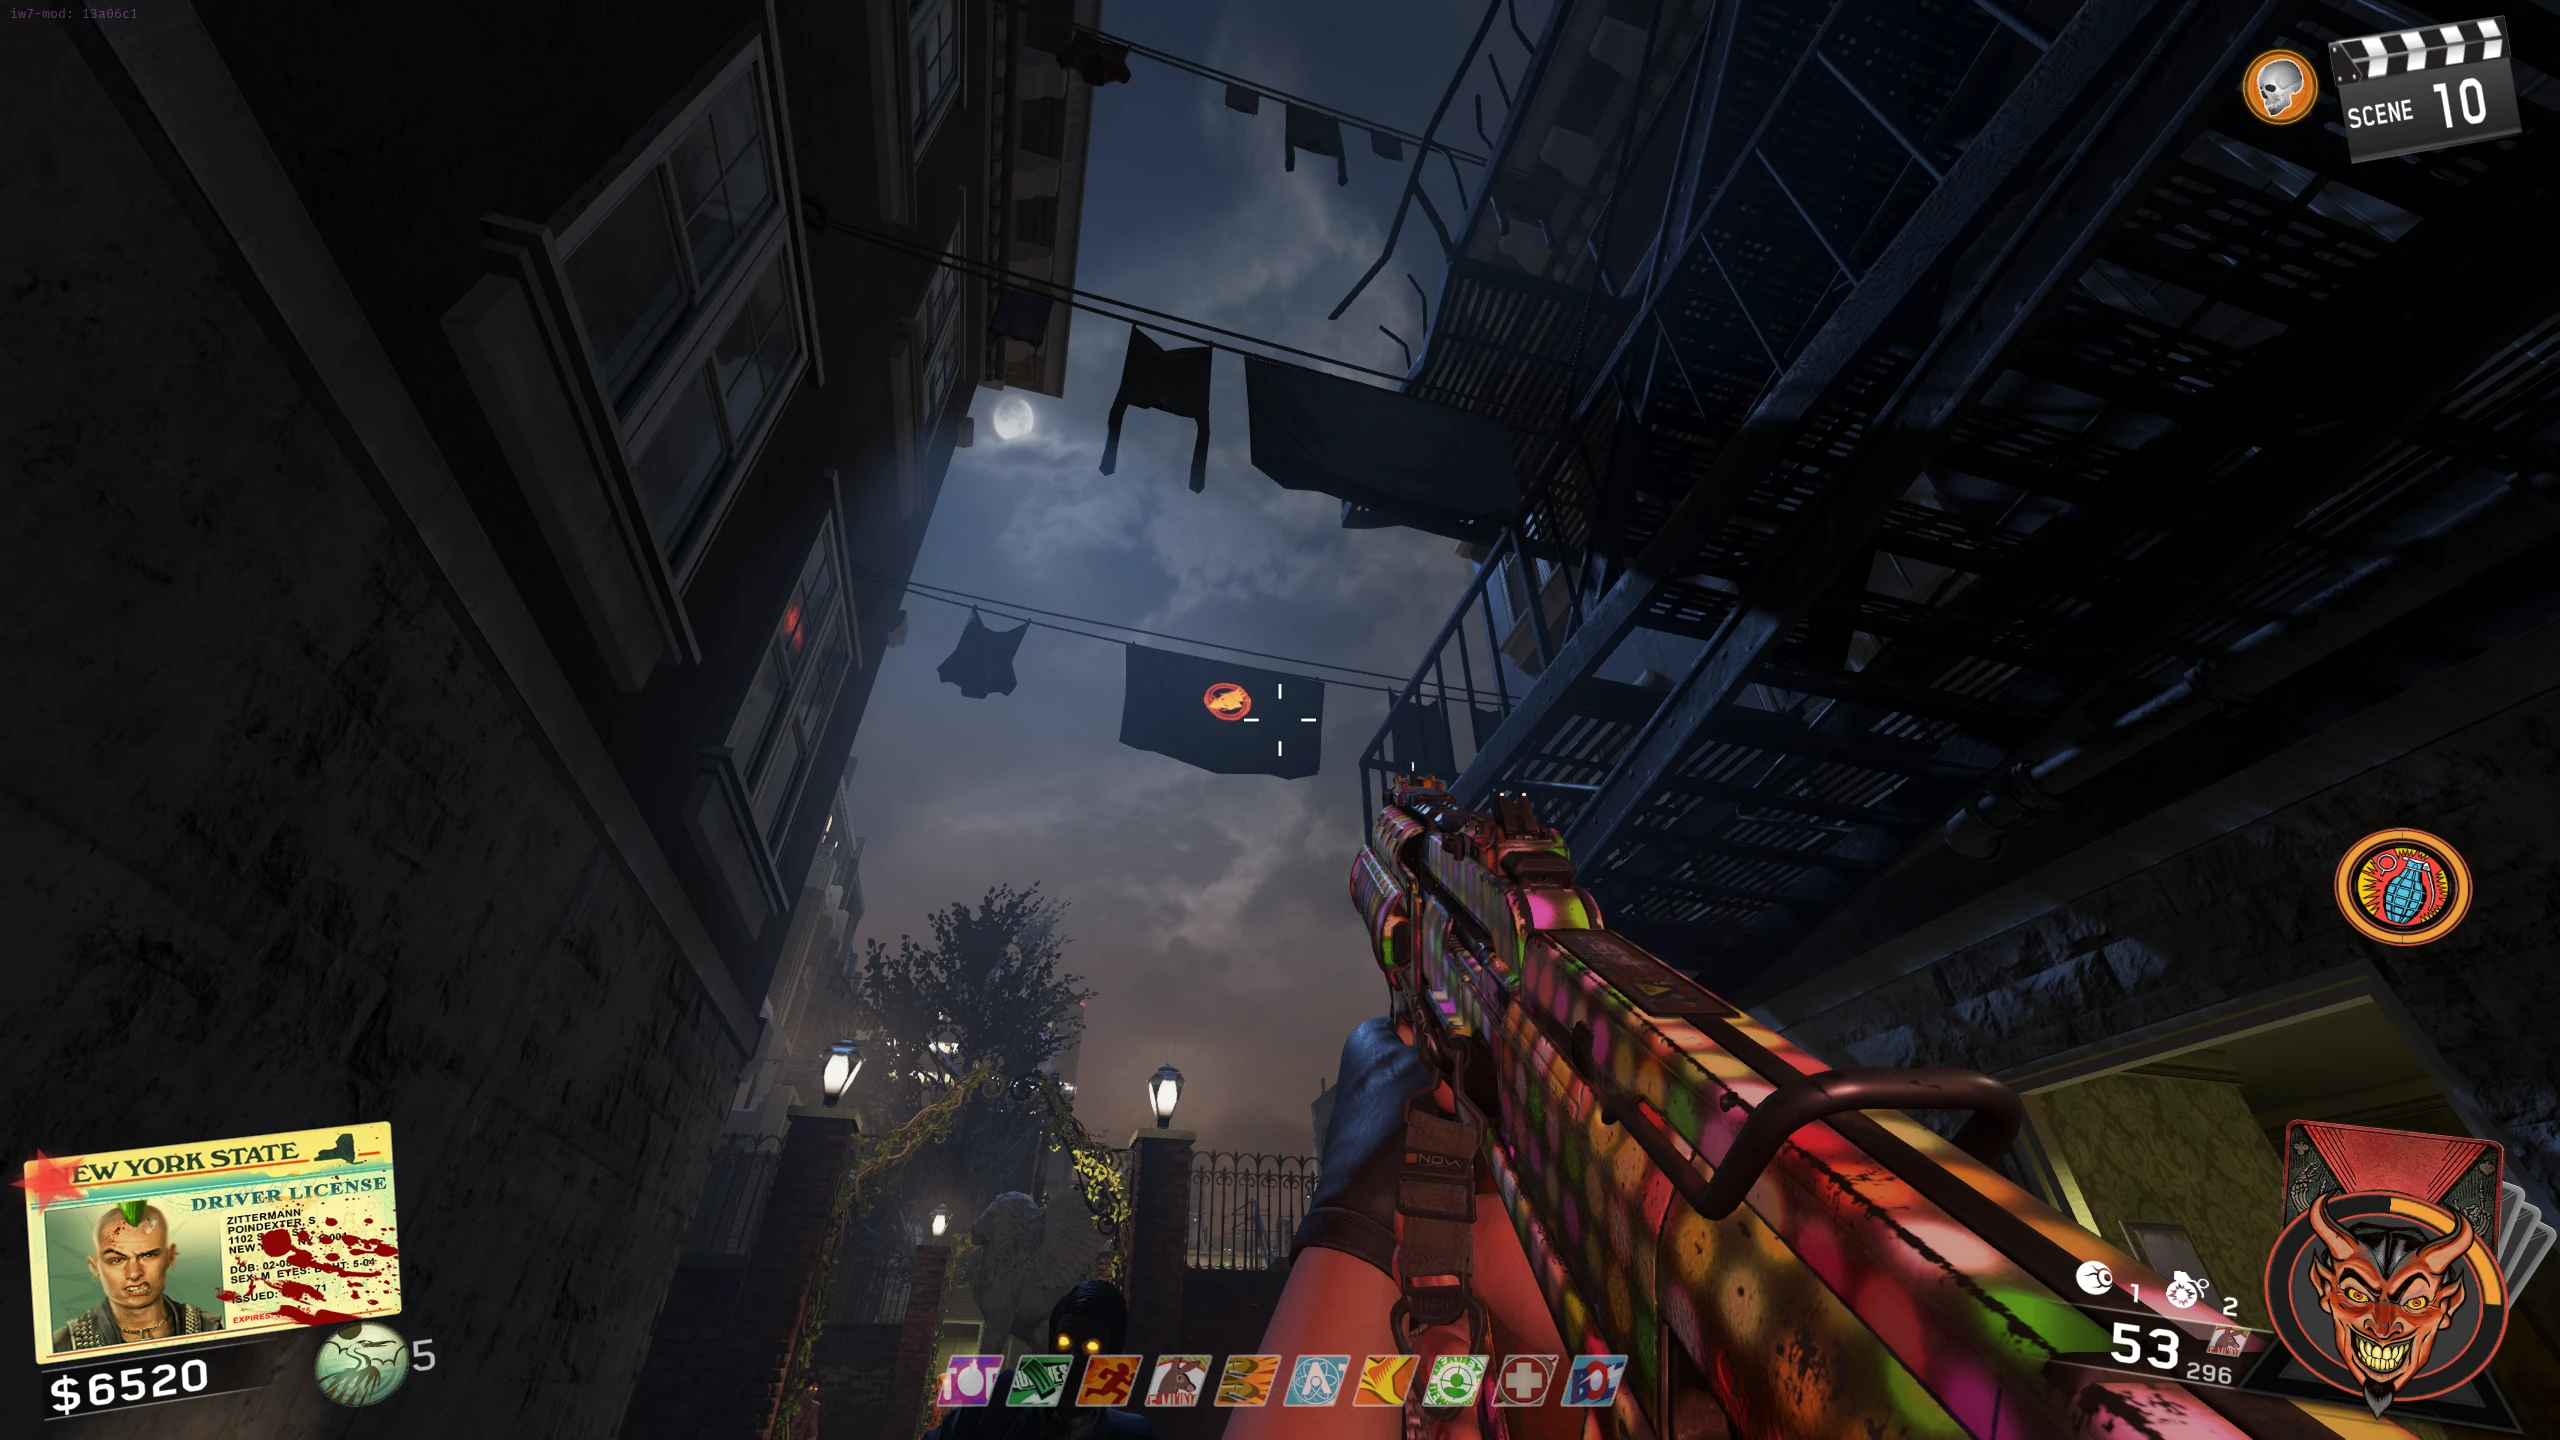
- On a clothesline by the Magic Wheel near Deadeye Dewdrops
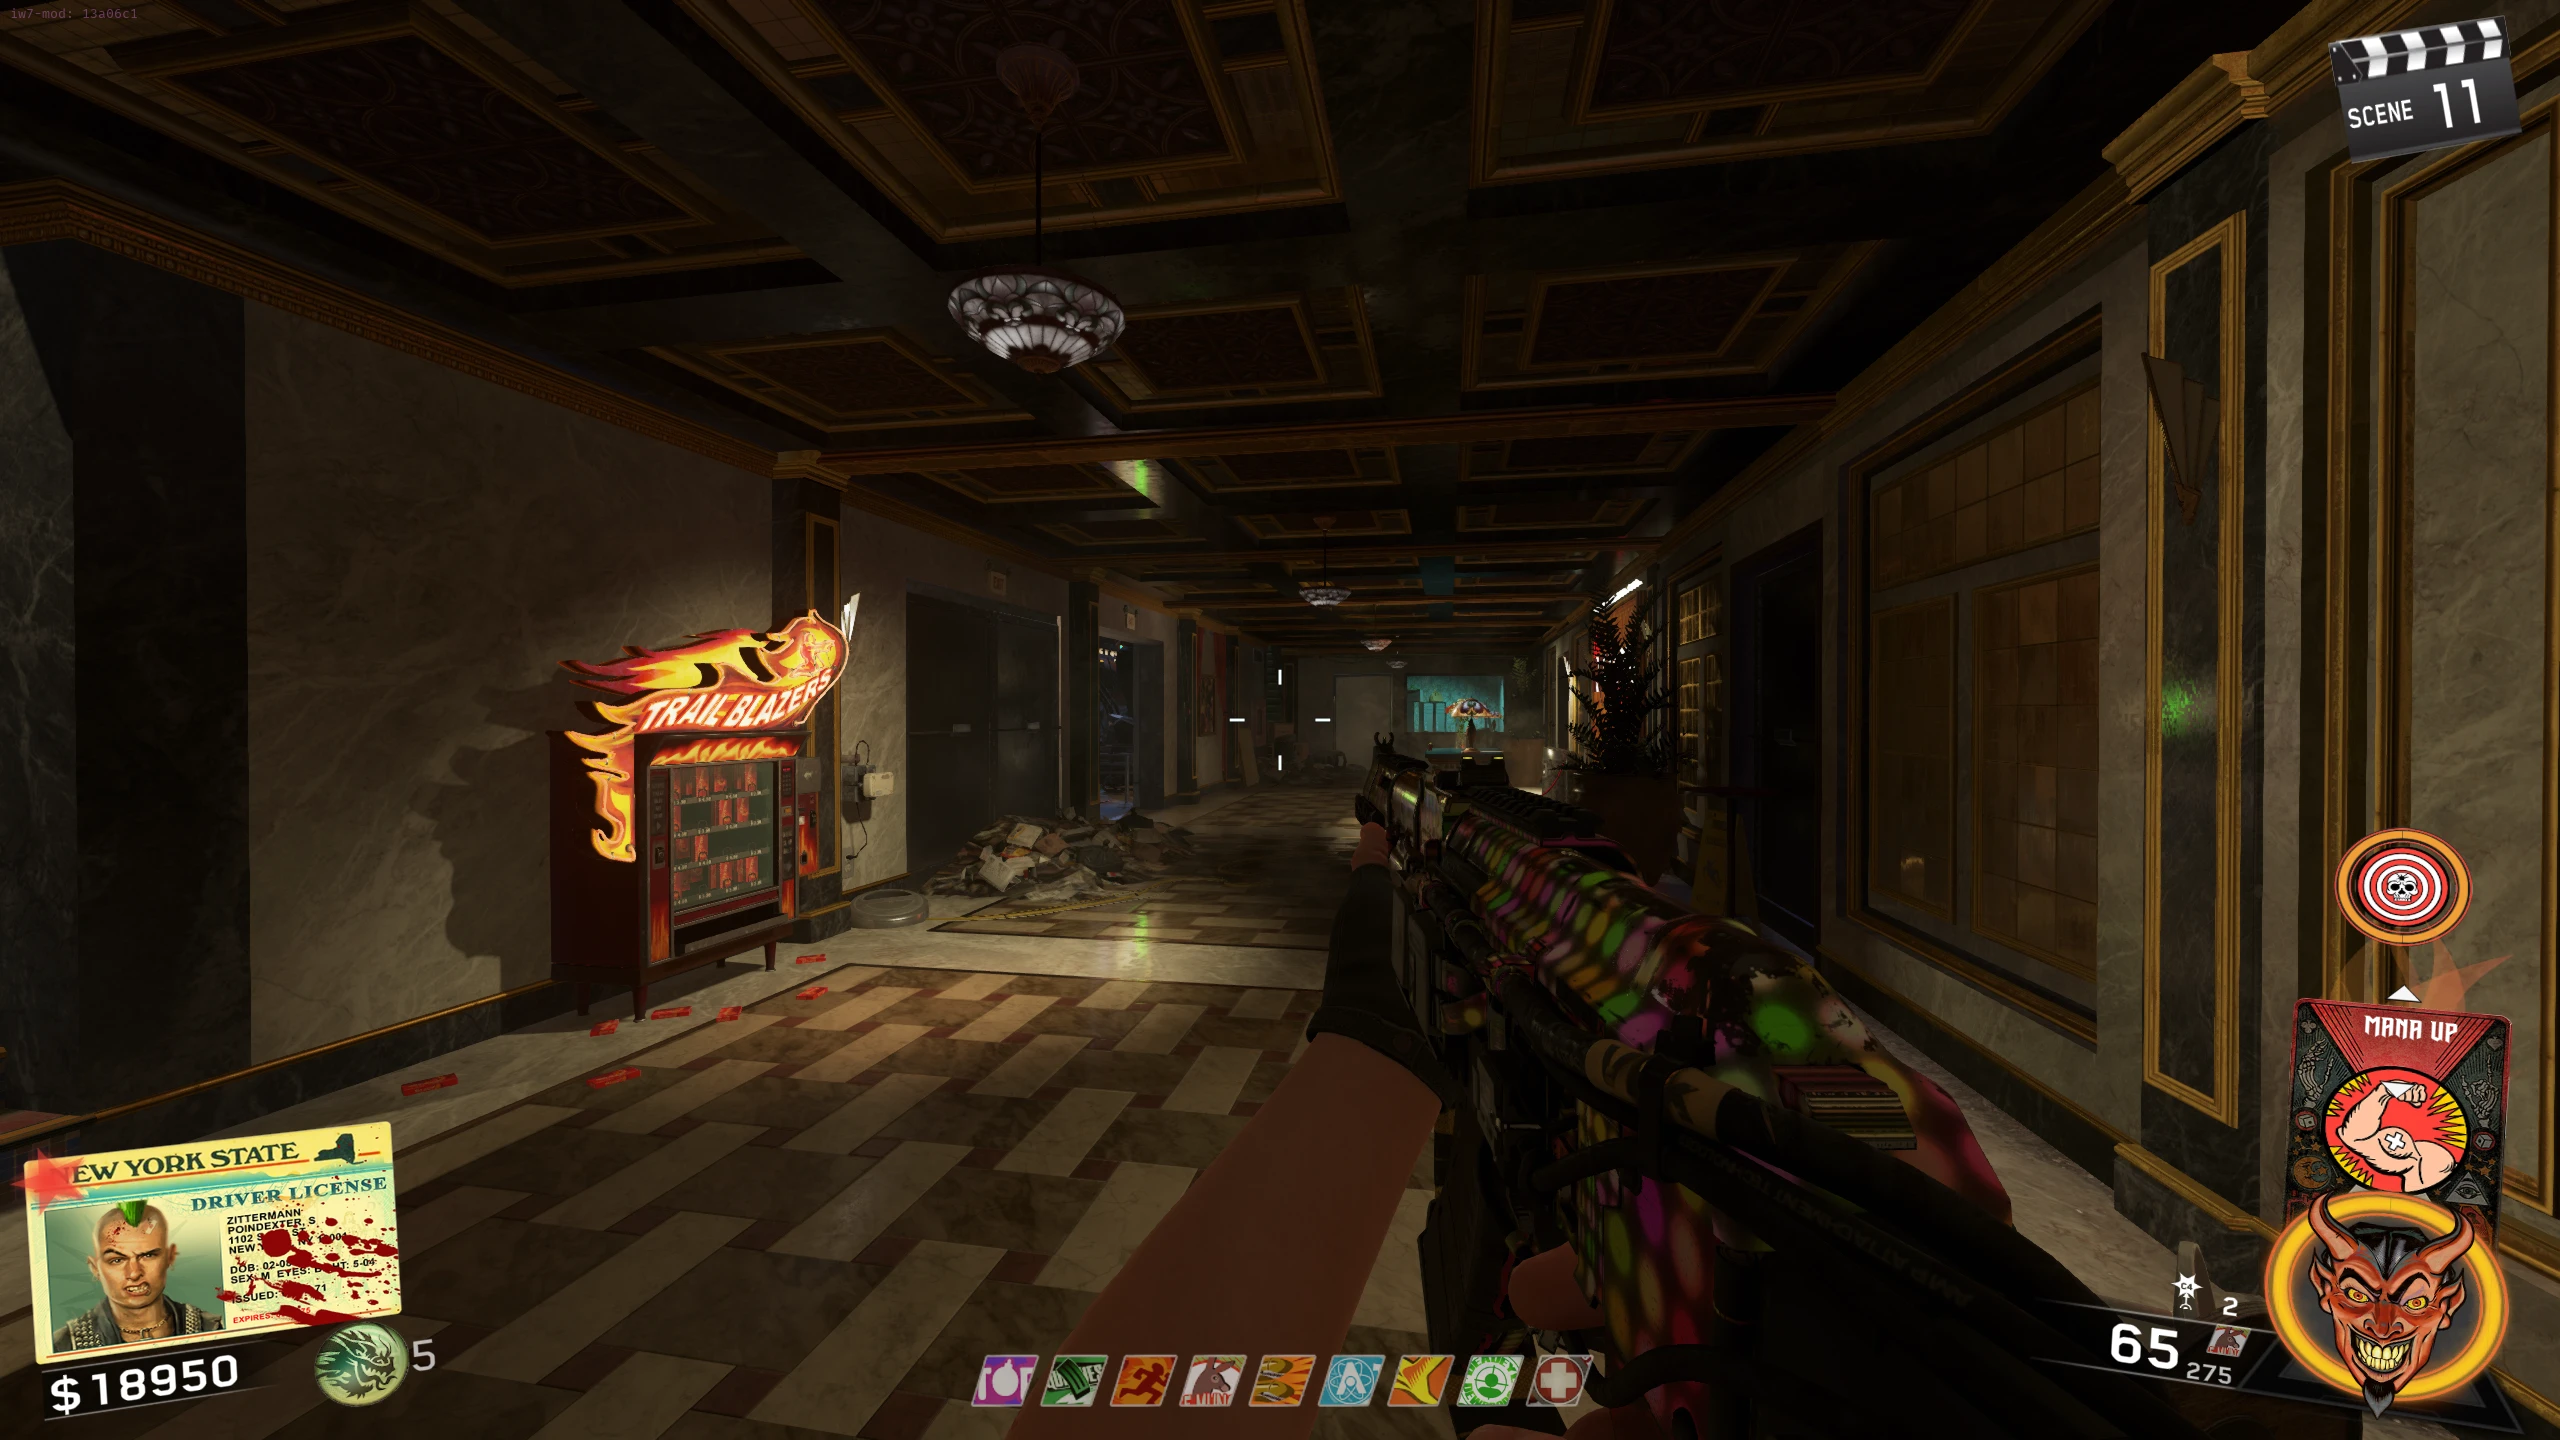
- On the floor of the blue room in the Trail Blazers hallway (you have jump to see it)
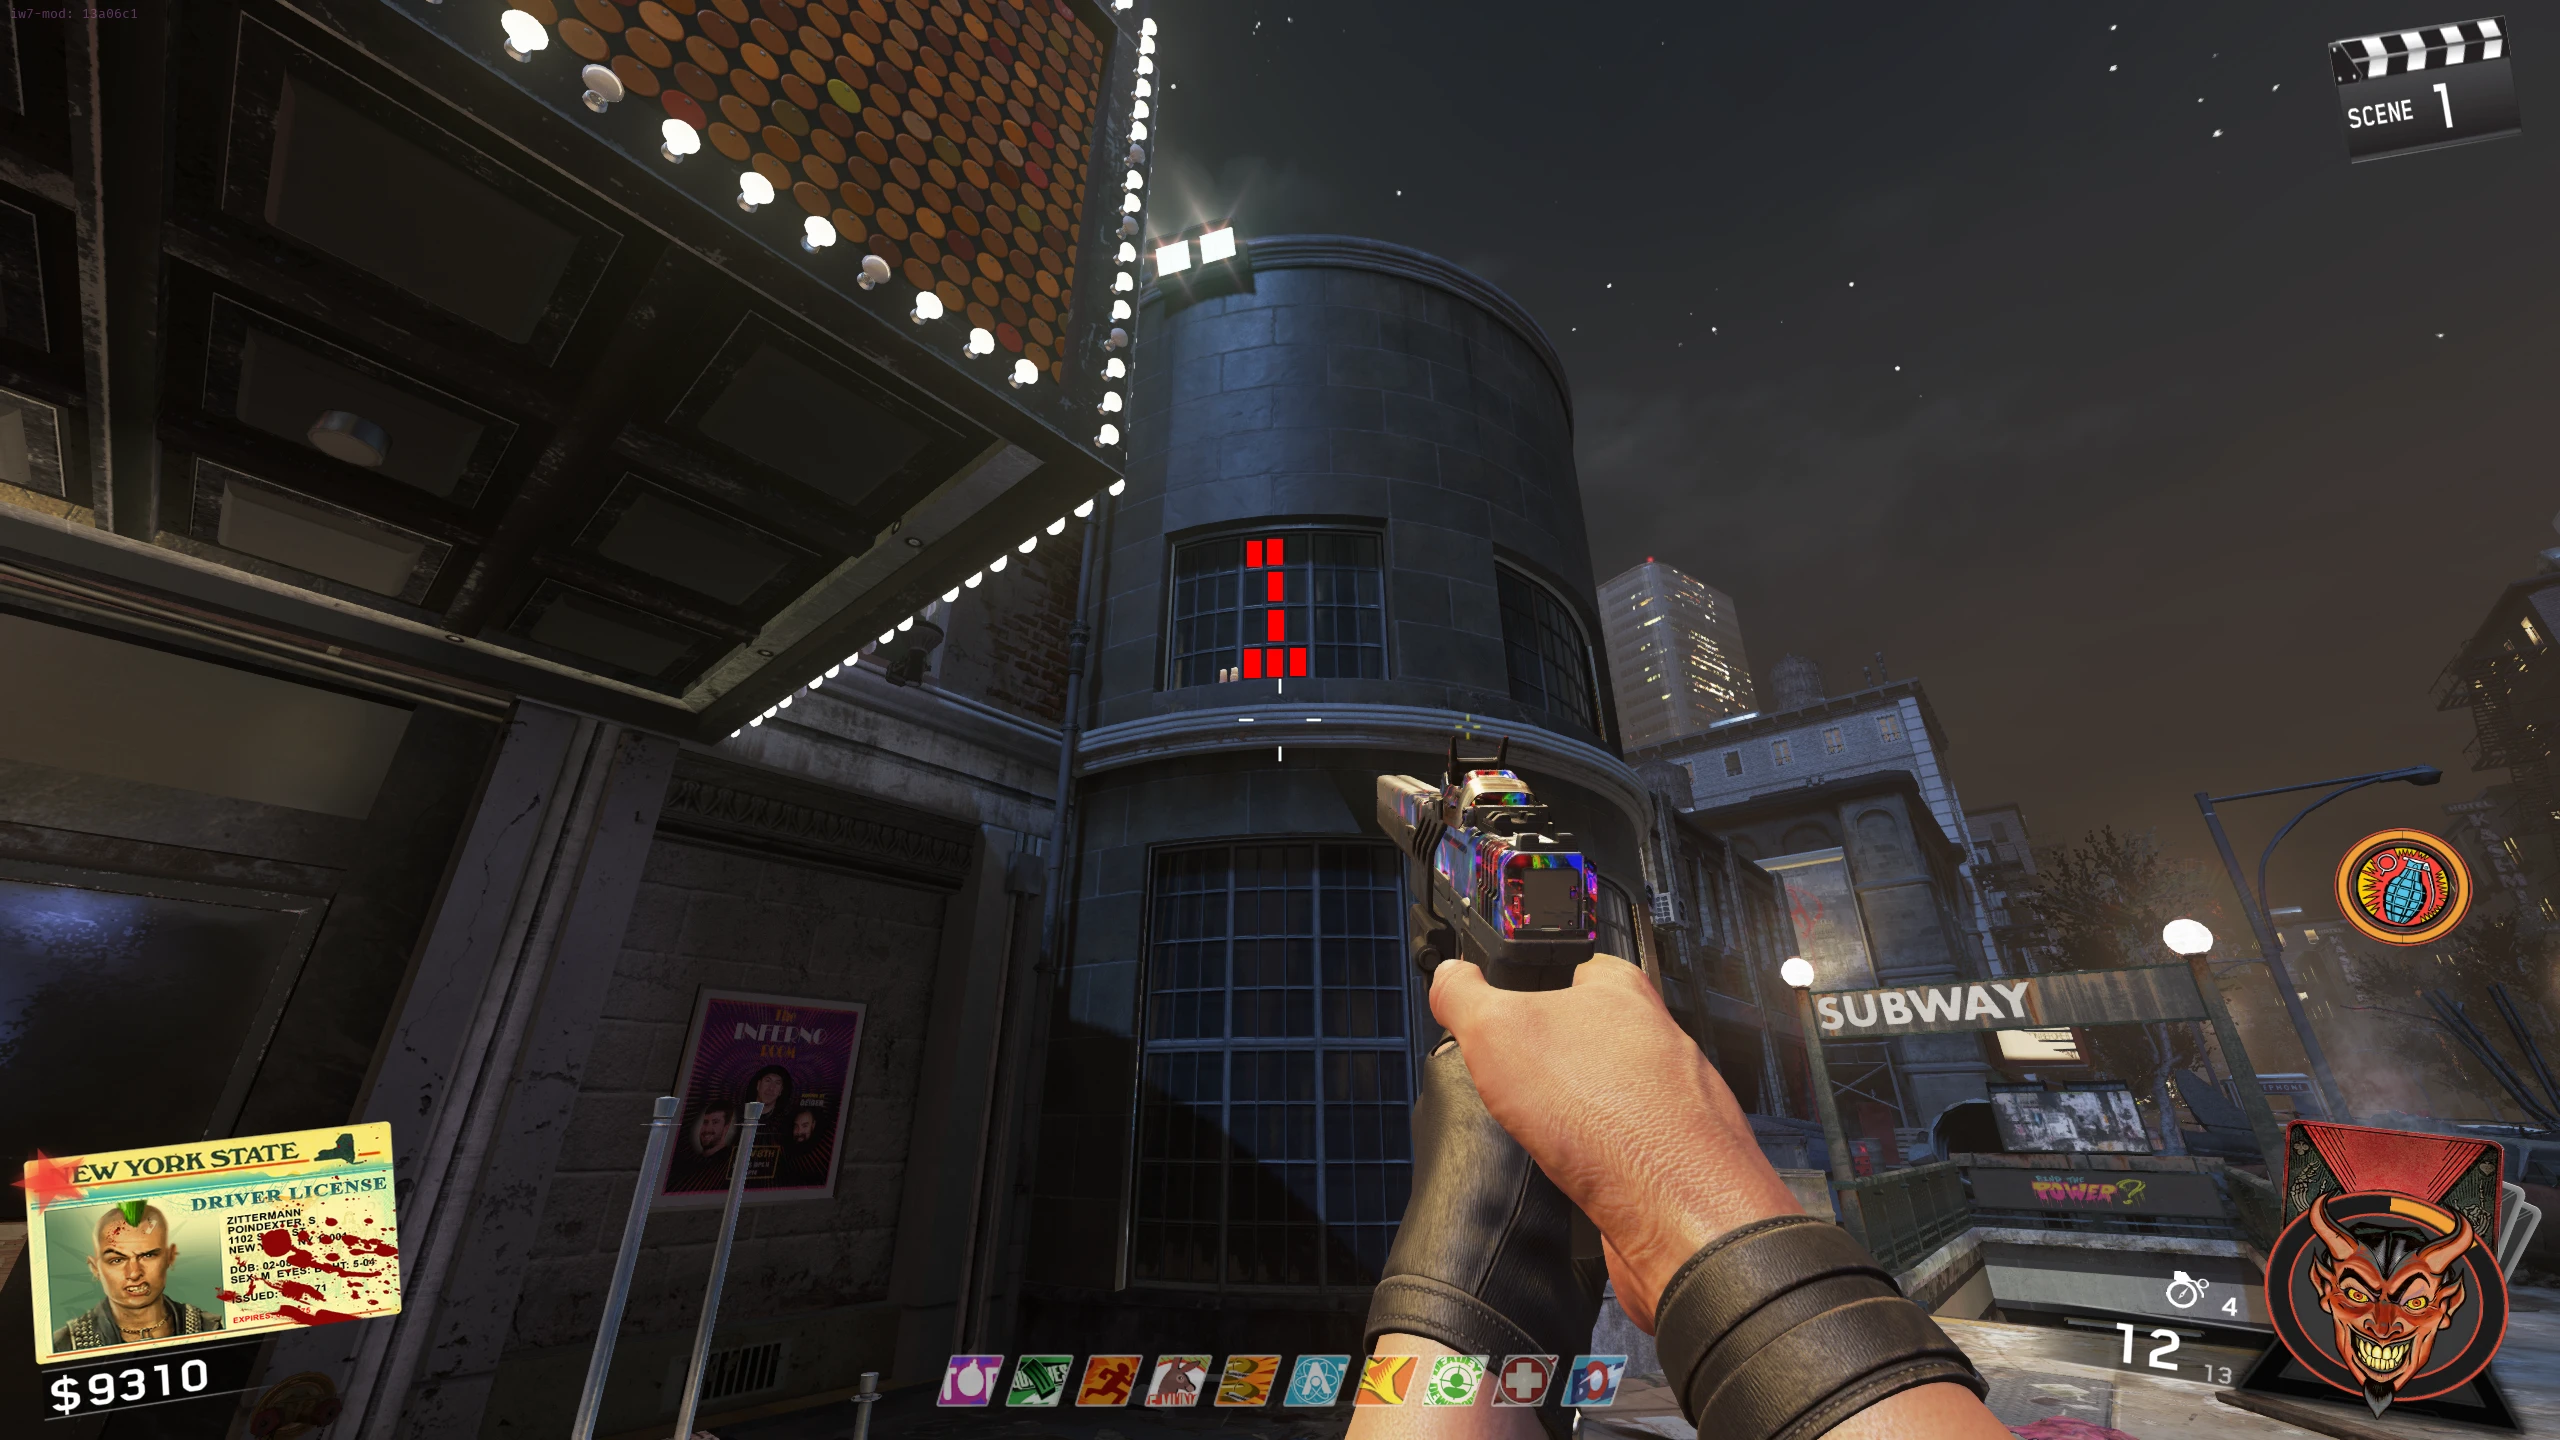
- On the Water Tower left of the KBS Longbow wallbuy on the Inferno Disco roof
- Though the dropdown skylight on the Inferno Disco roof, on an Air Duct
- On the Disco Inferno sign above the Magic Wheel on the Main Street
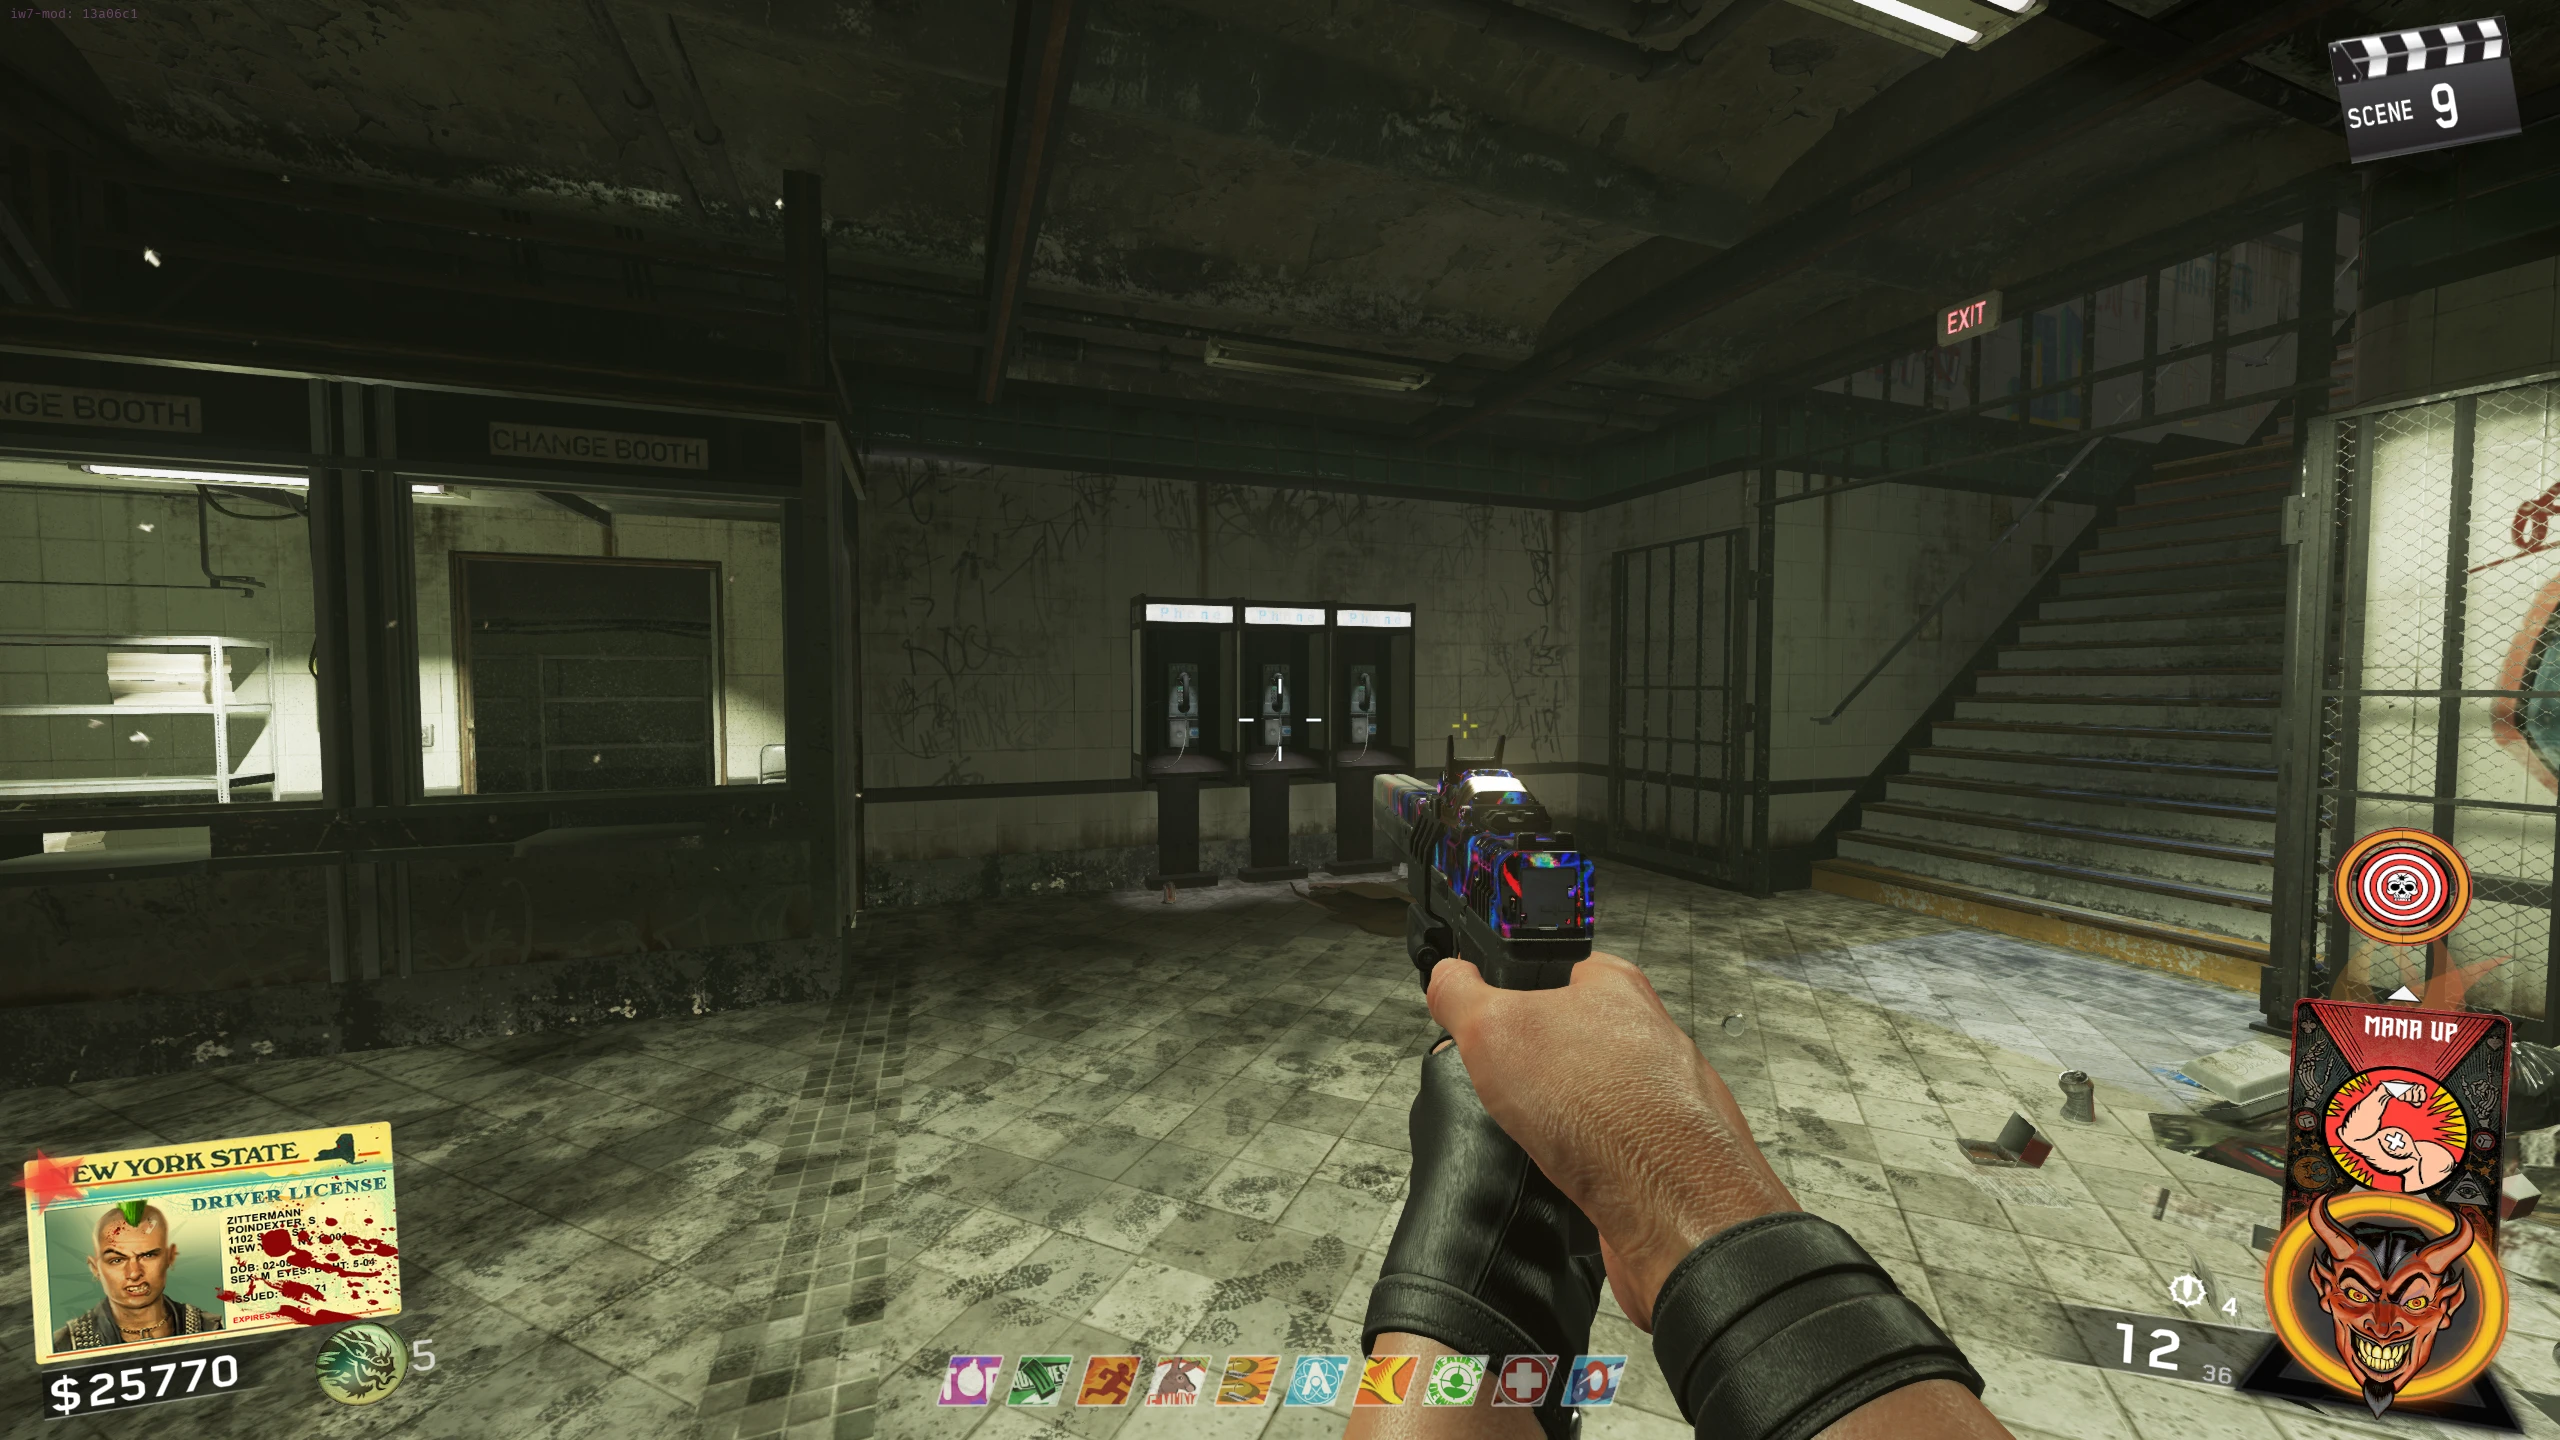
- In the Main Street Subway Station, behind the stairs on the Bang Bangs side
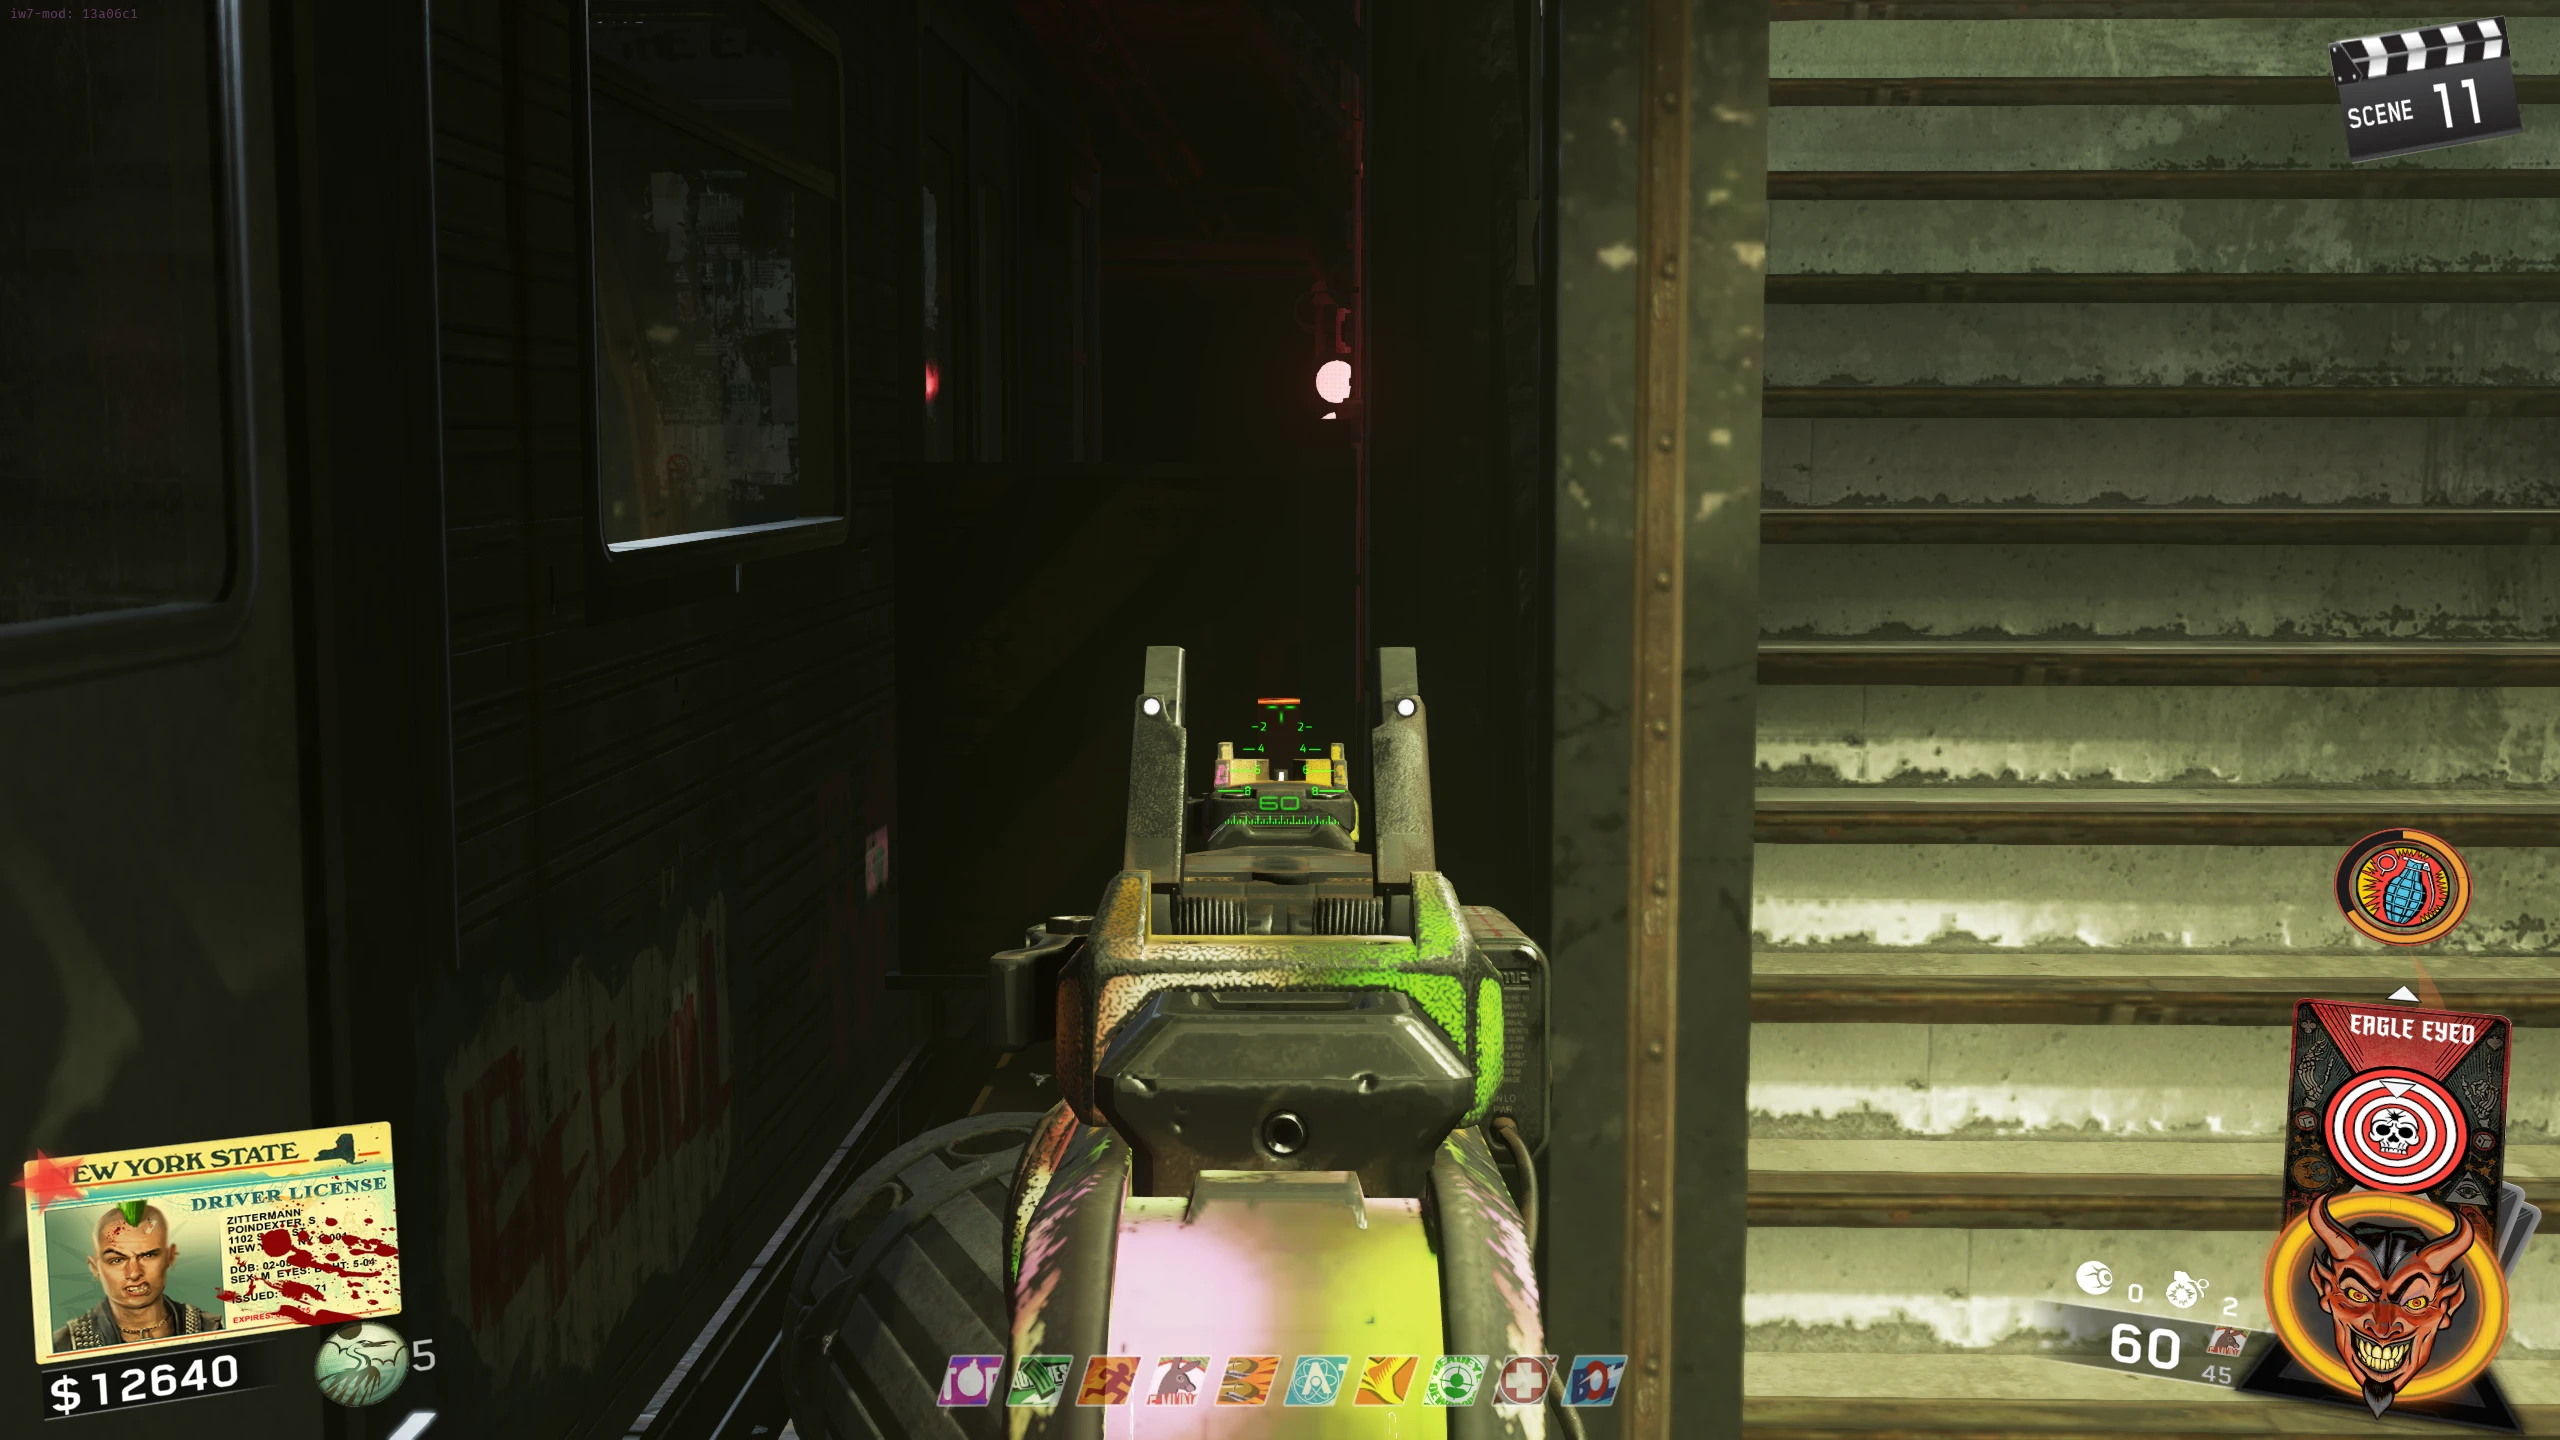
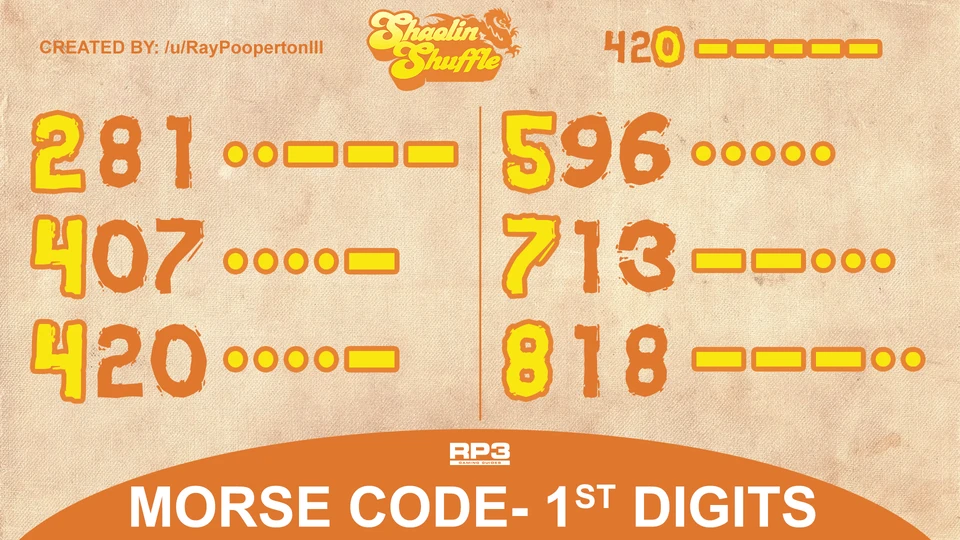
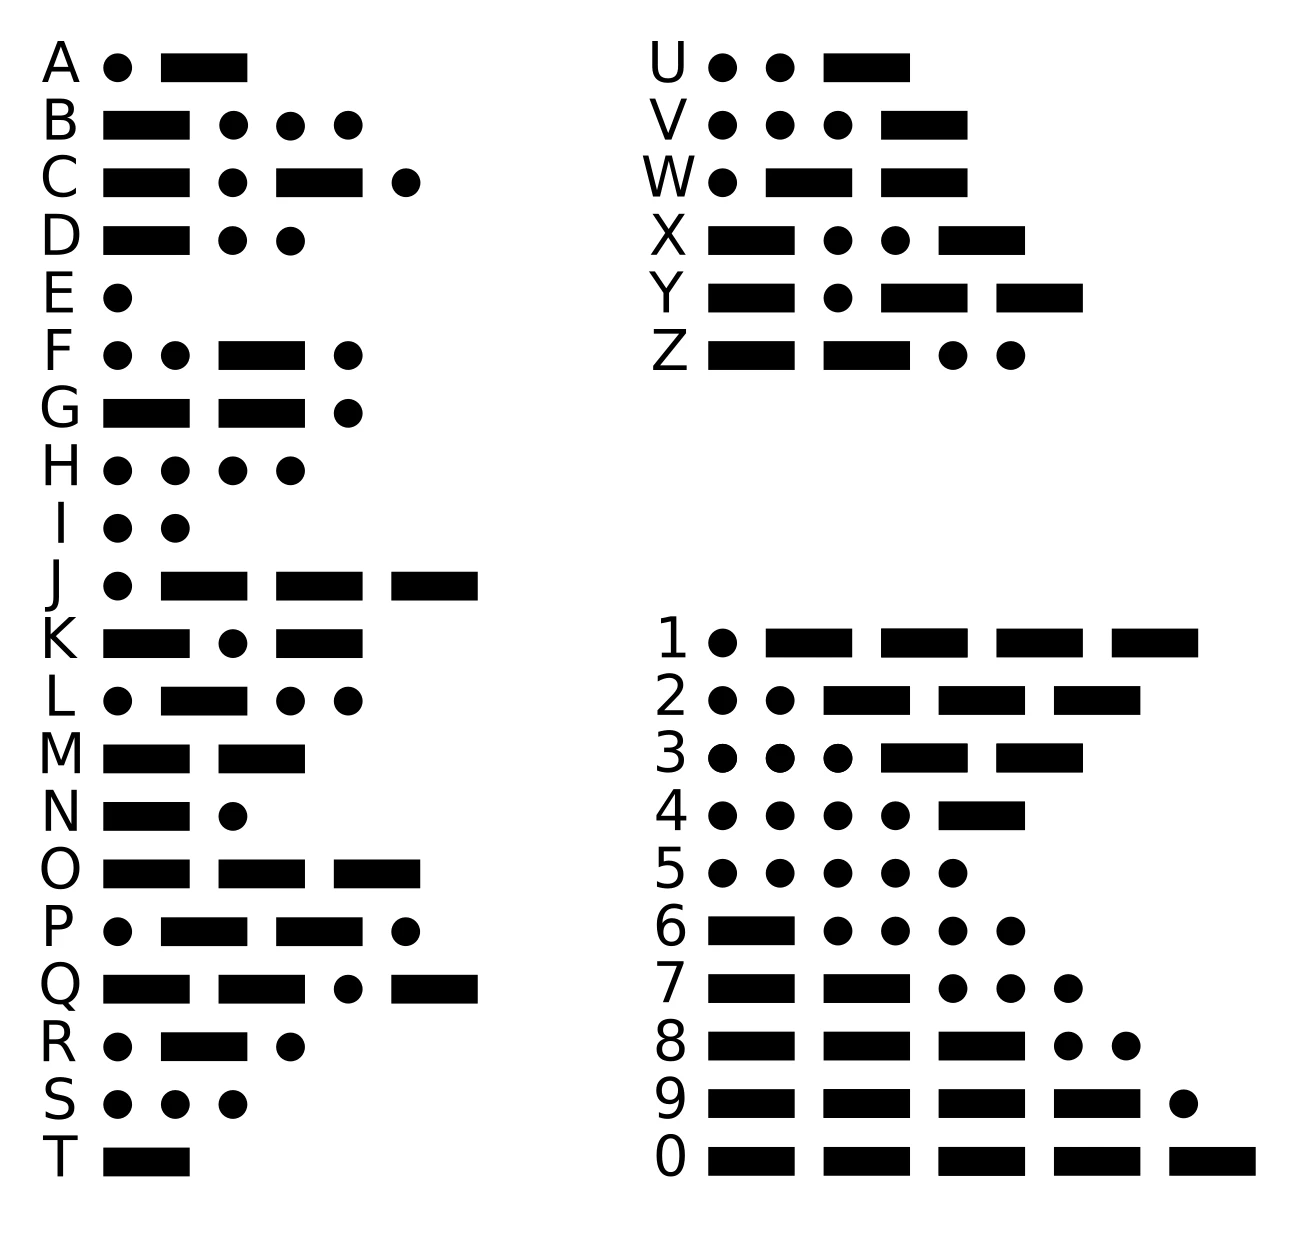
- After shooting six symbols, one of the phones in either subway station will start ringing, and will not be lit up red. It will play a Morse Code message. There are only six possible numbers that the Morse code can be (Morse Code Cheat Sheet or Decoder website). Listen to the first five beeps and compare them to the ones on the image. Four of the six options have different starting beeps, so they can be determined easily. 407 and 420 have the same starting beeps, so listen to the last five beeps; if the sequence ends with five long beeps, then your number is 420, otherwise its 407.
- You MUST wait for the call to hang up. Hanging up early or being hit by a Zombie will cause you to not complete the step, and you will have to listen to the phone call again.
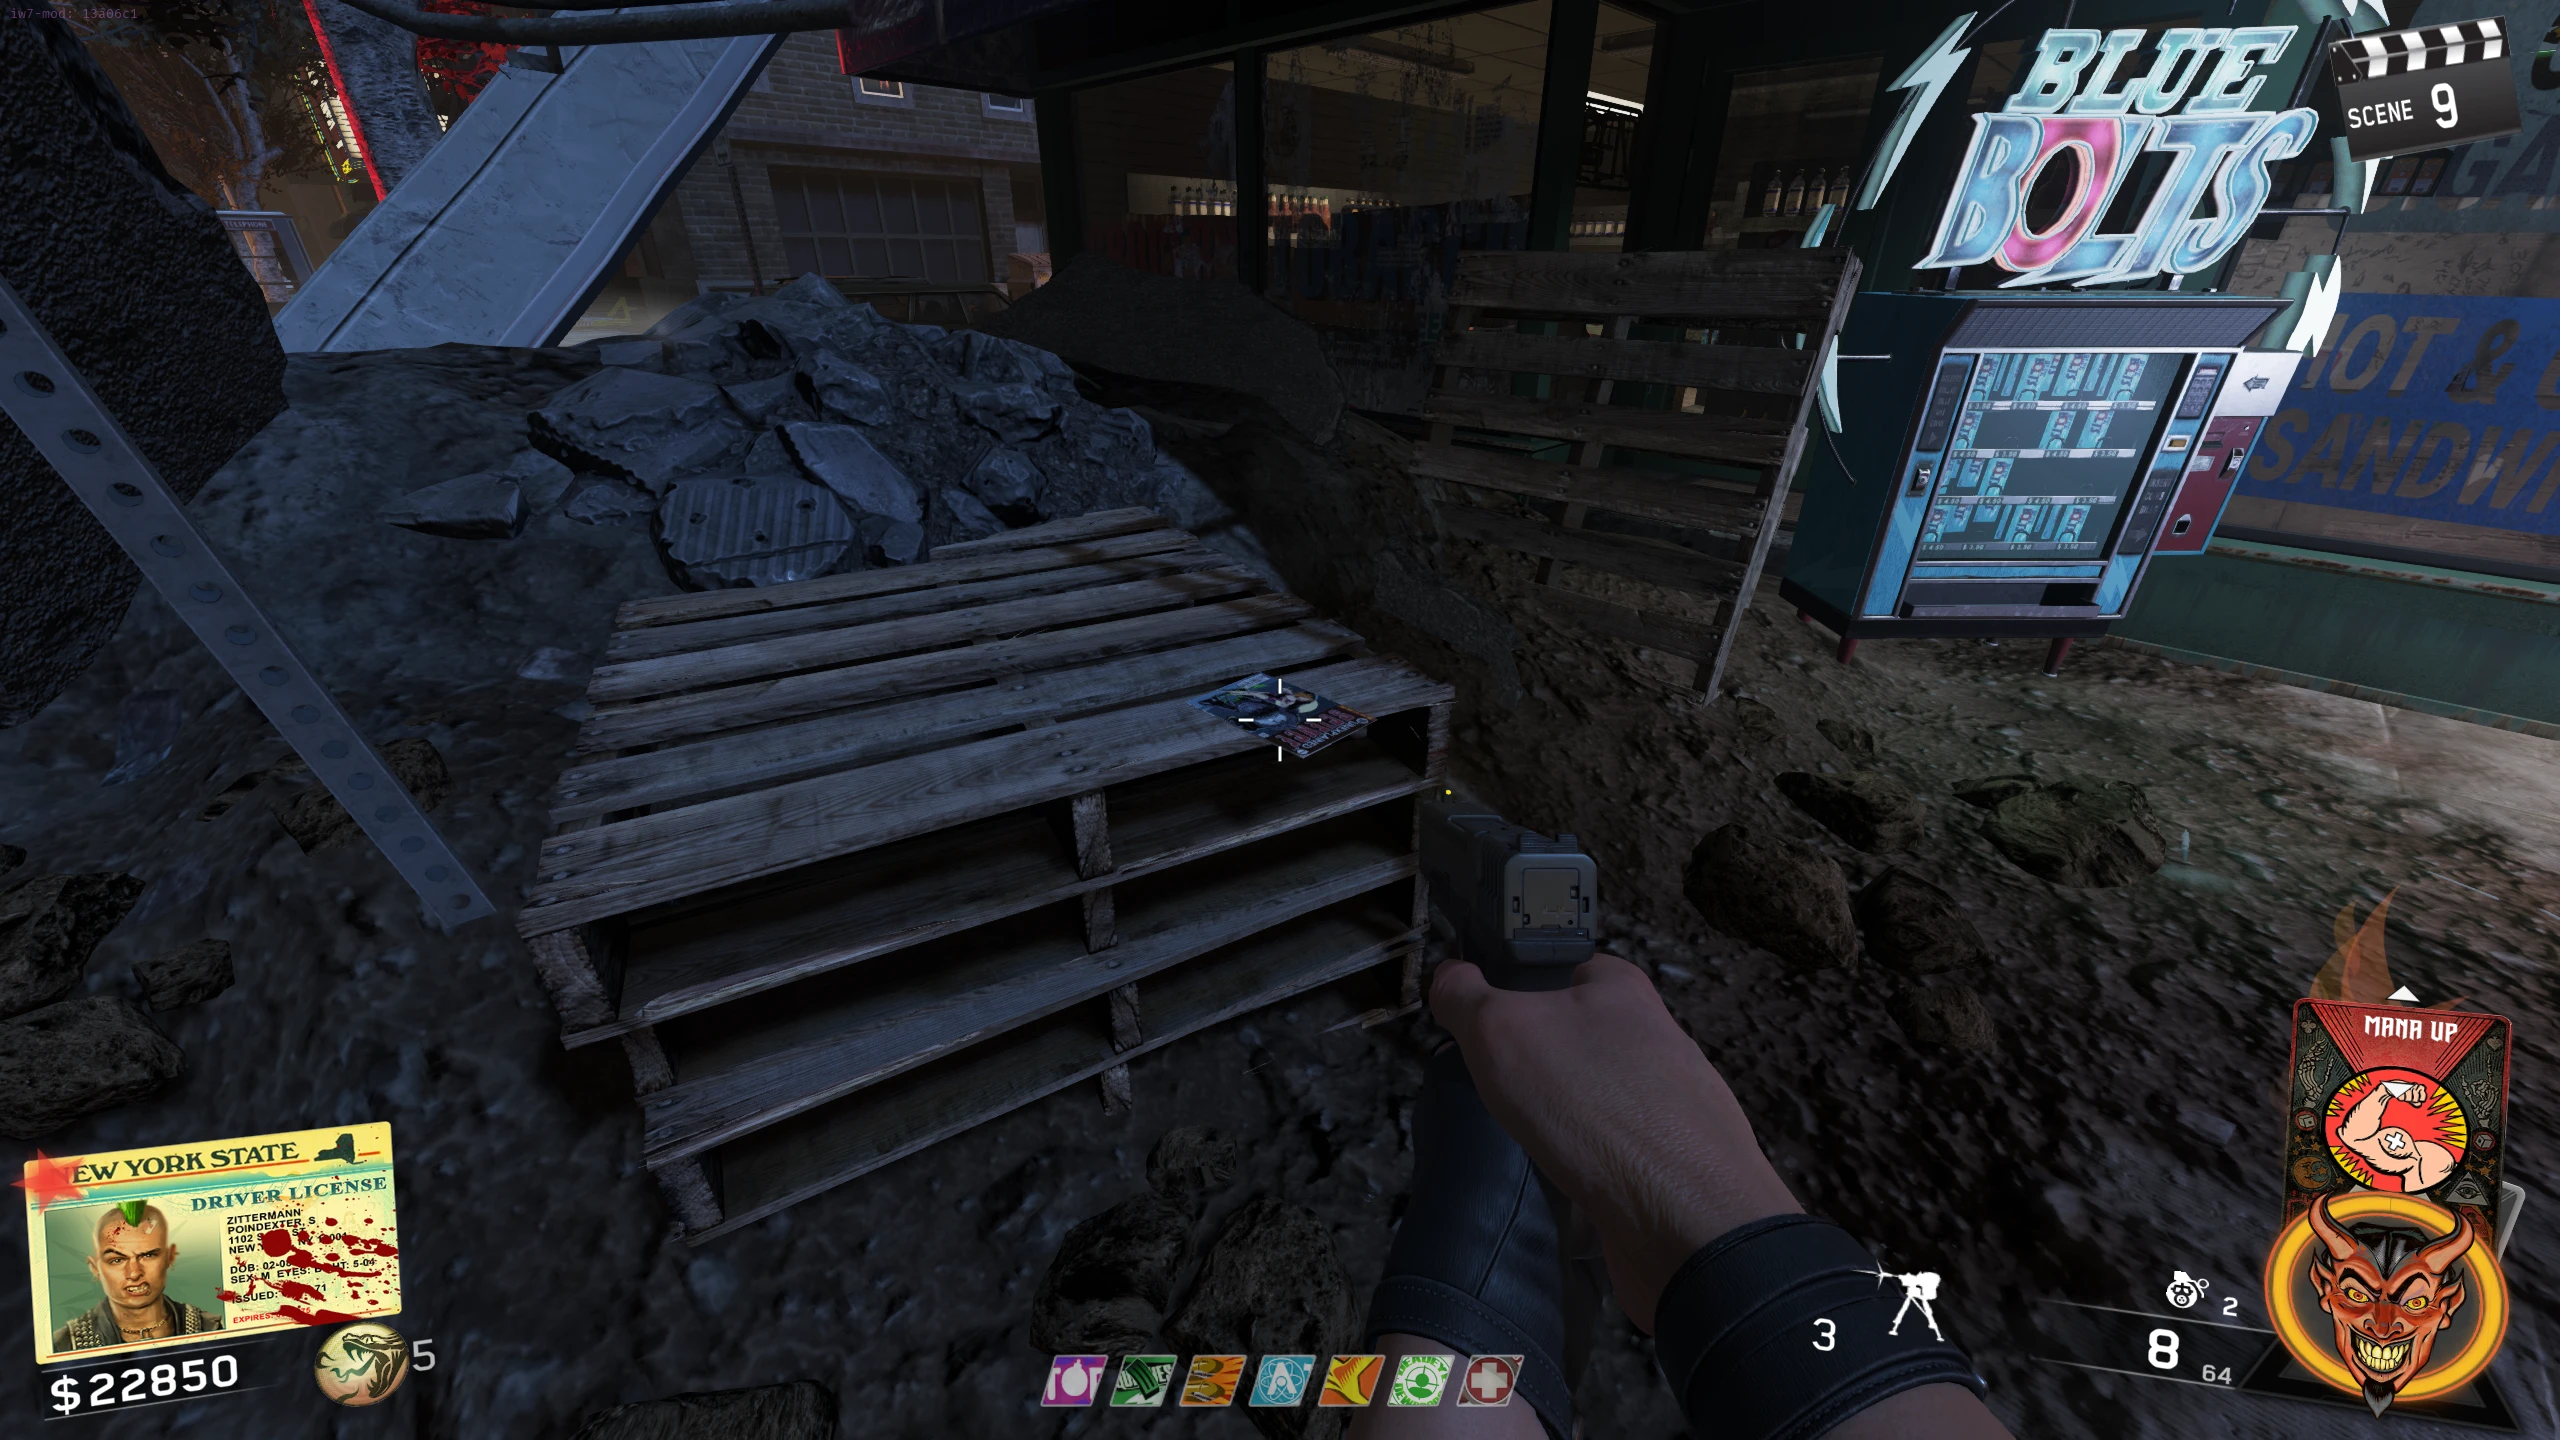
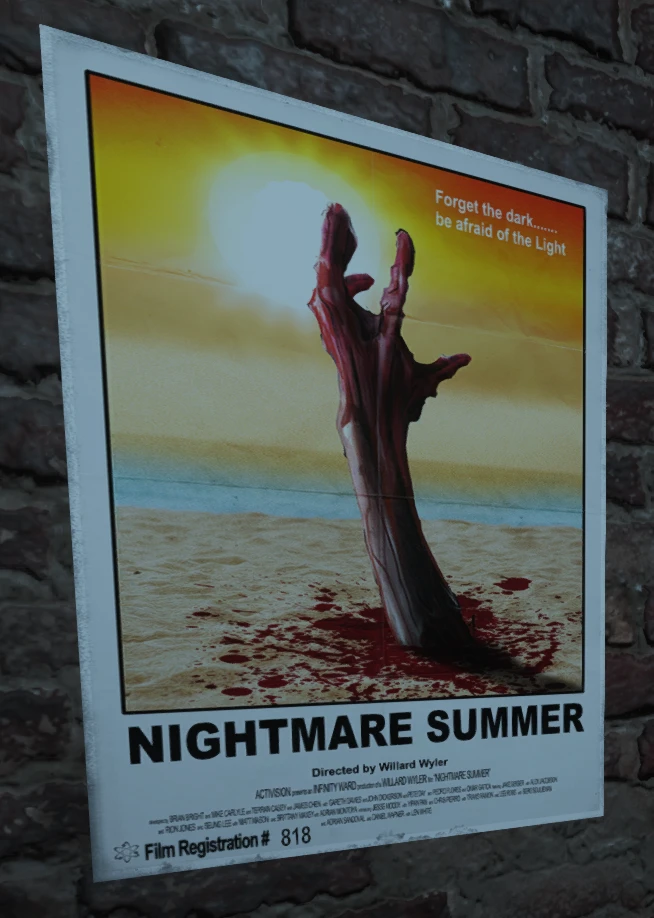
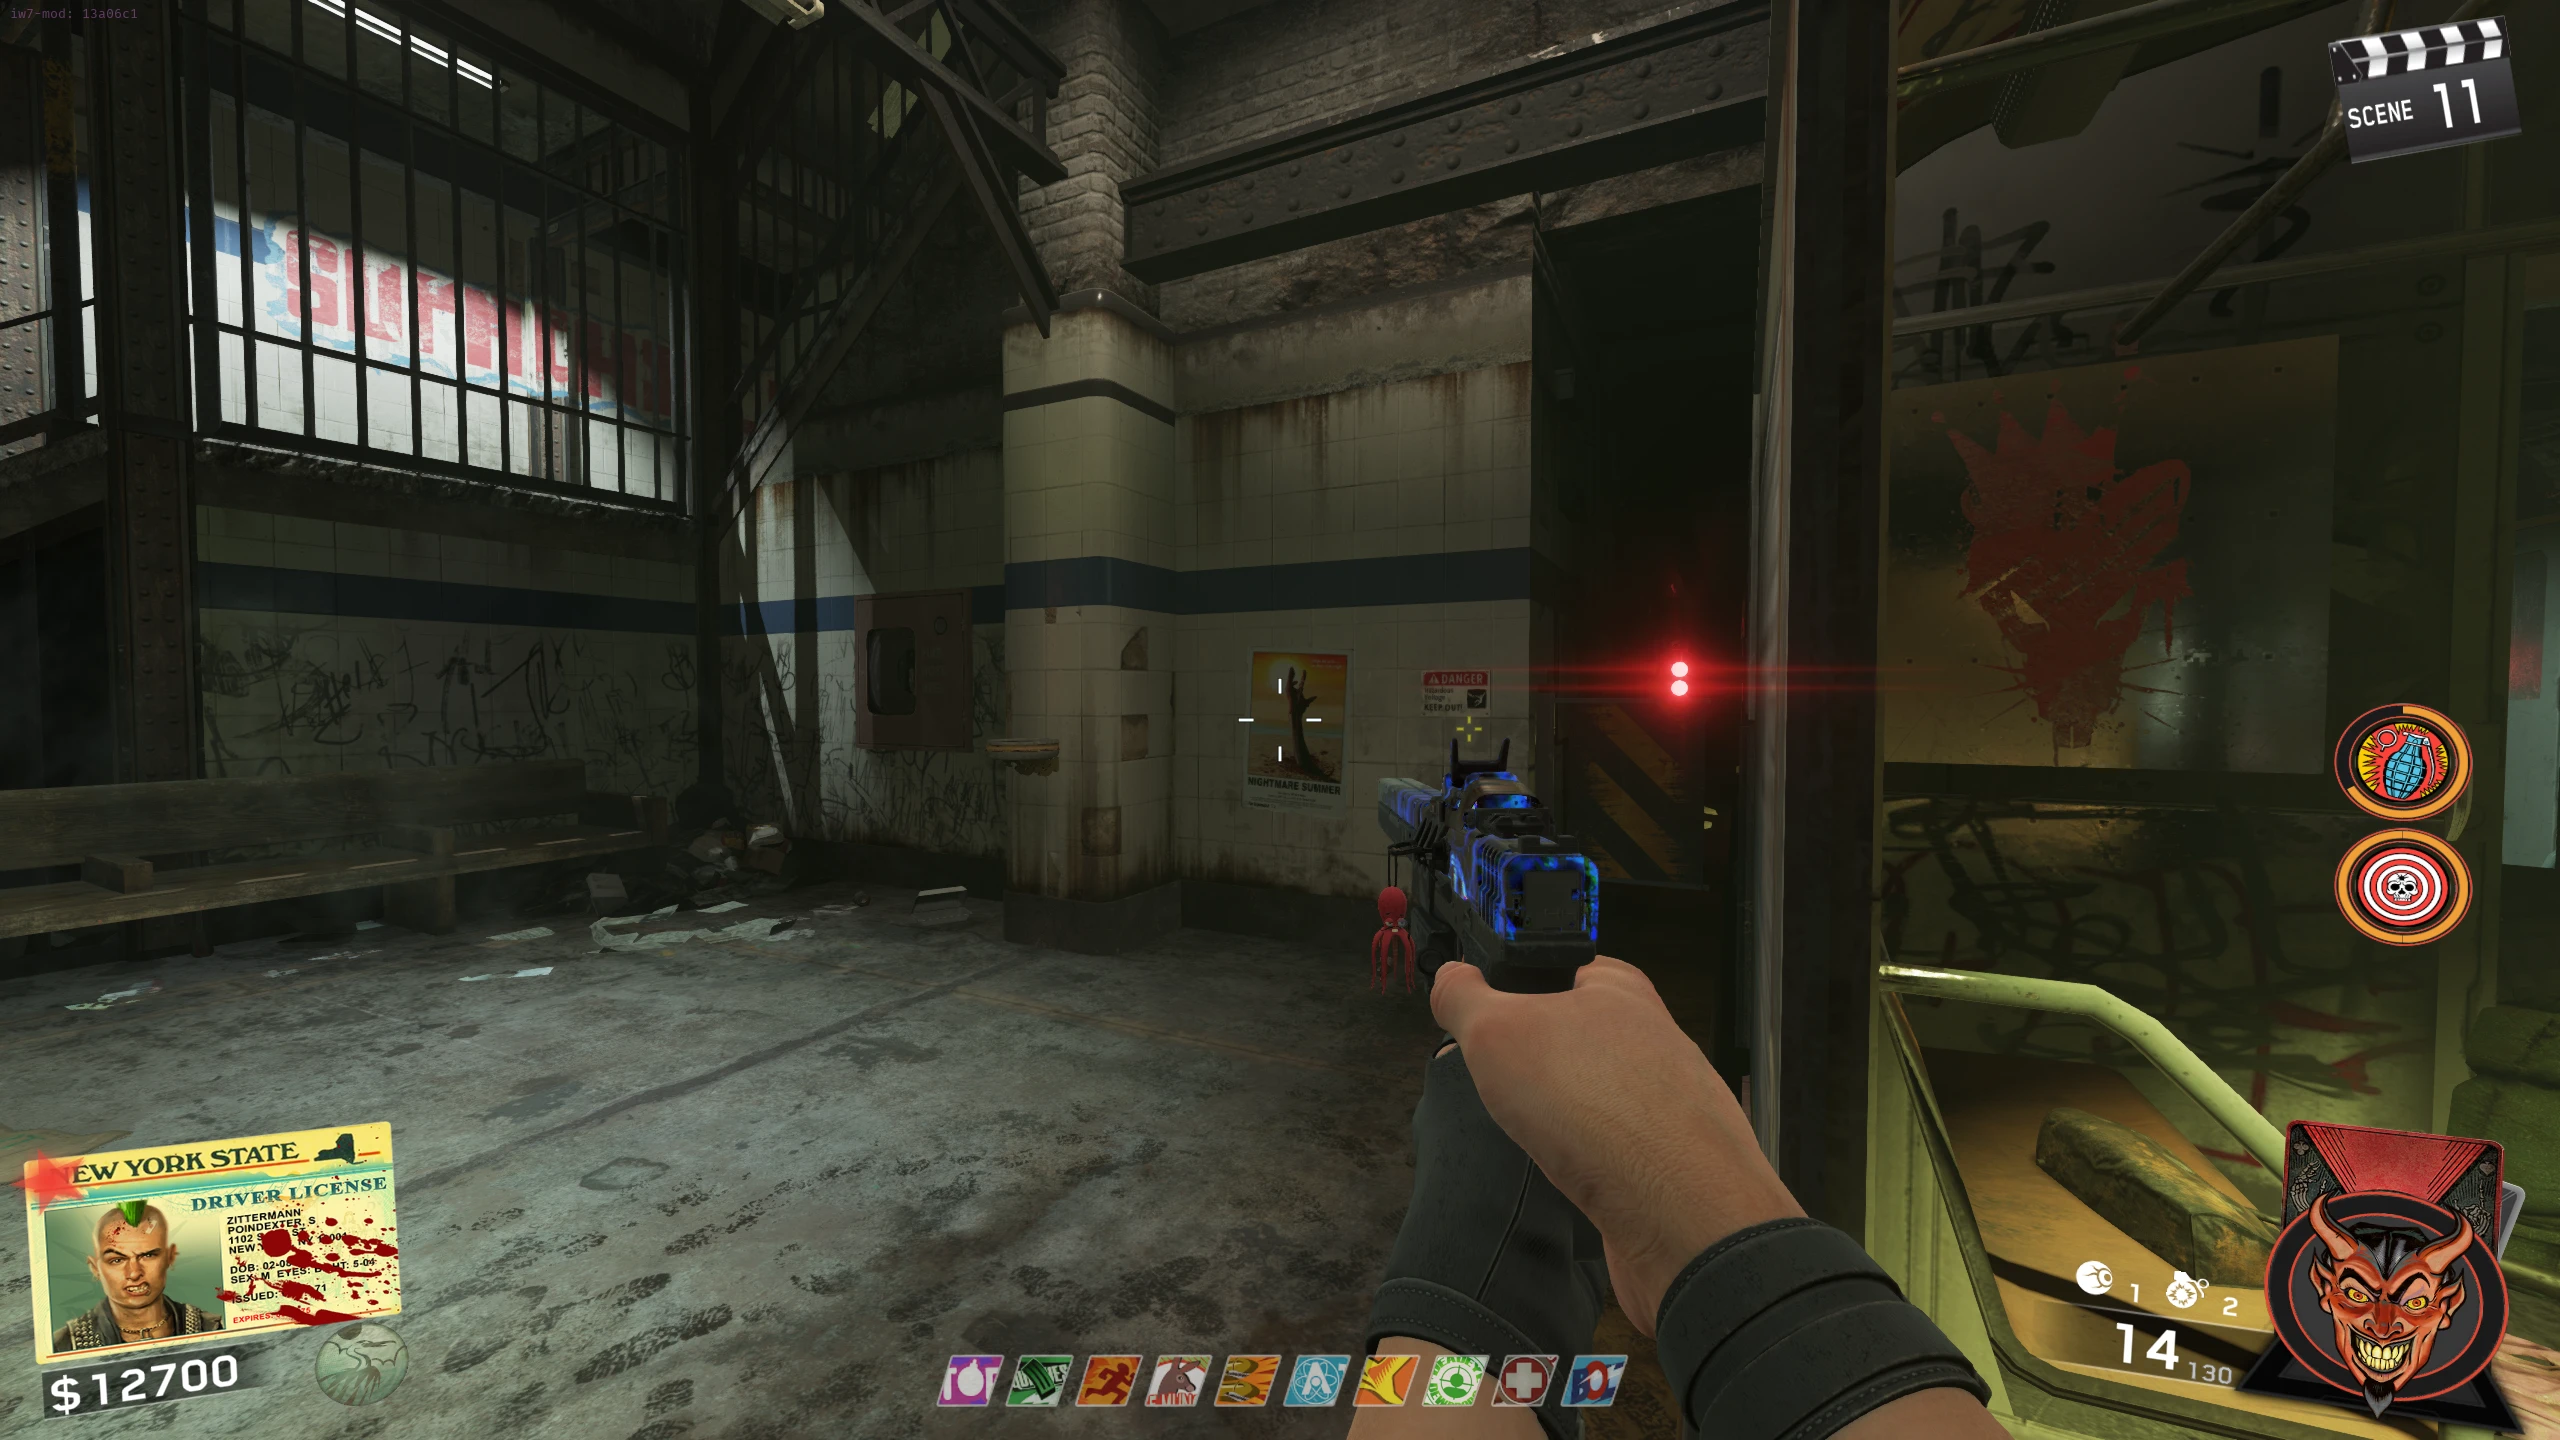
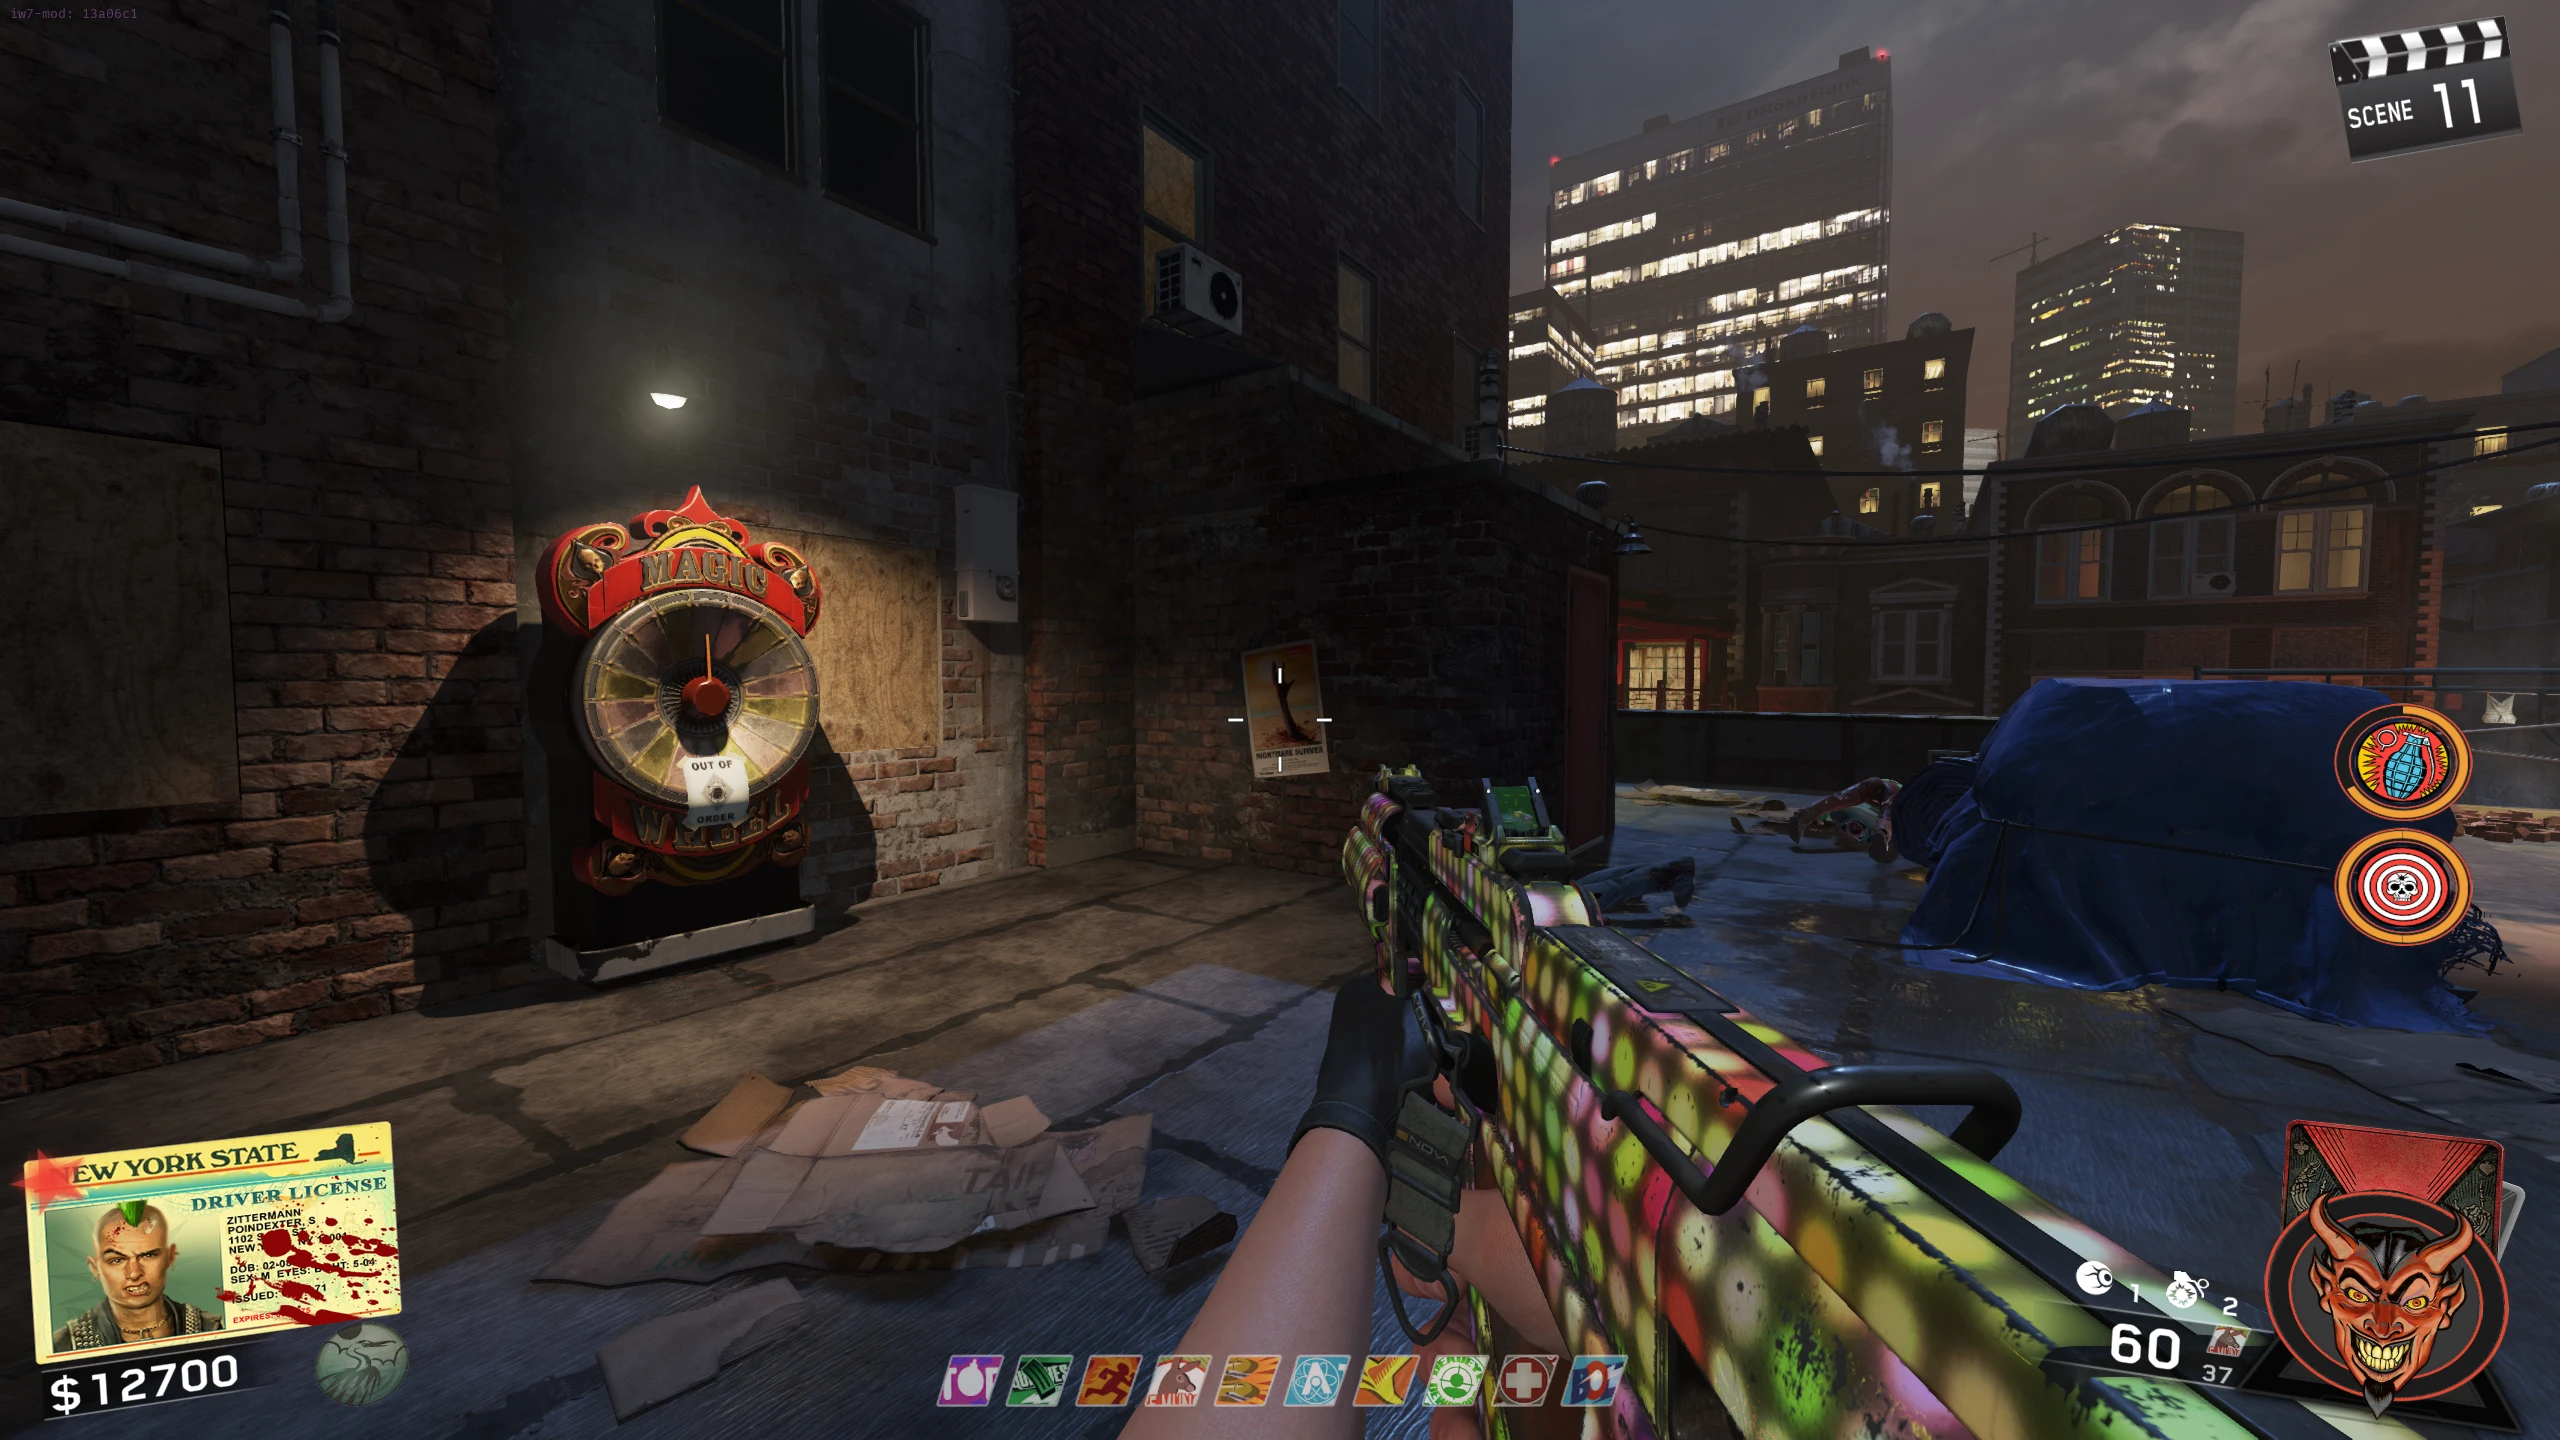
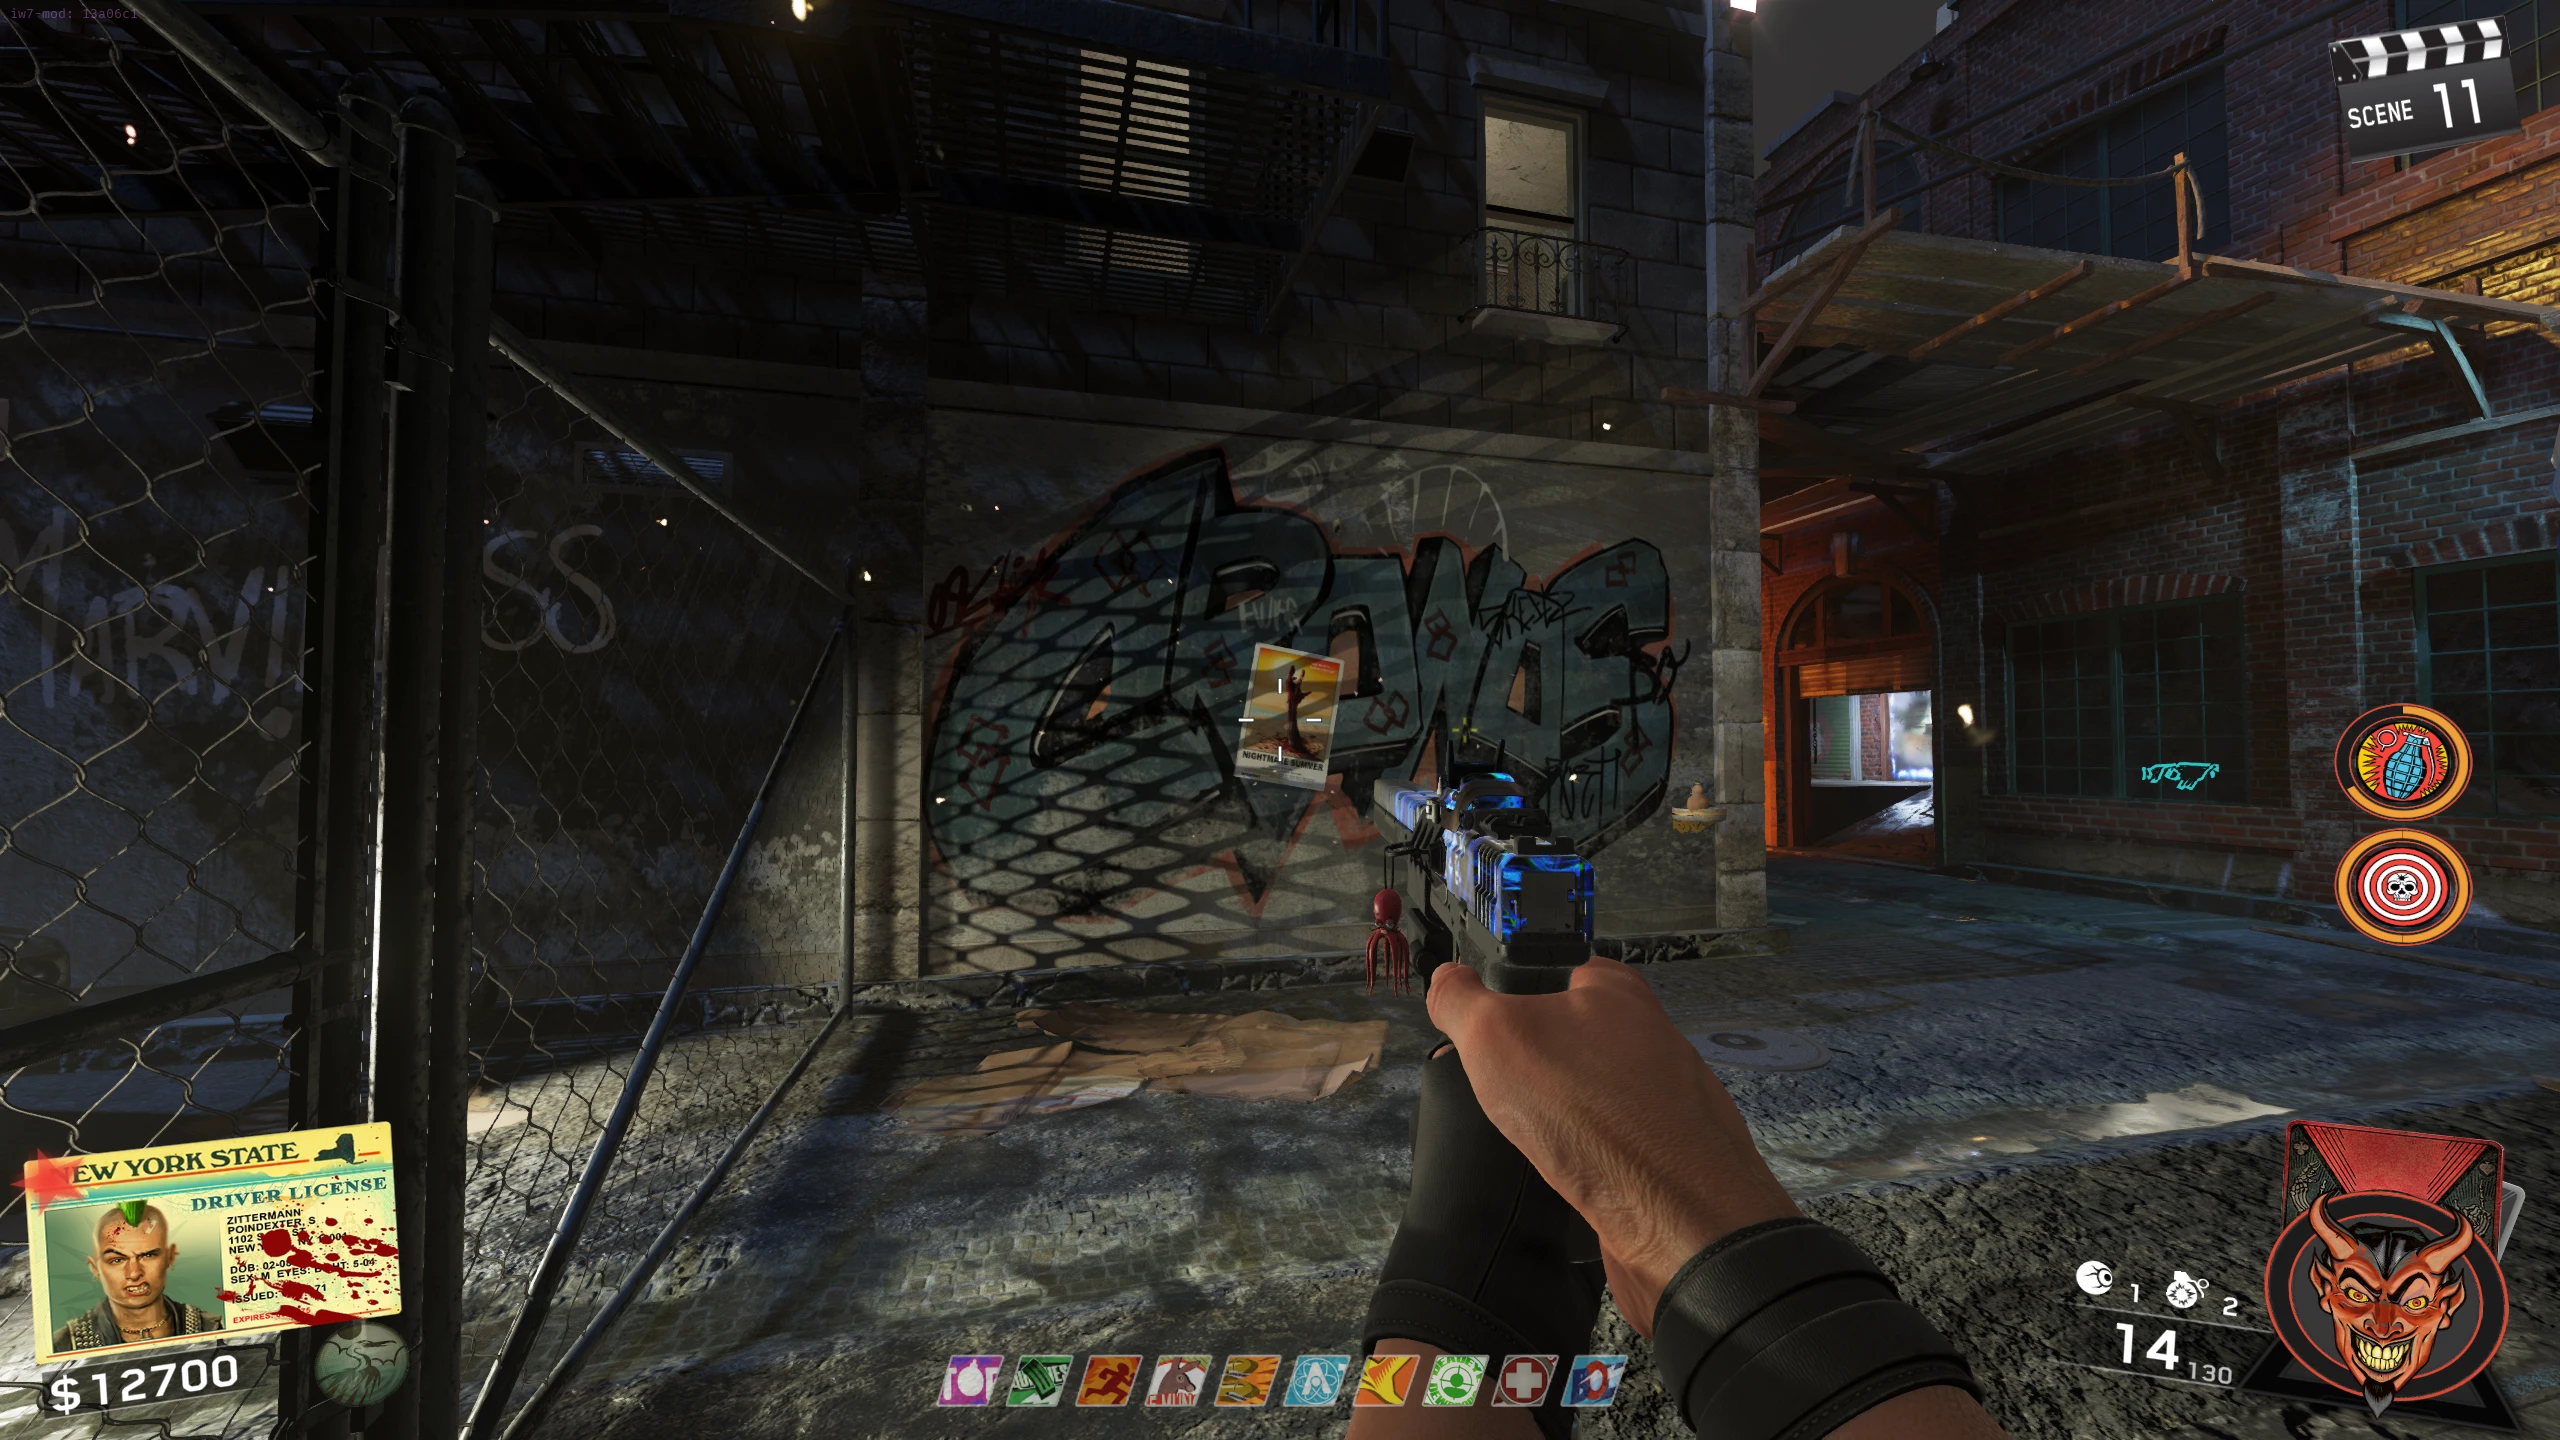
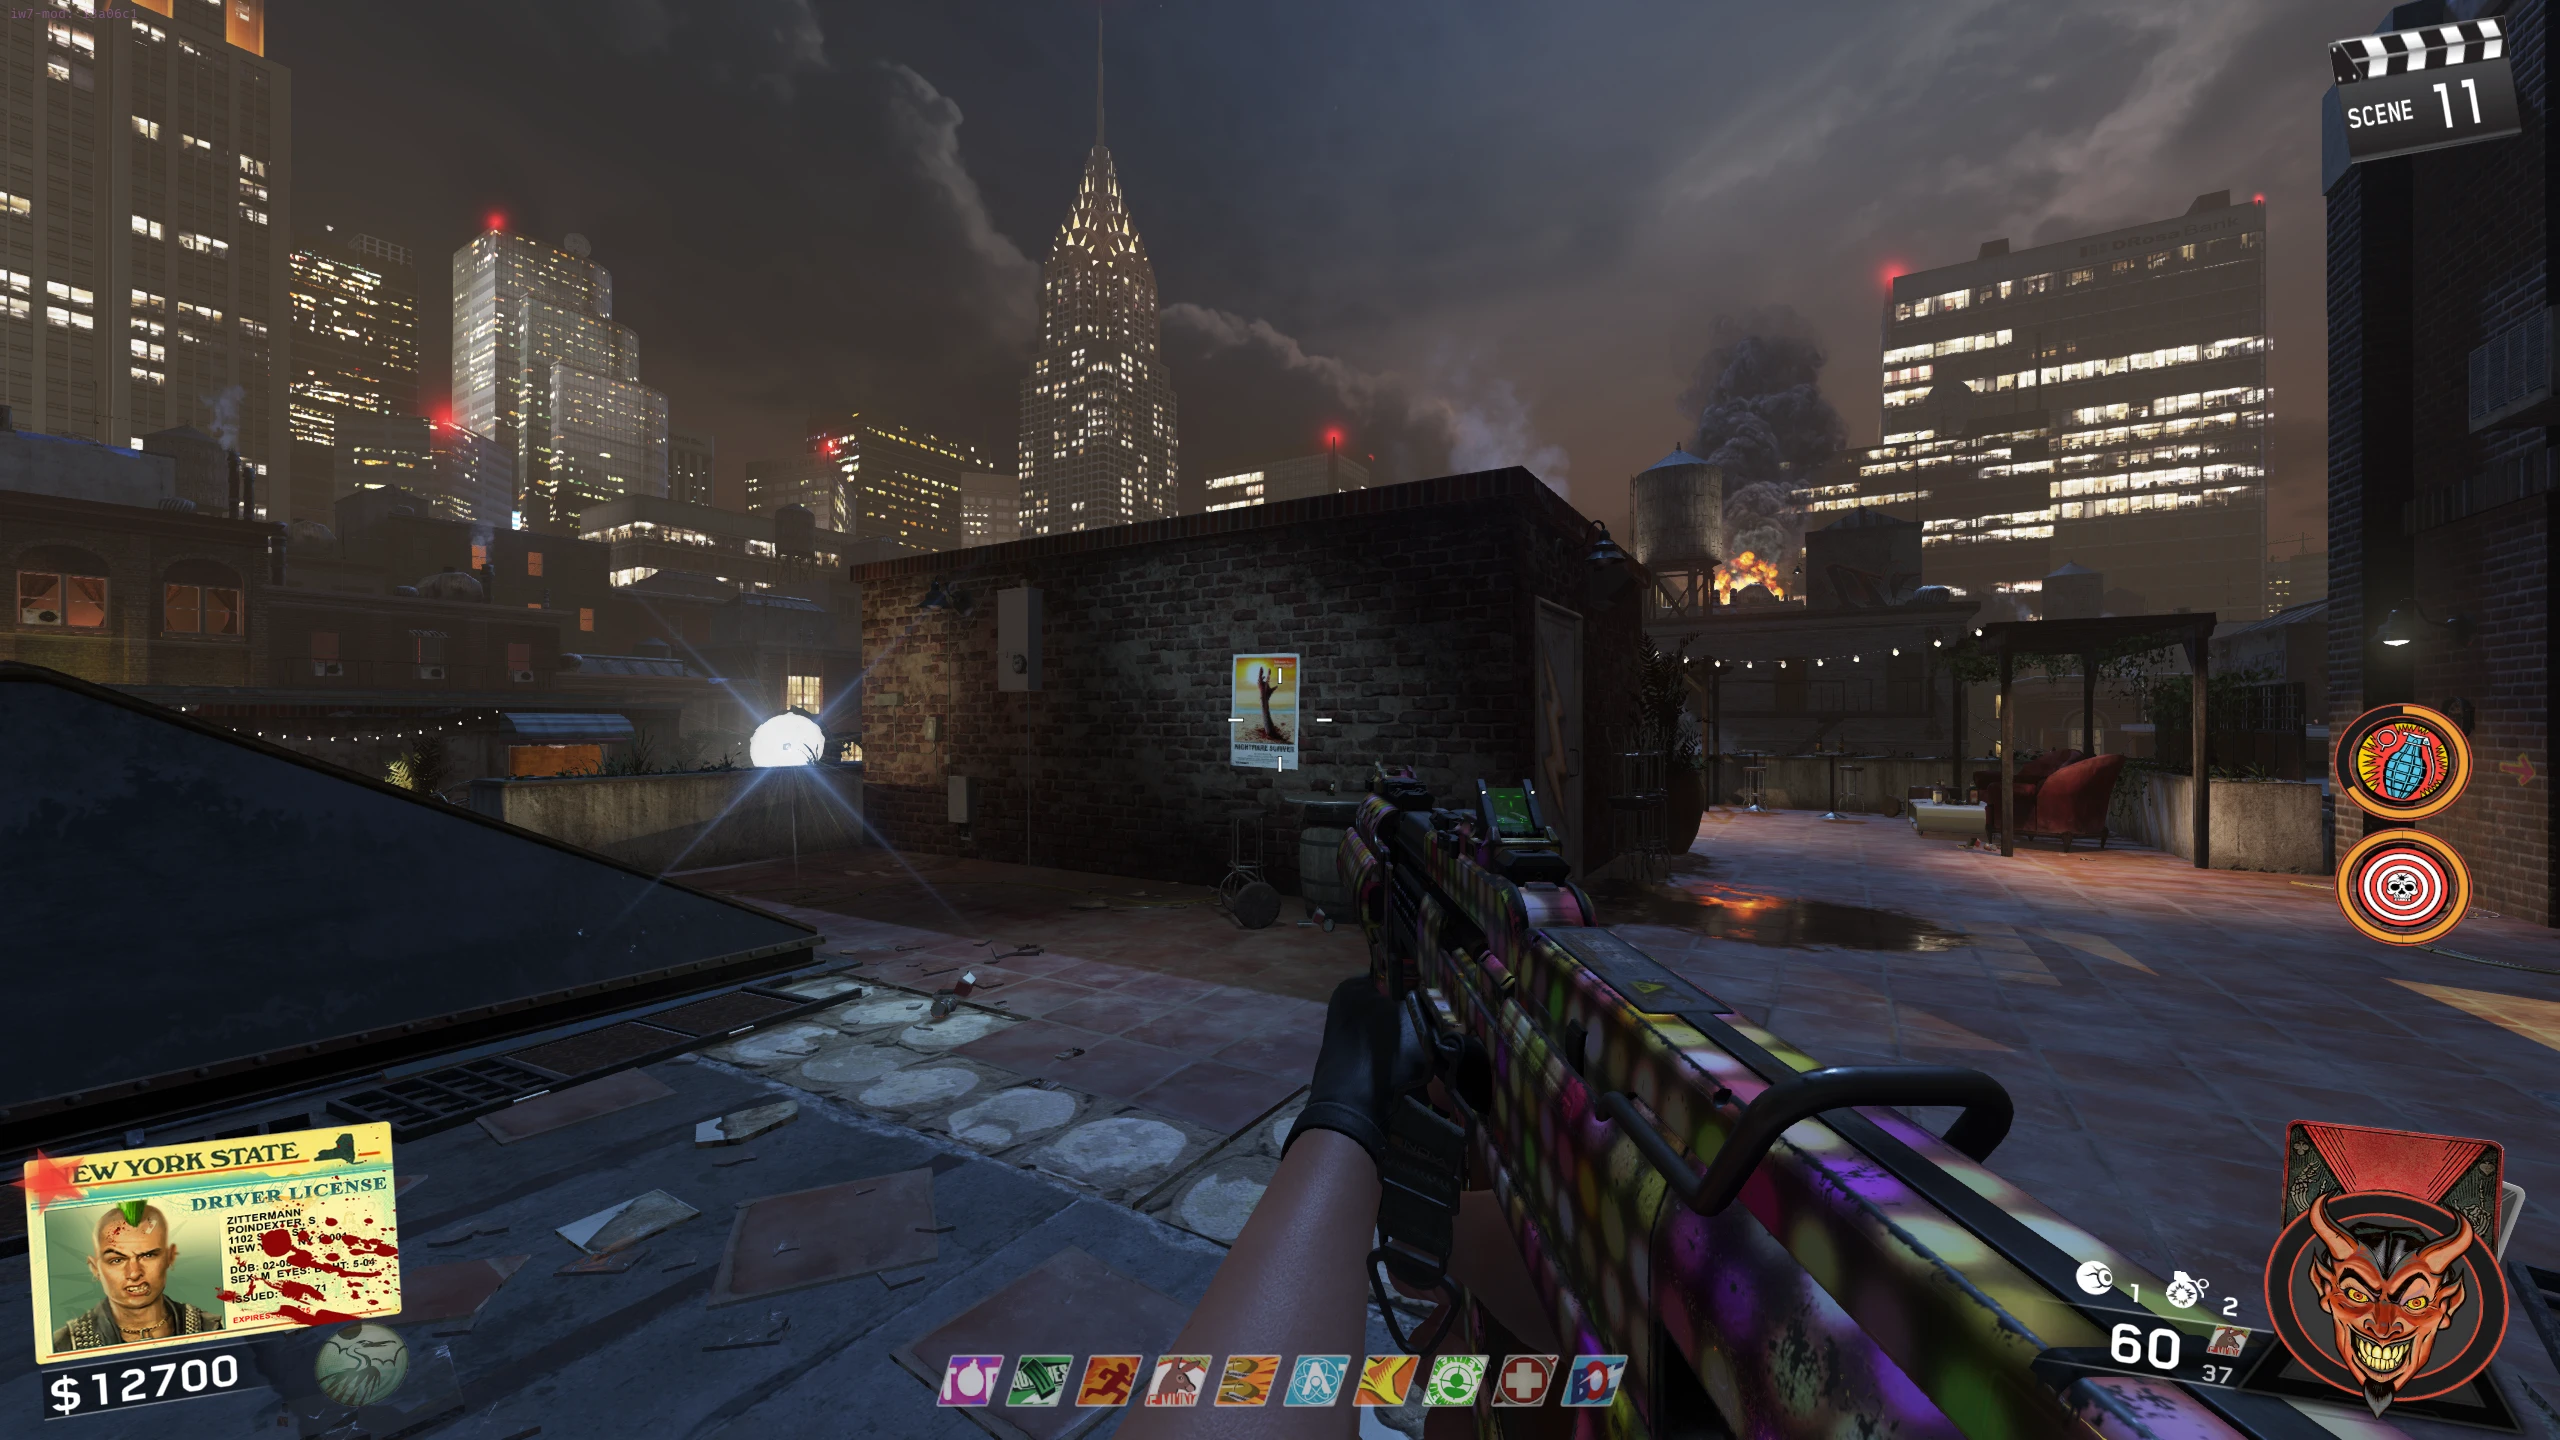
- Pick up the Nightmare Summer poster with the same "Film Registration" number (on the bottom left of the poster) as the Morse Code.
- If you pick up the wrong poster, Willard Wyler will laugh, and you will have to shoot the six orange symbols to reactivate the phone and get a new number.
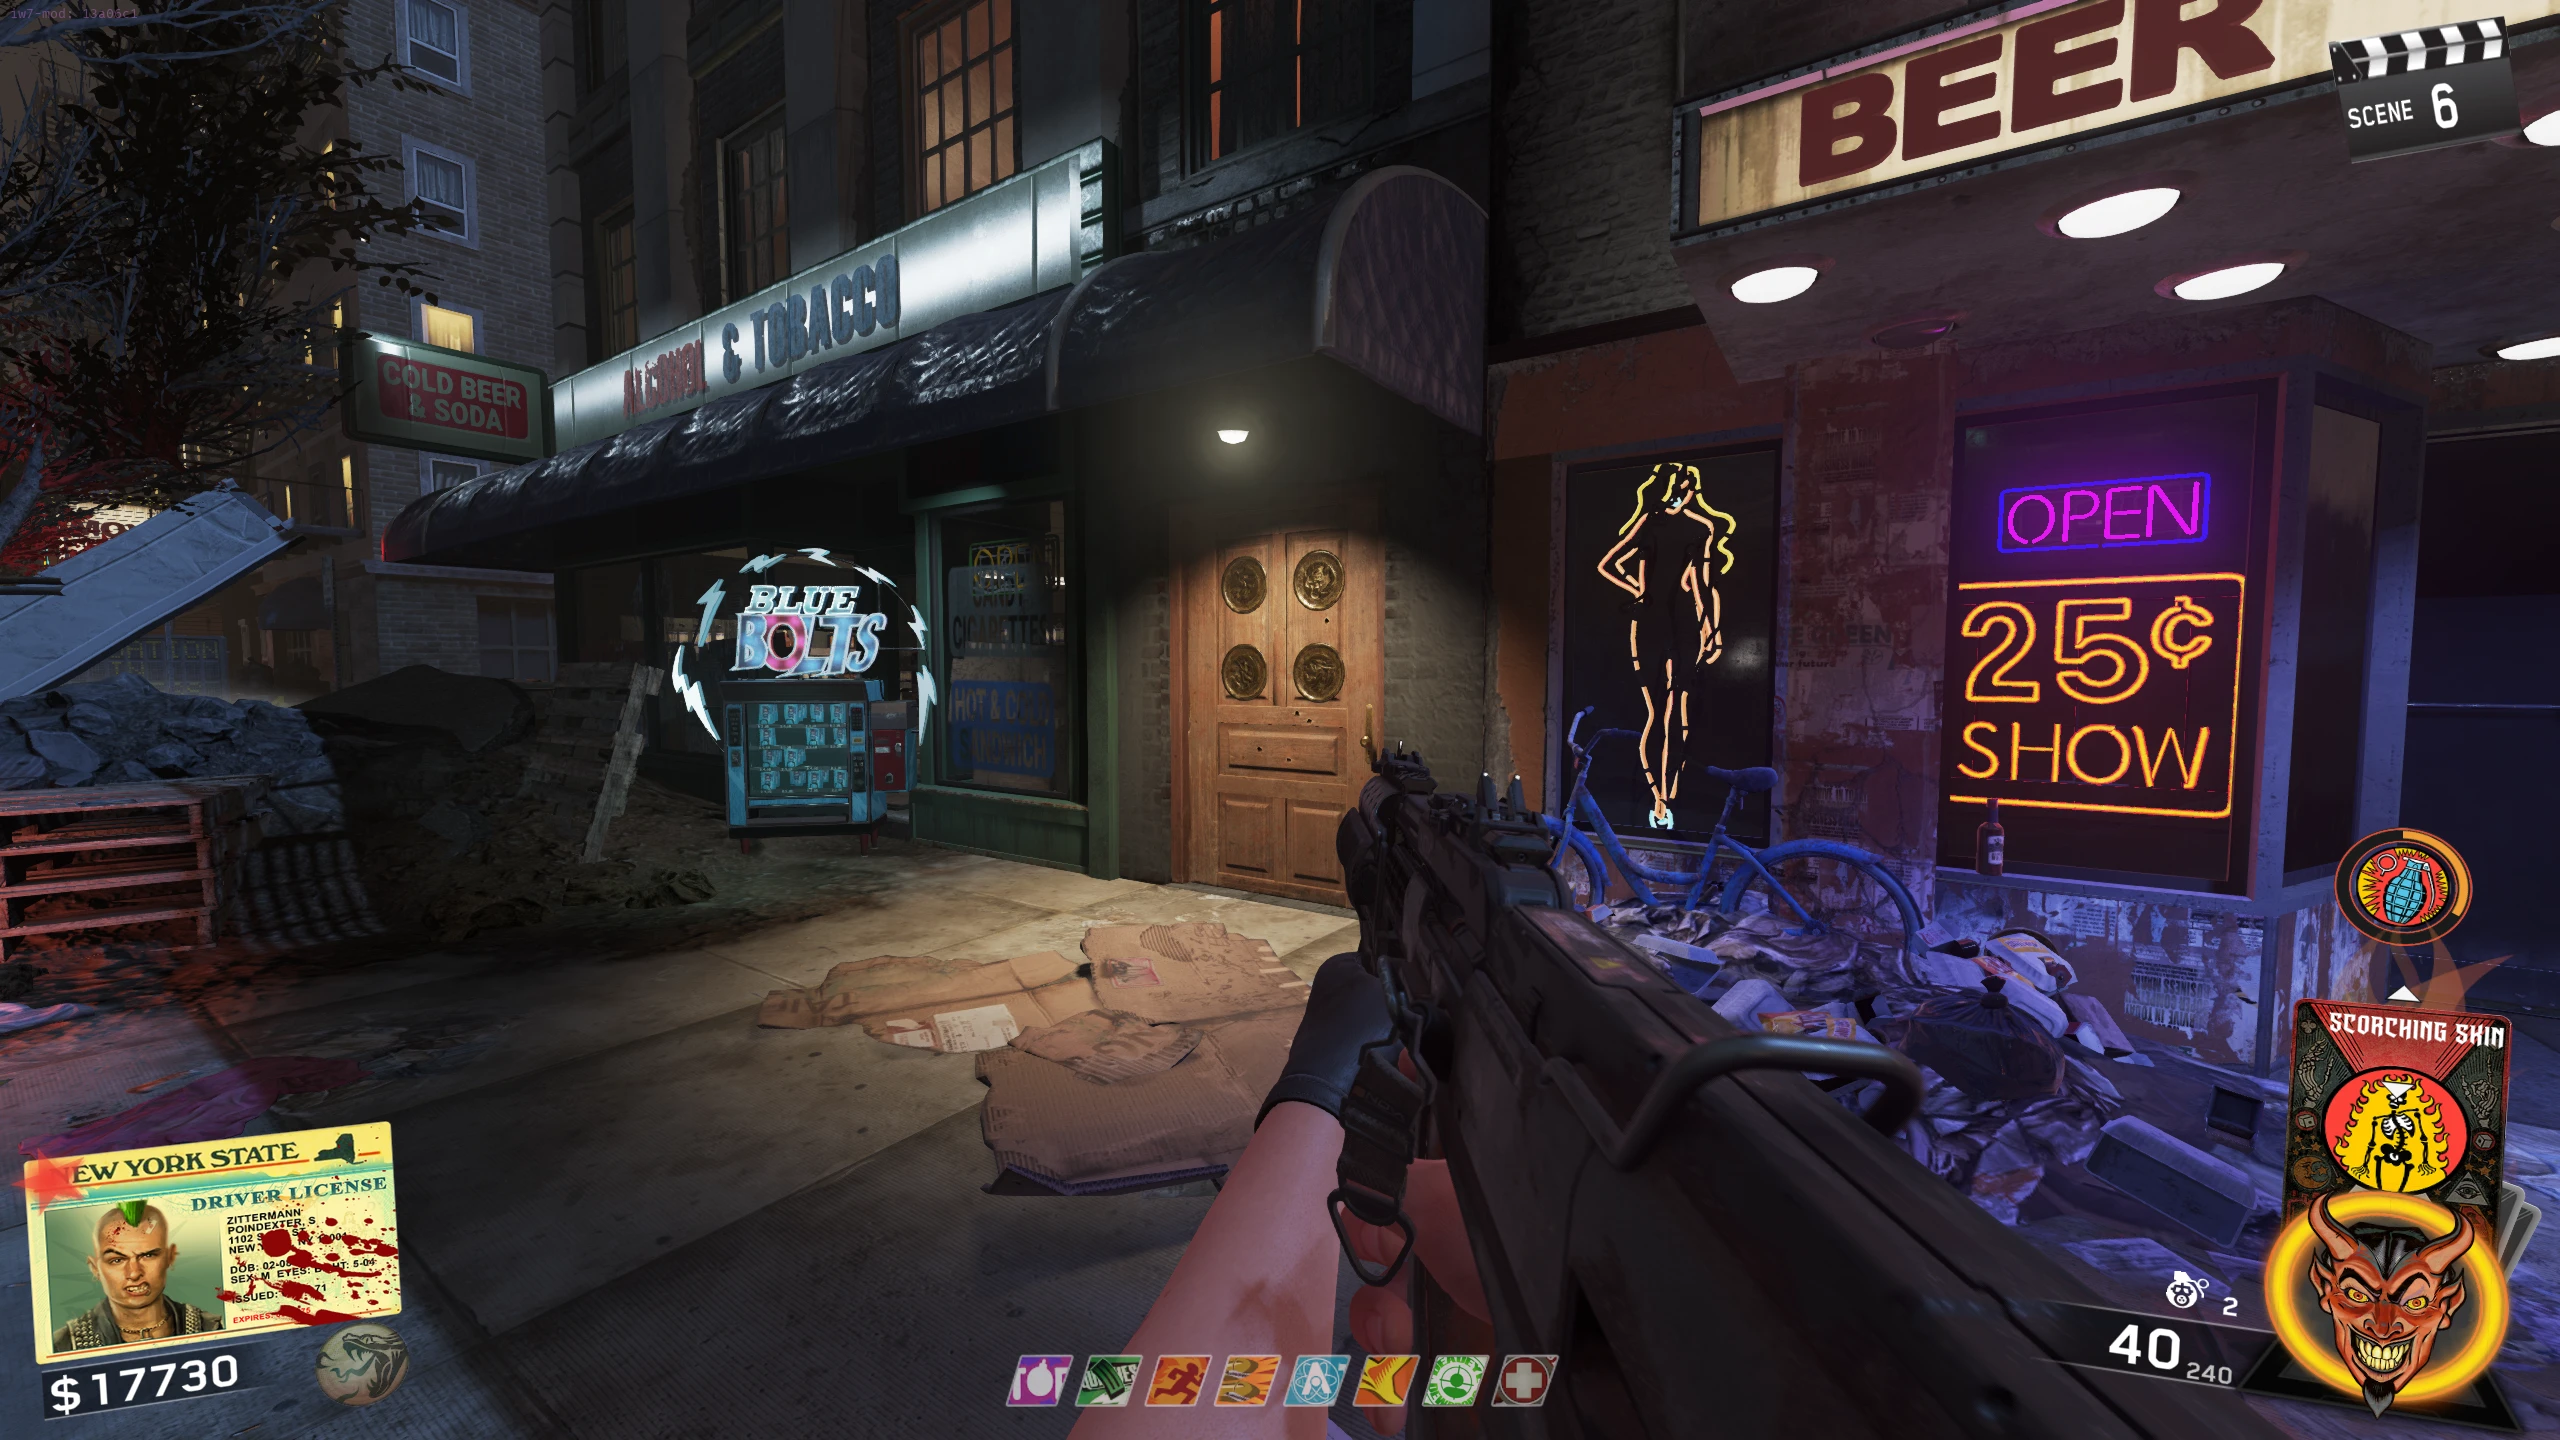
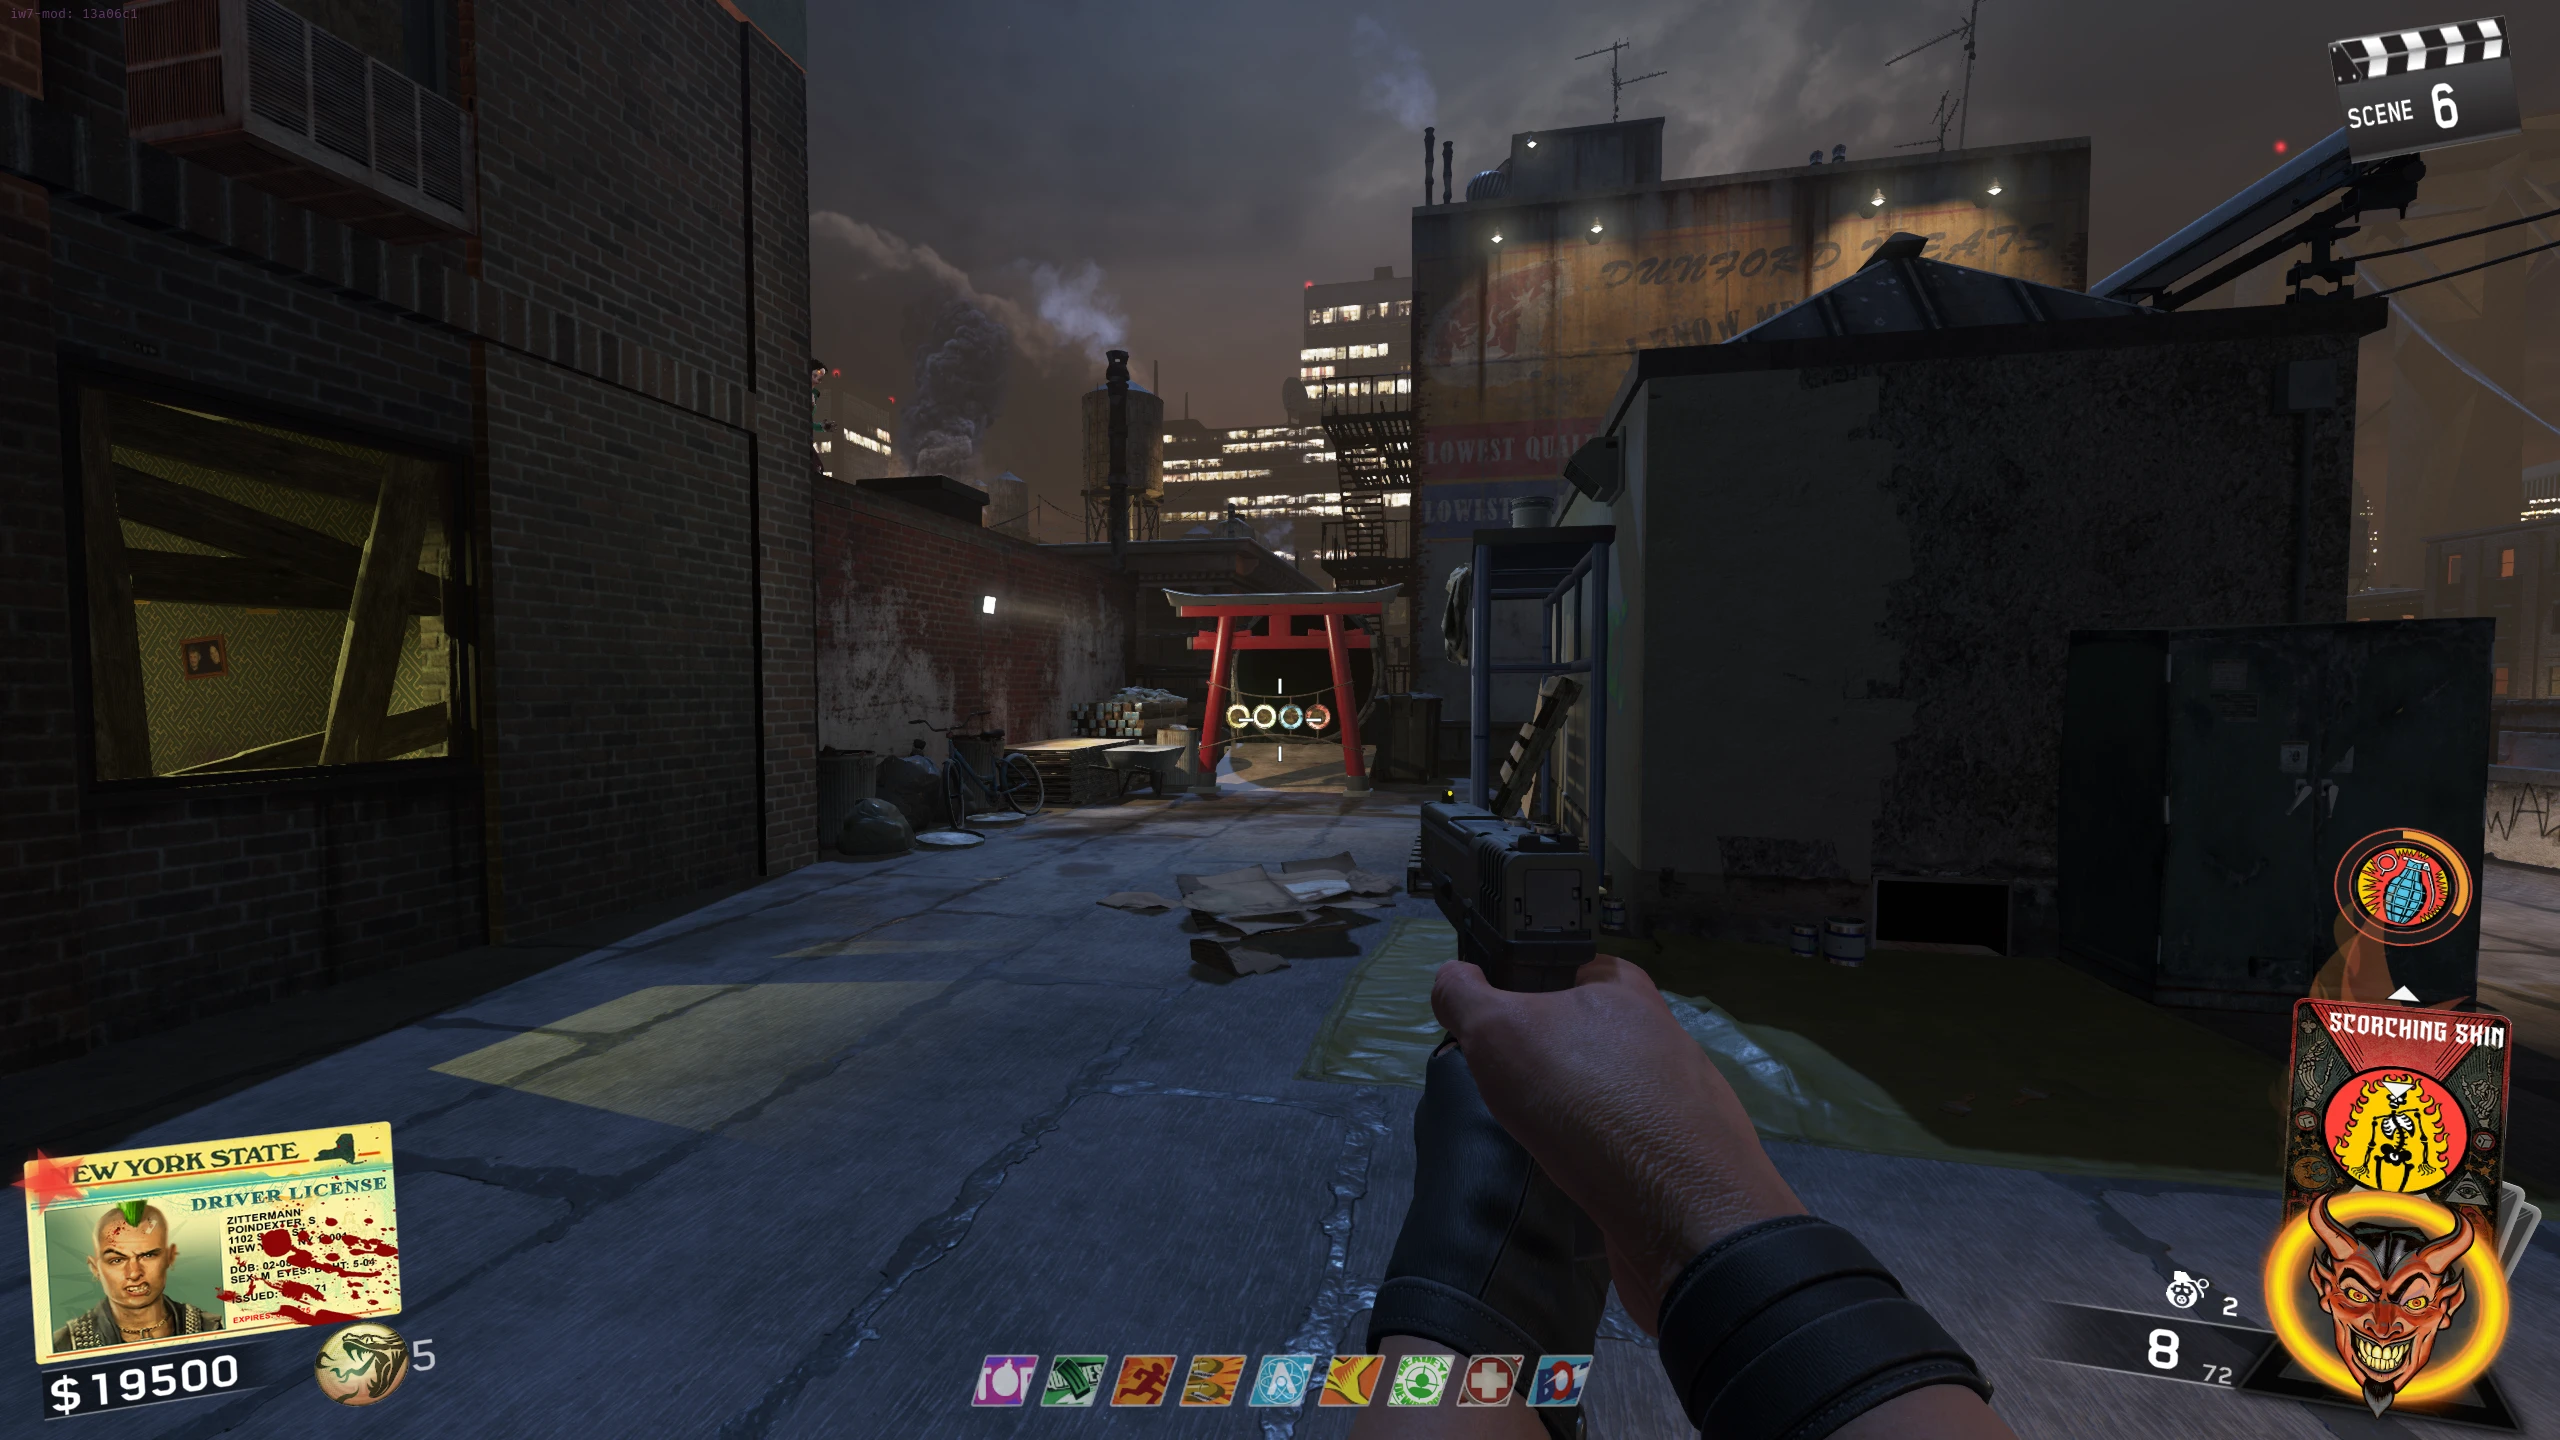
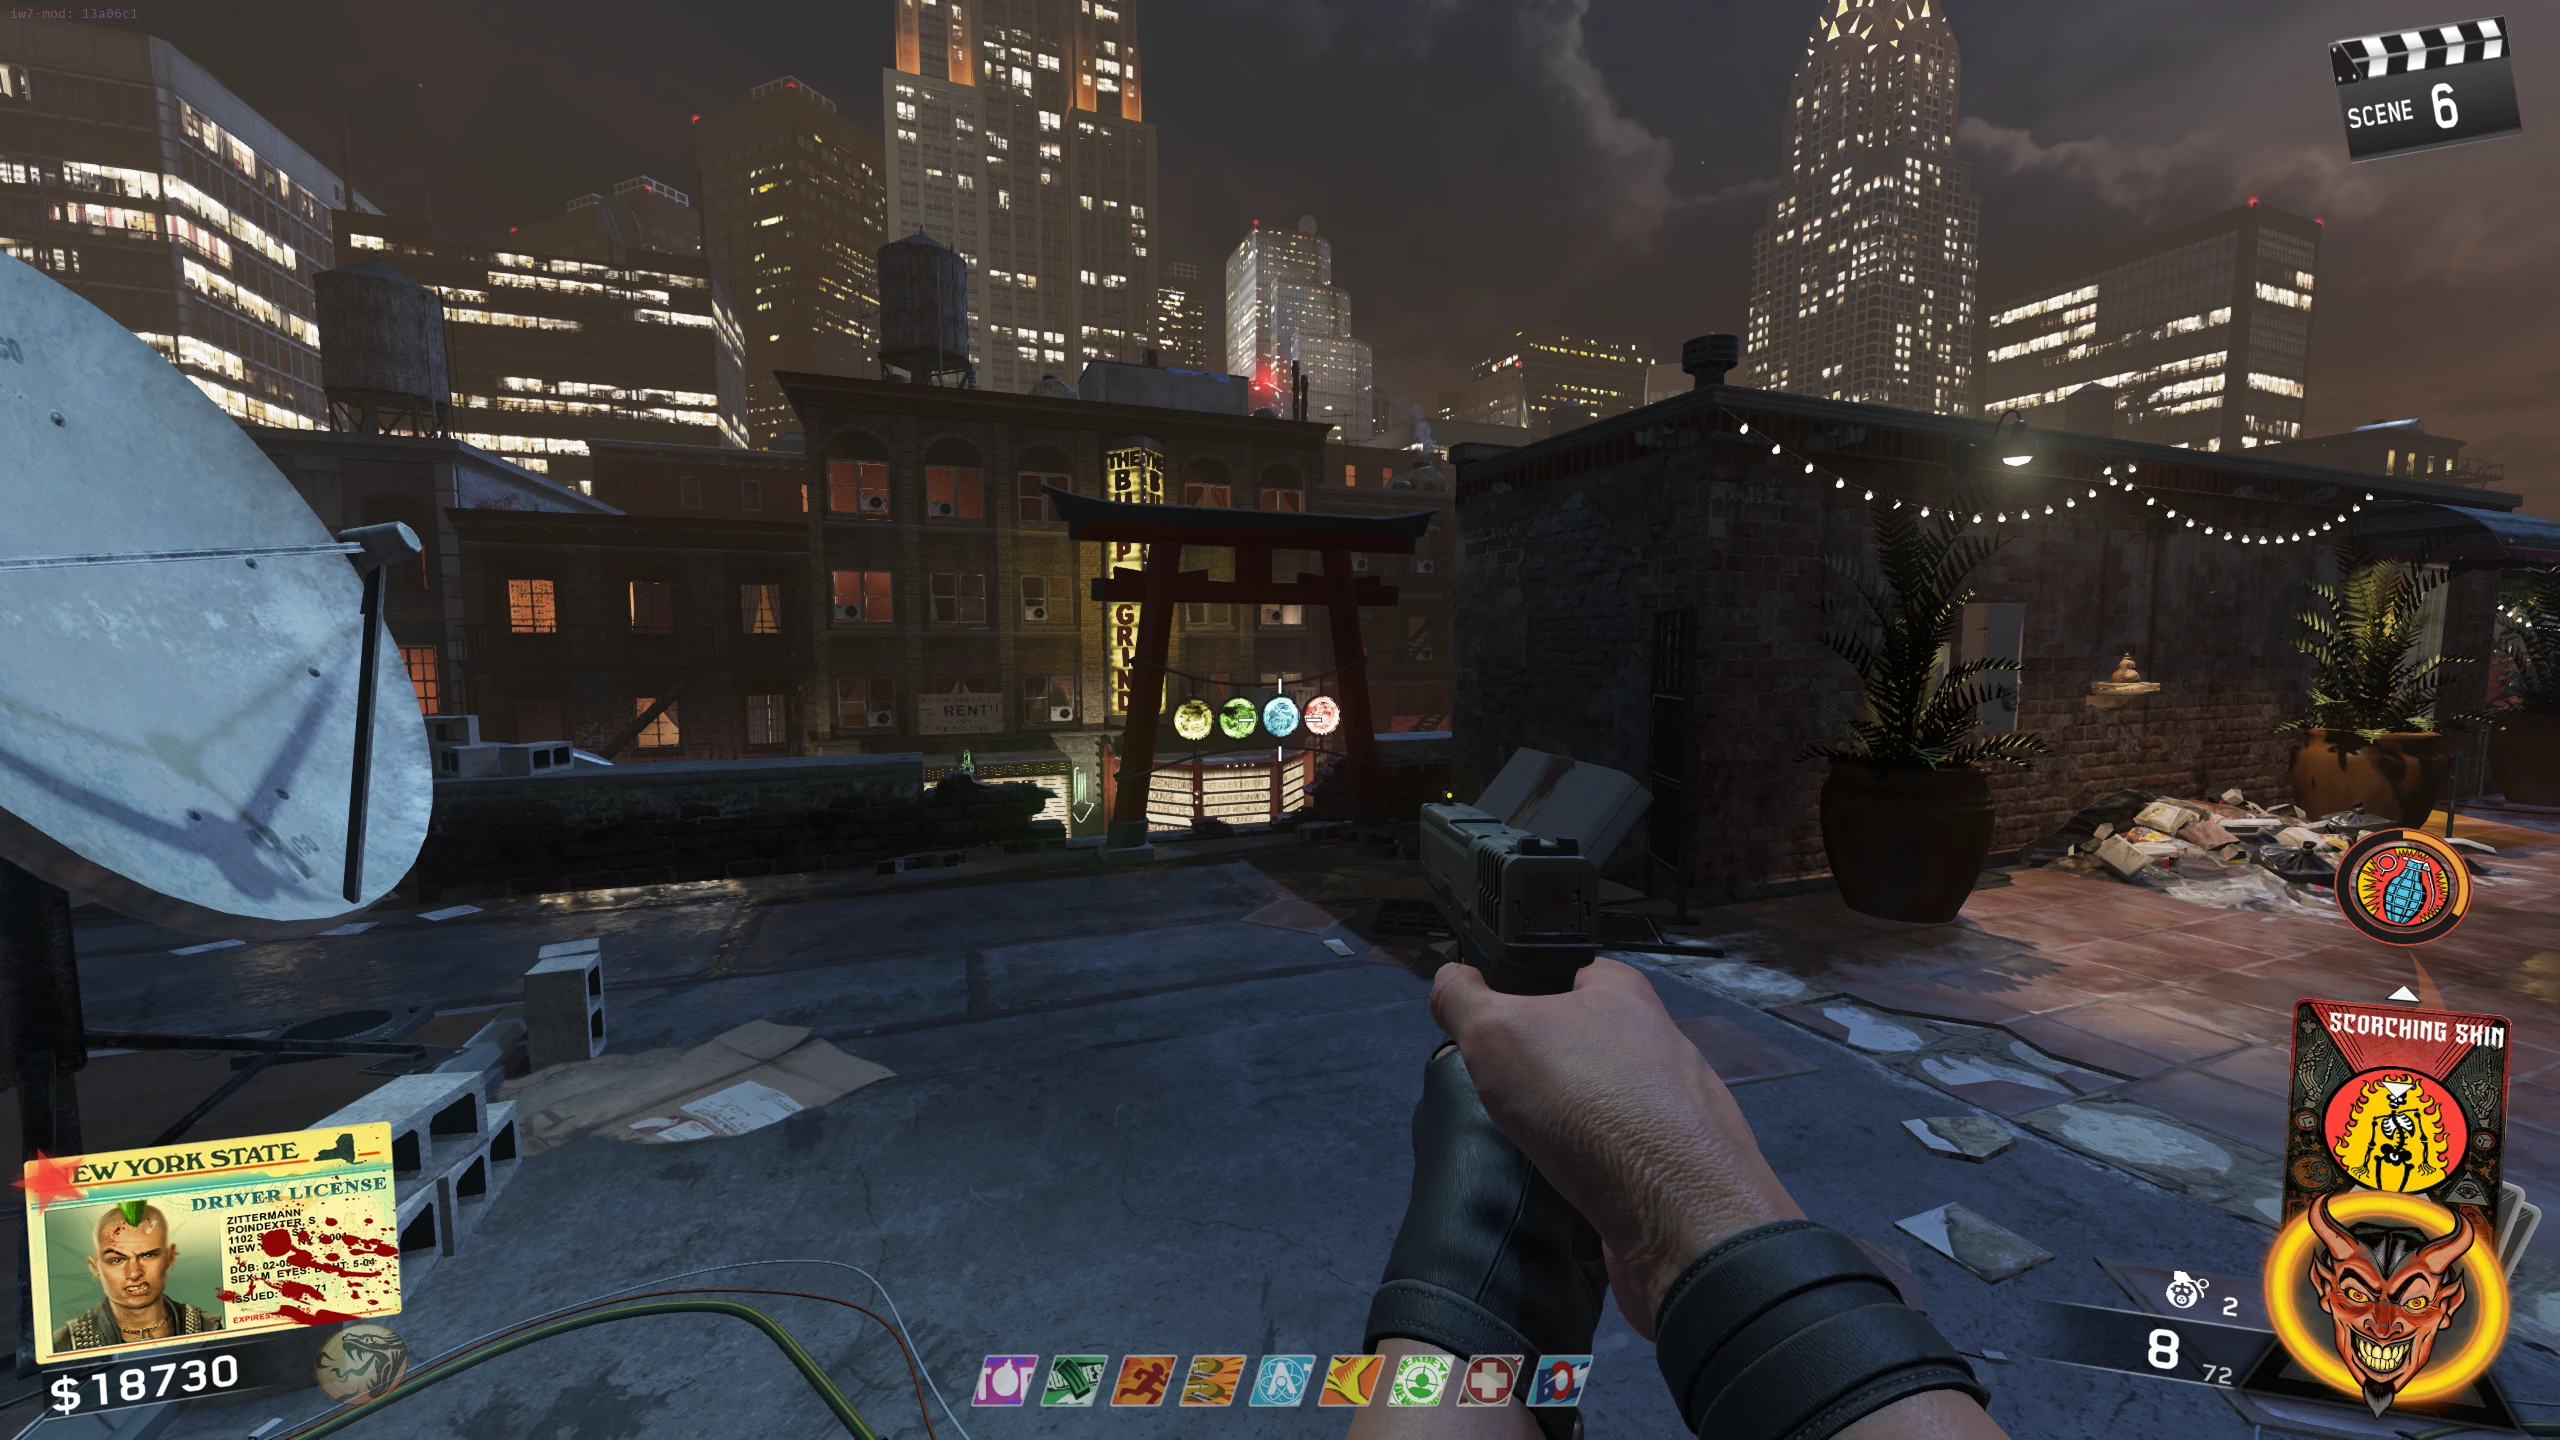
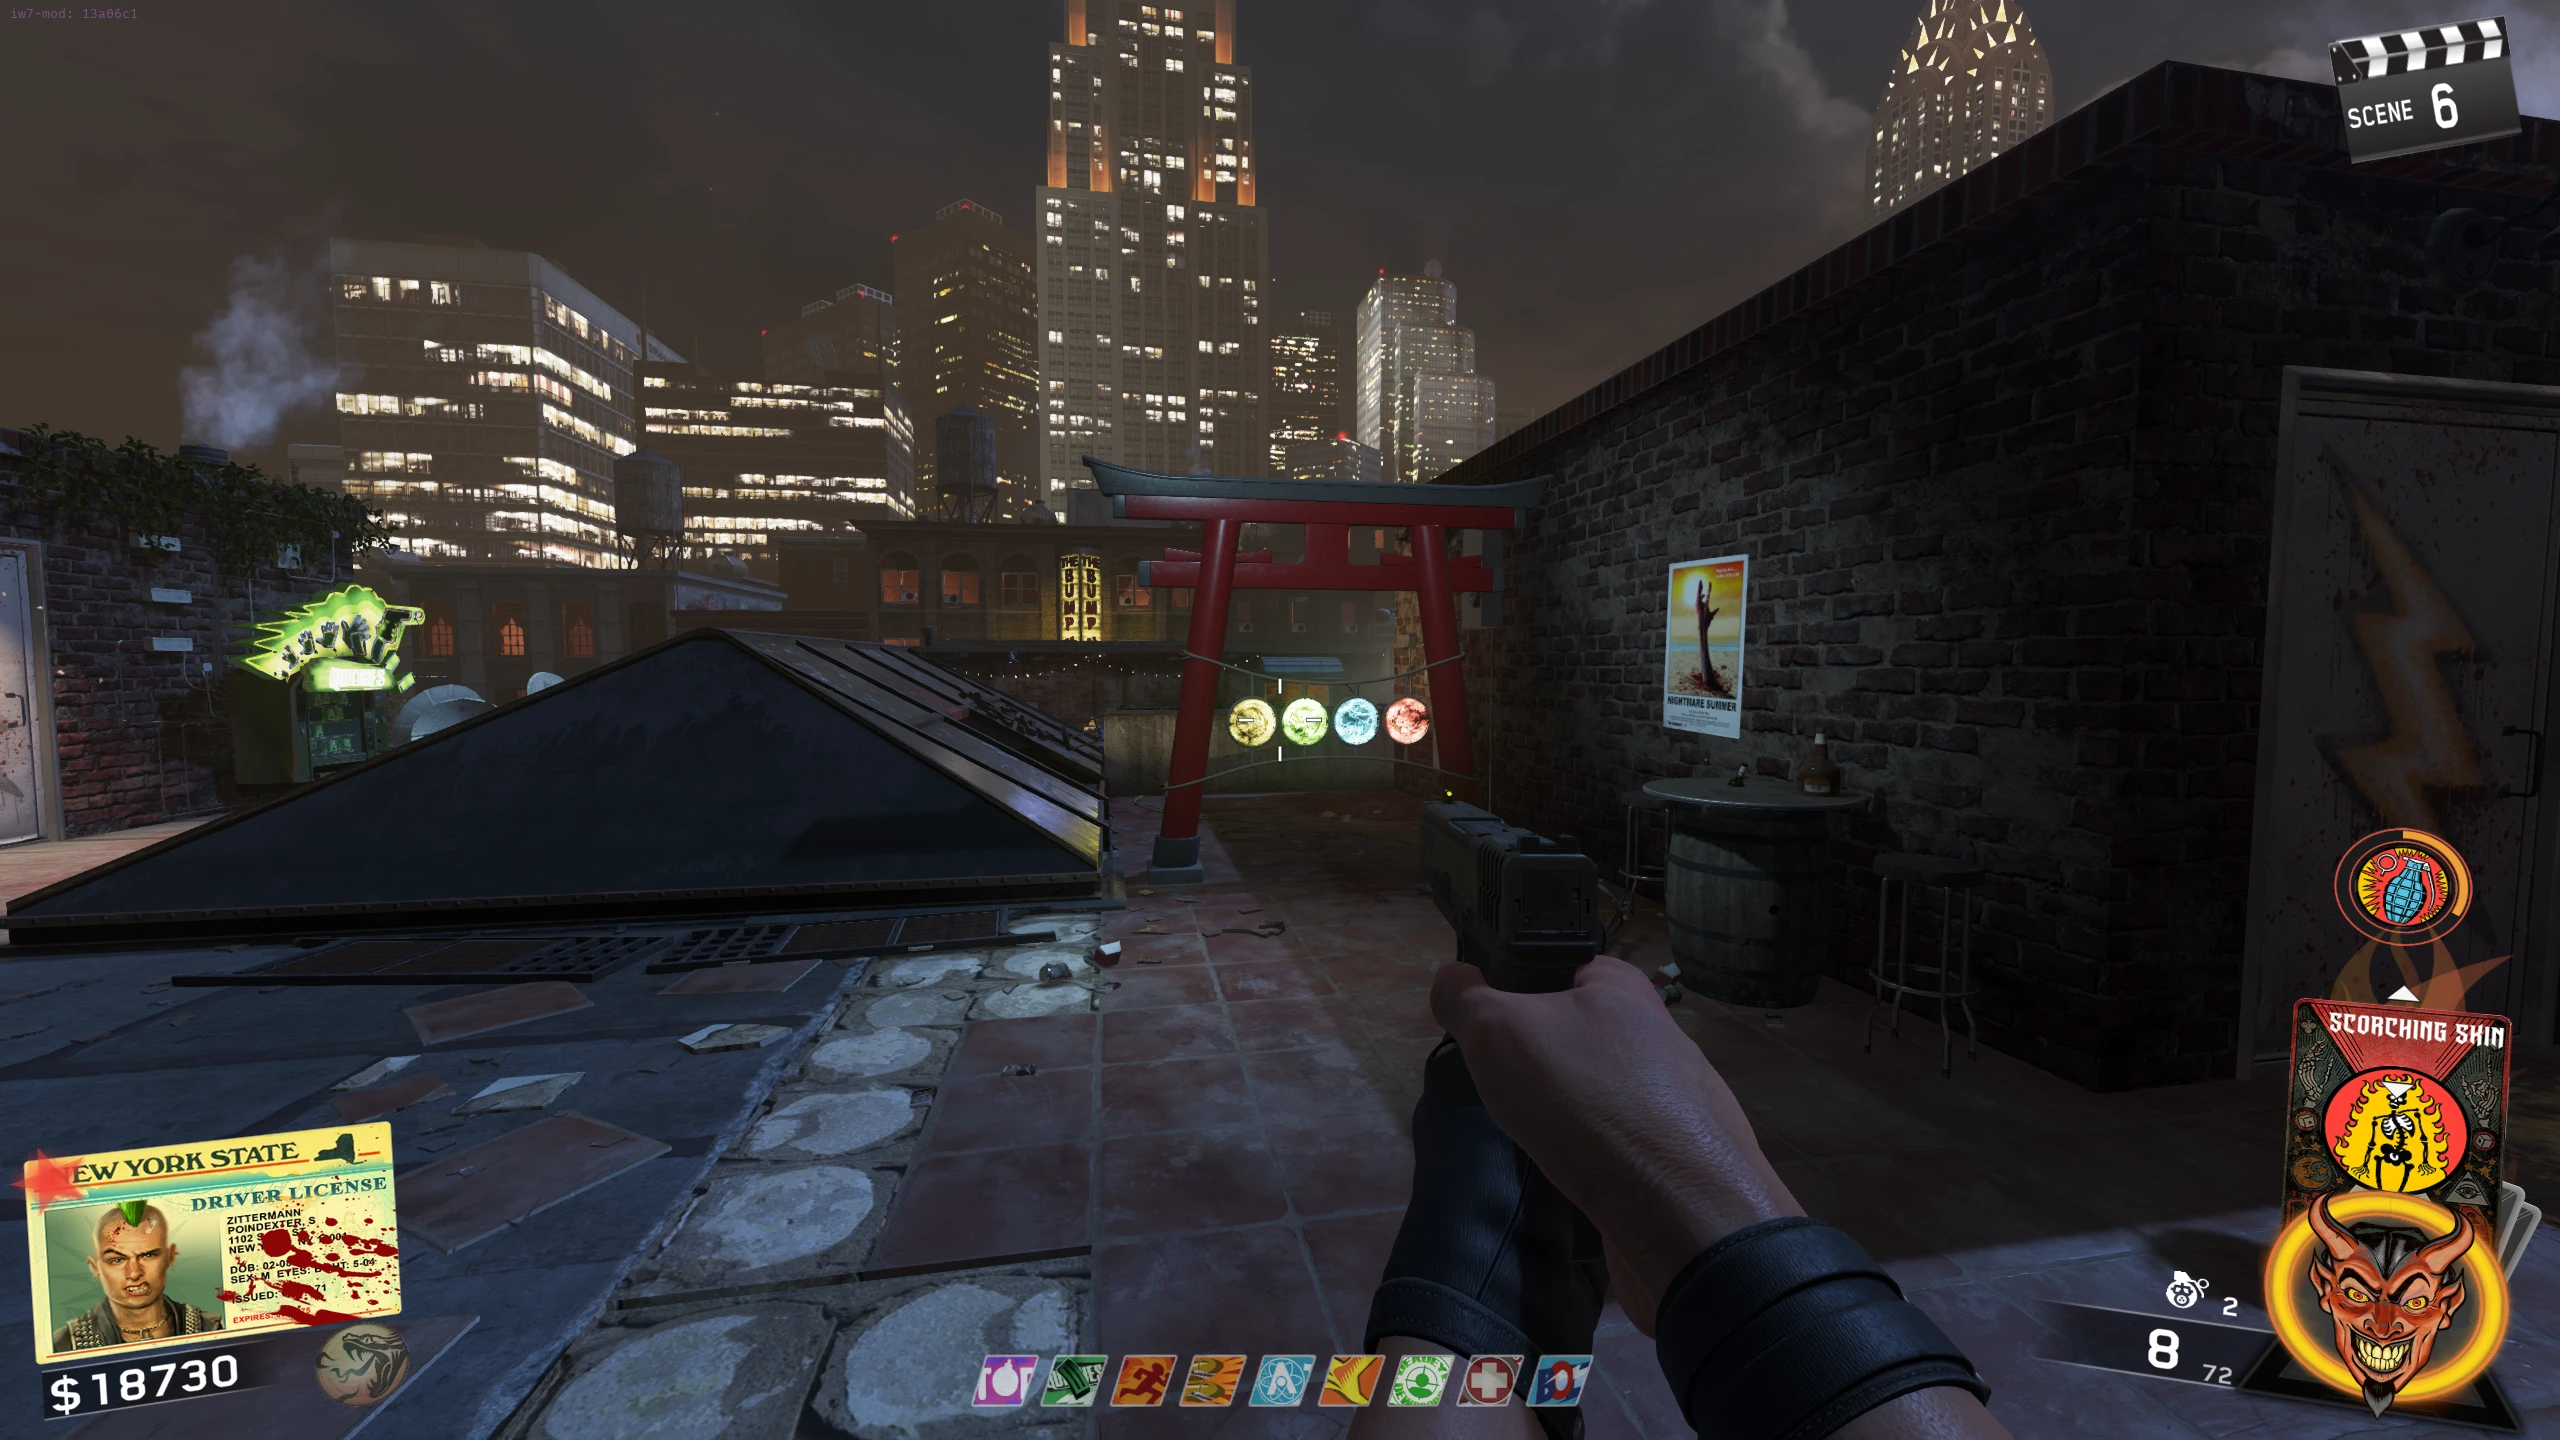
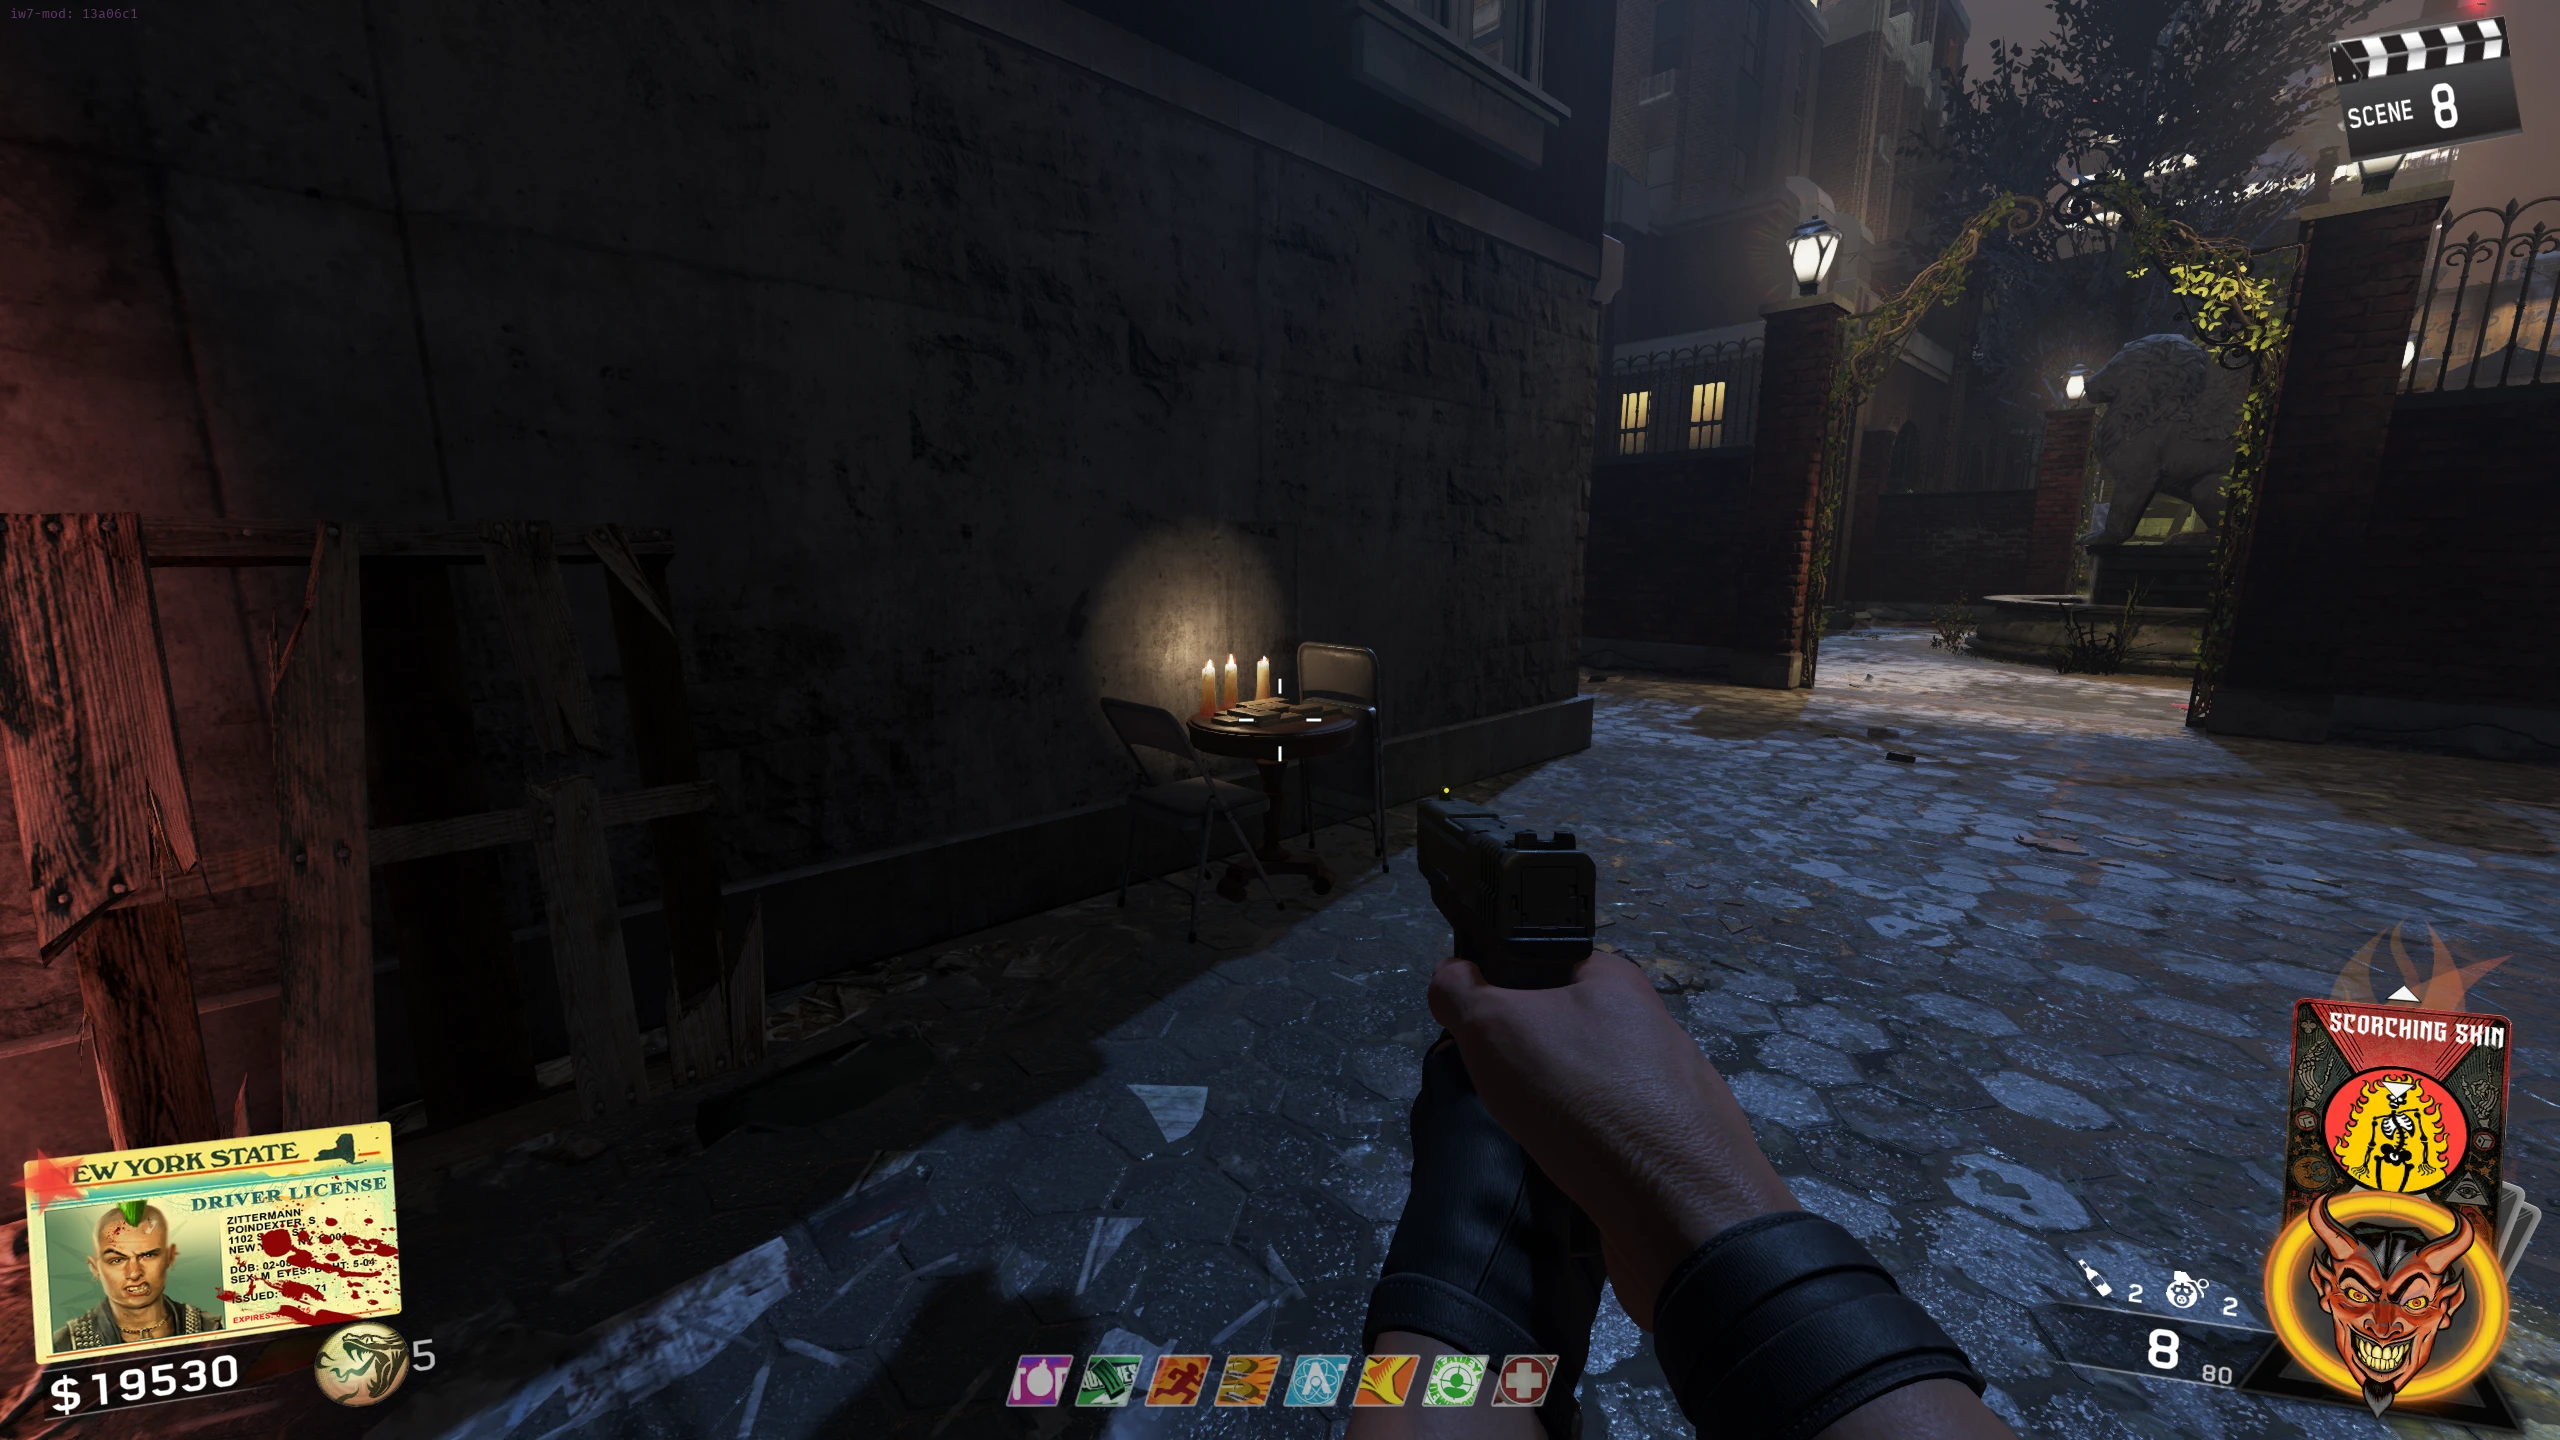
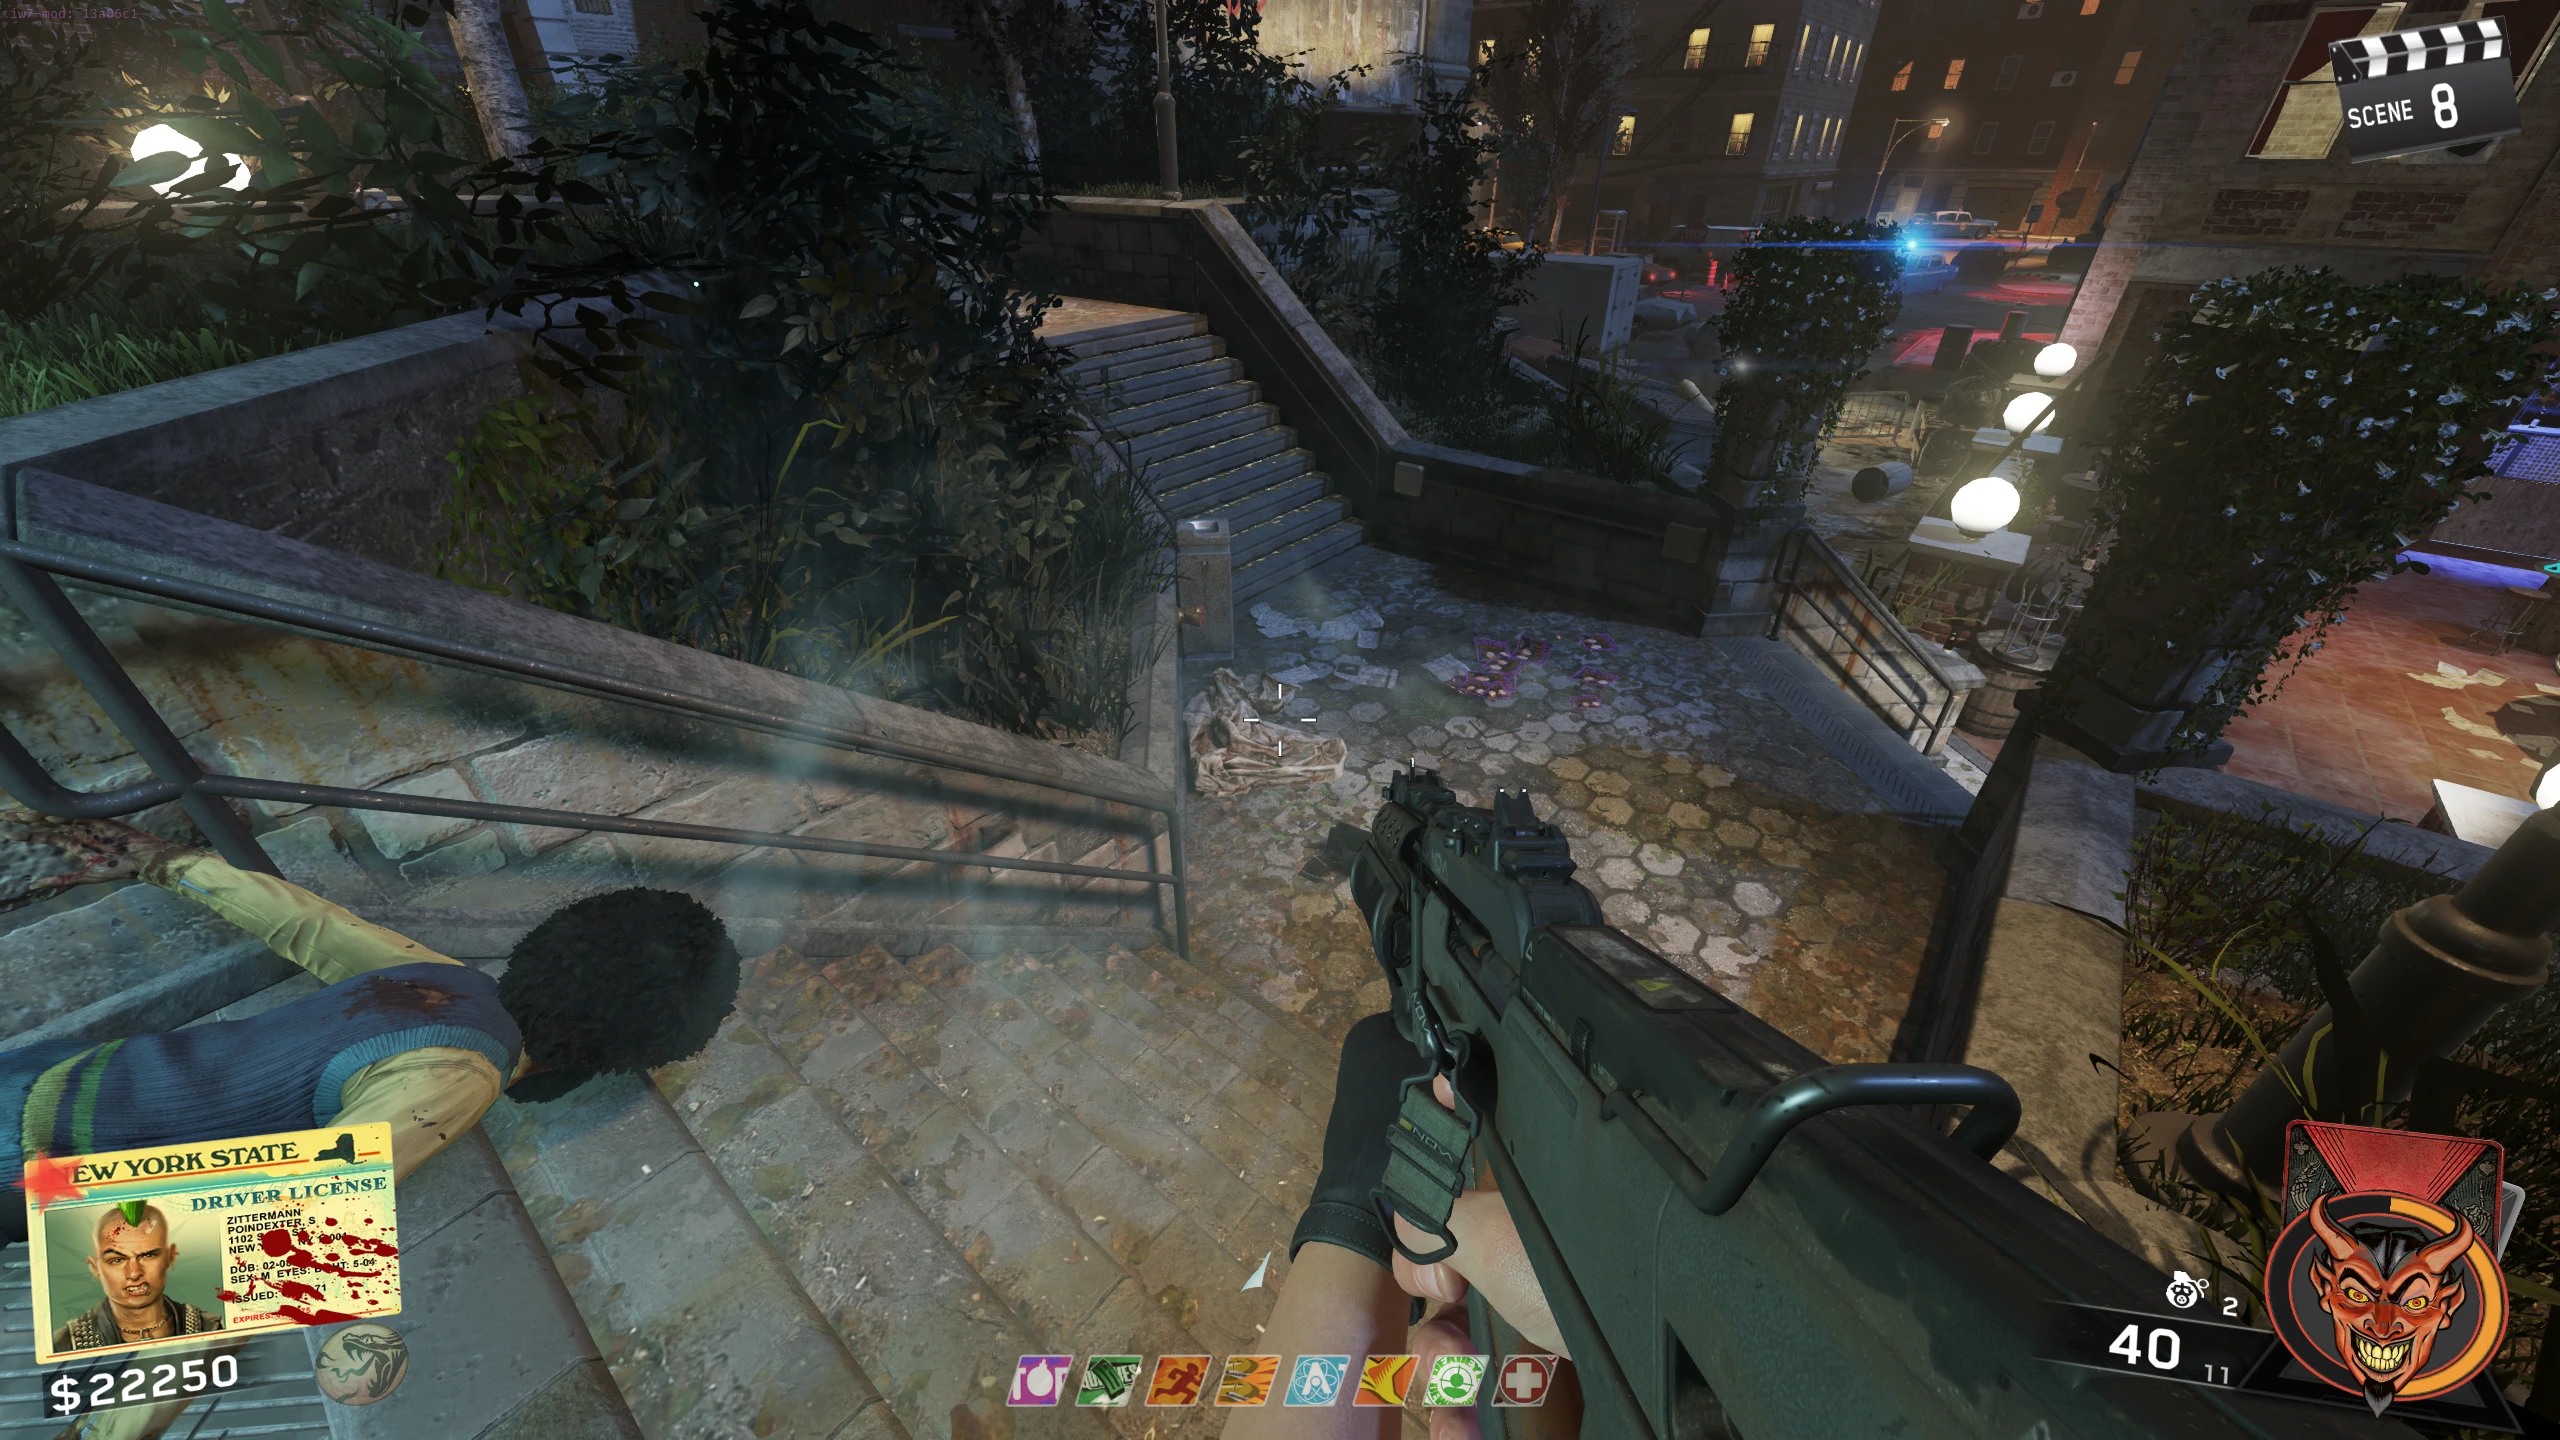
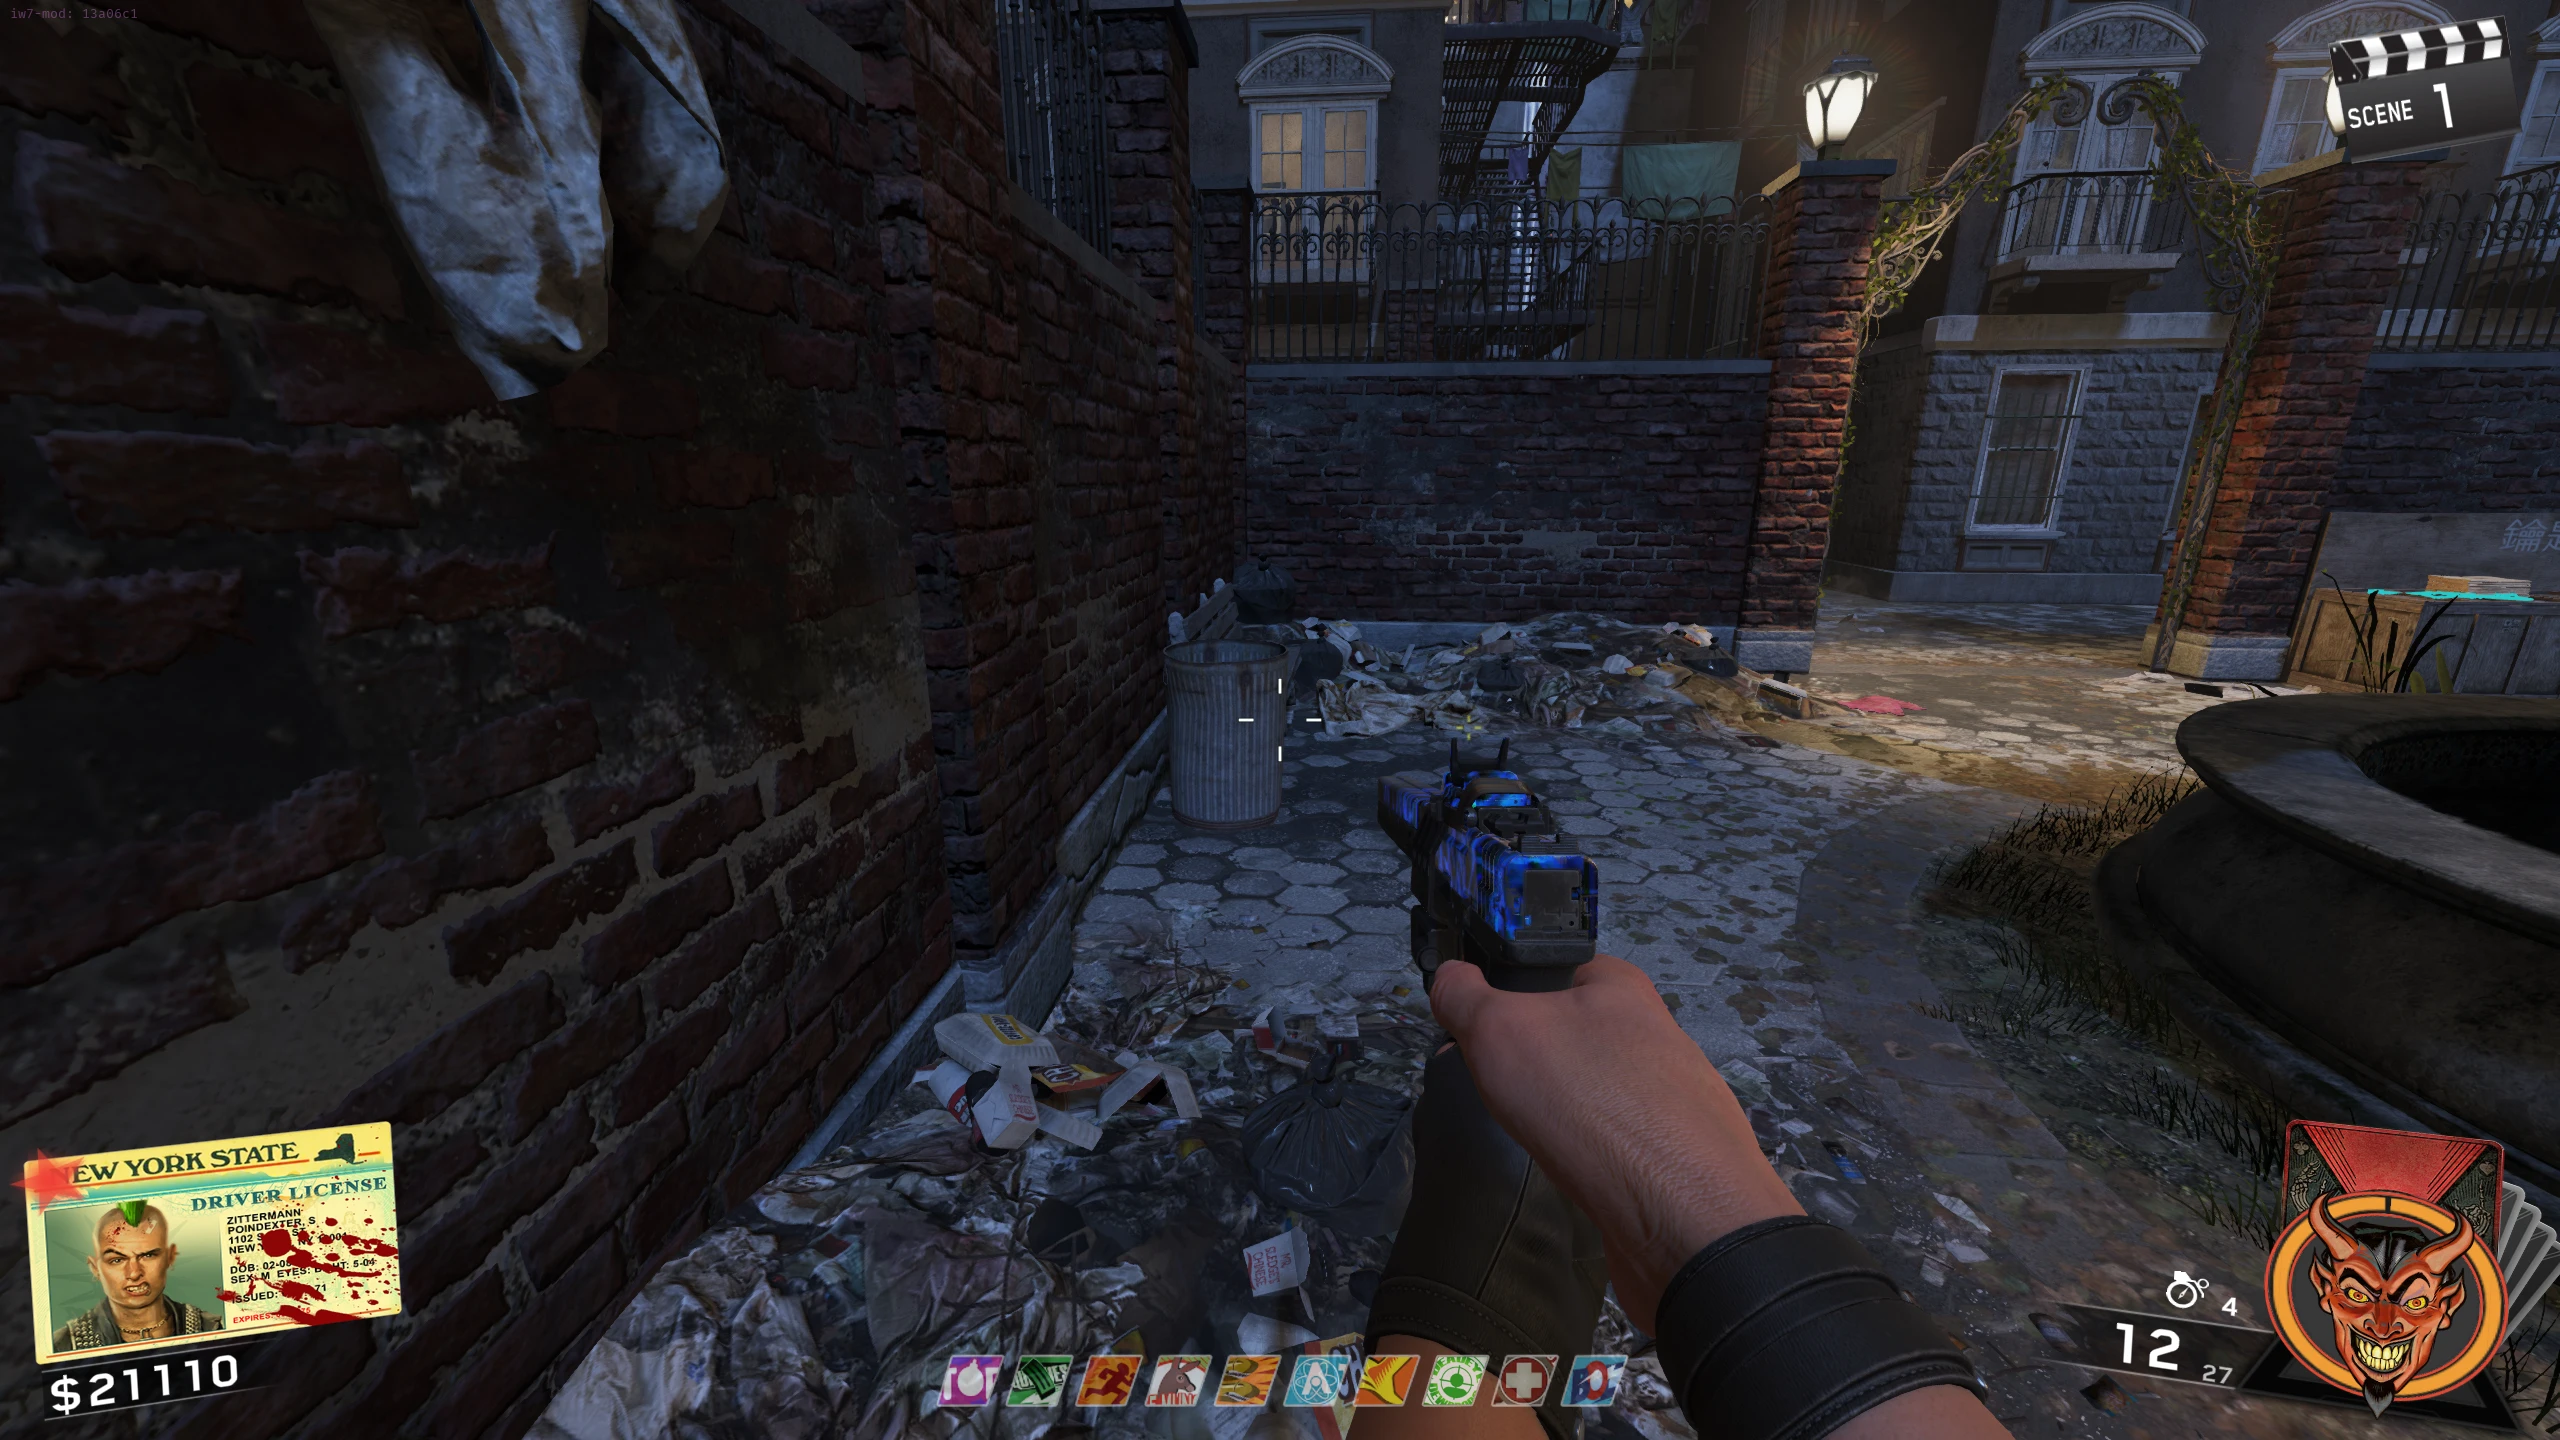
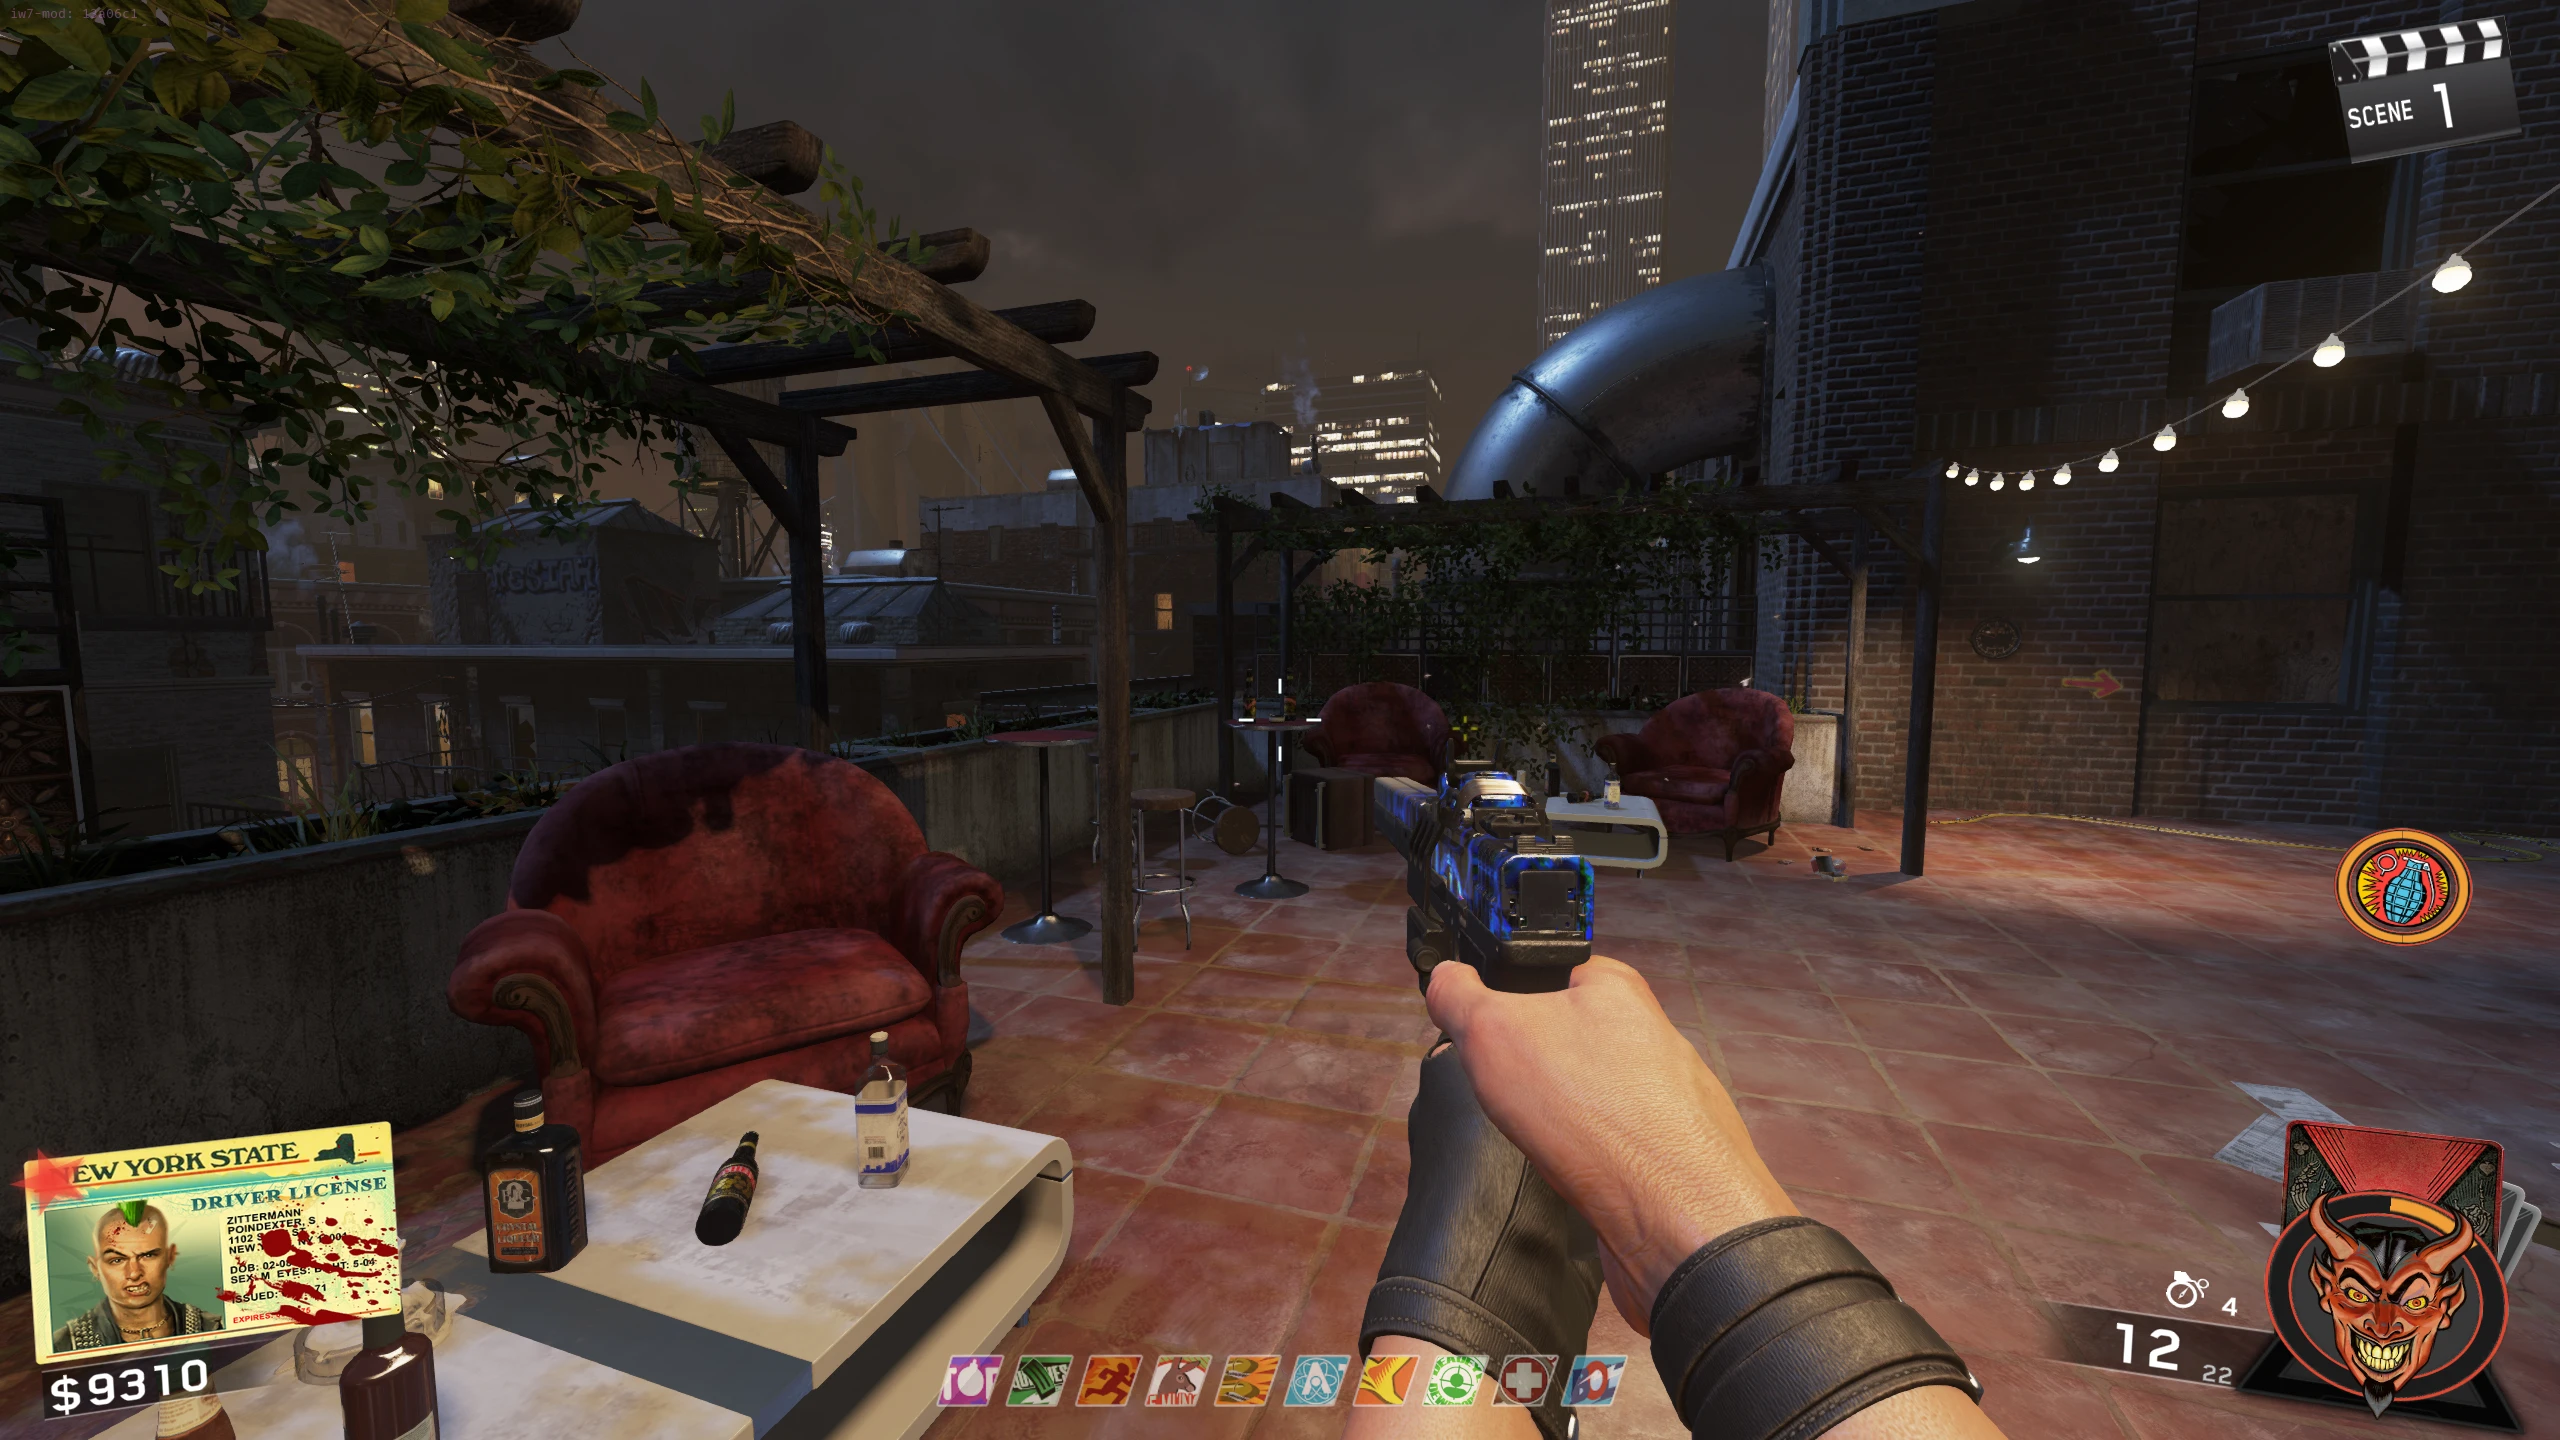
- Poster Locations:
- Place the poster on the spotlight on the Disco roof, revealing an "X" on a window.
- Use explosives on the window to make the X disappear, then defeat the Ninja Zombies that spawn.
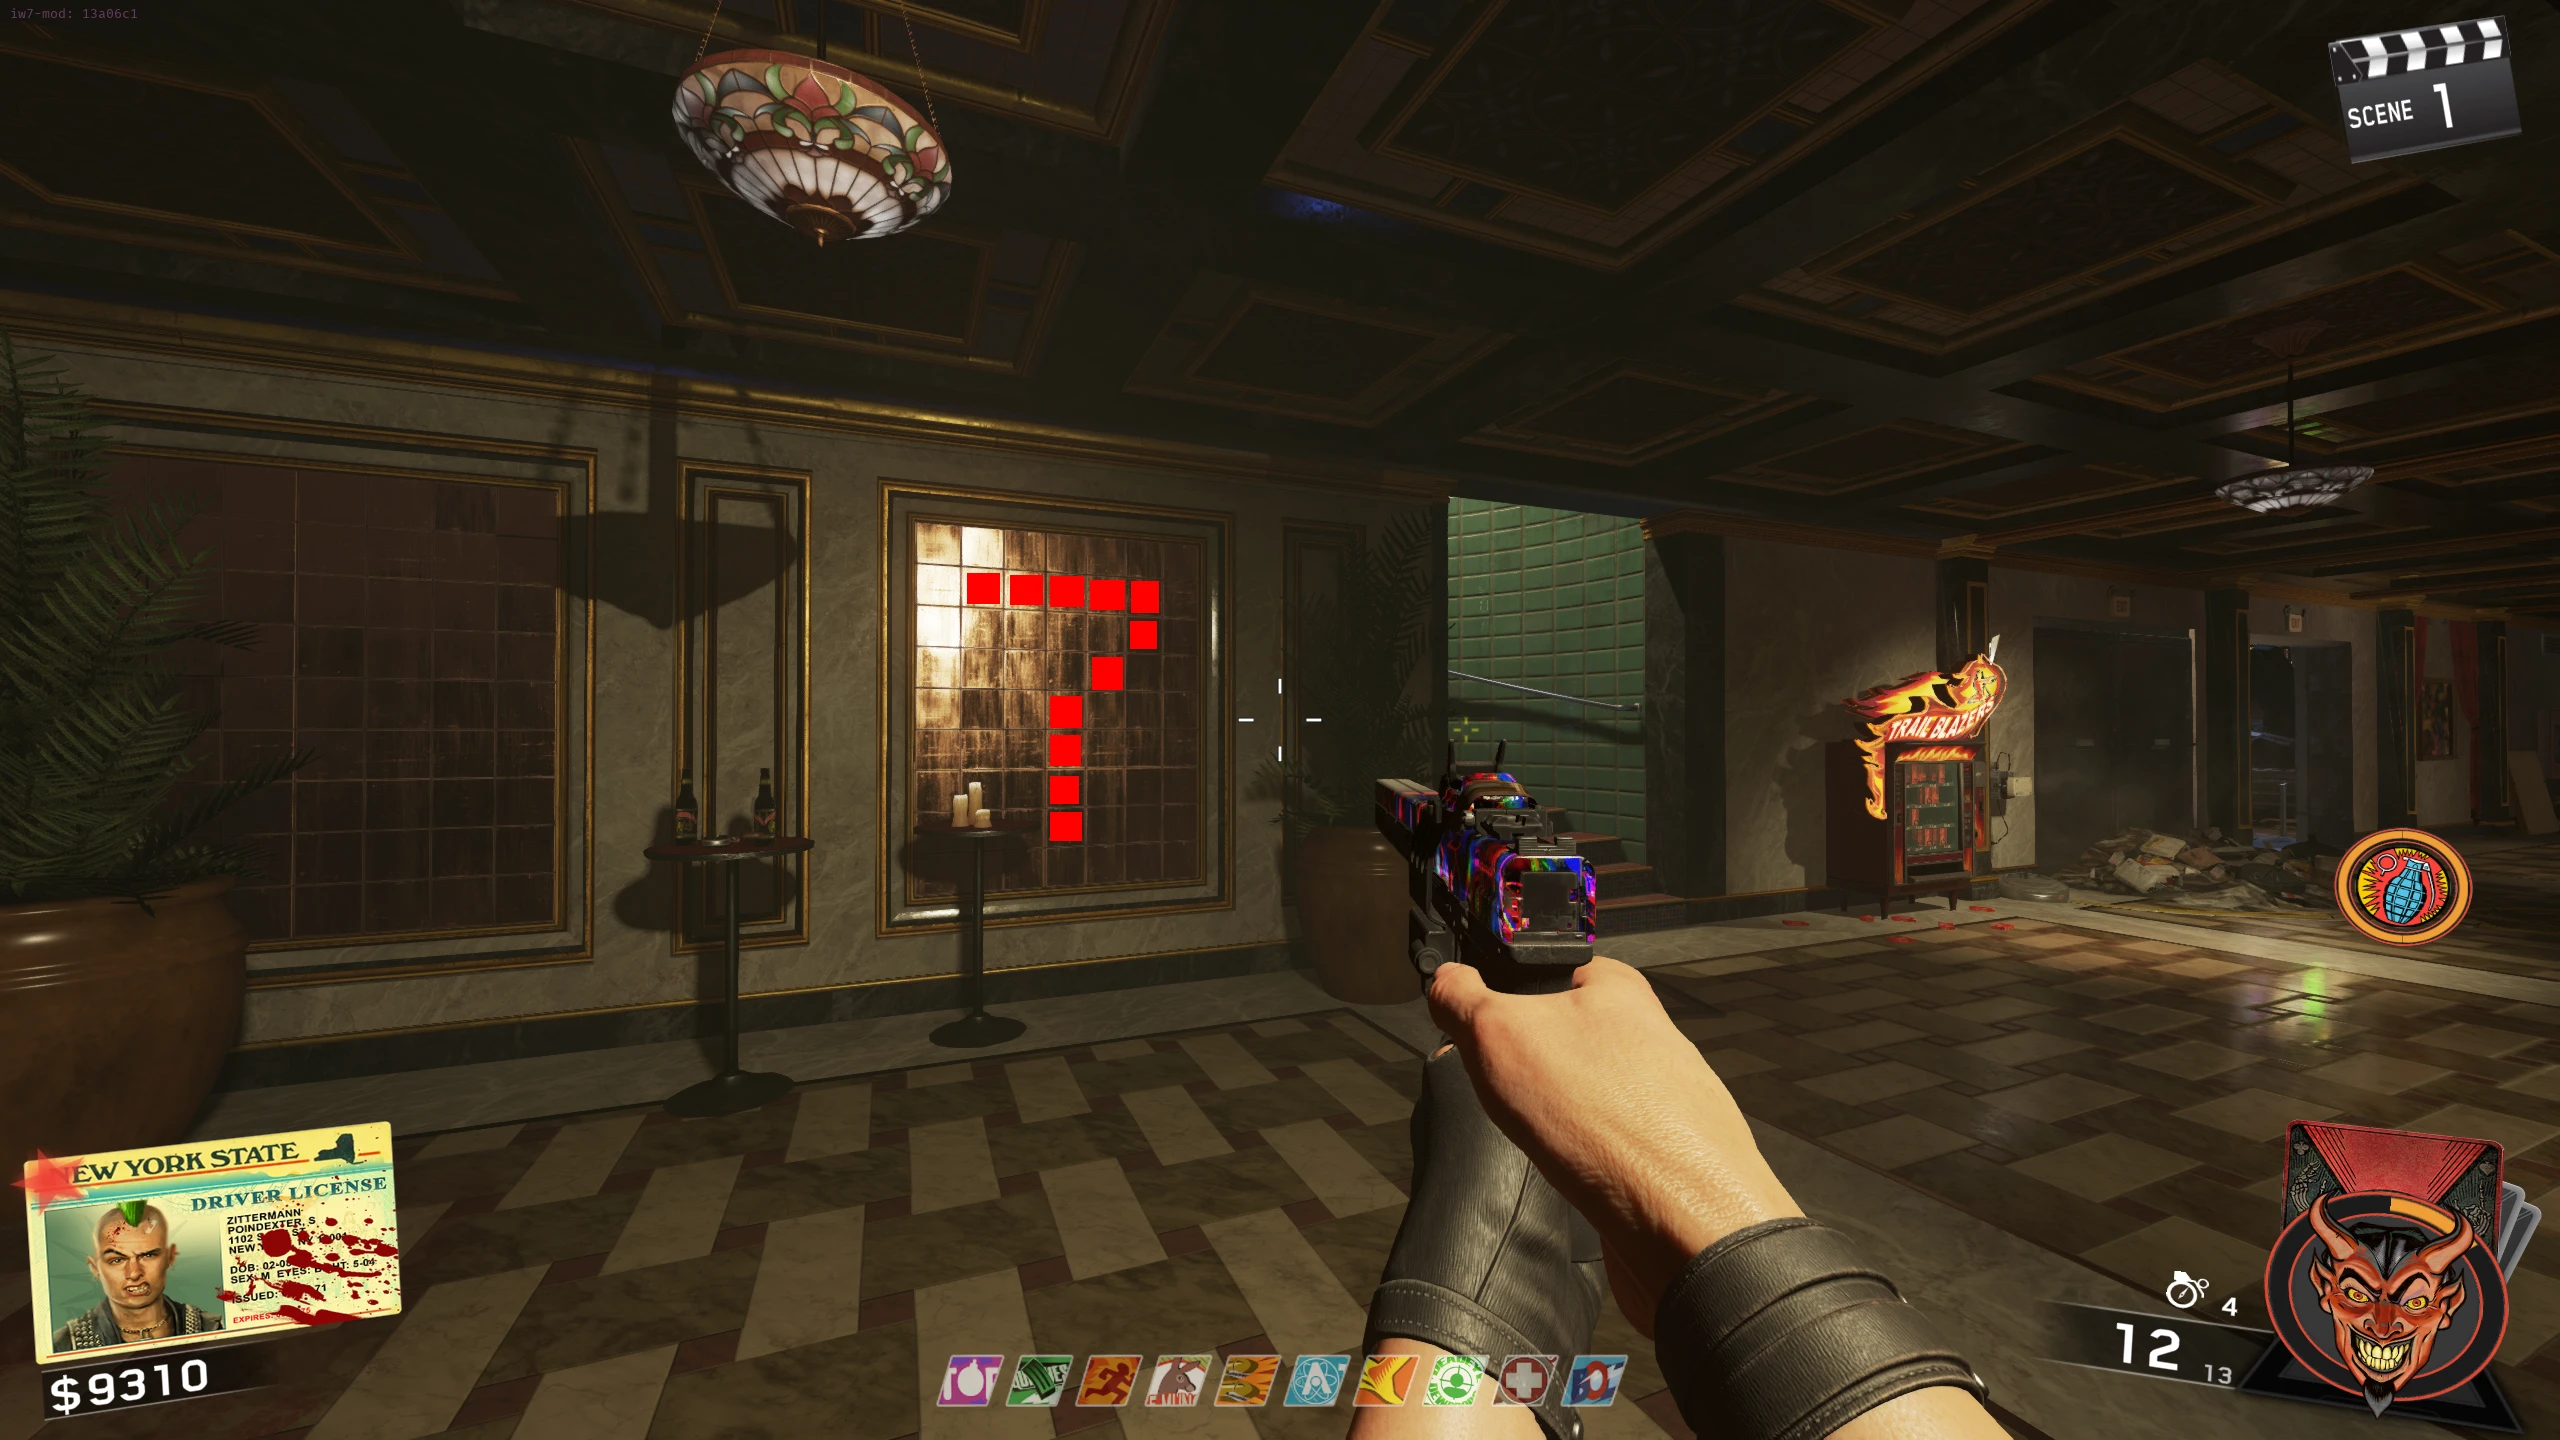
- Once all Ninjas are dead, a letter will appear on the wall right of the drop-down to the street and six symbols will spawn around the roof. Using this letter key and the list of possible words below, you must spell one of the words based on the available letters. Once you find a letter that you think MIGHT be the next in the word, shoot it to add it to the word. If it is correct, the letter will be added to the word; otherwise, the word will reset back to one letter.
- The word is random, and there is no way to know what it is exactly, but most of the time there will only be one or two letters that line up with one of the possible words.
- There is no immediate penalty for failing, and you can retry immediately (if you fail about nine times in one round, you will have to wait for the next round). So if you get a long word (like ROLLERCOASTER or ROLLERSKATES), you can just fail it on purpose to try and get another (hopefully shorter) word.
- Warning: Blue Bolts' electric reload burst can activate a symbol.
- Letter Symbol Locations:
- Left of the word on the wall
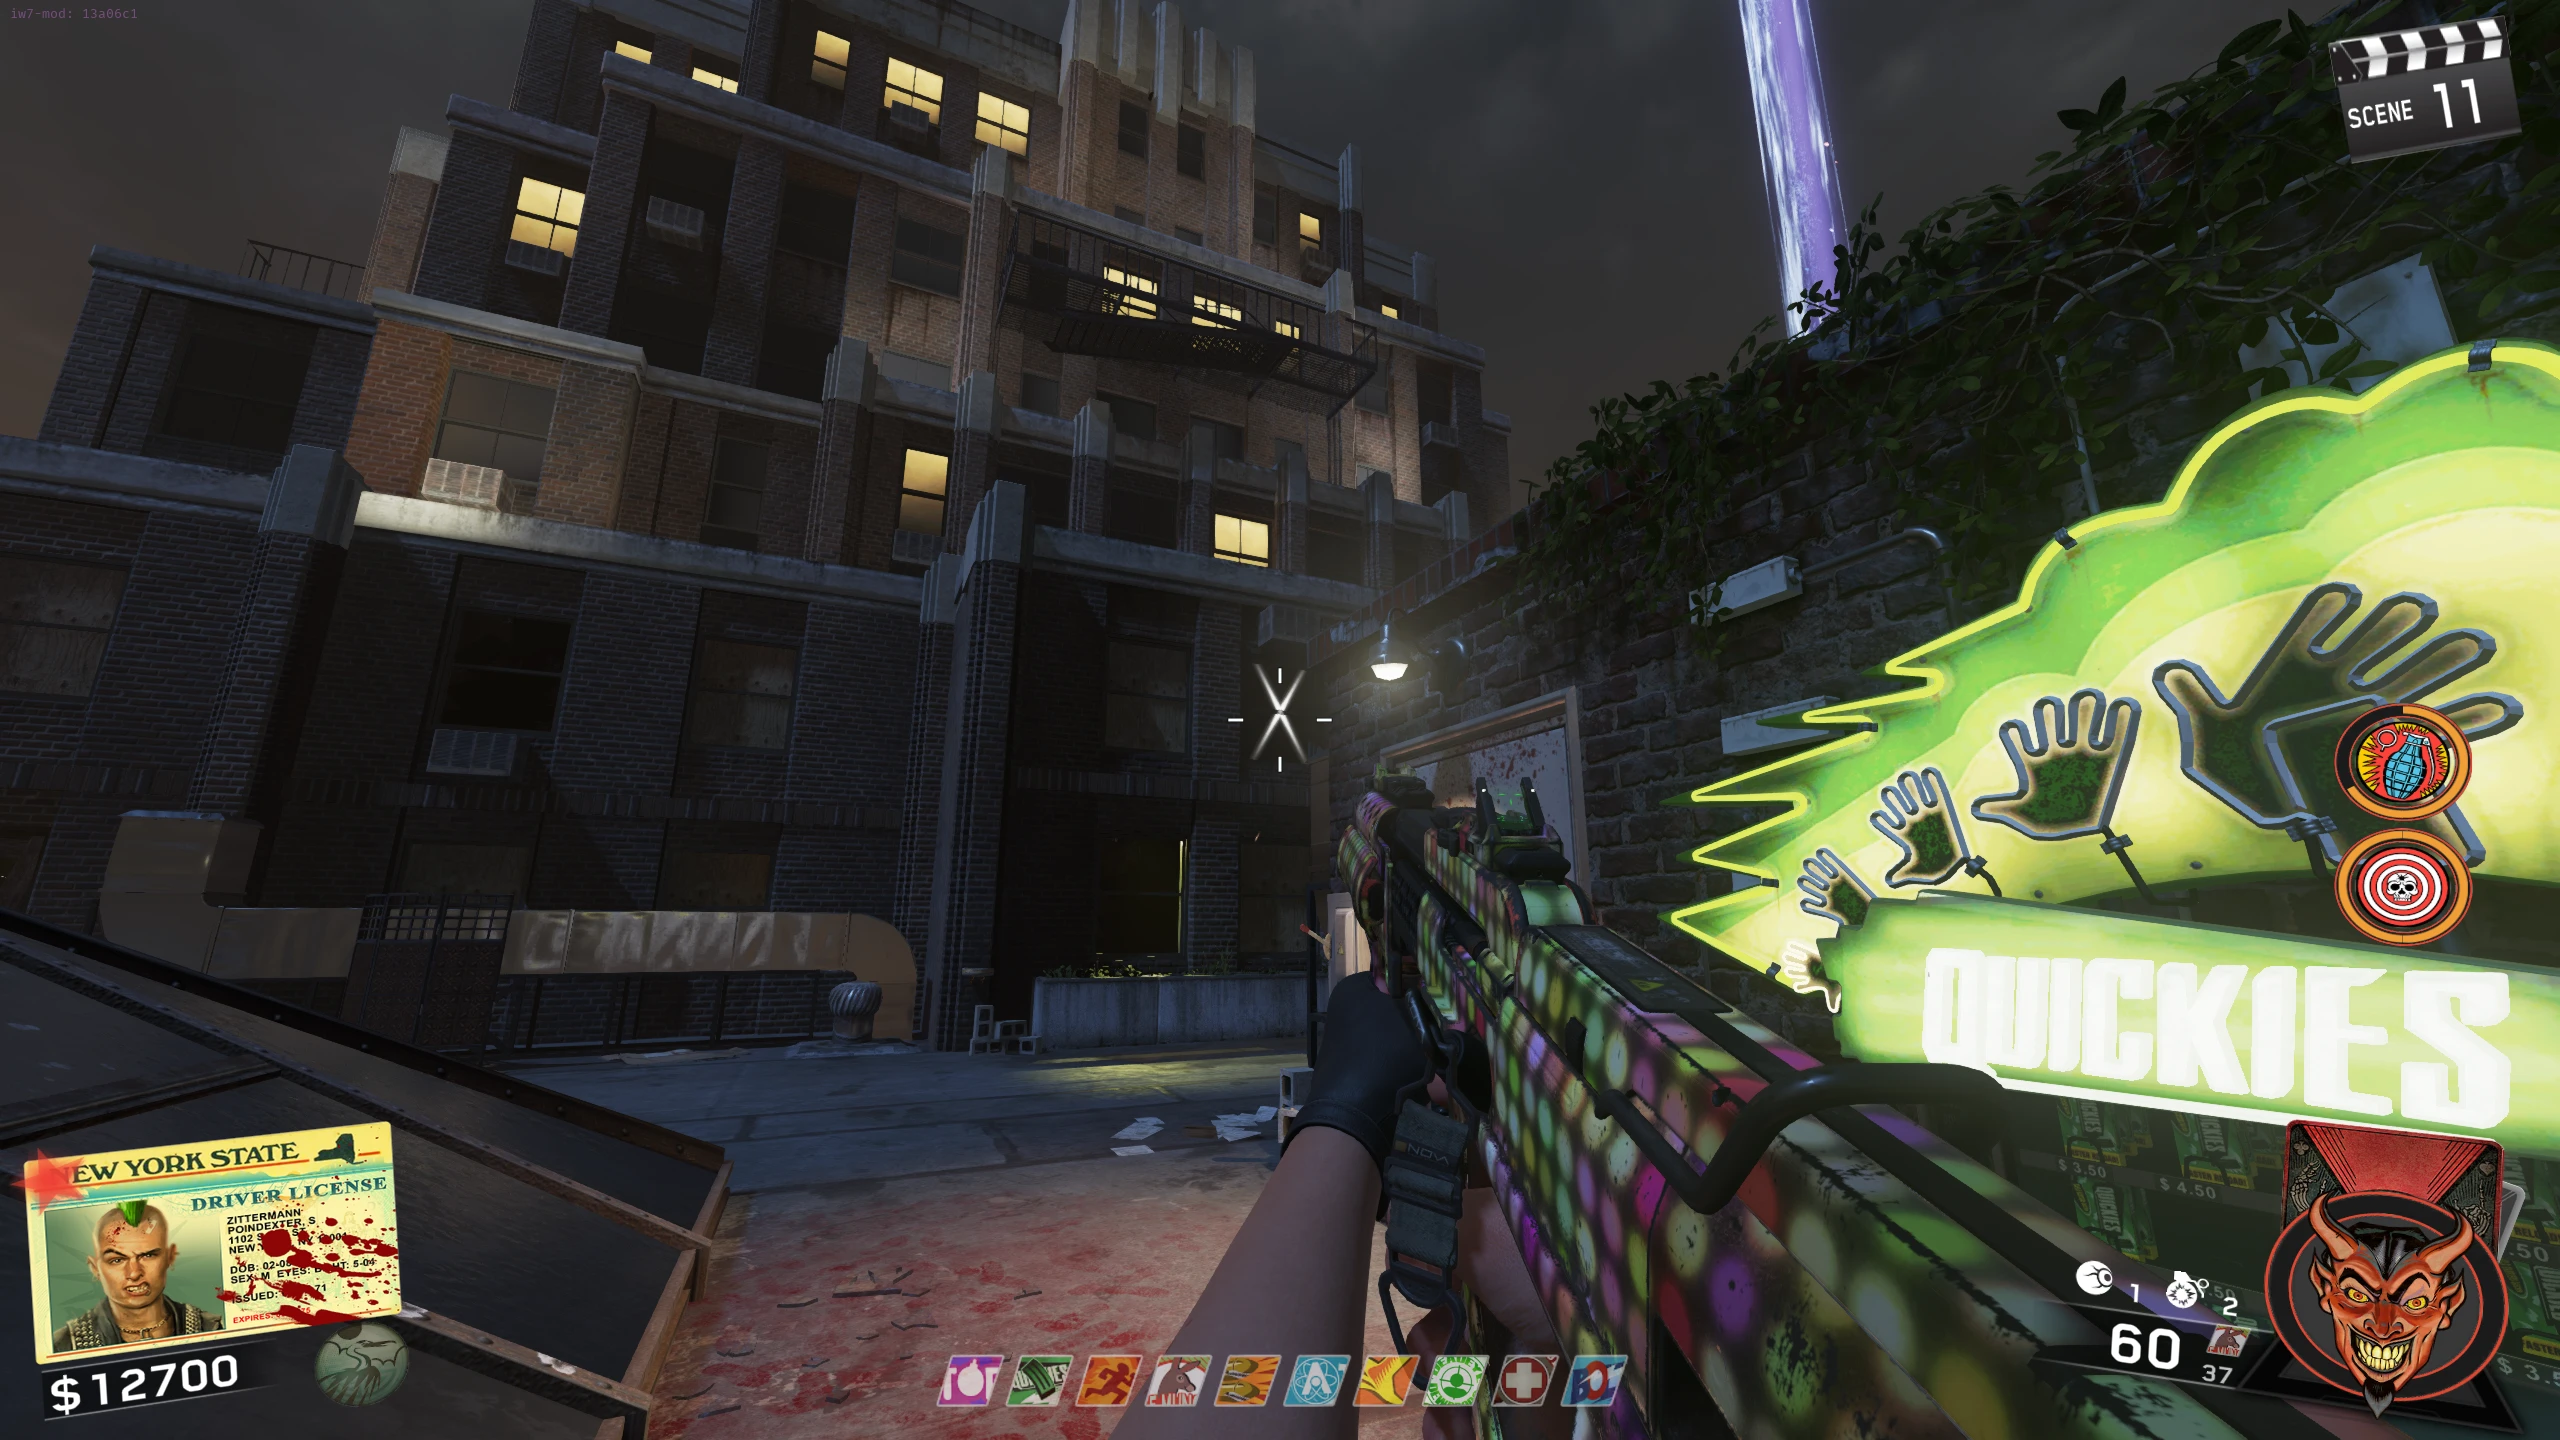
- Around the corner from the Zombie spawn behind Quickies
- Right of the Magic Wheel, on the underside of the scaffolding
- In the Zombie spawn beside the clock on the wall
- On a wall in the back left corner of the roof, across from the Clock
- On a white table, left of the KBS Longbow wallbuy
- Once you finish the word, a gong sound will play and no more symbols will spawn. Go to the RPR Evo wallbuy near Deadeye Dewdrops and interact with the Rat King symbol to start a fight with the Rat King. Defeat him and pick up his Brain.
- Talk to Pam, she will say, "The enemy you face possess the final ingredient...". At the start of the next three rounds, a cigarette burn will appear on the top right of the screen.
- After three rounds, the game will skip ahead three rounds and lock you on the street outside the Dojo with fire blocking the exits. Kill all the enemies that spawn to cause a turnstile piece to drop and to remove the fire blocking the exits.
- Interact with the broken turnstile gate in the spawn subway to fix it.
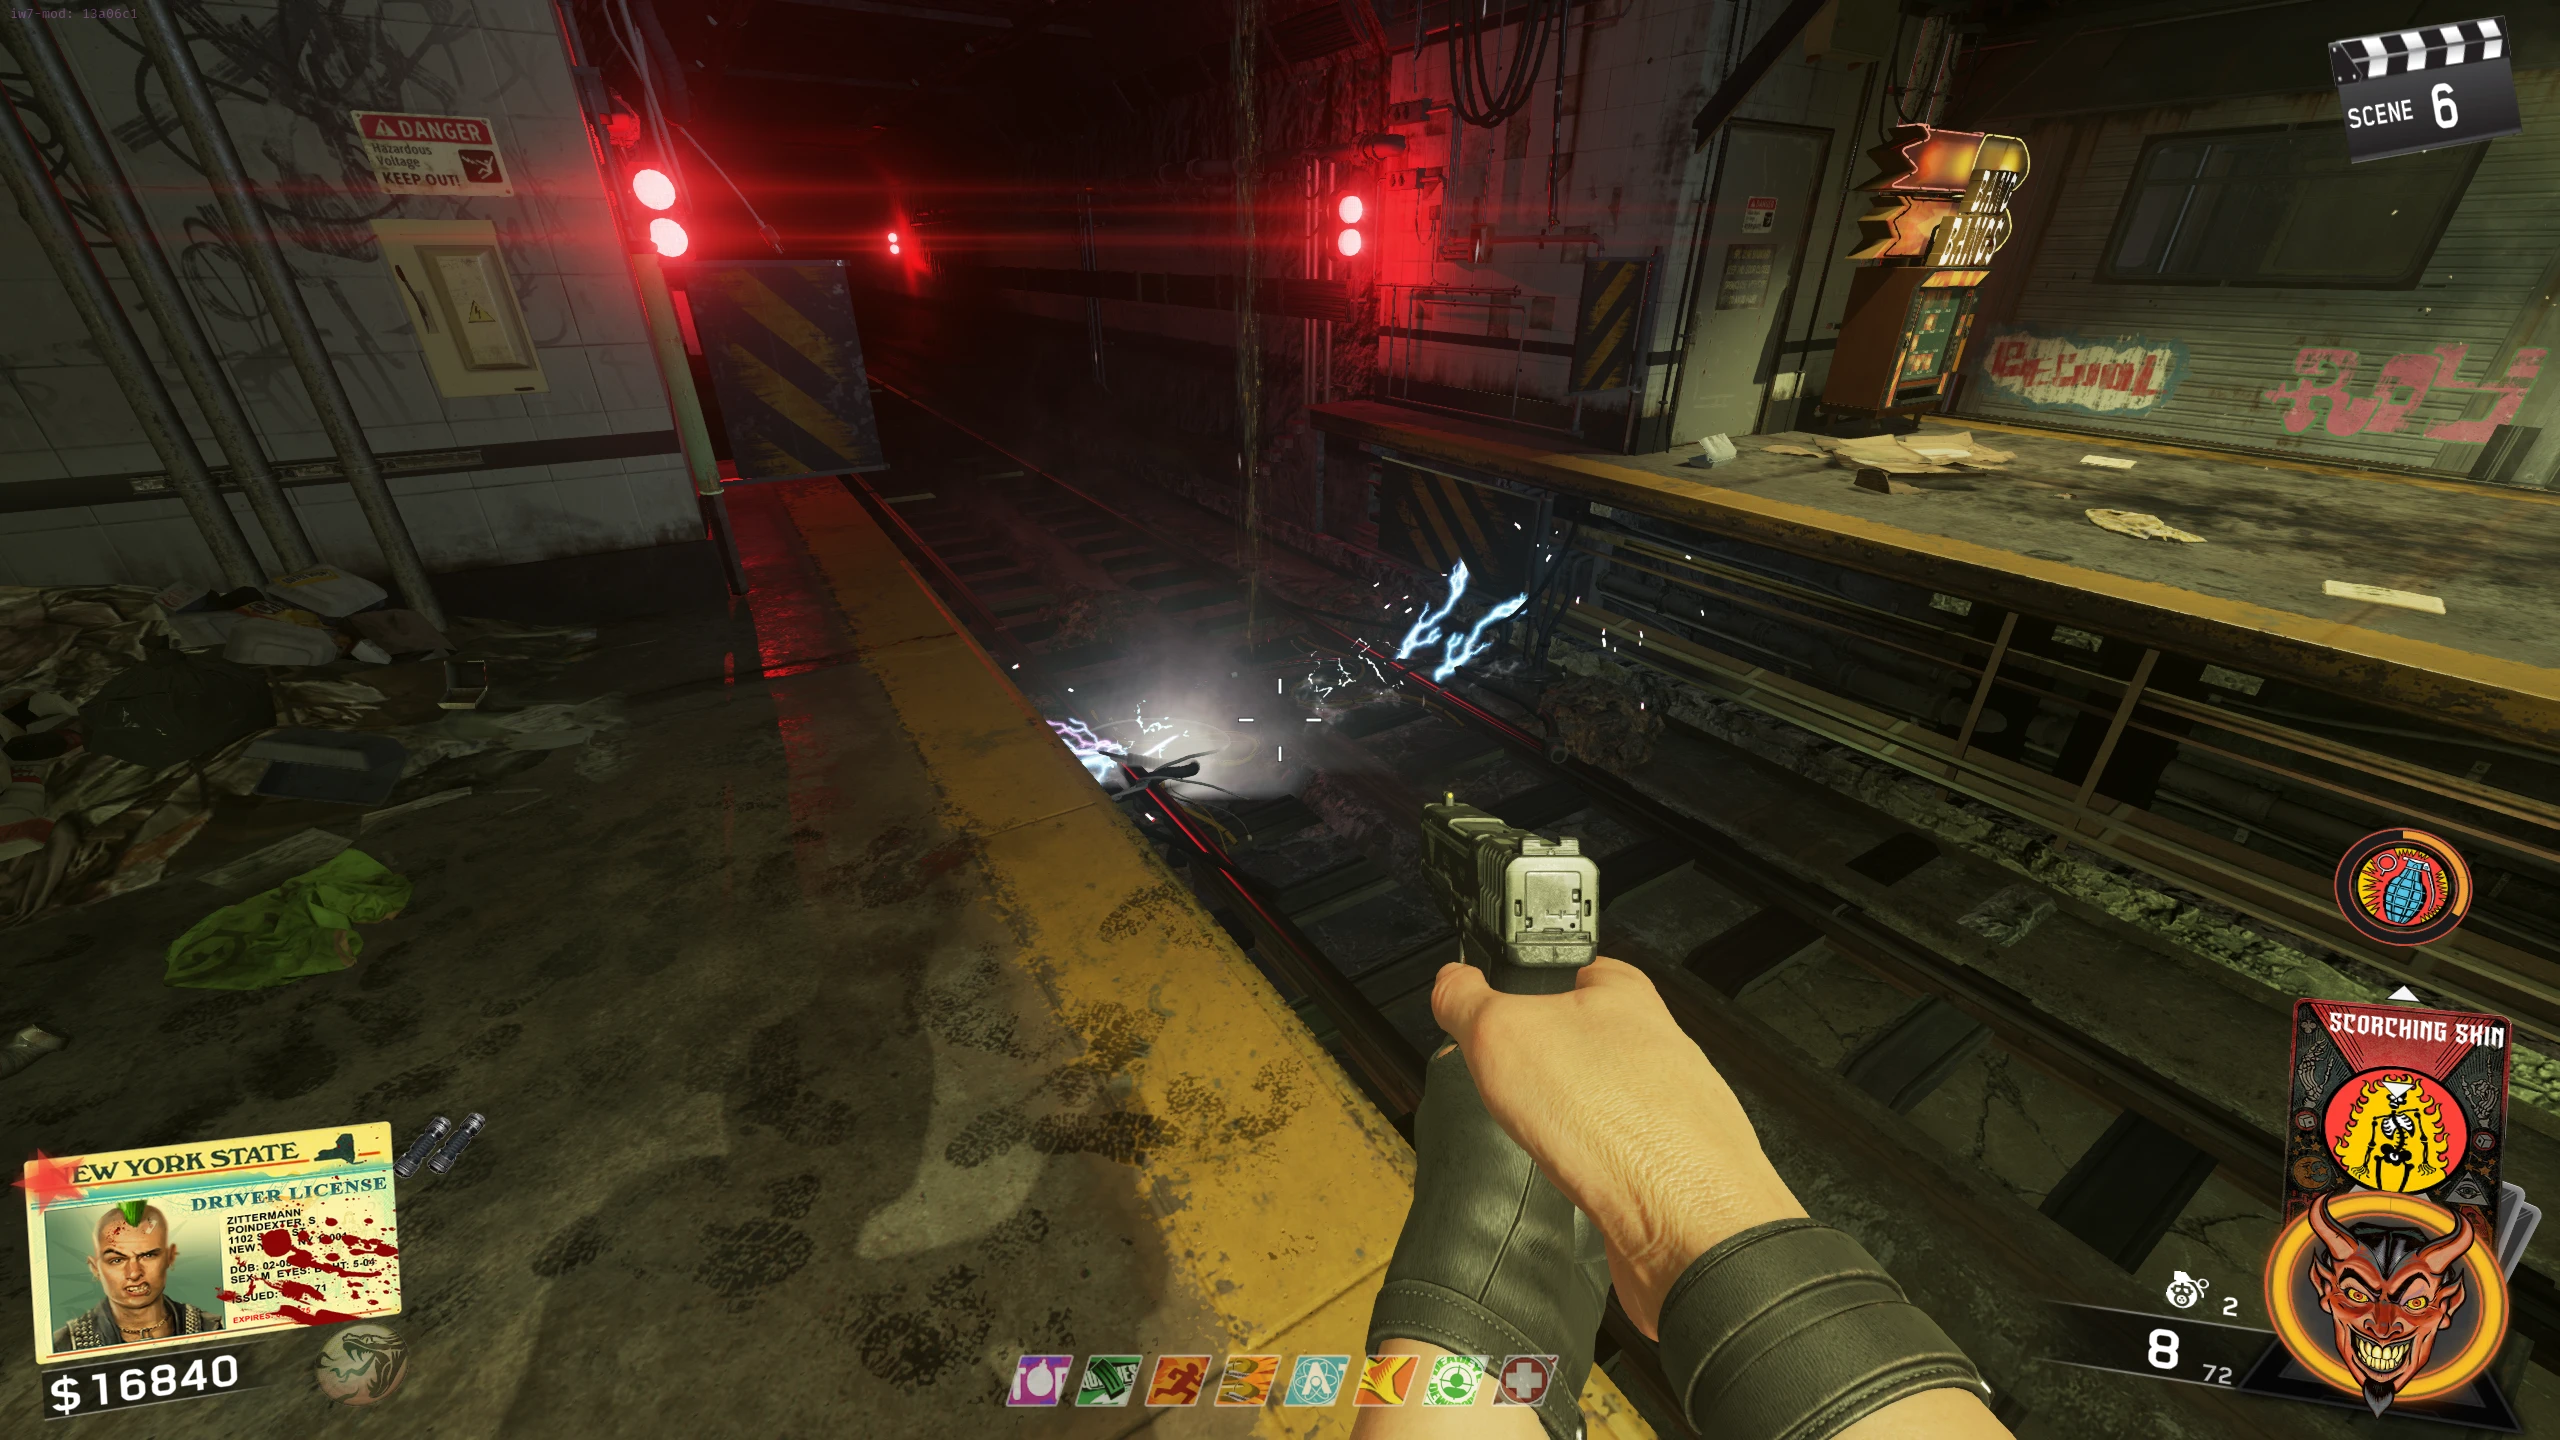
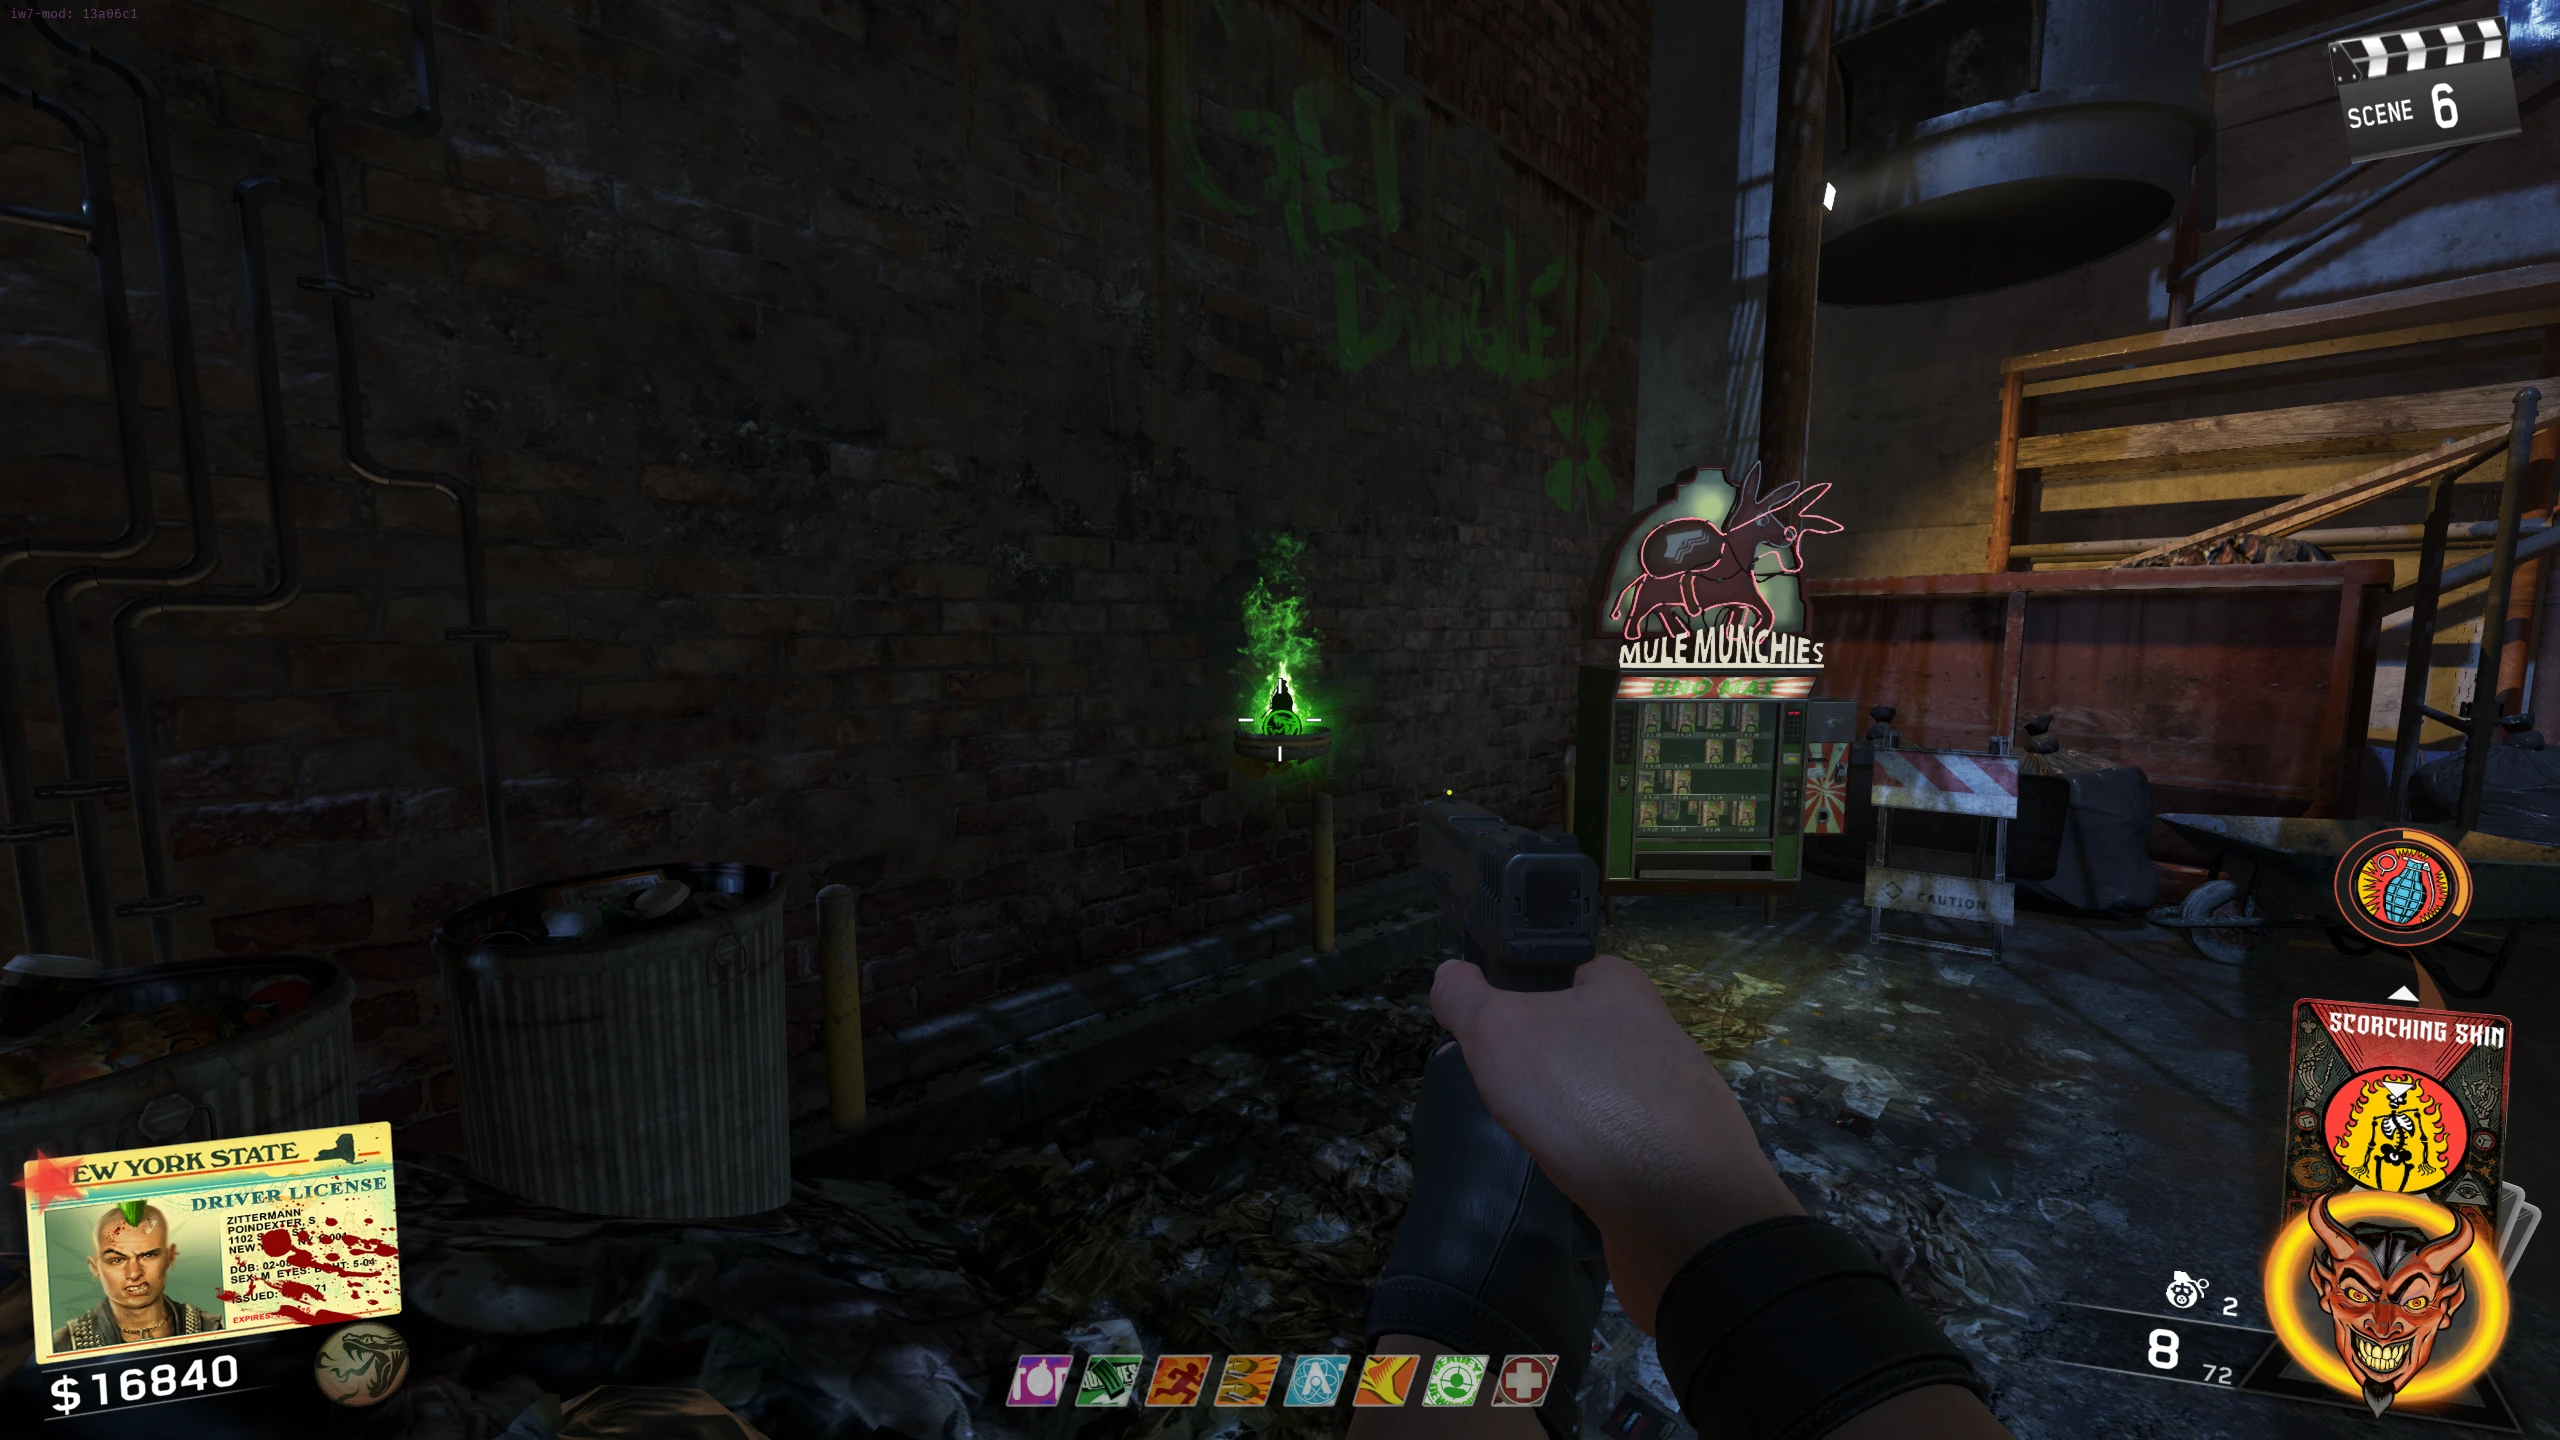
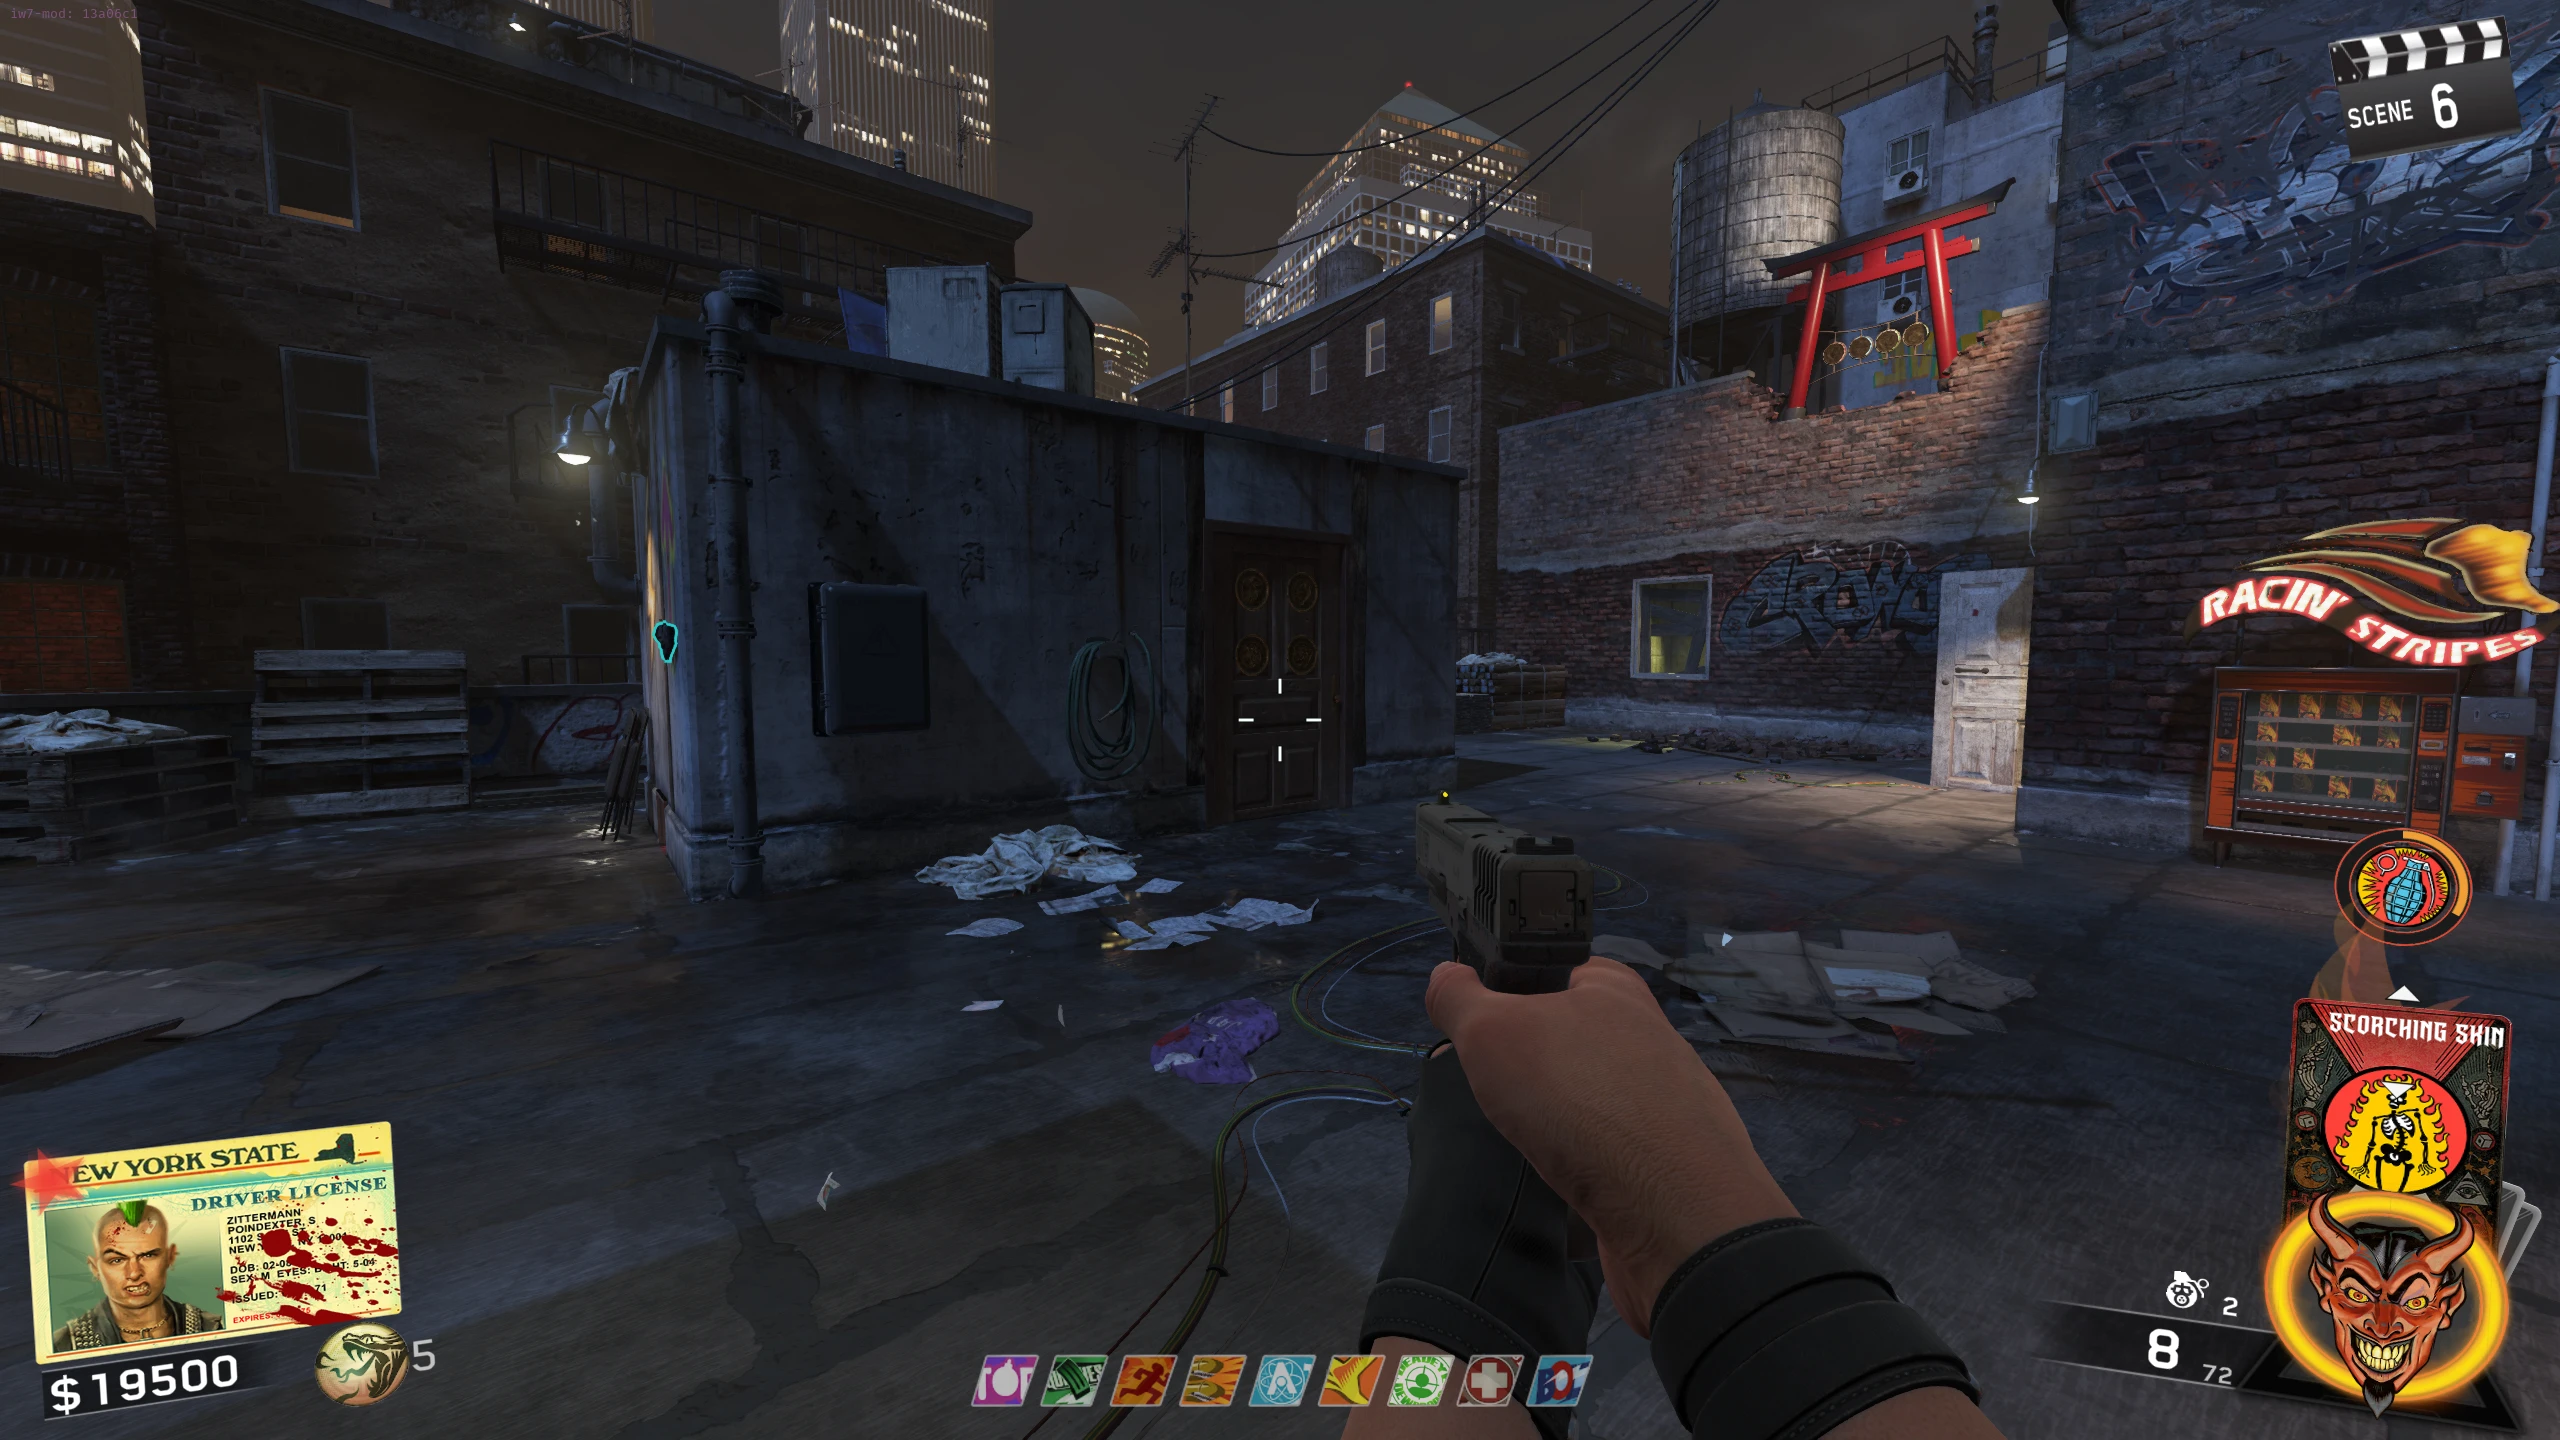
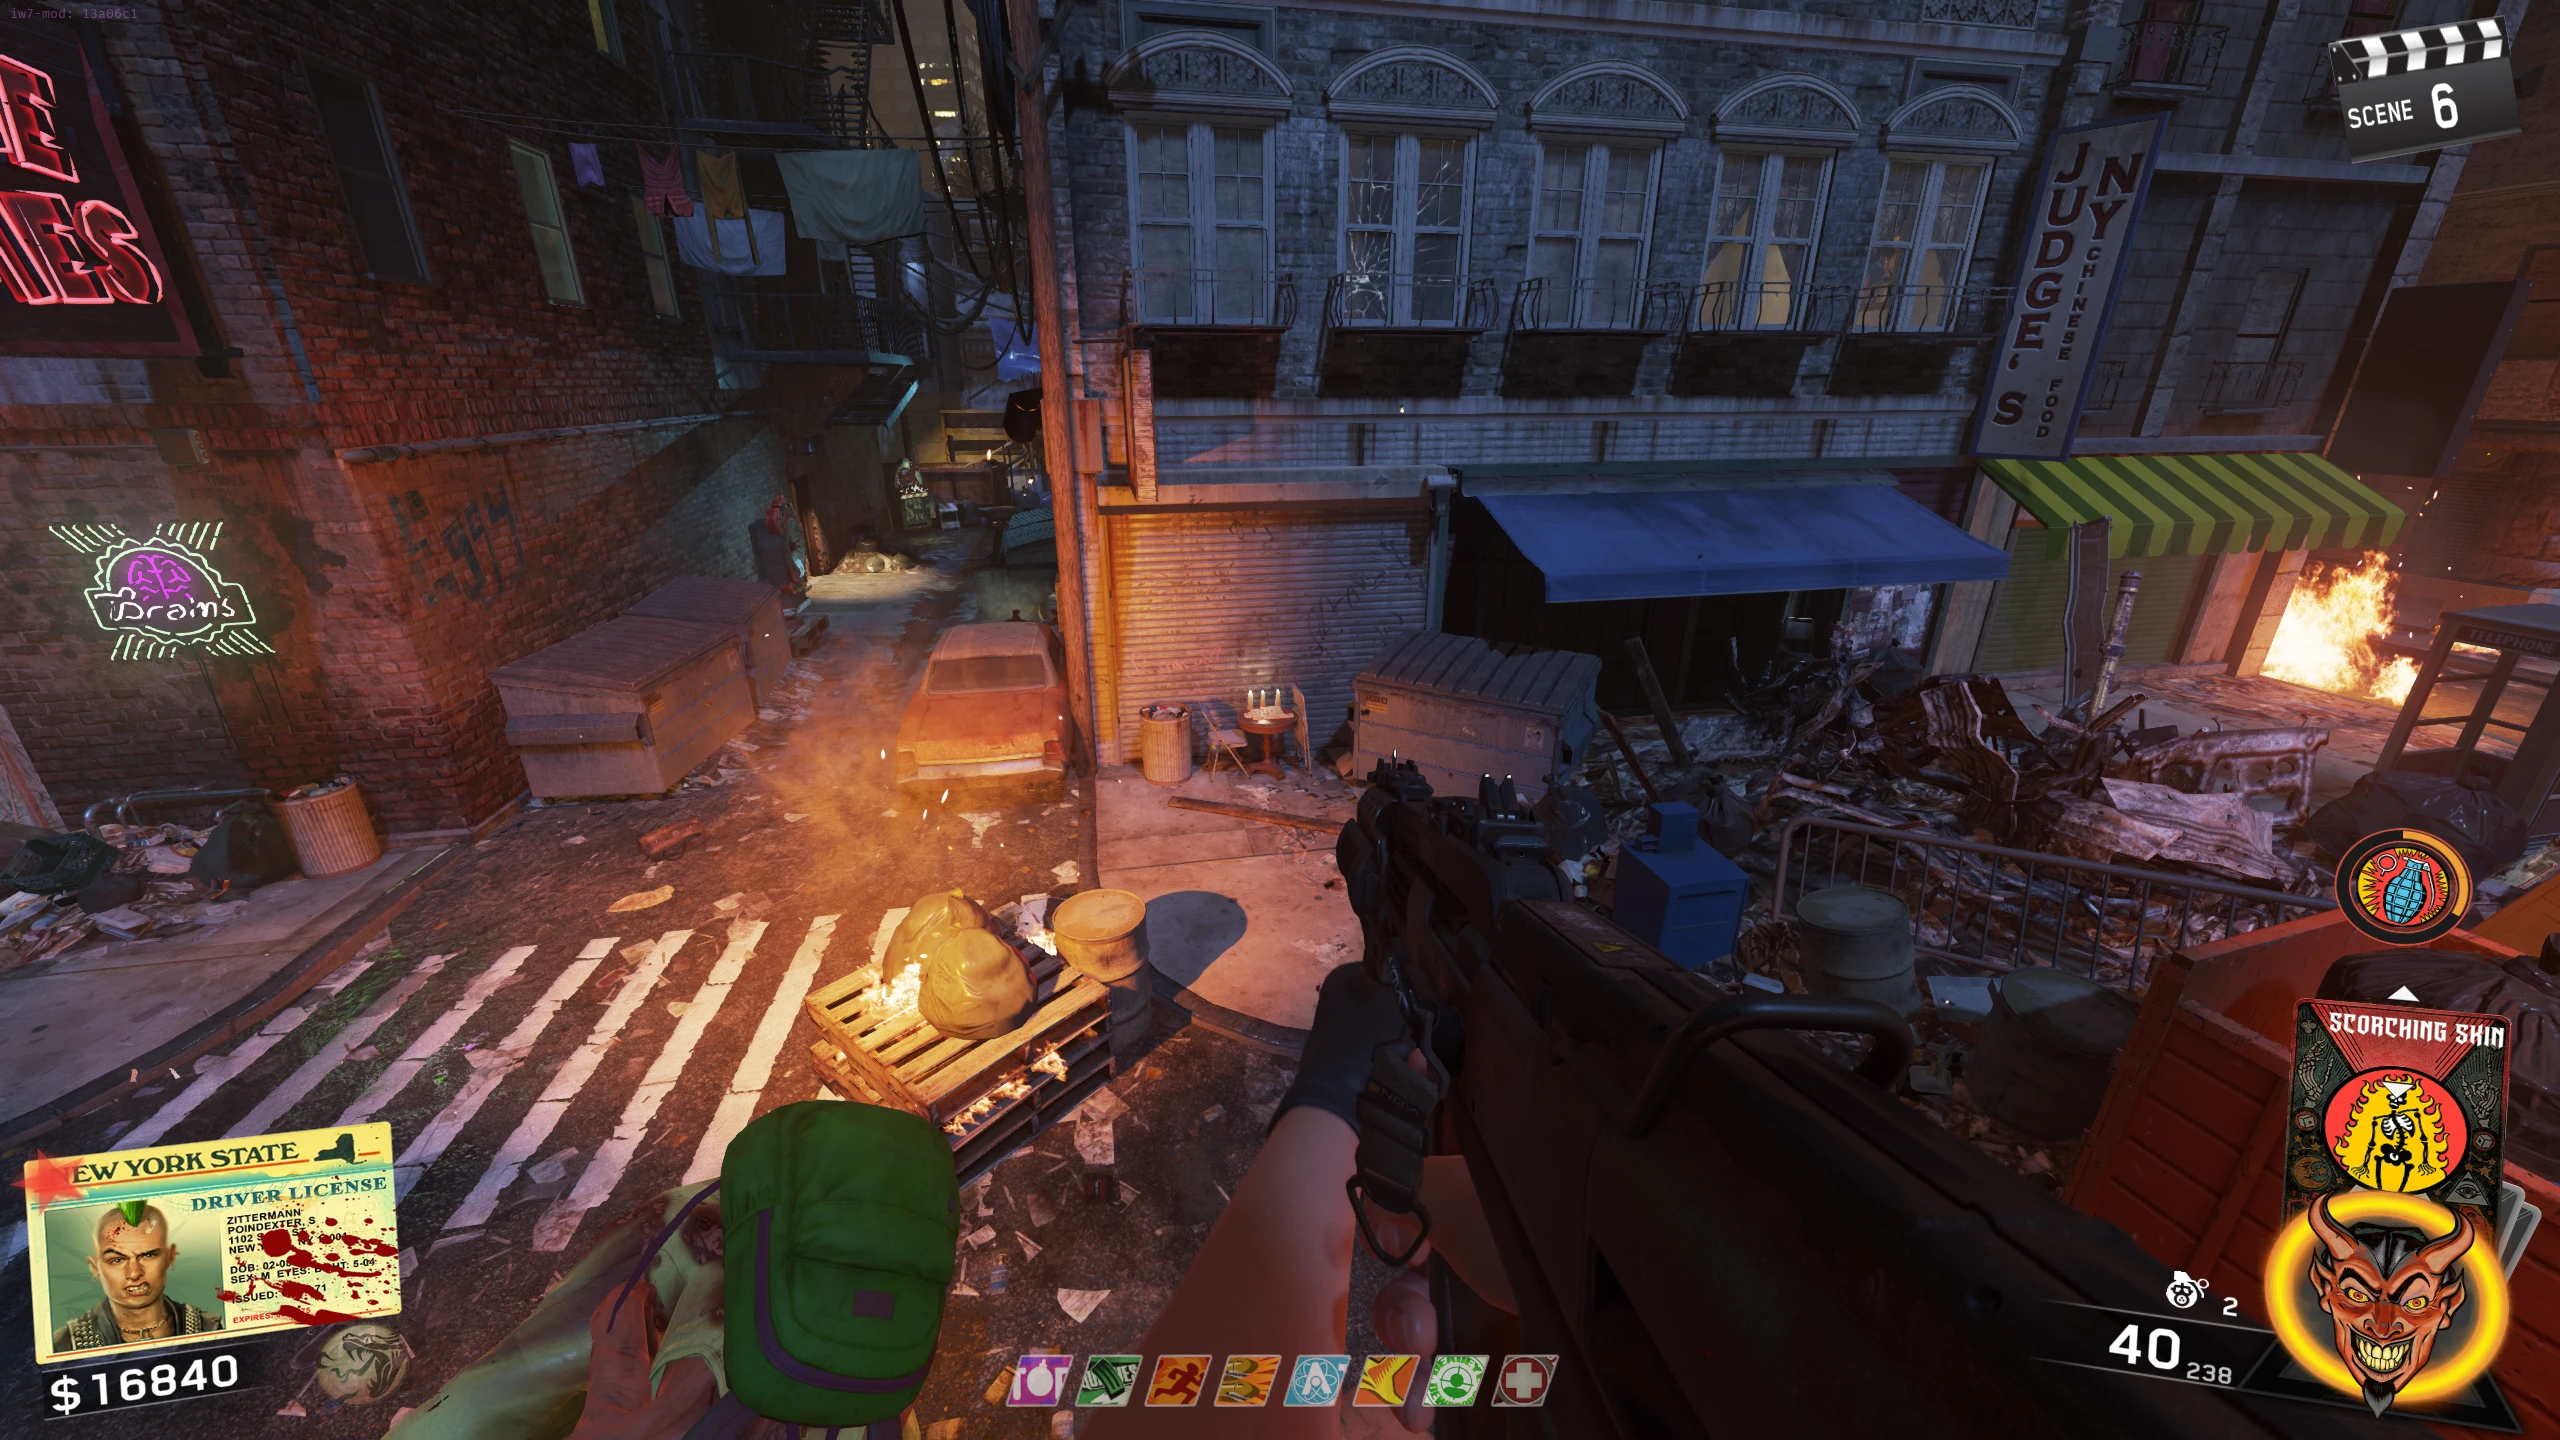
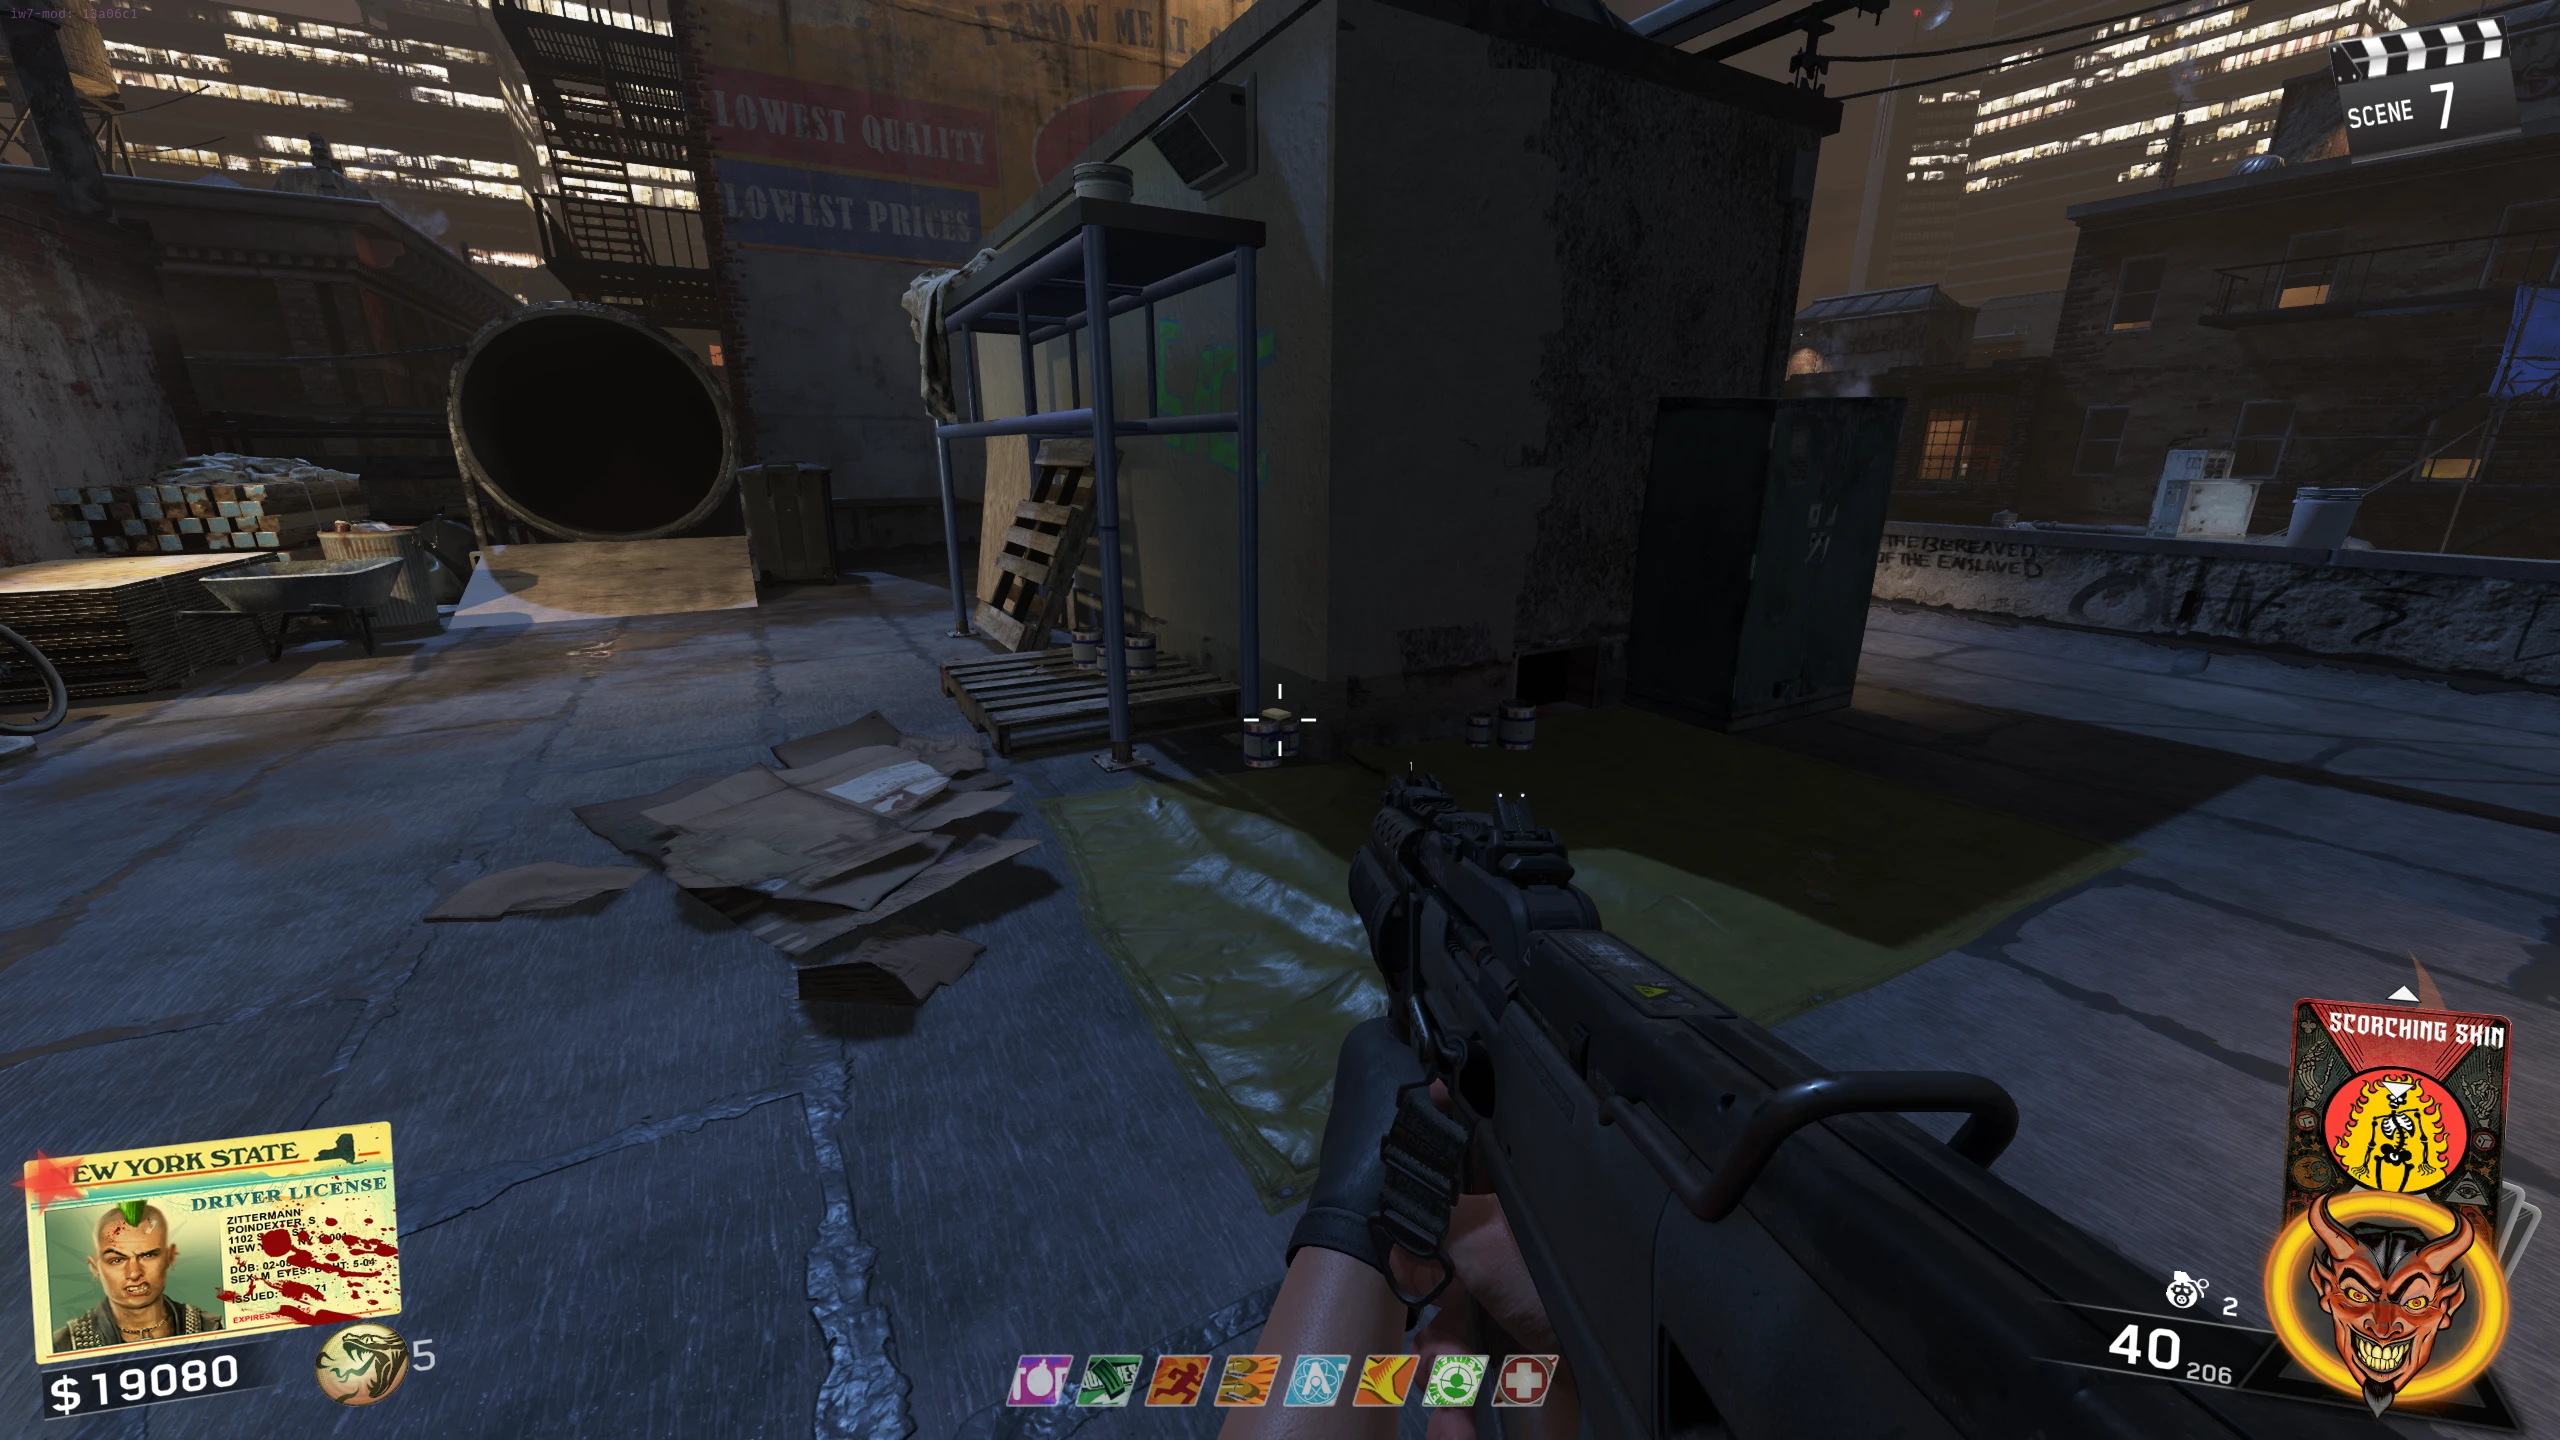
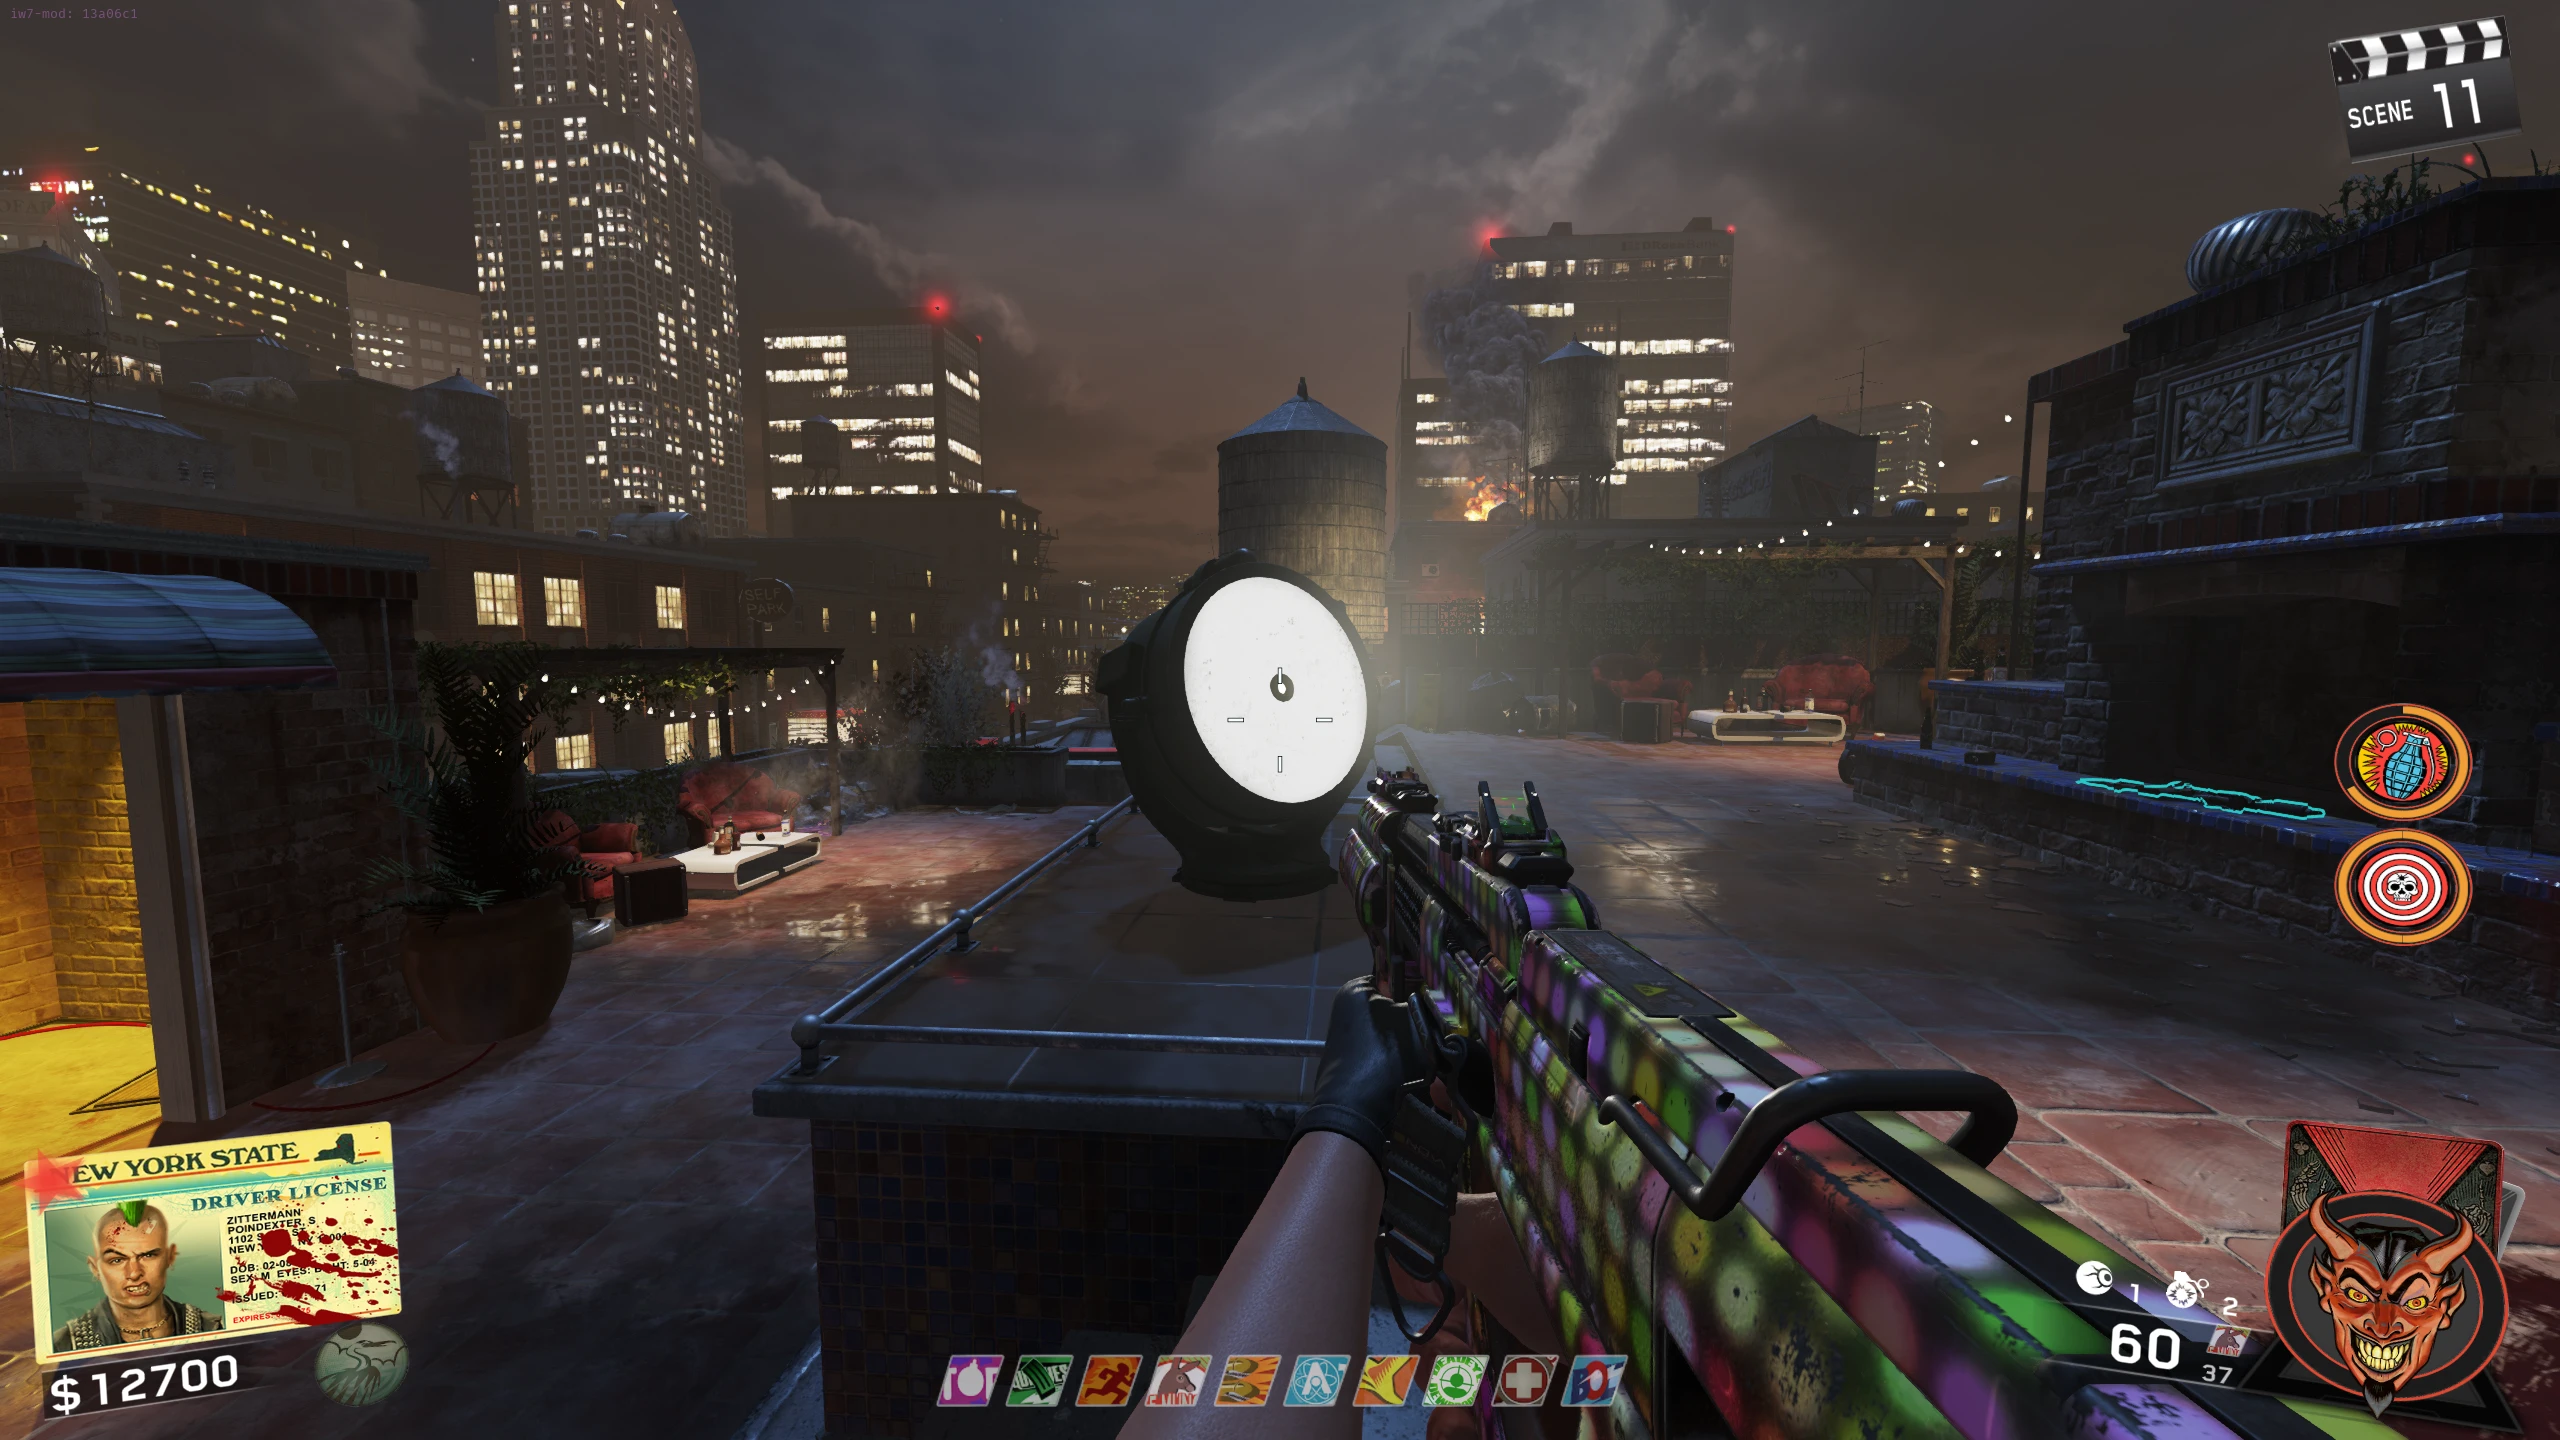
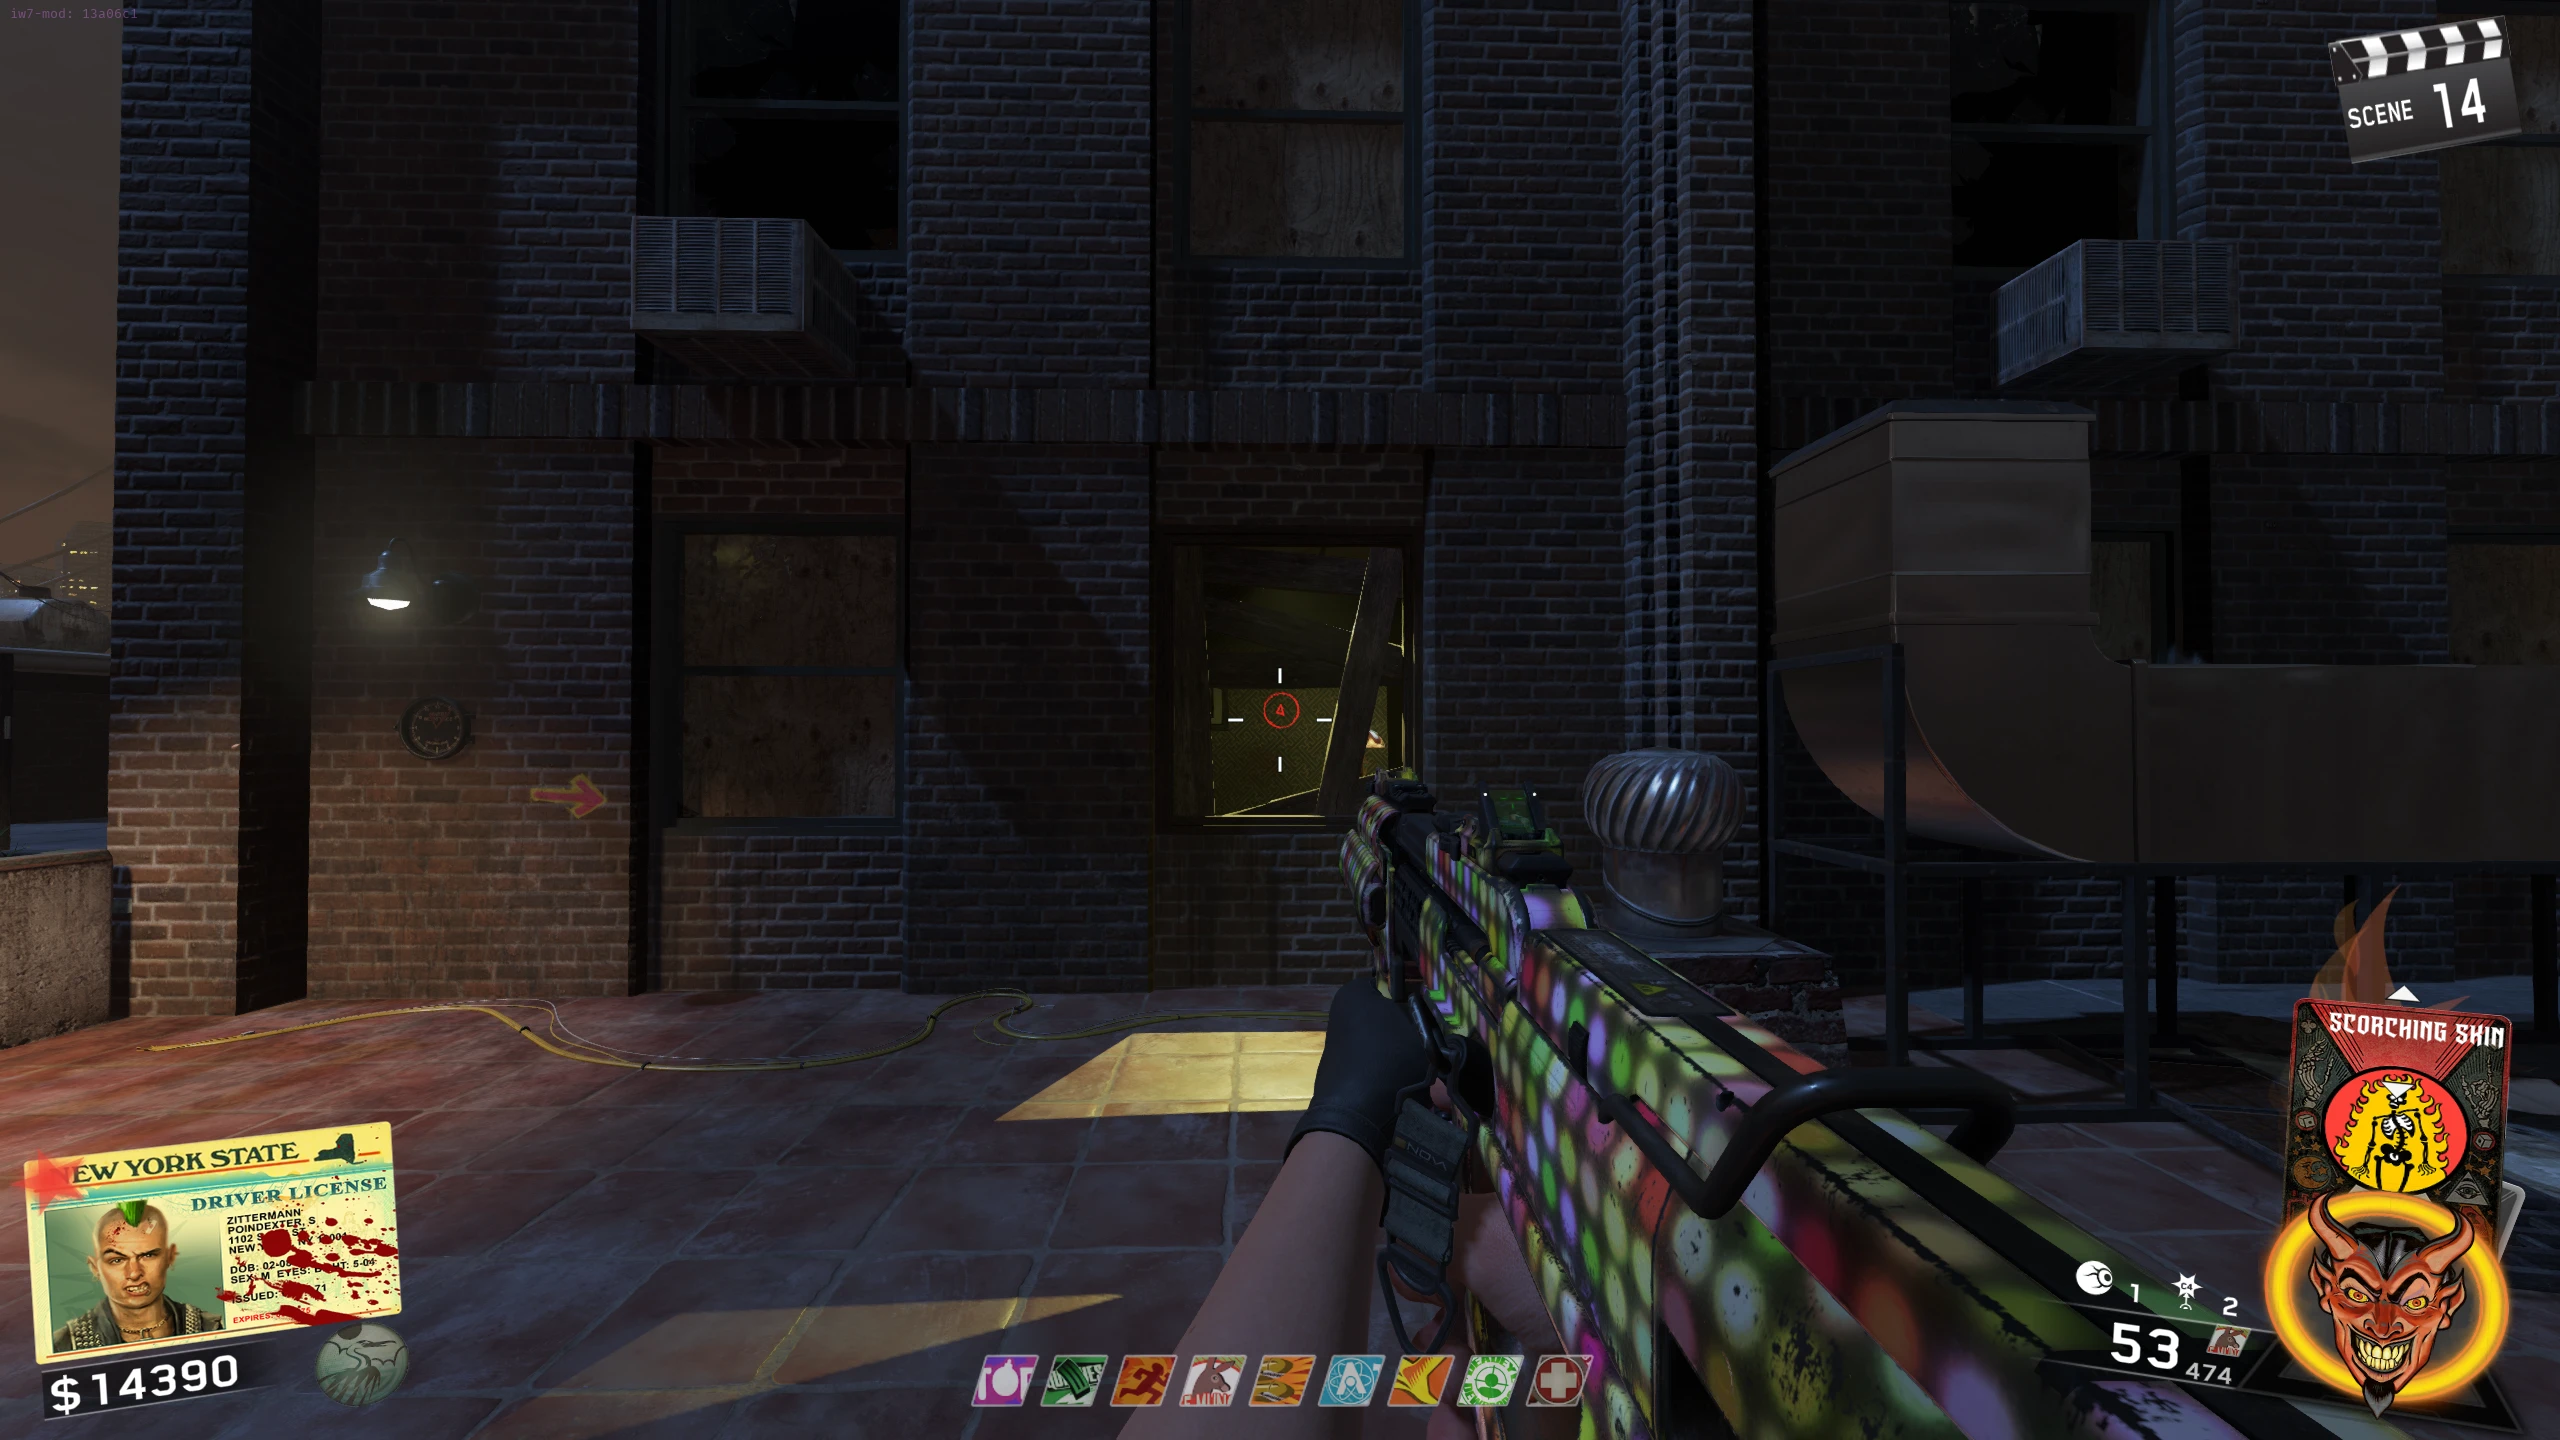
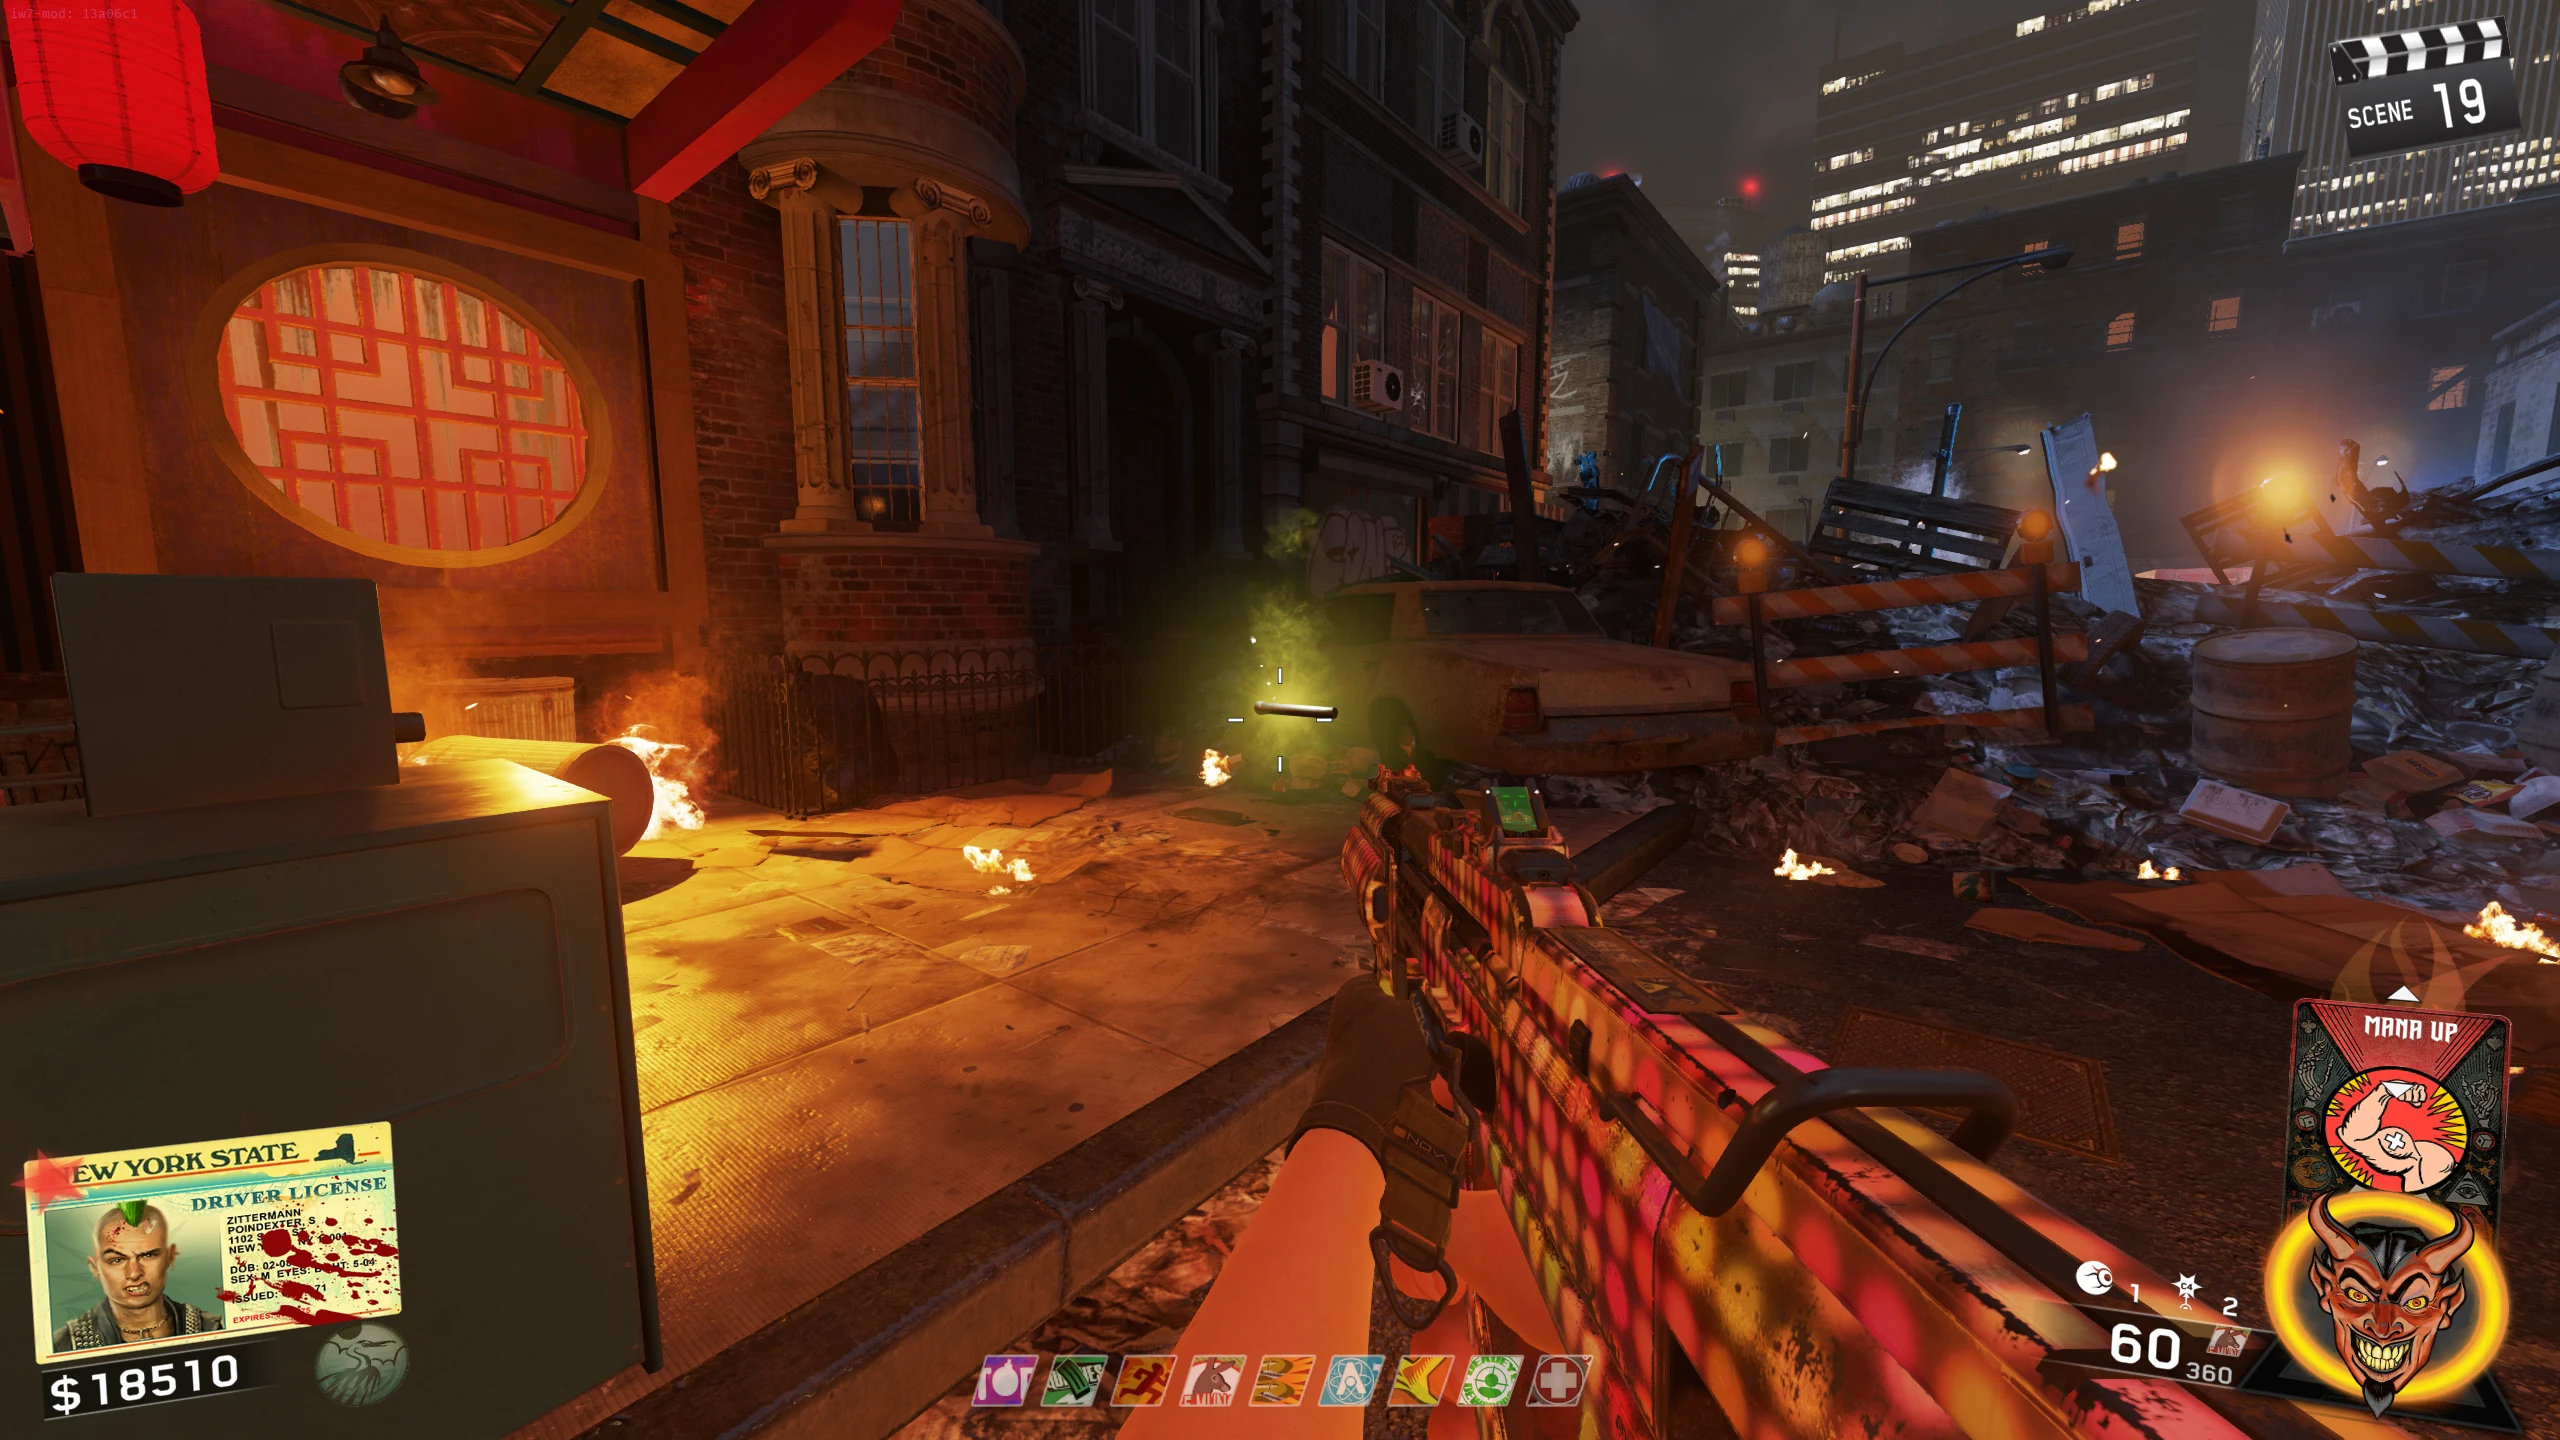
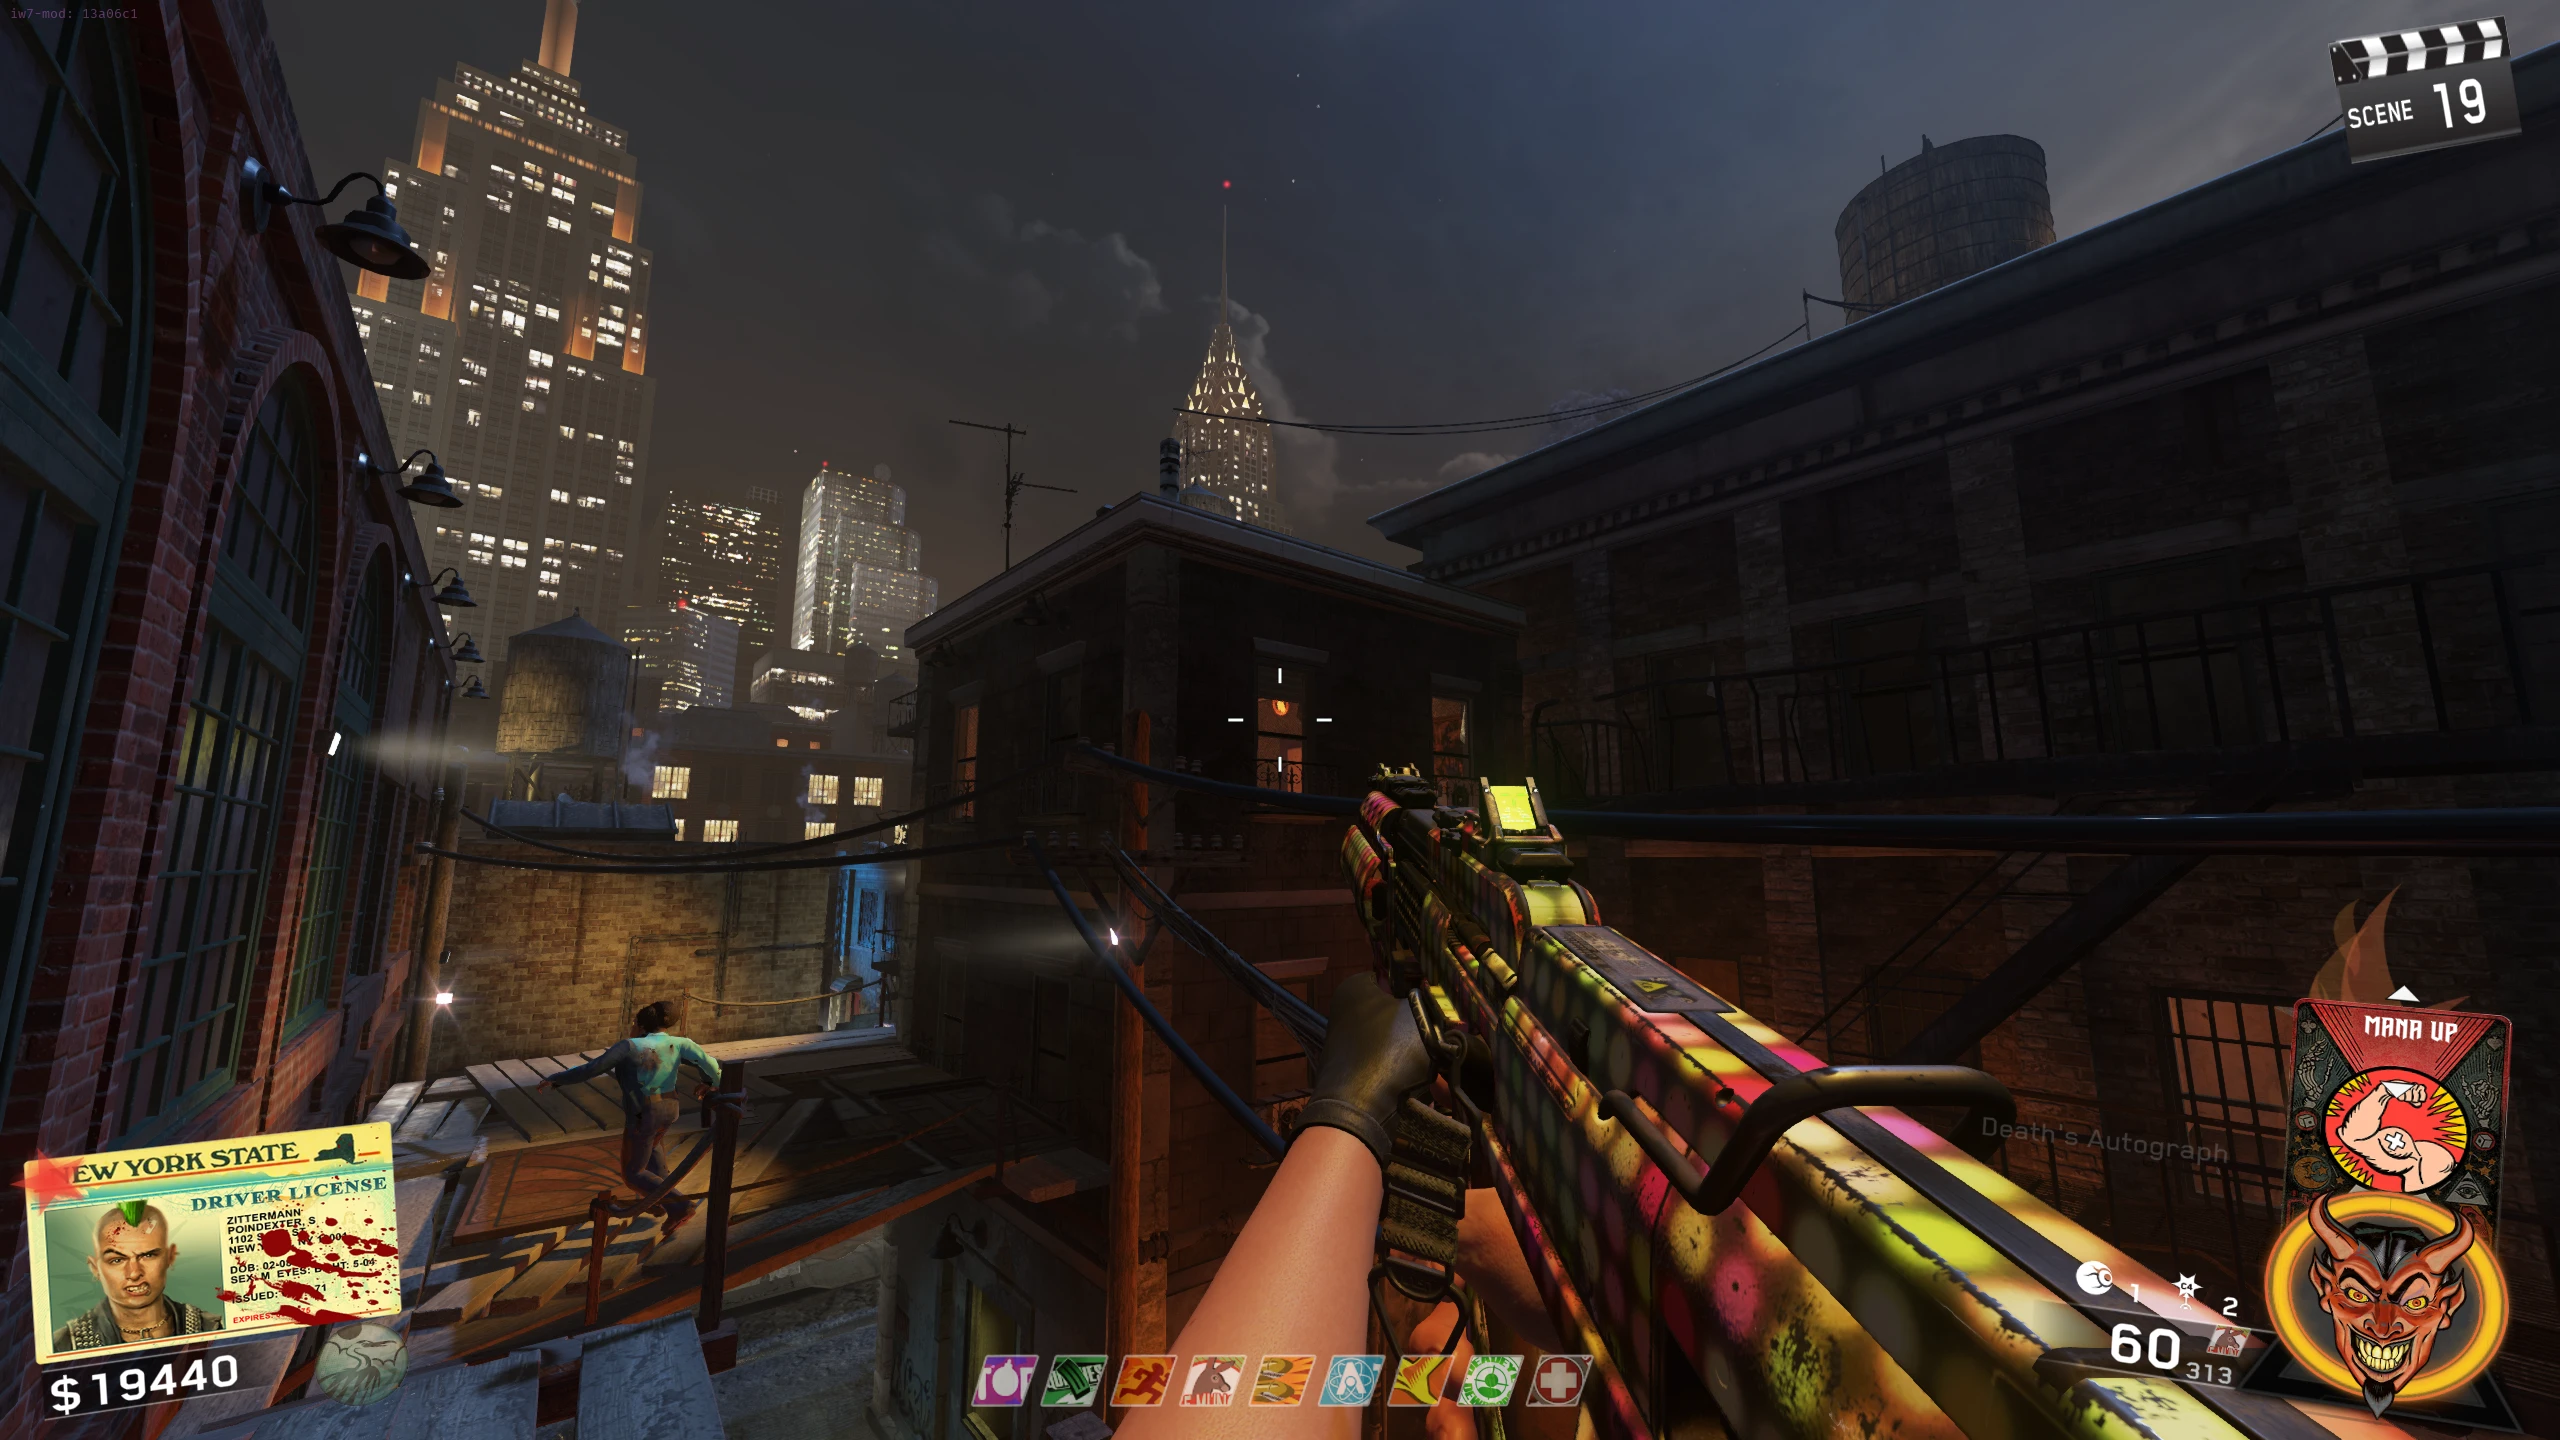
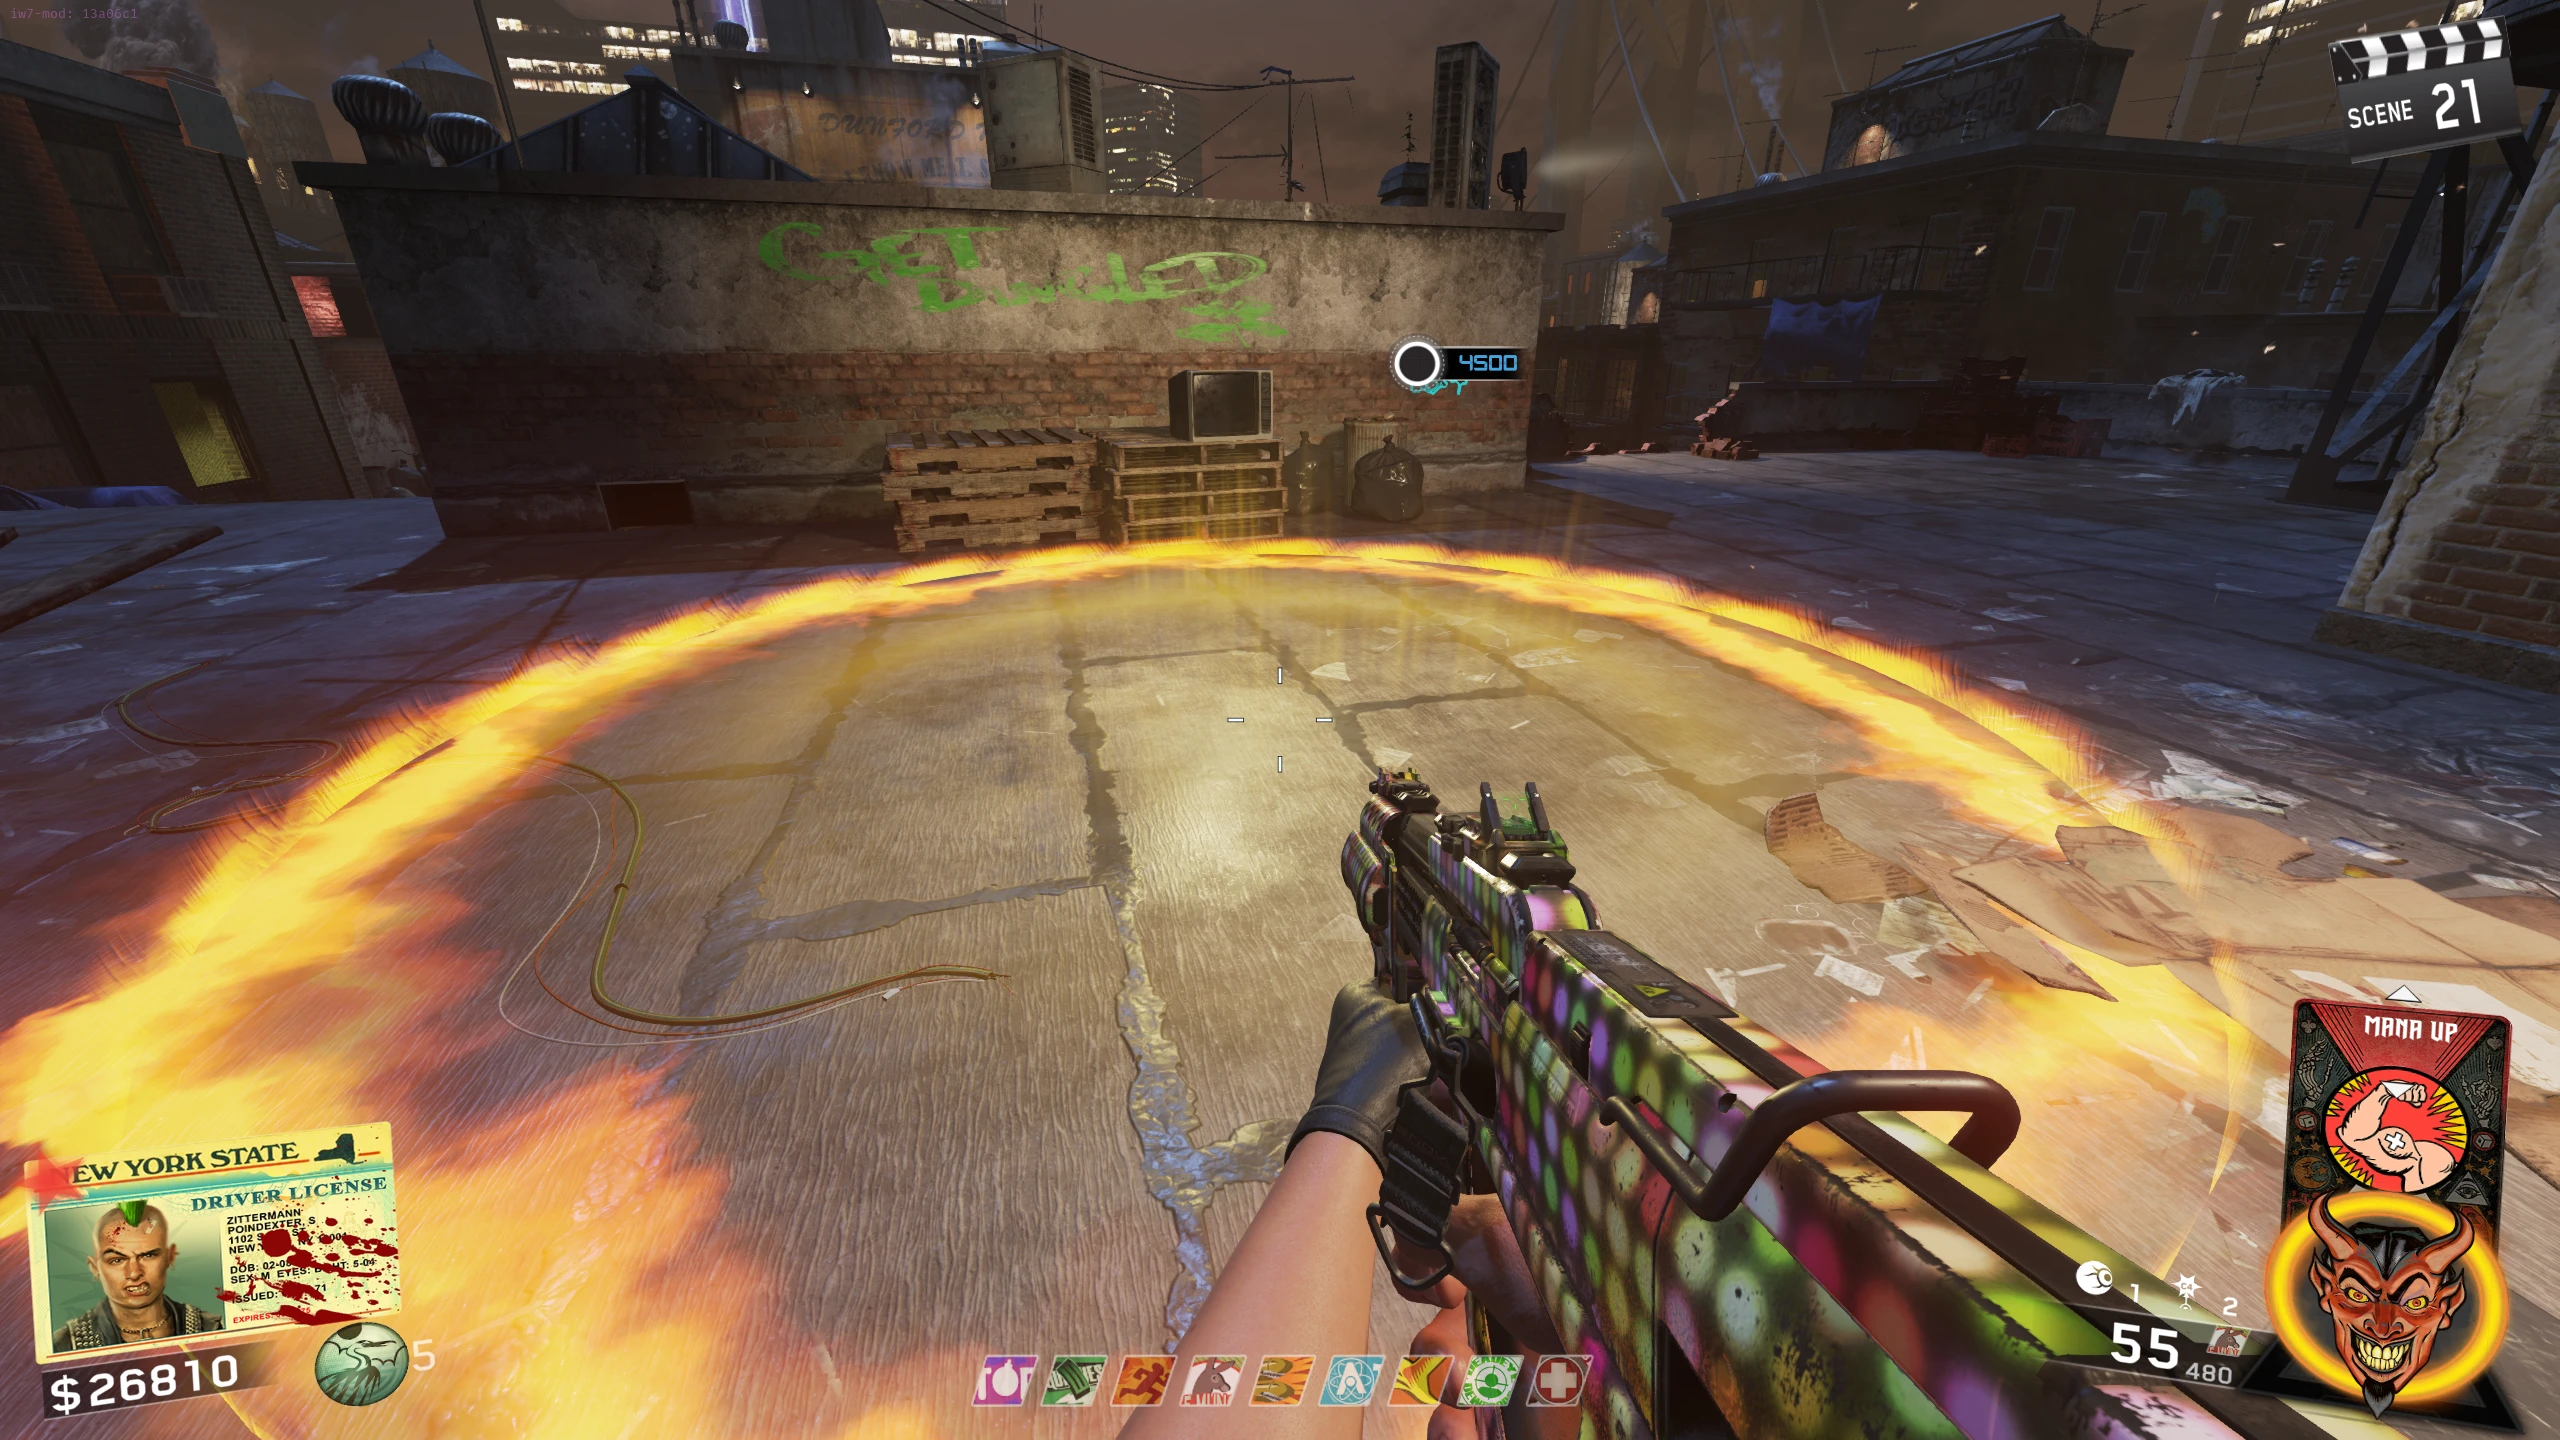
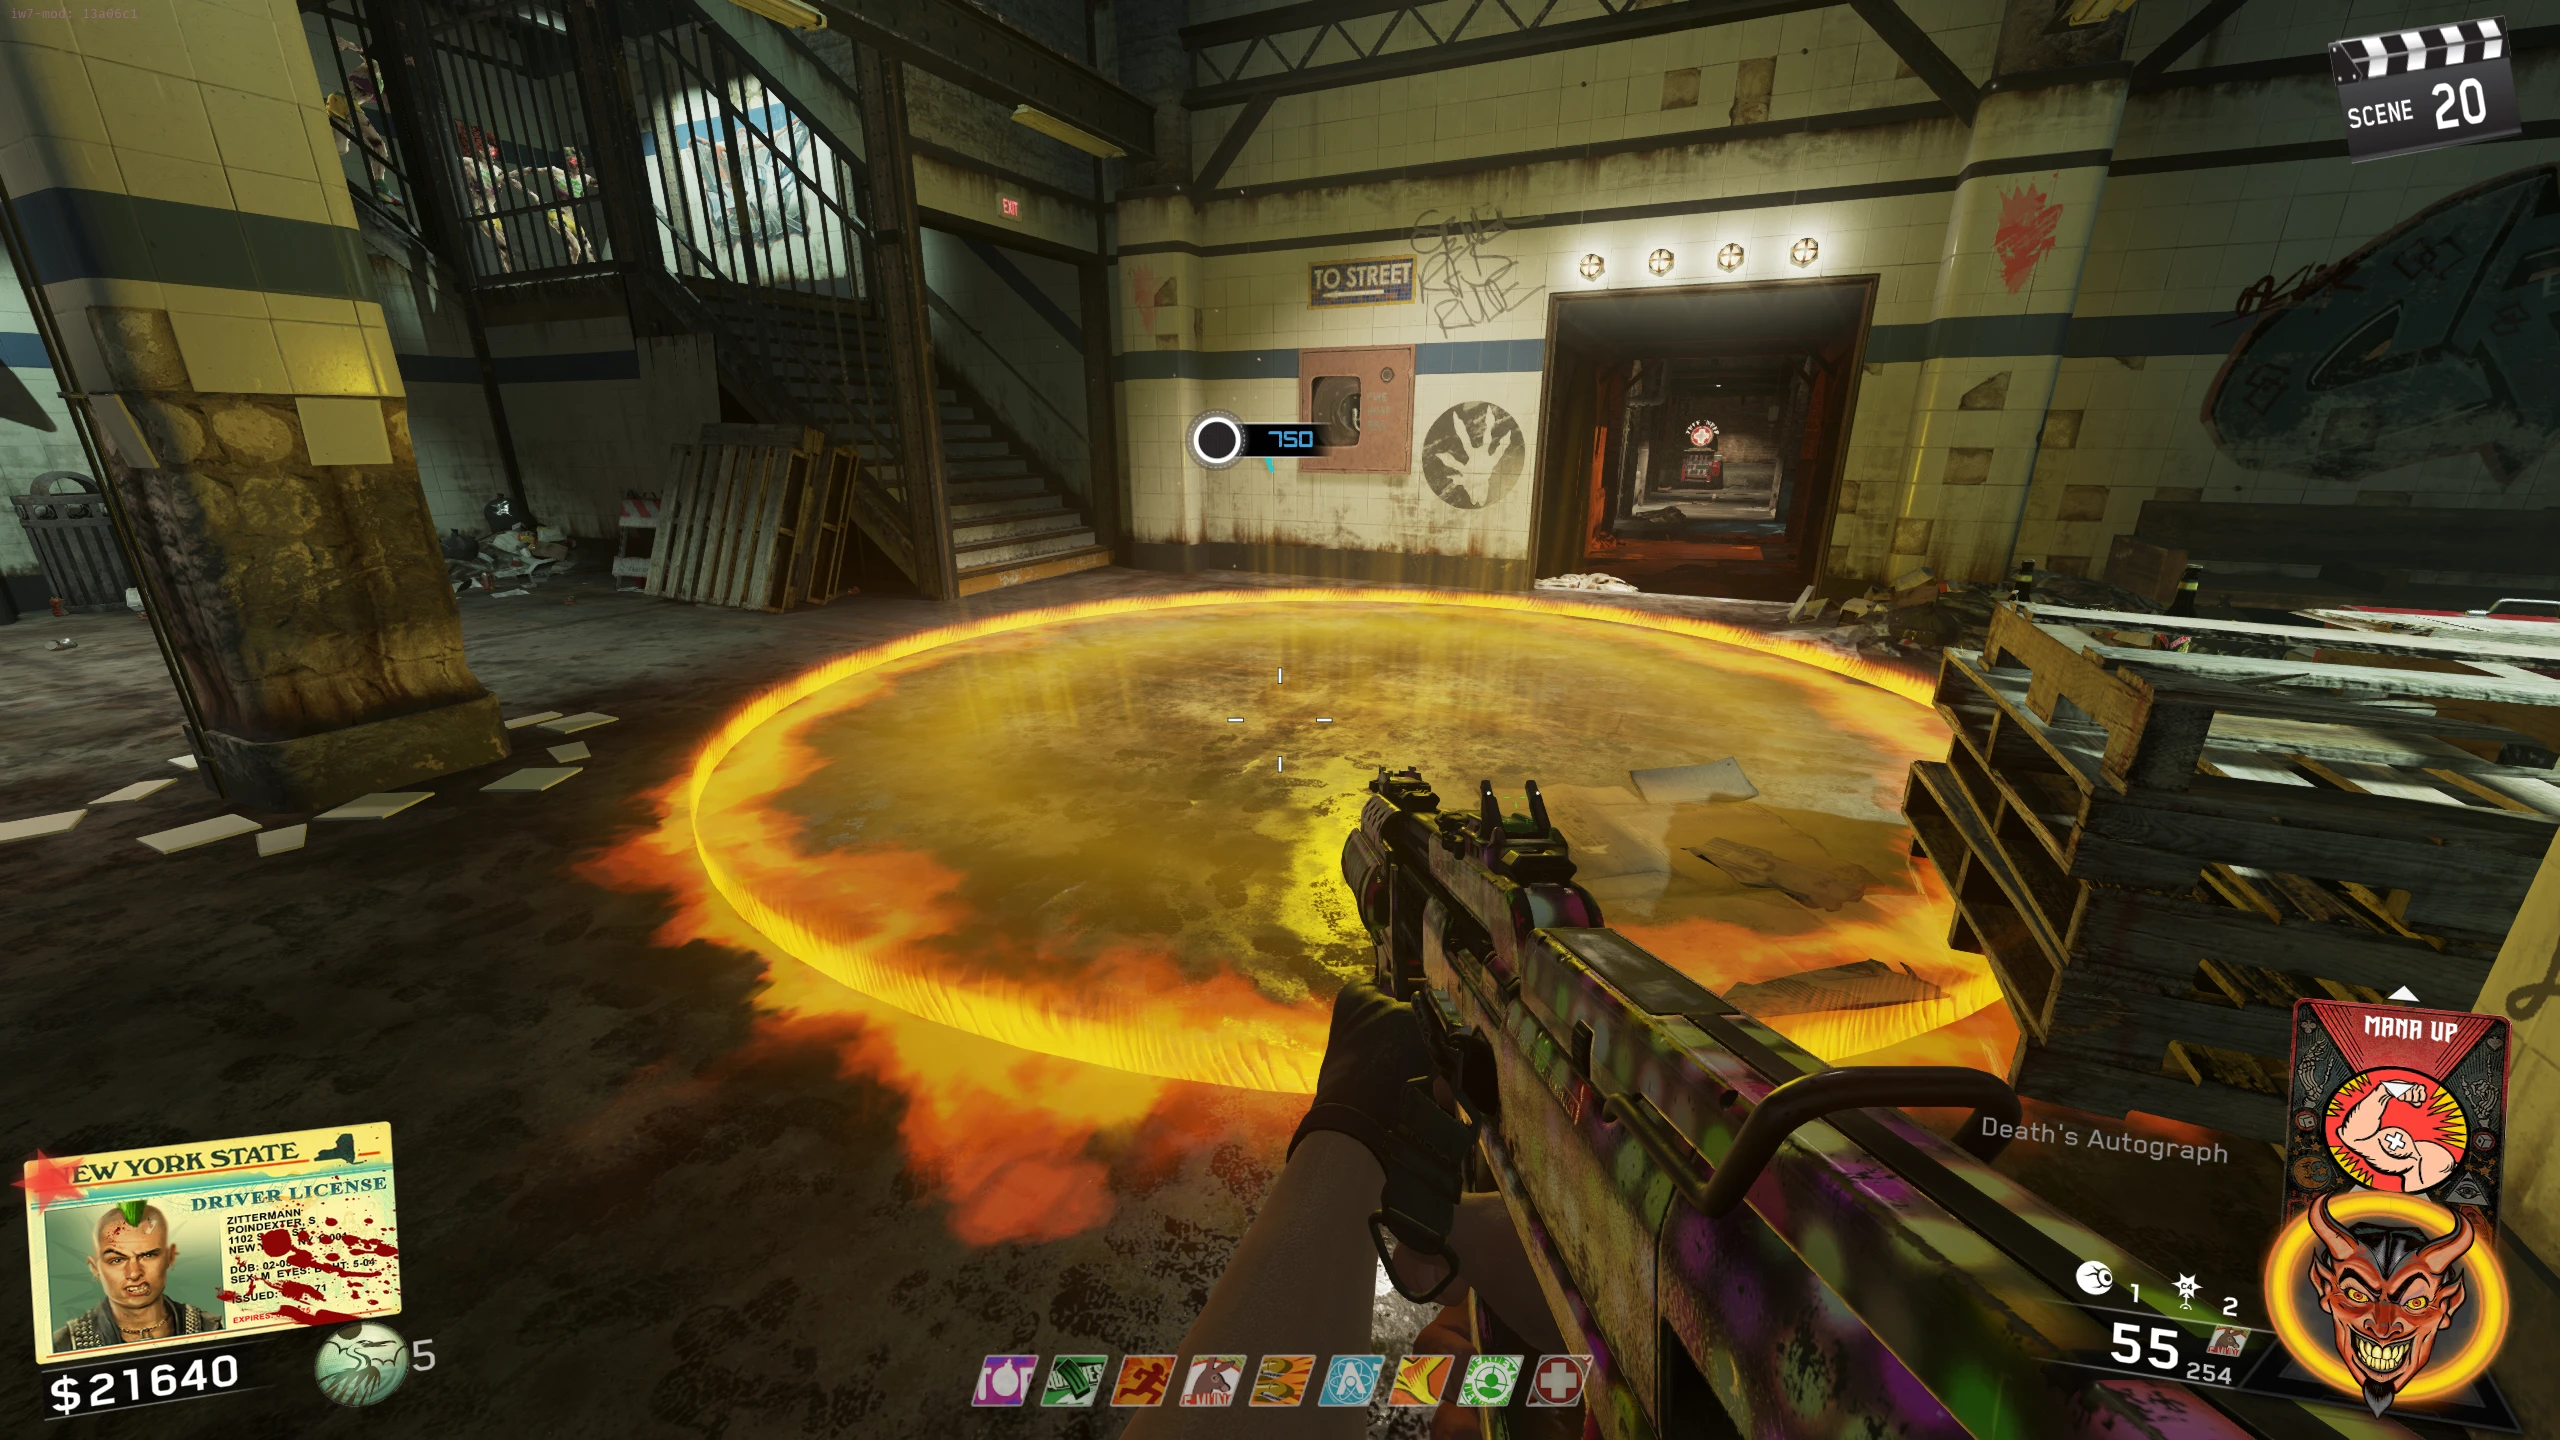
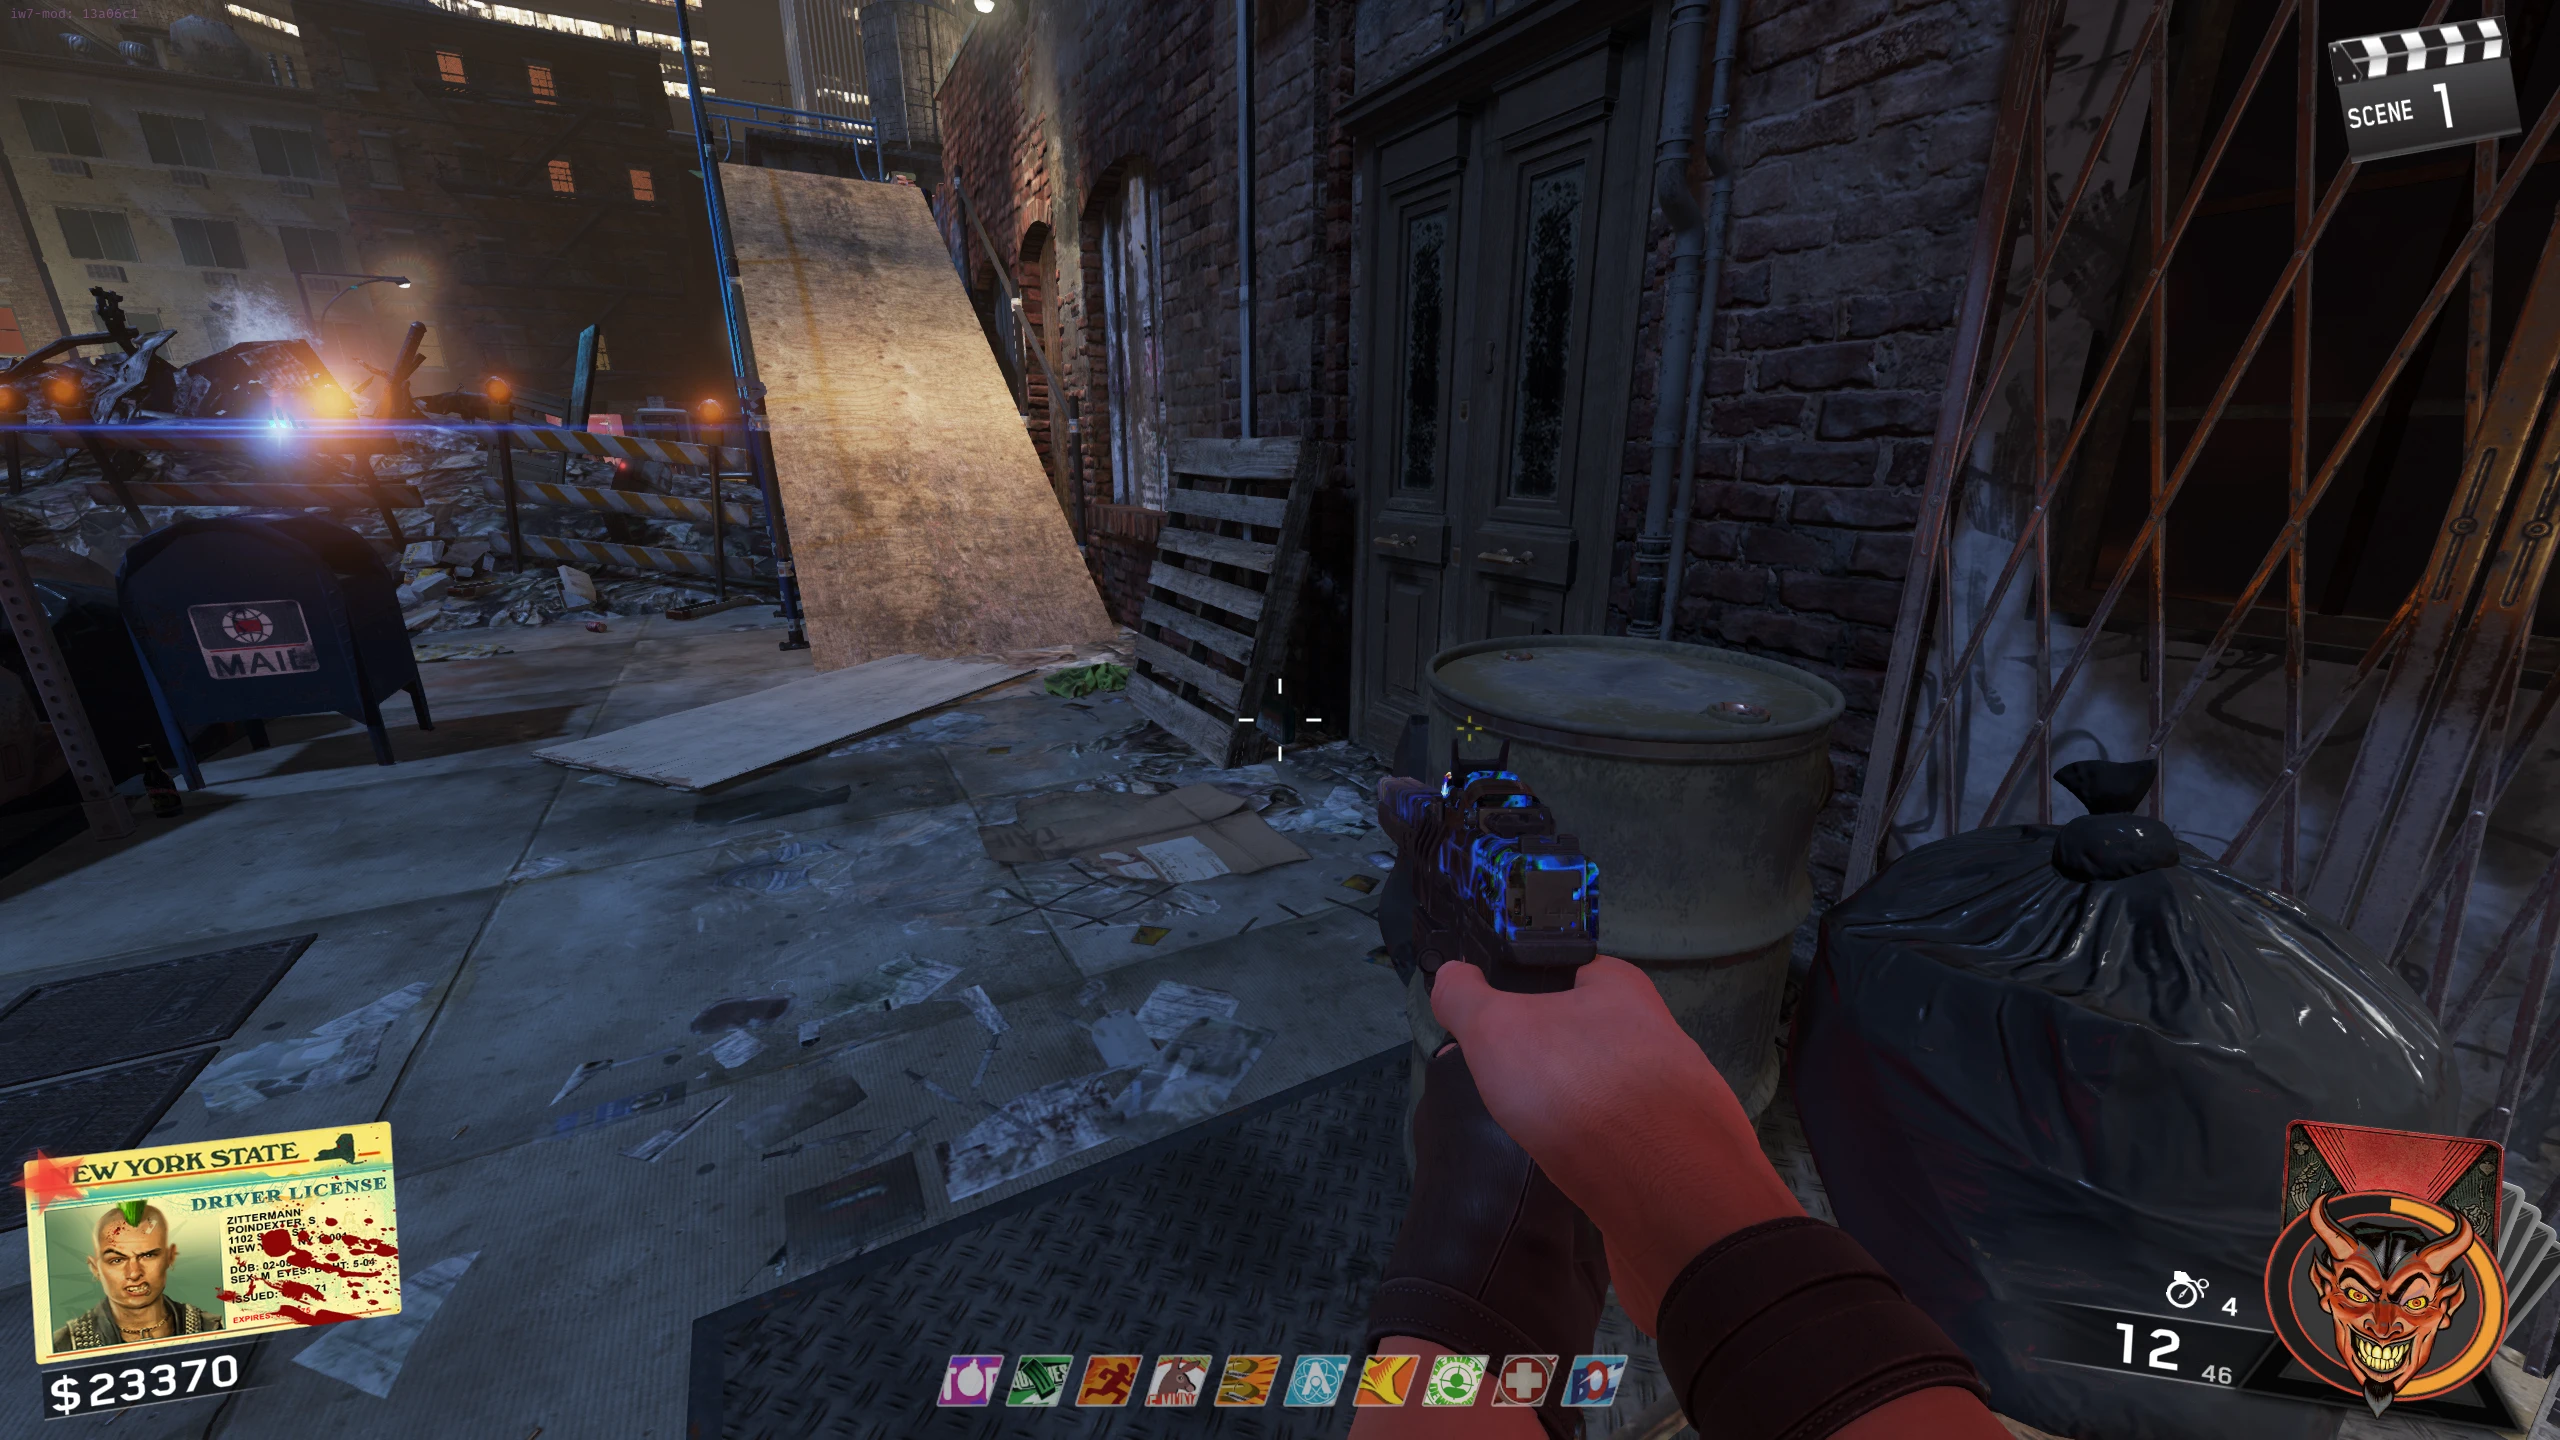
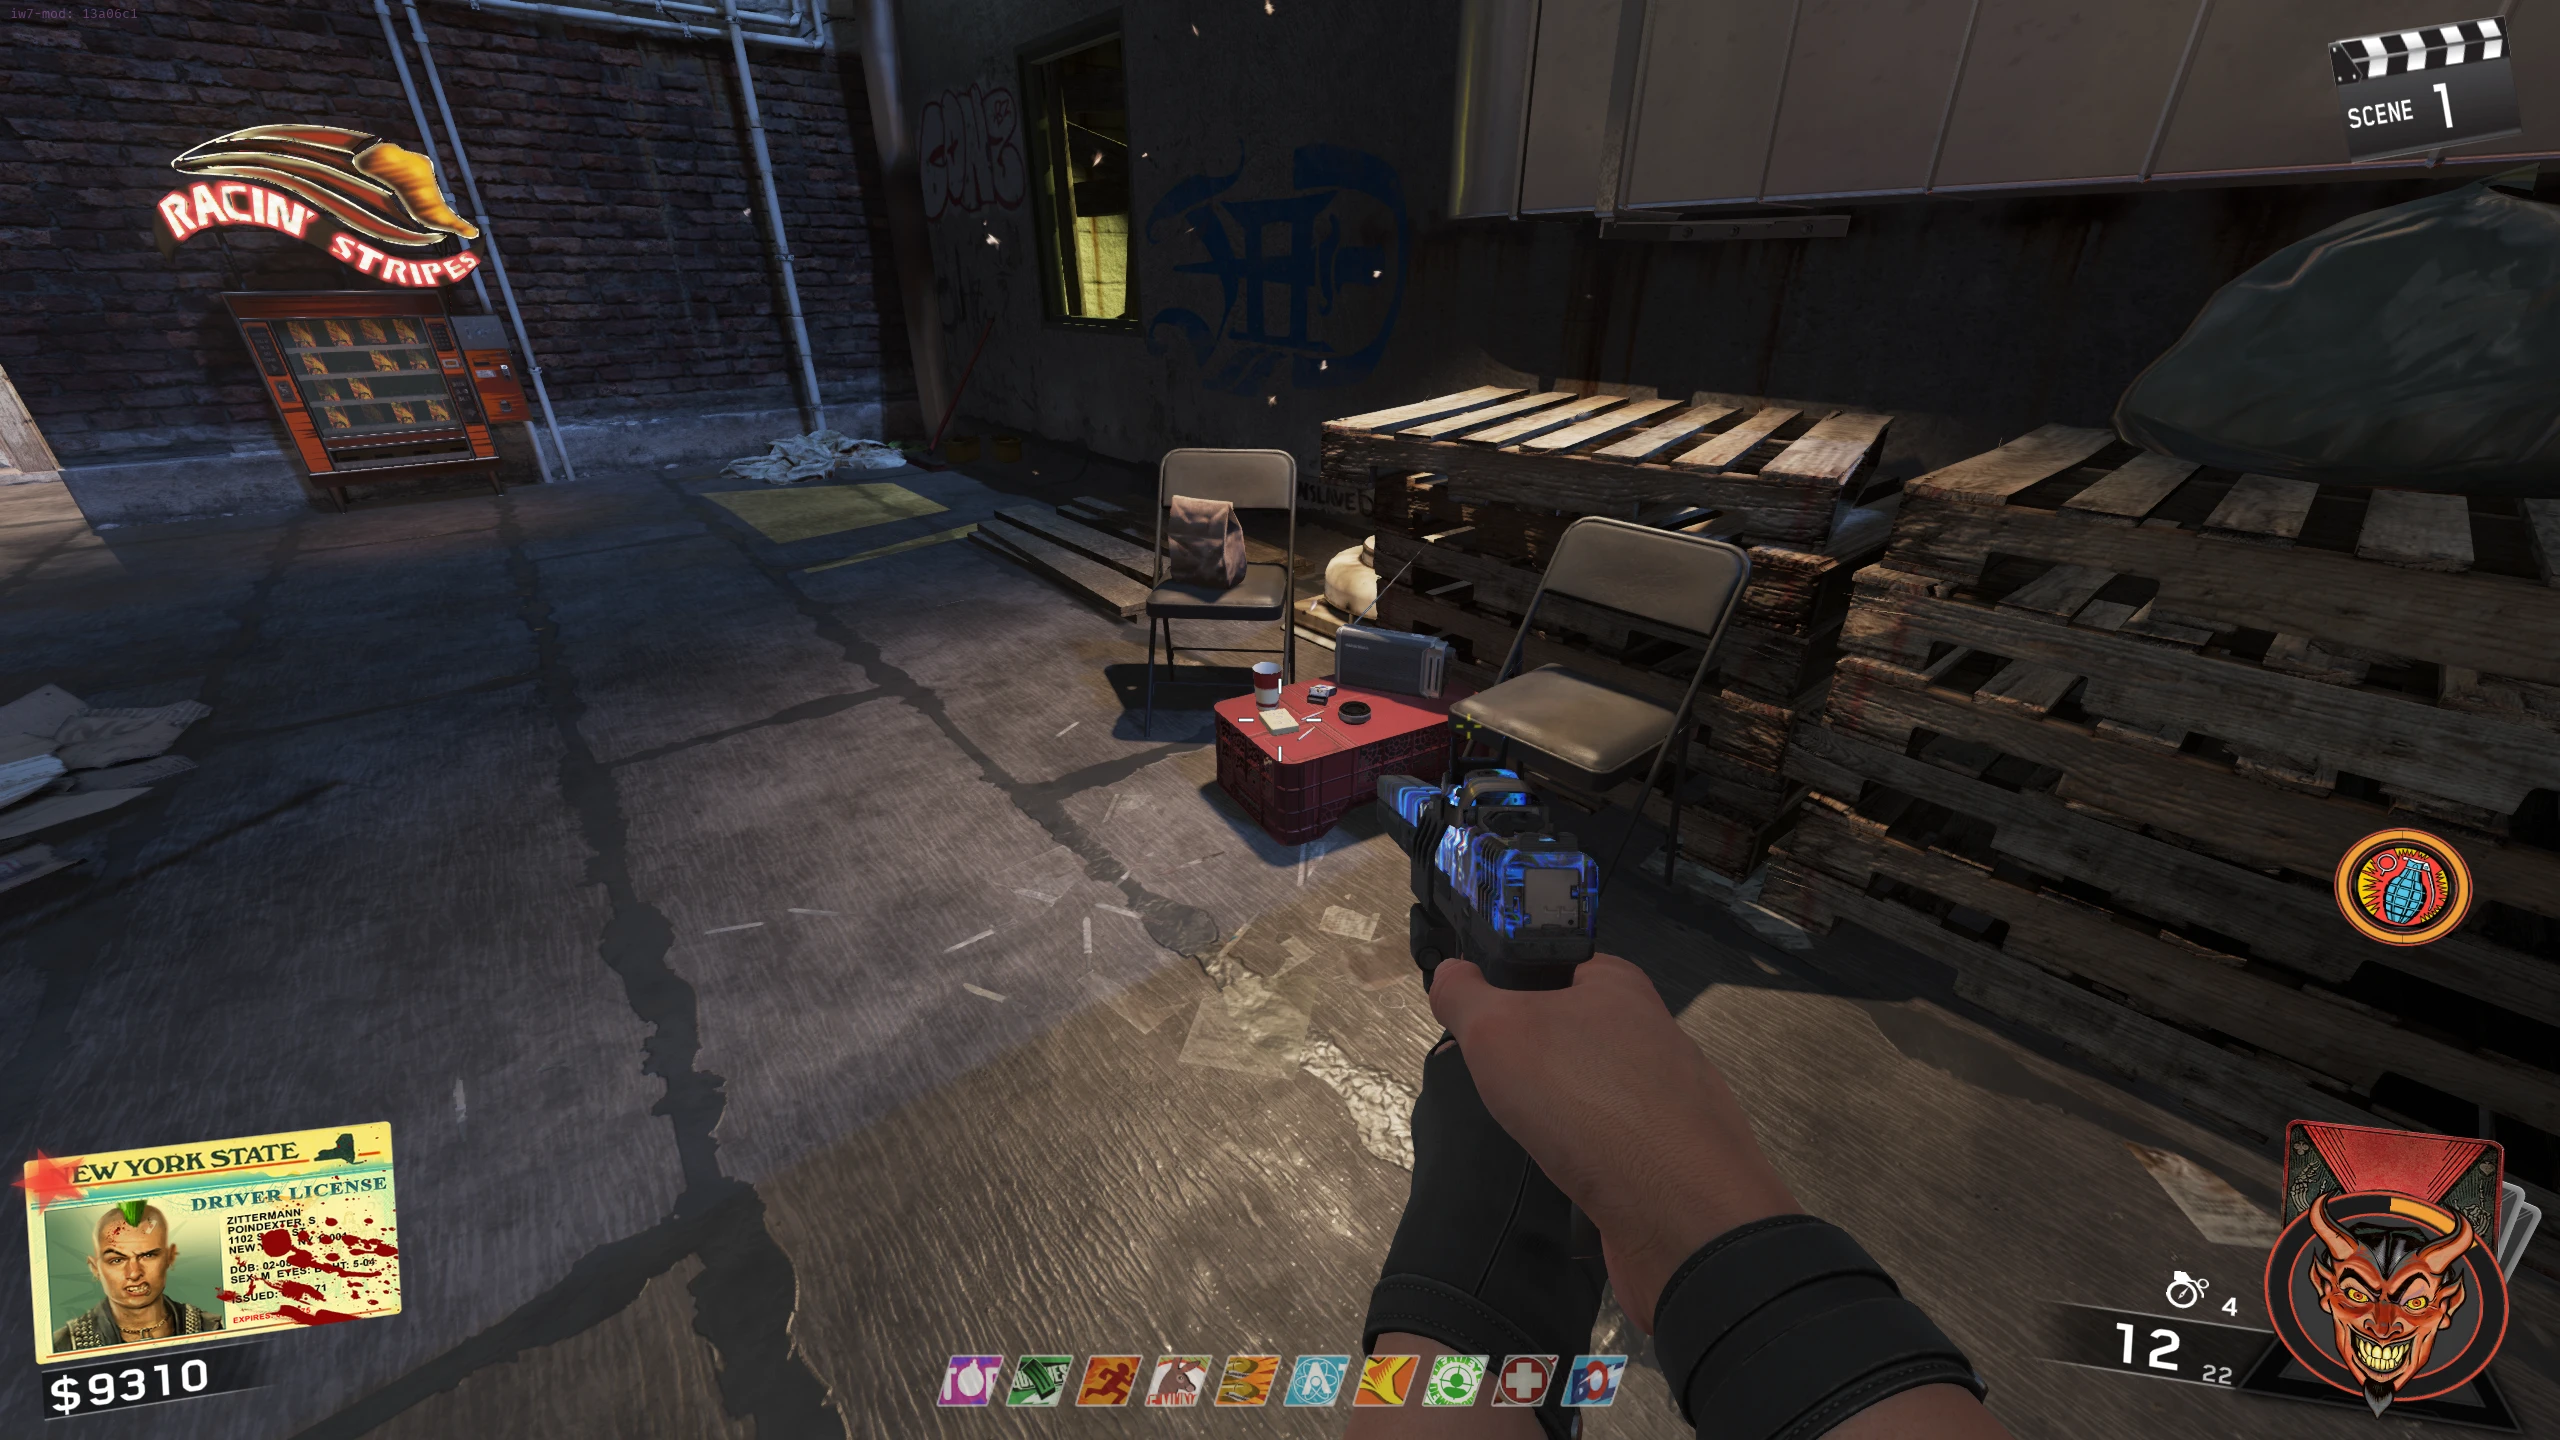
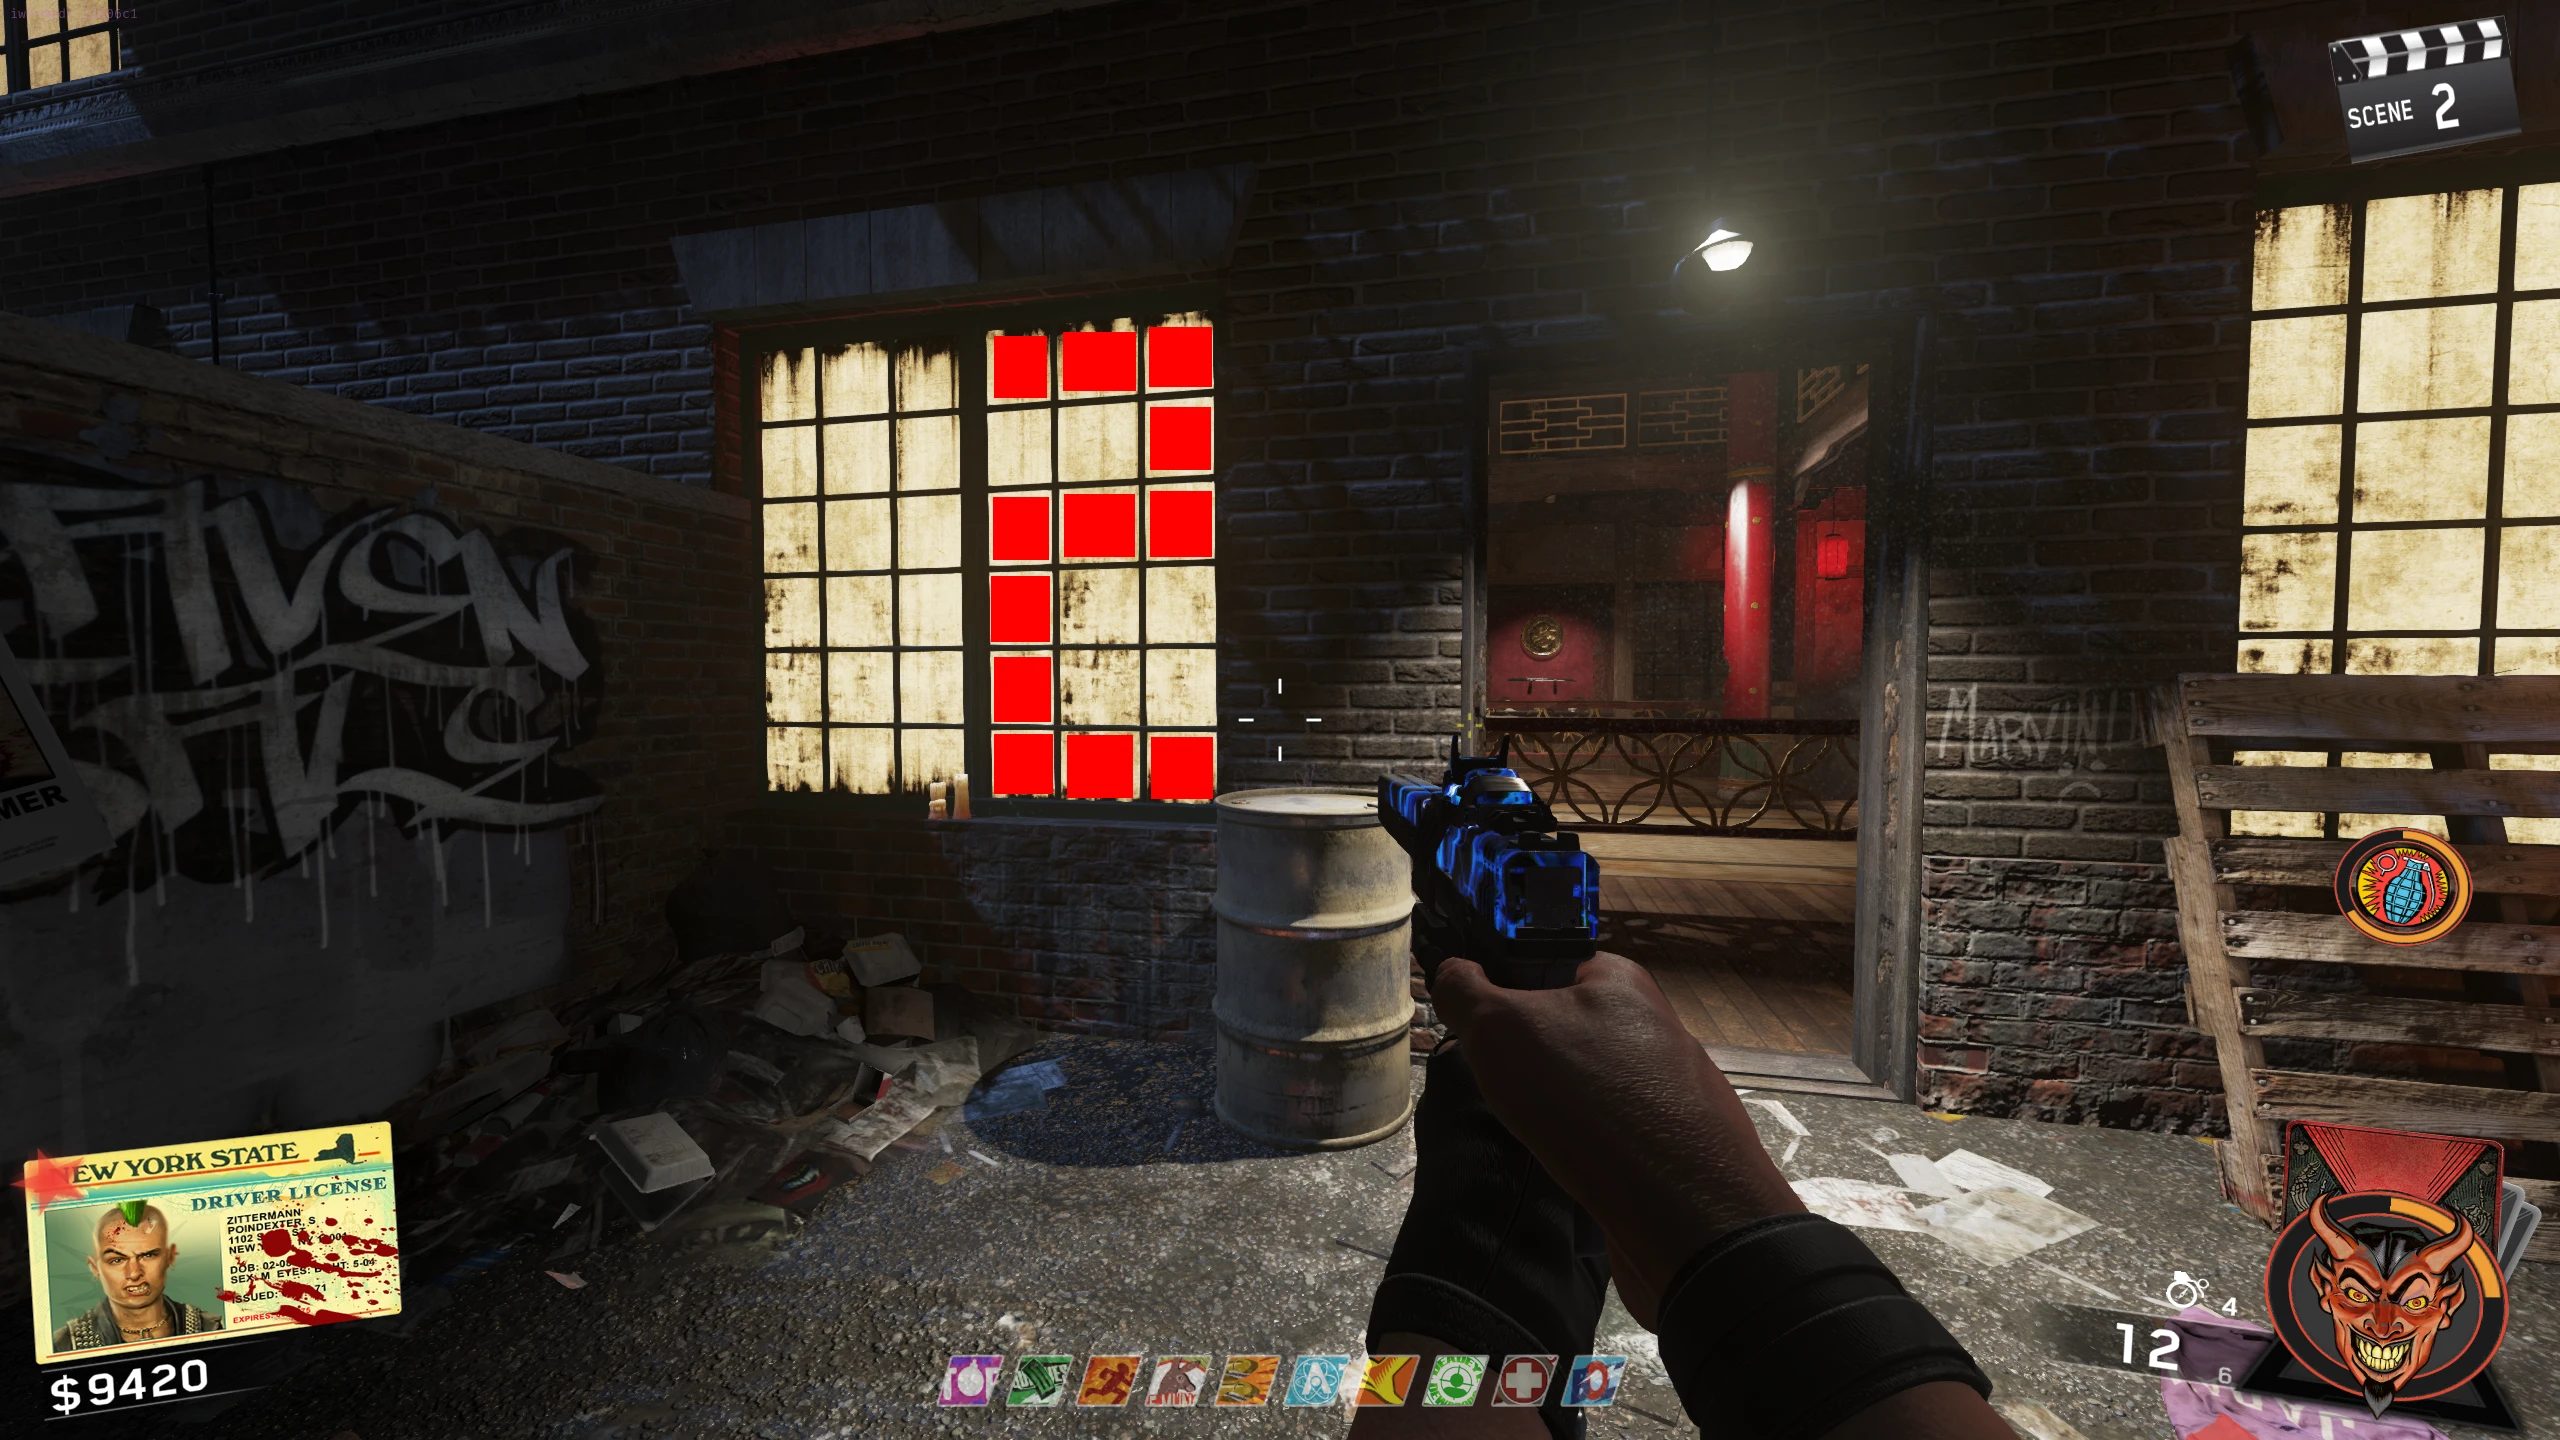
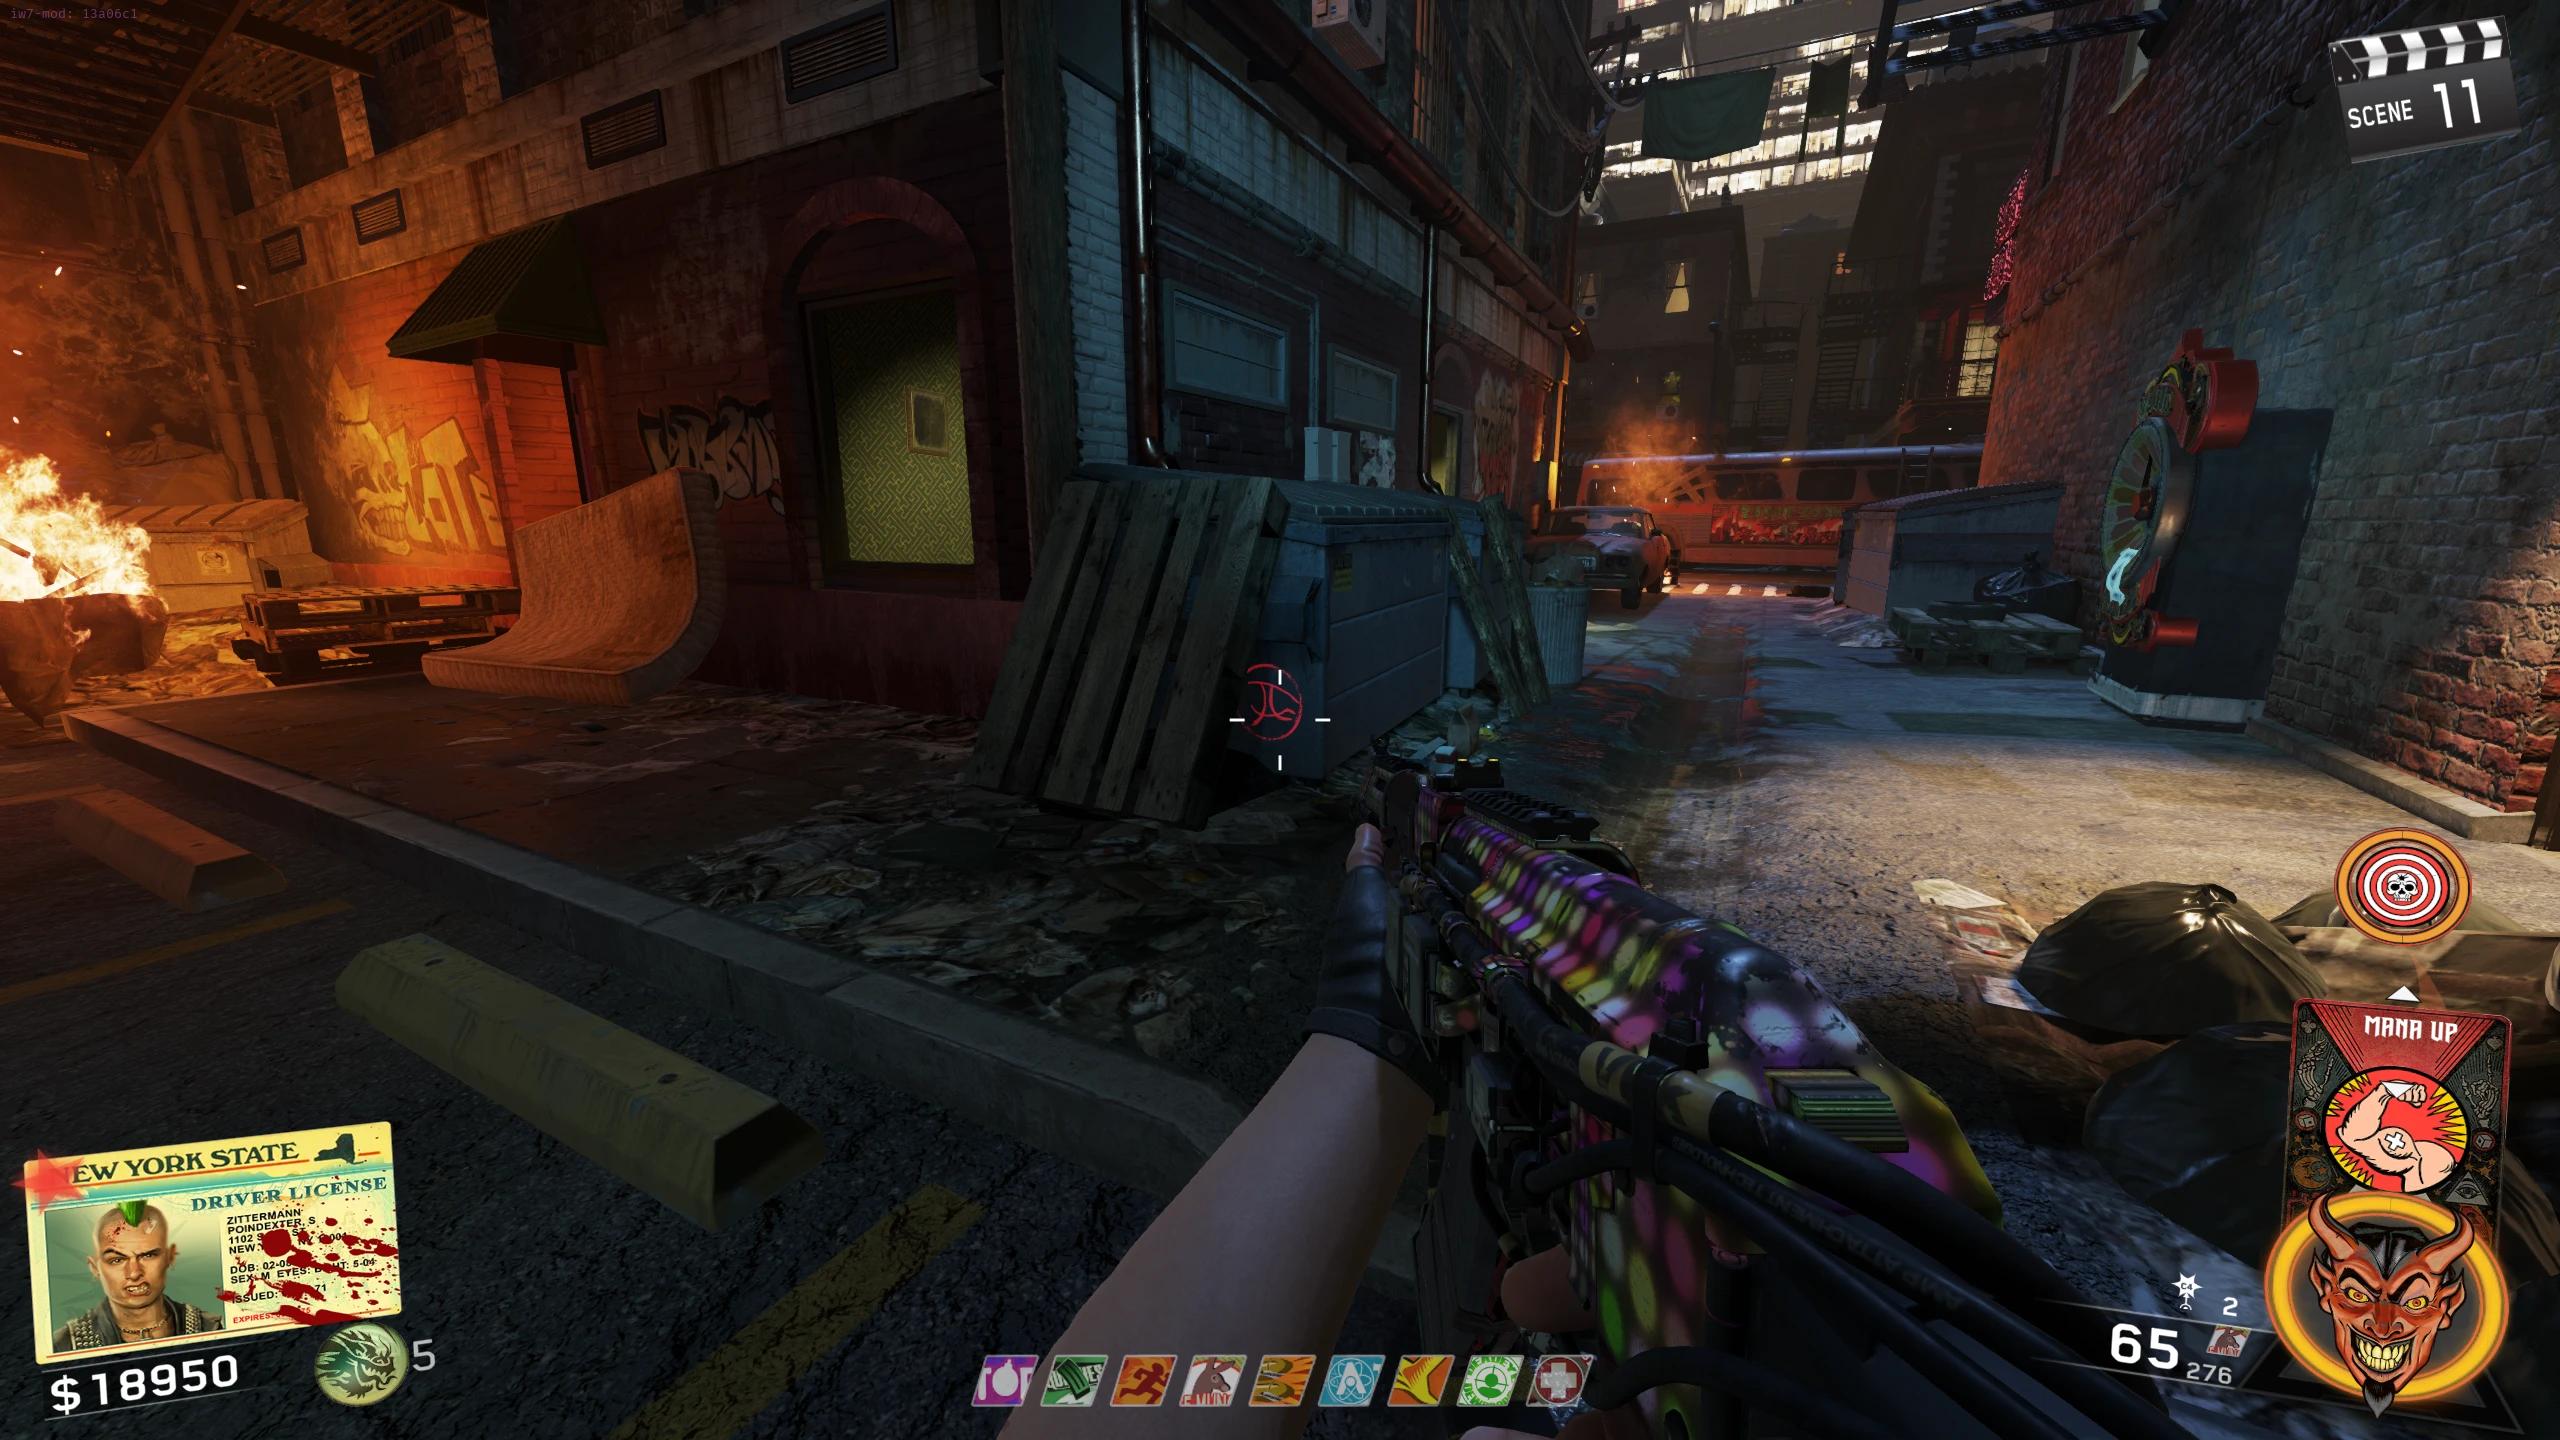
- Climb the wooden ladder in the alley near Mule Munchies and shoot the symbol in the window. After shooting the symbol, the window will close and a glowing circle will spawn somewhere around the map.
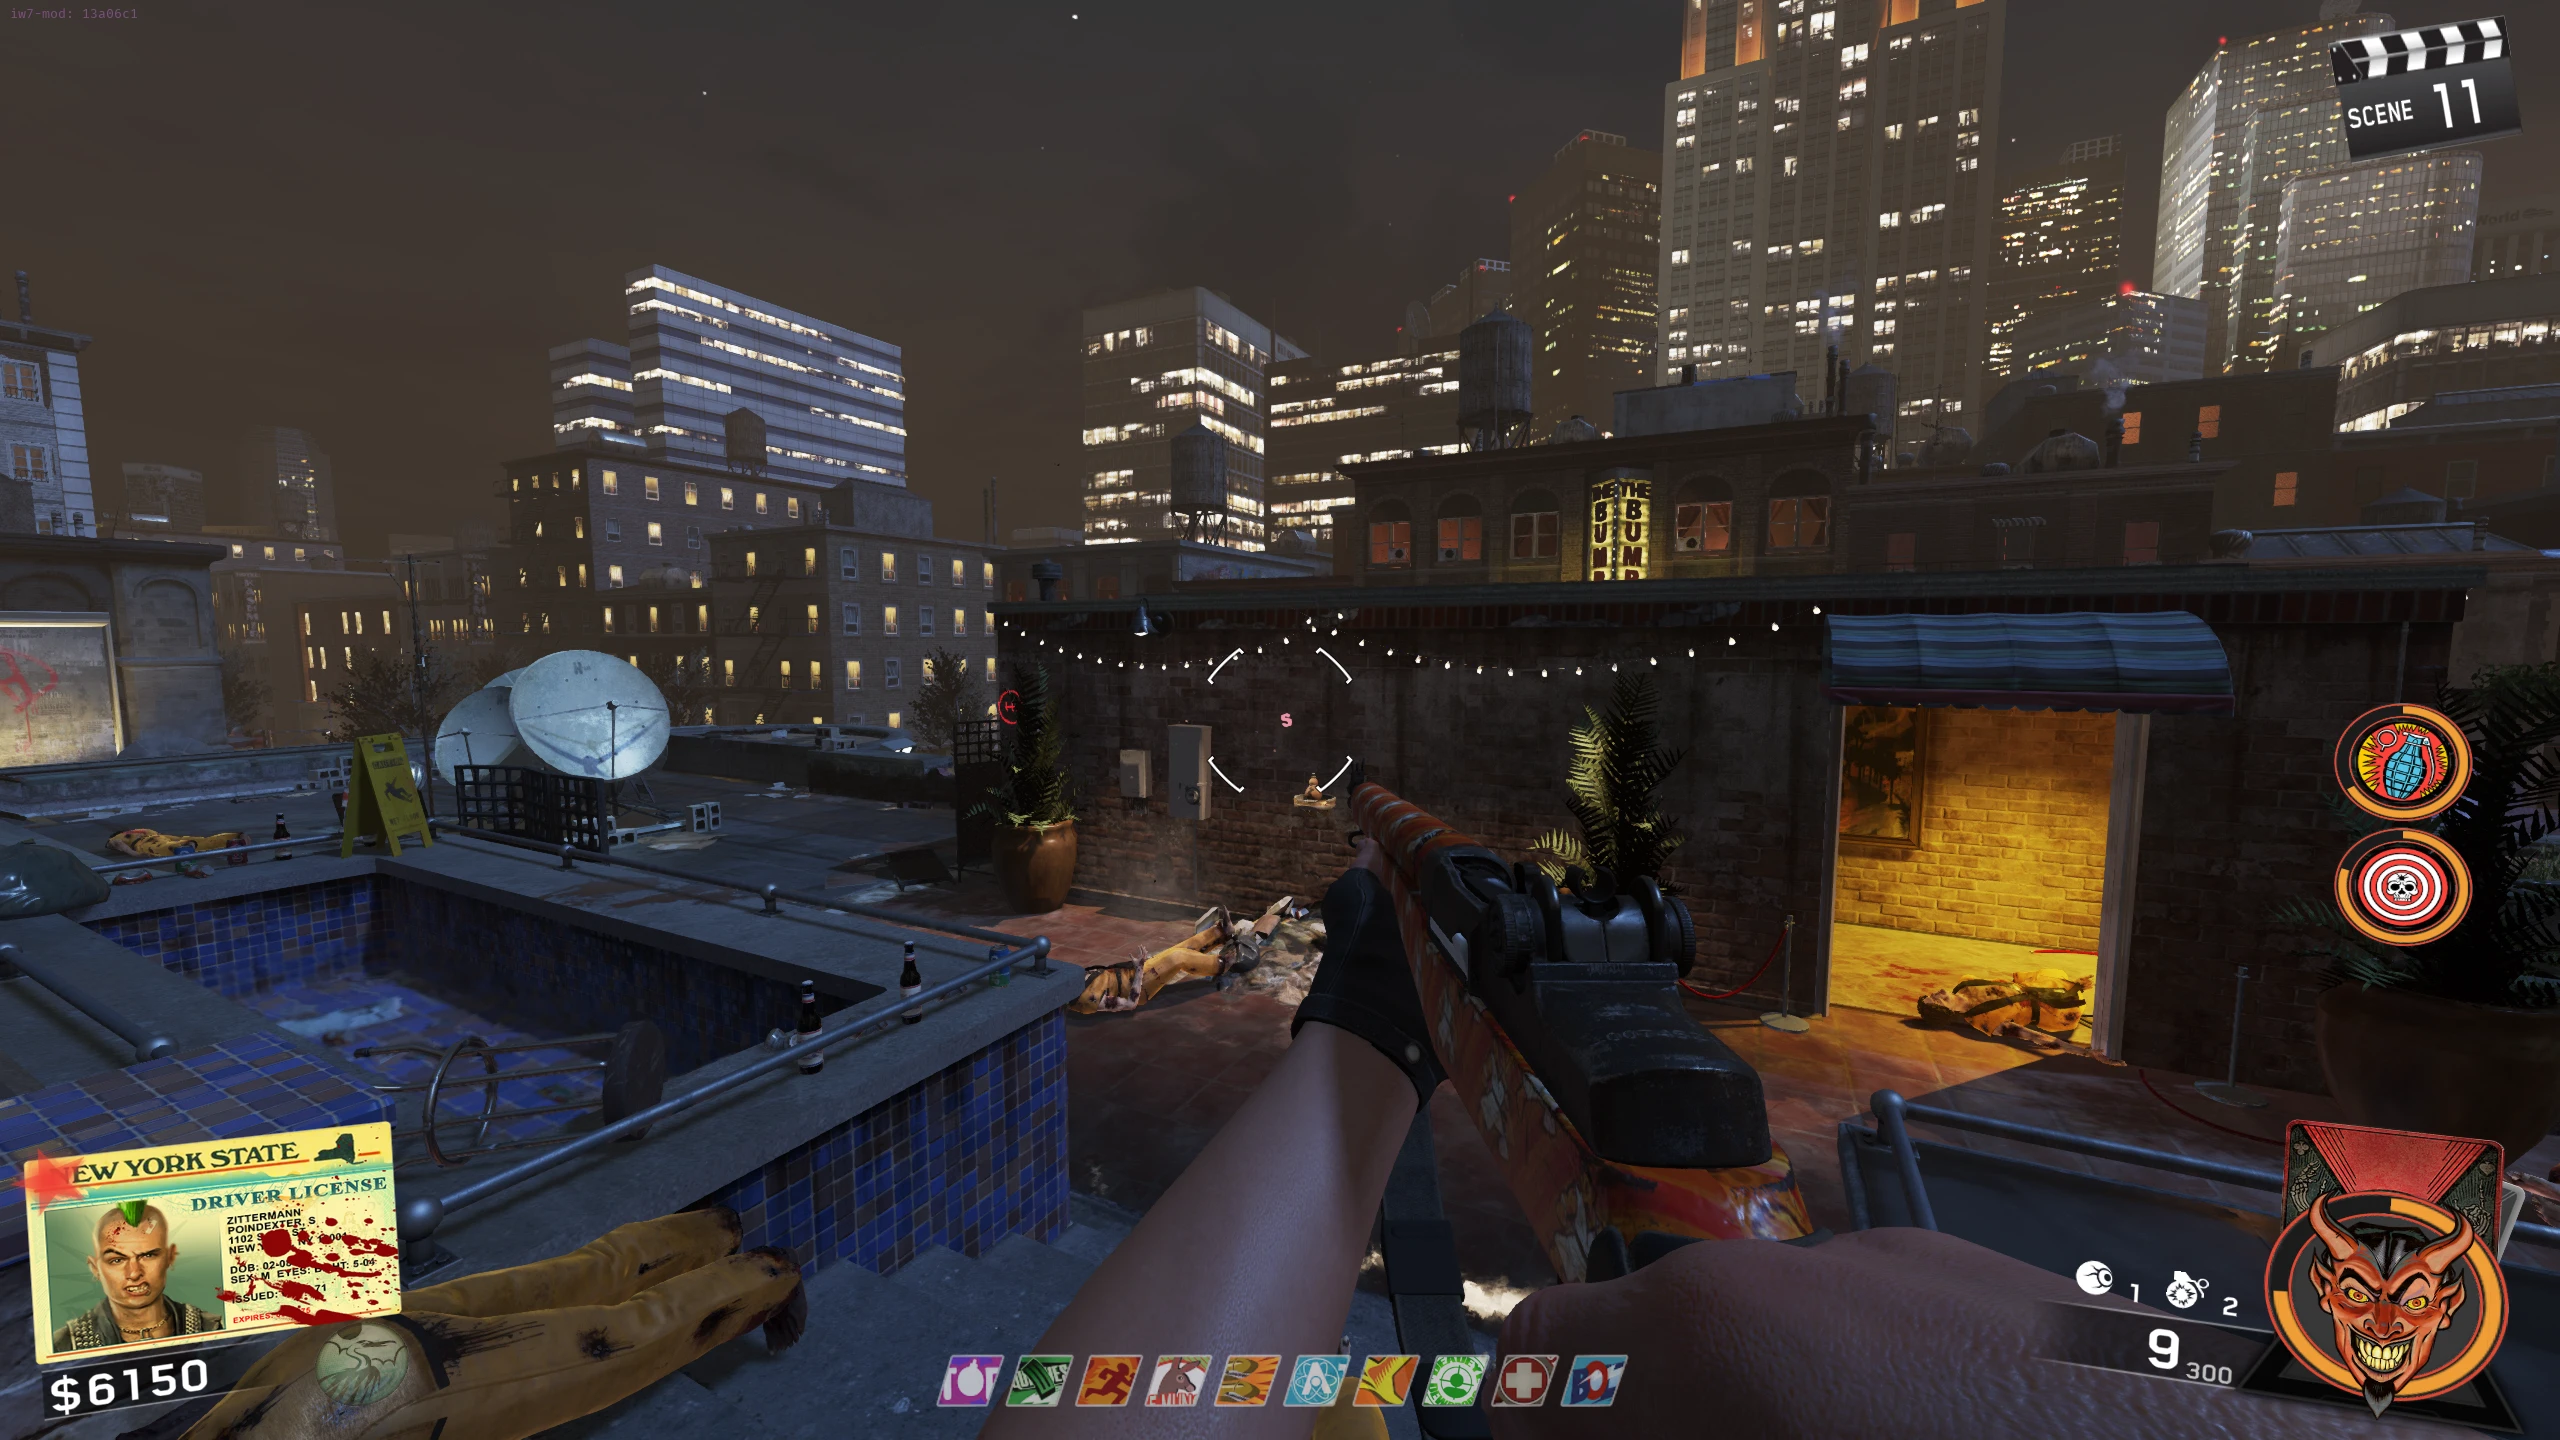
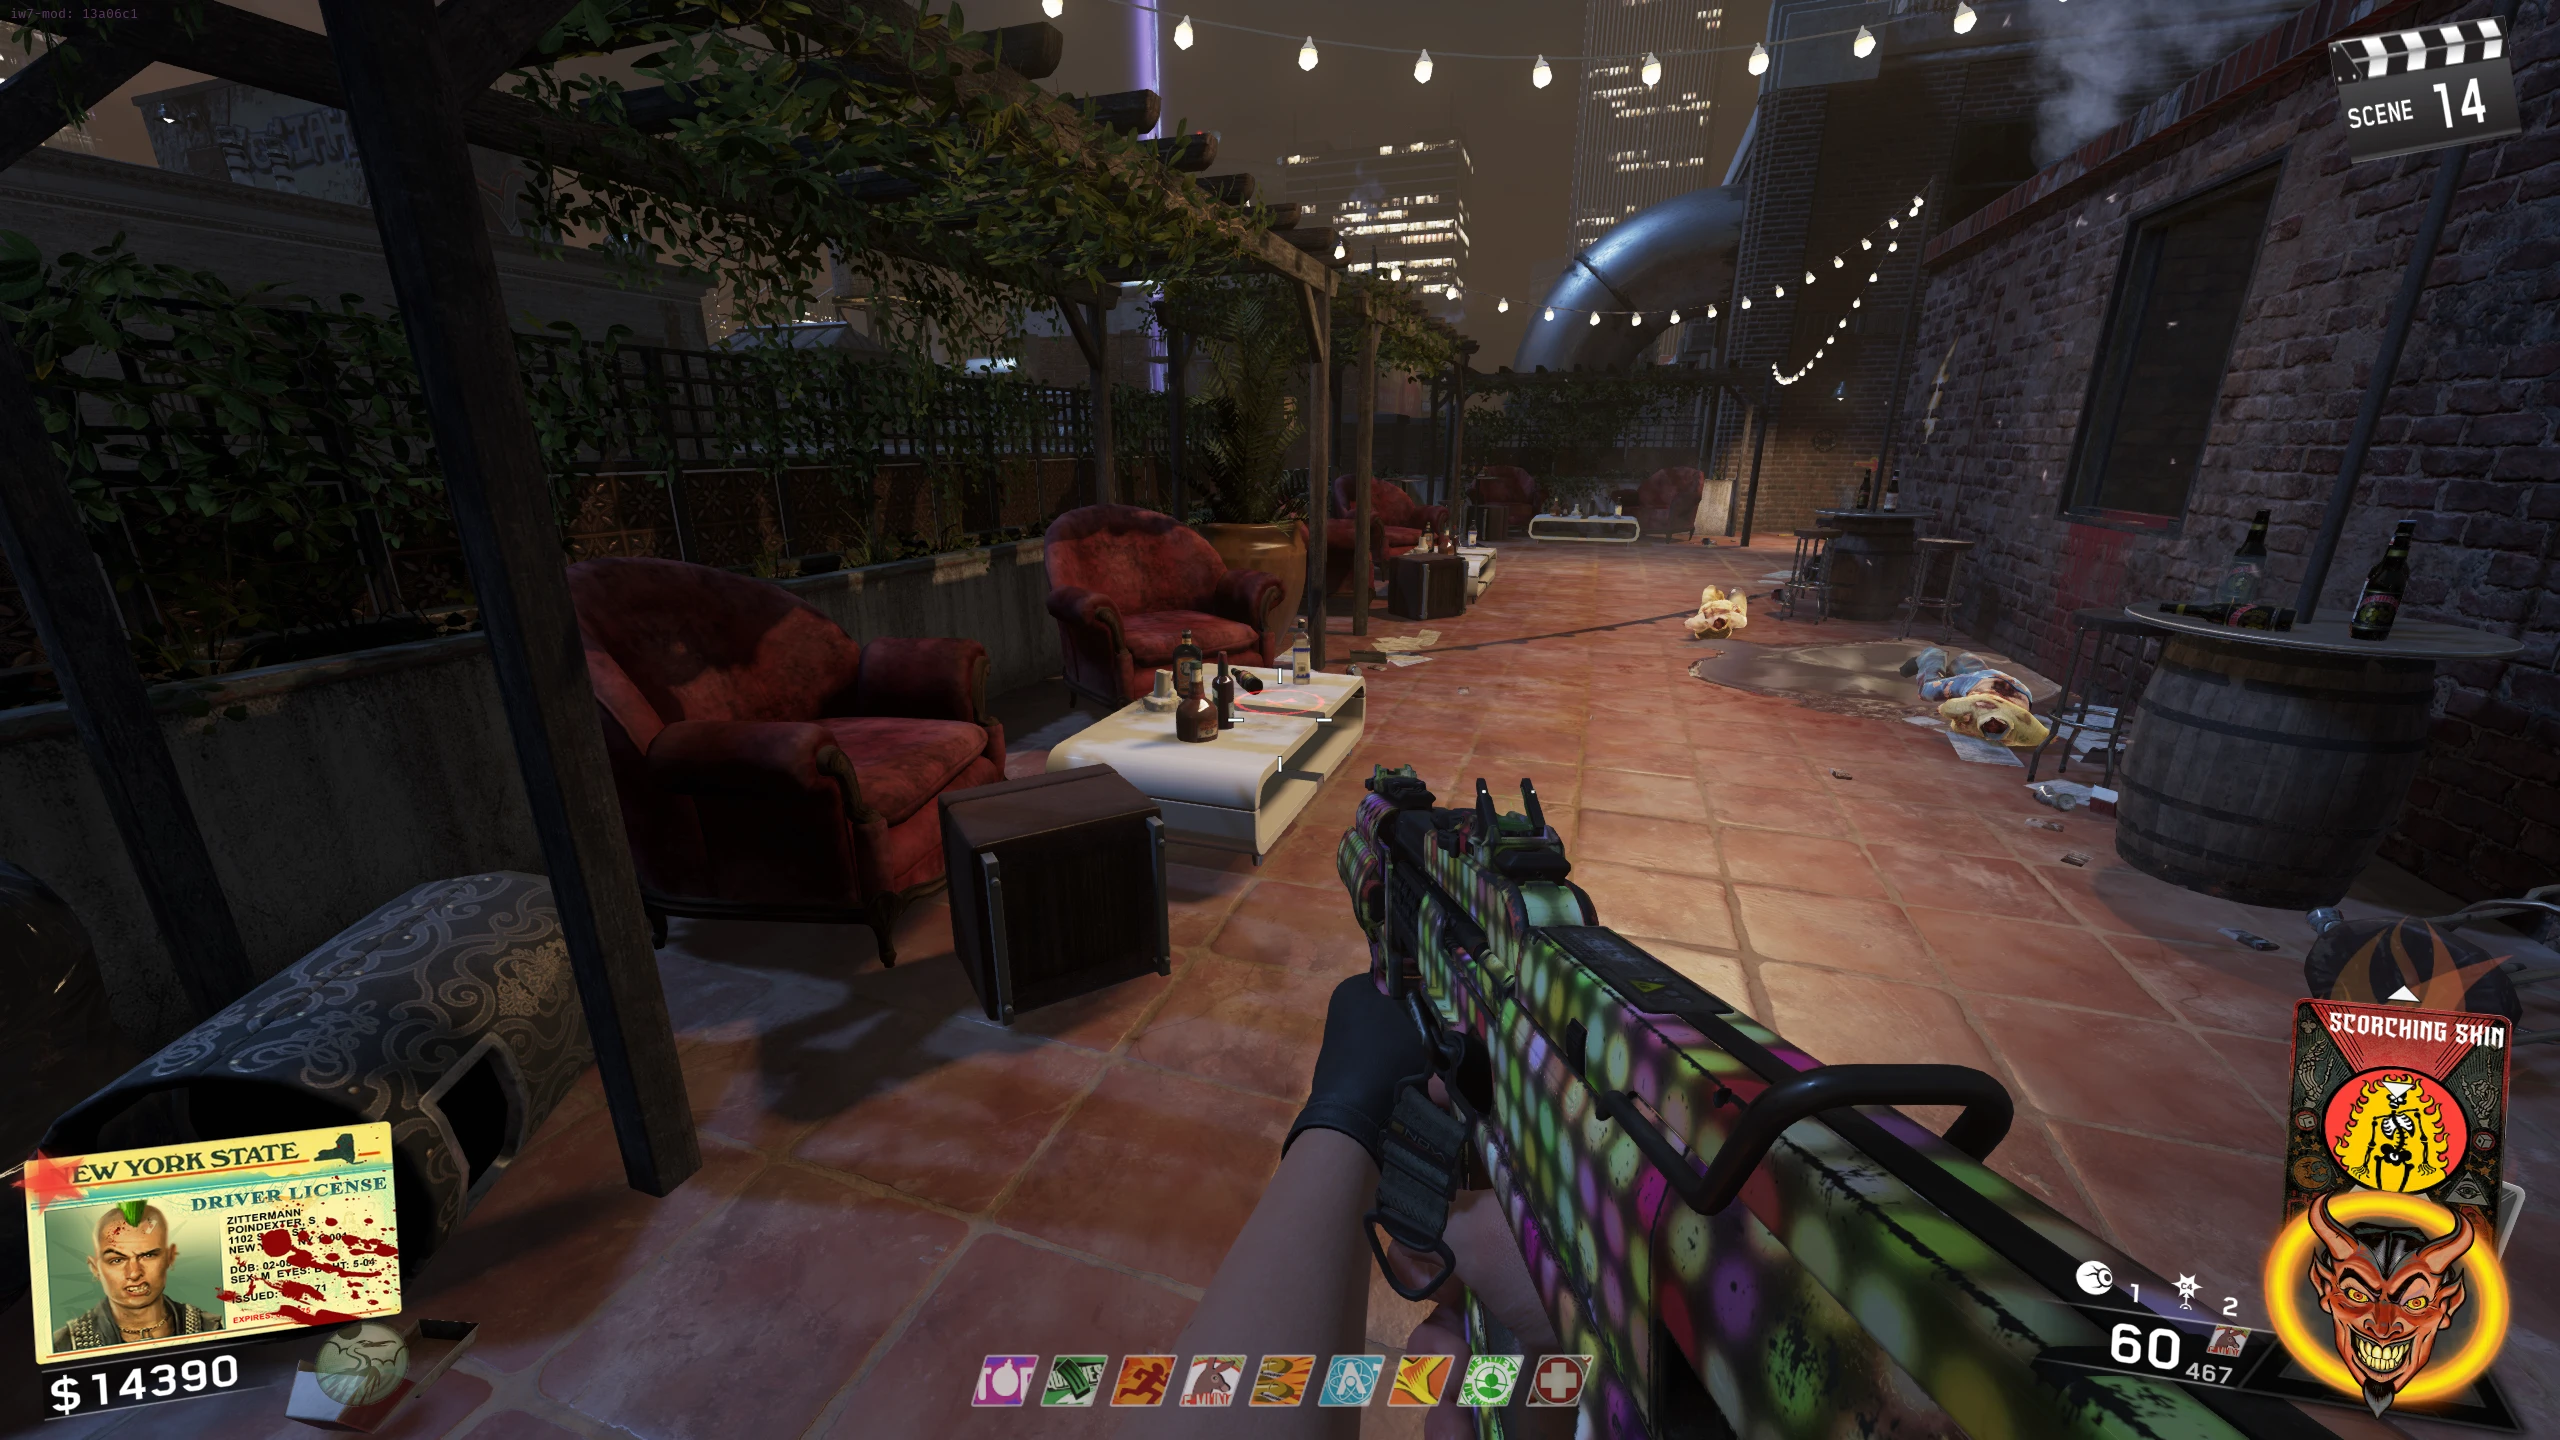
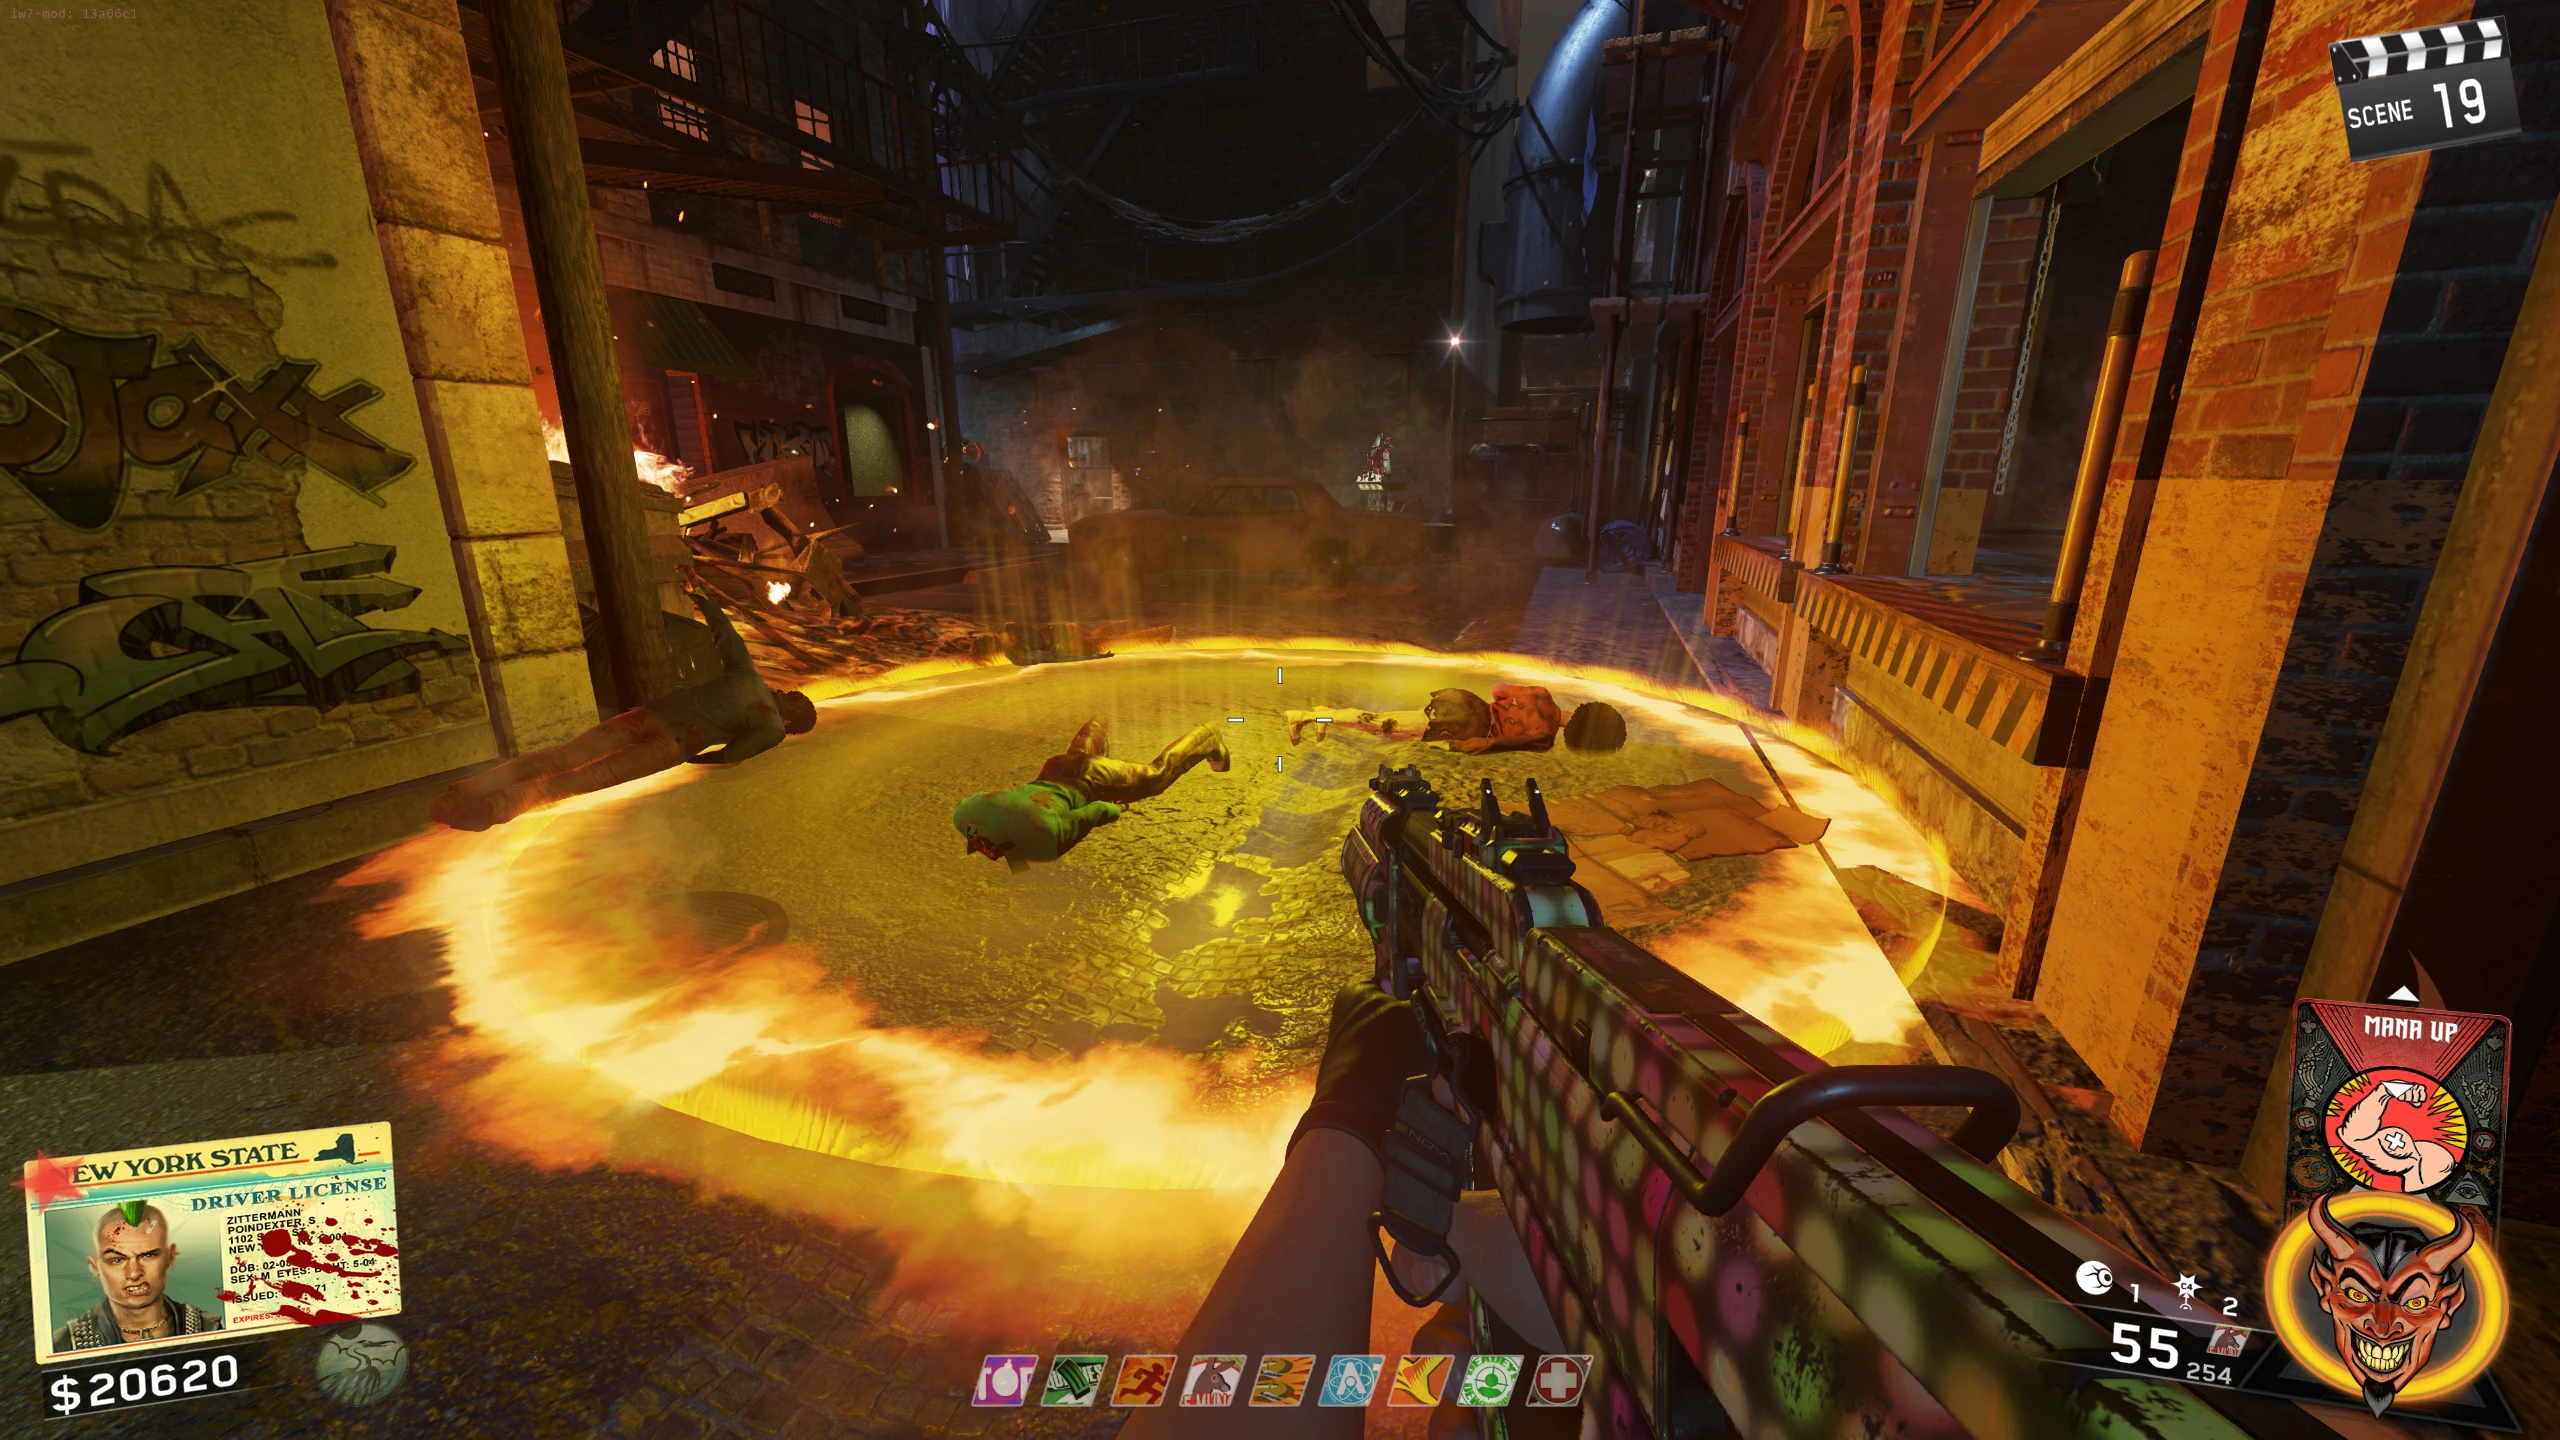
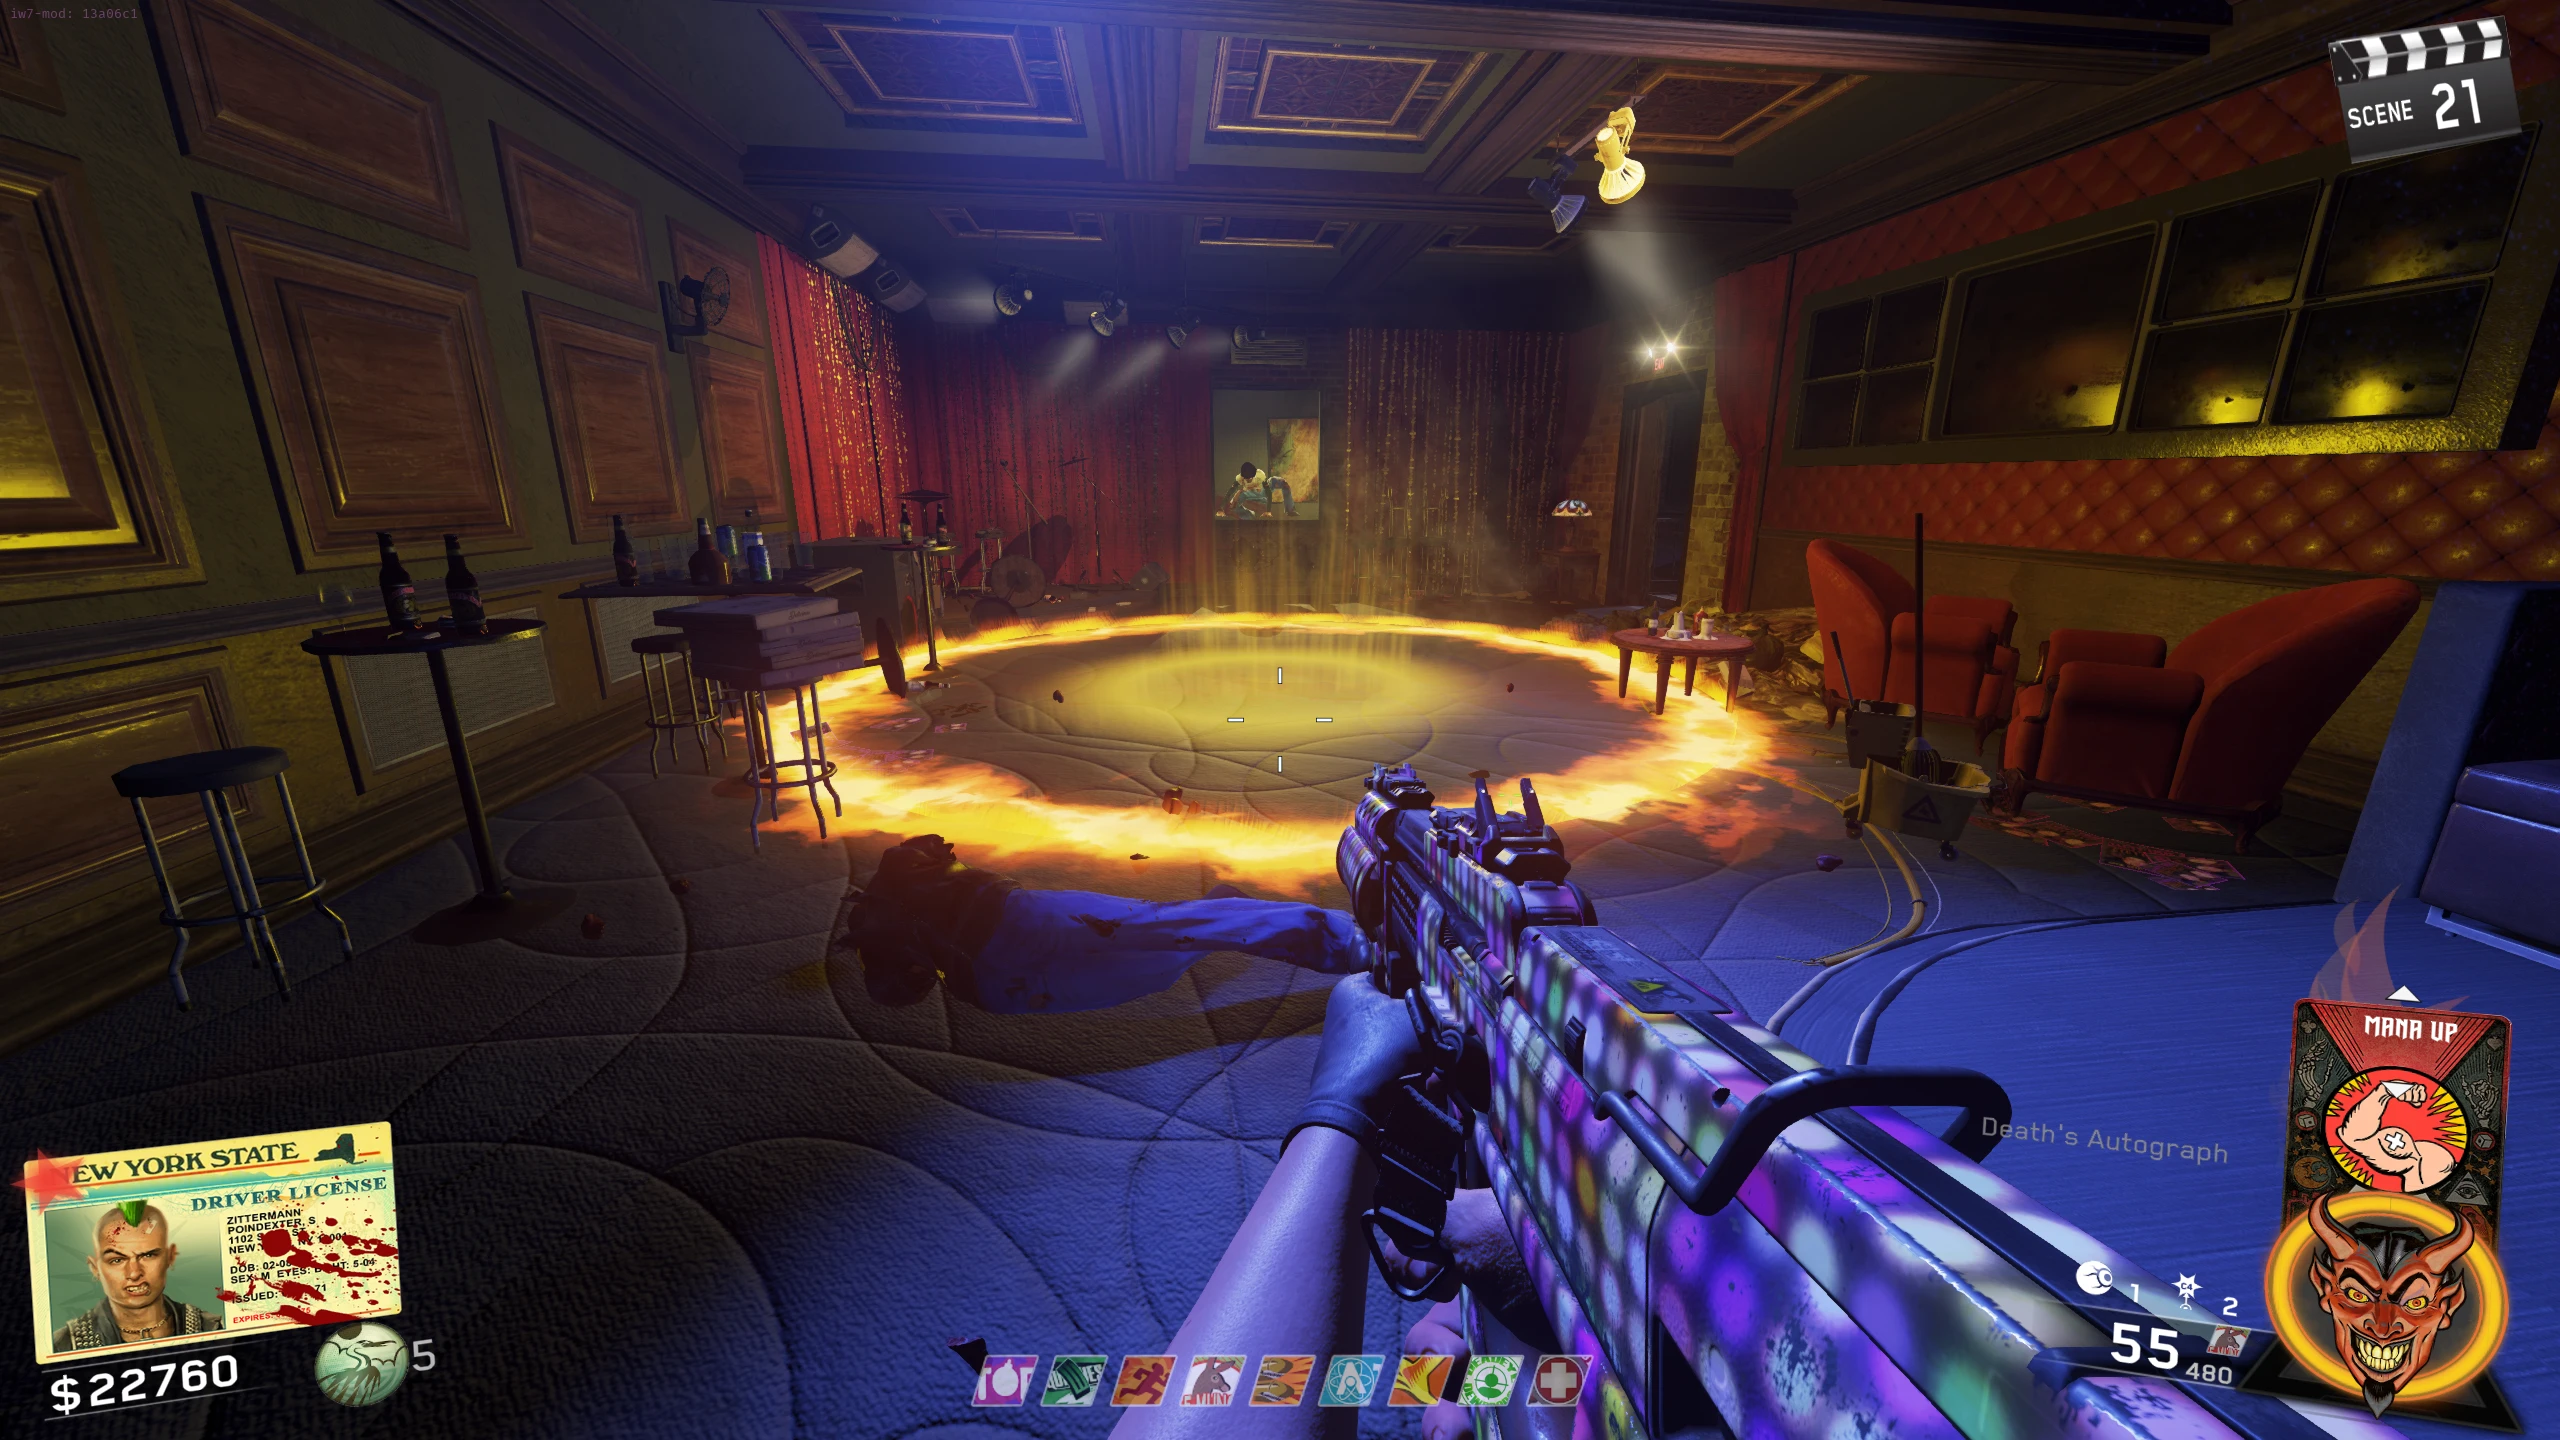
- Kill about 5-10 Zombies while THEY are inside the glowing circle to make it disappear. Find the next circle and repeat until you hear a gong. Circle locations:
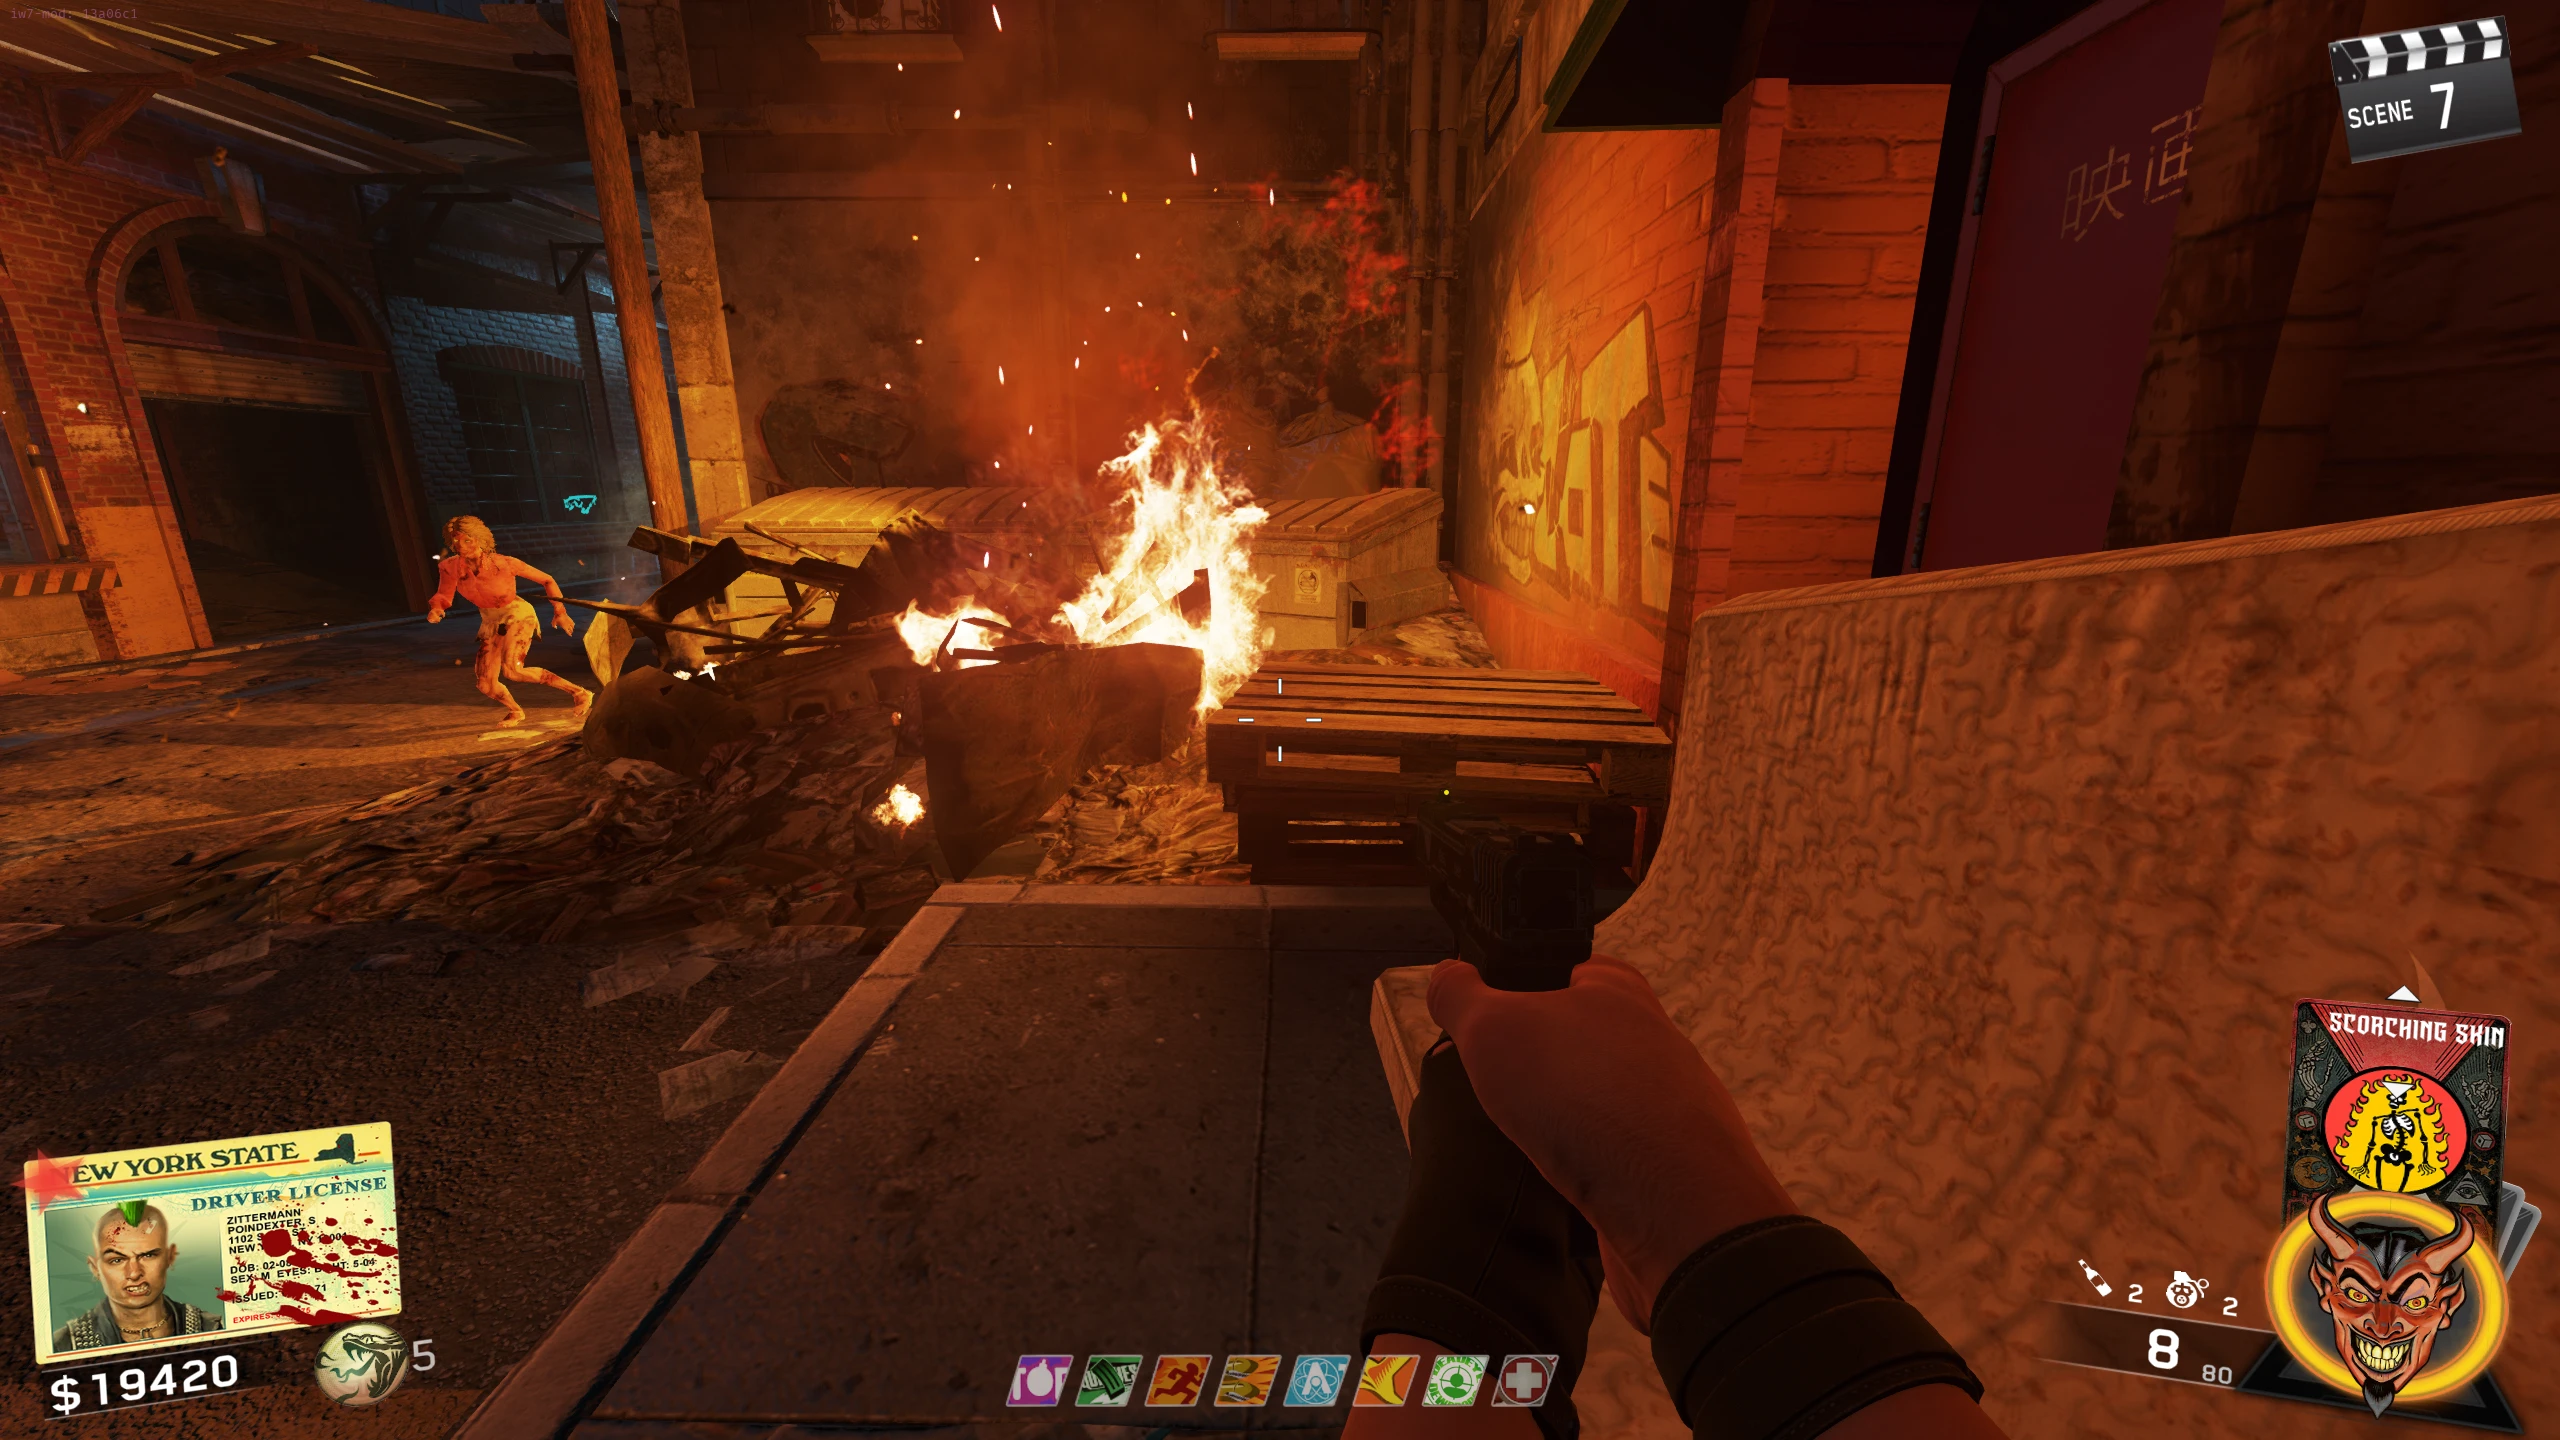
- In the Mule Munchies/Bombstoppers Alley
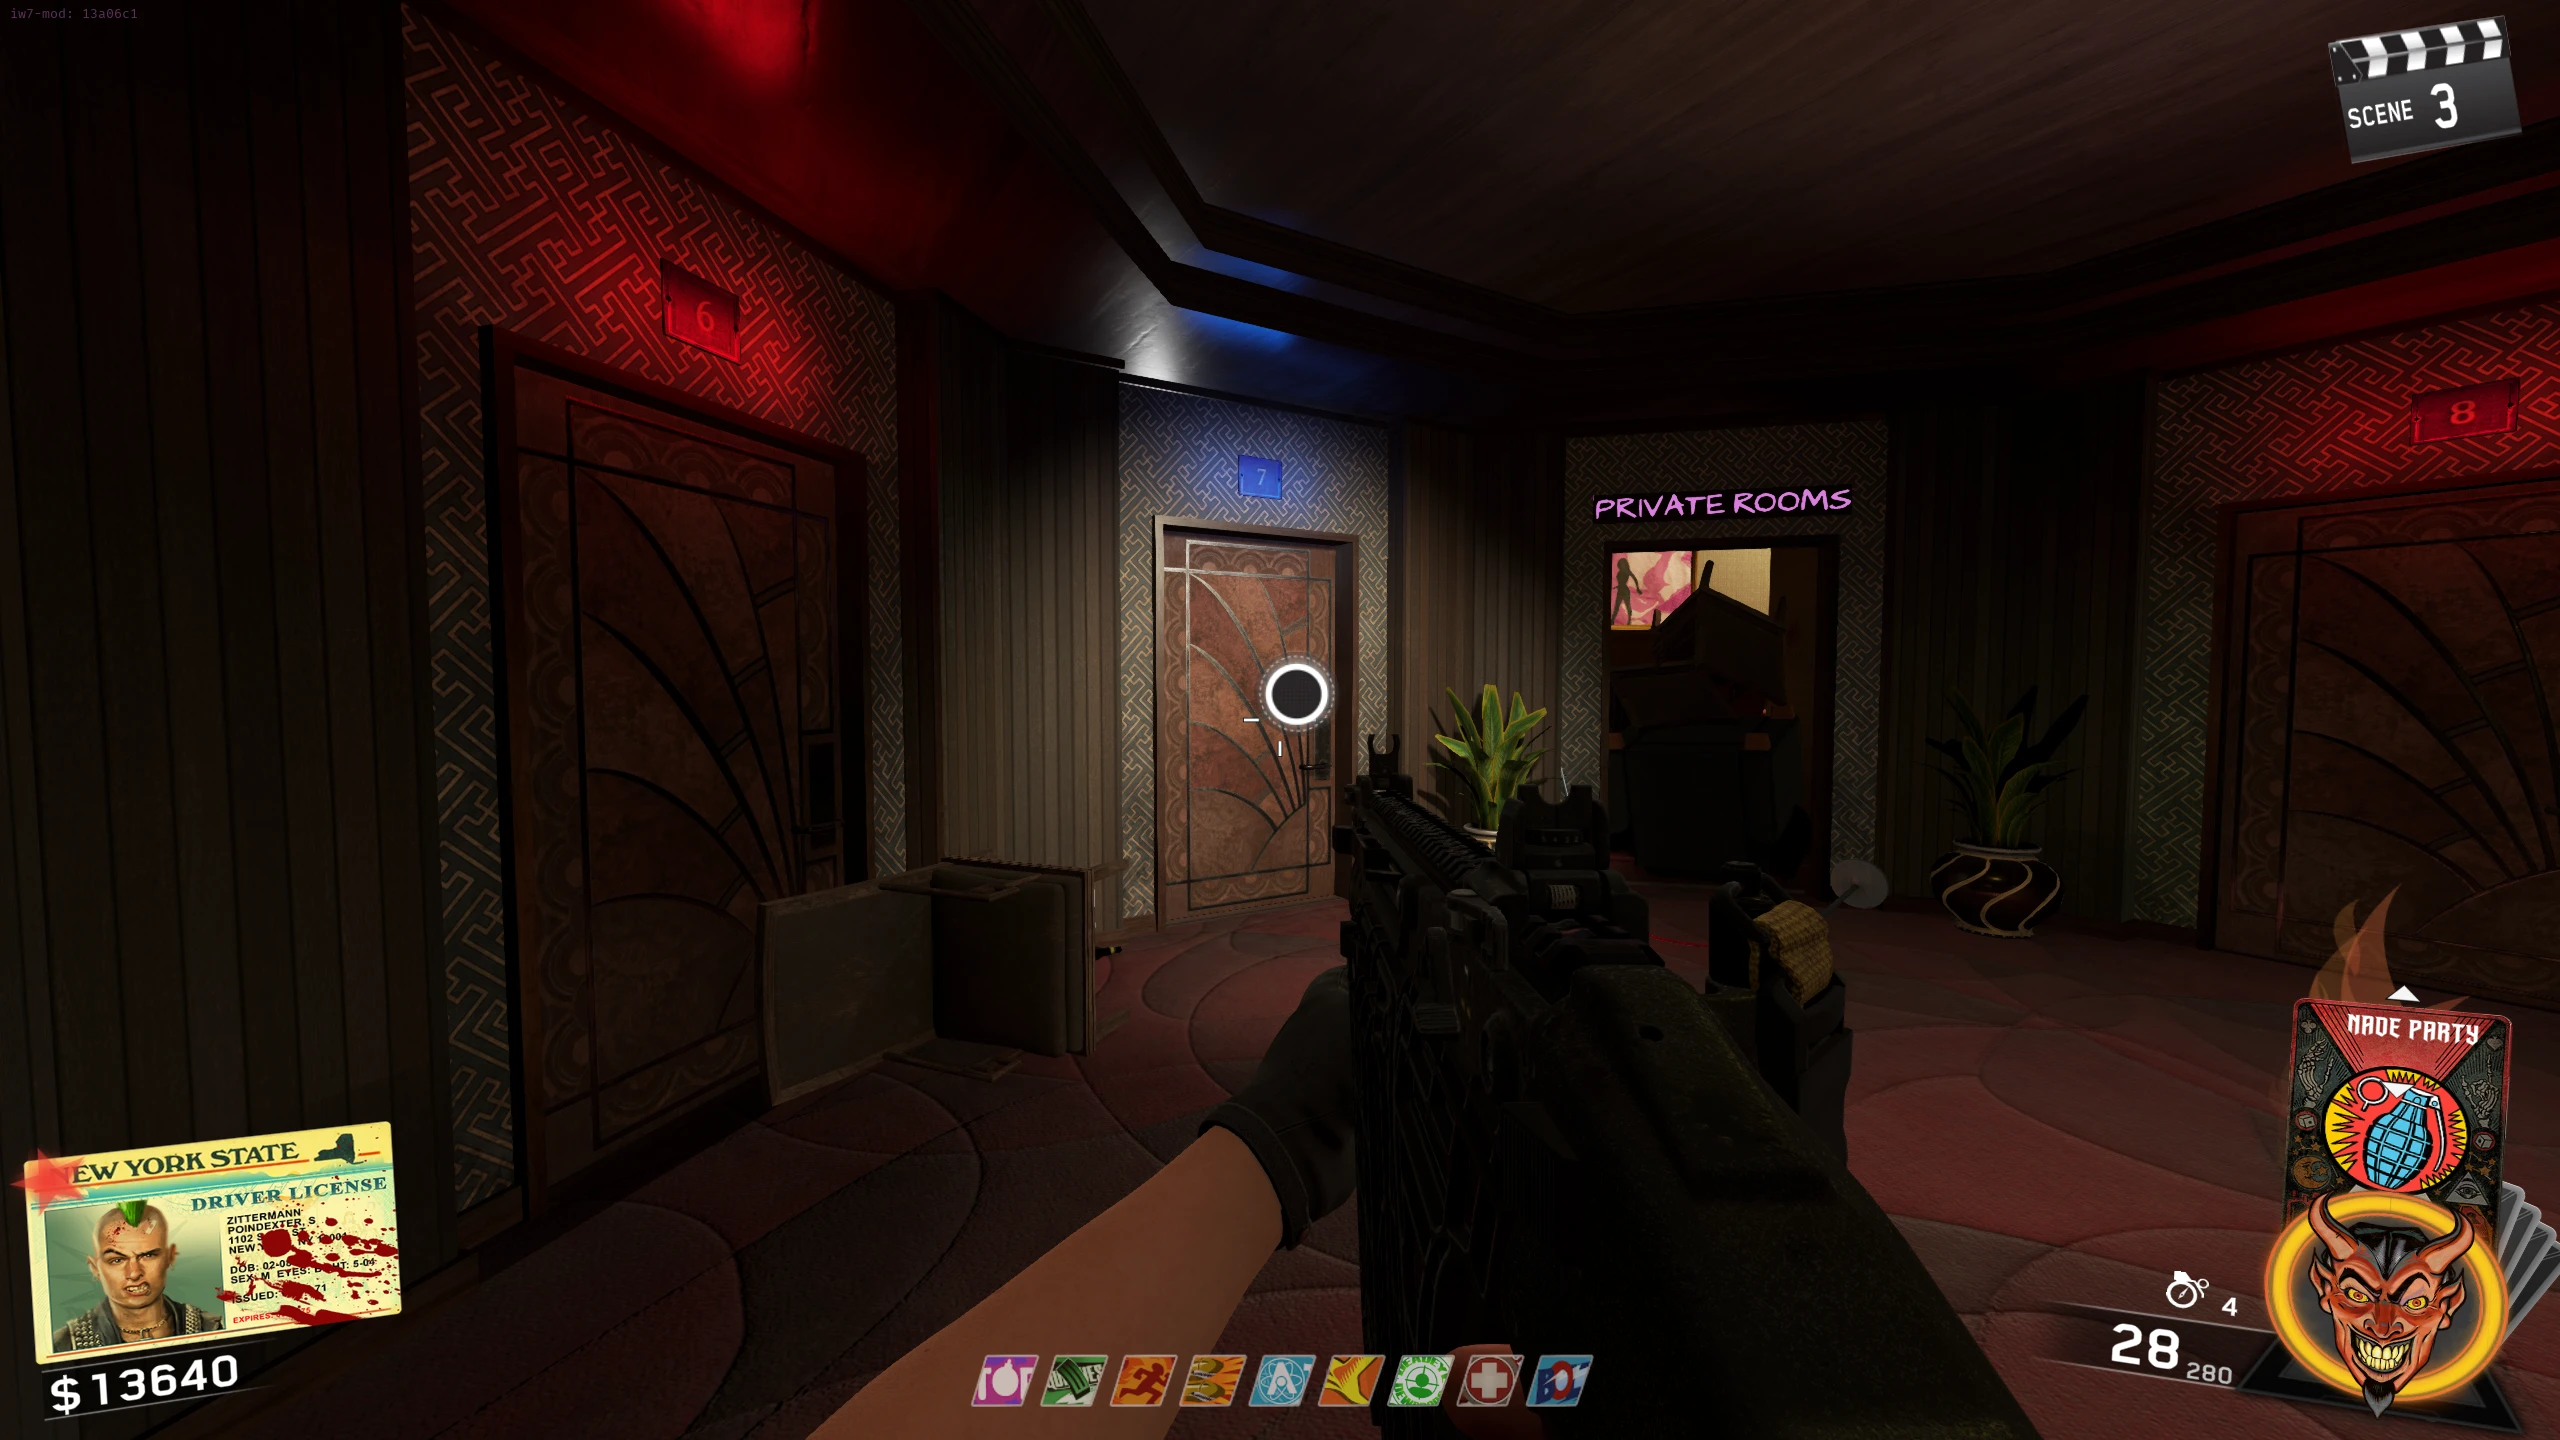
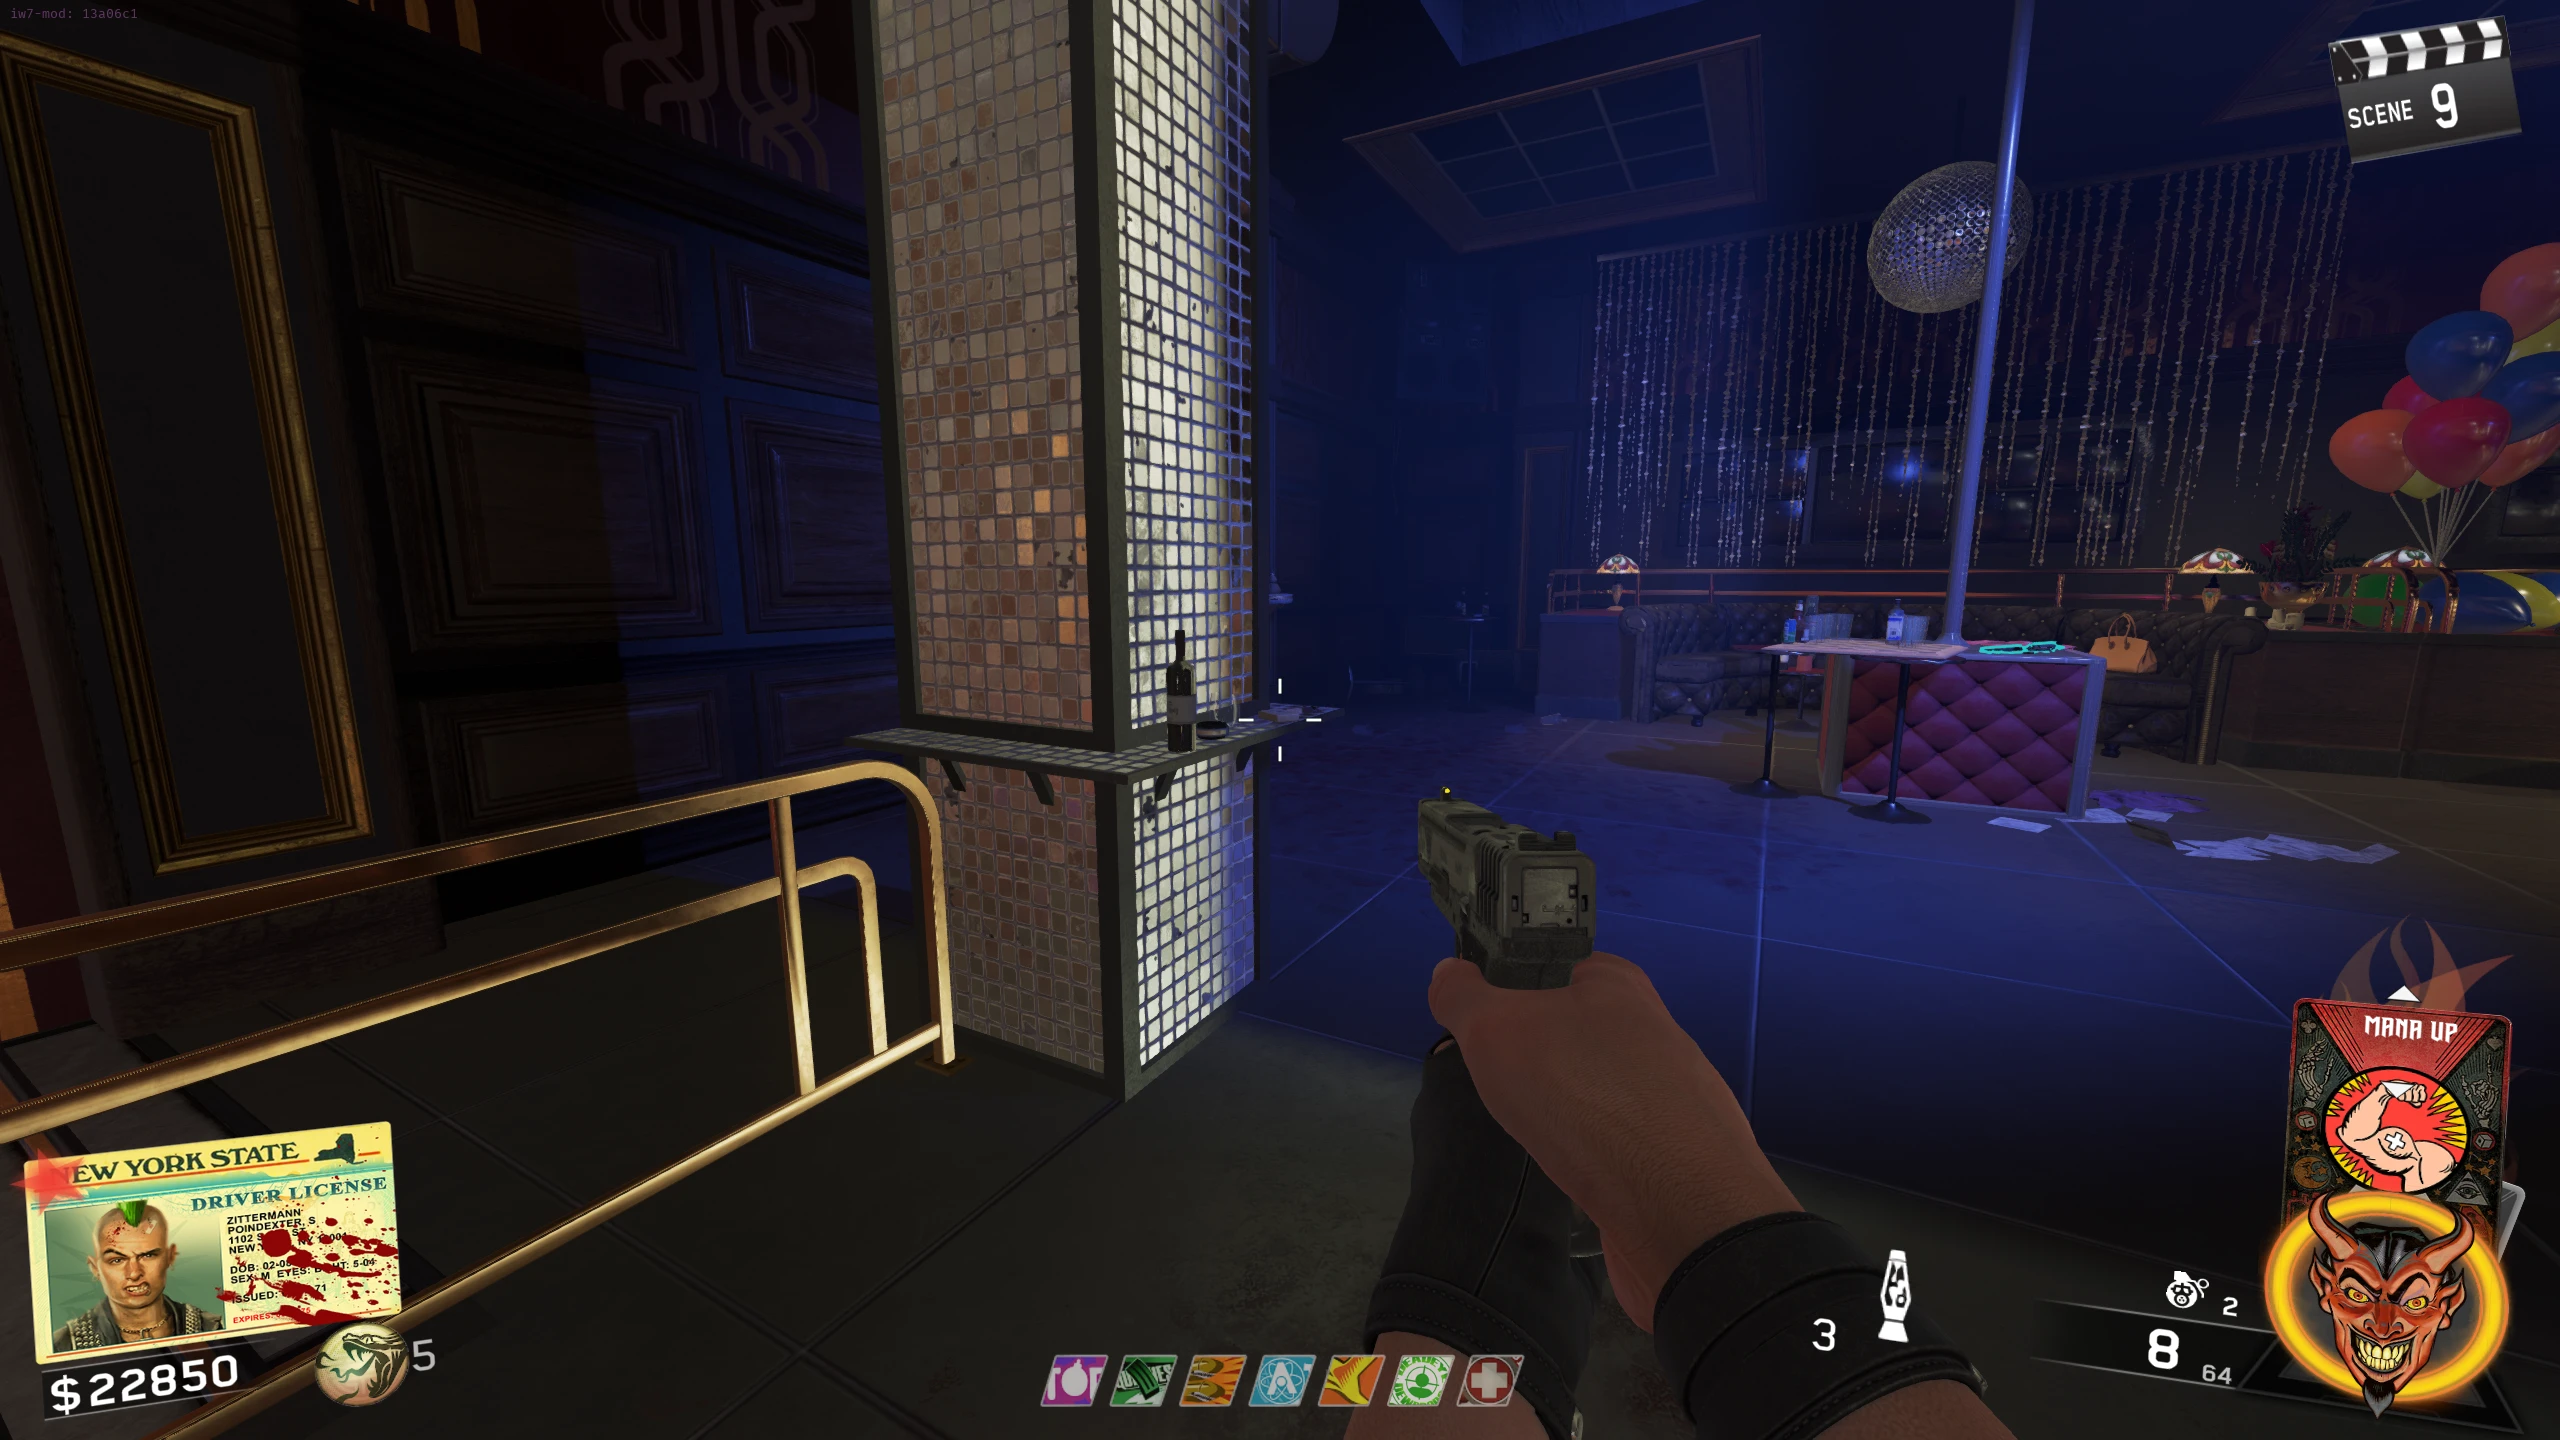
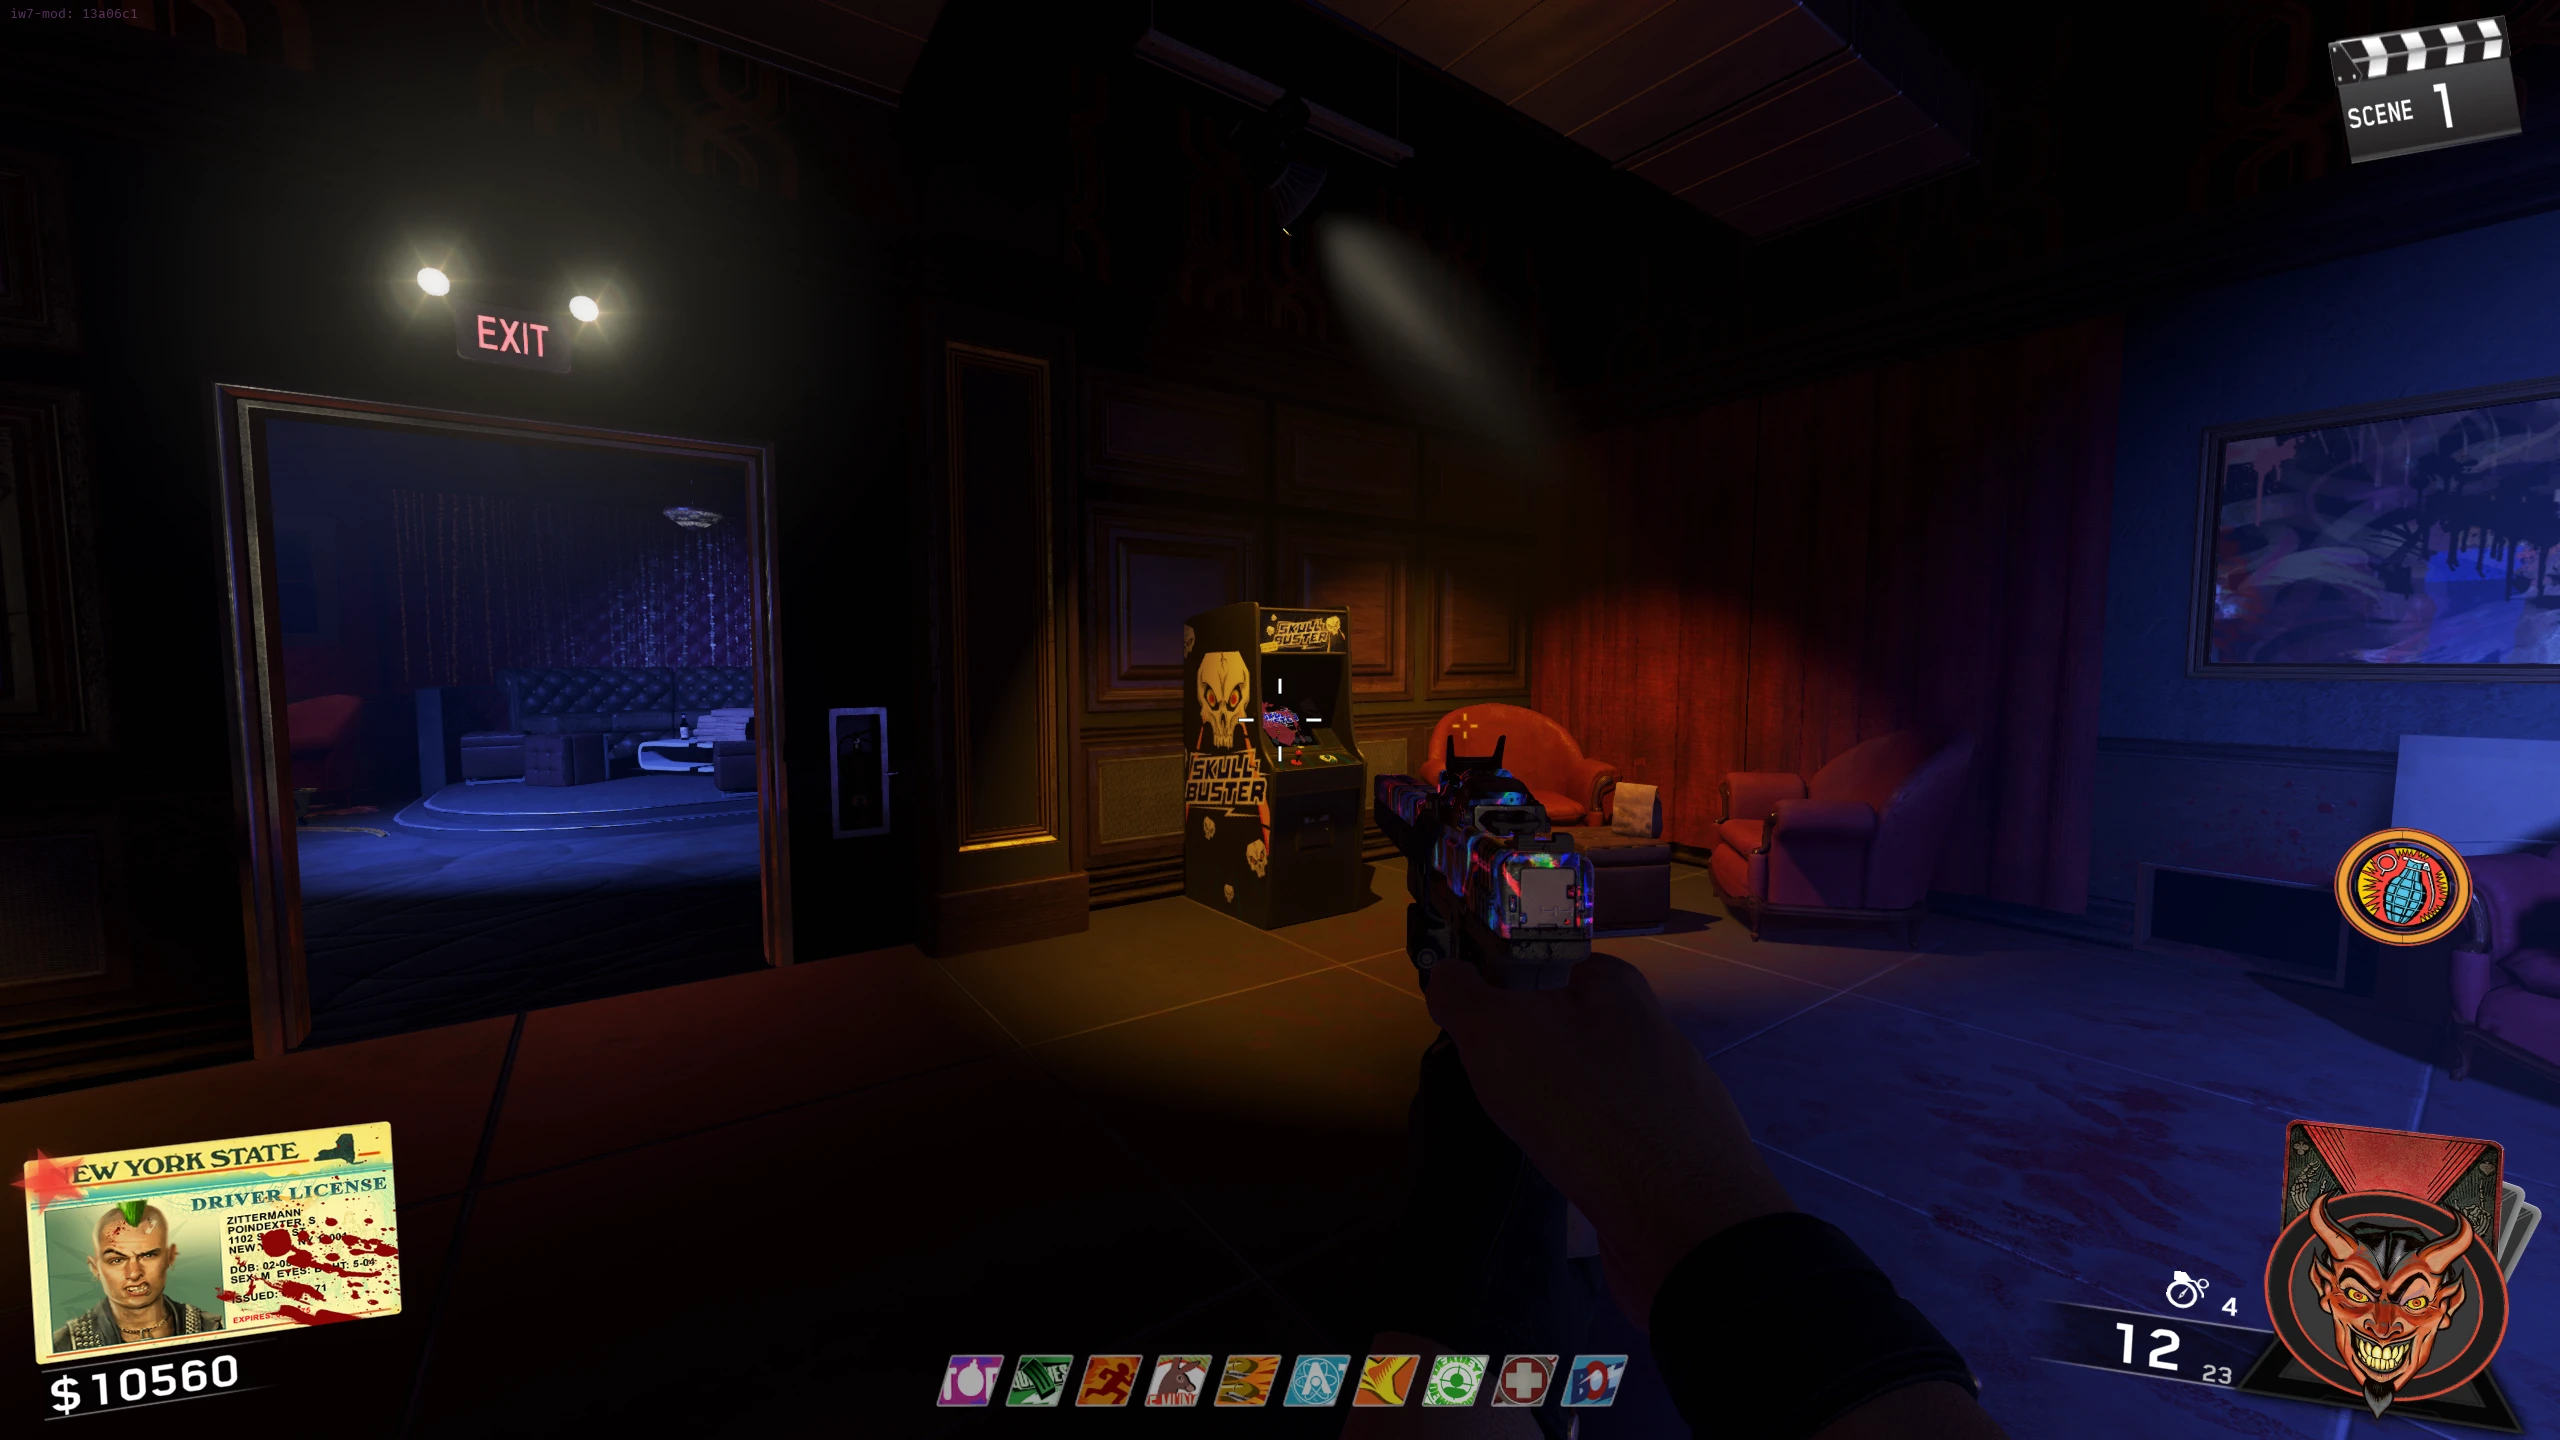
- In the private room of the Disco (the room behind GnS Arcade Machine)
- In the park path, near Deadeye Dewdrops
- Beside the RPR Evo wallbuy near Deadeye Dewdrops
- In the spawn Subway, near the Hornet wallbuy
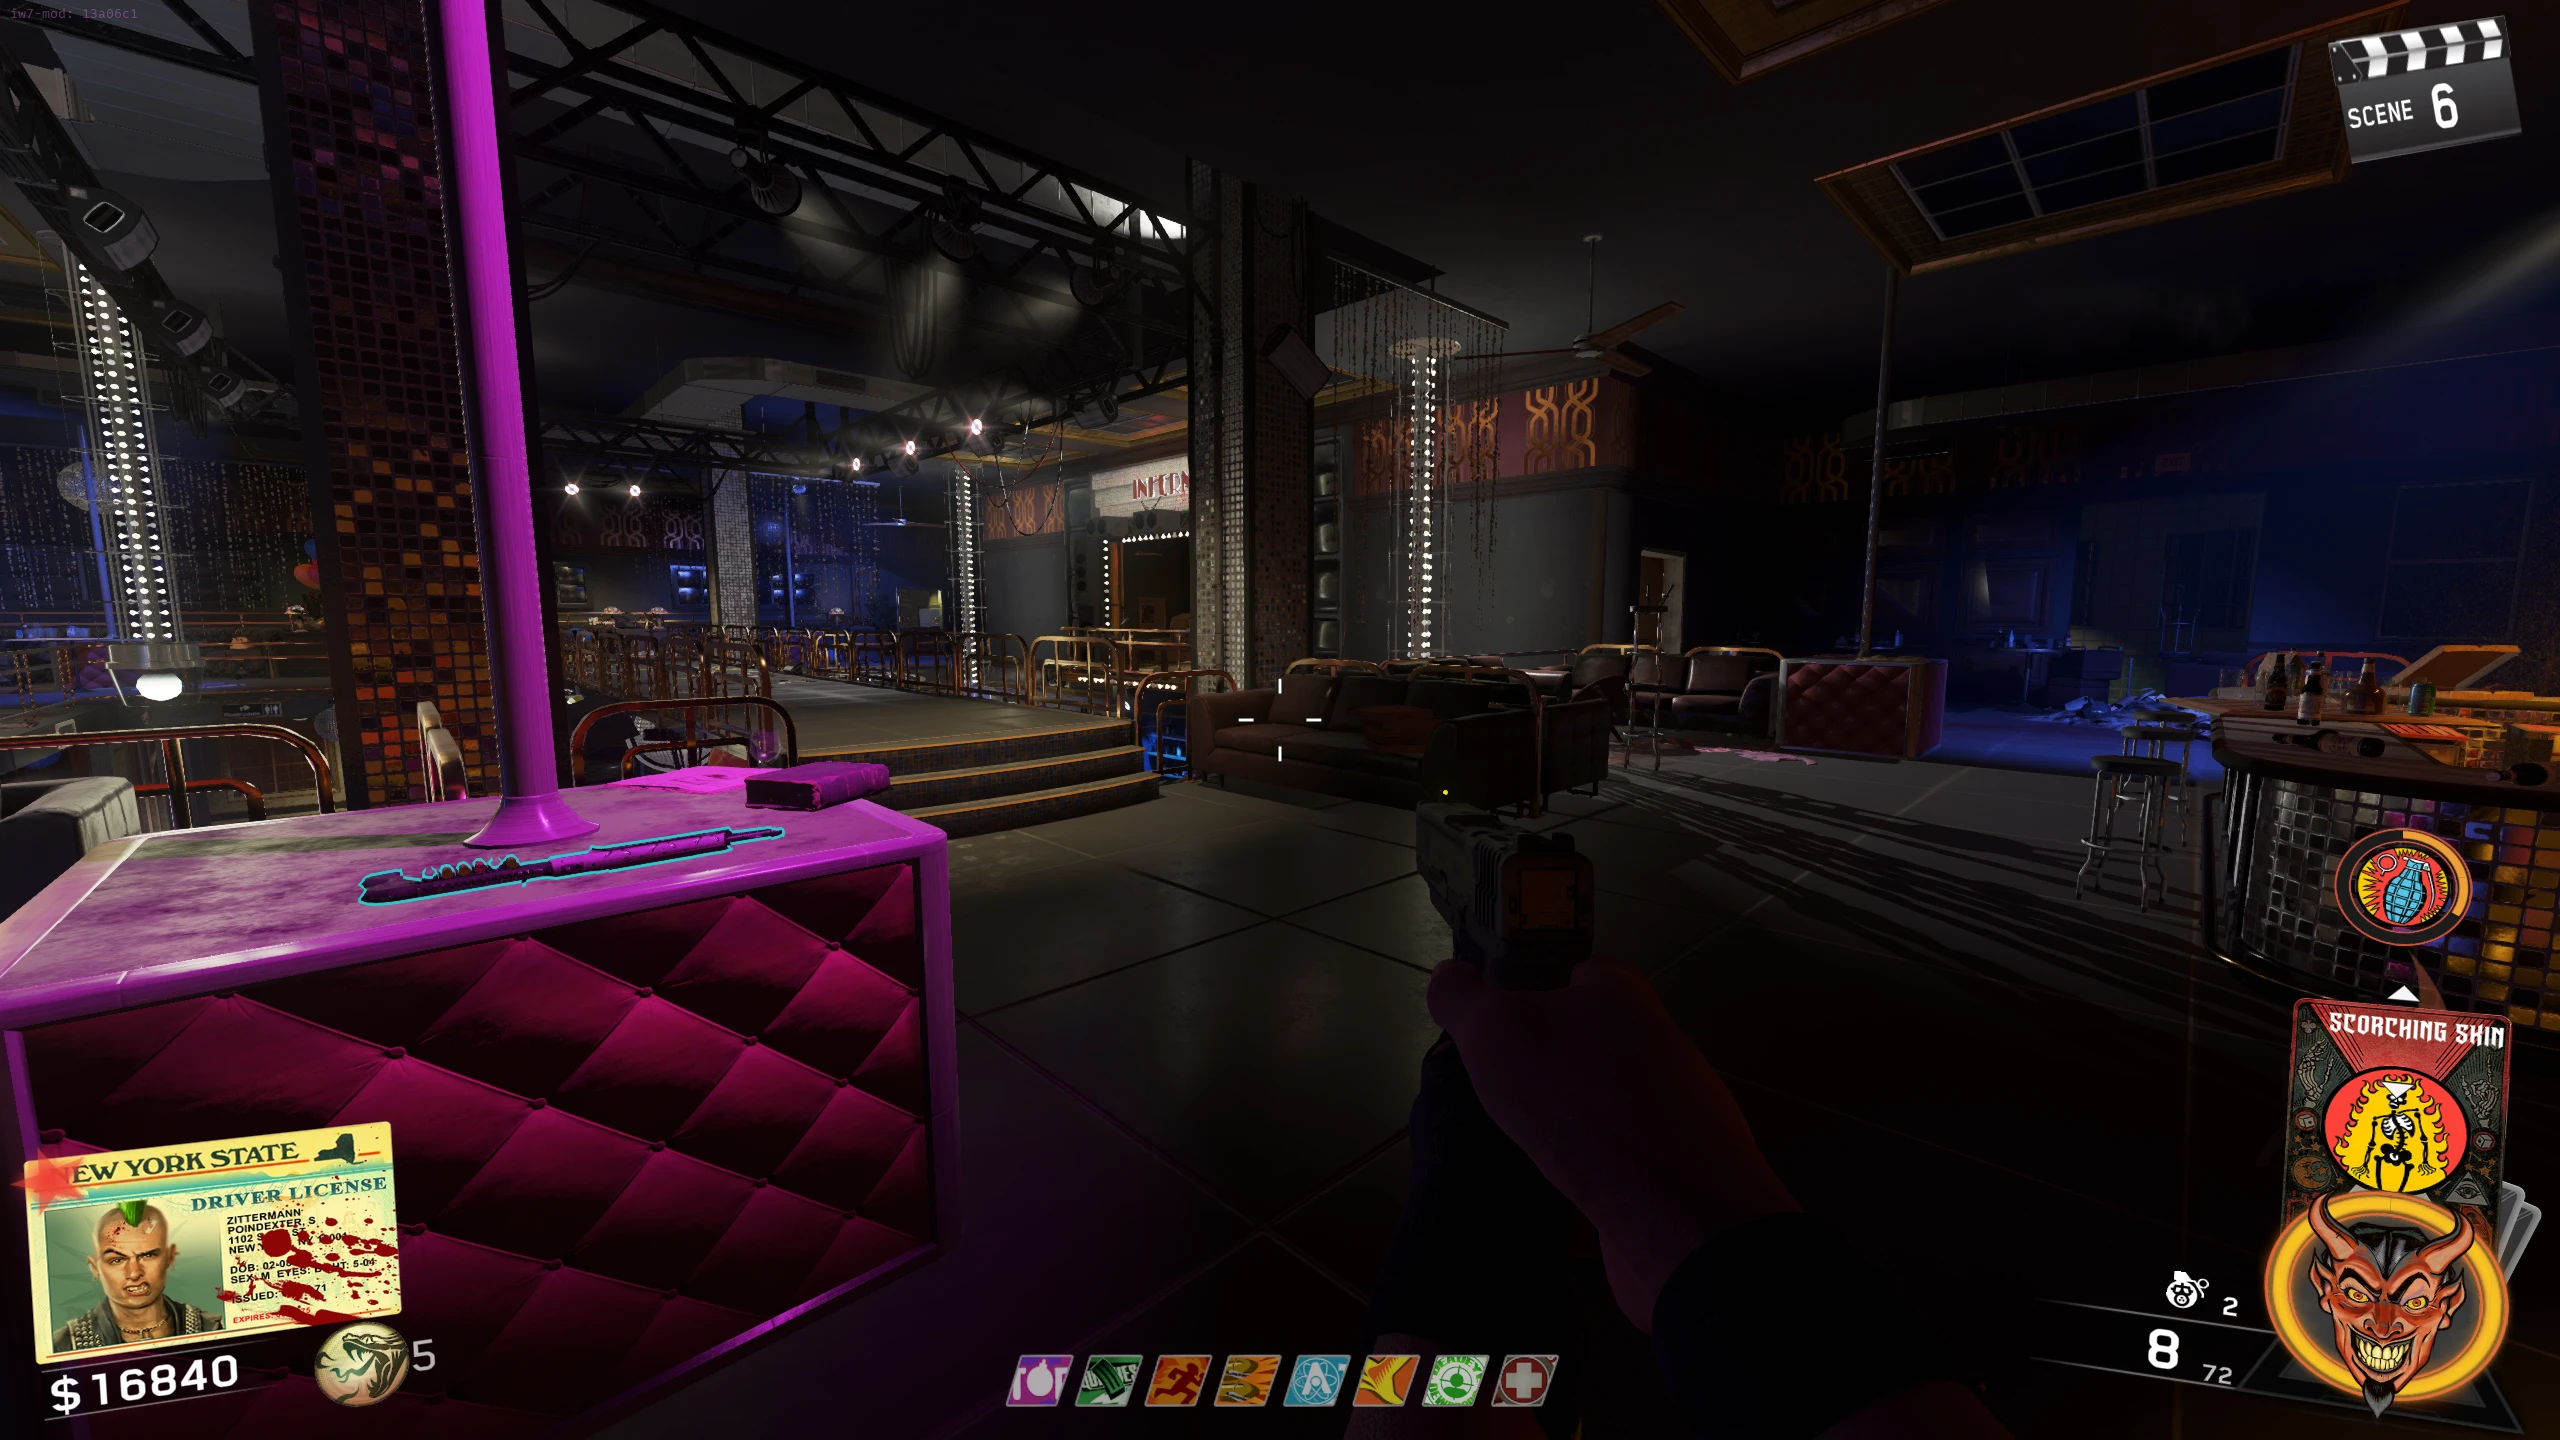
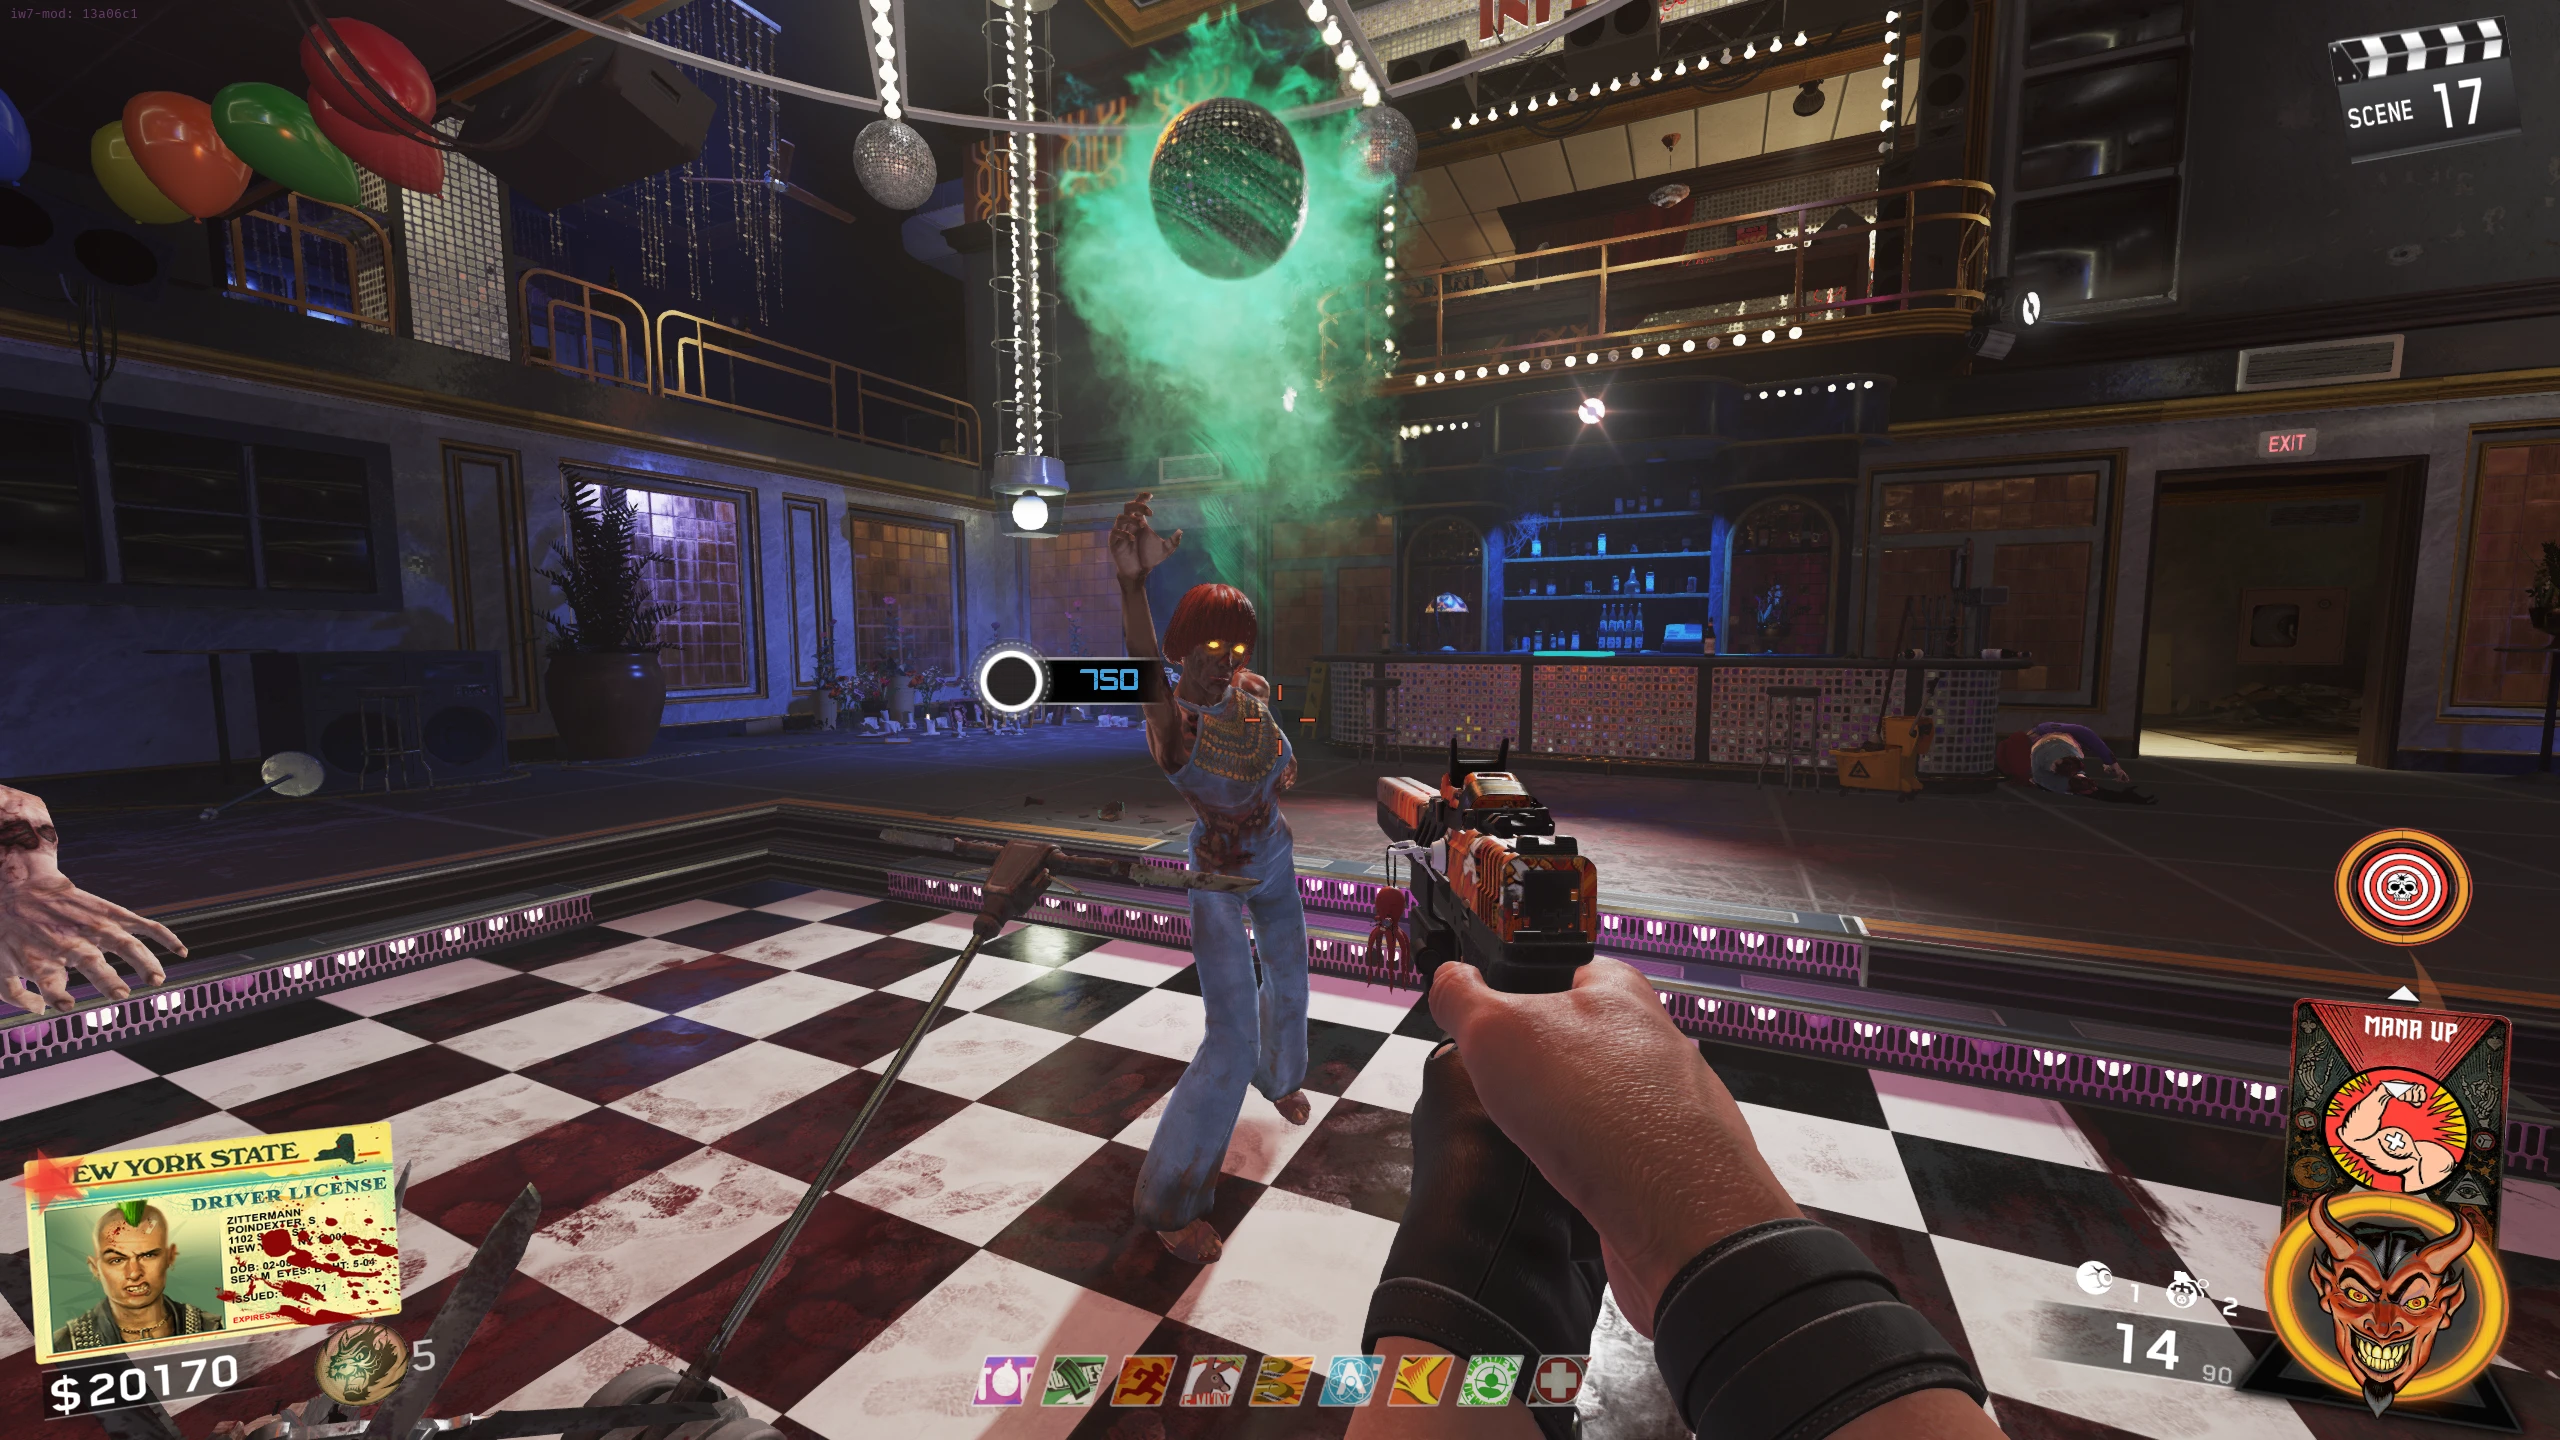
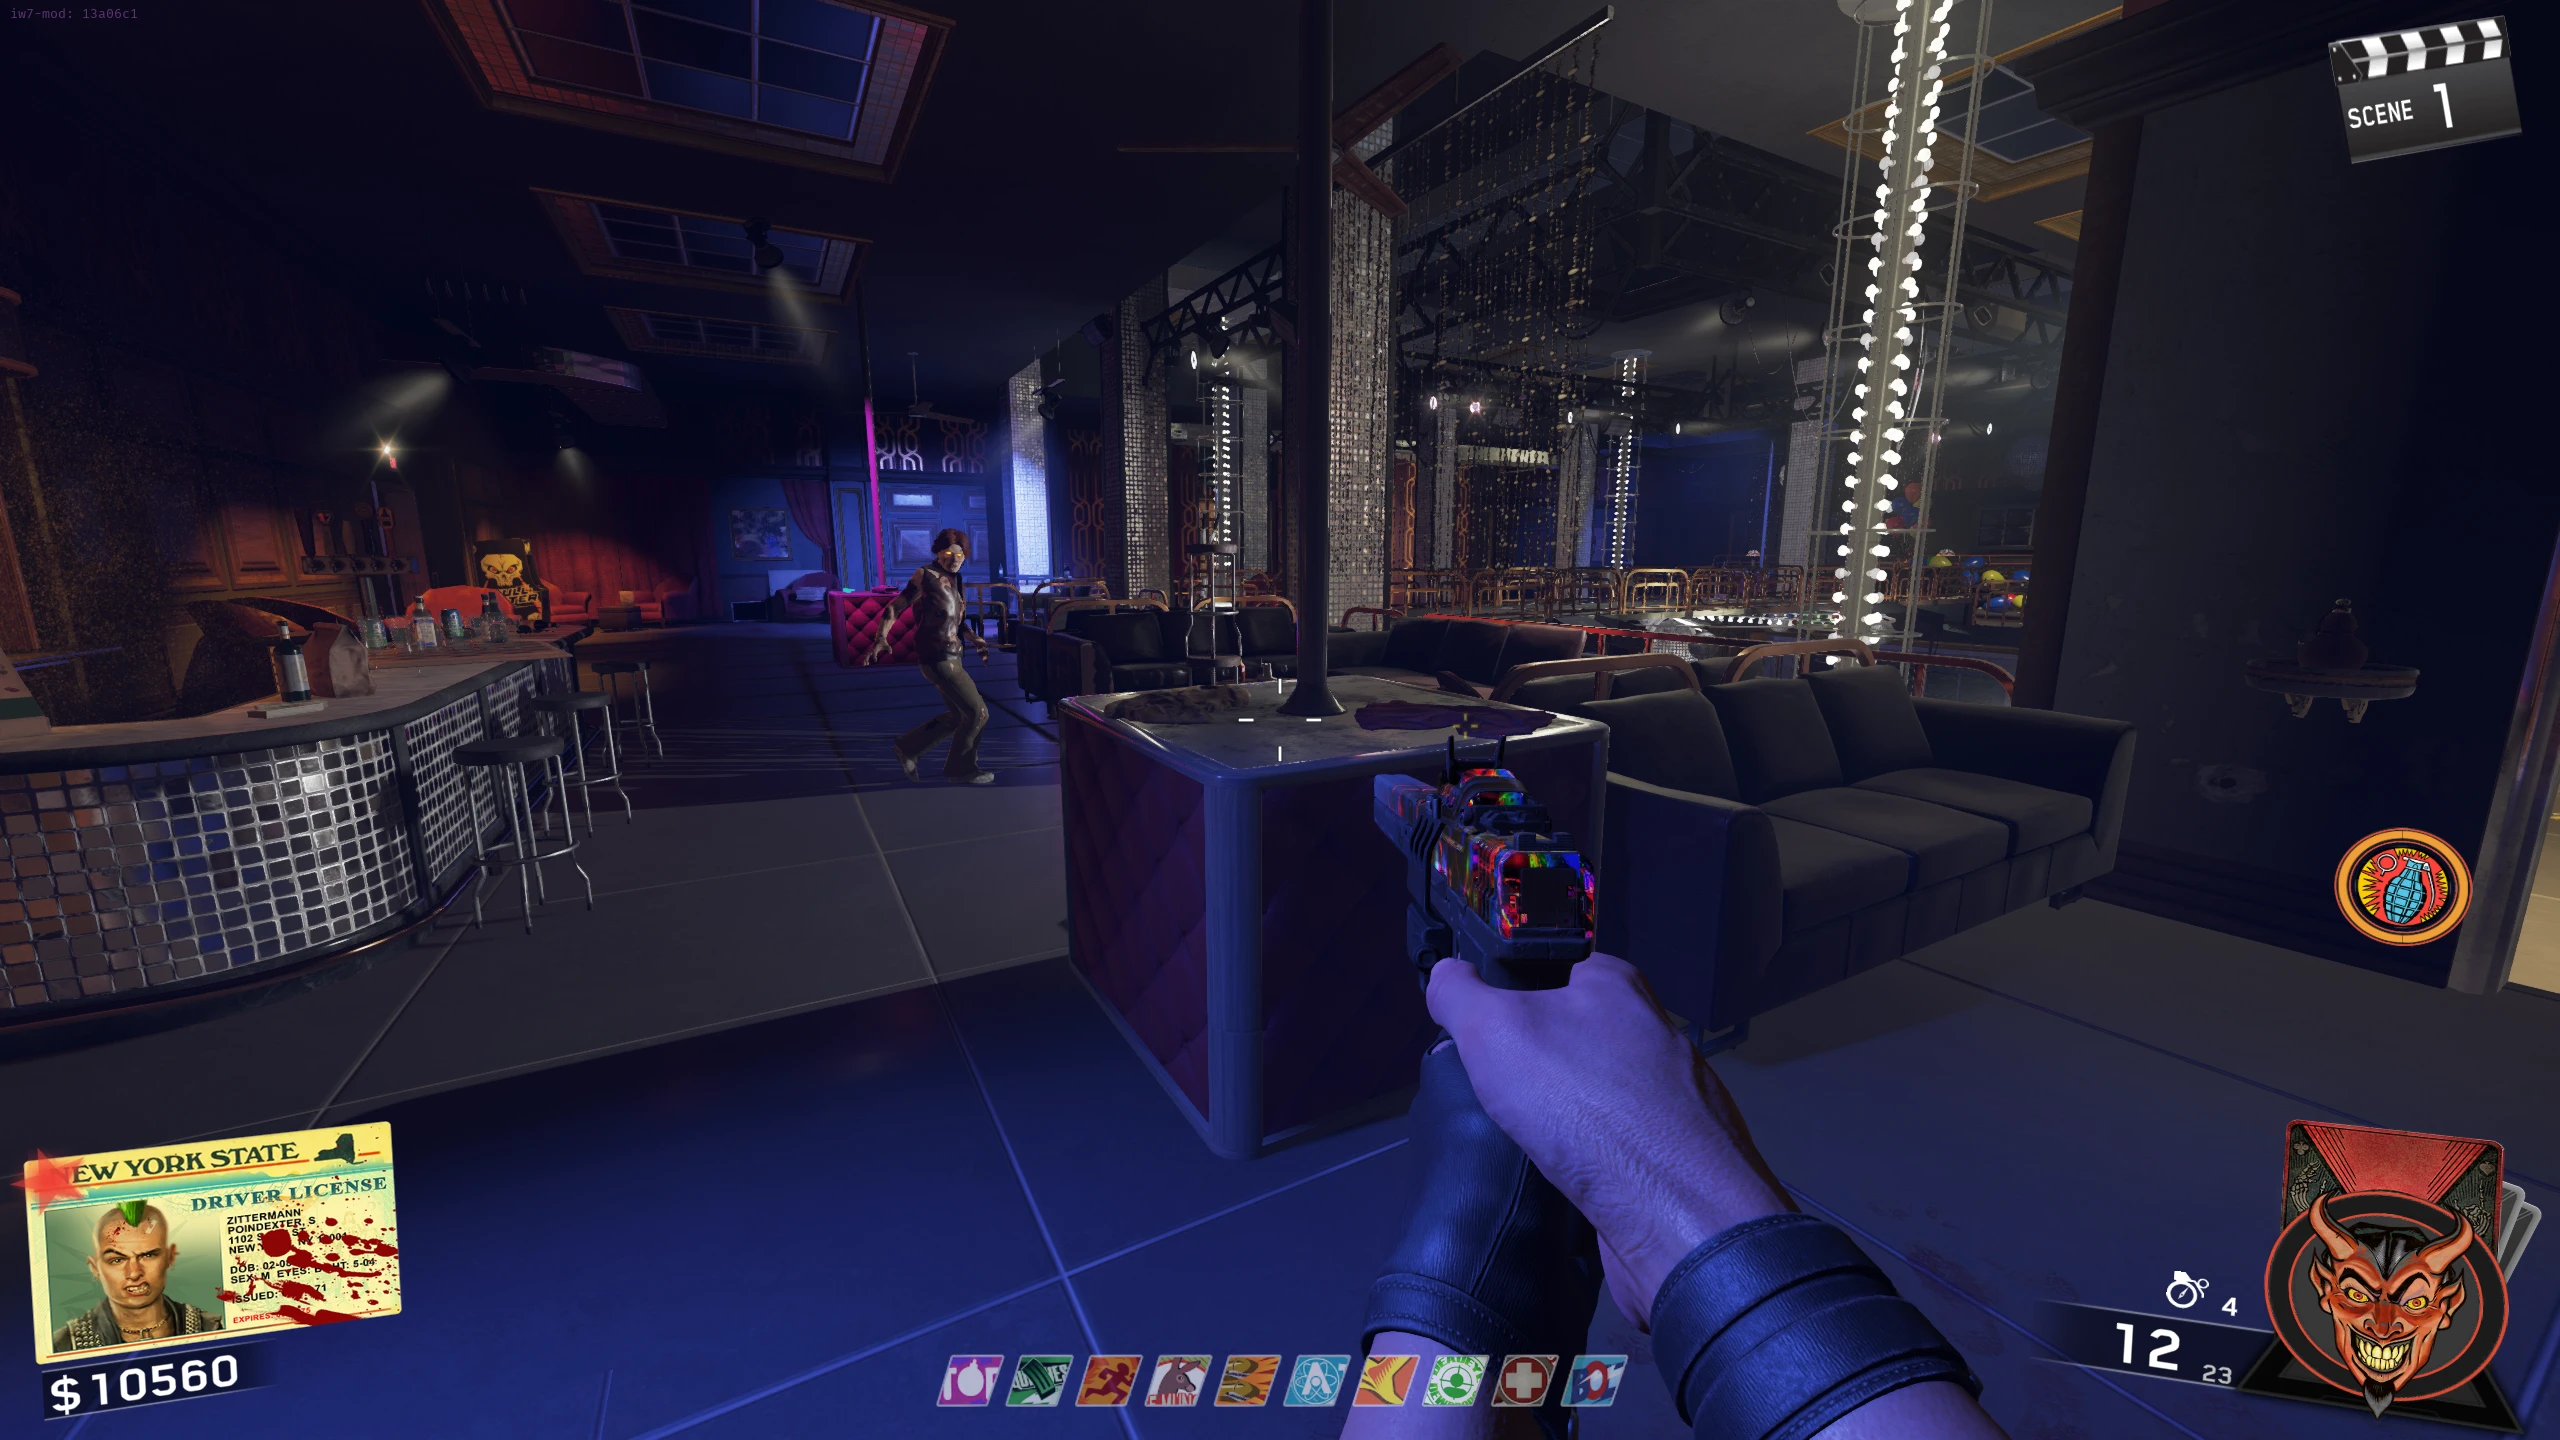
- Go to the Disco and interact with the DJ booth on the second floor of the Disco to spawn a Dancing Zombie with a glowing Disco Ball over its head on the dance floor below. This Zombie is passive and will not attack you.
- Bring a normal Zombie to the dance floor and kill the Disco Ball Zombie while the other Zombie is on the dance floor. This will cause the Disco Ball to transfer to the new Zombie.
- Killing the Disco Zombie without a Zombie on the dance floor will reset your progress. A new Disco Ball Zombie will spawn soon after.
- If the Disco Ball Zombie is the last Zombie of the round, you will have to kill it to start the next round, resetting your progress.
- After killing your tenth Disco Ball Zombie, the Disco Zombie will stop spawning, and you hear a gong sound.
- A Rat King Symbol will spawn on the street in front of the Pink Cat. Activate it to fight the Rat King for the third time and get his Heart.
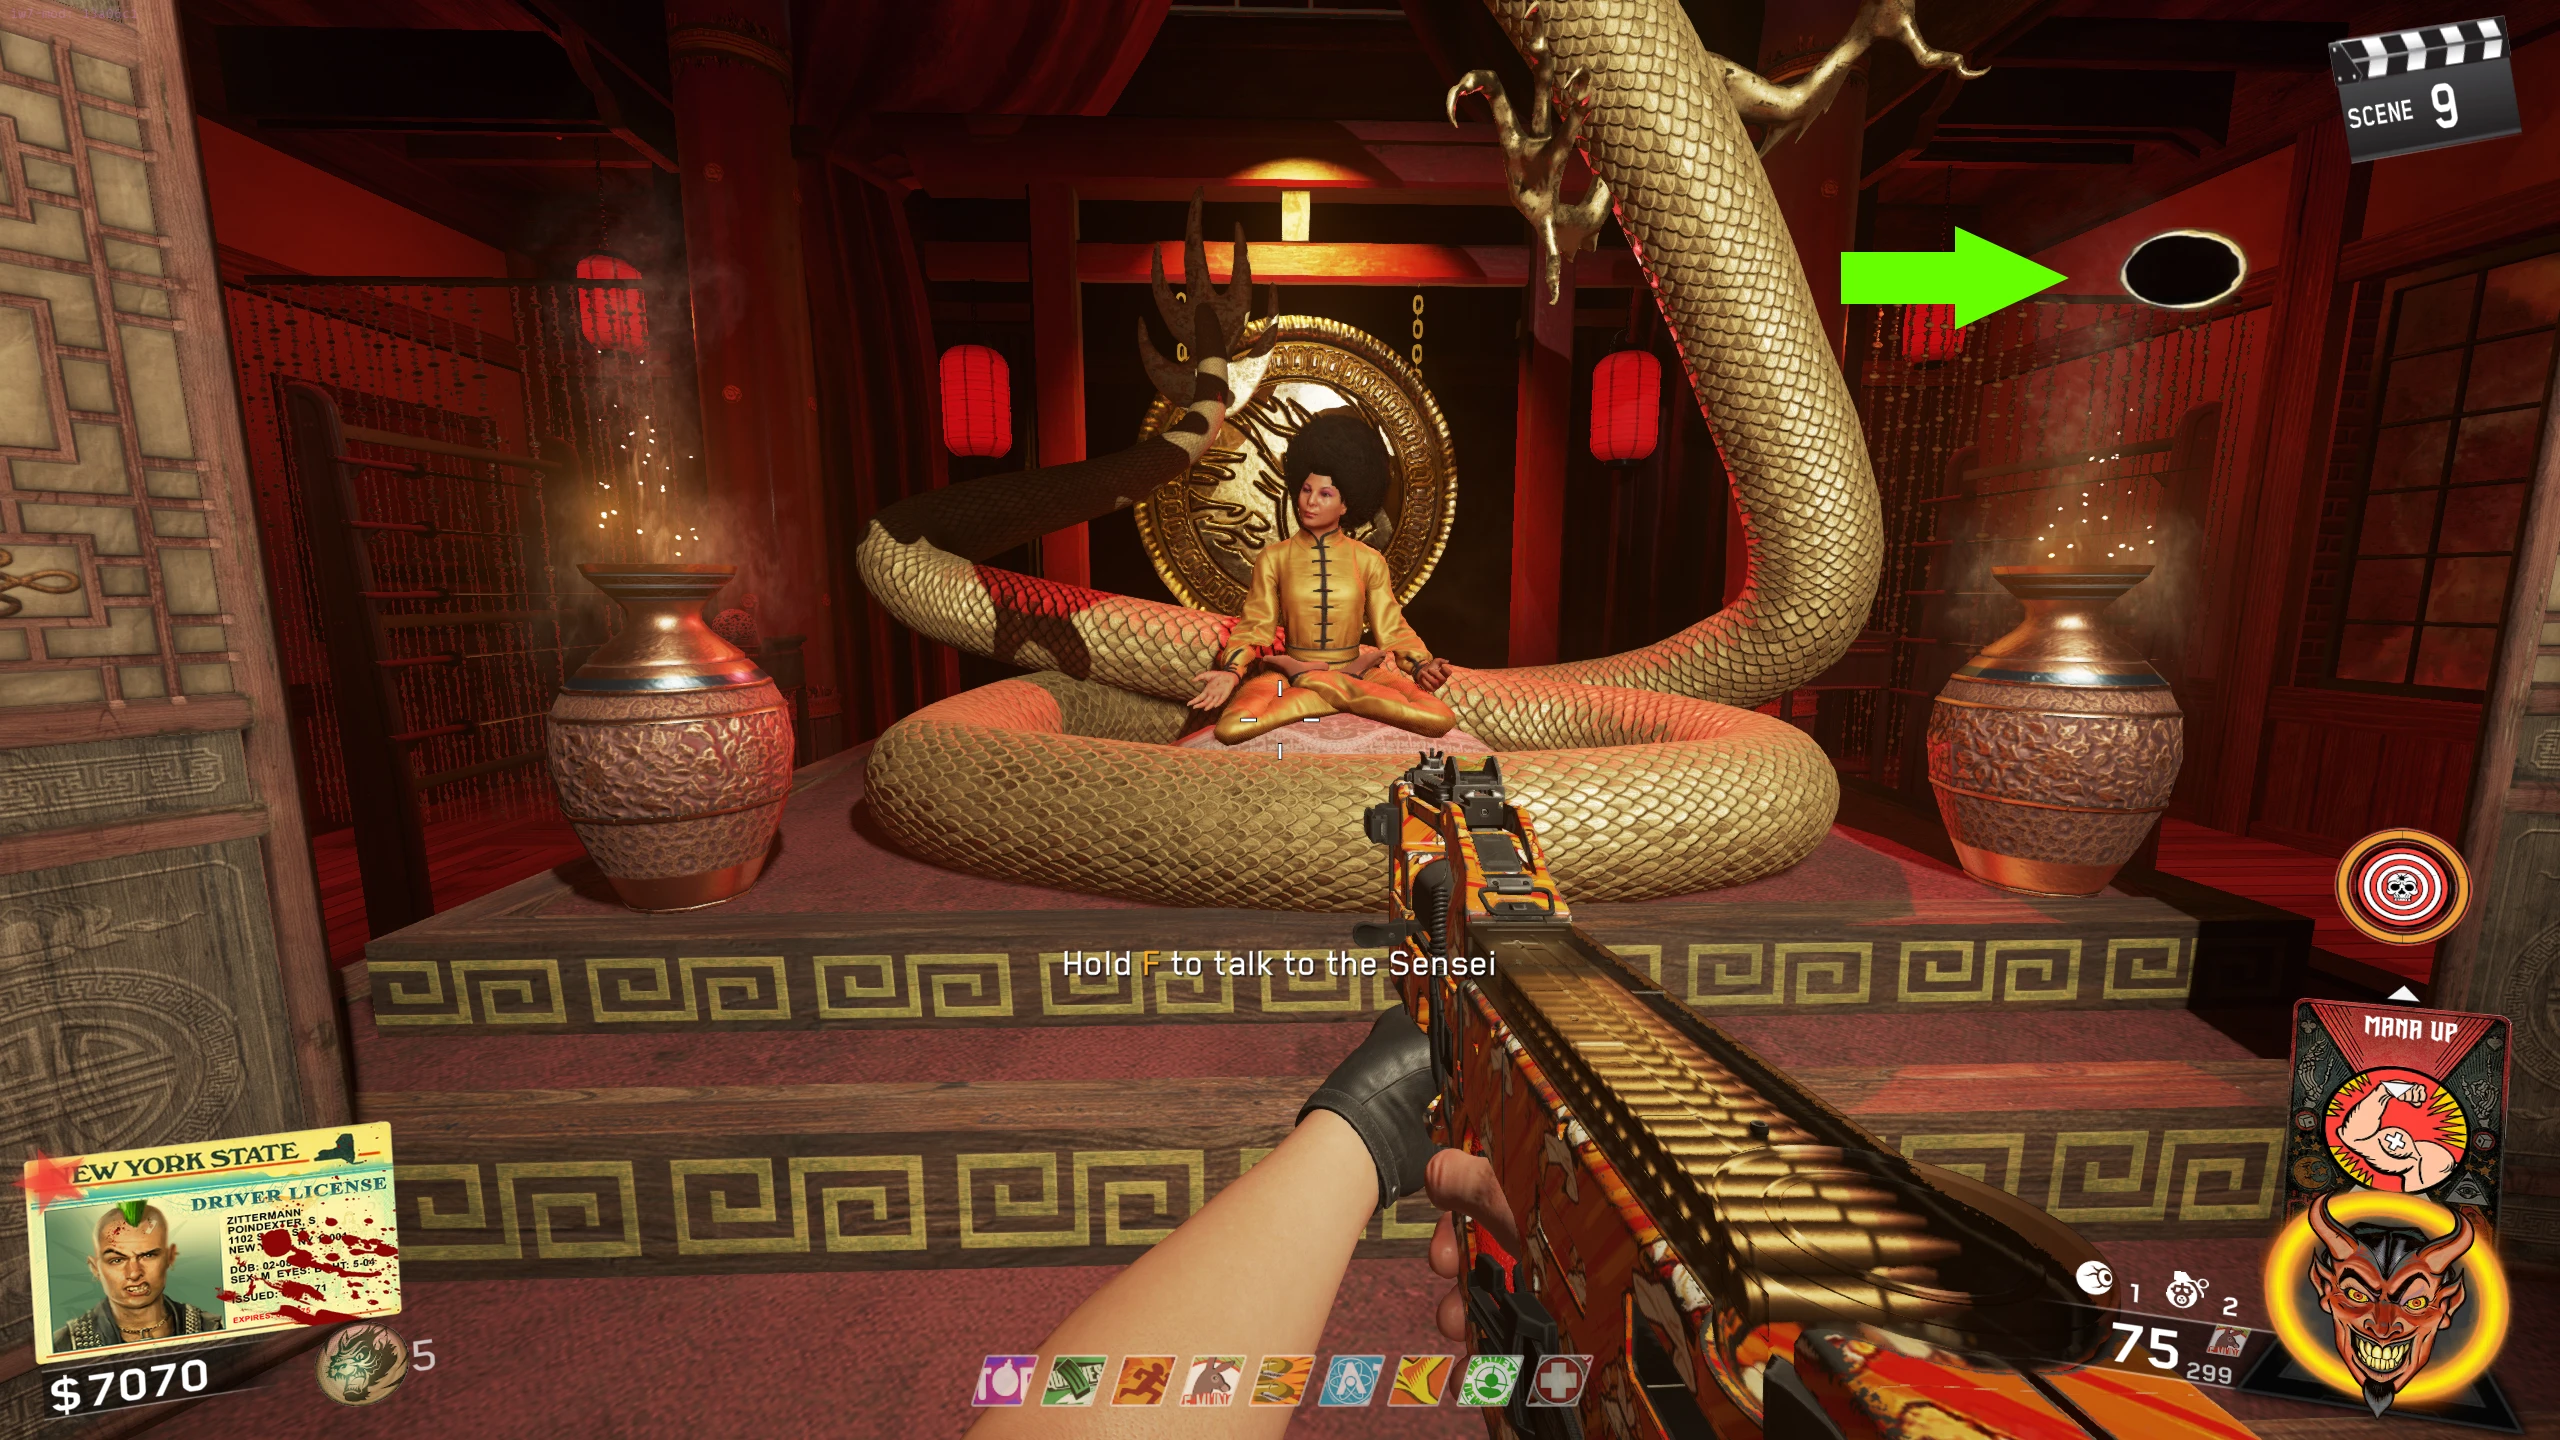
- Once ready for the boss fight, speak to Pam in the Dojo and then enter the Rat King's lair in the sewers to start the final boss fight. Make sure you have a high ammo capacity bullet-based weapon (PAPed NV4 or similar should be fine) for the boss fight since you can soft-lock yourself if you don't have one, or run out of ammo during the fight. Save this gun's ammo for the Eye step in the boss fight.
The Eye
The Brain
The Heart
- The Rat King can throw his shield at you, send a ground strike in your direction, and spawn Rat Ninja Zombies. Occasionally, he will defend himself using his shield. When this happens, a yellow armour marker will appear when you shoot him. The more you shoot him while his shield is raised, the longer he will hold it up.
- You can destroy his staff by throwing a Chi Shuriken at it. After a minute or two, his staff will respawn.
- When you first enter the fight, you must deal damage to the Rat King. Once you've done enough damage, the Rat King will retreat to the rafters around the room, and the Eye, Brain, and Heart will appear on the ground.
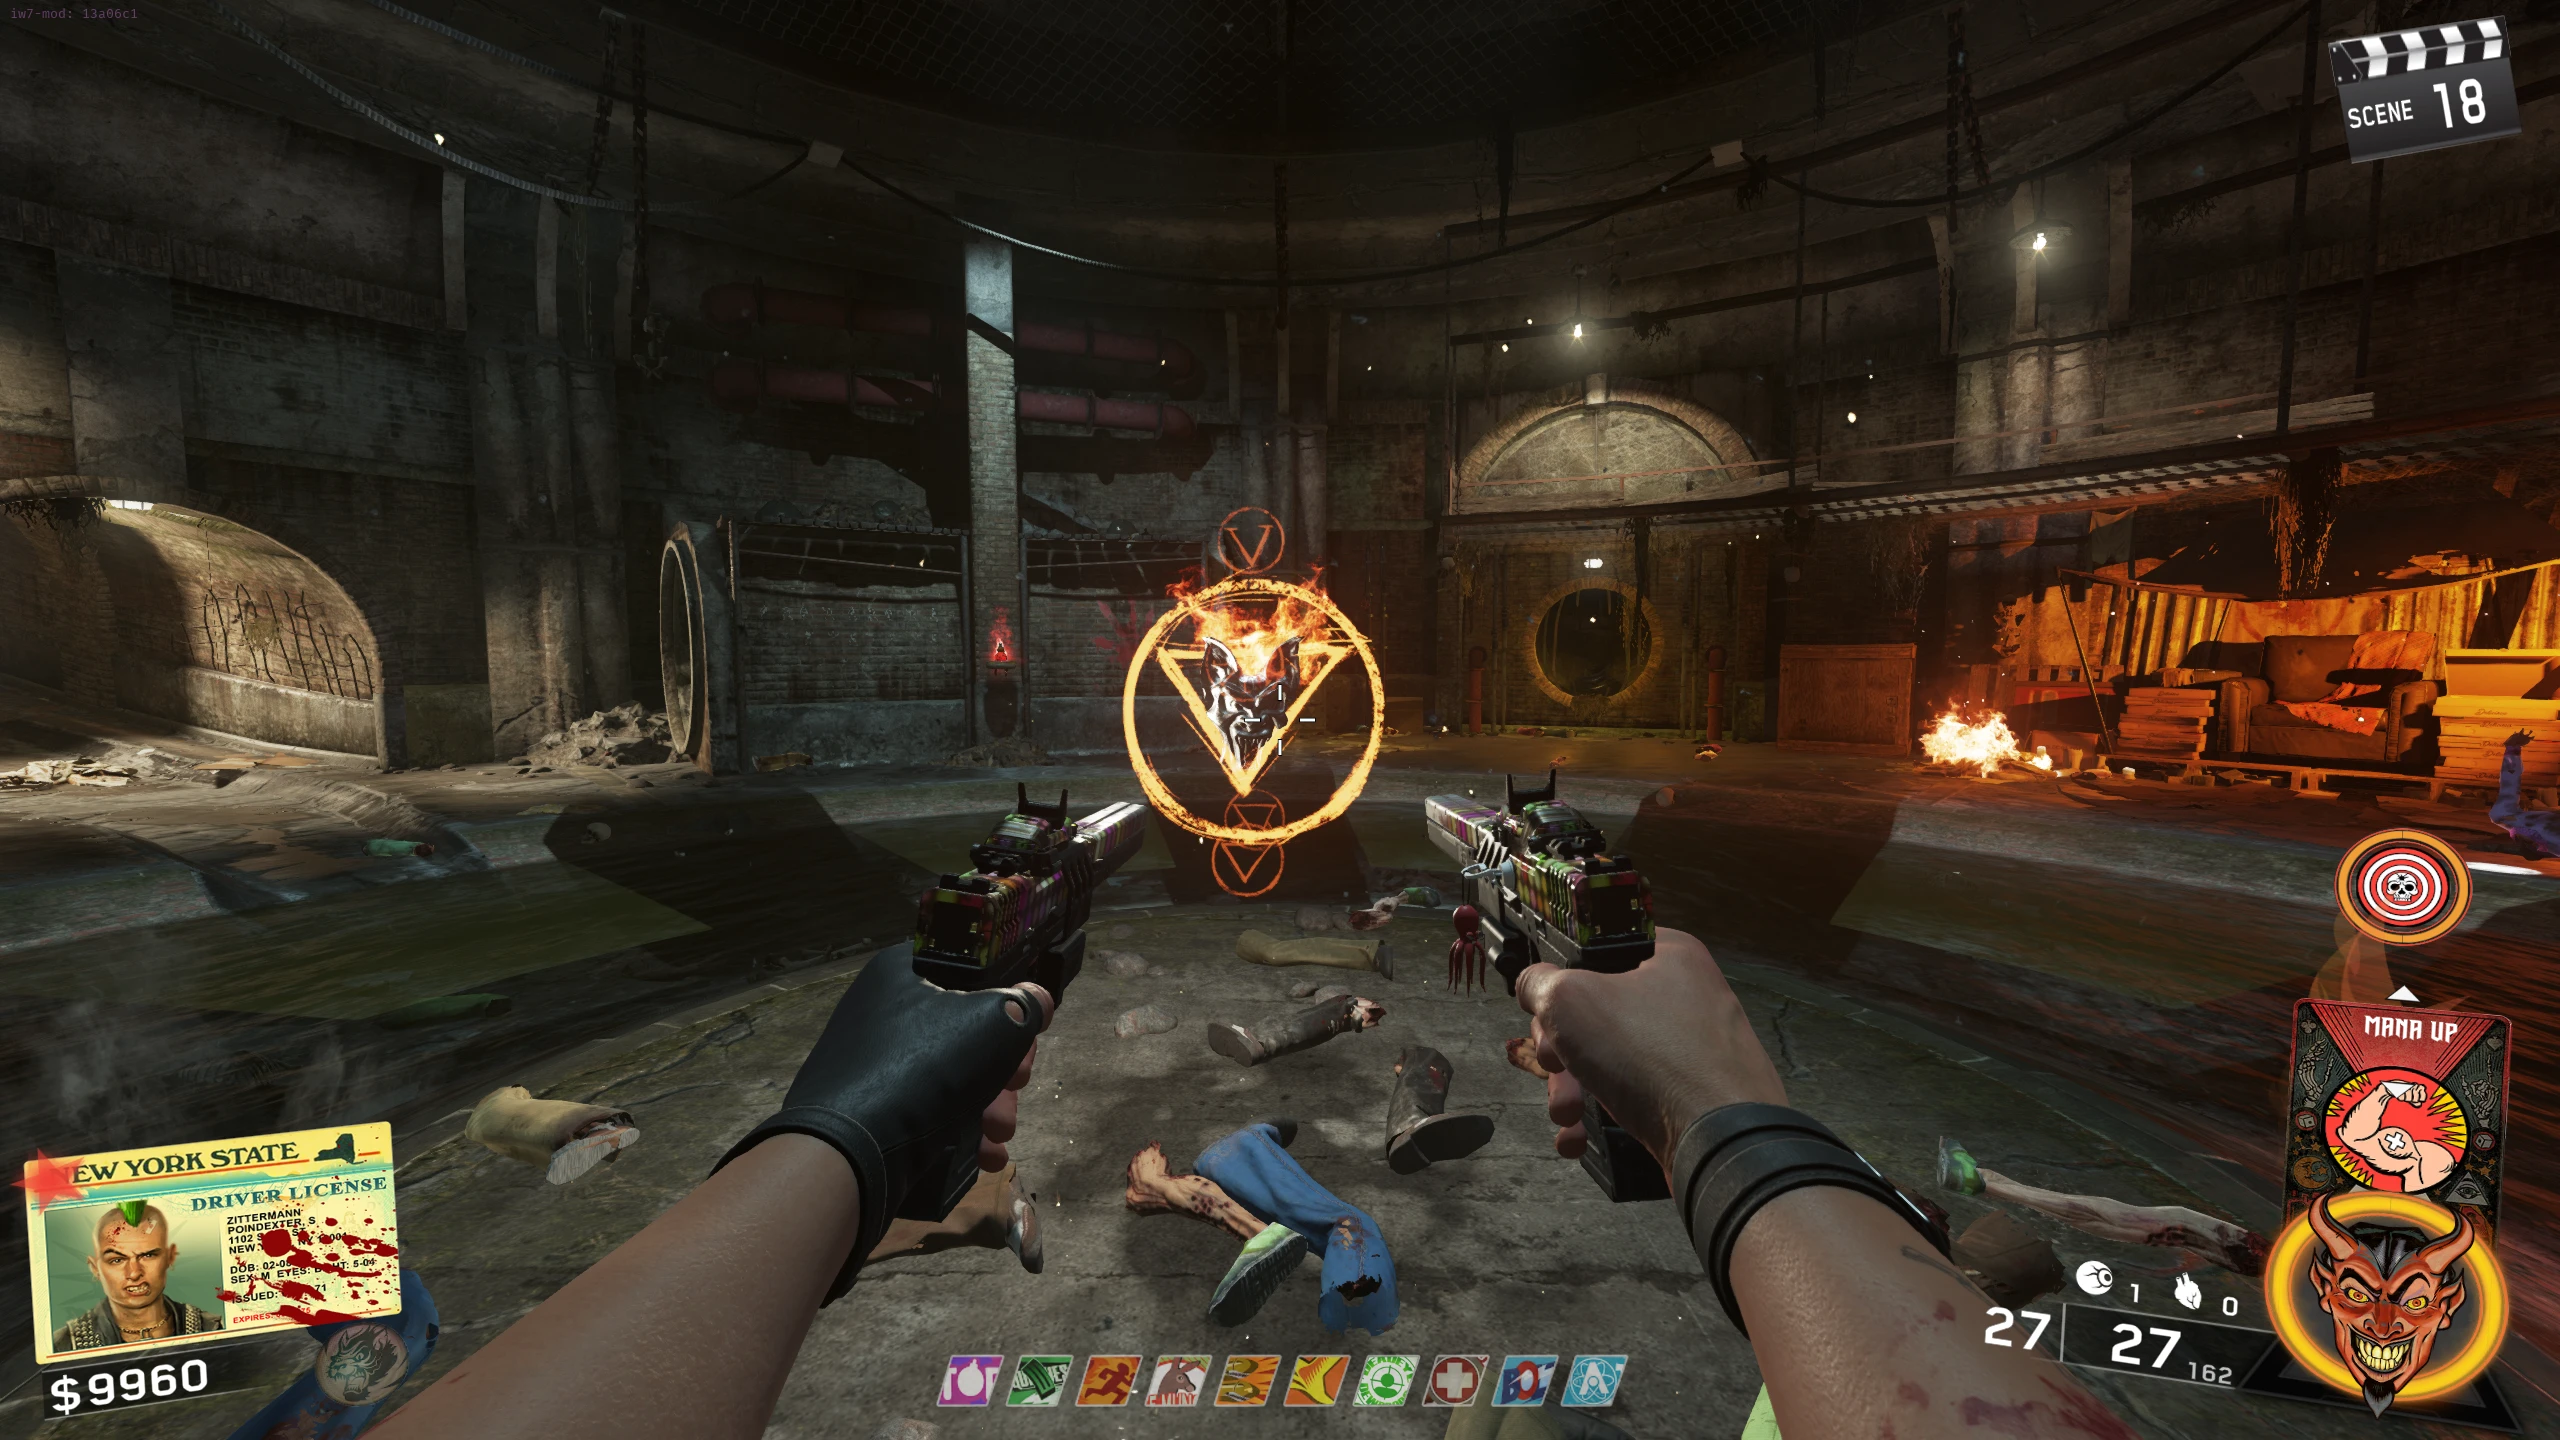
- You must interact with one of the three organs and then interact with the big symbol on the floor in the centre of the room to activate that organ's challenge. Each organ triggers a specific challenge that you must complete; the challenges can be completed in any order. Completing a challenge will spawn a max ammo power-up in the middle of the room which does not despawn, so only pick it up when you need it. After completing a challenge, you will hear a gong sound, and you must damage the Rat King until he retreats to the rafters again.
- Eye: The Eye will spawn in the centre of the room and scan the room about every 10 seconds, revealing pink symbols on the ceiling and walls around the arena (you can also manually scan using the eye you're holding). You must shoot all the symbols to complete this challenge. If you take too long, the Rat King will throw his shield around the arena, spawning symbols where it hits the walls.
- If you run out of ammo, there is no way to get more, and you will have to quit the game, unless you have some other means of hitting the symbols.
- Heart: Acid will be dumped around the perimeter of the arena. Killing a Zombie in a puddle of acid will remove the acid for a short time. The goal is to clear the entire perimeter of acid before more is dumped into the arena. The acid can damage you if you stand in it for too long.
- Brain: The Brain will spawn on the ground in the middle of the room, and Zombies with blue eyes (they’re friendly and won't attack you) will spawn and start attacking the Brain. You must wait until they destroy the Brain, as well as defend them from the Rat King (you can kill these Zombies, so be careful). Destroying the Rat King's staff with a Shuriken can make this step faster, as he will be unable to kill the blue-eyed Zombies quickly. If a blue-eyed Zombie dies, another one will spawn.
- After completing the third challenge, you will be able to kill the Rat King by dealing enough damage. Once he is defeated, the ending cutscene will play, and the Soul Key will spawn in the middle of the room. If you're in Director's Cut, the Talisman will spawn where the Soul Key was, and you will be given the Director's Cut III animated calling card.
Rat King Boss Fight