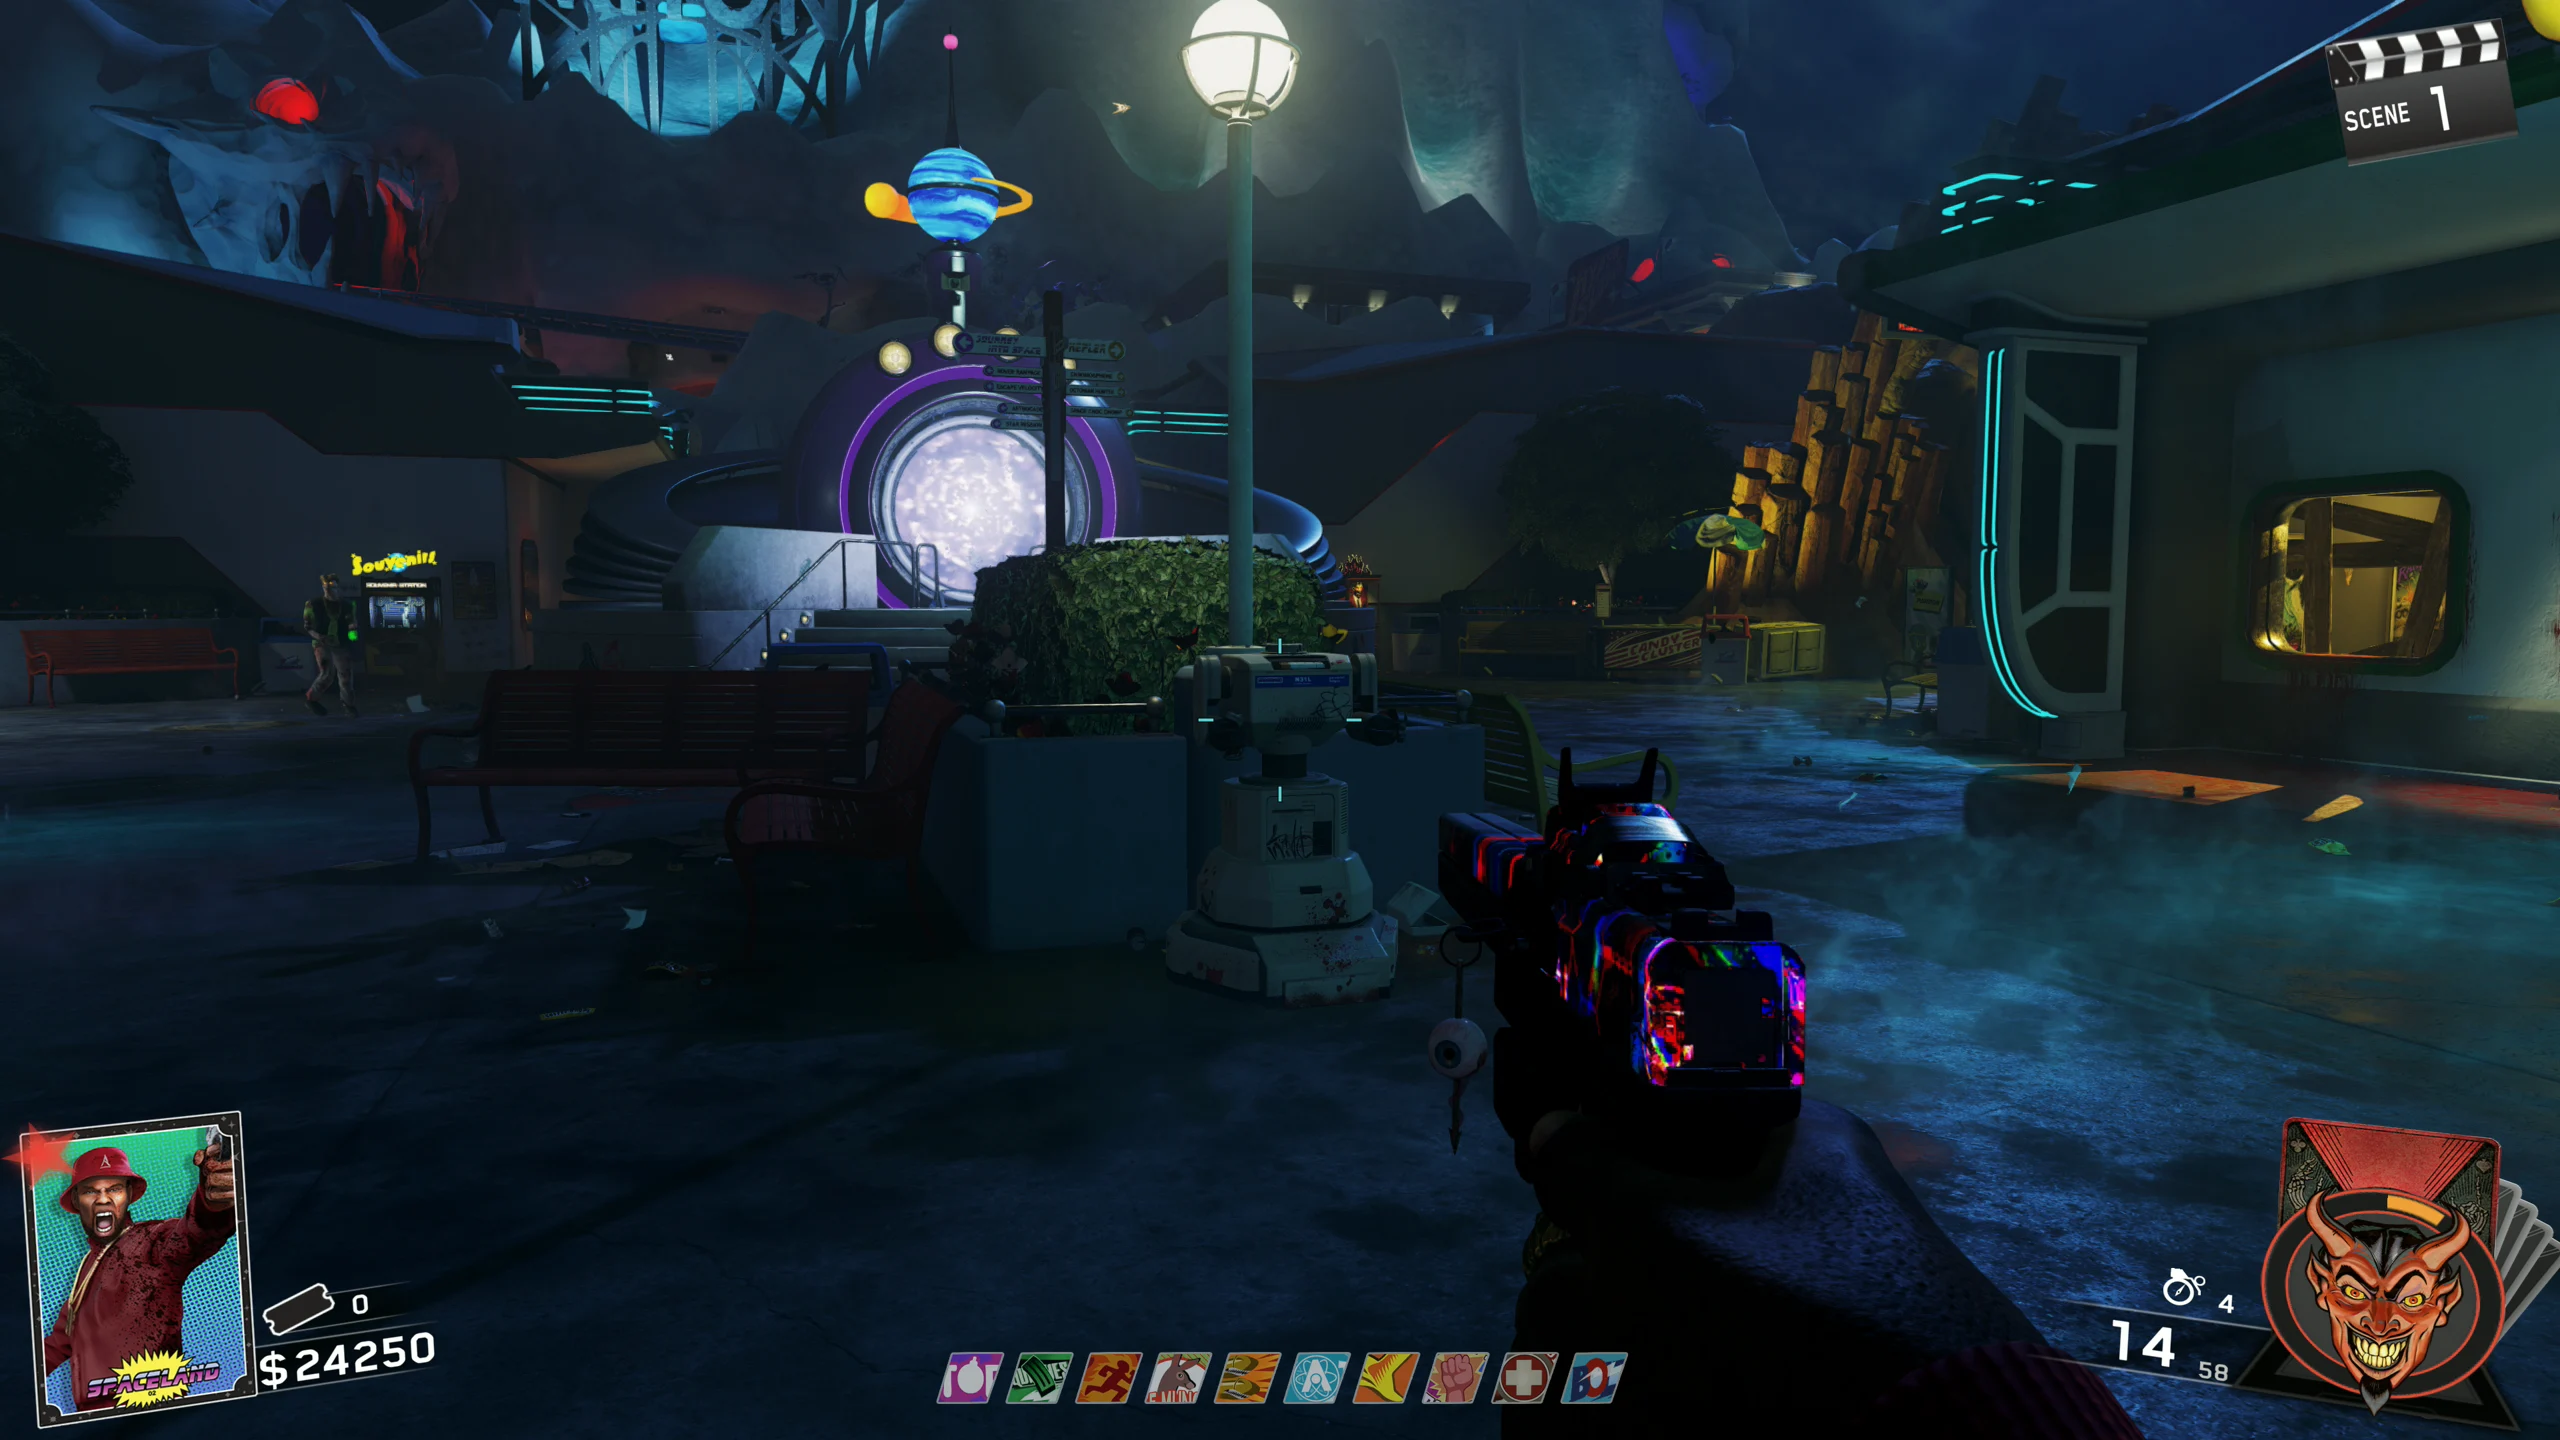
'Weapon of Rock' Wonder Weapons
The Weapons of Rock are craftable pistols that fire semi-auto energy bullets with each weapon having a different effect on the Zombies. The Weapons of Rock can only be Pack-a-Punched using the Upgraded Pack-a-Punch machine.
Head-Cutter
The Head-Cutter will cause a Zombie's head to explode, dealing splash damage to all nearby Zombies.
- The Head-Cutter requires three parts to be built - Battery, Yeti Plush, and Yellow Crystal:
- Battery:
- Purchase the Cryo Grenades (350 Tickets) from the Astrocade.
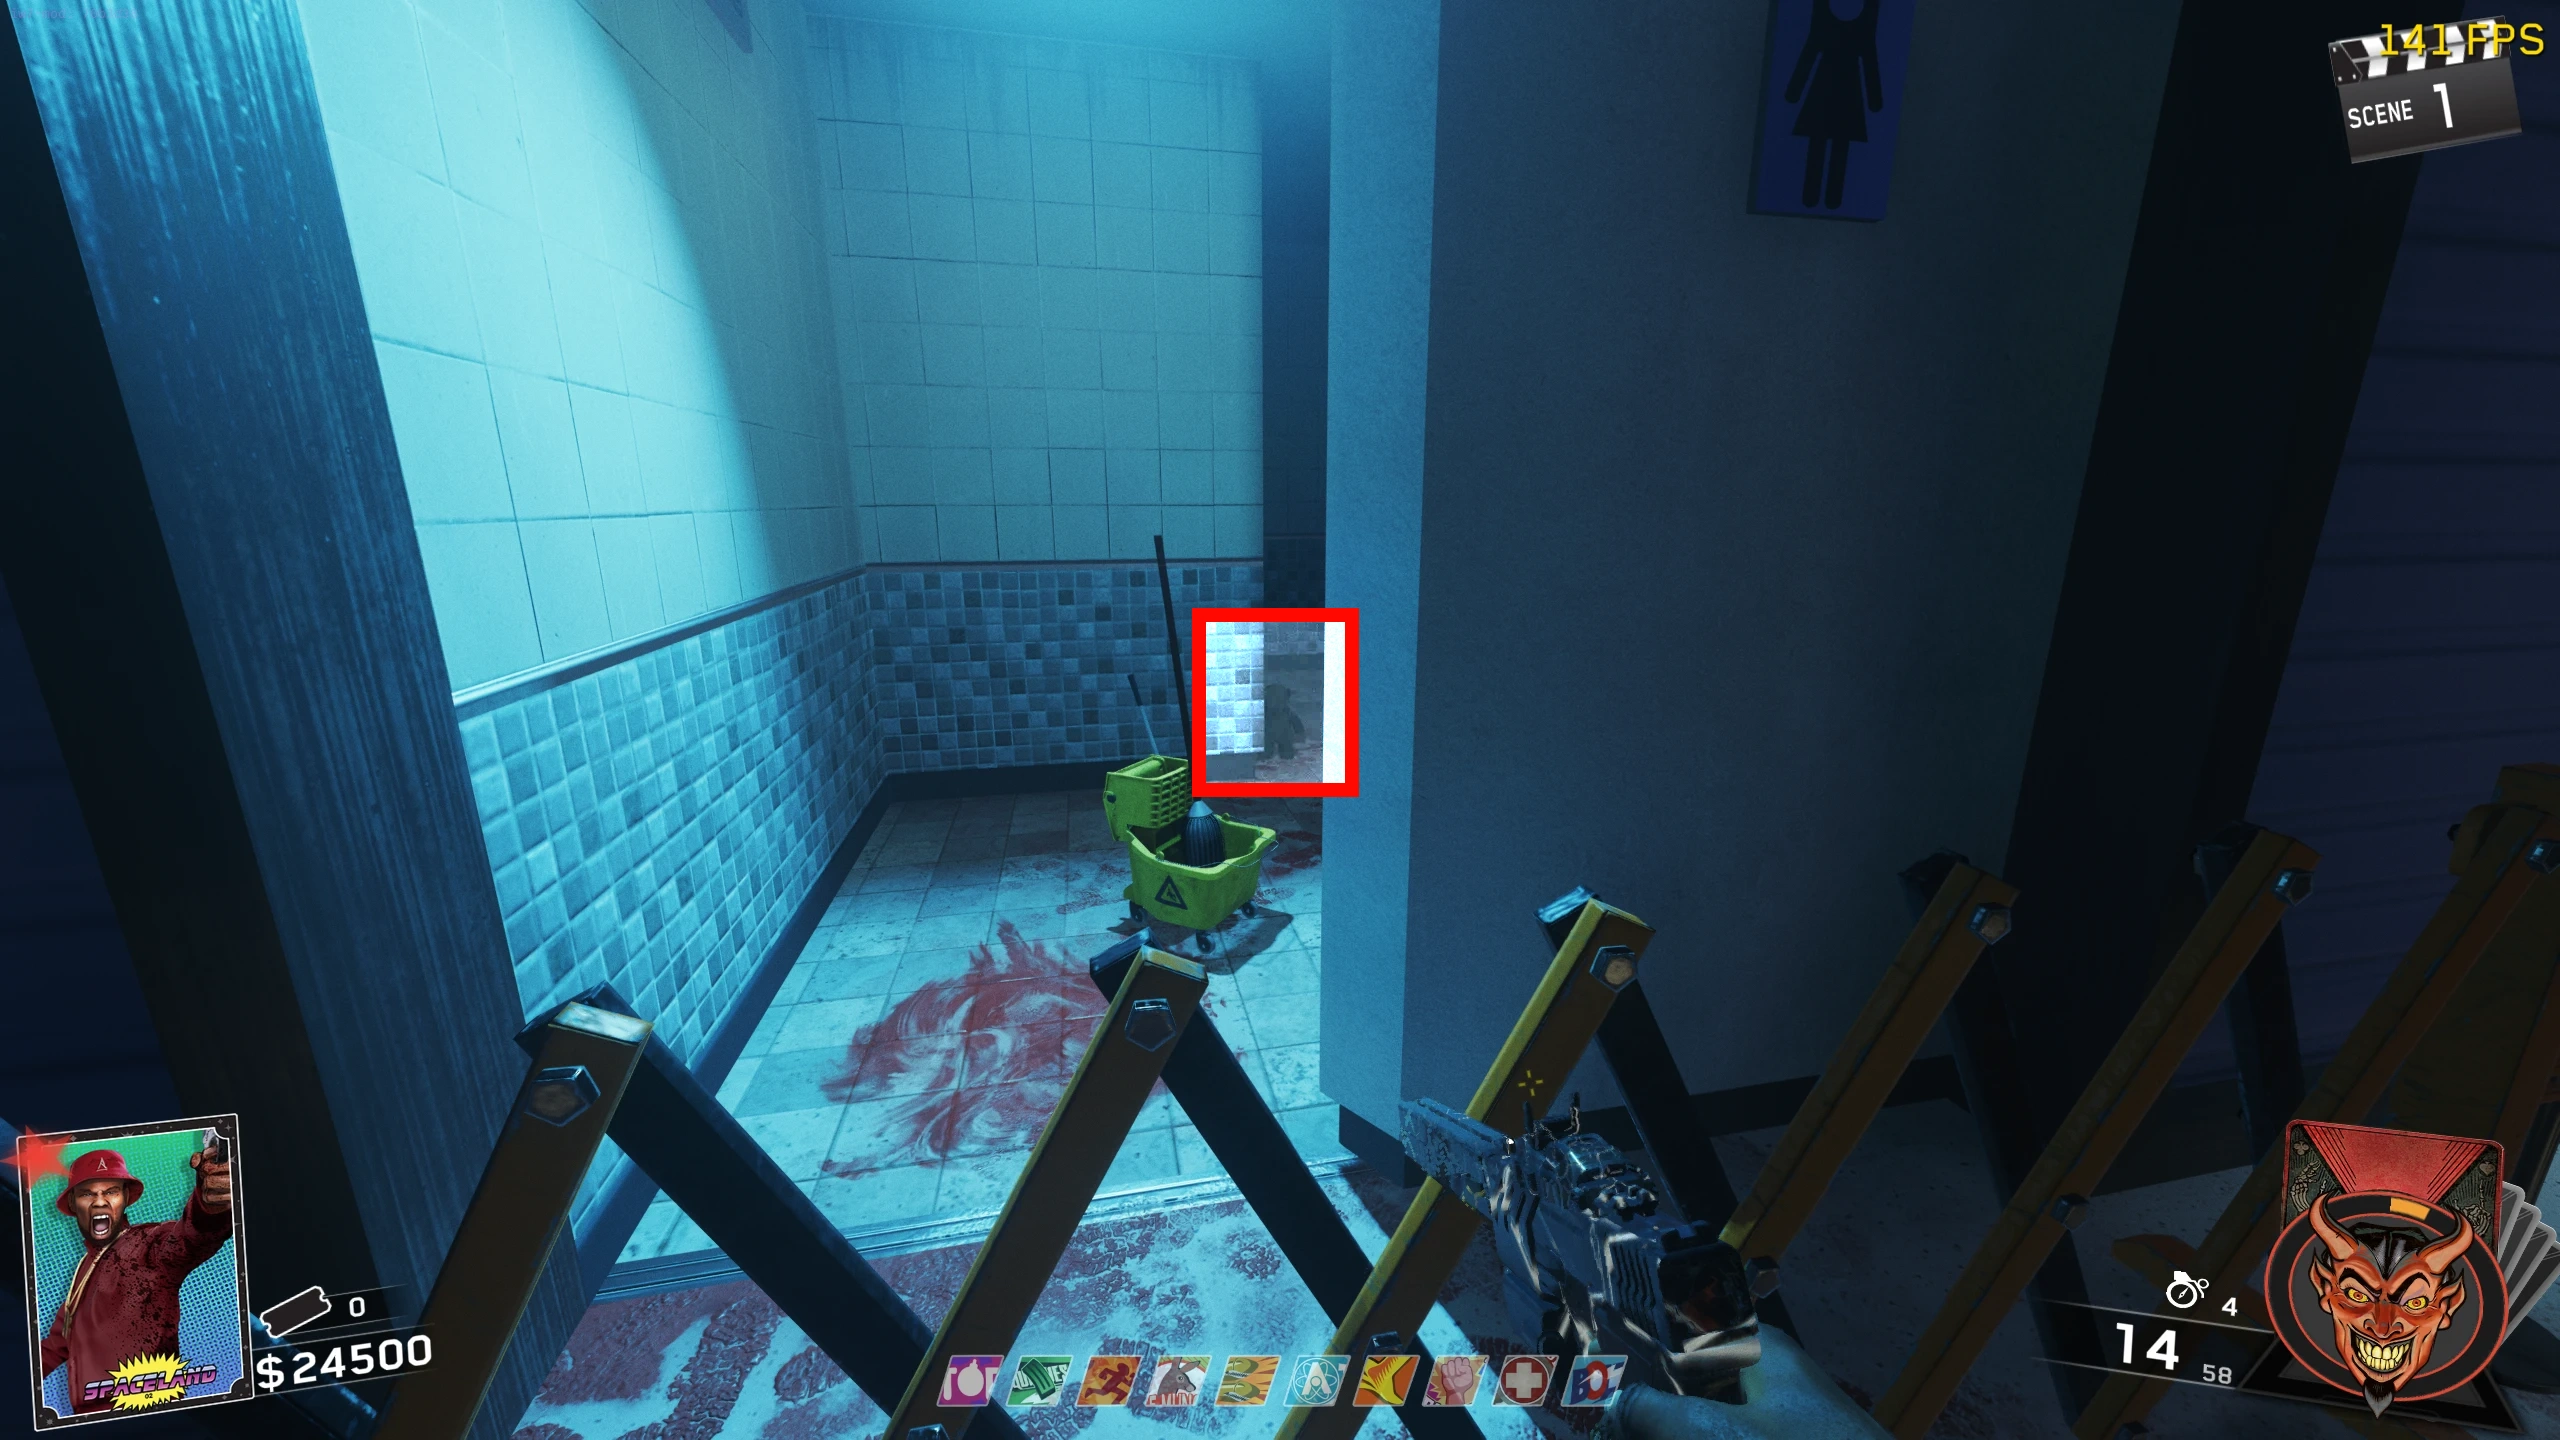
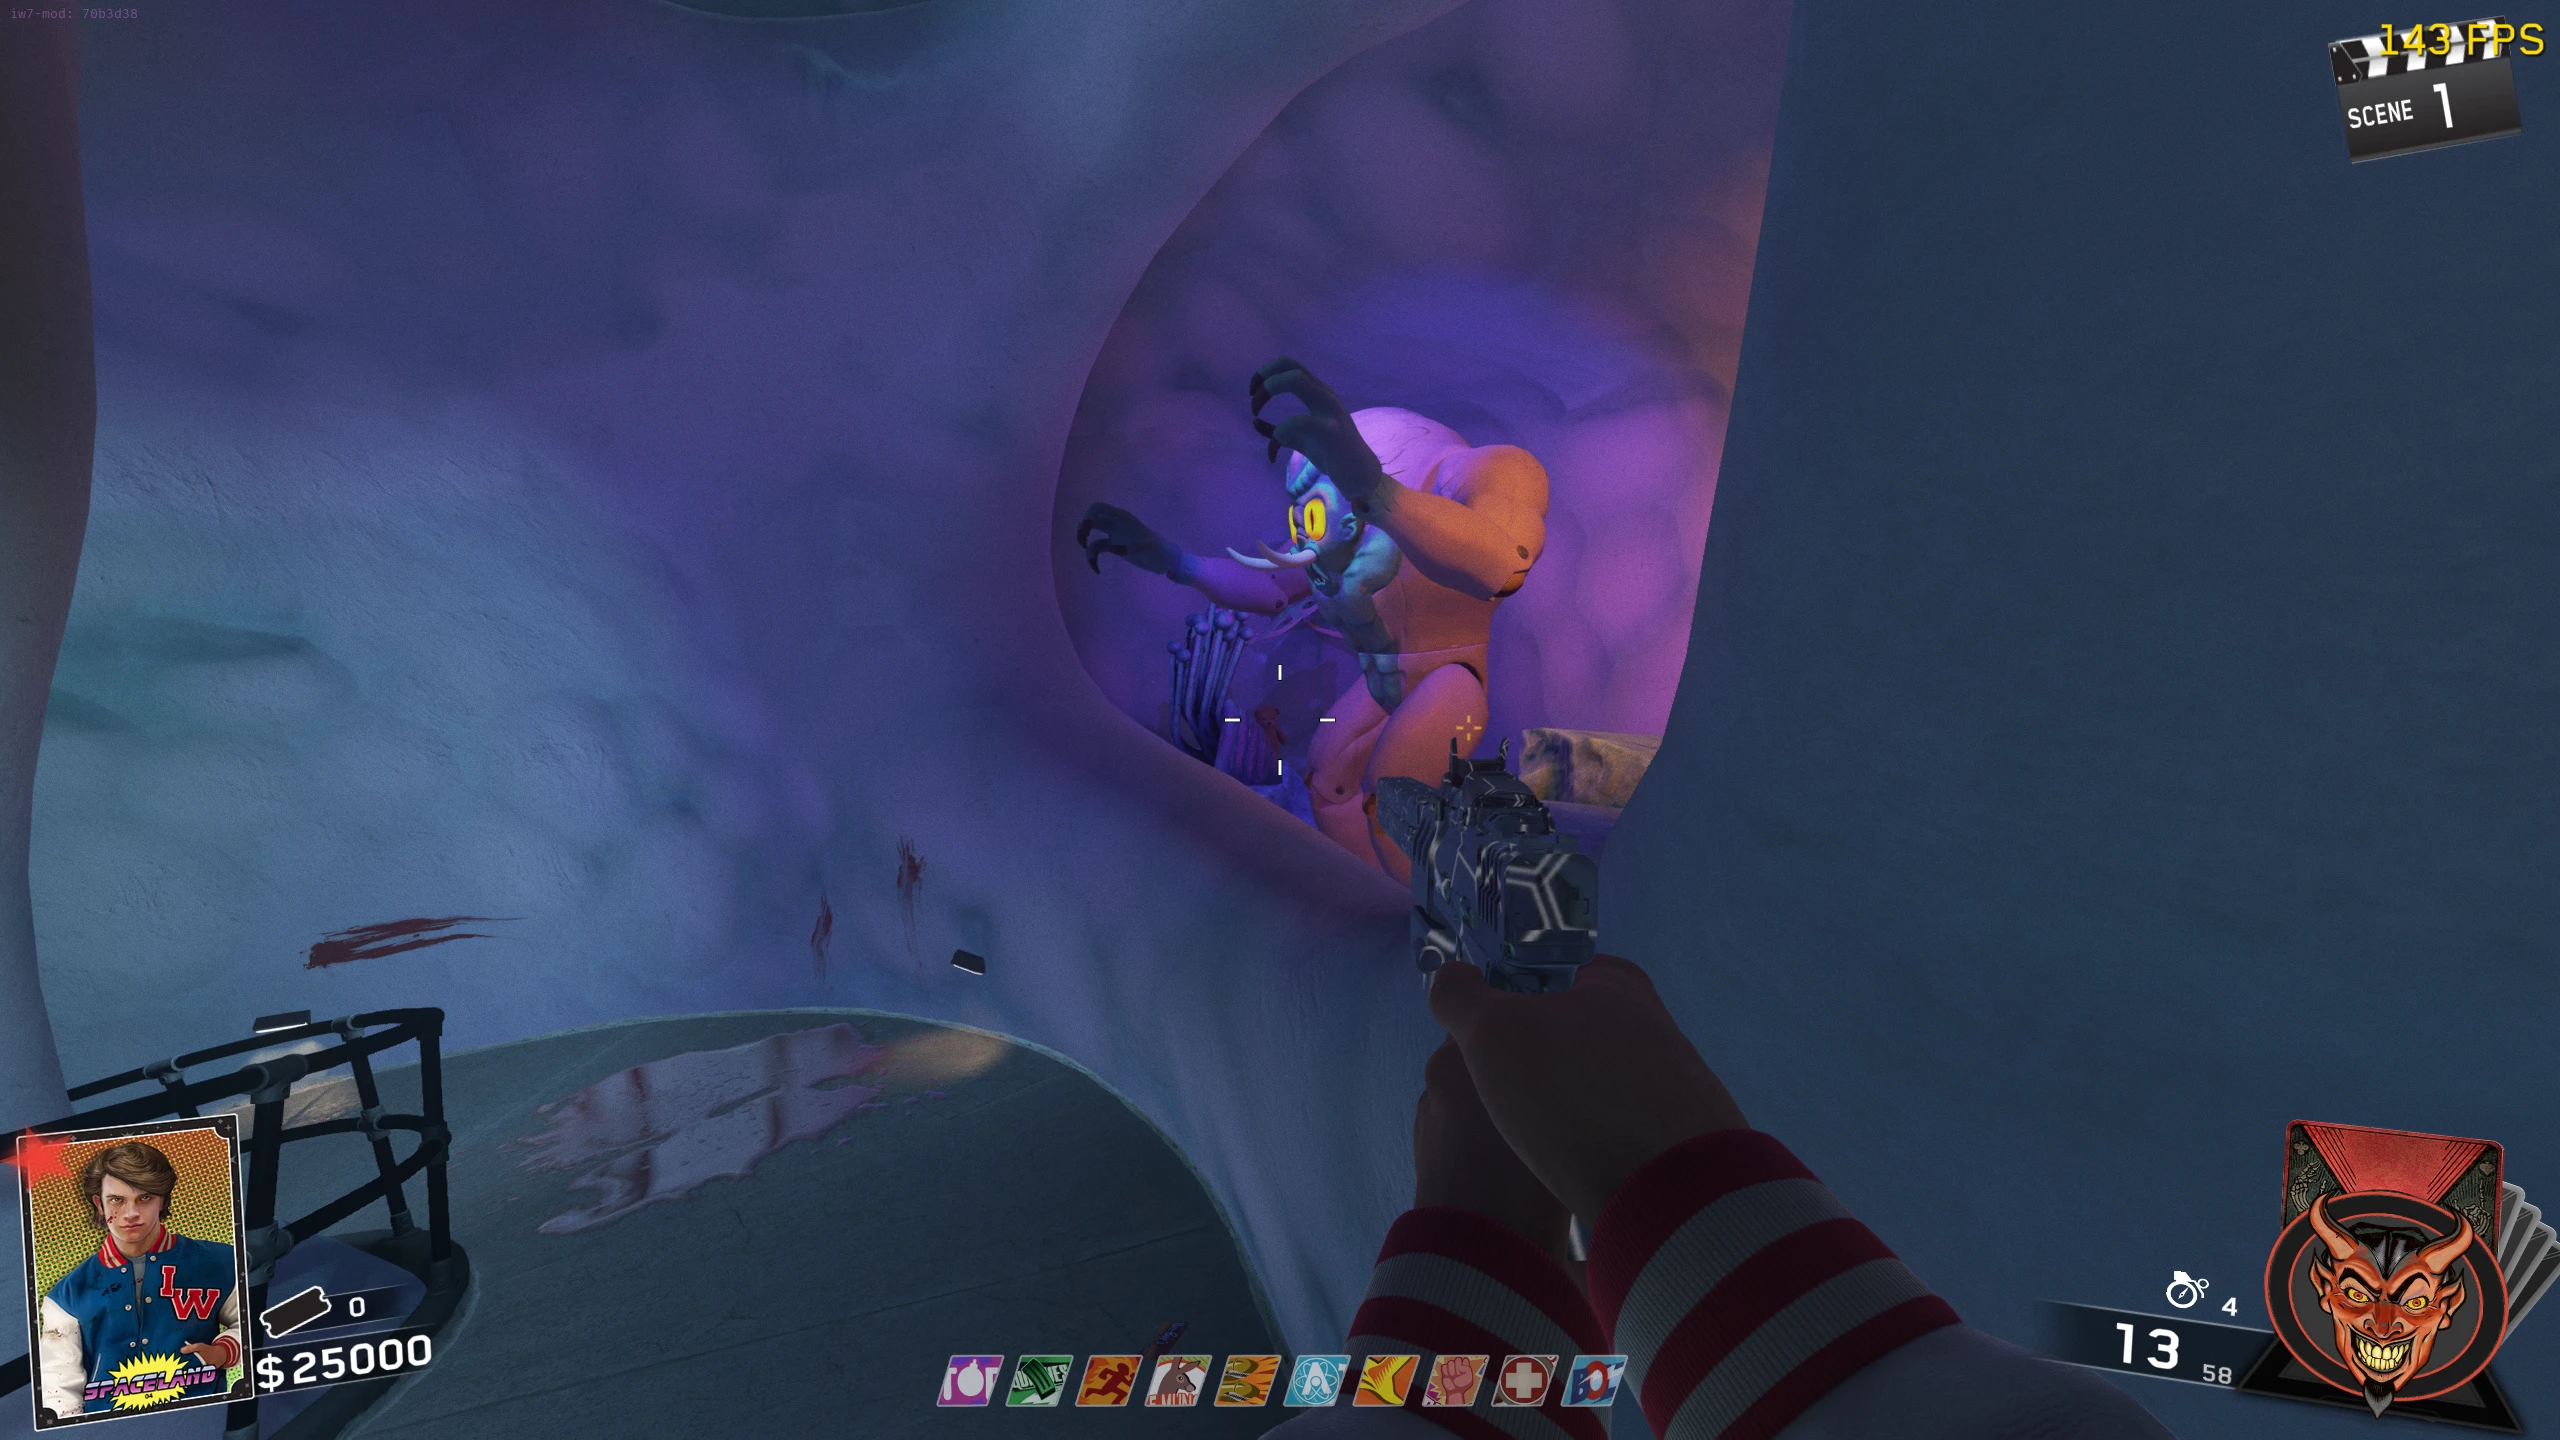
- Throw a Cryo Grenade at the face of the Yeti just outside the entrance to 'Polar Peak.' This will cause the Yeti to start breathing cold air for about 10 seconds.
- You must freeze 10 Zombies by having them run into the cold breath and then kill them with headshots. If done correctly, you will hear a Yeti roar.
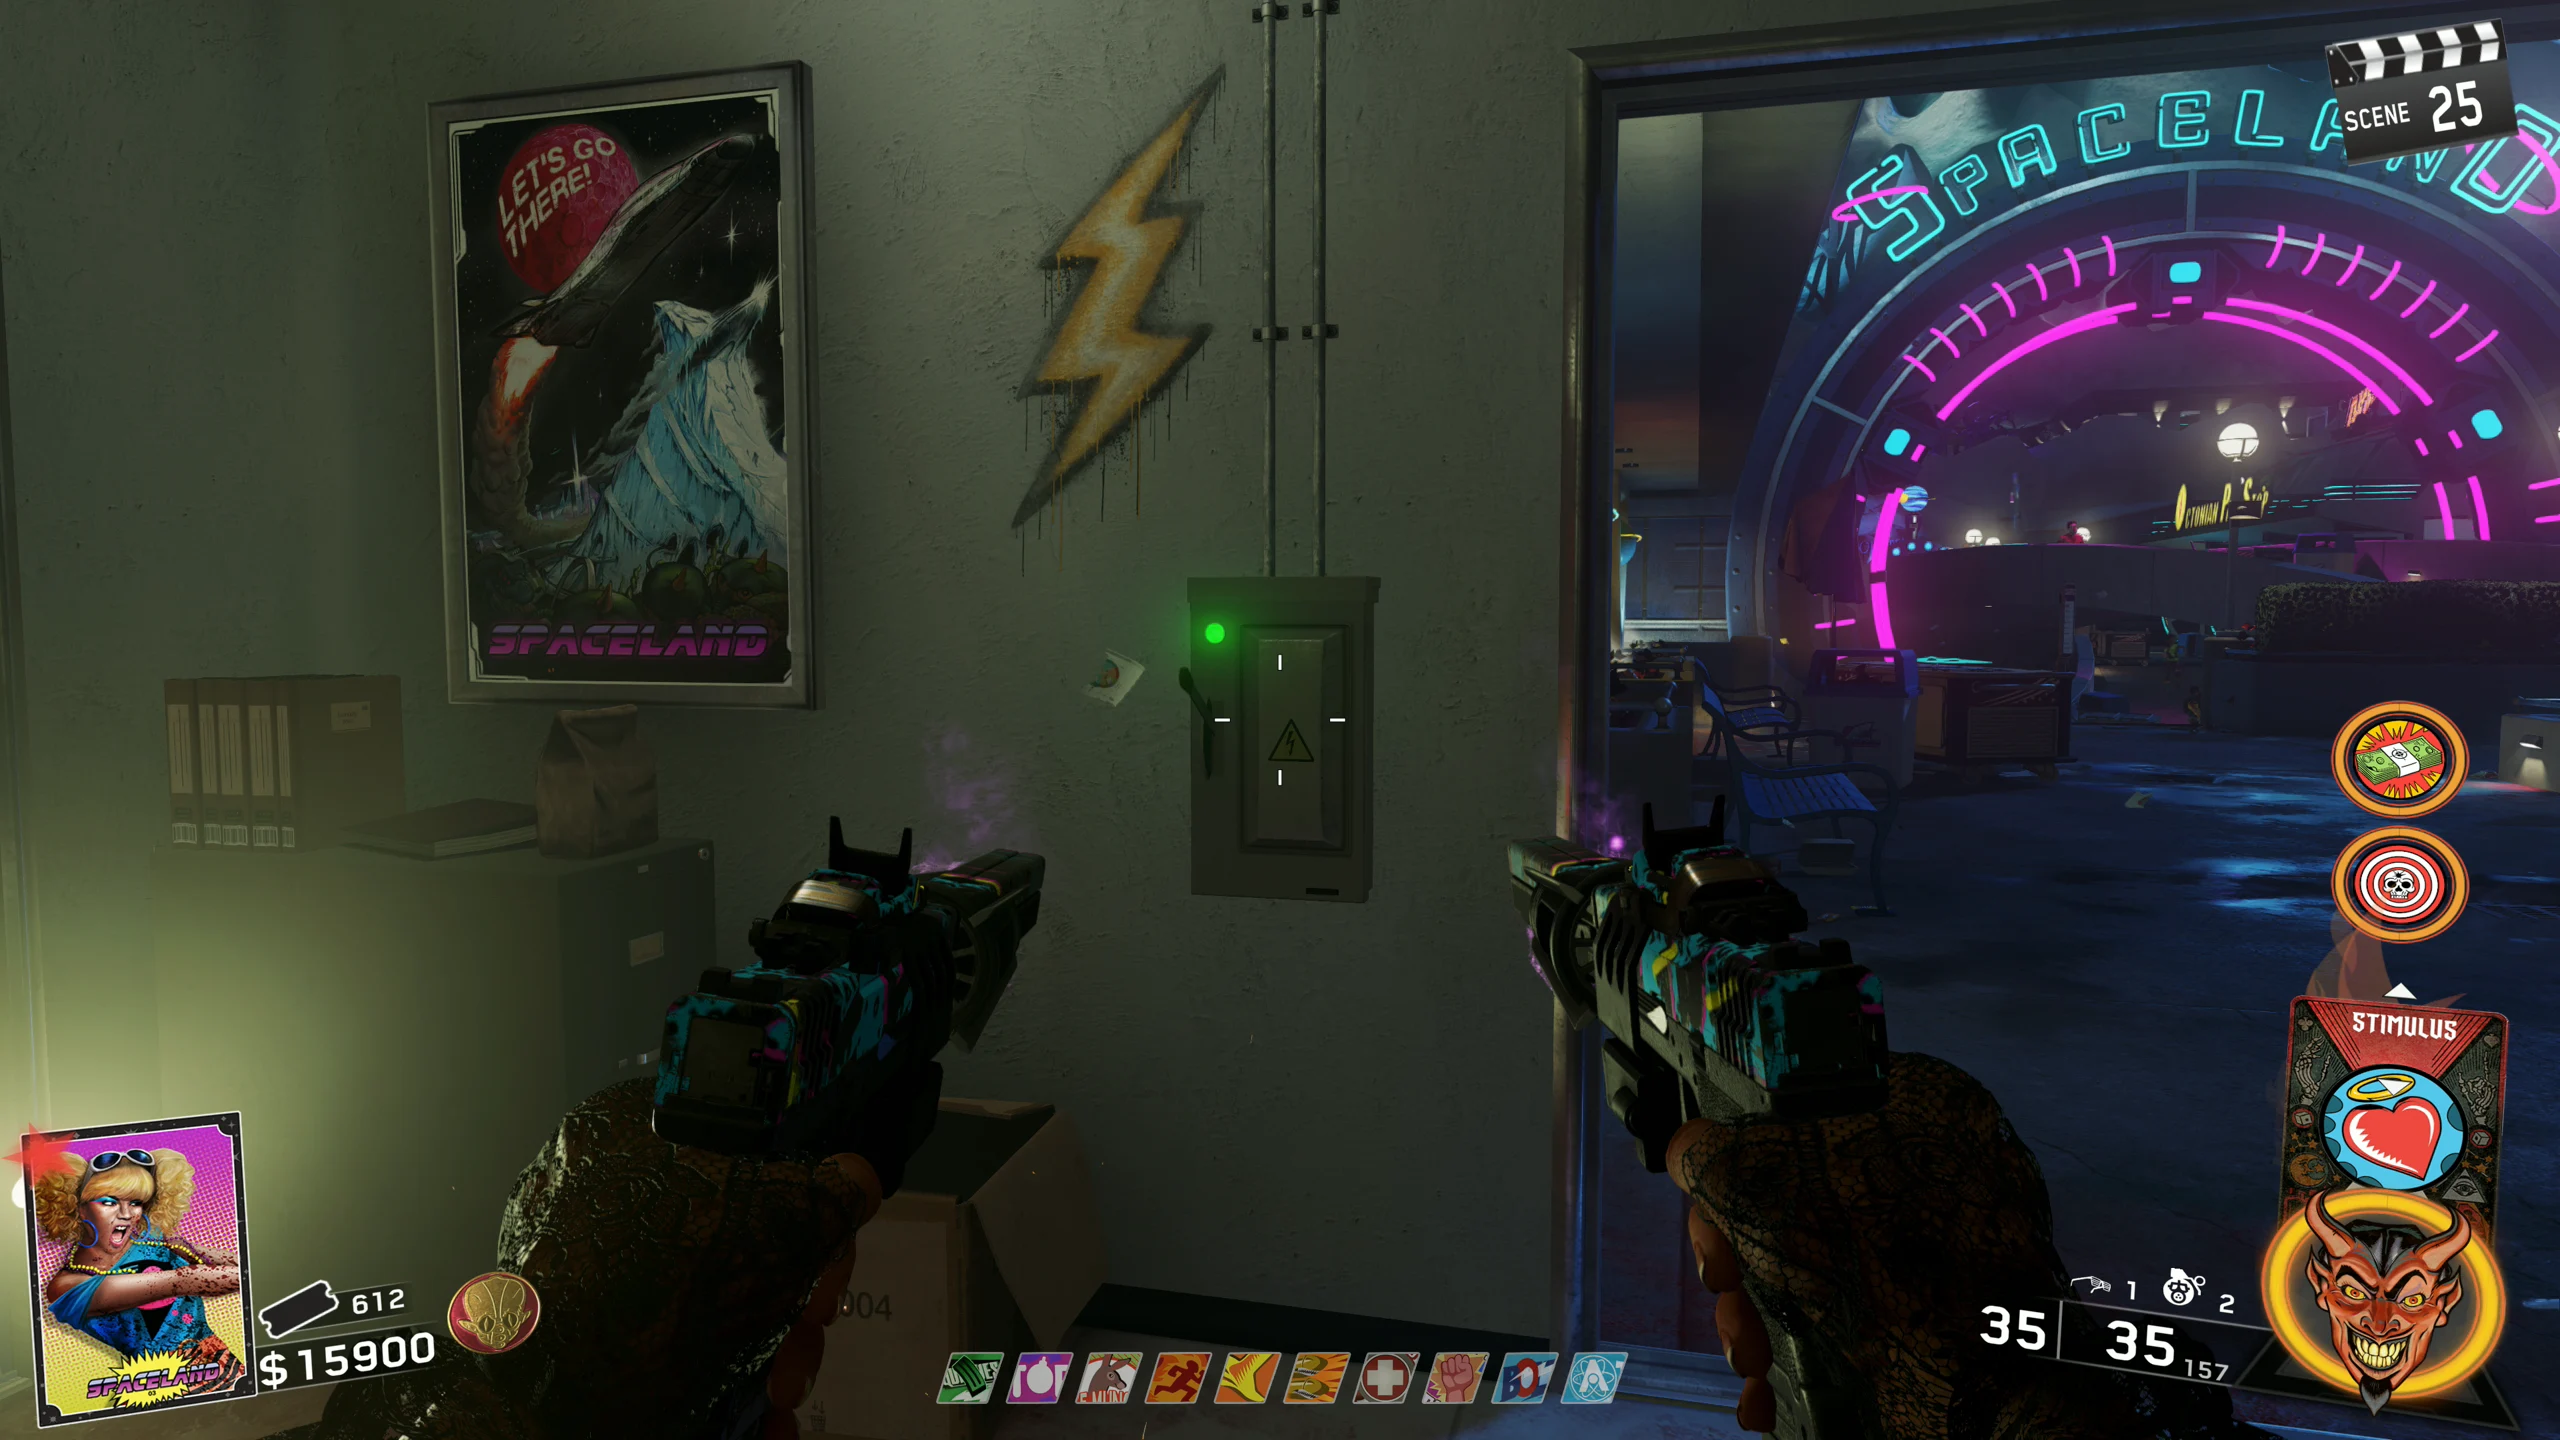
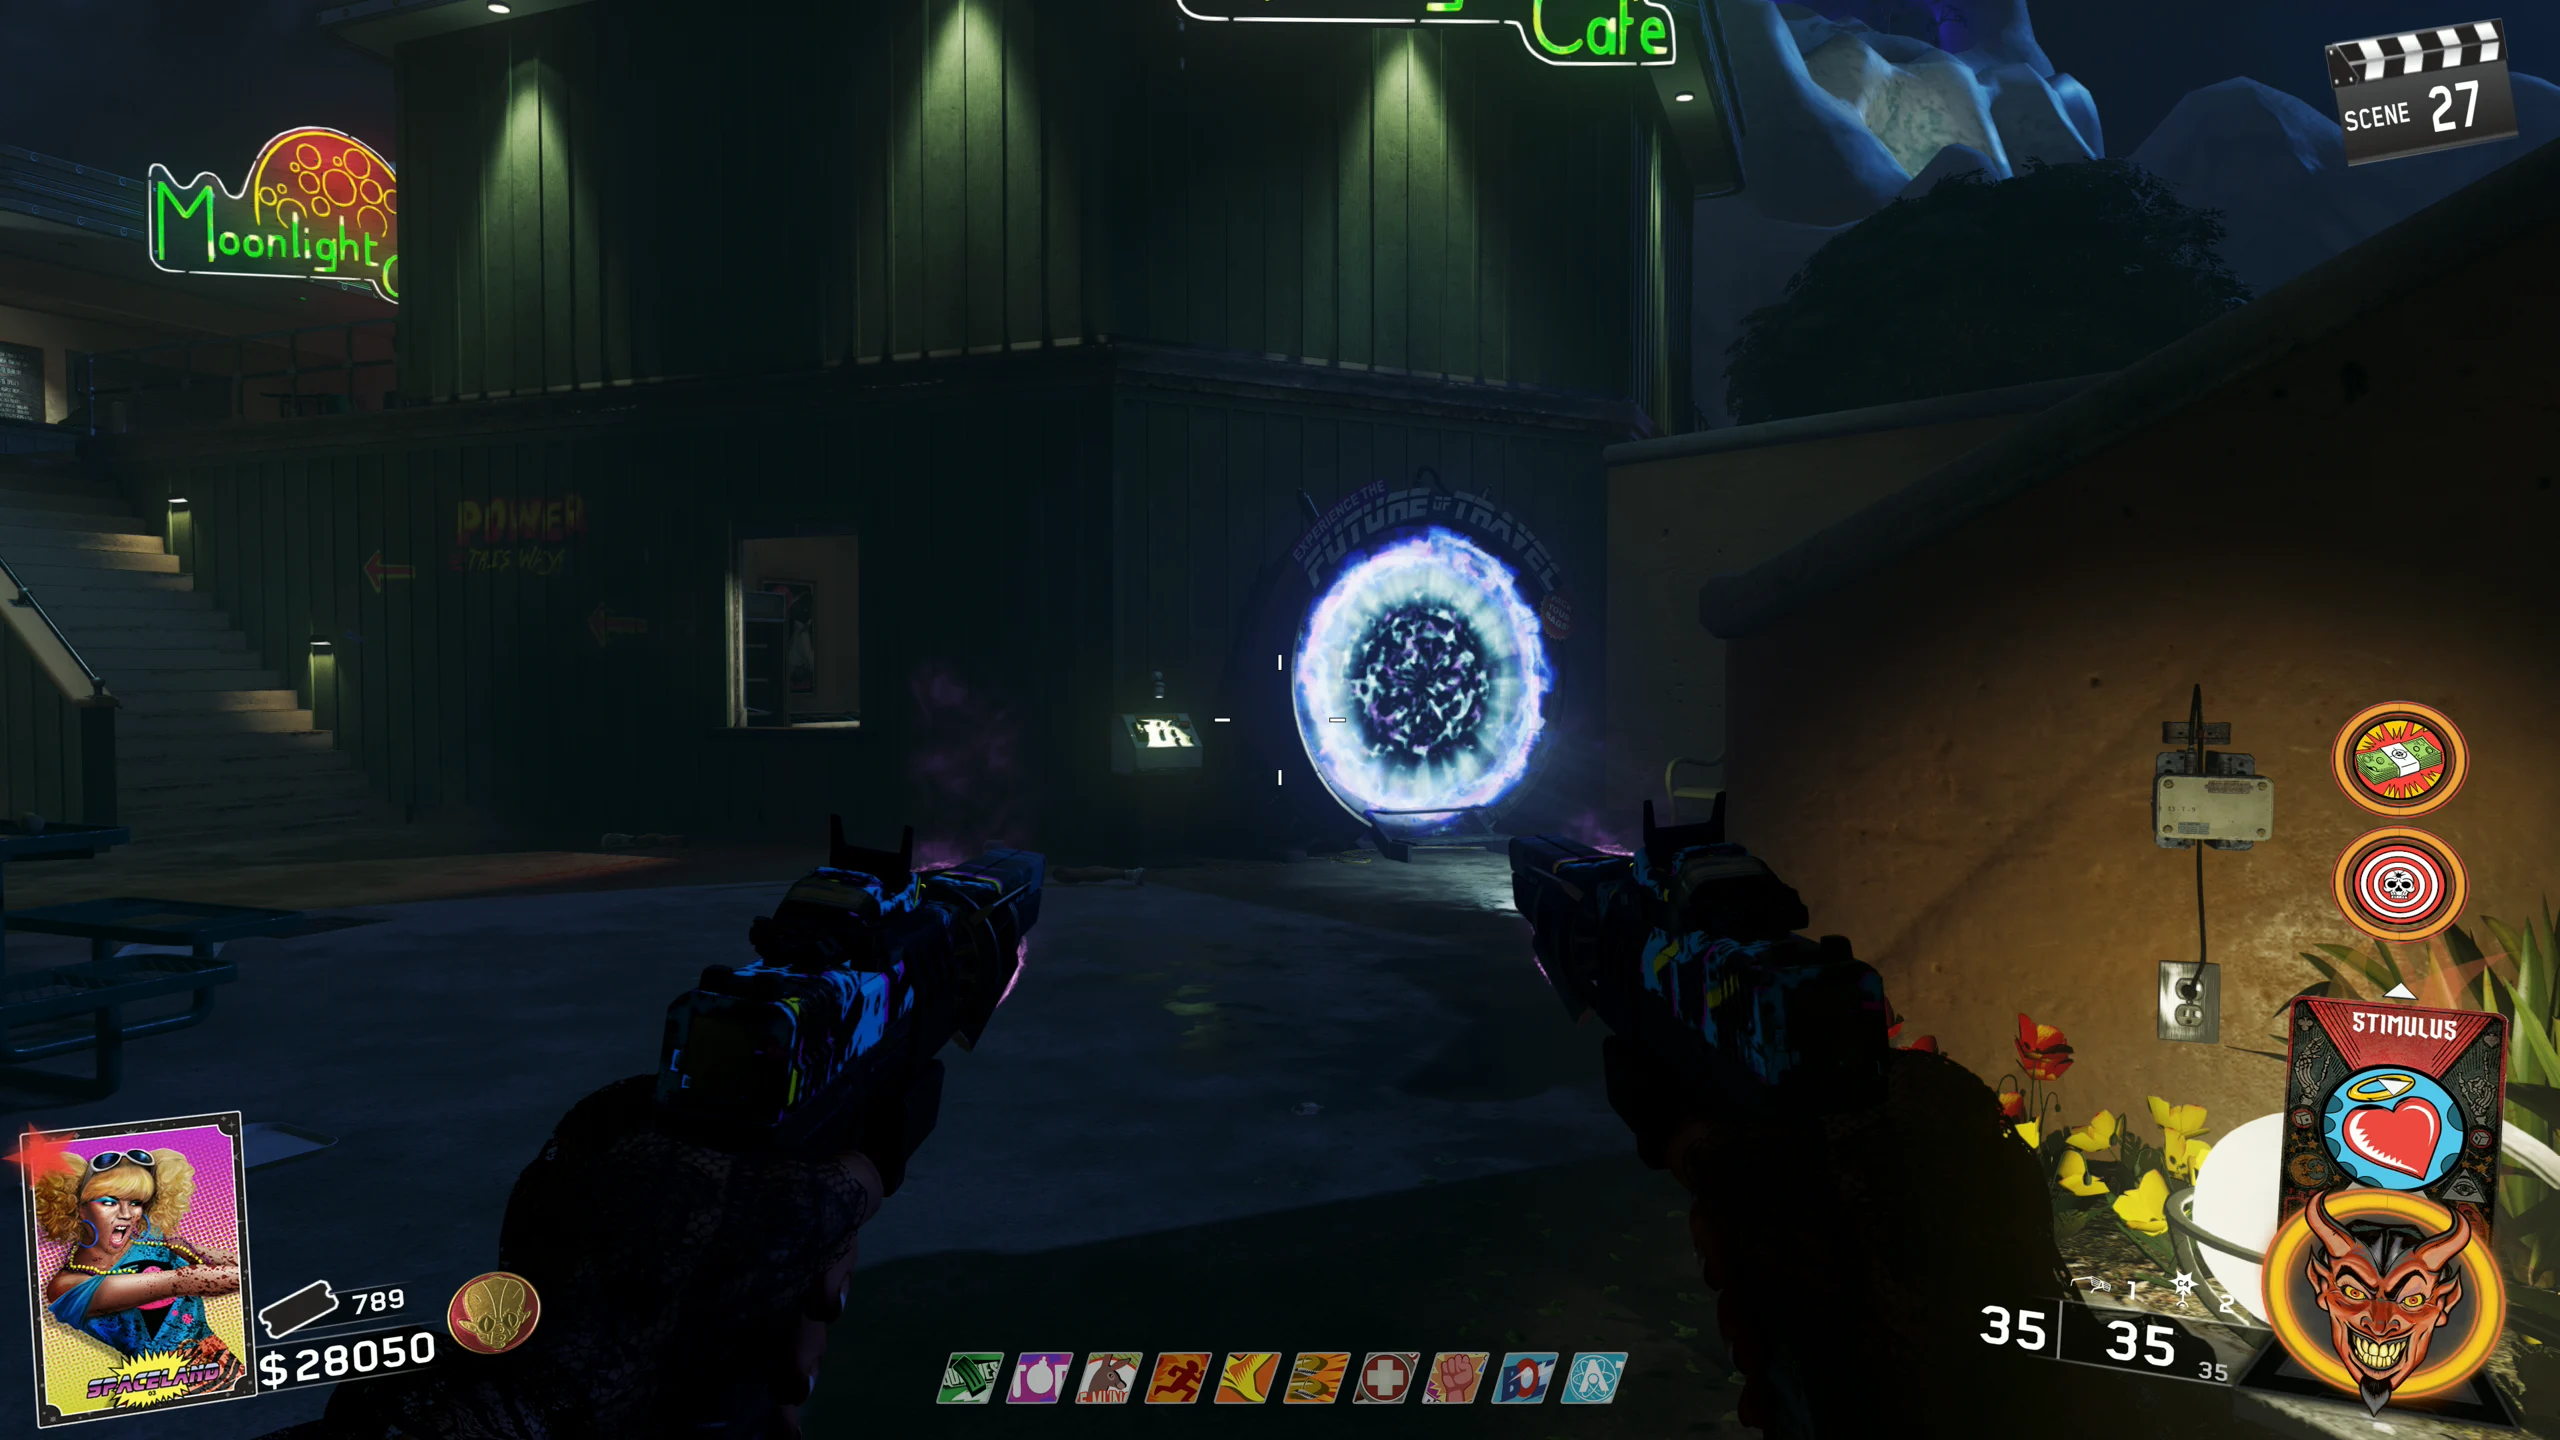
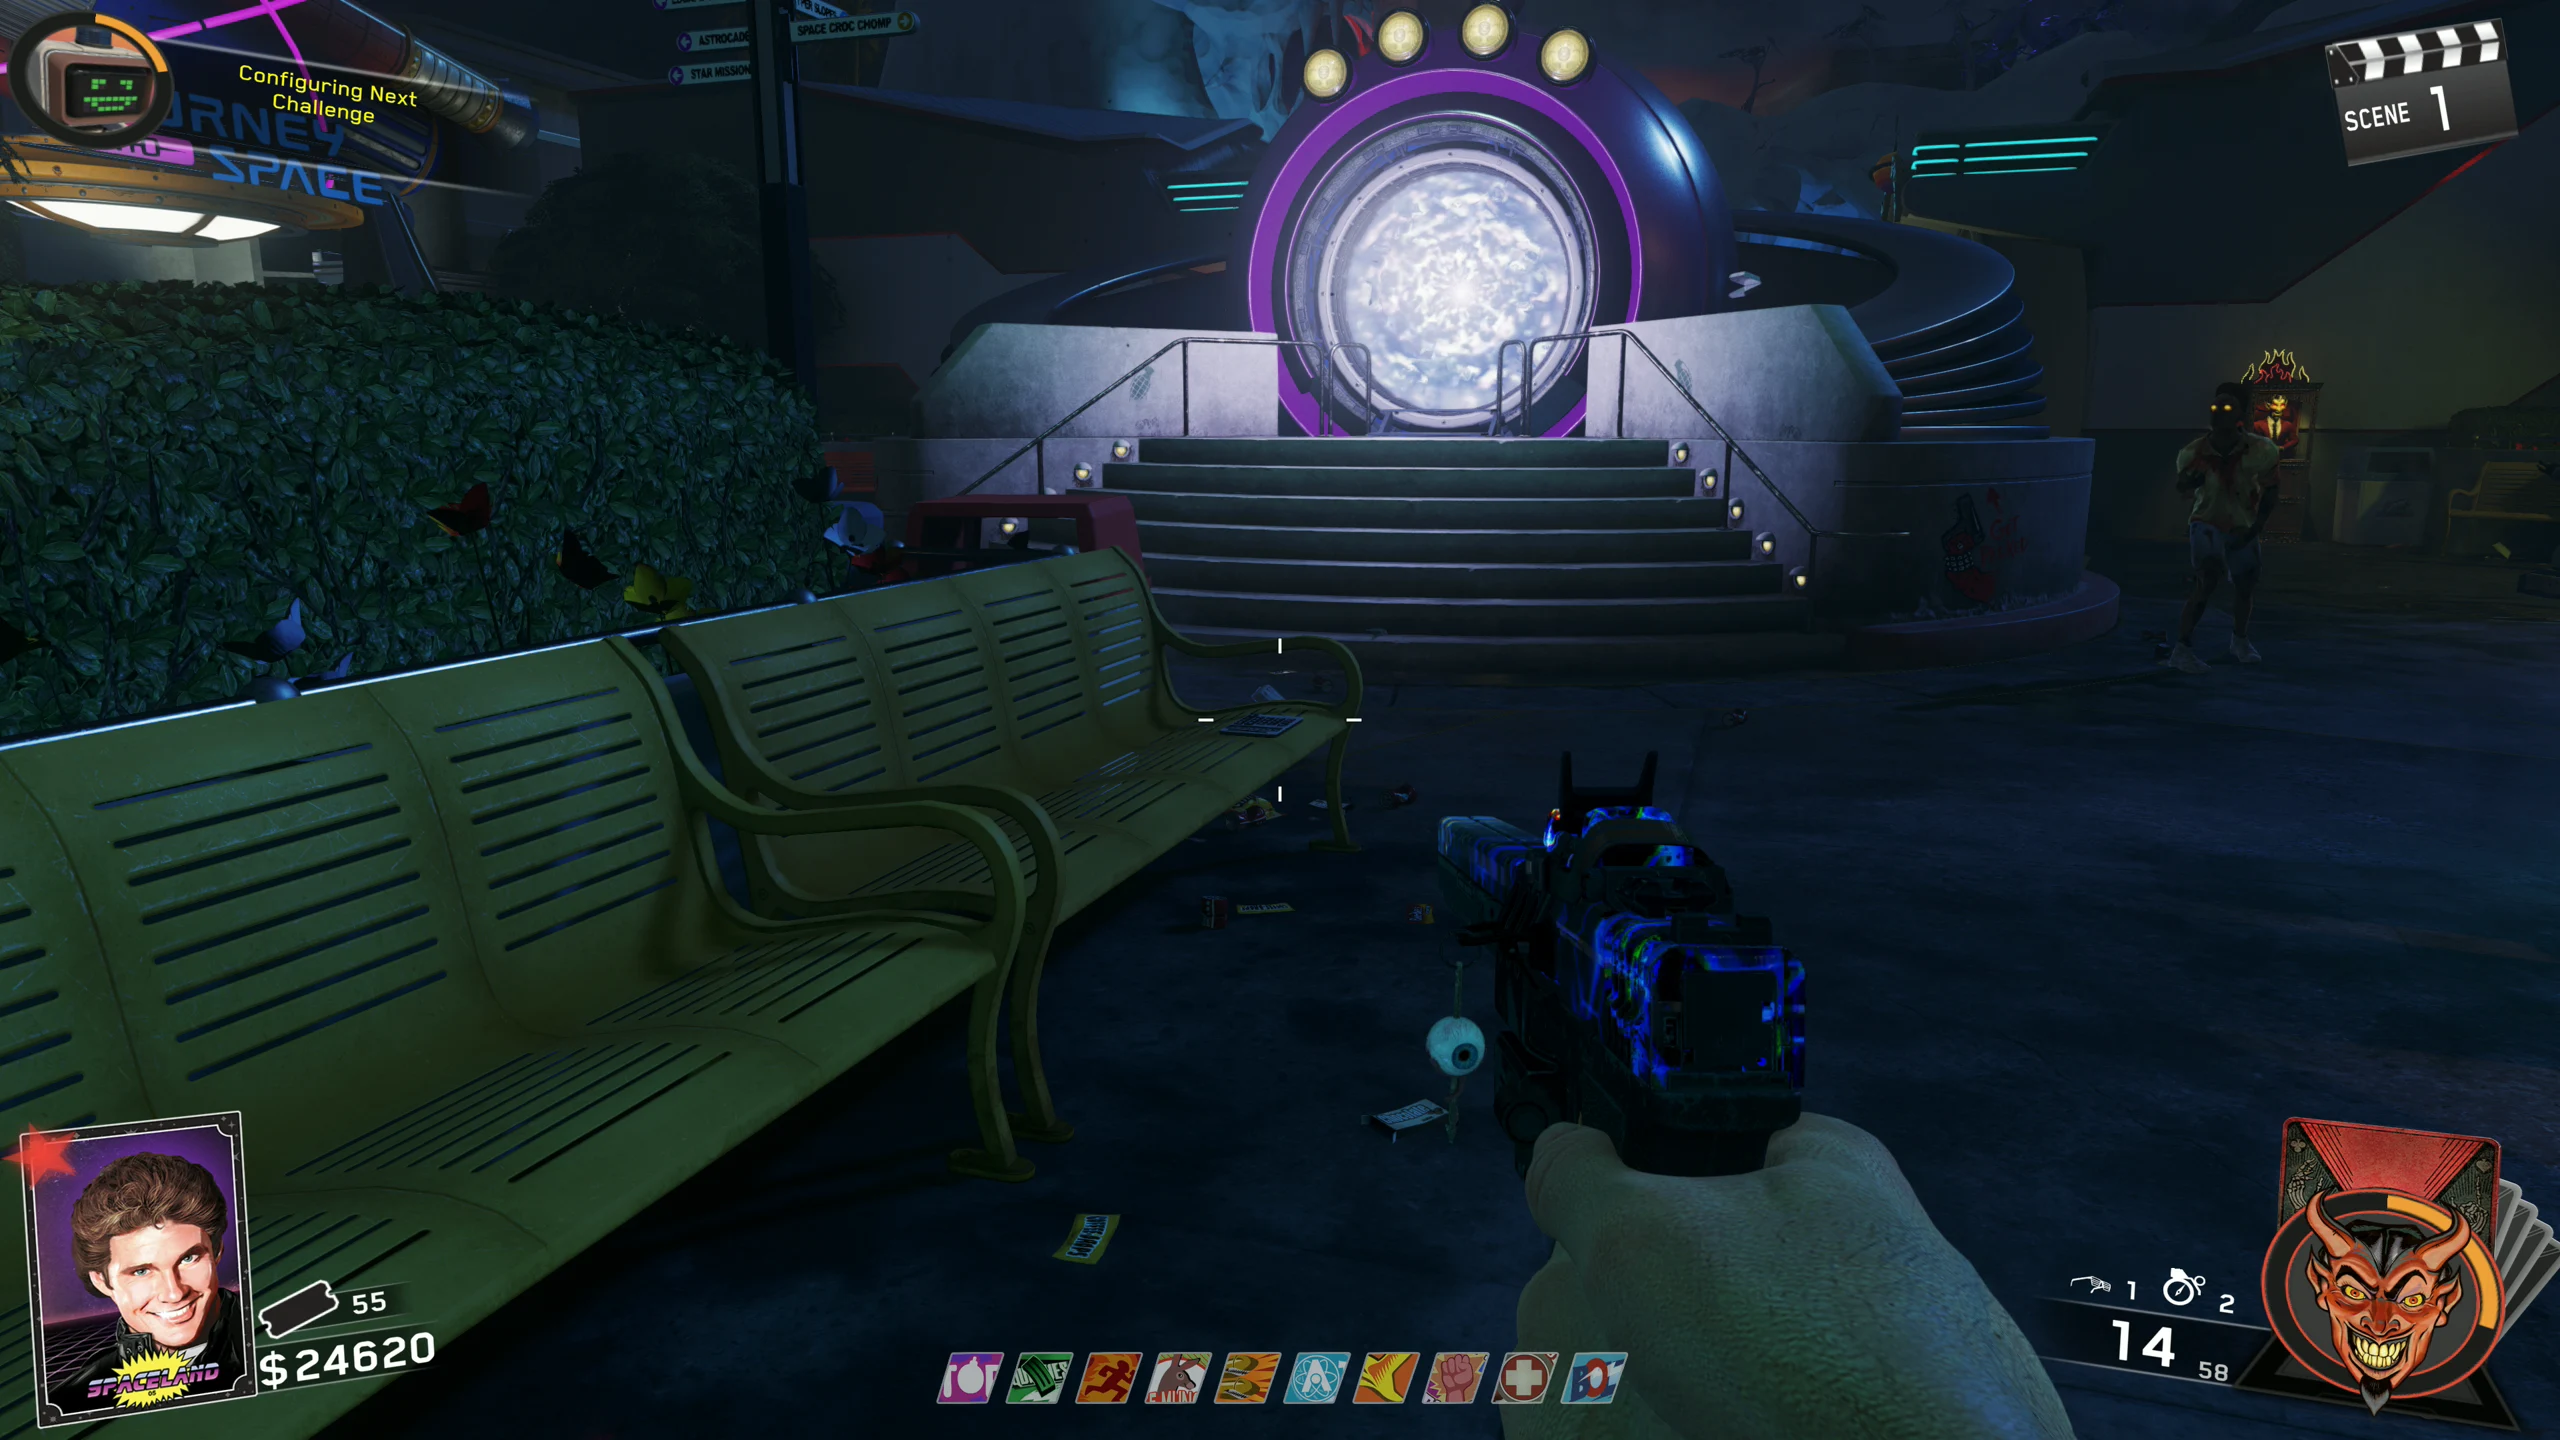
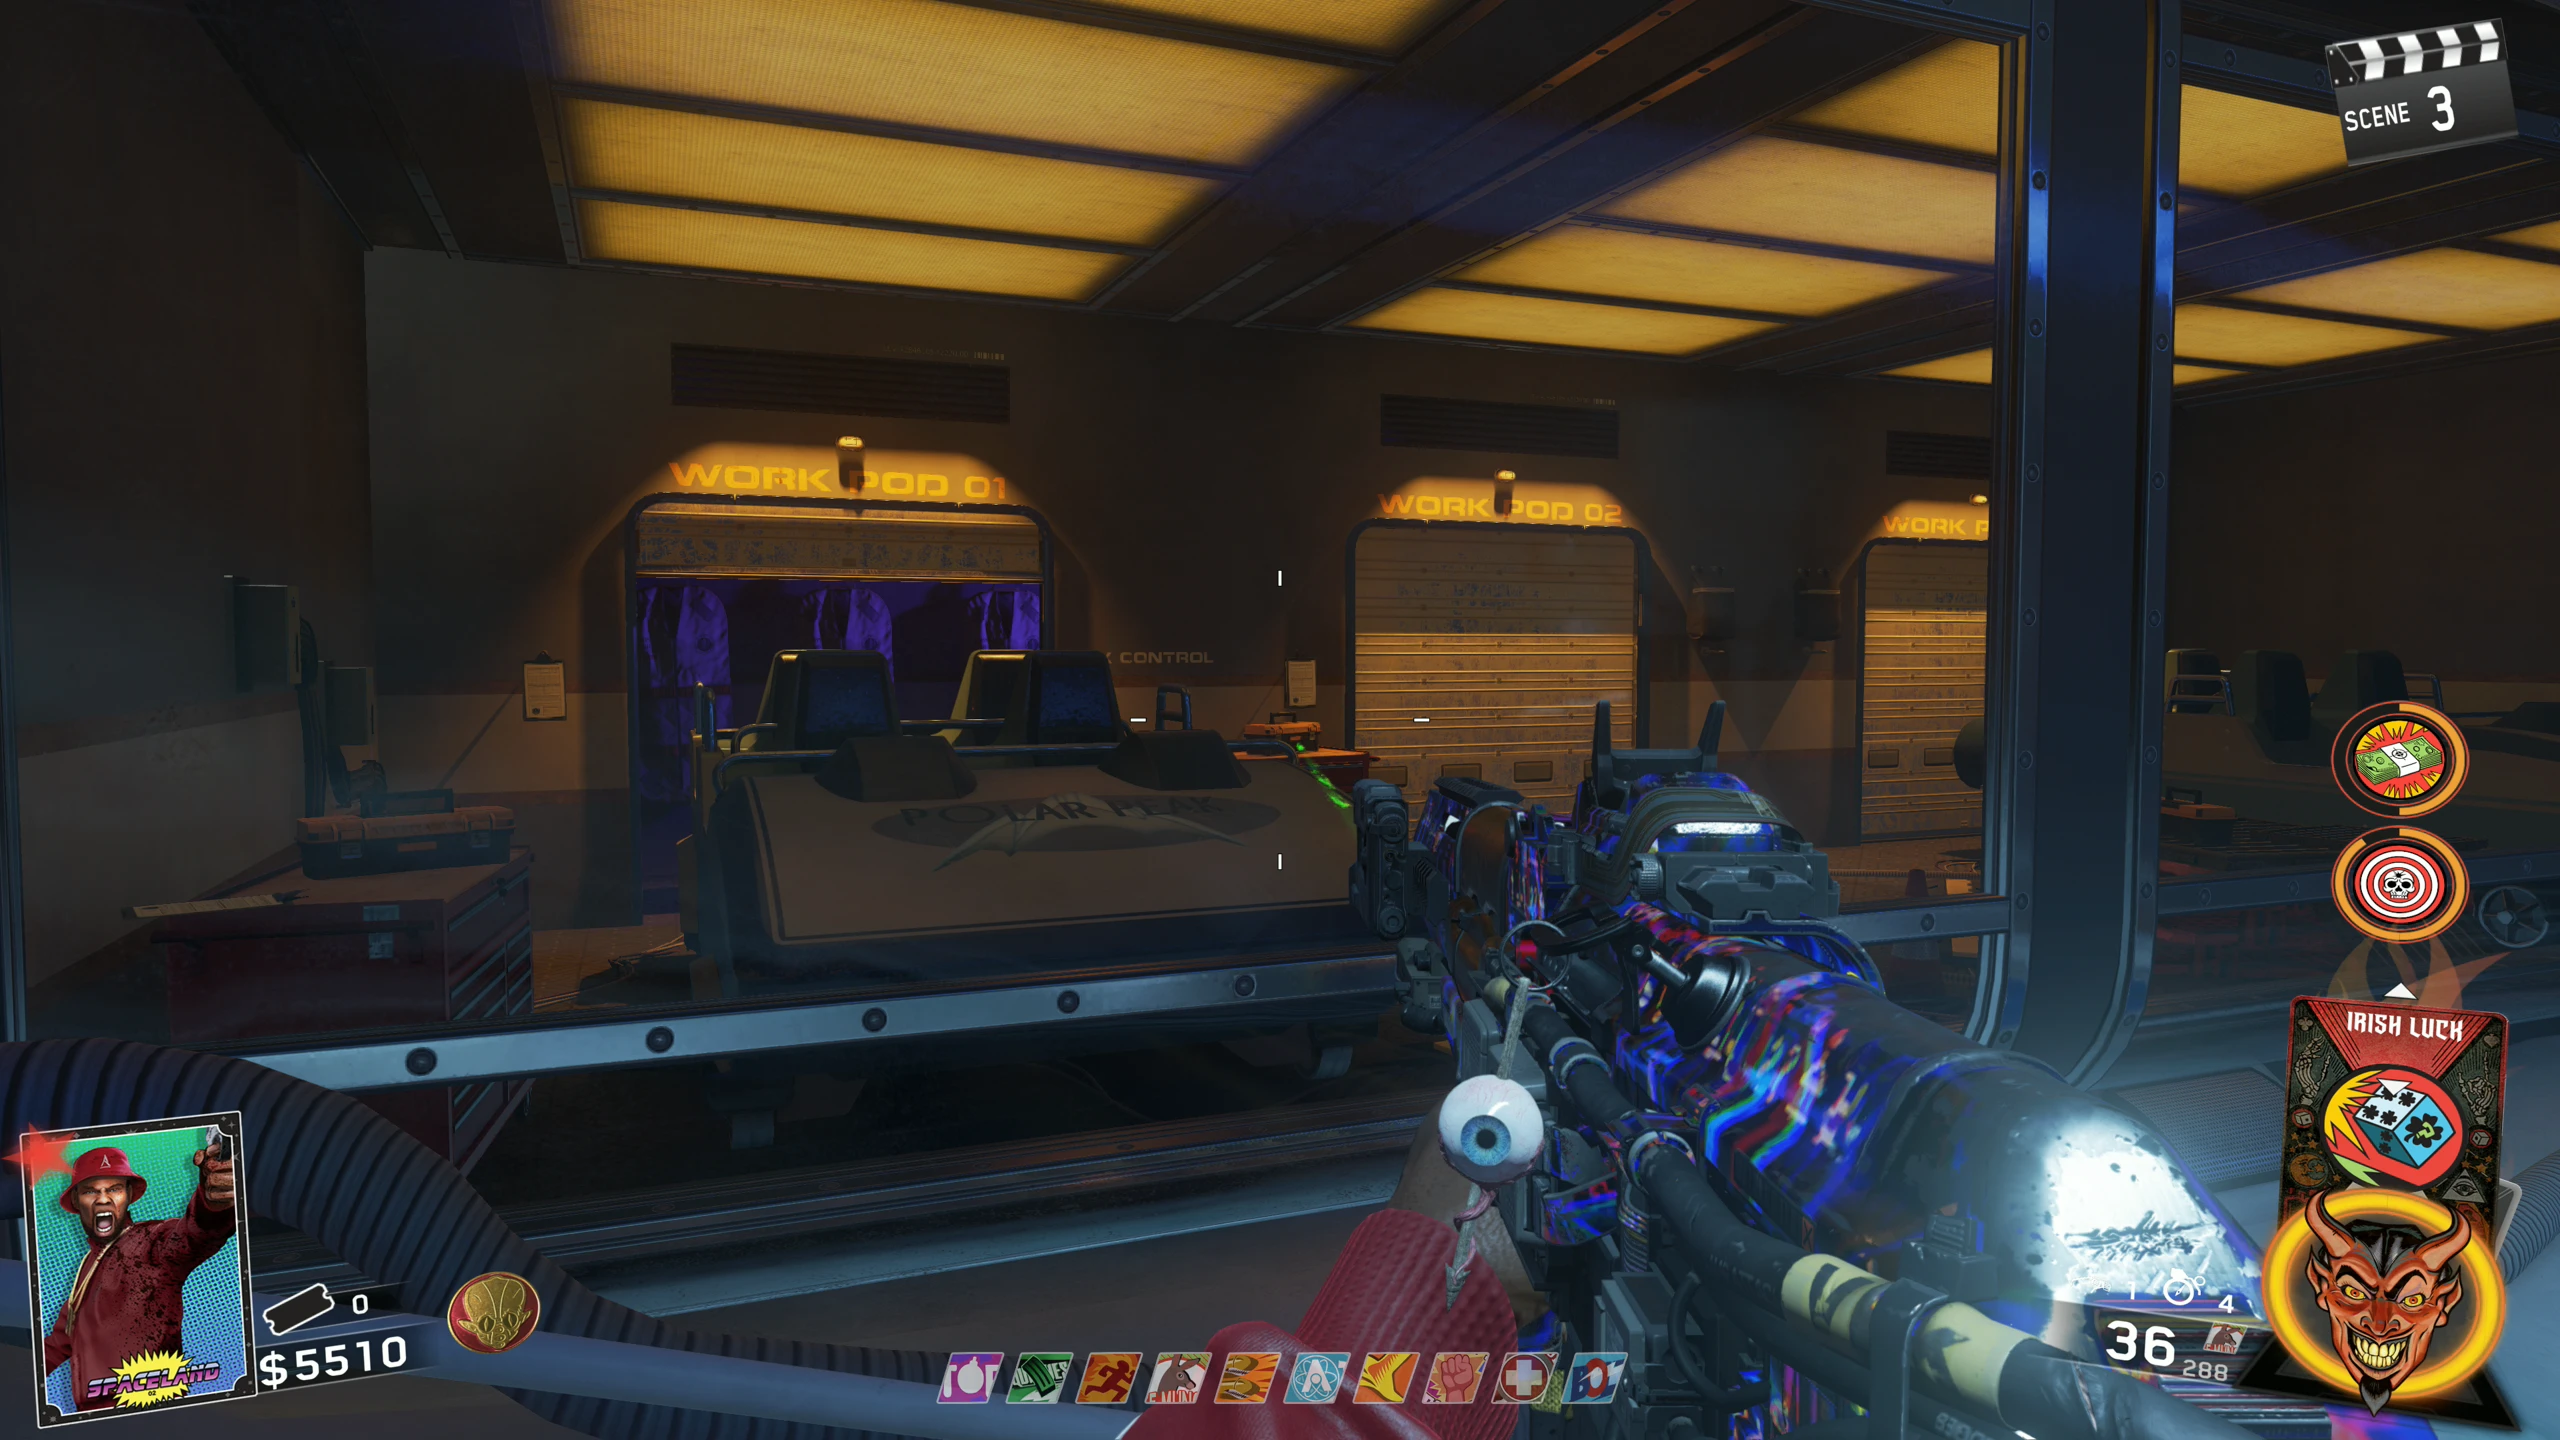
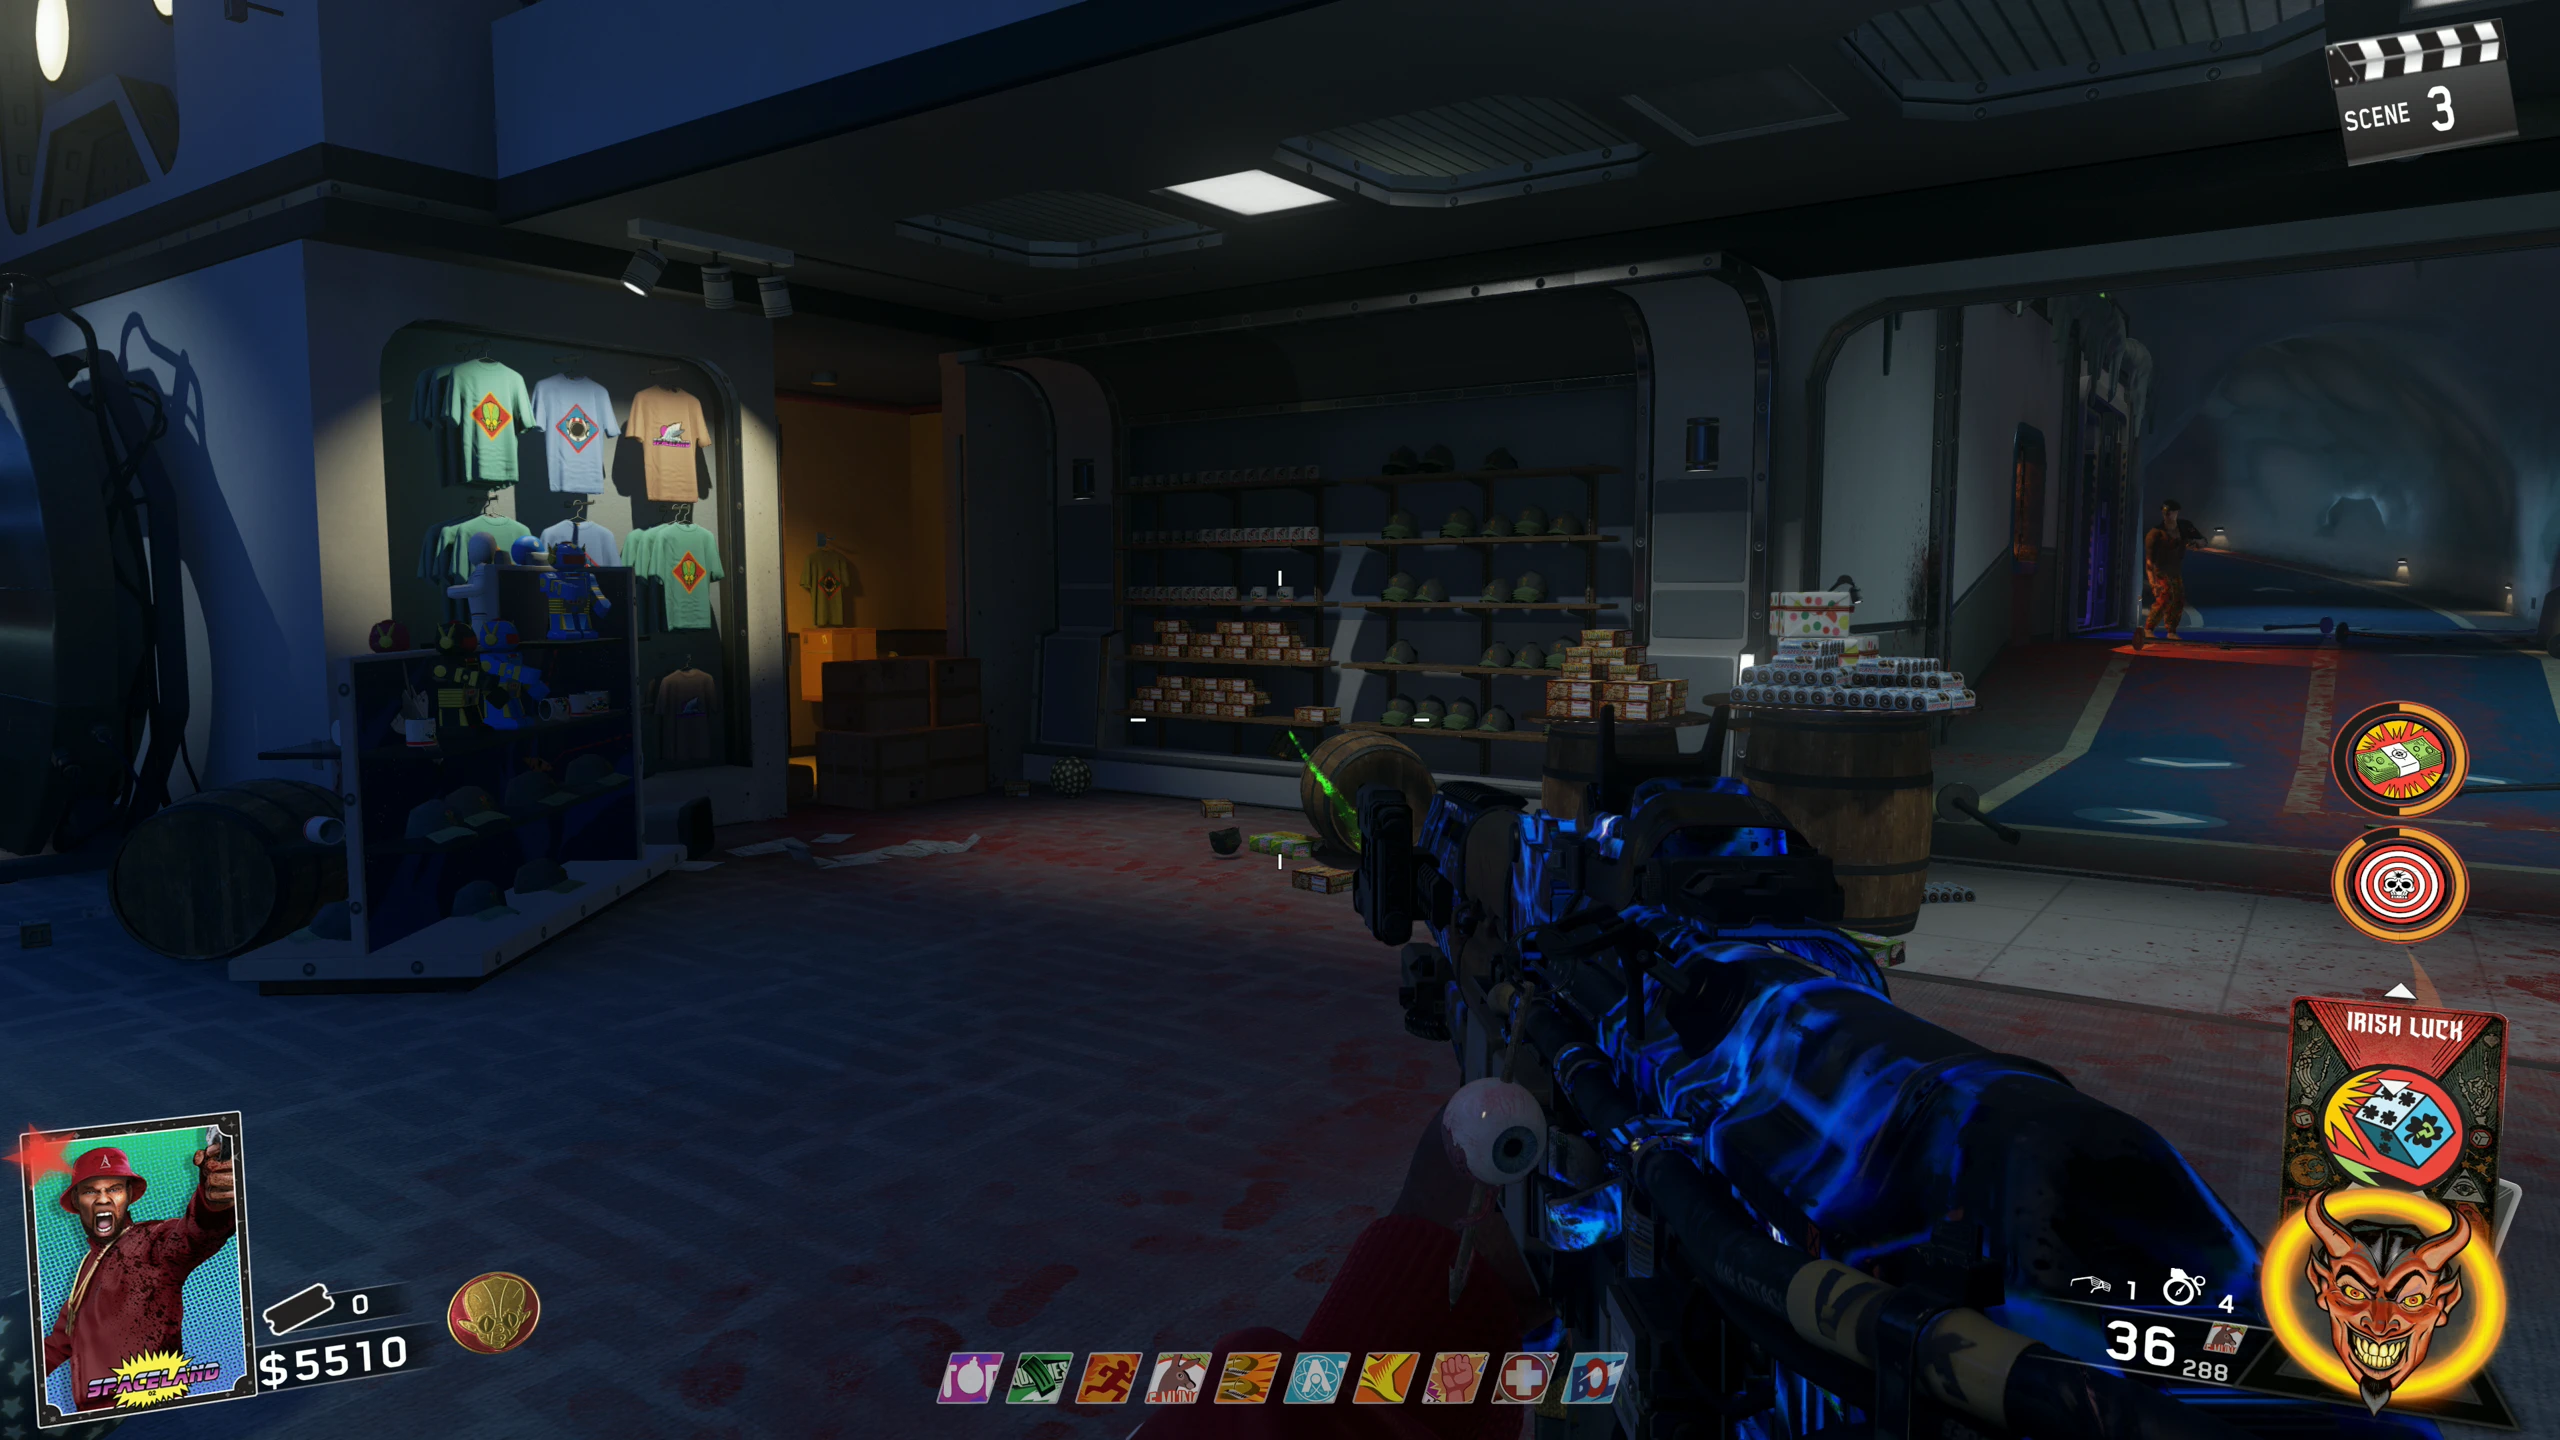
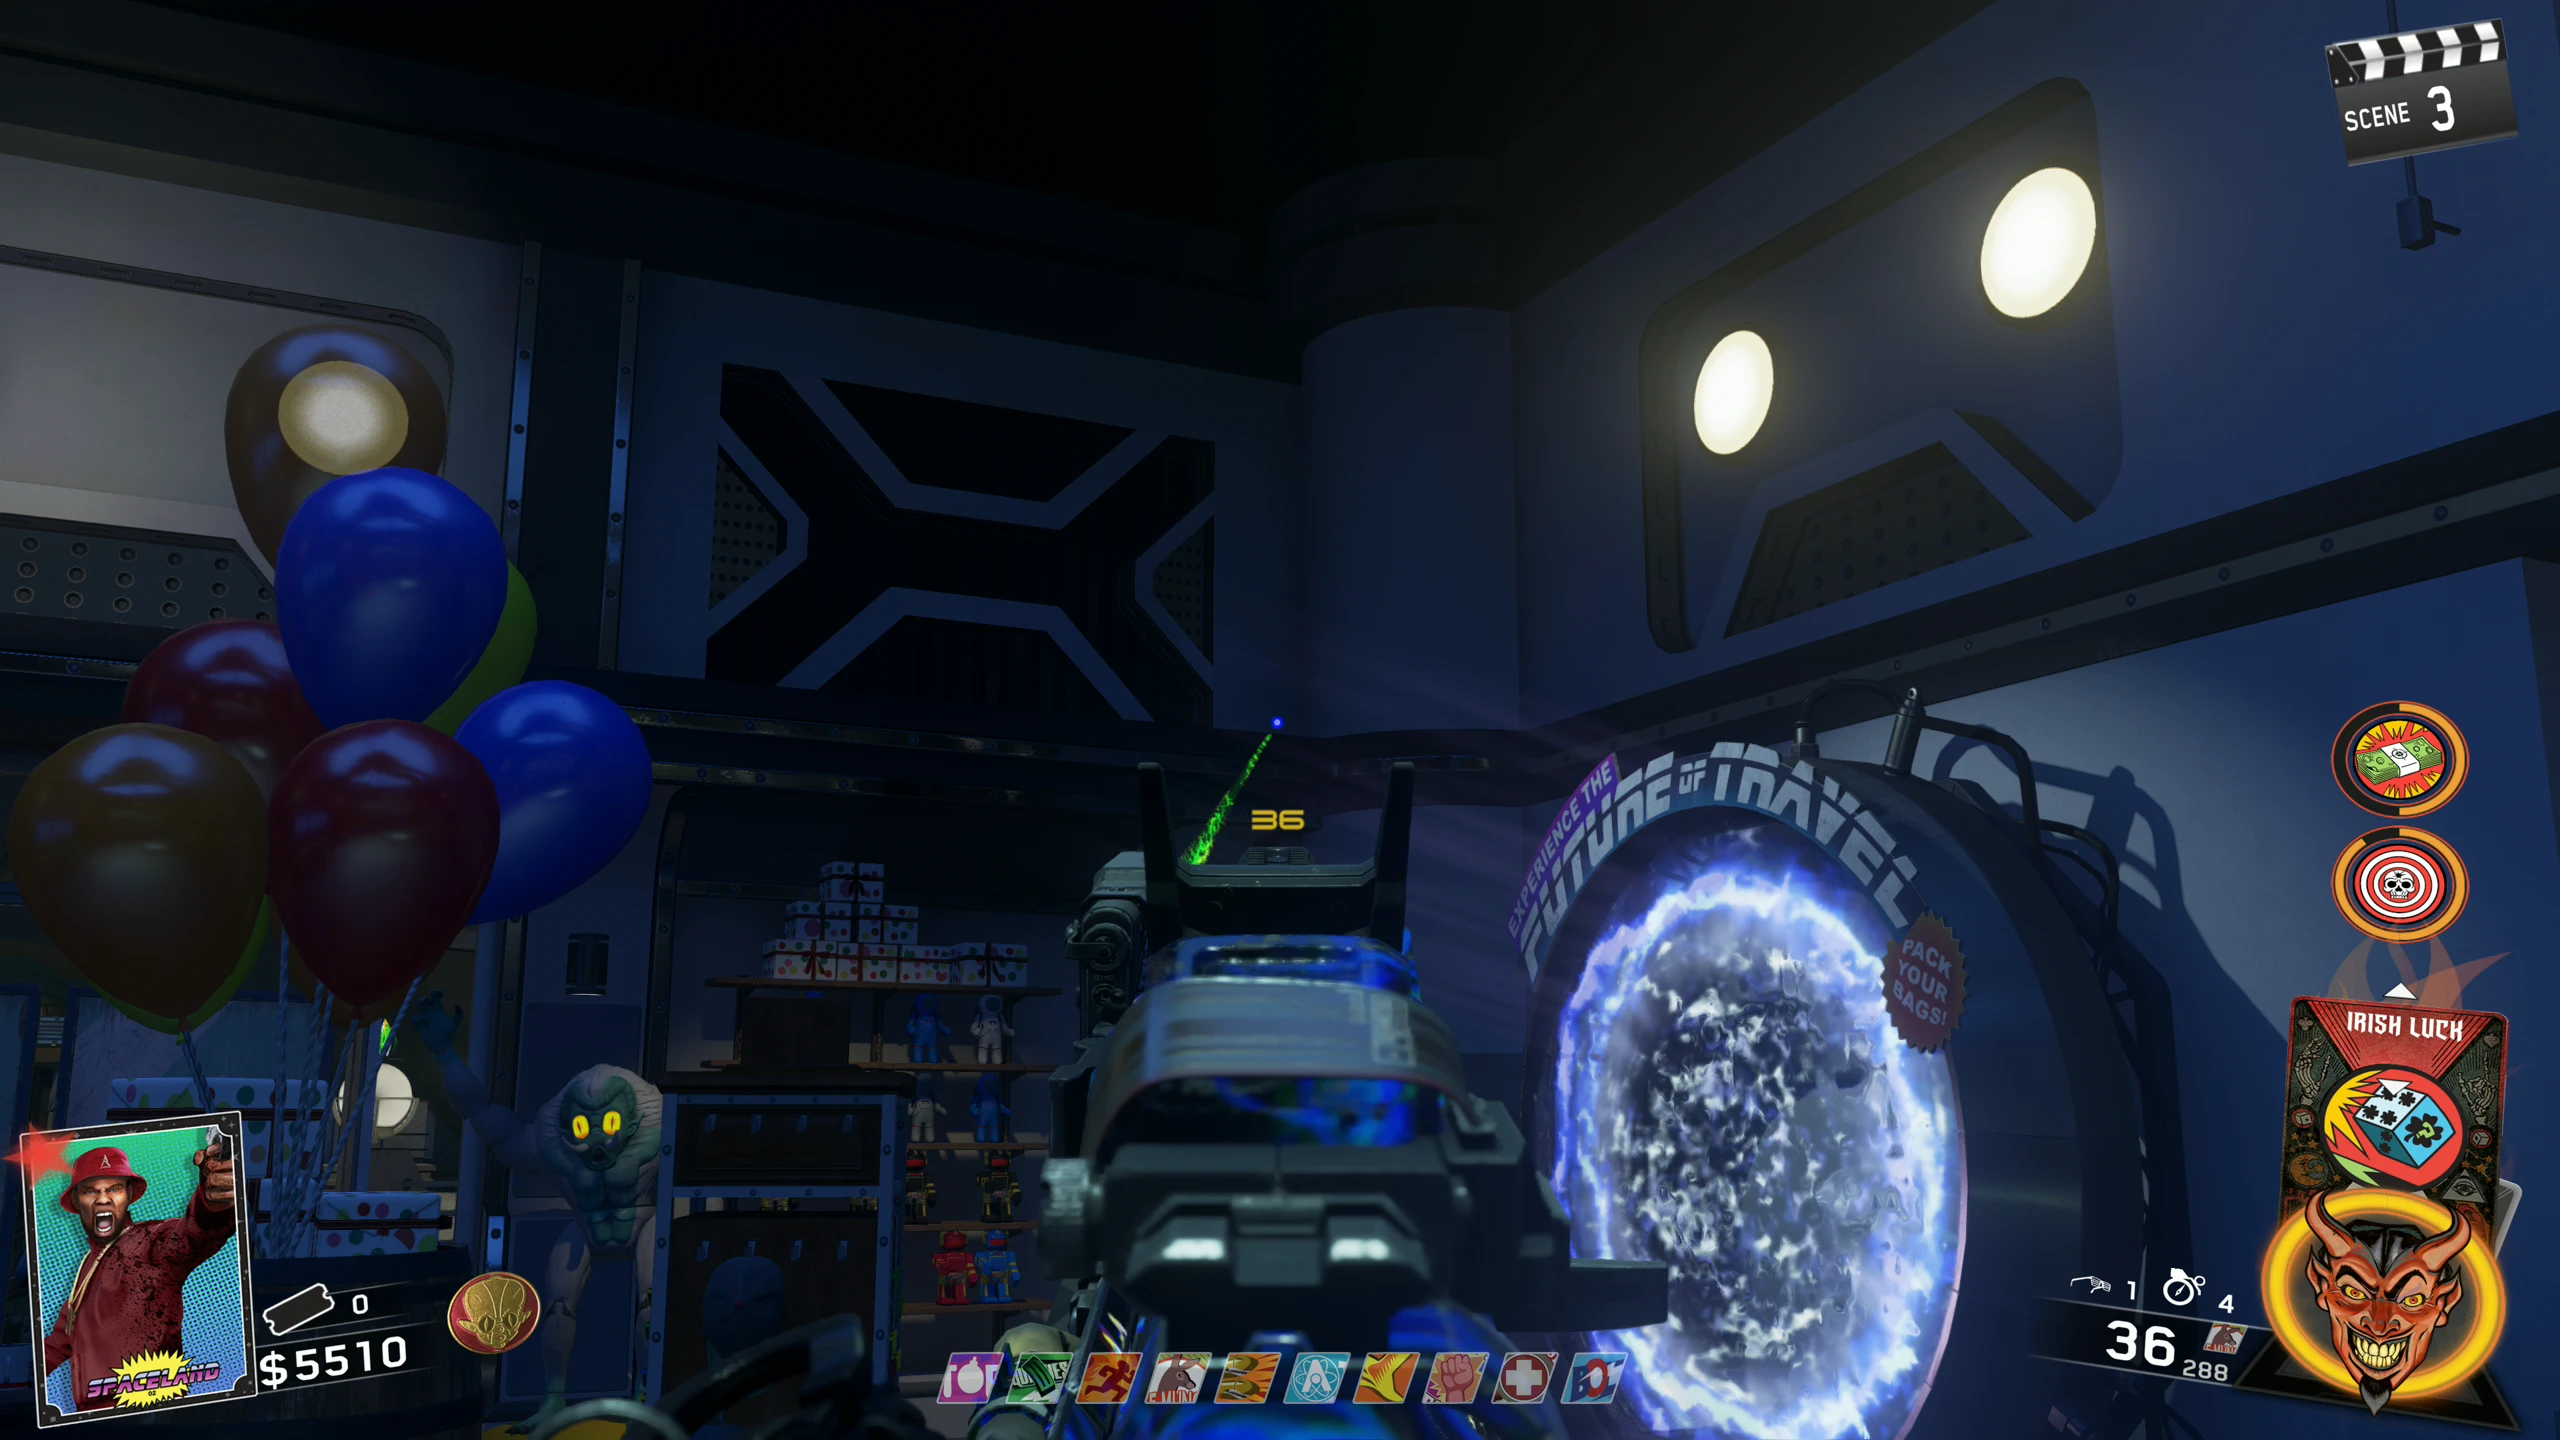
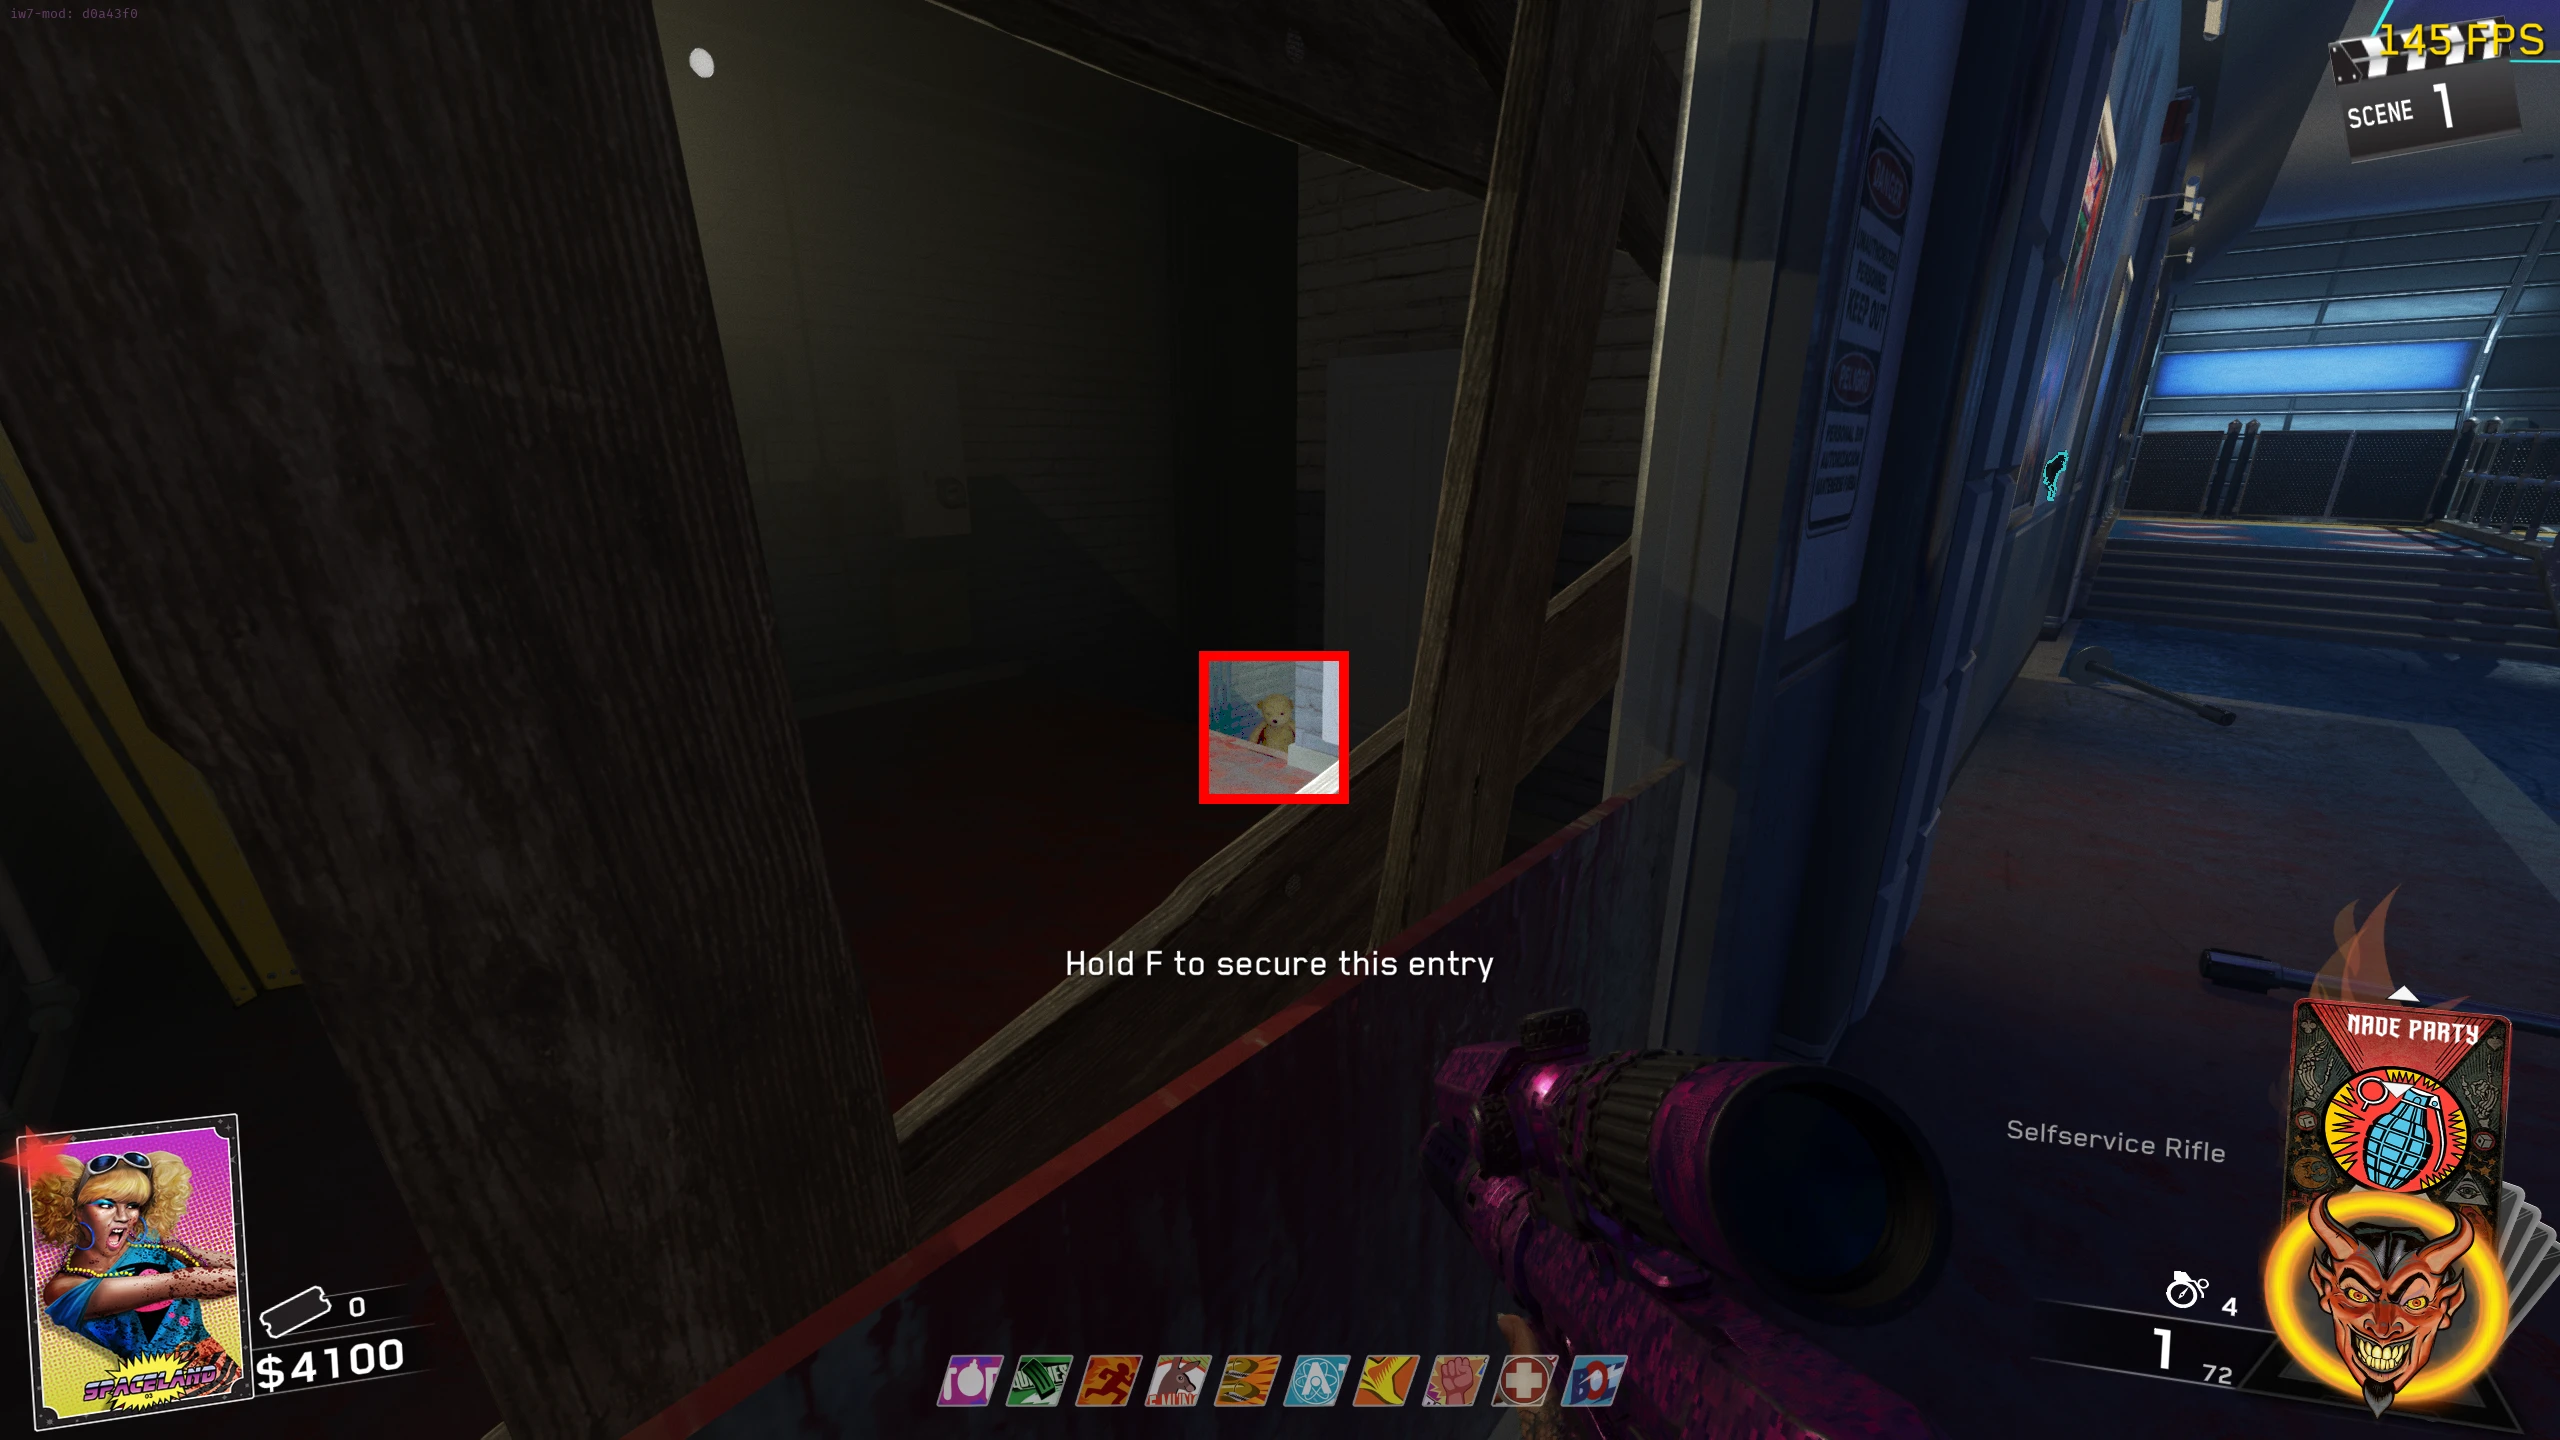
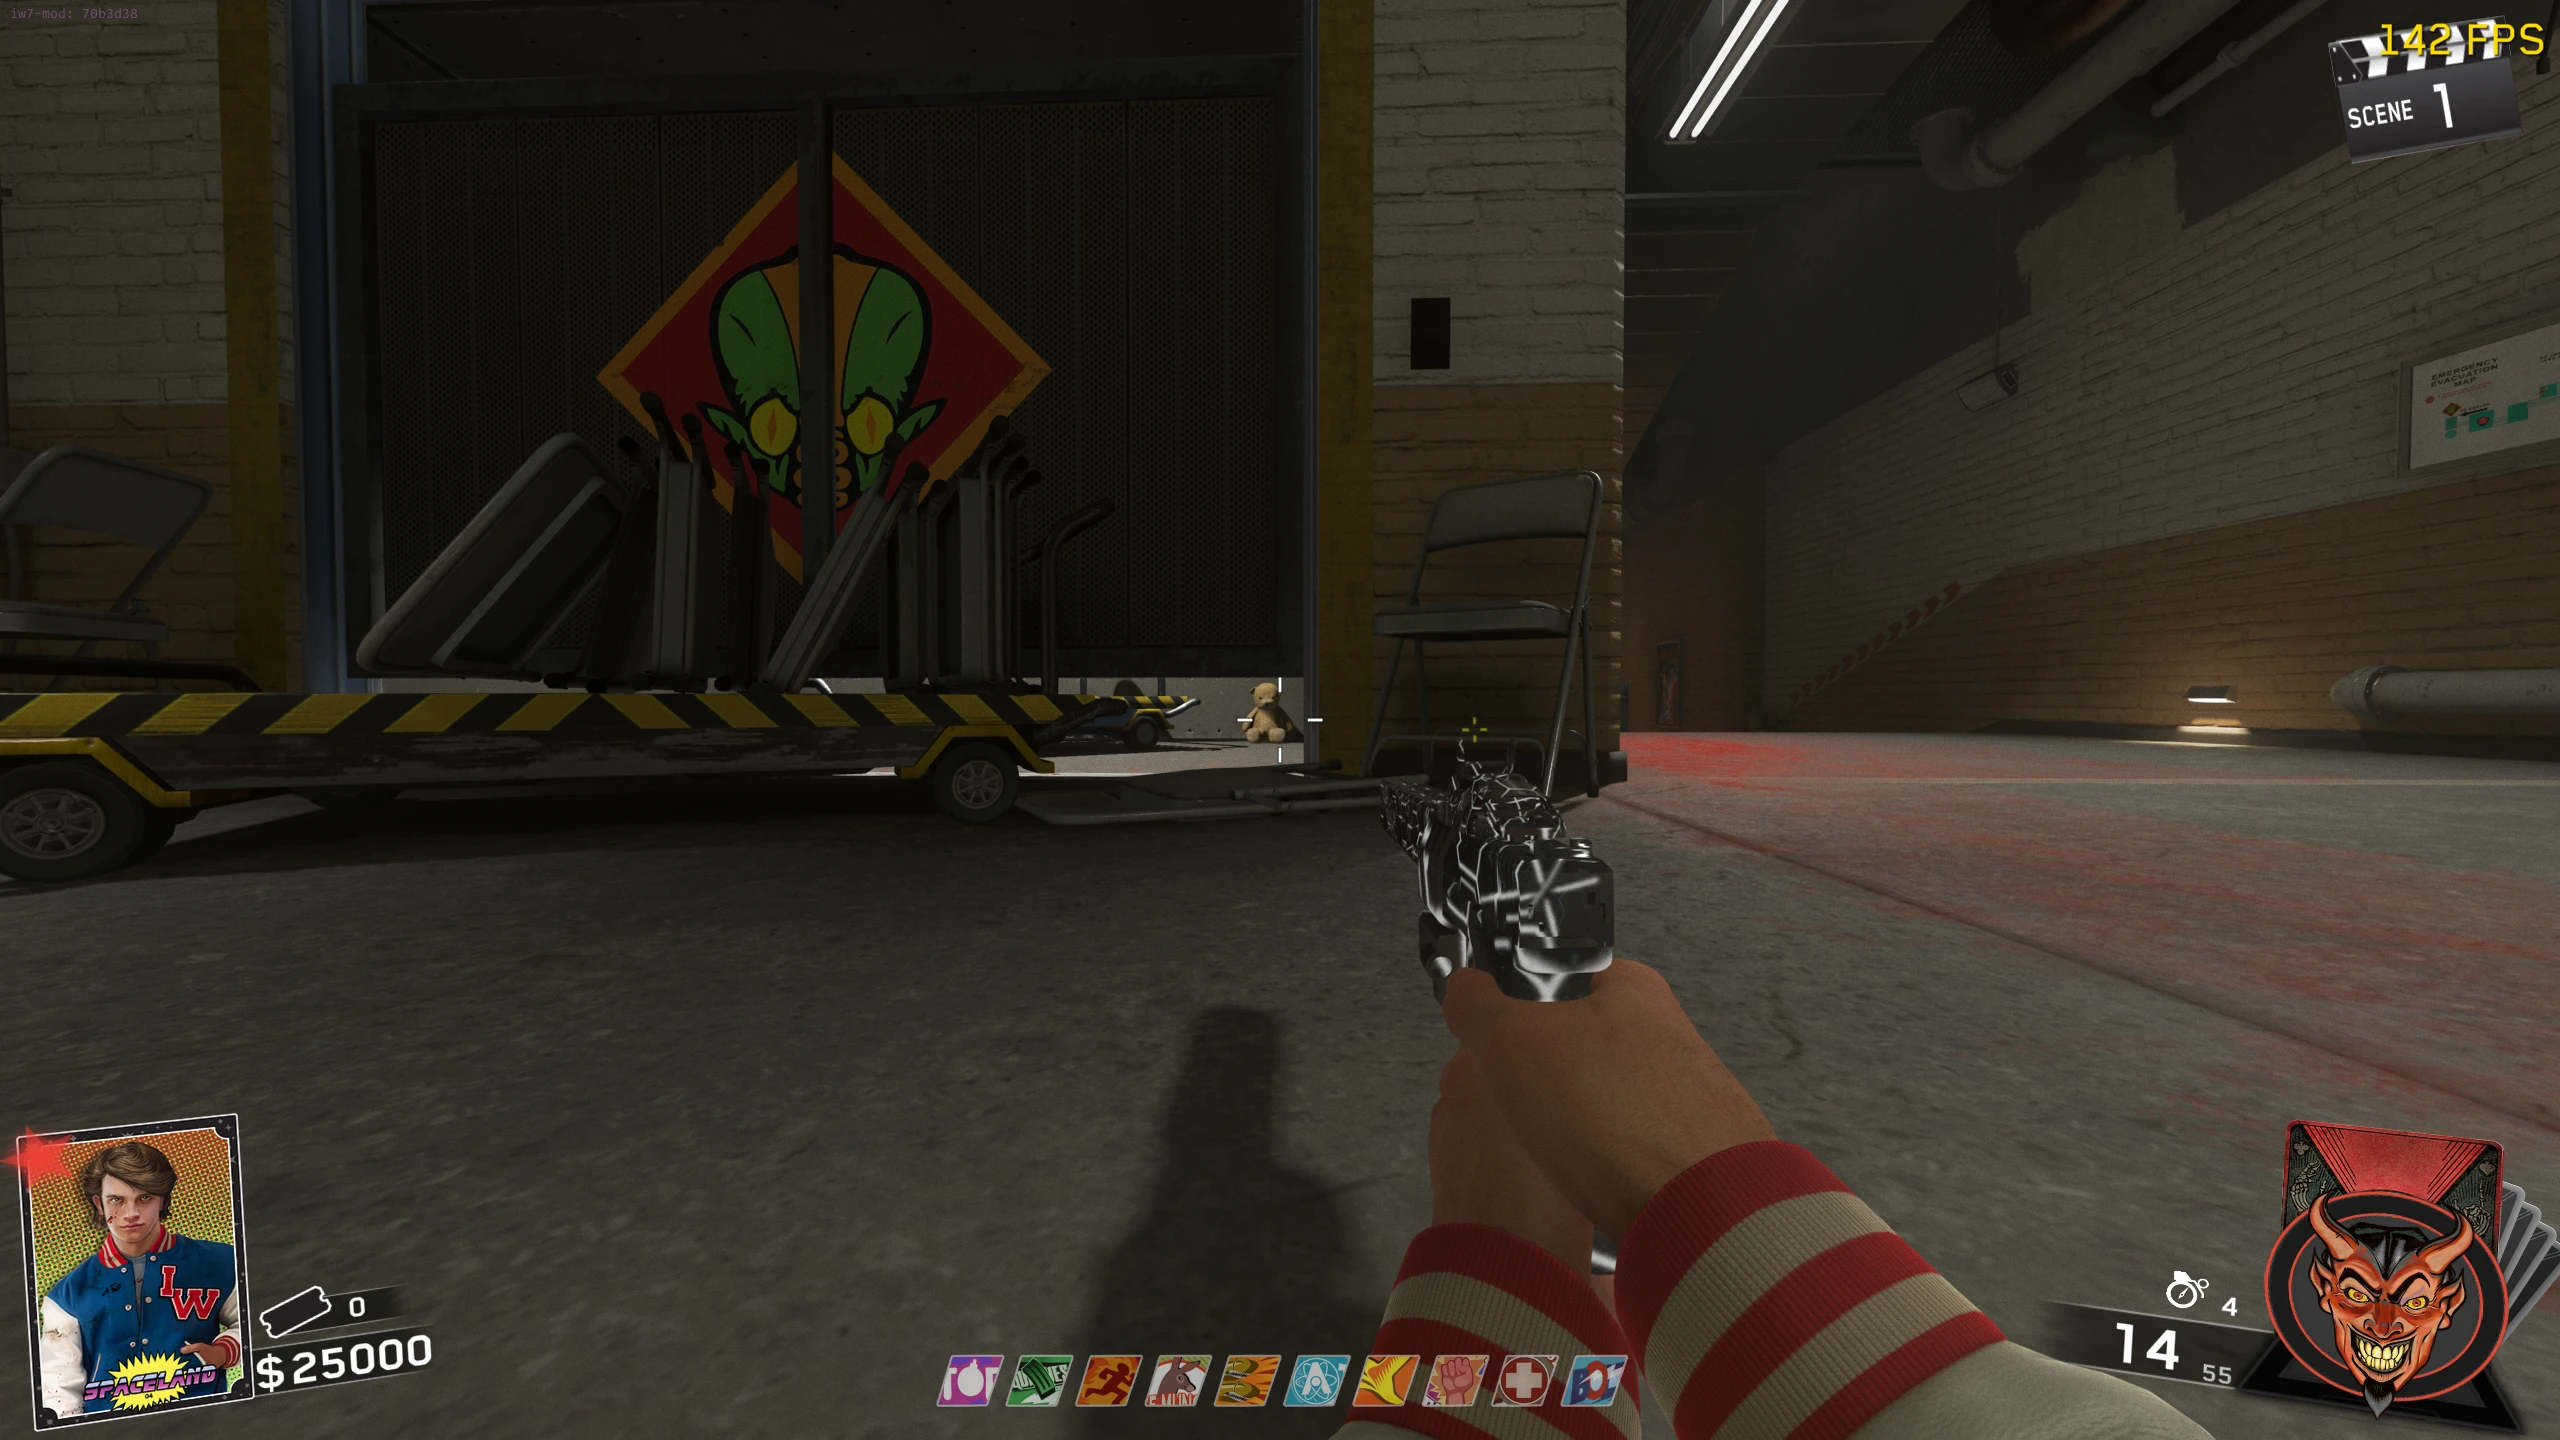
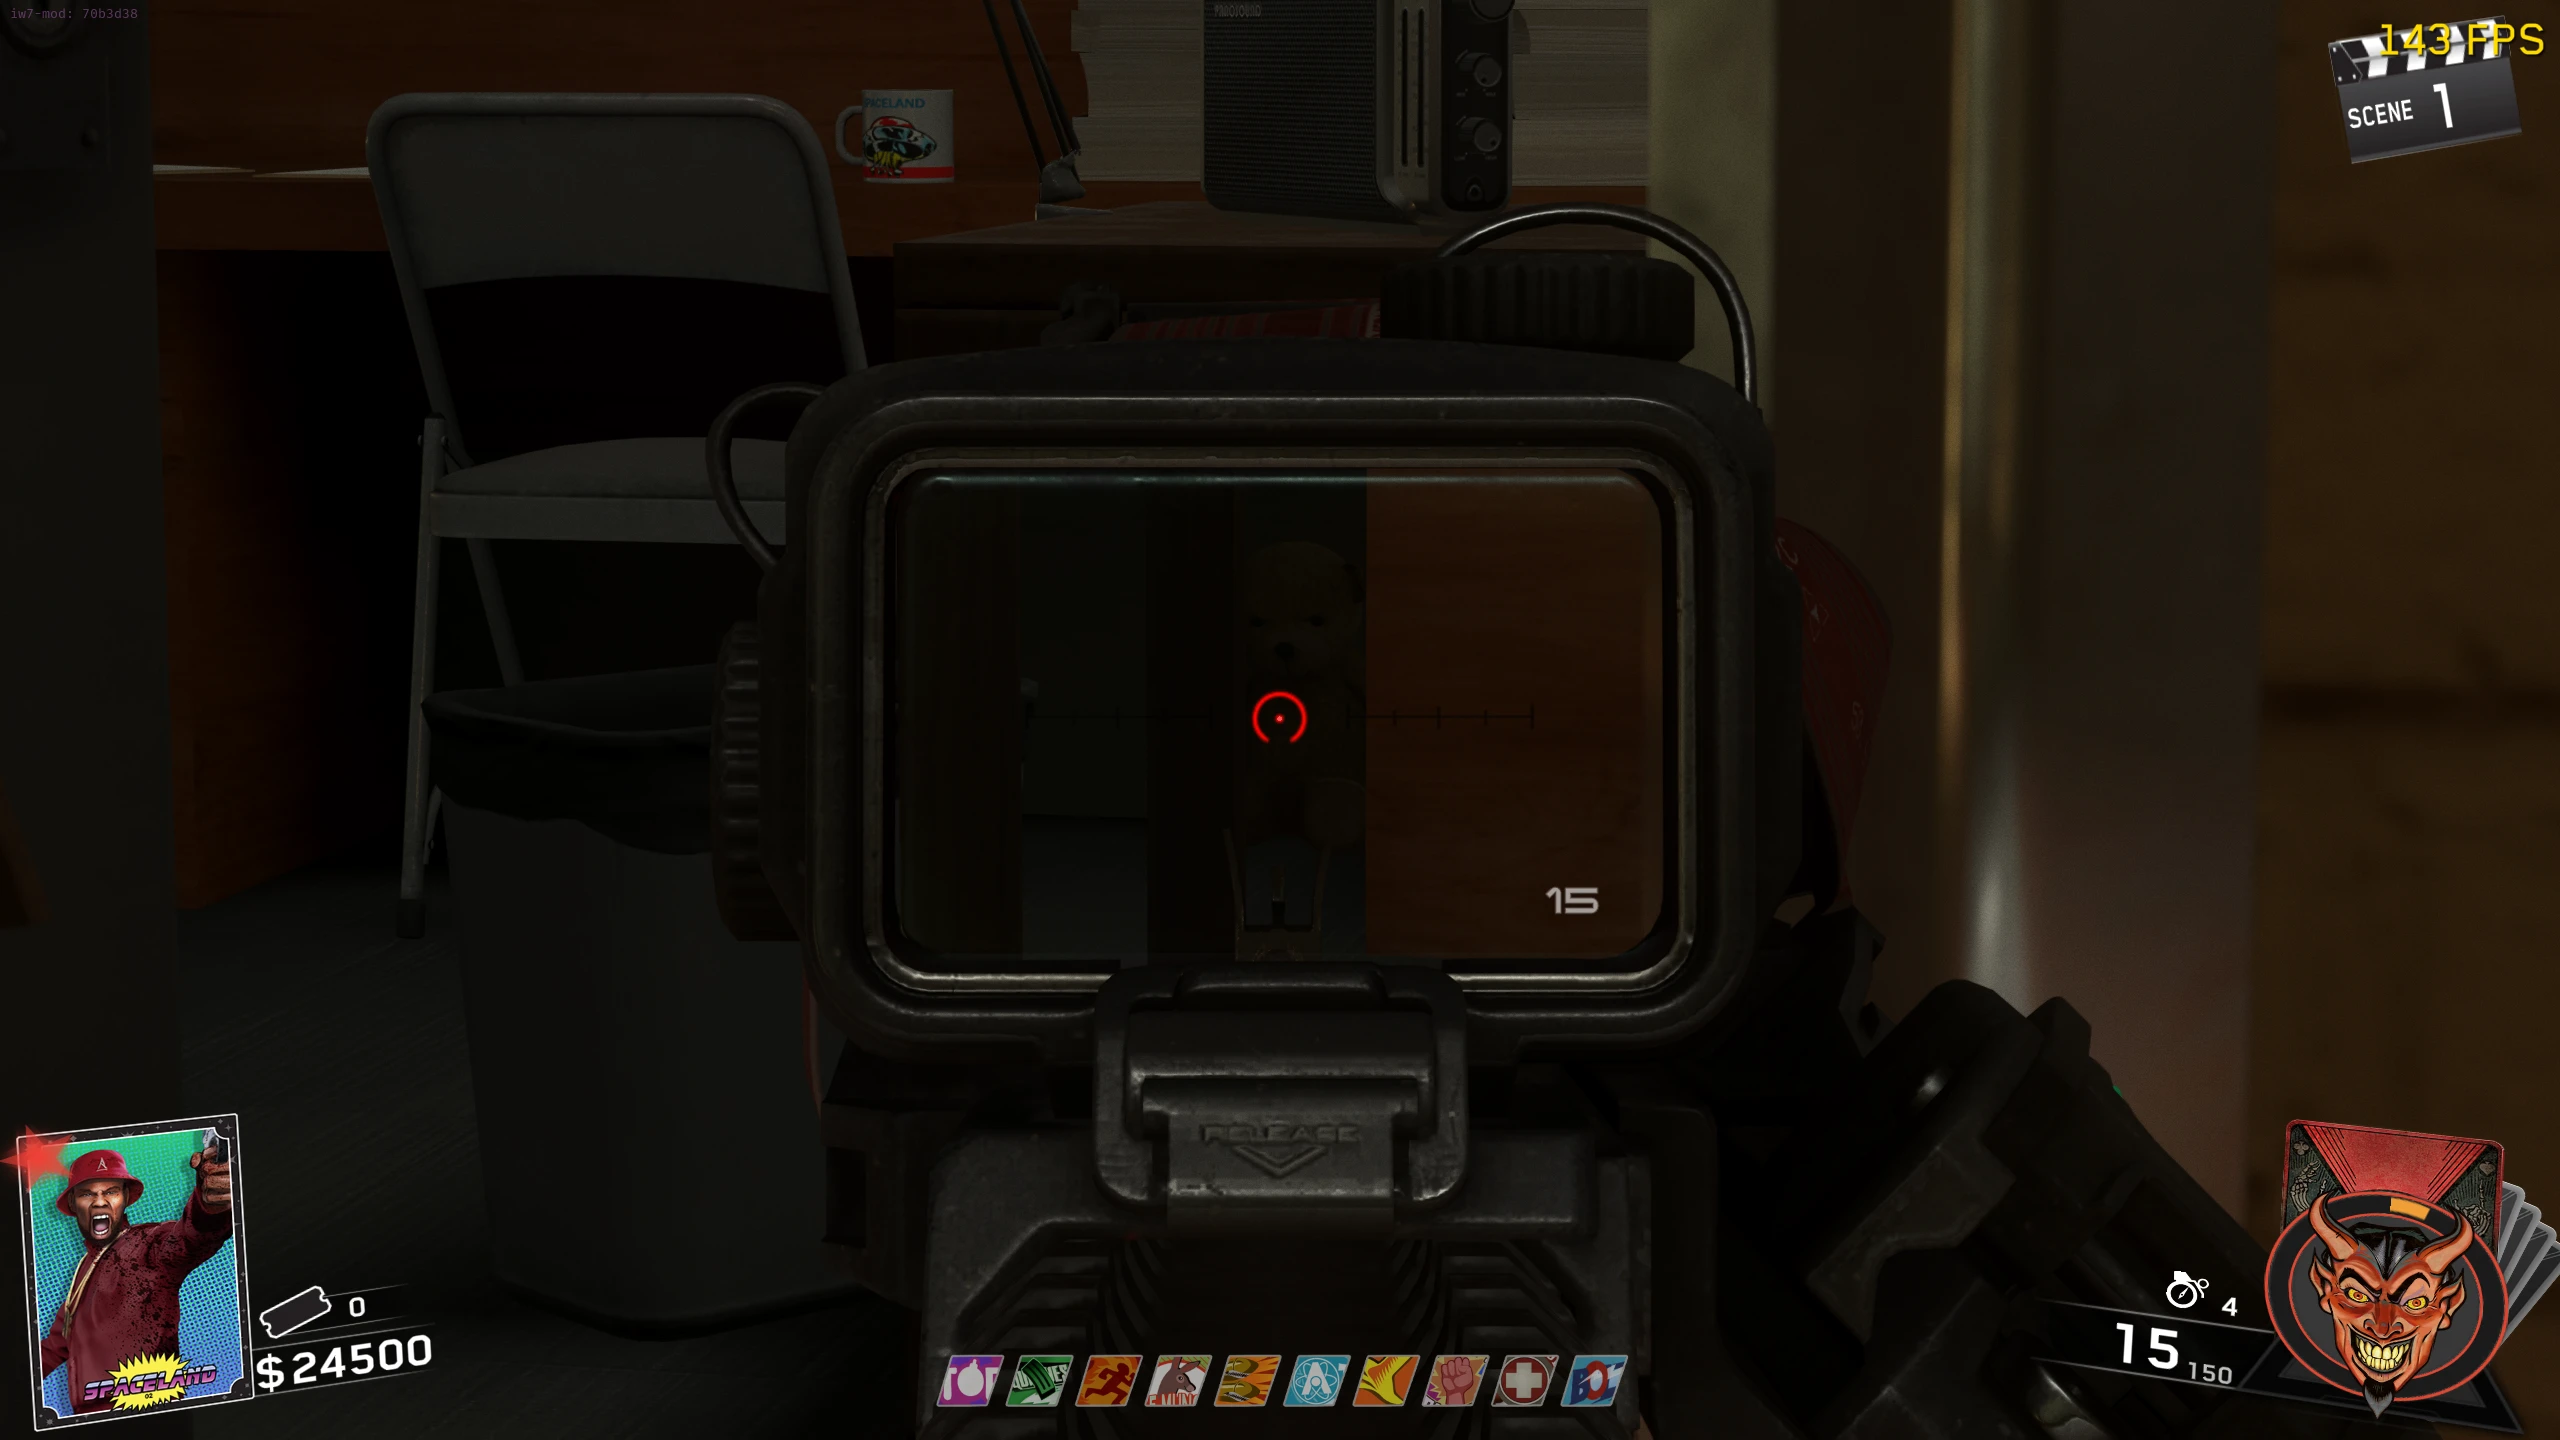
- Once you hear the roar, head to the Gift Shop in 'Polar Peak.' The Battery will be in the Hand of the Yeti next to the teleporter.
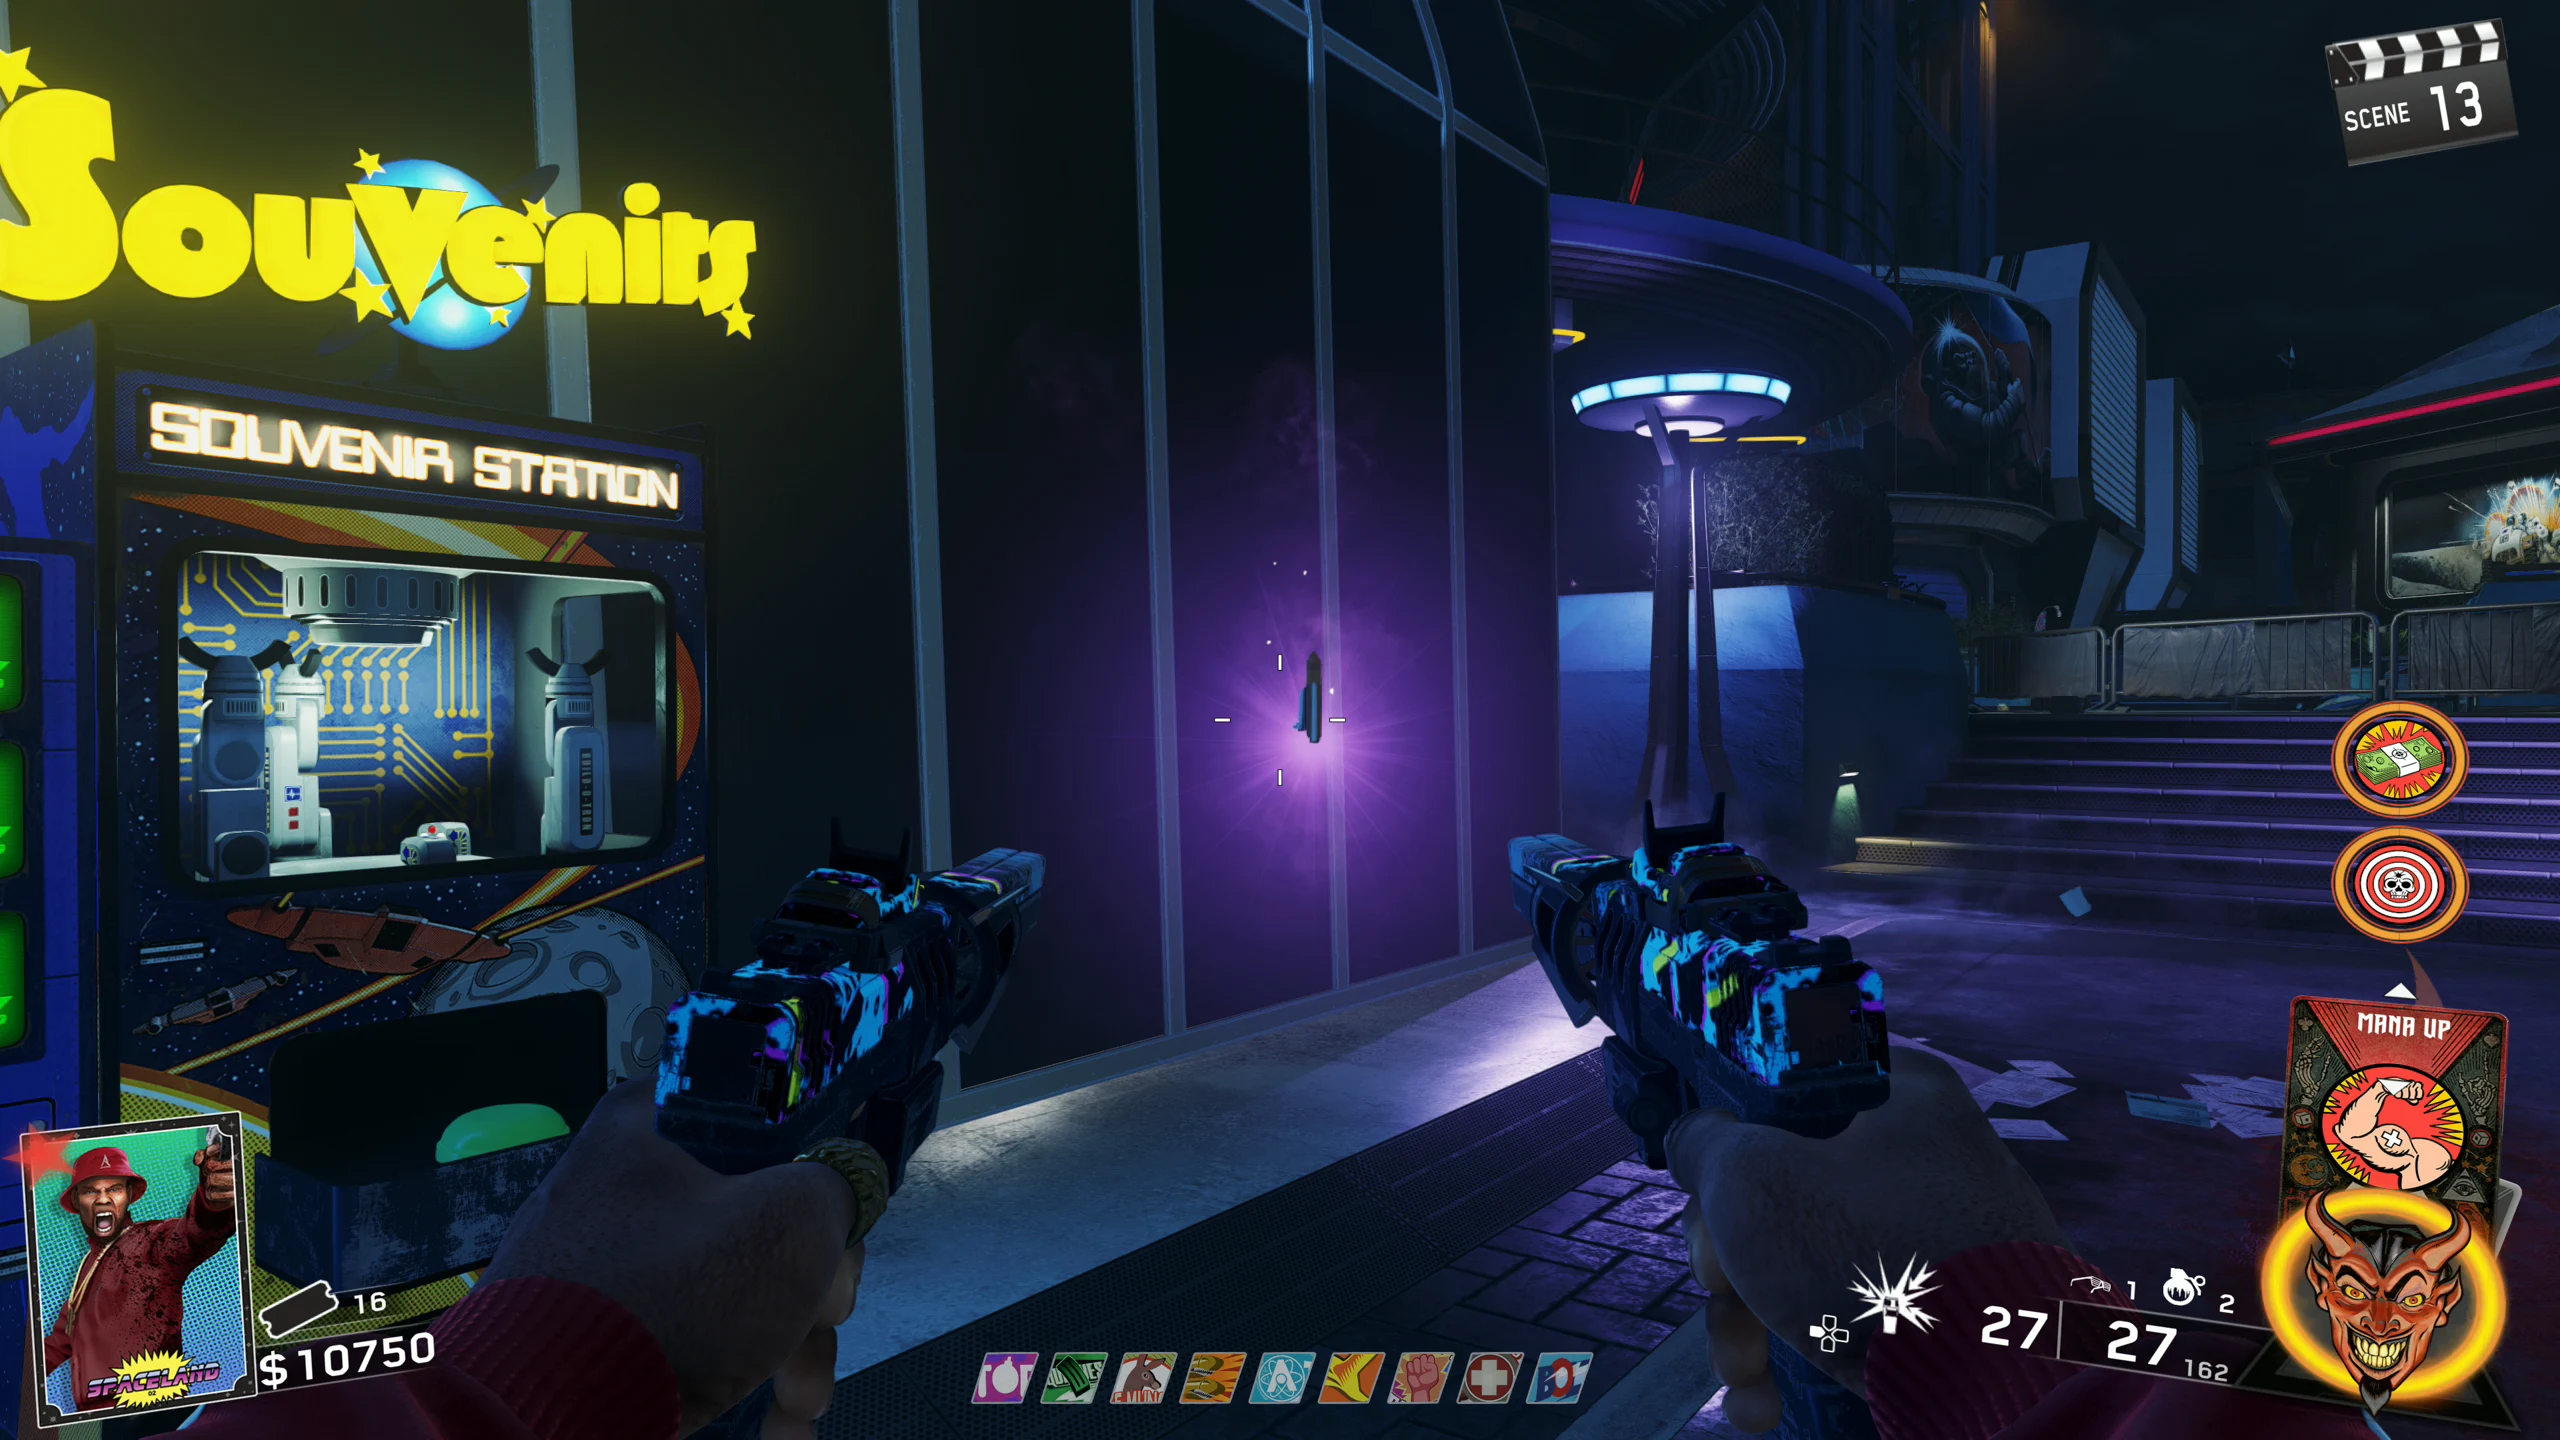
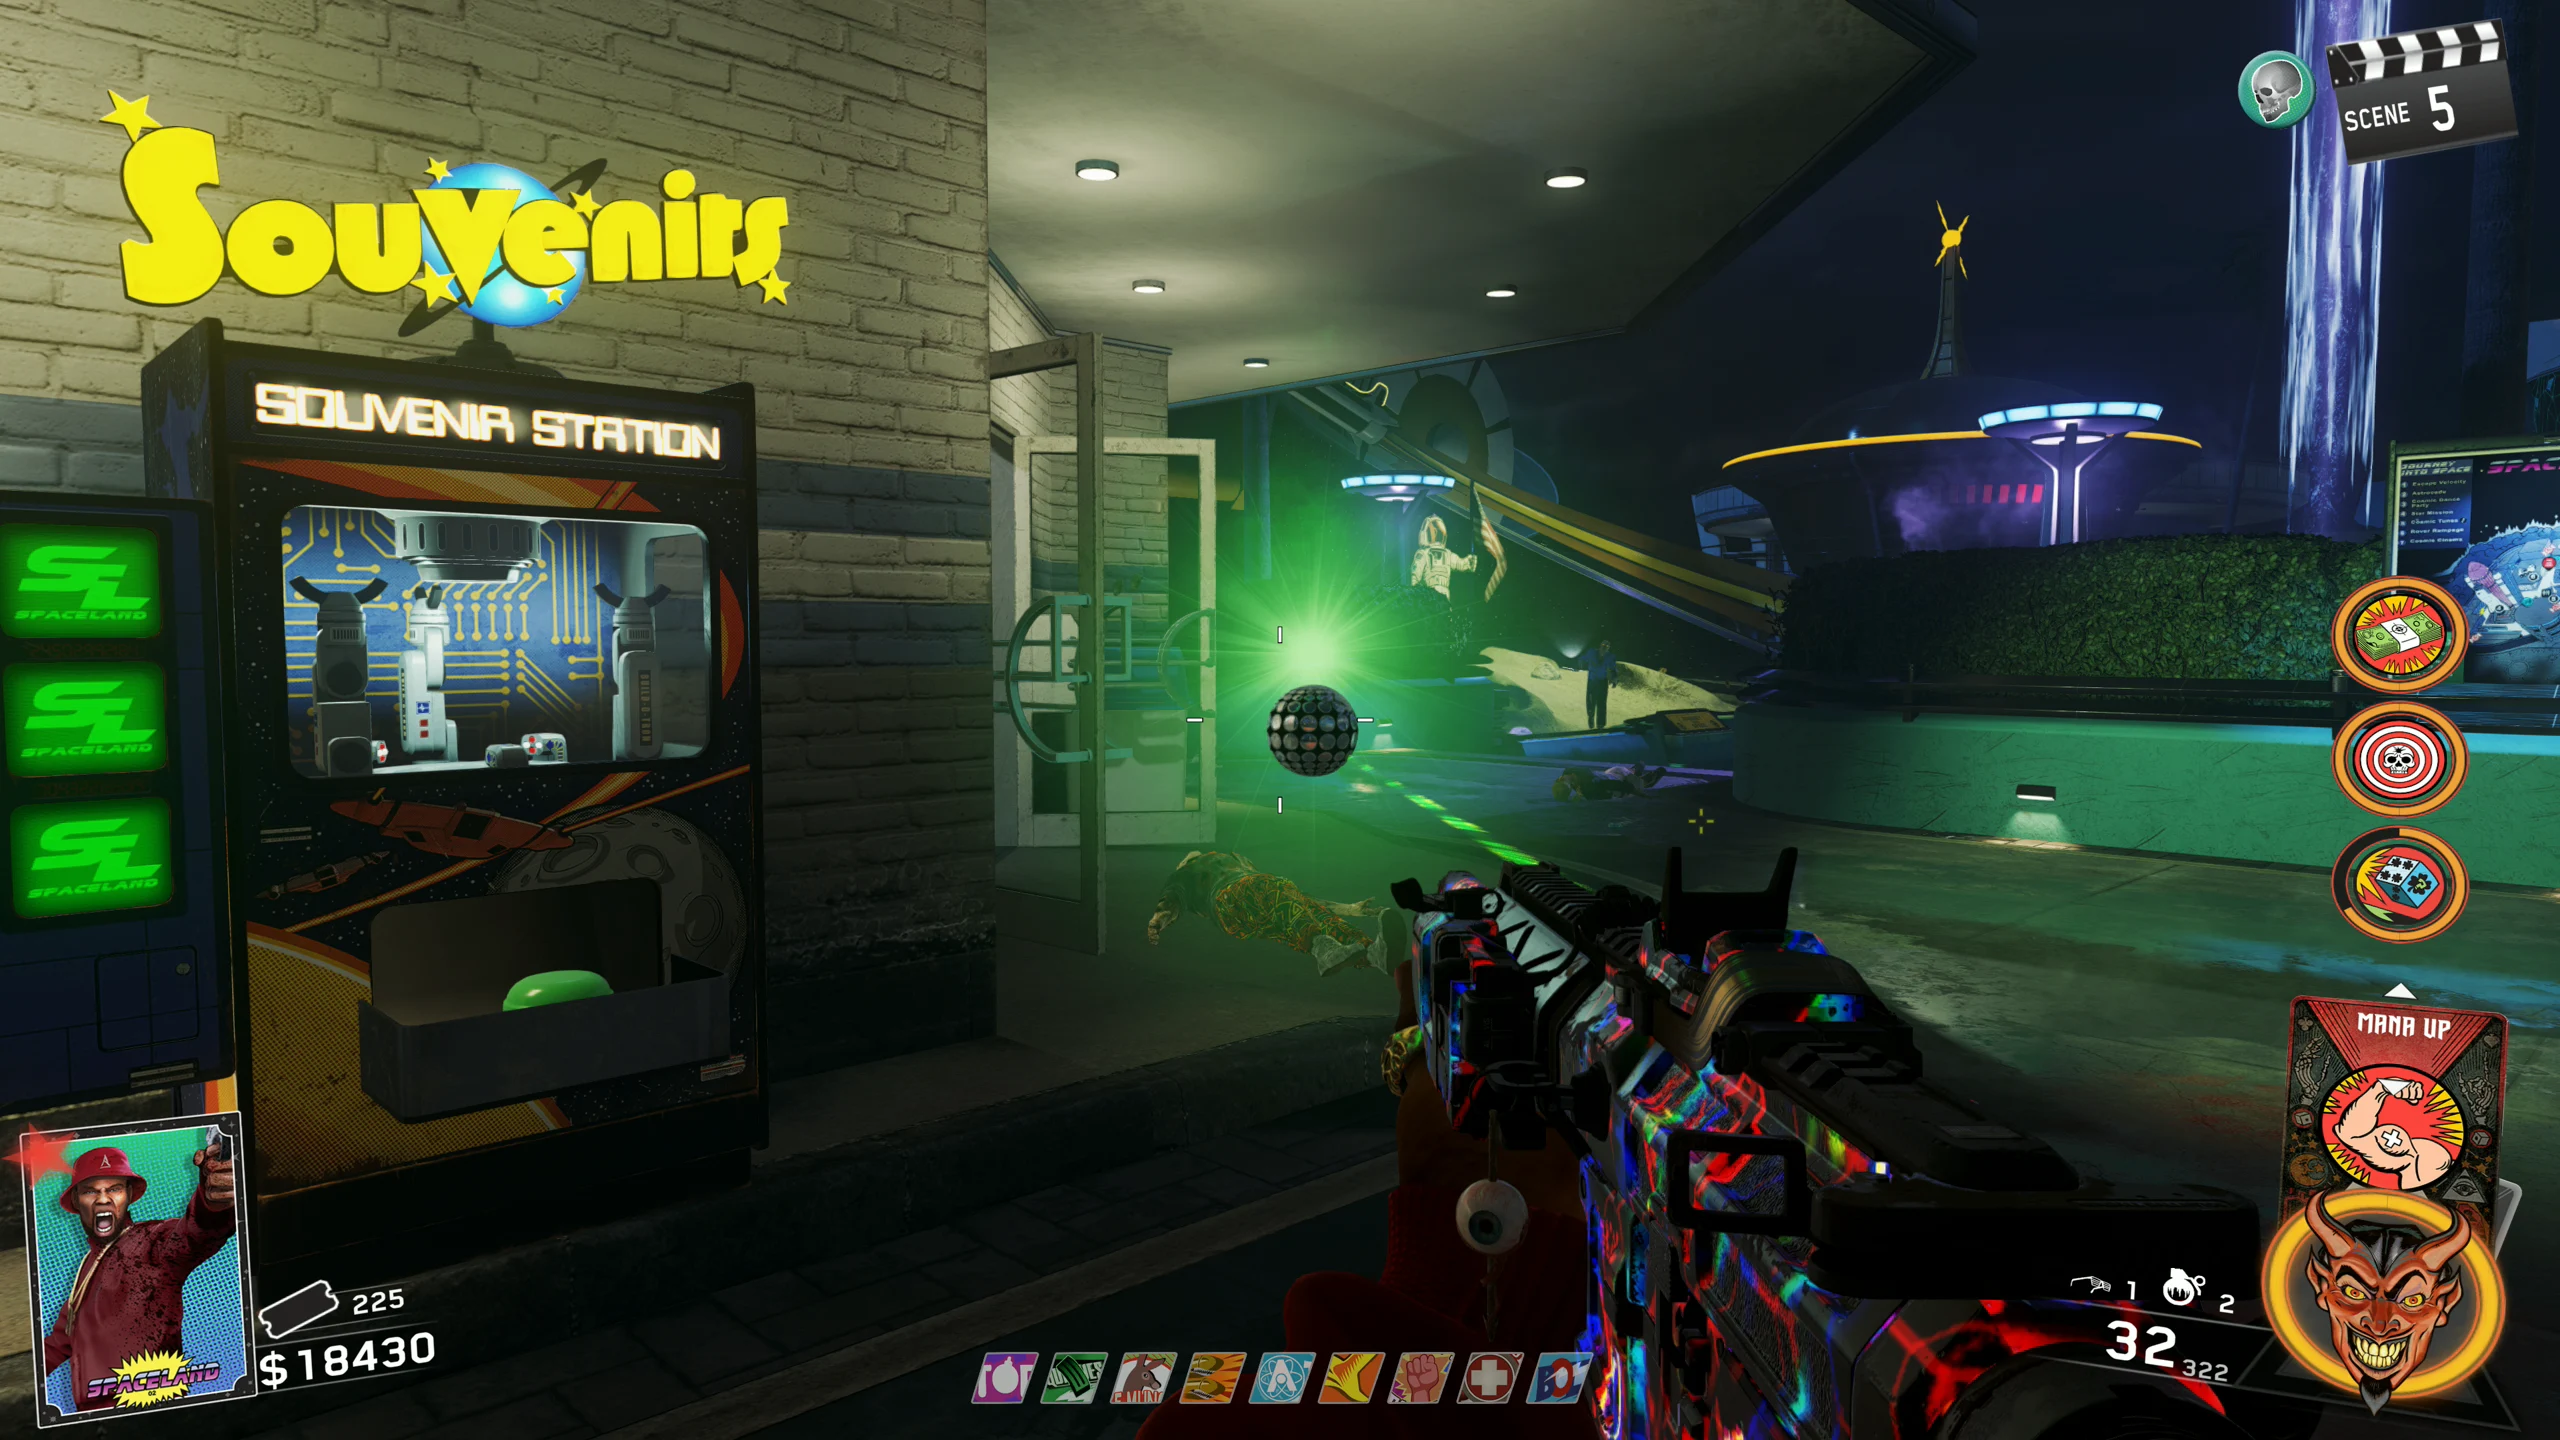
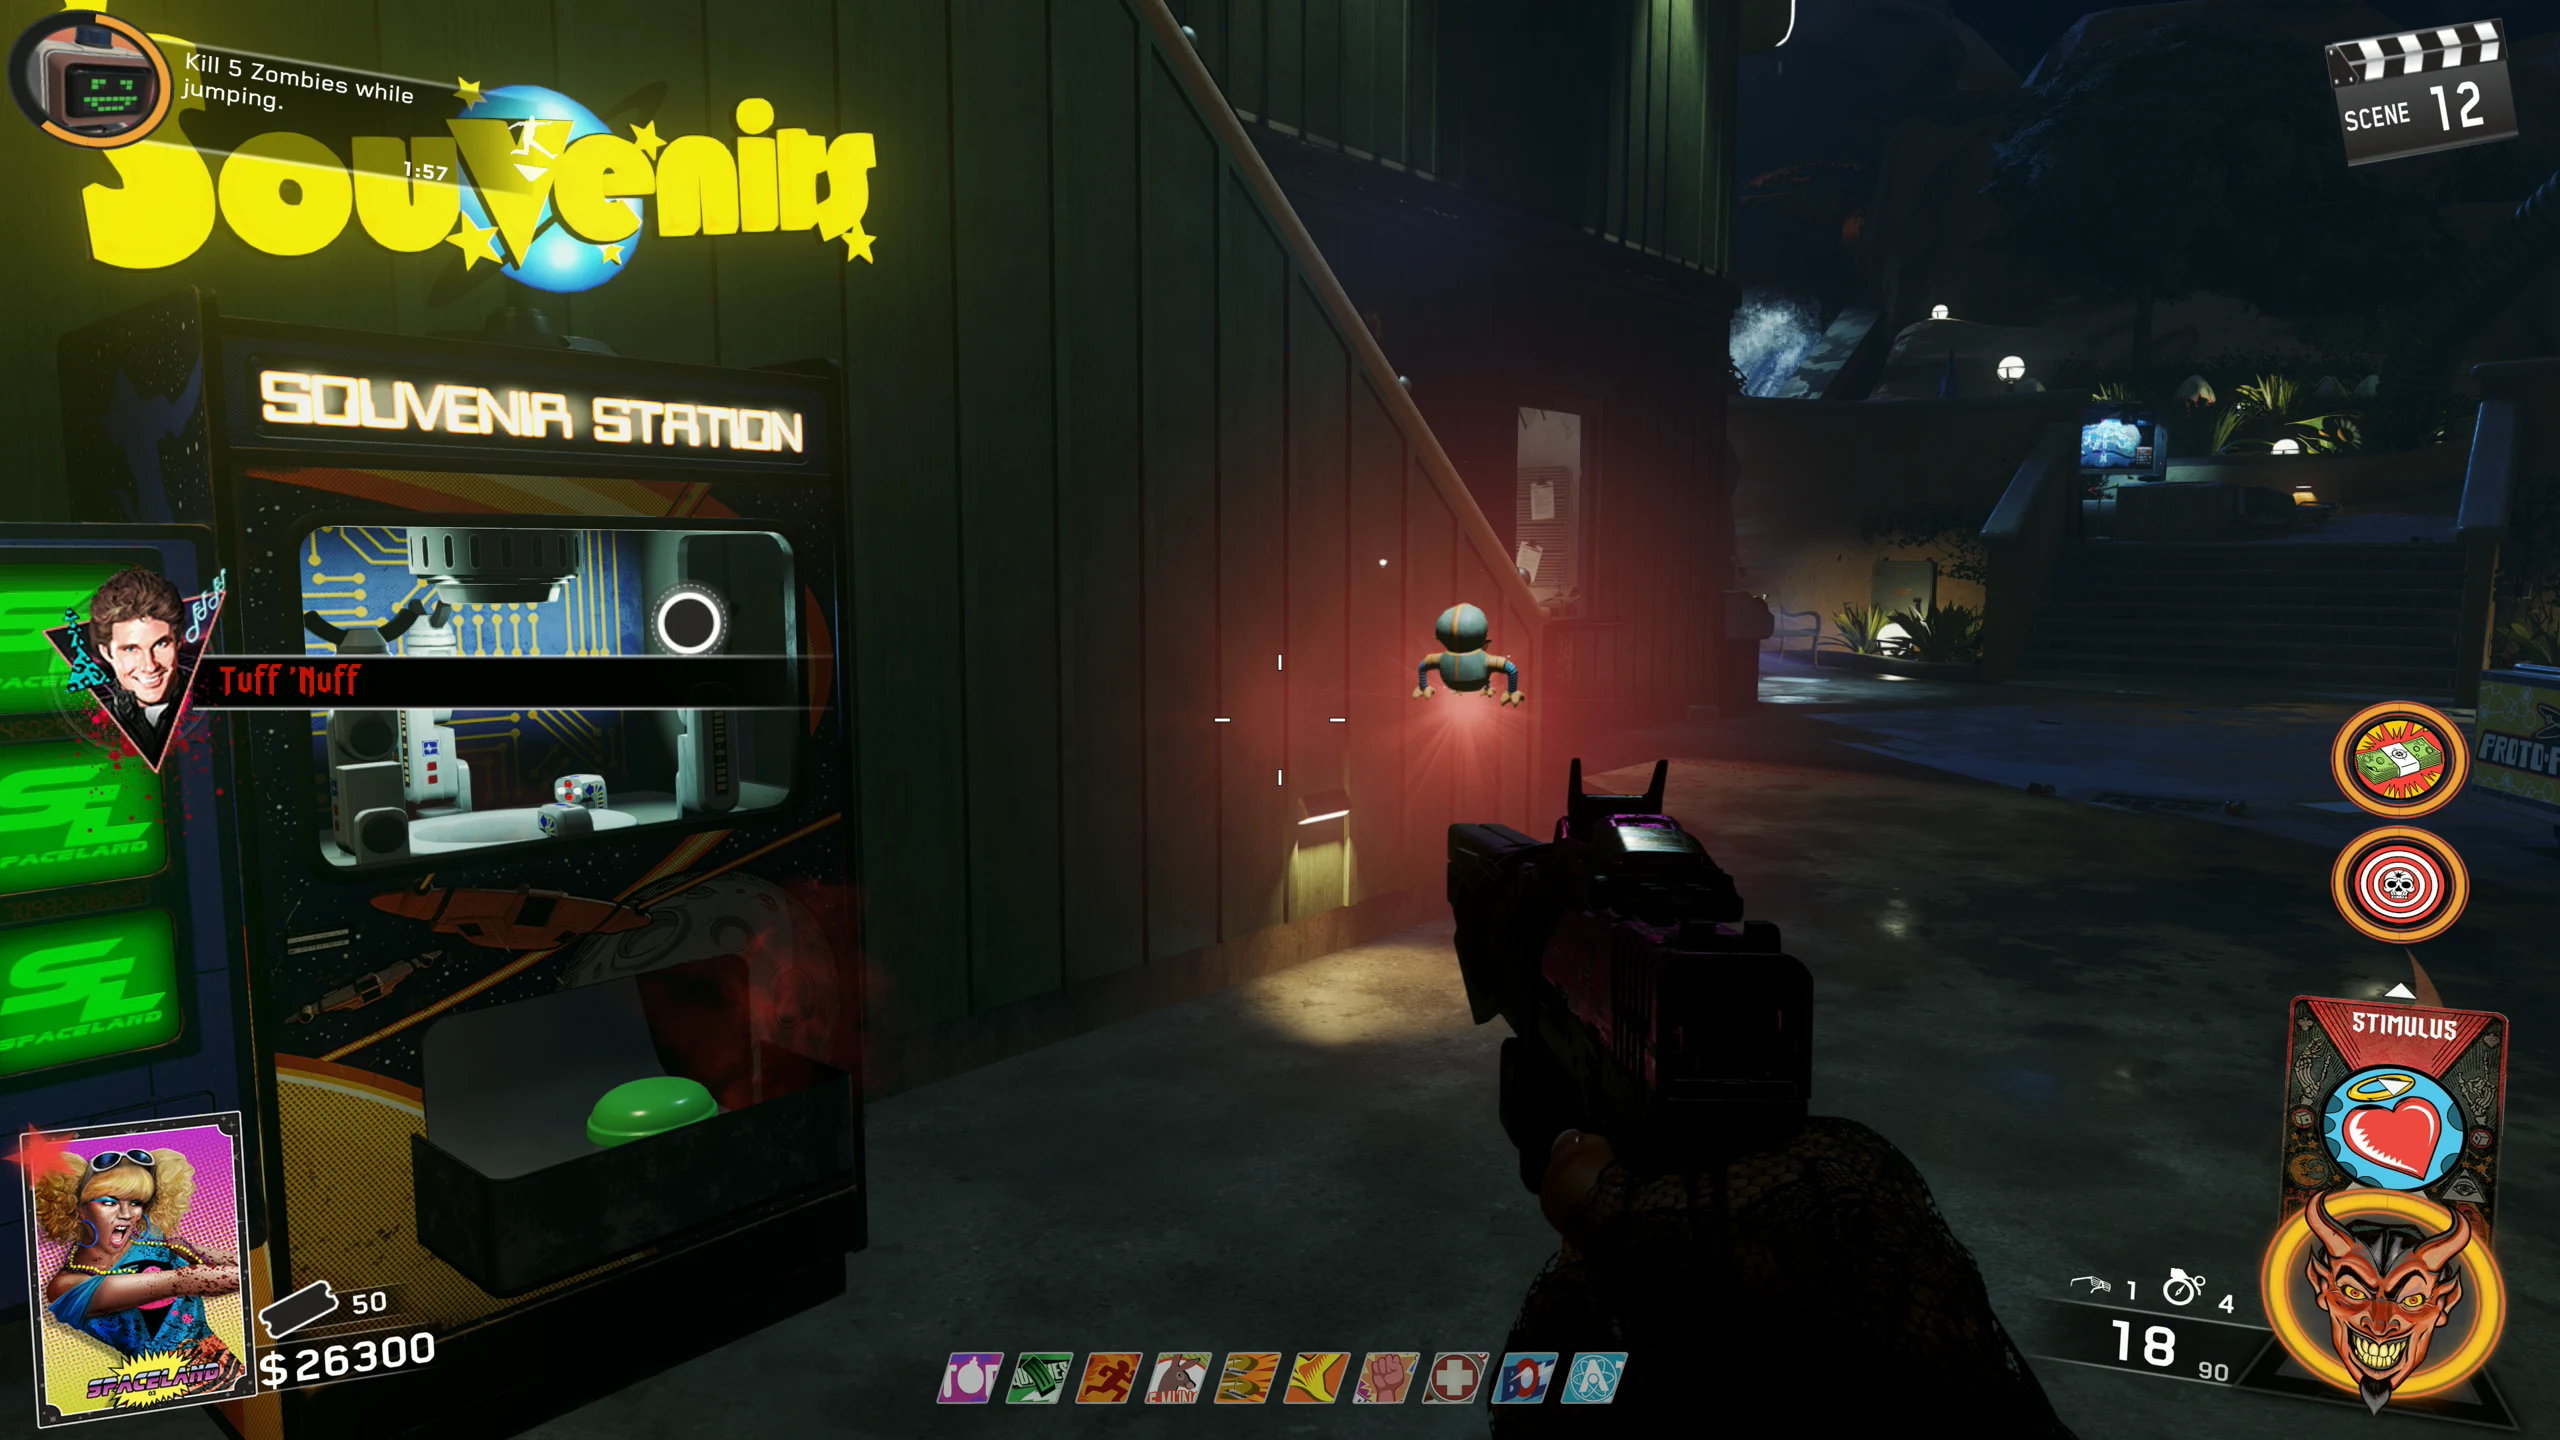
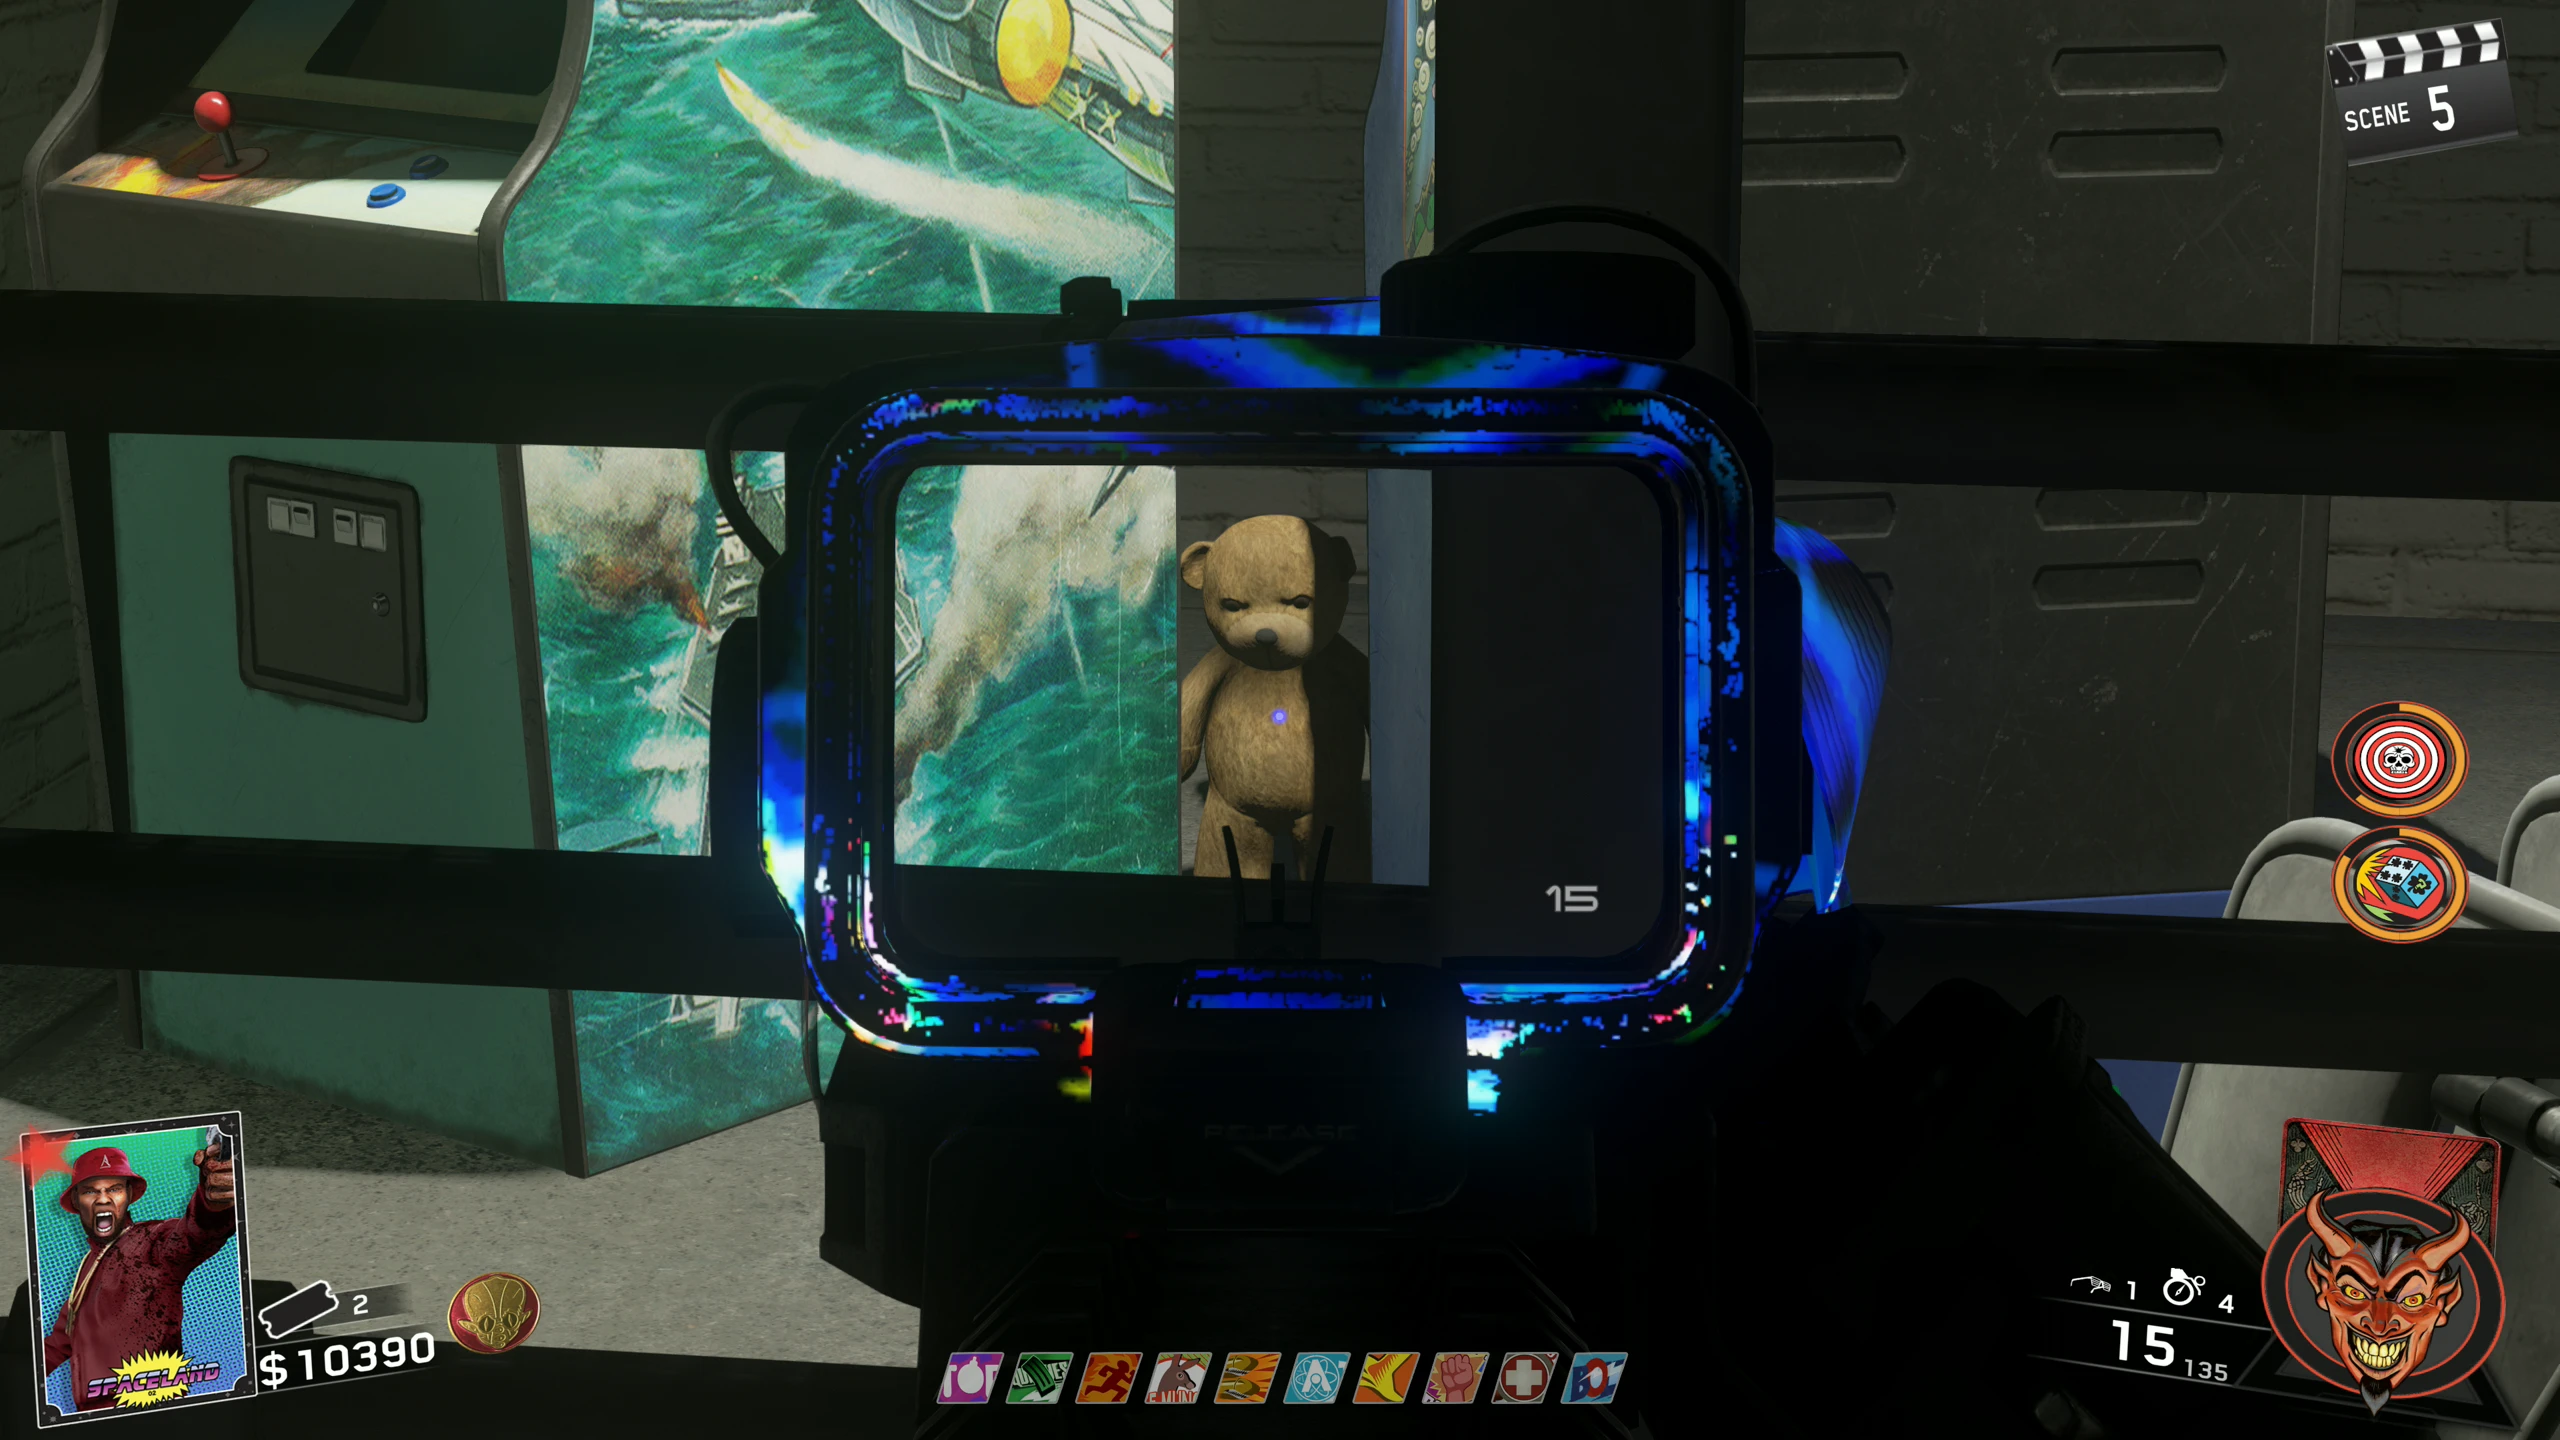
- Yeti Plush:
- Insert three Green Souvenir Tokens into the Souvenir Station in 'Polar Peak.' When done, the Yeti Plush will fly out of the machine for you to pick up.
- Yellow Crystal:
- Obtain the Wind Elemental Core.
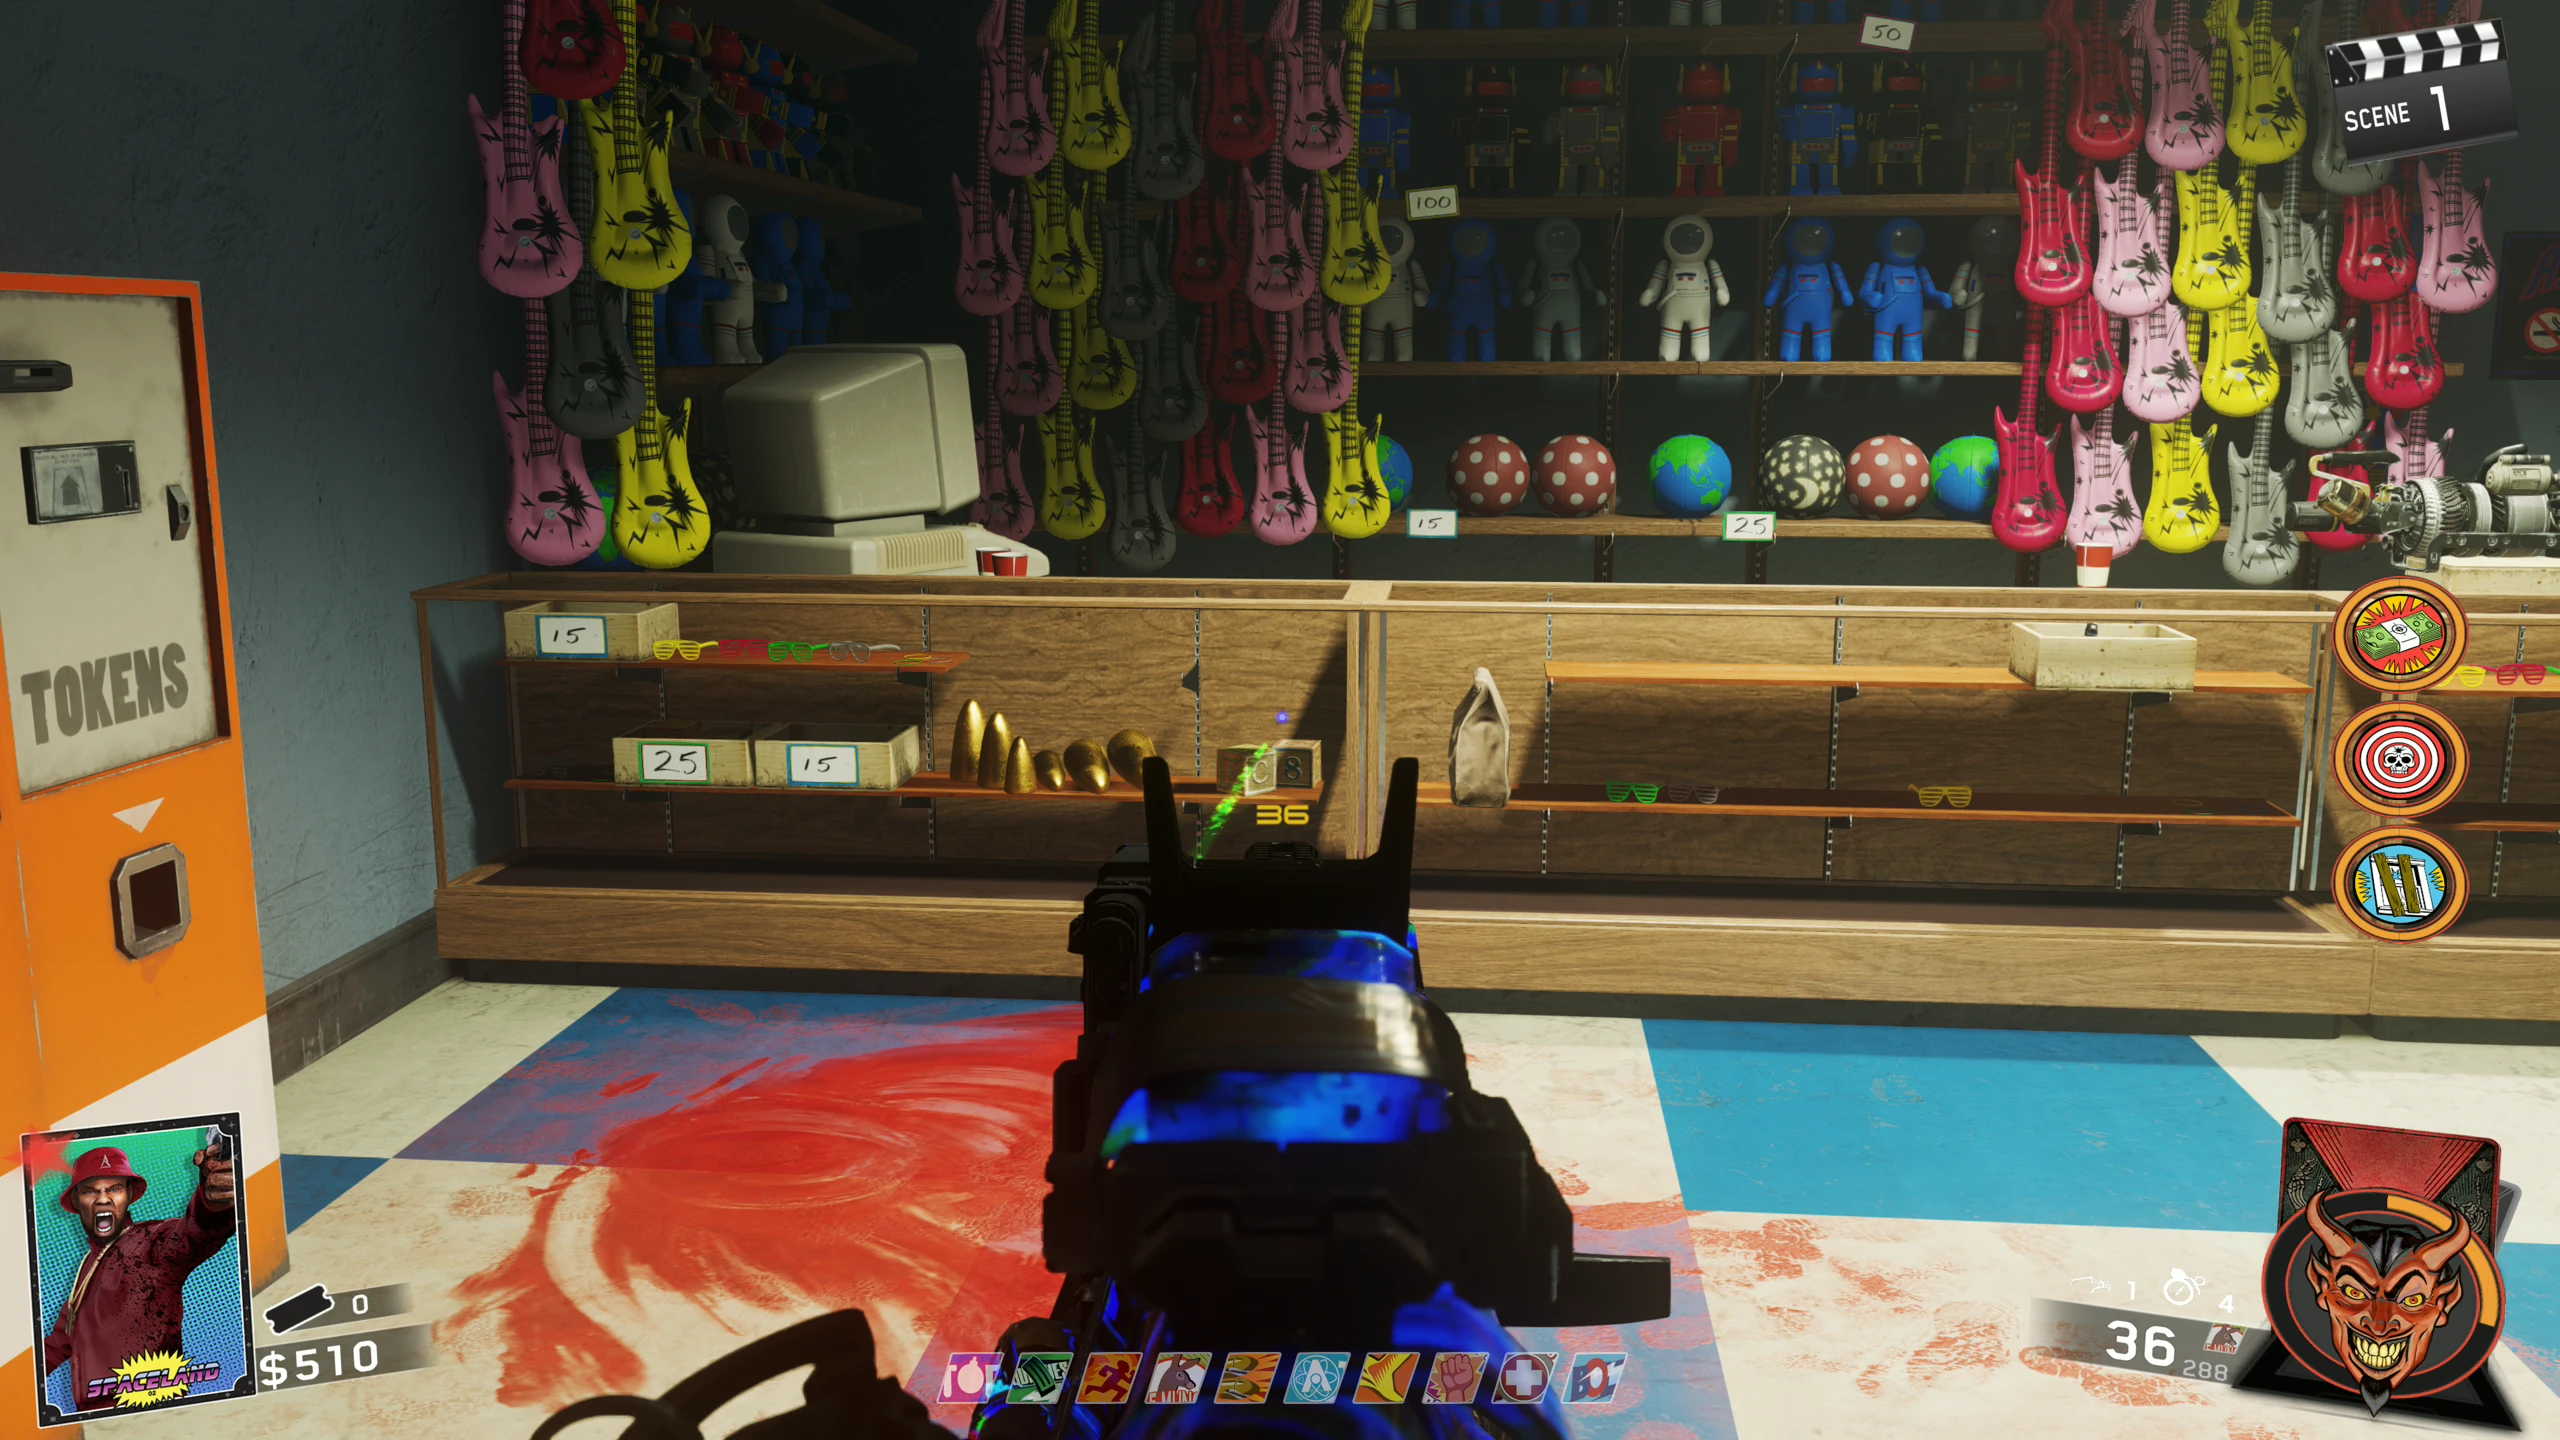
- Purchase the Golden Teeth (300 Tickets) from the Prize Counter in the Astrocade.
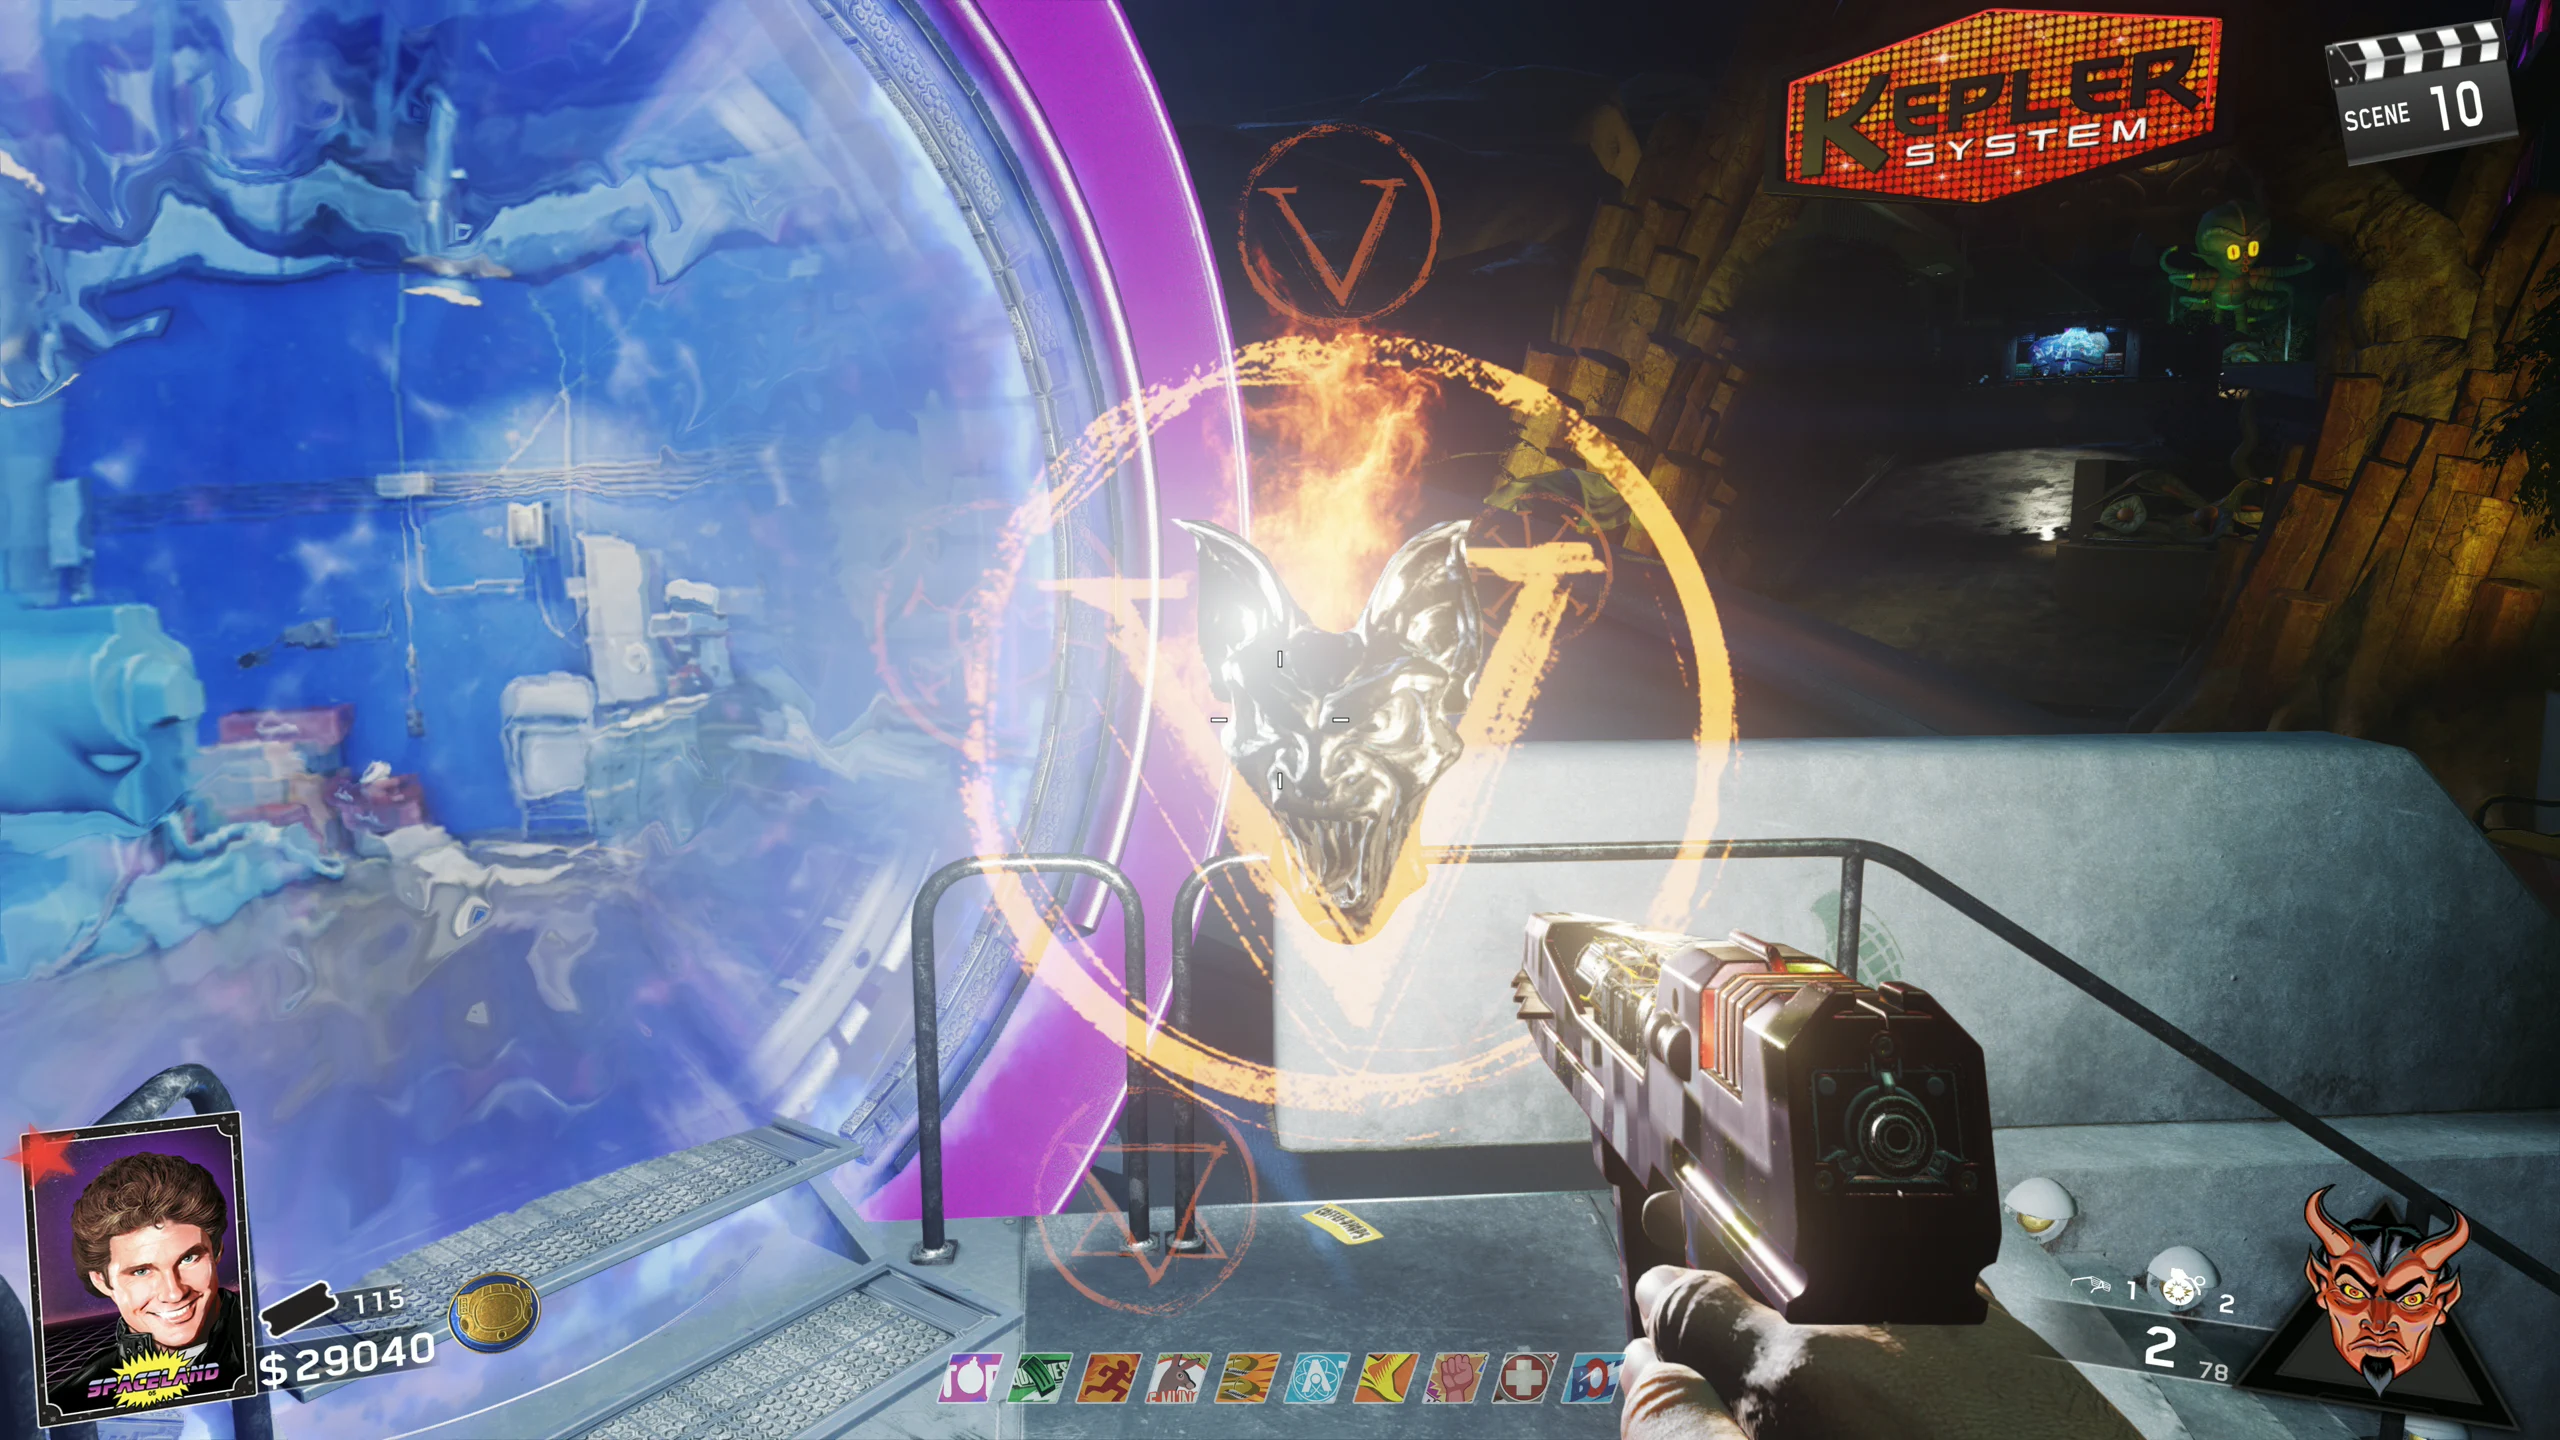
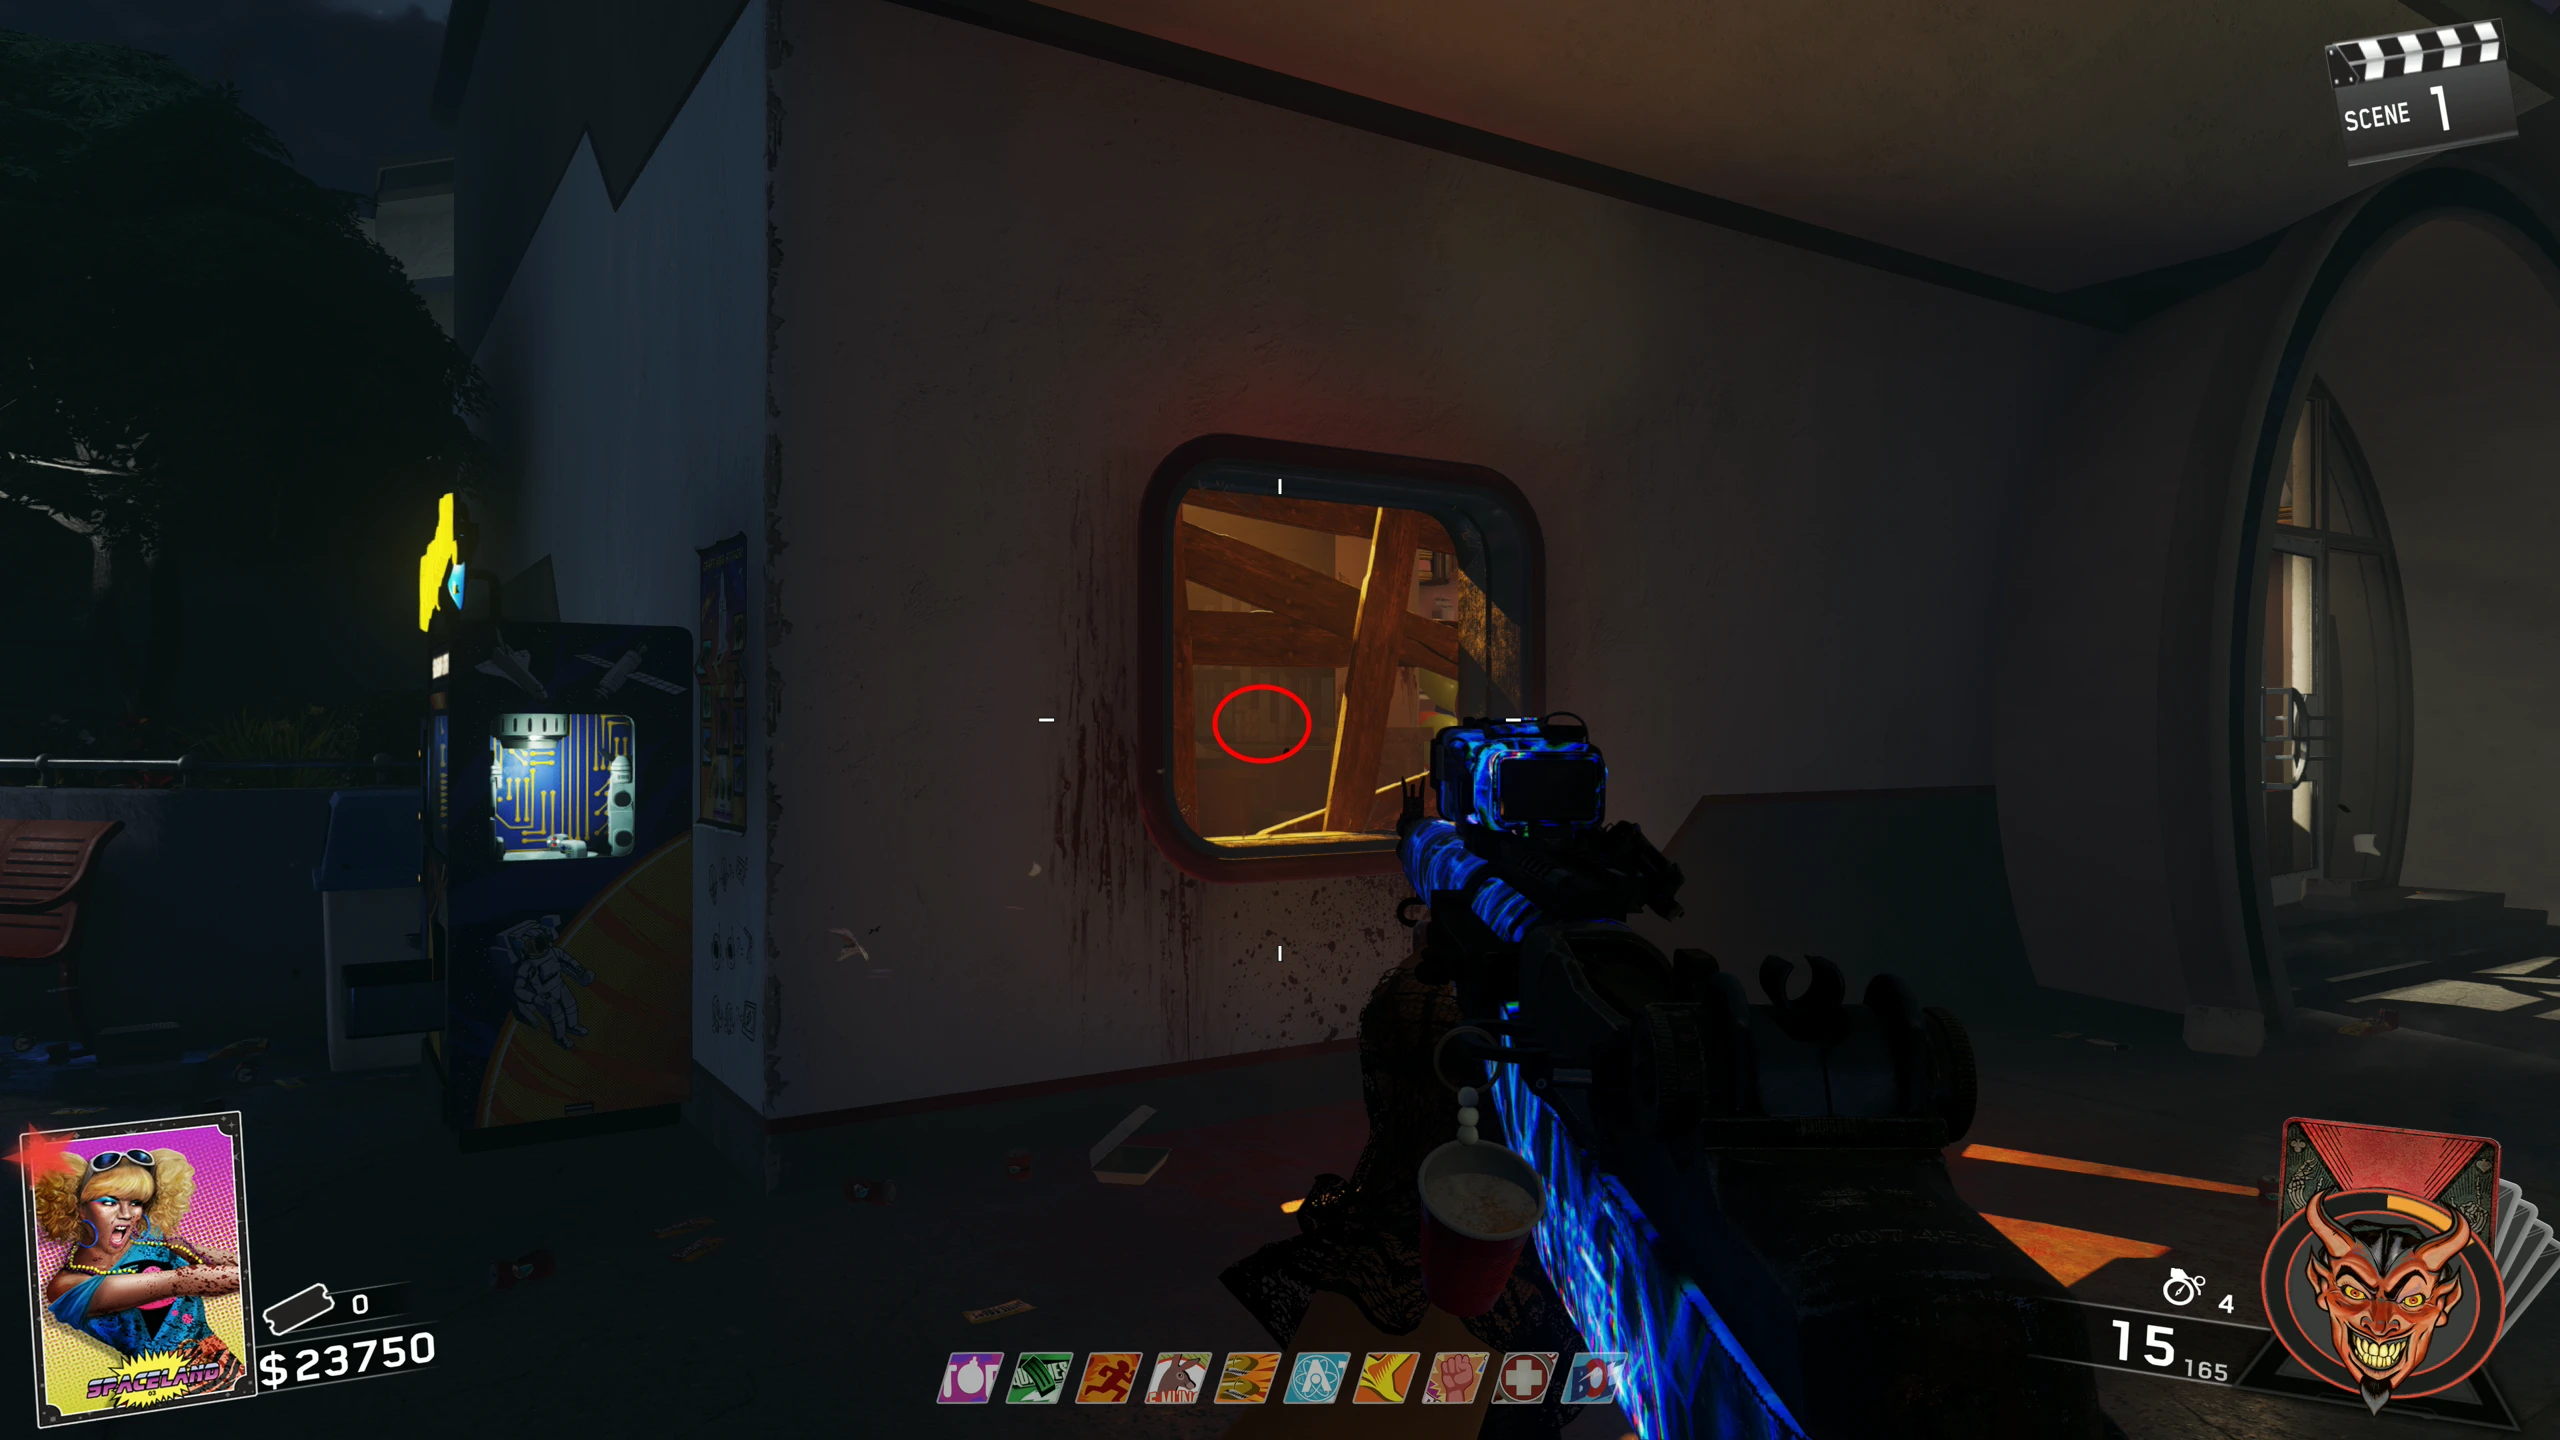
- Wait for a Brute to spawn (one can be spawned by failing step 6 of the Main Quest). Once a Brute has spawned, lure it to the Gator Trap in the 'Kepler System' and have the Gator close its mouth on the Brute. If done correctly, the Brute will stop the mouth from closing and some of the Gator's Teeth will shatter.
- Place the Golden Teeth on the Gator. This will cause the throat to open, revealing a device.
- Using the weapon with the Wind Core, shoot the Left-Most Target on the device in the Gator. This will reveal the Yellow Crystal for you to pick up.
- Once you have collected all three parts, the Head-Cutter can be obtained by placing all the parts onto the Octonian Cardboard Cutout in the 'Polar Peak' Gift Shop.
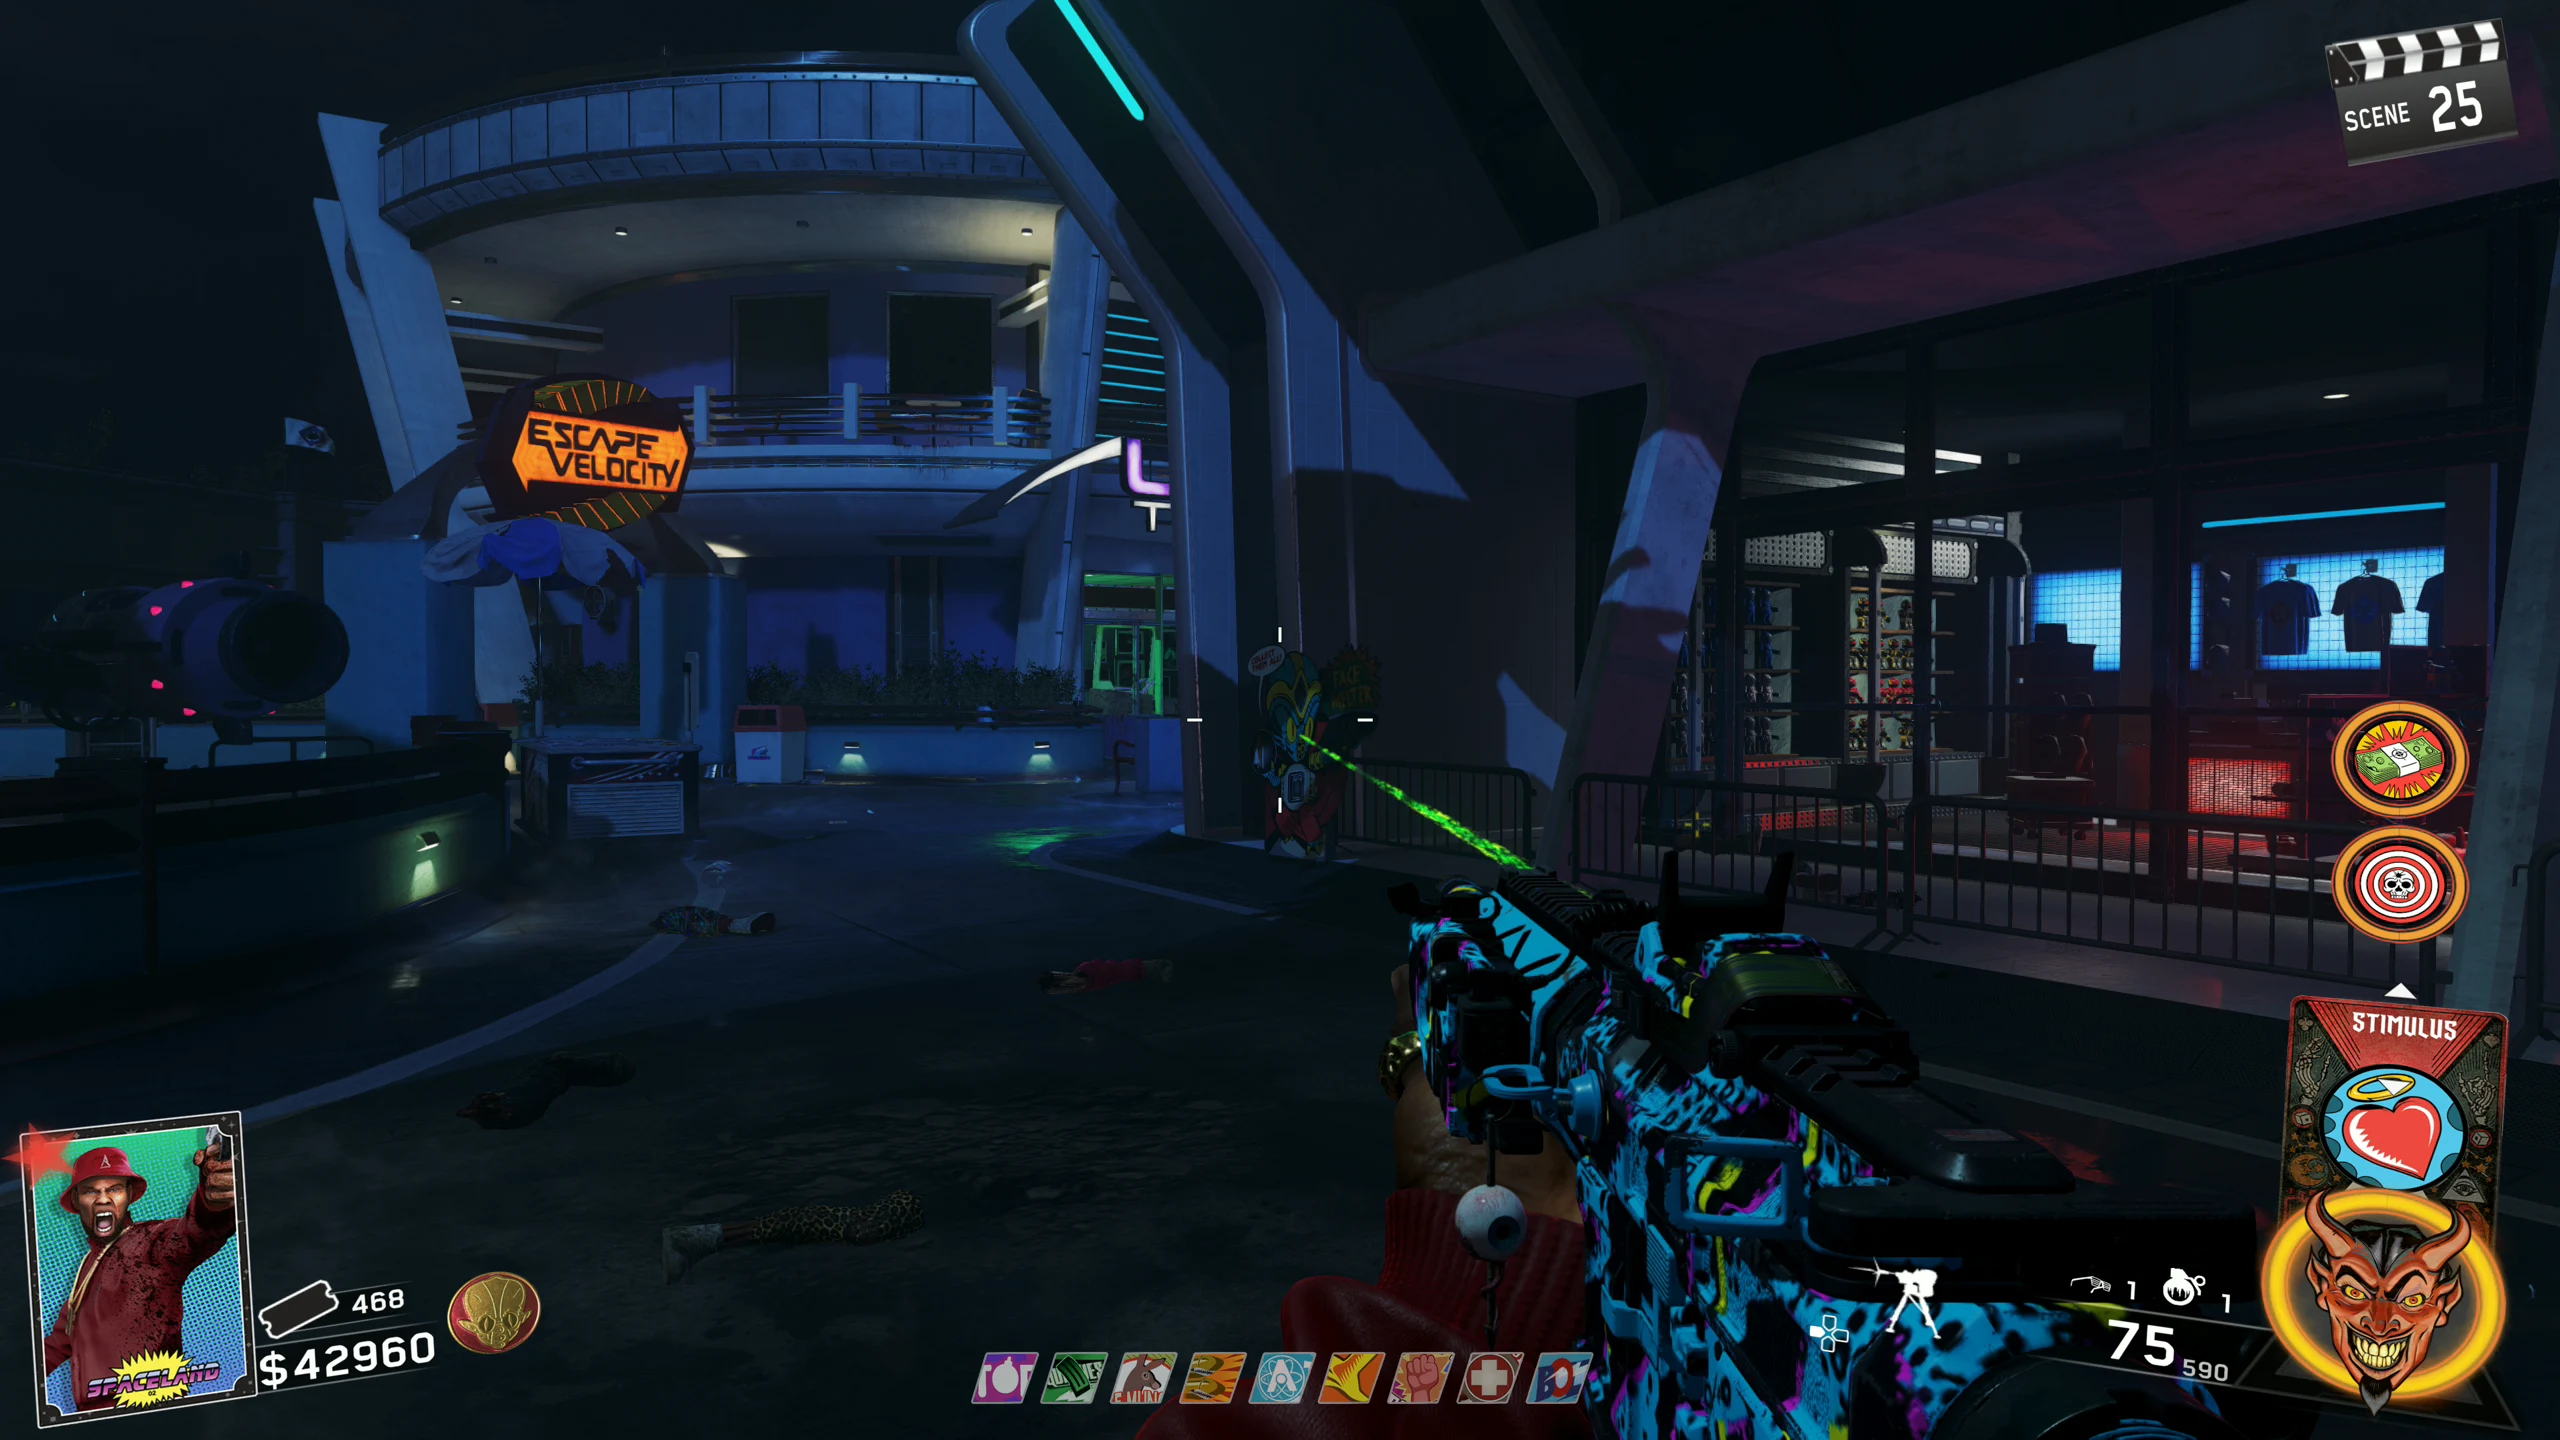
Face-Melter
The Face-Melter causes the Zombie shot to launch into the air like a rocket, explode and rain fire down on the other Zombies.
- The Face-Melter requires three parts to be built - Battery, Rocket Ship Toy, and Blue Crystal:
- Battery:
- Unlock Pack-a-Punch.
- Activate the teleporter in 'Journey Into Space,' and throw a Frag, Cluster or Semtex Grenade into it. The teleporter will throw back a red glowing grenade.
- You throw the Red Grenade into the Pack-a-Punch teleporter by repeatedly picking it up and throwing the grenade before it explodes. The grenade's timer will reset every time you pick it up.
- Once the grenade is thrown into the pap portal, the battery will spawn where you were standing.
- Rocket Ship Toy:
- Insert three Blue Souvenir Tokens into the Souvenir Station in 'Journey Into Space.' When done, the Rocket Ship Toy will fly out of the machine for you to pick up.
- Blue Crystal:
- Obtain the Electric Elemental Core.
- Purchase the Golden Teeth (300 Tickets) from the Prize Counter in the Astrocade.
- Wait for a Brute to spawn (one can be spawned by failing step 6 of the Main Quest). Once a Brute has spawned, lure it to the Gator Trap in the 'Kepler System' and have the Gator close its mouth on the Brute. If done correctly, the Brute will stop the mouth from closing and some of the Gator's Teeth will shatter.
- Place the Golden Teeth on the Gator. This will cause the throat to open, revealing a device.
- Using the weapon with the Electric Core, shoot the Second-from-the-left Target on the device in the Gator. This will reveal the Blue Crystal for you to pick up.
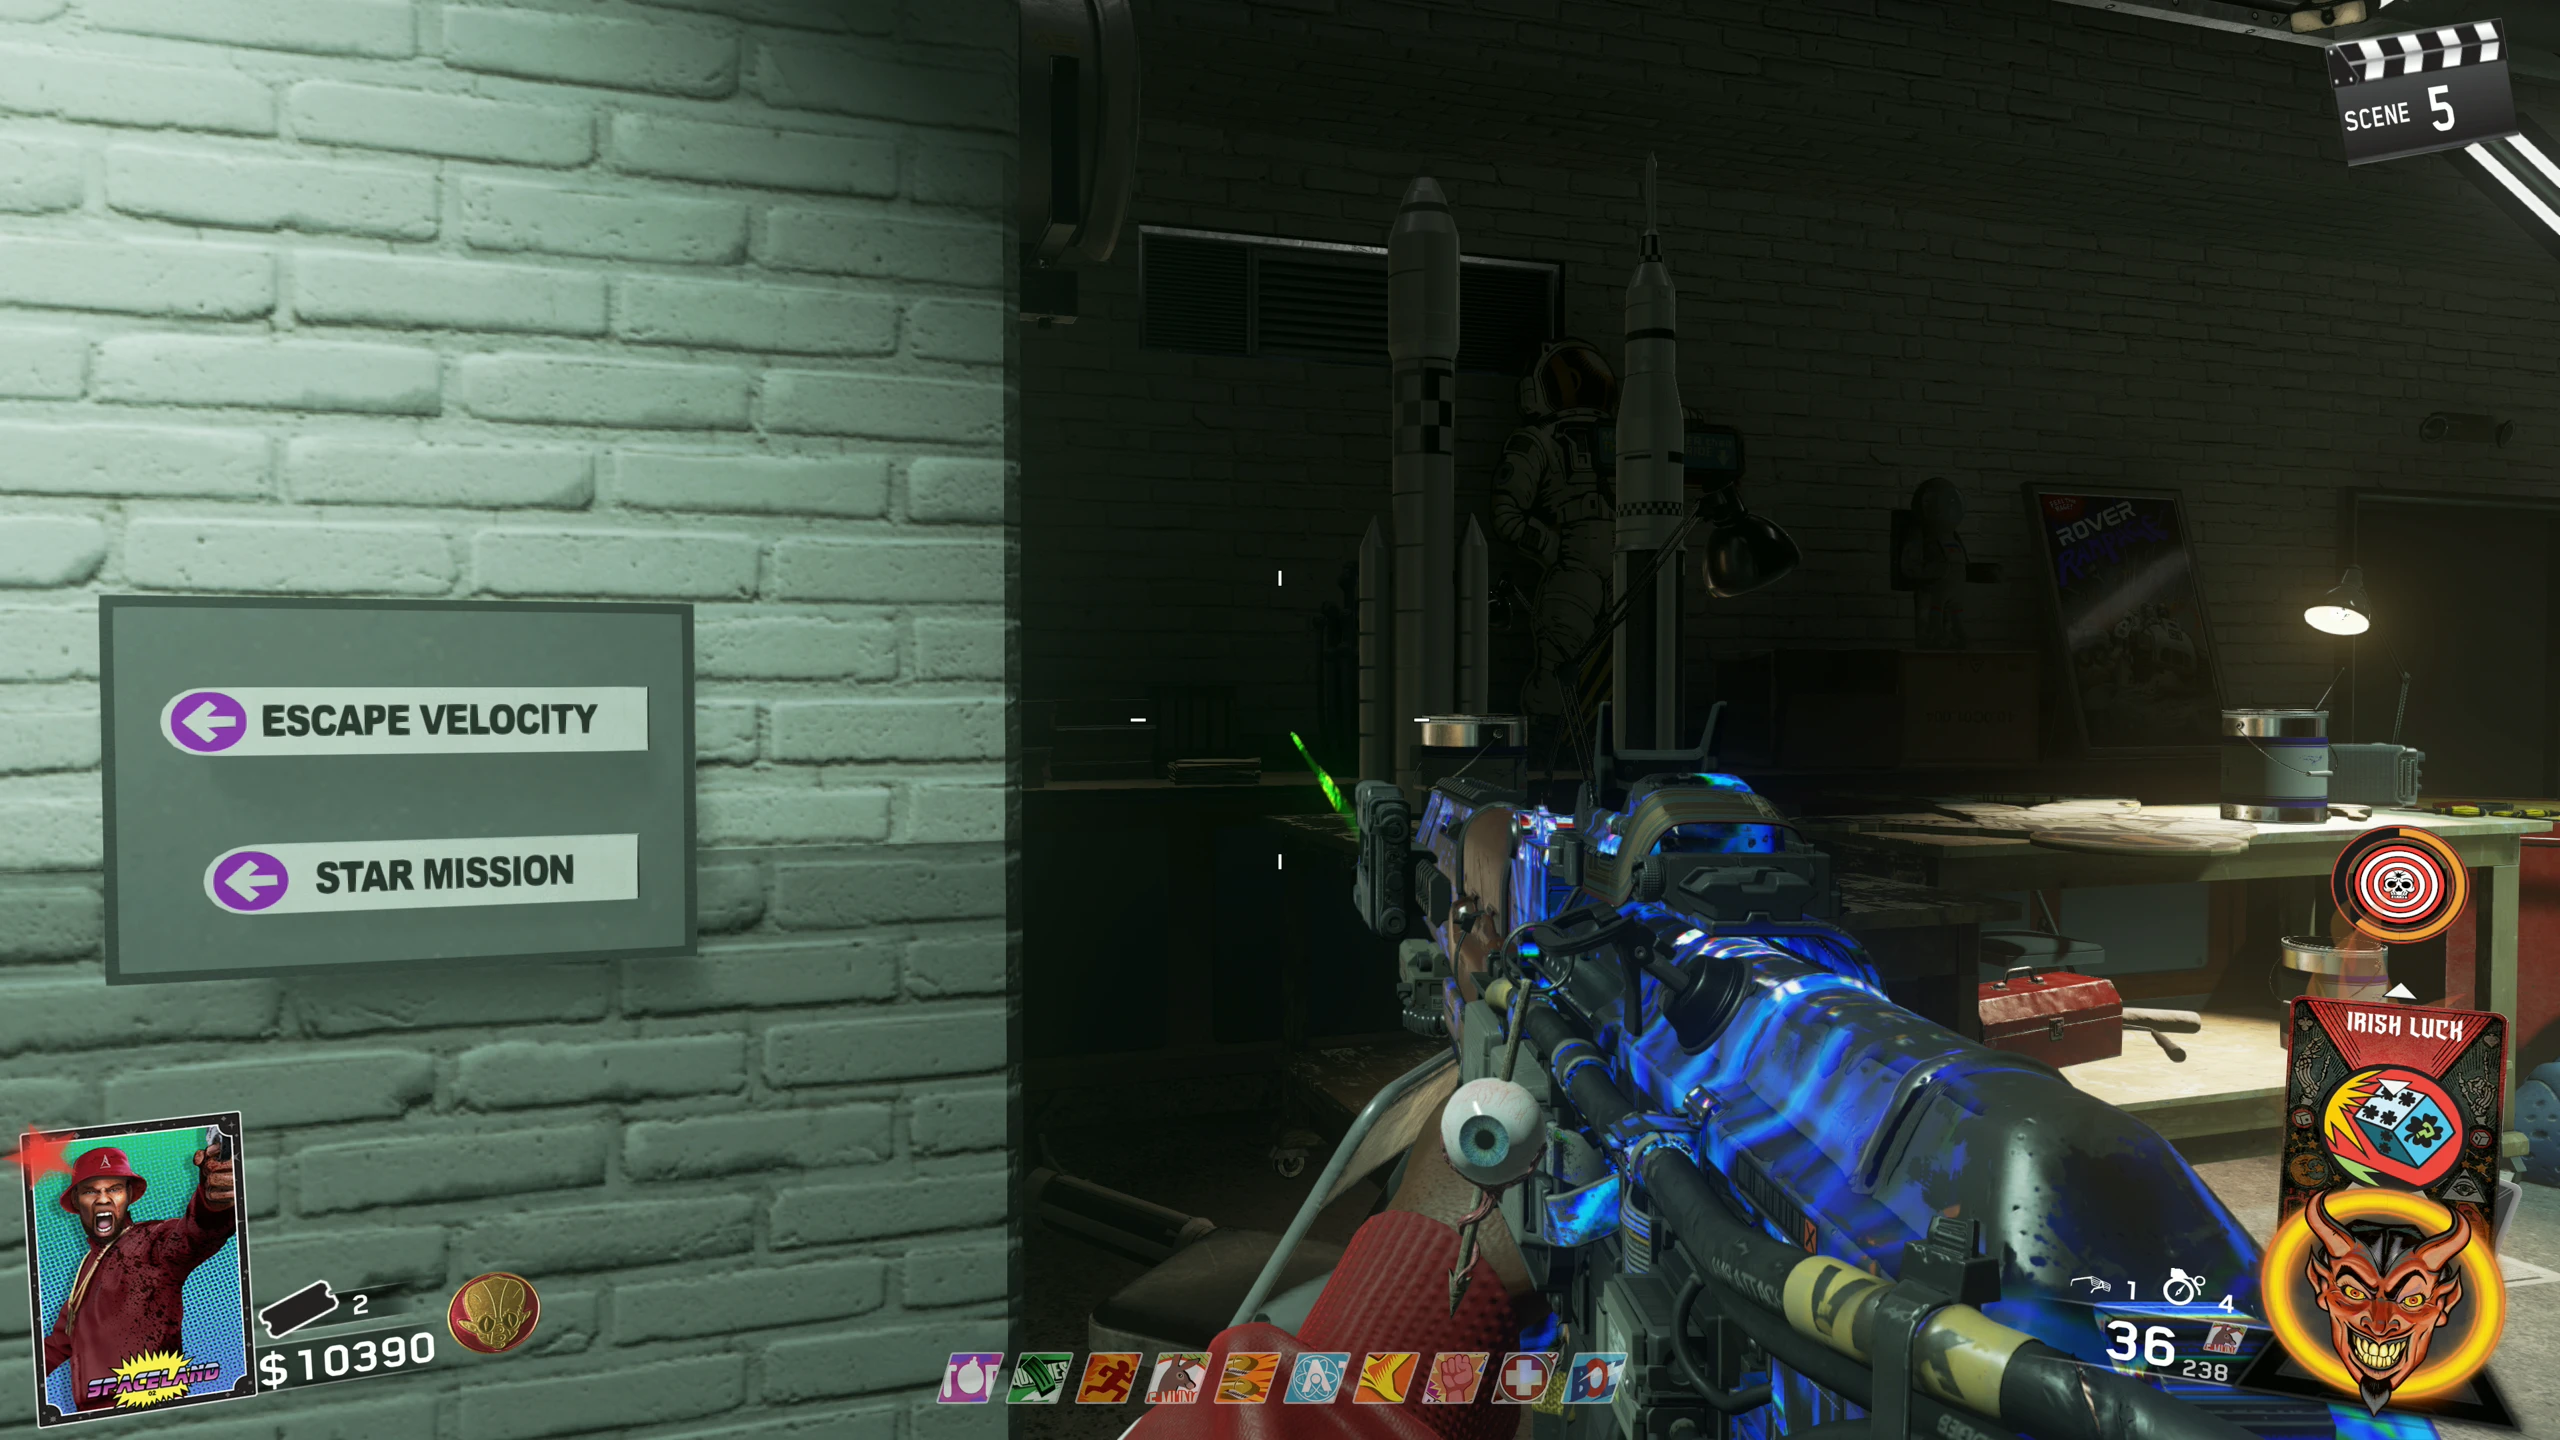
- Once you have collected all three parts, the Face-Melter can be obtained by placing all the parts onto the Octonian Cardboard Cutout in 'Journey Into Space' near the Escape Velocity ride.
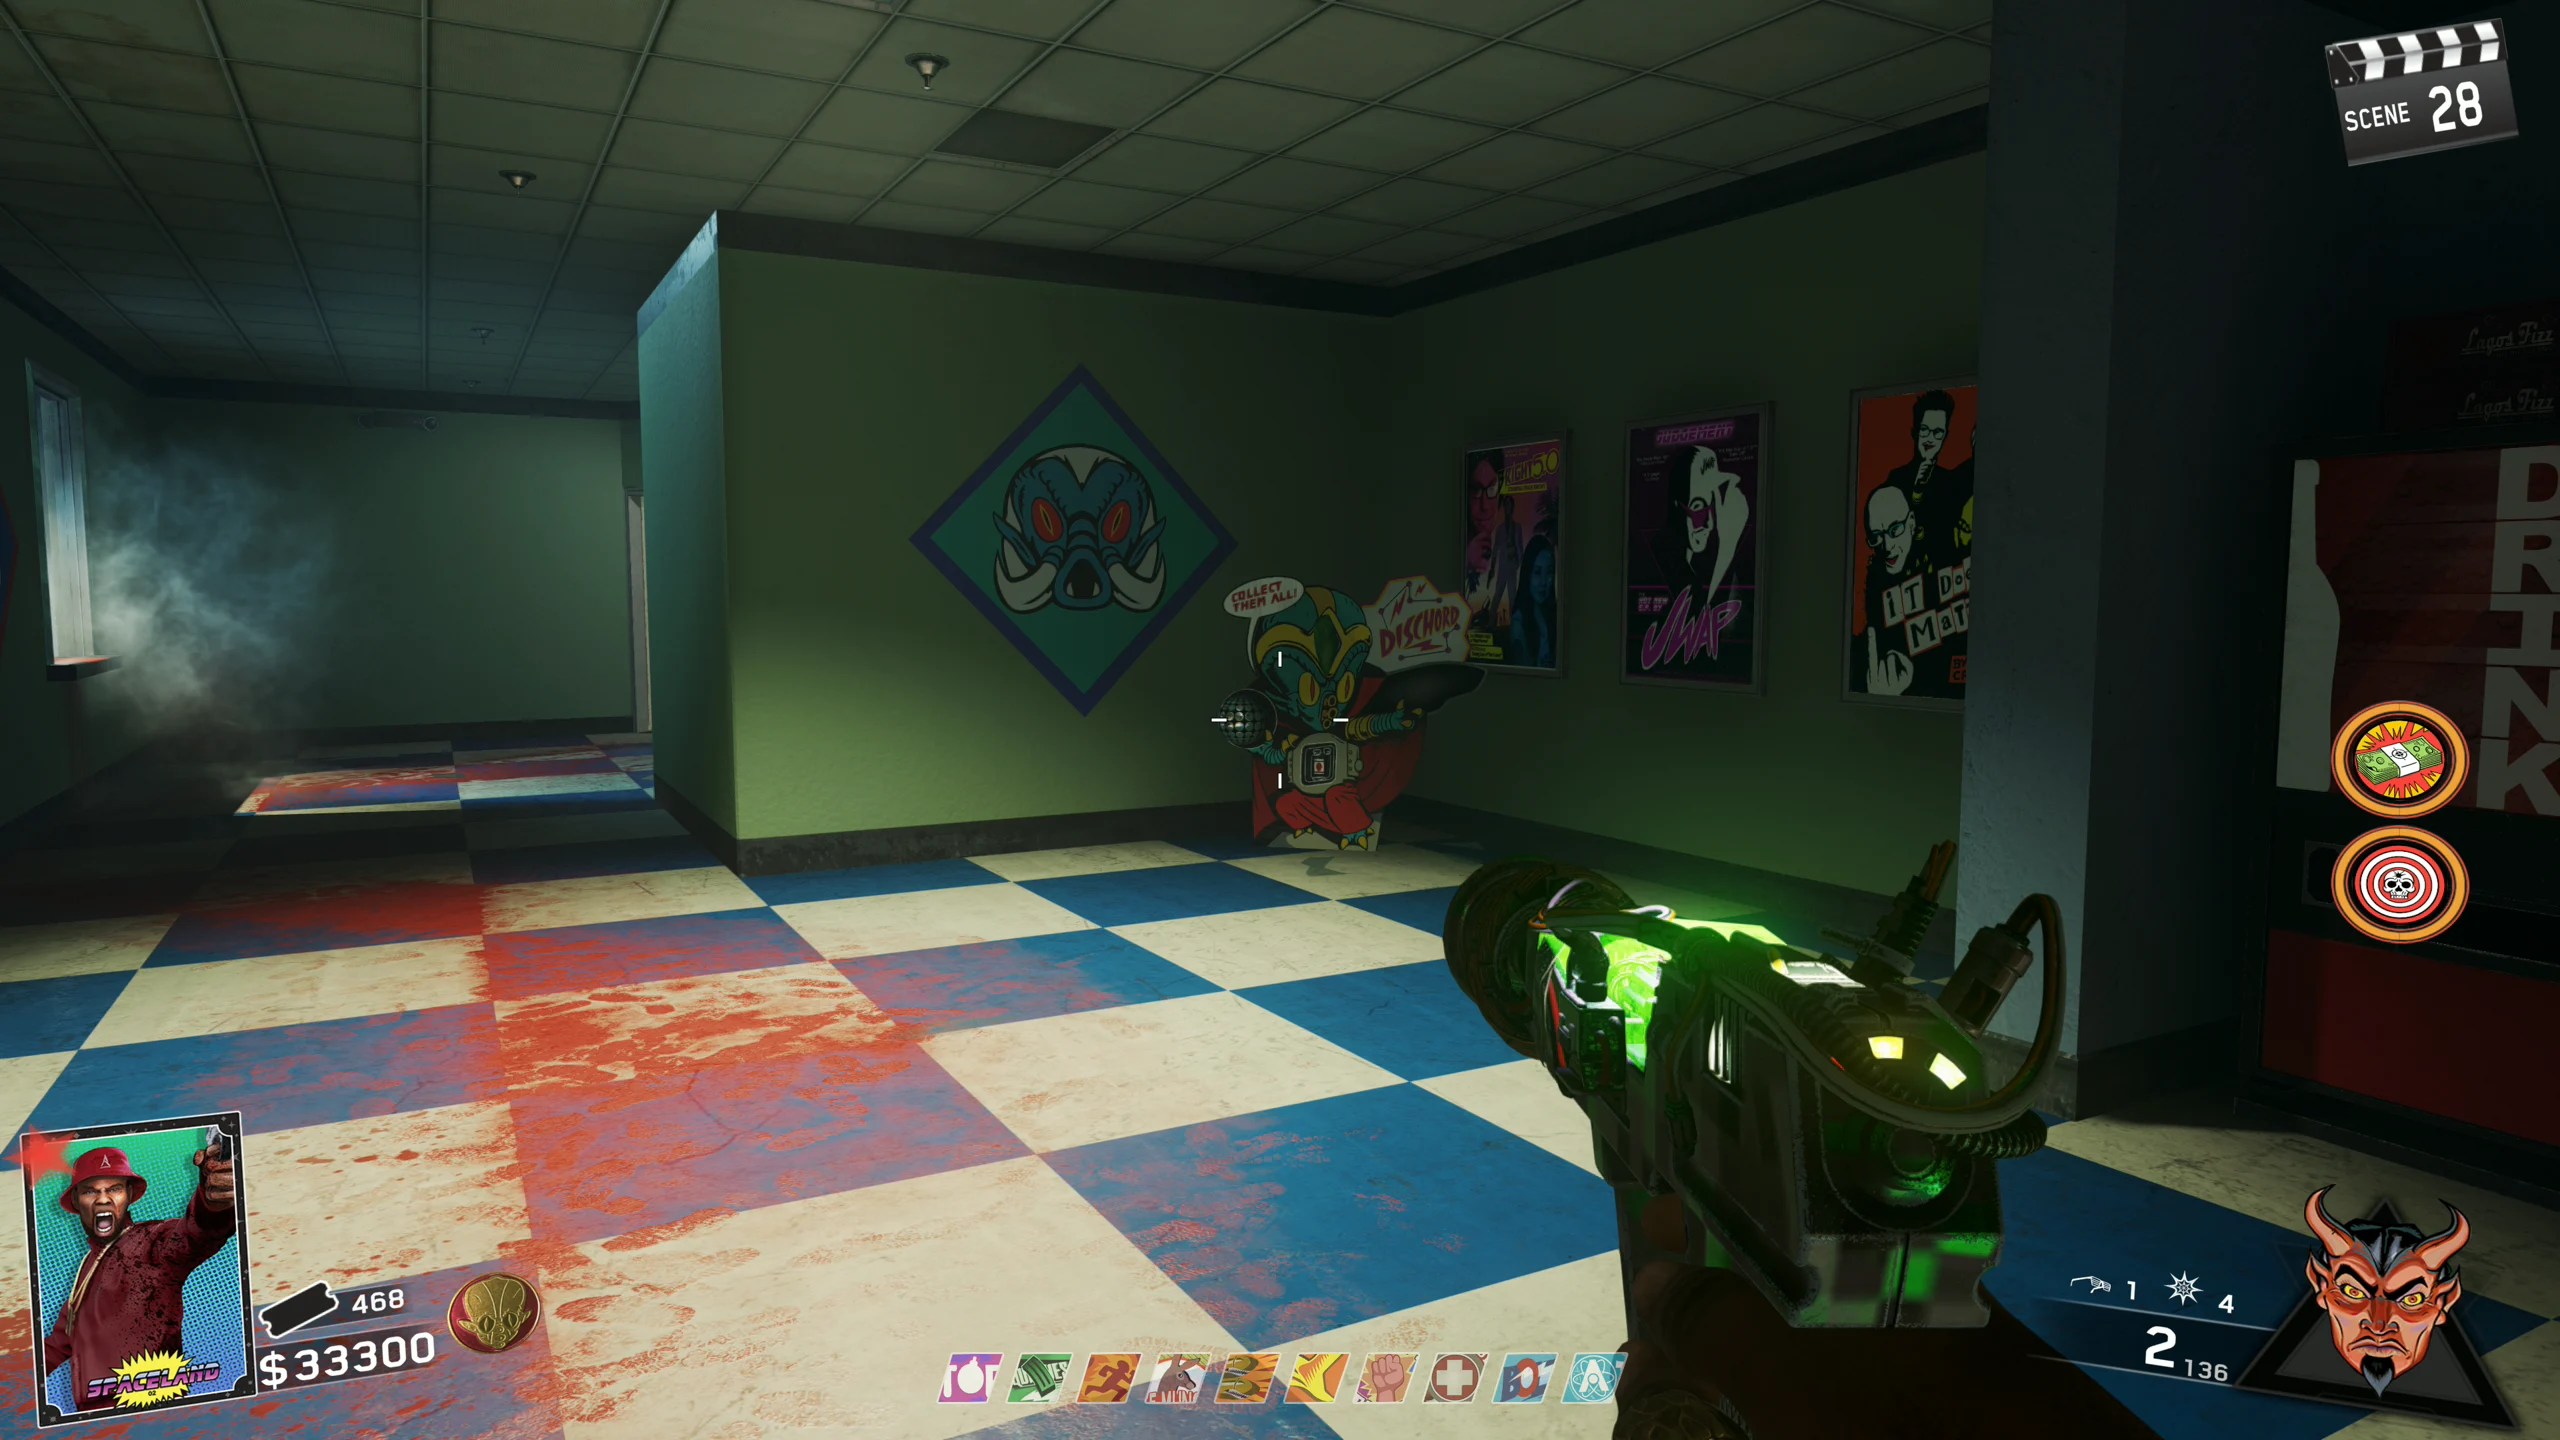
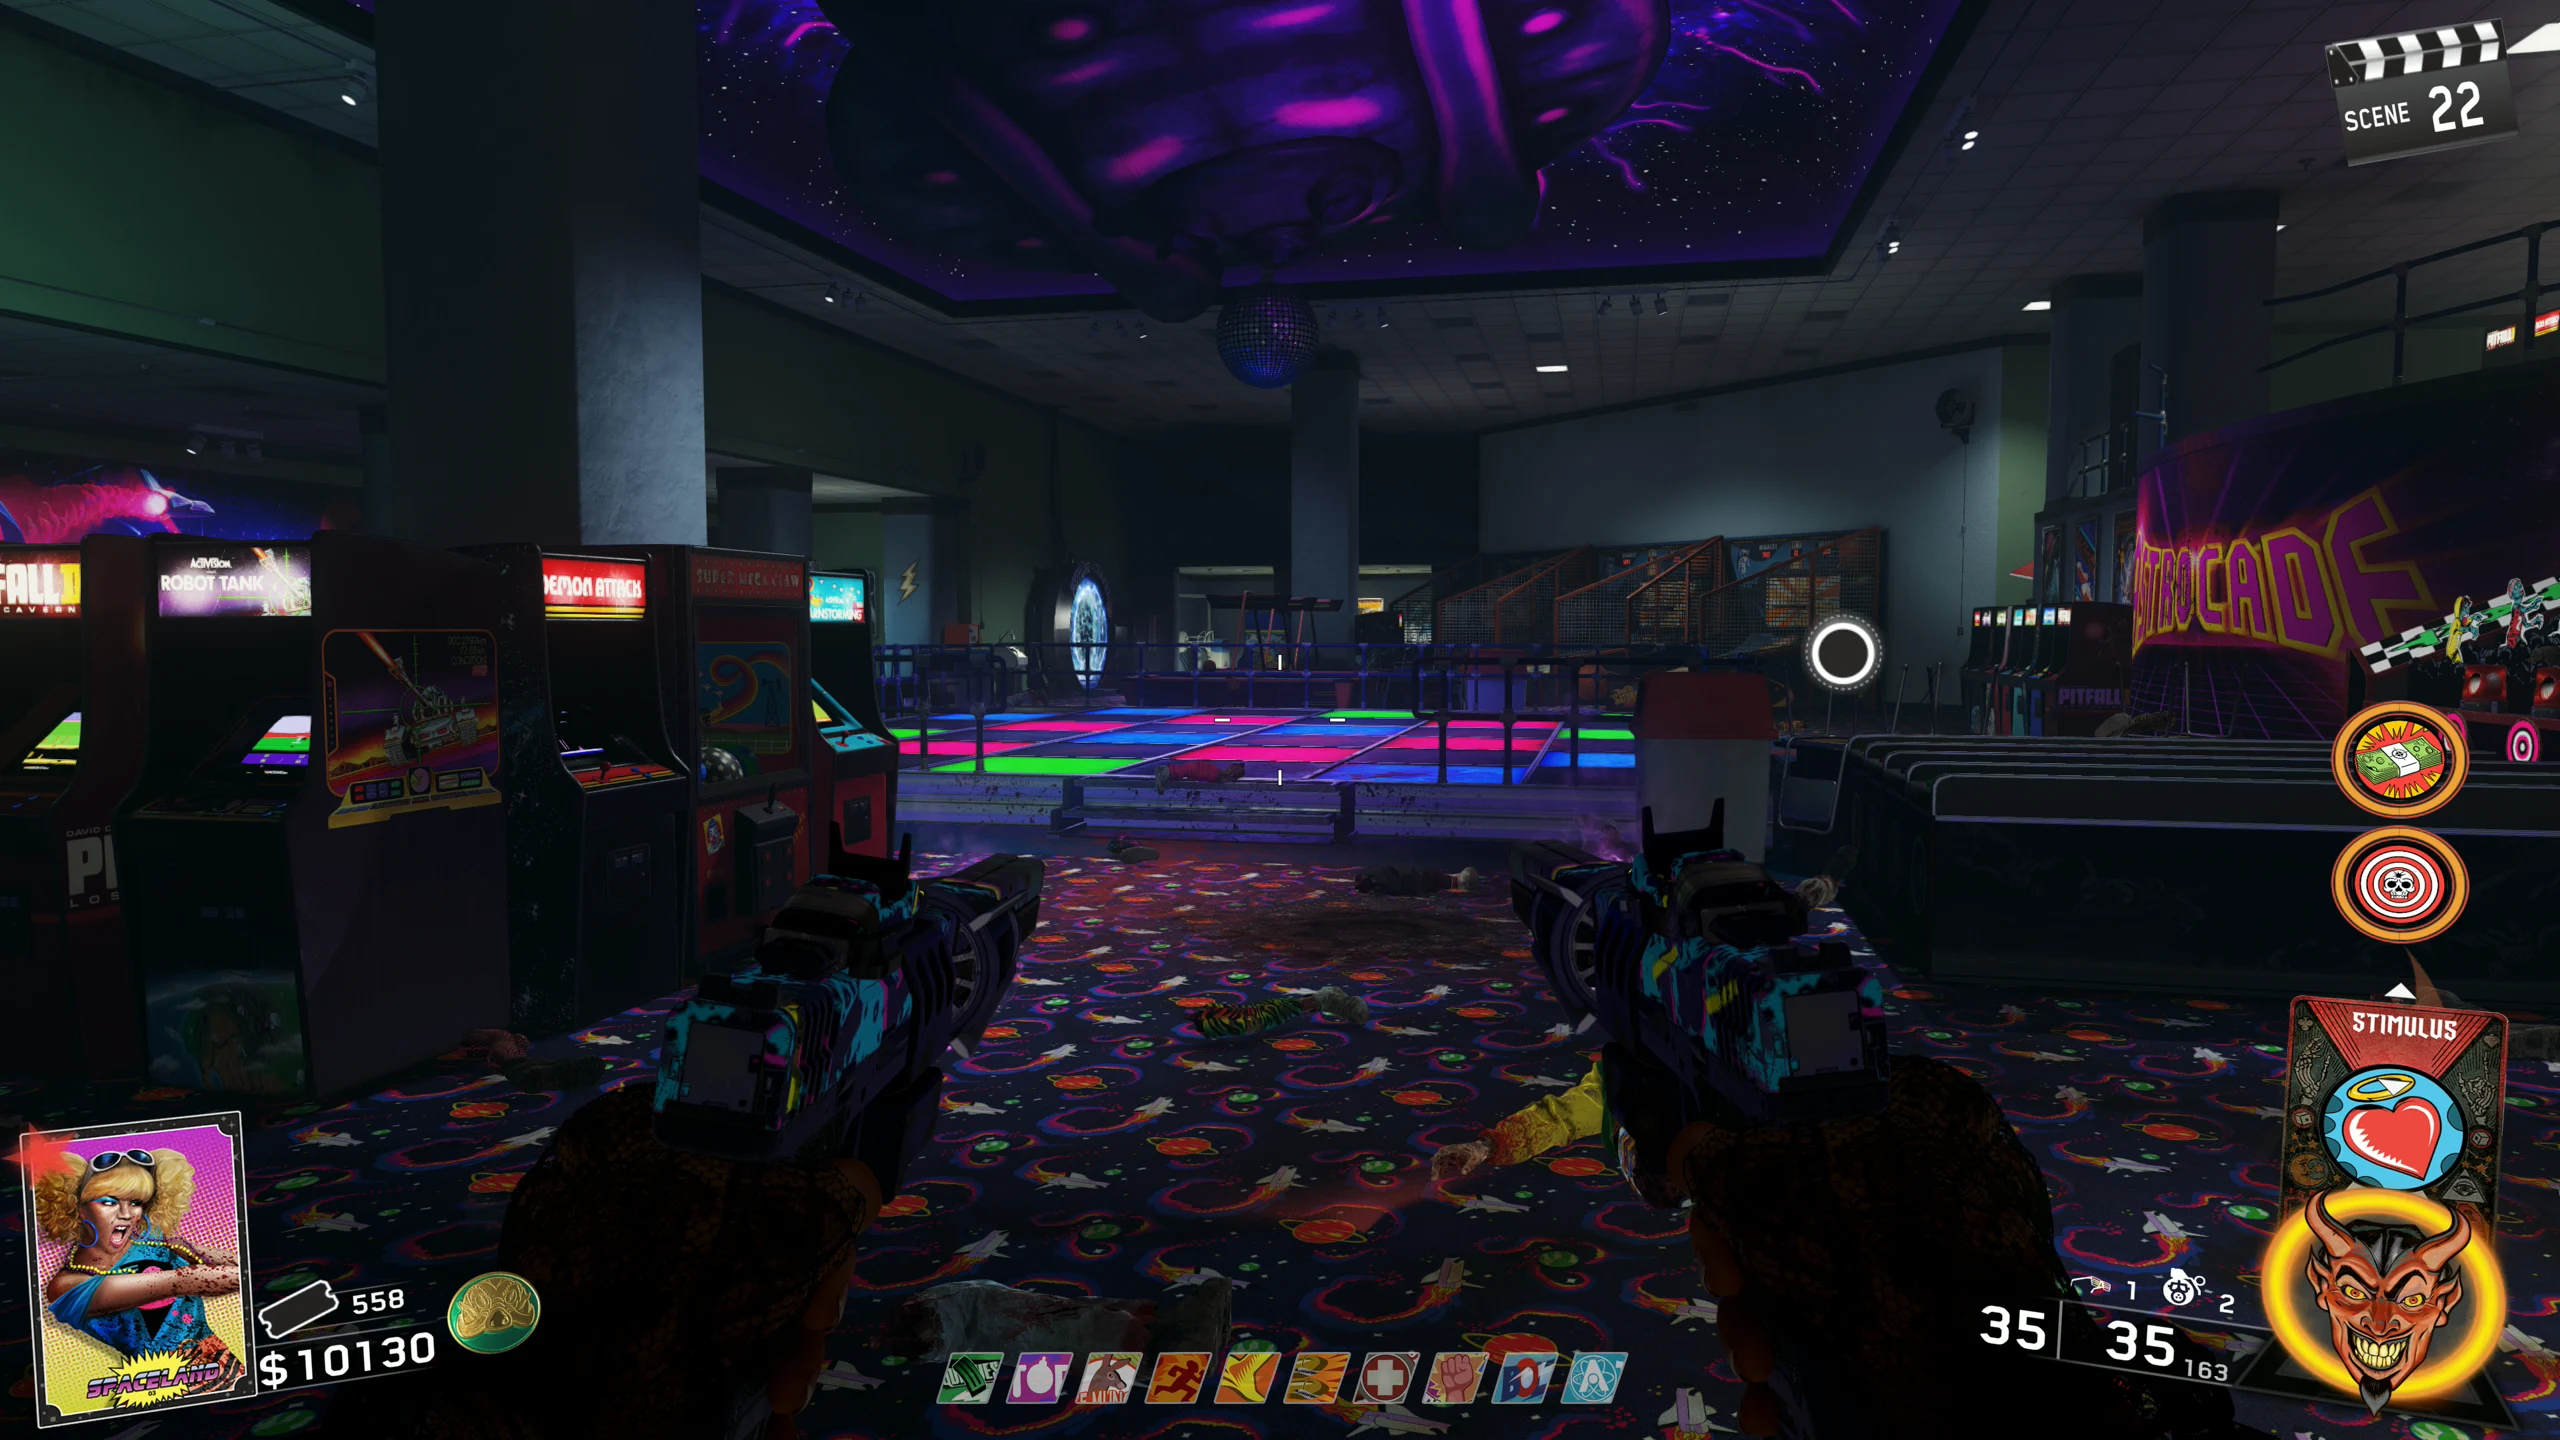
Dischord
The Dischord causes zombies to breakdance/headspin which creates a tornado effect, instantly killing nearby Zombies.
- The Dischord requires three parts to be built - Battery, Disco Ball, and Green Crystal:
- Battery:
- Pick up the Sunglasses, which Zombies randomly drop.
- While the sunglasses are equipped, the screen will go black and white, and five targets will spawn around the map (locations below) which you will need to shoot. If a Zombie hits you while wearing the sunglasses, they will drop to the ground and can be picked up within 10 seconds before despawning. Target Locations:
- Once all five targets are shot, the battery will appear on the dance floor in the 'Astrocade' for you to pick up.
- Disco Ball:
- Insert one of each of the three colours of Souvenir Tokens (Blue, Green, Red) into the Souvenir Station behind the 'Astrocade.' When done, the Disco Ball will fly out of the machine for you to pick up.
- Green Crystal:
- Obtain the Laser Elemental Core.
- Purchase the Golden Teeth (300 Tickets) from the Prize Counter in the Astrocade.
- Wait for a Brute to spawn (one can be spawned by failing step 6 of the Main Quest). Once a Brute has spawned, lure it to the Gator Trap in the 'Kepler System' and have the Gator close its mouth on the Brute. If done correctly, the Brute will stop the mouth from closing and some of the Gator's Teeth will shatter.
- Place the Golden Teeth on the Gator. This will cause the throat to open, revealing a device.
- Using the weapon with the Laser Core, shoot the Third-from-the-left Target on the device in the Gator. This will reveal the Green Crystal for you to pick up.
- Once you have collected all three parts, the Dischord can be obtained by placing all the parts onto the Octonian Cardboard Cutout in the Astrocade near the Prize Counter.
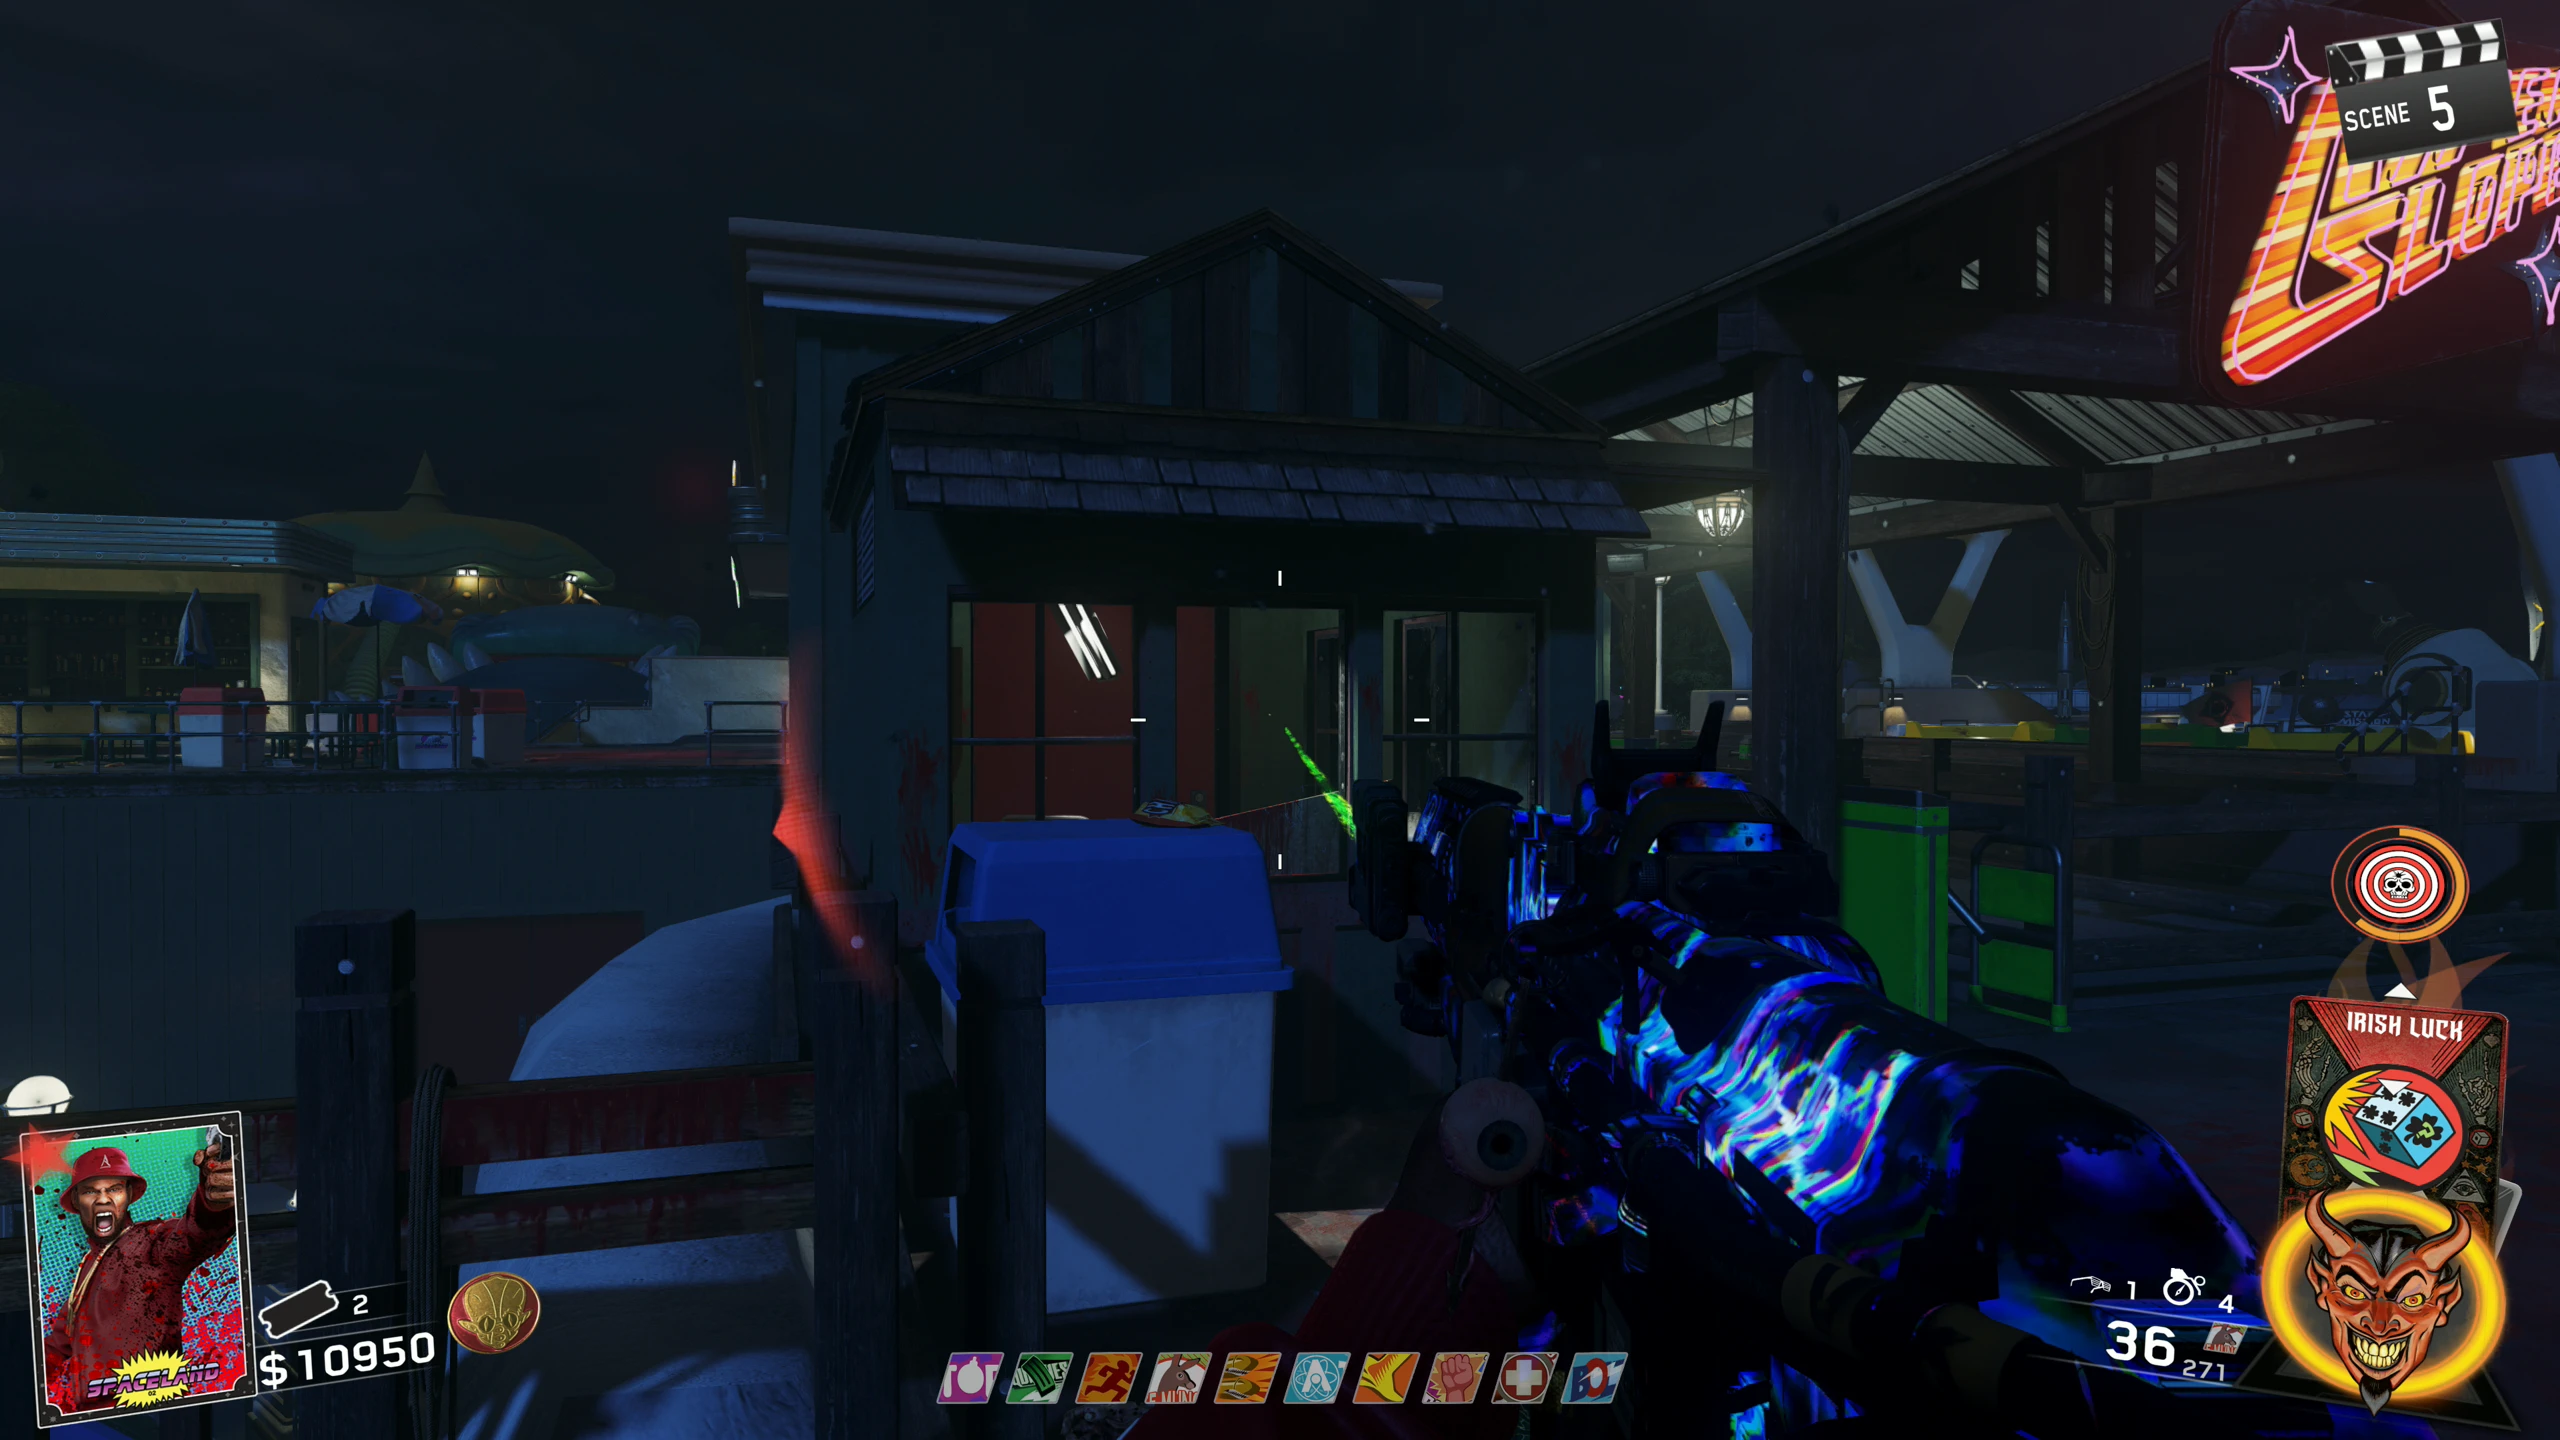
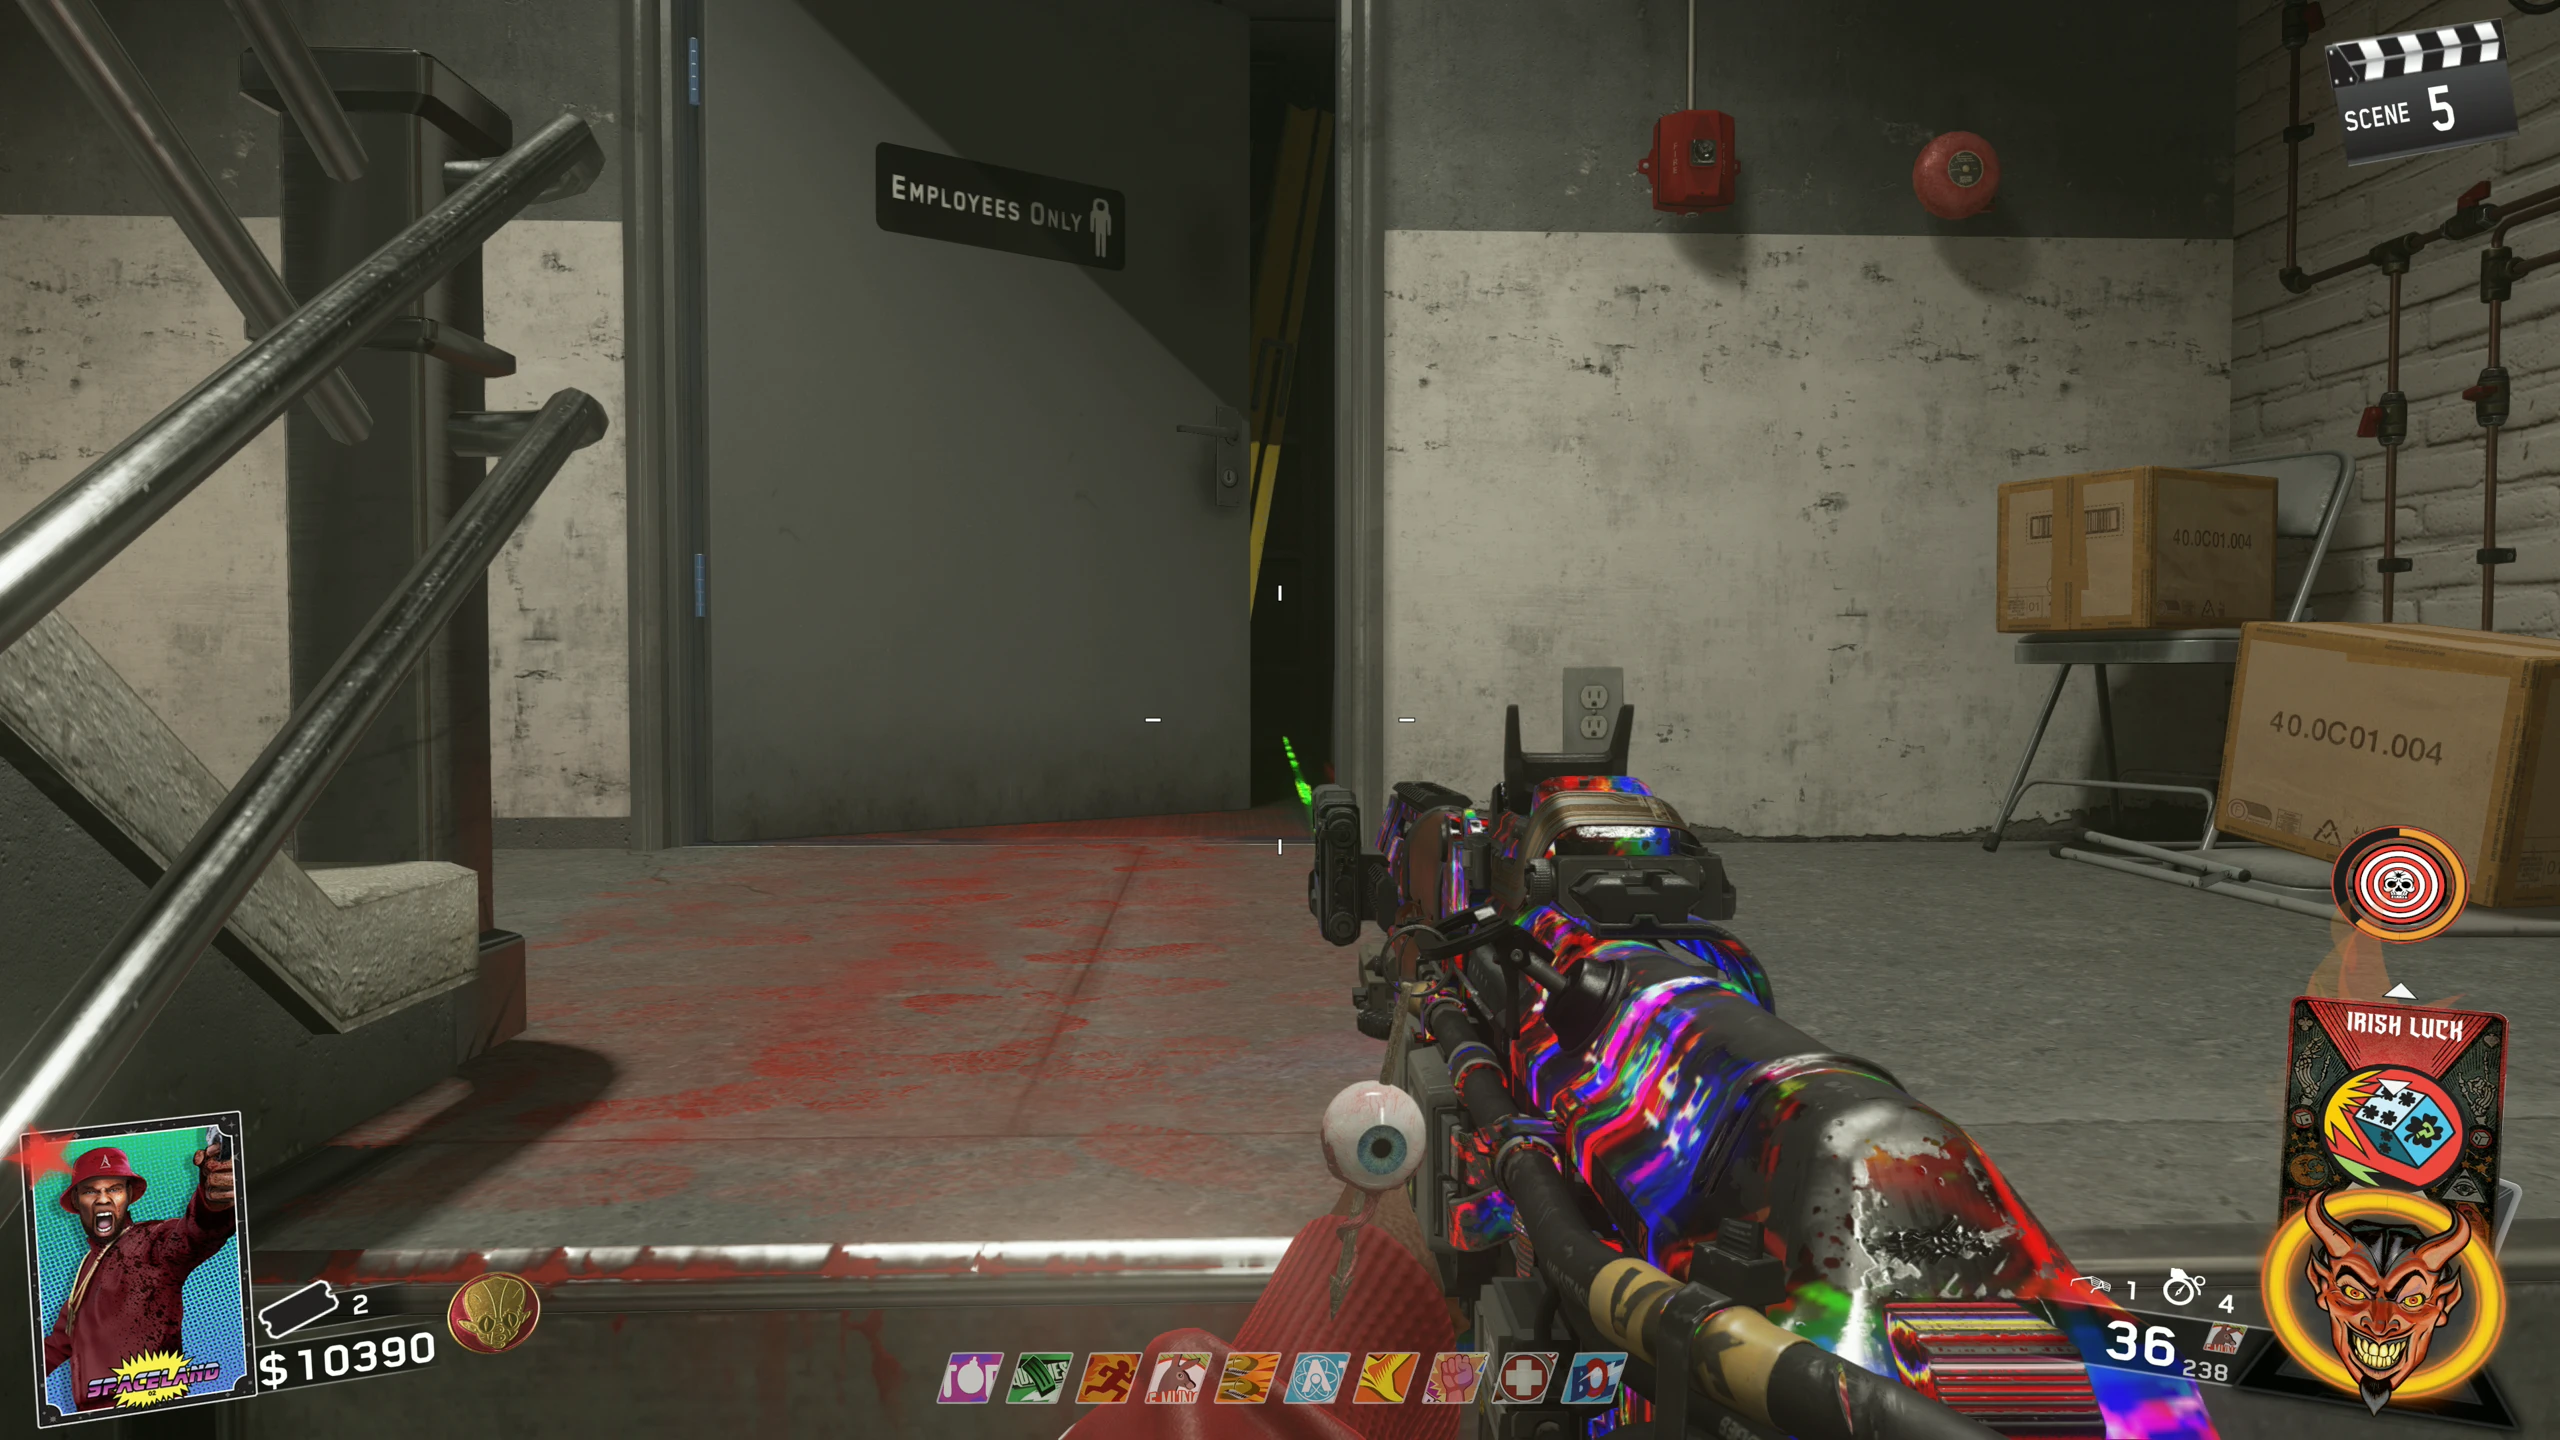
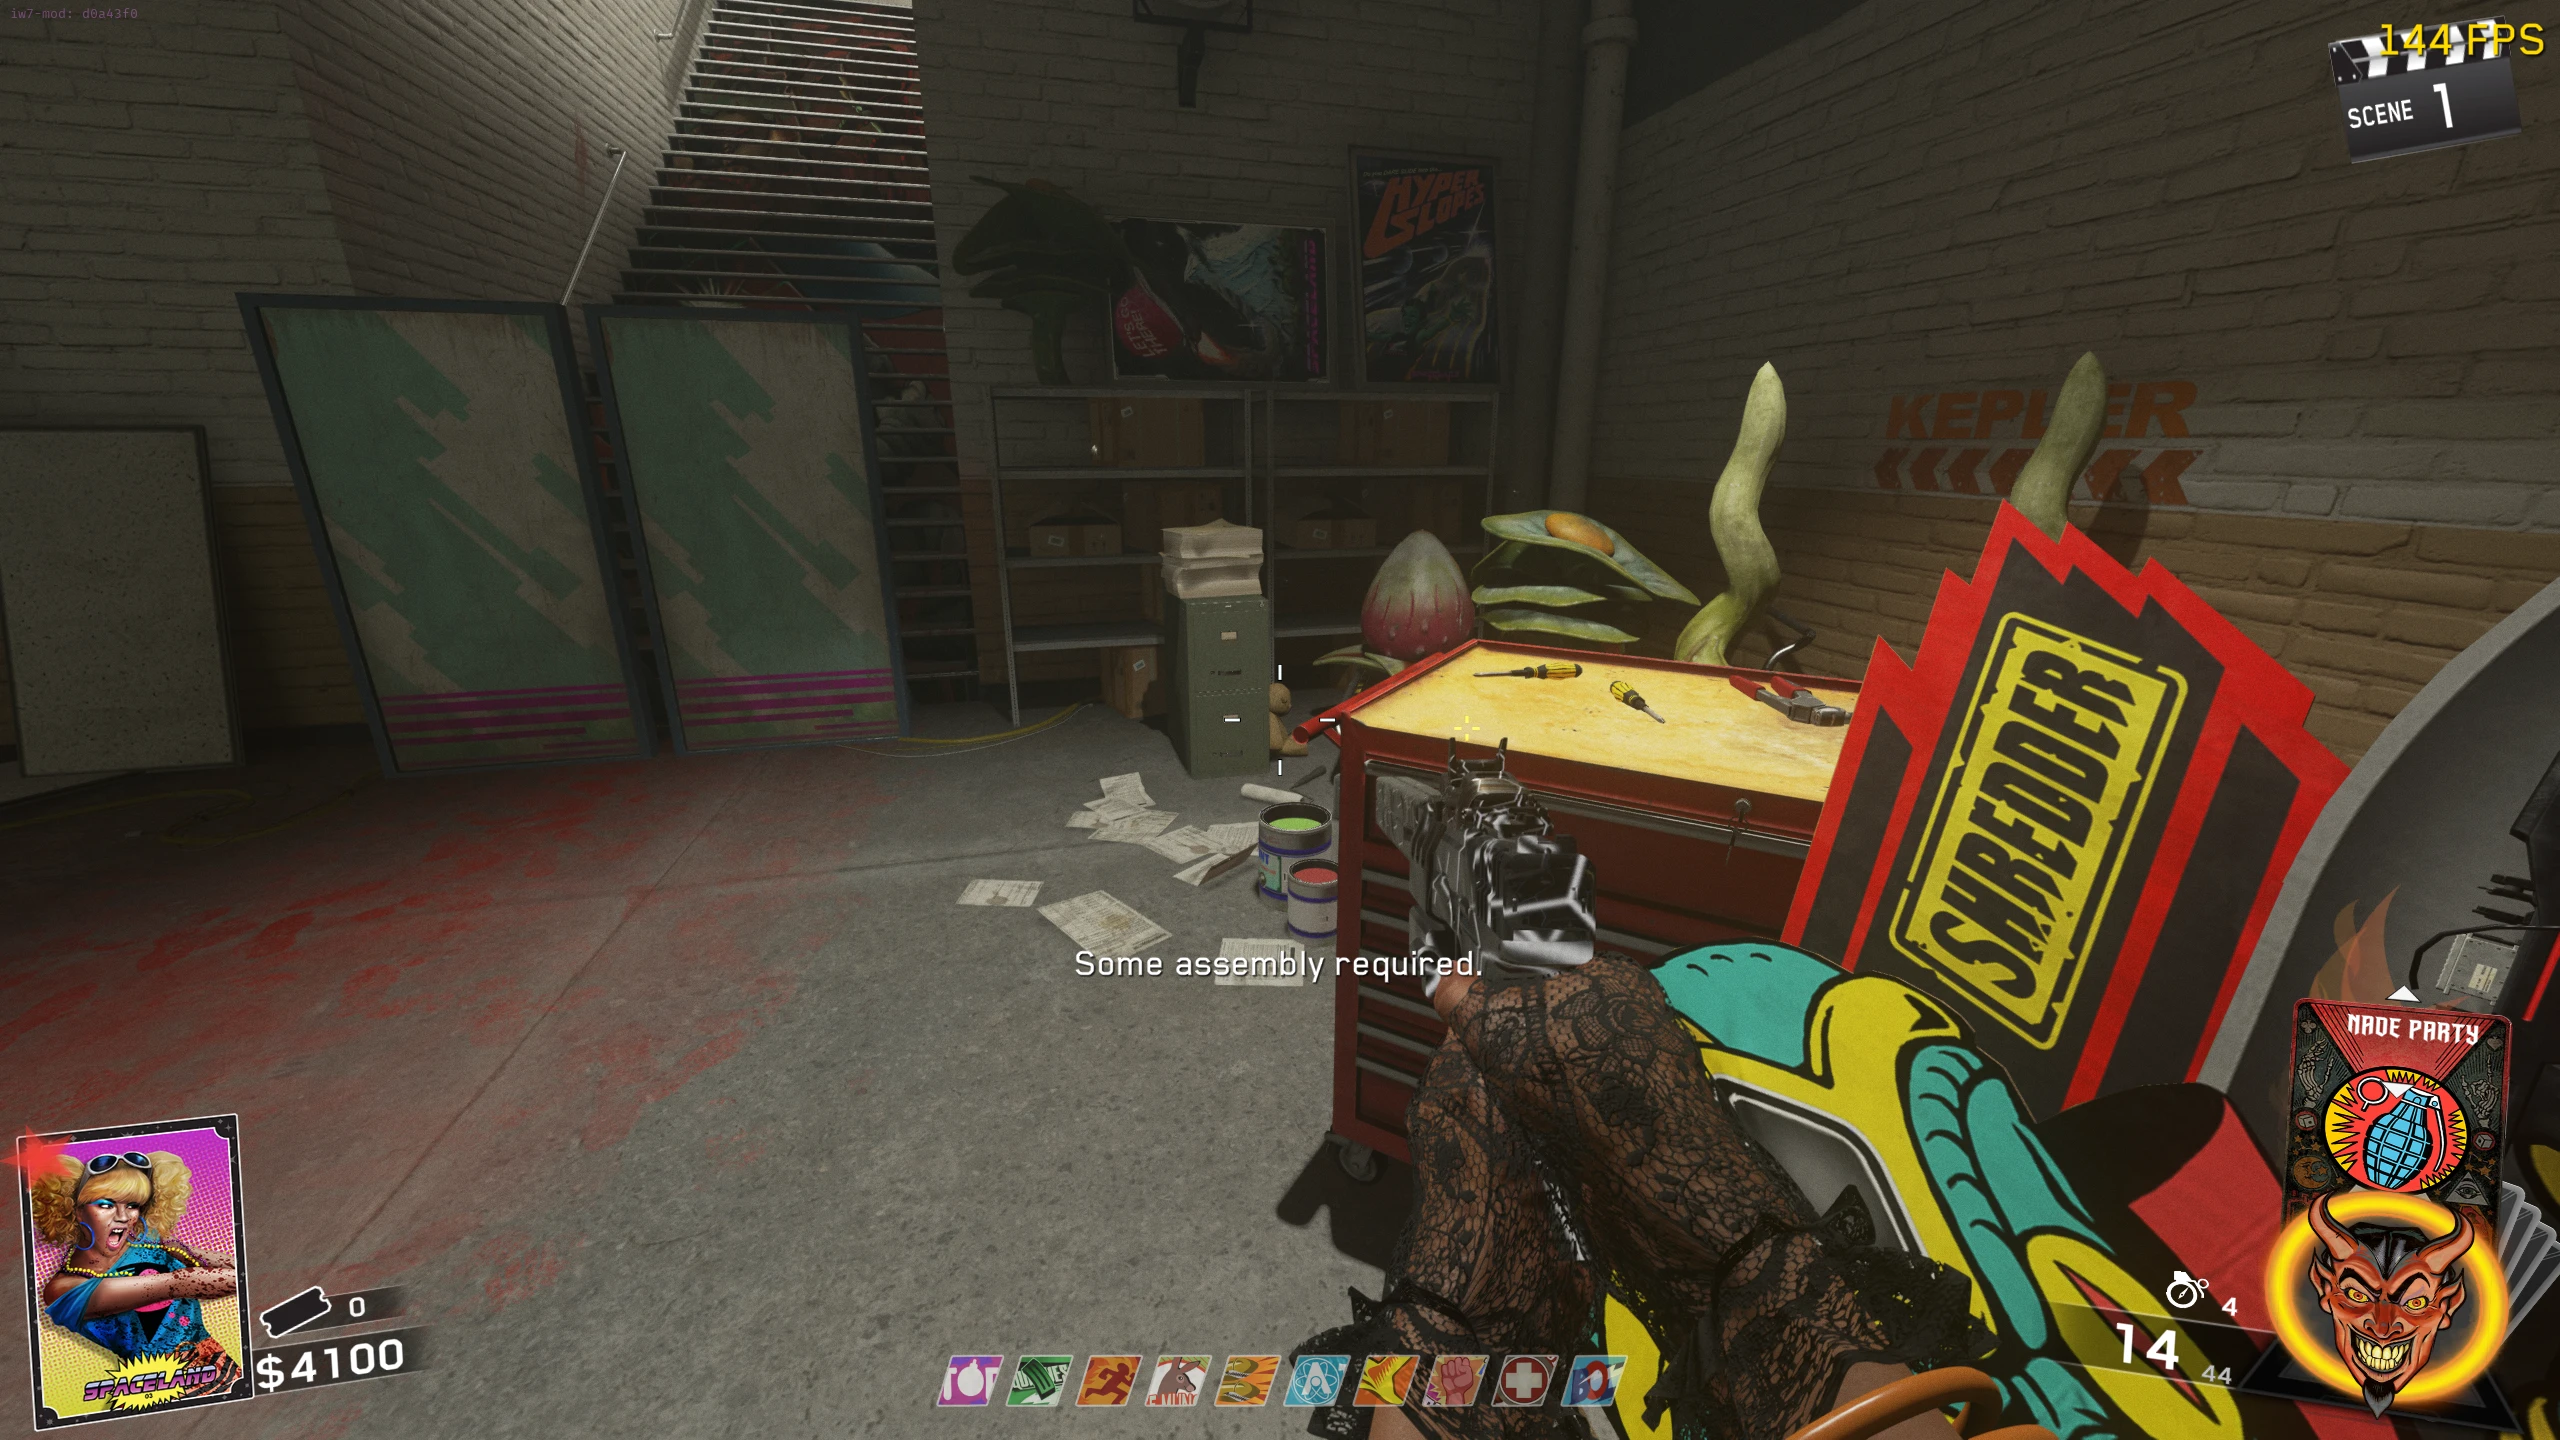
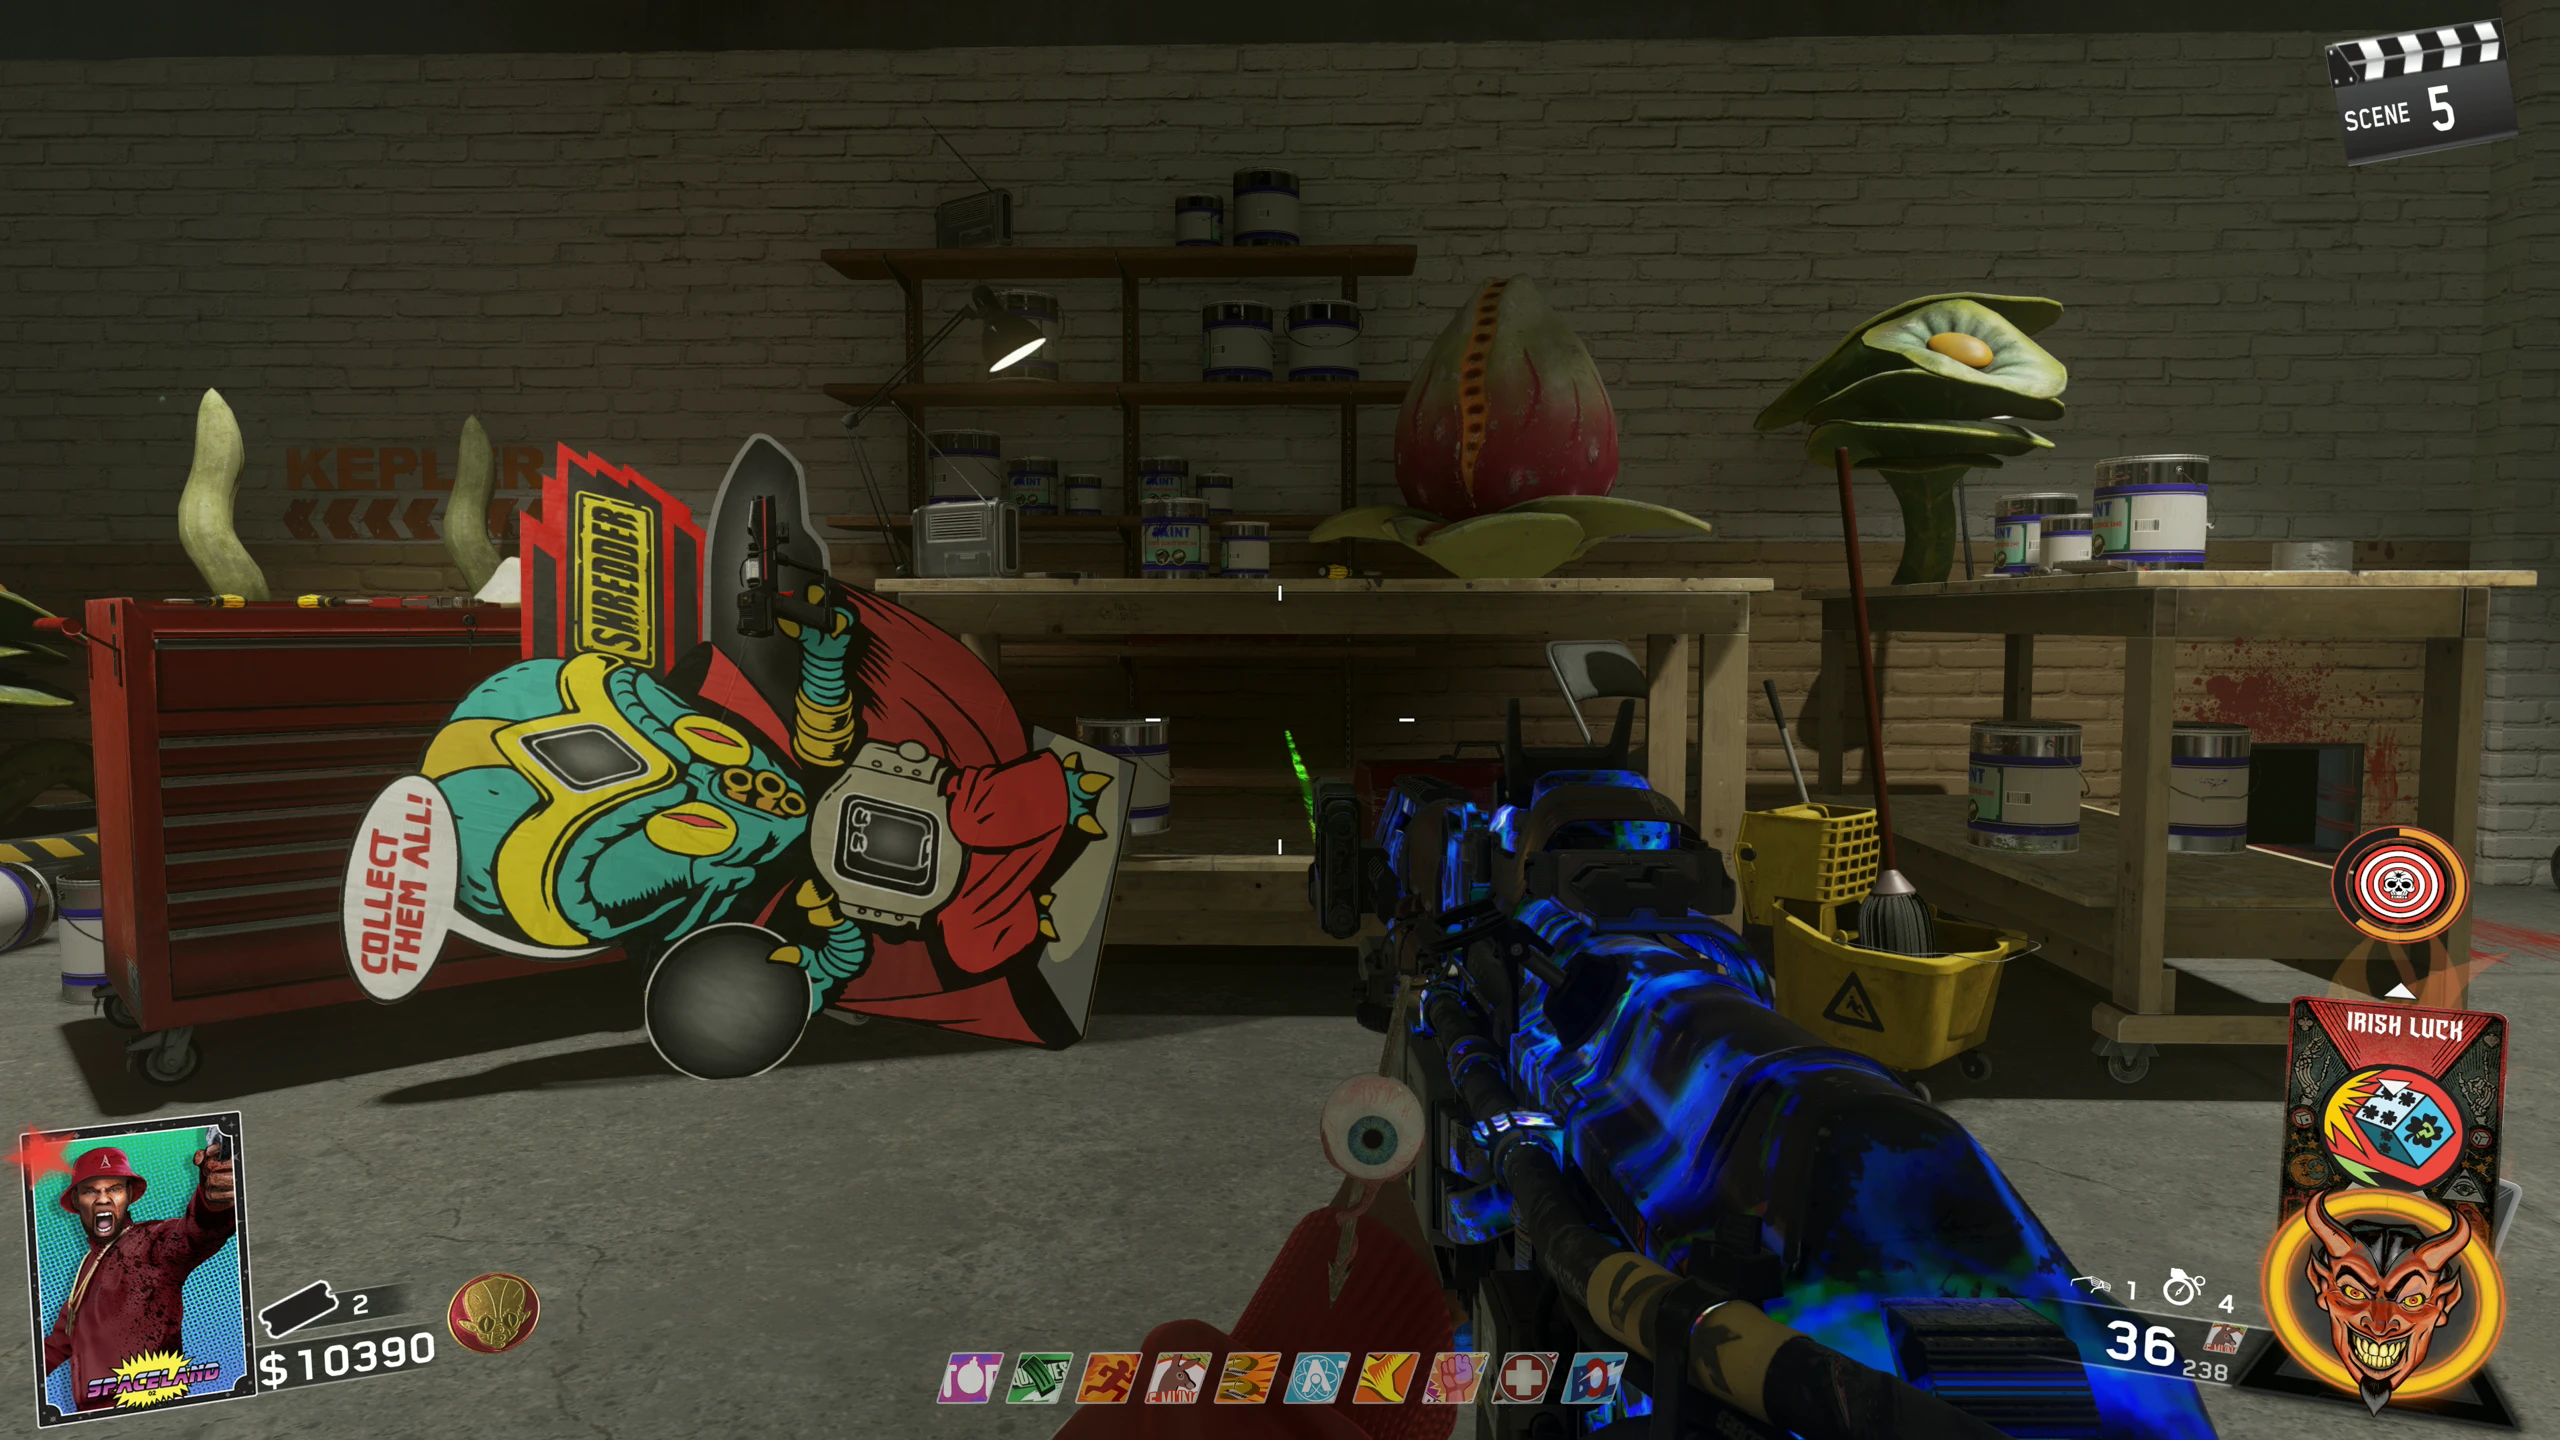
Shredder
The Shredder will instantly disintegrate the Zombie shot as well as up to 20 nearby Zombies.
- The Shredder requires three parts to be built - Battery, Alien Souvenir, and Red Crystal:
- Battery:
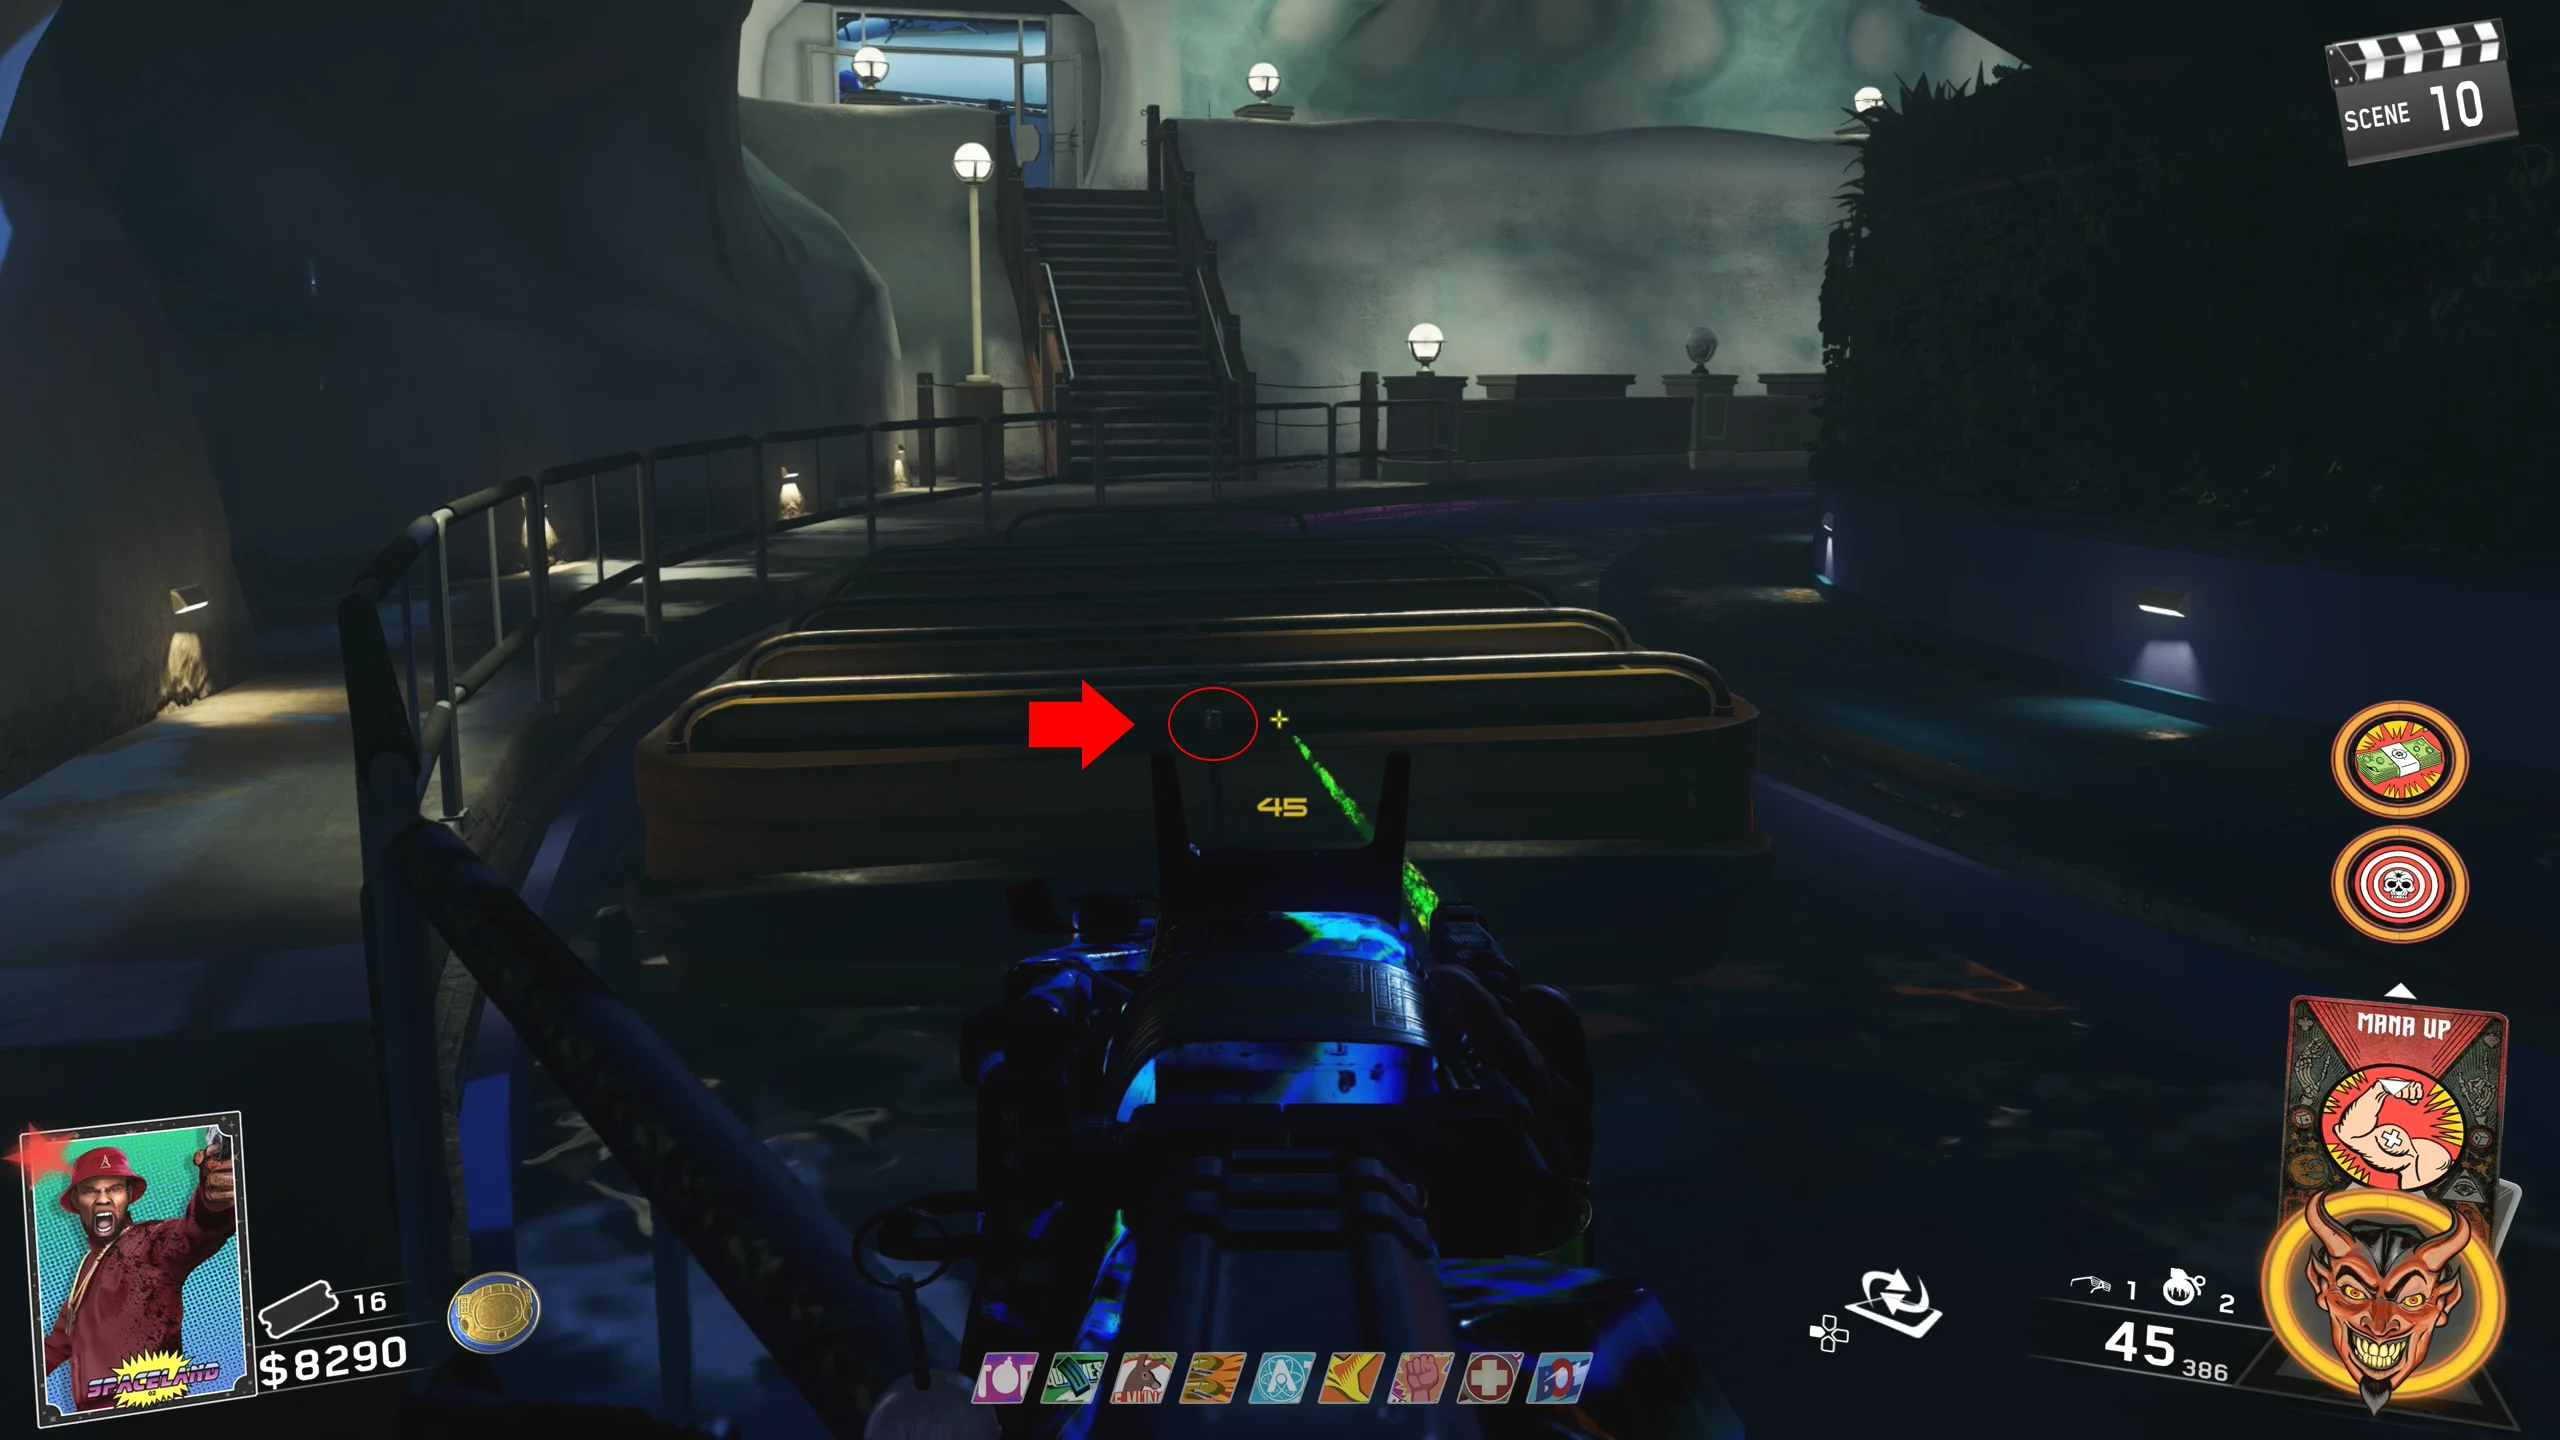
- Shoot the battery off the back-middle of the log ride boat in the 'Kepler System.' If done correctly, the battery should fall off the boat and into the water.
- The Log Ride cycles about every 45 seconds, so if you miss it, you will only need to wait 45 seconds to try again.
- Navigate to the Geysers just above the Log Ride River. The battery will be shot out of a random geyser every couple of seconds. While it is in the air, interact with it to pick it up.
- I recommend that you, instead of waiting for the battery to appear and trying to run to it before it goes away, wait beside a geyser and wait for the battery to appear at it. It seems the battery will appear at all geysers once before going back to one a second time.
- Alien Souvenir:
- Insert three Red Souvenir Tokens into the Souvenir Station in the 'Kepler System.' When done, the Alien Souvenir will fly out of the machine for you to pick up.
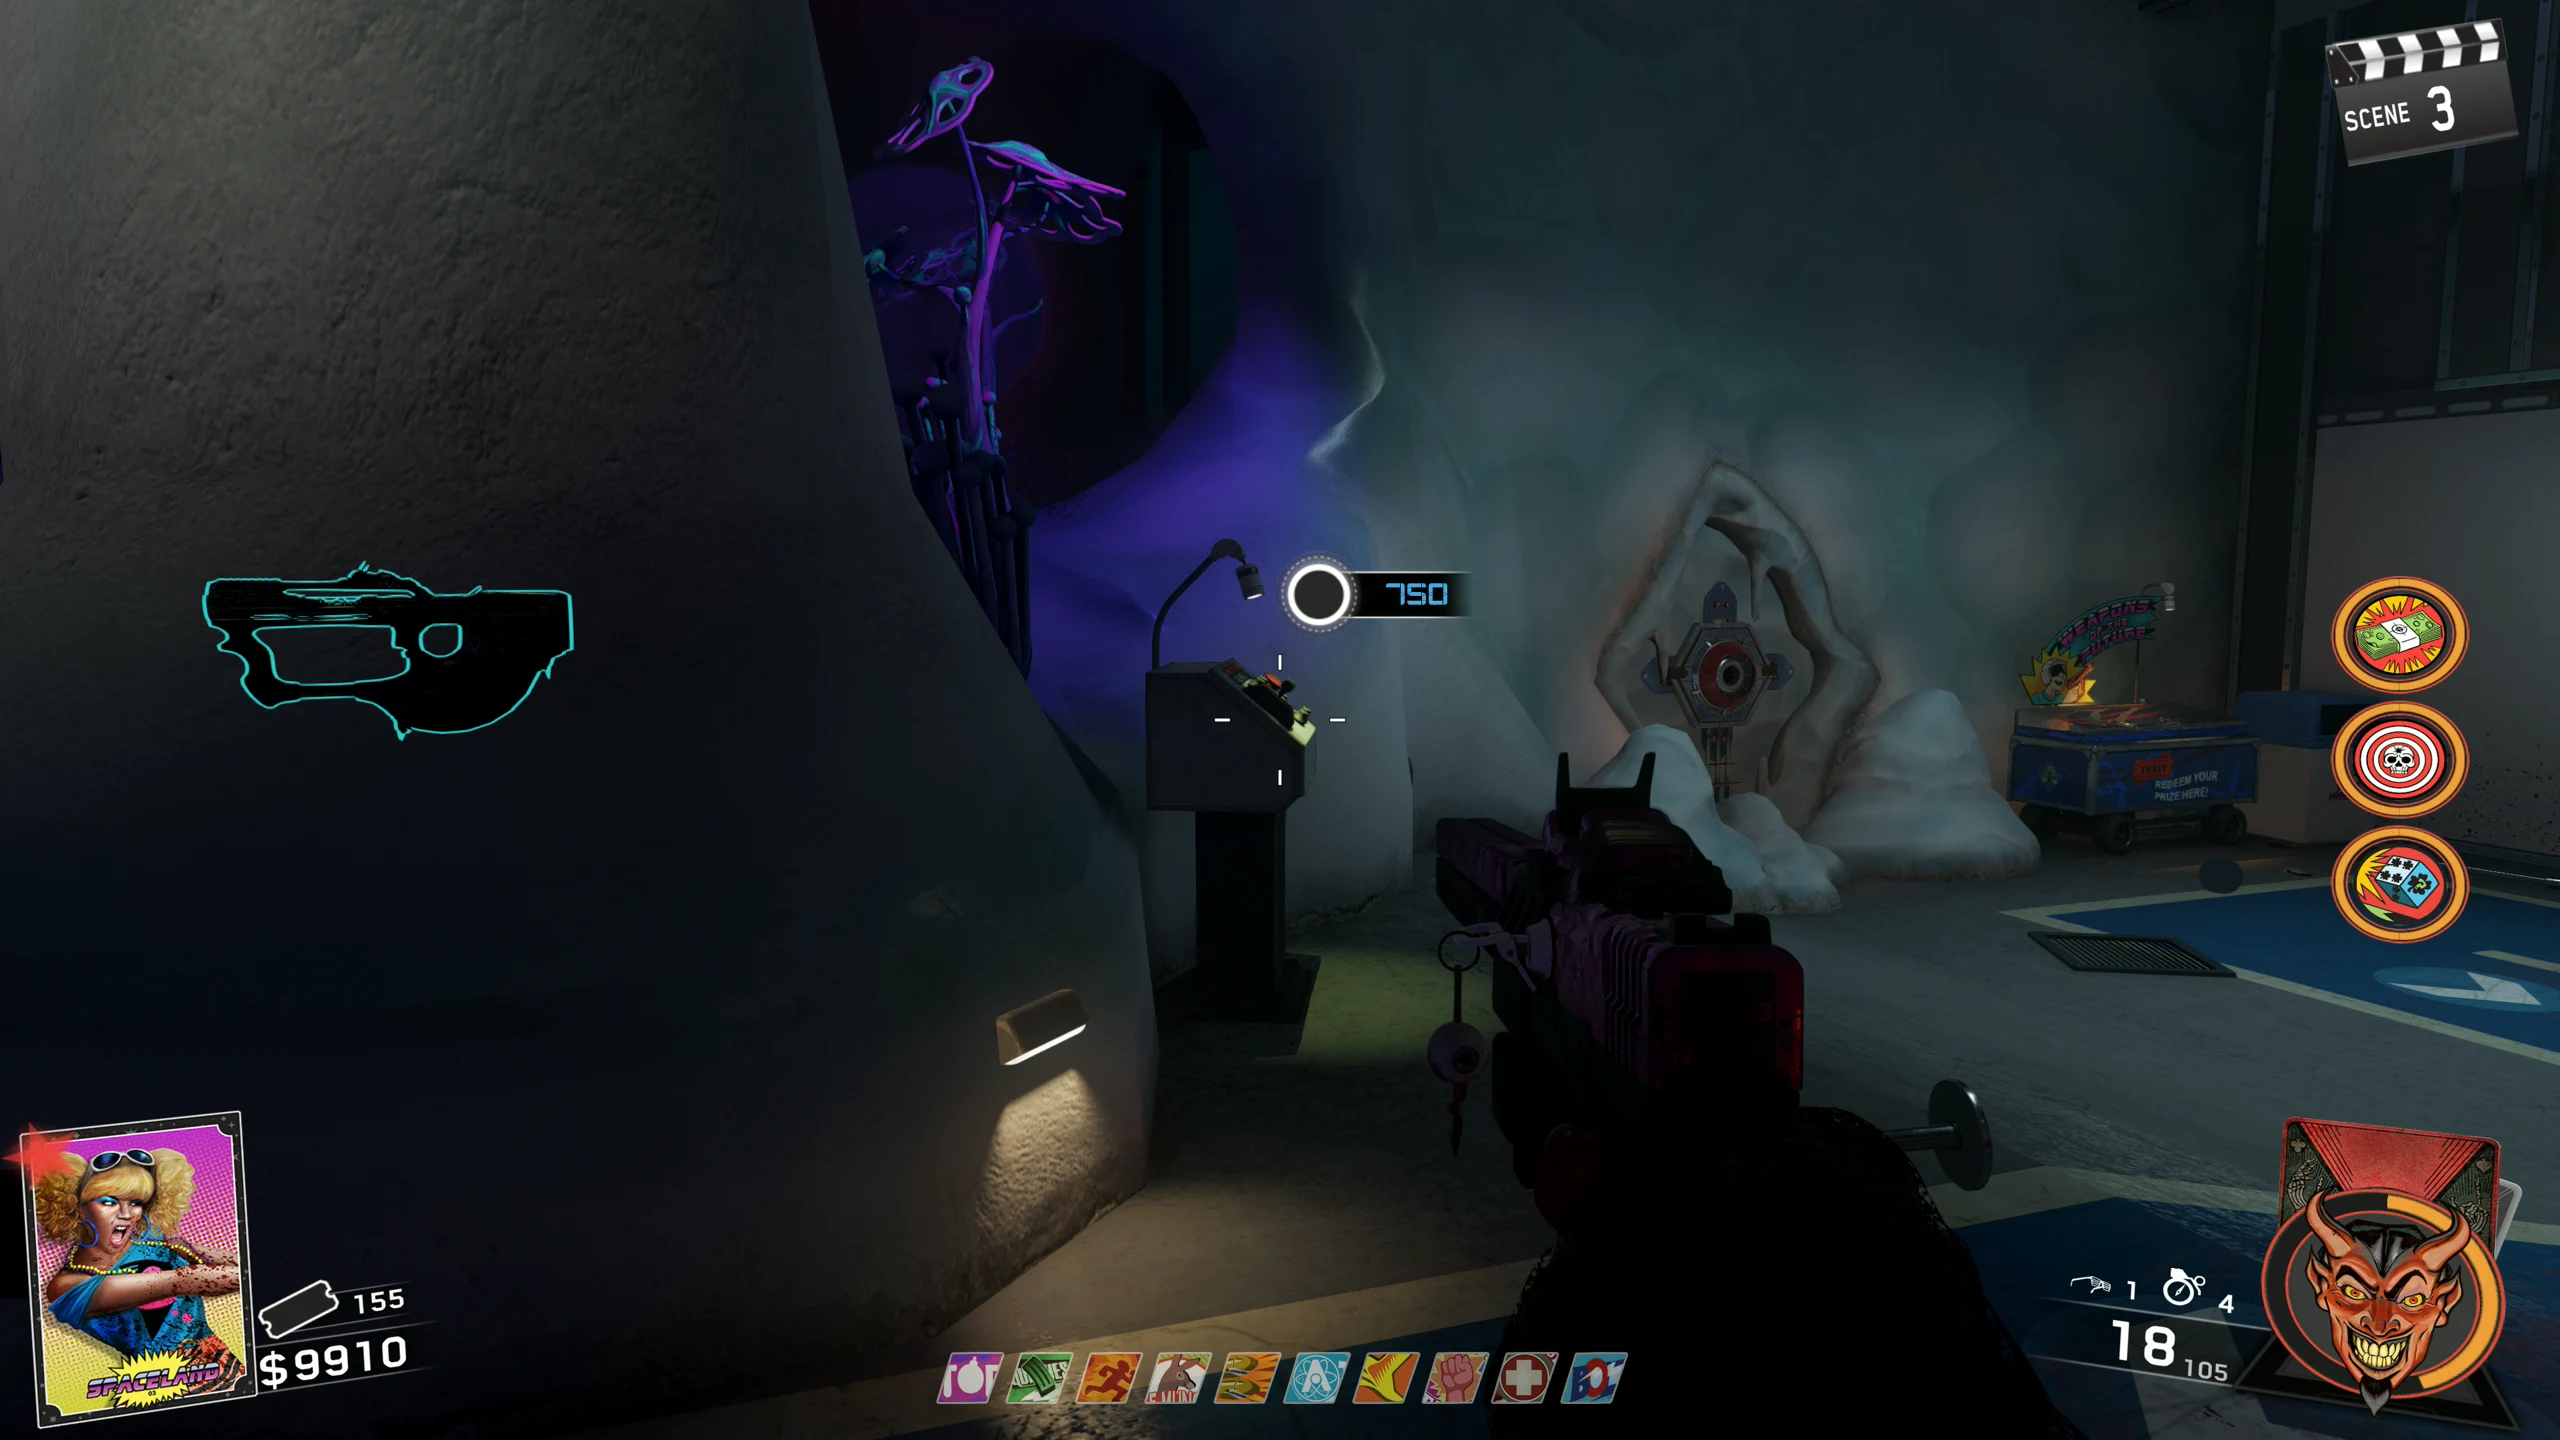
- Red Crystal:
- Obtain the Fire Elemental Core.
- Purchase the Golden Teeth (300 Tickets) from the Prize Counter in the Astrocade.
- Wait for a Brute to spawn (one can be spawned by failing step 6 of the Main Quest). Once a Brute has spawned, lure it to the Gator Trap in the 'Kepler System' and have the Gator close its mouth on the Brute. If done correctly, the Brute will stop the mouth from closing and some of the Gator's Teeth will shatter.
- Place the Golden Teeth on the Gator. This will cause the throat to open, revealing a device.
- Using the weapon with the Fire Core, shoot the Right-Most Target on the device in the Gator. This will reveal the Red Crystal for you to pick up.
- Once you have collected all three parts, the Shredder can be obtained by placing all the parts onto the Octonian Cardboard Cutout in the Underground Passage near the Log Ride in the 'Kepler System.'
Arcane Core Elemental Upgrades
Elemental Upgrades (Electric, Laser, Wind, Fire)
- There are four elemental upgrades (Electric, Laser, Wind, and Fire). Each of them shares the same steps to get, except for step 4.
- Unlock Pack-a-Punch.
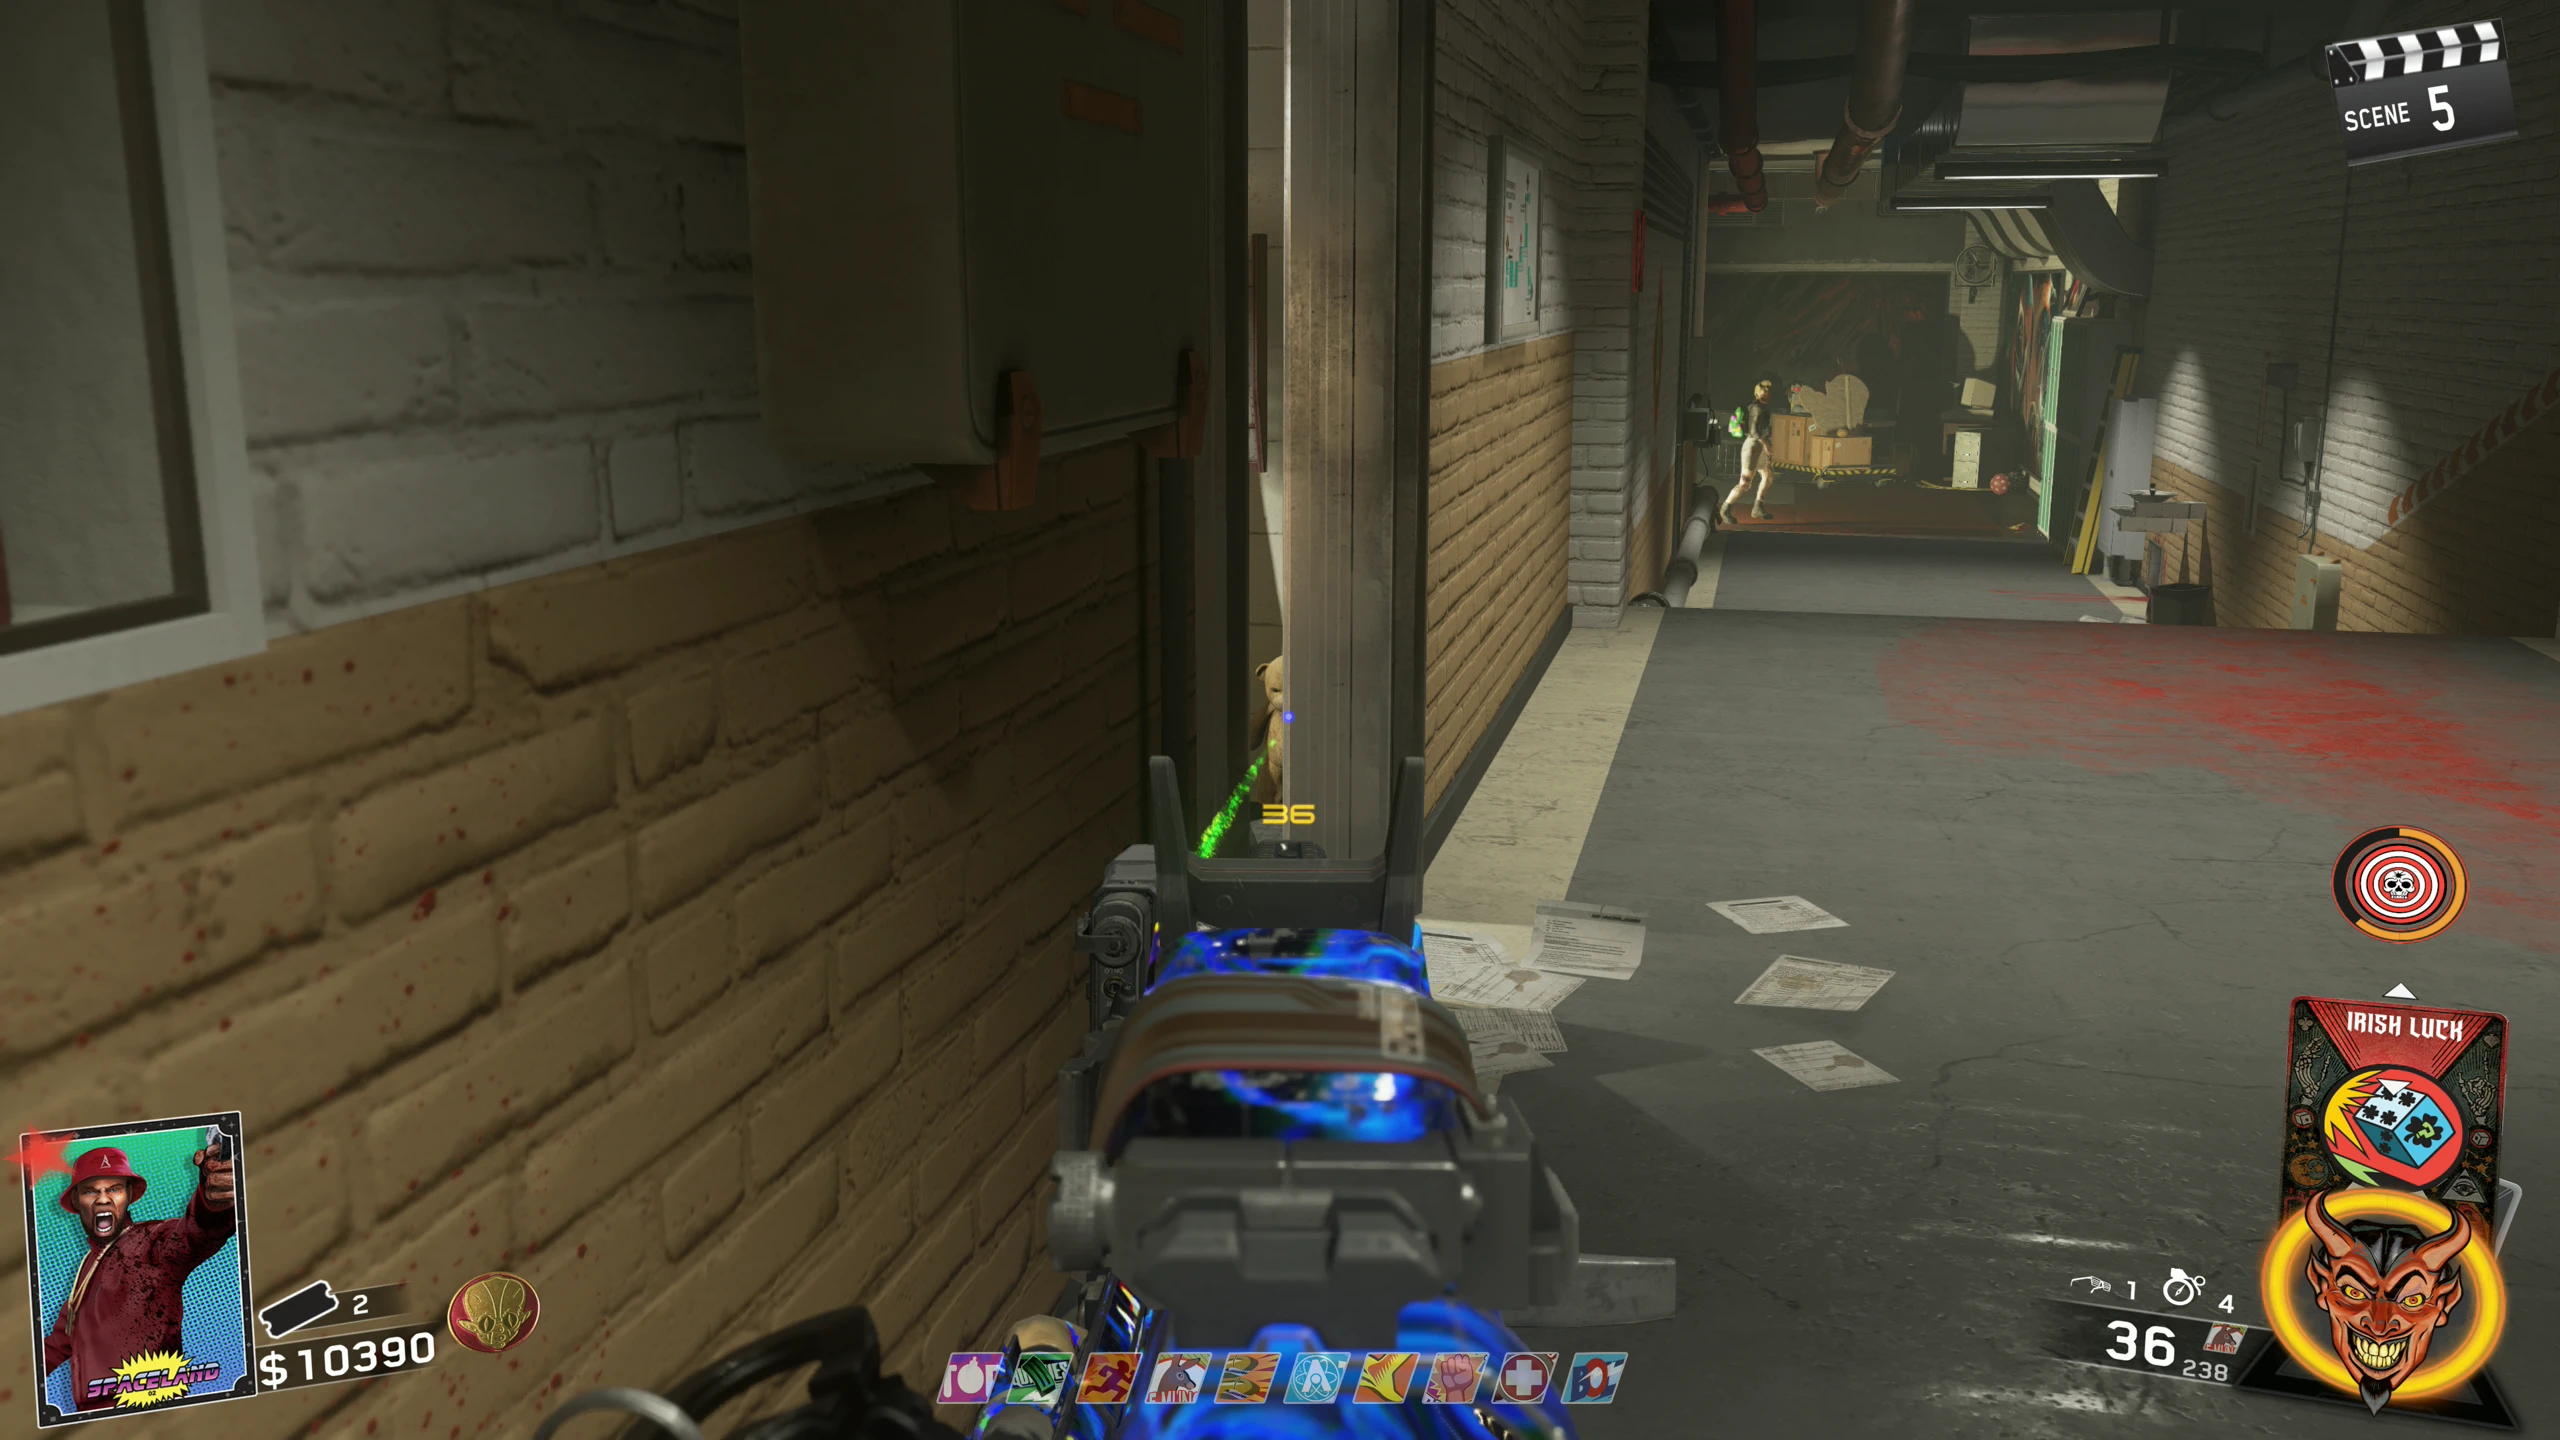
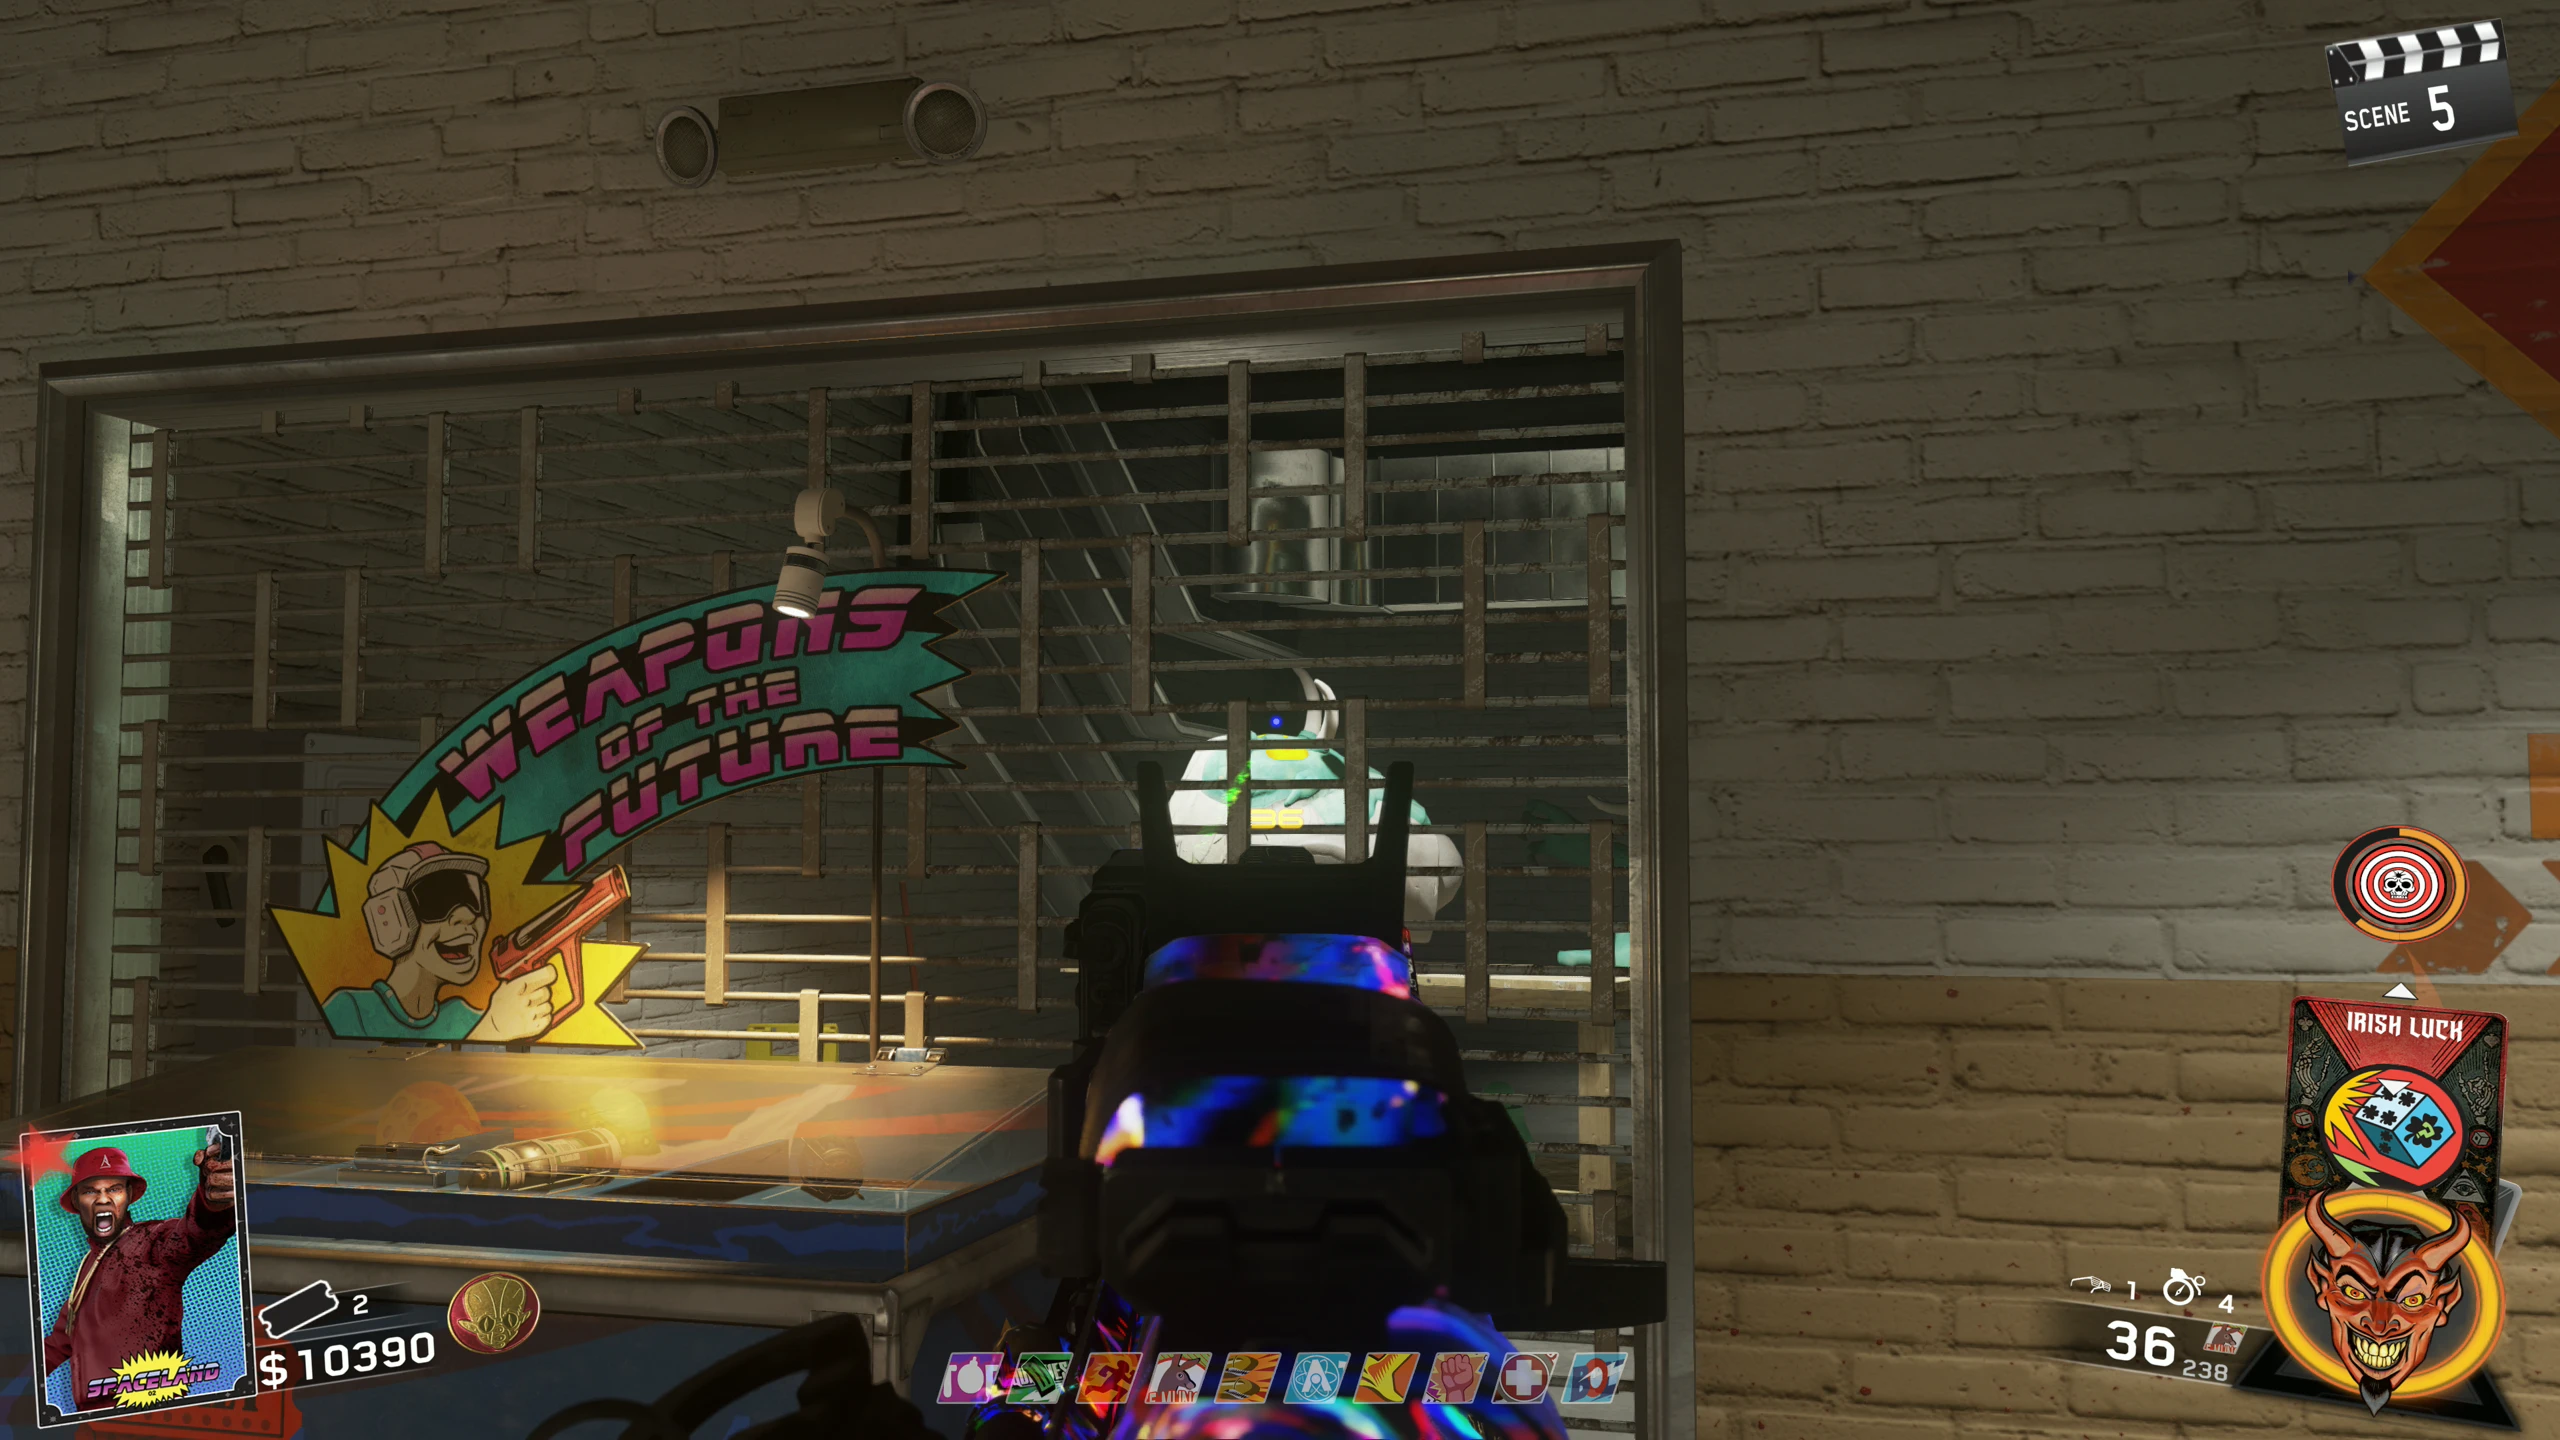
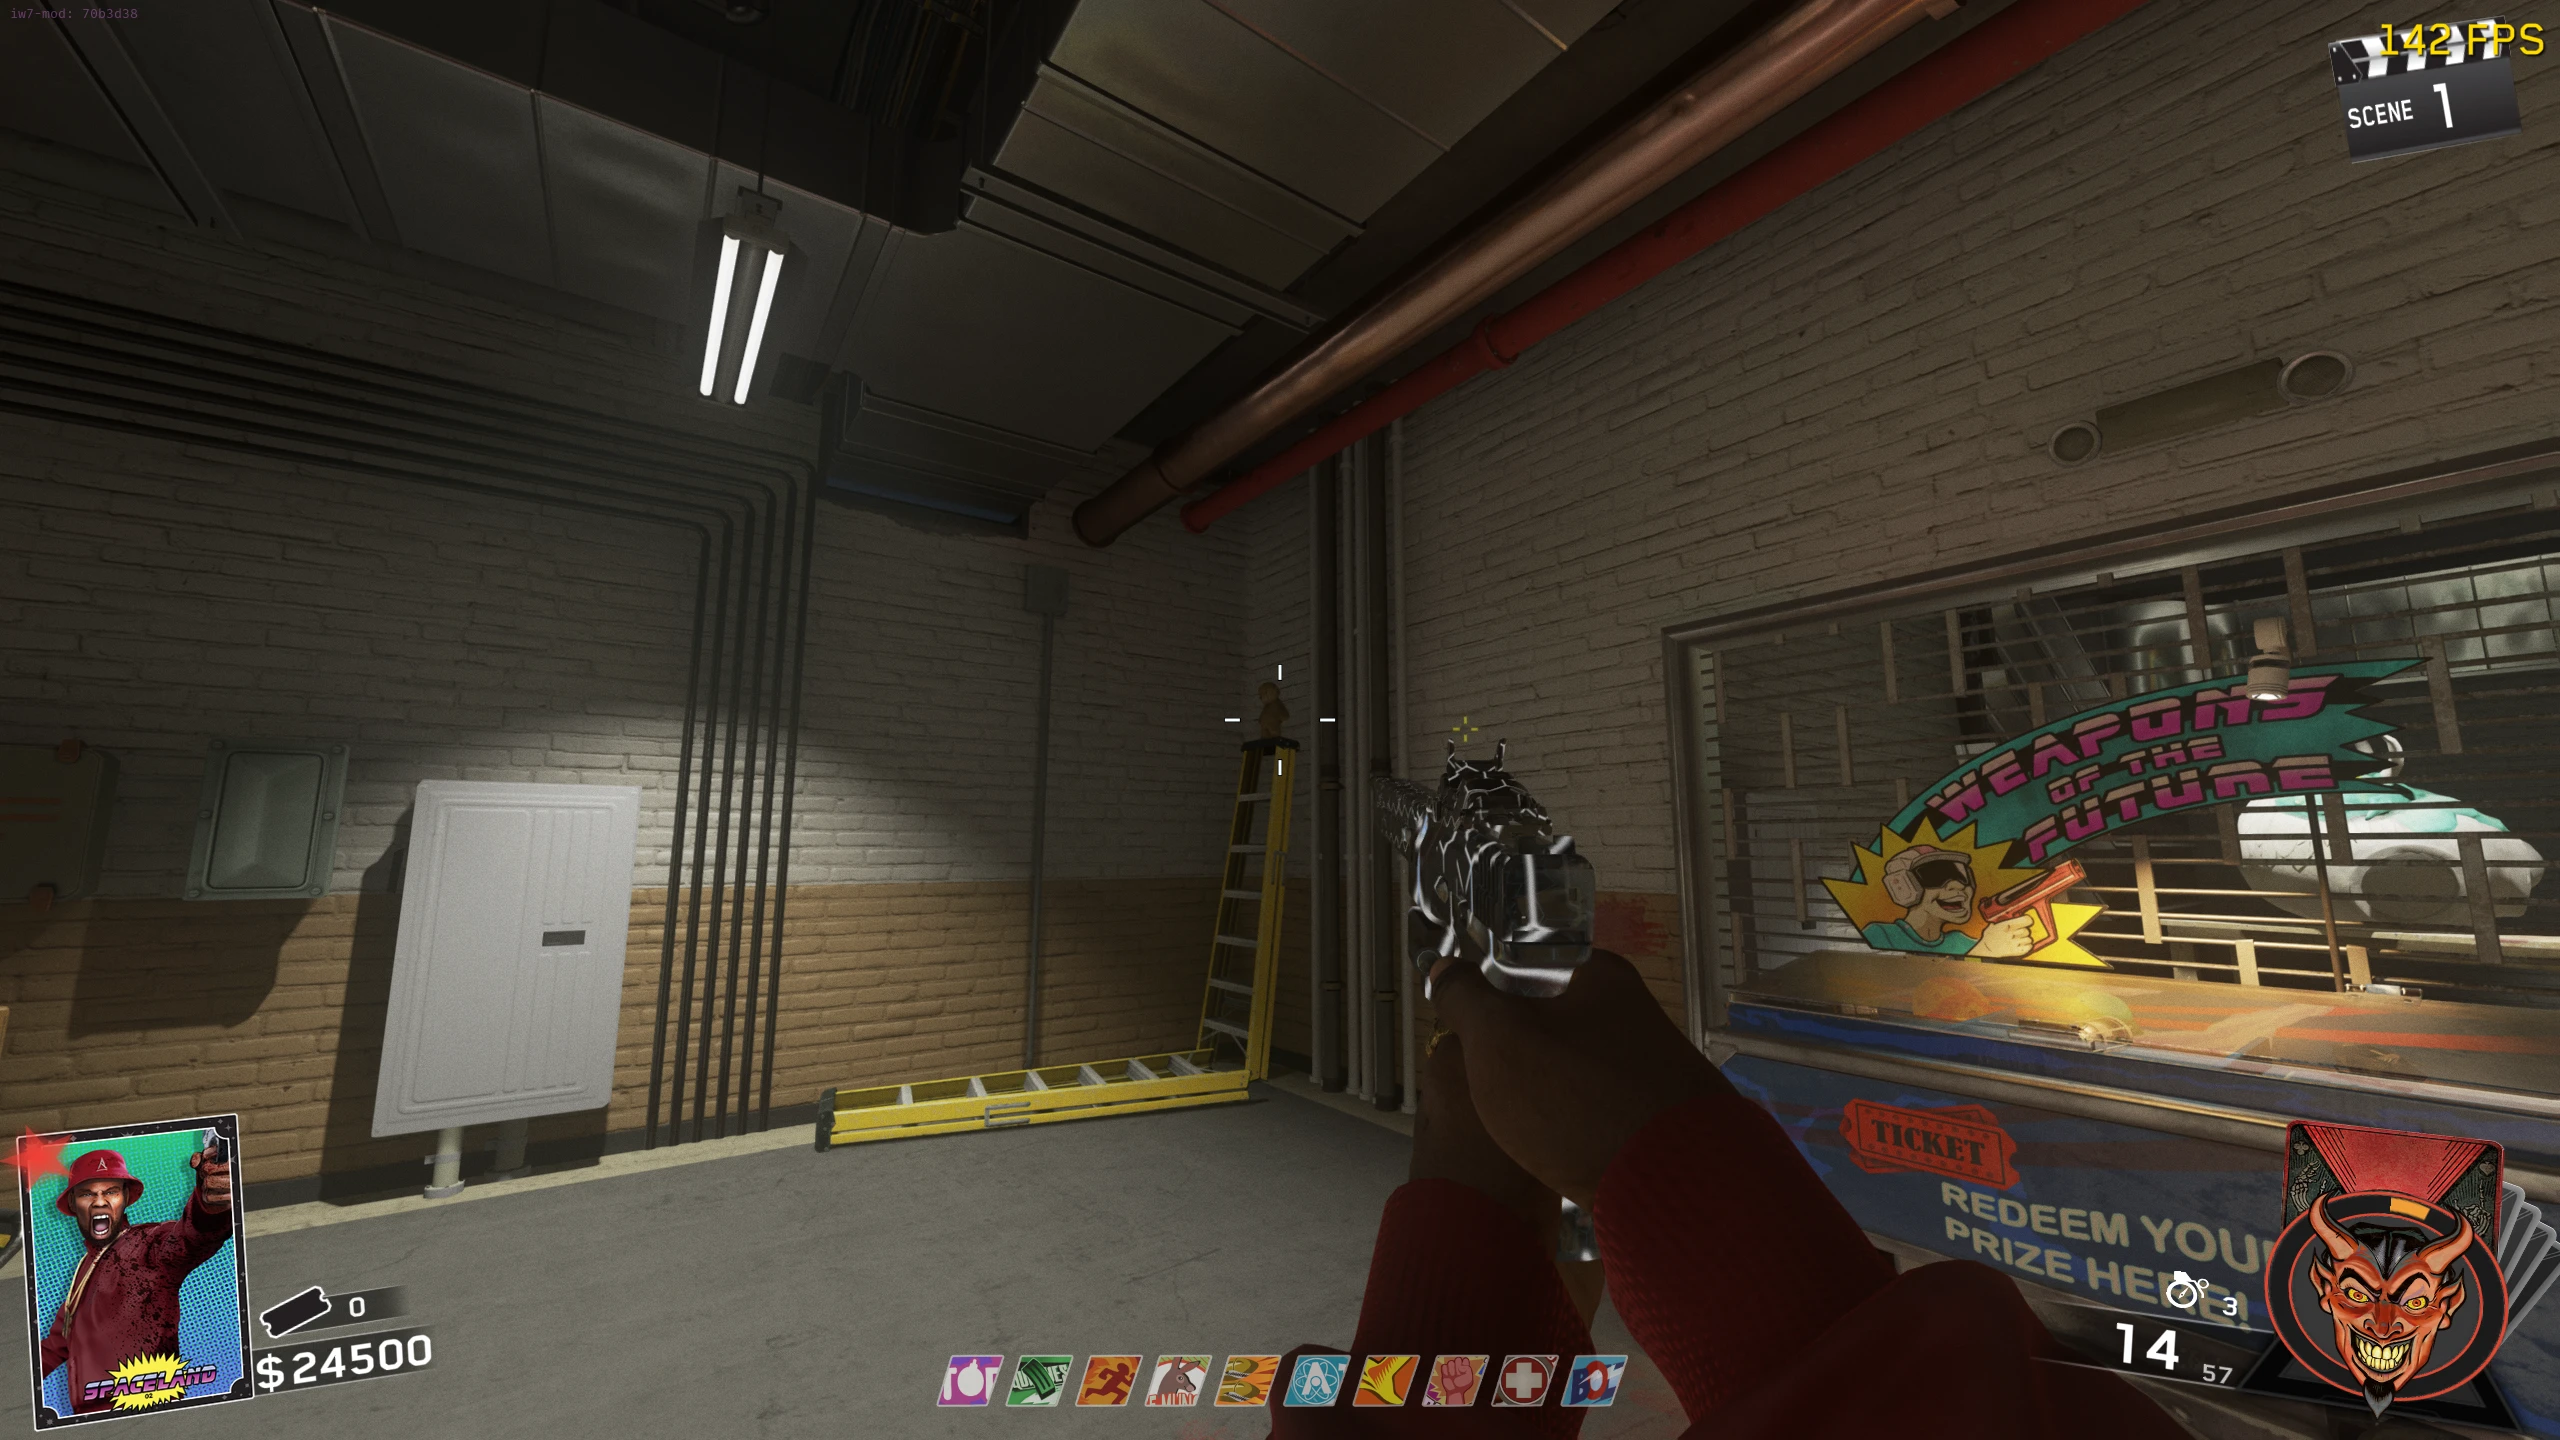
- Purchase an Arcane Core (300 Tickets) from any one of the 'Weapons on the Future Reward' Stands around the map.
- The Arcane Core is an attachment that can be equipped on any standard weapon and is used to equip elemental upgrades.
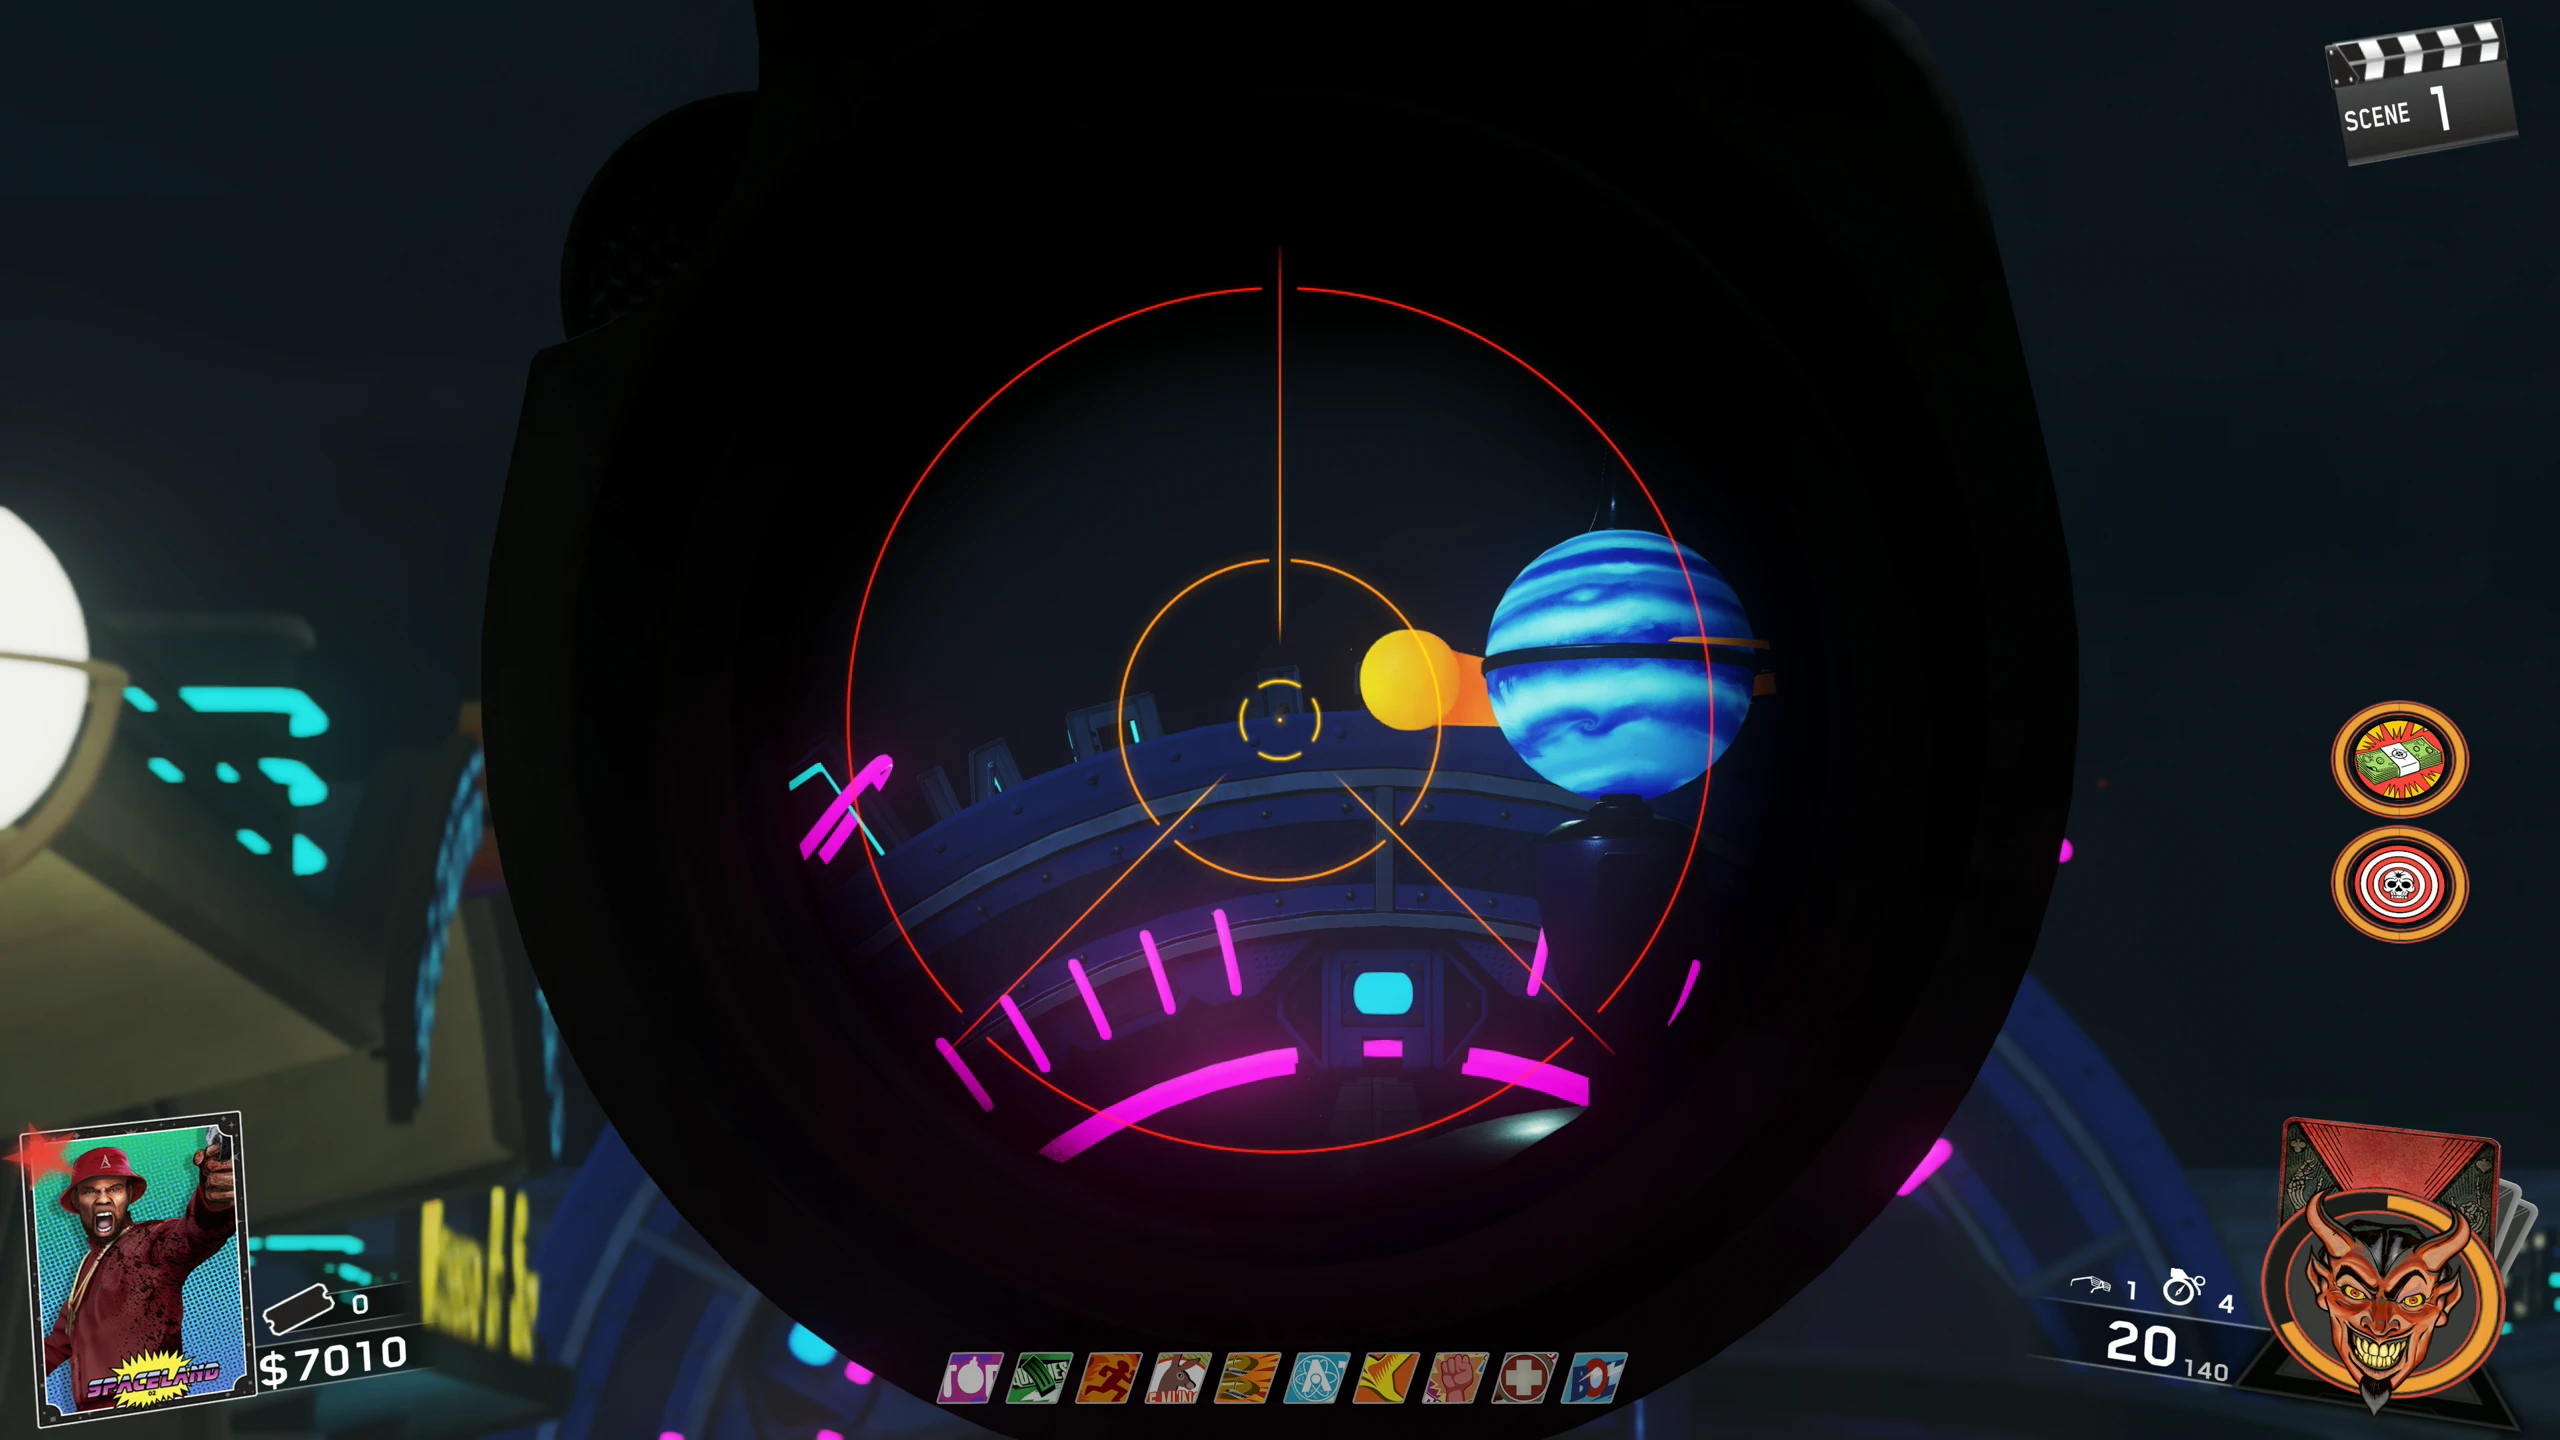
- Interact with the UFOs on the table in the Projector Room to make them activate and fly away. Each of the four UFOs will fly to a different trap around the map.
- You must now get ~20 kills with a single use of the trap that corresponds to the elemental upgrades (see below). When done correctly, the UFO will stop orbiting the trap and will now fly around the area.
- Kill ~25 Zombies using a weapon equipped with the Arcane Core near the UFO. When the Zombies are killed close enough to the UFO, their "soul" will fly into the UFO.
- Once the UFO is charged enough, it will drop an Orb. The Orb can be equipped on any weapon with an Arcane Core equipped. Once you equipped a core, the UFO will return to the trap, and you can repeat from step 4 to get another of the same elemental core.
X-QUISITE (Purple)
- Purchase the Golden Teeth (300 Tickets) from the Prize Counter in the Astrocade.
- Wait for a Brute to spawn (the first spawn is about round 10). Once a Brute has spawned, lure it to the Gator Trap in the 'Kepler System' and have the Gator close its mouth on the Brute. If done correctly, the Brute will stop the mouth from closing and some of the Gator's Teeth will shatter.
- Place the Golden Teeth in the Gator's mouth where the teeth that shattered were. This will cause the throat to open, revealing a device.
- Using each of the different Elemental Cores, shoot the correct target (from left to right, Wind, Electric, Laser, Fire) on the device in the Gator to reveal a crystal for you to pick up.
- Once you've picked up the Crystal, interact with the machine in the 'Projector Room' to deposit the Elemental Core.
- Once all four cores have been placed in the 'Projector Room' machine, the X-Quisite core can be purchased from the machine in the Gator's Mouth. The X-Quisite core can only be equipped on one weapon per player in the game.
'Sooooul Key' Main Quest
Stats (Solo): Difficulty - 9/10 (3/10 Dir. Cut), Est. Completion Time - 40 Mins to 1 Hr (20 to 30 Mins Dir. Cut)
Prerequisites
- Pack-a-Punch the Kendall-44 (spawn pistol) as it is very useful for this Easter Egg.
- Unlock Pack-a-Punch.
Crafting the SETI-COM
- You must craft the SETI-COM, which requires three parts to be built:
- Calculator:
- Boombox:
- Umbrella:
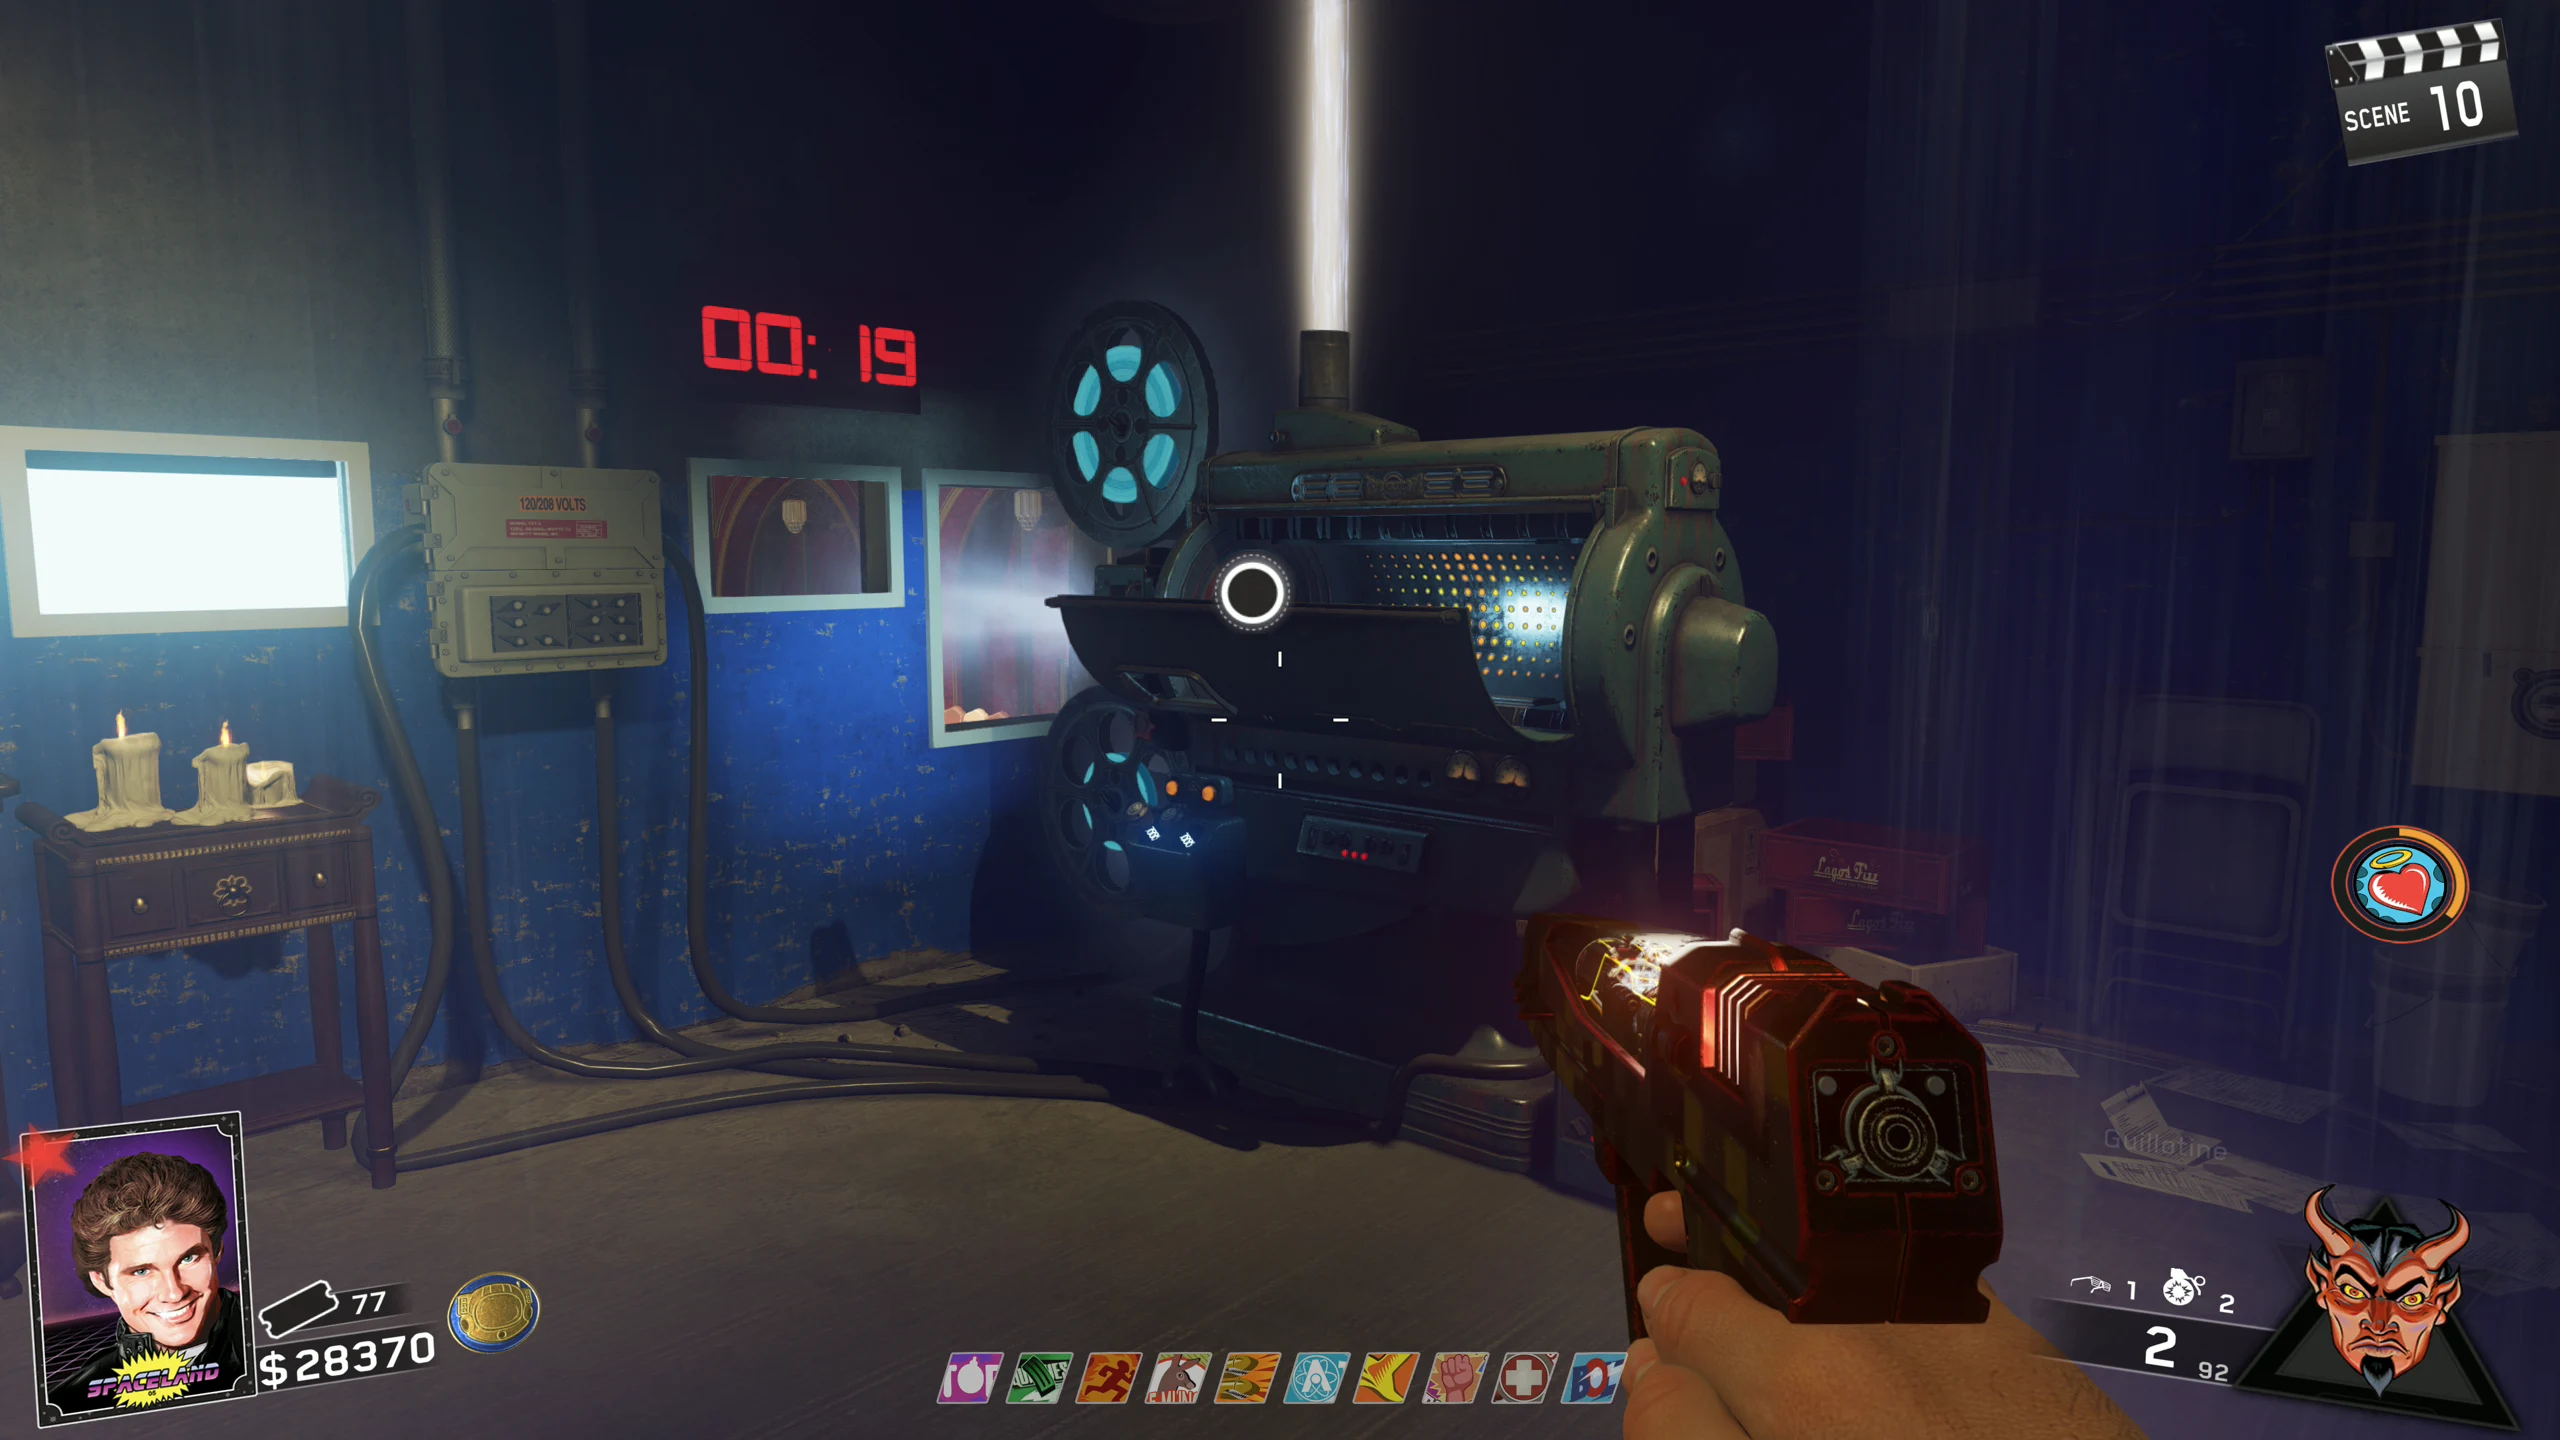
- One round after you've picked up all three parts, the screen will shake, and the UFO on the side of Polar Peak will flash its lights and play four loud sounds.
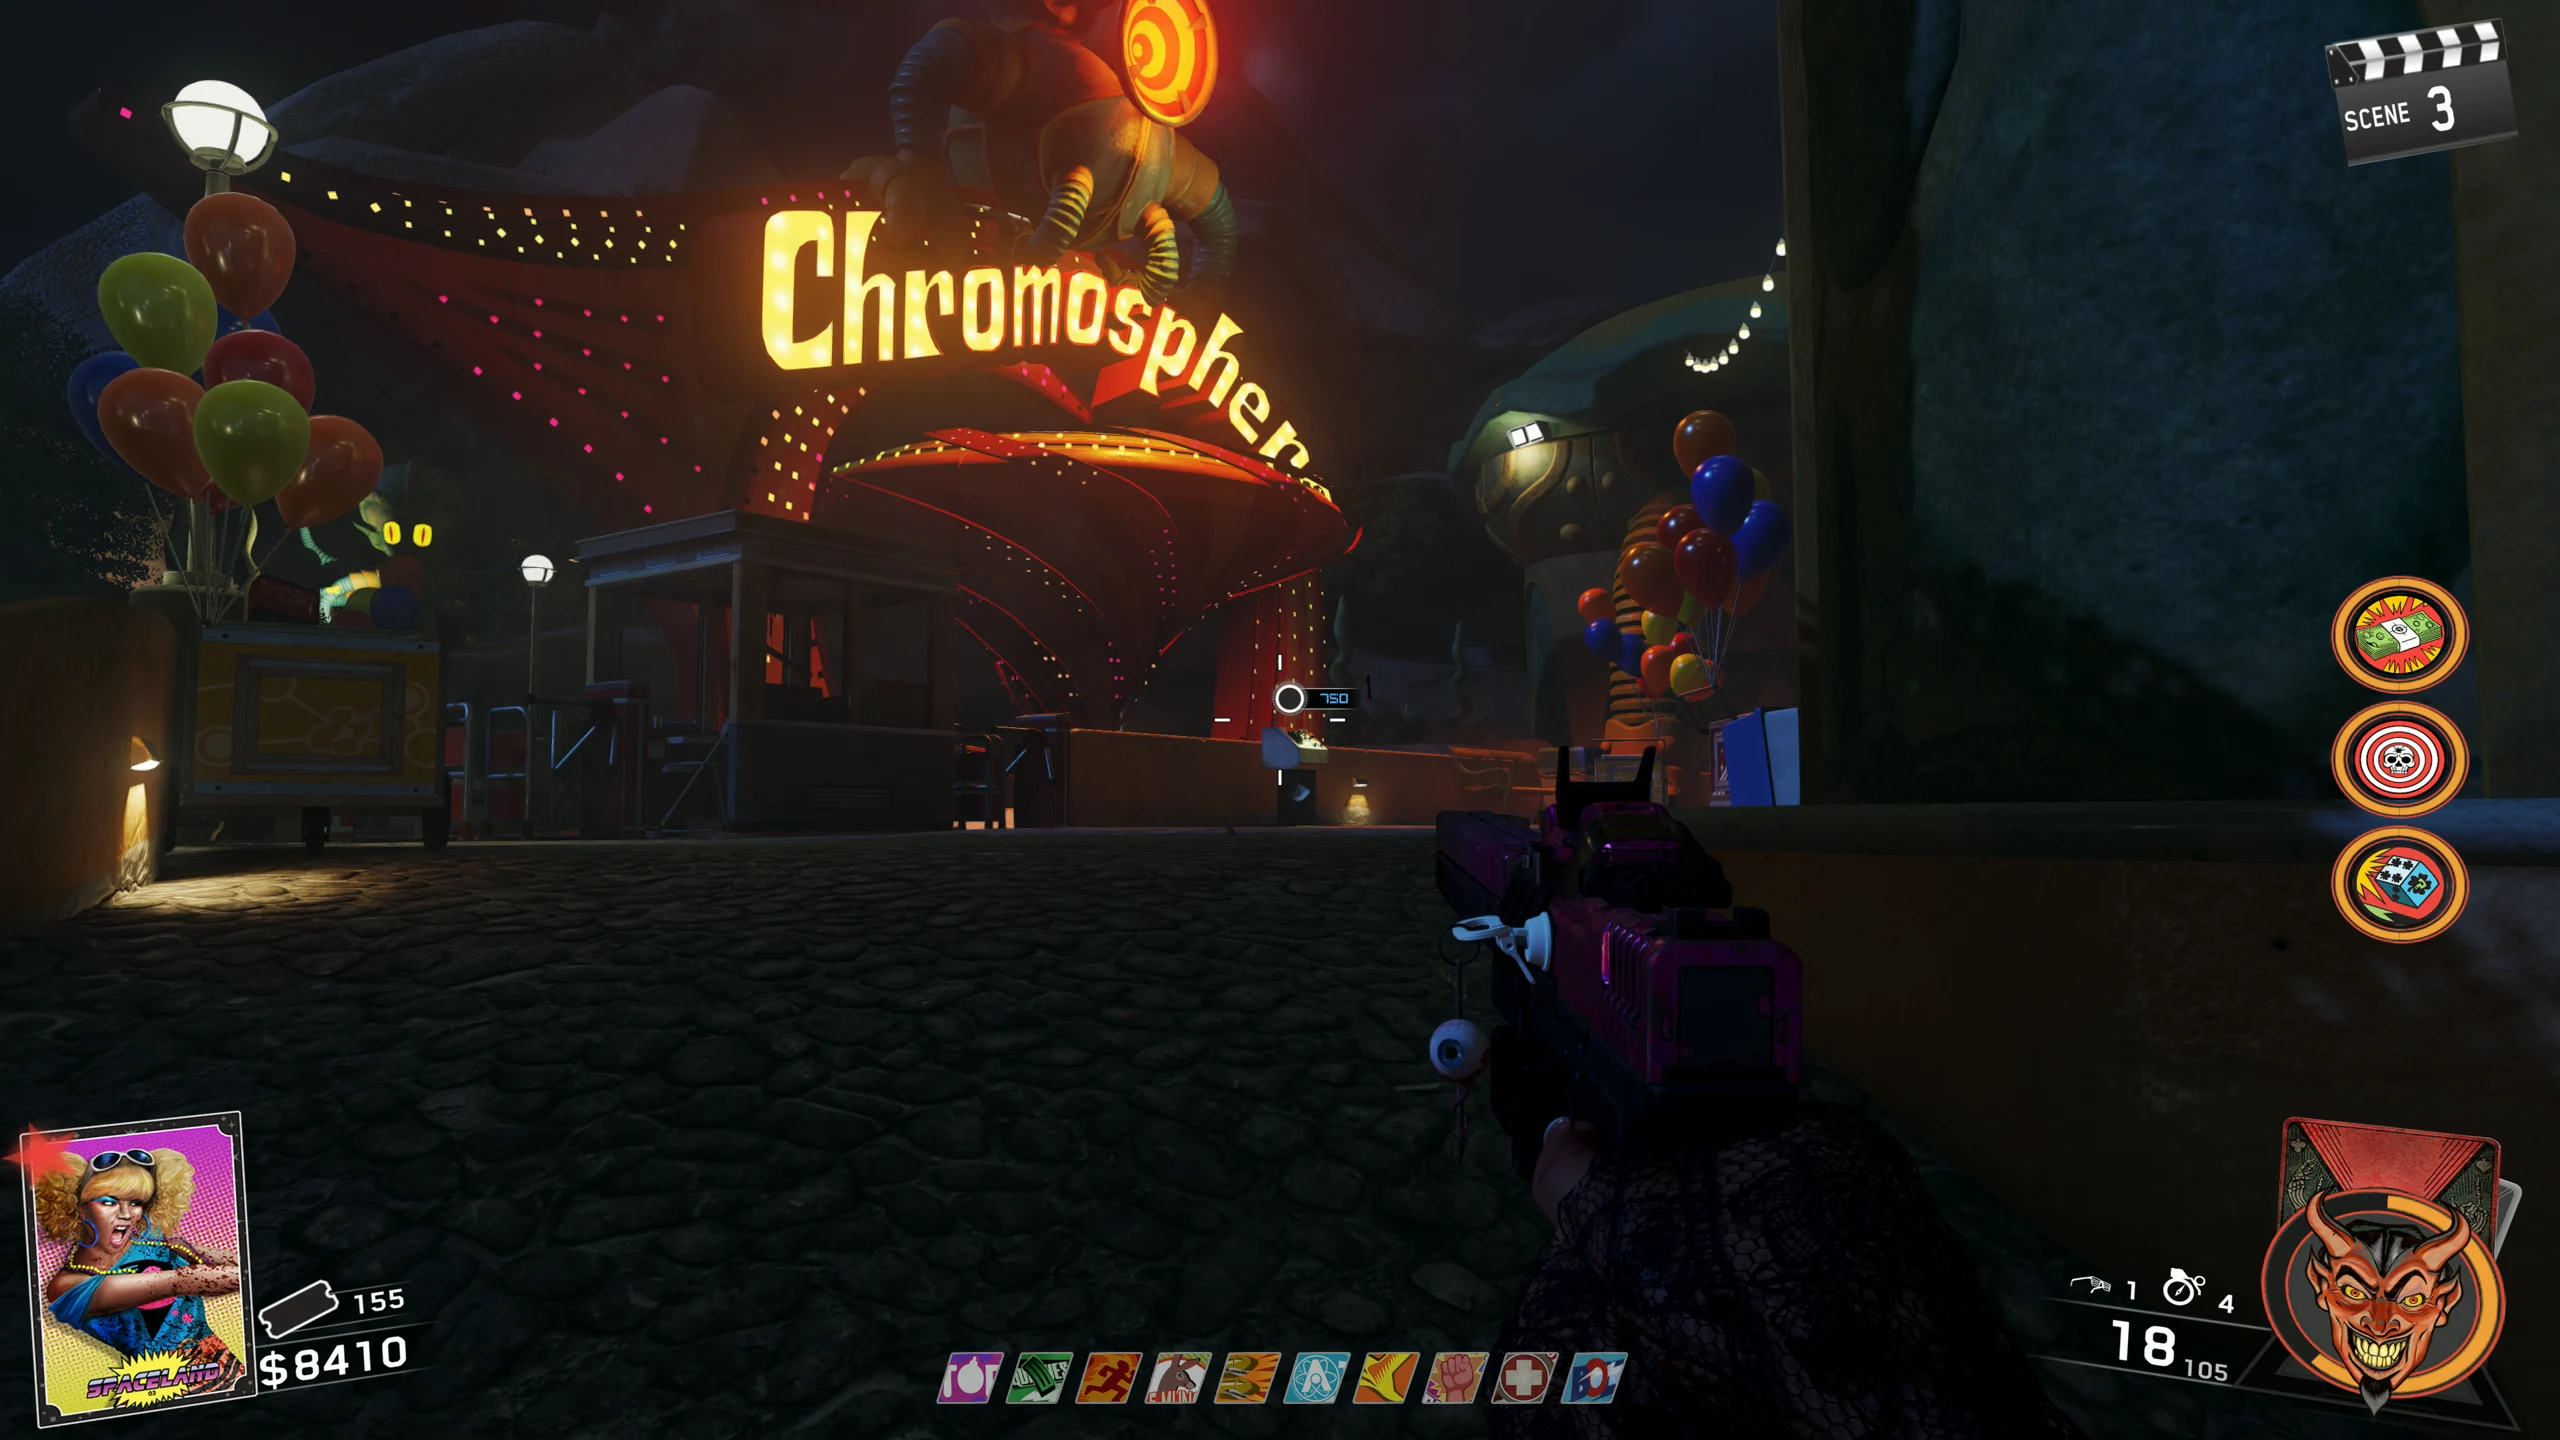
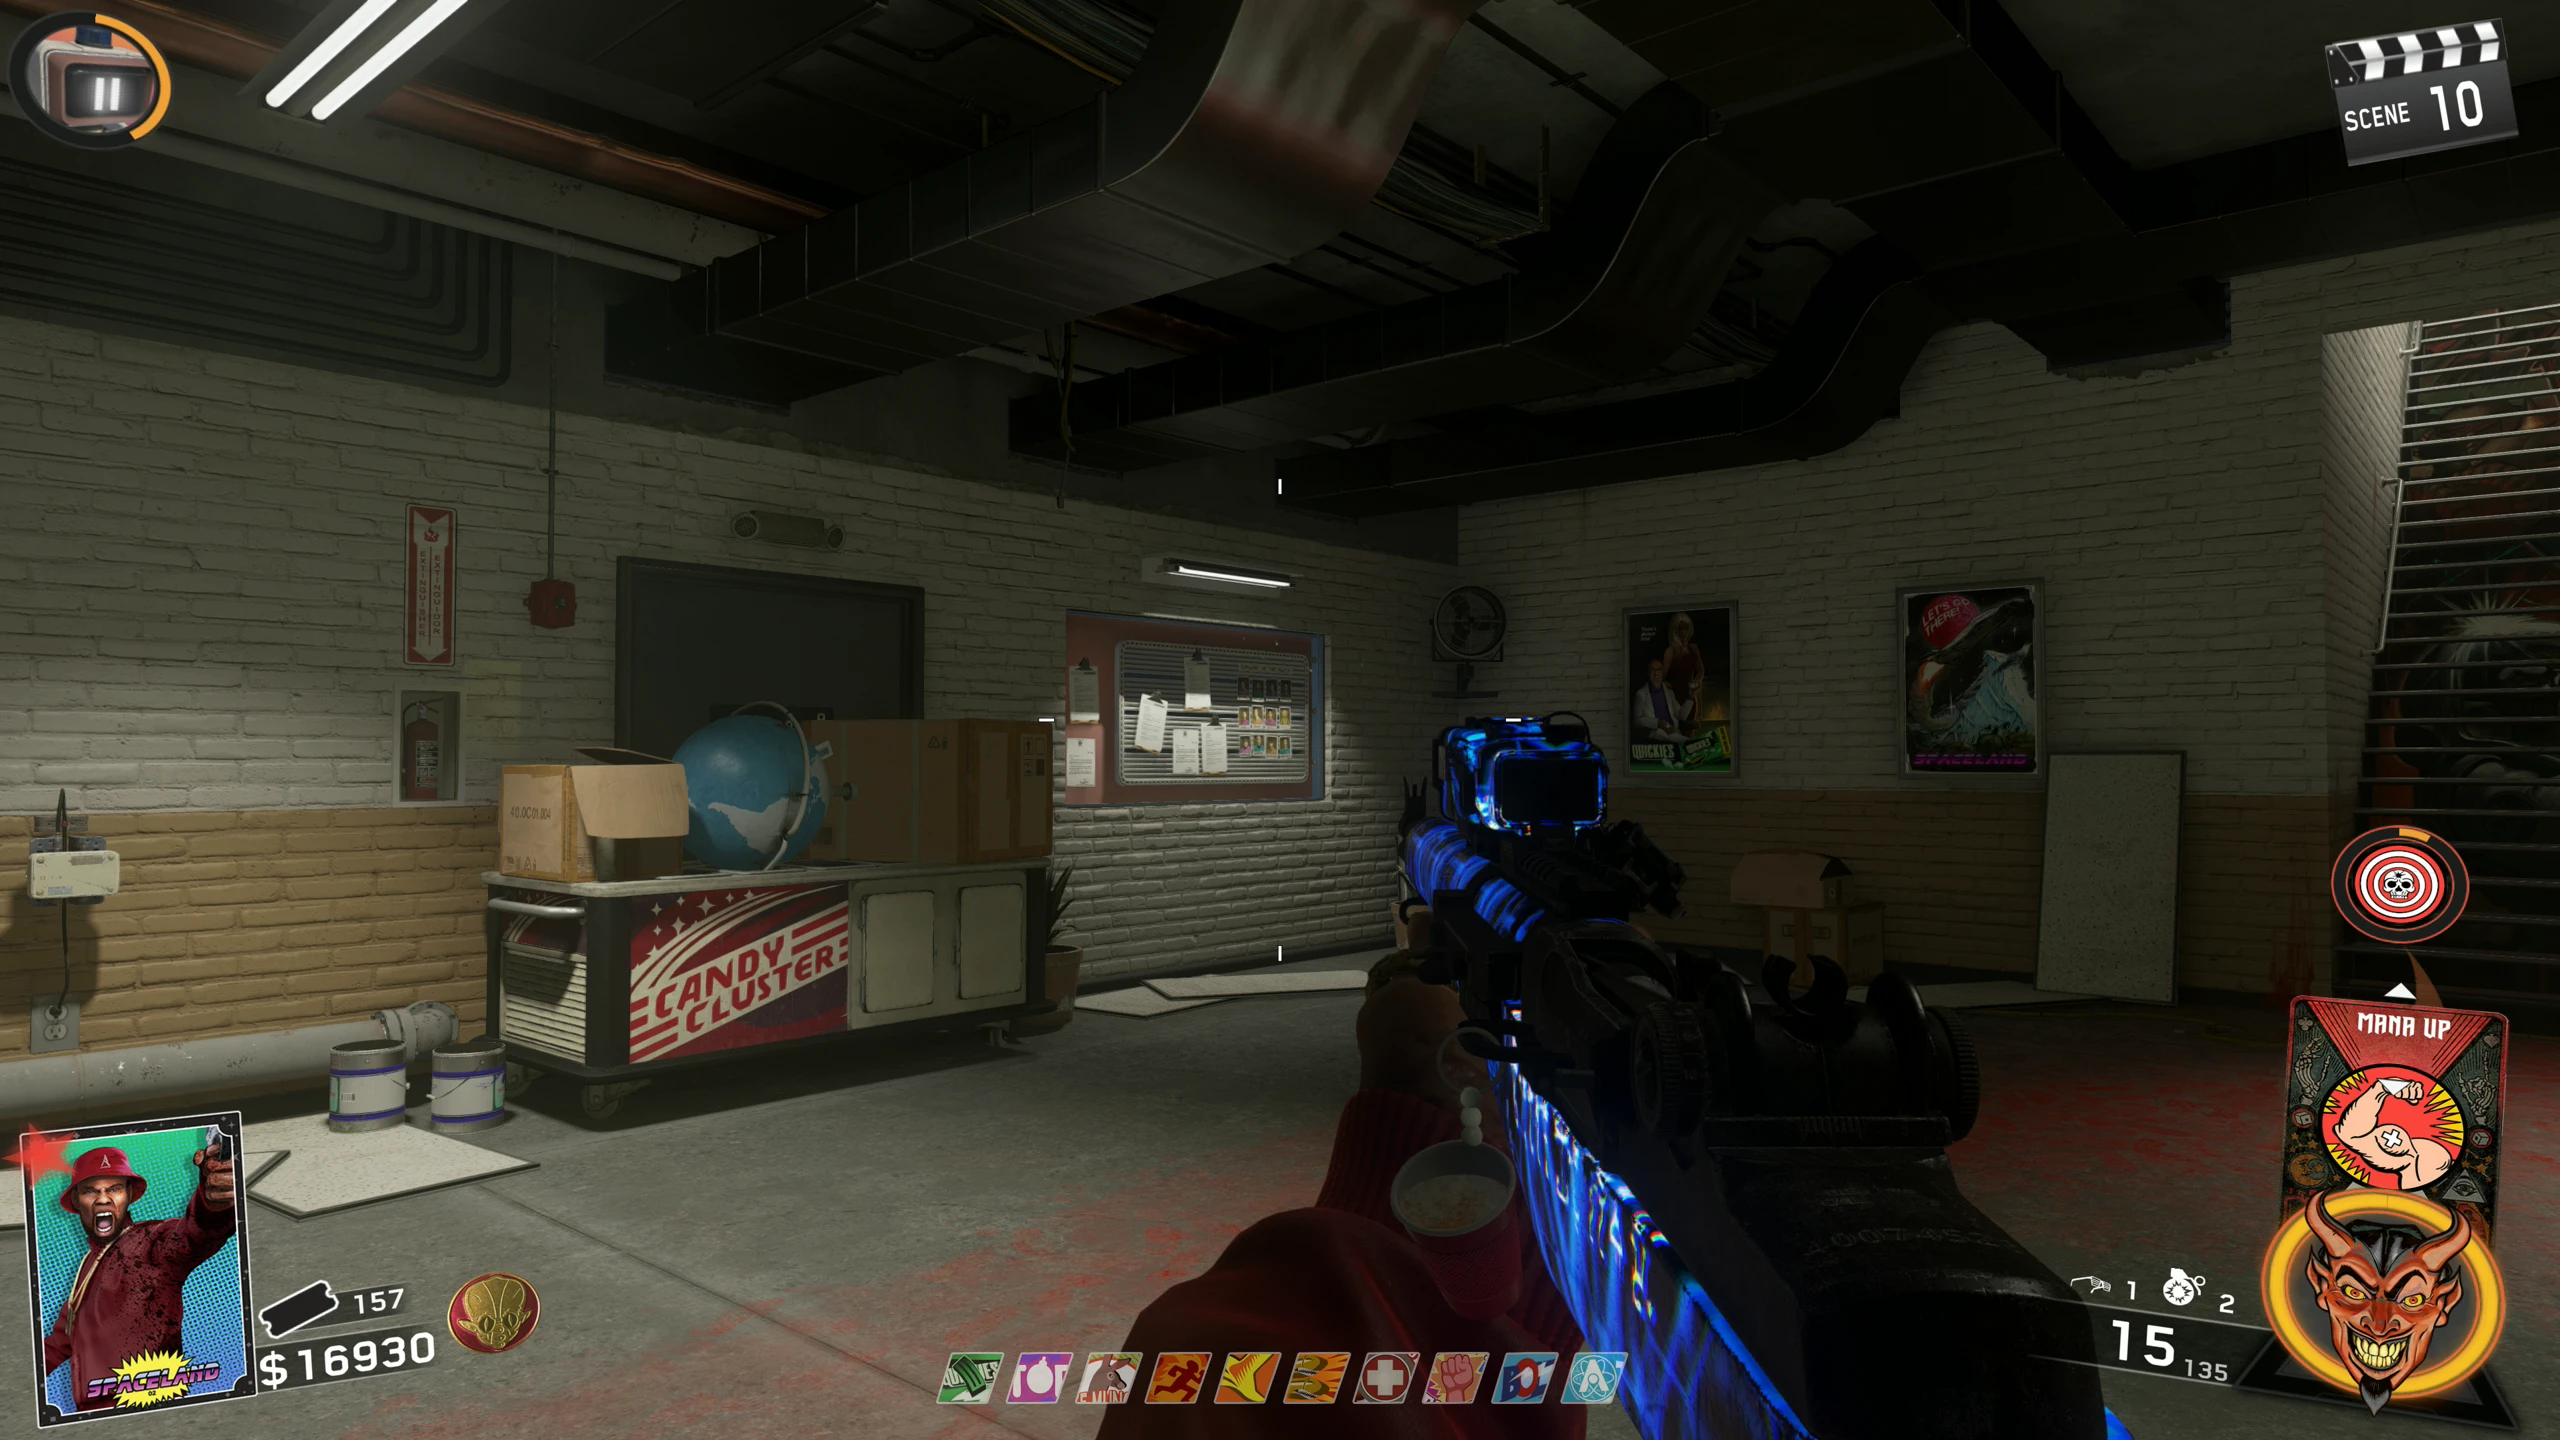
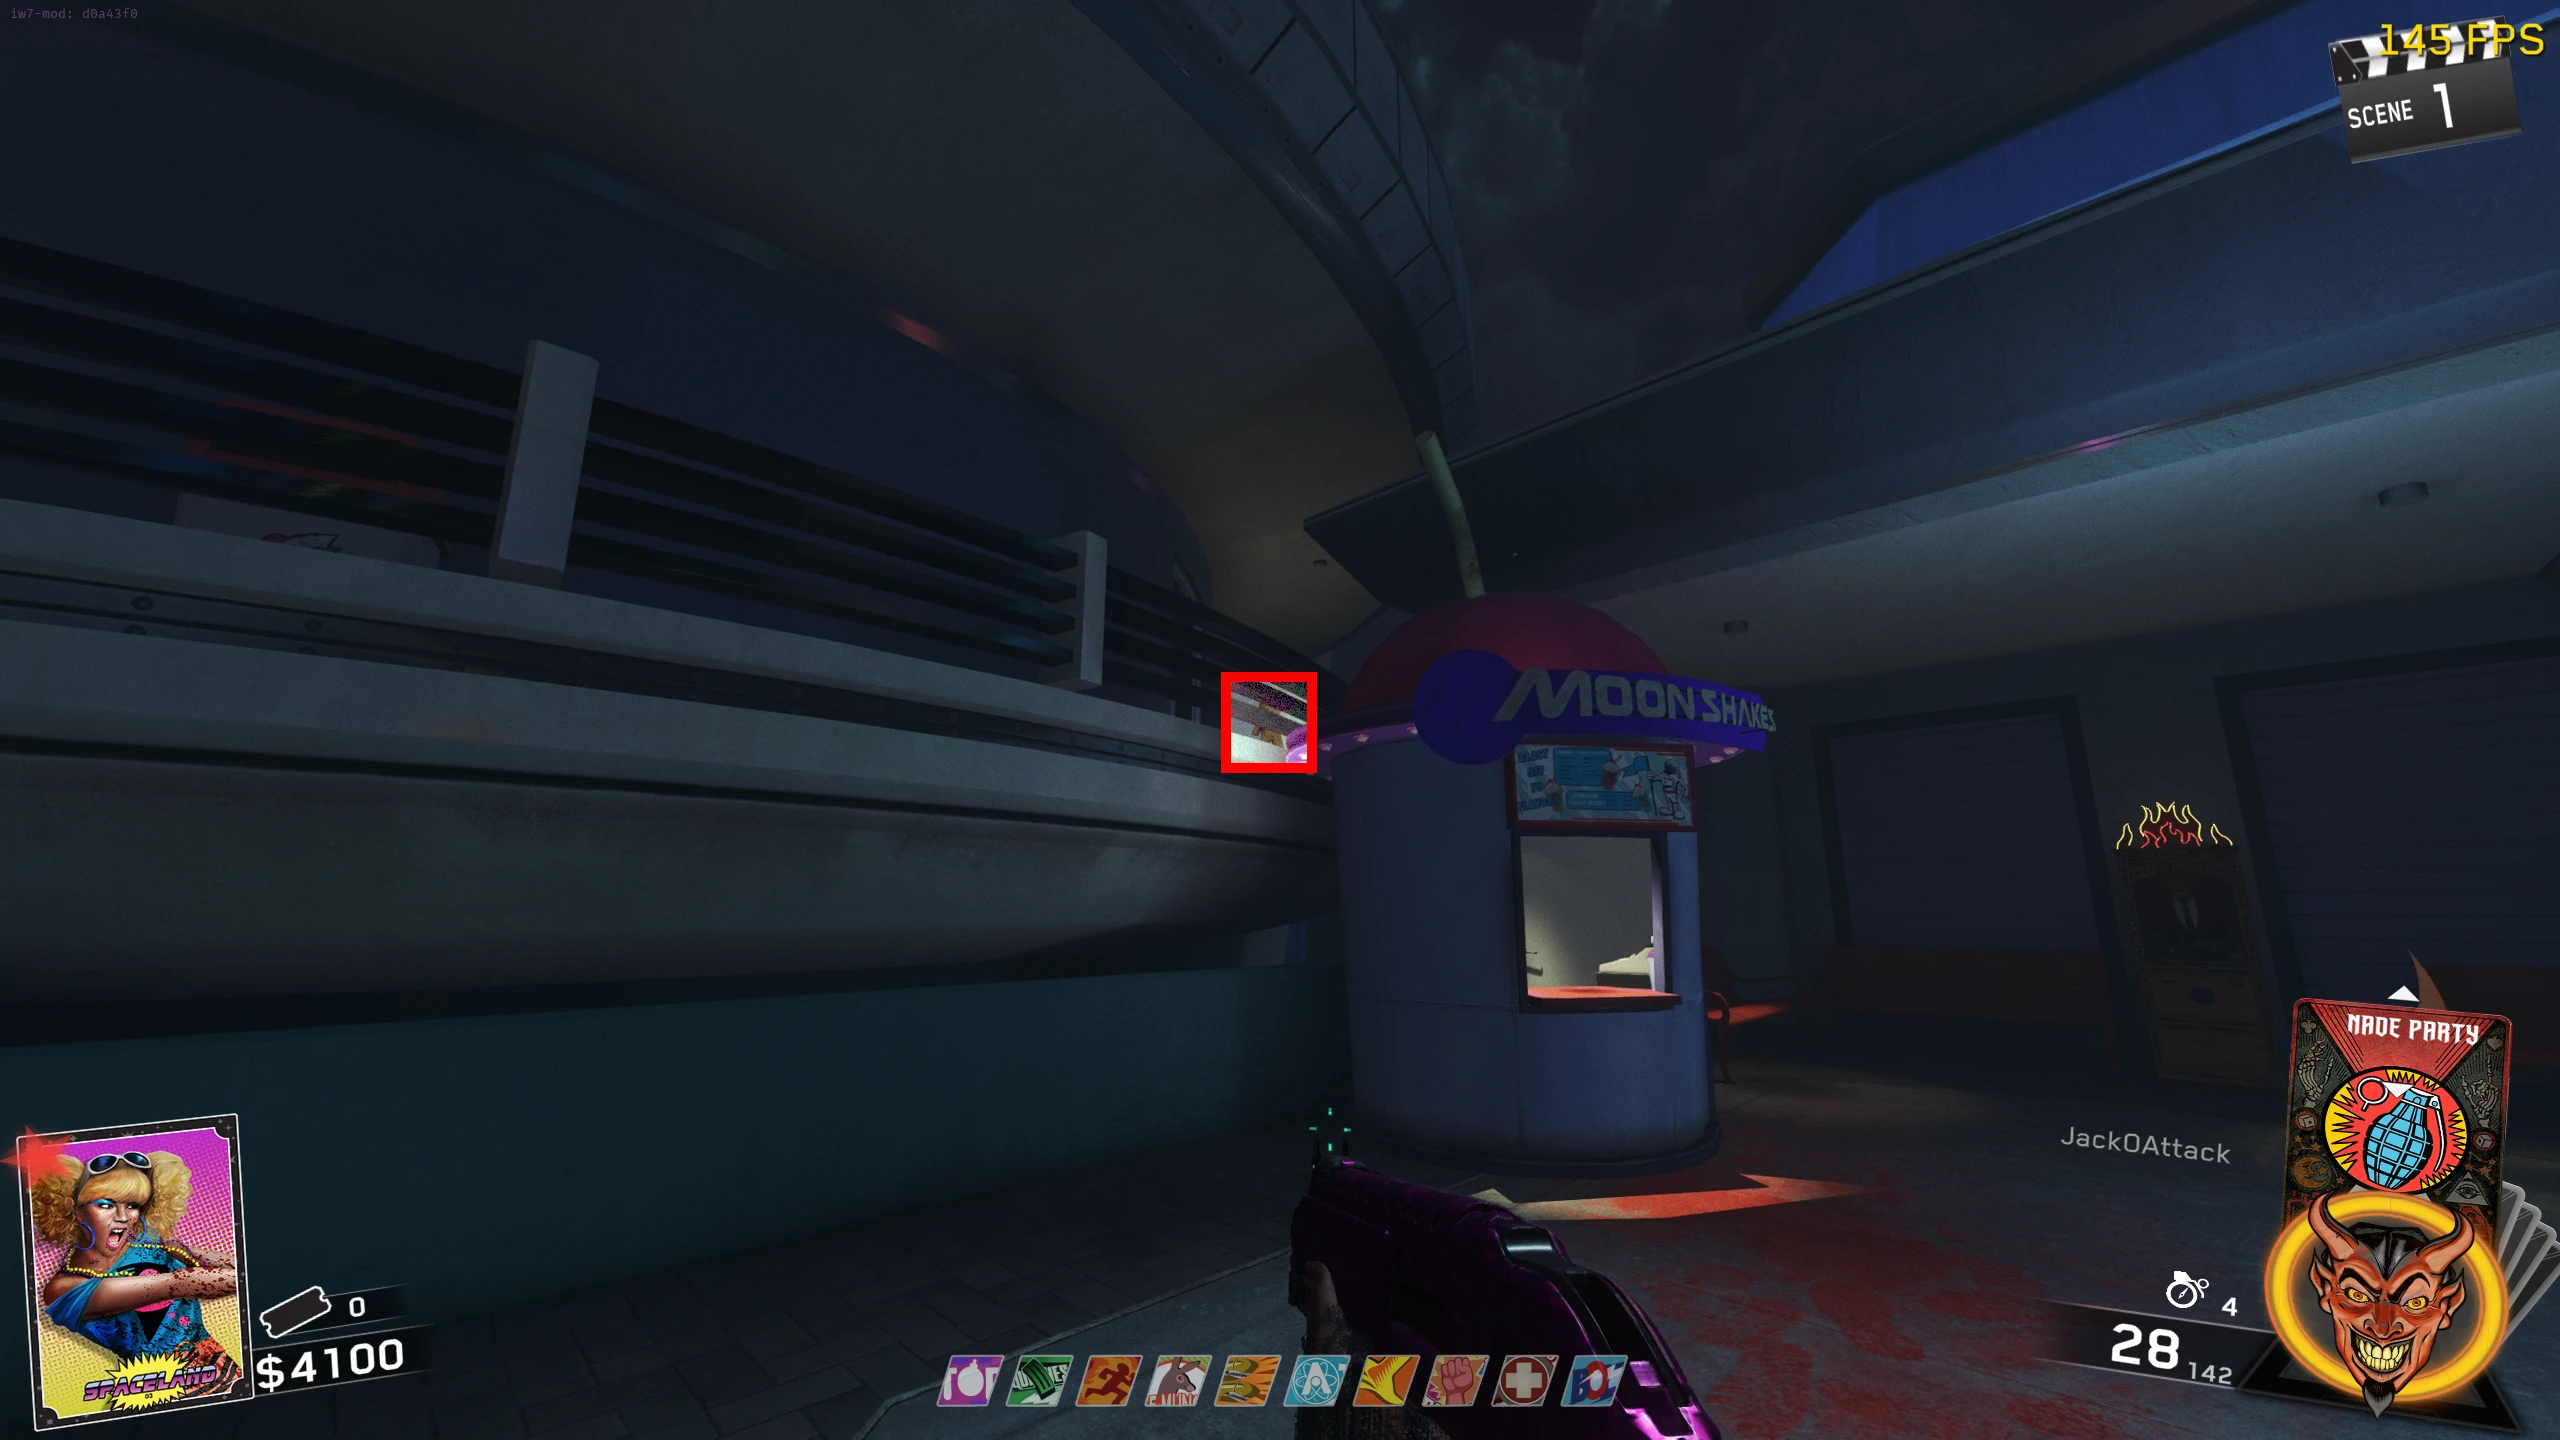
- You must now find "The 'Hoff" and interact with him; he will give you the crafted SETI-COM device. He can be found in one of the following Cosmic Tunes stand locations:
Defending the SETI-COM
- You must now defend the SETI-COM three times in three of the following locations; one per round. When you find the correct location to place the SETI-COM, your screen will shake, and you will be prompted to place it. Once you place the SETI-COM, Zombies will start infinitely spawning, and you must defend the SETI-COM till the timer runs out.
- The first defence takes 60 Seconds, the second is 90 Seconds, and the third is 120 Seconds.
- If you defend successfully, you will be able to pick the SETI-COM back up, and one of the Zombies will drop a Max Ammo power-up. You will then have to wait till the next round to do the next defence.
- If you fail to defend, you won't receive a Max Ammo, and a Brute will spawn. However, you can immediately return to The 'Hoff to get a new SETI-COM to retry on the same round.
- Defence Locations:
- One full round after your last defence, return the SETI-COM to The 'Hoff, and he will give you four speakers.
- Around the Pack-a-Punch portal, there are three Golden Symbols on the ground, each representing the three main sections of the park. Place a speaker on each of these symbols, and then place the final speaker just in front of the Pack-a-Punch portal.
Warning: Point of No Return. If you interact with any of the speakers, the Boss Fight will start.
- RECOMMENDED NOT REQUIRED: Acquire any Weapon of Rock Wonder weapon. It's recommended because the Weapons of Rock do heavy damage to the Alien Boss. Note: You will need one of the Weapons of Rock for steps after the Boss Fight, but it is not required for the Boss Fight.
UFO and Alien Boss Fight
- This Boss Fight is split into two parts, Simon Says with the UFO and the Boss Fight with the Alien.
Simon Says with the UFO
- Once you are ready, interact with any of the speakers in the Cosmic Way. You will be locked in the Cosmic Way/Spawn area, and the four speakers will each shine a different colour light into the sky (Red, Blue, Yellow, or Green). Take note of each speaker's colour.
- Almost immediately after you've interacted with the speaker, Zombies will start infinitely spawning, and the UFO will flash all four colours with a sound going with each; note down the order of the colours. Once the UFO is finished, the UFO and the speakers will glow white, waiting for your input. Interact with the speakers in the same order as the UFO, for example, if the UFO flashes Yellow, Red, Blue, and Green, repeat that back to the UFO.
- You have 15 seconds to input the first colour from the time the UFO turns white, and then 10 seconds after that to input all the colours (on Solo). On Co-op, you are given less time to input the colours, so you must coordinate inputs with the other players.
- If you are unsure of the order of the UFO's colours, or you don't think it would be safe to attempt the input, DON'T attempt to respond. There is no penalty for not answering, but there is a penalty for inputting colours in the wrong order.
- If you take too long to input the whole sequence (i.e. only input 1-3 colours) or respond incorrectly, a Brute will spawn, and then after about 10-15 seconds, the UFO will flash the same colour order again.
- After a successful response, the UFO will float around the arena for about 40 seconds, before returning to the centre and starting another sequence.
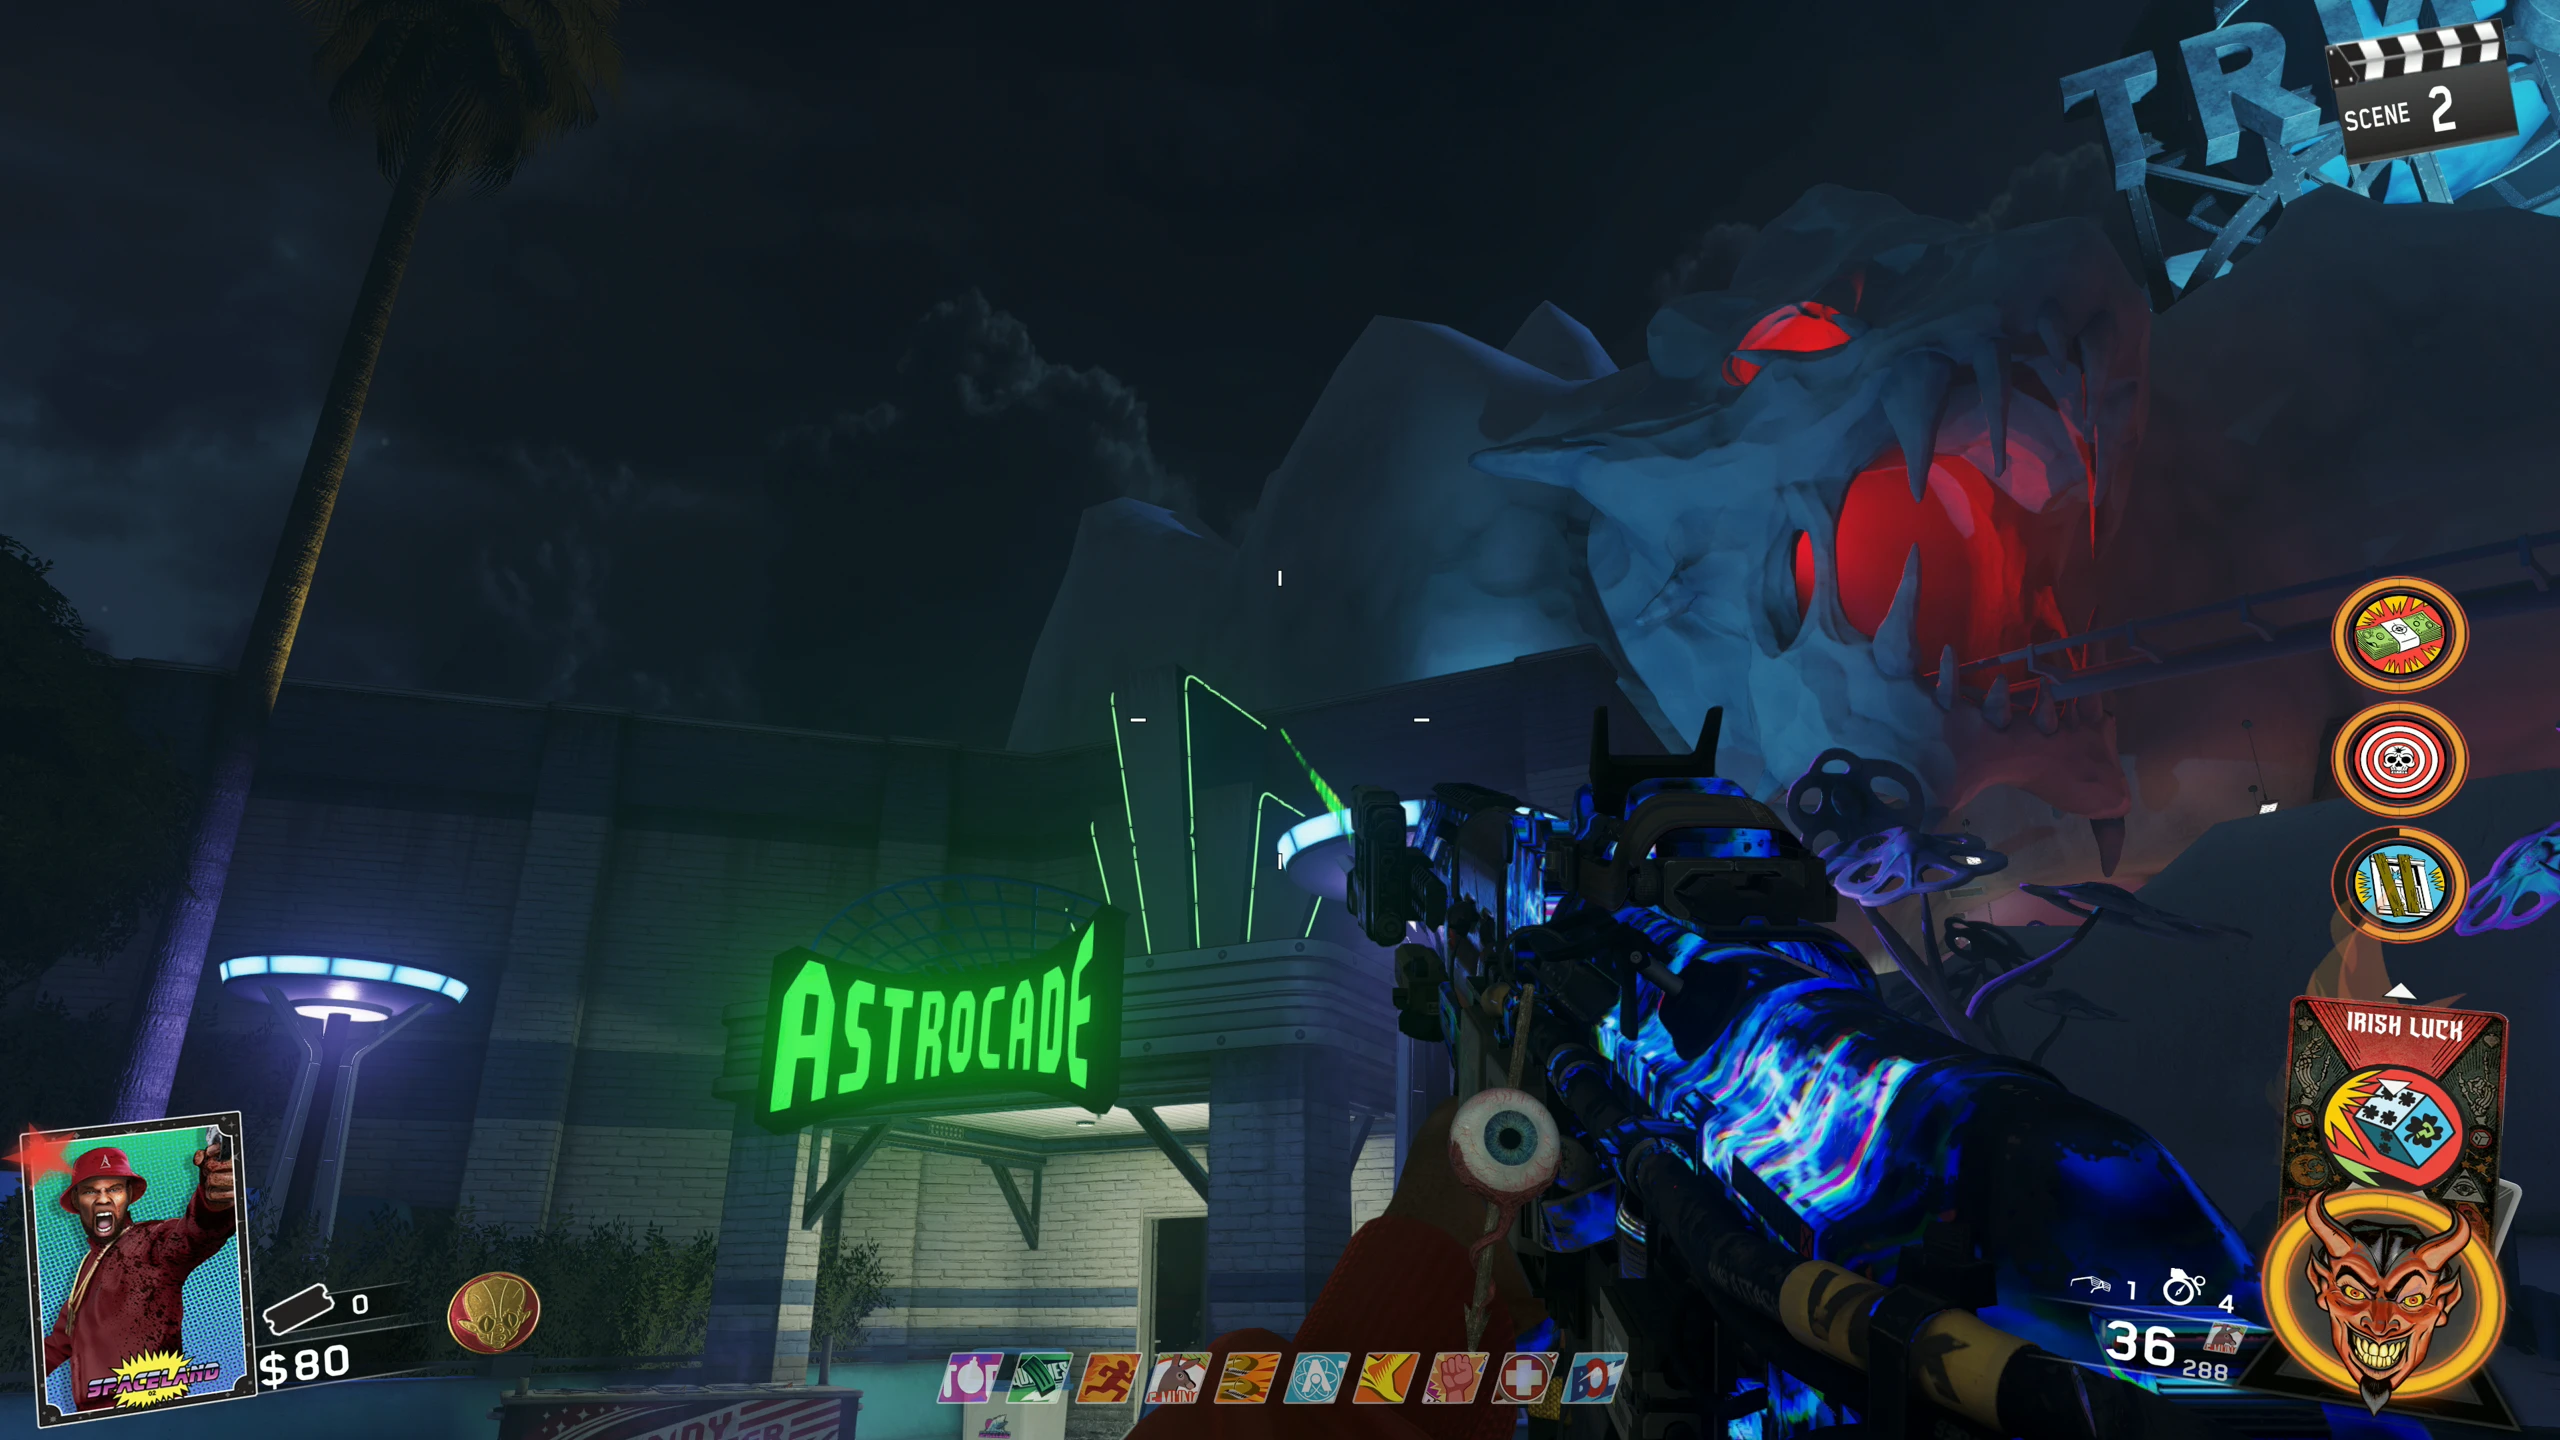
- After you complete three rounds of Simon Says with the UFO, Clown Zombies will start spawning. After about 45-60 seconds of clowns, they will stop spawning, and the Alien(s) will step out of the Pack-a-Punch portal.
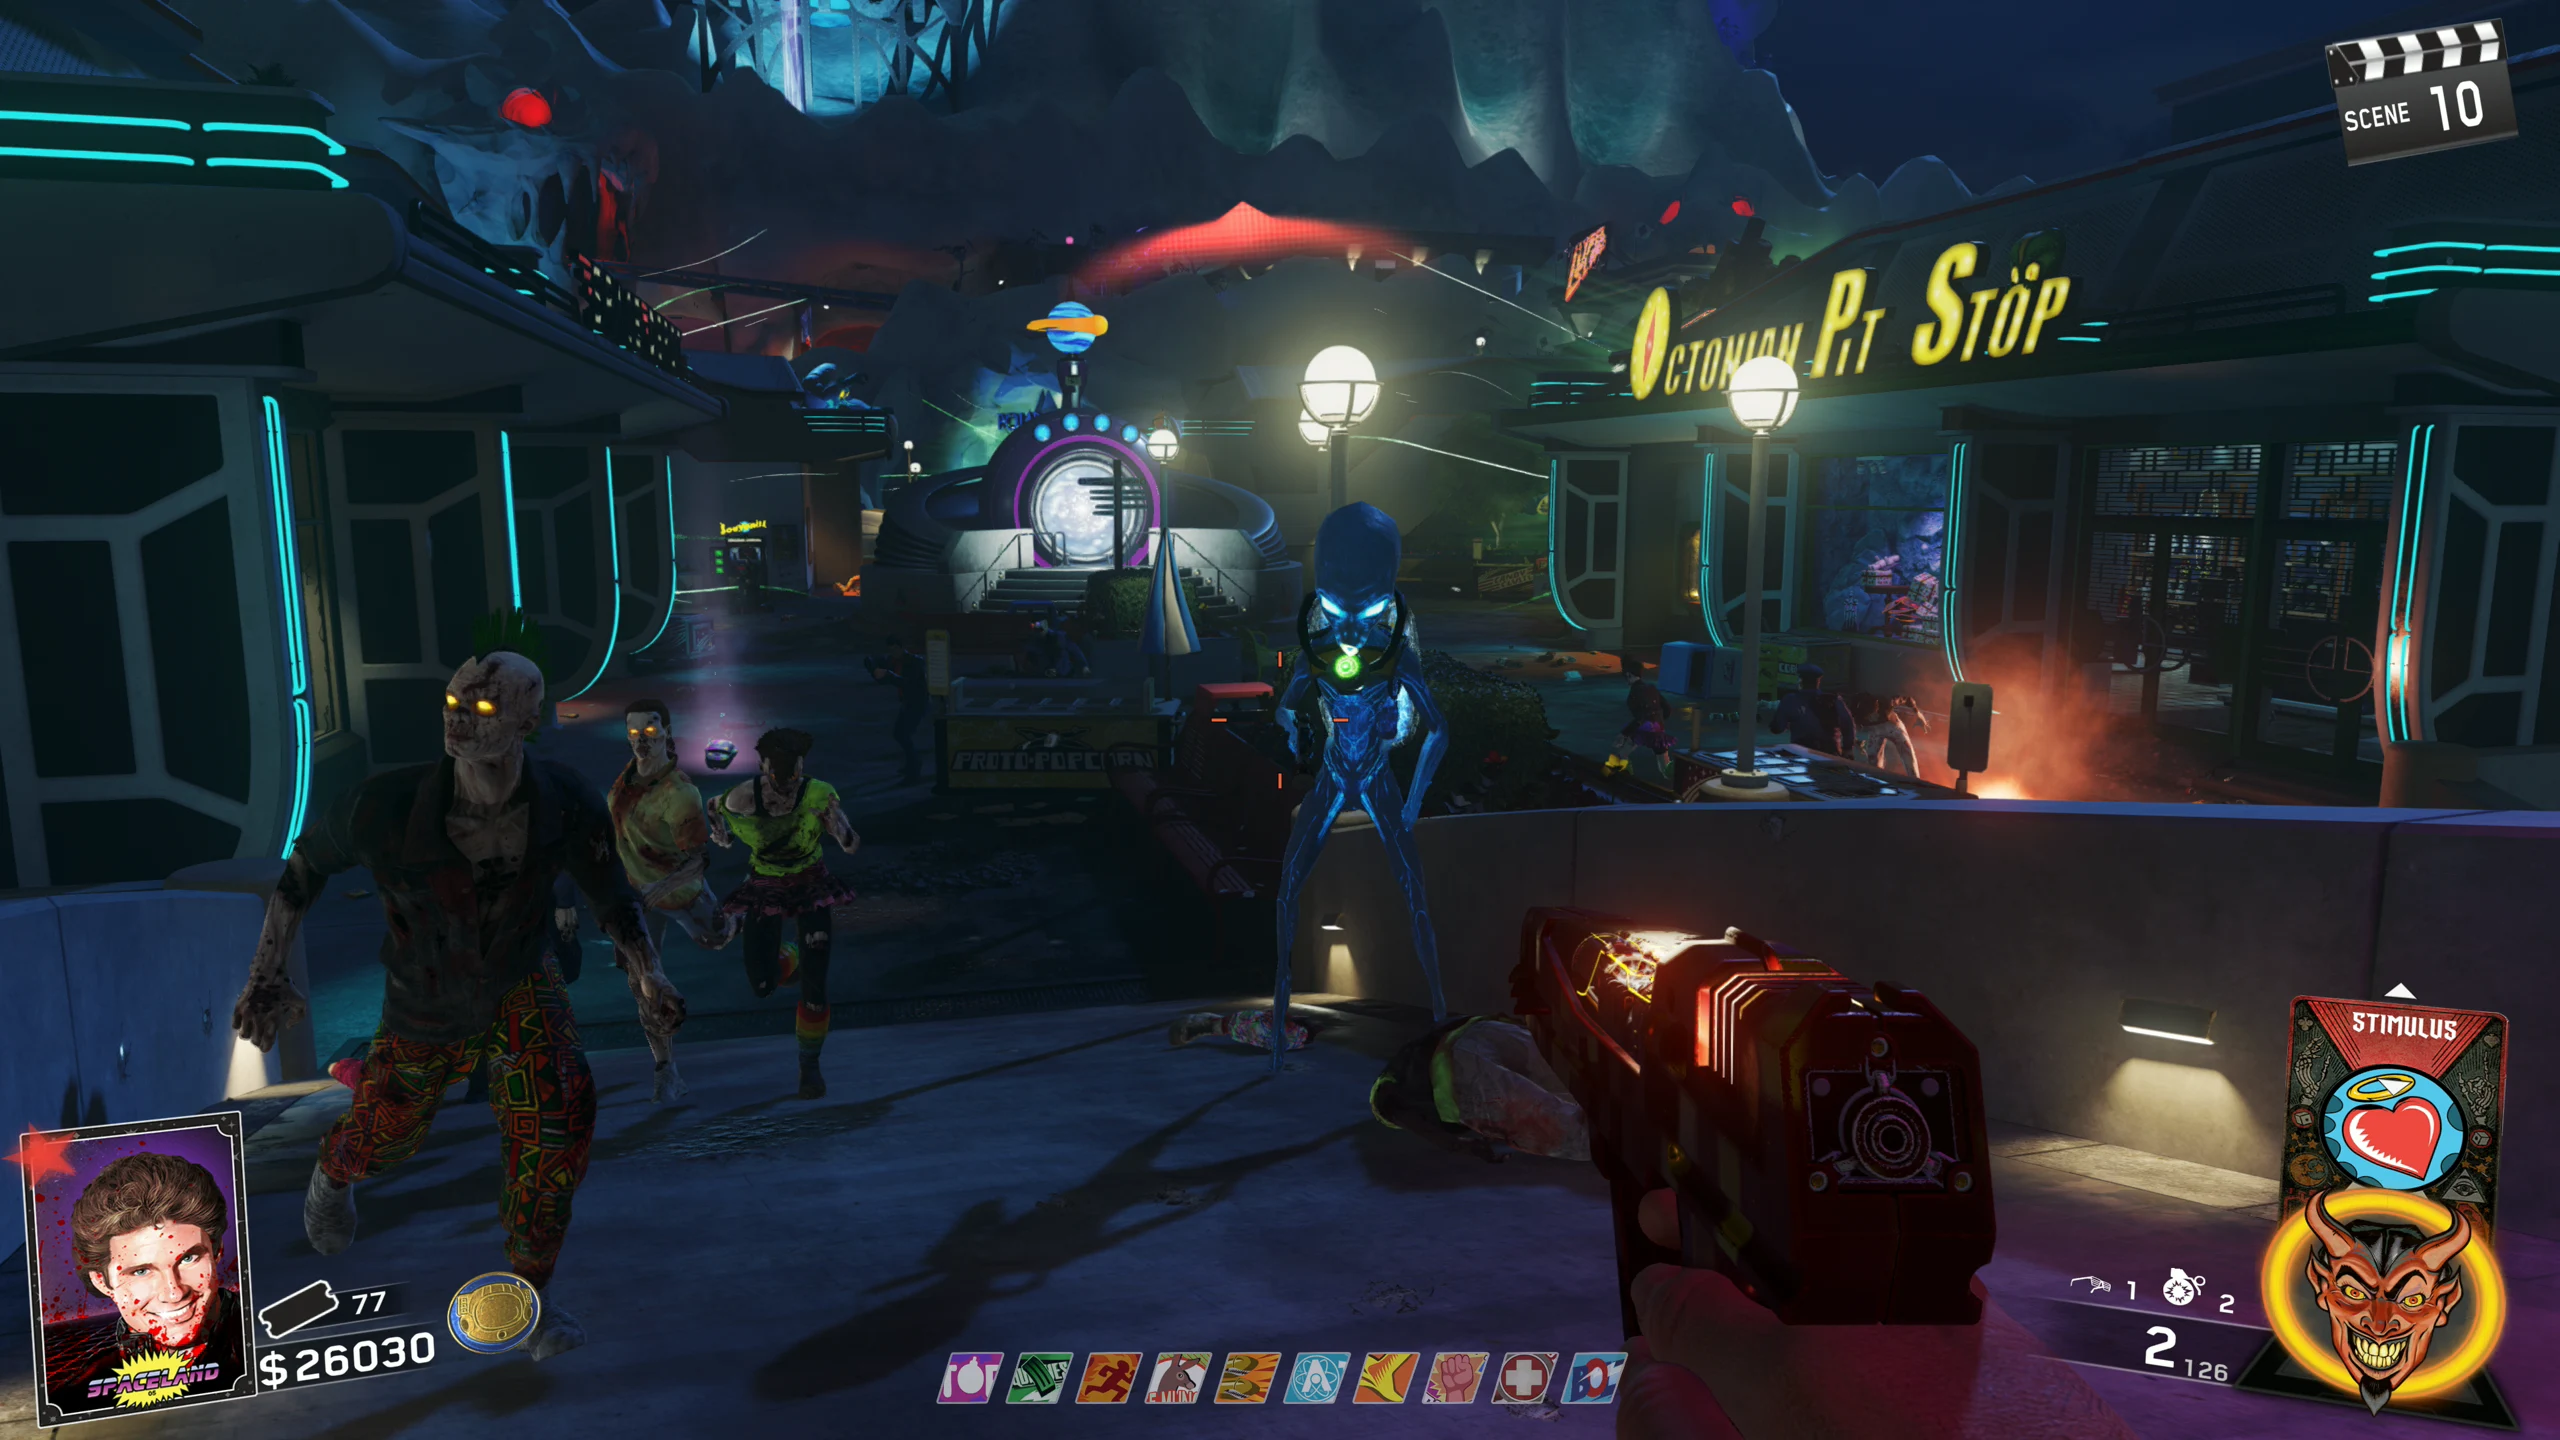
Alien Boss Fight
- Note: The number of Aliens will match the number of players in the game, for example, a two-player game will have two Aliens. This guide will describe the solo experience, but the principles of the boss fight stay the same, so the guide will still be useful to those playing in co-op.
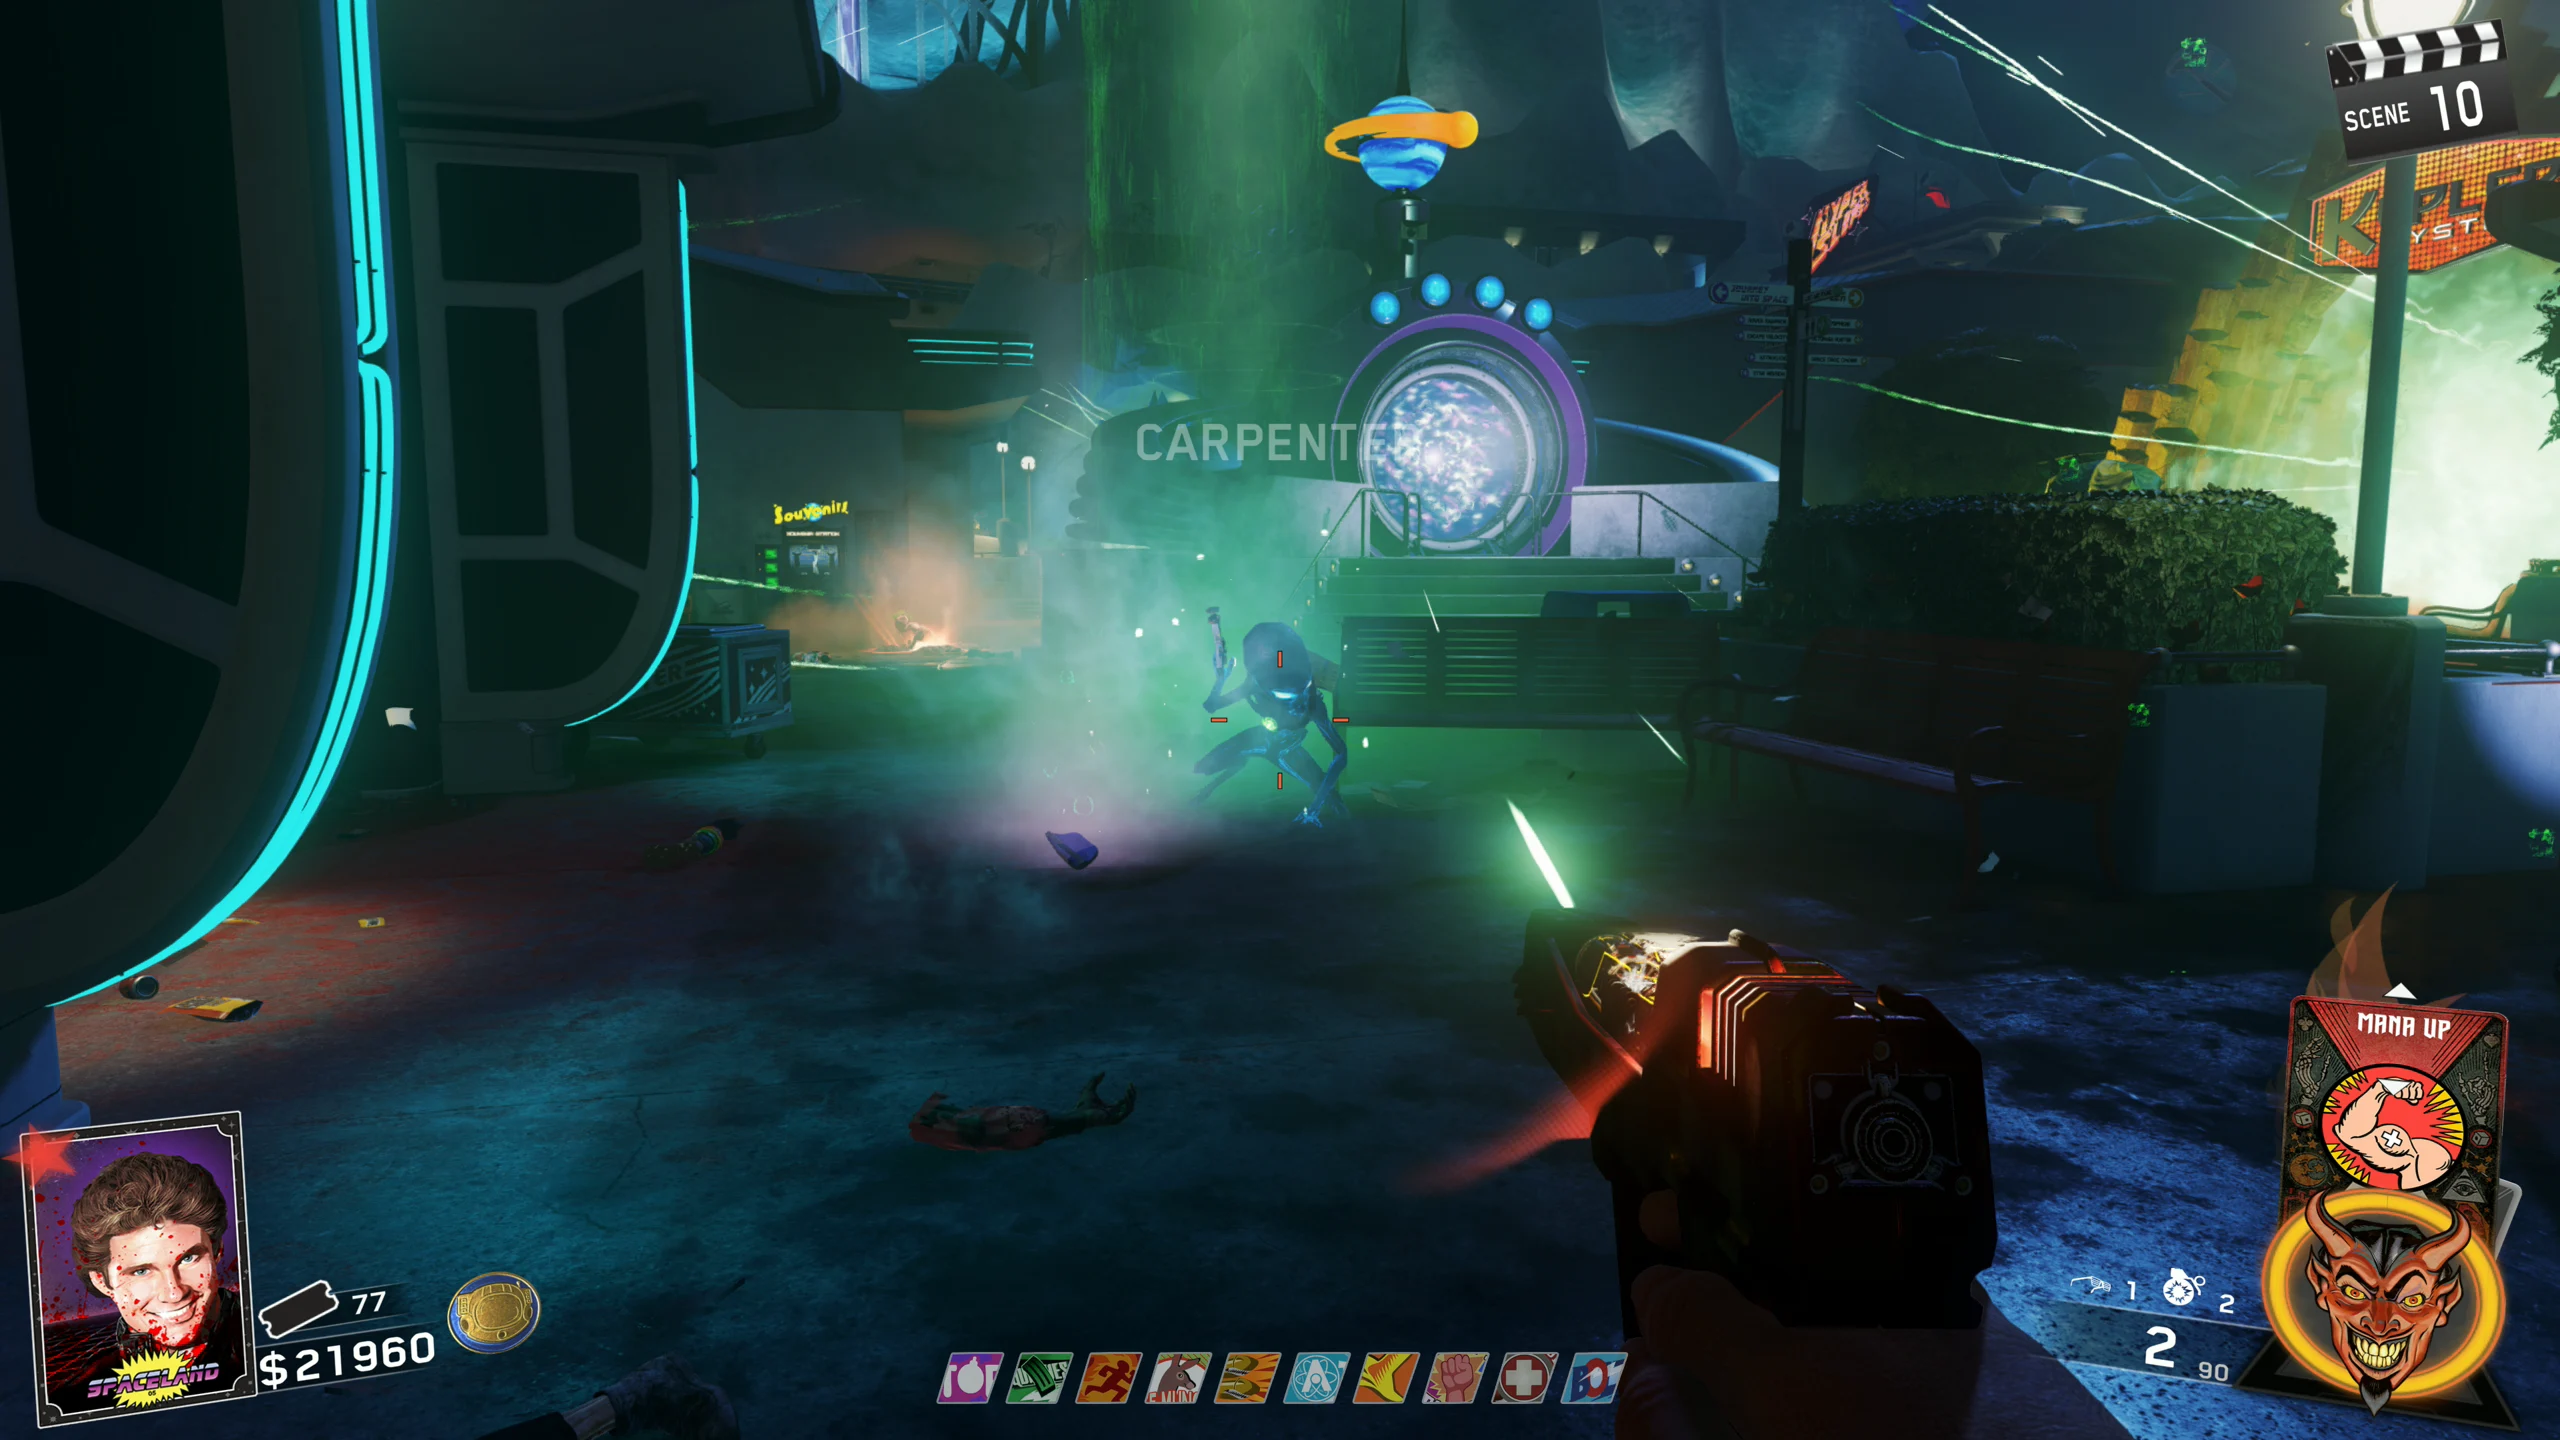
- The Alien will teleport around the arena, mostly on the rooftops but not always. The Alien will occasionally shoot the player with their gun, launch an energy blast out of the other (gun-less) hand, or spawn Zombies near the player.
- The Alien's gun shoots a small, fast-moving projectile that does about one Zombie's hit worth of damage. The blaster is used when you are far from the Alien.
- The energy blast is a larger, slower-moving projectile (when compared to the blaster shot) that does about half your health's (with Jug) worth of damage and will also slow you for a couple of seconds if it hits you. The energy blast is used when you are close to the Alien.
- When you kill a lot of Zombies, the Alien will spawn more at your feet, to get them quickly back into the fight.
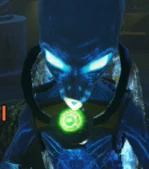
- To do damage to the Alien, you must shoot it in the glowing collar on its neck. The colour of the collar indicates the amount of health the Alien has; green is high, yellow is medium, and red is low.
- Once you do enough damage to the Alien, it will teleport to the playable area (i.e. not on a rooftop), create a bubble shield around itself, spawn Zombies, and then kneel on the floor in a downed state. While the Alien is down, you must quickly melee a fuse in its backpack. If done correctly, you will hear a breaking sound, the Alien will jump up and drop an energy ball at its feet, and the next Zombie you kill will drop a Max Ammo.
- Note: Sometimes the Alien will skip the bubble and Zombies spawning, and go straight to the downed state.
- You will need to repeat this two more times. The third time the Alien is "downed", you don't need to melee a fuse, the Alien will just simply die, and the Boss Fight will end.
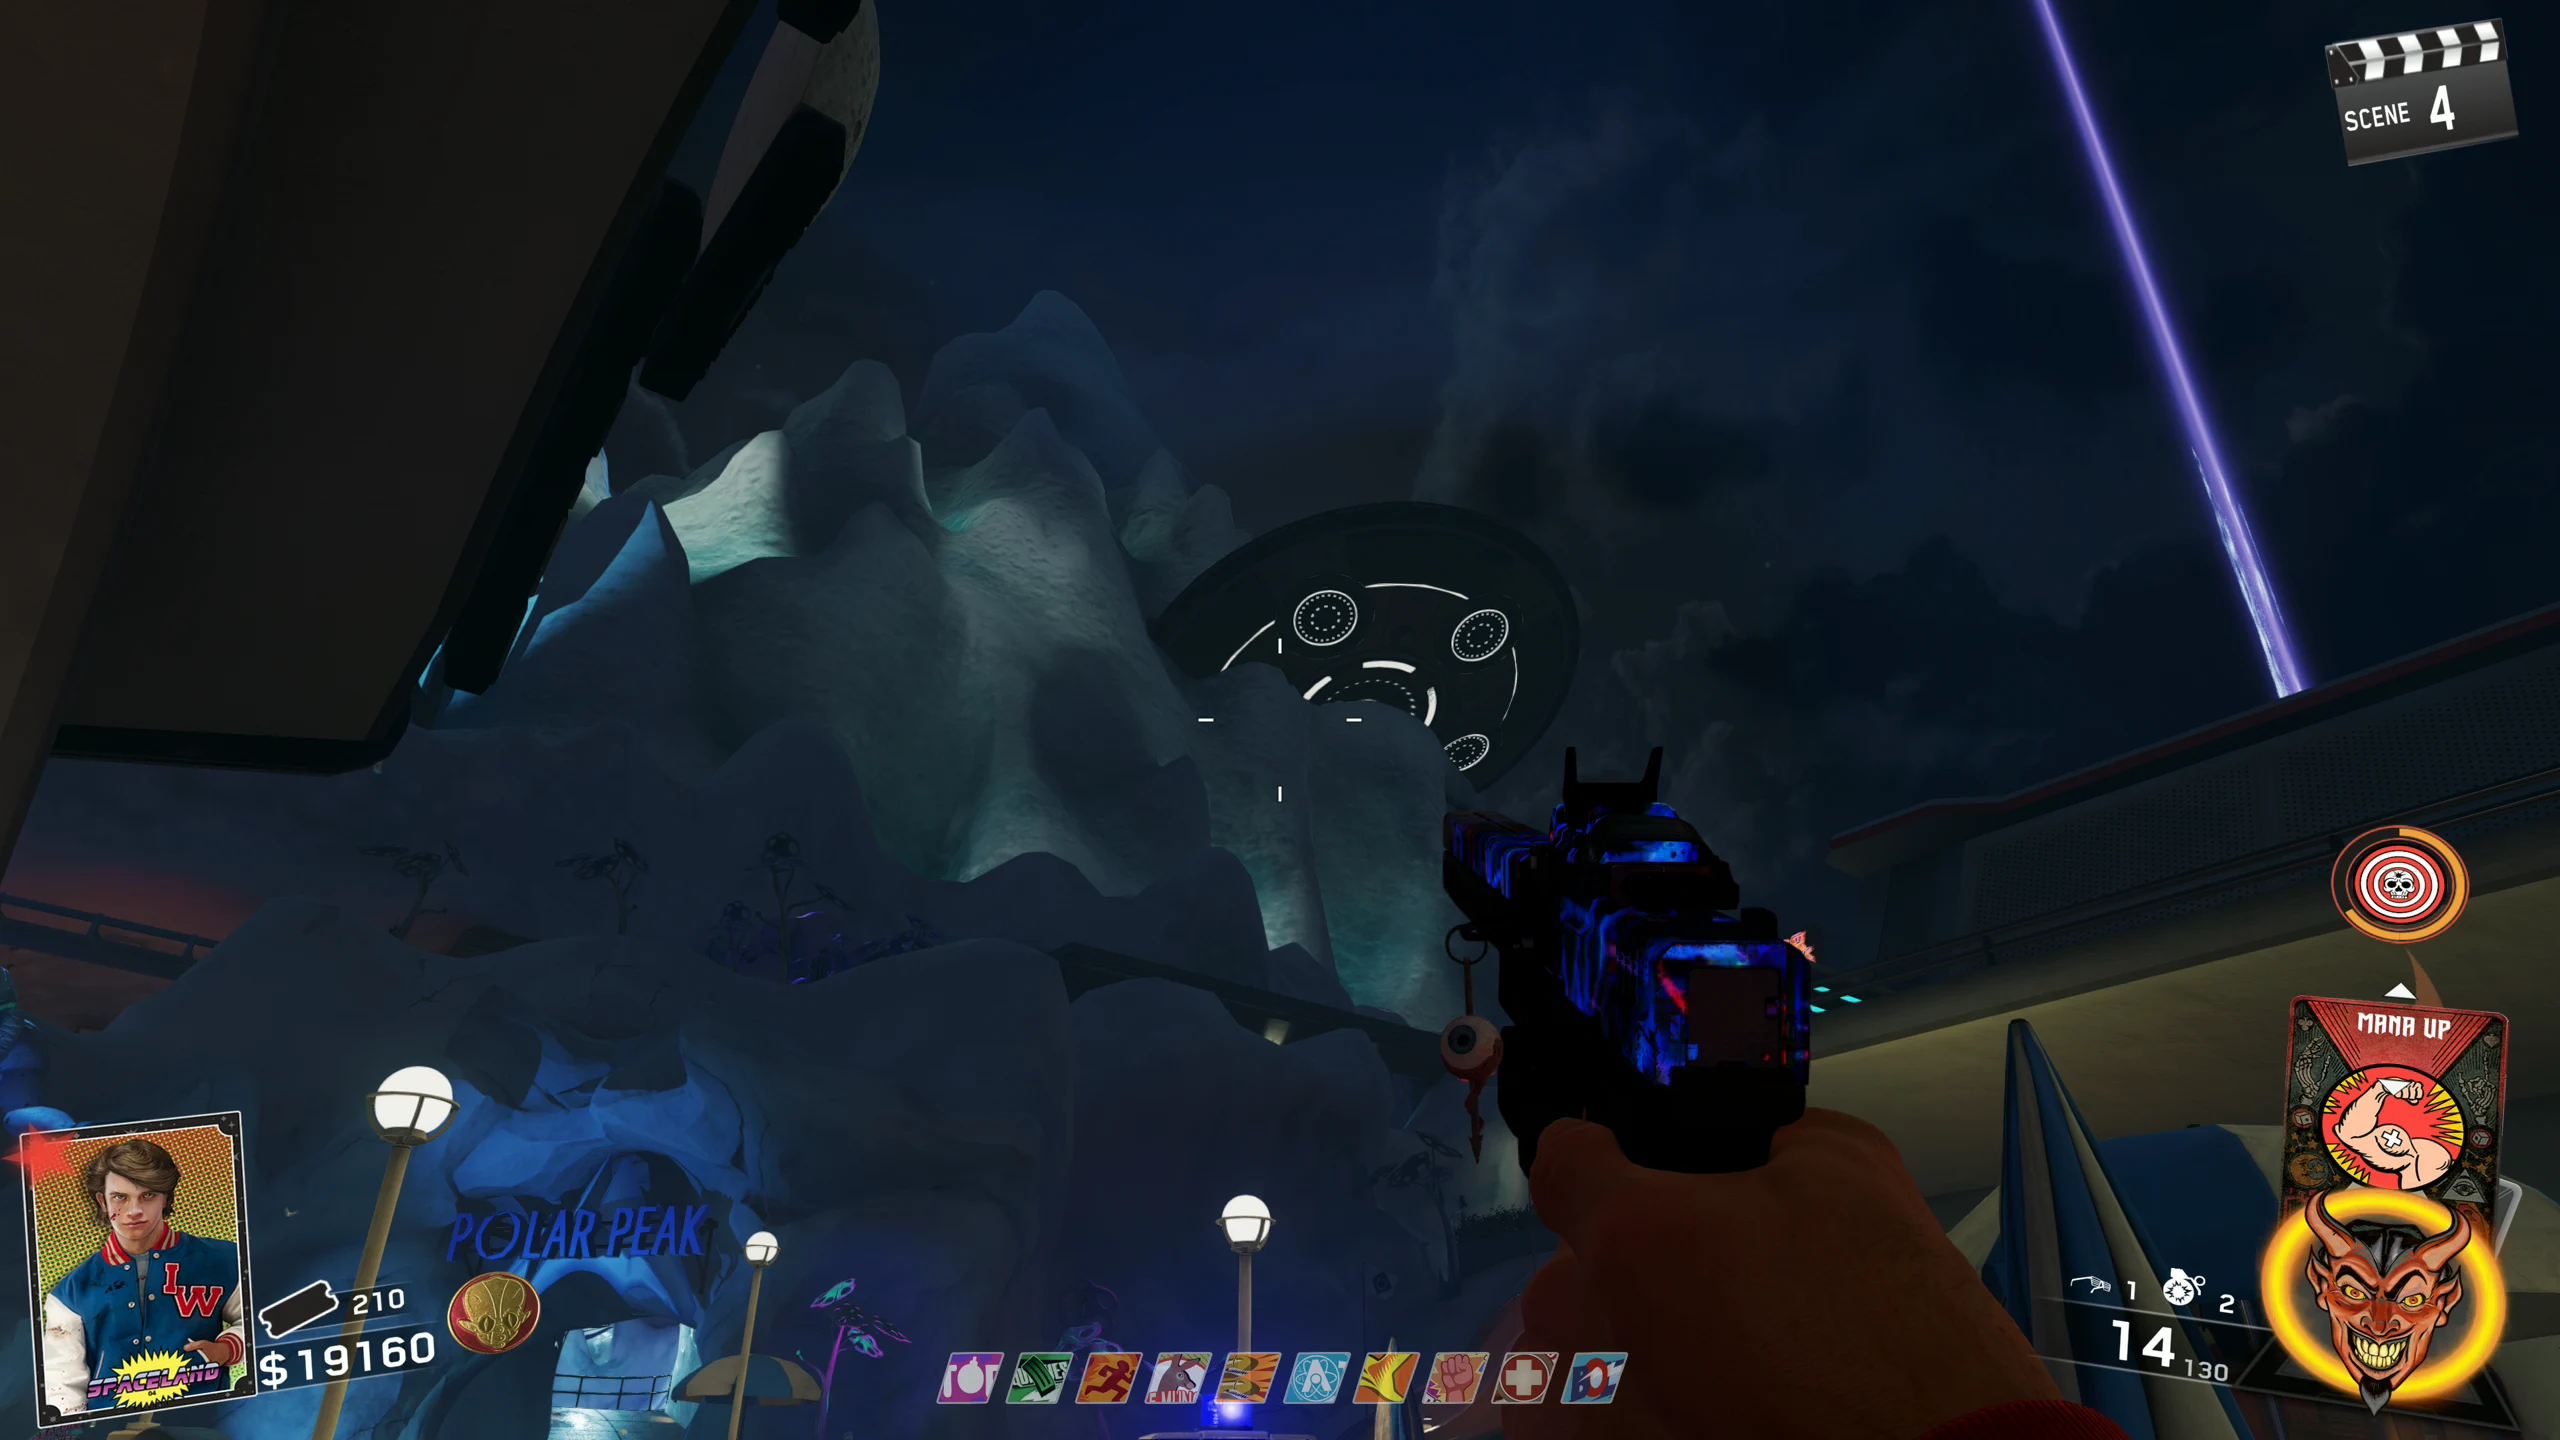
Destroying the UFO
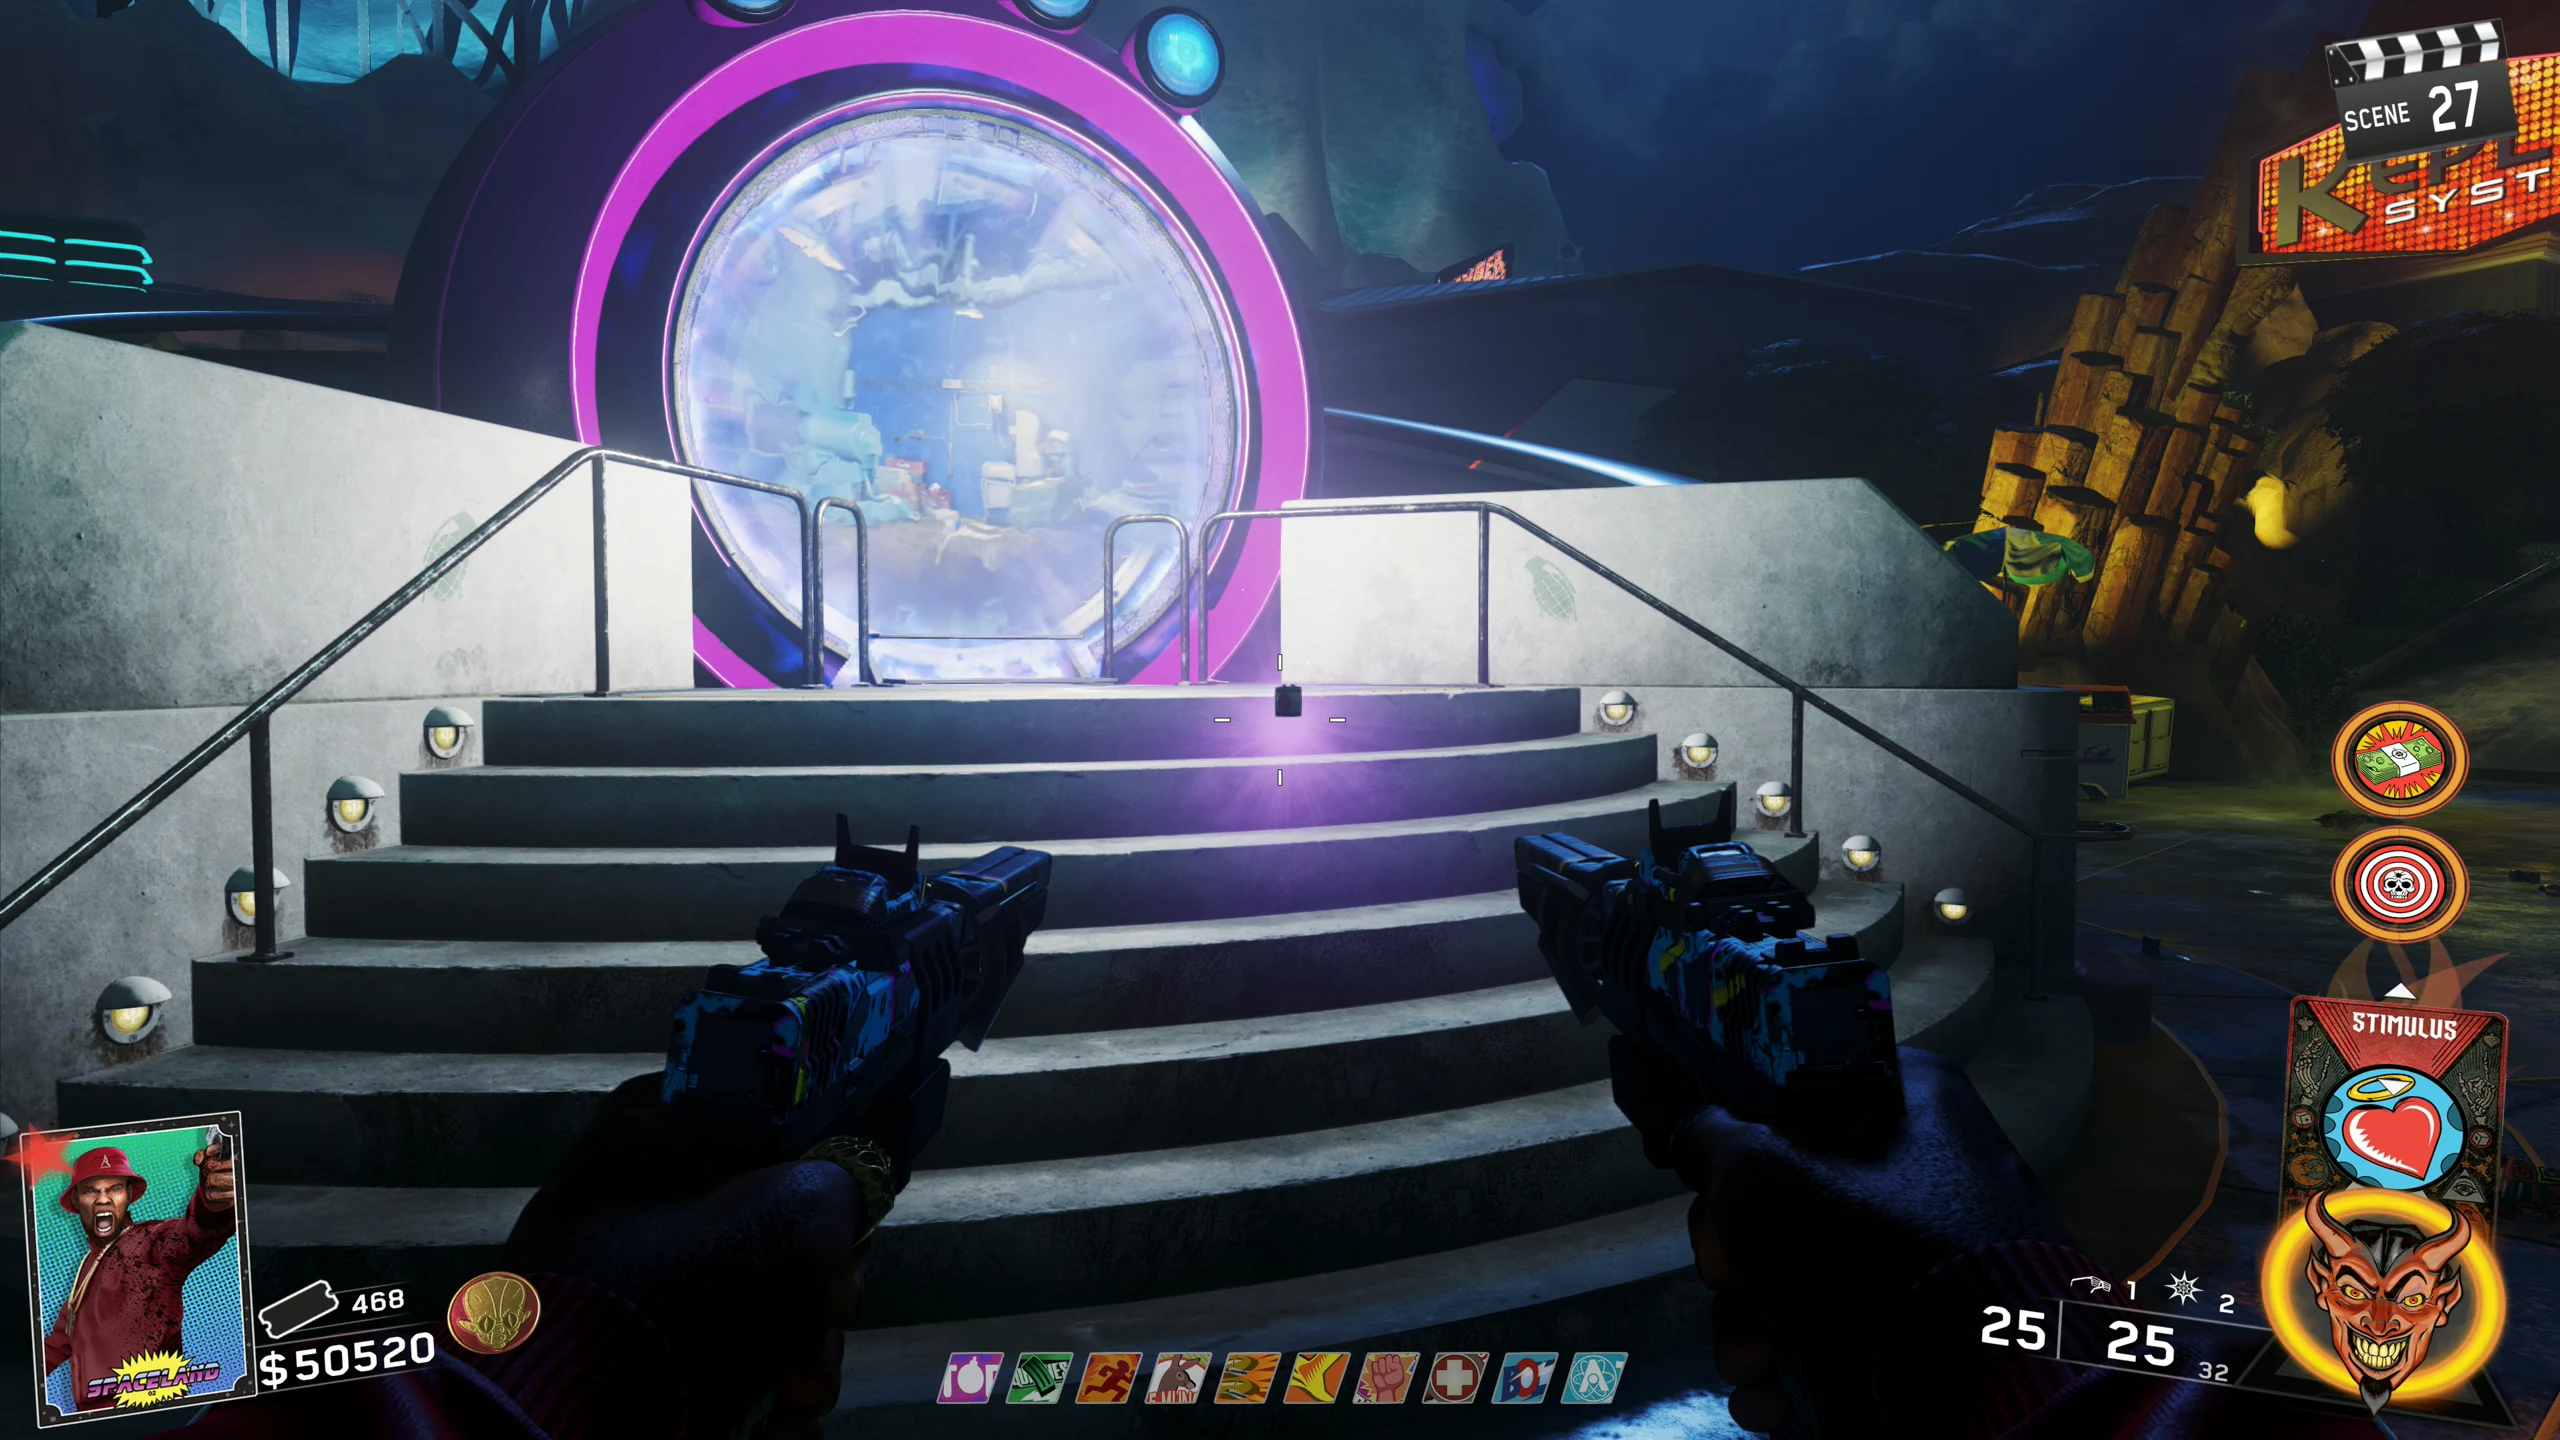
- Once the Alien is dead, the Alien's Fuses will appear in front of the Pack-a-Punch portal, and you will be able to leave the Cosmic Way. The UFO will still be floating above the Cosmic Way, and will occasionally shoot energy shots at you.
- Enter the projector room and insert the Alien Fuses into the Projector. This will upgrade it for the remainder of the current game. You will be able to Pack-a-Punch any weapon a second time for 10,000 points and Pack-a-Punch the Weapon of Rock wonder weapons once for 5000 points.
- Craft any Weapon of Rock wonder weapon, if you haven't already, and Pack-a-Punch it.
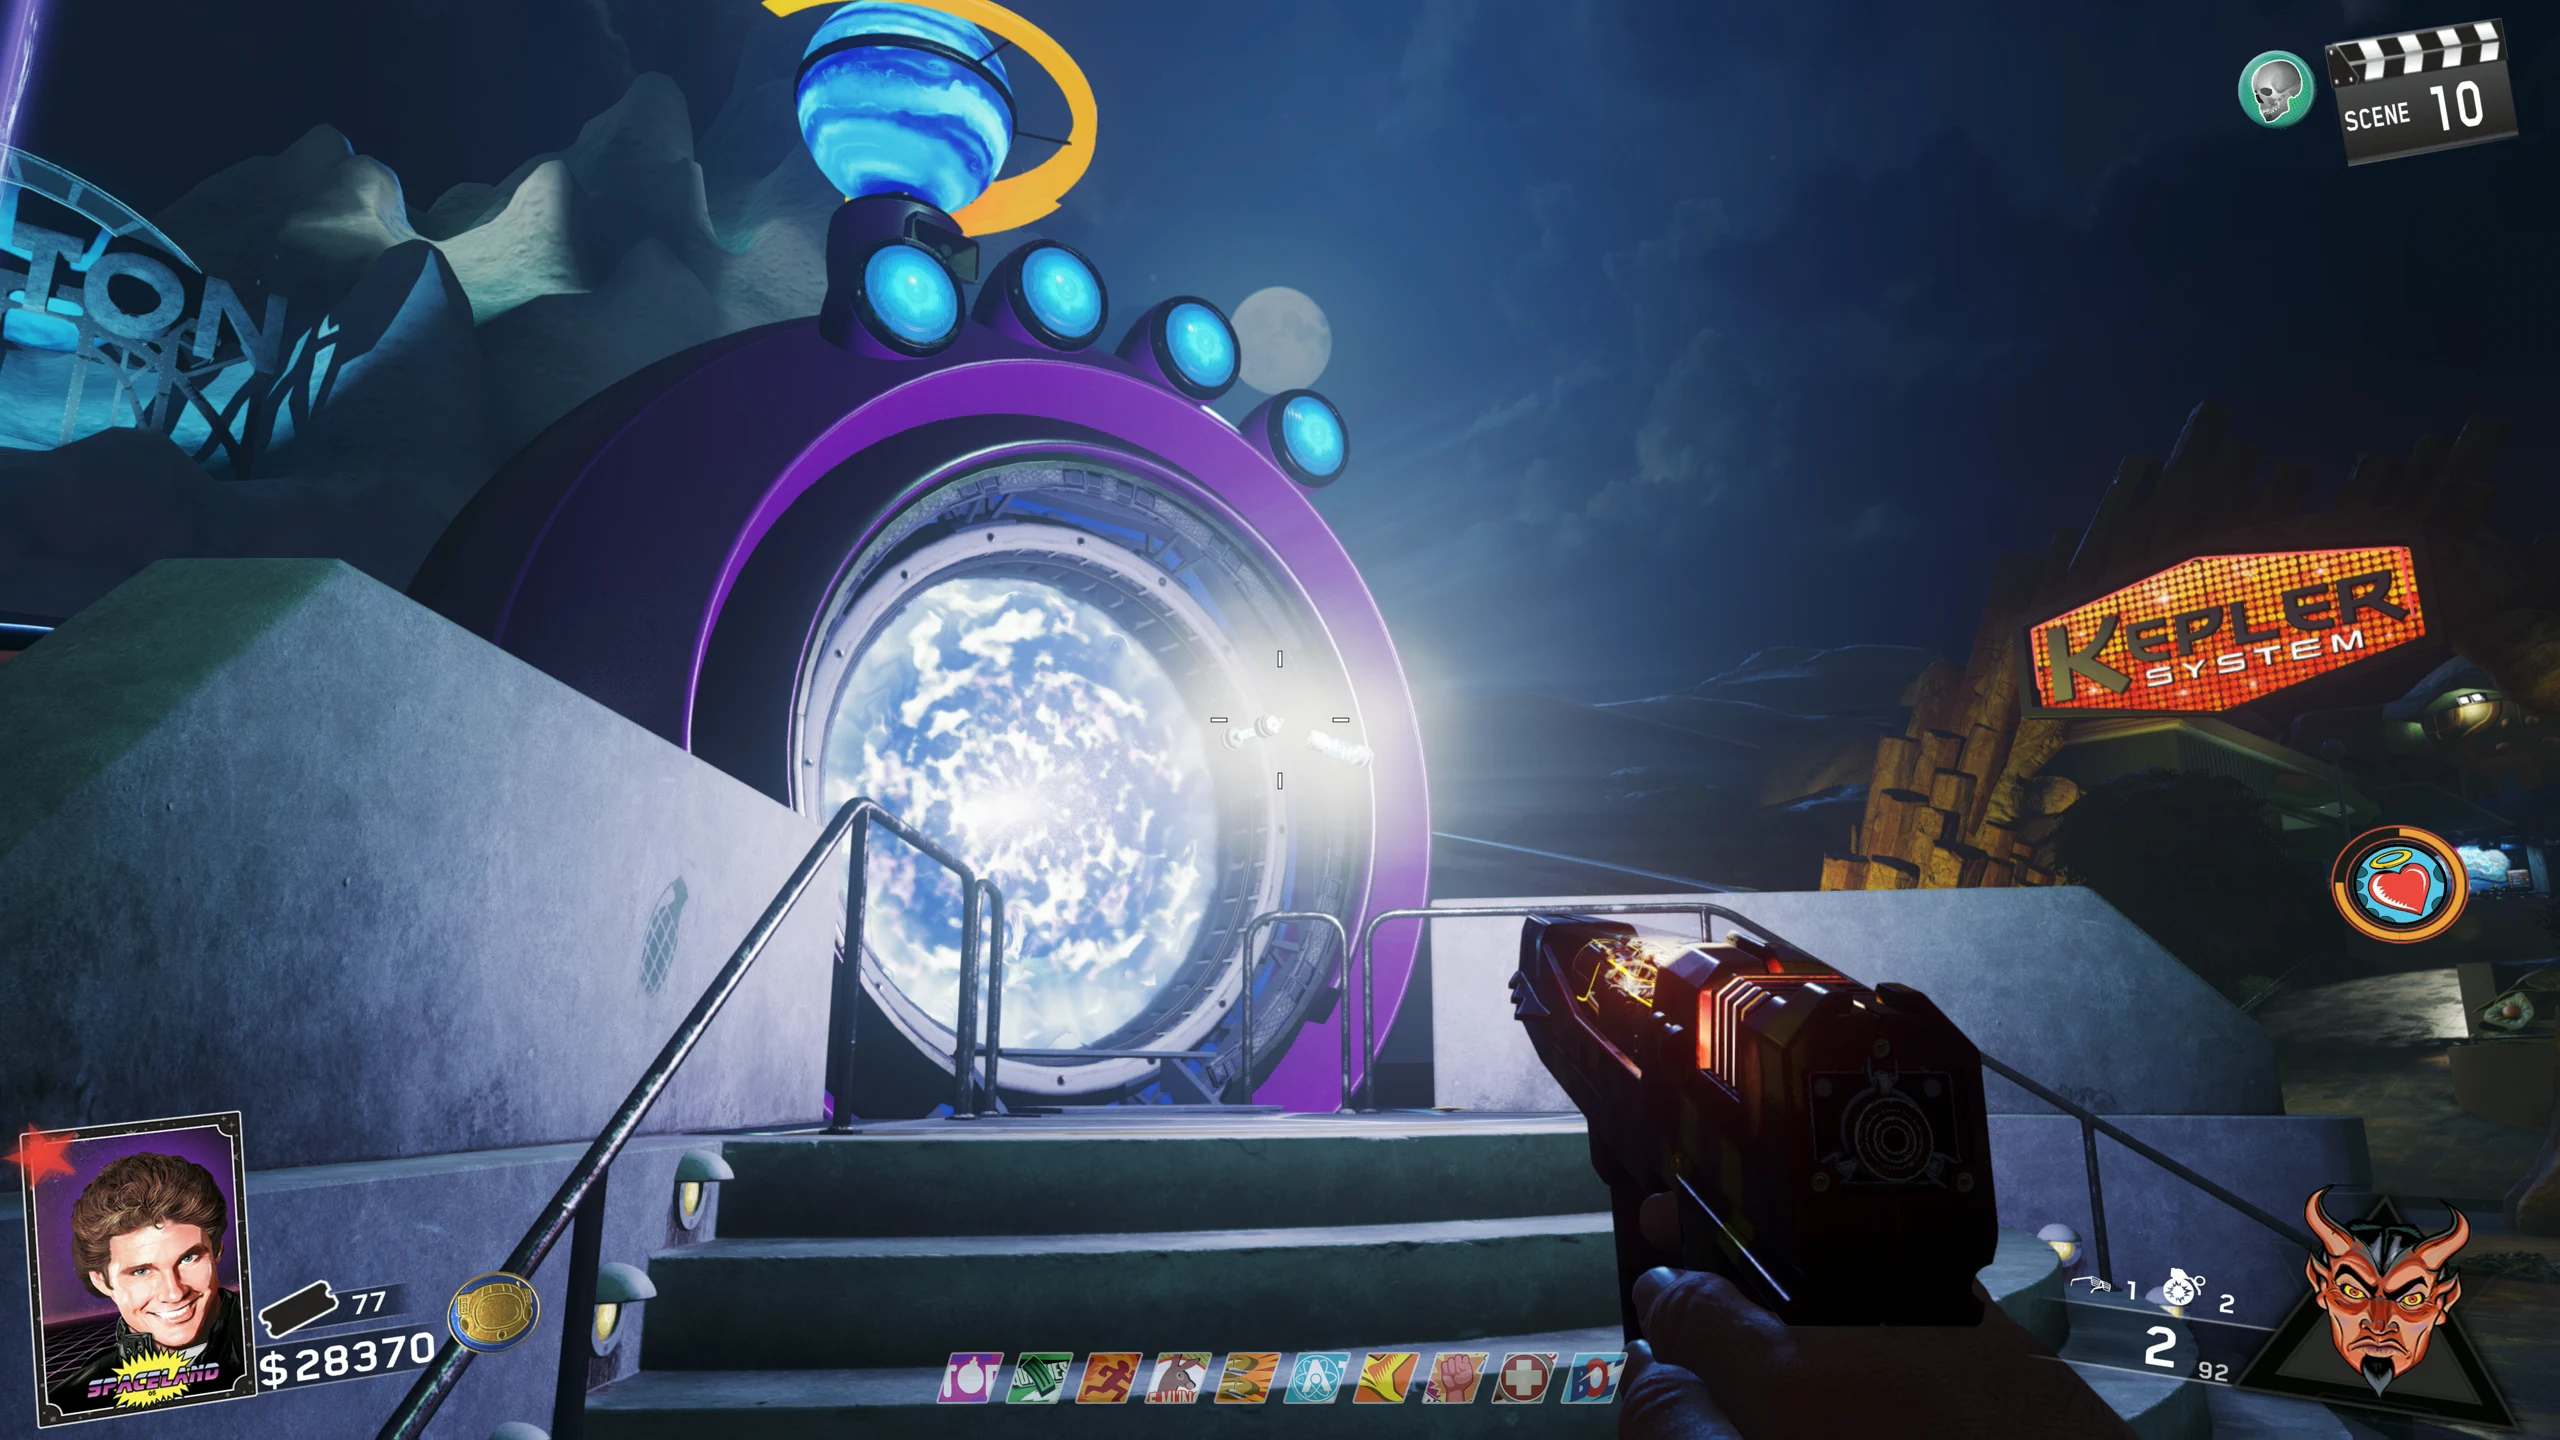
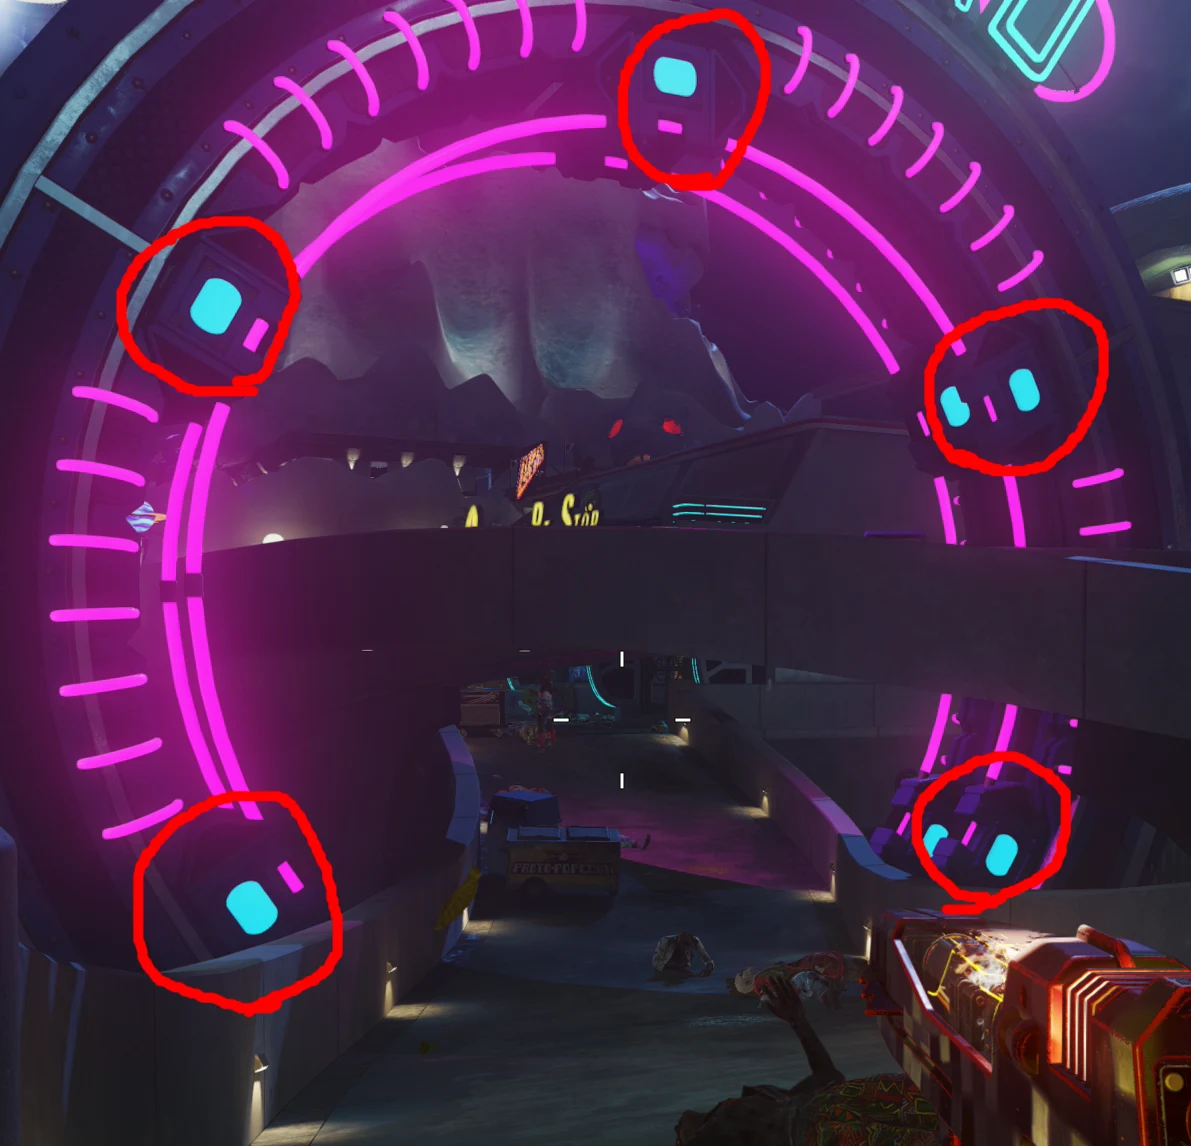
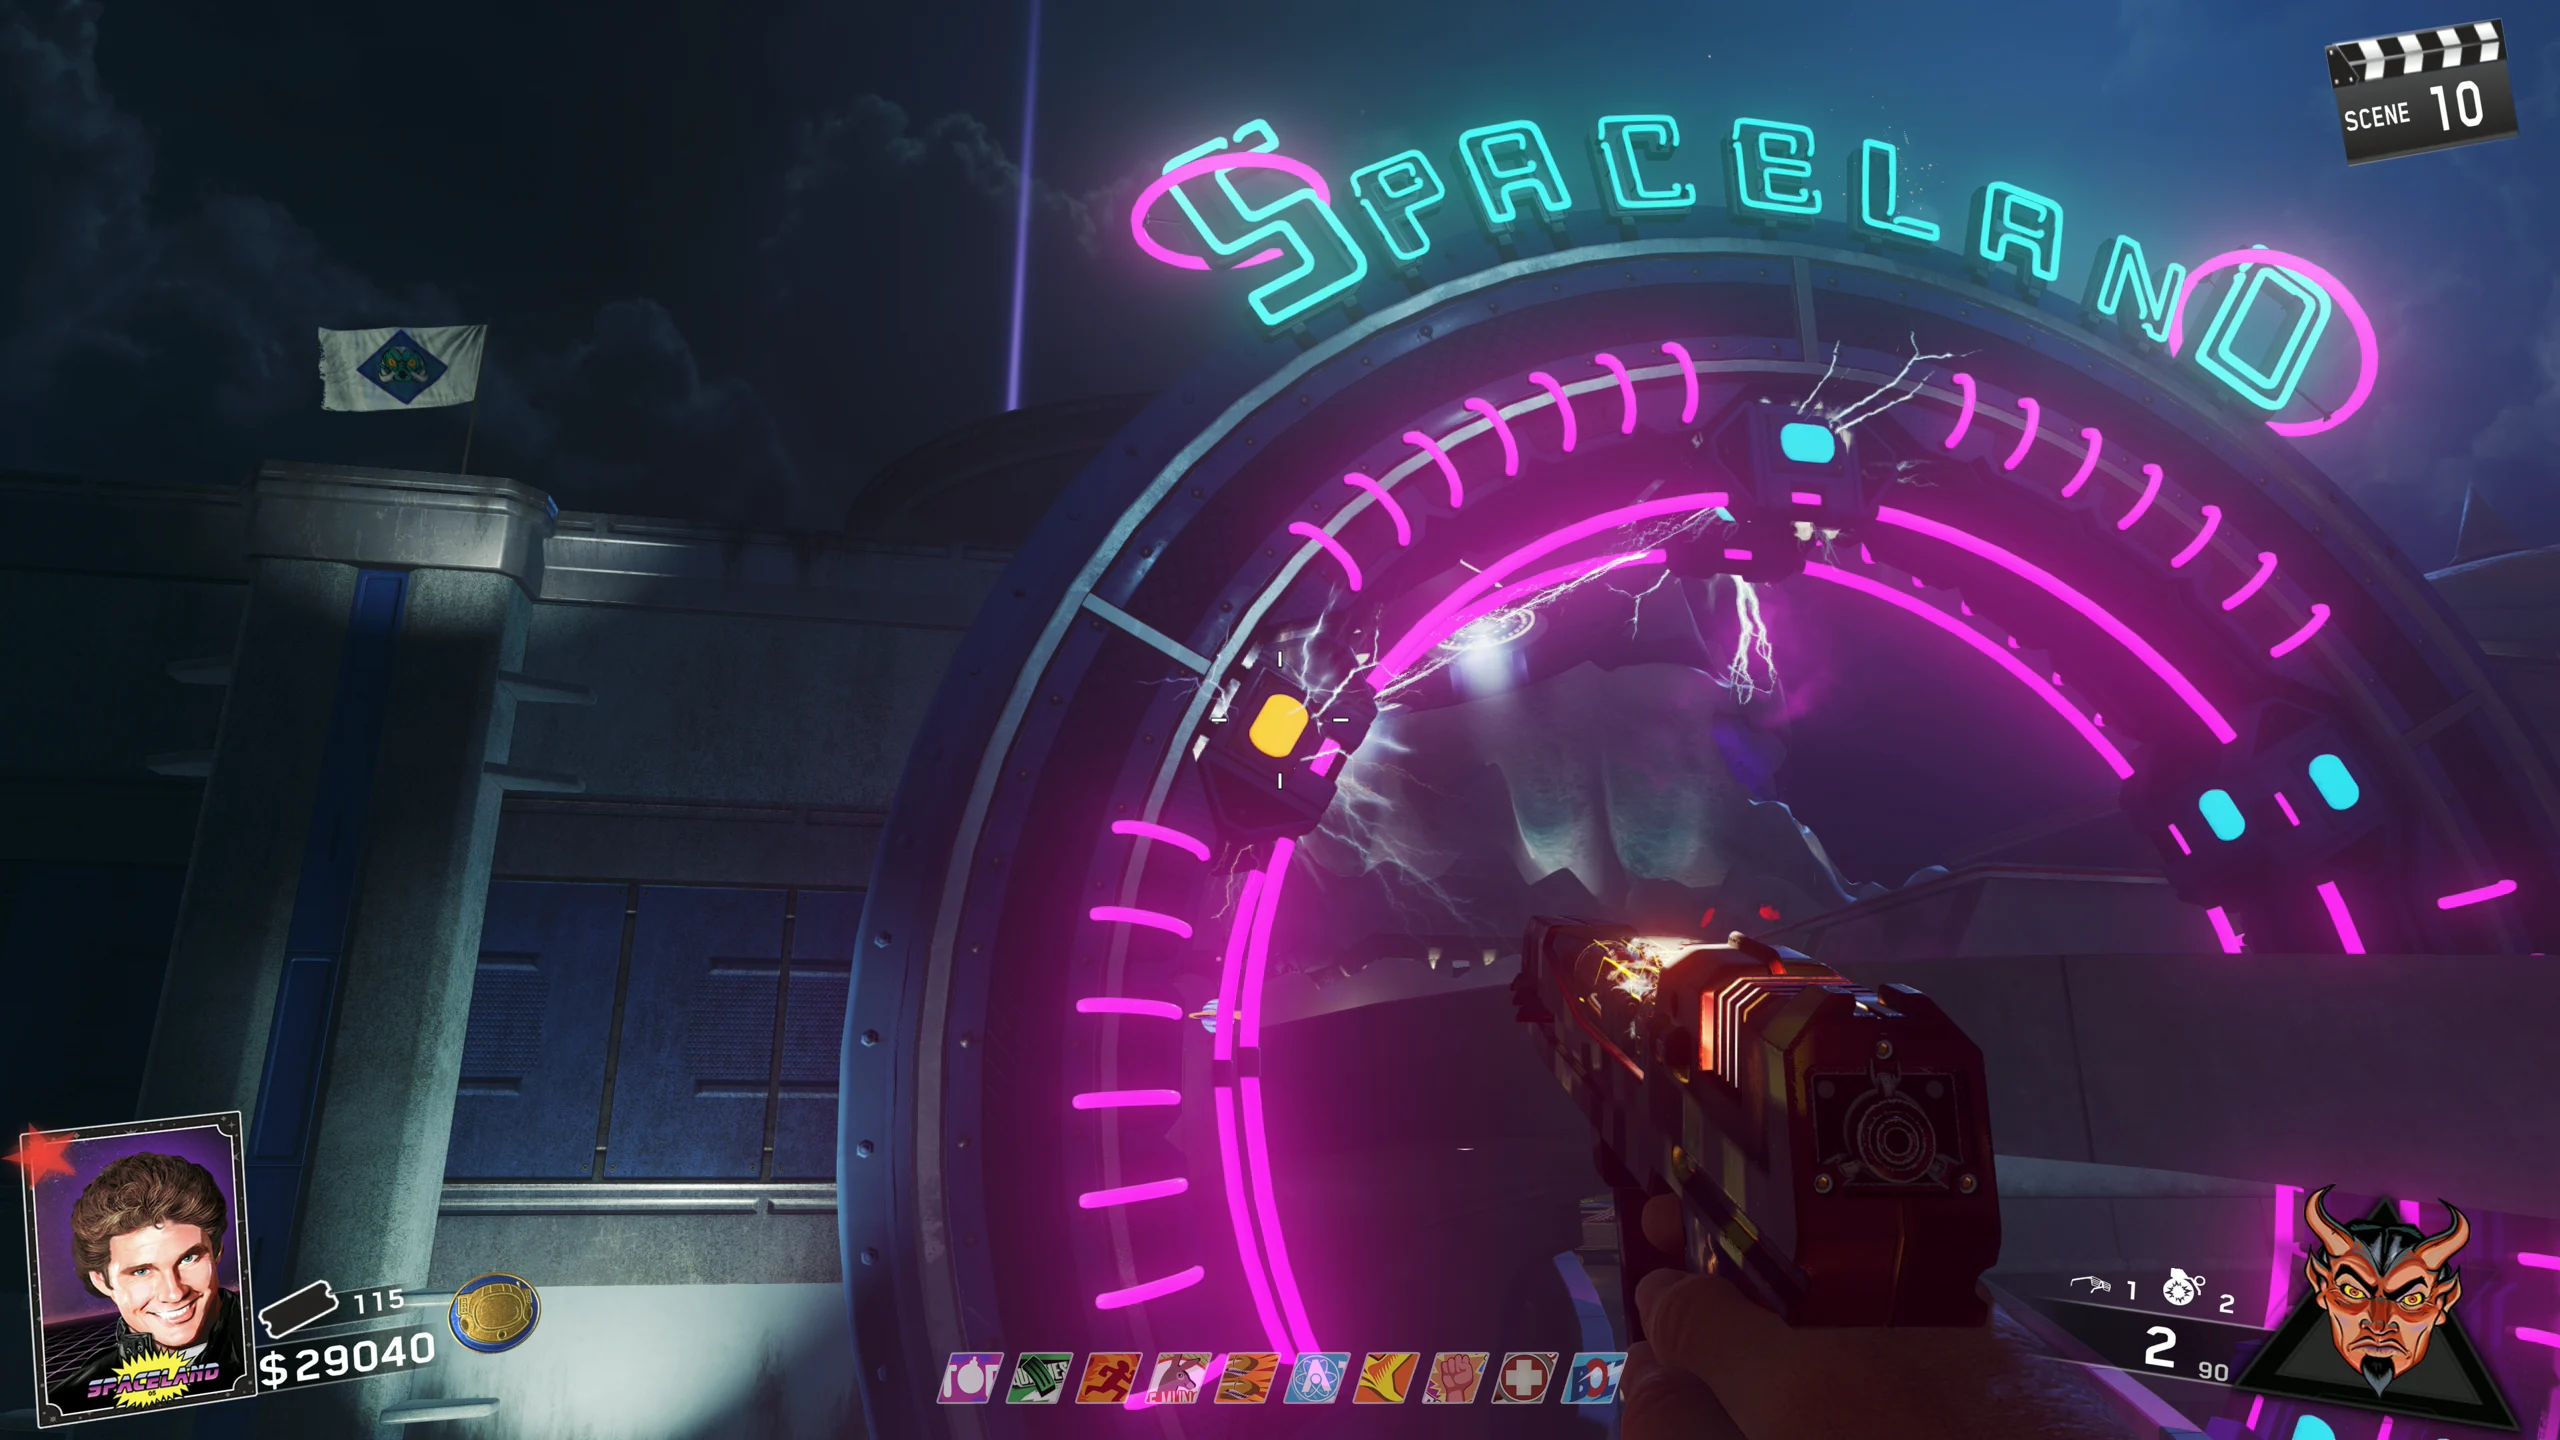
- Using an upgraded wonder weapon, shoot four of the five "power nodes" on the Spaceland Ring around the bridge from spawn. When shot, the node will turn orange and arc electricity to surrounding nodes.
- Once you have shot 4 of 5 nodes, you must time your shot on the last nodes for when the UFO is above the Pack-a-Punch portal. When you activate all five nodes, the Spaceland Ring will charge for about 3 seconds before shooting a laser at the device above the Pack-a-Punch portal. The device will redirect the laser straight up.
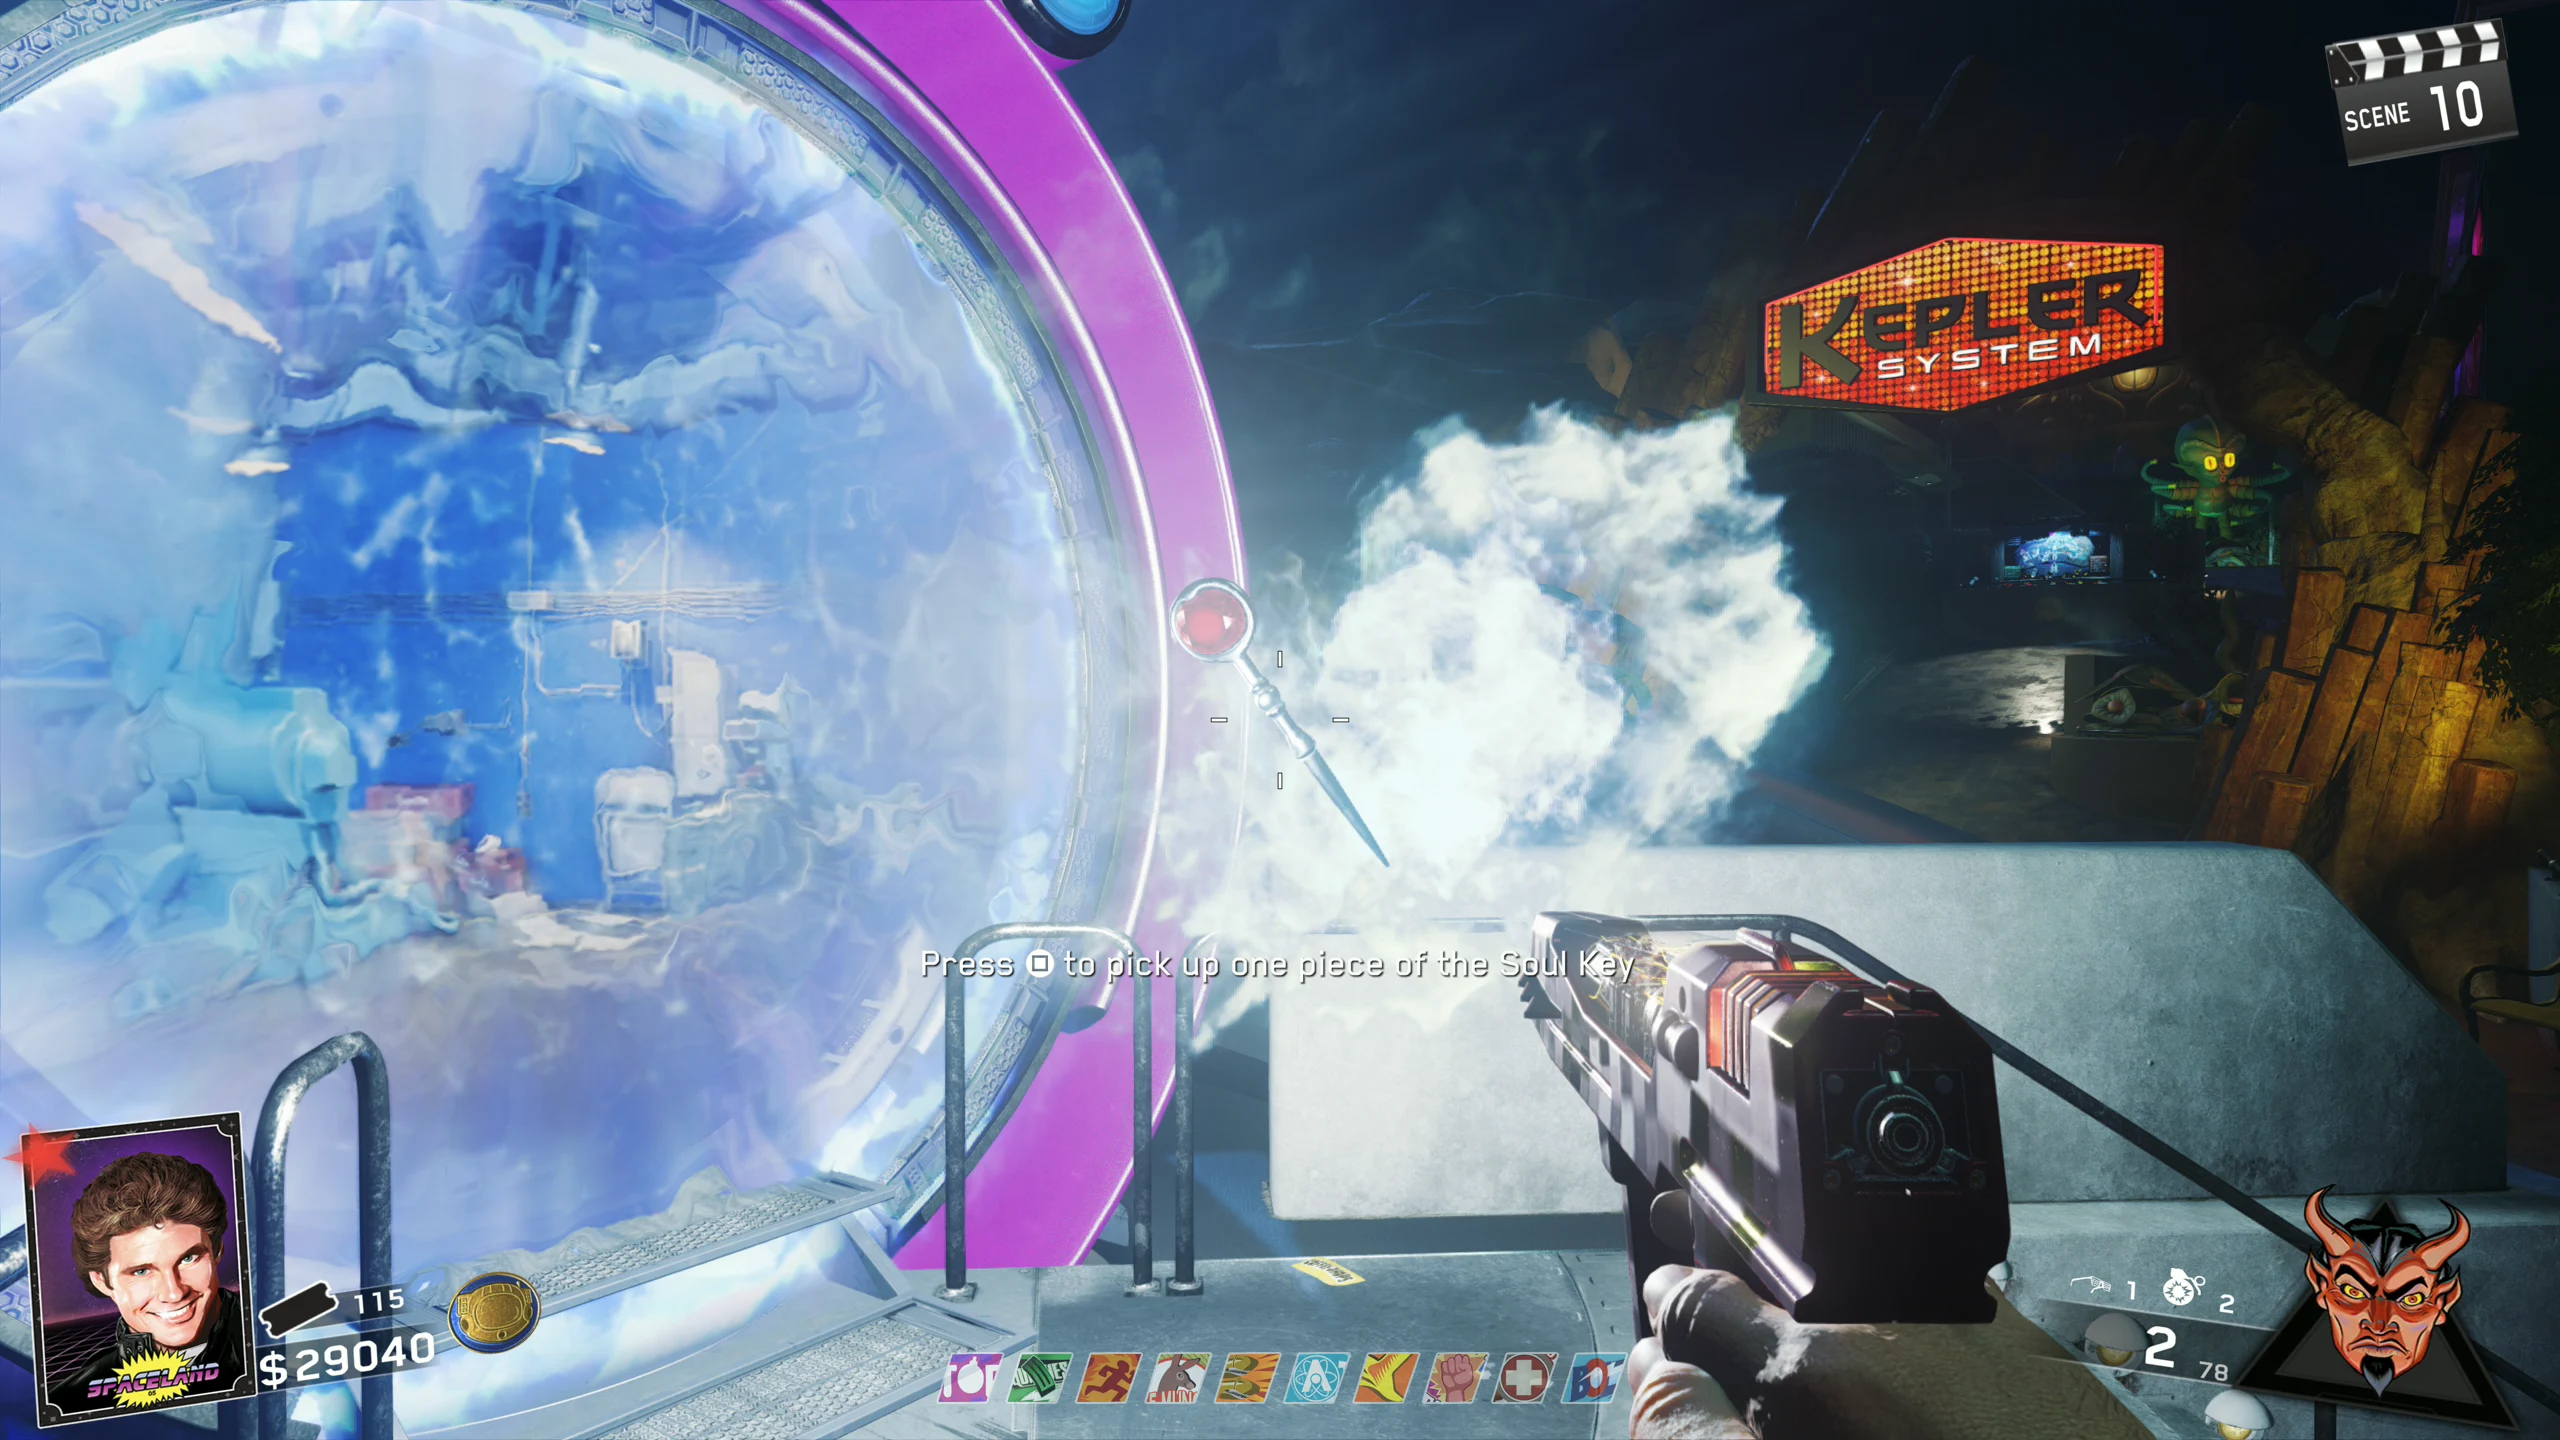
- If the UFO is in the path of the laser, it will light on fire, fly into the air and explode, and the Soul Key will spawn in front of the Pack-a-Punch portal. If you are in Director's Cut mode, the Talisman will spawn after the Soul Key is picked up in the same spot, and you will be given the Director's Cut I animated calling card.
- The final cutscene on this map will only play if you are playing as Willard Wyler; otherwise, there is no ending cutscene.
Additional Lobby Music
- Unlock Director's Cut mode (See the Director's Cut section of The Beast From Beyond guide for more information).
The following steps can only be completed on Round 1.
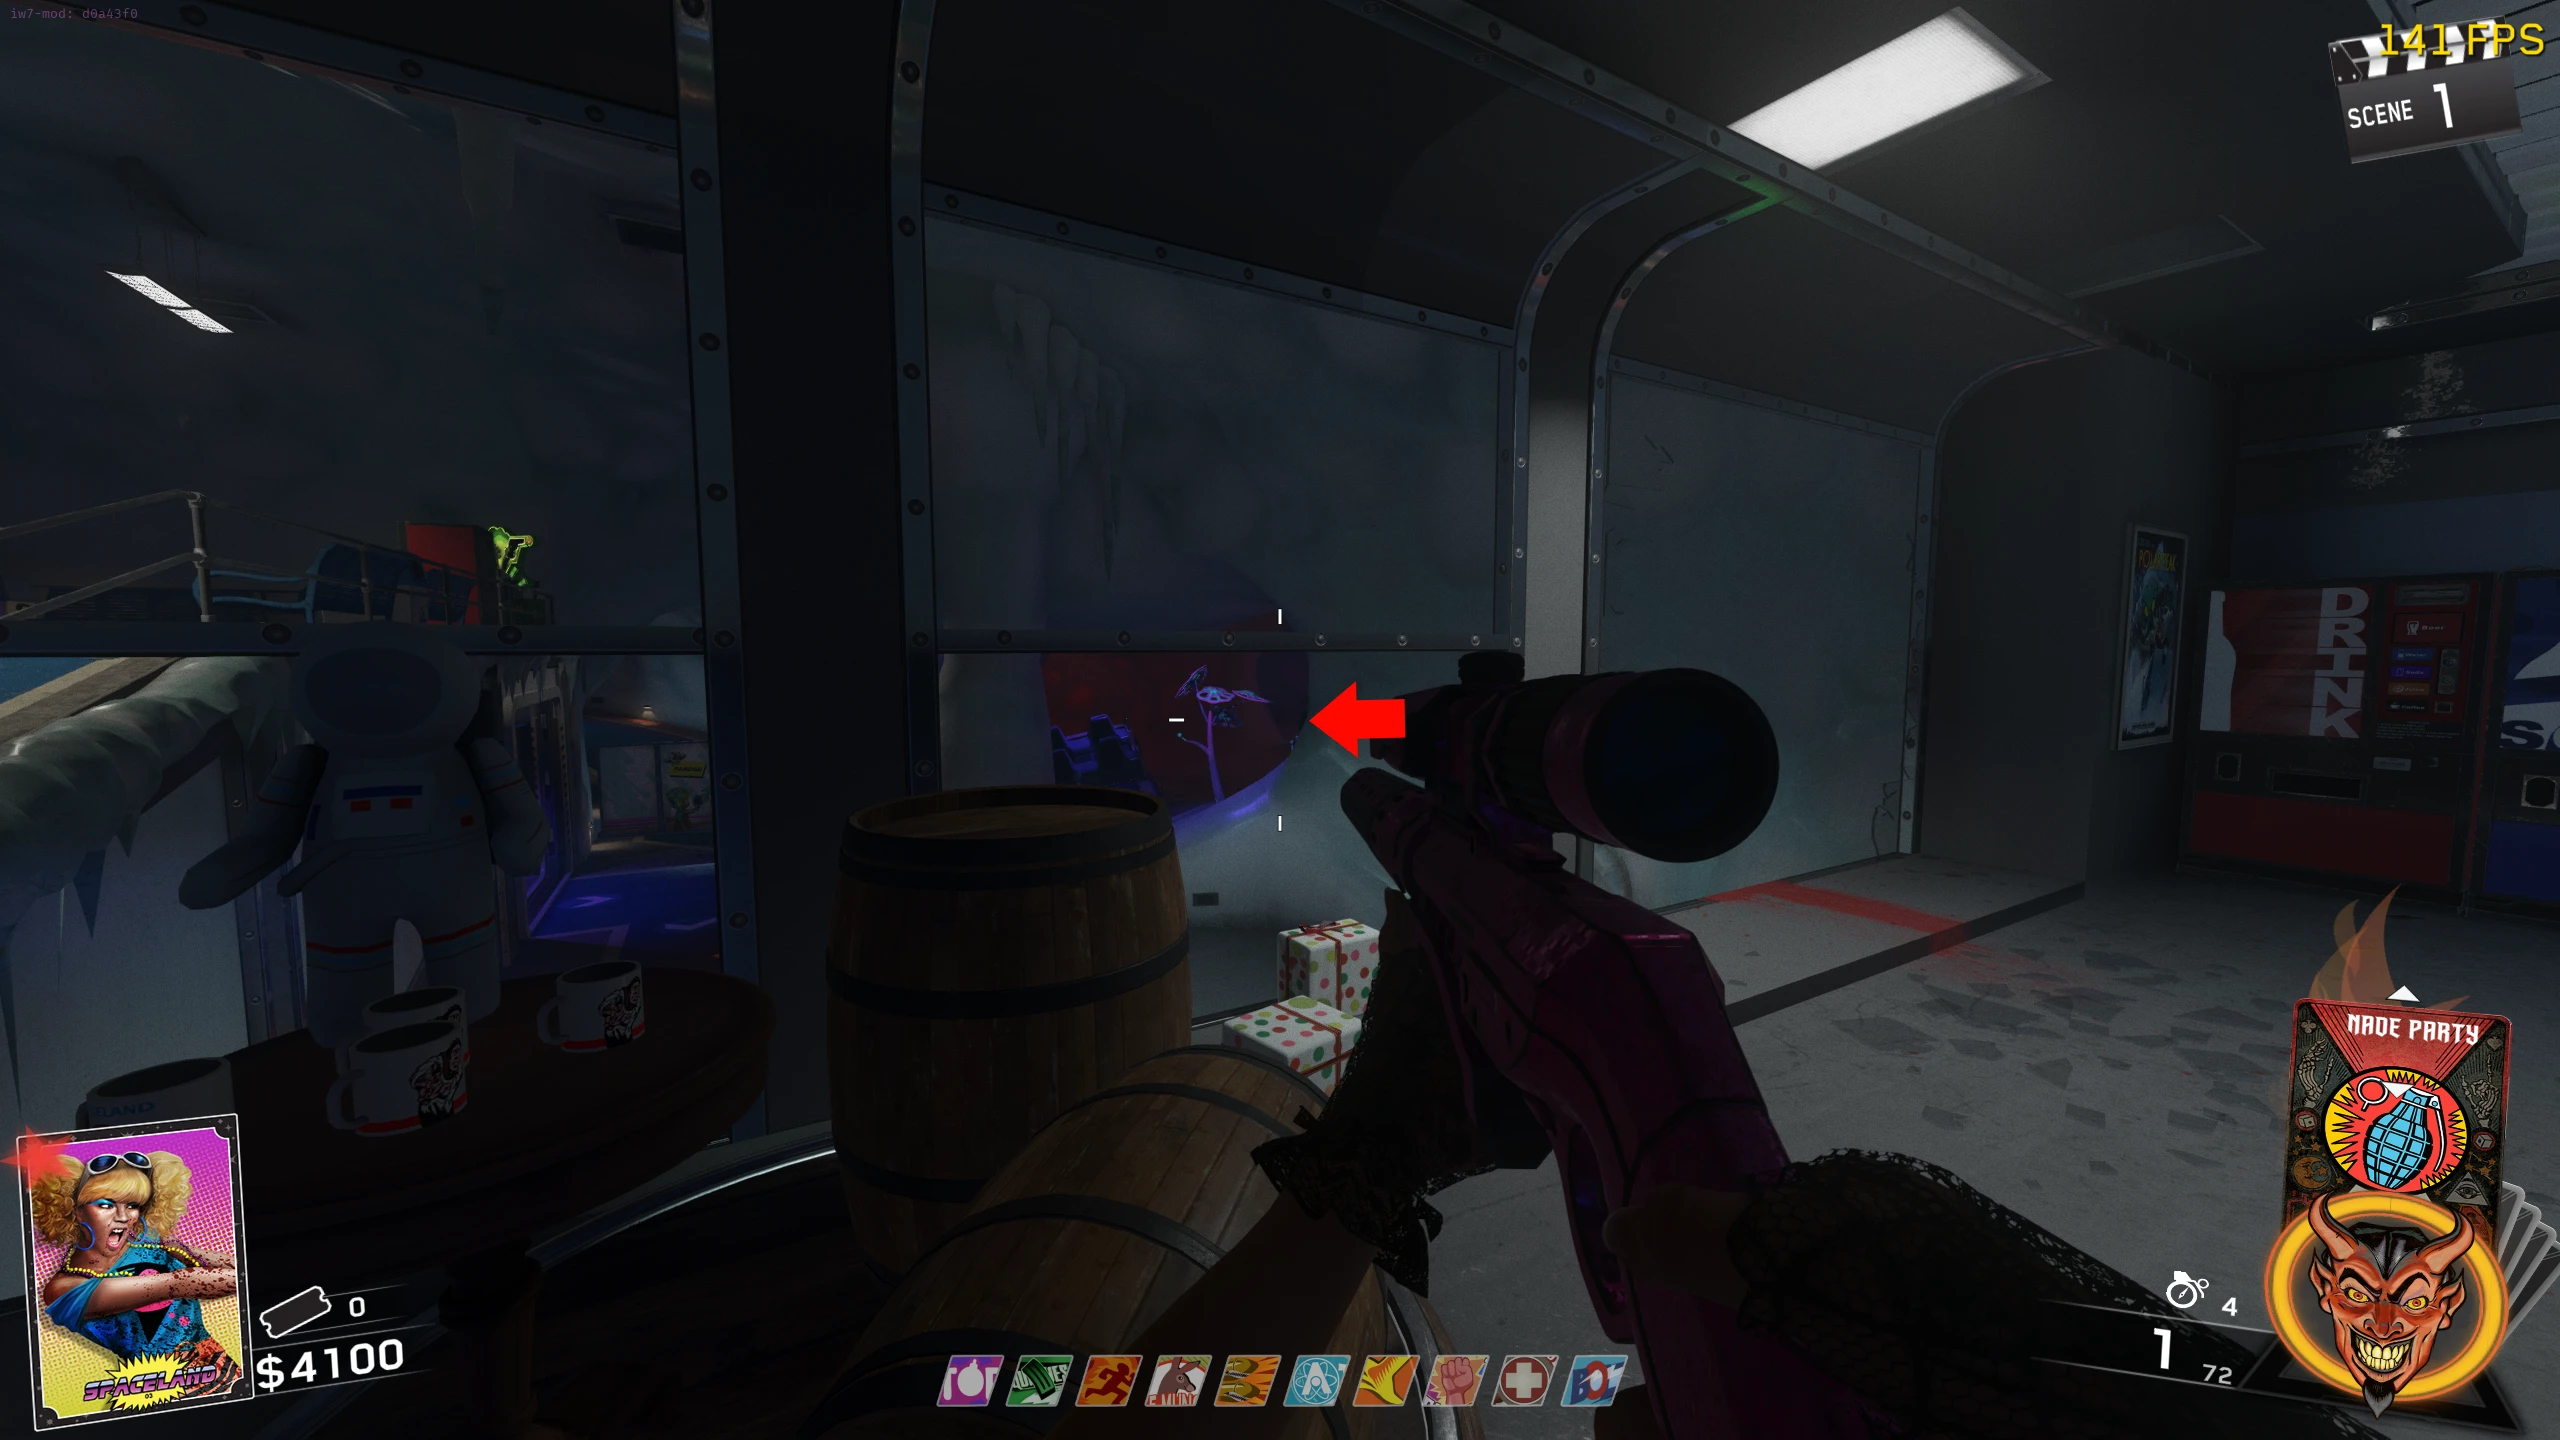
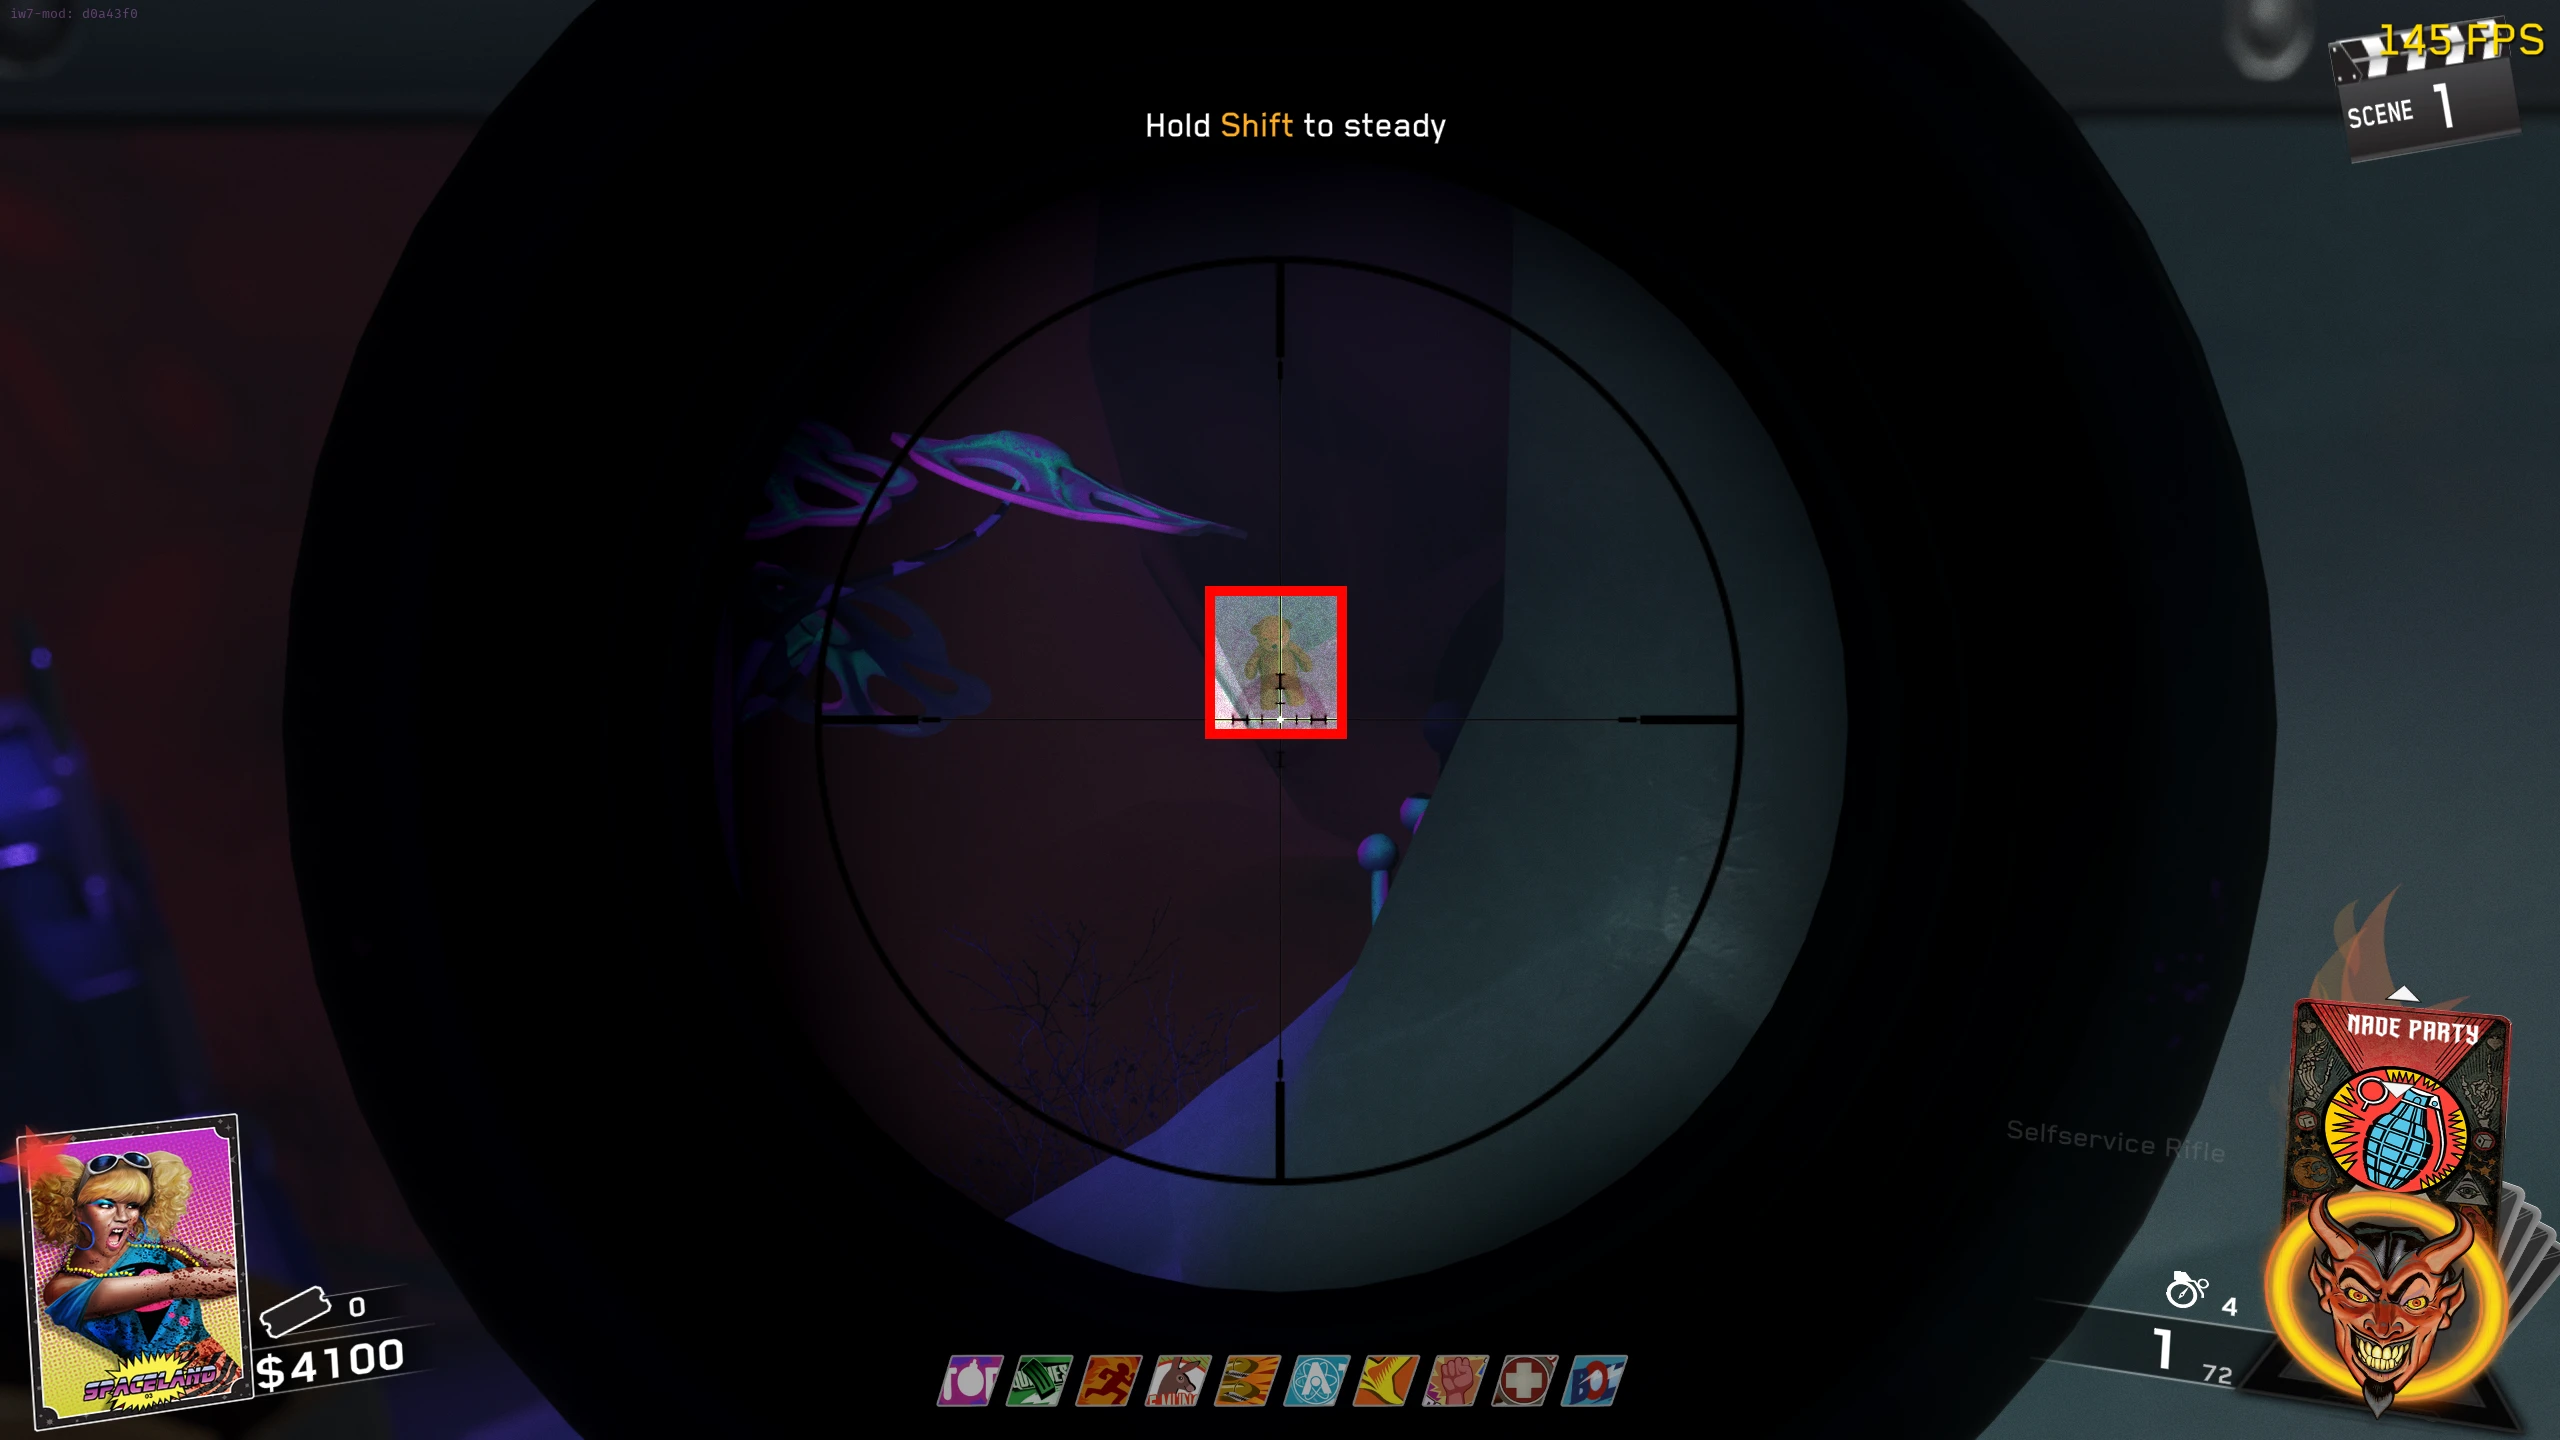
- Pick up Sunglasses, which Zombies randomly drop.
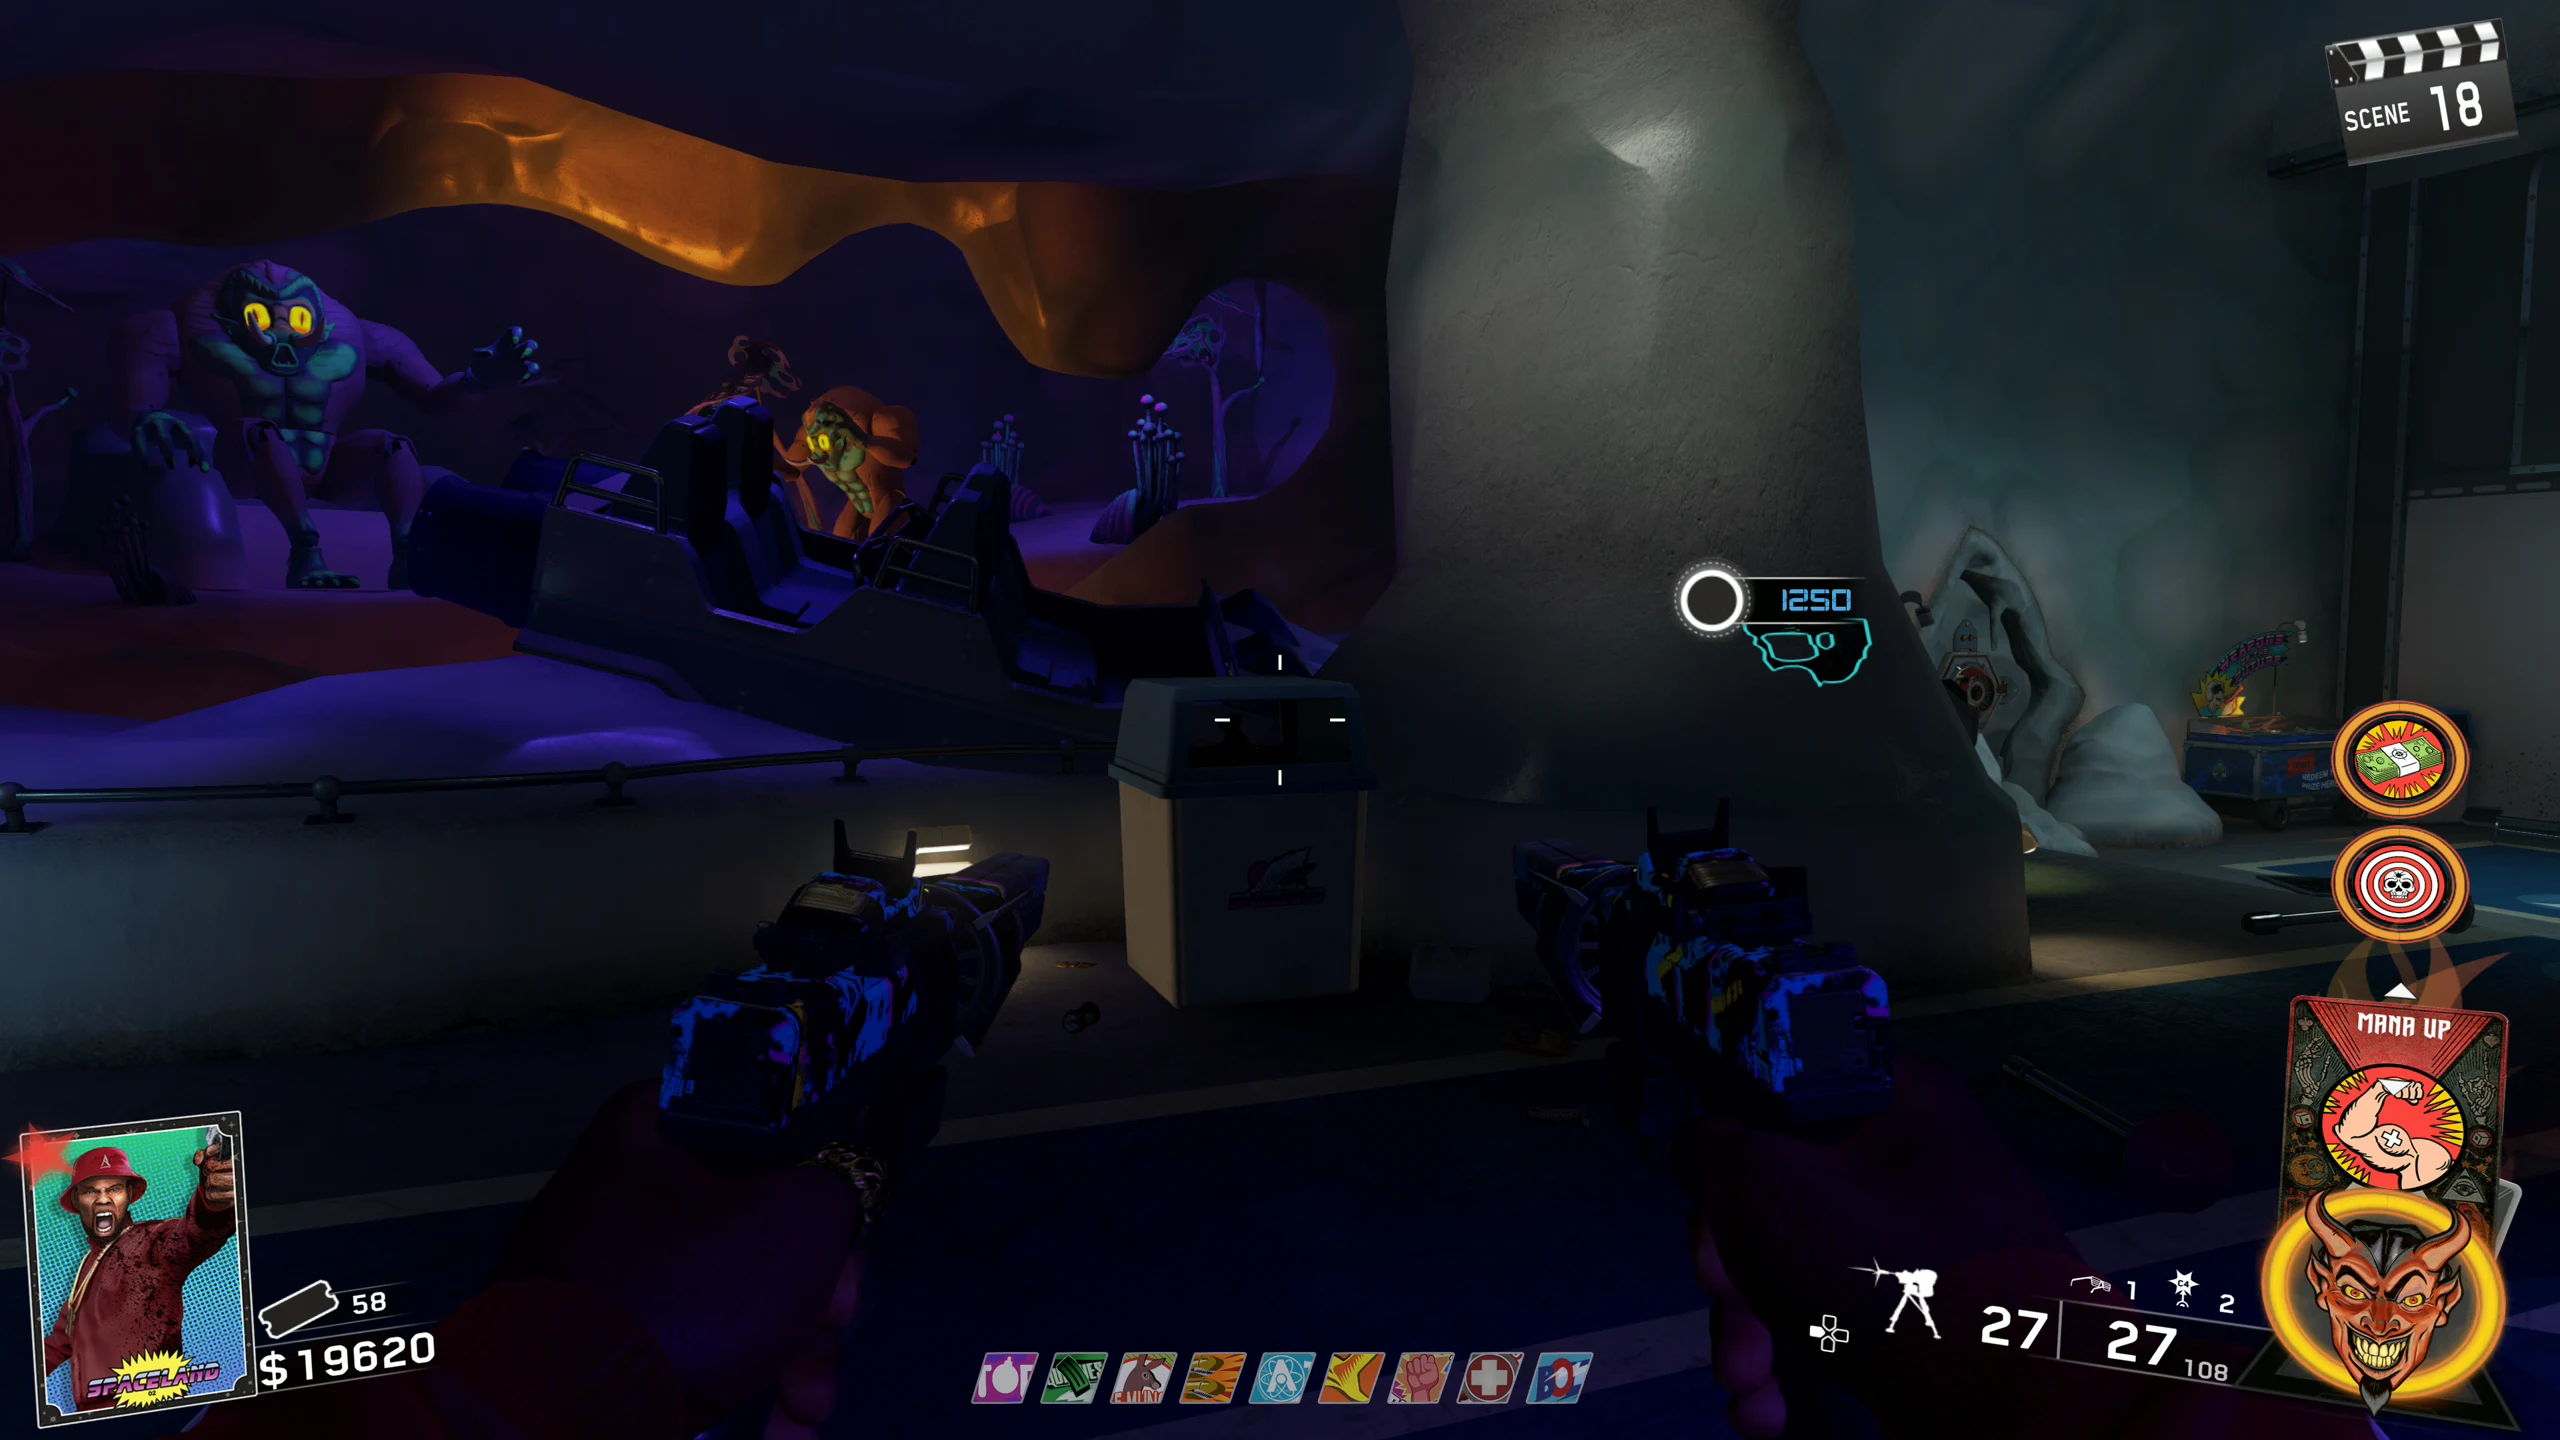
- Ride the Rollercoaster with the sunglasses on. At the end of the first quick downhill section, you will see a Yeti Animatronic breathing cold air. Shoot the White Talisman Mask between the eyes of the Yeti. If done correctly, you will unlock the new Lobby Music.
Ghosts 'N Skulls
Ghosts 'N Skulls is an arcade game where players must clear skulls by firing ghosts at them. To unlock the machine, they need to complete a specific set of side tasks to get six skulls. Completing the game unlocks all perks permanently, except for Up 'N Atoms in solo games.
- You can check your current progress by looking at the Ghost N' Skulls Arcade Cabinet on the Upper Floor of the Astrocade between the Black Hole and Cryptid Attack arcade machines.
- Warning: You will need to complete the entire Main Quest to get Skull 5.
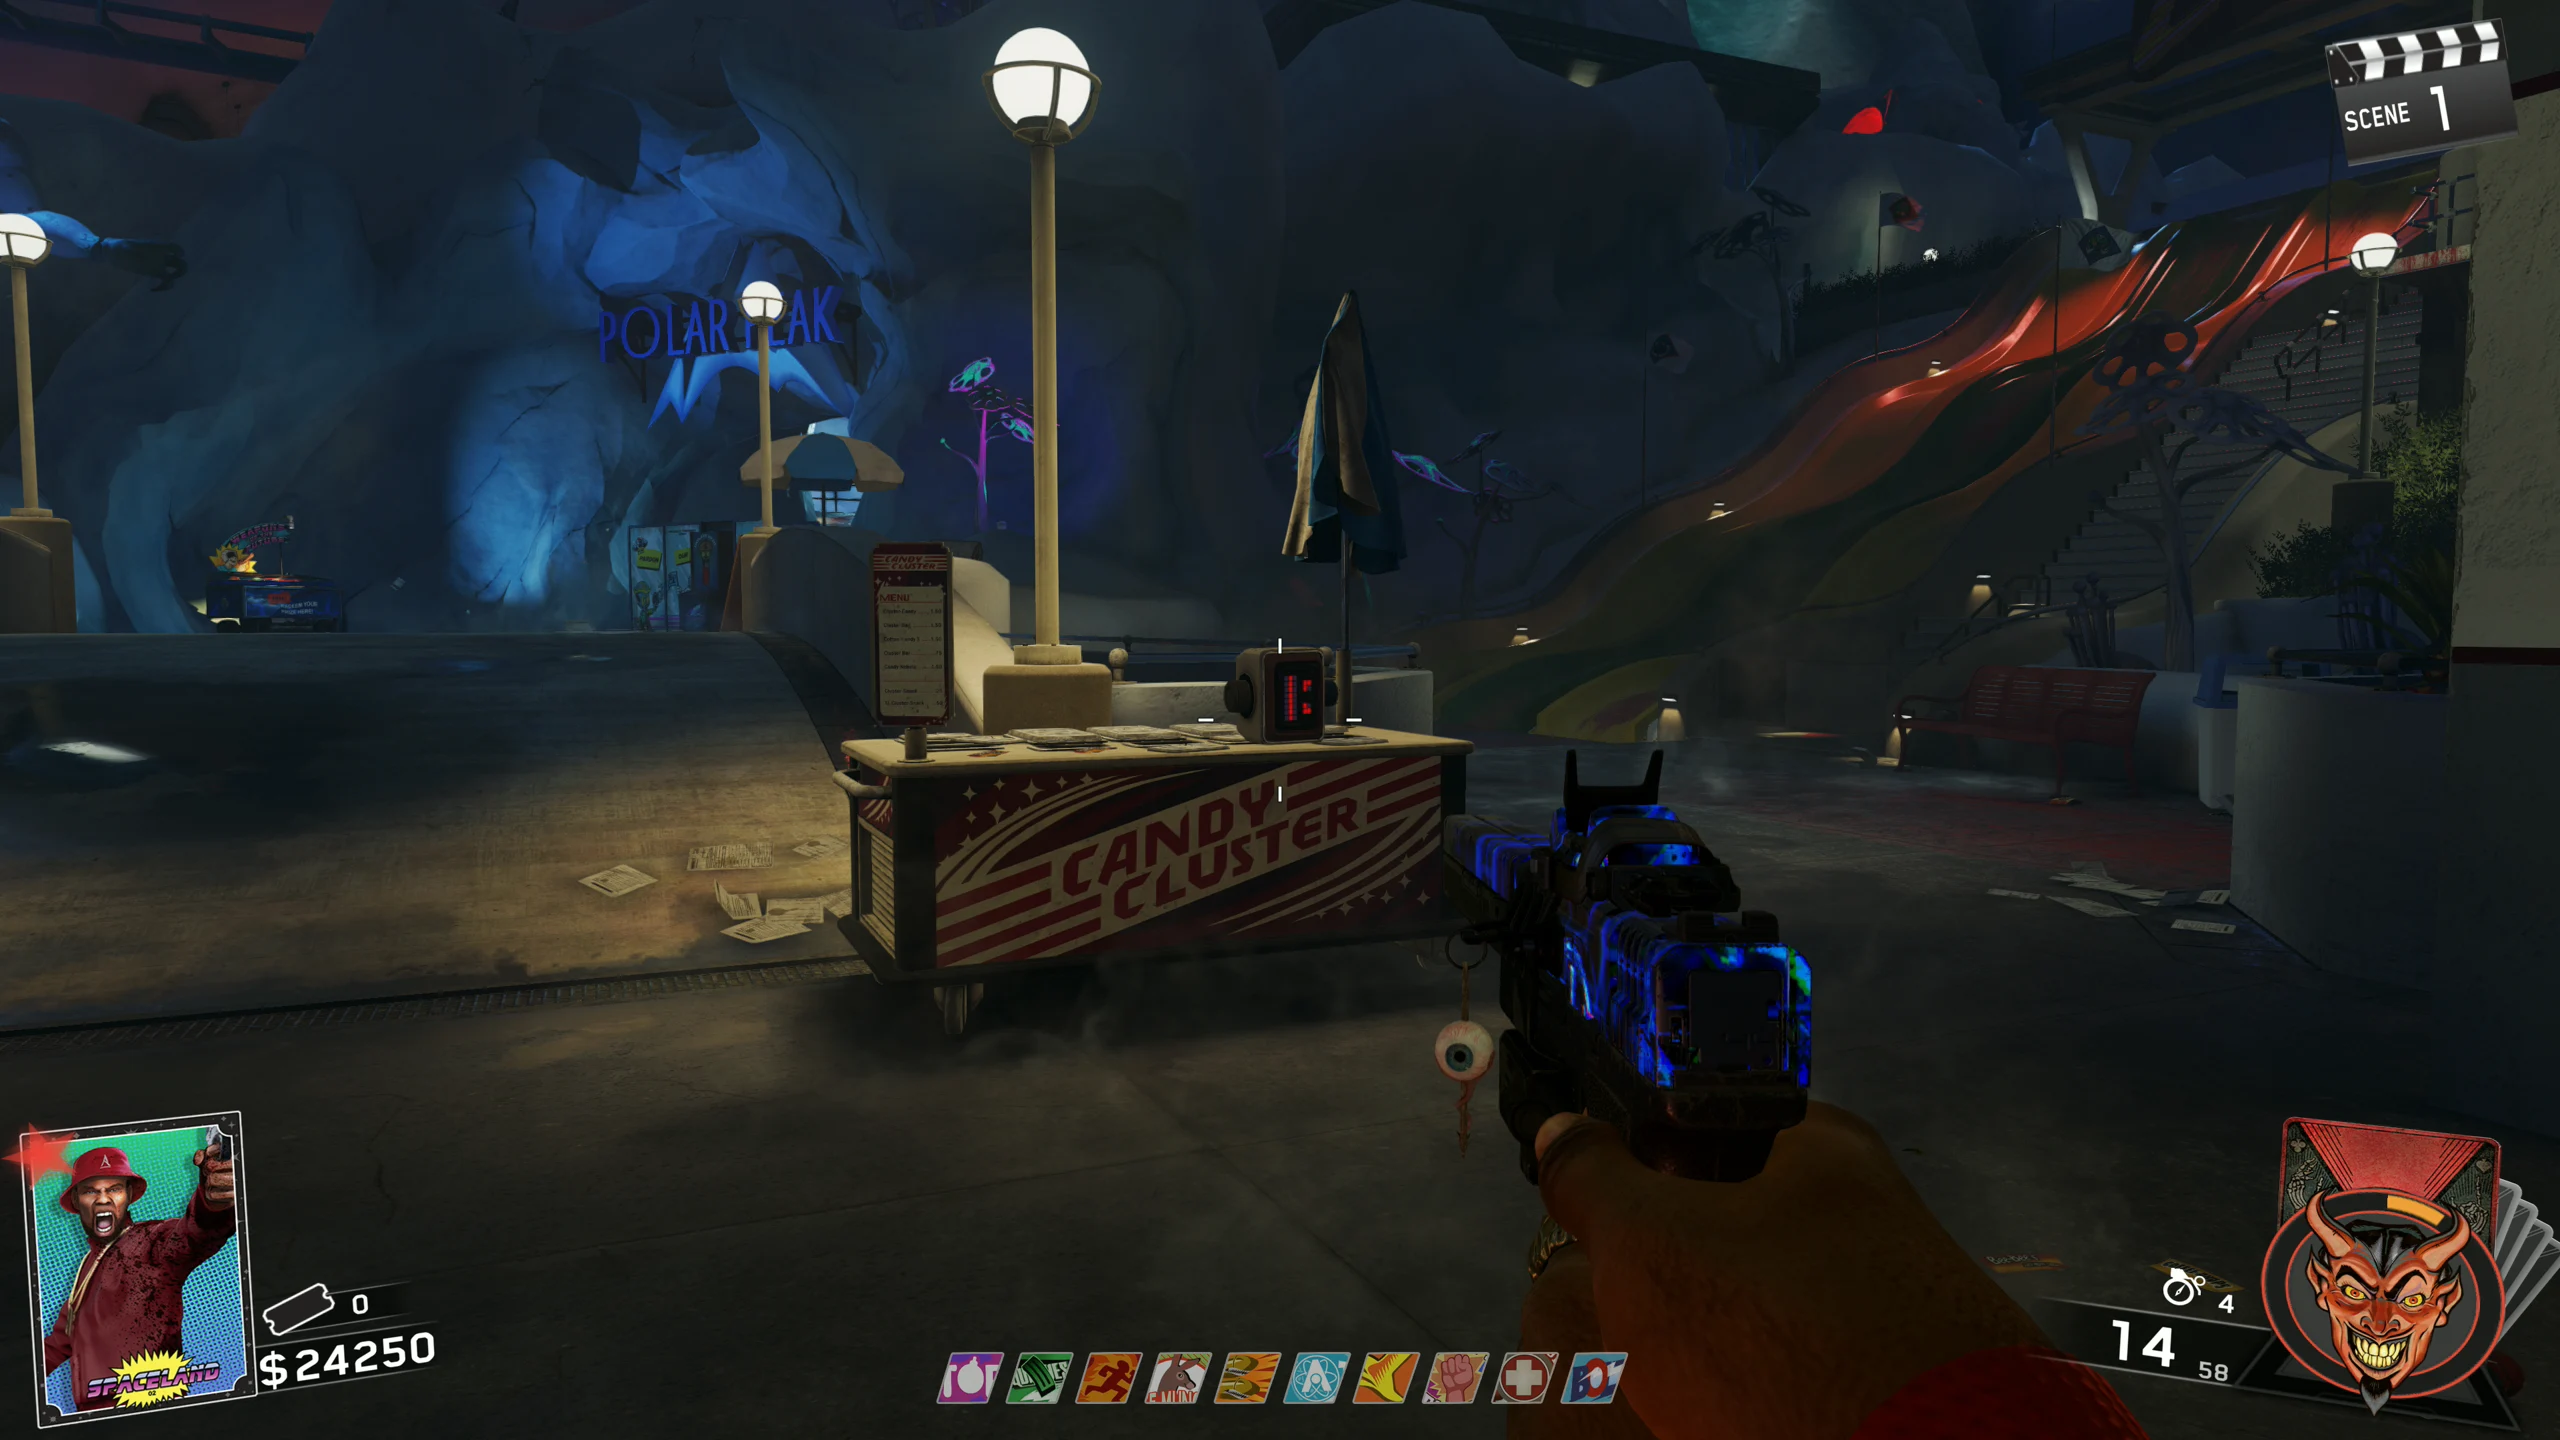
Skull 1/6 - Balloons
- Pop all the balloons above the Hailstorm wallbuy in Spawn. Once all the balloons are popped, you will hear a completion sound.
Skull 2/6 - Skulls around the Map
- Around the map, there will be skulls hiding in certain letters in signs around the map. You must find and "look at" the skulls until they explode into yellow cubes. The skulls only spawn one at a time, and the letters they hide in spell out "GHOST". Skull Locations:
- Letter G
- Letter H
- Letter O
- Letter S
- Letter T
- Once you look at all five skulls, the completion sound will play.
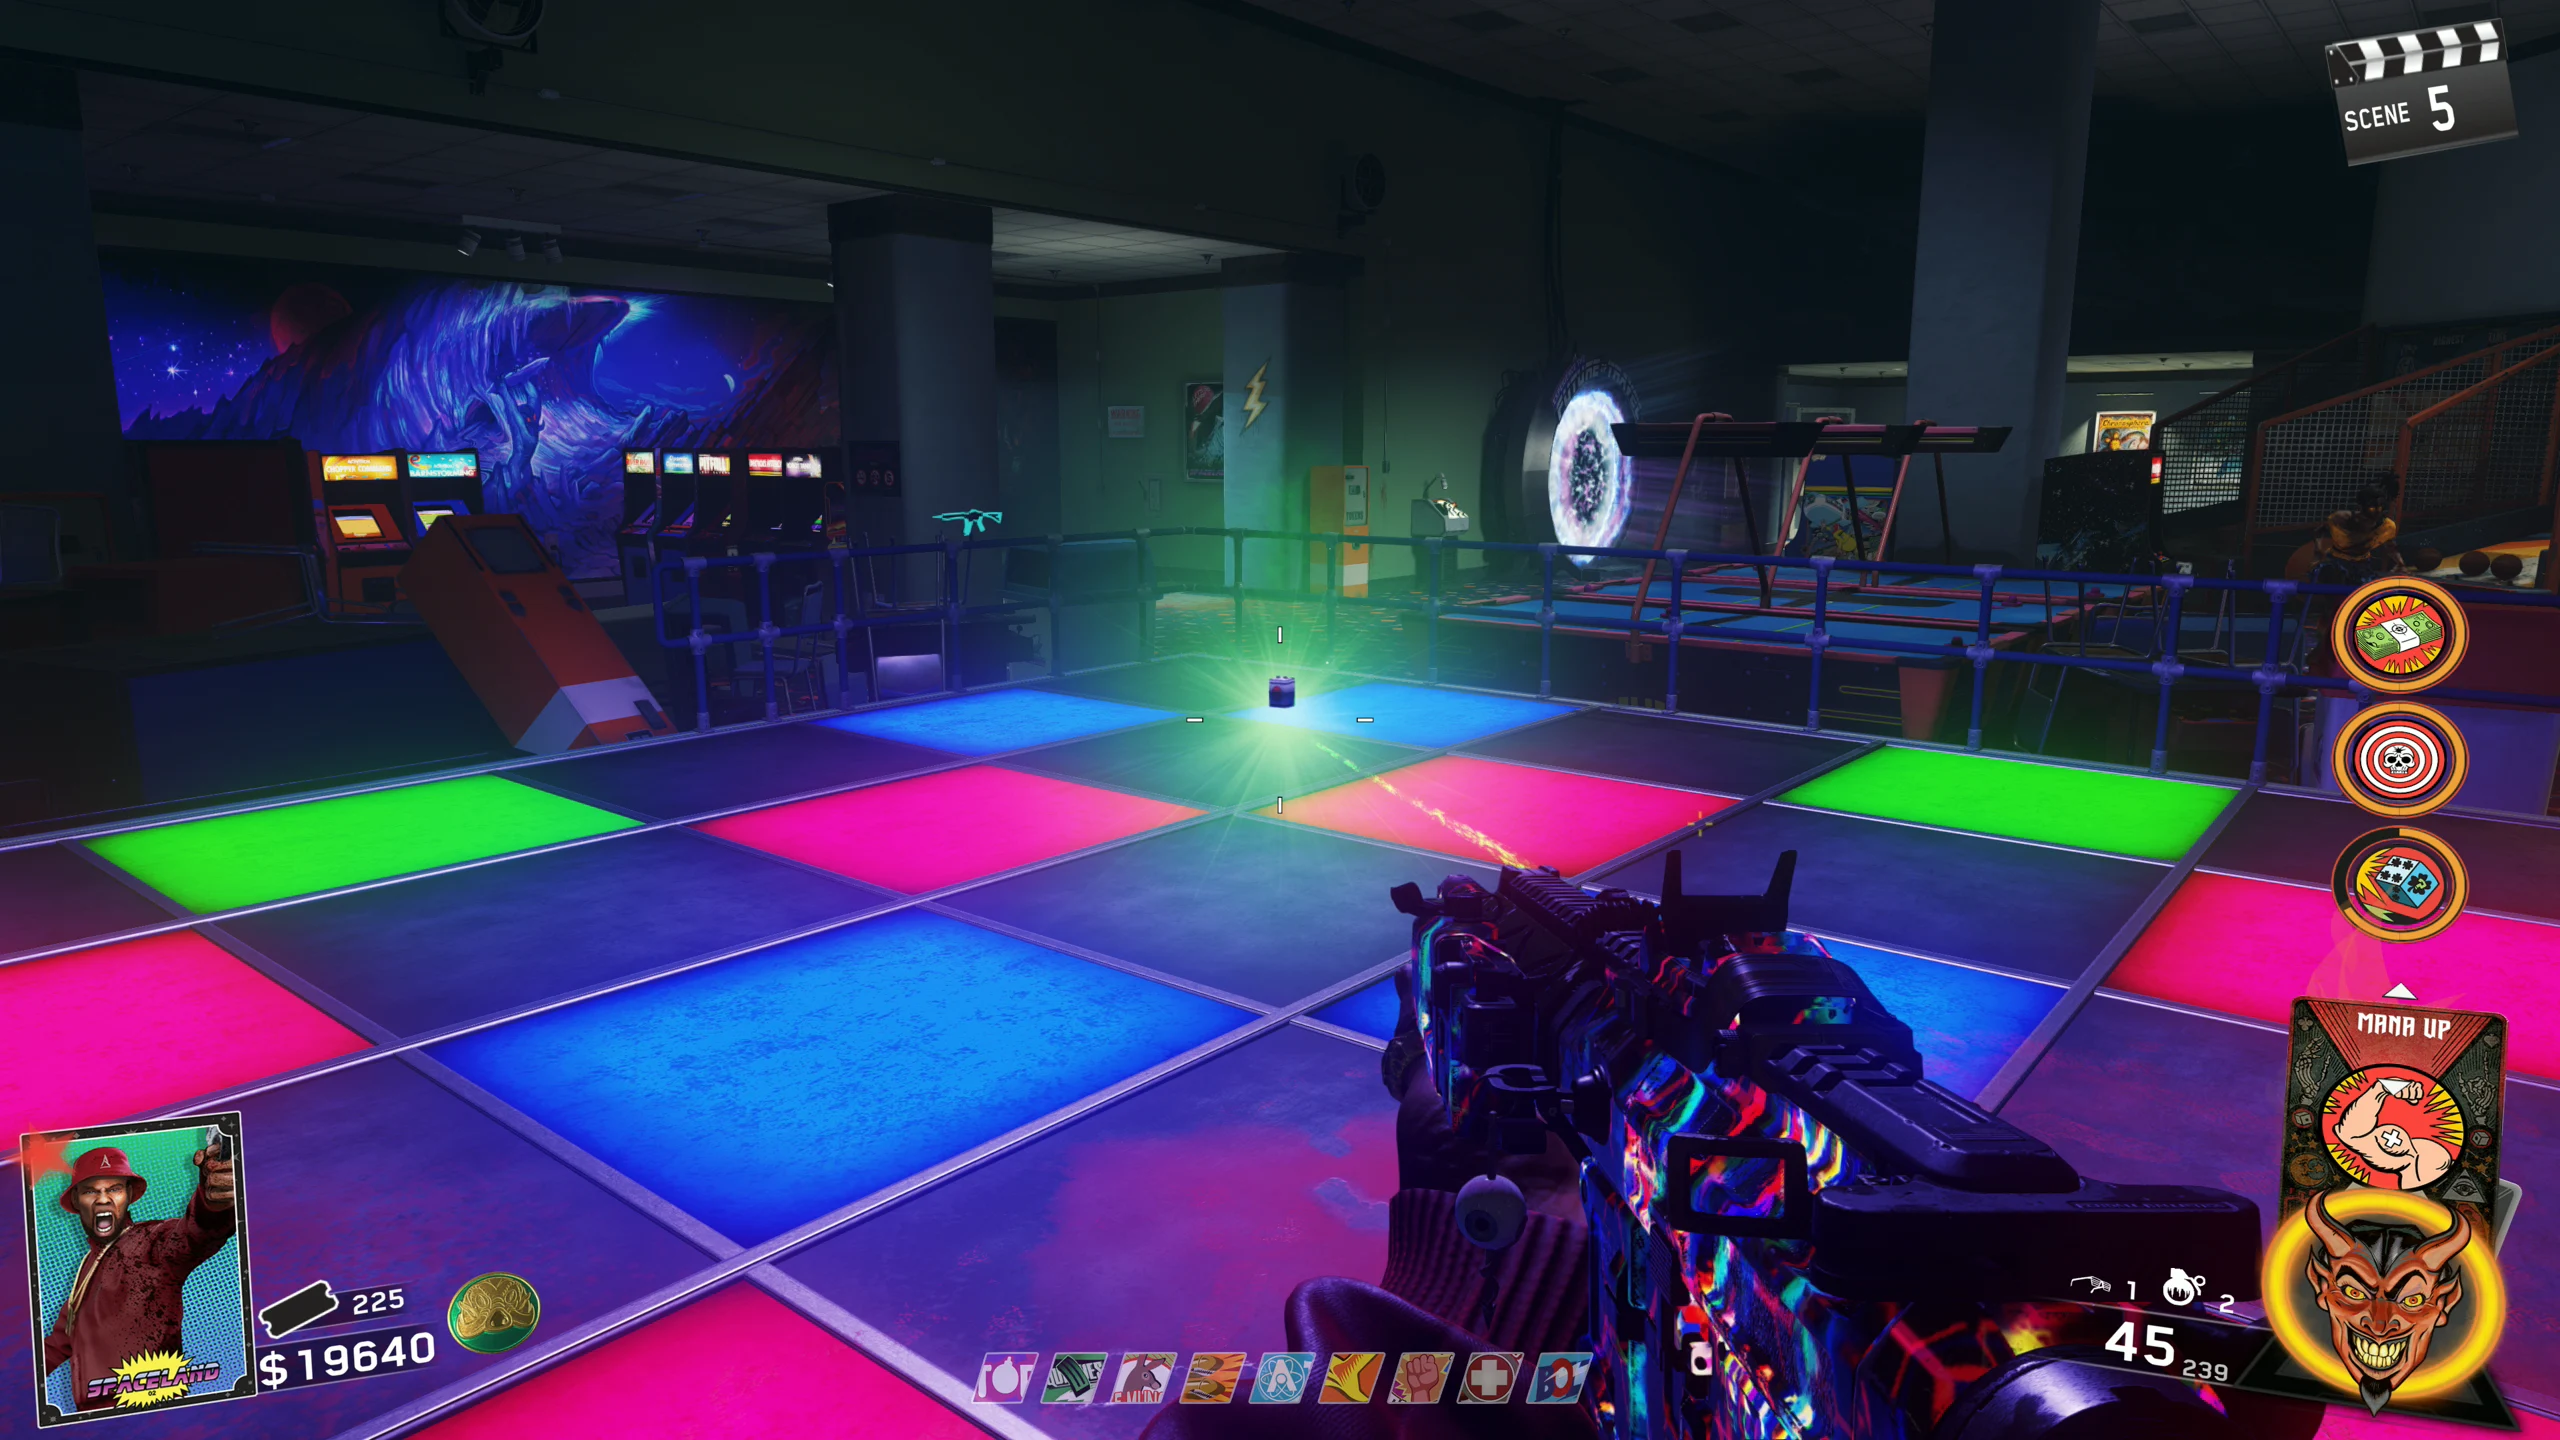
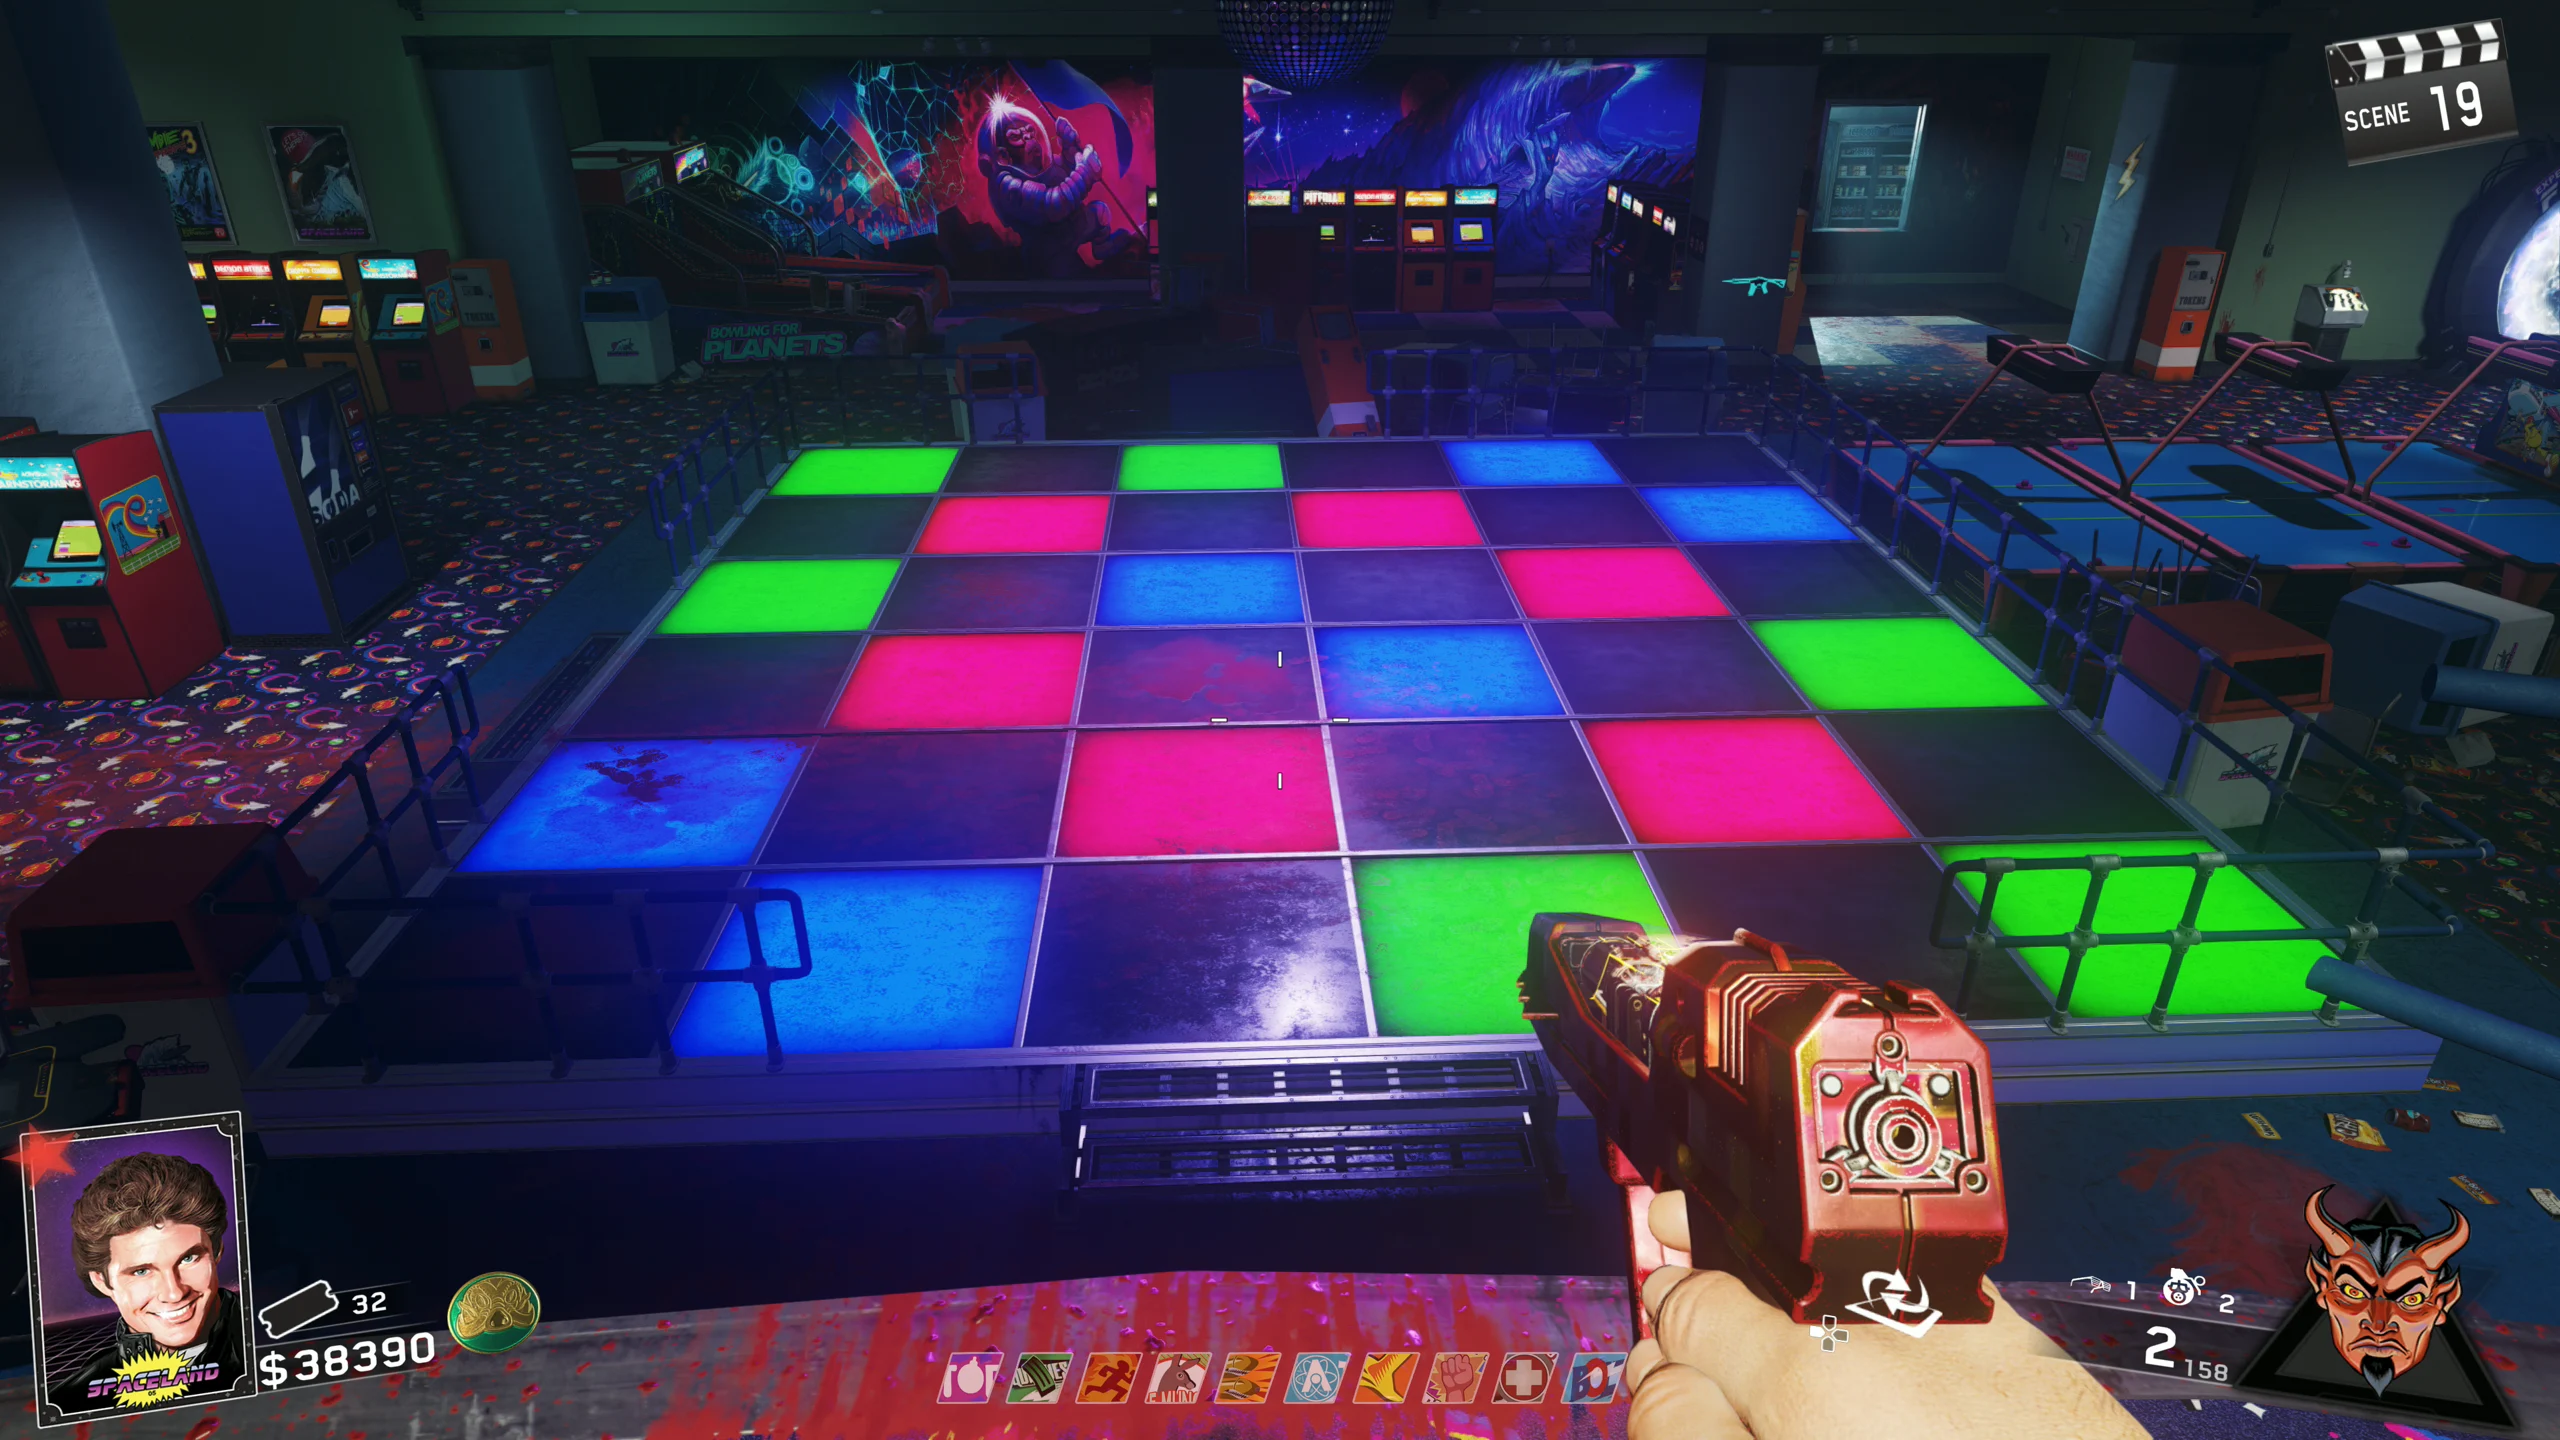
Skull 3/6- Disco Floor
- While standing on specific coloured squares on the Disco Floor in the Astrocade, you must get a certain number of kills.
- If you get too many kills on a coloured square, you can restart immediately with green.
- You can leave the Dance Floor between sets of kills (e.g. between Blue and Pink). You MIGHT (idk for sure) be able to leave in the middle of kills getting the kills (e.g. get 5 Blue kills, leave, come back, and get 4 more kills).
- Green - 1 Kill
- Blue - 9 kills
- Pink - 8 Kills
- Black/Off - 4 Kills
- Once you get all the kills in order, the completion sound will play.
Skull 4/6 - Arcade Games
- You will need to do specific things on each of the arcade games in the Astrocade. When you complete the specific task, the skull on the machine will explode:
- Rings of Saturn Basketball (either of the two machines, not both) - Randomly a Skull will appear, and when it does, you must score the basket before it disappears
- Black Hole - Score 50 points
- Cryptid Attack - The skull will randomly appear over one of the sets of teeth; hit the teeth below the skull
- Zombie Zoom - You must pass the skull before the grey Zombie does. Tip: Activate the Disco Ball trap to get the Zombies off of you and spam the shoot button instead of holding it down because if you mash, the gun's recoil doesn't kick in.
- Bowling for Planets - The skull will randomly appear in one of the holes; you will need to shoot your ball in the same hole before the skull disappears. This is by far the most annoying to get as the game's physics and controls are awkward at best.
- Once get all the skulls in each game, the completion sound will play.
Skull 5/6 - Main Quest
- Complete the entire Main Quest.
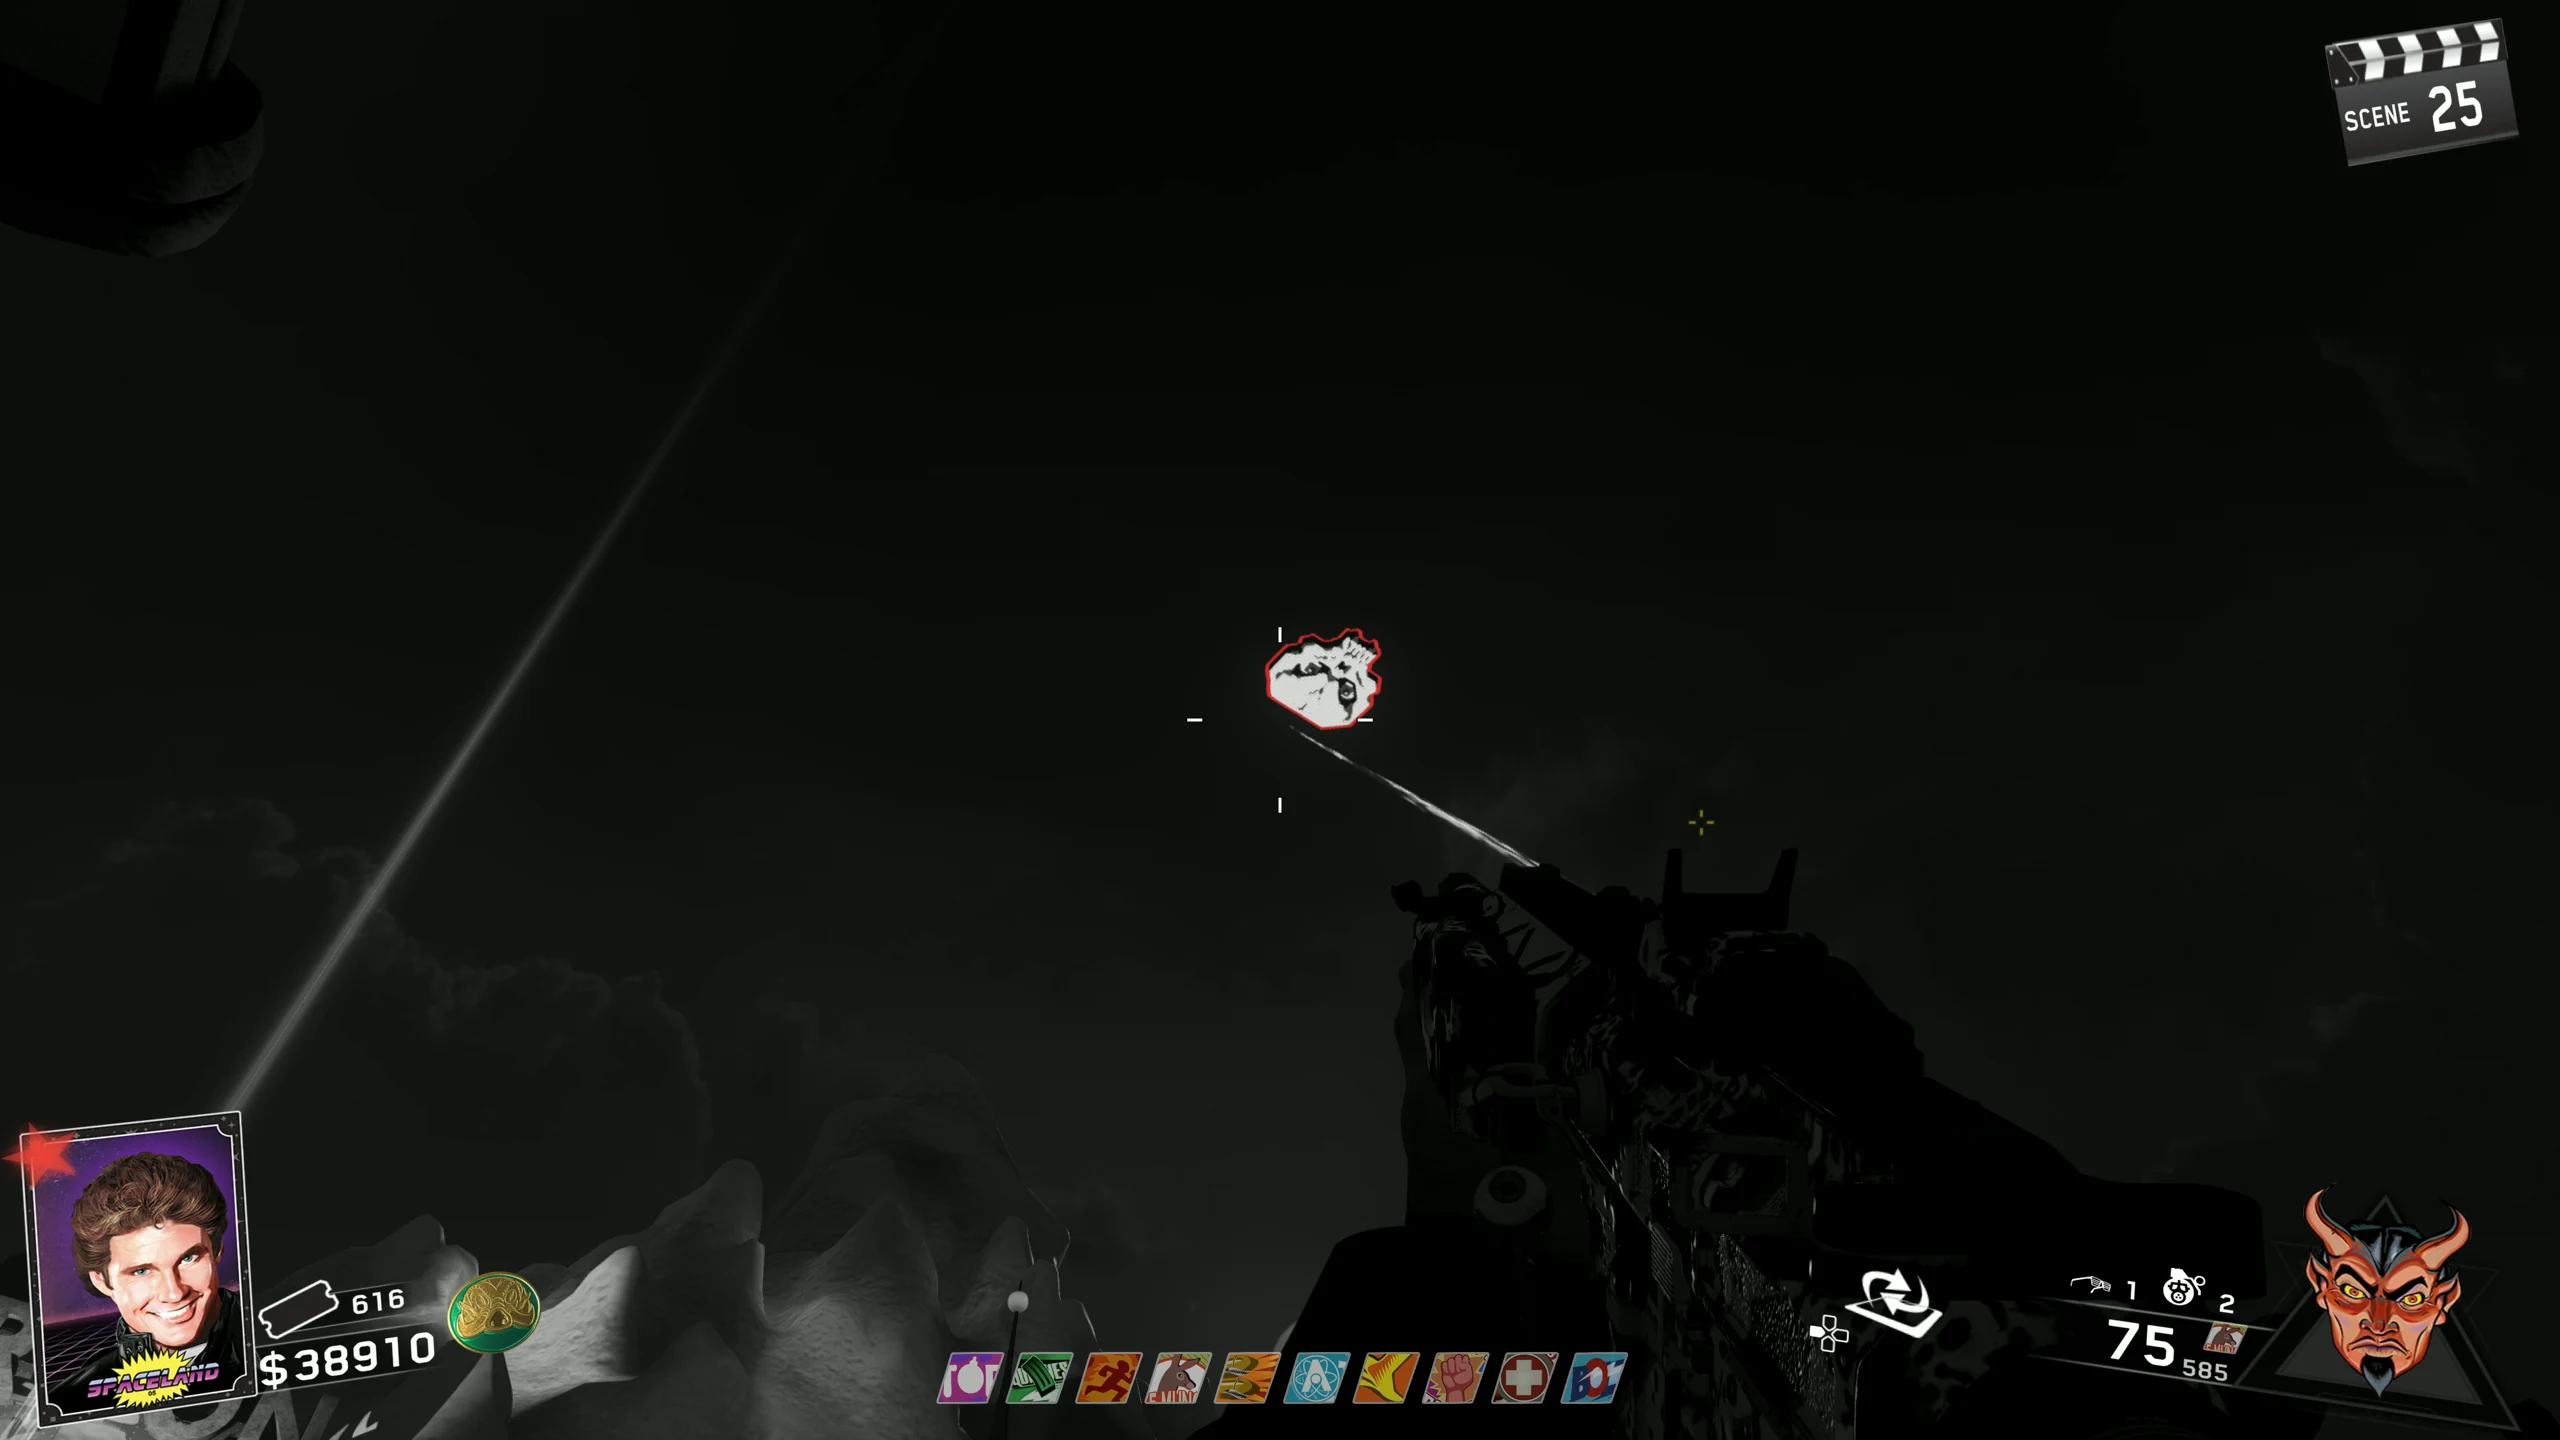
- Pick up the Sunglasses, which Zombies randomly drop.
- While you have the sunglasses equipped, there will be a skull in the sky above the Pack-a-Punch portal. You must shoot down the skull with the laser used to shoot down the UFO in the Main Quest.
- The Sunglasses must stay on till the skull is destroyed. If you take them off too early, the skull won't be destroyed.
- Once the skull is destroyed, the completion sound will play.
Skull 6/6 - Brute Laser
- Wait for a Brute to spawn. Once it does, lure it to the Ghost N' Skulls machine and bait it into firing its laser beam attack at the machine.
- If done correctly, the machine will have all 6 skulls and electricity will start coming off the screen. This means that the machine is ready to be "played". All players must interact with the arcade cabinet to enter the game.
The Ghost N' Skulls Mini-Game
- The game consists of three rounds, with each round requiring you to destroy all the skulls before they make it to the end (similar to Space Invaders). Using the Entangler (your gun), grab a ghost floating around and shoot it at the skull to destroy it.
- Occasionally, a Skull will turn red and, after a few seconds, attempt to escape by flying to the vortex at the back of the arena. If three skulls escape in one round, the game will end, and you will have to get the Brute to laser the machine again to try again.
- Once all three rounds are completed, you will be teleported back to the Astrocade, with all perks permanently (except Up & Atoms in Solo).