Main Easter Egg Quest
Stats (Solo): Difficulty - 3/10, Est. Completion Time - 25 to 40 Mins
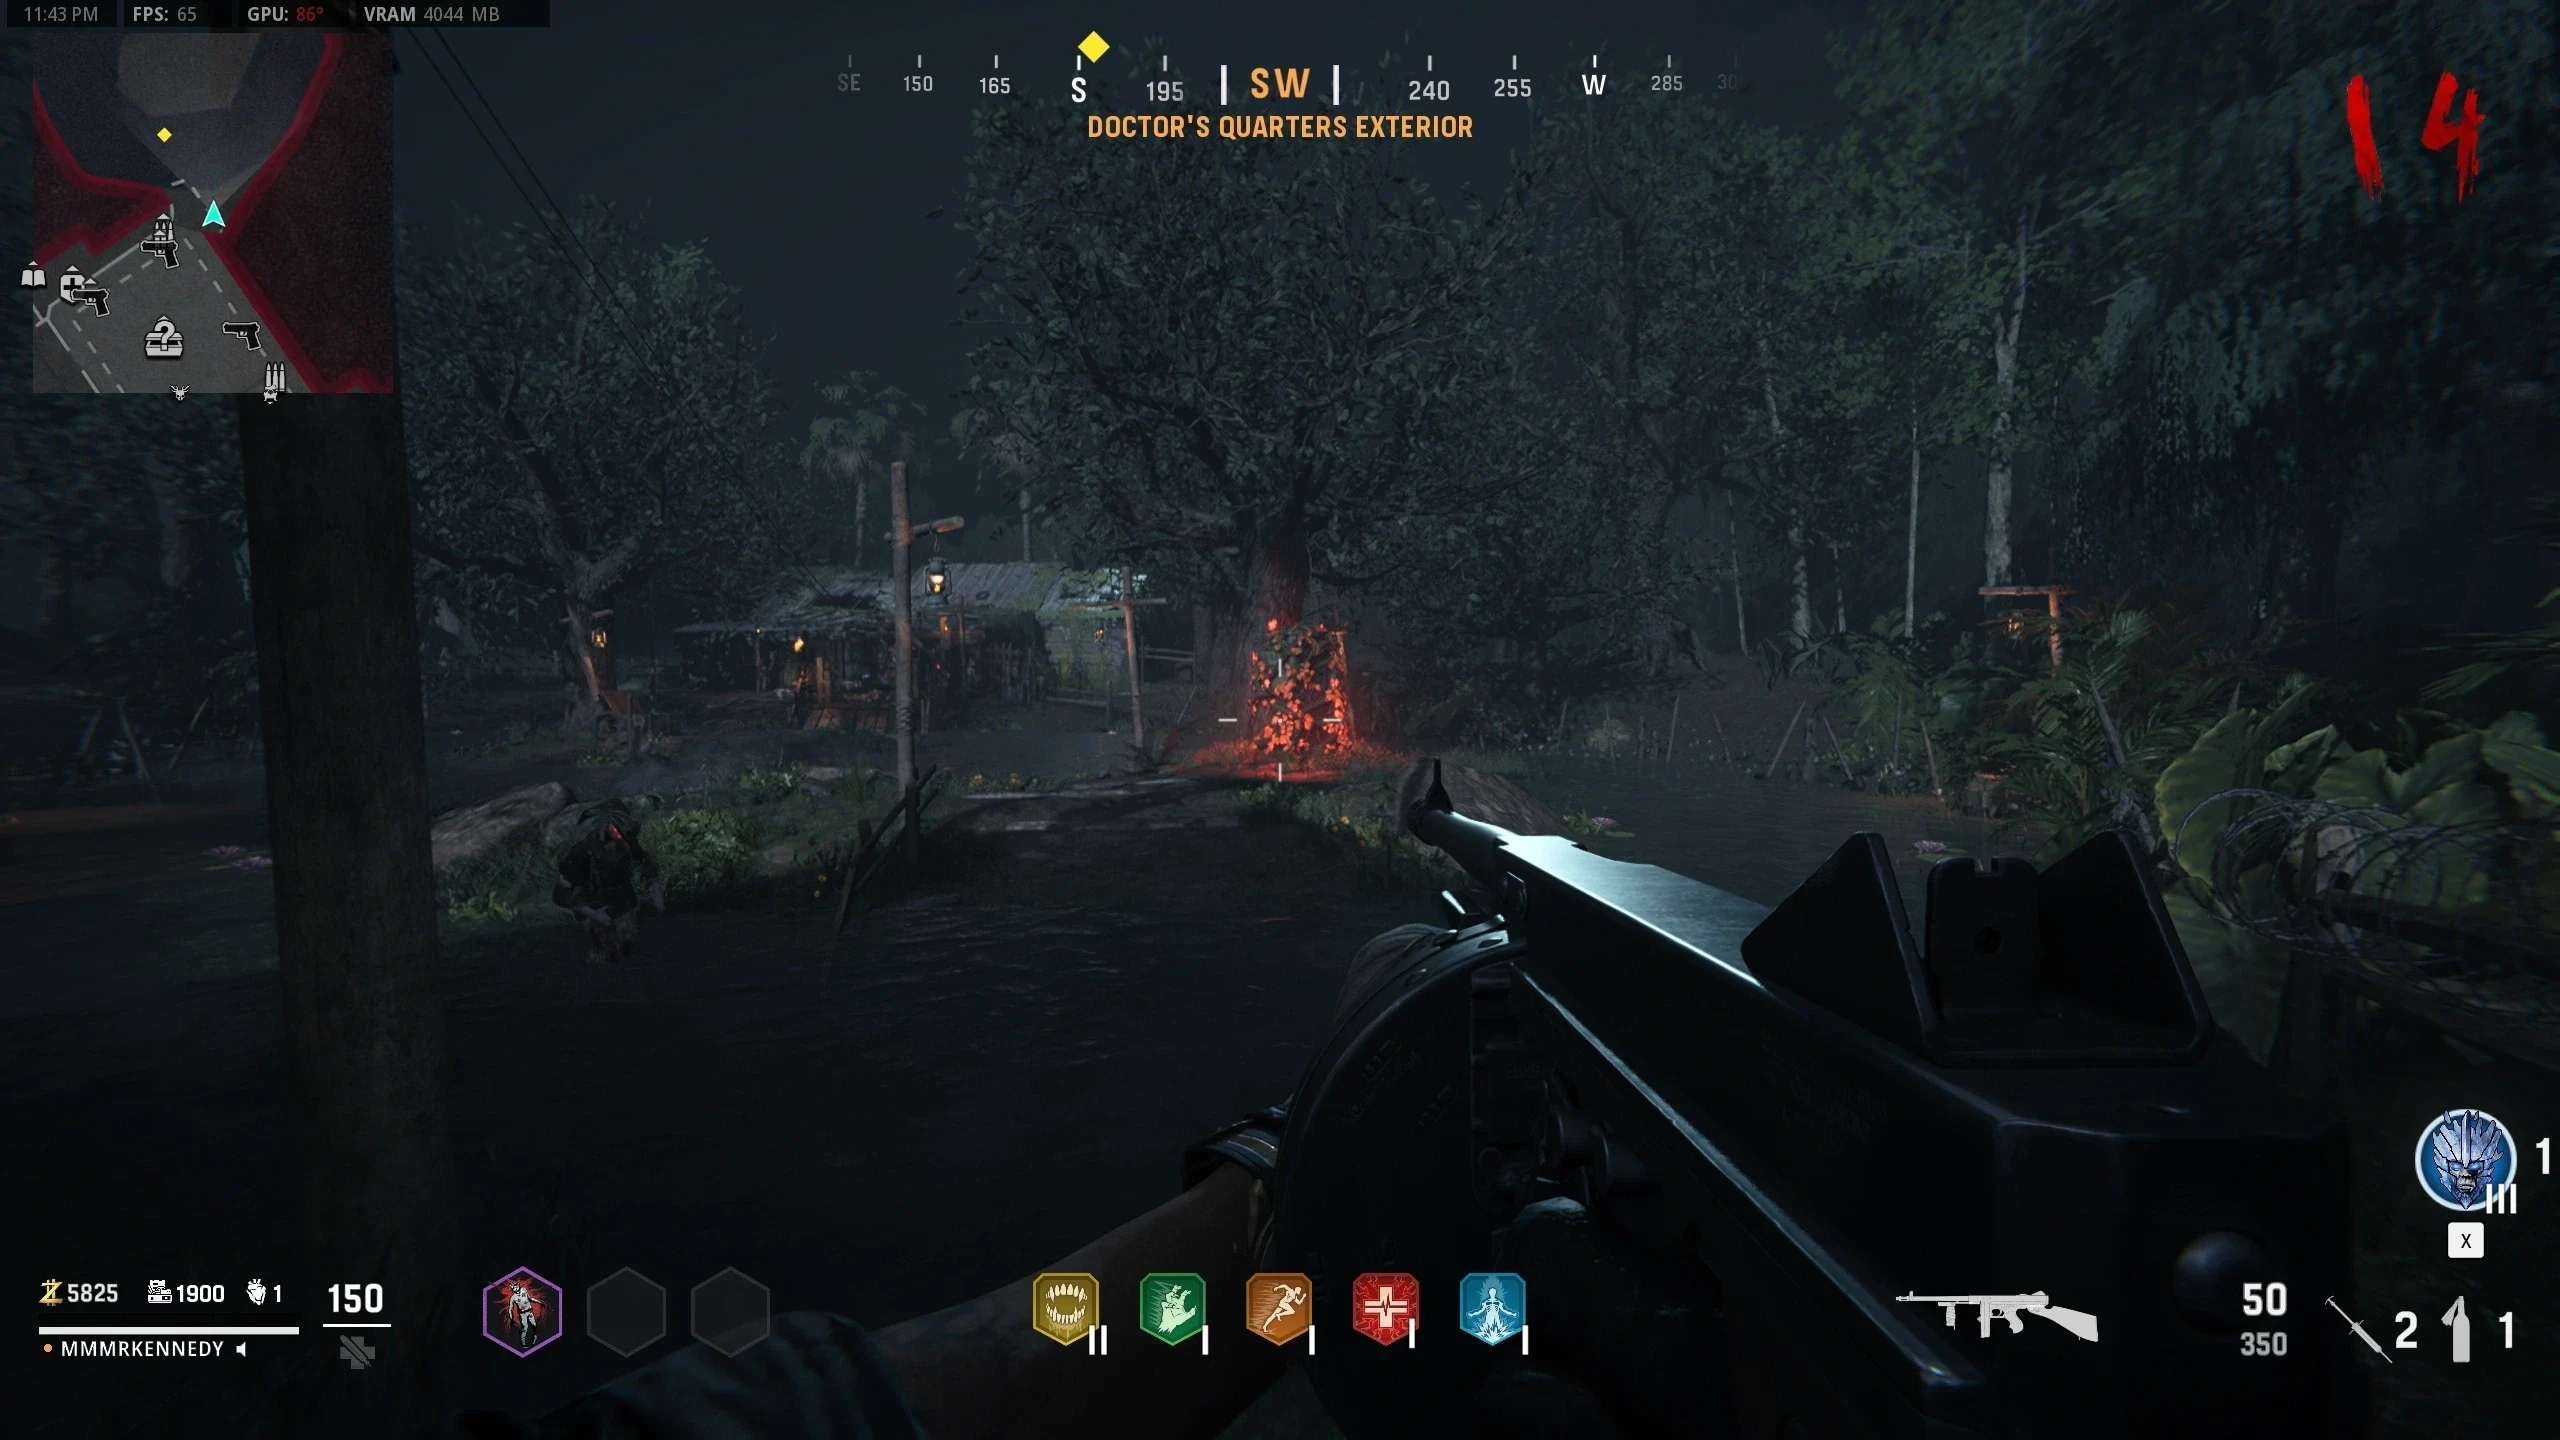
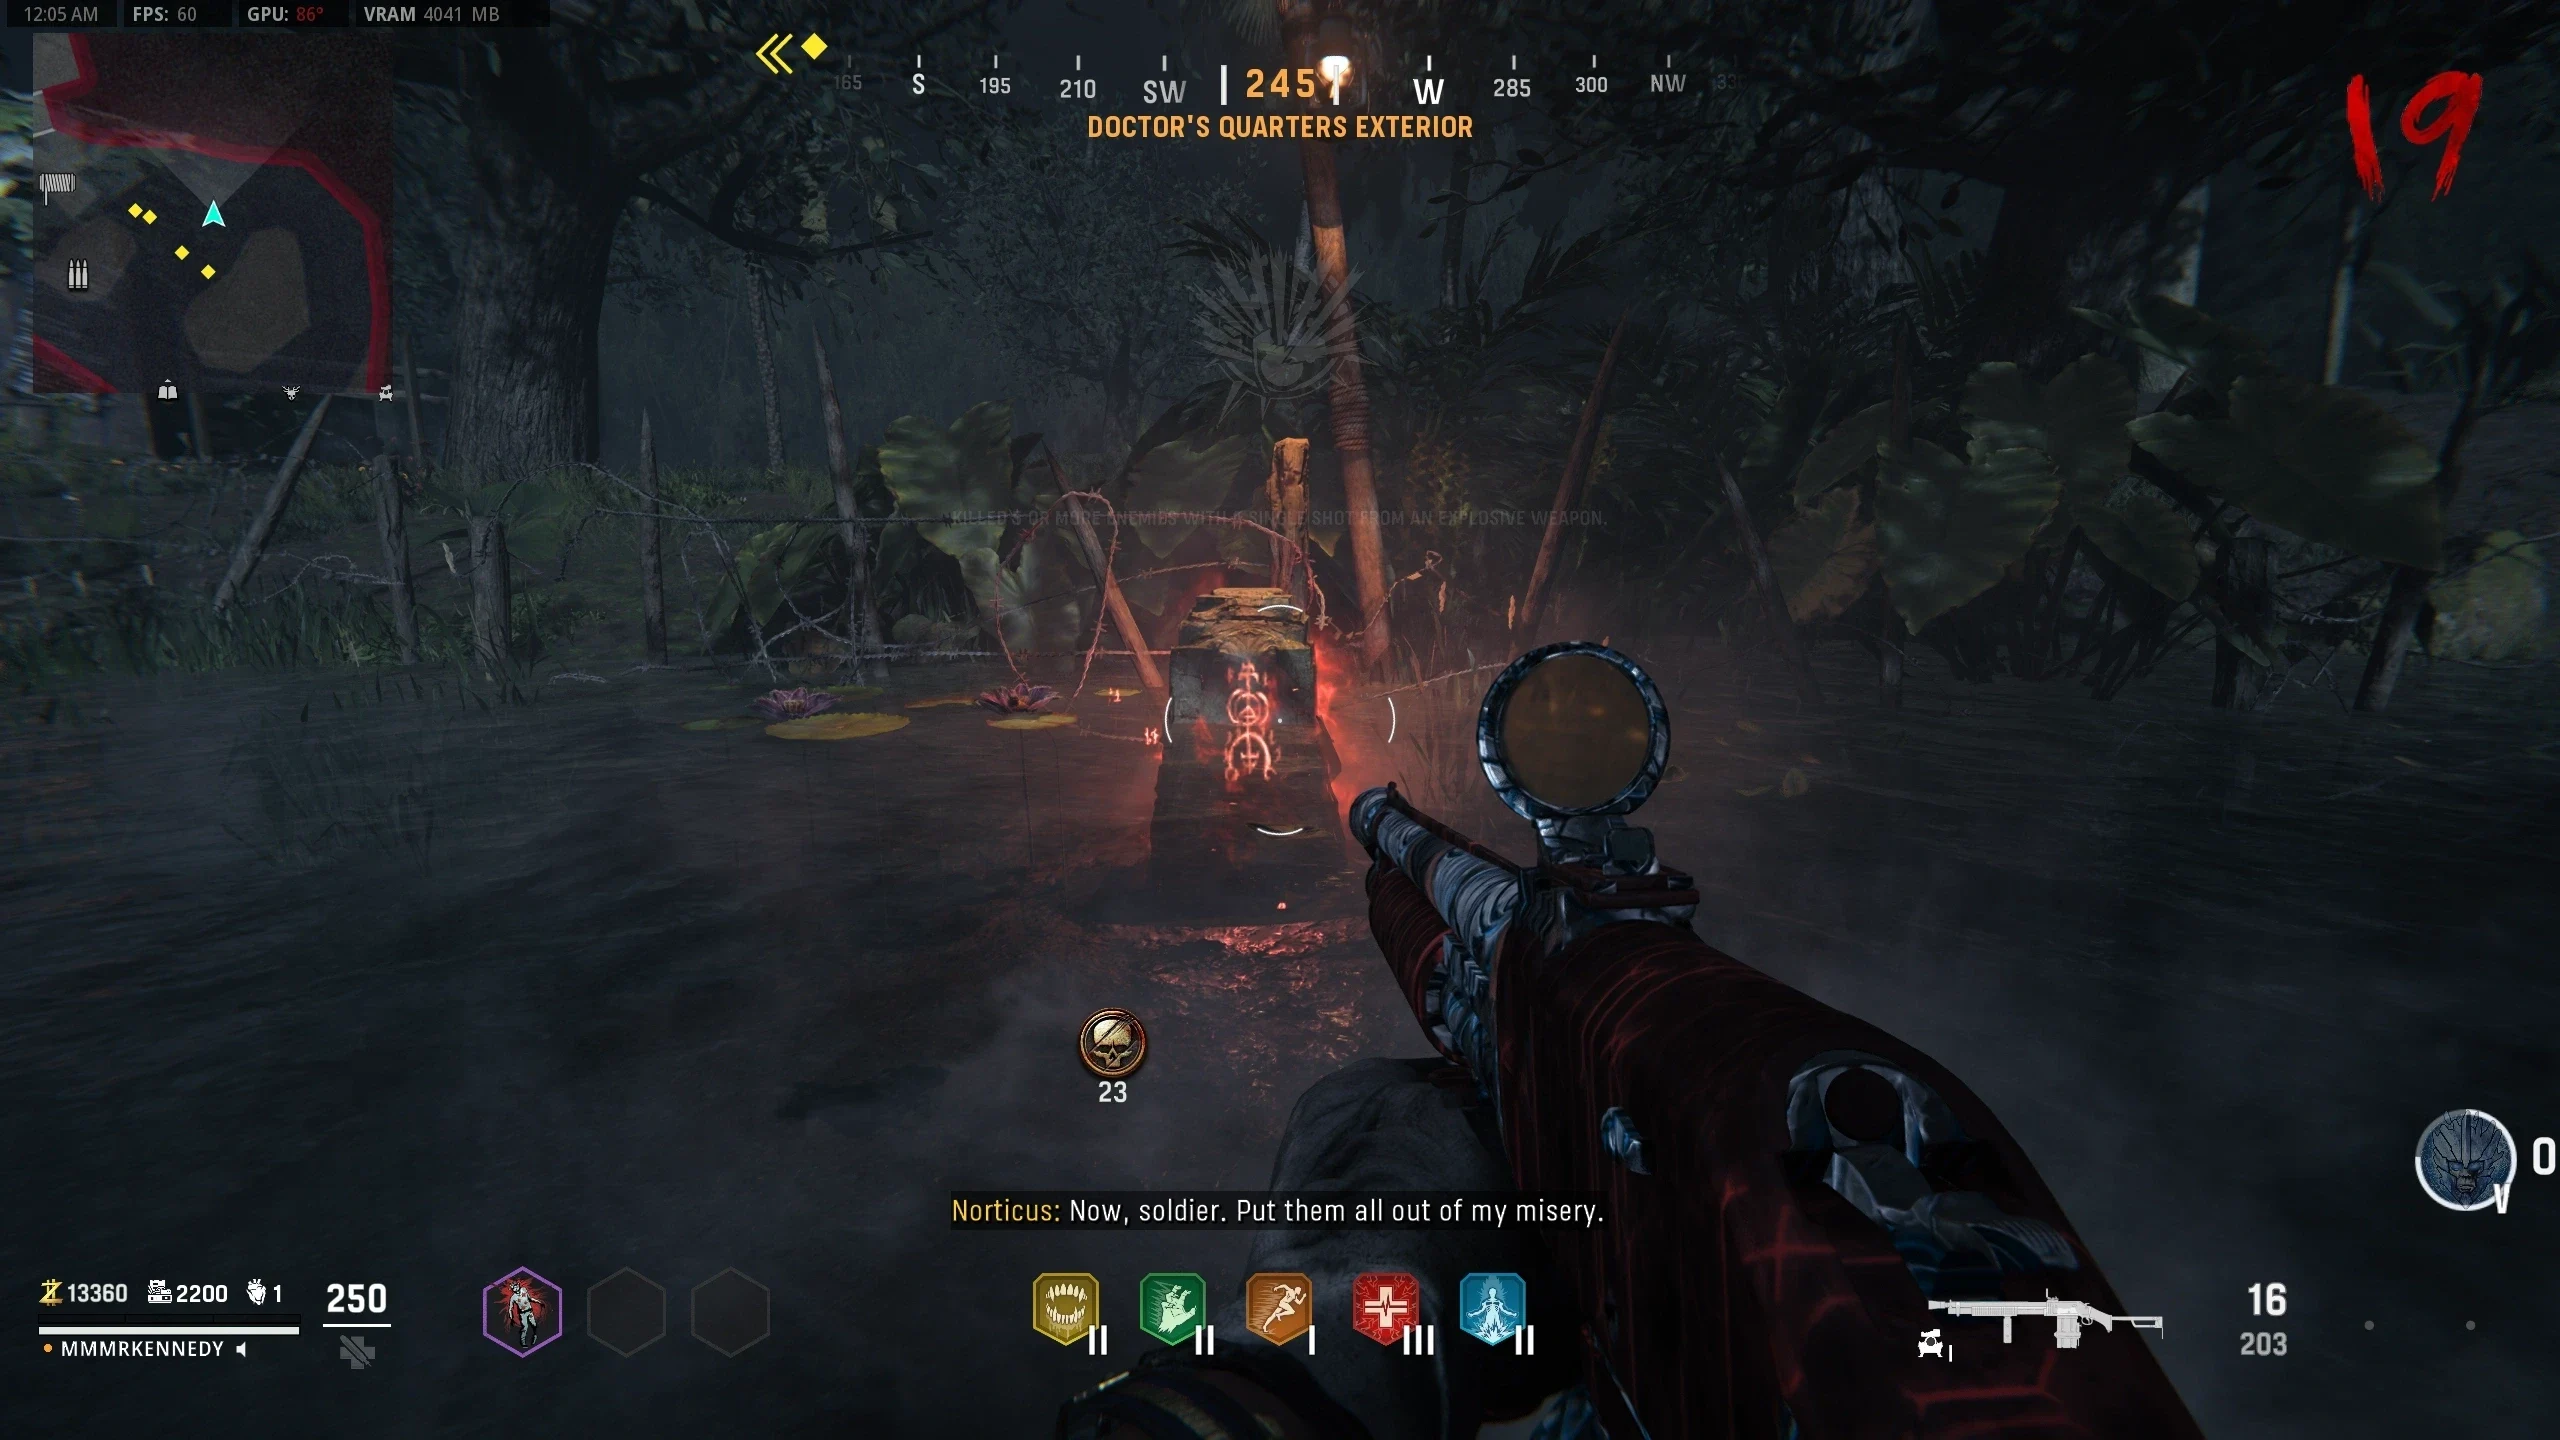
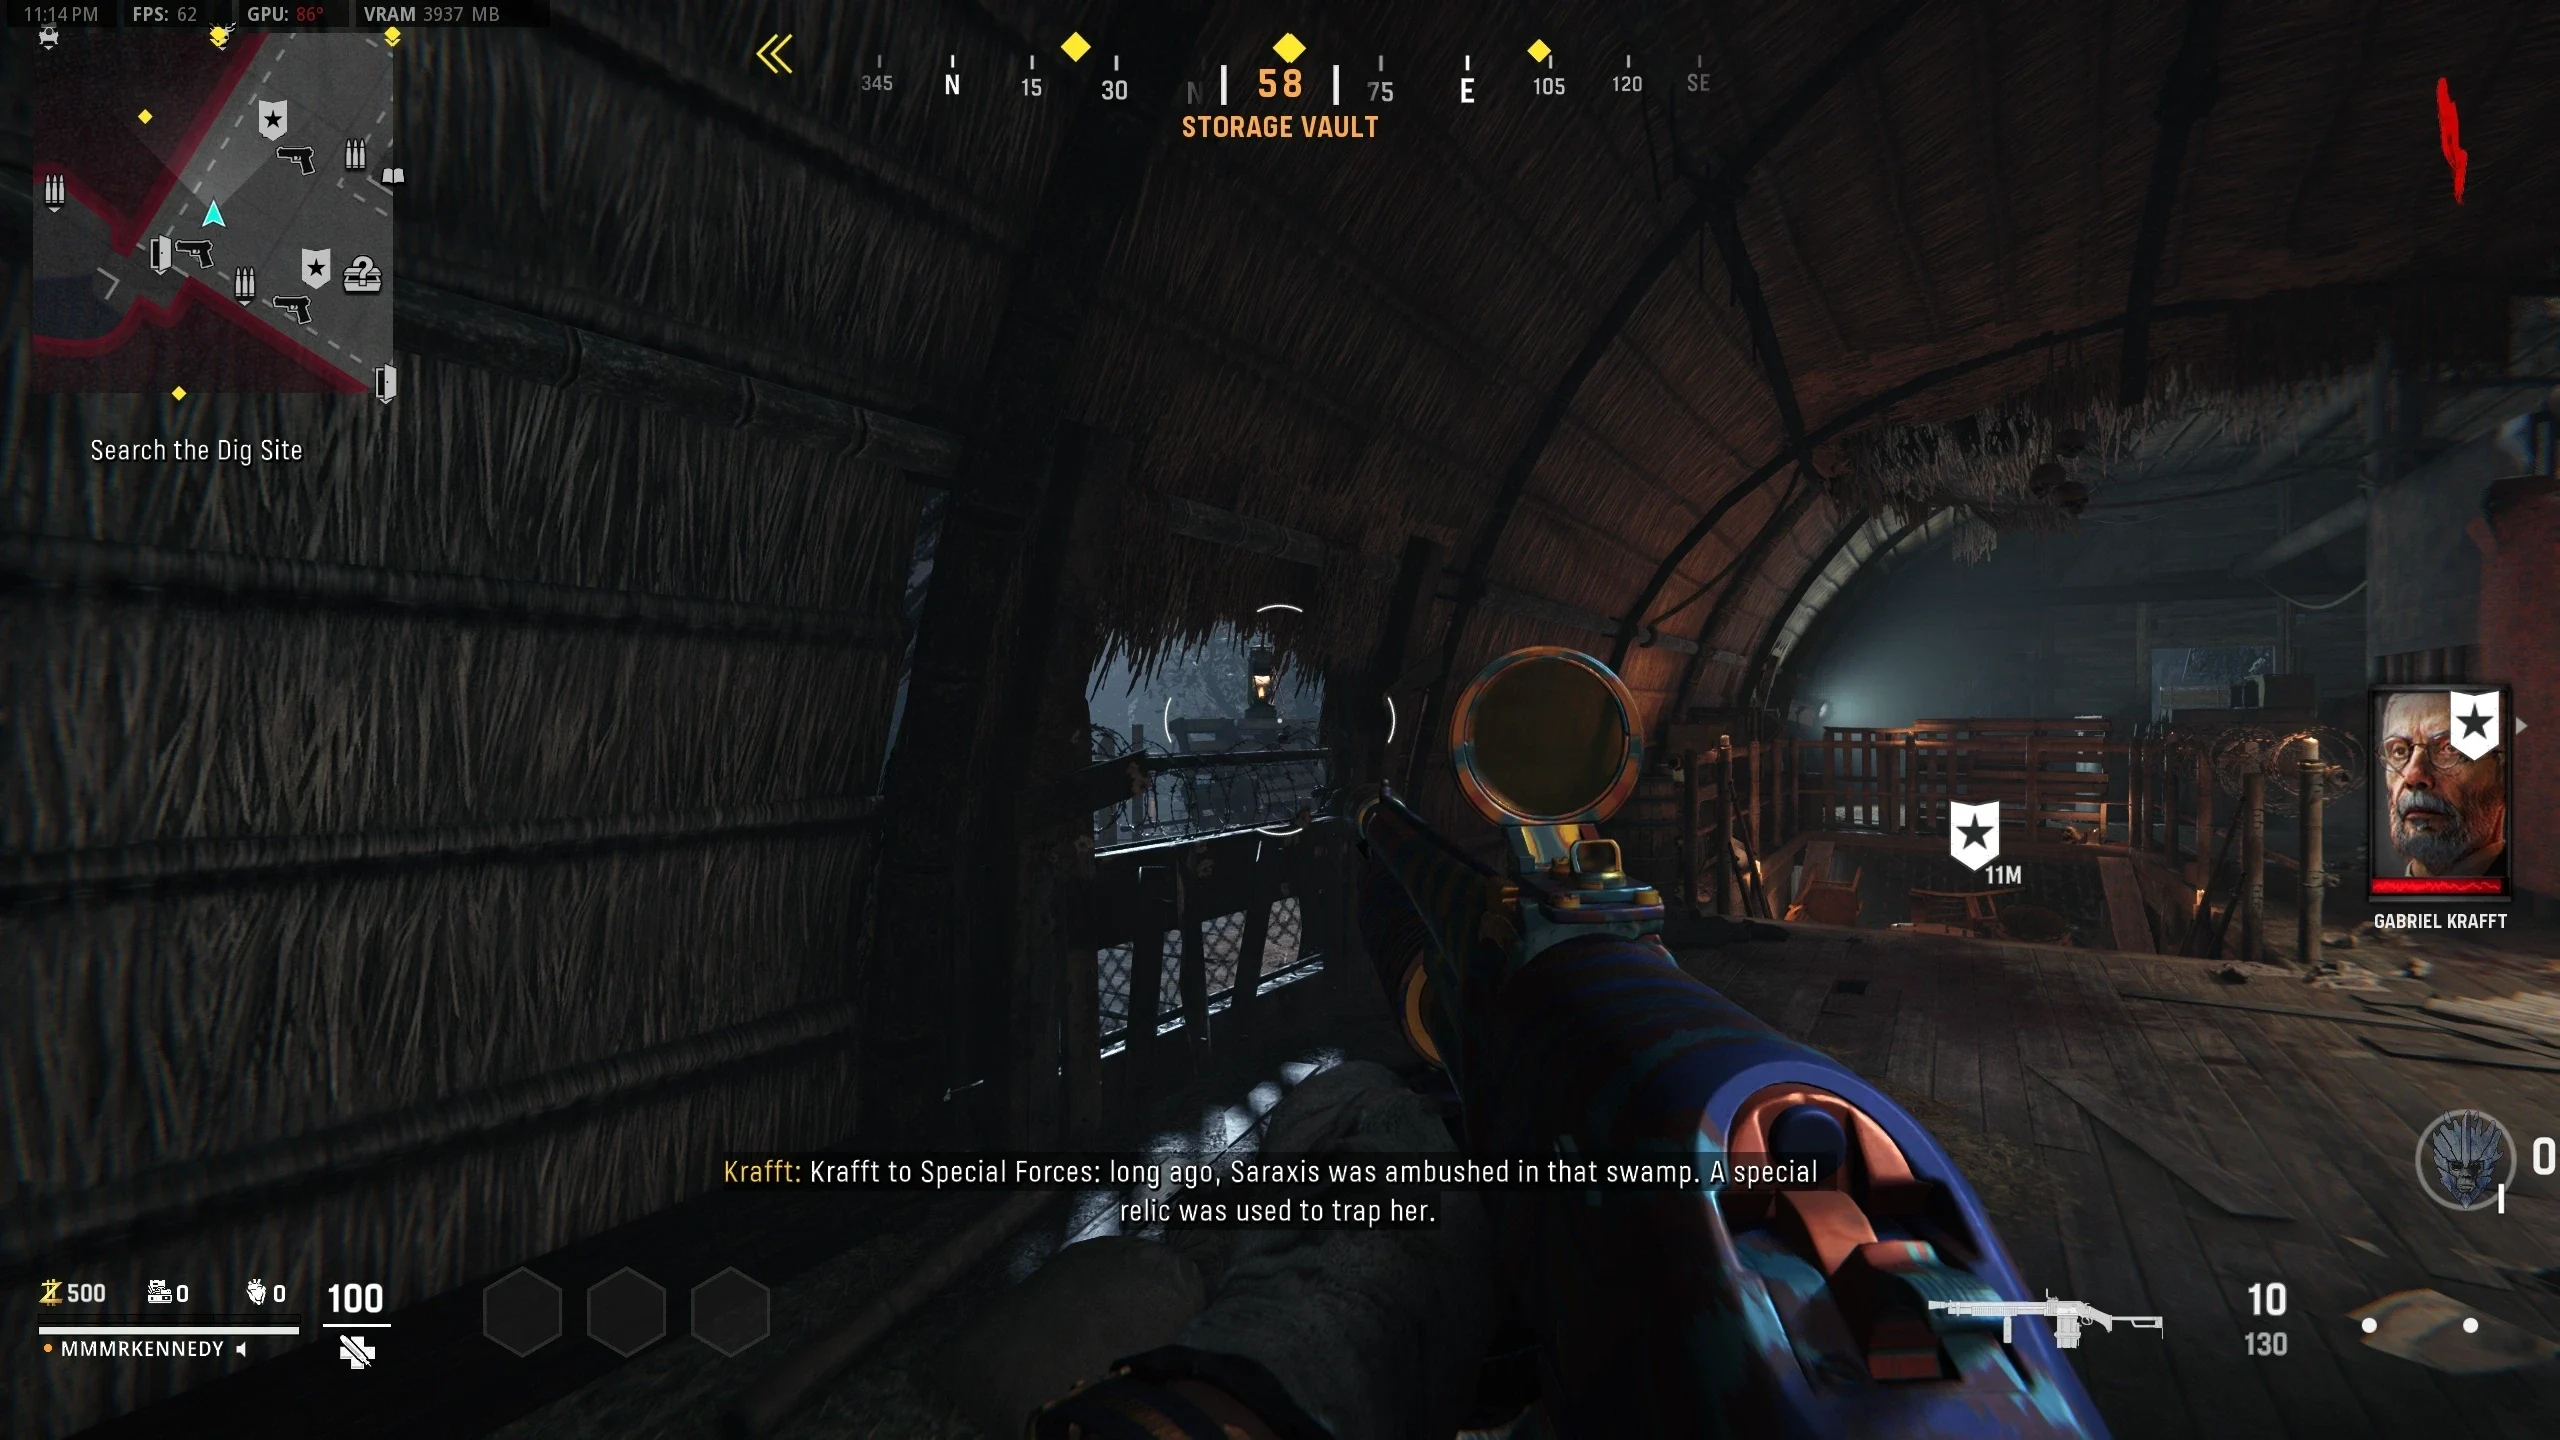
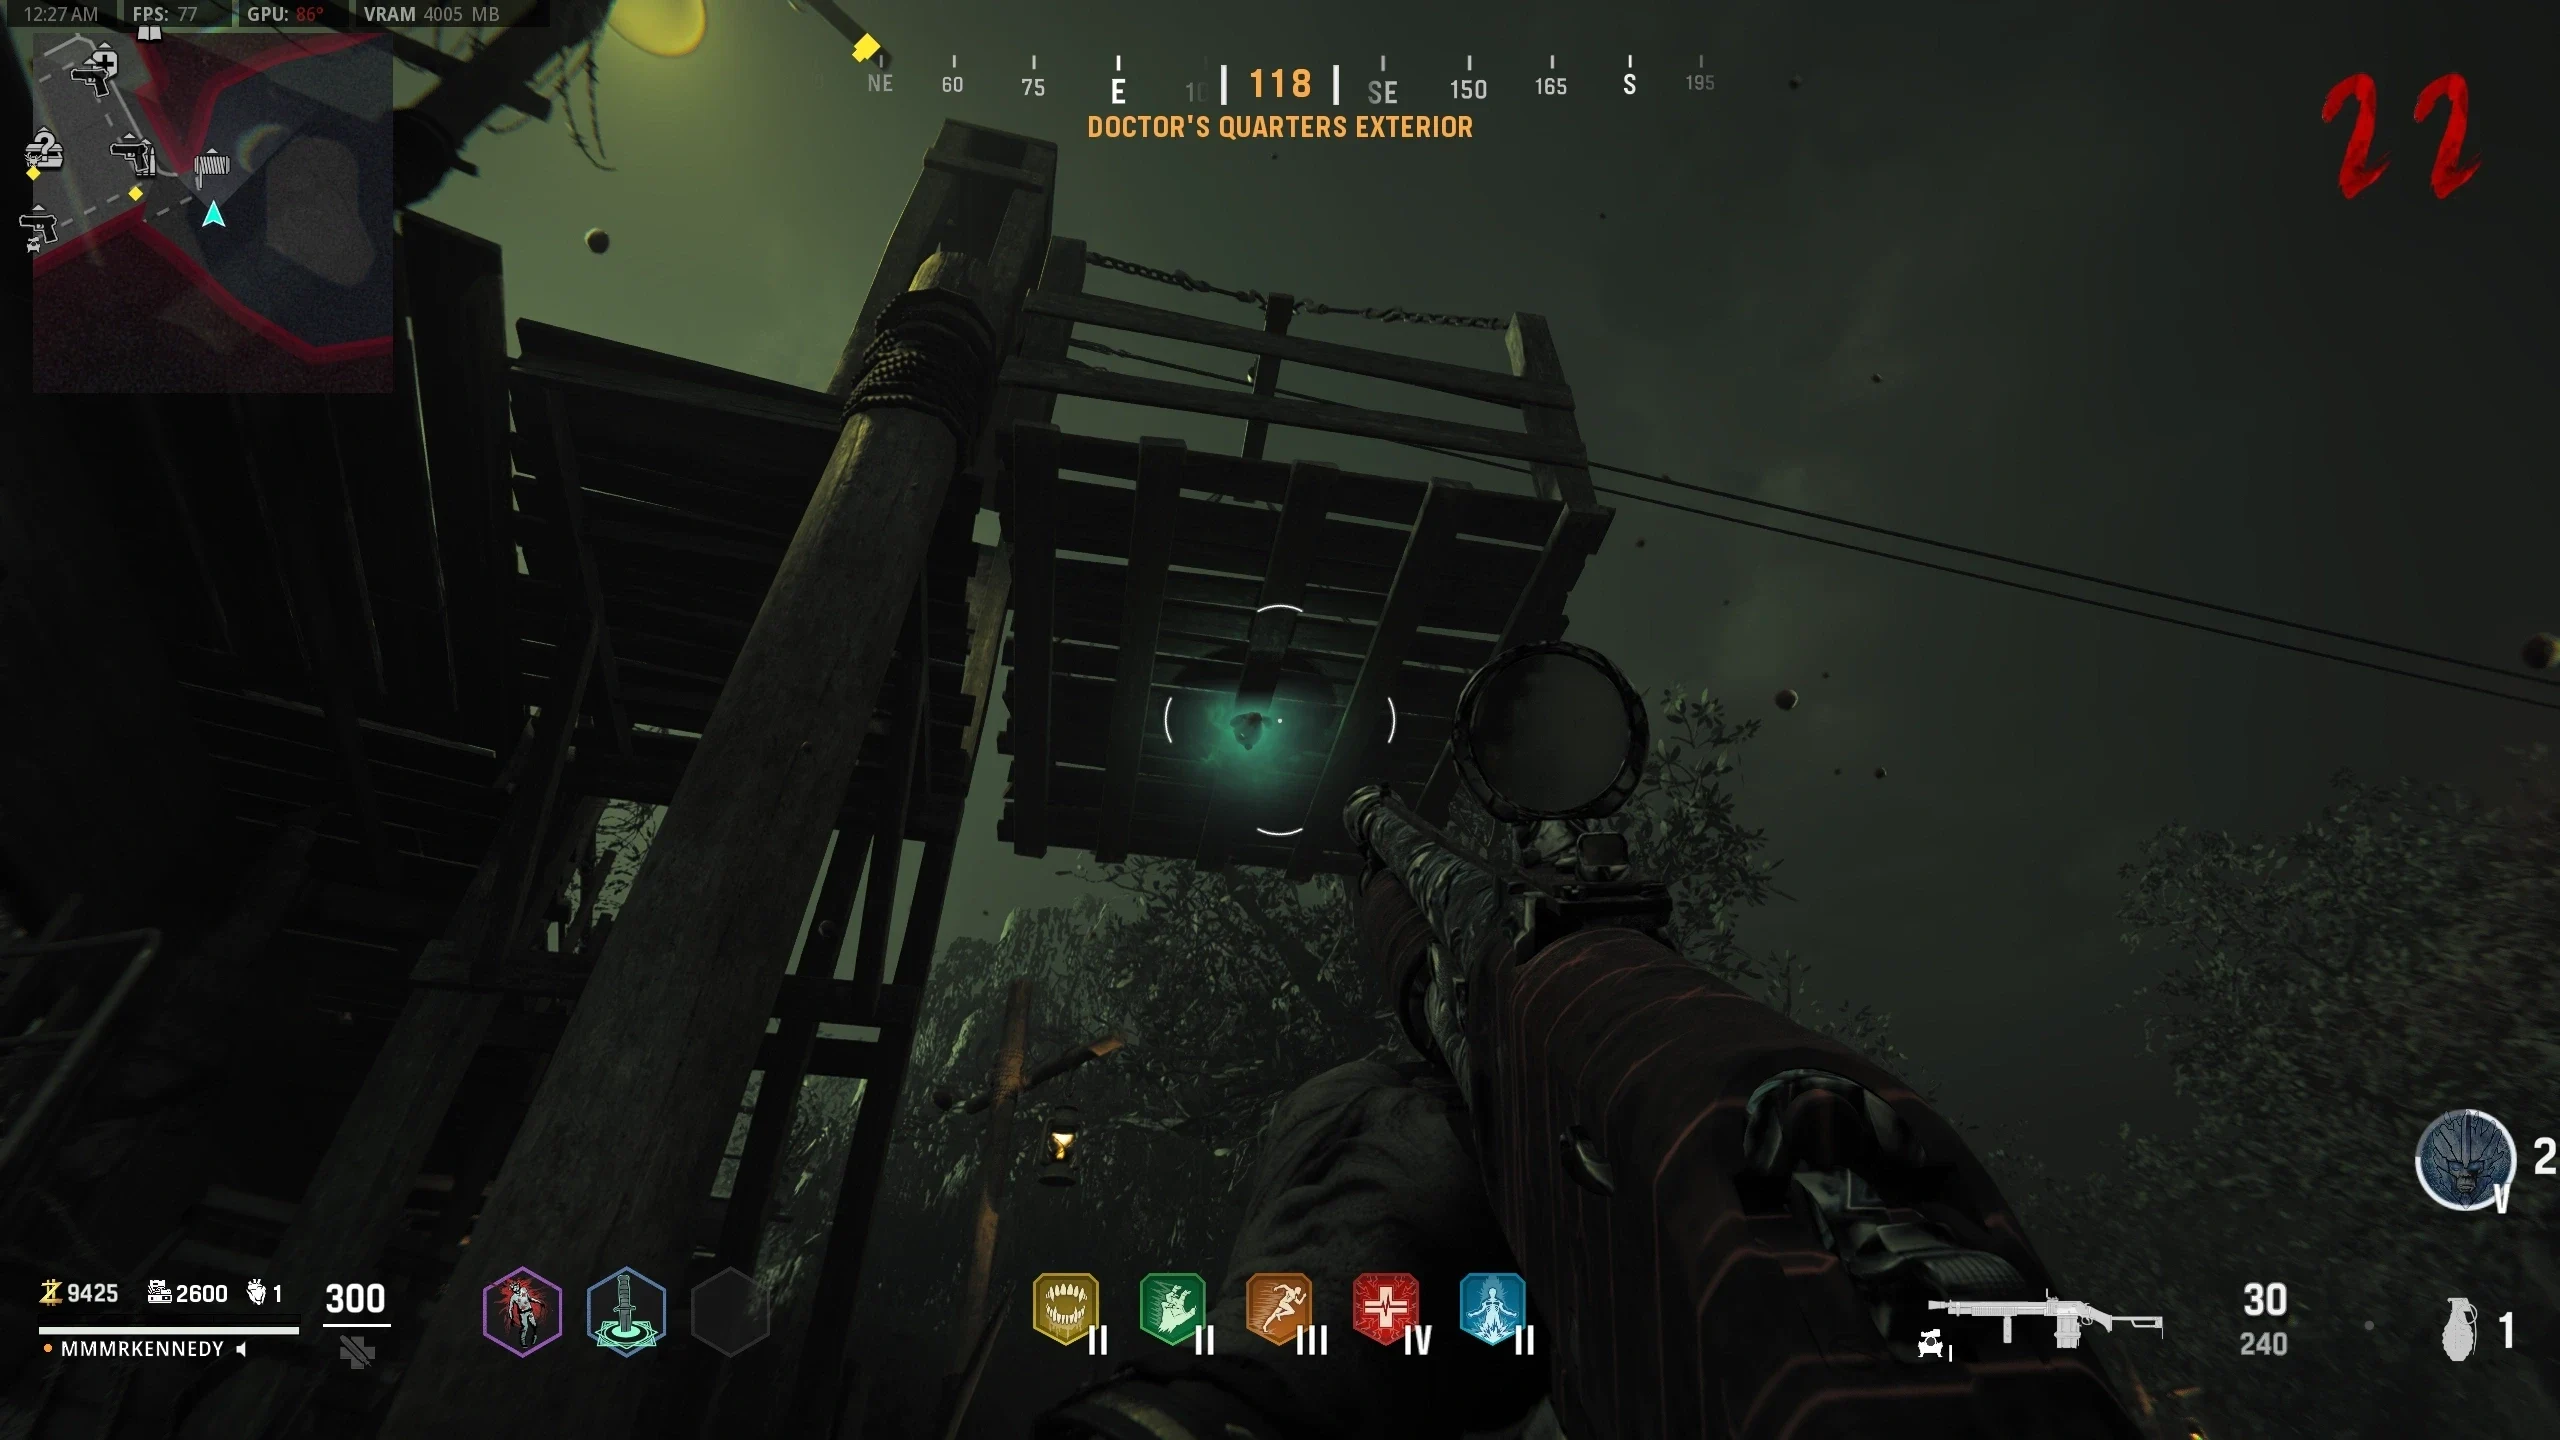
- Navigate to 'Doctor's Quarter's Exterior' to find the Monolith covered in vines.
- Explode three Boom Schreiers next to the Monolith to clear the vines.
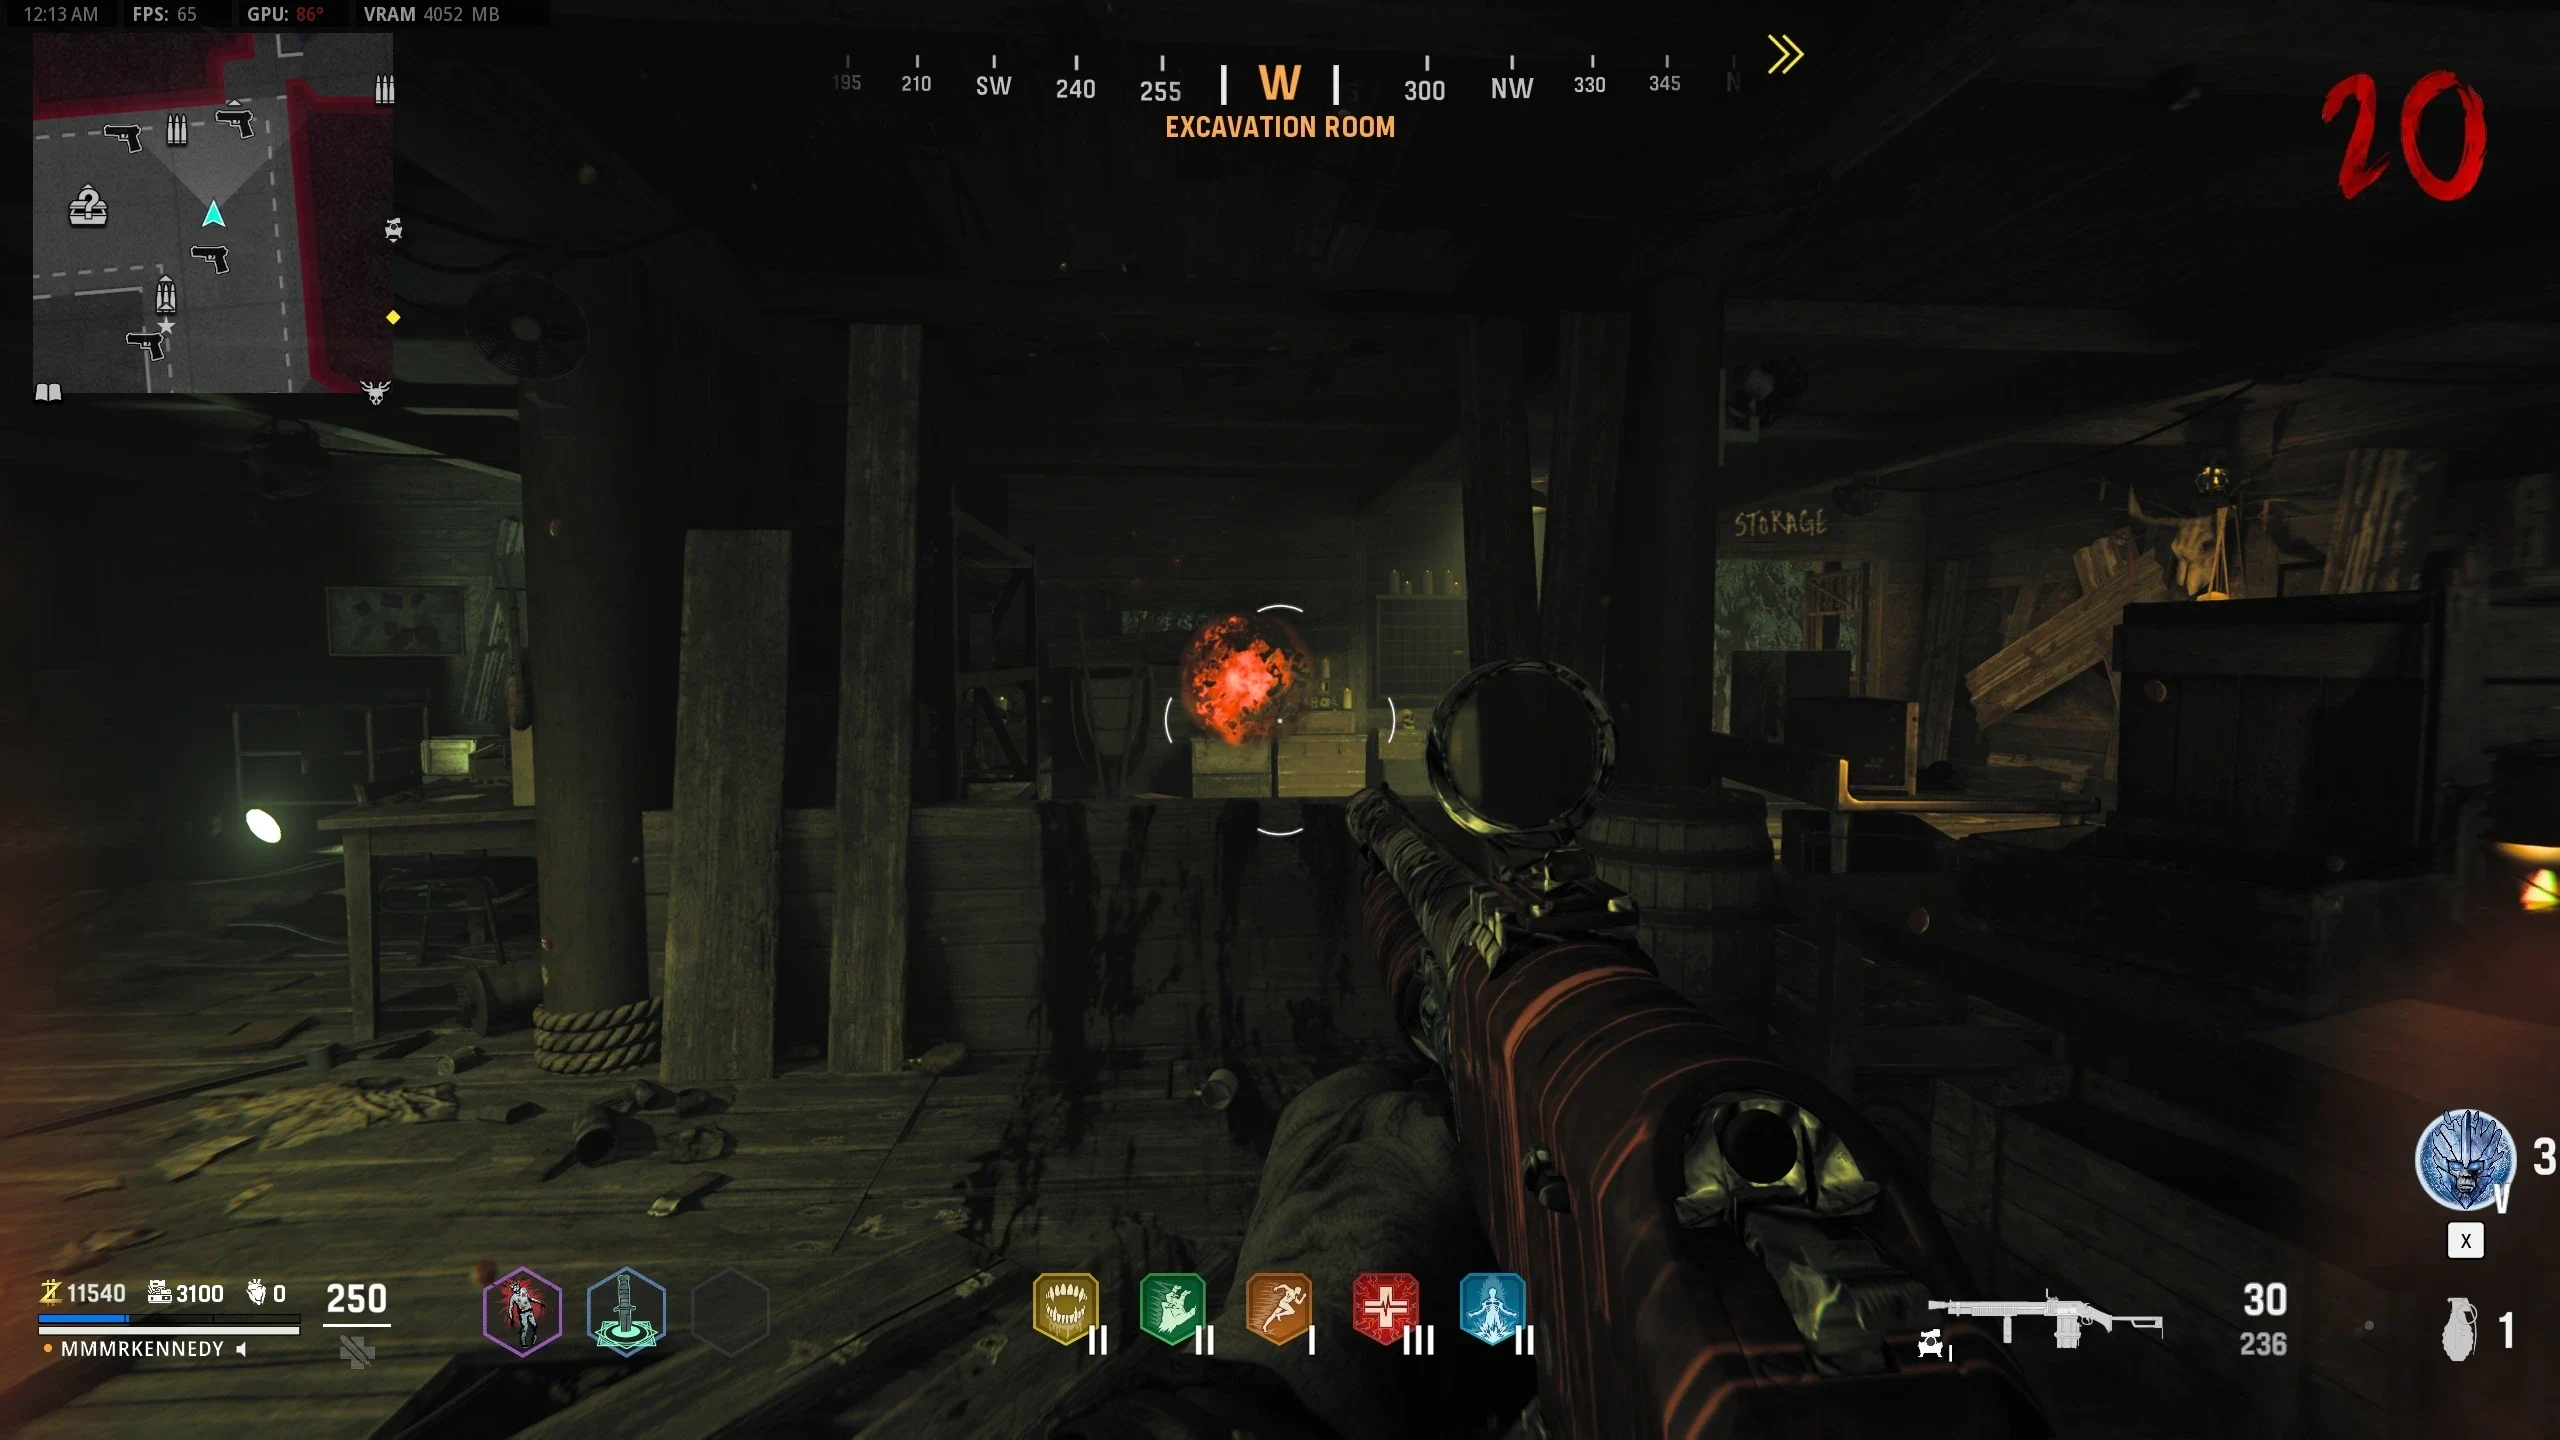
- Collect three Cypher Wheel parts:
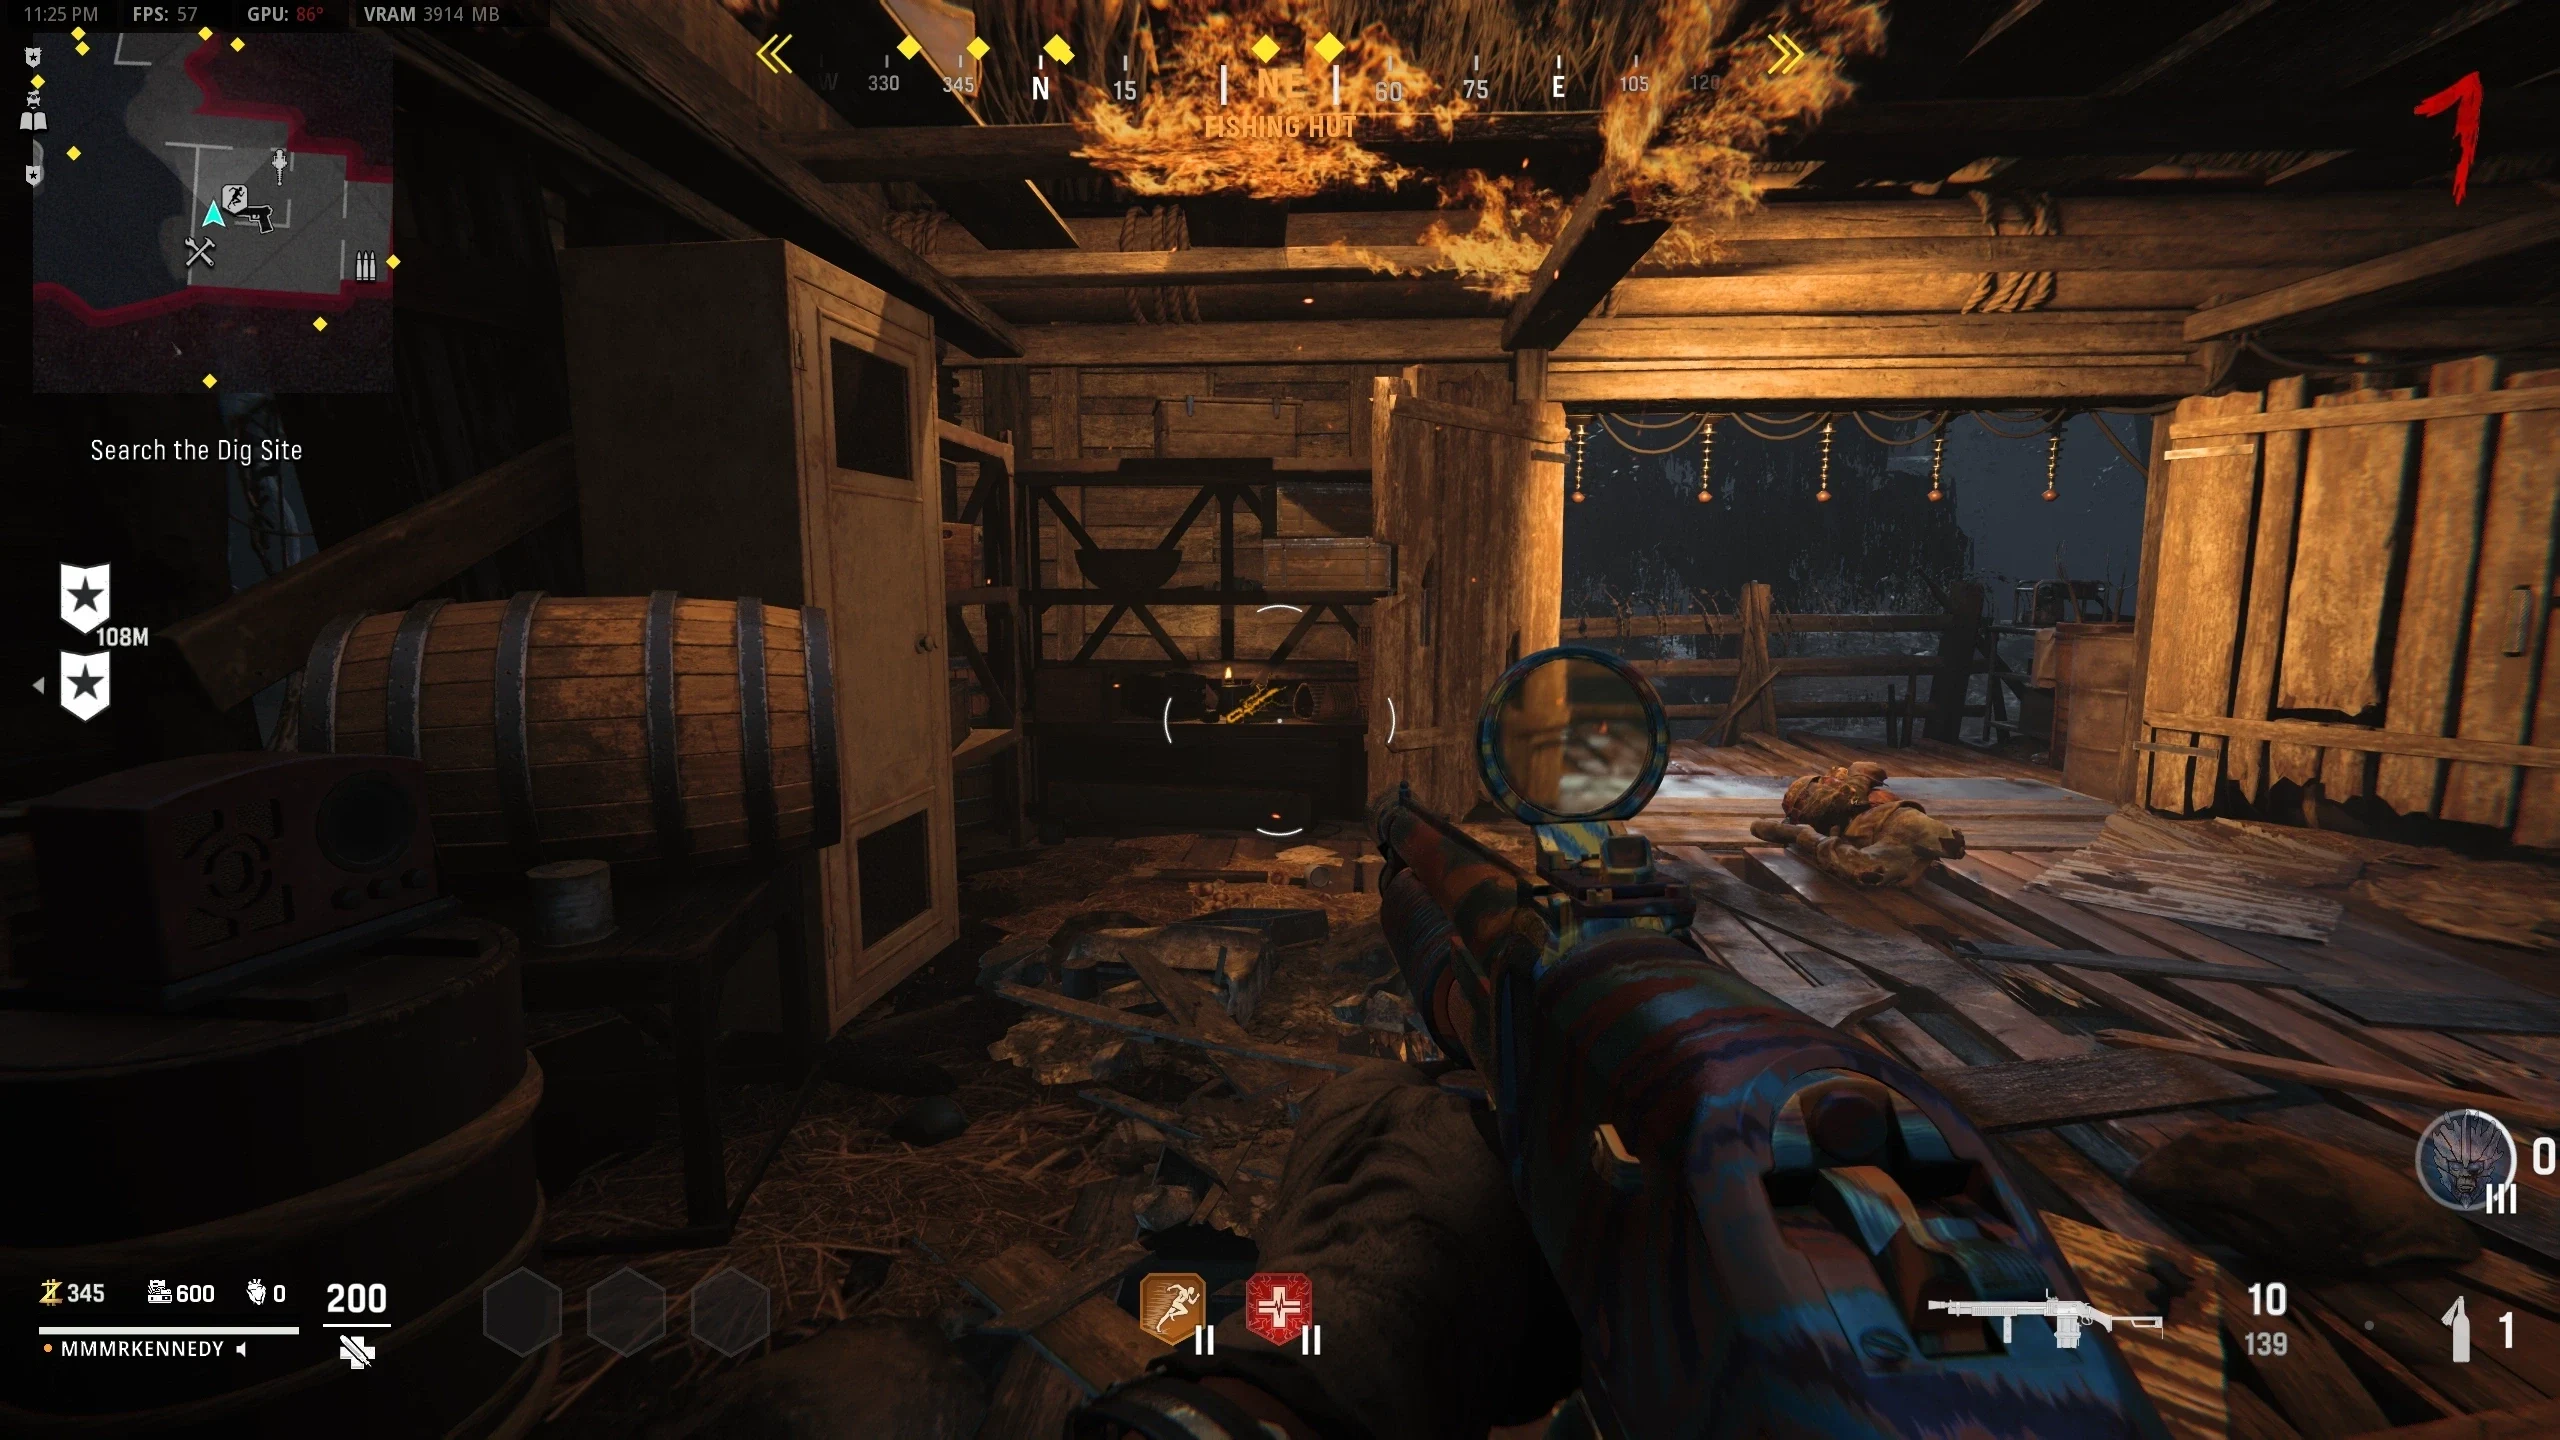
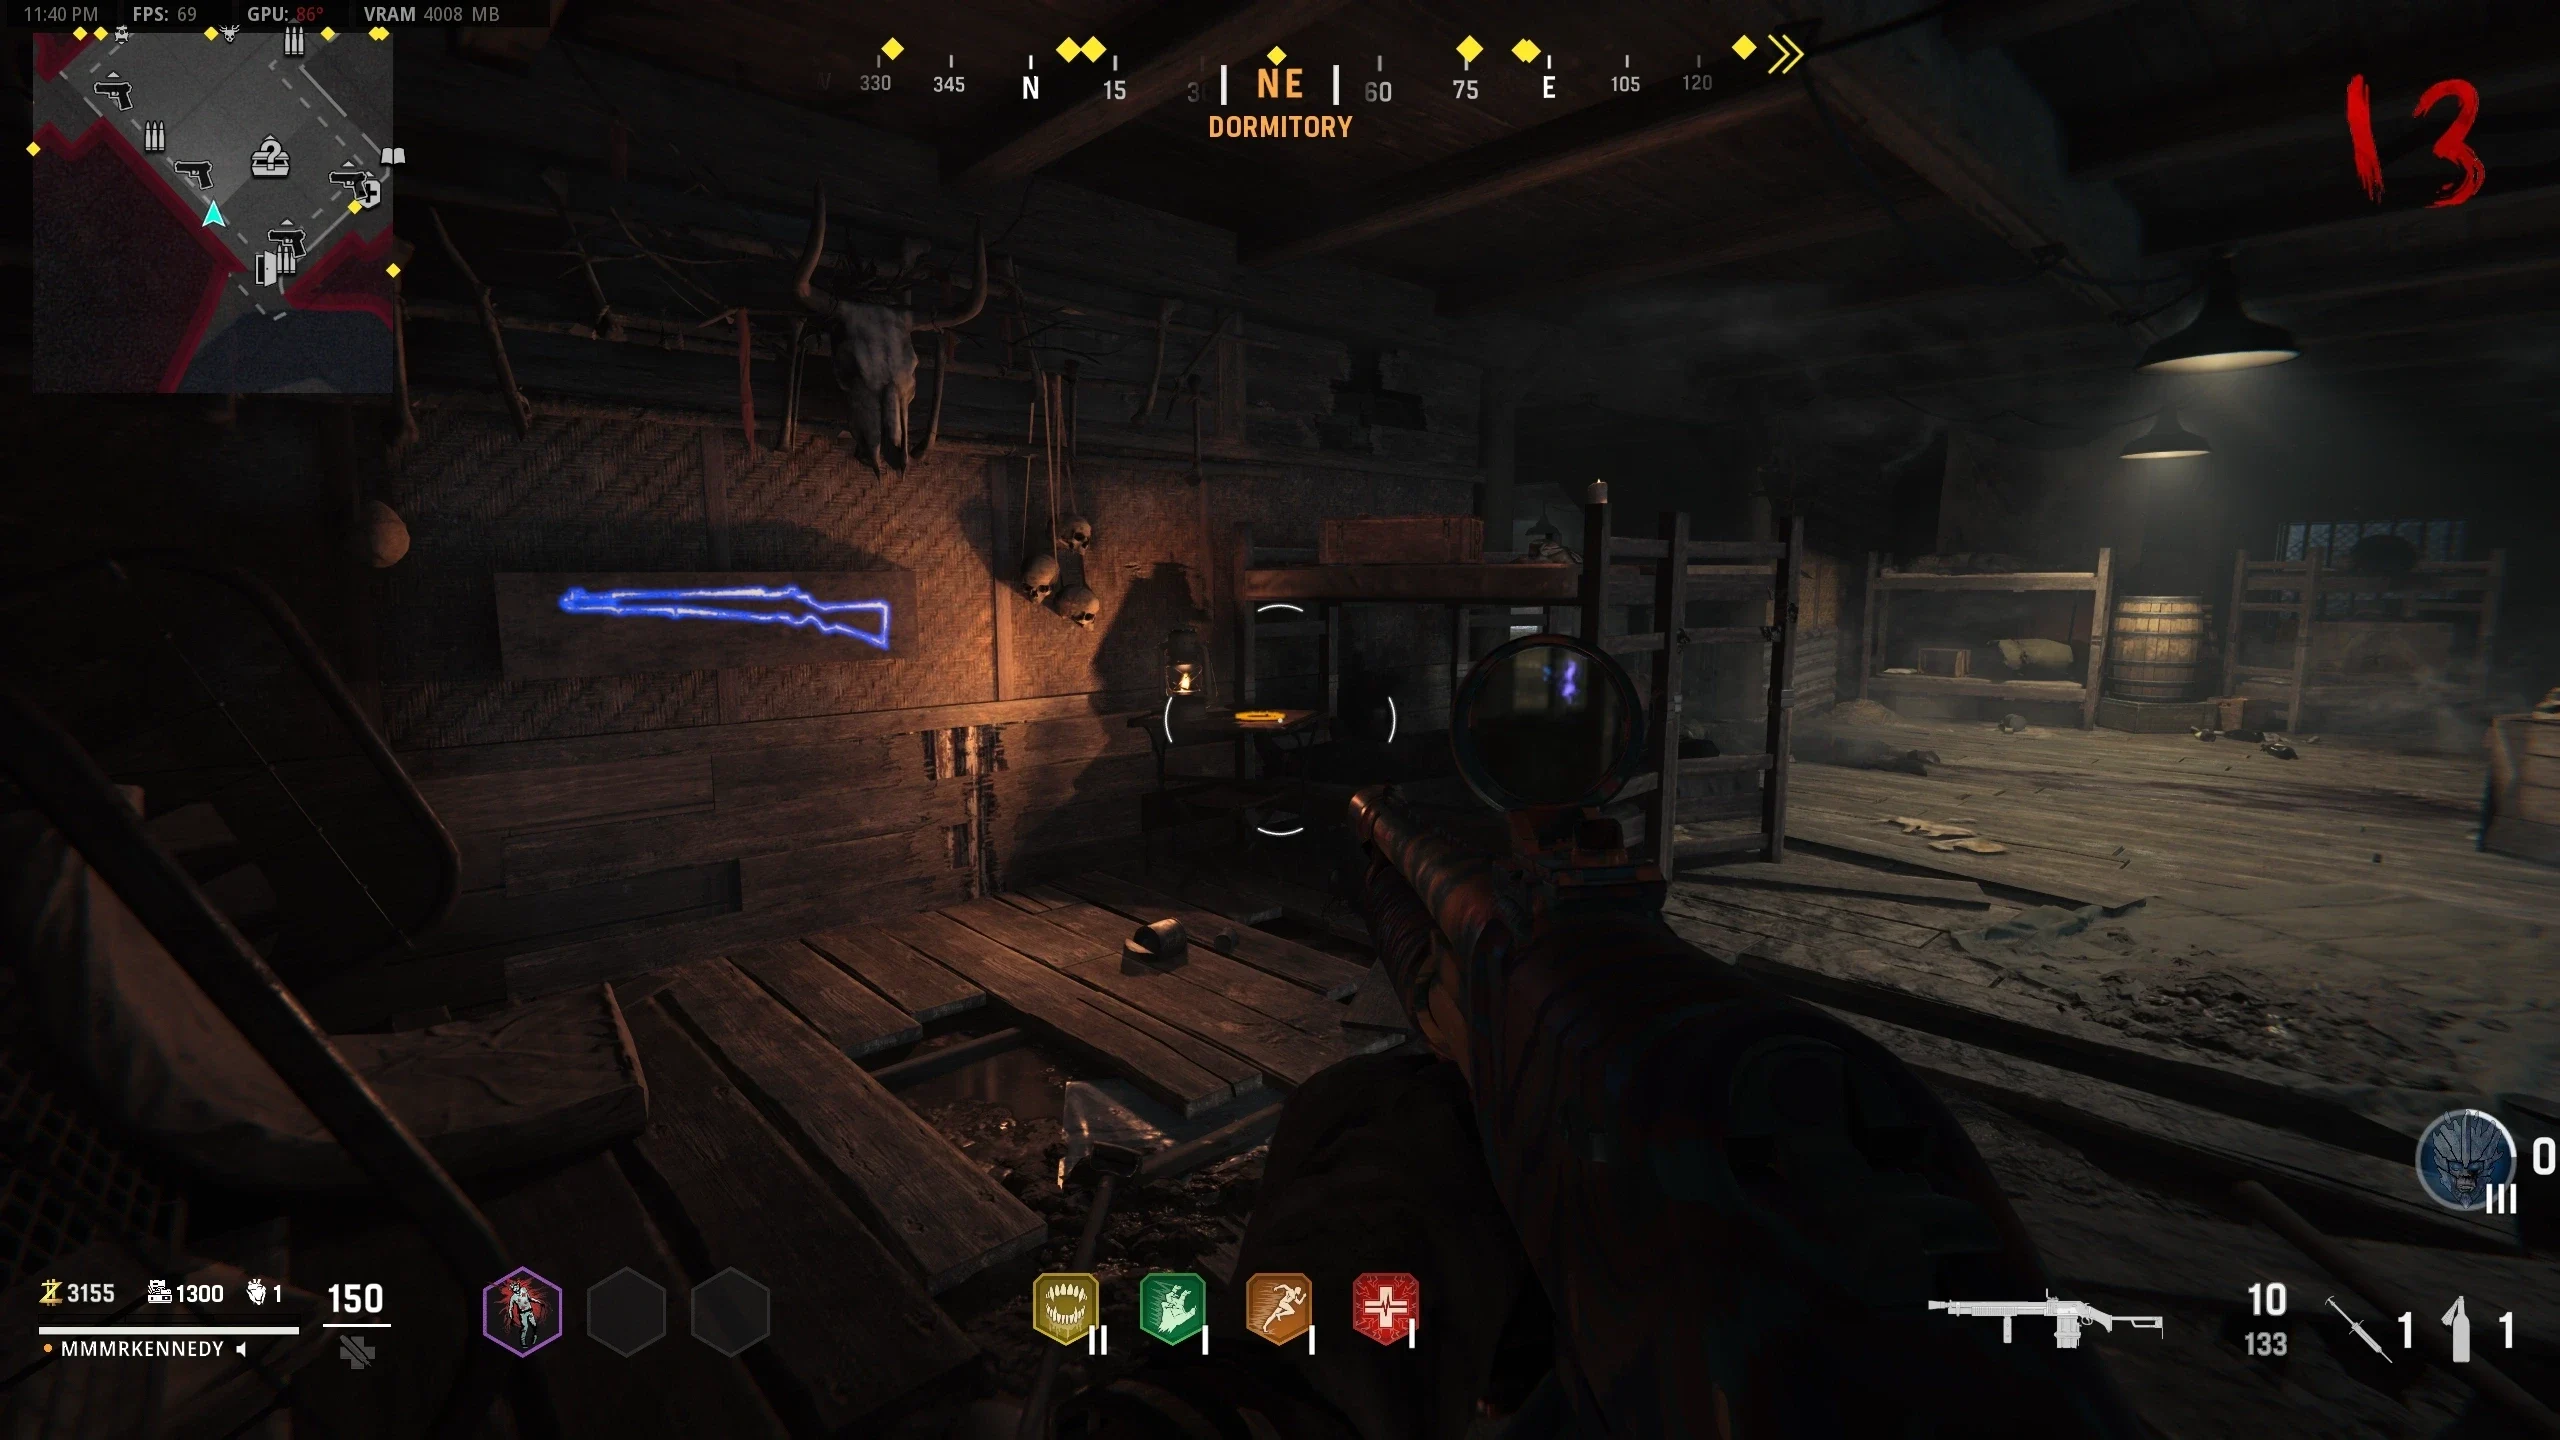
- Dormitory - On the table right of the M1 Garand wallbuy
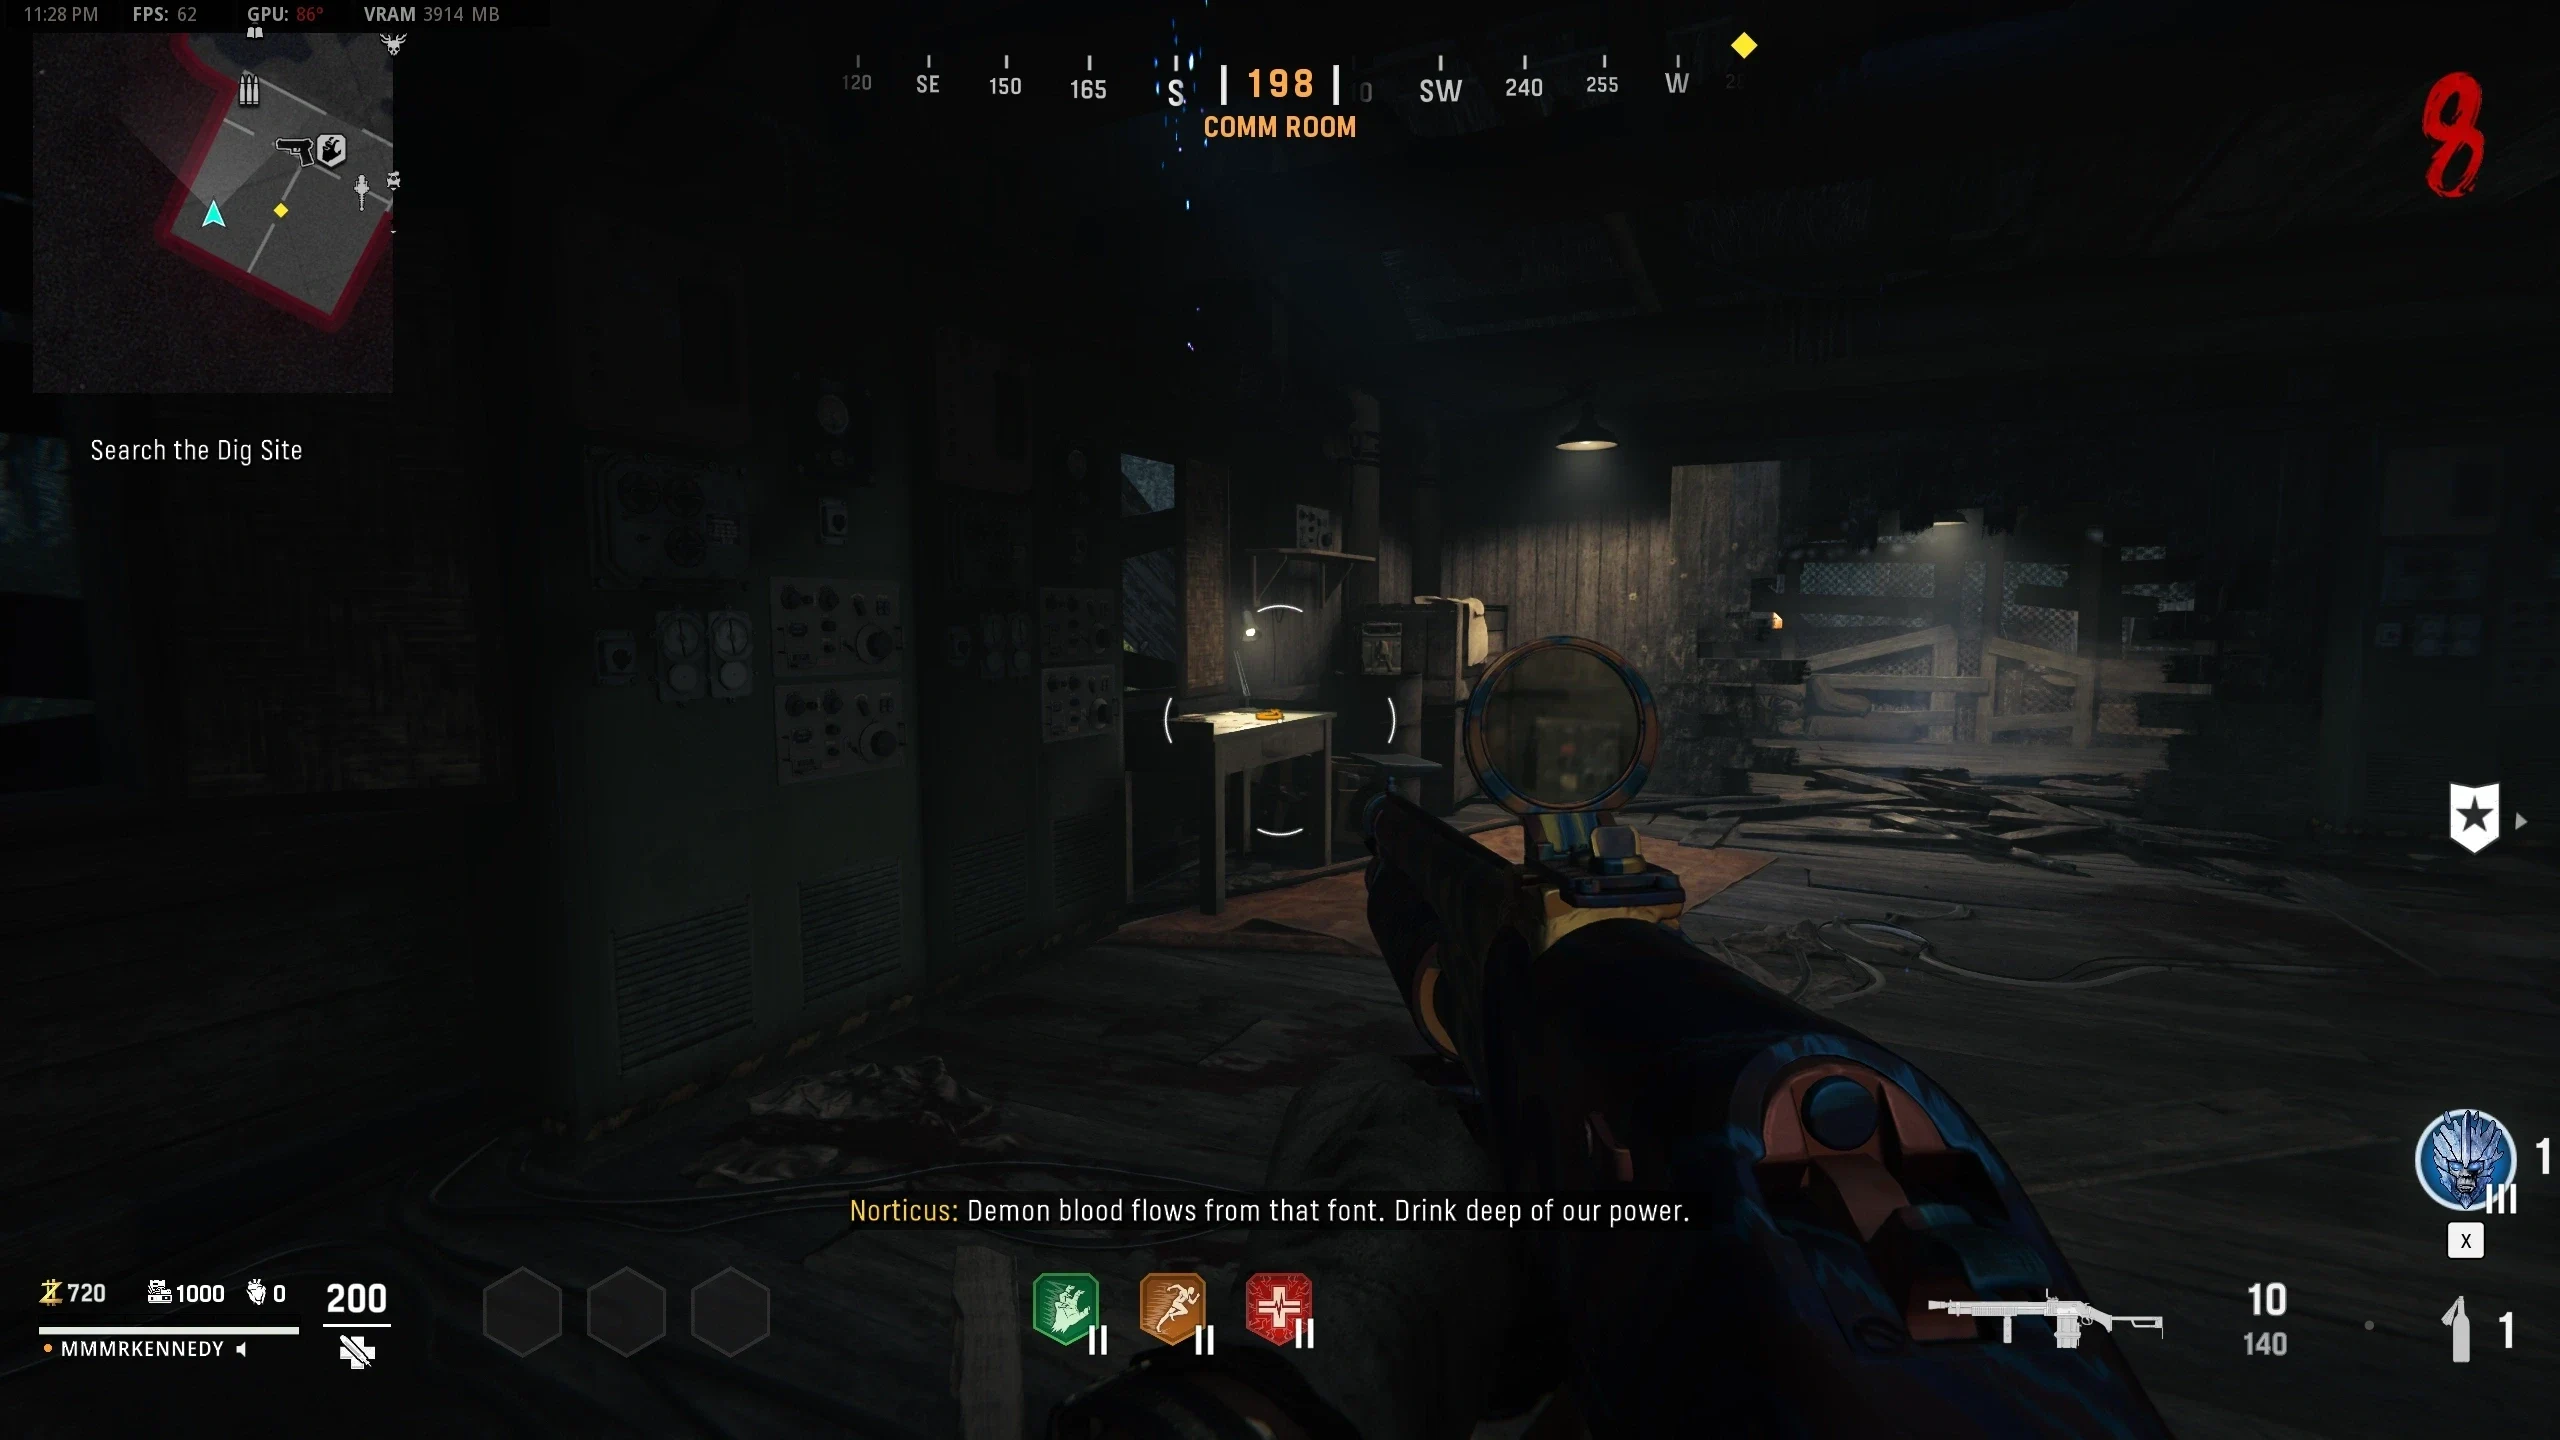
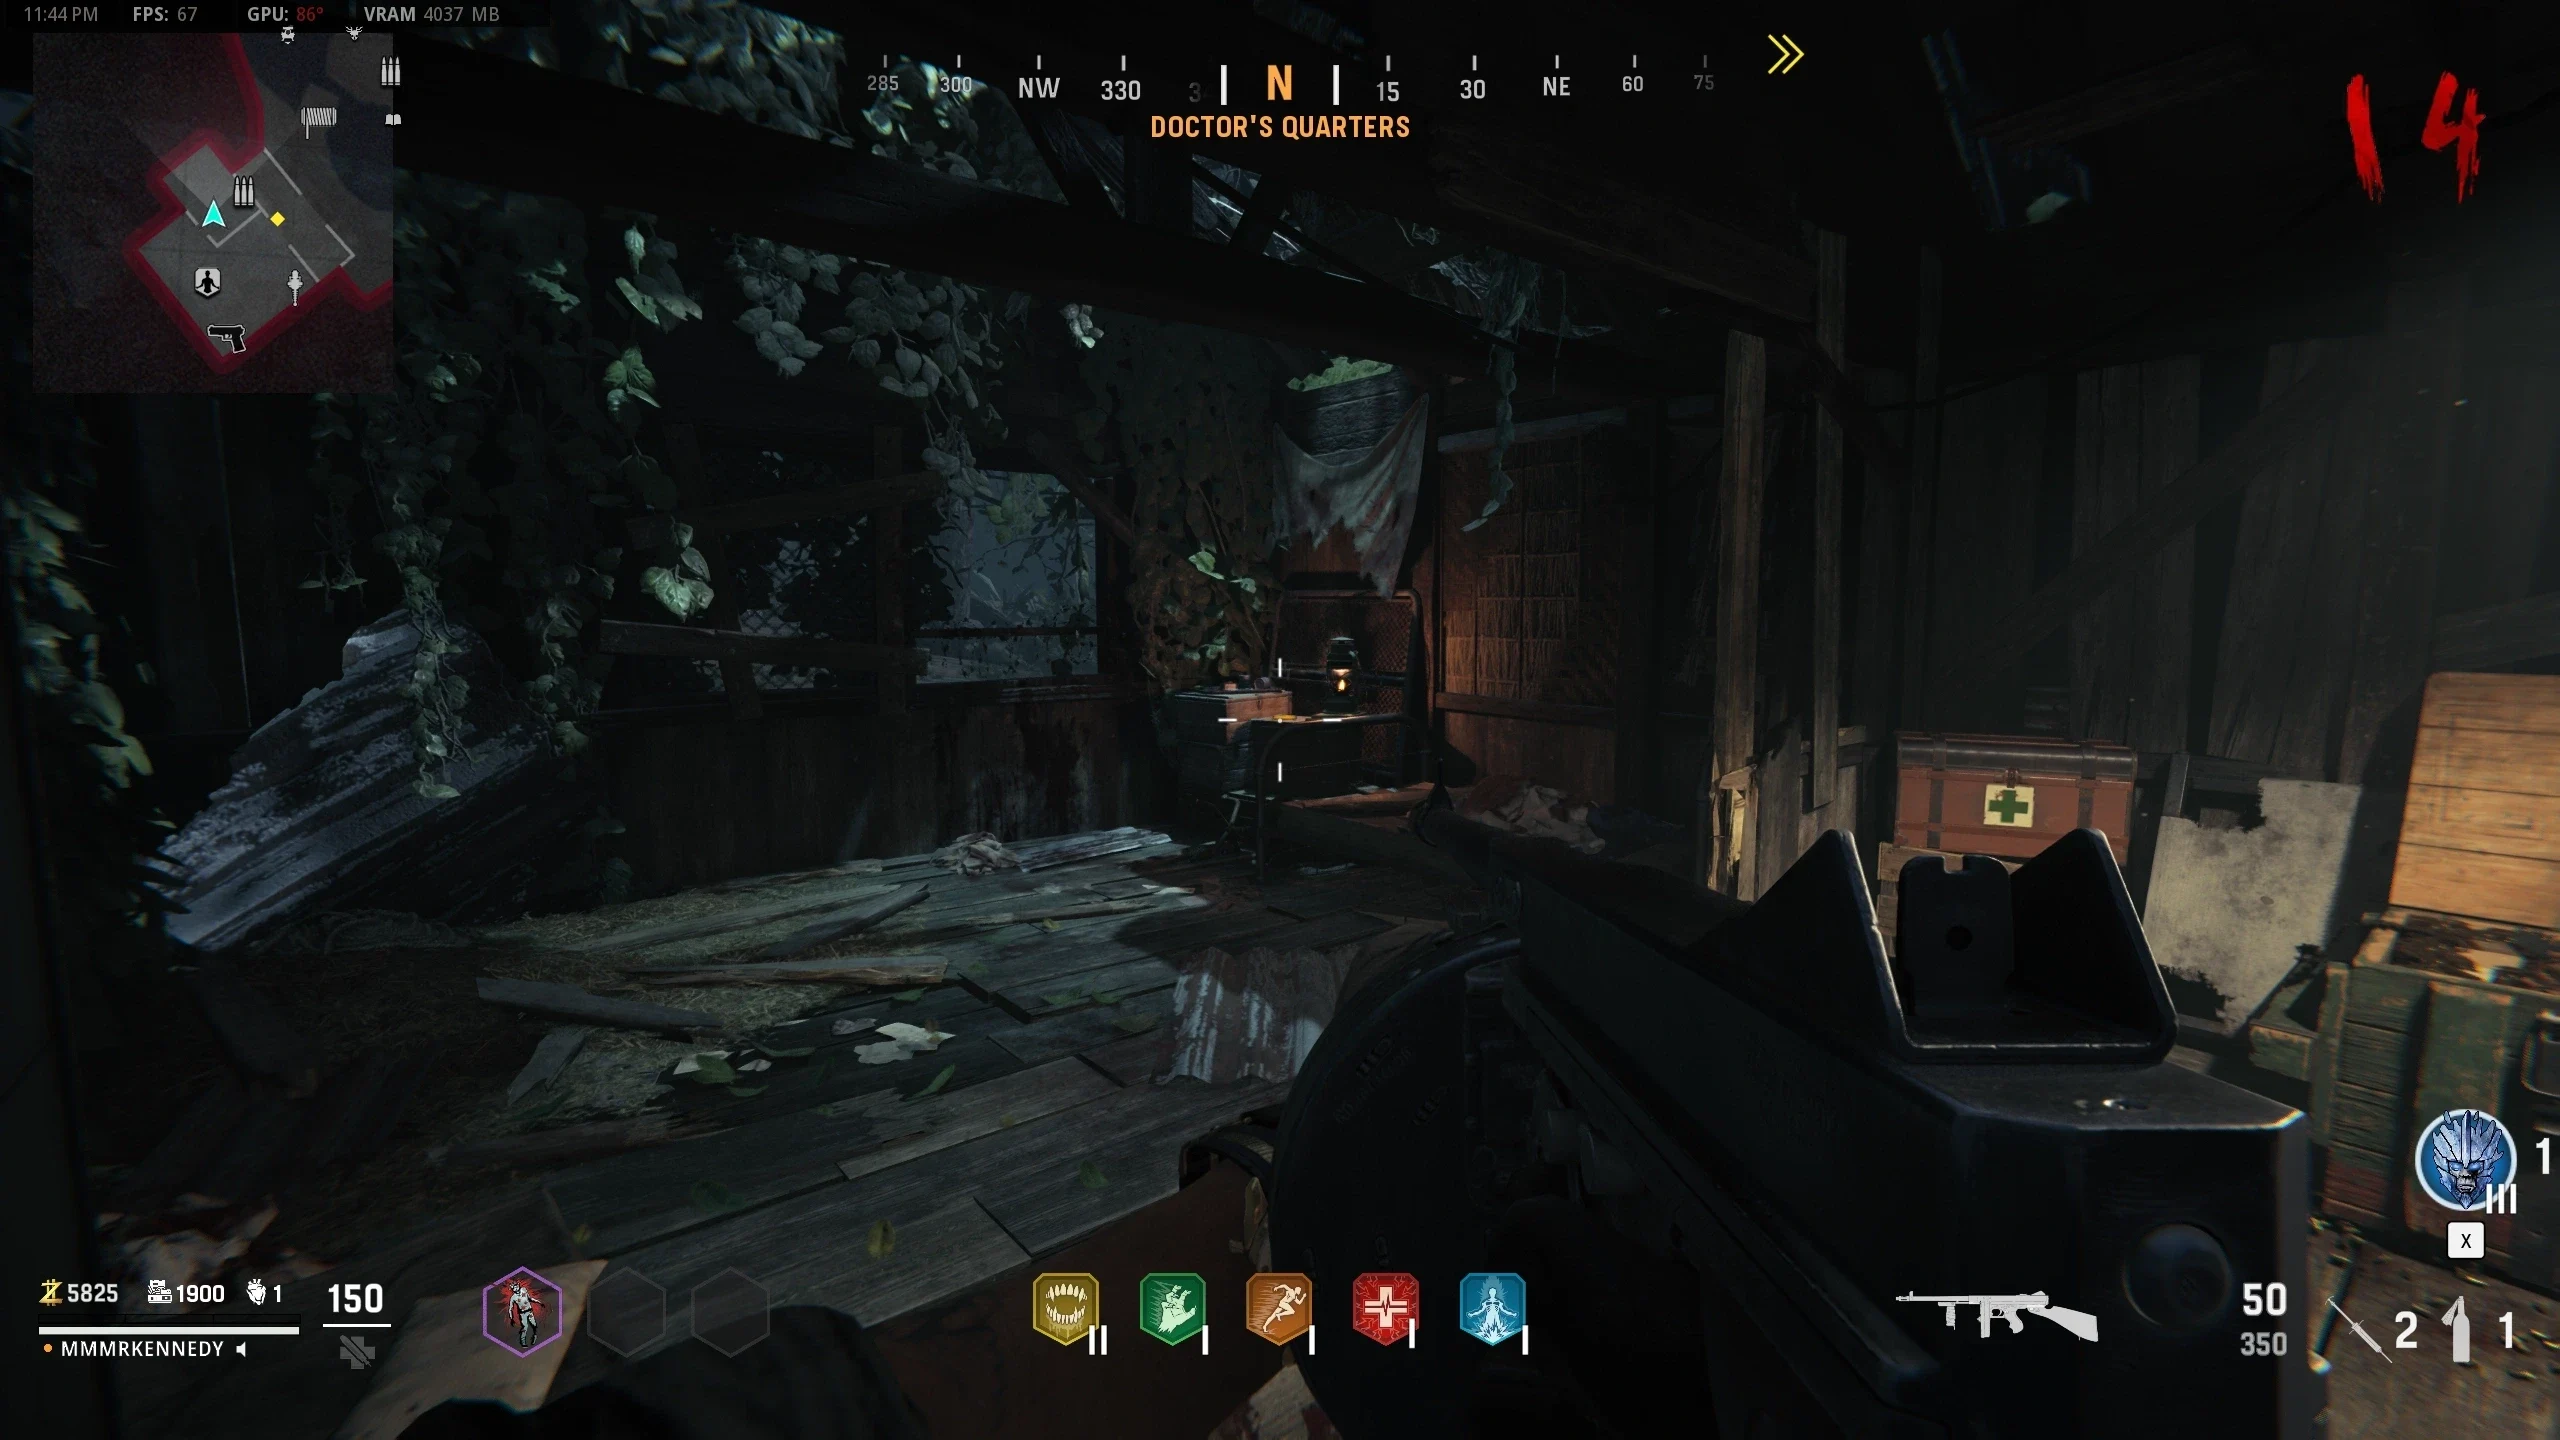
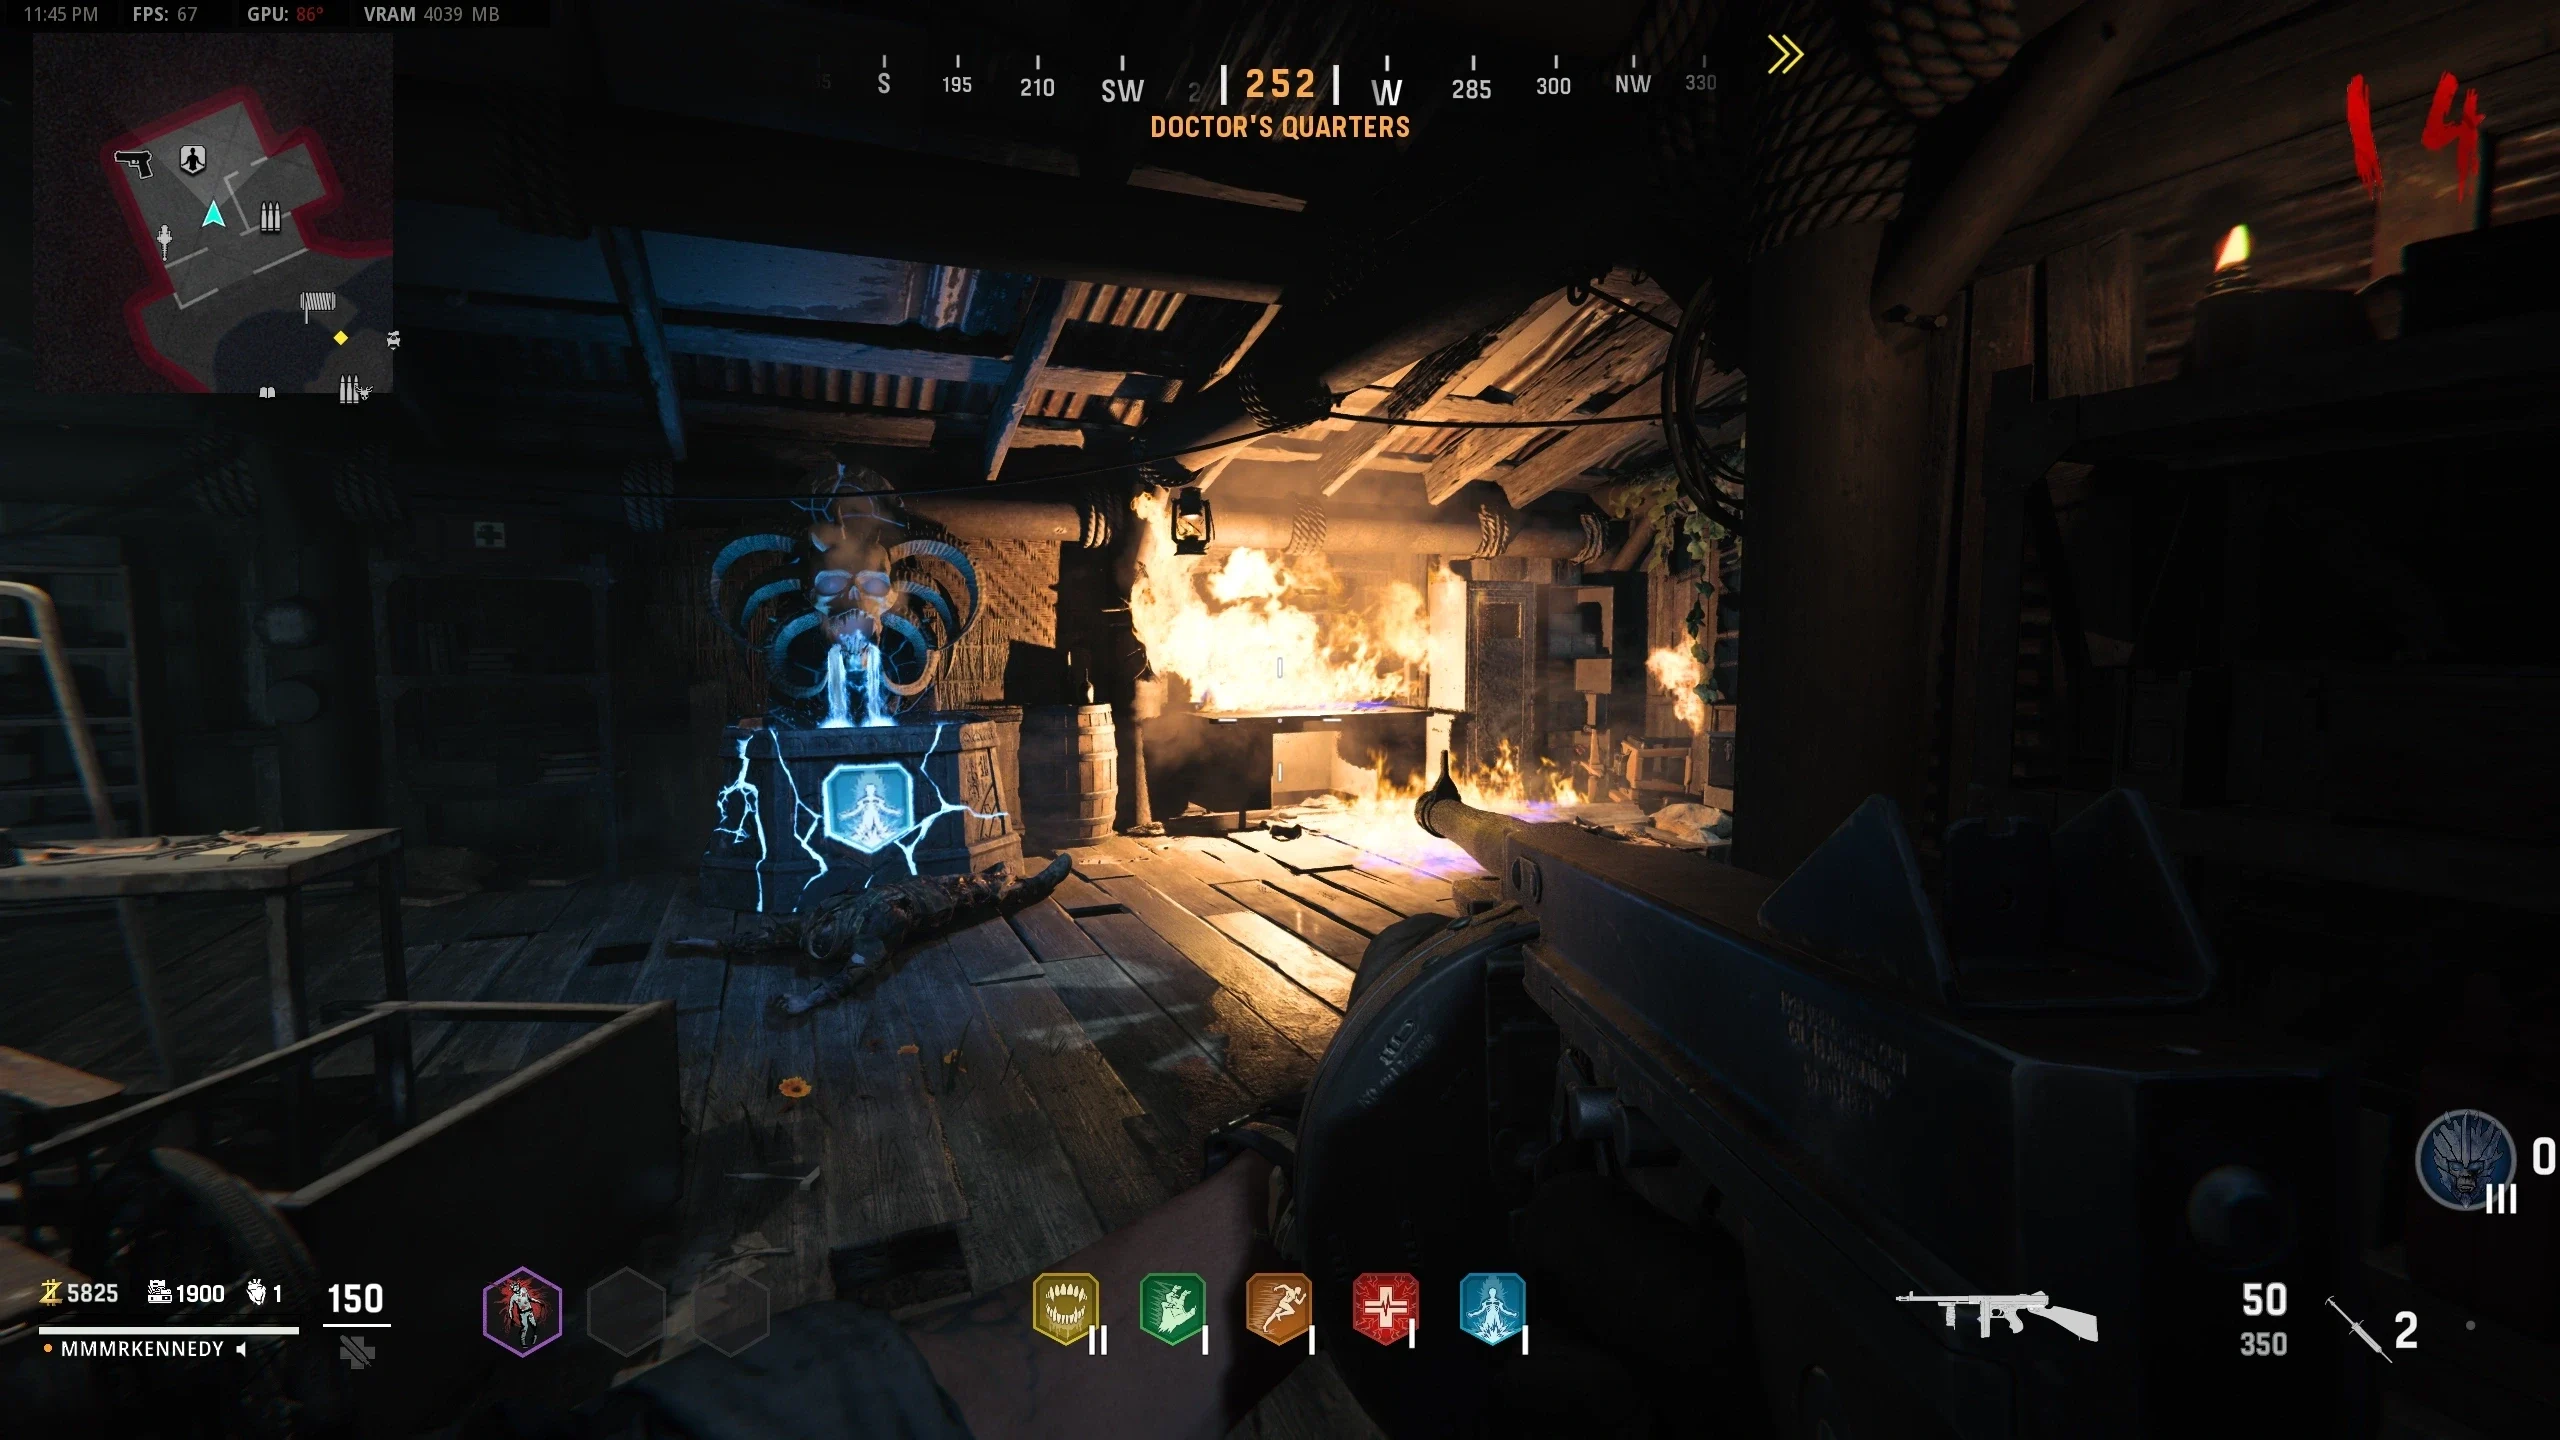
- Doctor's Quarters - In the room right of the Demonic Fountain
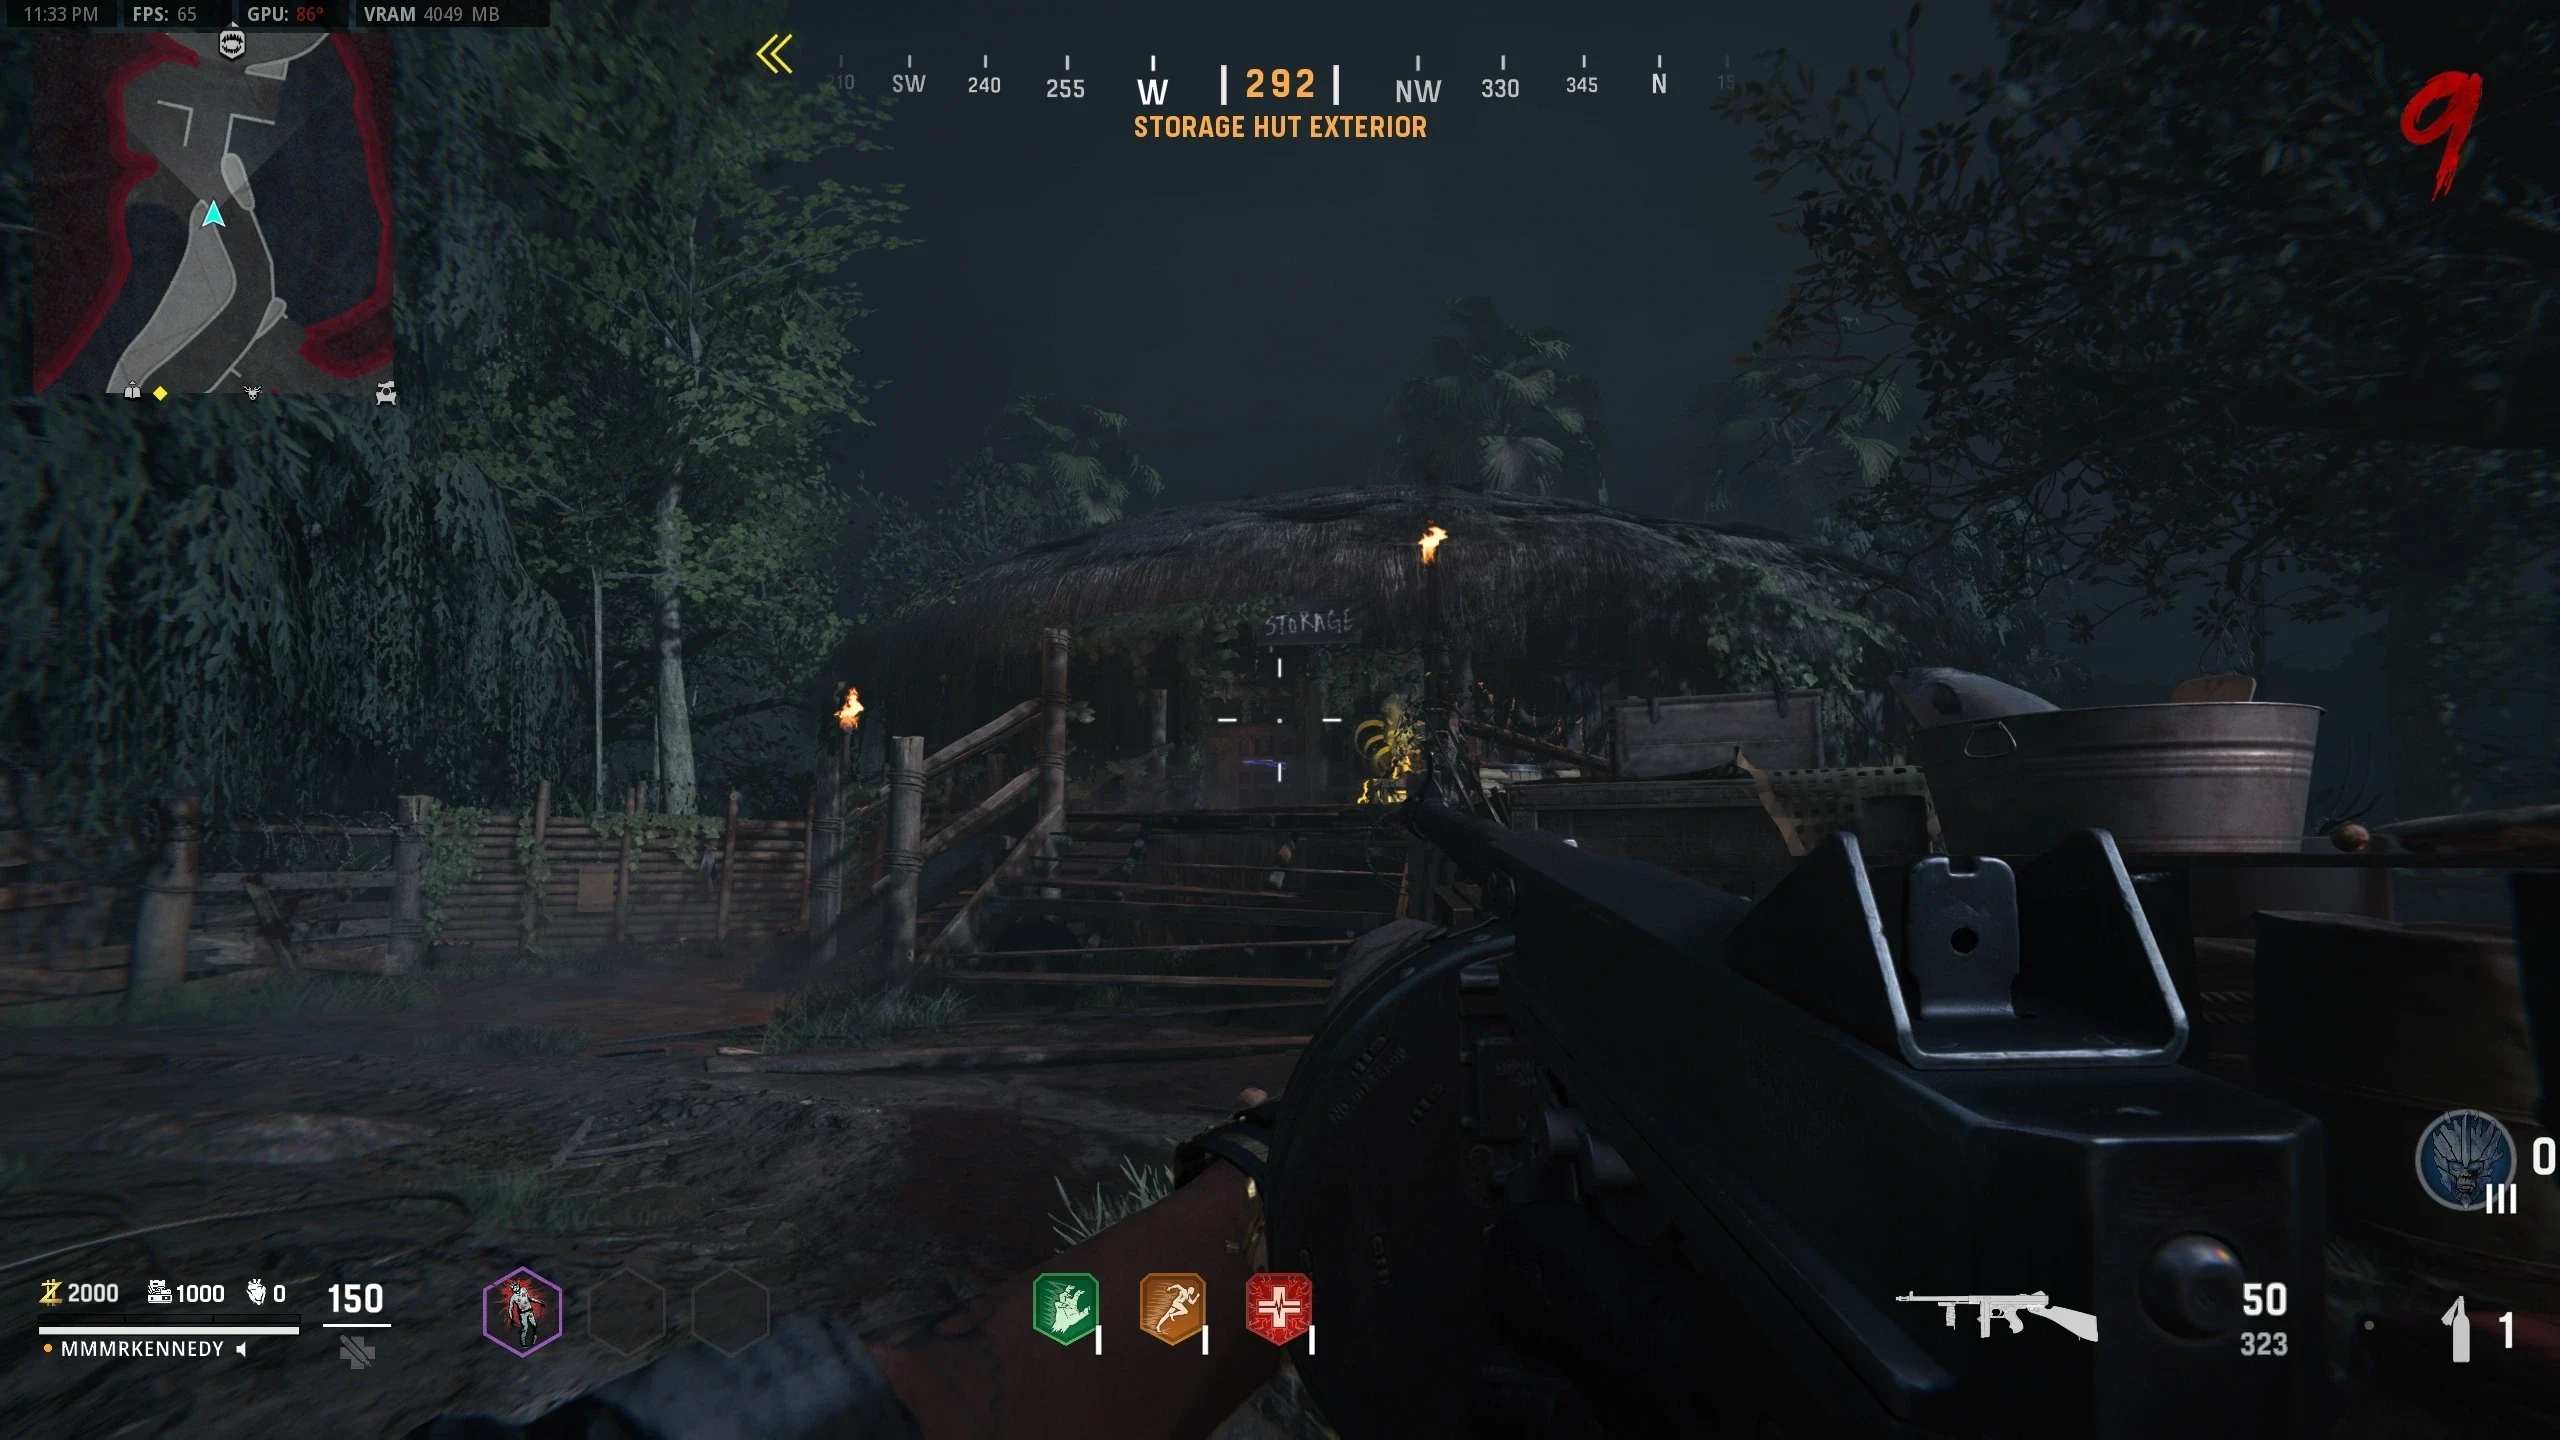
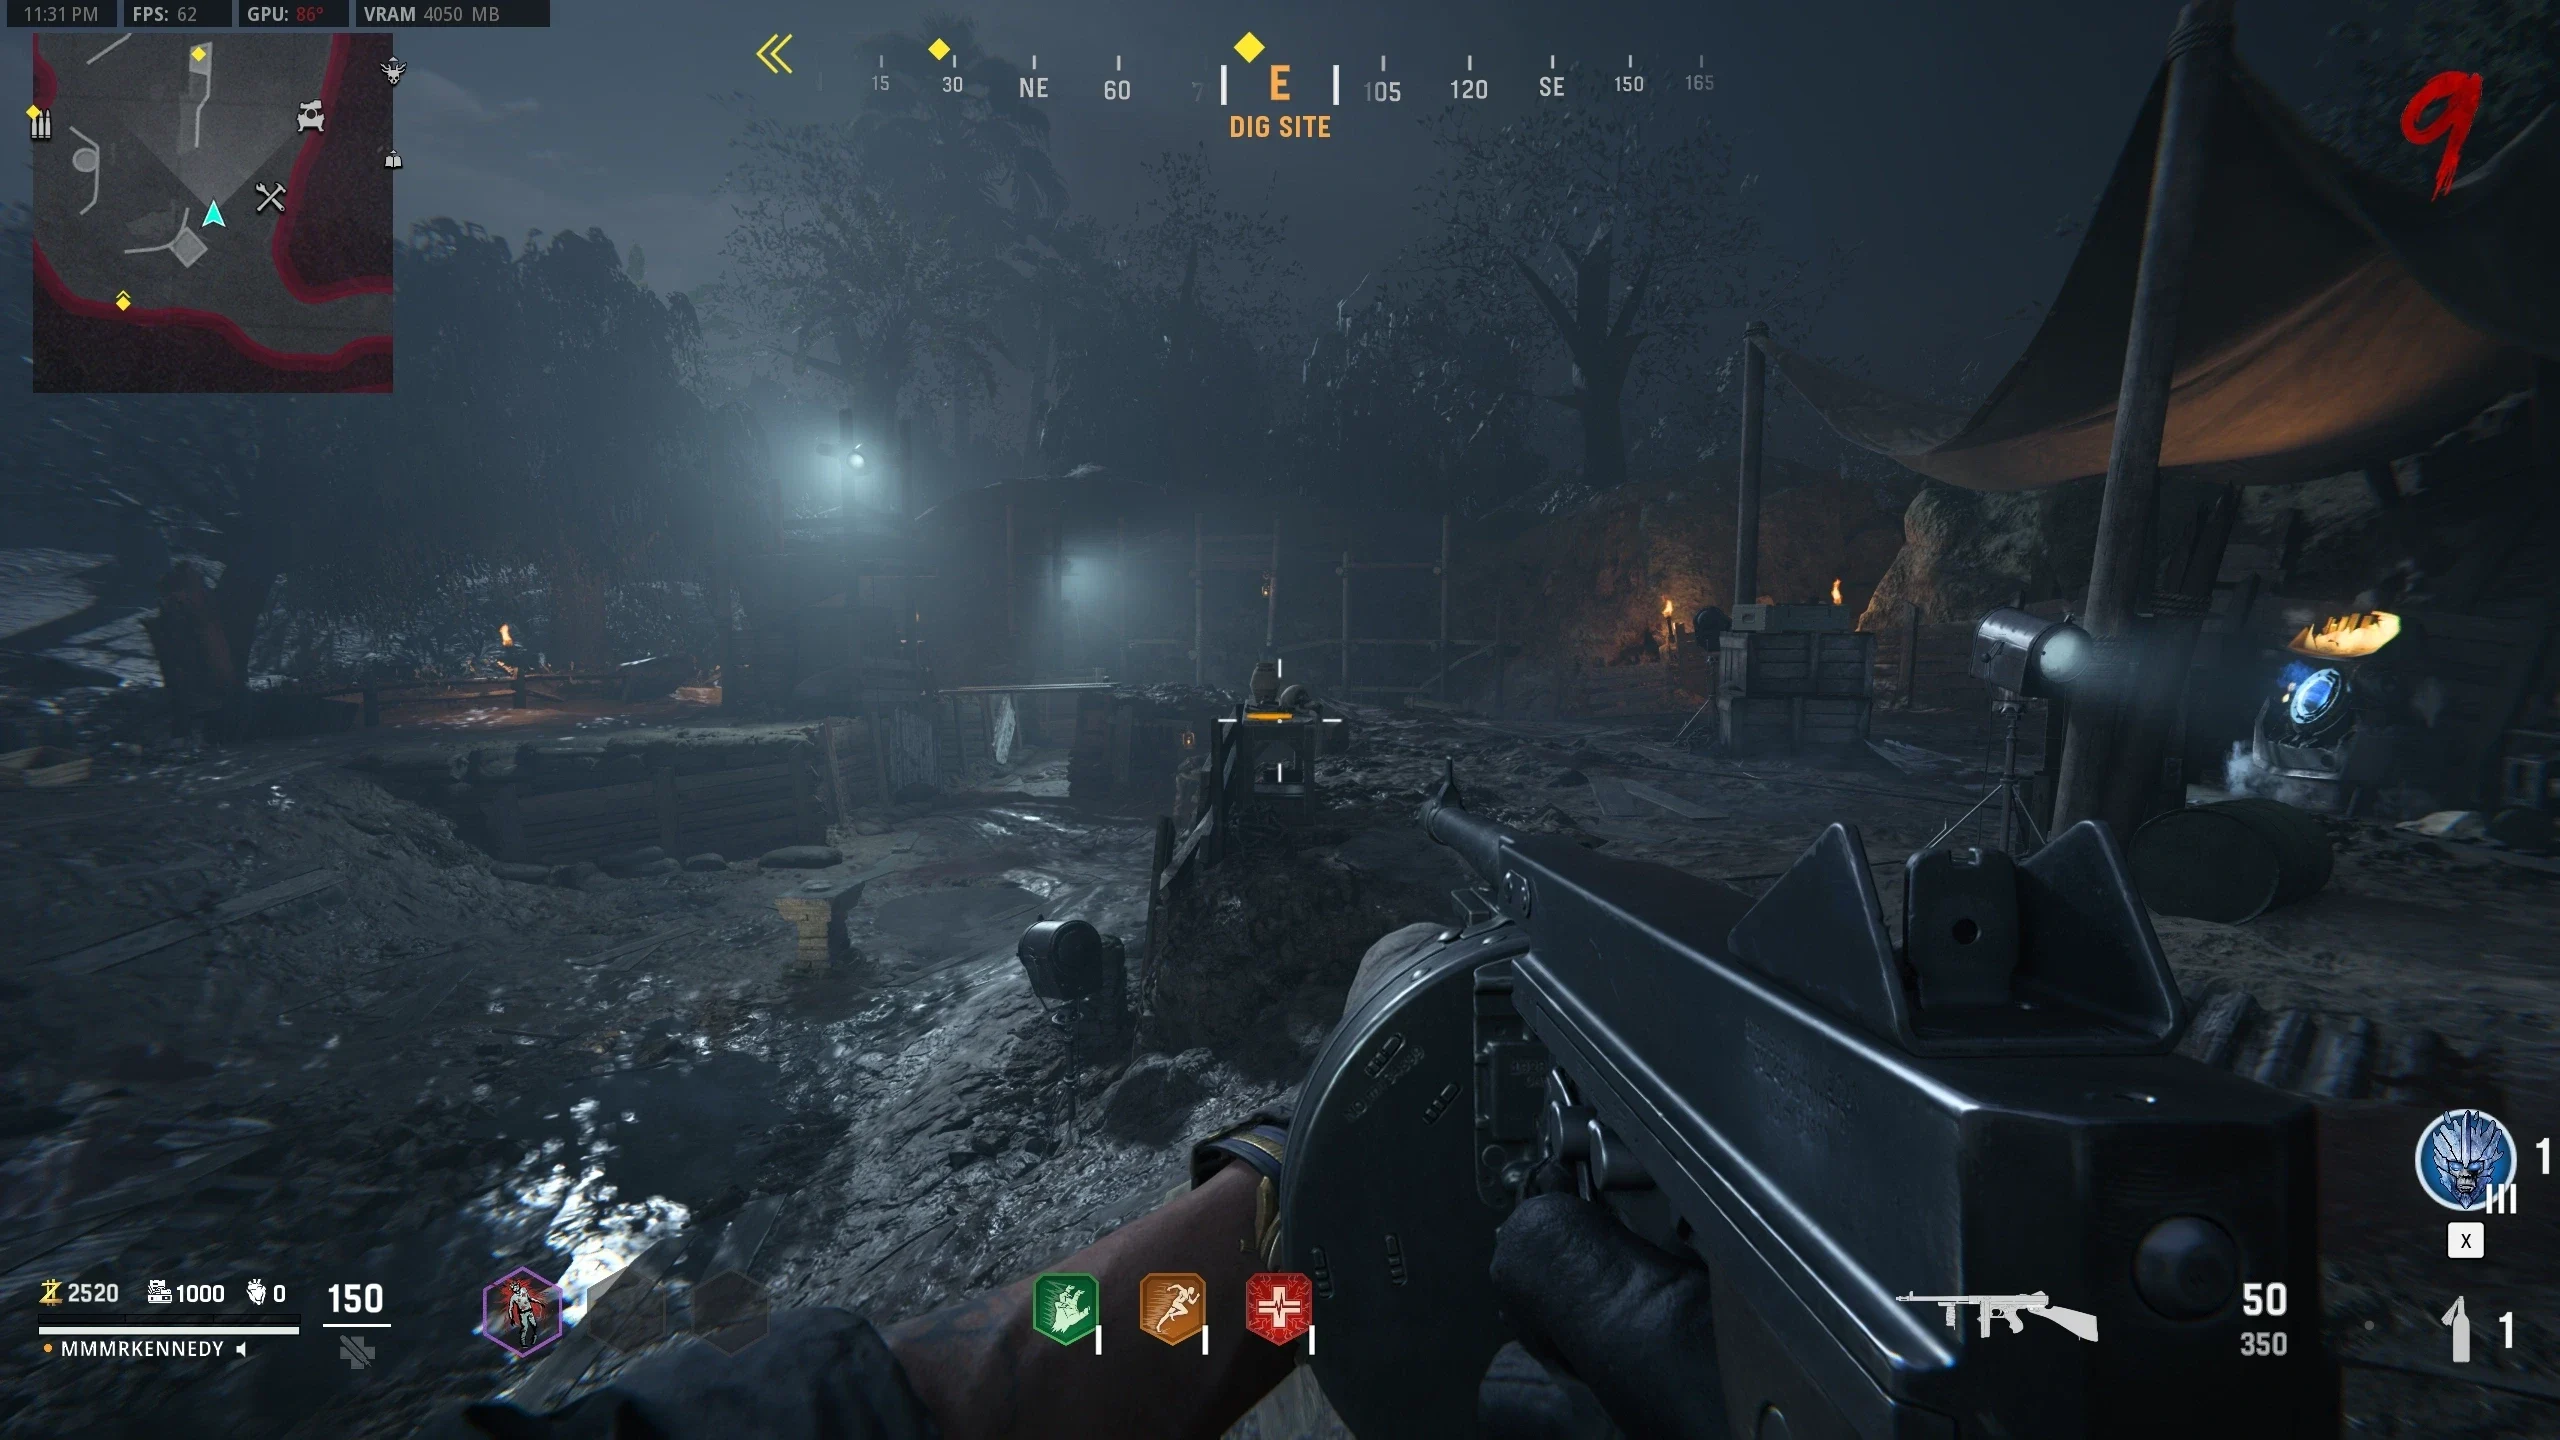
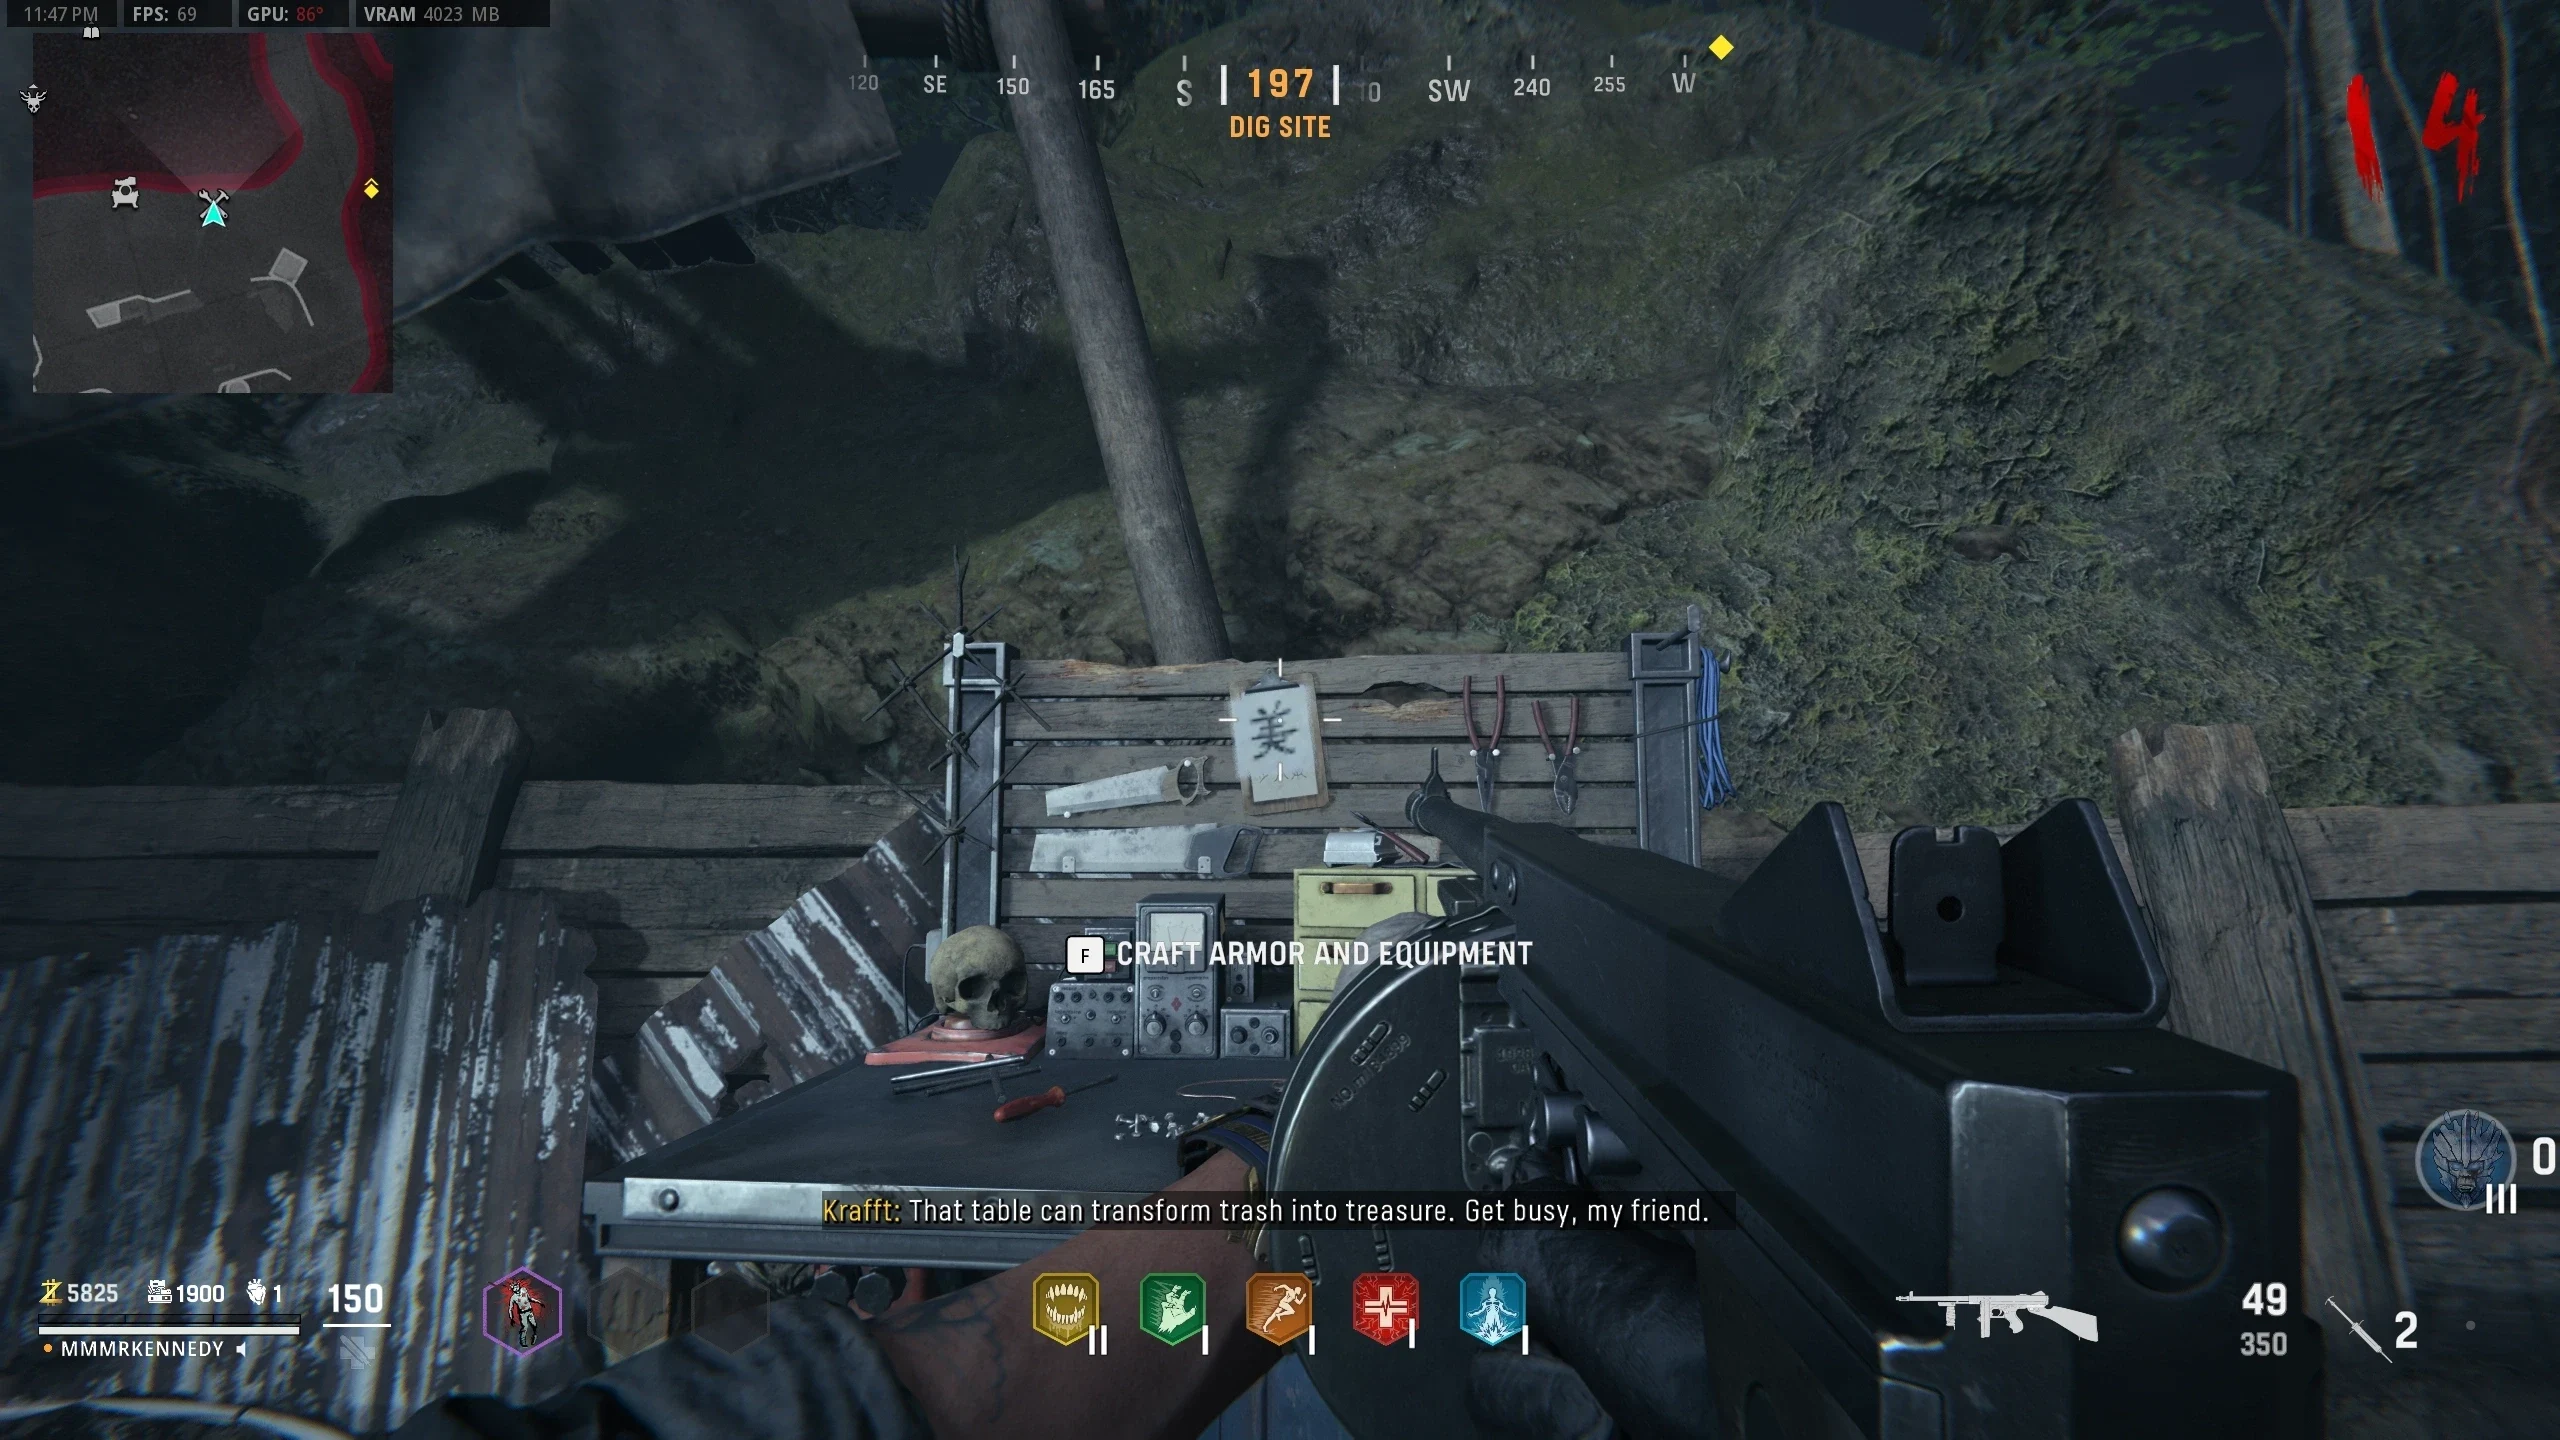
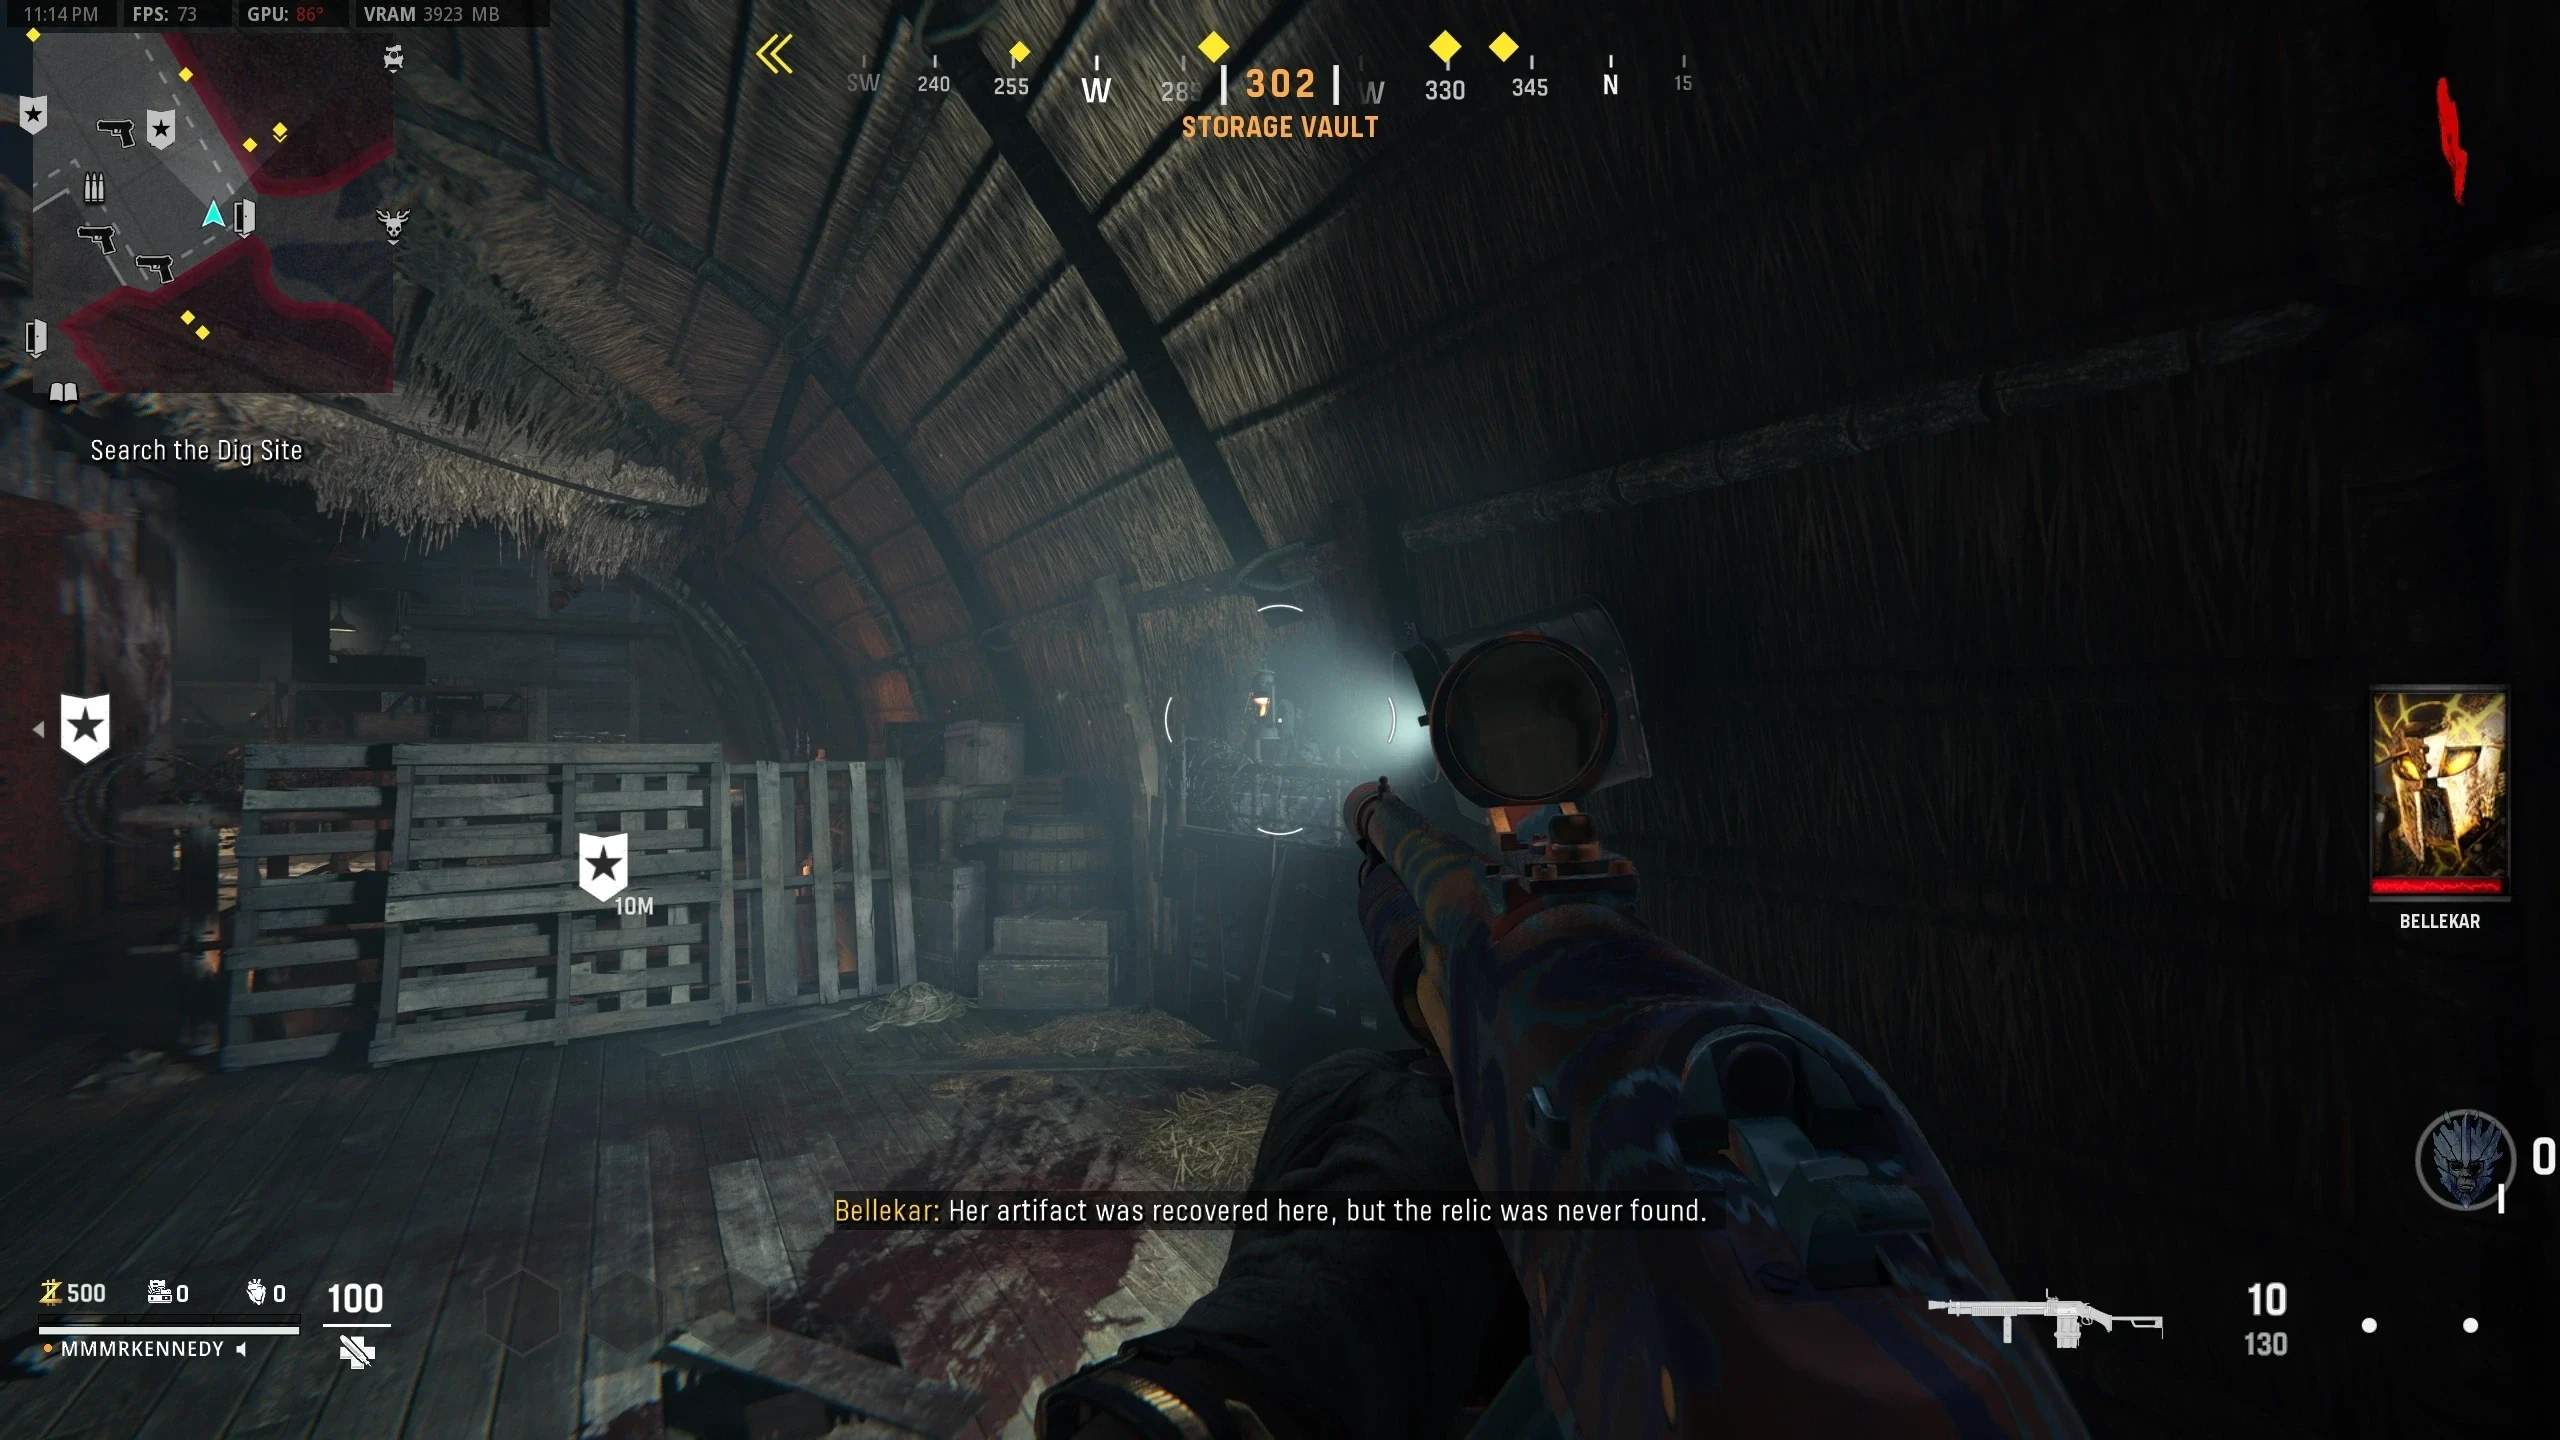
- Dig Site - On a table in front of Pack-a-Punch
- Interact with the Monolith to place the Cypher Wheels on it.
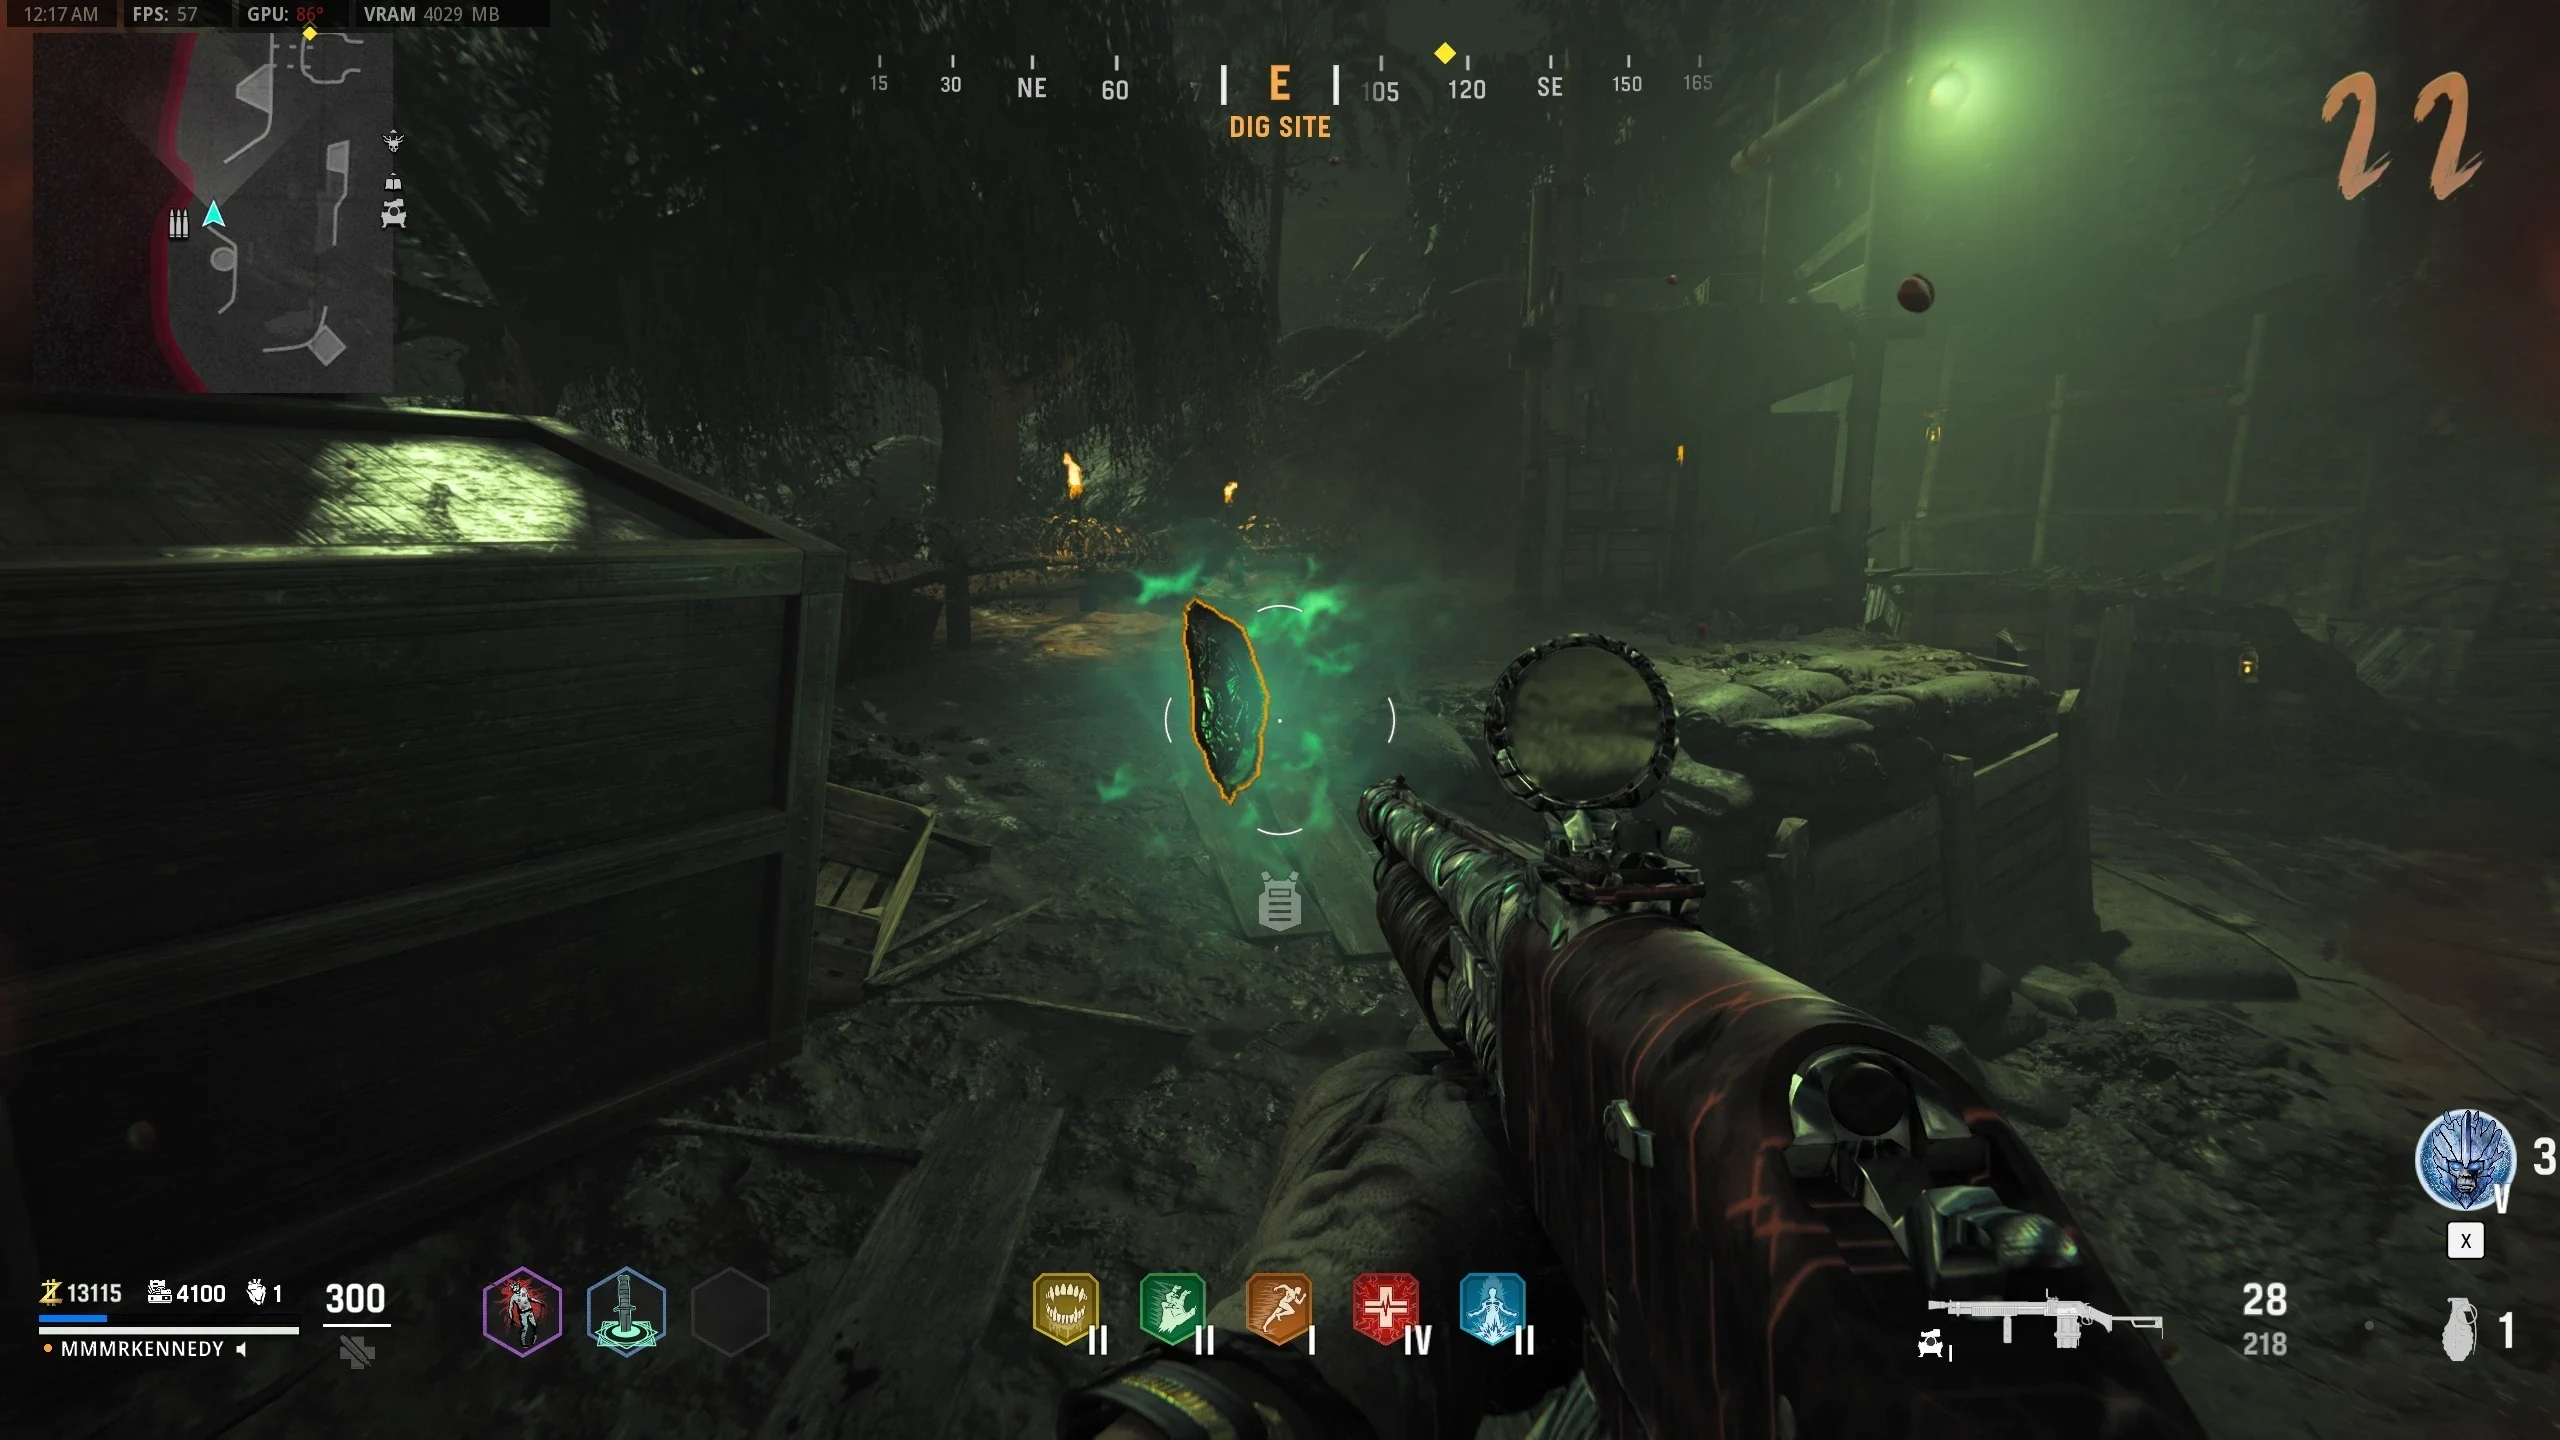
- Three symbols need to be found and translated to be input into the Monolith. The locations are:
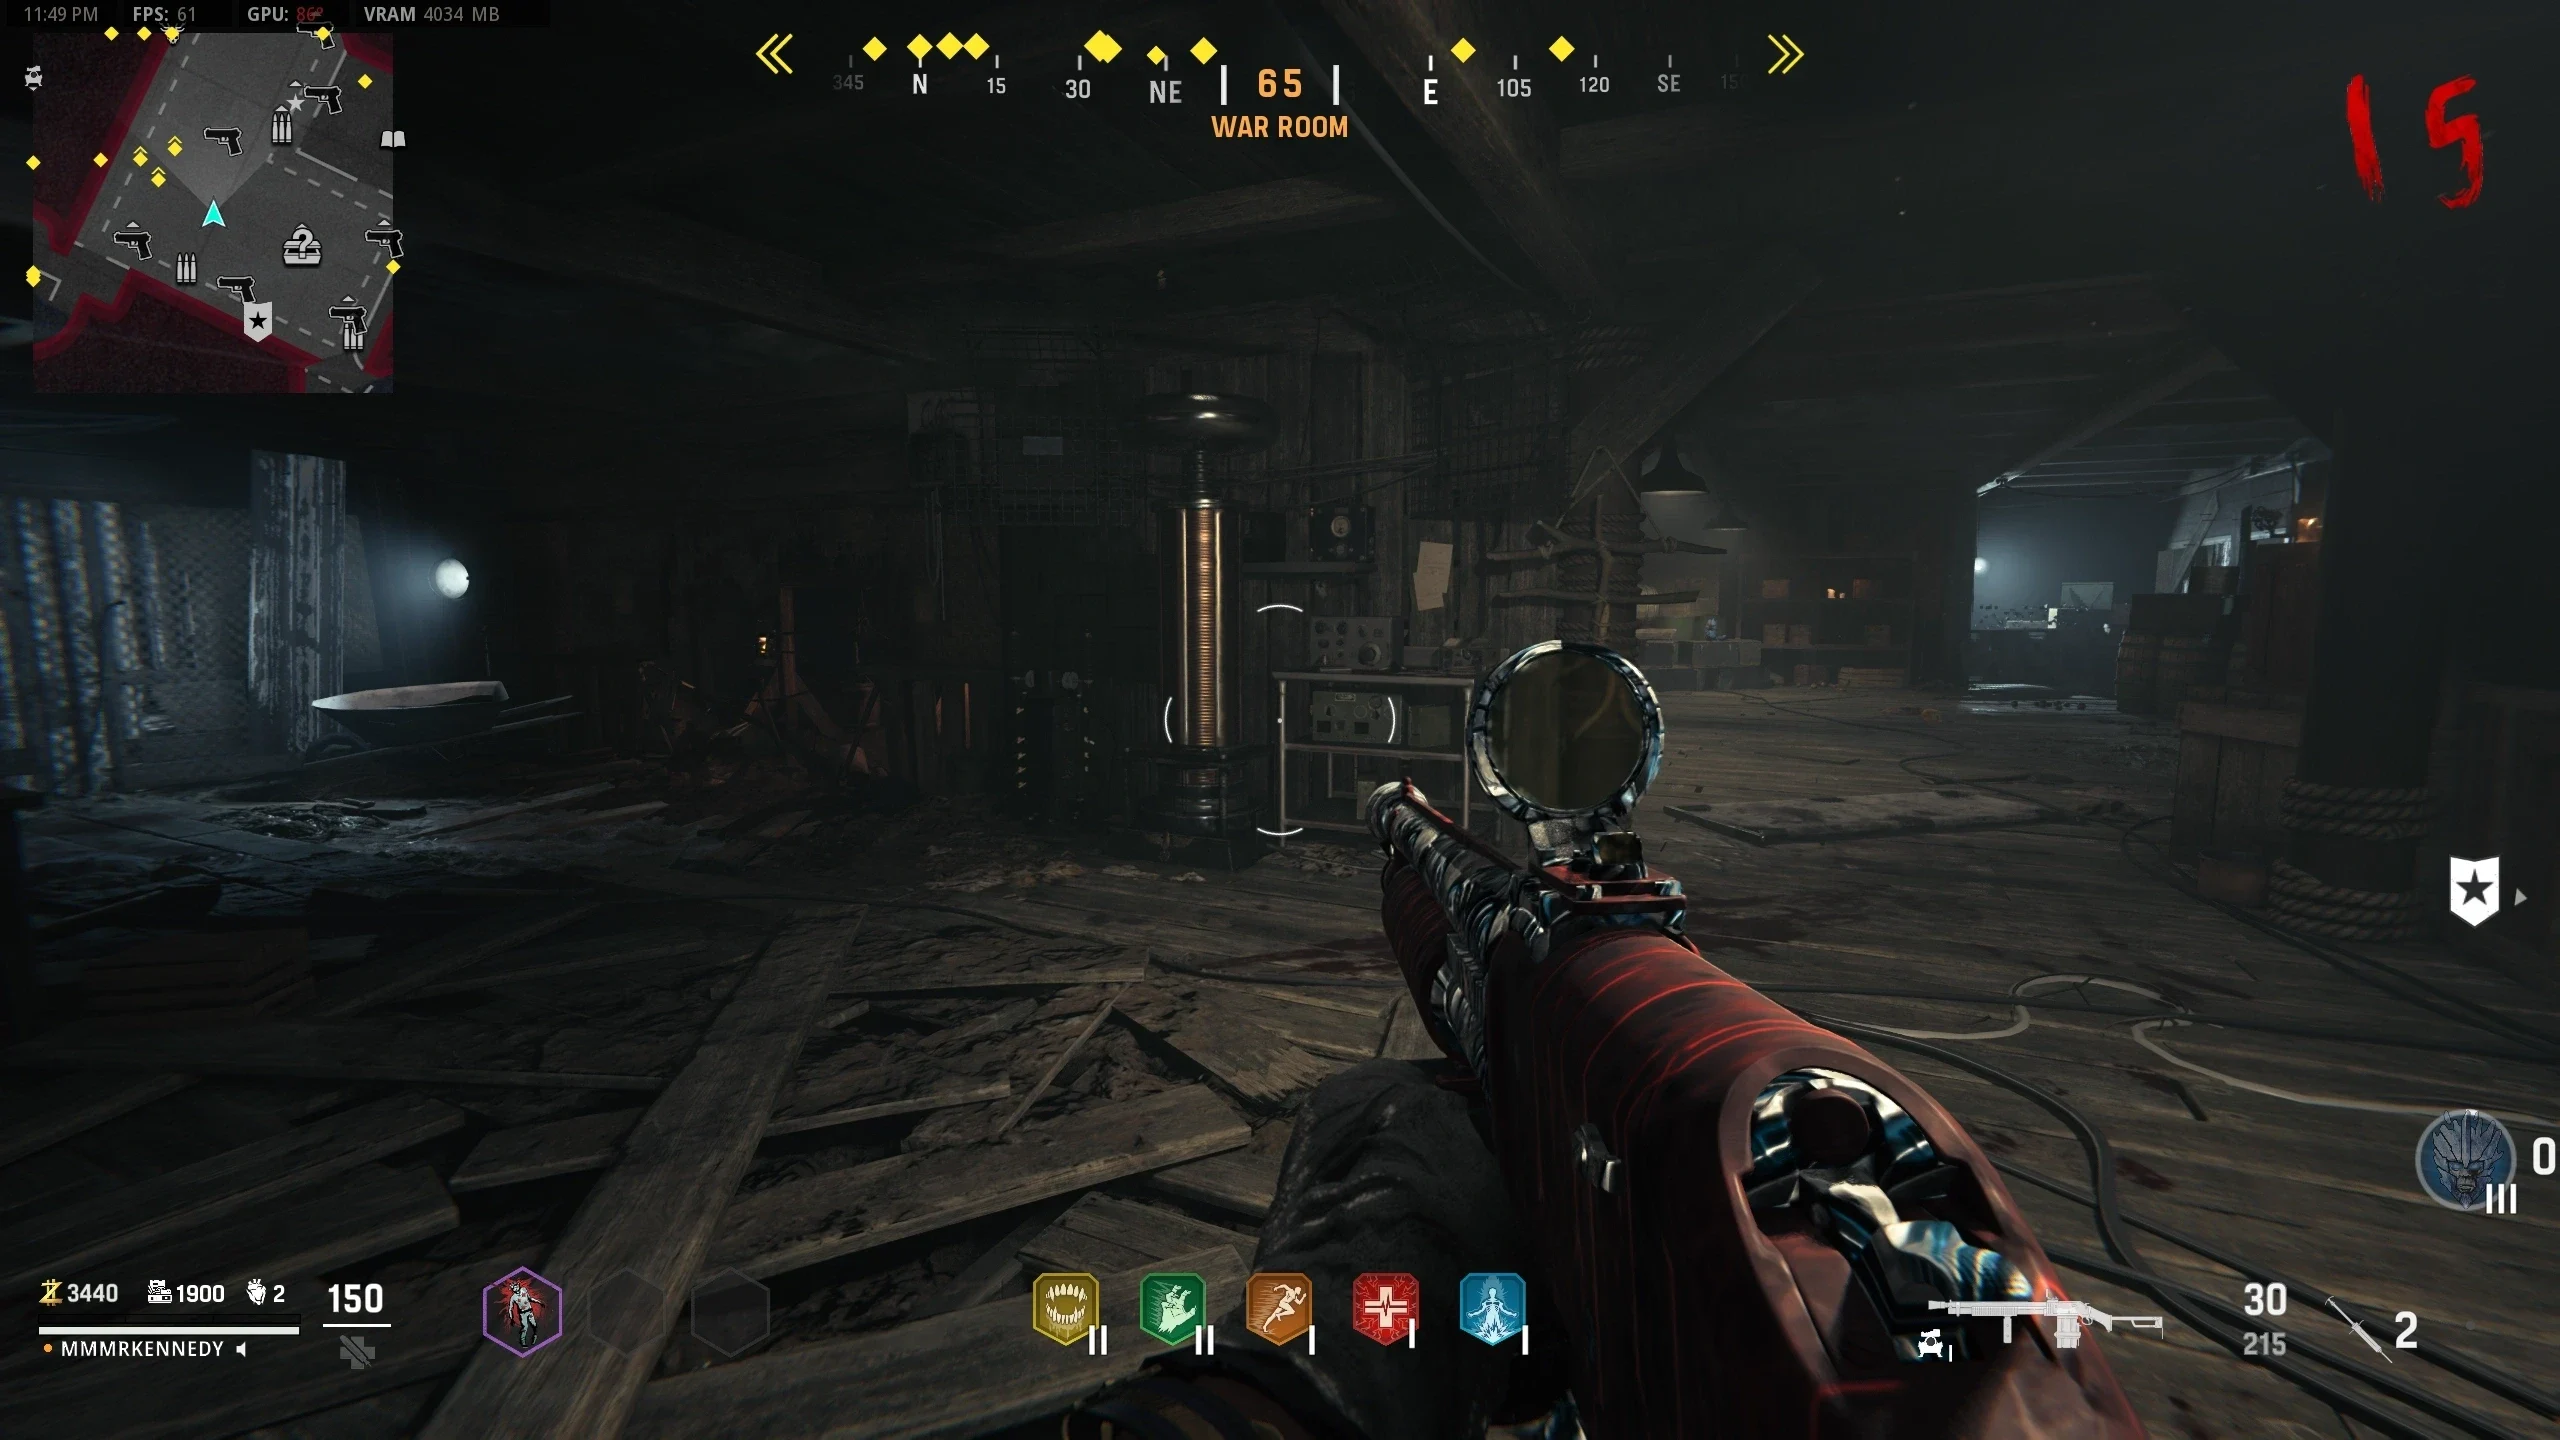
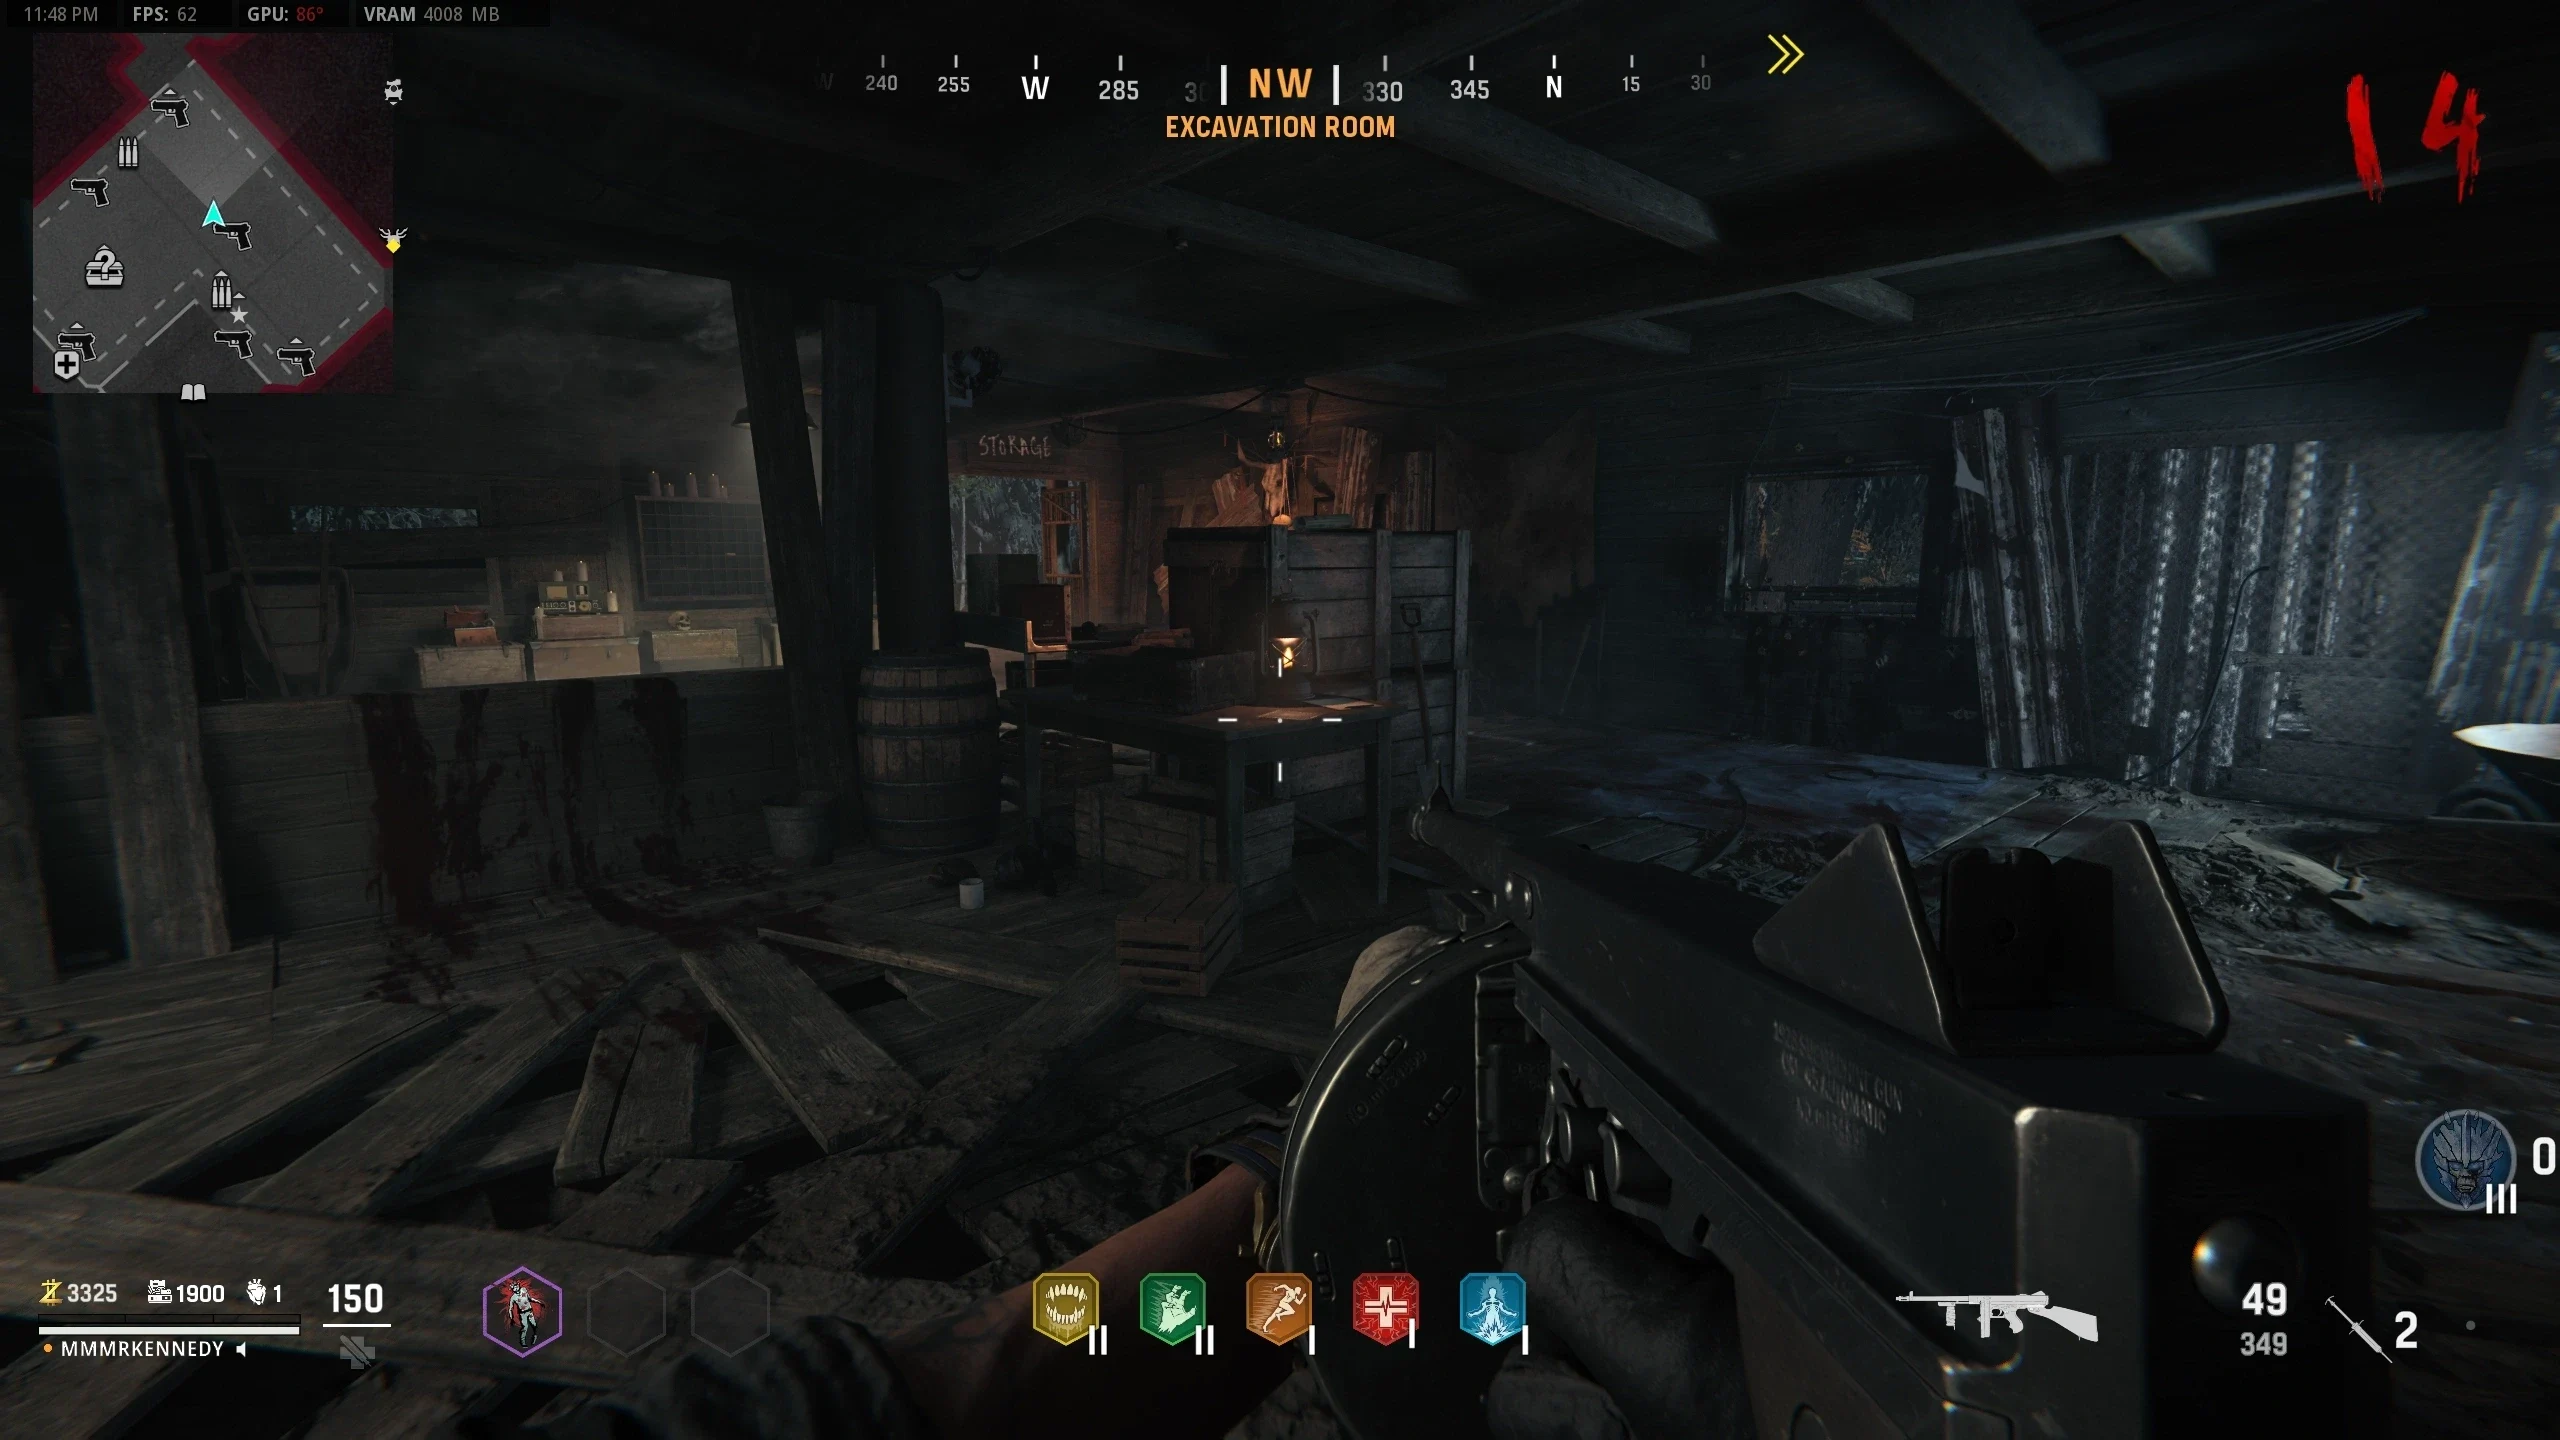
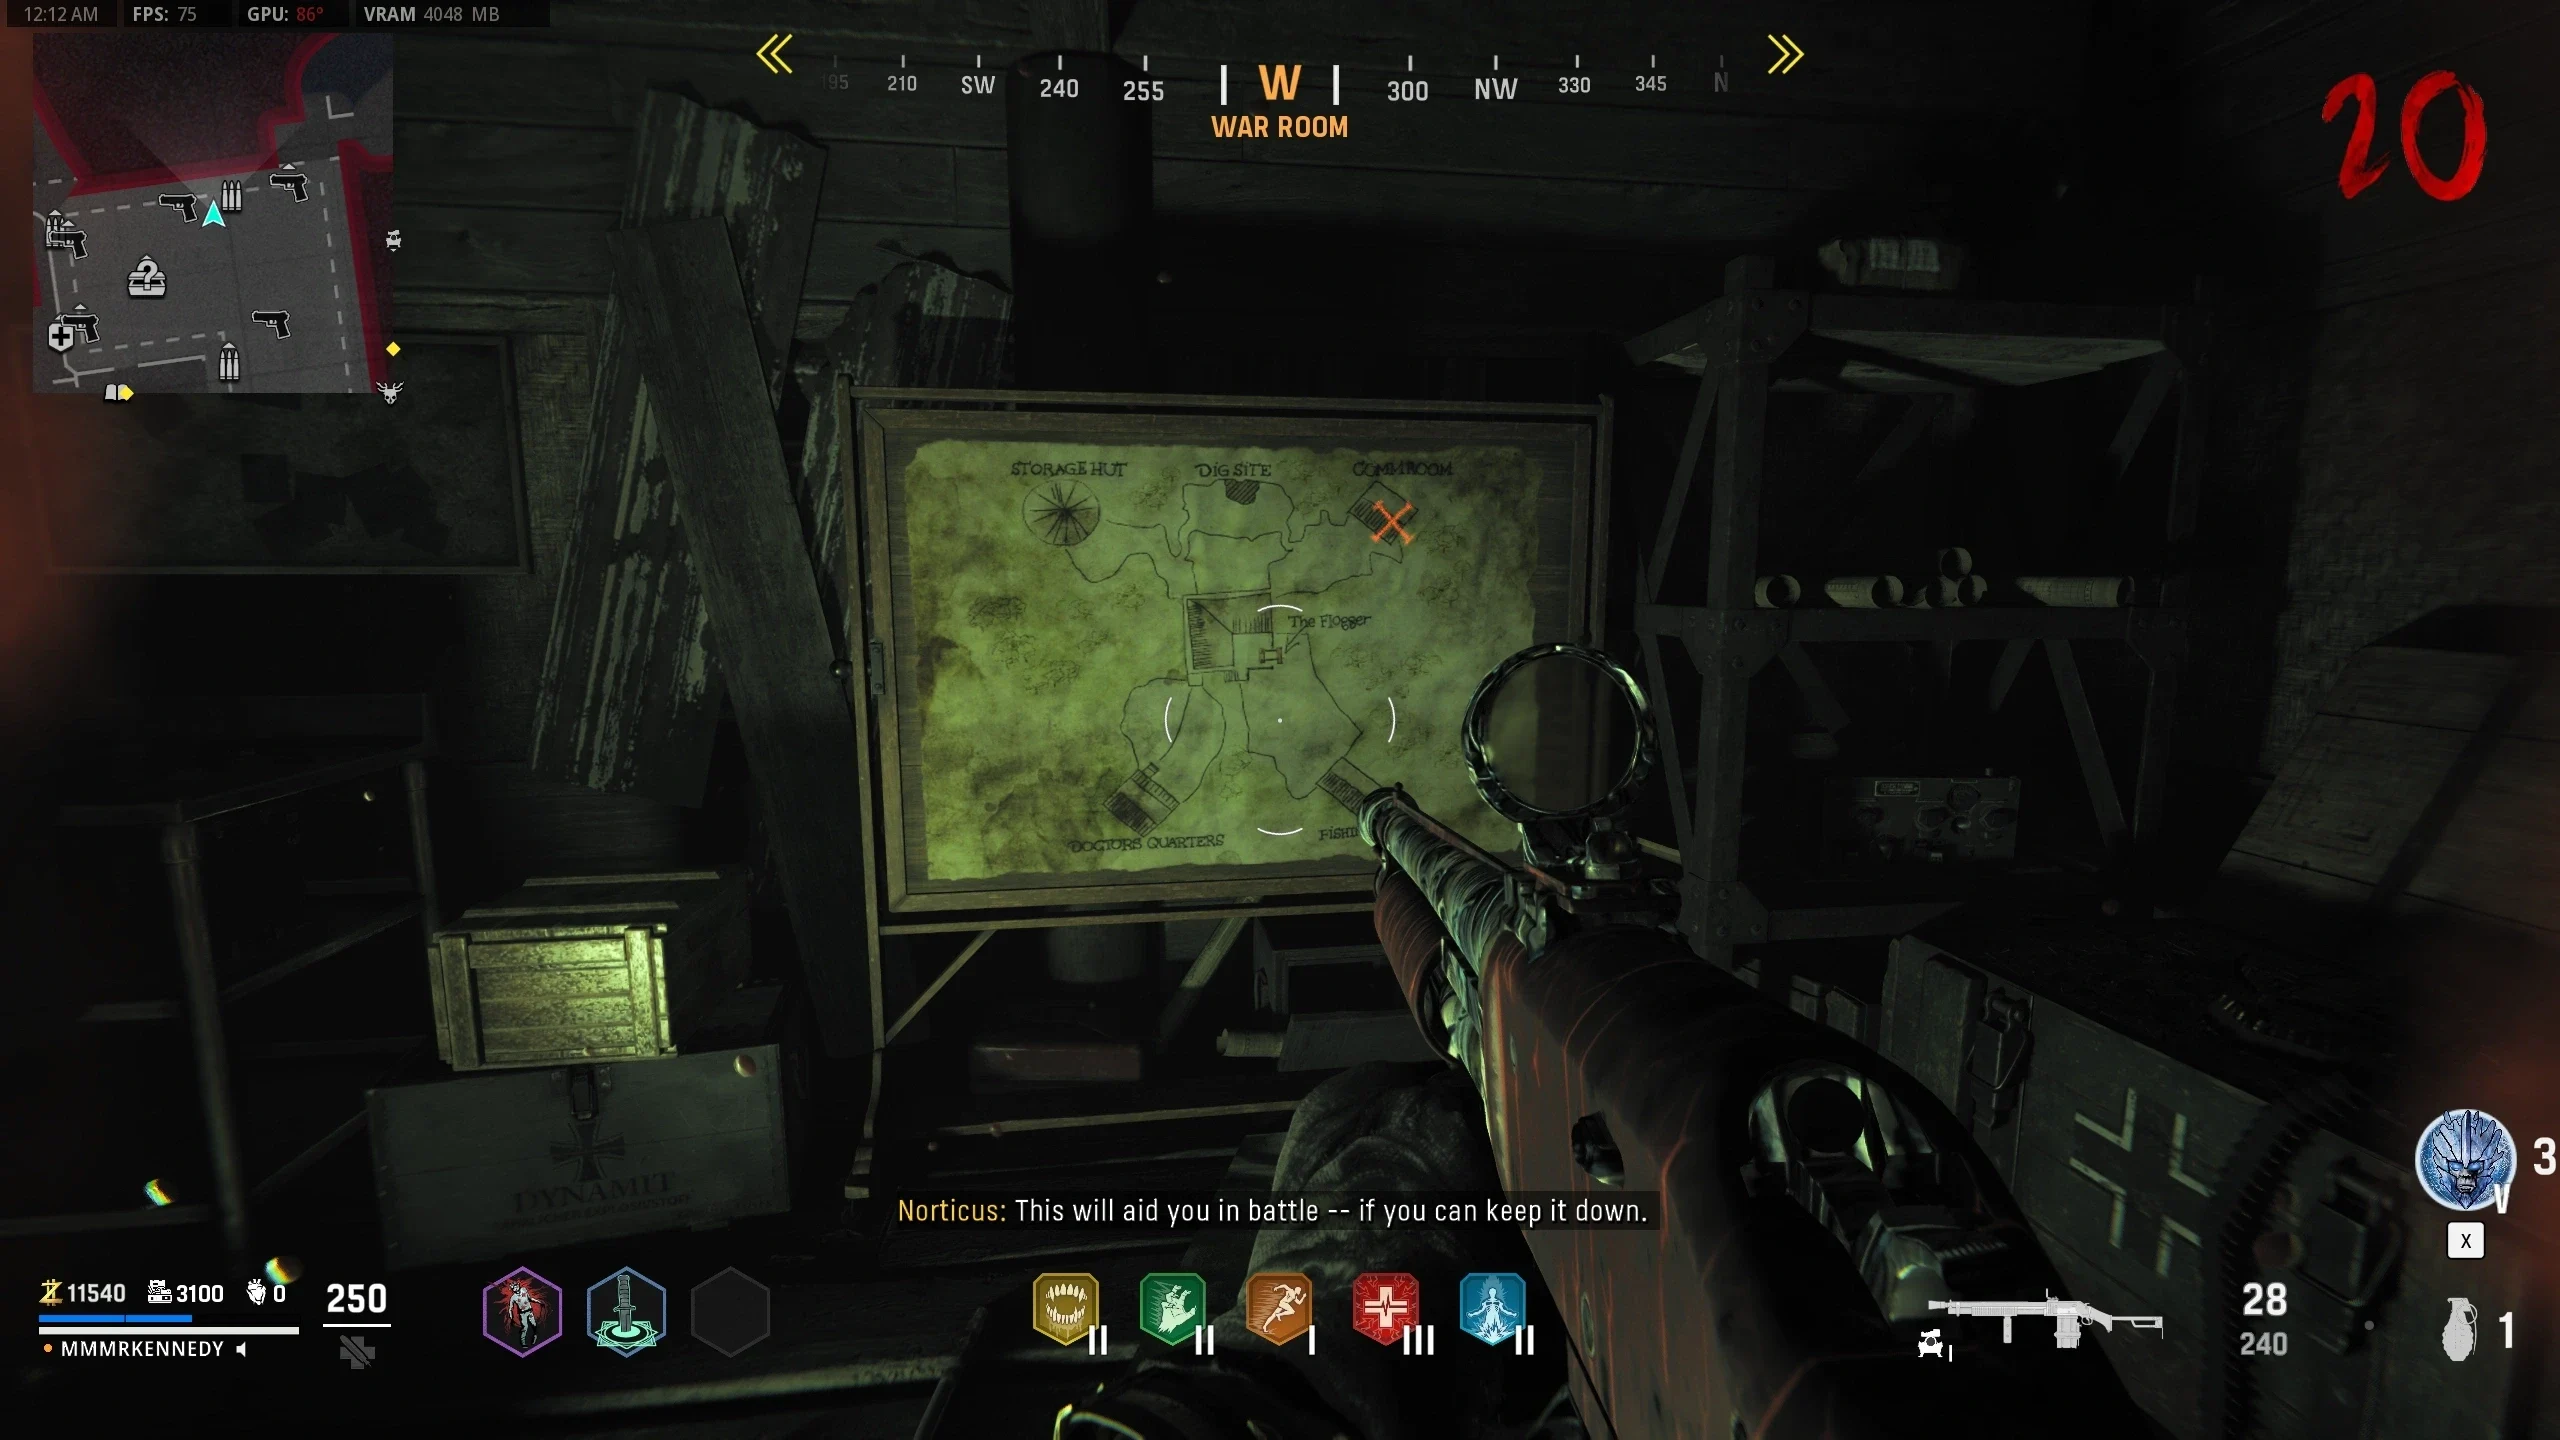
- Excavation Room/War Room - On a table, the paper can be hidden beneath destructible books
- Dig Site - On the workbench
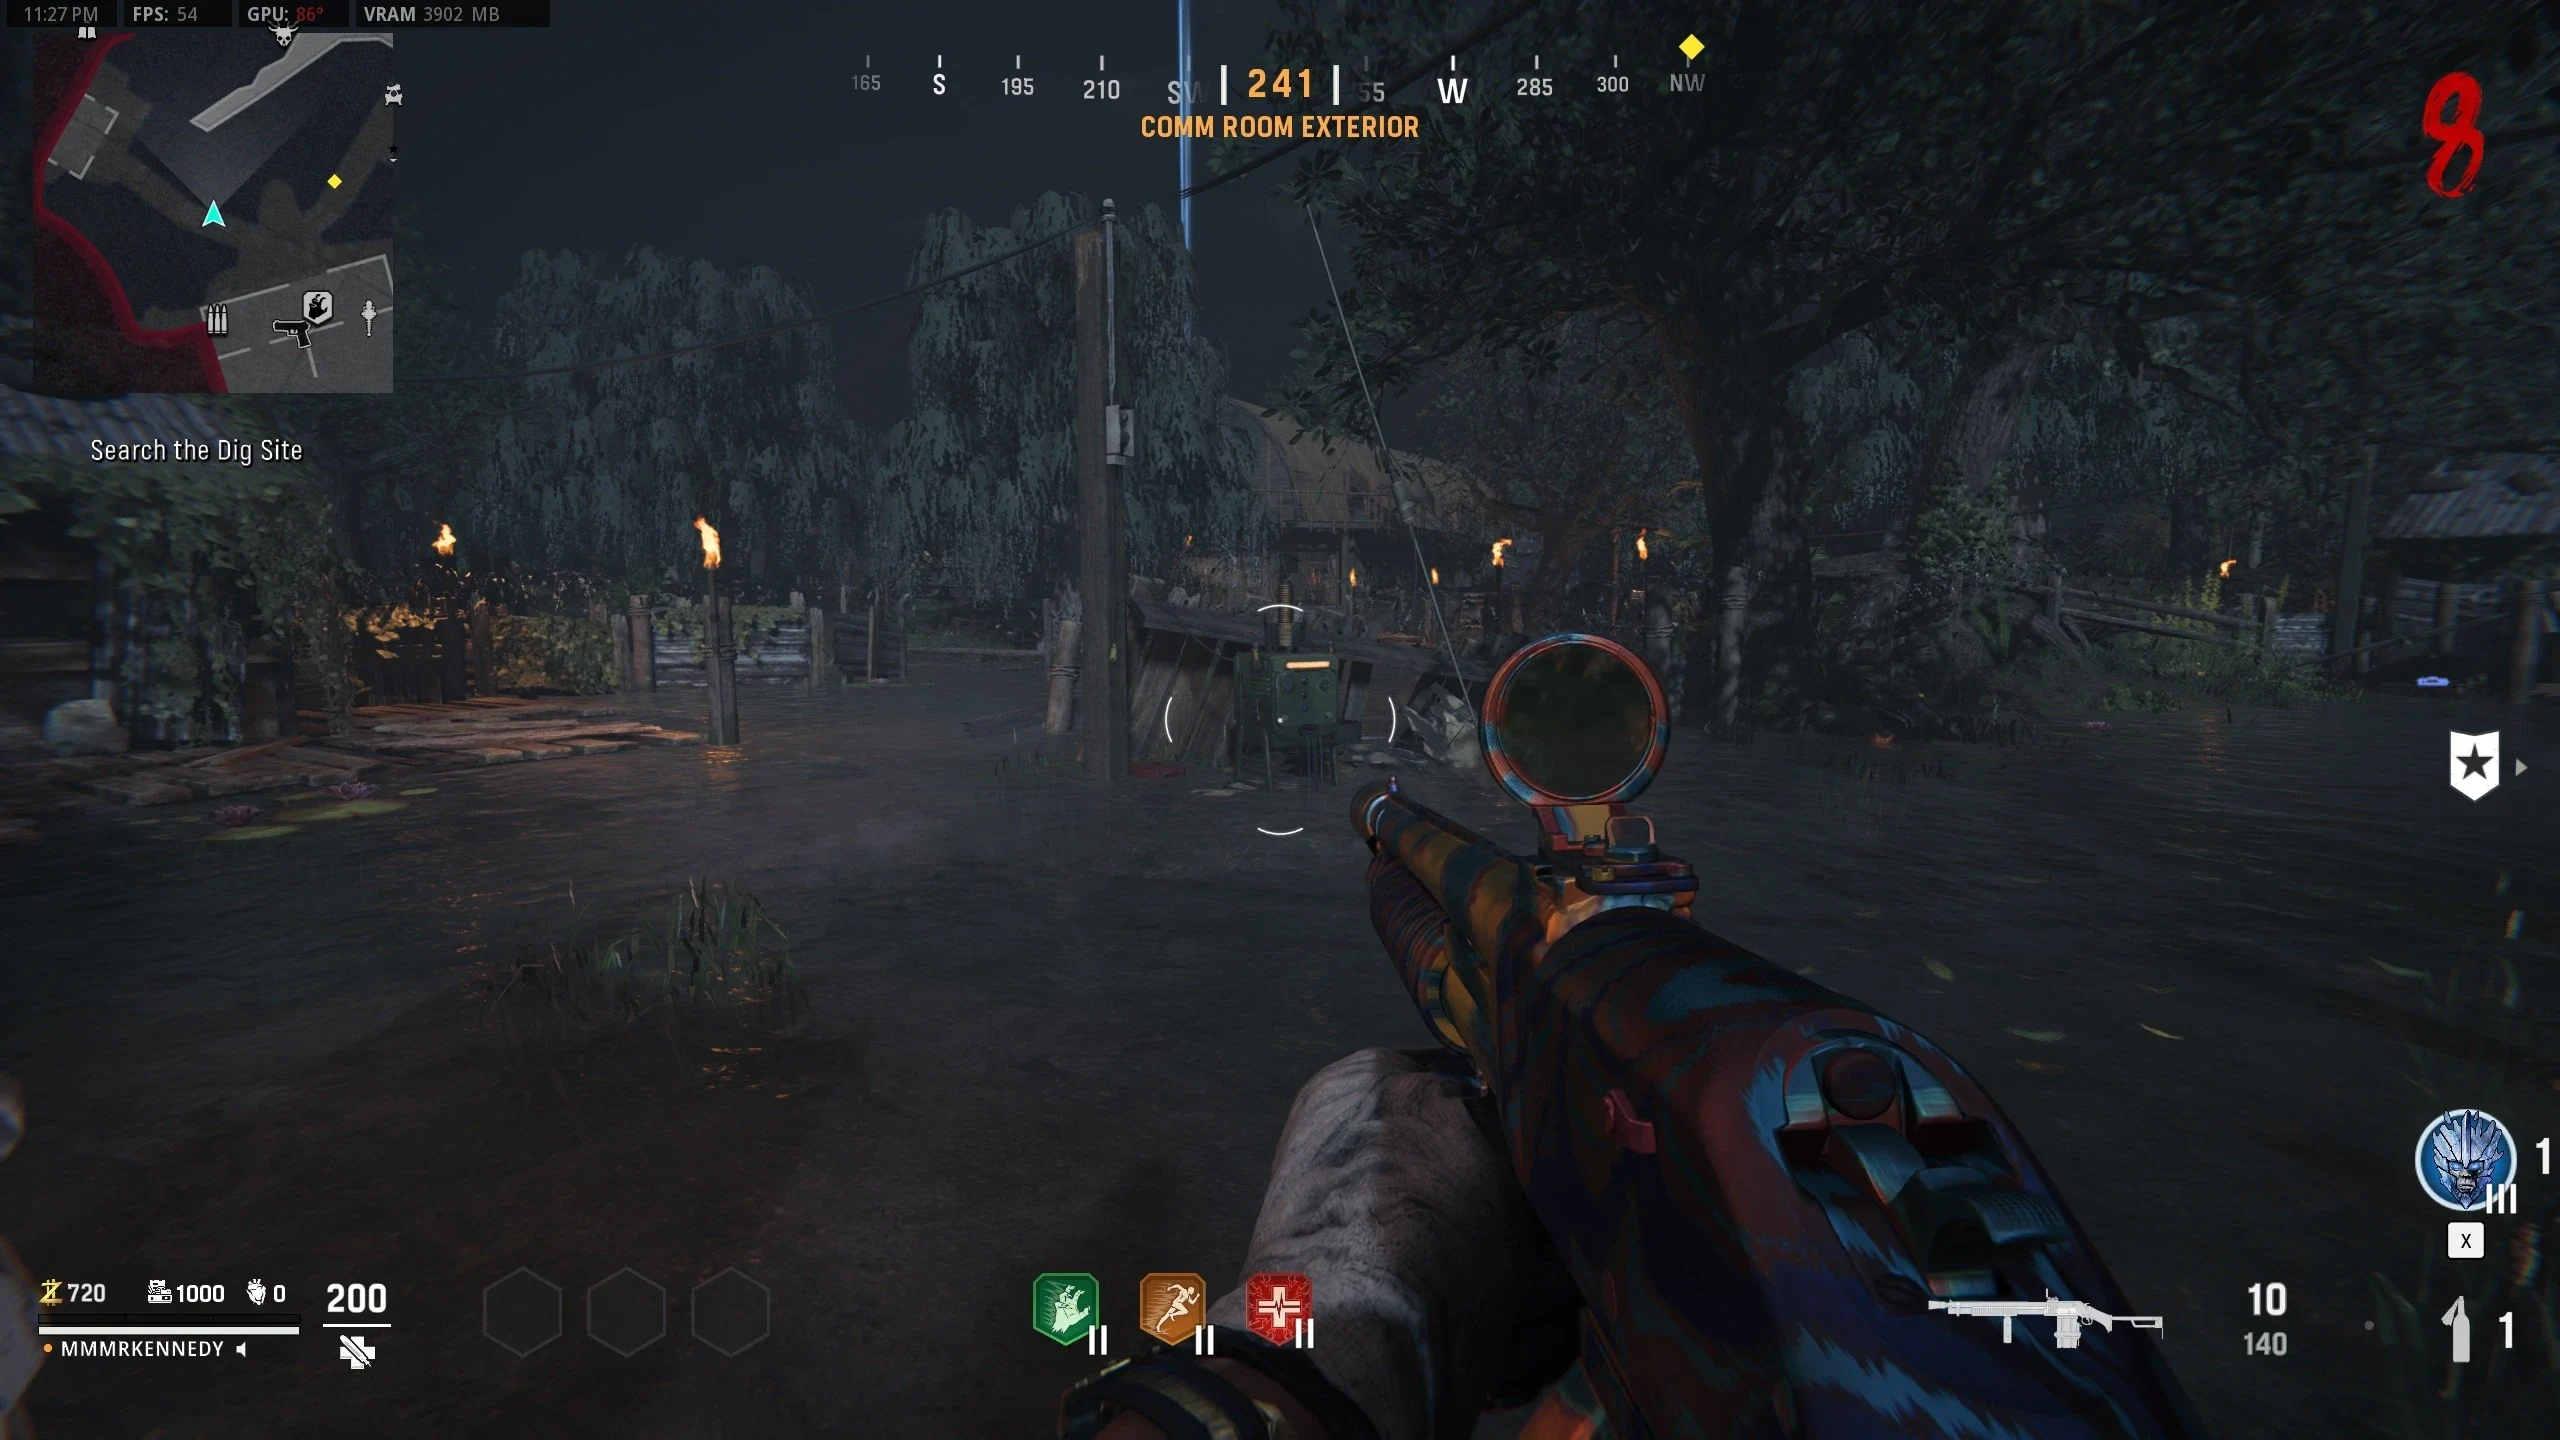
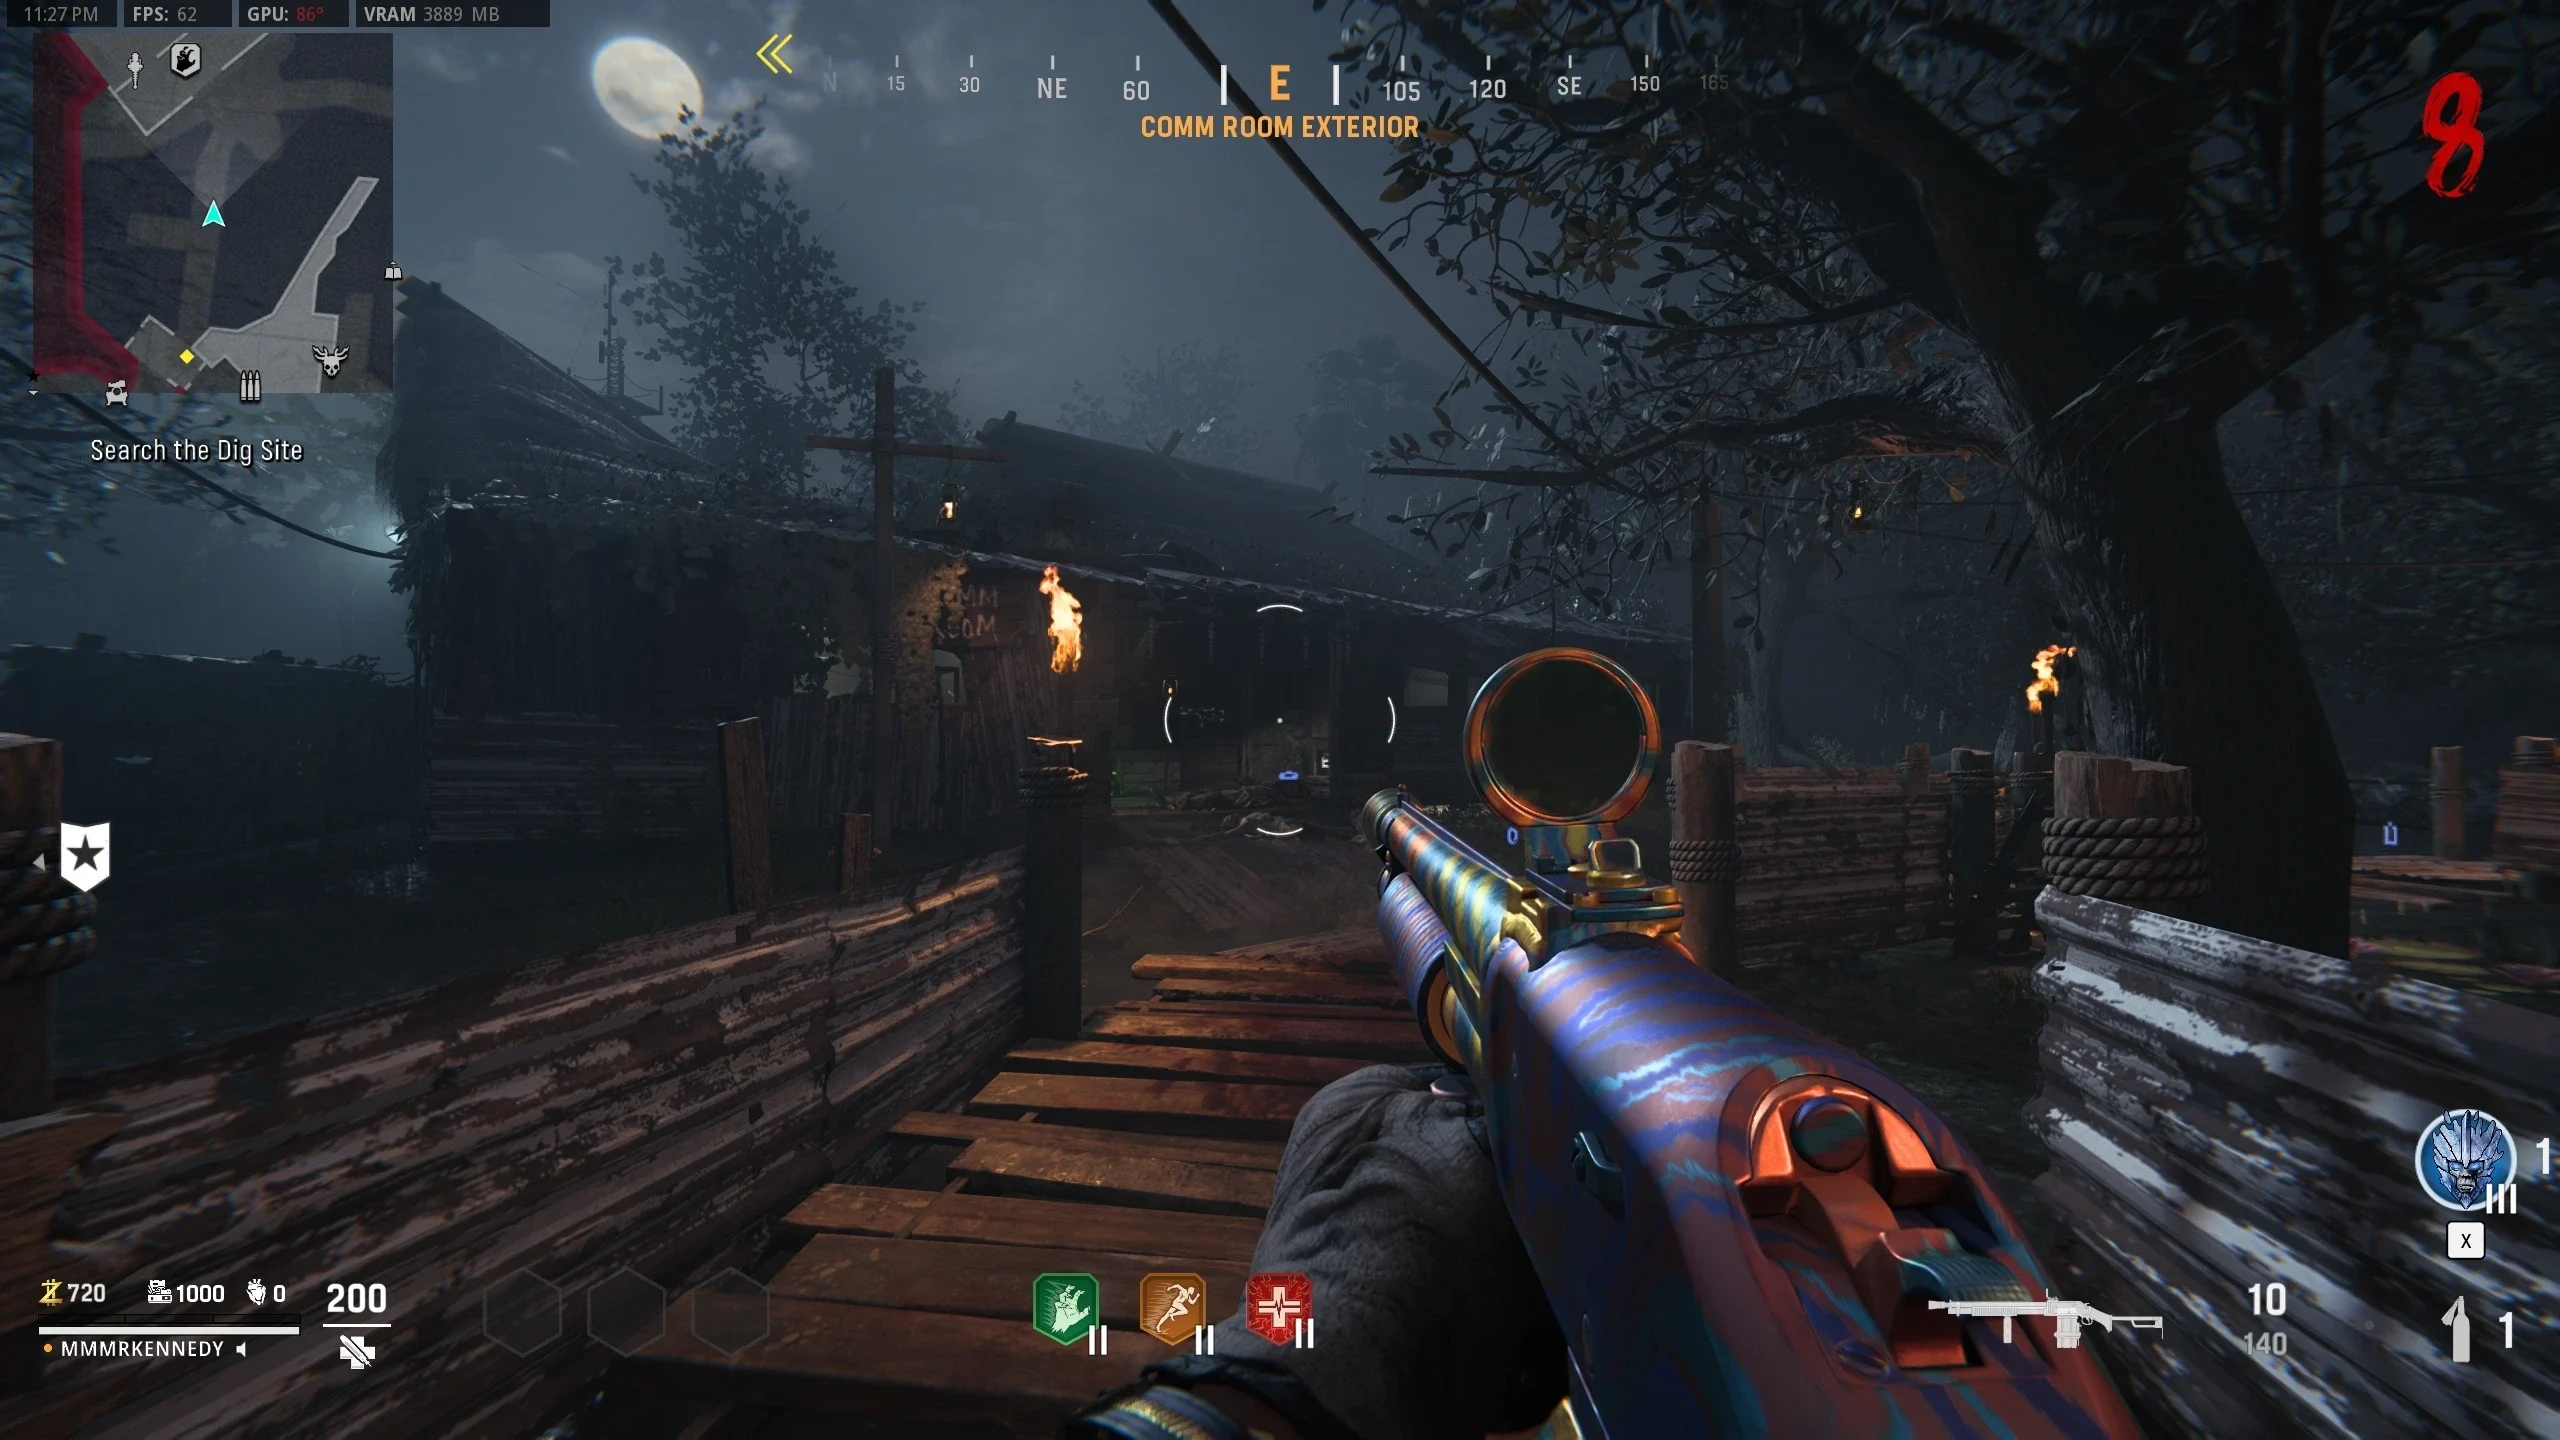
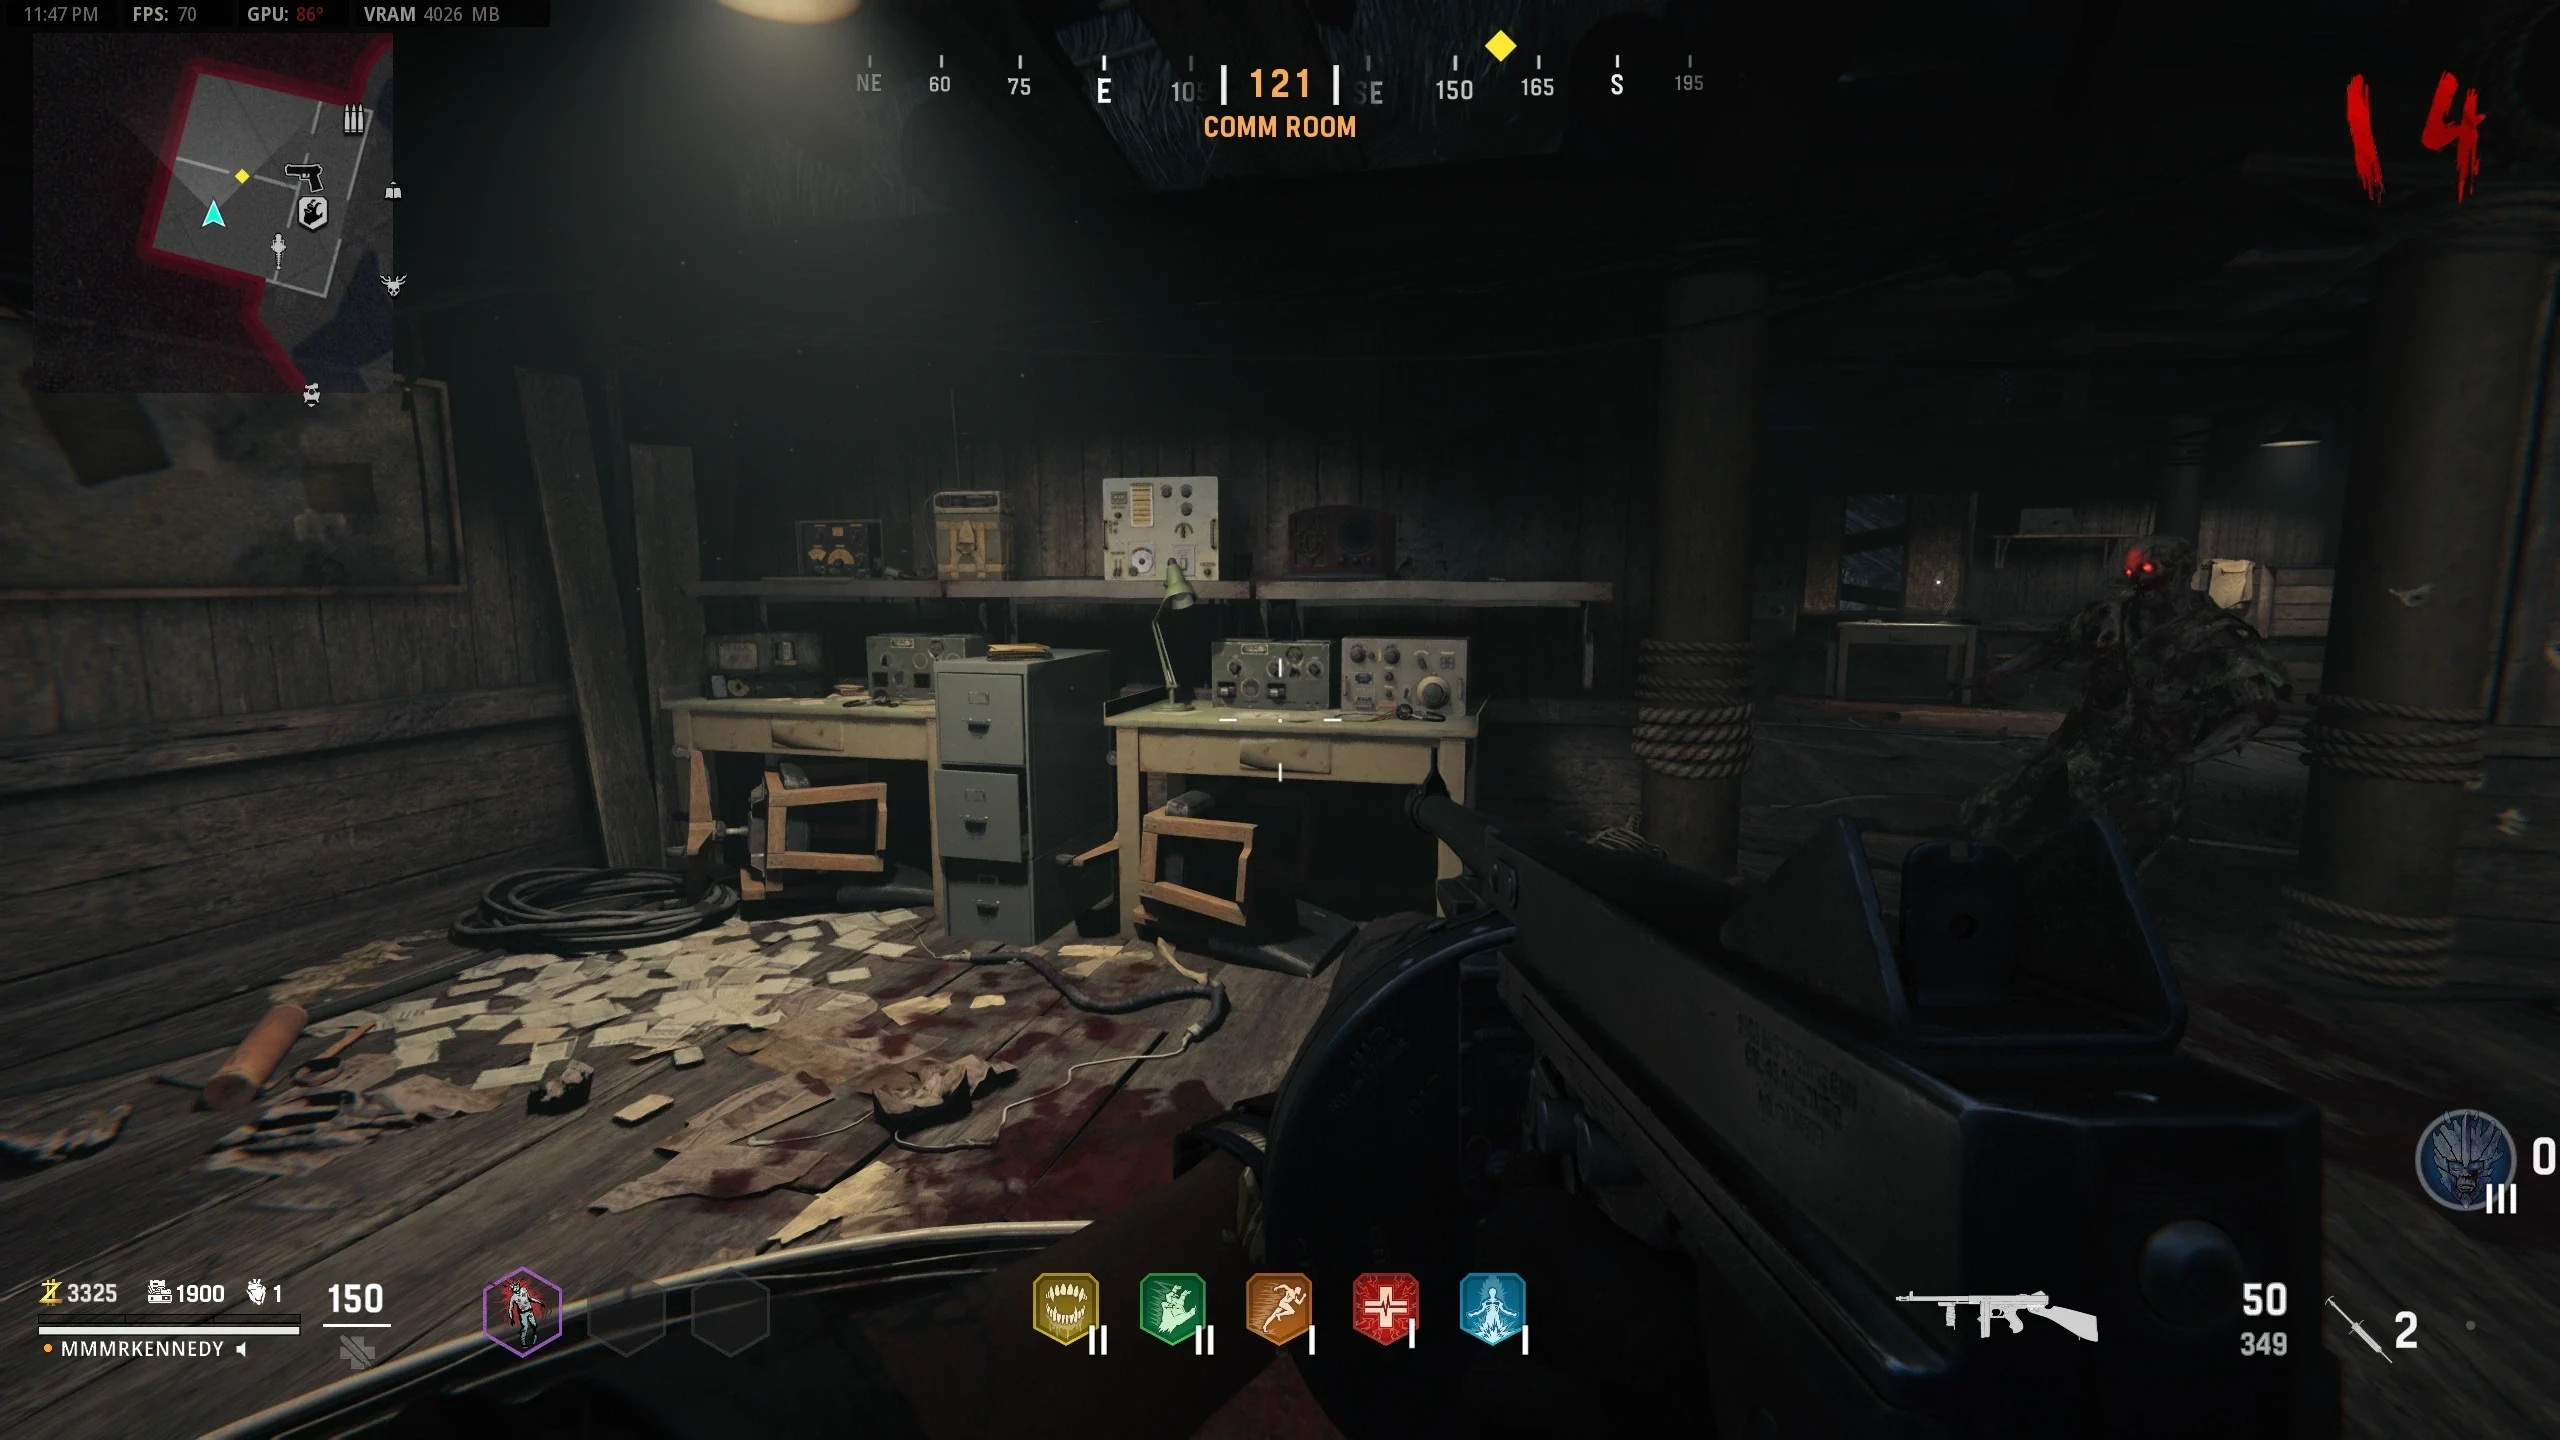
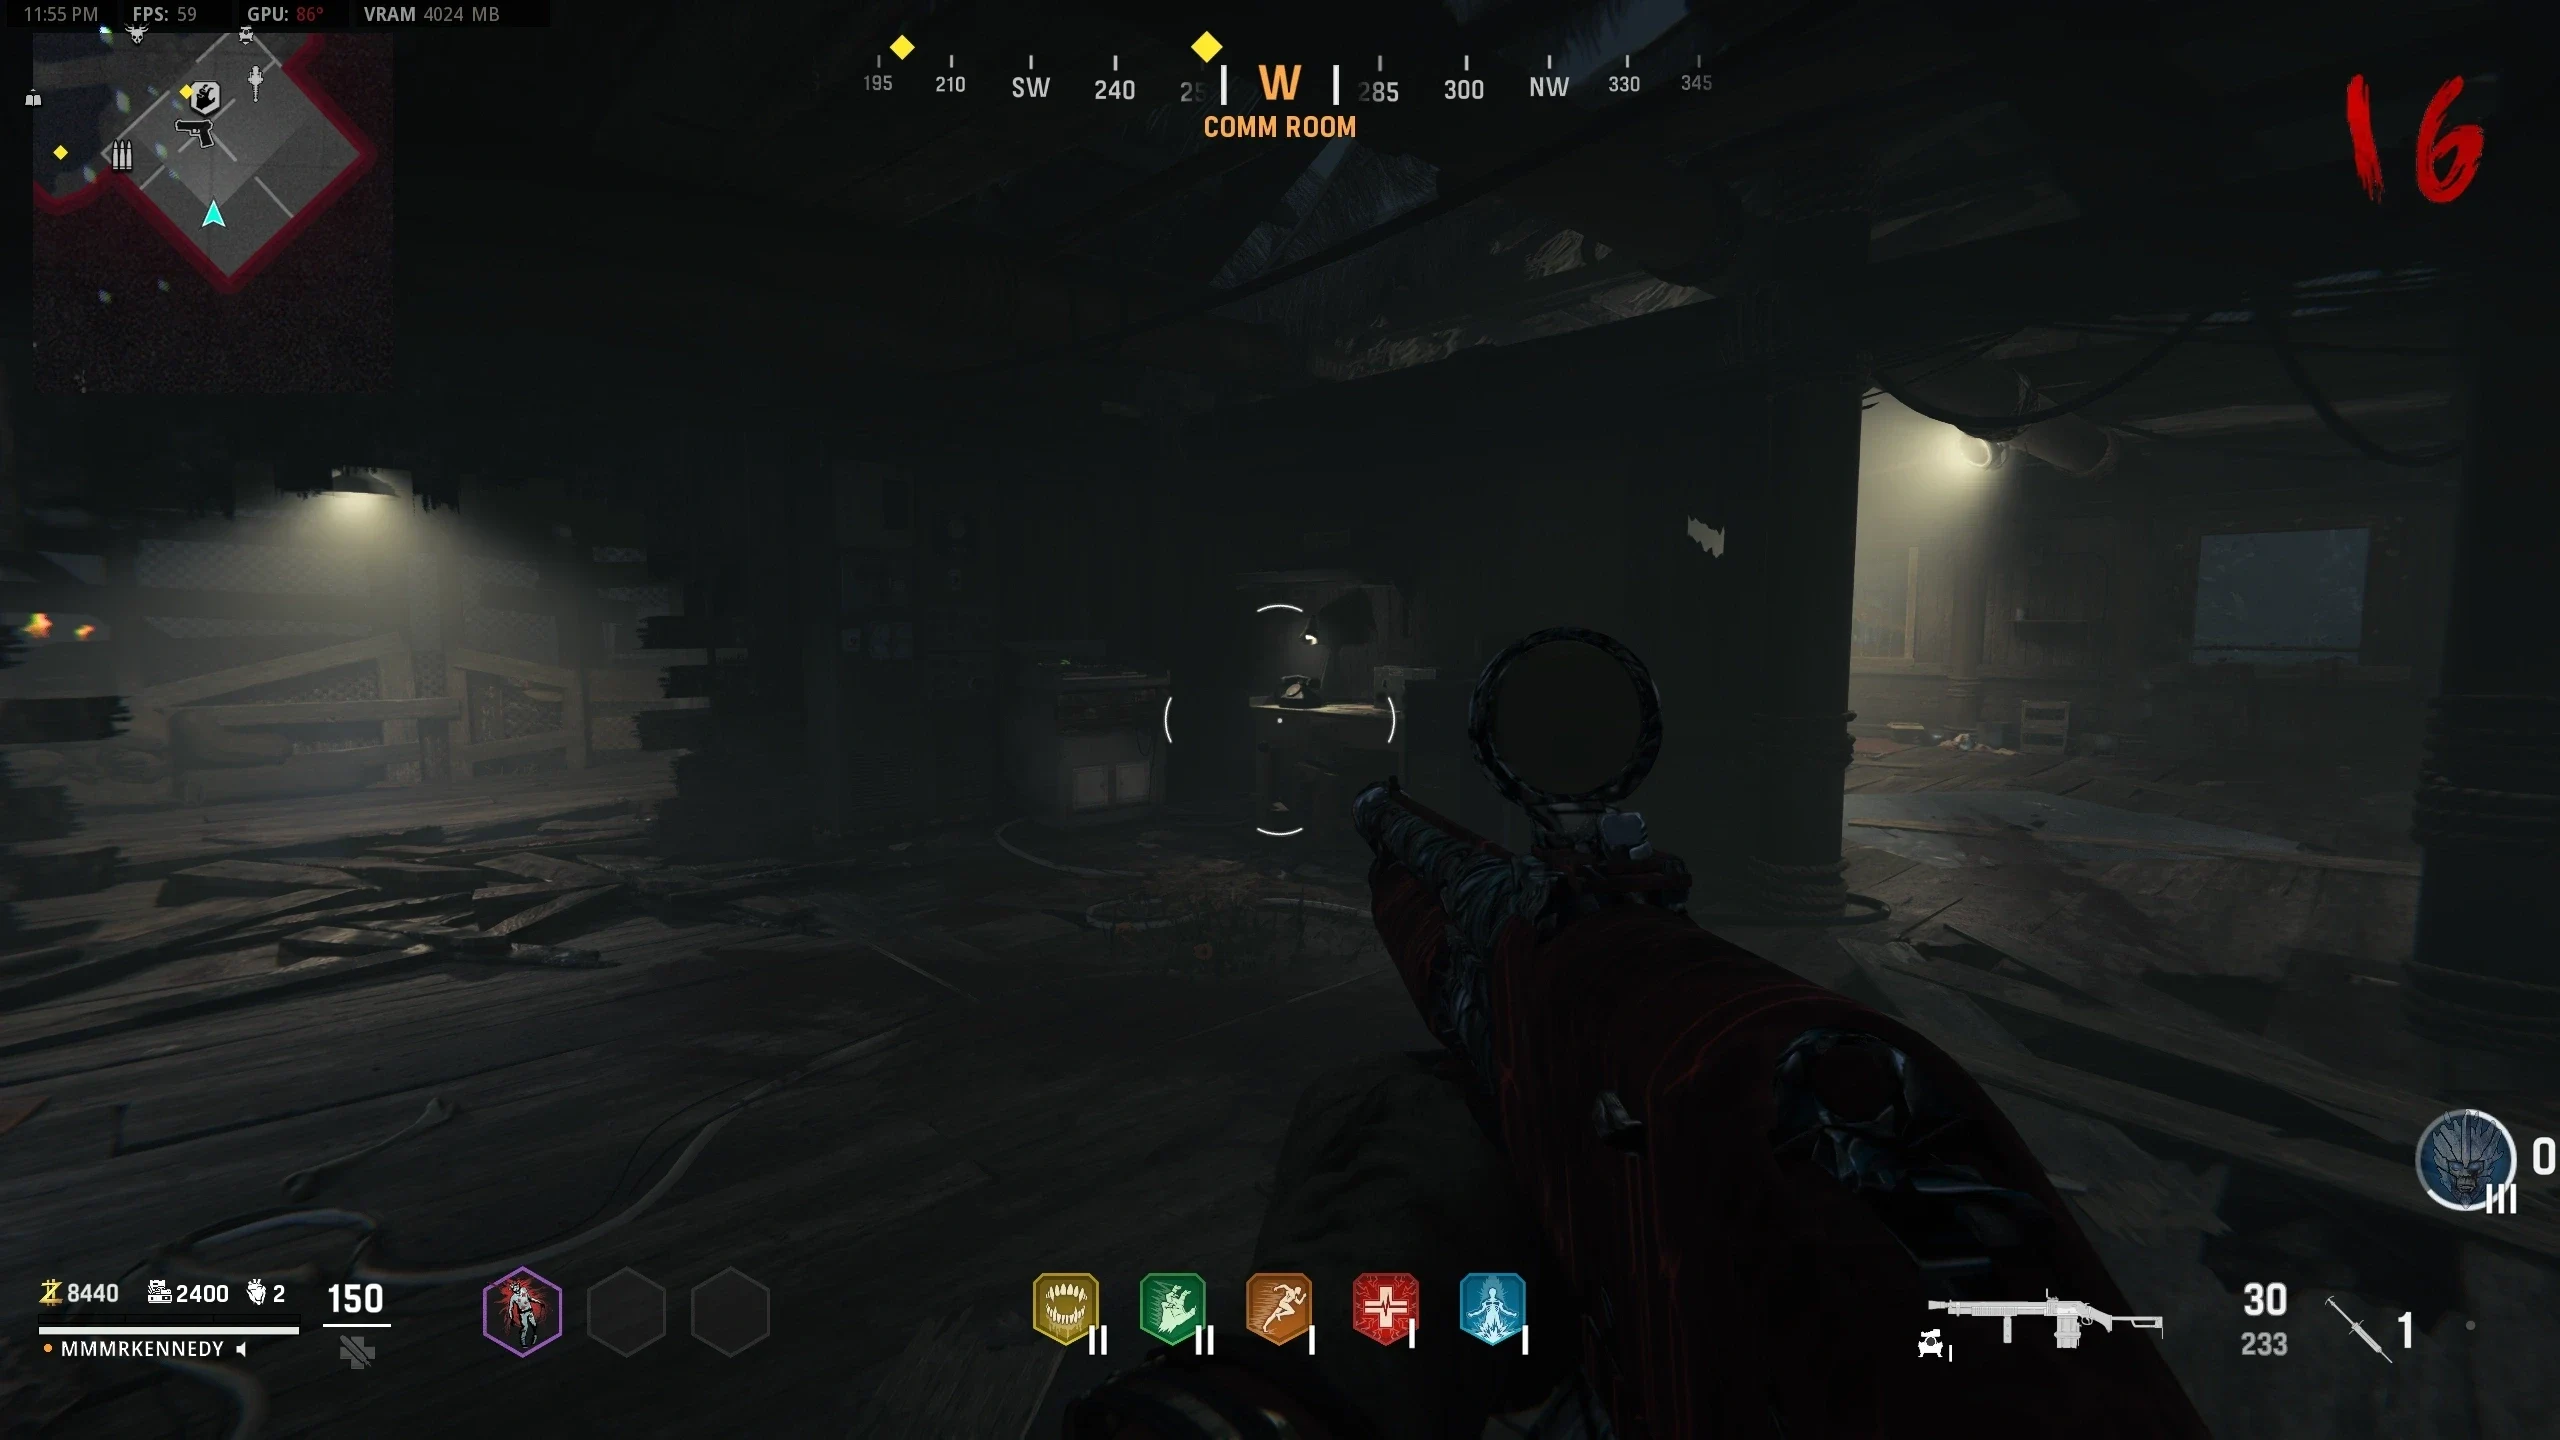
- Comm Room - On a table, left of the doorway to the other side of the building
- The symbols found in Step 5 need to be translated into different symbols. There are two ways to find the correct symbols, the in-game intended way or using a community-made graphic:
- Using this graphic, translate the symbols from step 5 into symbols that can be input into the Monolith.
- Inside the 'Doctor's Quarters,' throw a Molotov or thermite on this piece of paper to reveal all the symbols on the paper. Using this paper, translate the symbols.
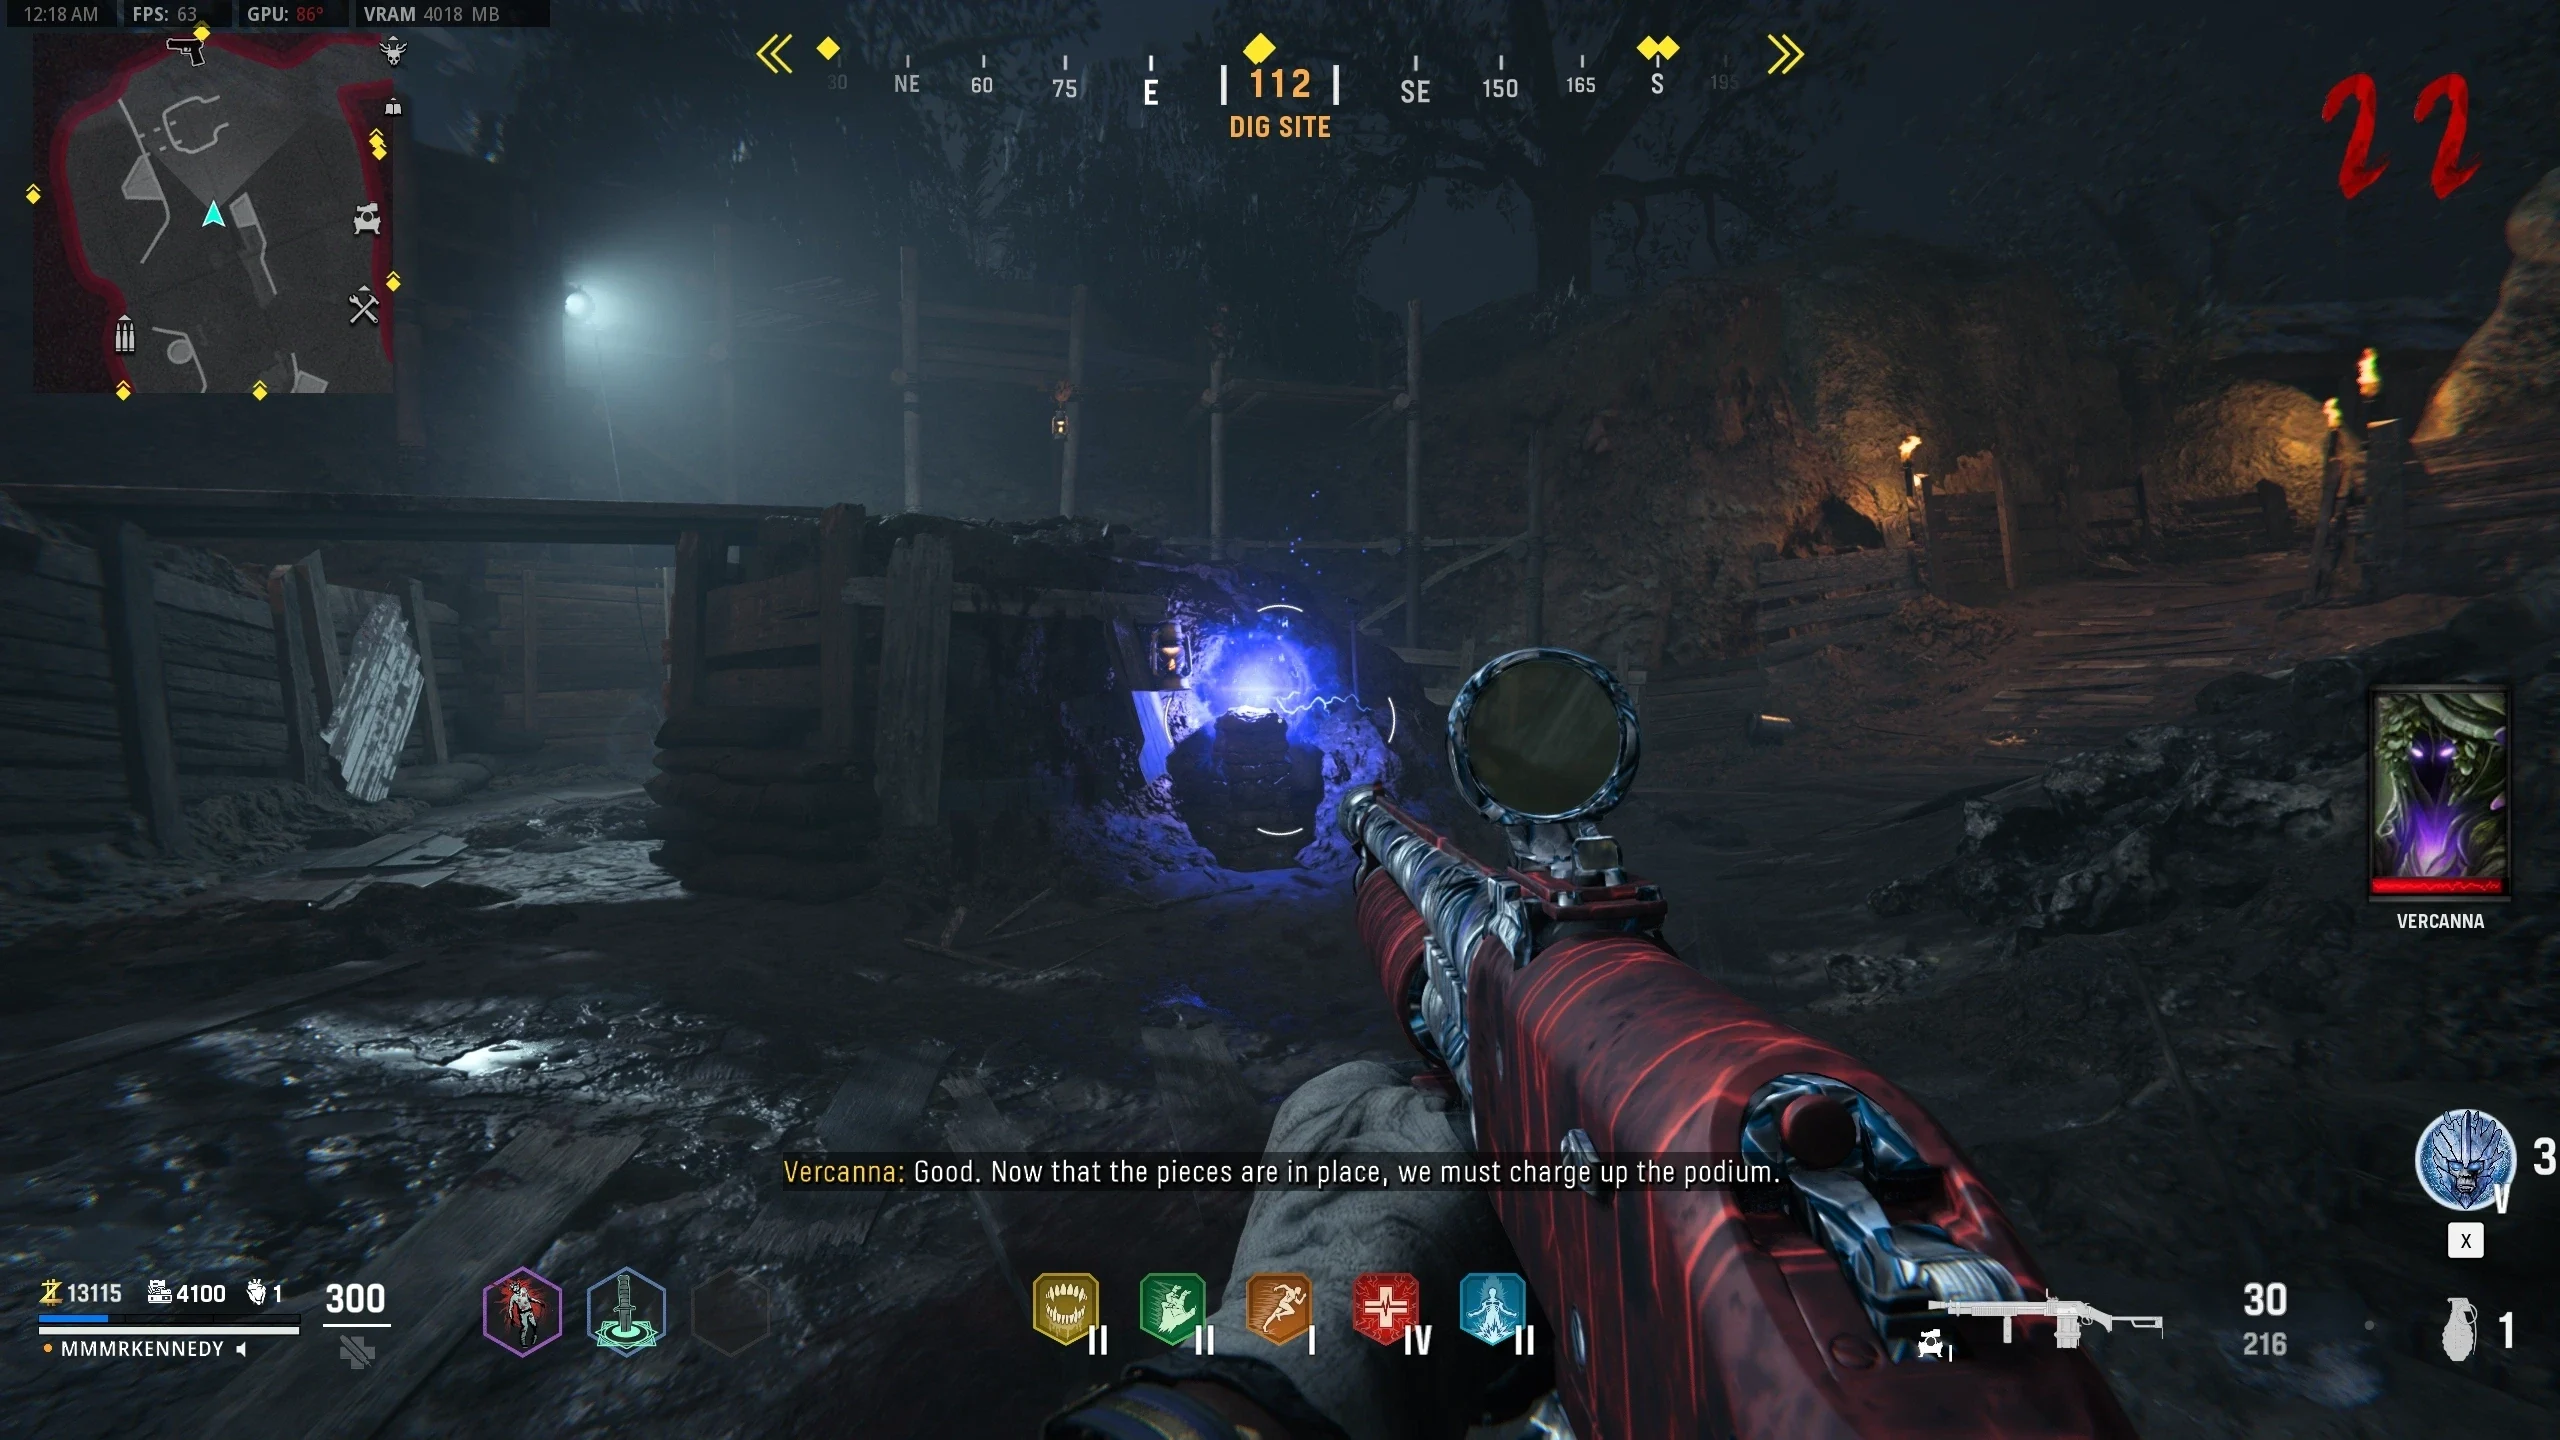
- Input the translated symbols into the Monolith. Doing so correctly will spawn a glowing stone near the edges of the area, one for each player in the game.
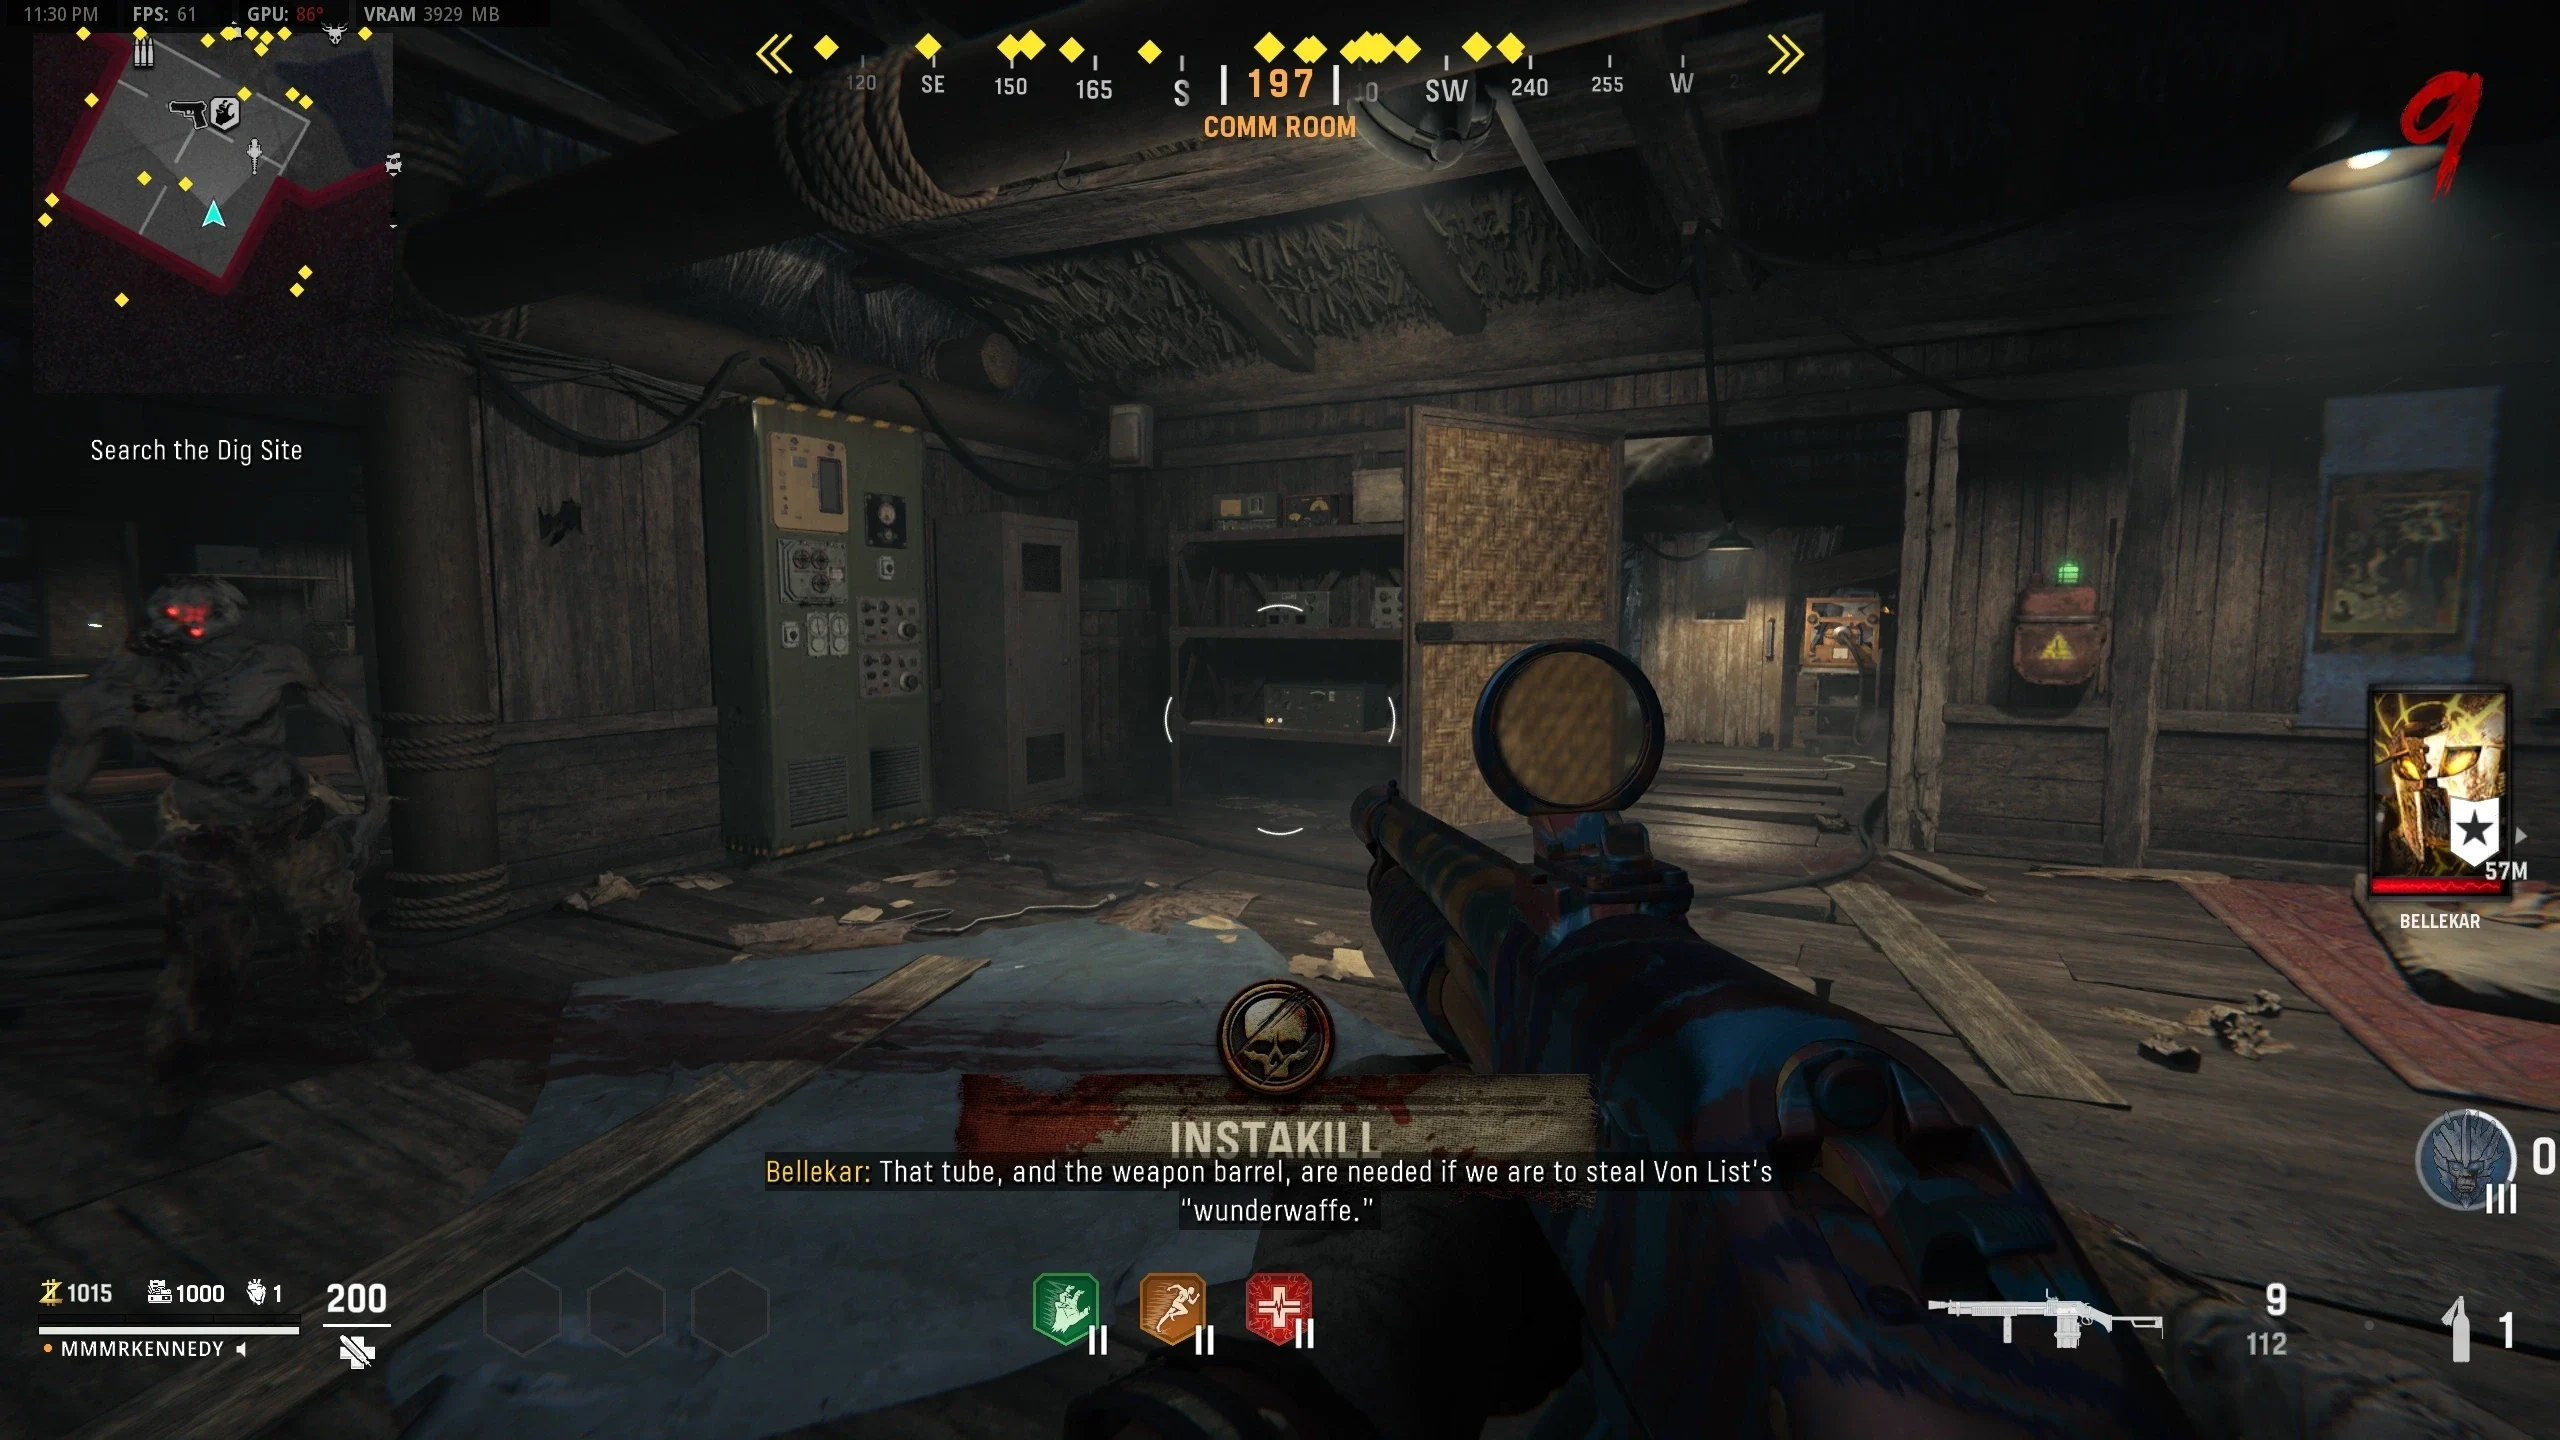
- Obtain the Wunderwaffe DG-2.
- All players need to interact with a stone to "Start the Ceremony" which will trigger a lockdown.
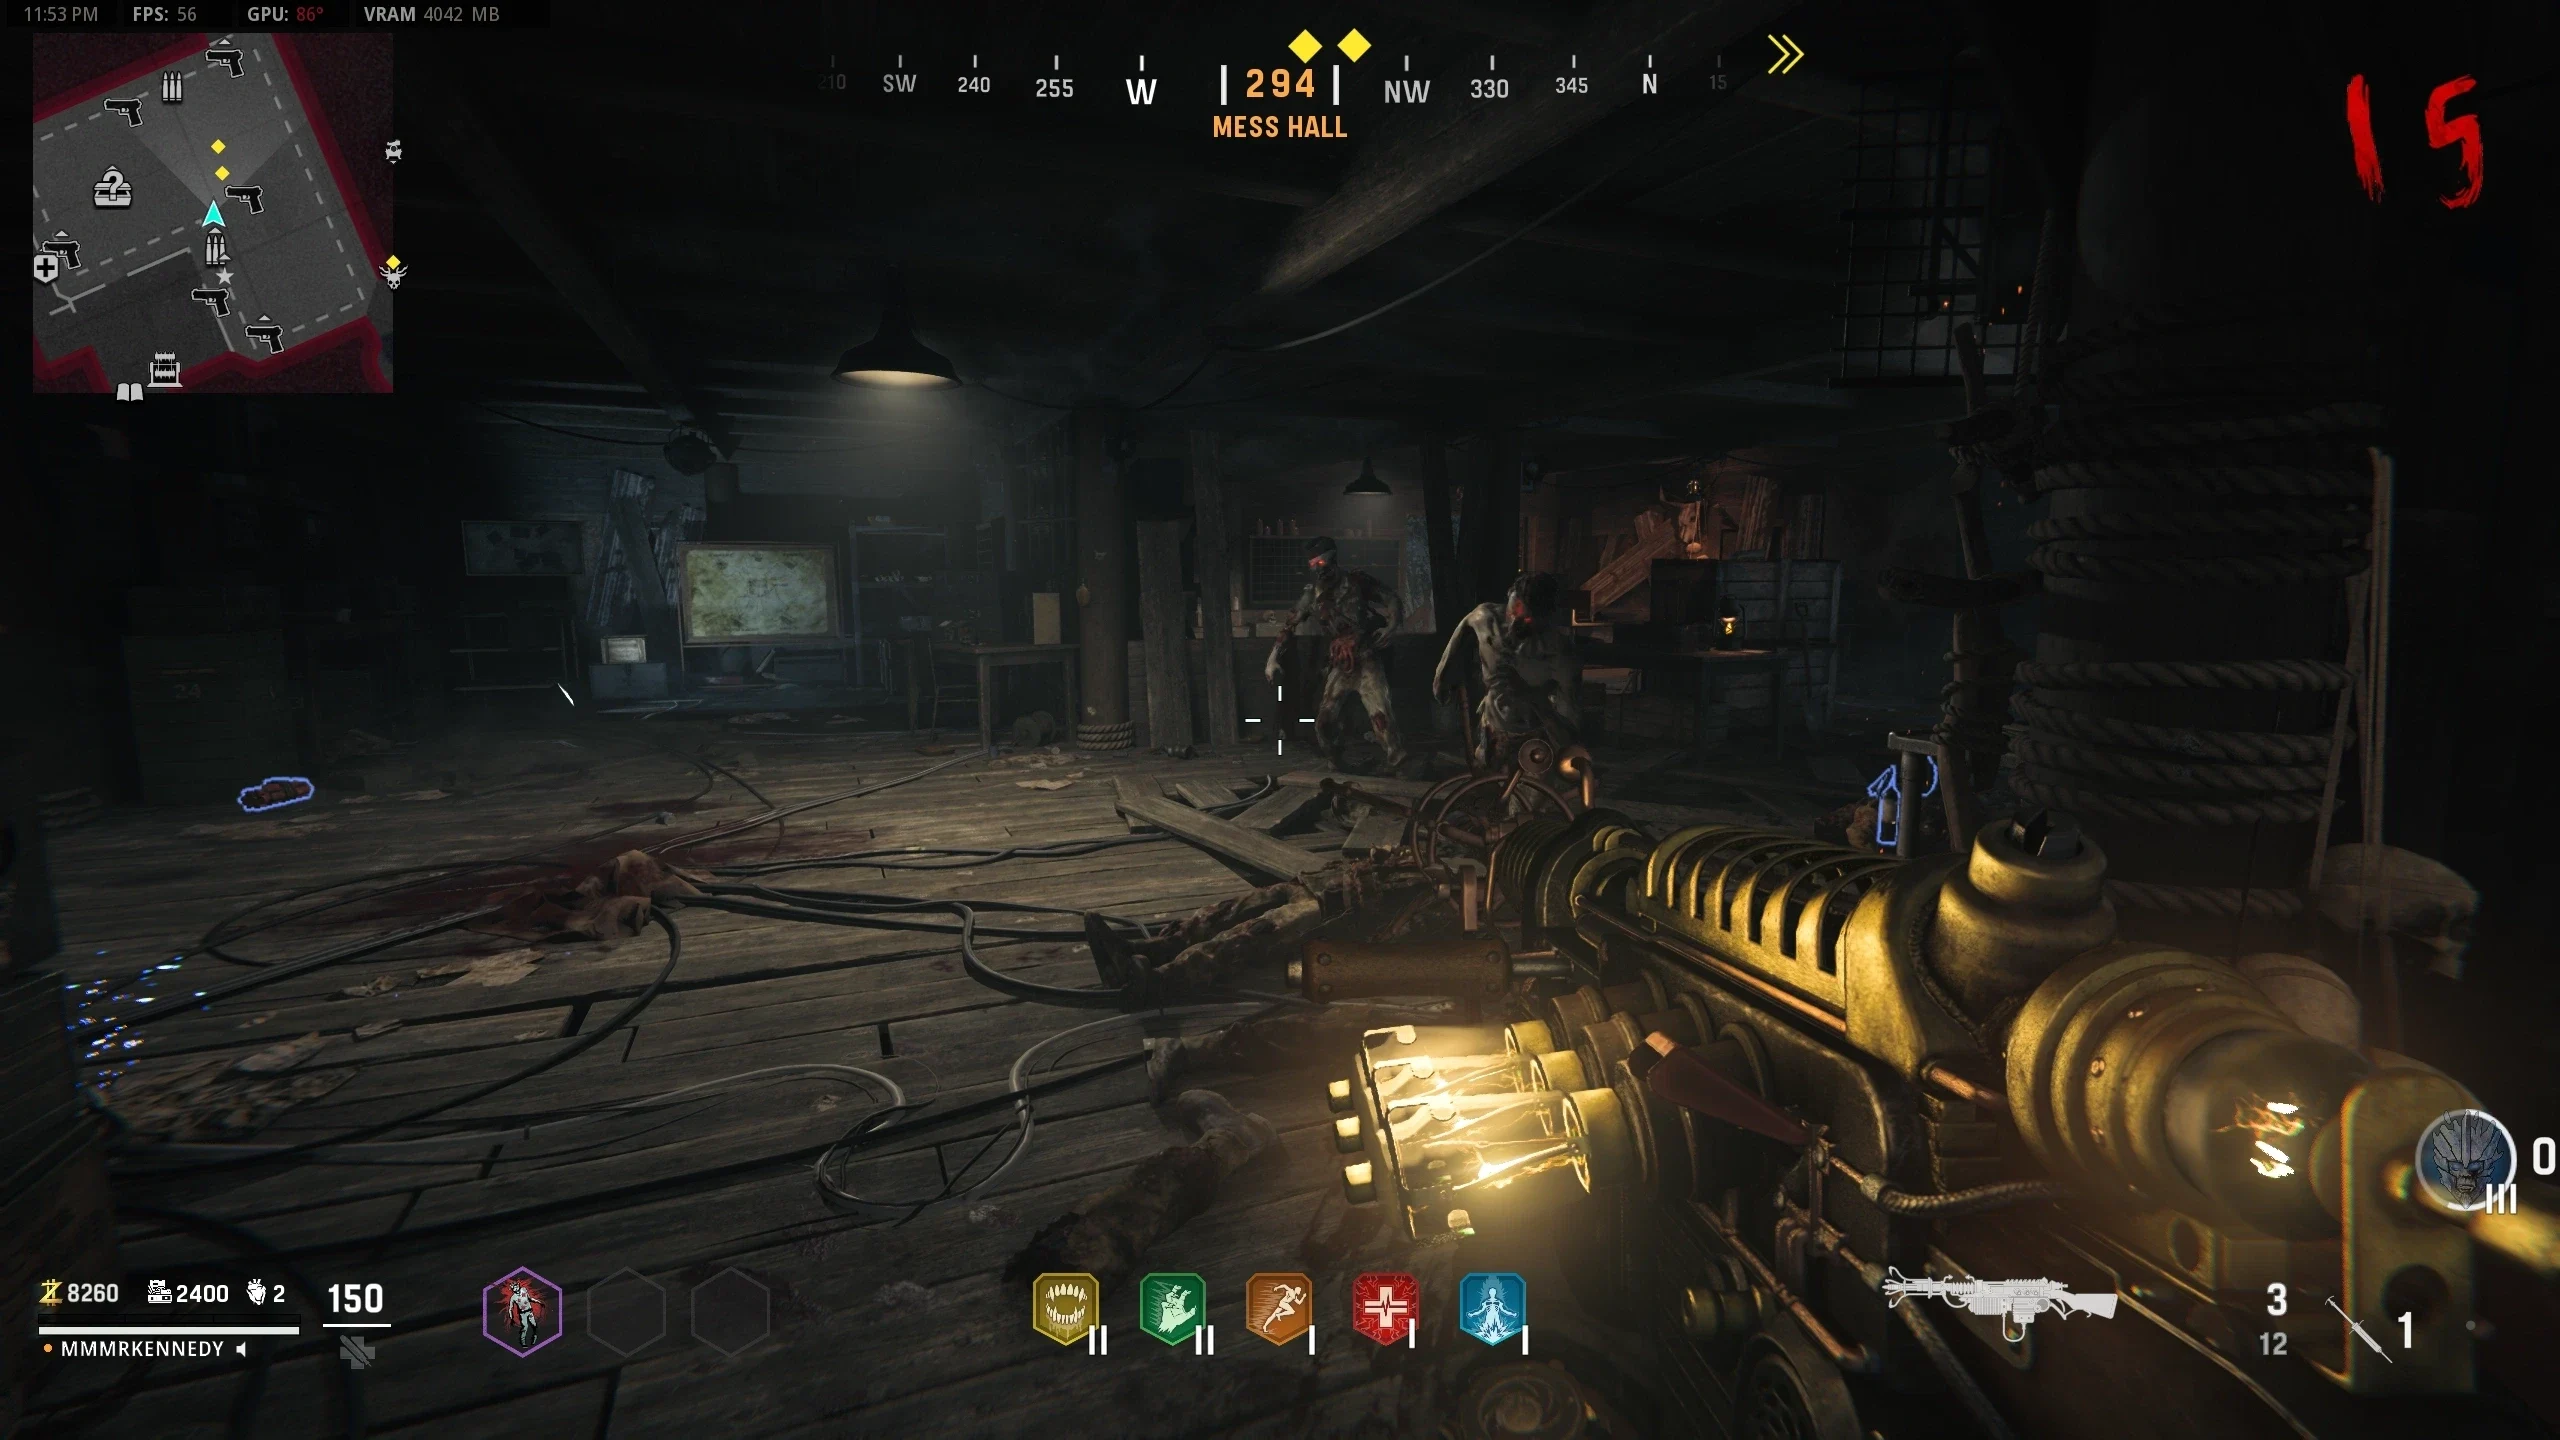
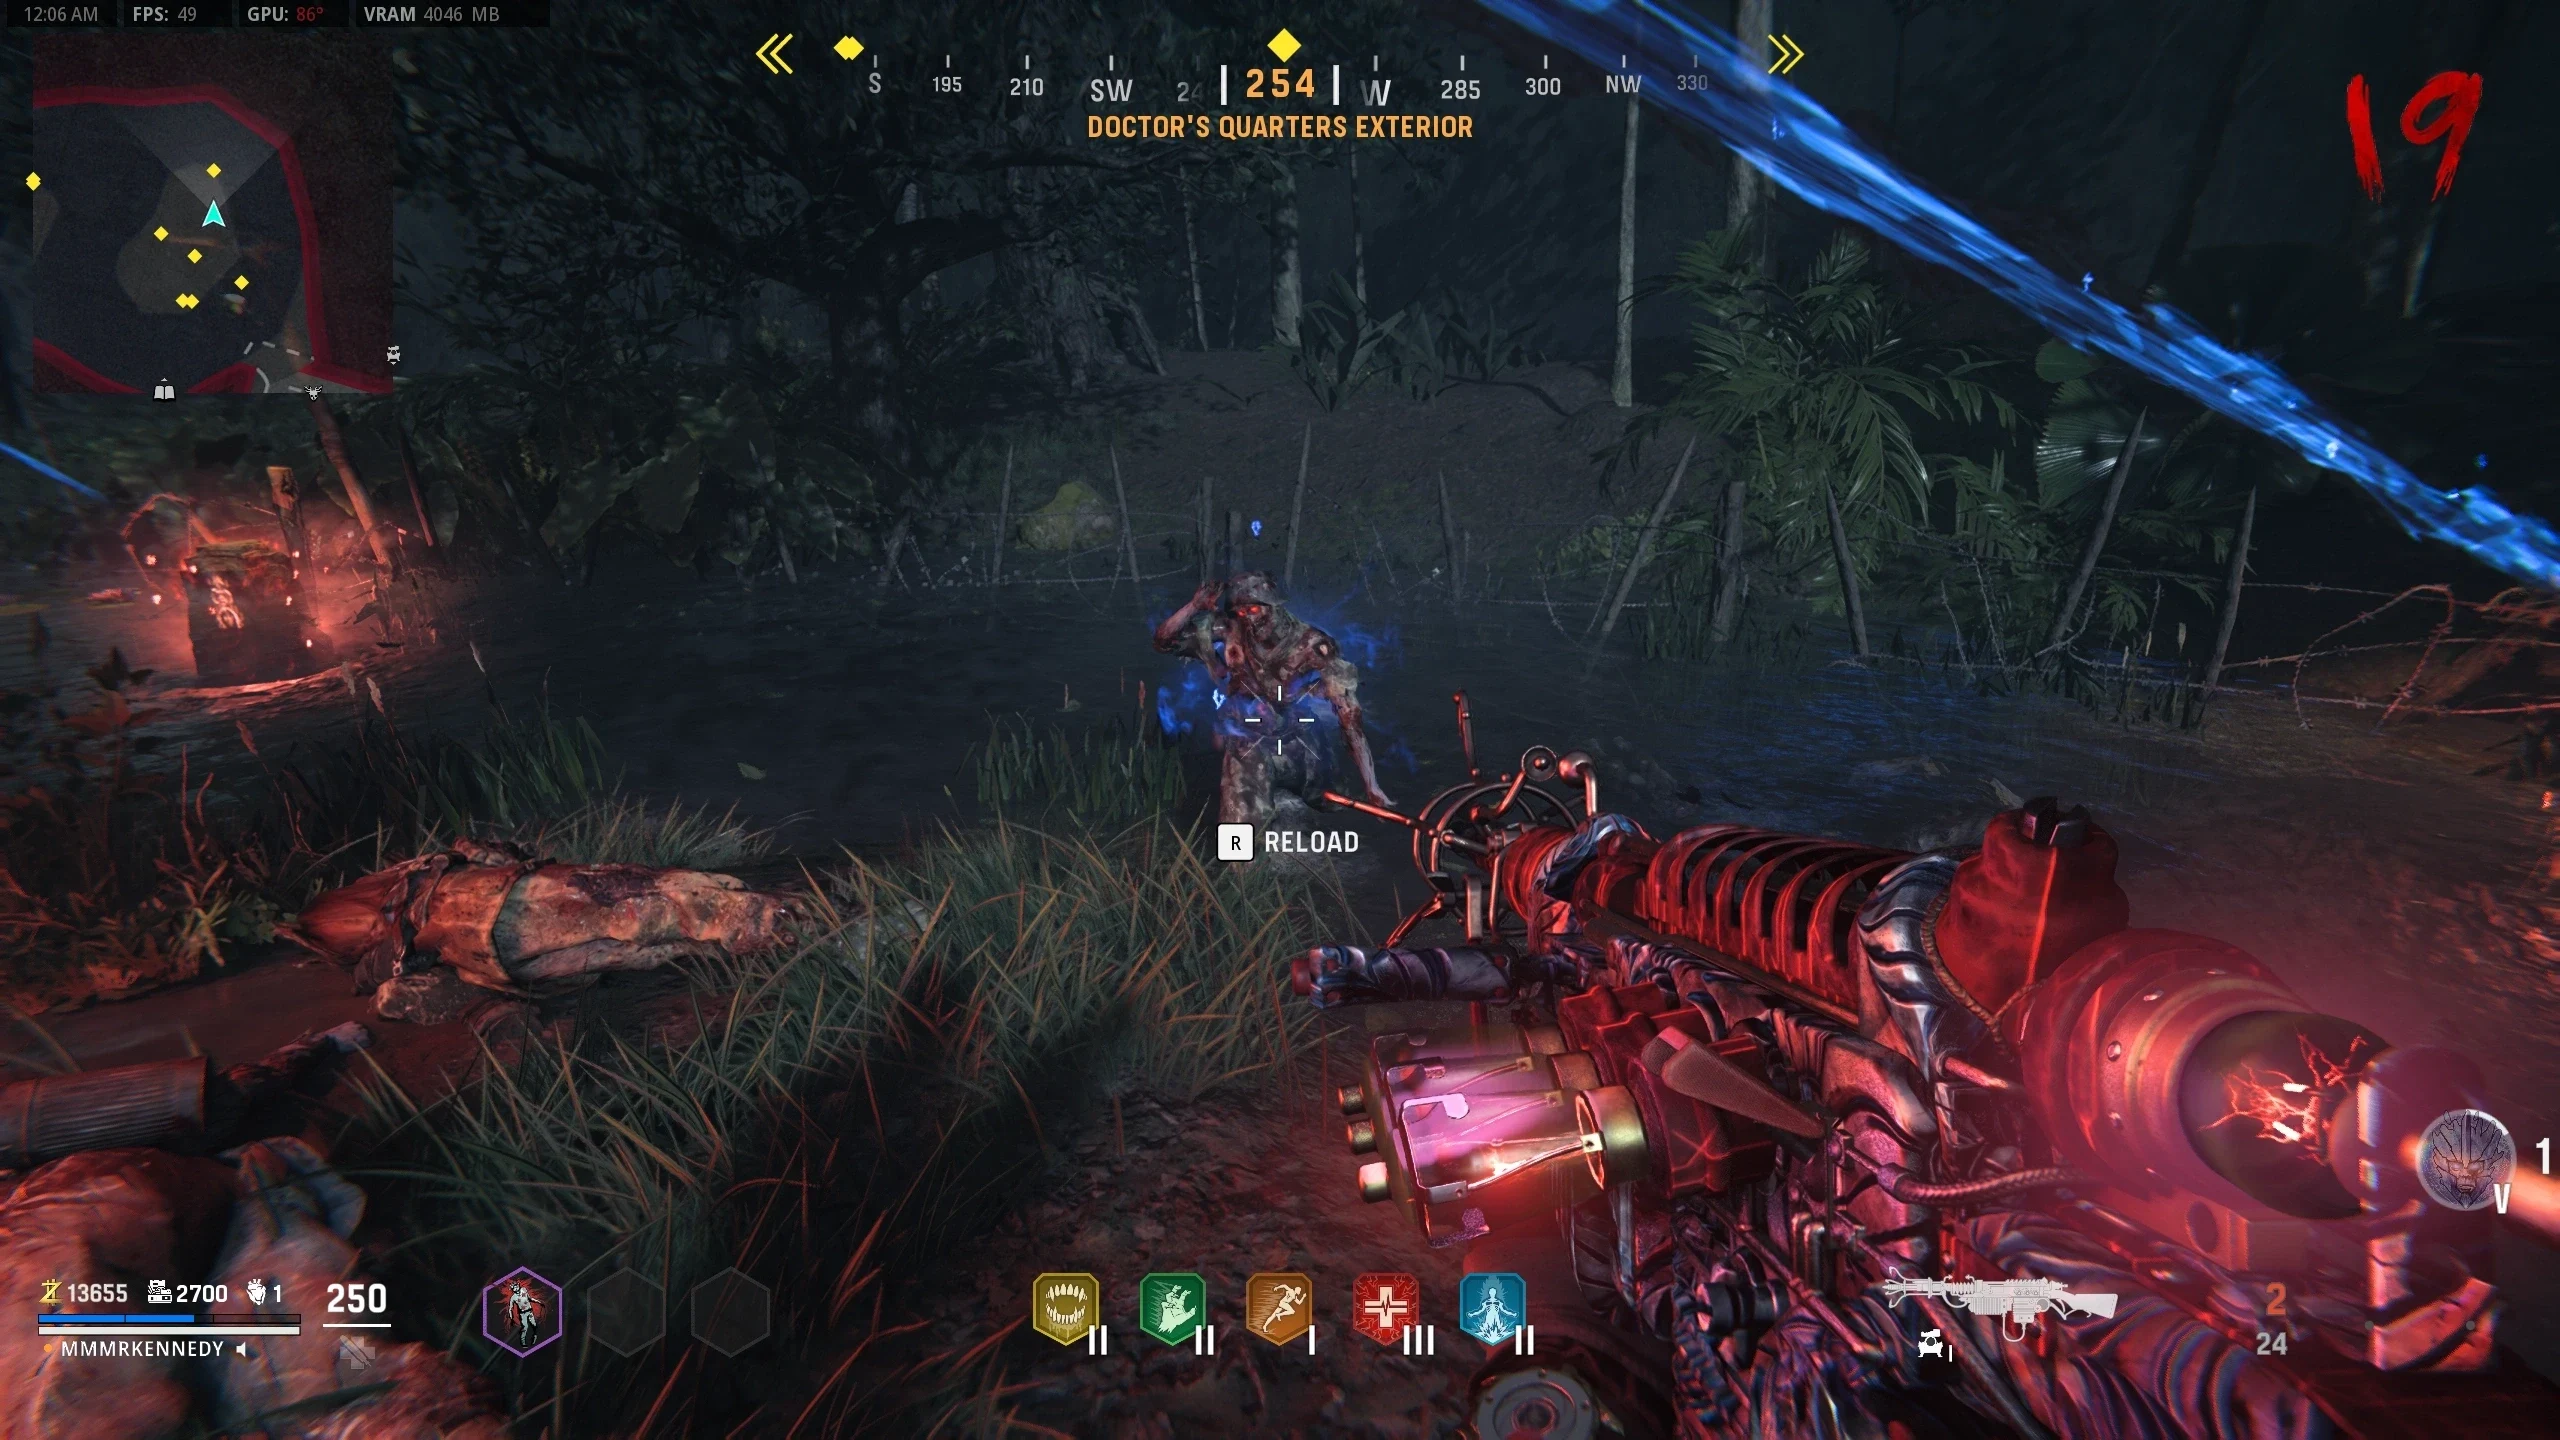
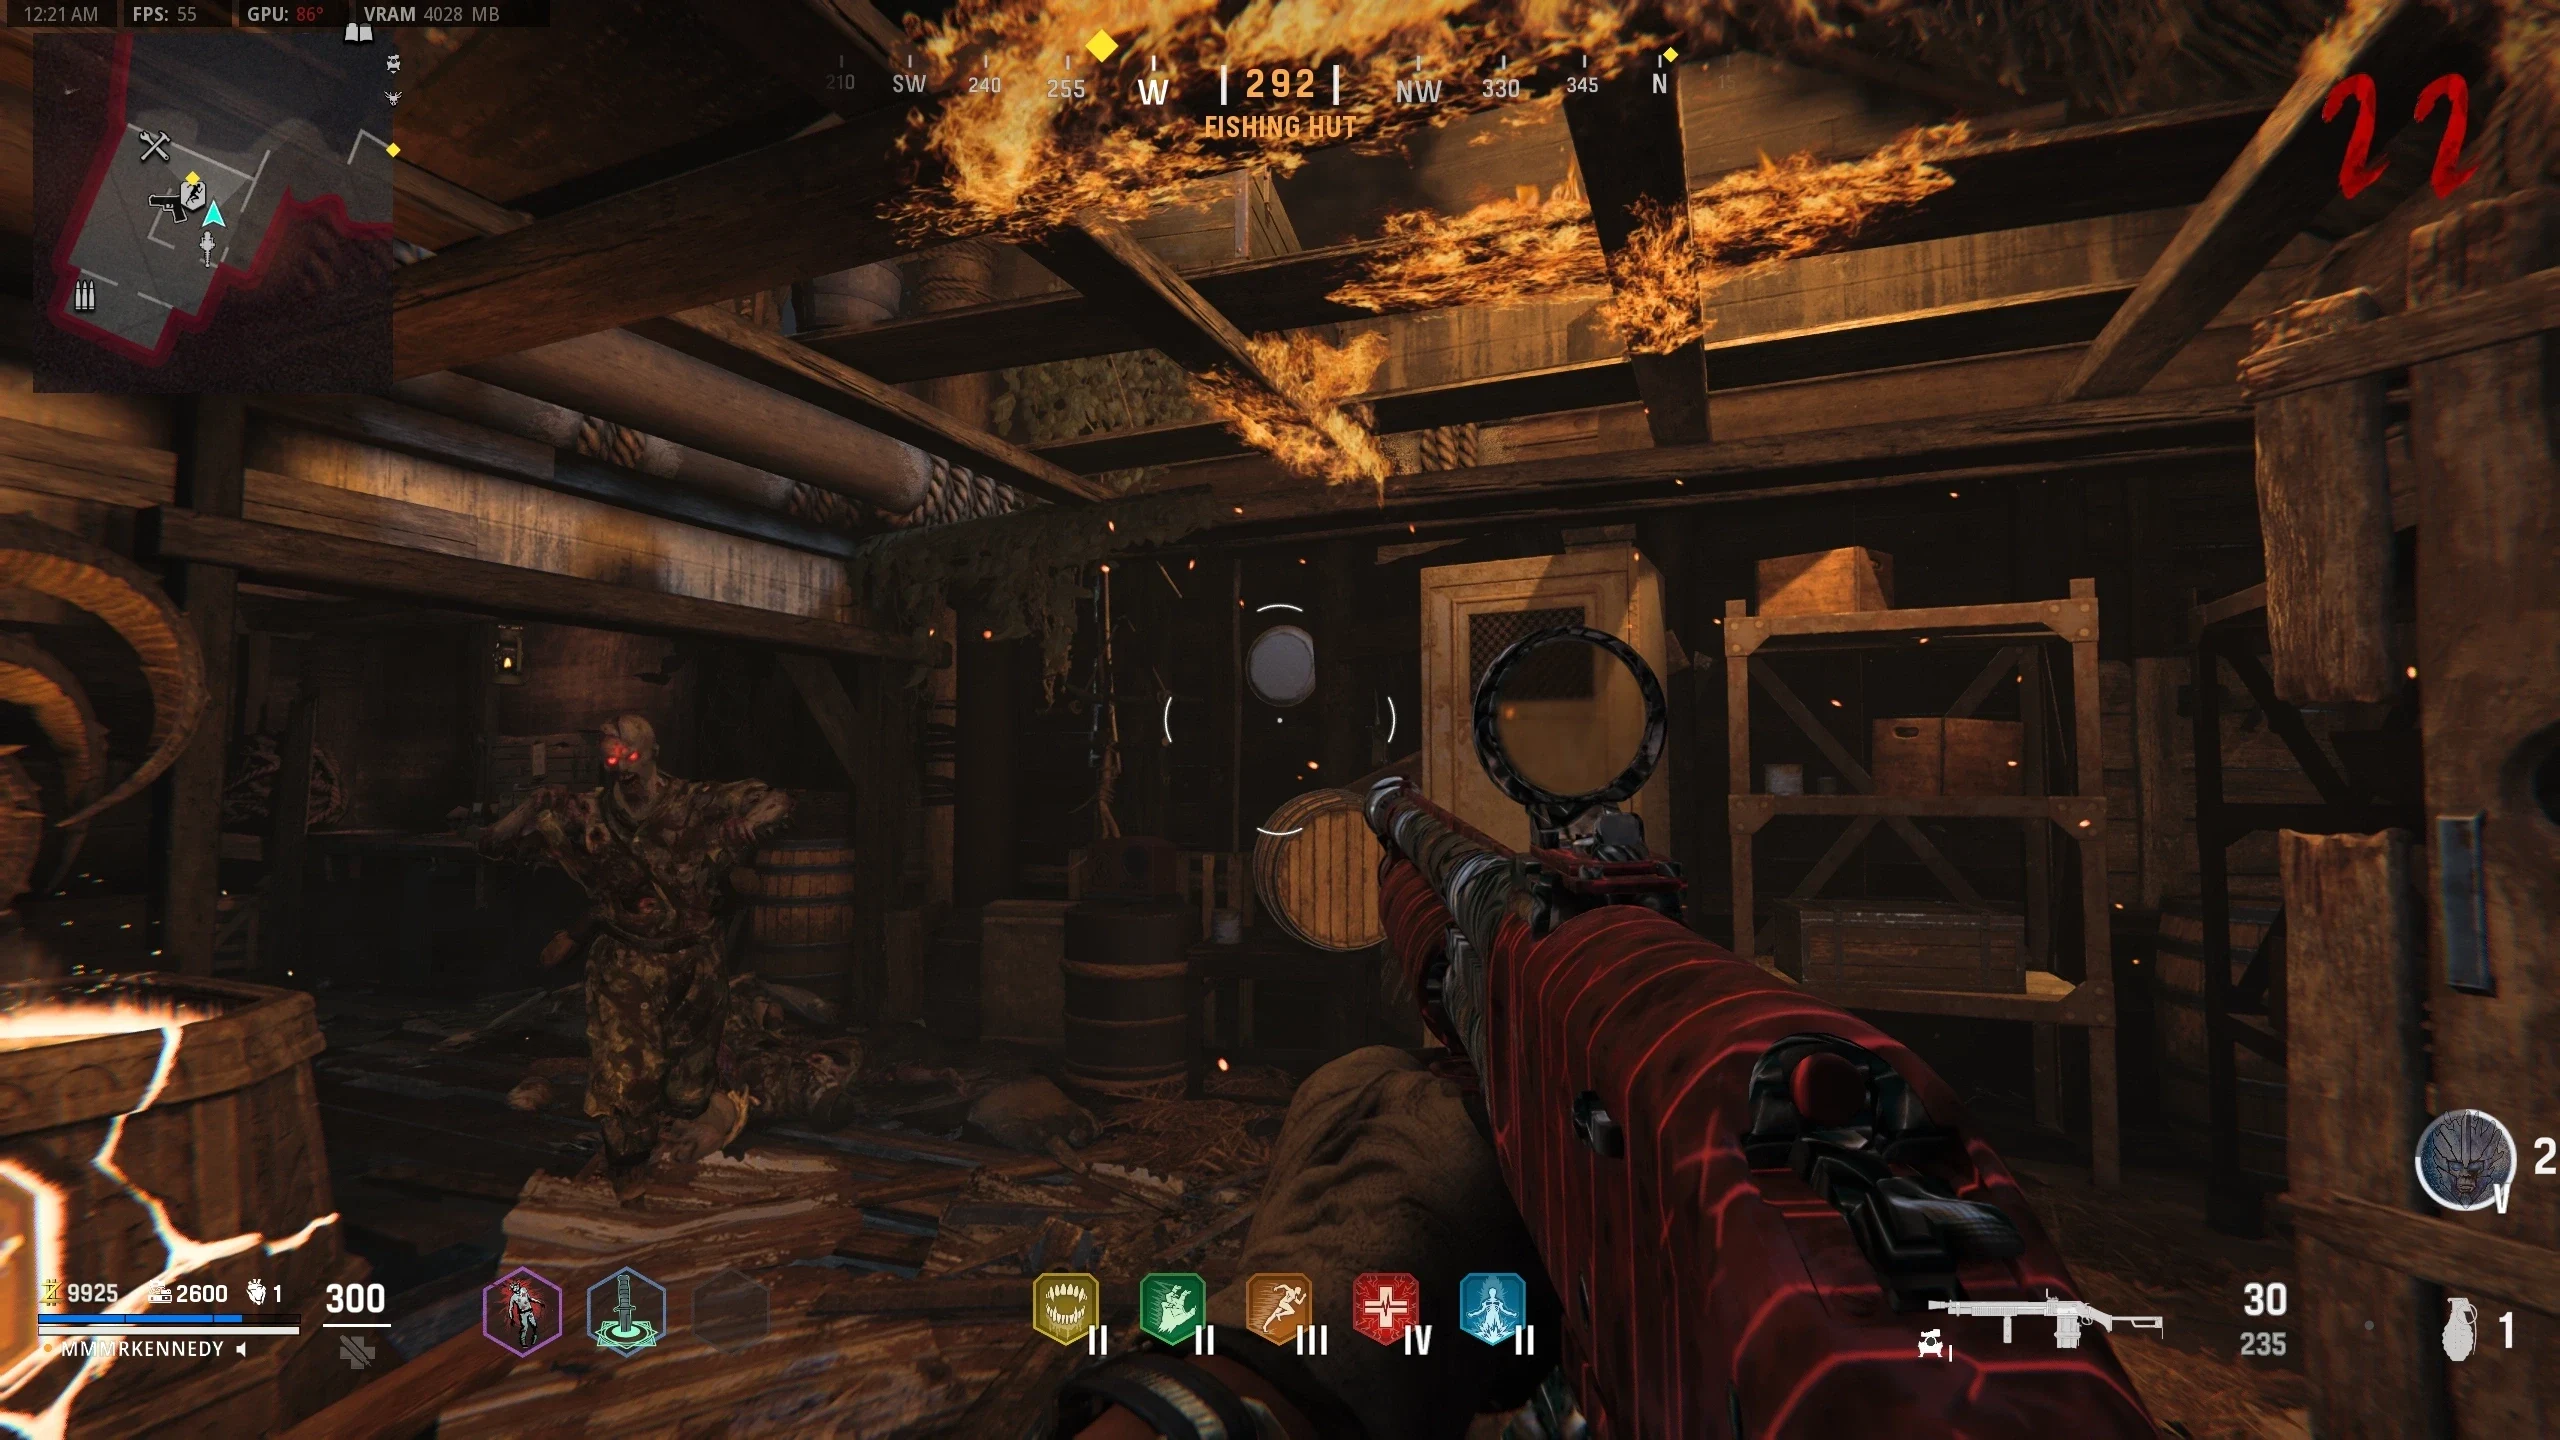
- During the lockdown, zombies shrouded in a blue mist will spawn that need to be killed near the shrine with the Wunderwaffe DG-2 before the lockdown ends.
- If completed successfully, a blue orb will spawn and a conversation will start. If failed, you can try again next round.
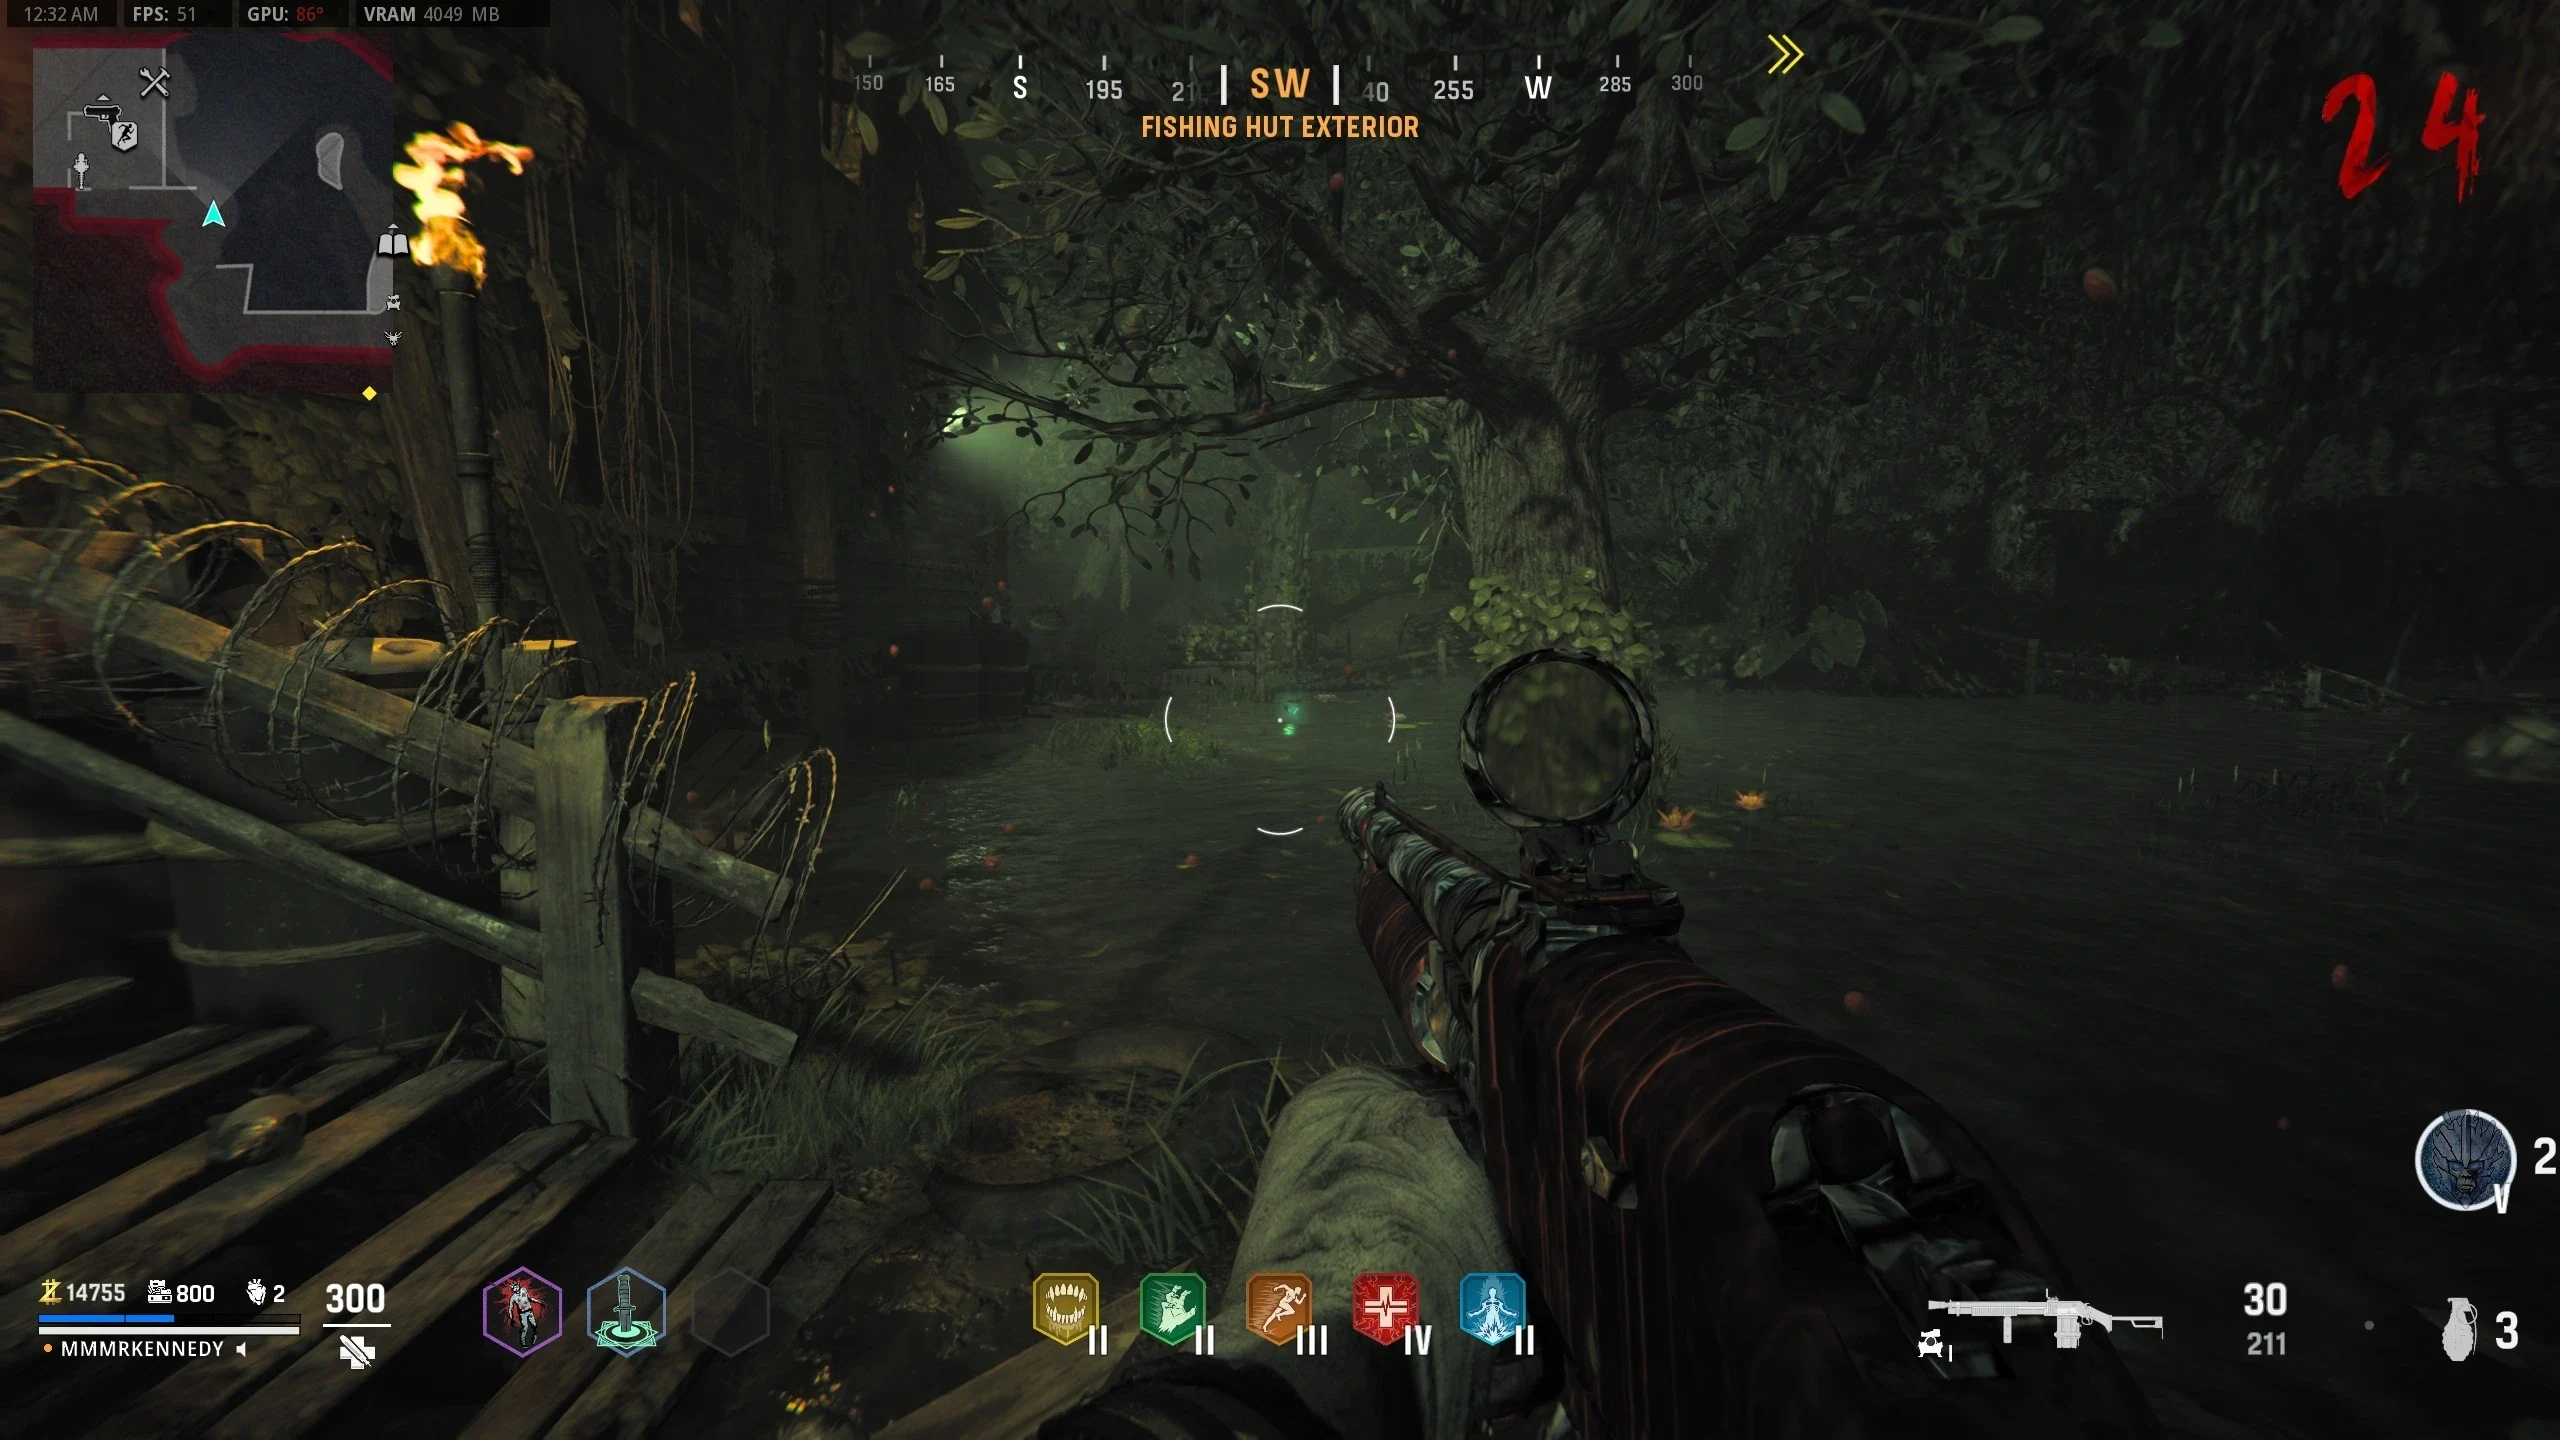
- Go to the 'Flogger Courtyard' and fill the empty Demonic Fountain with blood by flinging zombies into it with the Flogger.
- Once filled enough, the player can drink from the fountain to obtain a "Zombie Blood" effect on their screen (Unlike previous maps, the zombies can still see and attack the player). The Zombie Blood effect lasts for 45 seconds.
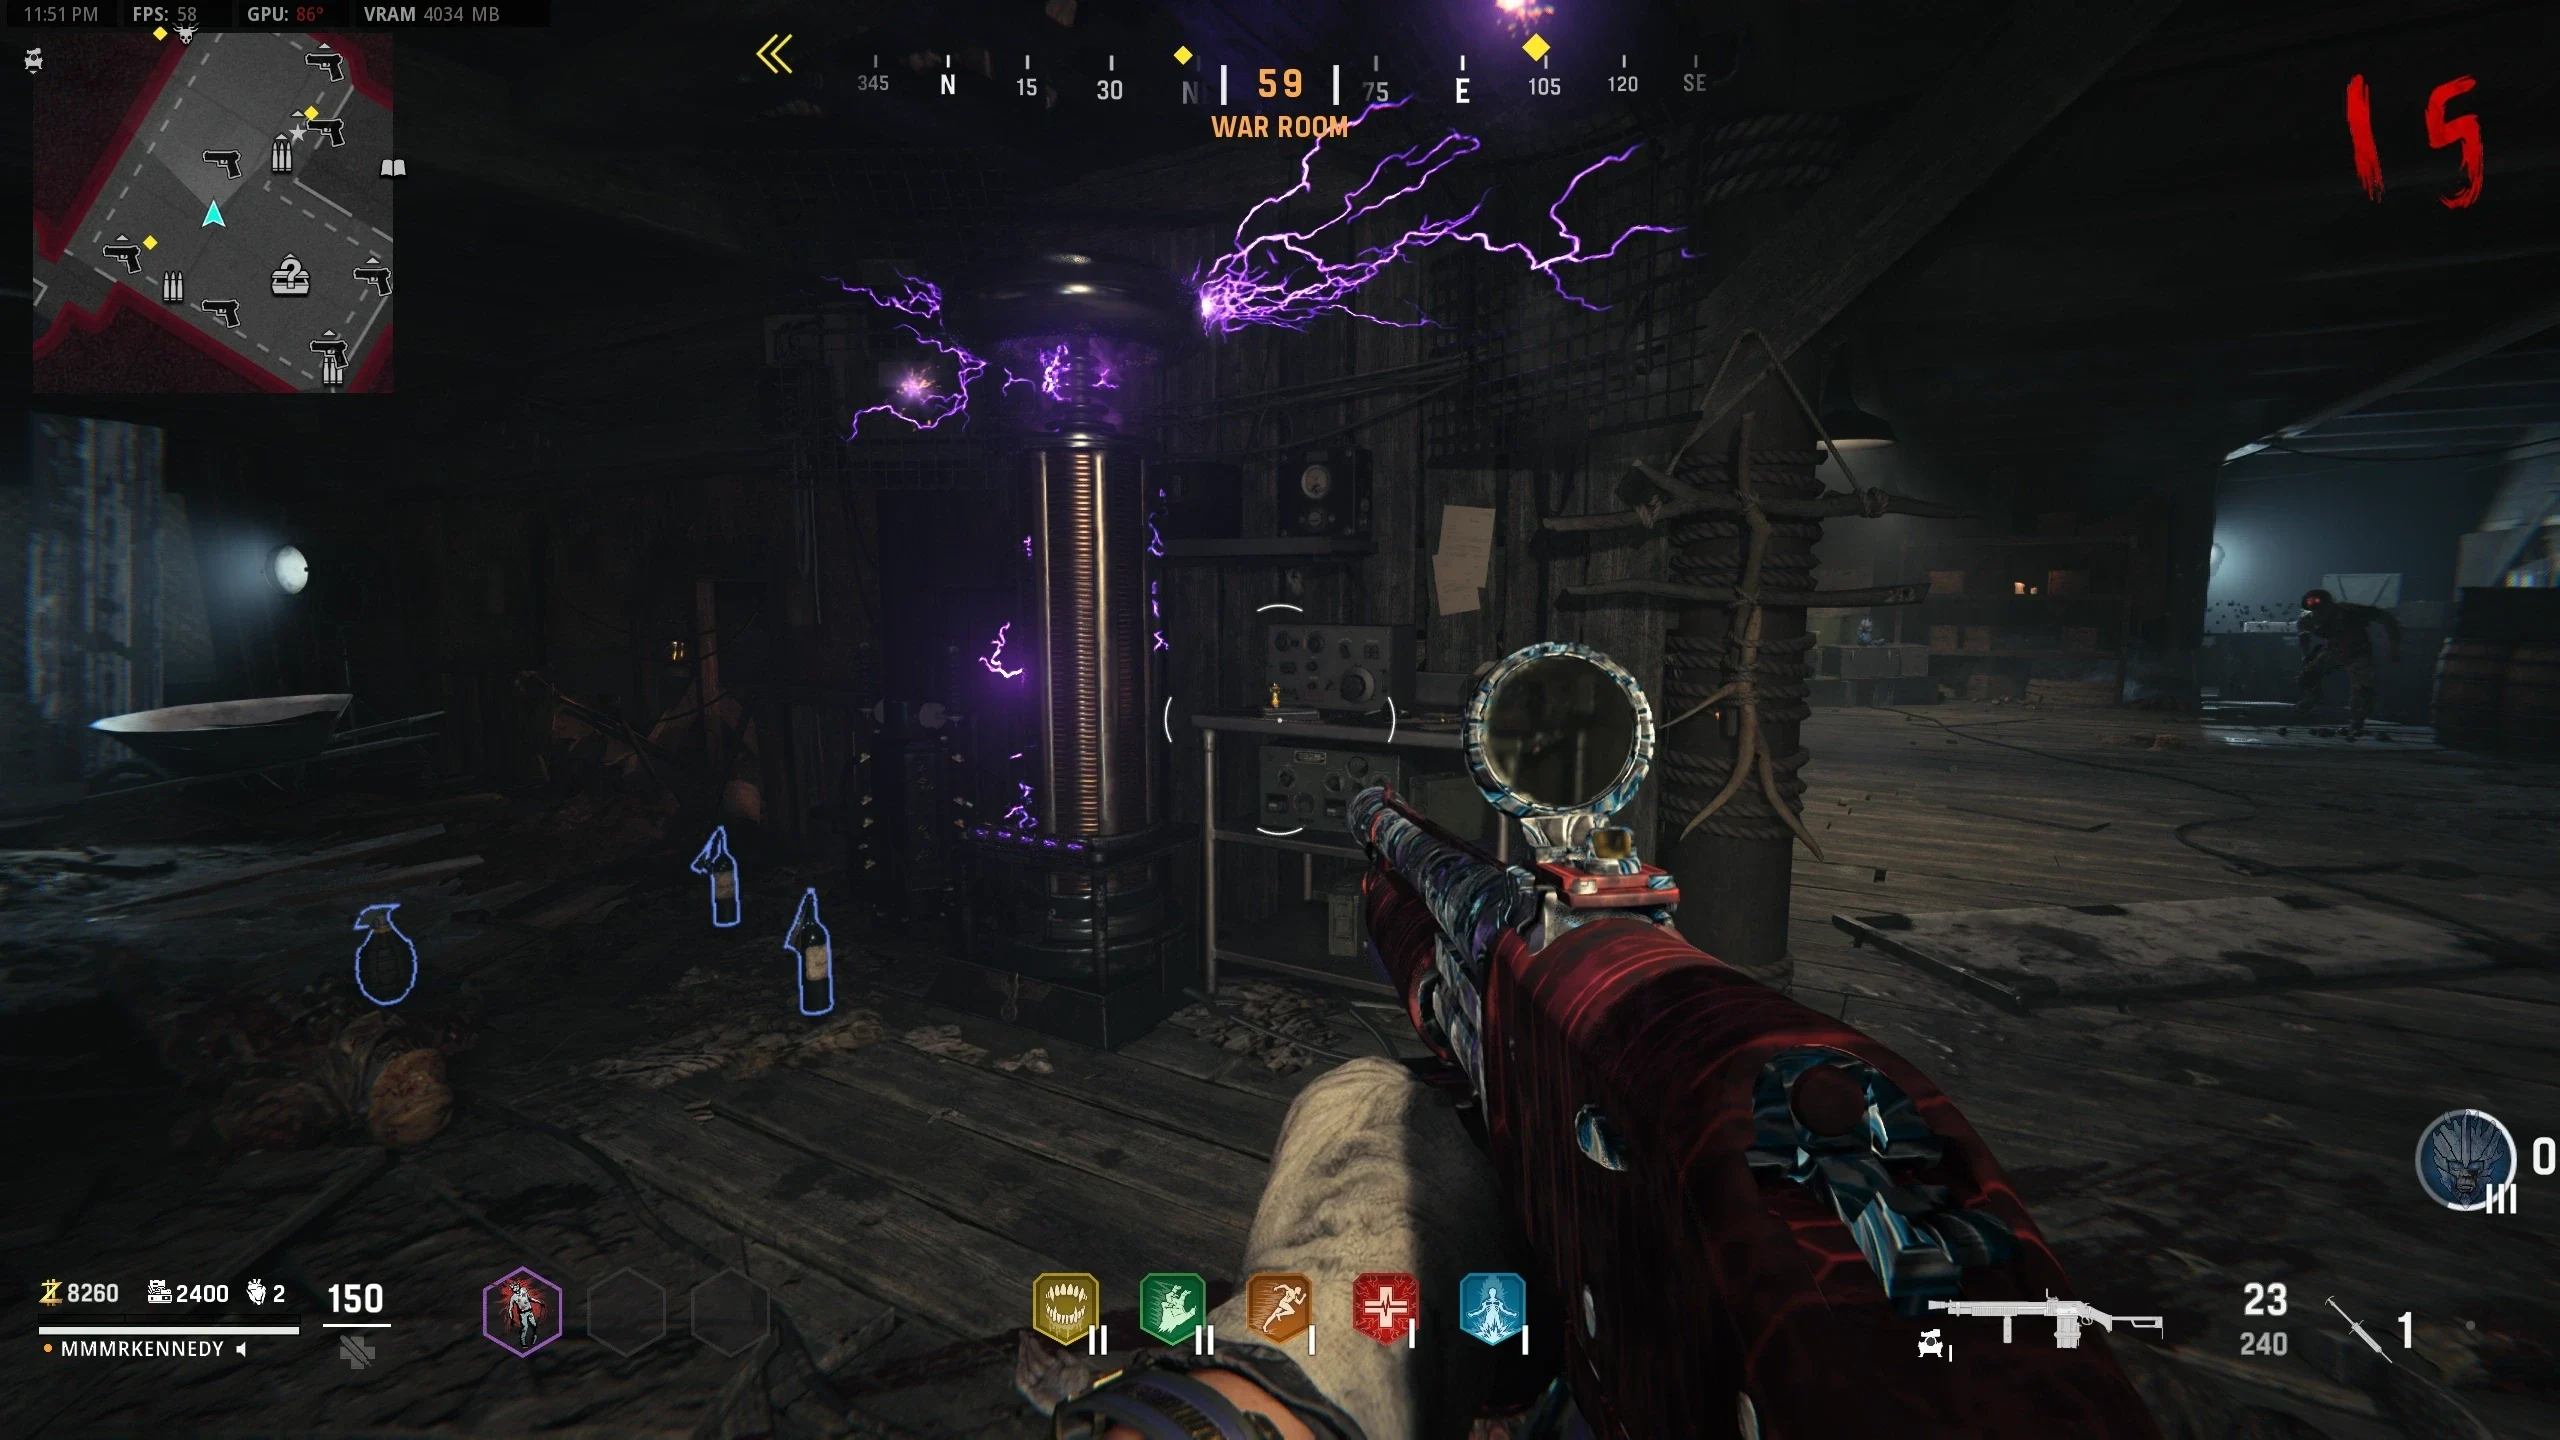
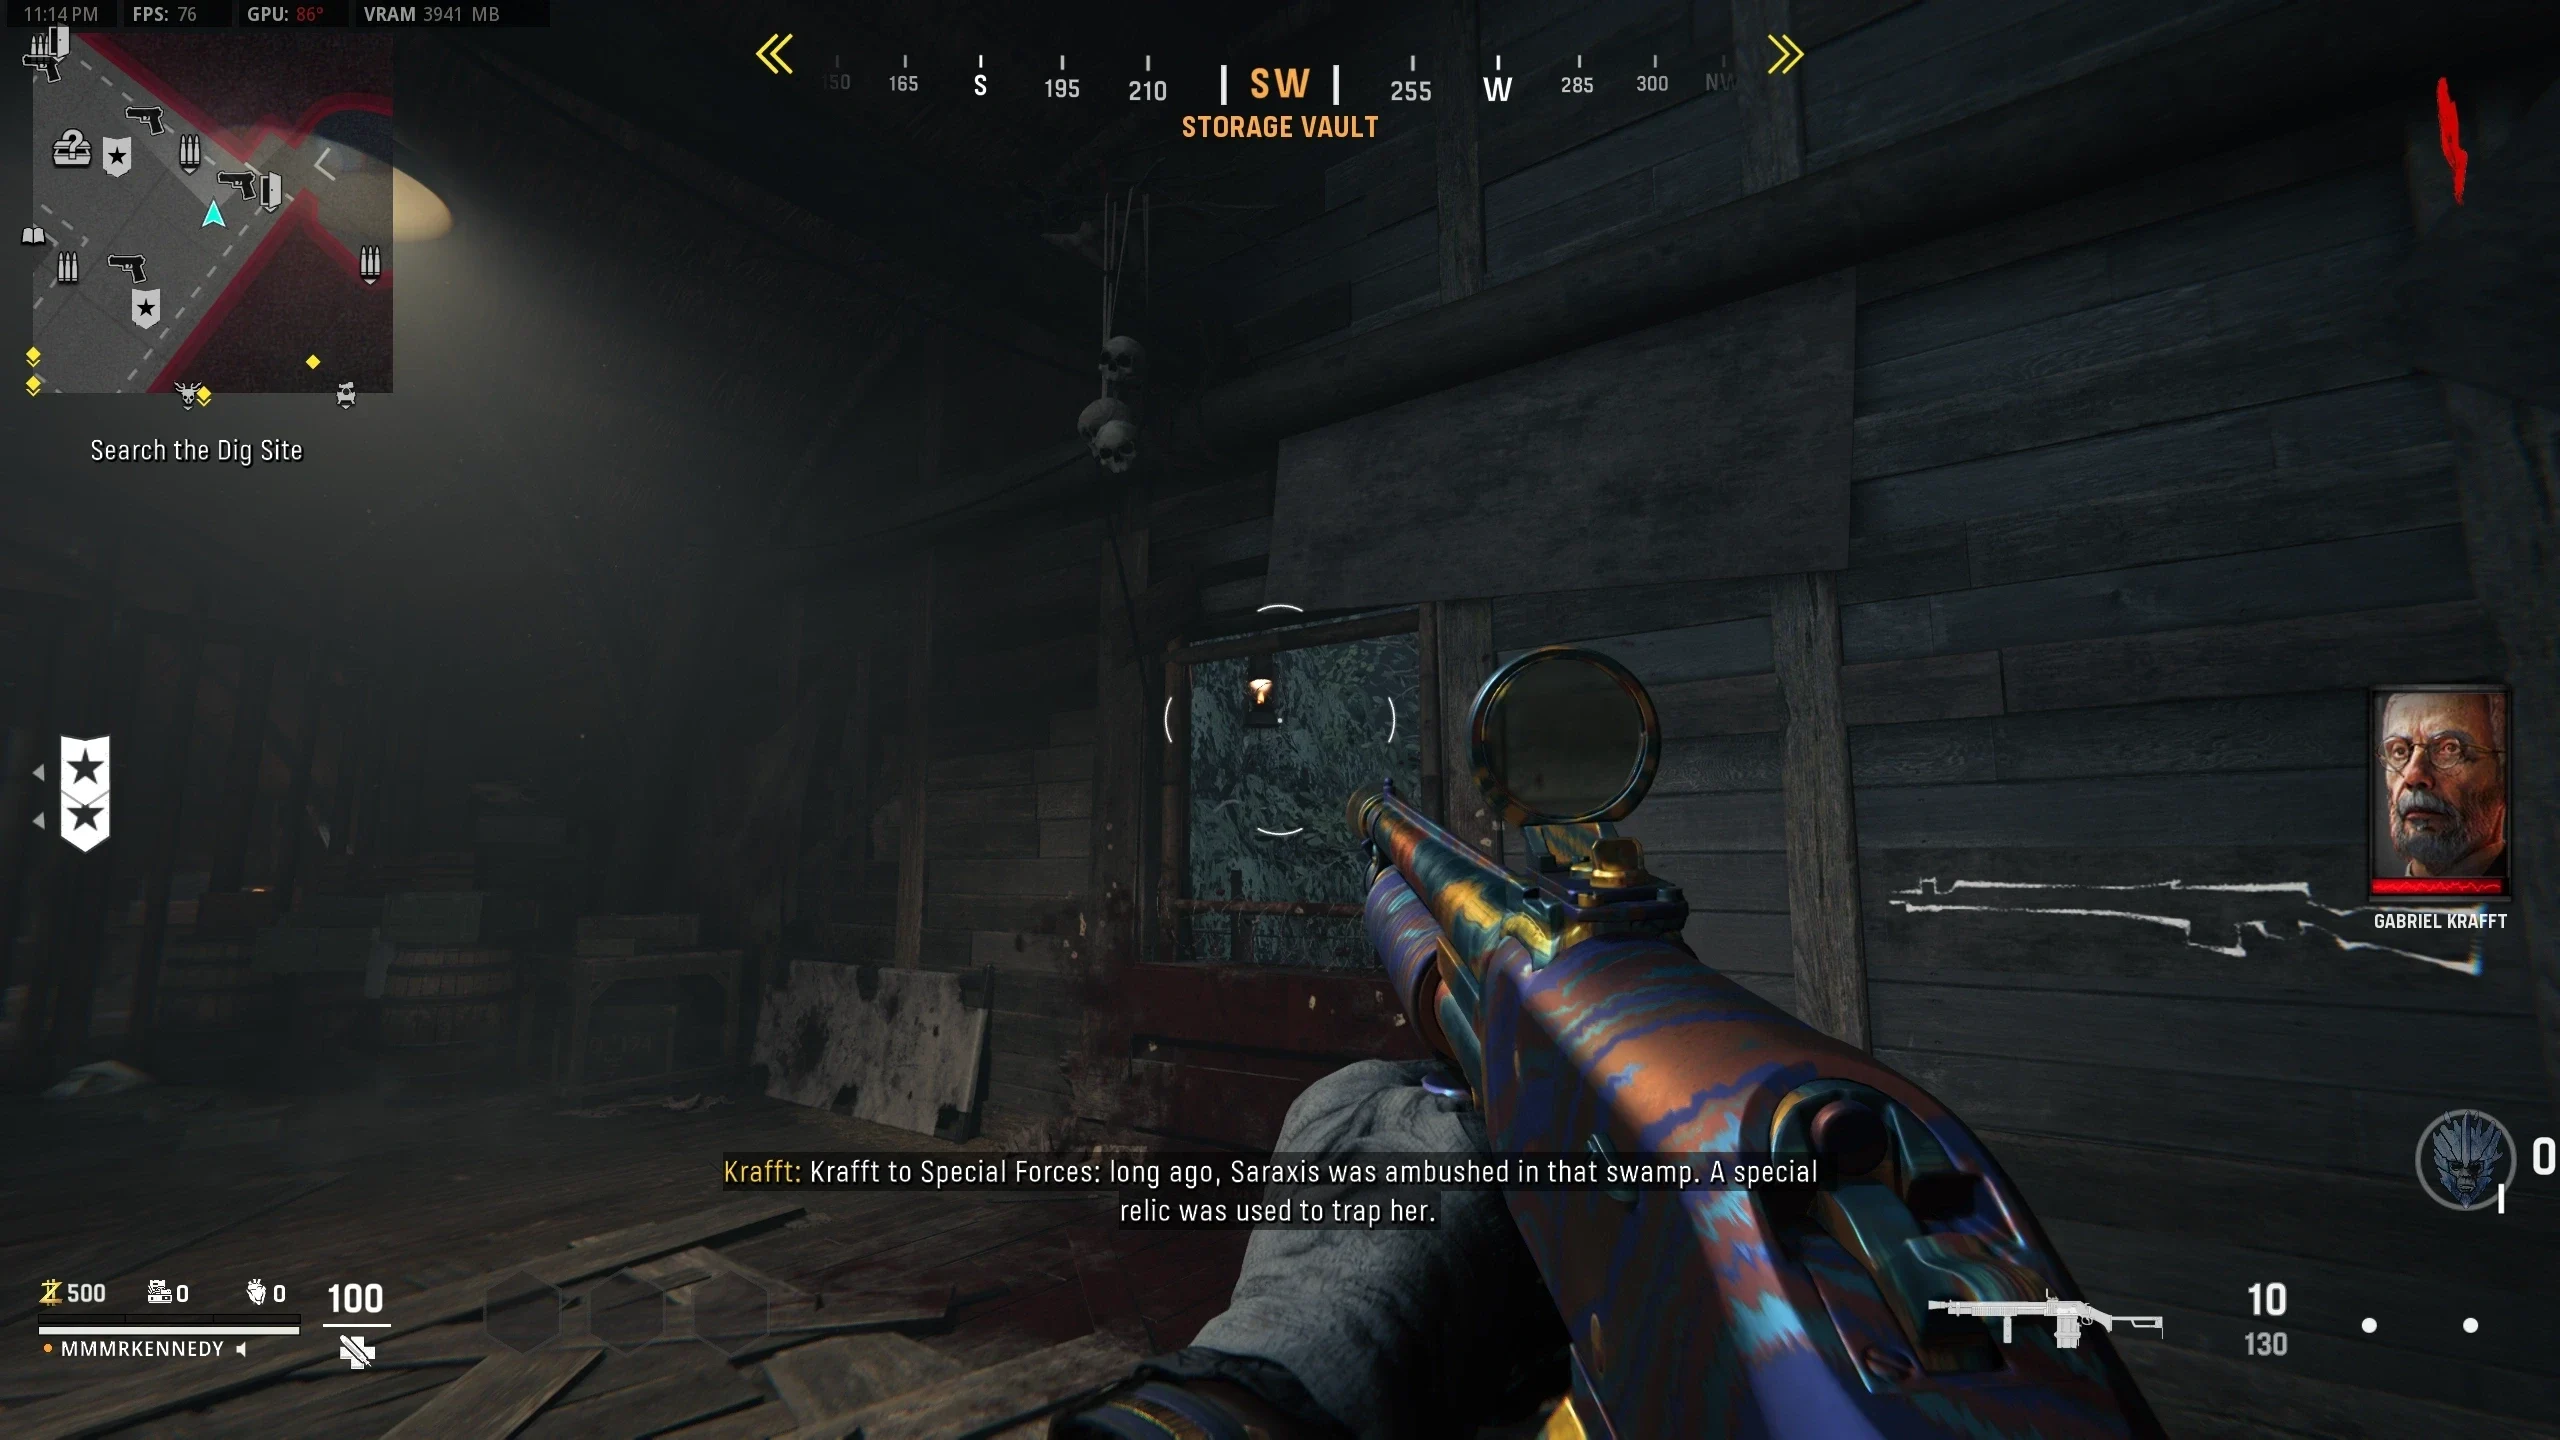
- While in "Zombie Blood", check the map in the War Room for where the red 'X' is.
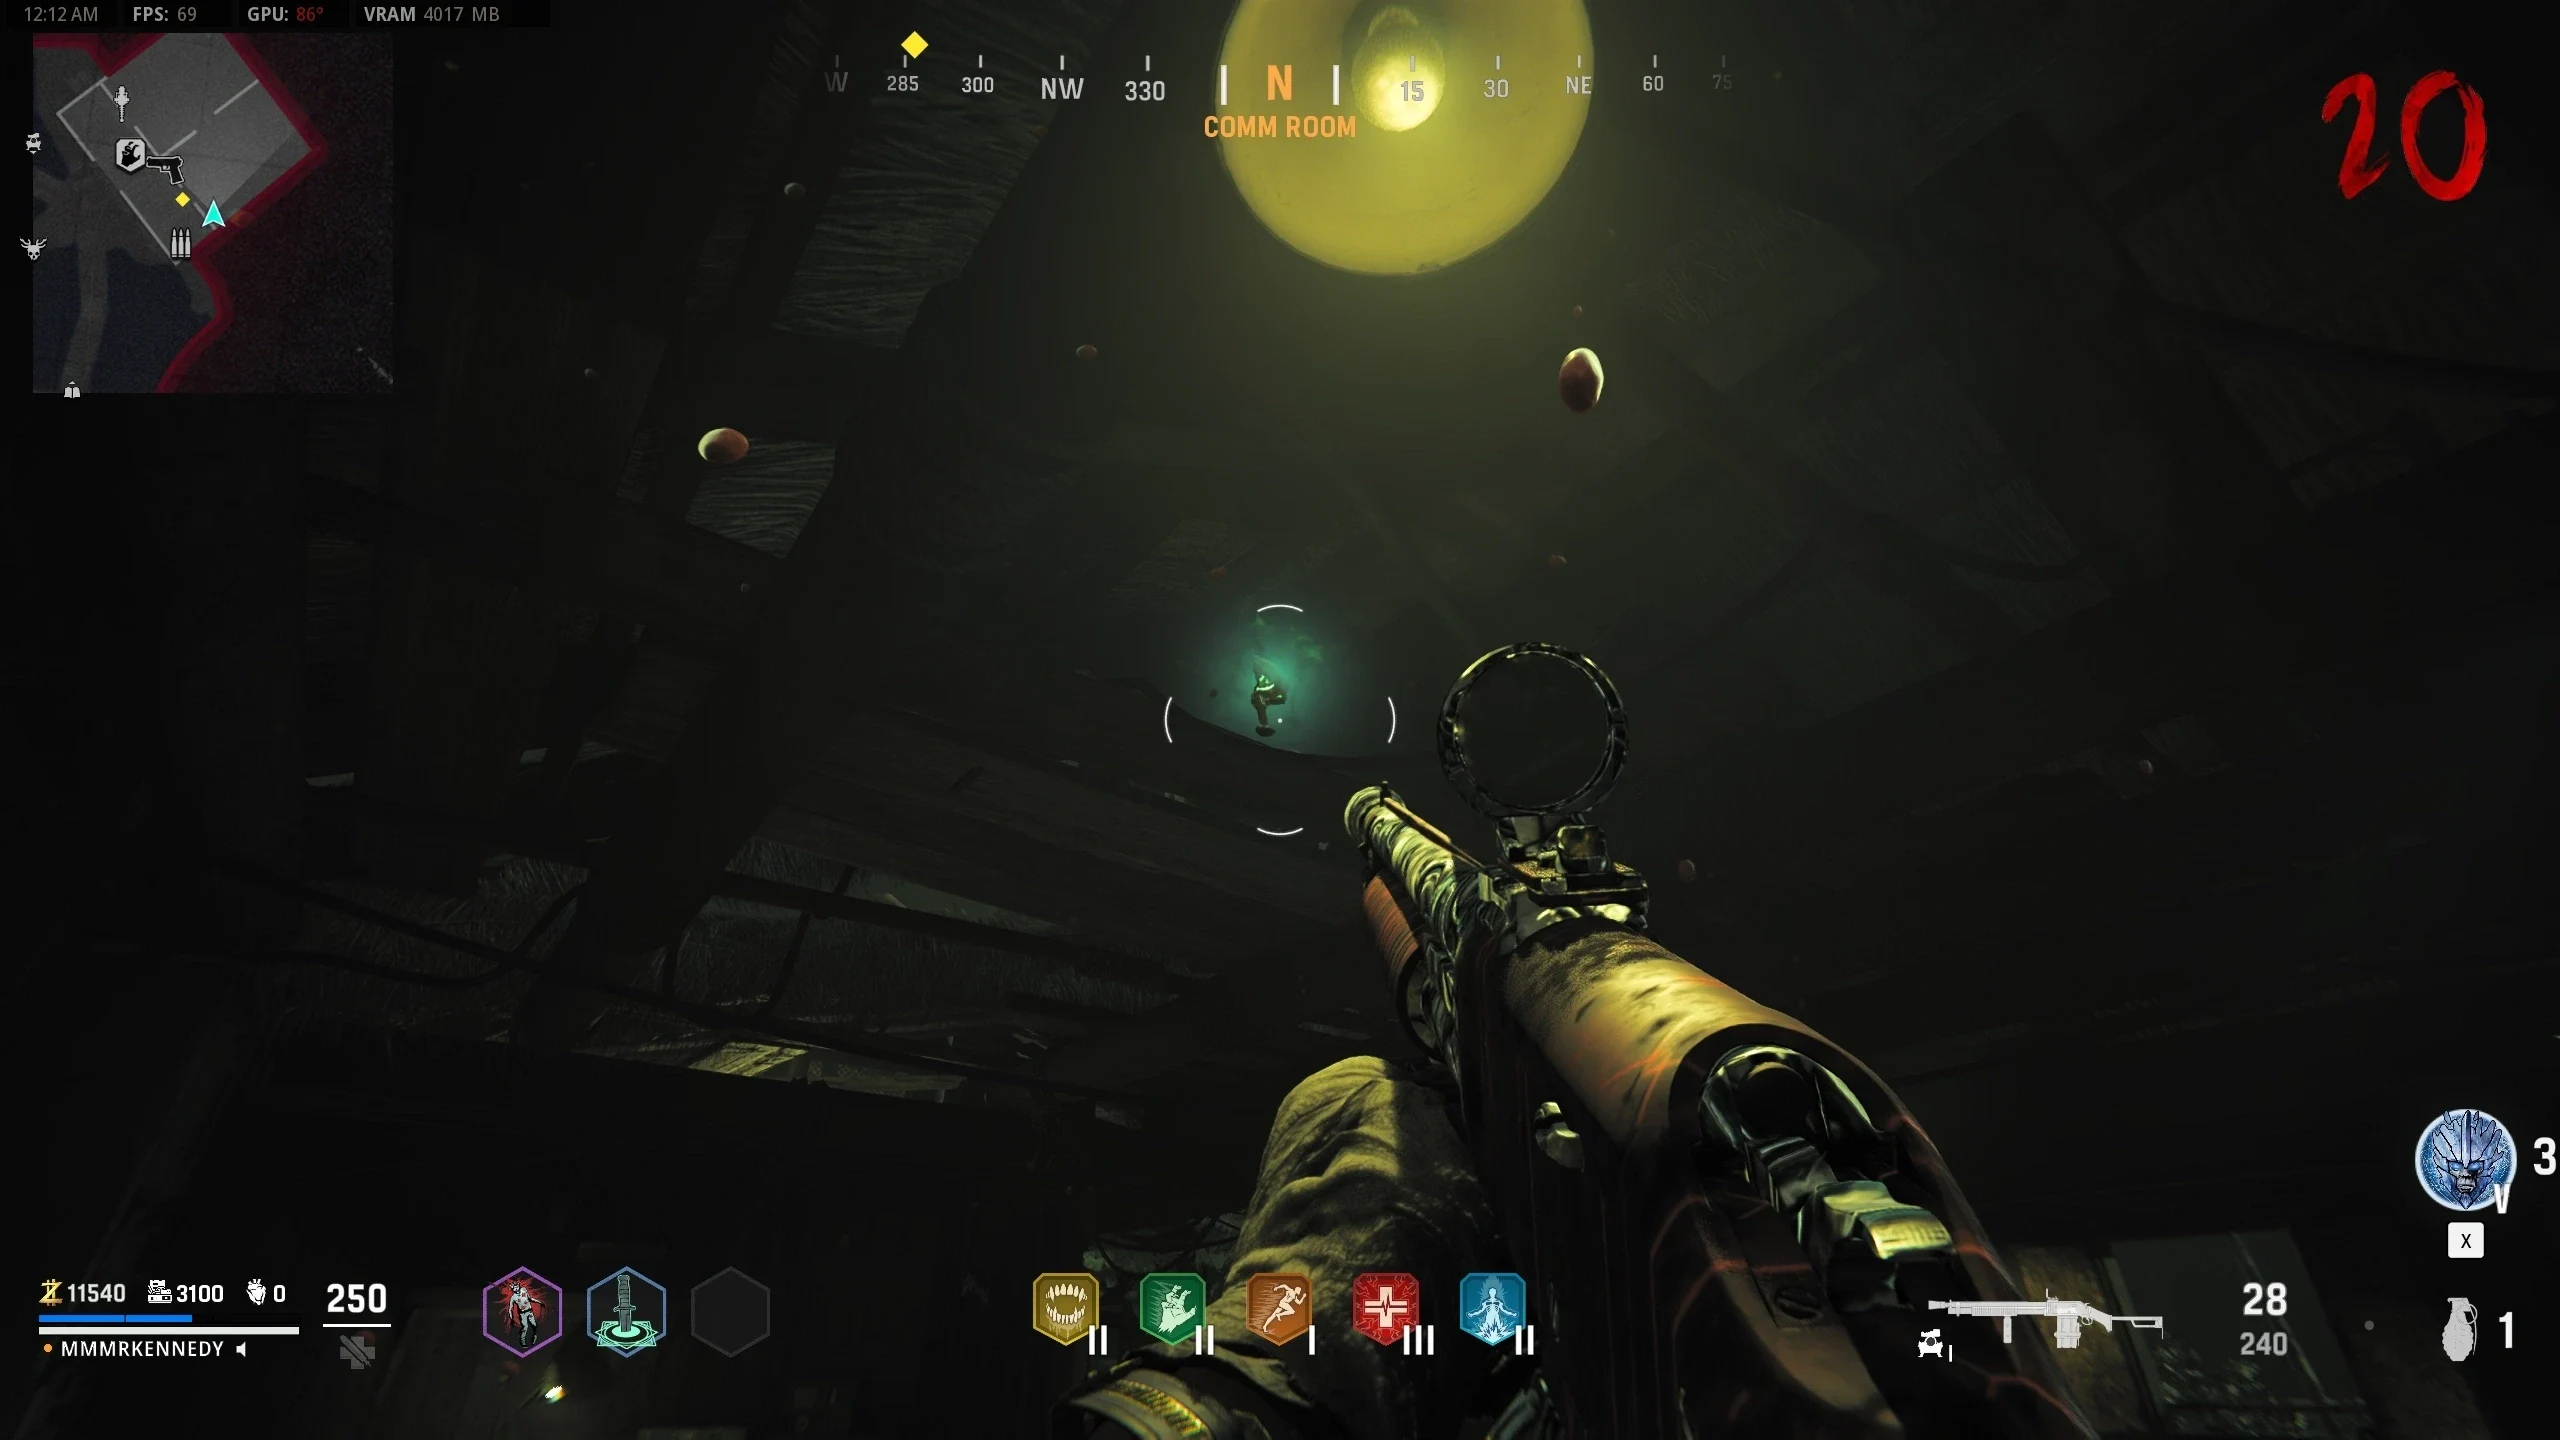
- Go to the hut indicated by the red "X" and look at the ceiling to find a mirror piece.
- Shoot the mirror piece to make it fall to the floor and pick it up.
- While in "Zombie Blood", a red orb will appear somewhere in the spawn building. Where the orb spawns determines its final destination. Orb Spawn/End Locations:
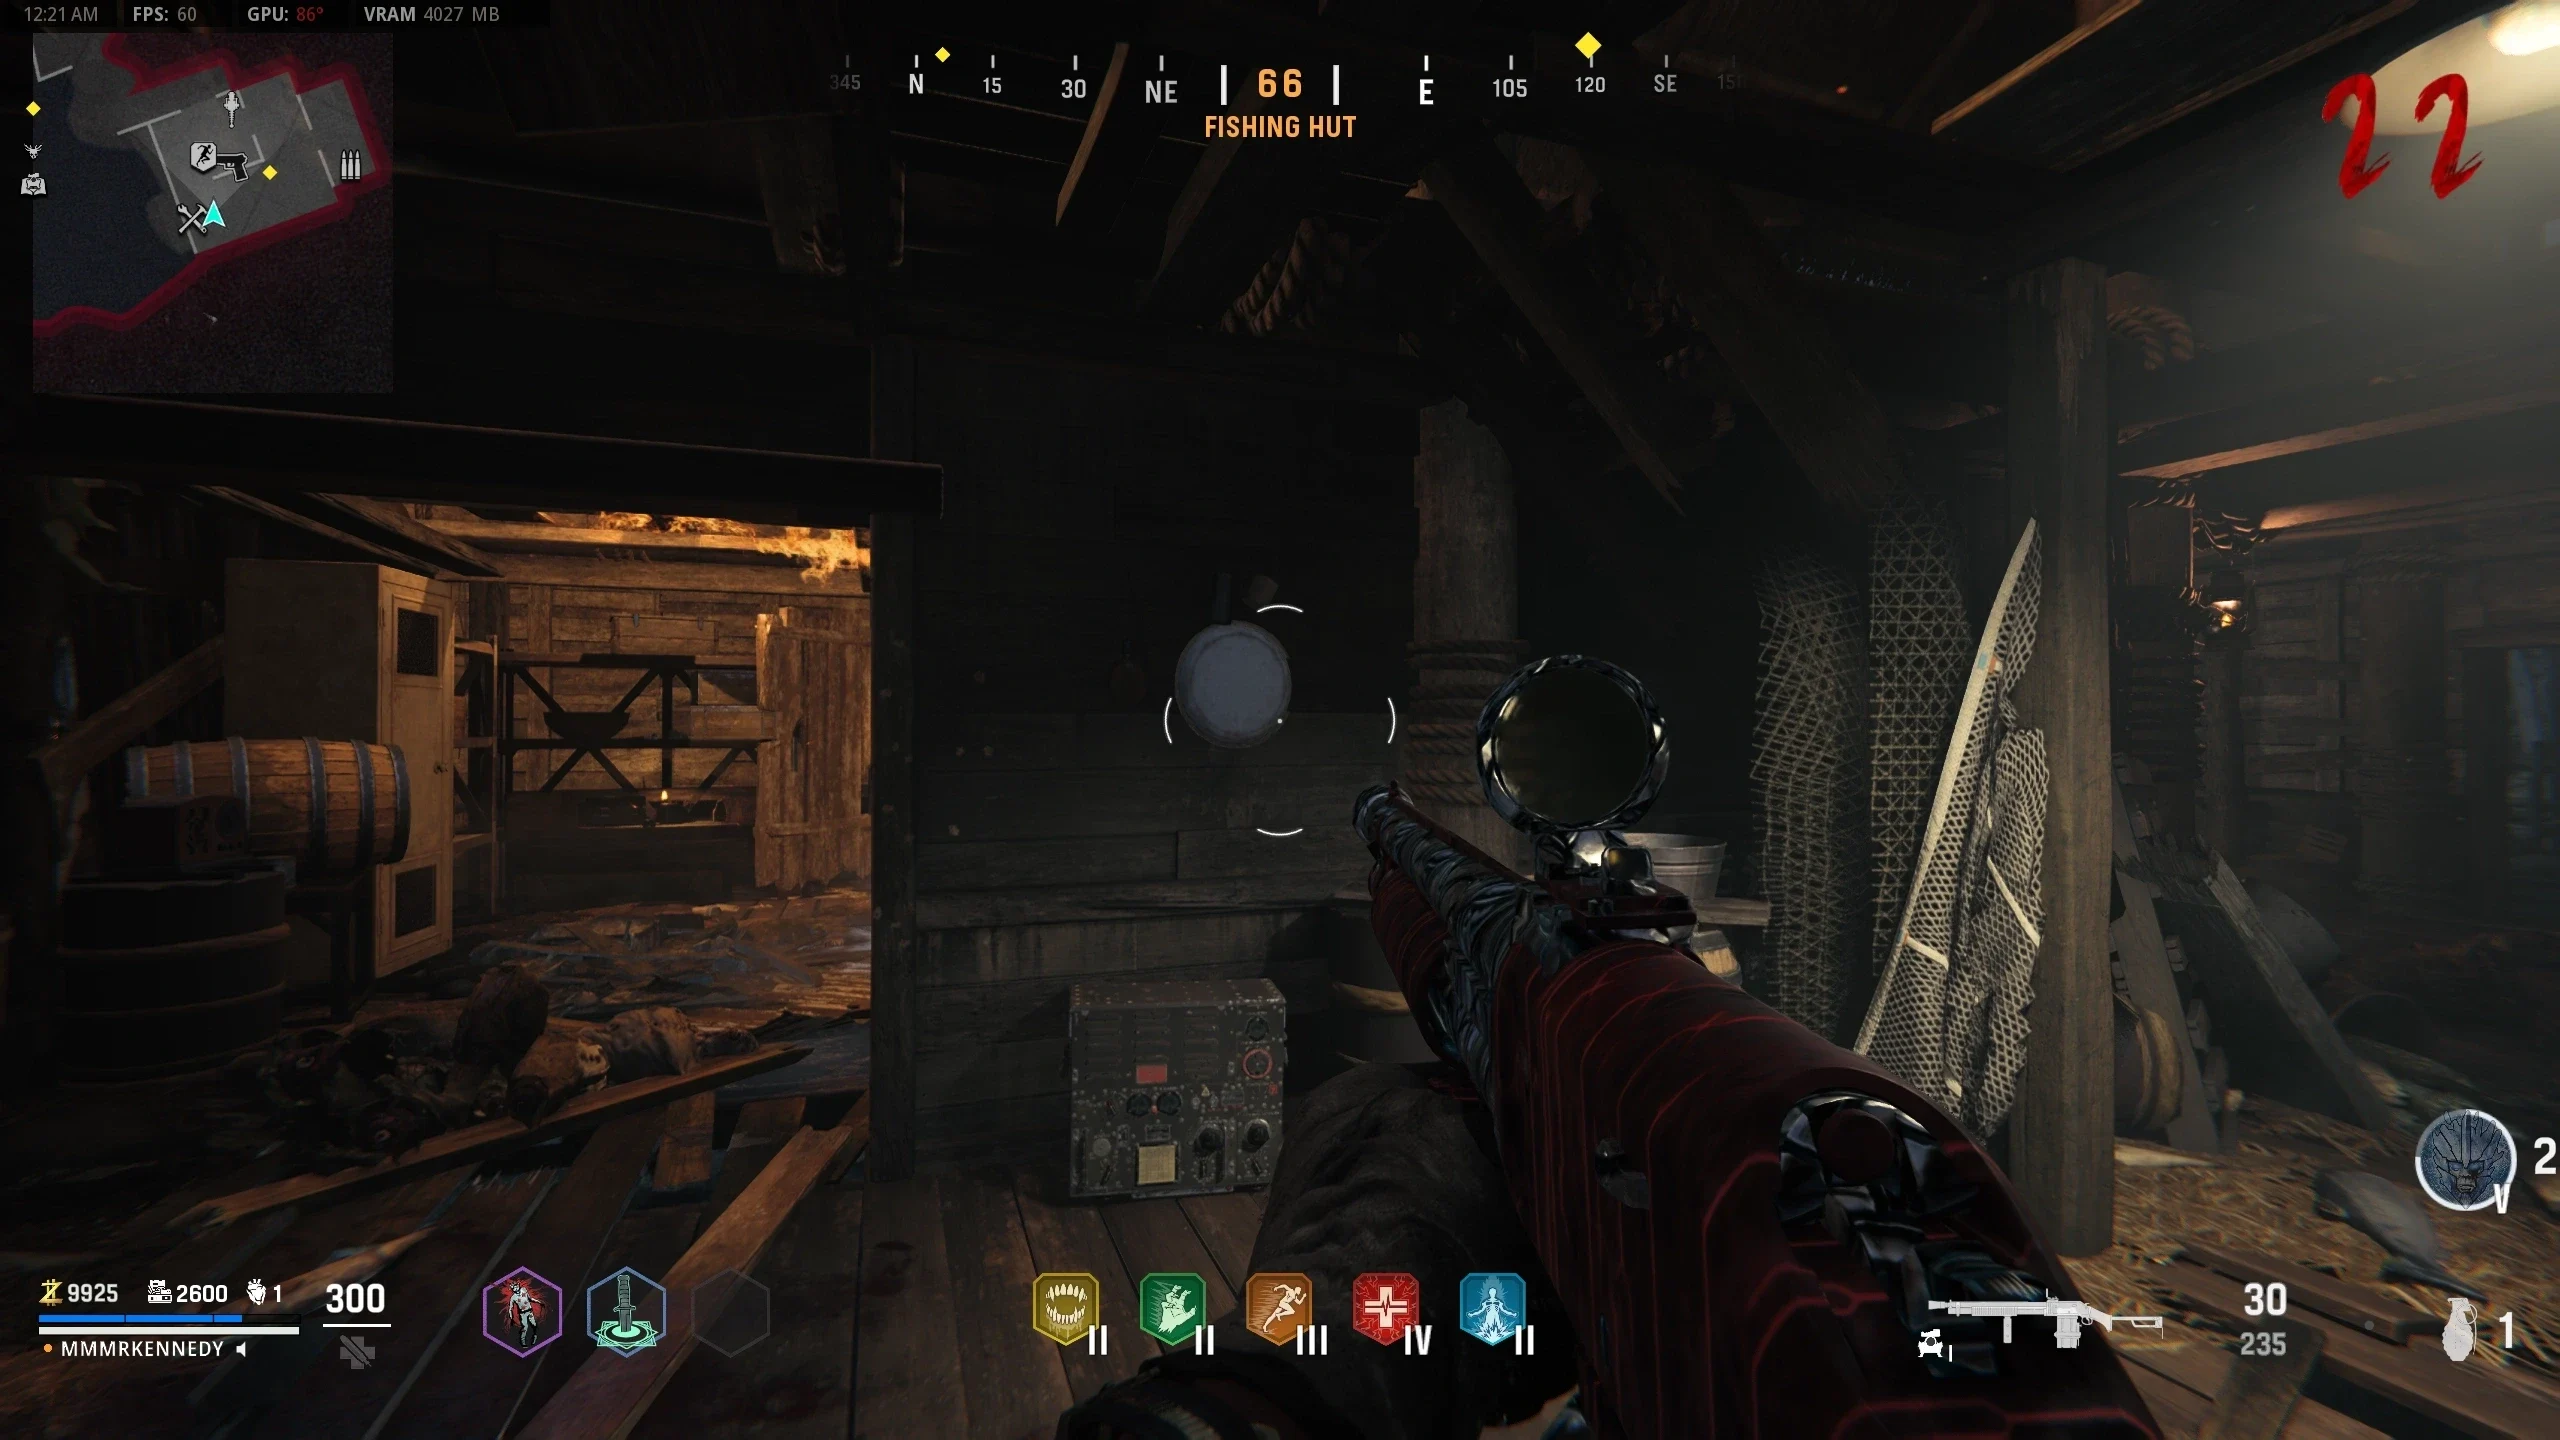
- Start: 2nd Floor by the SVT-50 - End: Just left of the Doctor’s Quarter’s
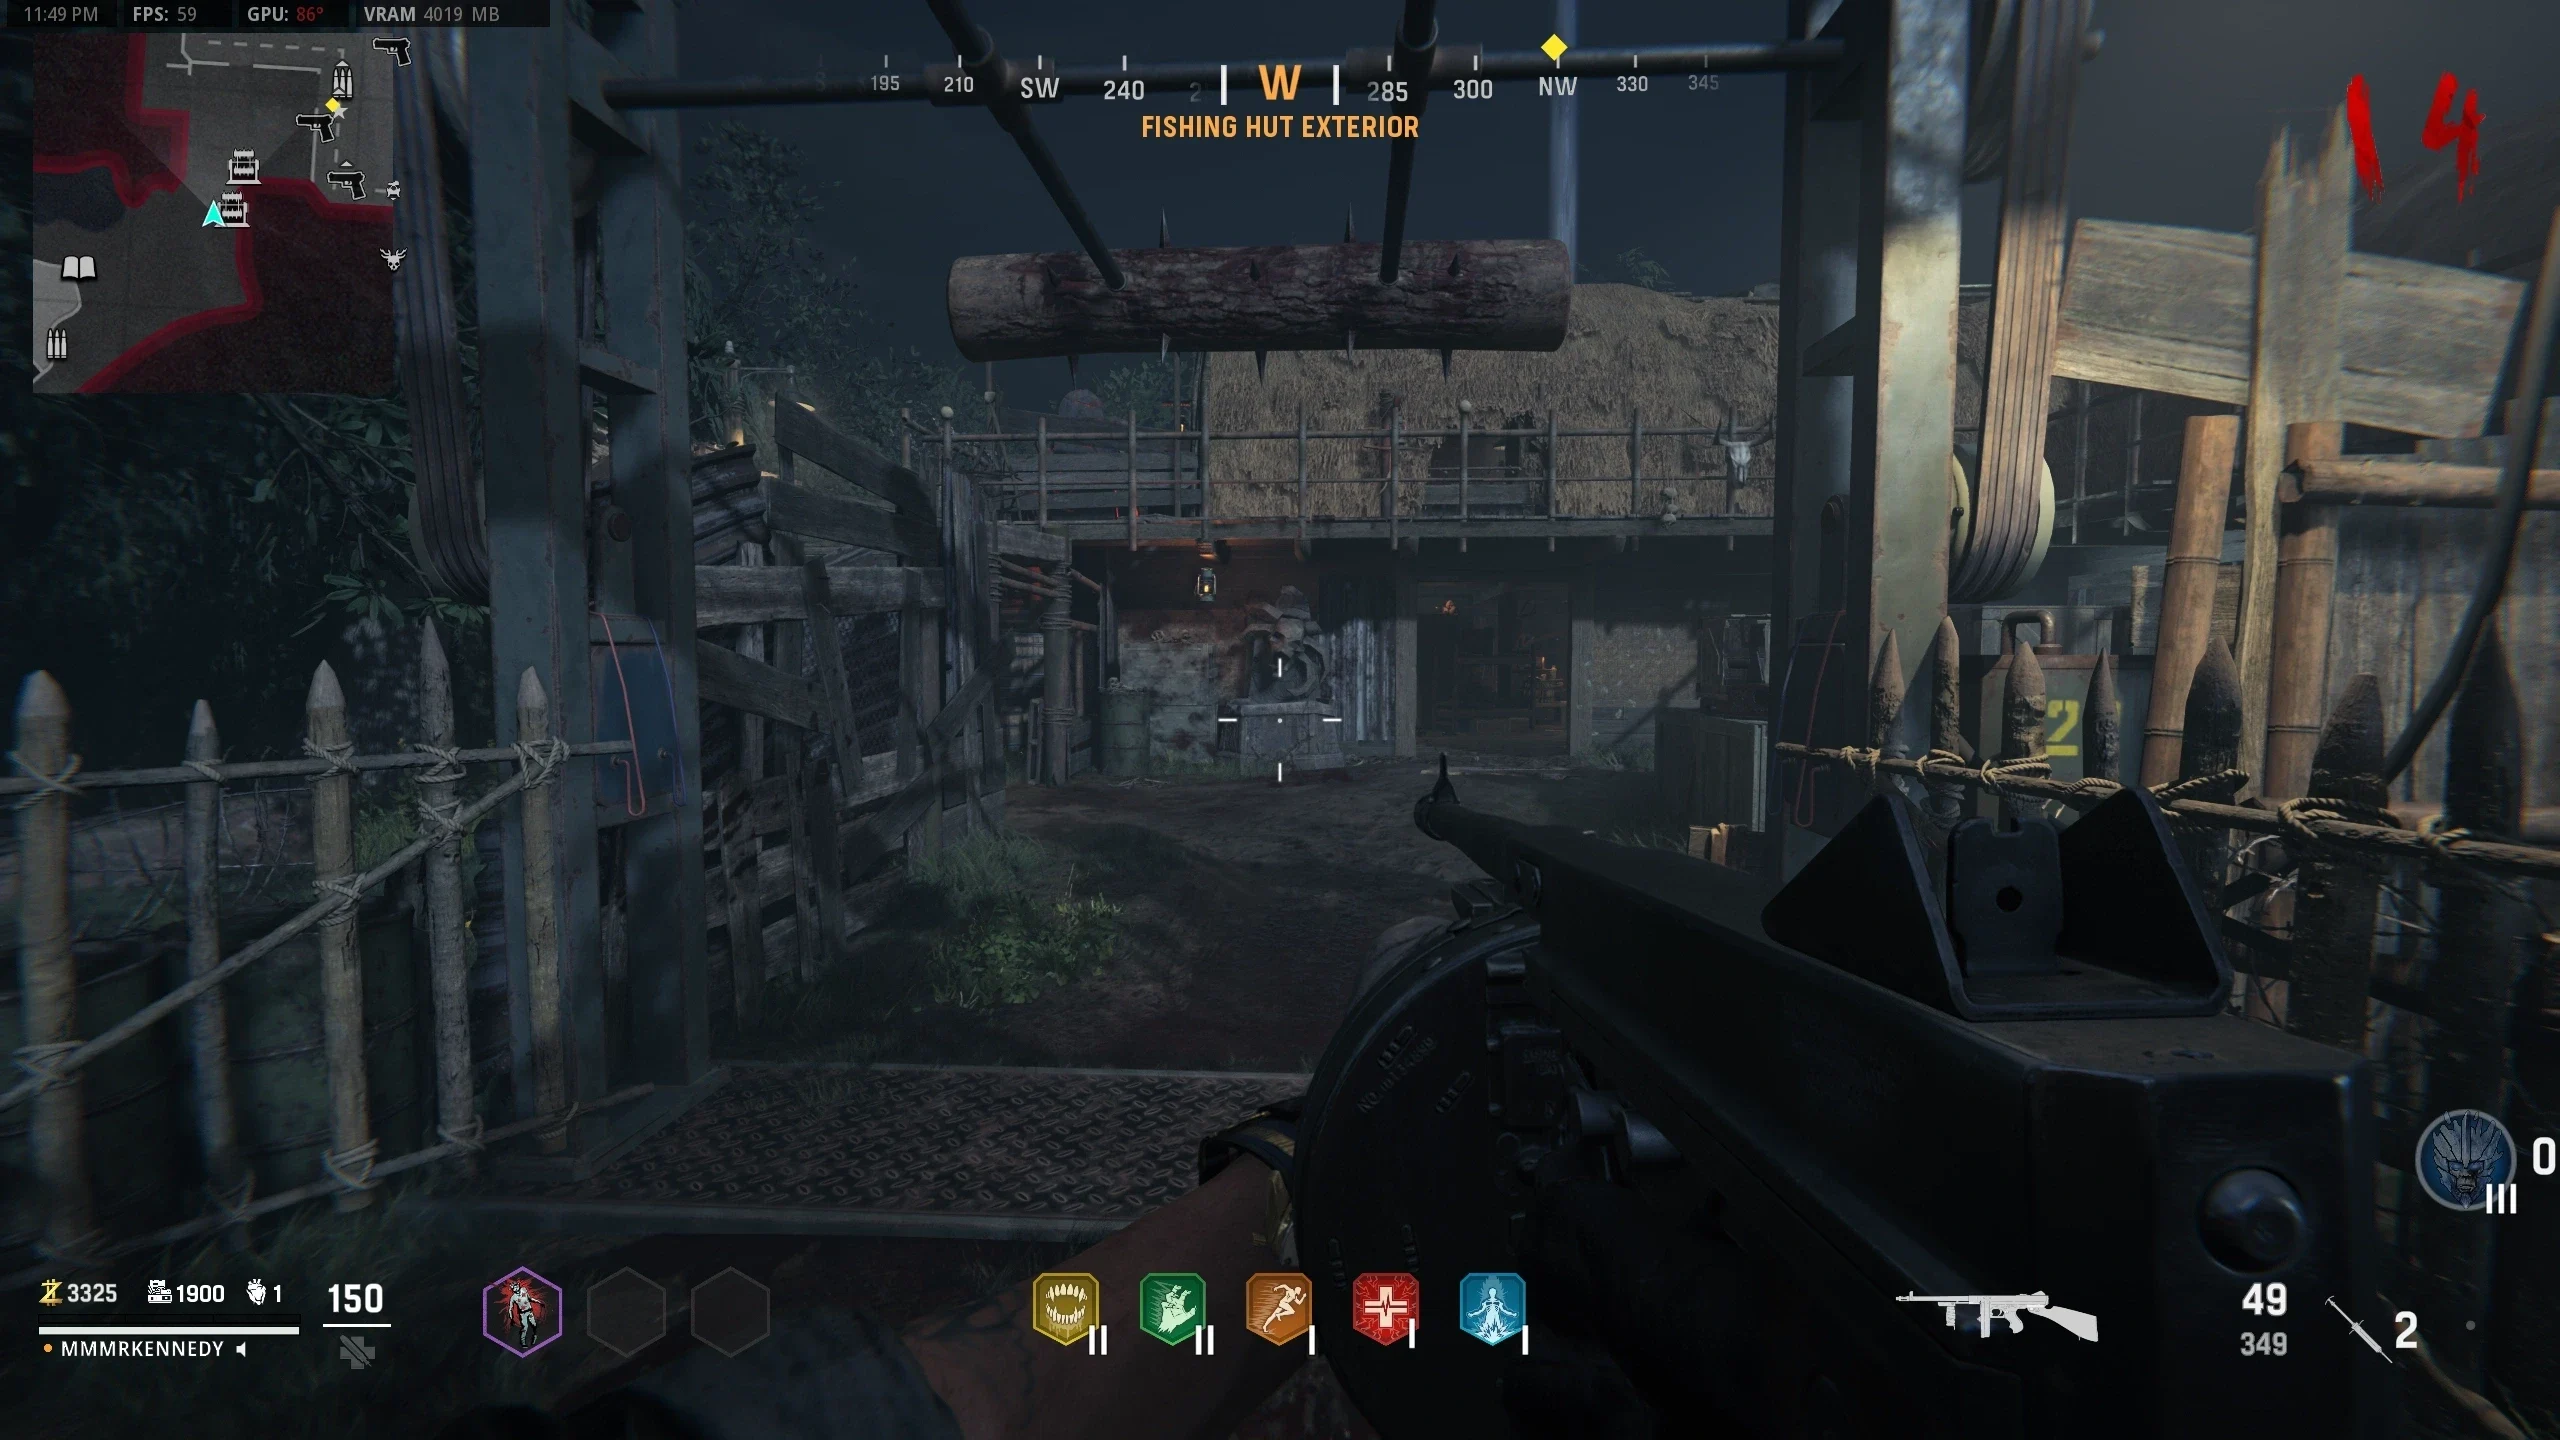
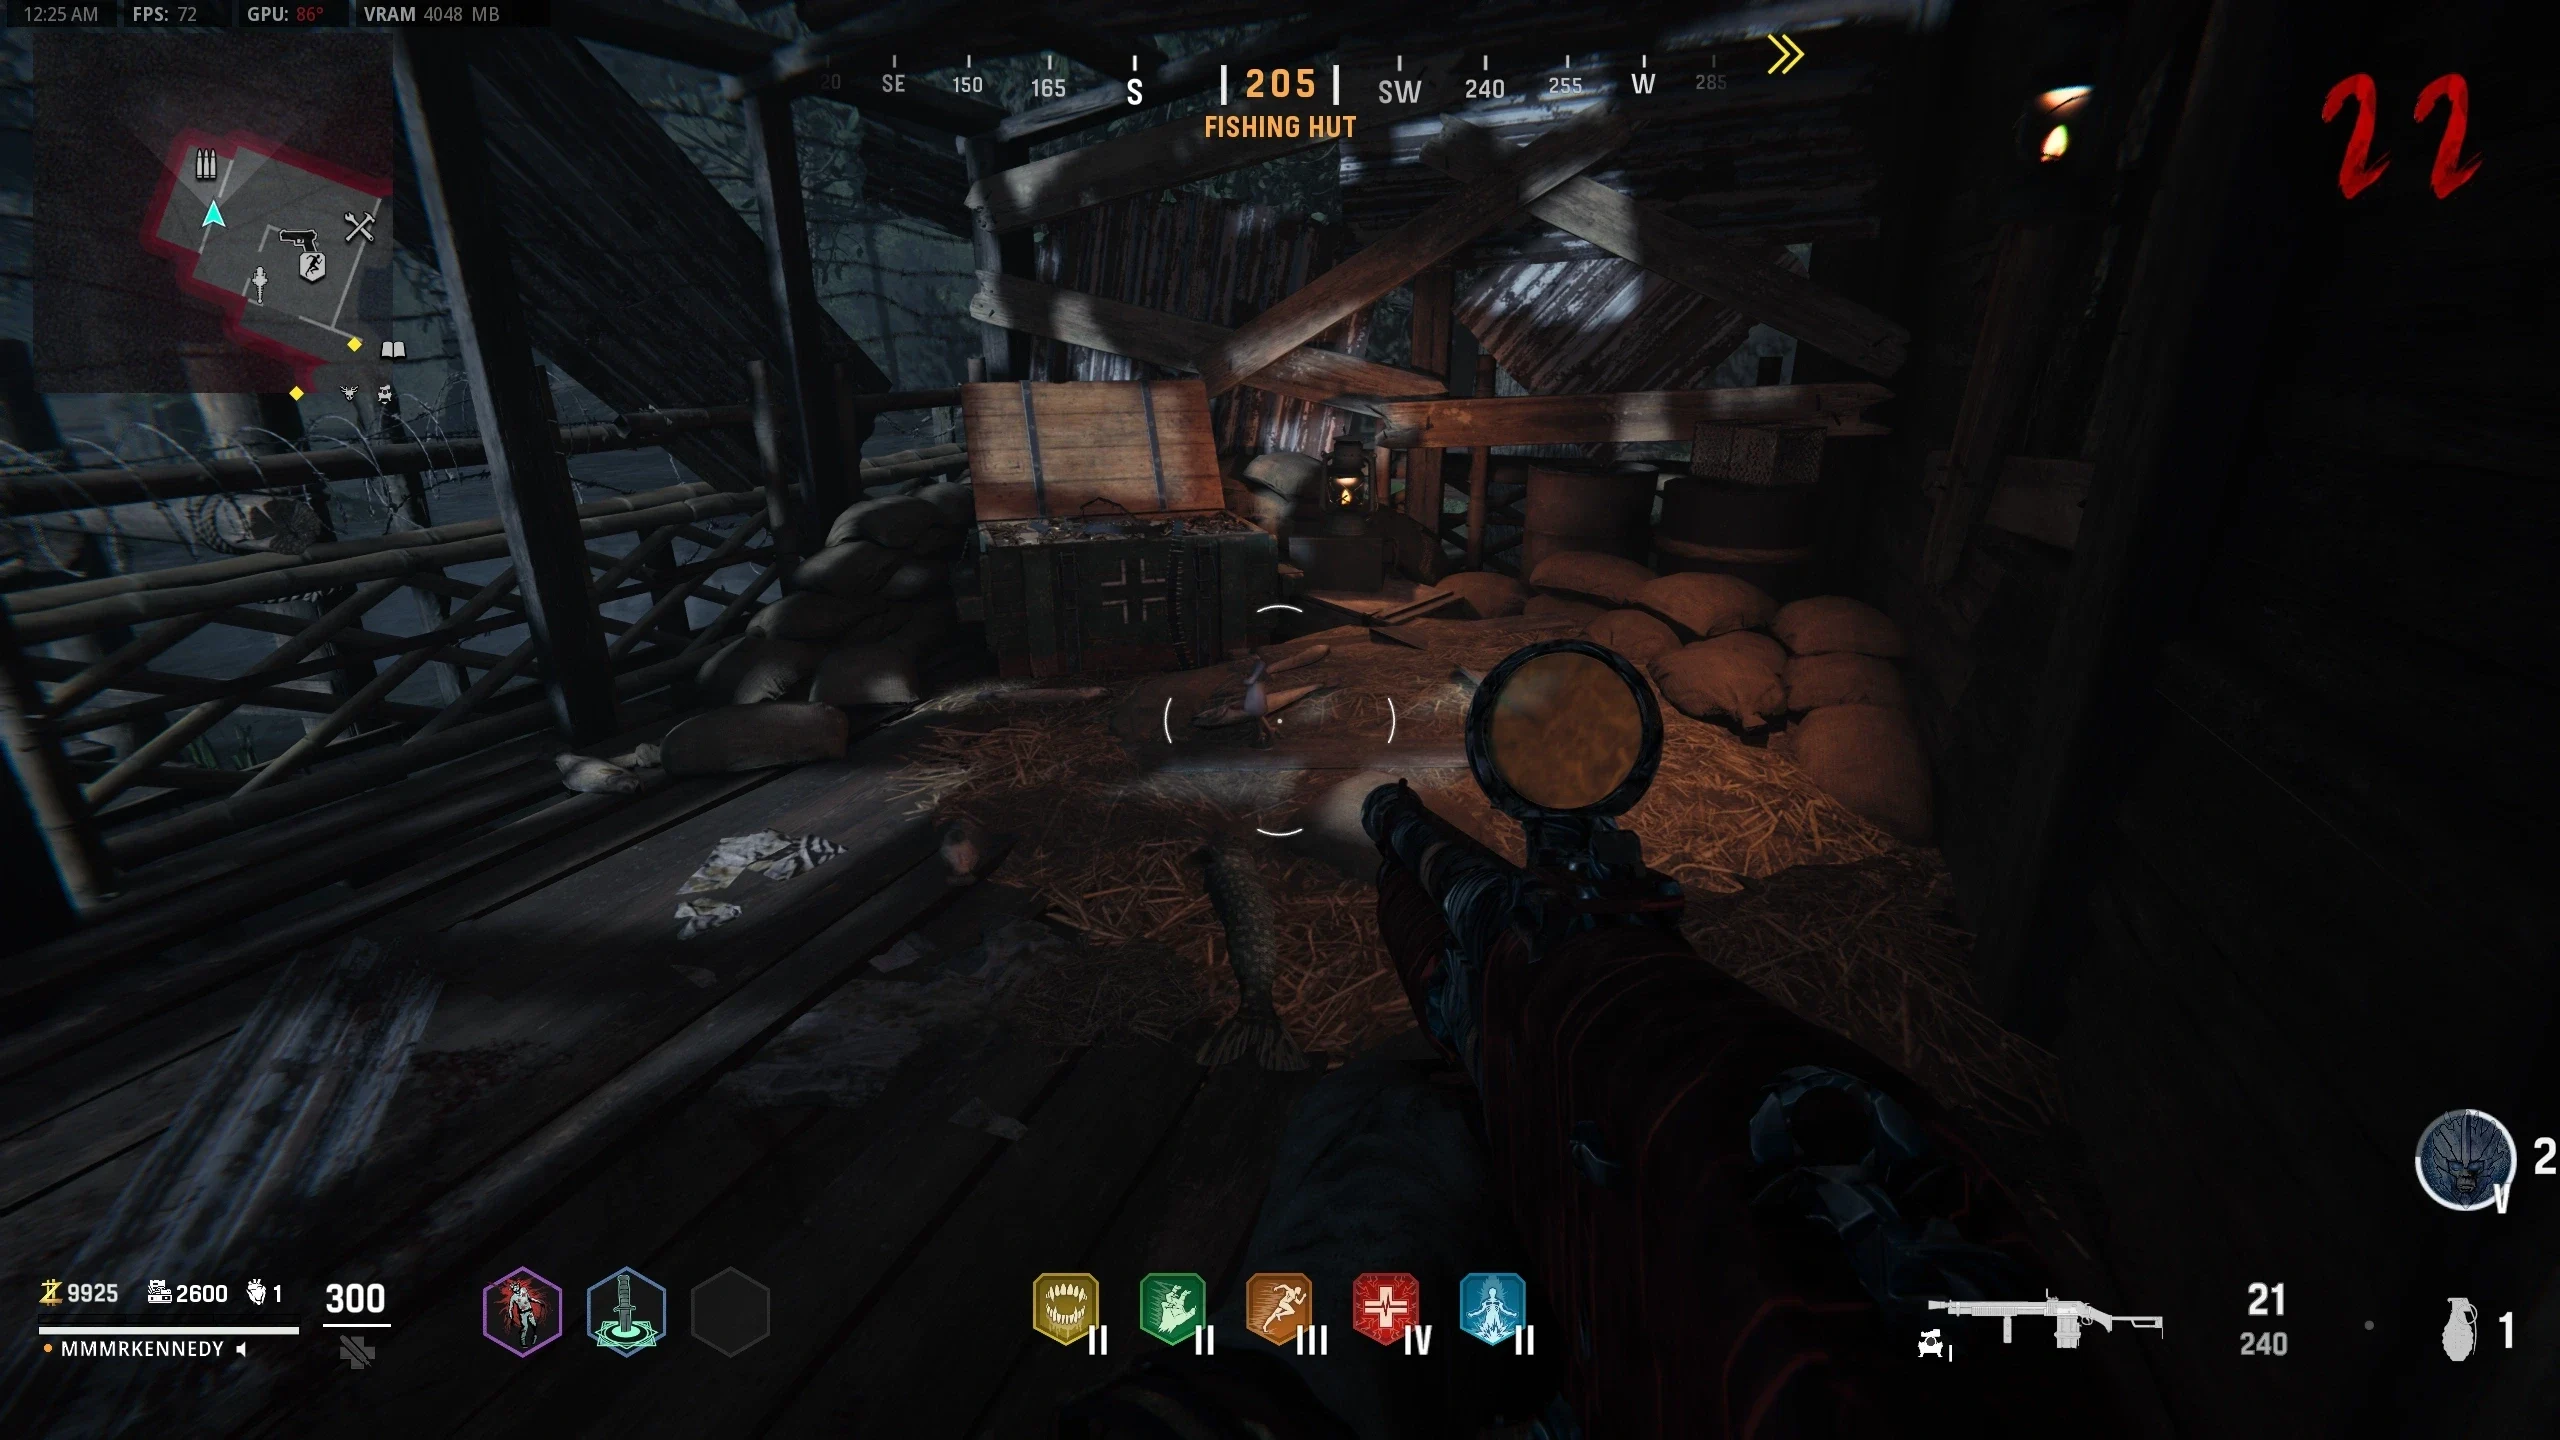
- Start: 1st Floor next to mystery box - End: In the back room of Fishing Hut
- Start: 1st Floor by the storage door - End: In the middle of Dig Site
- To make the orb move, a player must walk up to it. Once it begins to move, you do not need to escort it.
- If the player runs out of "Zombie Blood" before grabbing the piece from the orb, the player must drink the blood again and go to the orb’s final destination.
- Once the orb reaches its destination, a mirror piece will spawn from it.
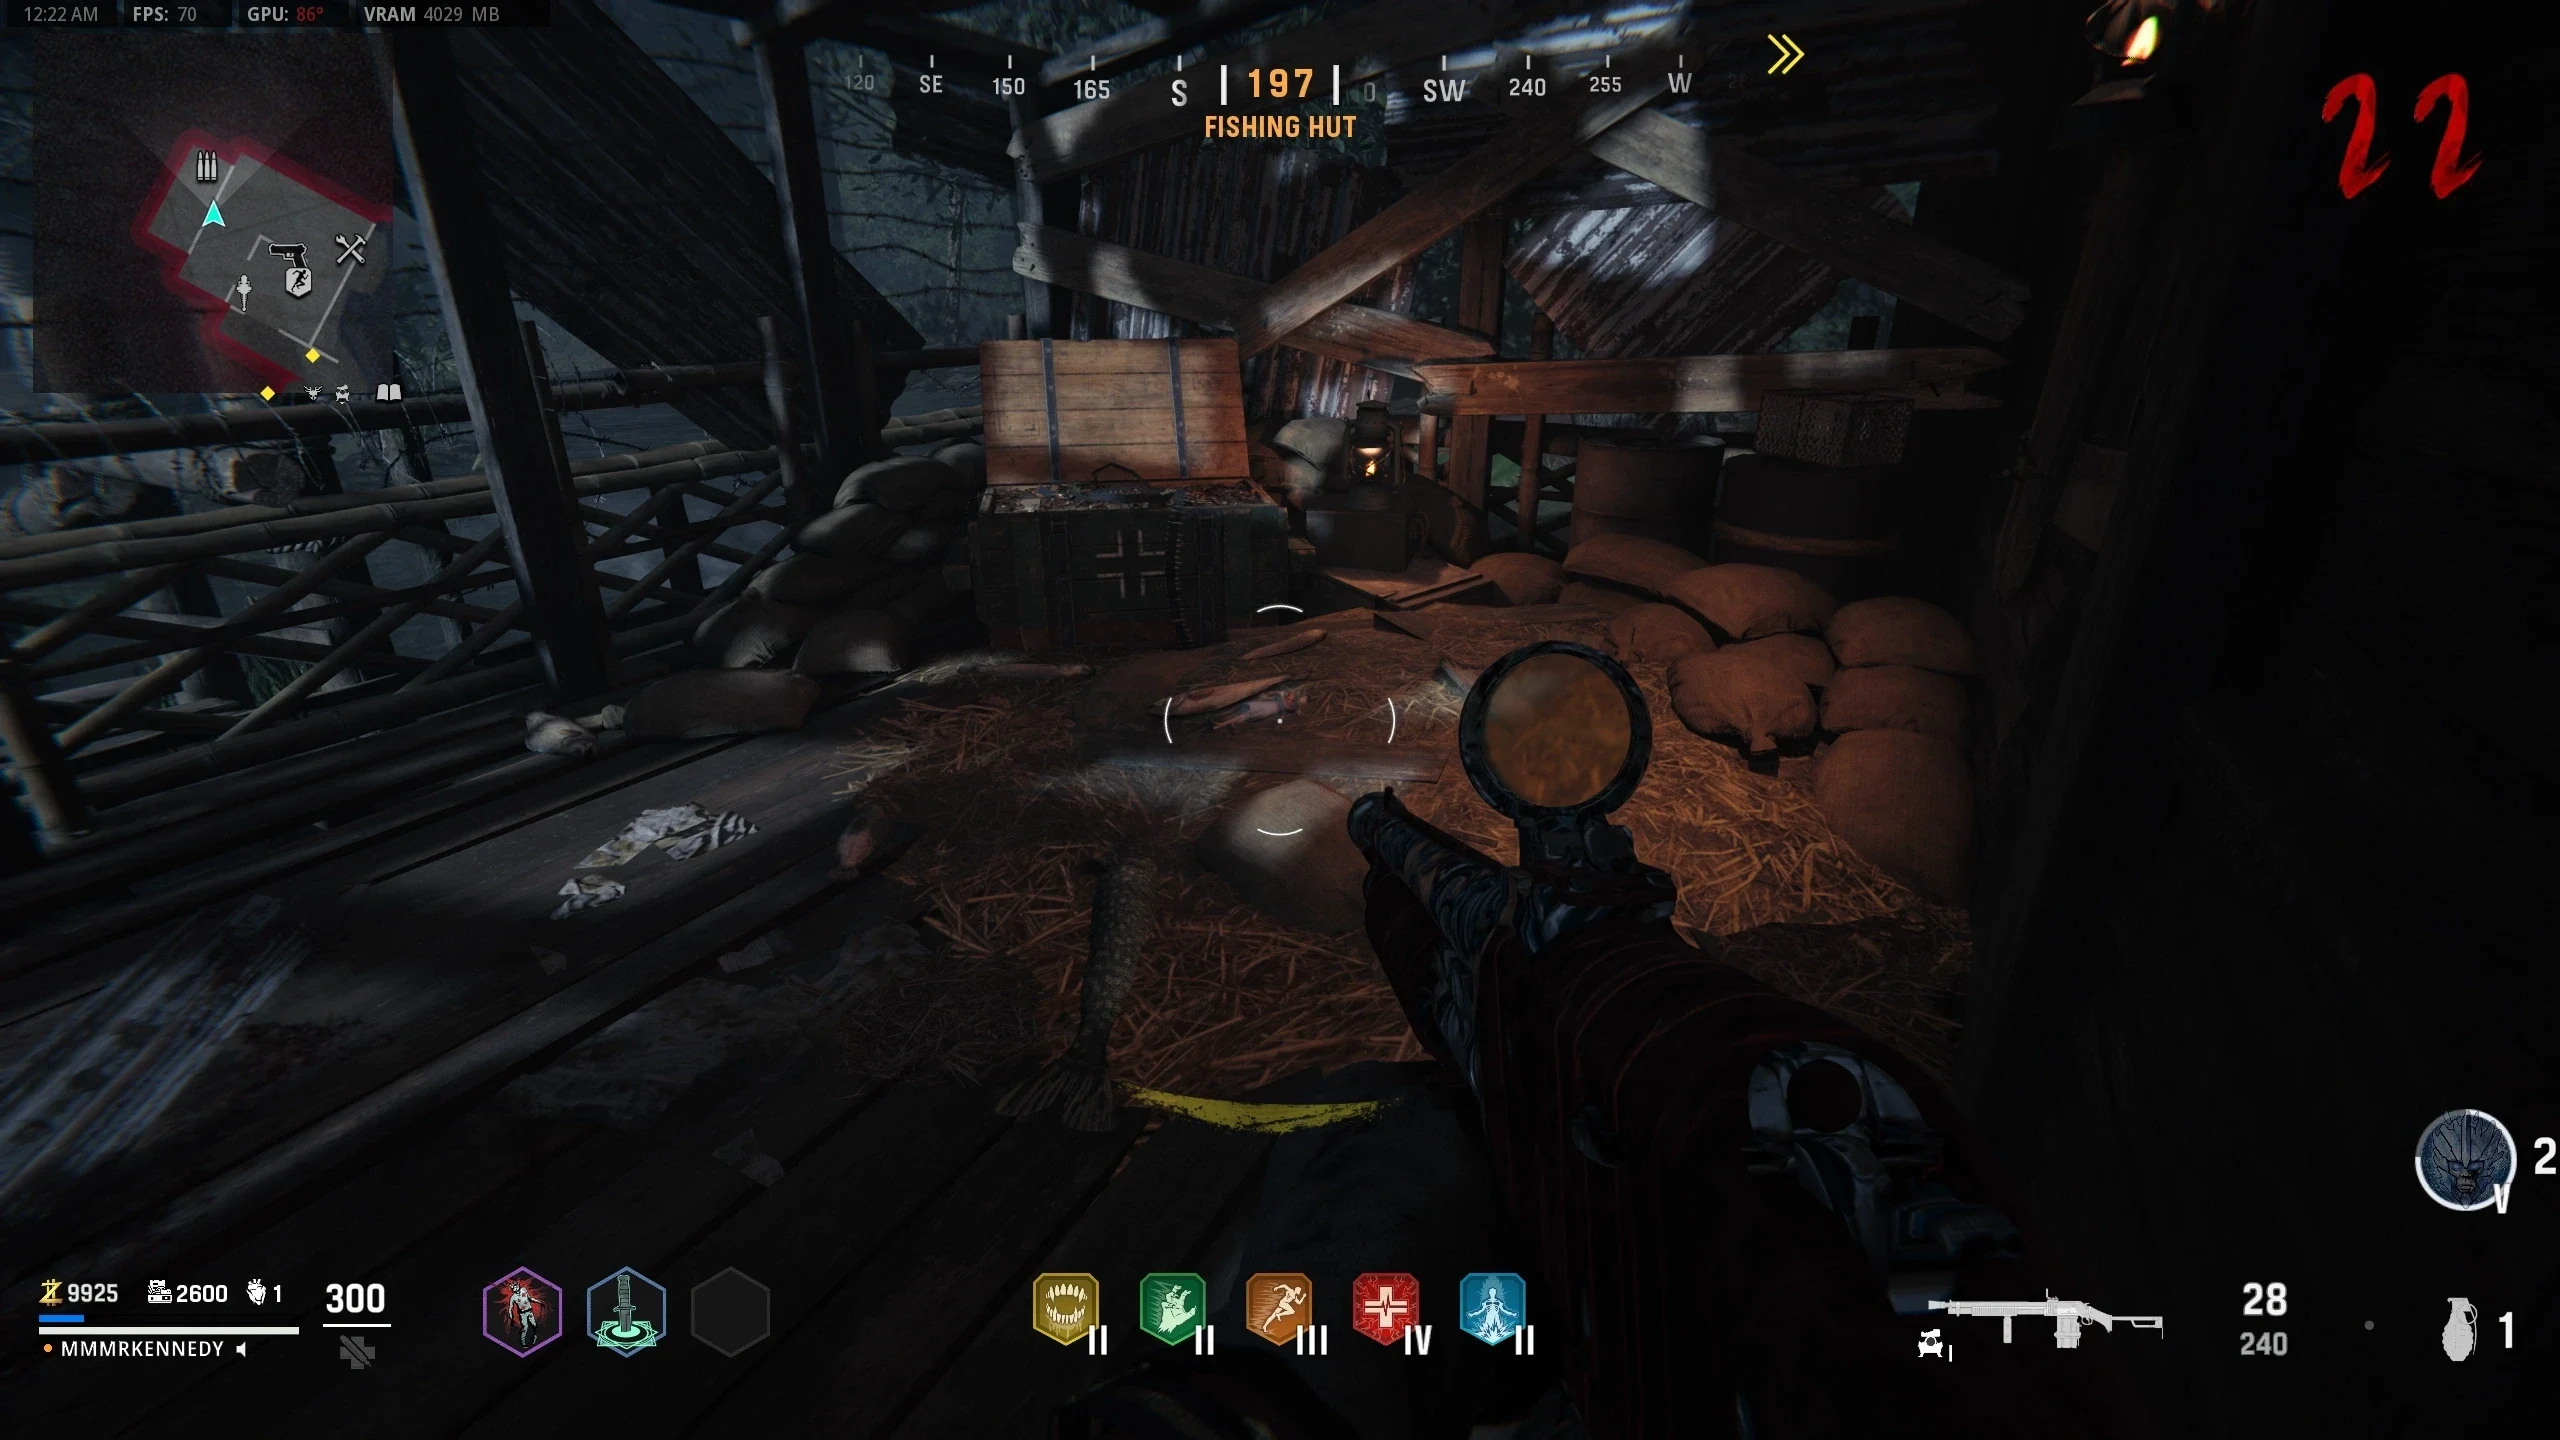
- Once both pieces are obtained, navigate to the 'Dig Site' and place the mirror on the central pedestal.
- Interact with the Blue Orb on a stone near the pedestal. Which pedestal your orb is on tells you which section the orb is flying to:
- Pedestal closest to Combat shotgun --- Fishing Hut Area
- Pedestal closest to PaP --- Comm Room Area
- Pedestal to the far right of the PaP --- Doctor’s Quarters Area
- Pedestal the furthest North --- Storage Area
- Once you find the orb, shoot it to make it move. Repeat until the Orb returns to the 'Dig Site.'
- If the player takes too long to find/shoot the Orb, it will respawn at the 'Dig Site' and the player can interact with it to try again.
- All players must interact with the Blue Orbs in the 'Dig Site' to summon the Echo.
- After a short cutscene, the Echo will materialize as Saraxis and begin a conversation.
- Once the Conversation is over, the Echo will start attacking the player. Zombies shrouded in a blue mist will spawn that need to be killed near the mirror using the Wunderwaffe (same as during the Ceremony).
- Once enough Zombies are killed, a blue dome will appear over the area and the Echo will be weakened.
- To damage Echo, she must be inside the dome. Once Echo is inside, the player must shoot her in the mask to damage her before she is no longer weakened.
- If the player does enough damage, various power-ups will spawn. If the player didn't do enough damage, nothing will spawn and the player will have to kill more zombies to weaken the Echo again.
- The damage done to the Echo doesn't save, so if the player fails to do enough damage while she is weakened, her health will reset.
- If equipped, use the Energy Mine Field Upgrade on the Echo now to instantly do enough damage and move to the next phase.
- The player must complete three phases (one for each mask) with each phase requiring you to kill a different zombie type to charge the mirror. The first phase is Zombies with blue mist, the second being Boom Schreiers and the last being Sturmkriegers.
- Once all the masks are destroyed, the Echo will be defeated and the repaired relic will be available to pick up.
Note: The Wunderwaffe DG-2 is required for the Easter Egg, but not until Step 9
The Monolith & The Ceremony
Repairing The Mirror
Warning: Point of No Return. Once the Echo is summoned, the Boss Fight will start. Tip: Equip the Energy Mine Field Upgrade and have it upgraded to at least Tier 3 as it is almost a One-Hit Kill on the Echo.
Echo Boss Fight