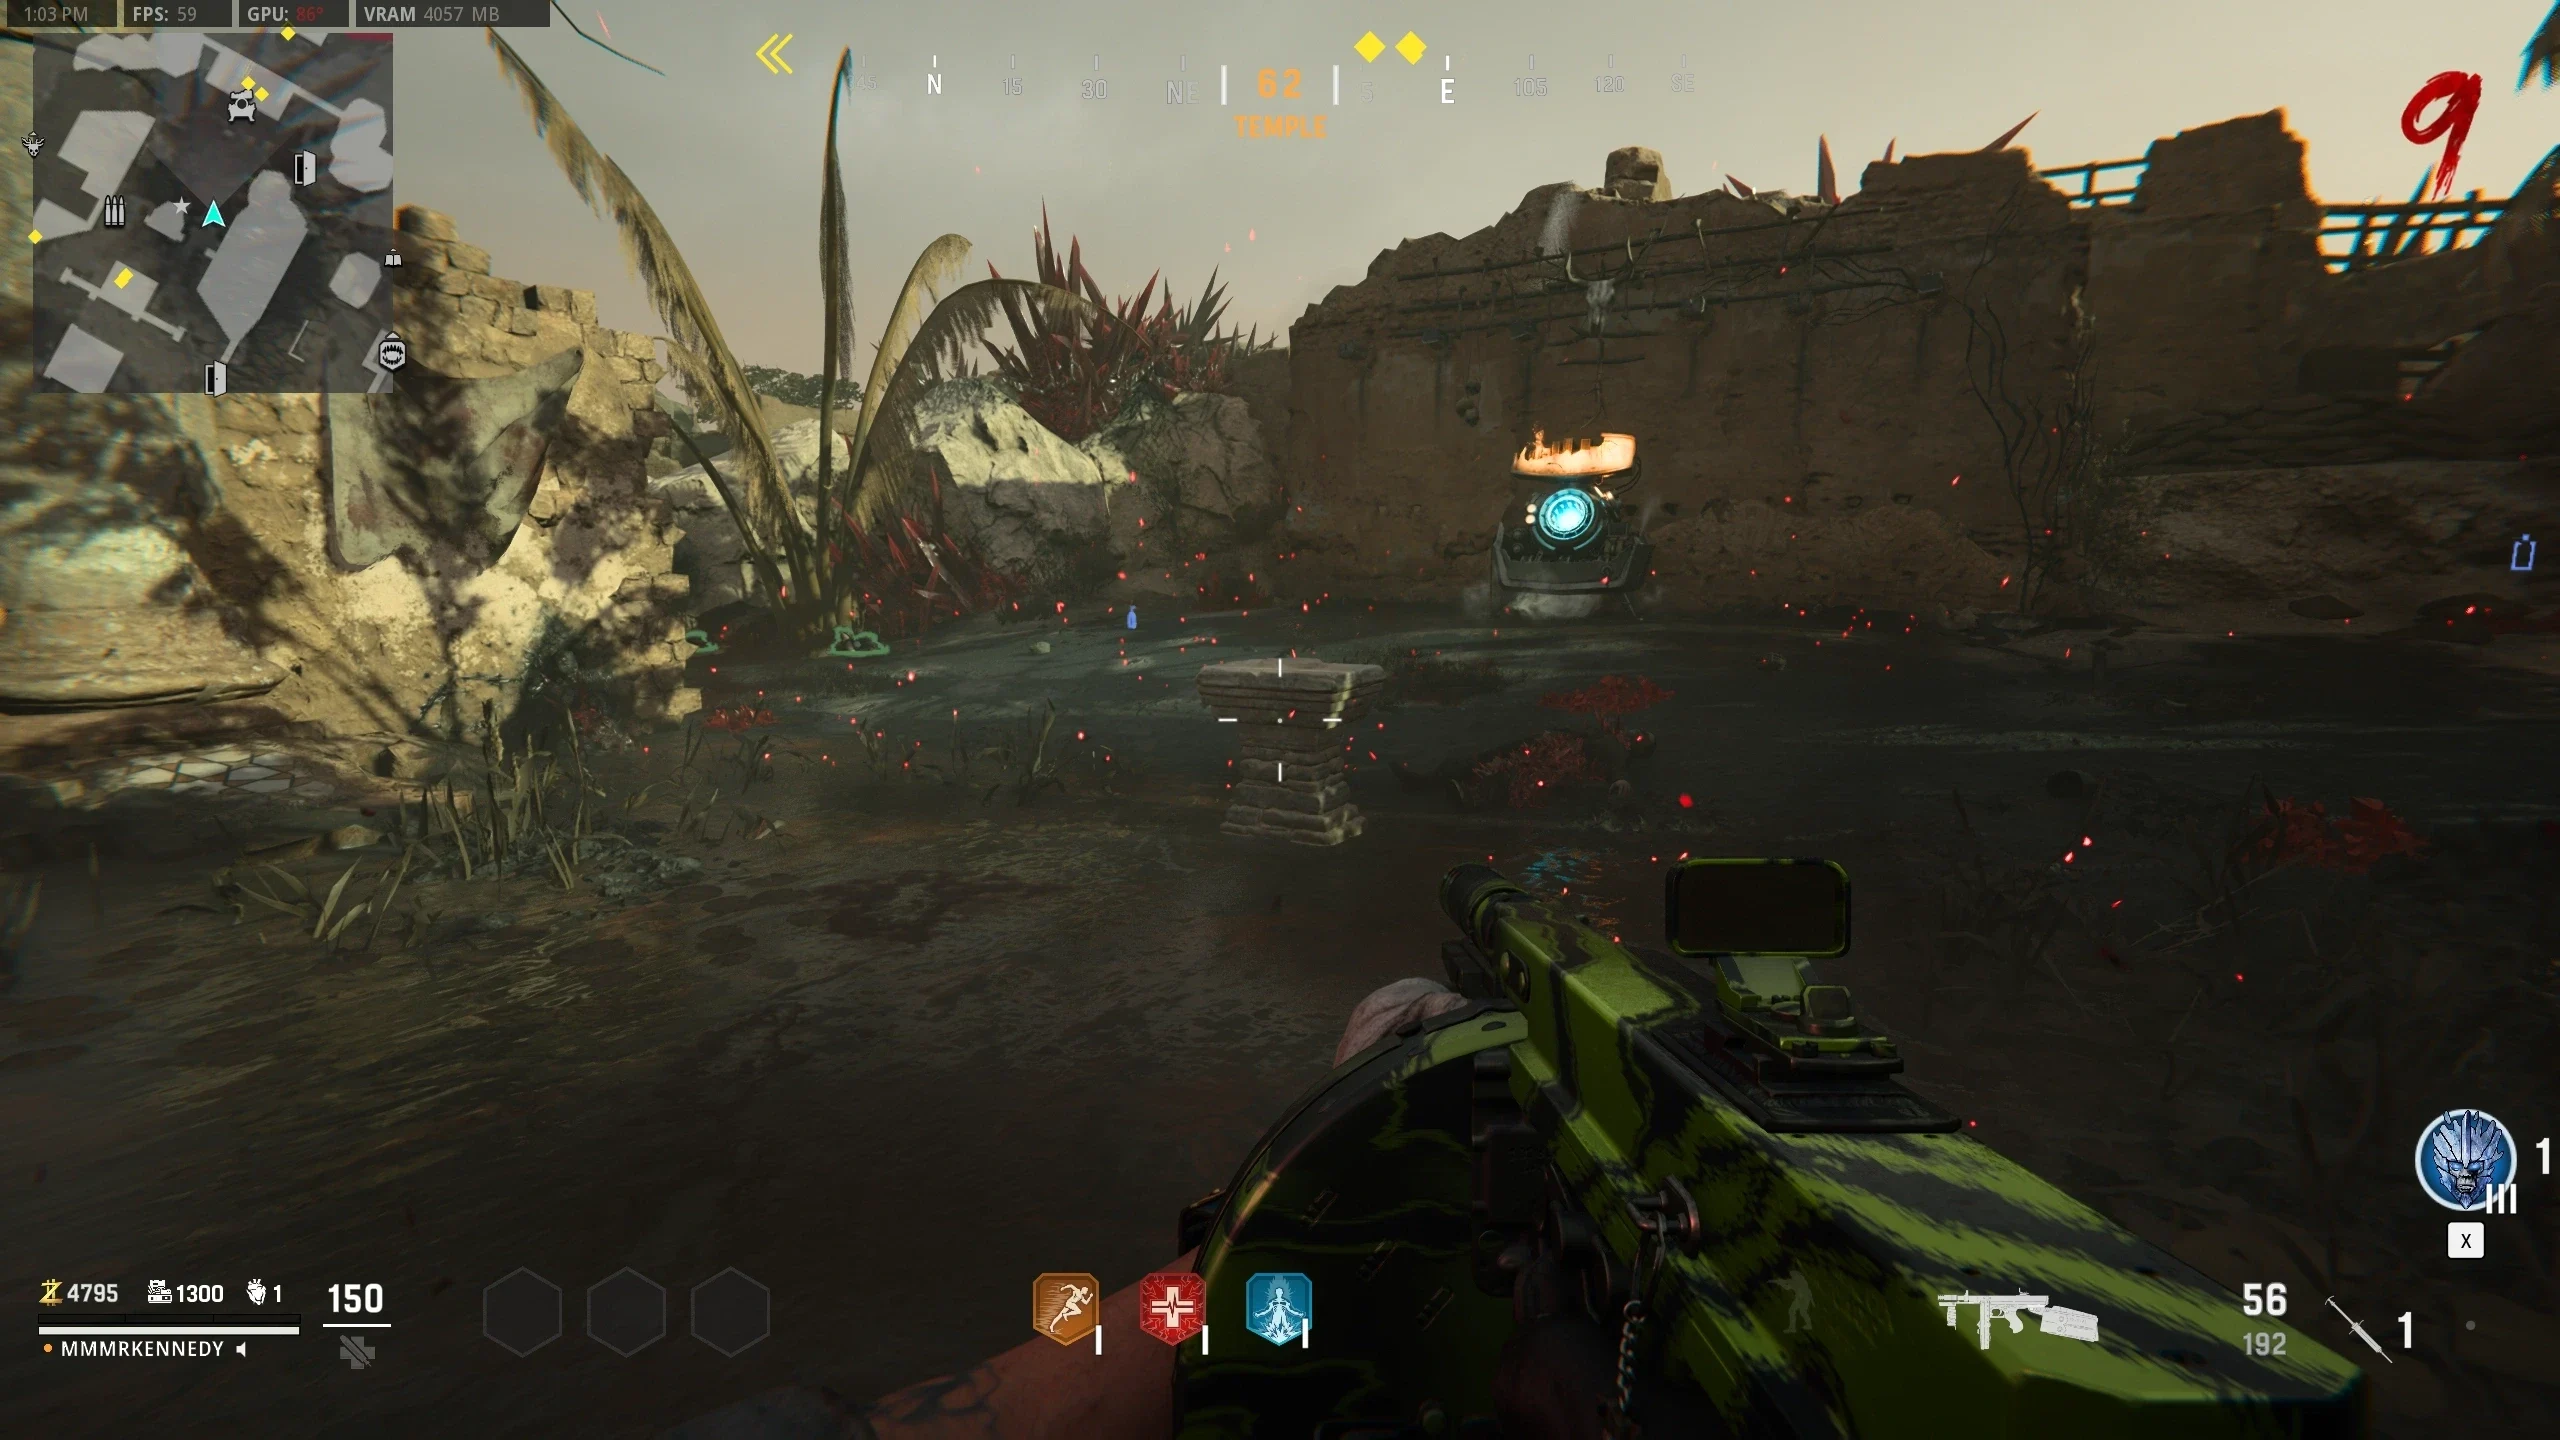
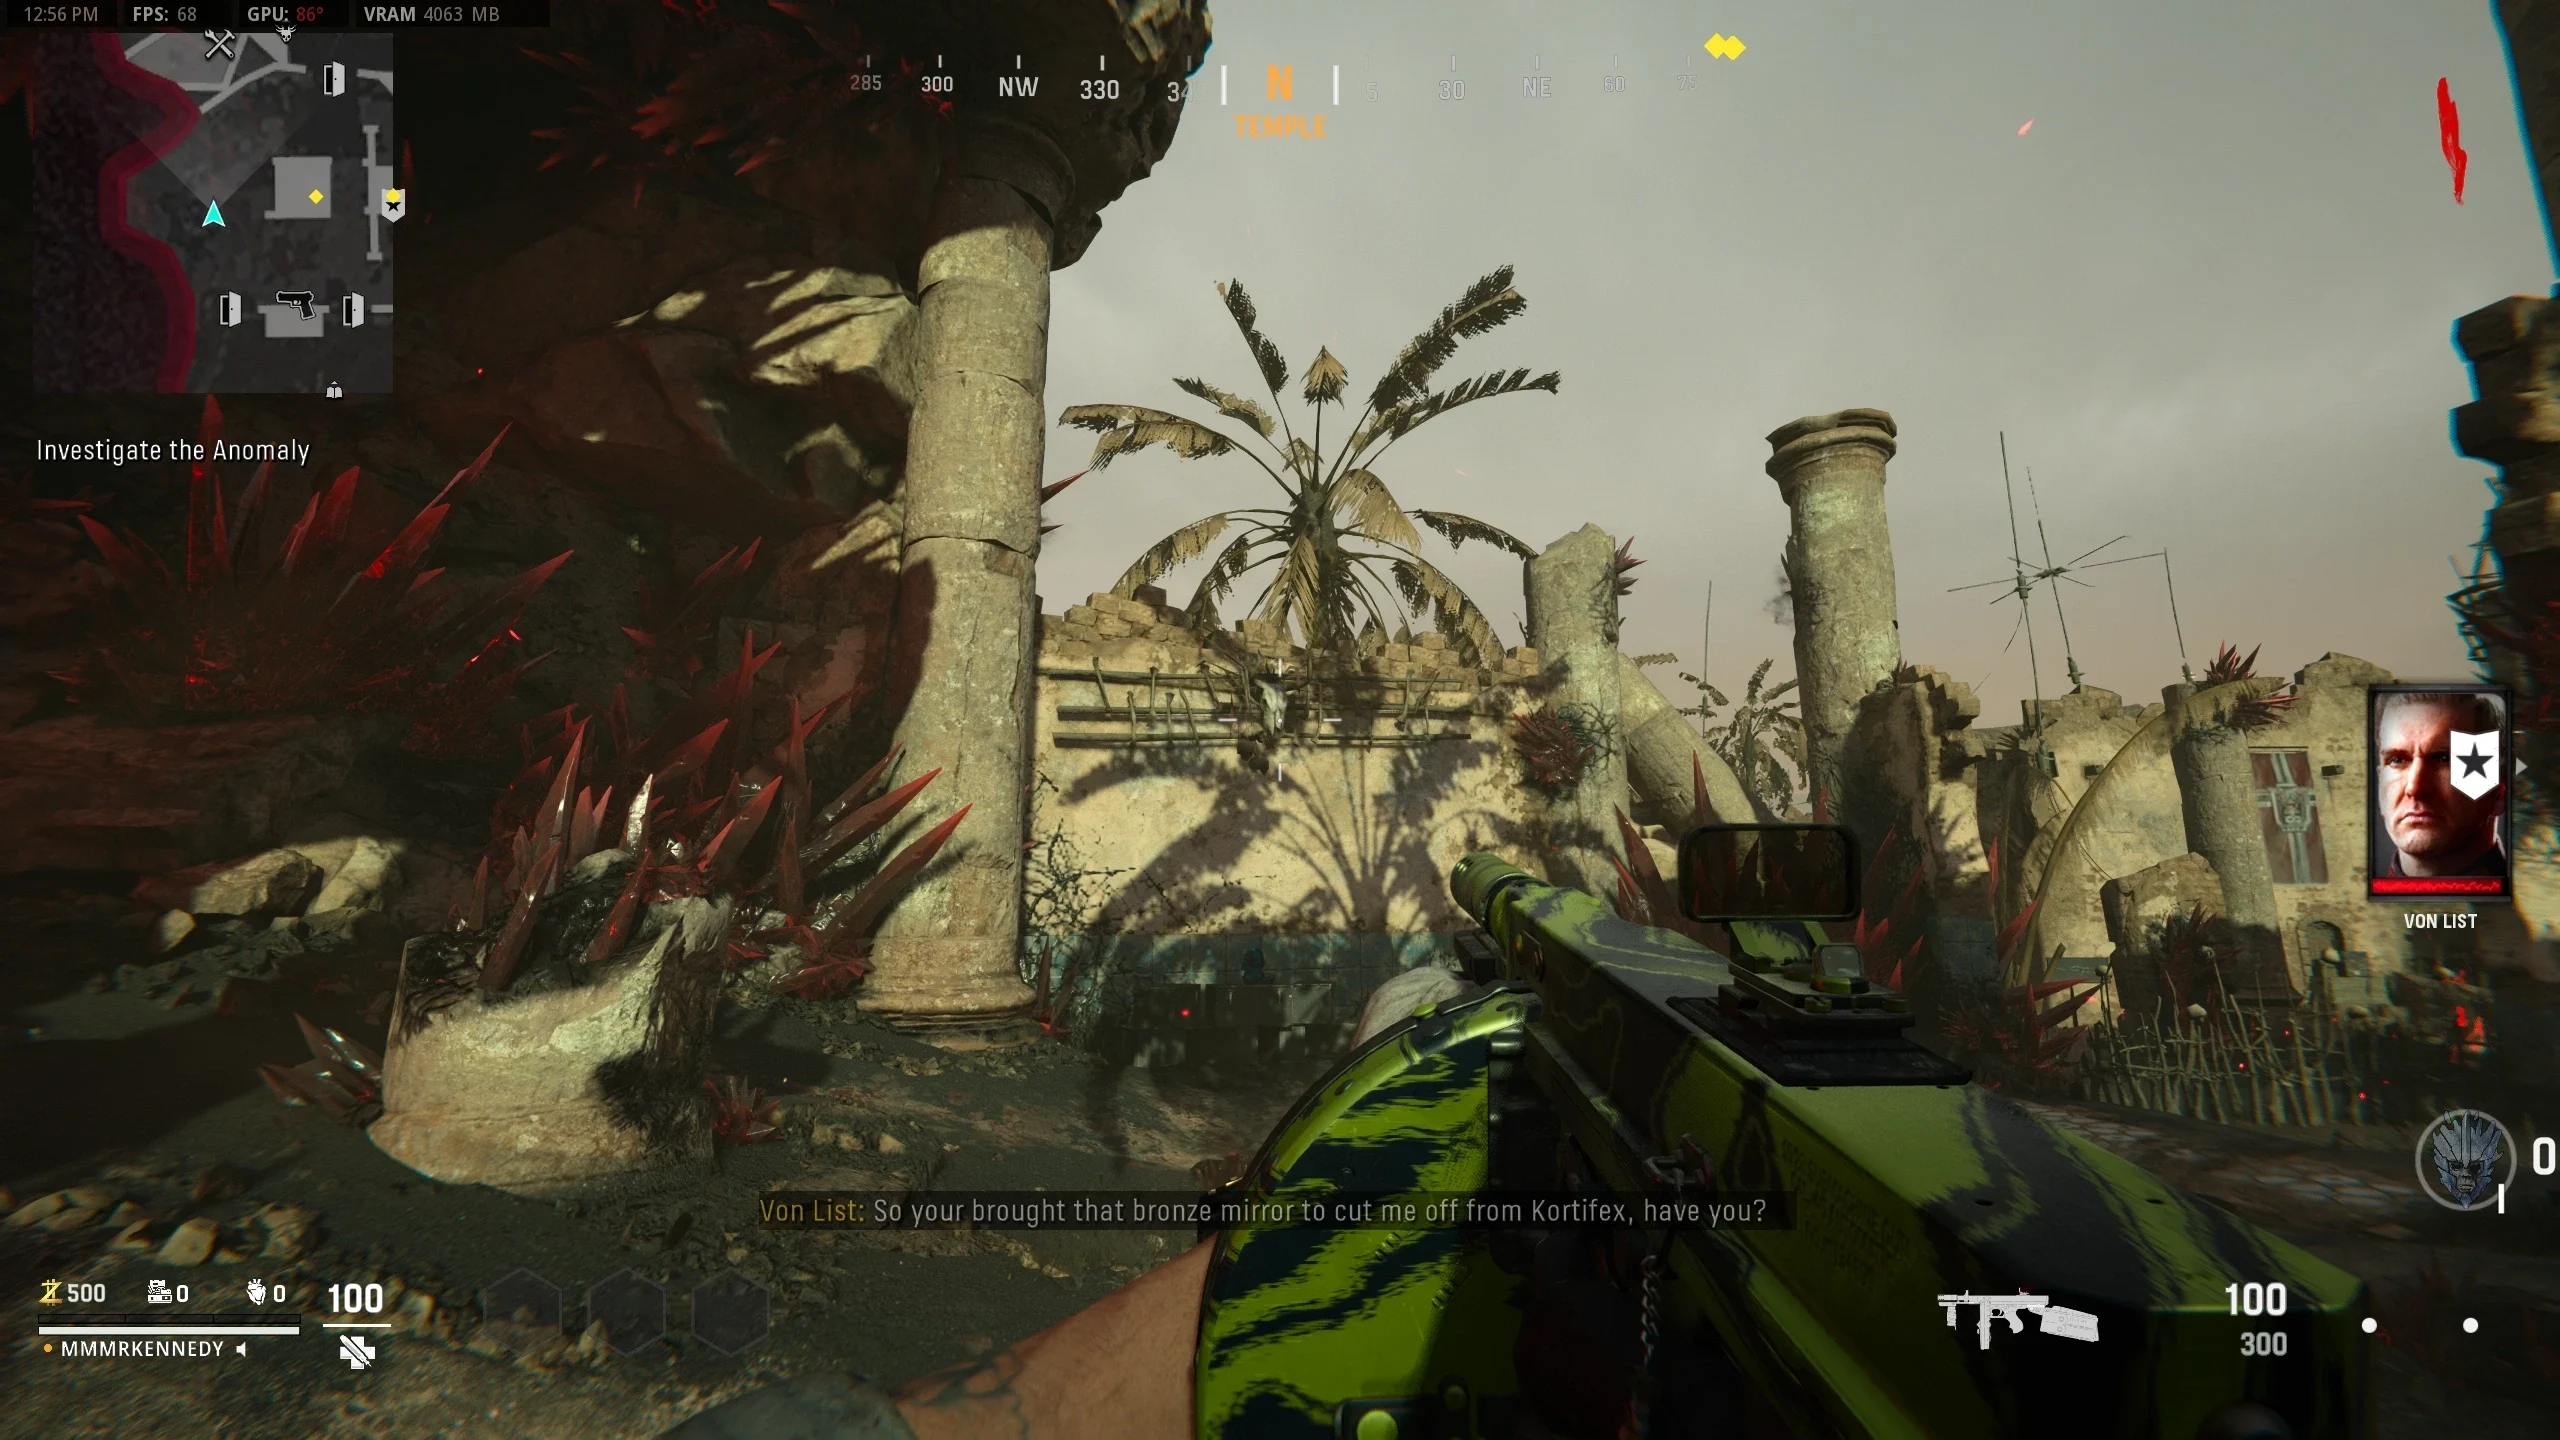
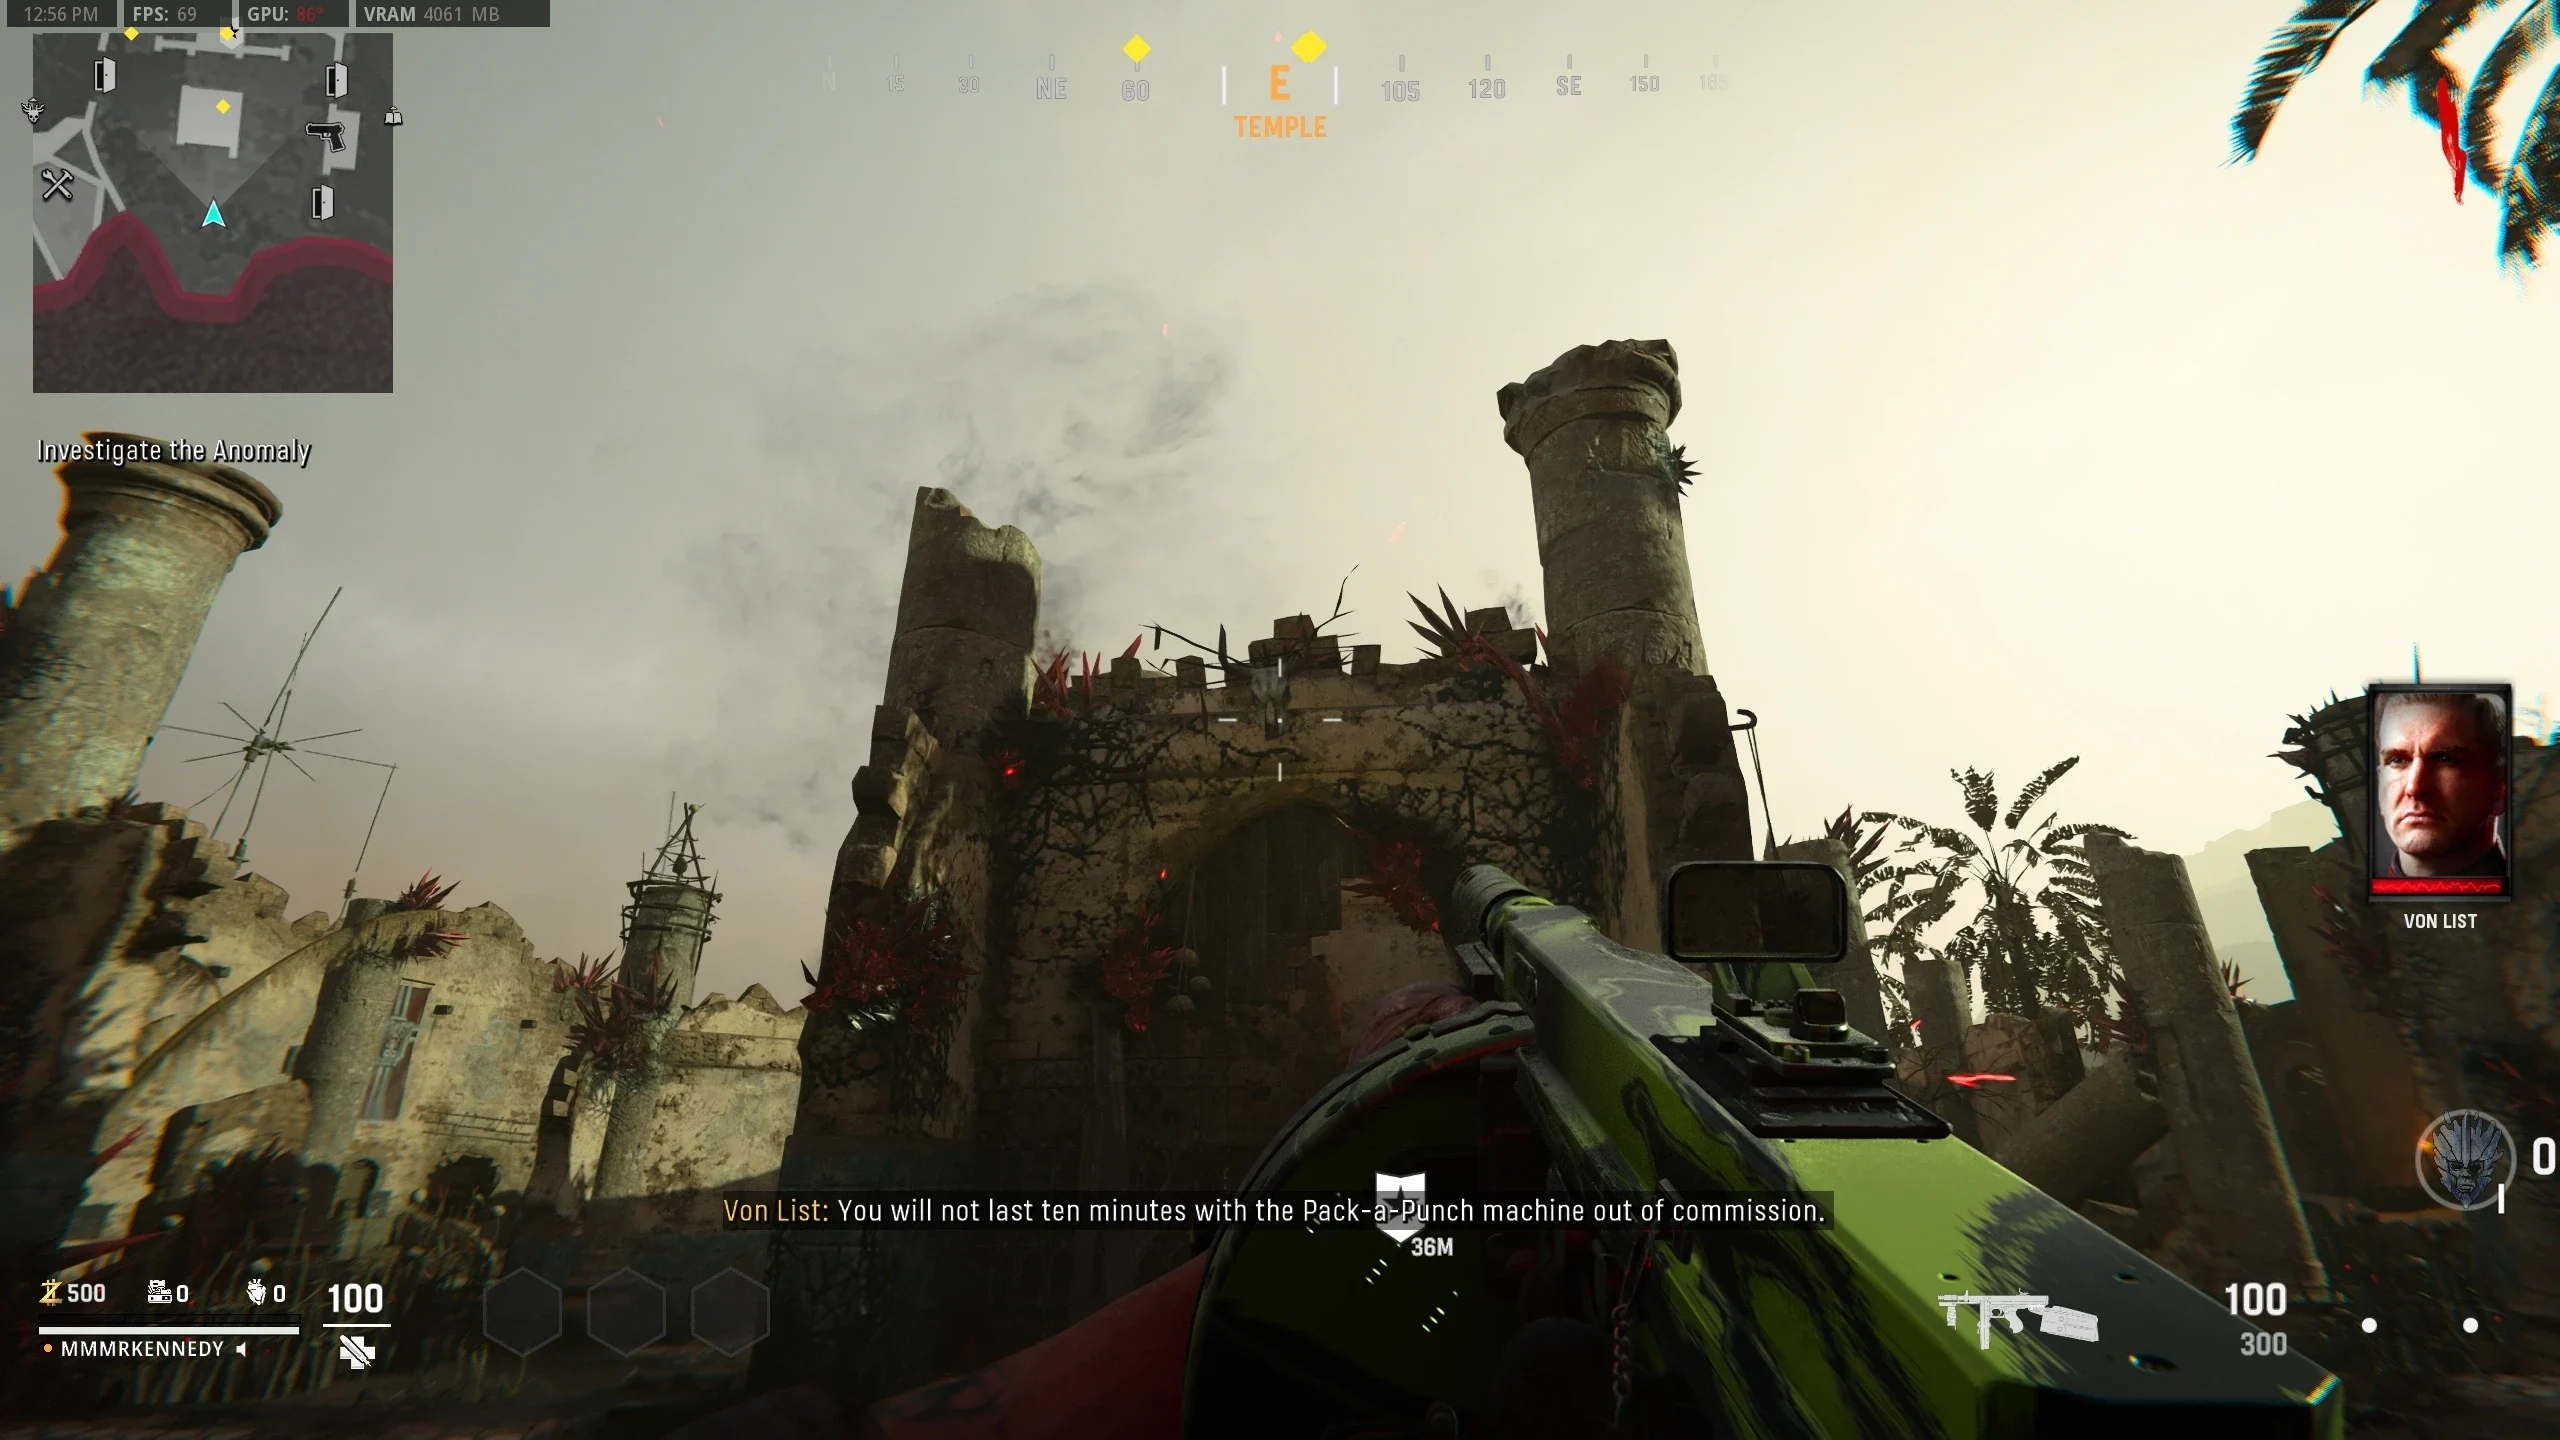
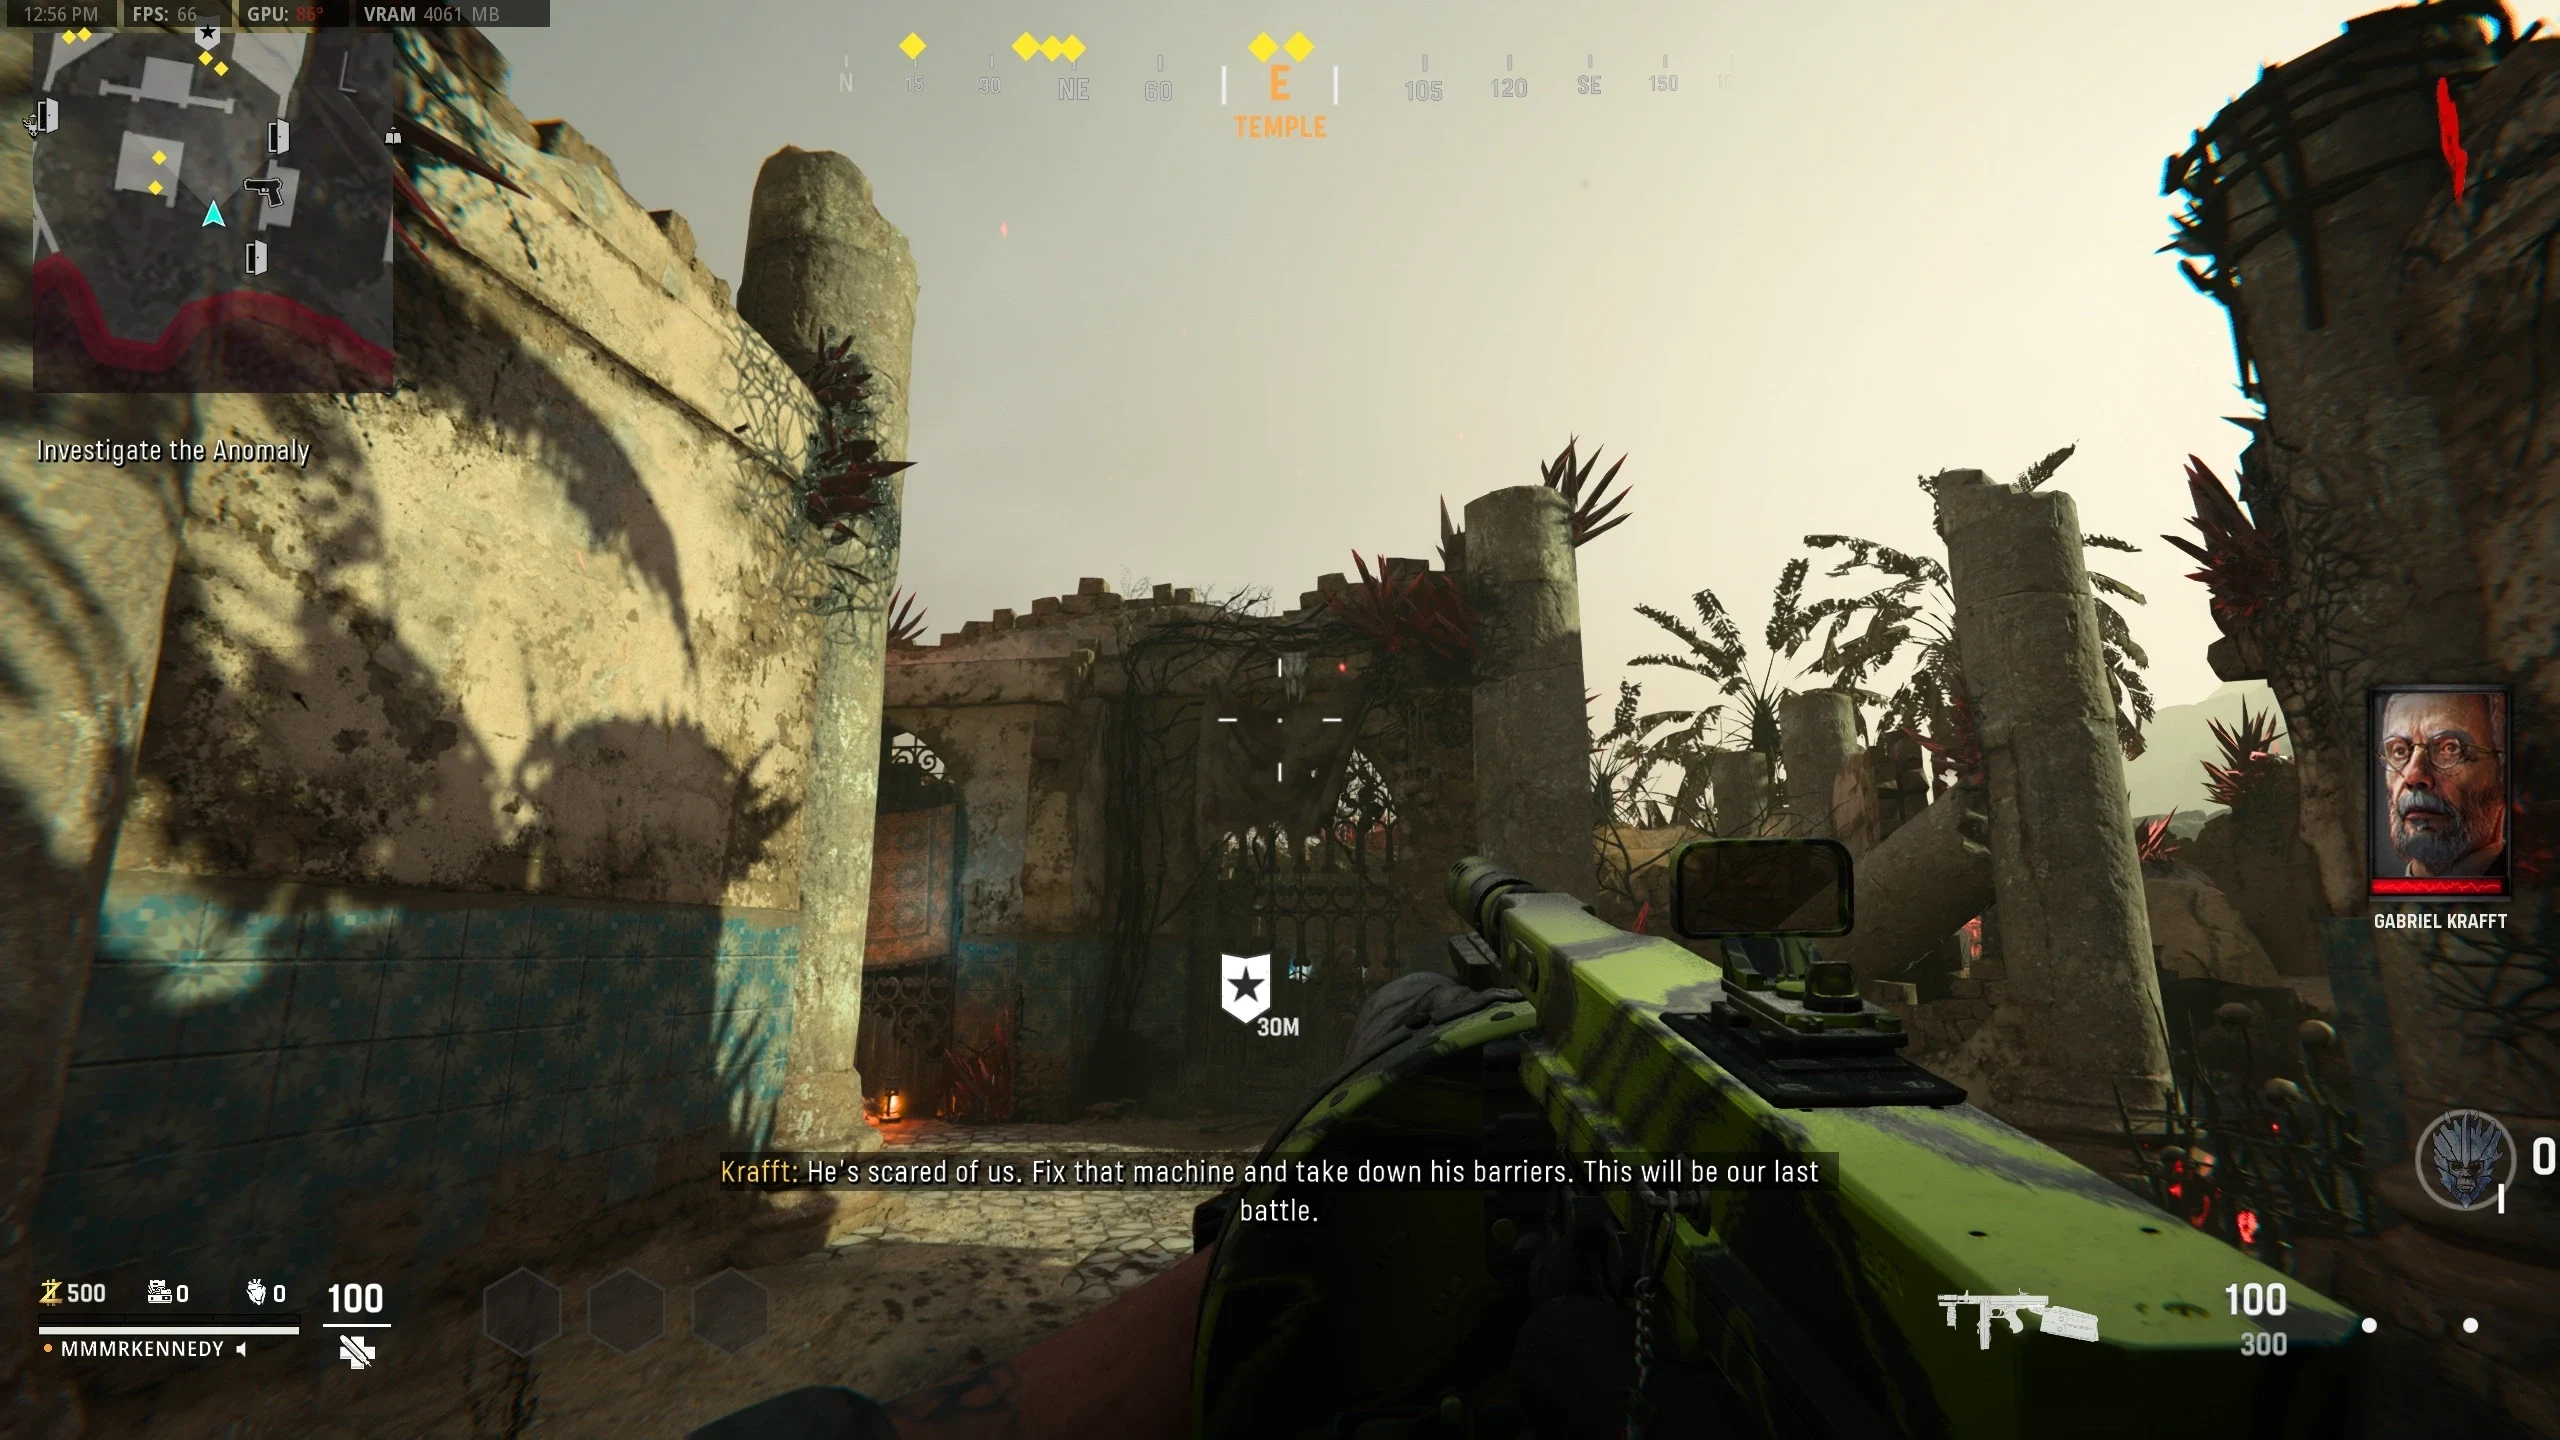
Main Easter Egg Quest
Stats (Solo): Difficulty - 3/10, Est. Completion Time - 40 Mins to 1 Hr
The green filter can be removed via Colourblind settings. Go to Graphics - Color Customization. Set the Color Filter to '3,' the Color Filter Target to 'World' and the Color Filter Intensity to '100.'
- Build Pack-a-Punch.
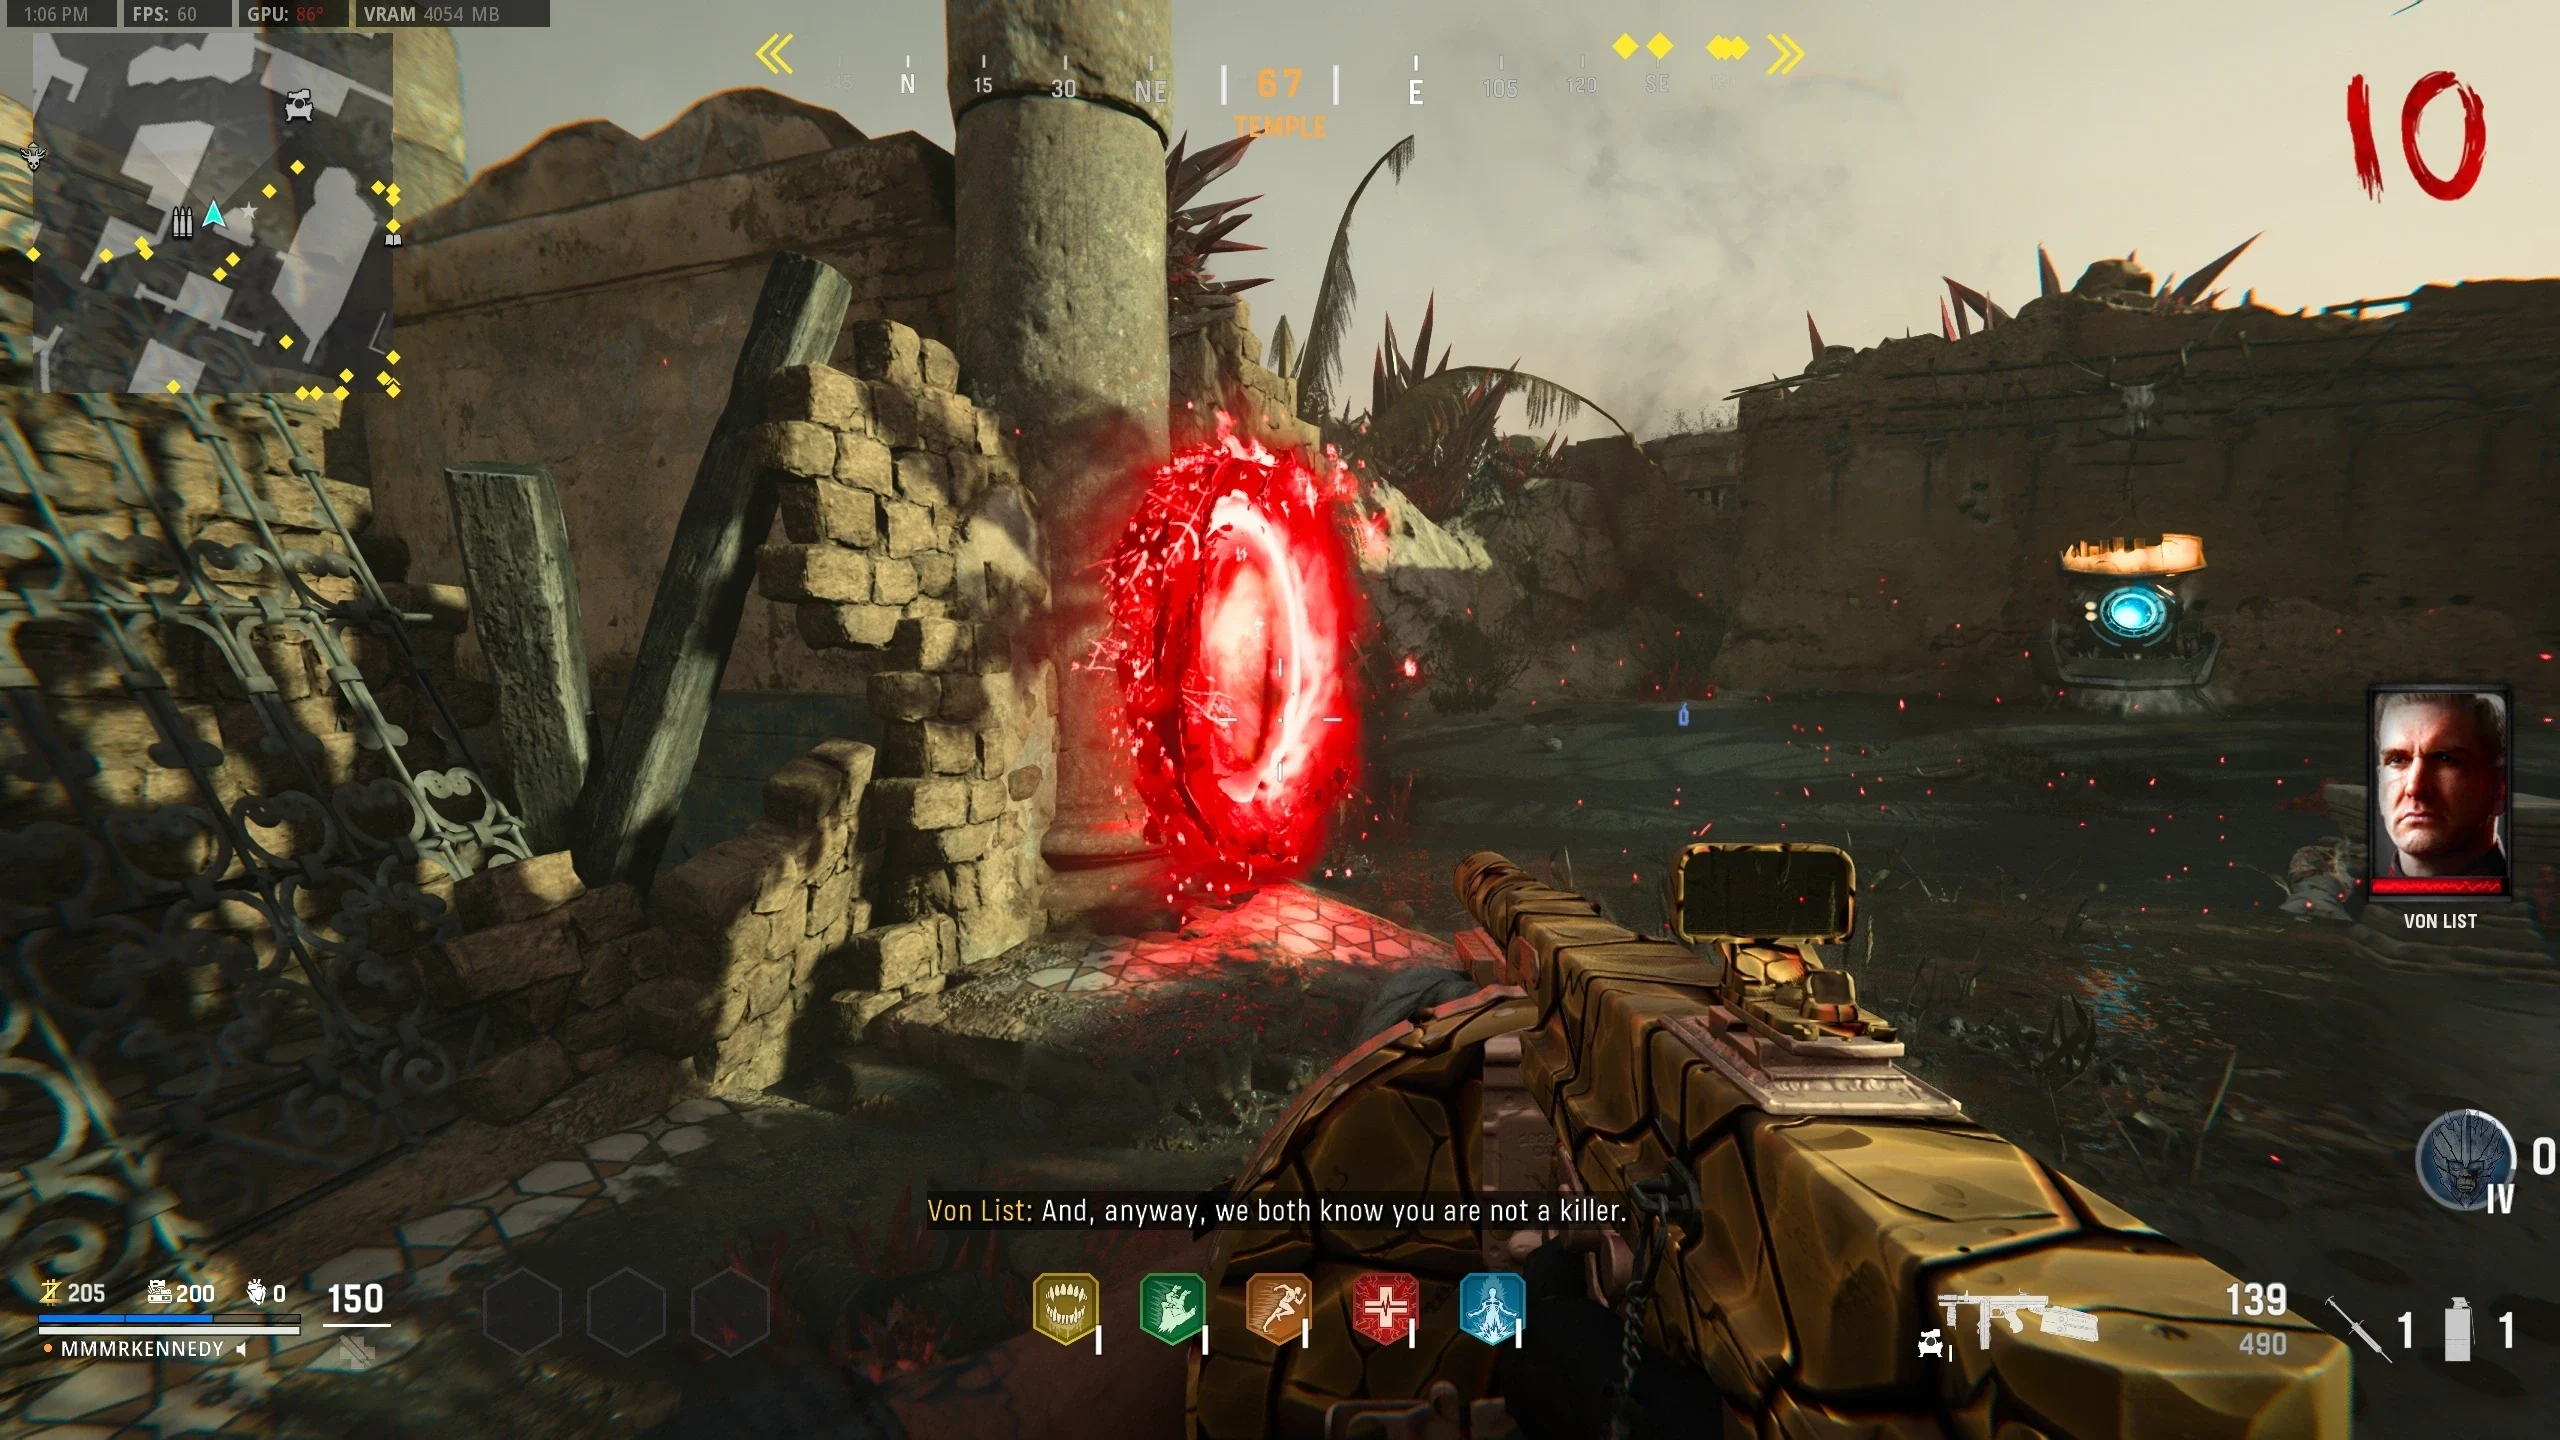
- Place the relic on the stone in front of Pack-a-Punch to start a cutscene.
- Once the cutscene is finished, interact with the portal near the relic to teleport to the Dark Aether.
- After surviving in the Dark Aether for a few minutes, all players will be downed and returned to the Eastern Desert.
- Obtain a Shovel from one of the following locations:
- The player must now complete three trials, Trial of Mindfulness, Trial of Resilience and Trial of Sacrifice. These trials can be completed at any time in any order.
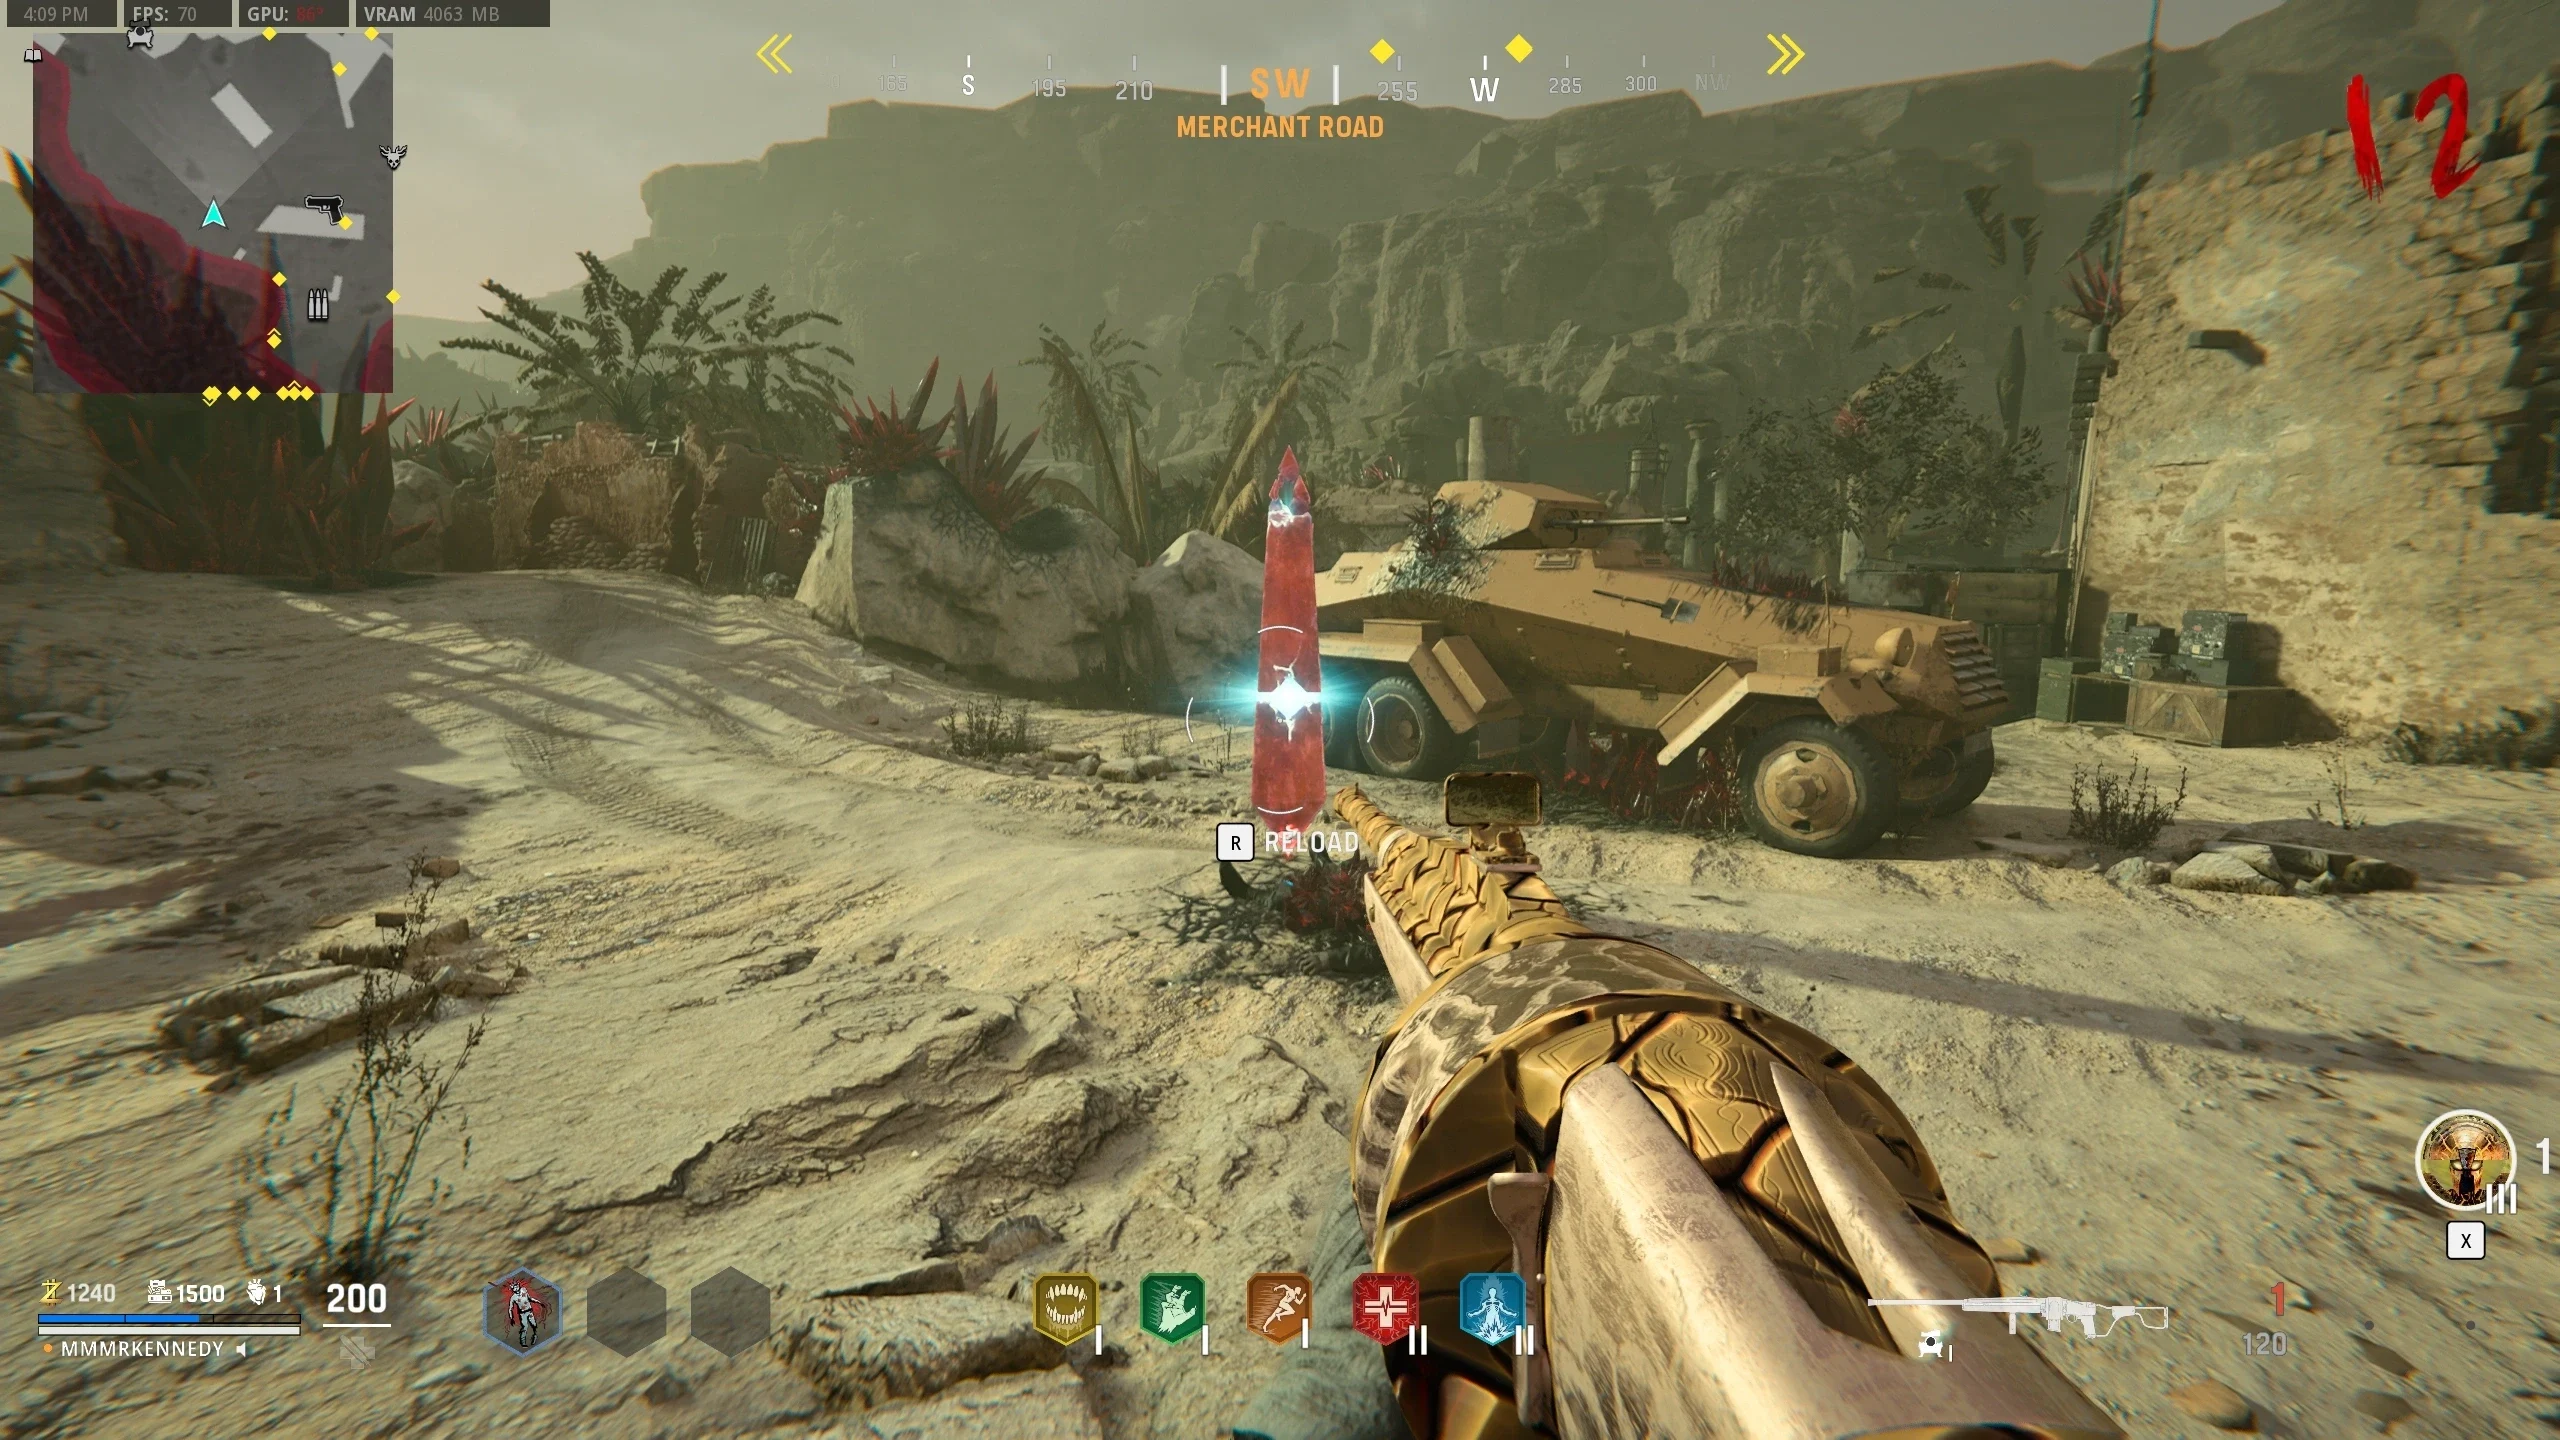
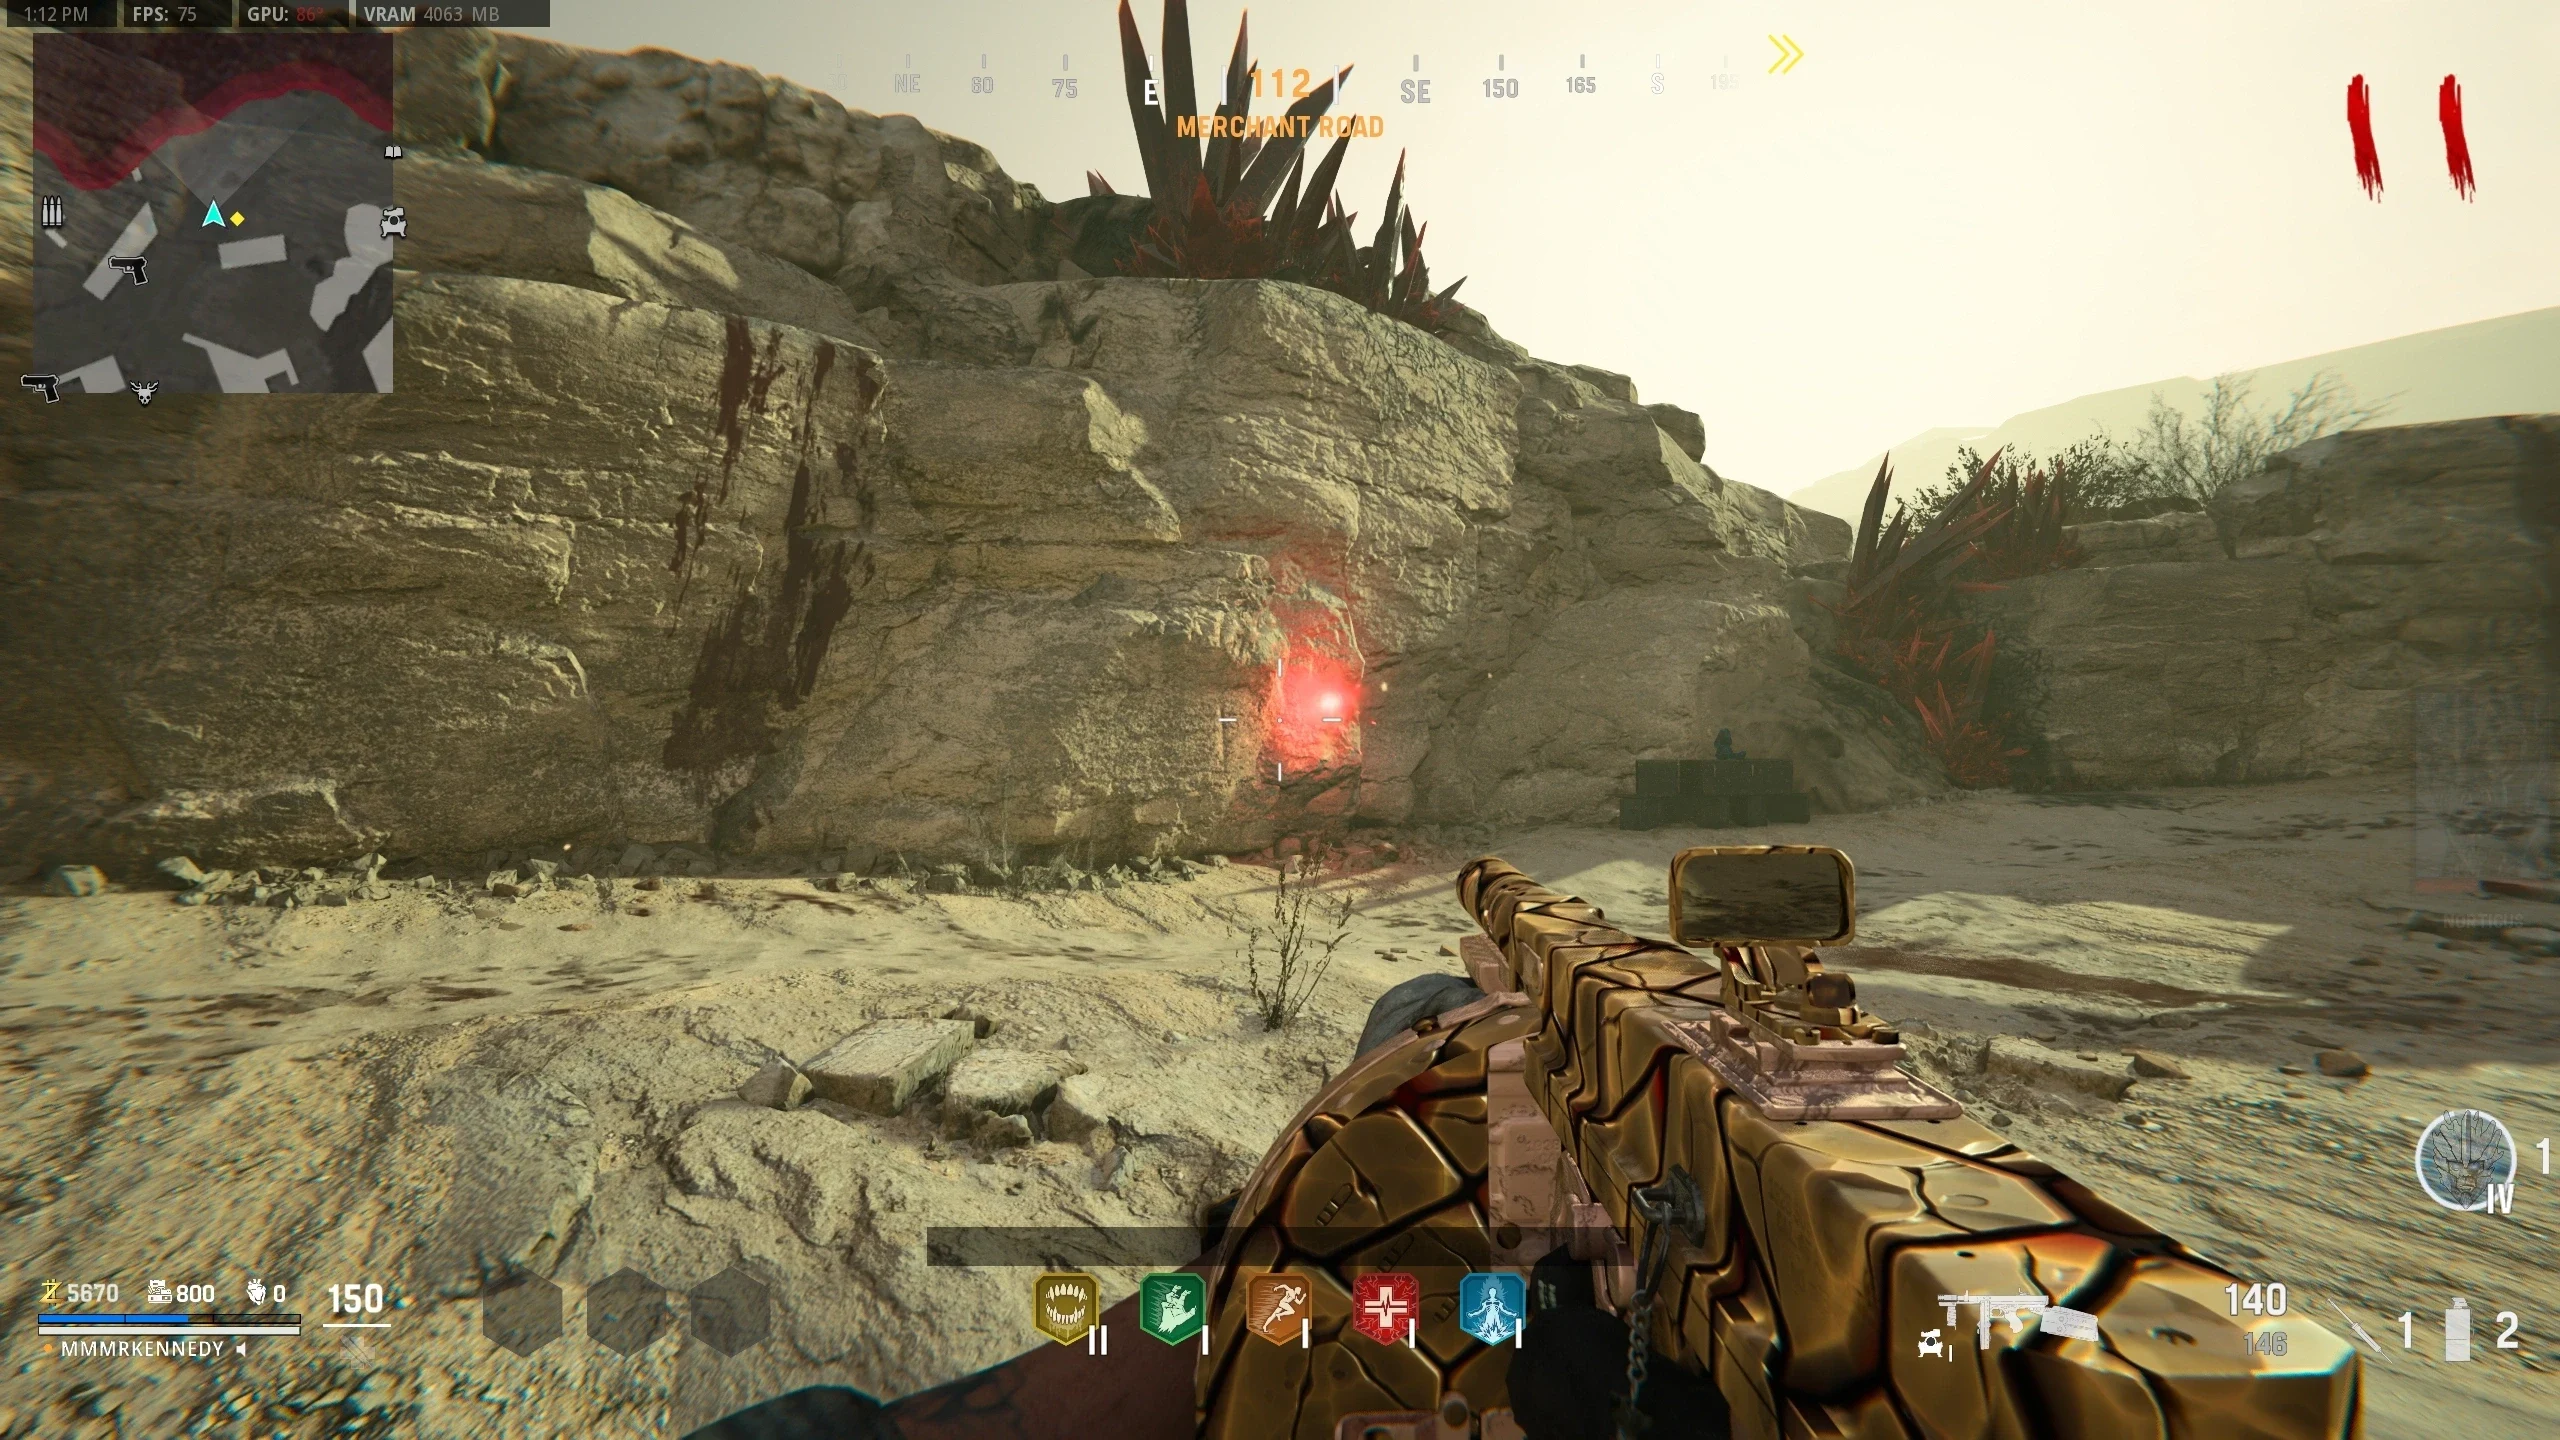
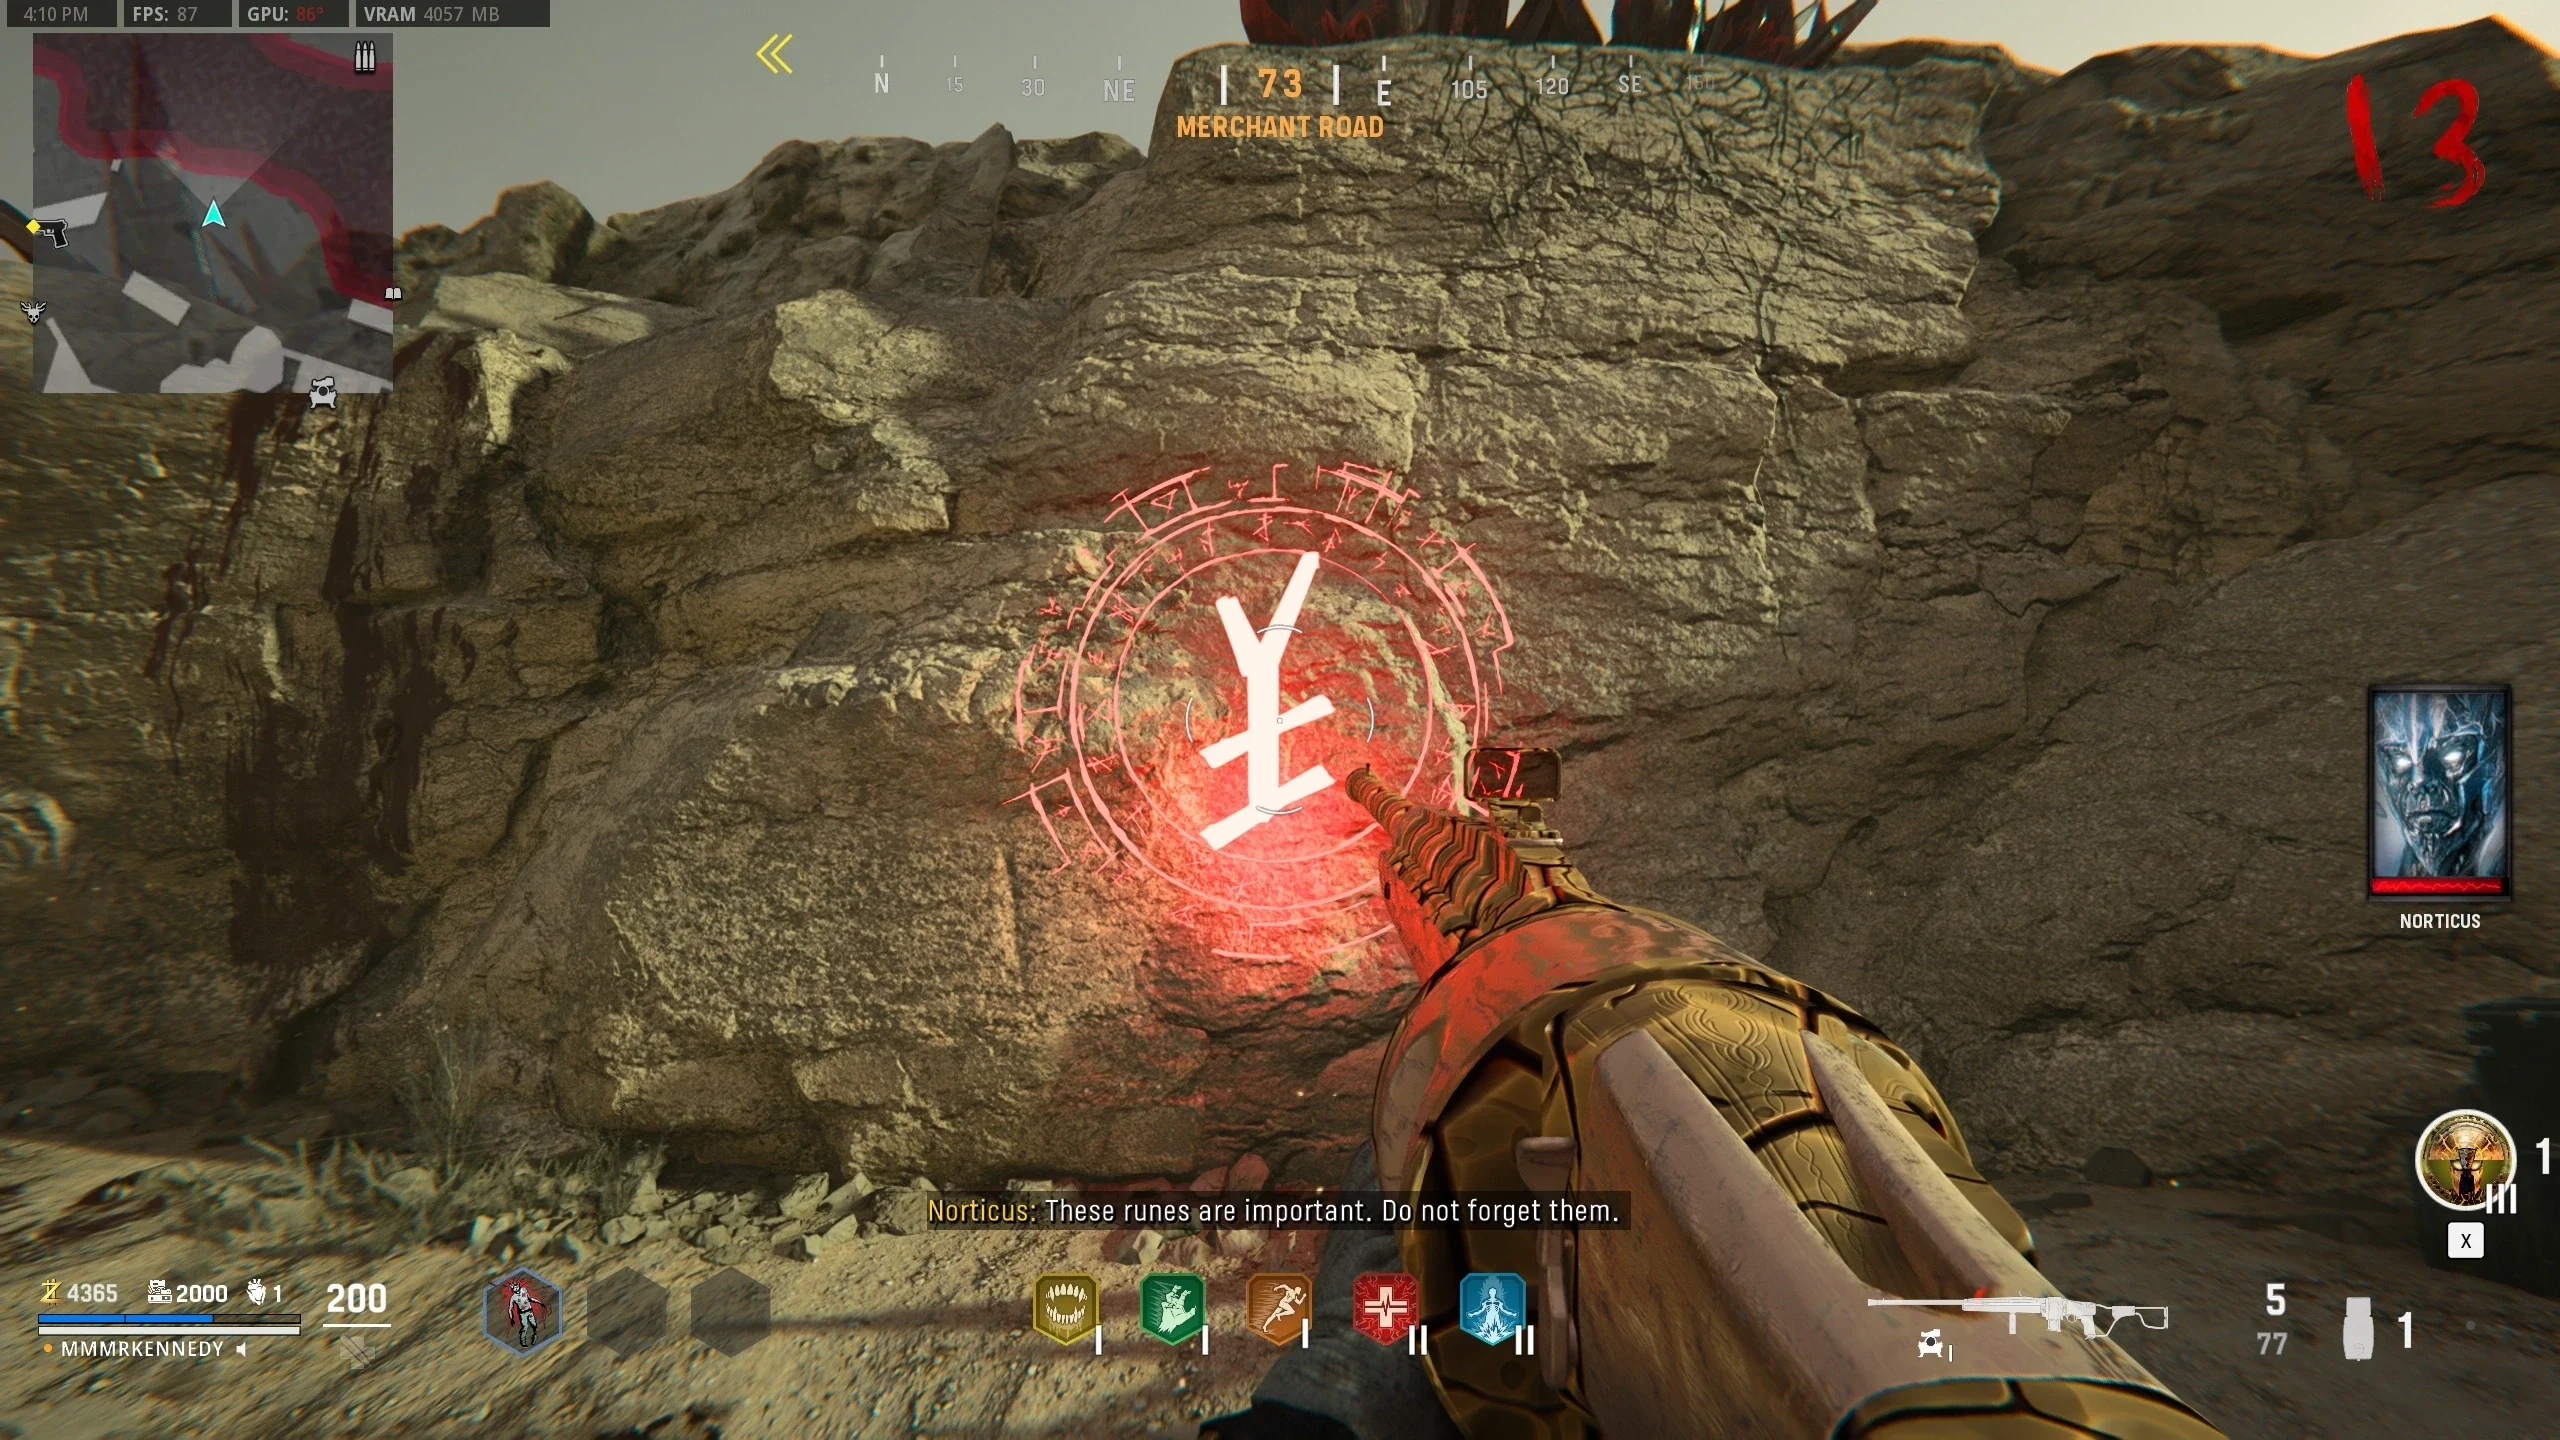
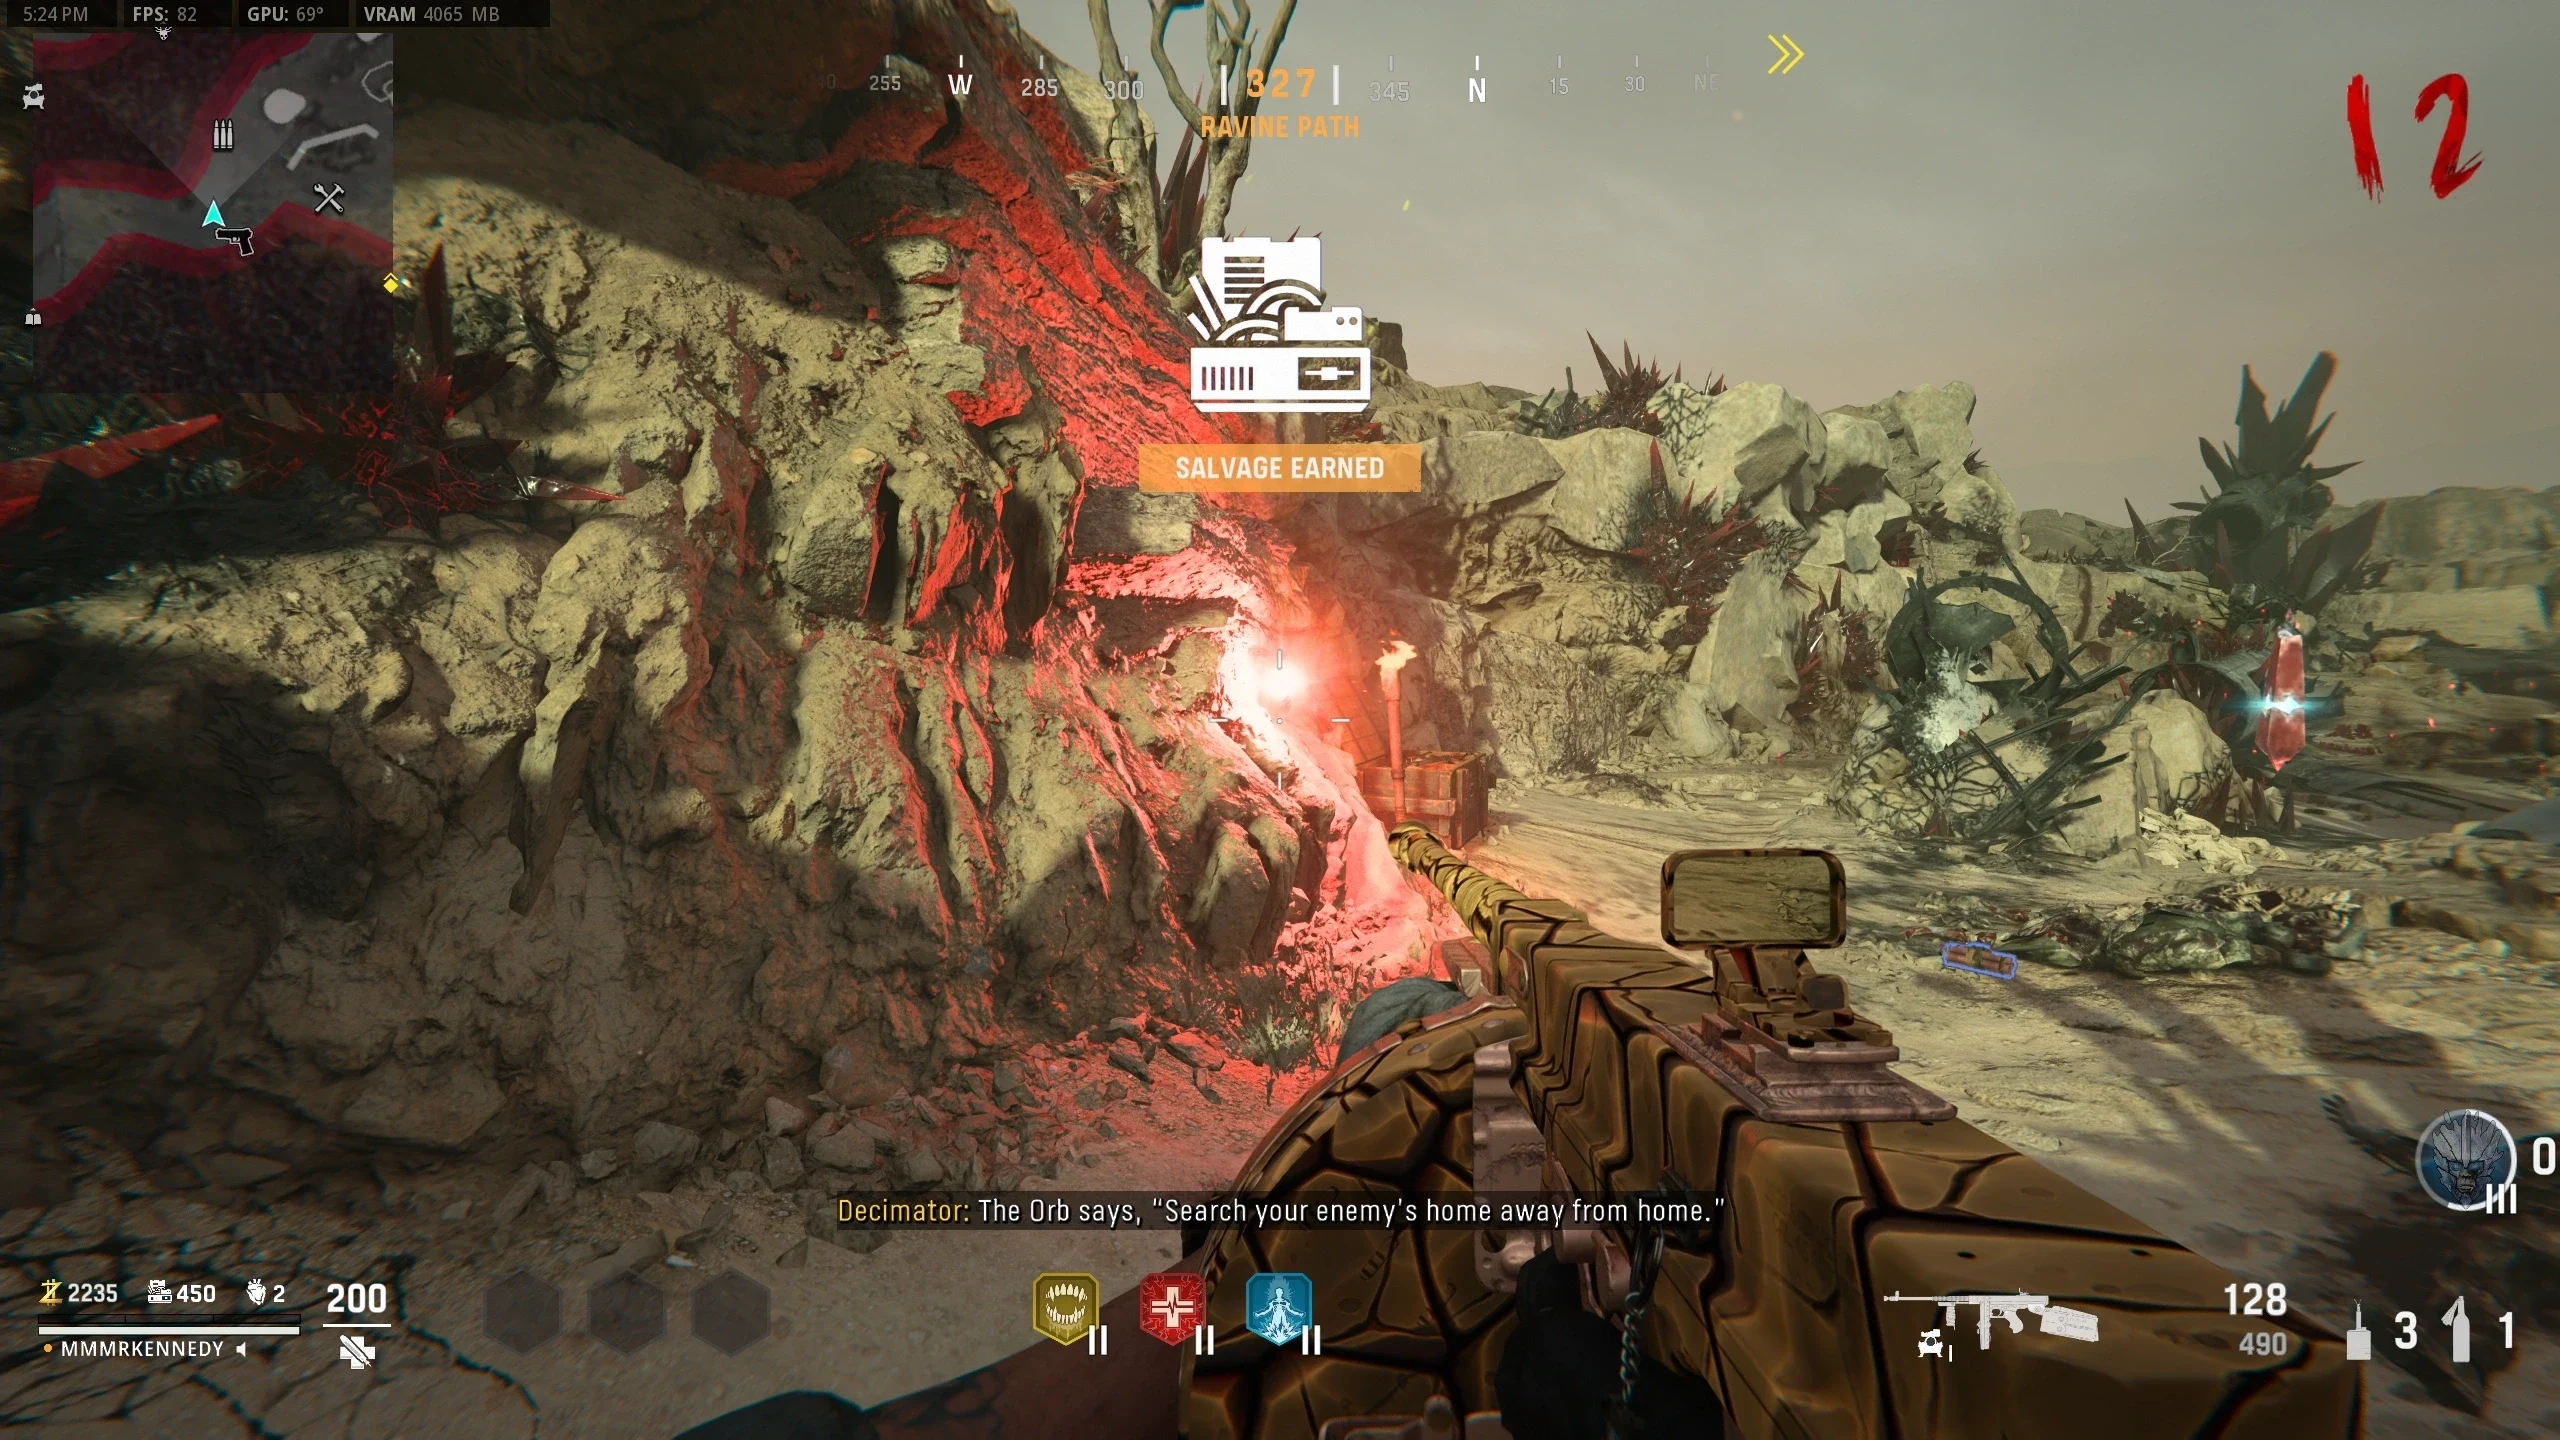
- Dig around the Obelisk in 'Merchant Road' to find a red orb.
- Interact with the Red Orb to make it show symbols. You must stand on the runes that match the same order and symbols that appeared on the wall. Bug: If the player is not able to interact with the orb to start the symbols, they have to go down and get revived to allow them to interact with the orb.
- If done correctly, the player will be required to survive a timed challenge.
- If you complete the challenge, you will have to complete two more rounds of matching symbols and completing challenges.
- The first round consists of three symbols, the second round consists of four symbols and the last is five symbols.
- Once all three rounds are complete, the player must interact with the Obelisk to start the Trial of Mindfulness.
- The player must capture runes without killing zombies. If failed, the Trial can be attempted next round.
- Once completed, the player will be given bonus points and full armour power-ups.
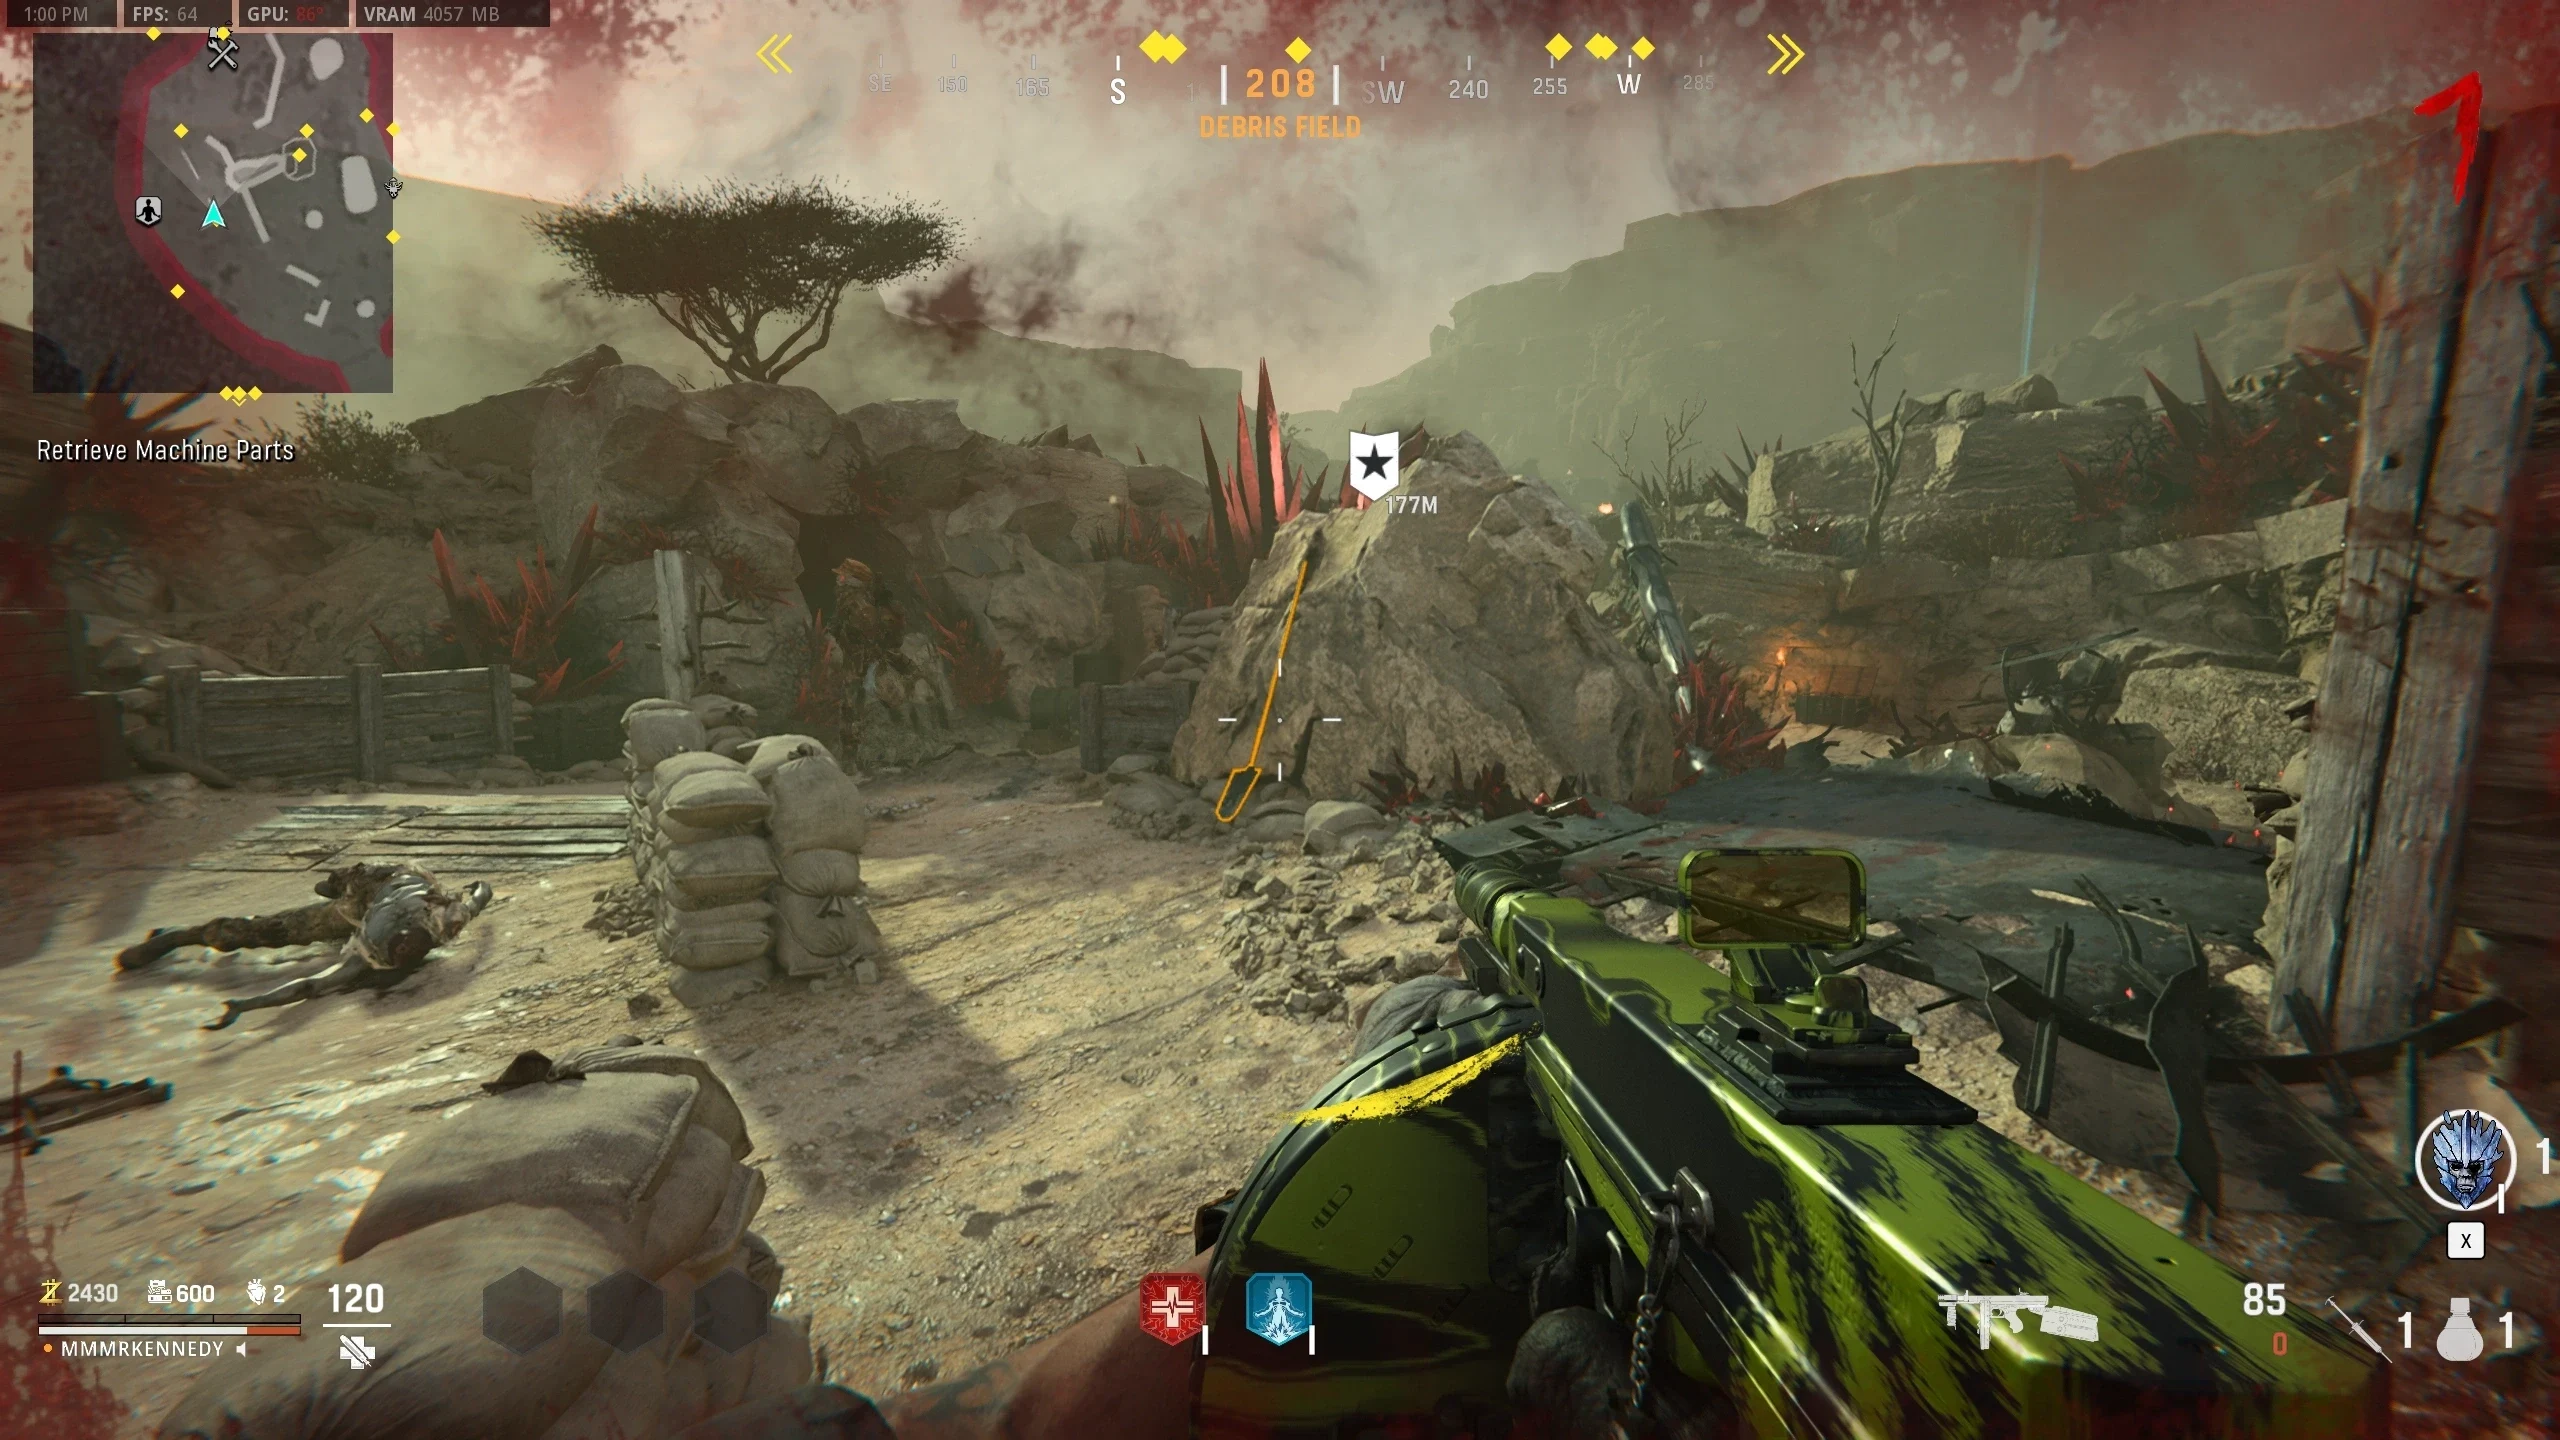
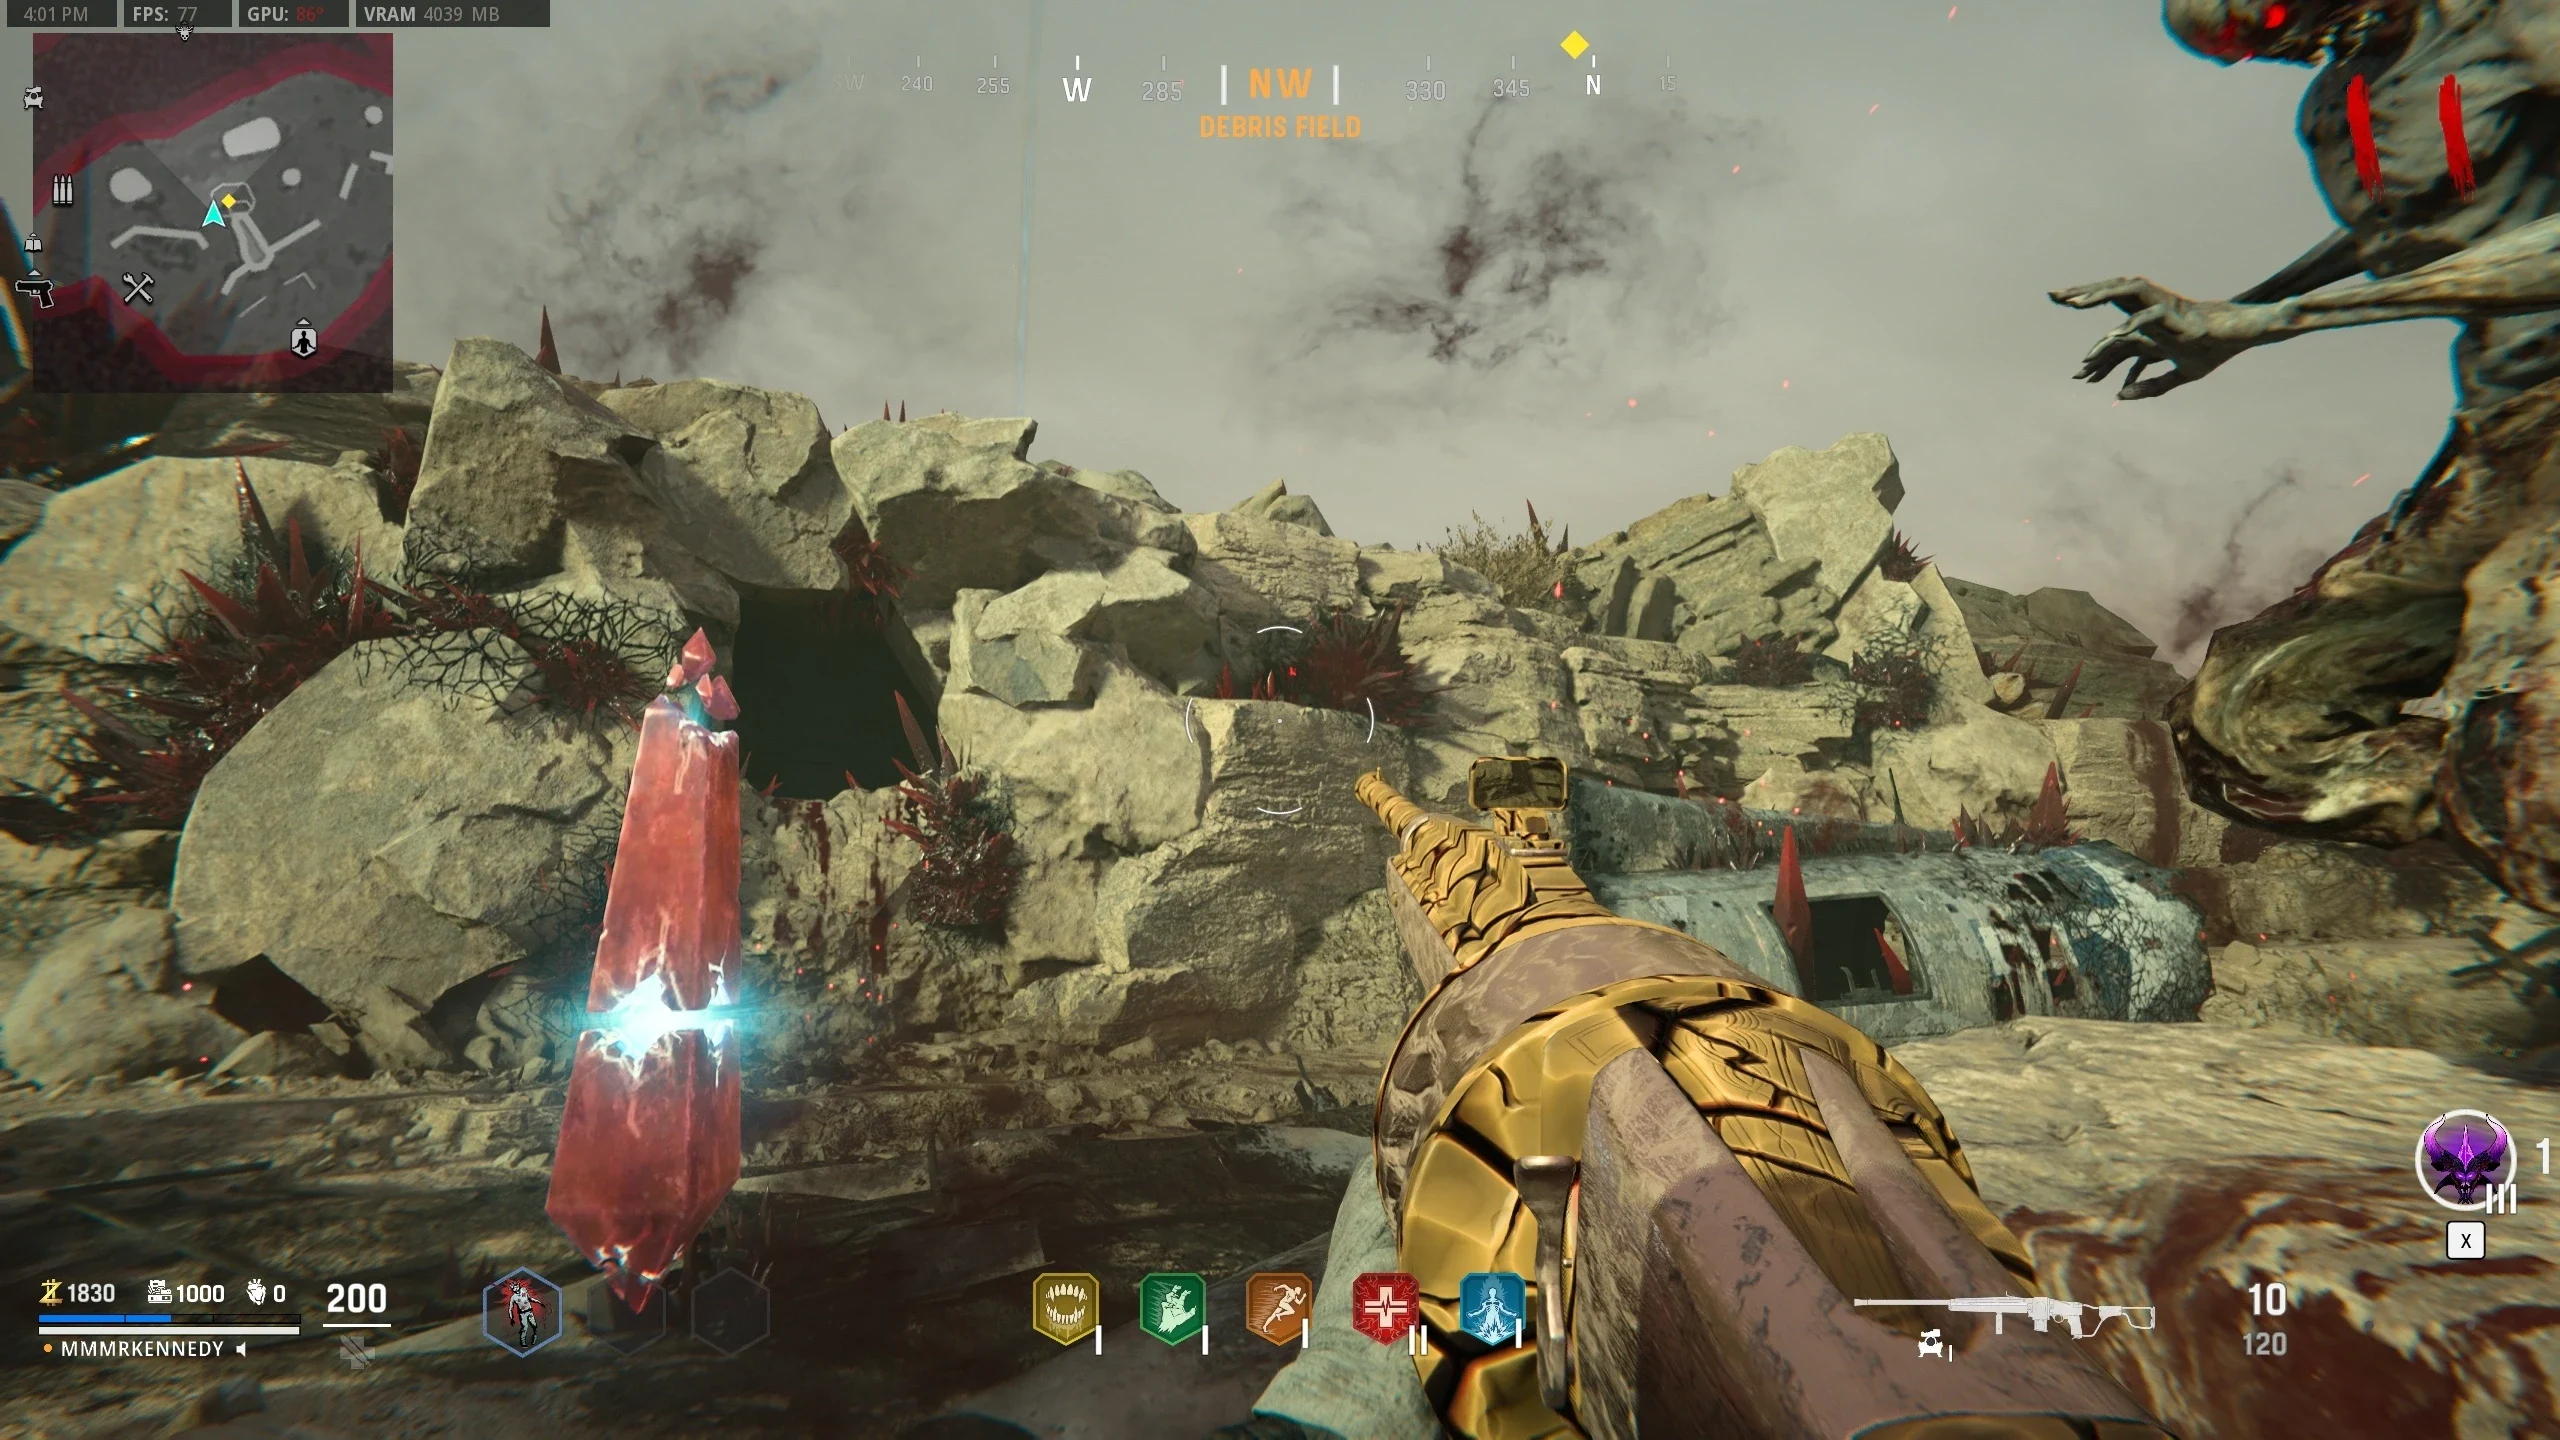
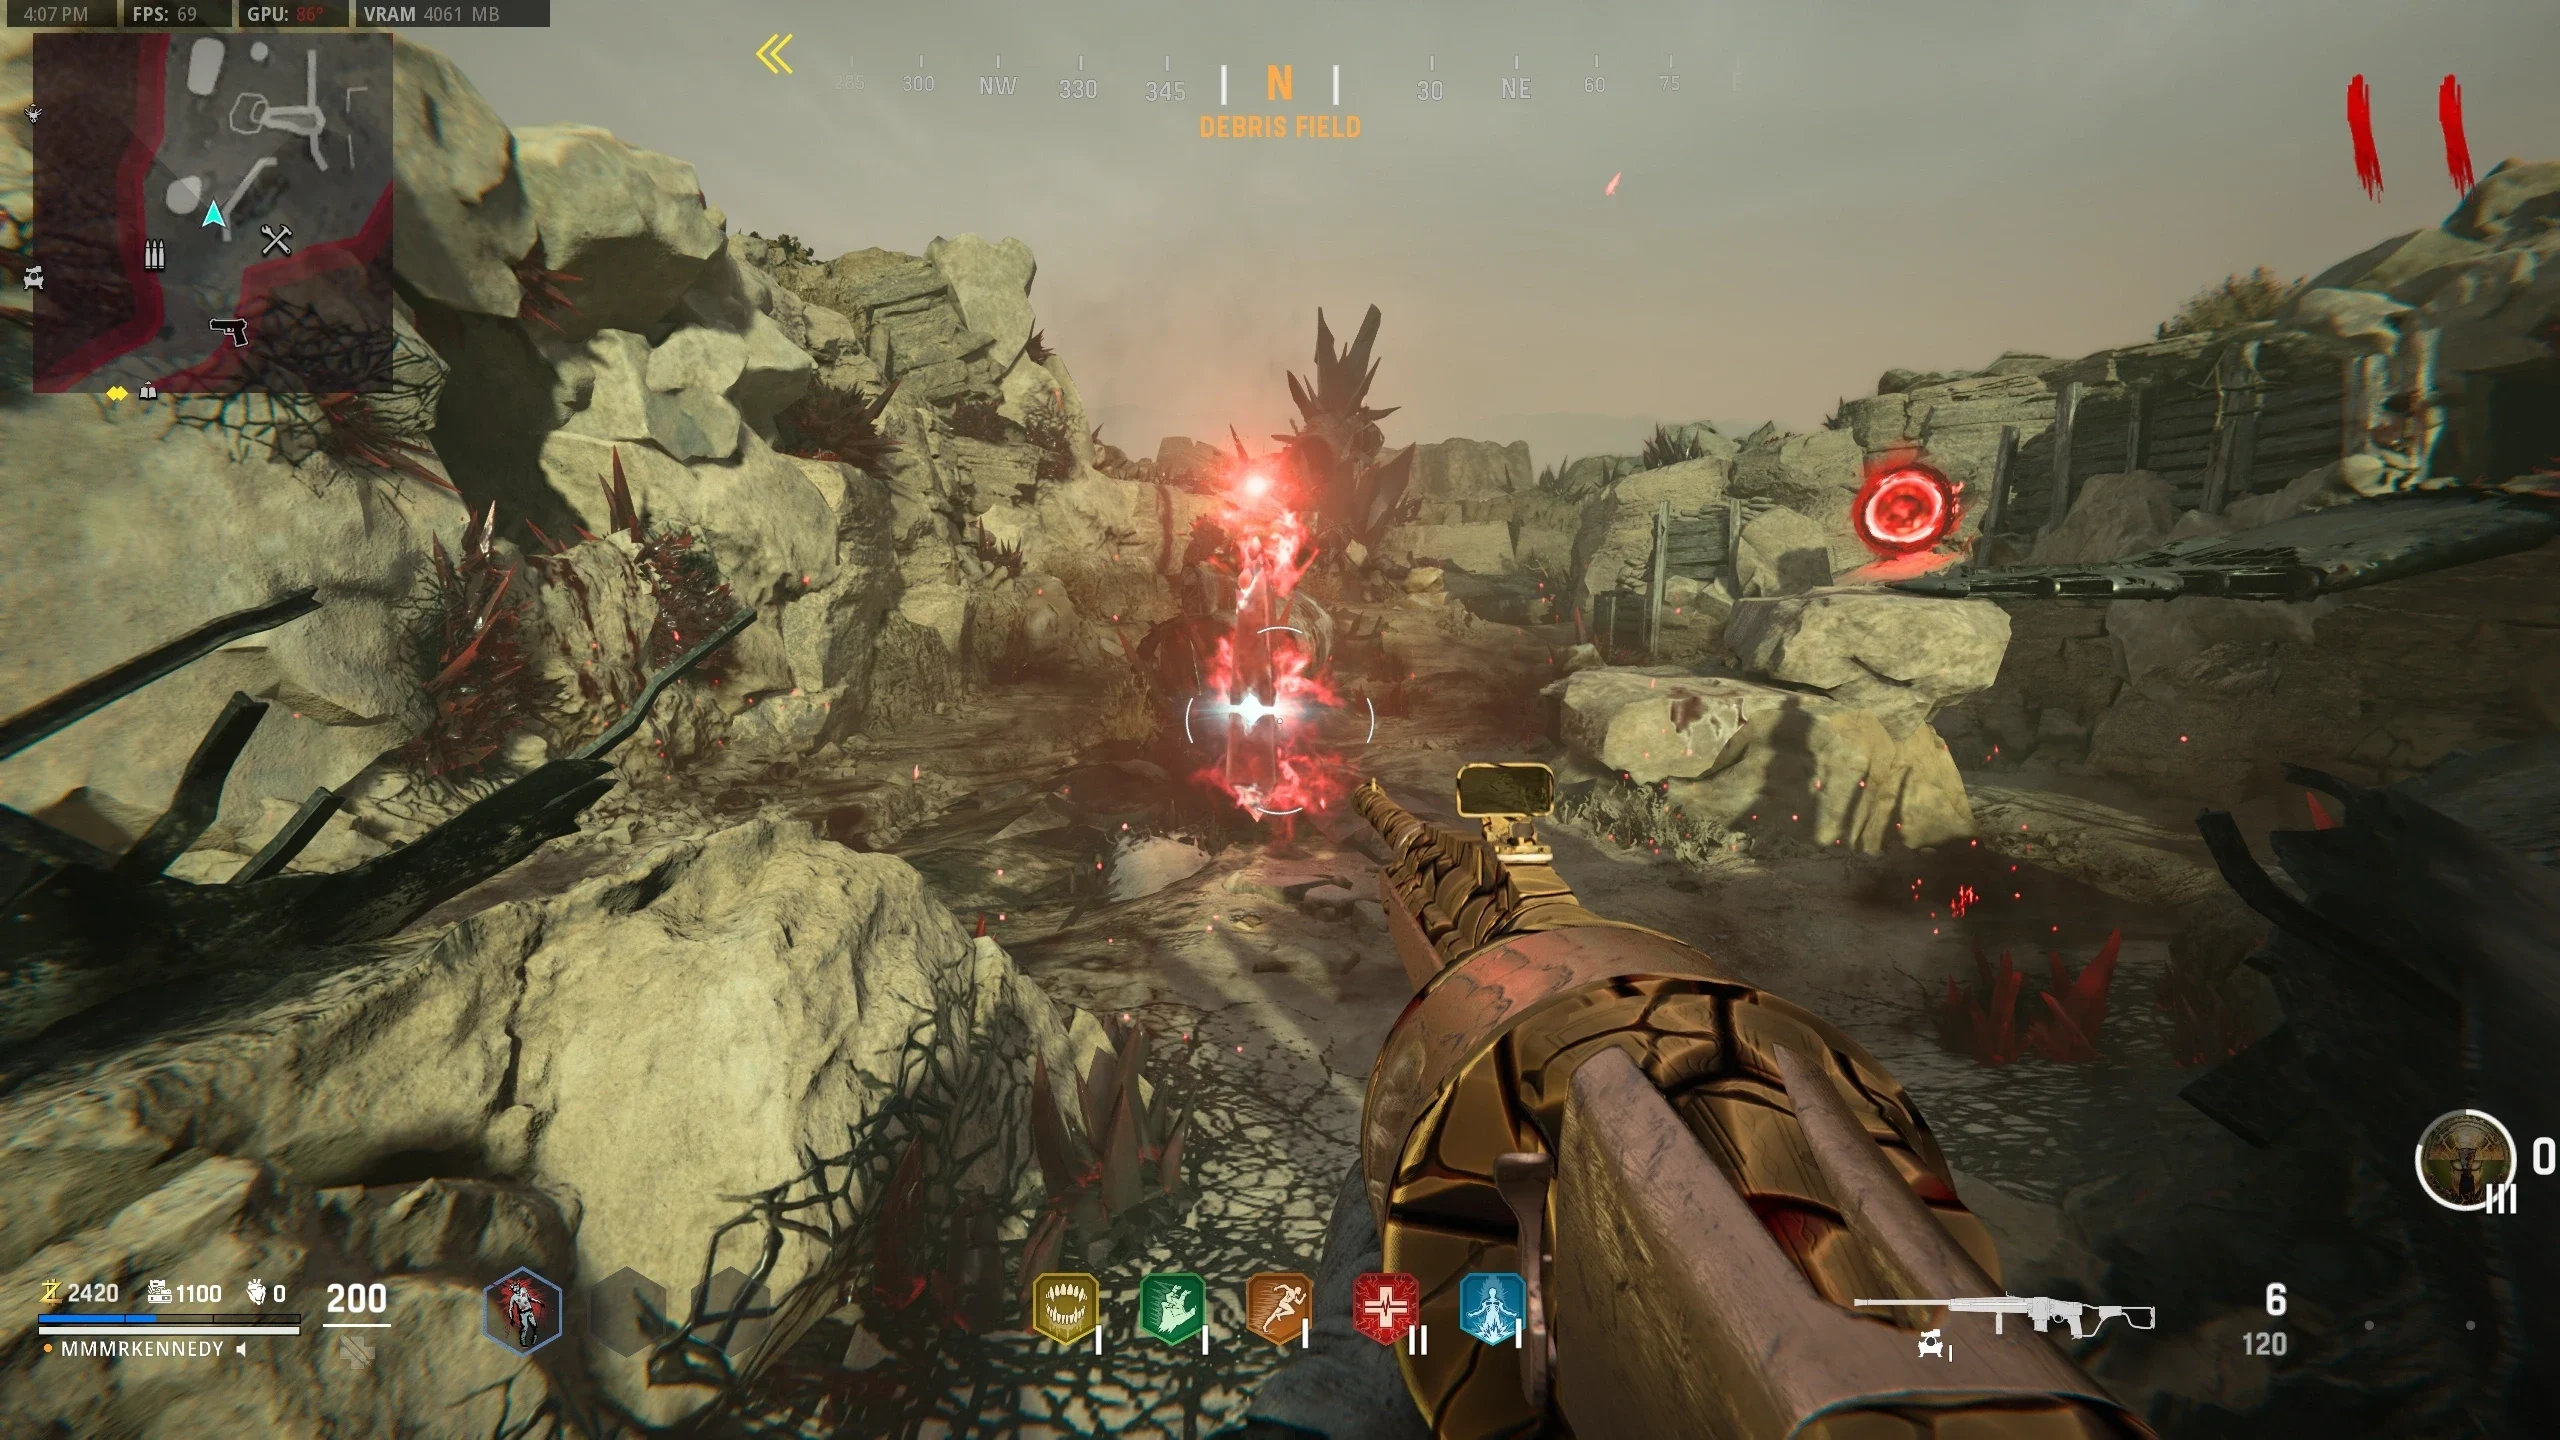
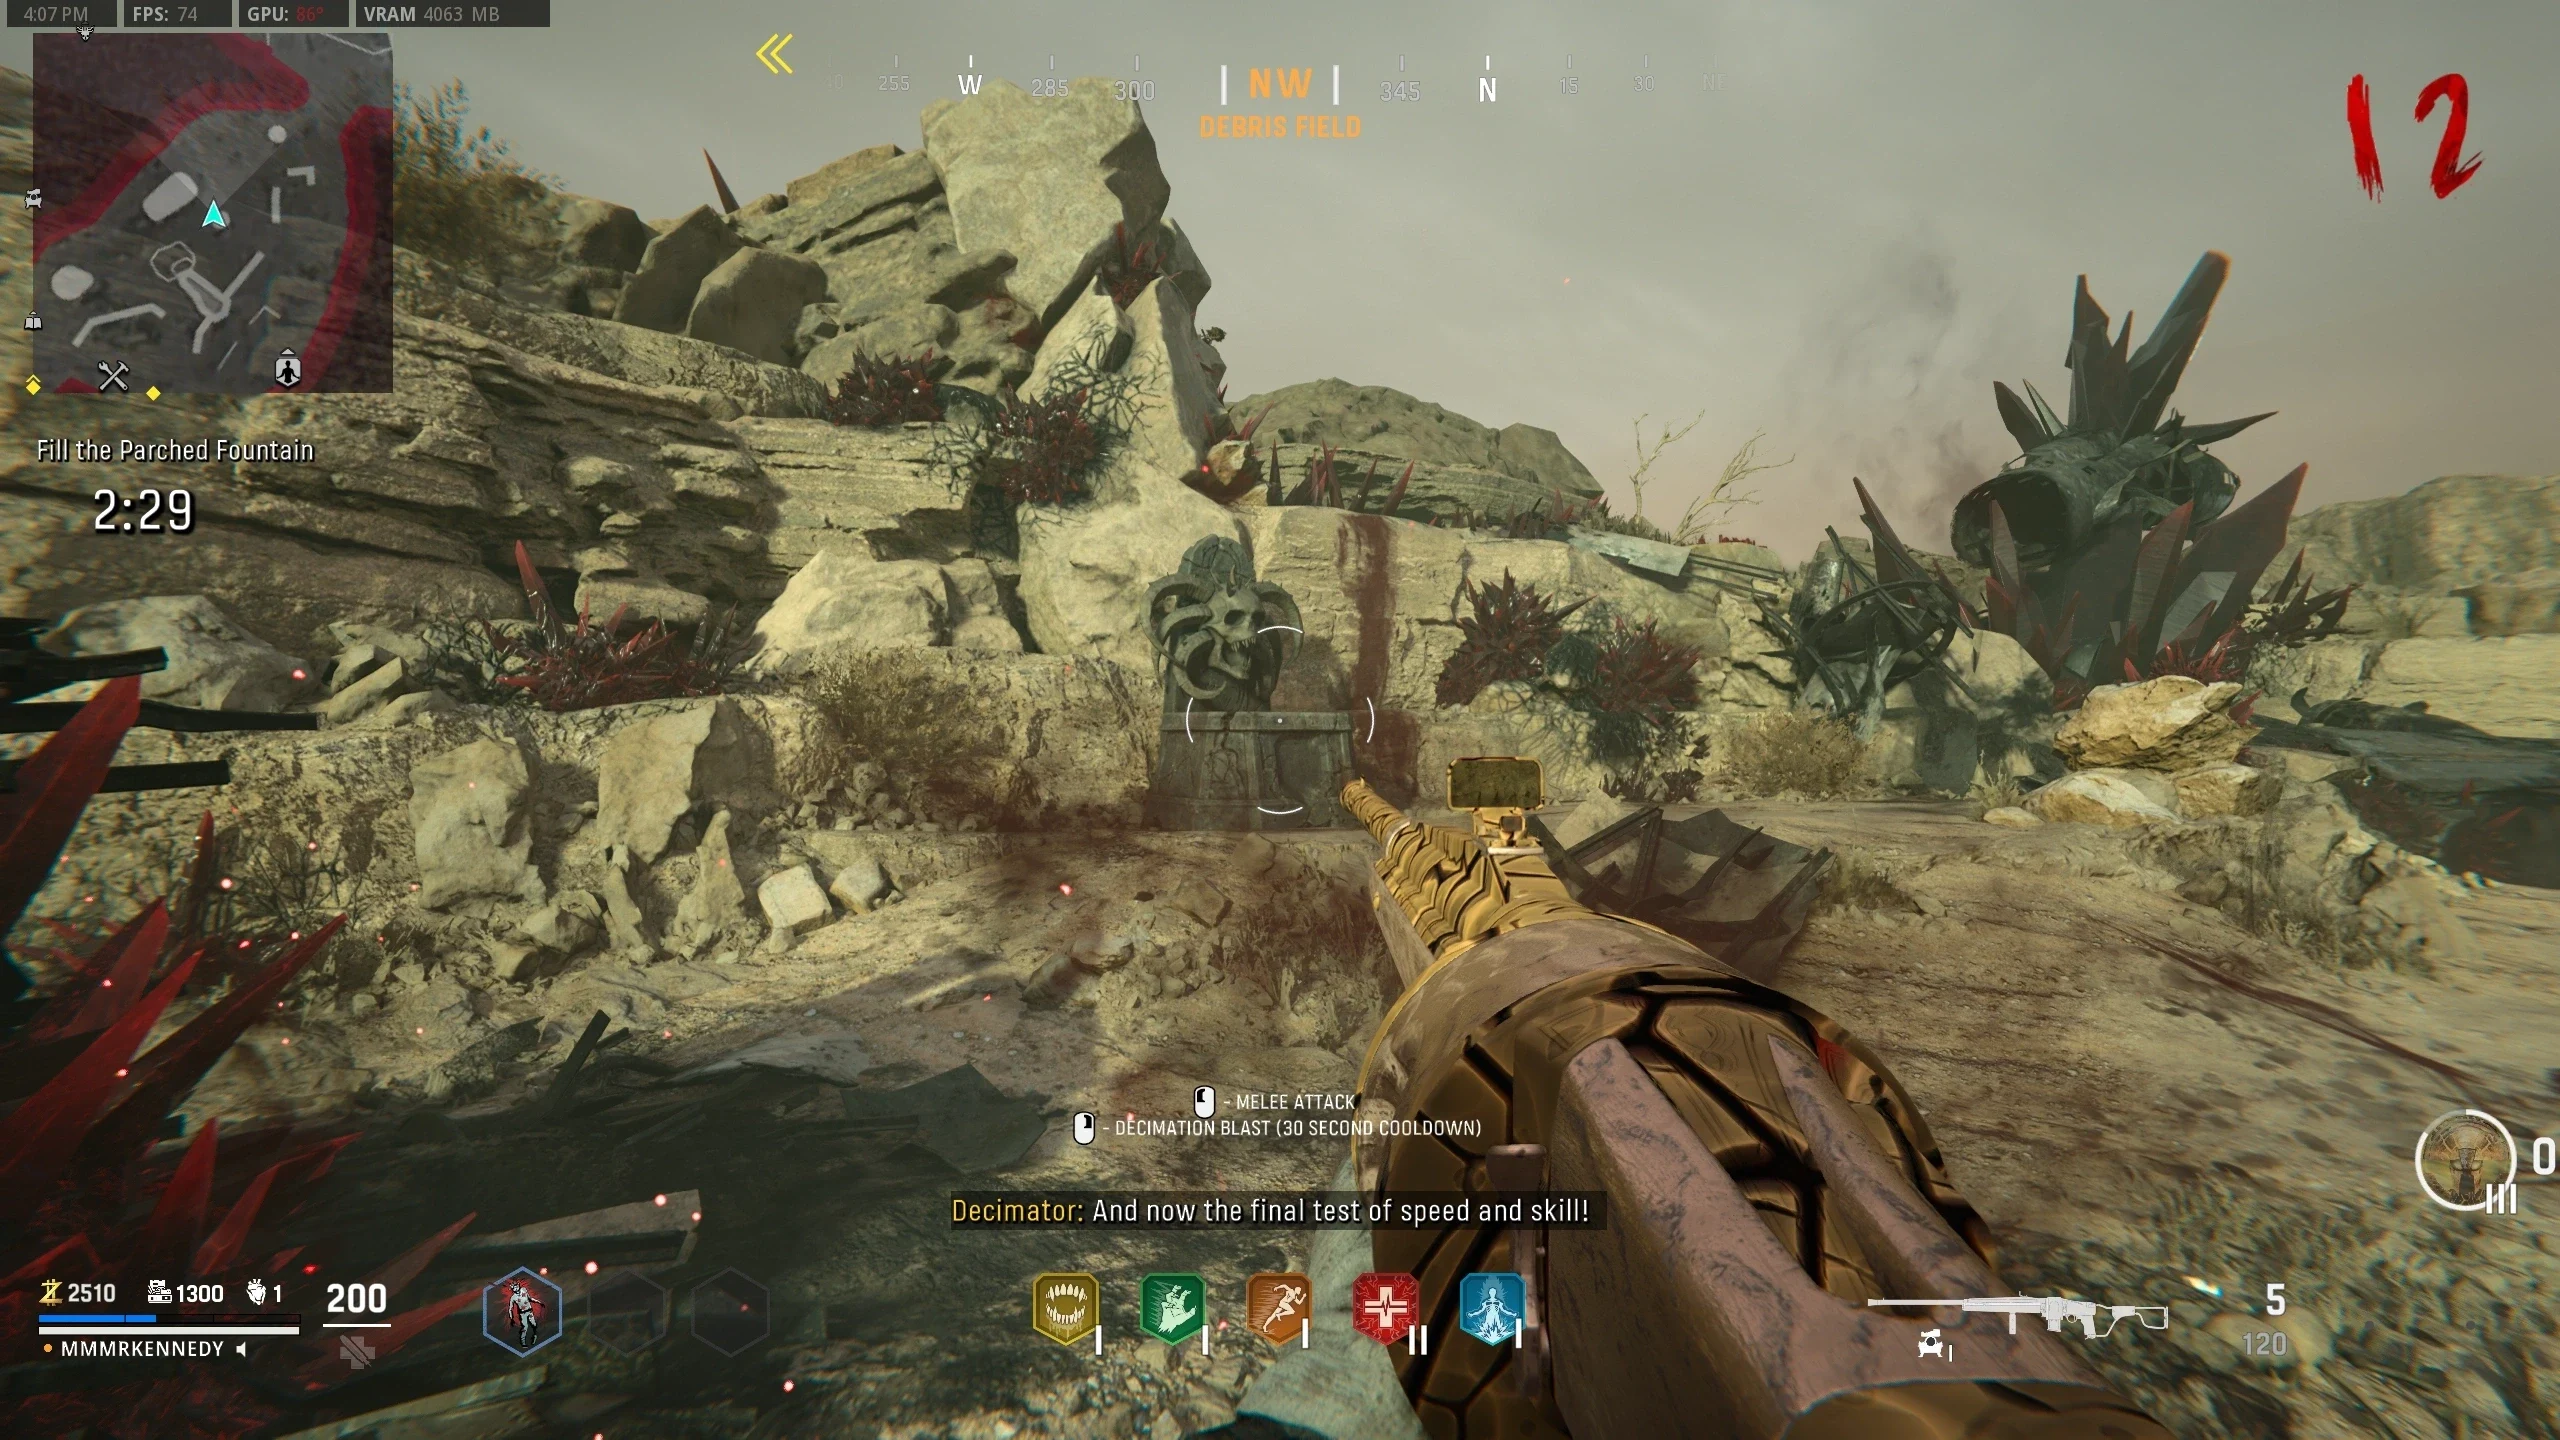
- Navigate to the 'Debris Field' and shoot one of the three Dark Aether Crystals outside the playable area until one spawns an orb, which will move to a wall near the Decimator Shield.
- The player must locate and return three cursed items to the orb. When these items are picked up, sprint will be disabled and the player will be given a challenge. Return the items to the orb without failing the challenge. The locations are:
- Cursed Officer's Hat, located in the Tents.
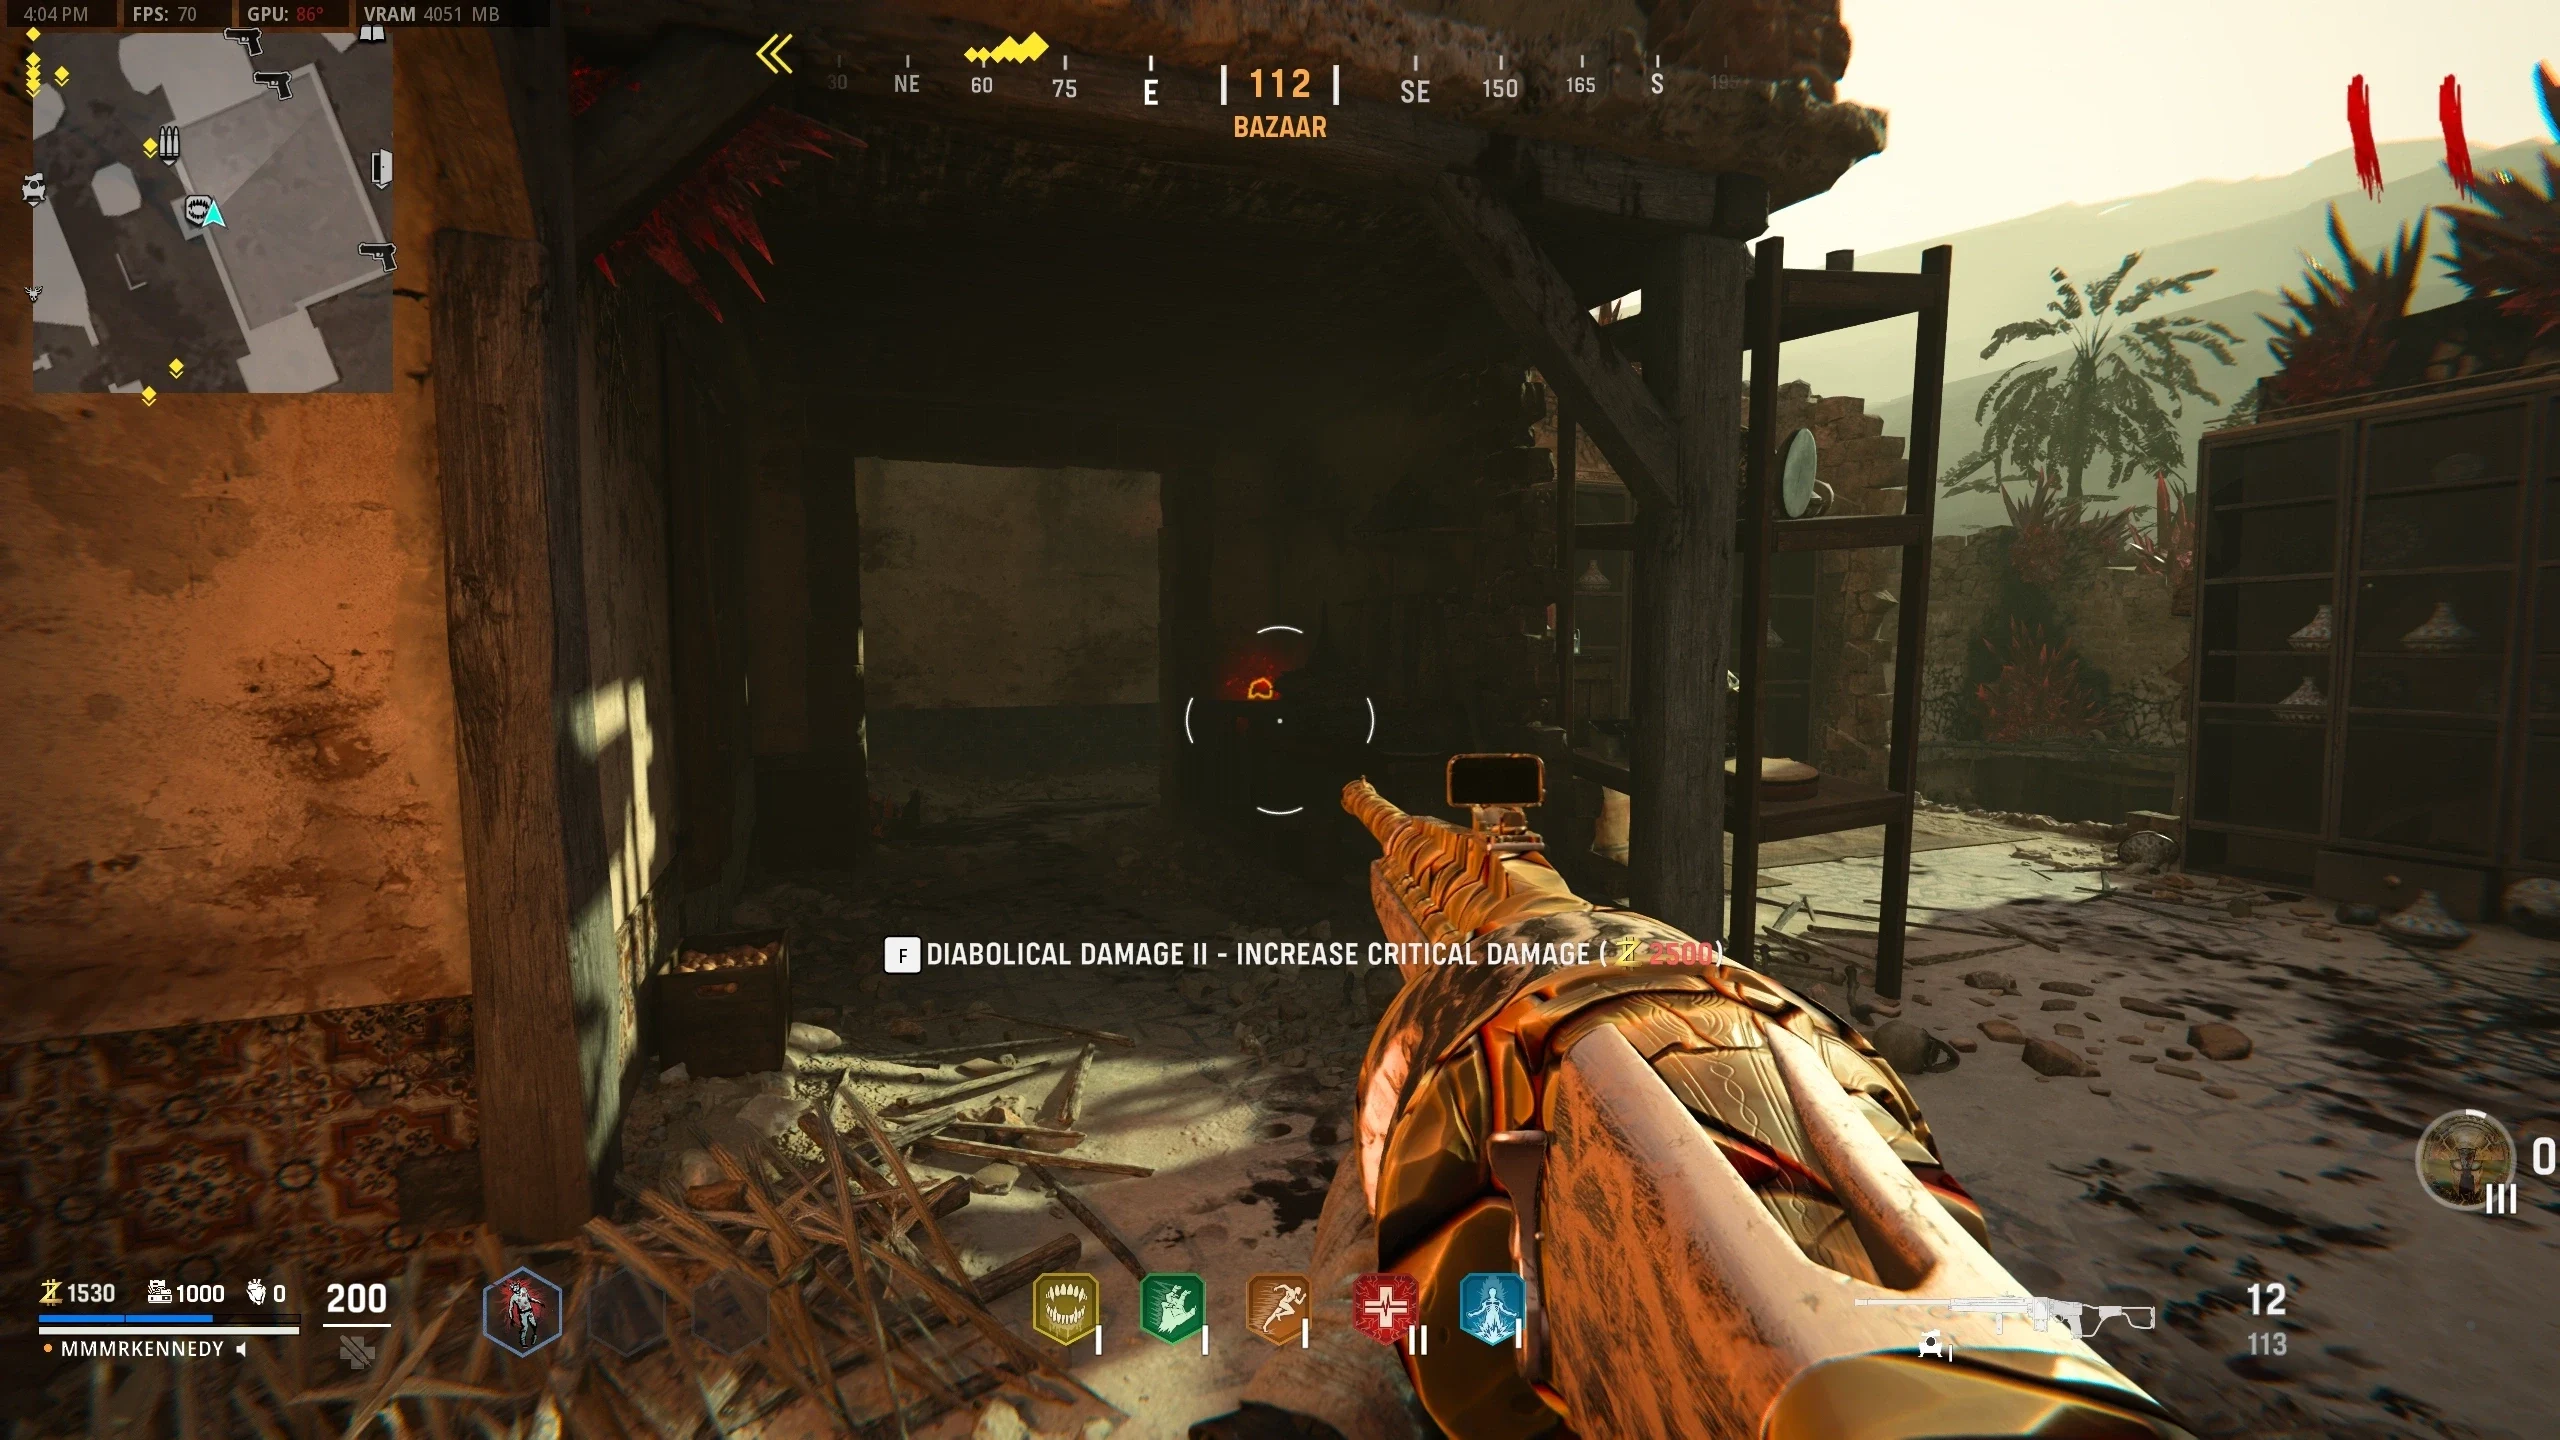
- Cursed Skull, located in the Bazaar on the second floor.
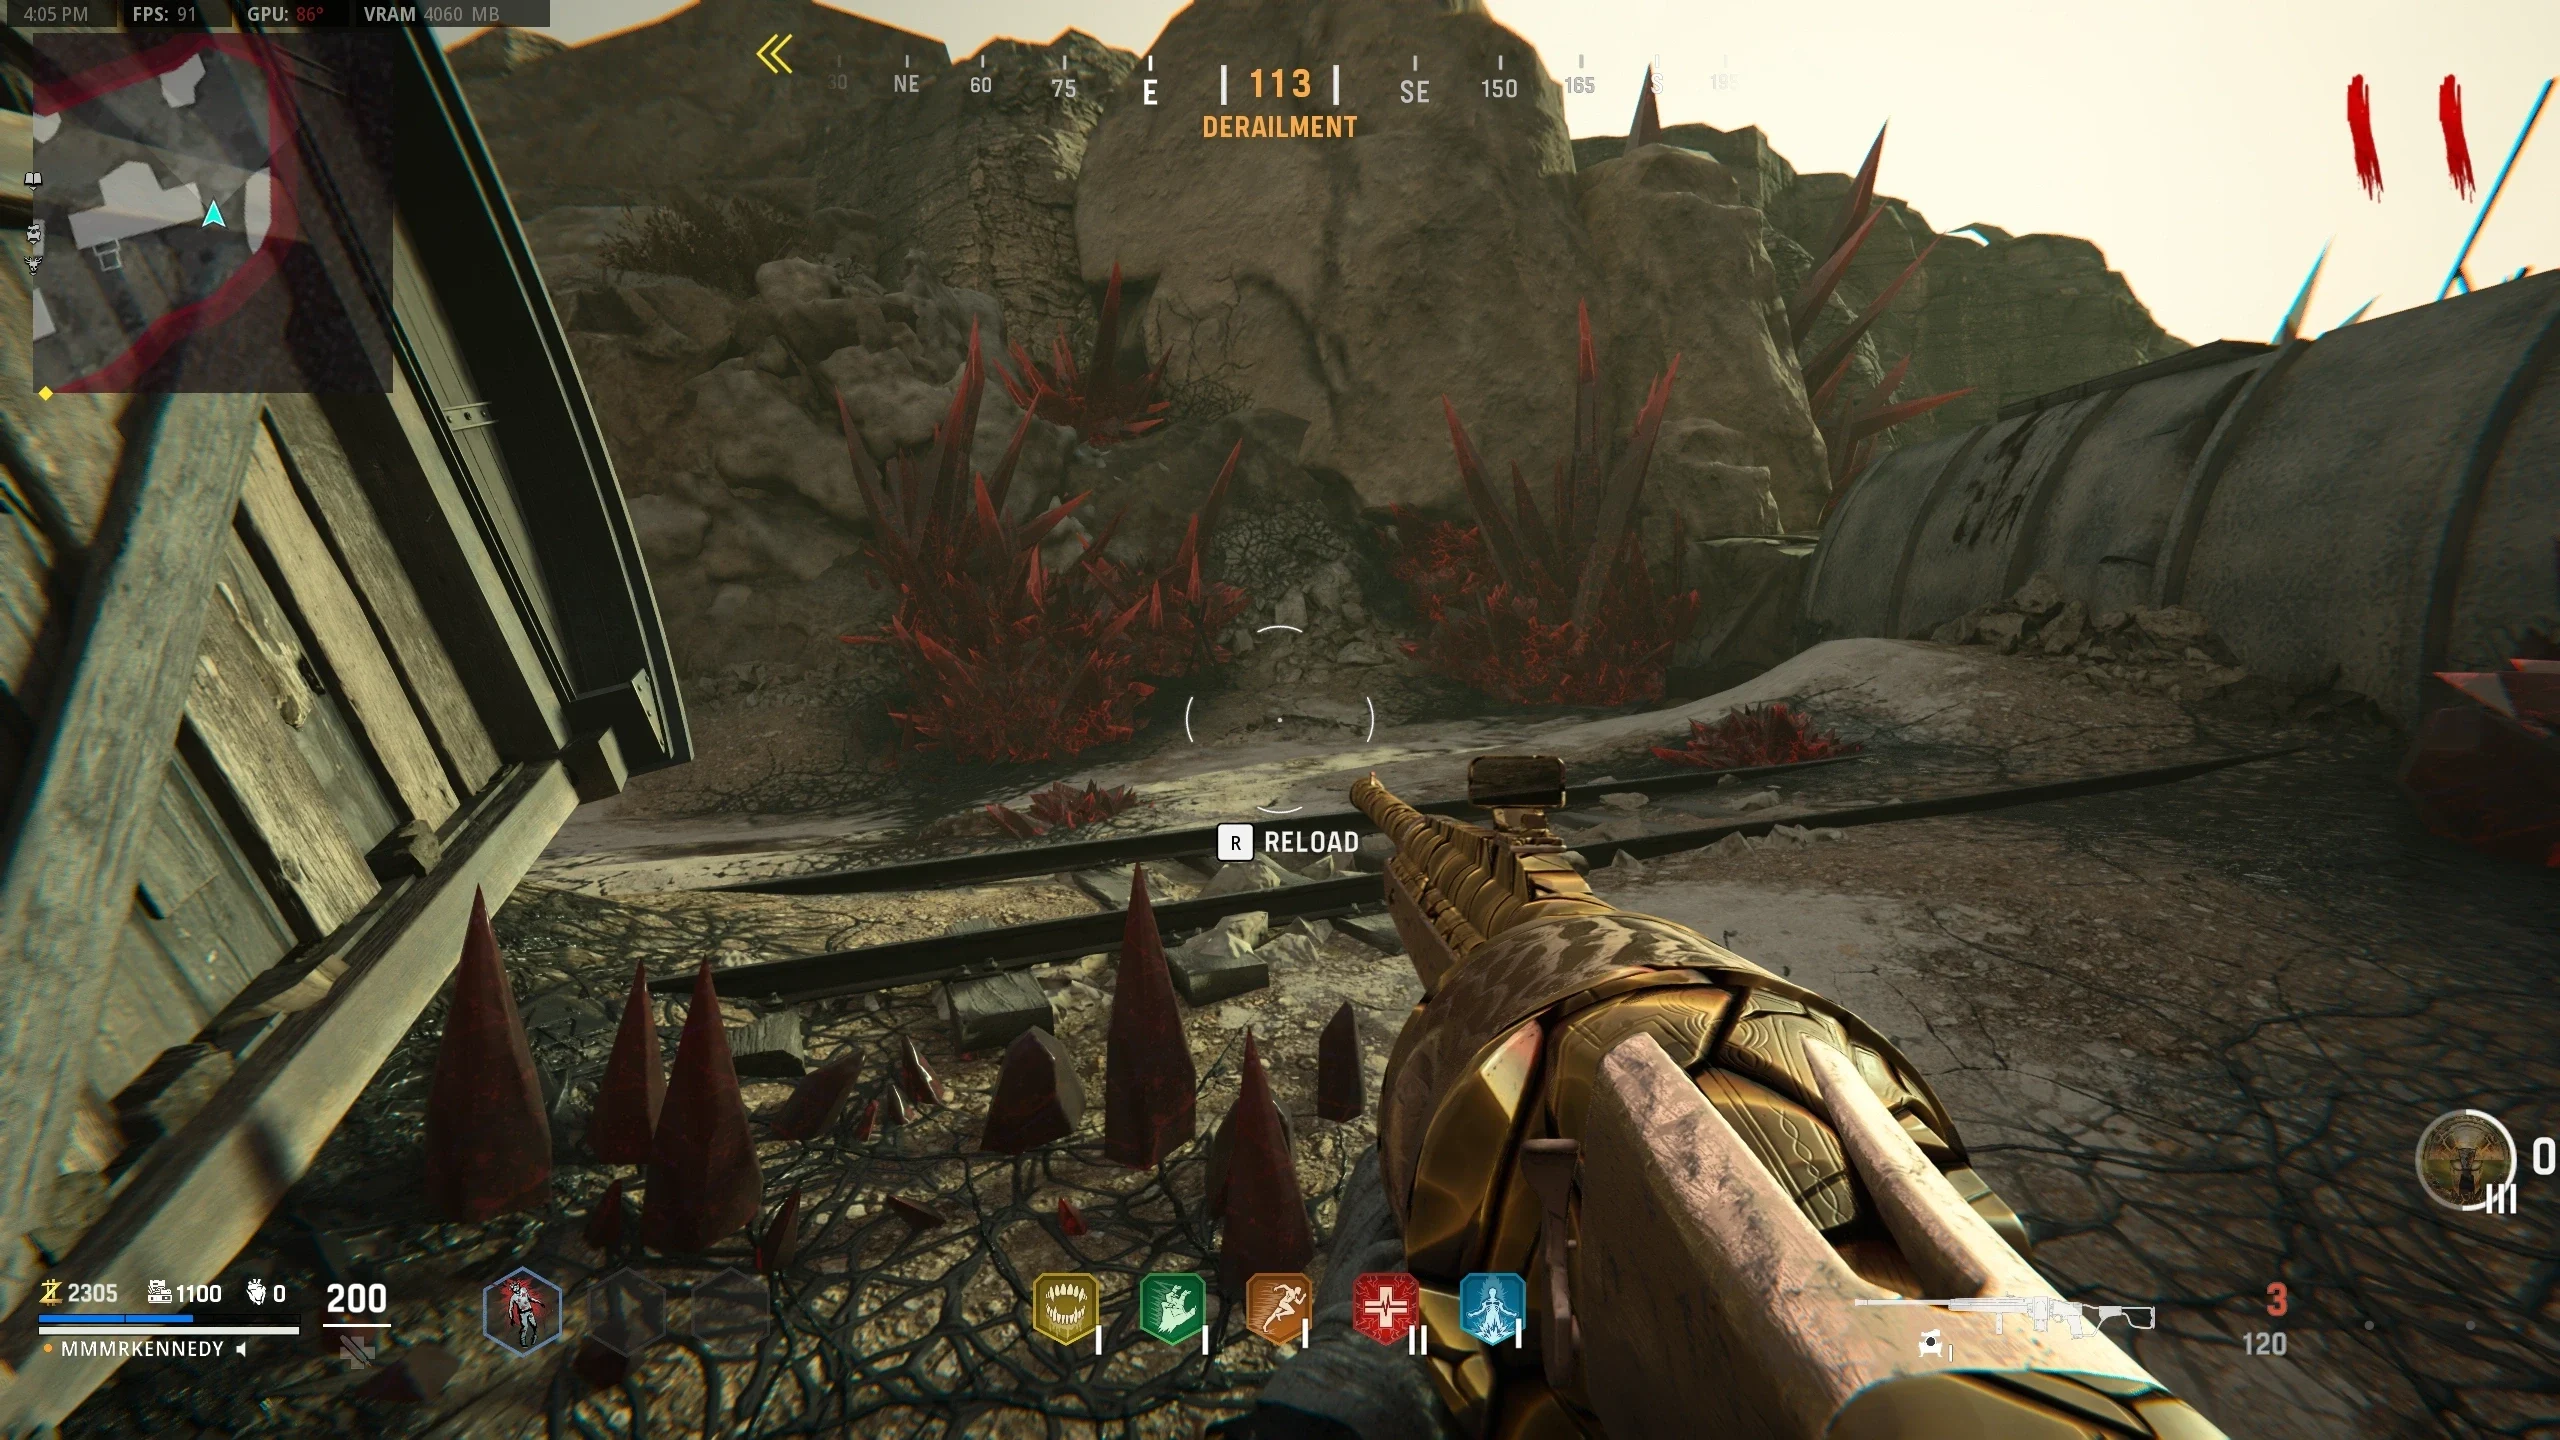
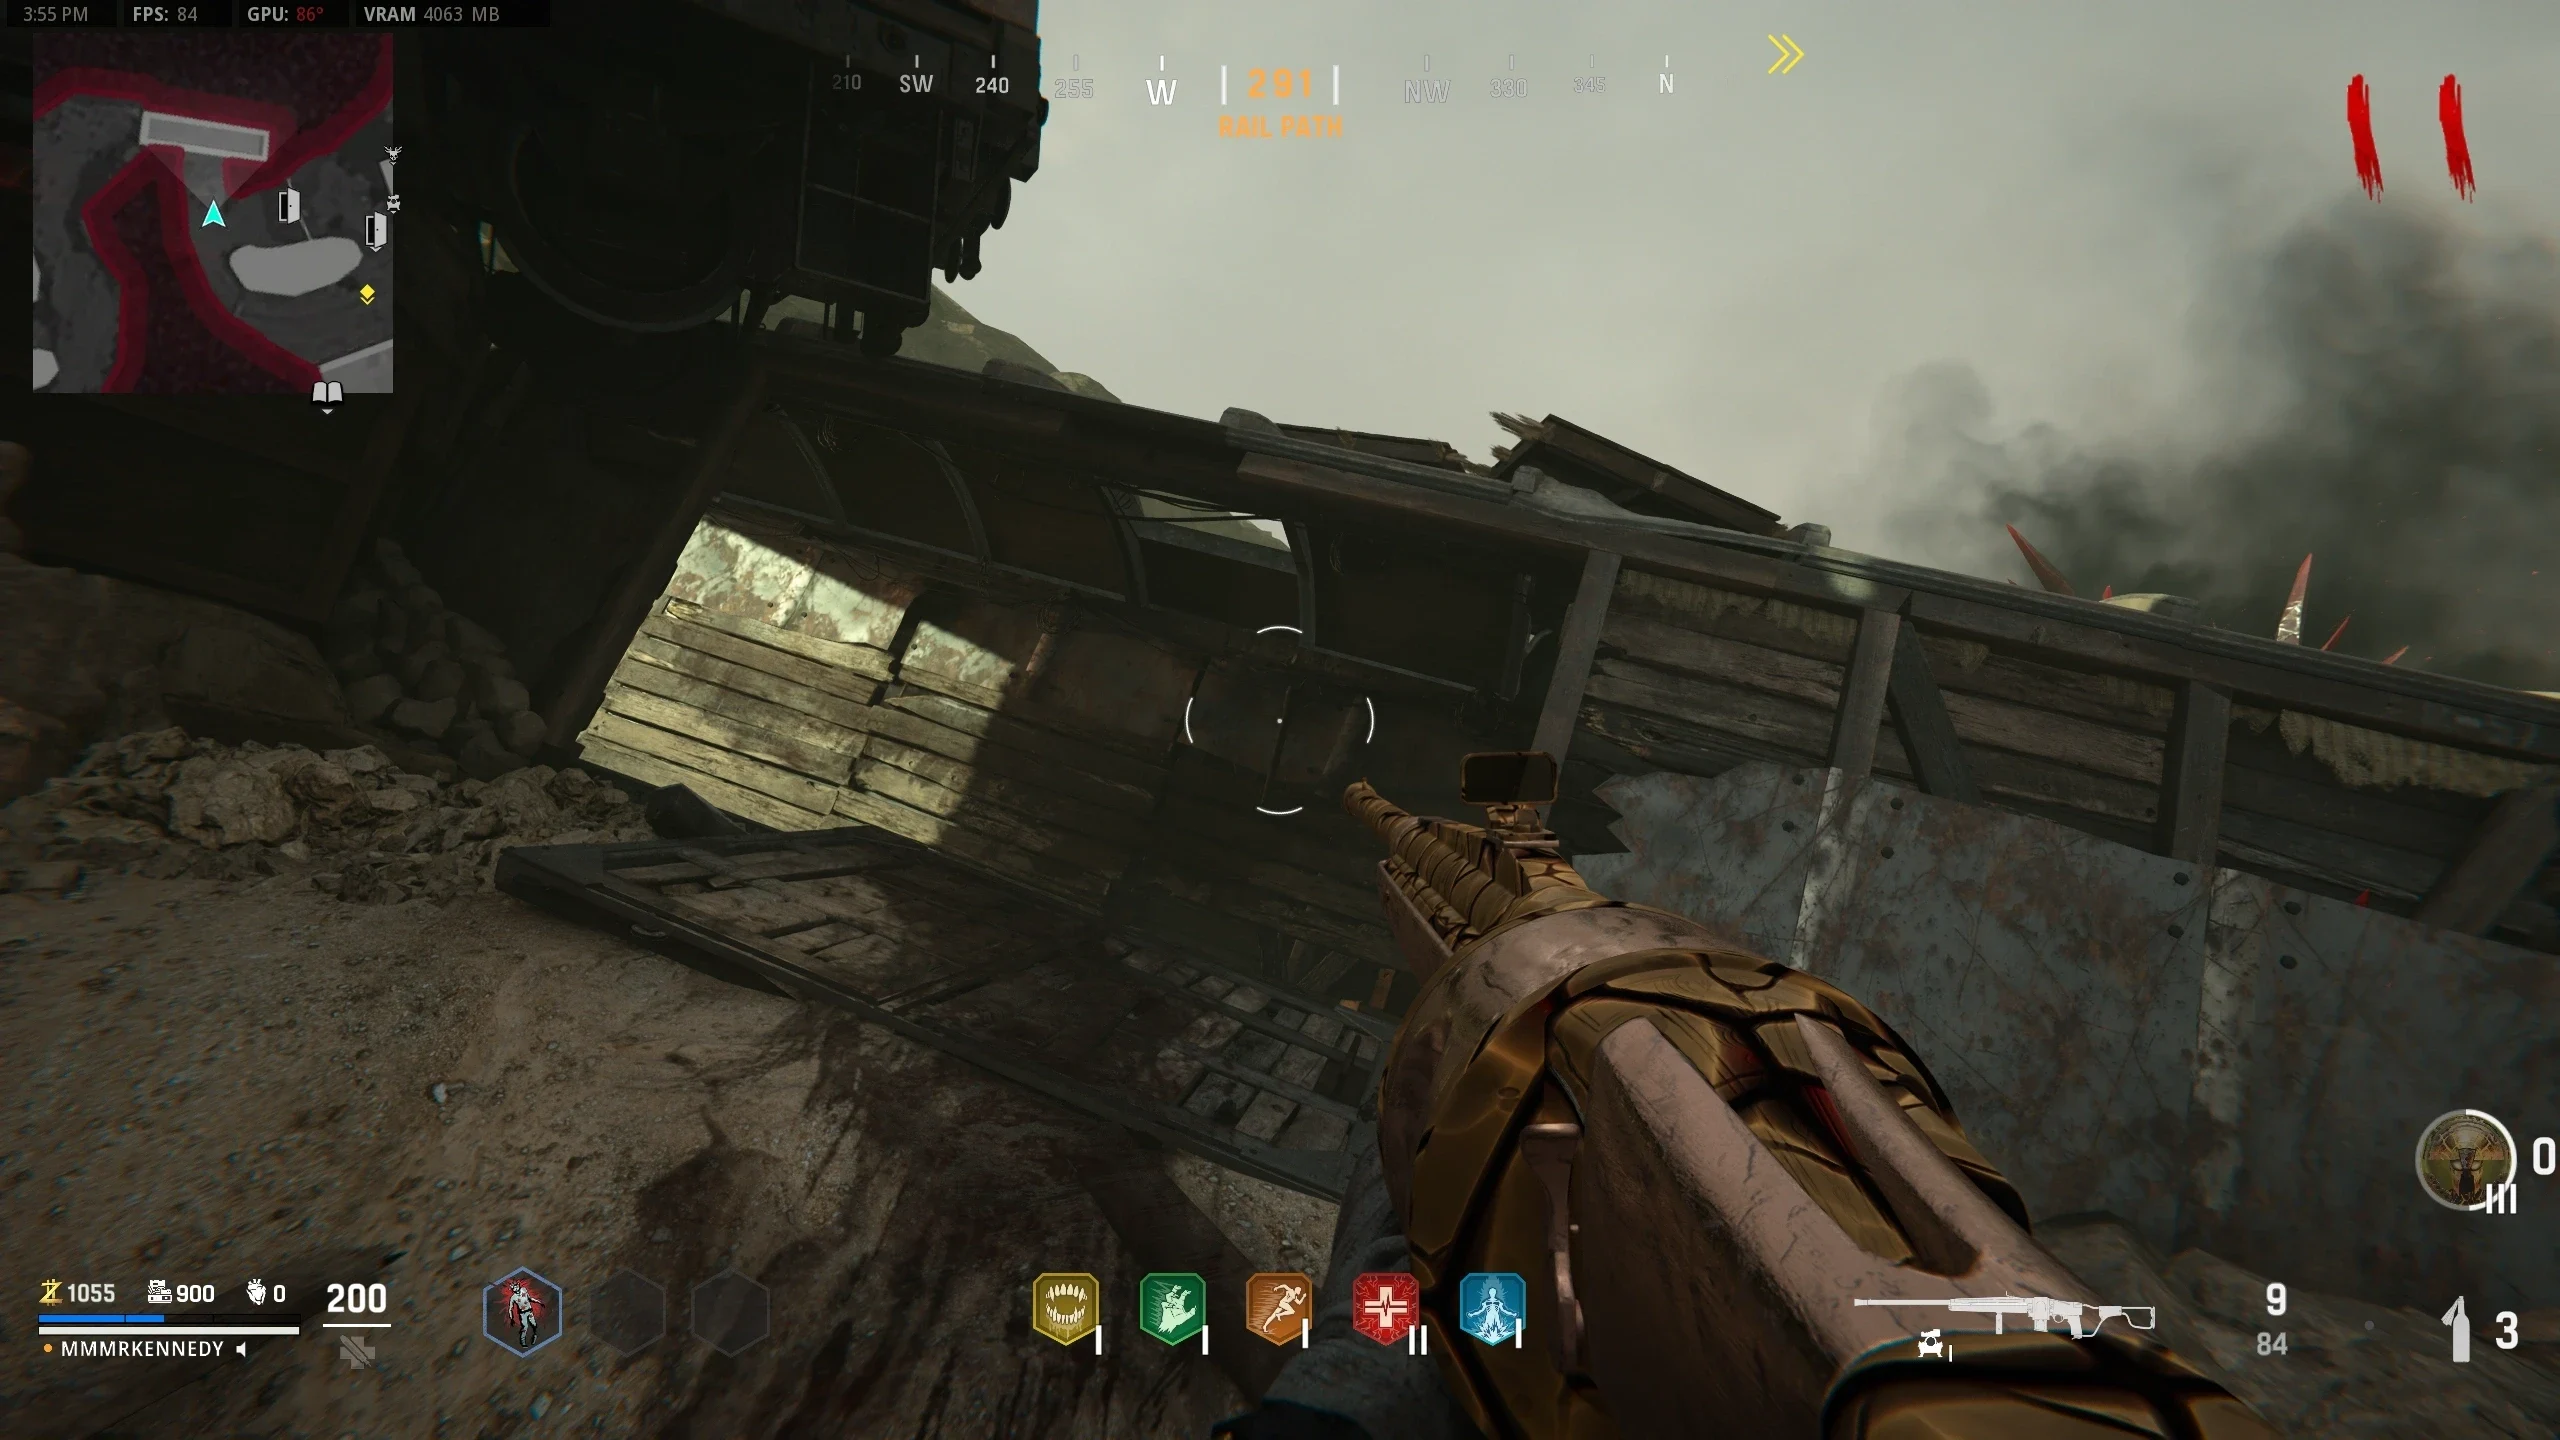
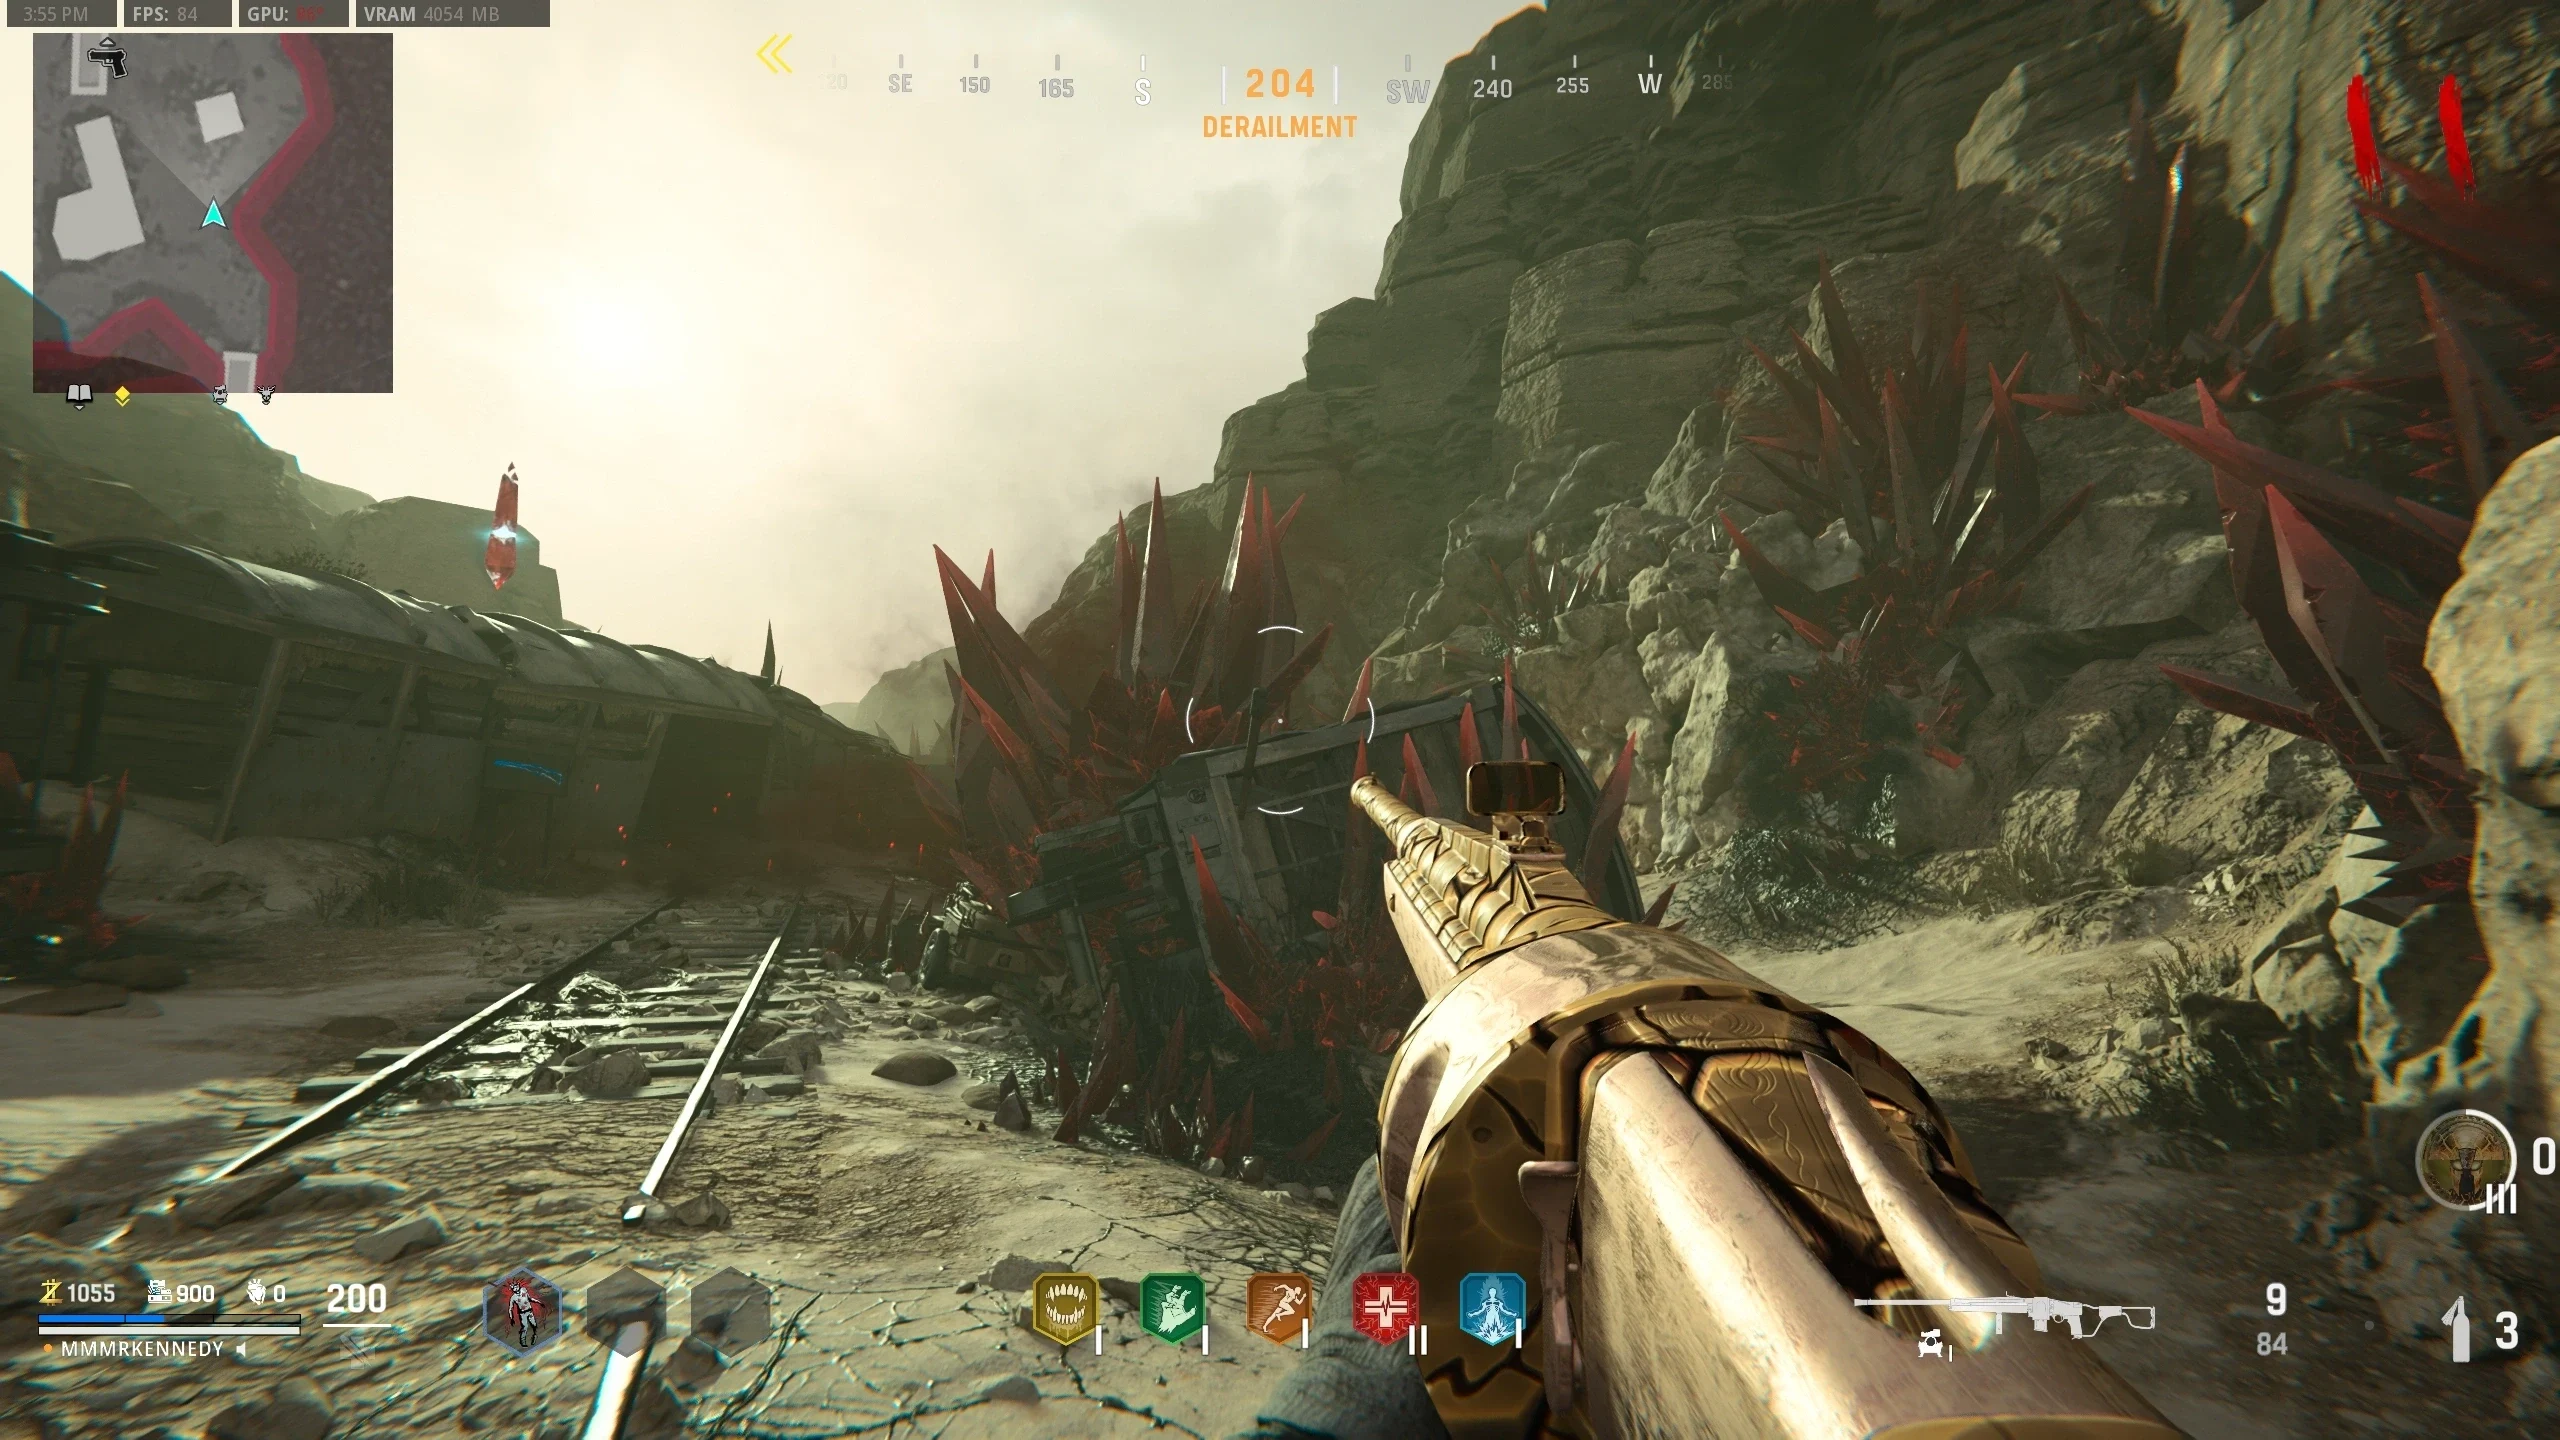
- Cursed Femur, needs to be dug up in the Derailment.
- Once all items are returned, the Decimator Shield will become available for pickup.
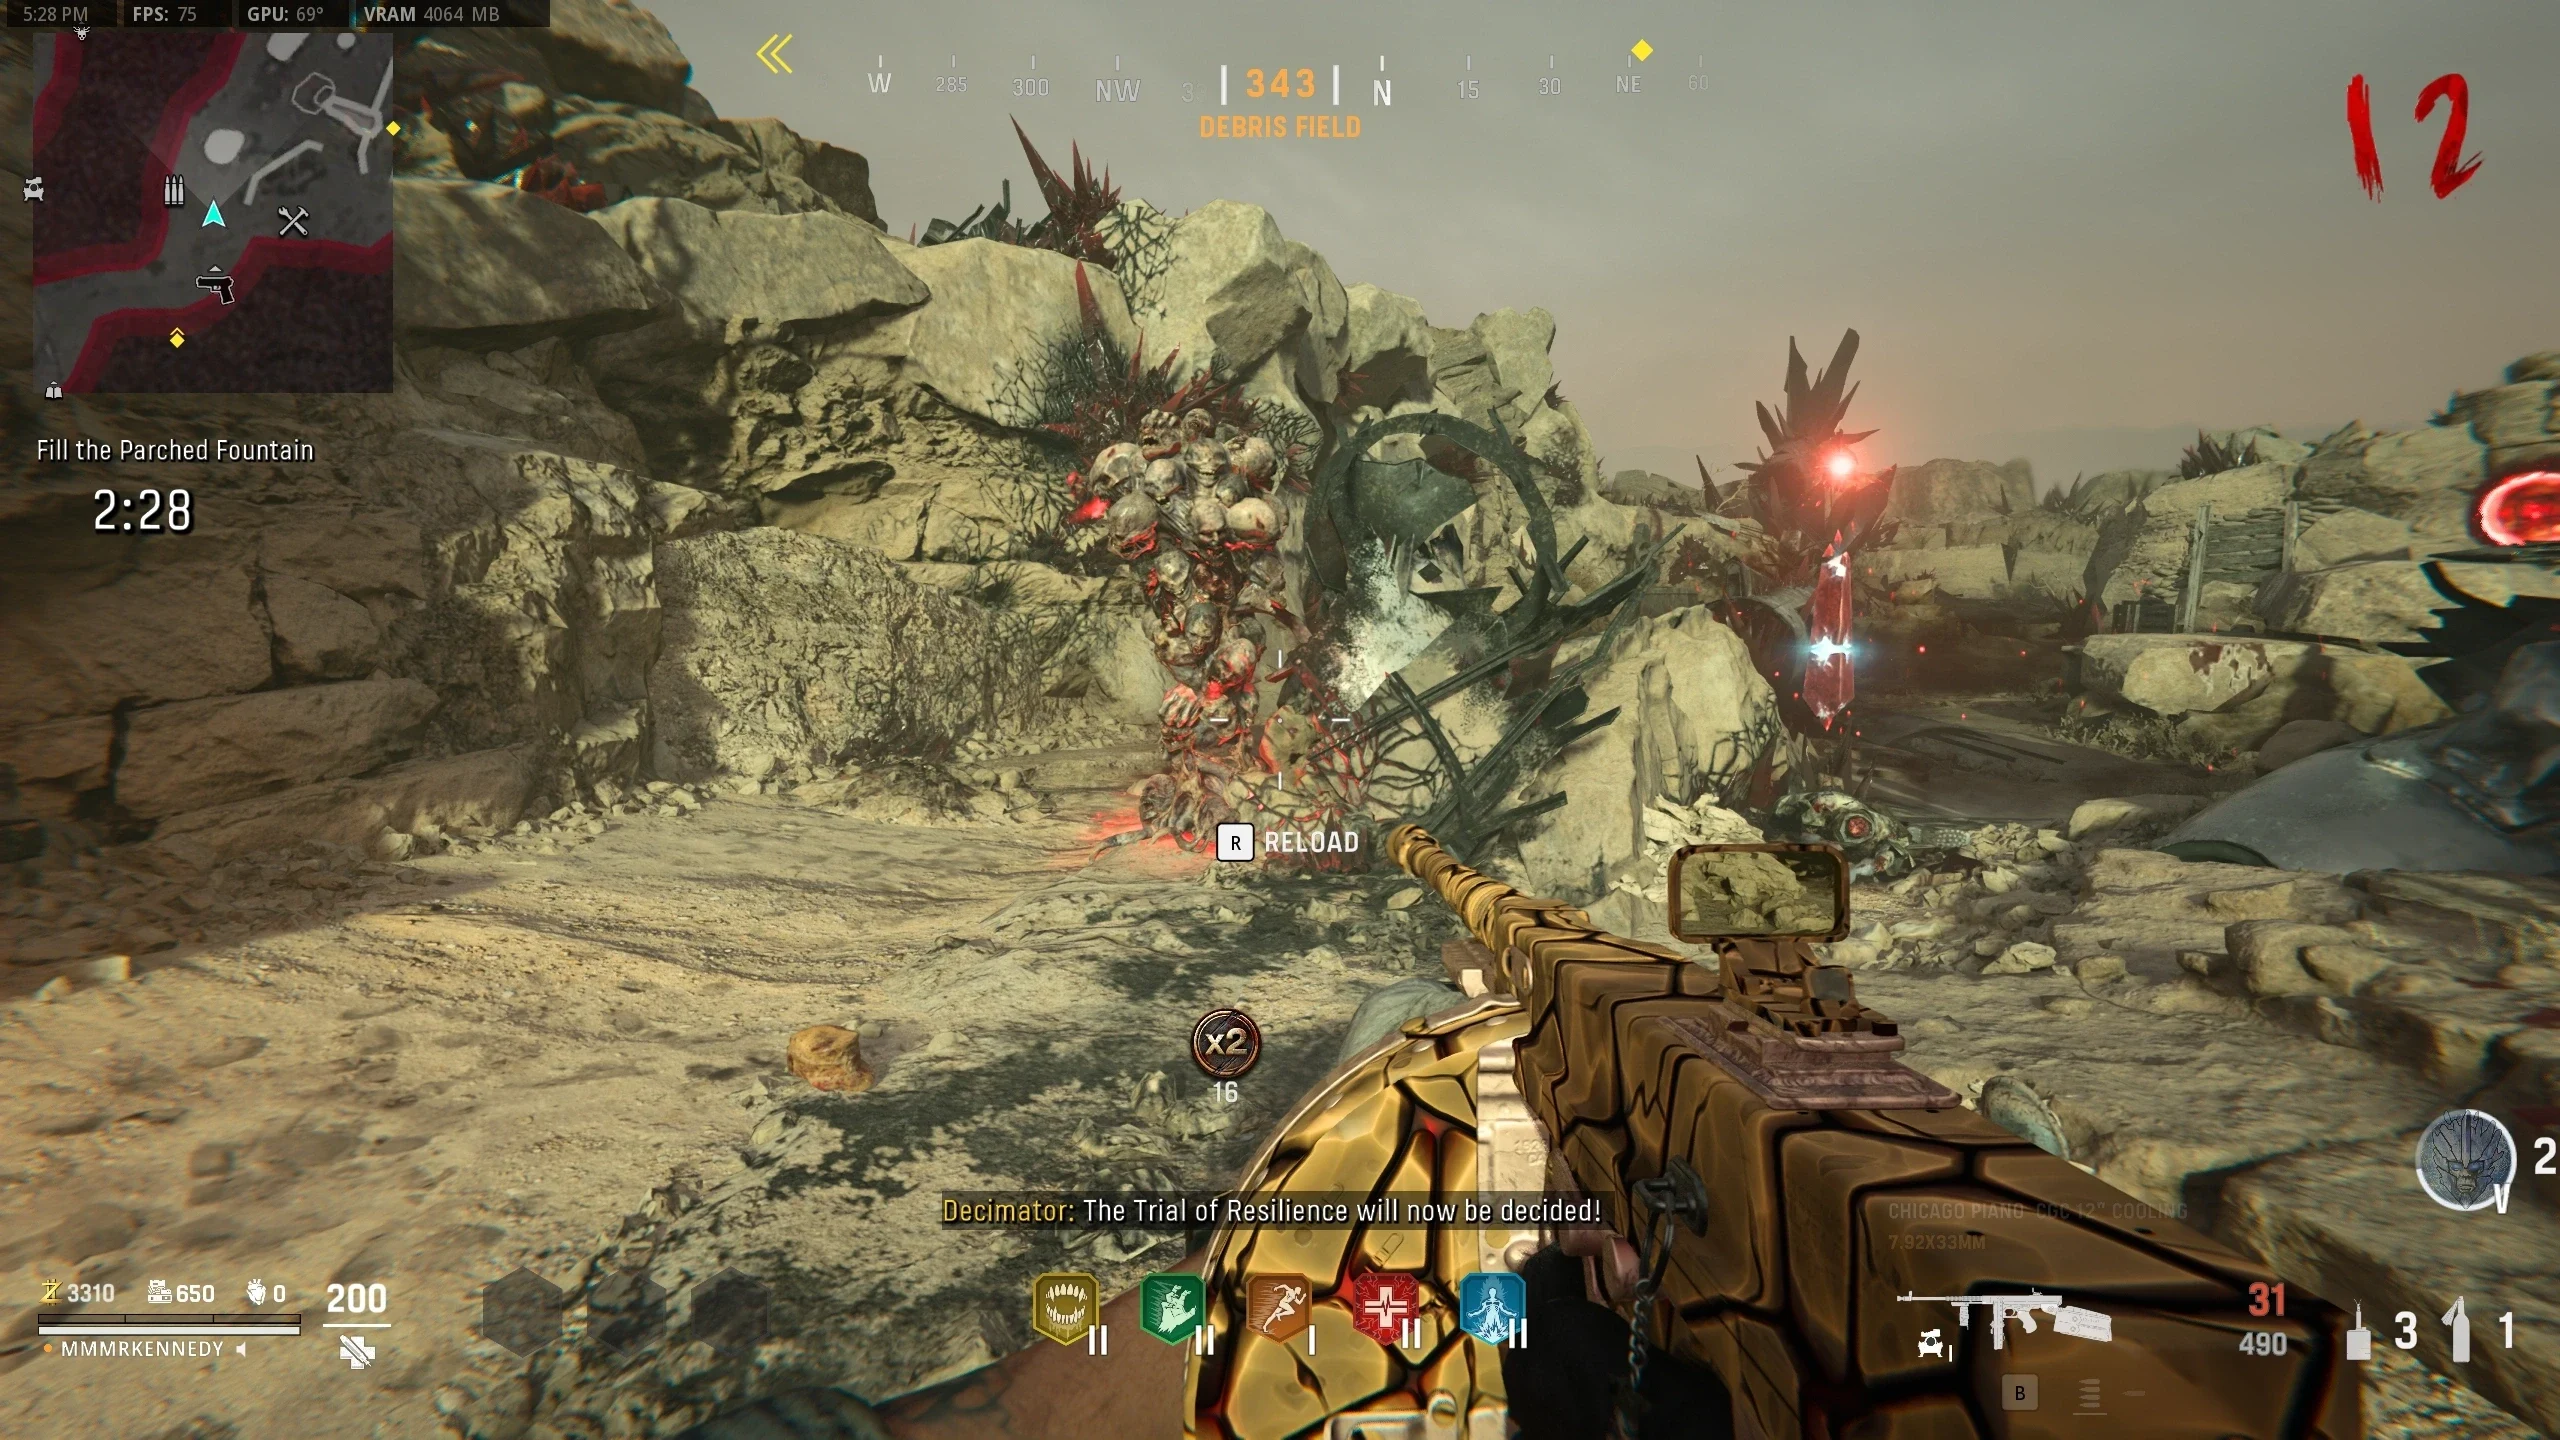
- Interact with the Obelisk to start the Trial Of Resilience.
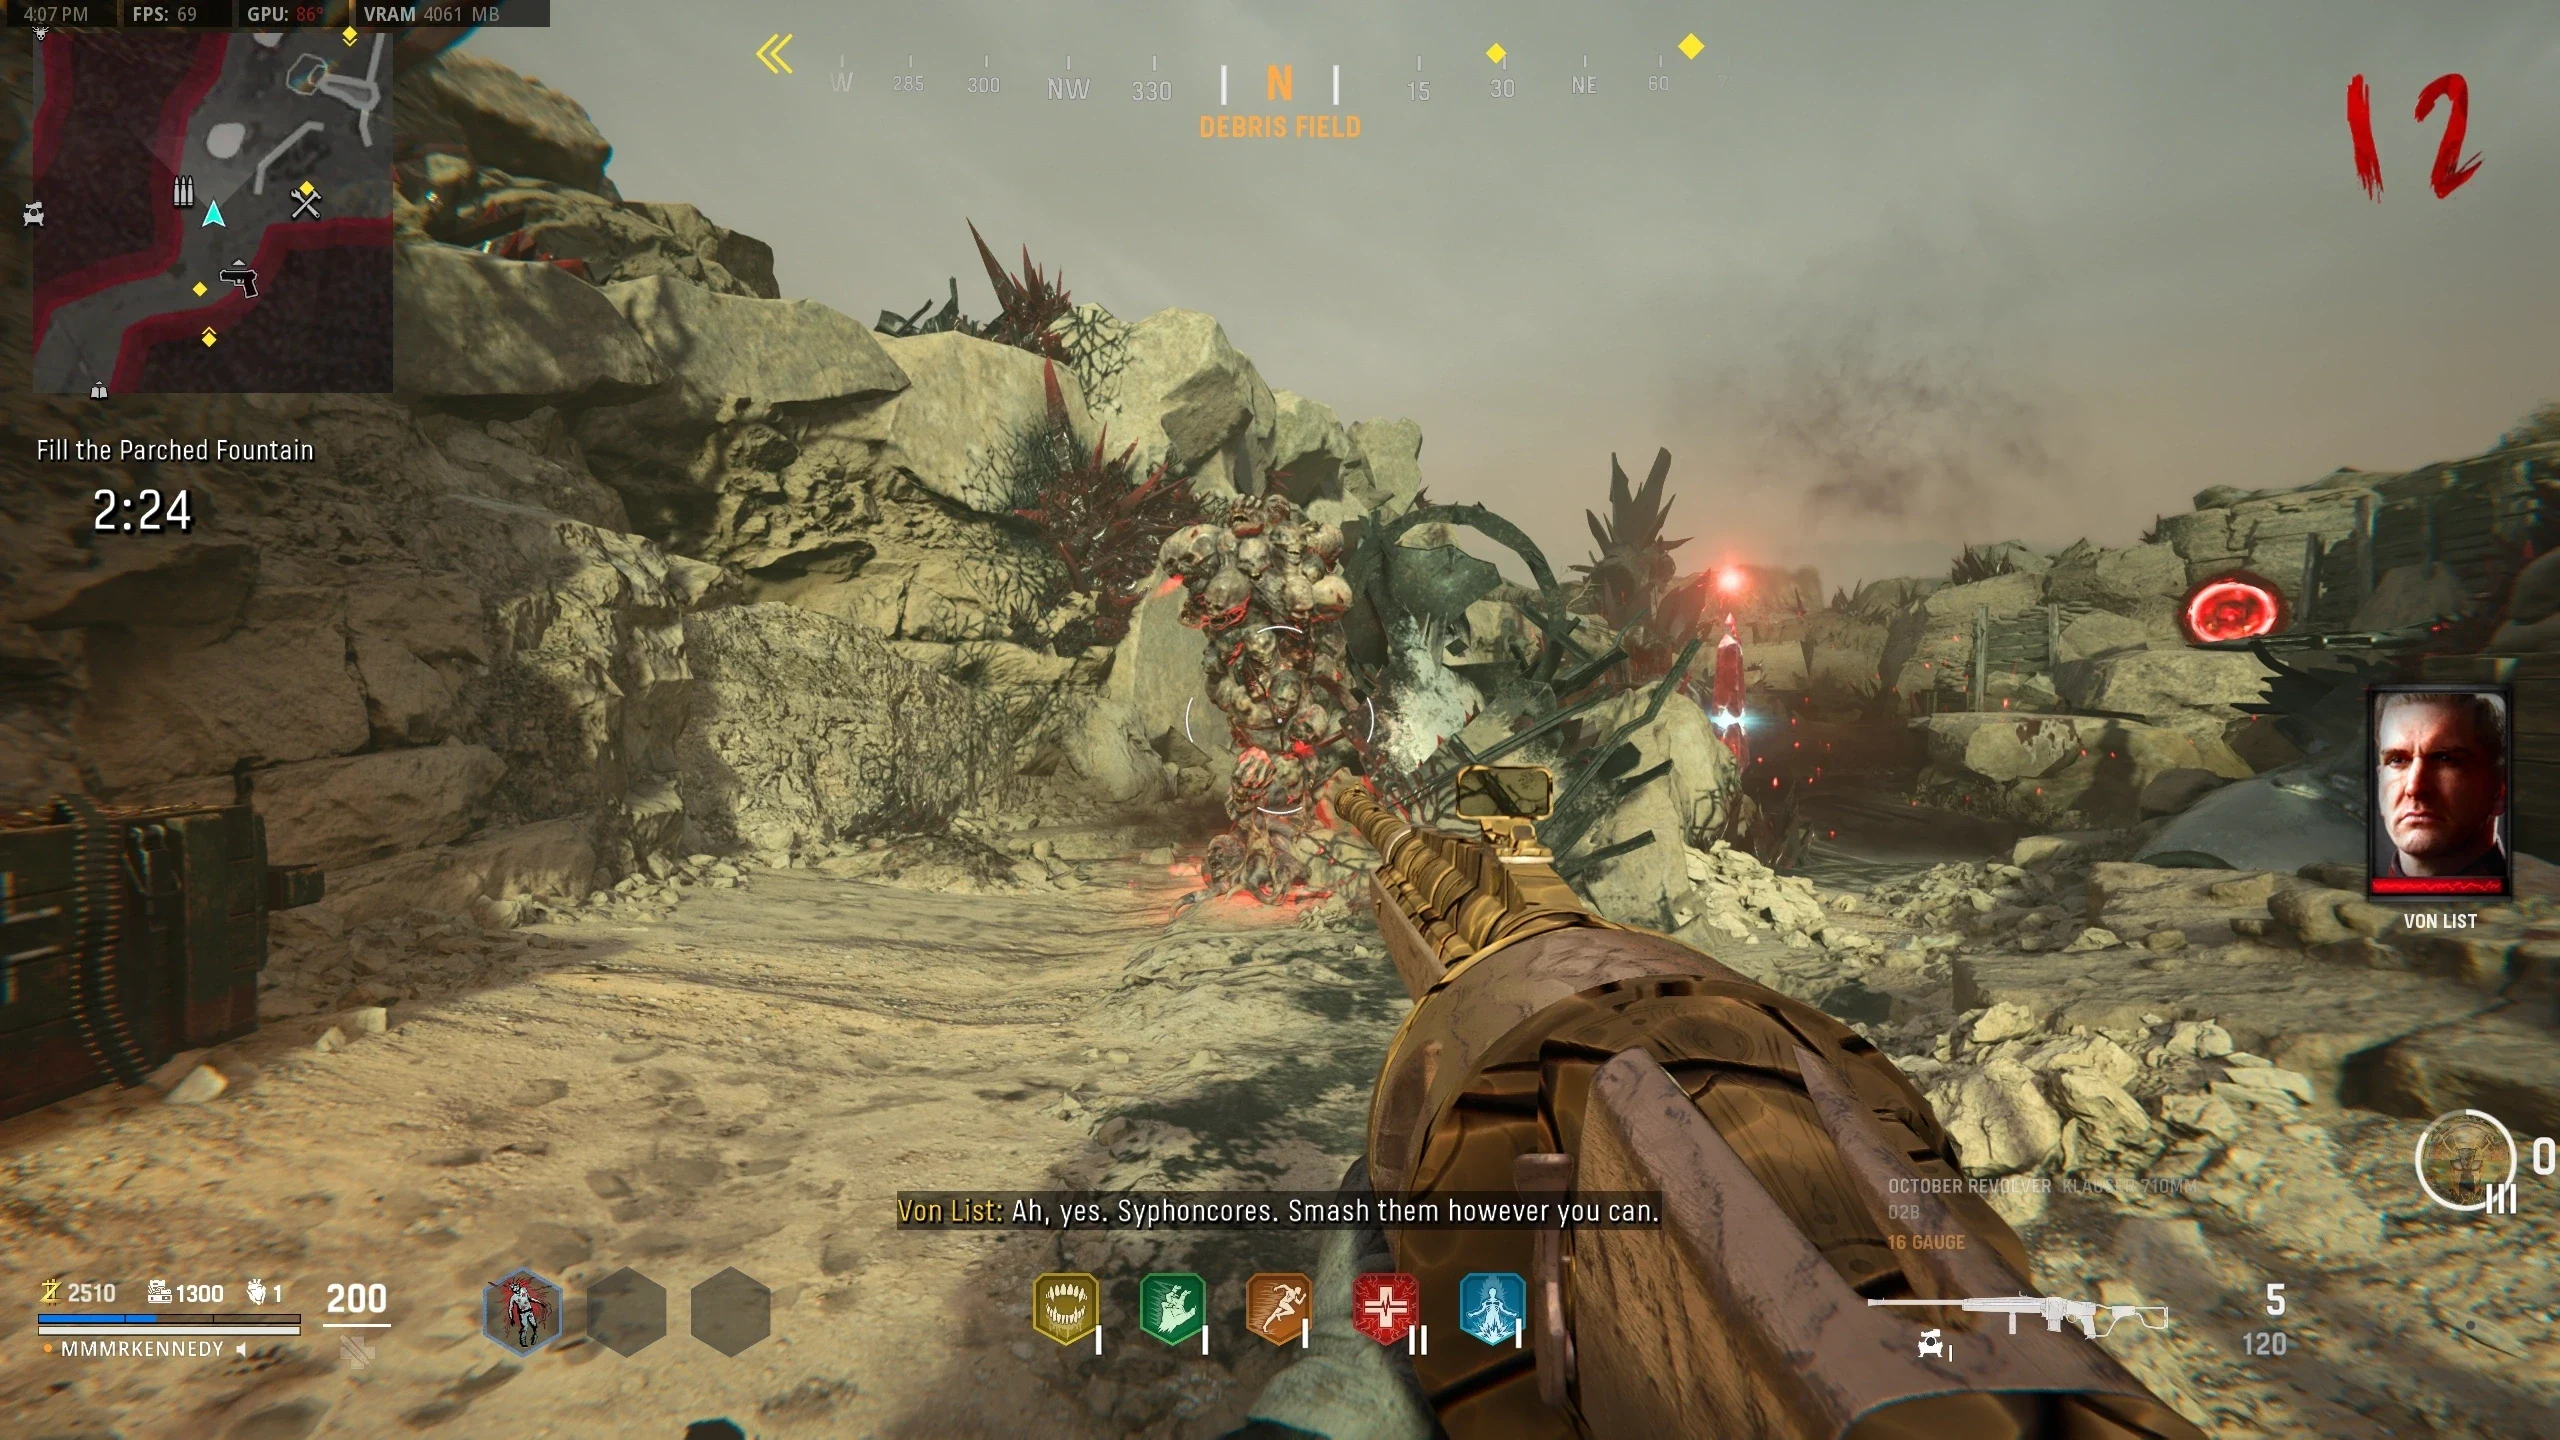
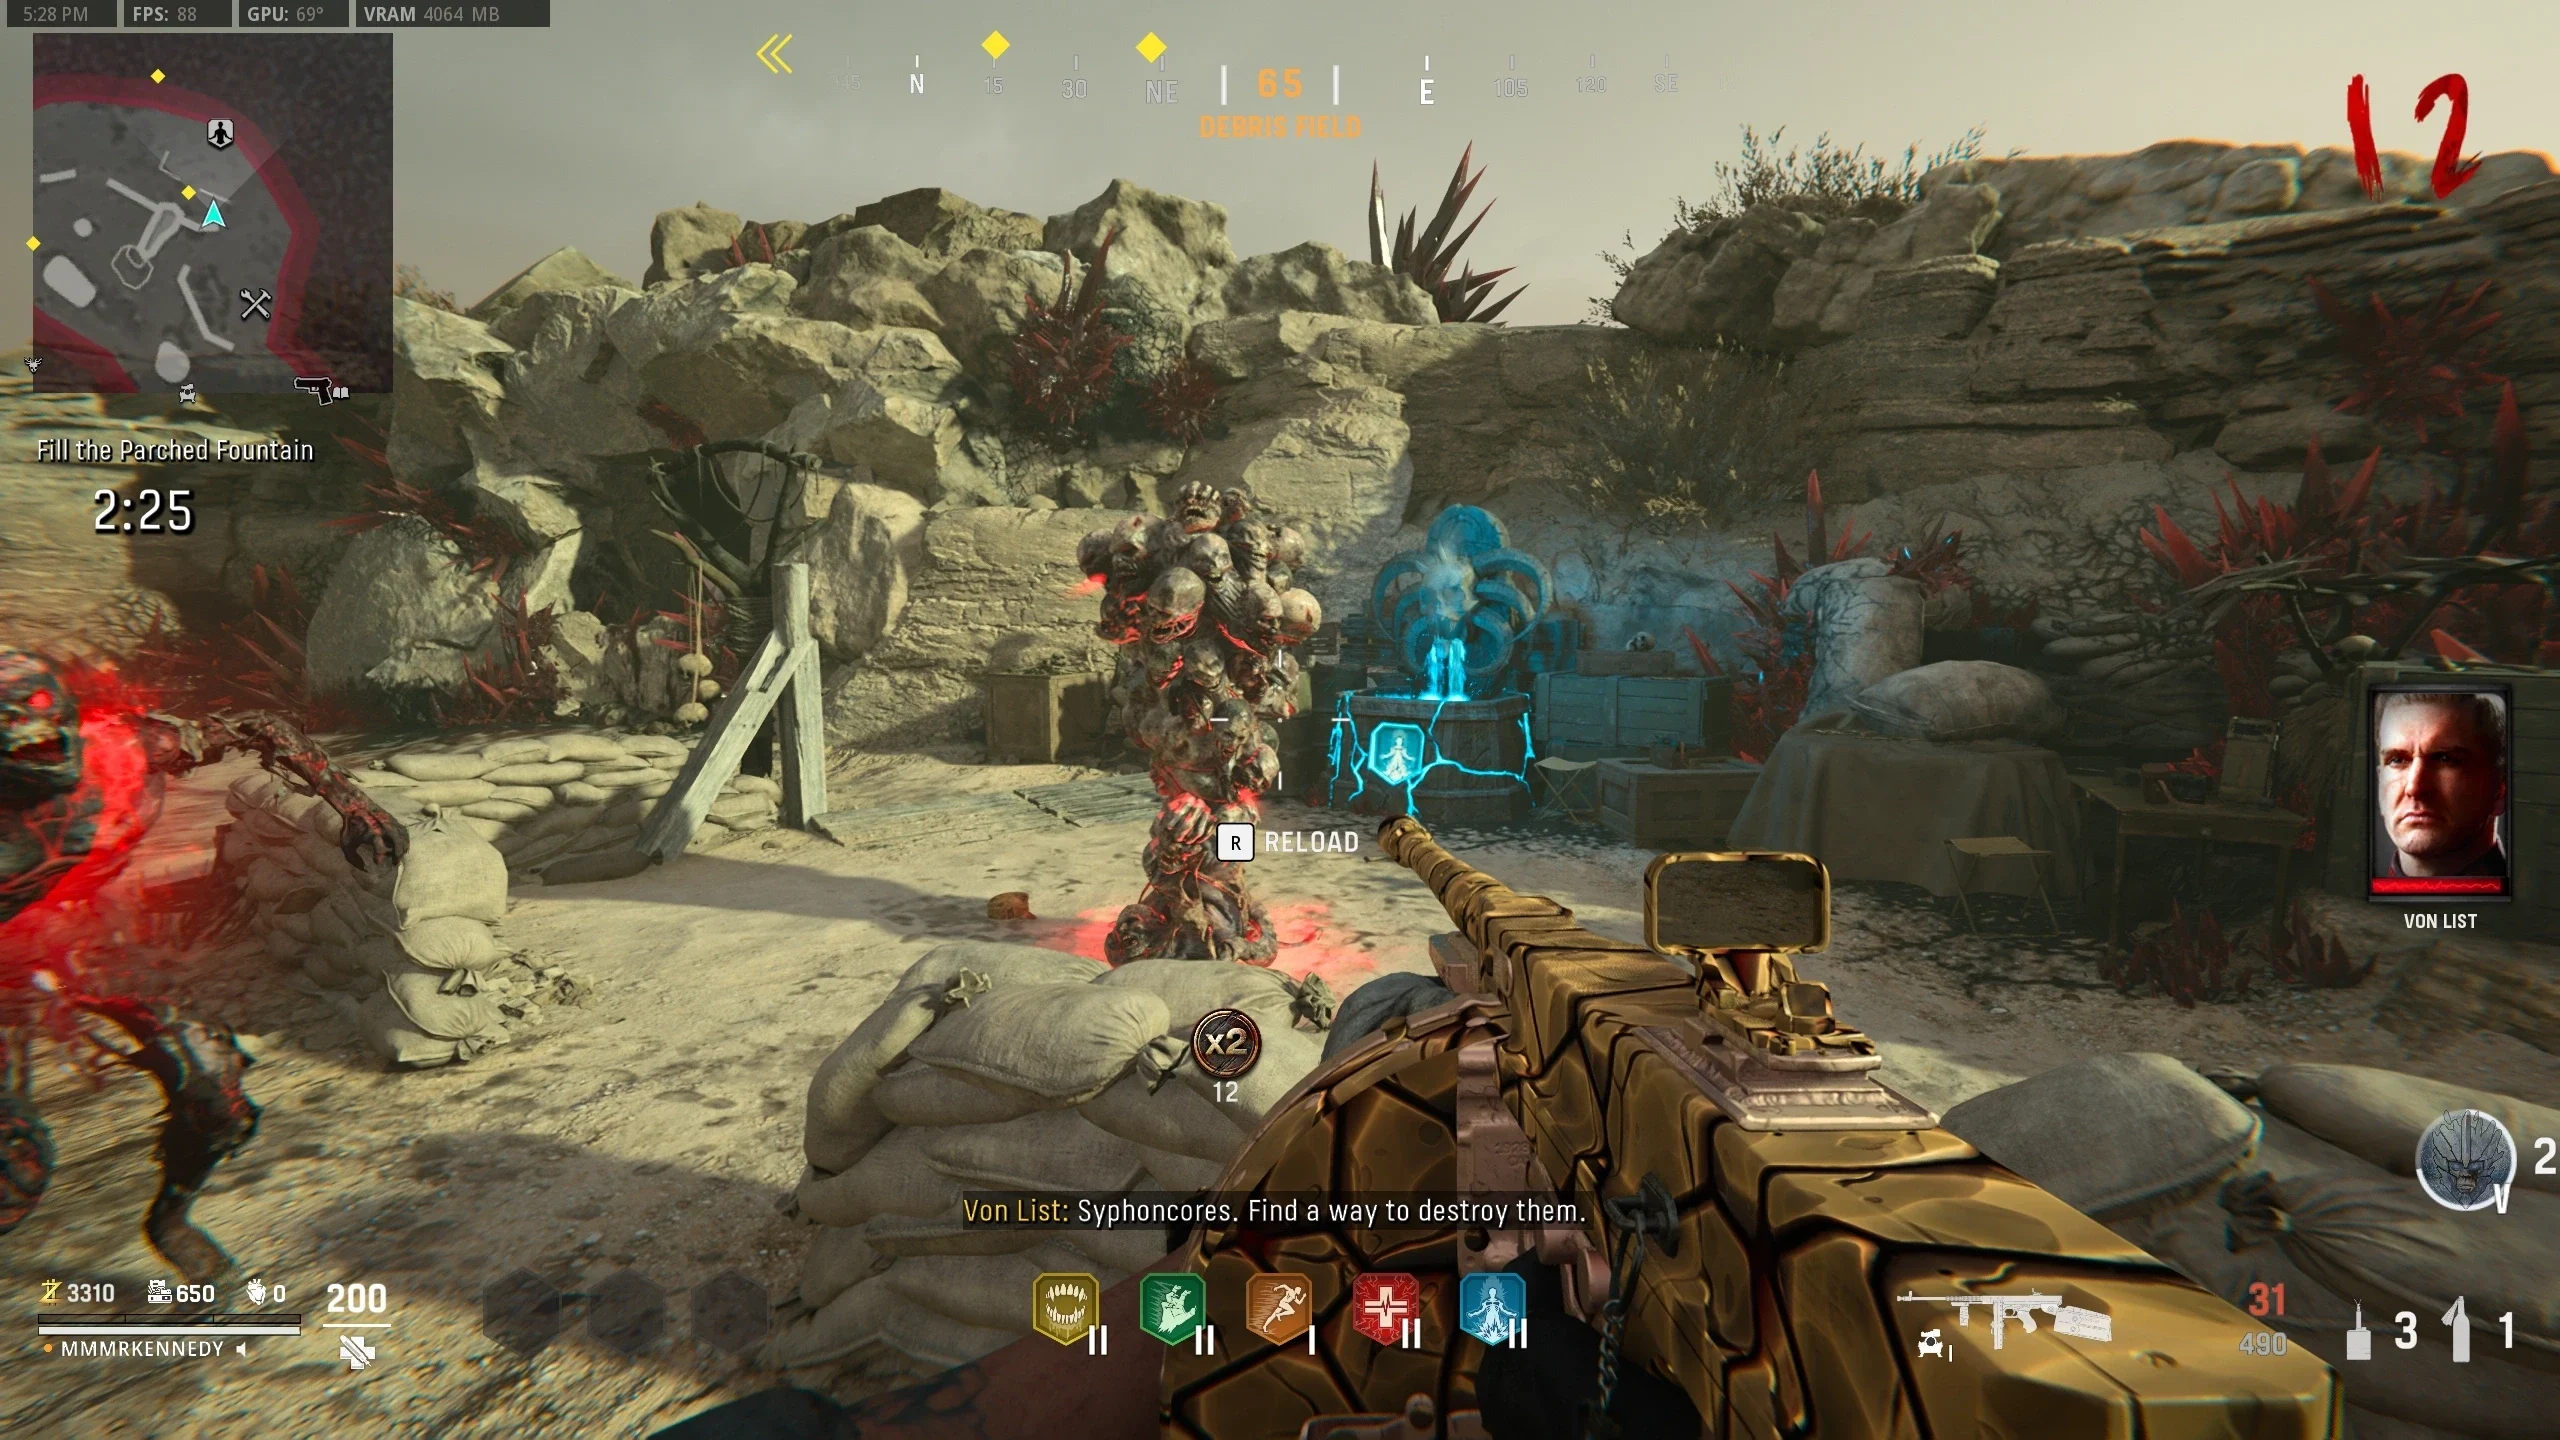
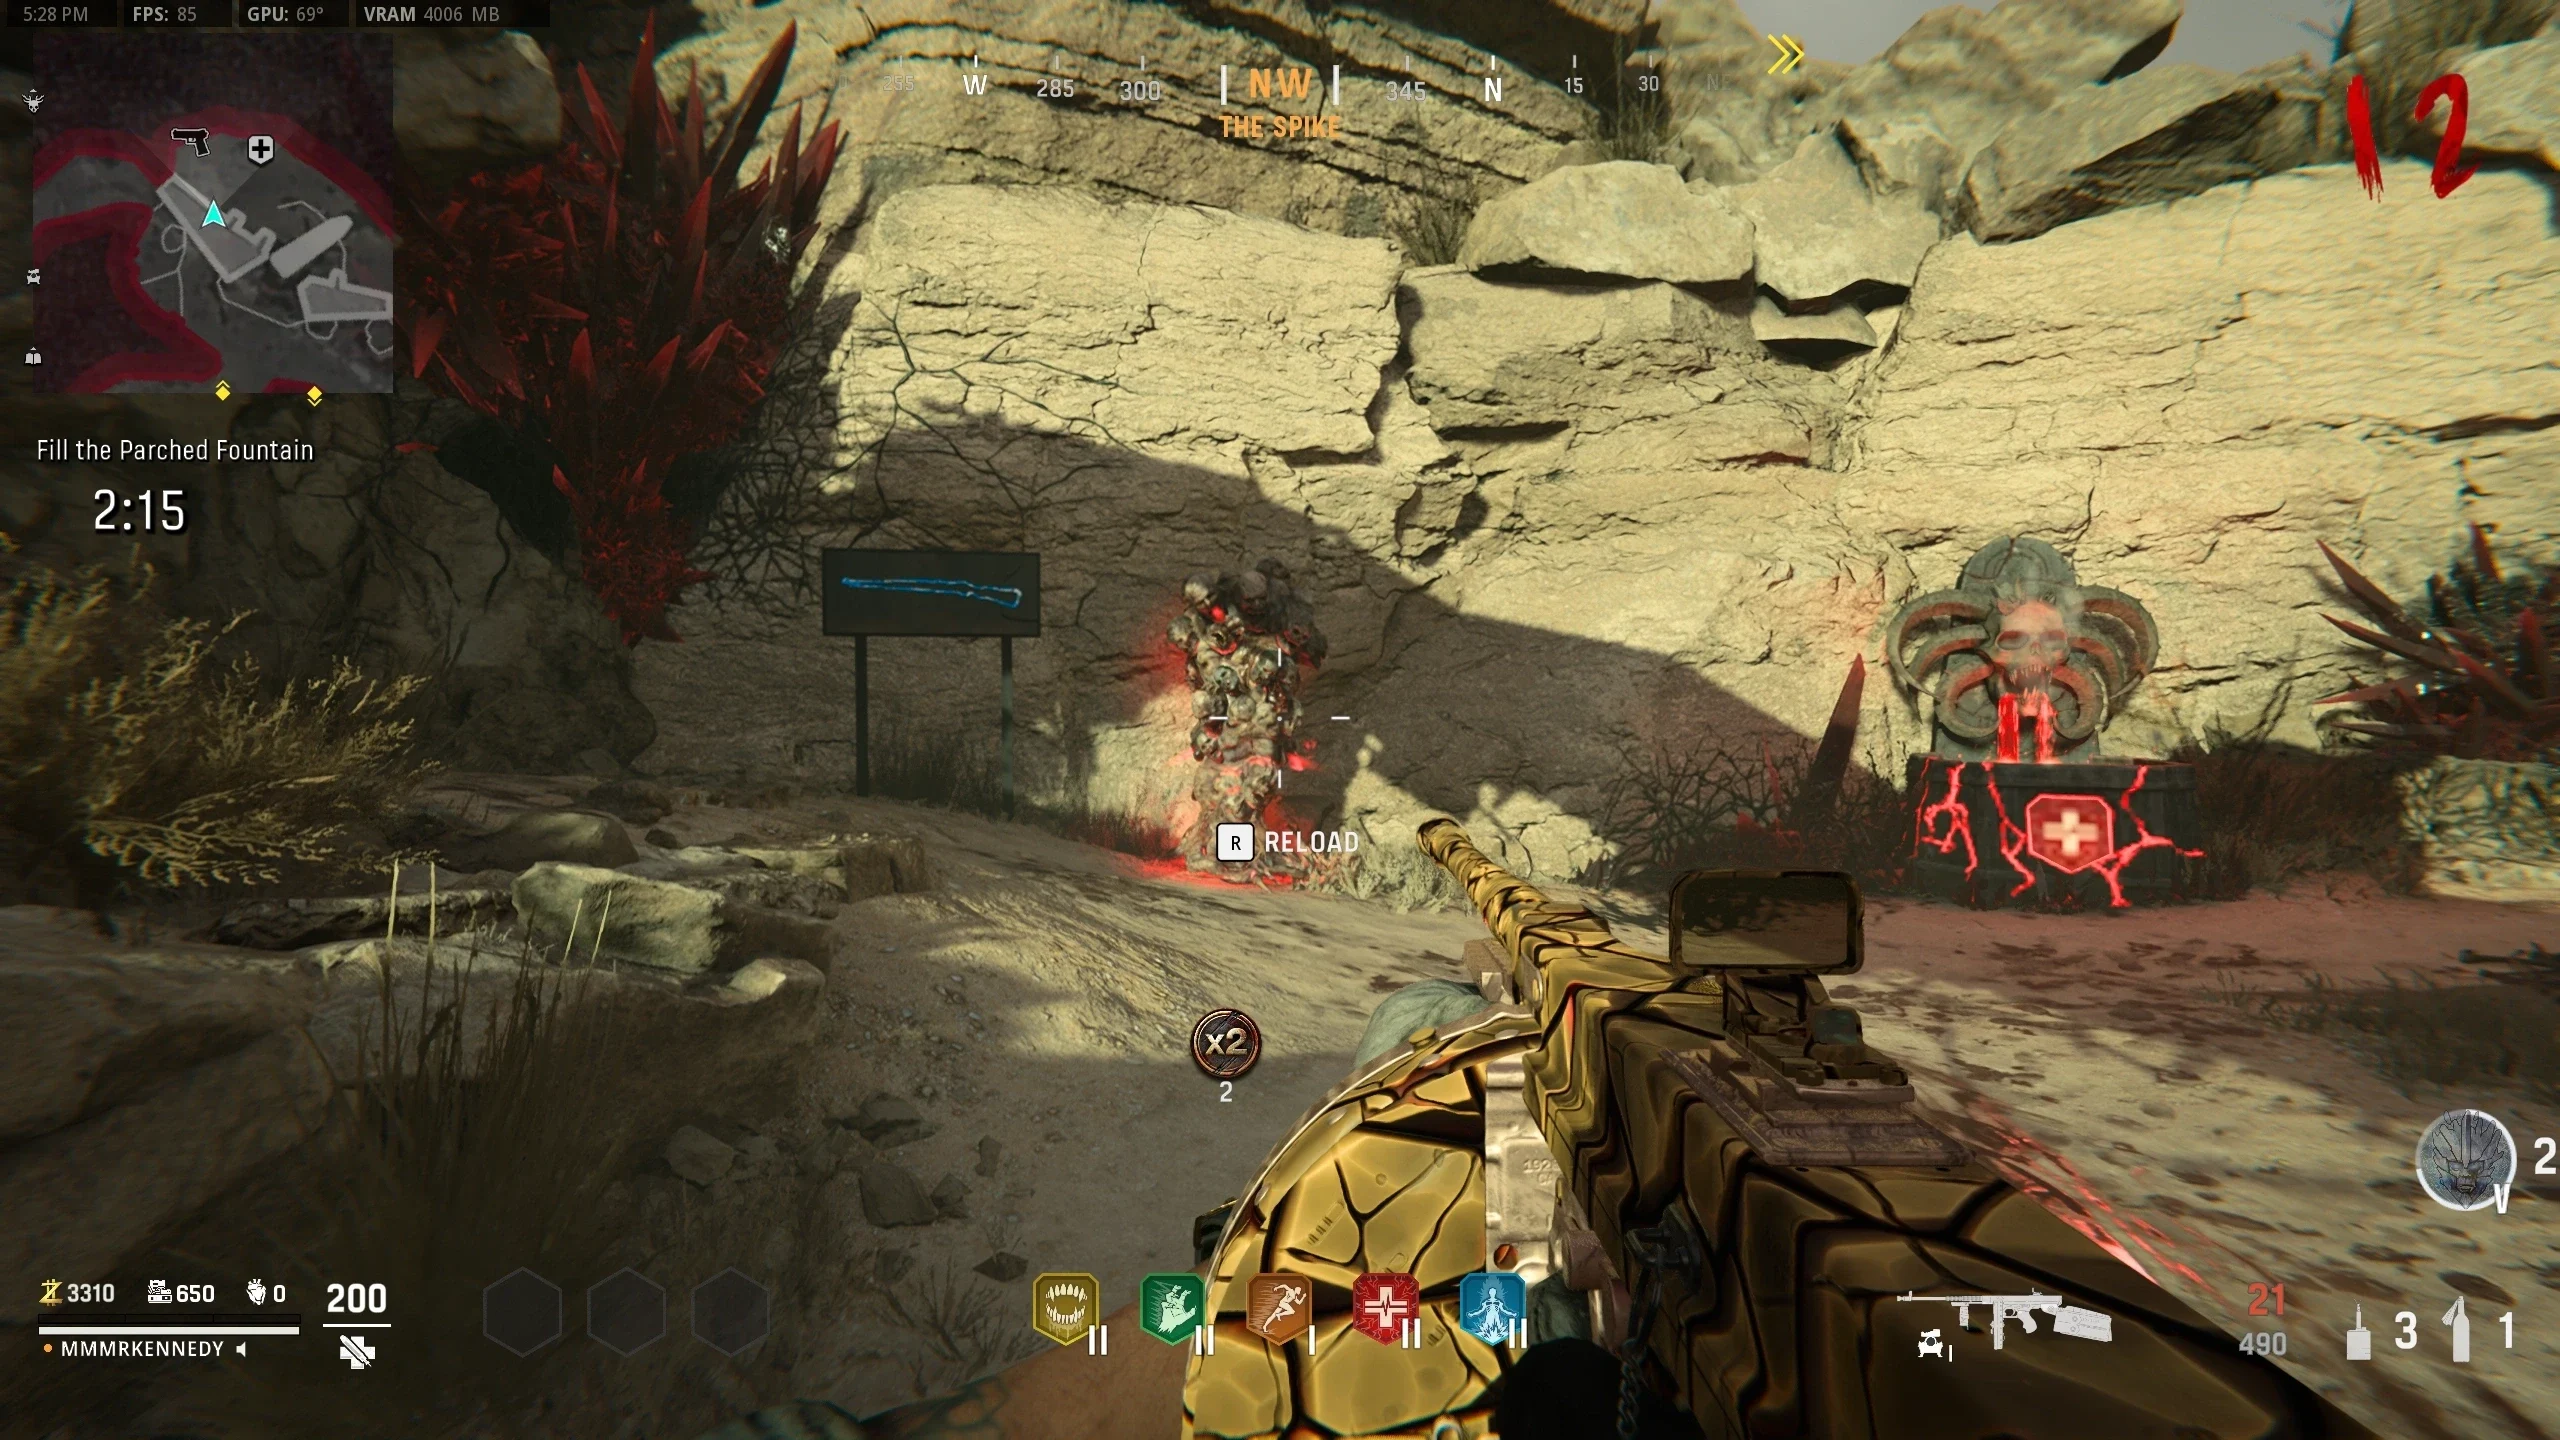
- The player must destroy Syphoncores using the Decimator Shield's special ability (Slam) and deliver Demon Blood to the empty Demonic Fountain. Demon Blood can be picked up from the destroyed syphoncores.
- Three Syphoncores need to be destroyed:
- Once the empty Demonic Fountain is filled, the player will be given bonus points, full armour, max ammo and full power drops.
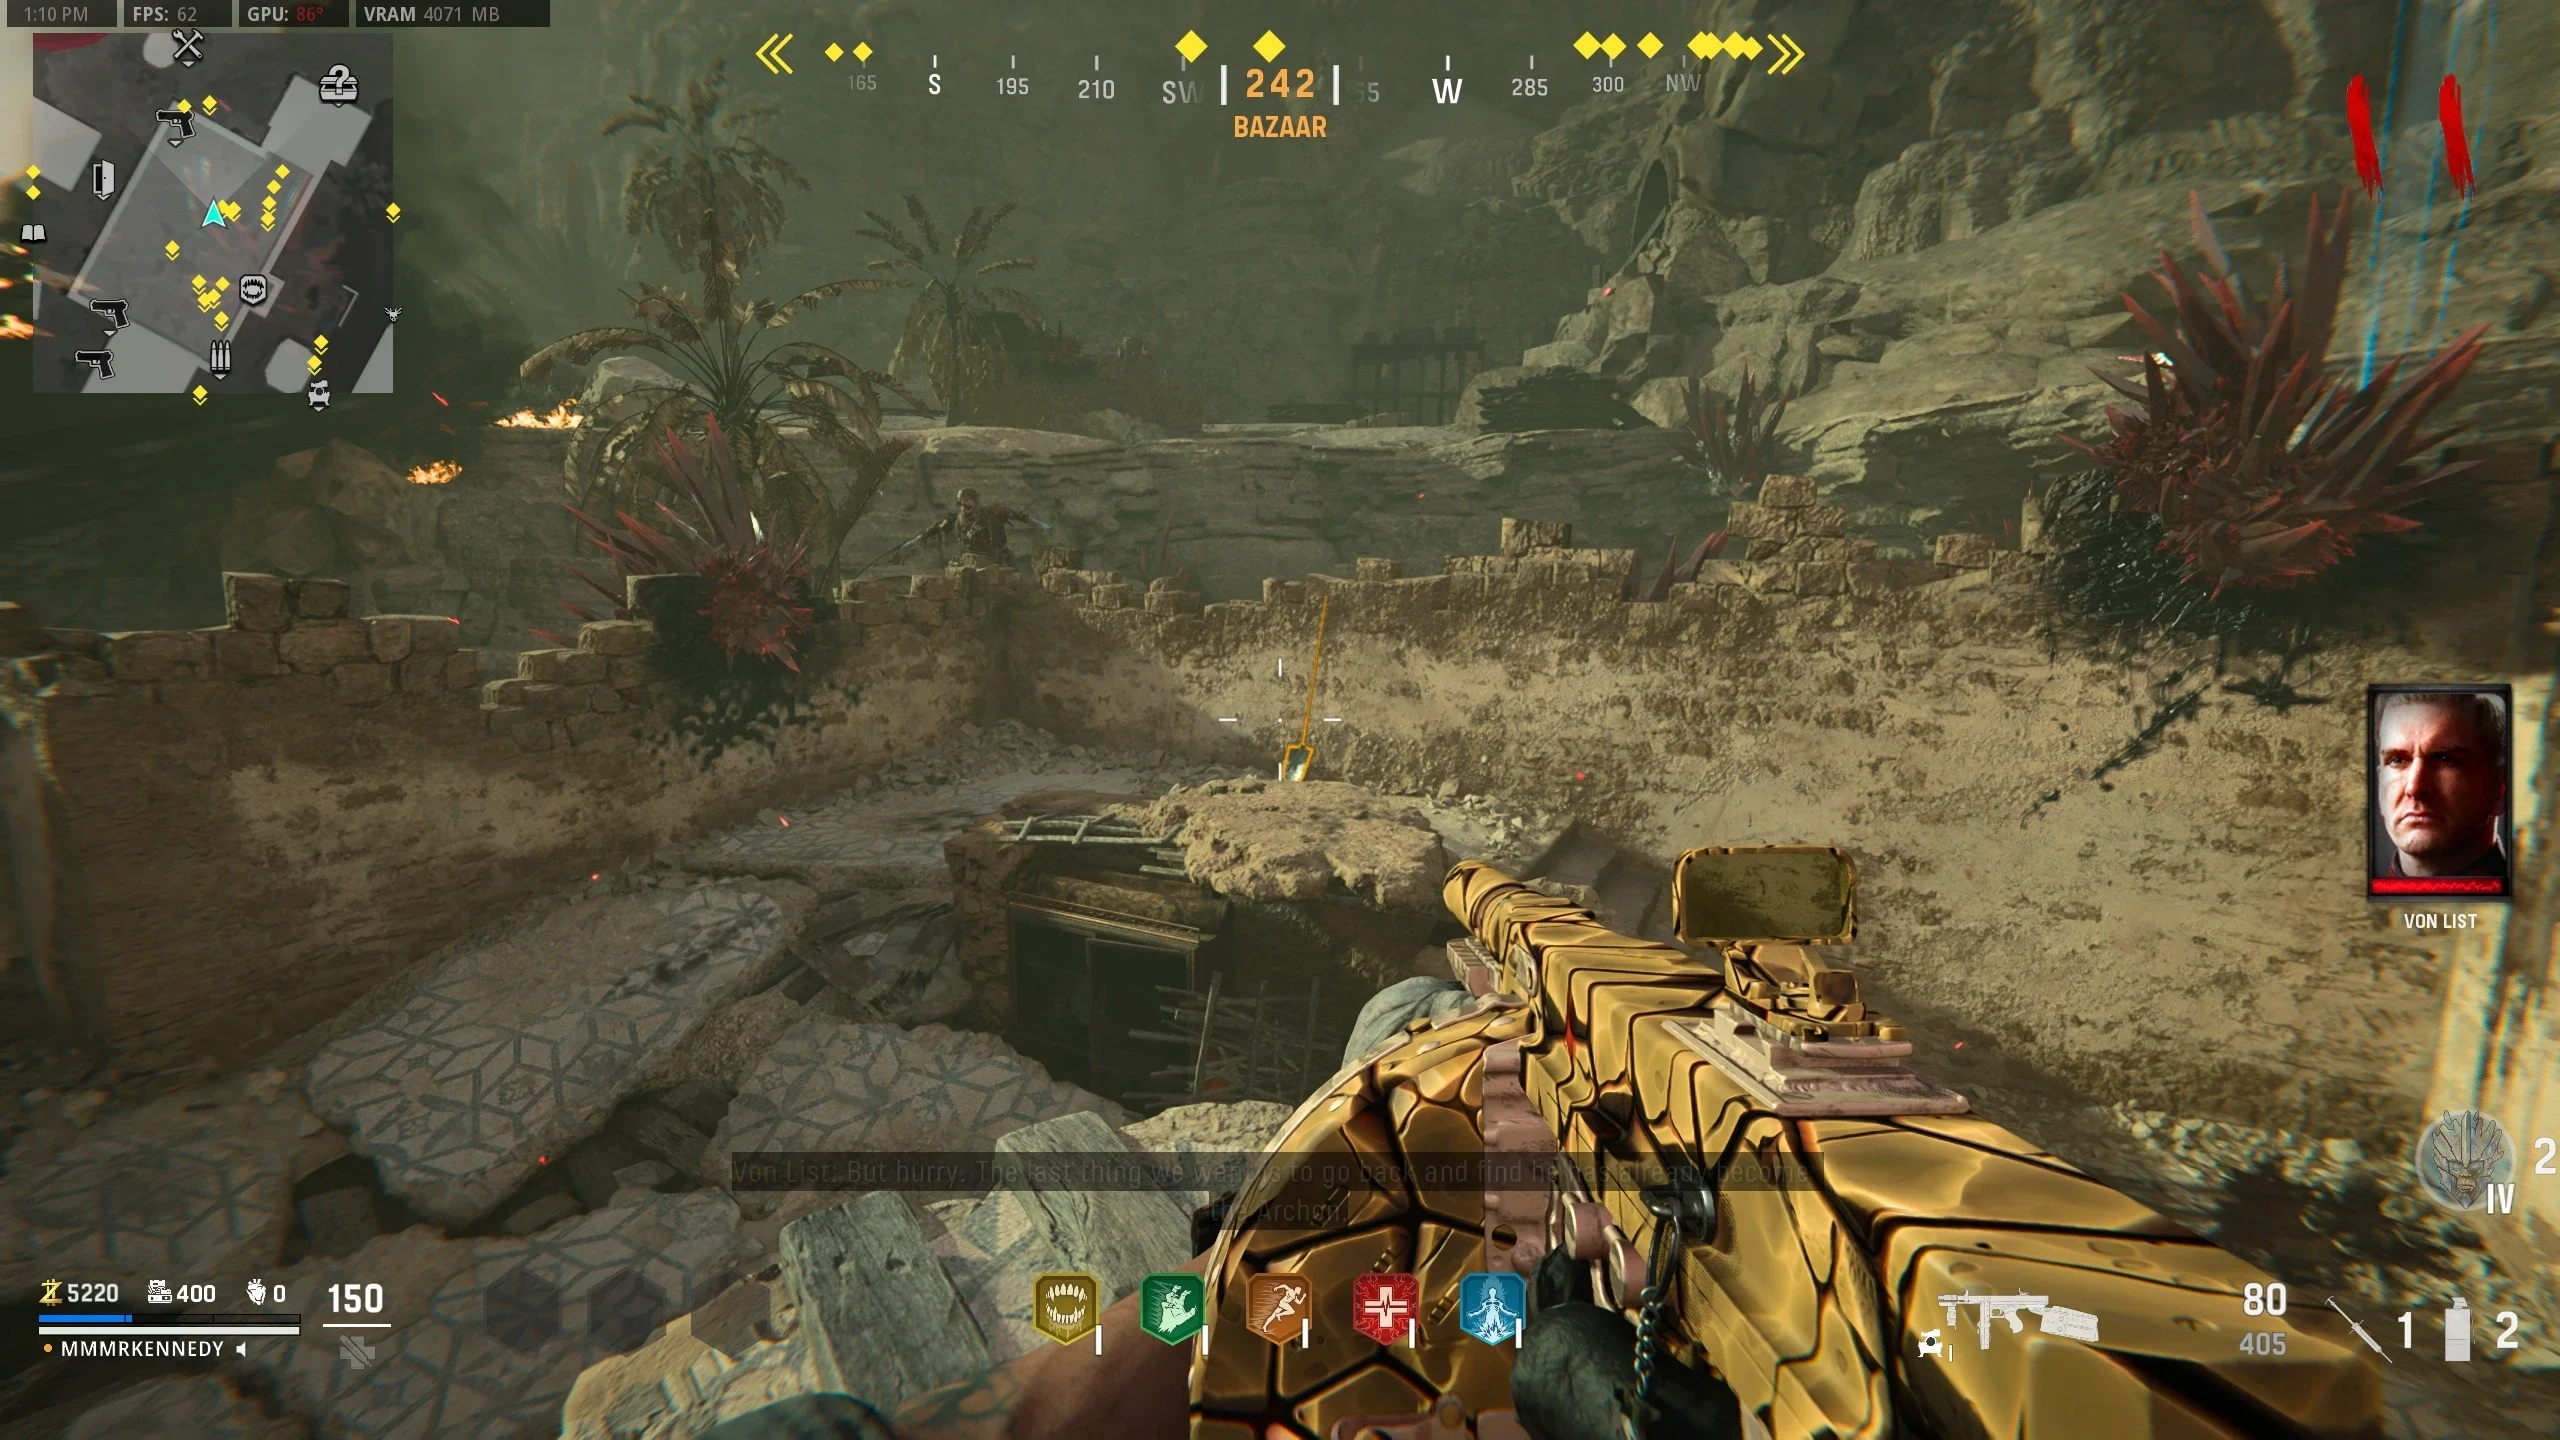
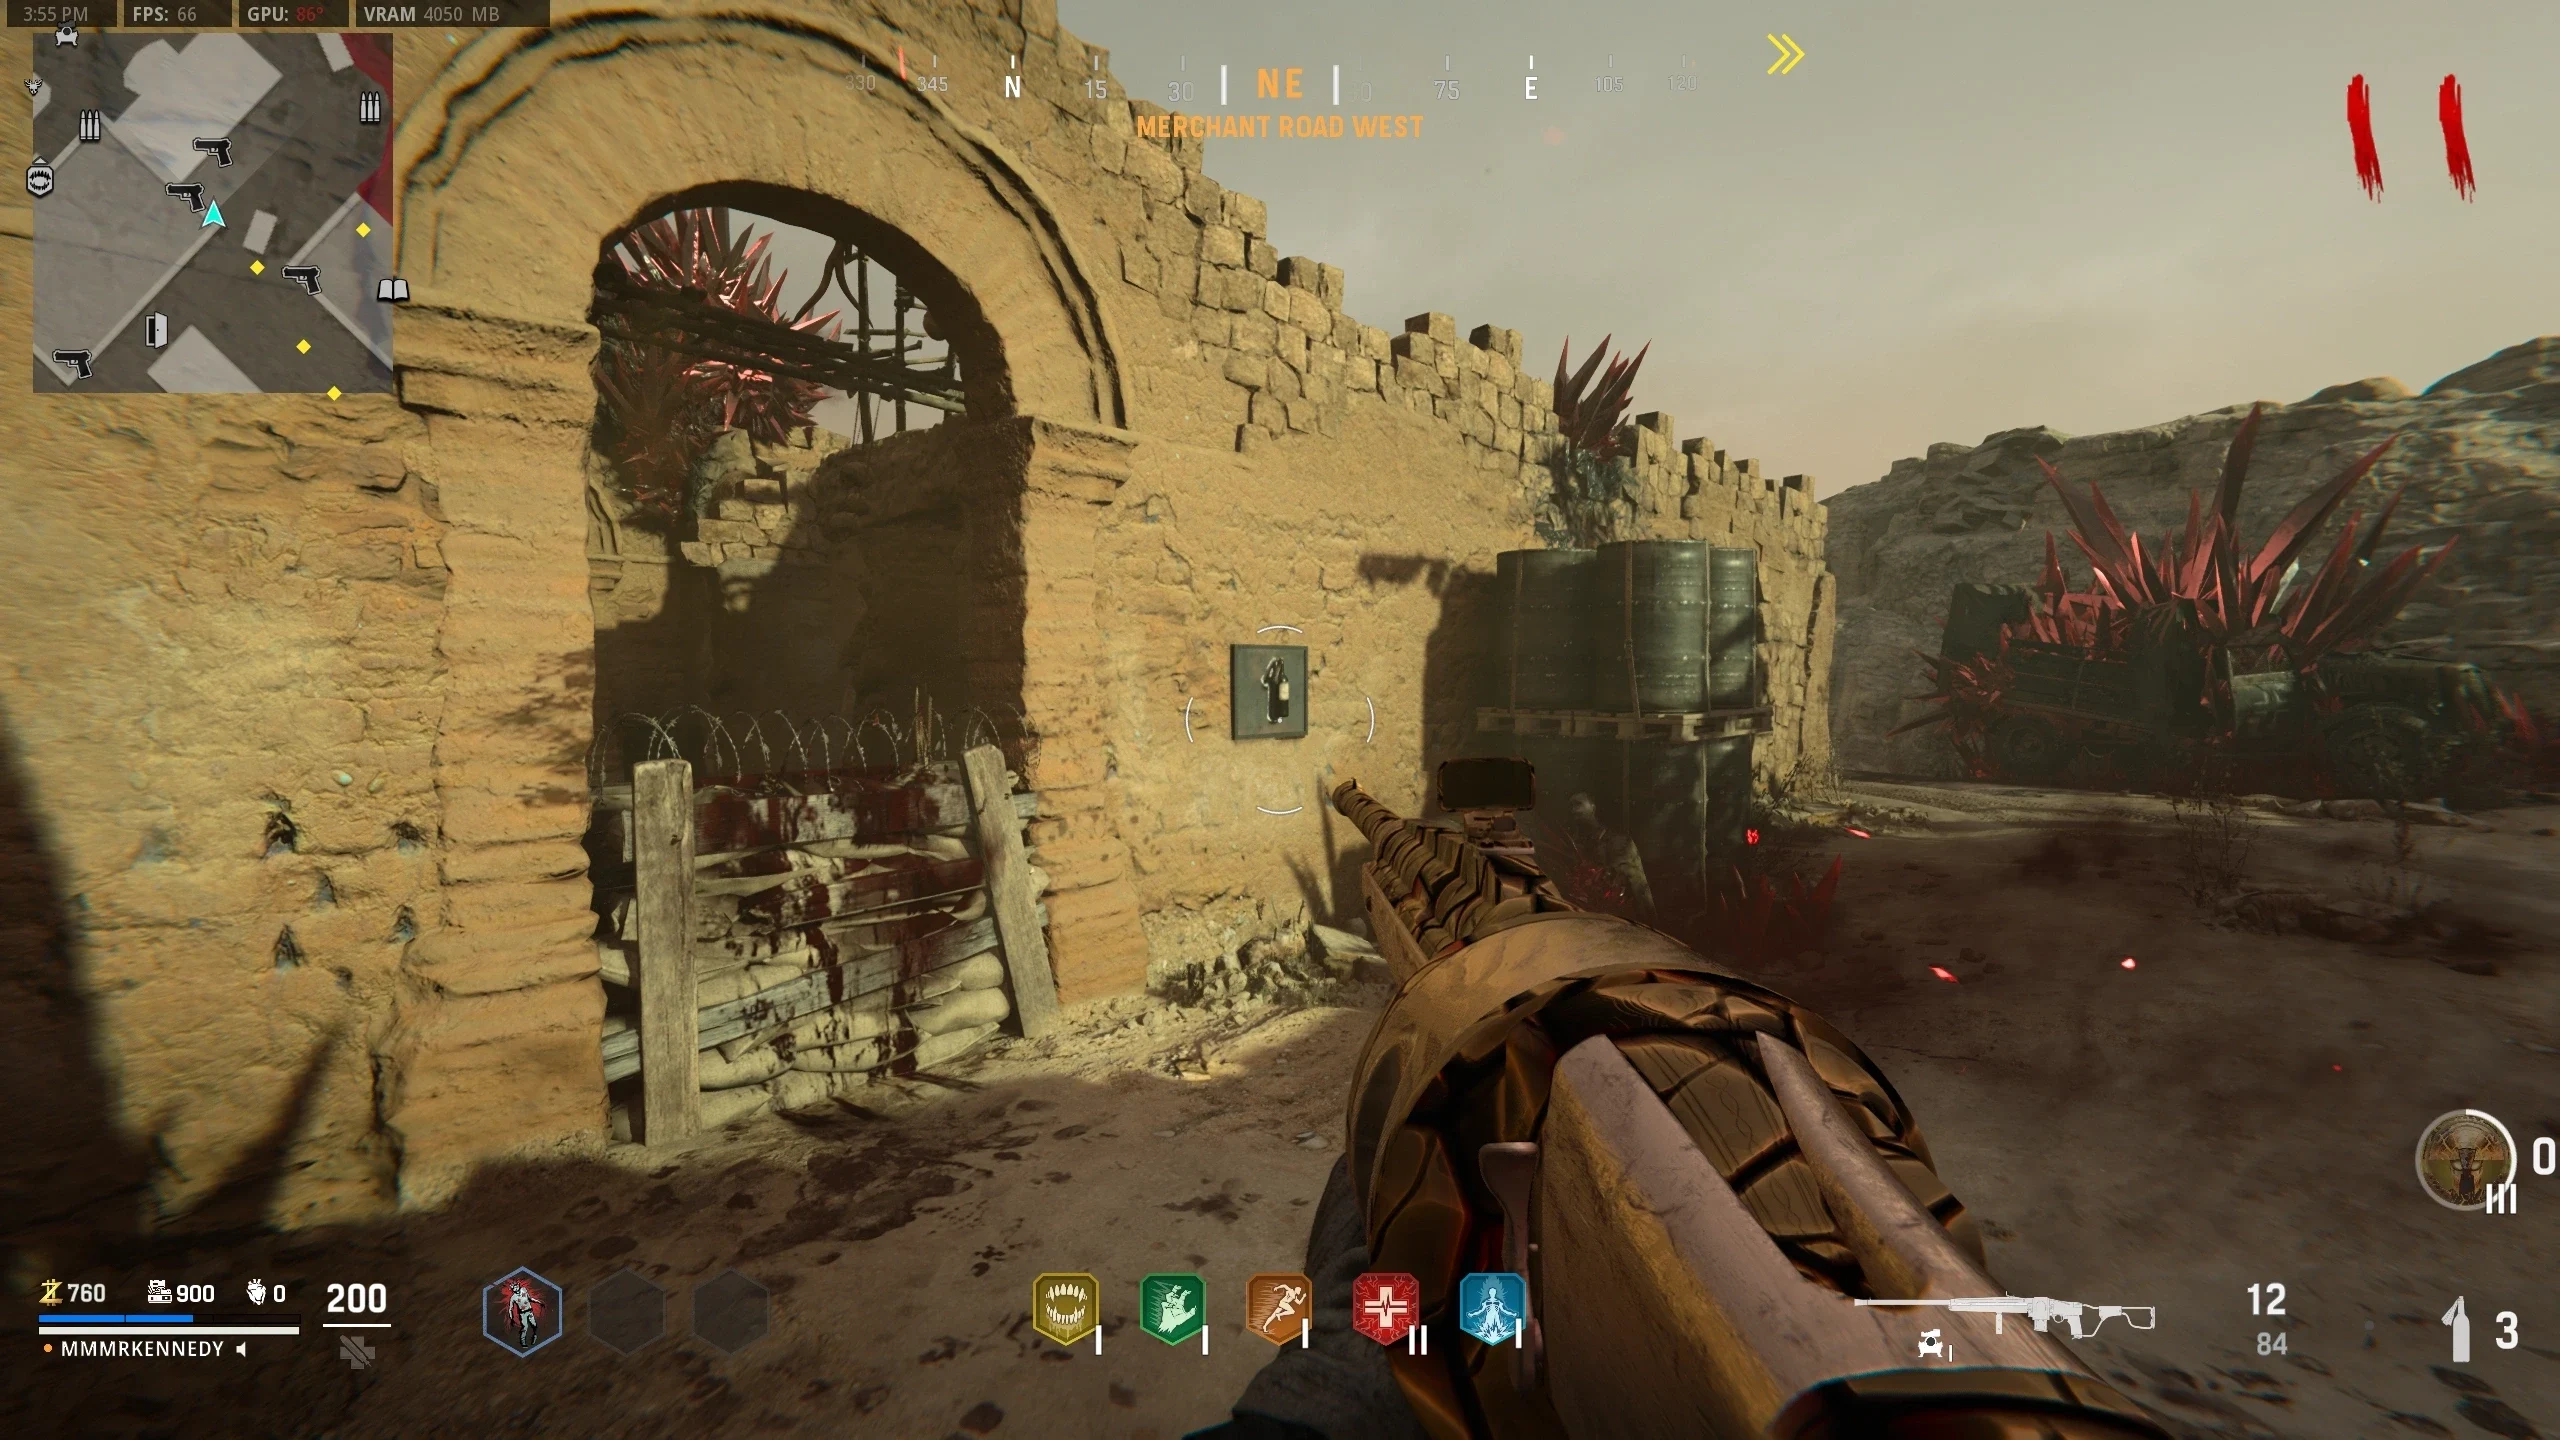
- Obtain three Molotov Cocktails from either the wallbuy in Merchant Road West or from one of the Workbenchs.
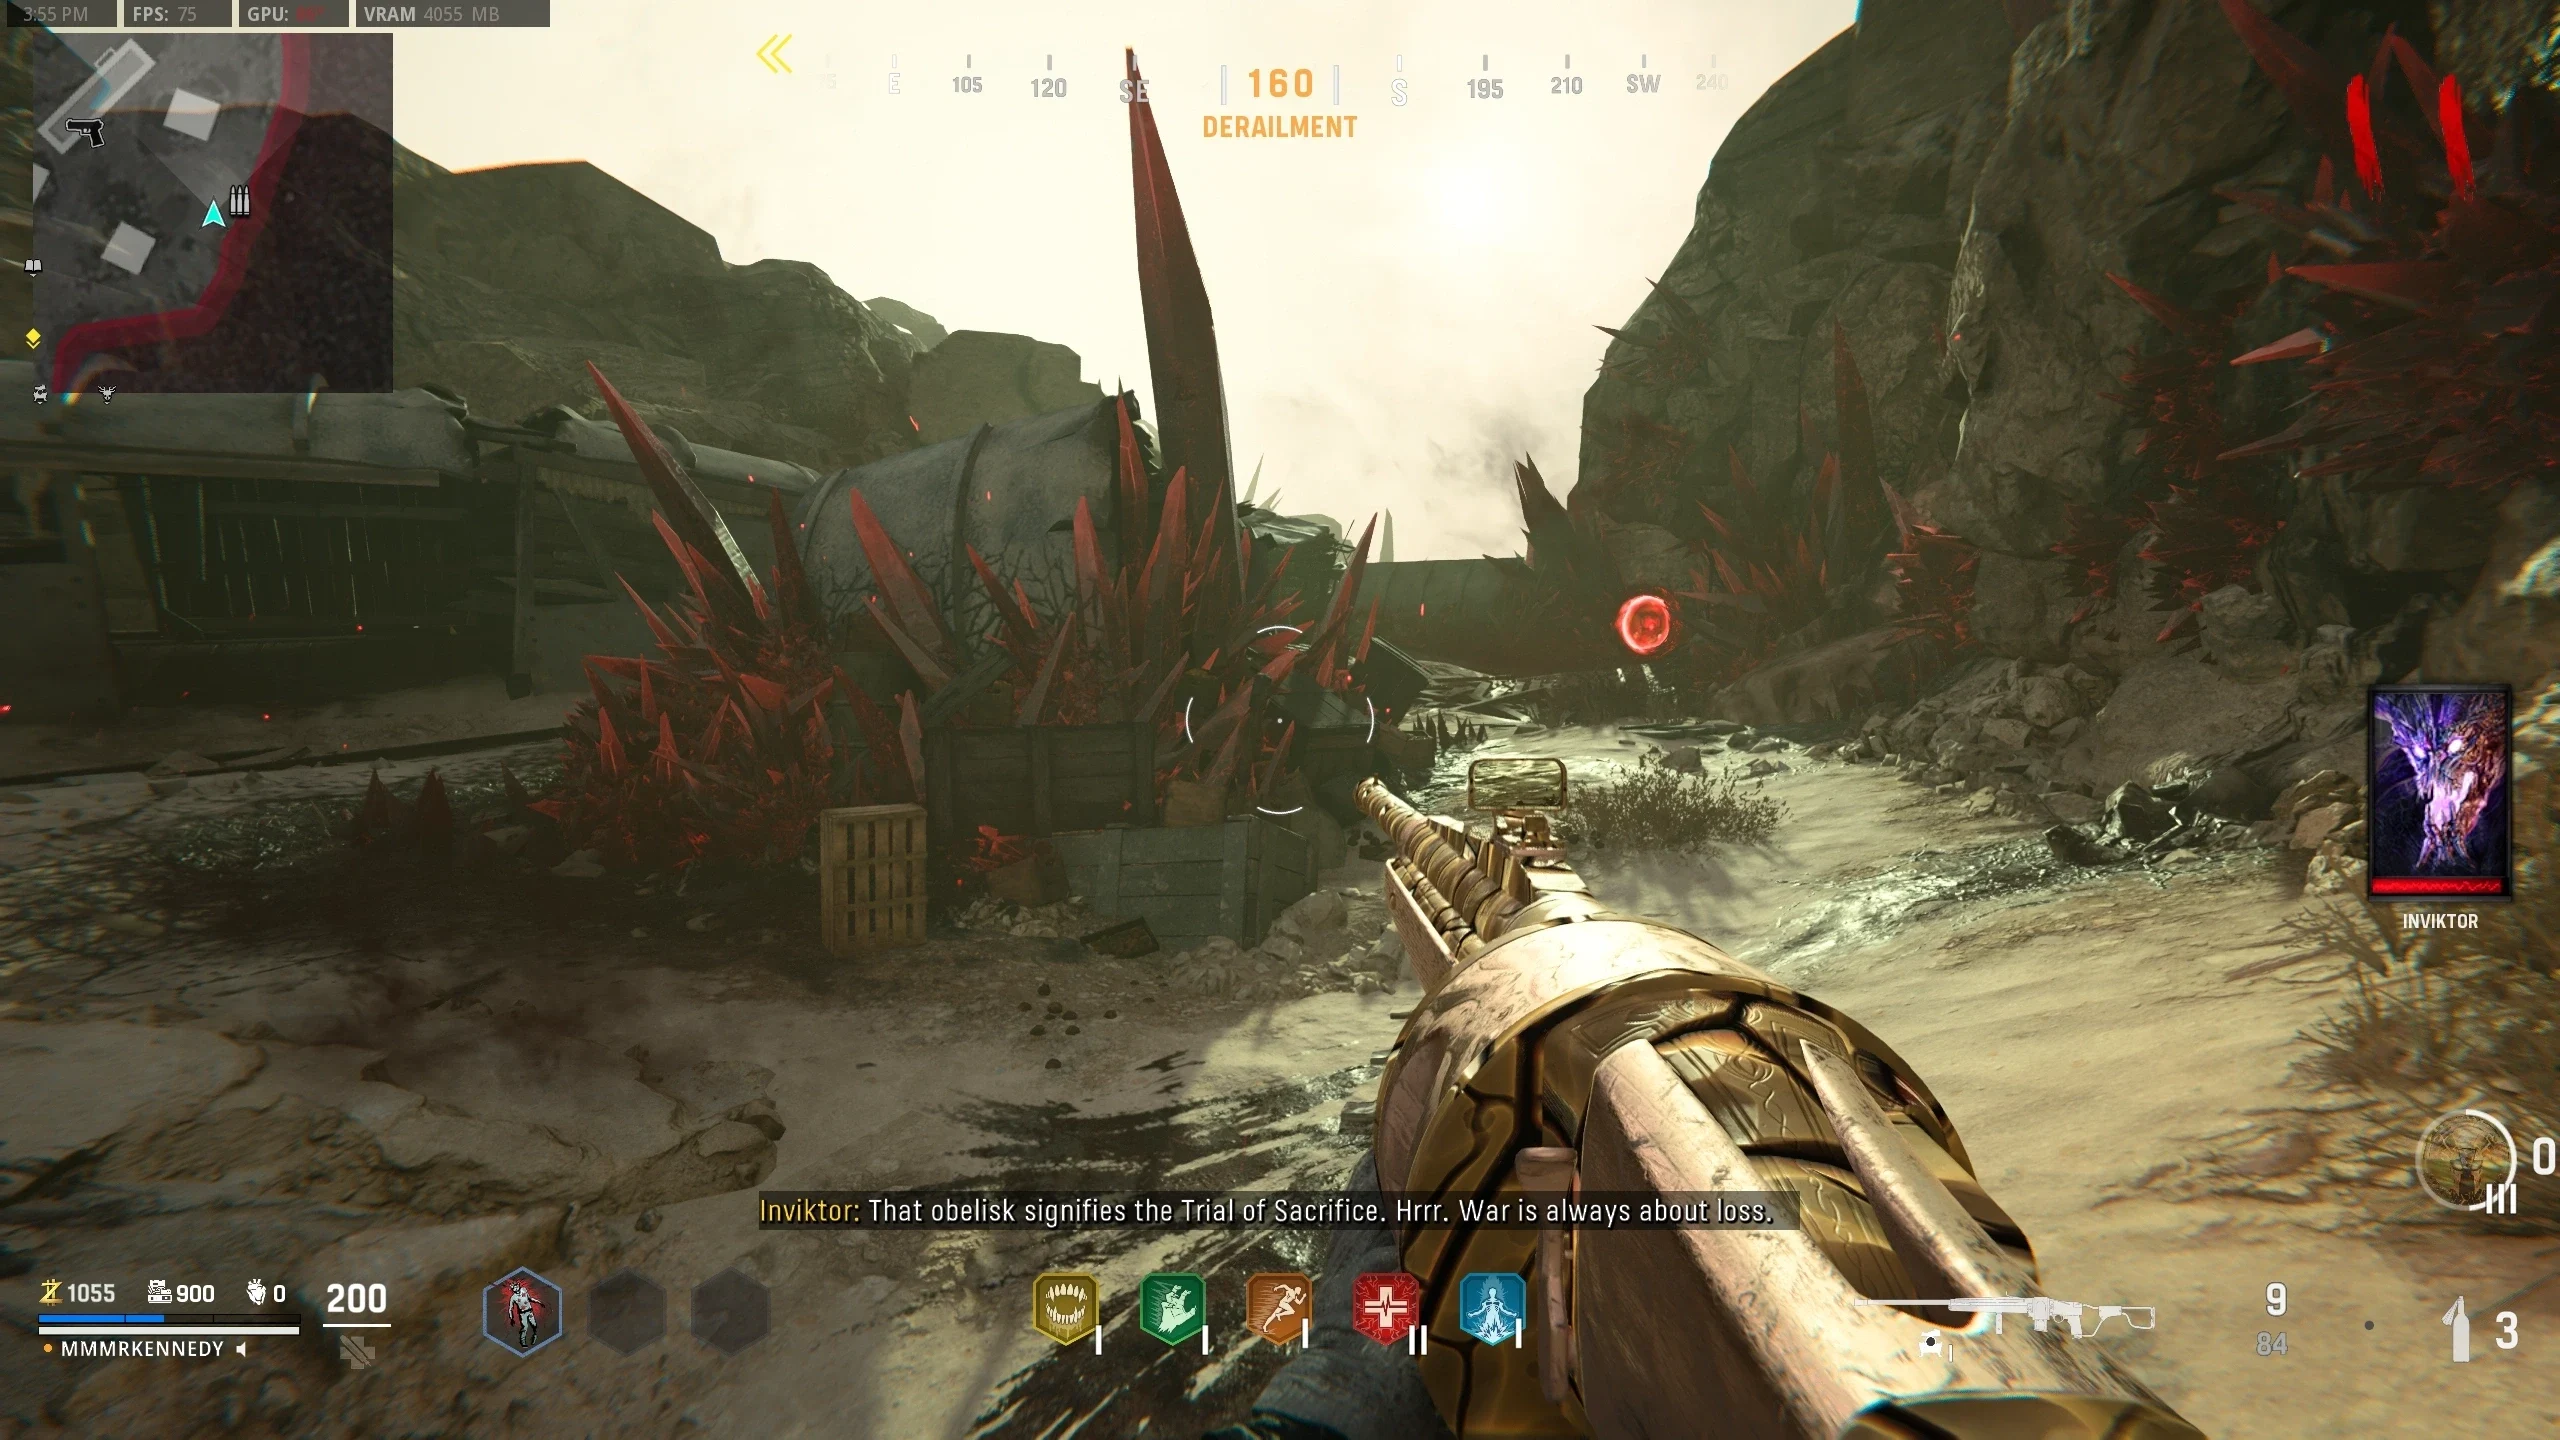
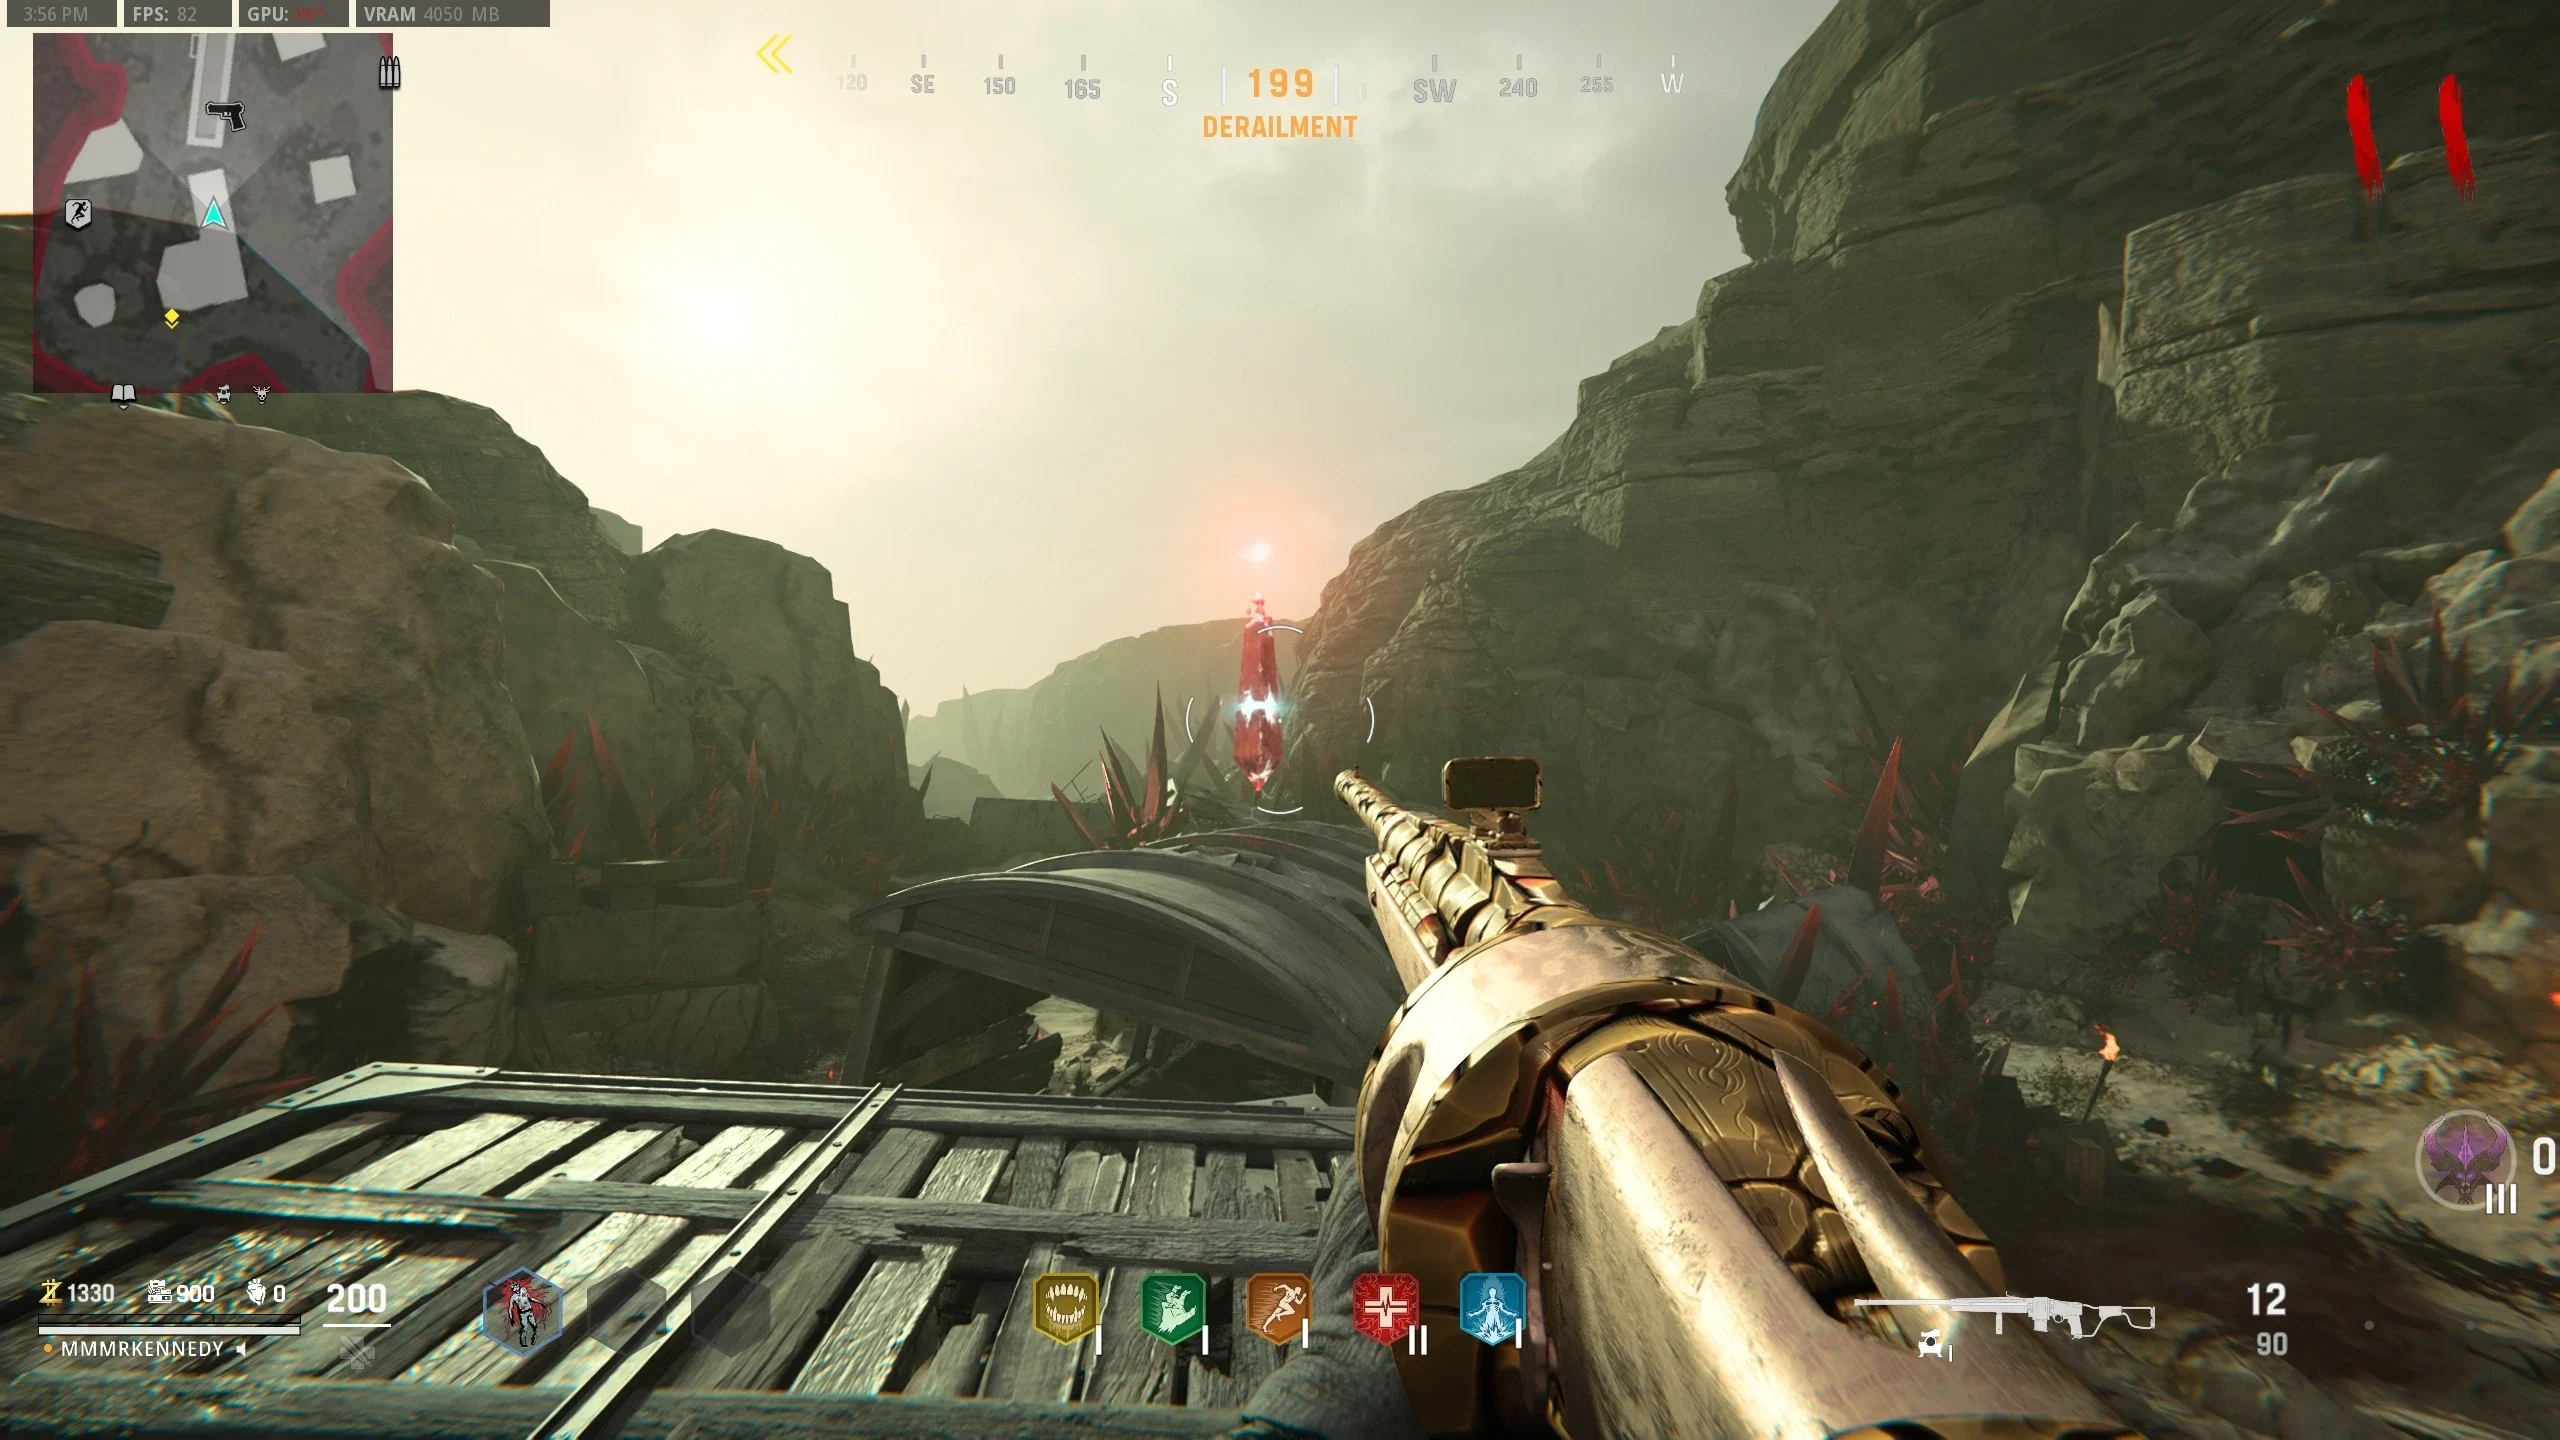
- Navigate to 'Derailment' and using the Molotovs light three torches as fast as possible:
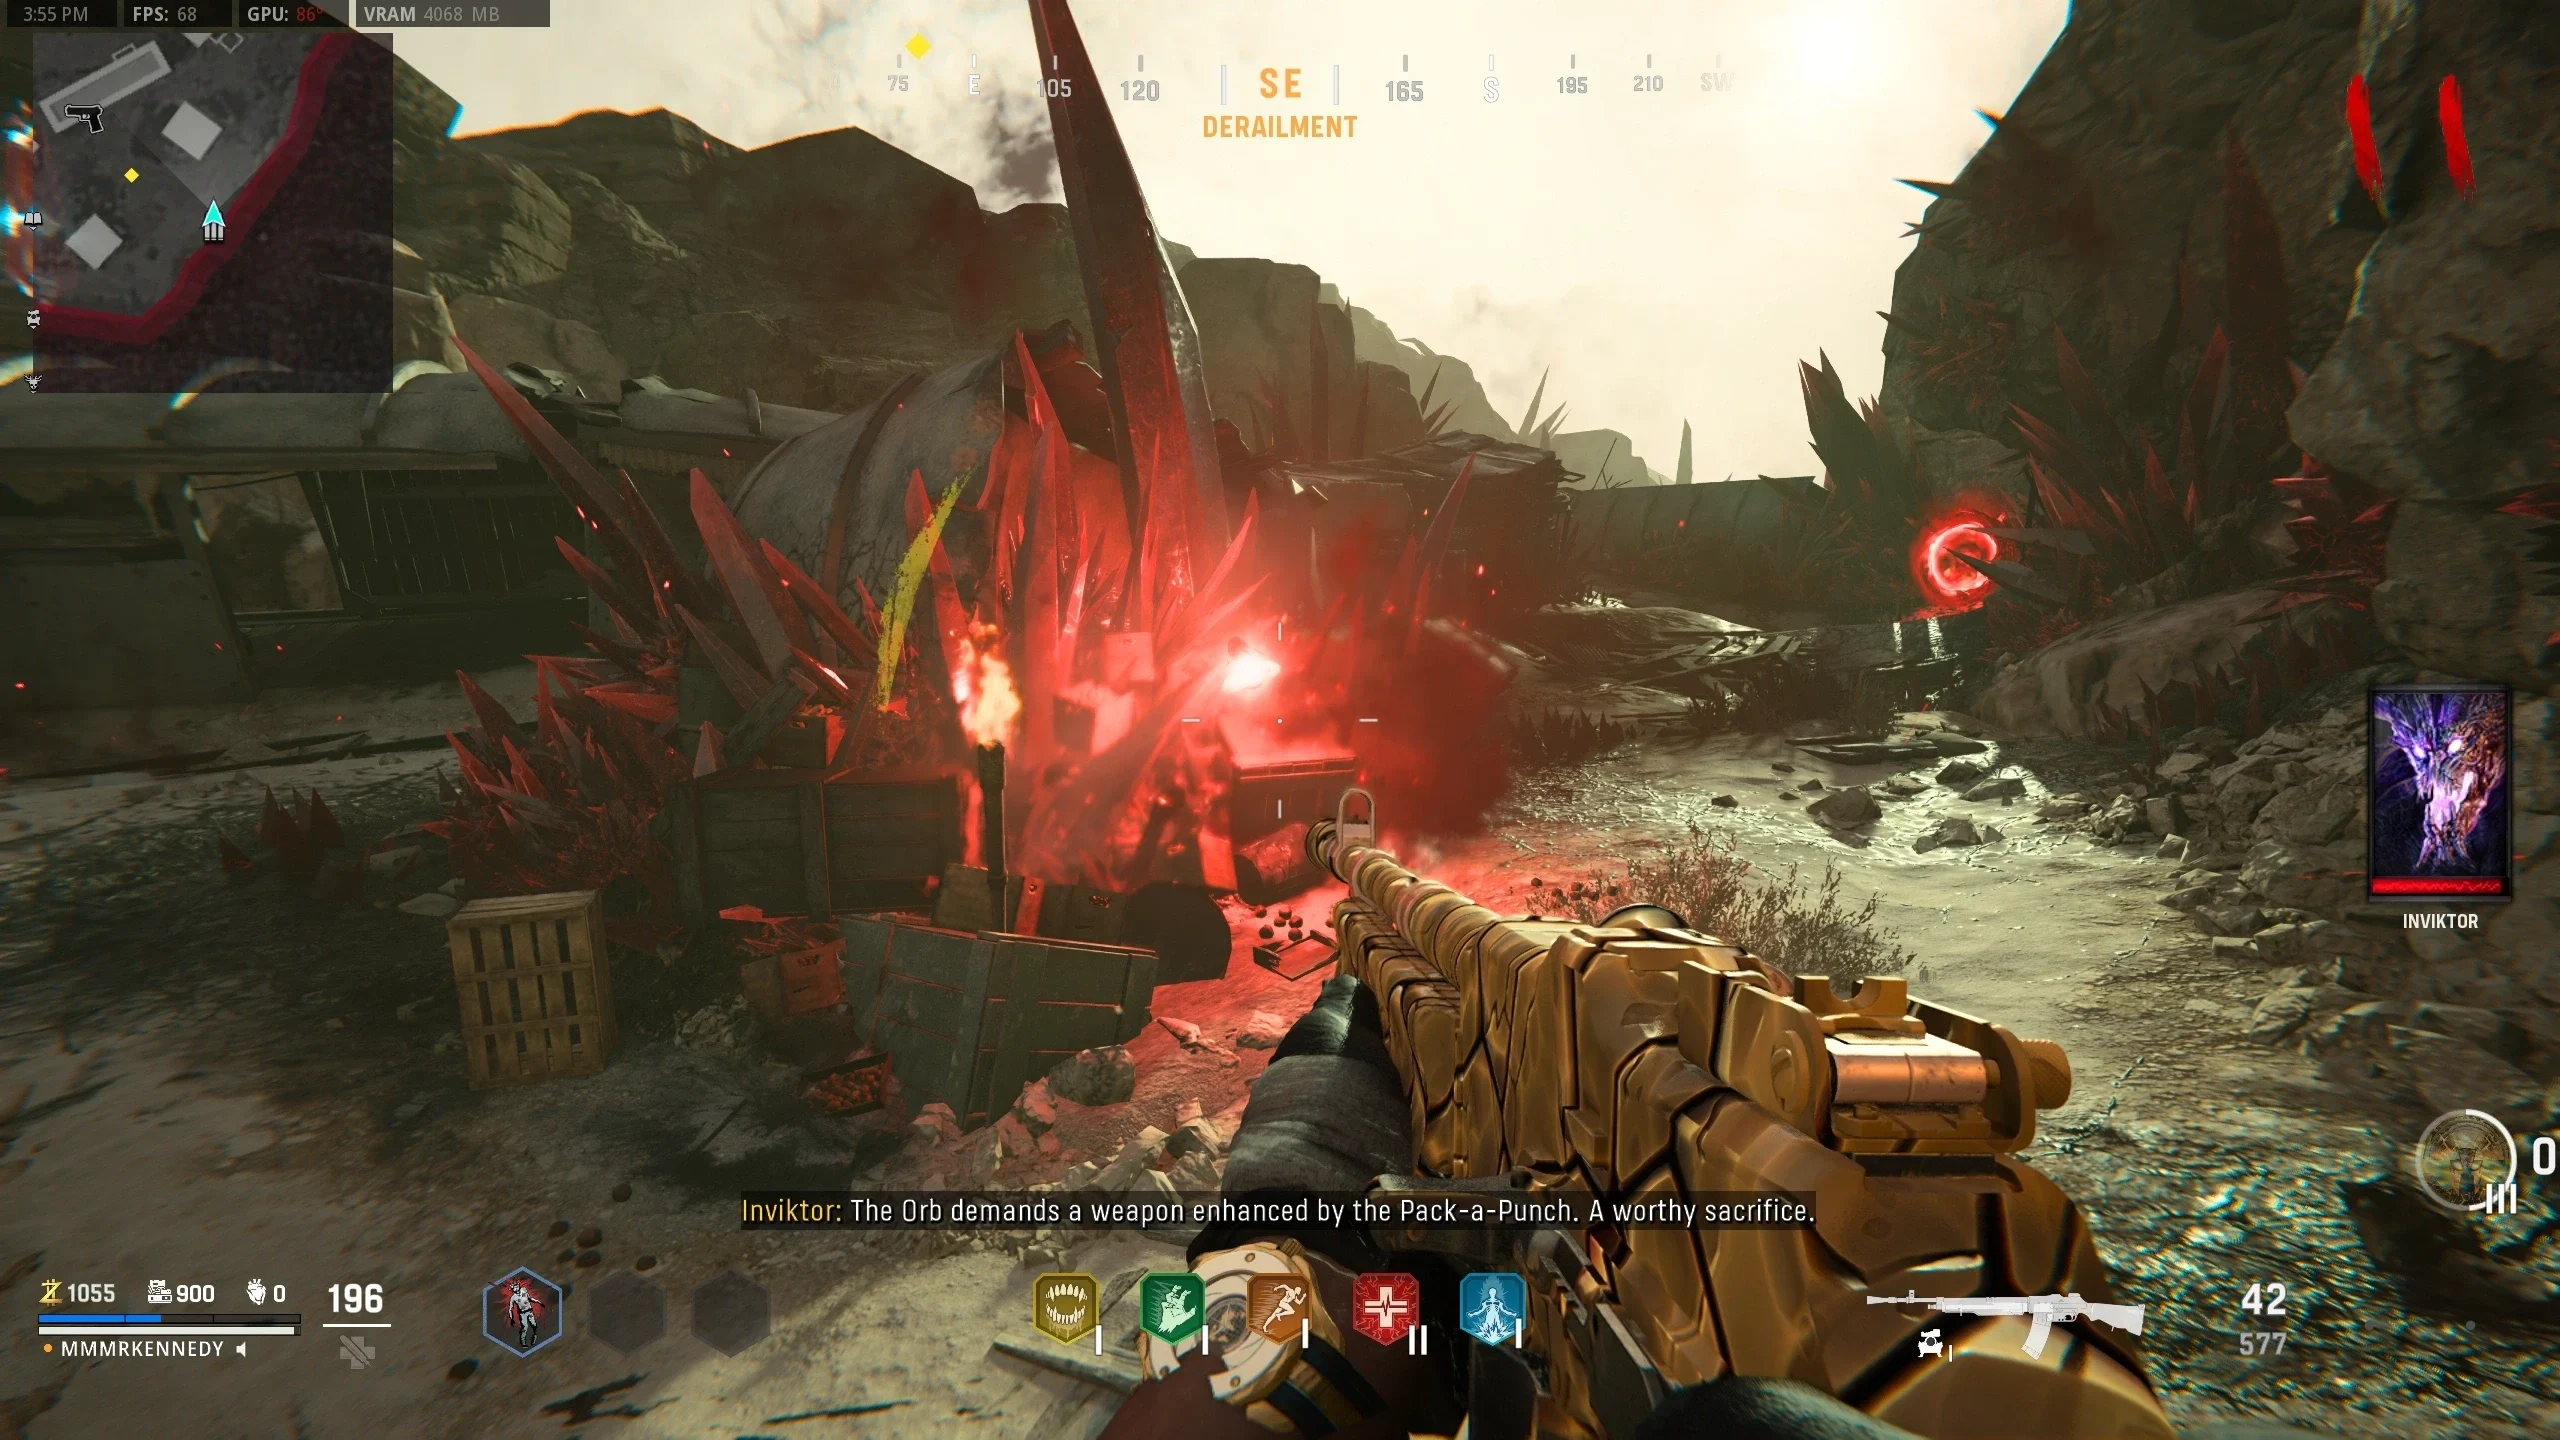
- If the torches are lit at the same time, a red orb will spawn near the third torch.
- The orb will request the player to sacrifice a Pack-a-Punched weapon (there is no way to get this weapon back). The best option is to either find a blue (PAP level 1) wallbuy or try to get a Pack-a-Punched weapon from the box and sacrifice that as it is cheaper than upgrading a weapon with the Pack-a-Punch Machine.
- After sacrificing the weapon, you will lose all your armour and an Uberkrieger will spawn.
- Once killed, the orb will move to the Obelisk, which can be interacted with.
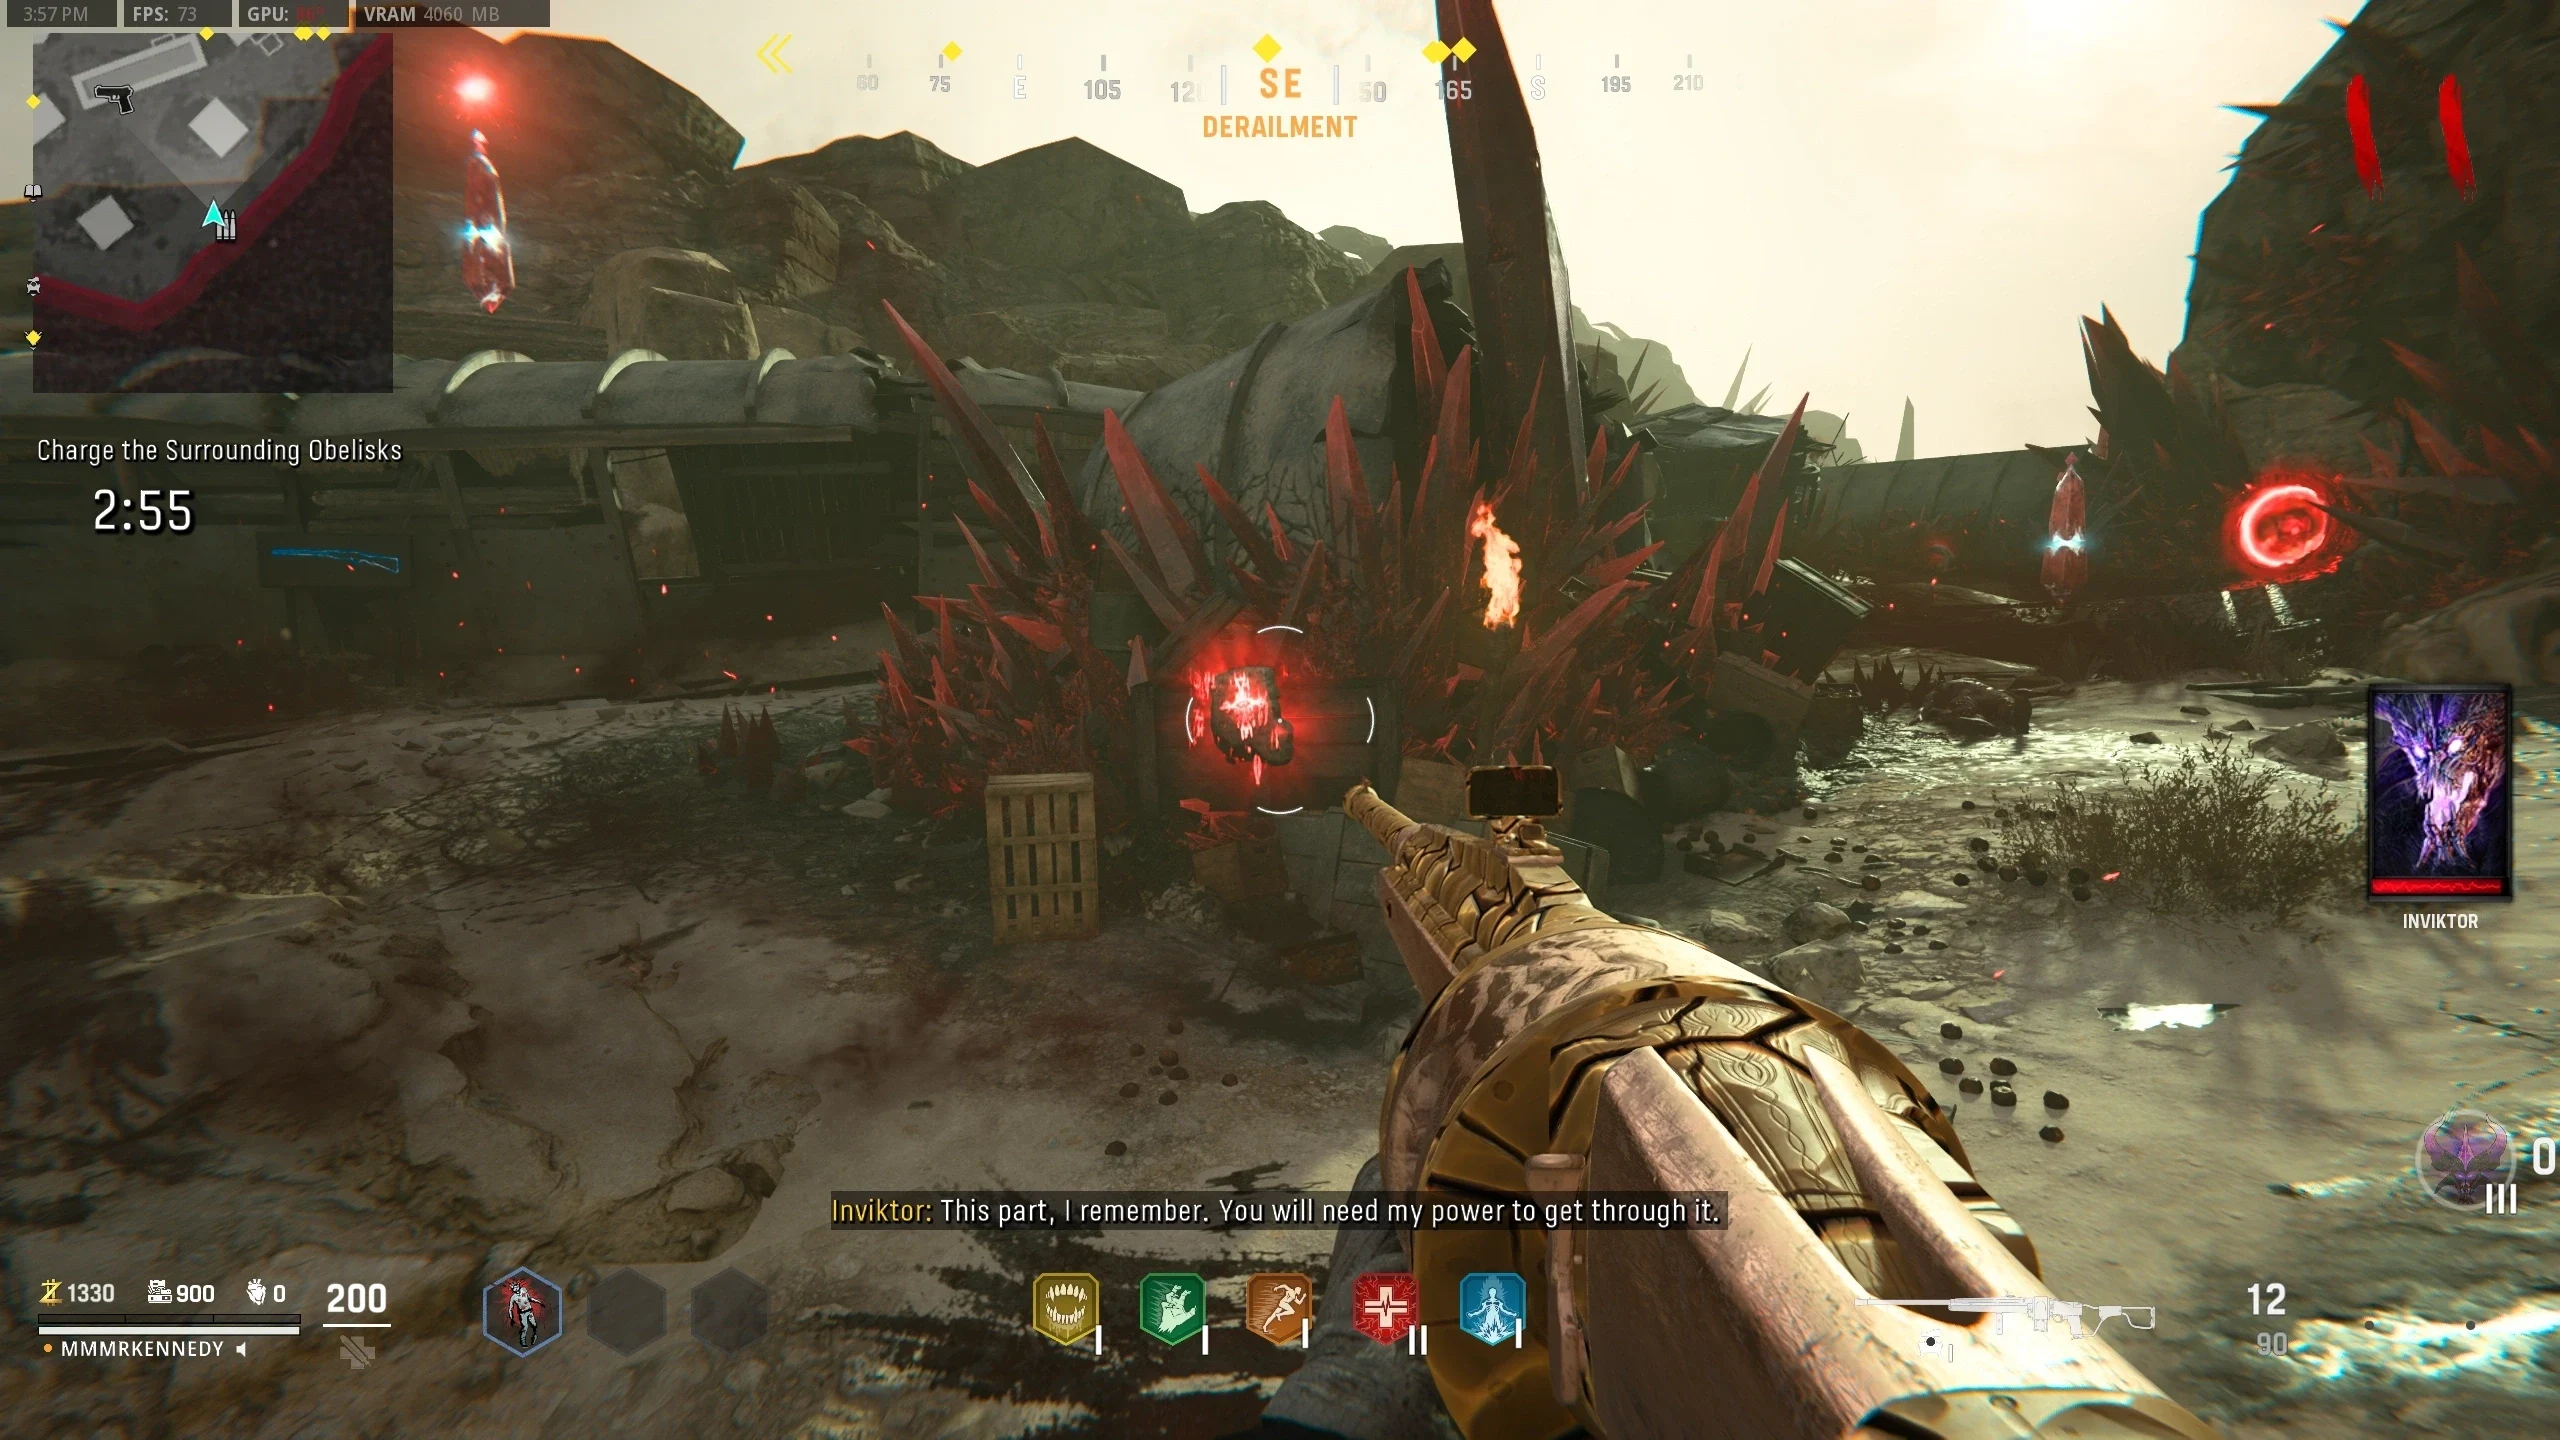
- To complete the trial, you will need the Ring of Fire Field Upgrade. There is a stone next to where the orb was that will allow you to change your field upgrade into Ring of Fire.
- Interact with the Obelisk to start the Trial of Sacrifice.
- At any time during the trial, the player can kill five zombies near the Obelisk to spawn a Full Power.
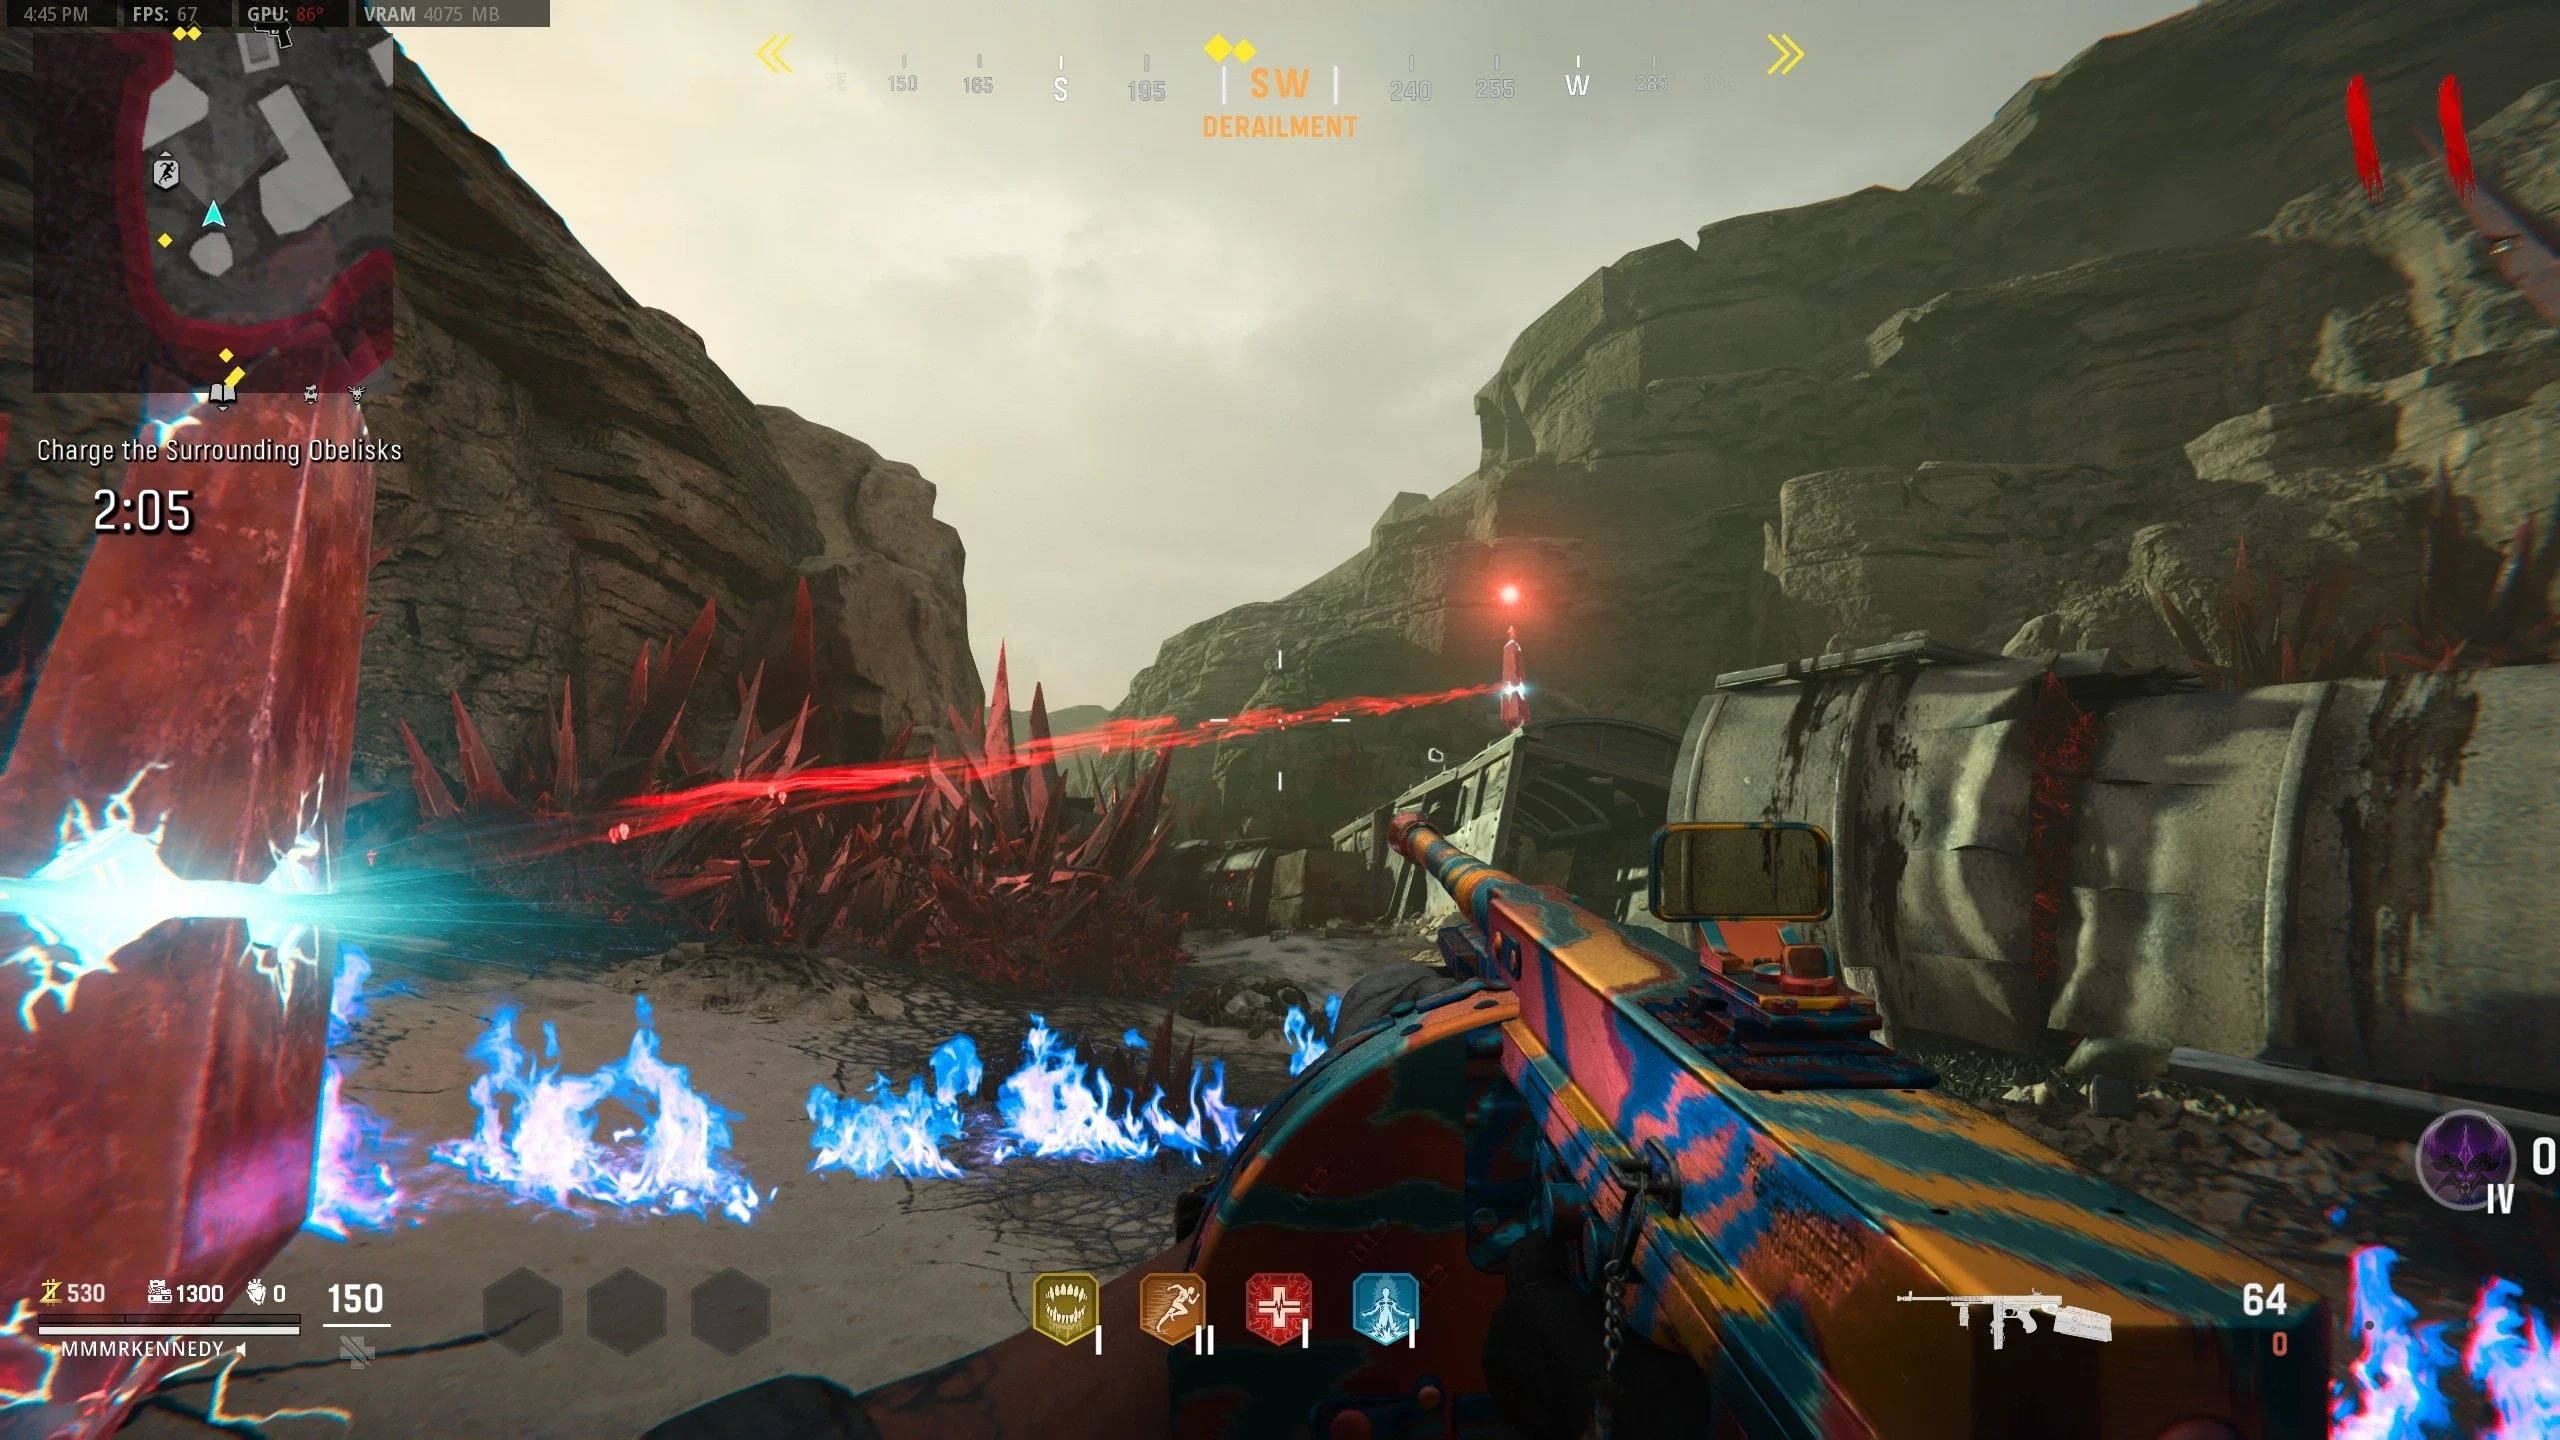
- Several other Obelisks will spawn around the area. You must get six kills near each of the Obelisks while standing in the Ring of Fire.
- Once an obelisk is charged, a beam of light will connect it to the central obelisk.
- Once all the obelisks are charged, bonus points, full armour, max ammo and full power drops will spawn.
- Interact with the Portal near Pack-a-Punch to enter the Boss Fight.
| Weapon | Attachment Type | Recommended Item |
|---|---|---|
| Einhorn Revolving Shotgun | ||
| Muzzle | M97 Full Choke | |
| Barrel | Klauser 710MM 02B | |
| Optic | Optional | |
| Stock | Reisdorf Folding | |
| Underbarrel | Carver Foregrip | |
| Magazine | 16 Gauge 5 Round Fast Mags | |
| Rear Grip | Pine Tar Grip |
Prerequisites
Trial of Mindfulness
Trial of Resilience
Trial of Sacrifice
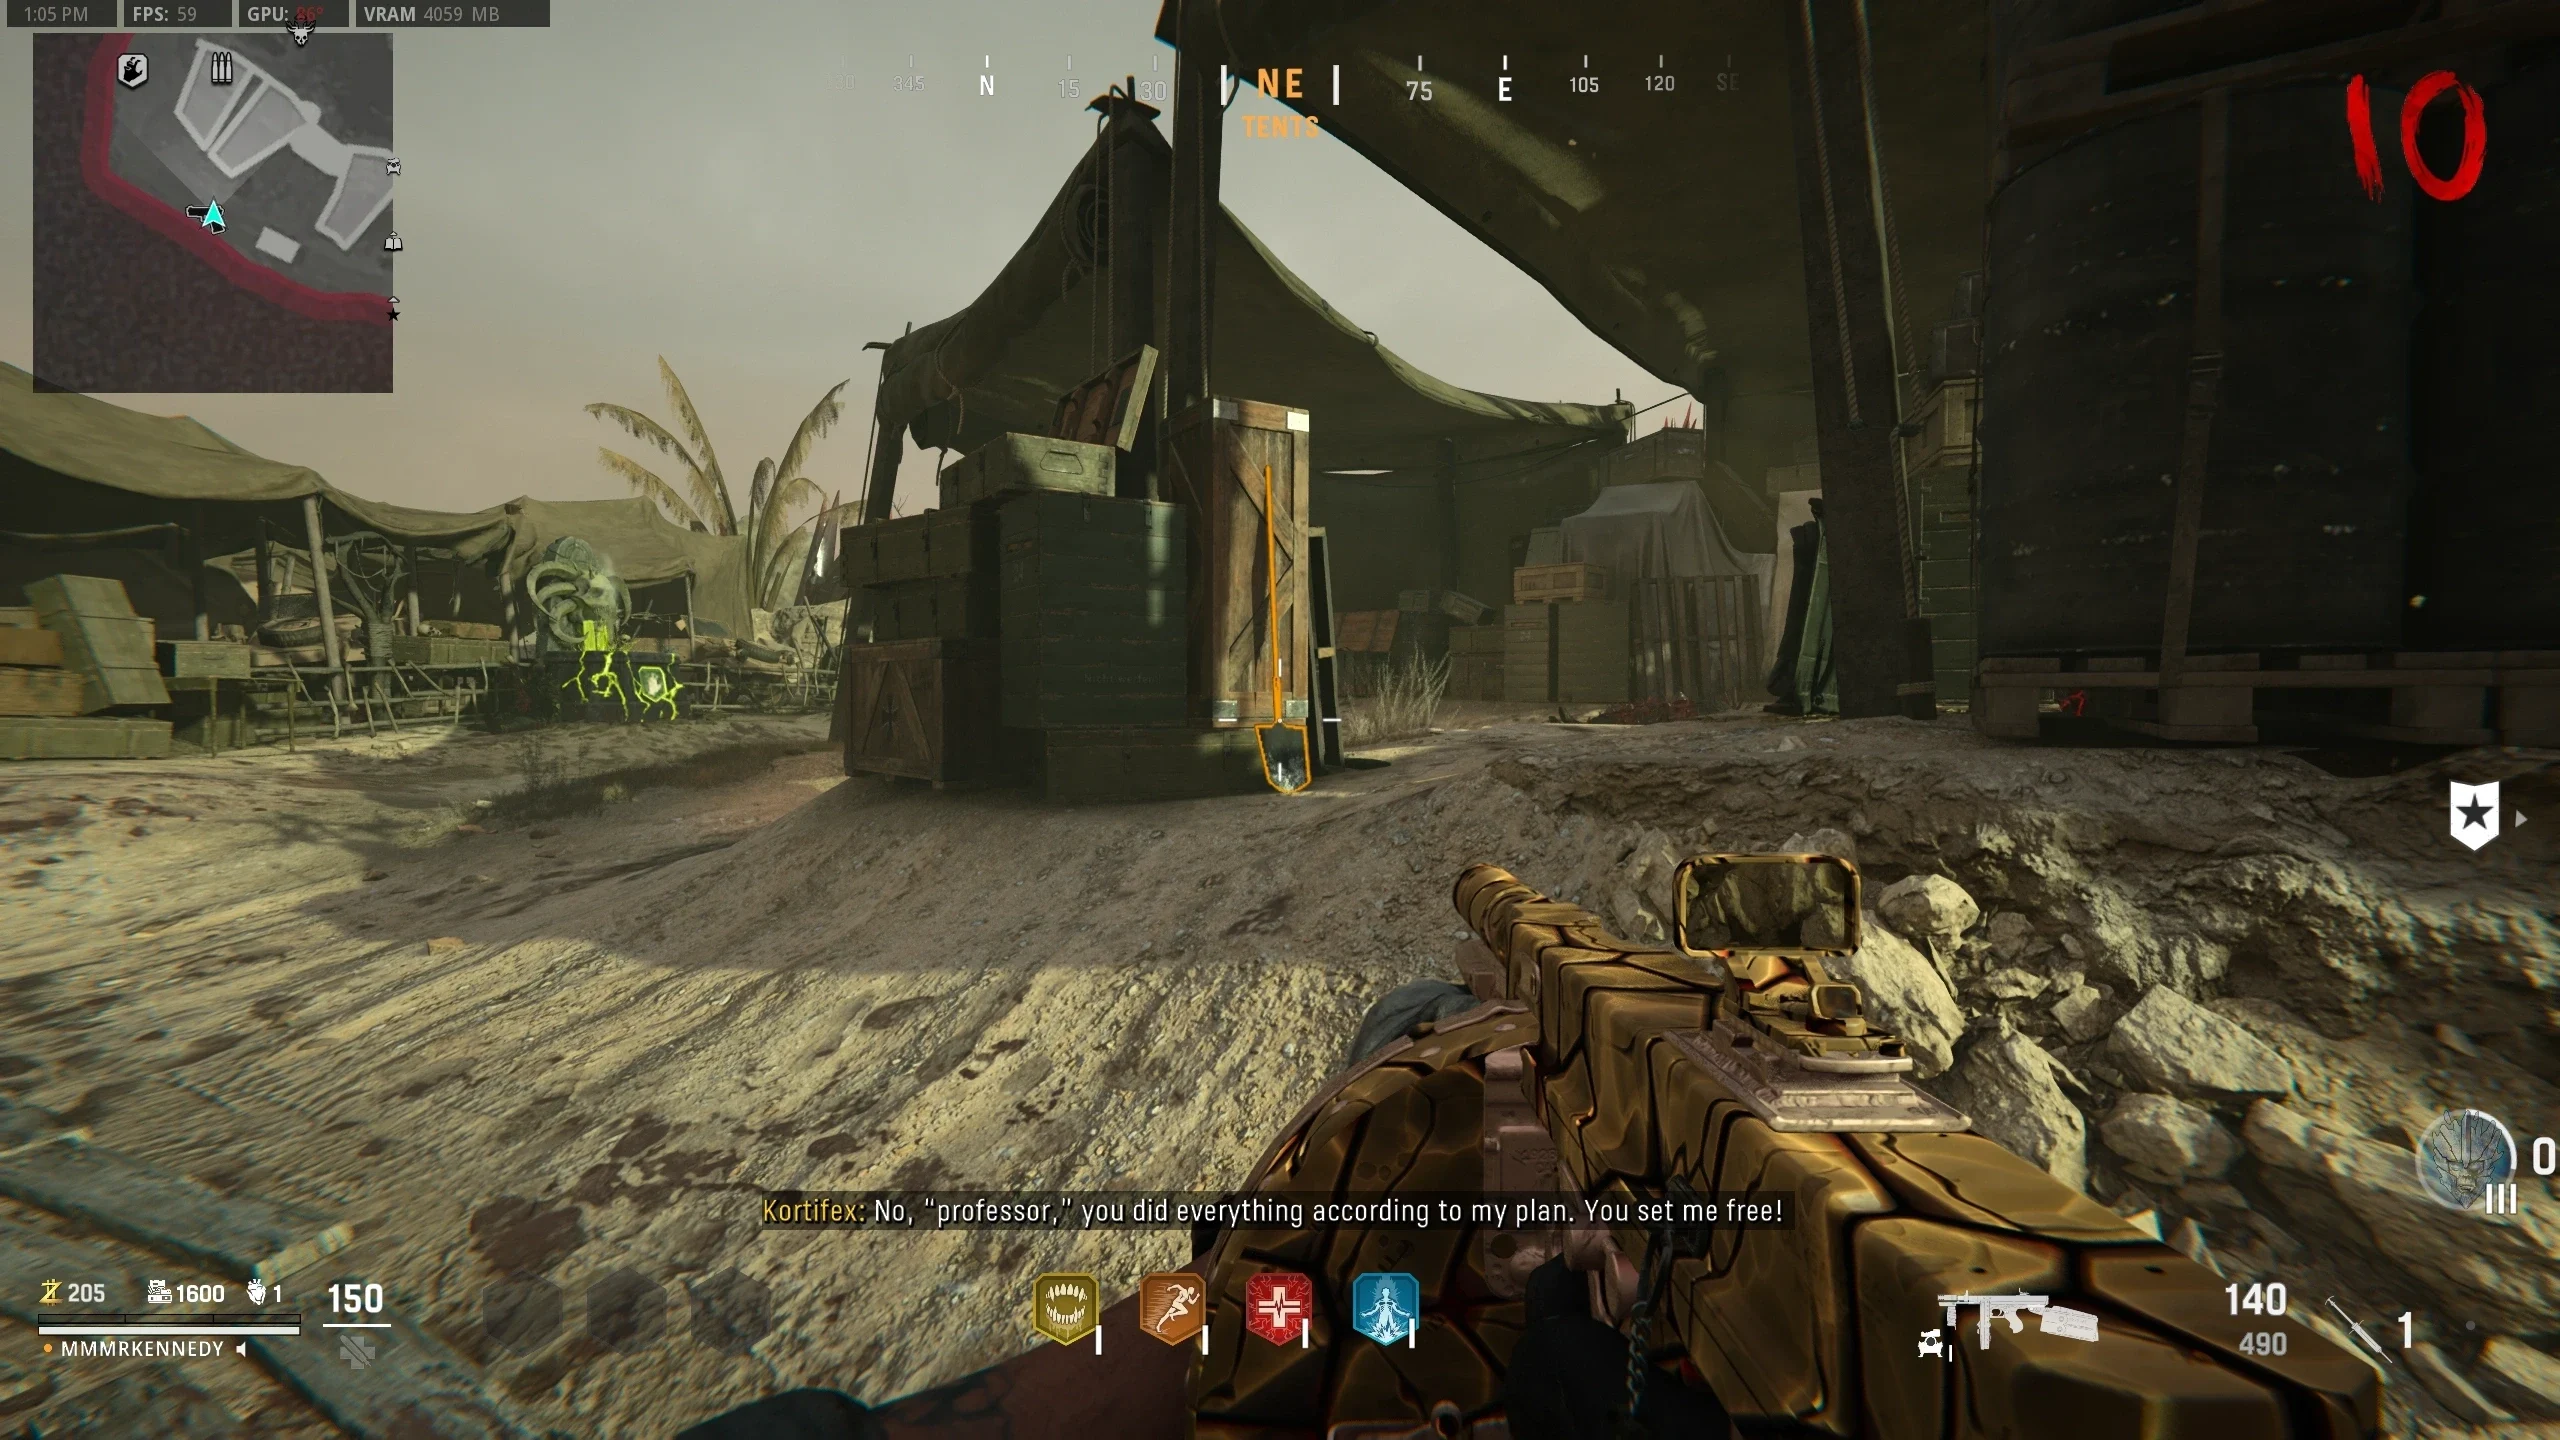
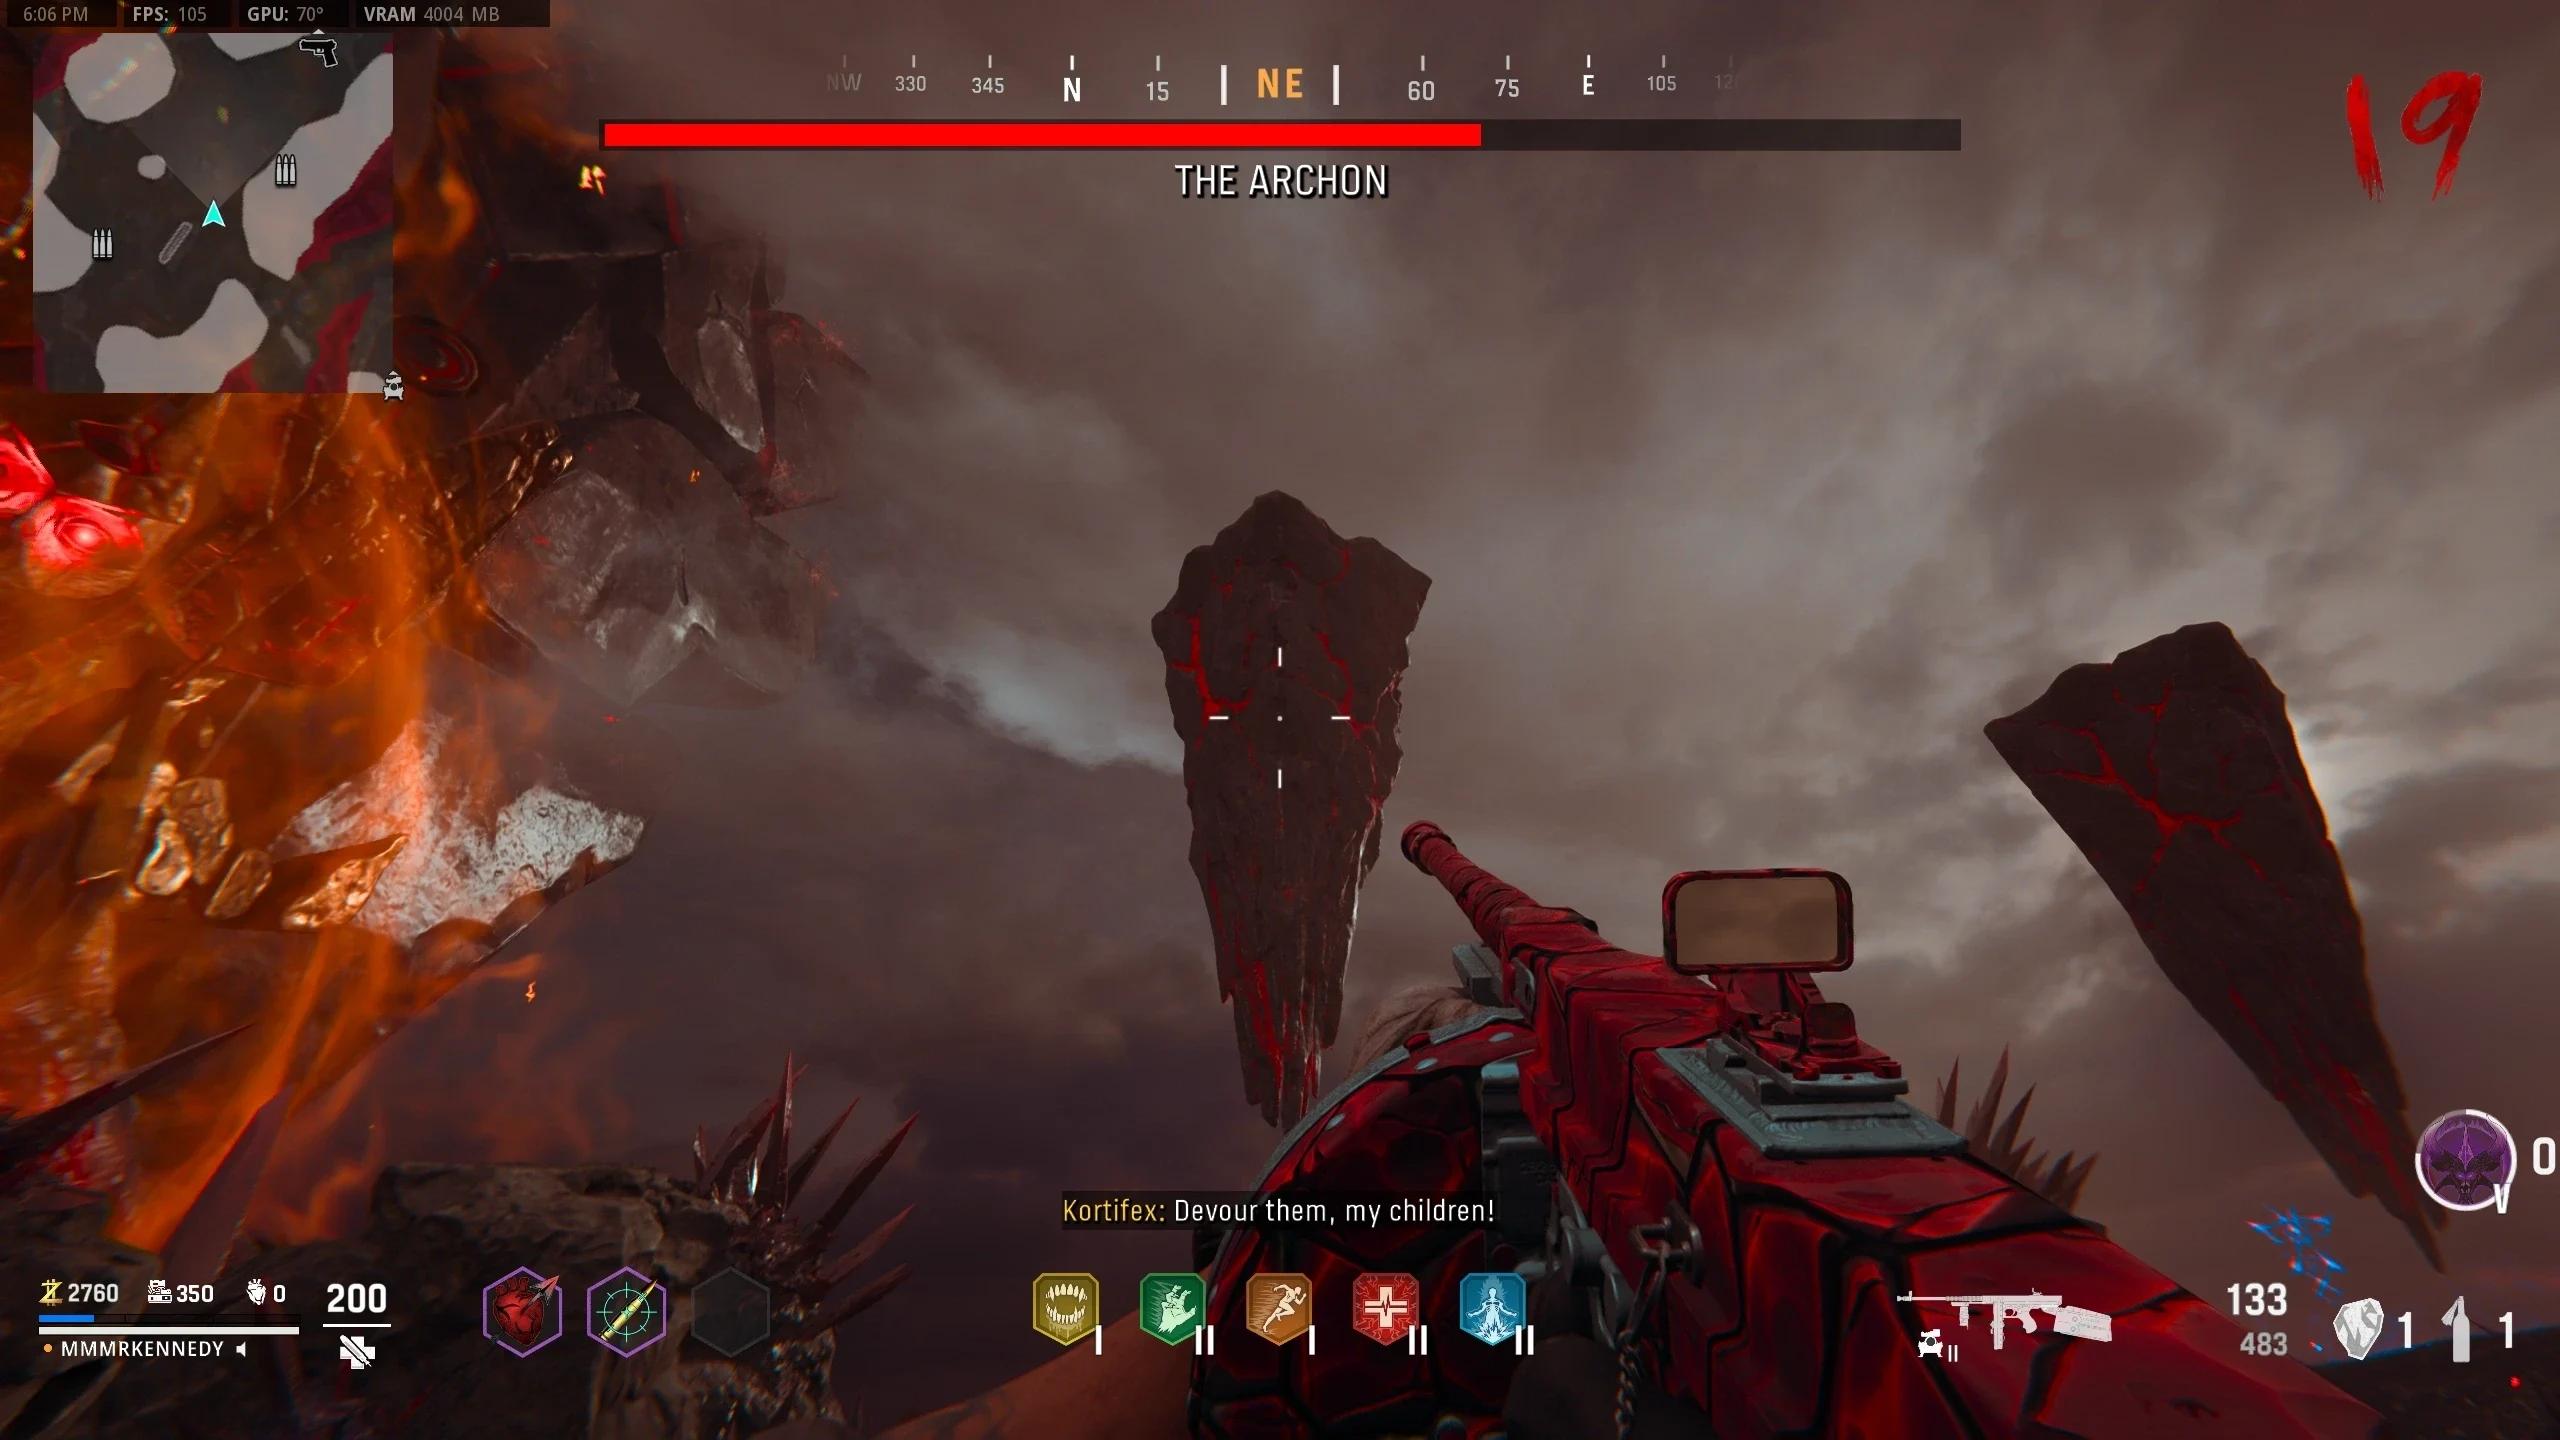
Warning: Point of No Return. Once you interact with the portal, you will be put into the Boss Fight. The Decimator Shield is highly recommended to counter Kortifex's attack during the Boss Fight.
- During the first phase, the player needs to shoot Kortifex's upper eye while evading enemies and Kortifex's attacks. Once Kortifex's eye is destroyed, the second phase will begin, and you'll be teleported to another area.
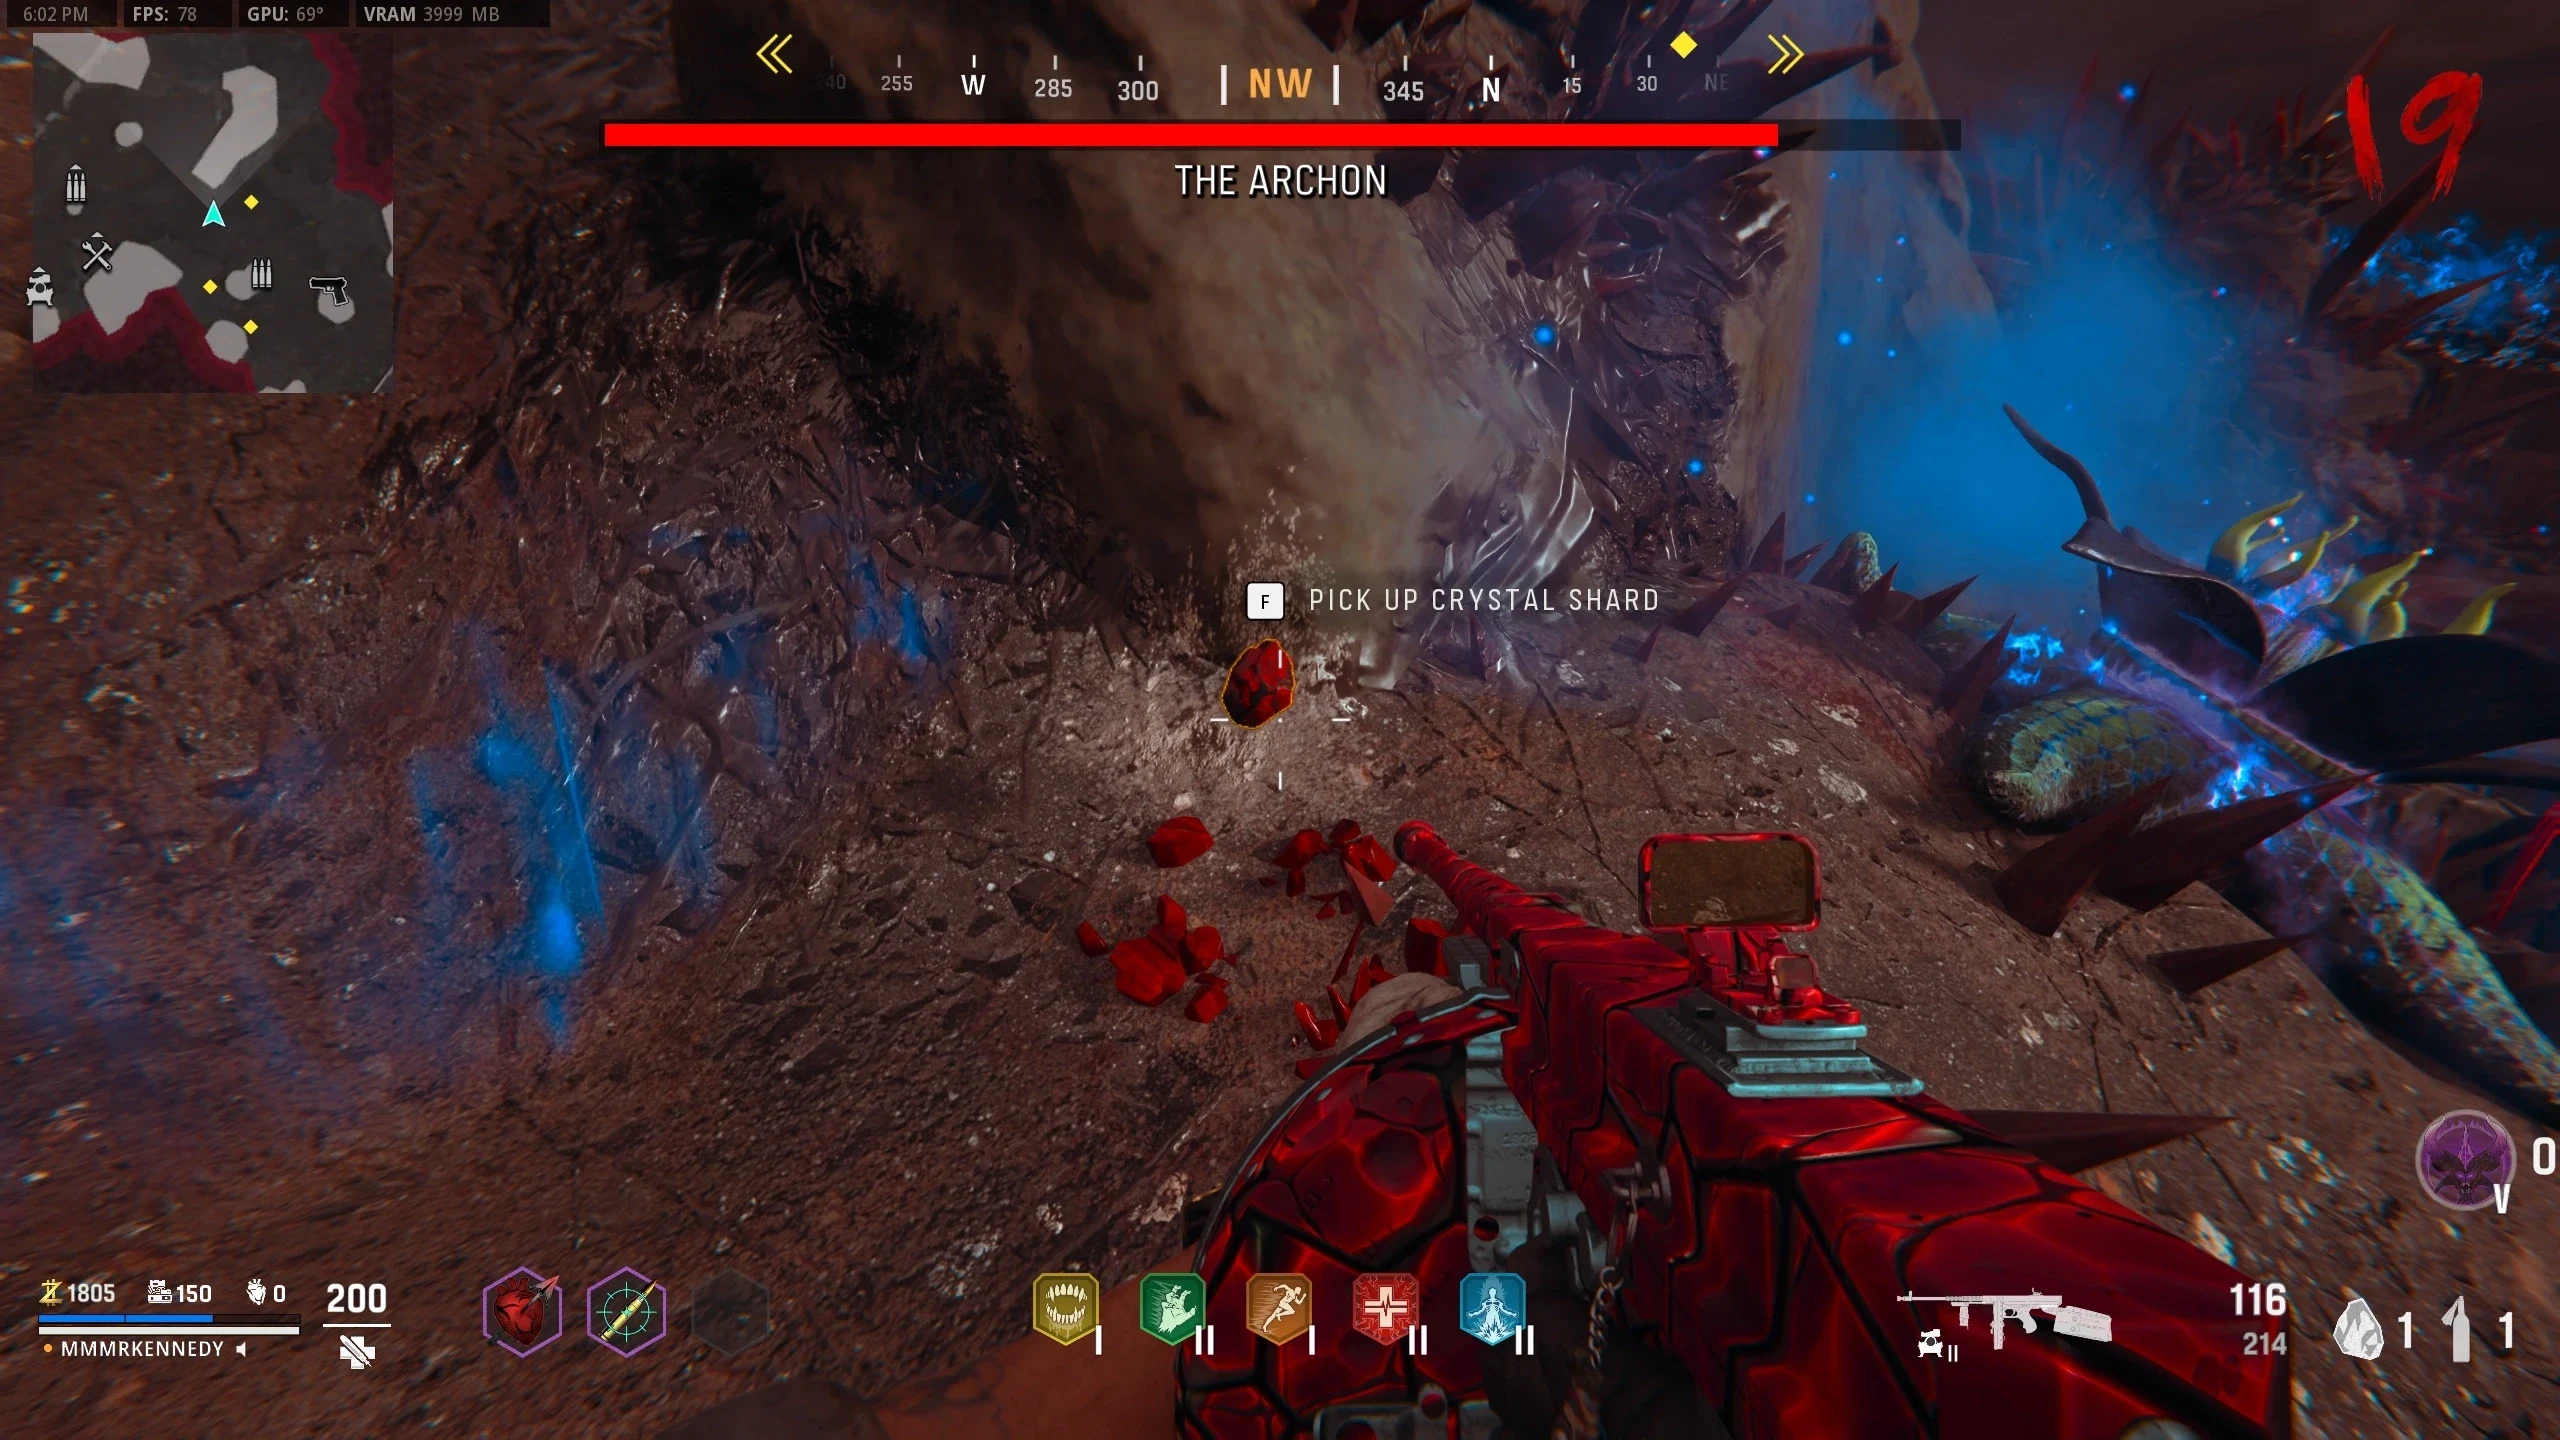
- Shoot the Dark Aether crystals found on the ground around the area to spawn a red Crystal Shard.
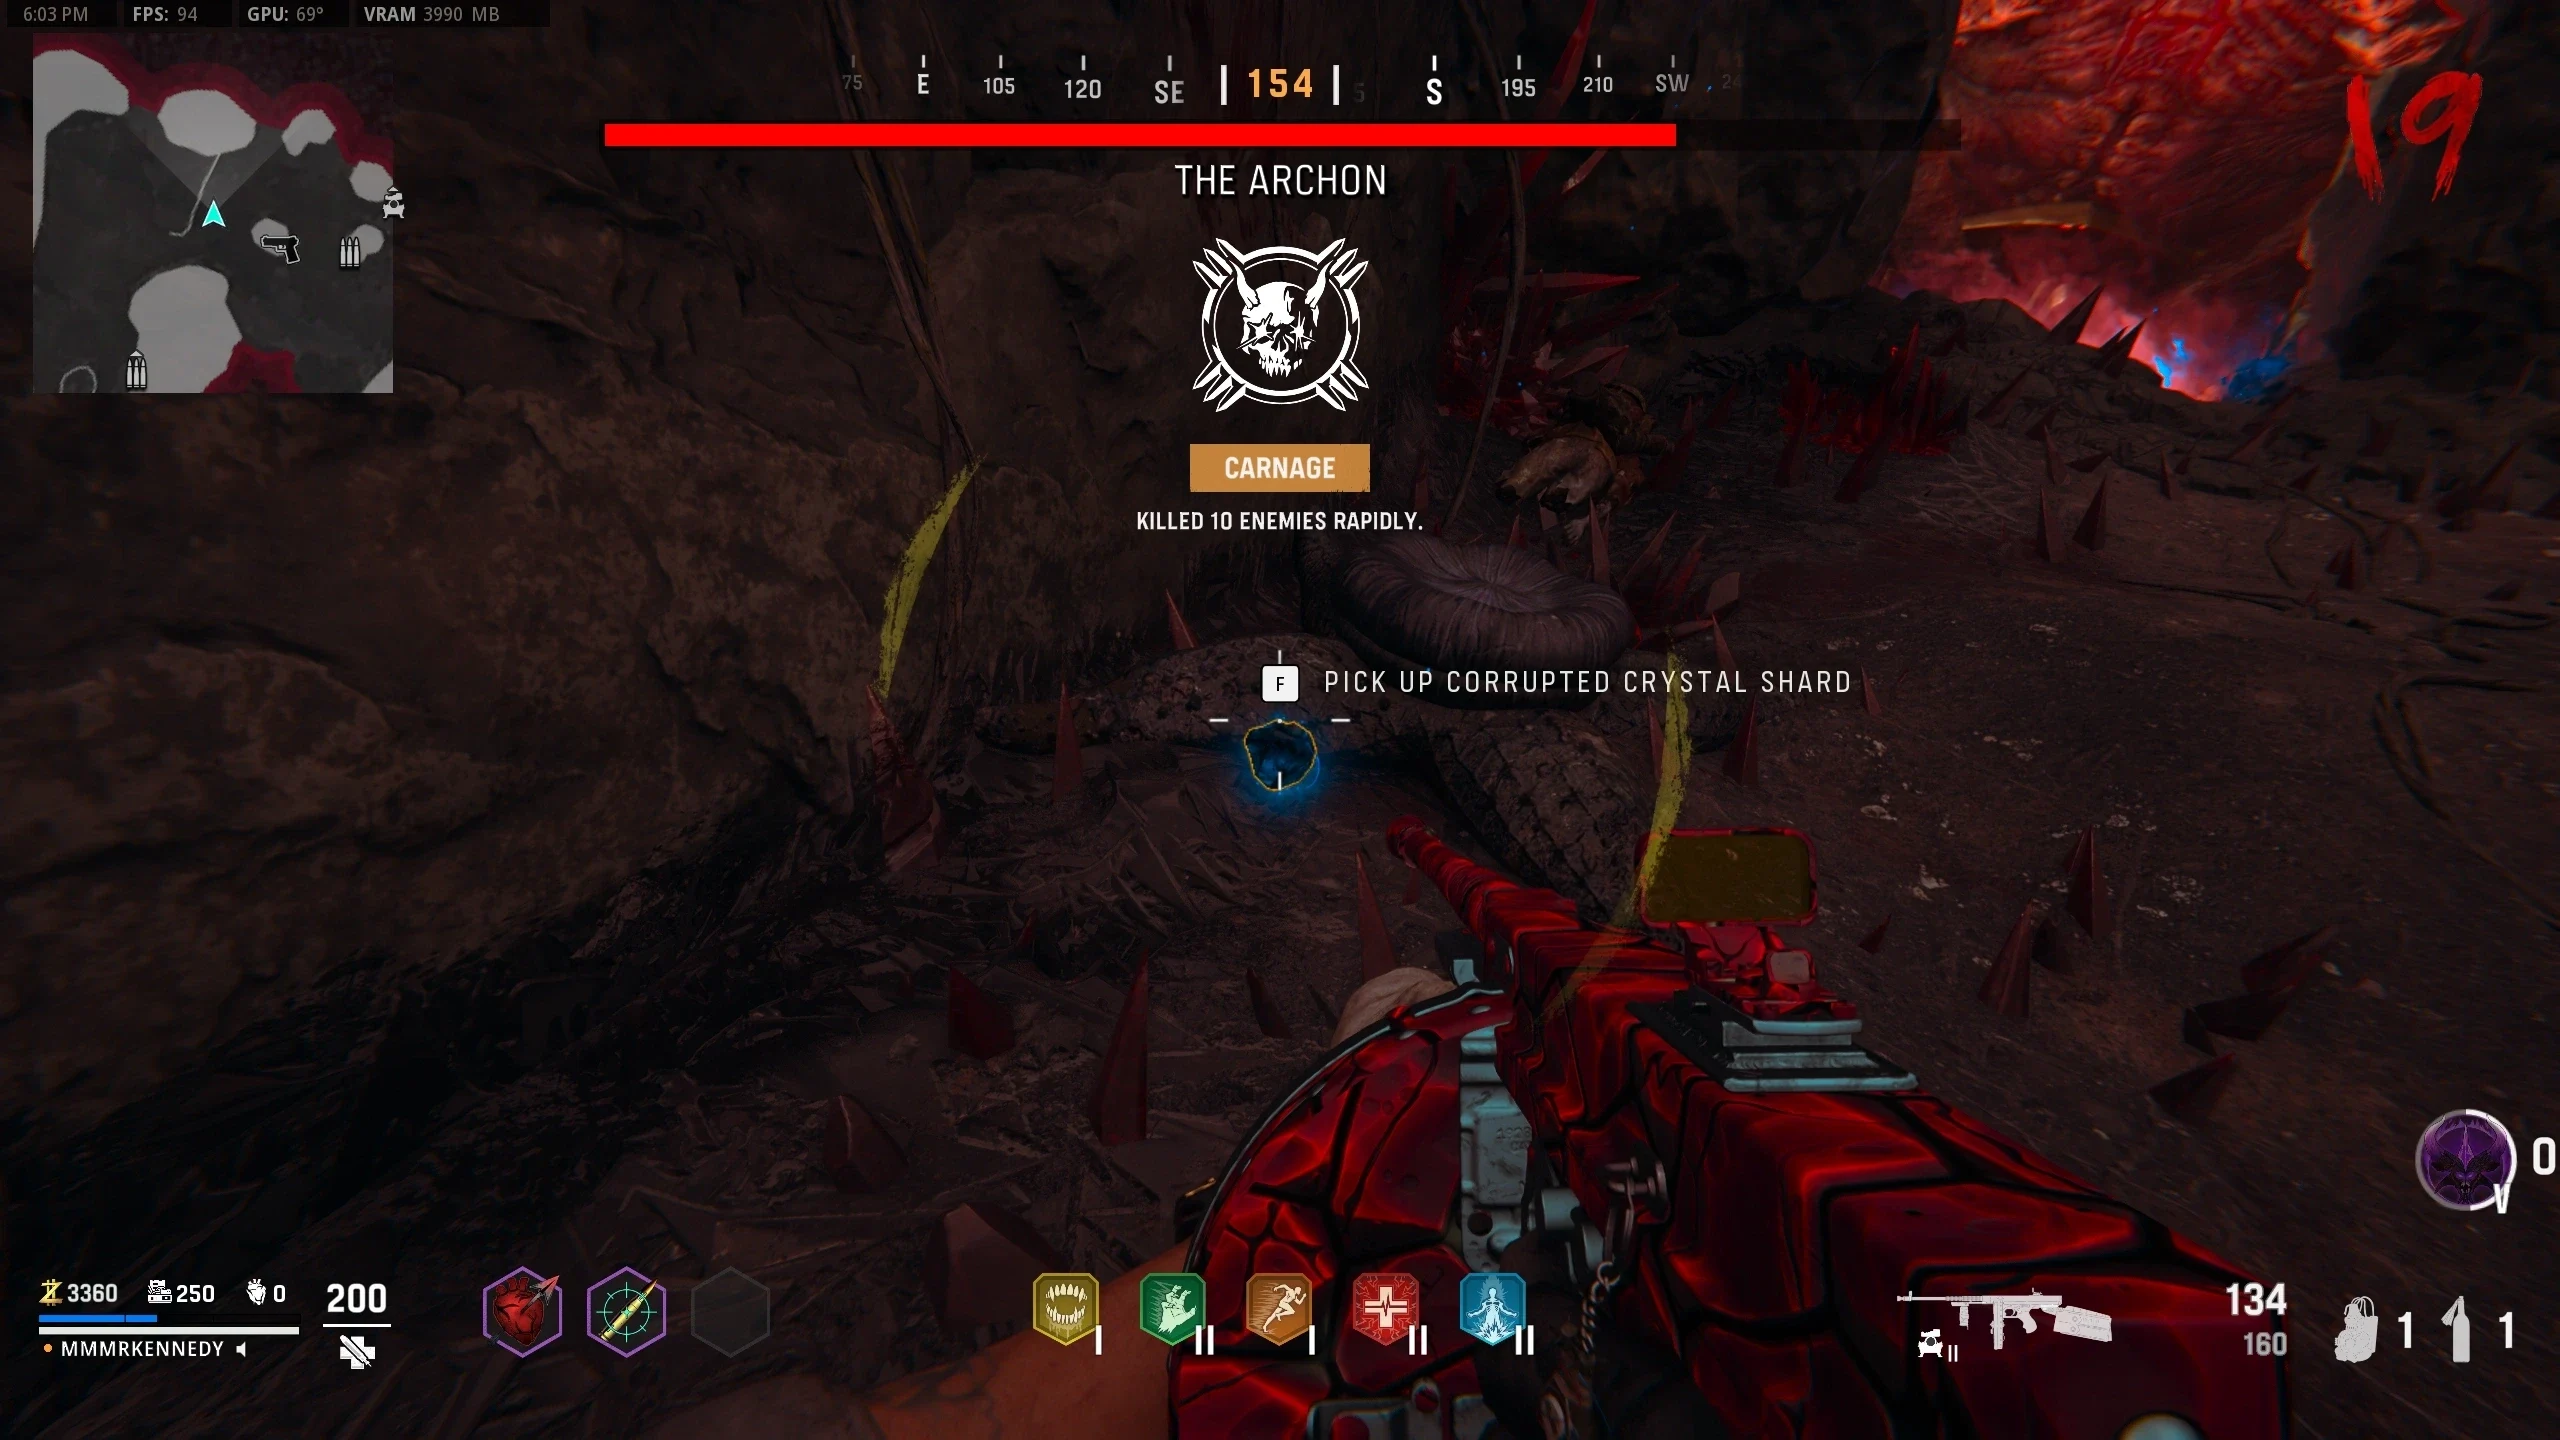
- Throw the red Crystal Shards into the Purple Pods to convert it into blue Corrupted Crystal Shards. The conversion process takes about 20-30 seconds.
- Throw the blue shard at one of the floating pillars in the sky. The pillar will crash into the Construct, disabling Kortifex's bubble shield allowing the player to shoot his two other eyes.
- Once another one of Kortifex's eyes is destroyed, the third phase will begin and the player will be teleported to another area.
- The third phase is identical to the second phase, except this time Kortifex can heal himself.
- To stop Kortifex from healing, hit him with the floating pillars in the sky.
- Once the final eye is destroyed, a short conversation will play and the players will be awarded the following rewards: the calling card "There Archon Be Only One" as well as the Wunderwaffe DG-2, five Sacrificial Hearts, and one tier upgrade for the perks the player had during the fight.
Boss Fight
Phase 1
Phase 2
Phase 3