'Making History' Main Quest
Stats (Solo): Difficulty - 9/10, Est. Completion Time - 1:10 to 1:30 Hrs
- Make sure you have either the Frag Grenades or the N° 74 ST (recommended) in your loadout.
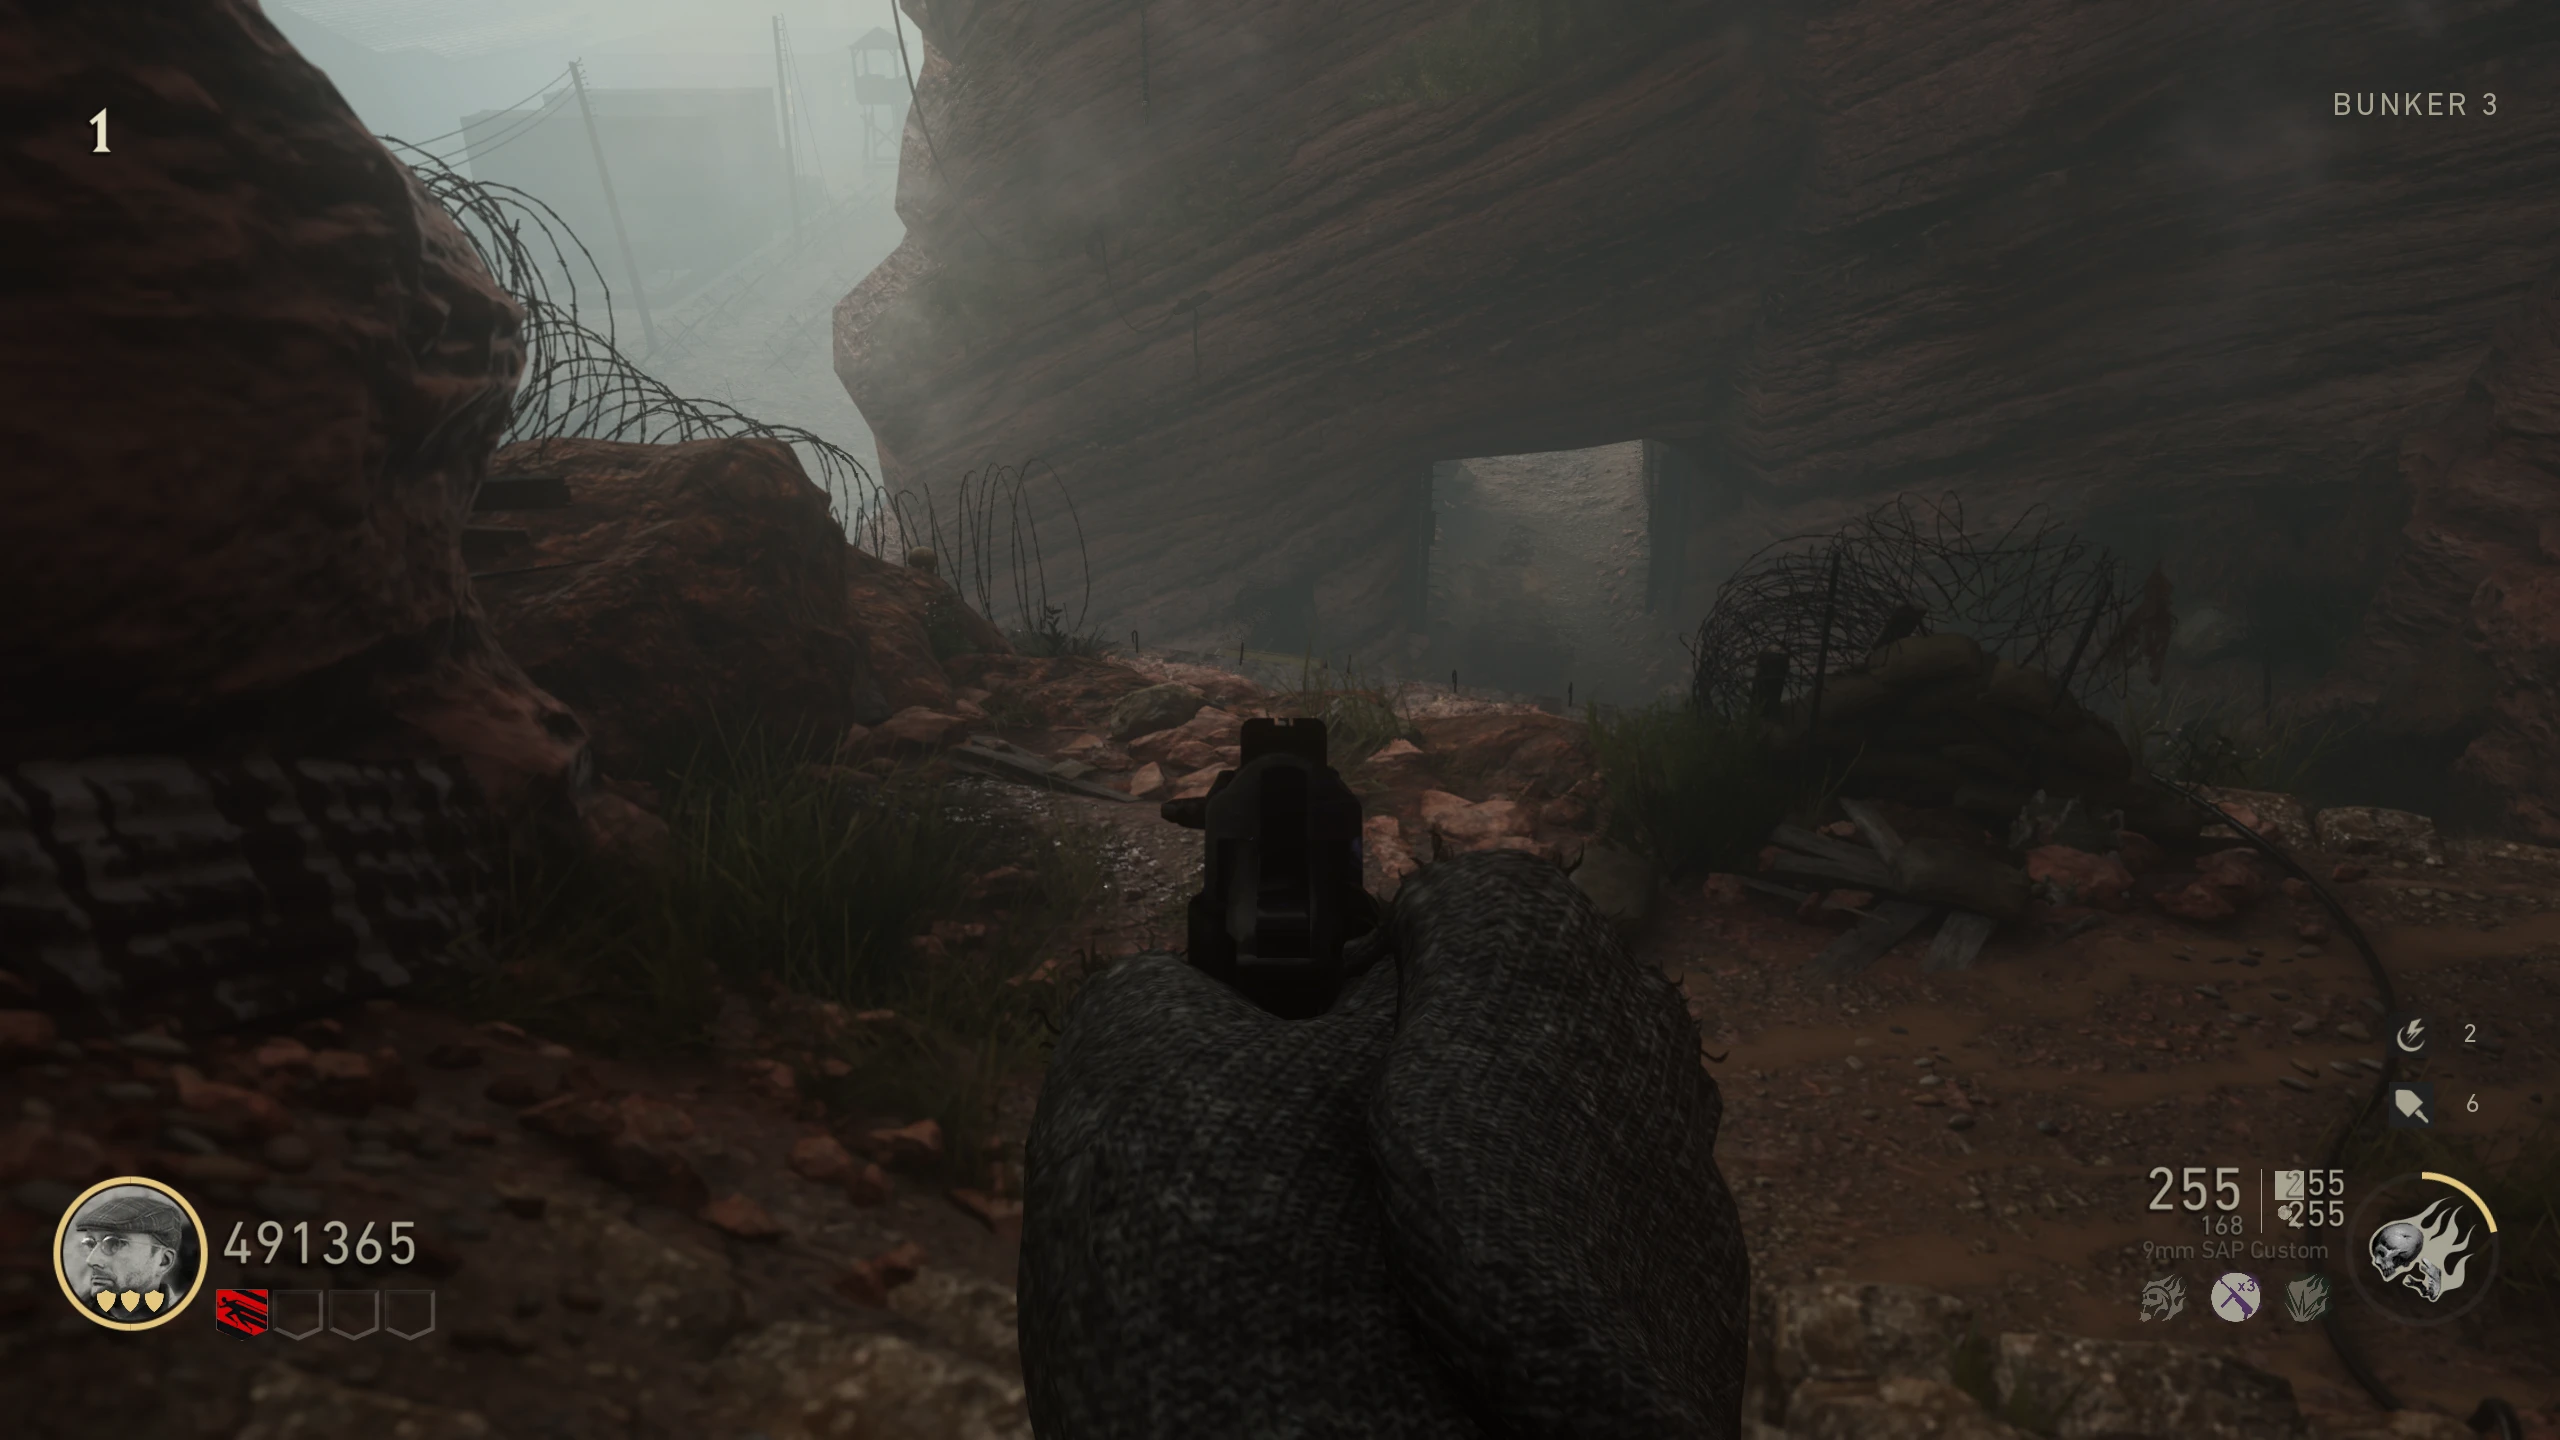
- Turn on the power and acquire the Ranged Ripsaw.
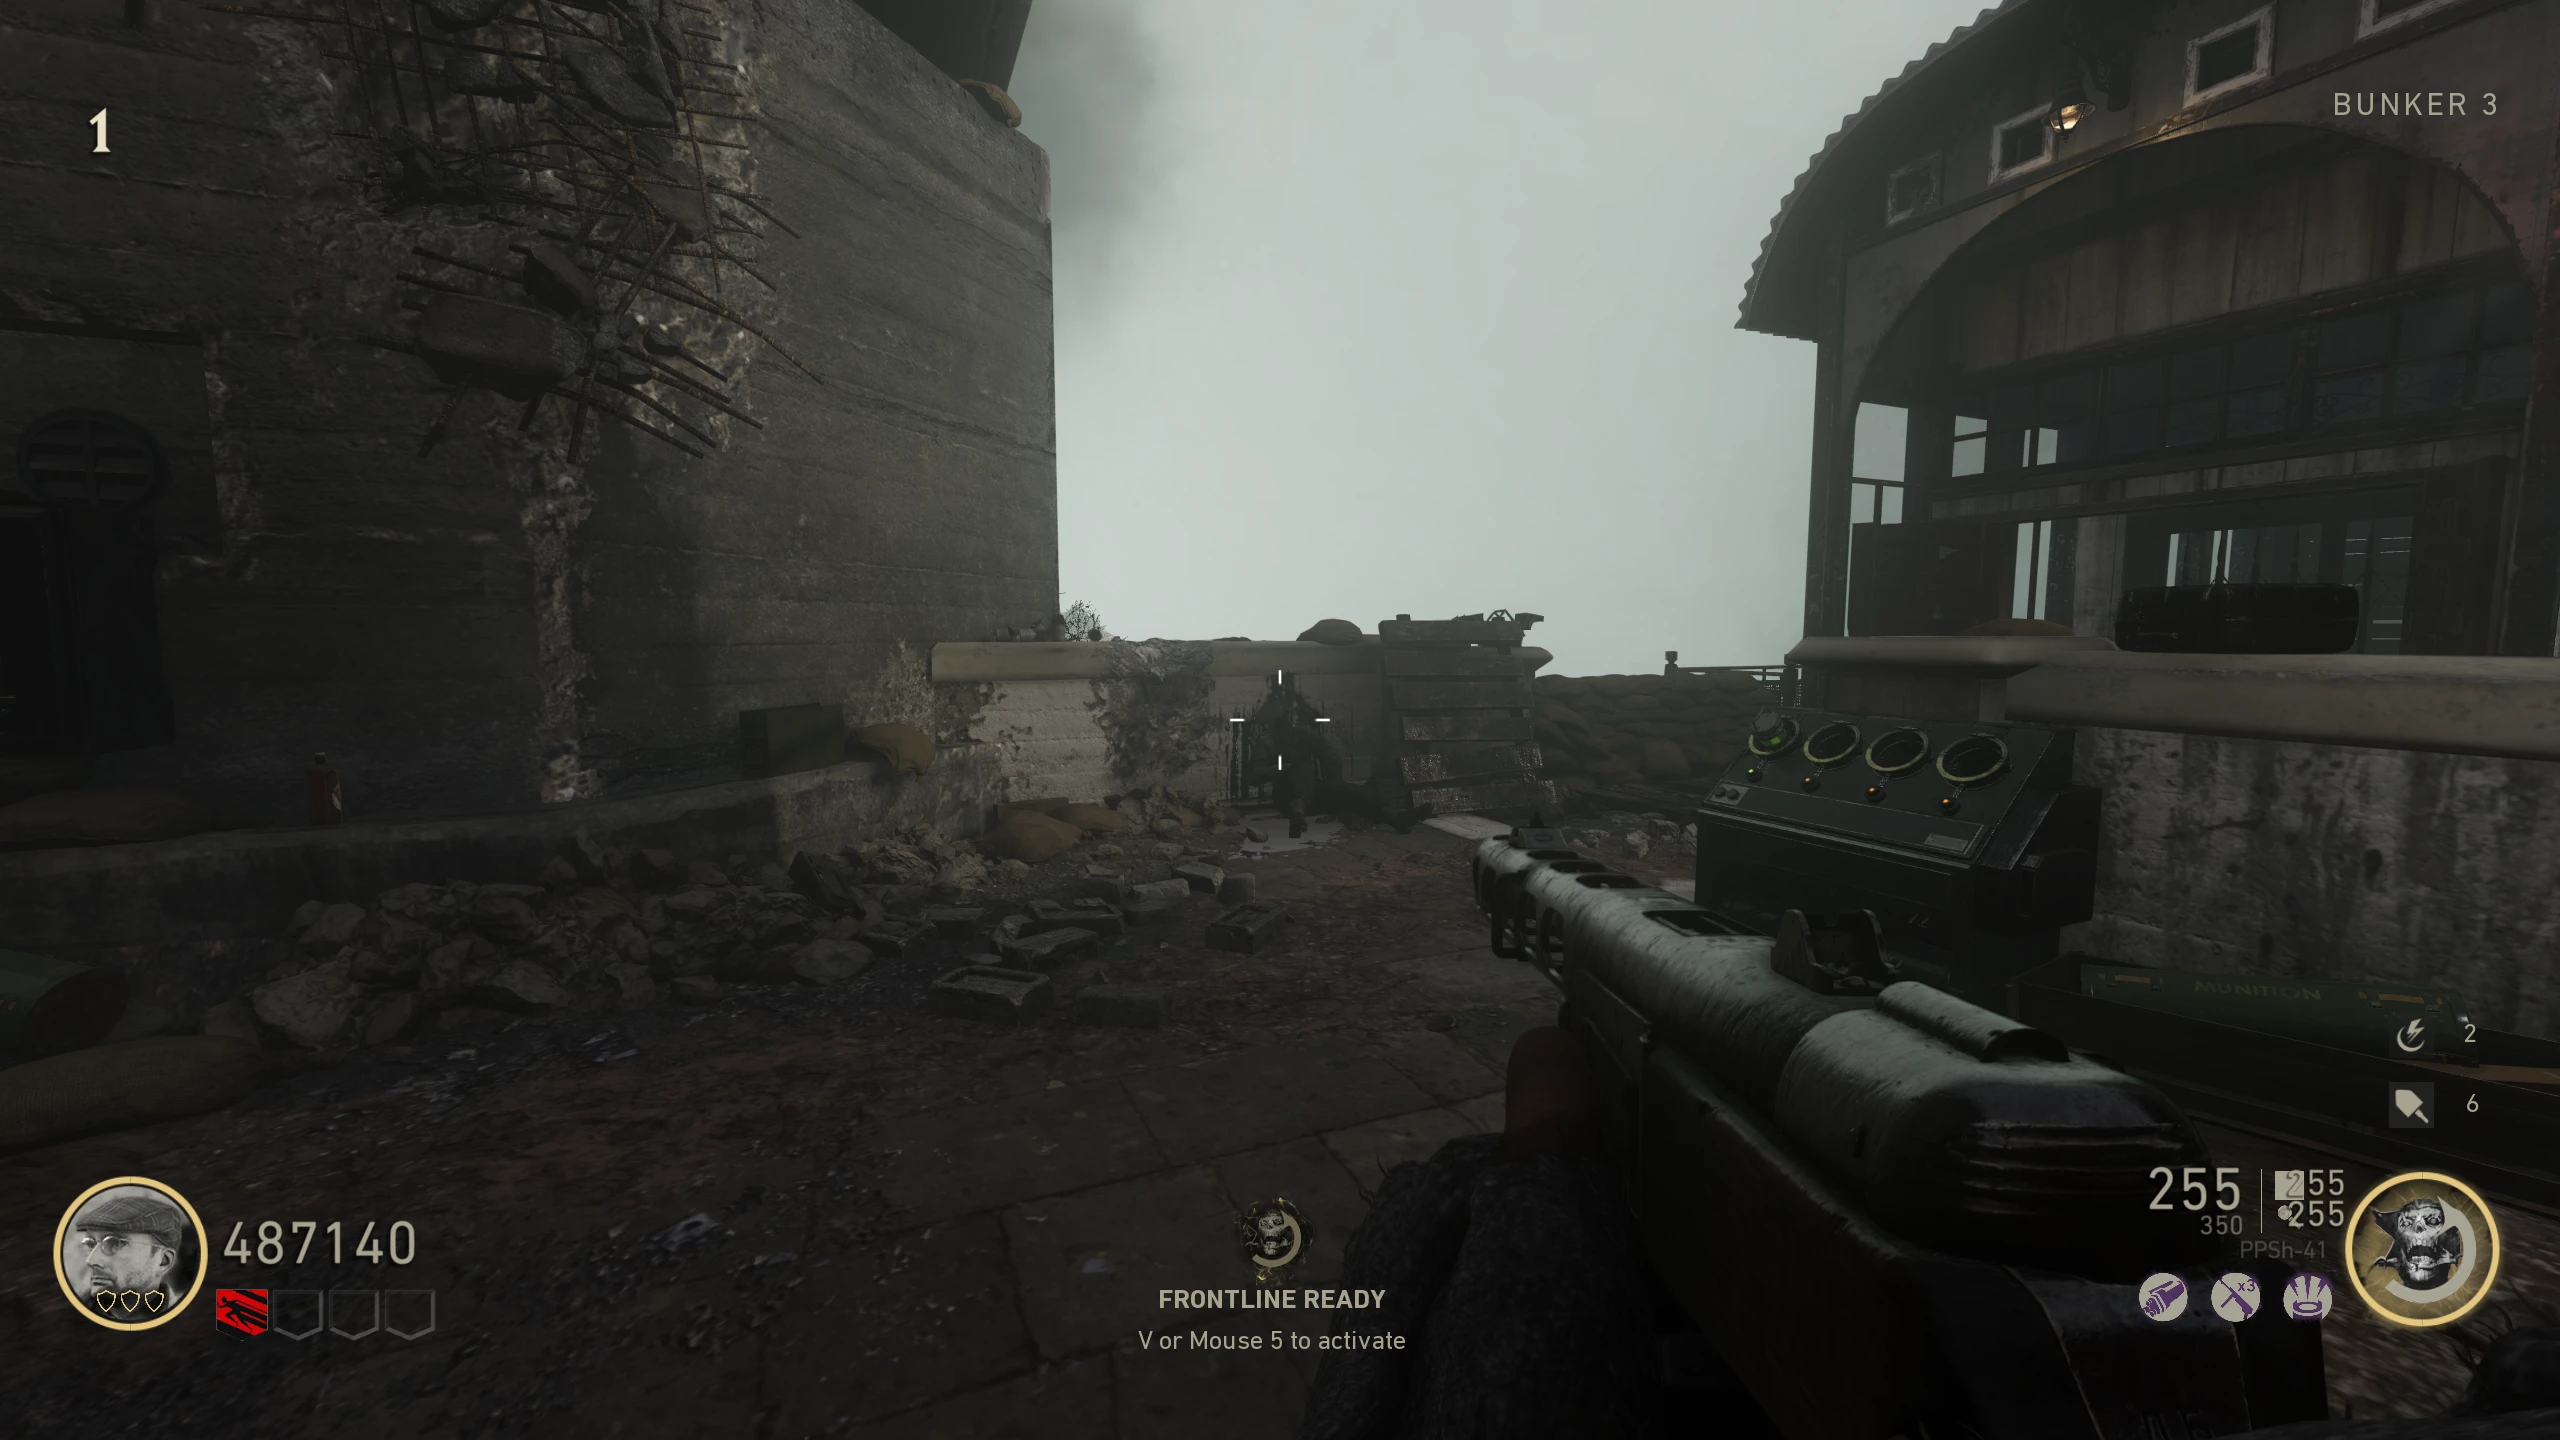
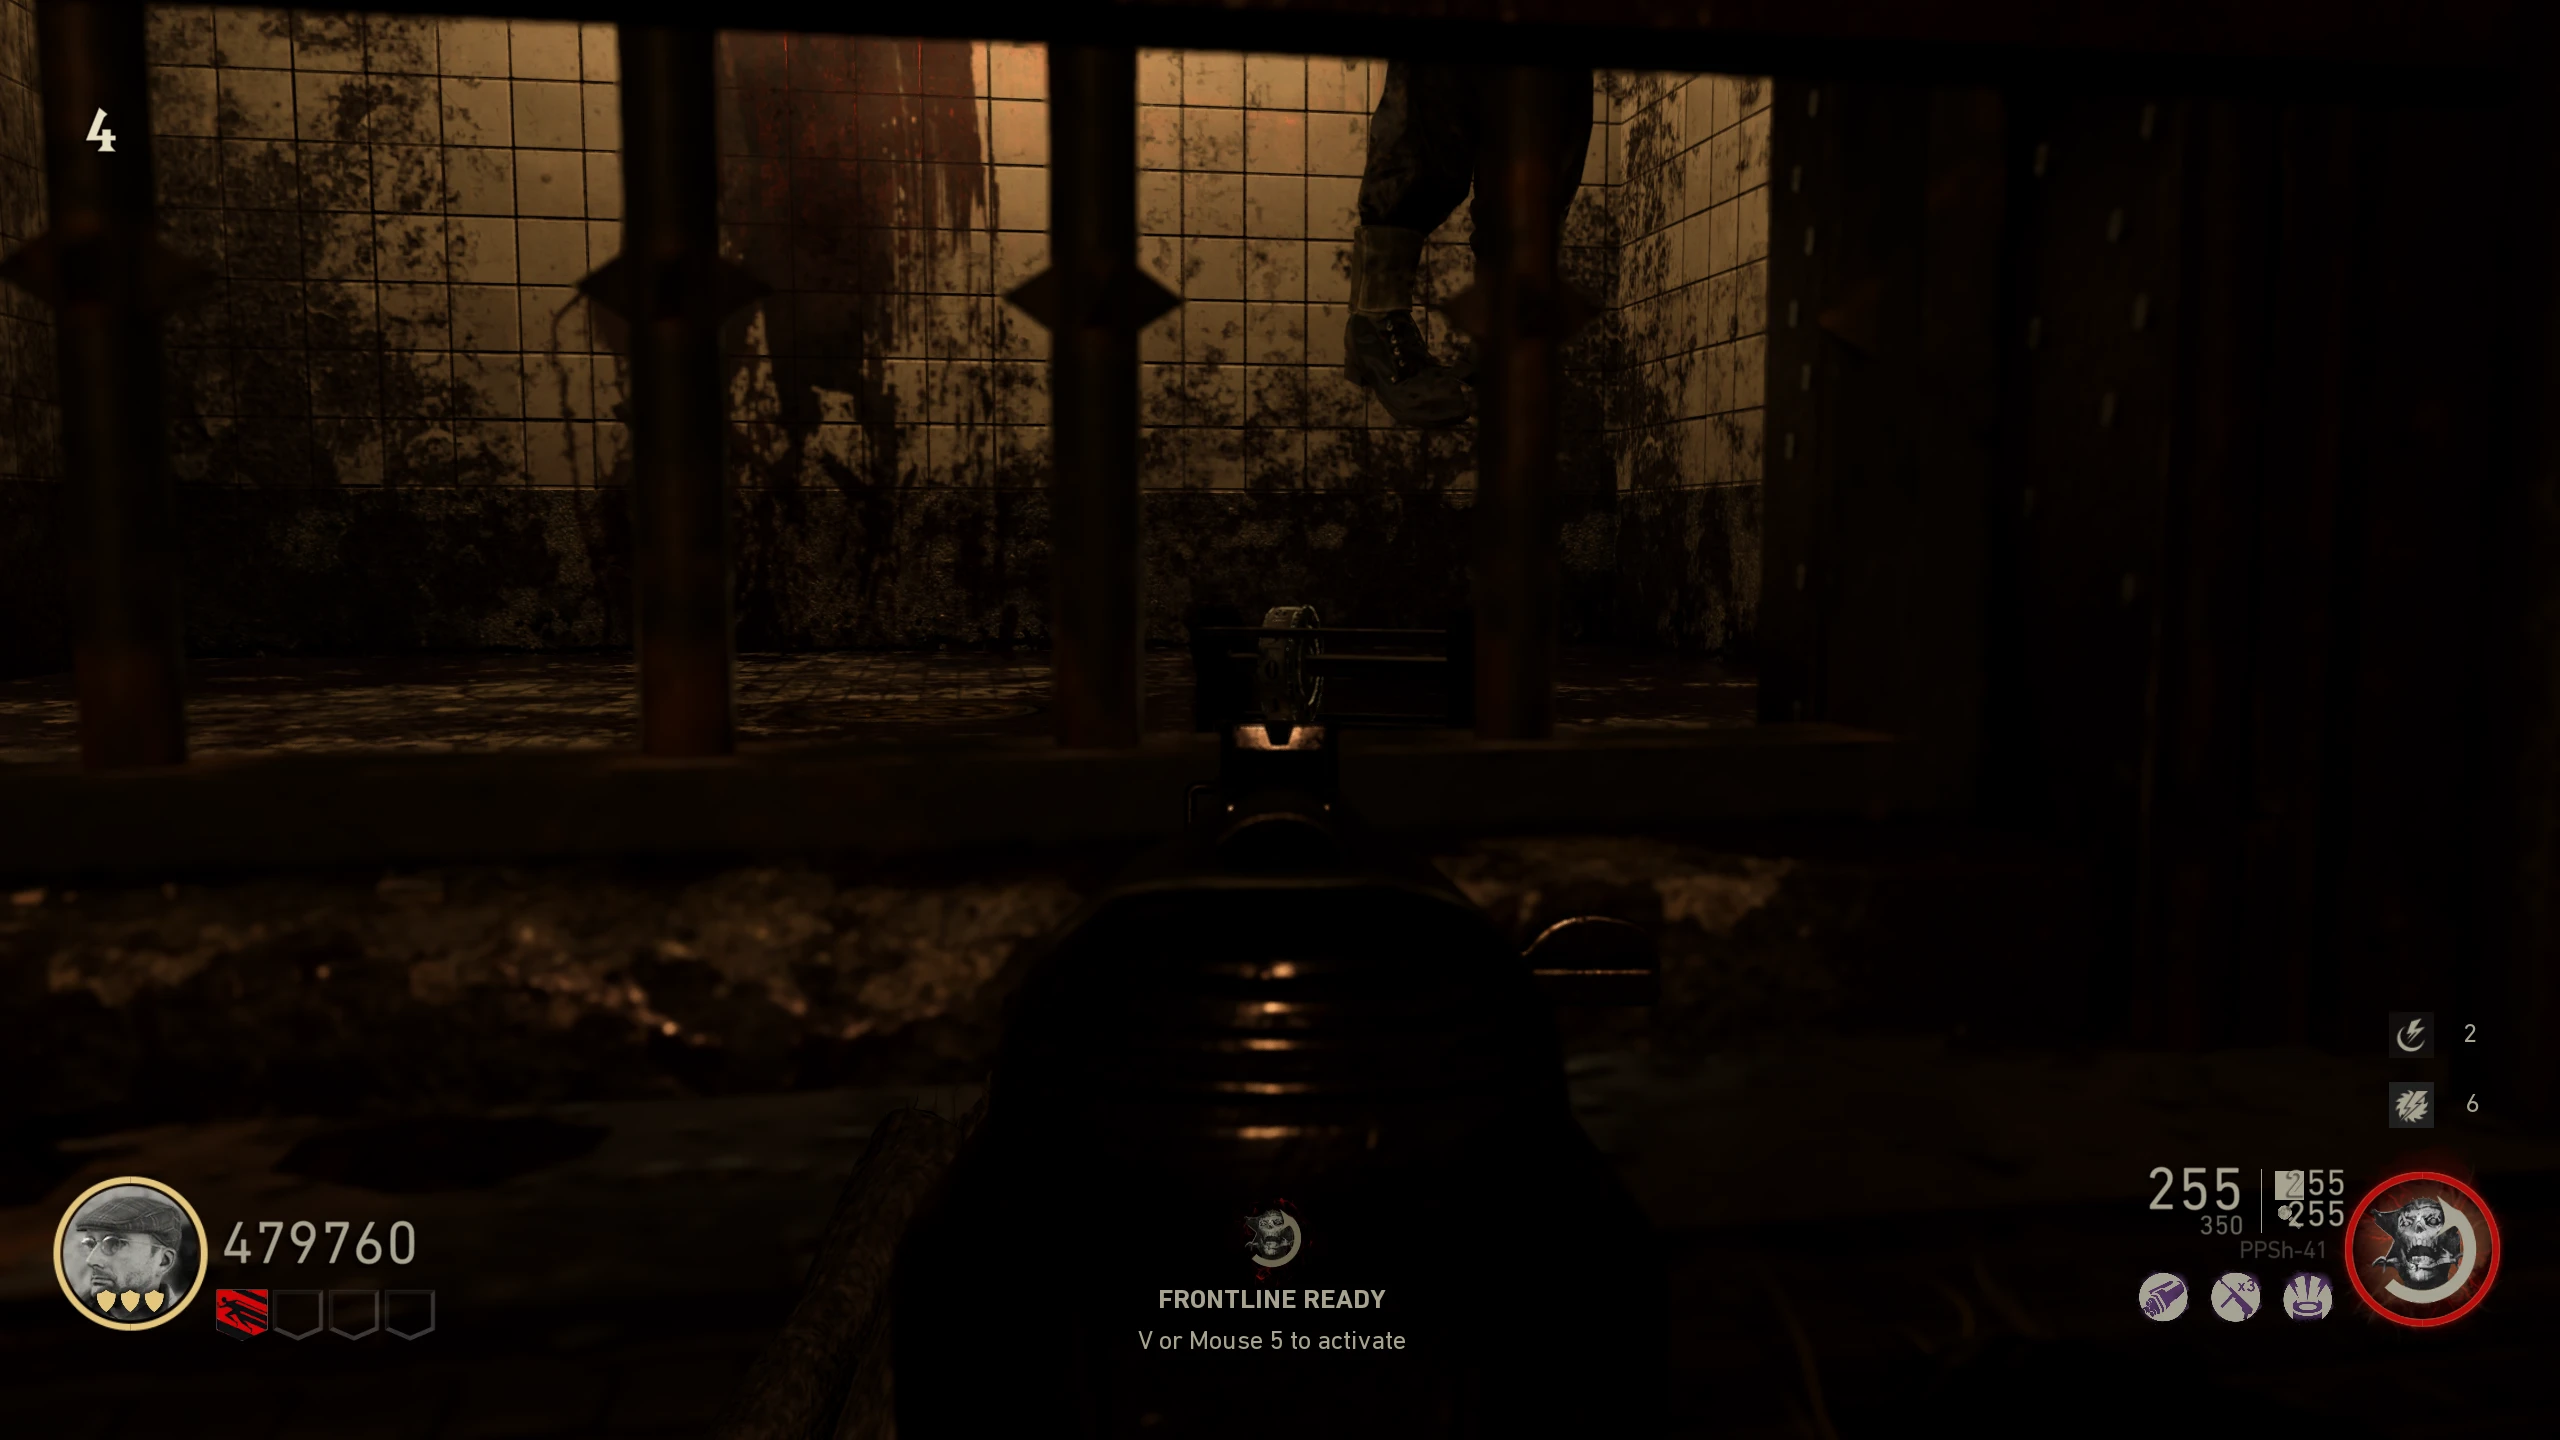
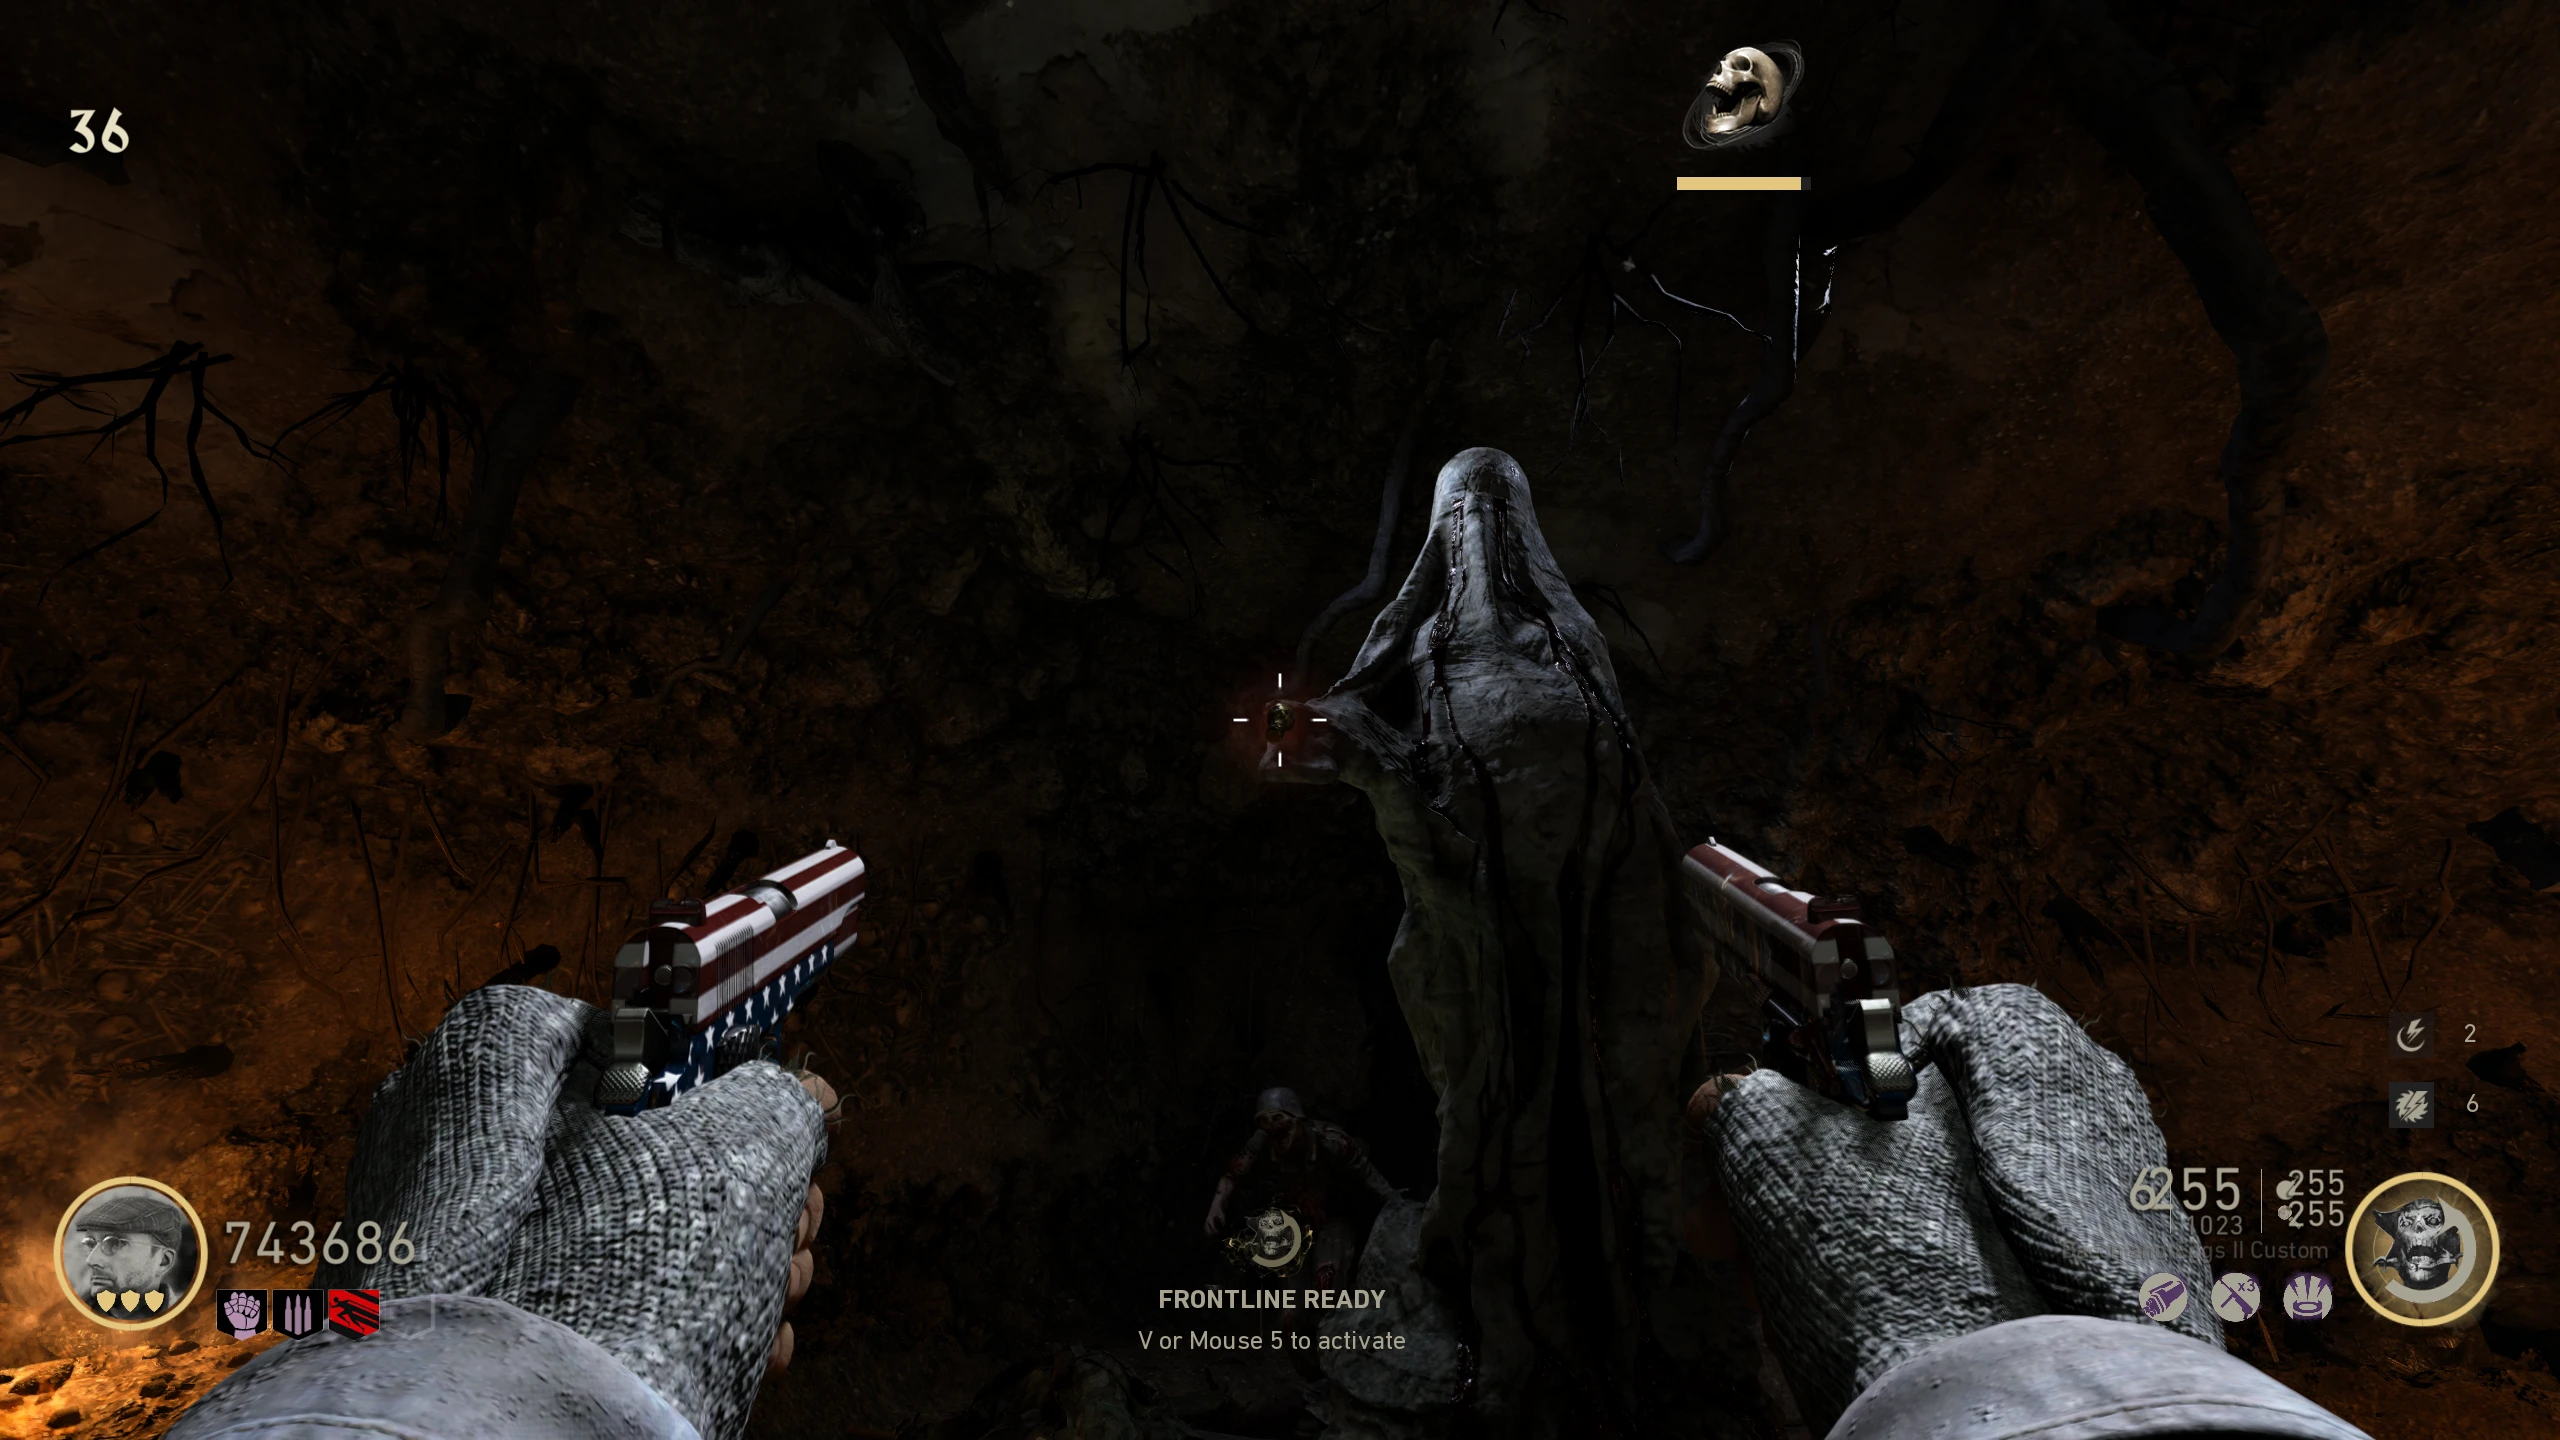
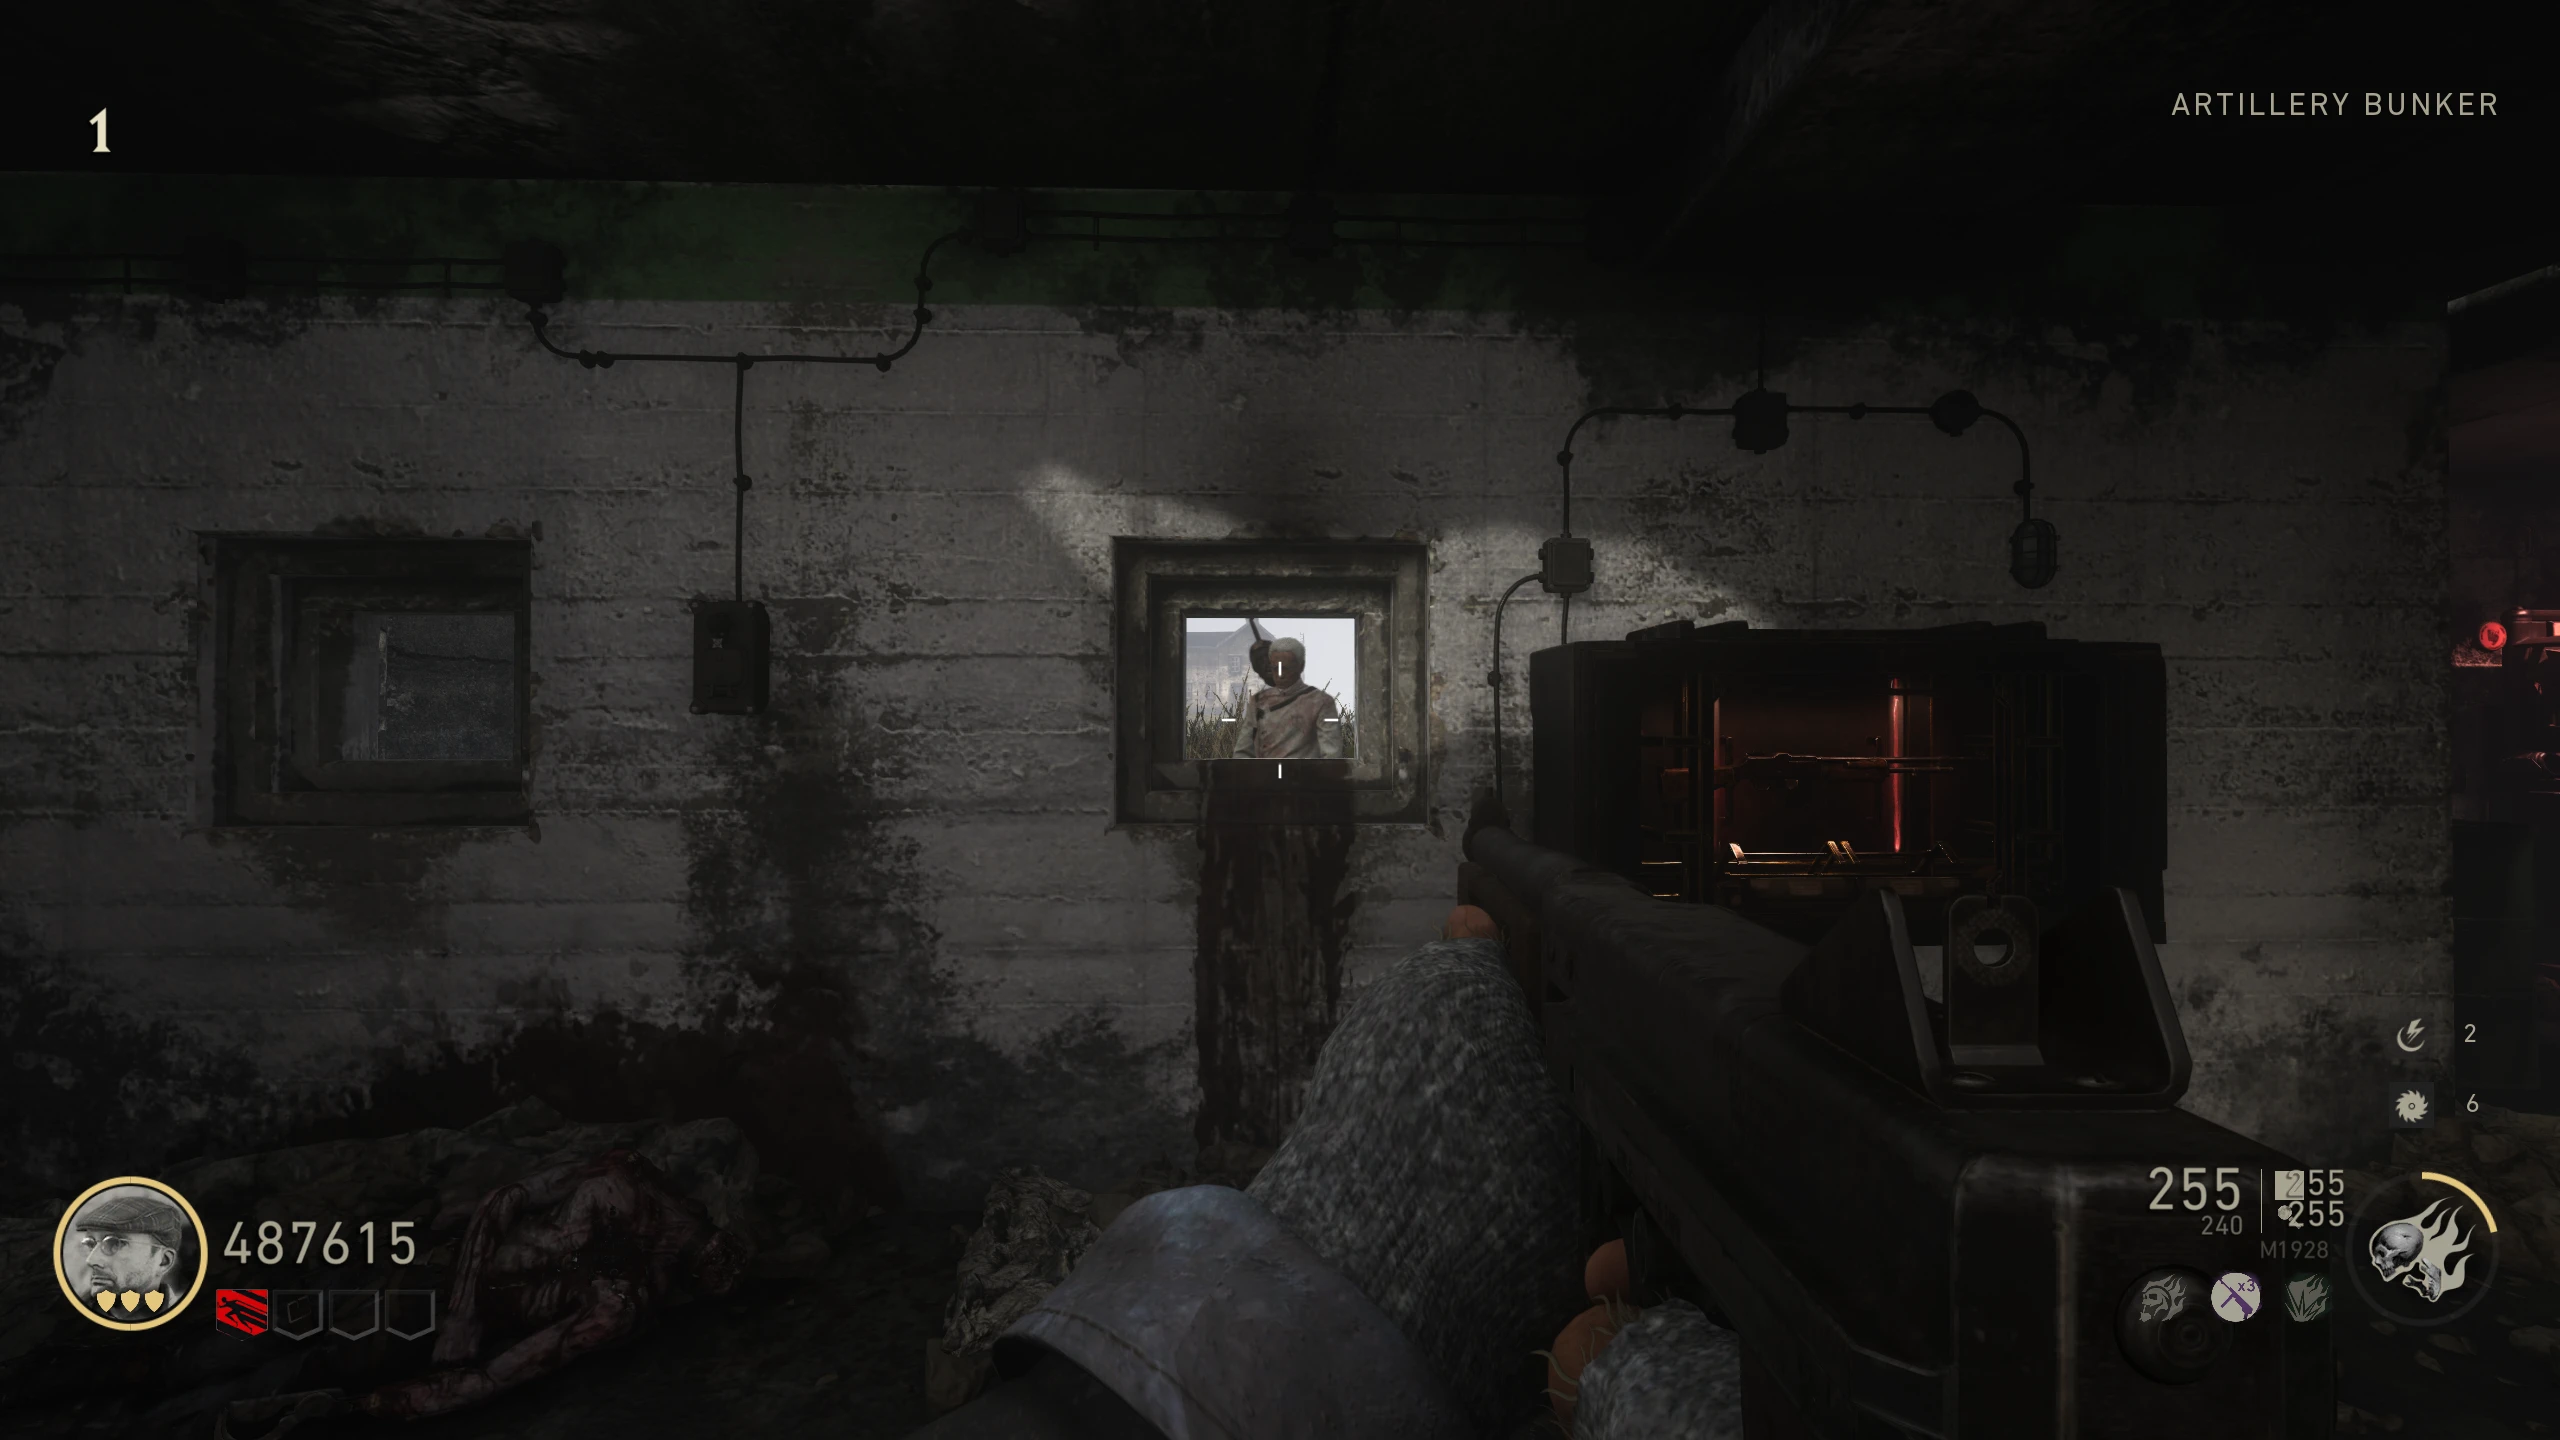
- Shoot the head off the hanging corpse in 'Bunker 3.' It will drop for you to pick it up.
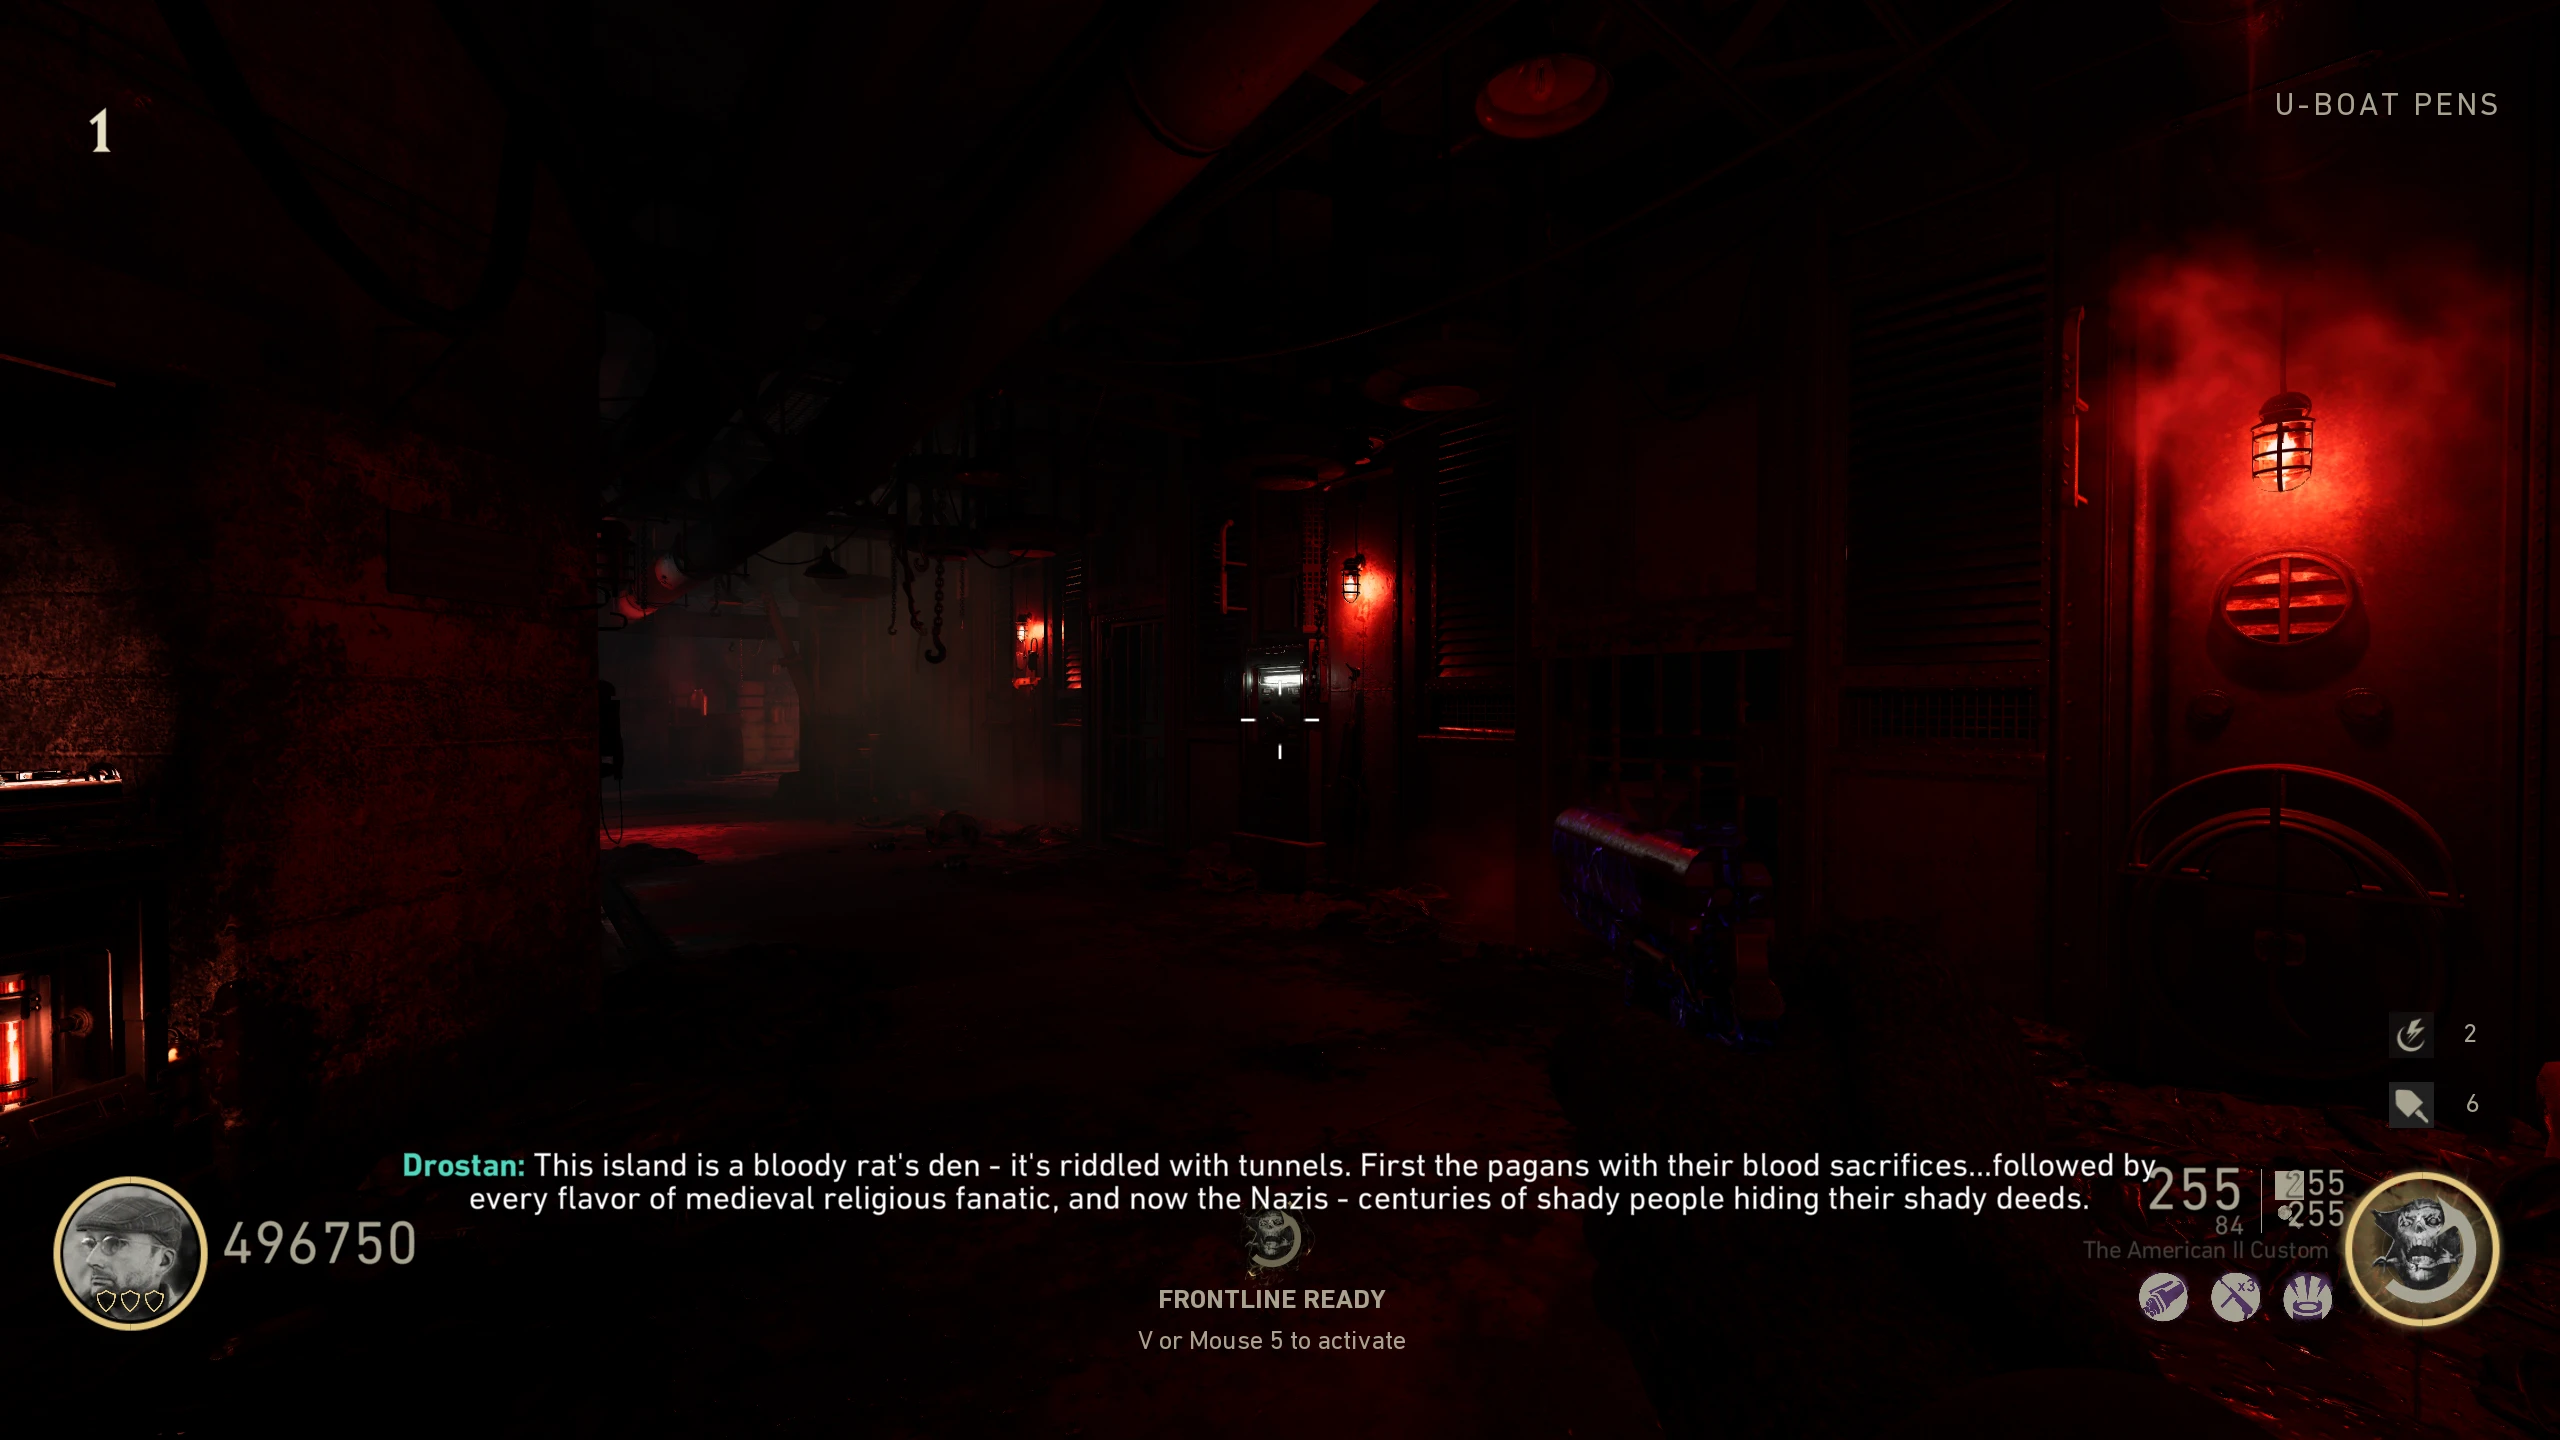
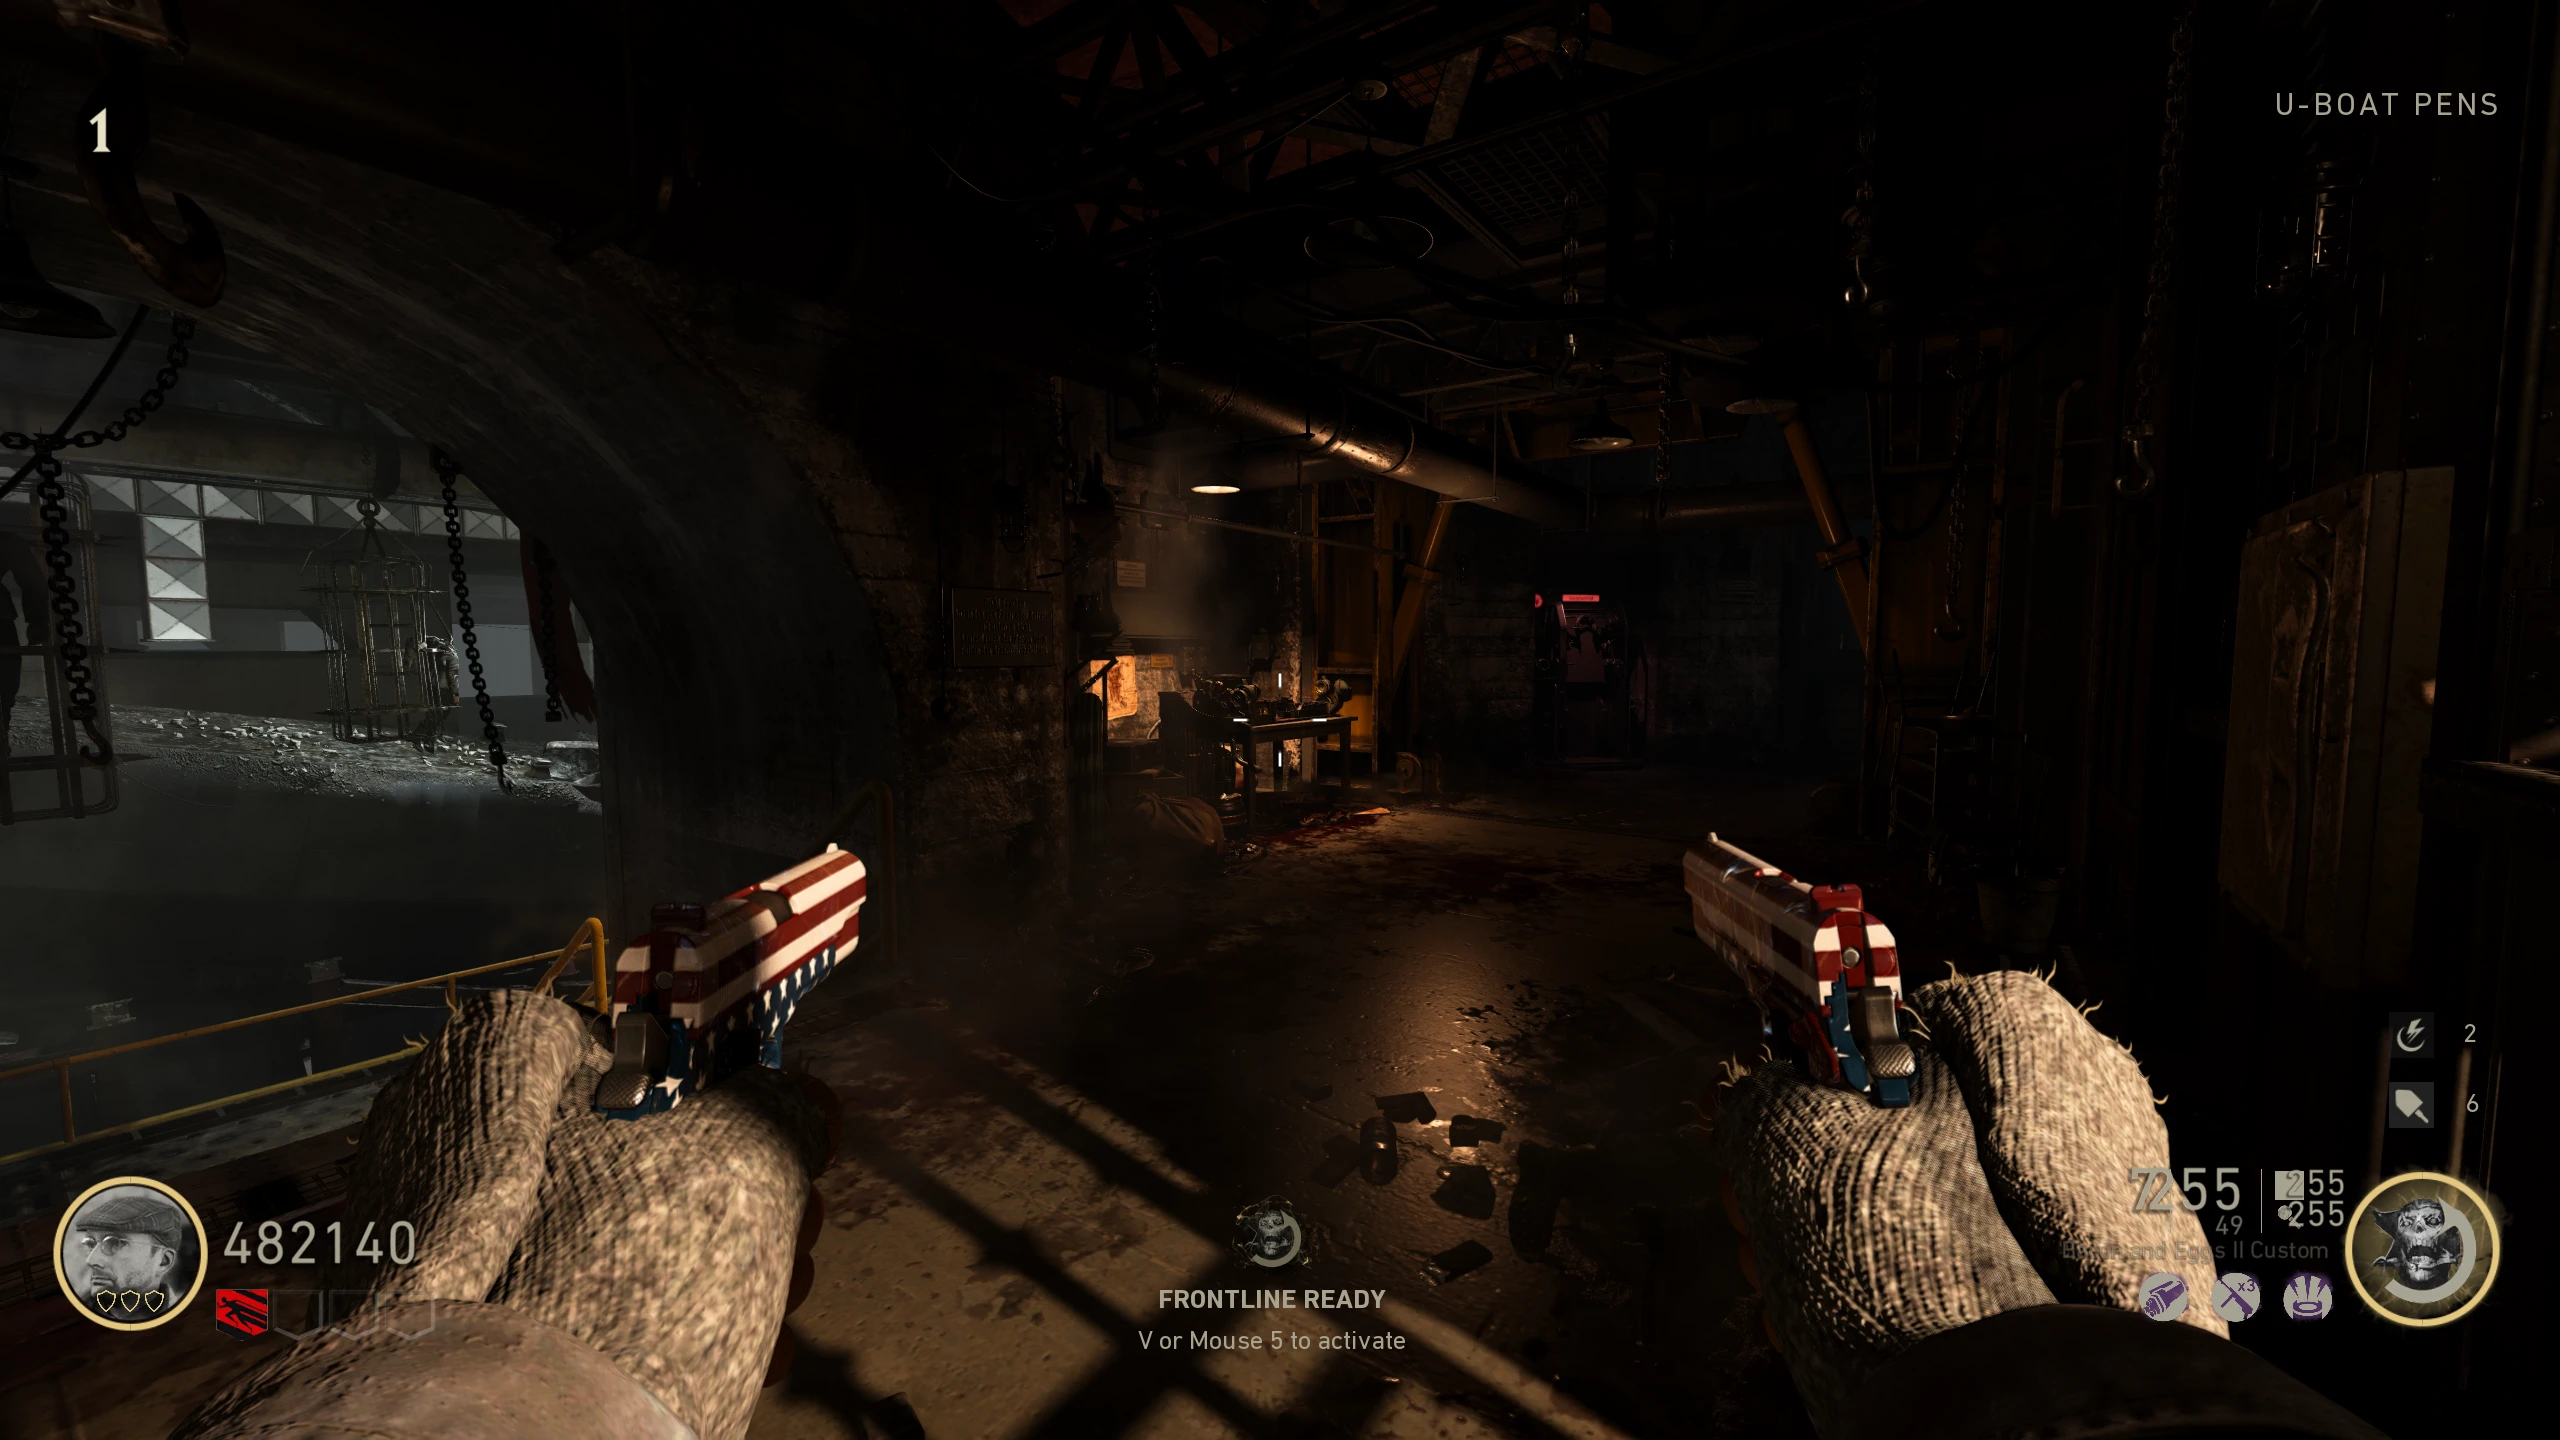
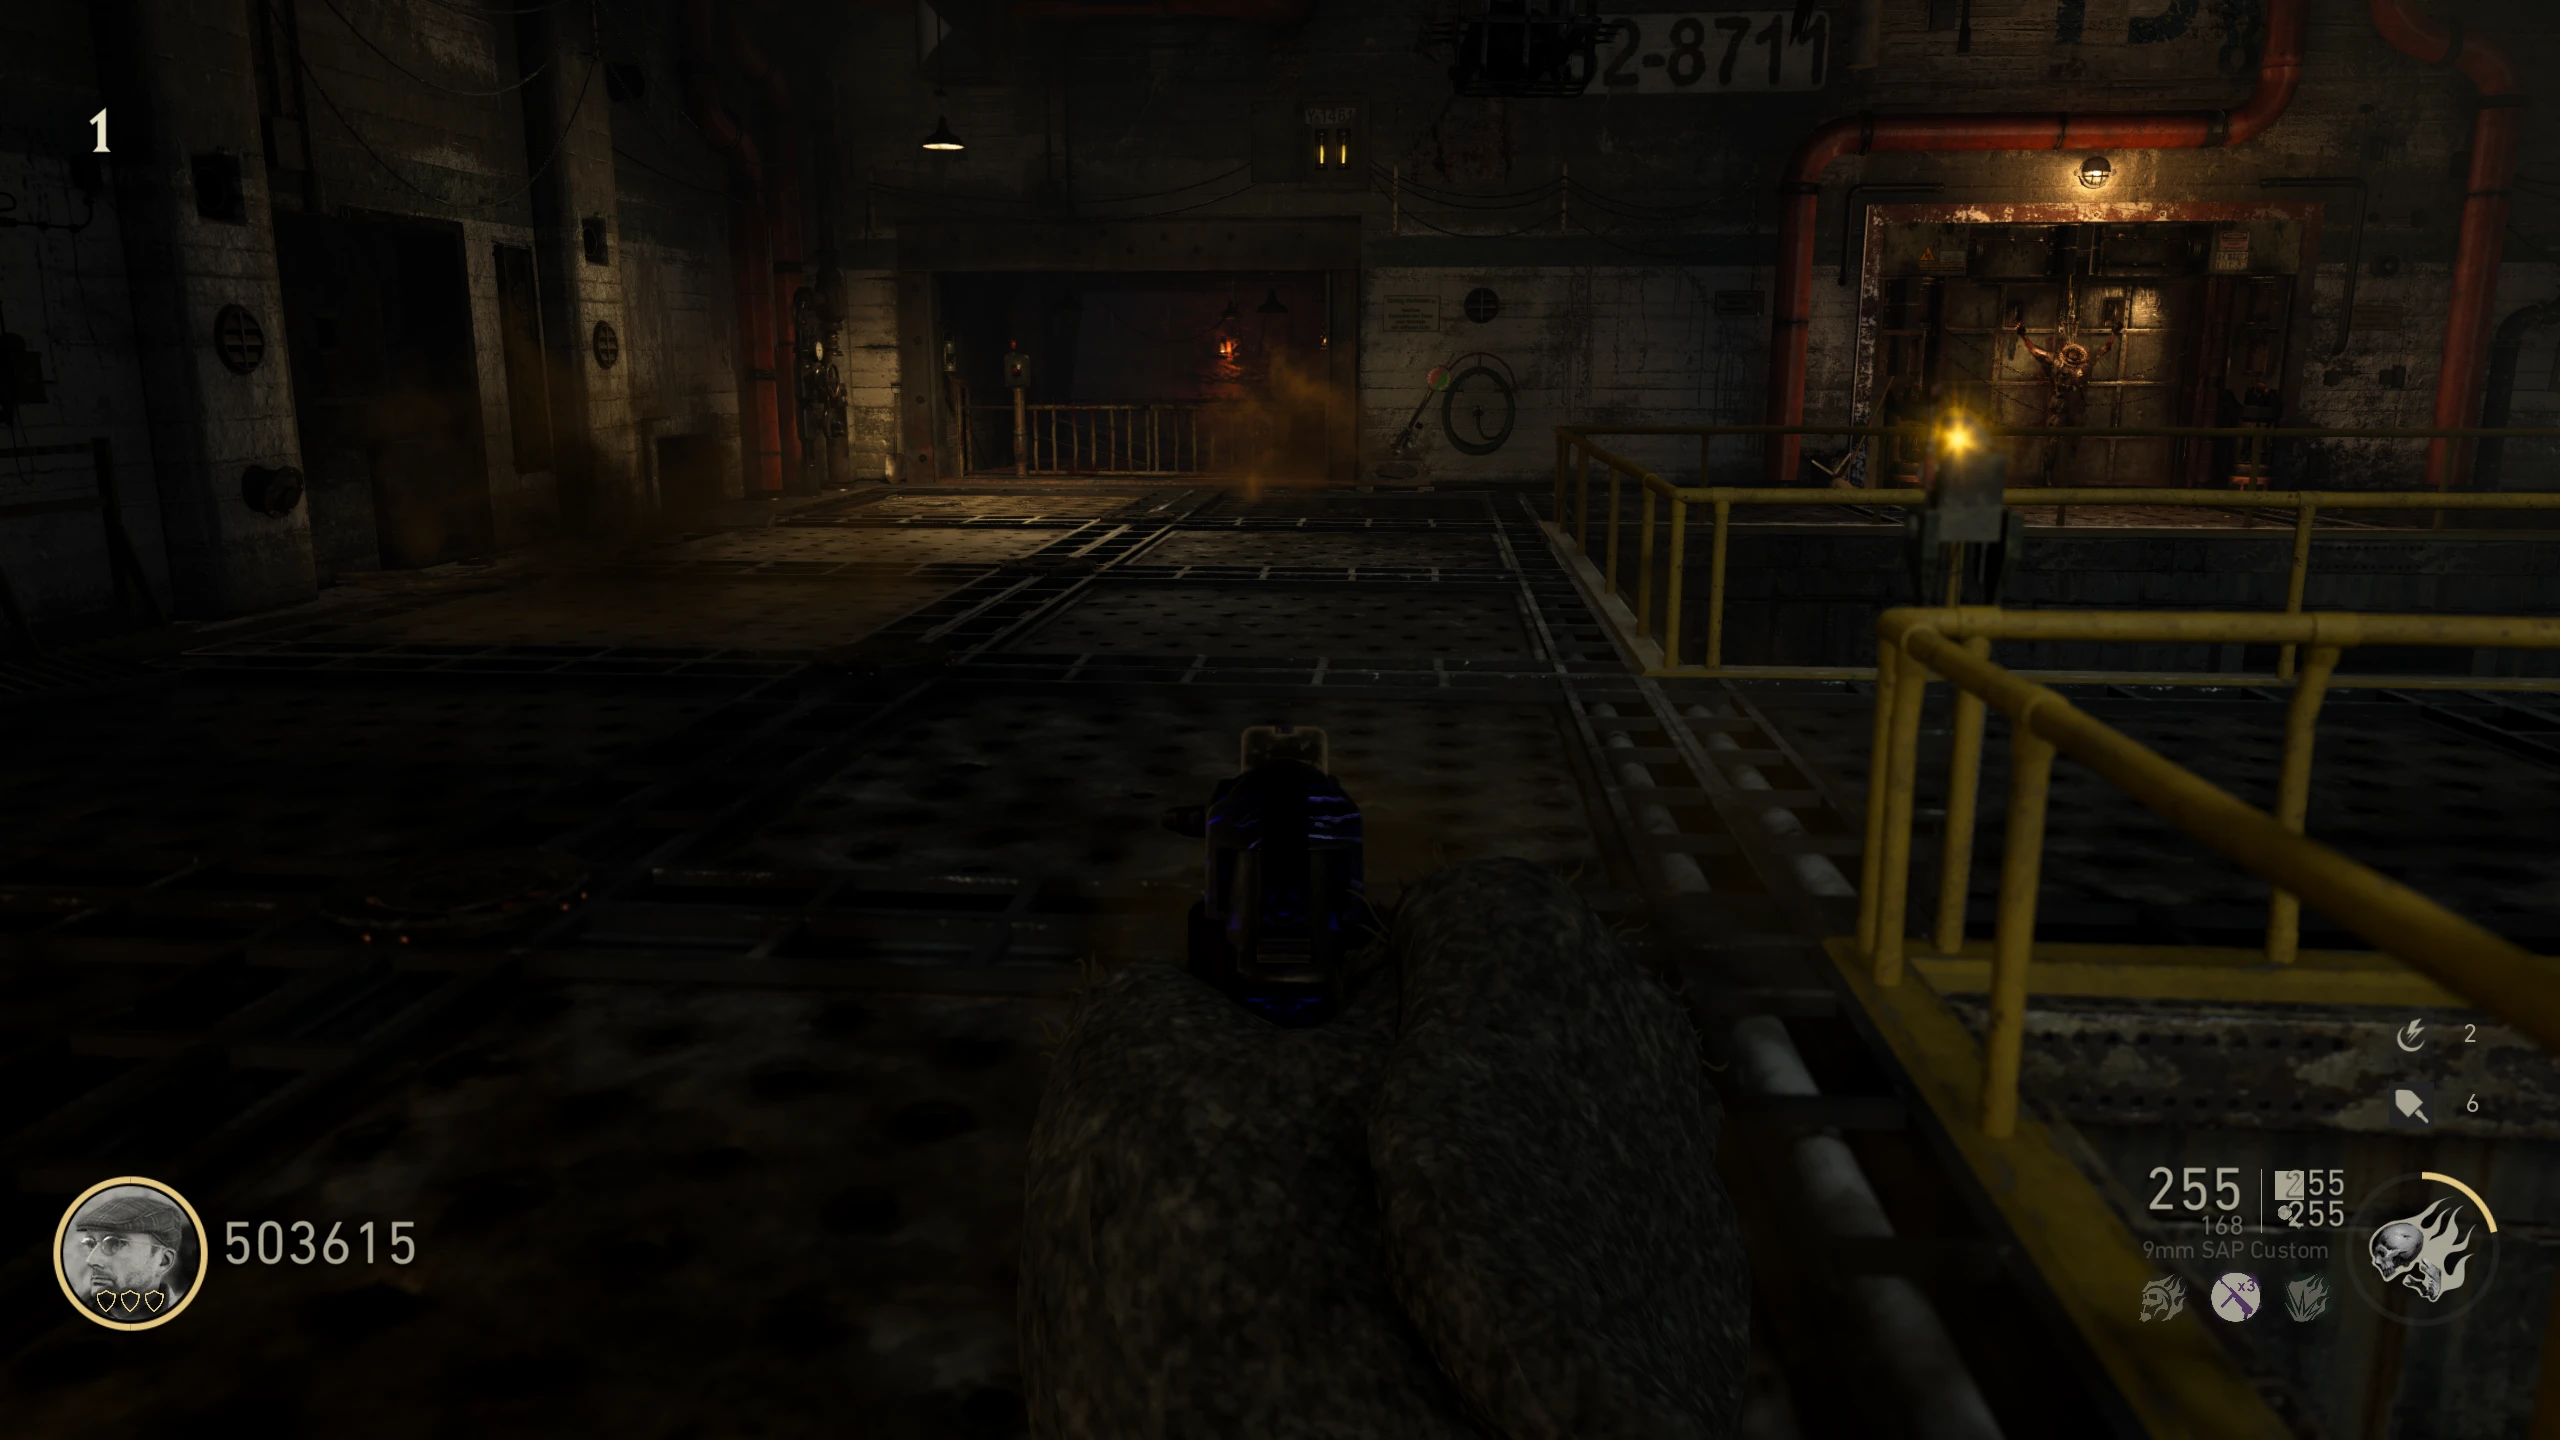
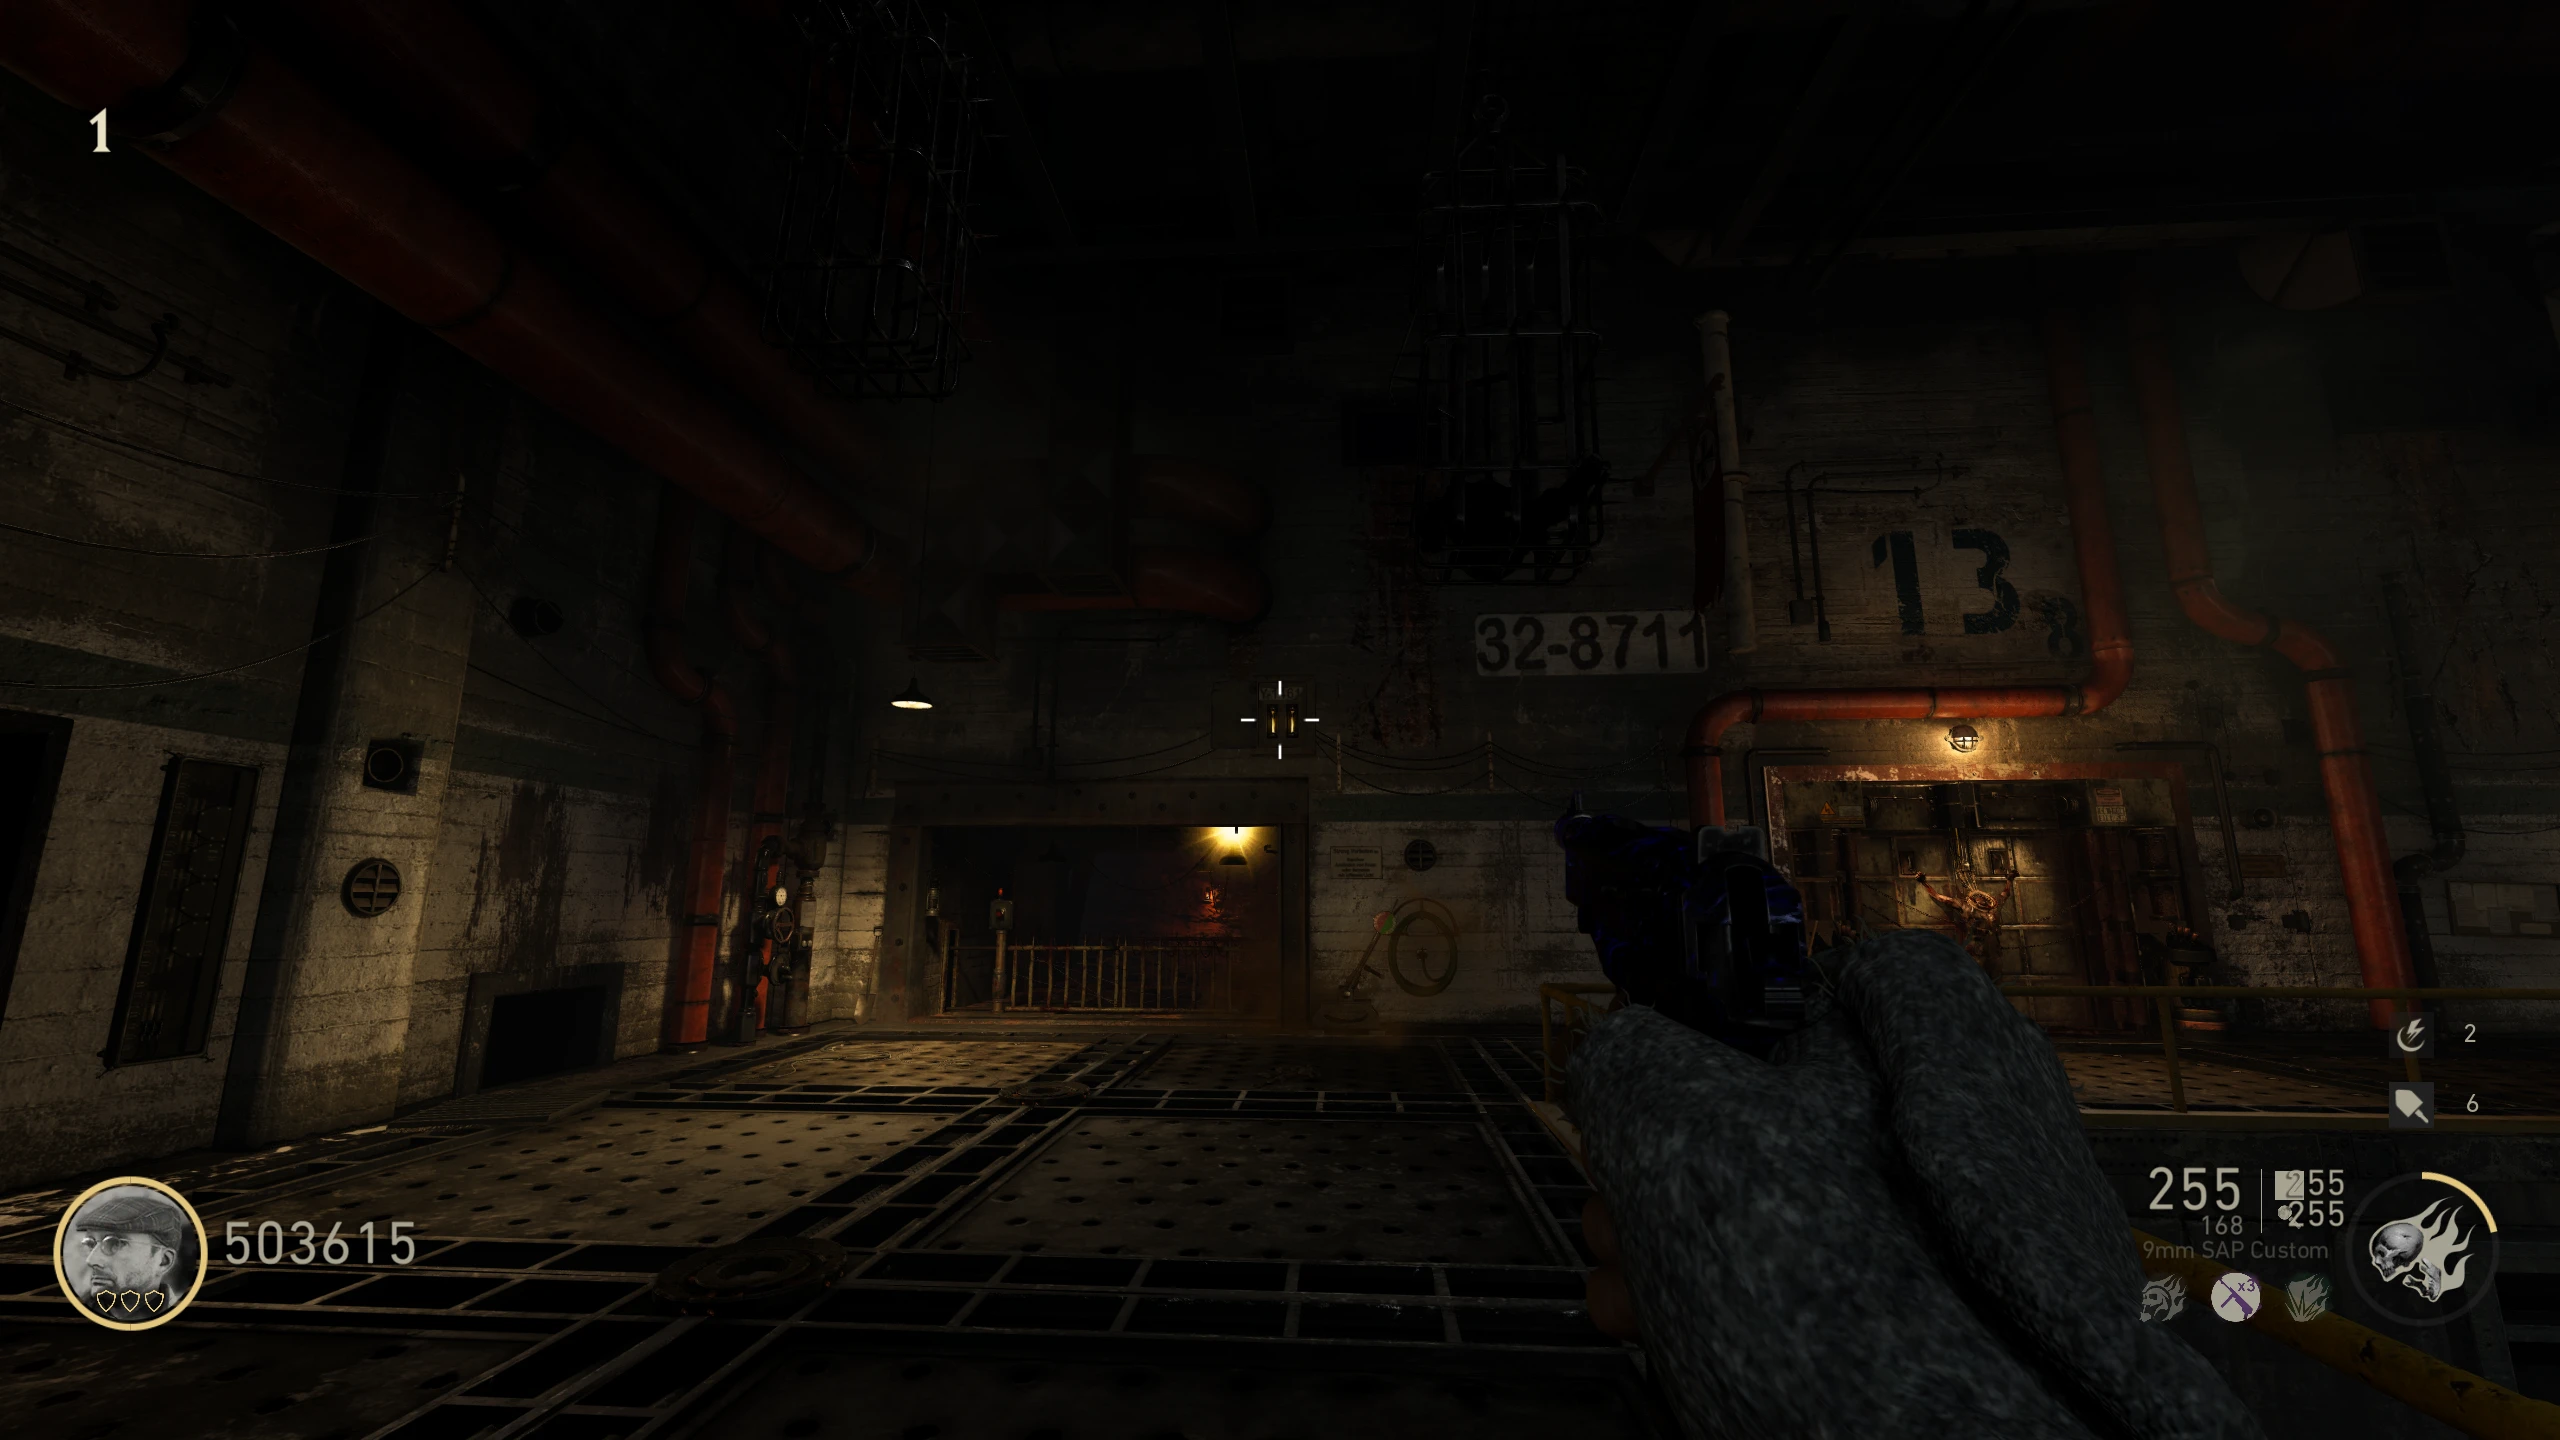
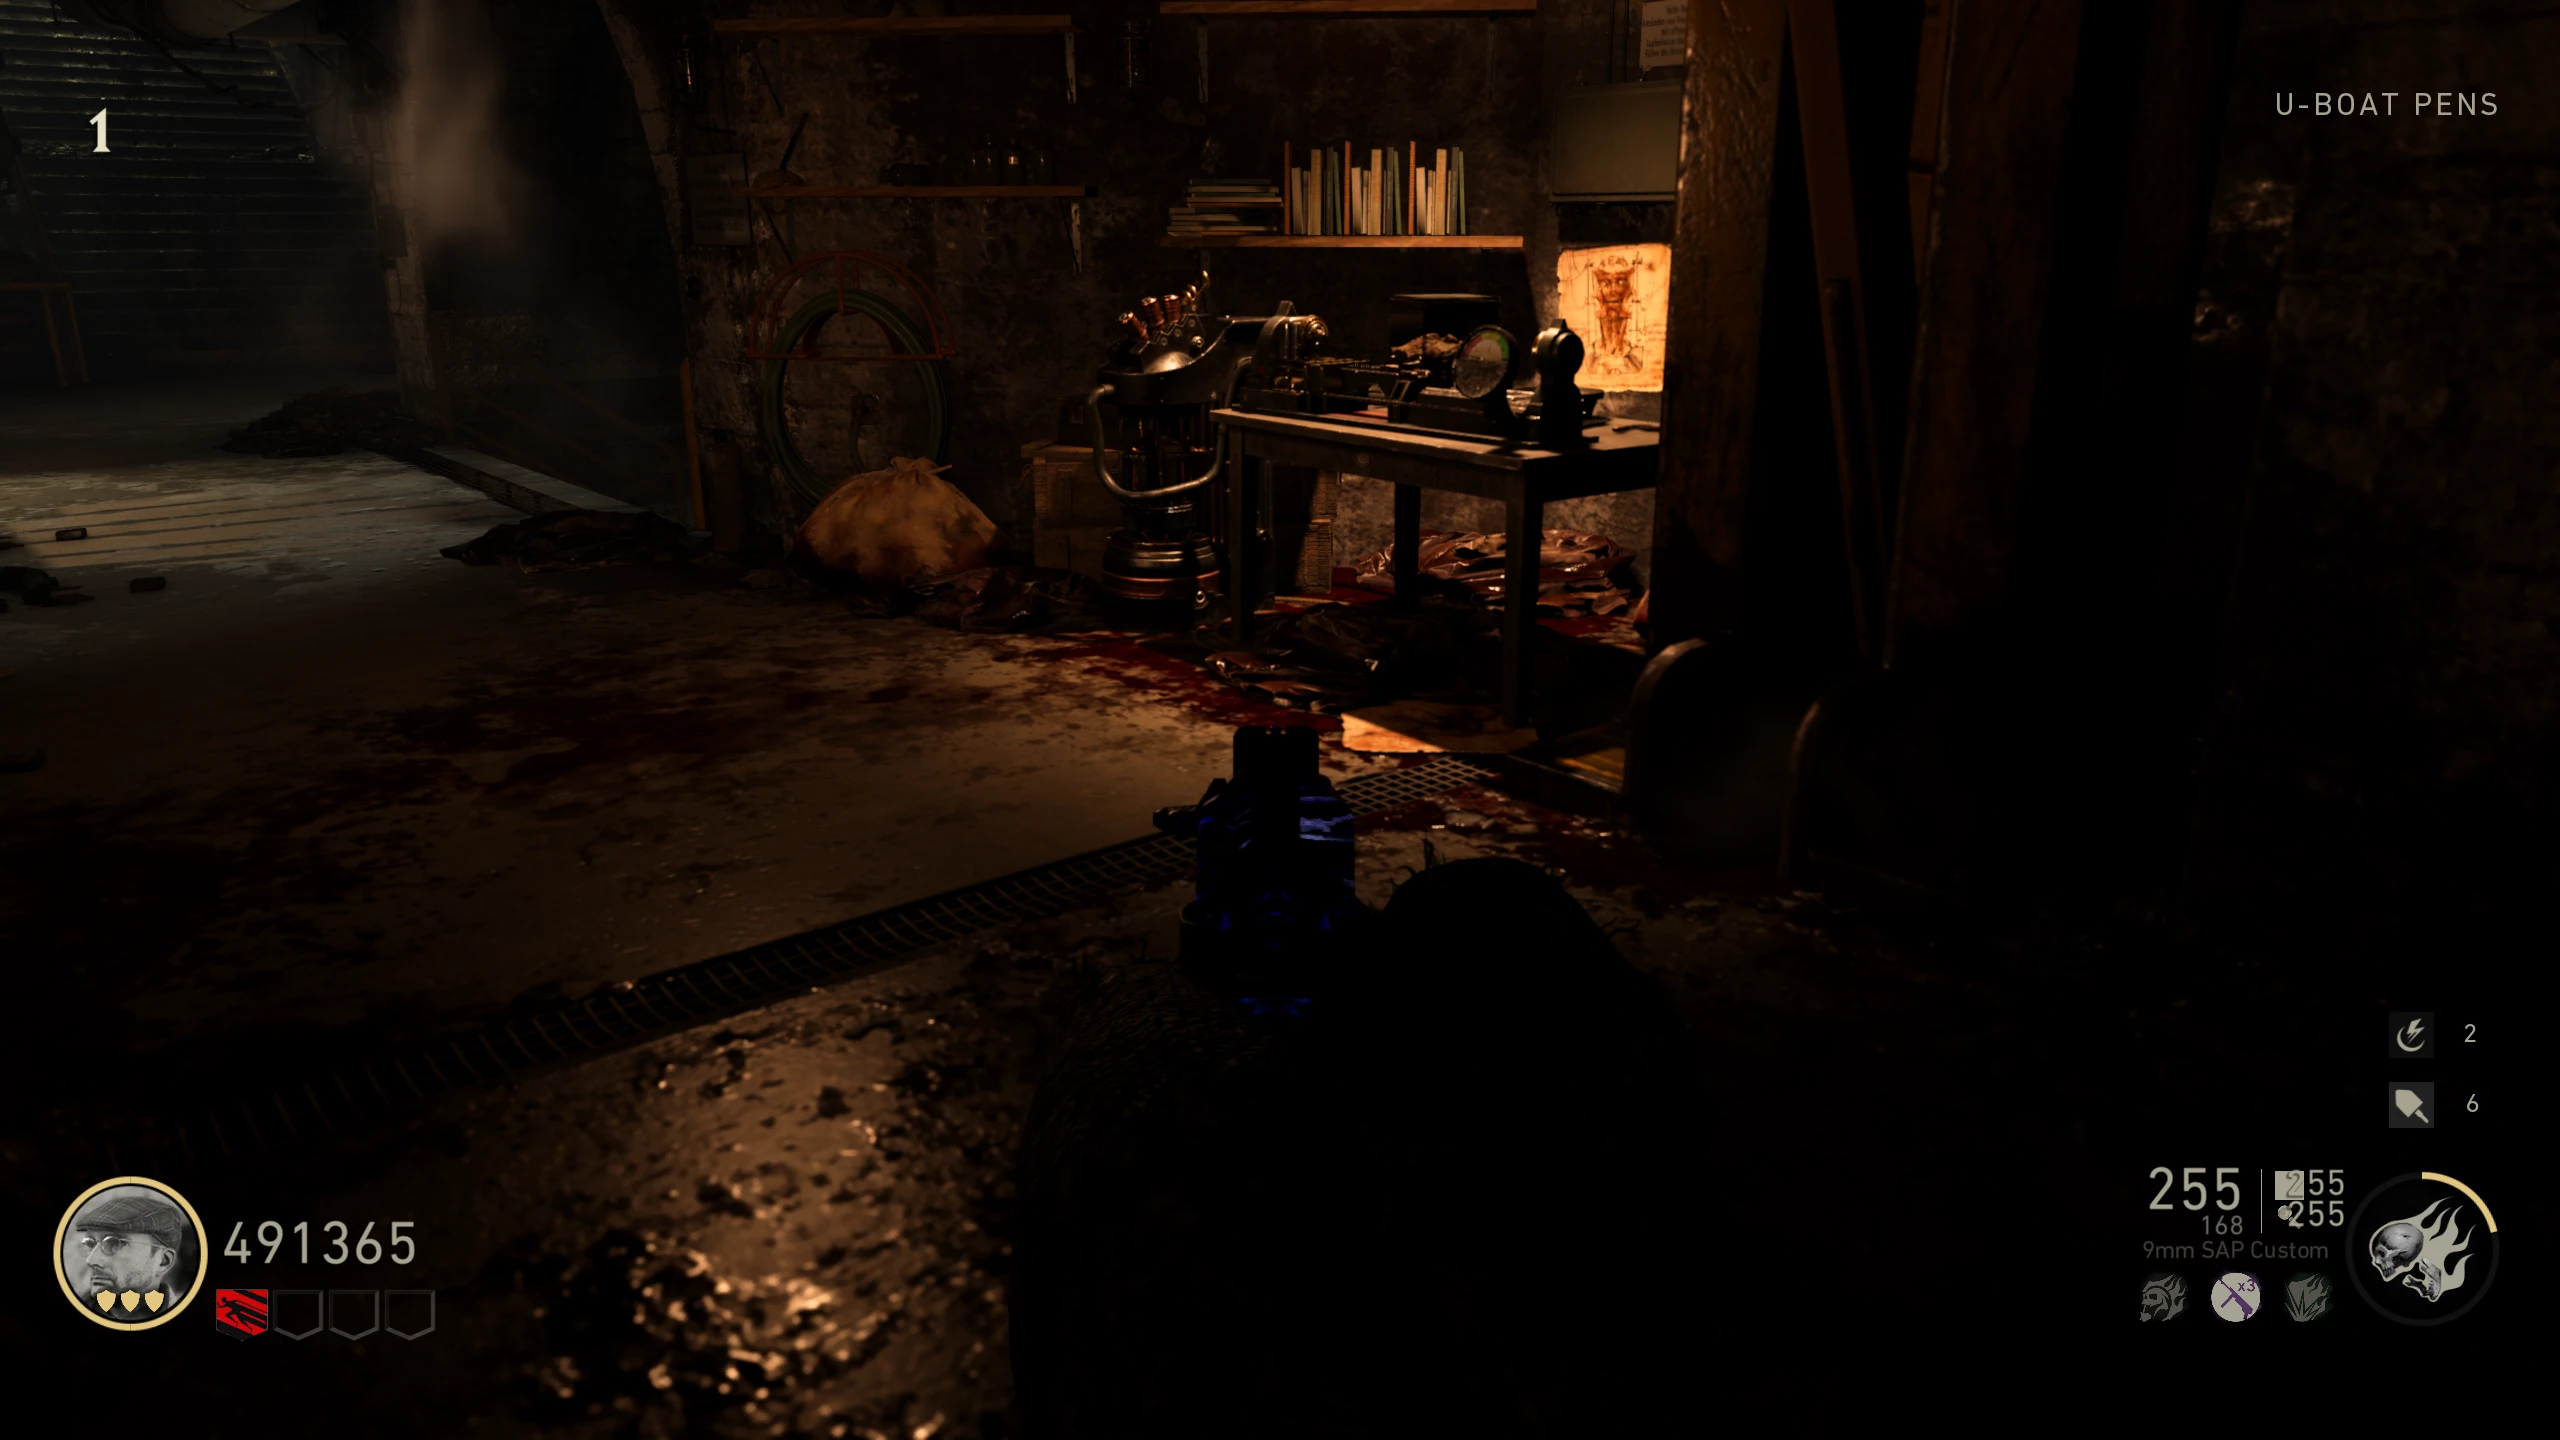
- Place the head on the headless corpse (Corpse Gate) in the 'U-Boat Pens.'
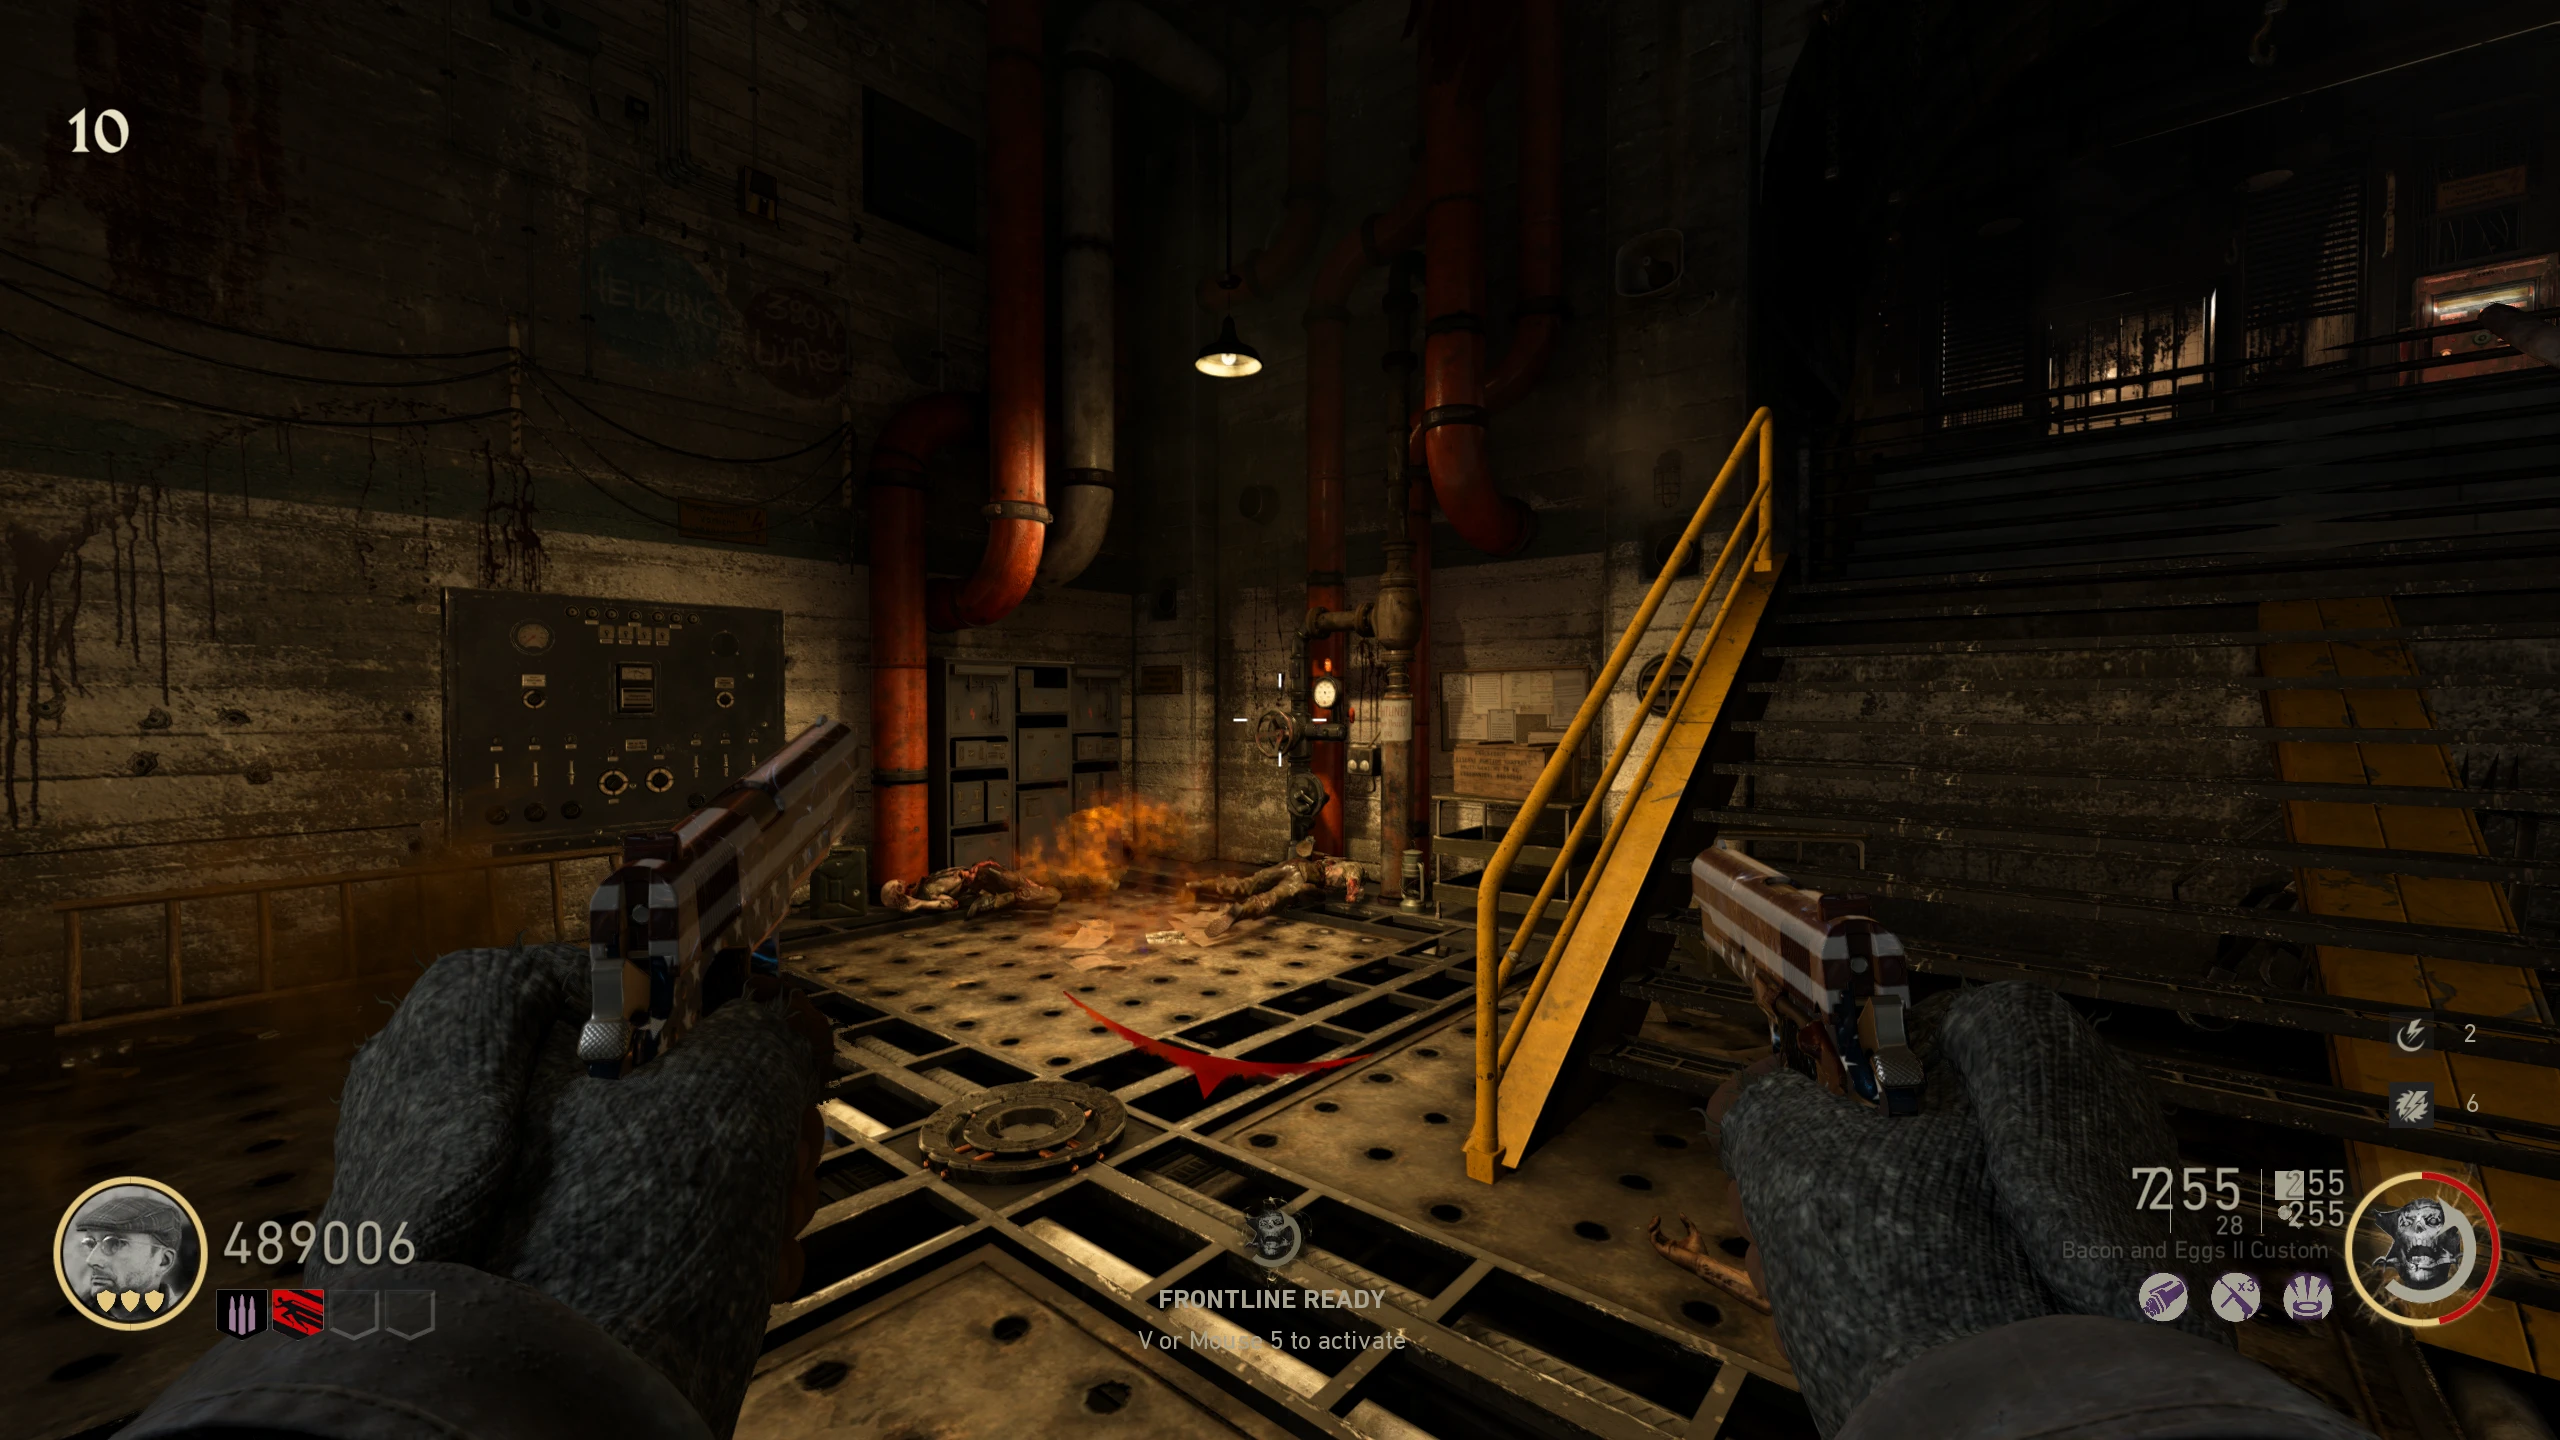
- Get about 10 kills next to the Corpse Gate. When you’ve gotten enough kills, some dialogue will play, and you will be locked in the 'U-Boat Pens' with some of the floor tiles randomly shooting fire.
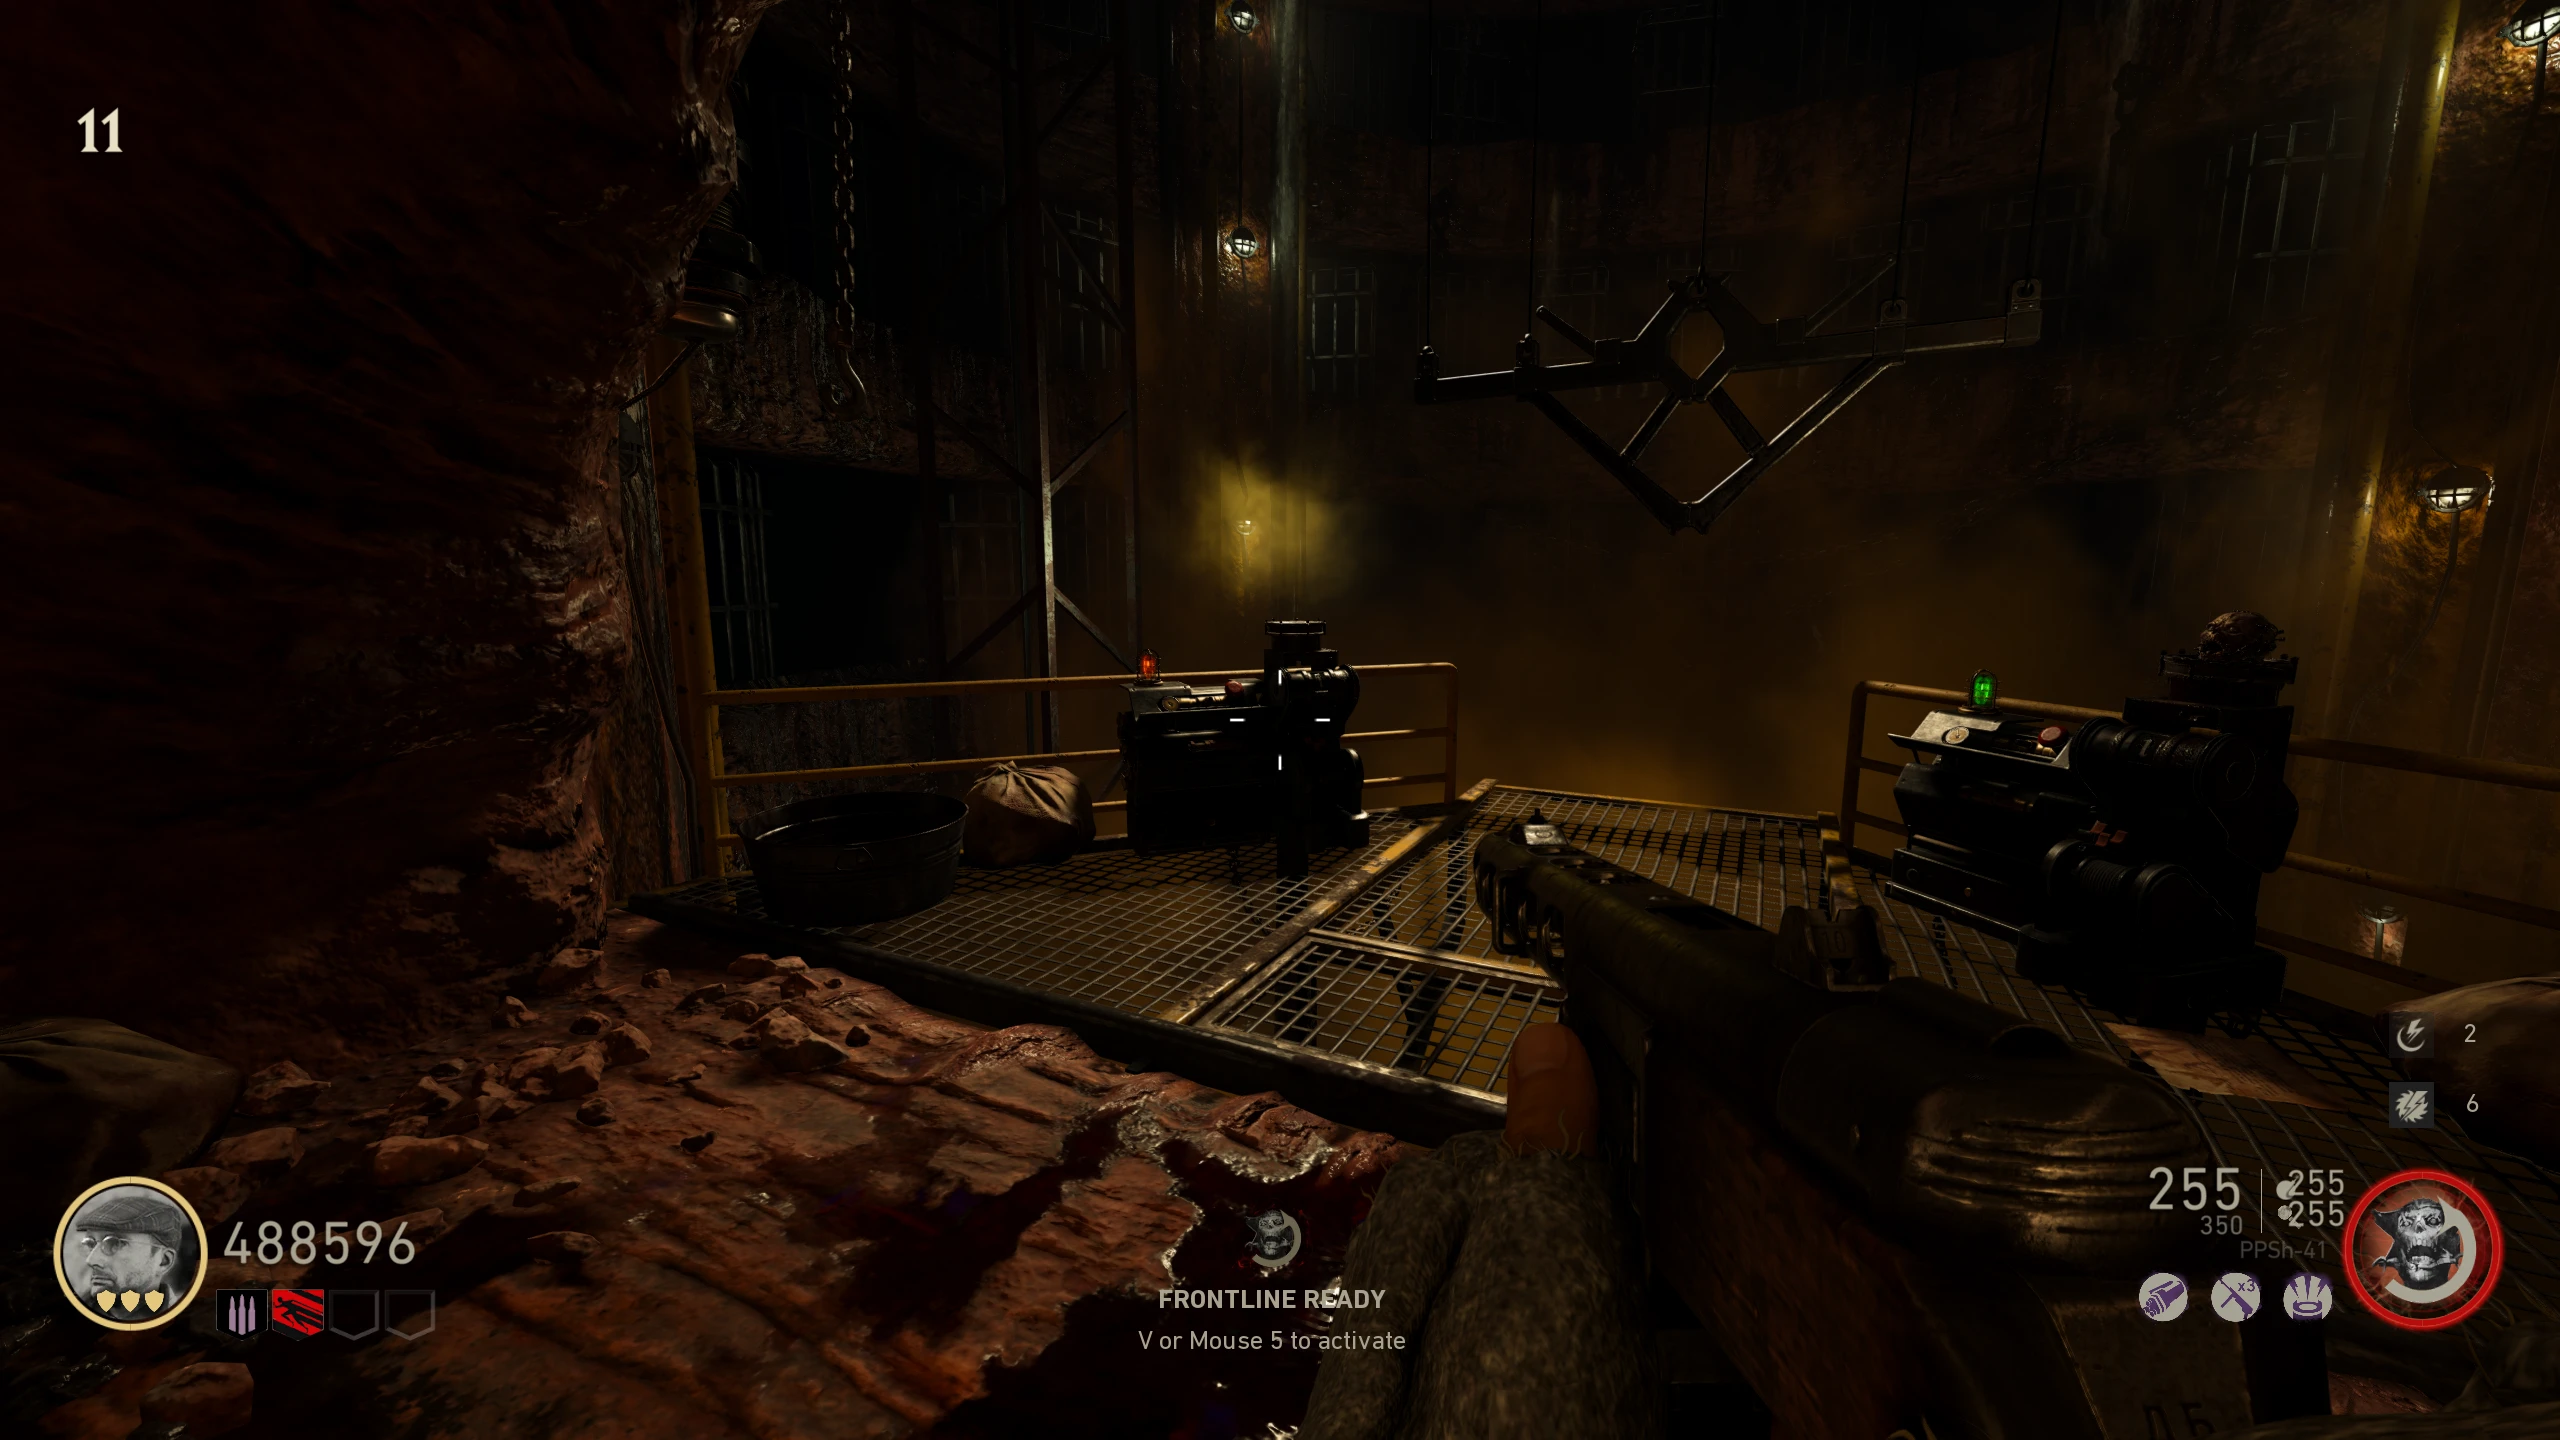
- In three corners of the 'U-Boat Pens,' there are three gas valves (on either side of the Corpse Gate, and left of the stairs) that need to be deactivated. The tiles below the valves will always be on fire unlike the other tiles. Randomly, one of the valve's tiles will go out, indicted by a gas turning off sound. You can then turn off that valve.
- If you're too slow, the fire will reappear under the valve, and you must wait until it has gone again.
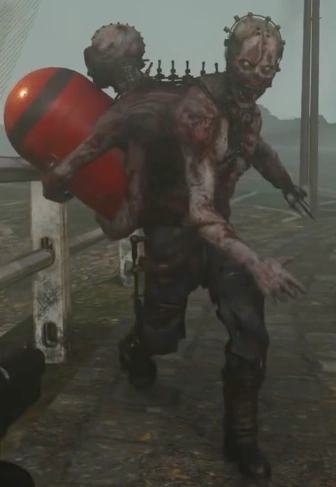
- Once you've turned off all the valves, the fire will go away, and you’re able to interact with the Corpse Gate. The man will be ripped in half, and the door behind will open to reveal the Freezer area. Once the door has fully opened, a Brenner zombie will spawn. Killing the Brenner will drop a Max Ammo power-up that doesn't despawn, so you can leave it until you need it (keep it for the Boss Fight).
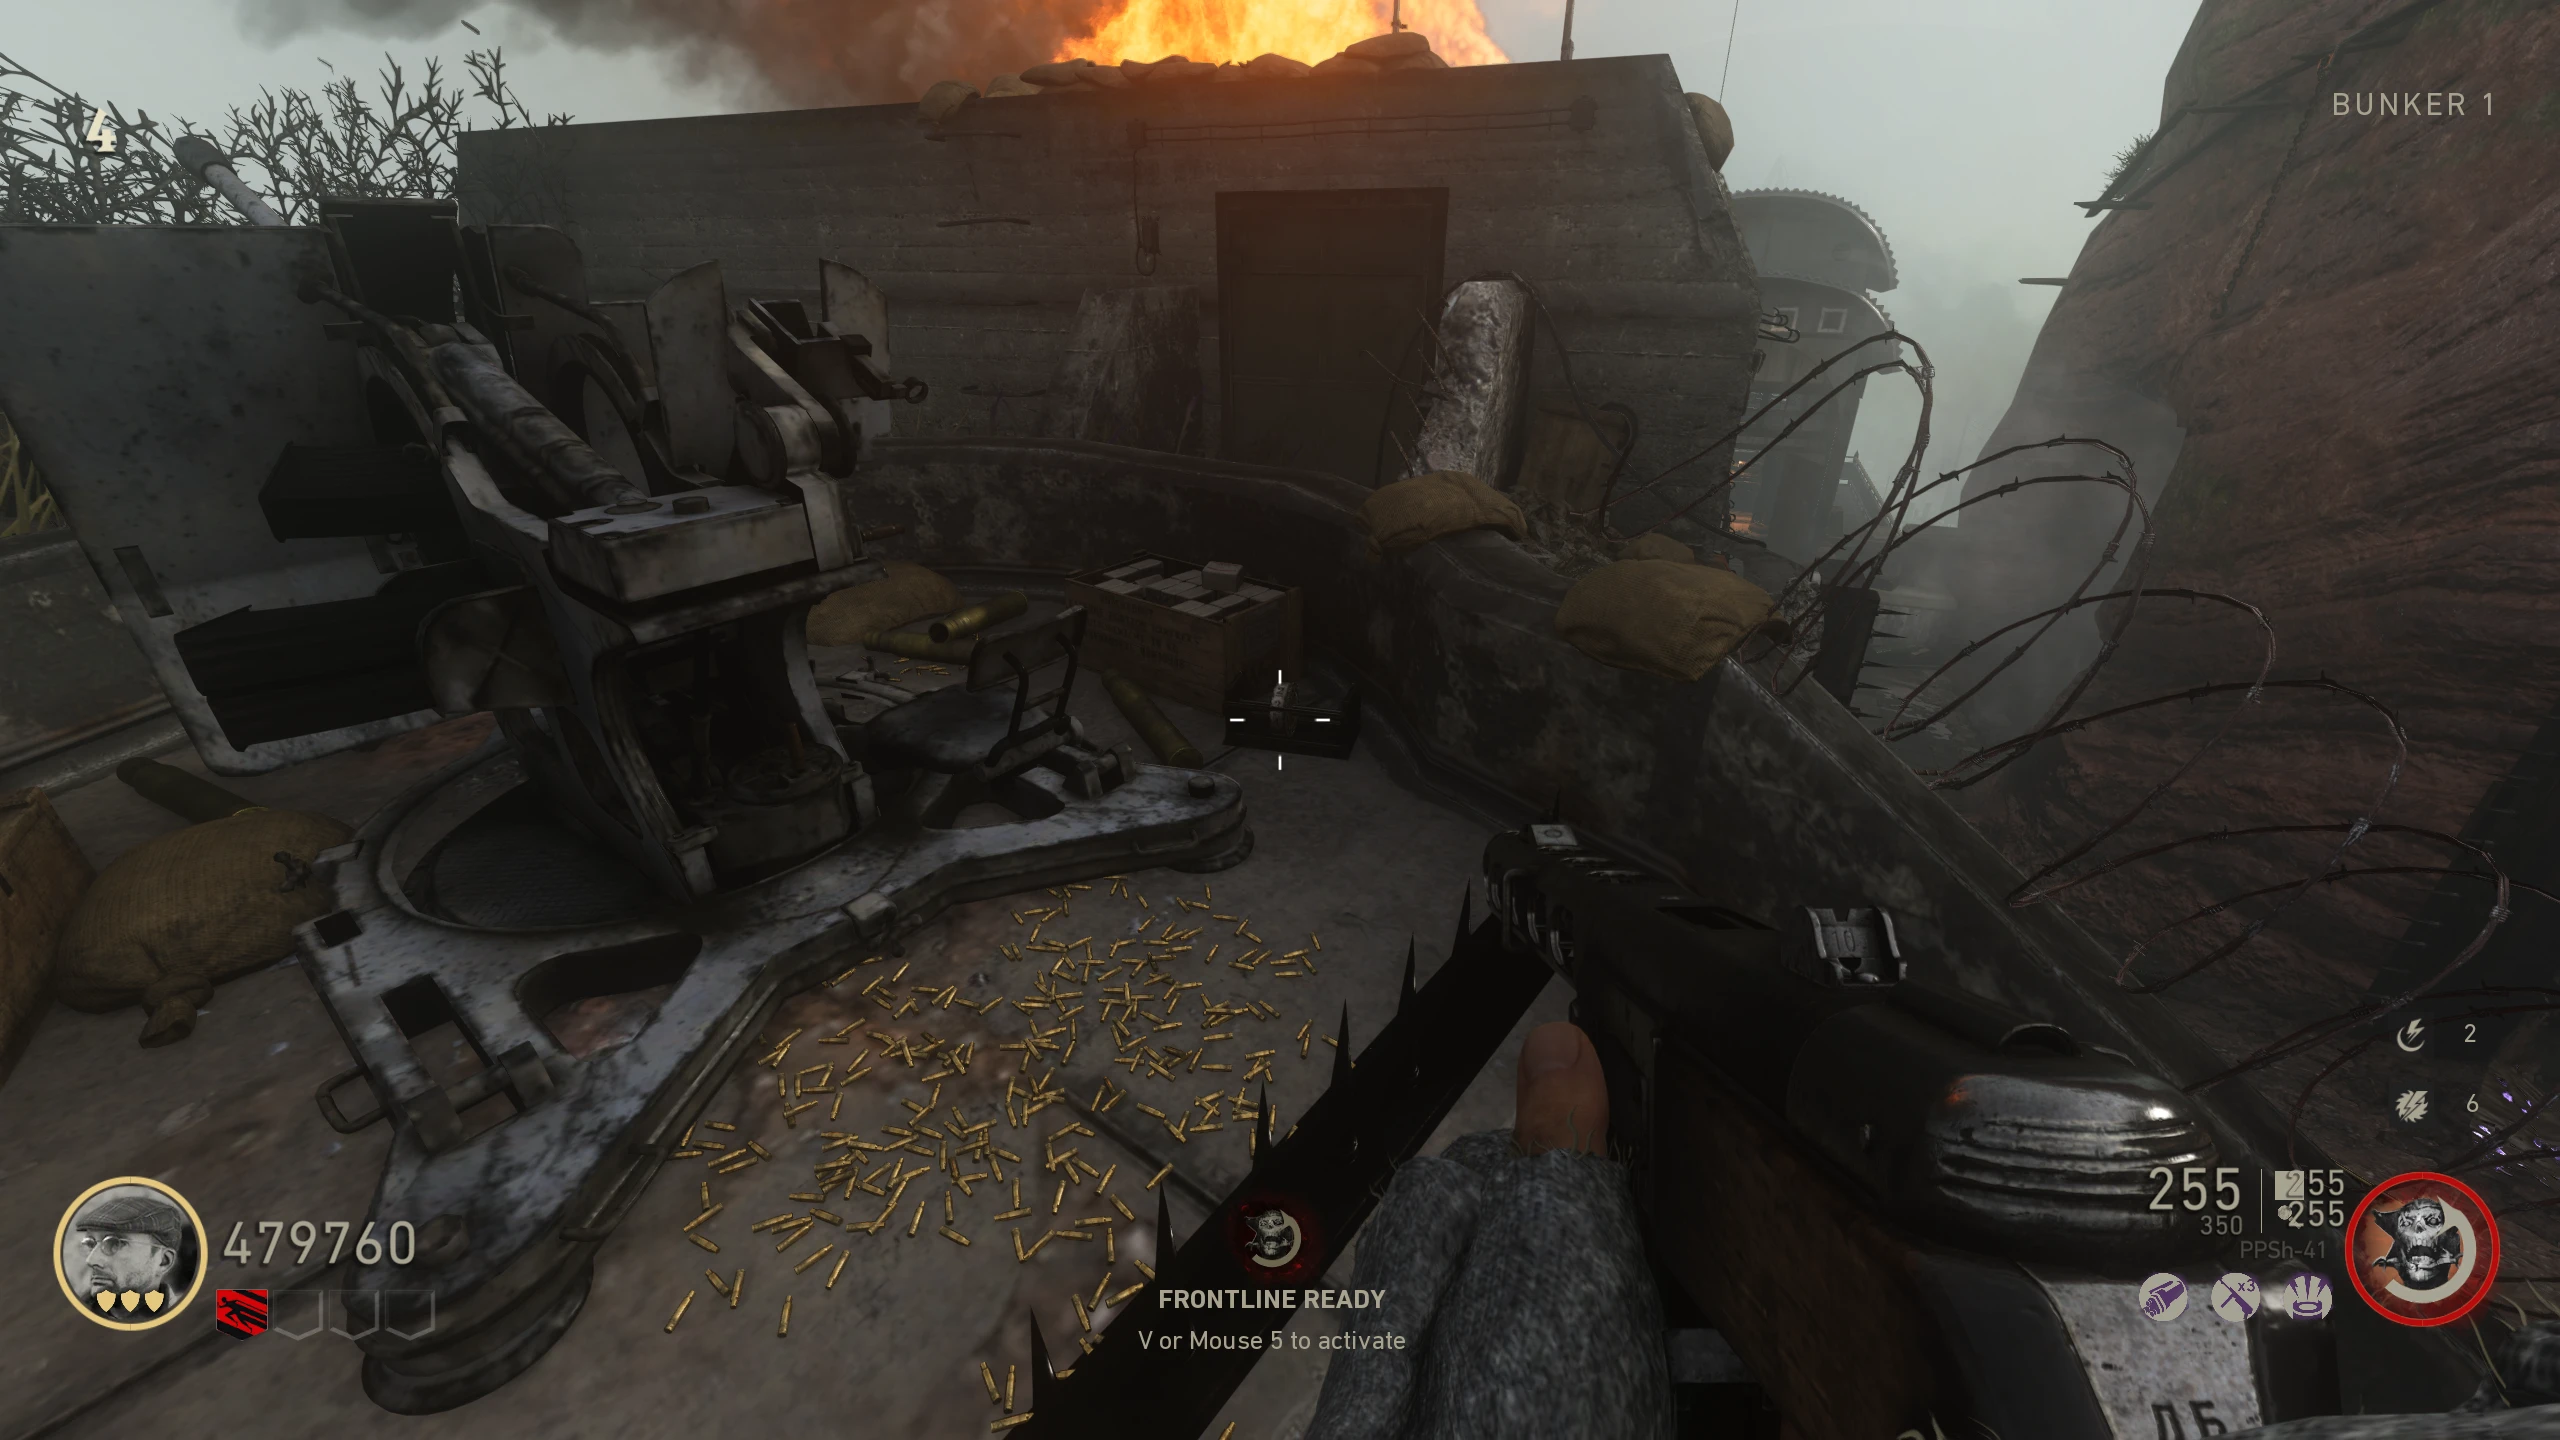
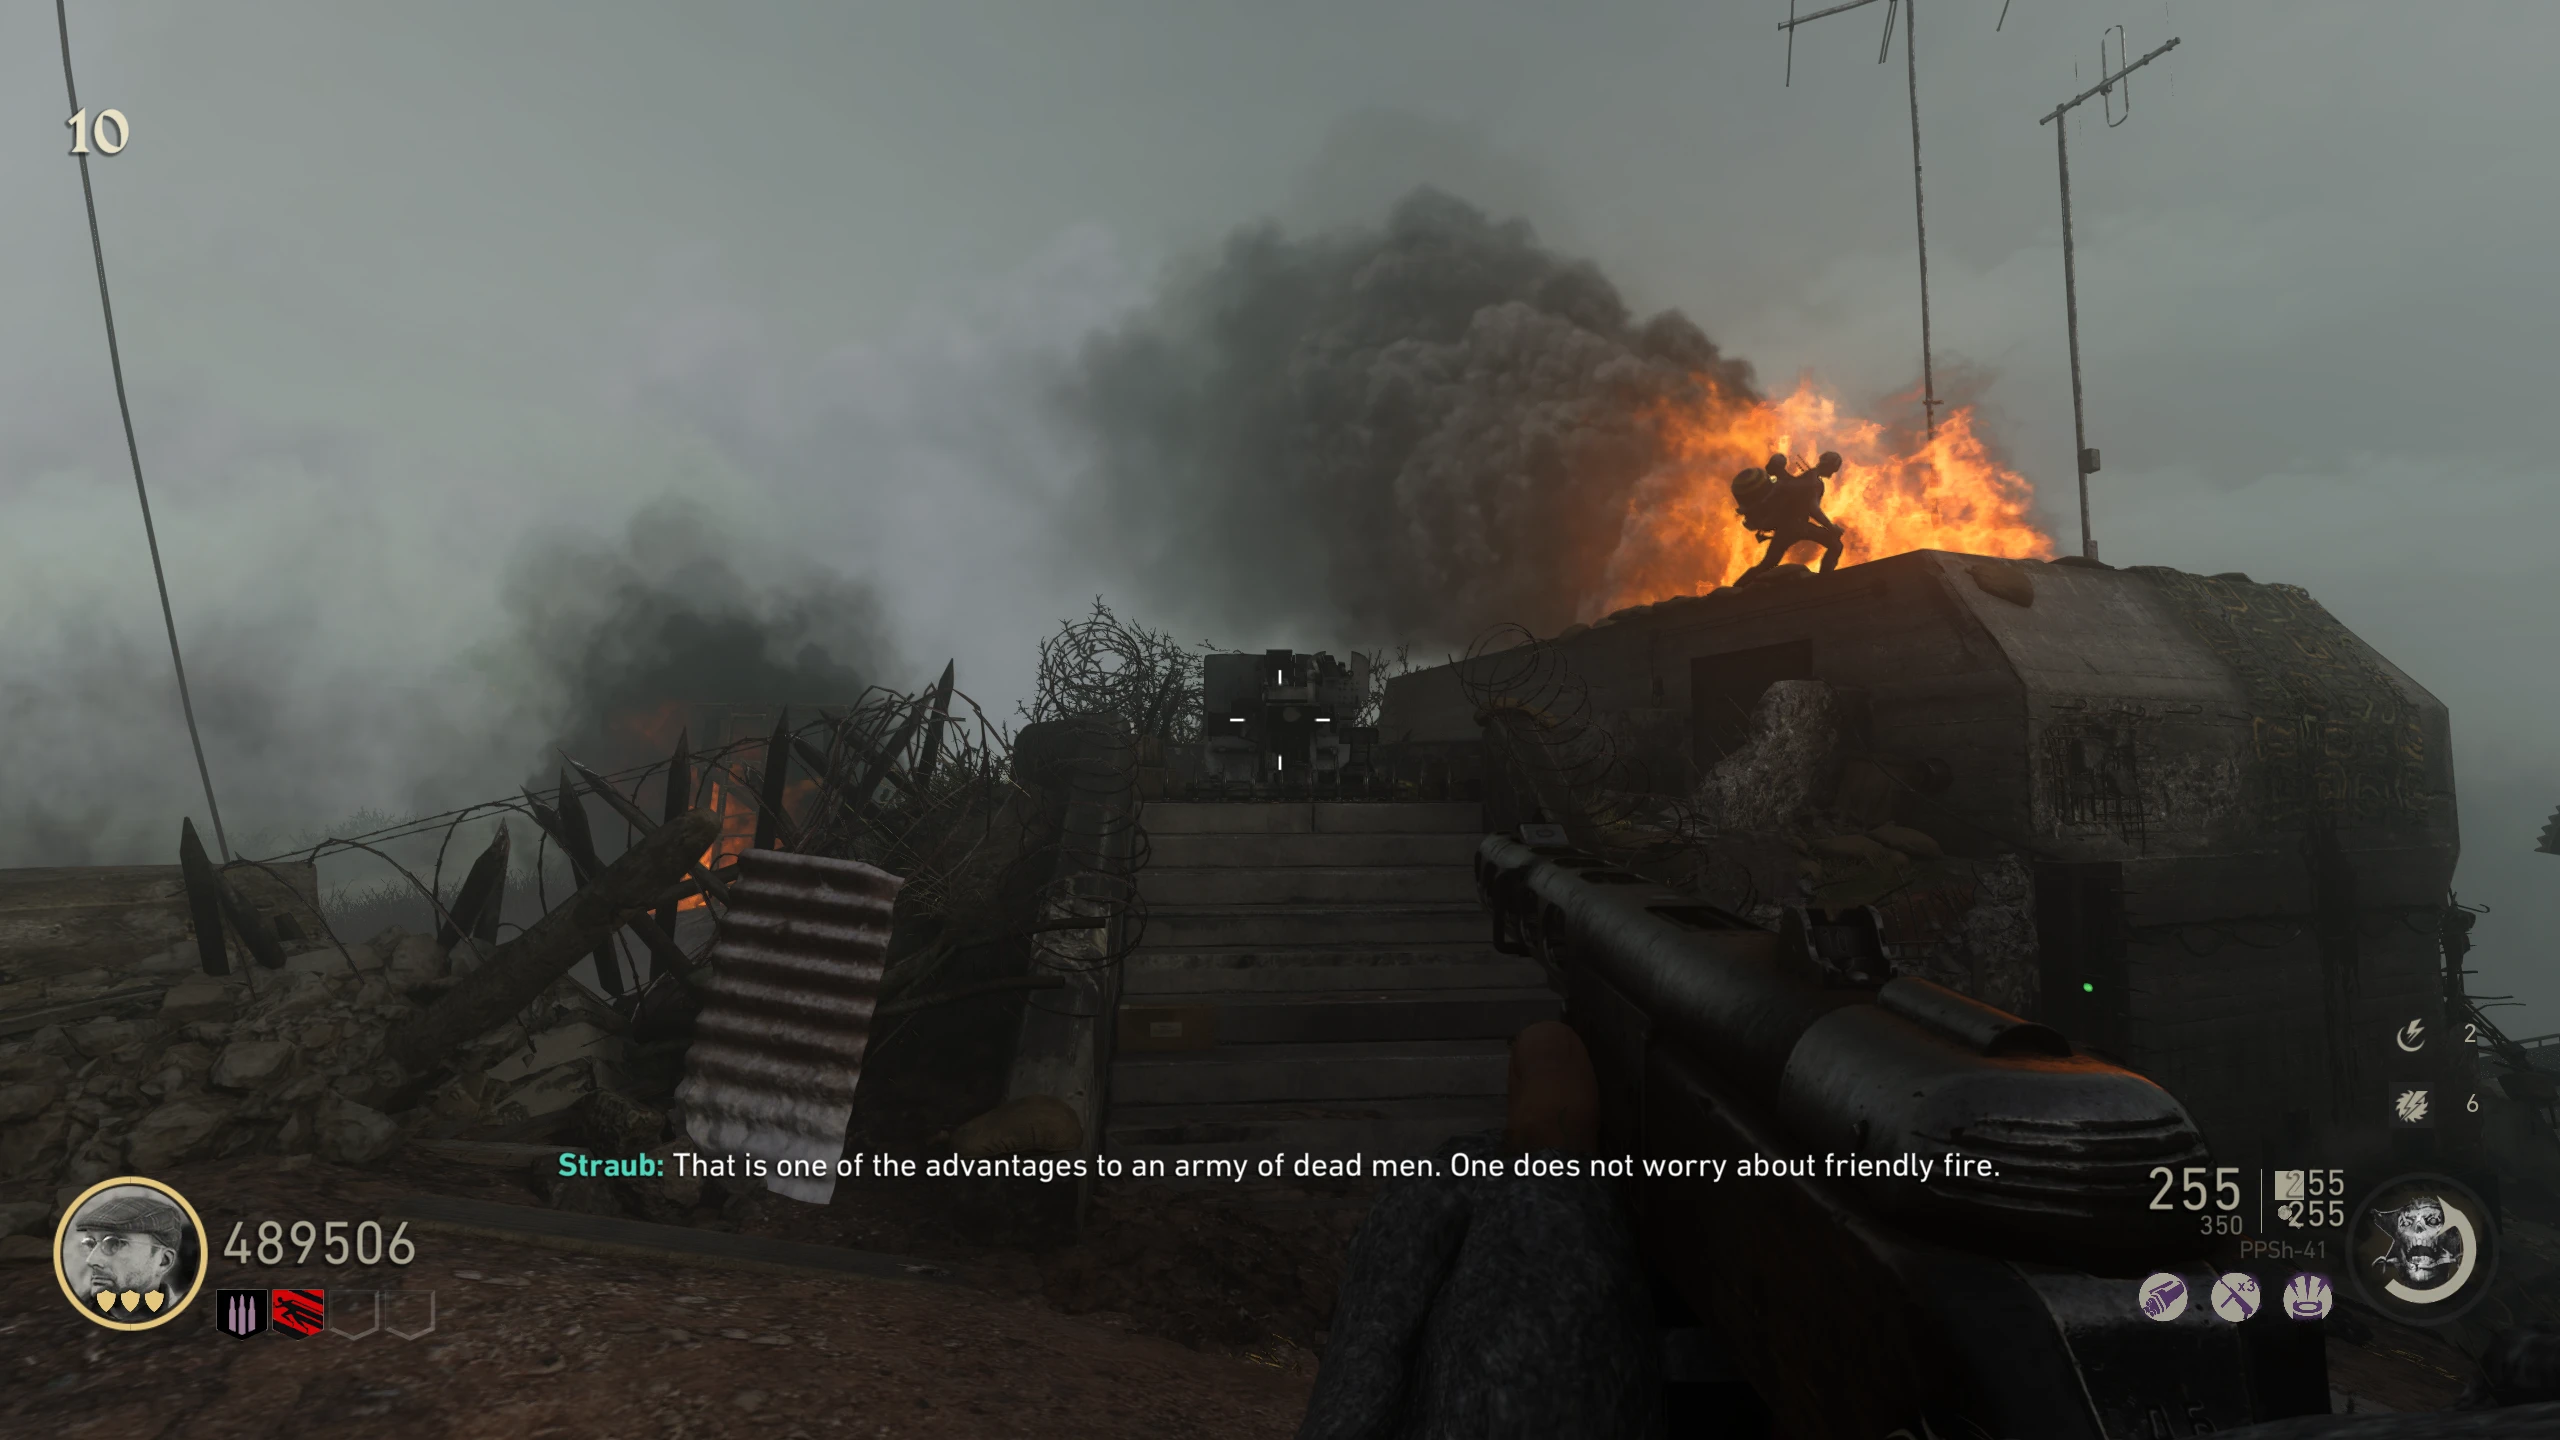
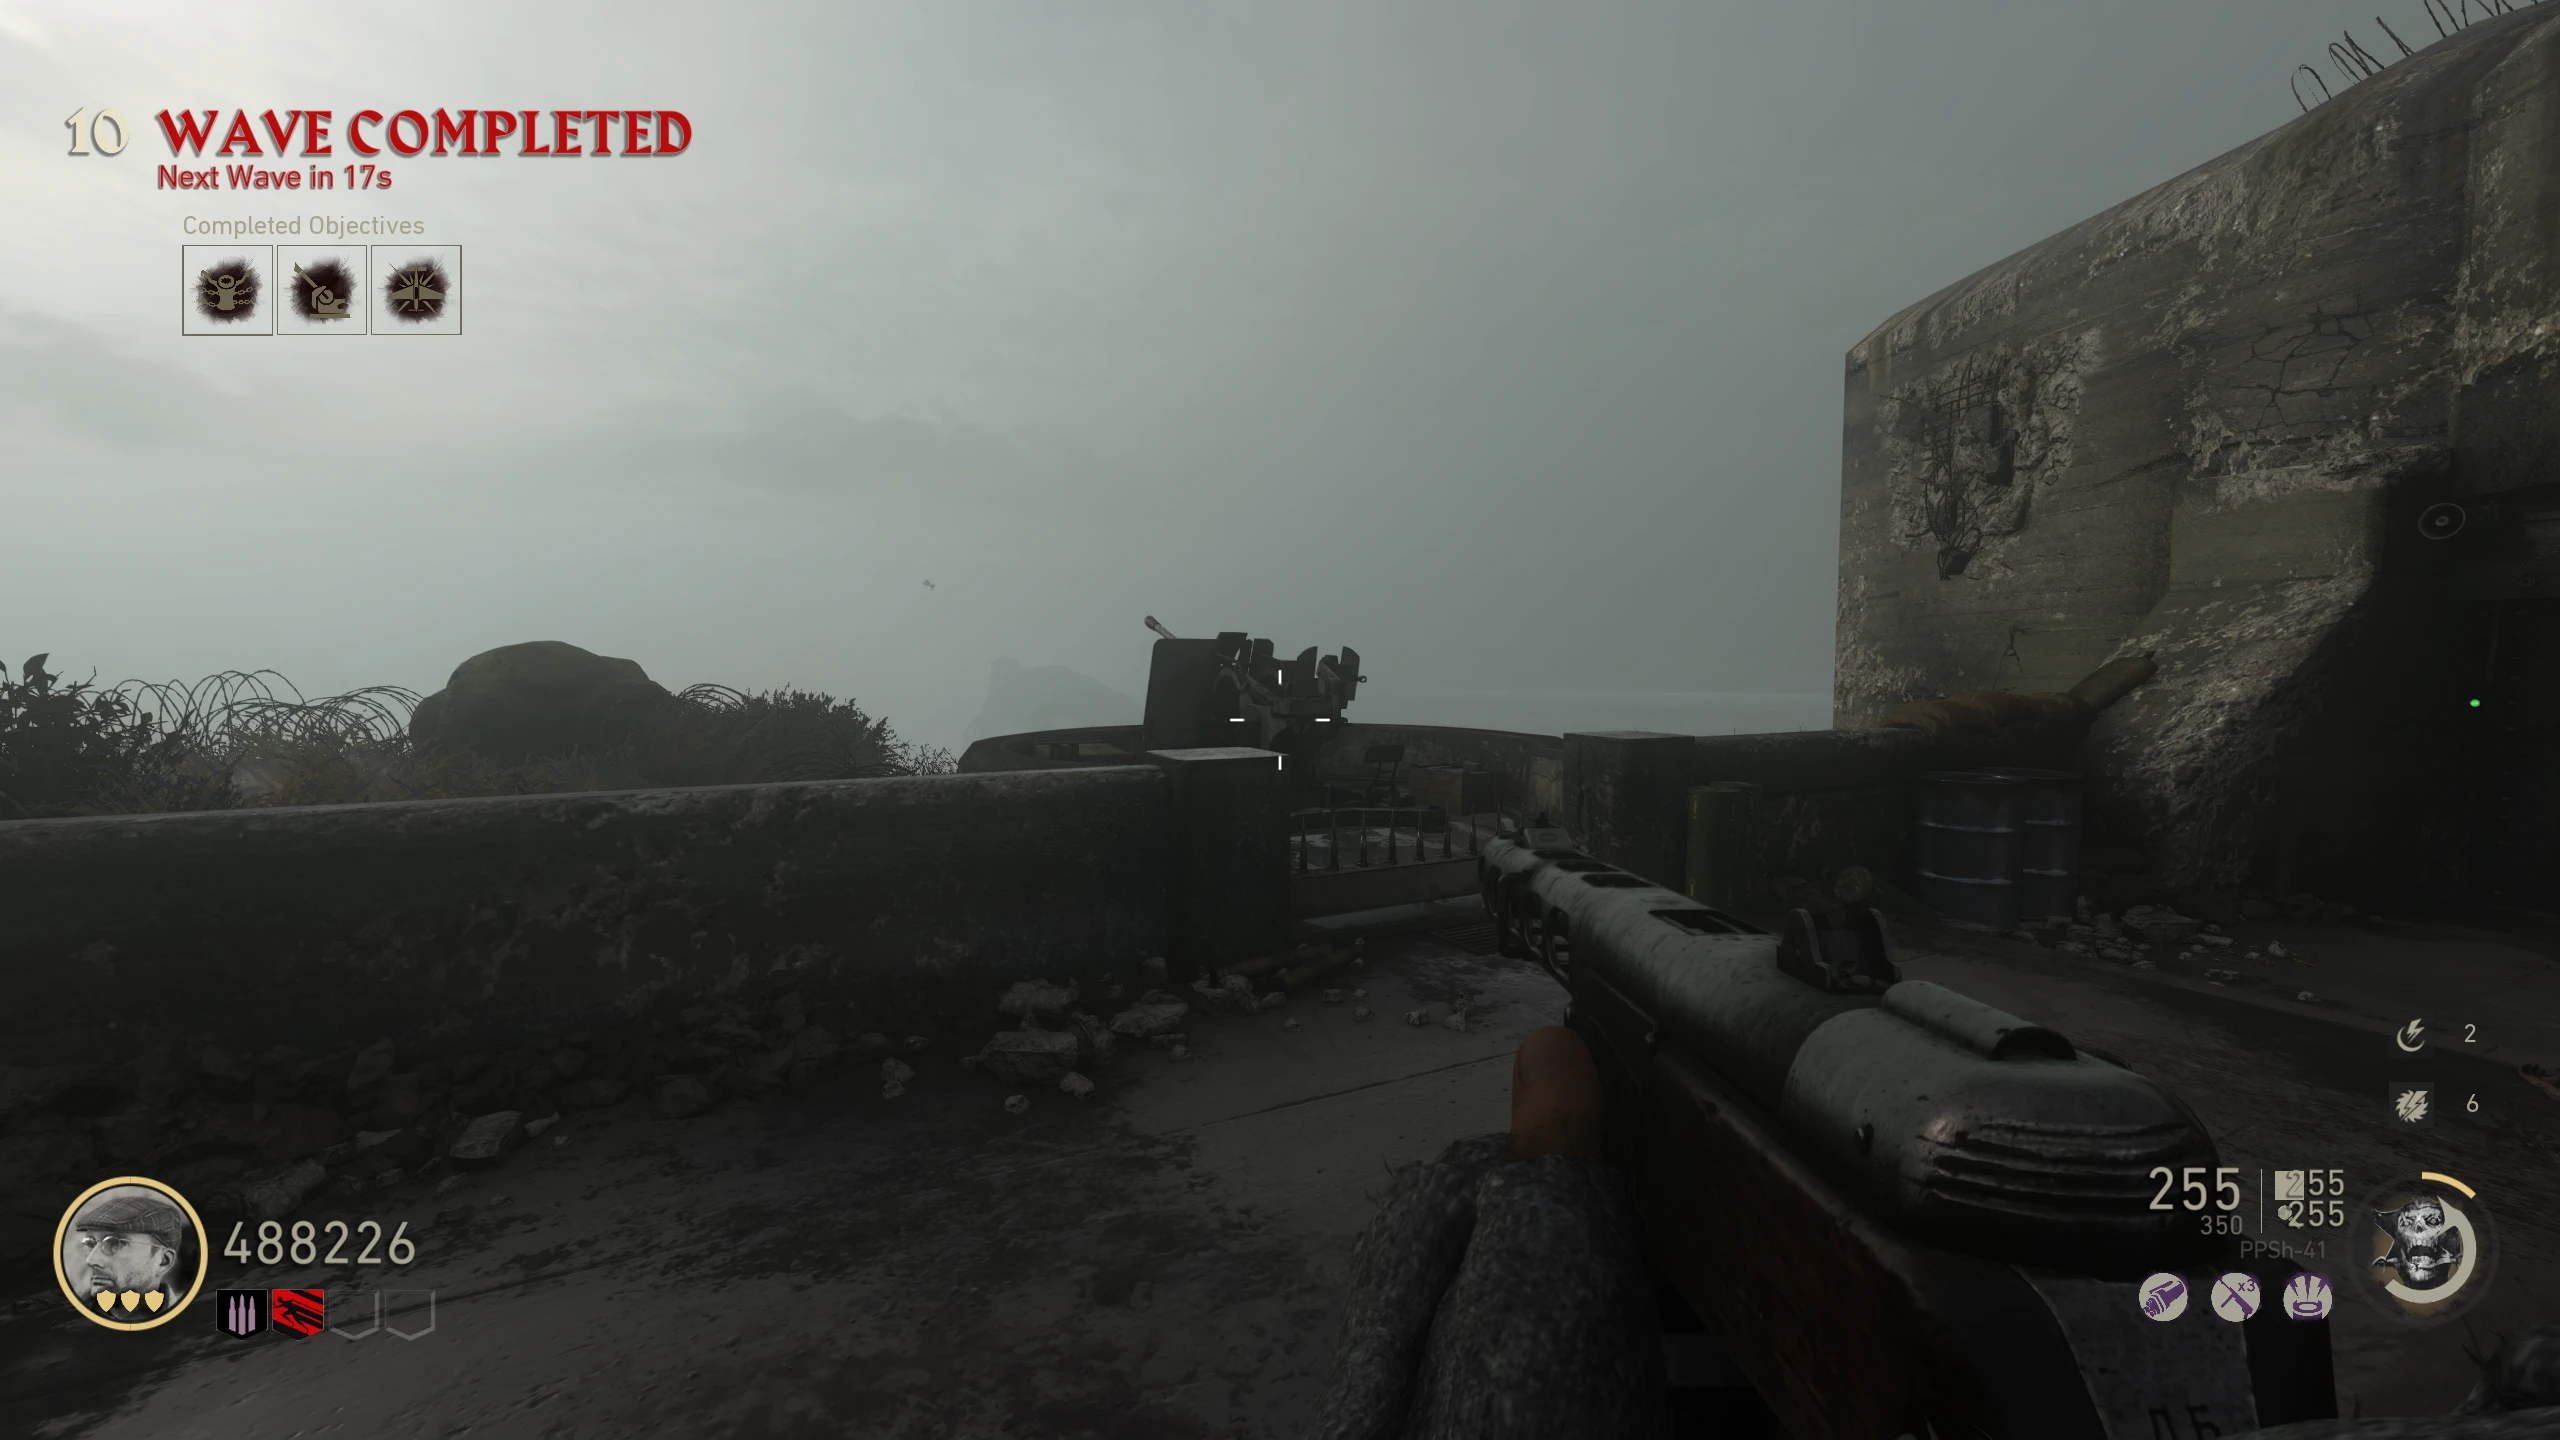
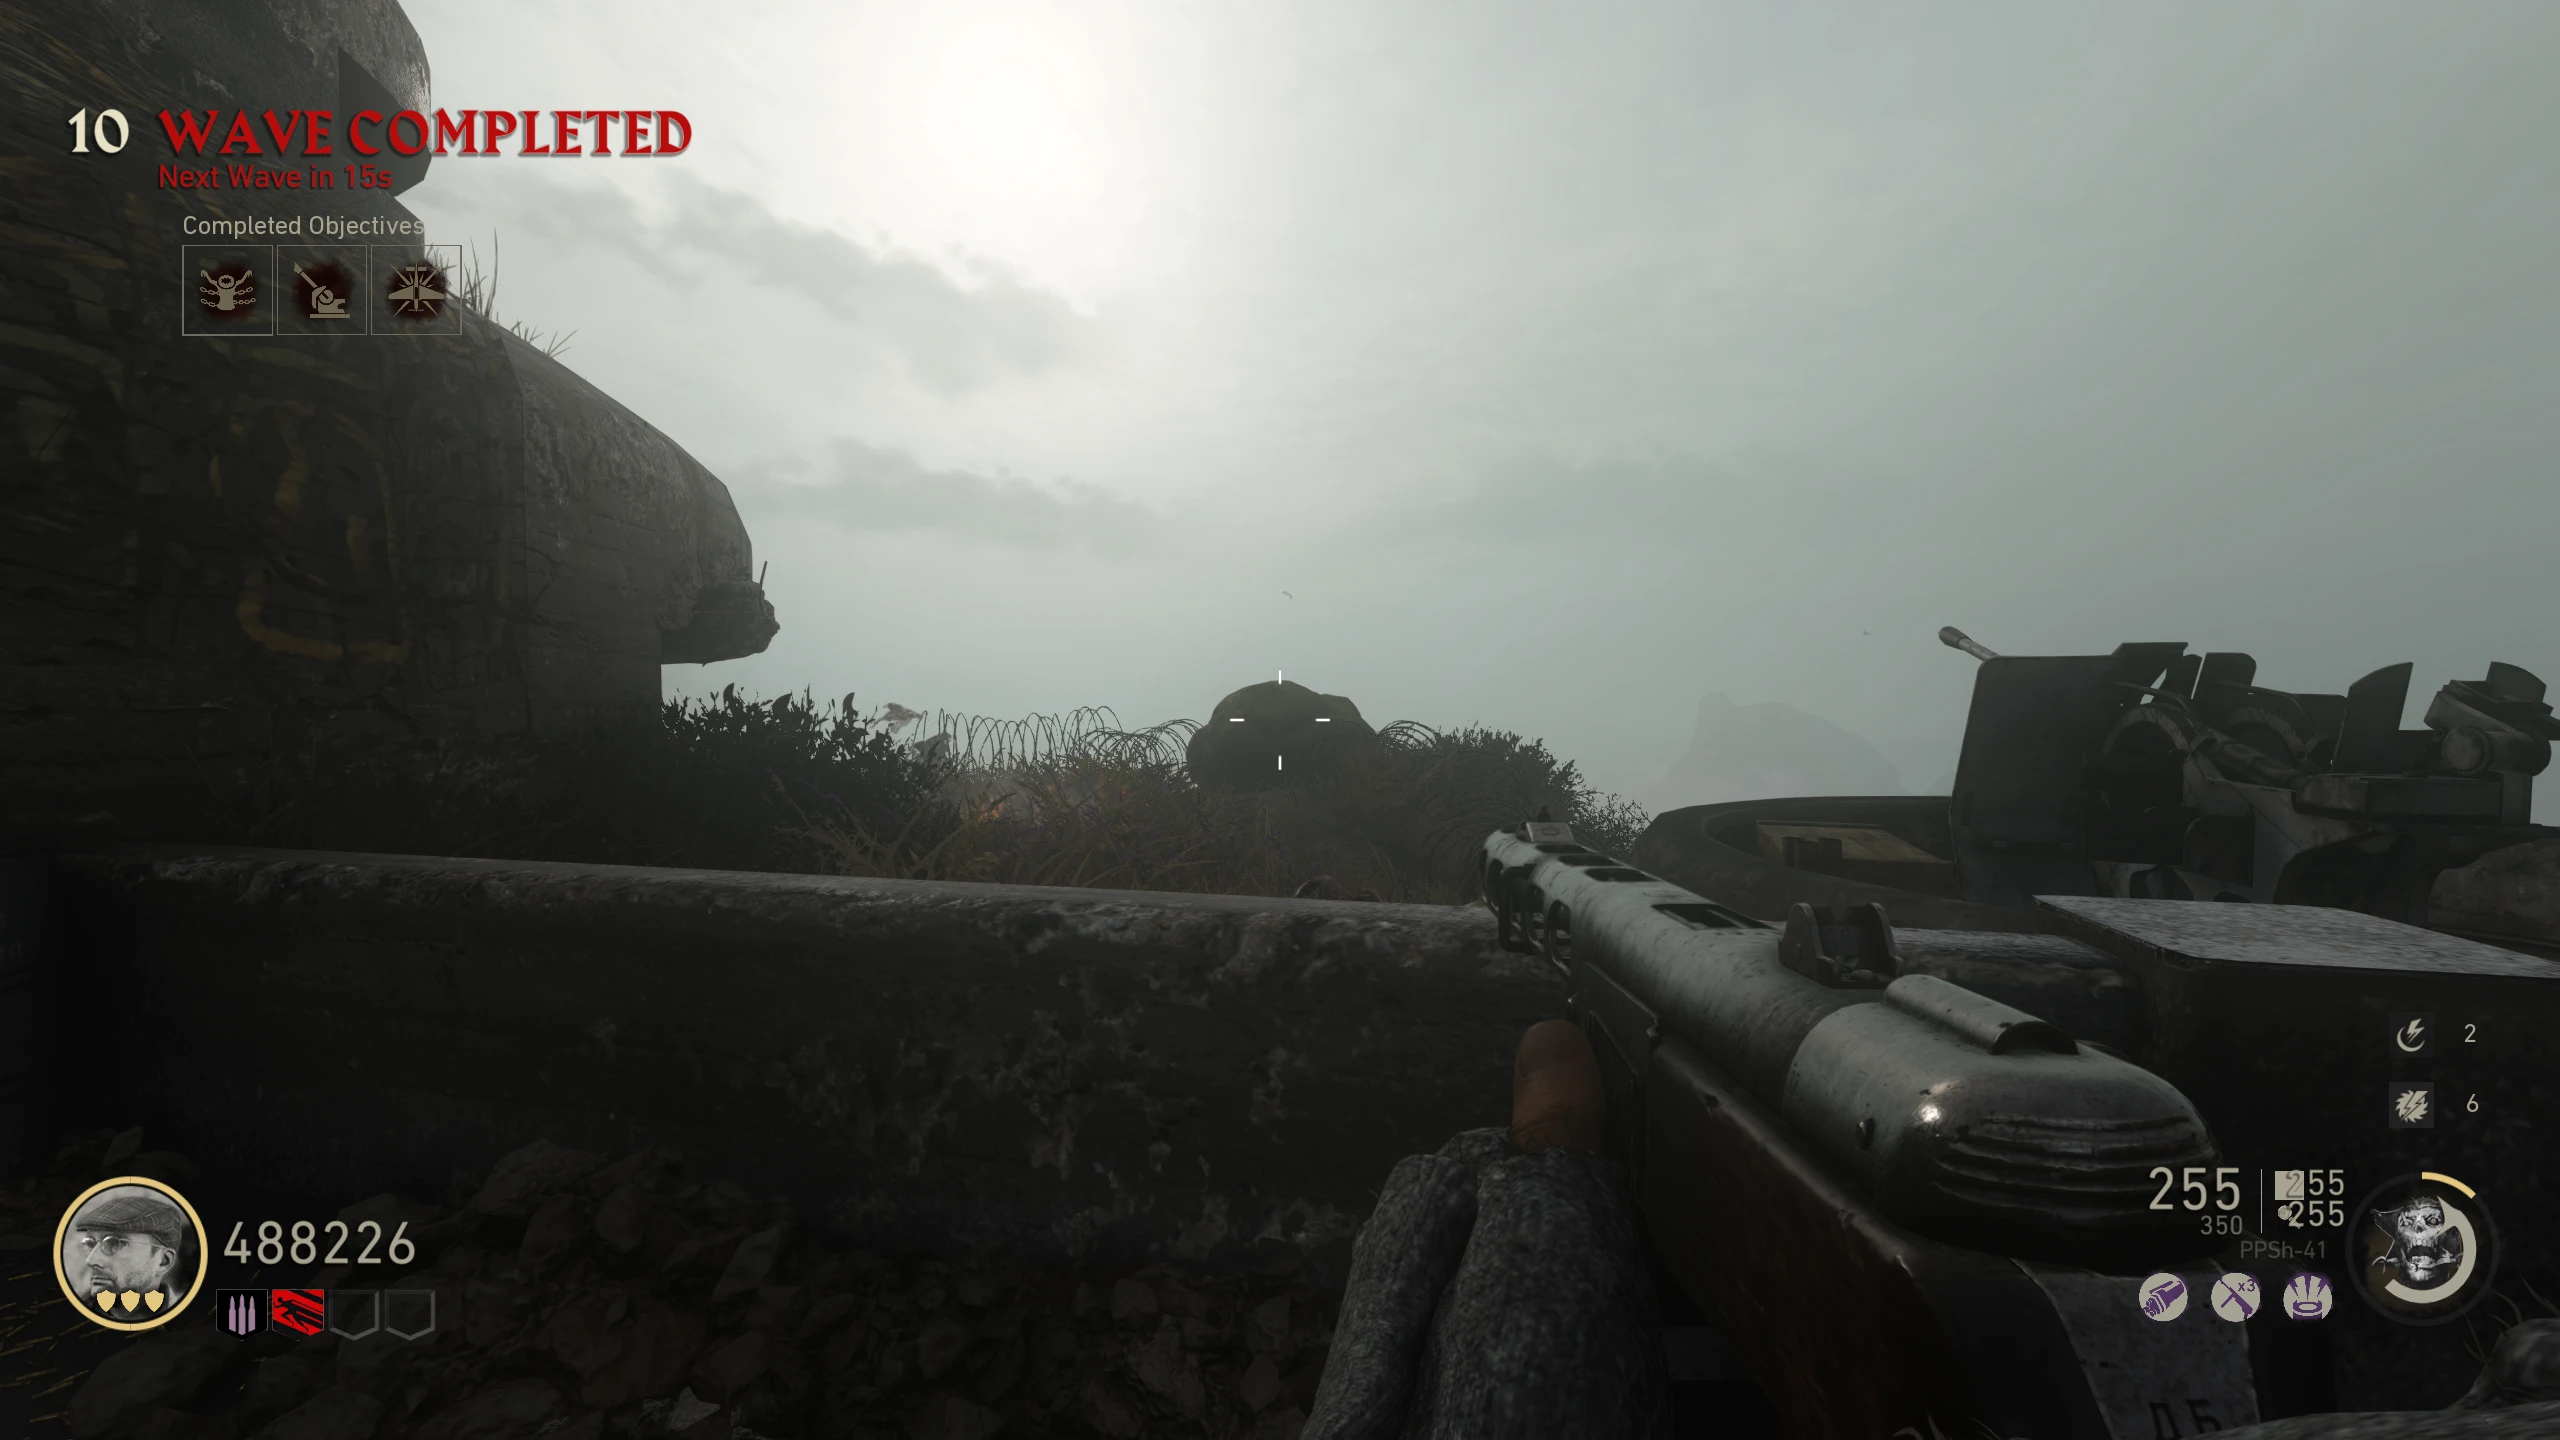
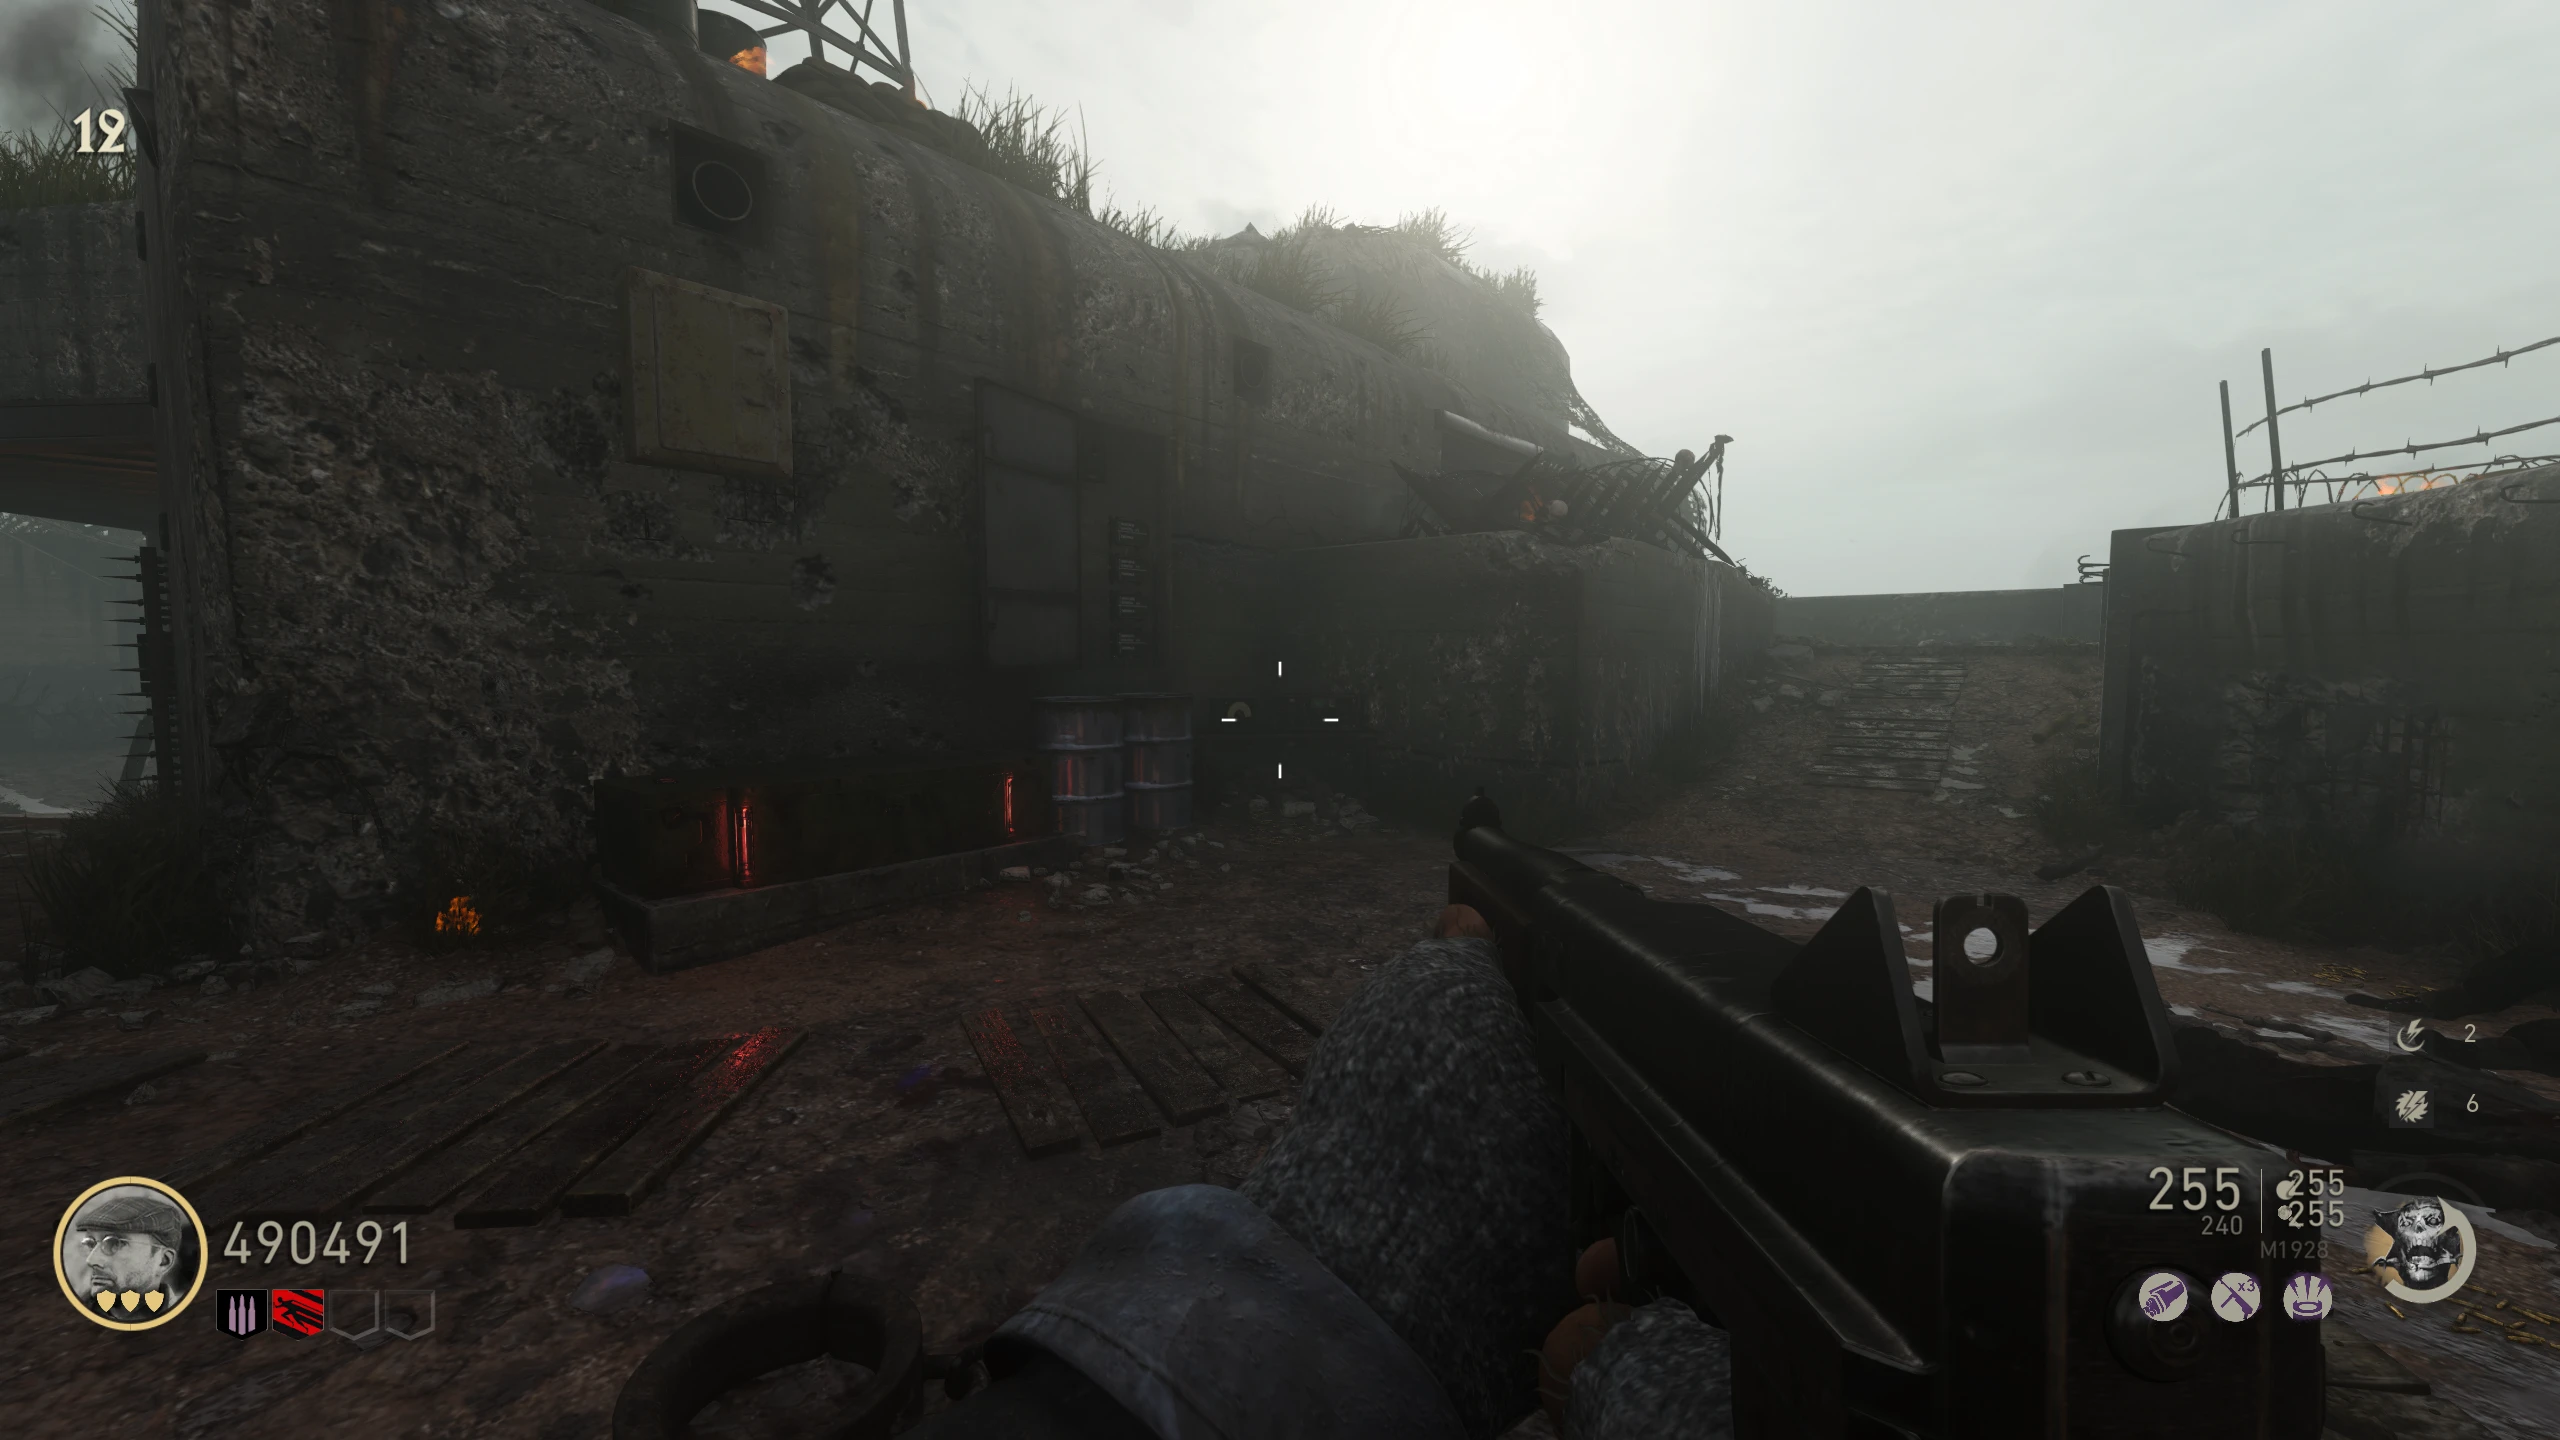
- Make your way to an outside area of the map. Planes will start flying around, shooting at you. Using any of the Anti-Air guns around the Bunker area, shoot down about three waves of planes (until "Shot down the German Fighter Planes" appears on screen).
- The AA guns have health and can be attacked by Zombies, but you can shoot the Zombies with the AA gun.
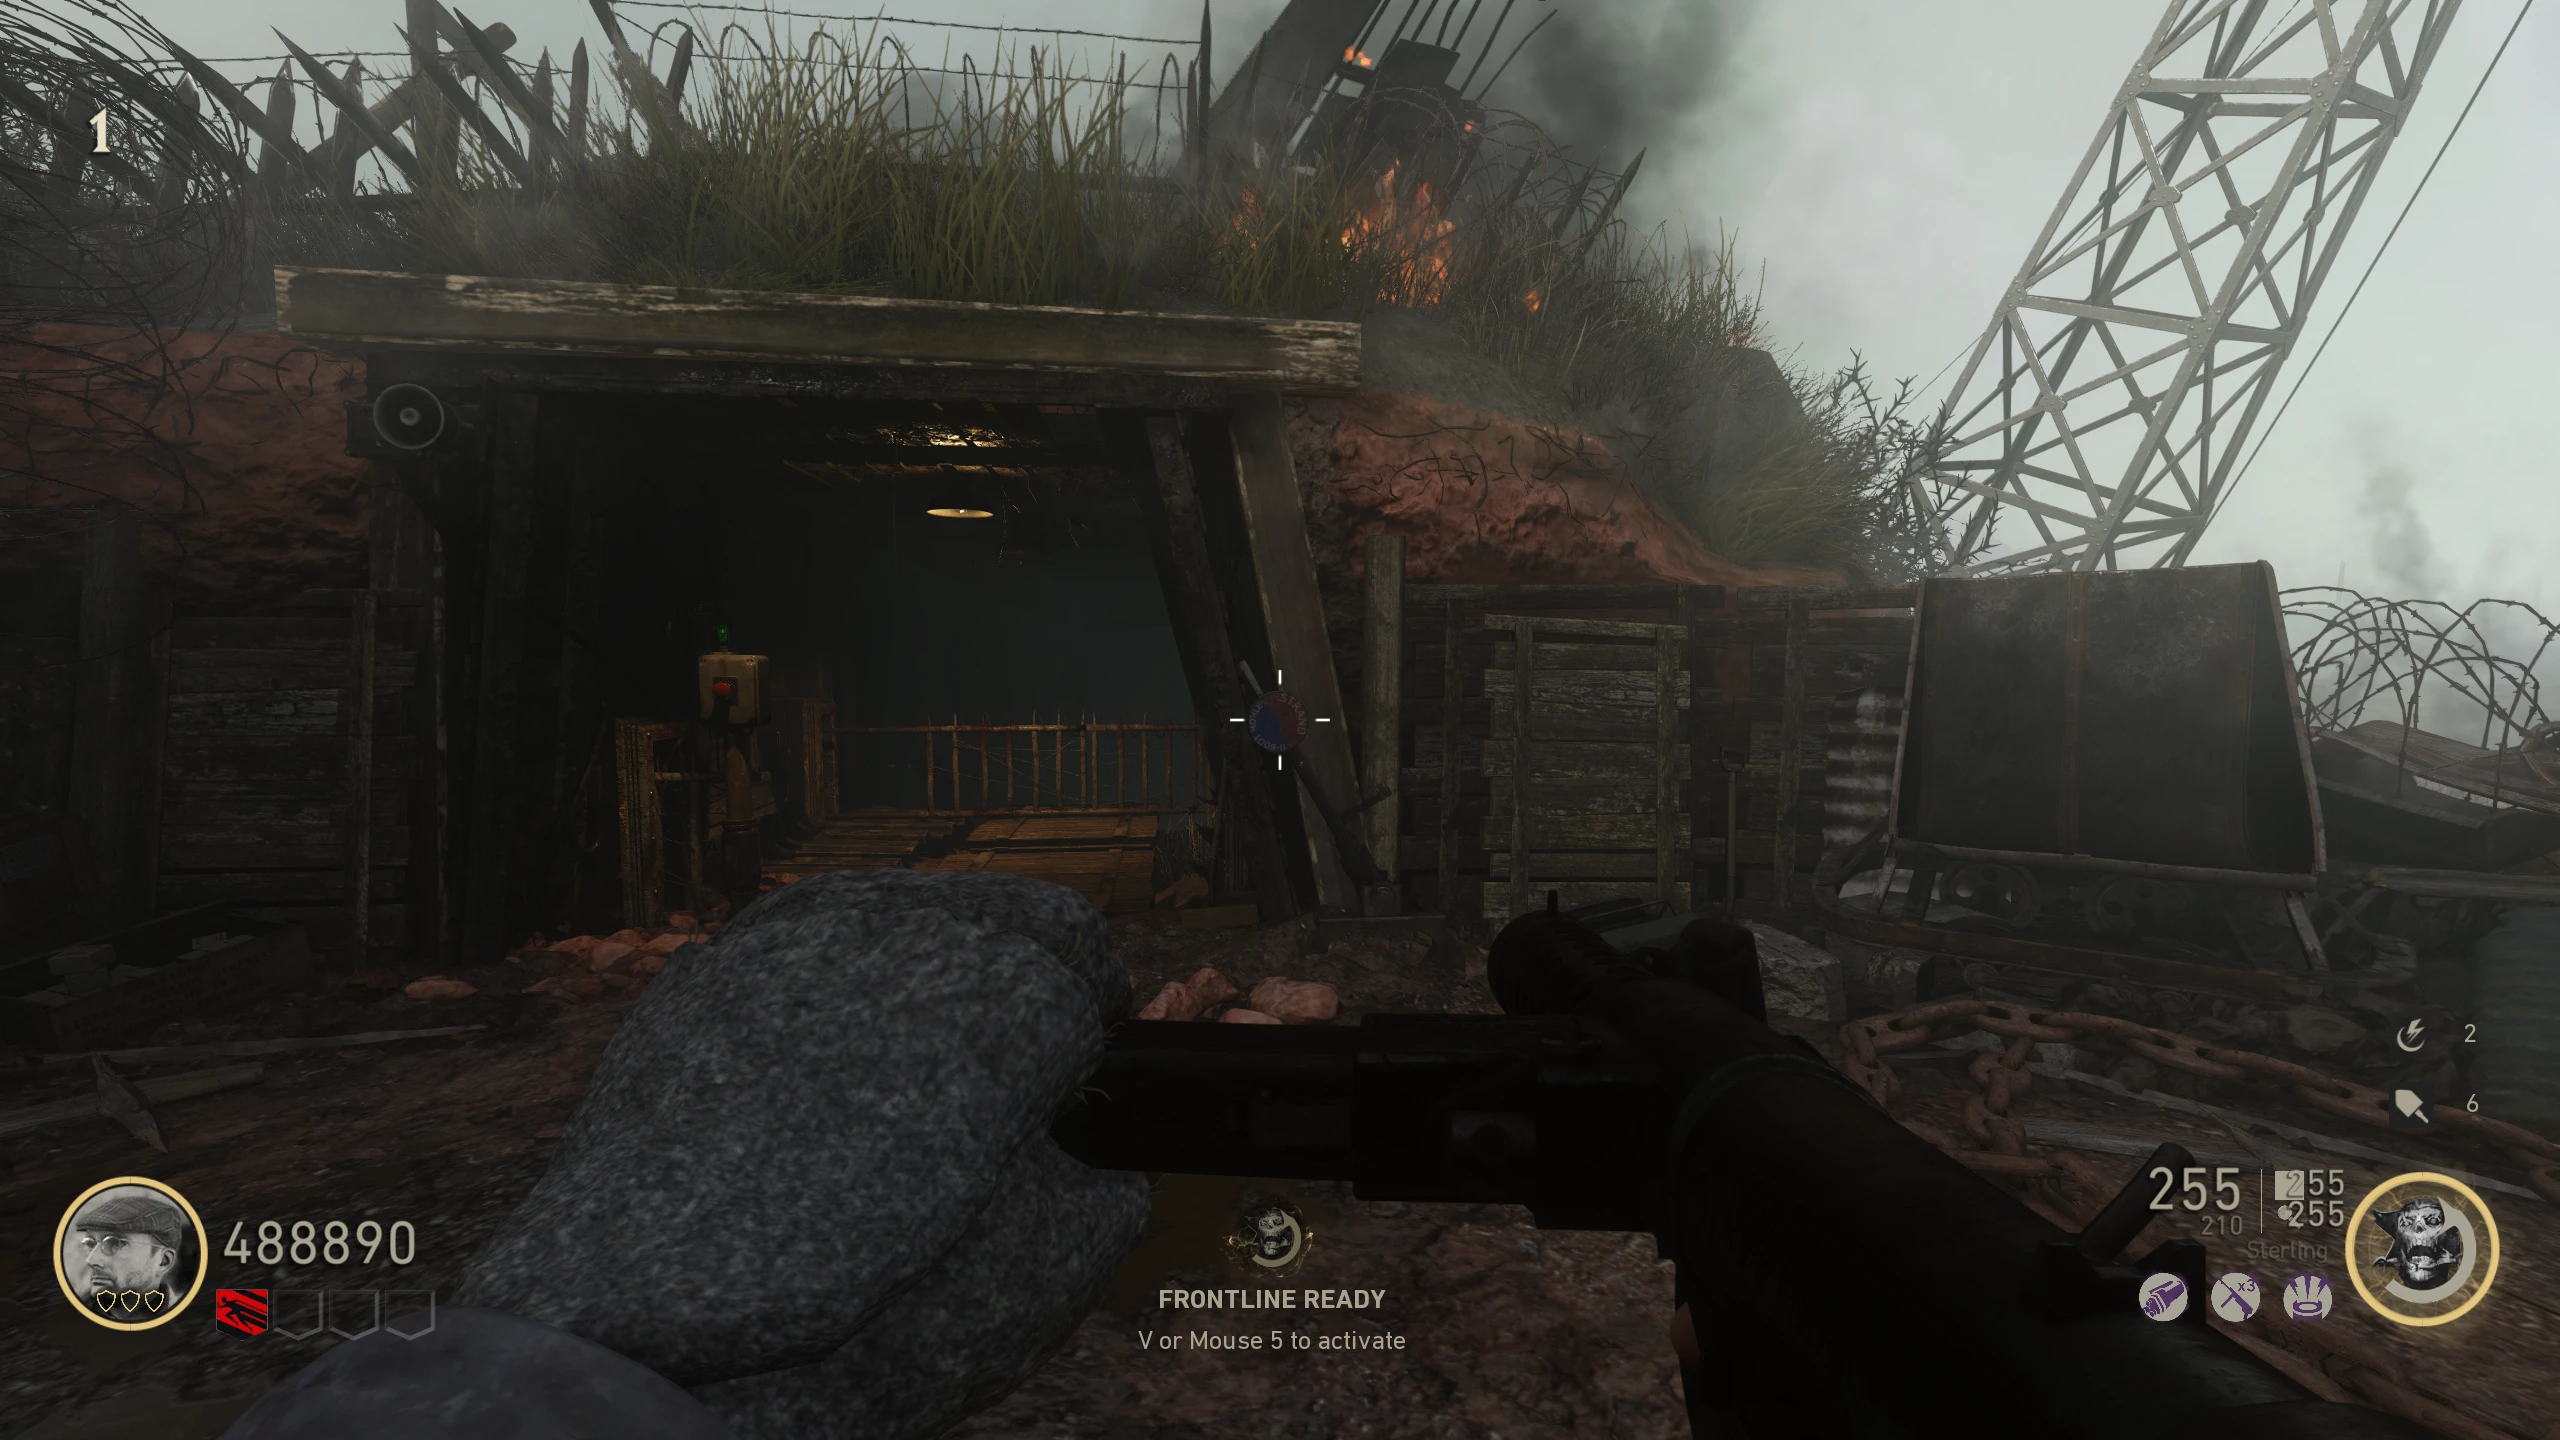
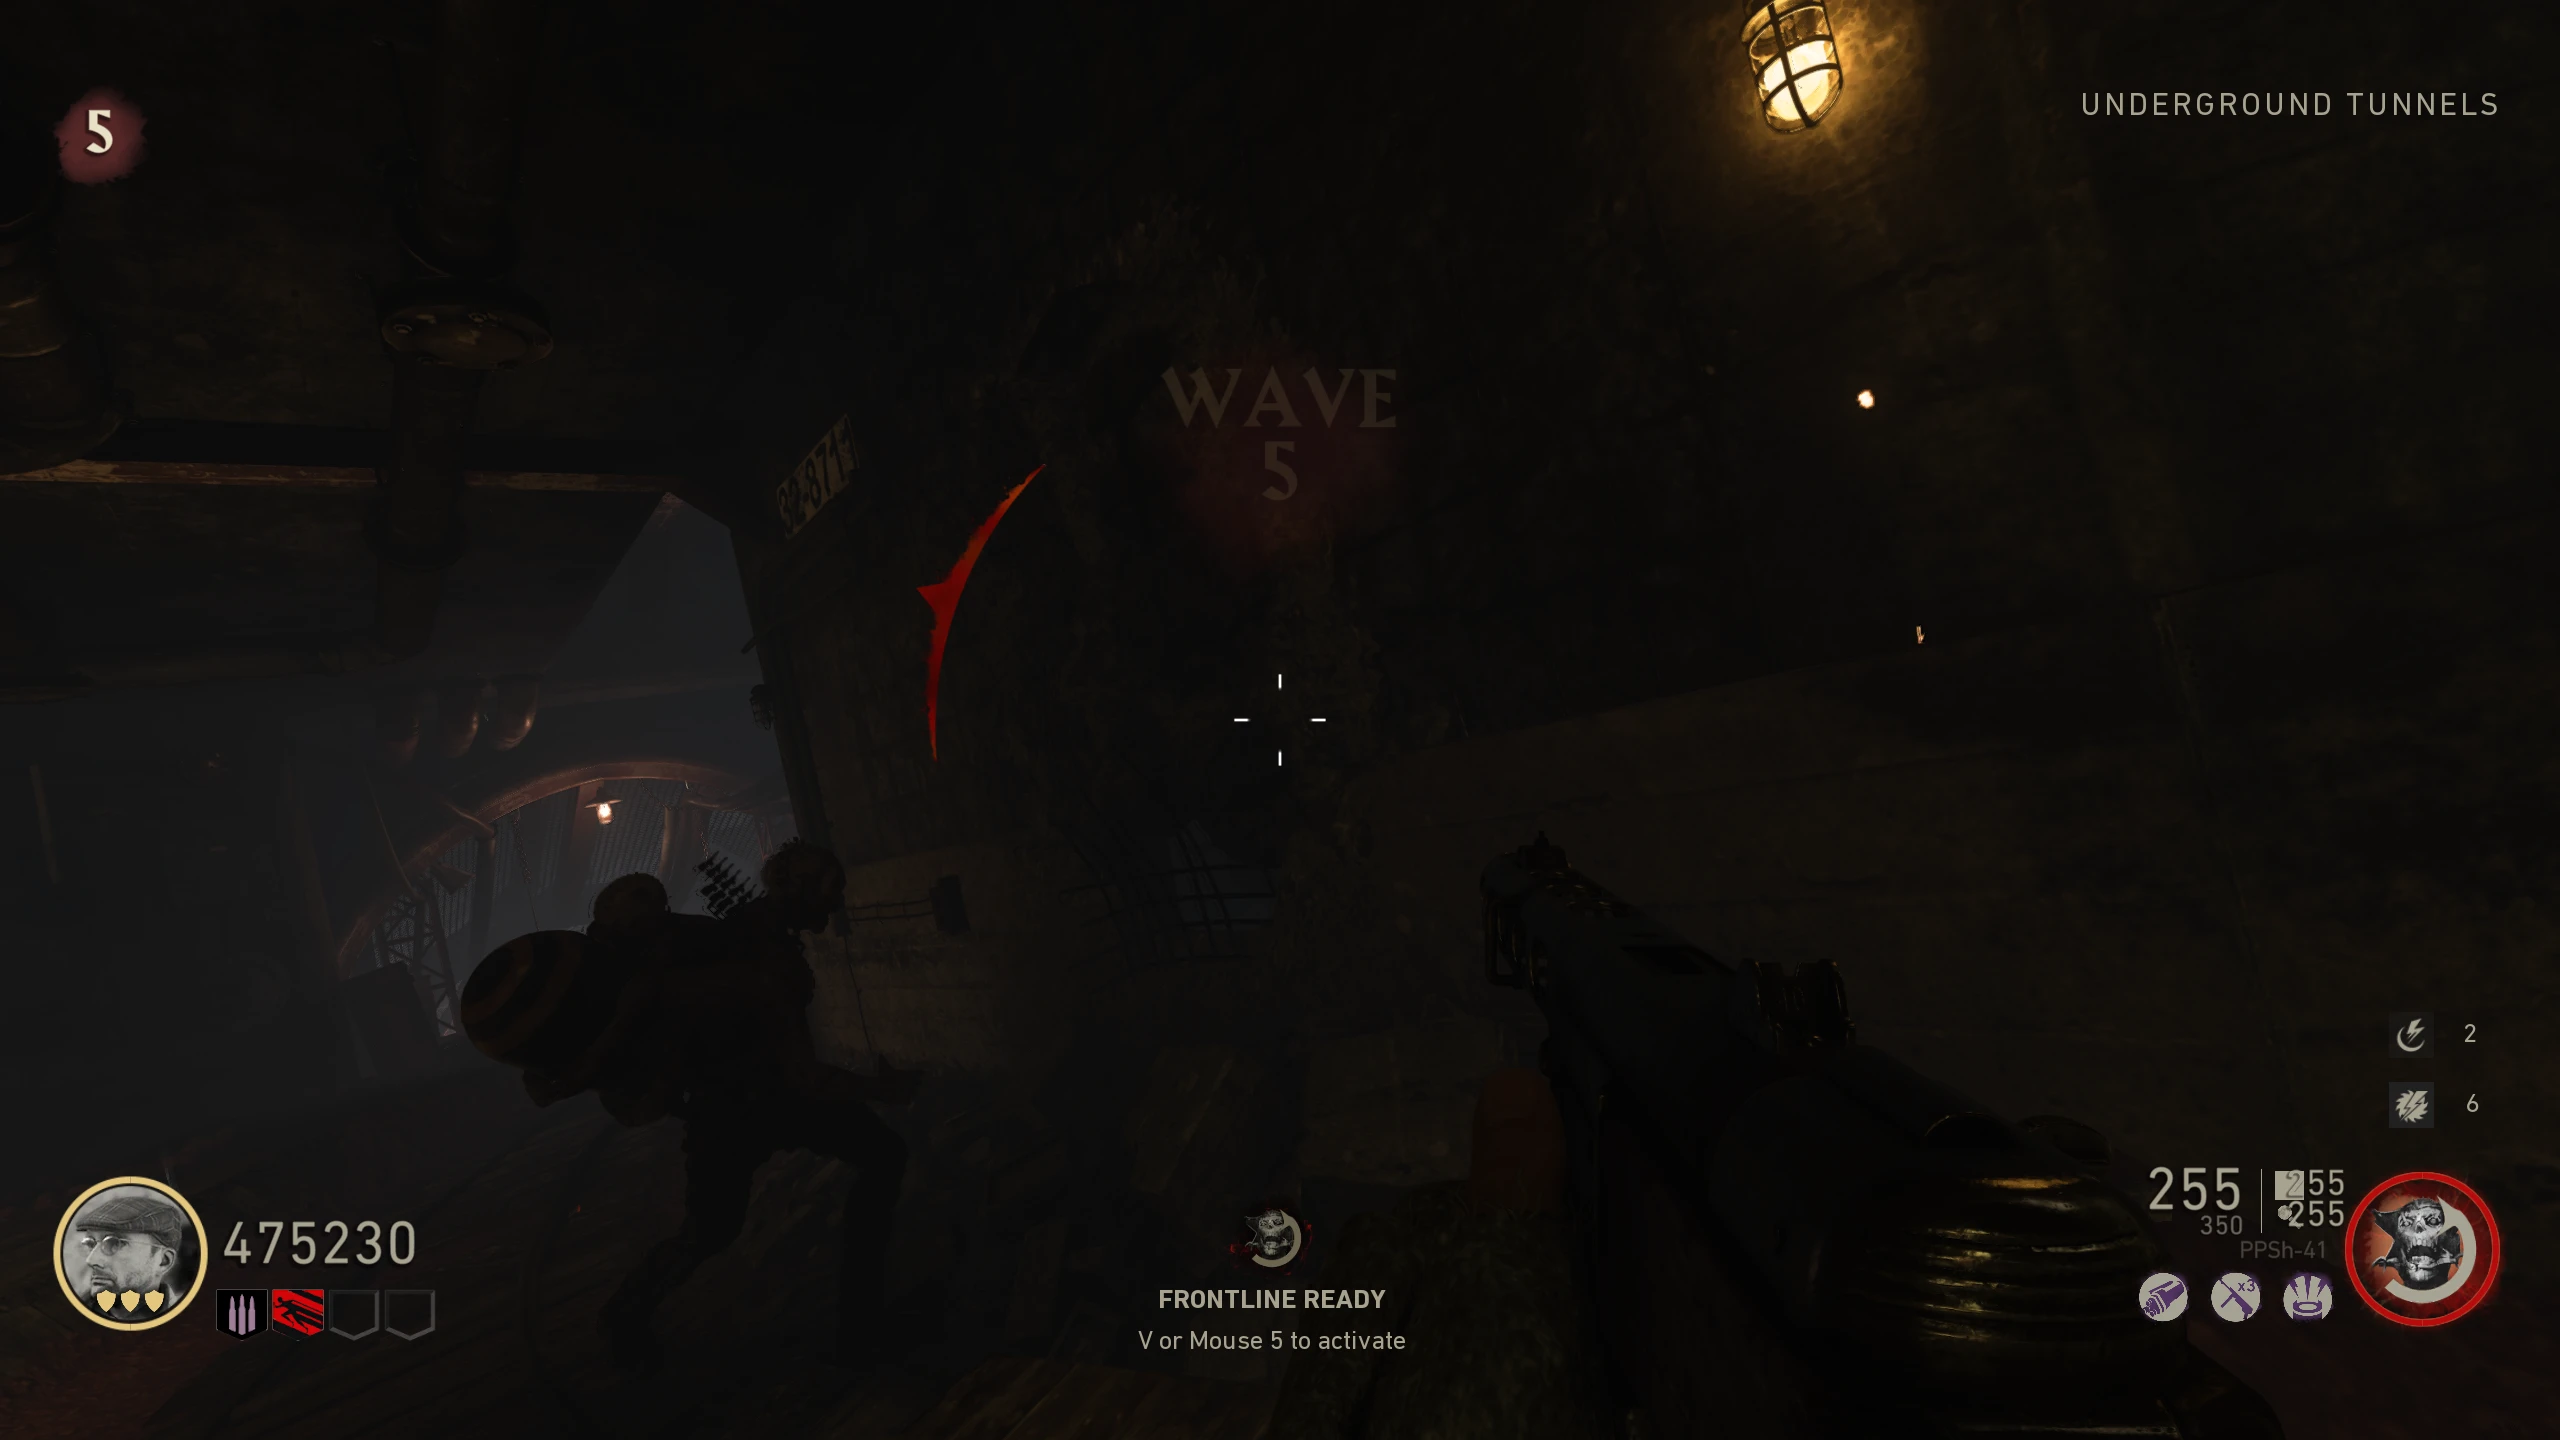
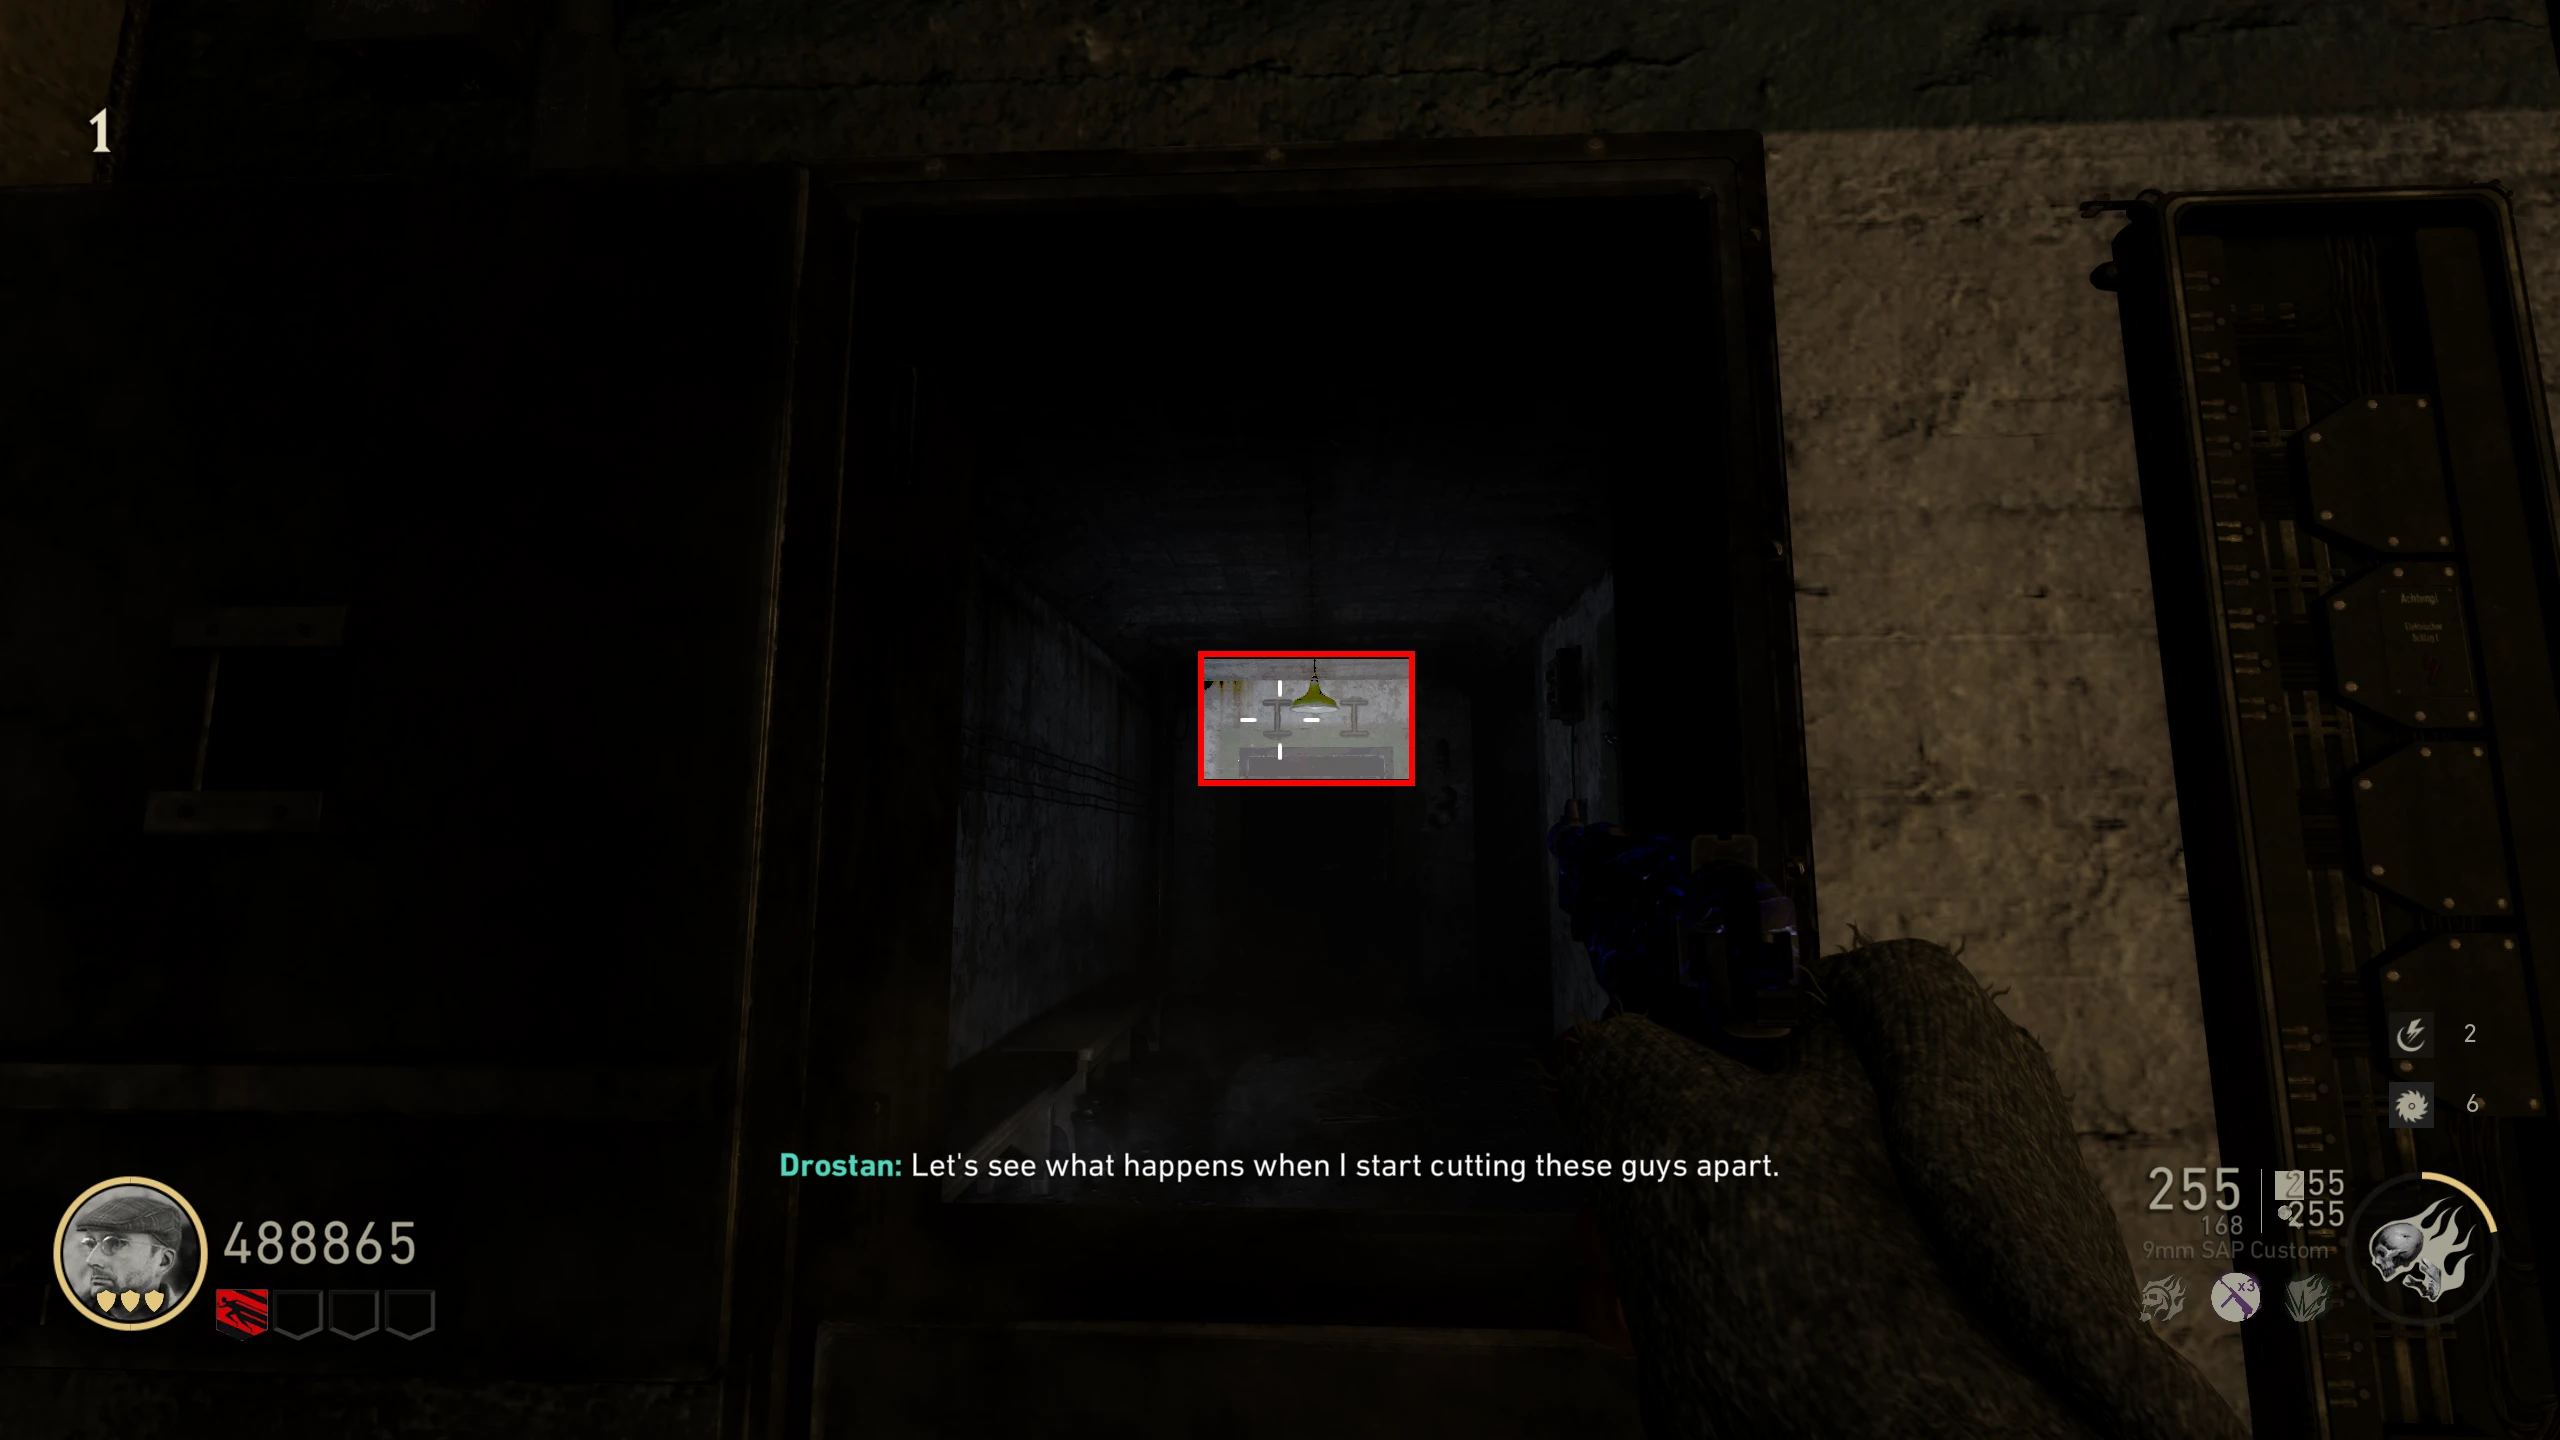
- On the first minecart trip of a round, go between Bunker 1 (Graben) and the Beach (Strand). Halfway through the trip, there will be a semi-broken wall that can be blown open with one of the Bombers on the tracks.
- Interact with the blown open wall to enter the Secret Room. Pick up the Monk Head right of the Ancient Door and then exit the room through the crack in the wall across from the door.
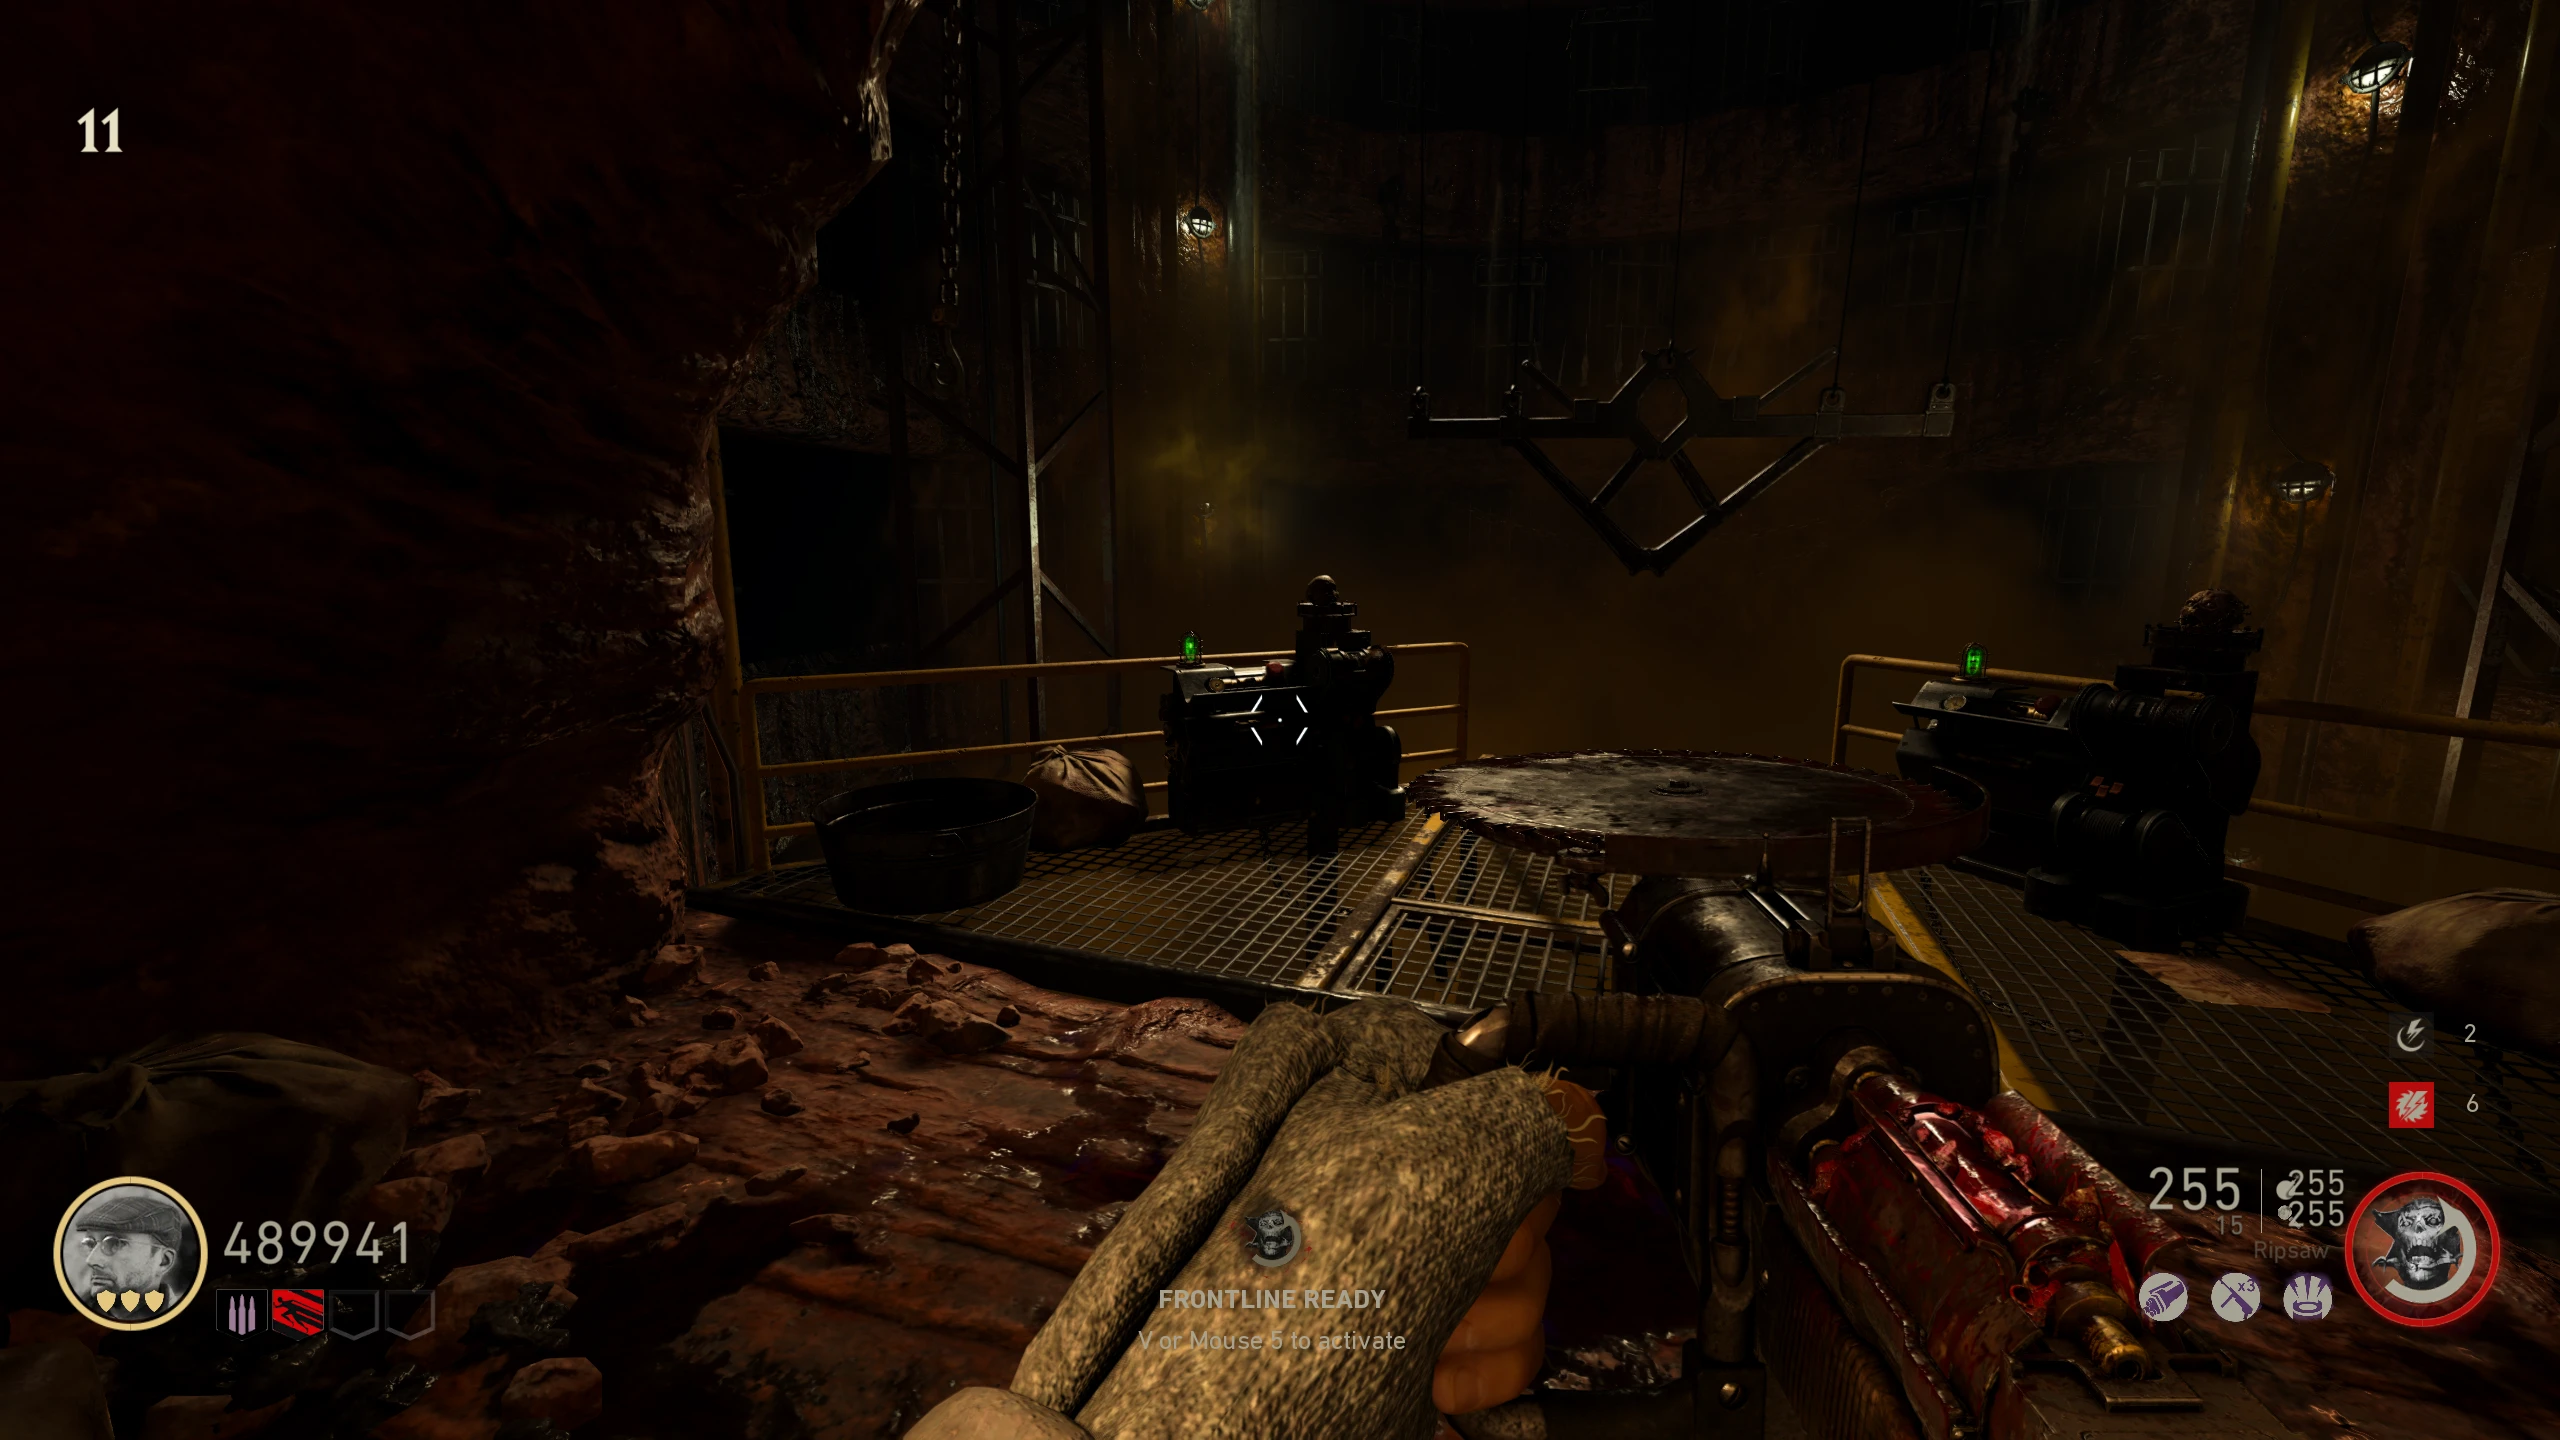
- Place the Monk Head on the machine on the left in the Freezer in the 'U-Boat Pens.'
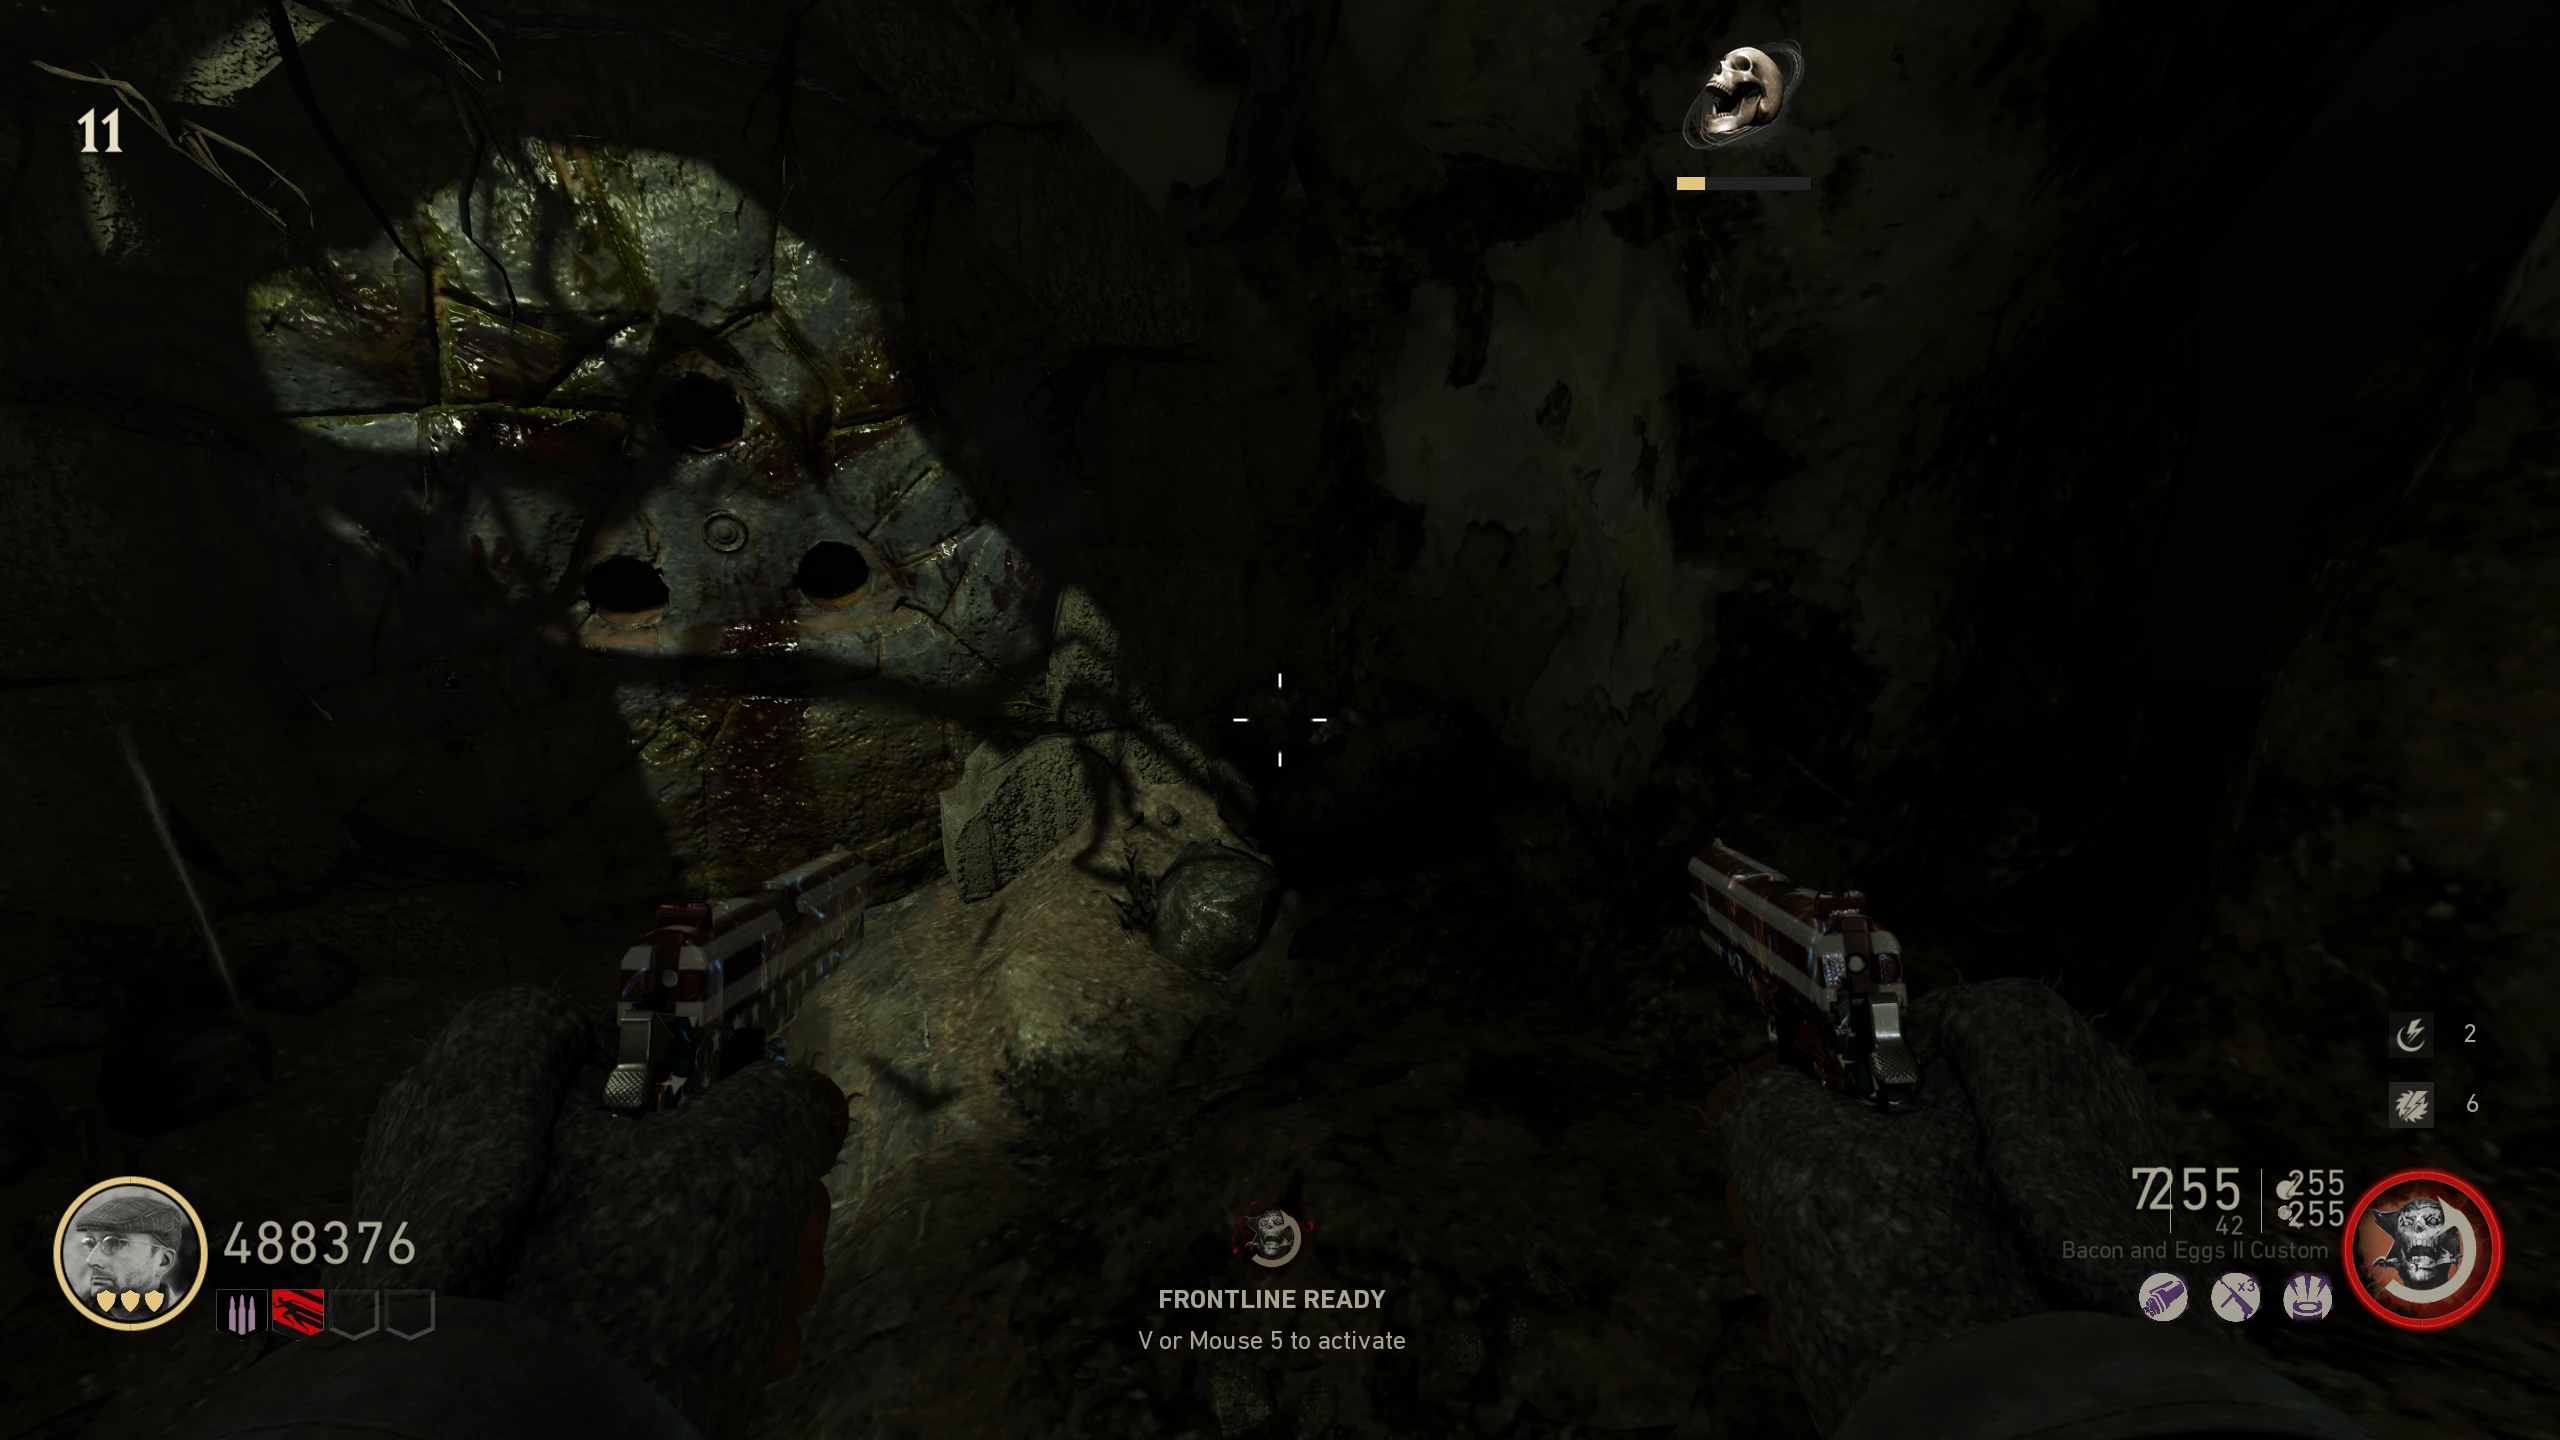
- To open the door, you'll need to place three "Sons of Nerthus" (small stone statues) in the Ancient Door. The sons can be obtained in any order. How to get each of the sons:
- 1st Son:
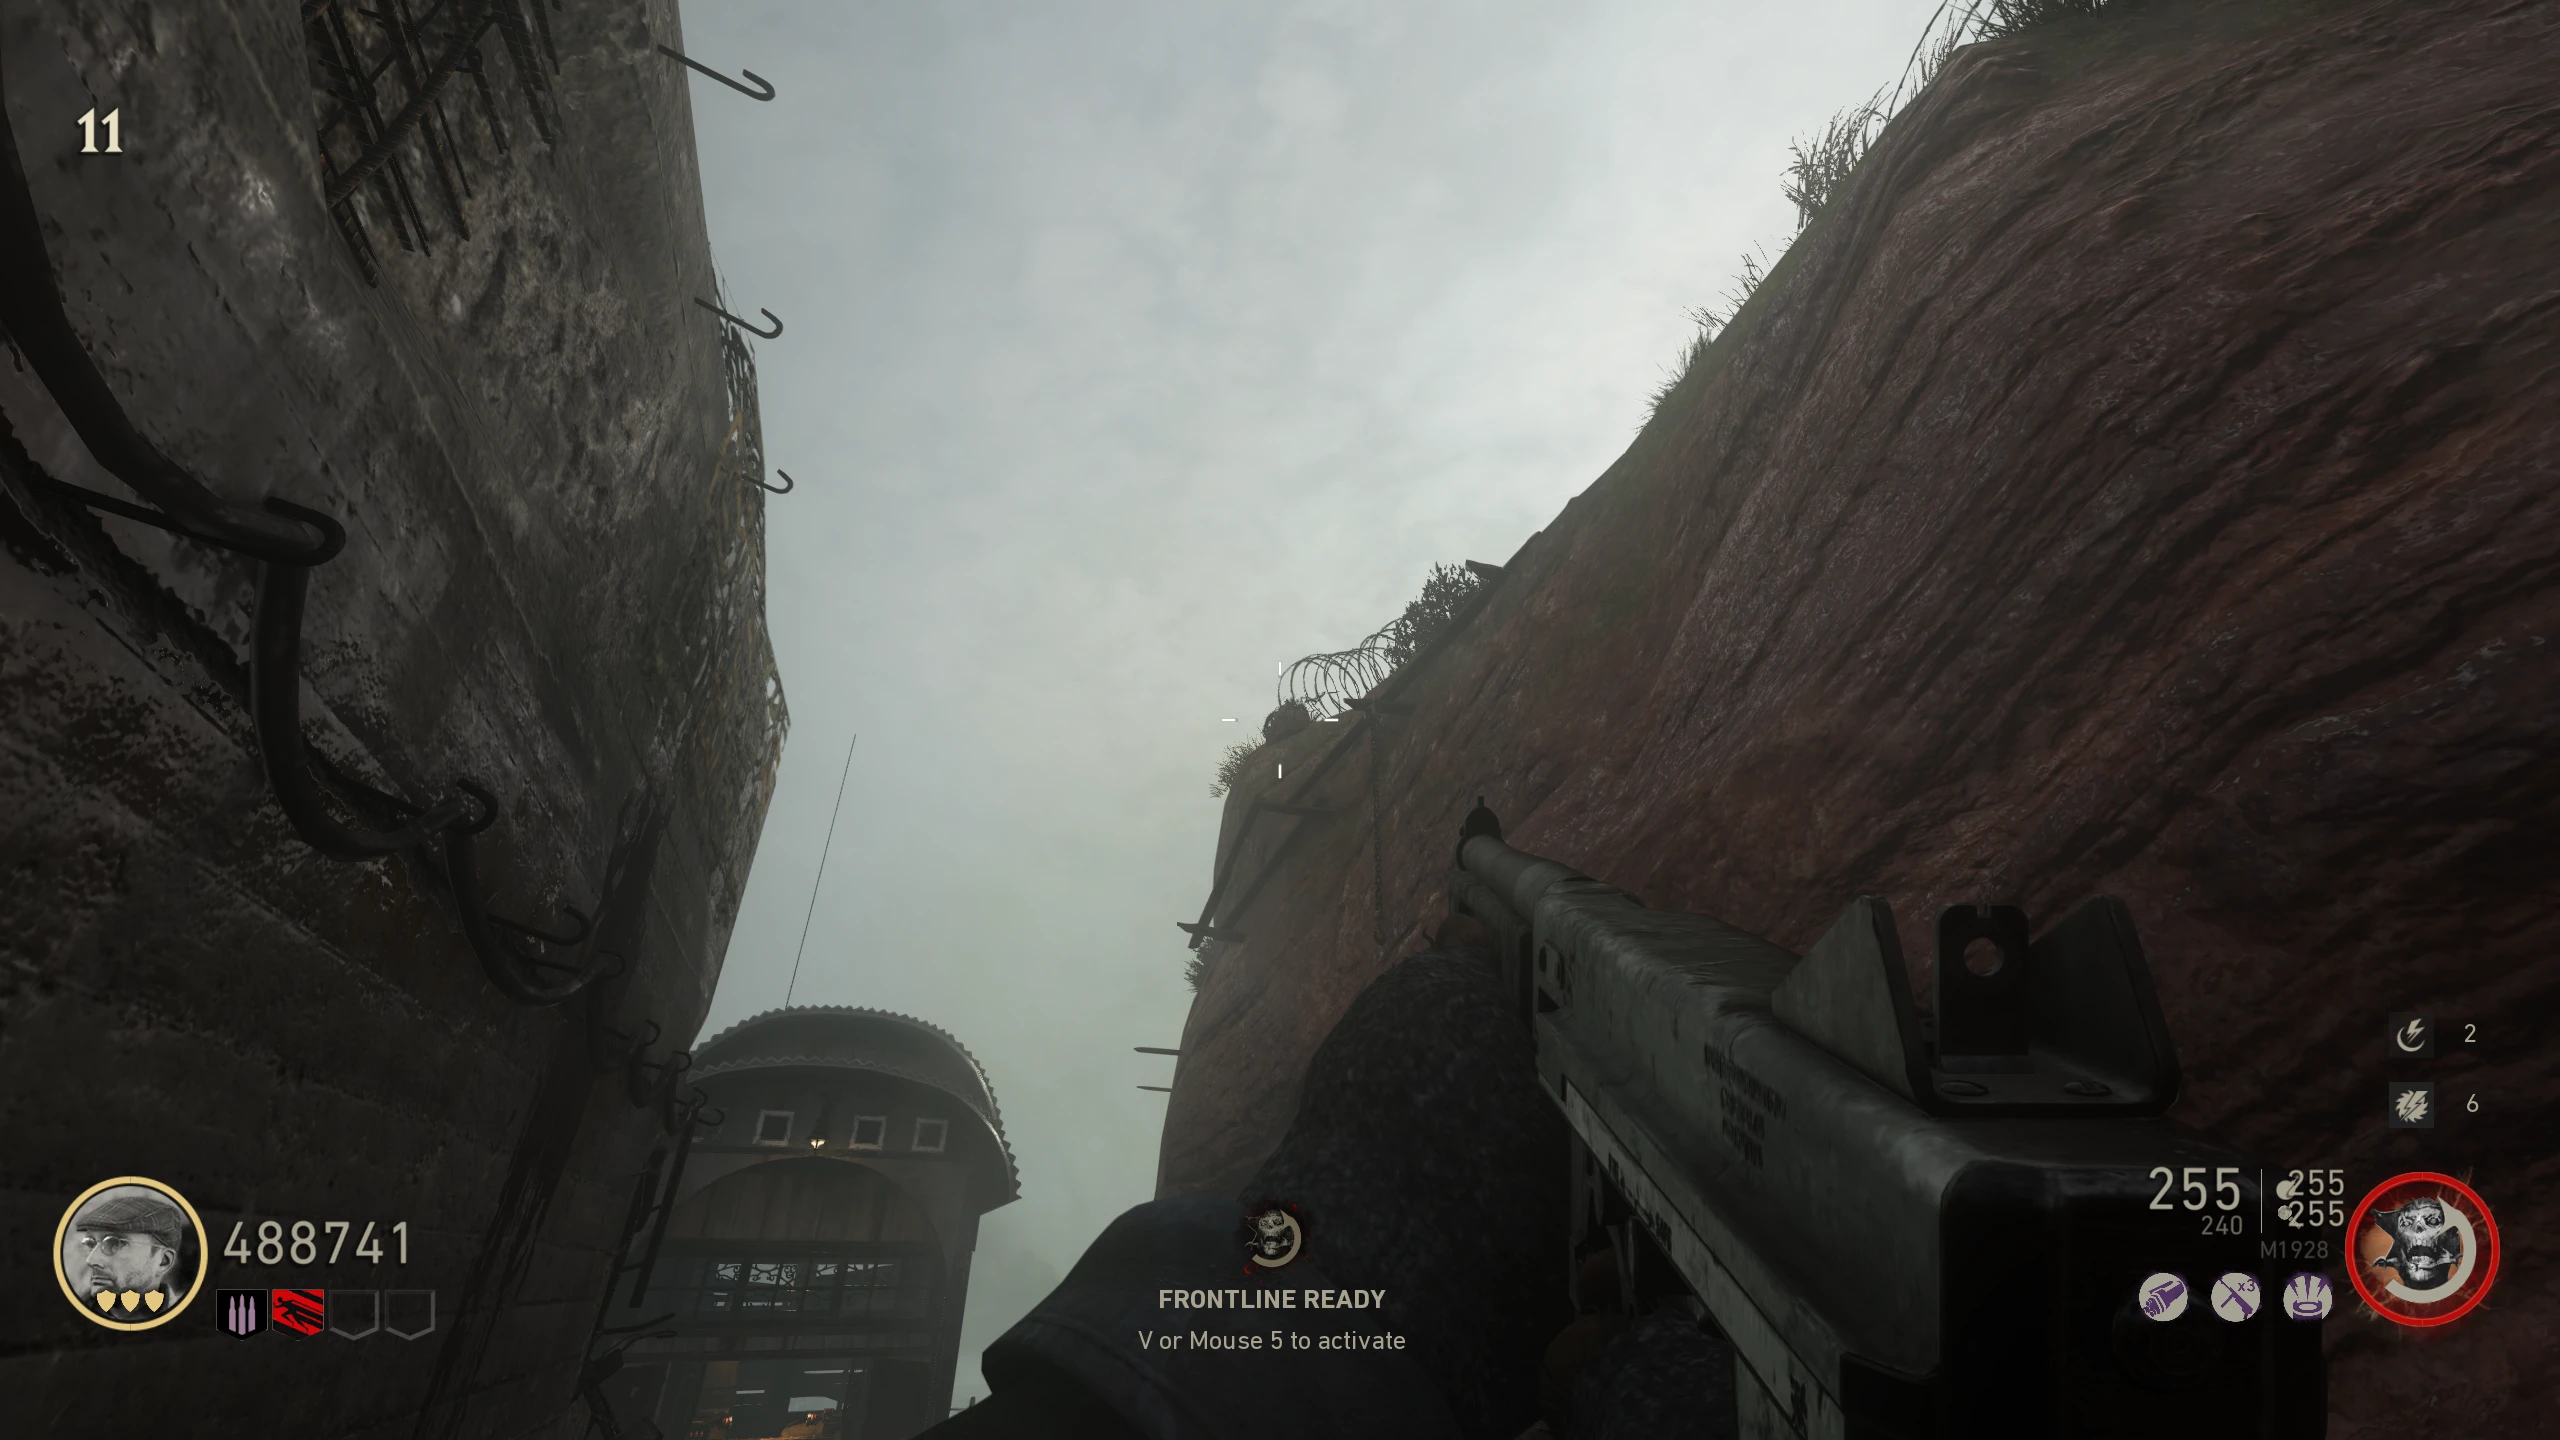
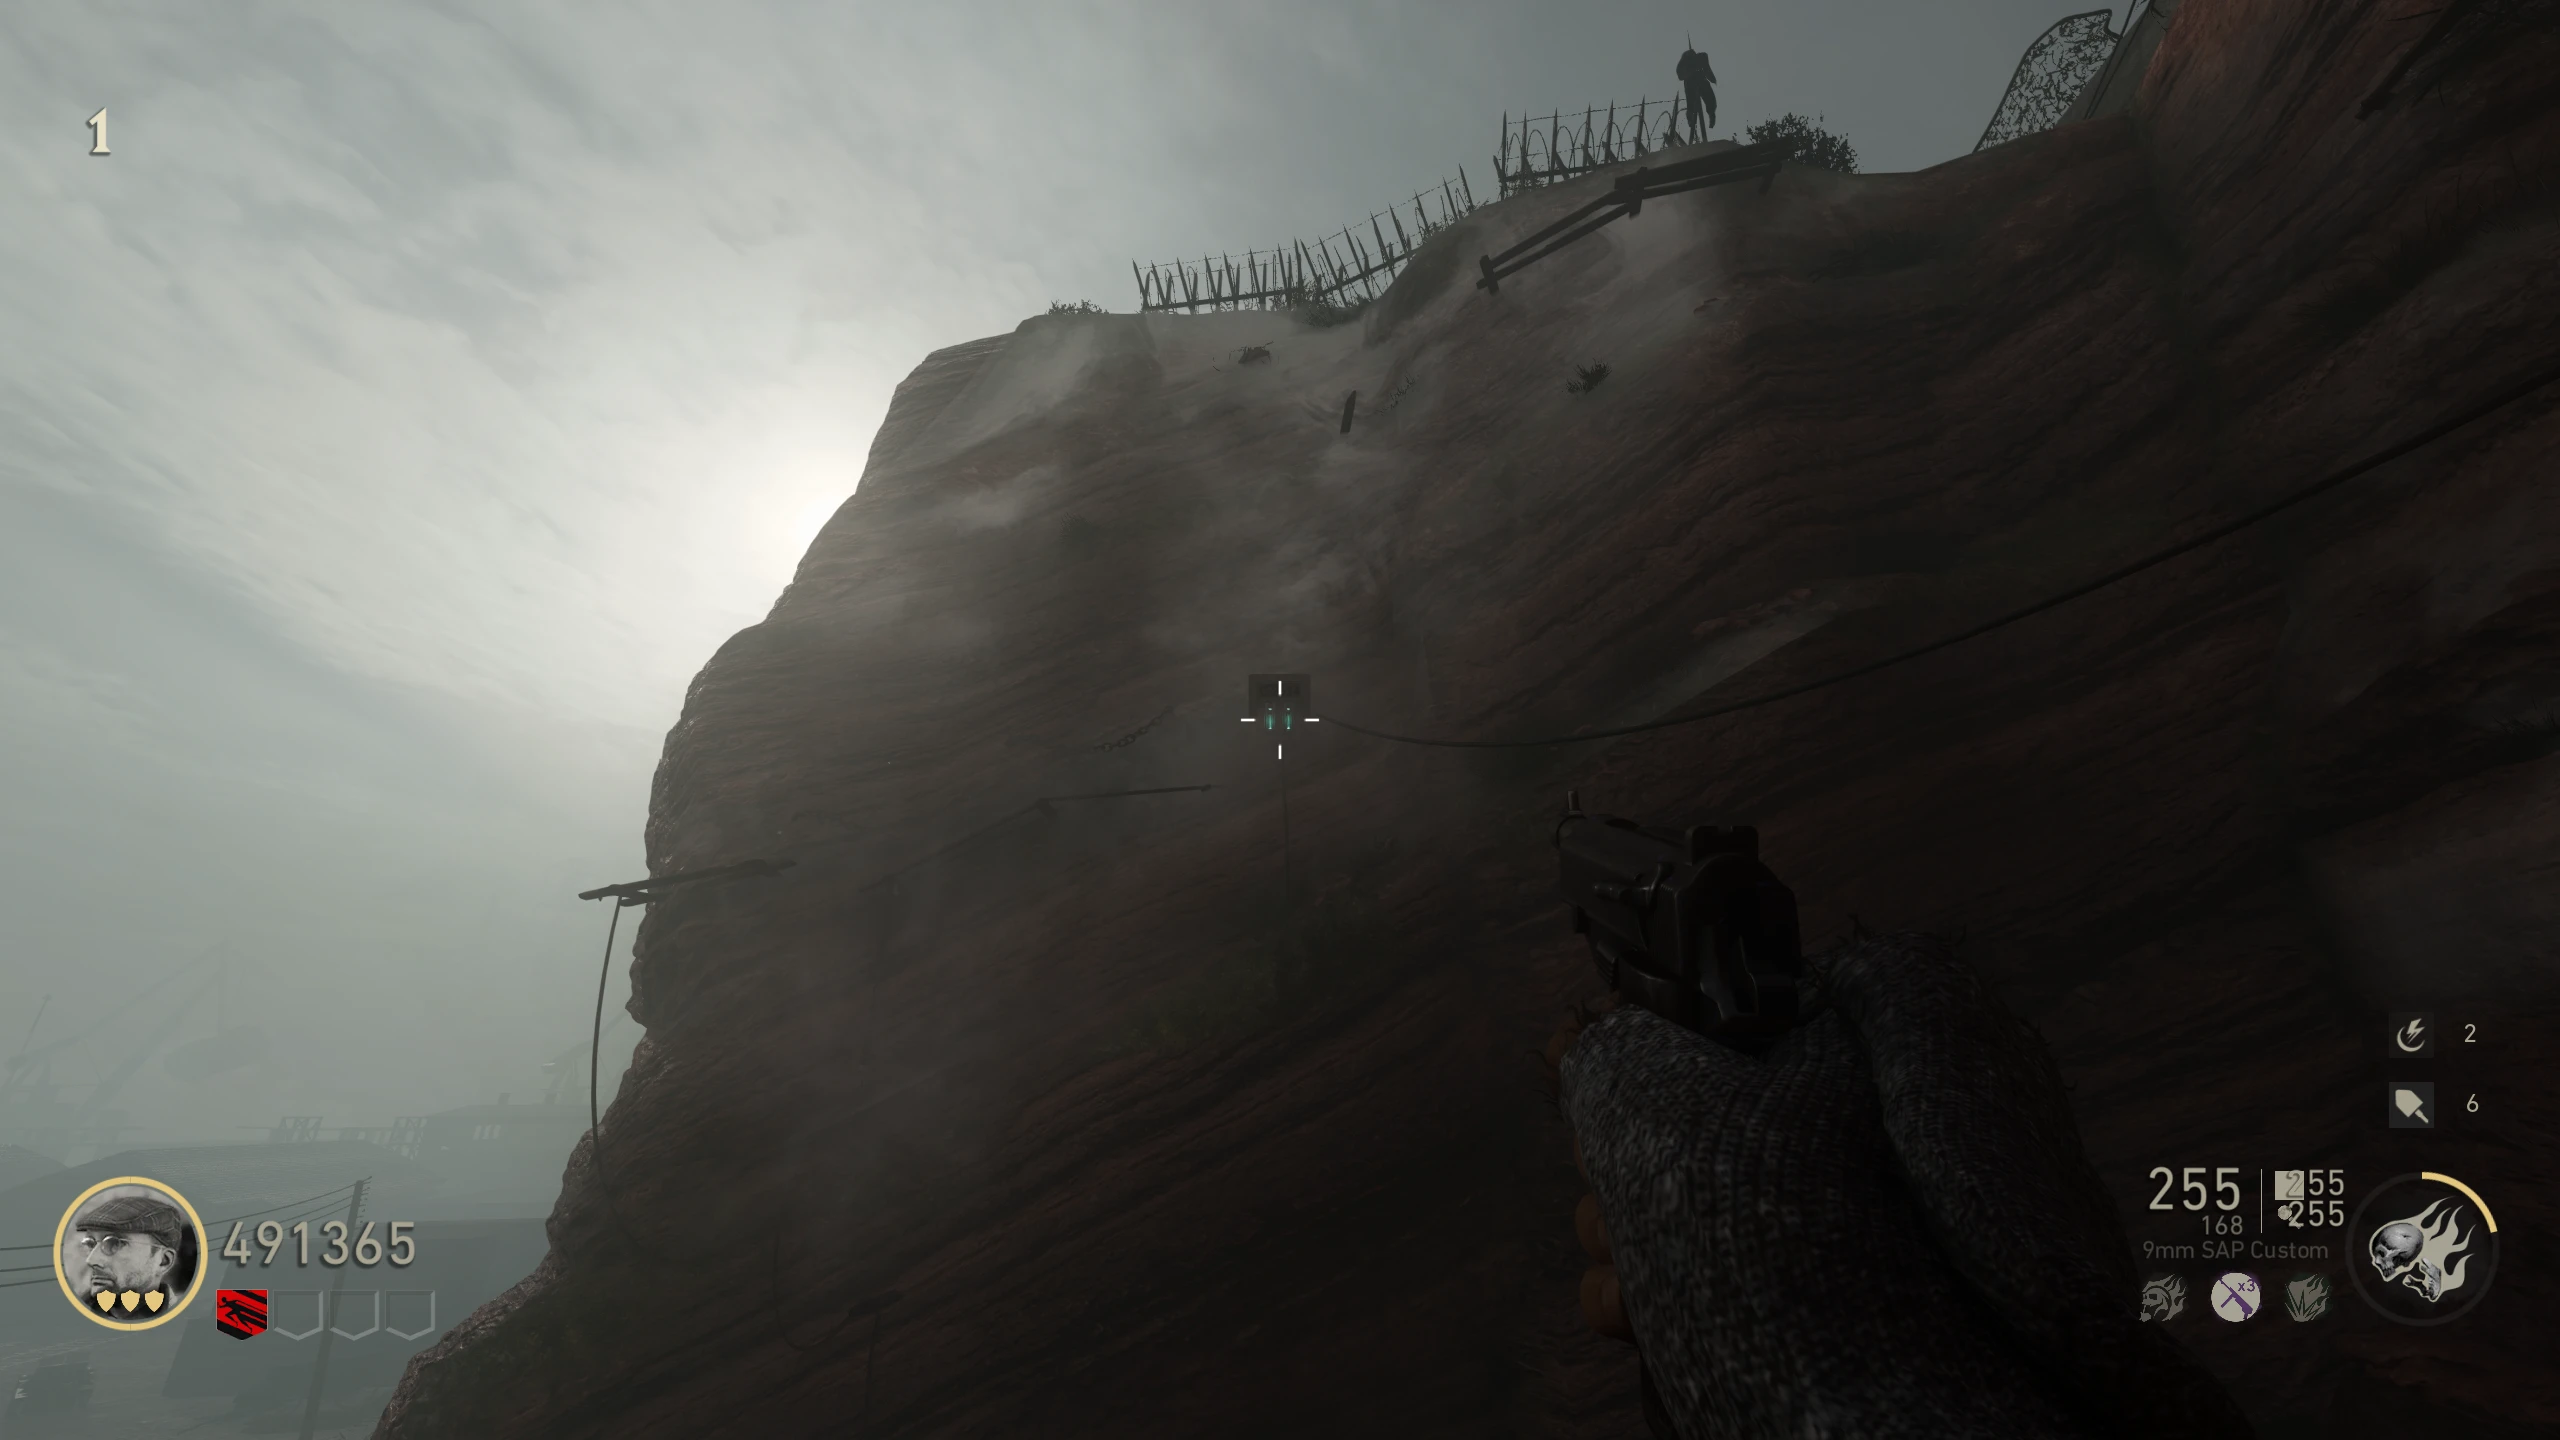
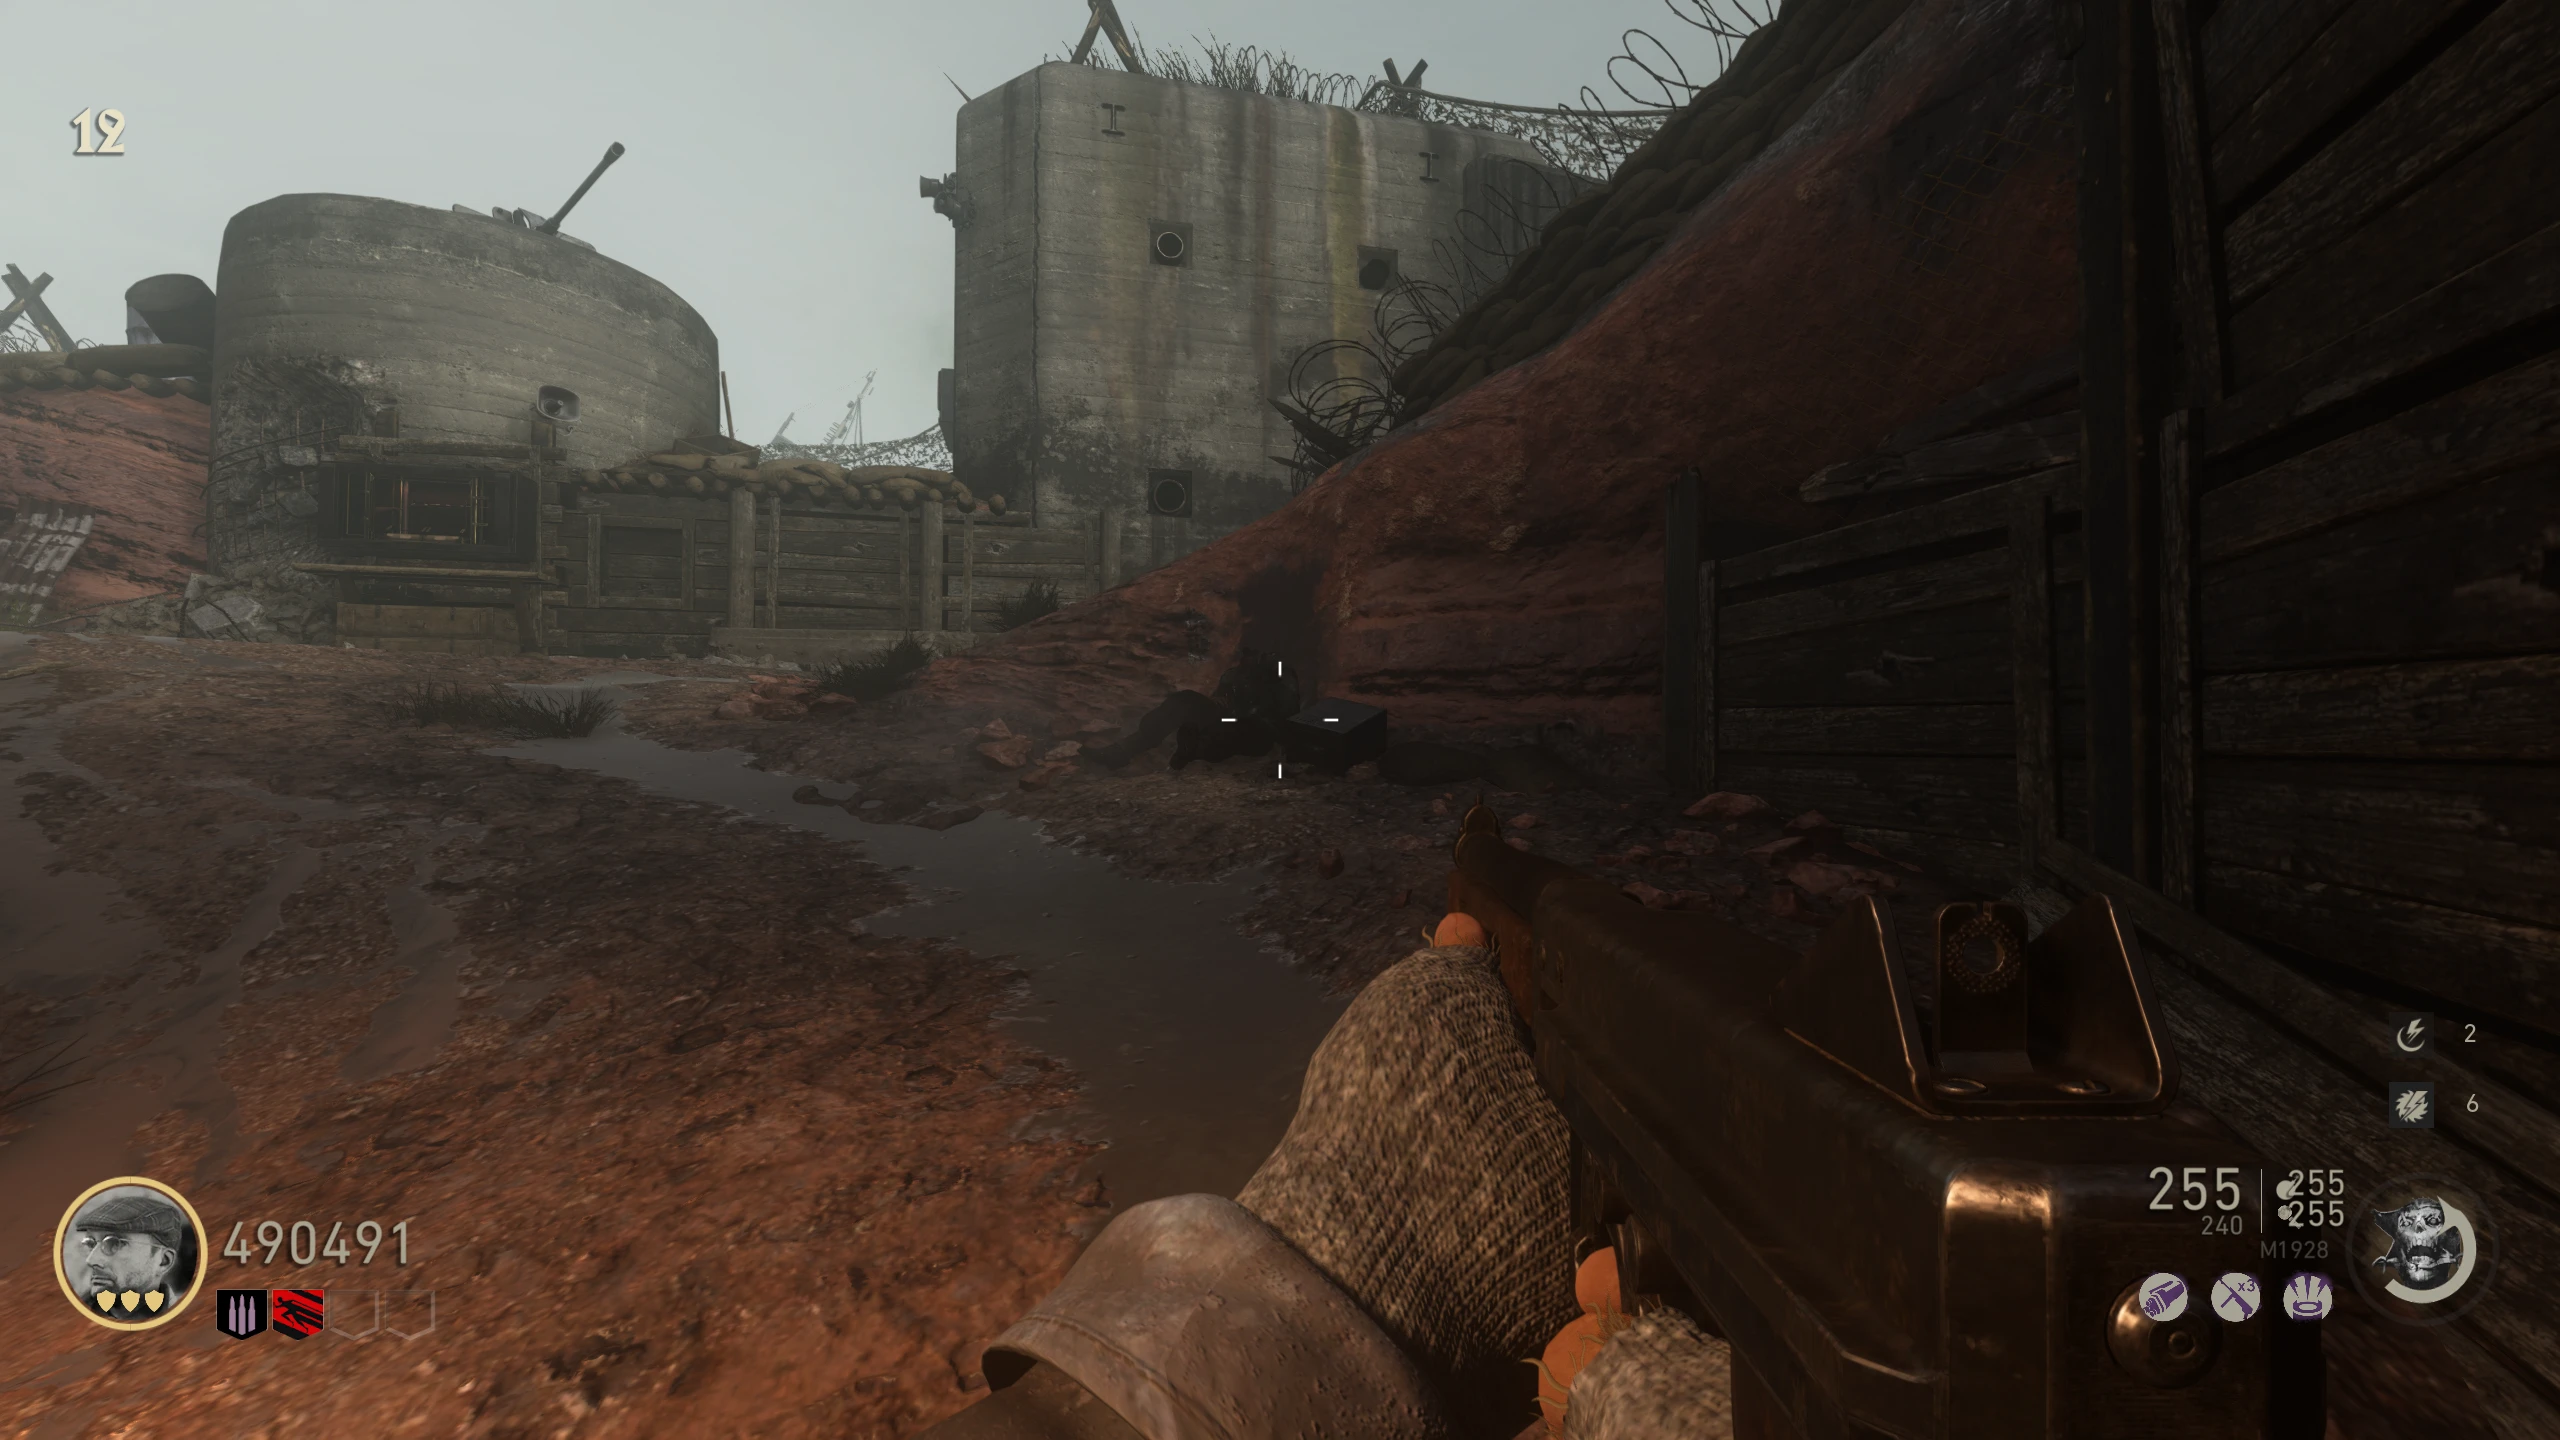
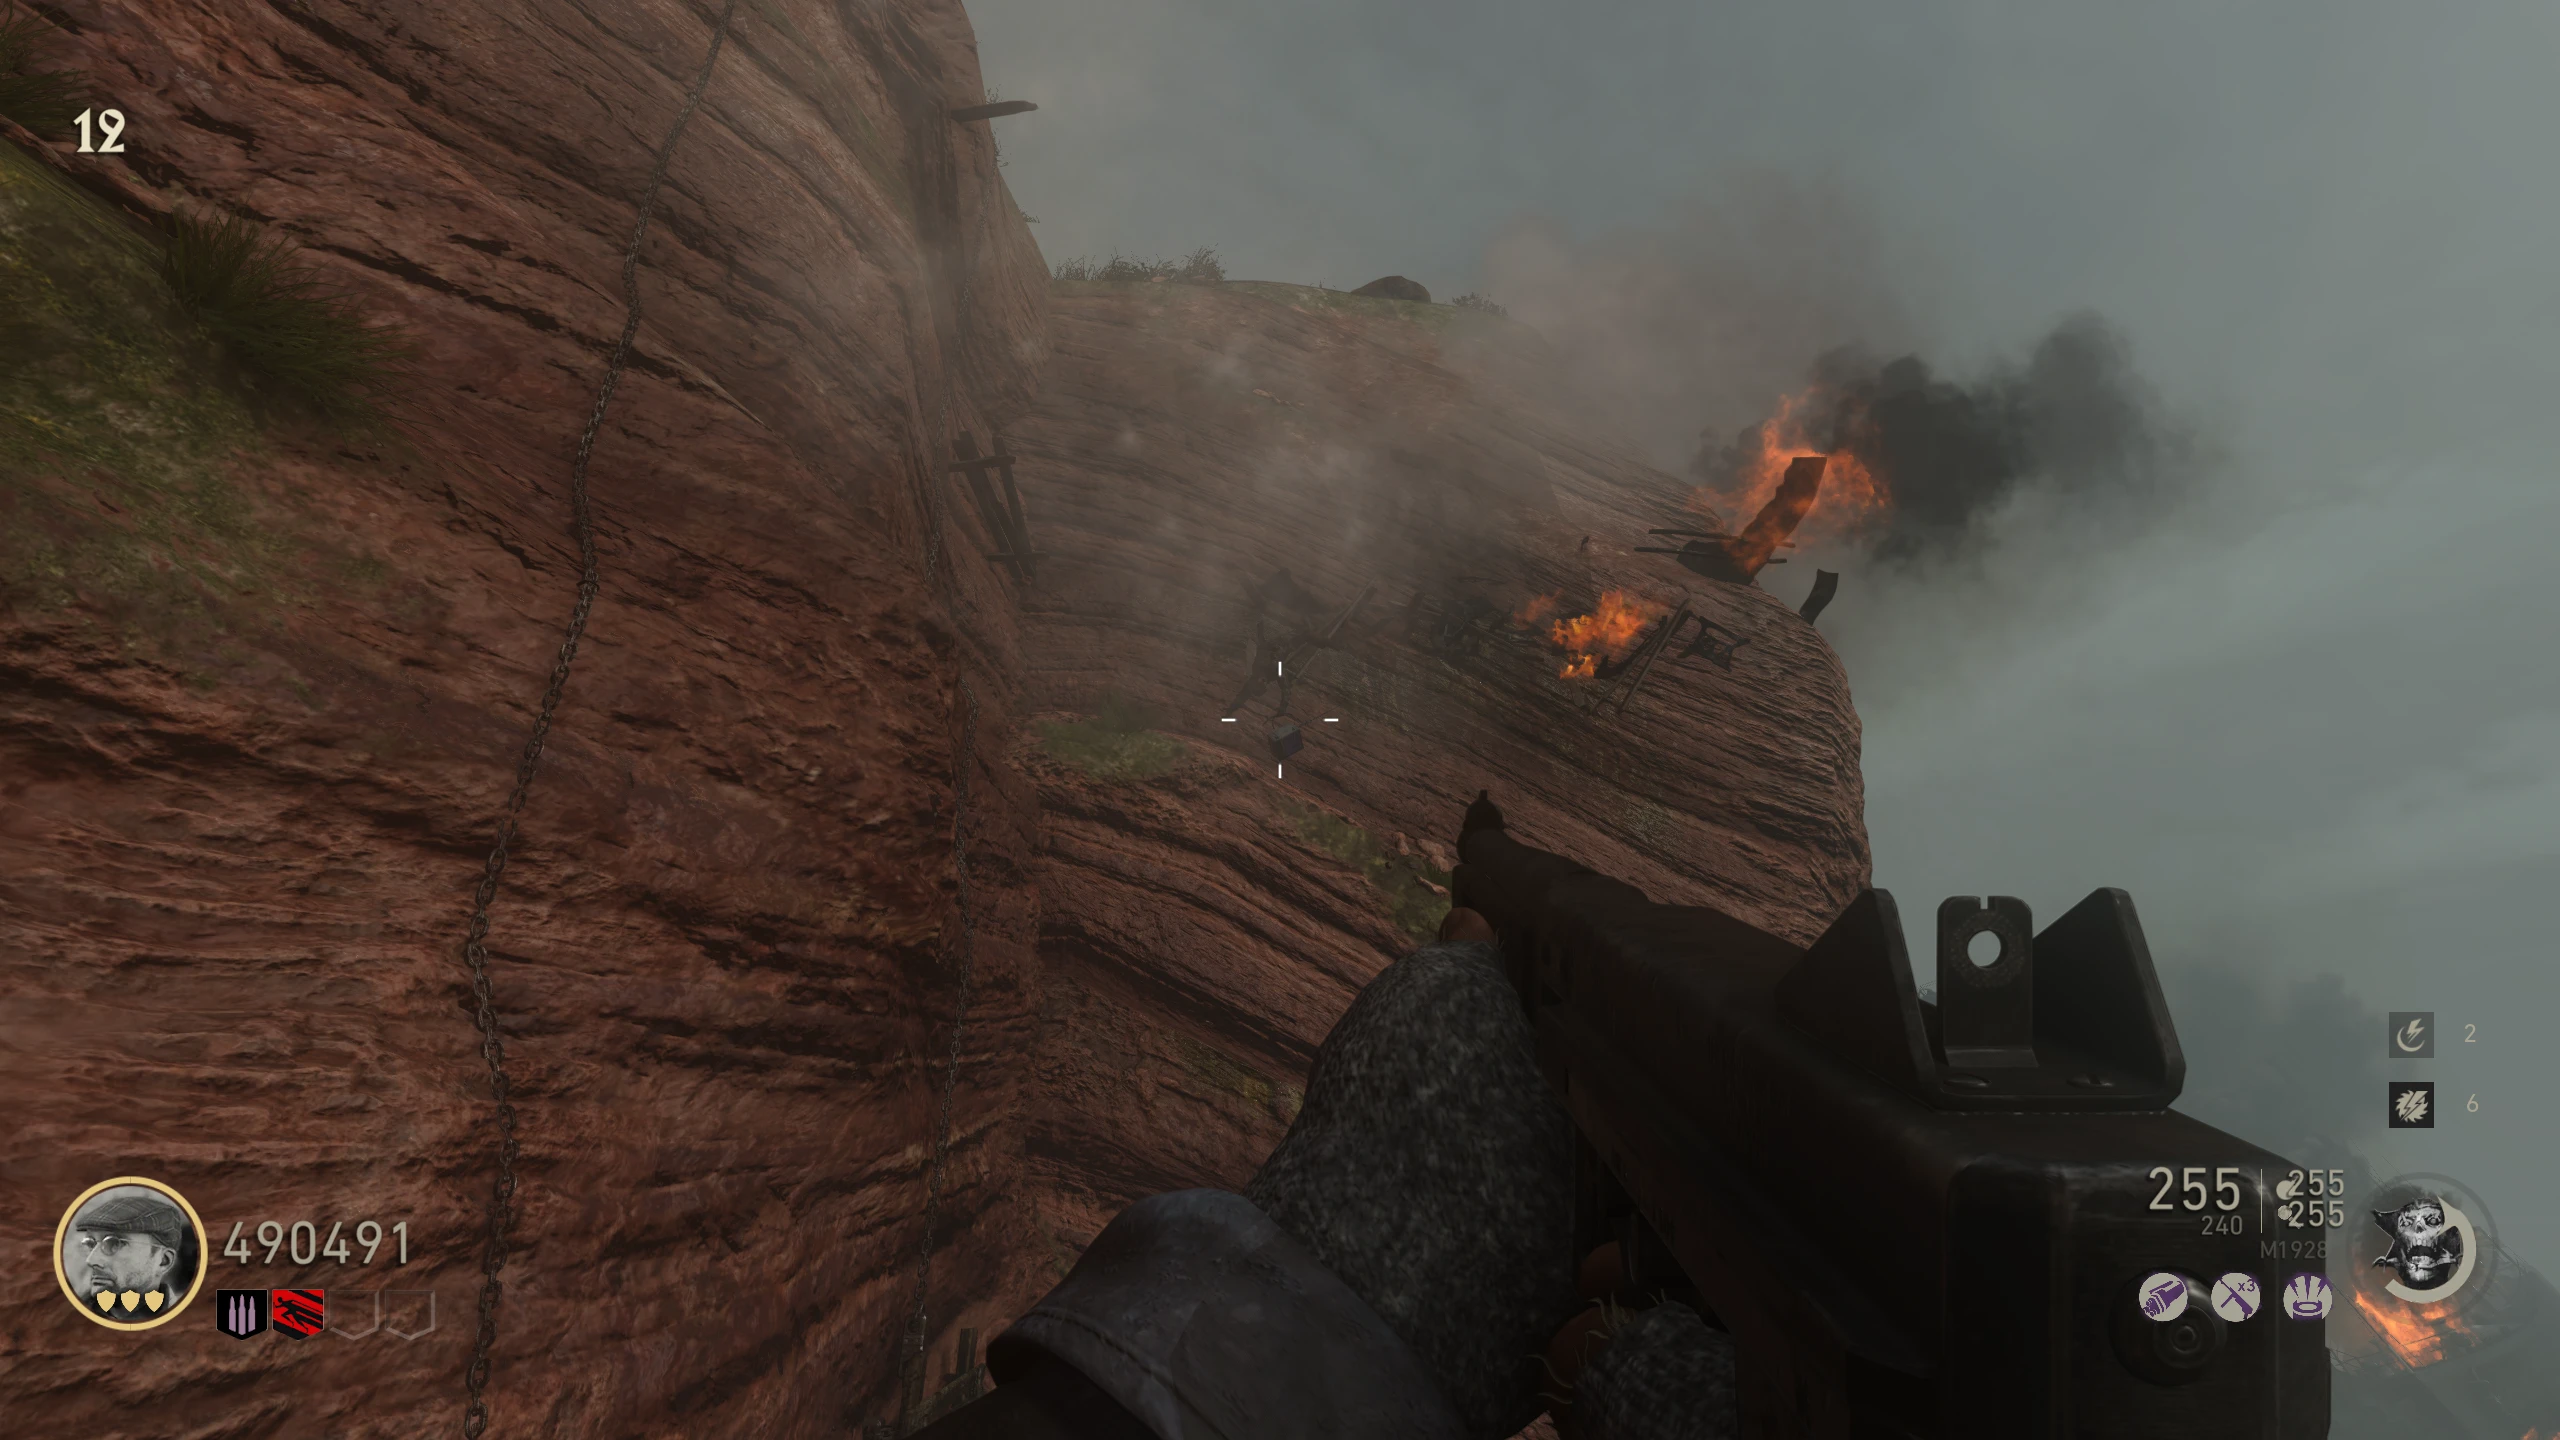
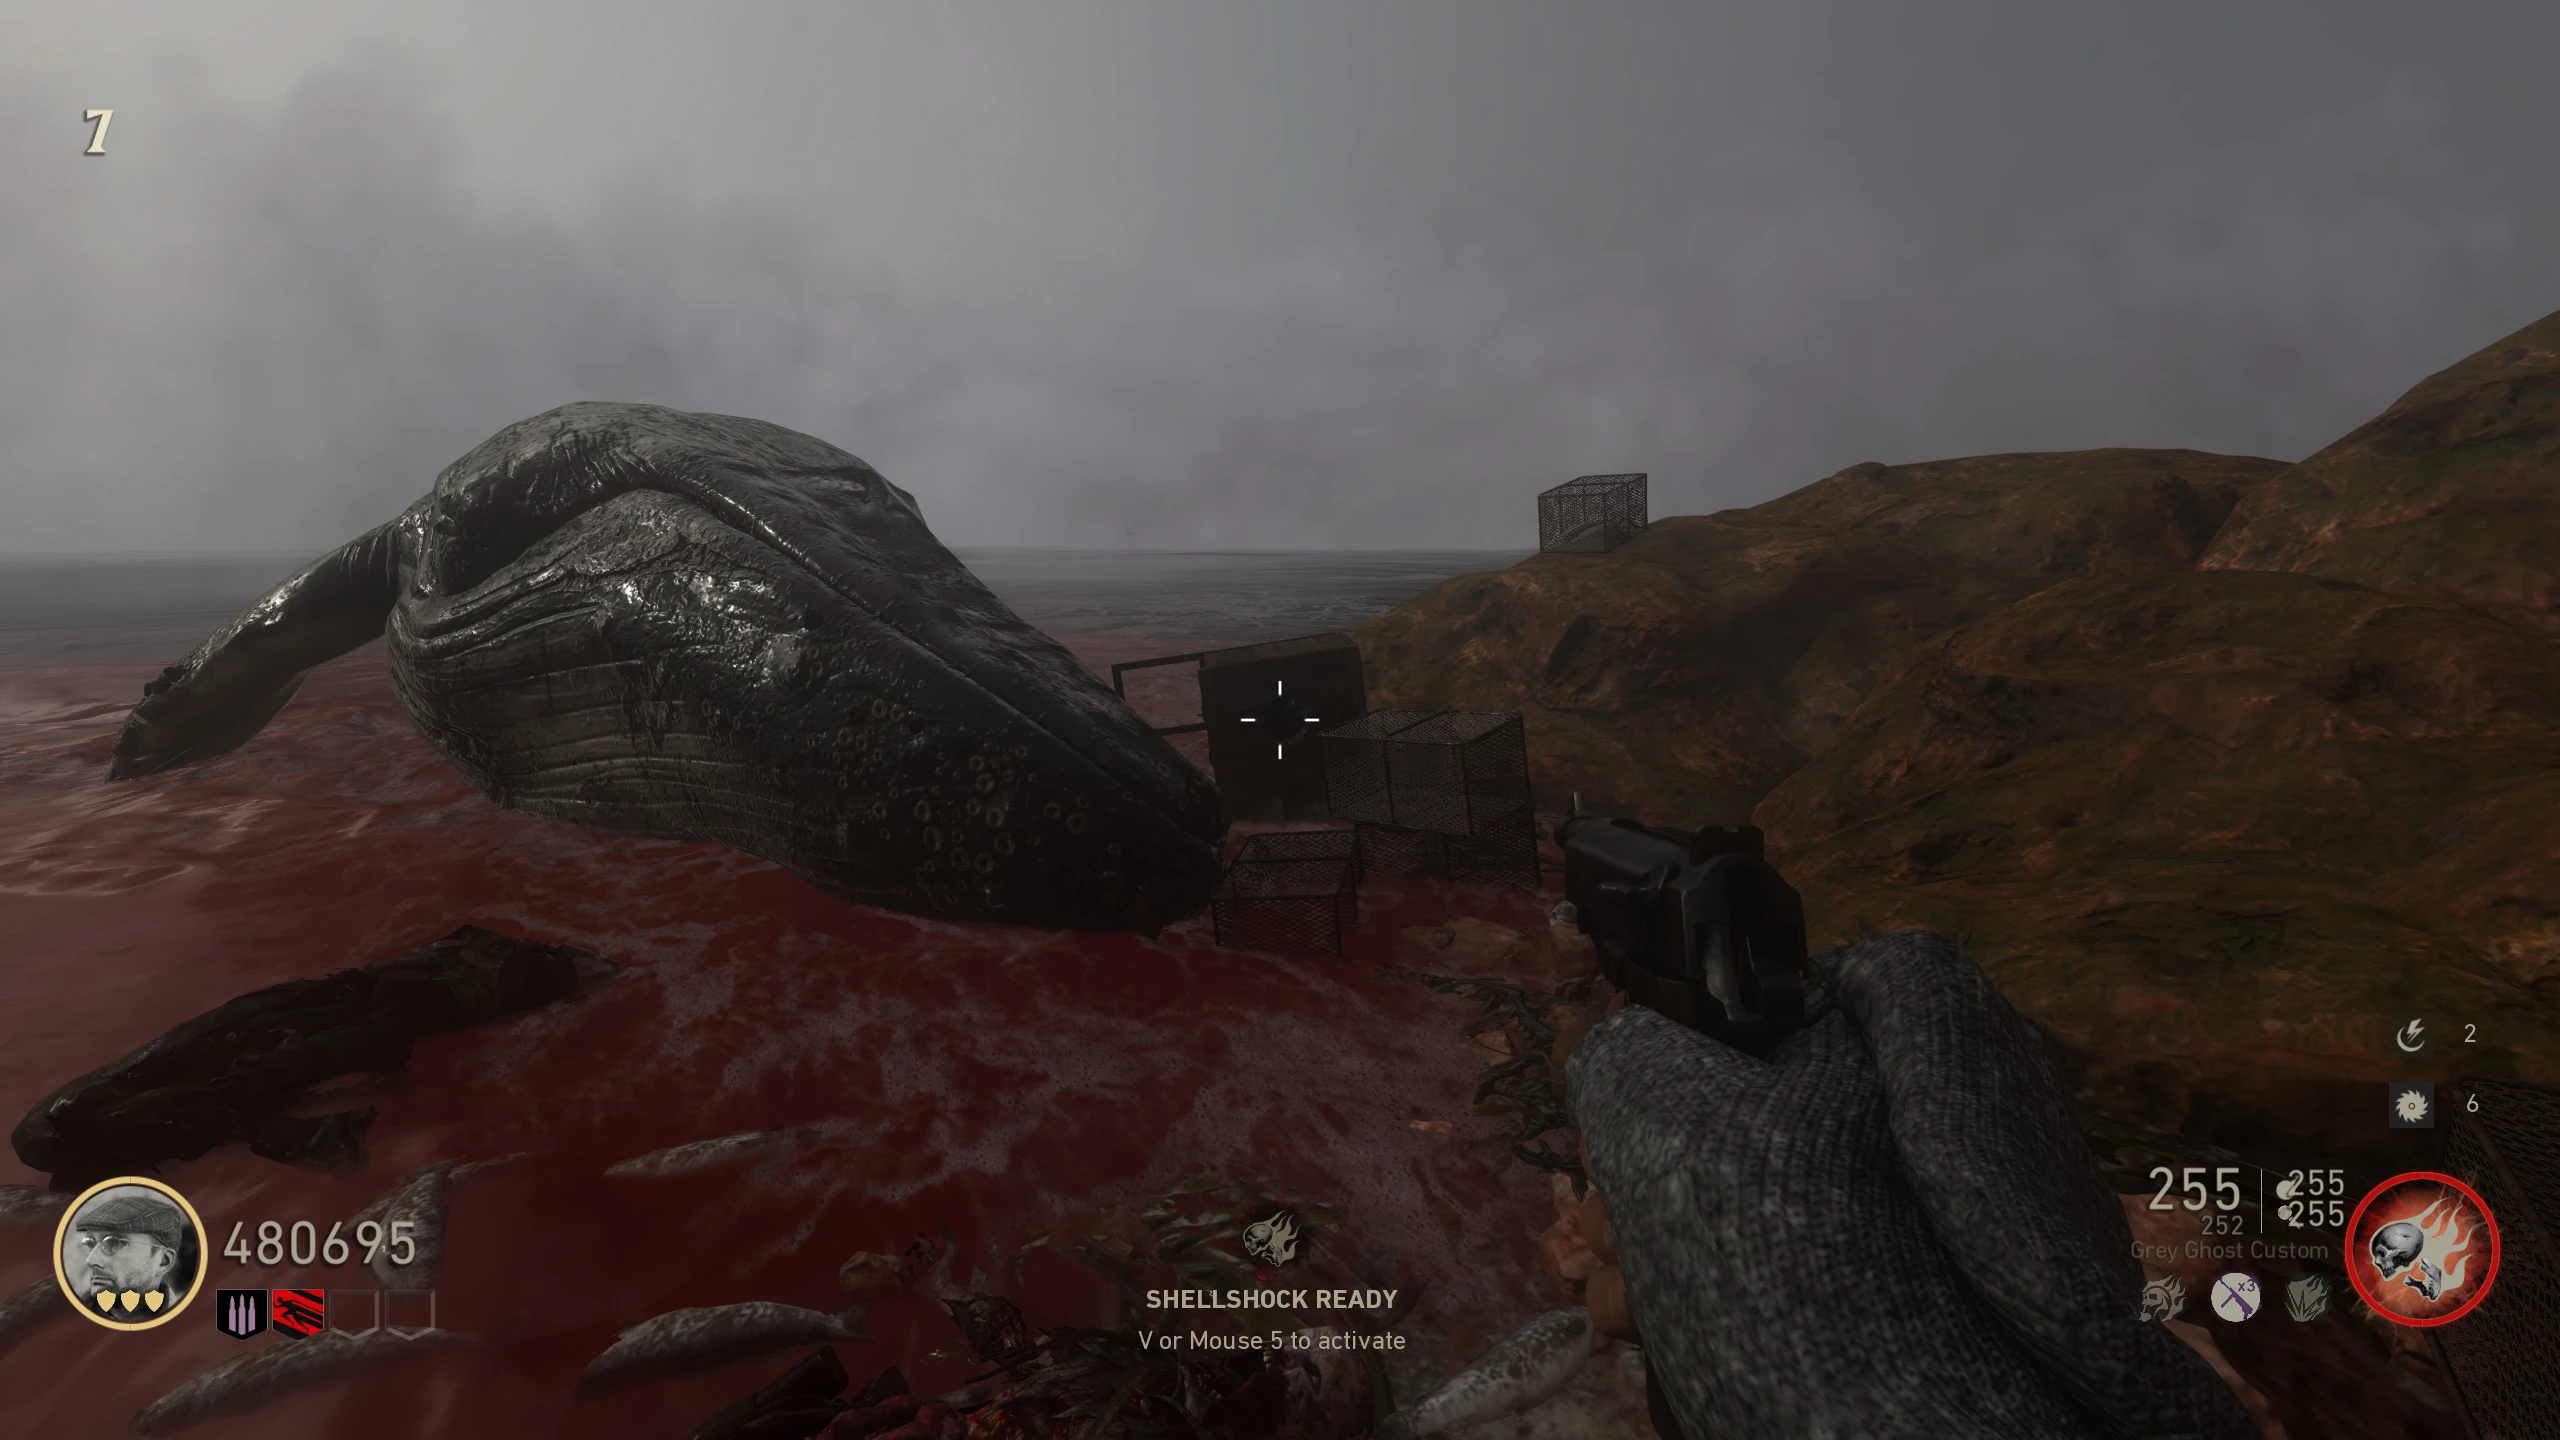
- Enter the AA gun on the 'Overlook' and shoot this rock on the side of the cliff. It will explode and the Son statue will drop onto the beach.
- 2nd Son:
- Obtain a normal Zombie's spine.
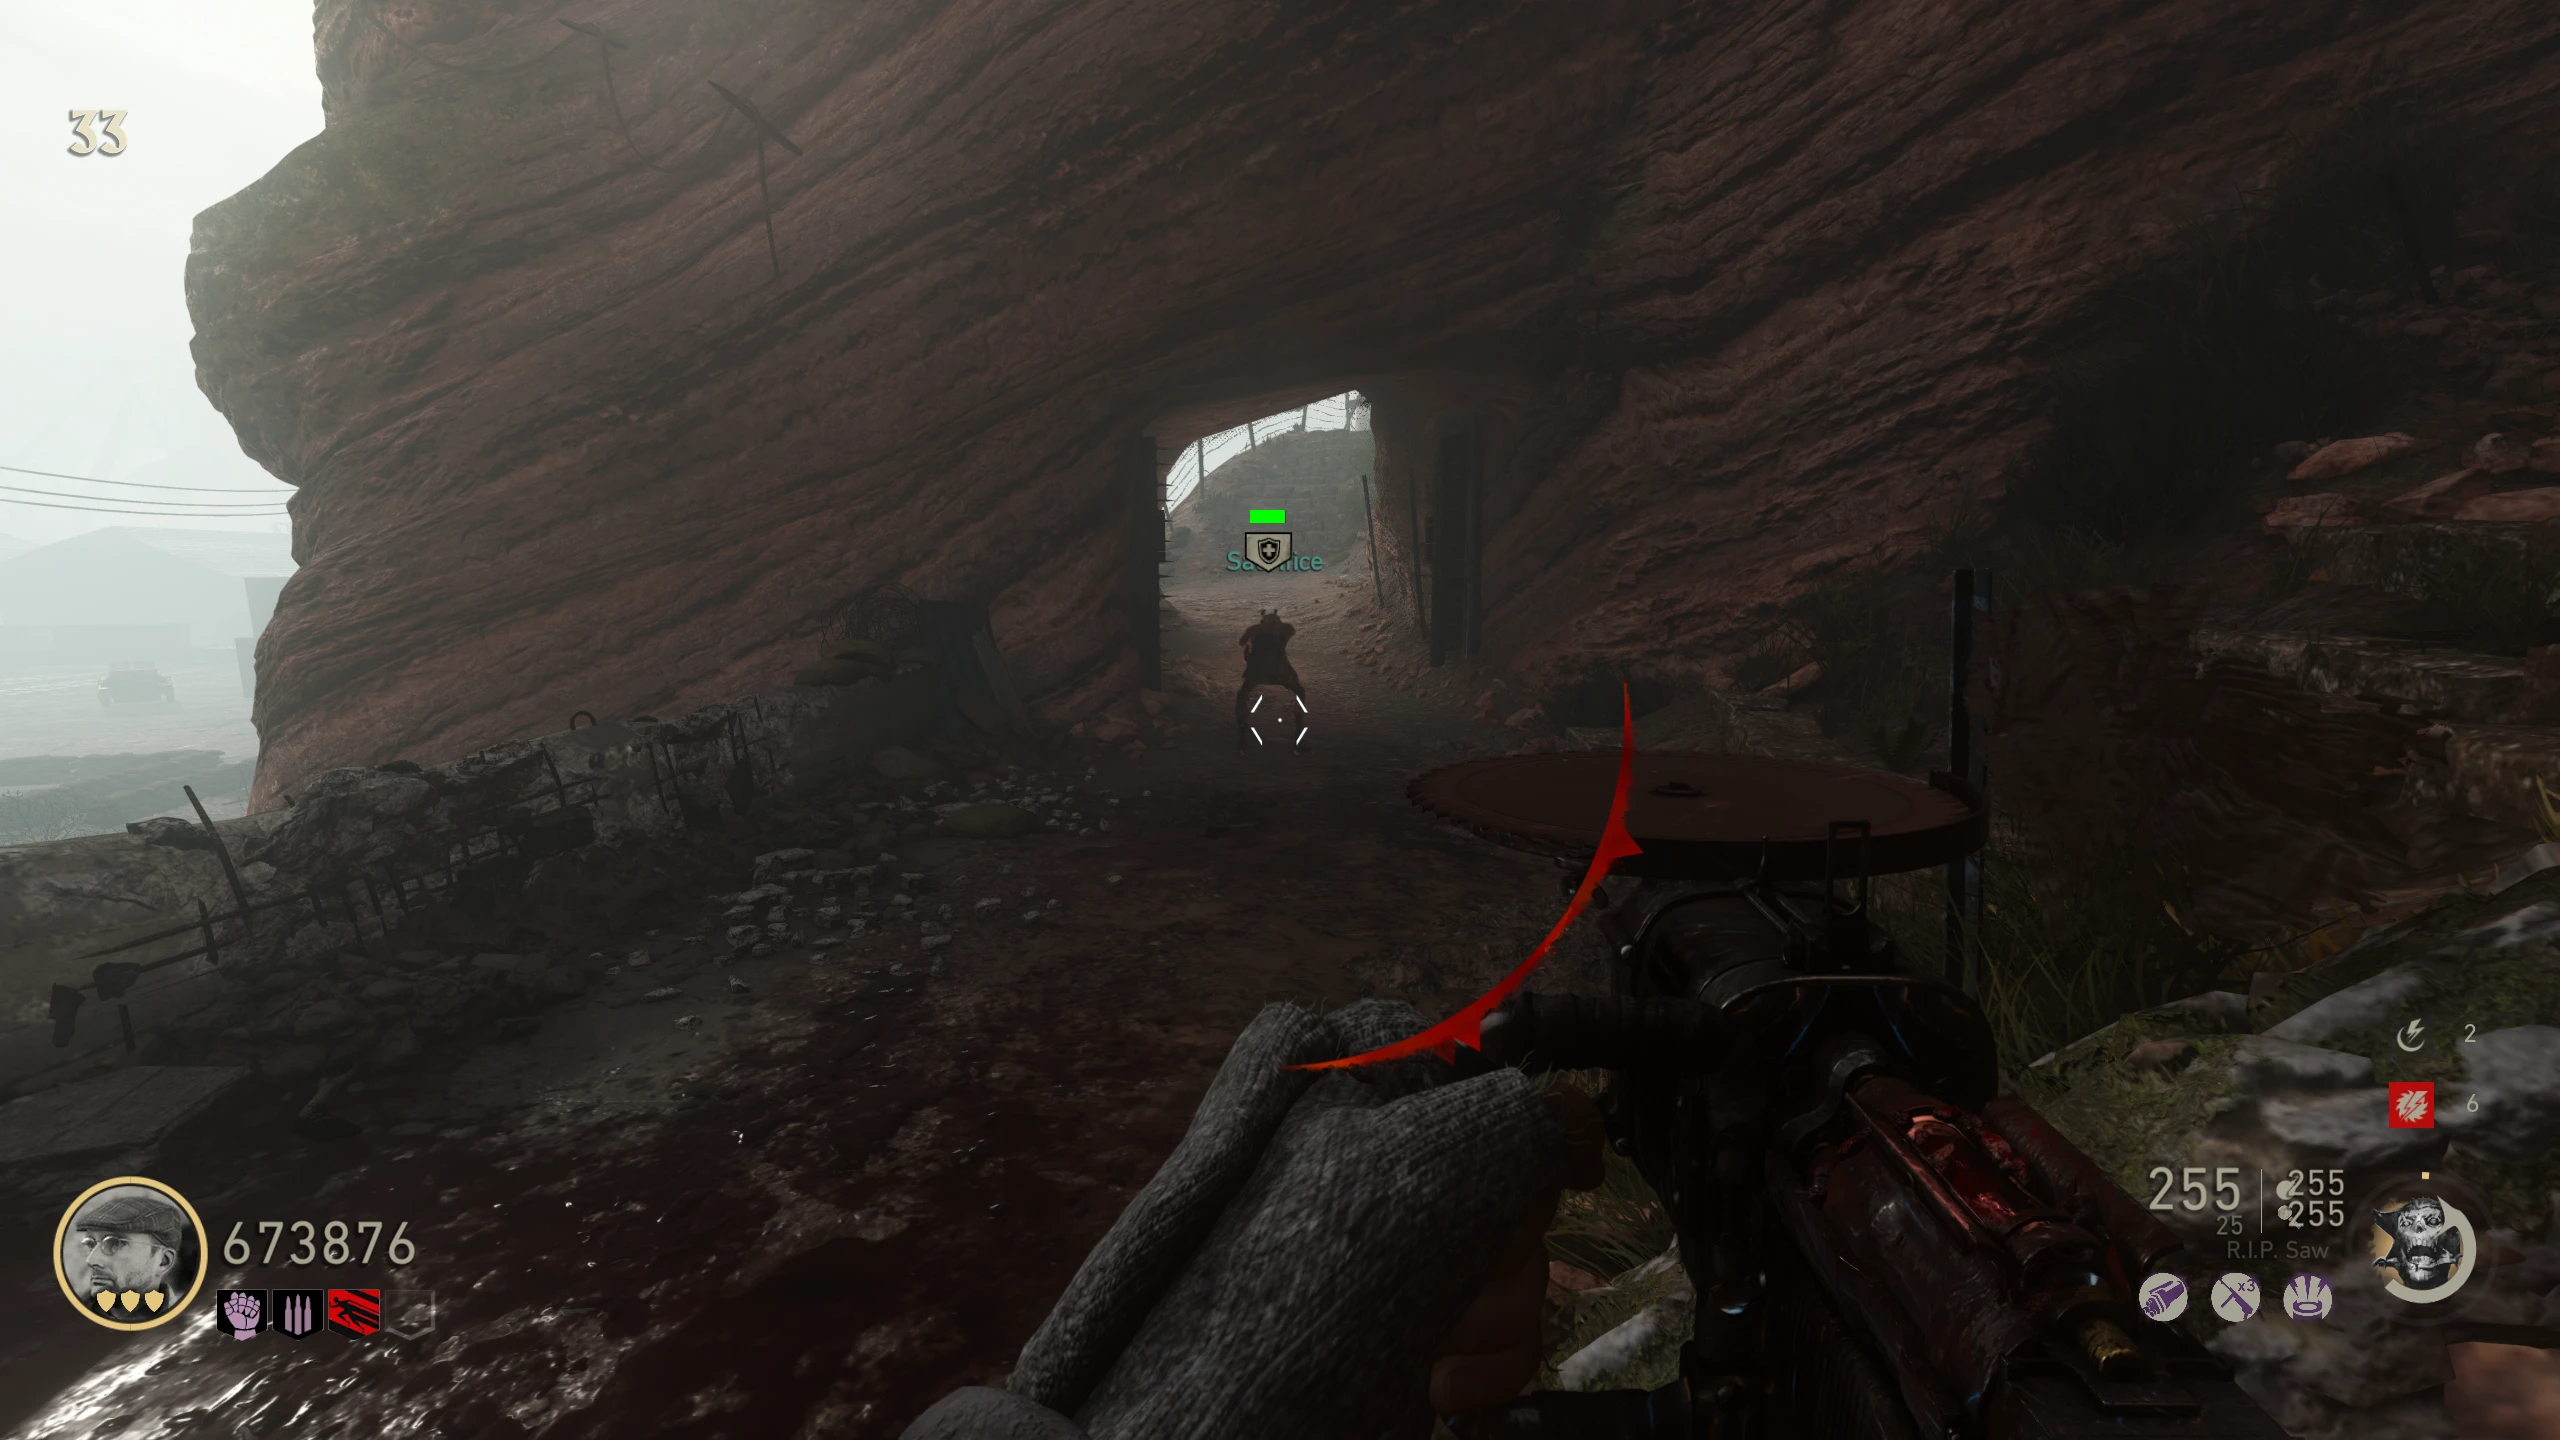
- Give it to the Monk in the Freezer. After a couple of seconds, a friendly Zombie will spawn, and start running to the Beach. He can be attacked, so make sure to defend him.
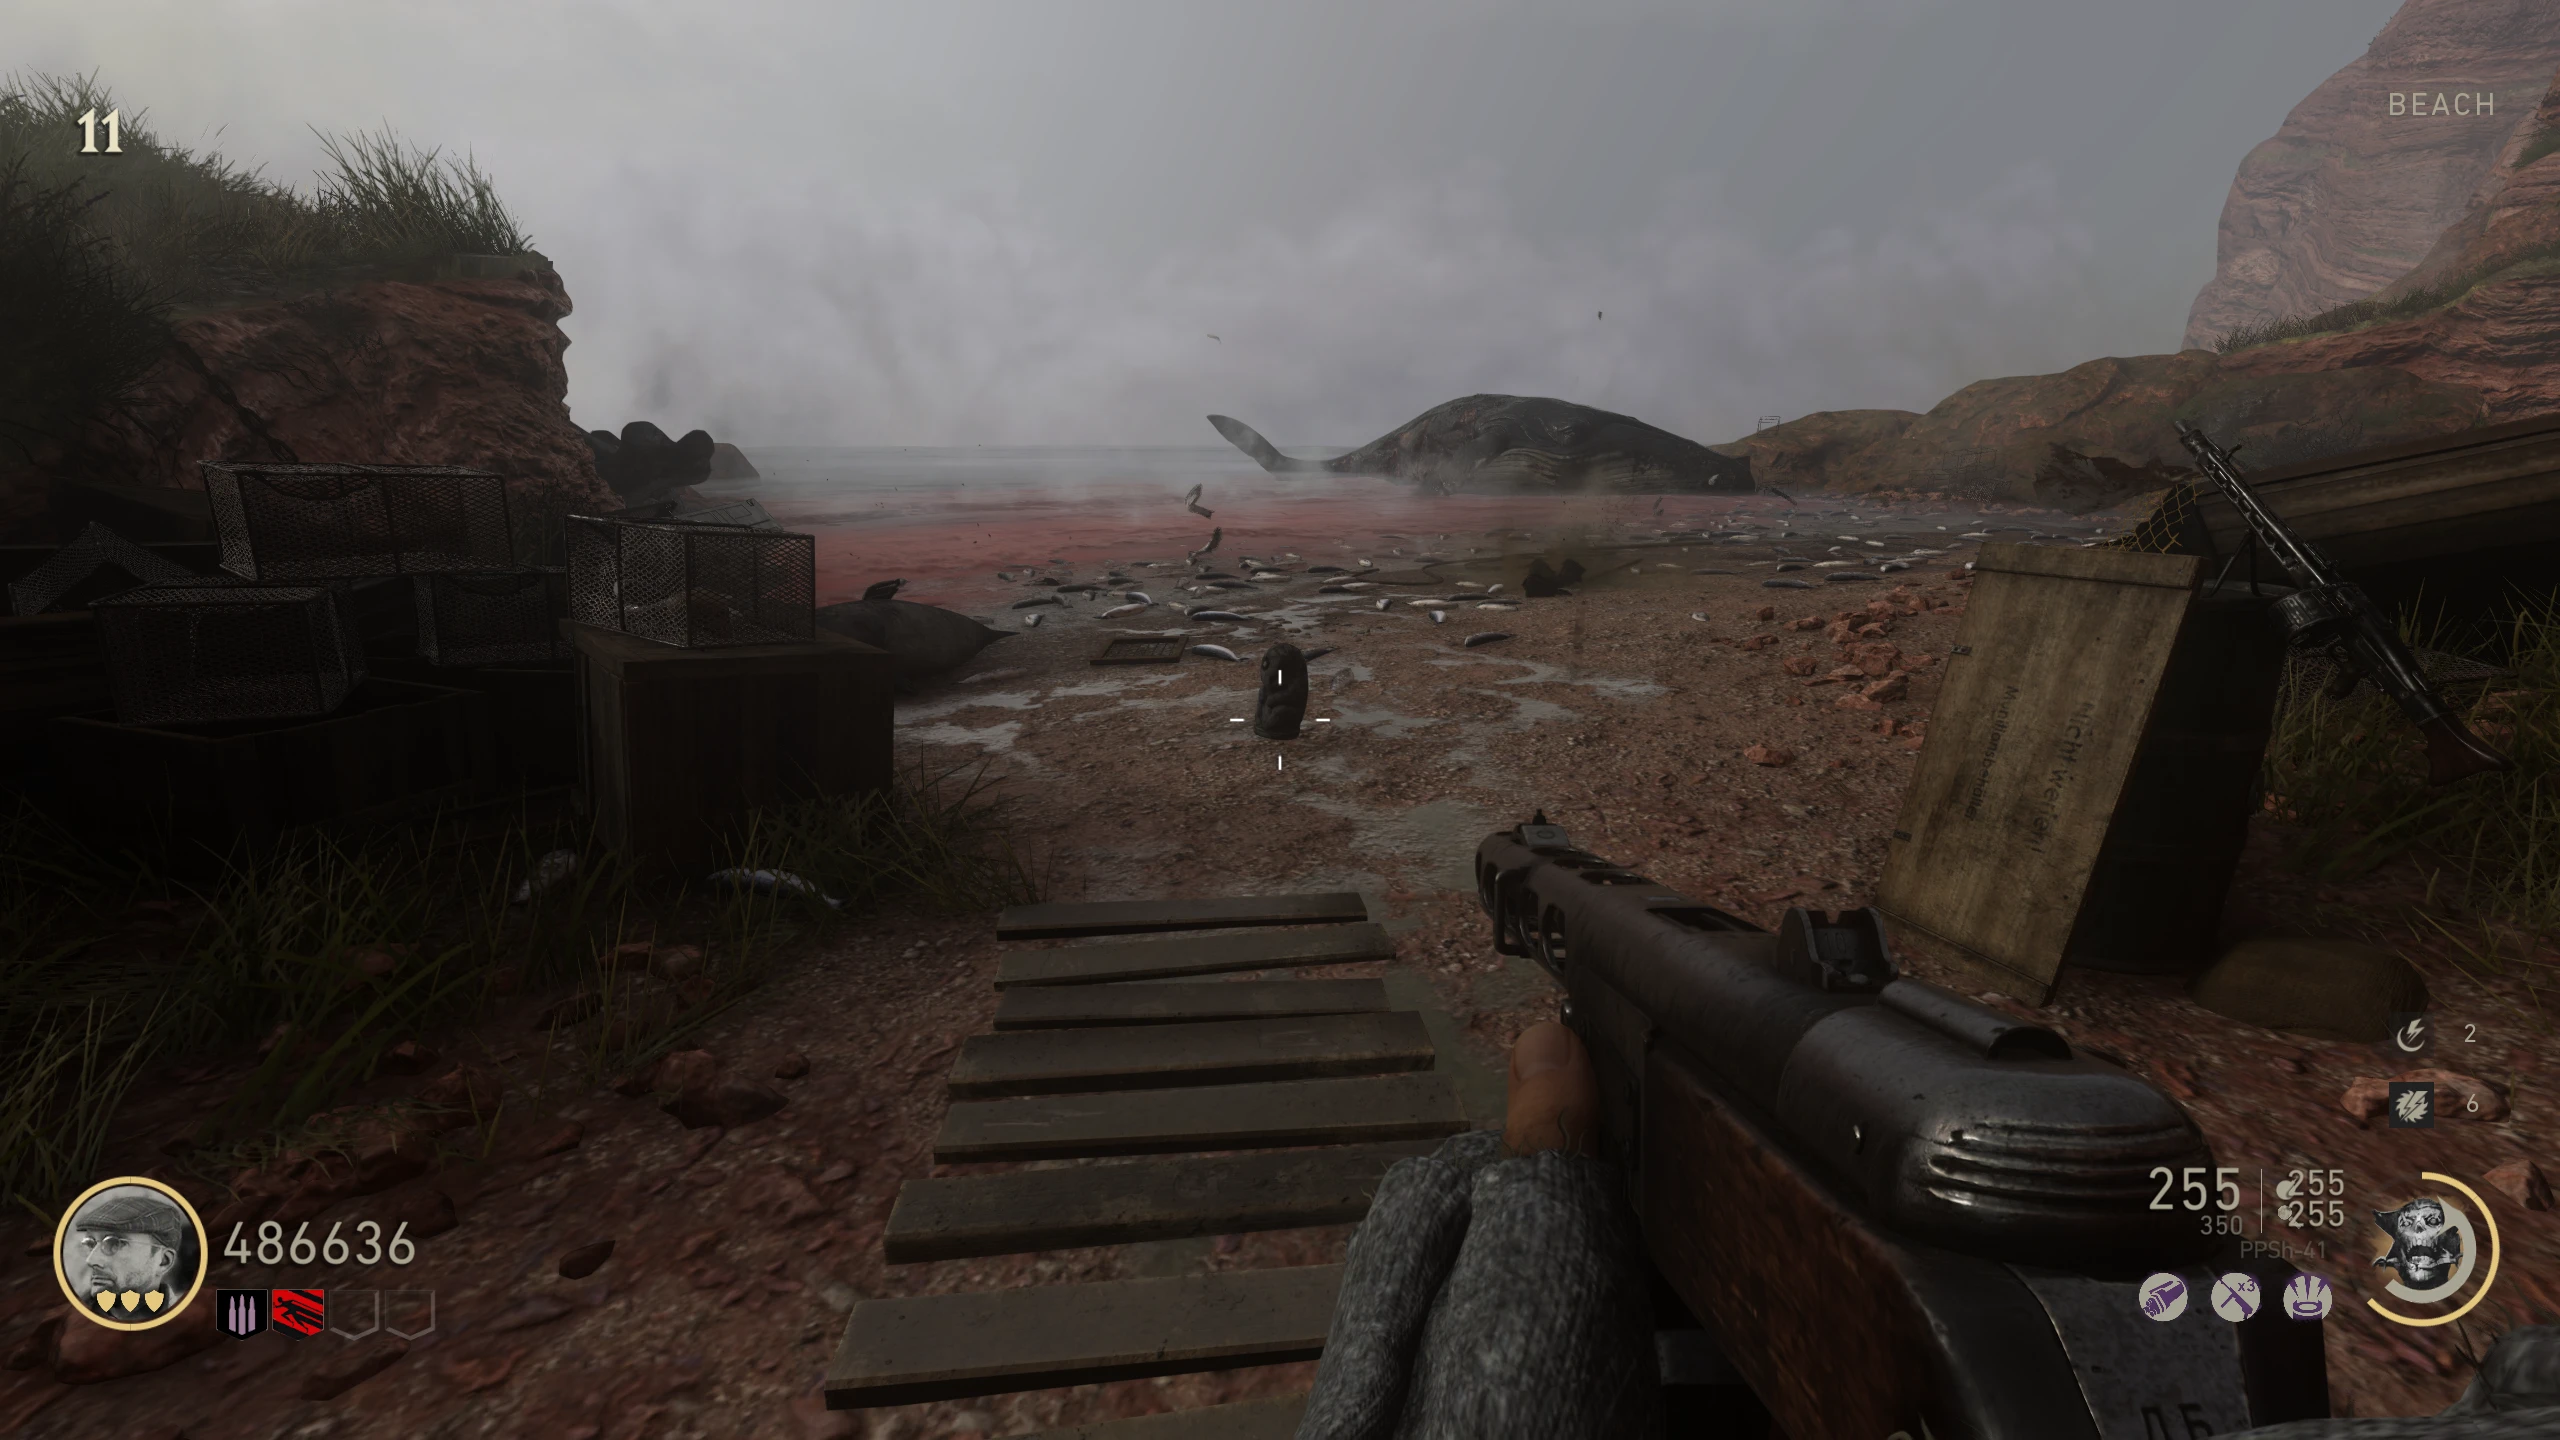
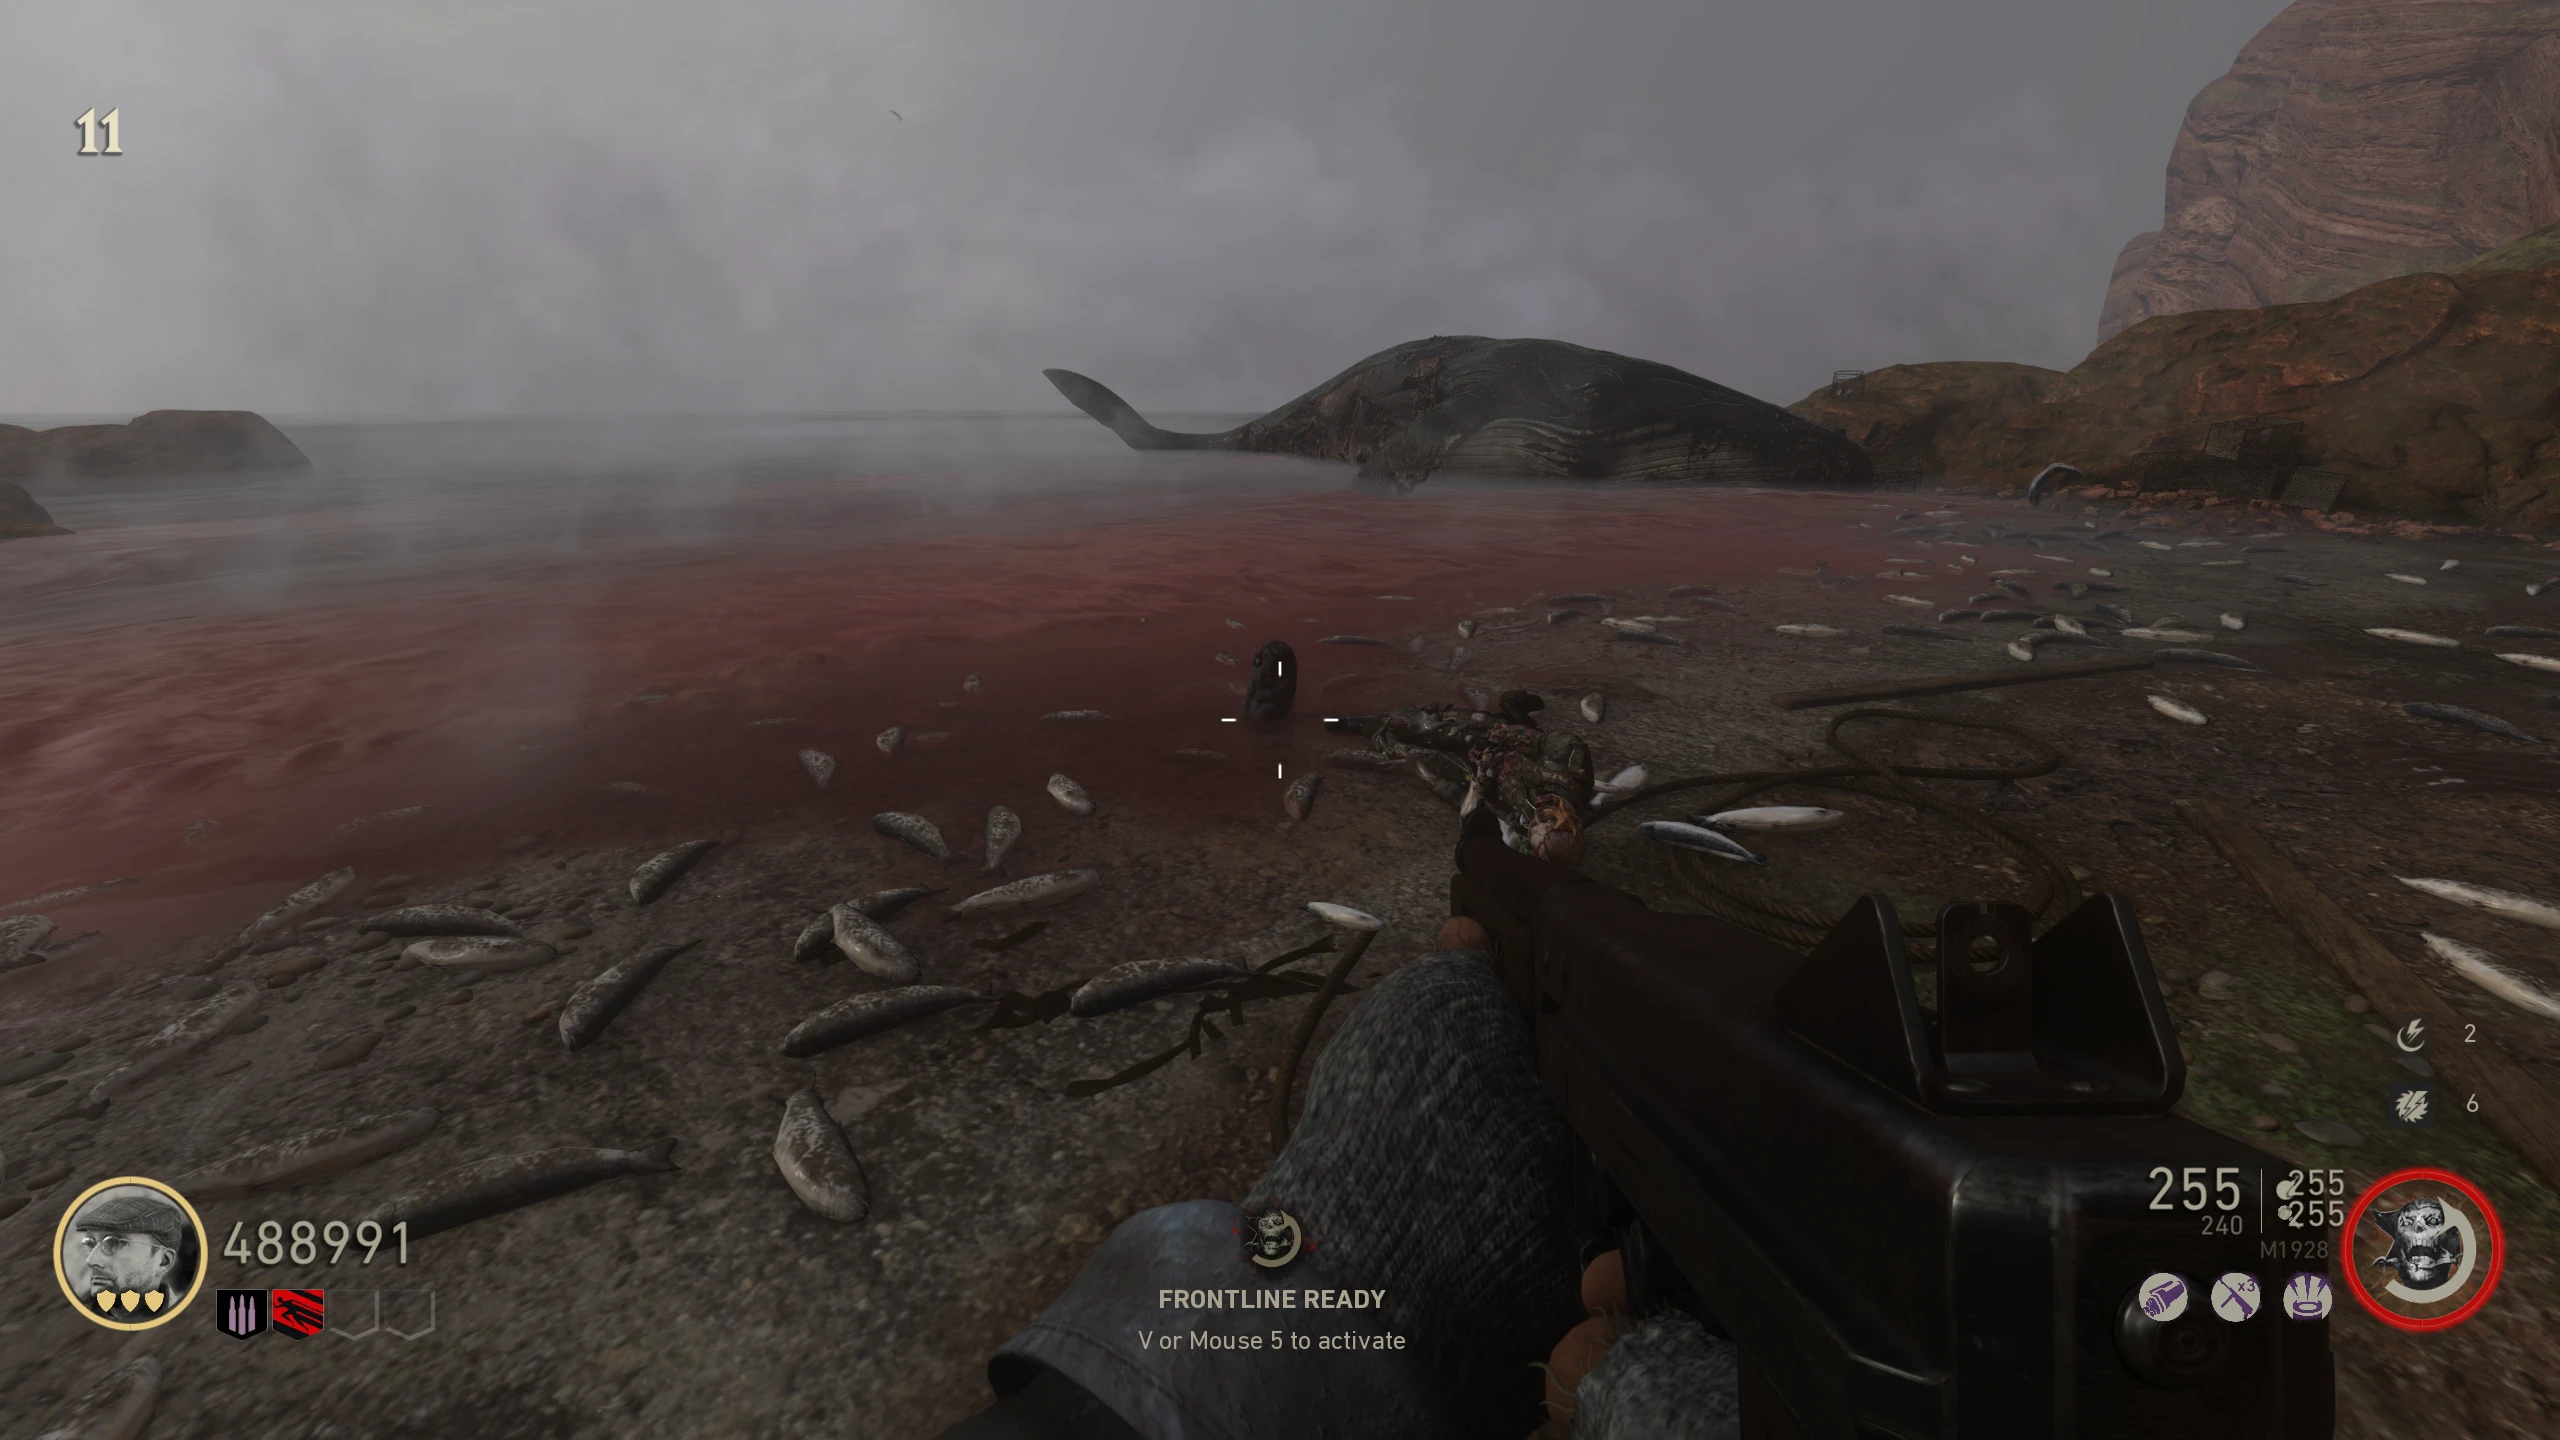
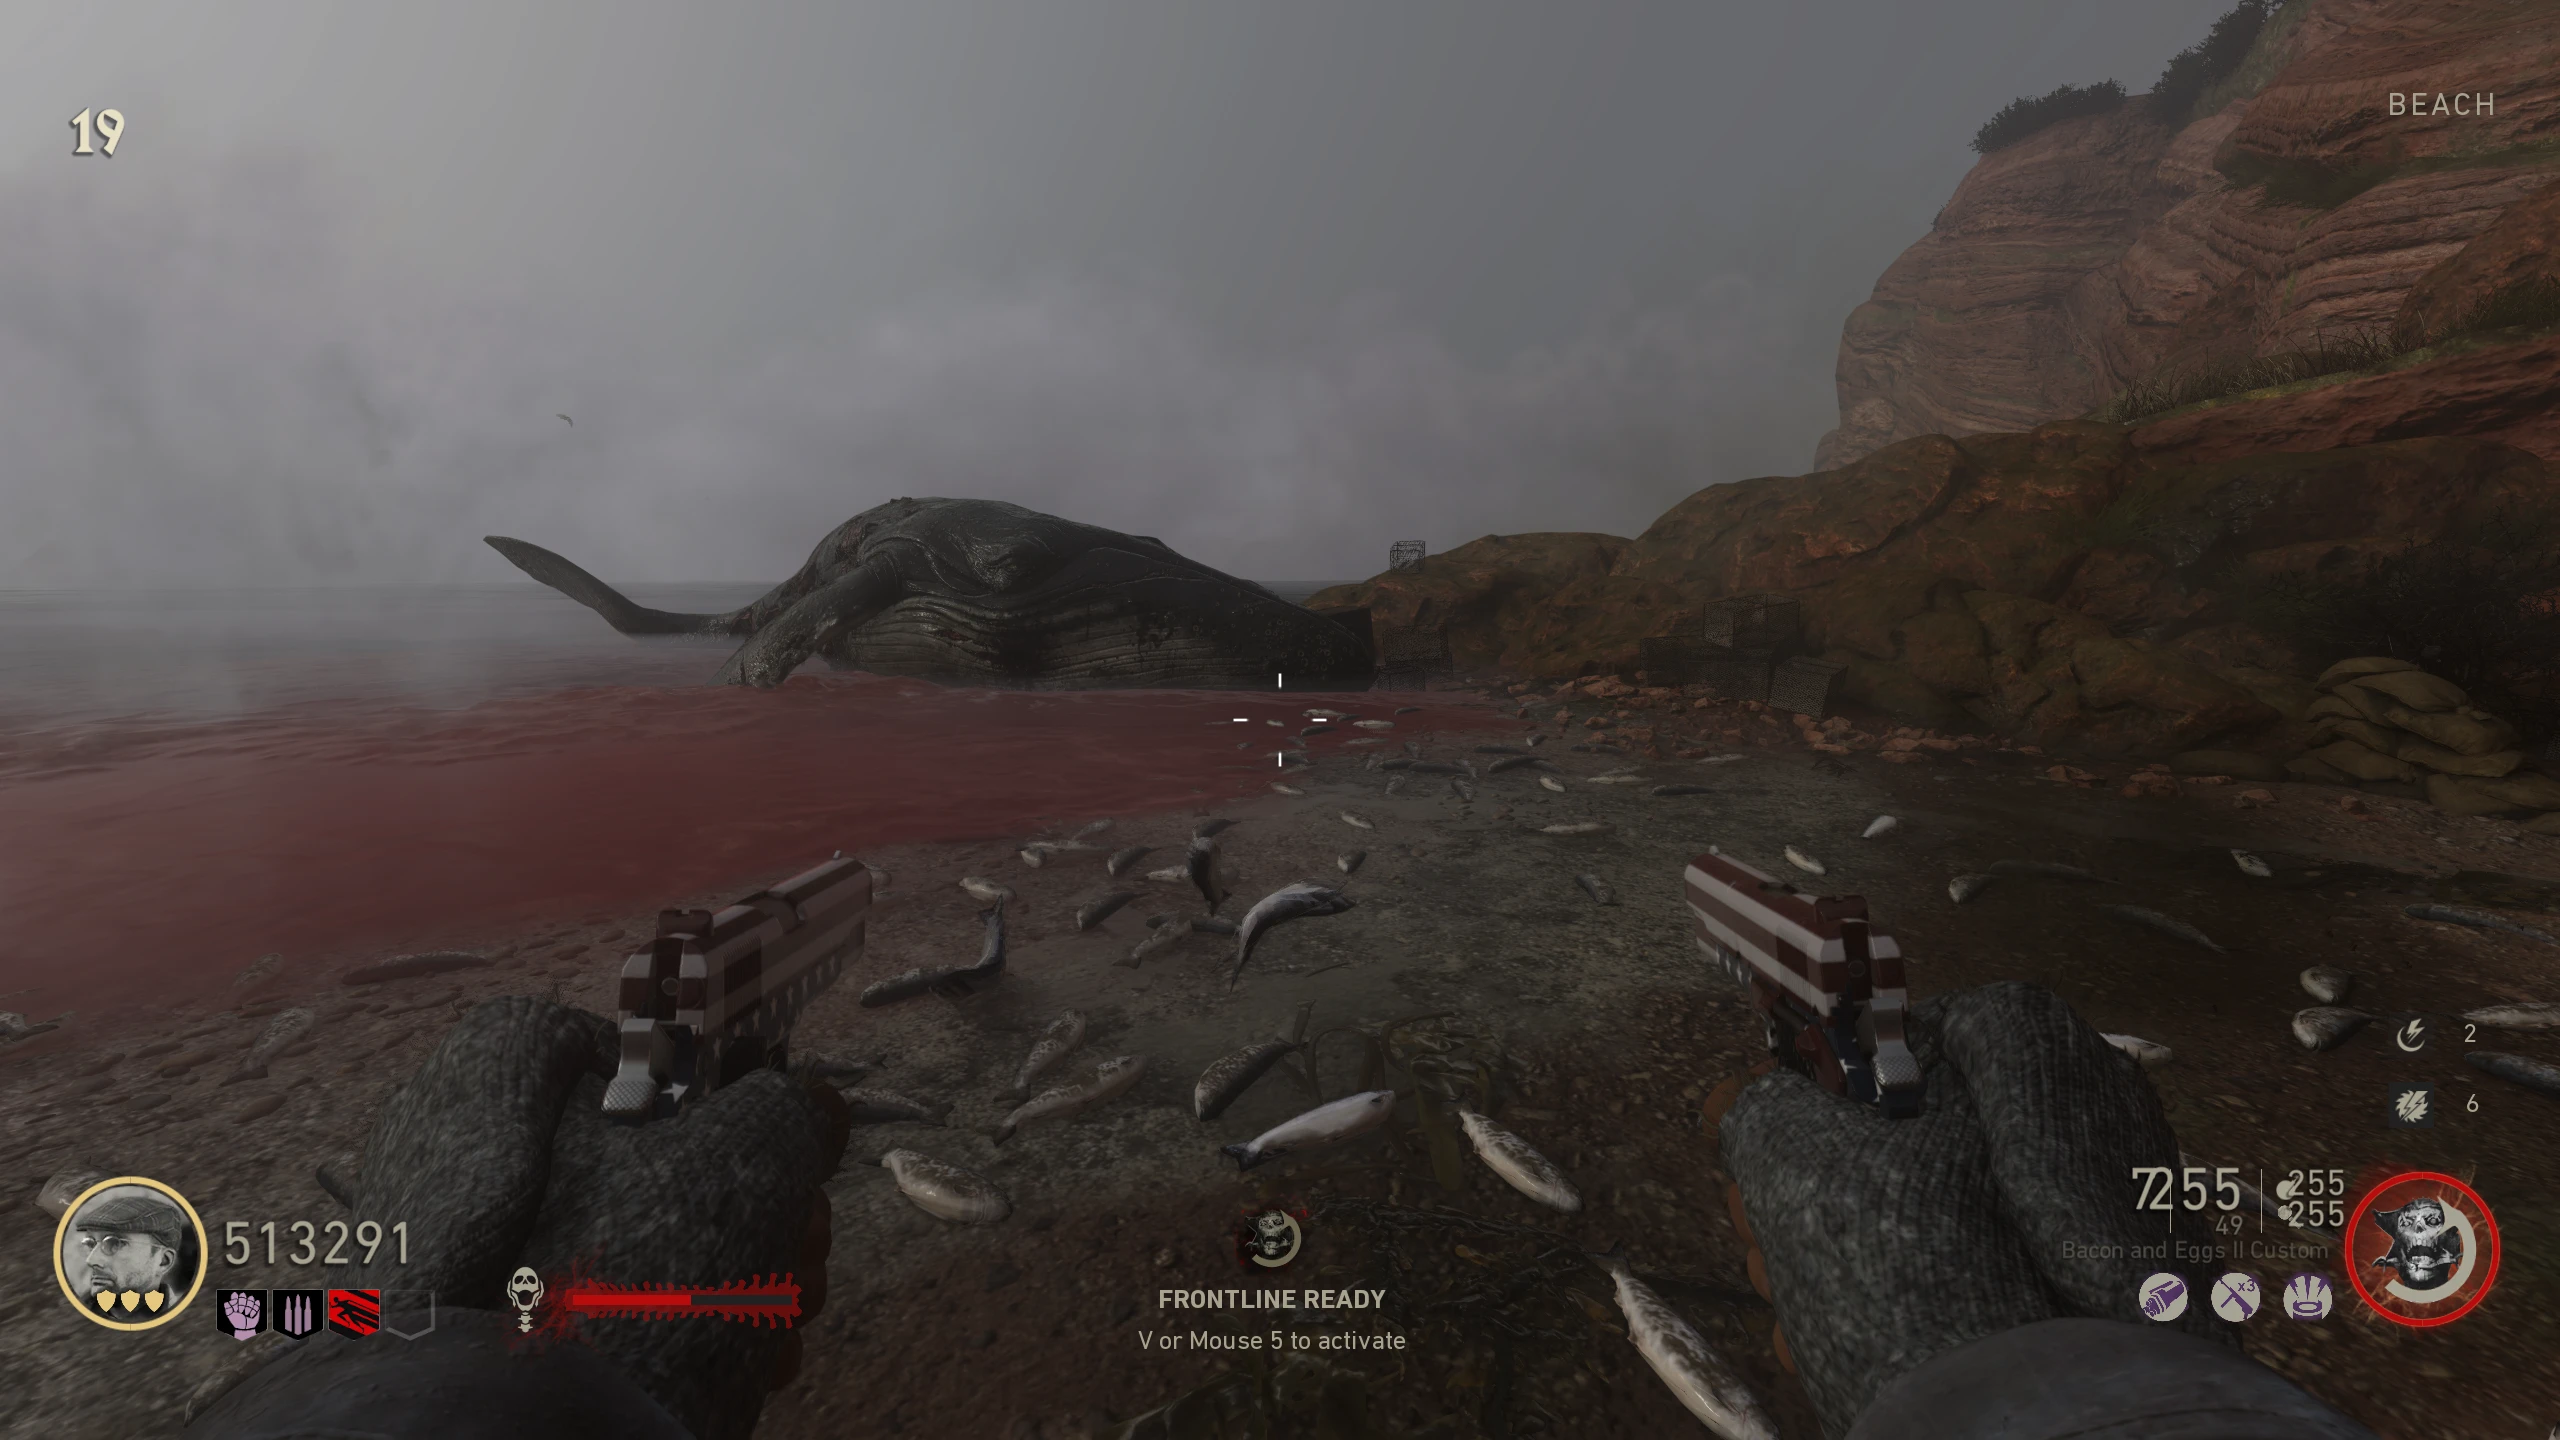
- Once he reaches the Beach, he will run into the water. After a few seconds, he'll come back carrying a Son statue. He'll walk onto the beach and die, dropping the Son for you to pick up.
- 3rd Son:
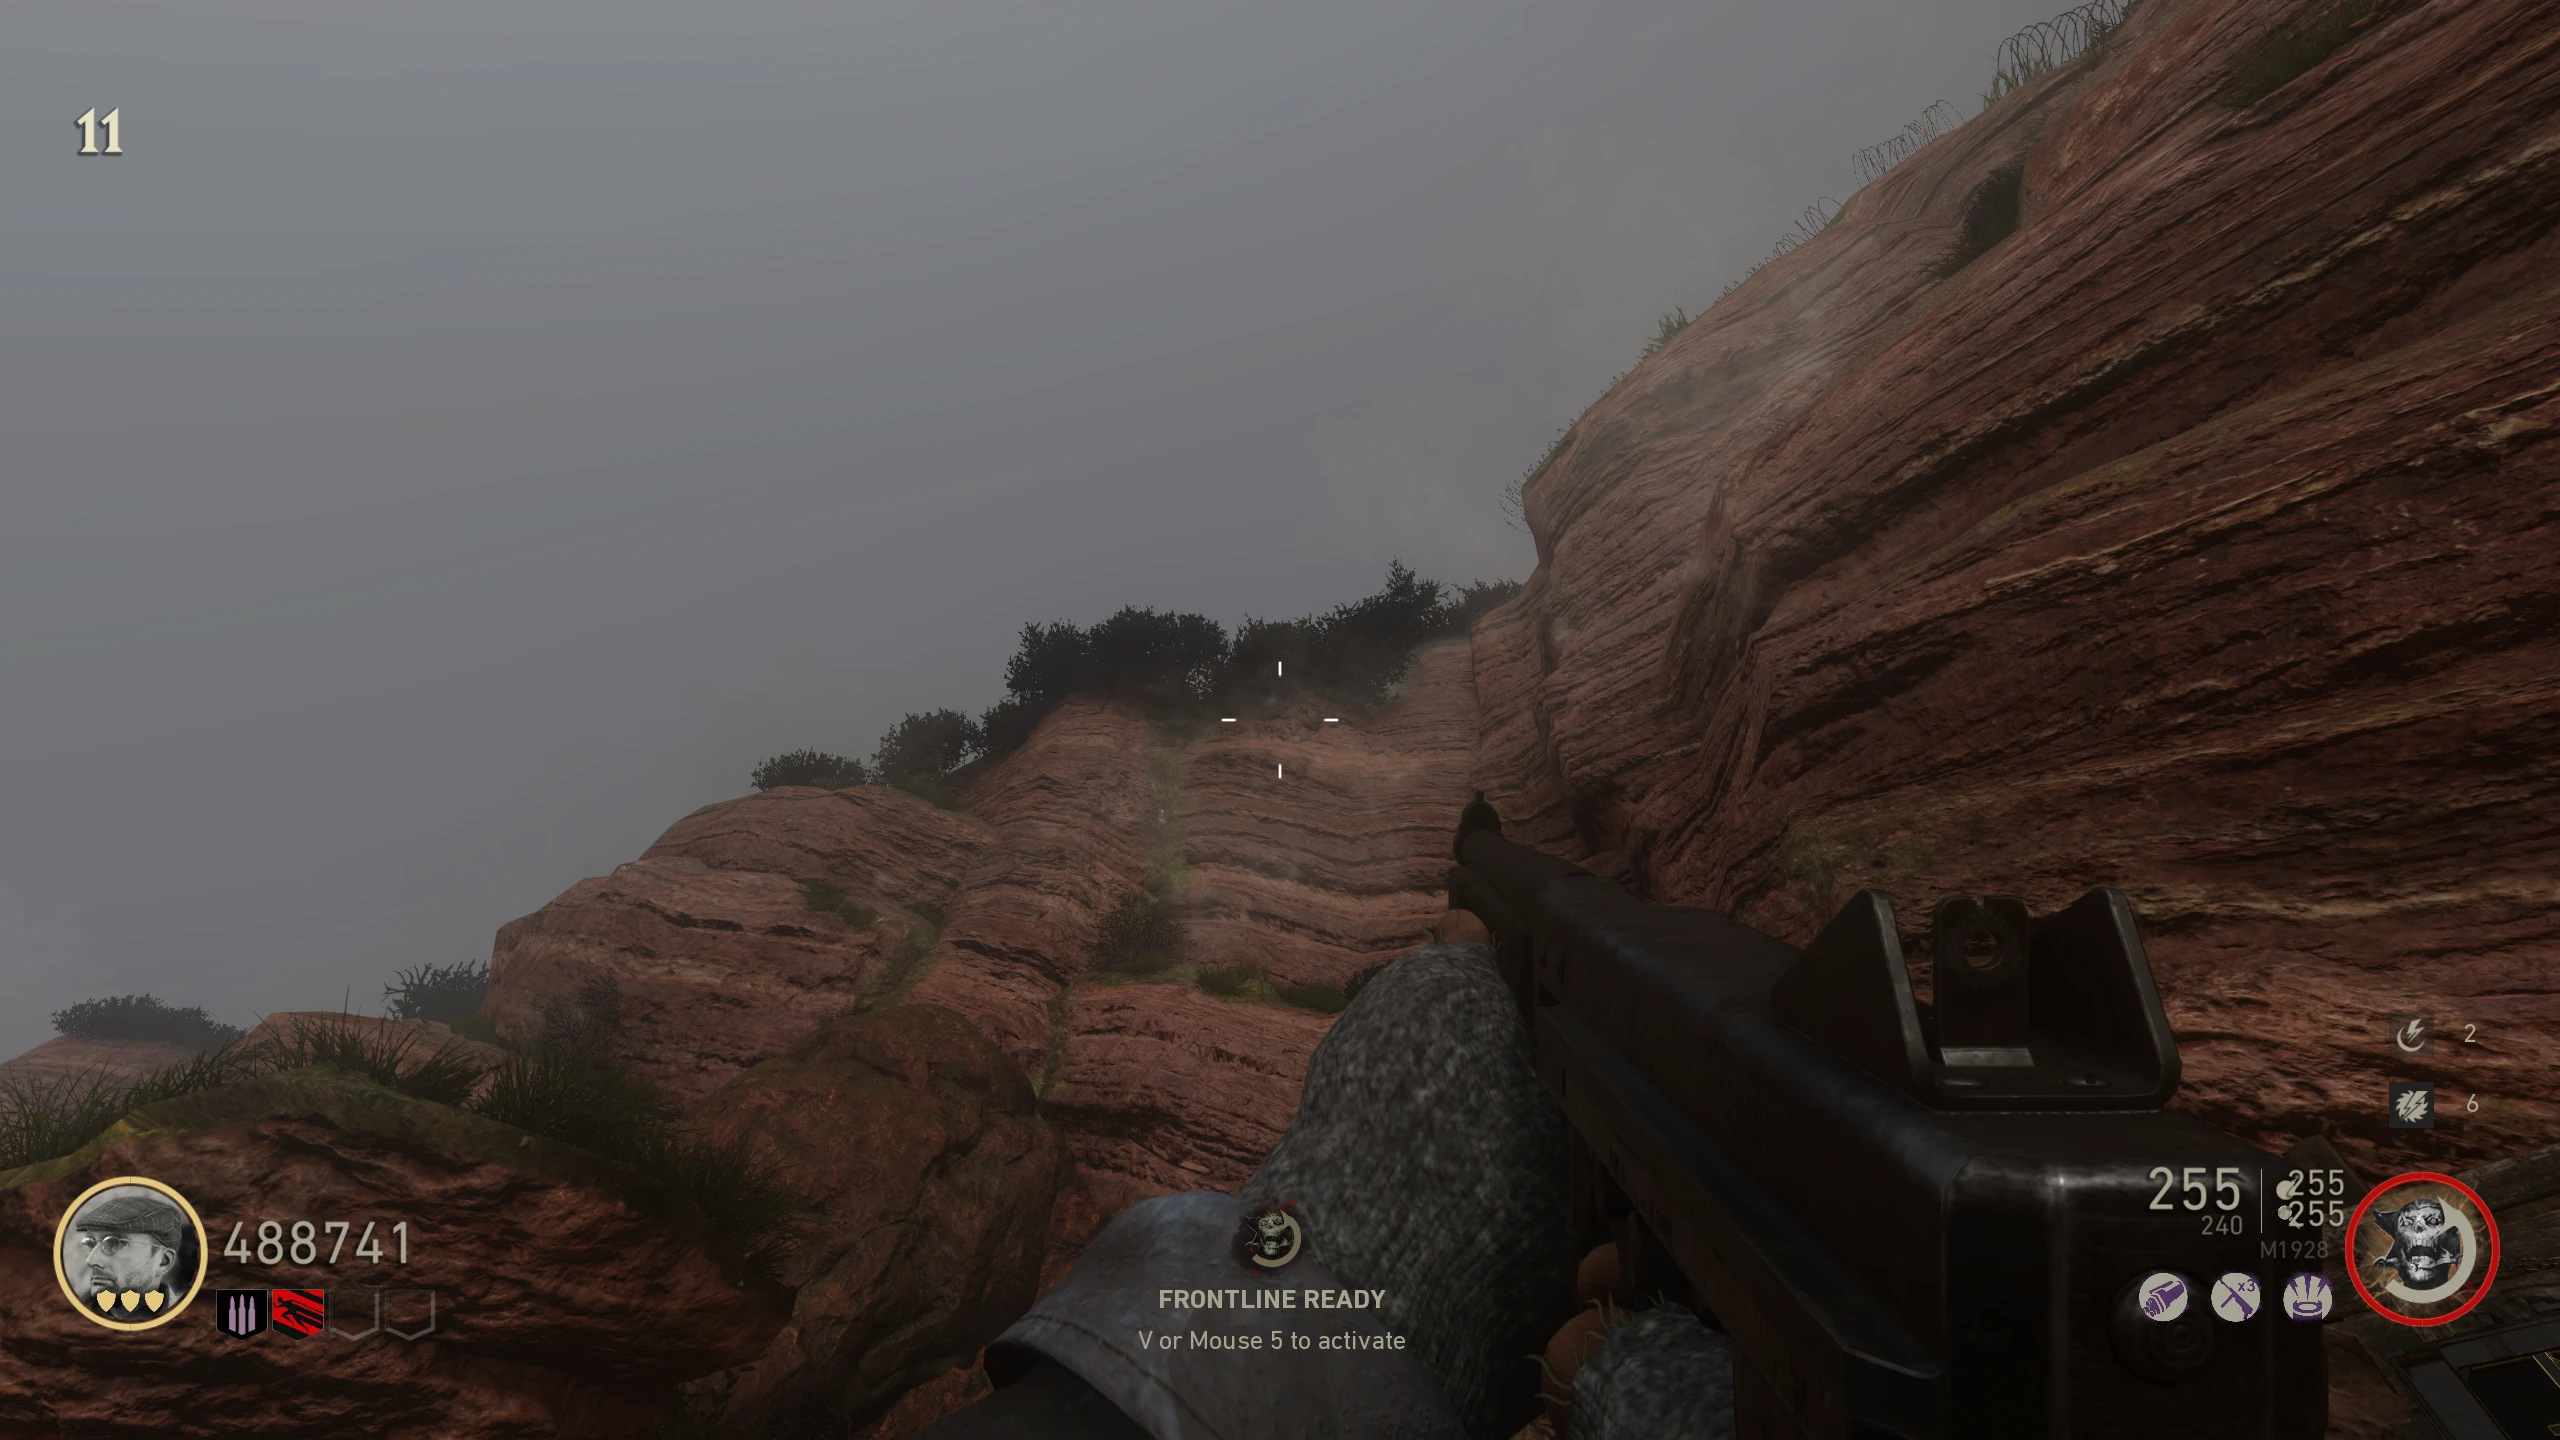
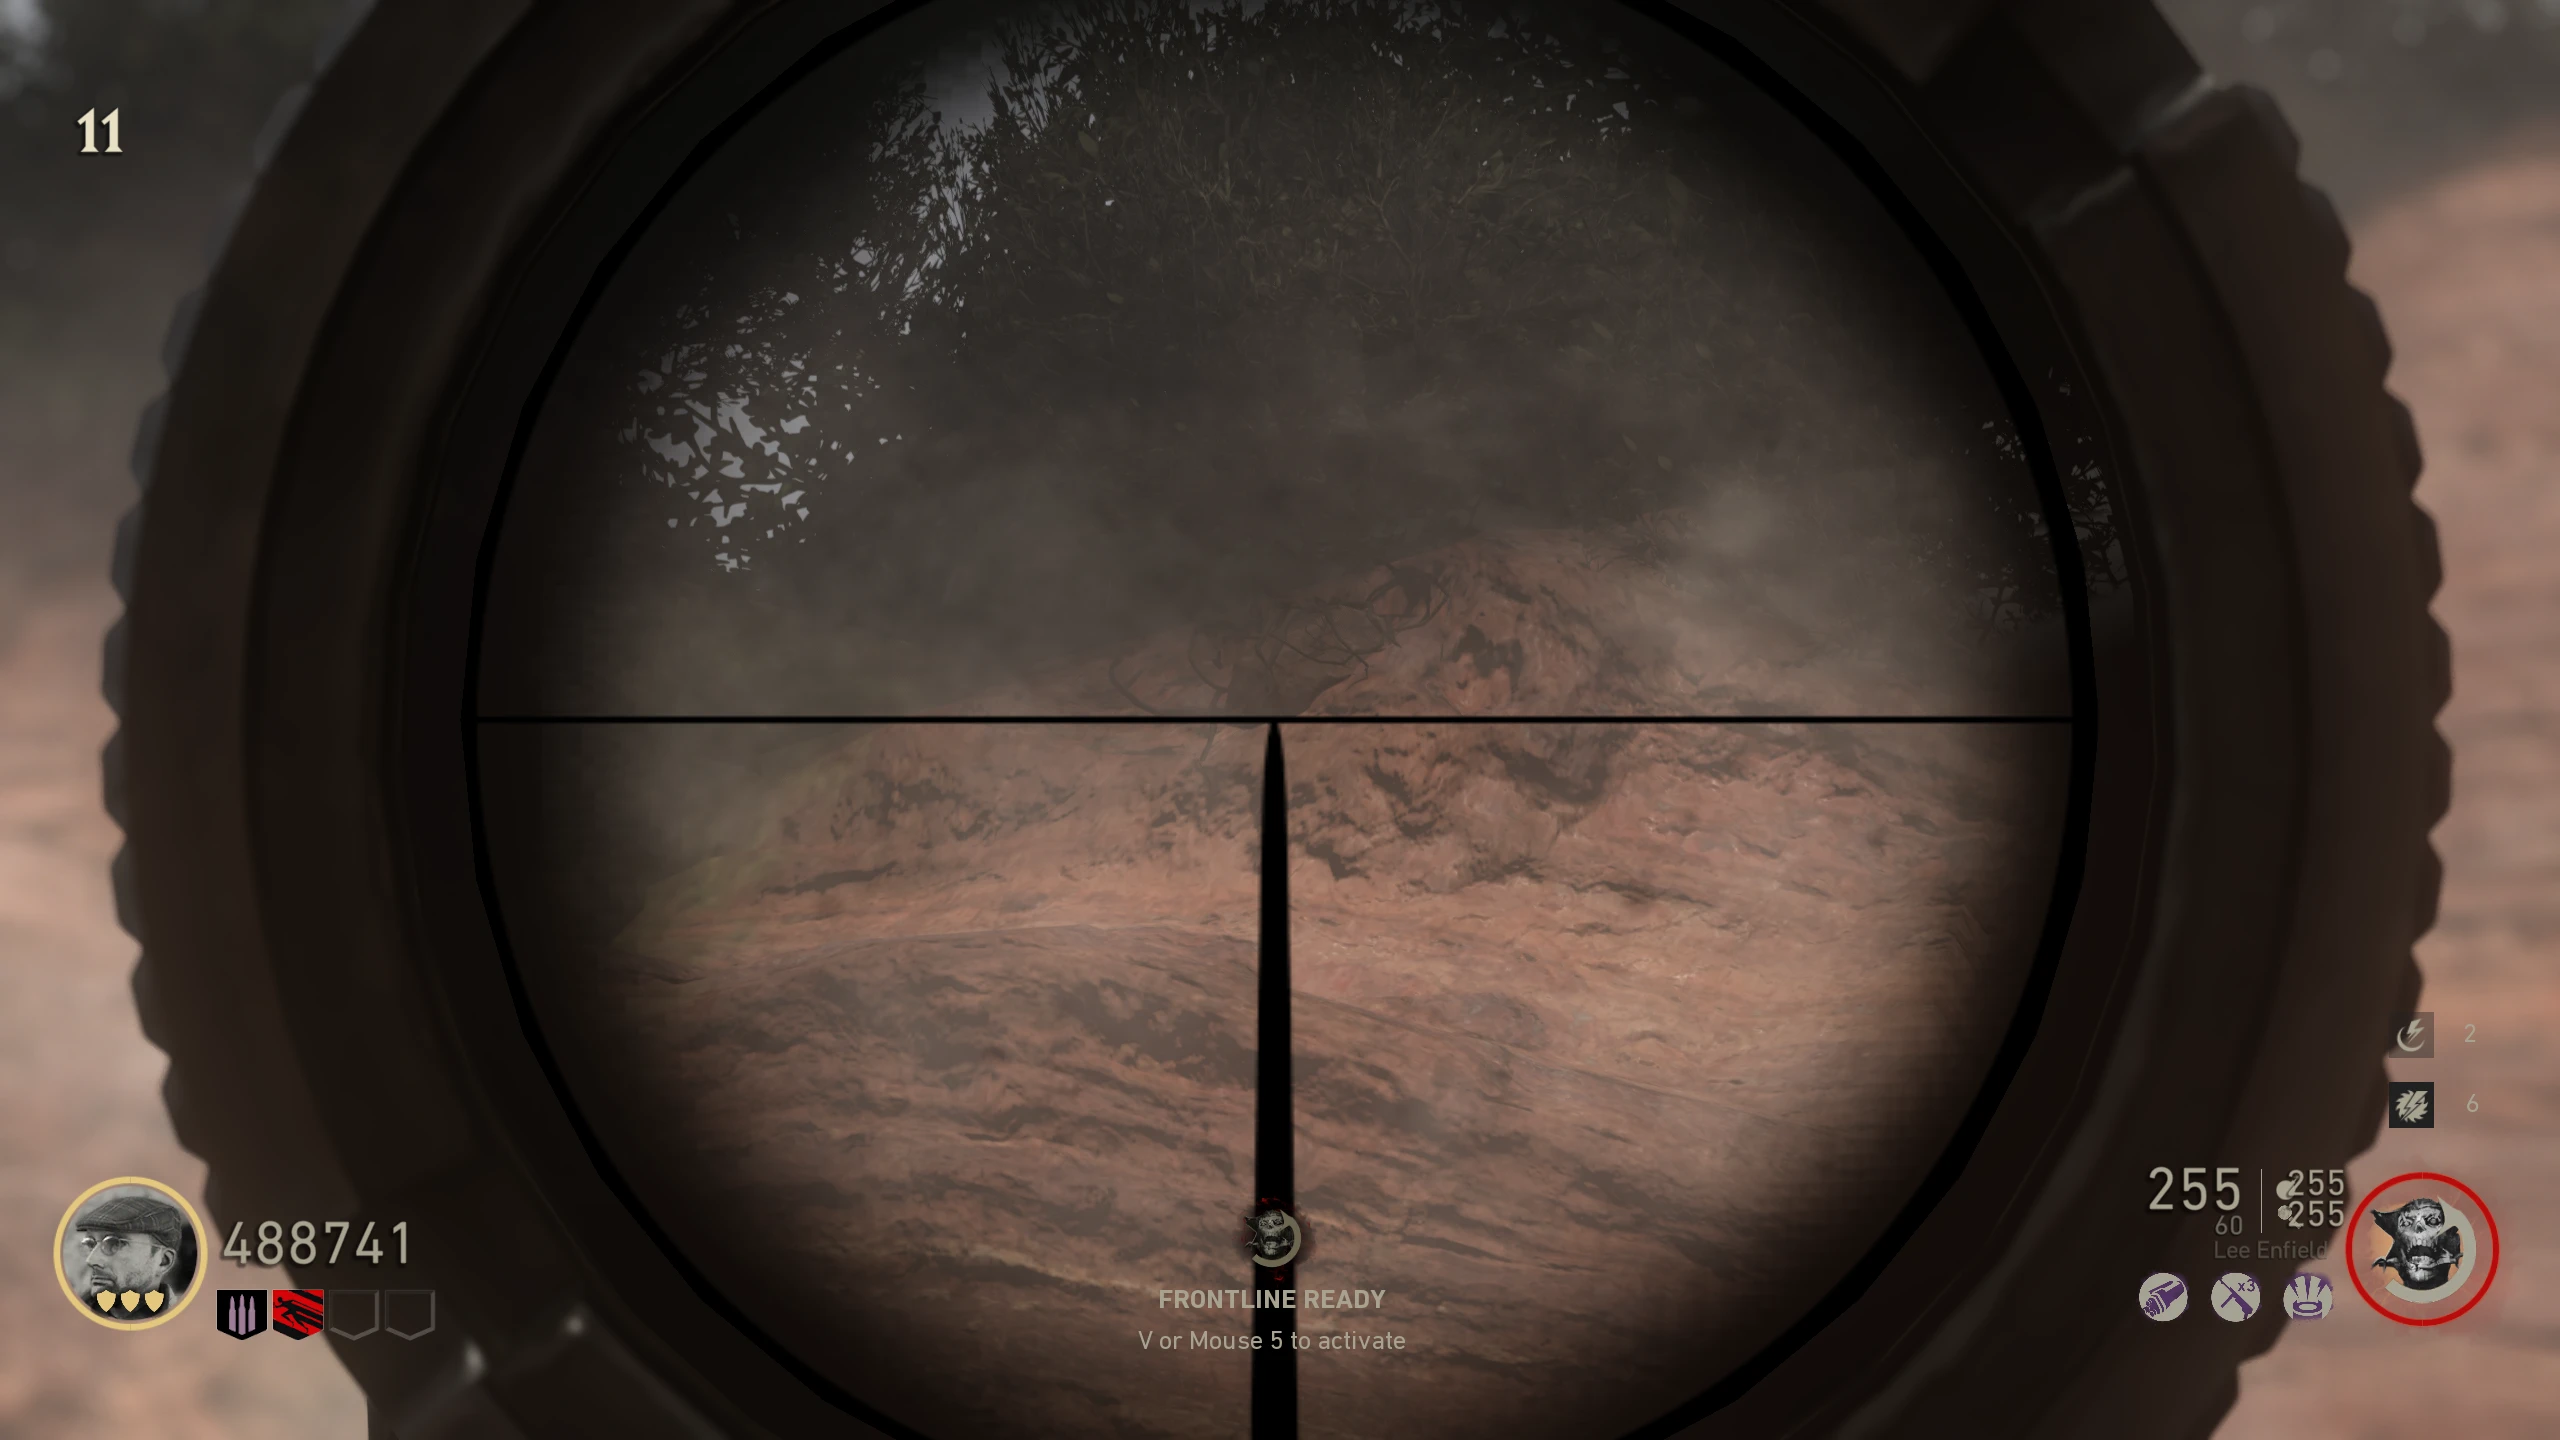
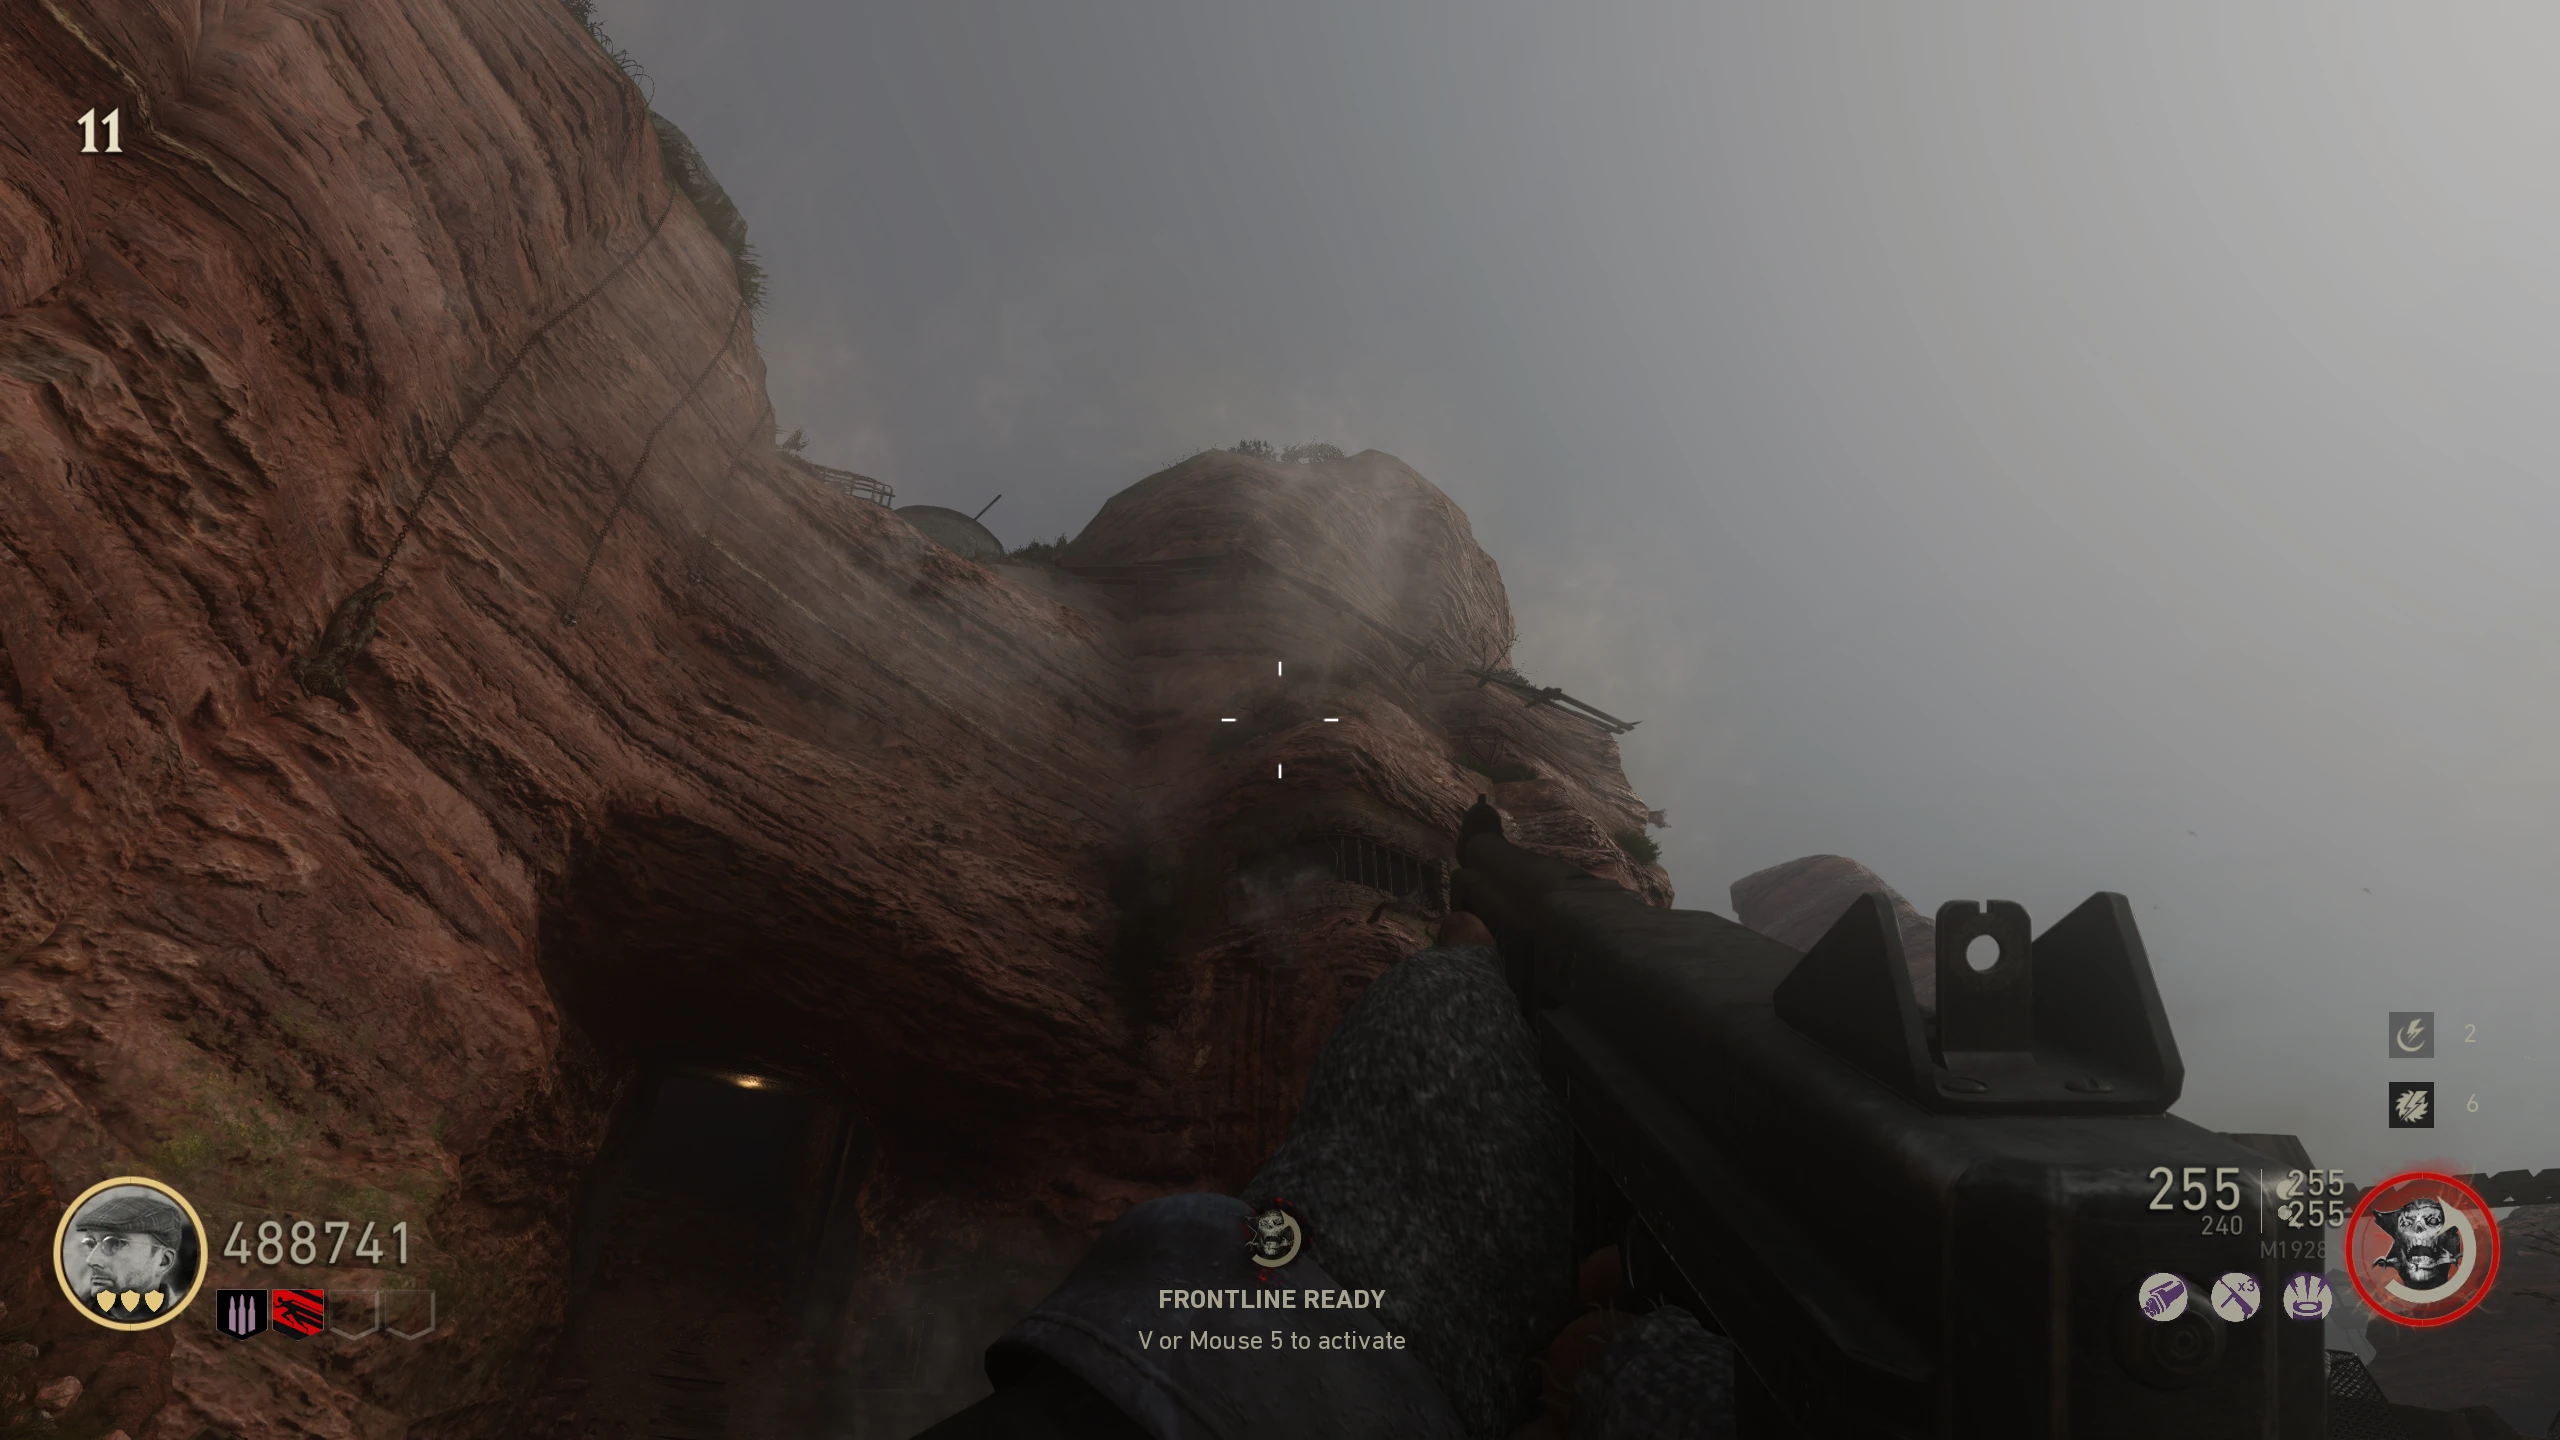
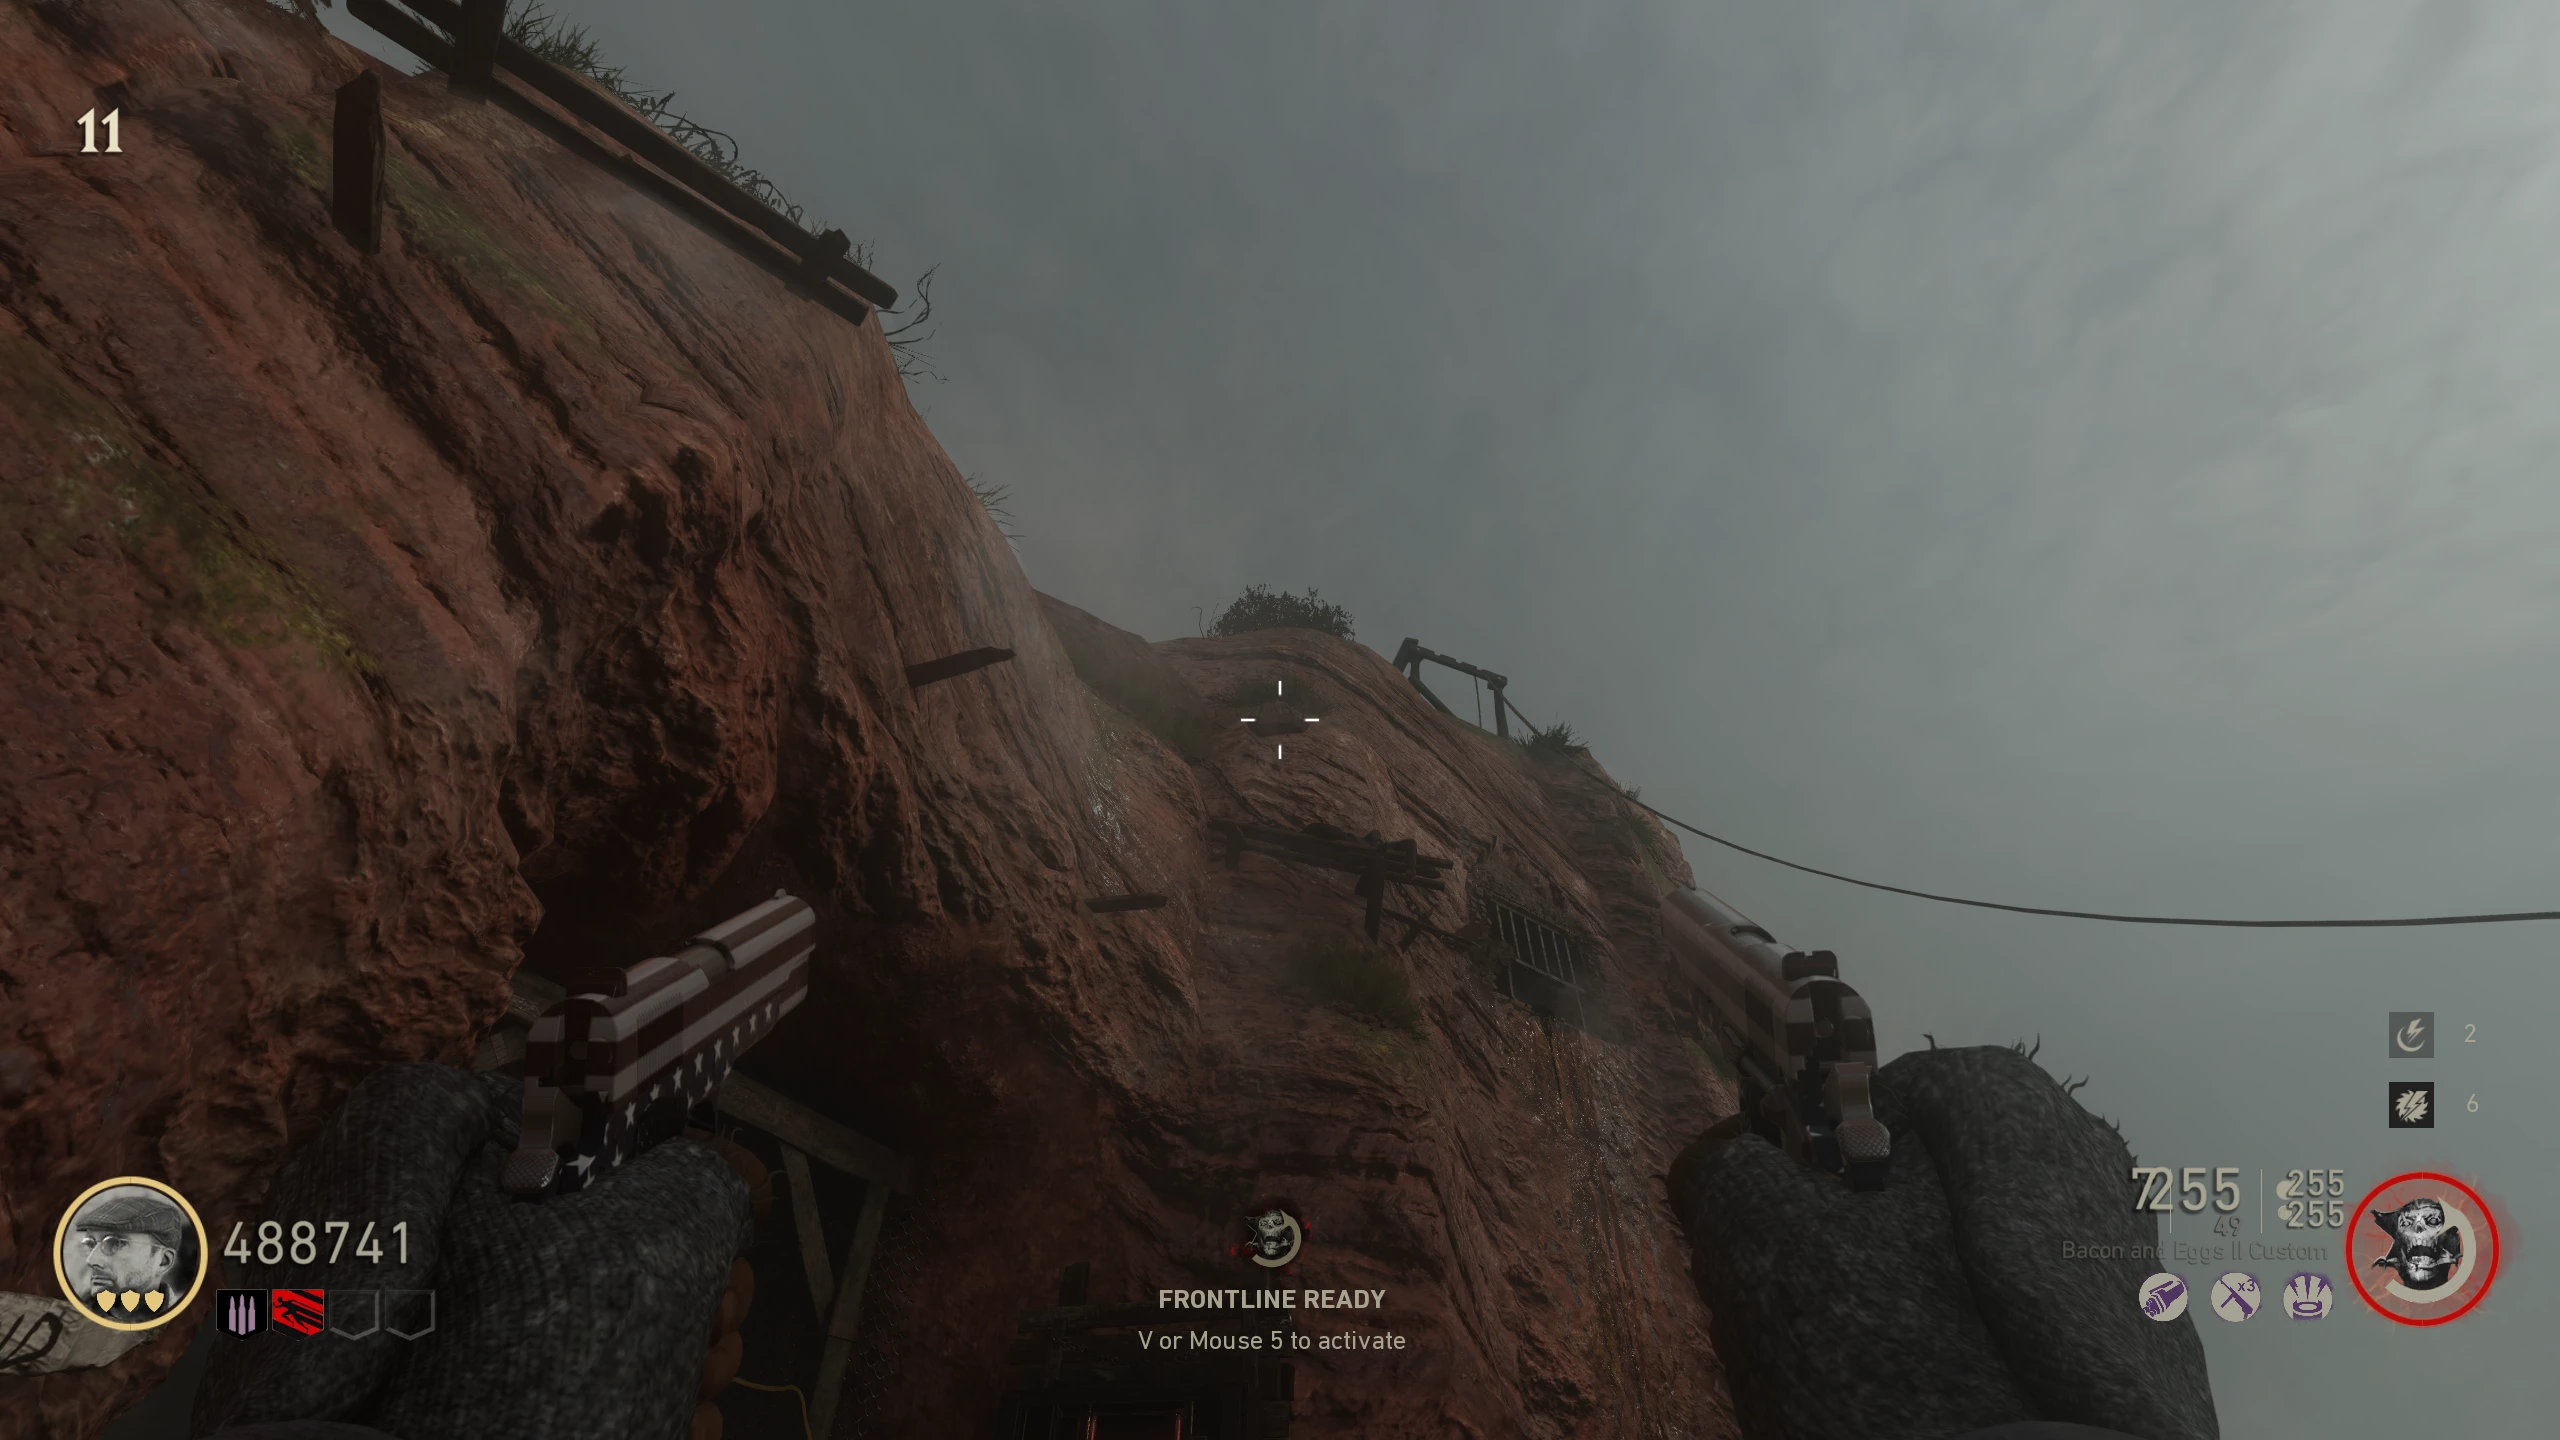
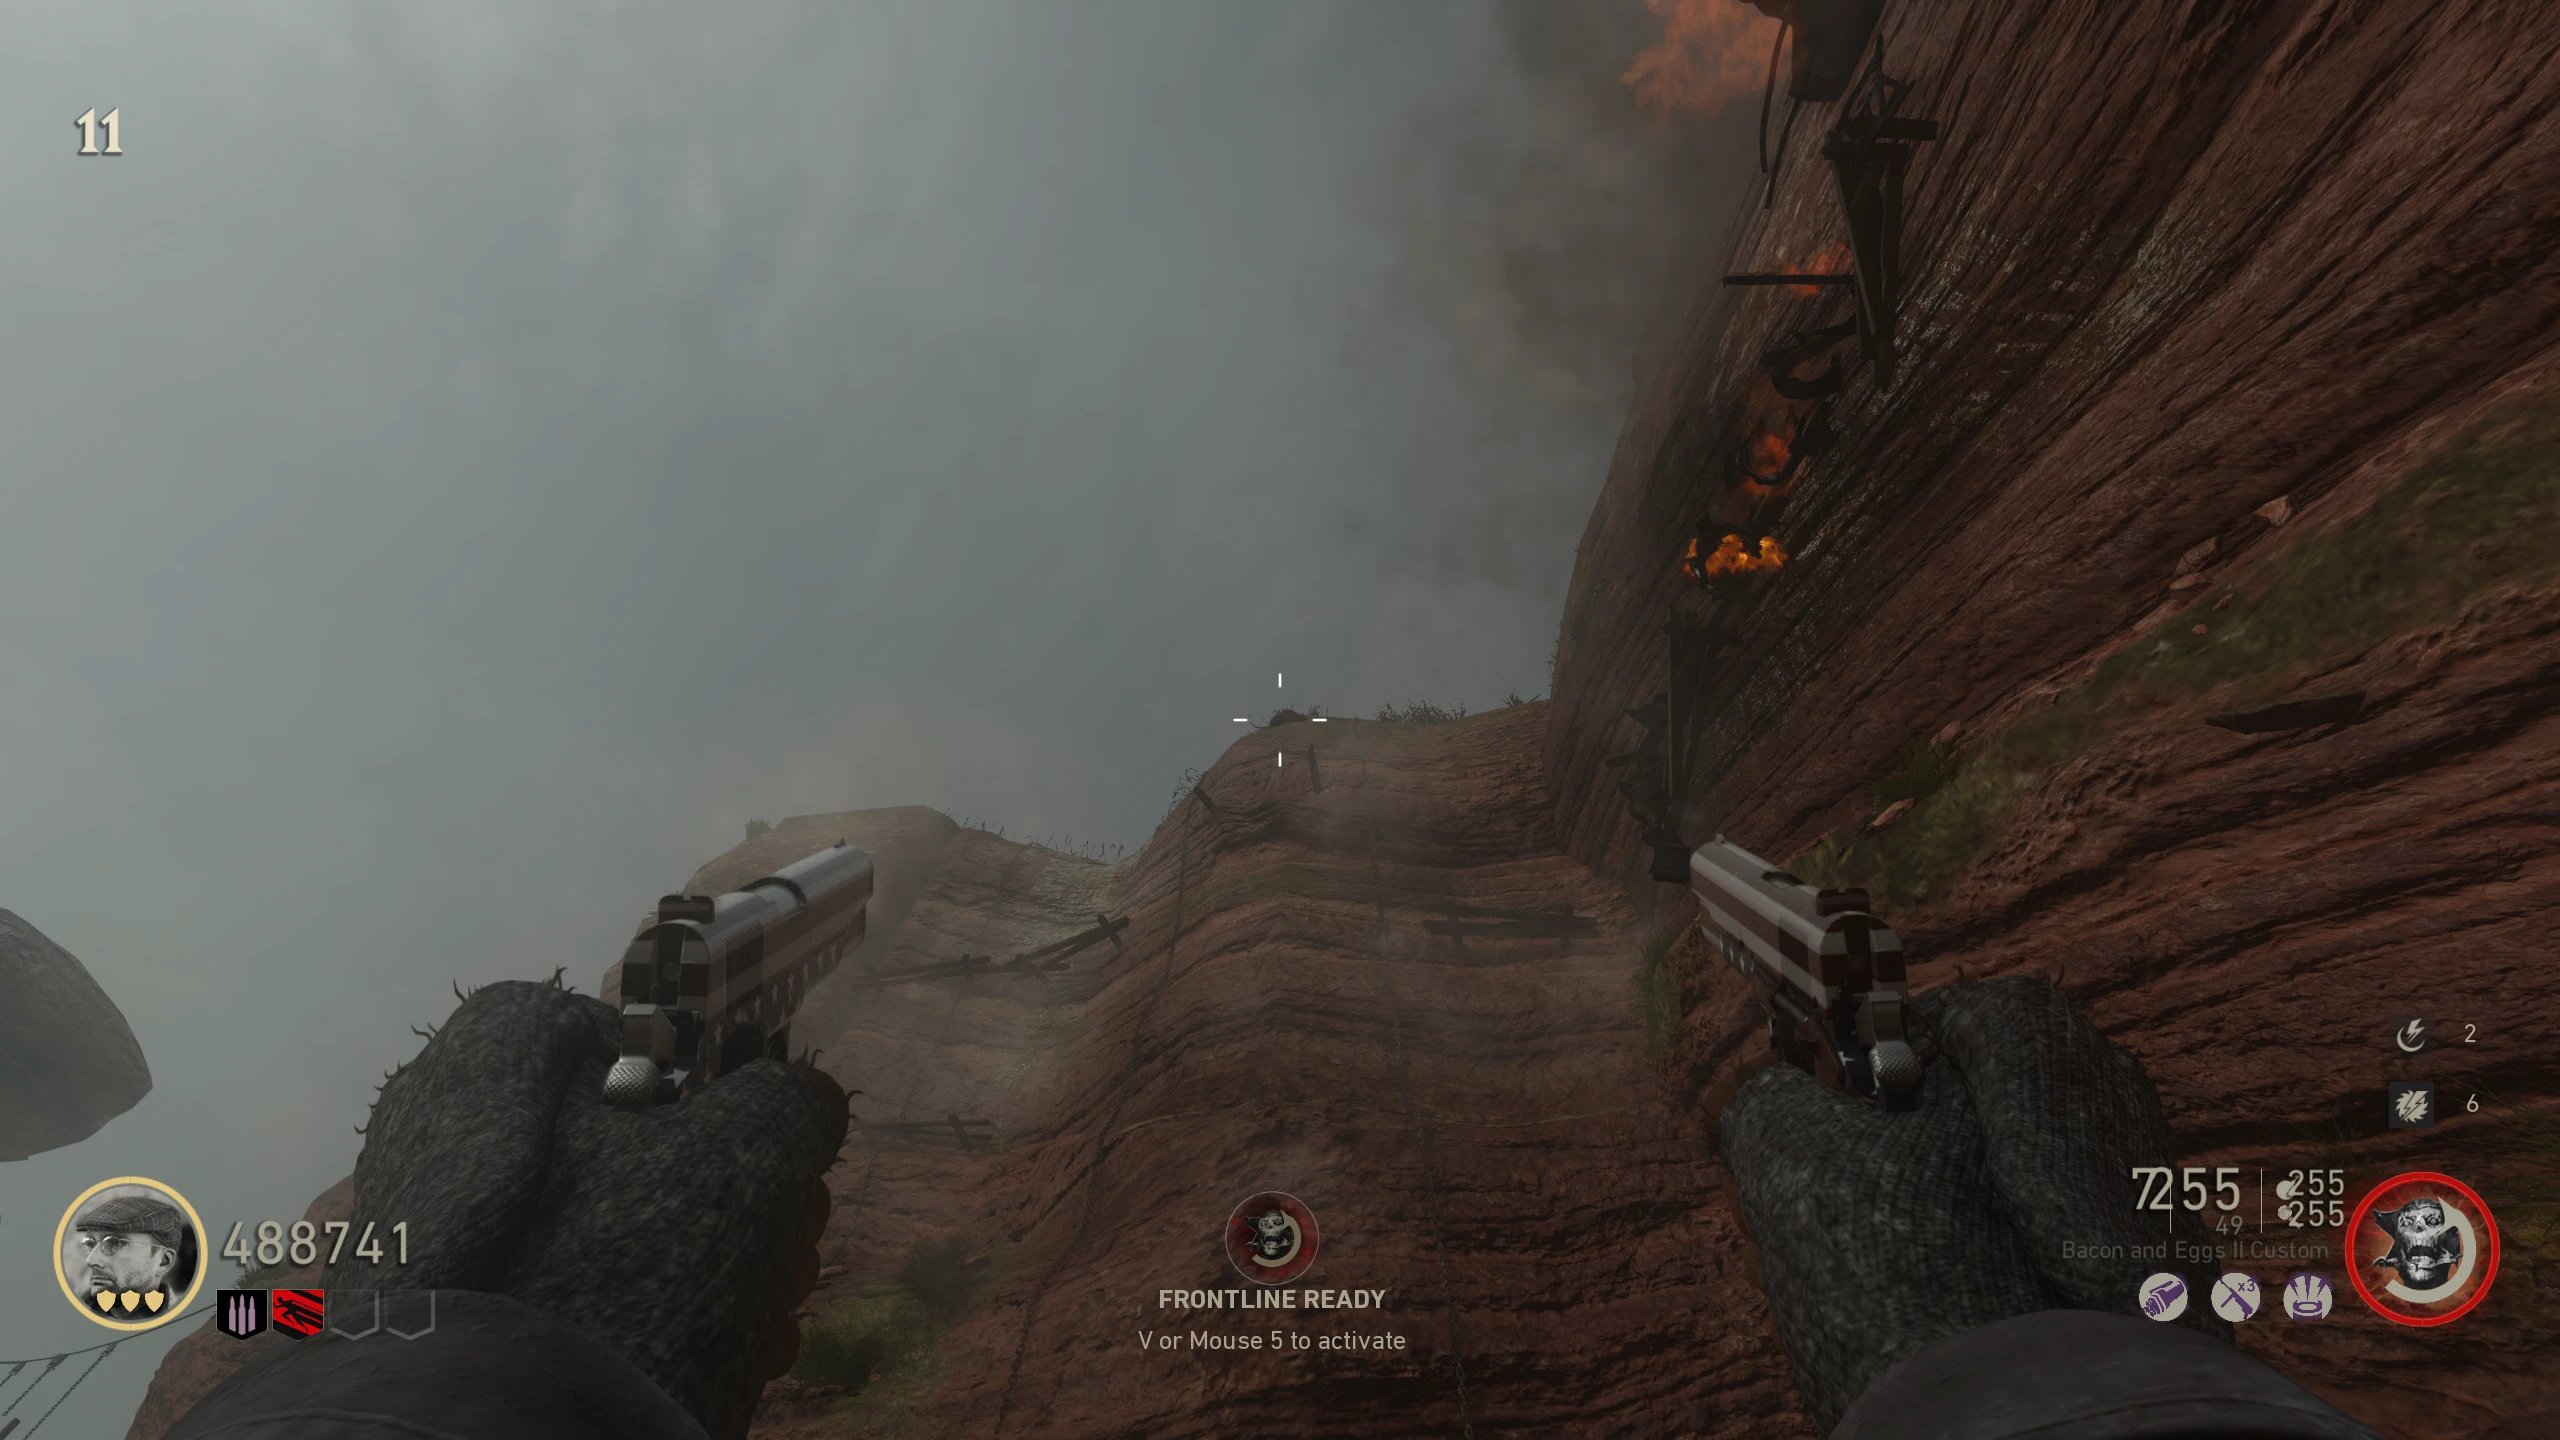
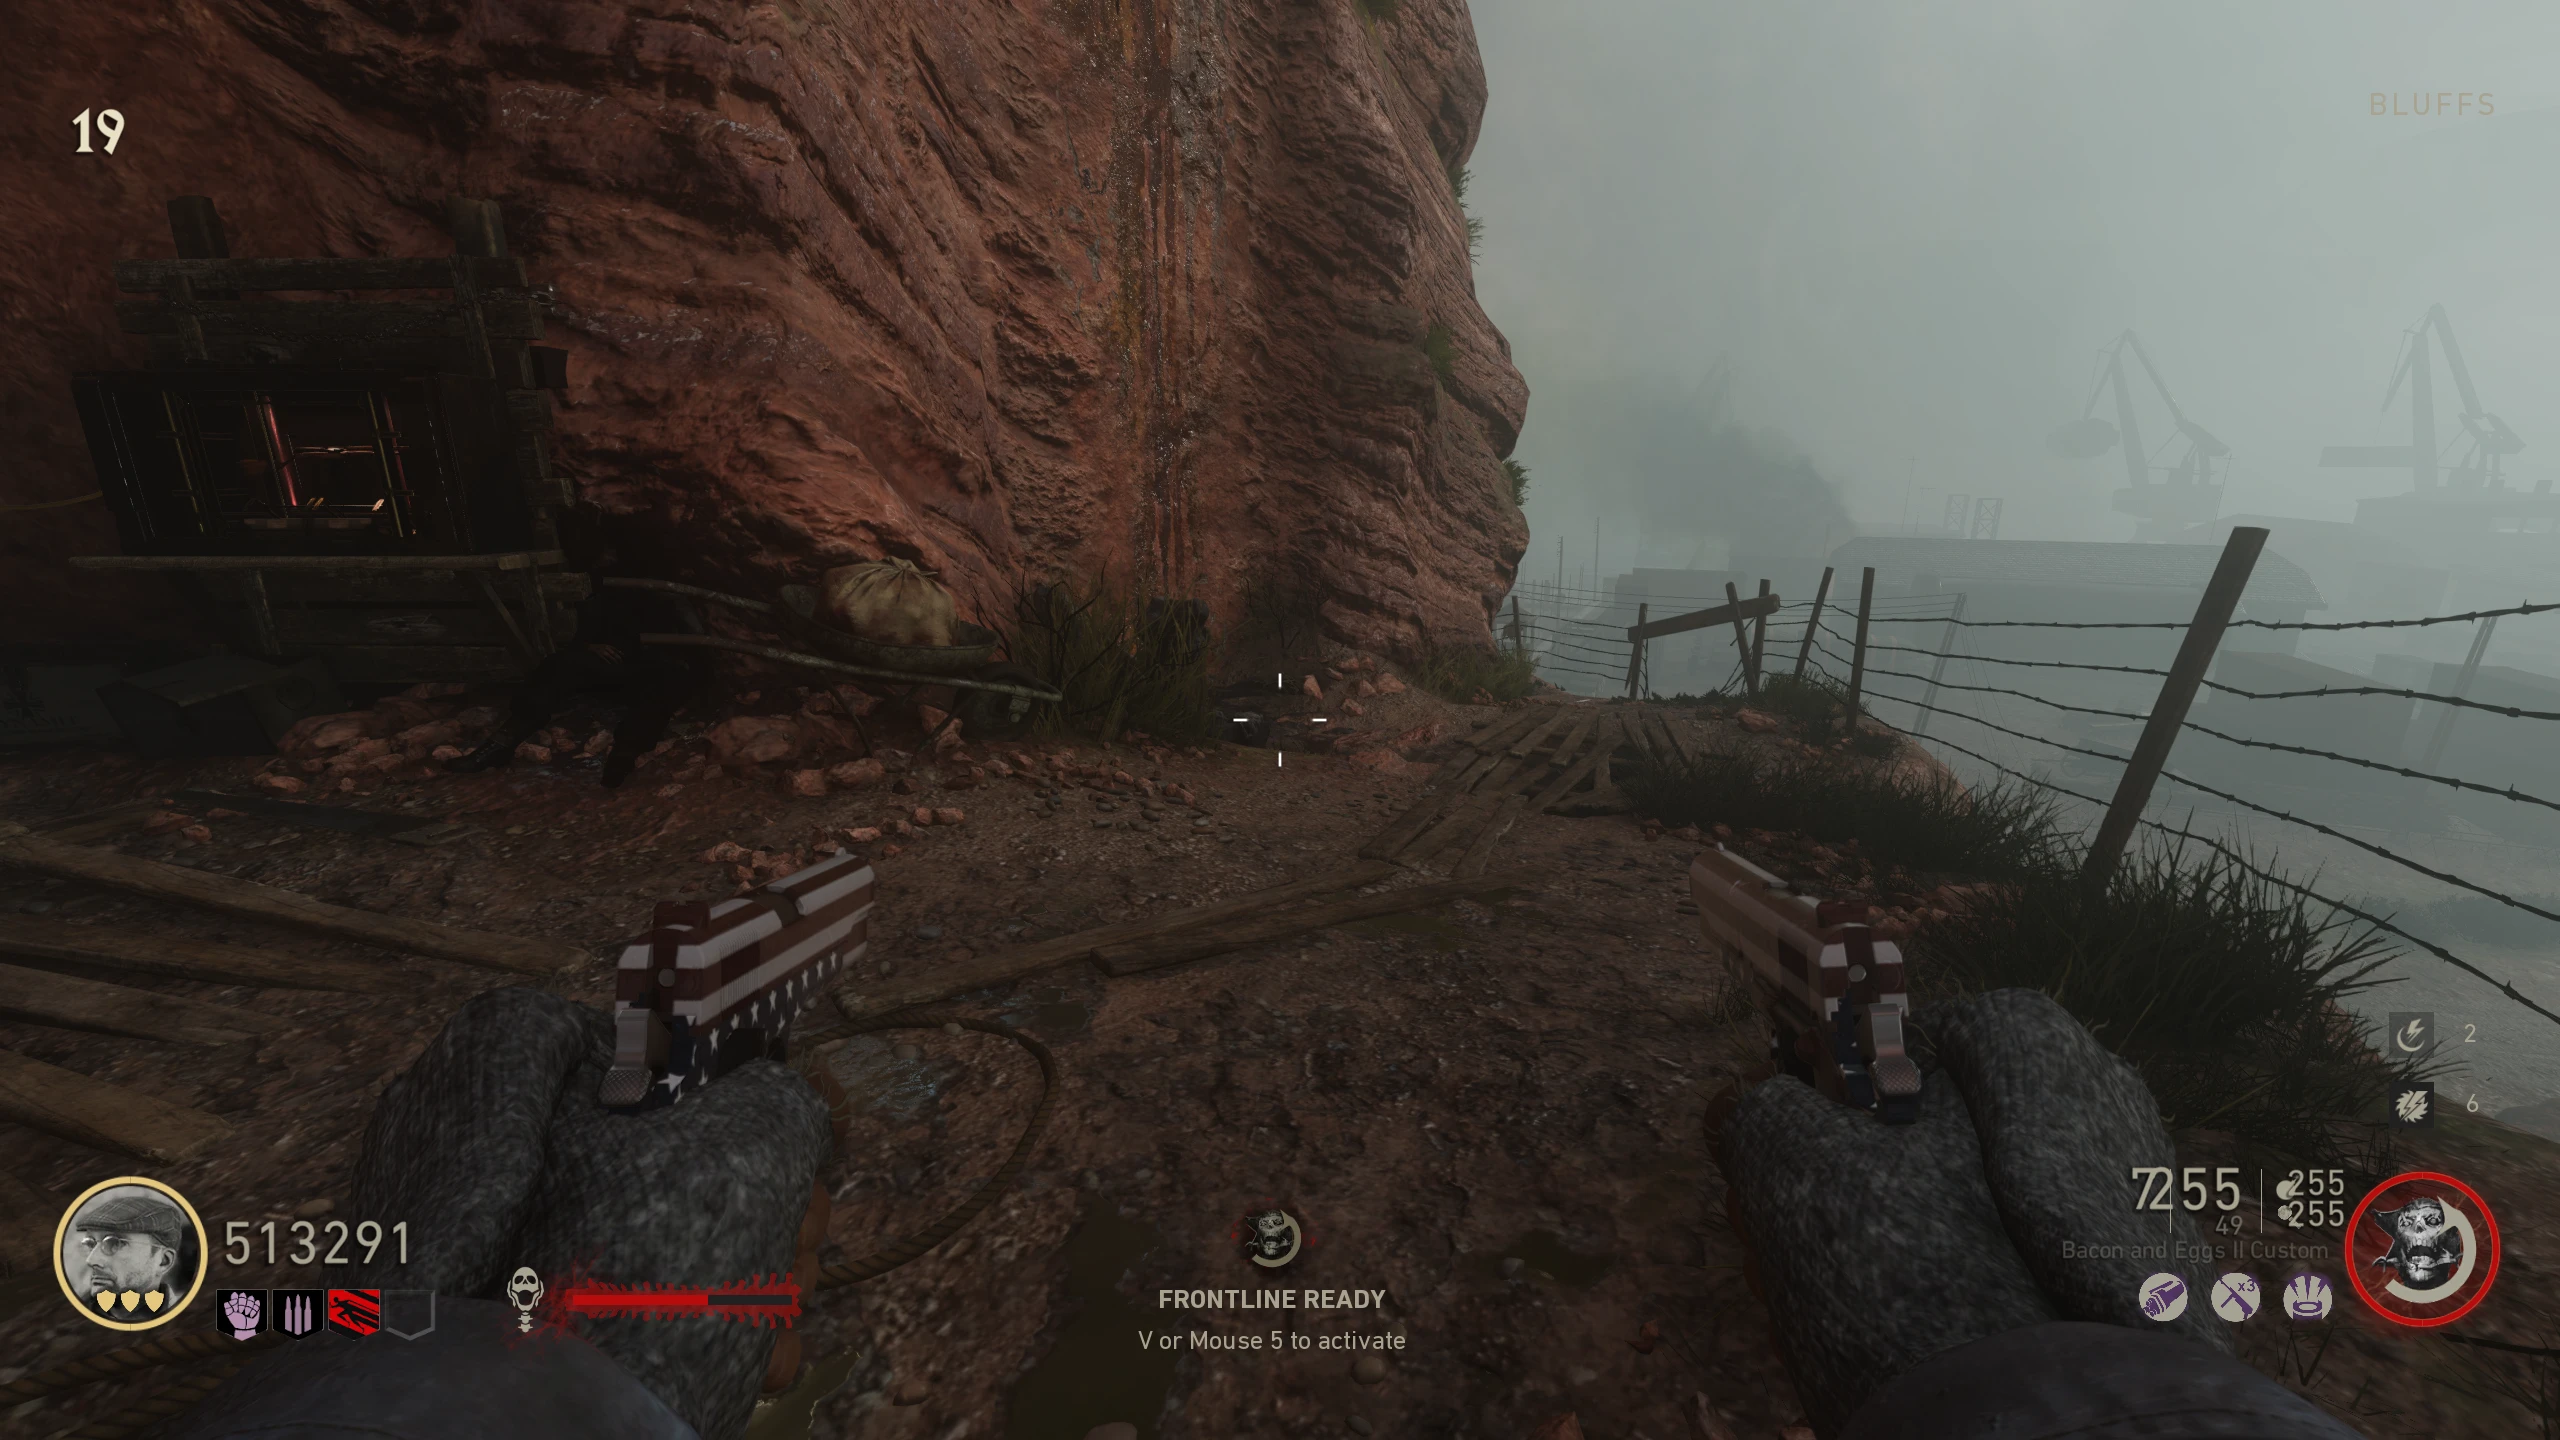
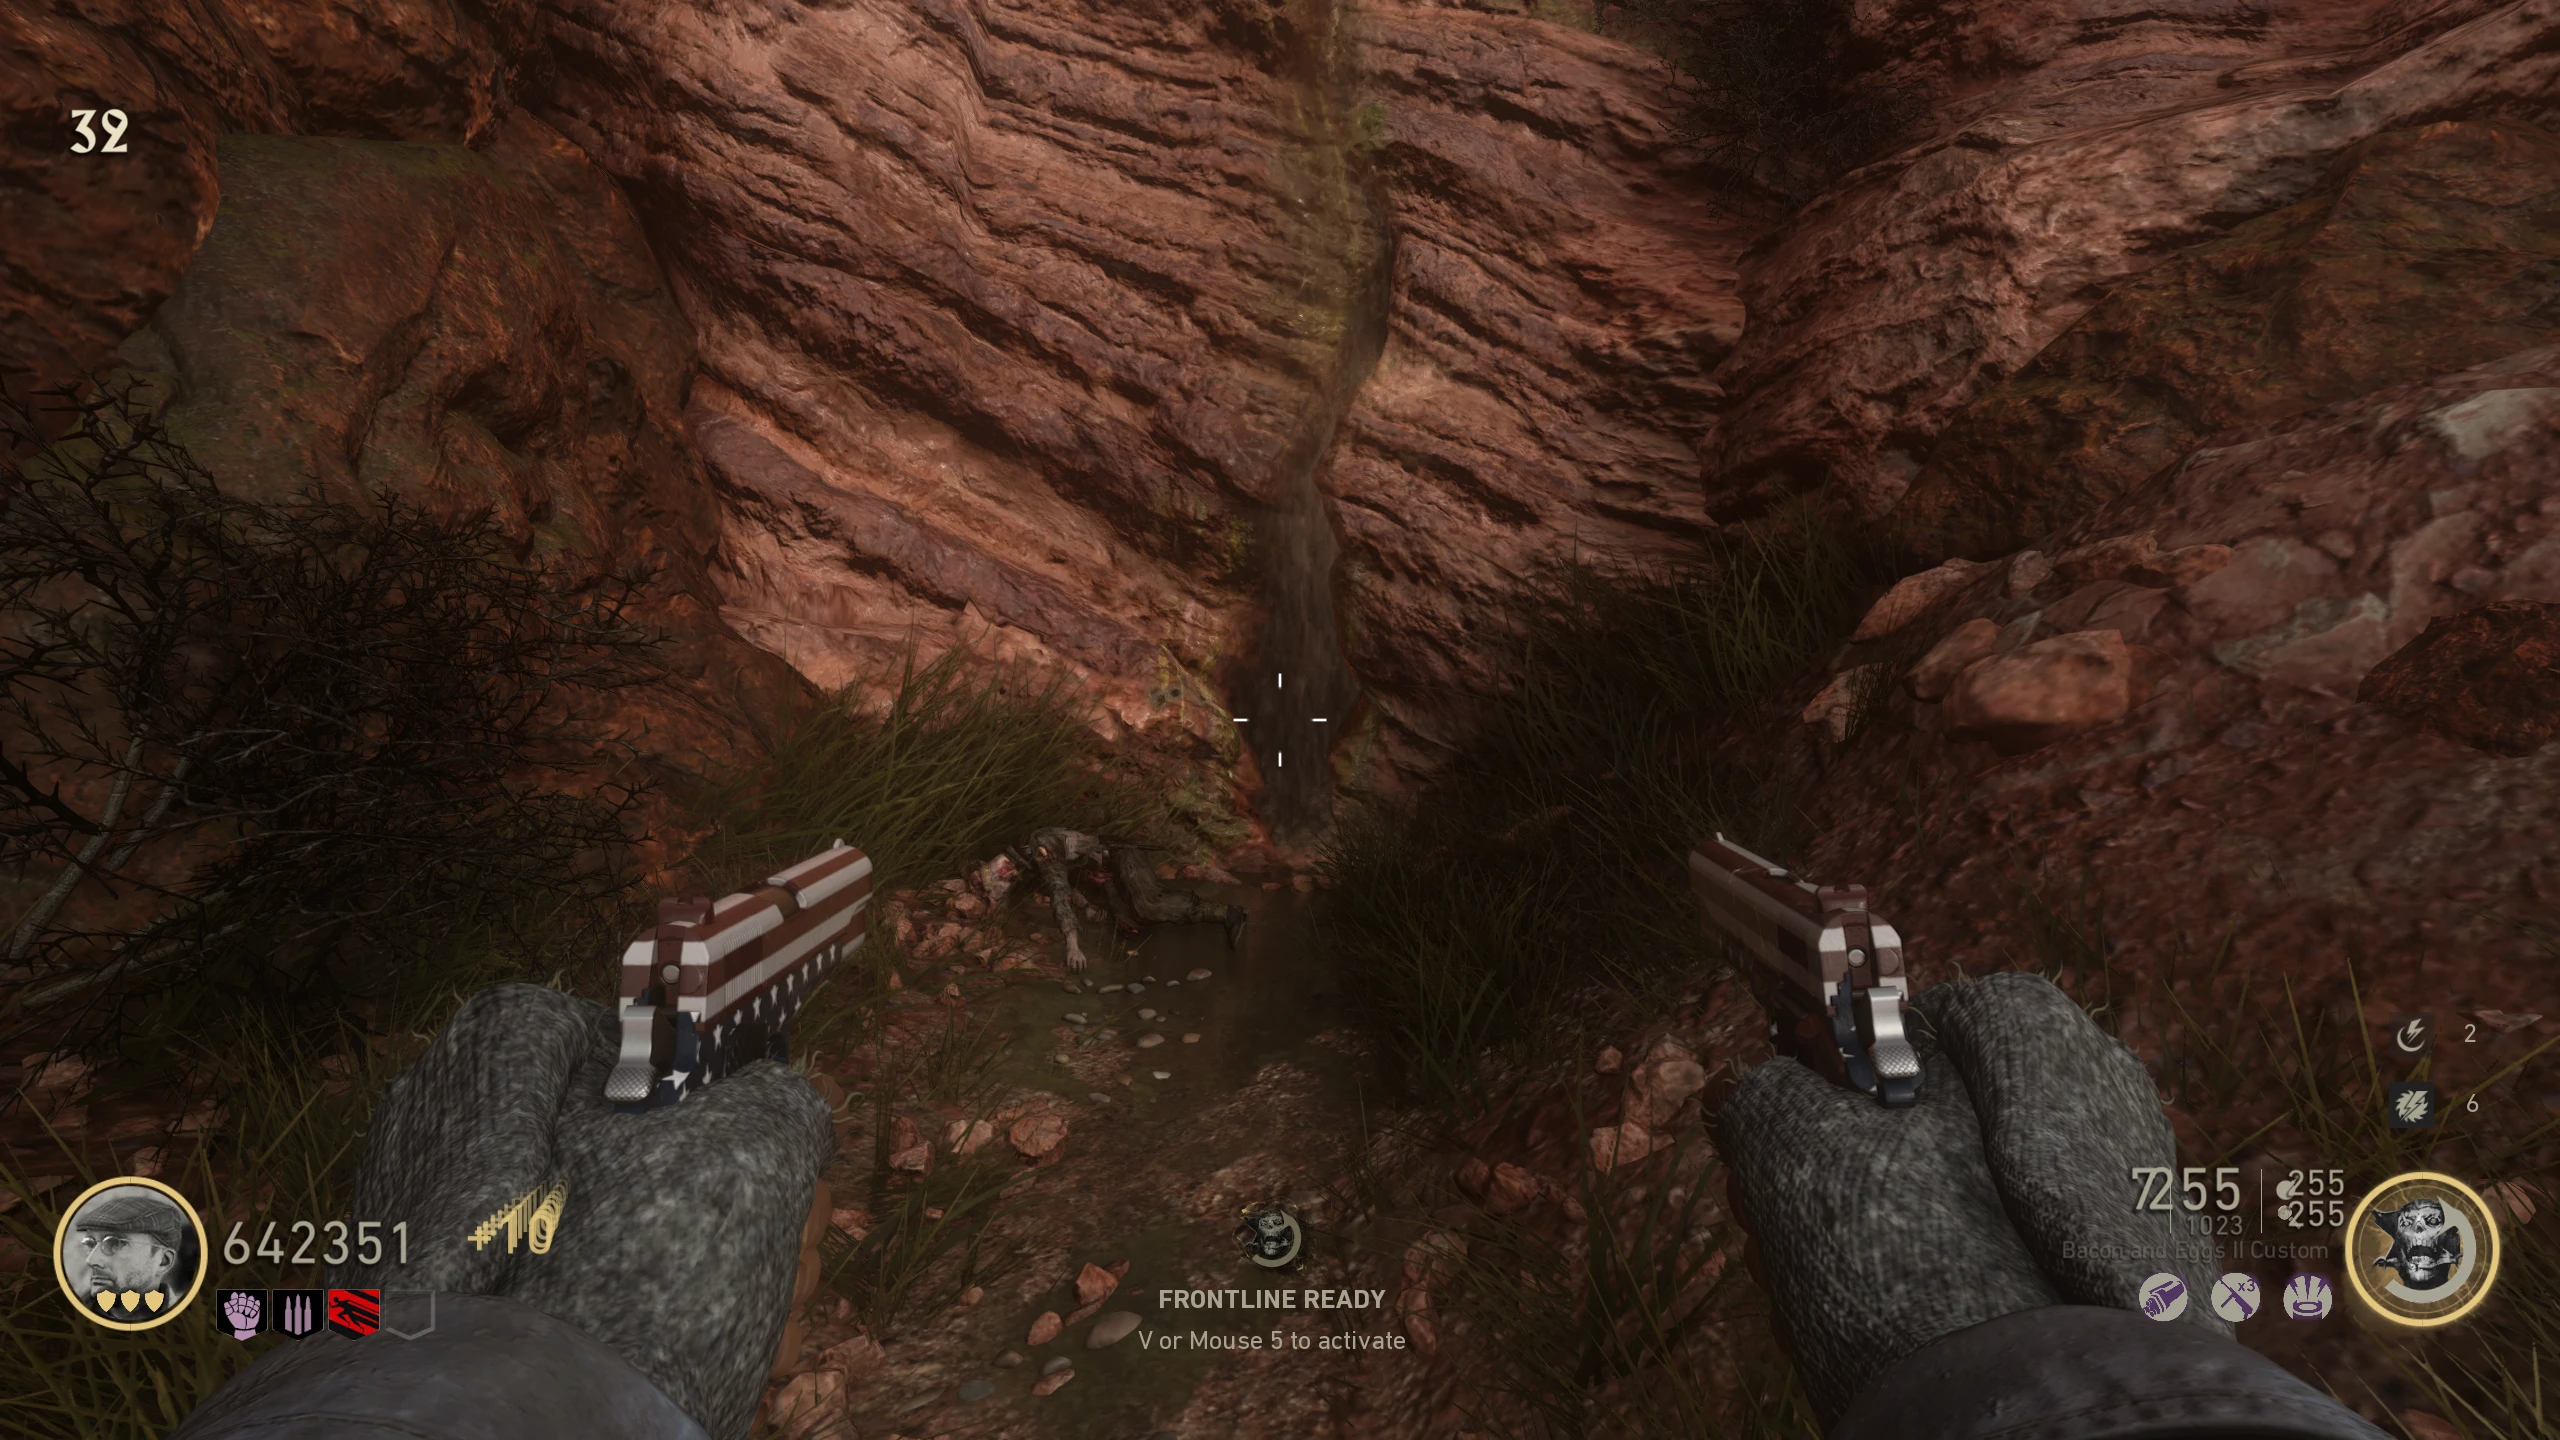
- Around the outside areas, there will be rocks covered in moss high up on walls/cliffs. Shoot these rocks with the Ripsaw until one of them drops a Son. Rock Locations:
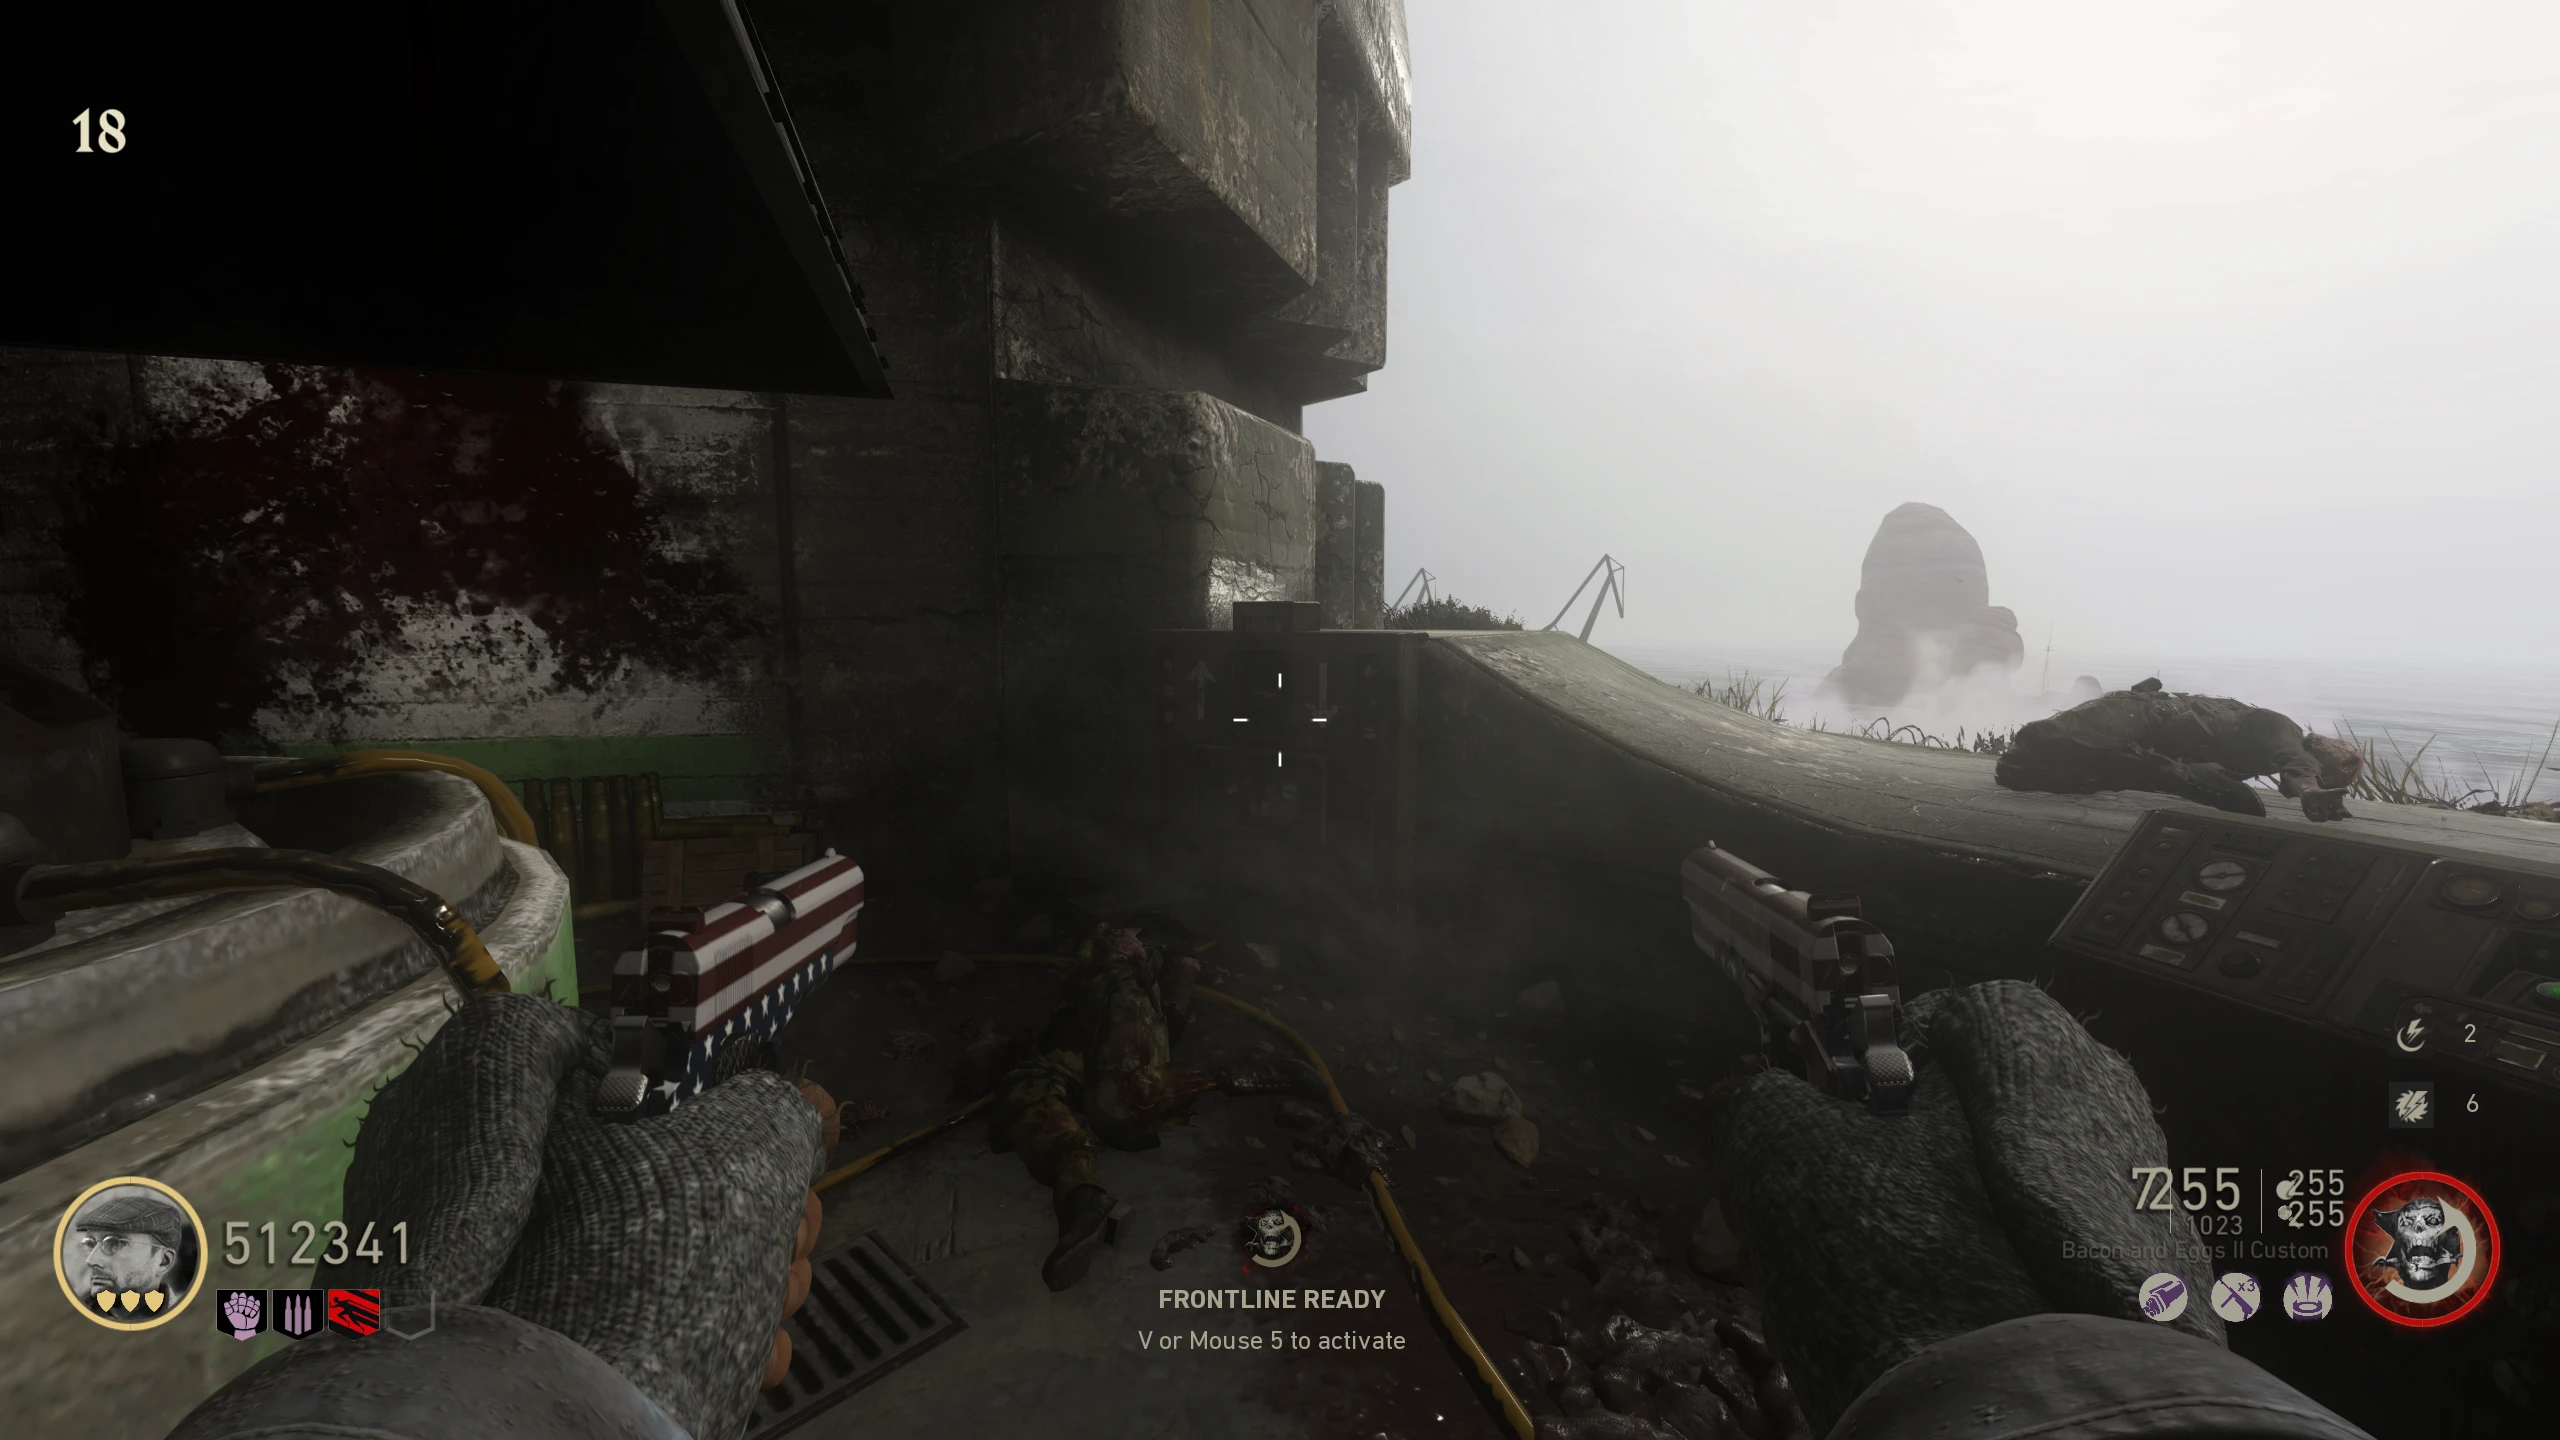
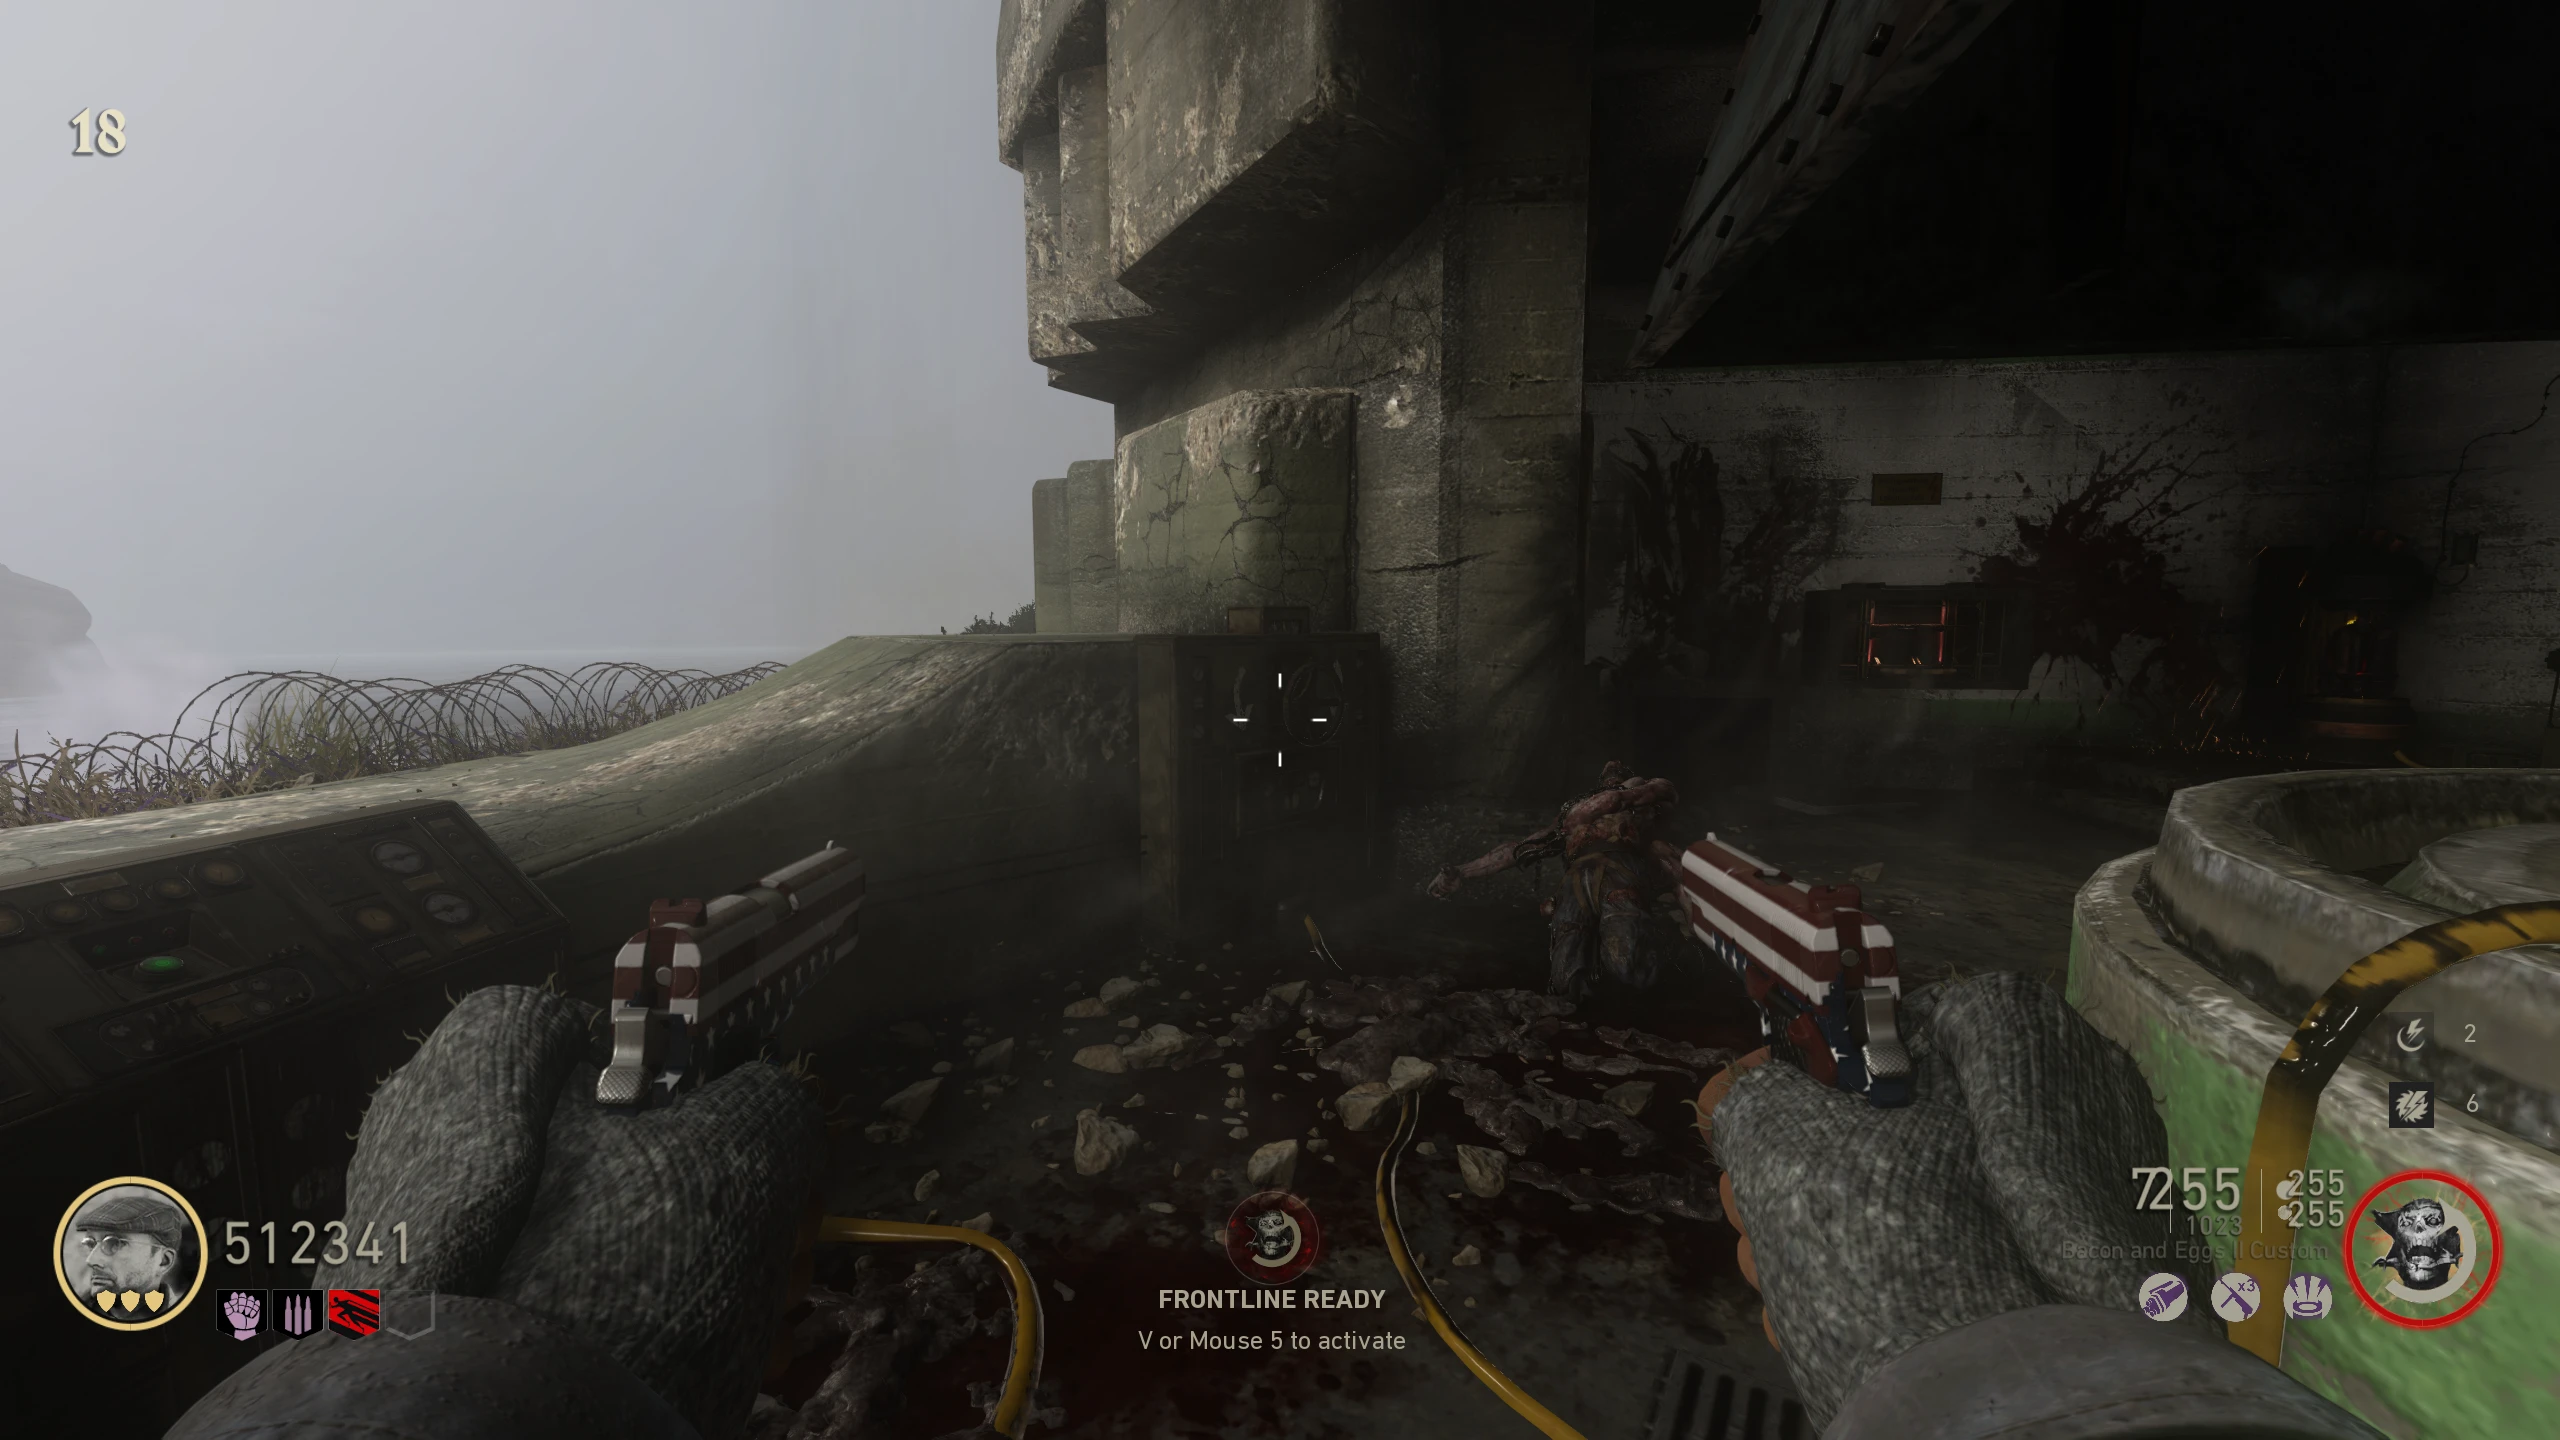
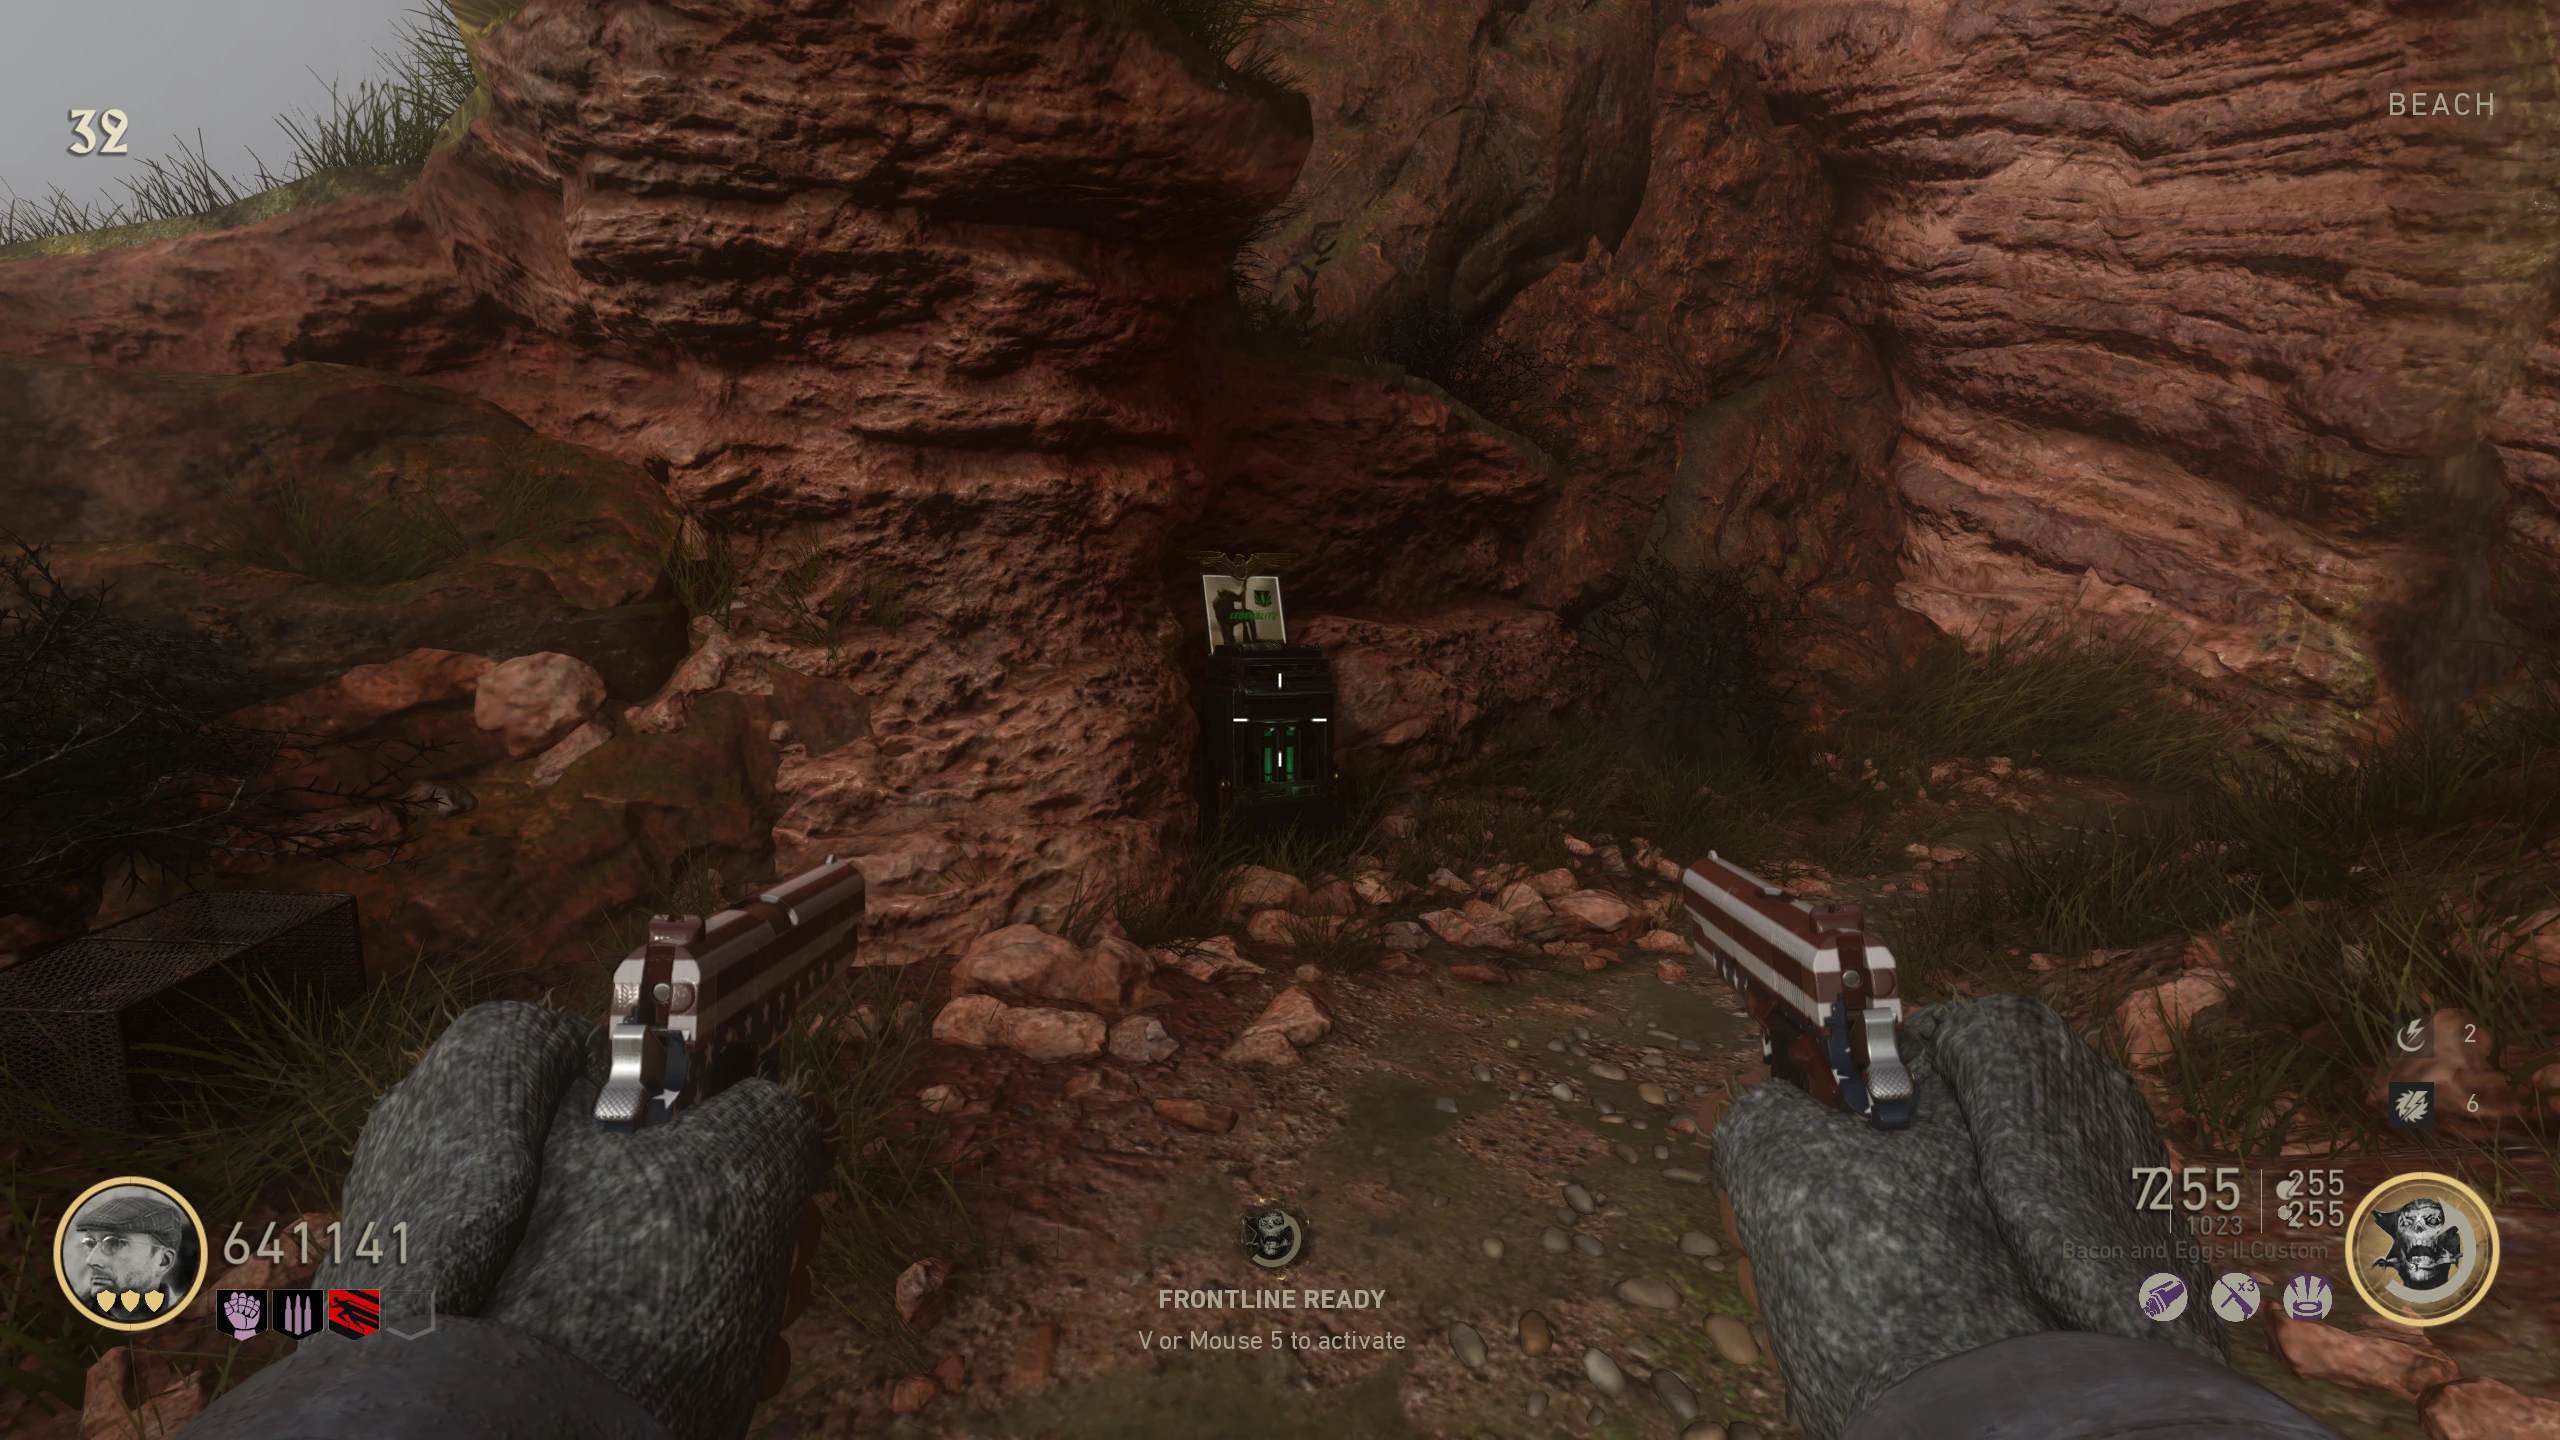
- Beach - Above Quick Revive --- Zoomed-In View
- Beach - Above the Machine Pistol wallbuy --- Zoomed-In View
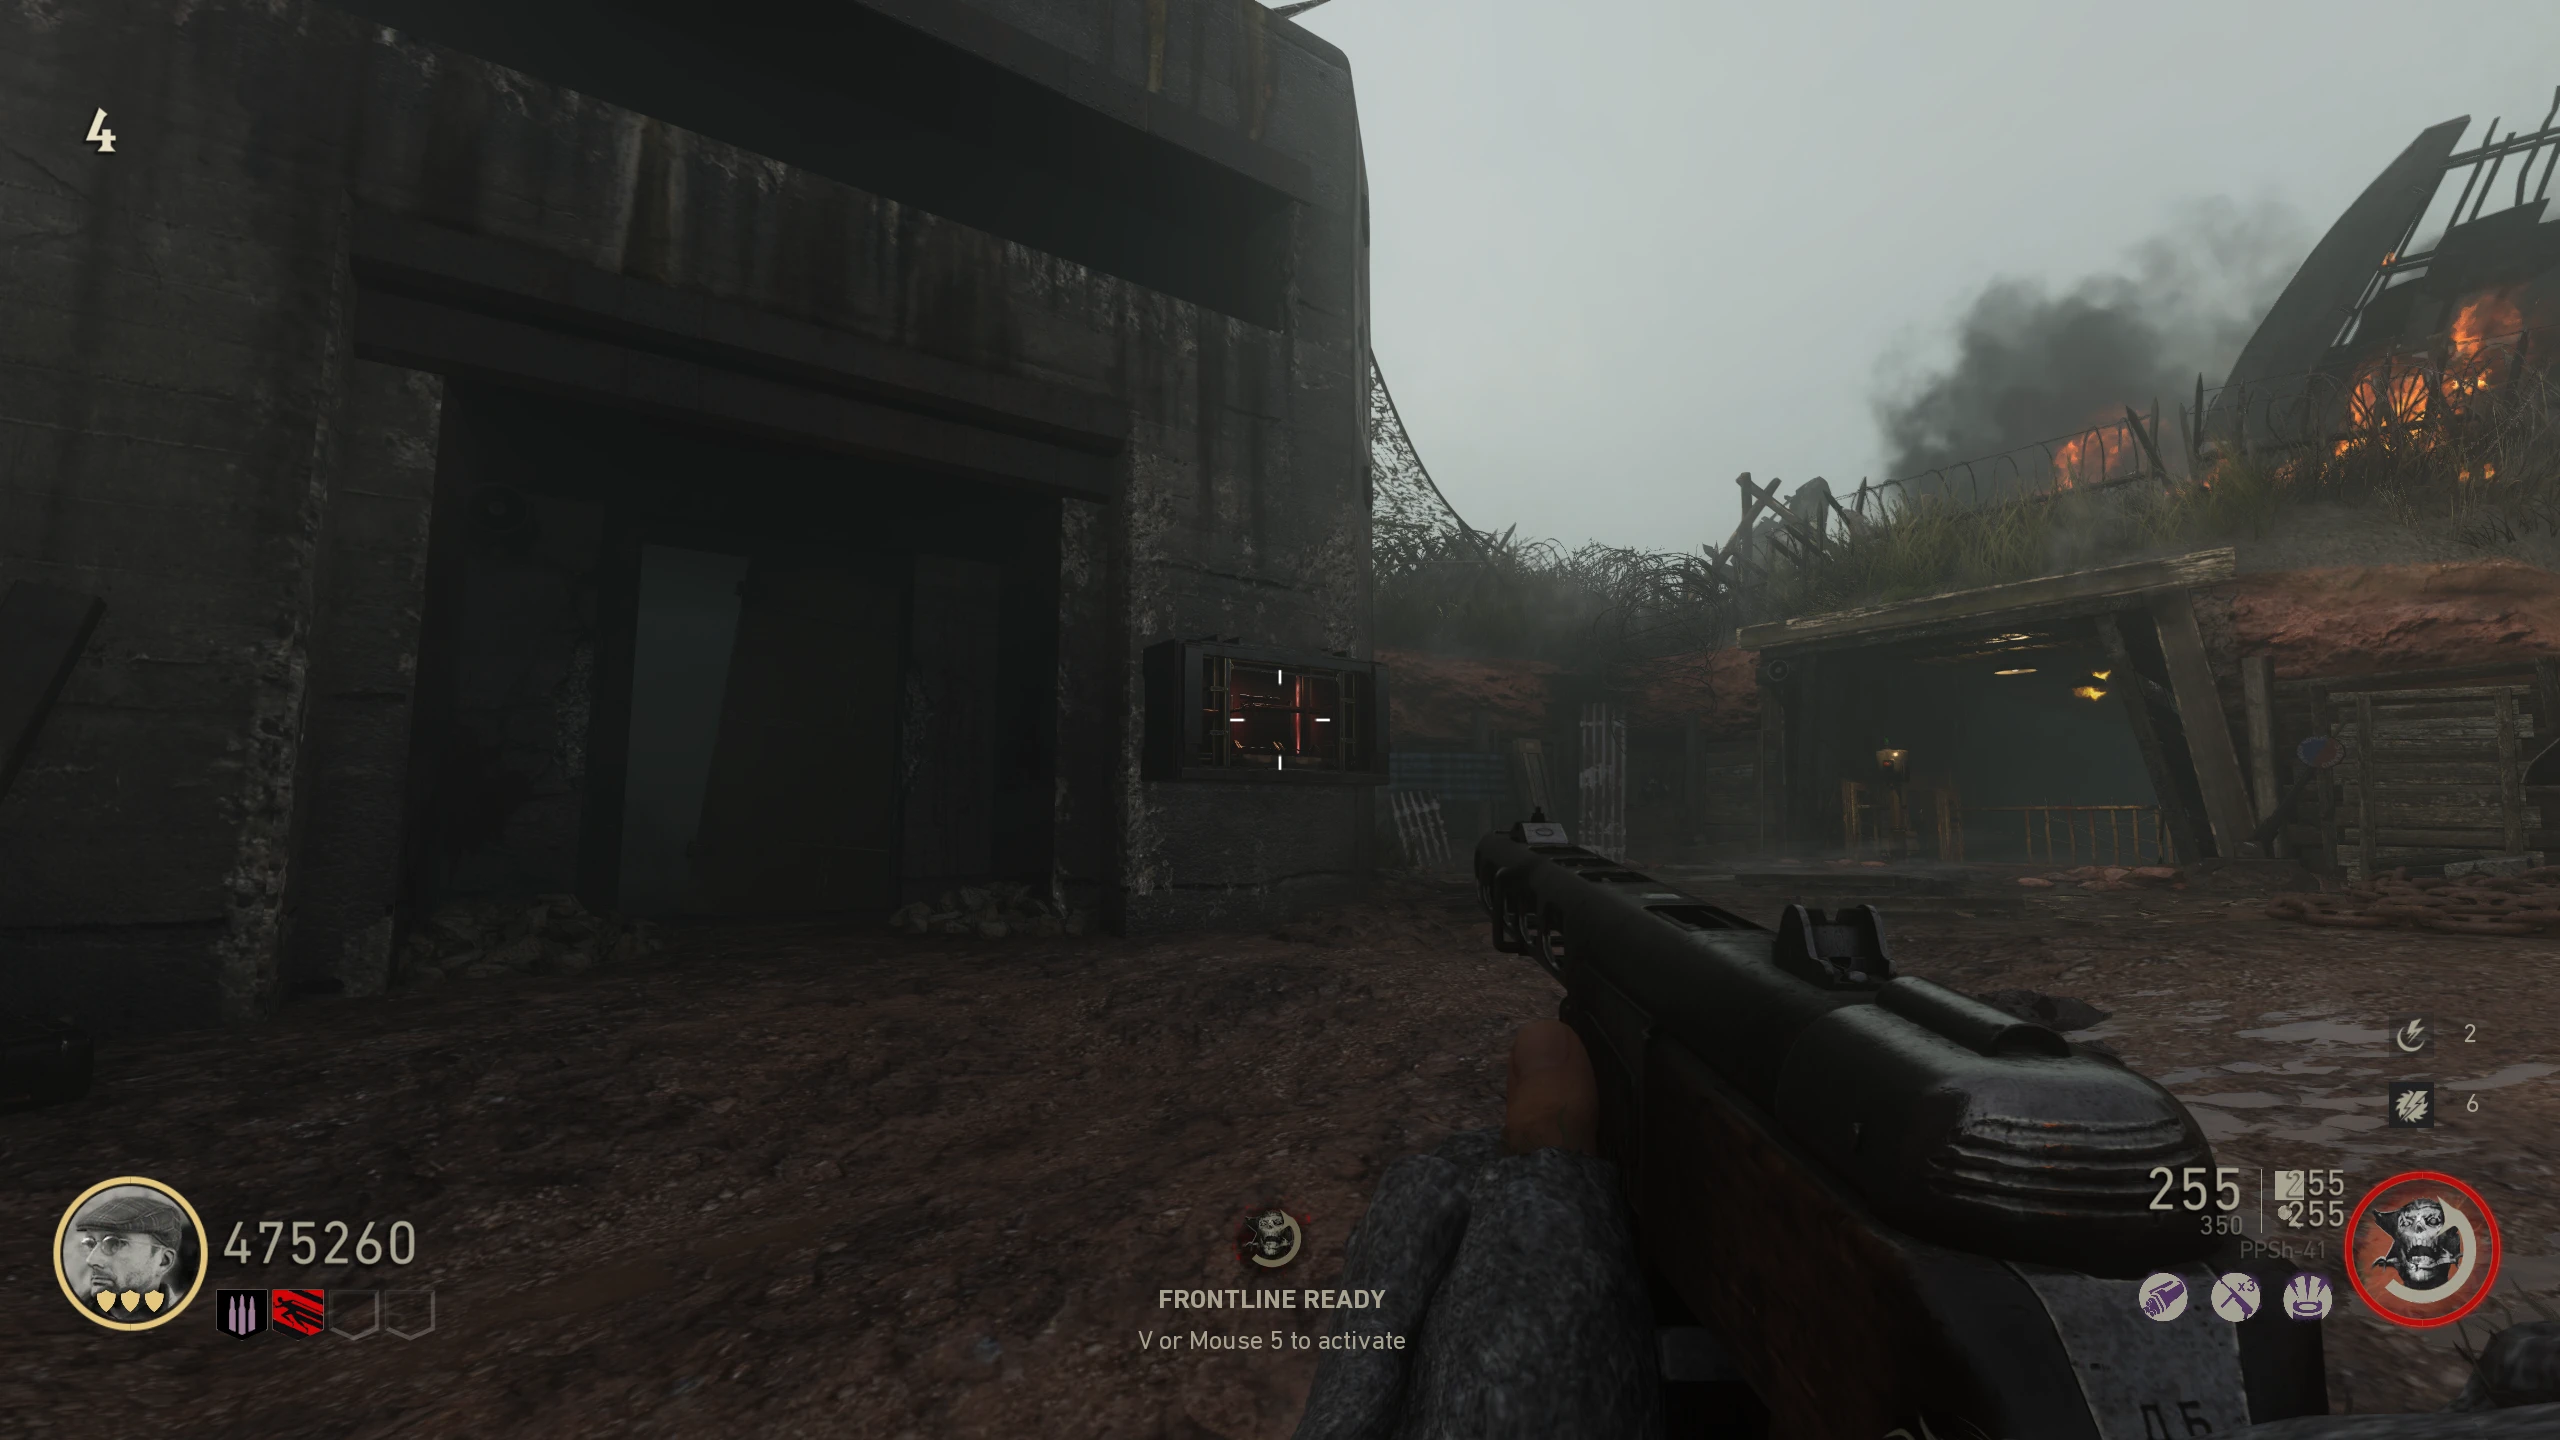
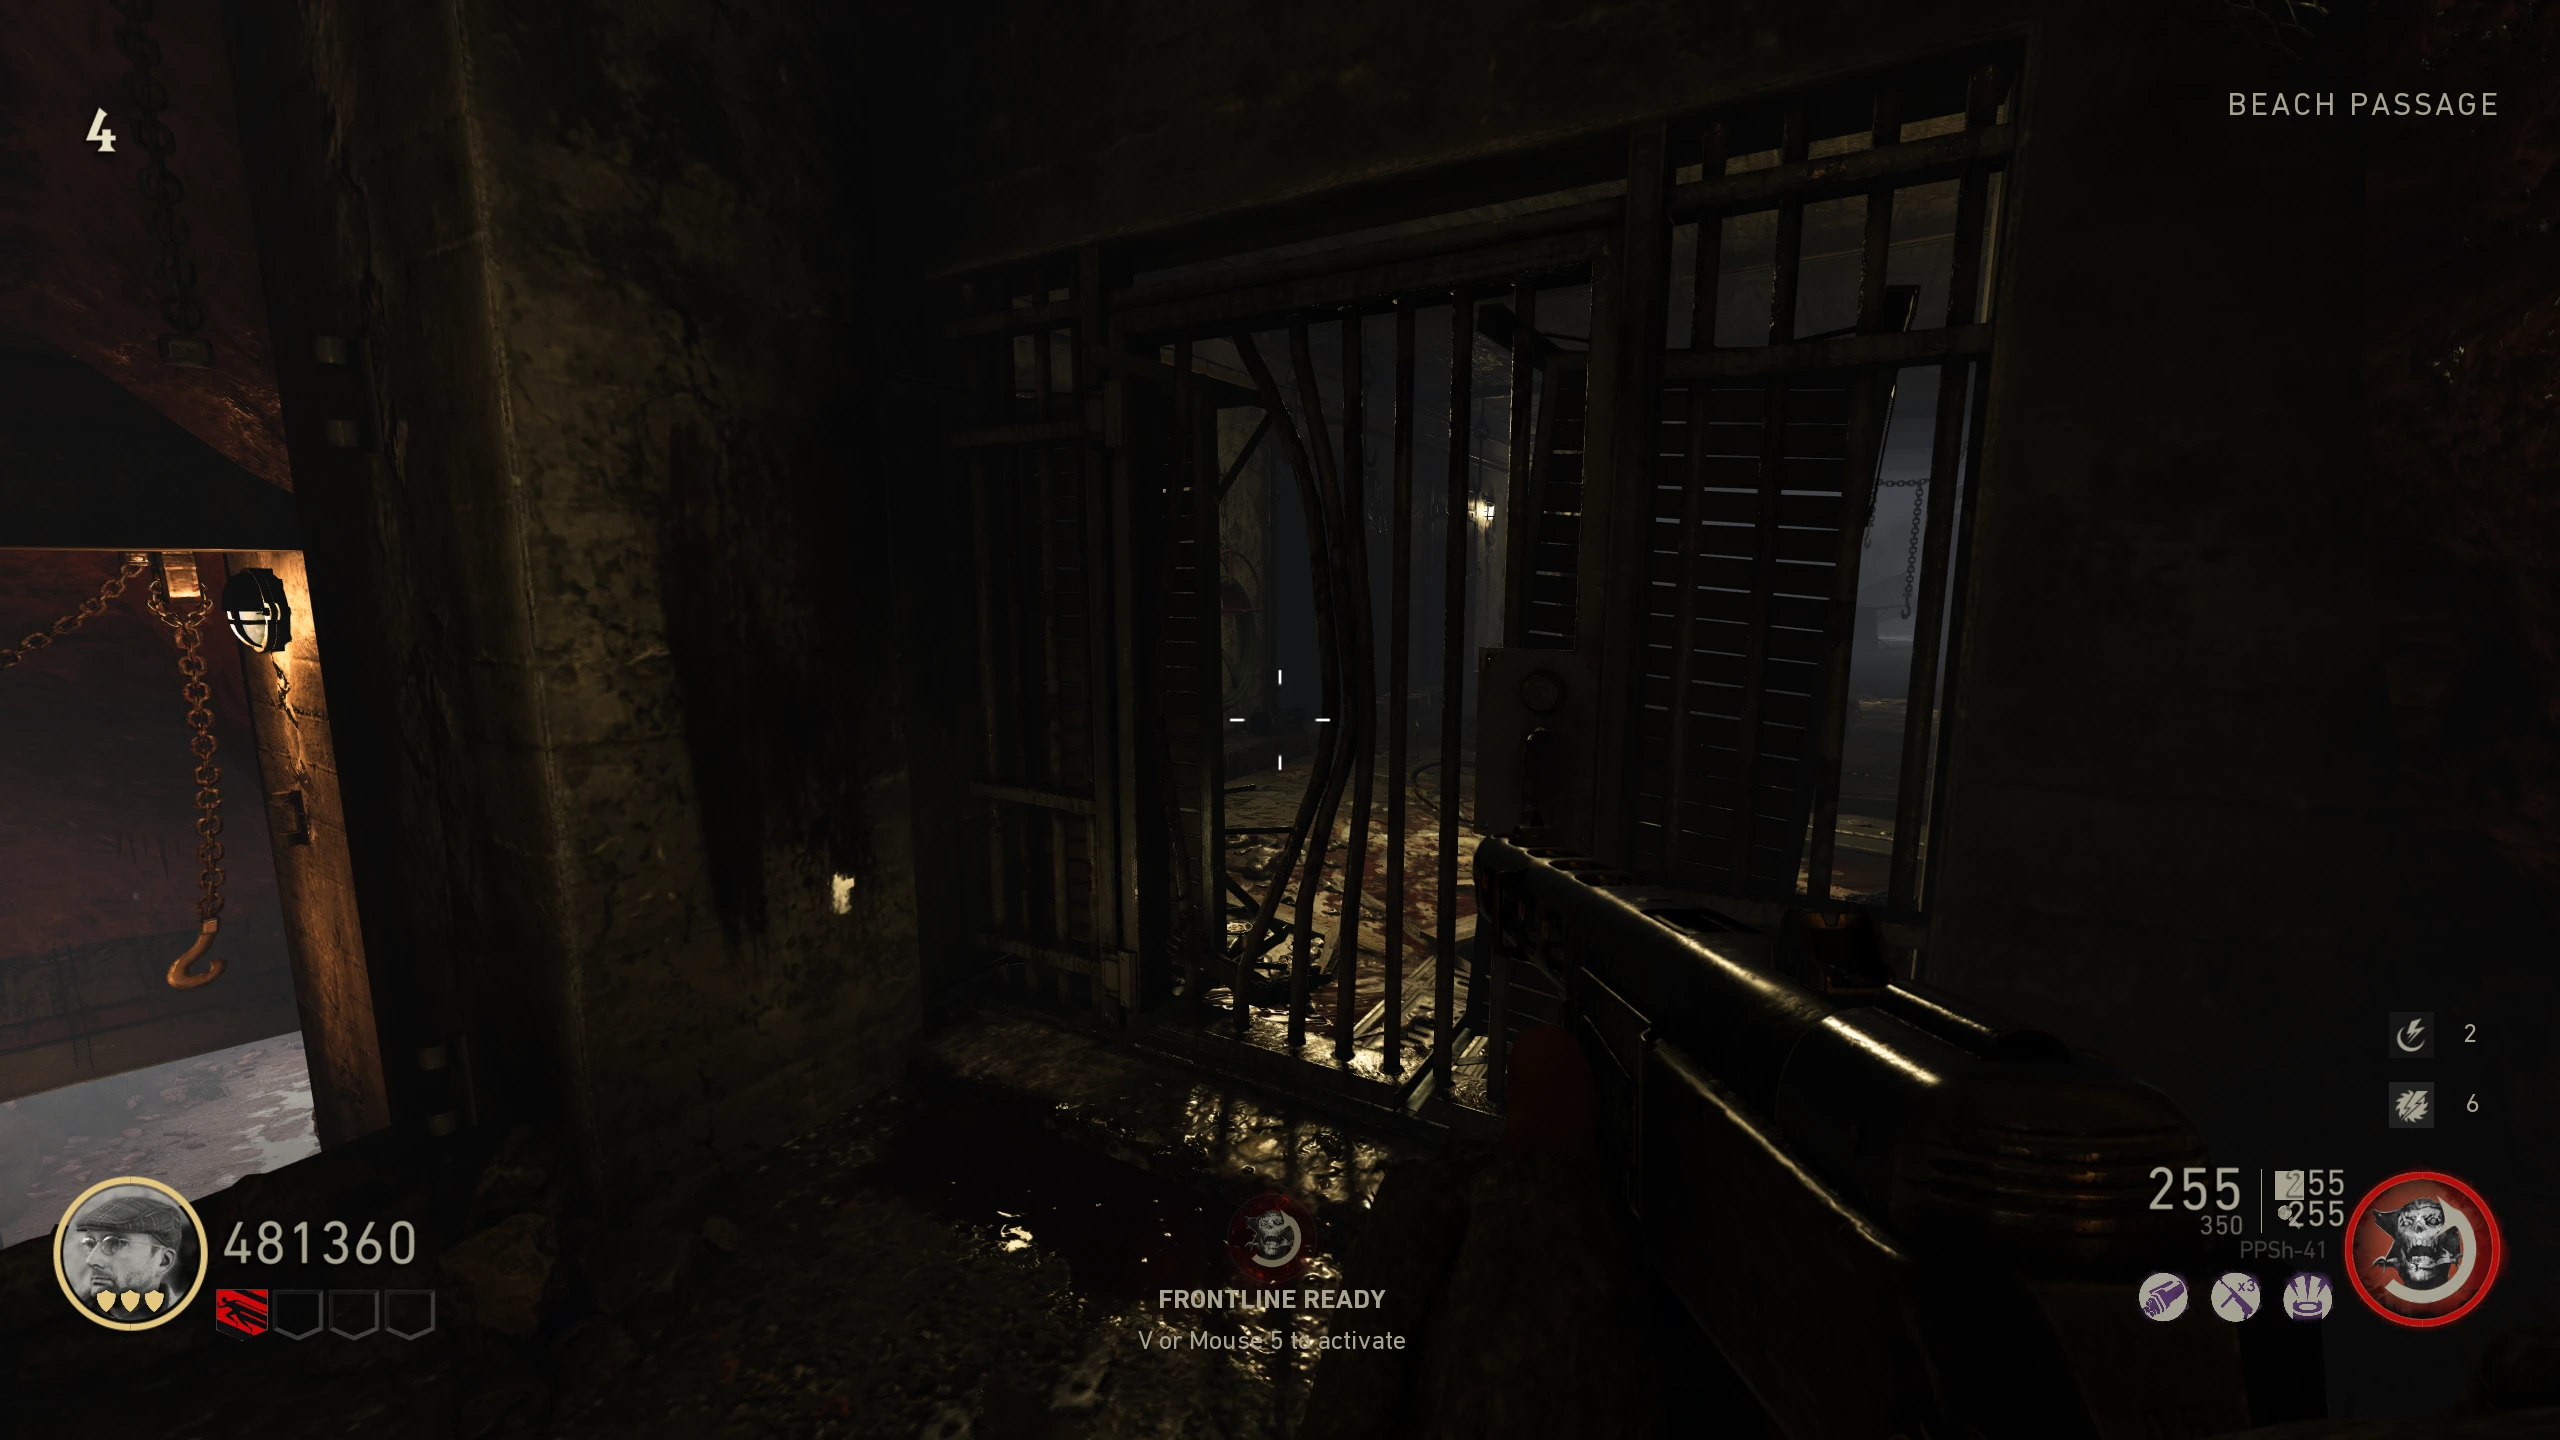
- Bluffs - Above the door to the 'Beach Passage'
- Bluffs - Above the SVT-40 wallbuy
- Bluffs - Above the Waffe 28 wallbuy, near Electric Cherry --- Zoomed-In View
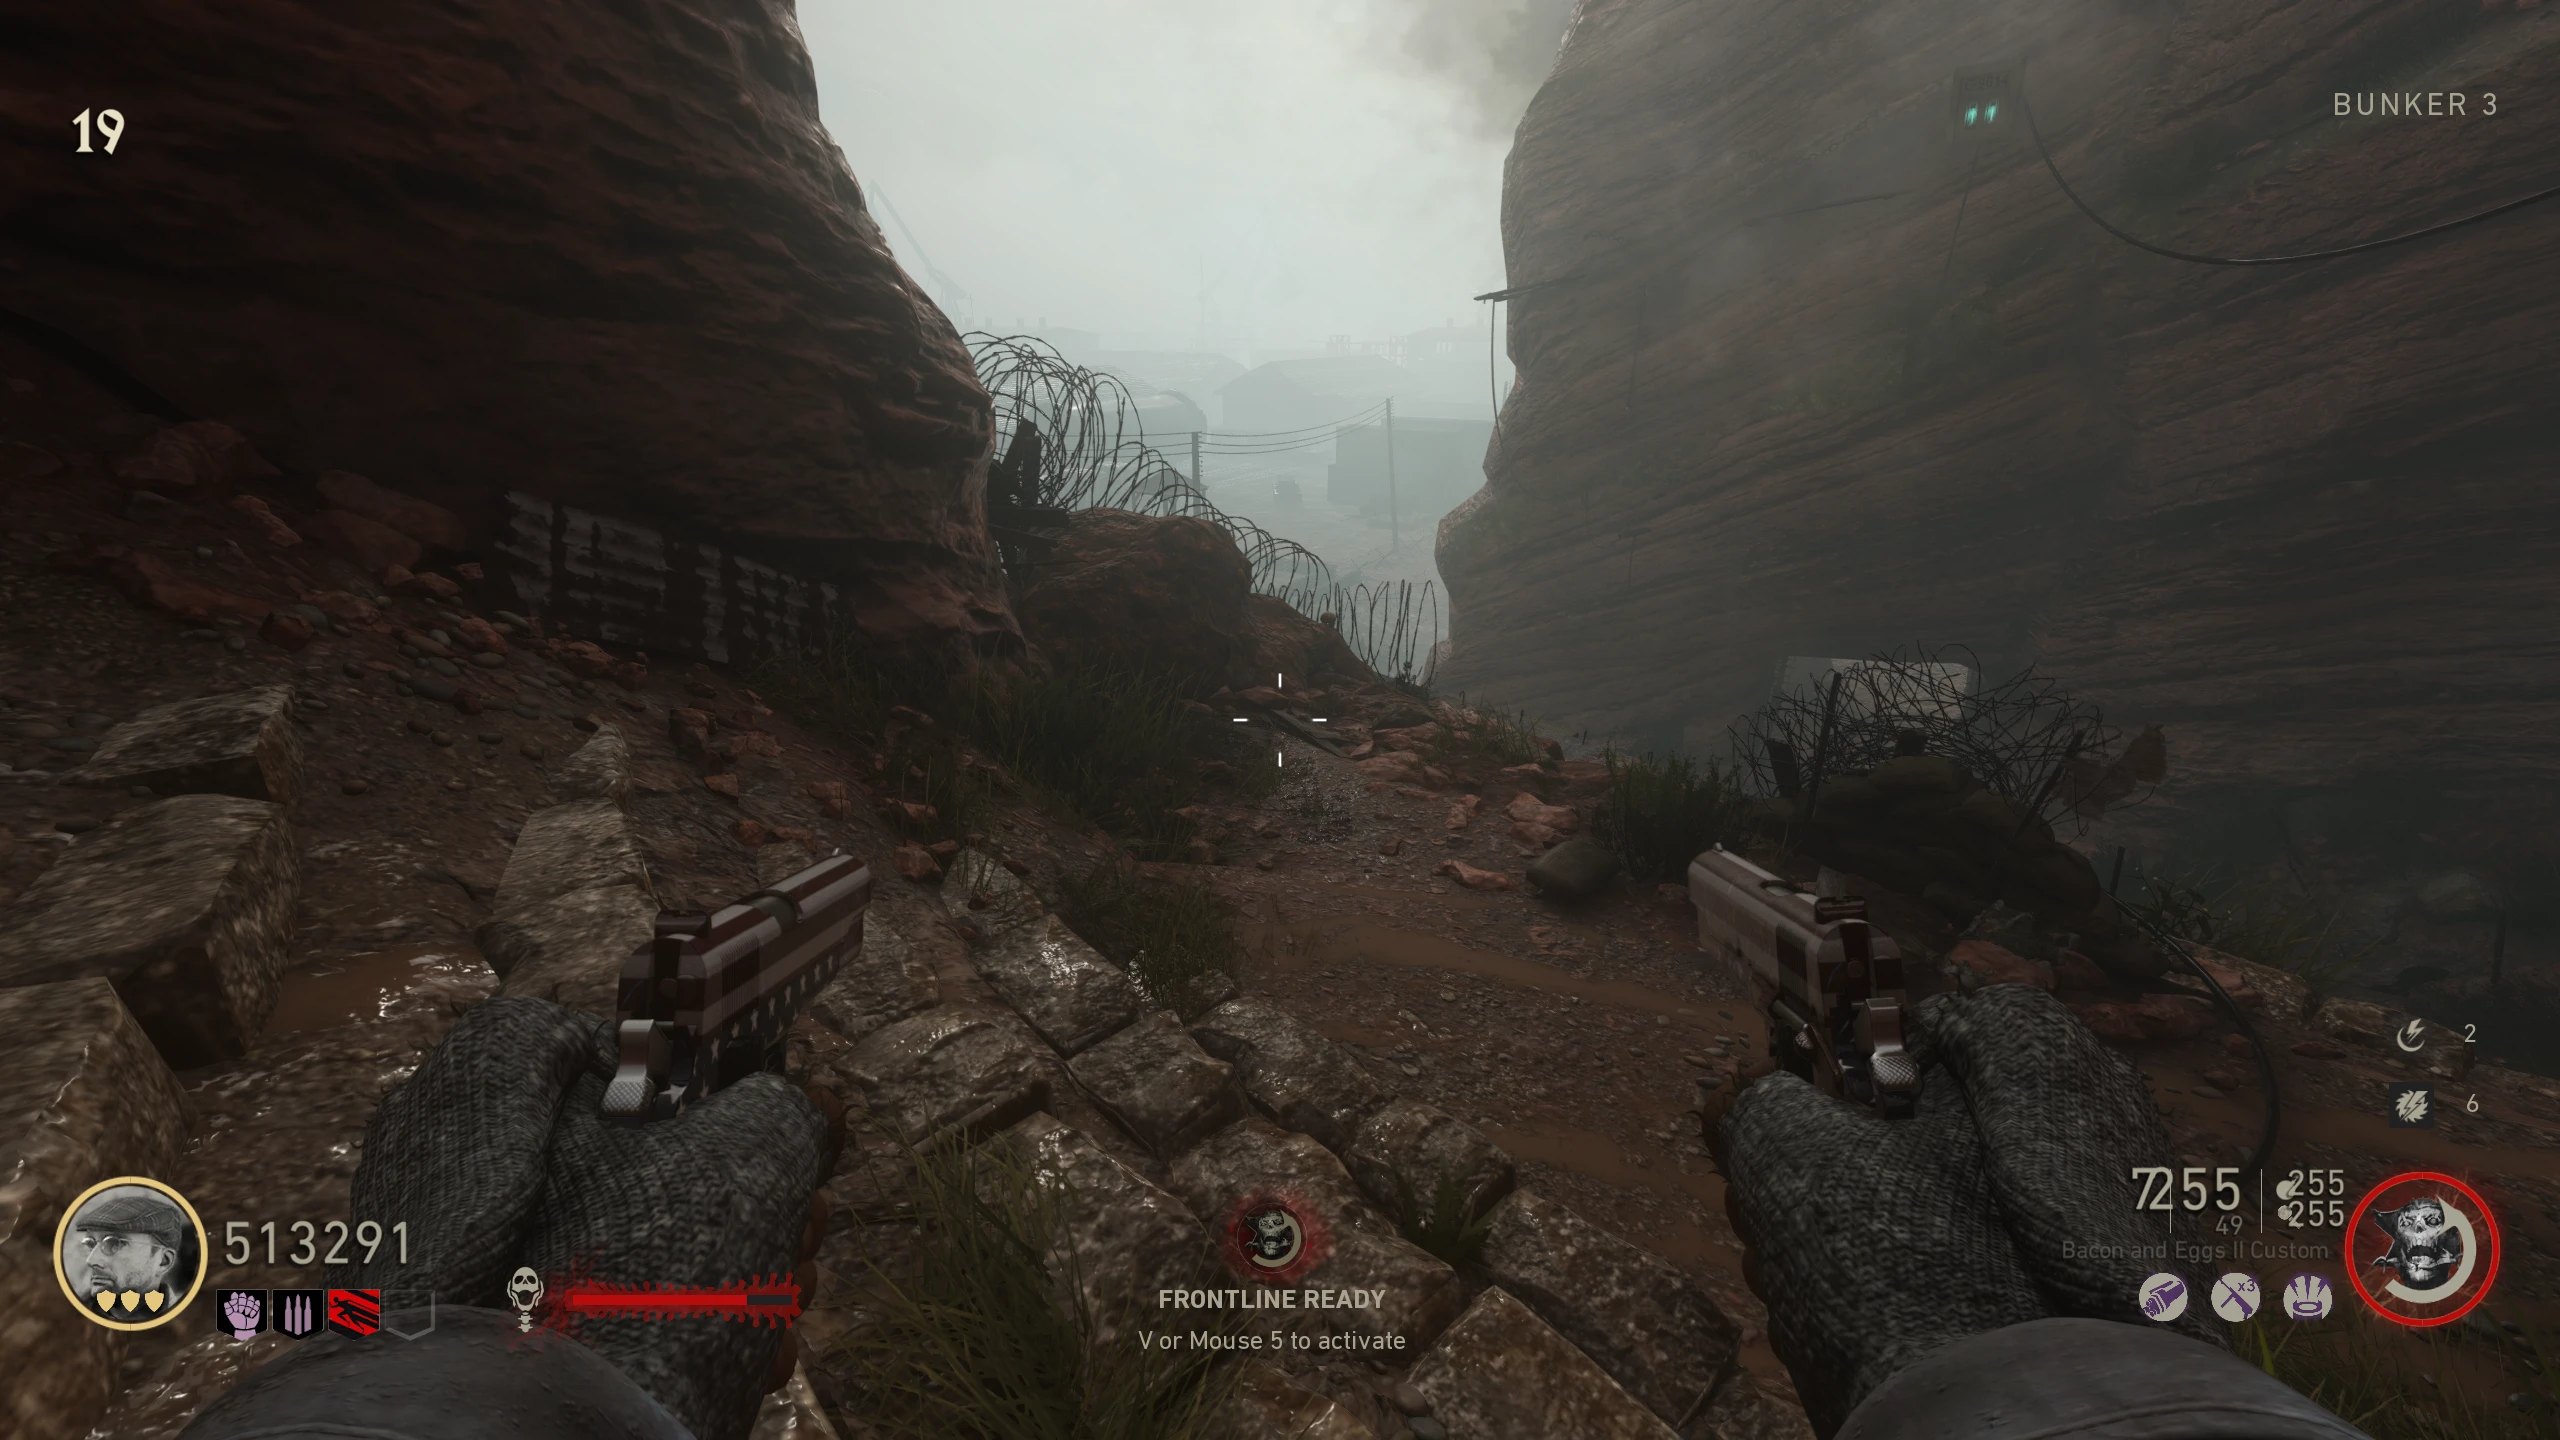
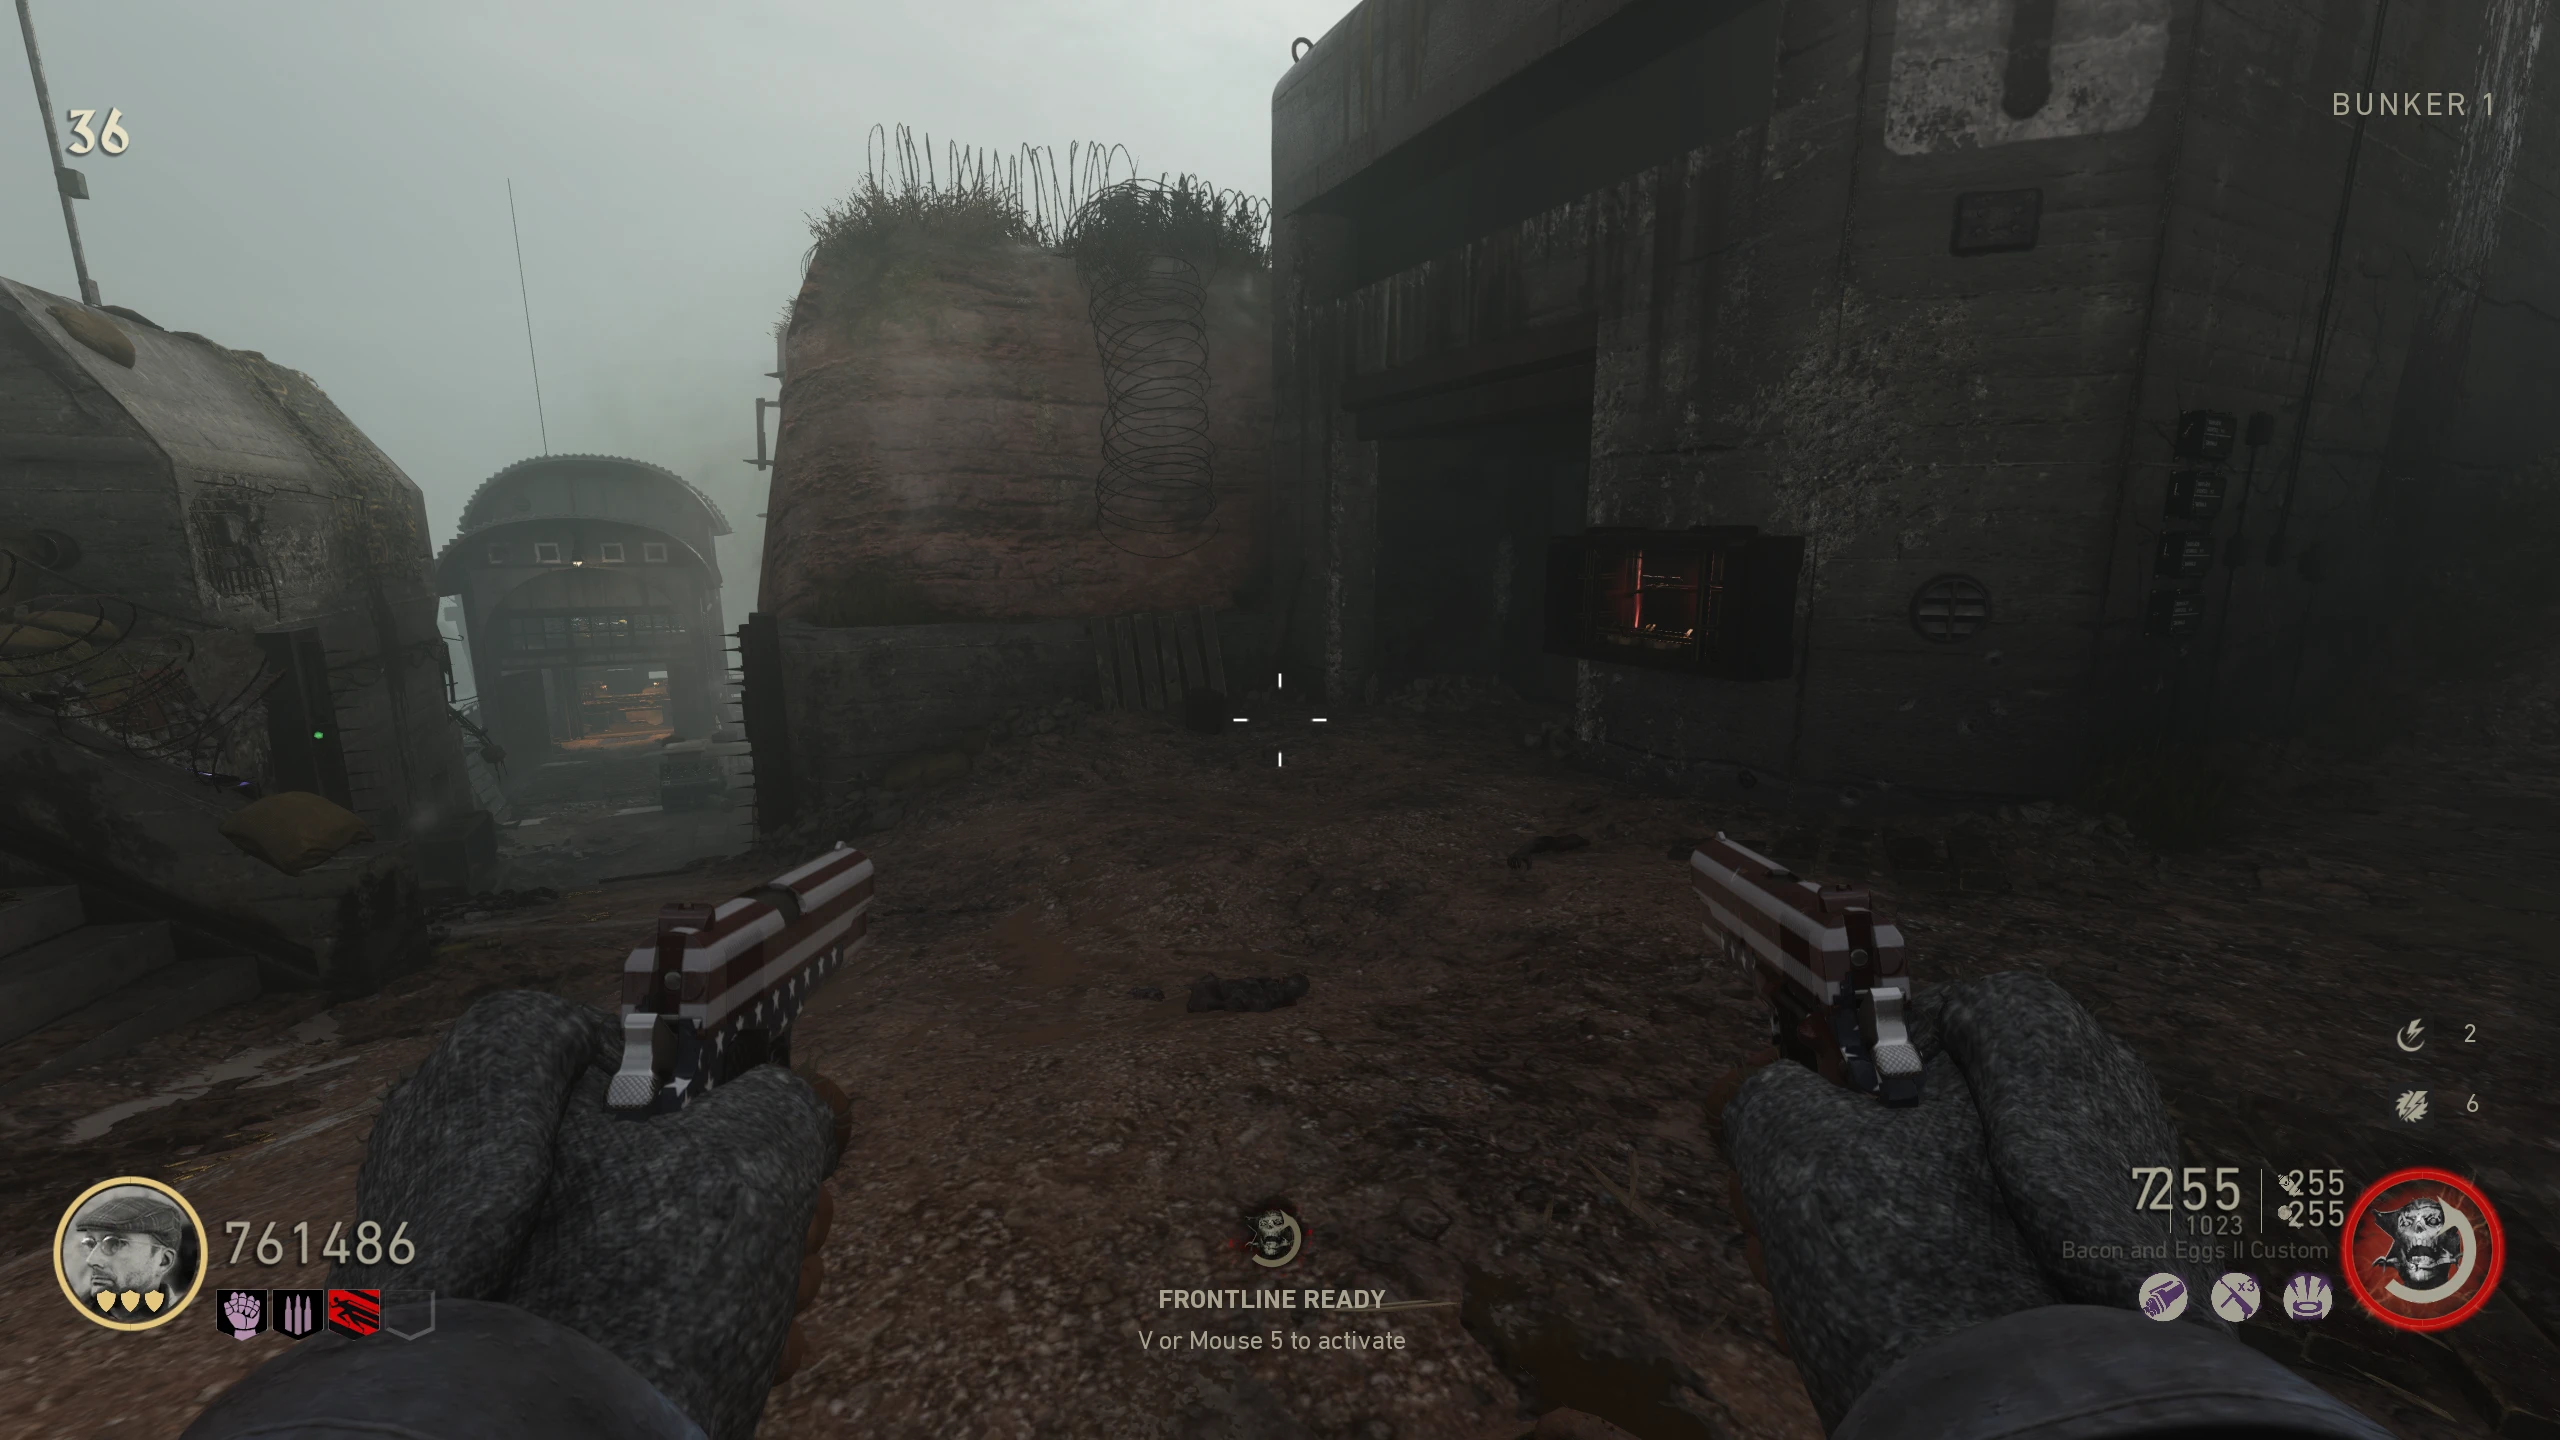
- Bunker 3 - Above the doorway to the 'Bluffs'
- Bunker 3 - Above the stairs the first set of stairs to Pack-a-Punch
- Bunker 3 - Above the stairs down beside Pack-a-Punch
- Bunkers - Above doorway to the 'Bluffs'
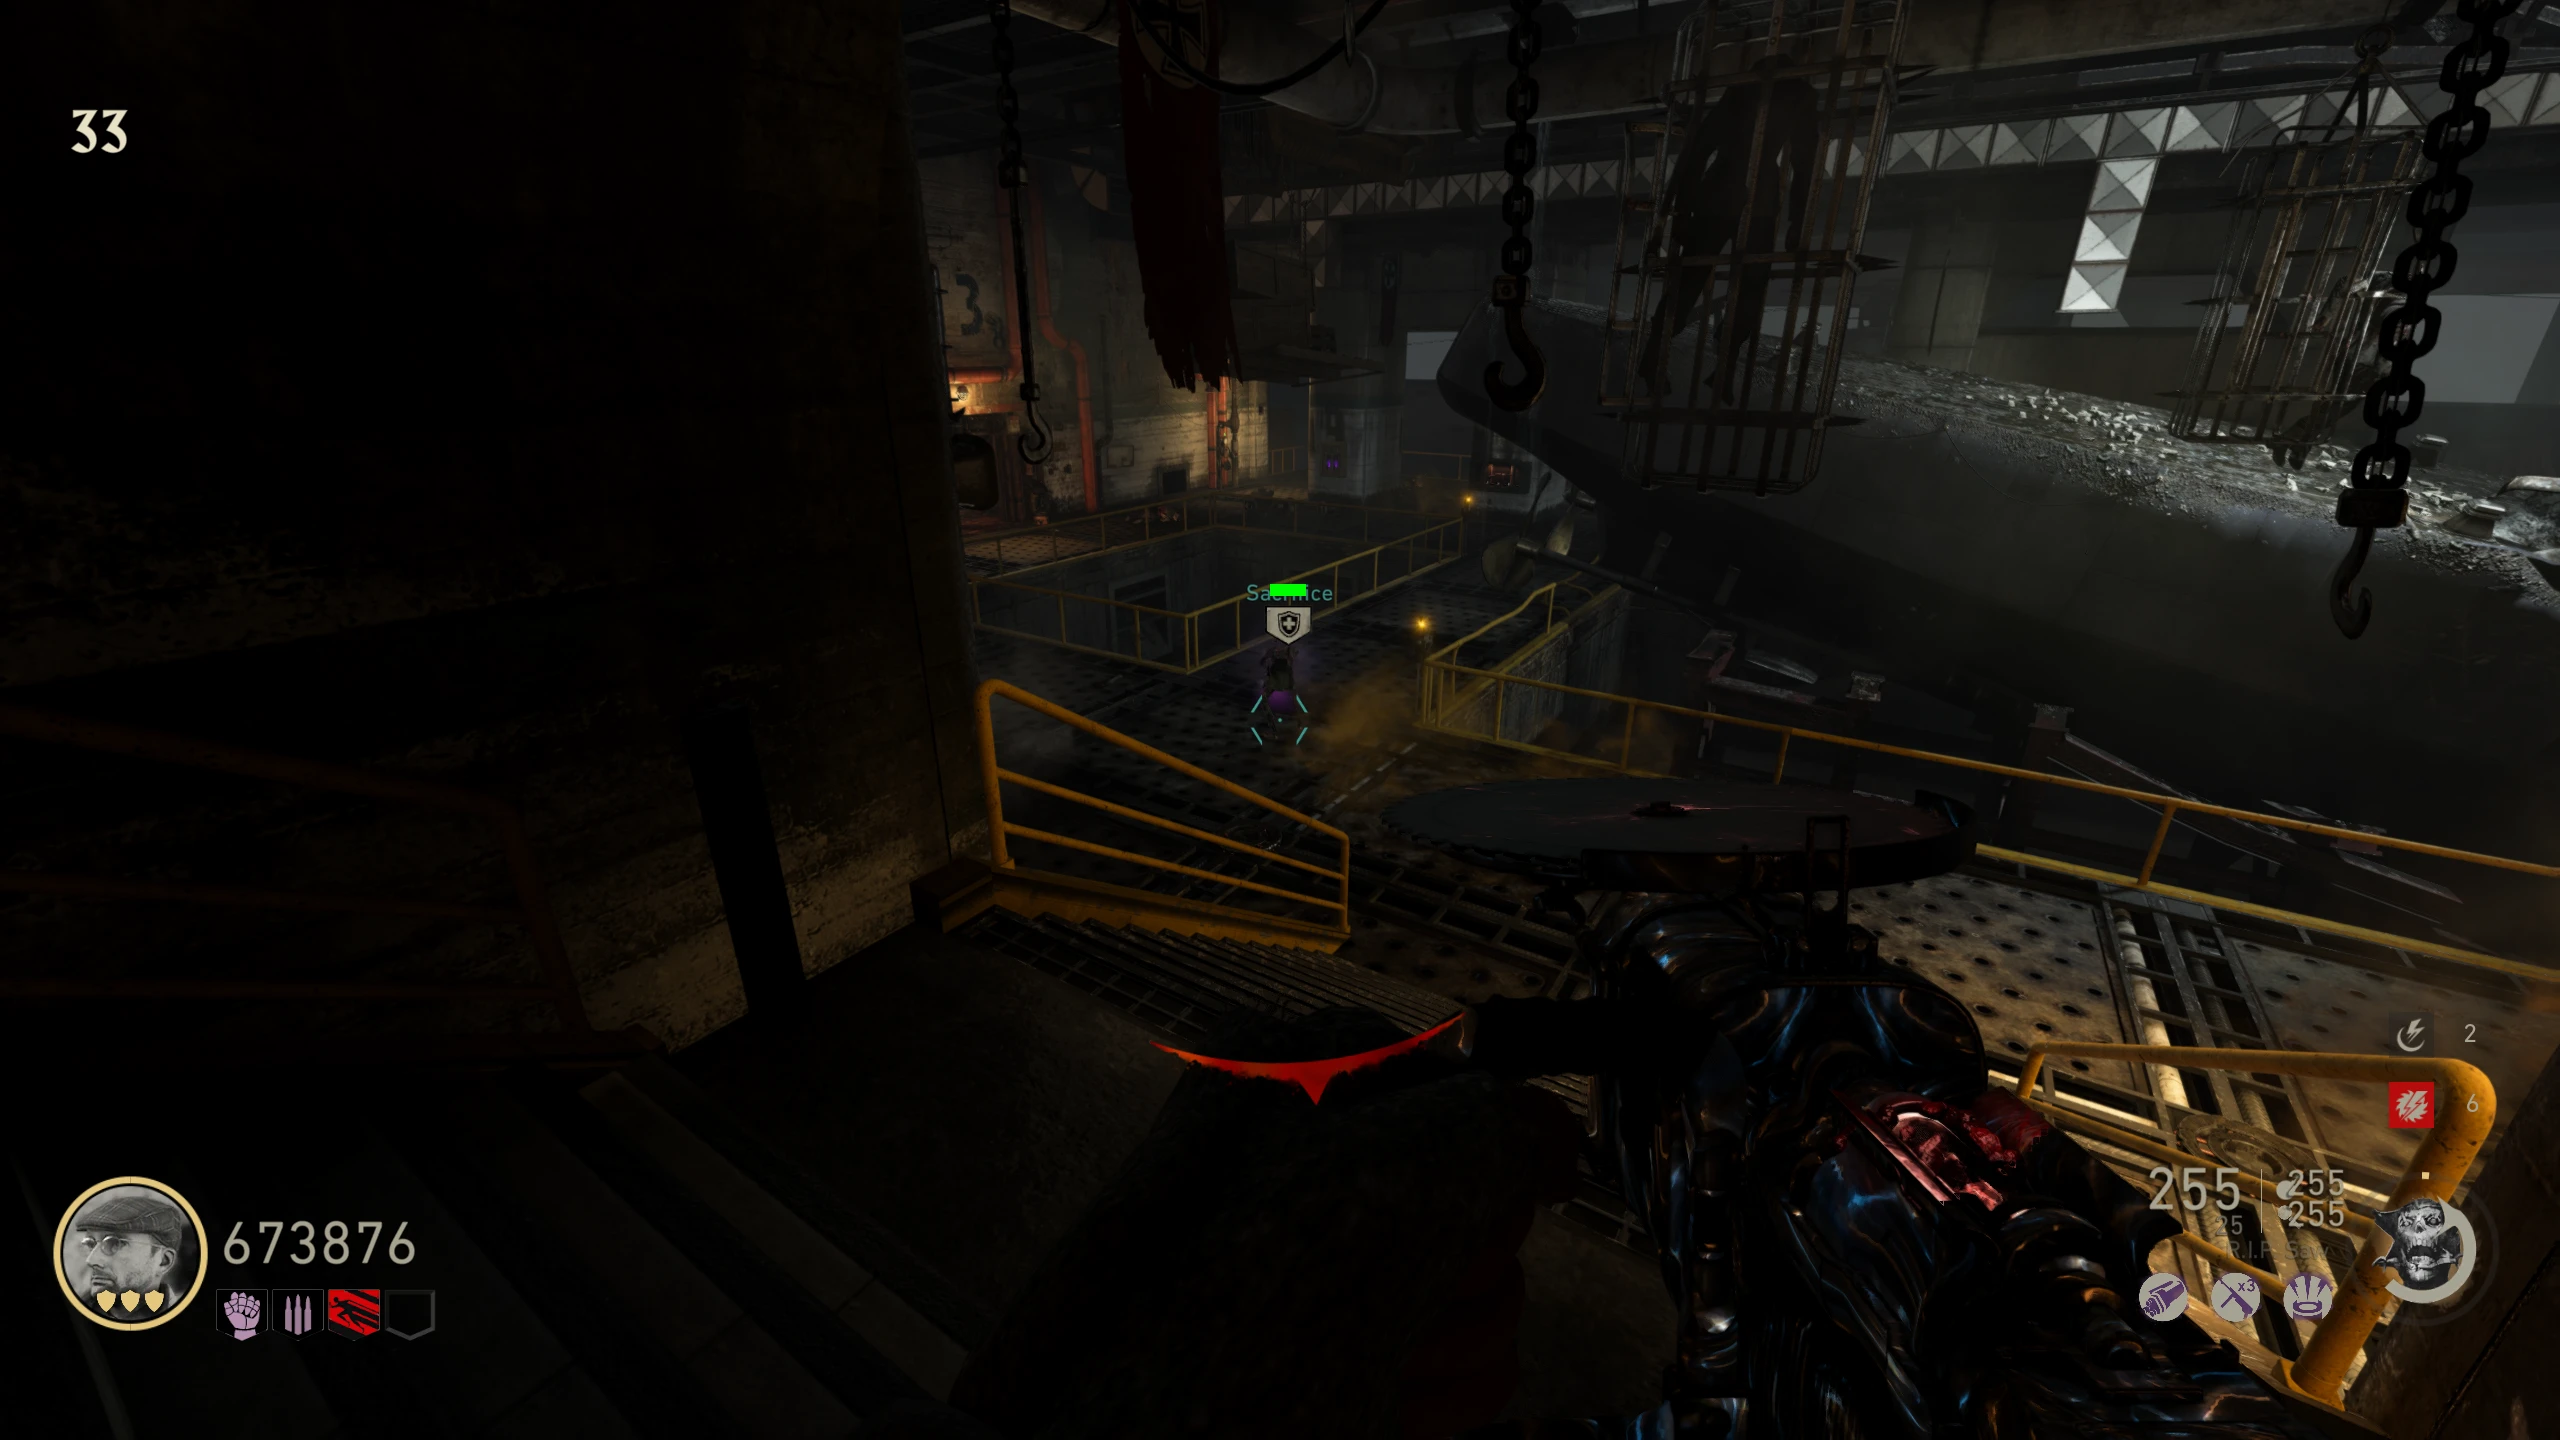
- Once all three sons are in the door, it will open, revealing three Meuchlers "praying" in front of a statue of Nerthus. You can either kill them or leave (which will completely despawn them if the map isn't foggy at the time).
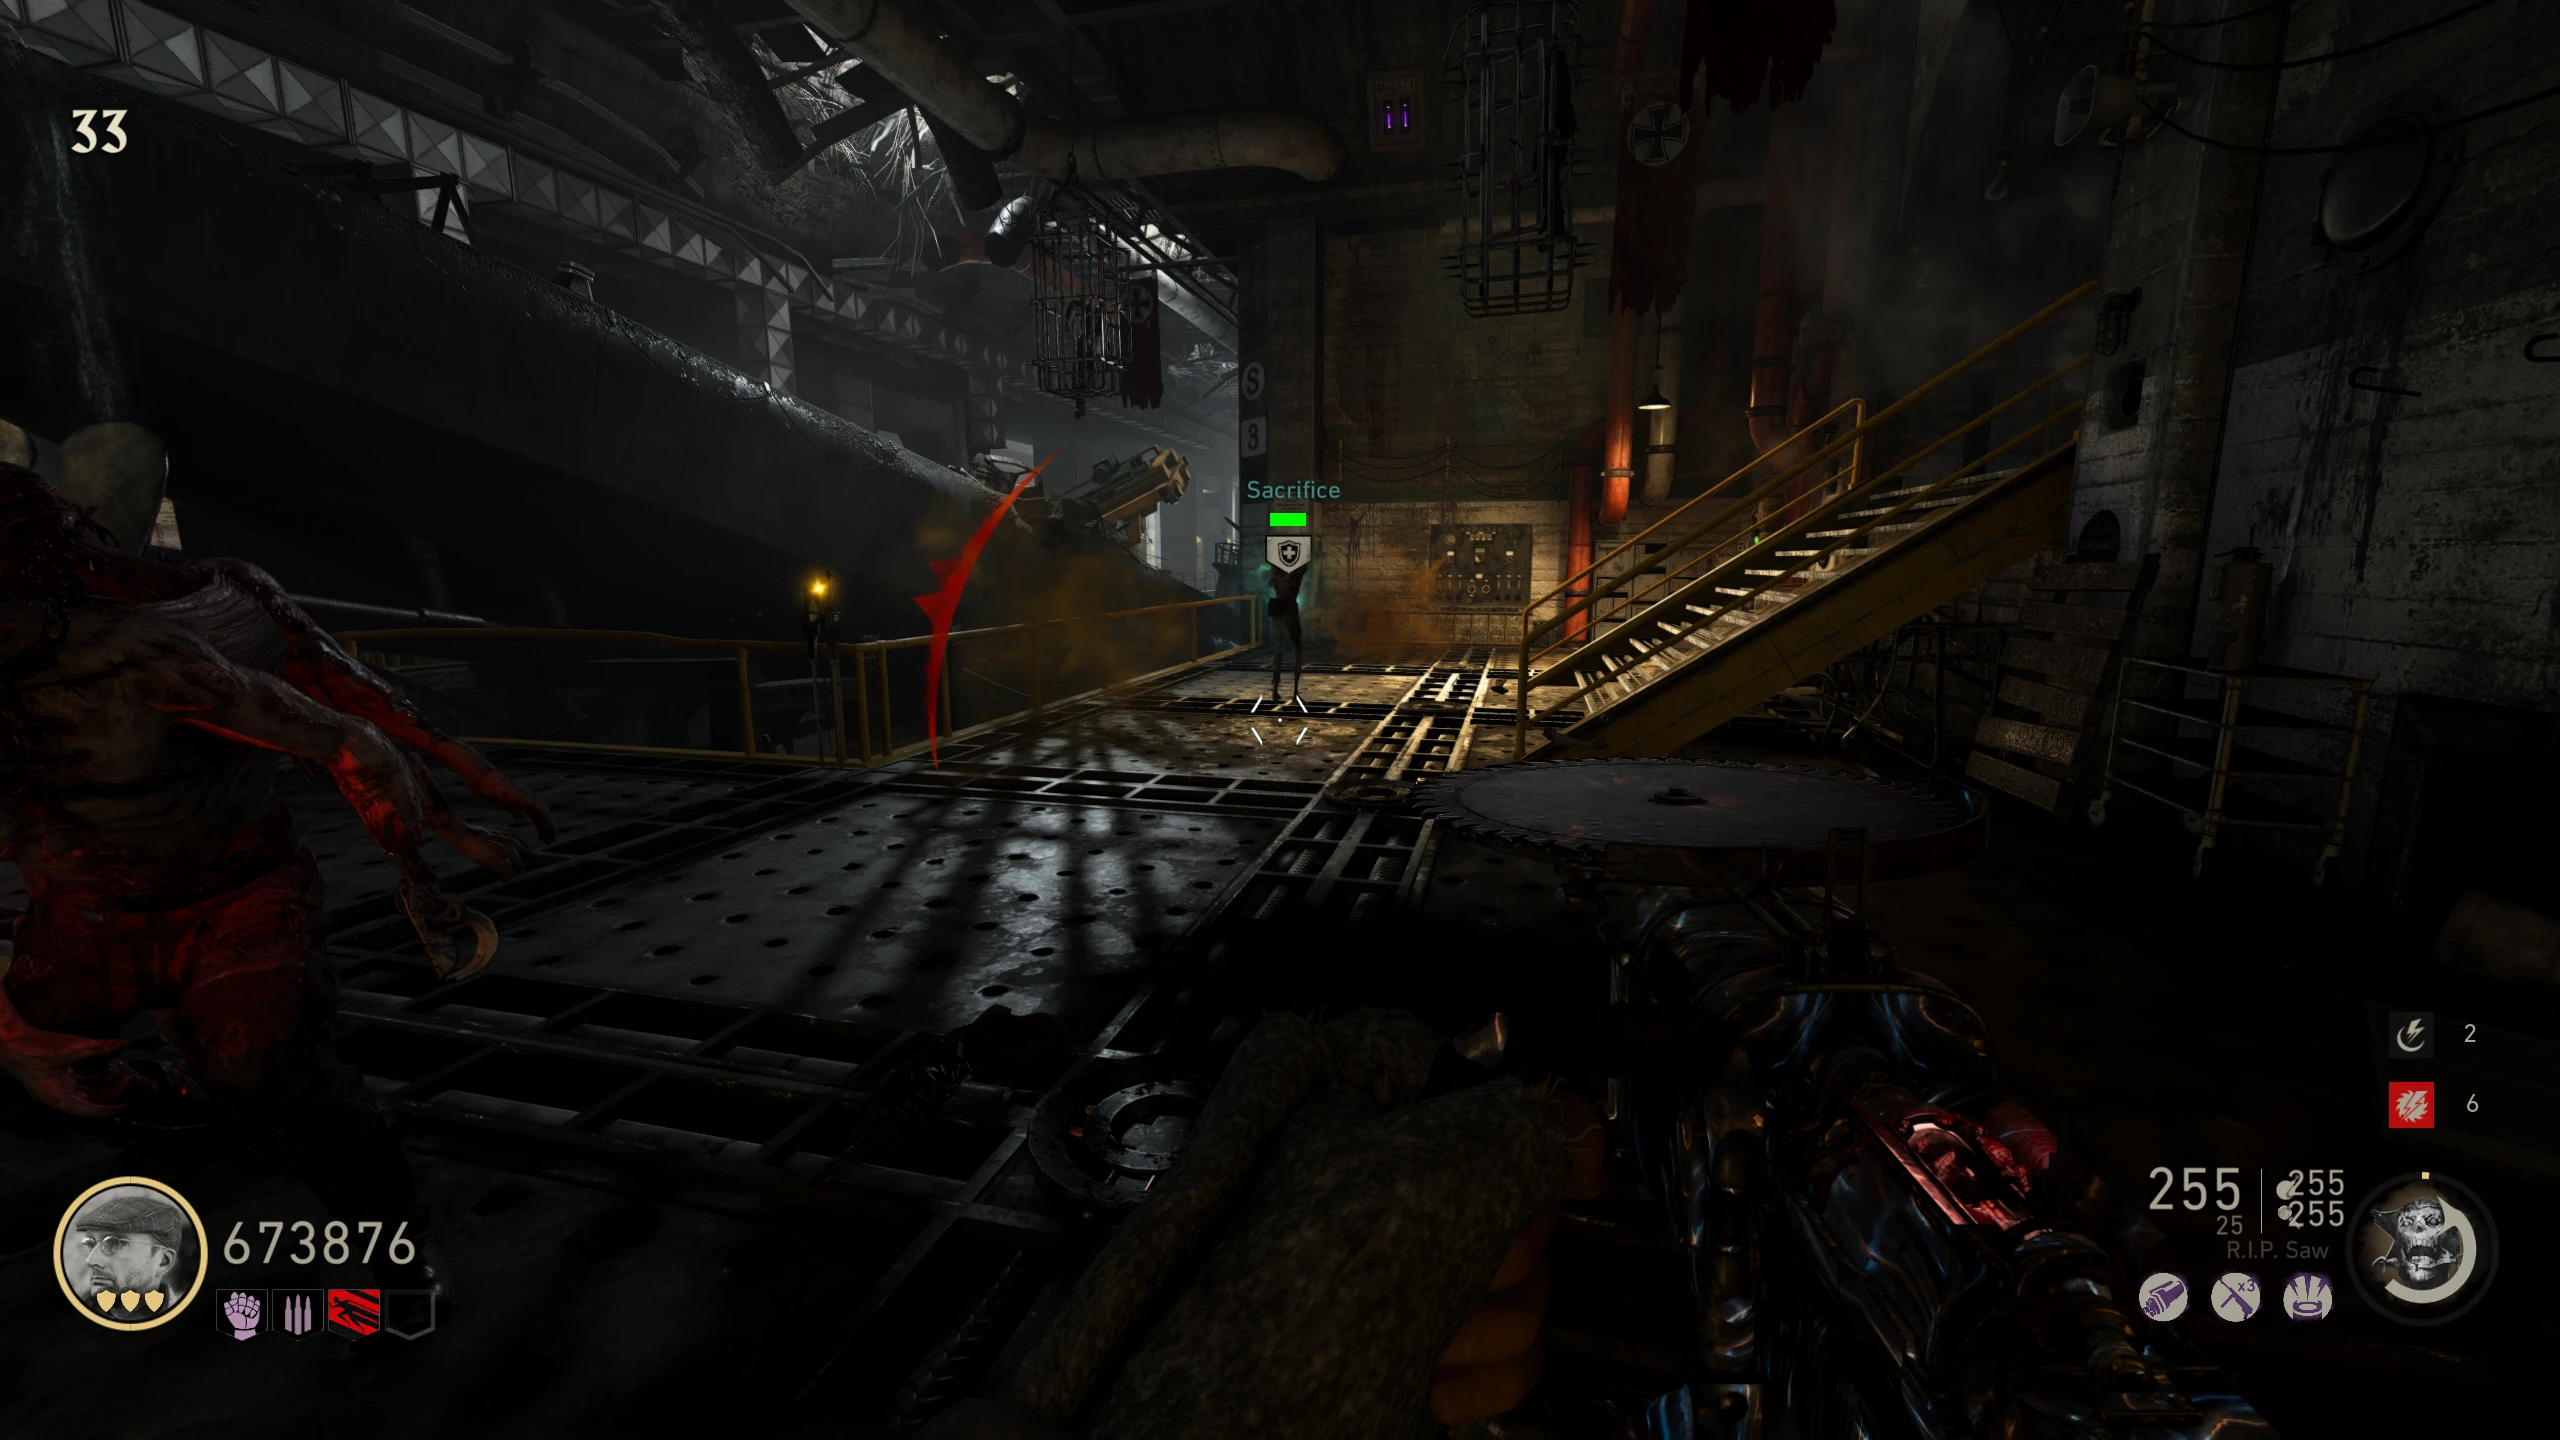
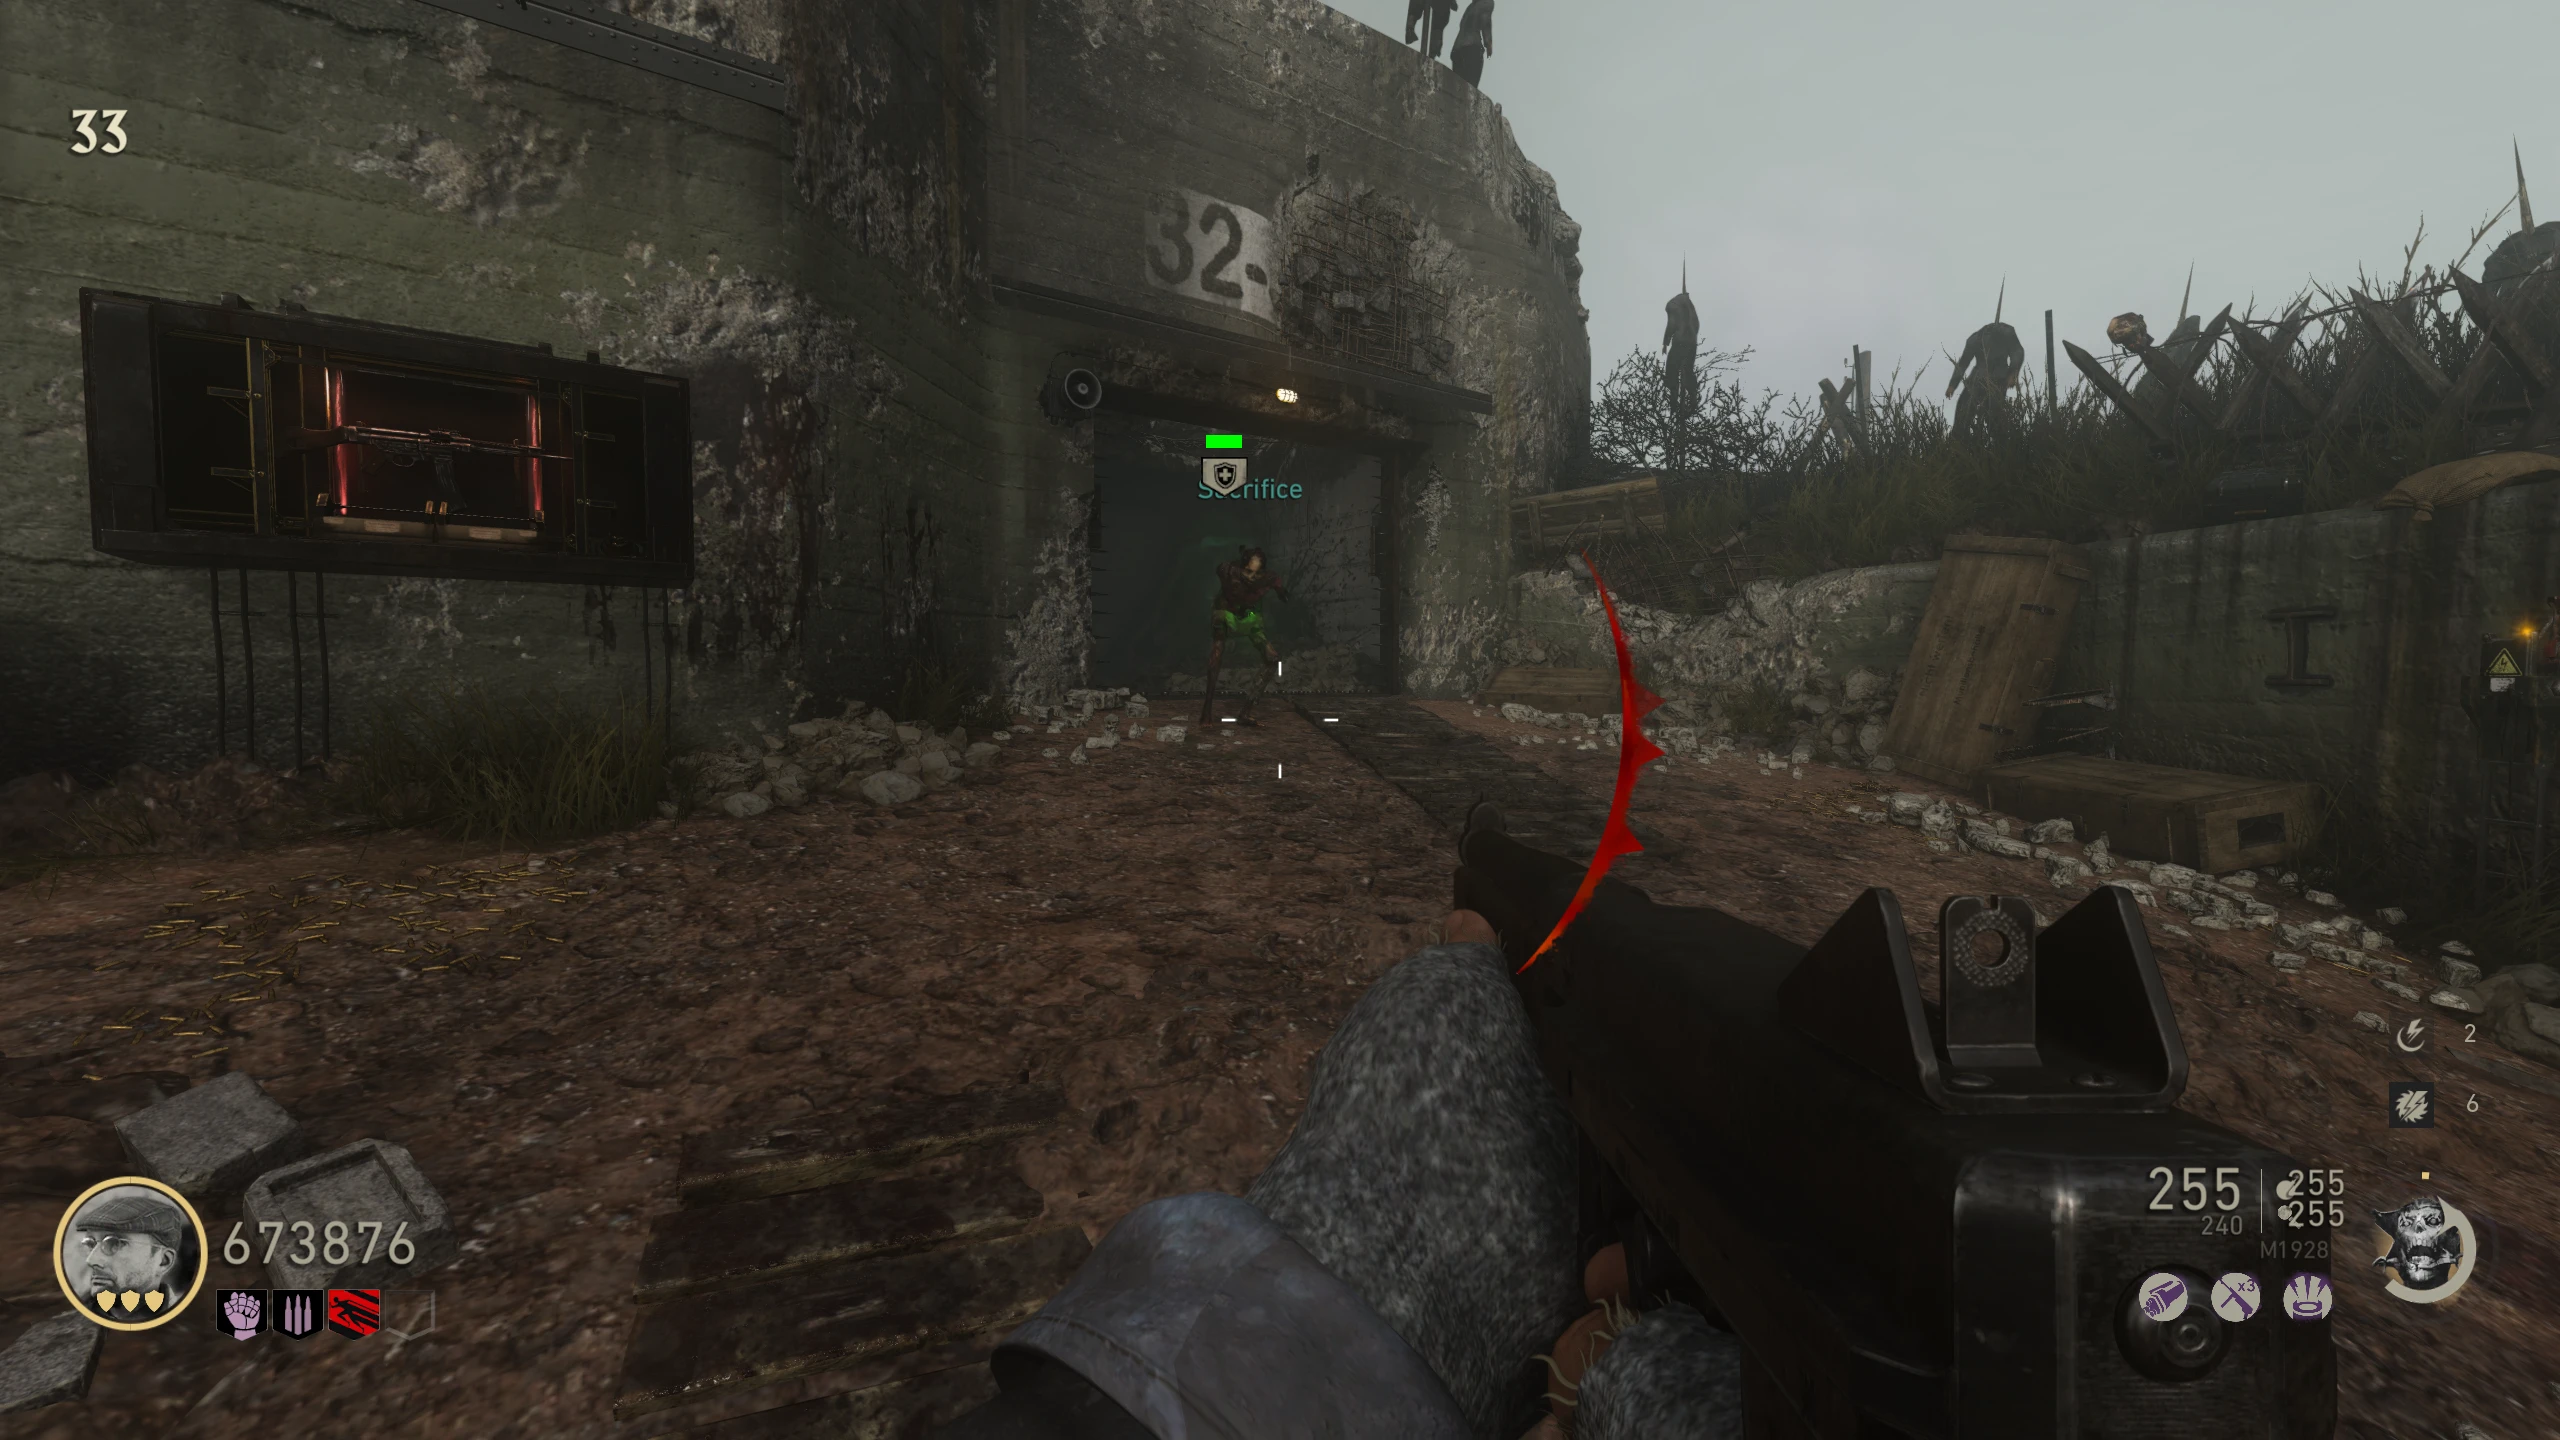
- You will need to complete three different ritual sacrifices (Meuchler Sacrifice Ritual, Wustling Sacrifice Ritual, and Pest Sacrifice Ritual) which can be done in any order.
- Obtain a charged Meuchler spine (Meuchlers will spawn every couple of minutes in the secret room, making it a good way to get that spine).
- Bring the charged Meuchler spine to the Monk Head. This will bring a friendly Meuchler out of the freezer. It will run off, and the map will become foggy.
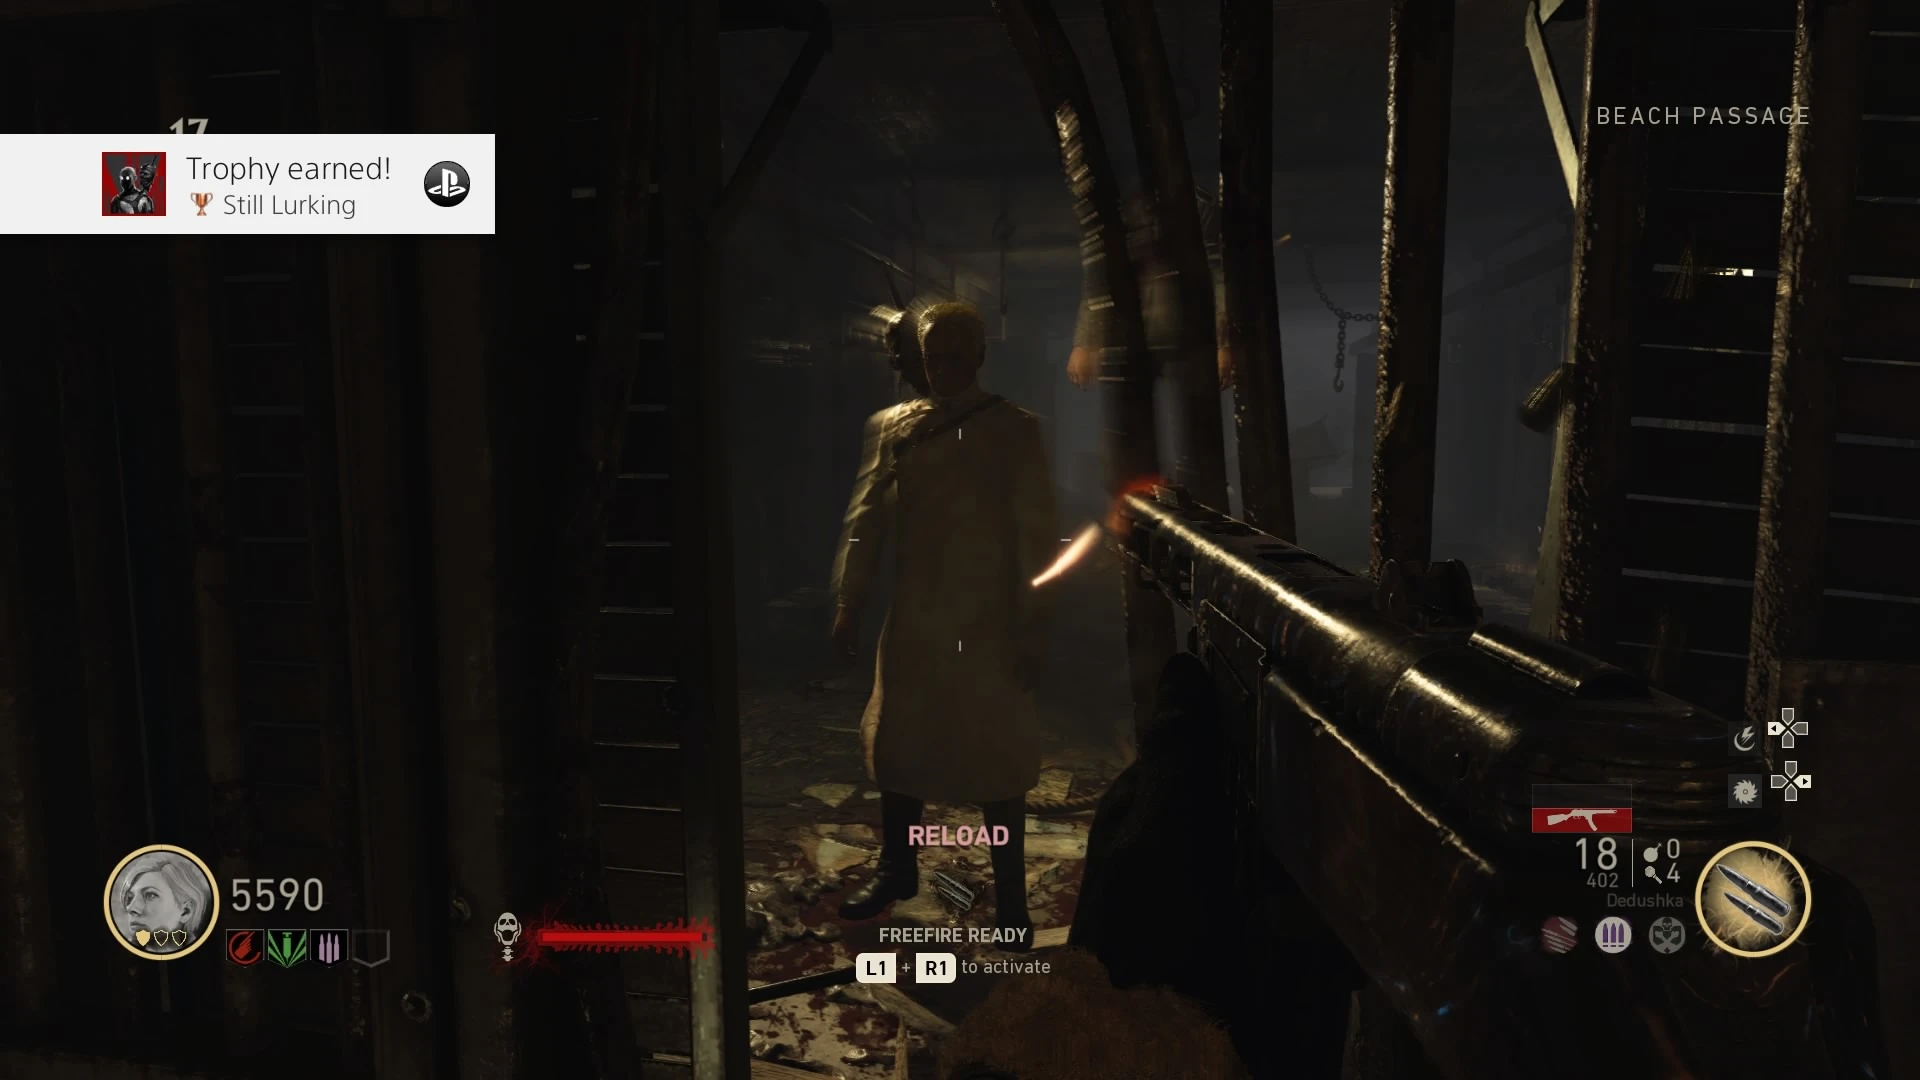
- The Meuchler will spawn, run to somewhere around the outside areas of the map, curl up in a ball, and start "screaming." You must find and shoot it before the Zombies "kill" him. To help you find him, listen for the screams then once you get close, follow the Zombies since they should be going after the Meuchler if you're close enough.
- A normal Meuchler might spawn in this fog, so be wary.
- If the Zombies kill the Meuchler or you take to long to find it, you need to get another Meuchler spine and try again.
- Meuchler Spawn Locations (may not be all of them):
- Once you shoot the Meuchler, it will run off again and spawn somewhere else. You will need to repeat finding the Meuchler two more times.
- After the third time, the Meuchler won't respawn and the fog will lift. All players must go to the secret room.
- Once all players are in the room, the door will close, and a Meuchler will climb down from the ceiling and curl into a ball. Kill the Meuchler and pick up its head. This Meuchler will have more health than a normal one.
- Obtain a charged Wustling spine.
- Bring the charged Wustling spine to the Monk Head. This will bring a friendly Wustling out of the freezer. It will follow the nearest player unless a perk machine is closer, then it will go to it. You can shoot the Wustling (it doesn't charge) to make it temporarily only follow you. You will need to bring the Wustling to perk machines for it to use in a specific order.
- The only path to Faustblitz (melee perk) will take you very close to Laufenblitz (Stamin-Up), so make sure you keep the Wustling locked to following you so it doesn't accidentally use the wrong/out-of-order perk.
- If the Wustling does grab the wrong/out-of-order perk, you will need to let the Zombies kill him, and get a new spine and try again.
- Perk Order:
- Once the Wustling grabs Lebenblitz (Quick Revive) and all the other perks are correct, it will jump through the hole in the wall beside Quick Revive and disappear.
- All players must go to the secret room. Once all players are in the room, the door will close and three Wustlings will fall from the ceiling. Kill them and pick up the head one of them drops. One of the Wustlings will have more health than a normal one.
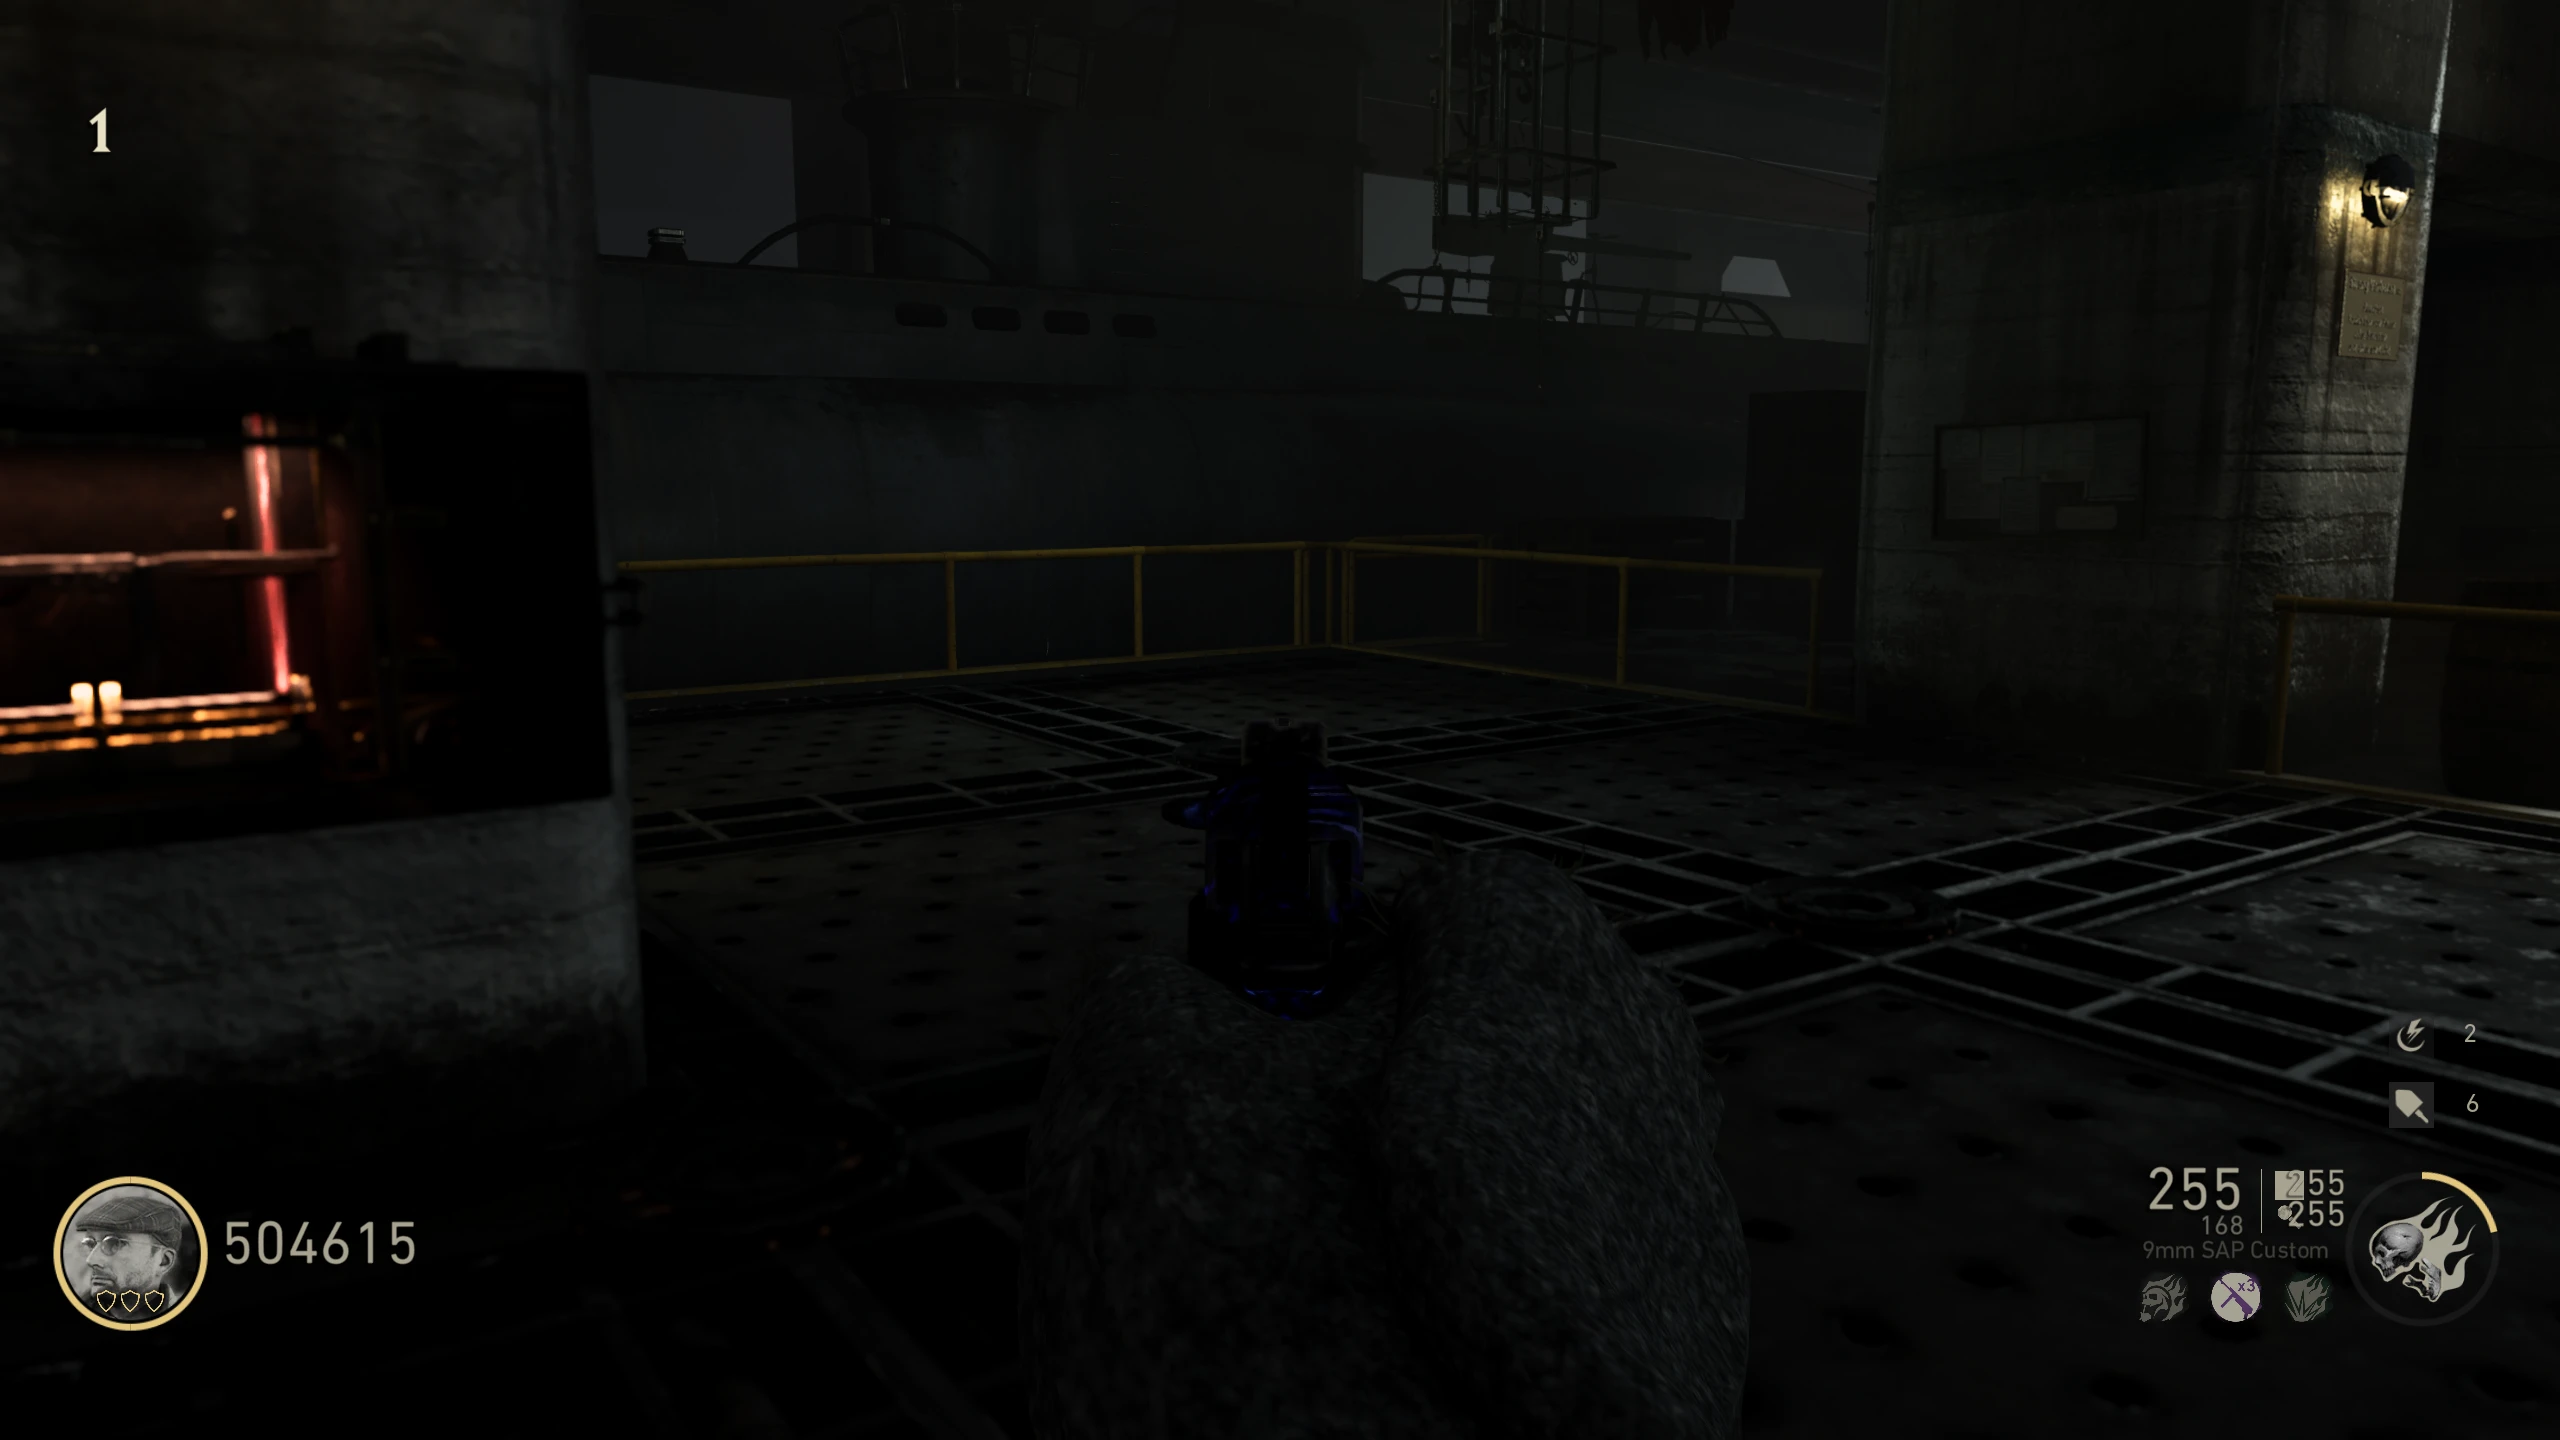
- Blow open all the following fuse boxes around the map with grenades to reveal coloured coils:
- U-Boat Pens - Left of the Power Switch
- U-Boat Pens - Left of the M1927 wallbuy
- U-Boat Pens - Right of the stairs
- Bunker 3 - Above the door to the inside
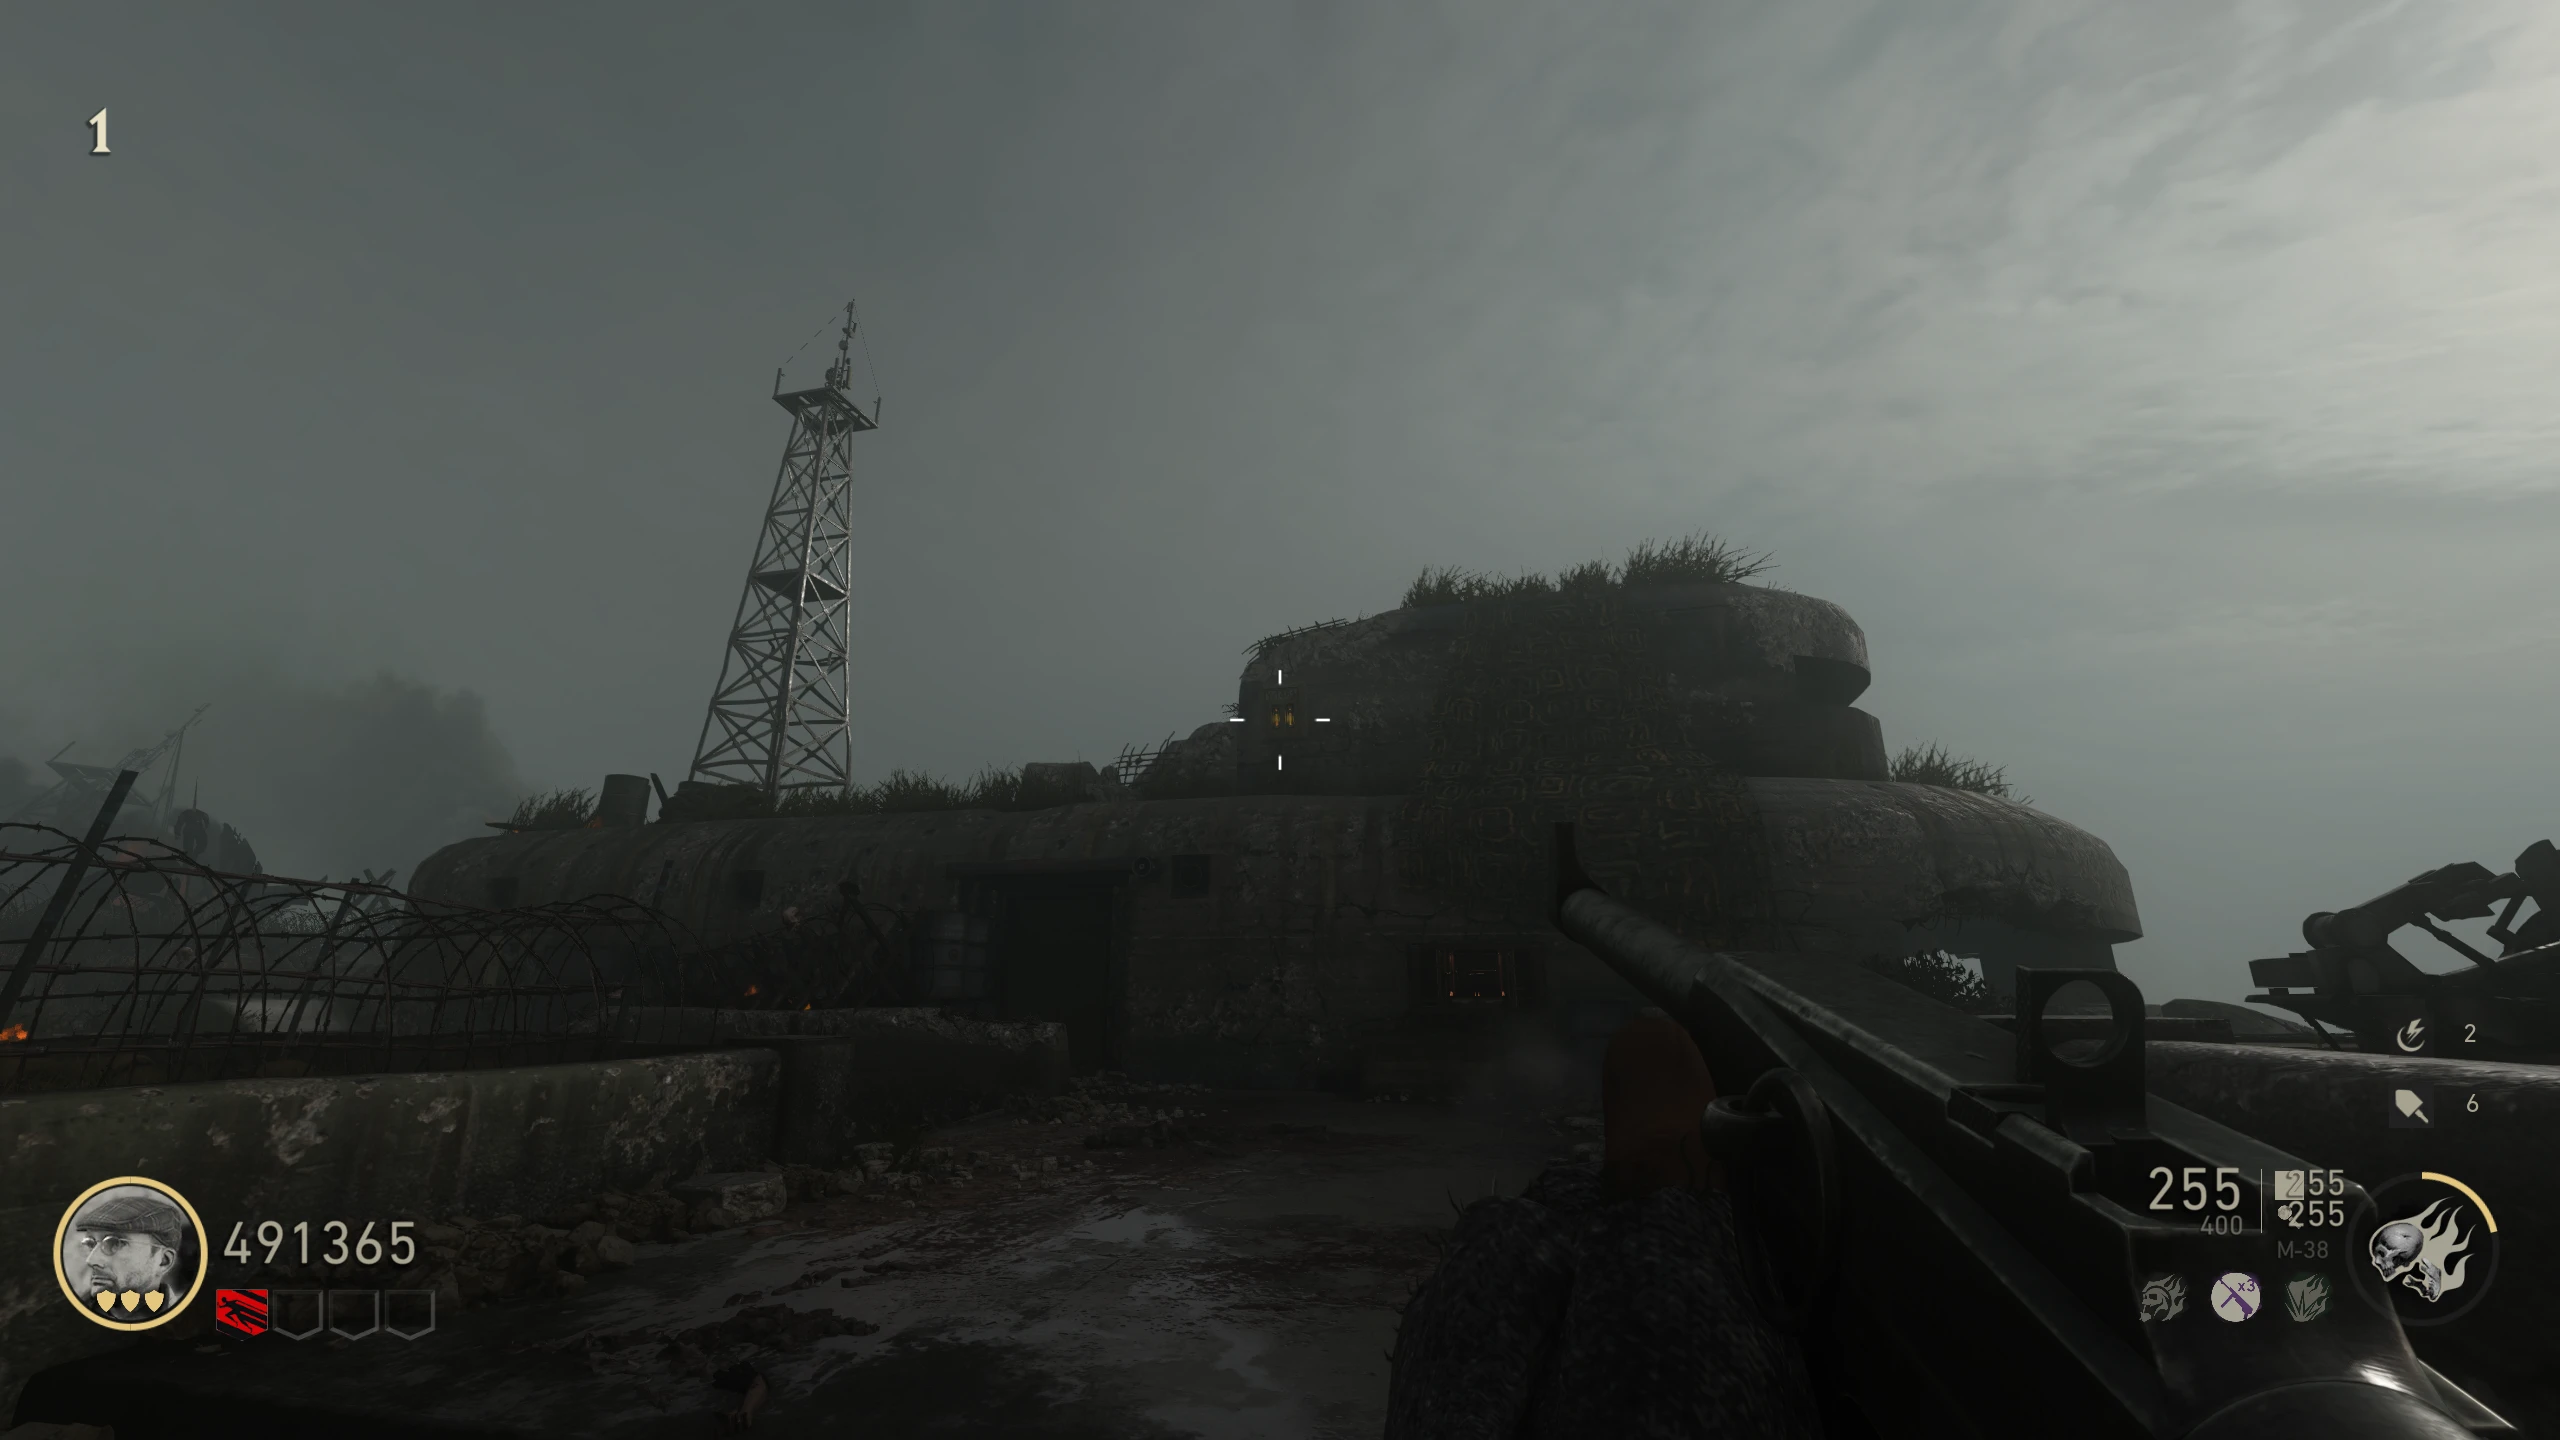
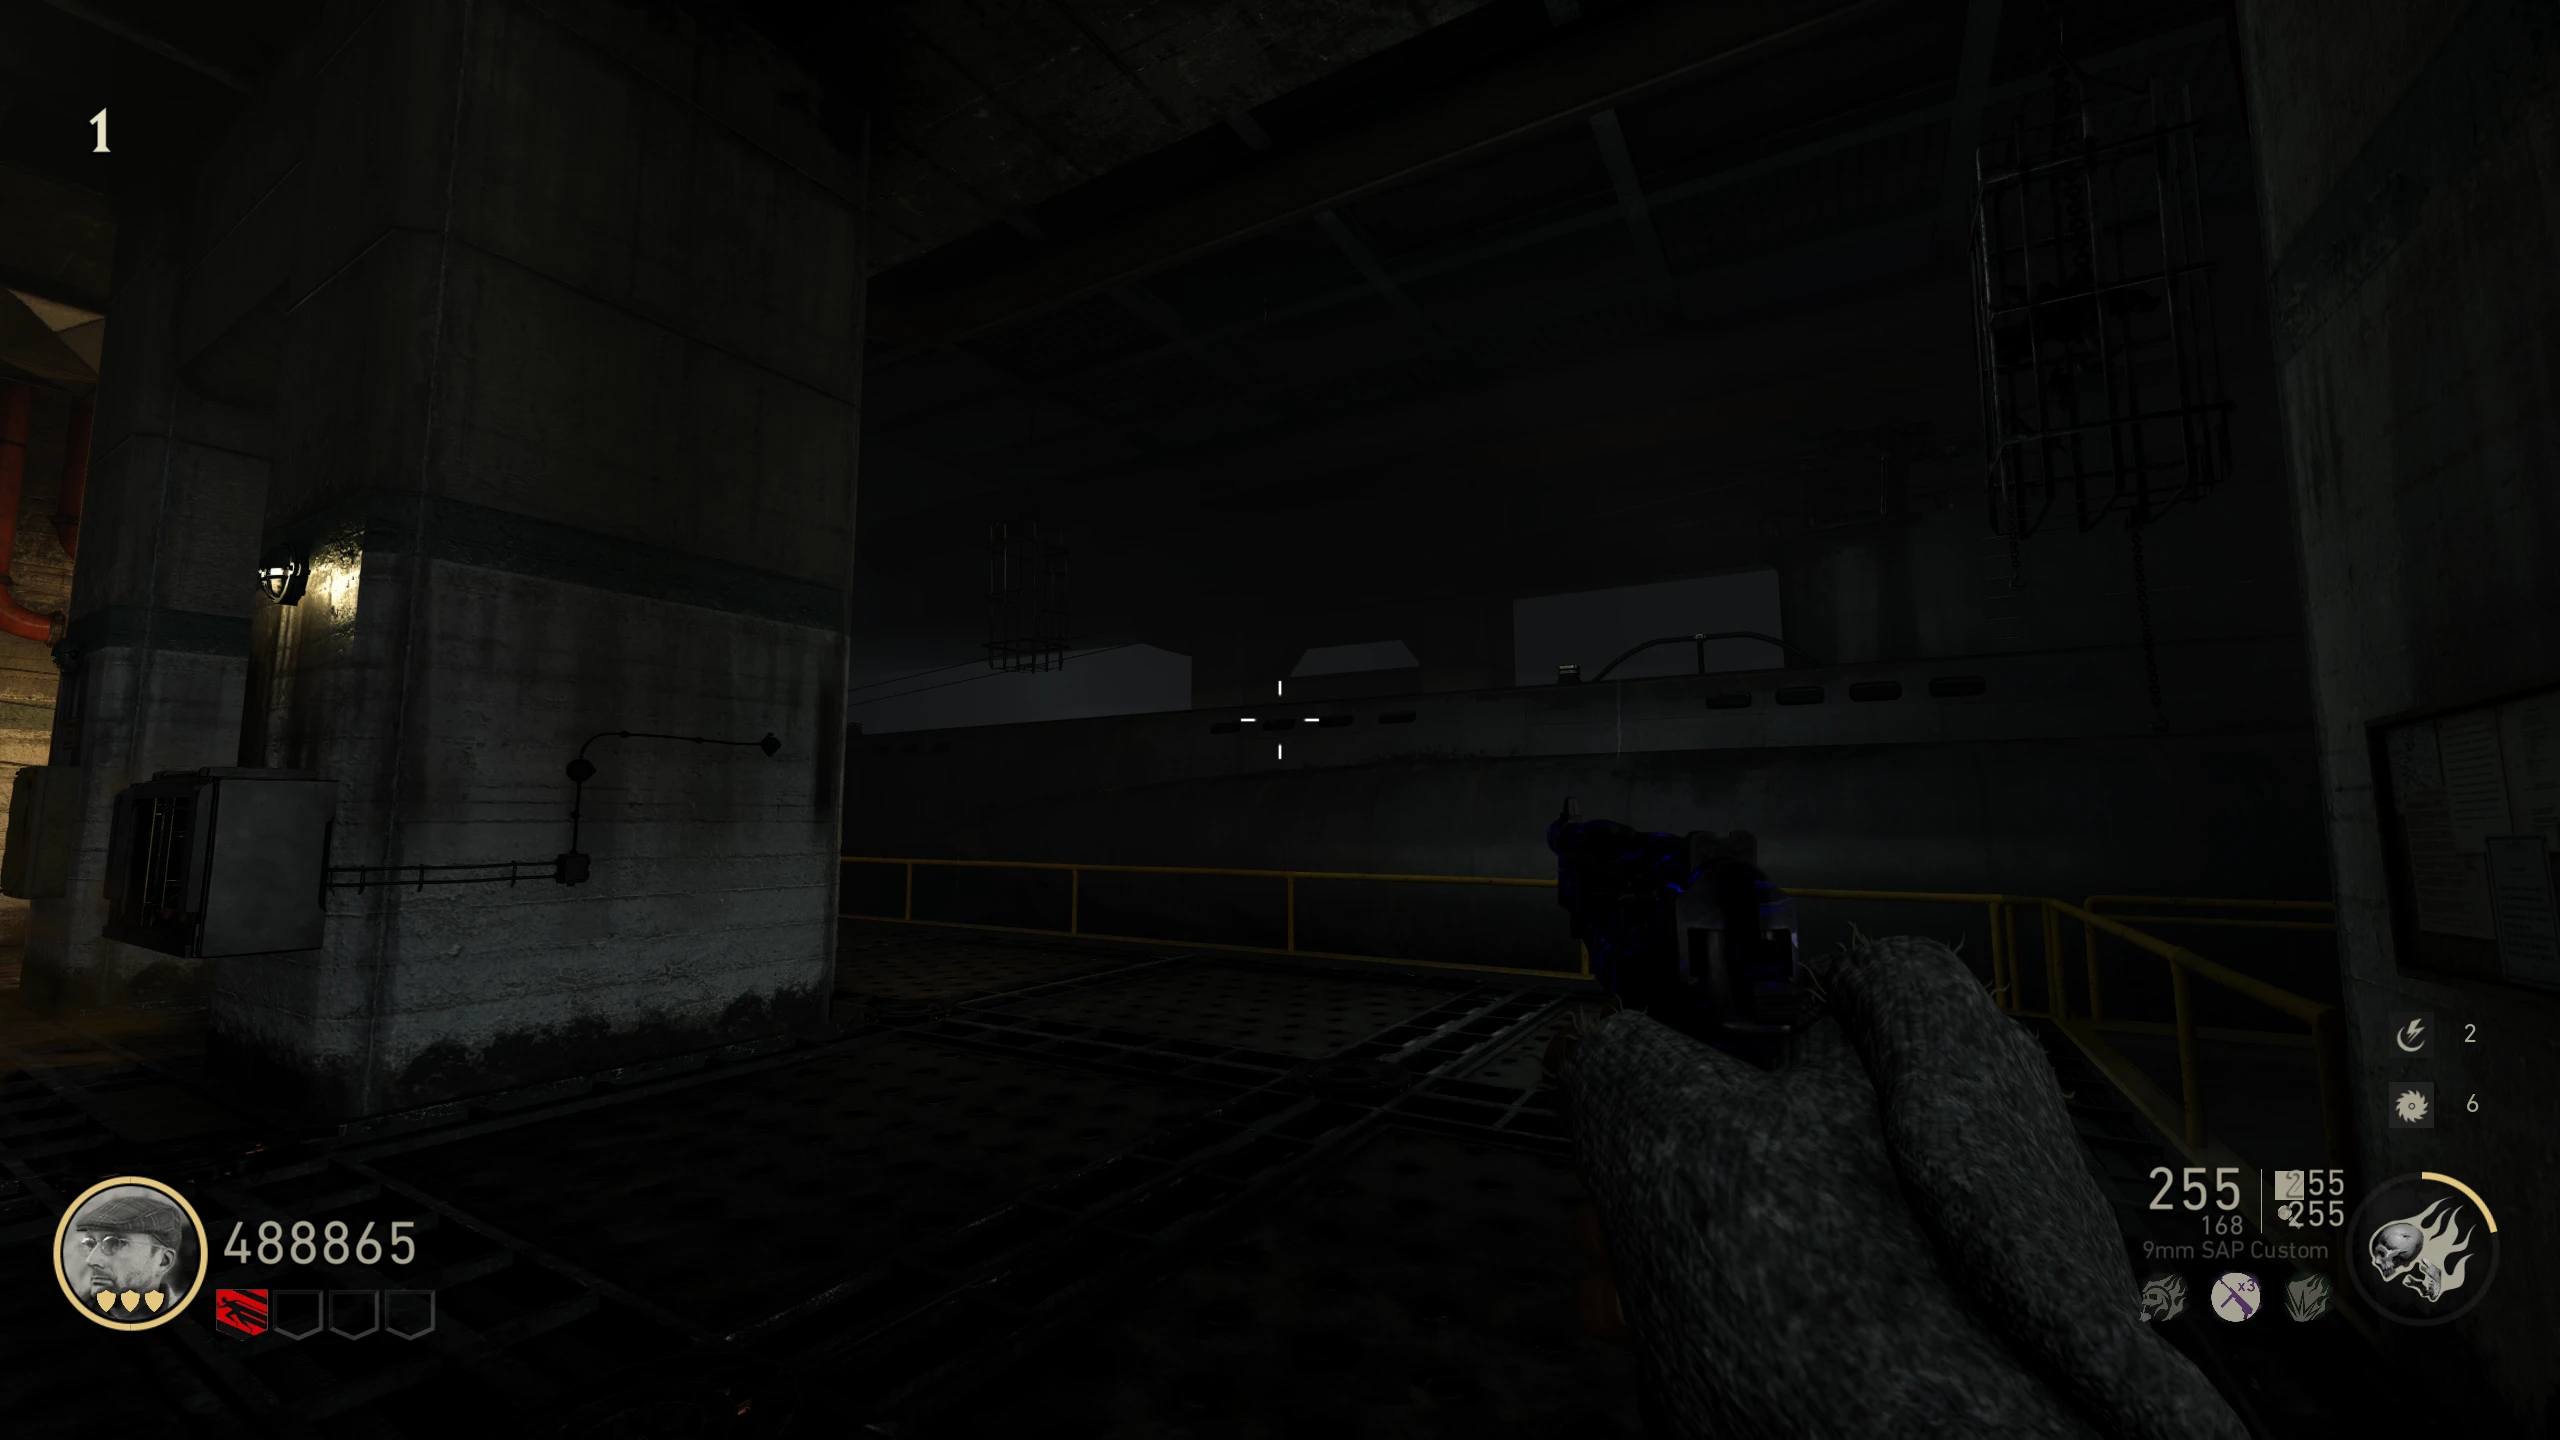
- Overlook - Above the M1941 wallbuy
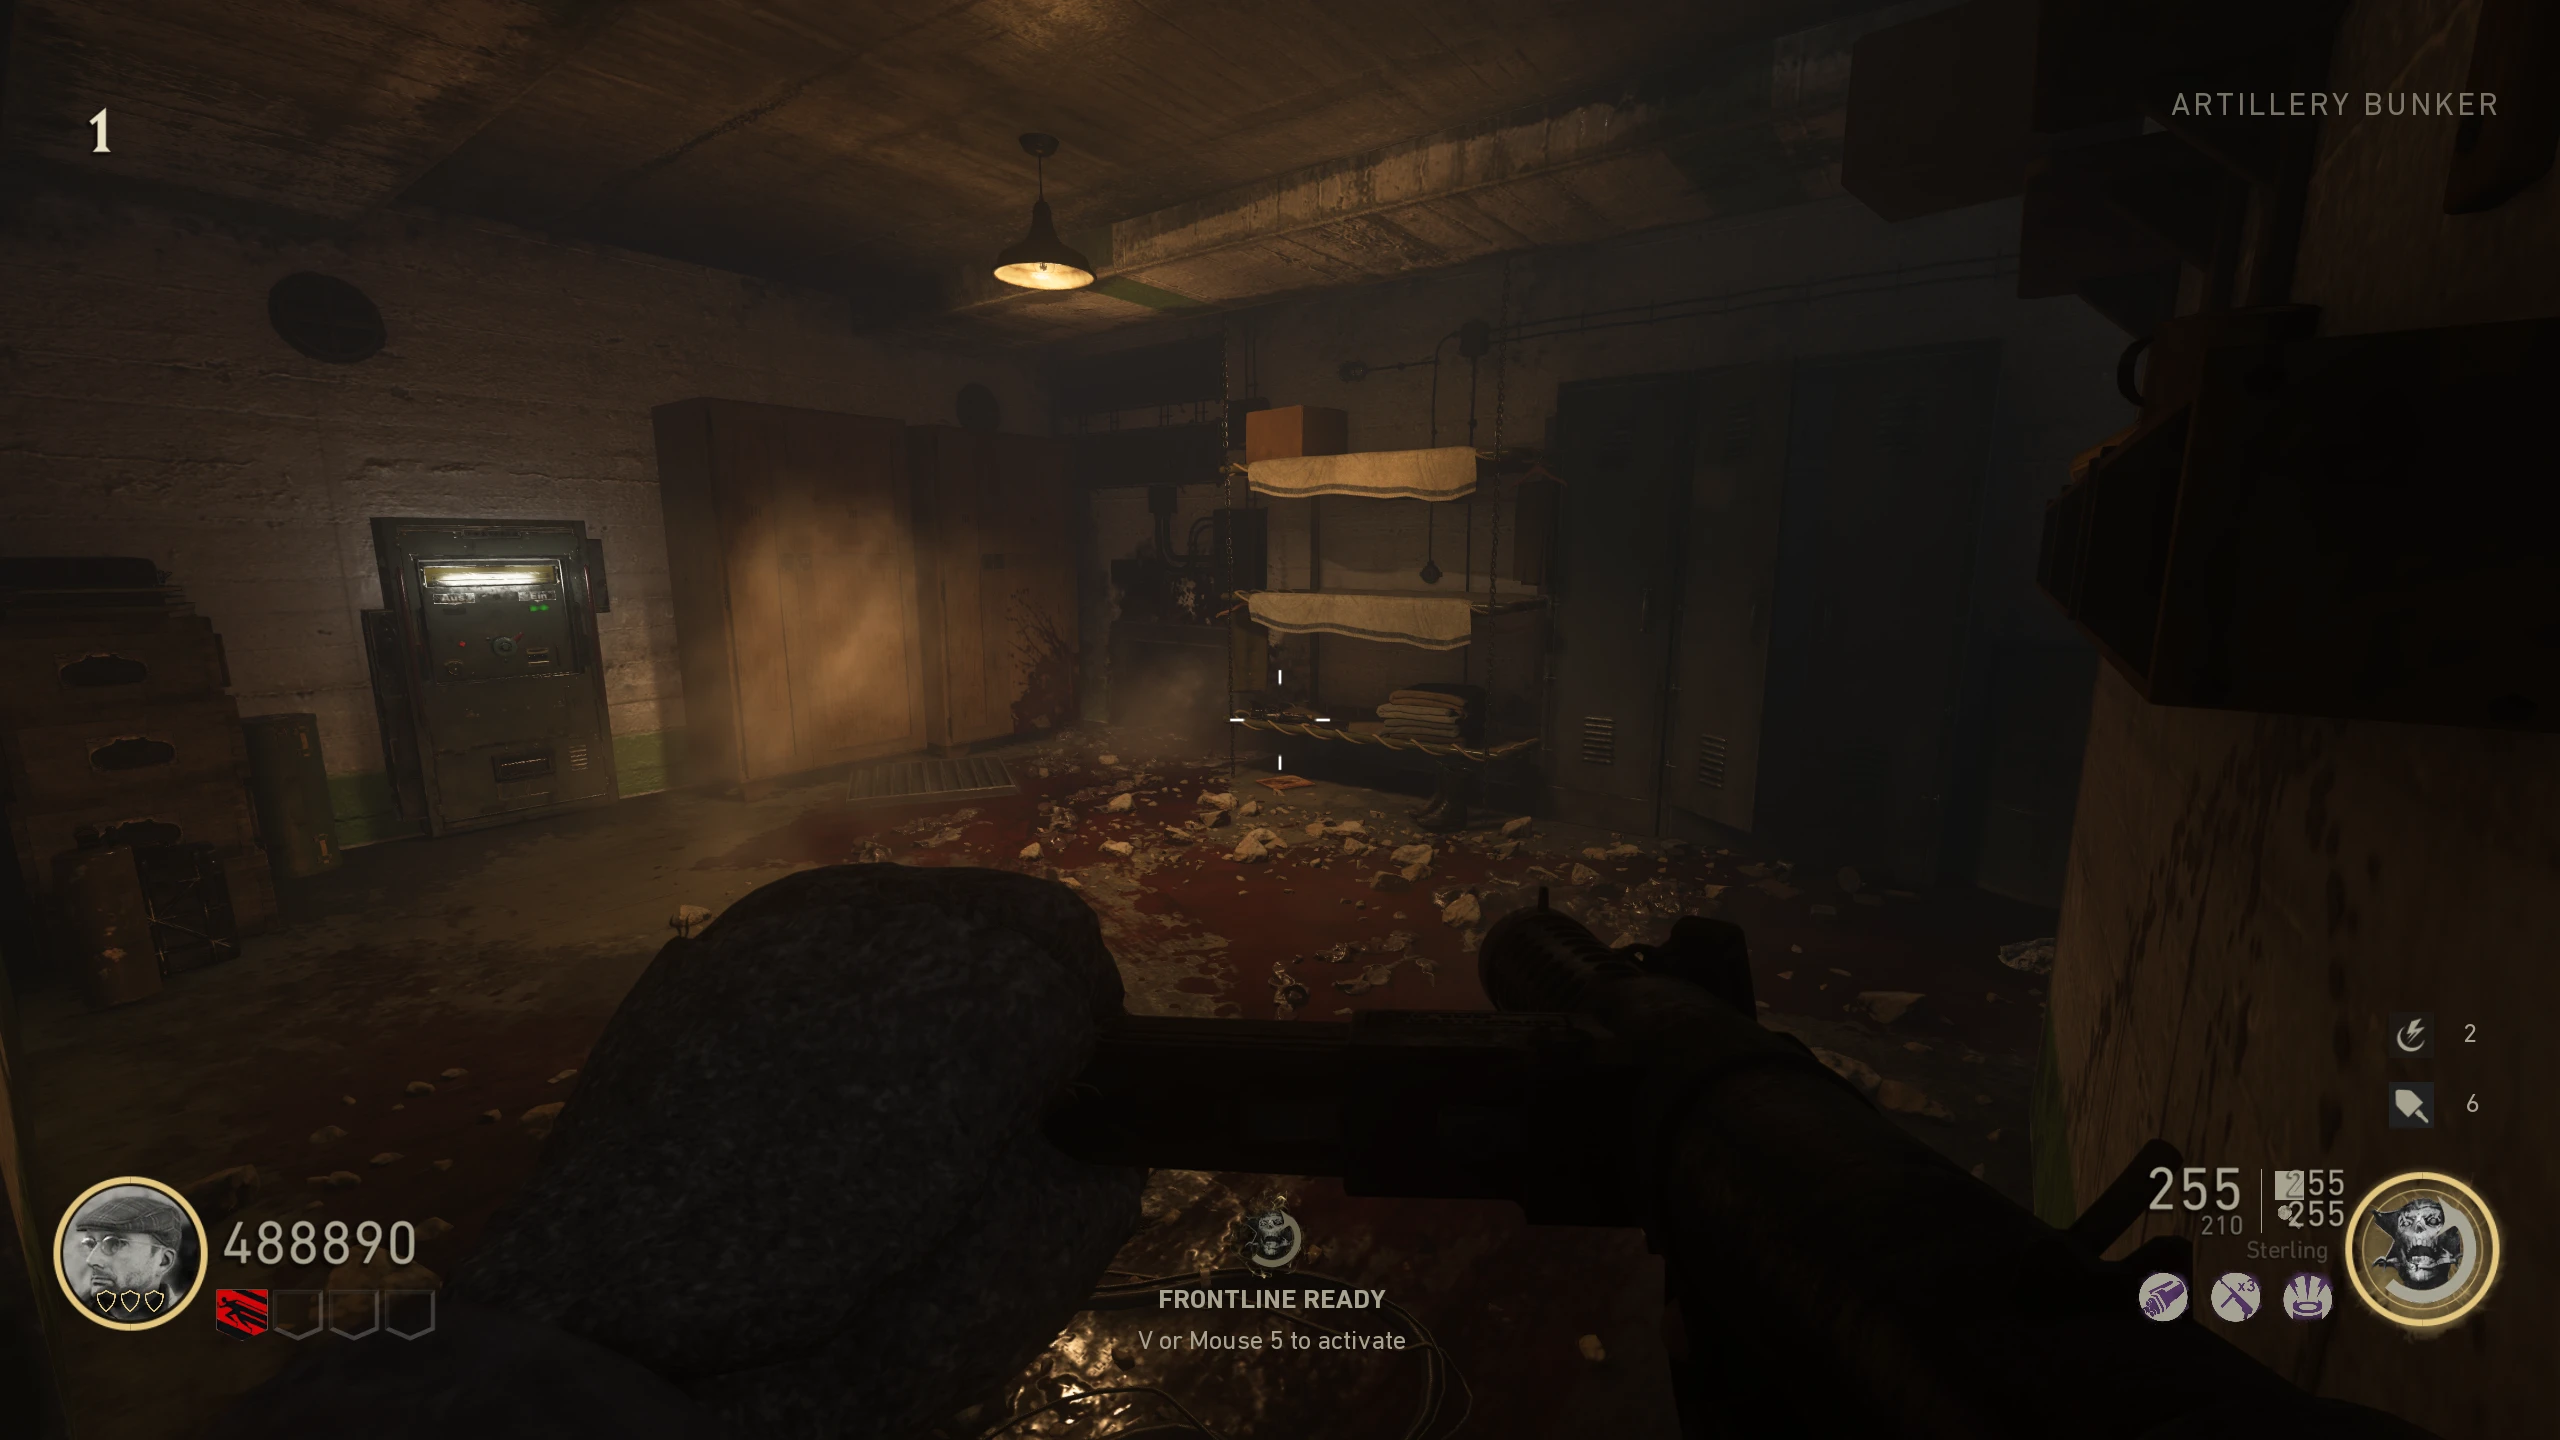
- Overlook - On the side wall of the Artillery Bunker
- Overlook - Above the Mystery Box location
- Obtain a charged Pest spine. Bring the charged Pest spine to the Monk Head. This will bring a friendly Pest out of the freezer.
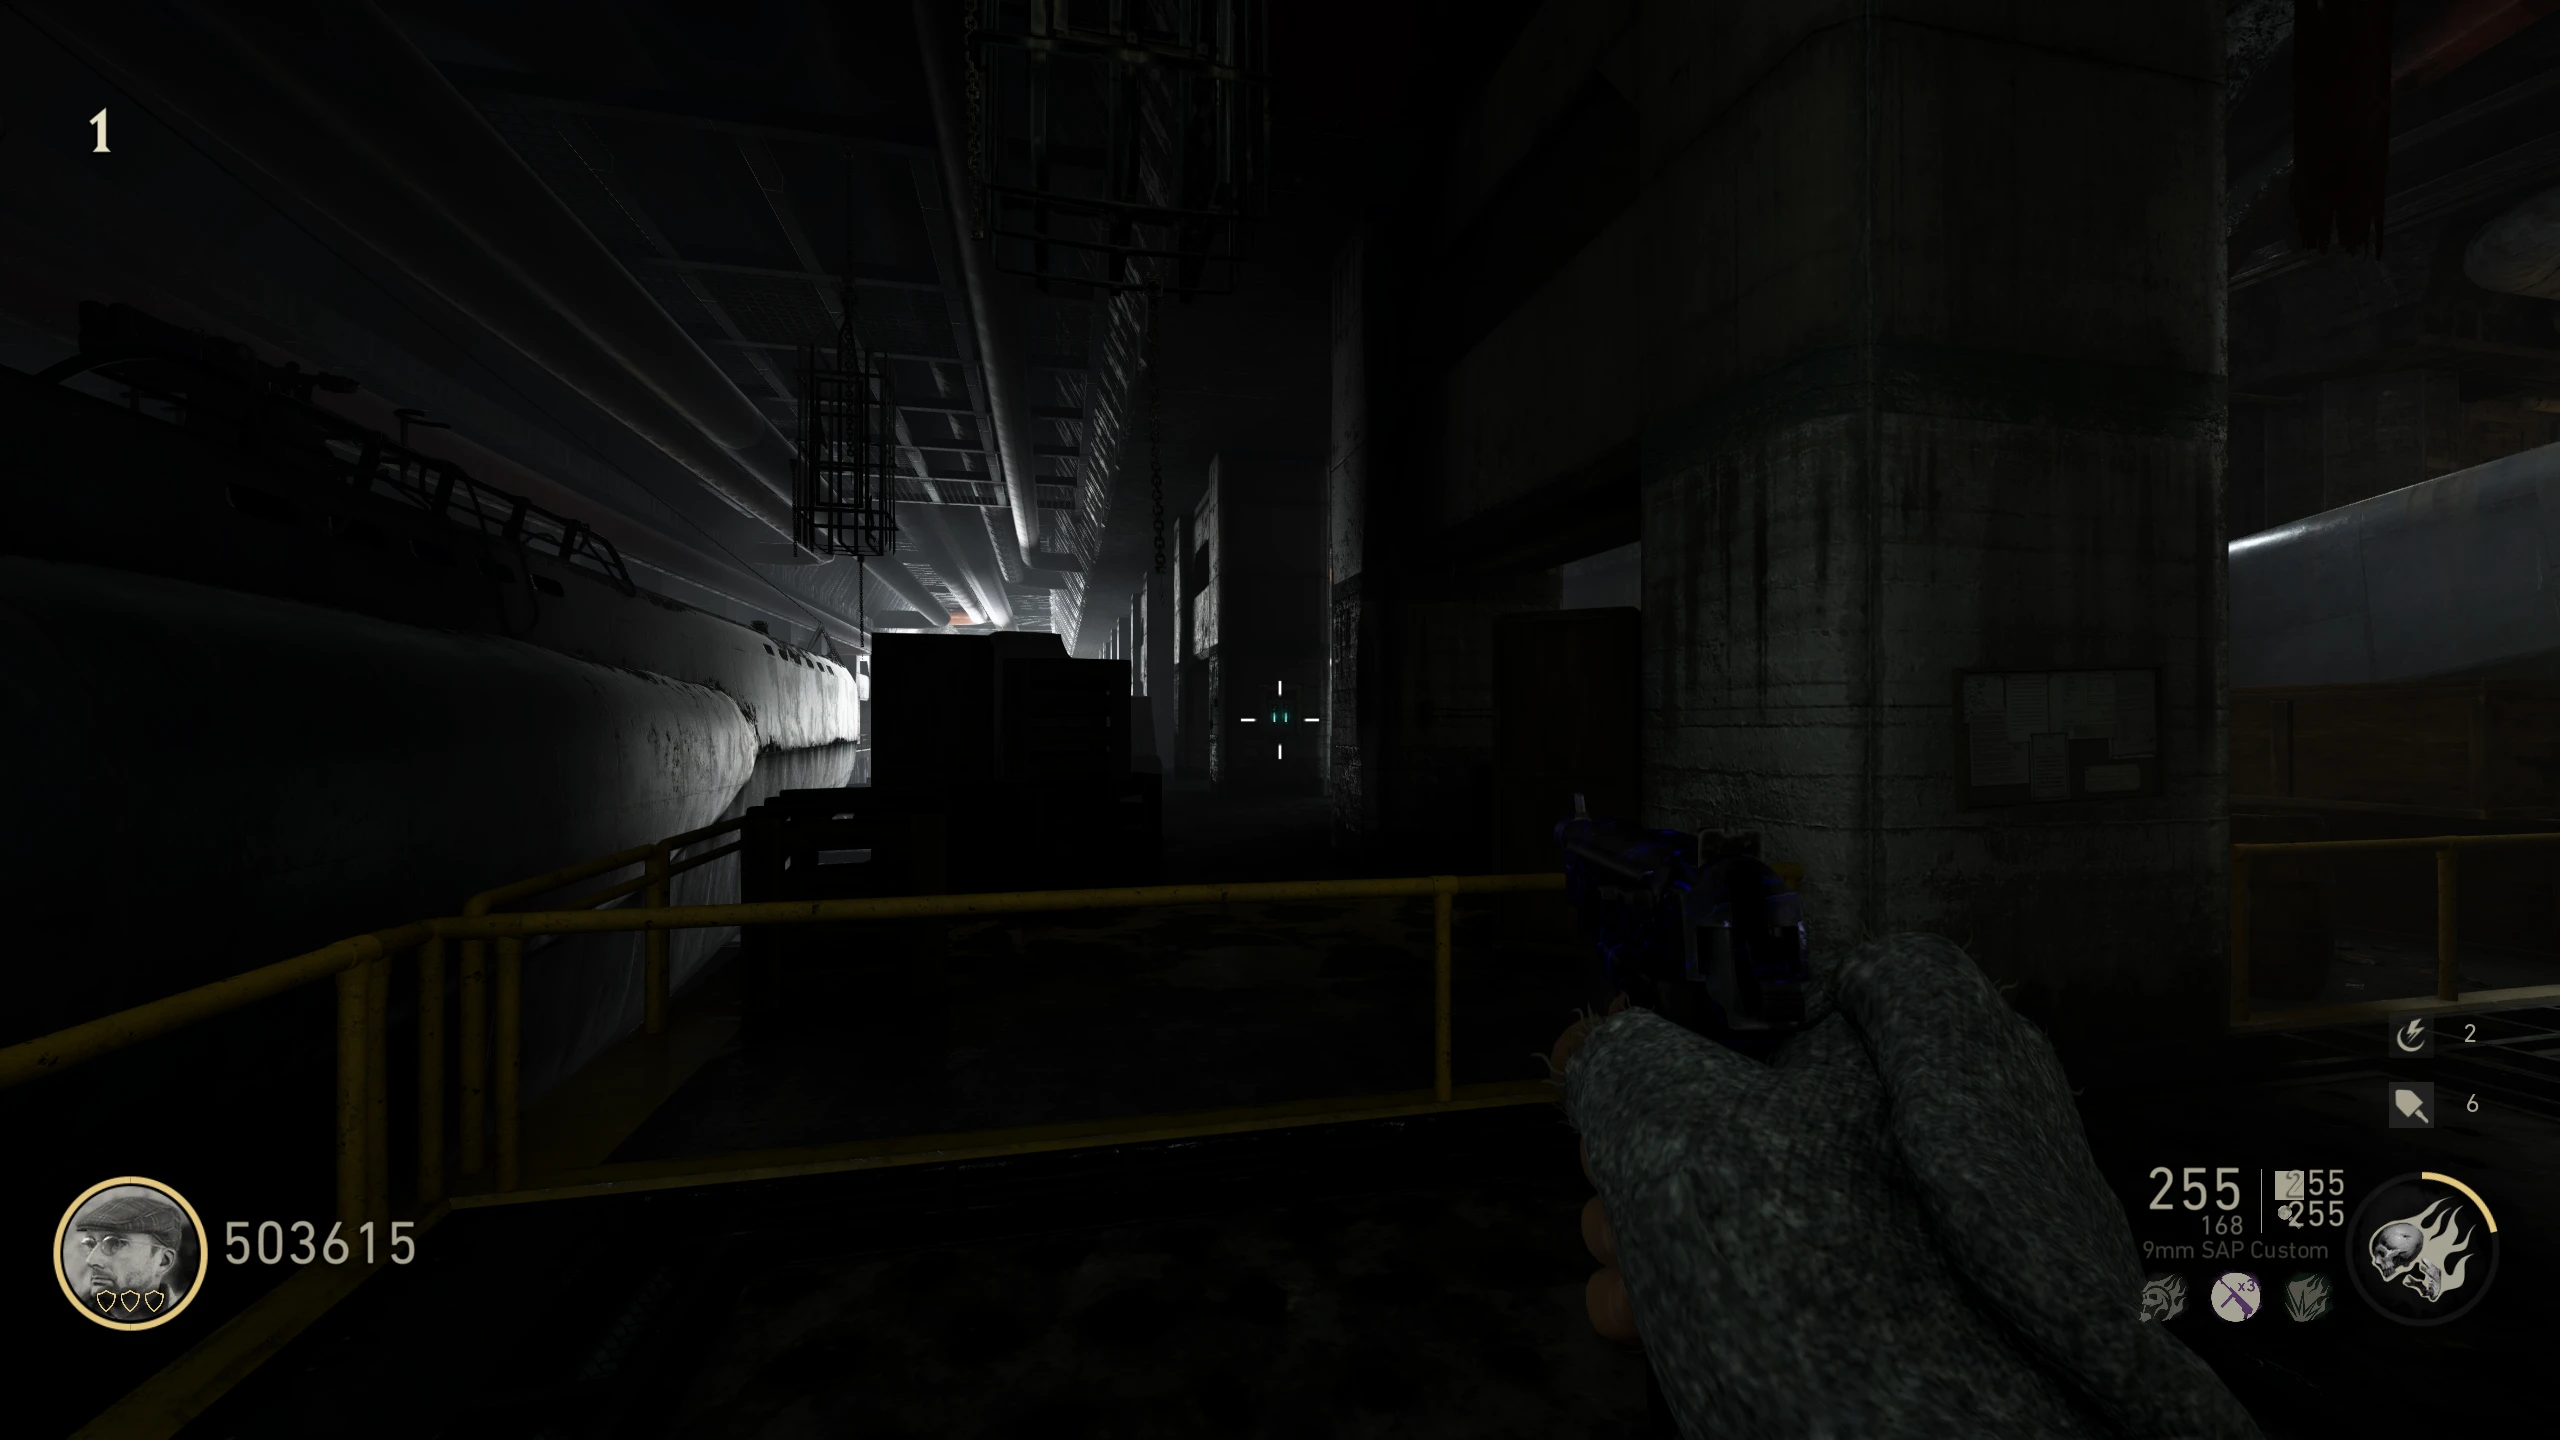
- You will need to charge the Pest five times. To charge a pest, shoot a Ripsaw blade at specific coils while you and the Pest are in specific locations, so that the blade bounces off the coils, and hits the Pest, charging it. The Pest will follow a set path for each charge location, so you have to wait till it's in position, then fire the blade, and hope it doesn't move before the blade reaches it. Charge setup/locations:
- If the Pest dies, or you charge it wrong, you will need to get another Pest spine and try again.
- Charge 1 - Video Example (YouTube):
- Pest Location: Near the M1927 wallbuy
- Player Location: Left of the Pest
- Coil to shoot: Blue coil out of the map, near the M1927 wallbuy
- Charge 2 - Video Example (YouTube):
- Pest Location: At the bottom the stairs
- Player Location: Beside the Pest toward the Minecart station
- Coil to shoot: Yellow coil up on the wall right of the Minecart station
- Charge 3 - Video Example (YouTube):
- Pest Location: In the doorway up to the 'Bluffs' (door must be open)
- Player Location: On the ledge up the first set of stairs
- Coil to shoot: Blue coil up on the wall above the door to the 'Bluffs'
- Charge 4 - Video Example (YouTube):
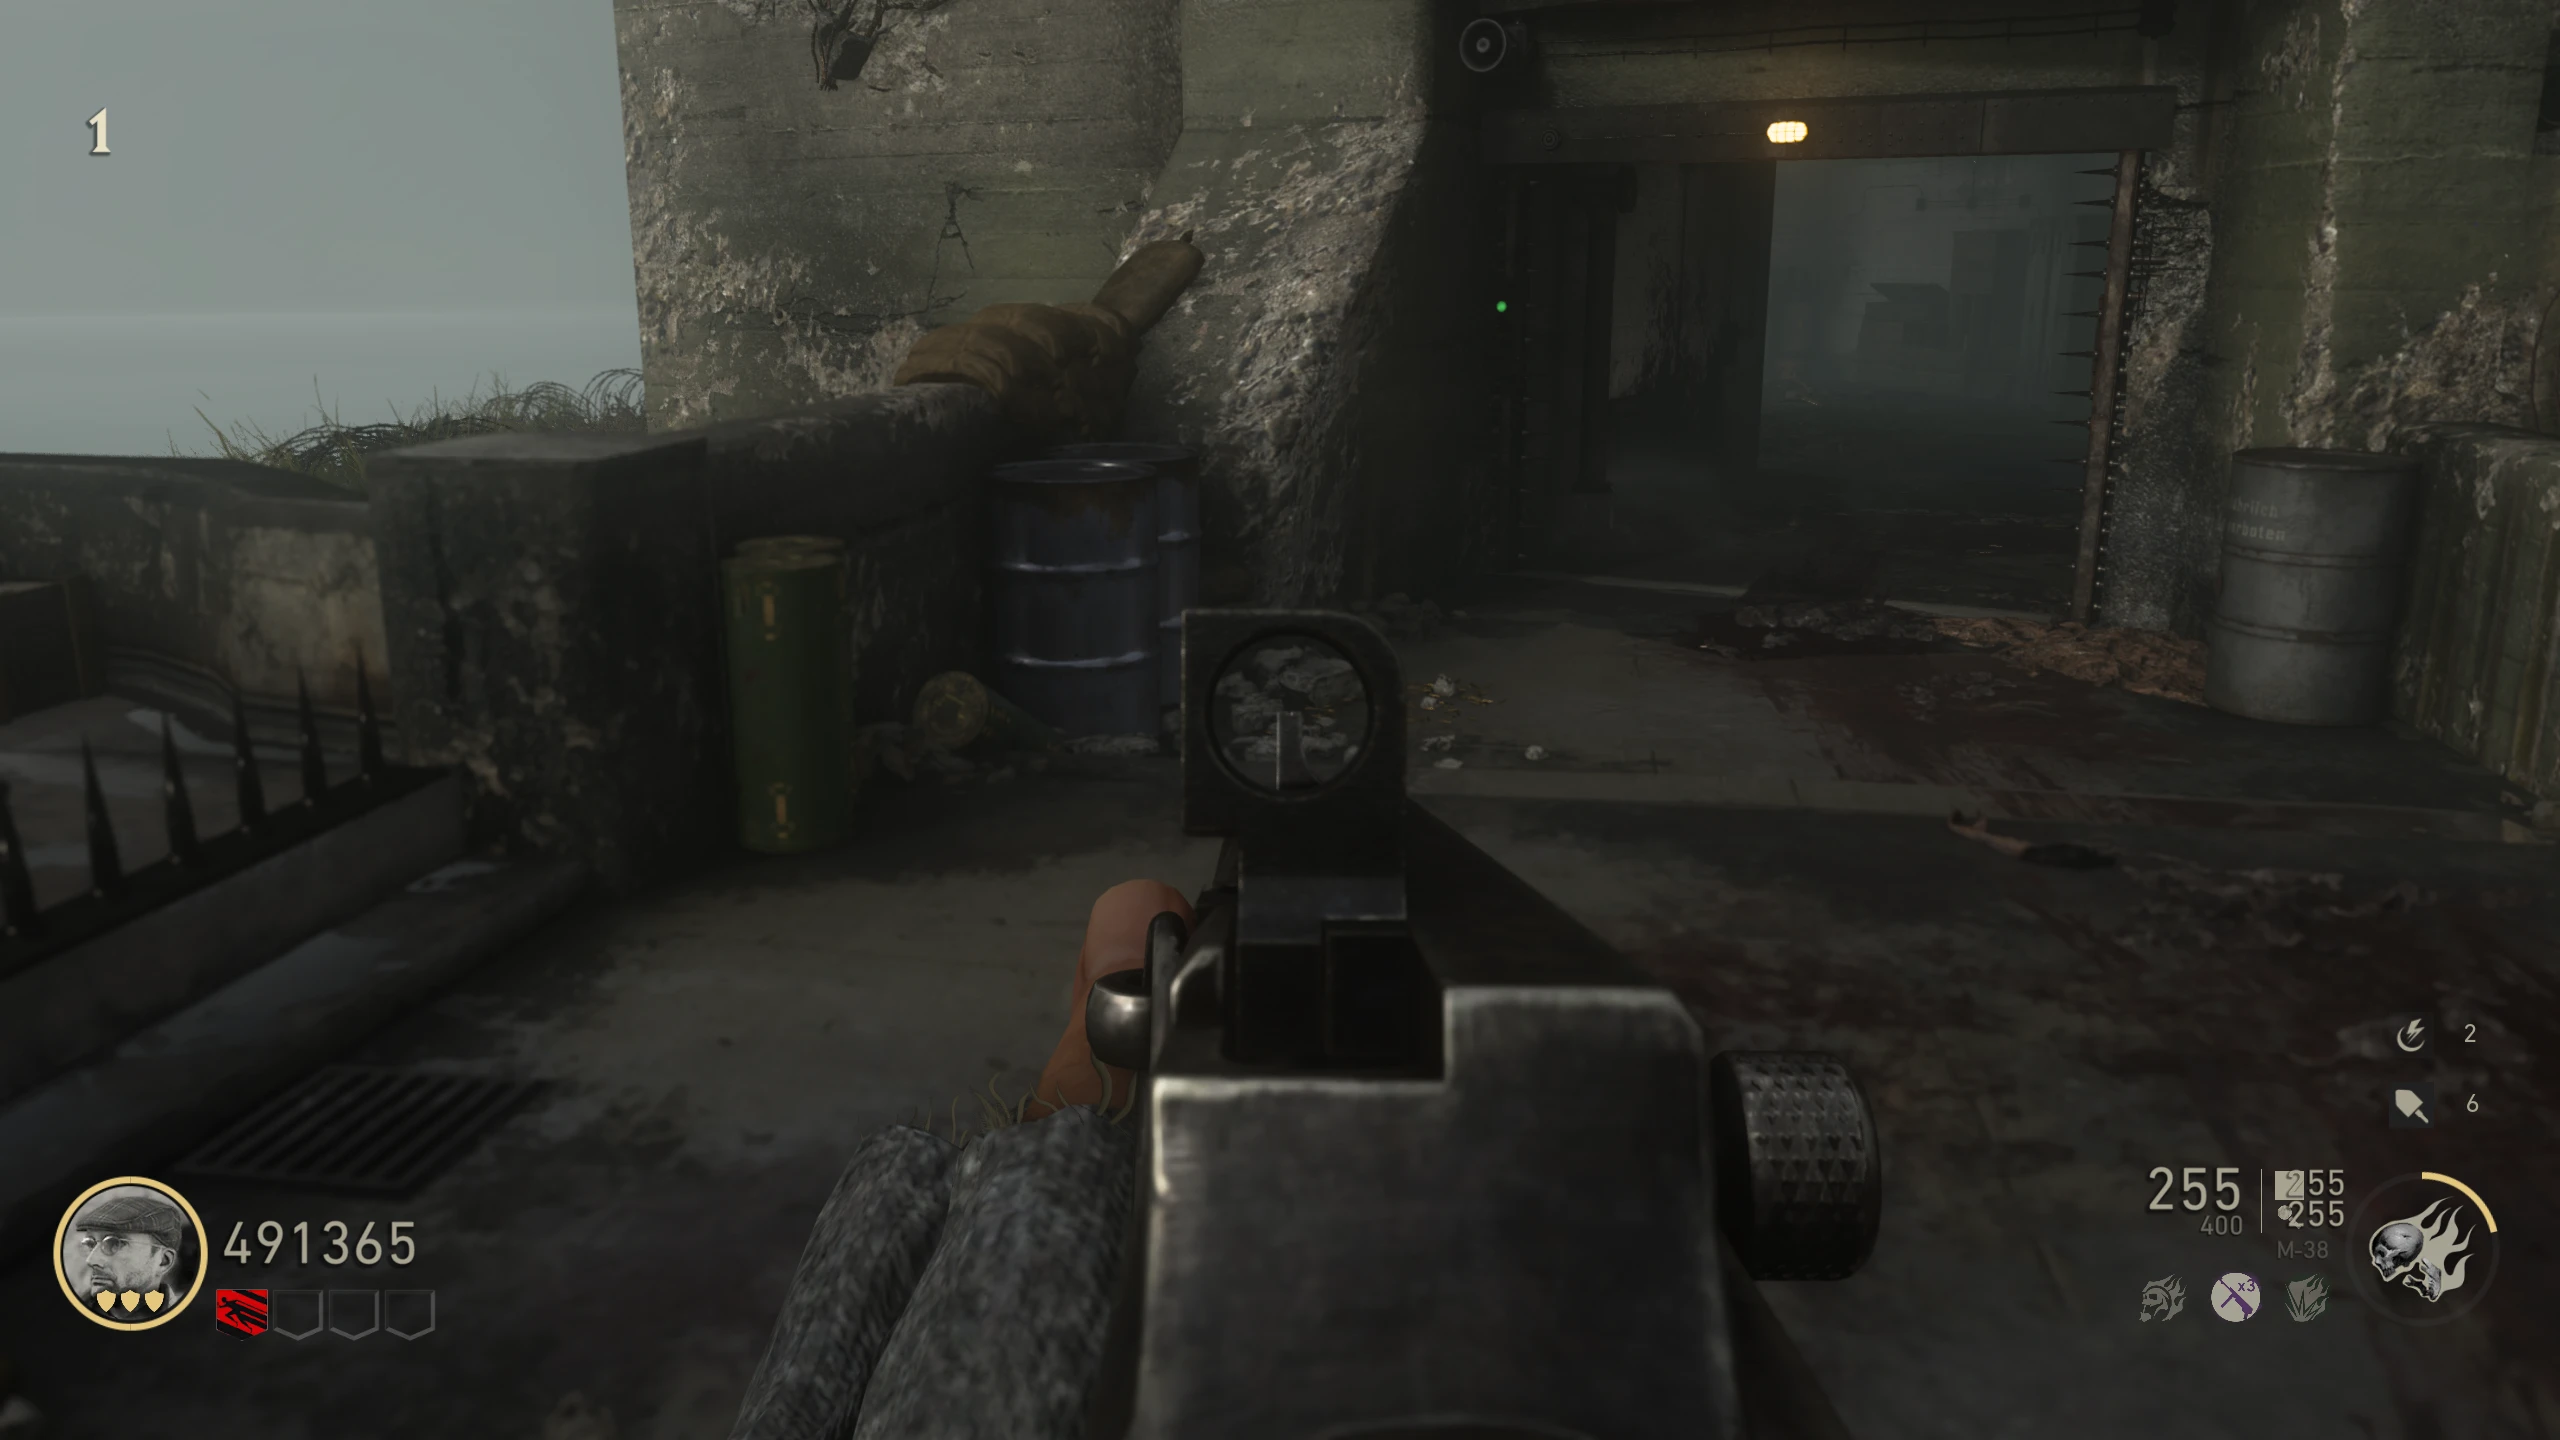
- Pest Location: Right of the STG44 wallbuy
- Player Location: Right beside the barrels between the door (near the melee perk) and the AA gun
- Coil to shoot: Yellow coil up on the wall above the M1941 wallbuy
- Charge 5 - Video Example (YouTube):
- Pest Location: Anywhere on the long walkway with the propellers
- Player Location: In front of the Ripsaw workbench
- Coil to shoot: Yellow coil beside power
- Once the Pest has been charged five times, it will drop dead.
- All players must go to the secret room. Once all players are in the room, the door will close and about 5-10 Pests will fall from the ceiling. Kill them and pick up the head one of them drops.
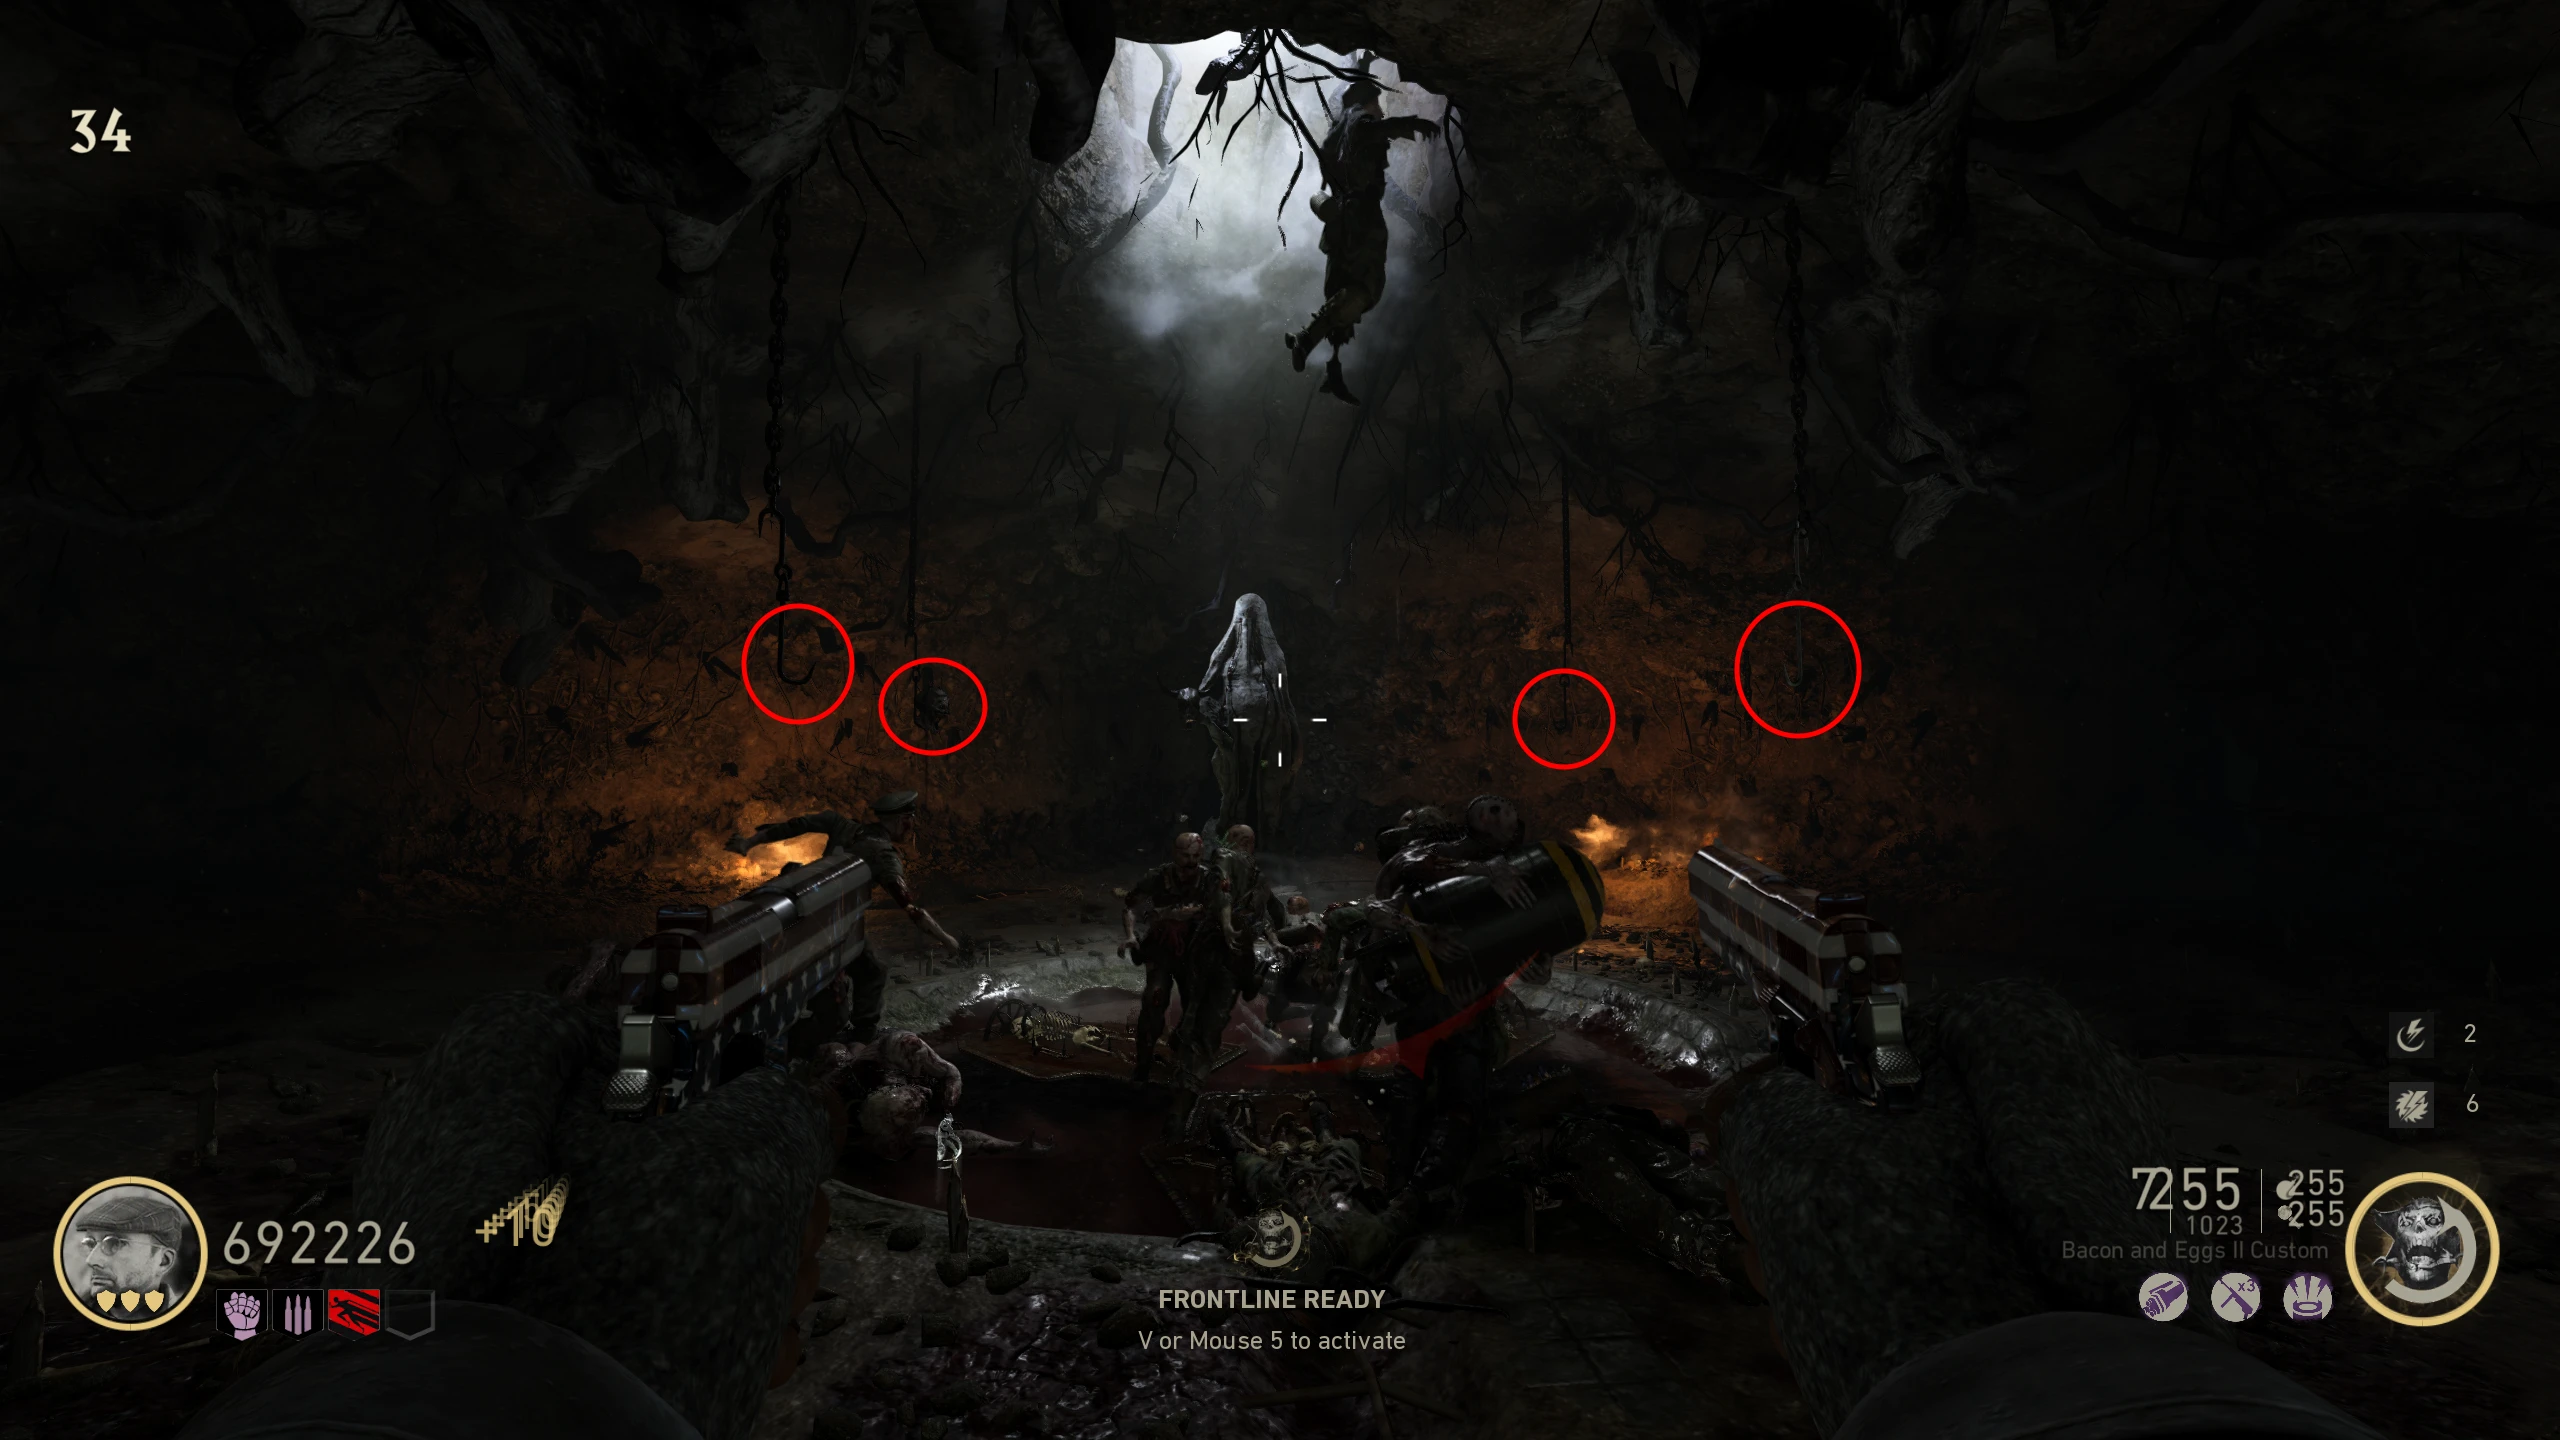
- Once you have three heads from the rituals, pick up the Monk Head from the machine in the Freezer. Place the heads on the four hooks hanging from the ceiling in the secret room. The door will close, and you will need to fill the sunken middle area of the floor with blood by killing Zombies anywhere in the room (~50-75 Zombie kills needed). The Zombies should start infinitely spawning.
- Once you get enough kills, the animal skull the statue is holding will explode, revealing the Pommel of Barbarossa.
- The Pommel is a tactical grenade that, when thrown, creates an initial explosion that instantly kills zombies, followed by an energy bubble, then another explosion. The Pommel regenerates in about 10–15 seconds. If you wish to have the Jack-in-the-Boxes for the Boss Fight, you will need to get them from the Box just before the Boss fight, because the Pommel is needed just before you start the Fight.
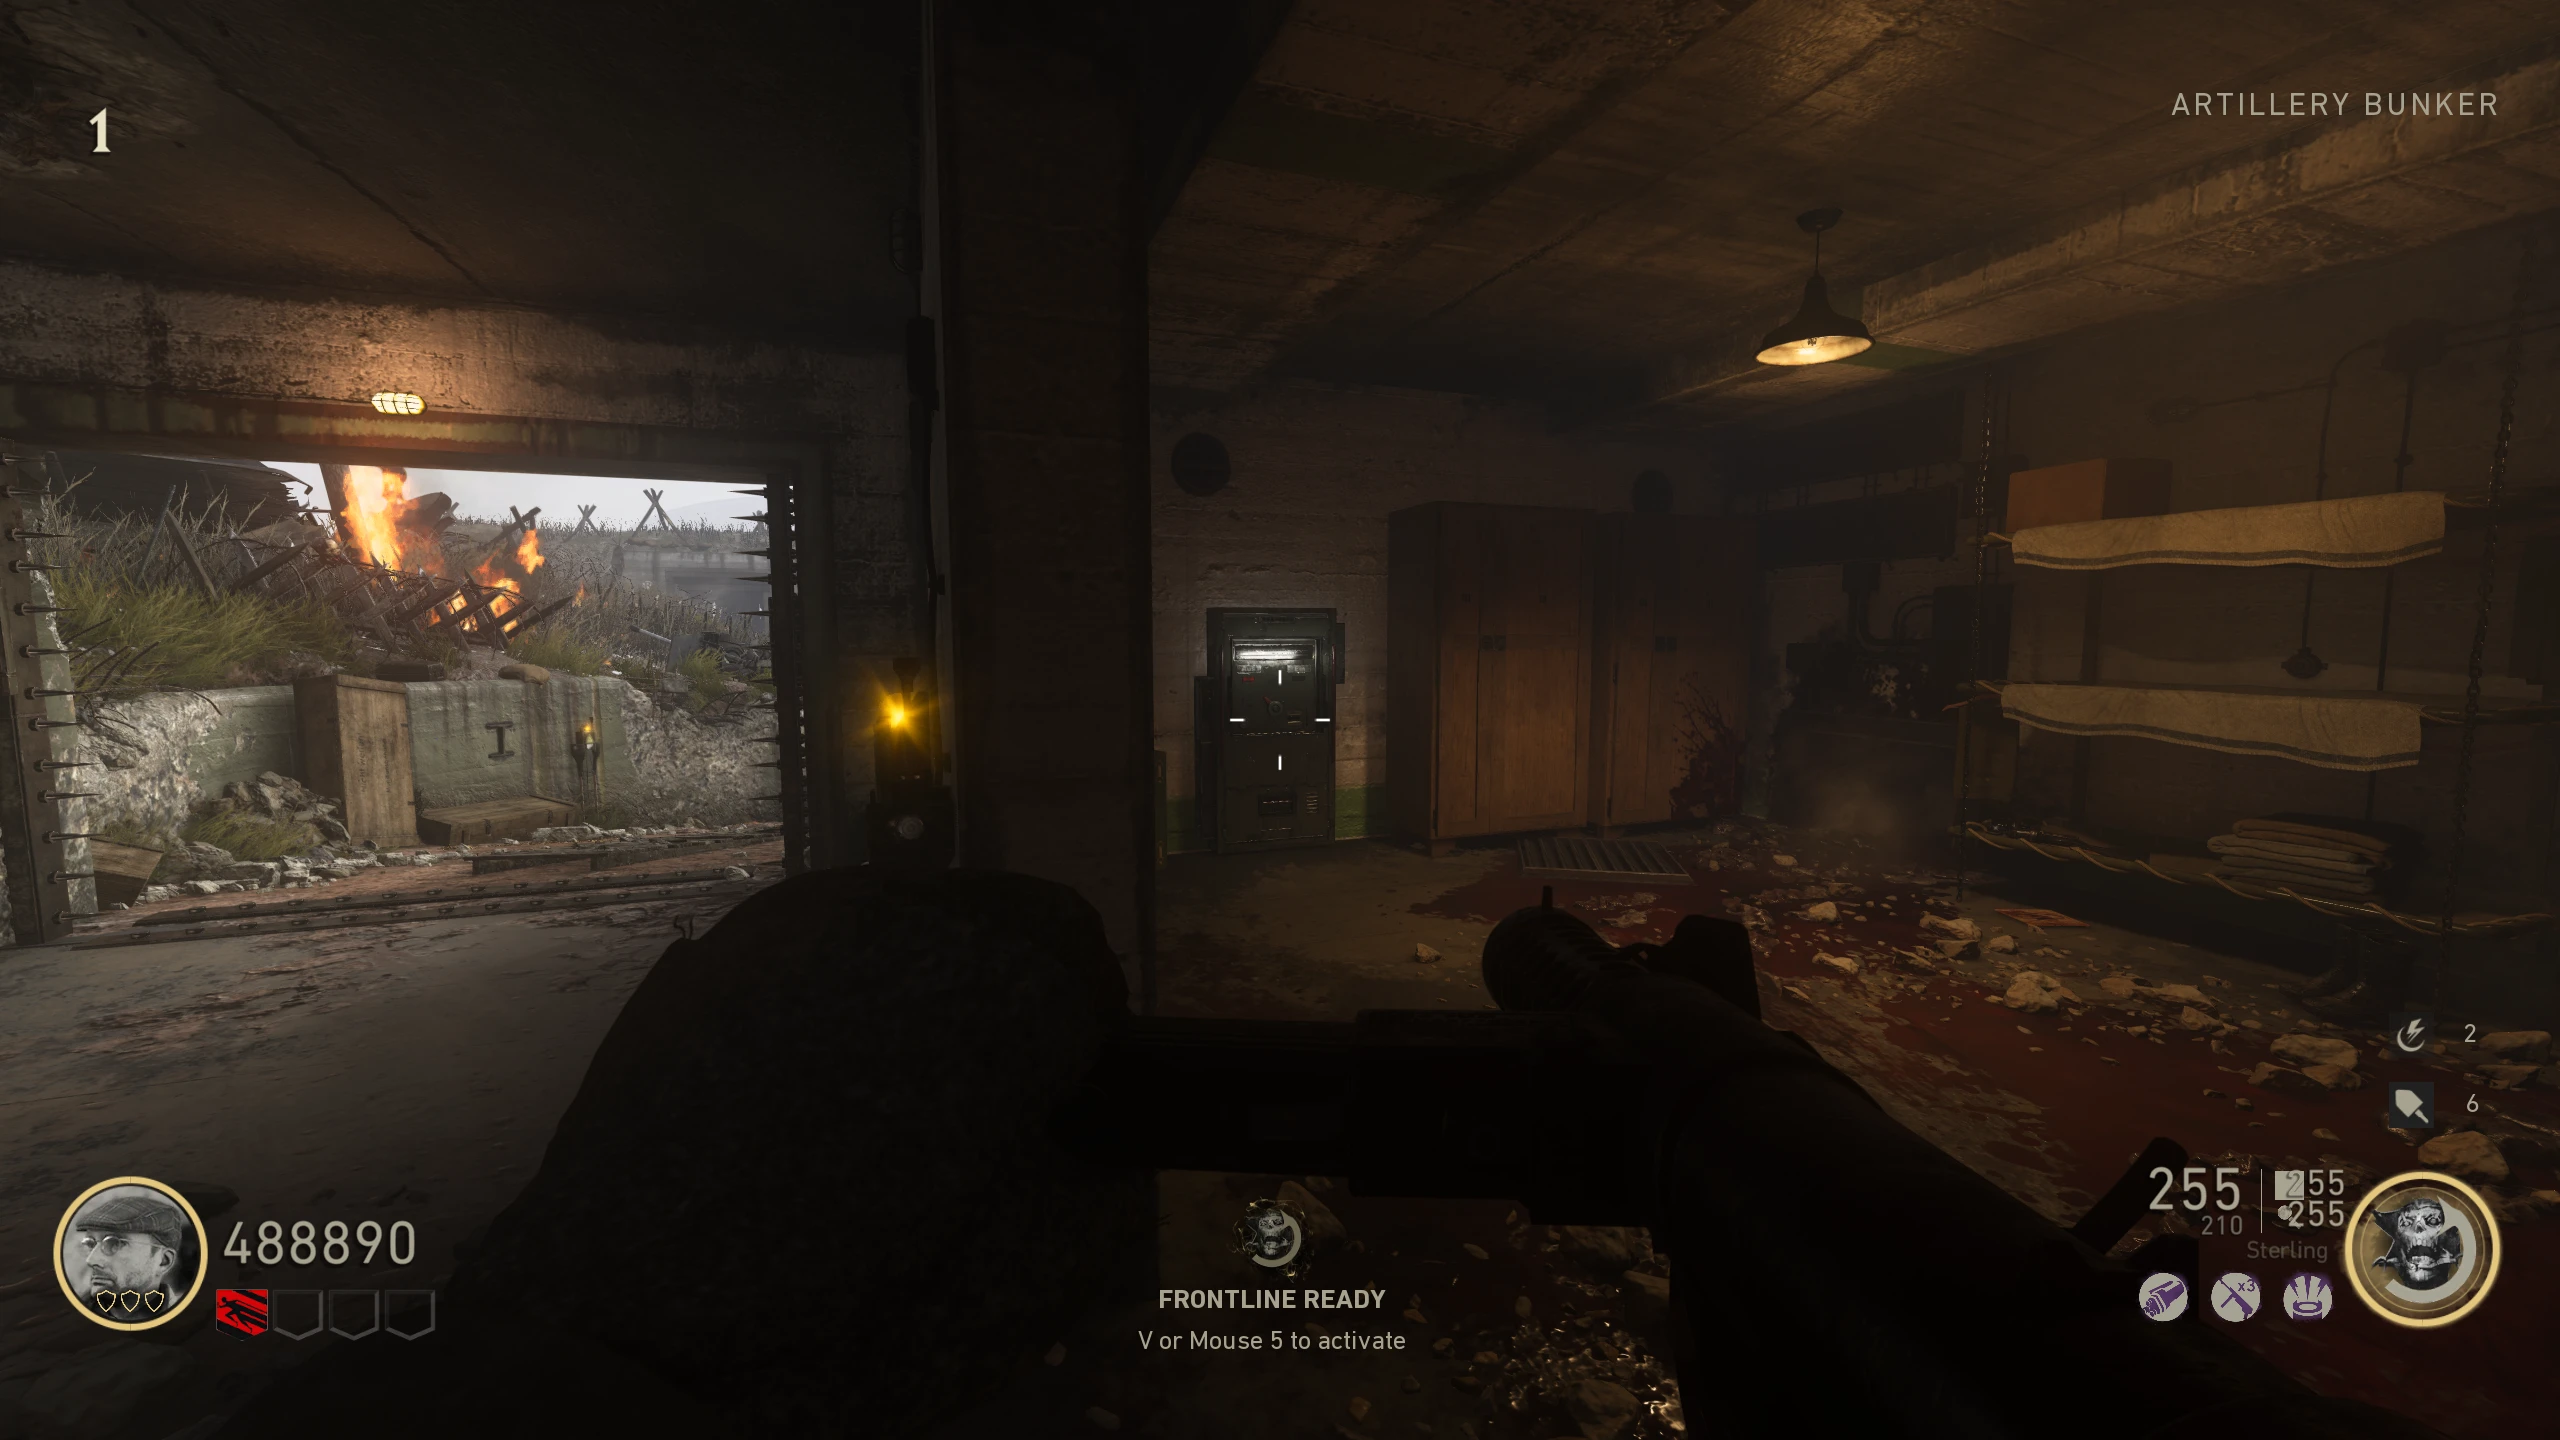
- Interact with the machine on the right in the Freezer. This will spawn a friendly Bomber that you need to escort to the 'Artillery Bunker.' The Bomber has little health, so you need to defend it from the Zombies.
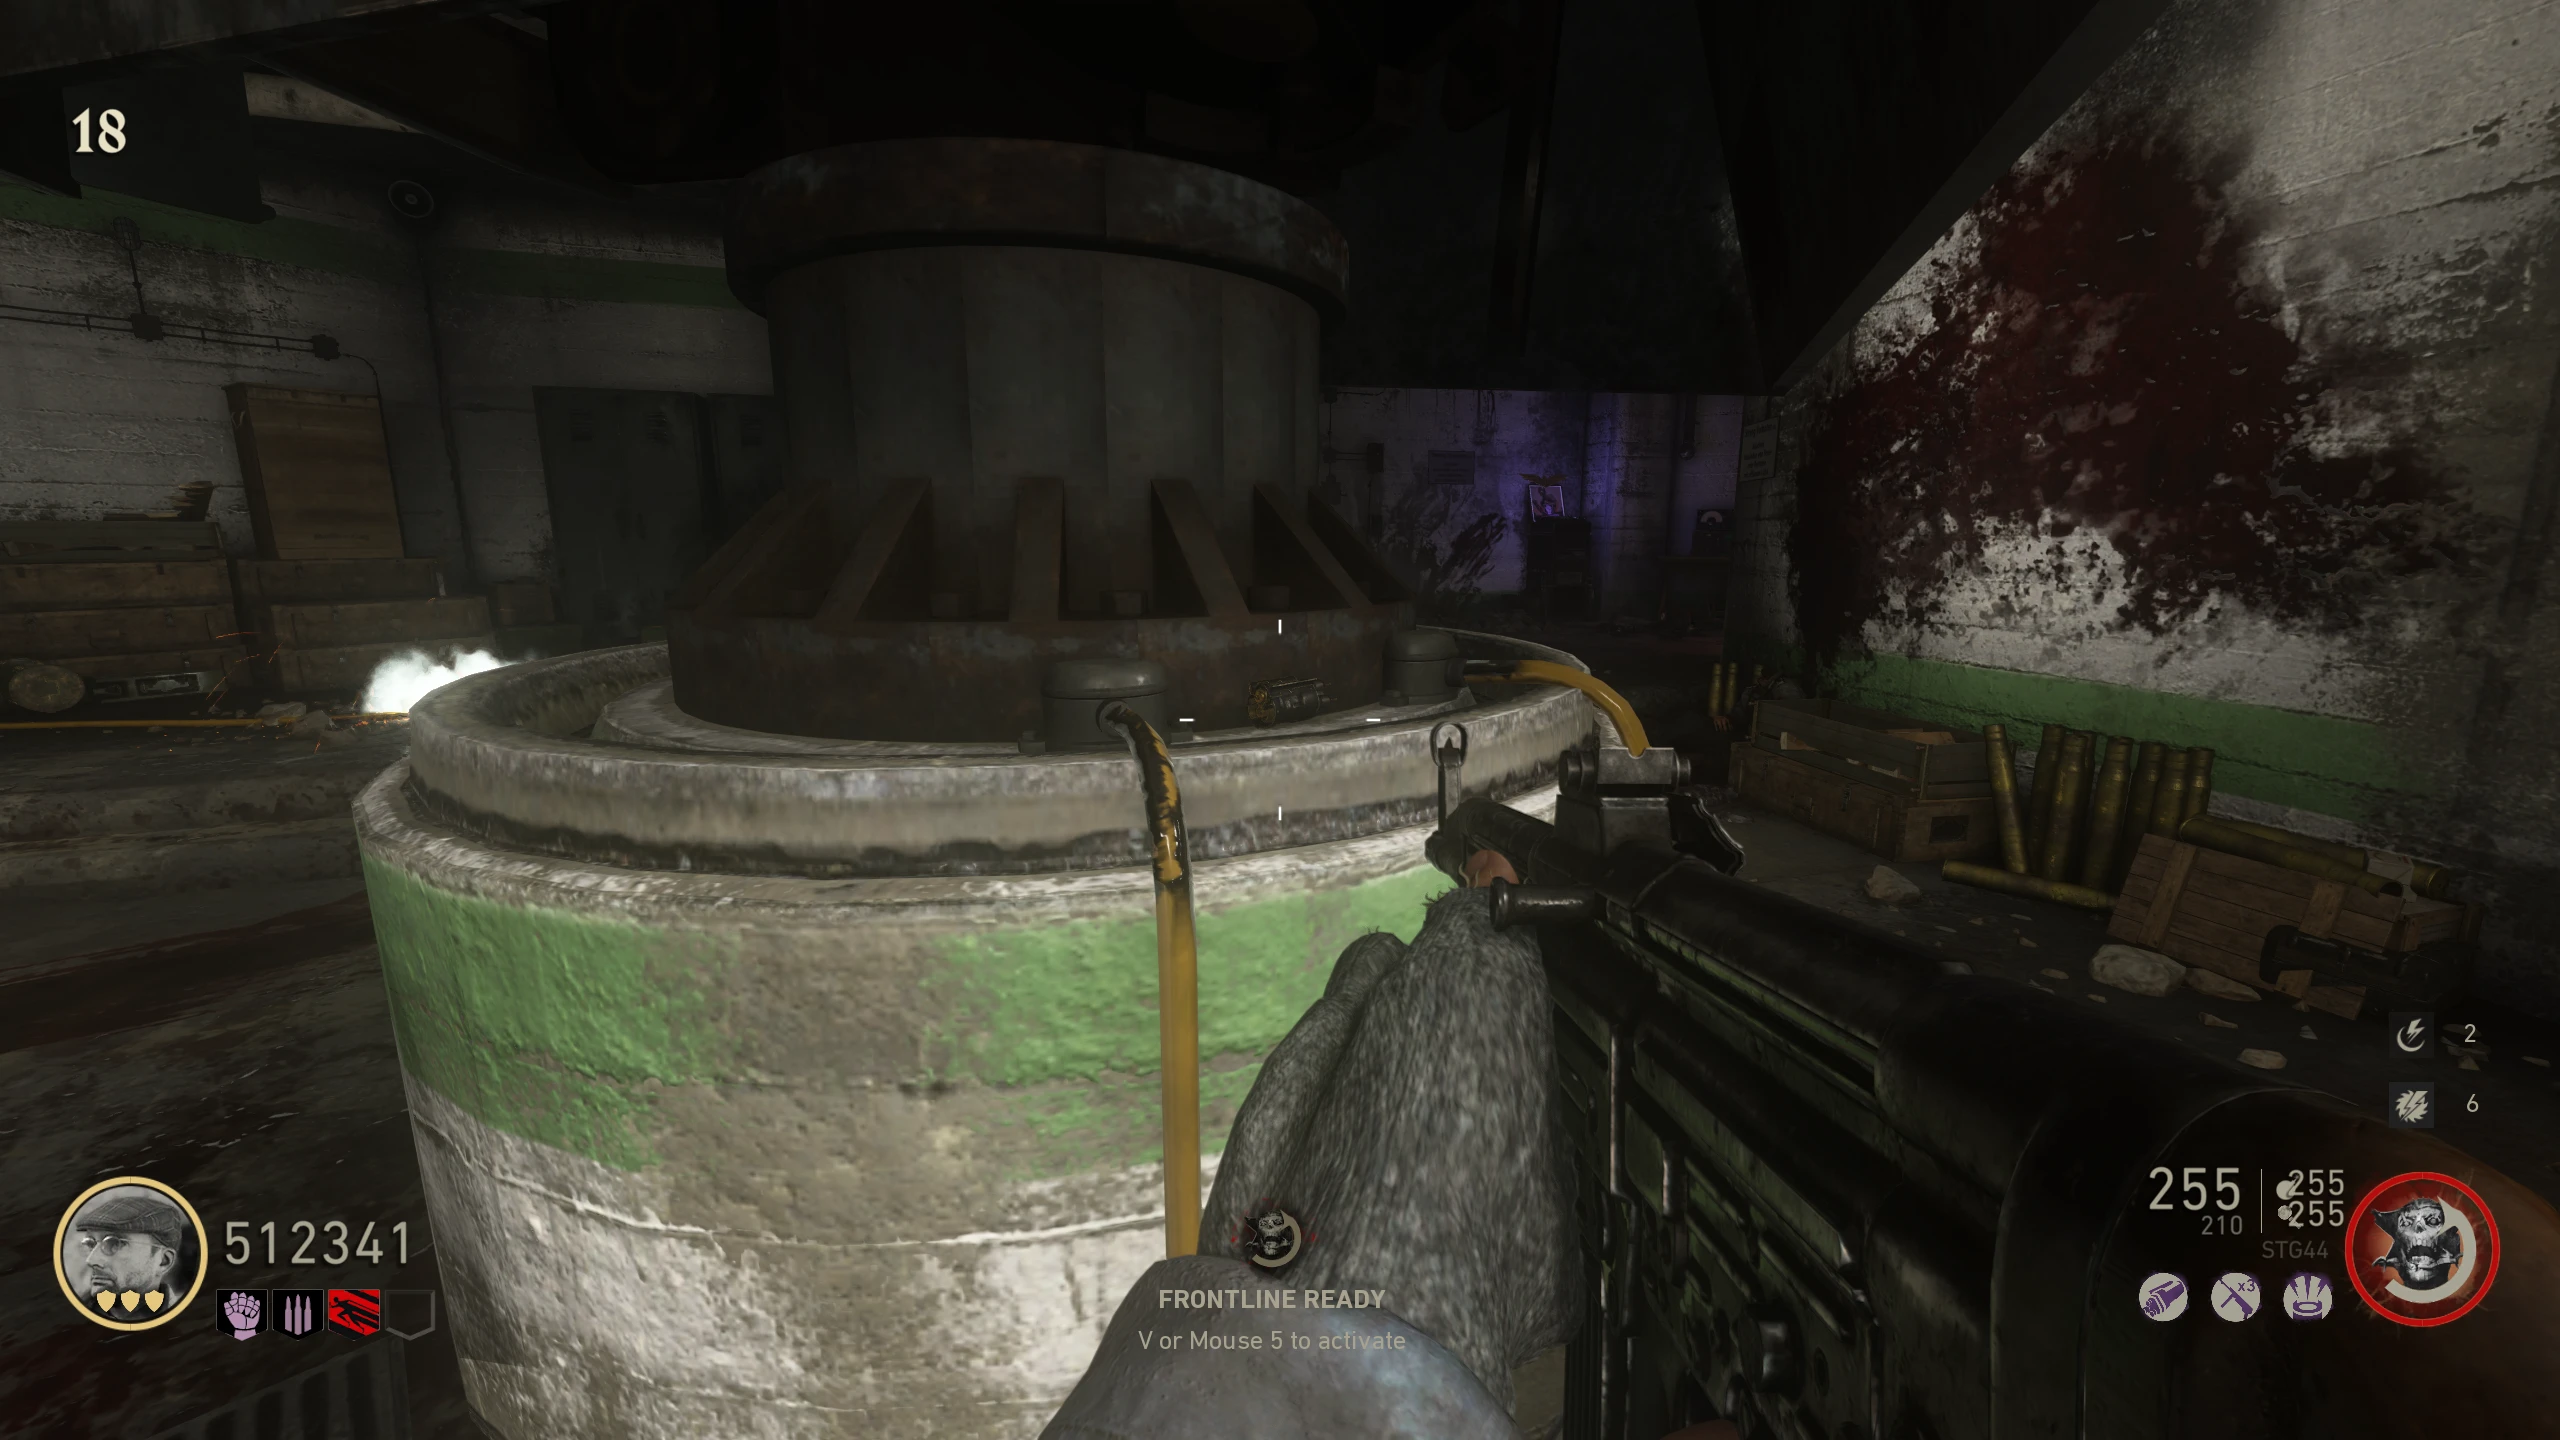
- Once the Bomber makes it to the 'Artillery Bunker,' it will deposit the battery into a receptacle, and die.
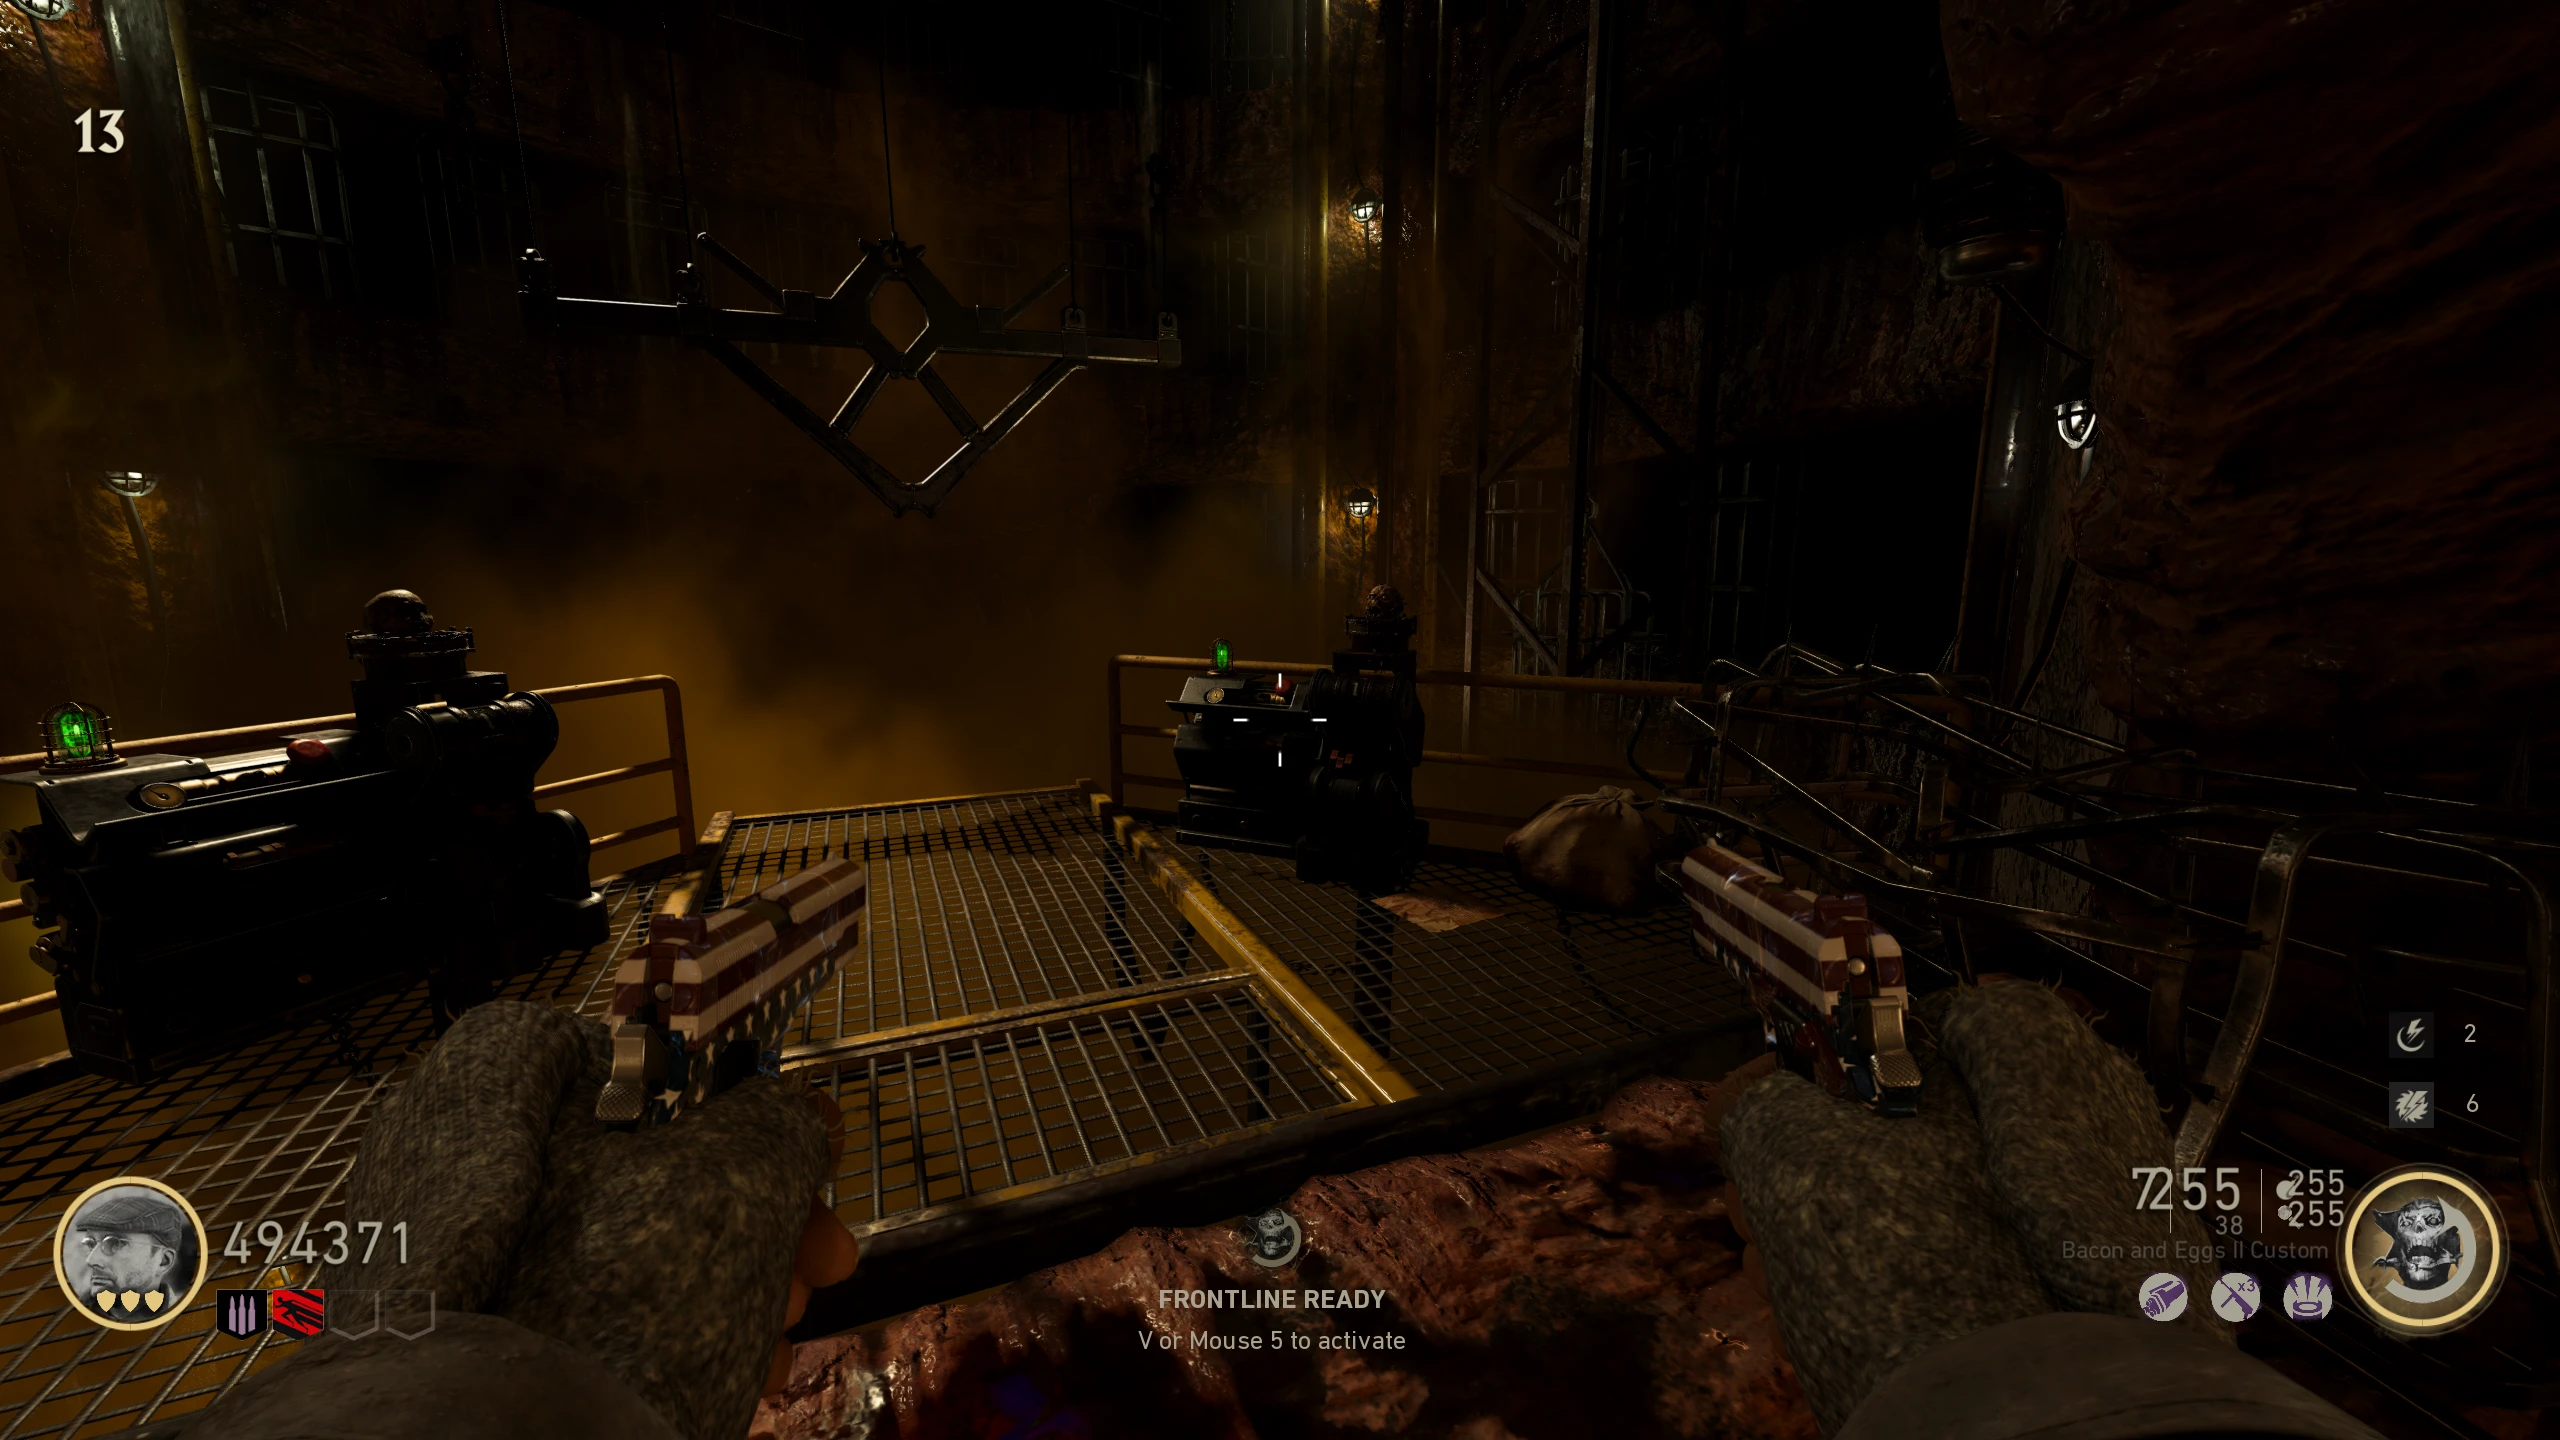
- You now need to charge the battery by getting kills near it. You need about 5 kills for one cannon shot; you will need at least two. The cannon can hold six shots at once.
- Once the cannon is sufficiently charged, go the 'Bunkers' and pick up the Radio Part on the floor next to the corpse right of the Combat Shotgun wallbuy.
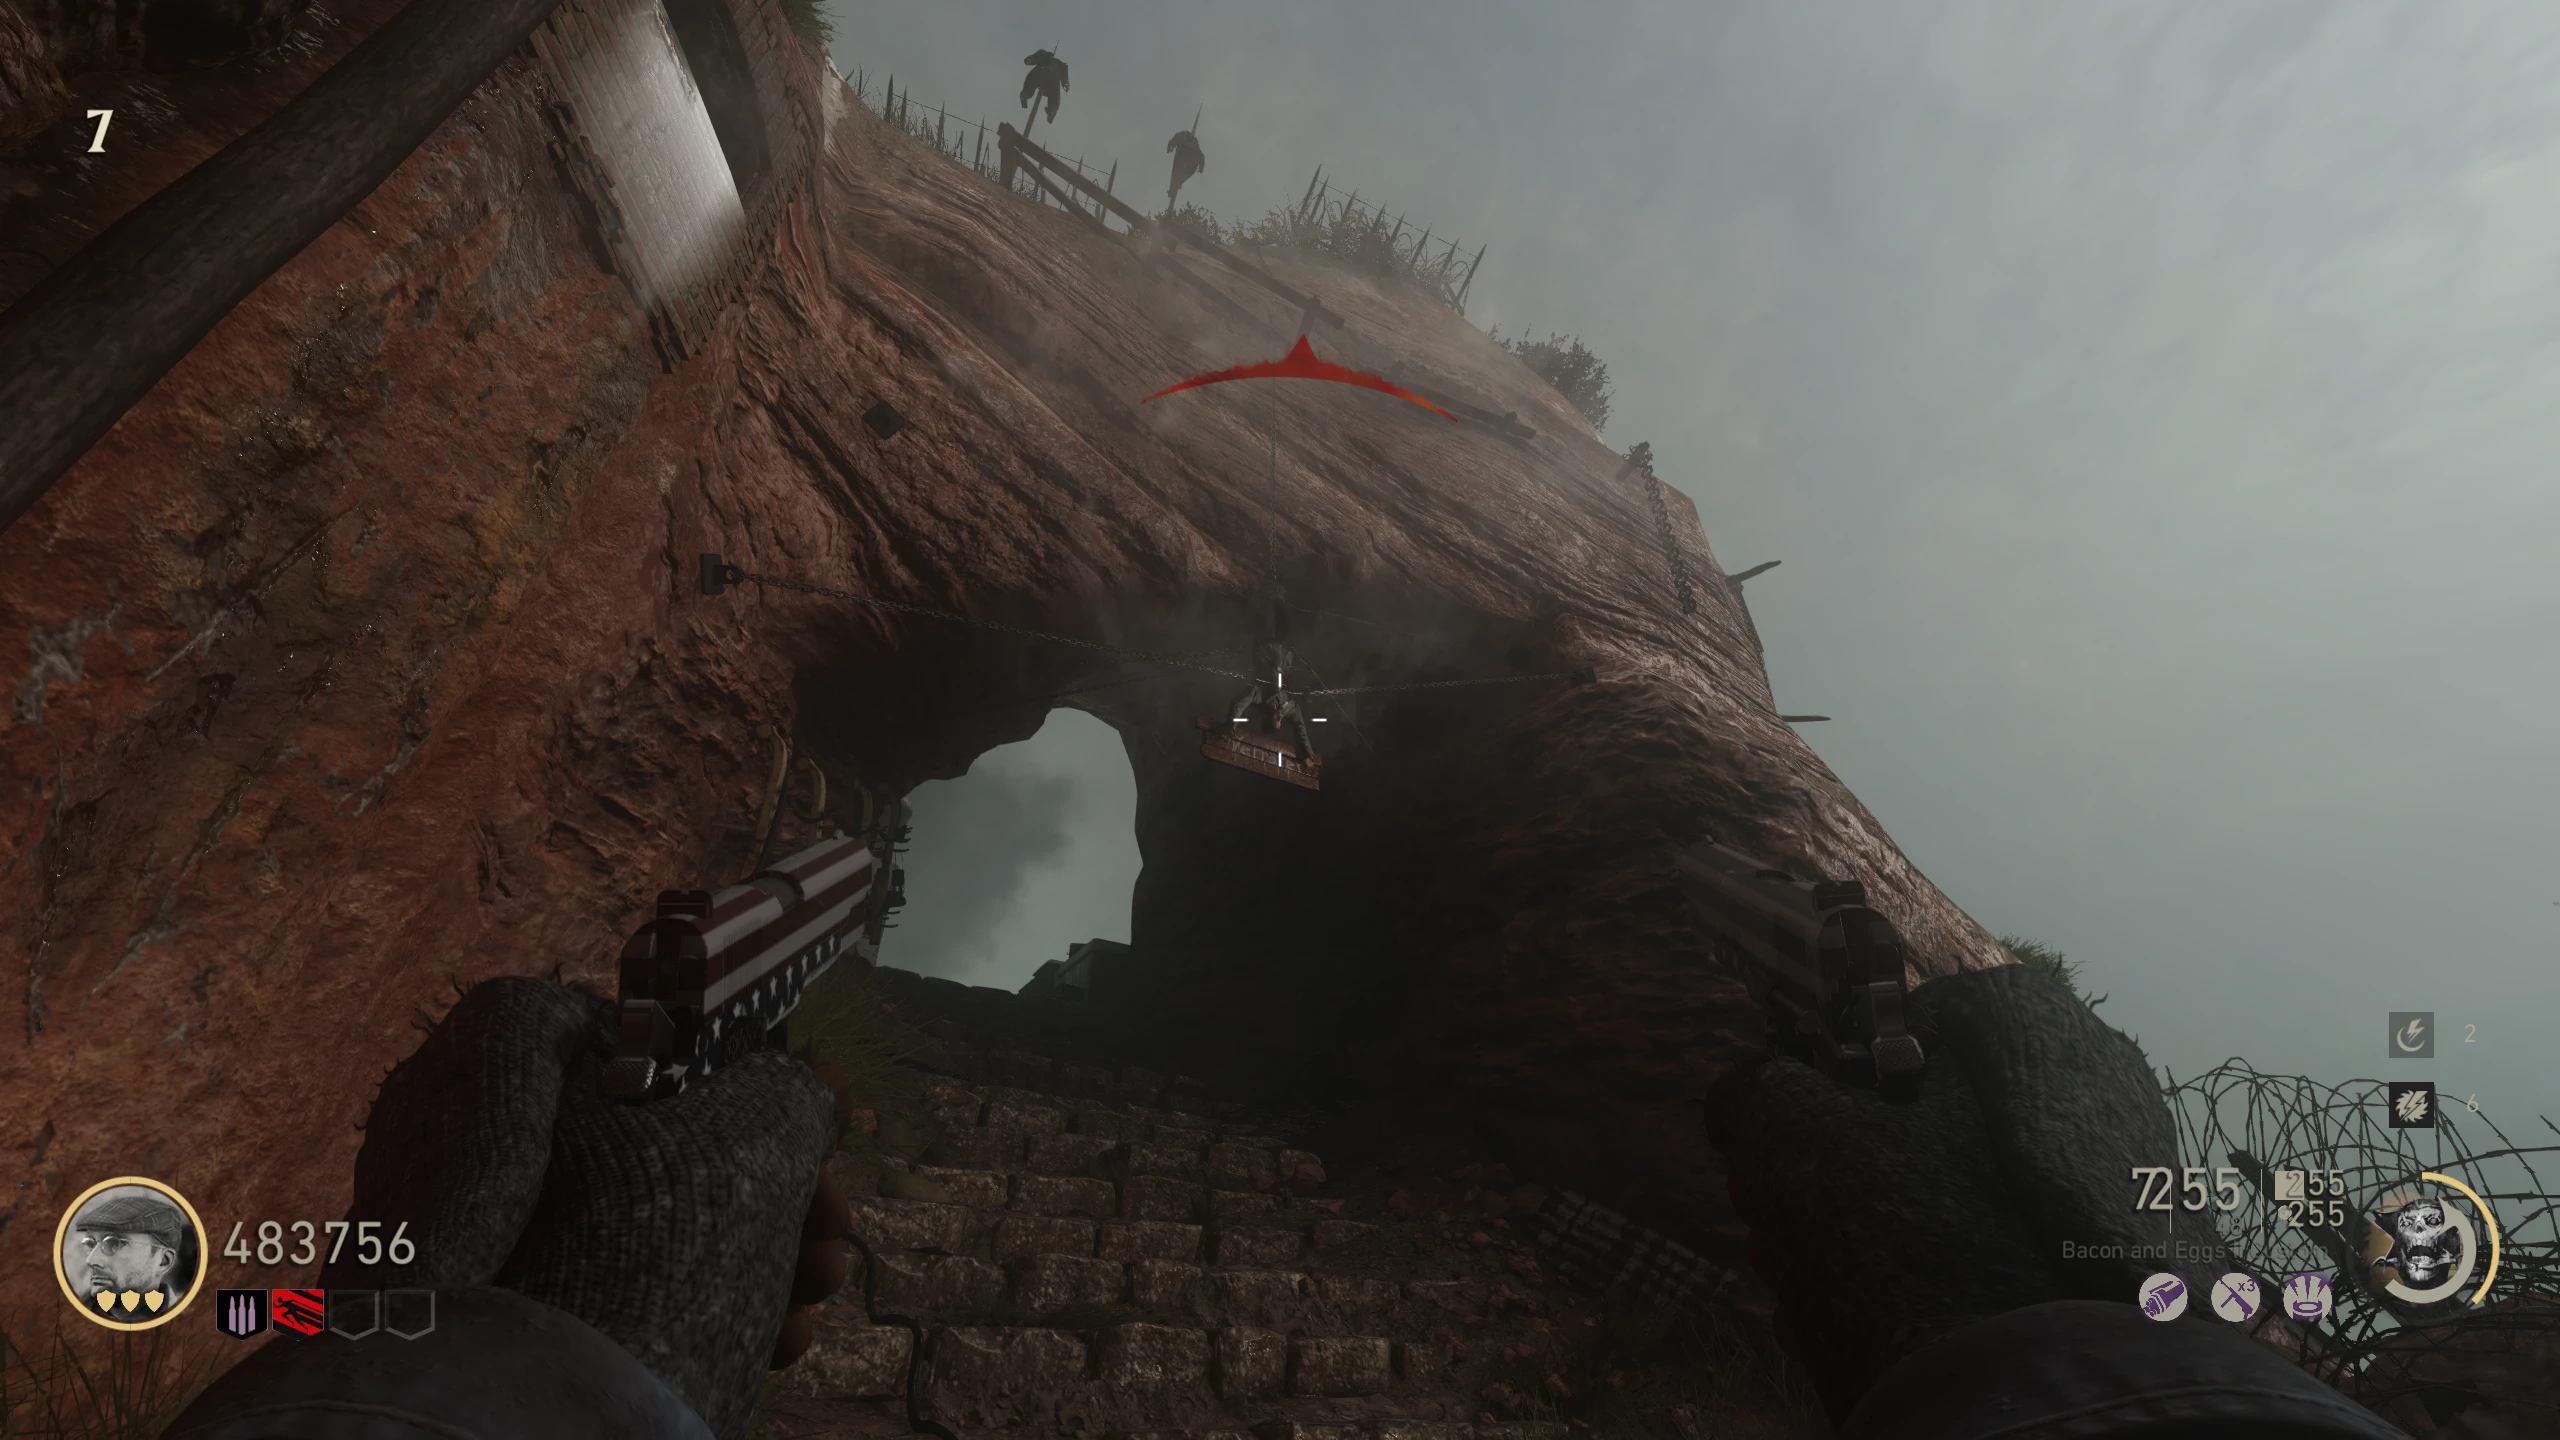
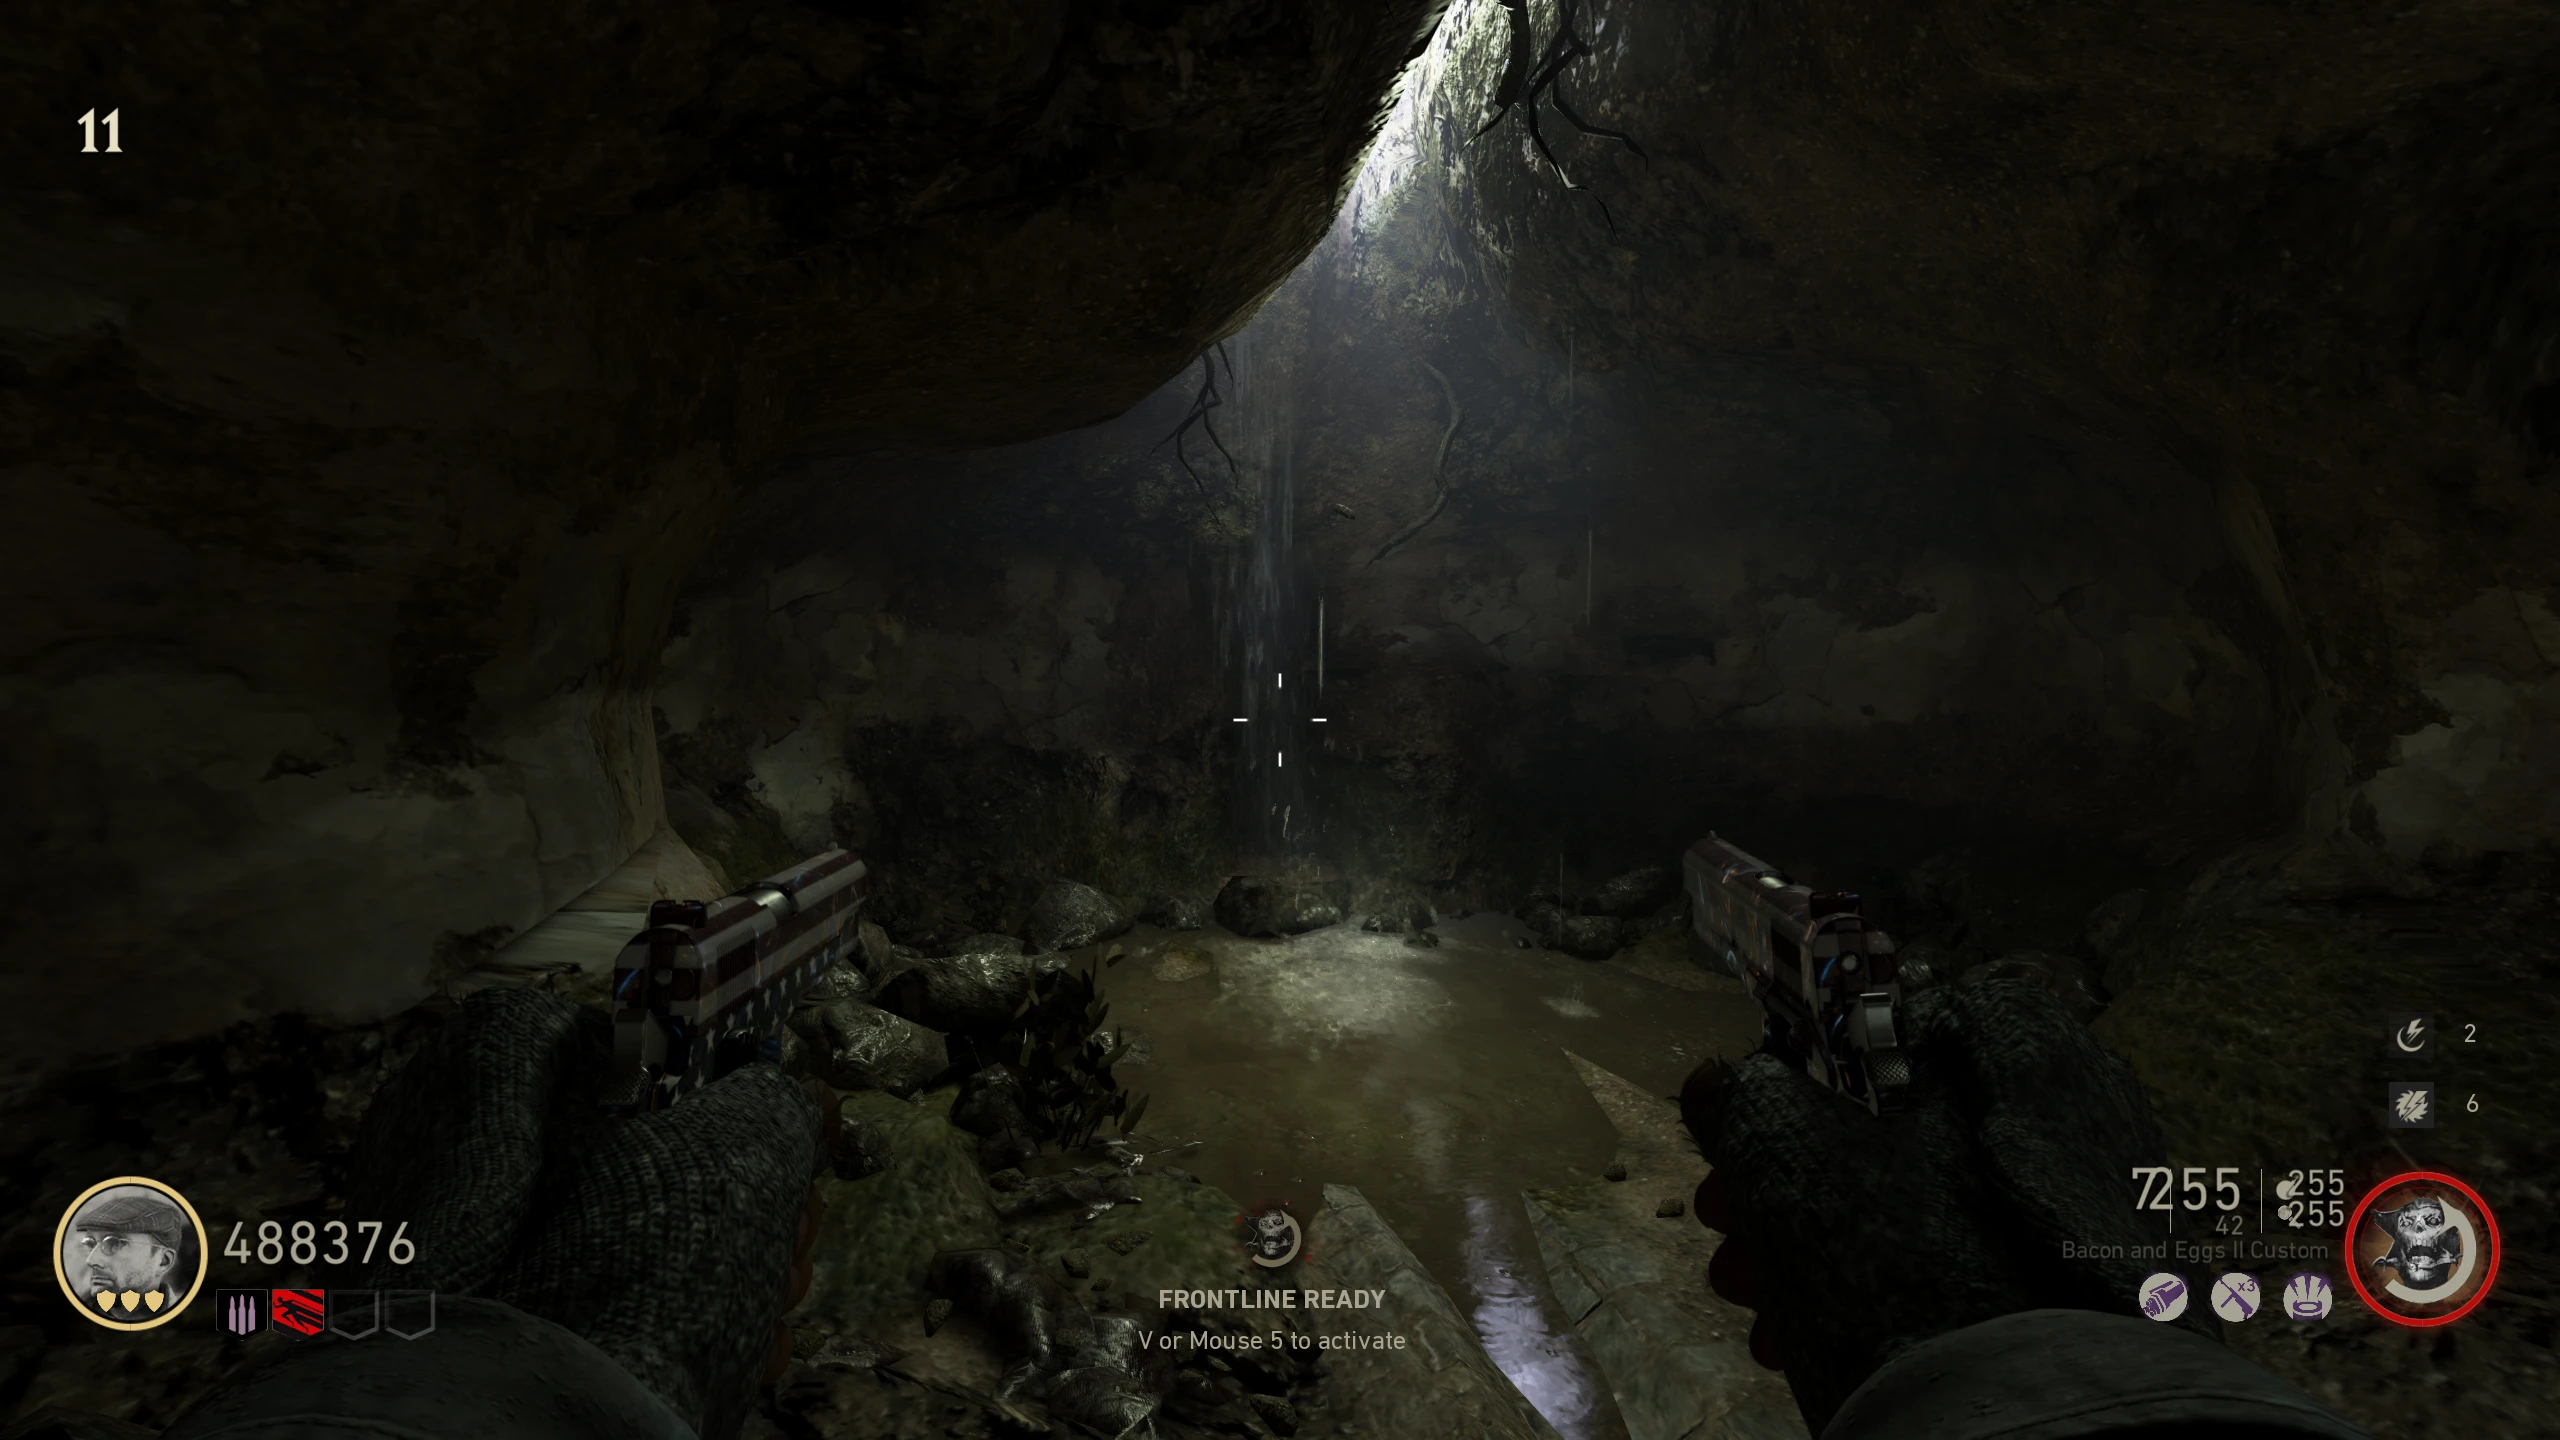
- Go to the 'Bluffs.' Above the doorway to 'Bunker 3' (above Electric Cherry), there will be a man dangling holding a radio. Shoot the arm of the man with the Ripsaw to make it fall to the floor for you to pick up.
- Go to the 'Overlook' and interact with the Radio on the table, right of the Mystery Box.
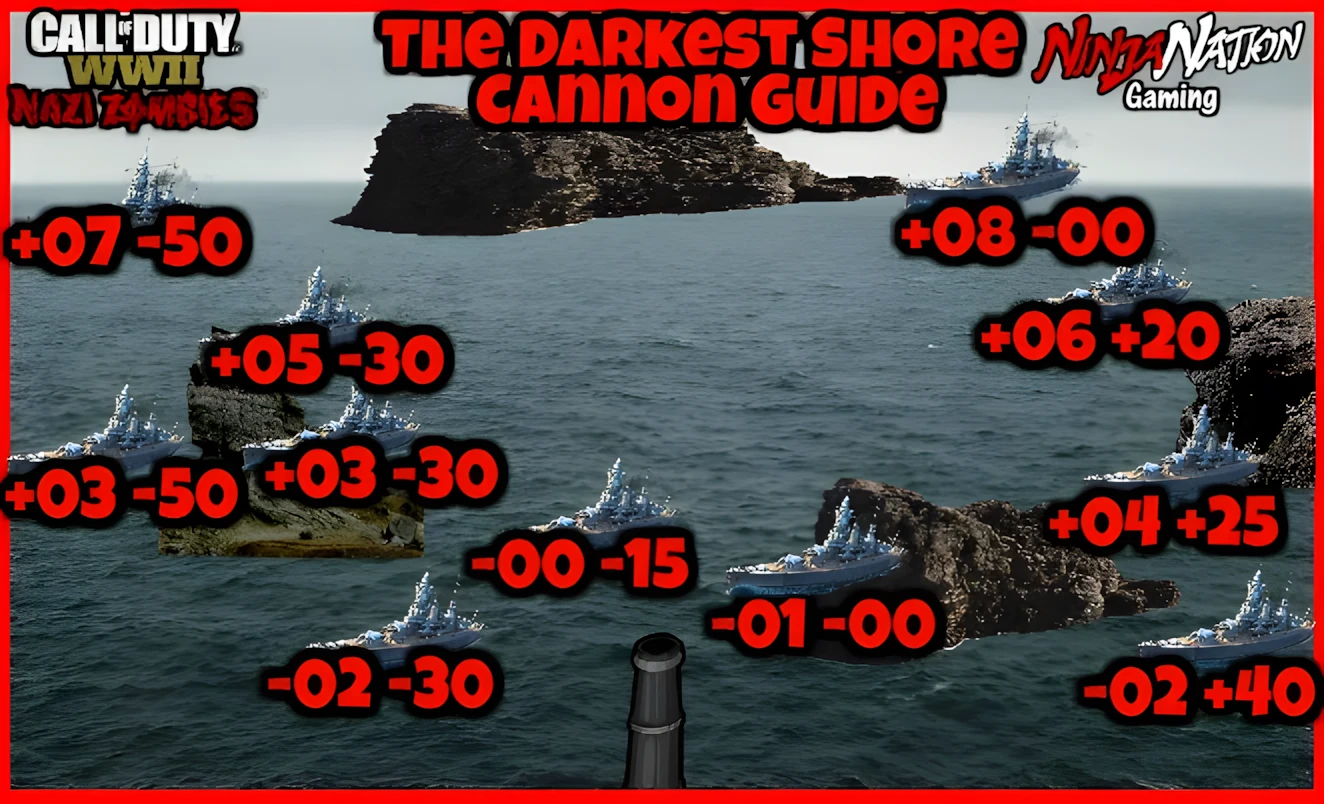
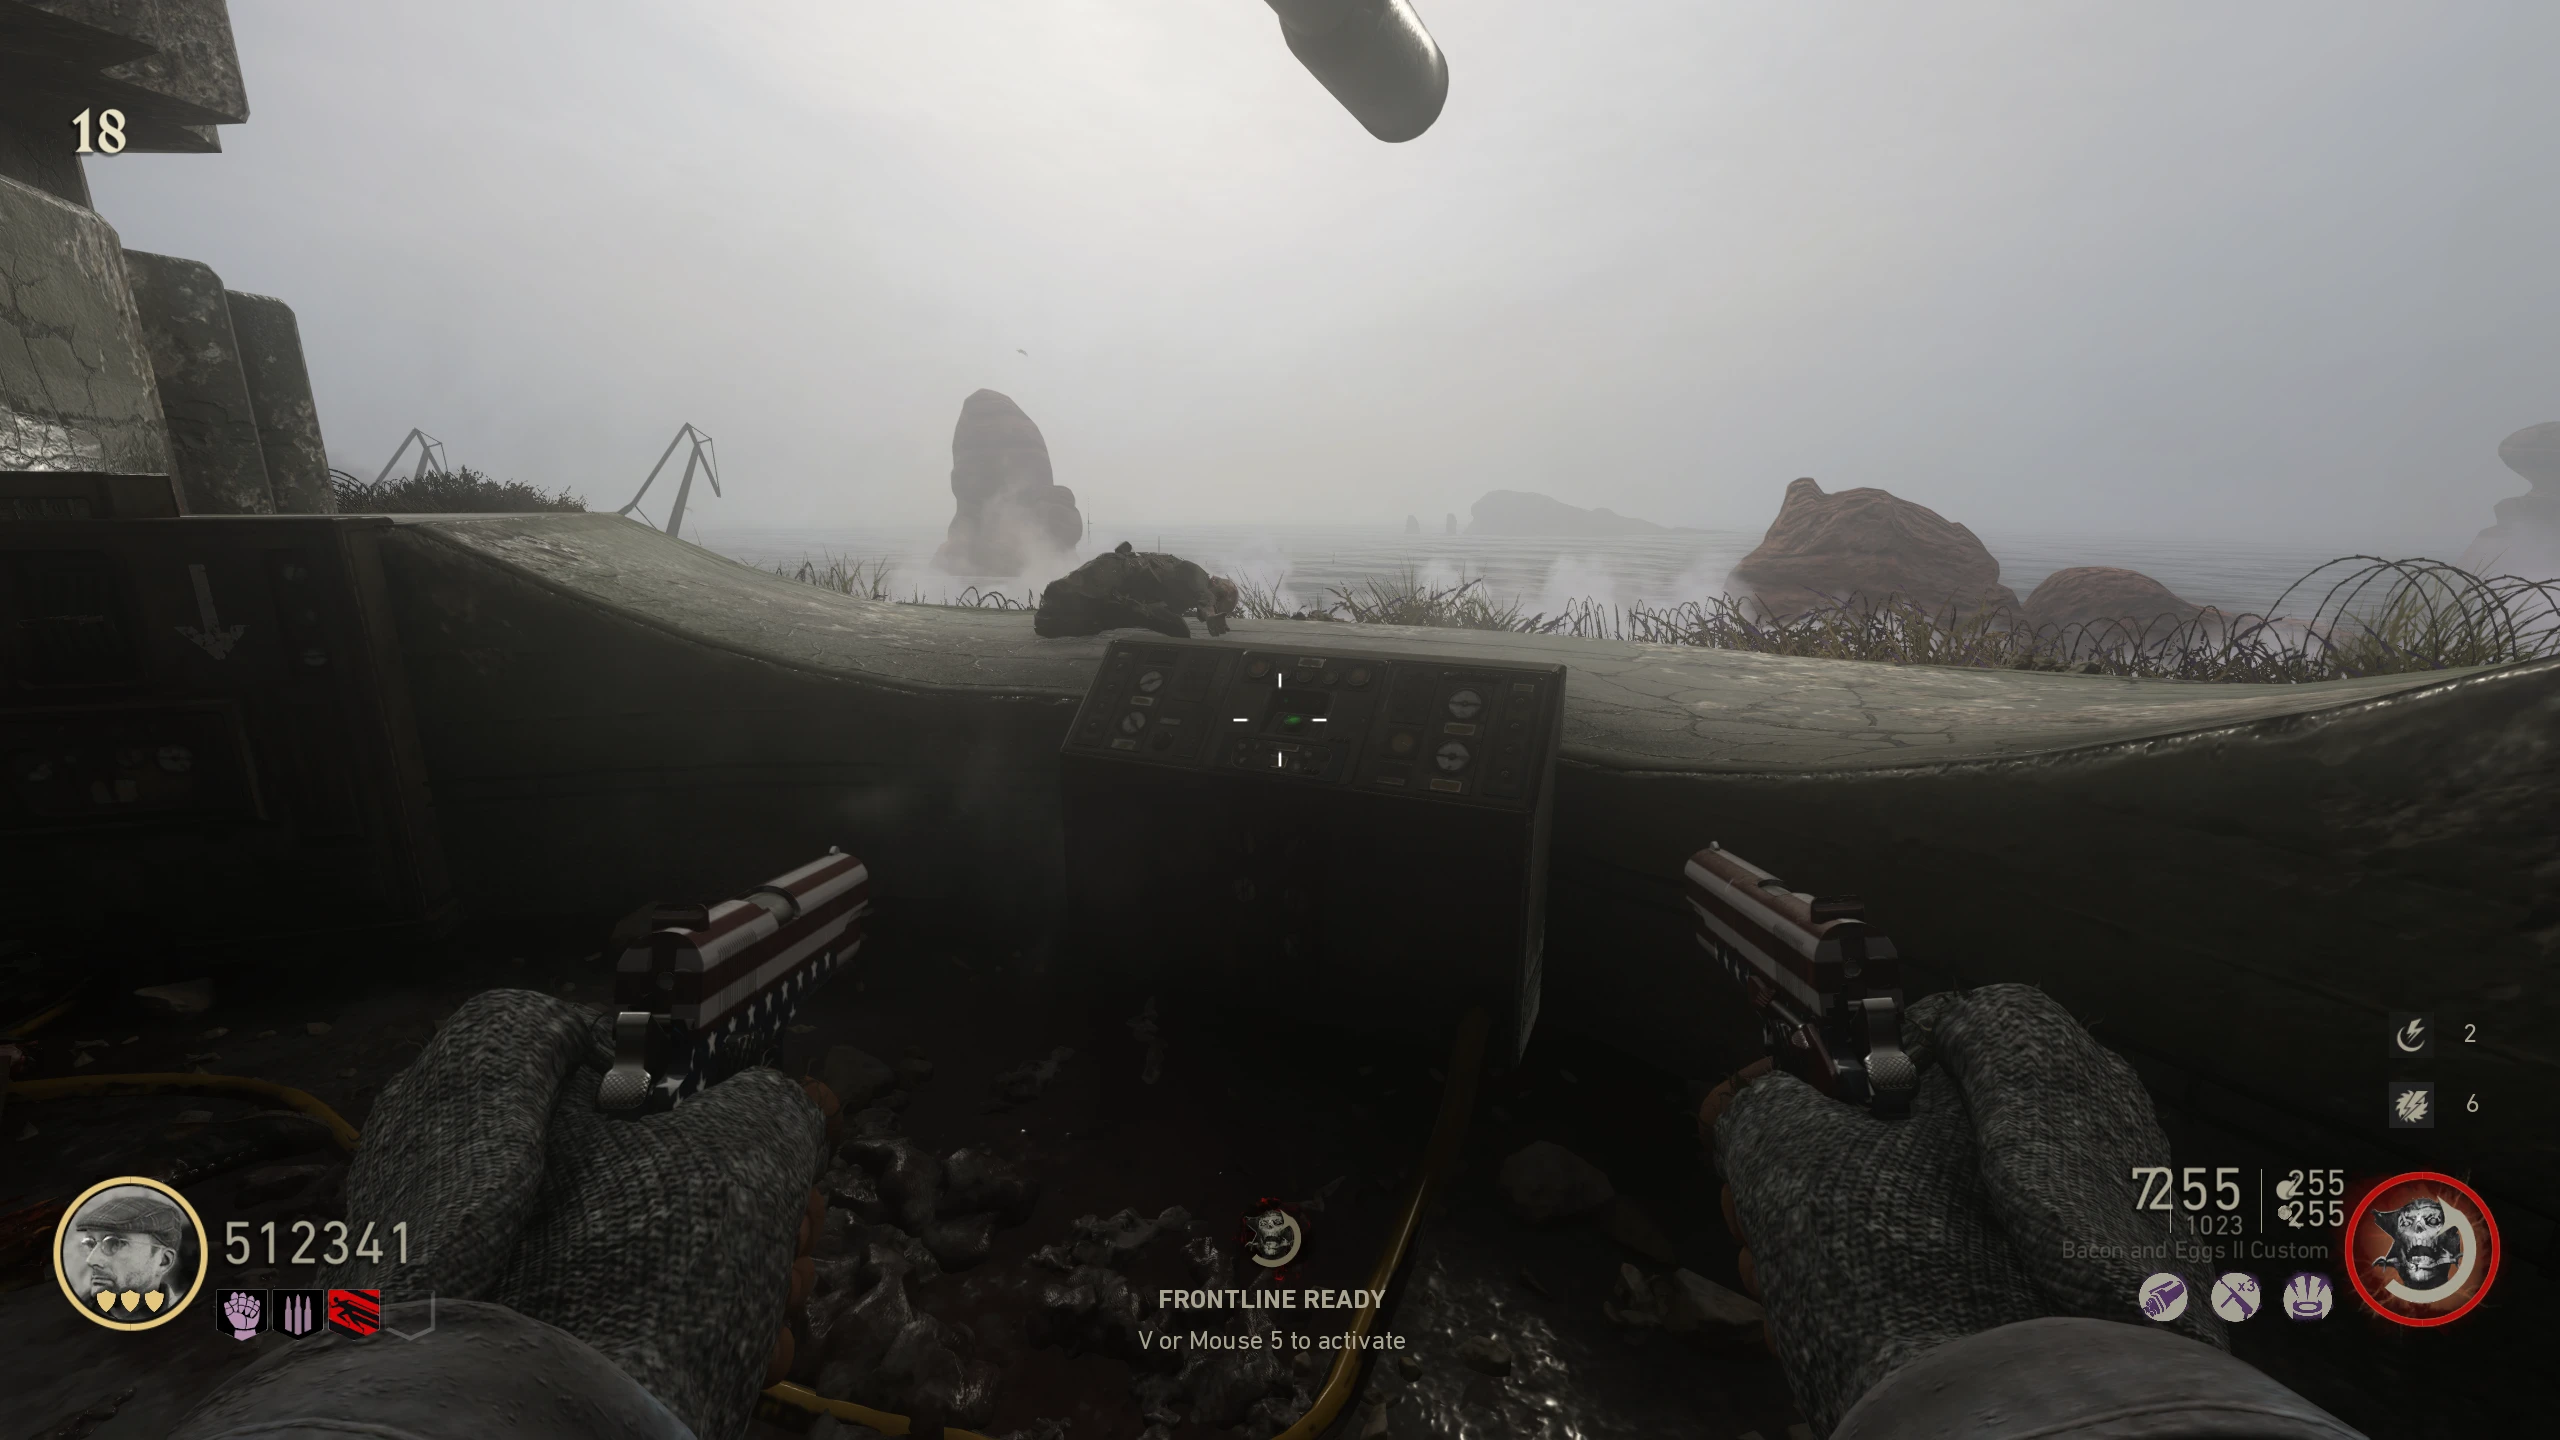
- This will play a long bit of dialogue, followed by Destroyer boats firing on the island from the water in front of the cannon. You need to use the cannon to destroy the ships (two total, one at a time). To aim the cannon, interact with the left panel to change the elevation, and the right panel to change the angle. Use this aiming guide image to help you aim the cannon. Interact with the button in the middle of the panels to fire.
- To aim without the helper image, you will need to use the charts on the wall, right of the cannon. The top image will tell you the angle and distance in meters. The bottom image will help you convert the distance to the measurement the panel uses (+05, -10, etc.)
- Throw the Pommel at the radio you used to call in the British Air Force earlier in the Easter Egg. Then, all players must interact with the radio at the same time. If you wish to get Jack-in-the-Boxes for the Fight, get them after you throw the Pommel at the Radio, but before you interact with it. This is because the Pommel is no longer required for the Quest.
- A short cutscene will play showing the four Meistermeuchlers, each with an ability mimicking the player's special abilities (except Freefire). The purple one (Frontline) will buff nearby Zombies. Green (Camouflage) will temporarily blind players caught in its attack. Red (Shellshock) will send out a shellshock stun attack. Yellow (Freefire) will shoot a saw blade that will bounce off walls.
- While on the Beach, the fog will be present, and you will need to fight each of the Meistermeuchlers one at a time.
- Shoot the Meistermeuchler until you stop getting hitmarkers, and it runs away (I'll call this a "kill" for easier description). If you take too long to kill the Meistermeuchler, it will go away on its own and another will take its place. The Meistermeuchler you didn't "kill" will come back after each of the others had their turn.
- After killing each of the four Meistermeuchlers, the fog will lift and the phase will be over. Ride the minecart to the next arena; you will be given a Max Ammo on the minecart ride.
- You will be brought to the 'U-Boat Pens,' and a Brenner Zombie will spawn. Also, the "door" out of the Pens will be closed and some of the floor tiles will start shooting fire like the gas valve step earlier in the Quest.
- The phase is the same as the first one except you will need to fight two of the Meistermeuchlers at a time.
- After killing all the Meistermeuchlers, the door out of the arena will open, the fire will stop, and the phase will be over. There will be a Full Meter power-up at the top of the stairs, and you will be able to refill armour at the stand by the Ripsaw table. Ride the minecart to the next arena; you will be given a Max Ammo on the minecart ride.
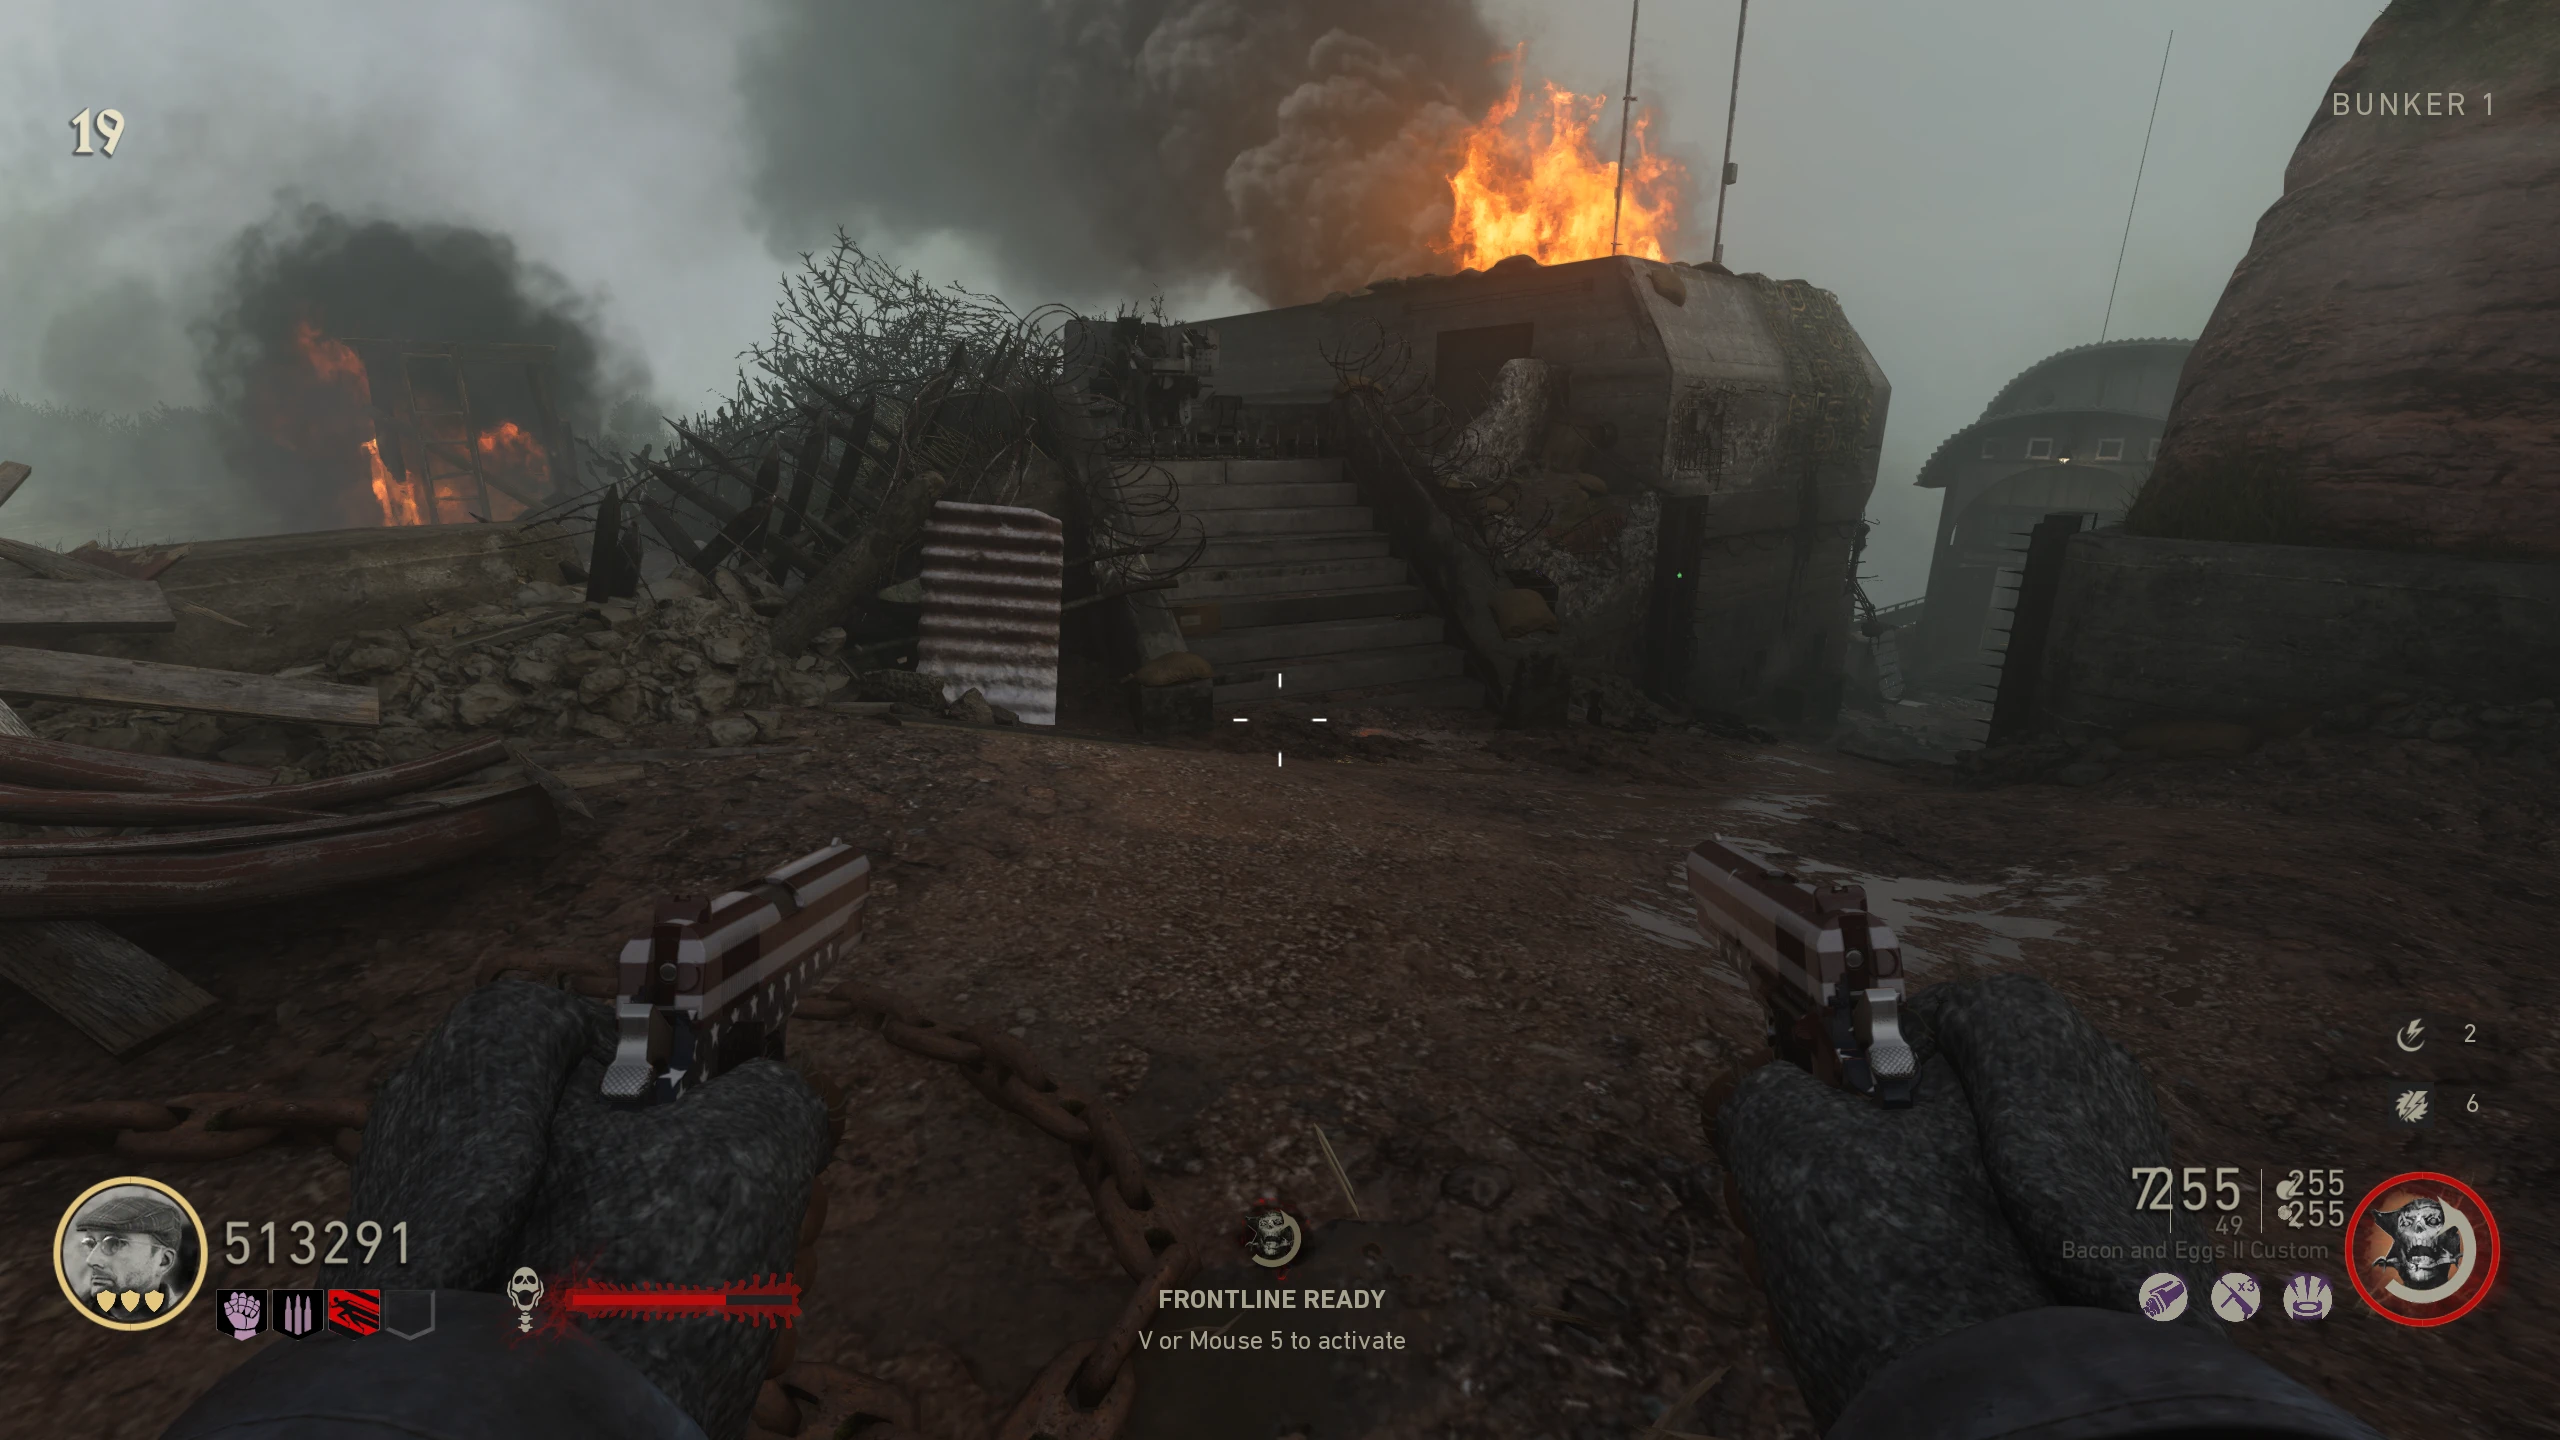
- You will be brought to the 'Bunker 1' area with access to the entire bunker area on the top of the map (from PAP to the Artillery Bunker). Also, the fog will be present.
- The phase is the same as the second one except you will need to fight three of the Meistermeuchlers at a time. You can use the armour stand in the 'Artillery Bunker' at will, so make sure you do.
- After killing all the Meistermeuchlers, the fog will lift and the phase will be over. Make sure to buy armour before you ride the minecart, this will be your last chance to do so. Ride the minecart to the next (and final) arena; you will be given a Max Ammo on the minecart ride.
- You will be brought back to the Beach, but the fog won't be present. You will need to fight all the Meistermeuchlers at the same time.
- This time, however, they will actually die, so try to focus one if possible.
- Once the fourth one dies, the boss fight will end and the cutscene will start after a few seconds.
Prerequisites
Corpse Gate
The rest of the Quest is split into two parts (Unlocking Nerthus' Secret Room / Ritual Sacrifices and Destroying The Ships). These parts can be done independently of each other, and in any order.
Unlocking Nerthus' Secret Room
Ritual Sacrifices
Meuchler Sacrifice Ritual
Wustling Sacrifice Ritual
Pest Sacrifice Ritual
Bomber Escort and Destroying Ships
Warning: Point of No Return. Once the radio is interacted with, the Boss Fight will start.
Meistermeuchler Boss Fight
Phase 1
Phase 2
Phase 3
Phase 4