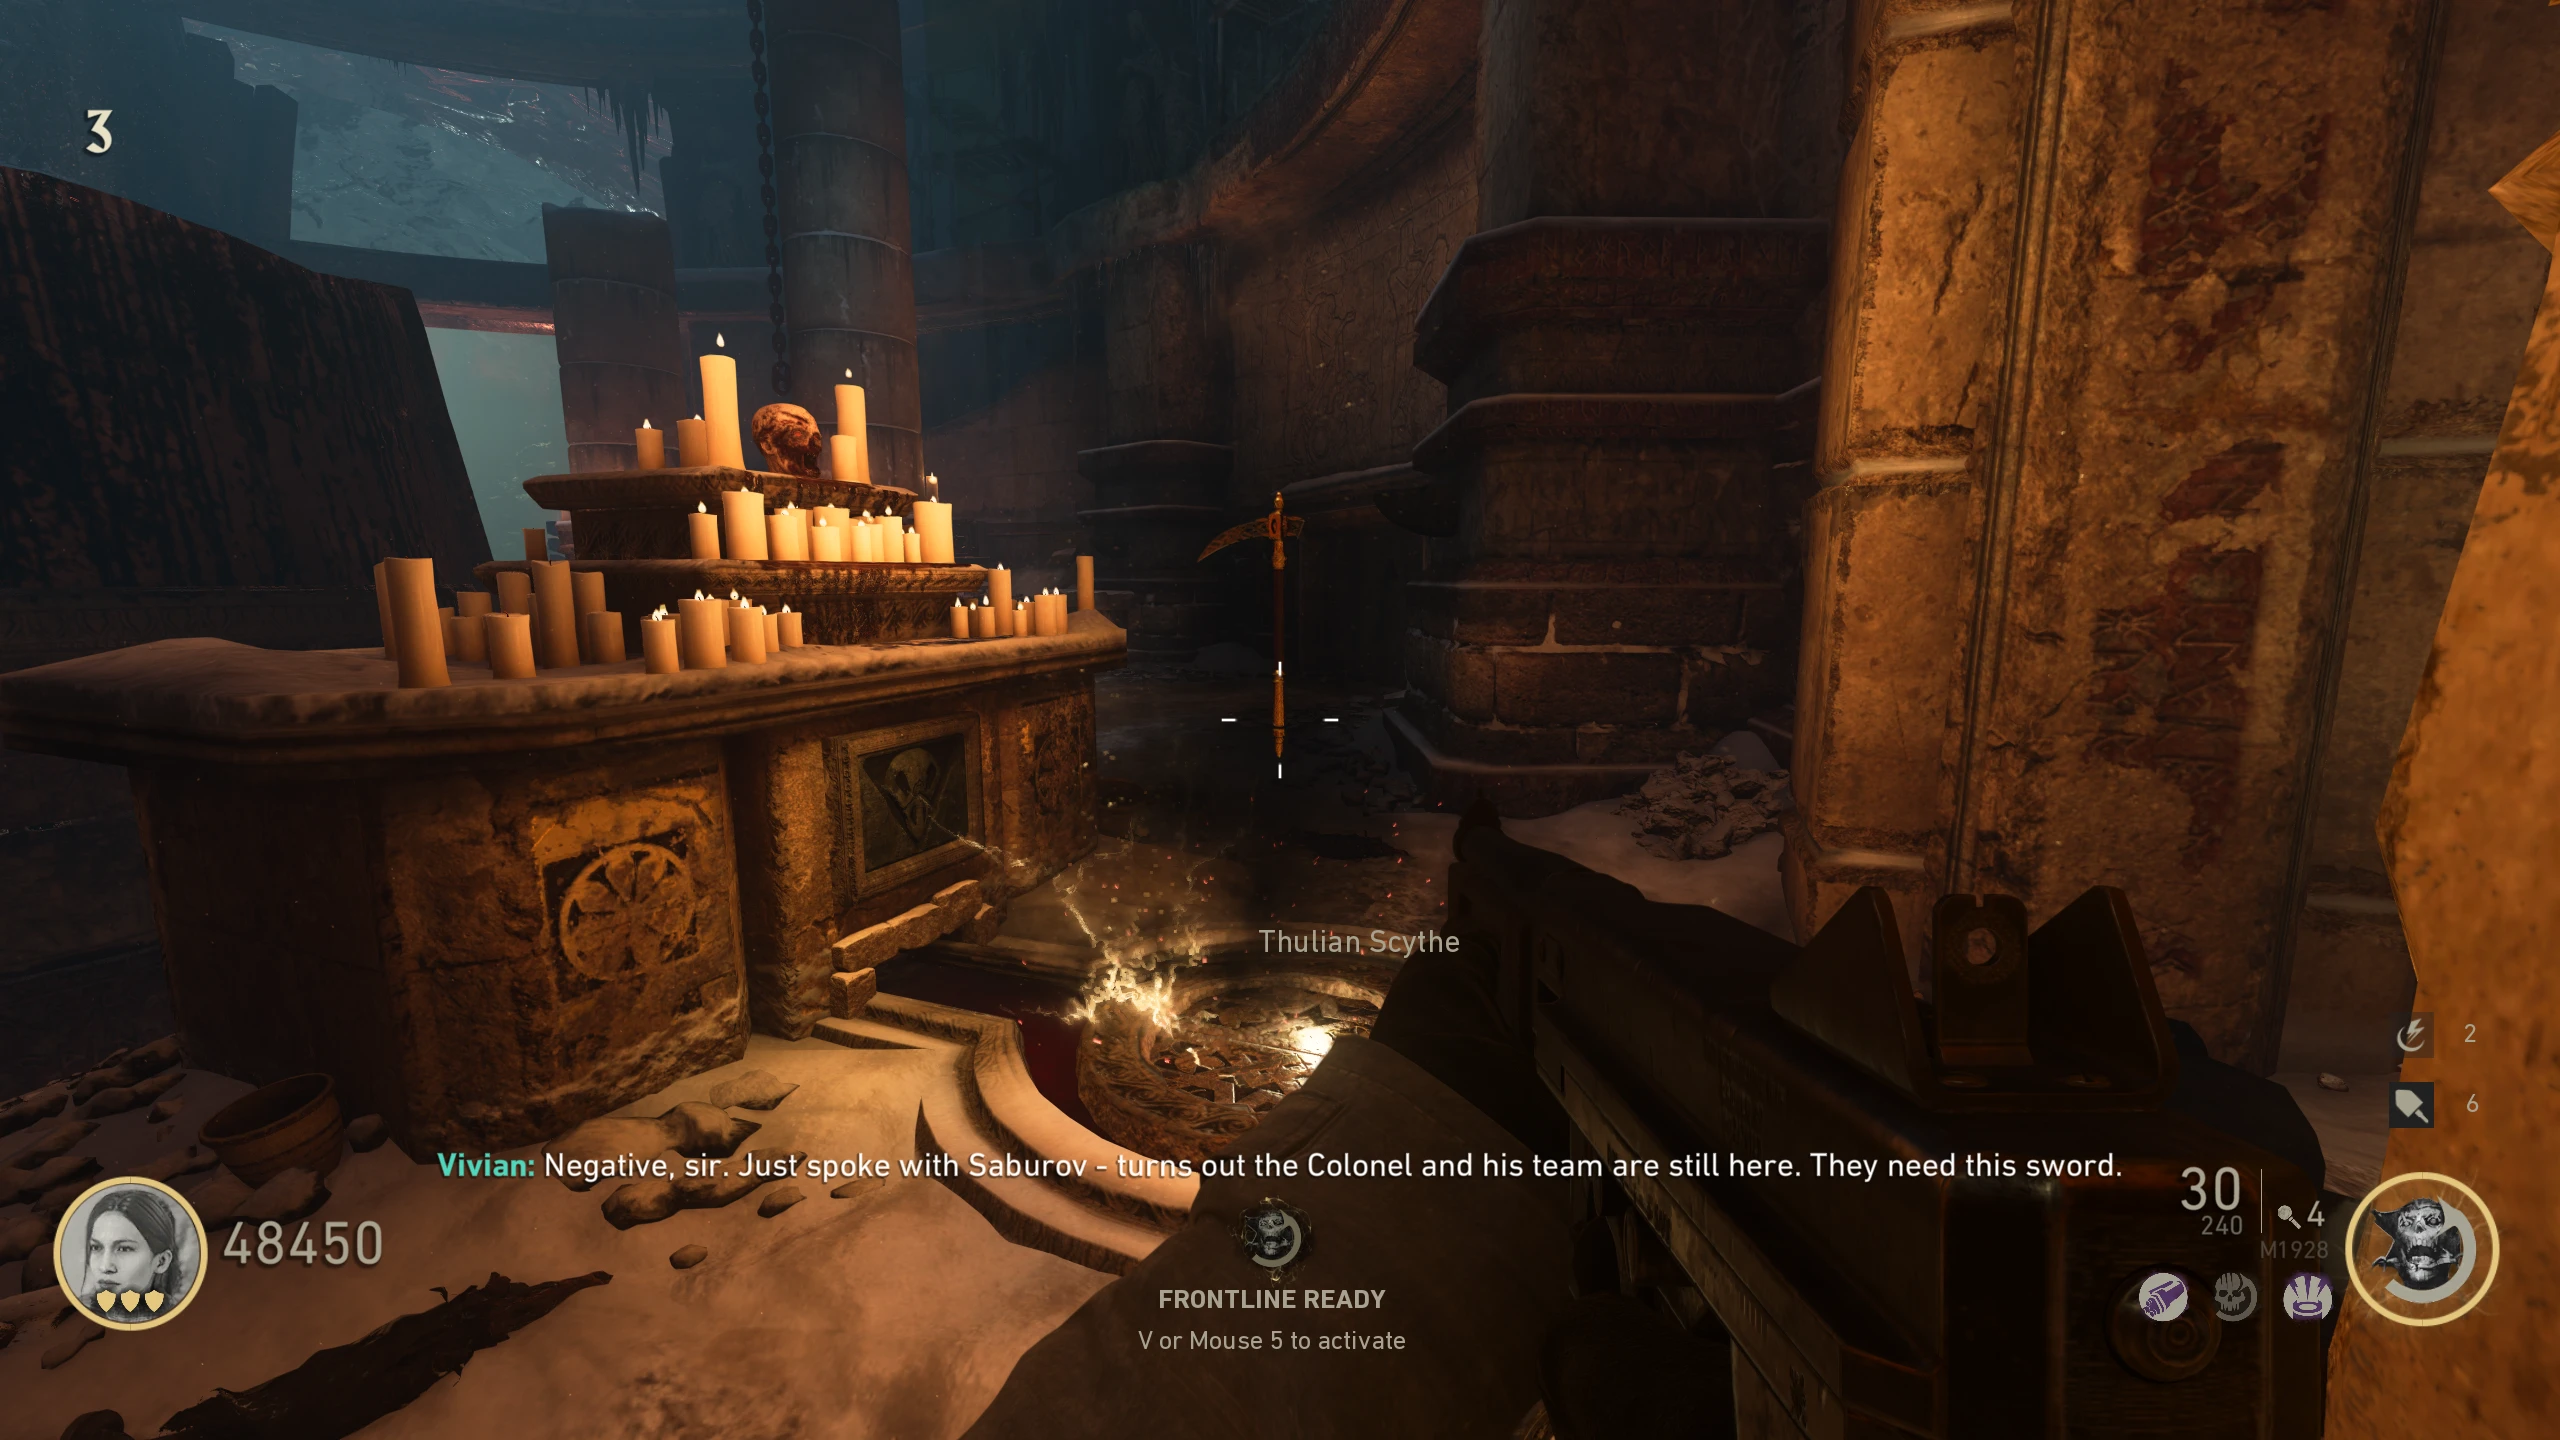
Thulian Scythe
The Thulian Scythe is a melee wonder weapon that swings twice in front of the player.
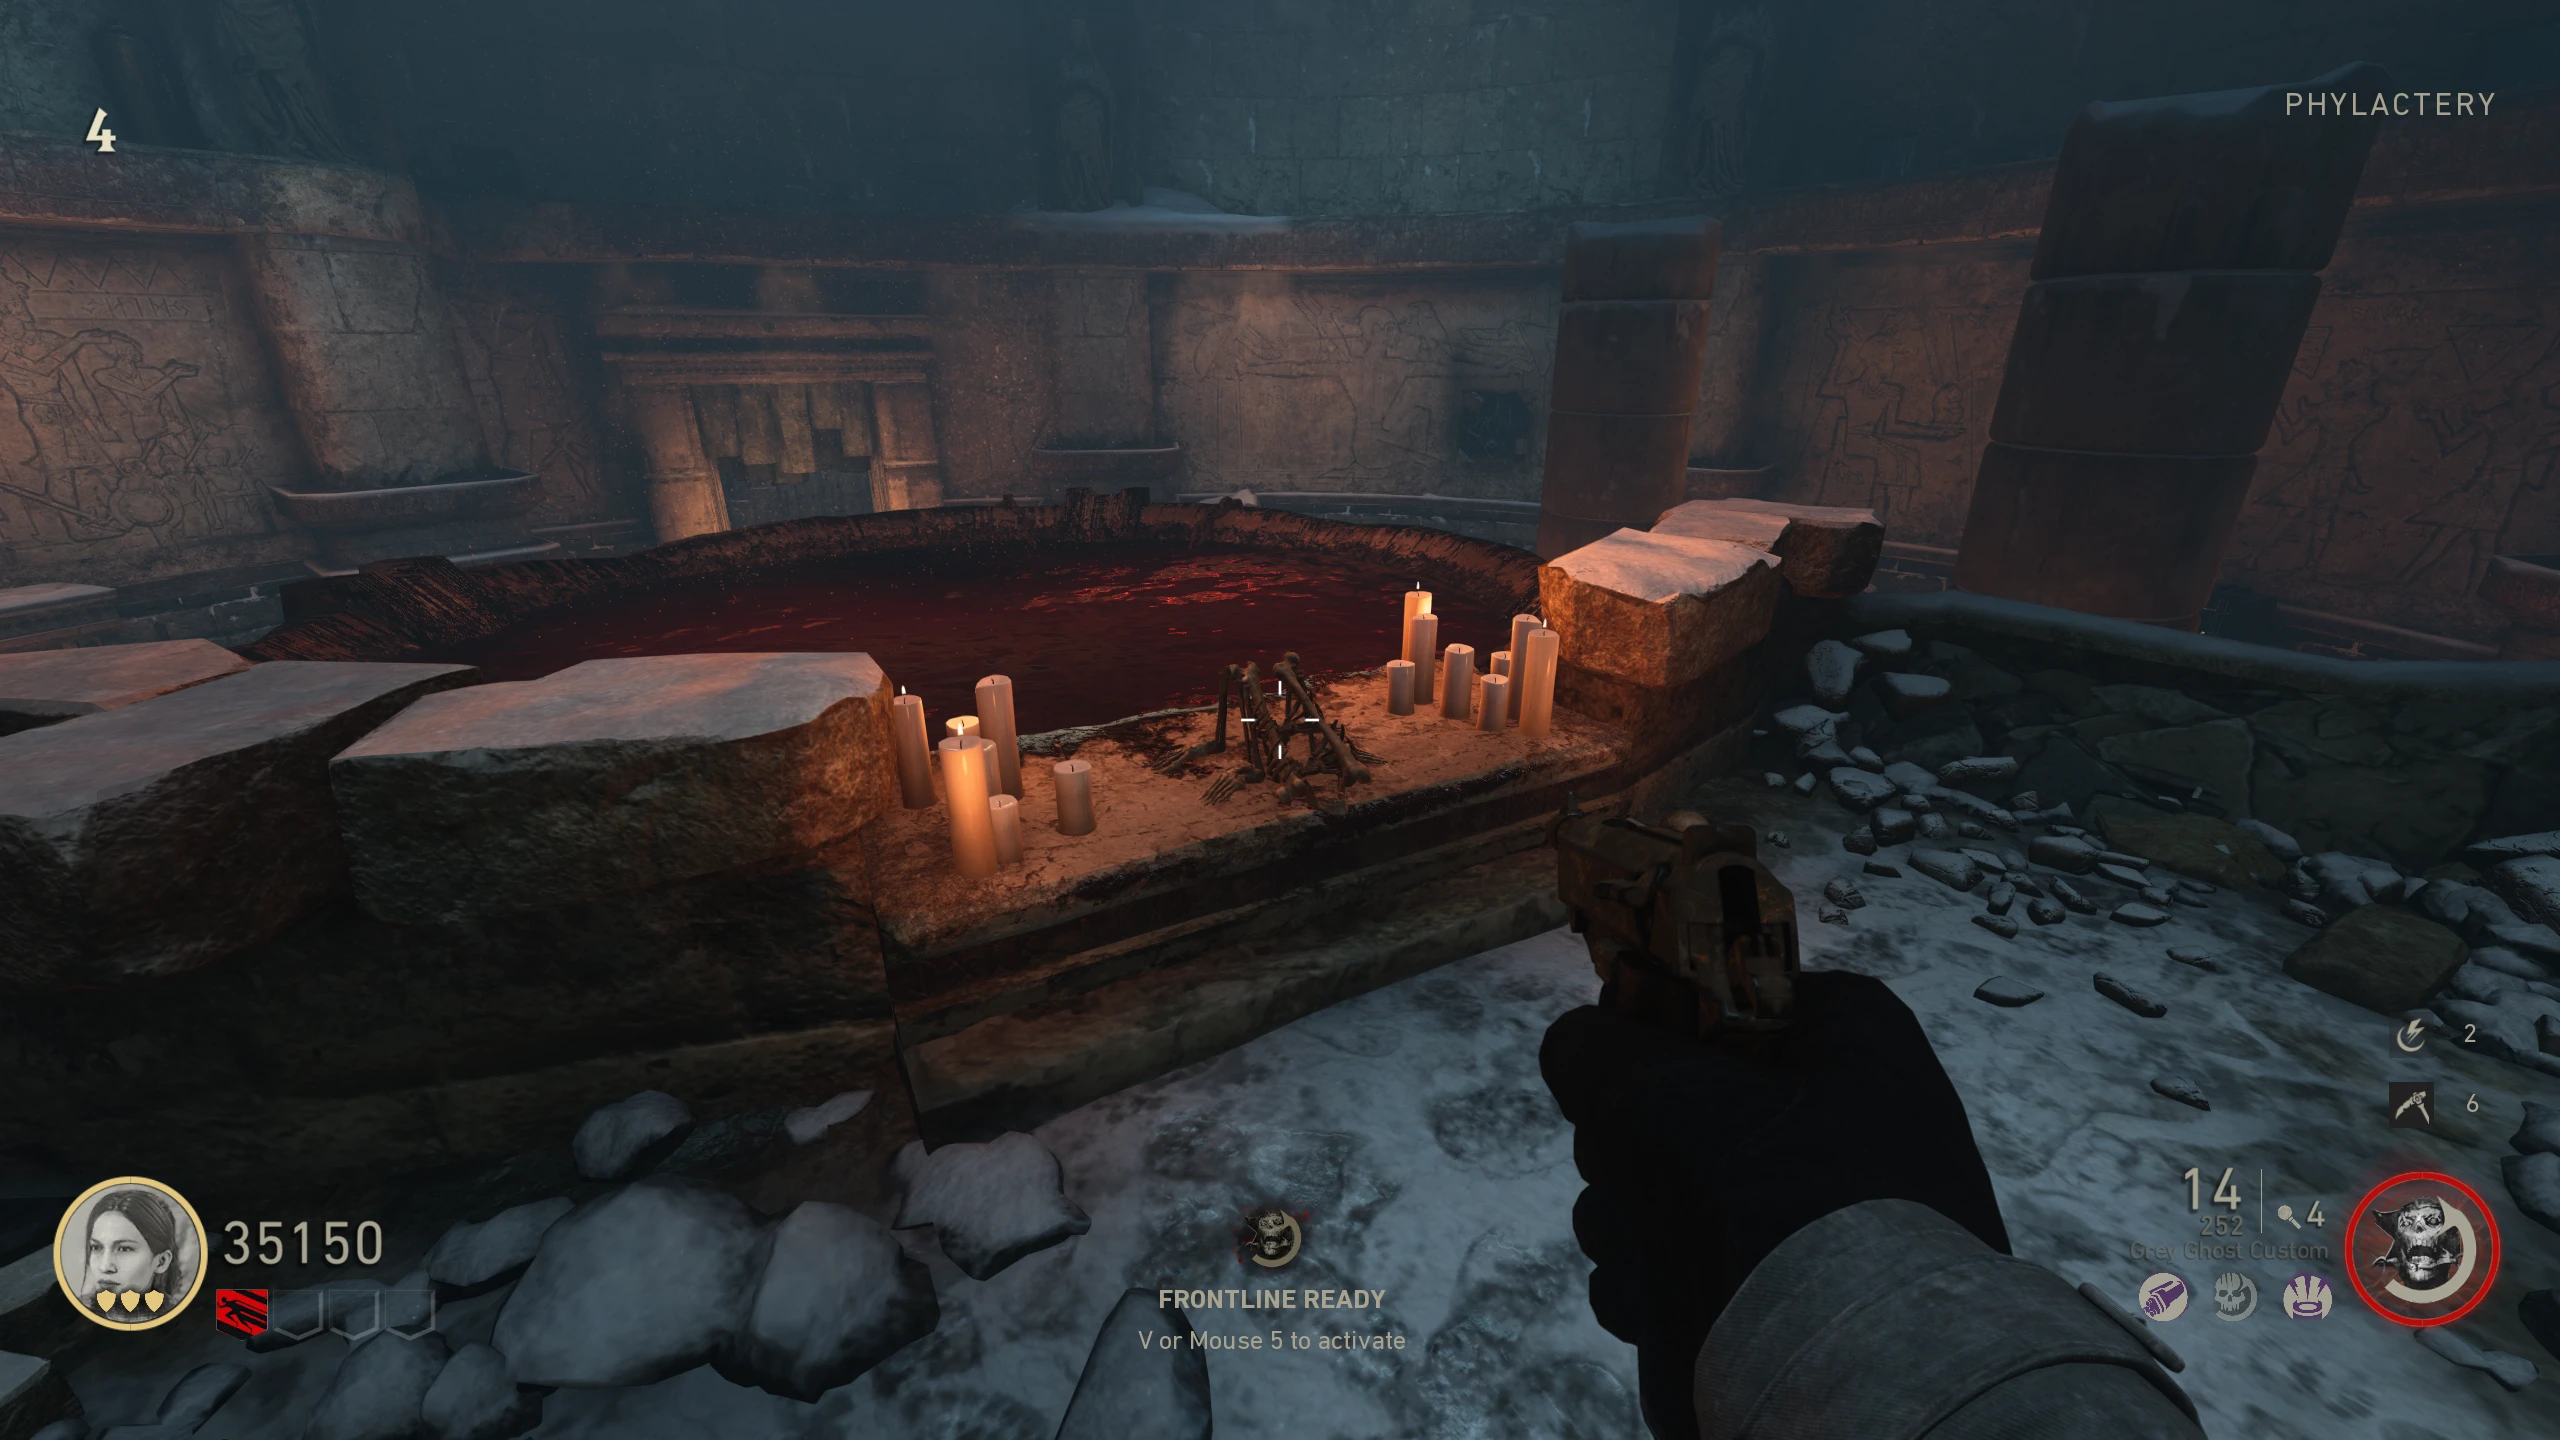
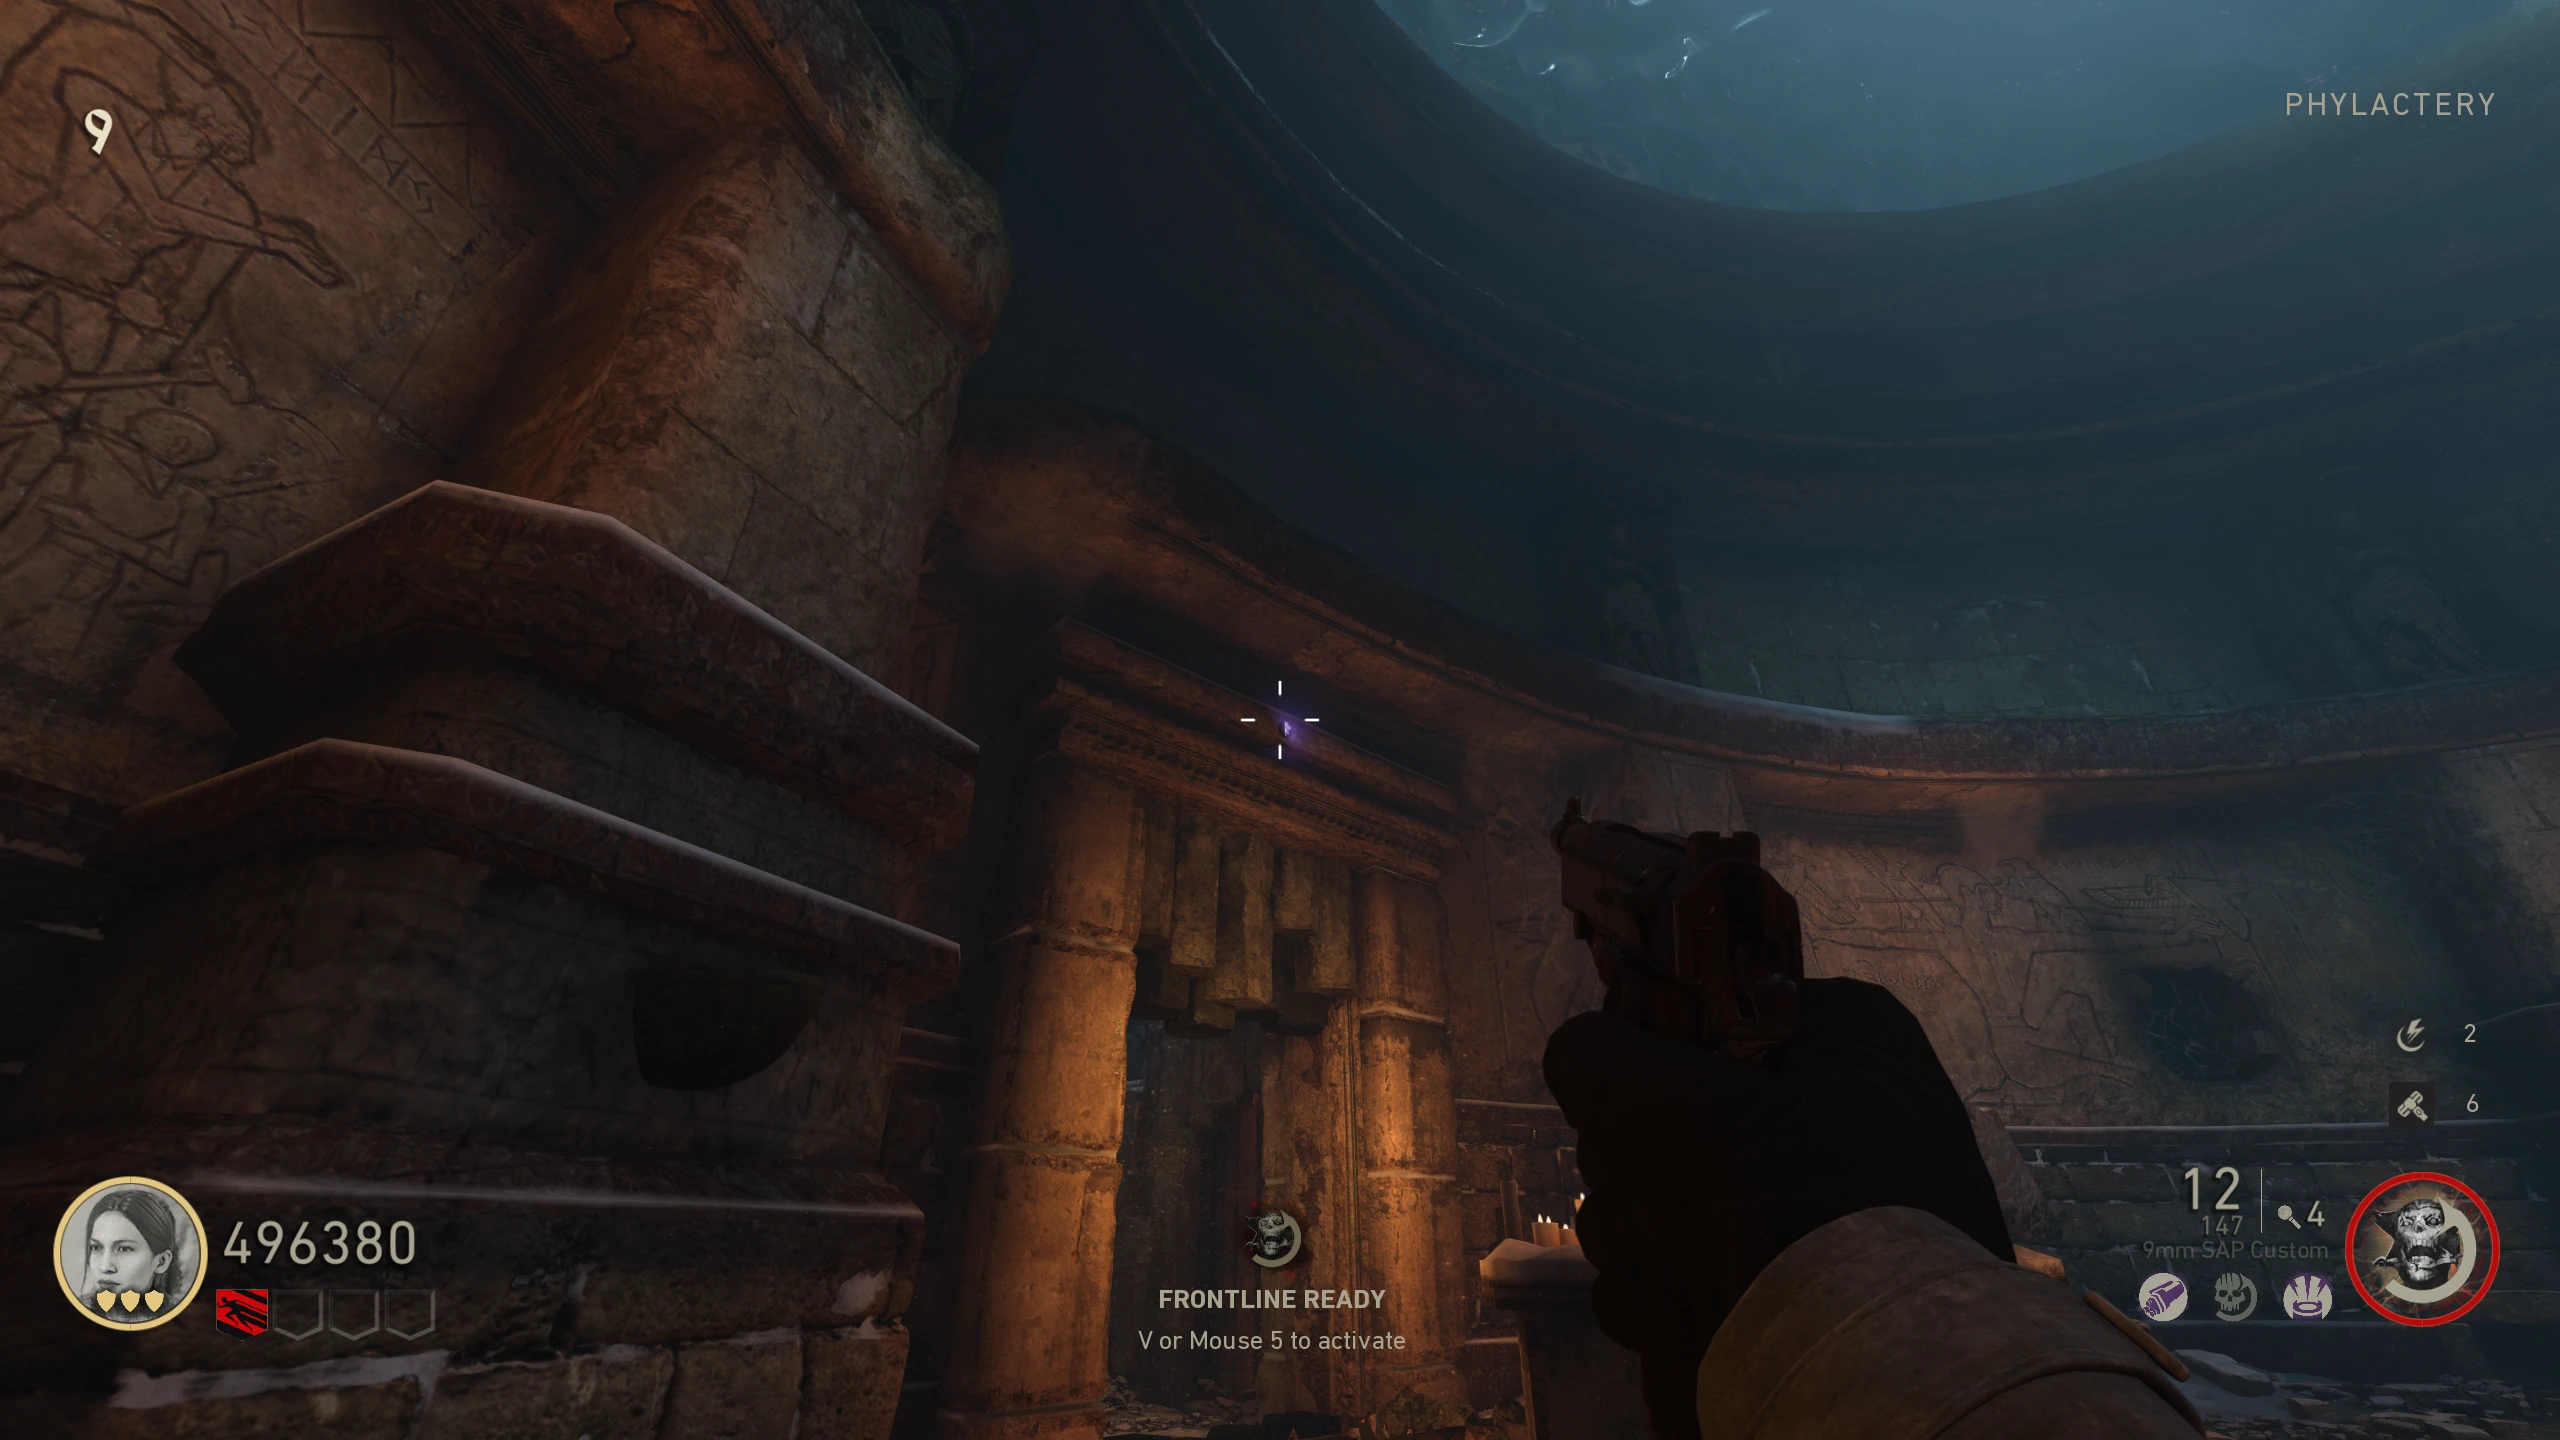
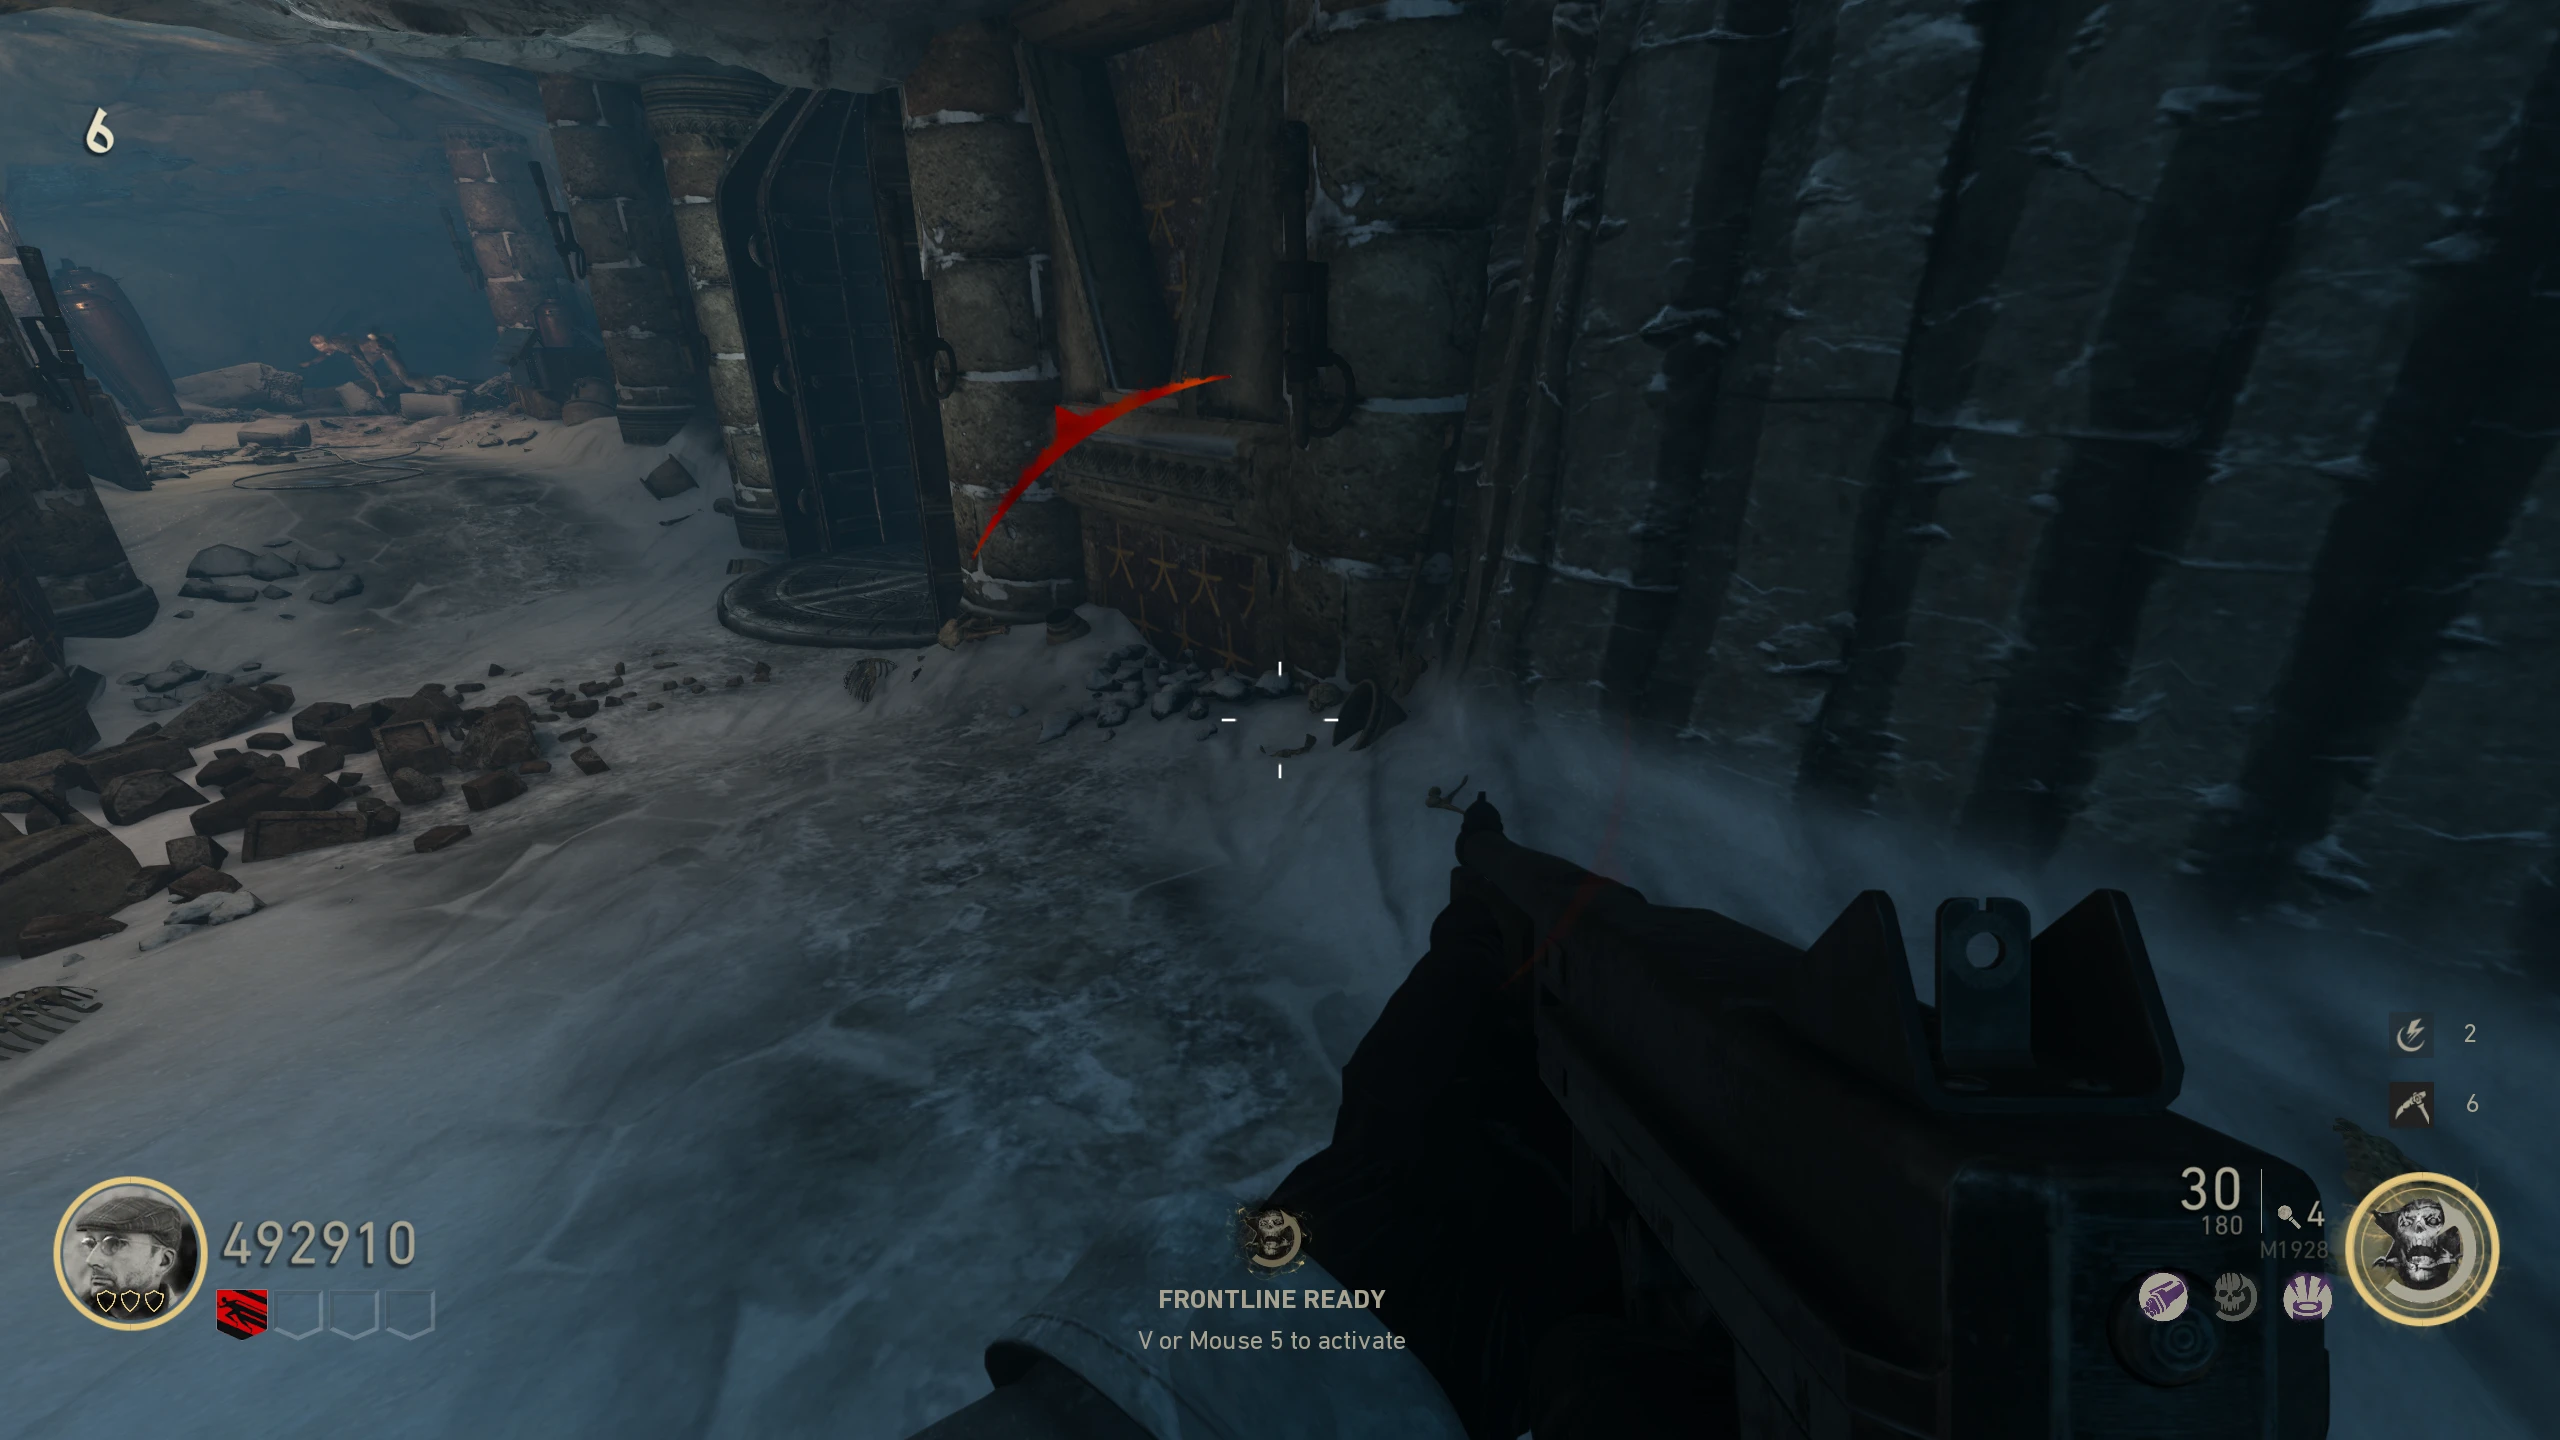
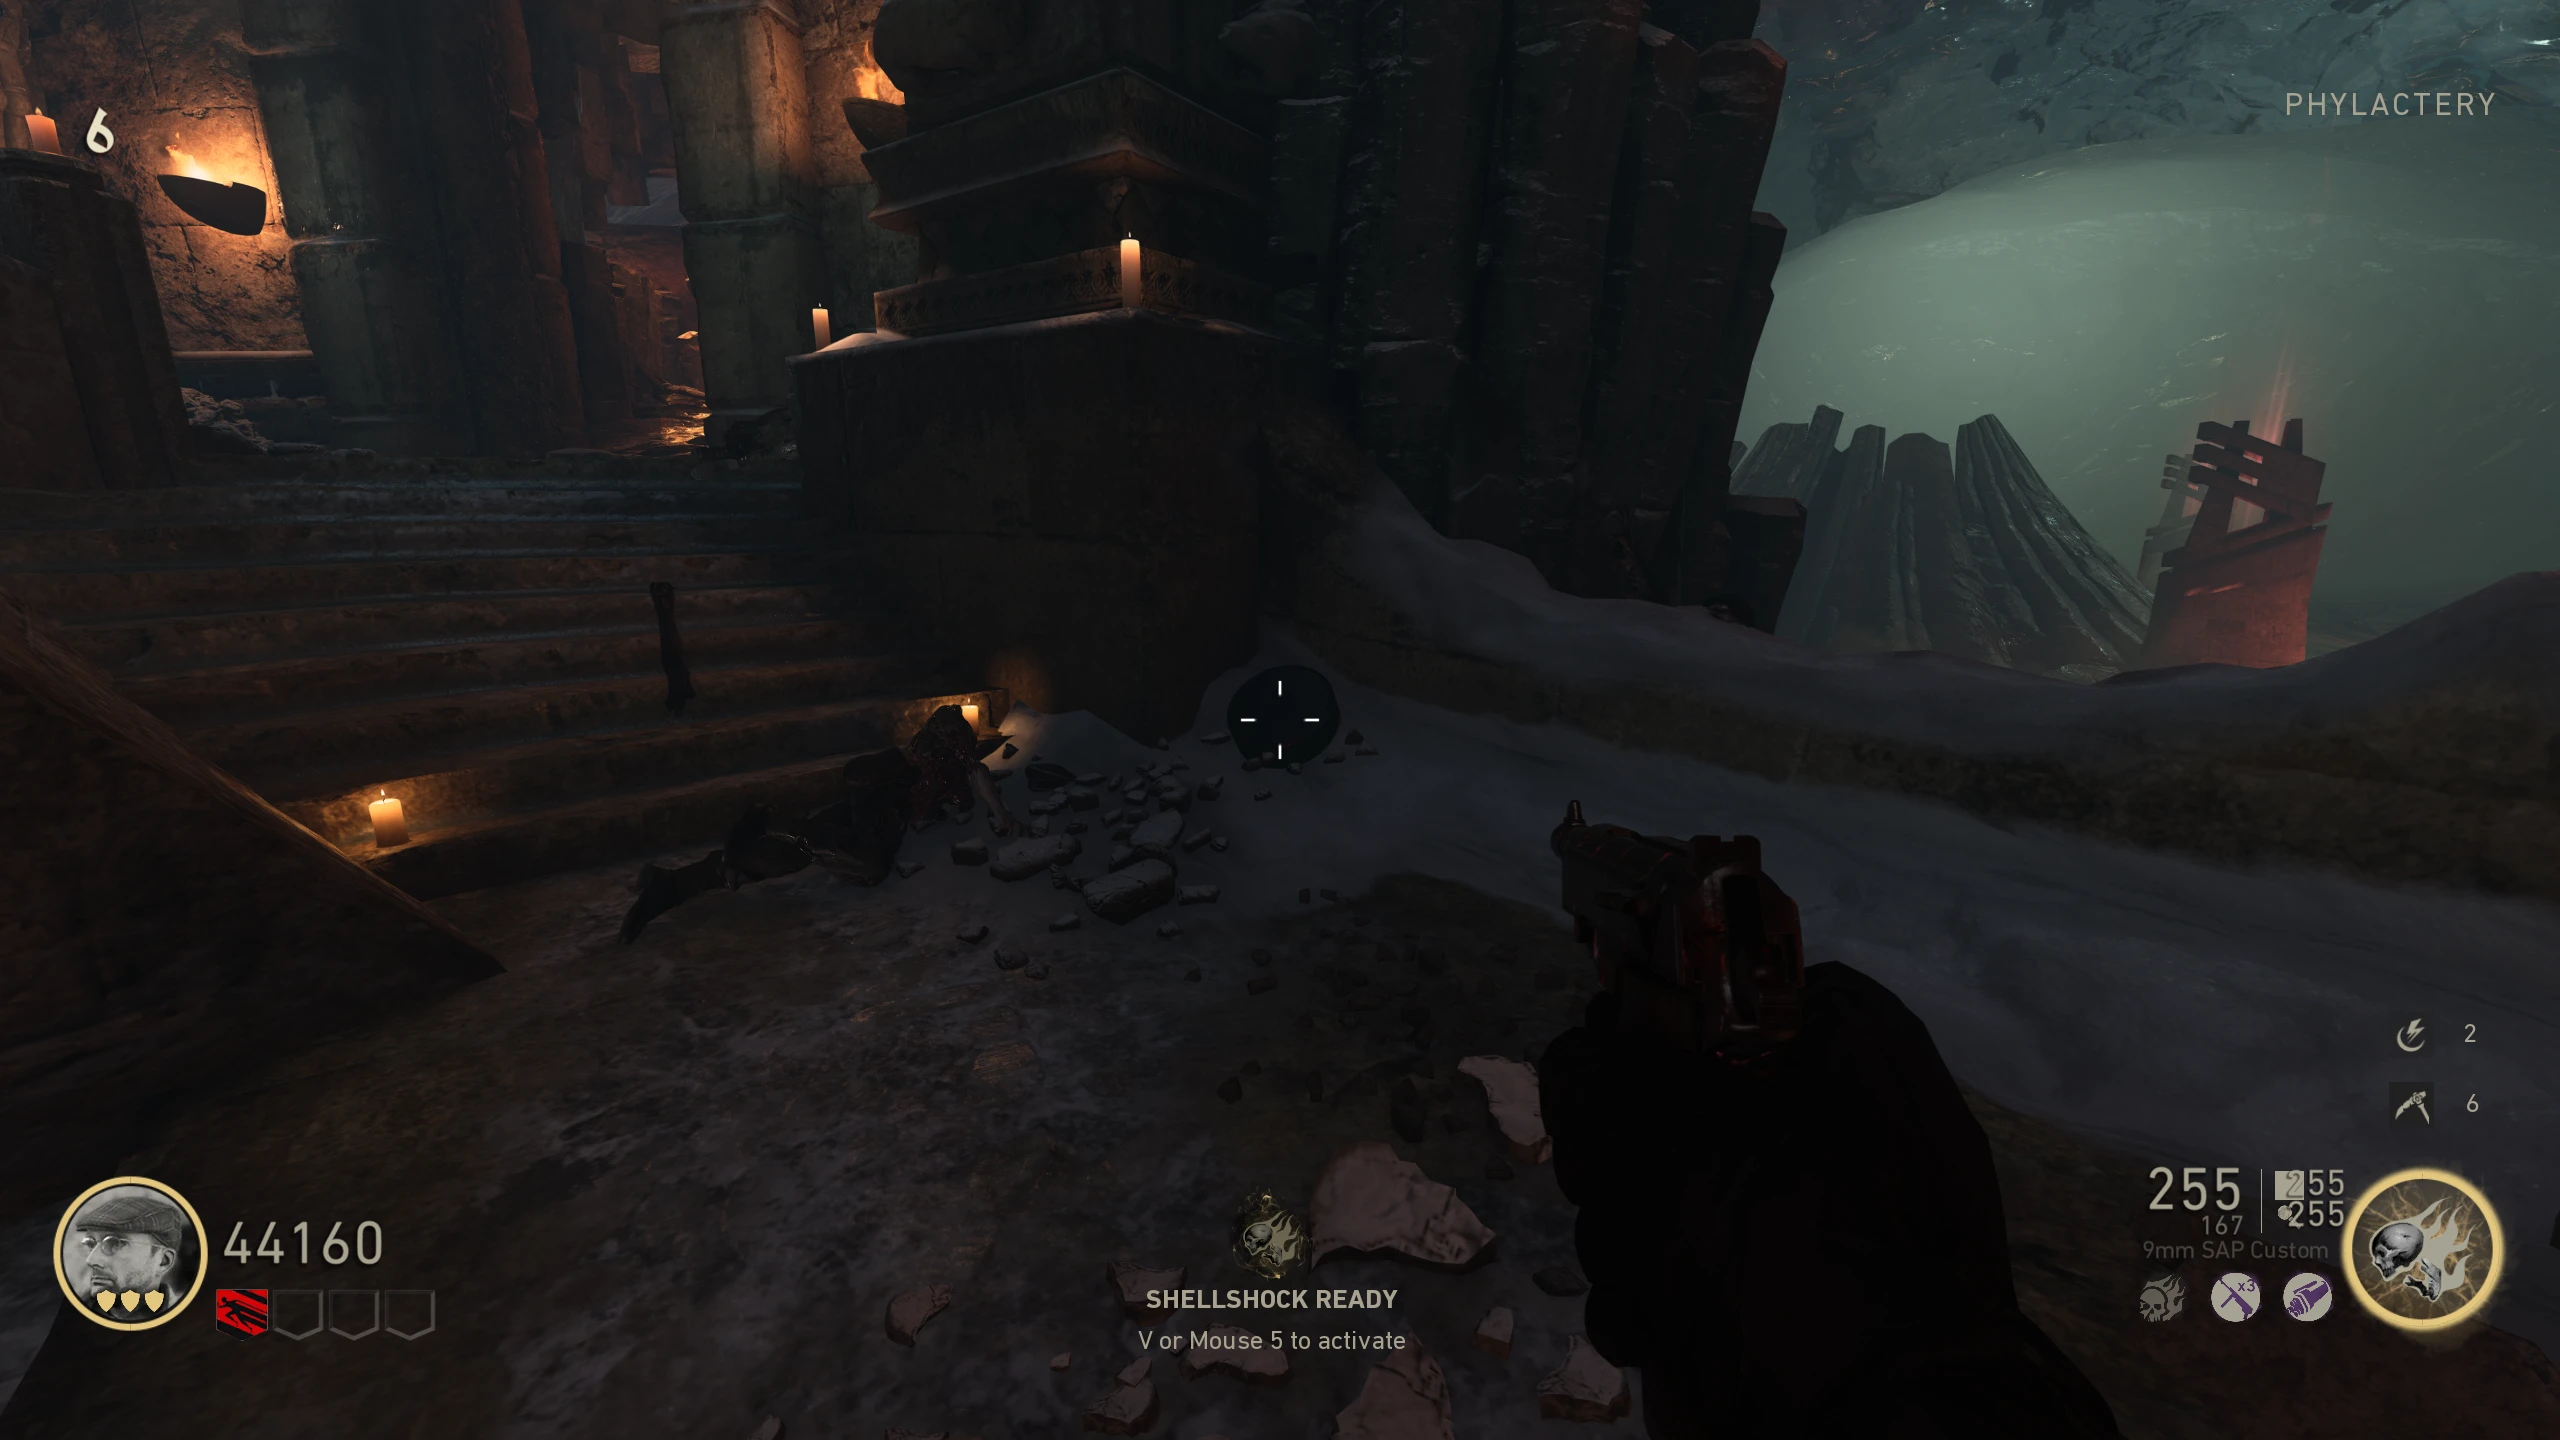
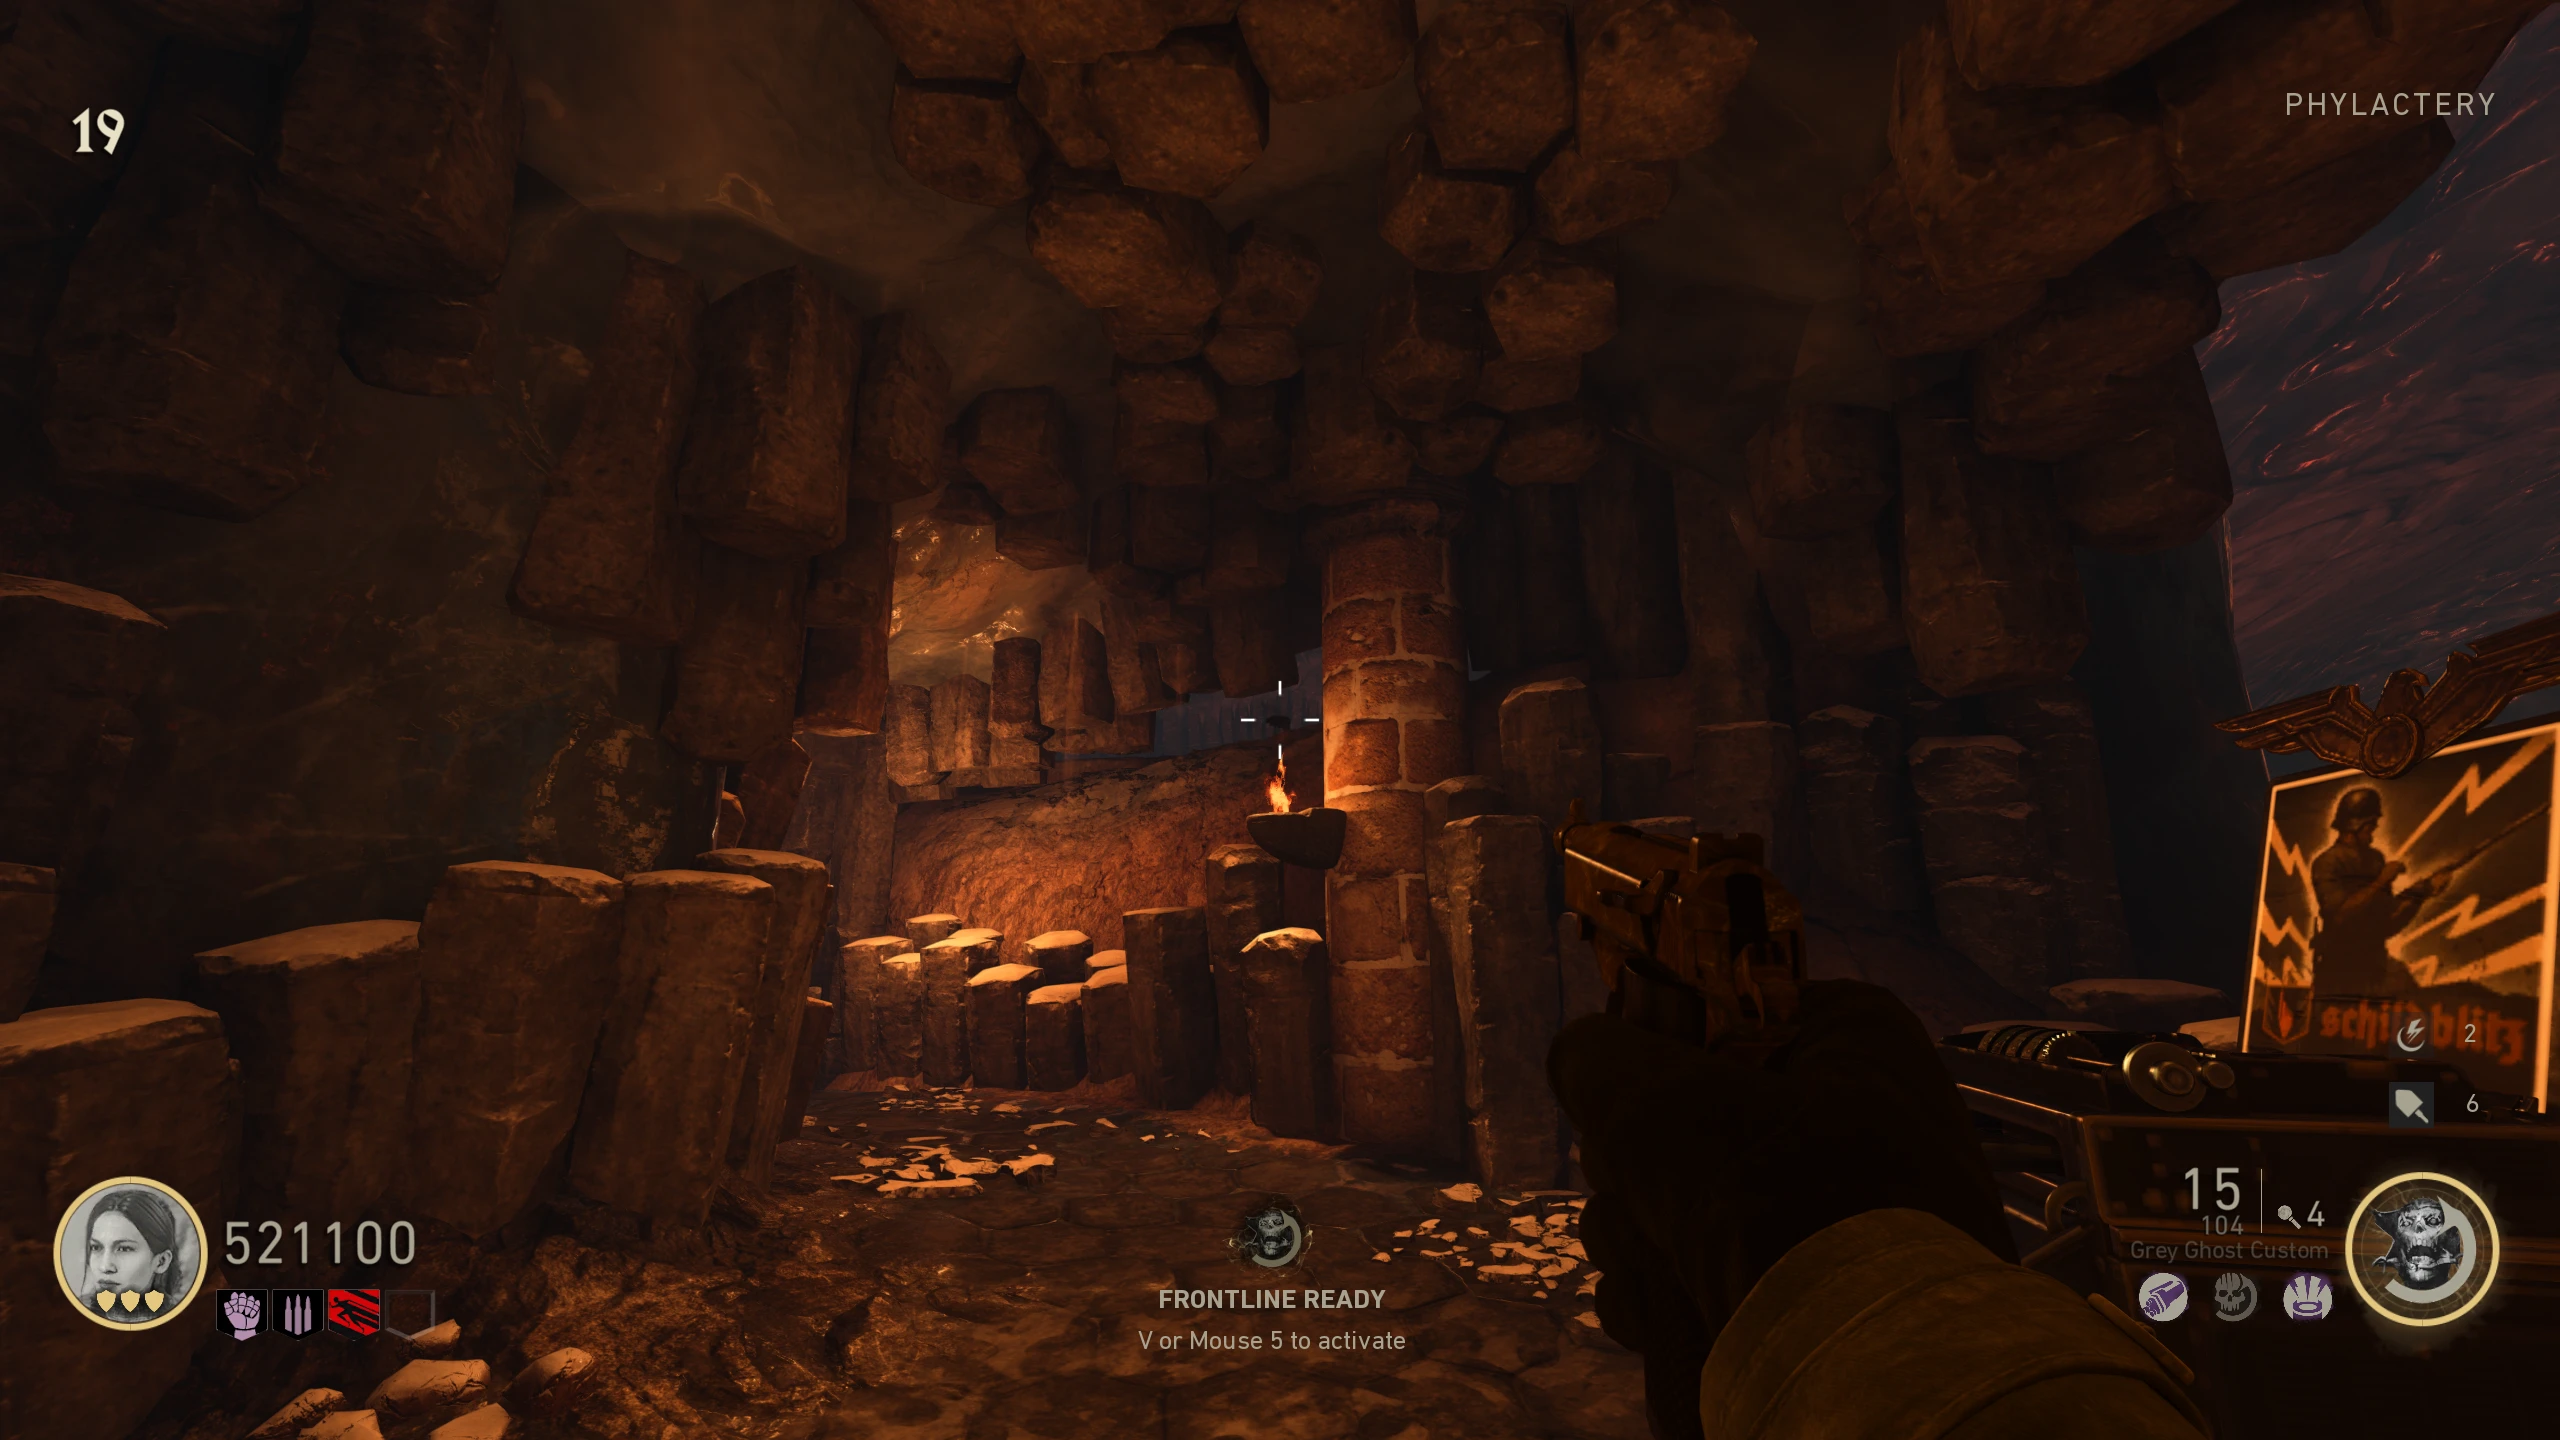
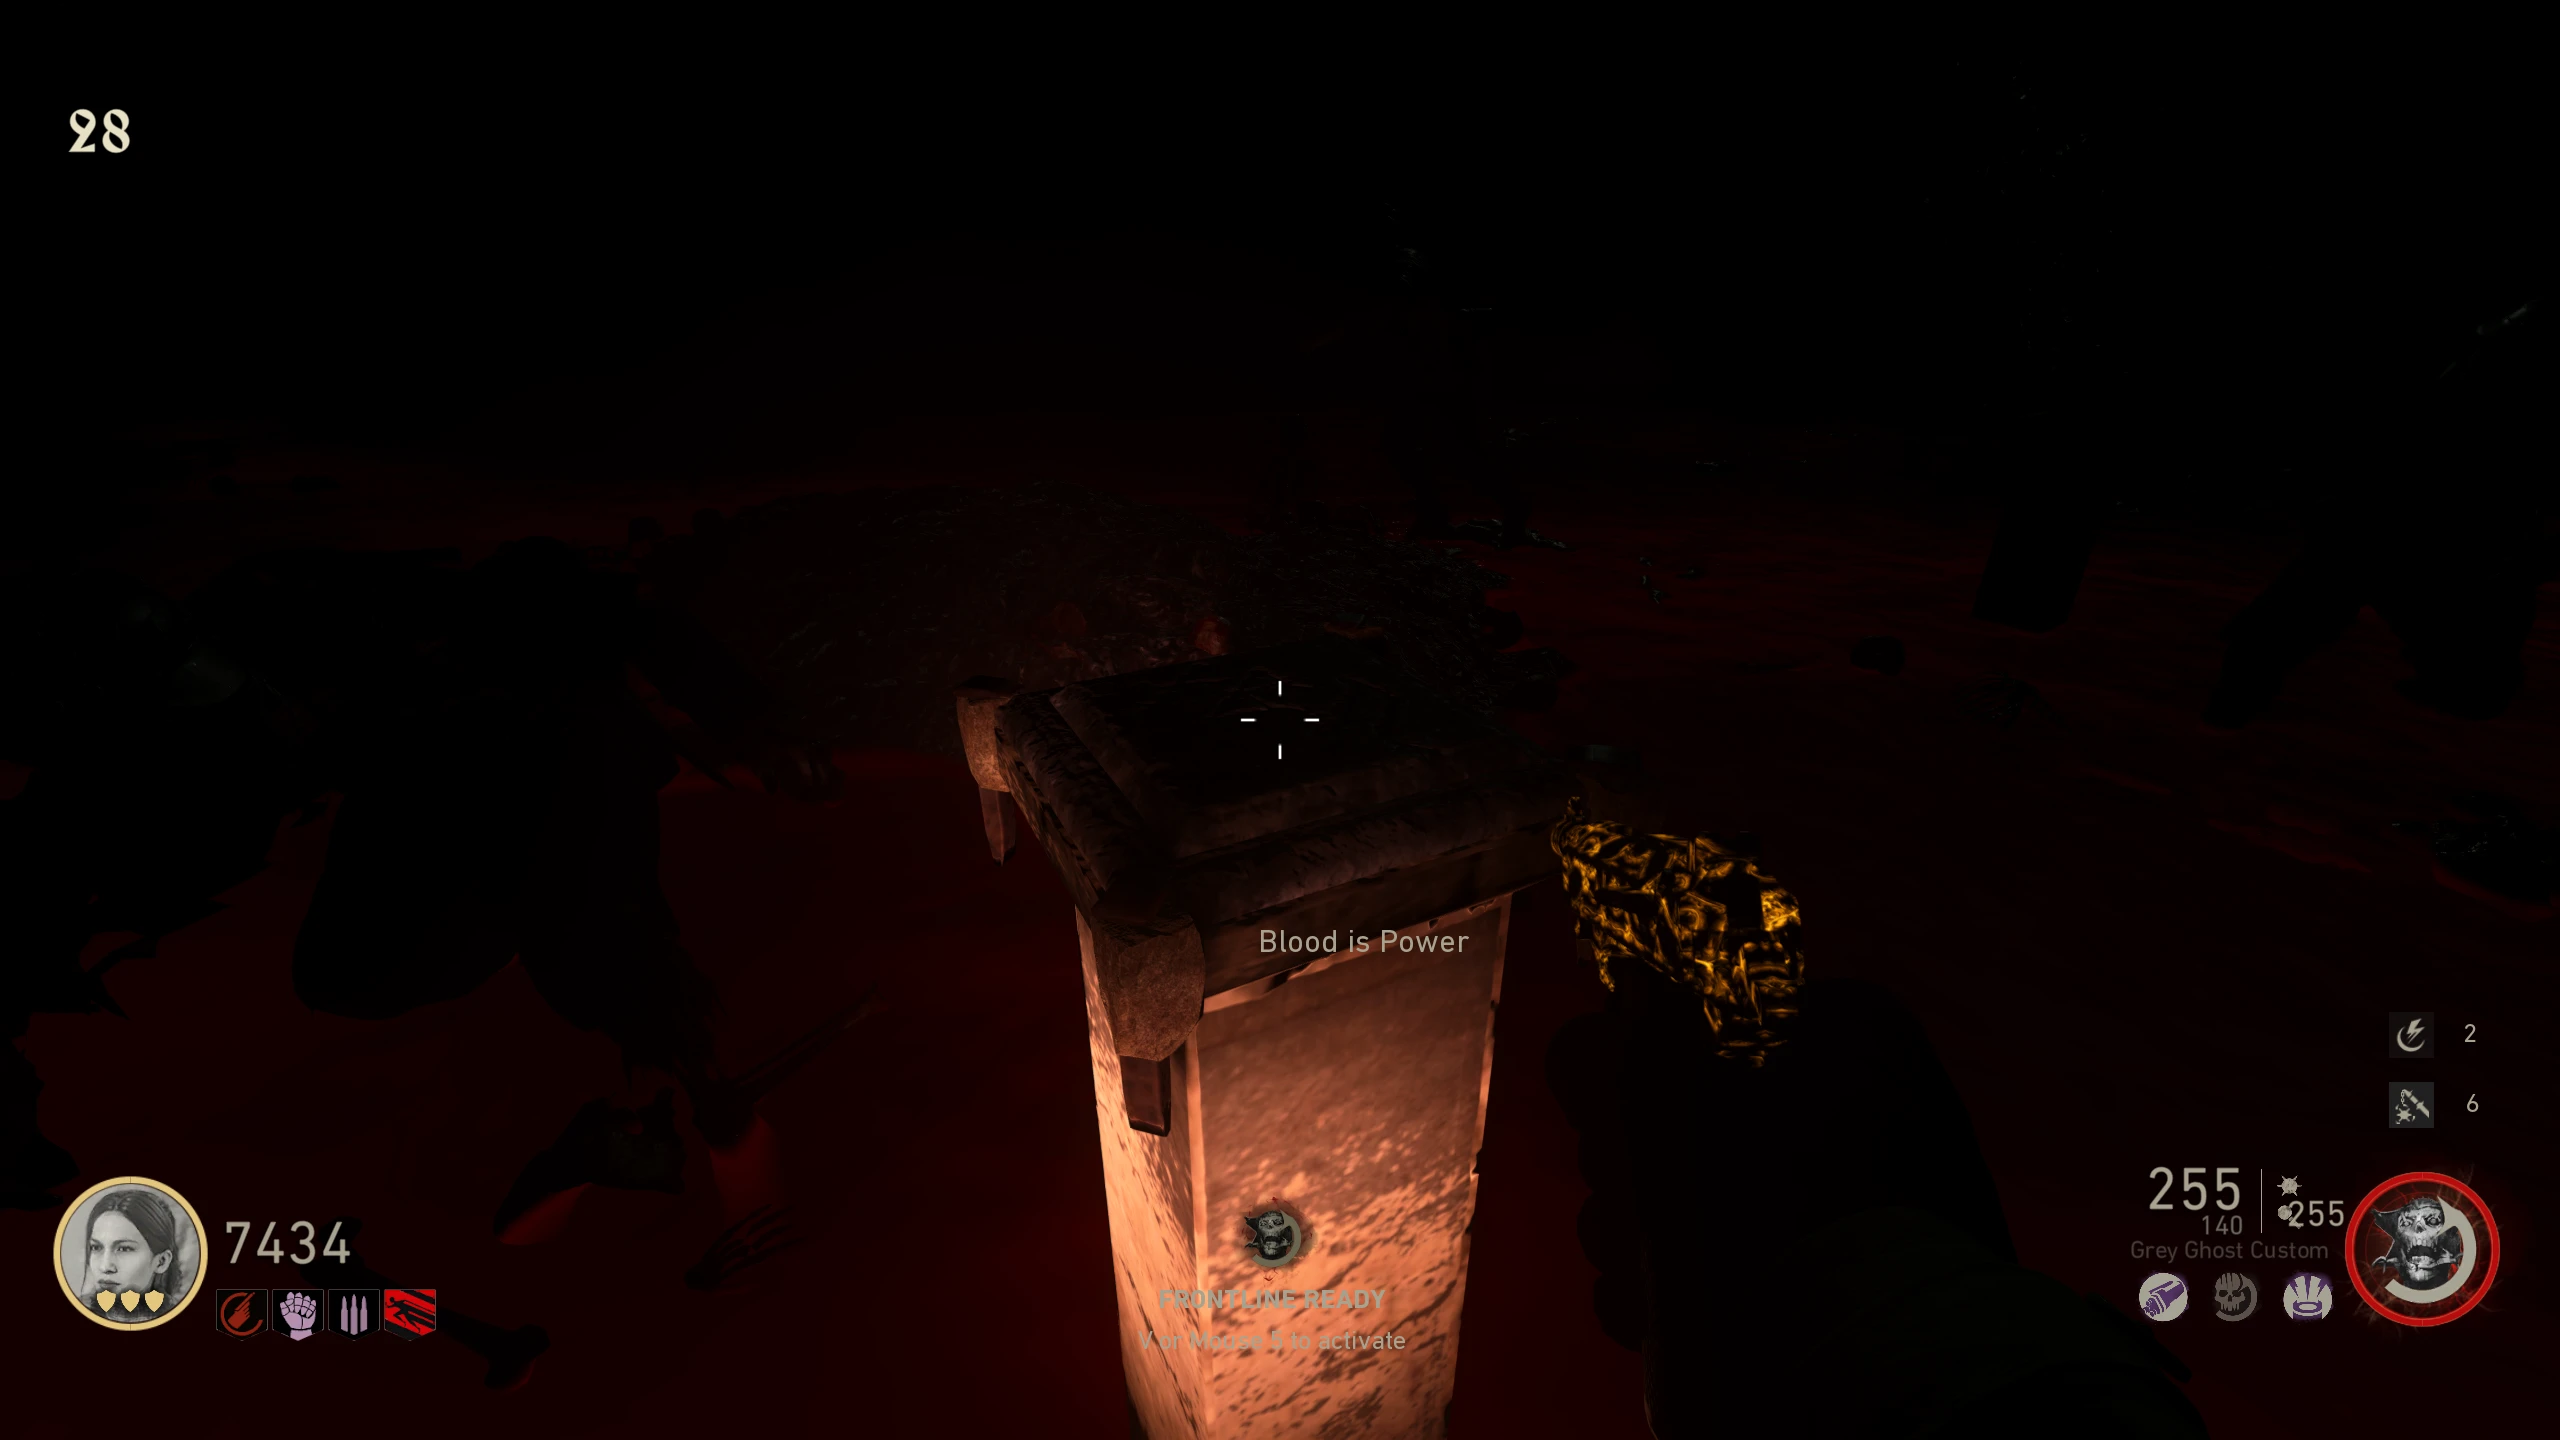
- Interact with the Shrine in the 'Phylactery.'
- This will activate a lockdown event in the area for about 25-35 seconds.
- Once it's done, the Thulian Scythe will spawn in front of the Shrine.
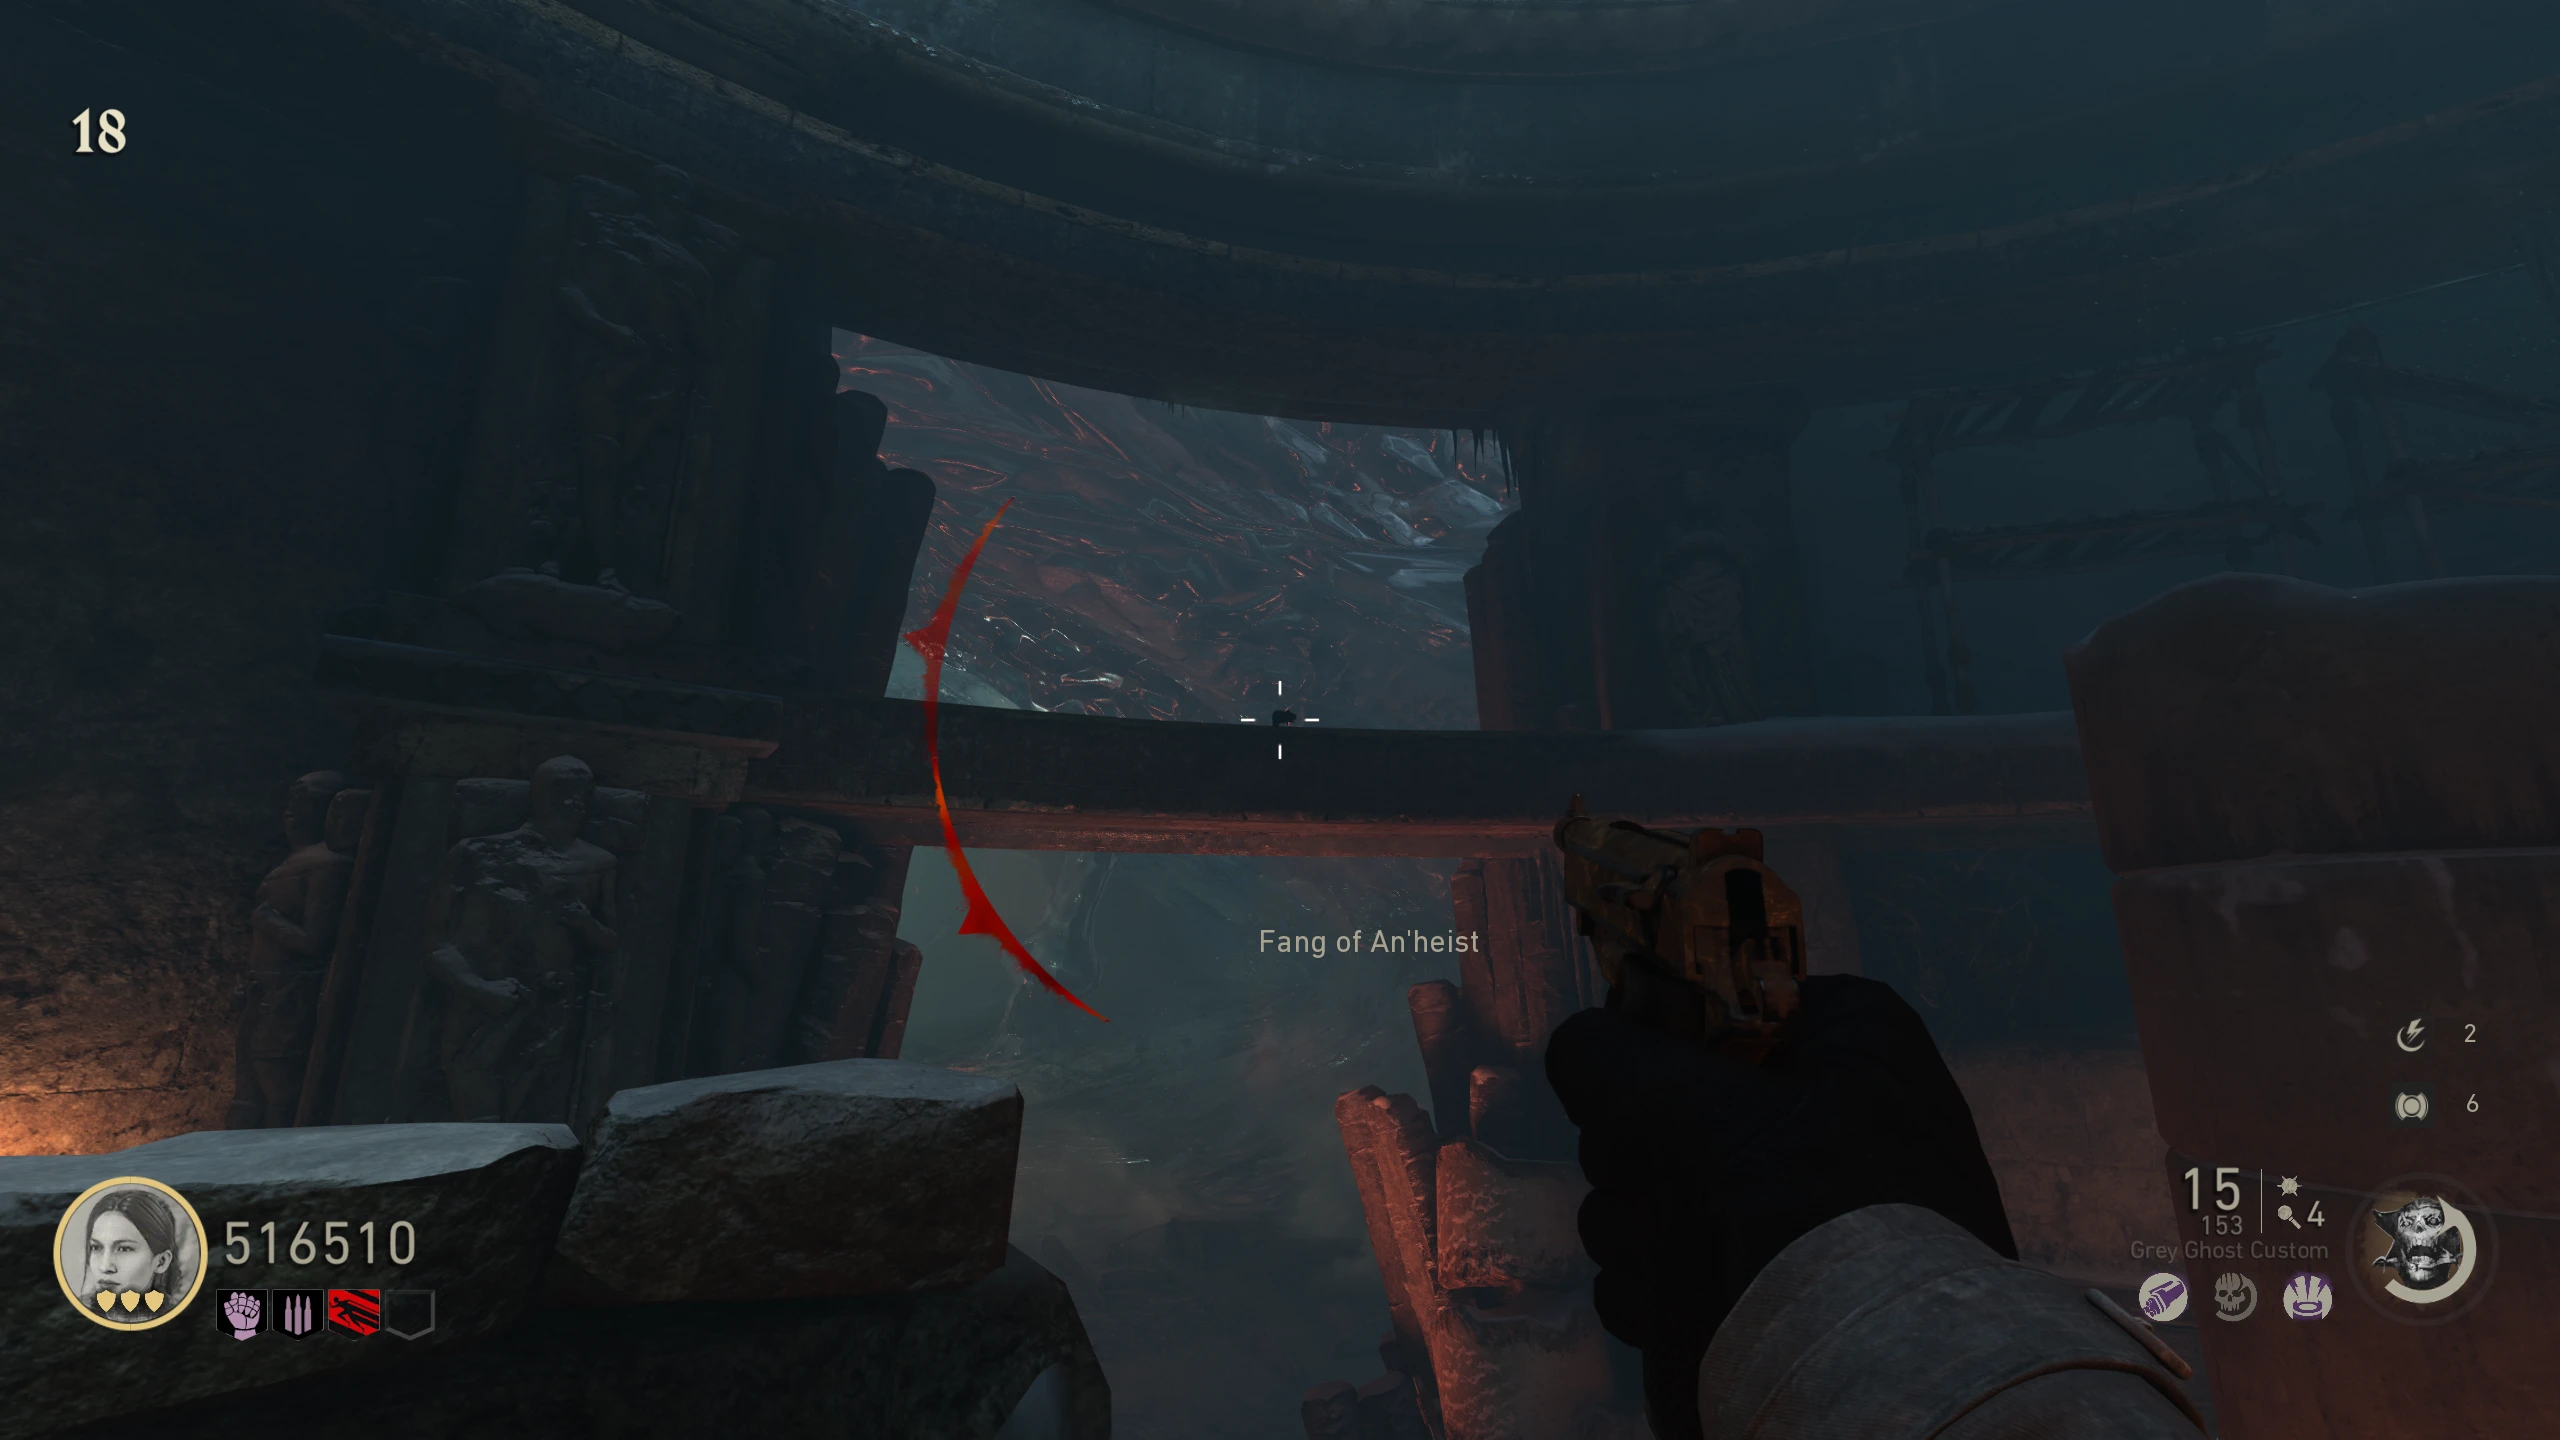
Fang of An'heist (Upgraded Scythe)
The Fang of An'heist allows players to "cheat death" by melee killing a fully empowered Corpse Eater. Upon taking a fatal blow while holding the Scythe, the player will survive and unleash a powerful shockwave that stuns nearby enemies.
- Kill a Corpse Eater (tall, white, special Zombie) with the Scythe to get its spine (you don't have to press interact like with the Ripsaw in The Darkest Shore).
- Two Corpse Eaters will always spawn when you travel to the Pack-a-Punch.
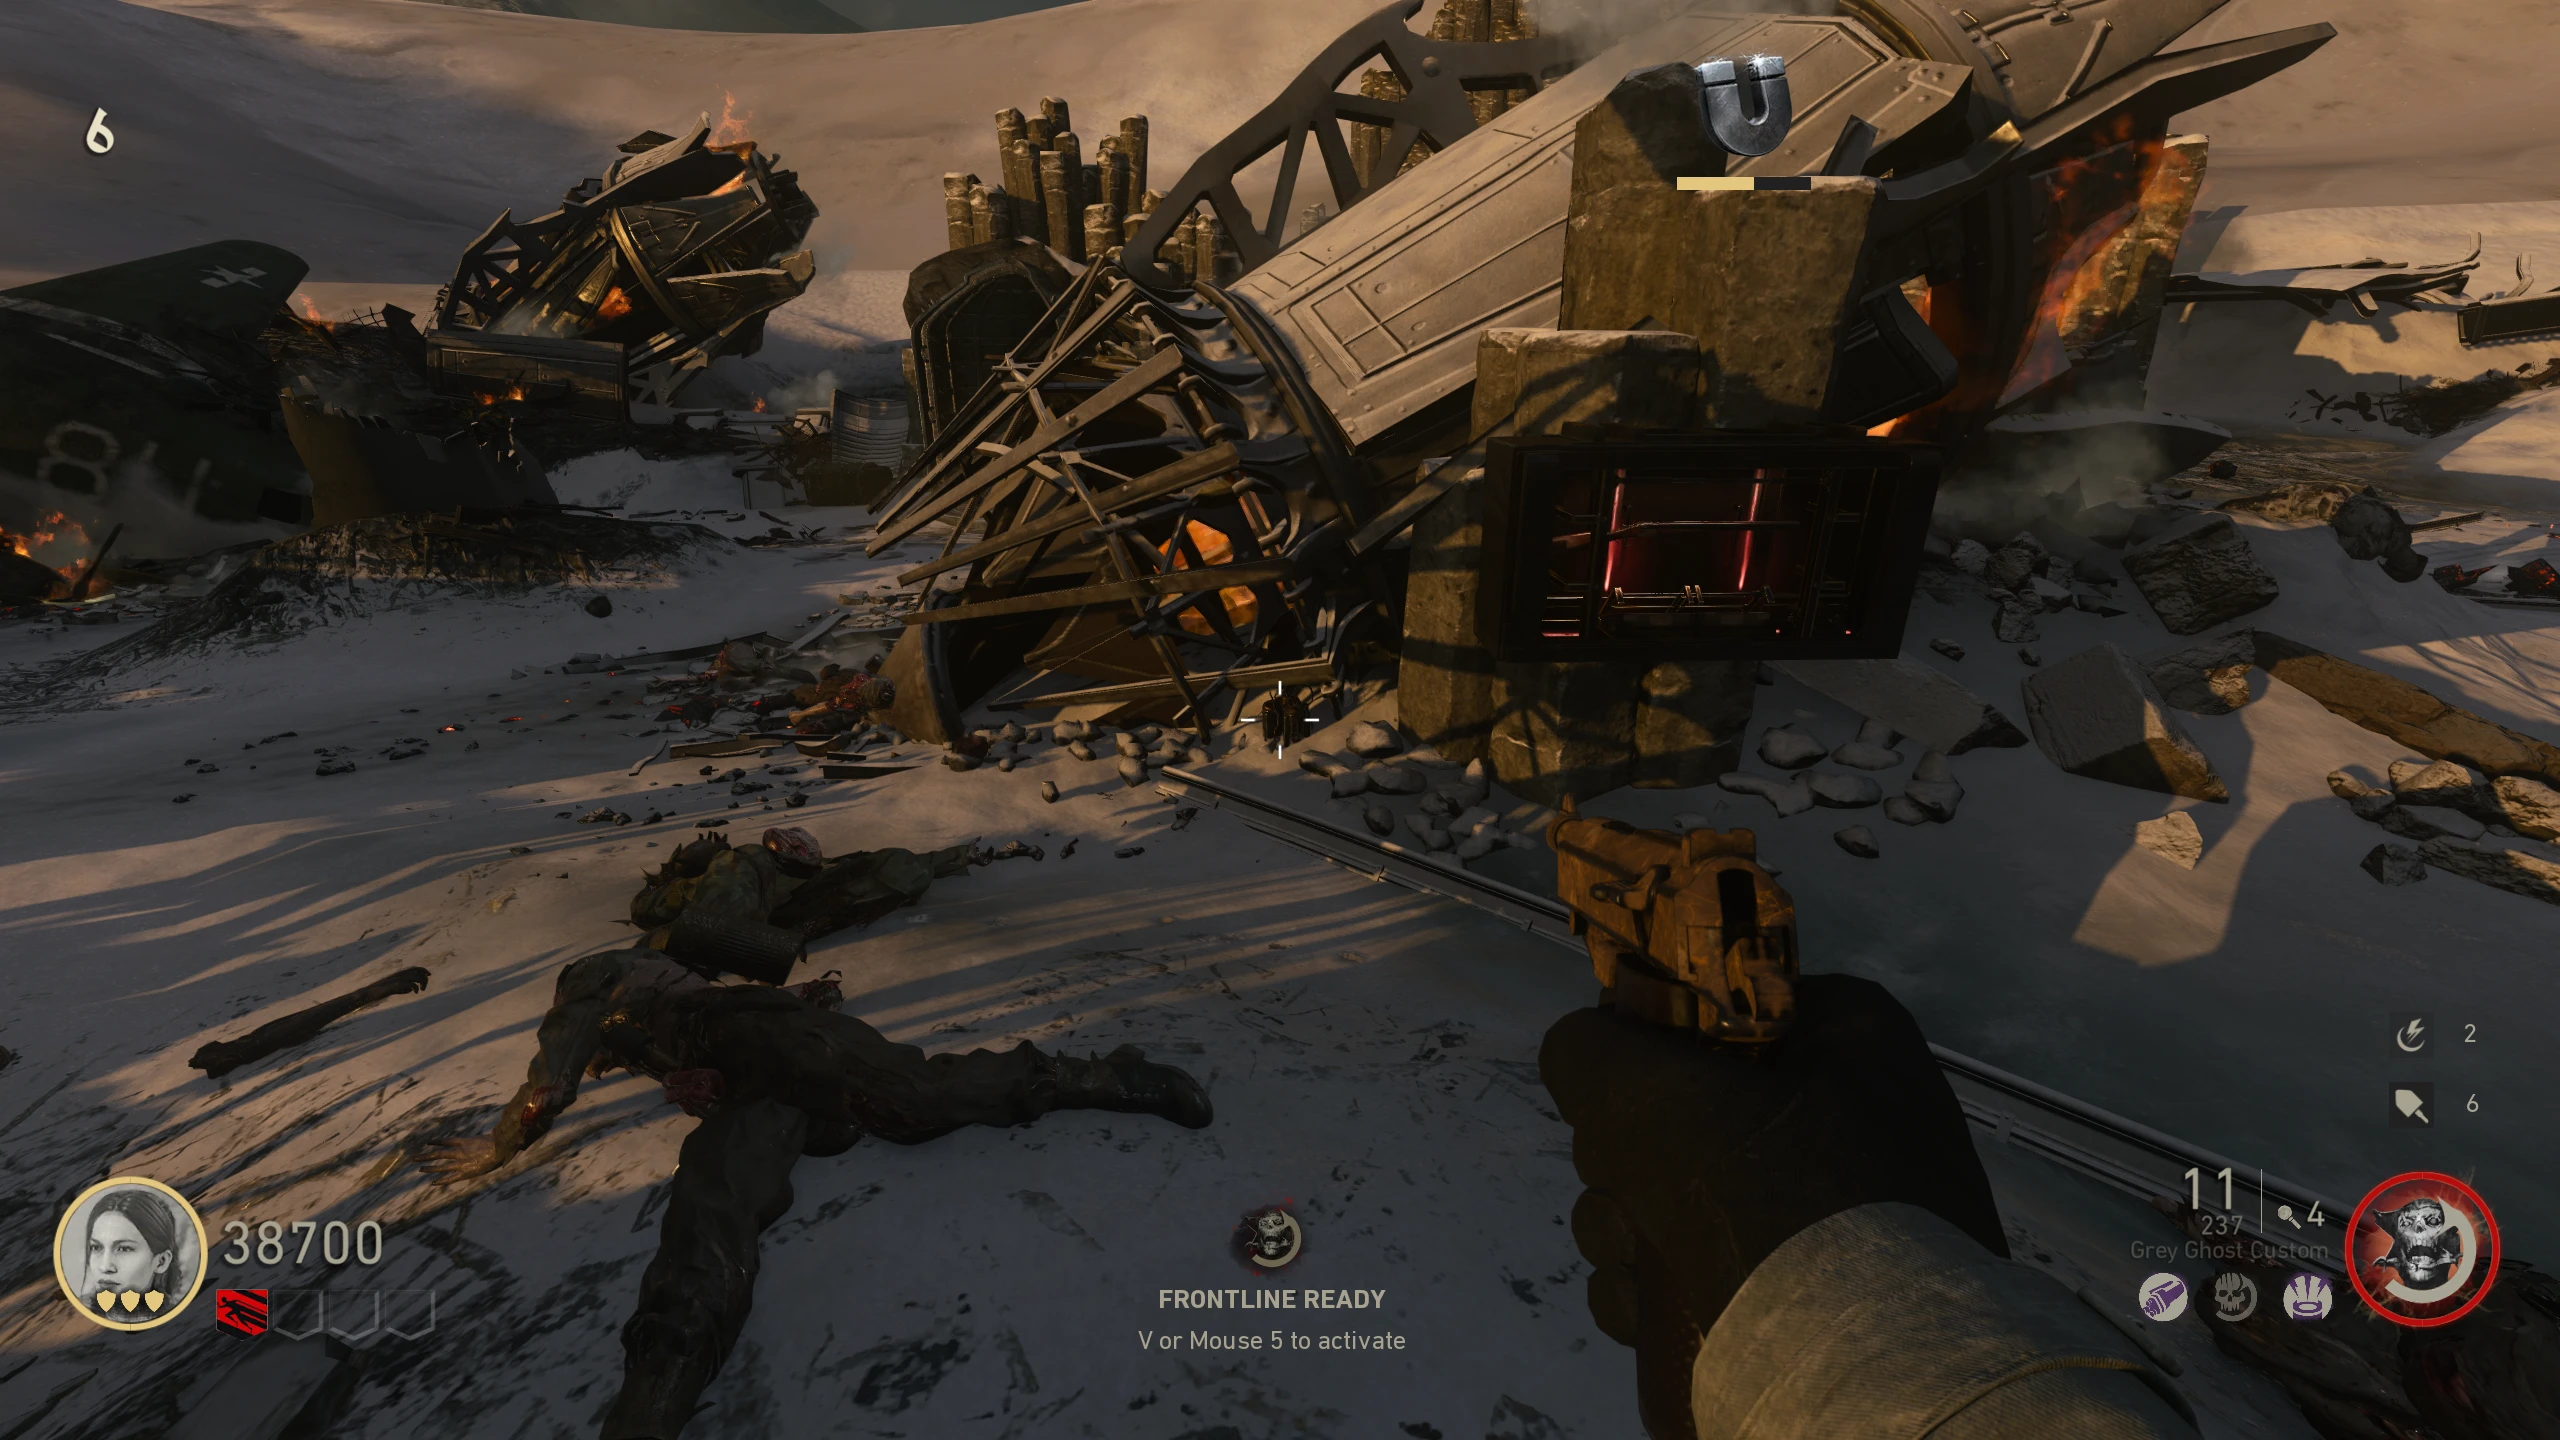
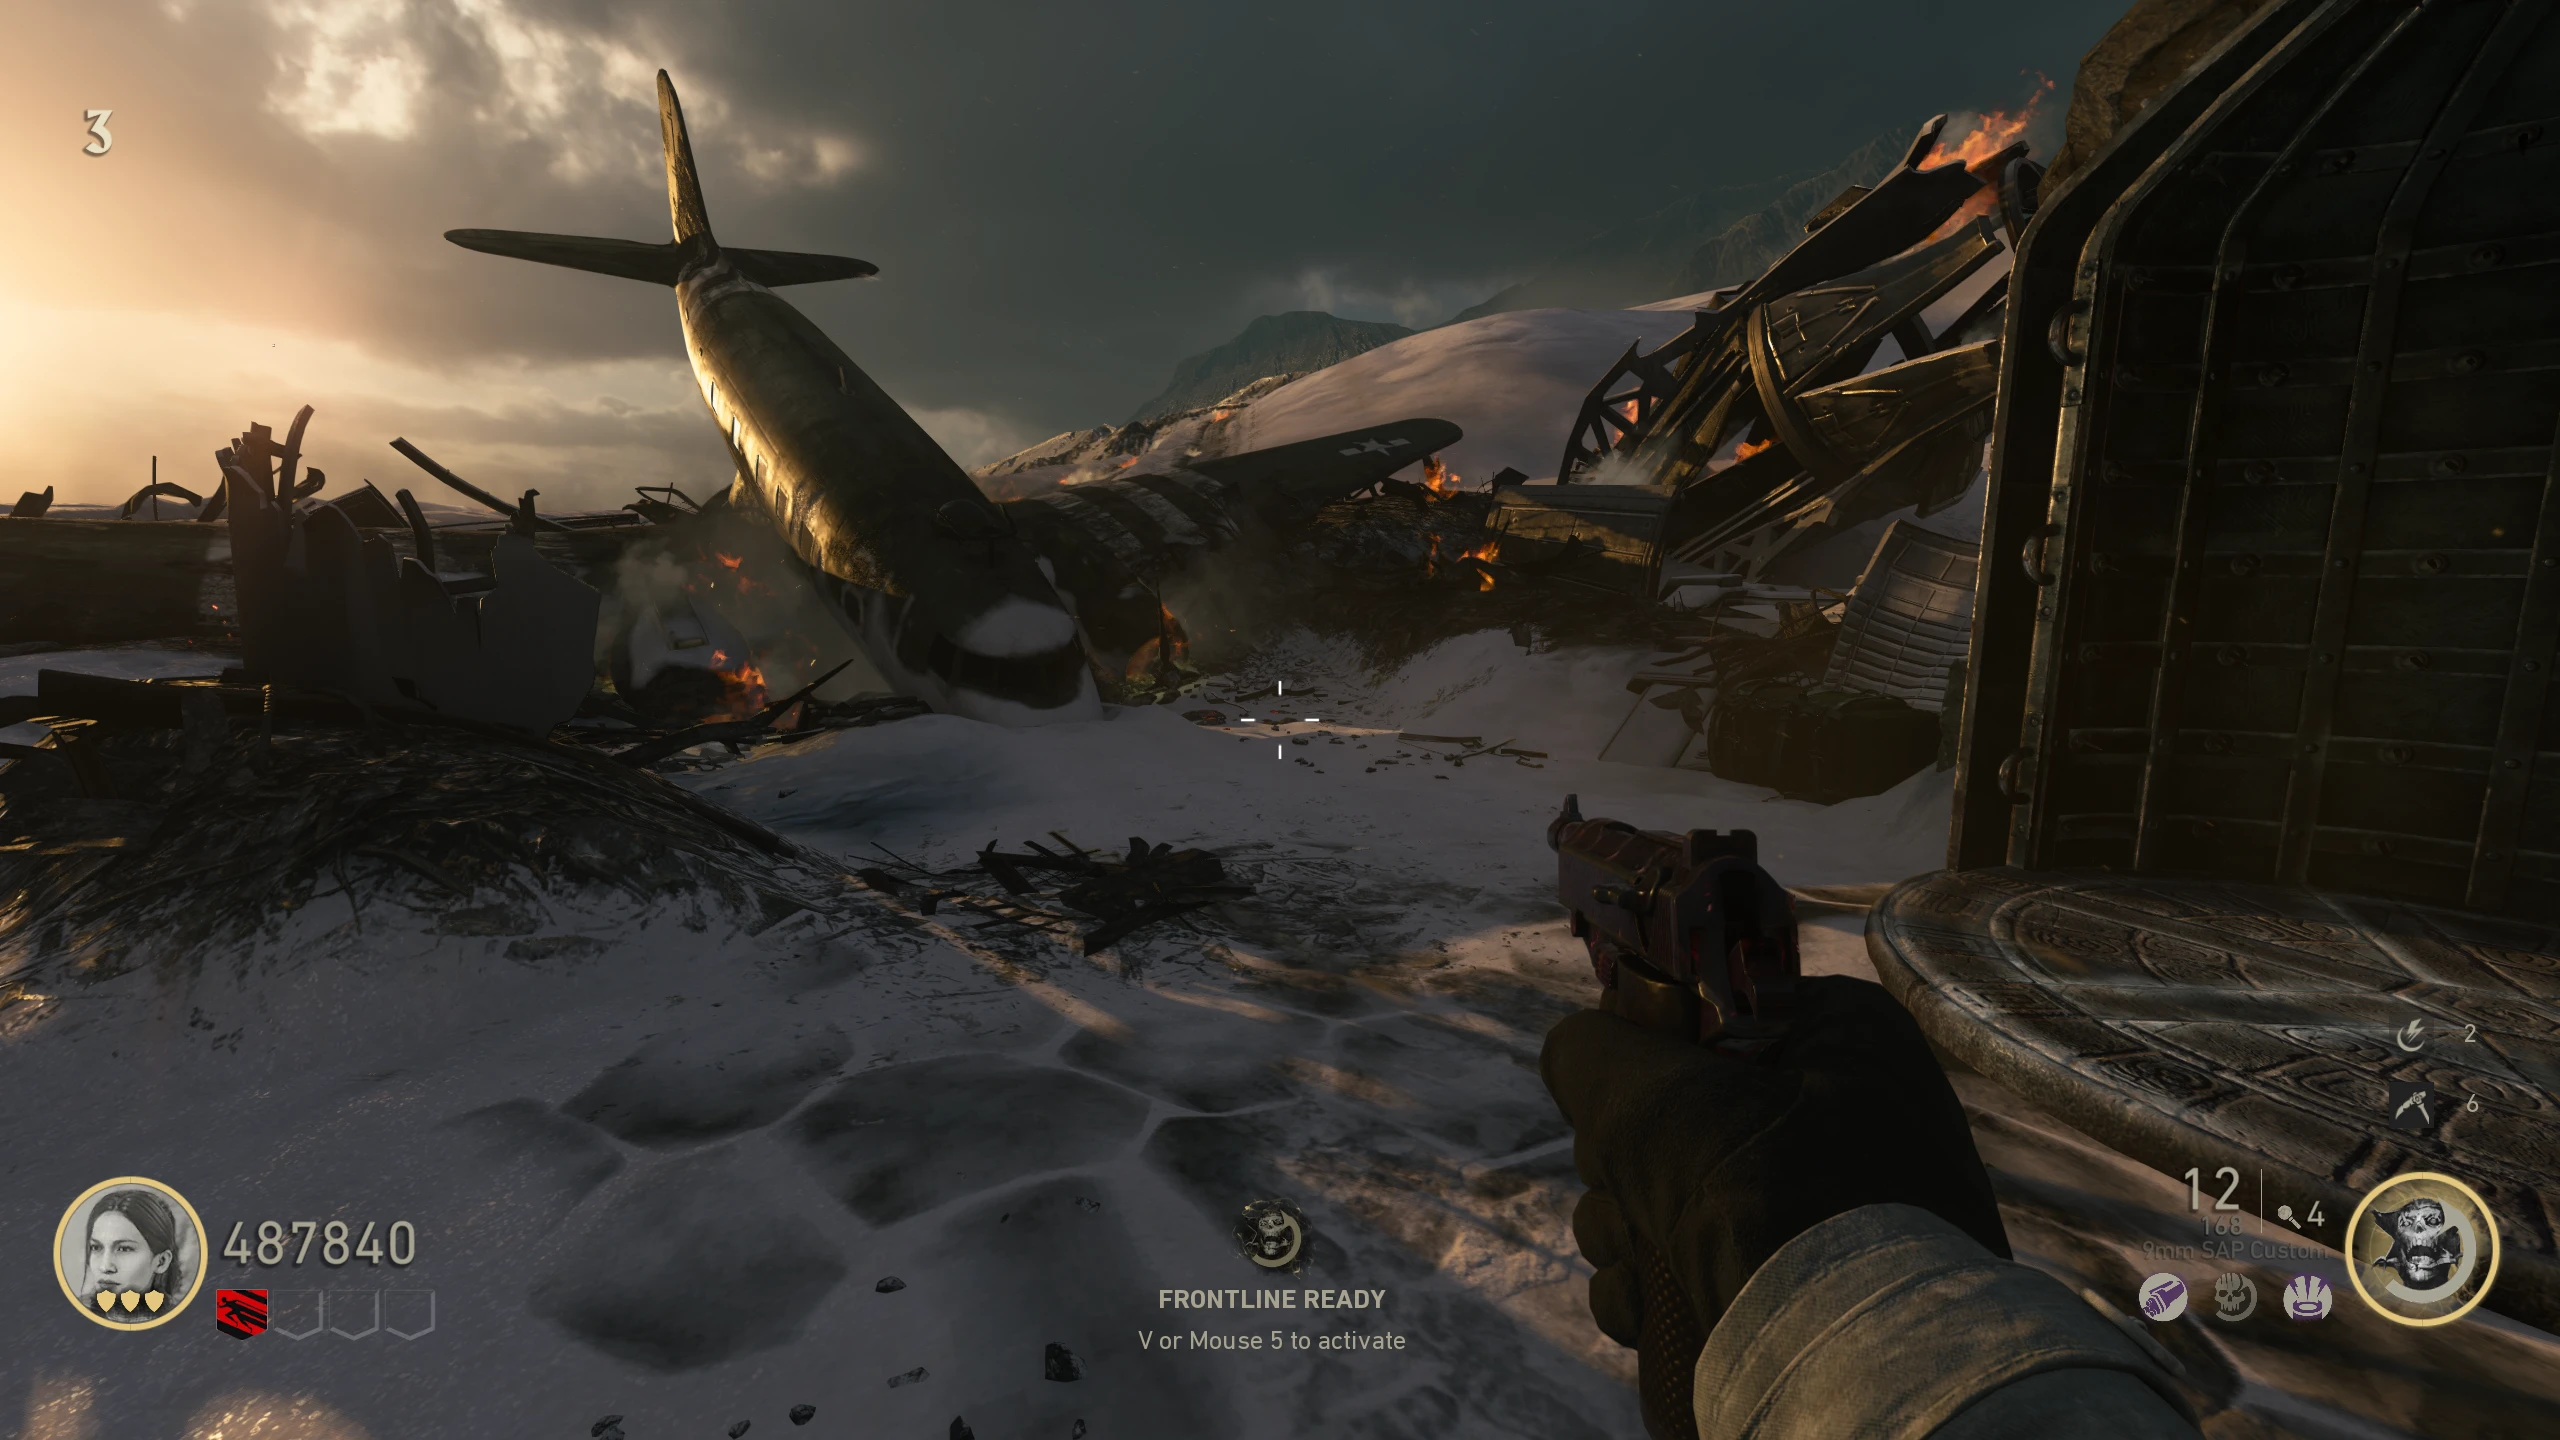
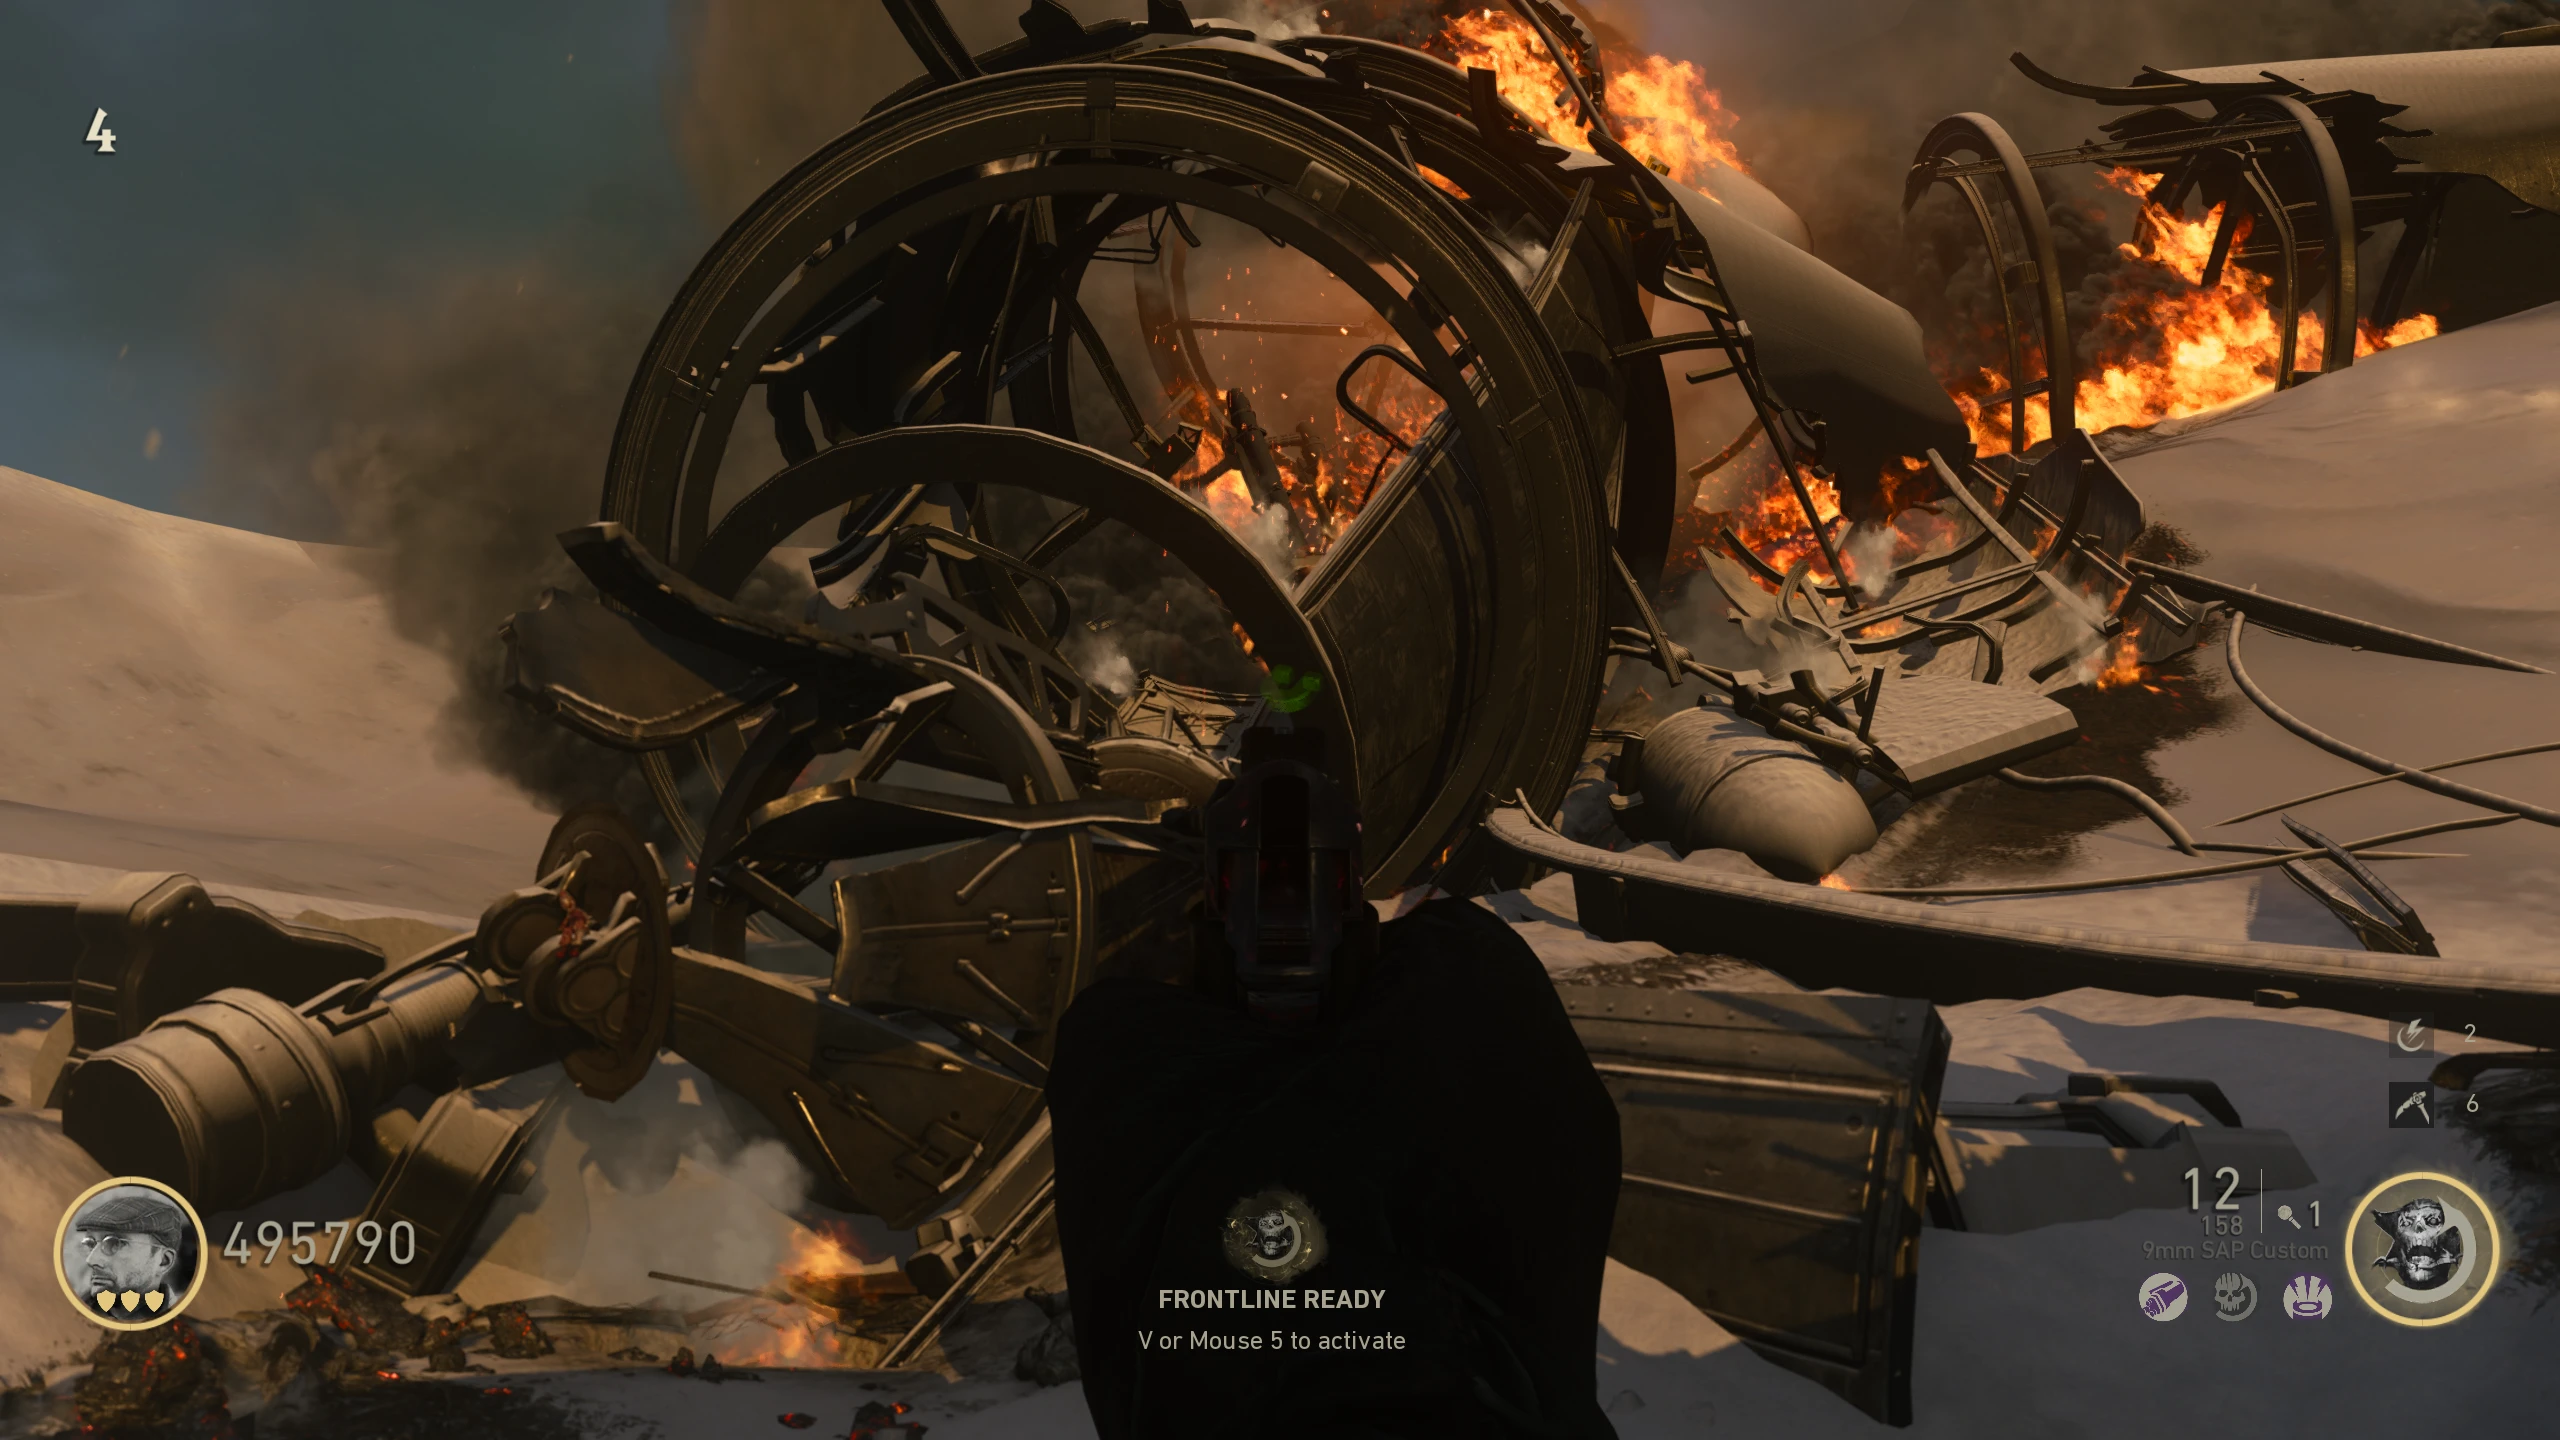
- Pick up the Wire from the broken drop pod in the 'Crash Site.'
- Place the Spine, Wire, and Scythe on the Altar at the top of the stairs in the 'Phylactery.'
- Get 15 kills near the Scythe until you see "Ignited the Forge" and it stops collecting energy.
- Wait two full rounds, then pick up the Scythe (you won't get it back as a weapon).
- Use any Thulian Transport around the map. You'll be teleported to the Deathraven Trial, which is basically a tutorial on how to use the upgraded Scythe. Upon completion, you'll be teleported back.
Thulian Hammer
The Thulian Hammer is a melee wonder weapon that has two attacks, a single target swing or a sweeping swing, activated by the aim button, that can damage groups.
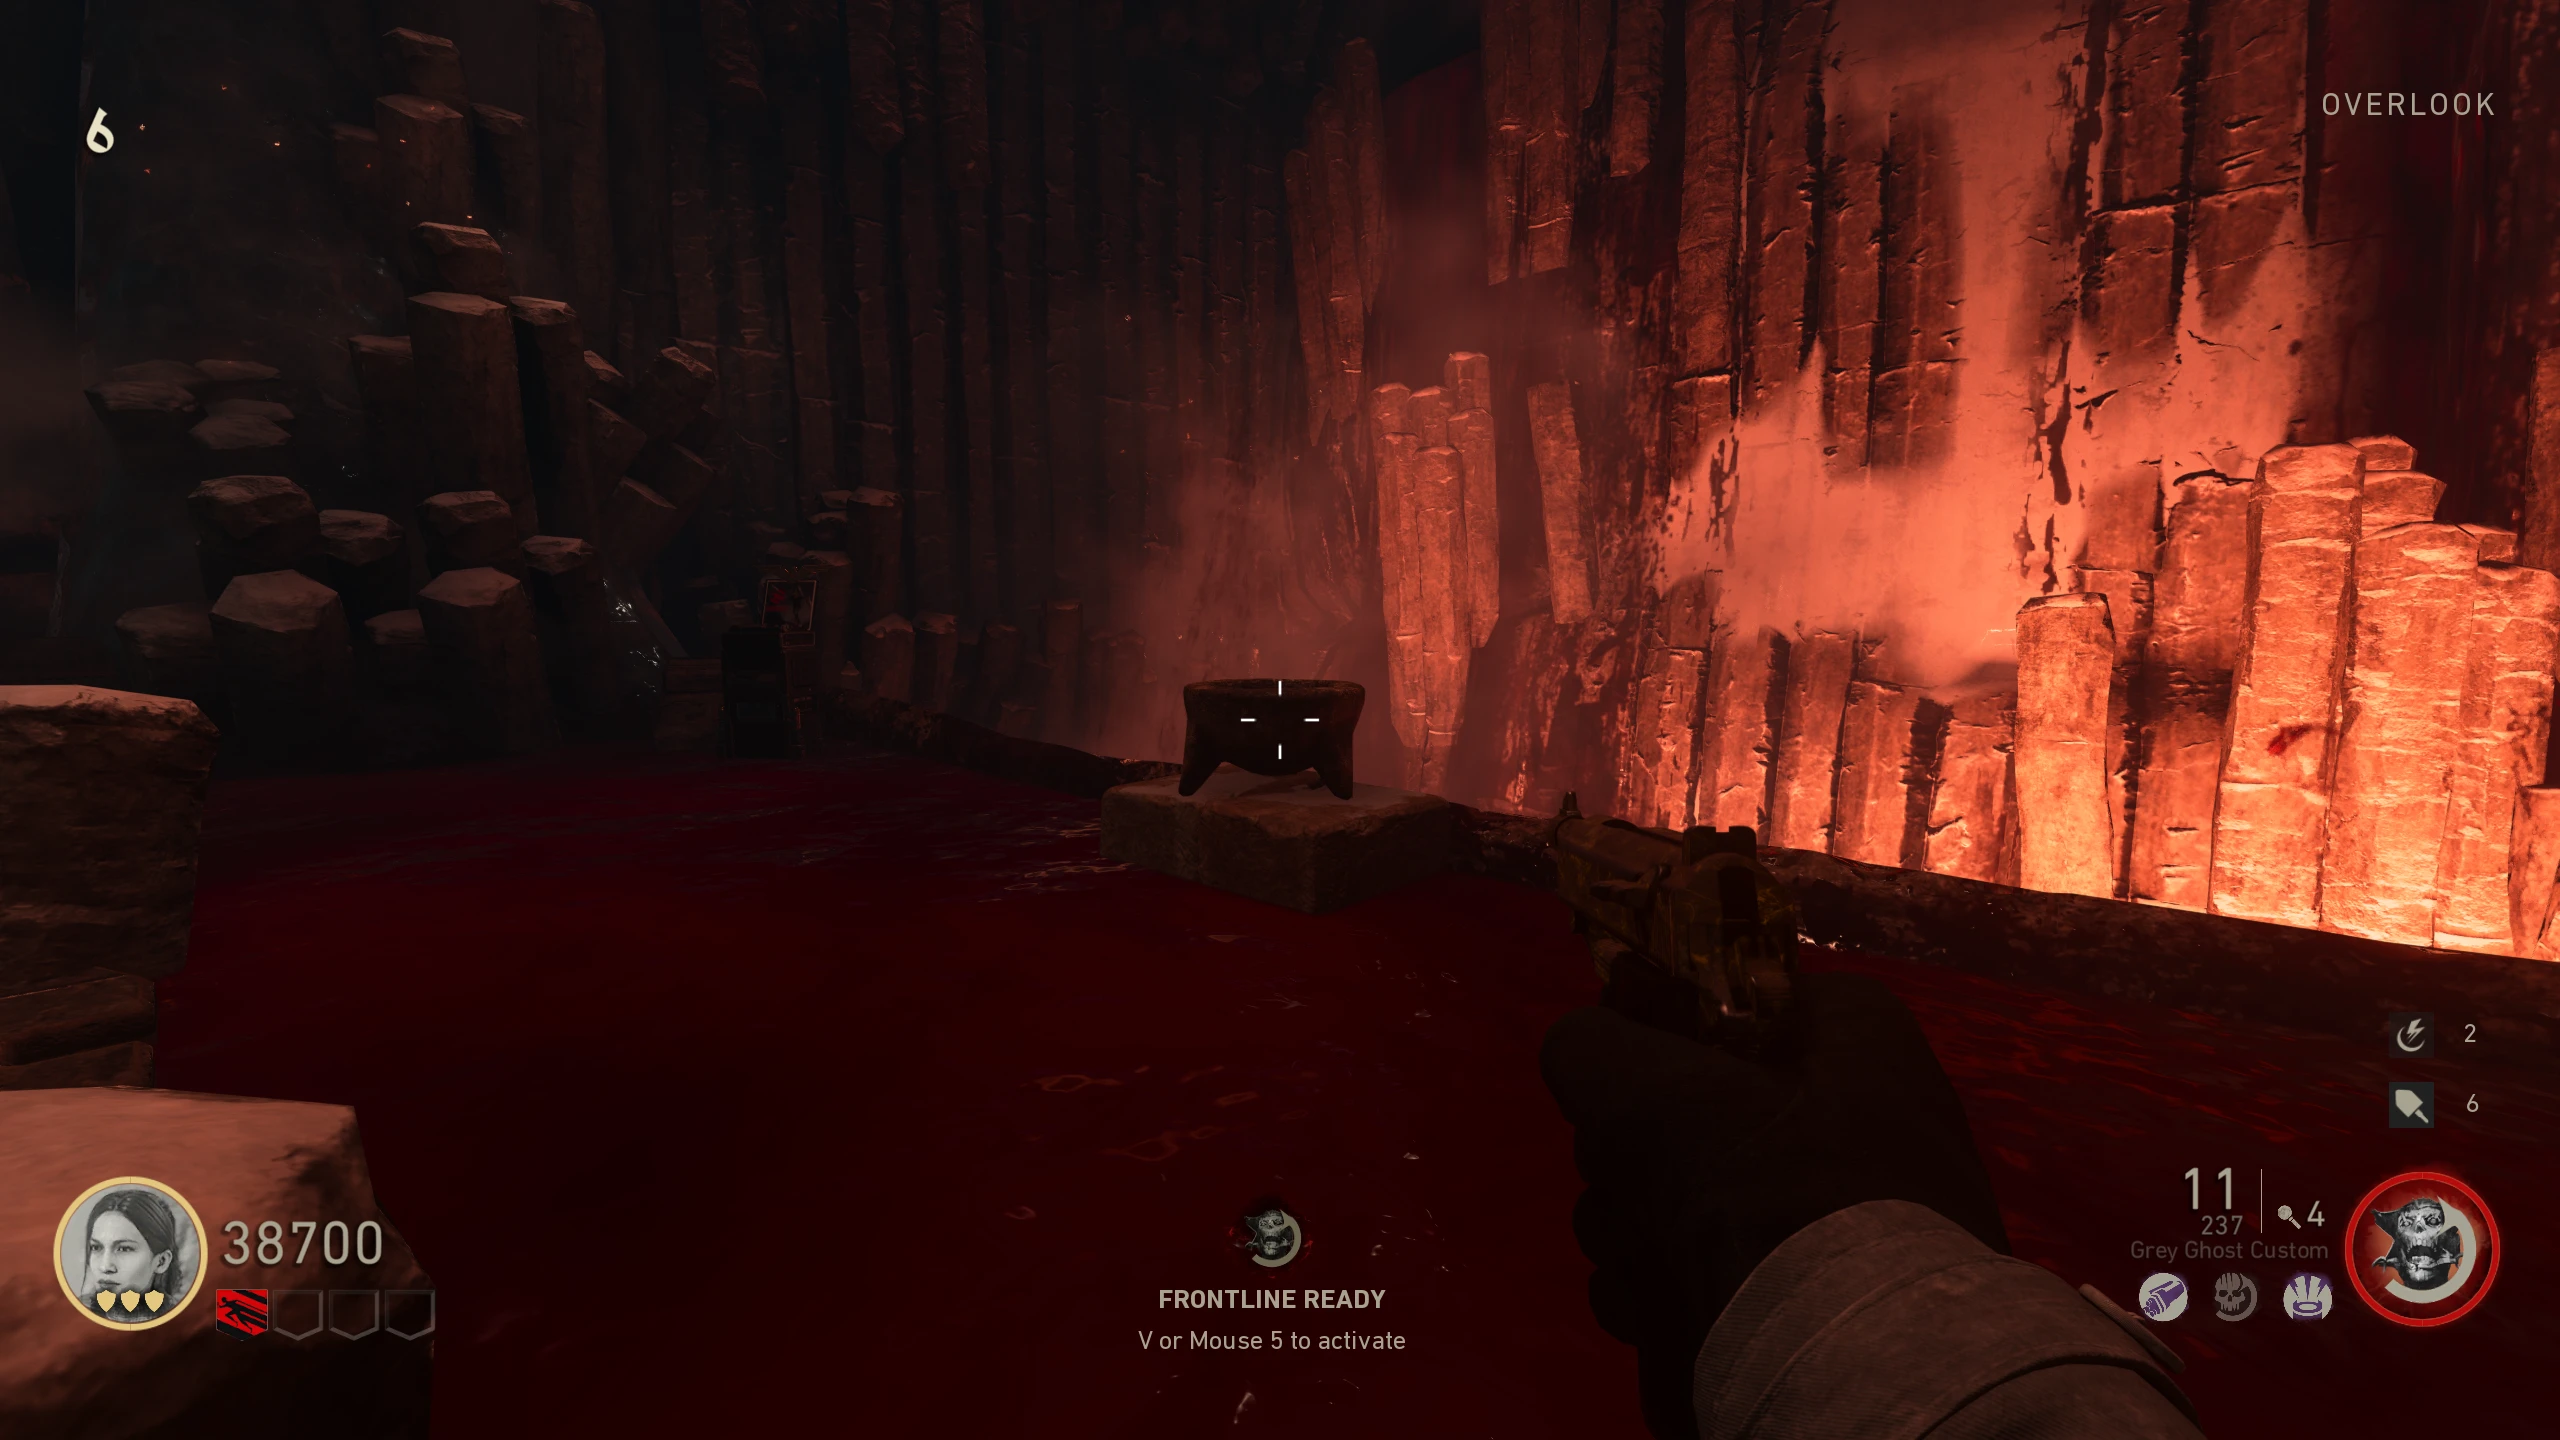
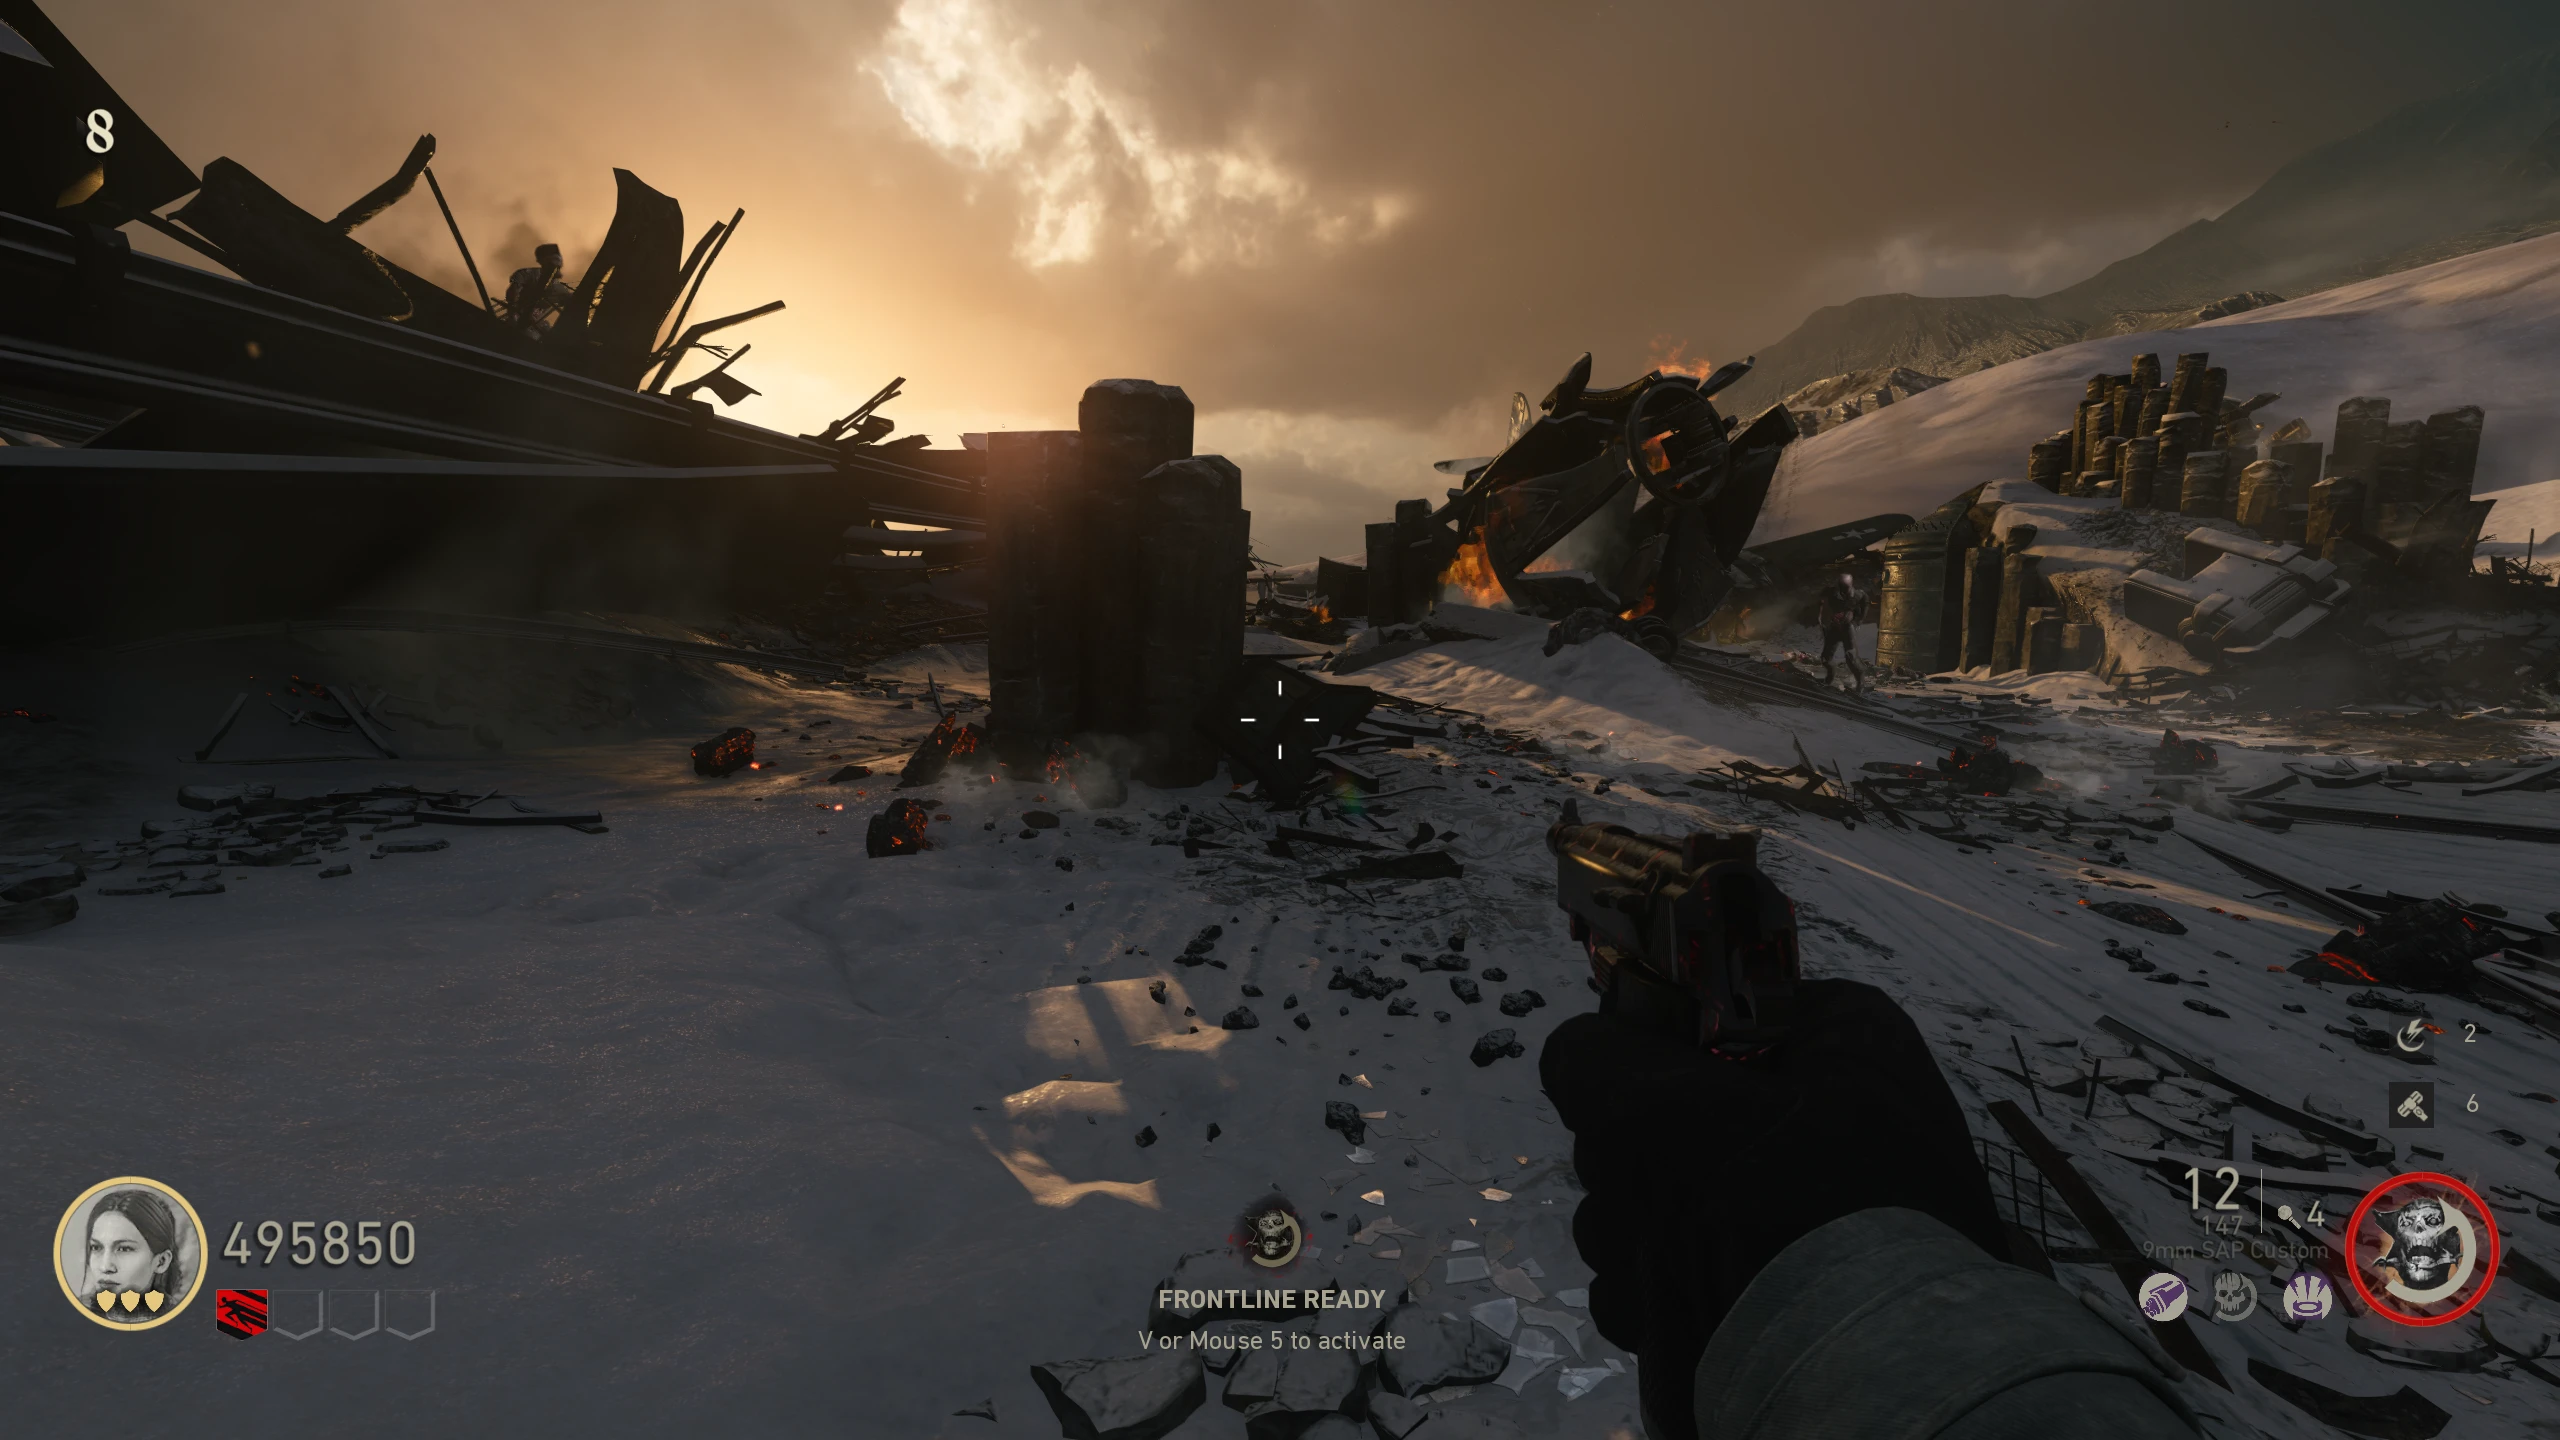
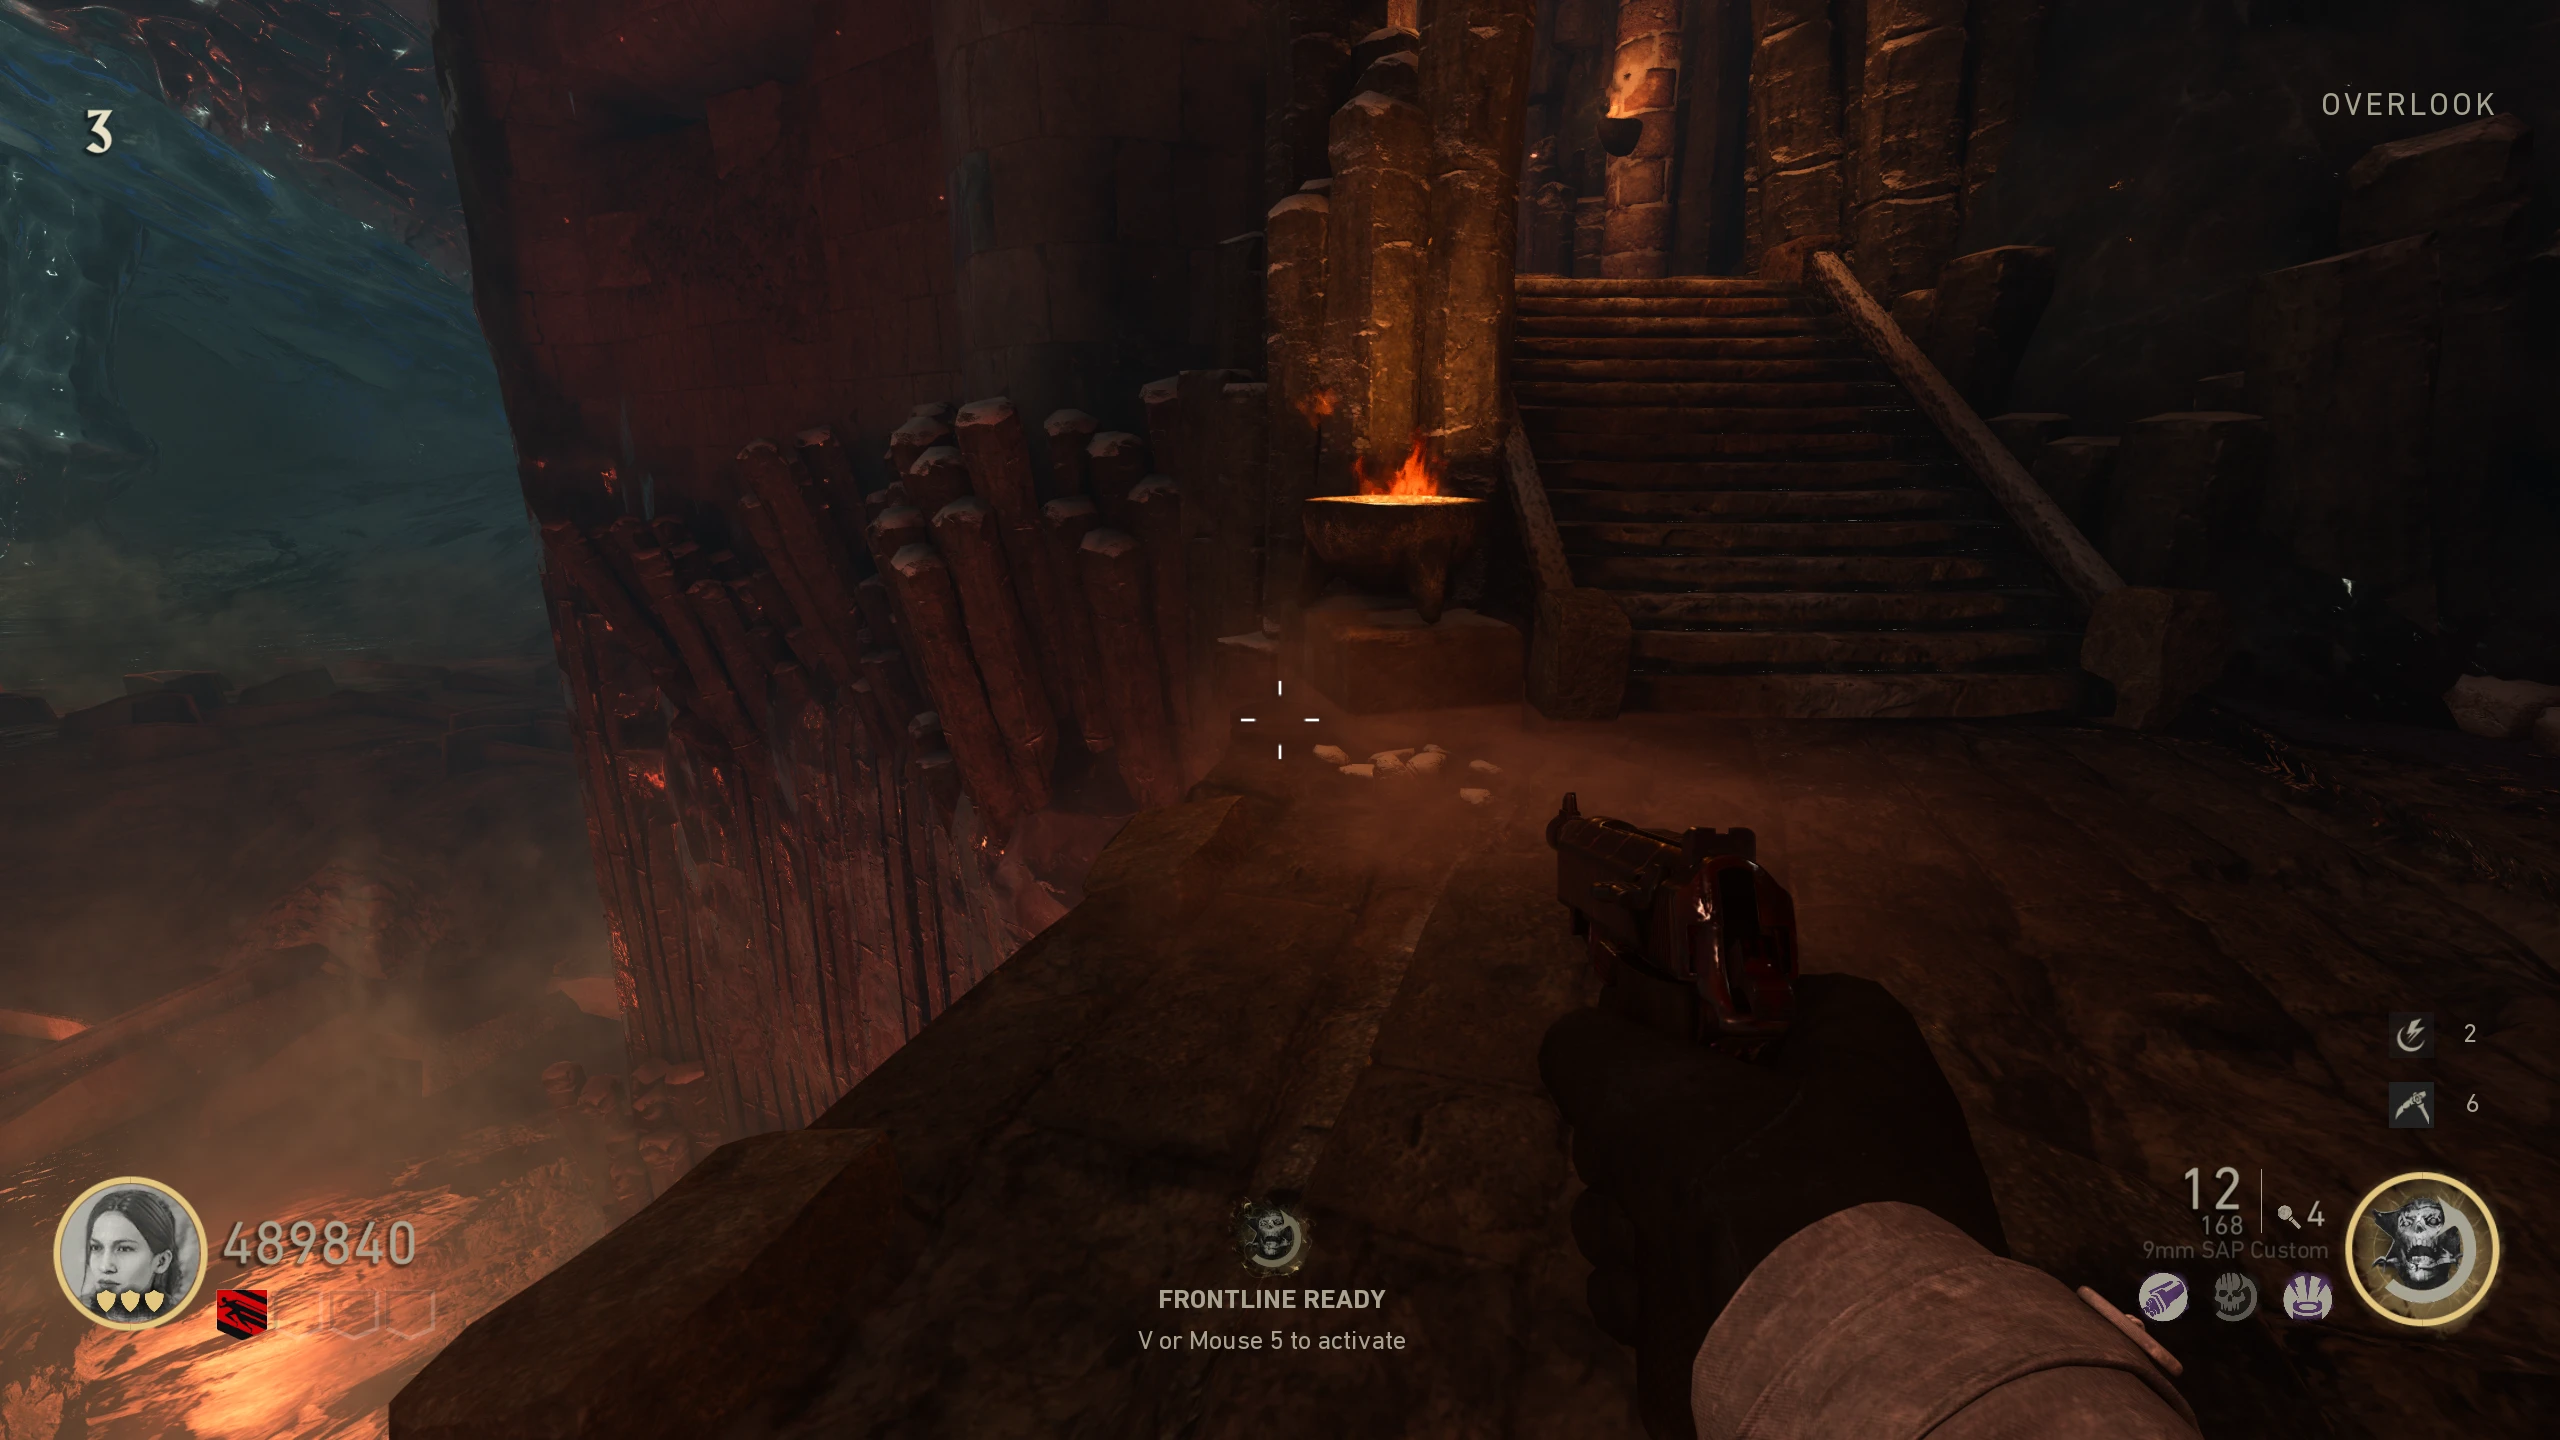
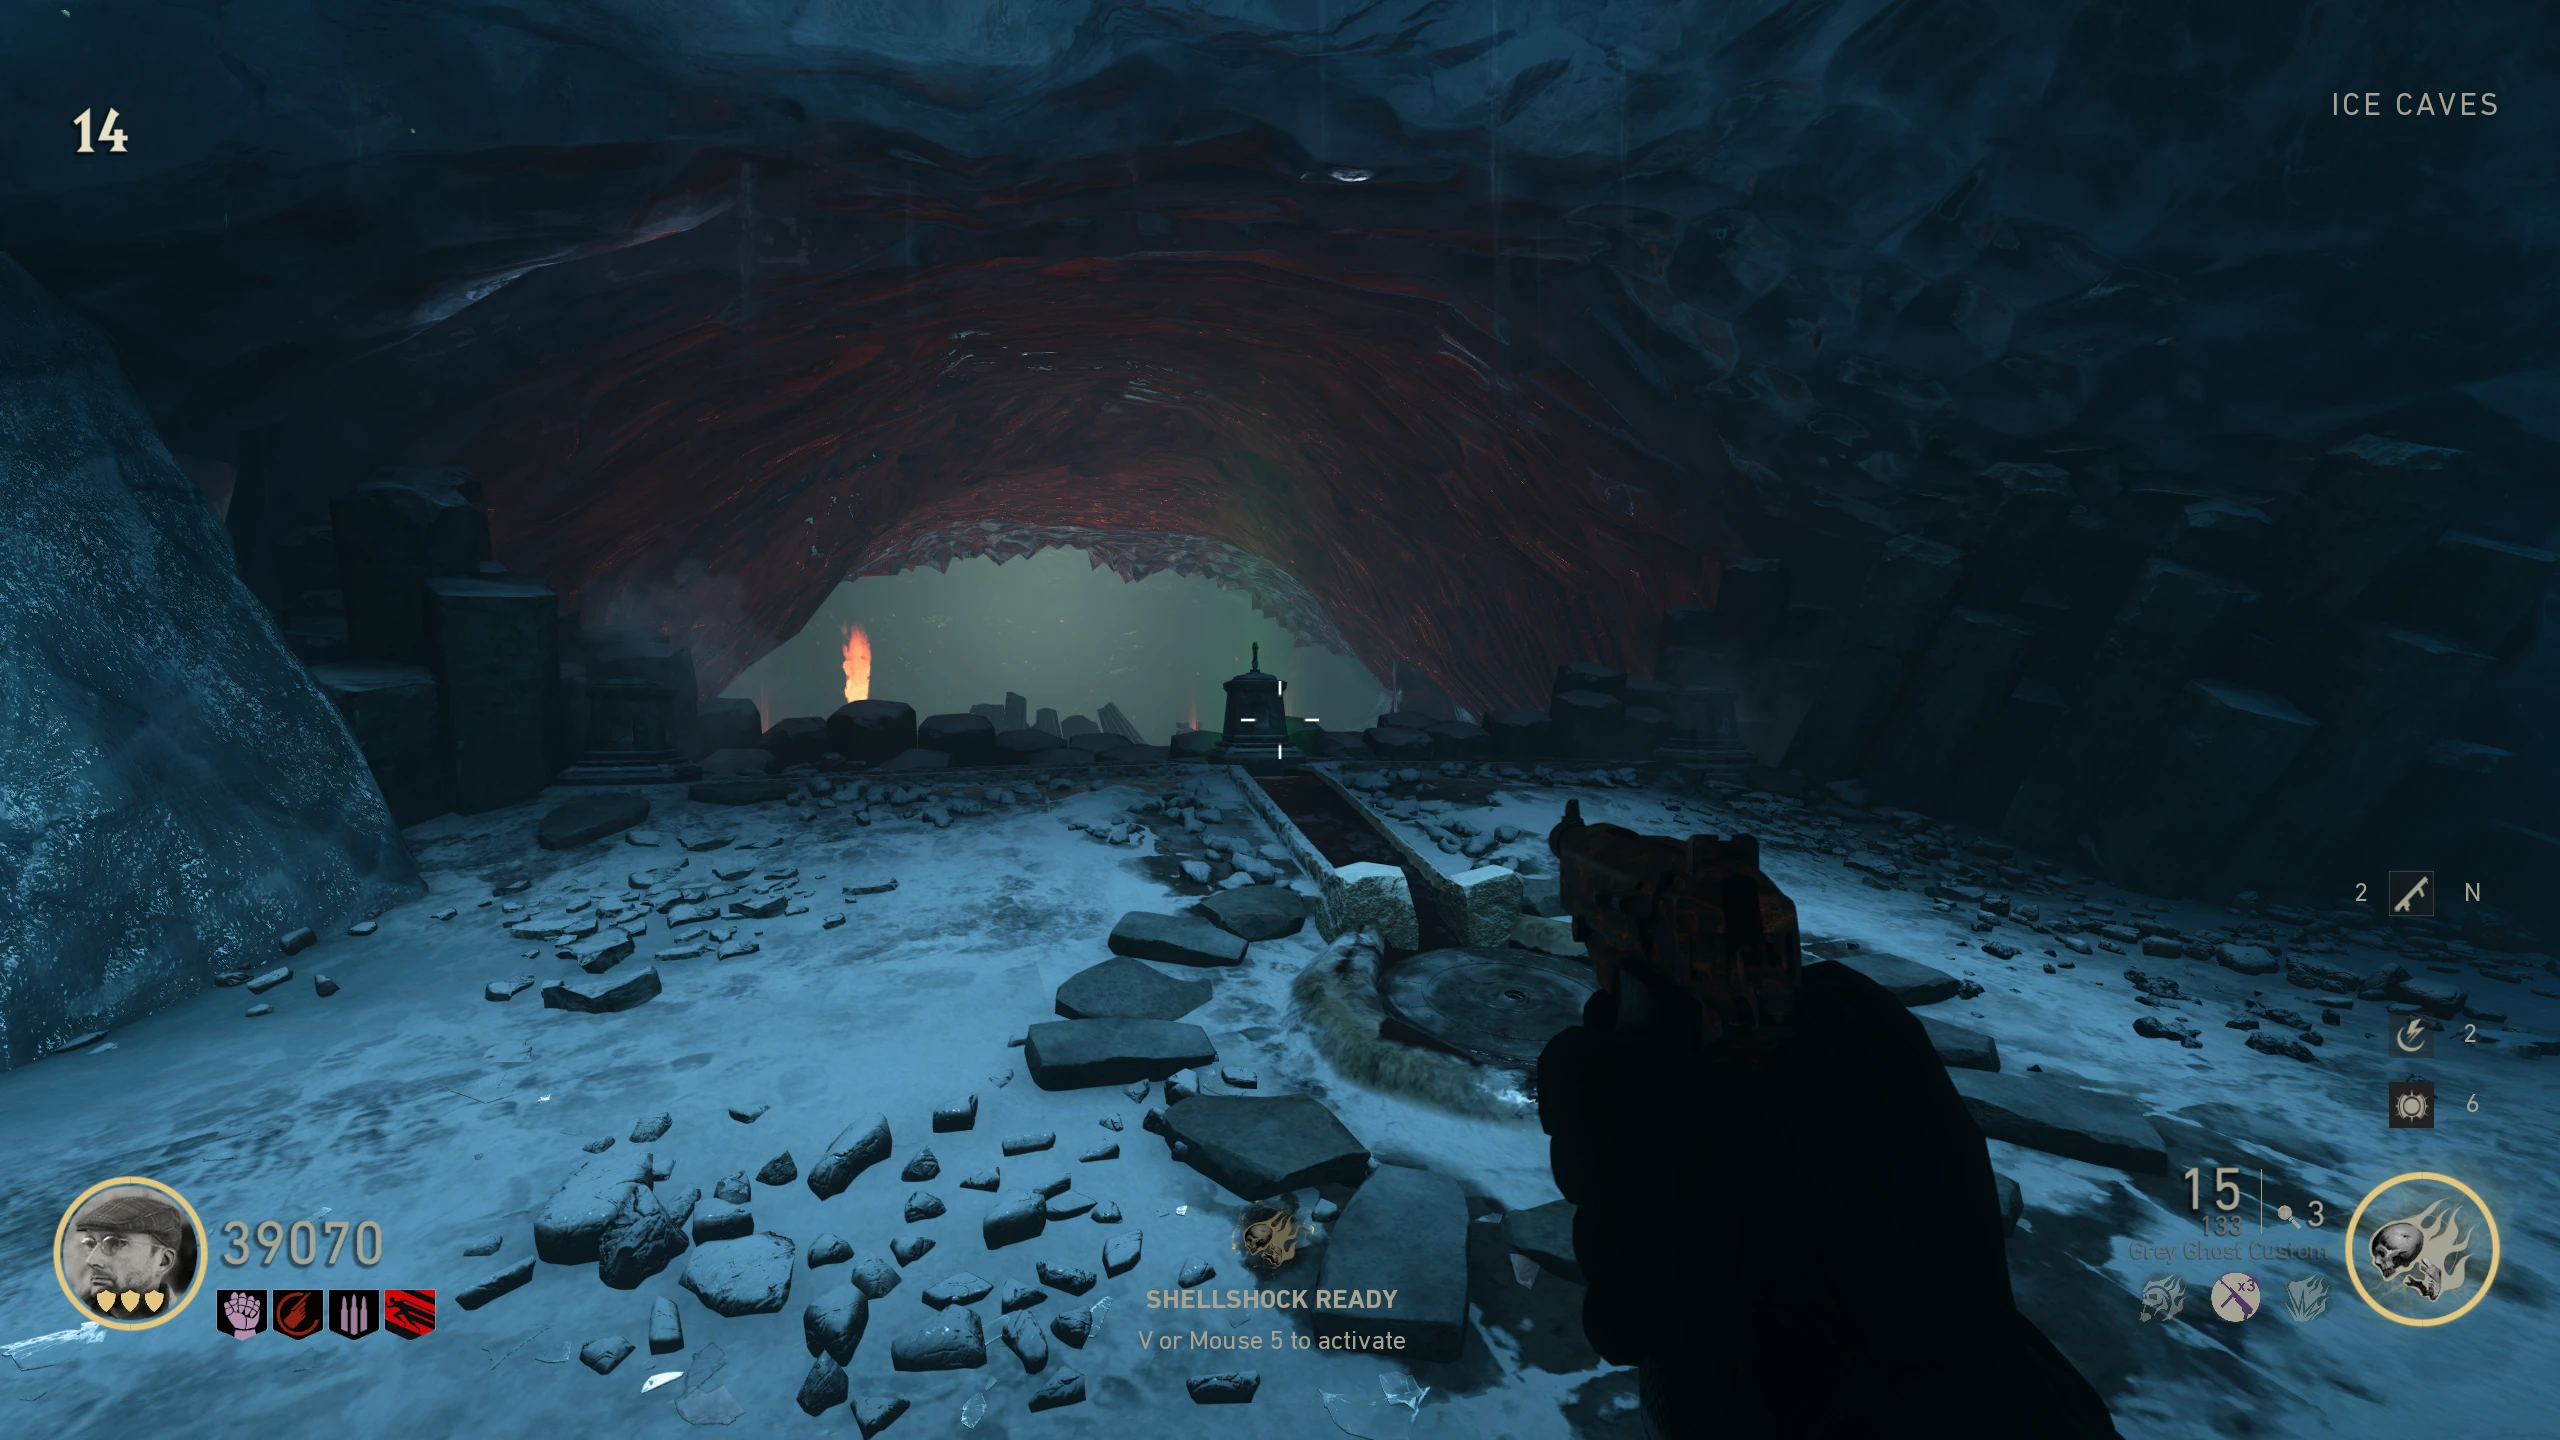
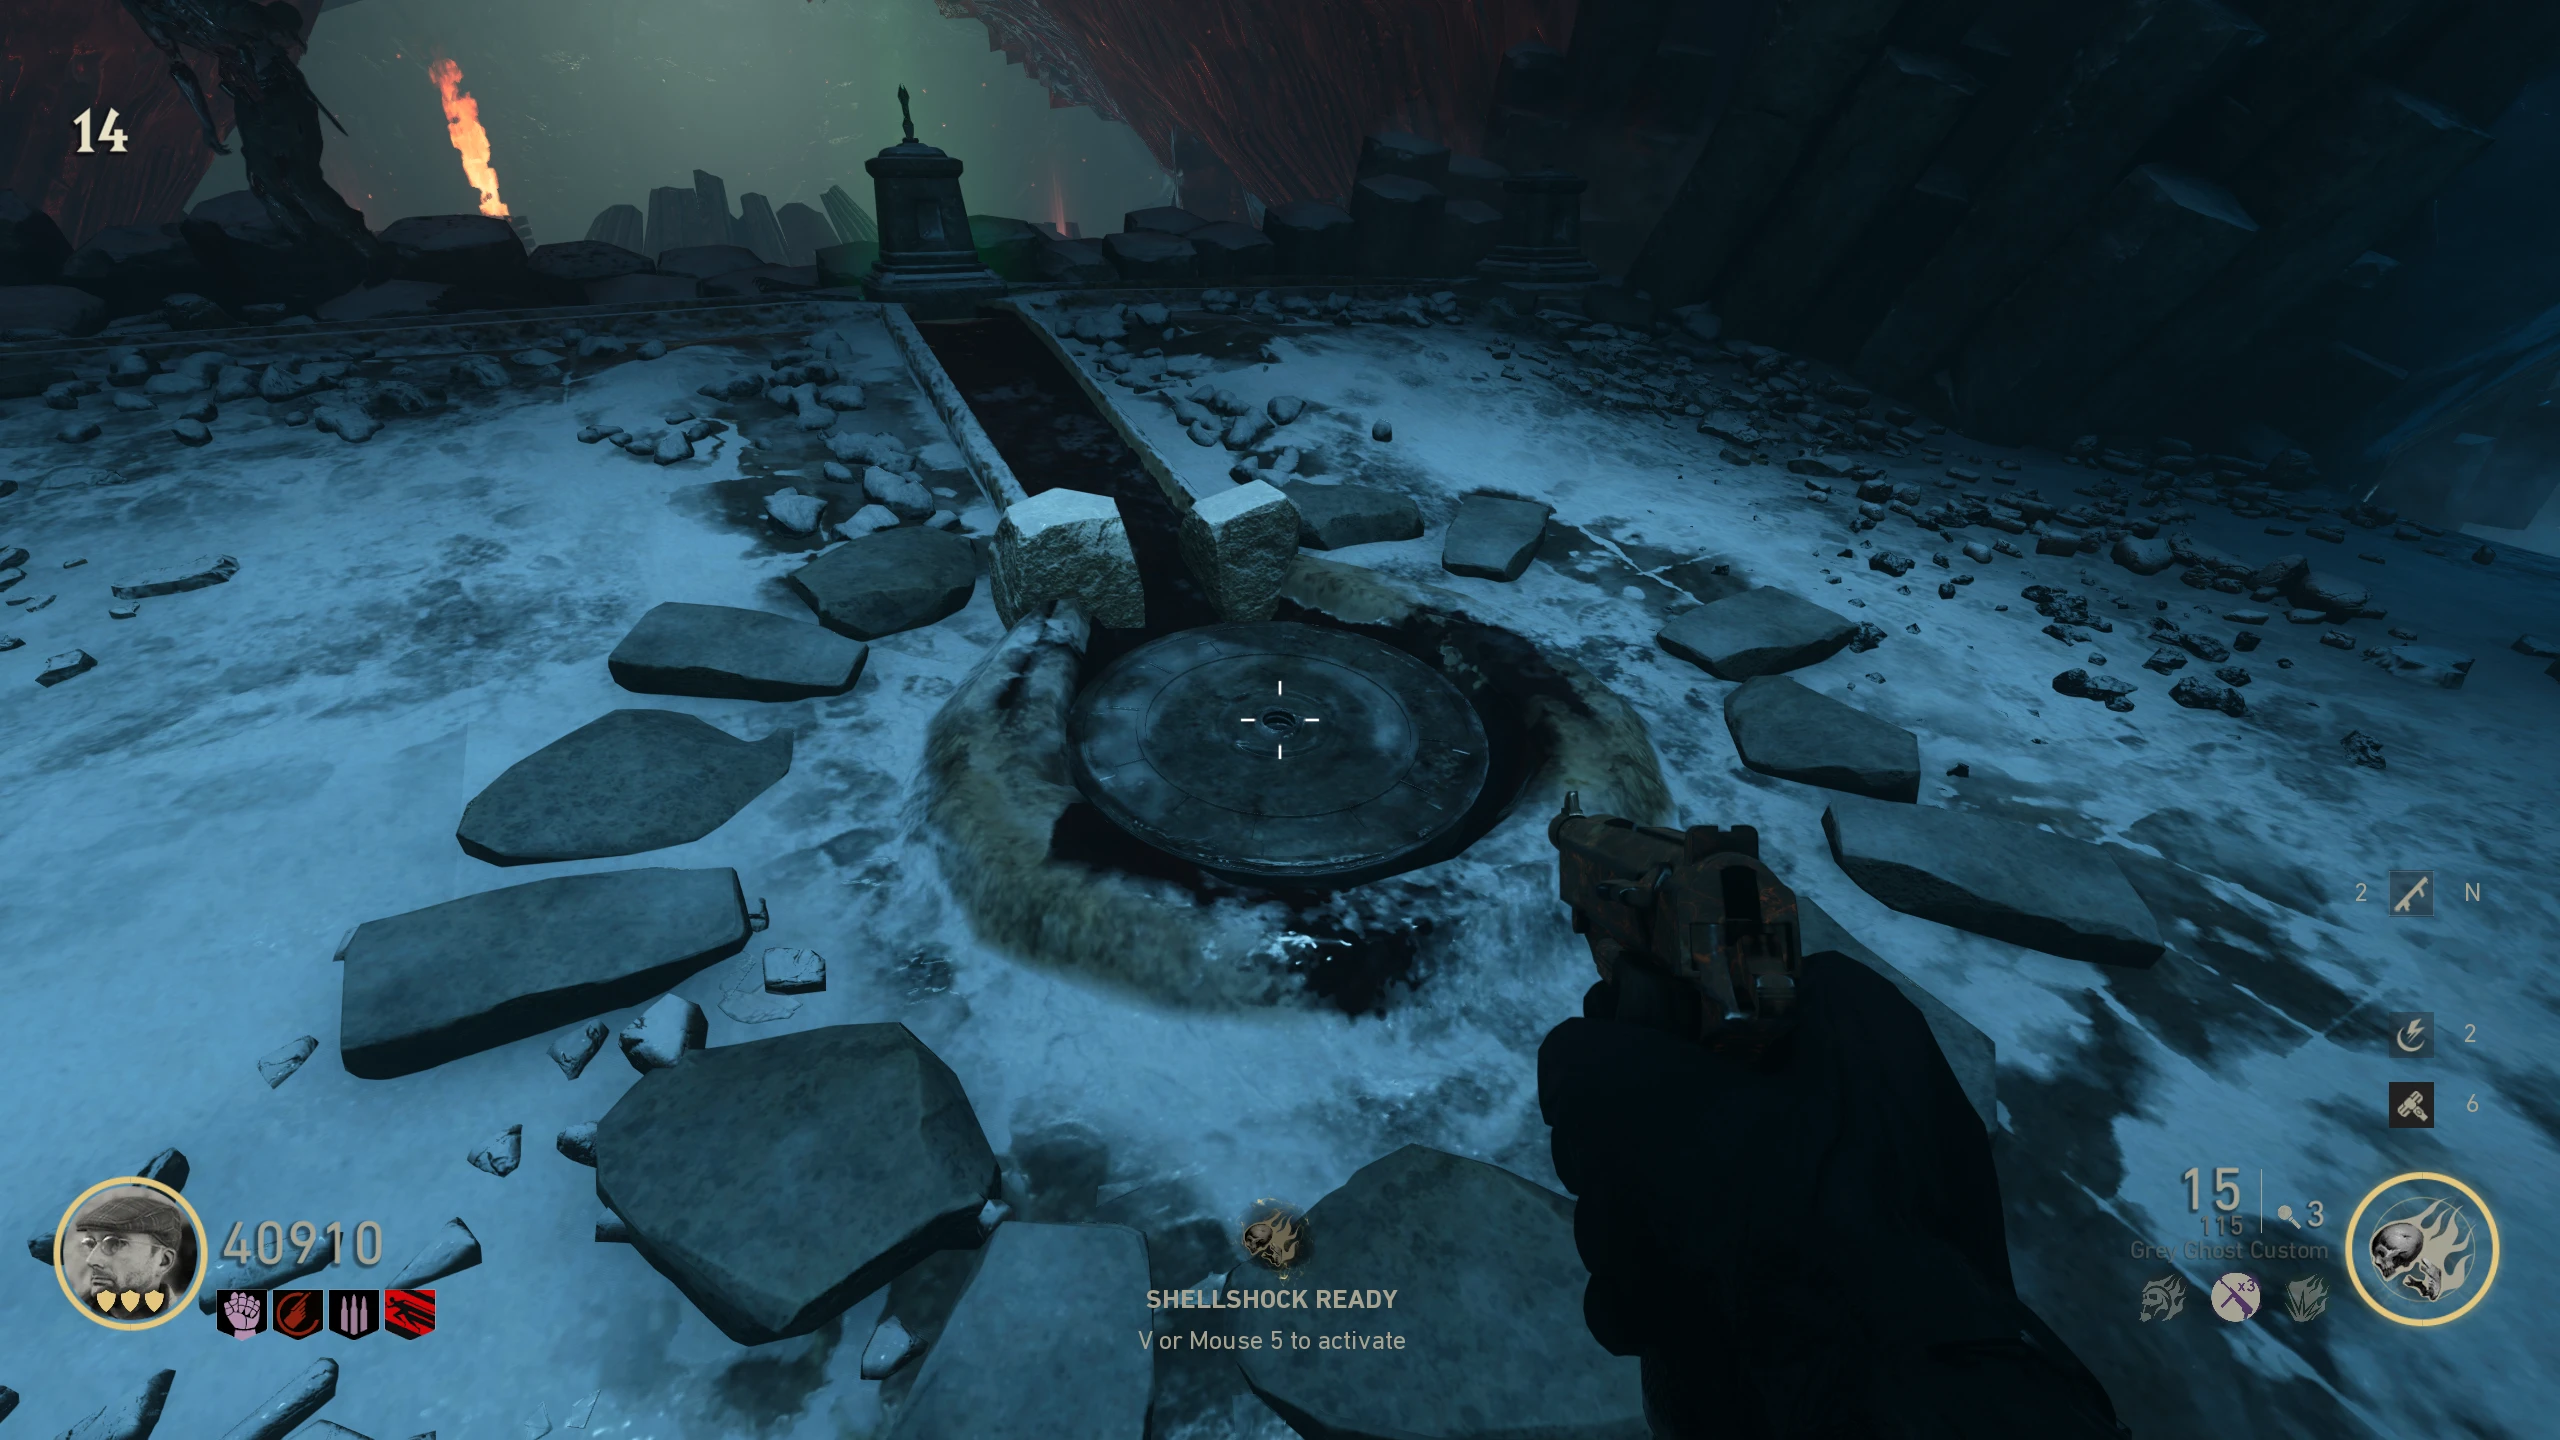
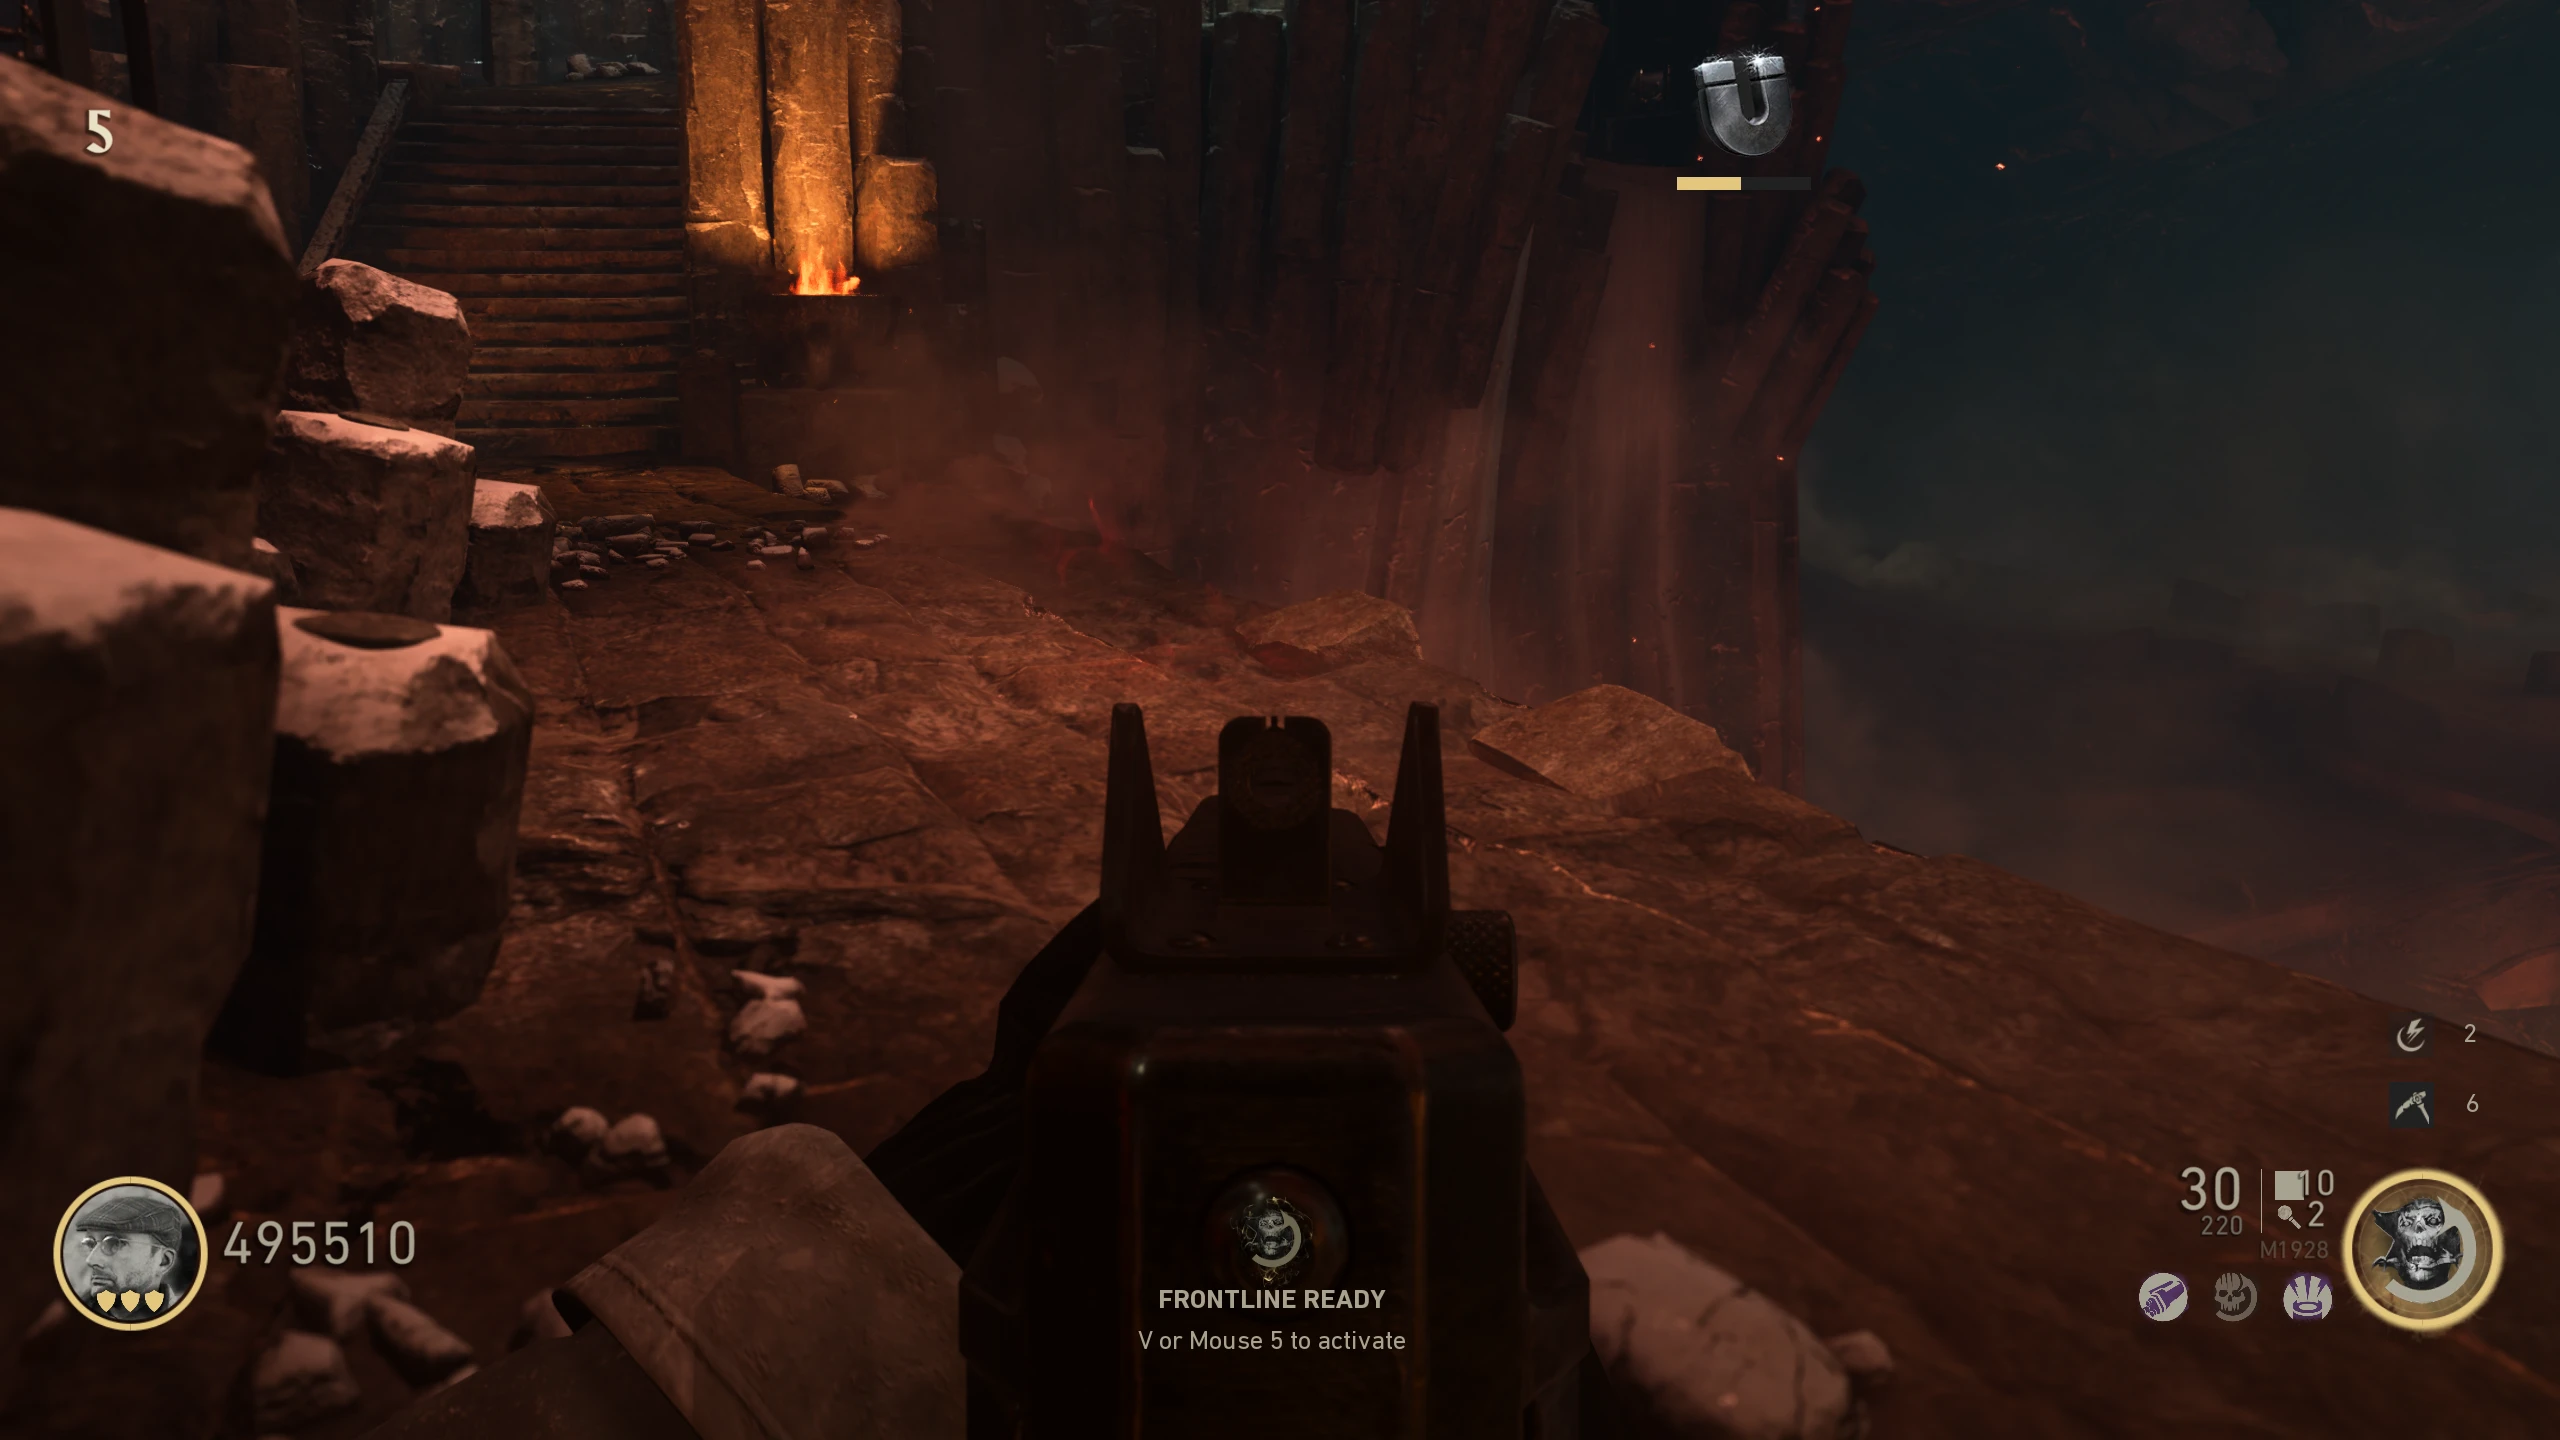
- In the 'Crash Site,' pick up the battery in the debris left of the M30 Luftwaffe Drilling wallbuy. Bring it to the bowl right of the Laufenblitz (Stamin-Up) on the 'Overlook.'
- Get about 15-20 kills near the bowl. It'll glow purple and stop taking energy.
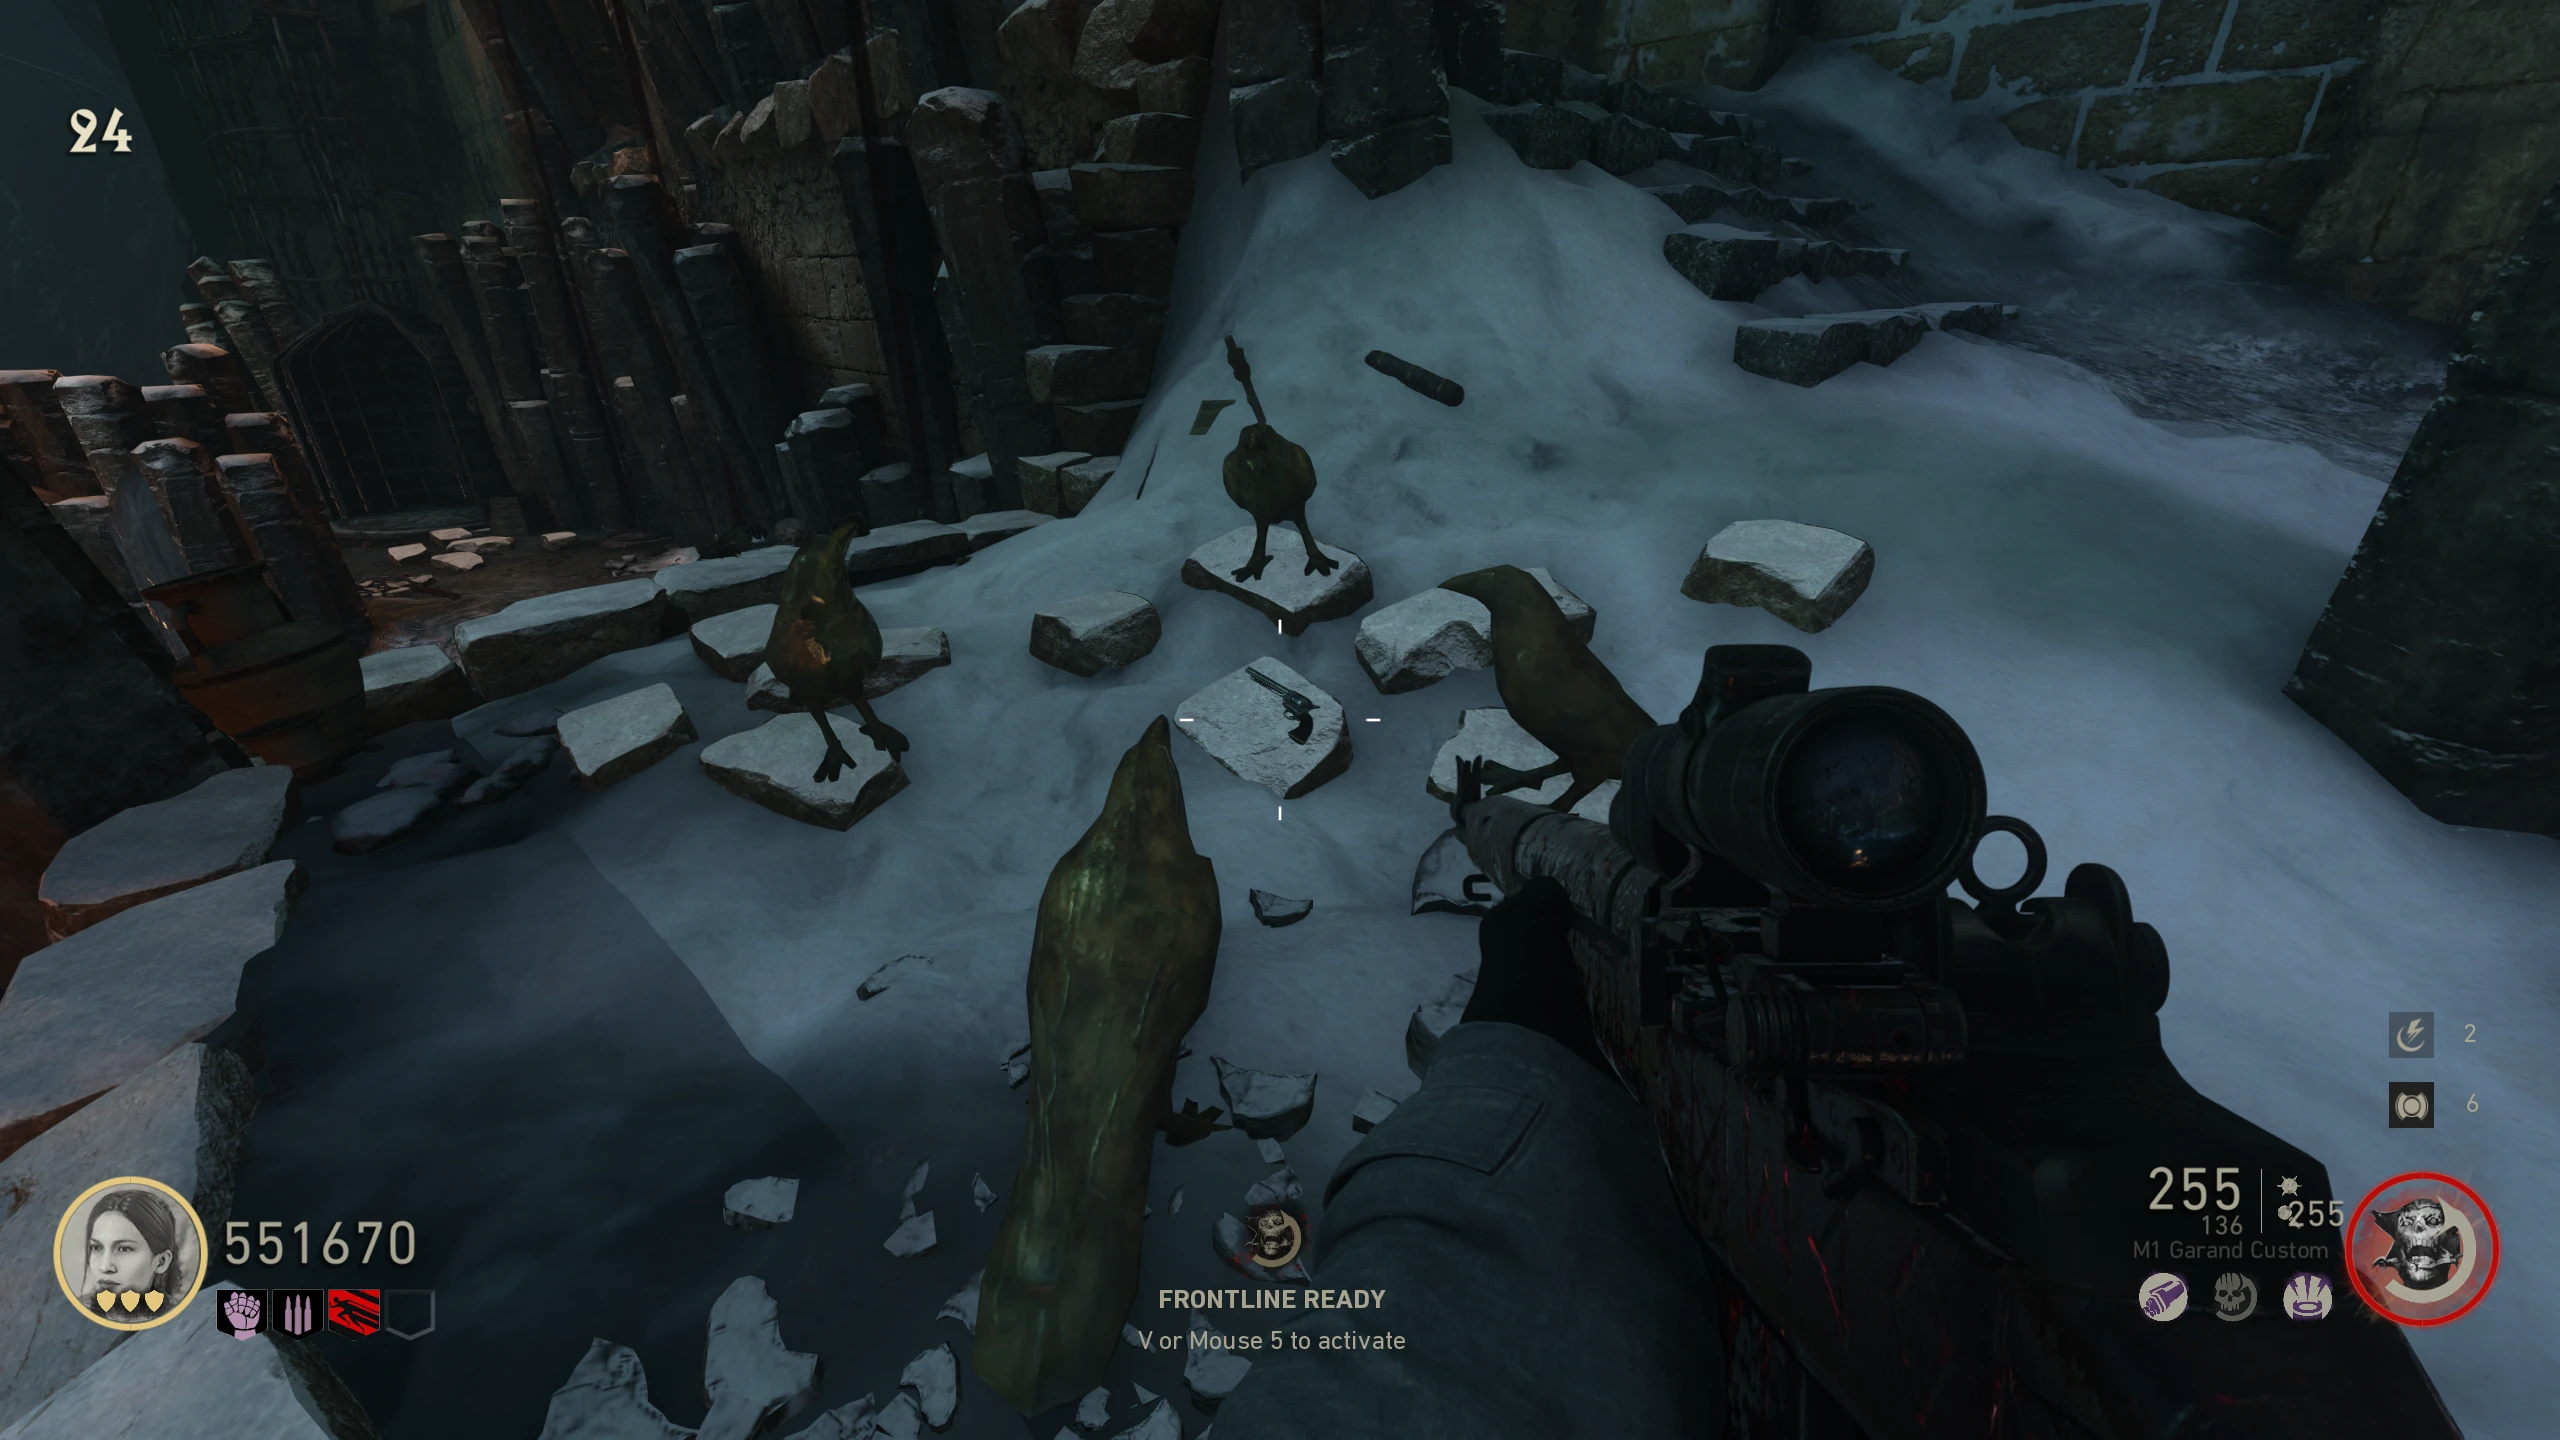
- Pick up four Stones. Locations:
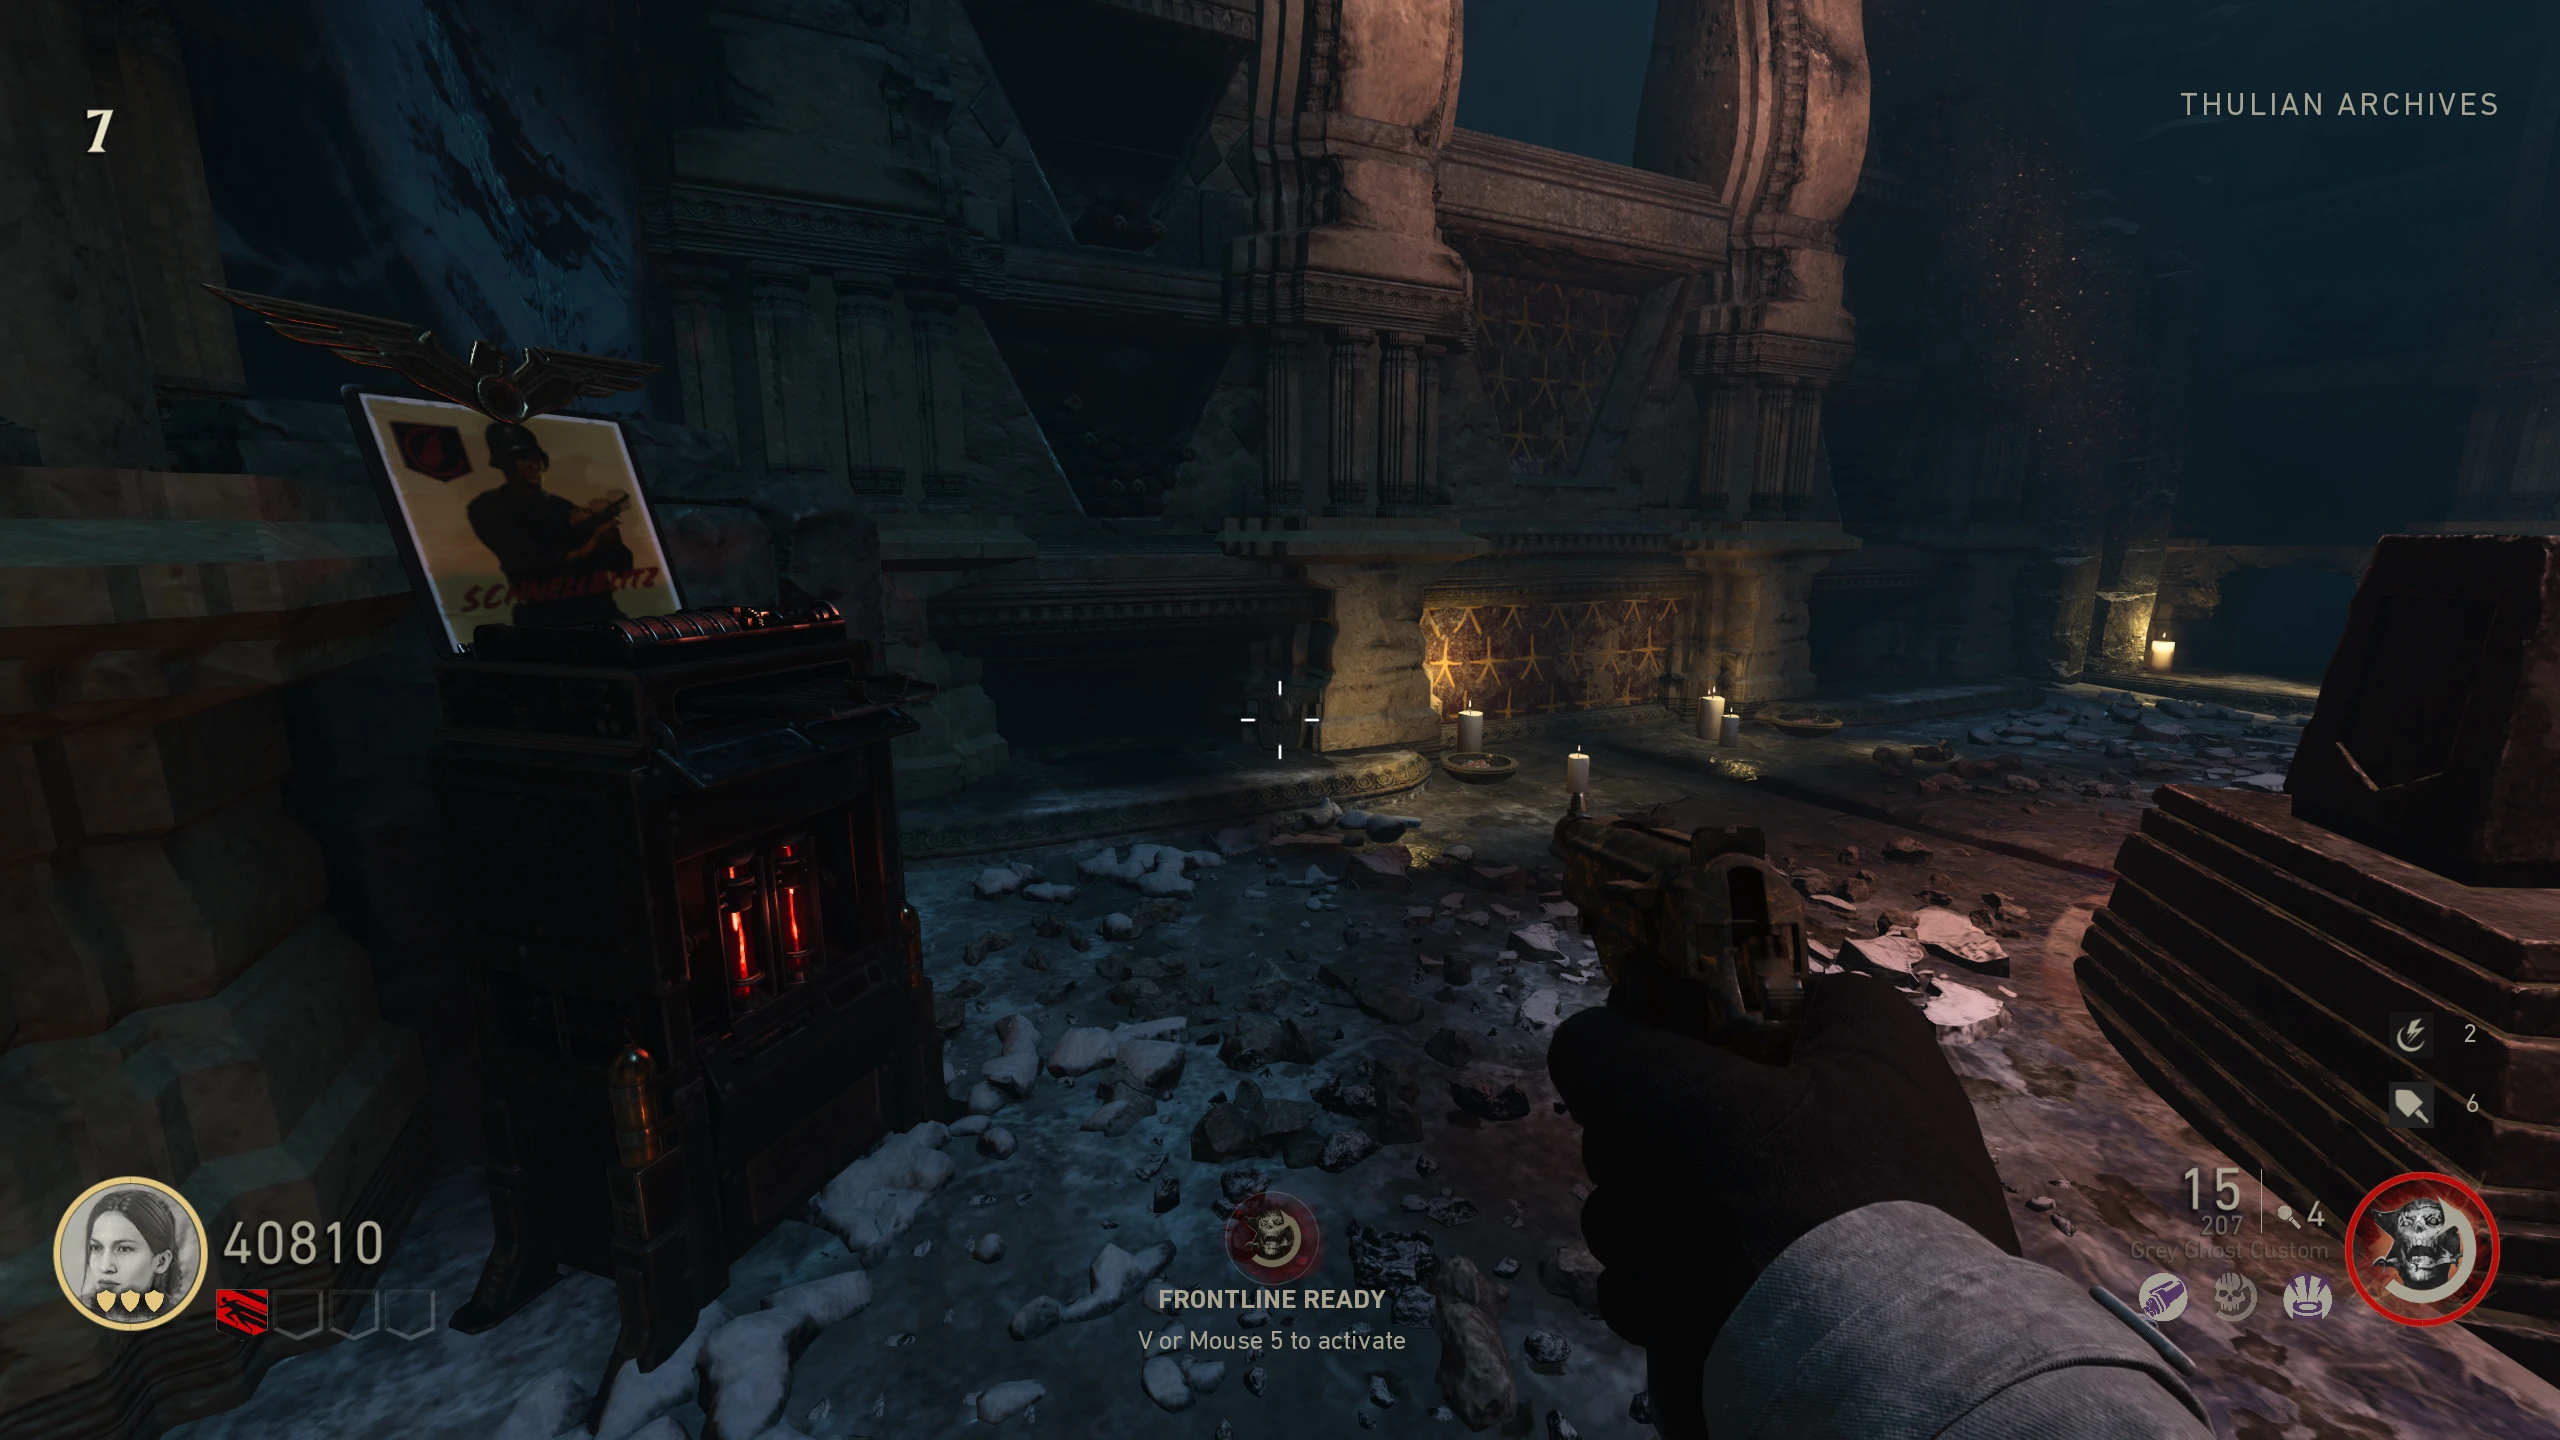
- Thulian Archives - Right of Schnellblitz (Speed Cola)
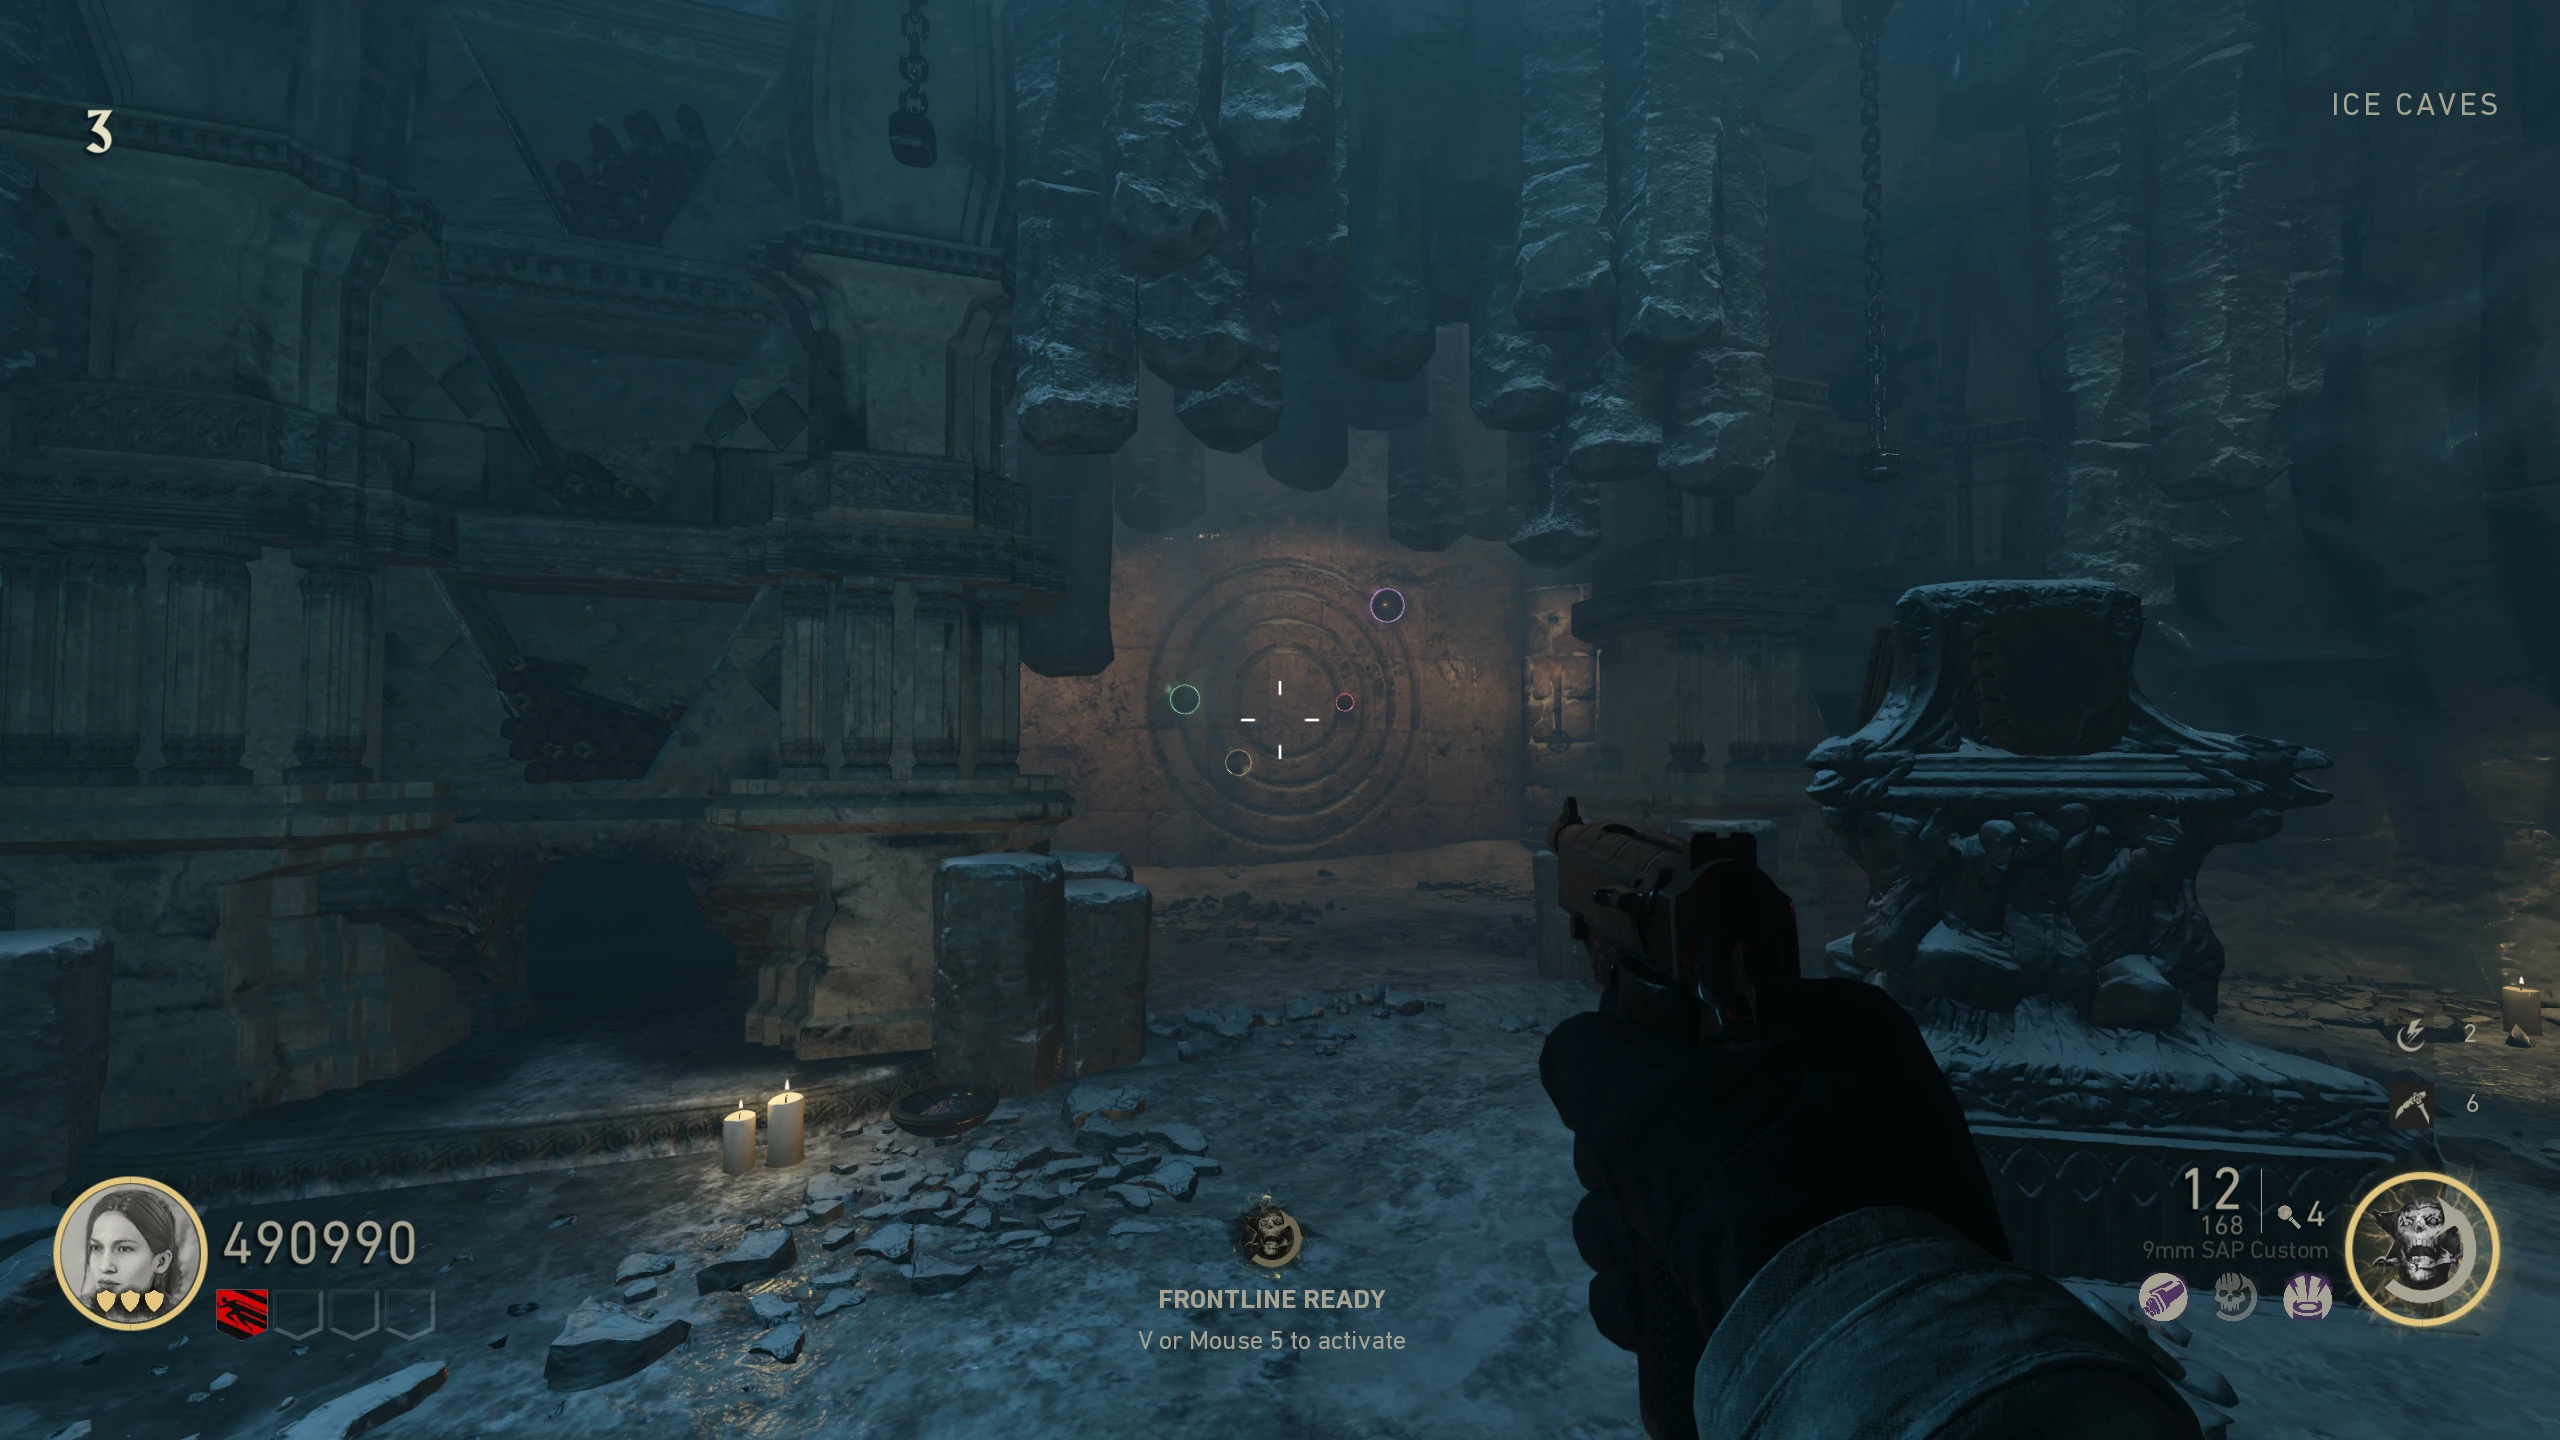
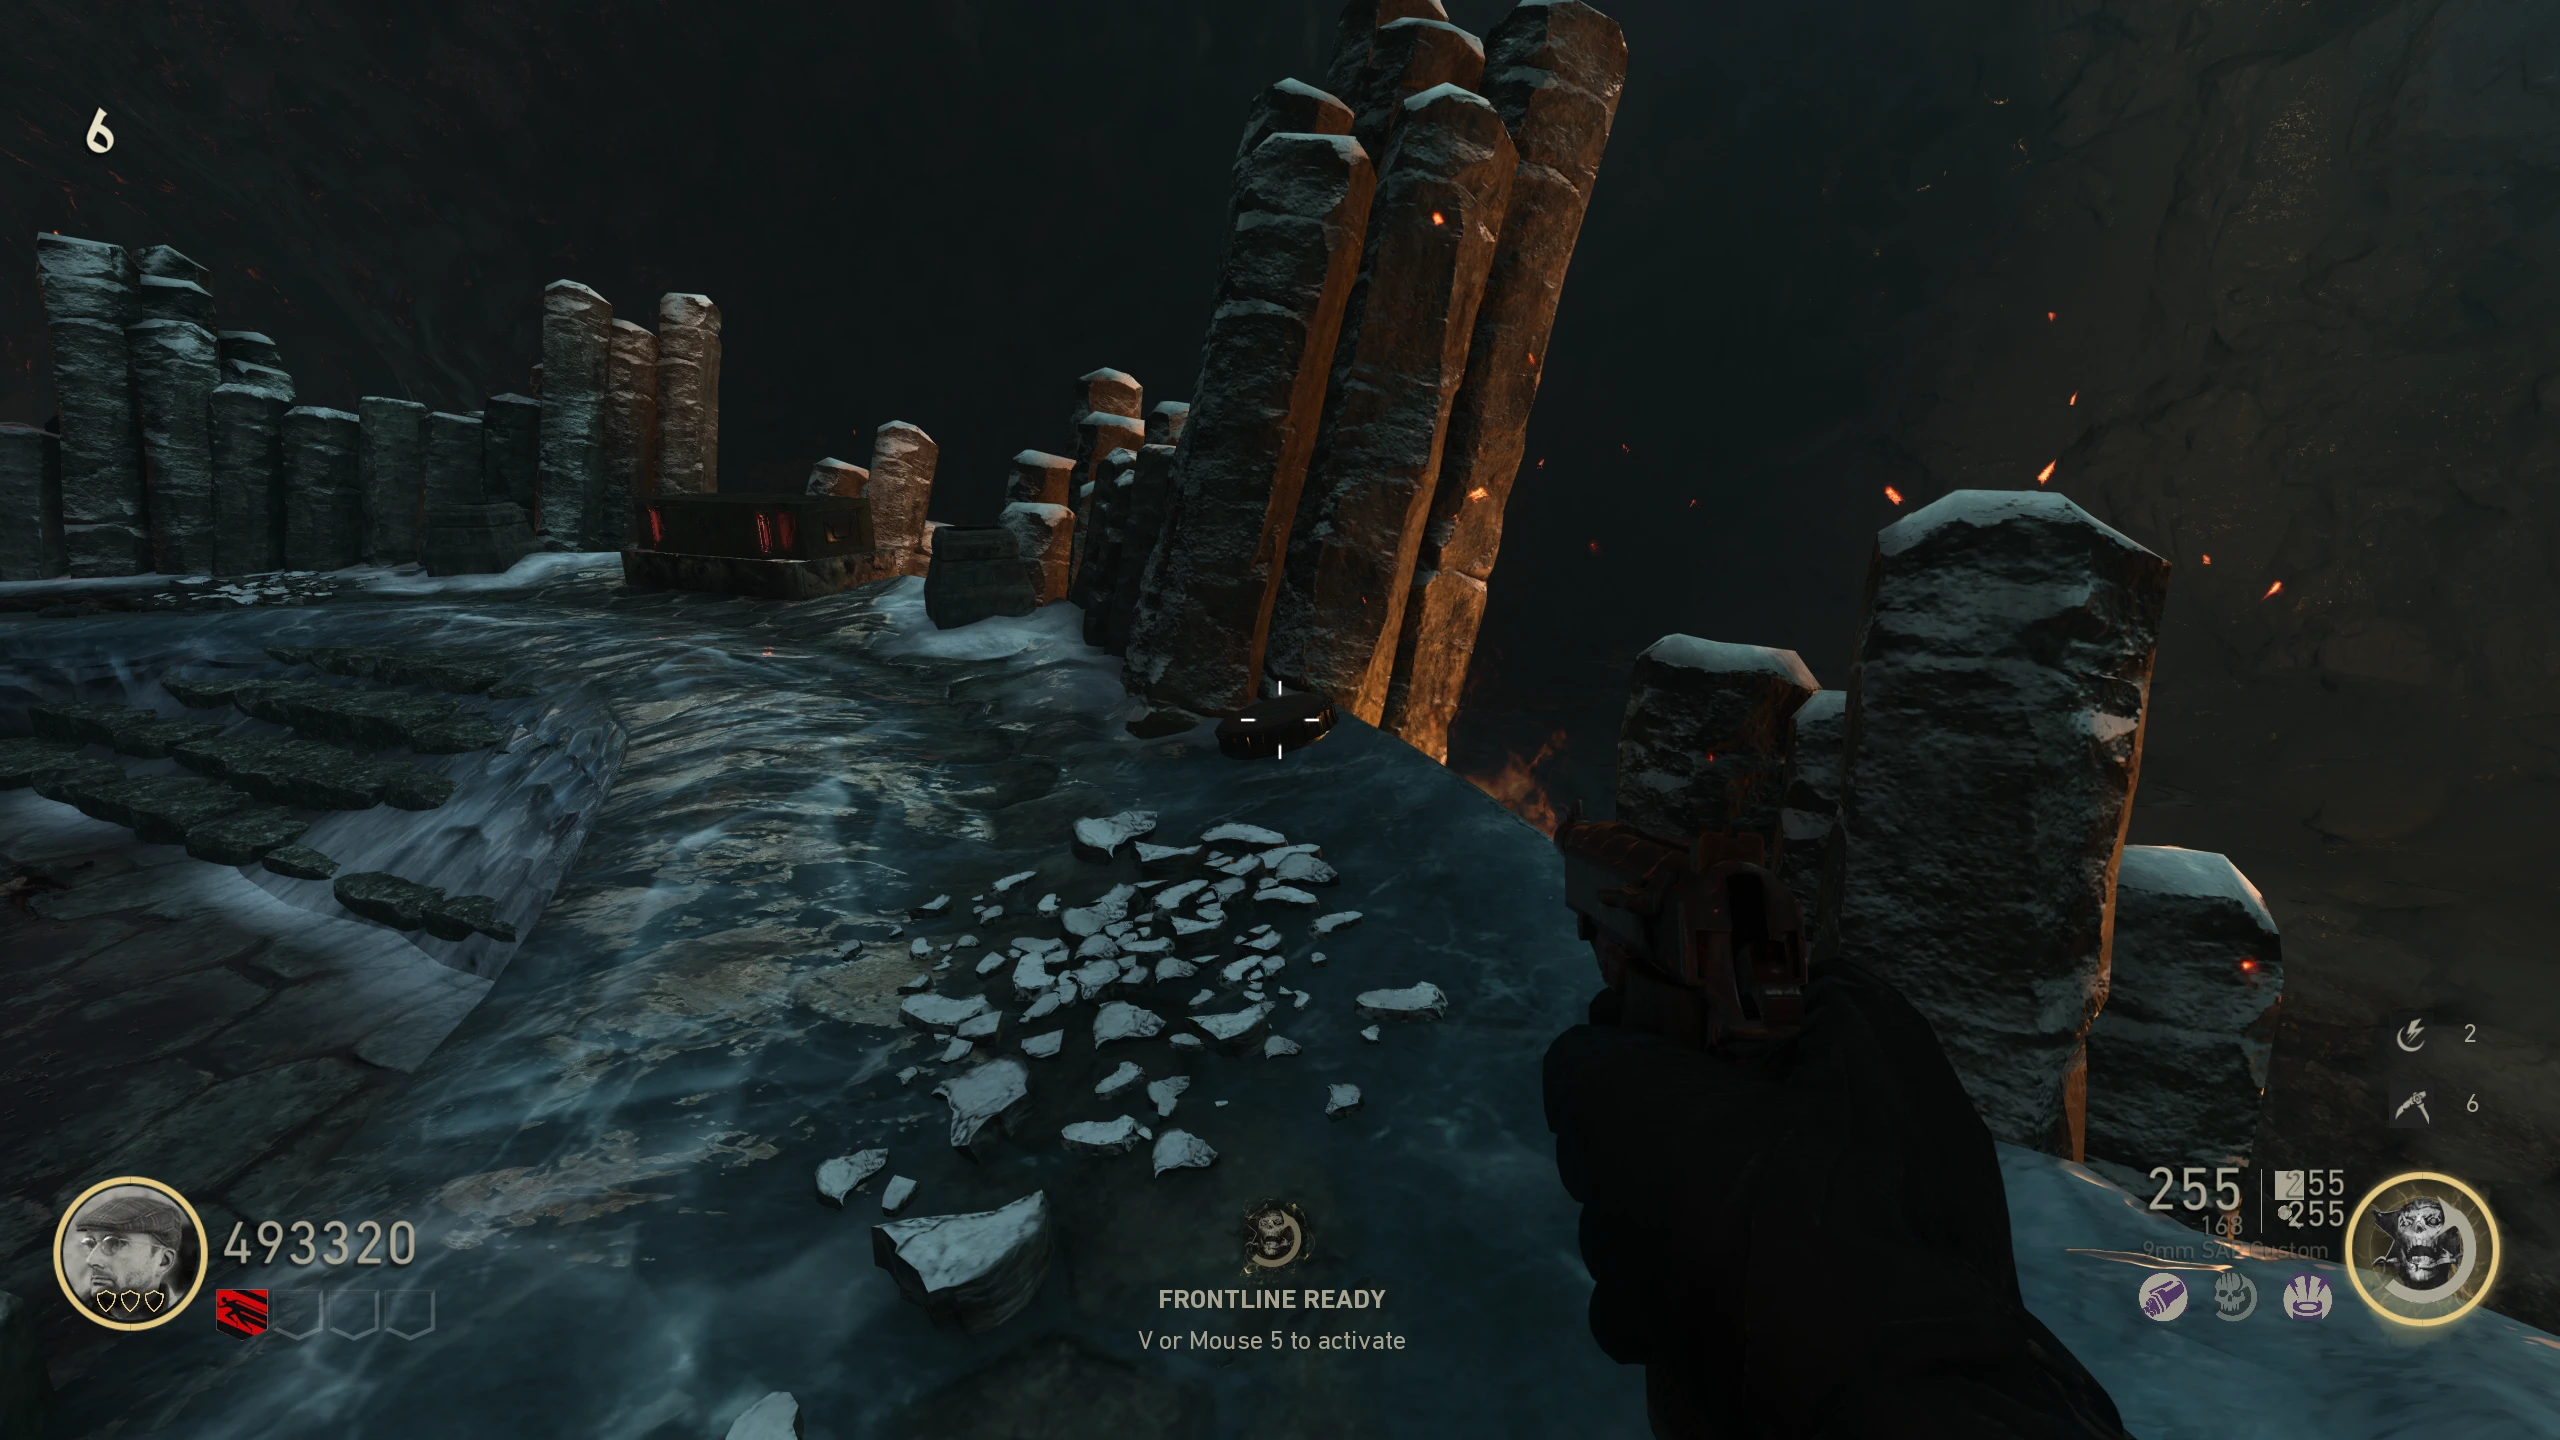
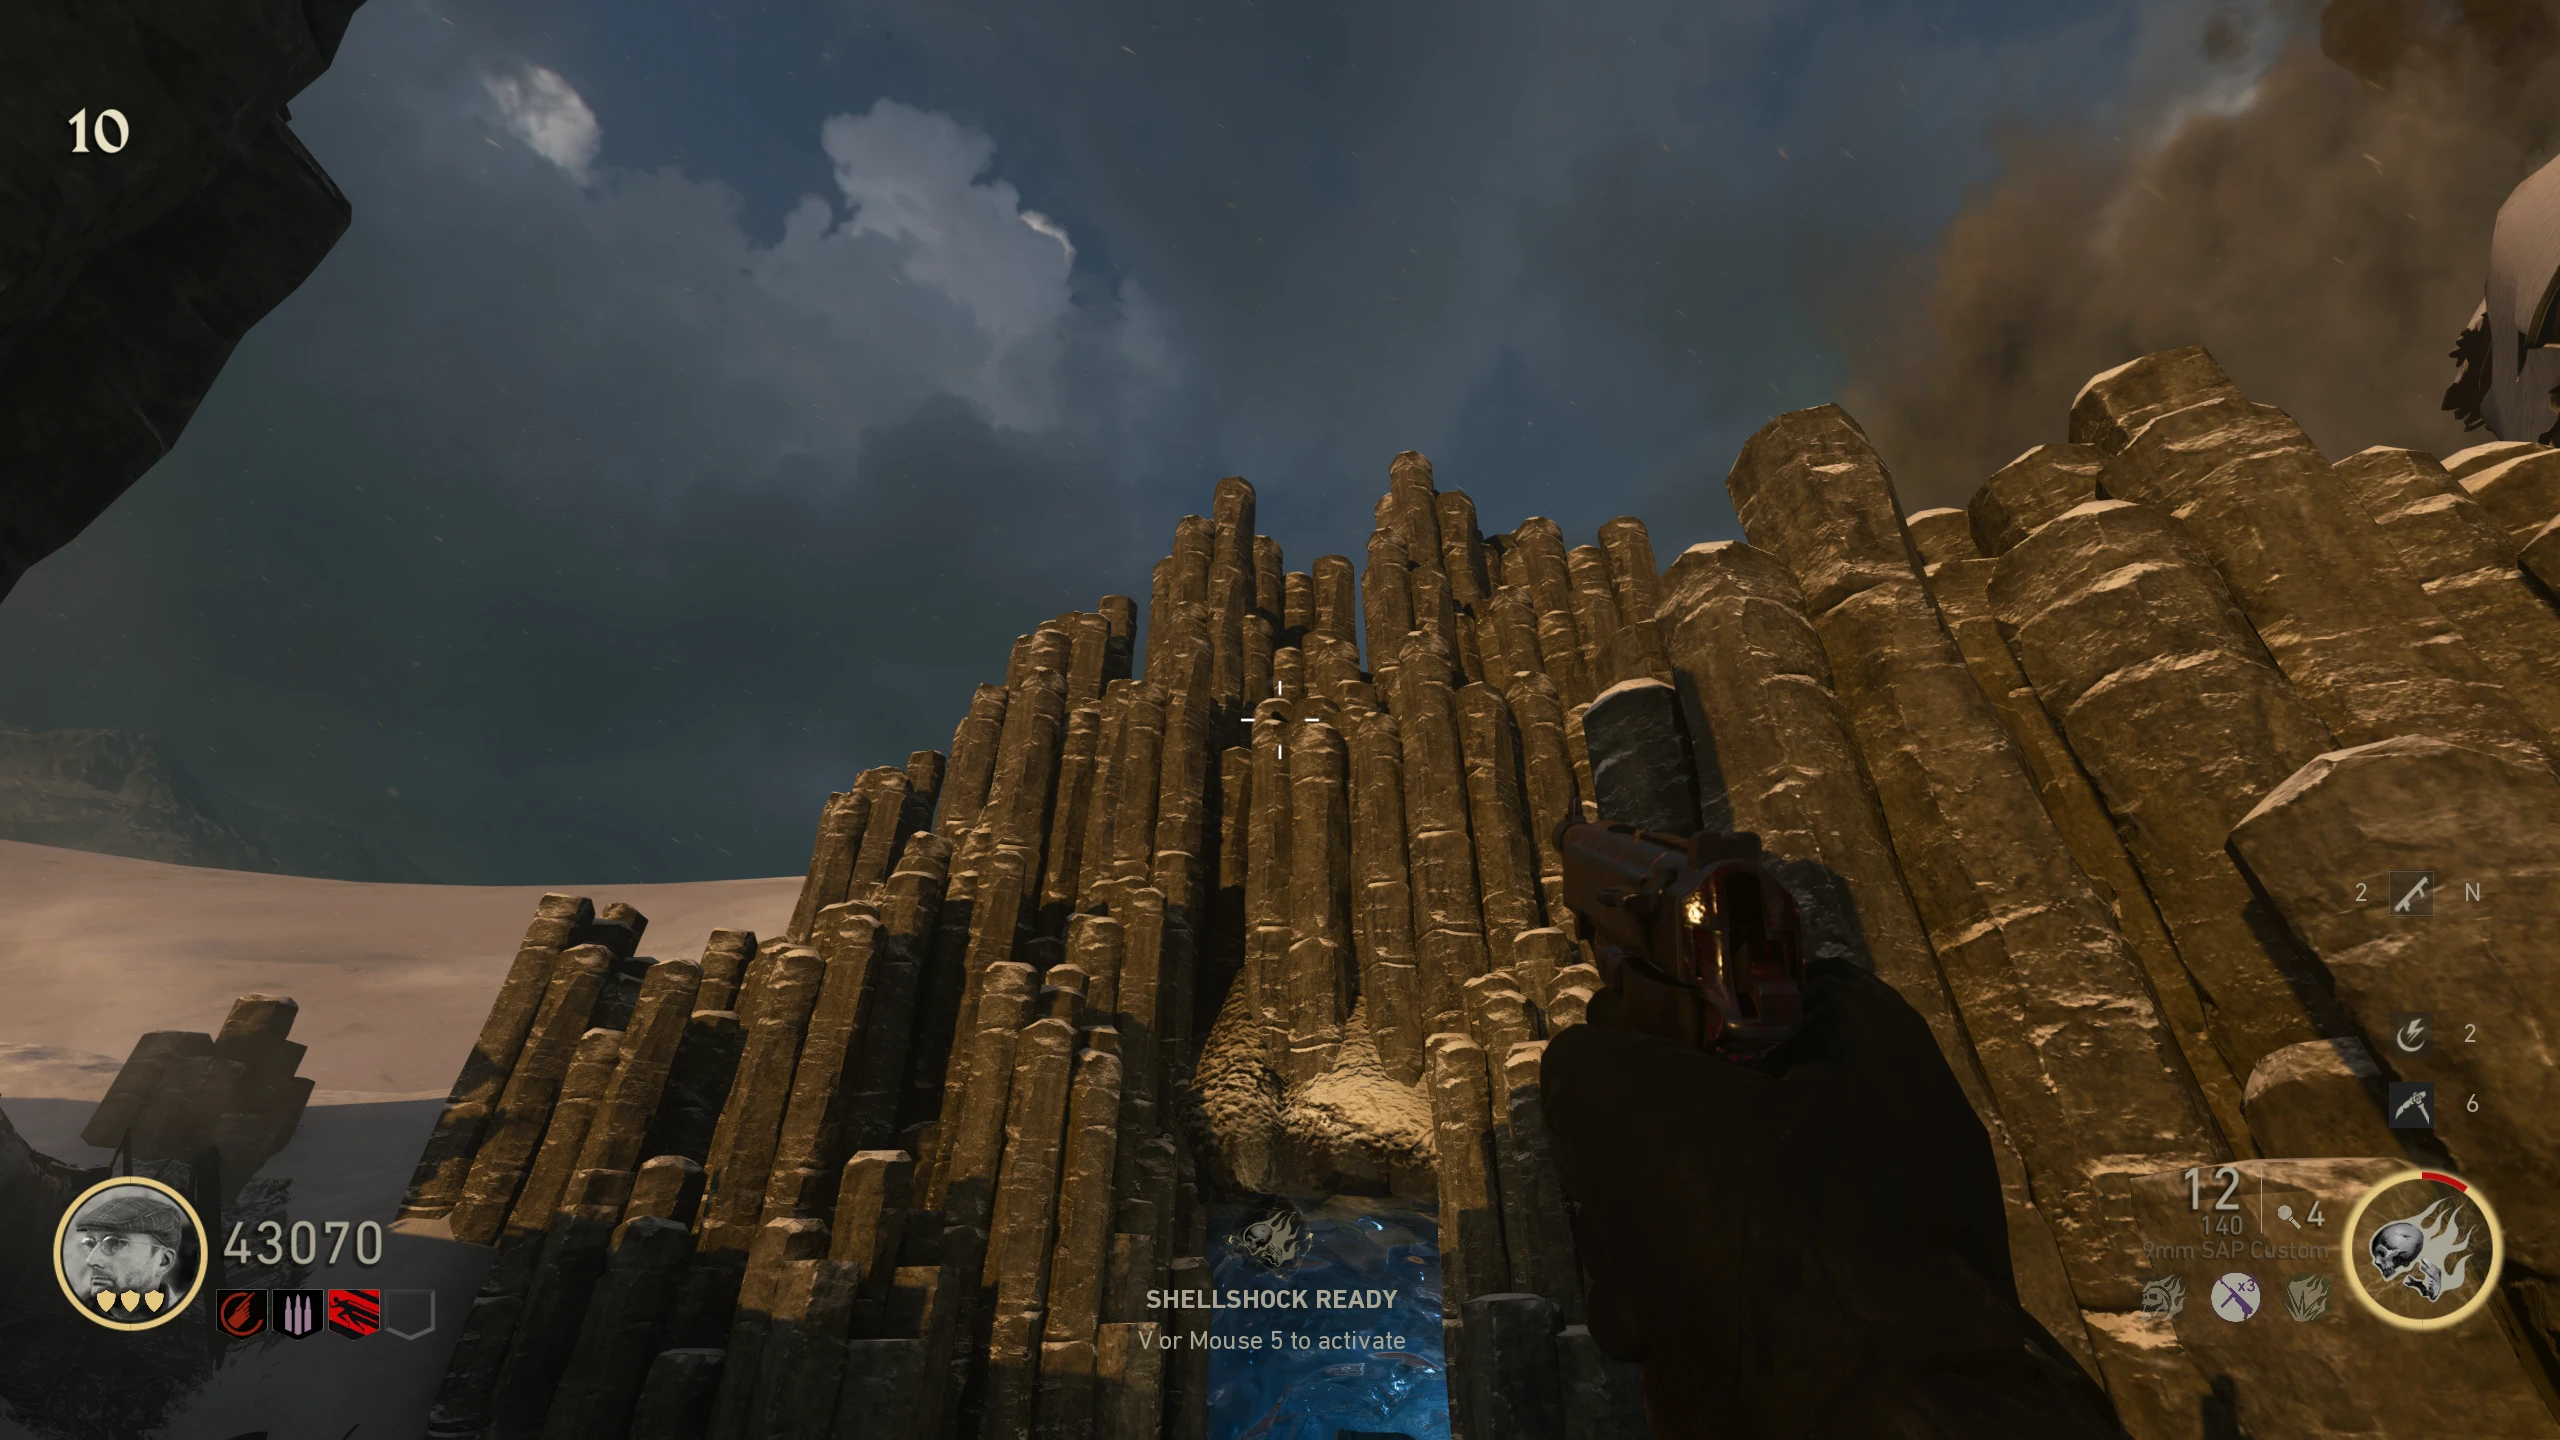
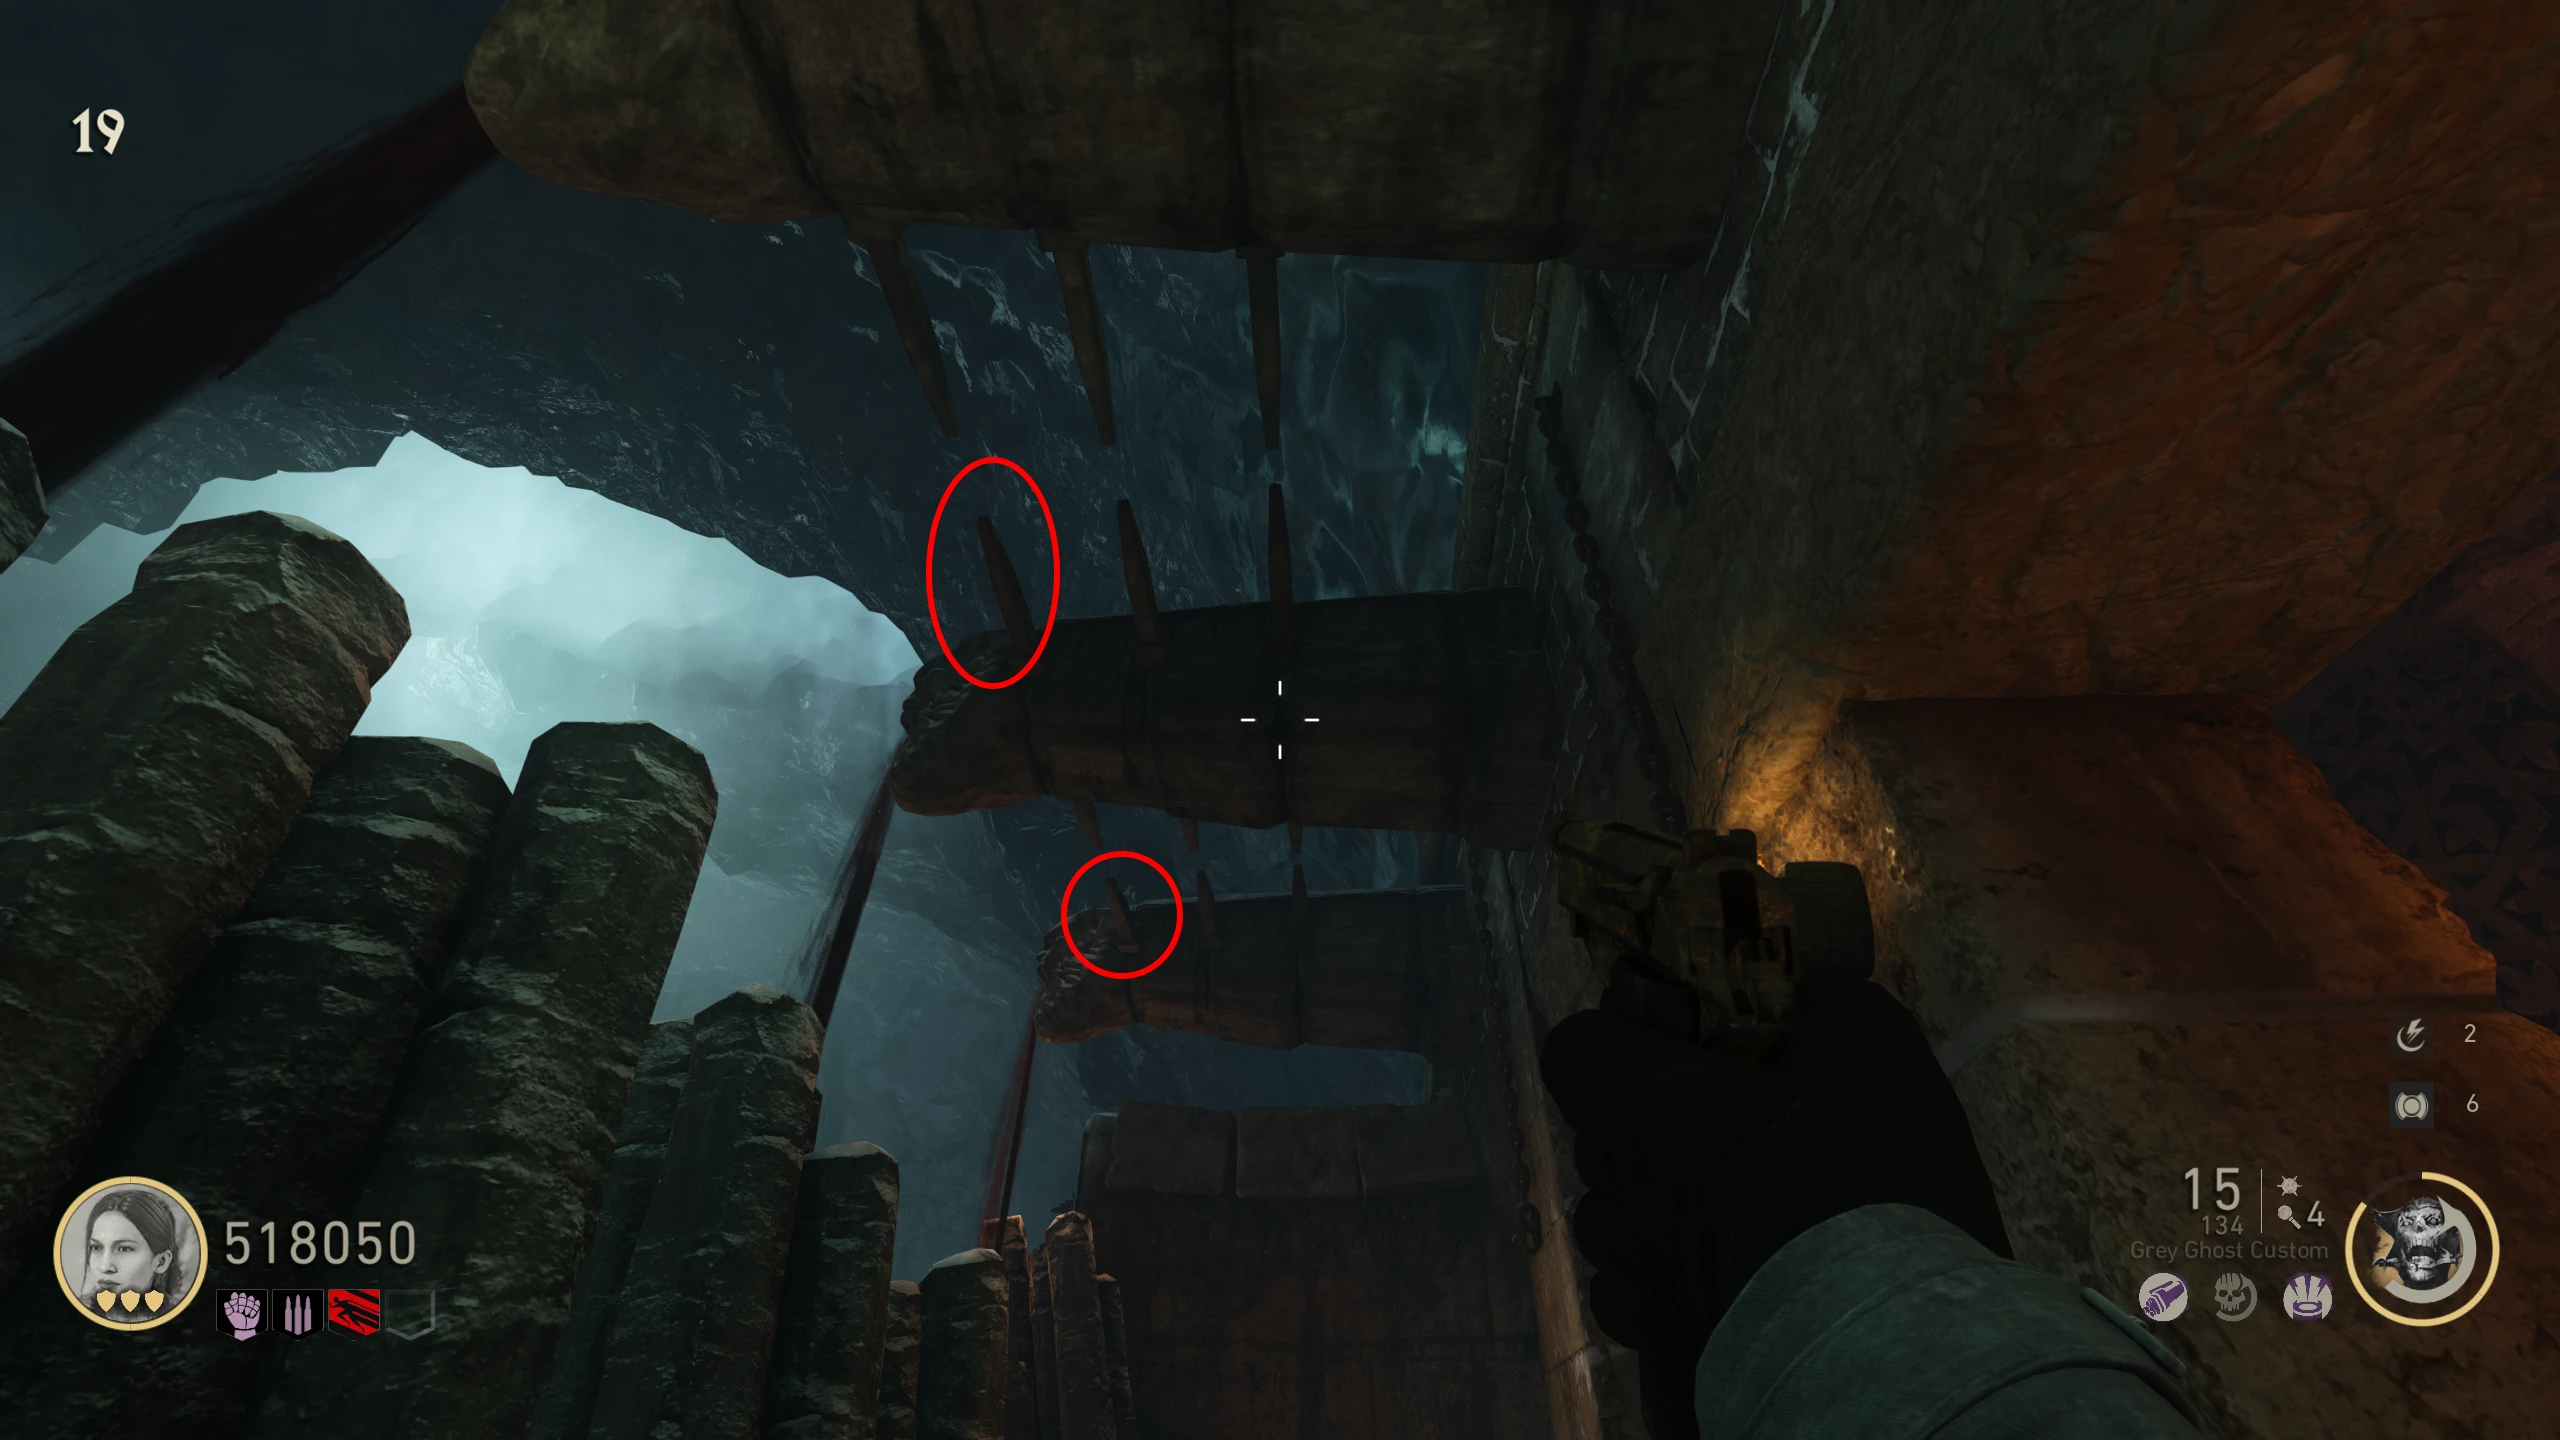
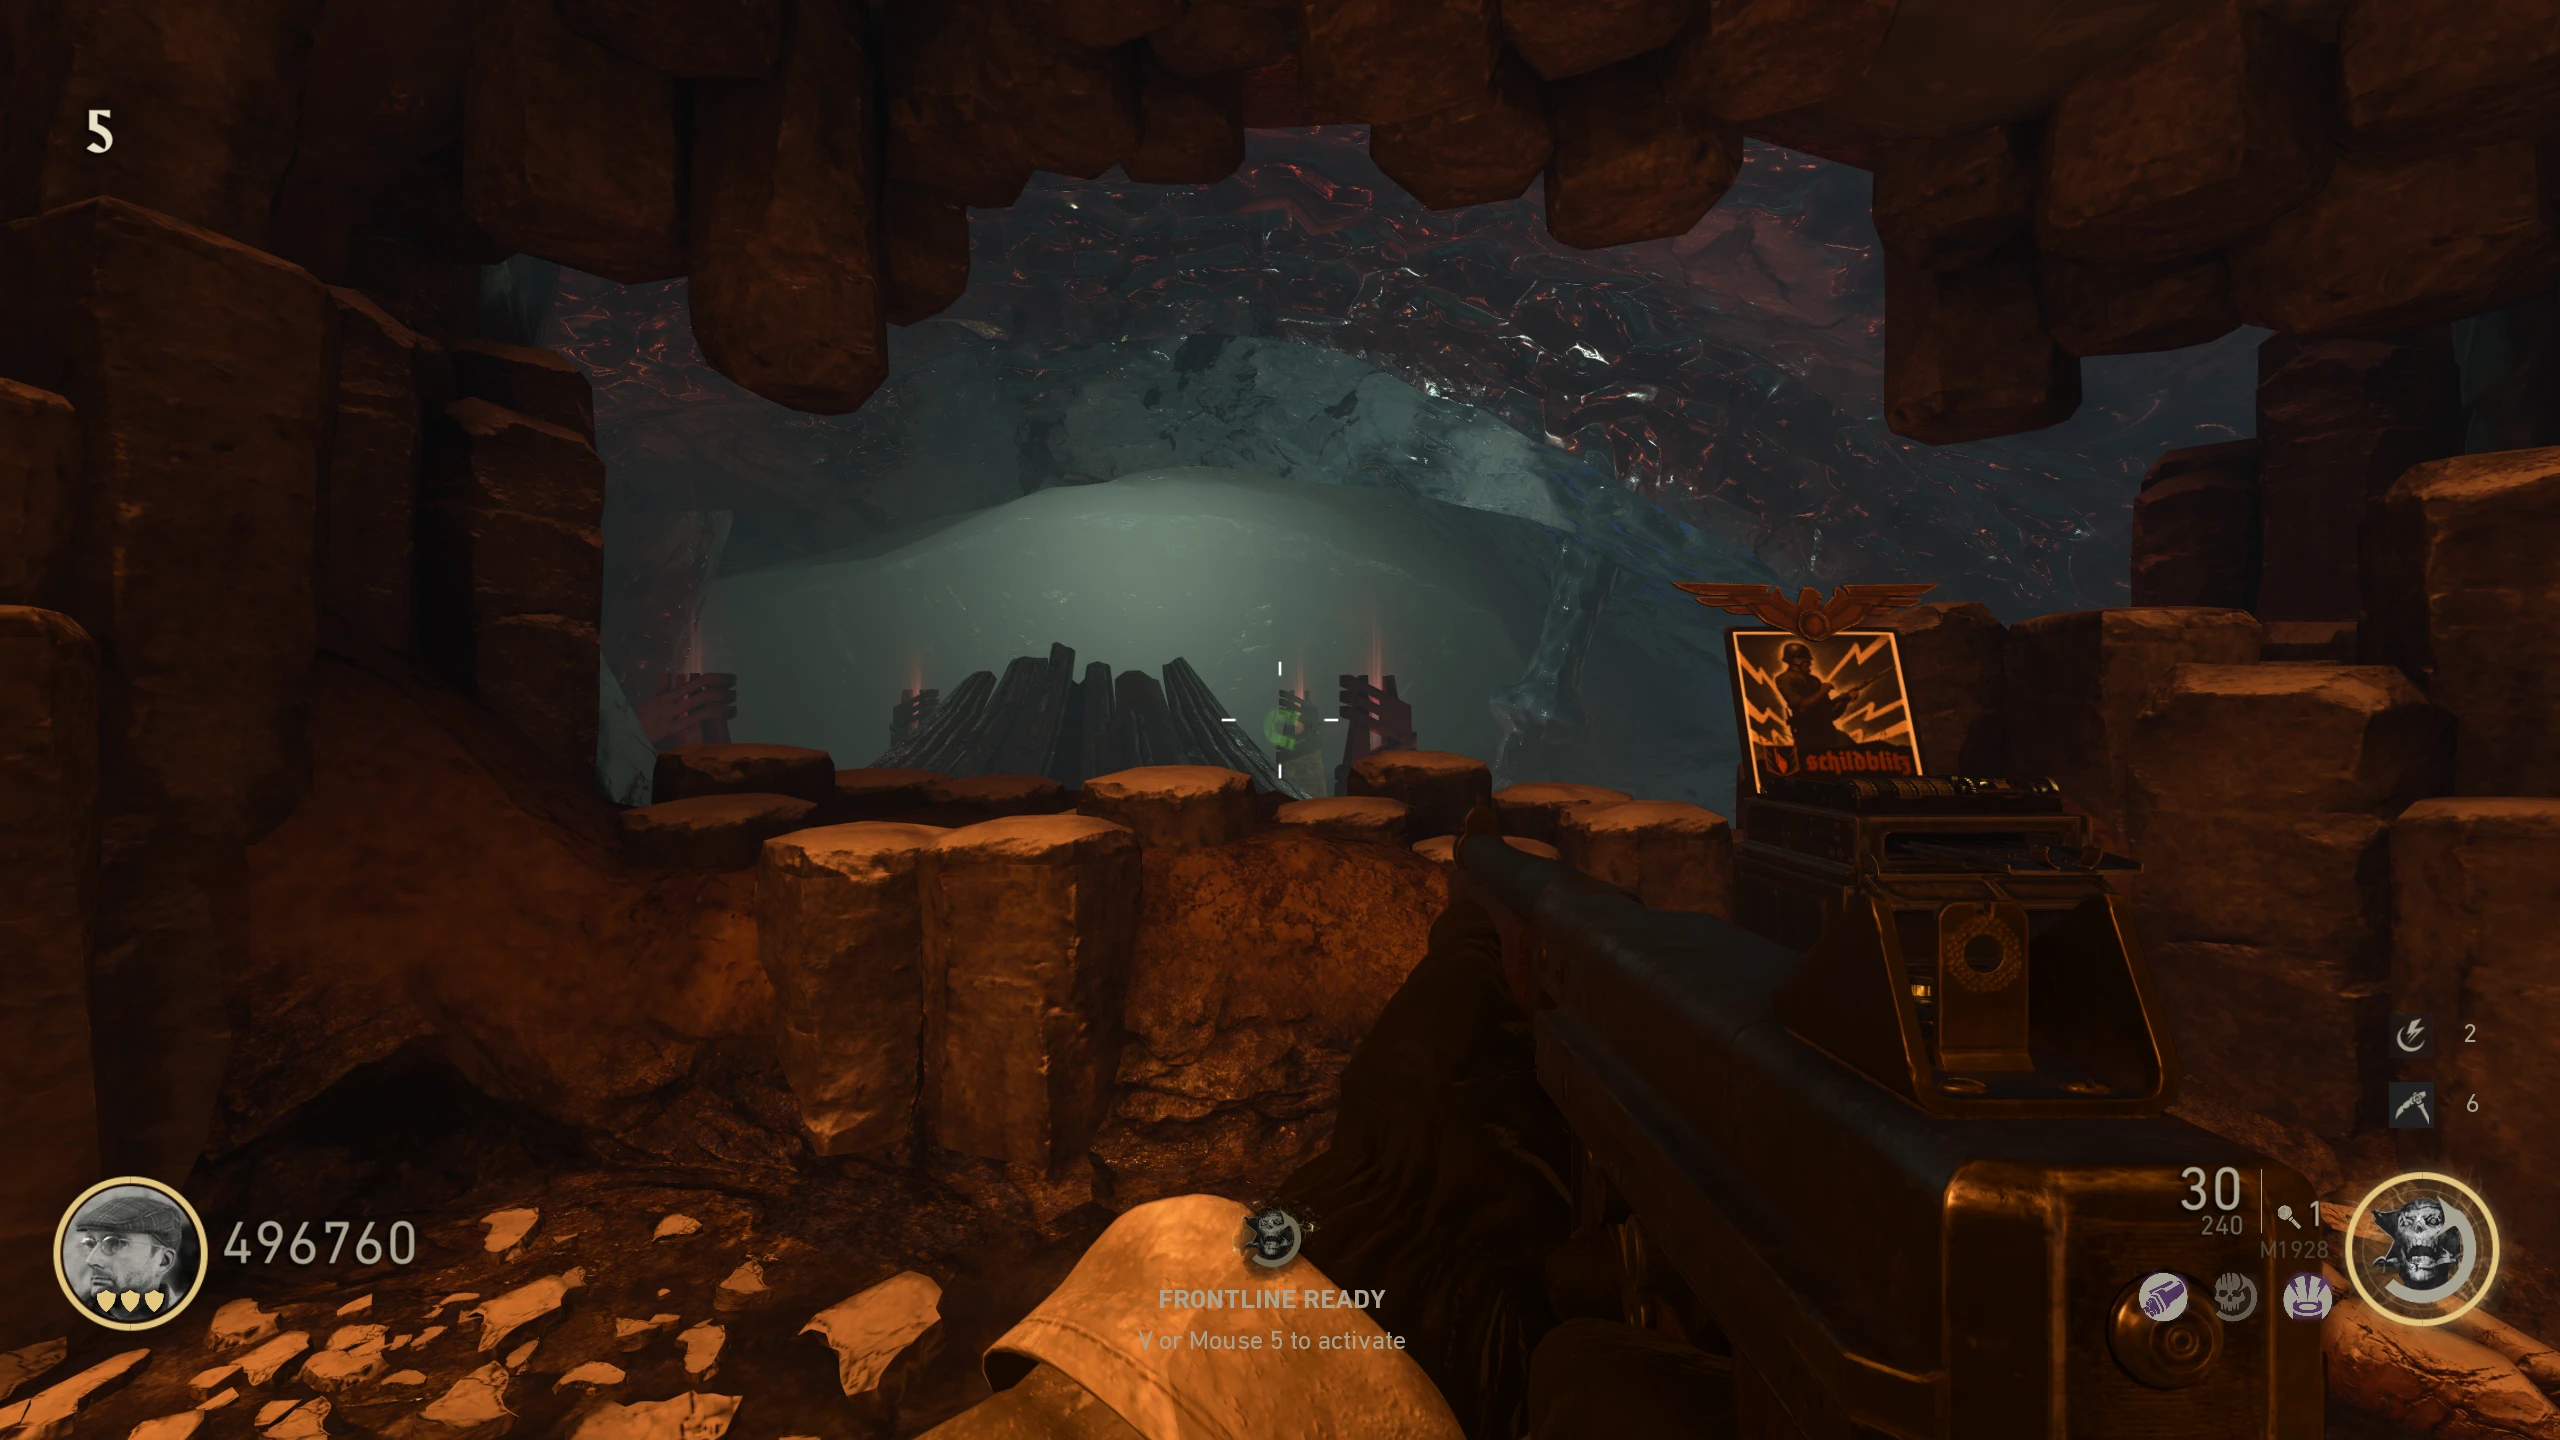
- Ice Caves - On the right side of the cliff
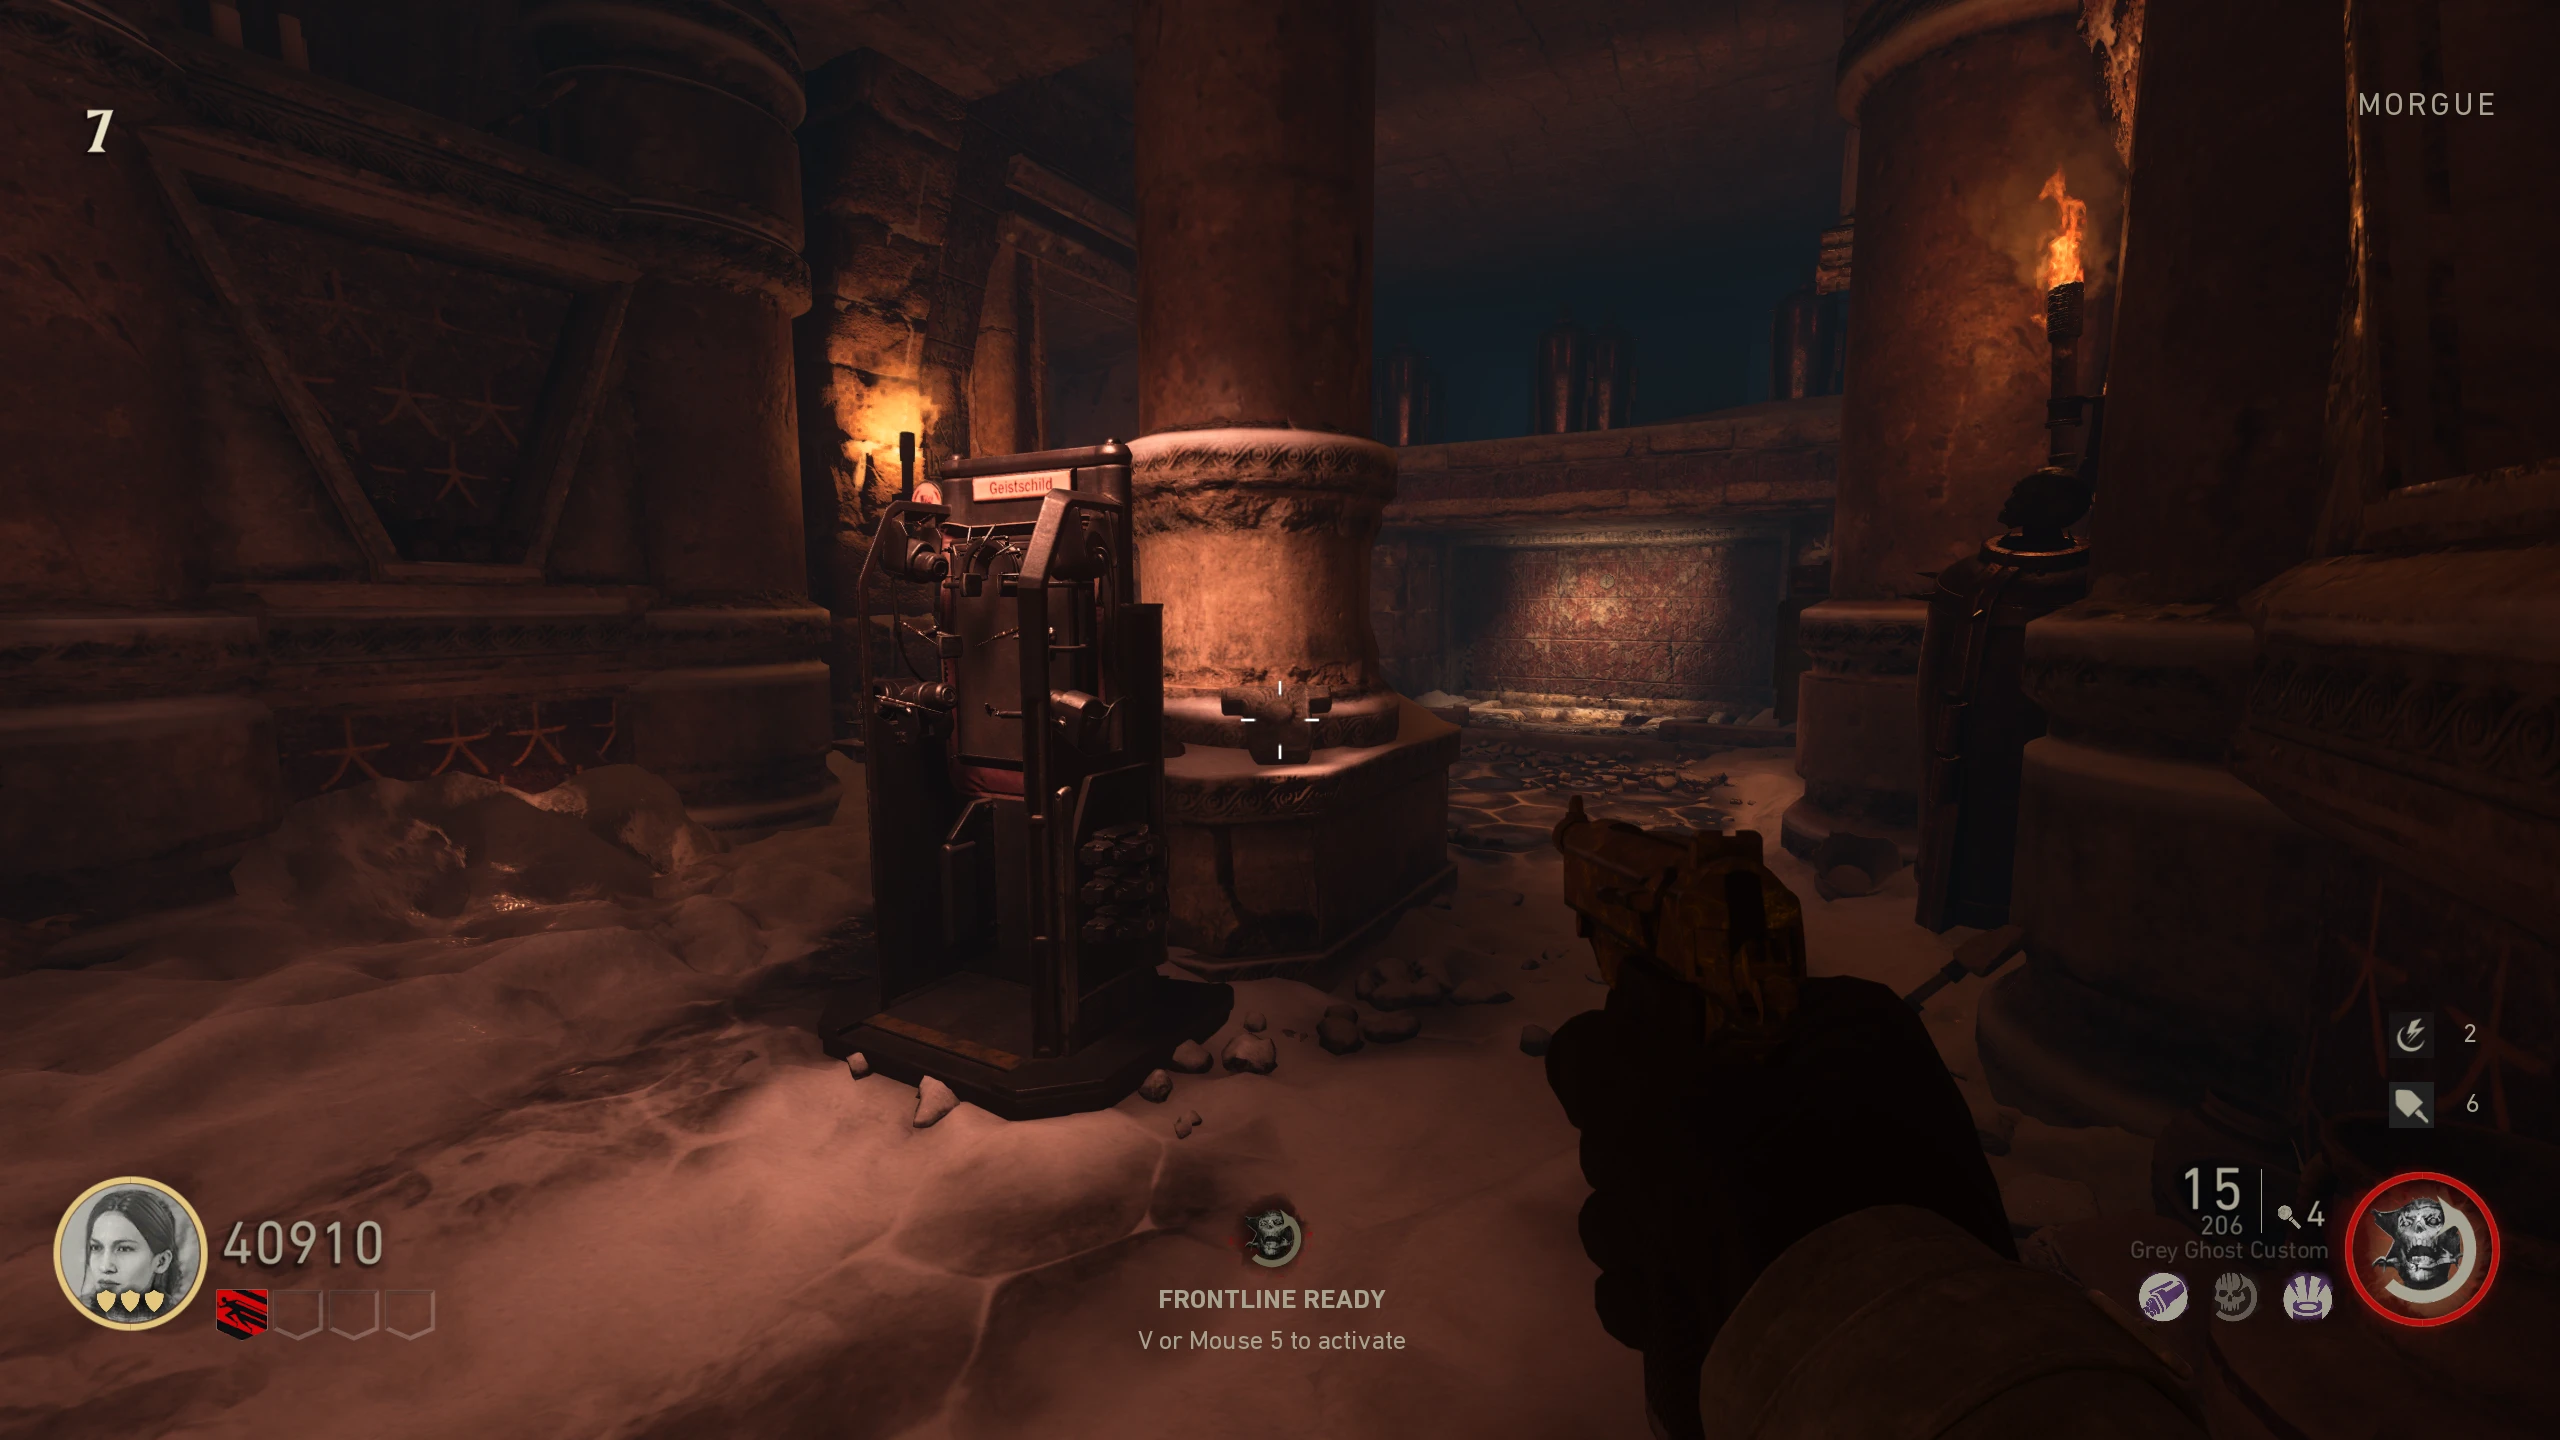
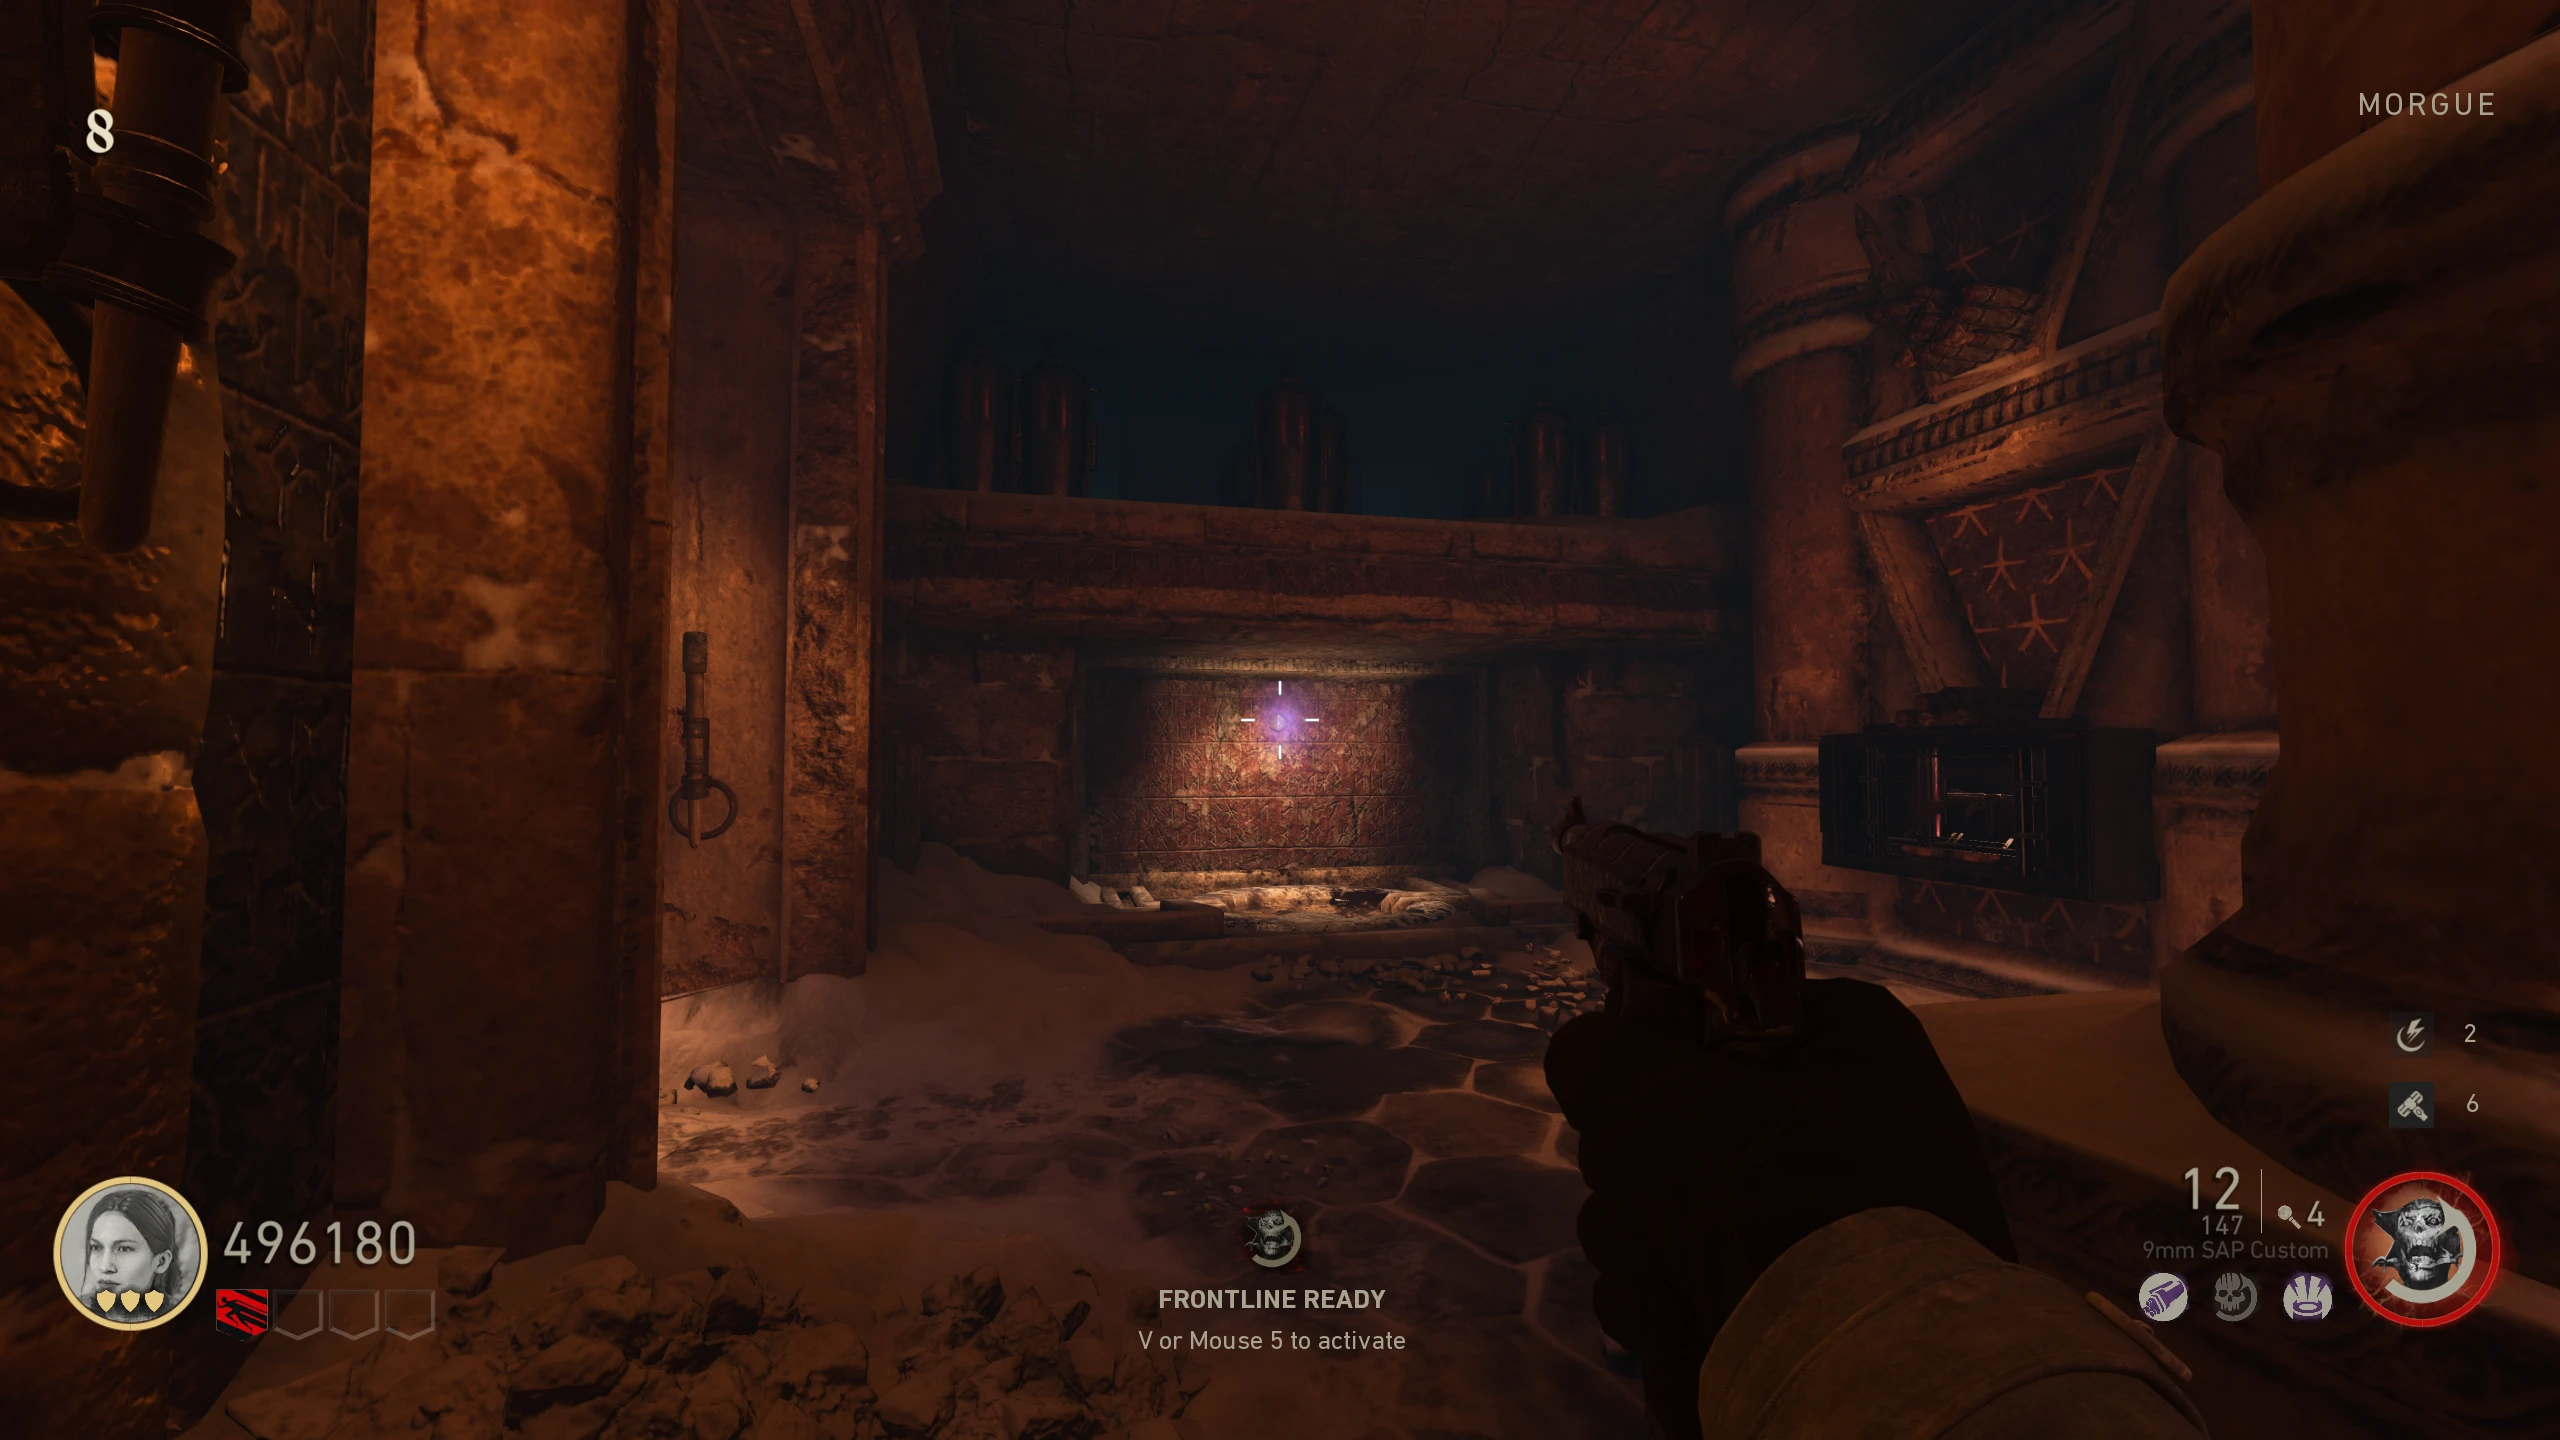
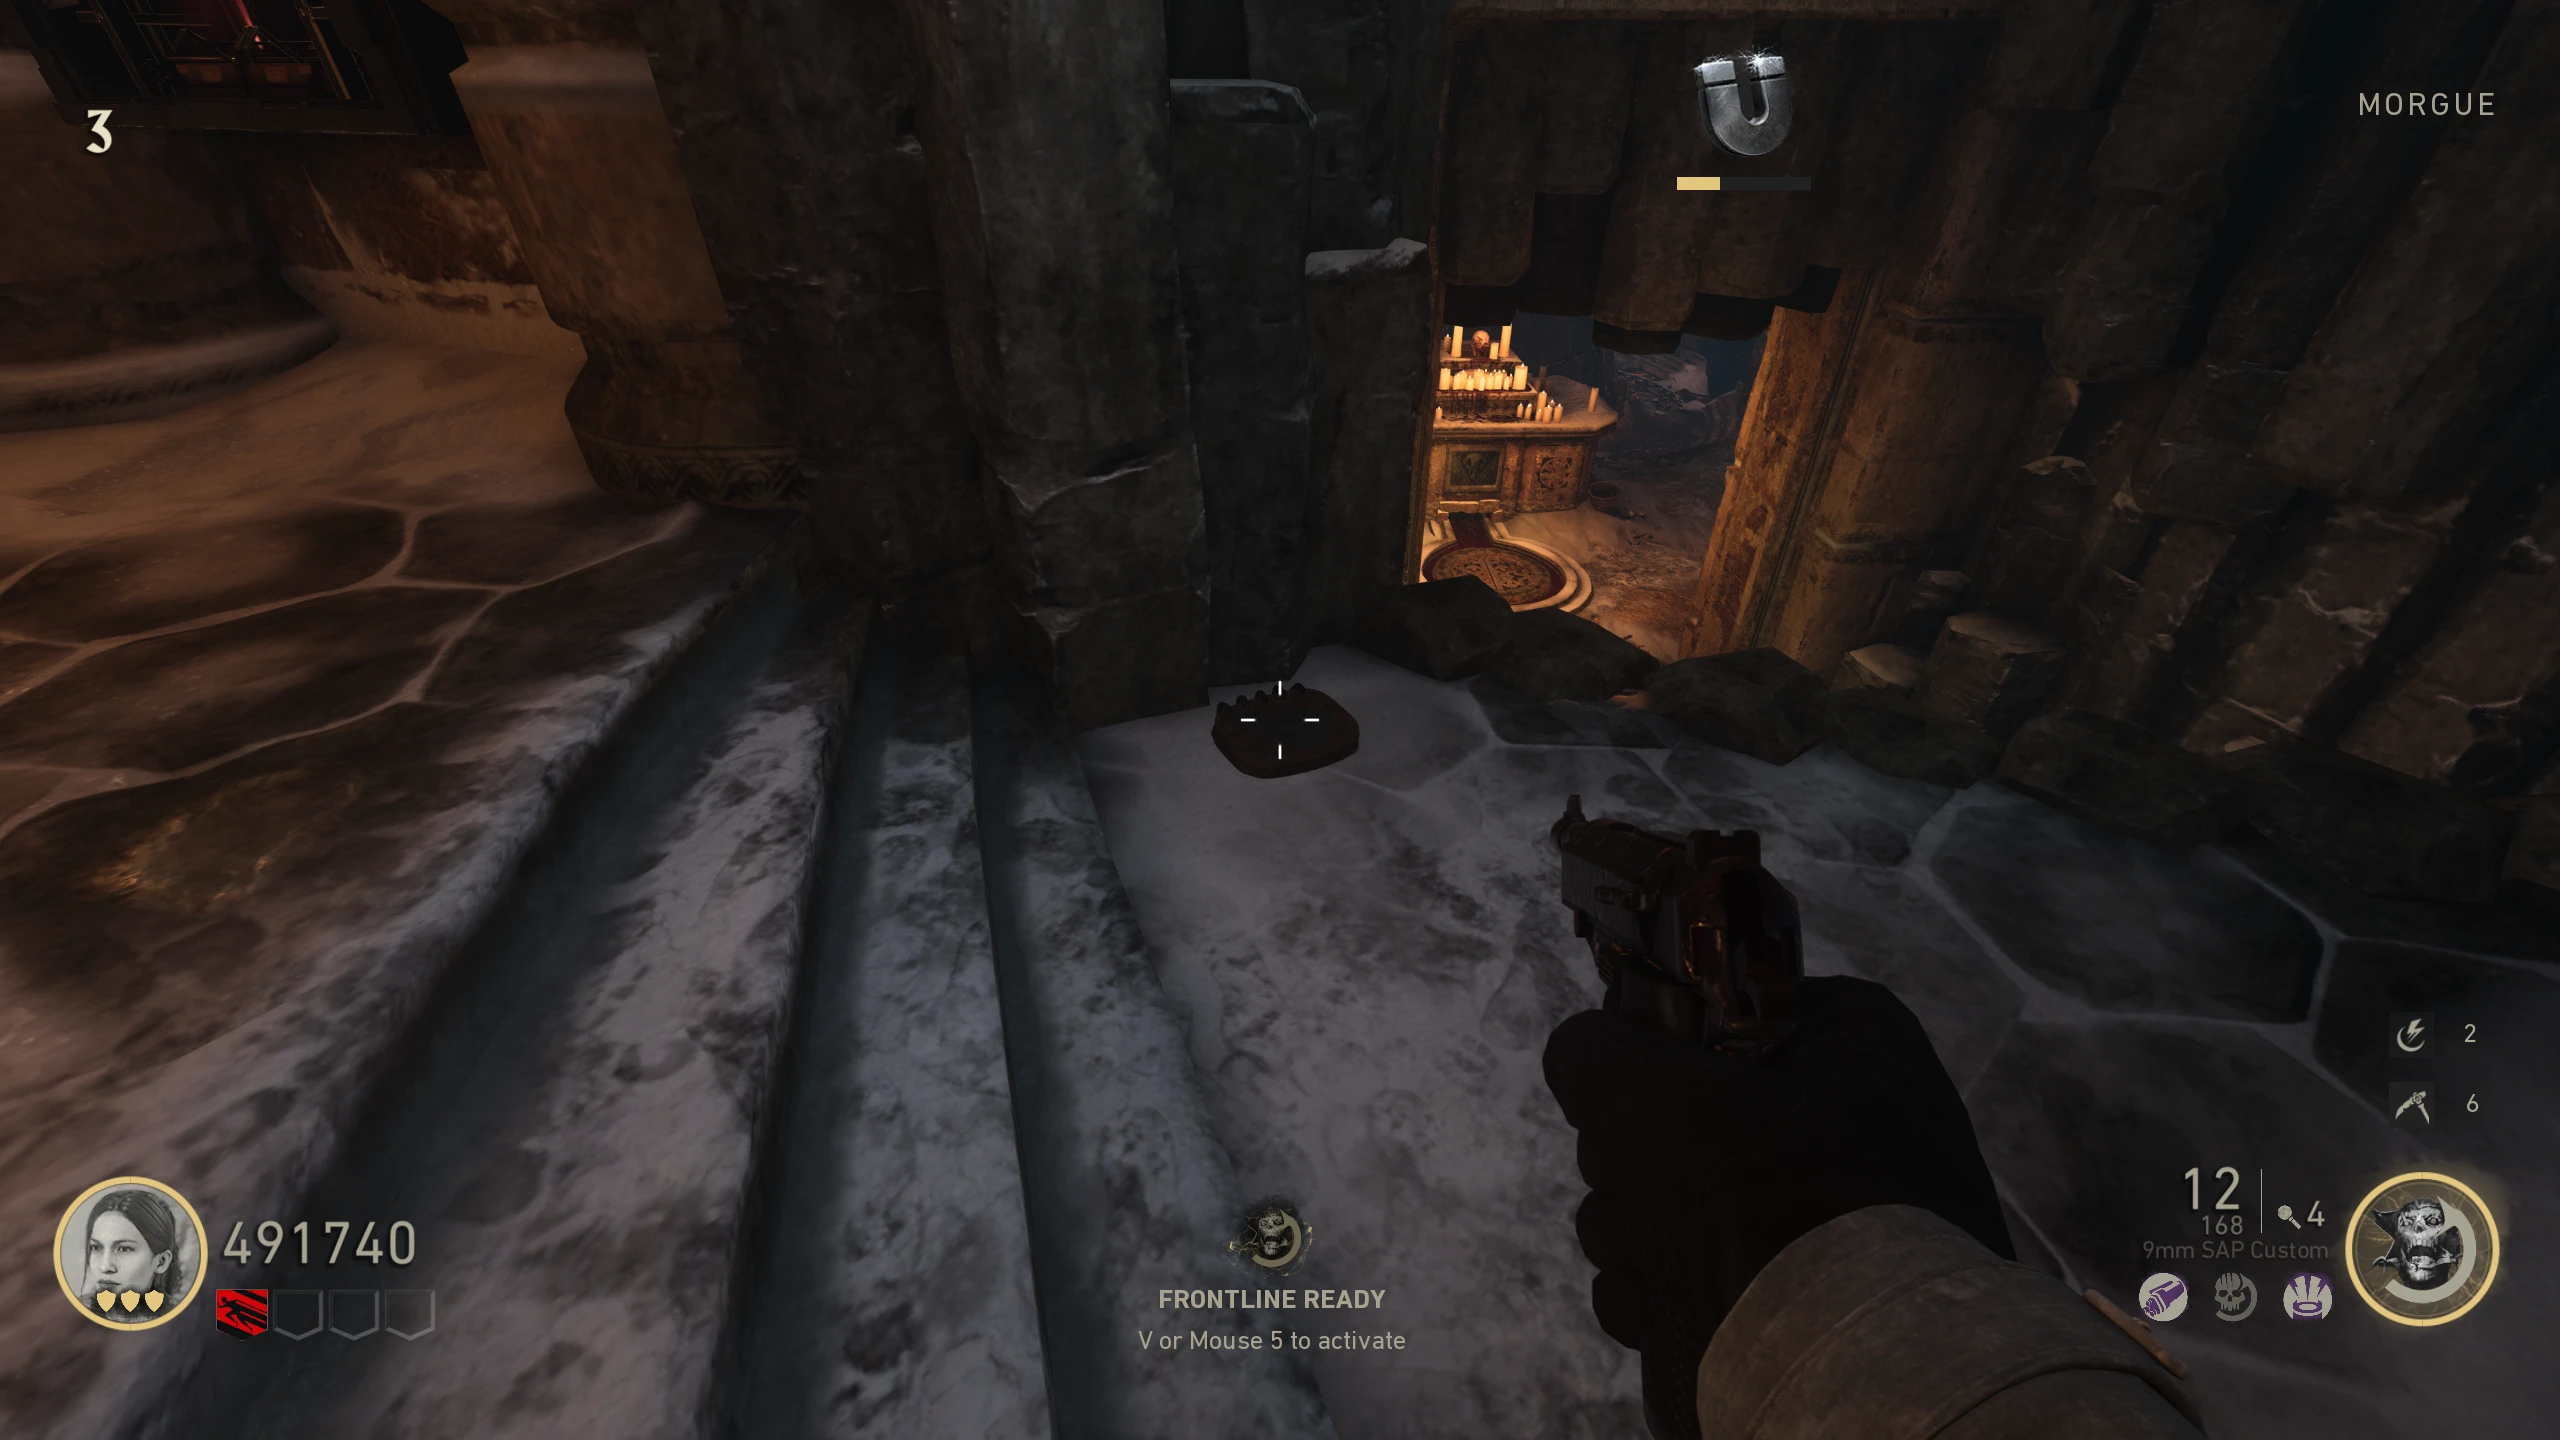
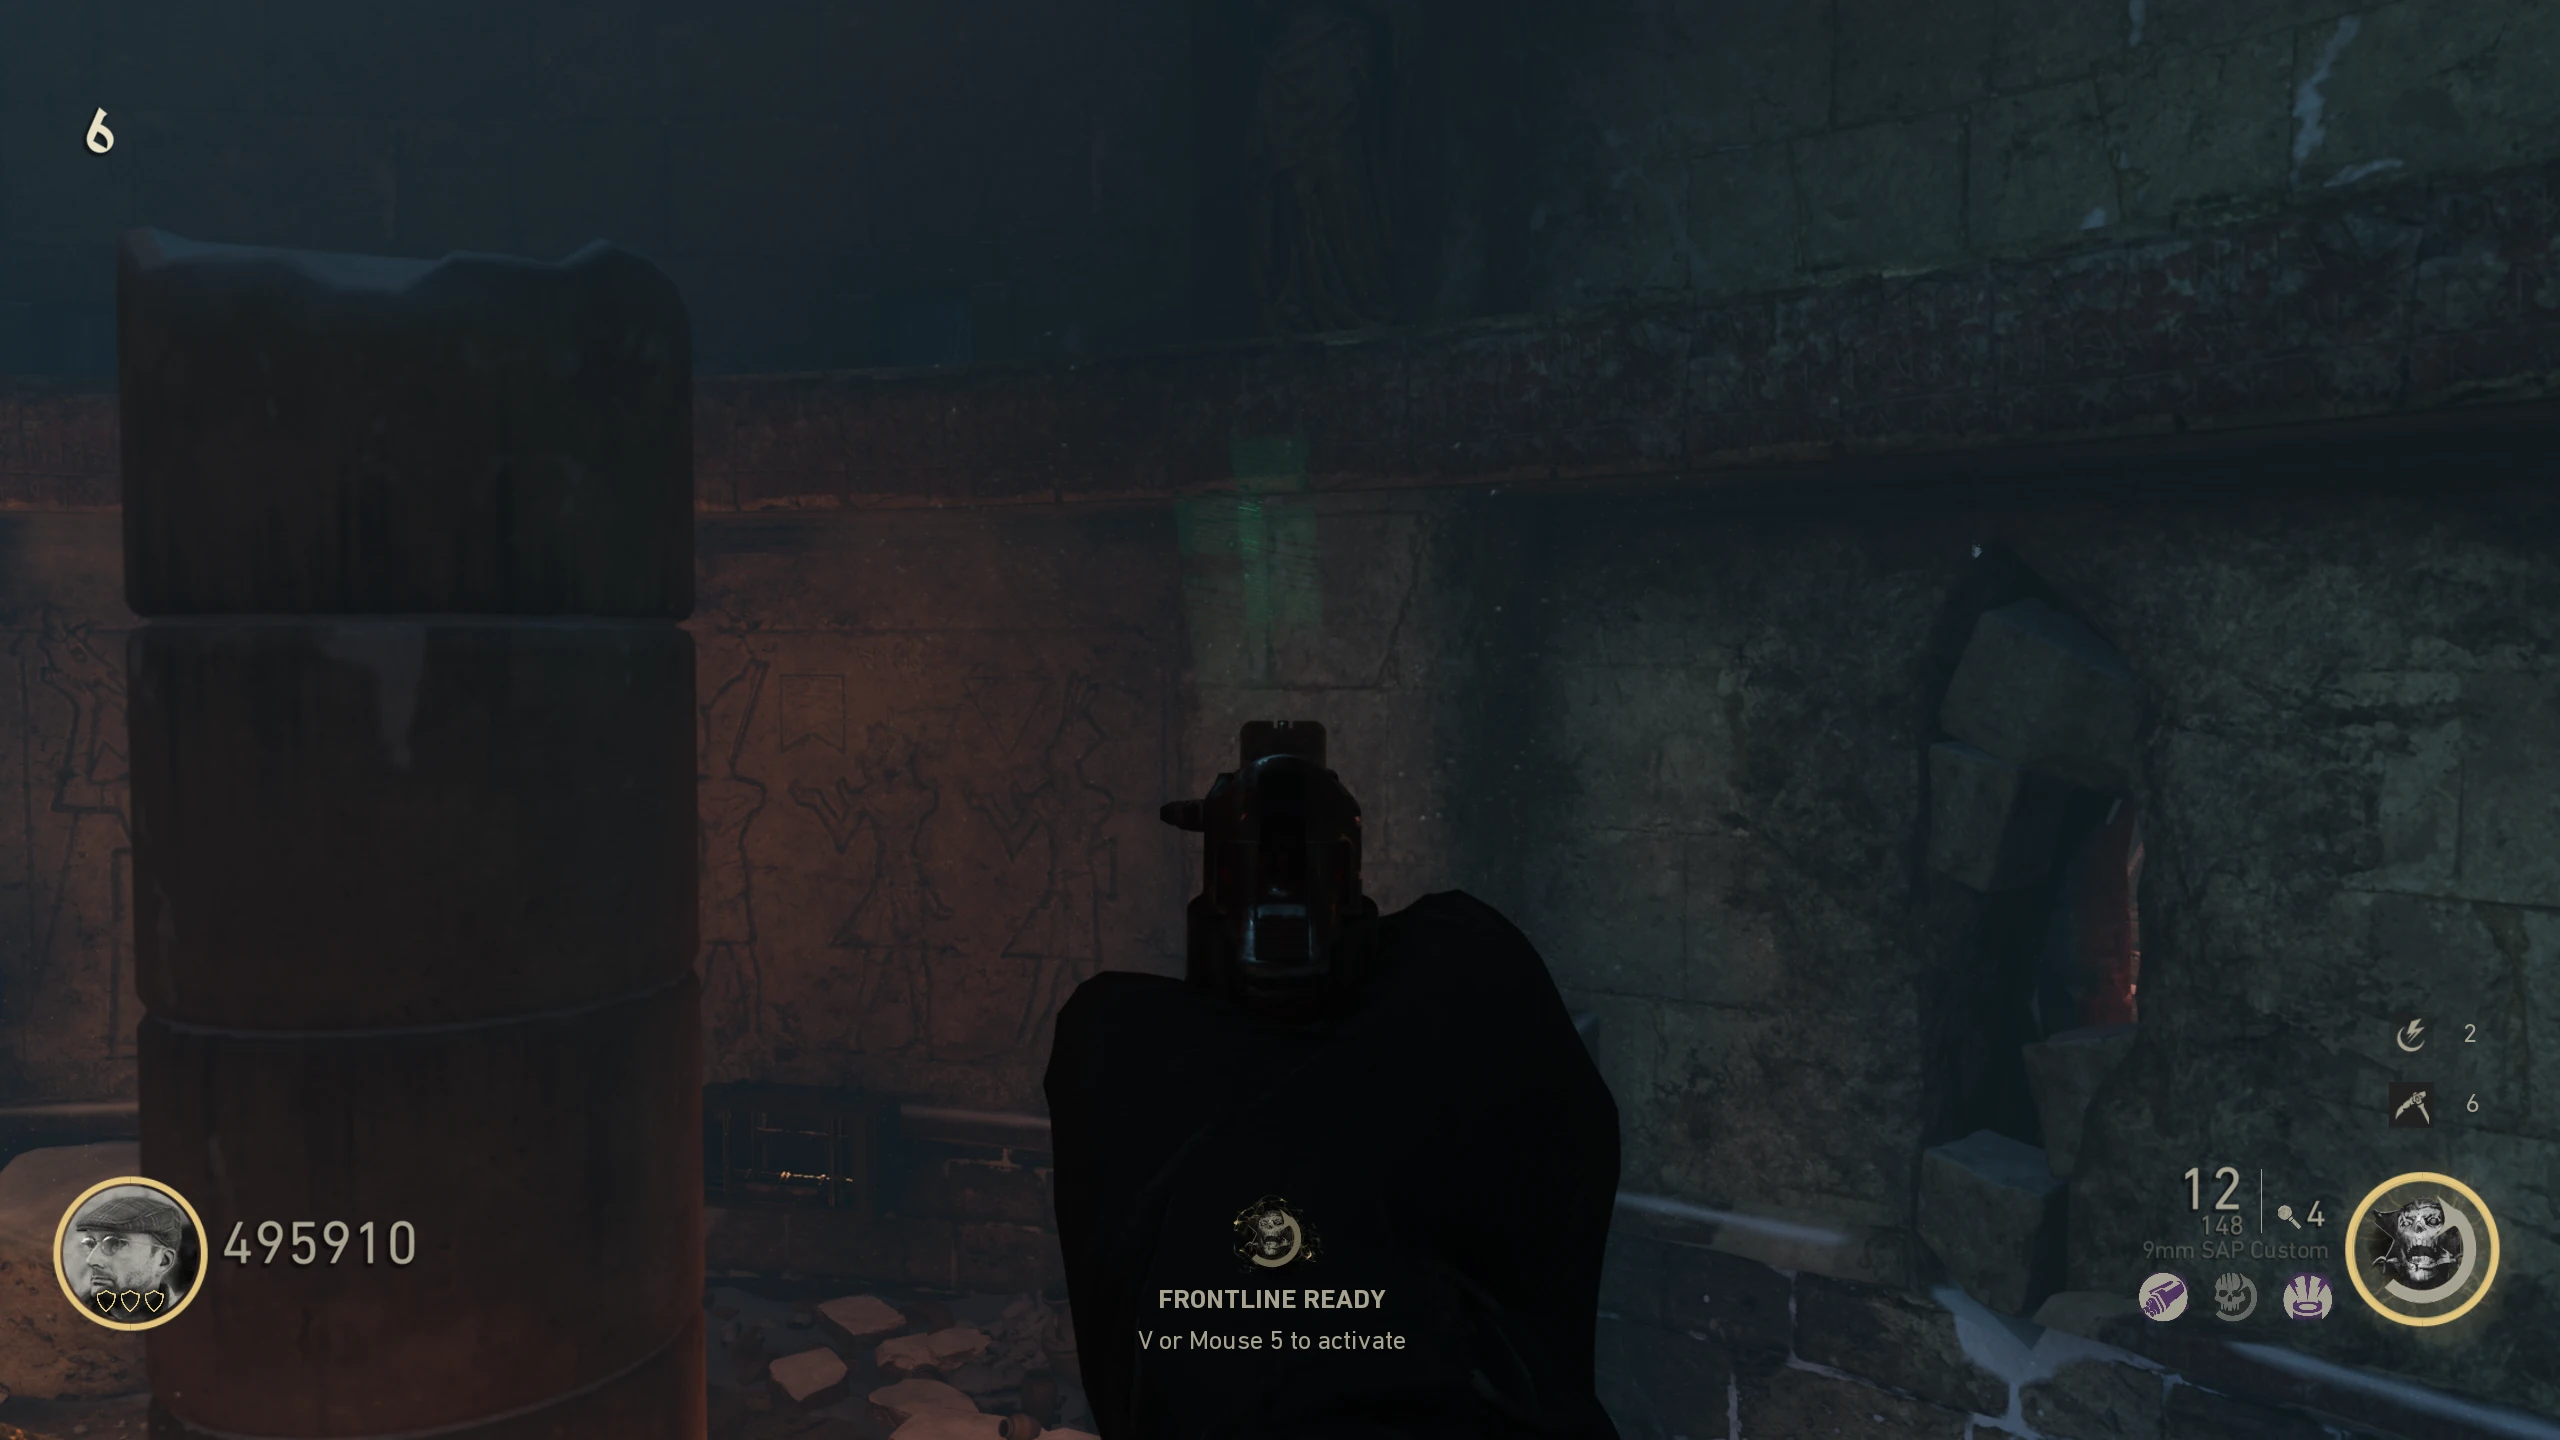
- Morgue - On the column behind the Armour stand
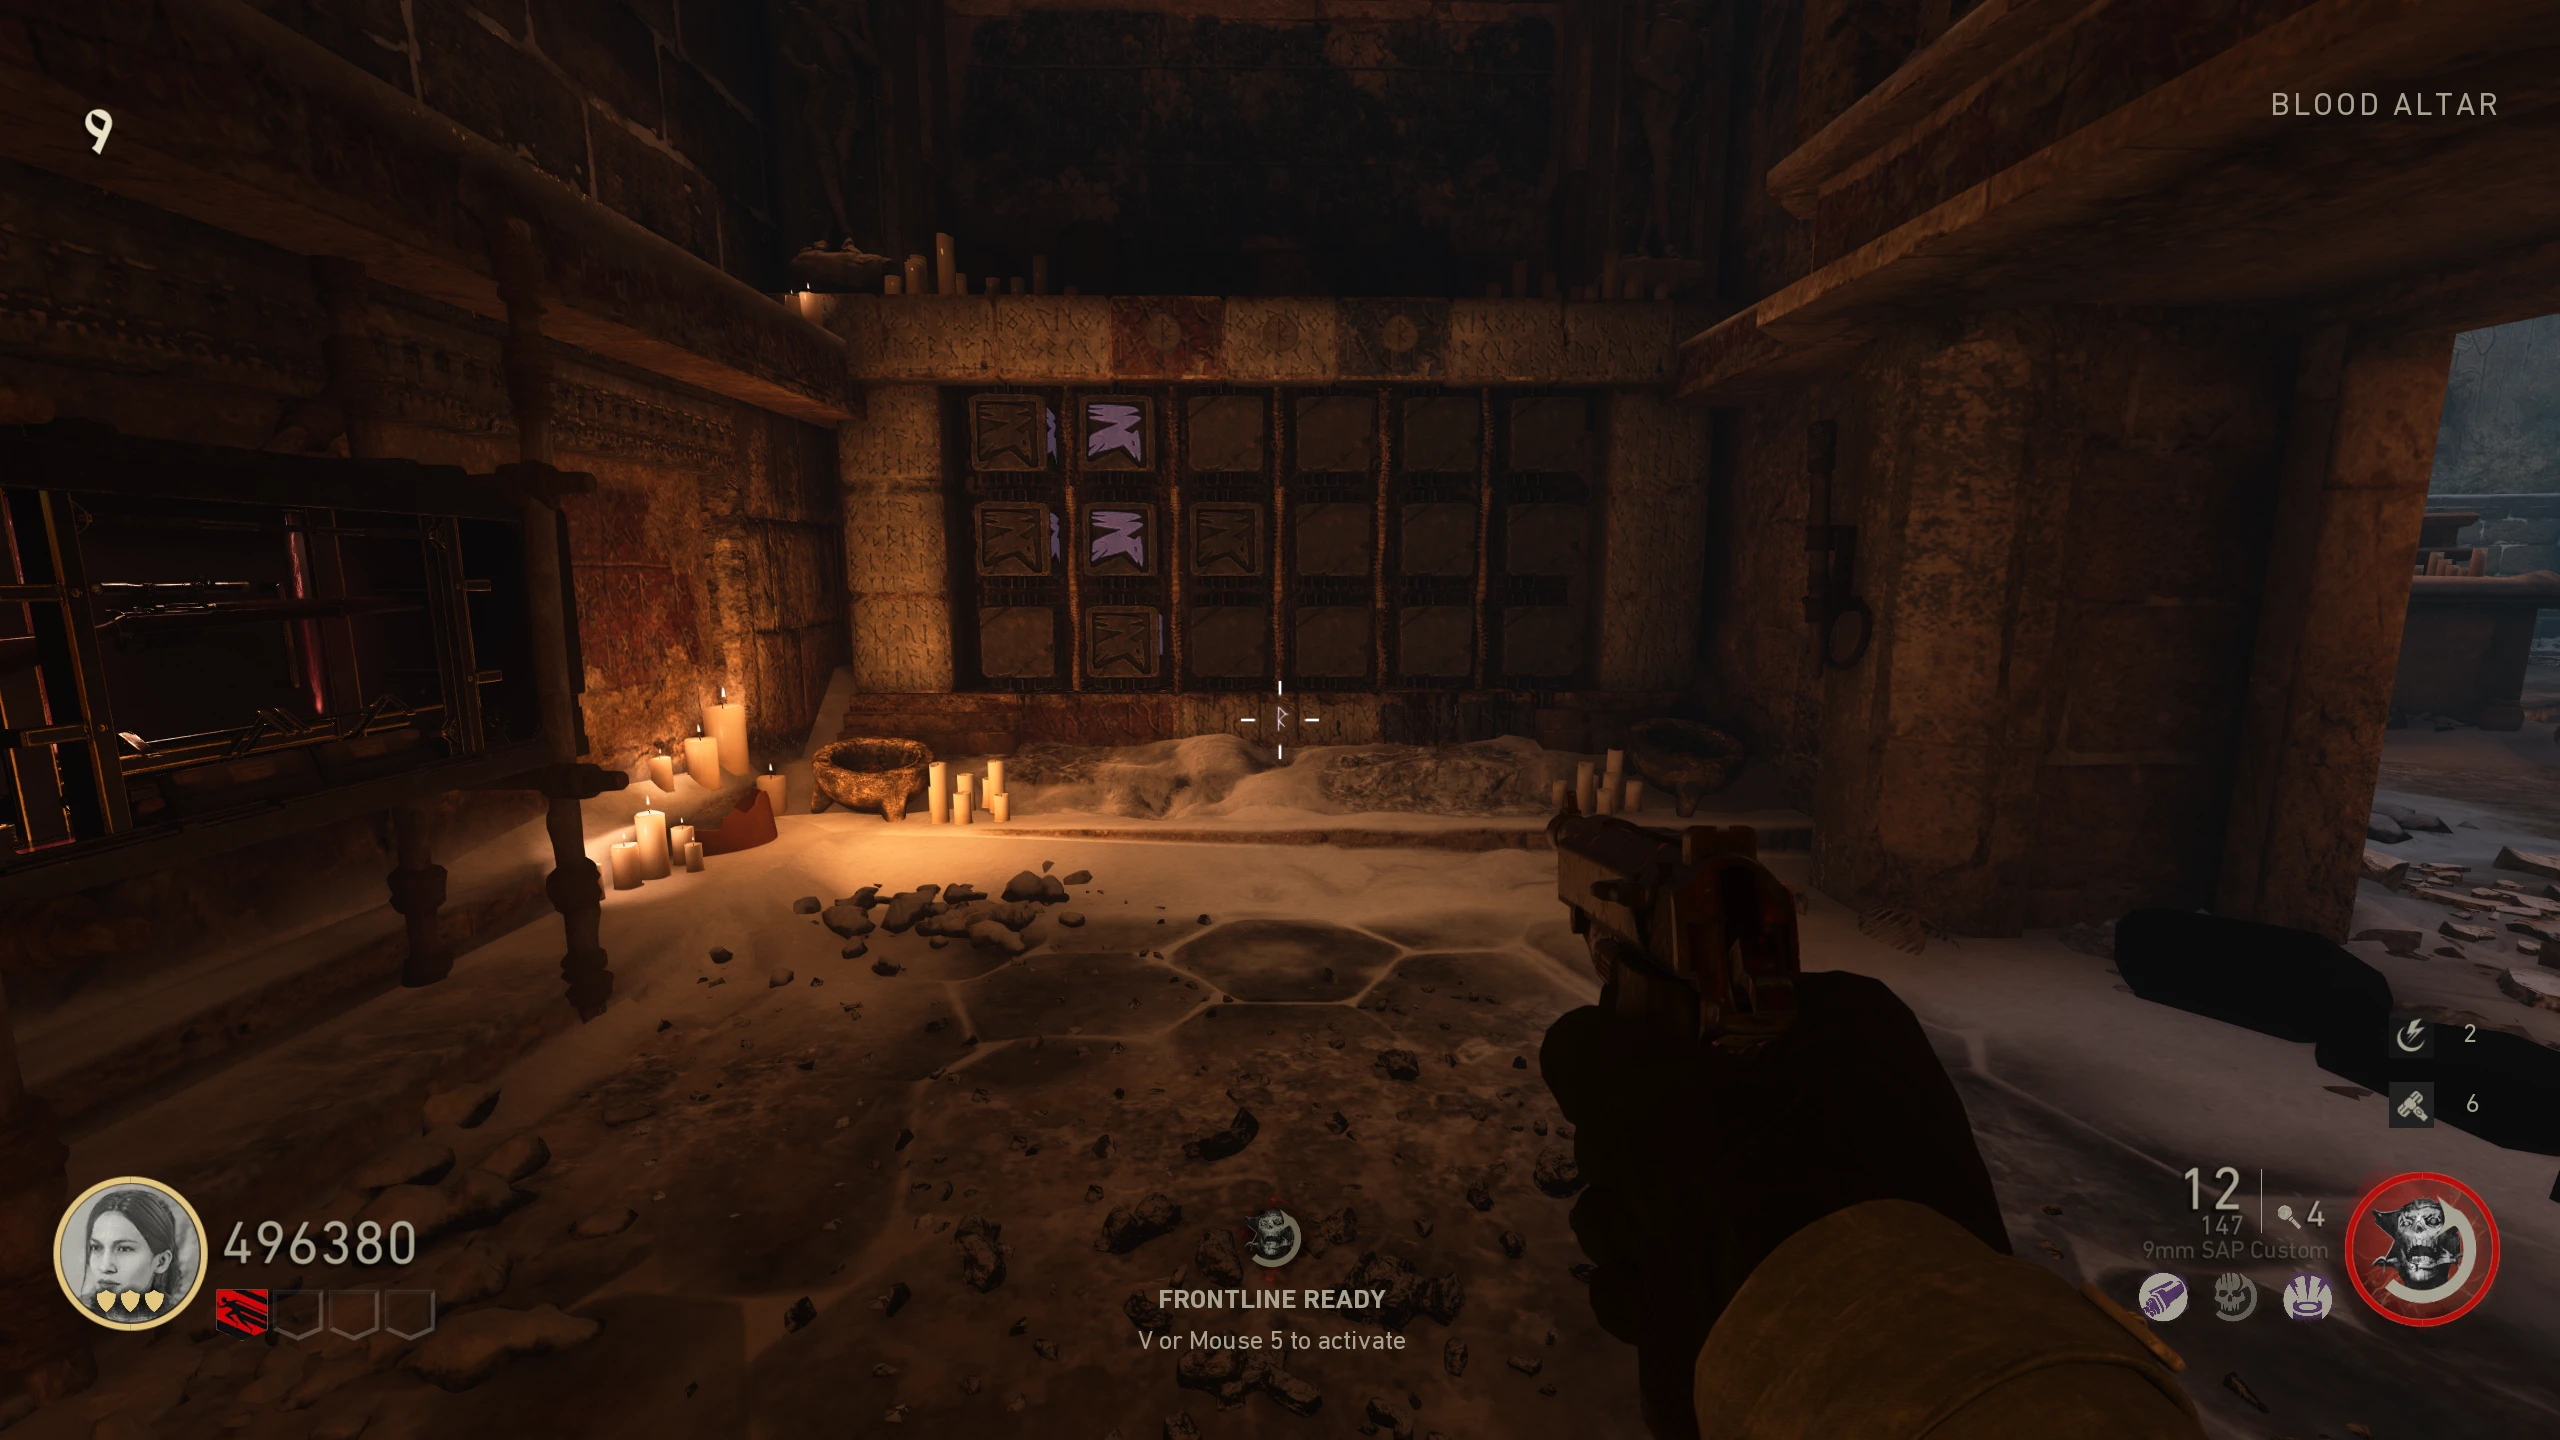
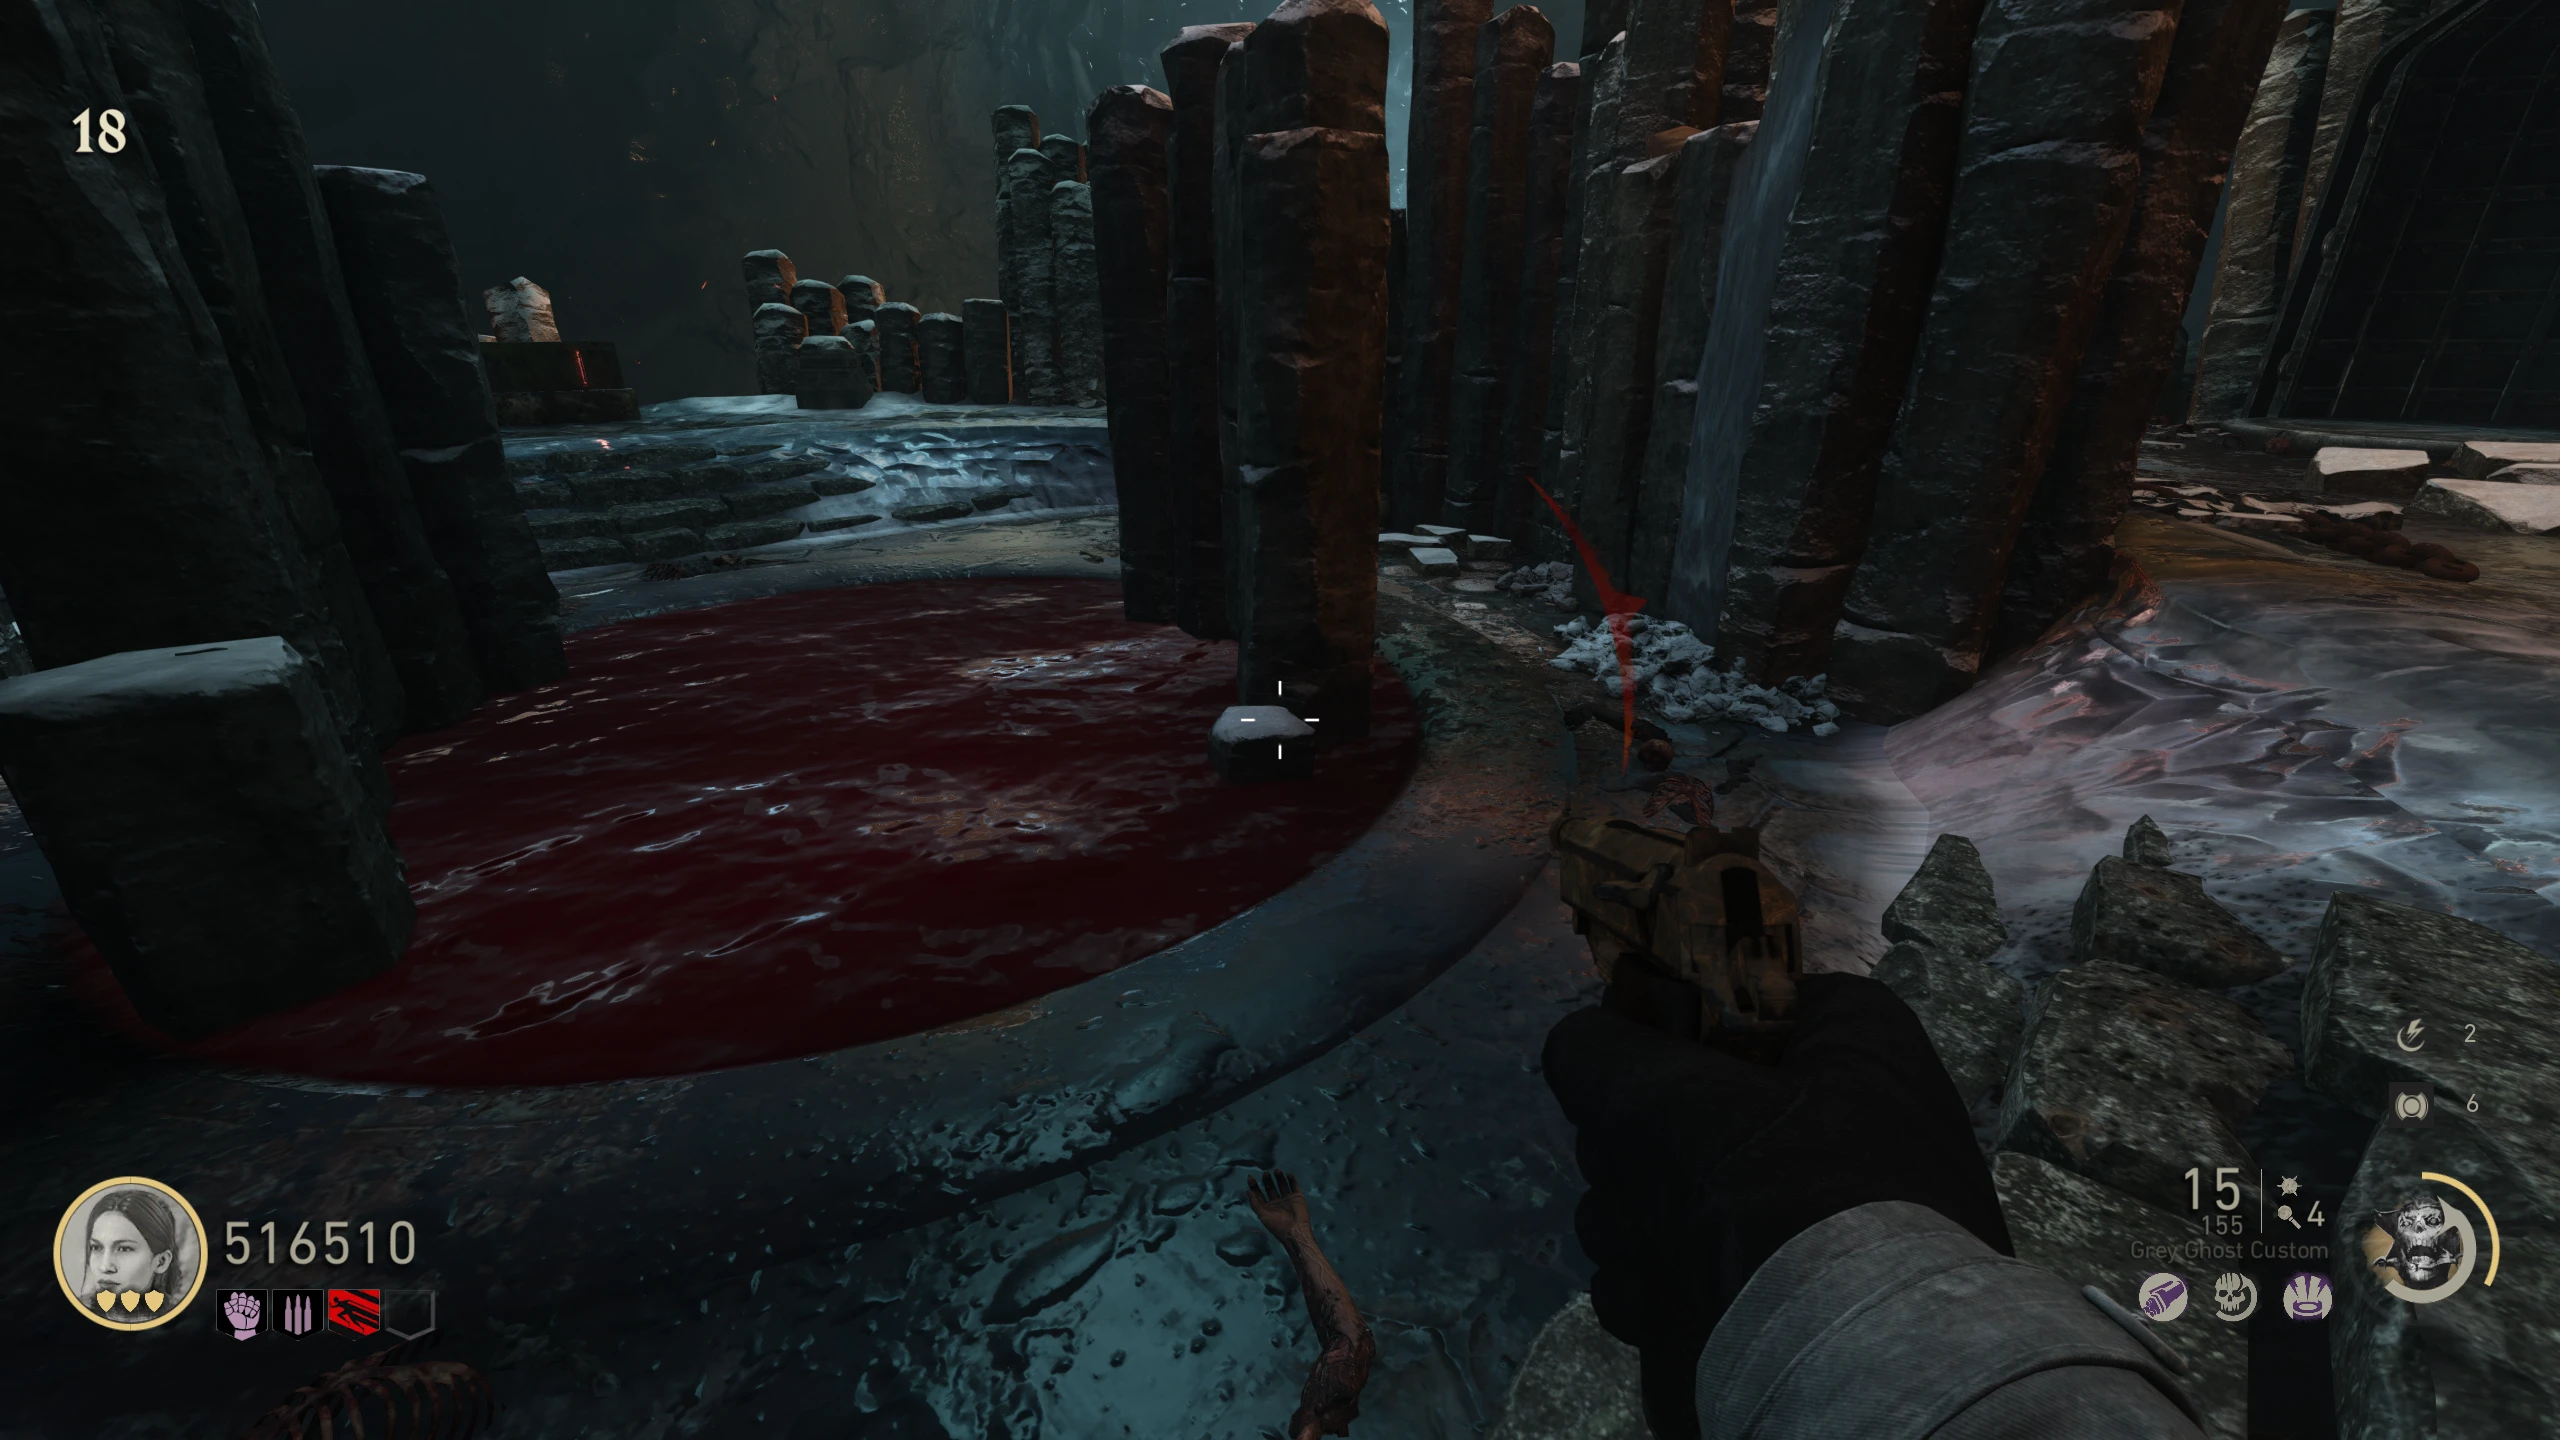
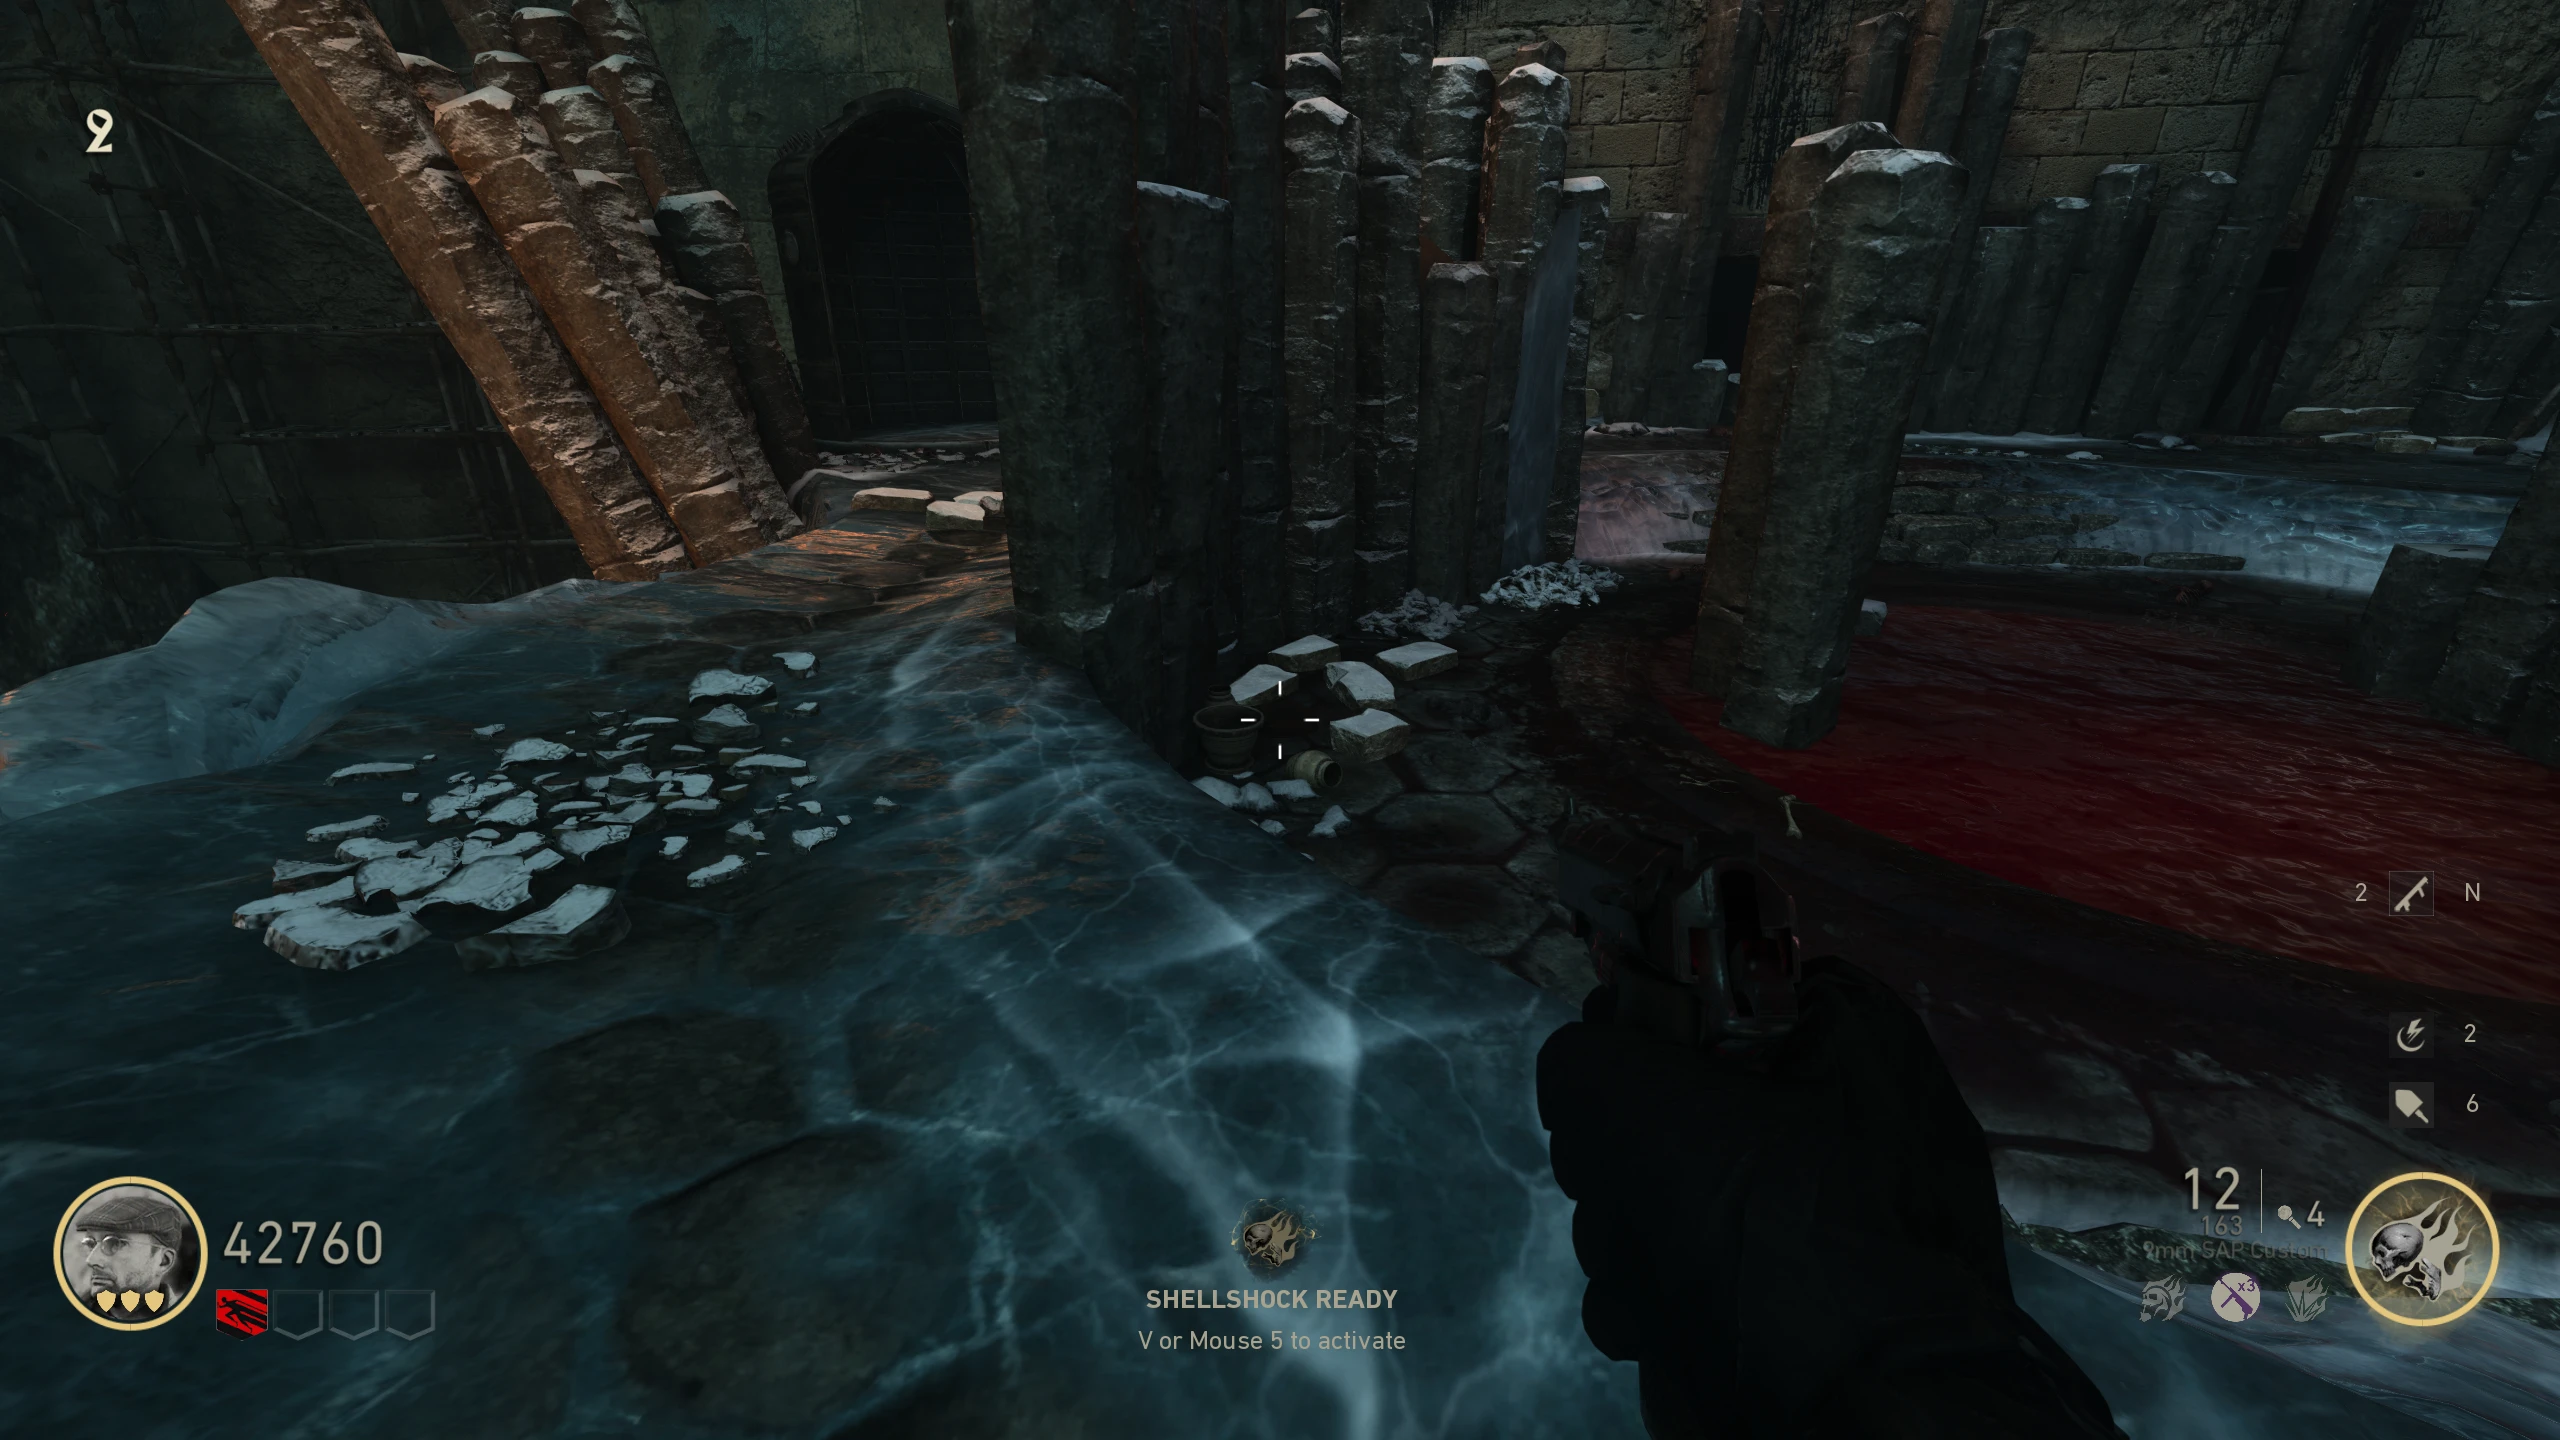
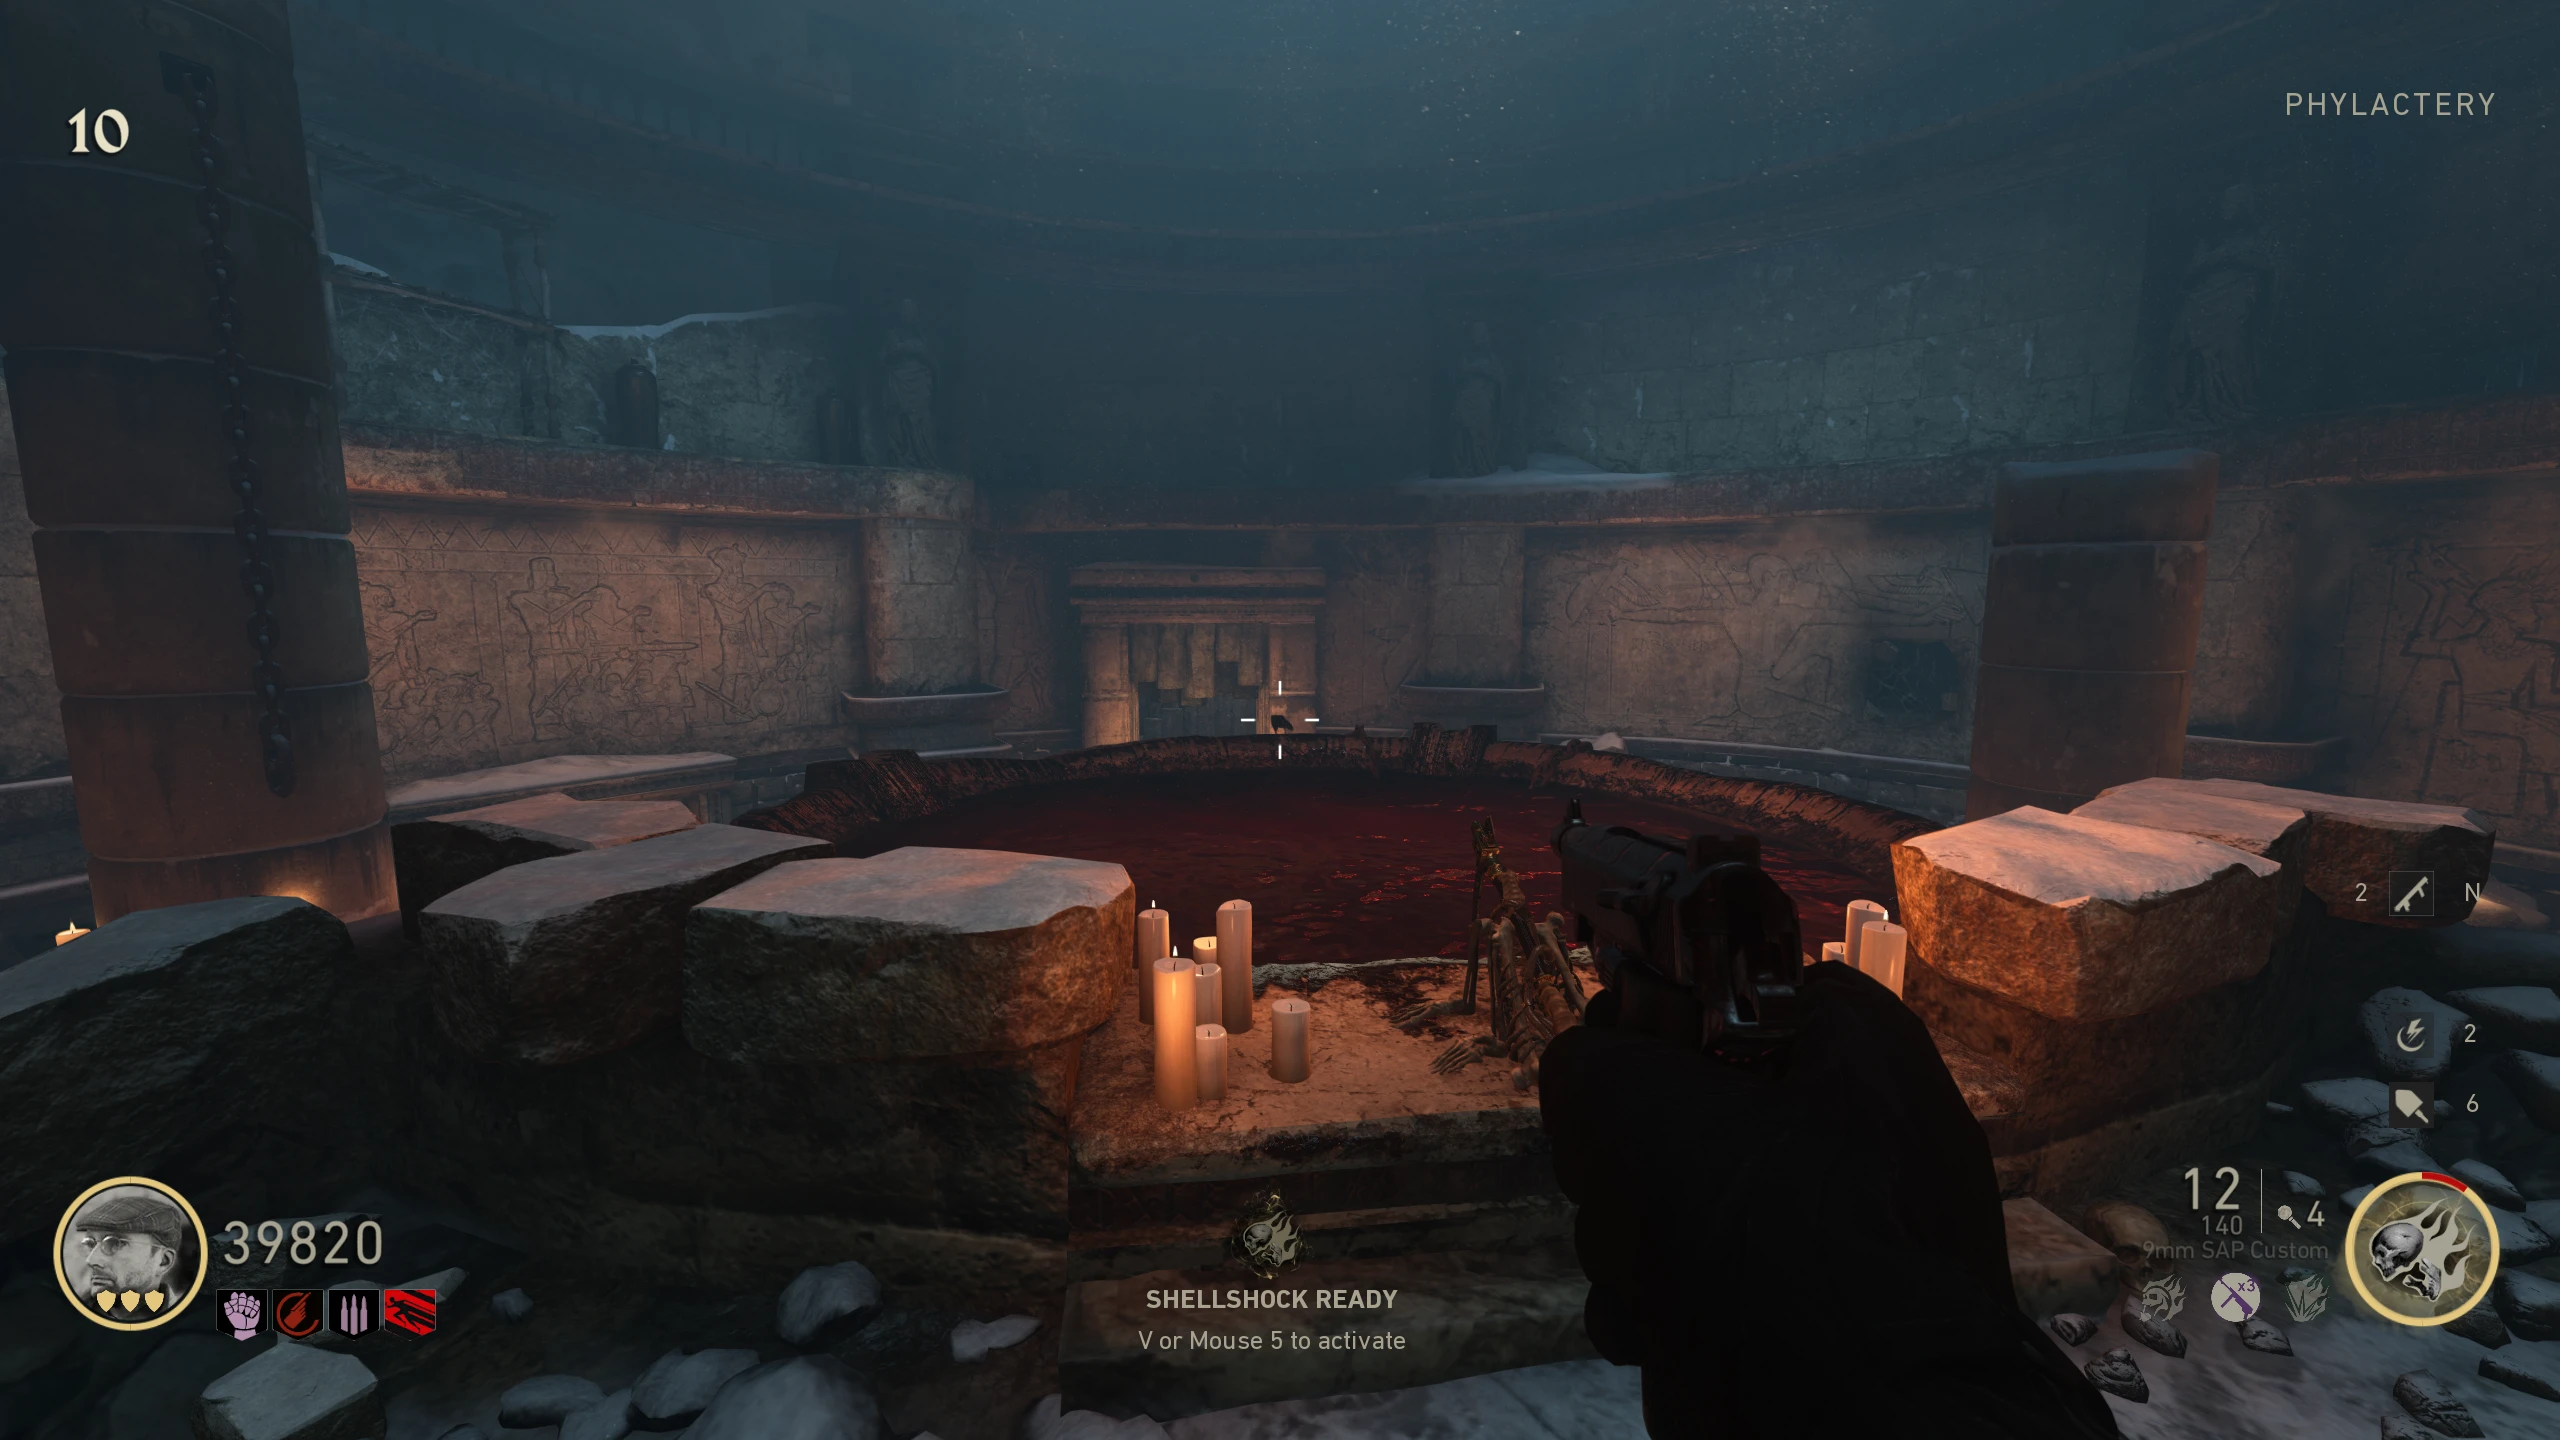
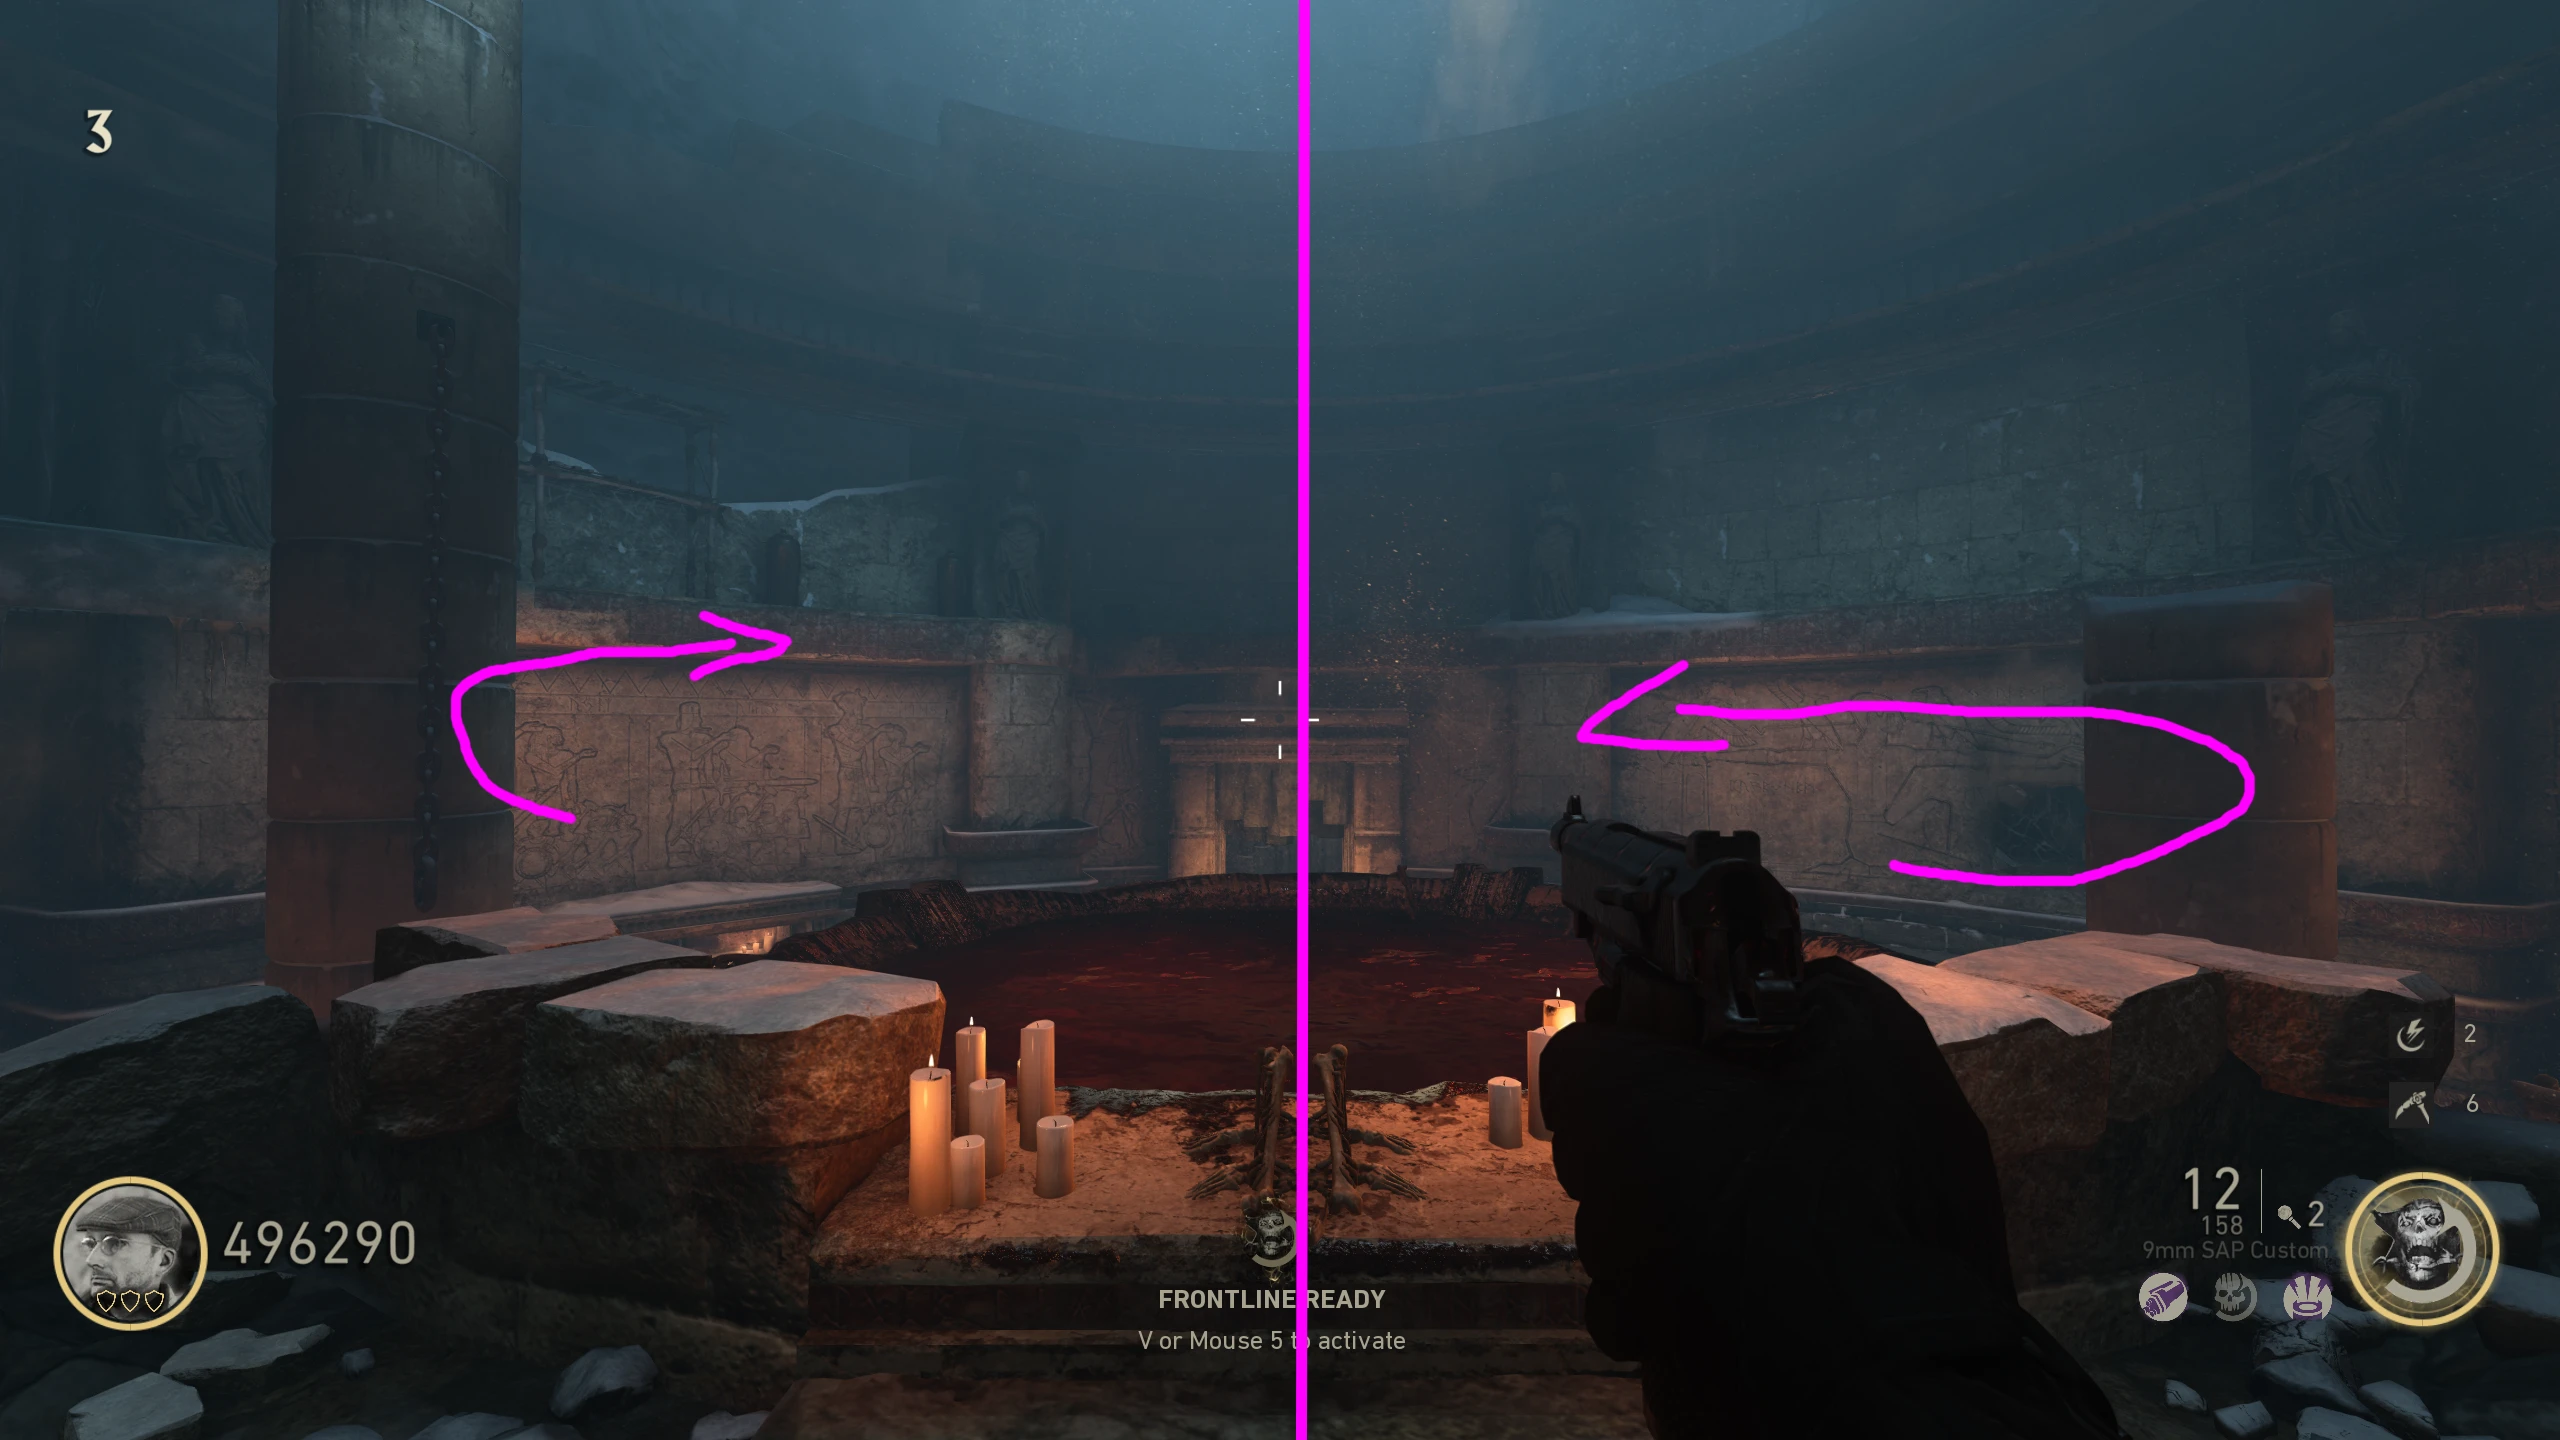
- Blood Altar - On the left side of the ledge, across from Kugelblitz (Double Tap)
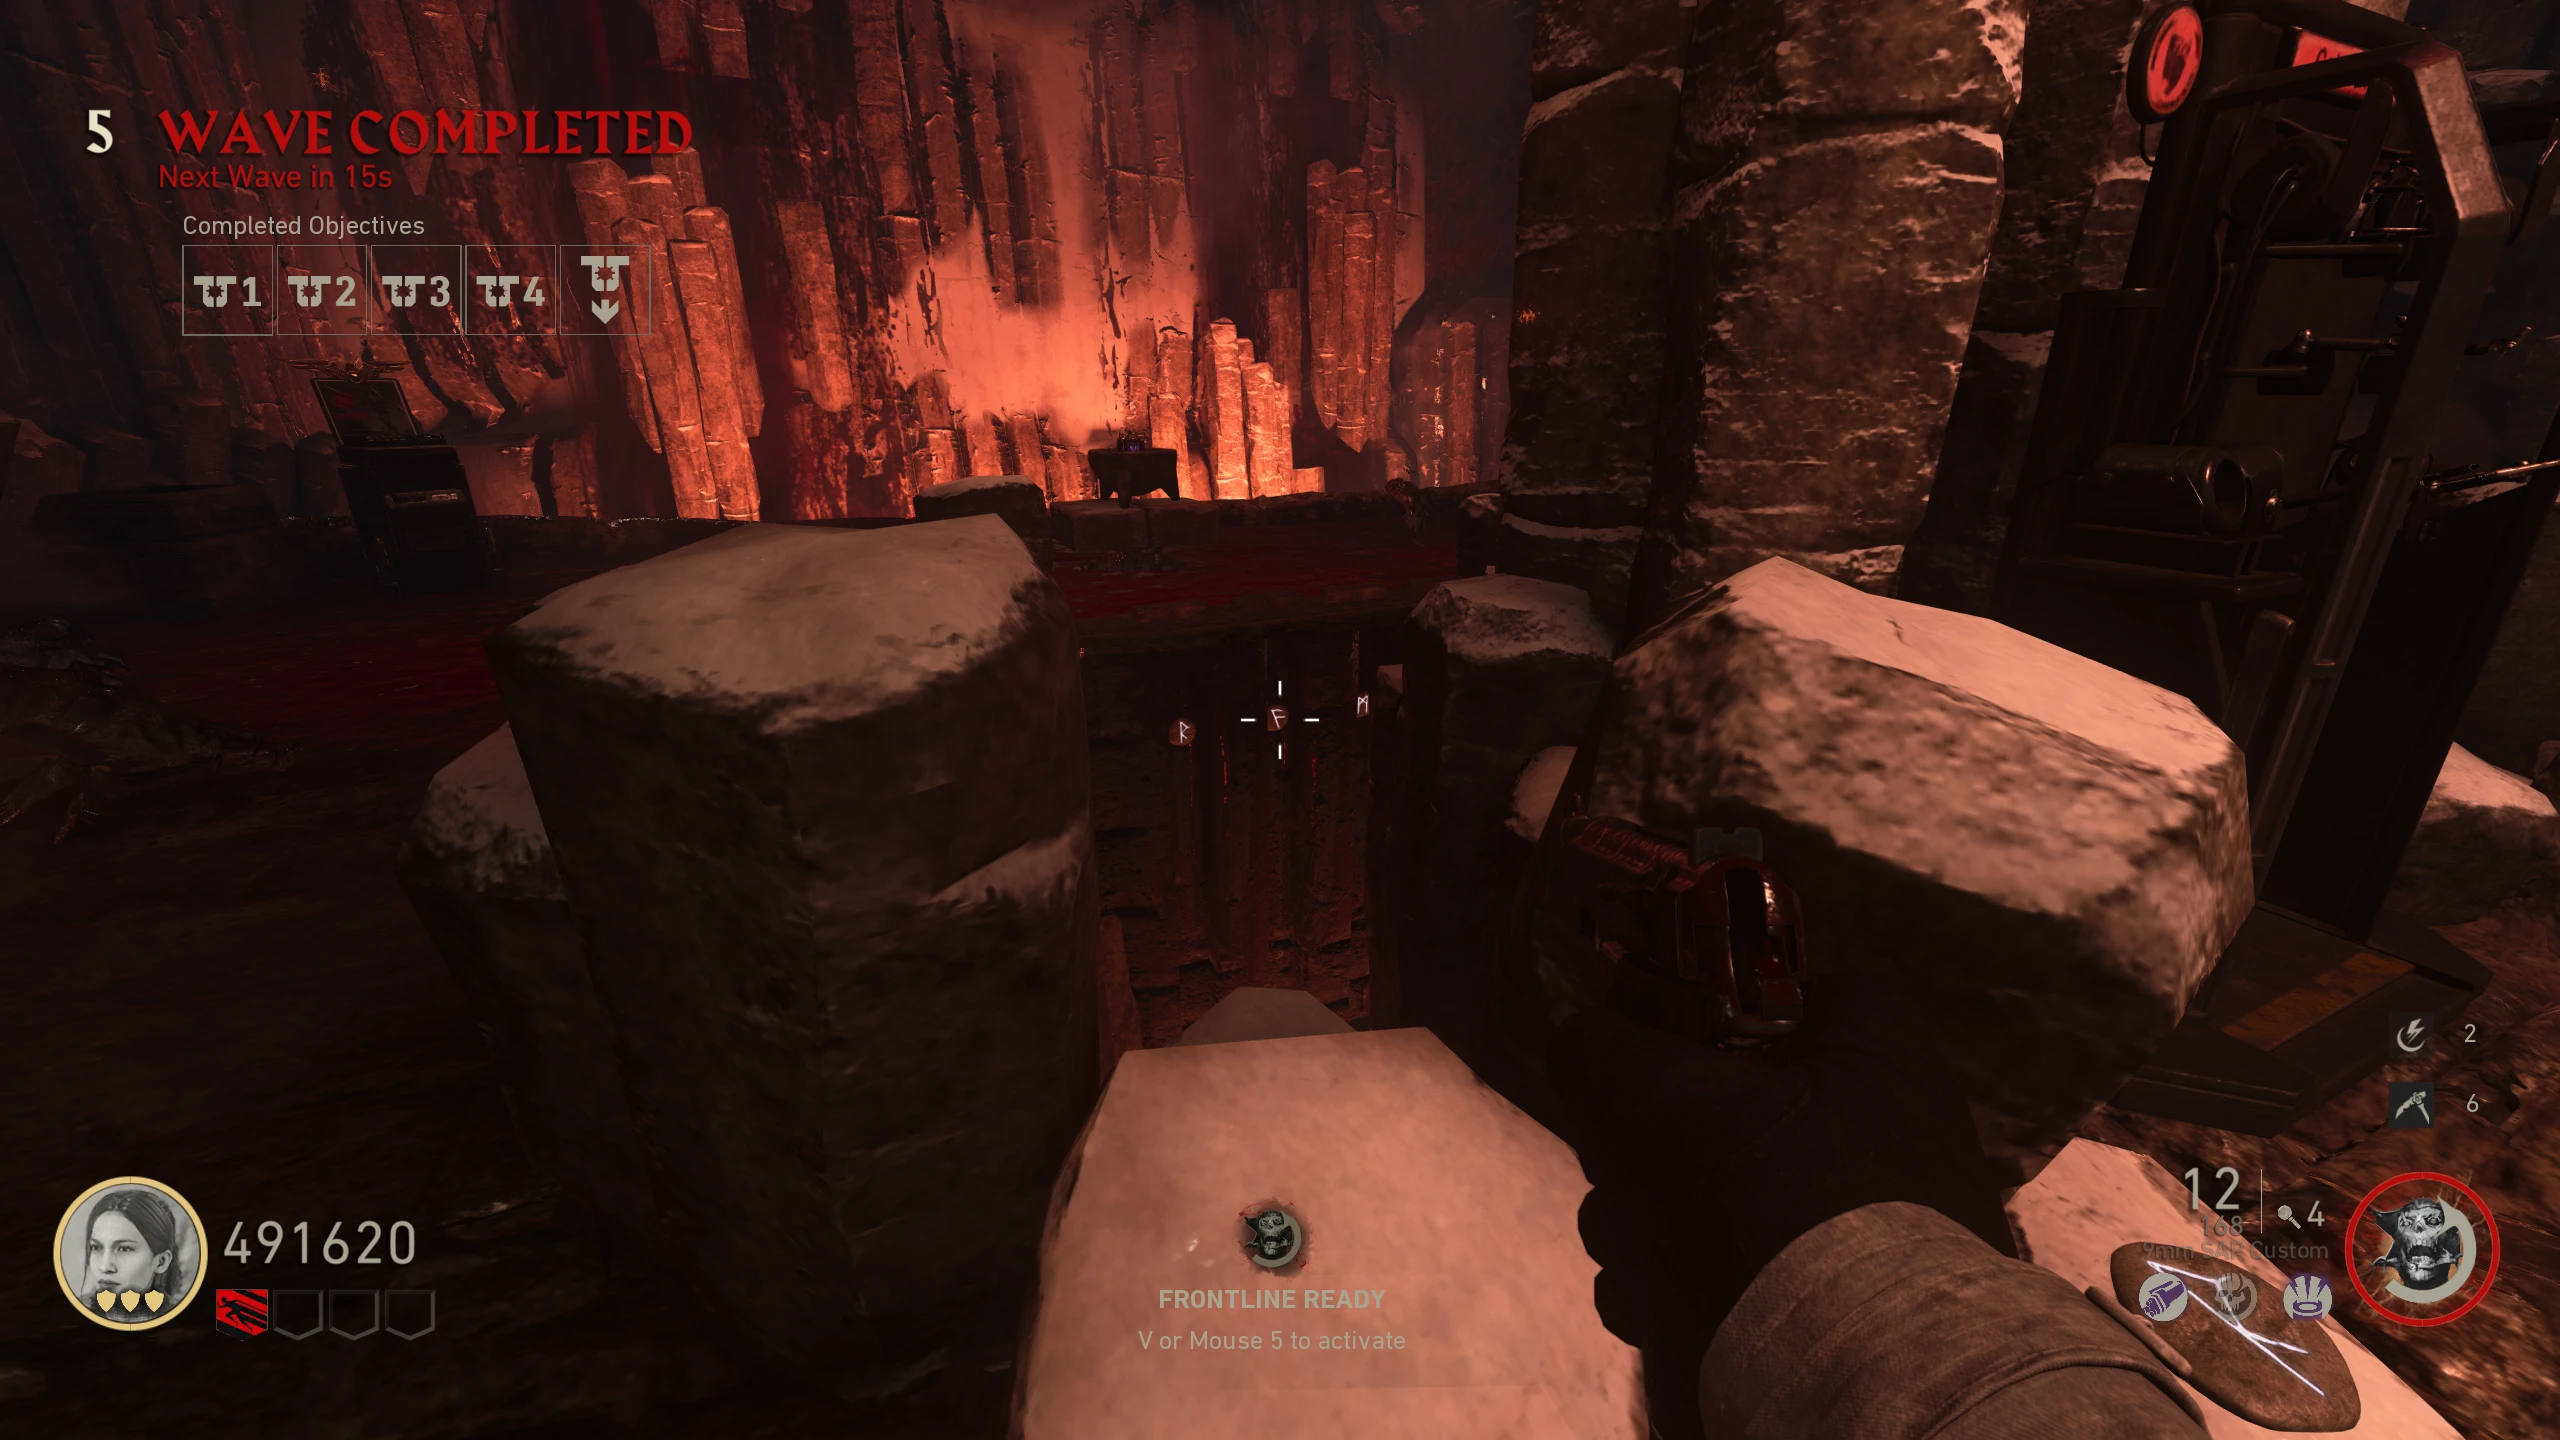
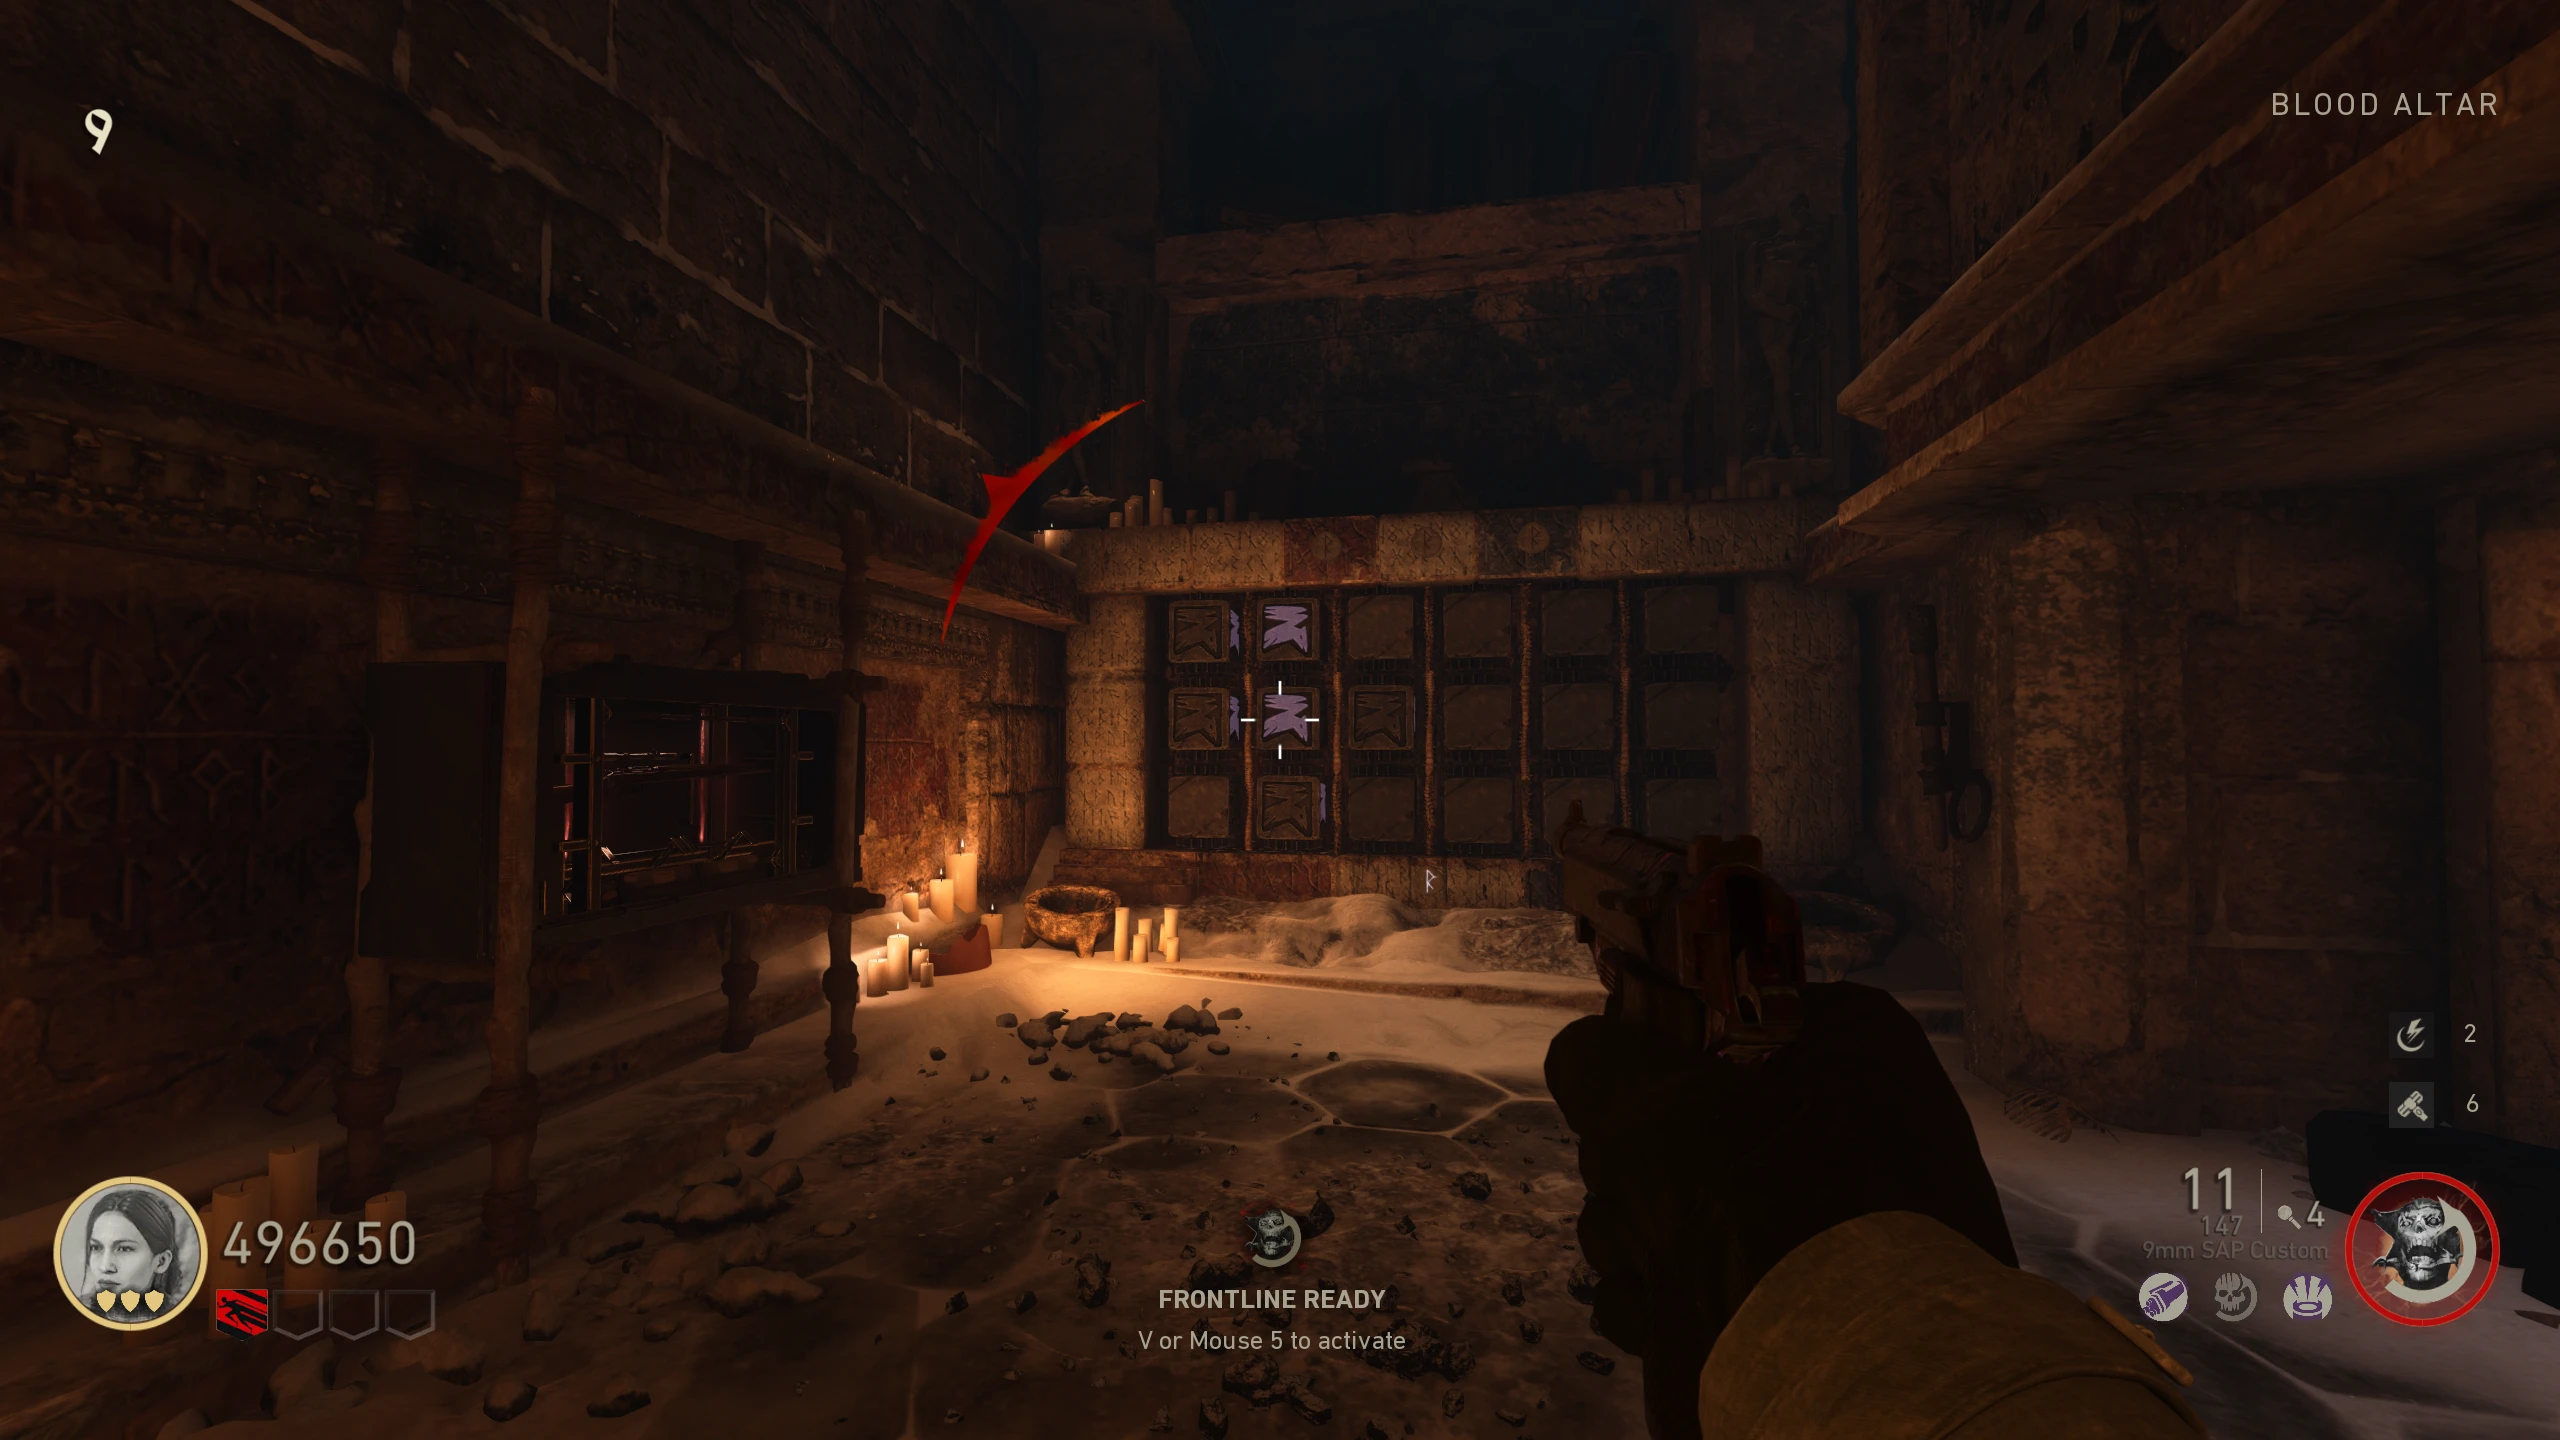
- Place the stones in the slots across from the Battery bowl. Each stone will stop the "bloodfall" allowing you to see a rune (stand by the Armour stand to see). Read these runes from left to right; there are only four possible runes, which vaguely look like the letters F, R, S, M.
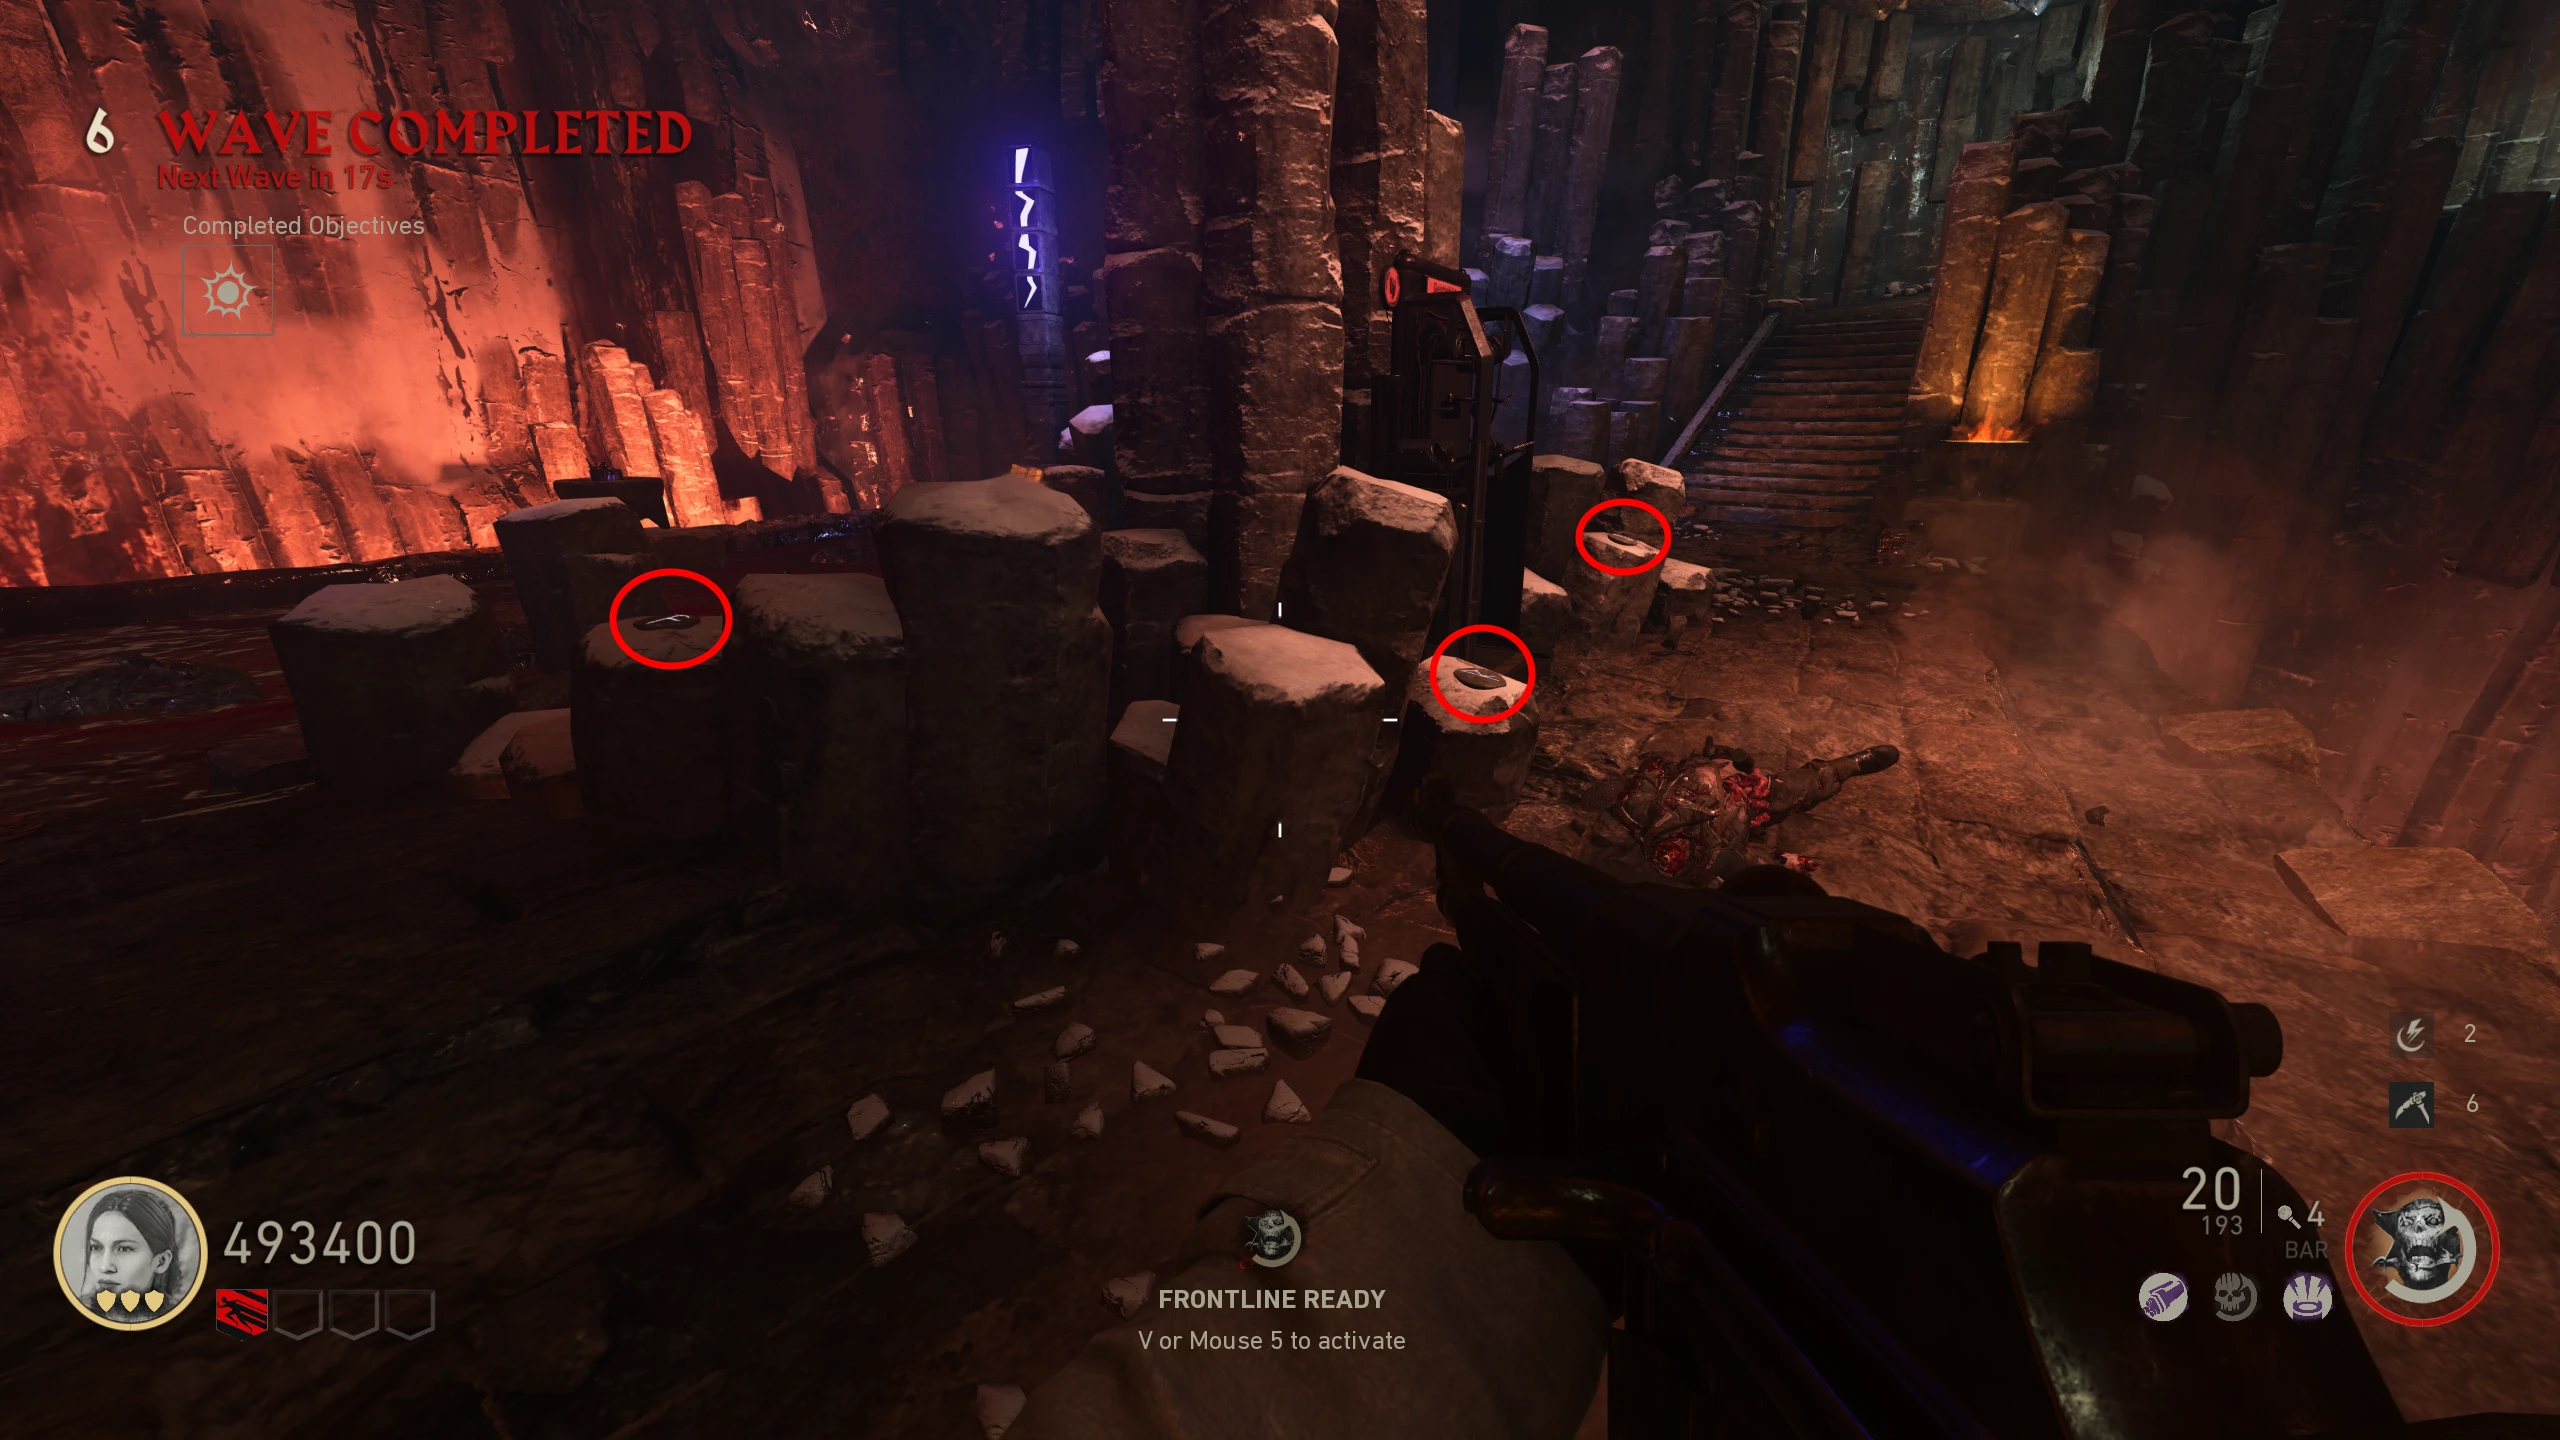
- Around the Armour stand, there are four runes (three pictured here), one for each of the letters. You need to get a kill at each of the runes in the order indicated by the bloodfall runes.
- Example: If the bloodfall runes are F, F, S, R, then get two kills at F, then one at S, and one at R.
- If you get too many kills or at the wrong rune, wait a couple of seconds, then start again with the first rune.
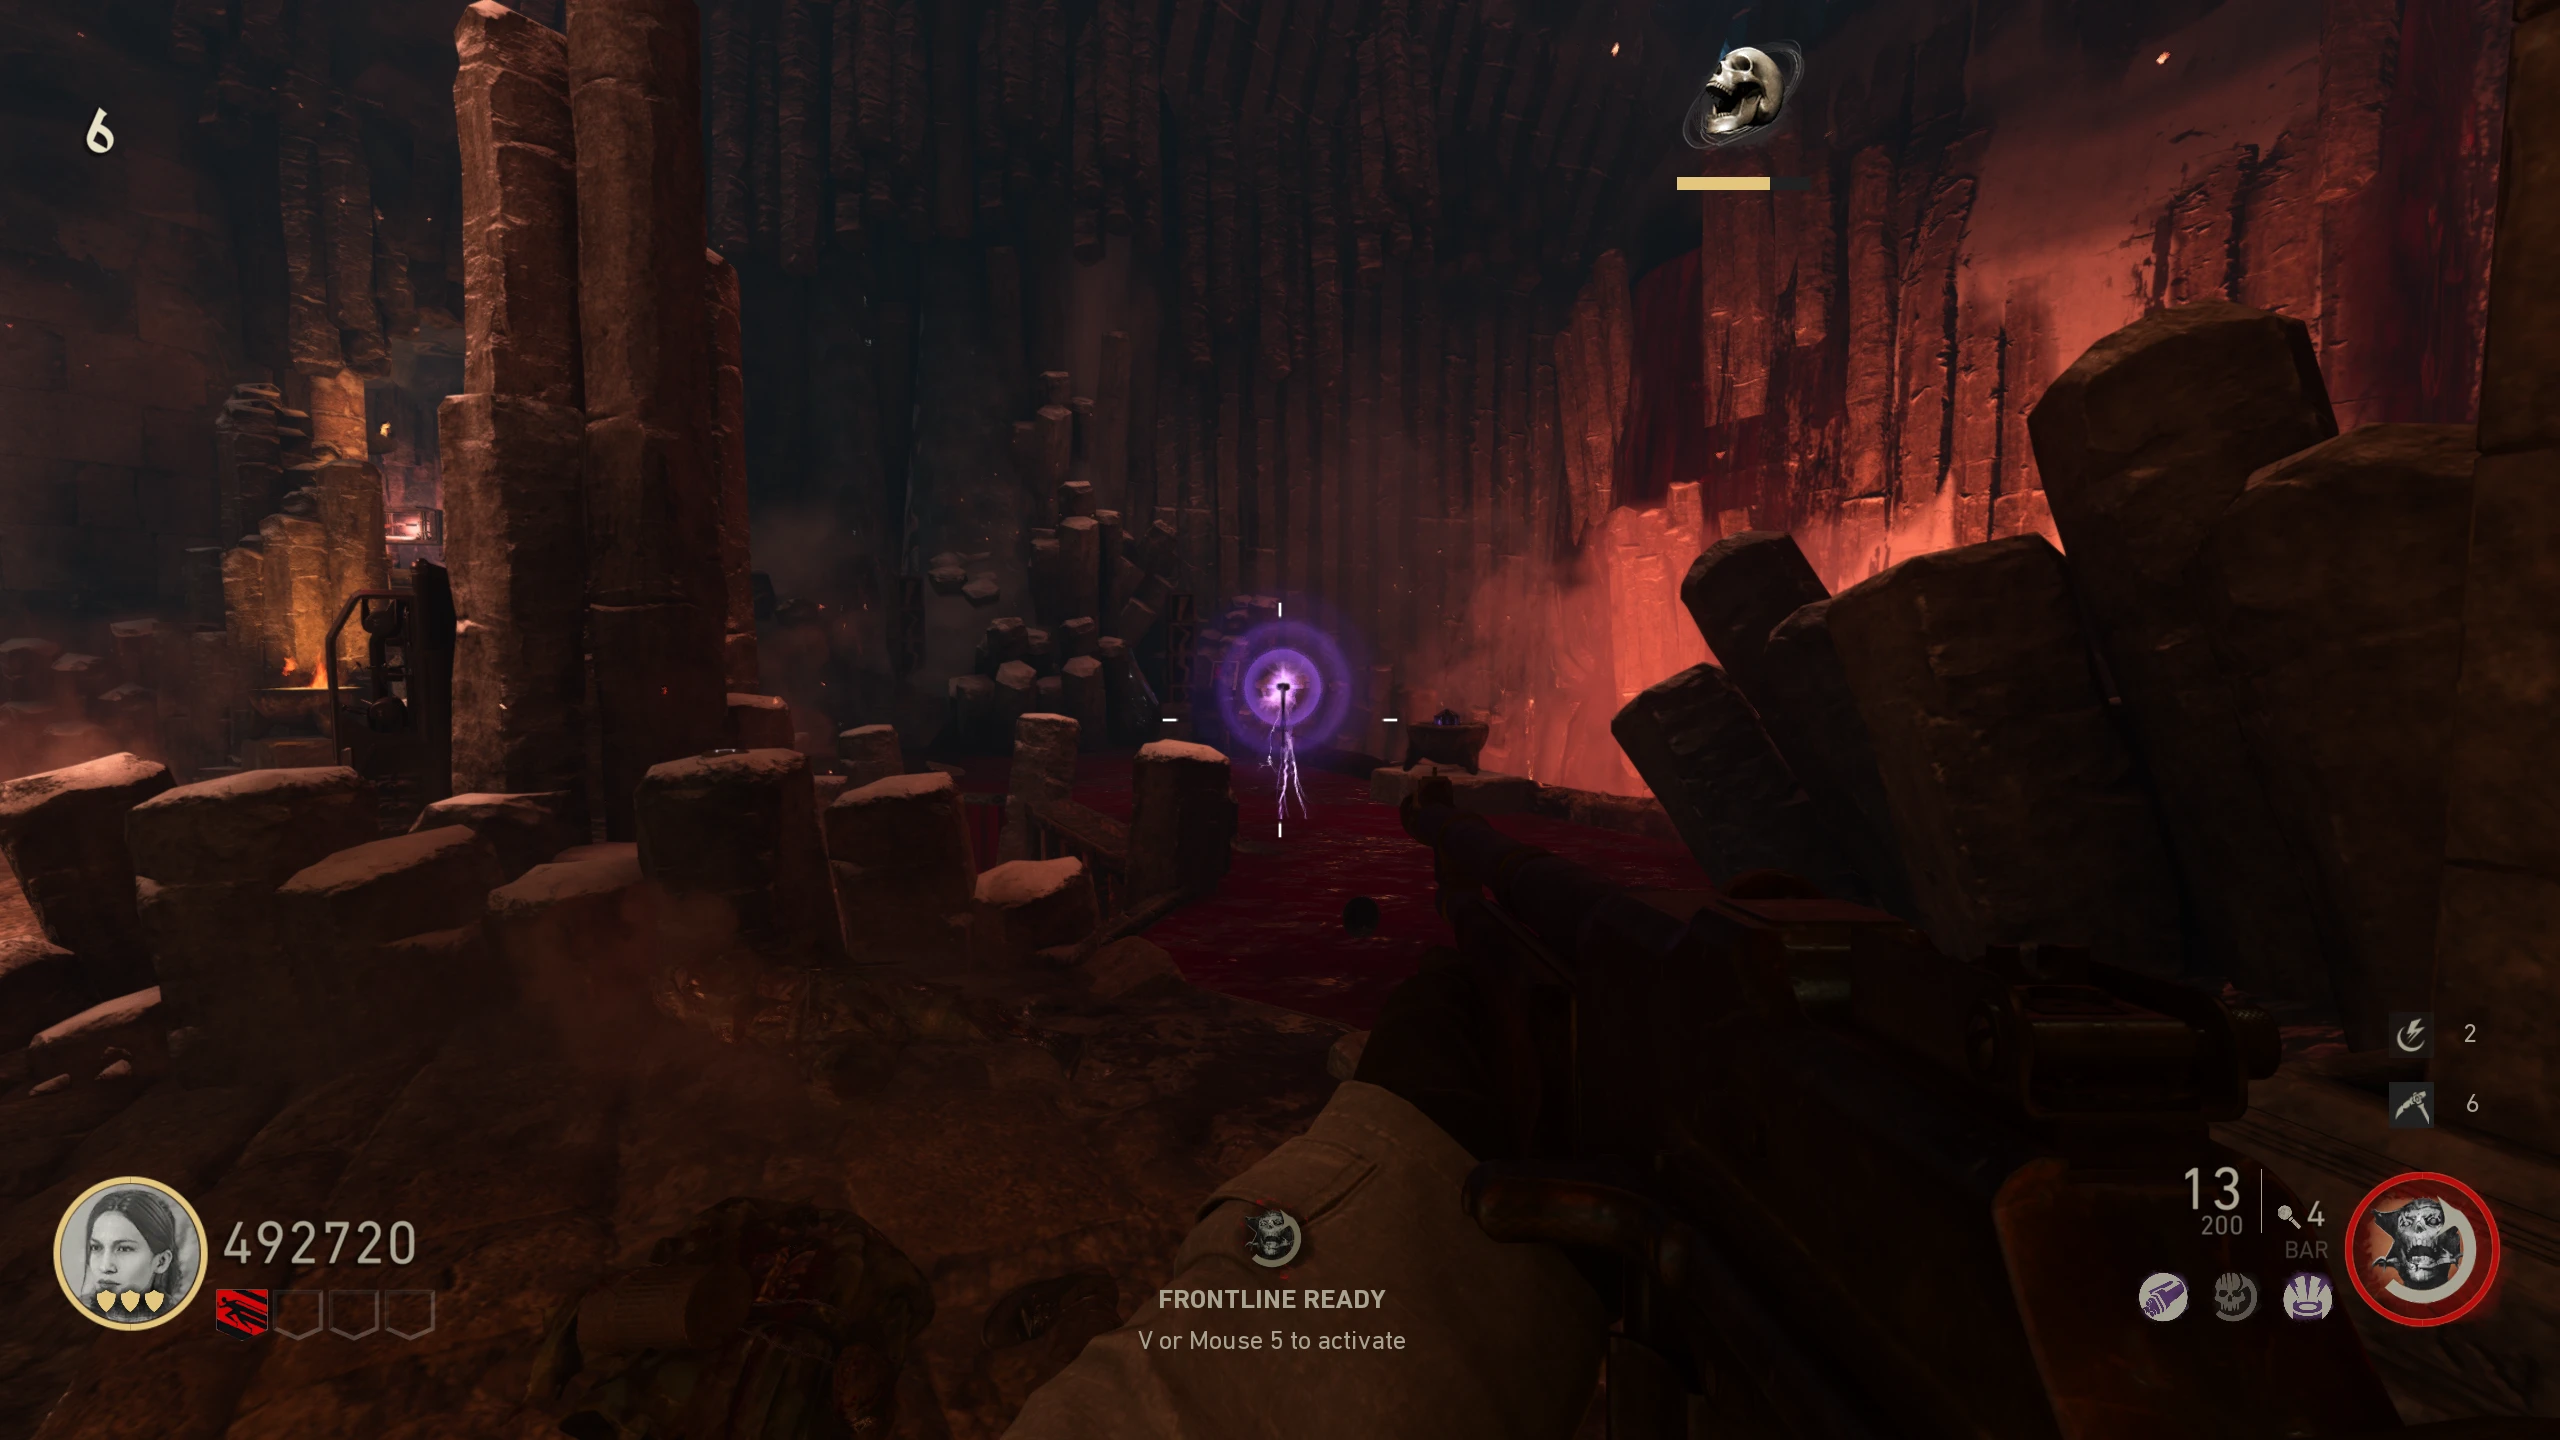
- If done correctly, lightning will start striking the ground in front of the bowl, and the Hammer will spawn. Run over to it to make it teleport away.
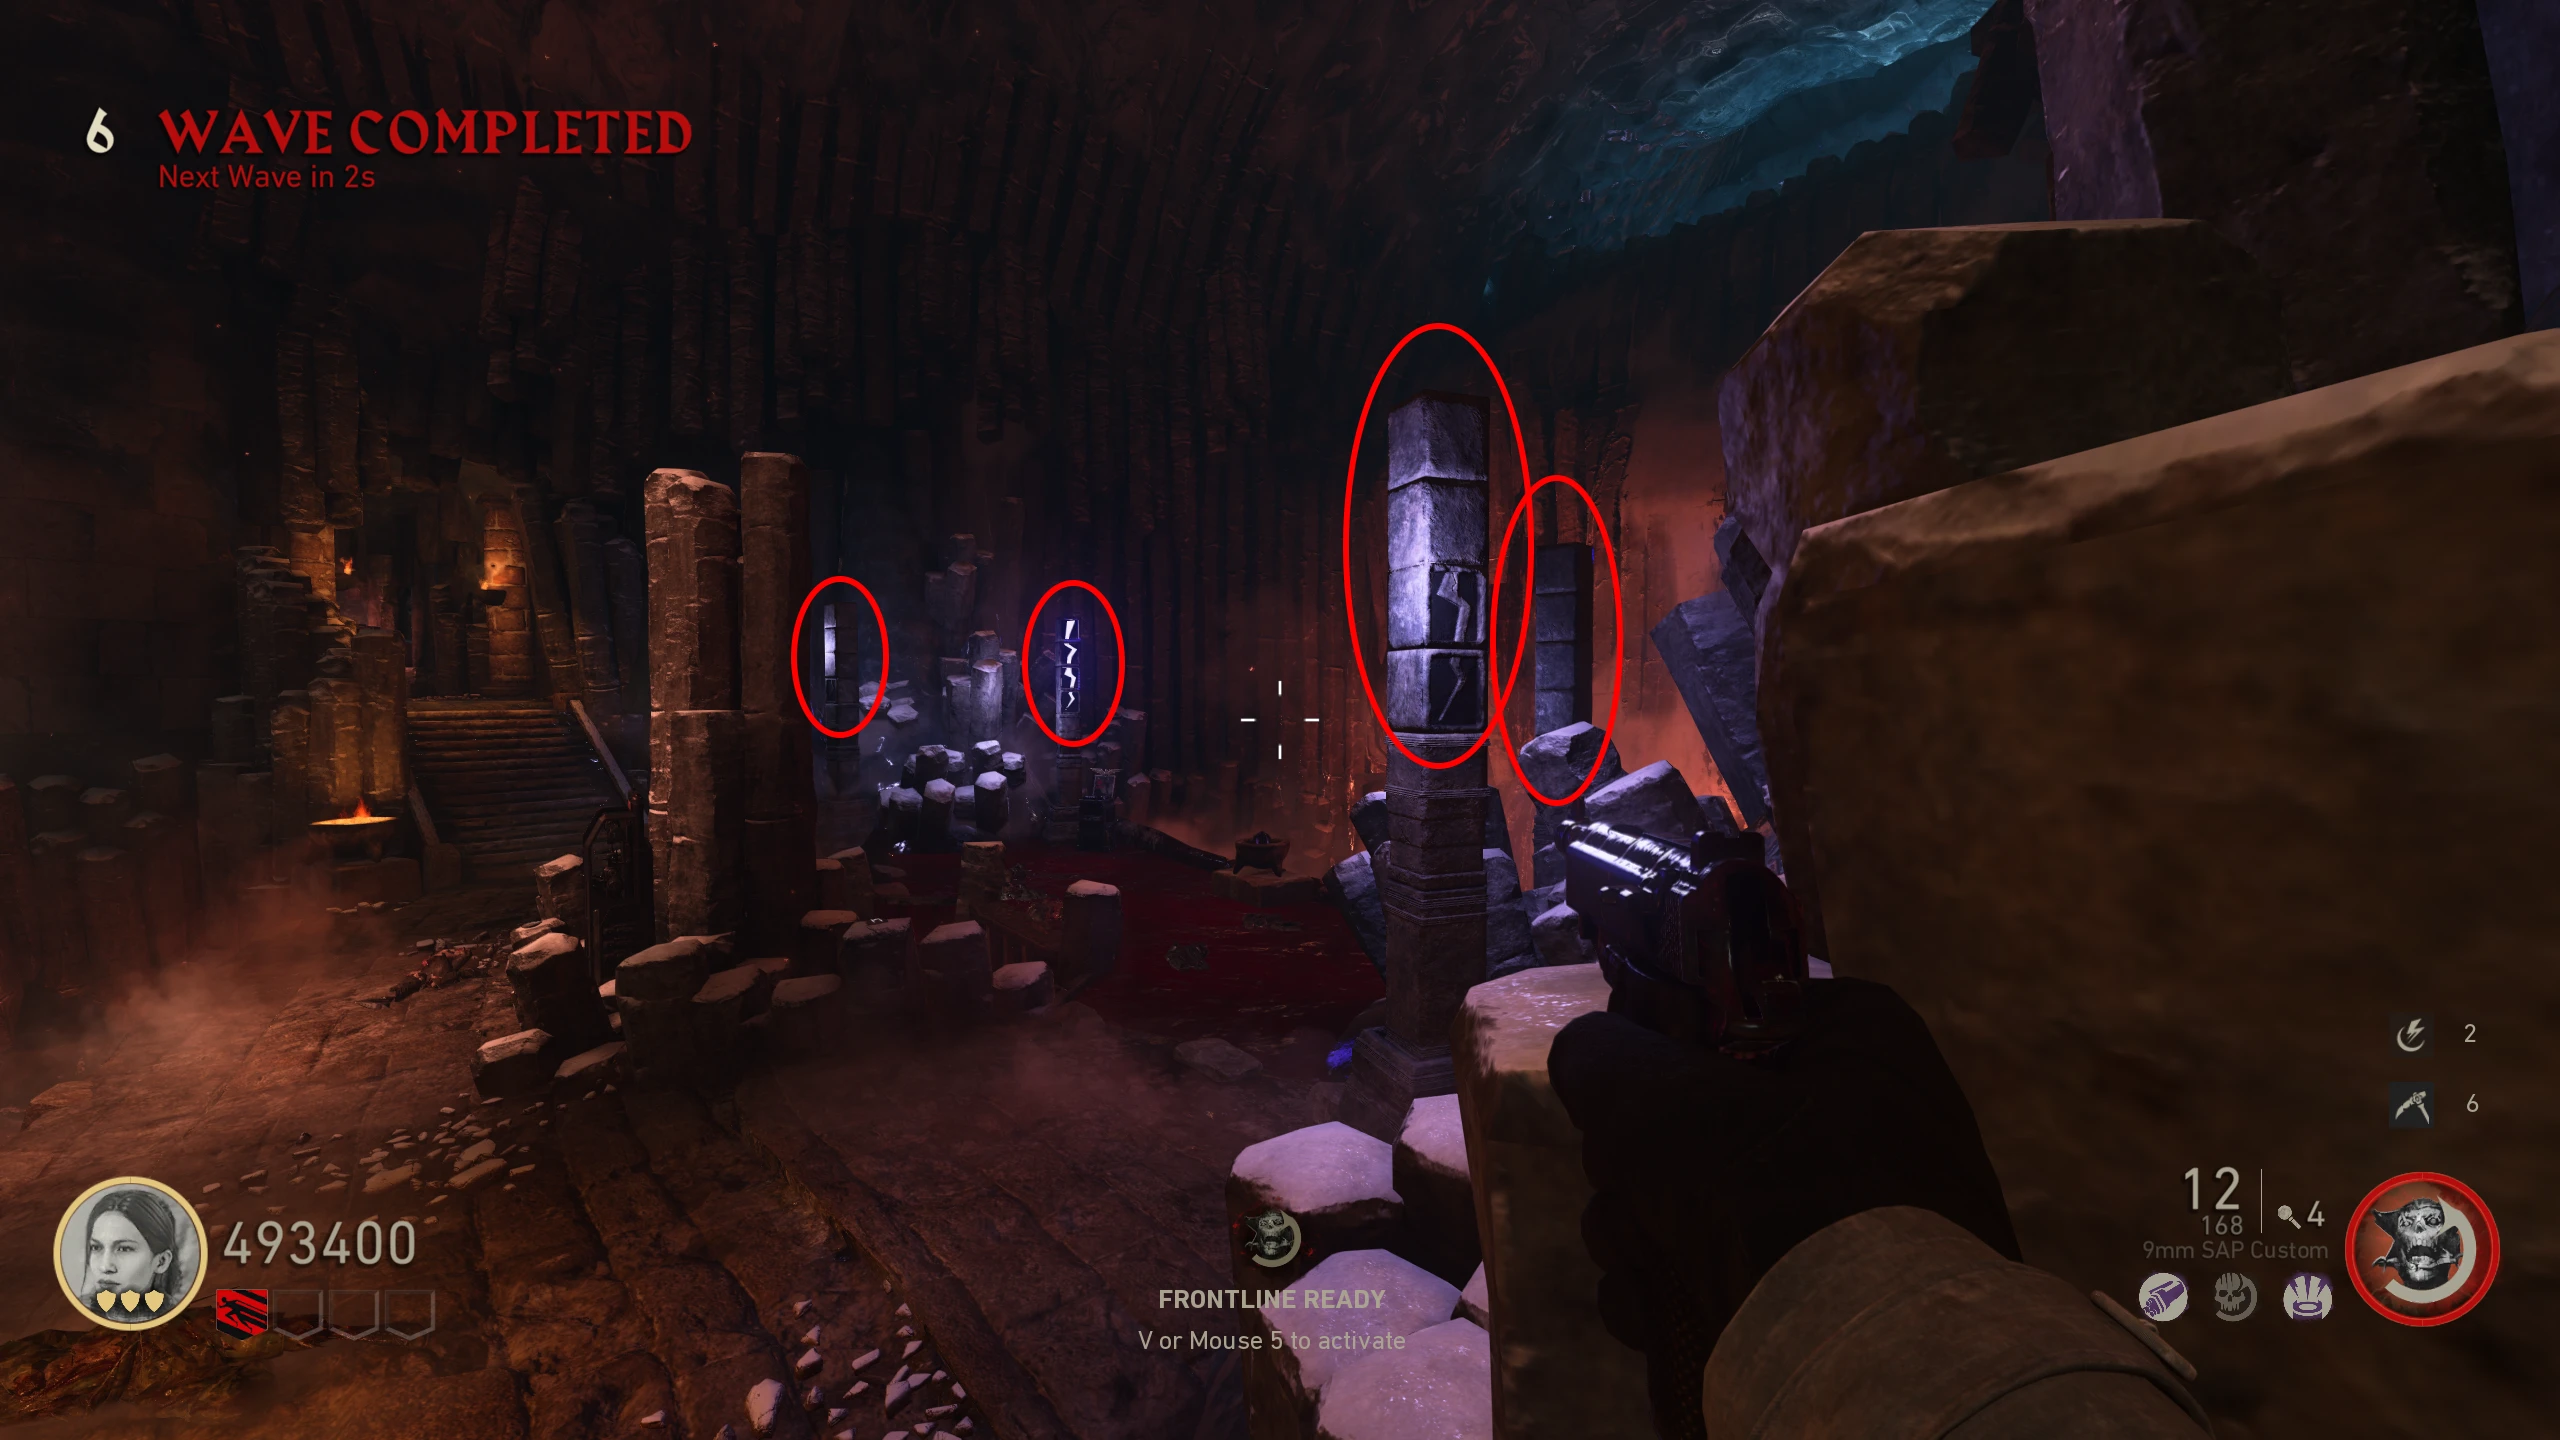
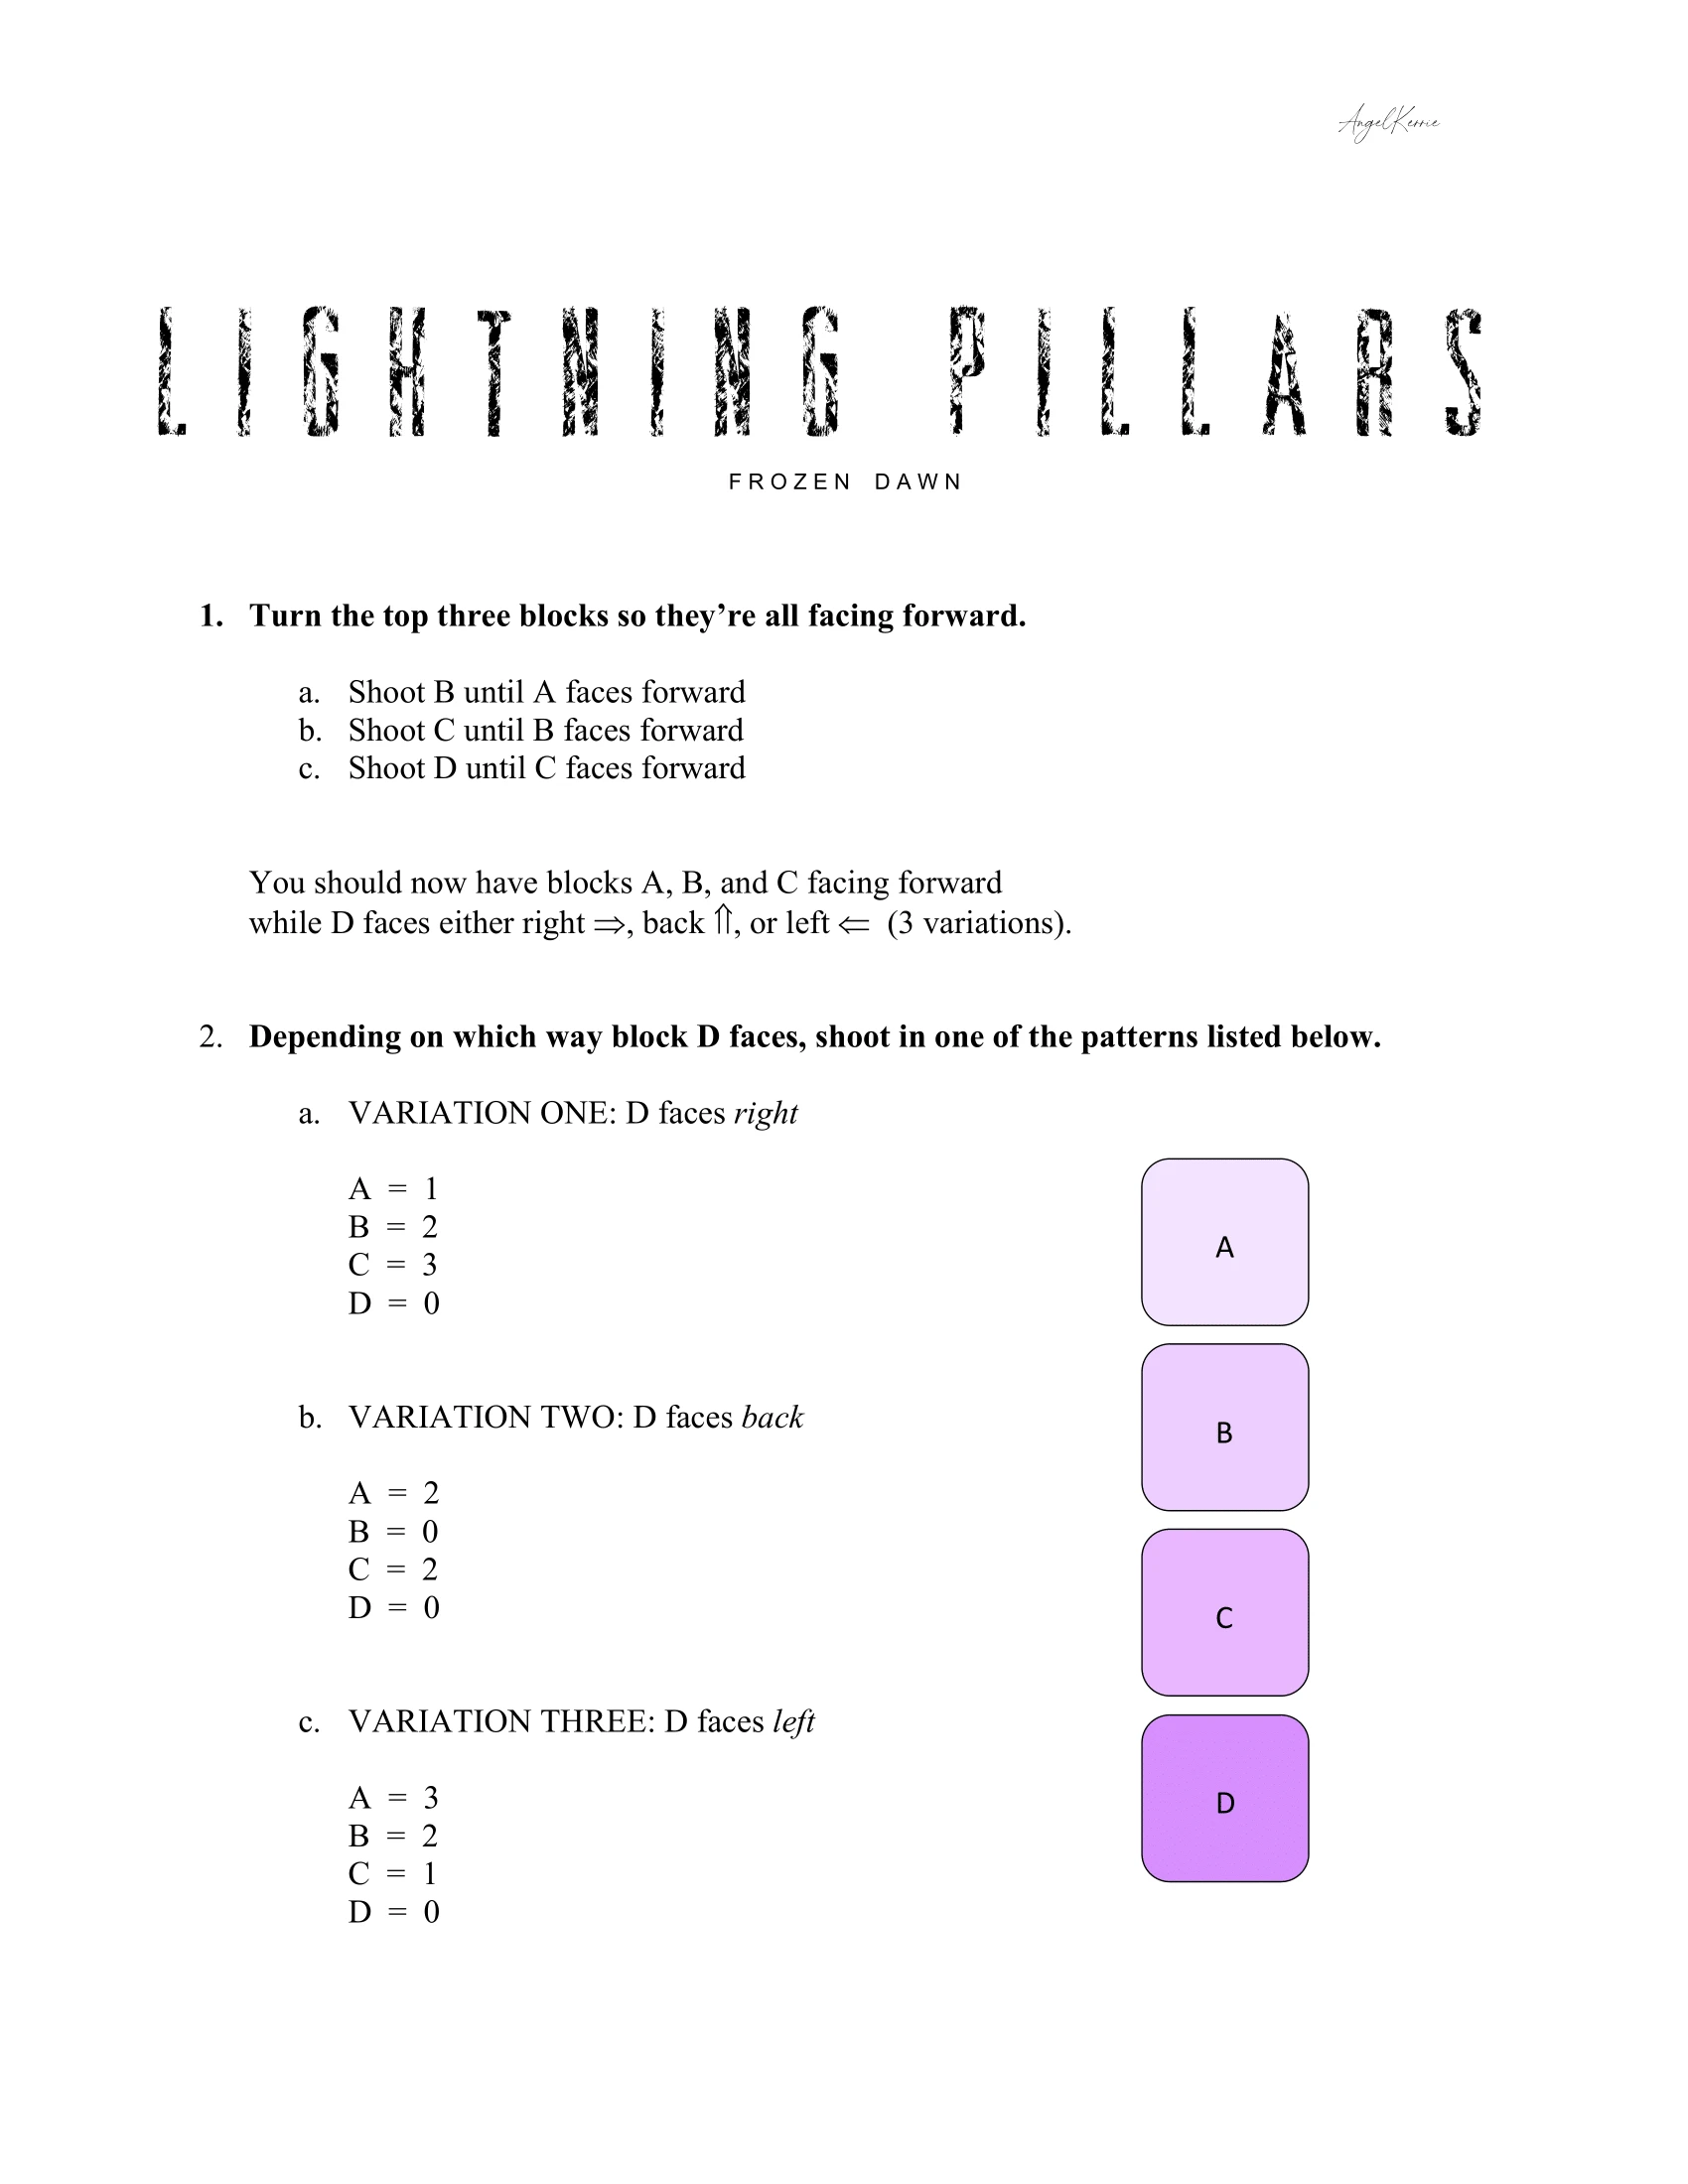
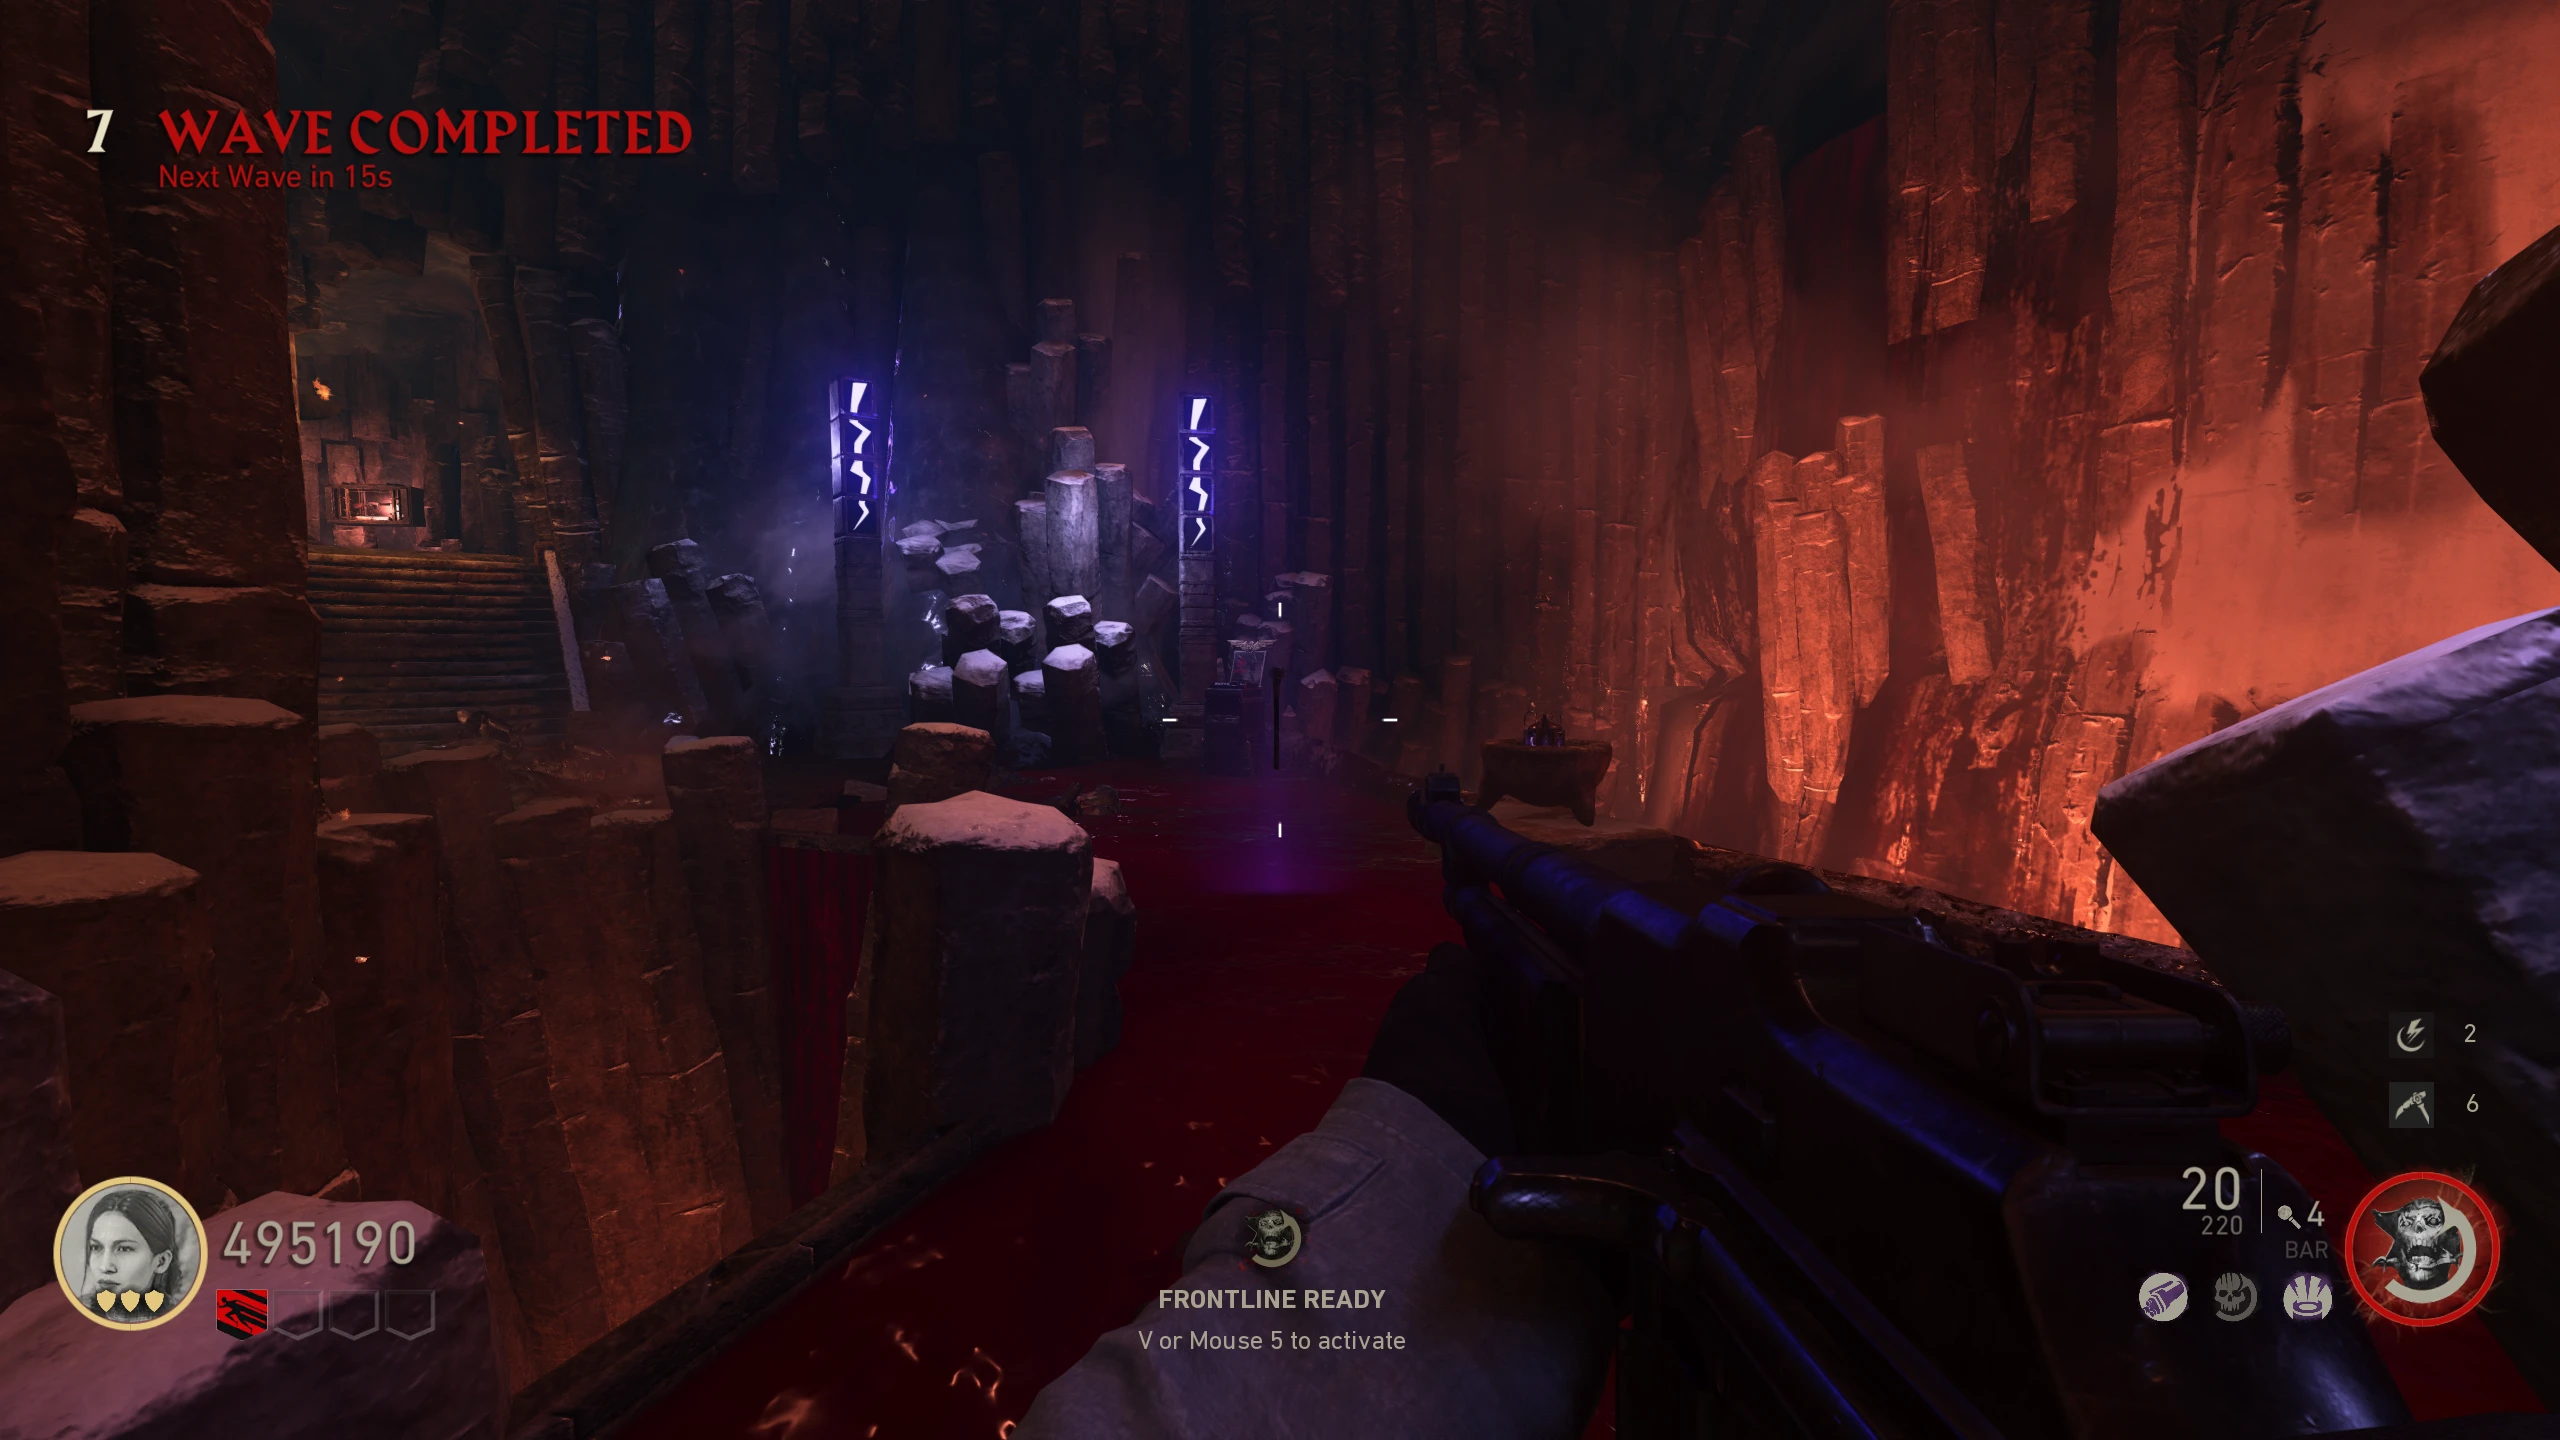
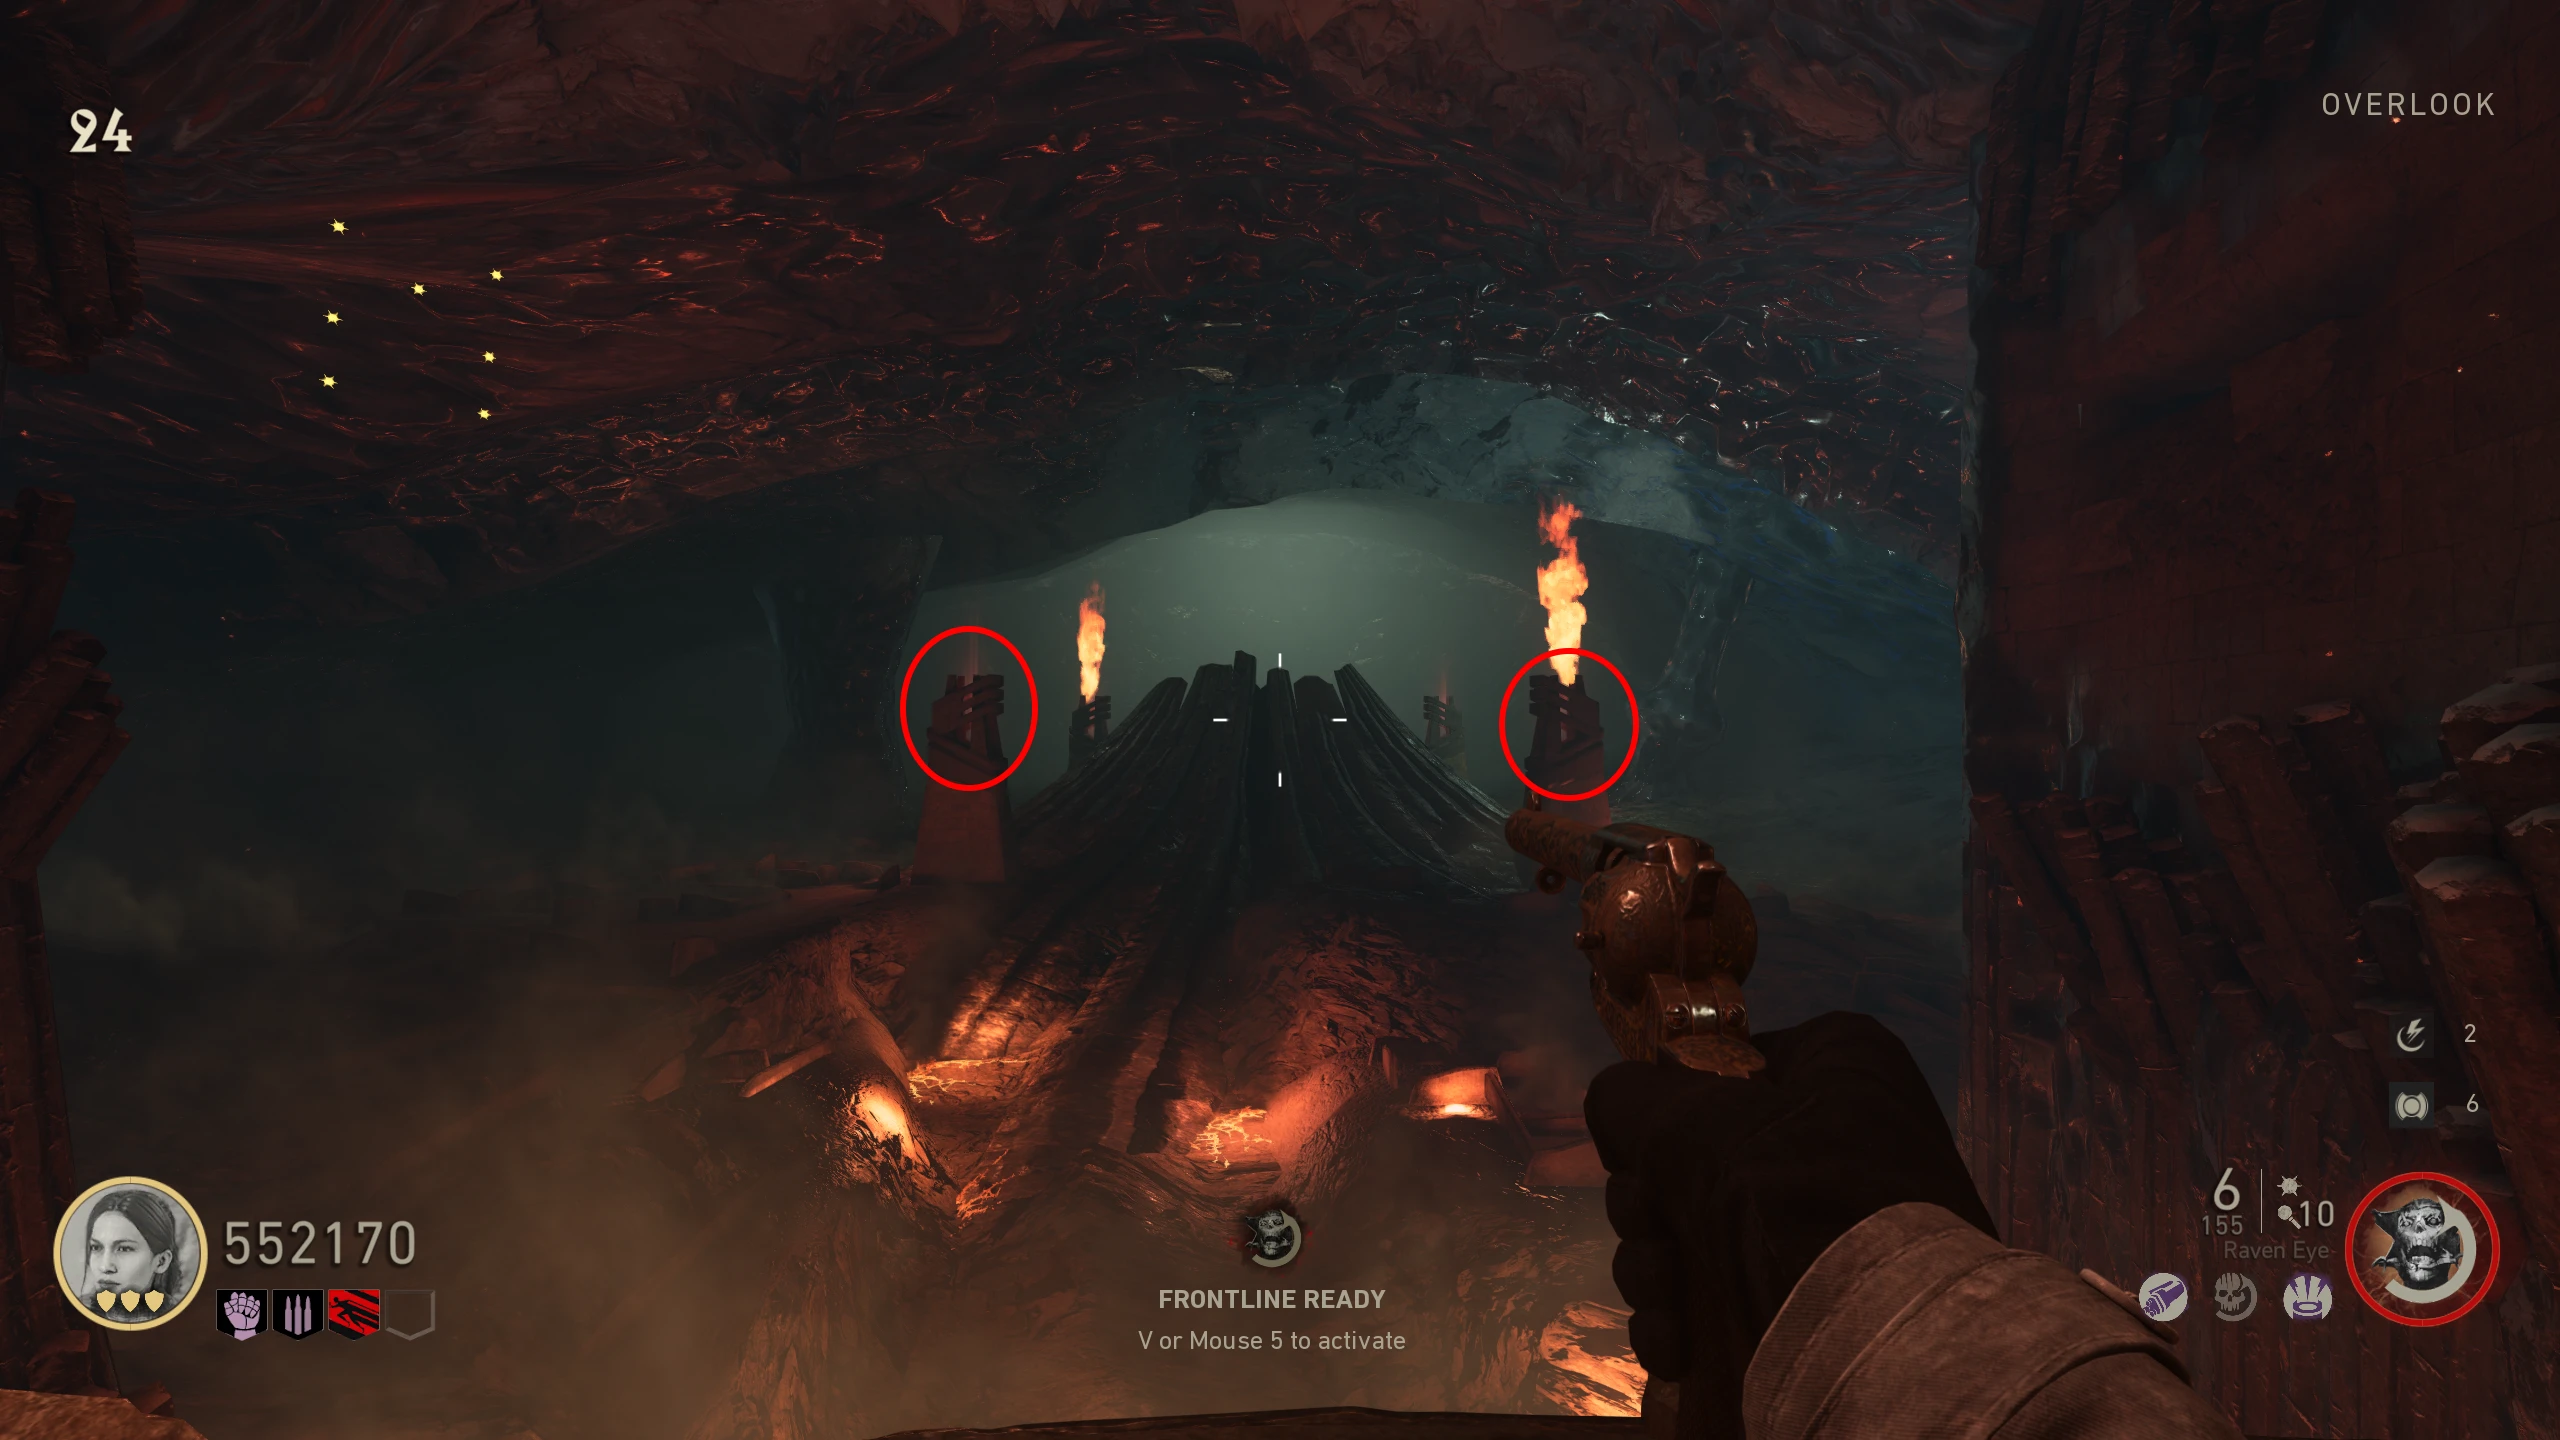
- Four pillars will rise around the 'Overlook.' Each pillar will have four blocks with a lightning bolt on one side. Using this image or the solver below, shoot the blocks so all the bolts are facing where the Hammer spawned/the bowl. They will light up when all blocks are facing the right way.
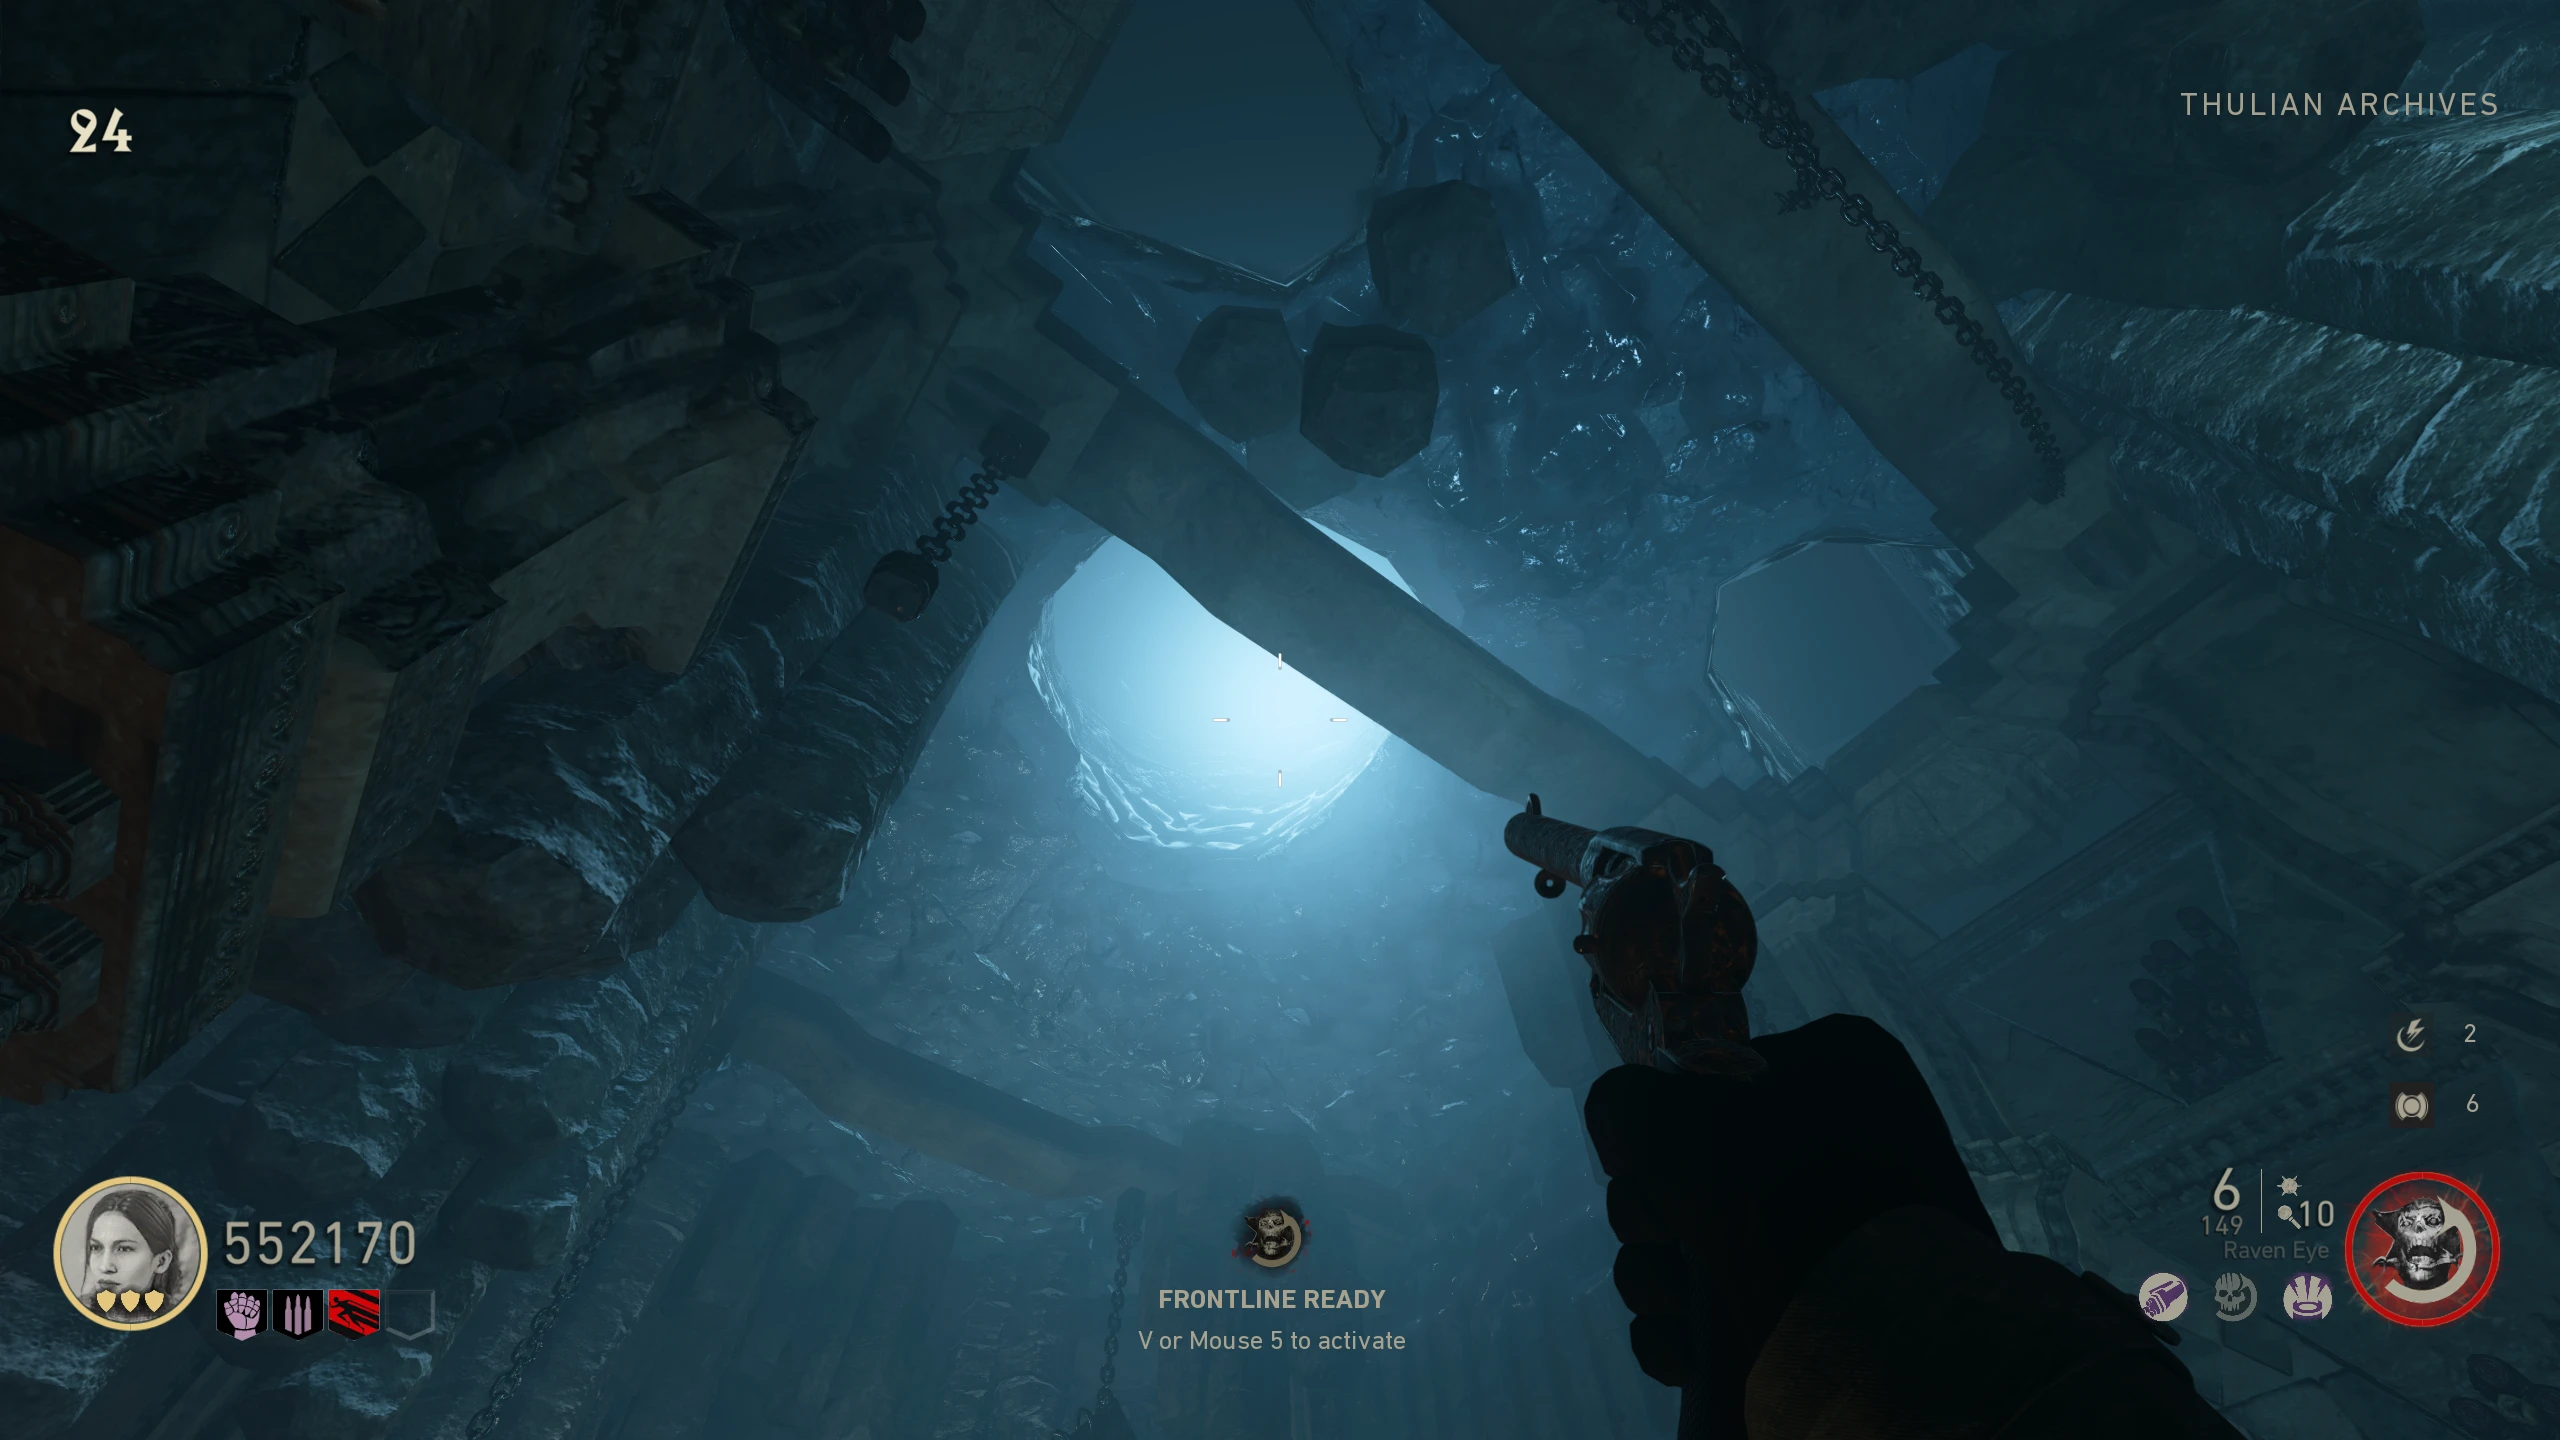
- Once the pillars are set, find the Hammer somewhere around the underground part of the map. Once you find it, go prone, crawl up to it, then interact with it.
- If you get too close, and you aren't prone, the Hammer will teleport away, and you'll have to find it and try again.
- If done correctly, it will turn horizontal, and start moving away from you (you can stand up now). Push it to the 'Overlook.' If the pillars are set correctly, they will stop the Hammer, and it will become available to pick up.
Fist of Tal'rek (Upgraded Hammer)
The Fist of Tal'rek adds the ability to throw the hammer using the grenade button, damaging zombies in its path before returning to the player. Its side-swing now also releases an electric shockwave.
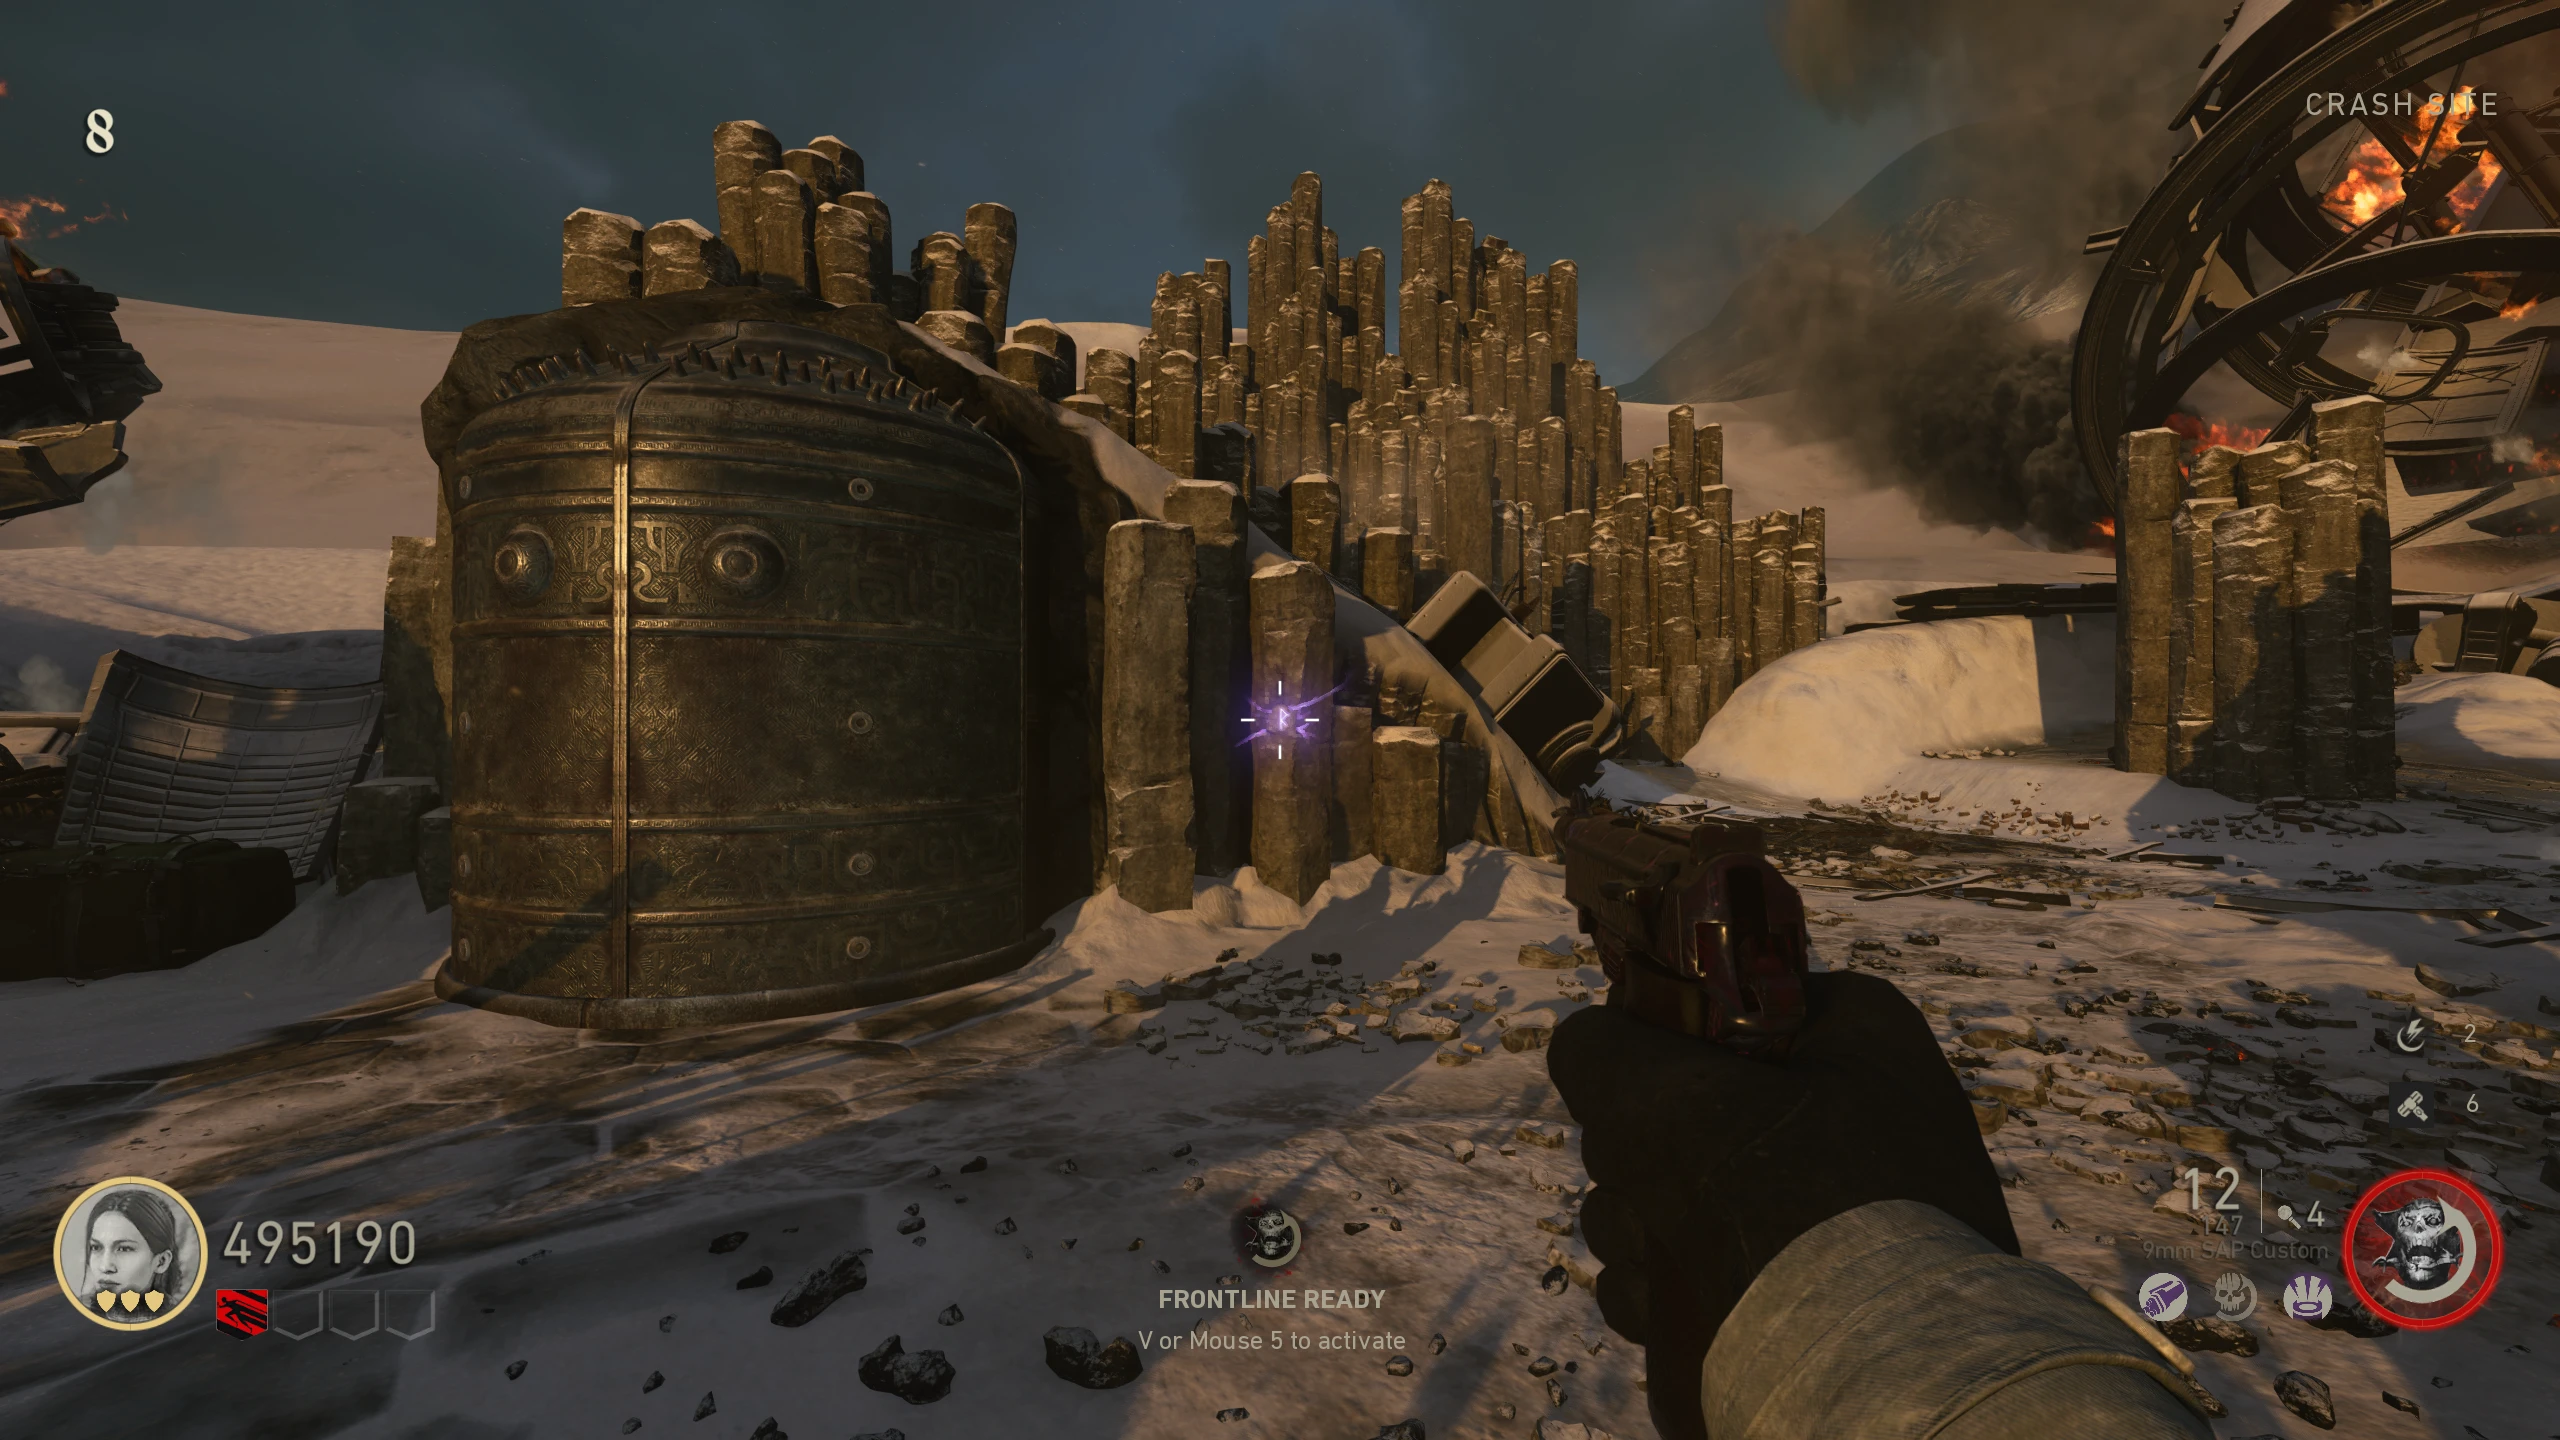
- In the 'Crash Site' on the wall right of the Thulian Transport, a rune will be glowing with purple electricity. Melee it with the Hammer to transfer the electricity to the Hammer.
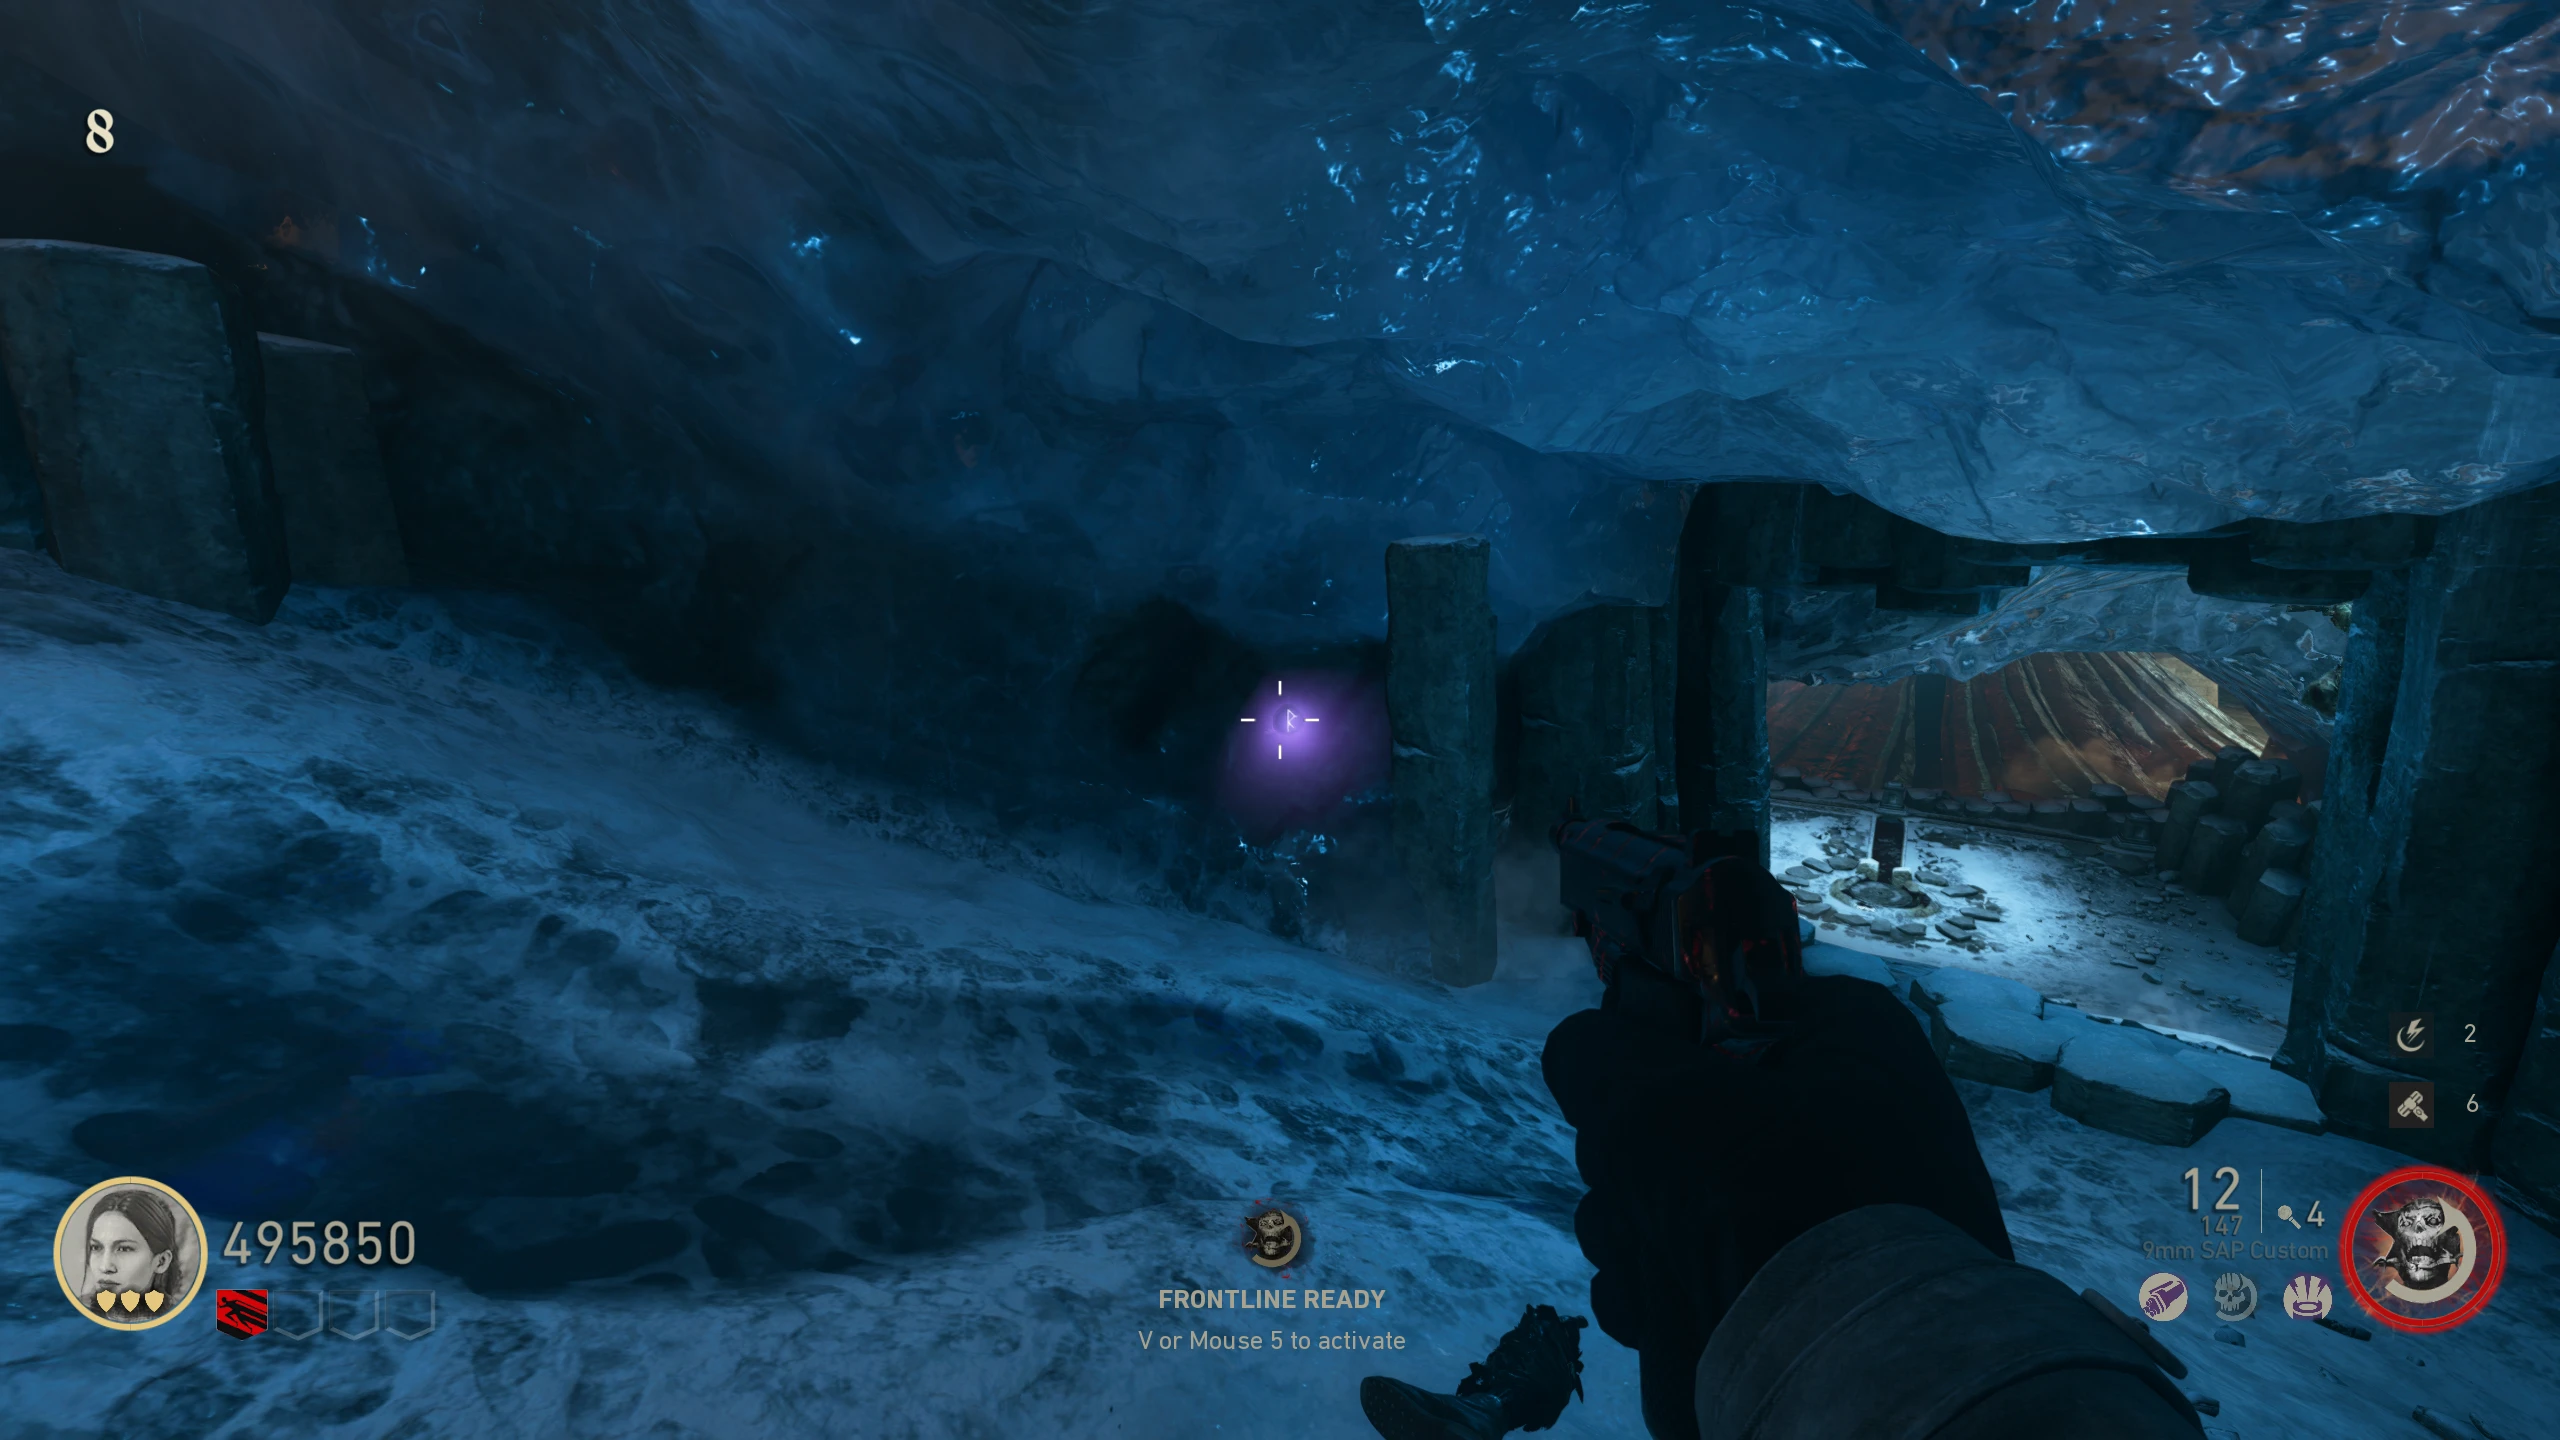
- Quickly, run to the 'Ice Caves,' and melee the rune on the wall with the Hammer to transfer the electricity.
- If you take too long, the electricity will respawn at the previous rune, and you can try again immediately.
- Melee the rune, and run it to the rune on the wall in the 'Morgue' above the Shield Blood Pool.
- You'll now need to transfer the electricity to the rune above the door to the 'Morgue' in the 'Phylactery.' You need to kill a Zombie in the doorway with the Hammer while it's electrified.
- This is very annoying to do on Solo, since once you get to the 'Phylactery,' you only have about a second to kill a Zombie before the Hammer de-electrifies.
- I recommend you wait for higher rounds when Zombies are running, so any chasing you will be close behind when you get to the rune.
- Bug(?): Once the Rune in the 'Phylactery' is electrified, put away, then put back out the Hammer. When you pull out the Hammer, it might still be electrified, allowing you to skip the first part of the next step.
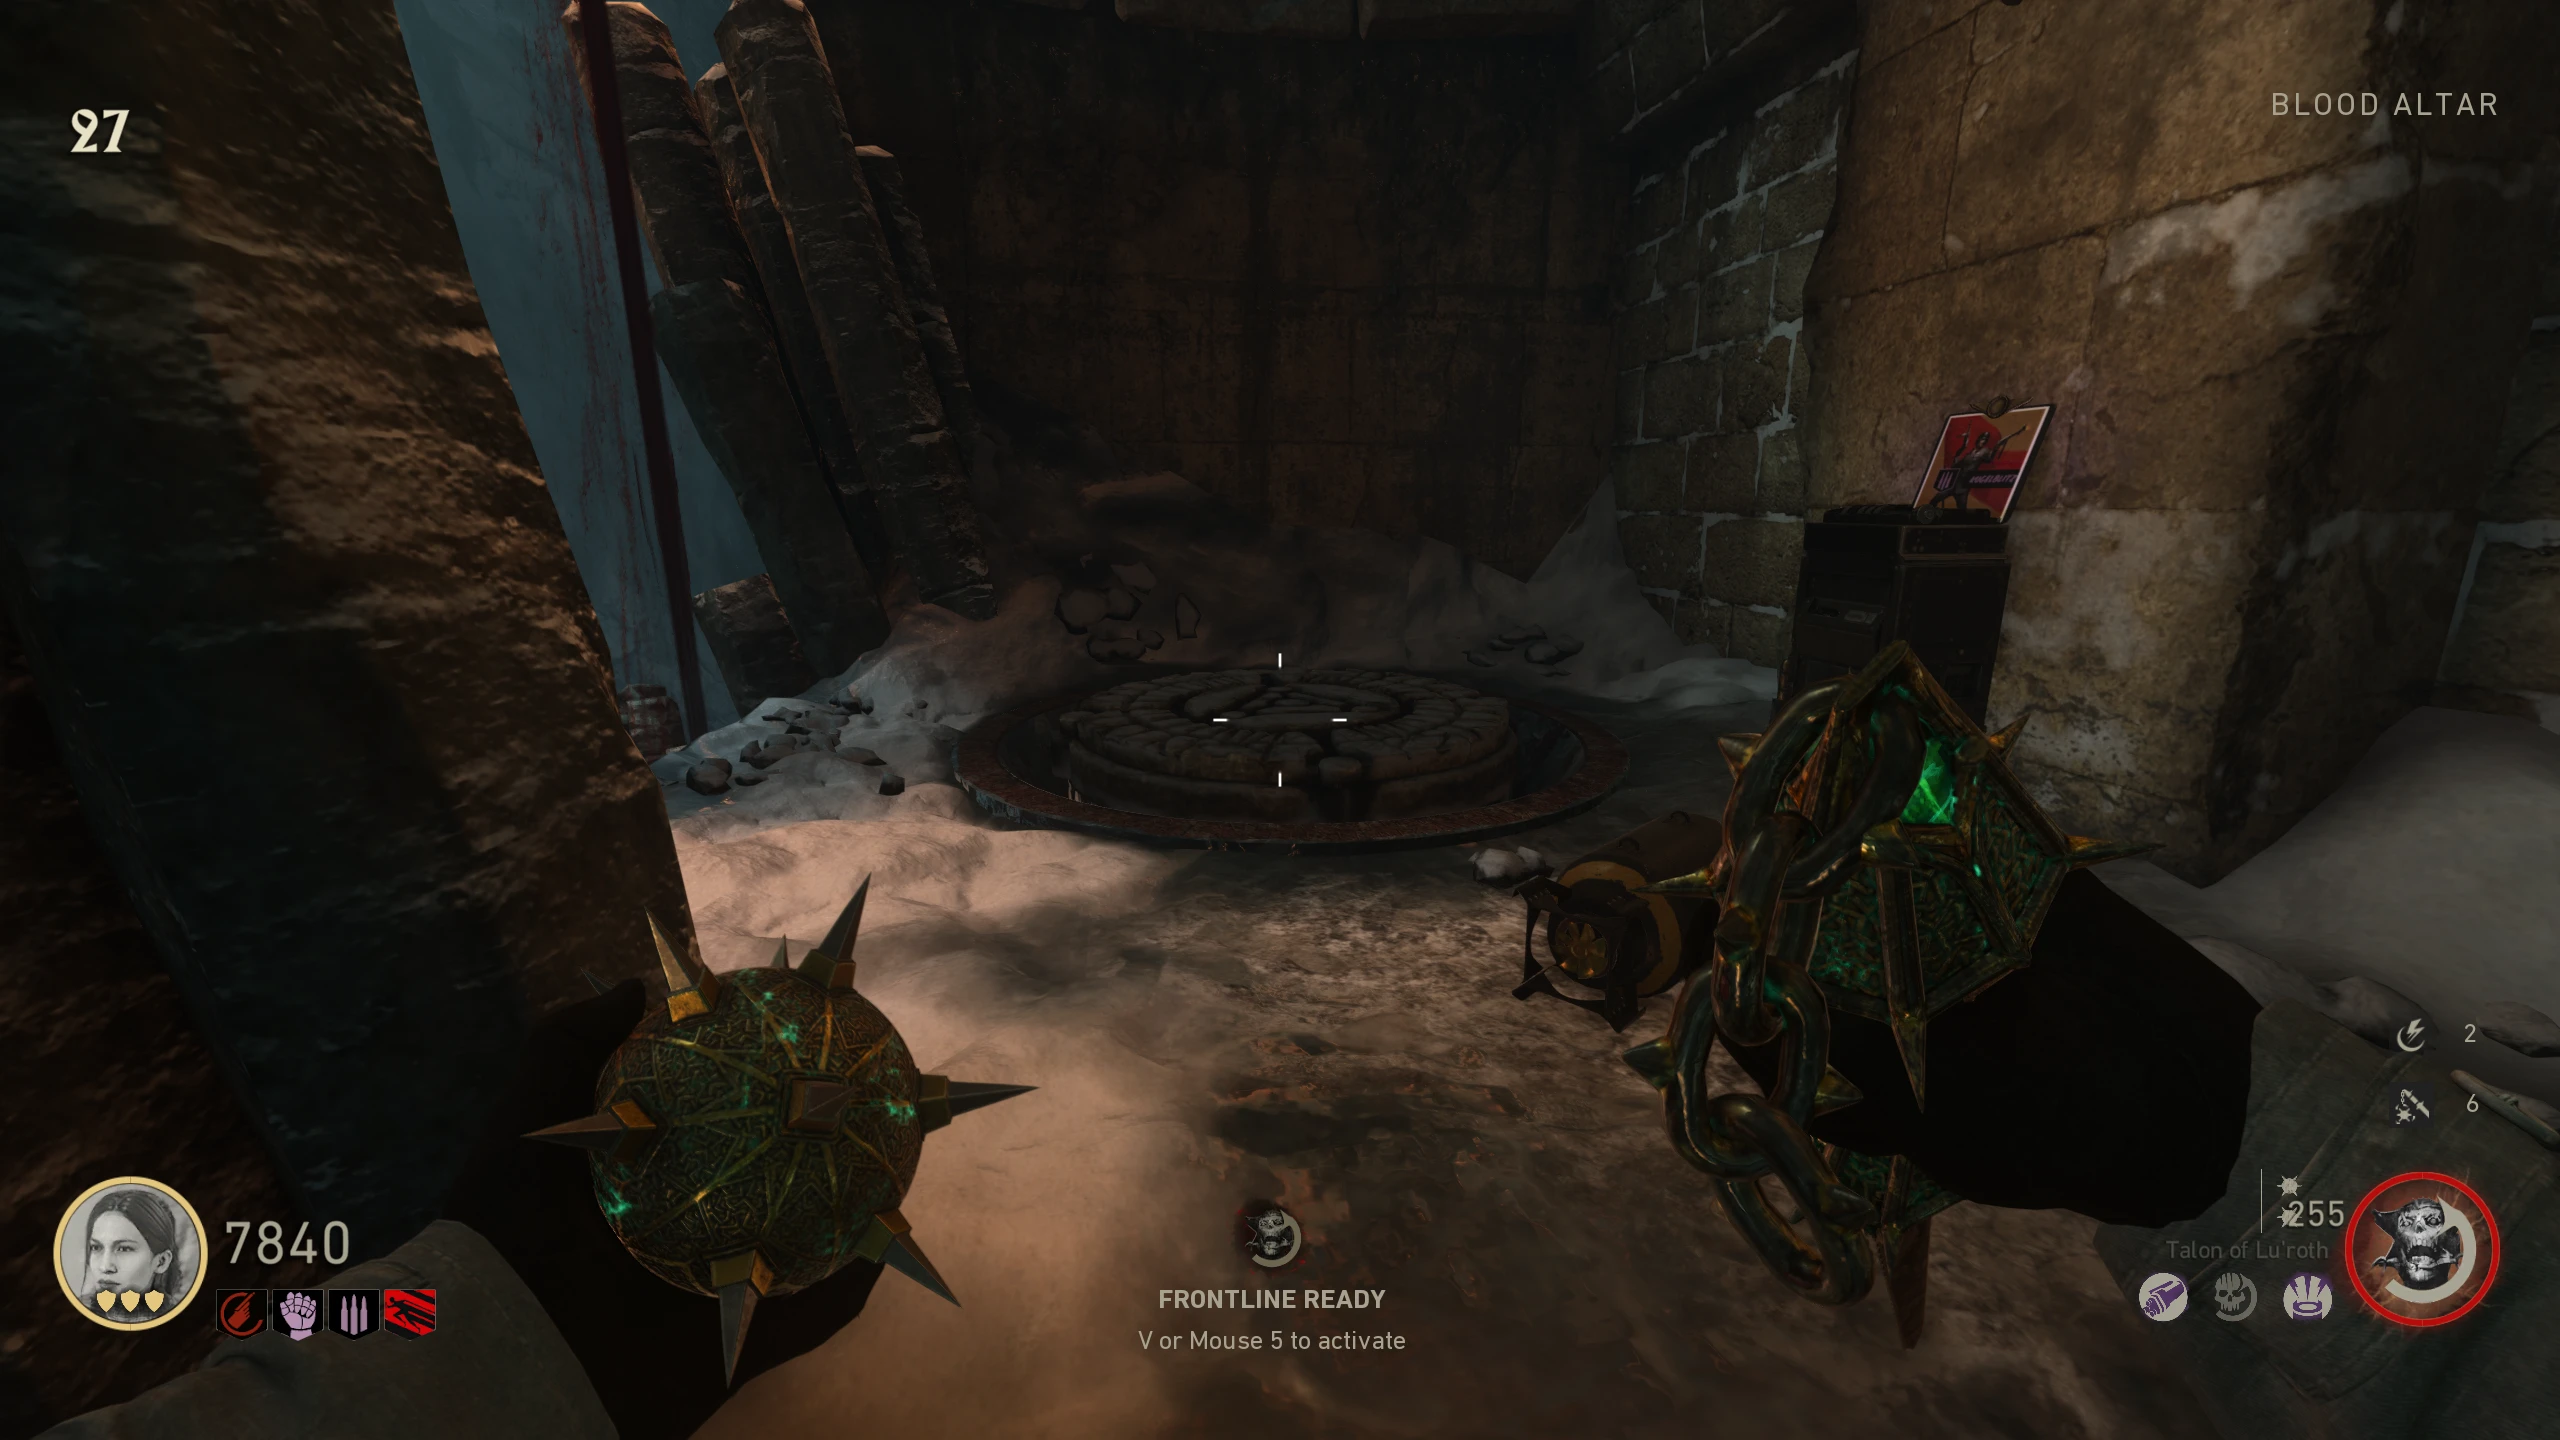
- Once the electricity is on the 'Phylactery' rune, bring a Corpse Eater or Wustling to below the rune. The enemy will become electrified; kill it with the Hammer to electrify it. Melee the rune below the "contraption" in the 'Blood Altar.'
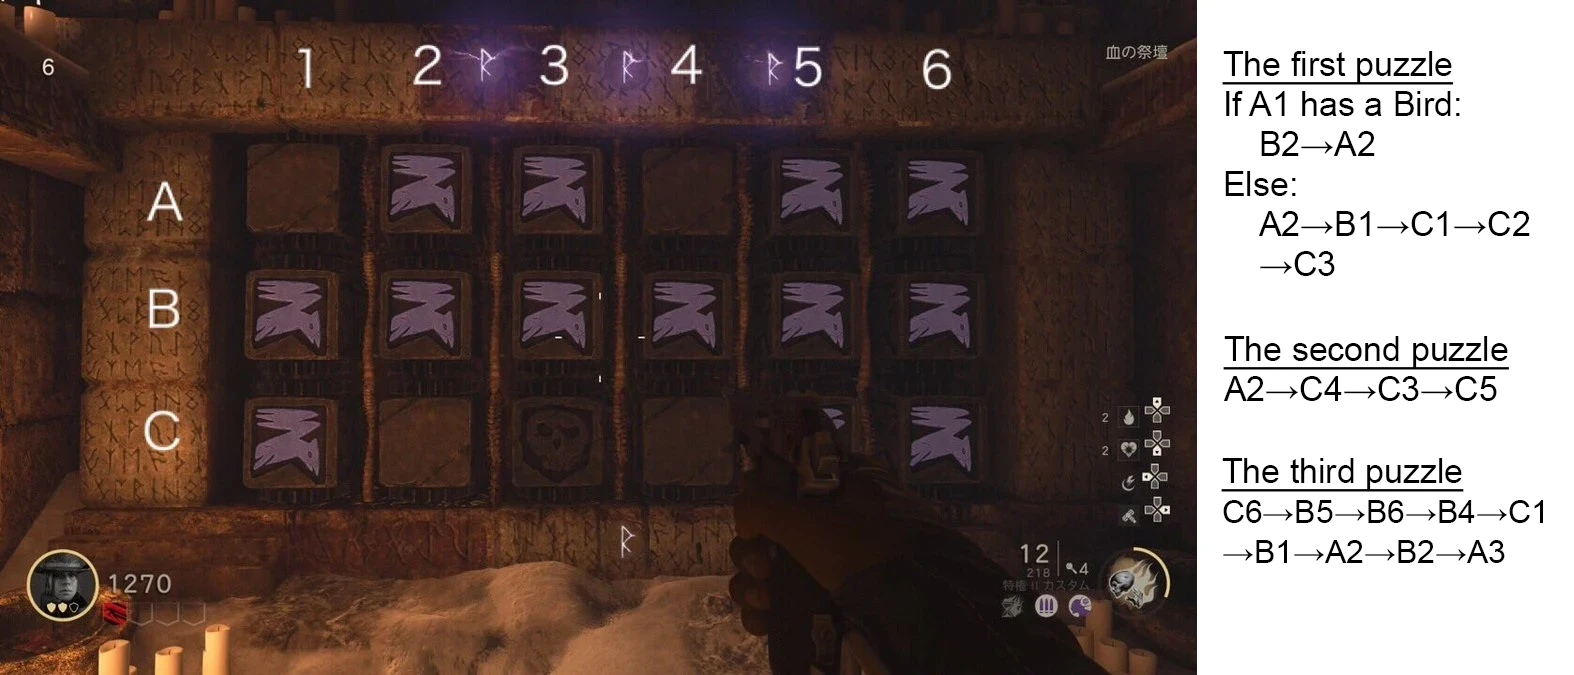
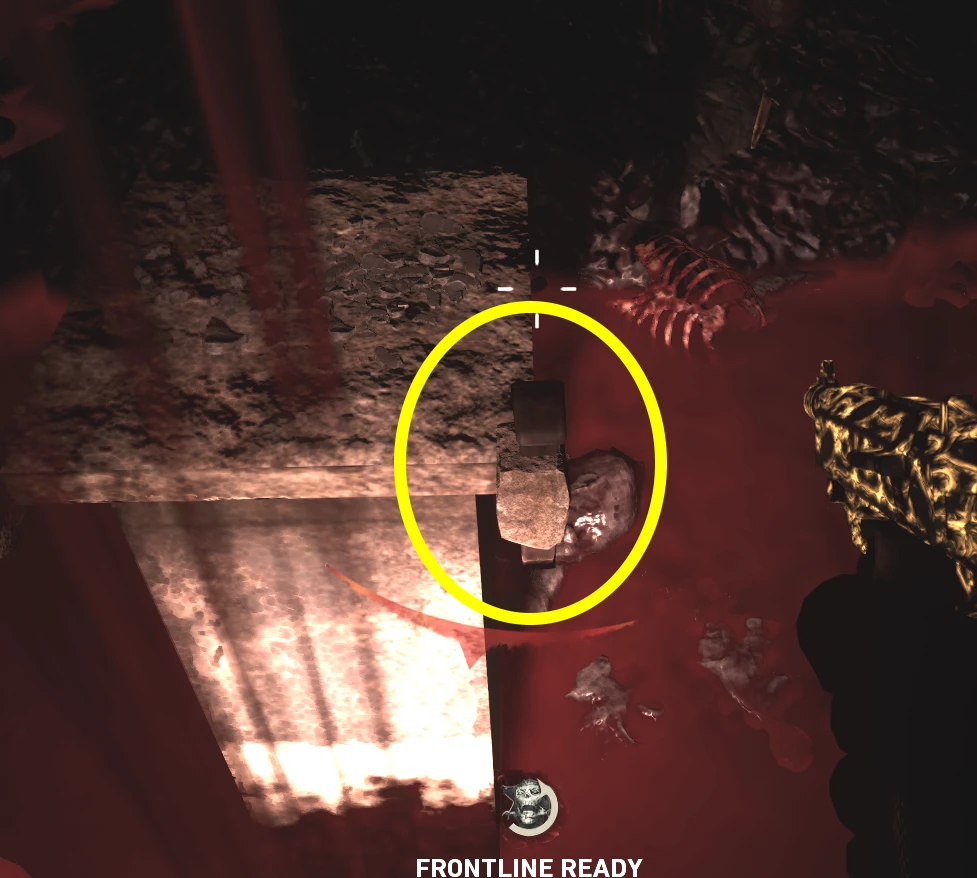
- You'll now need to shoot blocks on the "contraption" so that all the lit sides are facing front. Once you face all the blocks, they'll all spin, and you'll complete a round. Use this image for how to solve each round. You can reset the current round of the puzzle by shooting a skull block if present.
- Once you complete all three rounds, go to the 'Overlook' and, while holding the Hammer, walk along the invisible path in front of the Armour stand out toward the pyramid. Keep walking until you're stopped, and lifted into the air.
- Zombies can chase you down the path, and they aren't slowed like you are, so try to do this between rounds or throw a Jack-in-the-box.
- You'll be teleported to the Stormraven Trial, which is basically a tutorial on how to use the upgraded Hammer. Upon completion, you'll be teleported back.
Thulian Shield
The Thulian Shield is a melee wonder weapon that can release a short-range shockwave with the melee button and block attacks by aiming.
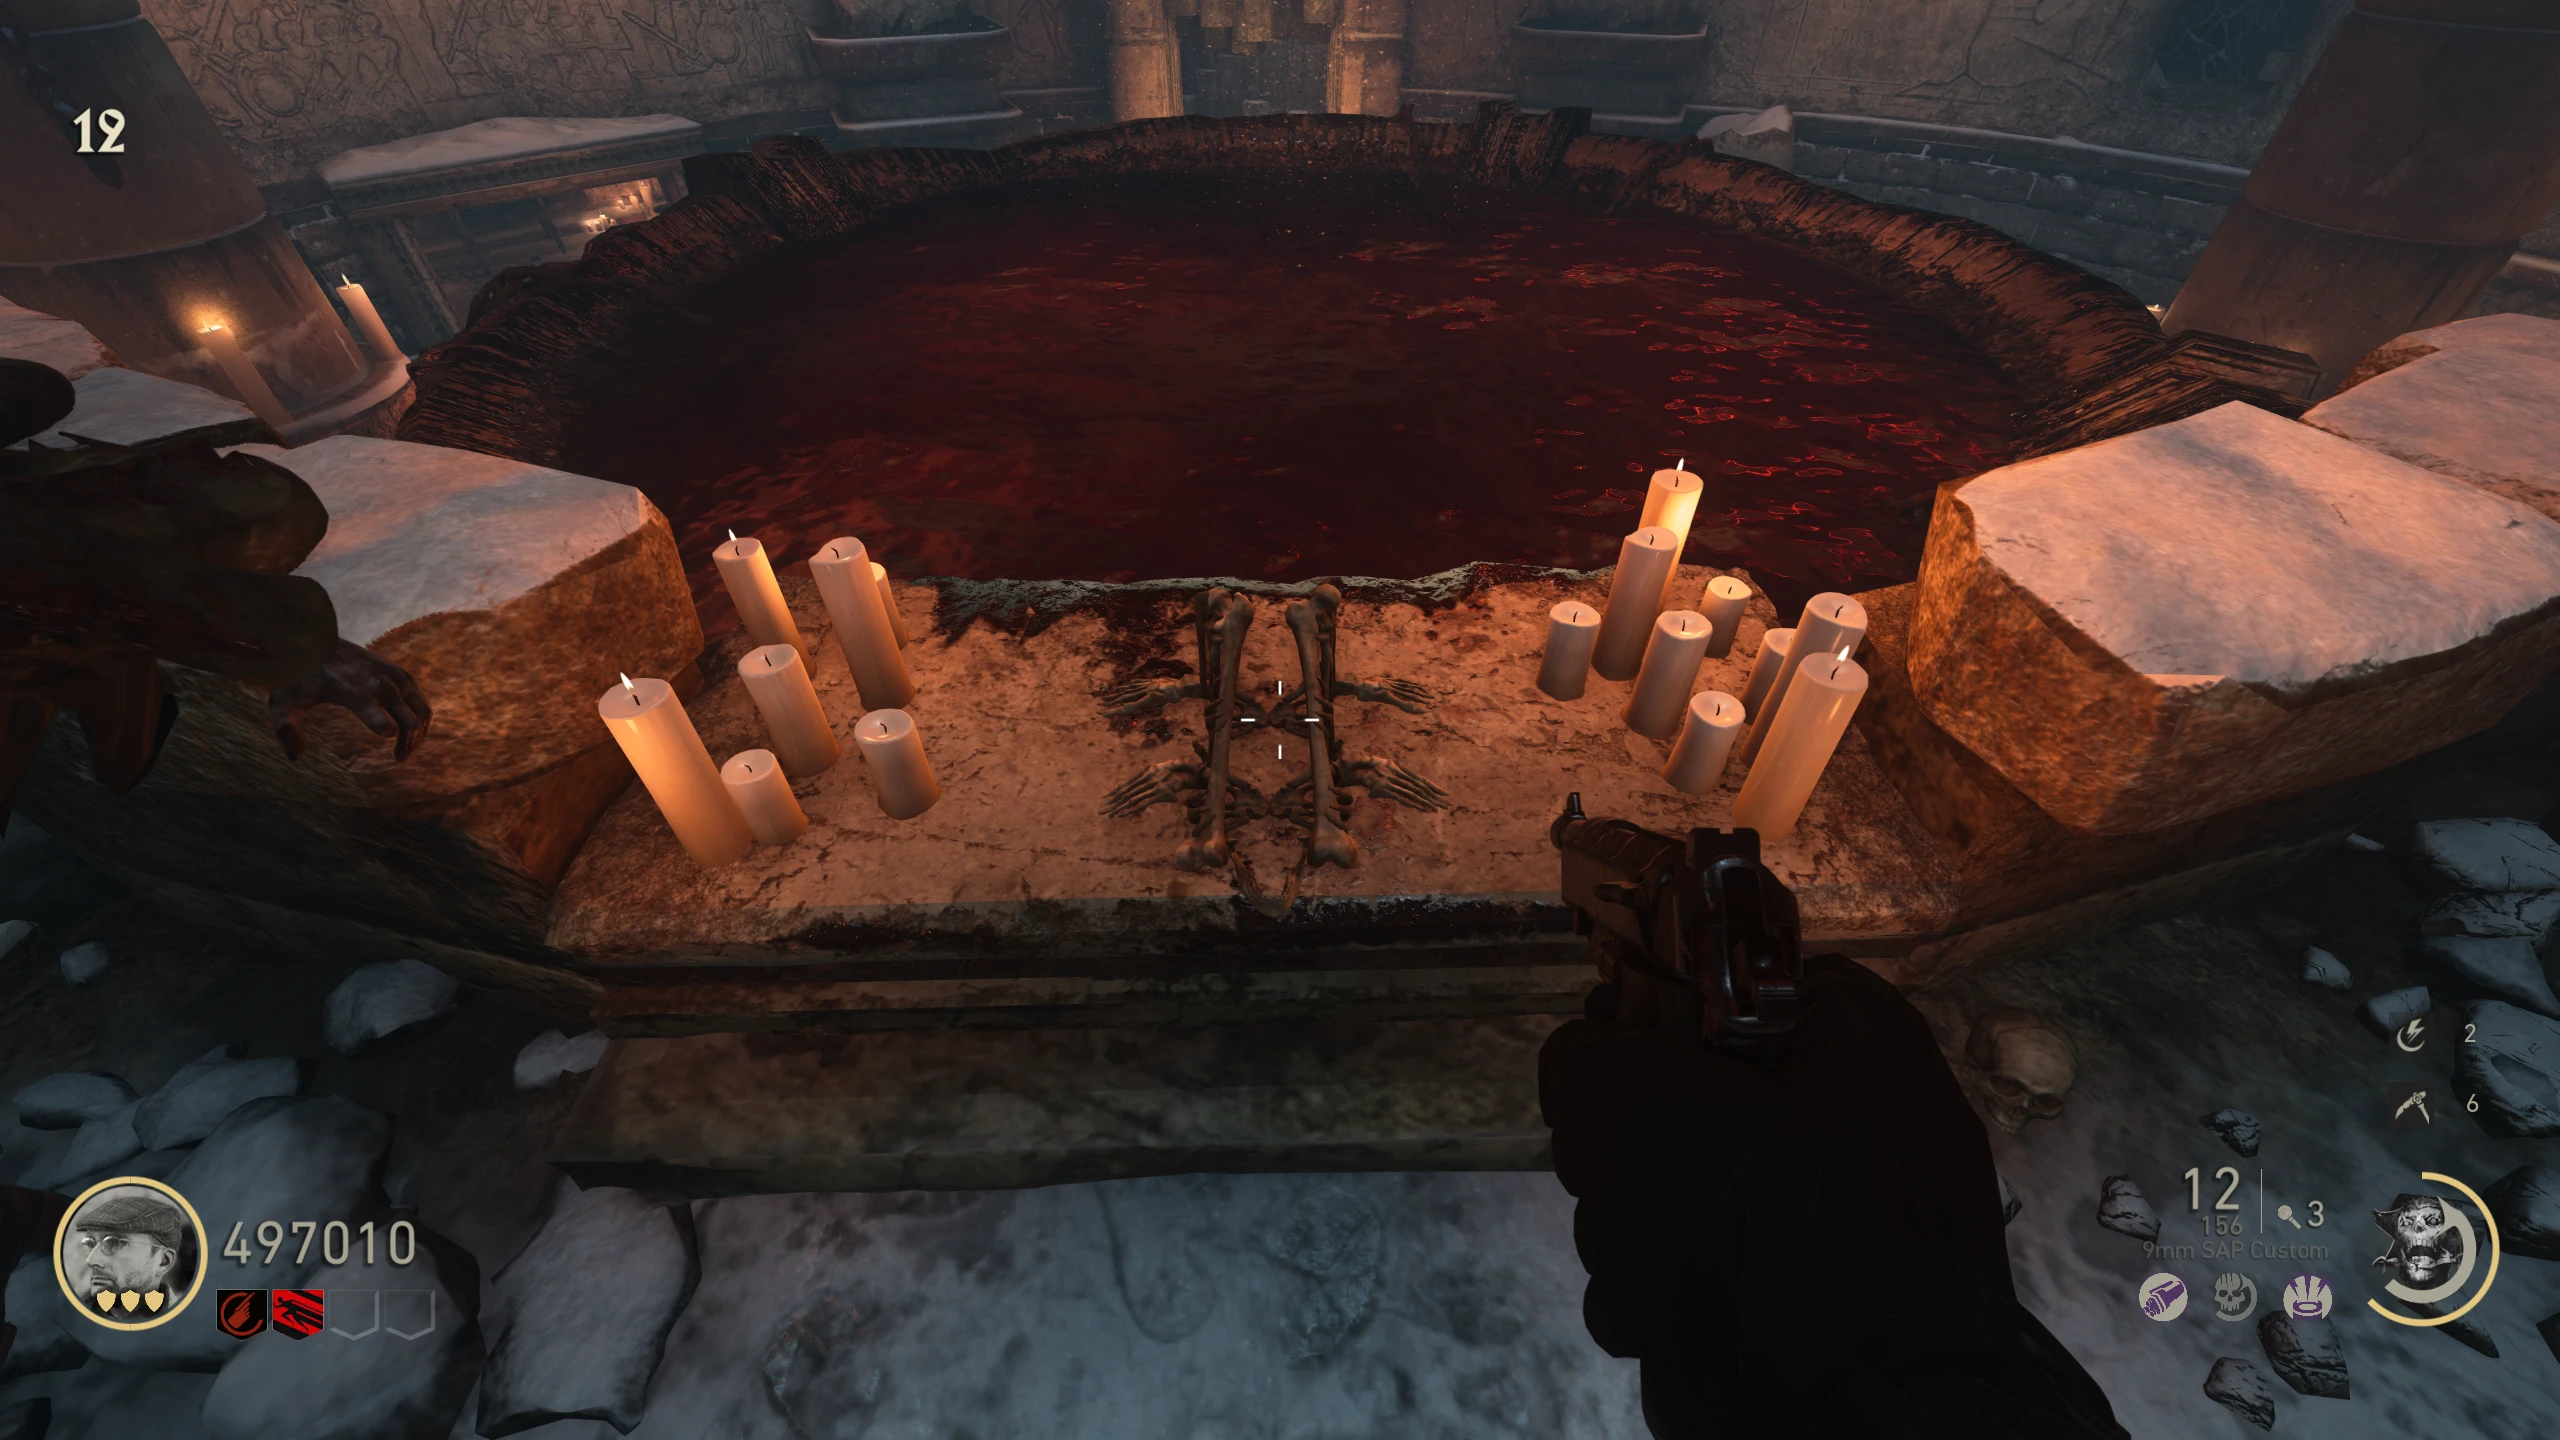
- Fill two Blood Pools by killing about six Zombies in the pool. Pool locations:
- Pick up the Bloodraven Stone near the "body jars" at the bottom of the 'Morgue.' Place it on the blood pool in the 'Overlook,' and fill the pool with kills.
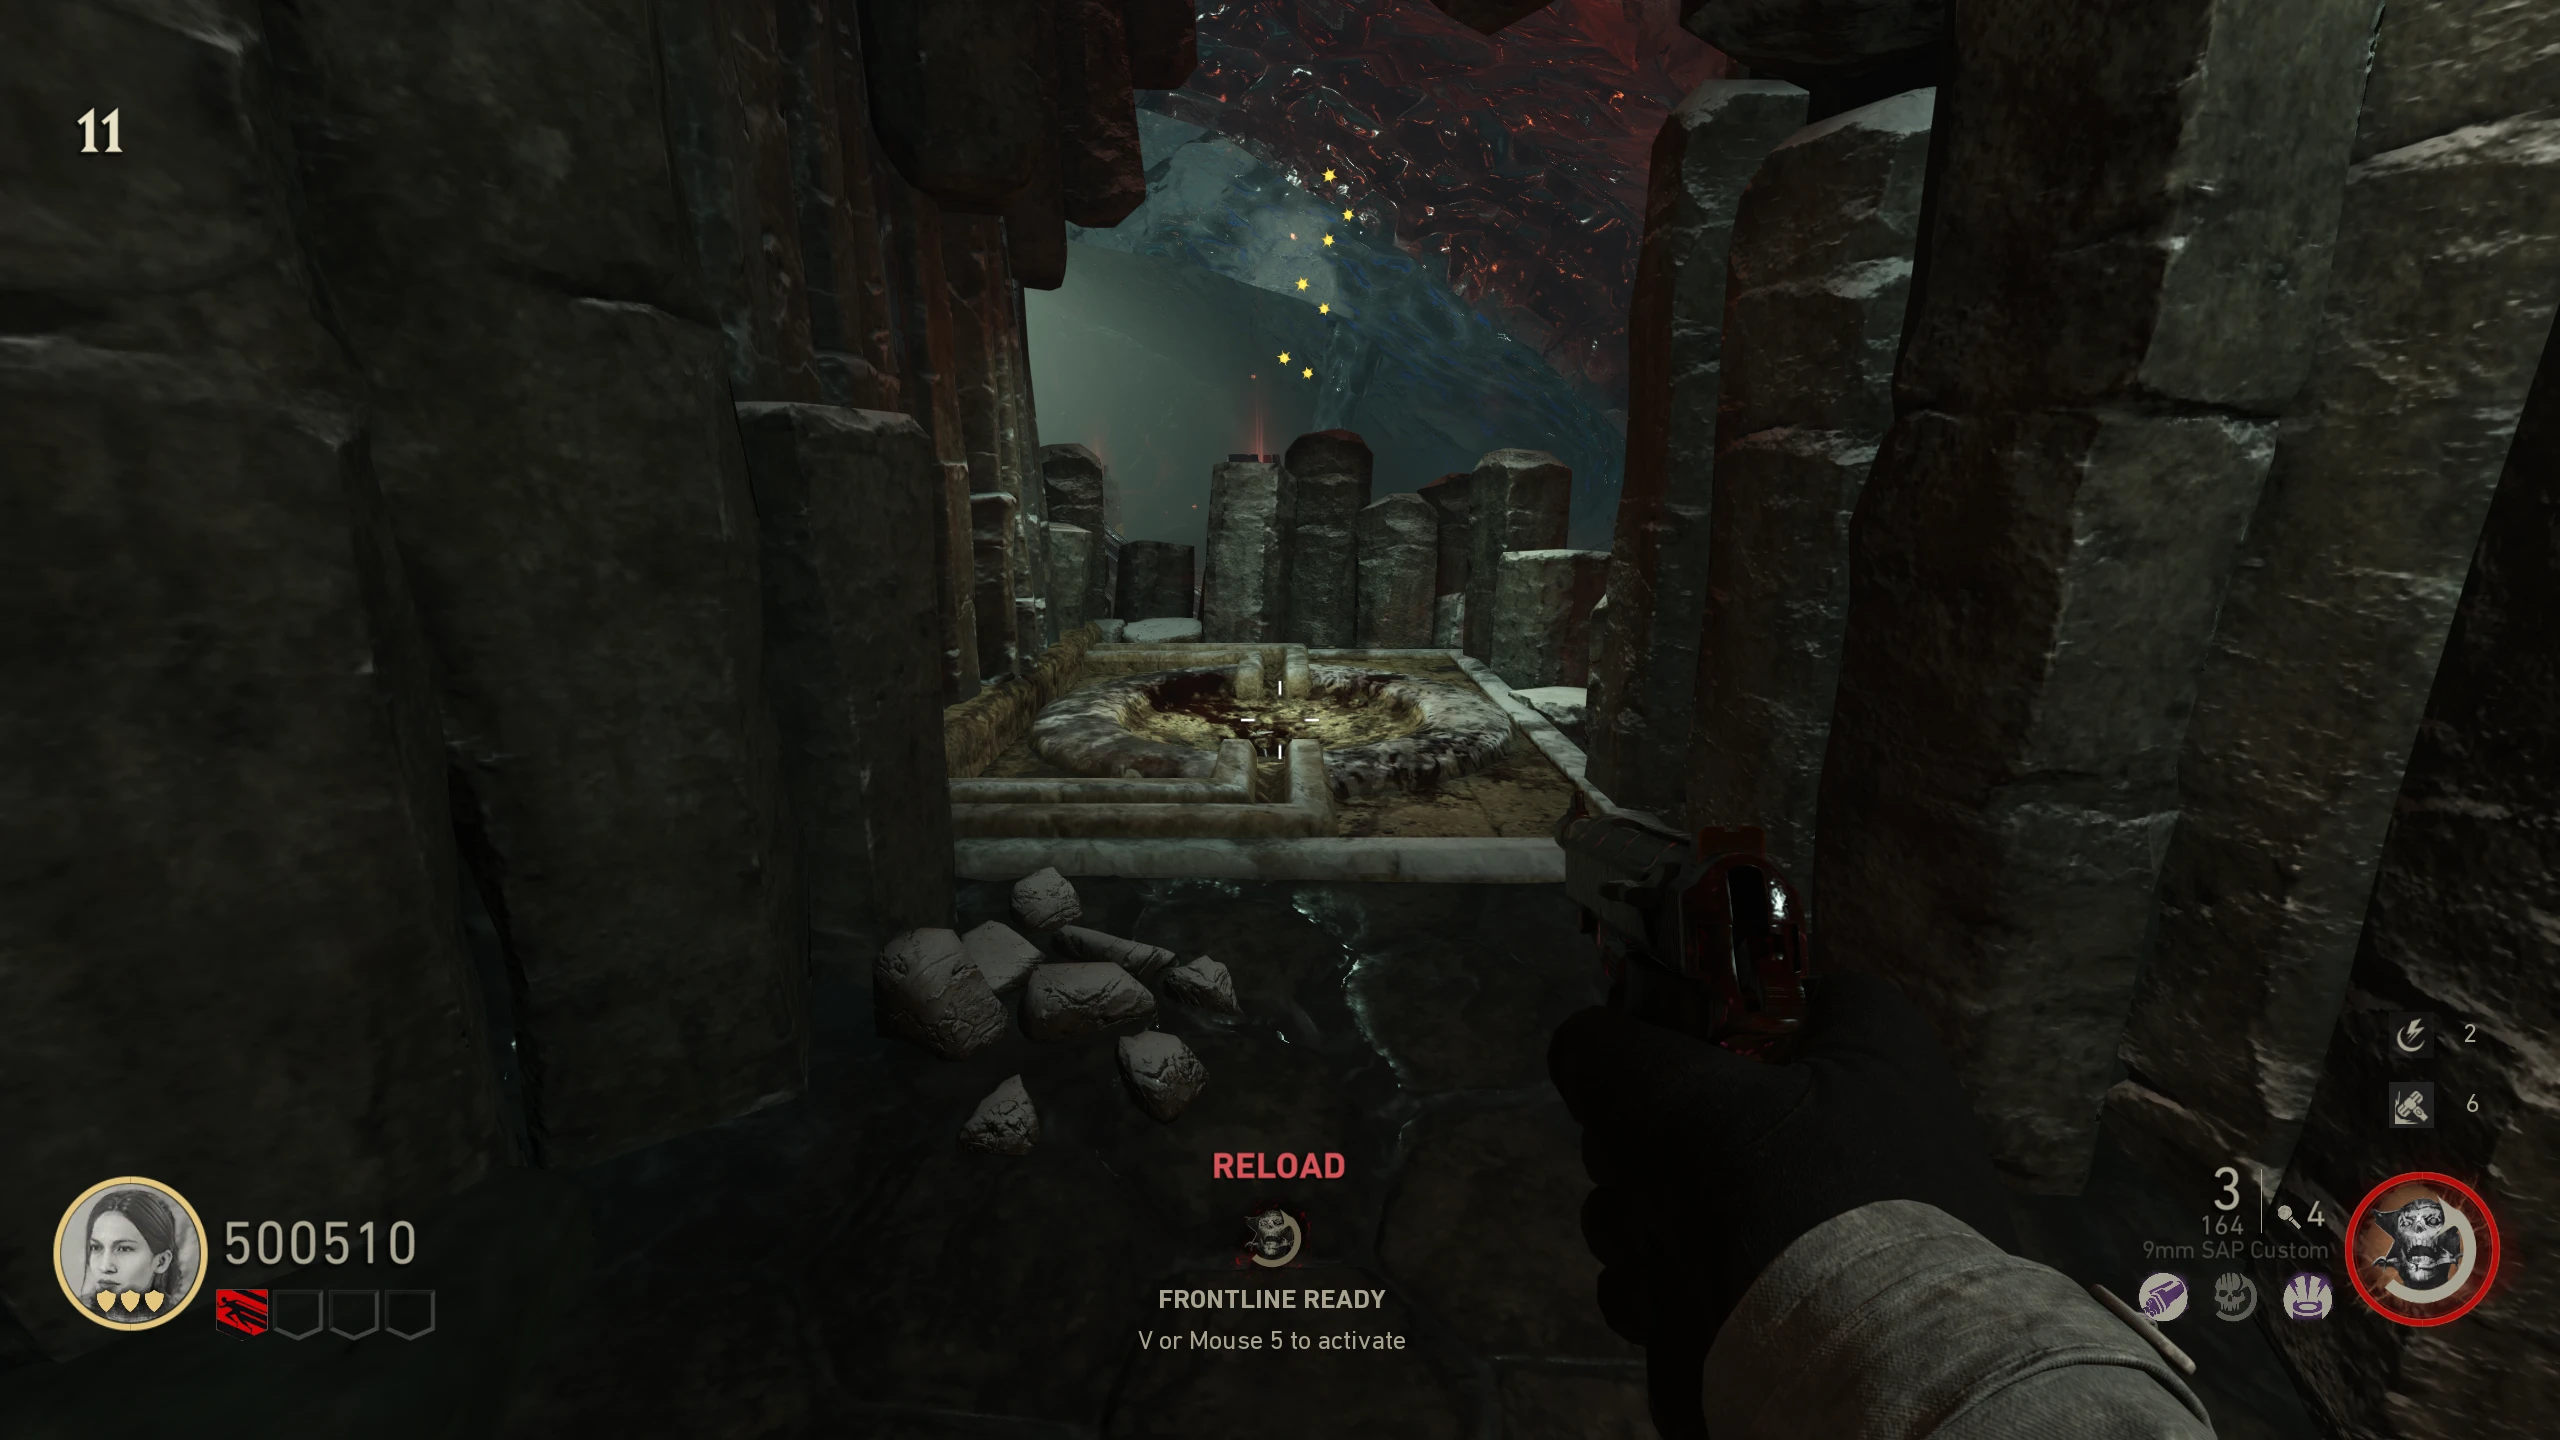
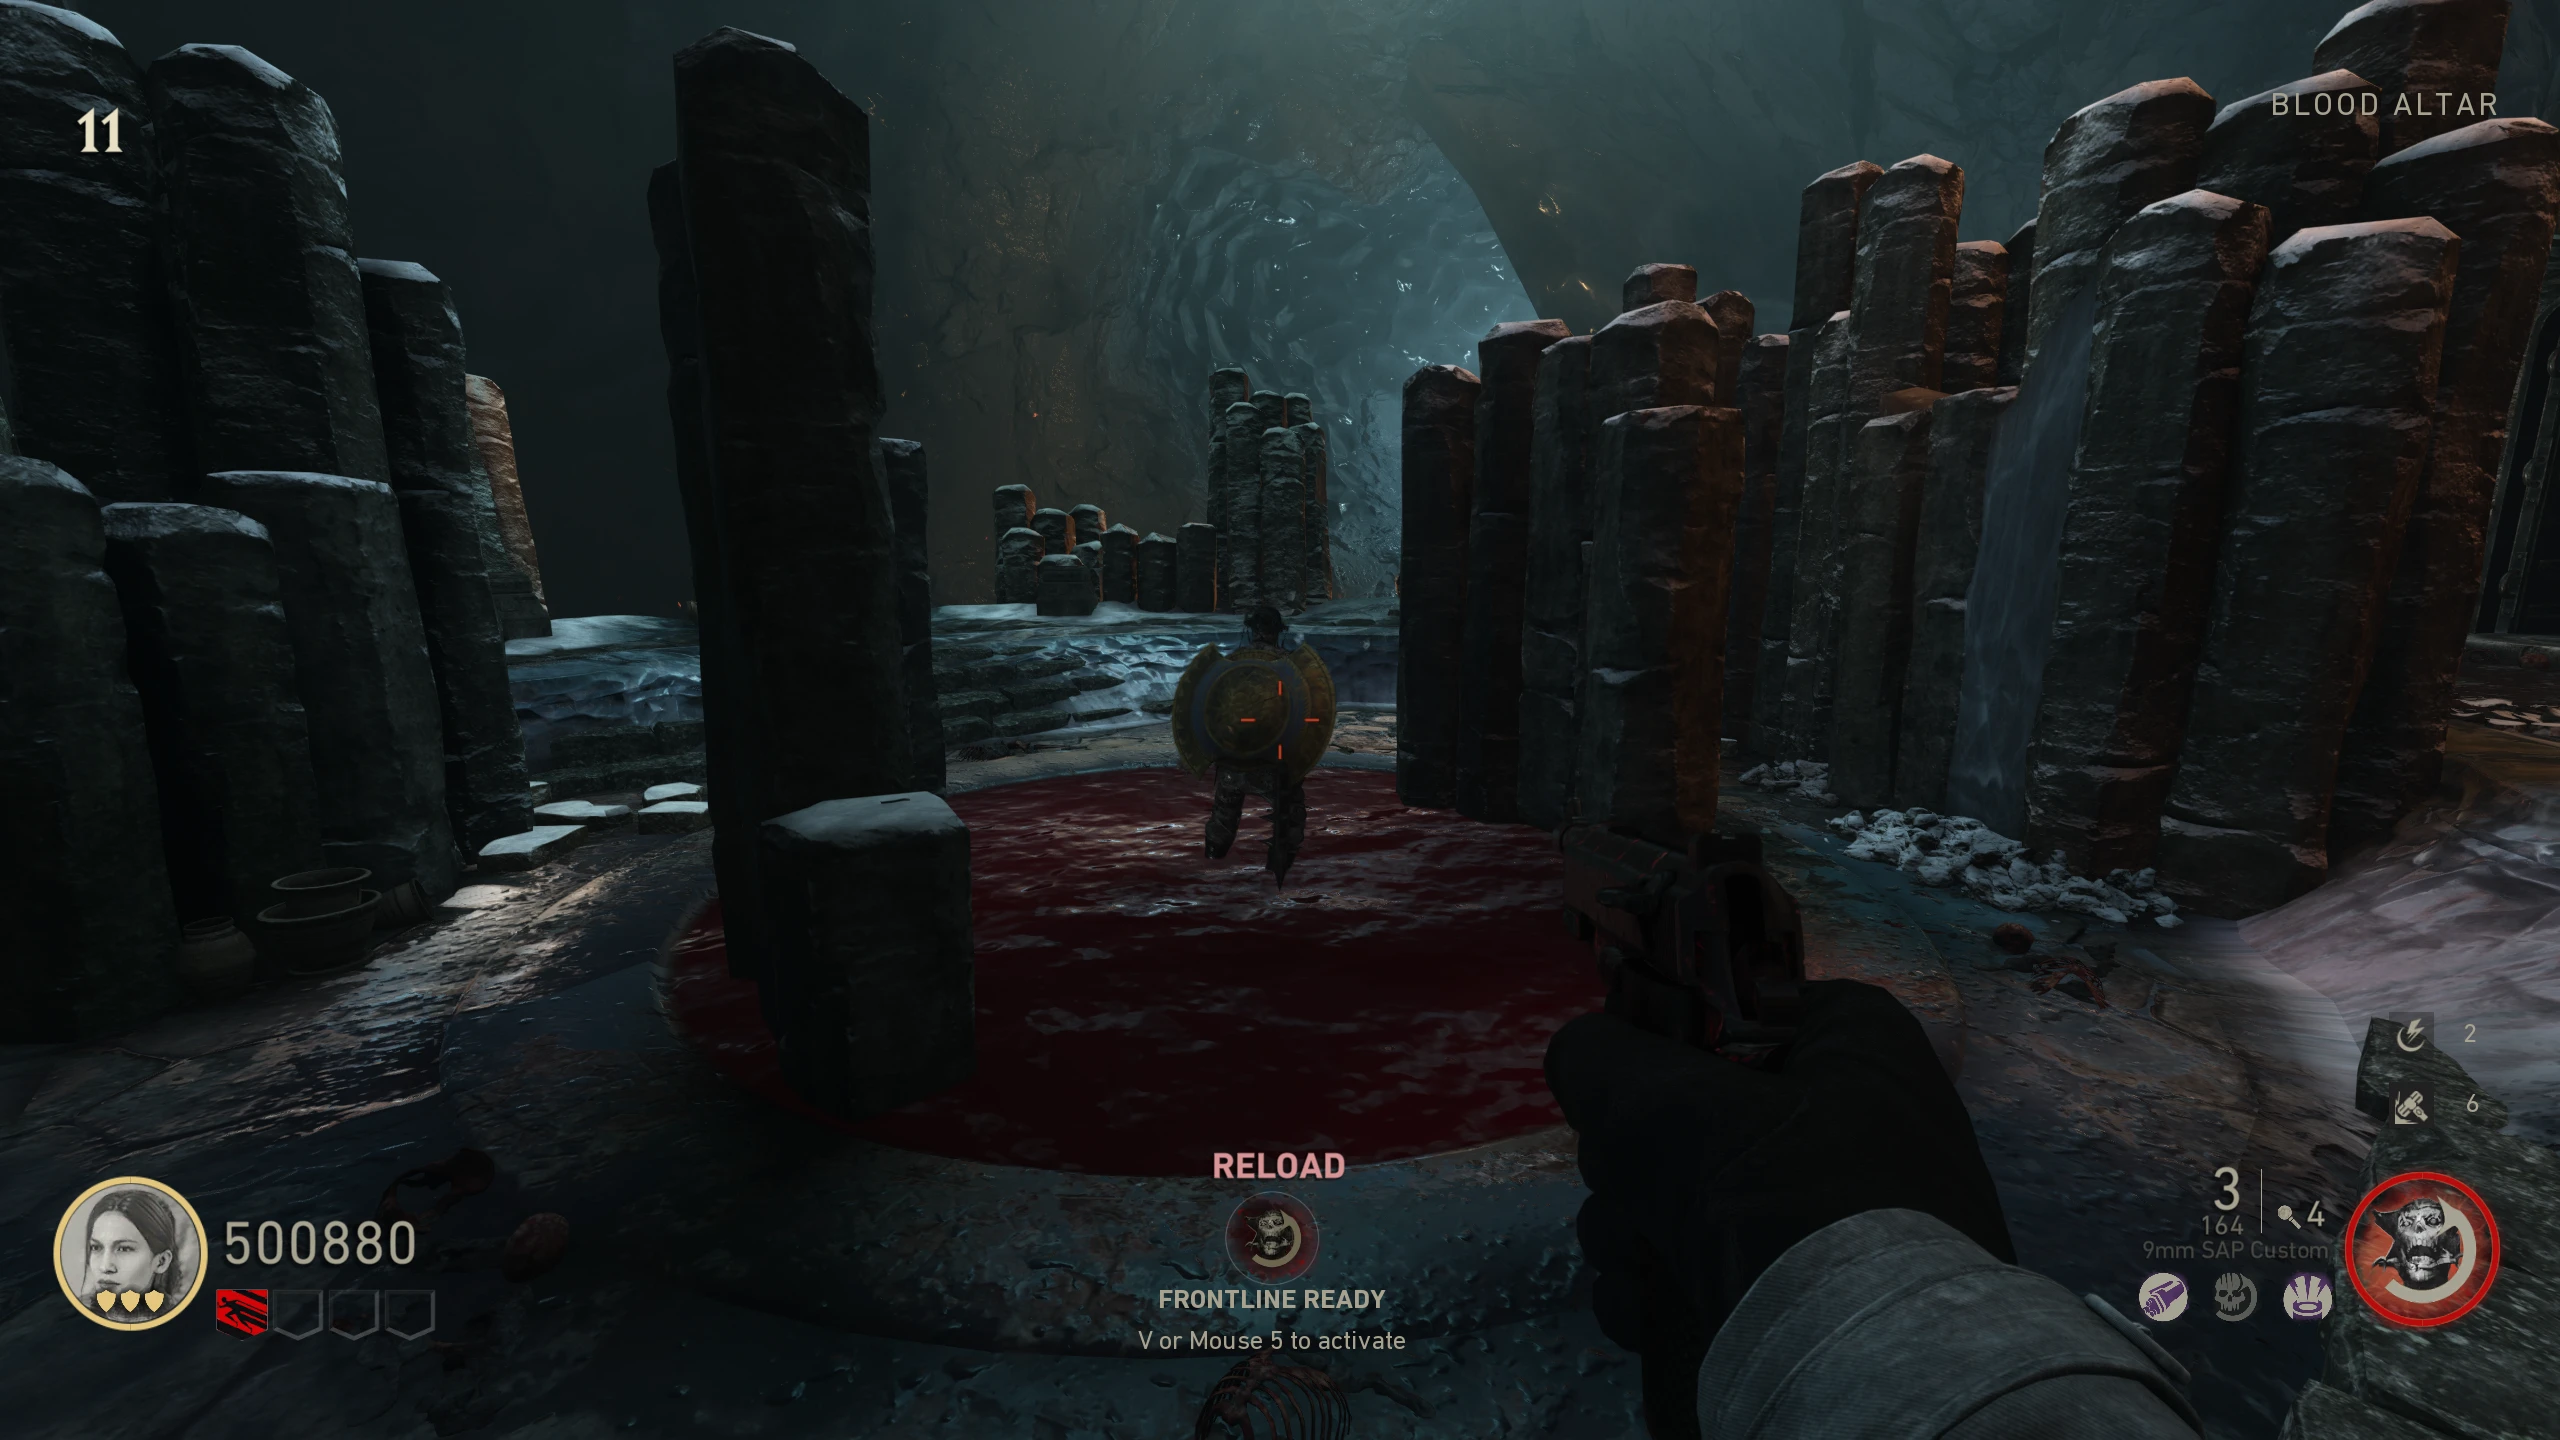
- Once all three pools are filled, a Wustling will spawn in the large blood pool in the 'Blood Altar' with the Thulian Shield on its back. Kill the Wustling and pick up the Thulian Shield it dropped.
- With the Thulian Shield, you can block enemy attacks while aiming with the shield equipped (it doesn't block damage on your back).
Roar of Sang'Ket (Upgraded Shield)
The Roar of Sang'ket enhances the shockwave to do more damage and the blocking ability to take more damage.
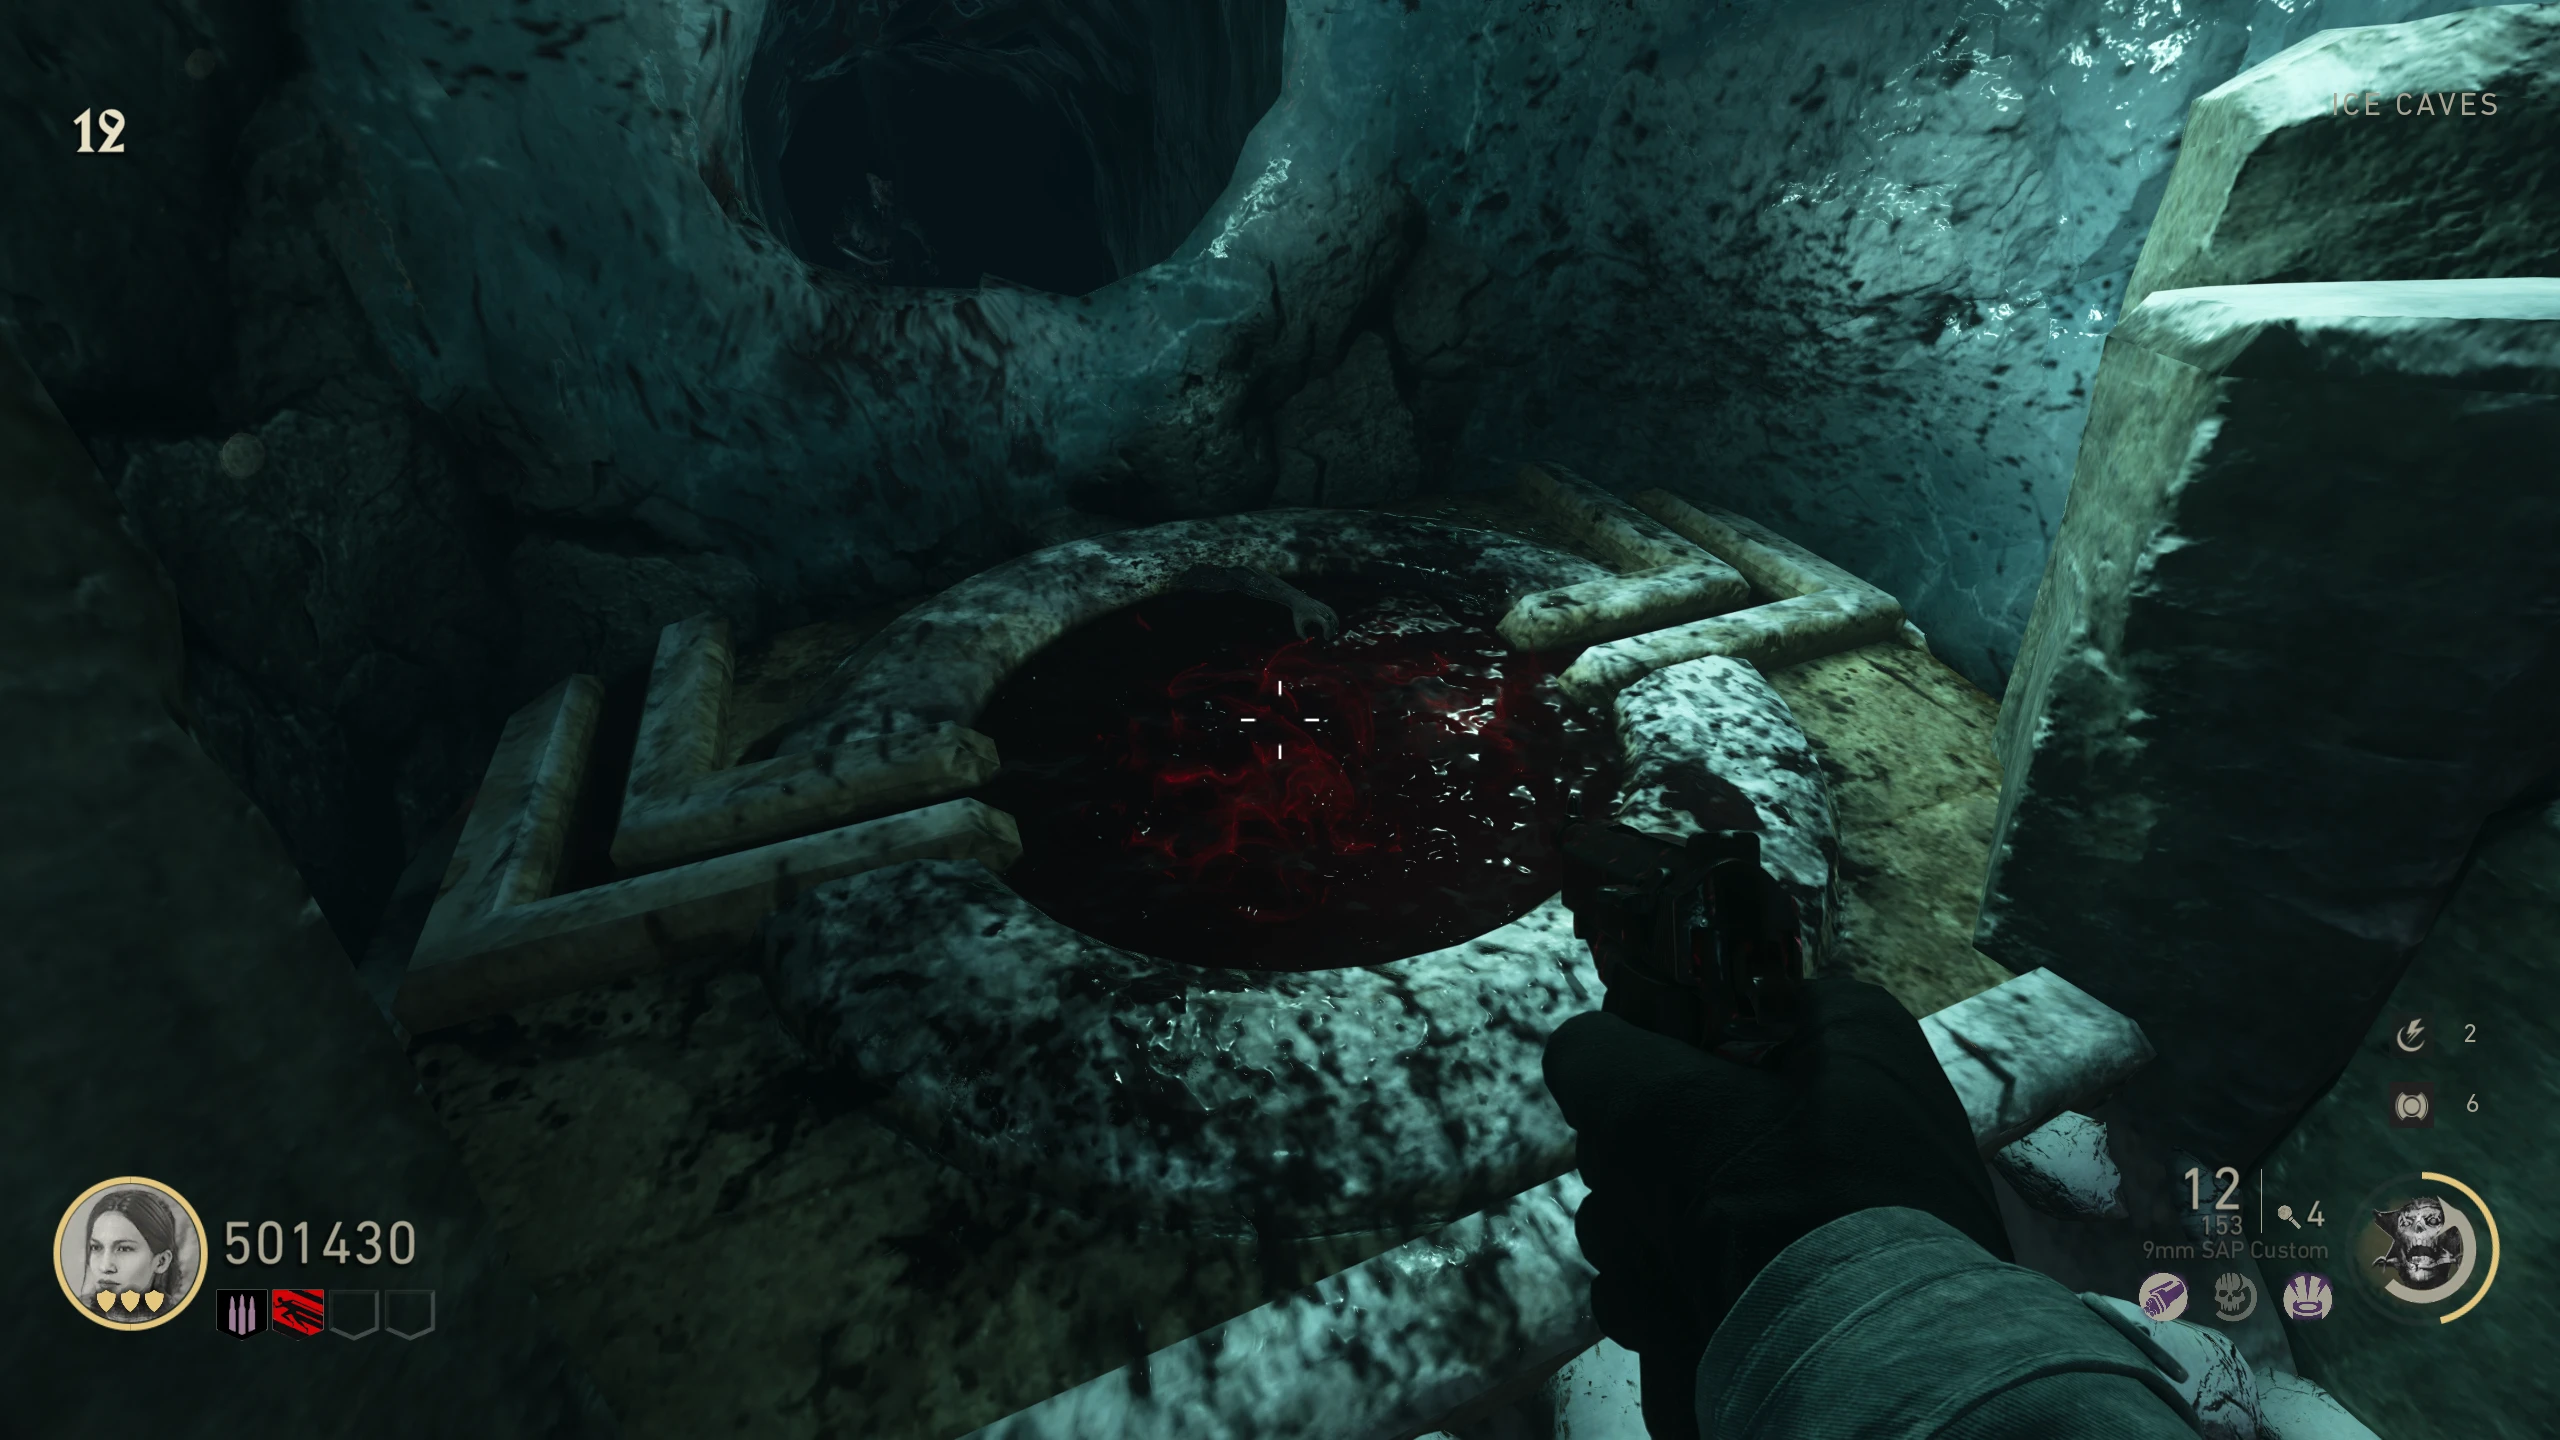
- Look at each of the Blood Pools until you find the one emitting red smoke (can only be seen by the player with the shield).
- Let a Corpse Eater eat about 3-4 Zombies so it's fully charged (it'll glow red once it's eaten enough Zombies).
- A fully charged Corpse Eater will spawn every time you shoot a Raven in the Raven's Claw Special Pistol quest. You can use this to not have to pass rounds.
- Two uncharged Corpse Eaters will spawn when you come back from Pack-a-Punch.
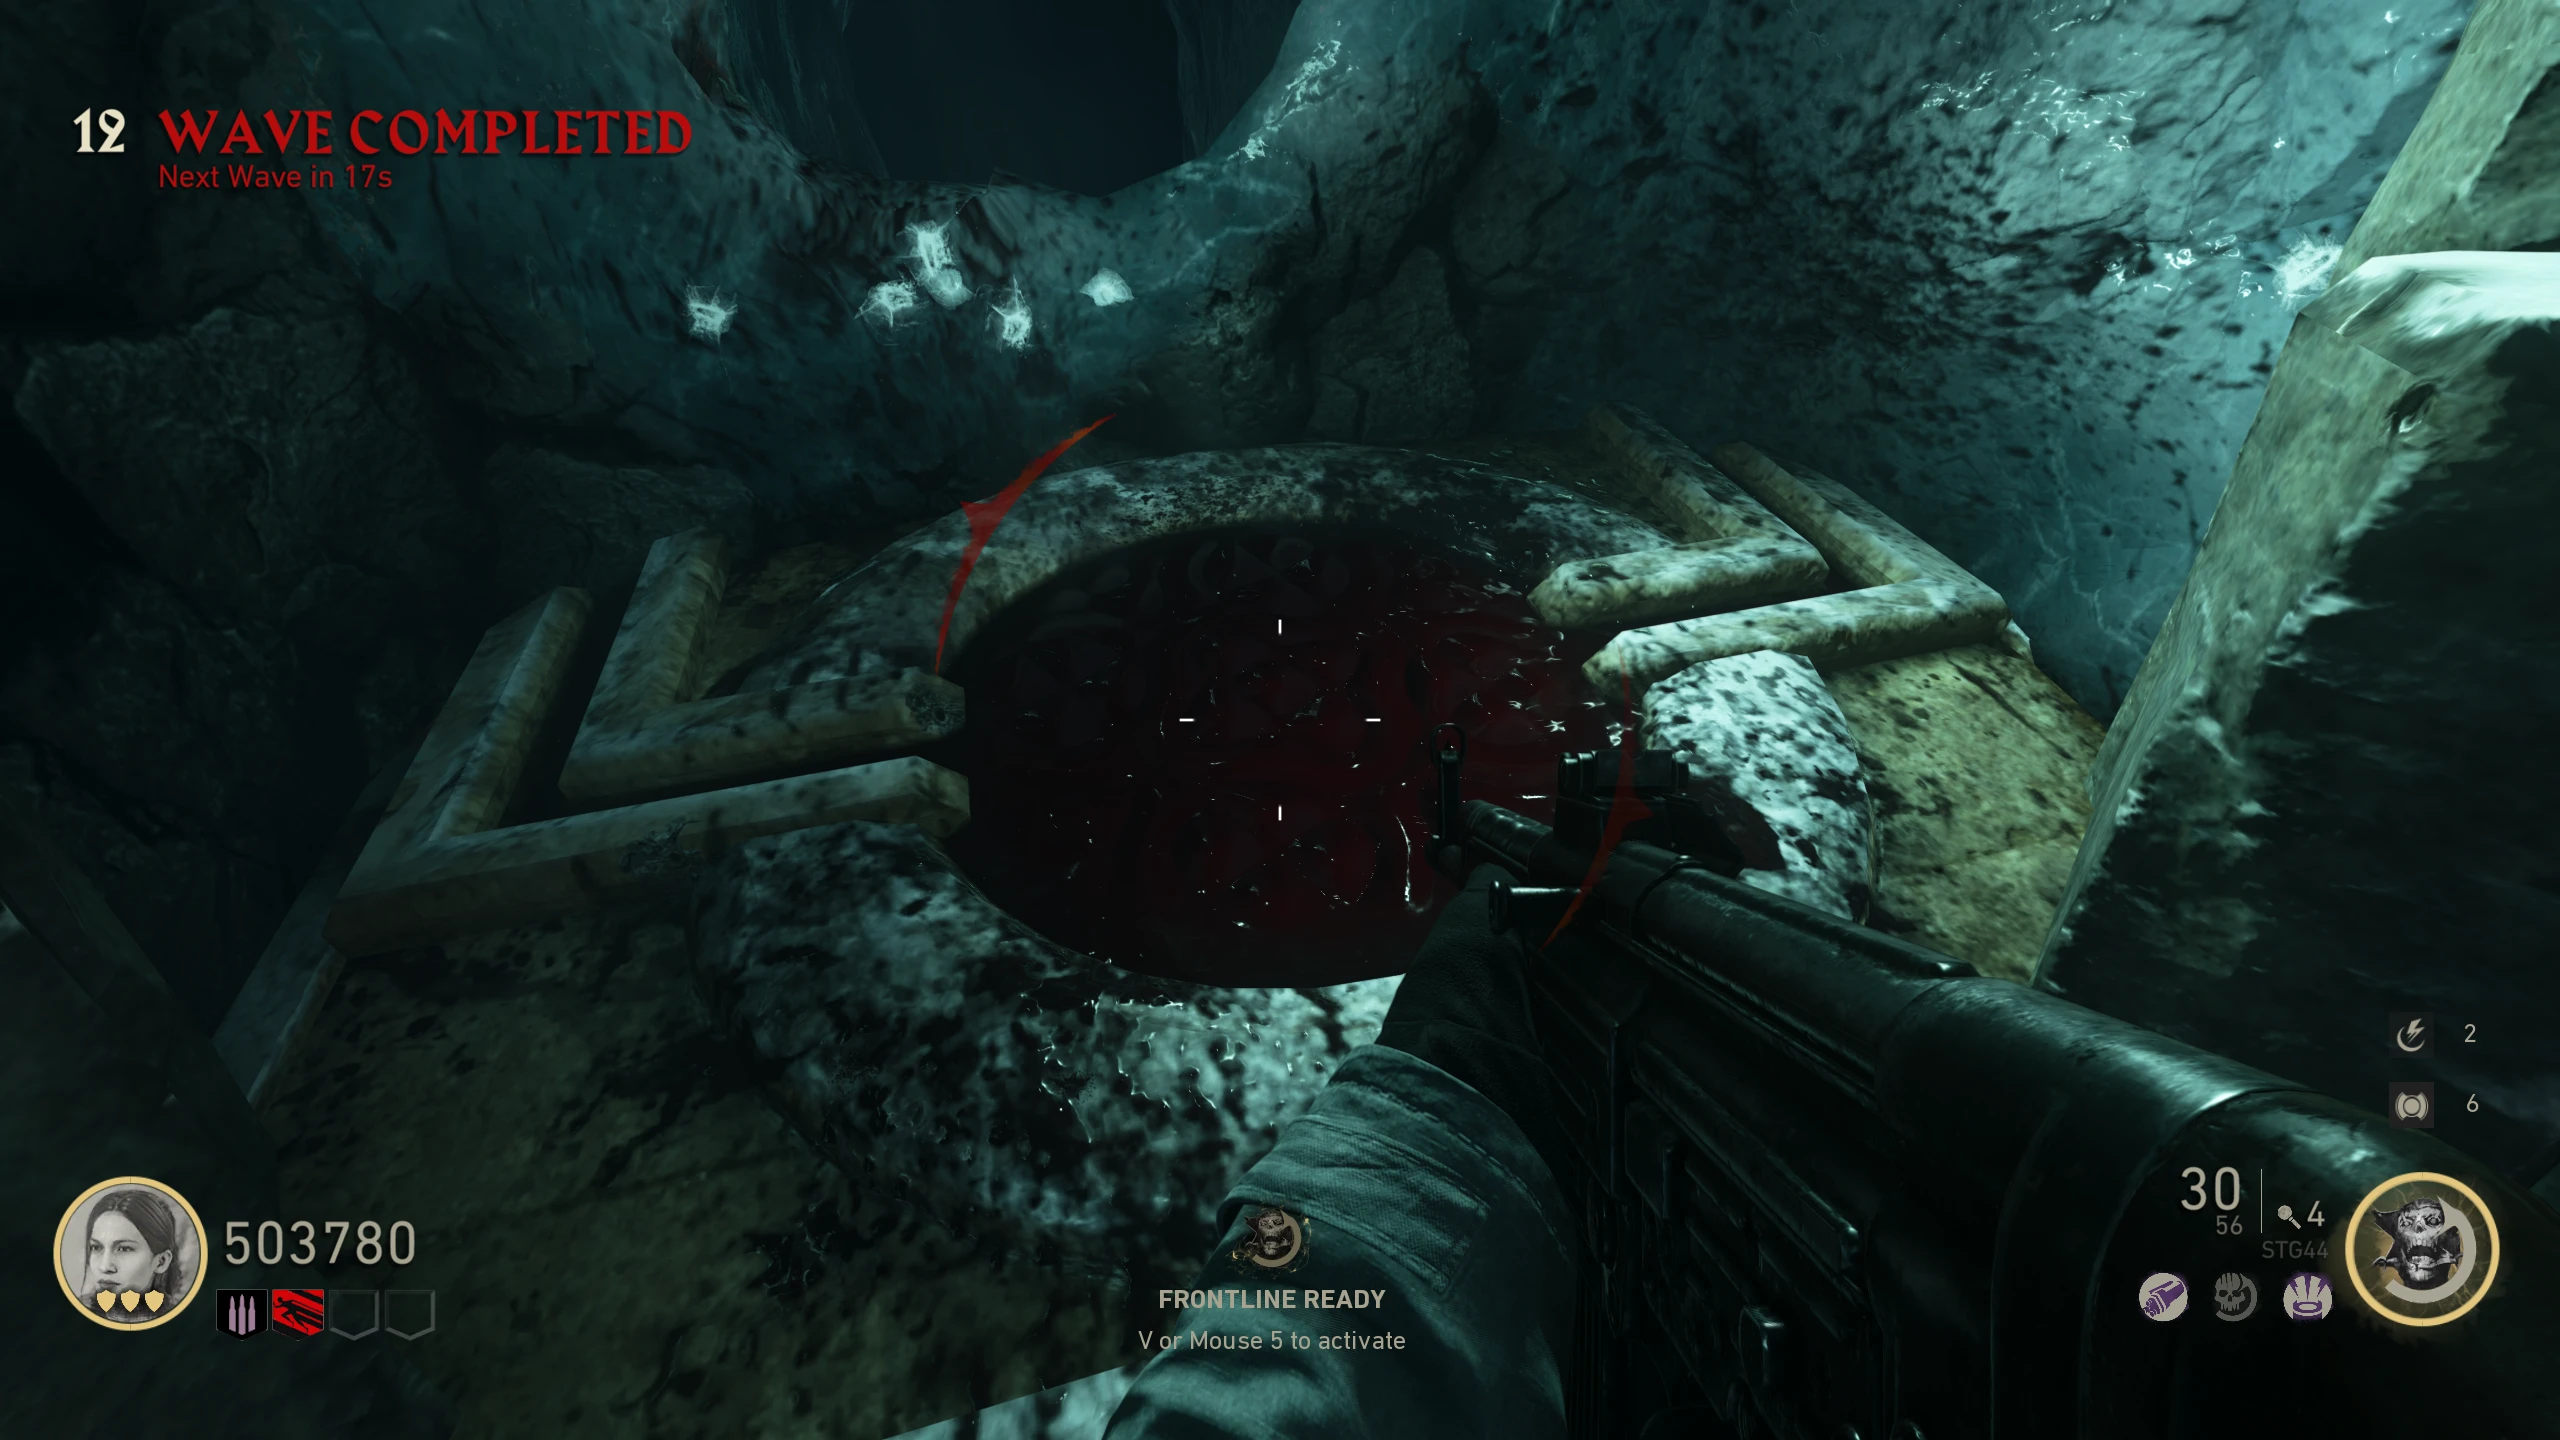
- Kill the Corpse Eater while it's standing in the Pool. If done right, the blood pool will show a pattern (different every game).
- You don't have to be holding the shield to kill the Corpse Eater in the pool. It will still work, but you won't be able to see the mist or the pattern.
- Repeat for the two remaining pools. Remember the order you "activated" the pools in.
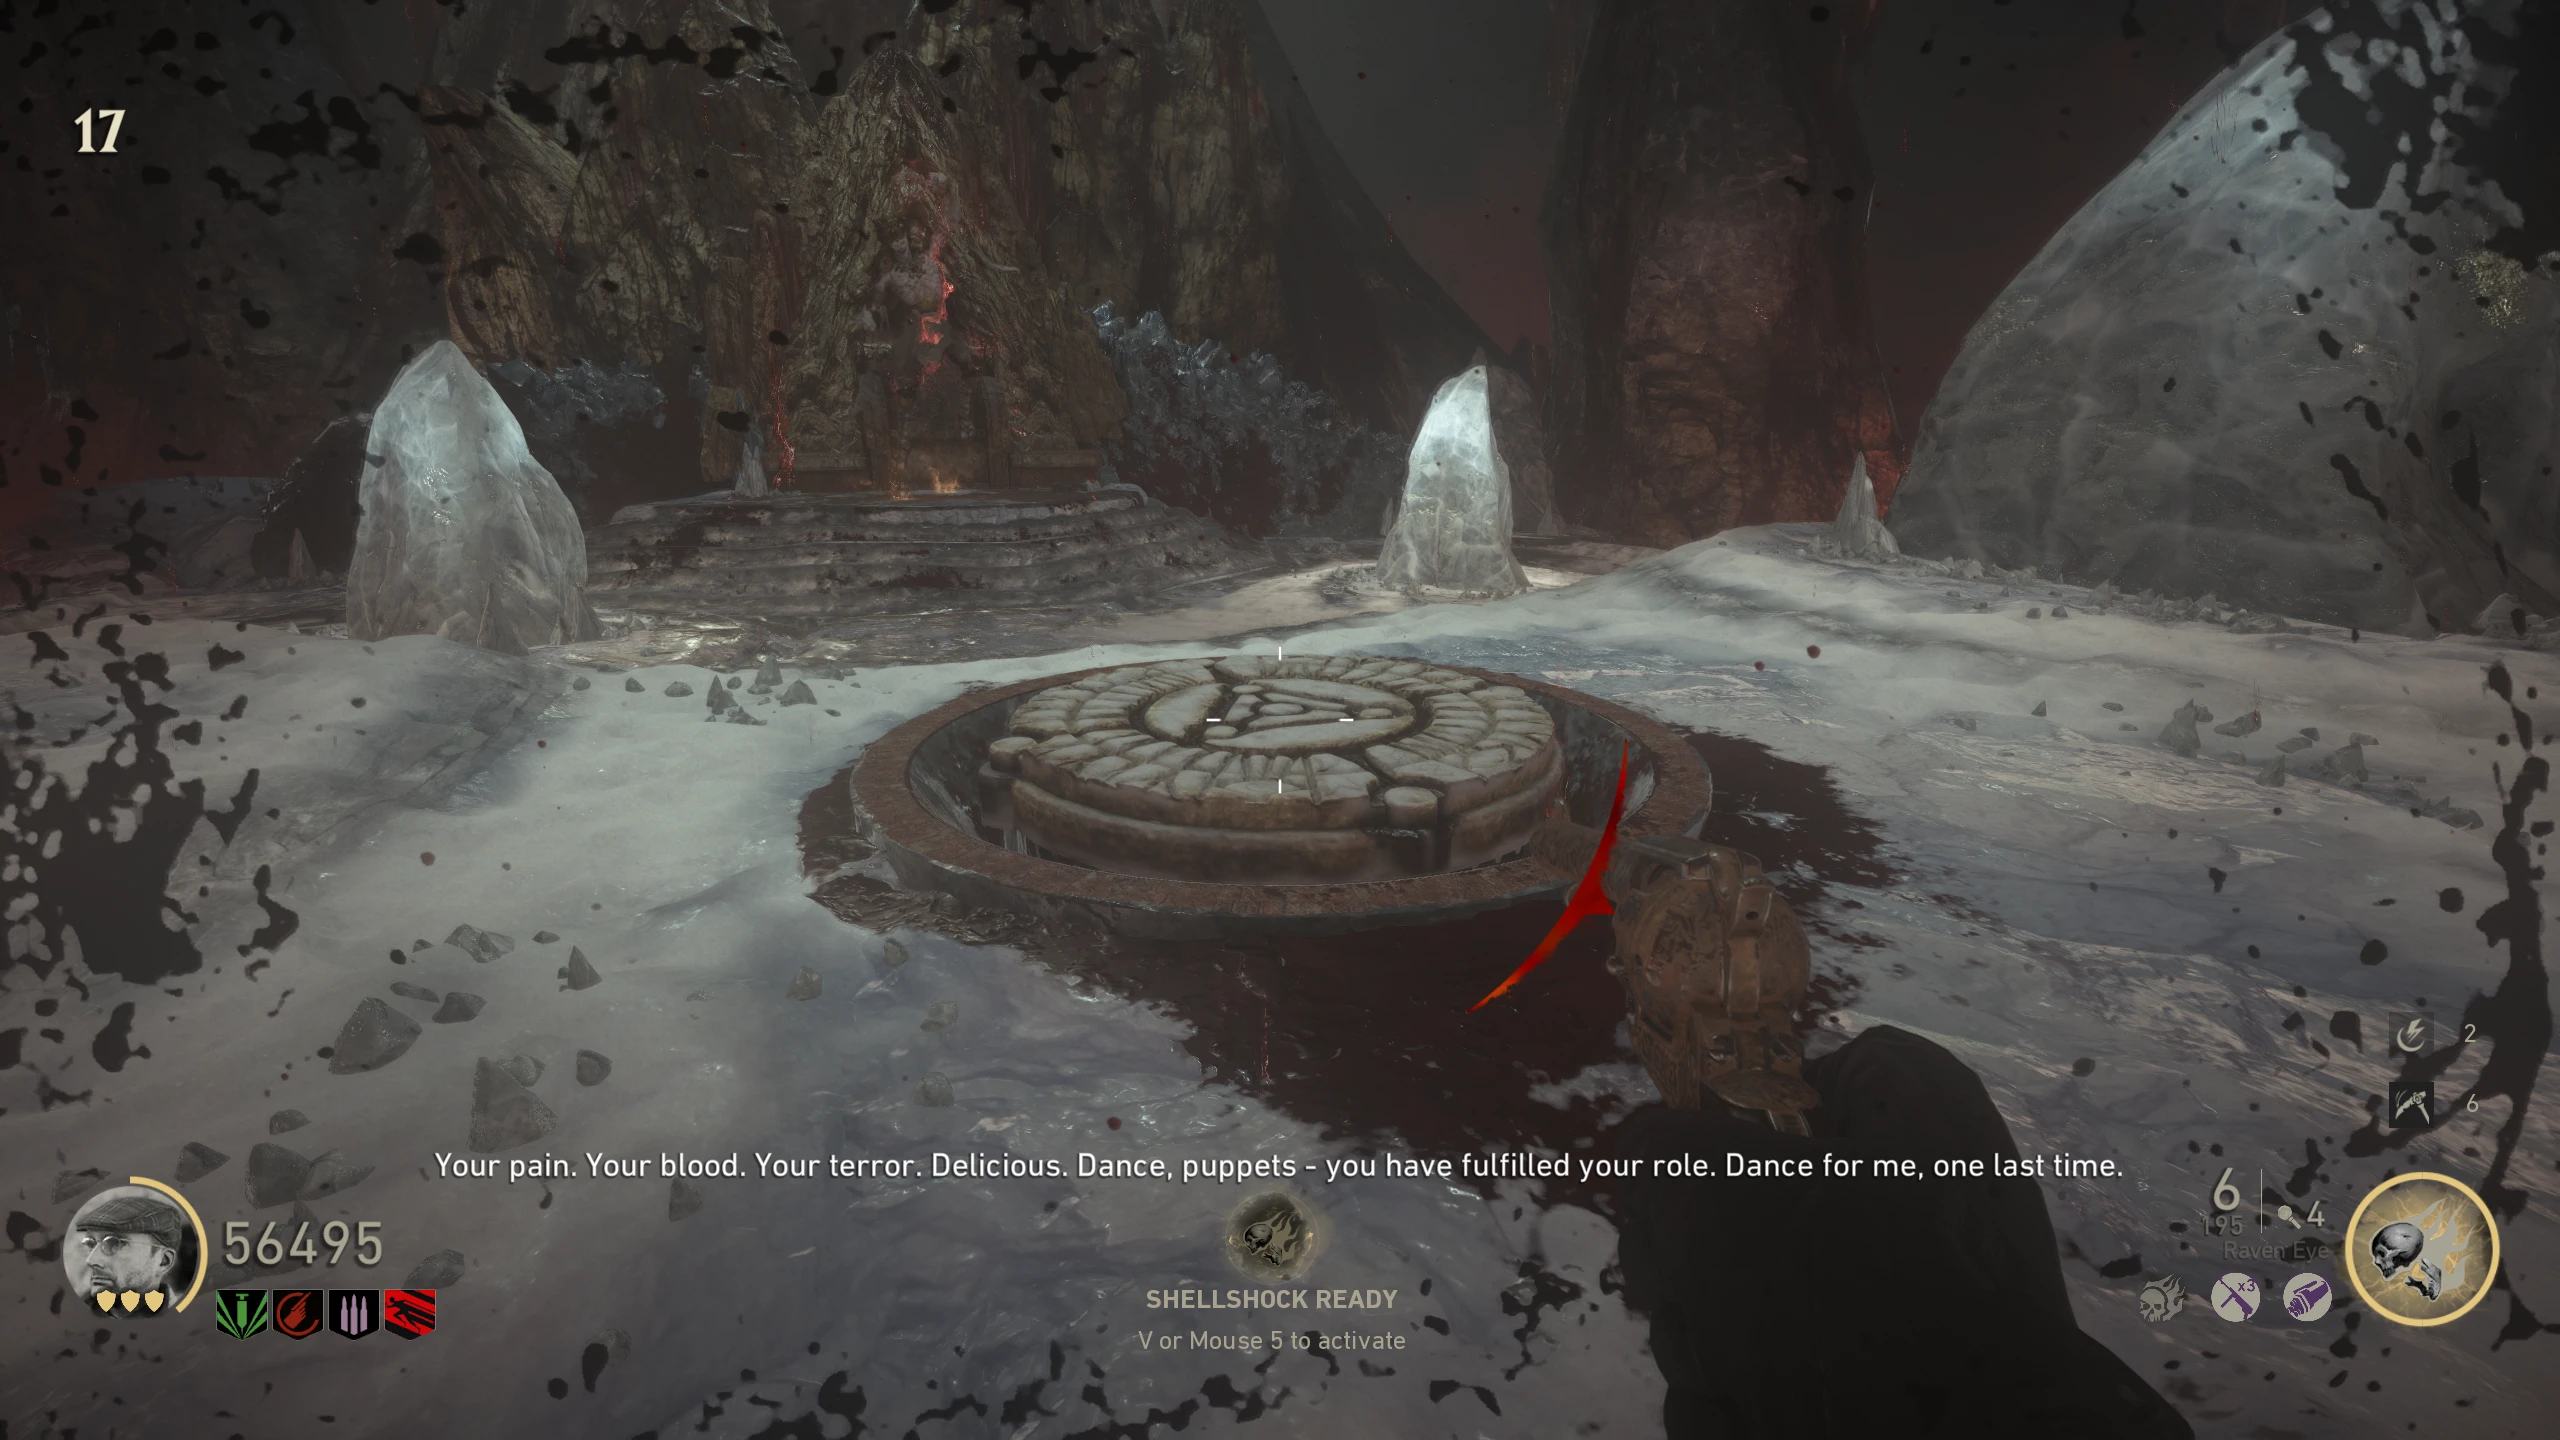
- Blow up a Bomber (first spawn is on wave 8) on the metal door in the 'Crash Site' to reveal a radio and speaker.
- Place both items at the Blood Pool in the 'Blood Altar' (Radio location and speaker location). Interact with the radio to make patterns appear similar to those in the smaller Blood Pools.
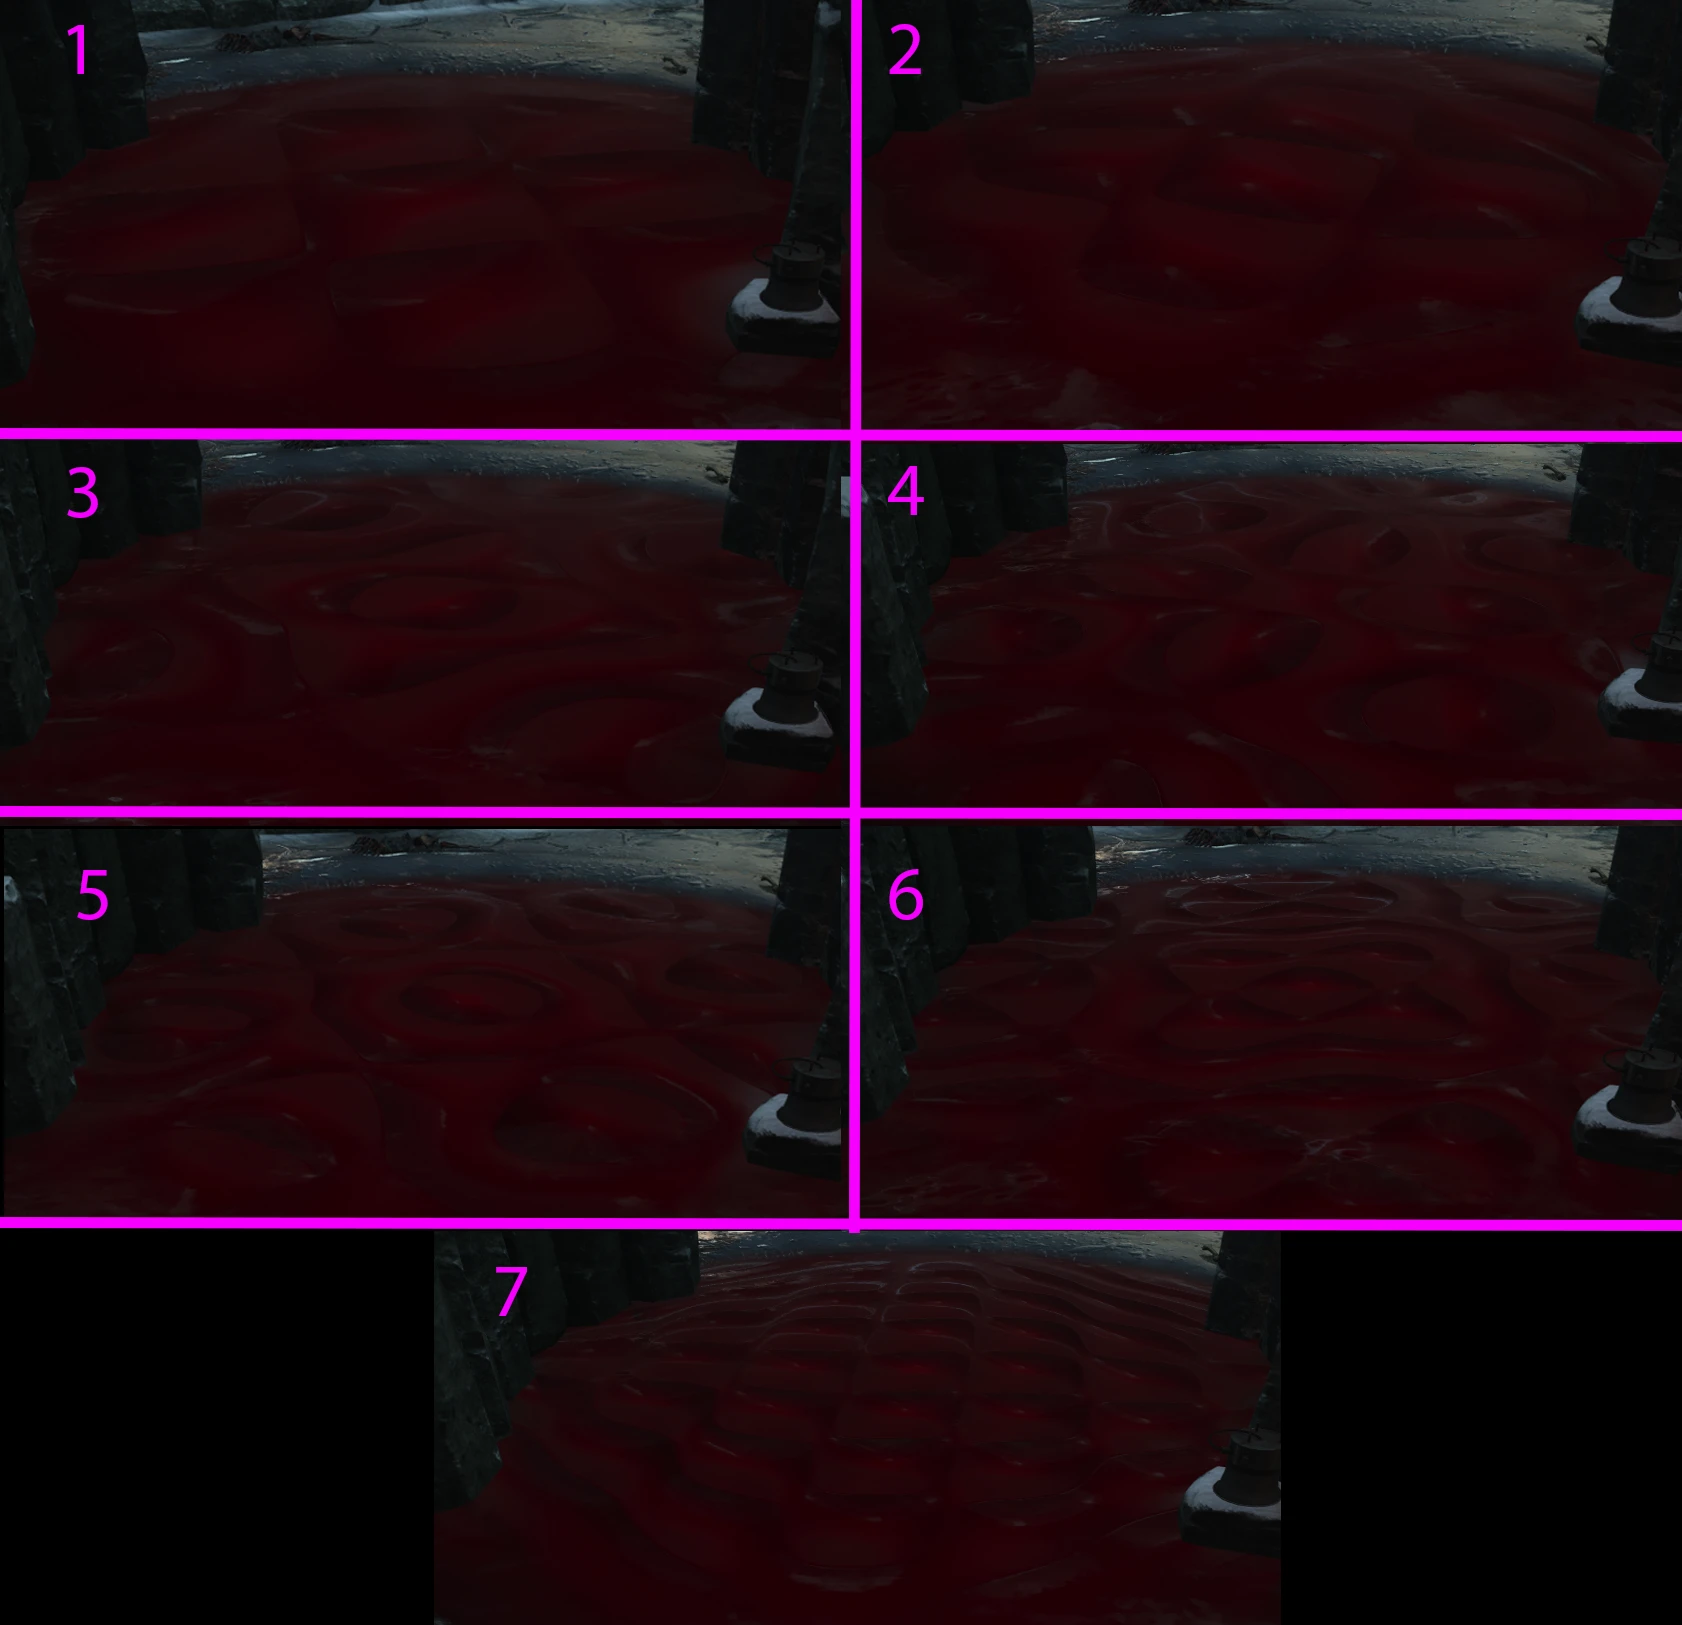
- Cycle through patterns by interacting with the radio; image of all the patterns. When the pattern matches the one from the first Blood Pool, get a kill in the Blood Altar pool. Repeat for the other two patterns in order.
- If done correctly, the Blood Pool will start flashing patterns rapidly. While holding the Shield, go down in the blood.
- You'll be given full armour upon being revived, and it will not use Quick Revive.
- You'll be teleported to the Bloodraven Trial, which is basically a tutorial on how to use the upgraded Shield. Upon completion, you'll be teleported back.
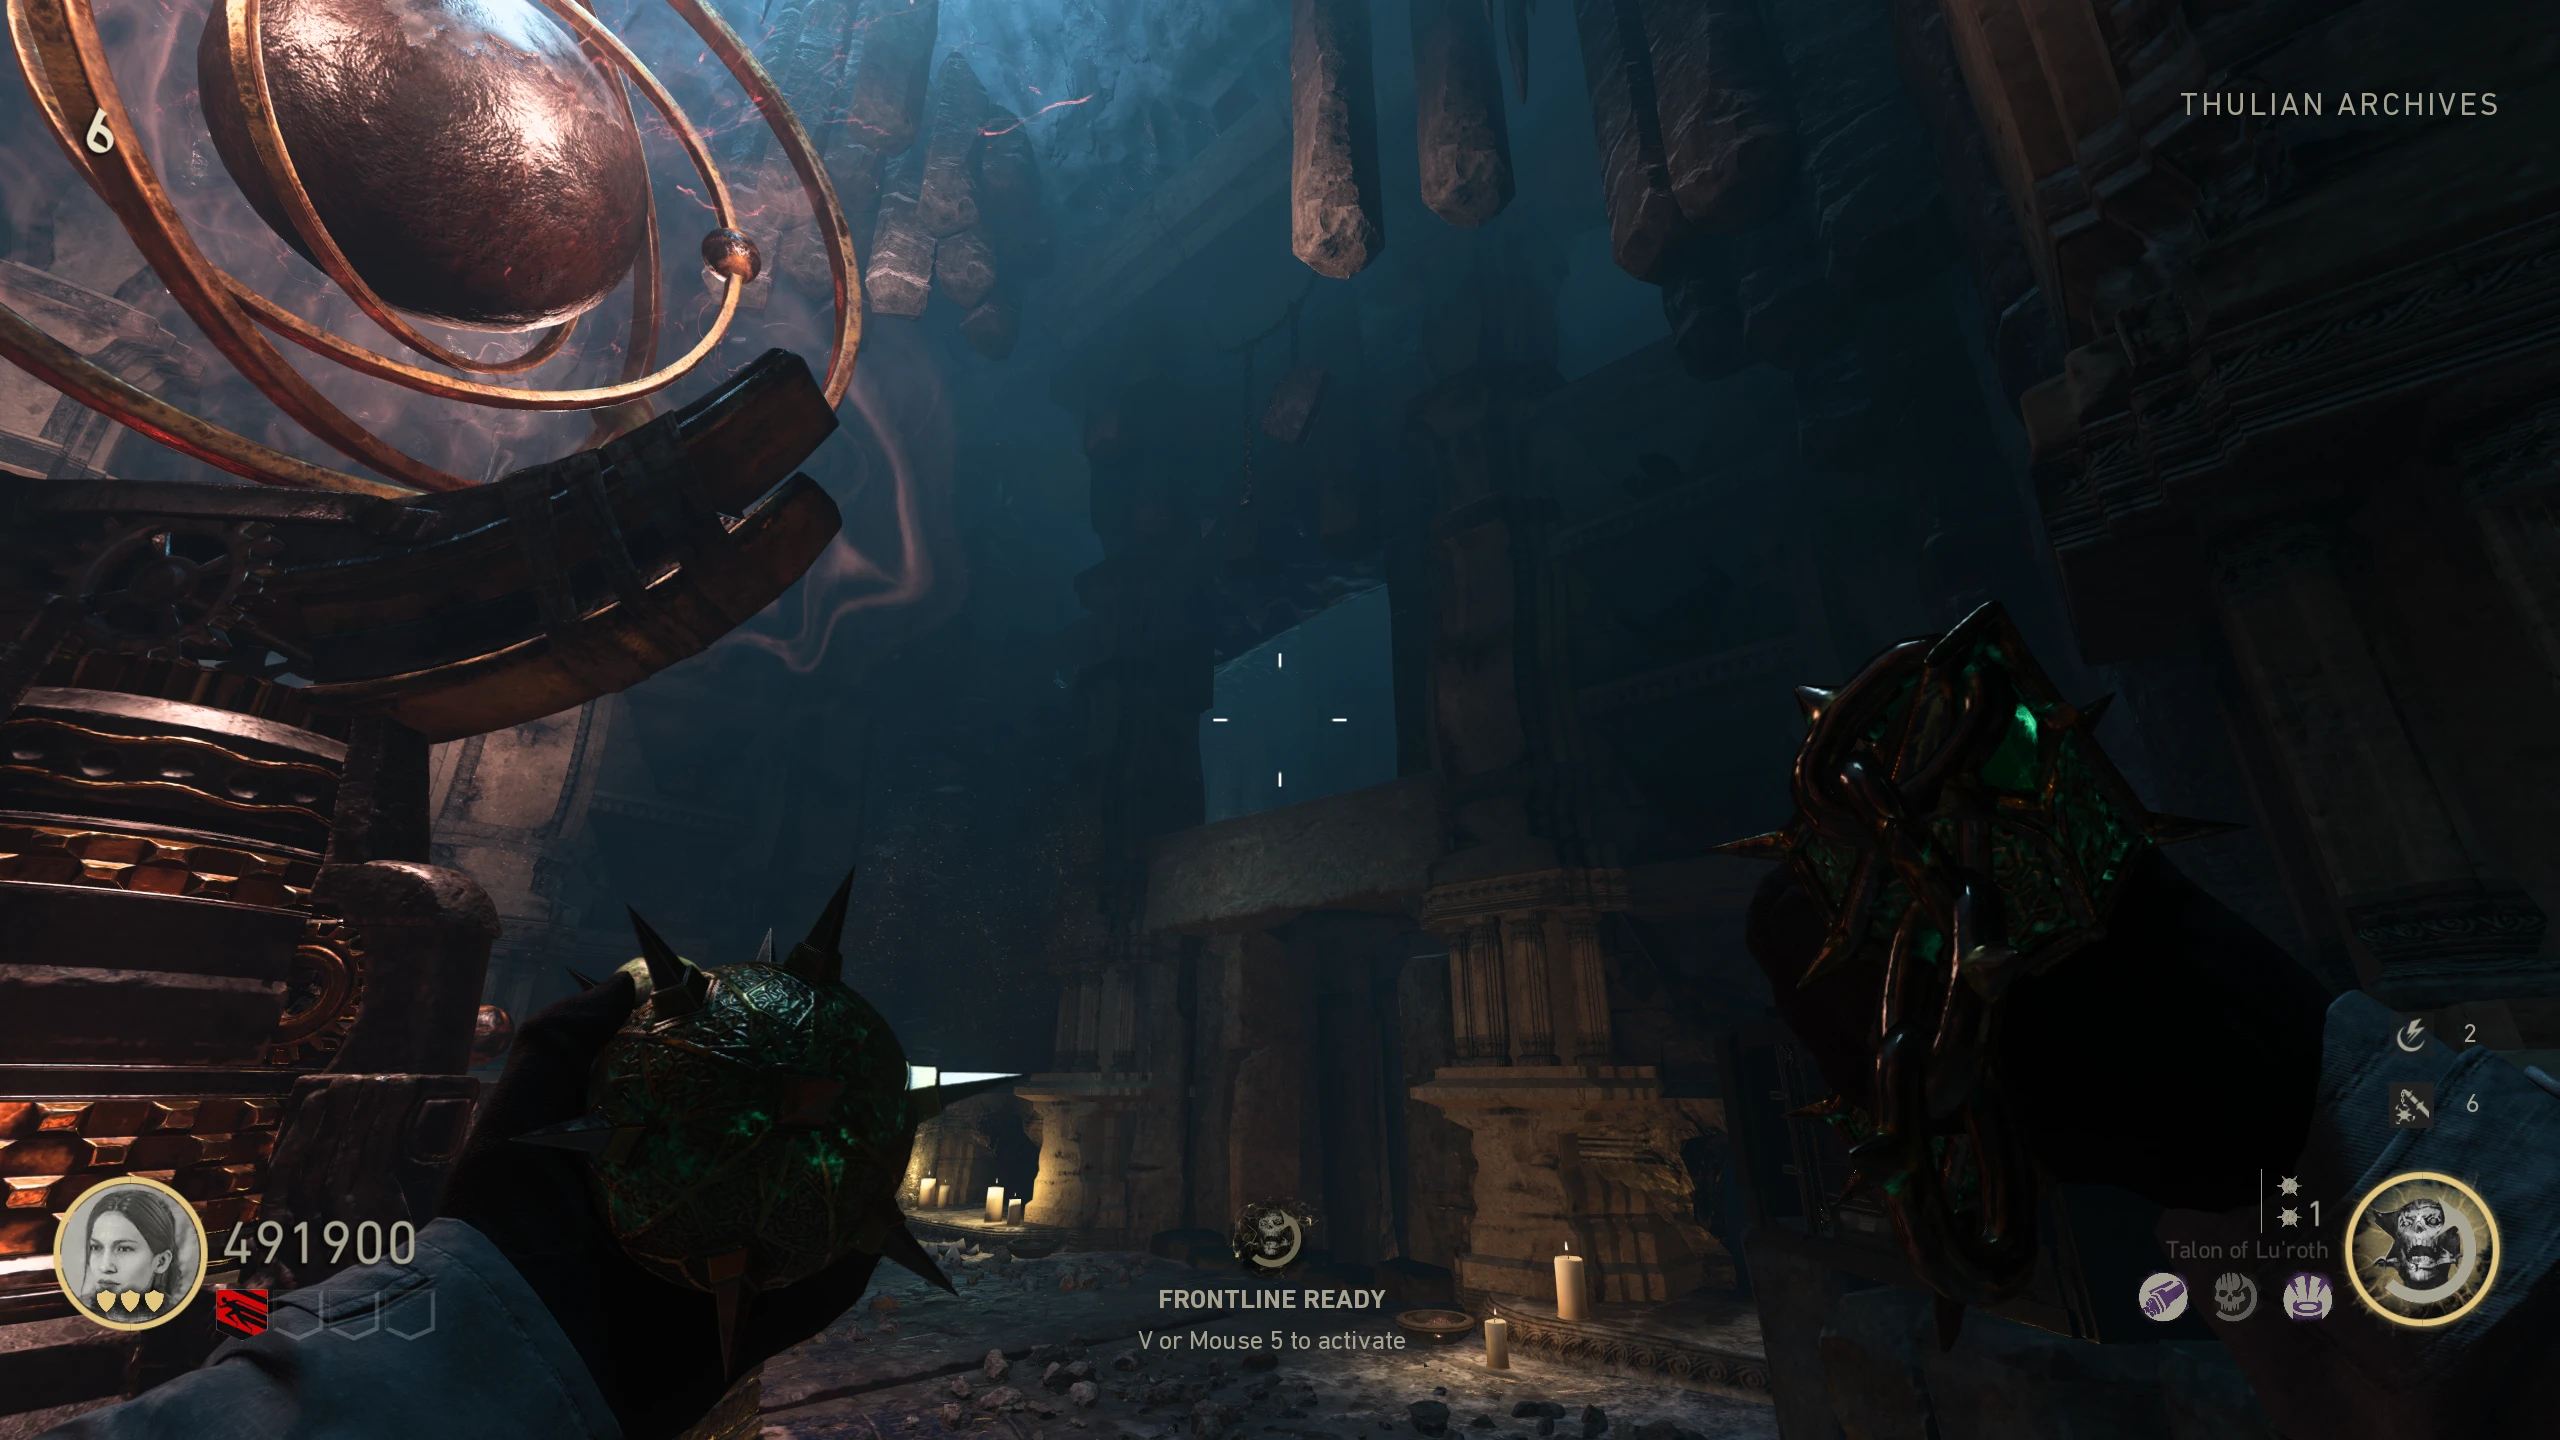
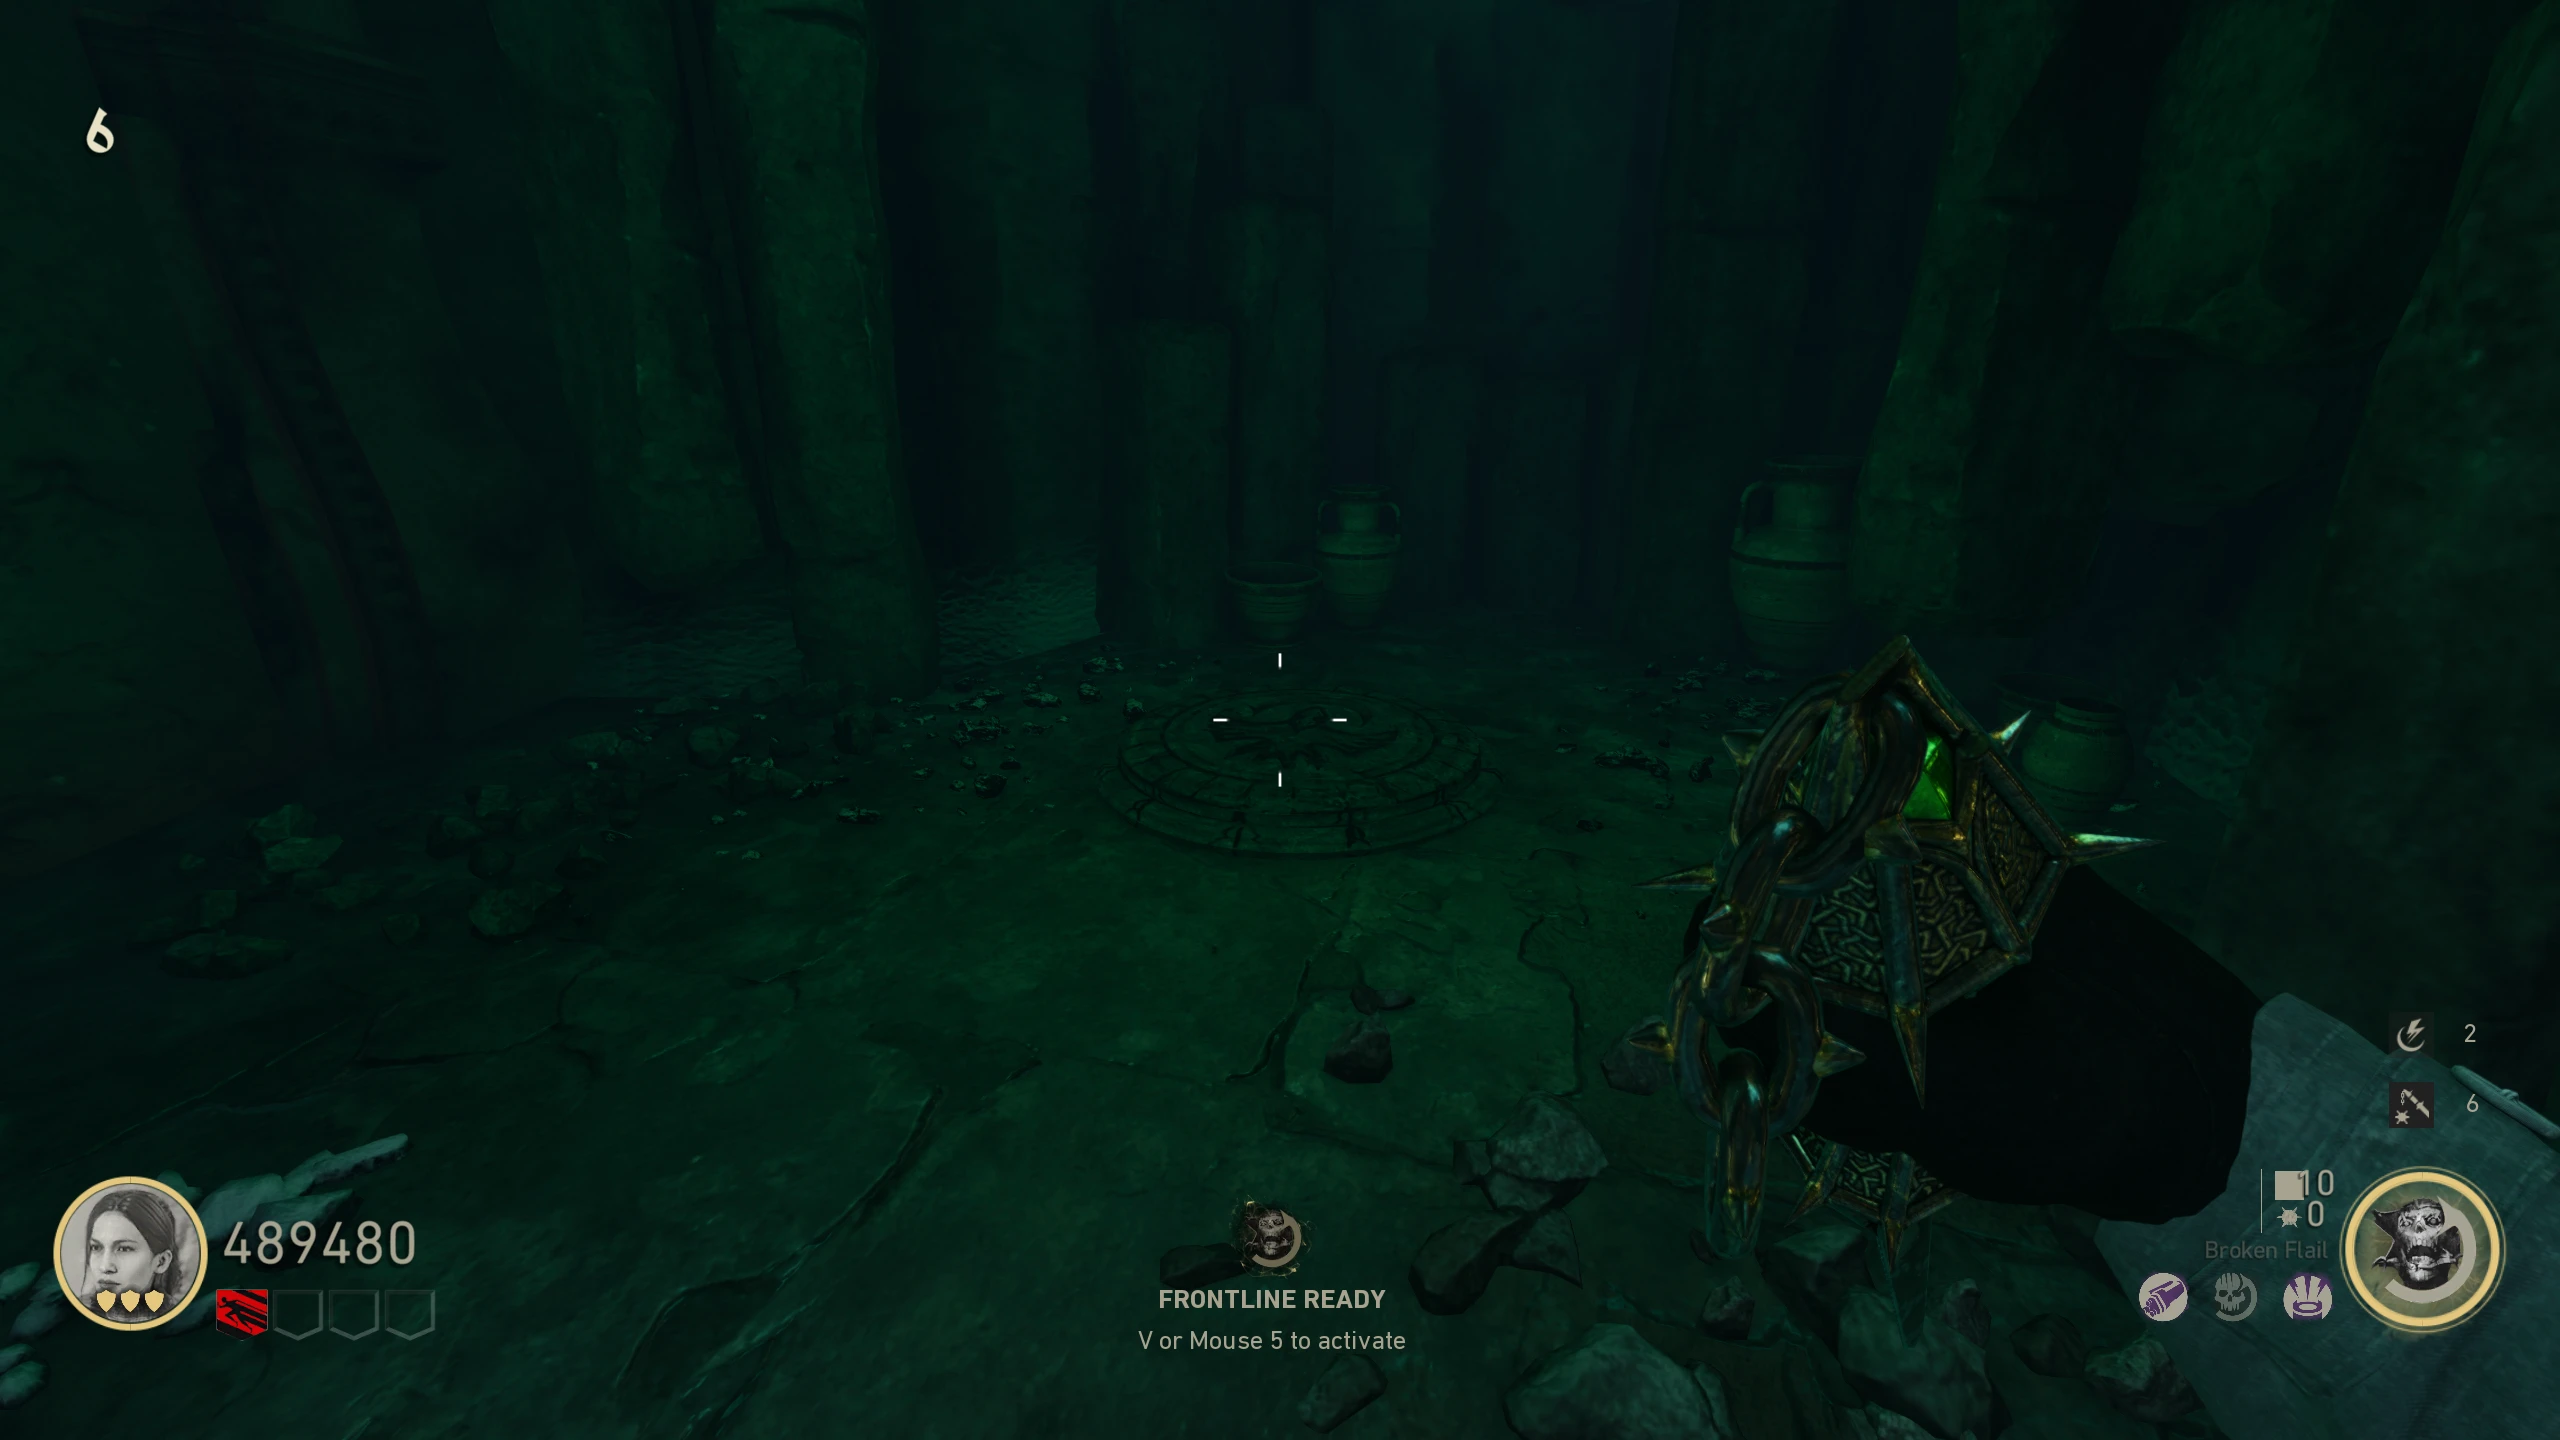
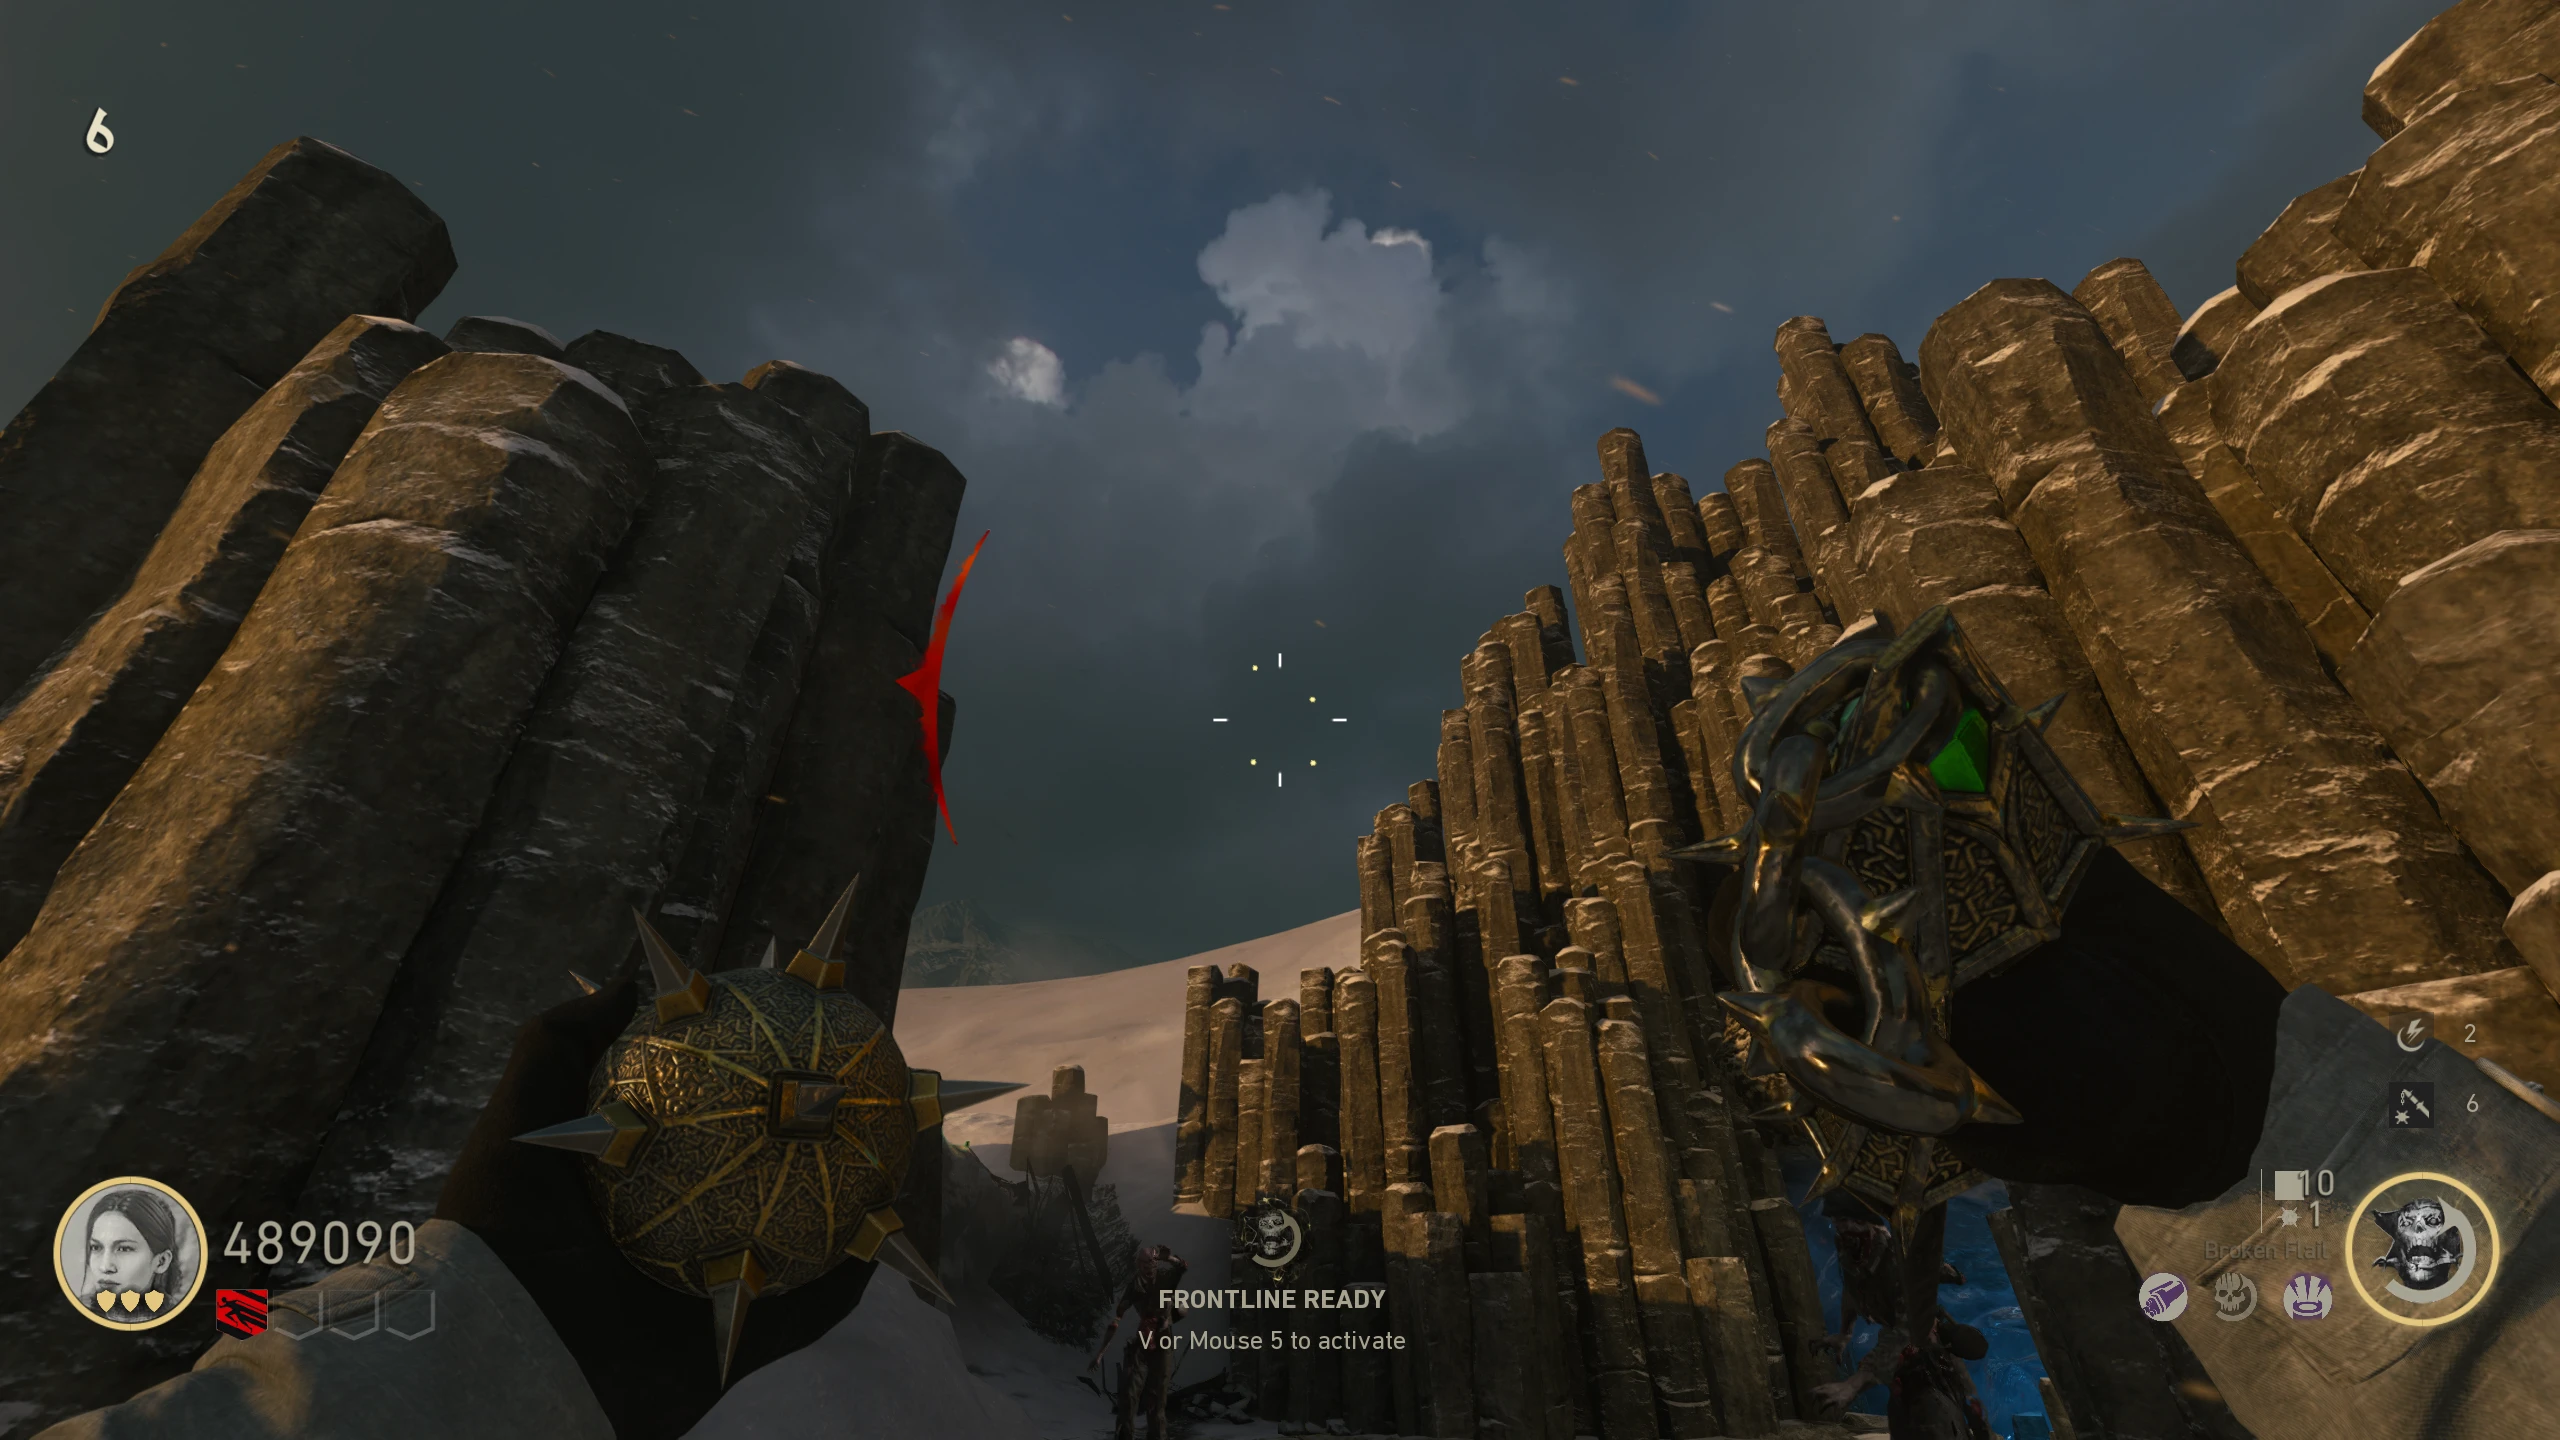
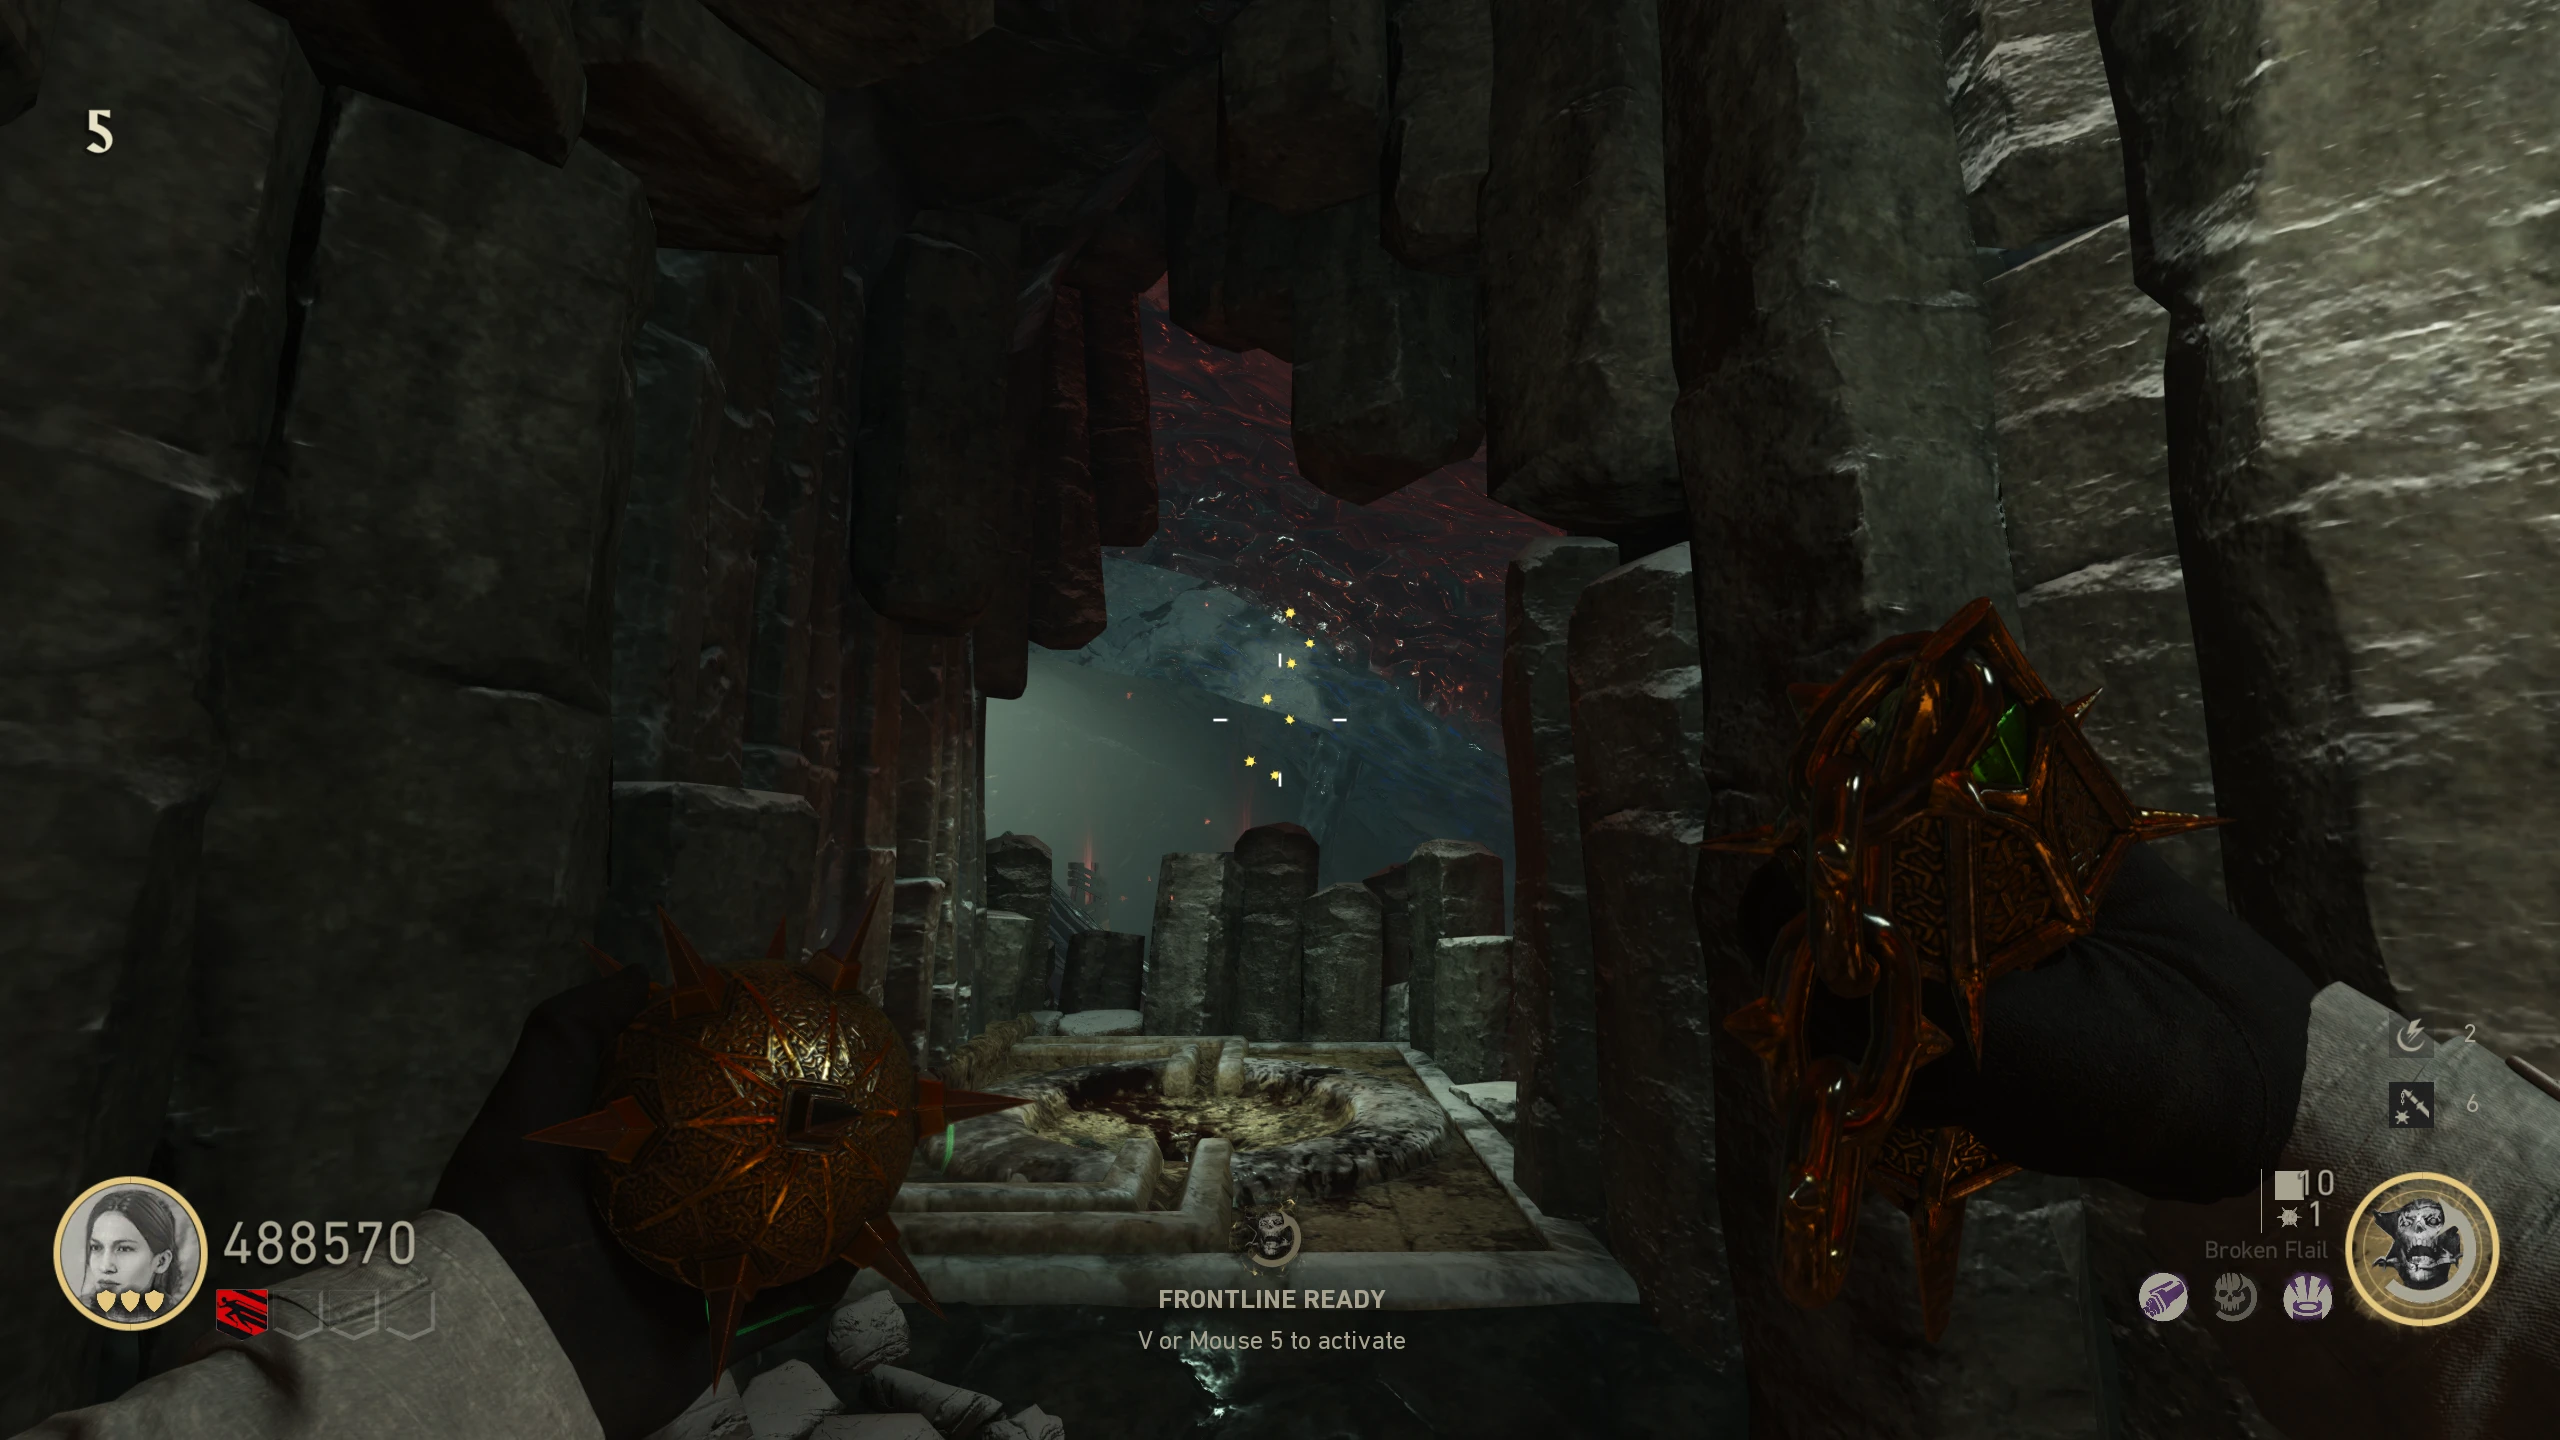
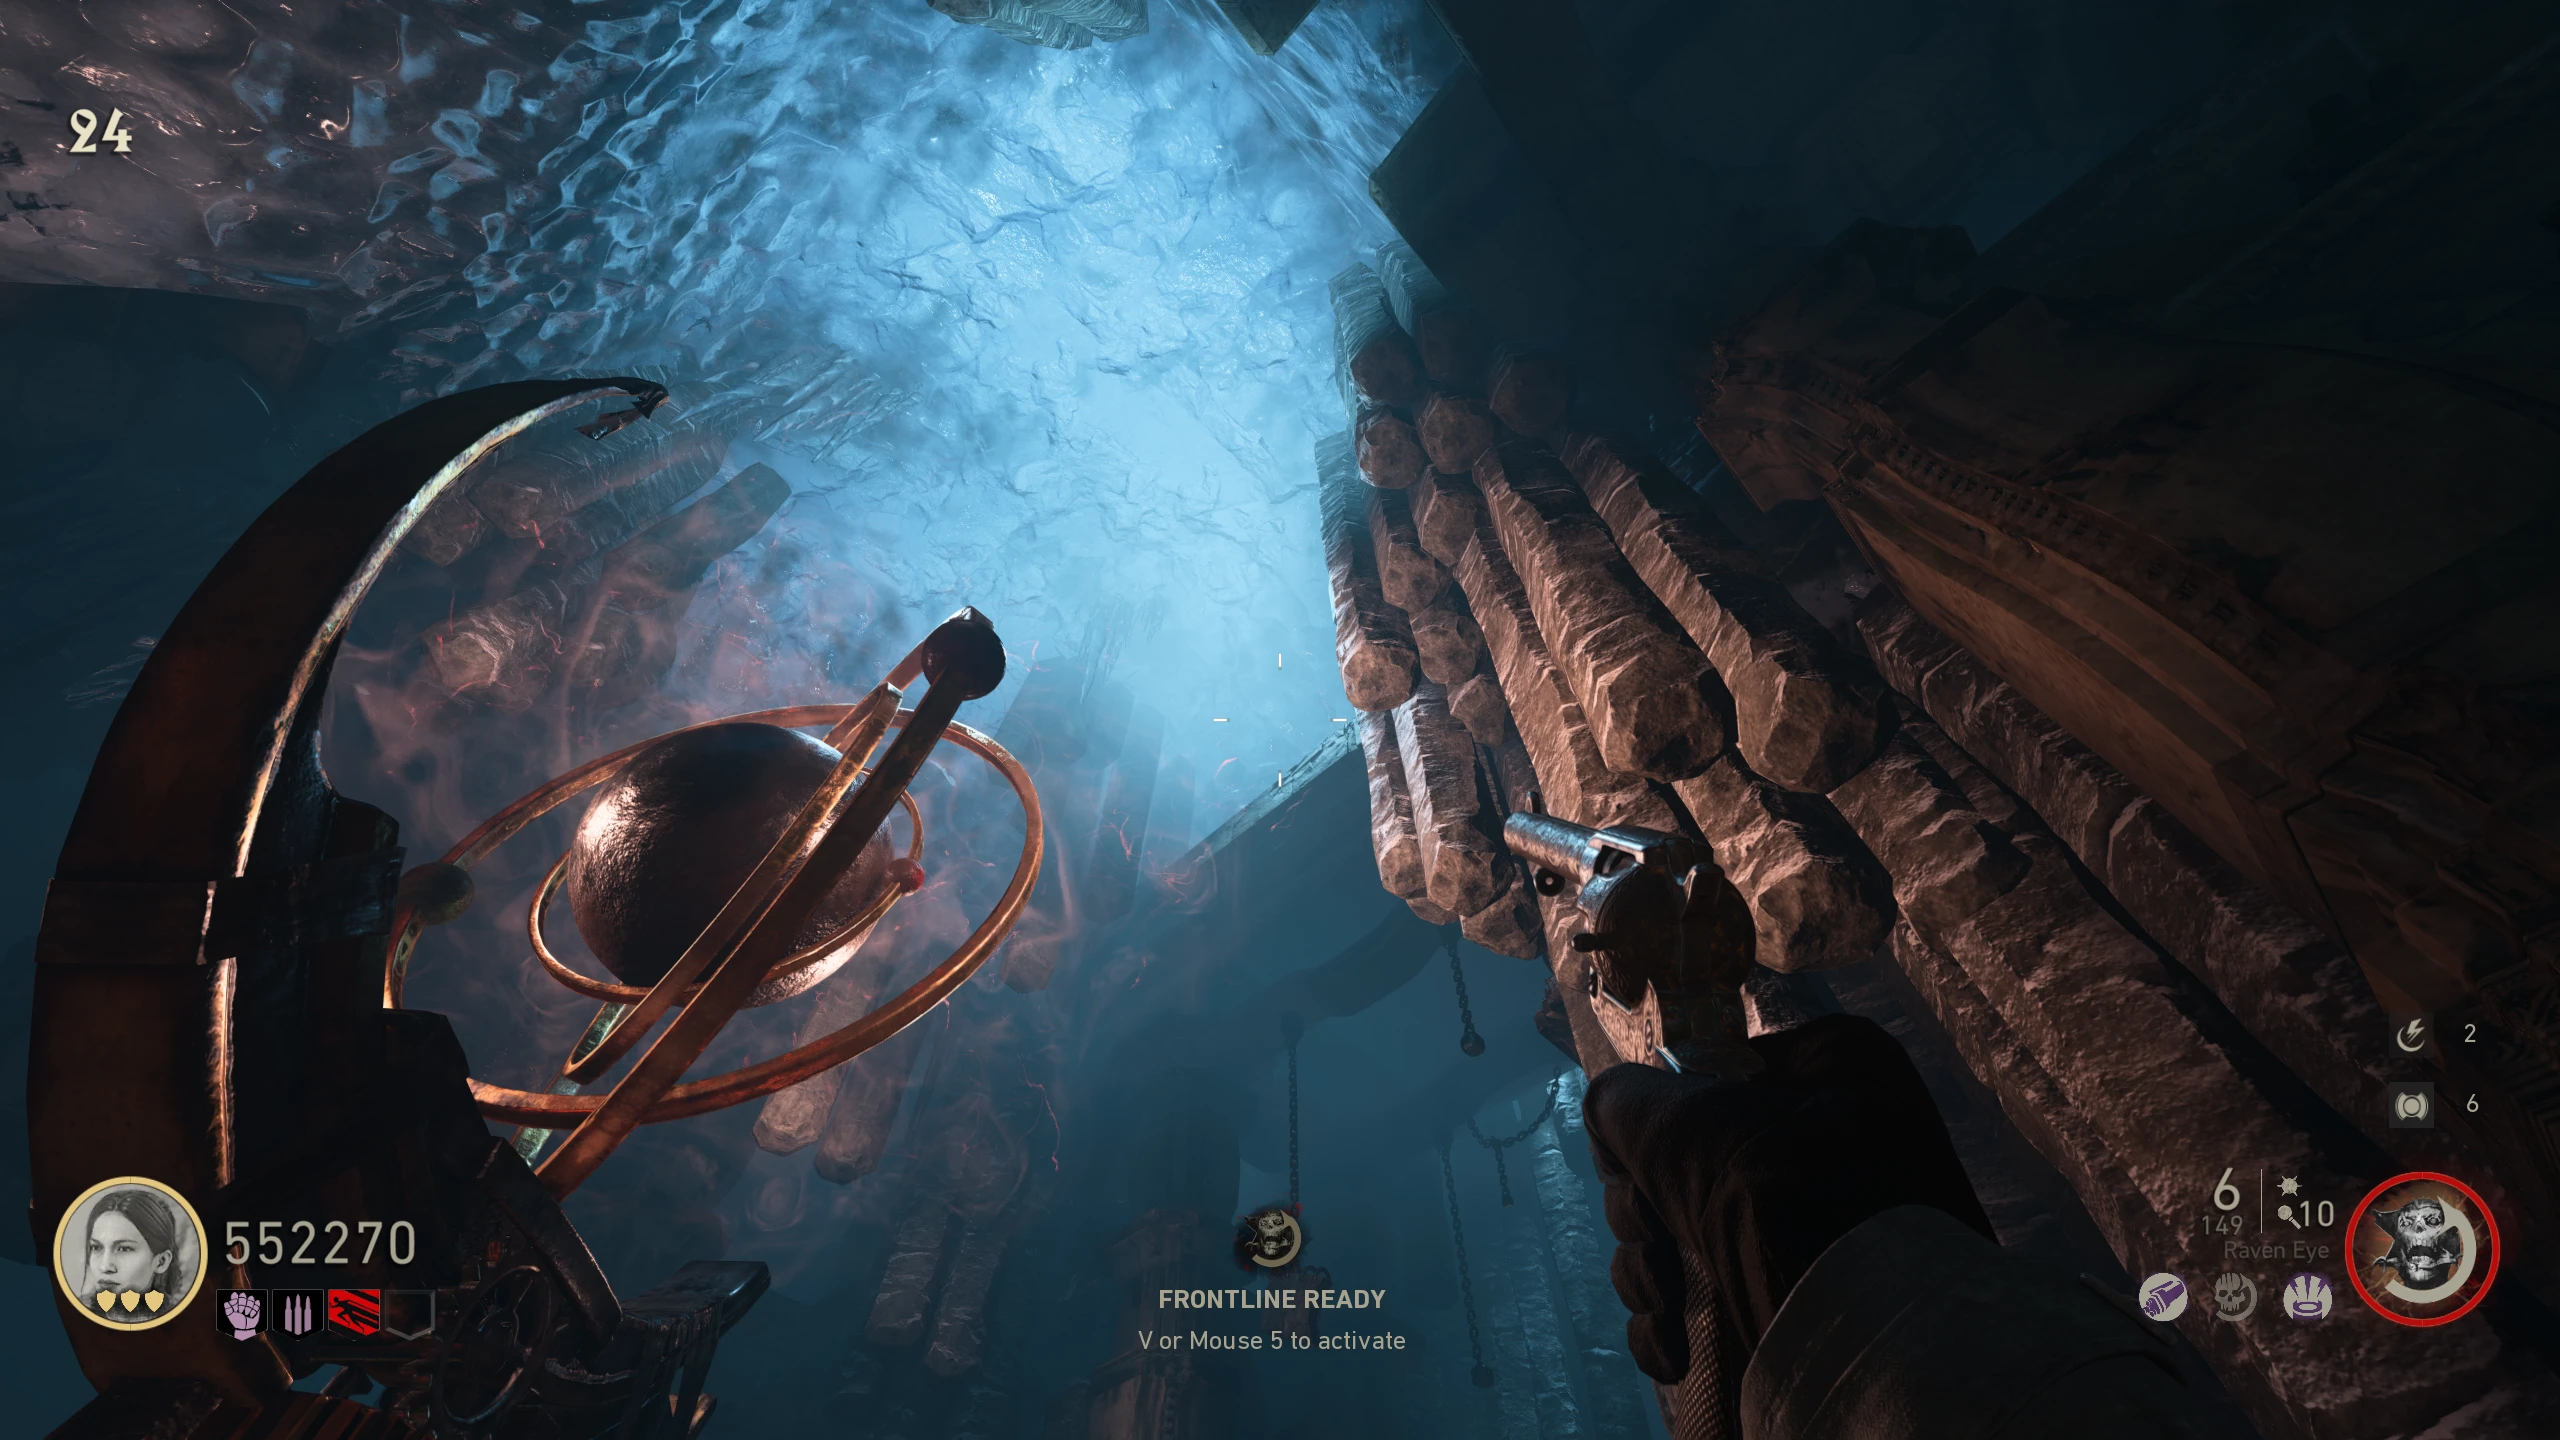
Broken Flail
The Broken Flail is a melee wonder weapon that, when held, replaces grenades with the Orb of Lu'roth, allowing the player to throw the orb, then teleport to the orb's location. The orb returns after a short cooldown.
- Pick up two Books. Locations:
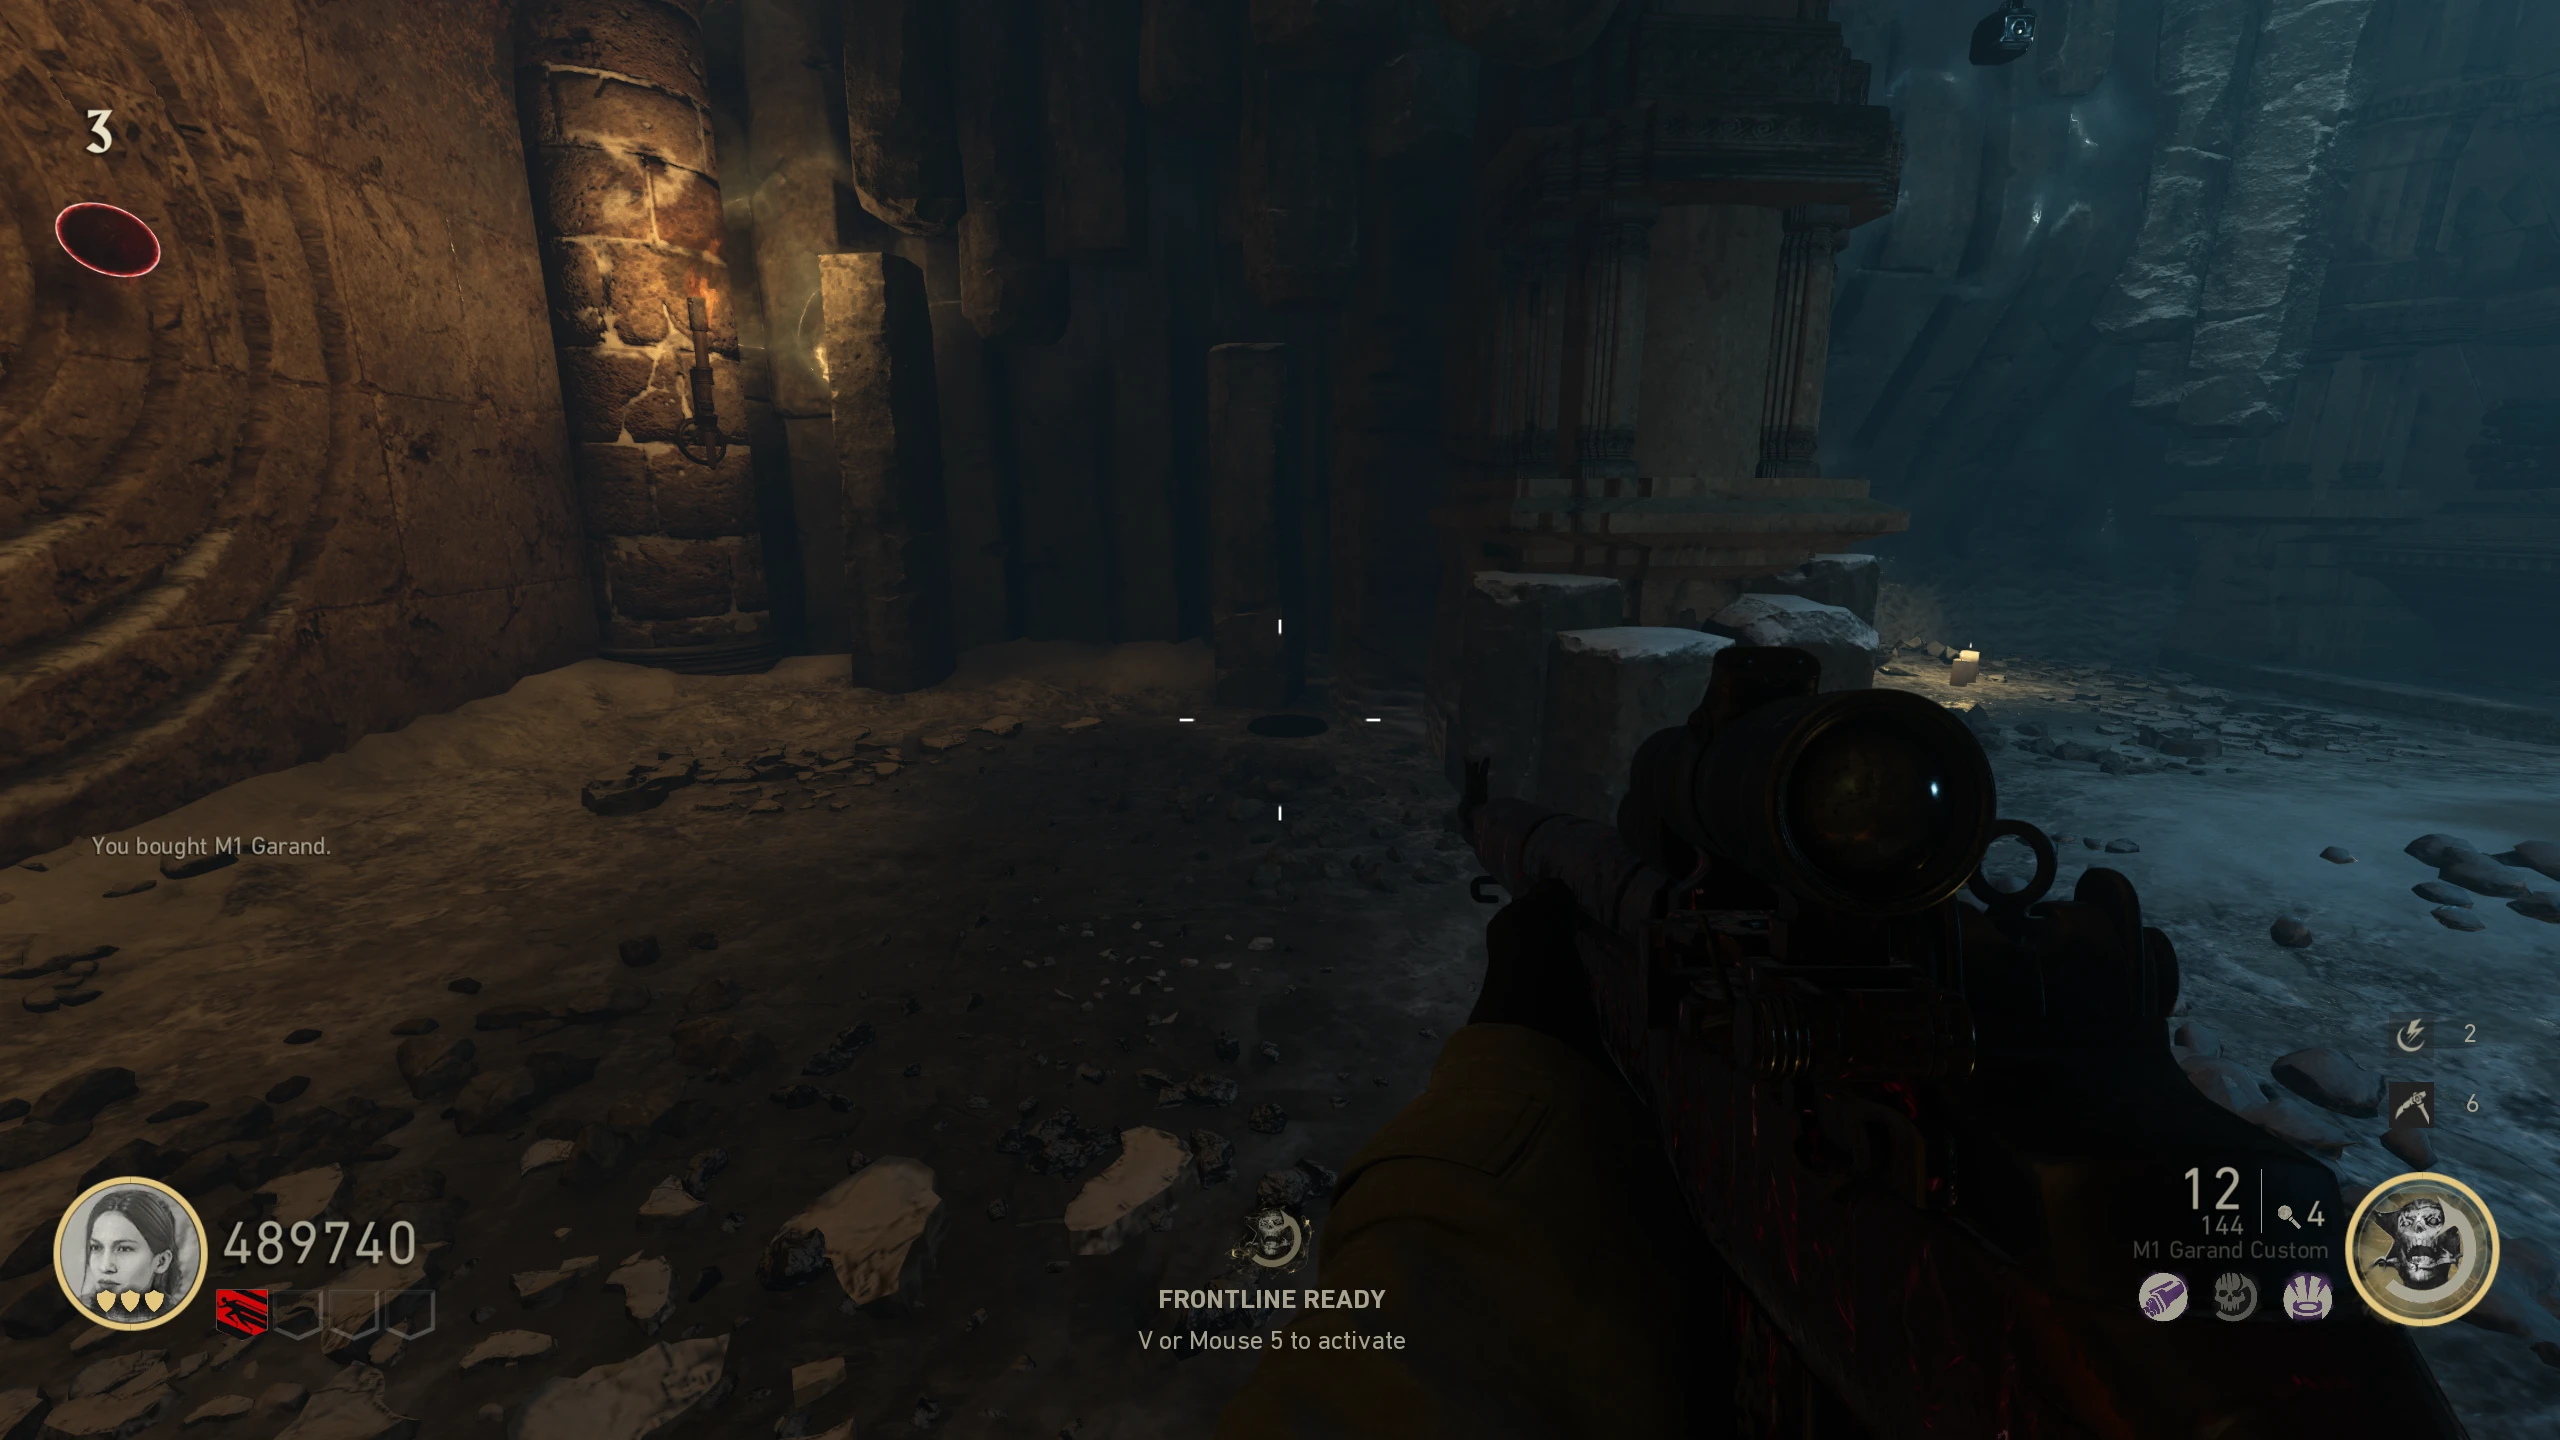
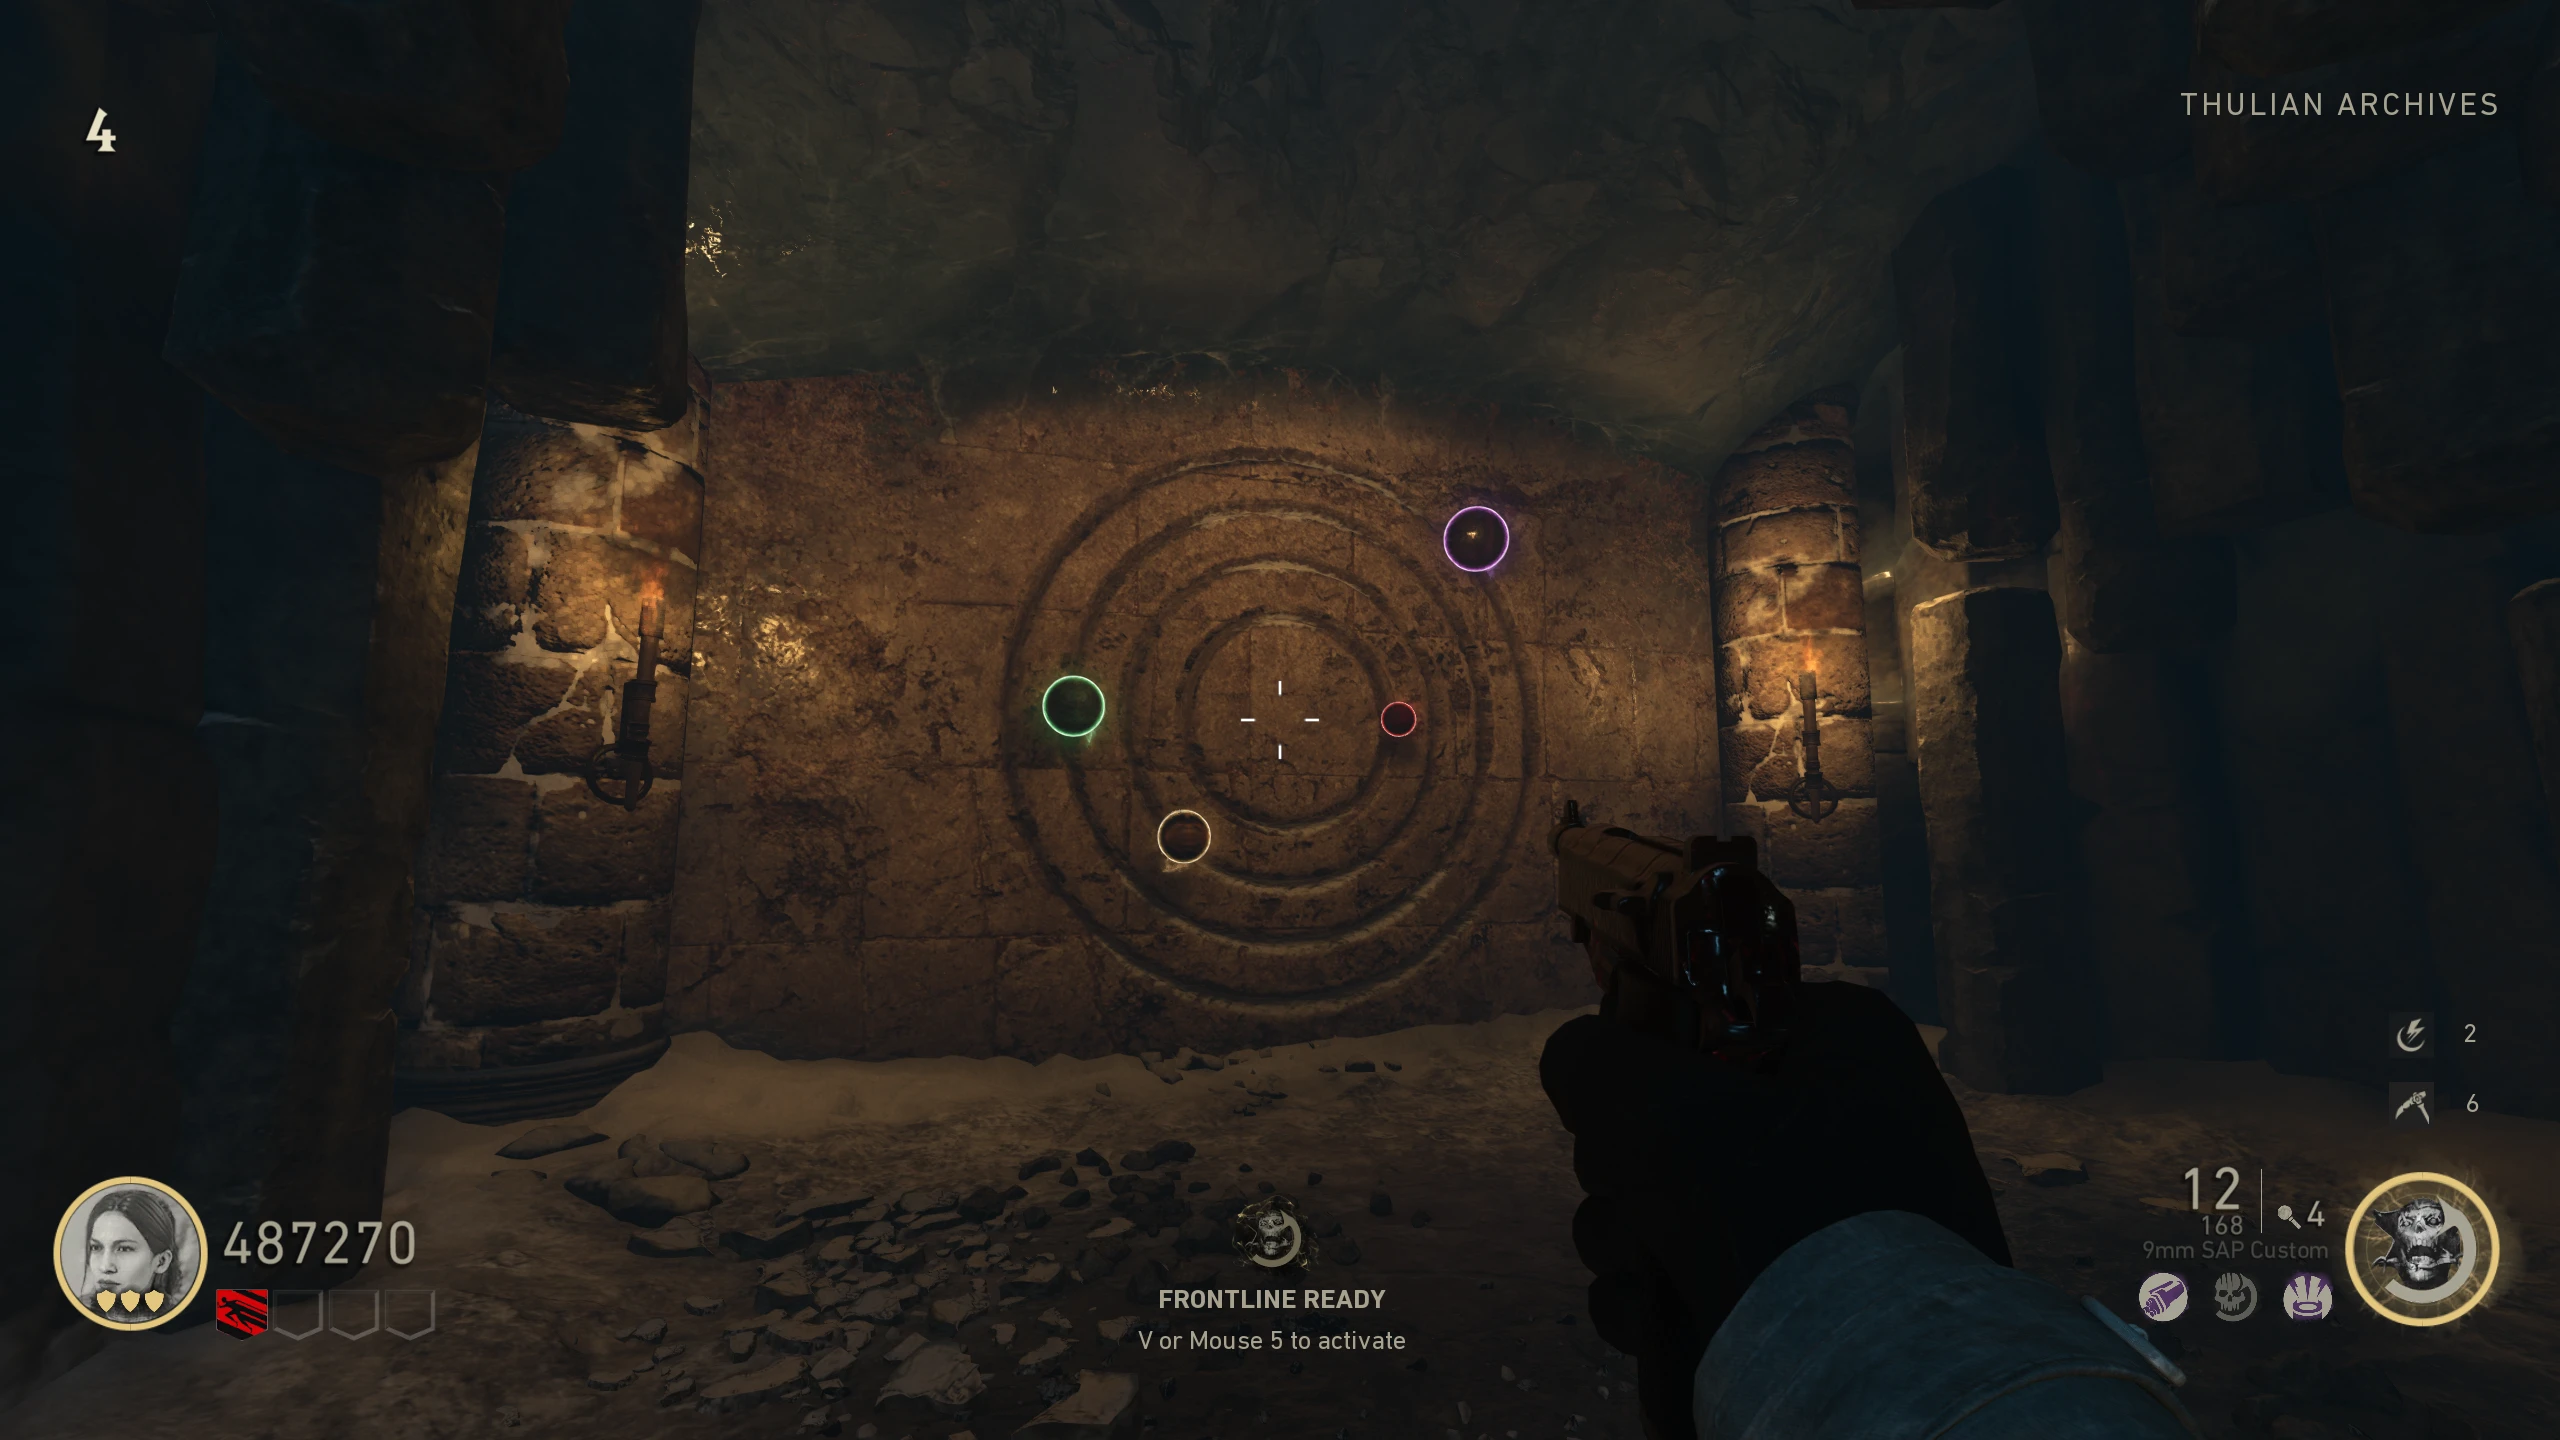
- Go to the 'Thulian Archives' and place the two books on the pedestal near the M1 Garand wallbuy. This will open the Cypher Room beside the pedestal.
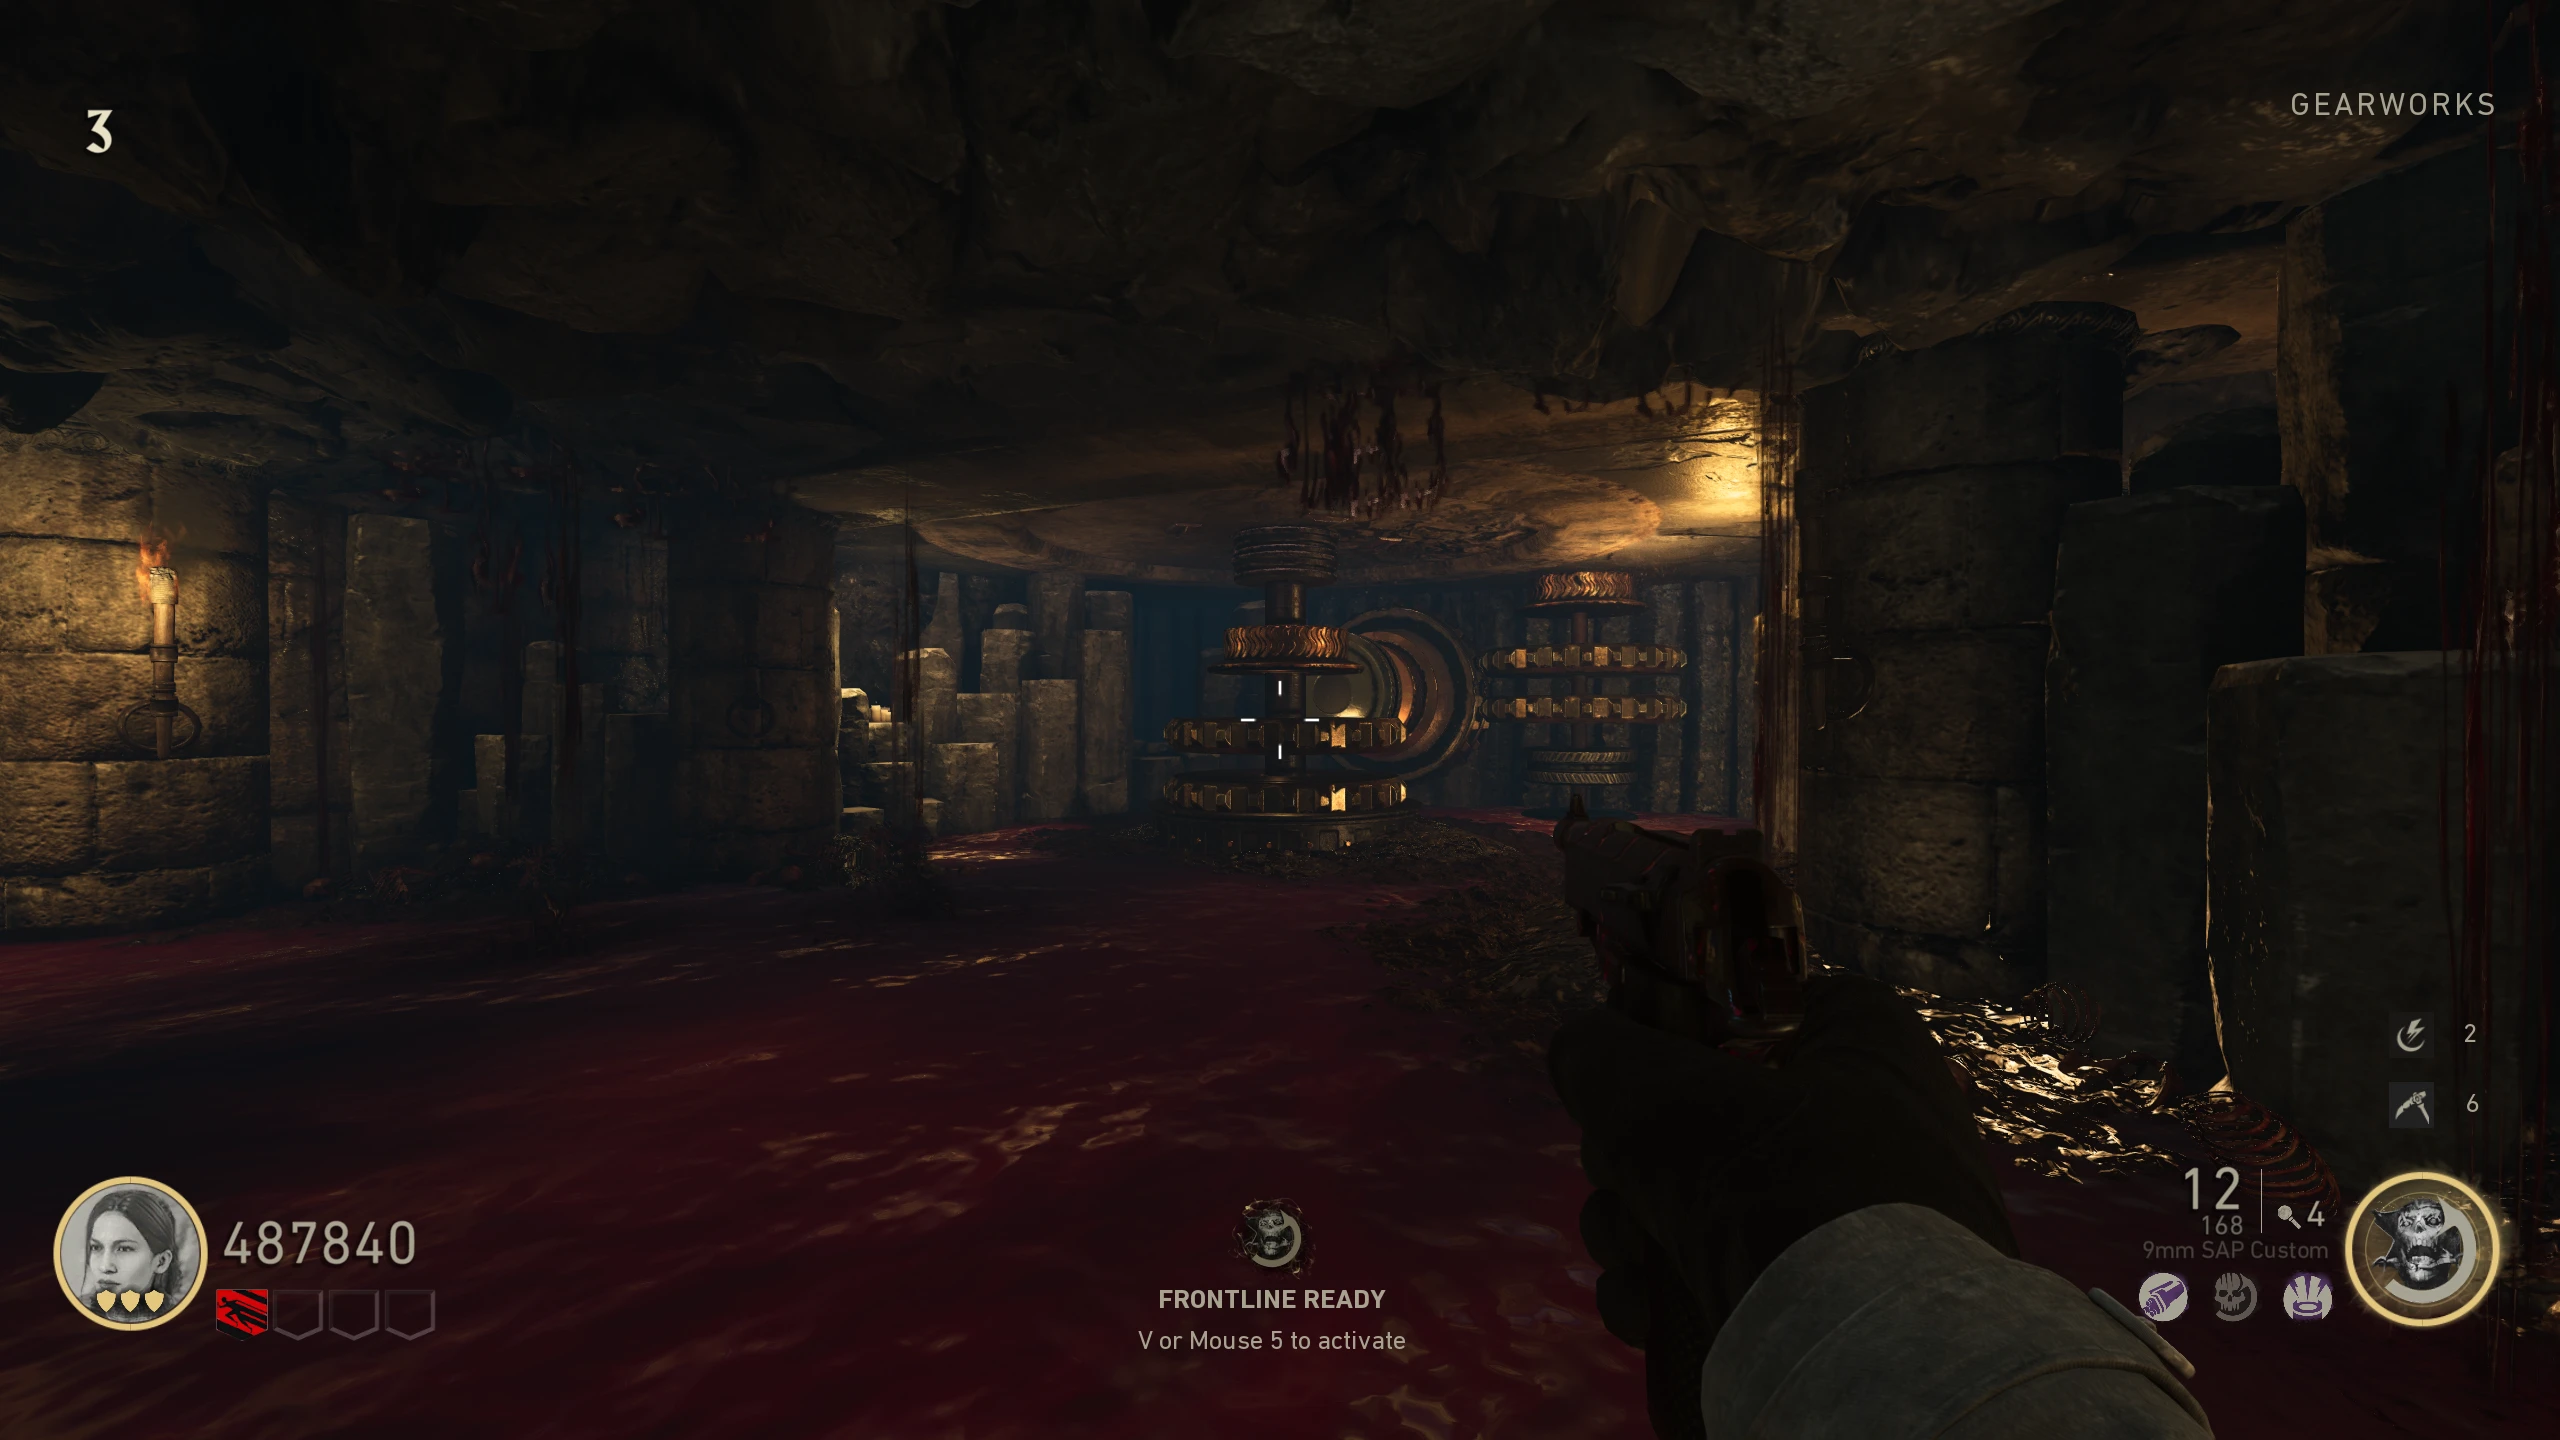
- Pick up three gears. Locations:
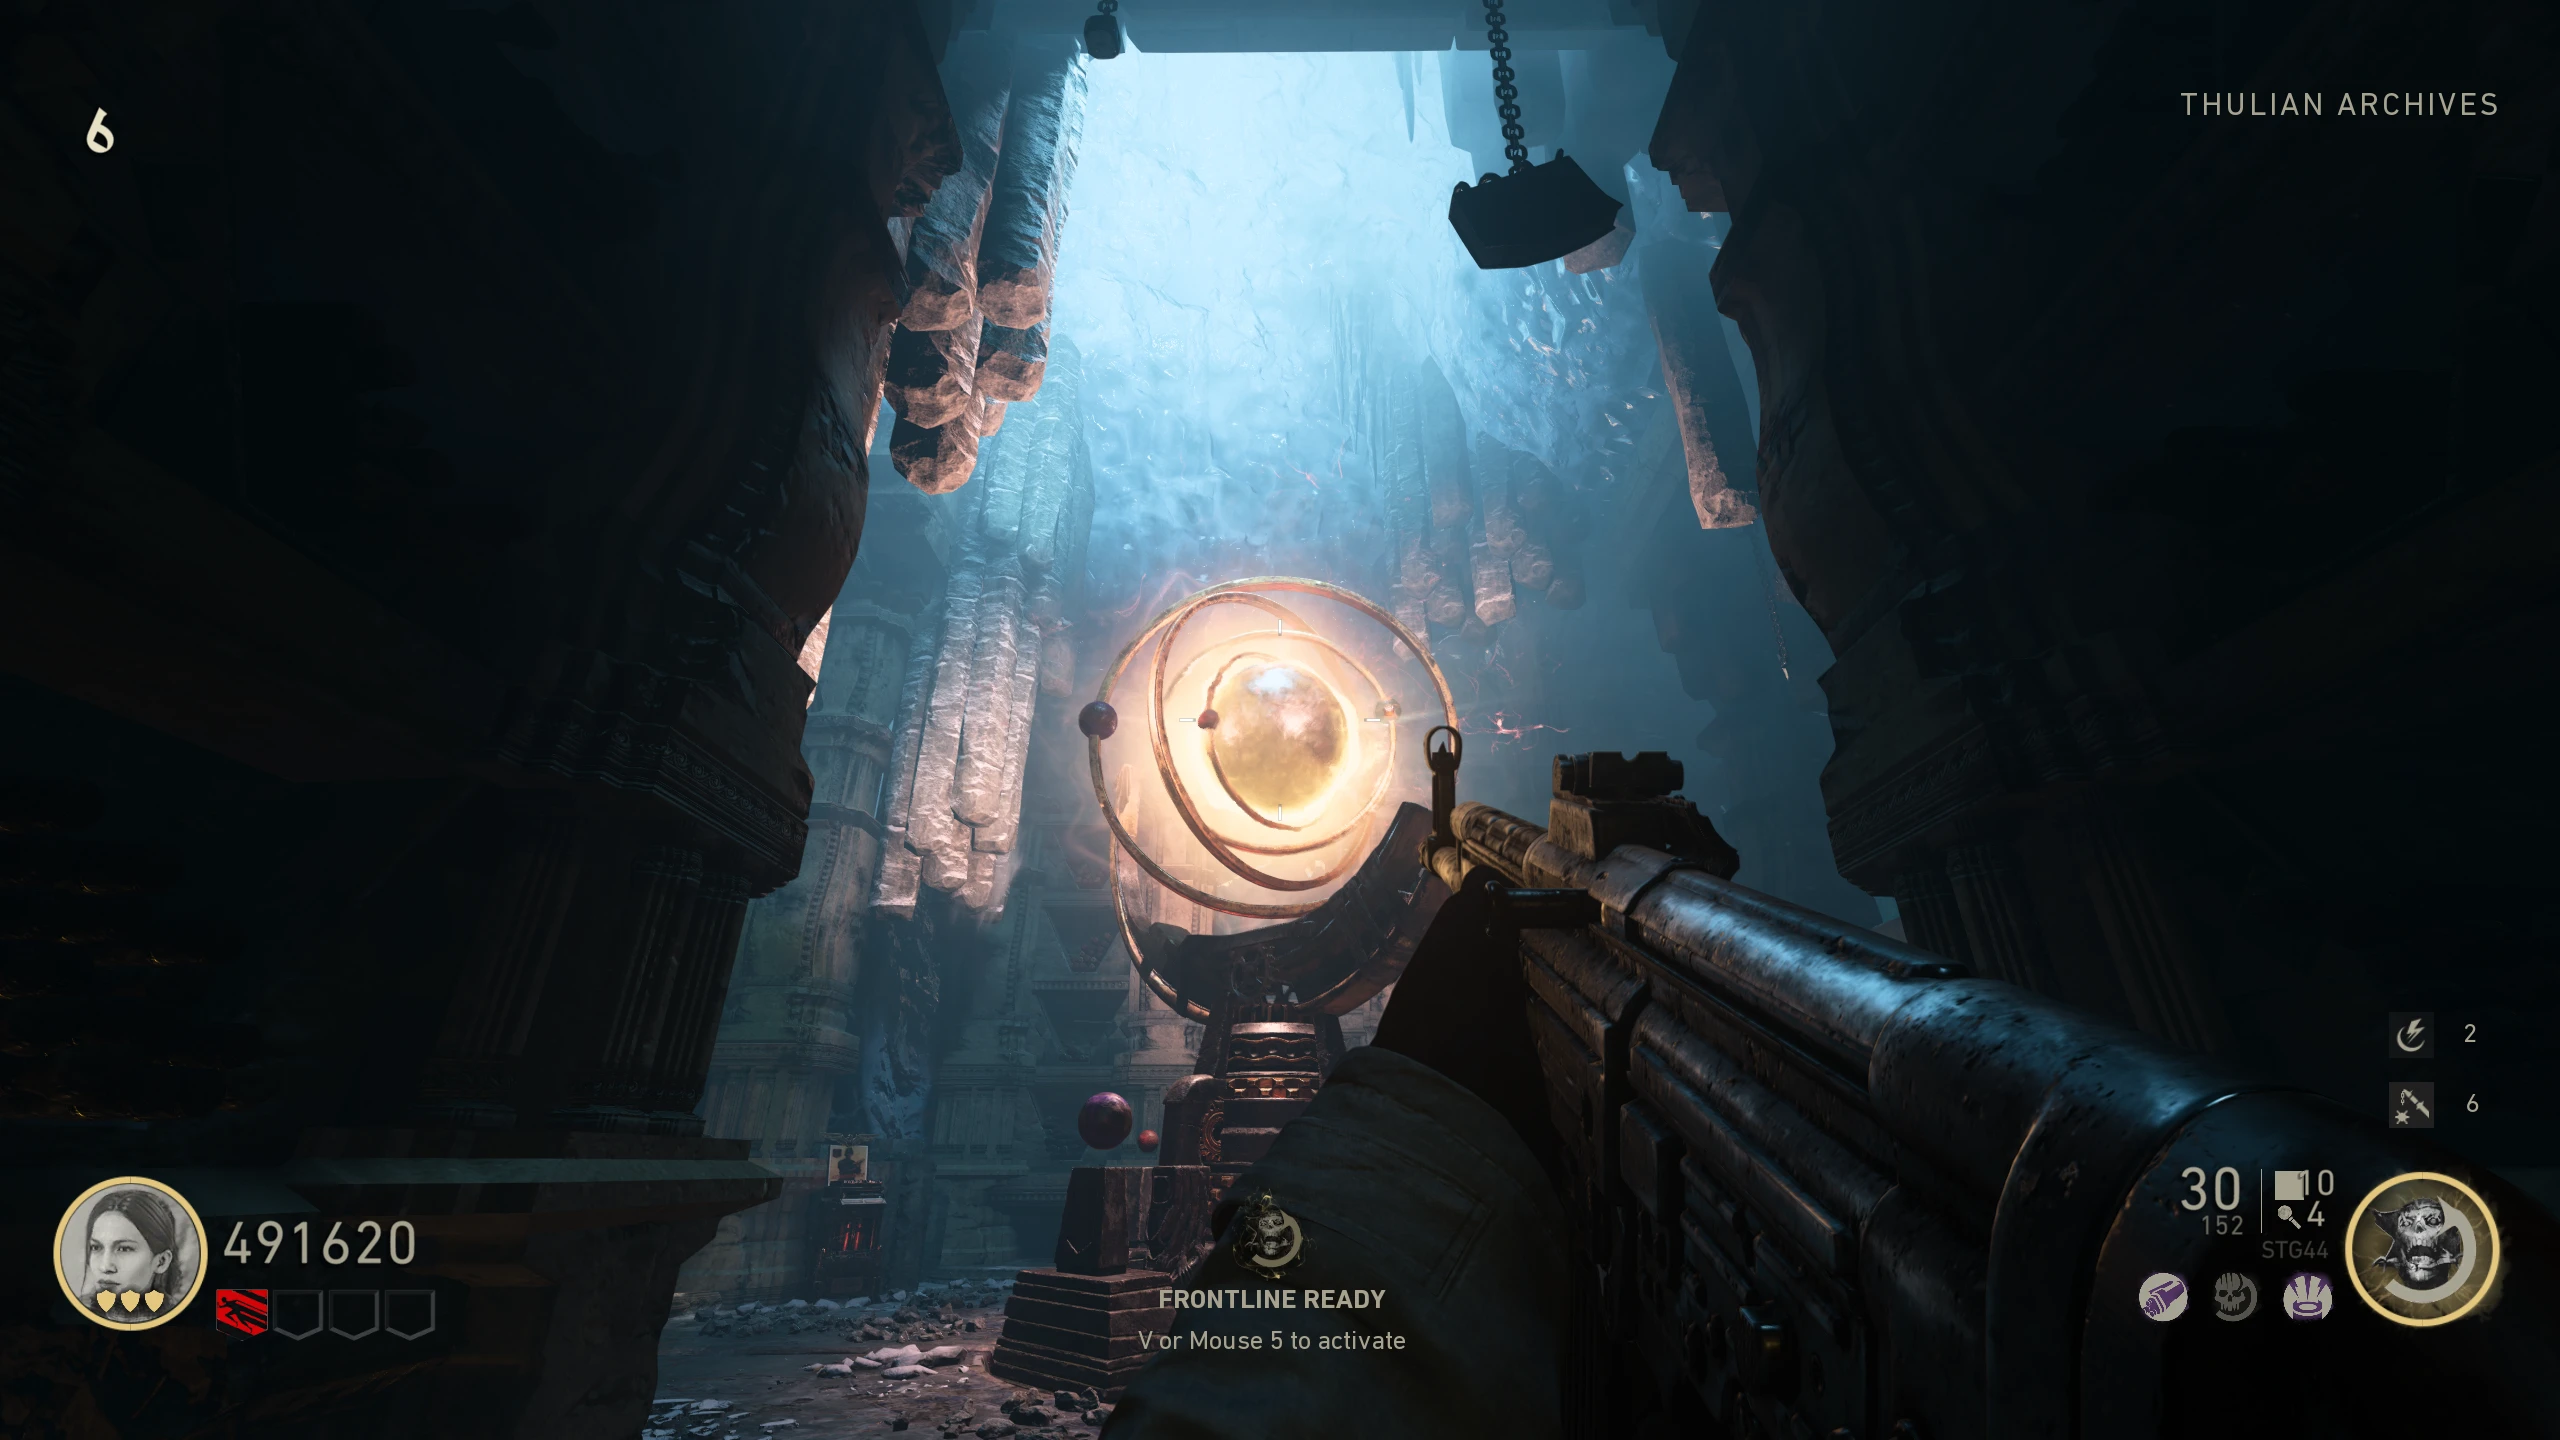
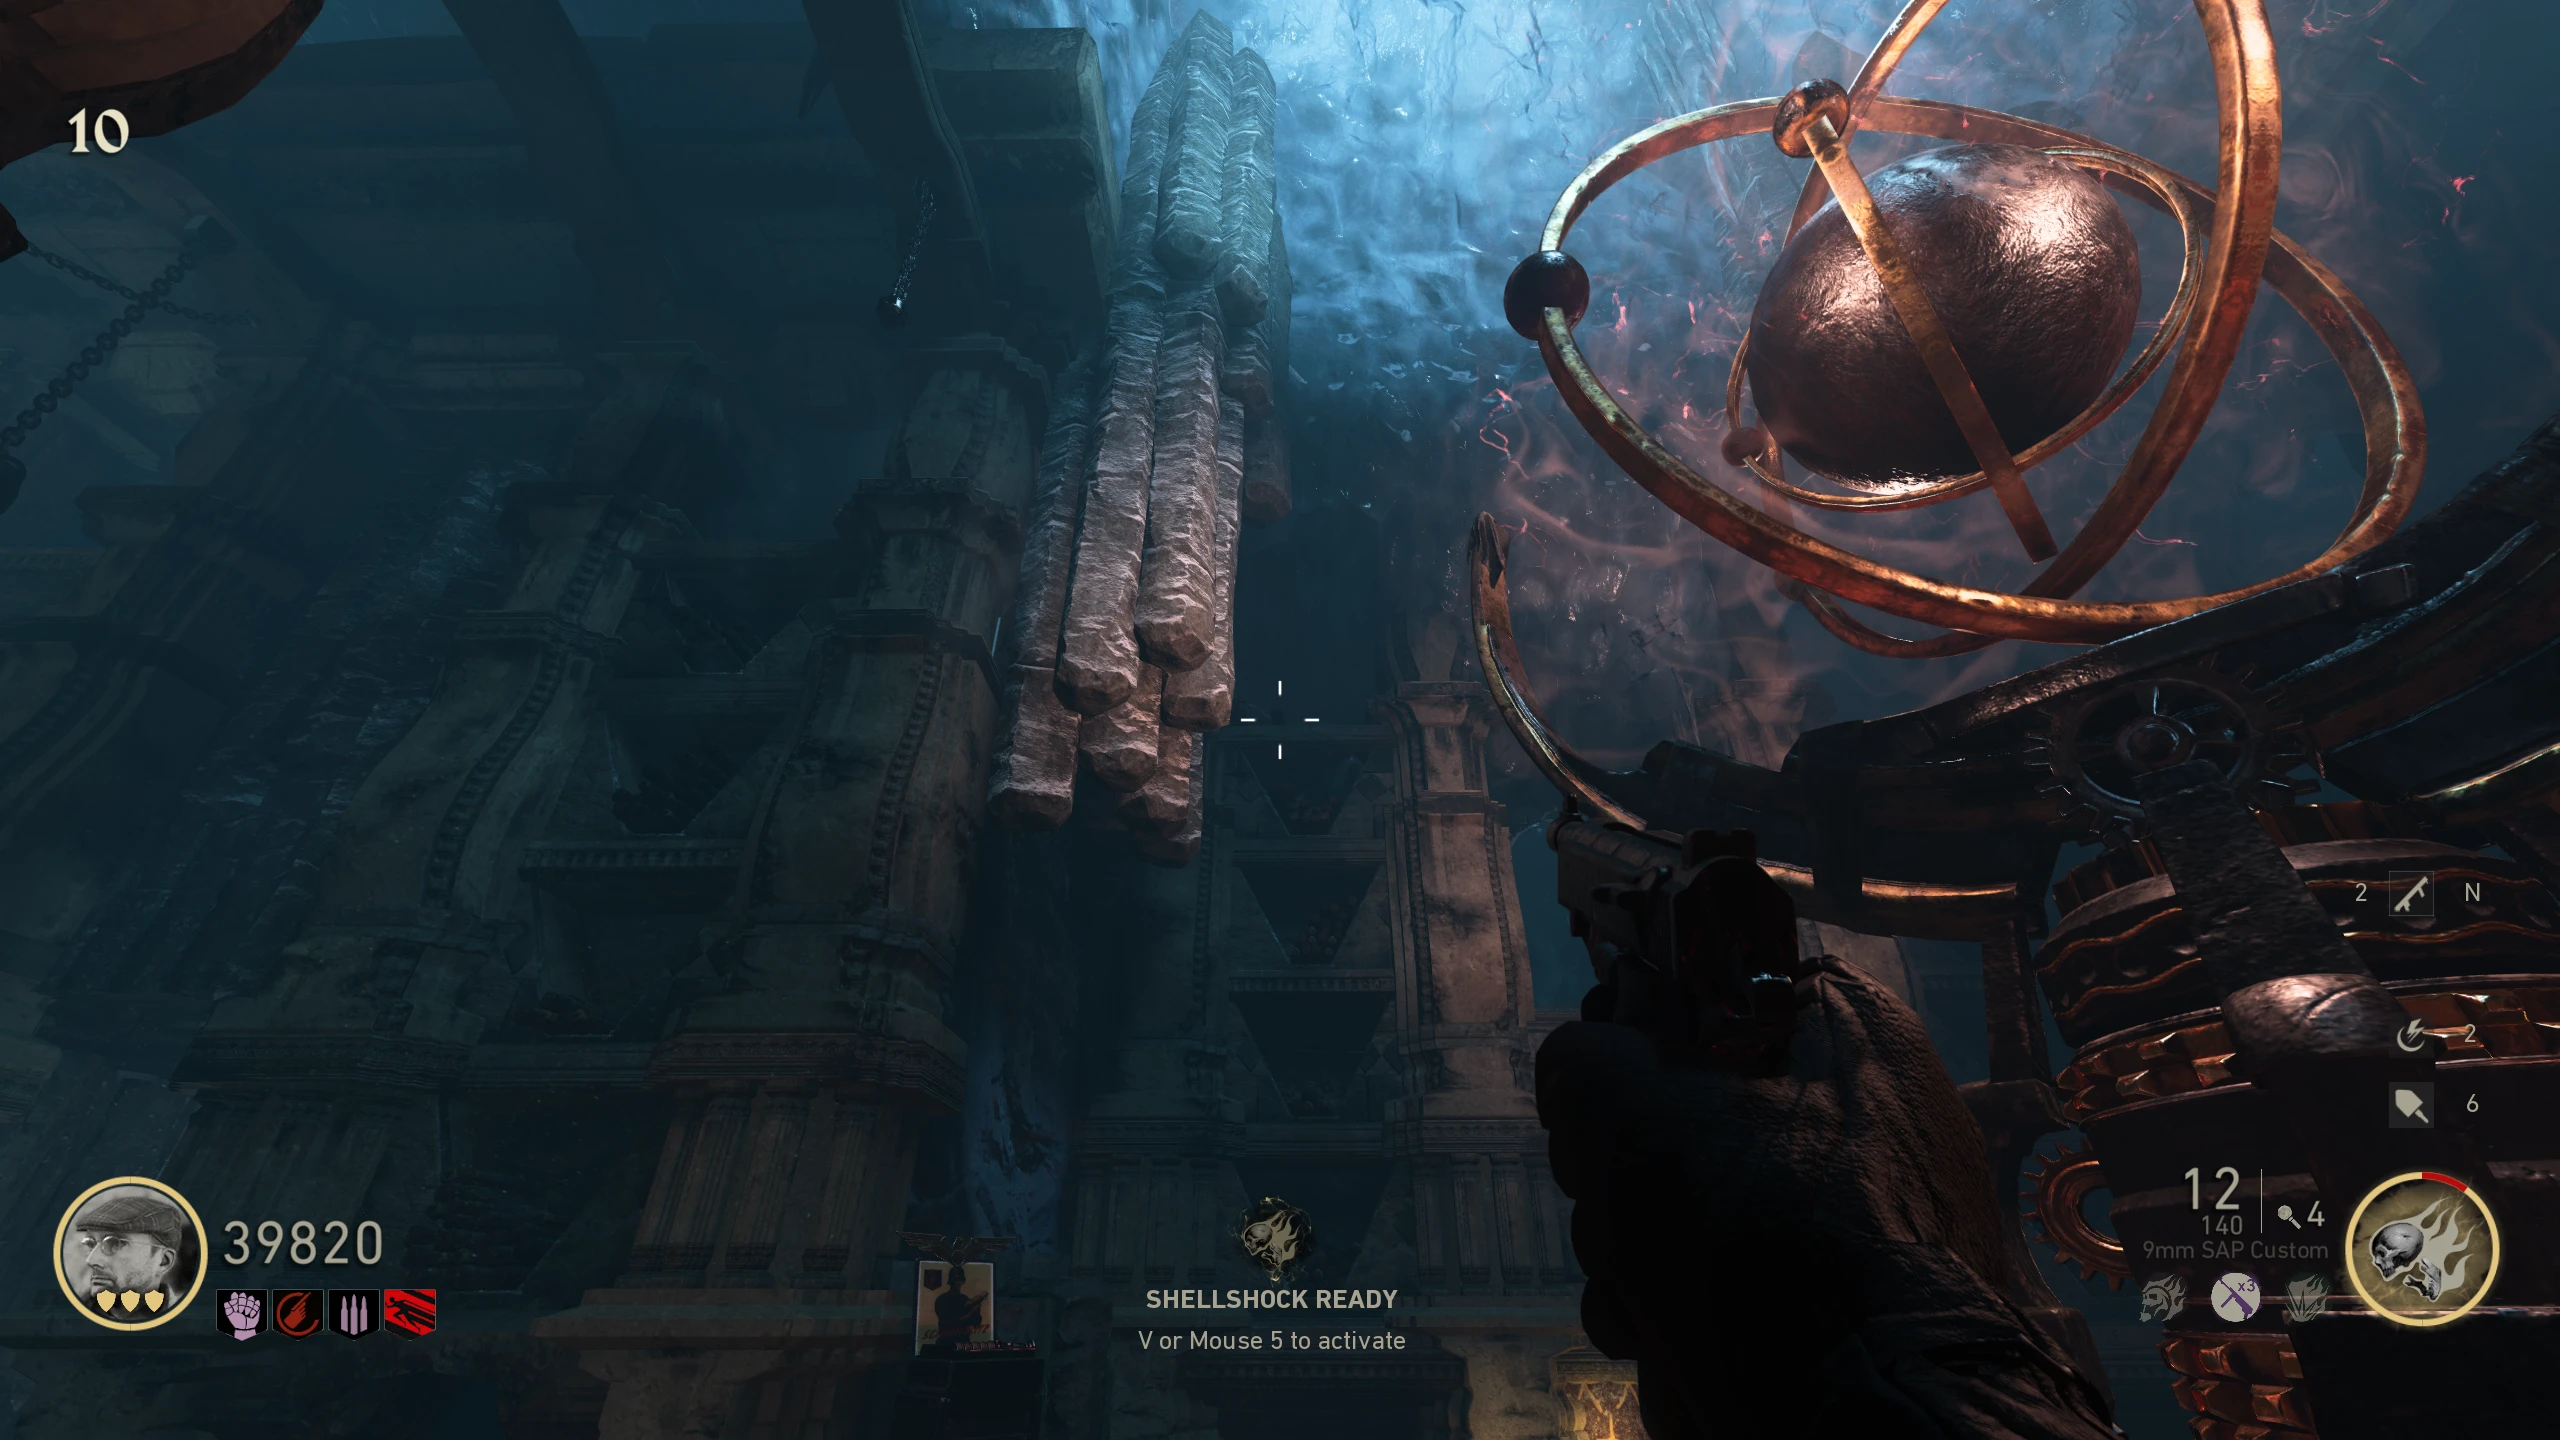
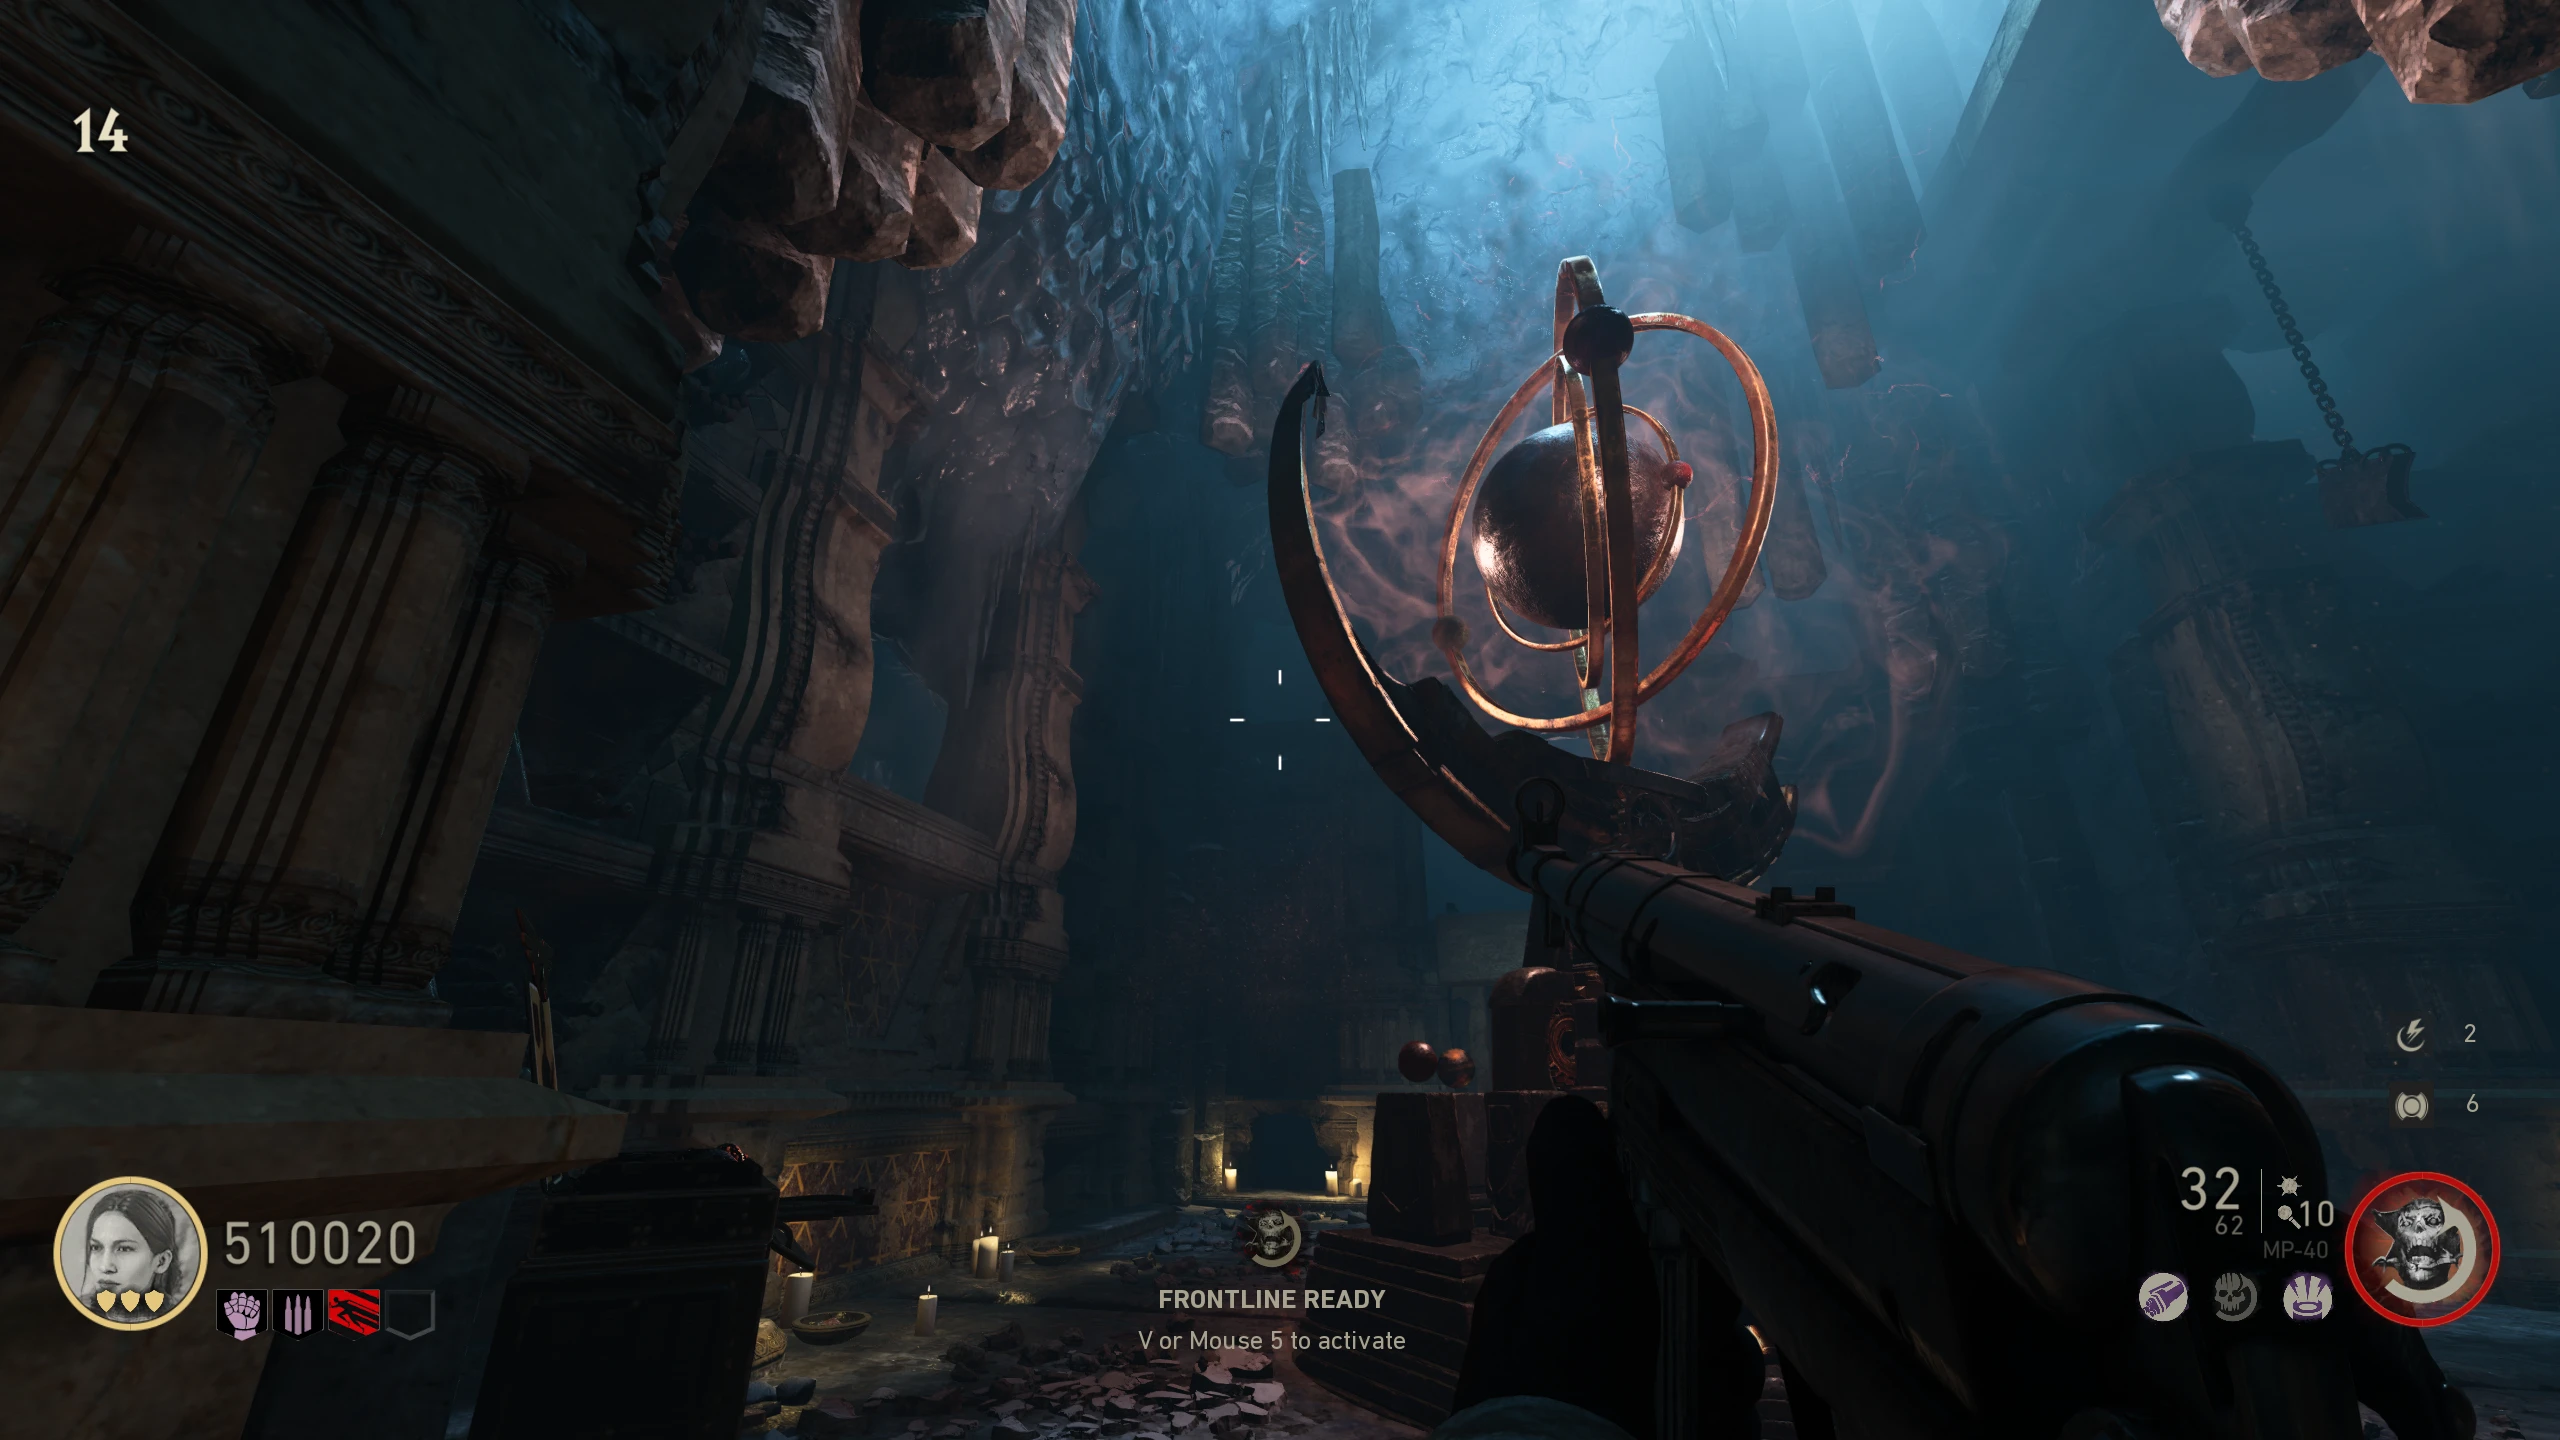
- Place all three gears into the mechanism in the 'Gearworks' below the 'Thulain Archives.' Get about 15 kills near the gears to charge them. Once charged, the Orrery will start moving.
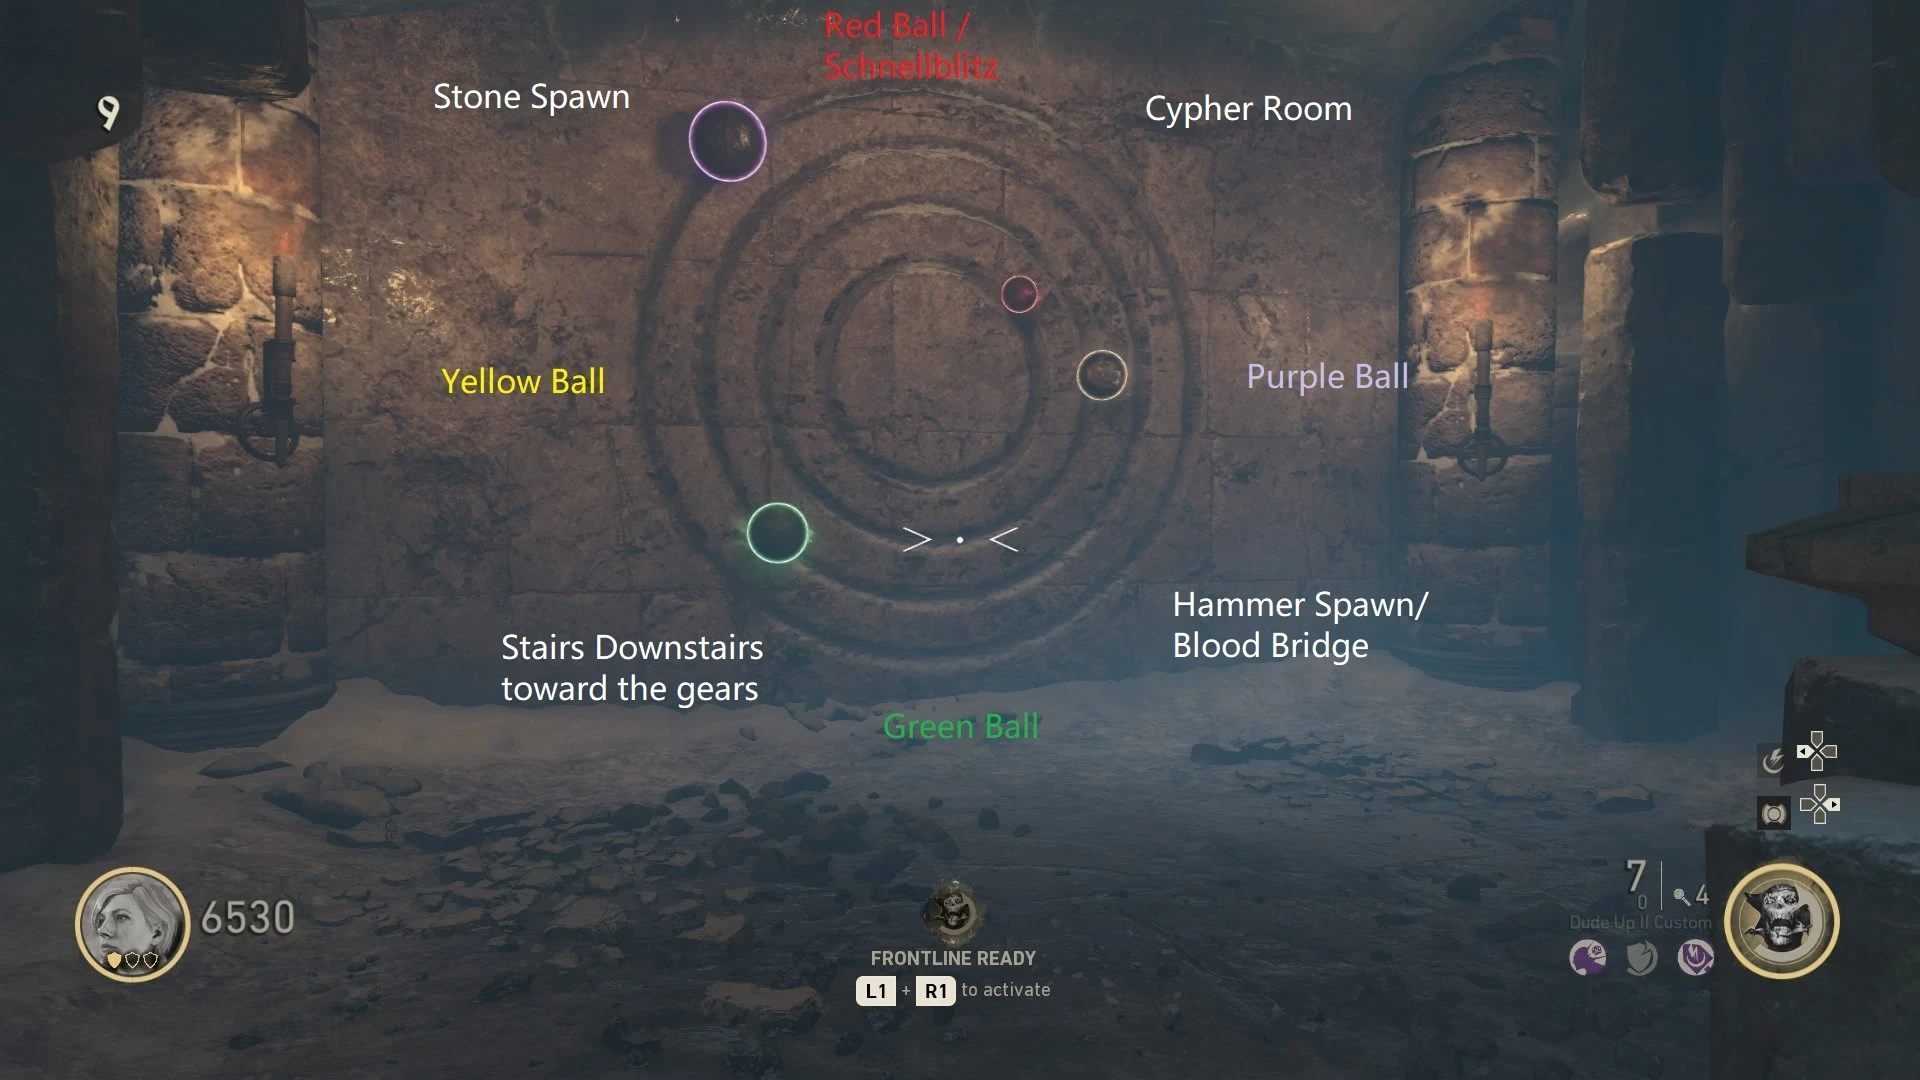
- You will need to stop the Orbs, by interacting with the stationary ones, in the positions indicated by the wall in the 'Cypher Room' (this will be different every game). Use this image to help relate the positions in the Cypher Room to the Orrery. Start with the Red one since it's the fastest and easiest to get wrong. There are only eight positions you can stop a ball in (see image above), so you should interact to stop the ball once it passes the position before the one you want.
- If you stop an Orb in the wrong location, you'll need to stop the others to reset the whole device.
- When an Orb is stopped correctly, it will play a distinct sound, while an incorrect orb, will play a dull sound.
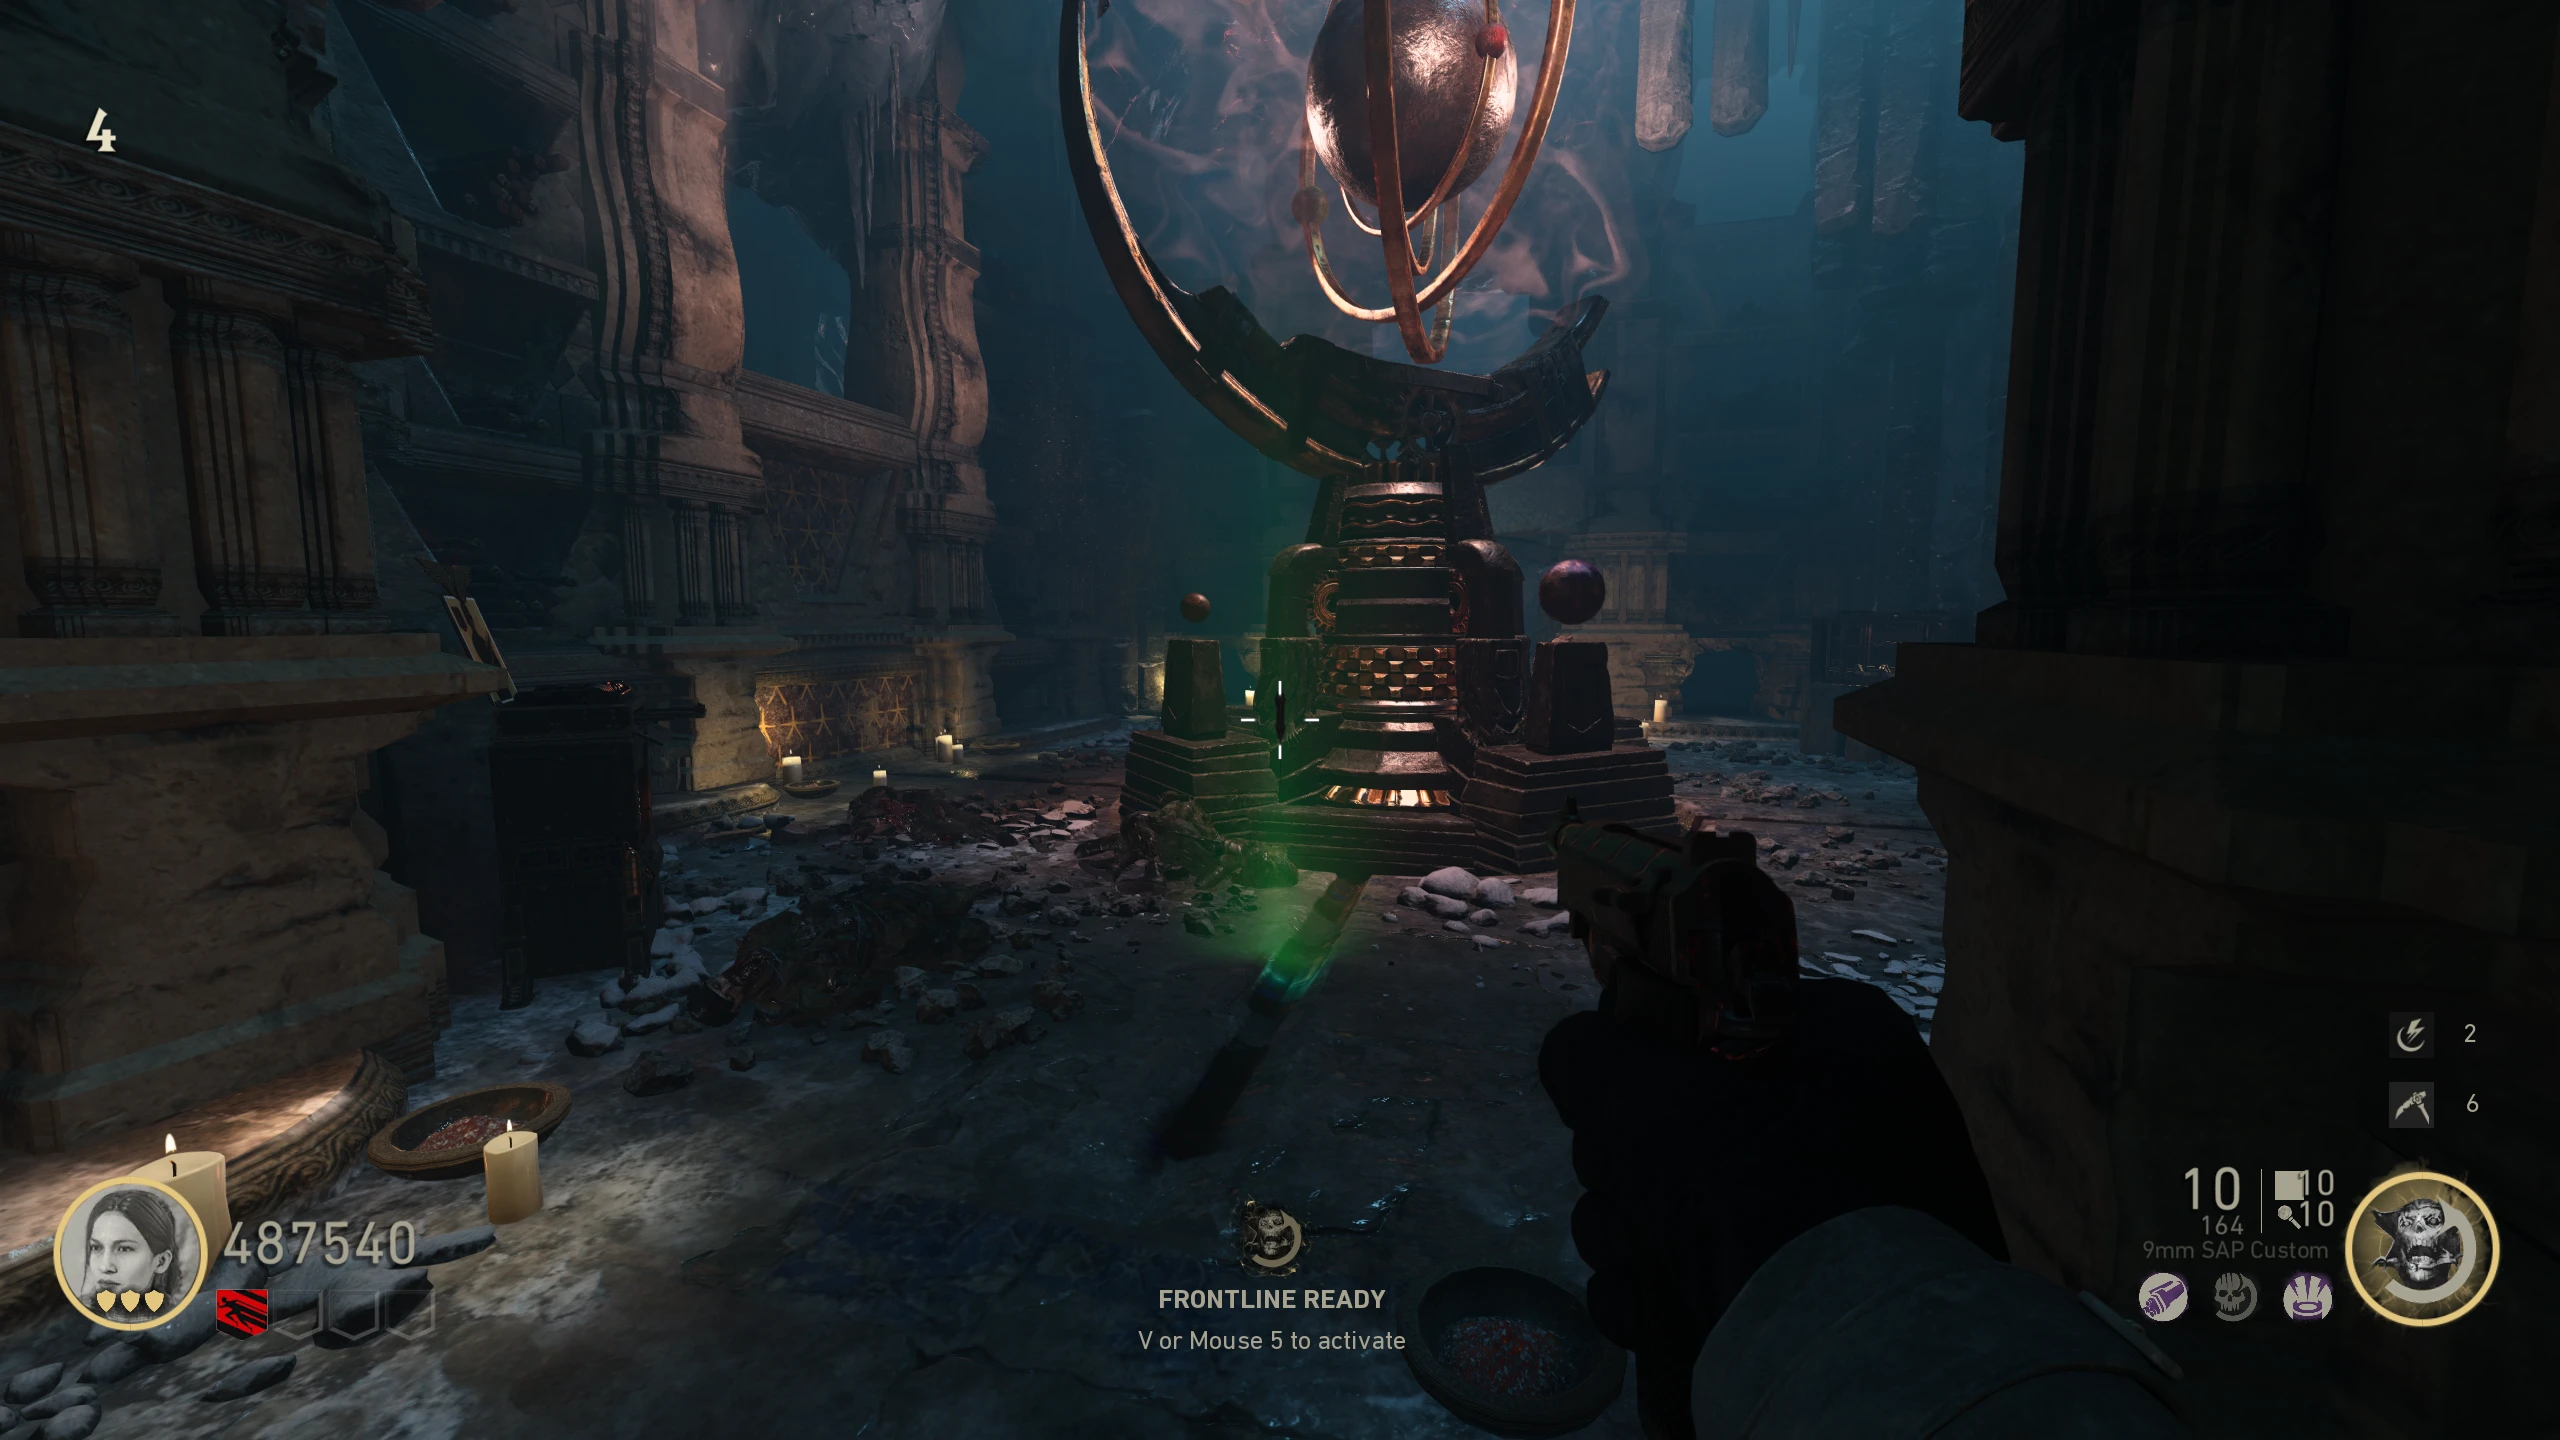
- Once all Orbs are correct in the correct locations, the Broken Flail will spawn in front of the Orrery for you to pick up.
- The Broken Flail lets you teleport by throwing the Orb (which replaces grenades while holding the Flail), then pressing the grenade button again after the orb lands. The orb regenerates after a few seconds.
Talon of Lu'roth (Upgraded Flail)
The Talon of Lu'roth allows players to possess Zombies by throwing the orb and pressing the tactical grenade button. Like the Perchta (from The Shadowed Throne), aiming and meleeing an enemy recovers health or armour (when max health).
- Throw the flail orb into the room above the Orrery and teleport inside.
- Inside the room, you'll see three Moonraven stones on the floor in the corners of the room.
- Get three kills with the Flail near the stone "on the right" (closest to the Combat Shotgun wallbuy) to charge it. This will spawn a Rune in the air above it.
- A constellation will spawn in the air around the map that can only be seen in "Flail Vision" (ADS with the Flail). Constellation locations:
- Once you find the constellation, connect the stars with your crosshair while aiming with the Flail. If done correctly, you'll see "Beheld the First Message."
- Go back to the room above the Orrery, charge the "middle" stone, and find its constellation. Repeat for the last stone.
- The "completed" constellations will stay visible after being connected.
- Once all three constellations are completed, throw the Flail Orb into the glowing ball in the Orrery.
- You'll be teleported to the Moonraven Trial, which is basically a tutorial on how to use the upgraded Flail. Upon completion, you'll be teleported back.
- In addition to the teleportation ability, the upgraded Flail (Talon of Lu'roth) allows you to turn Zombies friendly by throwing the orb at a Zombie and pressing the tactical grenade button.
'Kingfall' Main Quest
Stats (Solo): Difficulty - 8/10, Est. Completion Time - 1:20 Hr to 1:35 Hr
Upgraded Raven Lord Wonder Weapons
- Obtain all four upgraded Raven Lord Wonder Weapons: Thulian Scythe, Thulian Hammer, Thulian Shield, and Broken Flail.
- Place the weapons in the pedestals on the edge of the cliff in the 'Ice Caves.' You can place Scythe, Hammer, and Flail in any of the pedestals, but the Shield goes on the stone circle on the floor in front of the pedestals.
Warning: Point of No Return. Once you activate the Transport, you'll be put into the Boss Fight.
- All players must enter the newly activated Thulian Transport in the 'Ice Caves,' left of the door to the 'Morgue.' After a short cutscene, you'll be taken to the God King Boss Fight arena. Any Raven weapons not brought by a player will spawn on the floor in front of the Thulian Transport for you to freely swap between.
God King Boss Fight
Phase 1
- The God King has two attacks. He can either shoot a bolt of electricity at you or lob bombs that explode after a few seconds.
- Shoot the God King until he moves to the middle of the arena. He will pull you toward him, "The God King begins to consume blood" will appear on the left side of the screen, and he'll start slowly damaging you.
- You need to shoot each of the three pressure plates around the arena until they stop glowing. One of the pressure plates is in the middle of the arena (below where the God King will be), and the other two are on either side of Thulian Transport near the edges of the map.
- This will stun the God King, knocking him to the floor, allowing you to do damage. Once the God King gets back up, a Max Ammo, and Full Meter power-up will spawn where he was.
- You don't need to do damage to the God King while he's down, but it will help speed up the next phase.
Phase 2
- During the second phase, he gains another attack where he flies high up into the air, and starts charging a wipe attack. You can hide behind the ice pillars or use the shield's block ability to avoid taking damage.
- Shoot the God King, and the pressure plates to end the phase just like in phase 1. This is how you complete all future phases as well.
Phase 3
- The God King will occasionally give some Zombies purple shields, making them invincible. Throw the Hammer at the shields to break them.
Phase 4
- The God King will fly to the throne and throw out a wall of fire. The player with the Flail needs to teleport to the God King (past the fire) and do damage to stun him and stop the fire. Any player touched by the fire will instantly down.
Phase 5 (Co-op Only)
- The God King can use all the previous attacks (Wipe, Shields, Fire).
Final Phase
- After phase 4 (or 5 on Co-op), the God King will go to his throne, pull all players toward him, drop you to 1 HP, and make you kneel. The ending cutscene will play. After the cutscene, you'll be brought back to the arena, with the God King sitting on his throne. Shoot him until he dies; failing to do so will cause him to wipe your team, ending your game.
- Once he's dead, you'll have completed the Boss Fight. After the Boss fight, you'll constantly regenerate armour for free for the remainder of the current match. You're able to use the Thulian Transport to go between the arena and main map as much as you want.
'The Classic' PPSh-41
The Classic is a special PPSh-41 variant with a bigger 70-round mag, more reserve ammo, and a faster fire rate.
- You have to choose to either do this quest or 'The Vintage' MG42 quest, you can't do them both in the same game.
- On the bottom level of the 'Morgue' (where you get the Shield stone), drop Jolts in front of the open corpse container on the right side of the room. If placed correctly, it will take your money, and the Corpse's eyes will turn blue.
- After a few seconds, three skulls will light up red on the left, and four will be blue on the right. The red skulls indicate the remaining number of rounds in the minigame.
- One of the corpse's eyes will light up red. Shoot it before the lights turn off. After a few seconds, another red-eyed head will spawn; shoot it. Repeat for all the red-eyed heads that spawn. Occasionally, a blue-eyed head will spawn; don't shoot these, as this will cause you to fail.
- If you fail, give the corpse container another jolts drop to retry.
- After enough red-eyed heads have been shot, give the corpse another jolts drop to start the next round.
- After you complete three rounds, interact with the original corpse container to get The Classic. Once picked up, it will also become available in the Mystery Box.
'The Vintage' MG42
'The Vintage' is a special MG42 variant with a bigger 125-round mag, more reserve ammo, and a faster fire rate.
- You have to choose to either do this quest or 'The Classic' PPSh-41 quest, you can't do them both in the same game.
- On the bottom level of the 'Morgue' (where you get the Shield stone), drop Jolts in front of the open corpse container on the left side of the room. If placed correctly, it will take your money, and the Corpse's eyes will turn red.
- After a few seconds, four skulls will light up red on the left, and three will be blue on the right. The blue skulls indicate the remaining number of rounds in the minigame.
- One of the corpse's eyes will light up blue. Shoot it before the lights turn off. After a few seconds, another blue-eyed head will spawn; shoot it. Repeat for all the blue-eyed heads that spawn. Occasionally, a red-eyed head will spawn; don't shoot these, as this will cause you to fail.
- If you fail, give the corpse container another jolts drop to retry.
- After enough blue-eyed heads have been shot, give the corpse another jolts drop to start the next round.
- After you complete three rounds, interact with the original corpse container to get The Vintage. Once picked up, it will also become available in the Mystery Box.
Unlockable Characters
New playable characters can be unlocked through the completion of various challenges. Your progress can be checked on the Lobby Menu → Soldier → Dossier → Challenges. The challenges will not explicitly say what to do (due to data mining issues at launch), so the challenges are the Community's "best guess" of what to do.
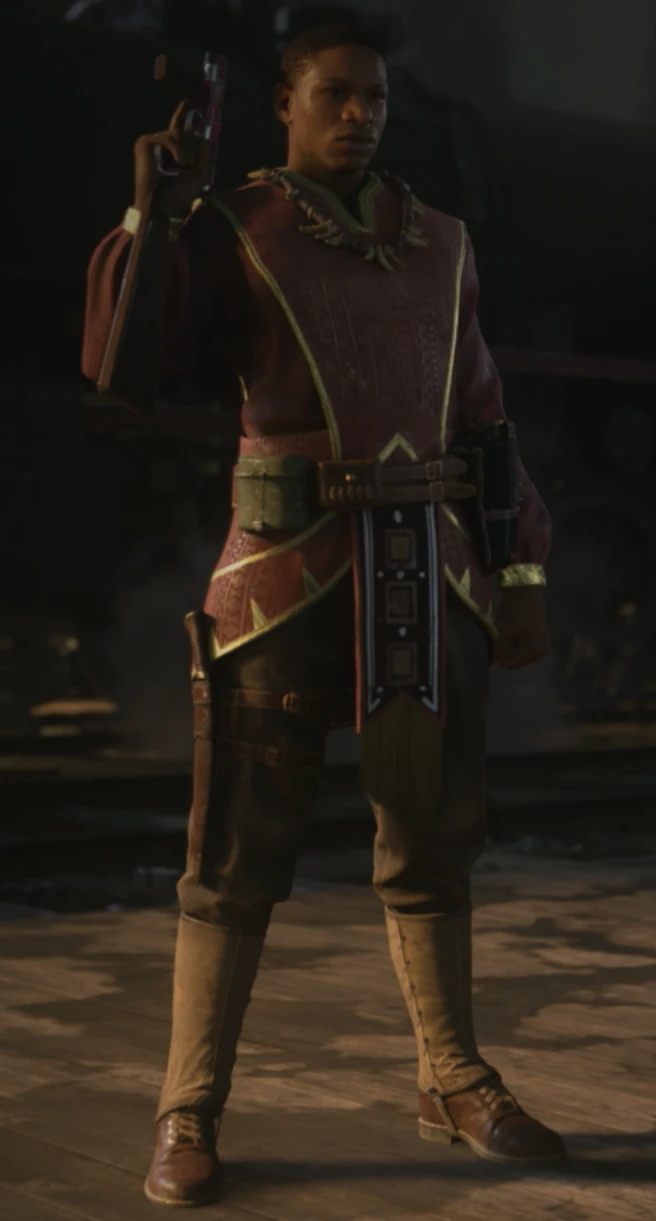
Shadowguard (Shadow Hunter) --- Character Model
| Challenge Hint Text / Riddle |
Challenge |
Strategy / Notes |
| Death becomes |
Obtain the Thulian Scythe without taking damage during the lockdown |
See the Thulian Scythe section for how to get the Scythe. Use Shellshock with the Sustain Zone Mod to stop the Zombies from attacking you. |
| Waltz of starvation |
Kill about 15 Zombies while they're getting "eaten" by a corpse eater with the Fang of An'heist (upgraded scythe) |
See the Thulian Scythe section for how to get and upgrade the Scythe. |
| Elder Blood |
Kill the Corpse Eaters before they kill the Wustlings during the Fang of An'heist trial |
| Crown's solace |
Complete the Main Quest solo |
See the Main Quest section for how to complete it. |
| Wreathed in death |
Survive the God King's Phase 2 wipe attack and Phase 4 Fire attack with the Scythe's "Cheat Death" ability |
See the Main Quest section for how to get to the Boss Fight.
Kill a fully charged, red-glowing Corpse Eater with the Upgraded Scythe before the Boss Fight to activate the Scythe's "Cheat Death" ability (the gem should glow). During phase 2 of the Boss Fight, take lethal damage from the red wipe attack (you should survive and the gem should turn off). Get another charge from a Corpse Eater, then during phase 4, get hit by the fire. |
Wayfarer (Wayward Rider) --- Character Model
| Challenge Hint Text / Riddle |
Challenge |
Strategy / Notes |
| Dark Wings, Dark Path |
Obtain the Raven's Claw Special Pistol |
See the Raven's Claw section for how to get the pistol. |
| Leaps and bounds |
Visit every location on the map in under 2 minutes |
This doesn't include special areas like the Dark Room, or the Boss Fight arena. |
| Darkest sky |
Observe all three constellations in the Flail upgrade quest in under 3-5 minutes |
See the Bloken Flail section for how to get the get and upgrade the Flail. |
| Like sightless eyes |
Die to a Corpse Eater while possessing a Zombie |
See the Zombie Possession section for how to possess a Zombie. |
| Bureau's Pride |
Complete all the Raven trials (final part of Raven Weapon Upgrades) in one game |
You don't need to do all the steps, just the final challenge/trial. |
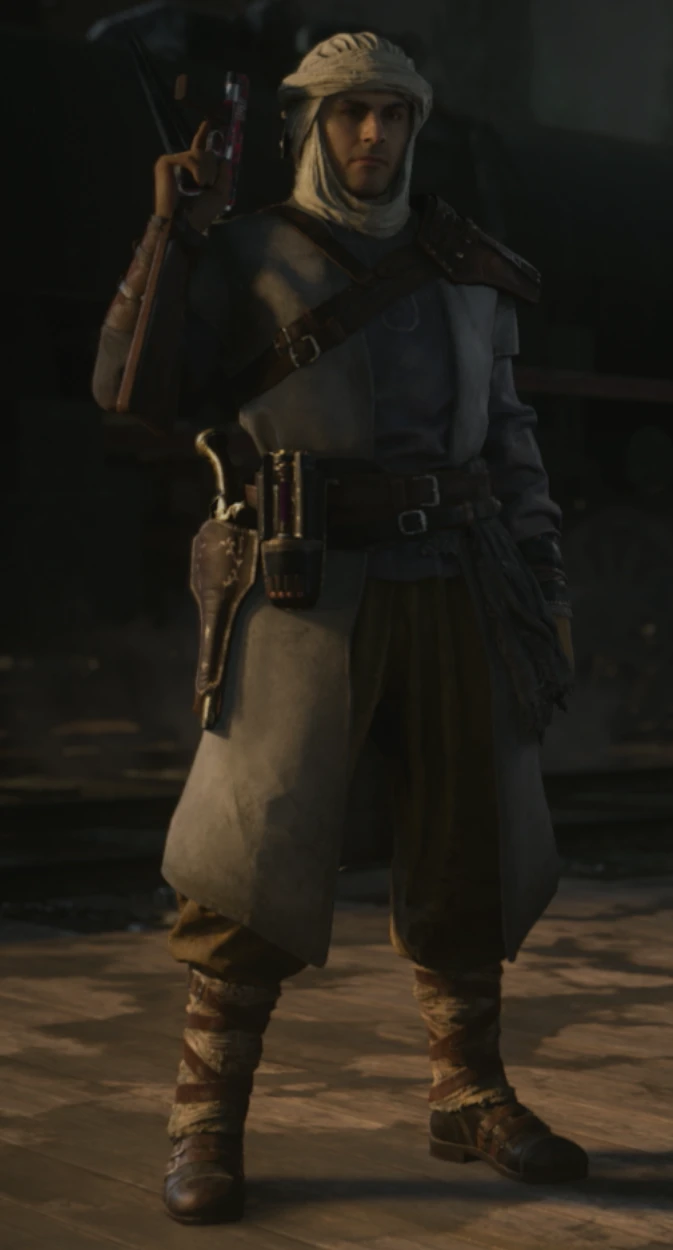
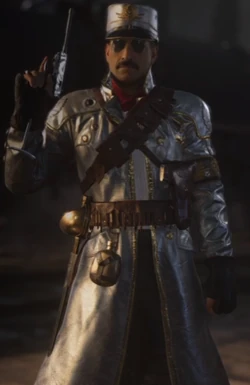
Deathbringer (Desert Assassin) --- Character Model
| Challenge Hint Text / Riddle |
Challenge |
Strategy / Notes |
| Left forgotten |
Survive 15 Waves without leaving the Crash Site (Spawn) |
Use Freefire with the MK.II Mod to get temporary paped weapons |
| Guarded Sacrifice |
Kill 10 Zombies while they're in the blood pool in Blood Altar by charging them with the Roar of Sang'ket (Upgraded Shield) |
See the Thulian Shield section for how to get and upgrade the Shield. To do a charged attack, activate sprint and then press the melee button. |
| Needless effort |
Transport a Wustling (by itself, meaning no other Zombies or players) two times using the Thulian Transports, starting at the Blood Altar transport |
You can use the Wustling that spawns in the Thulian Shield quest. The Blood Altar transport always goes to the Crash Site, so transport the Wustling from the Blood Altar to the Crash Site, then transport from the Crash Site. |
| Relentless |
Let the Zombies damage the Thulian Shield an unknown amount of times without letting it break |
Leave one Zombie alive and let it damage the shield while you're holding it. Once it gets close to breaking, let it recharge, and repeat. |
| Light in darkness |
Complete the Dark Room Perkaholic side quest |
See the Dark Room Perkaholic section for how to do it. |
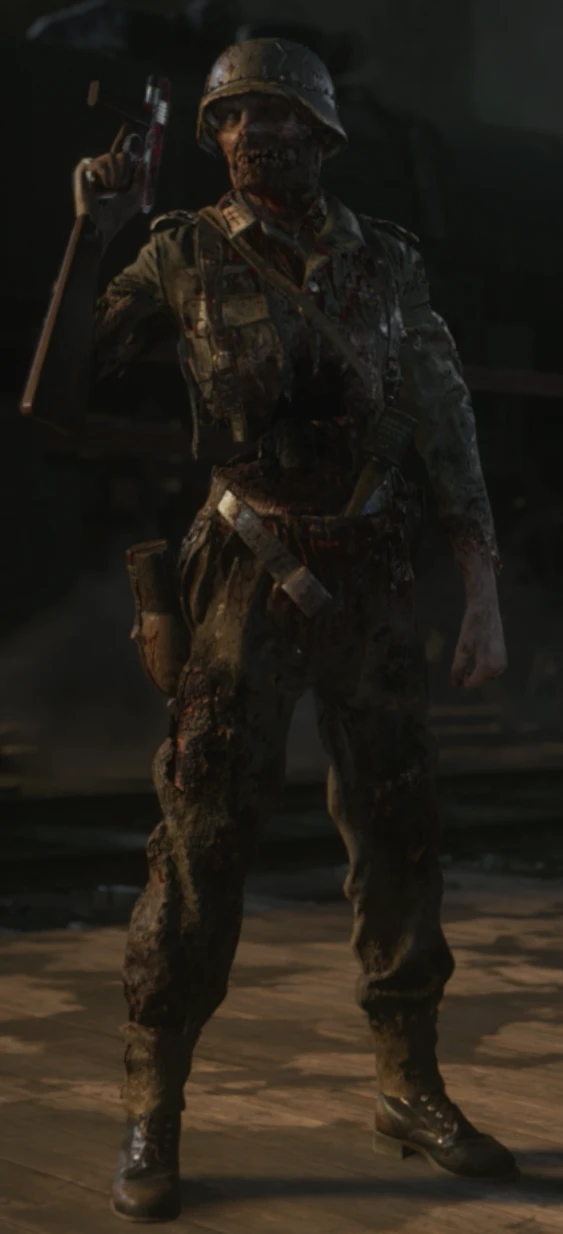
Wicht Warden (Cold Blooded) --- Character Model
| Challenge Hint Text / Riddle |
Challenge |
Strategy / Notes |
| Search and rescue |
Complete the Hardcore Main Quest on The Final Reich |
See the Hardcore Main Quest section of The Final Reich Guide for how to complete it. |
| They can swim now? |
Complete the Main Quest on The Darkest Shore |
See the Main Quest section of The Darkest Shore Guide for how to complete it. |
| Mechanized abomination |
Complete the Main Quest on The Shadowed Throne |
See the Main Quest section of The Shadowed Throne Guide for how to complete it. |
| The road ahead |
Complete the Main Quest on The Tortured Path |
See the Main Quest section of The Tortured Path Guide for how to complete it. |
| Descend... |
Complete the Main Quest on The Frozen Dawn |
See the Main Quest section for how to complete it. |
Rookbane (Level 1000 Reward) --- Character Model
| Challenge |
Strategy / Notes |
| Reach Level 1000 in the Zombie Mode |
See this post (reddit) for some XP farming strategies. |