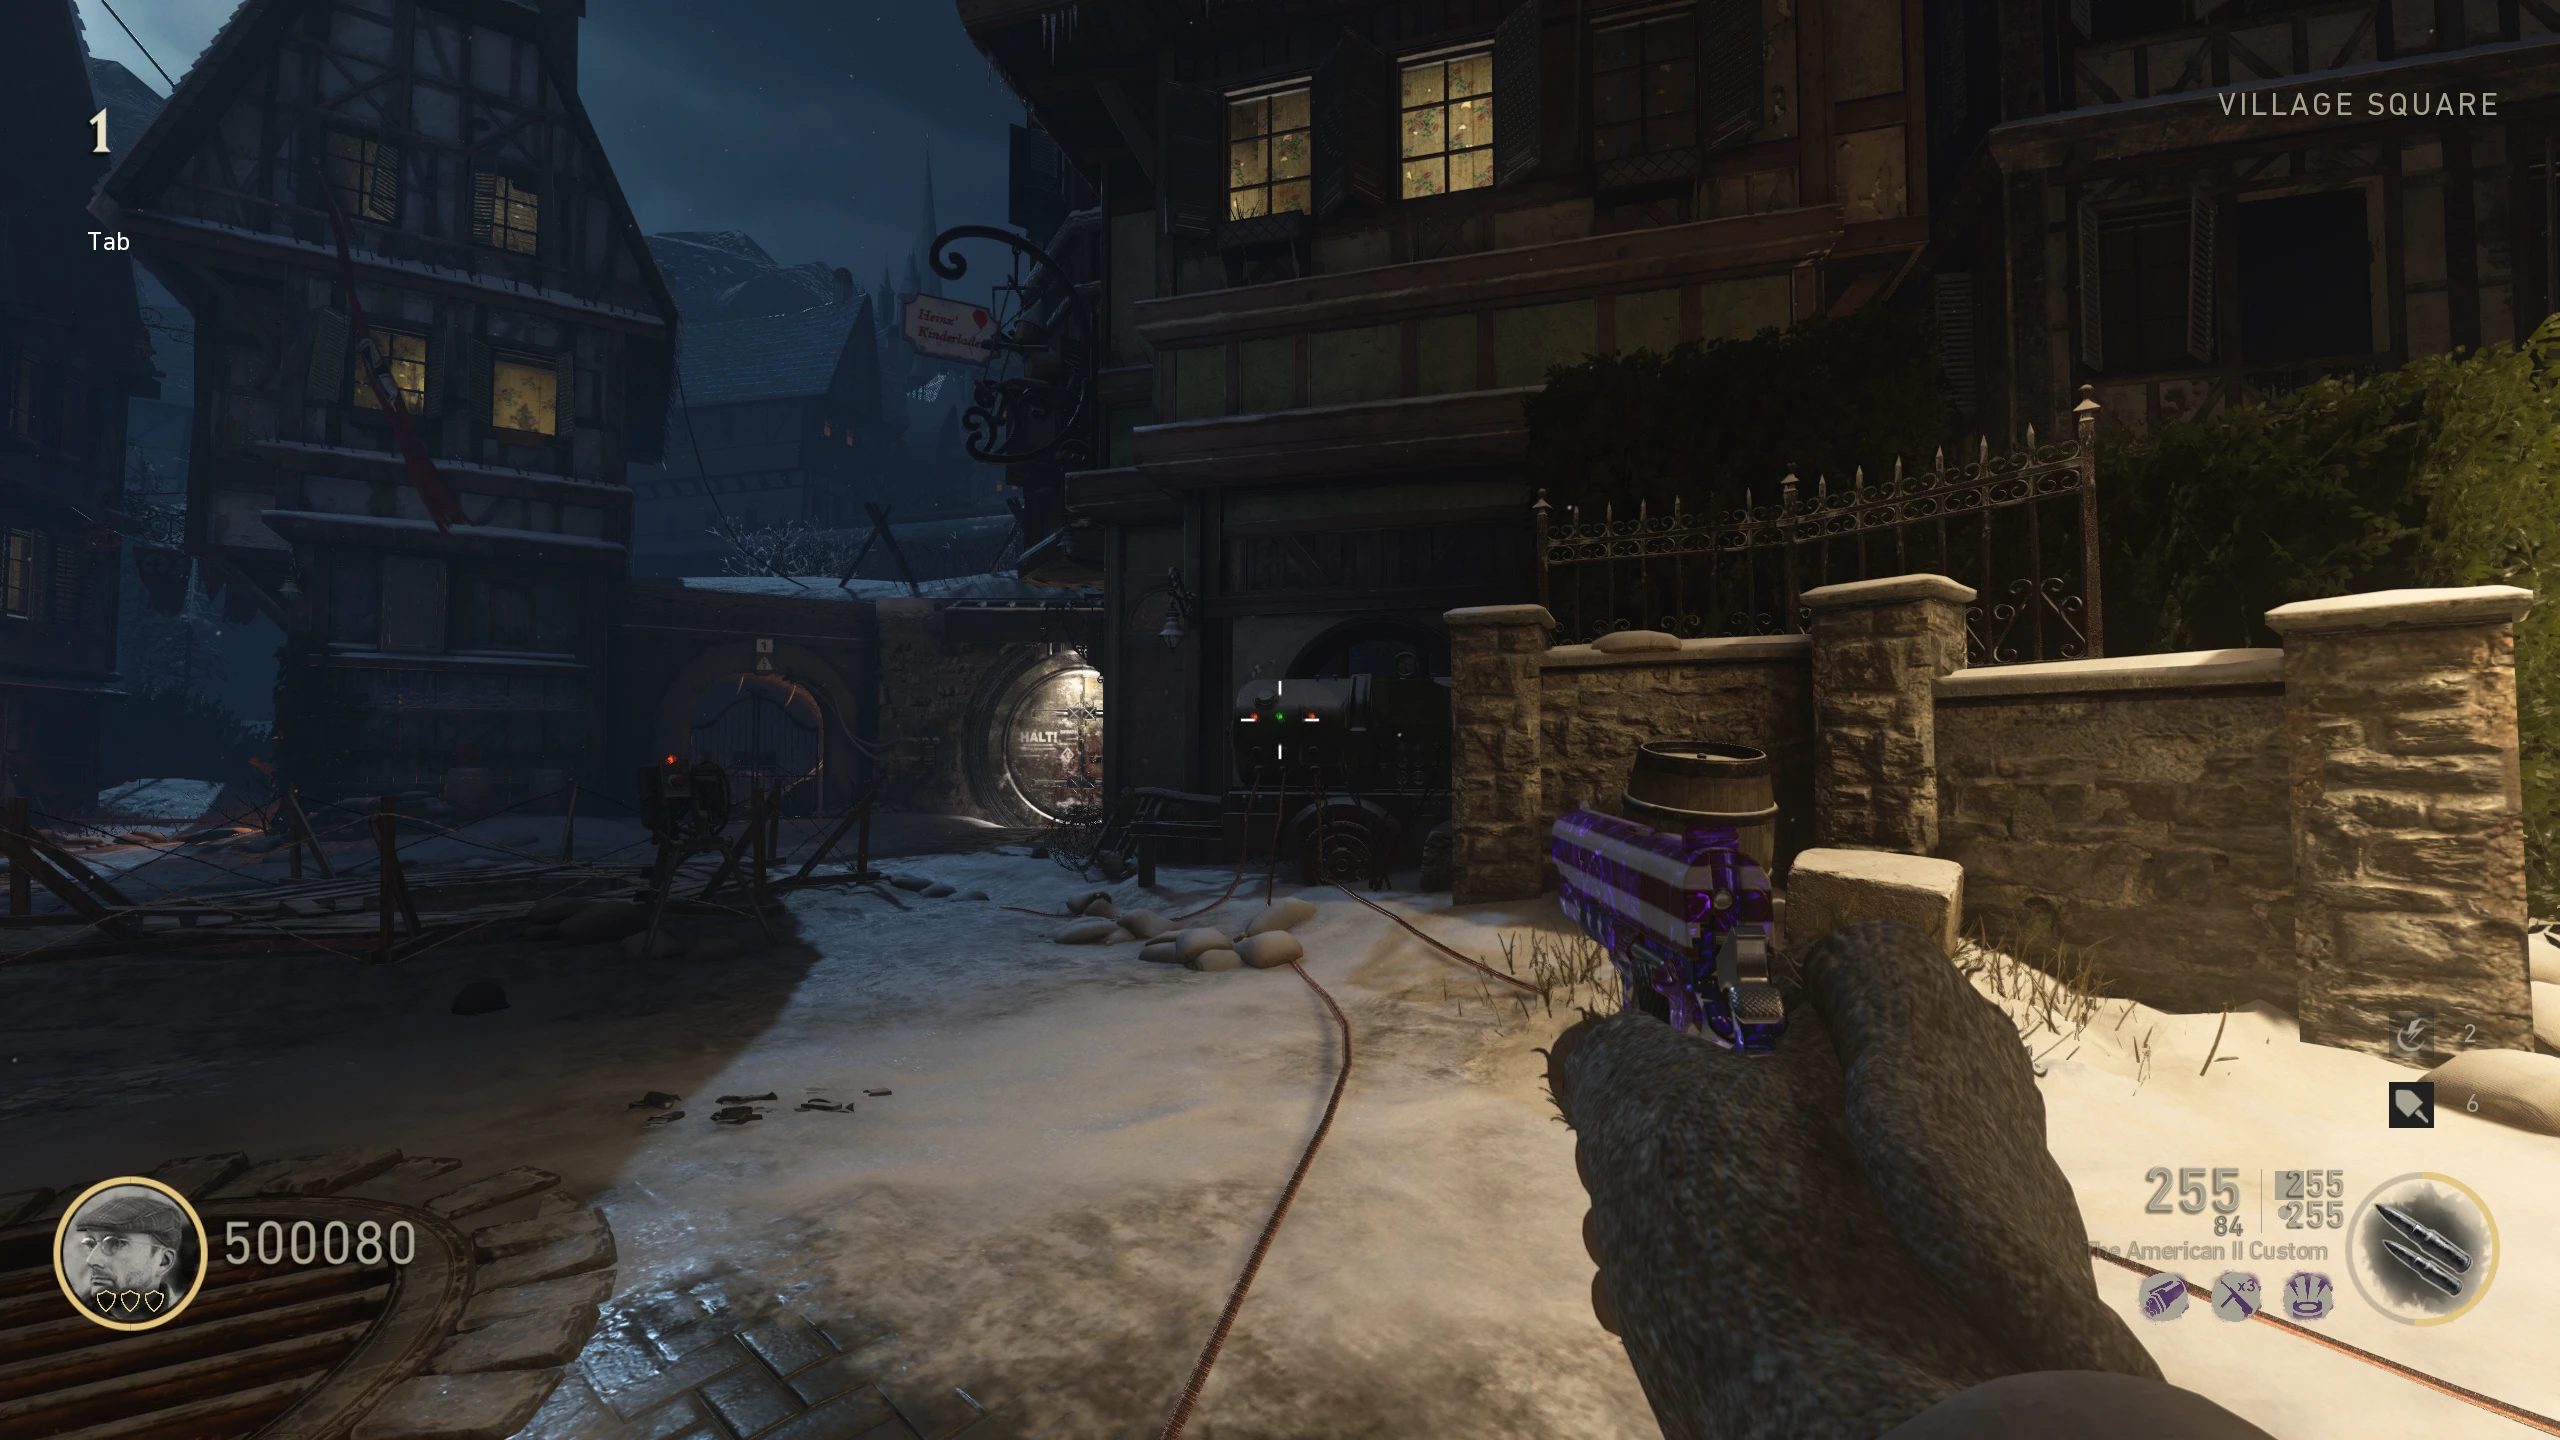
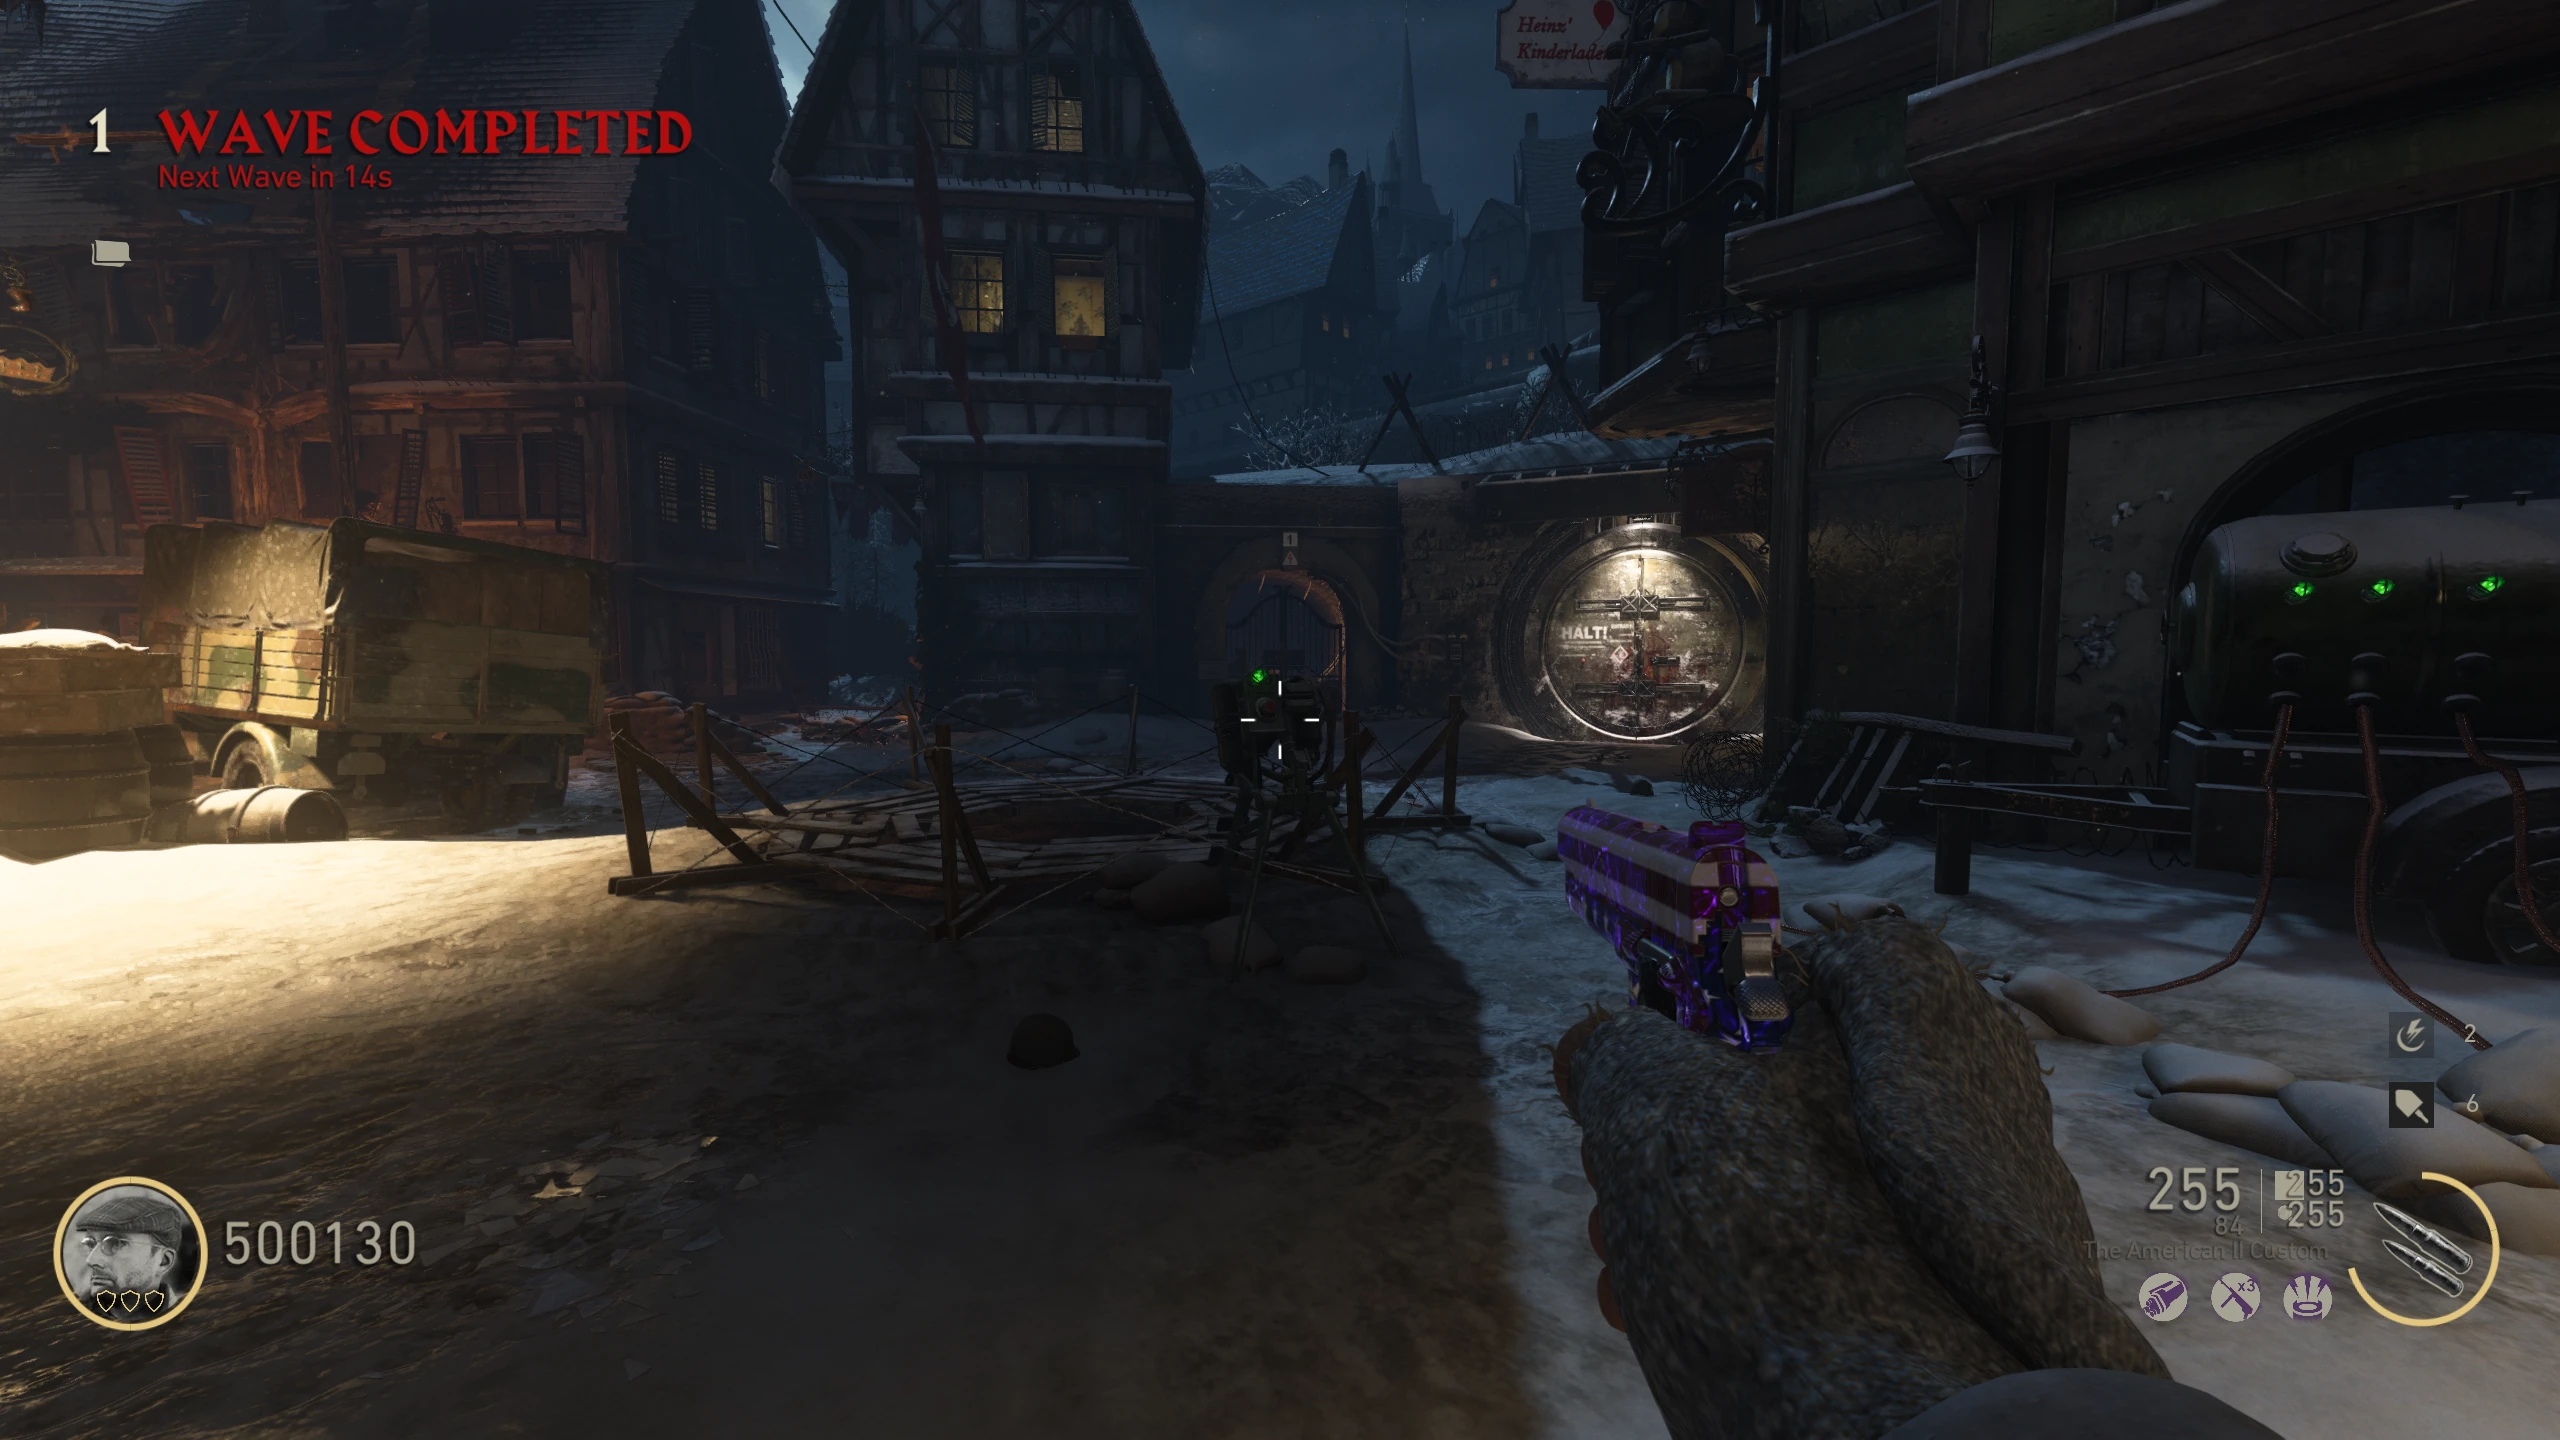
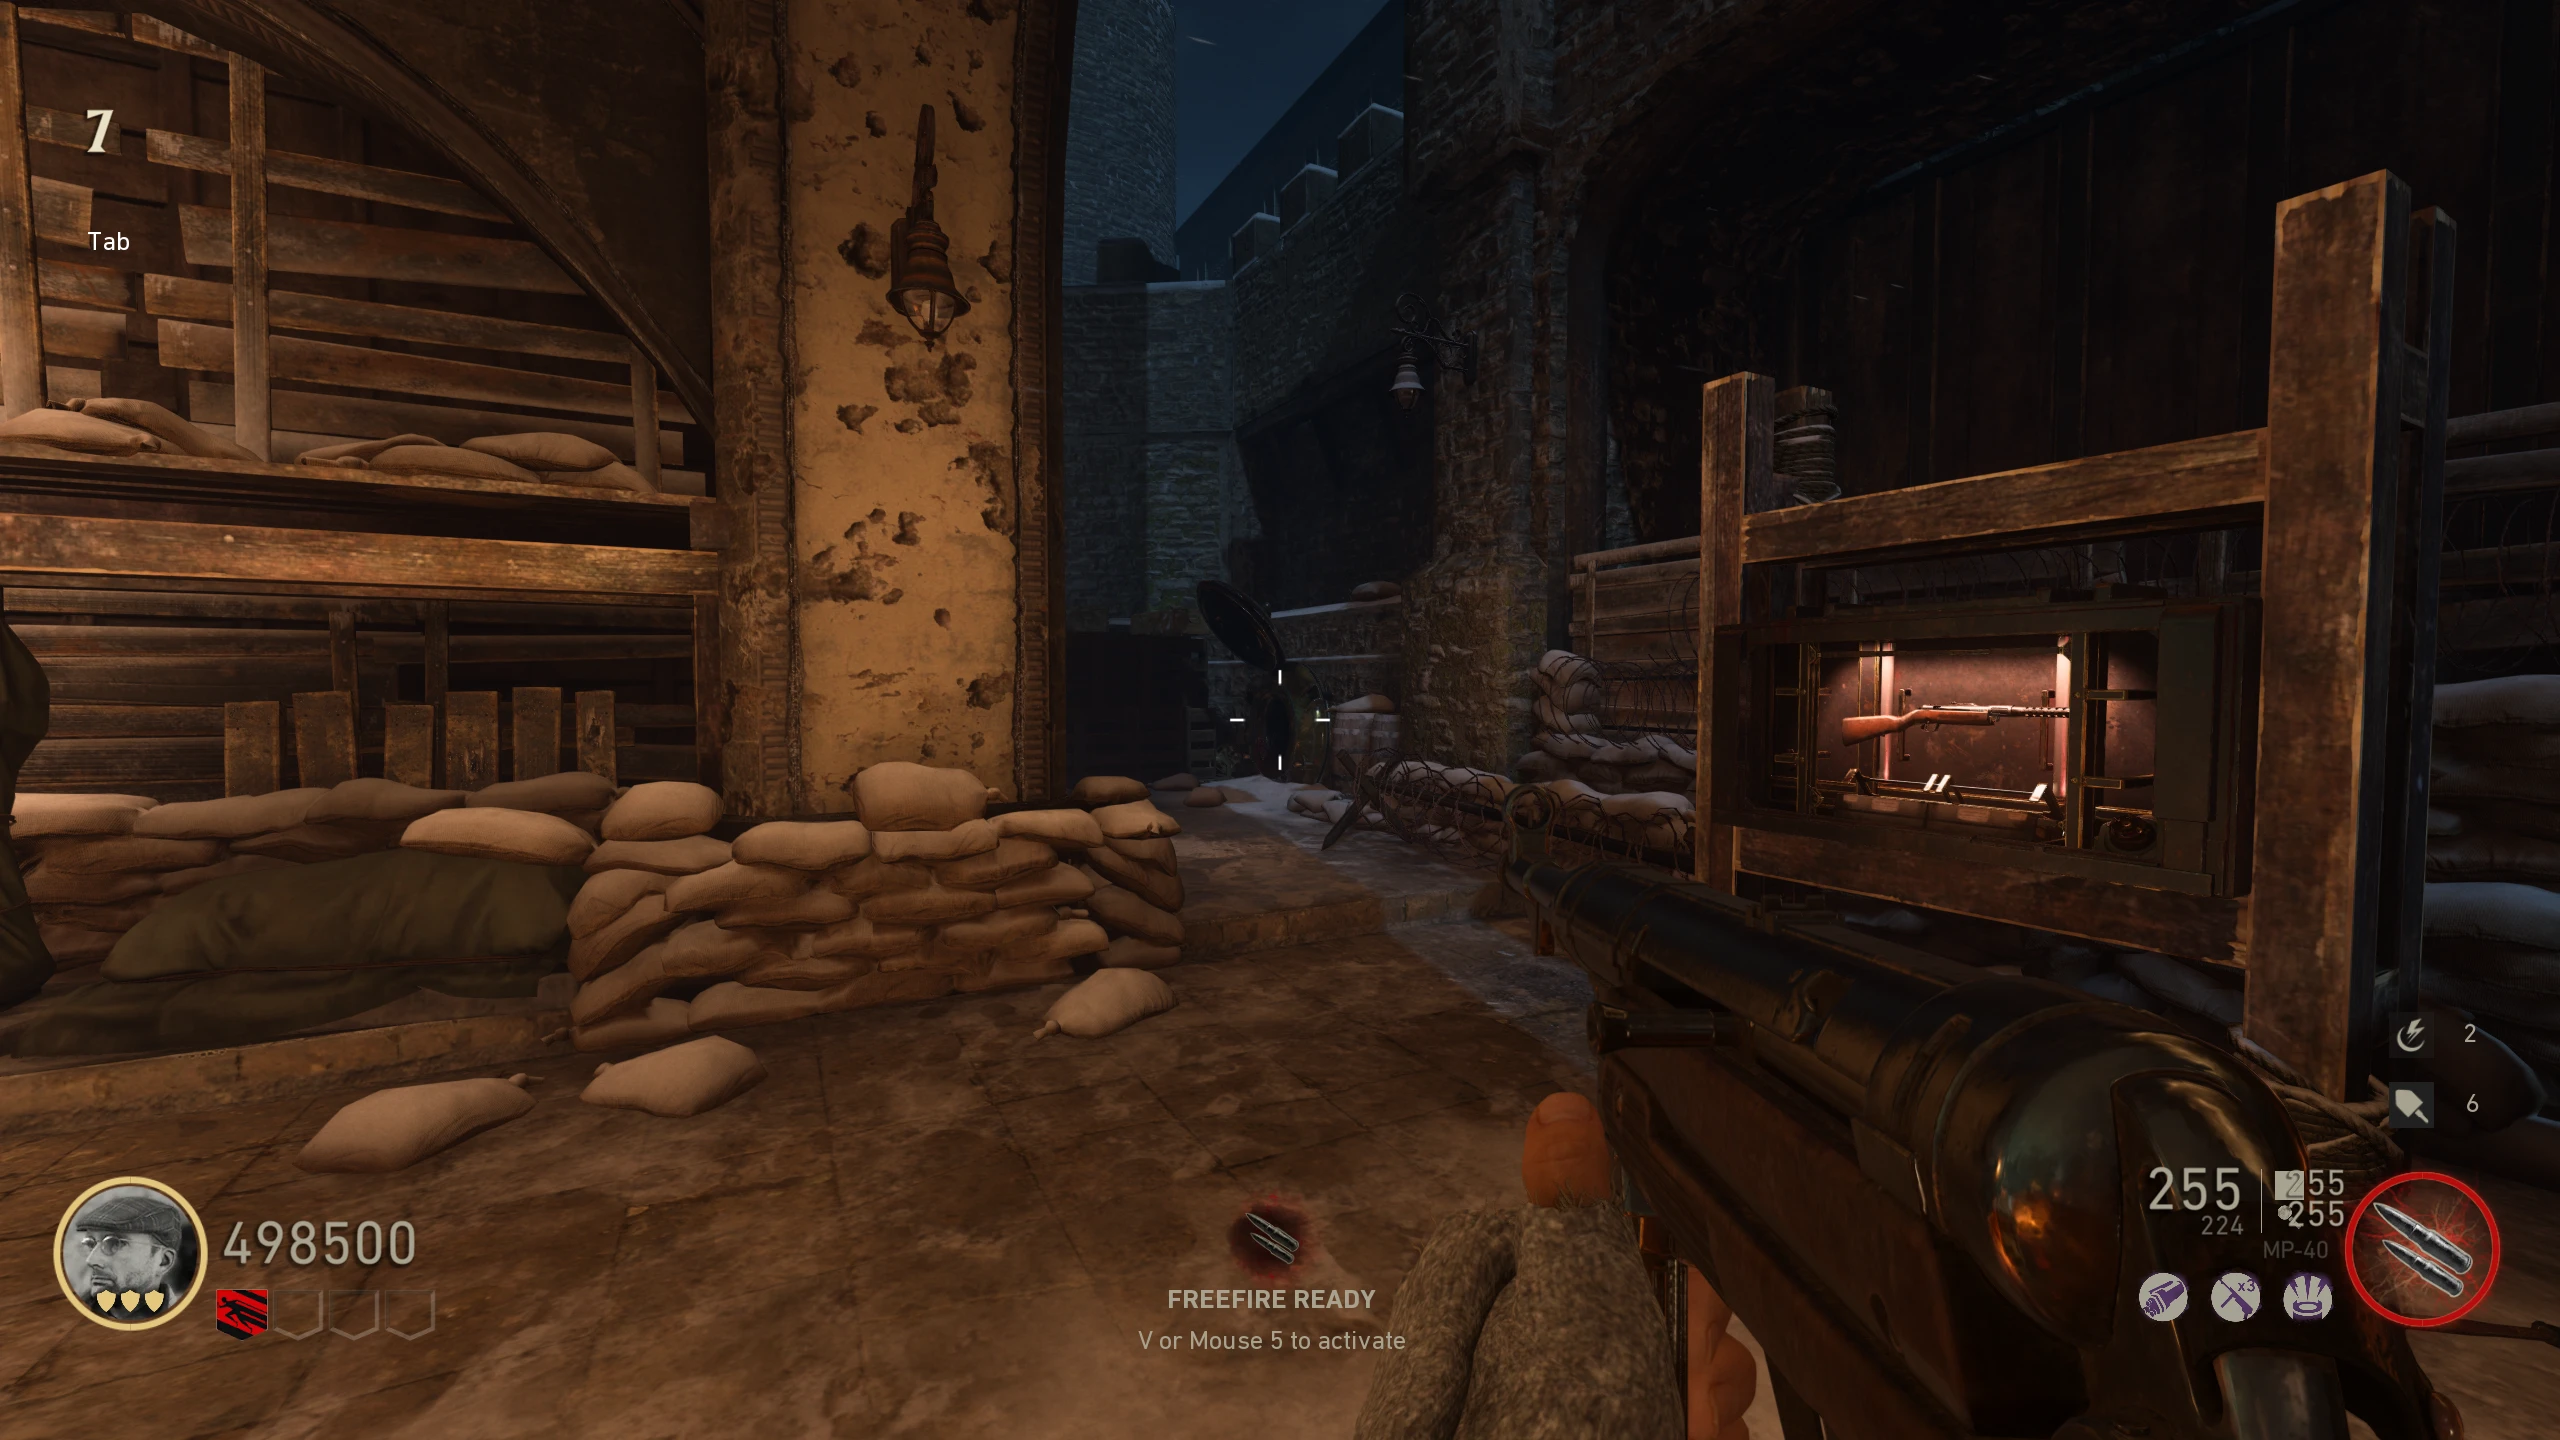
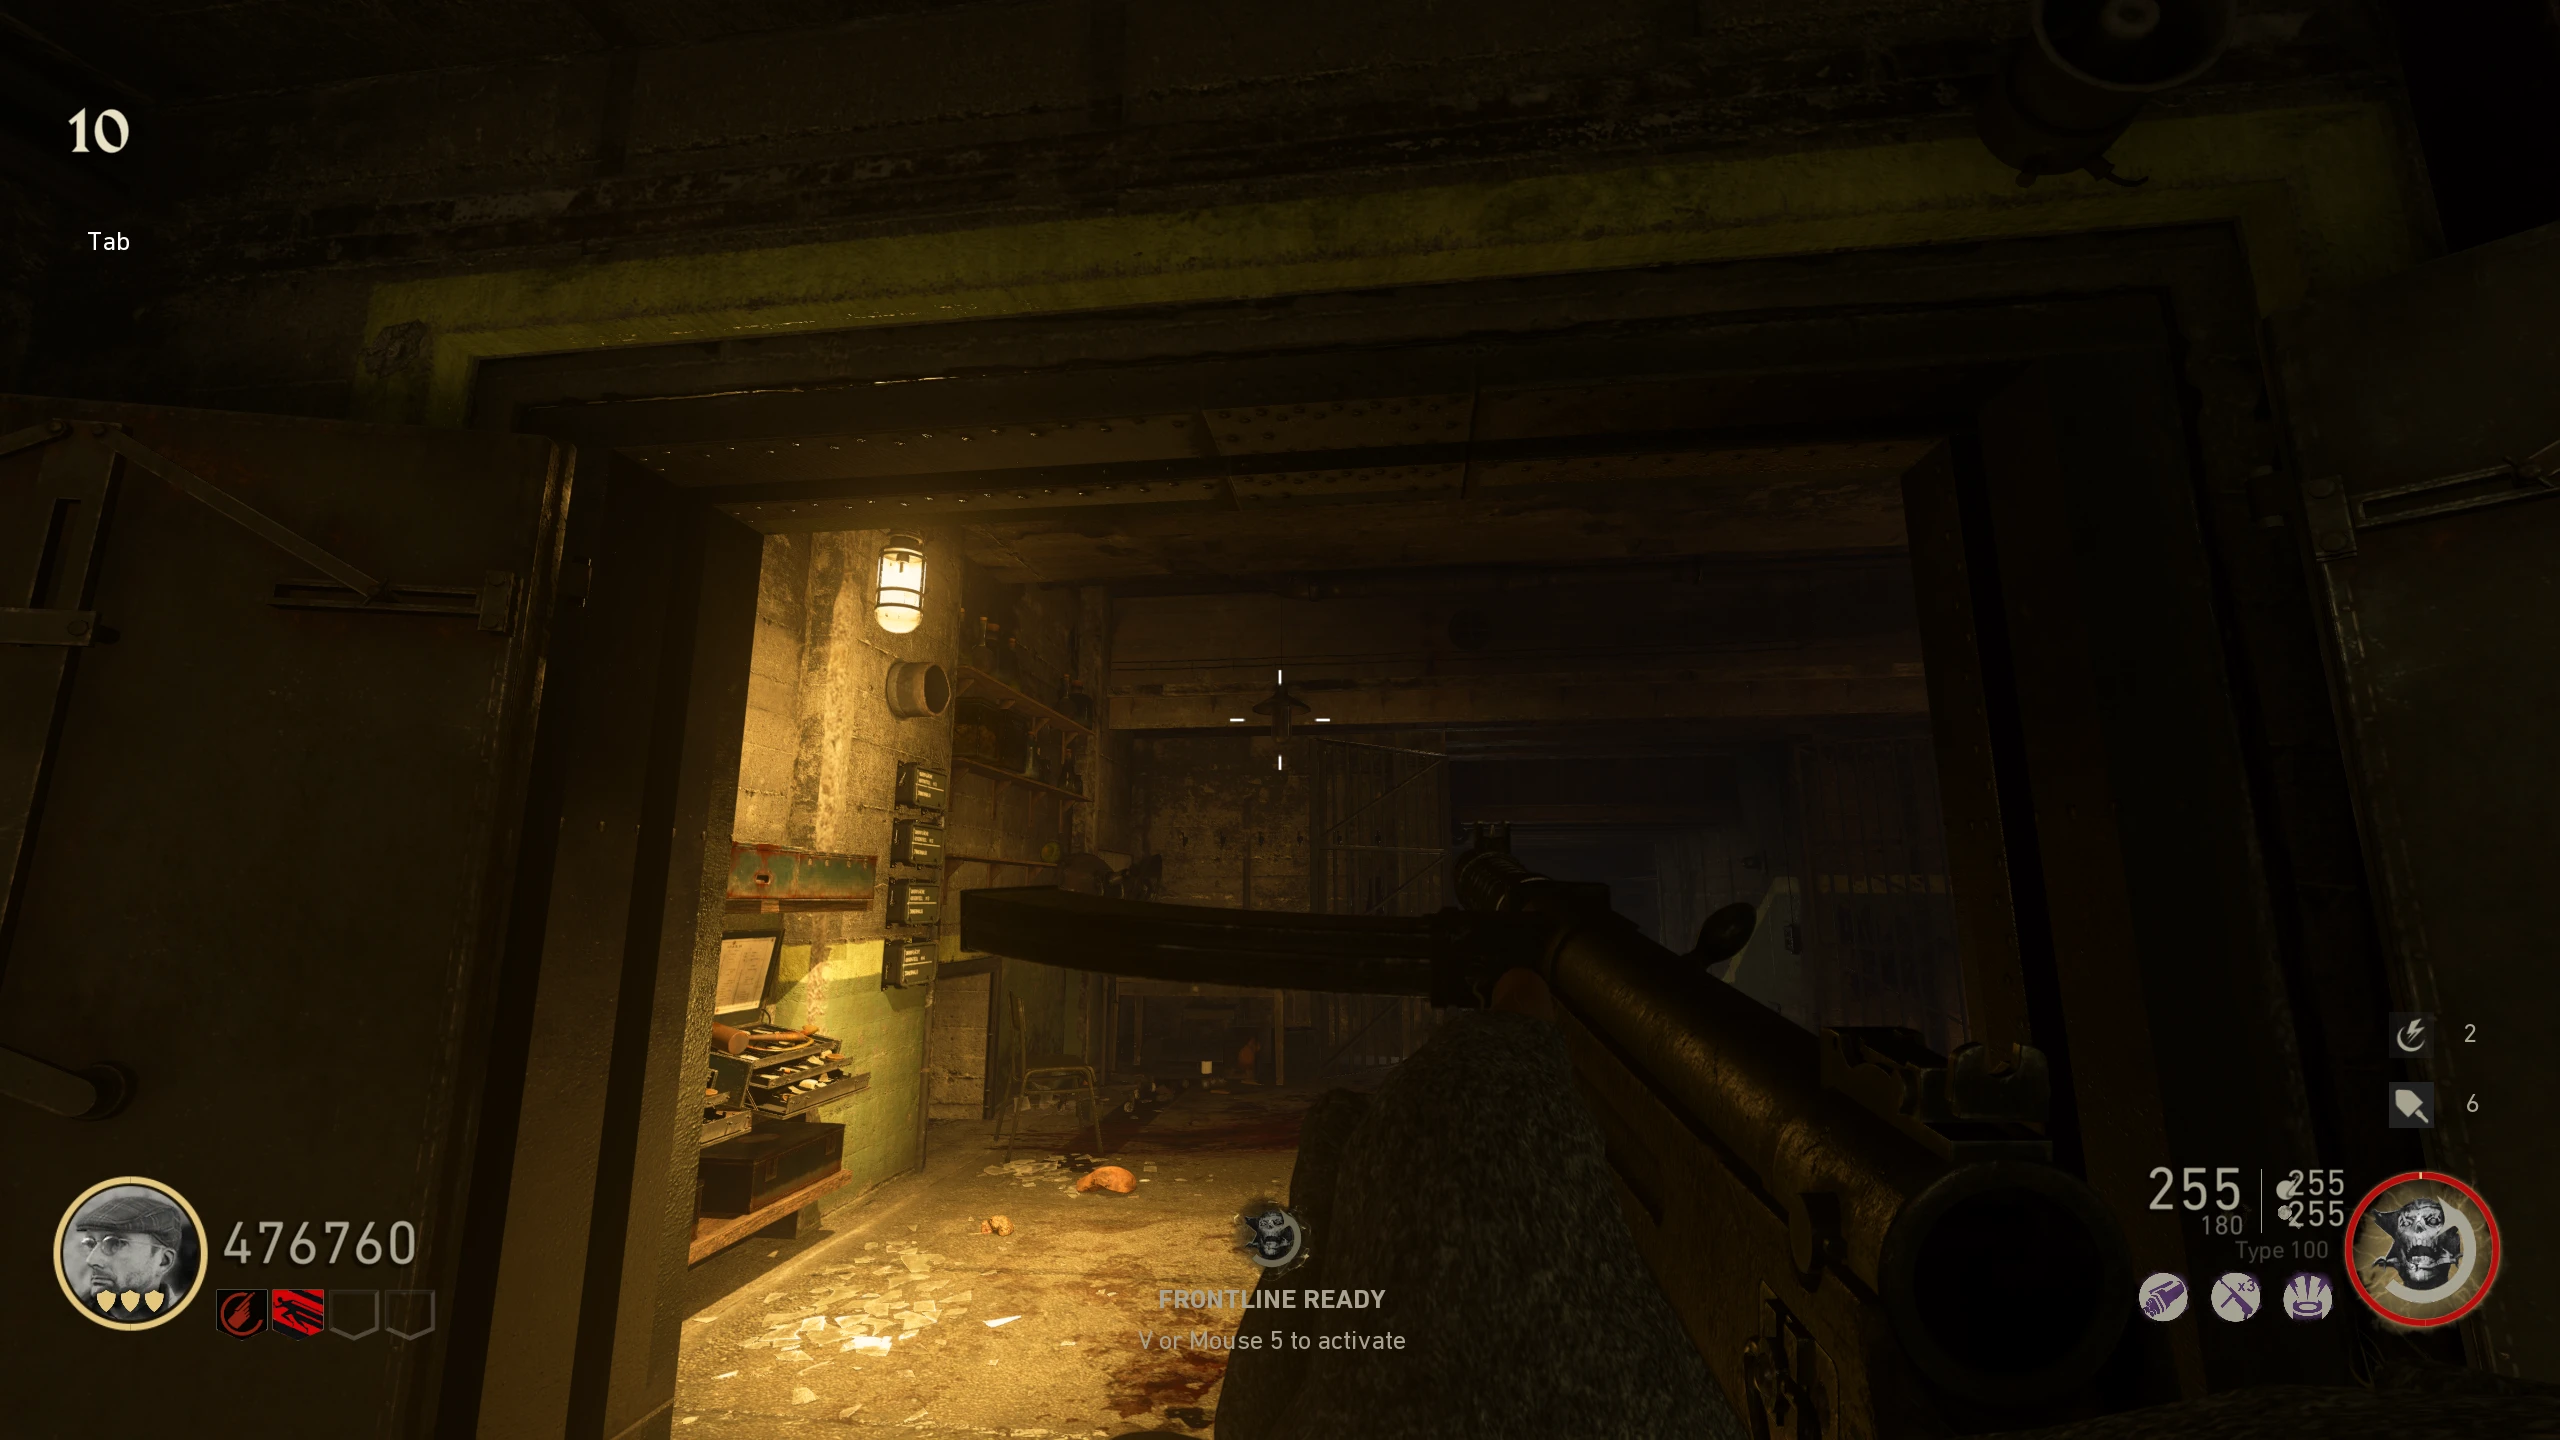
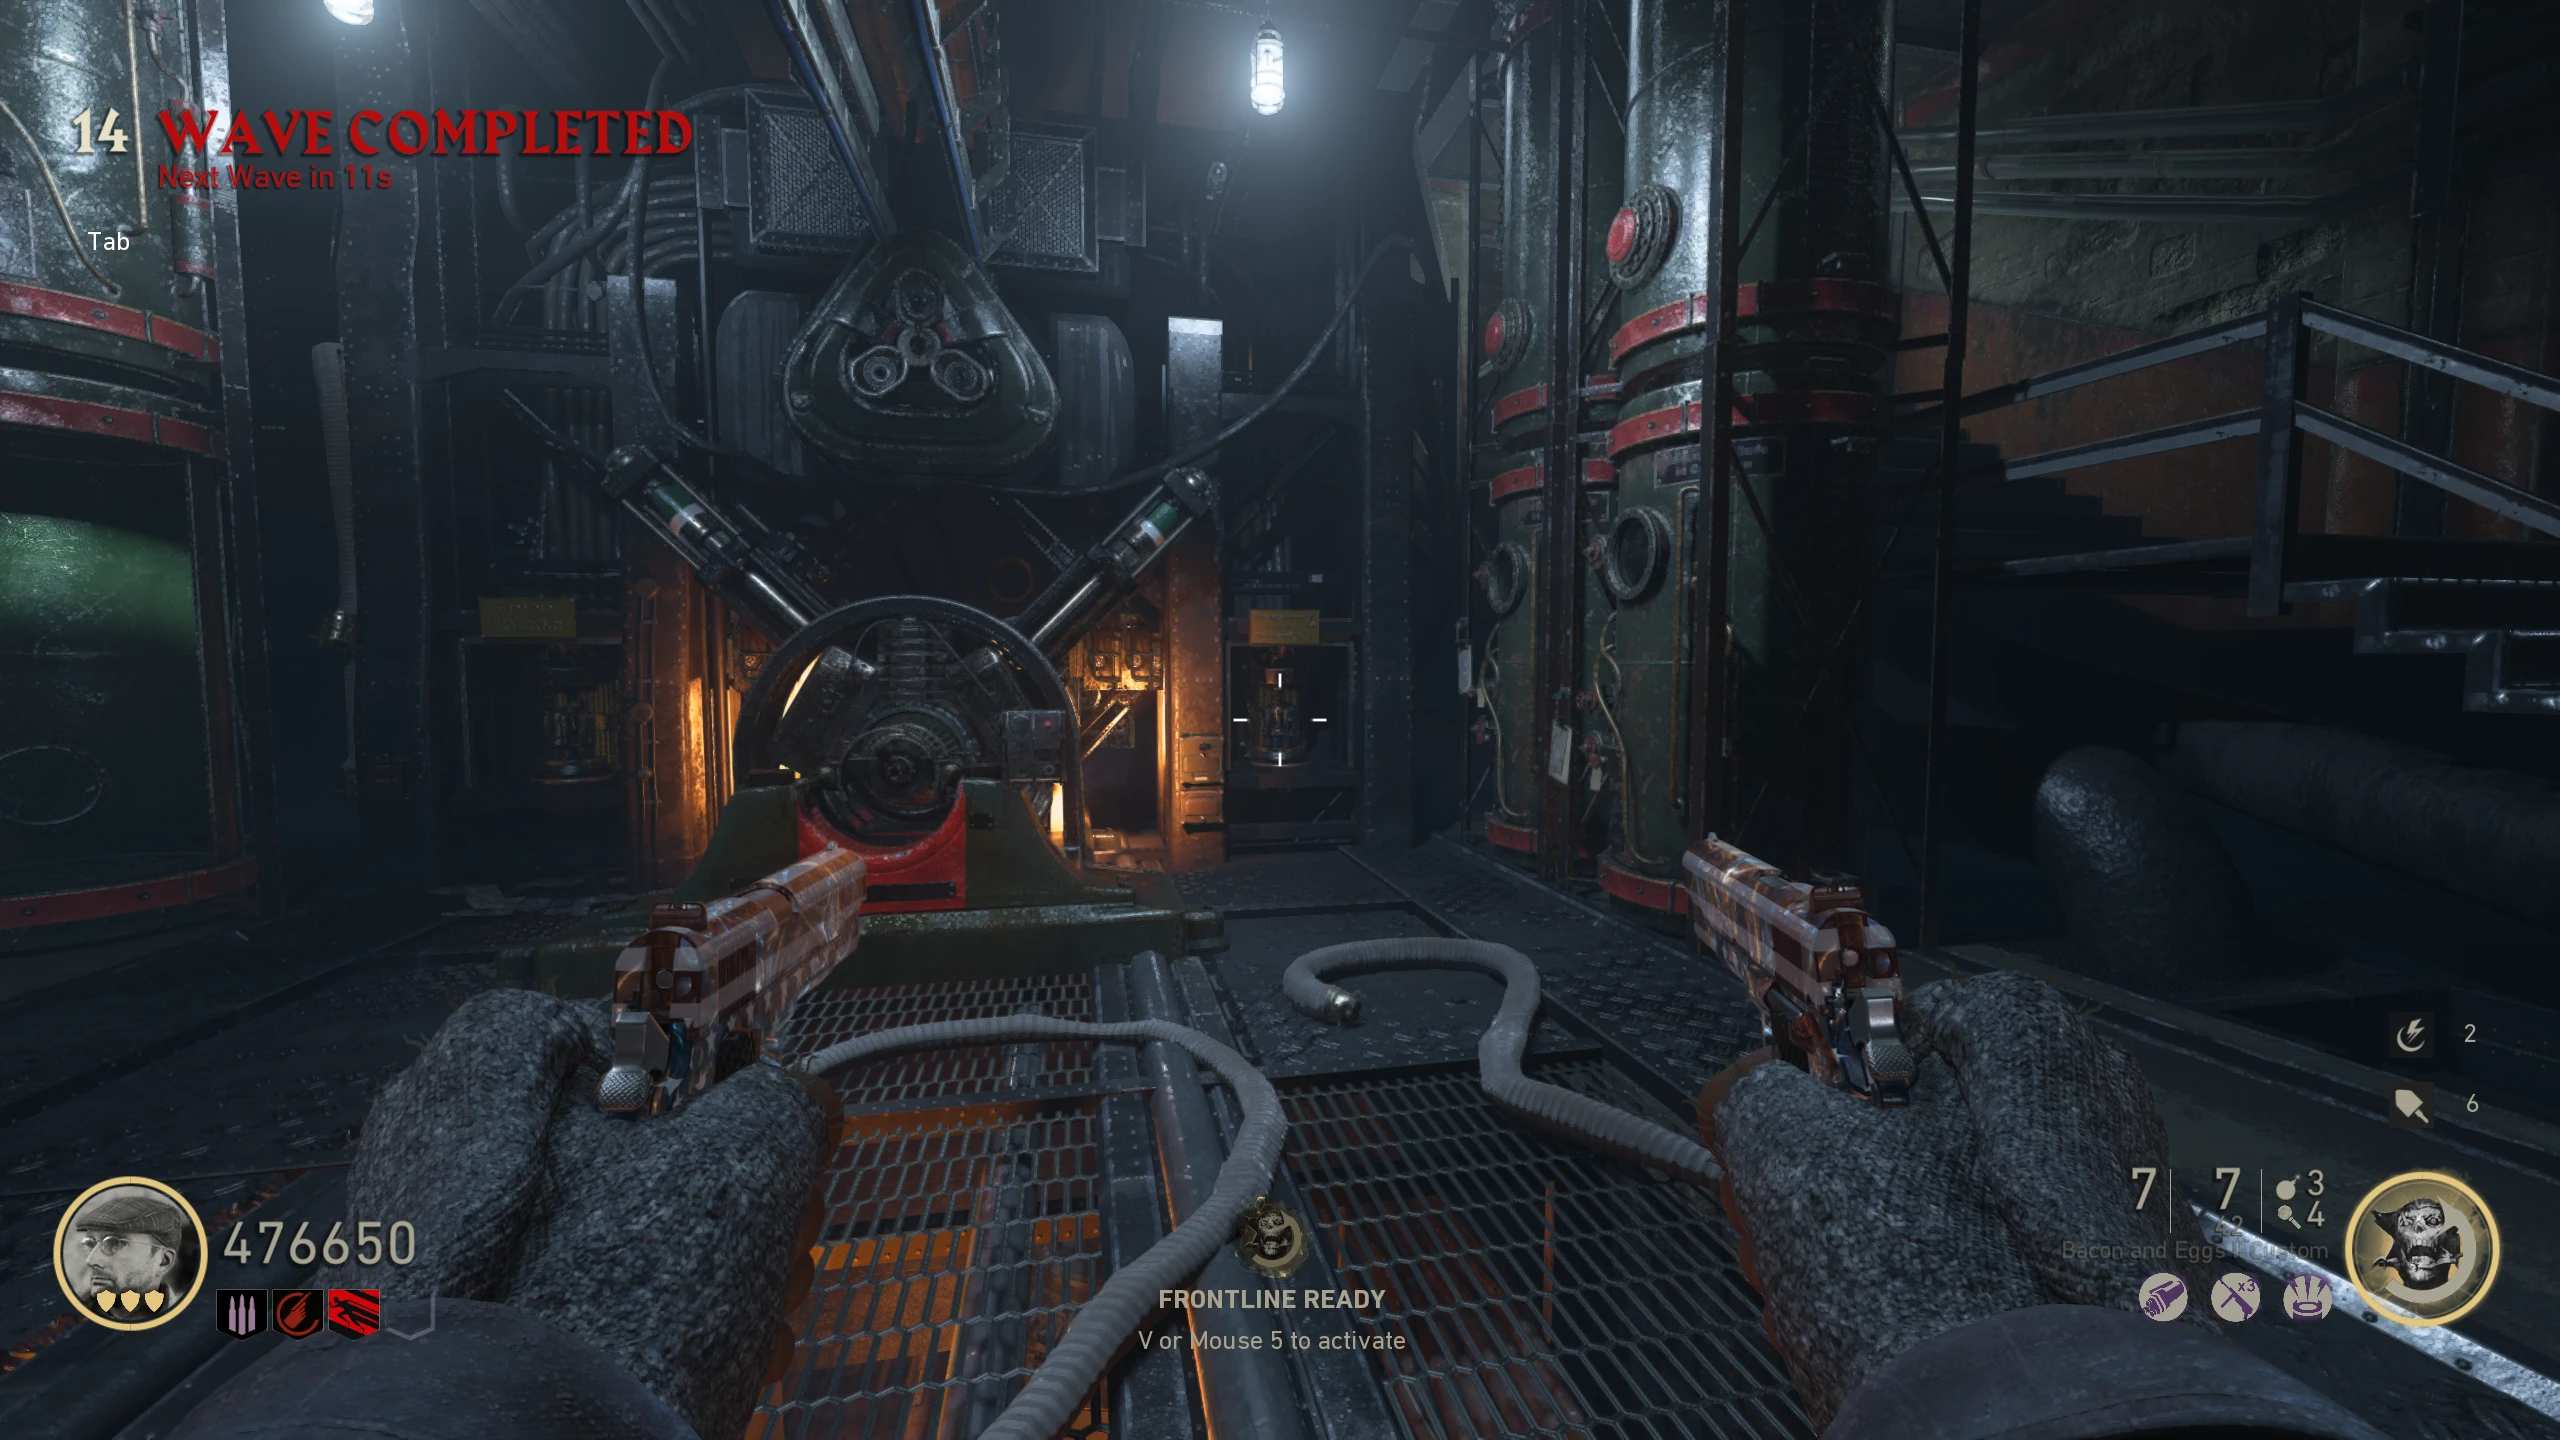
Tesla Gun
The Tesla Gun is a Wonder Weapon that fires electricity that chain between enemies, stunning, then killing multiple zombies simultaneously.
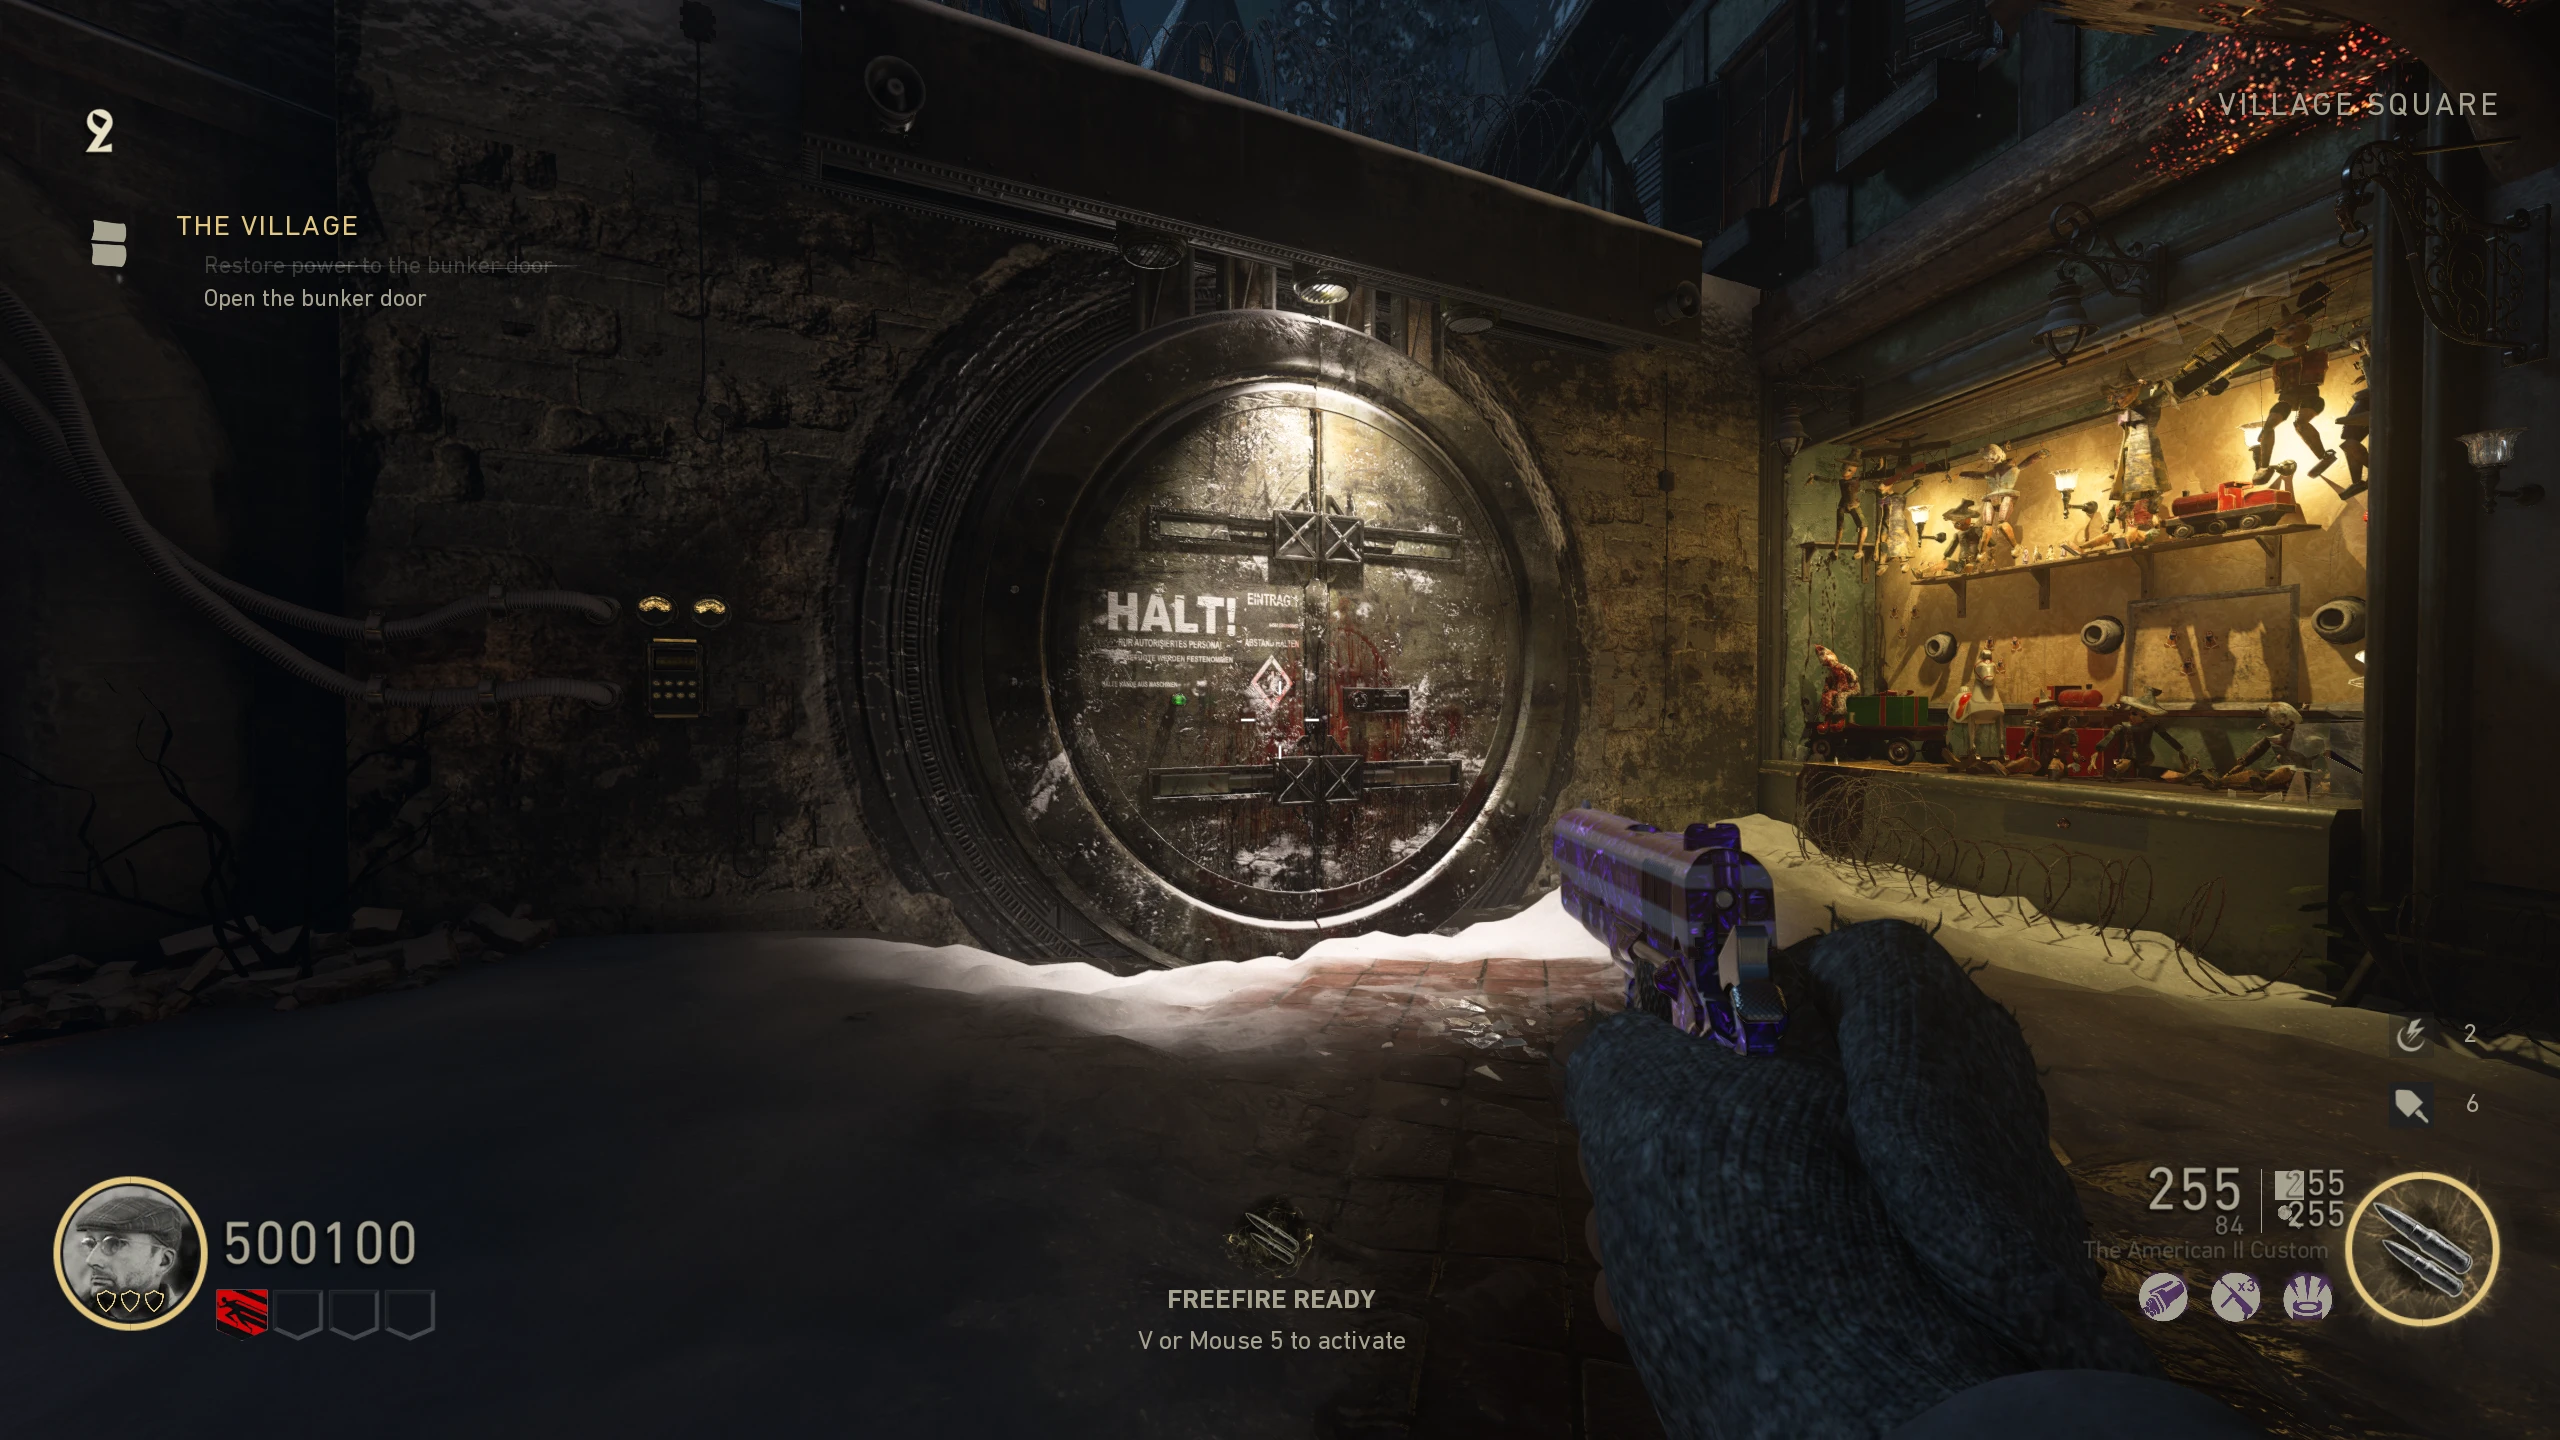
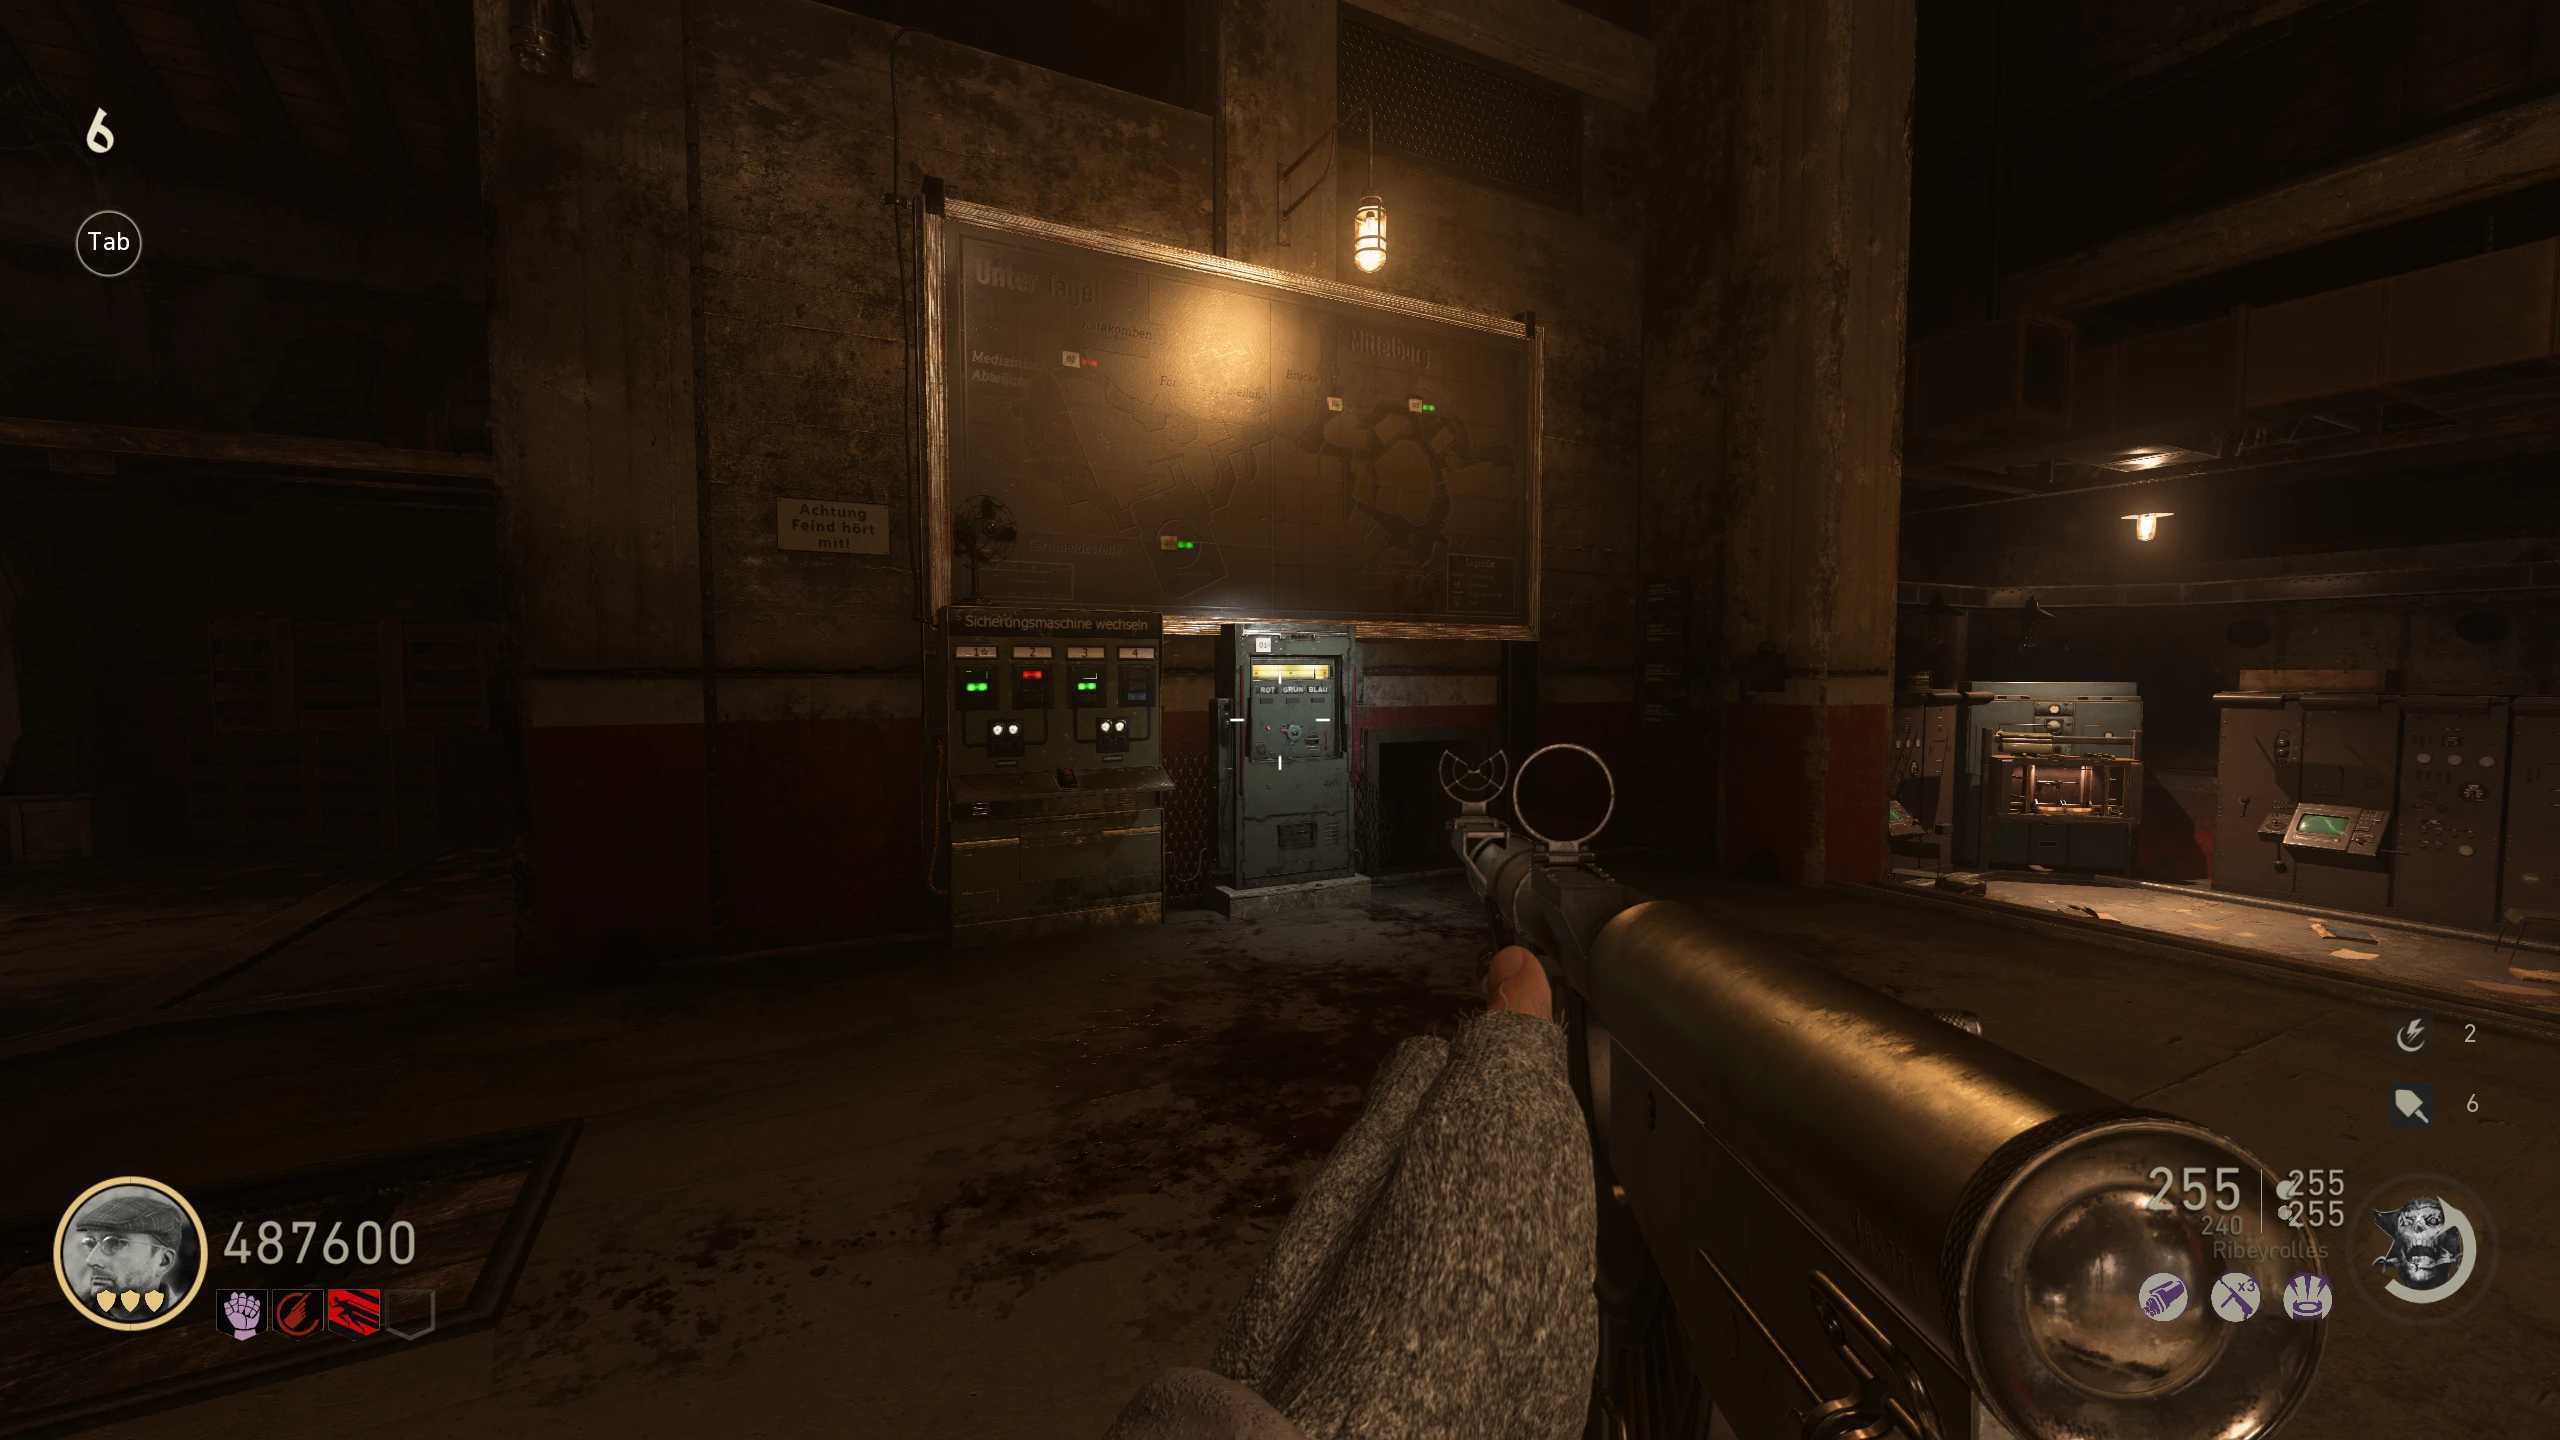
- Unlock the Salt Mine.
- Interact with the crank in the 'Command Room' until it stops.
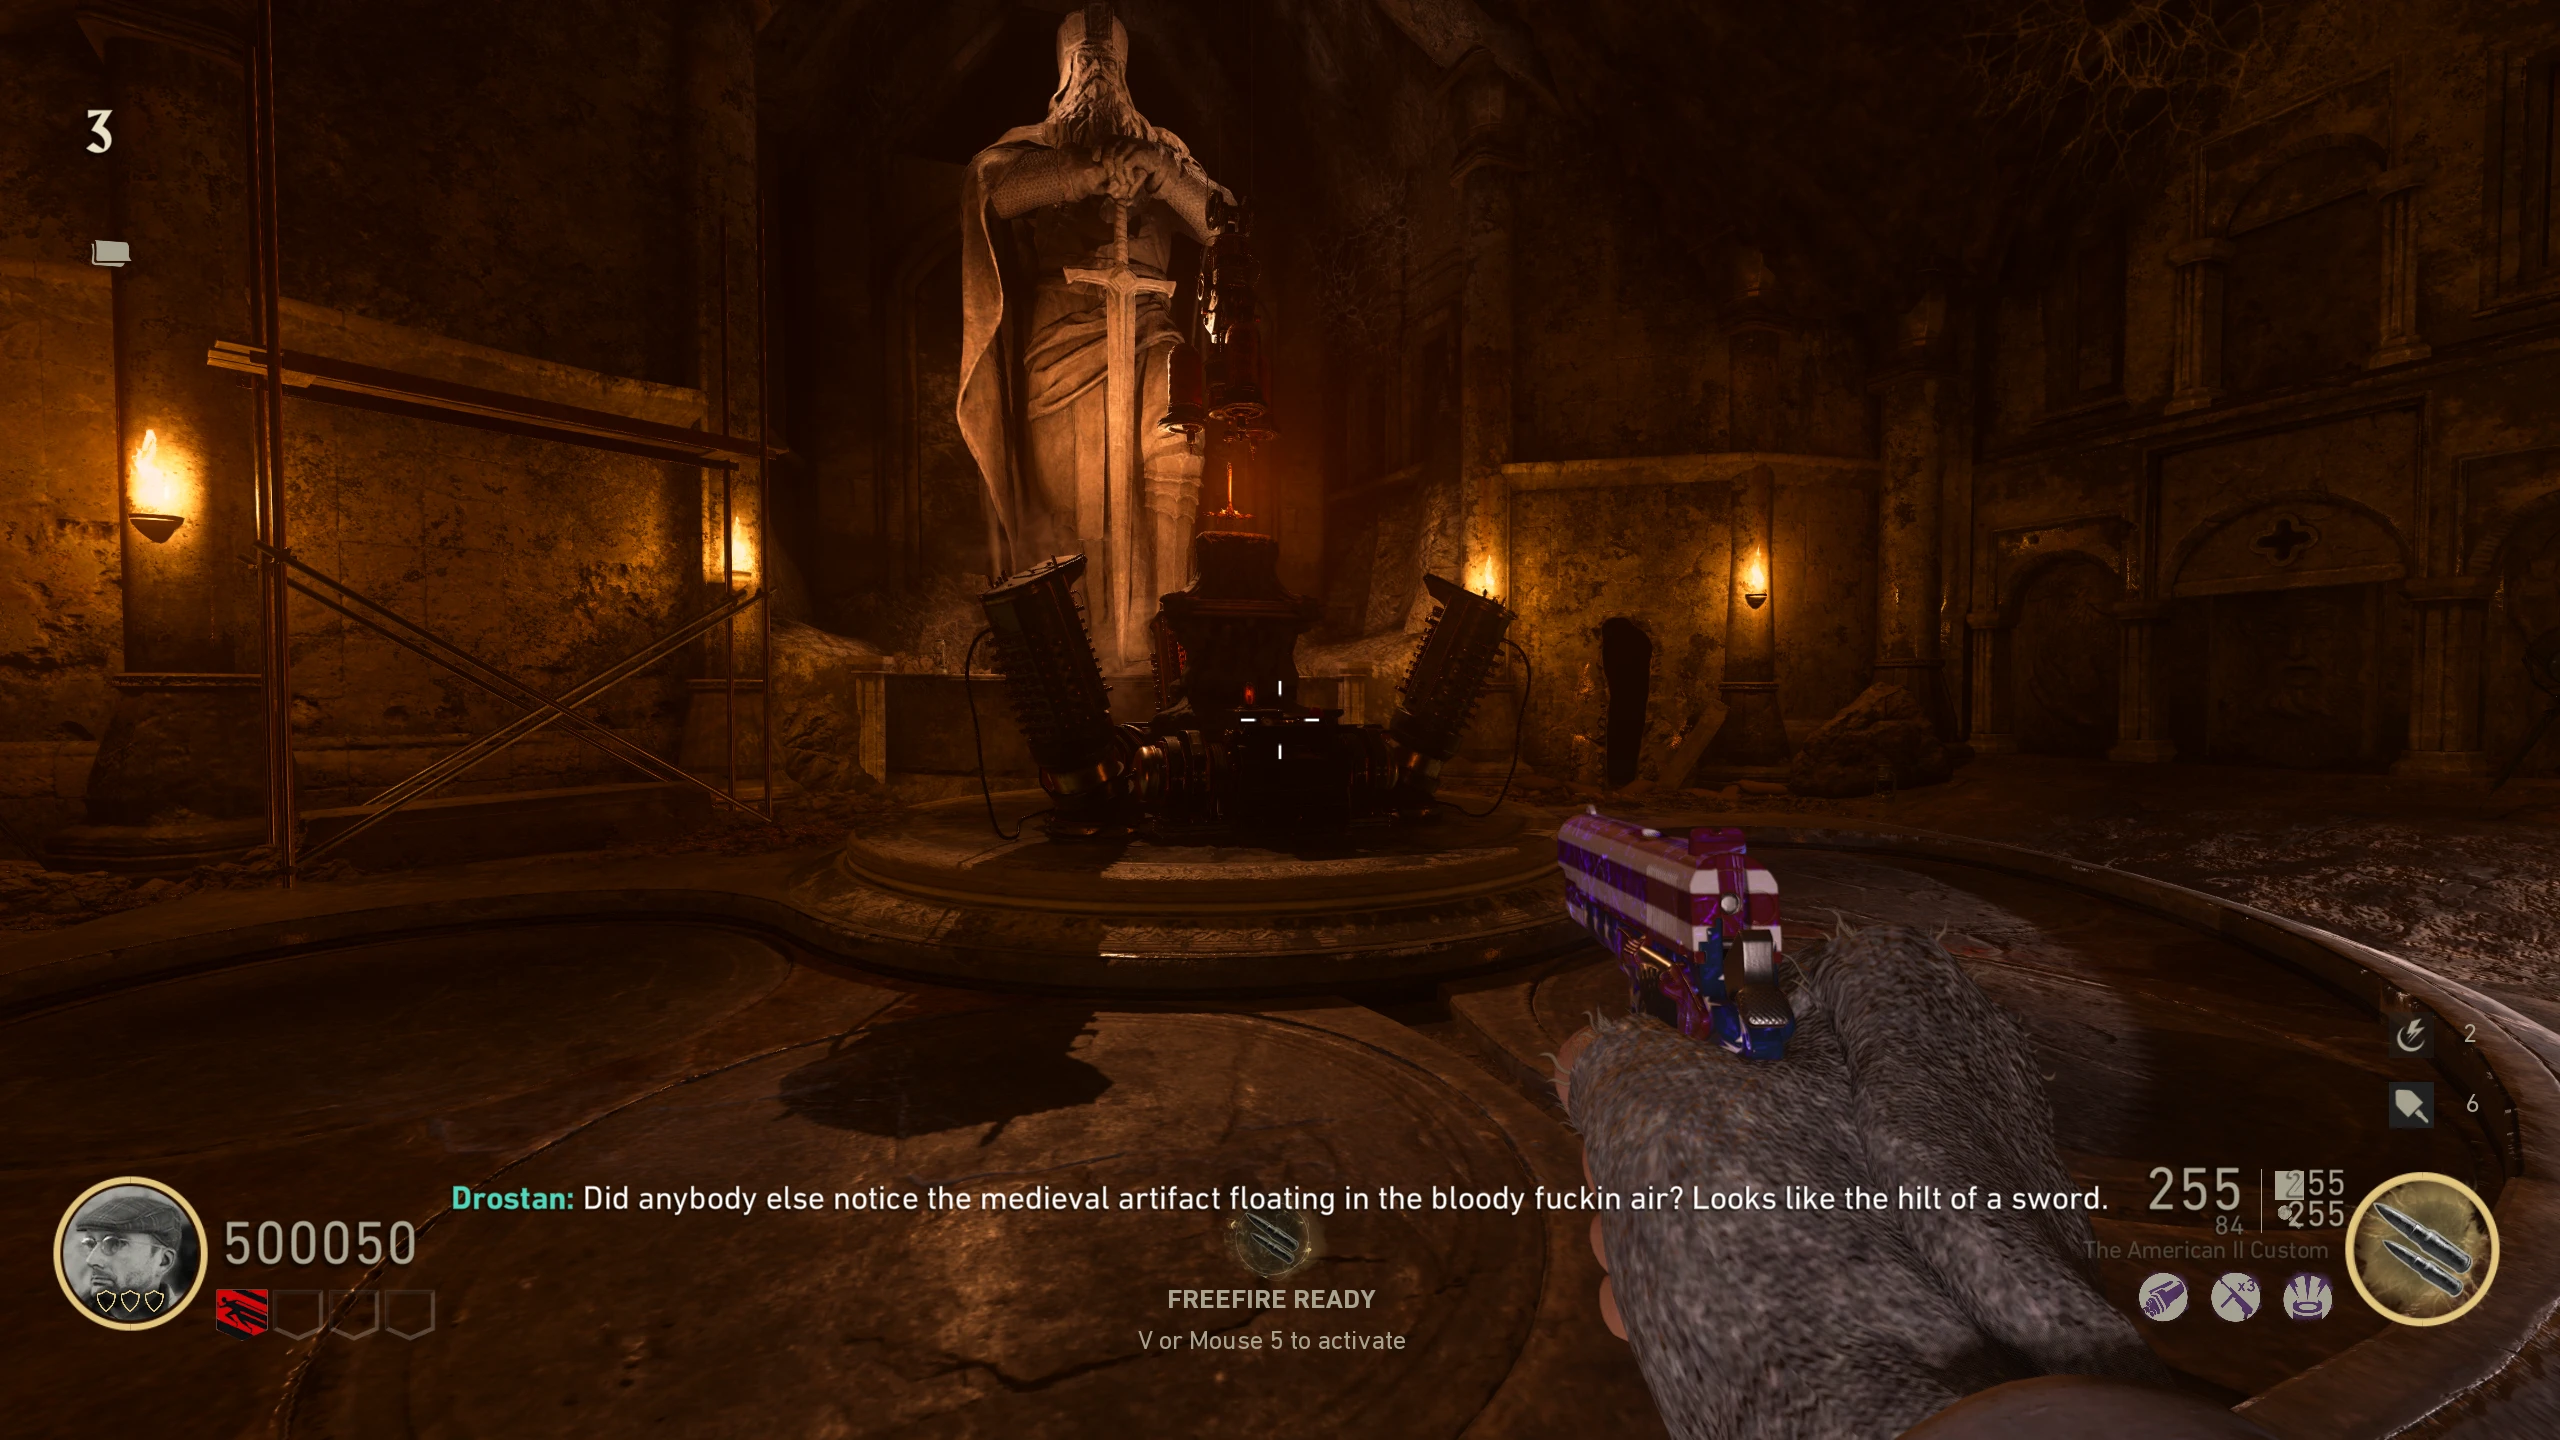
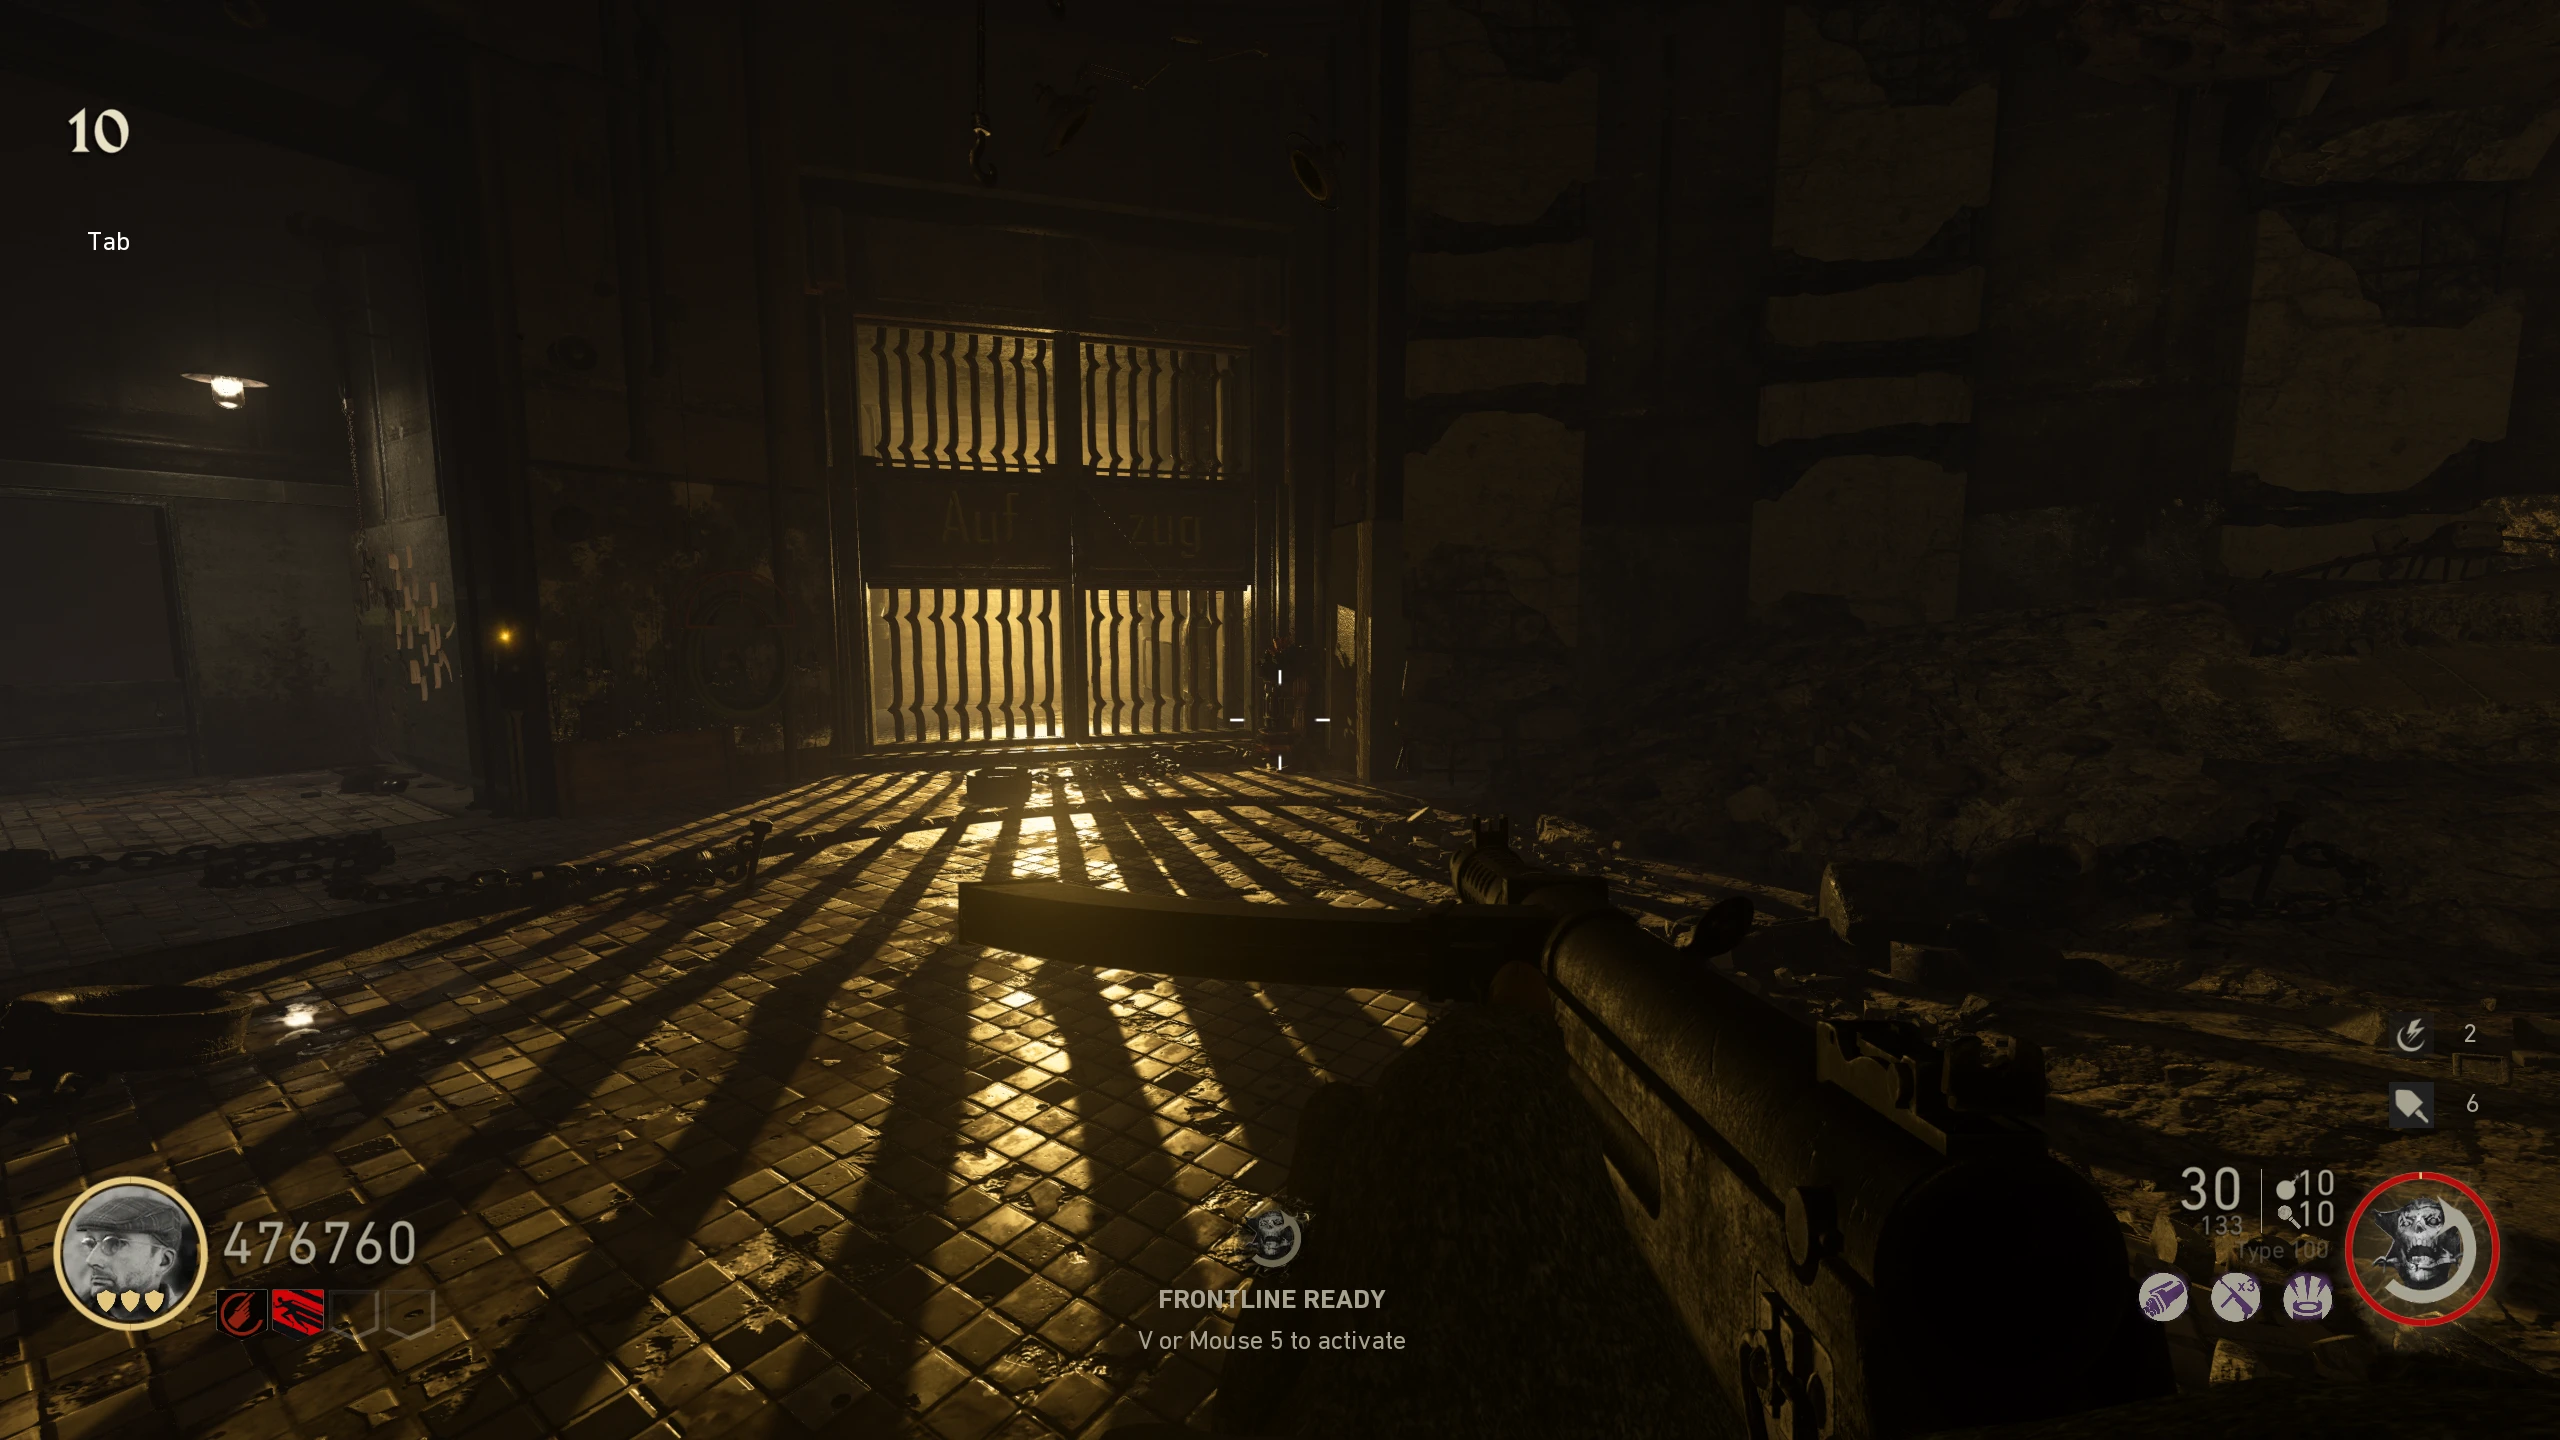
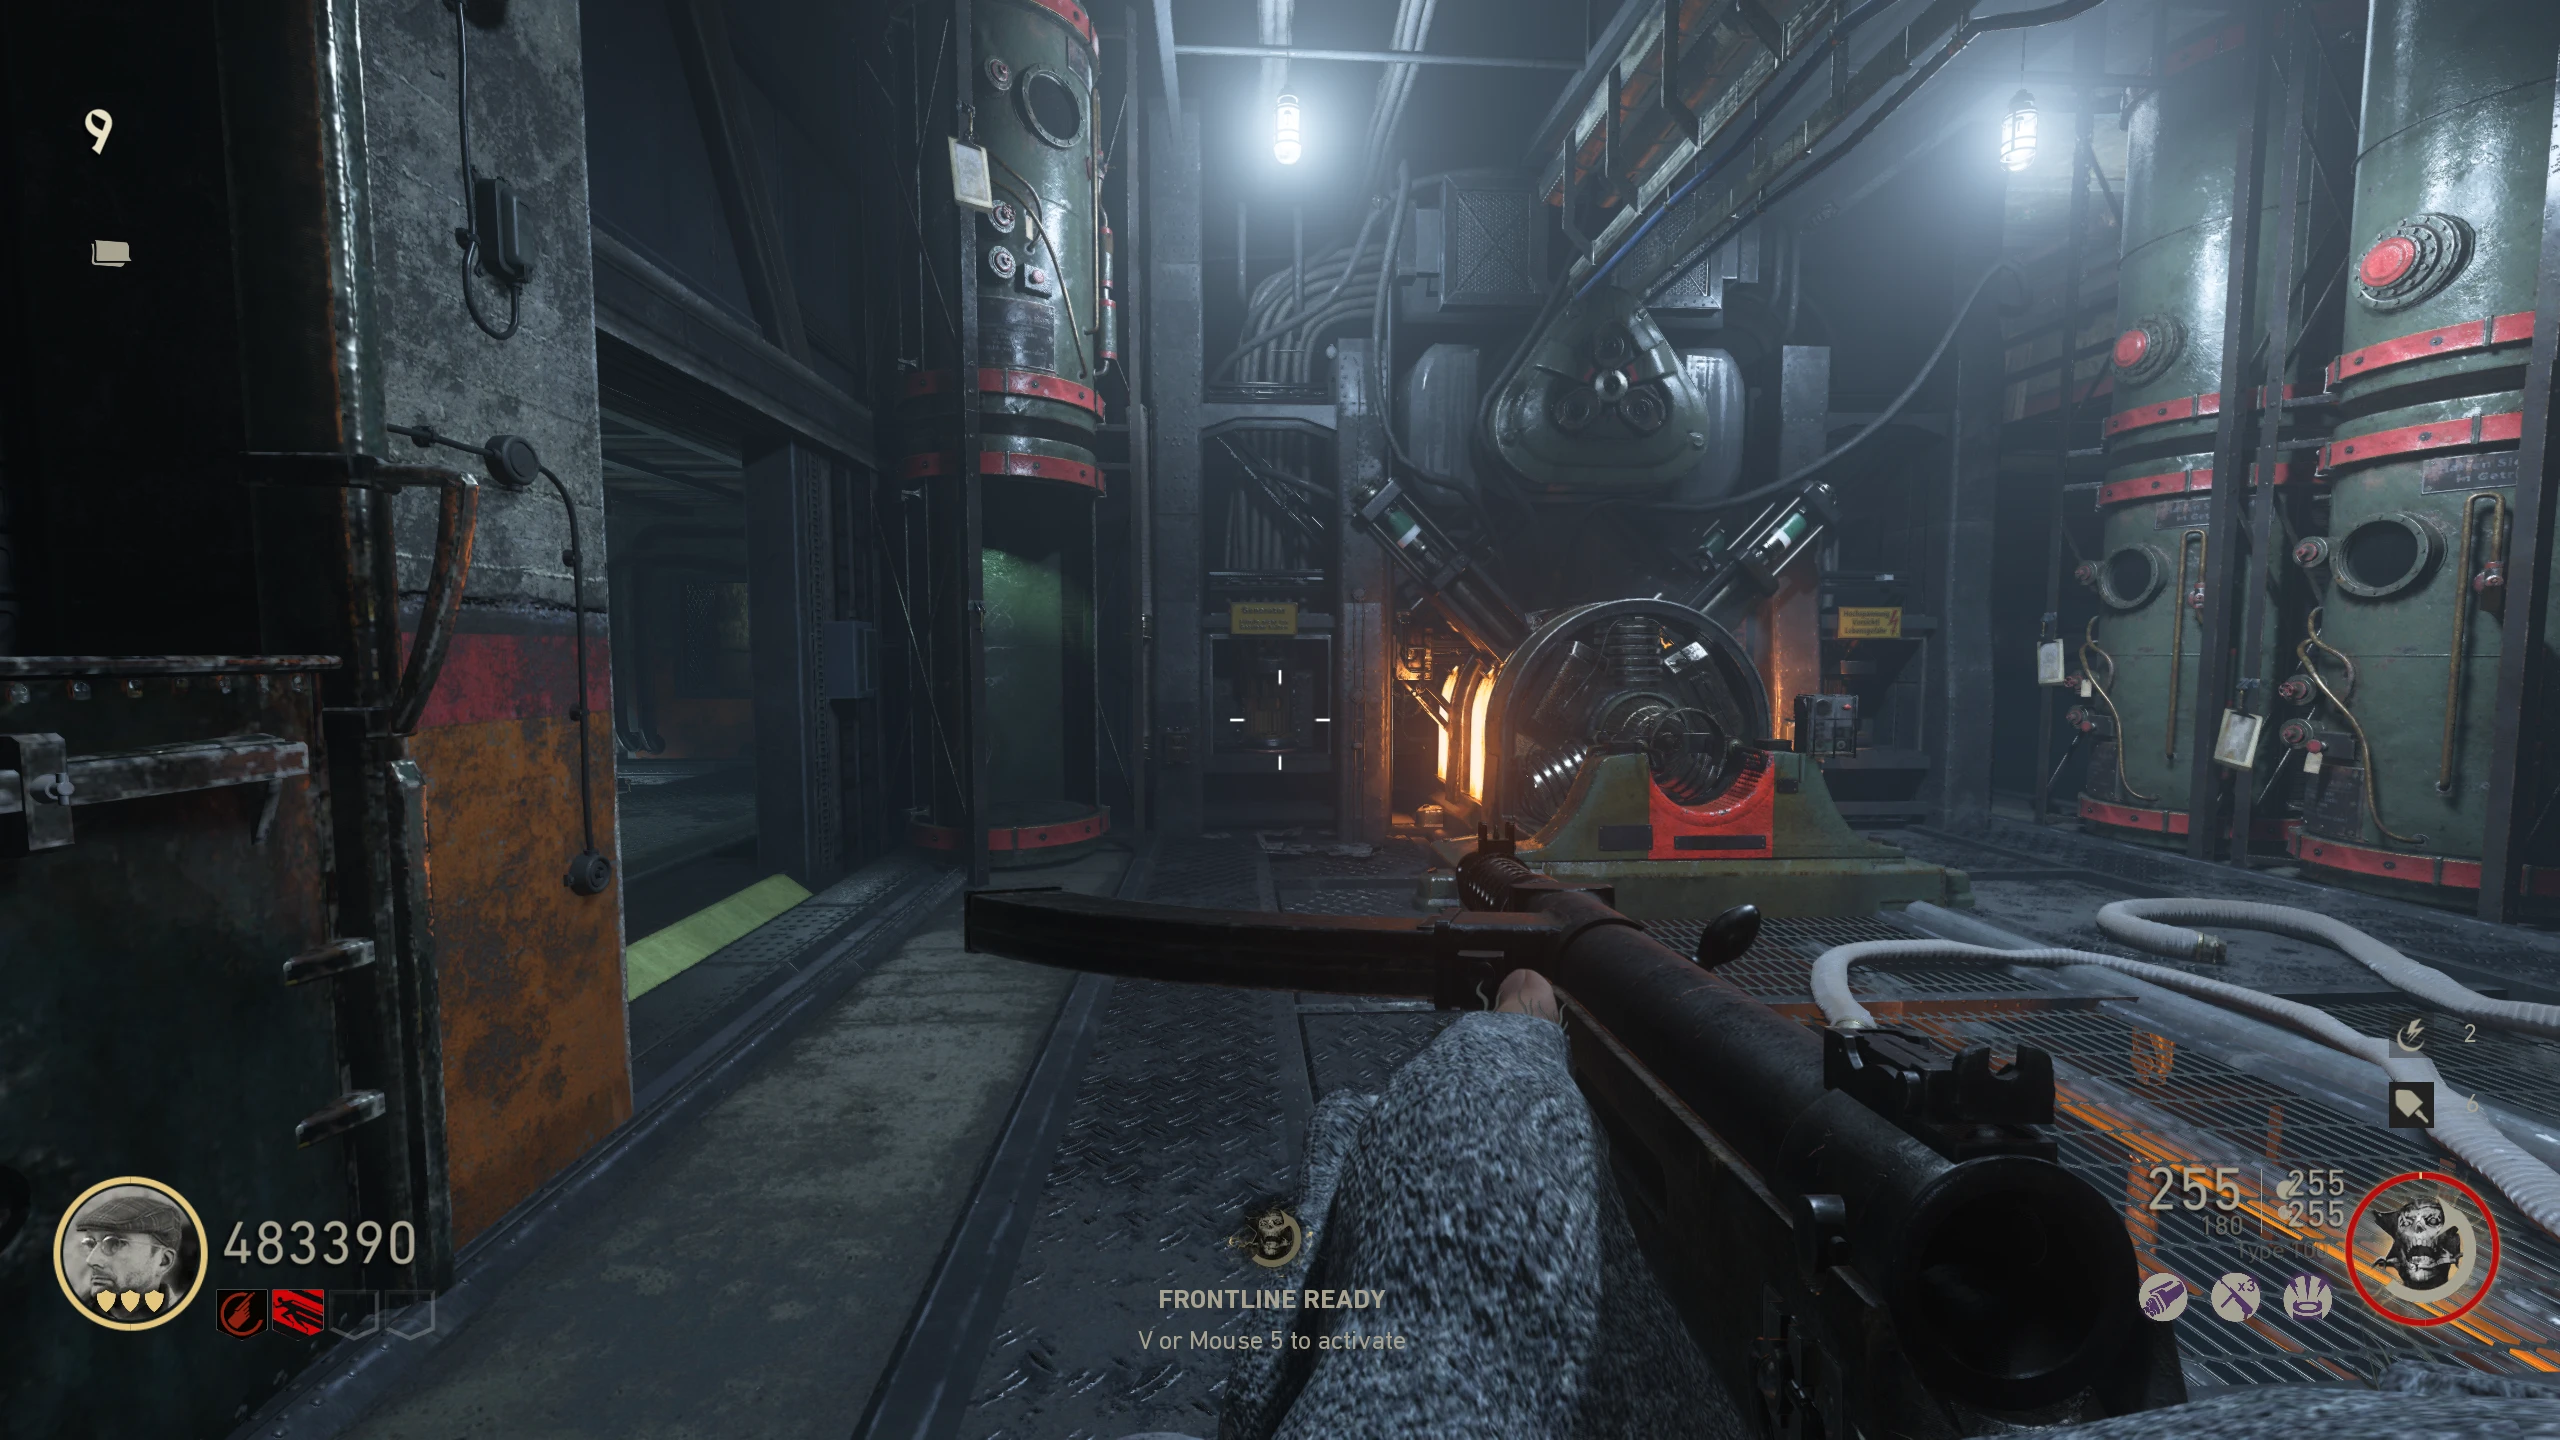
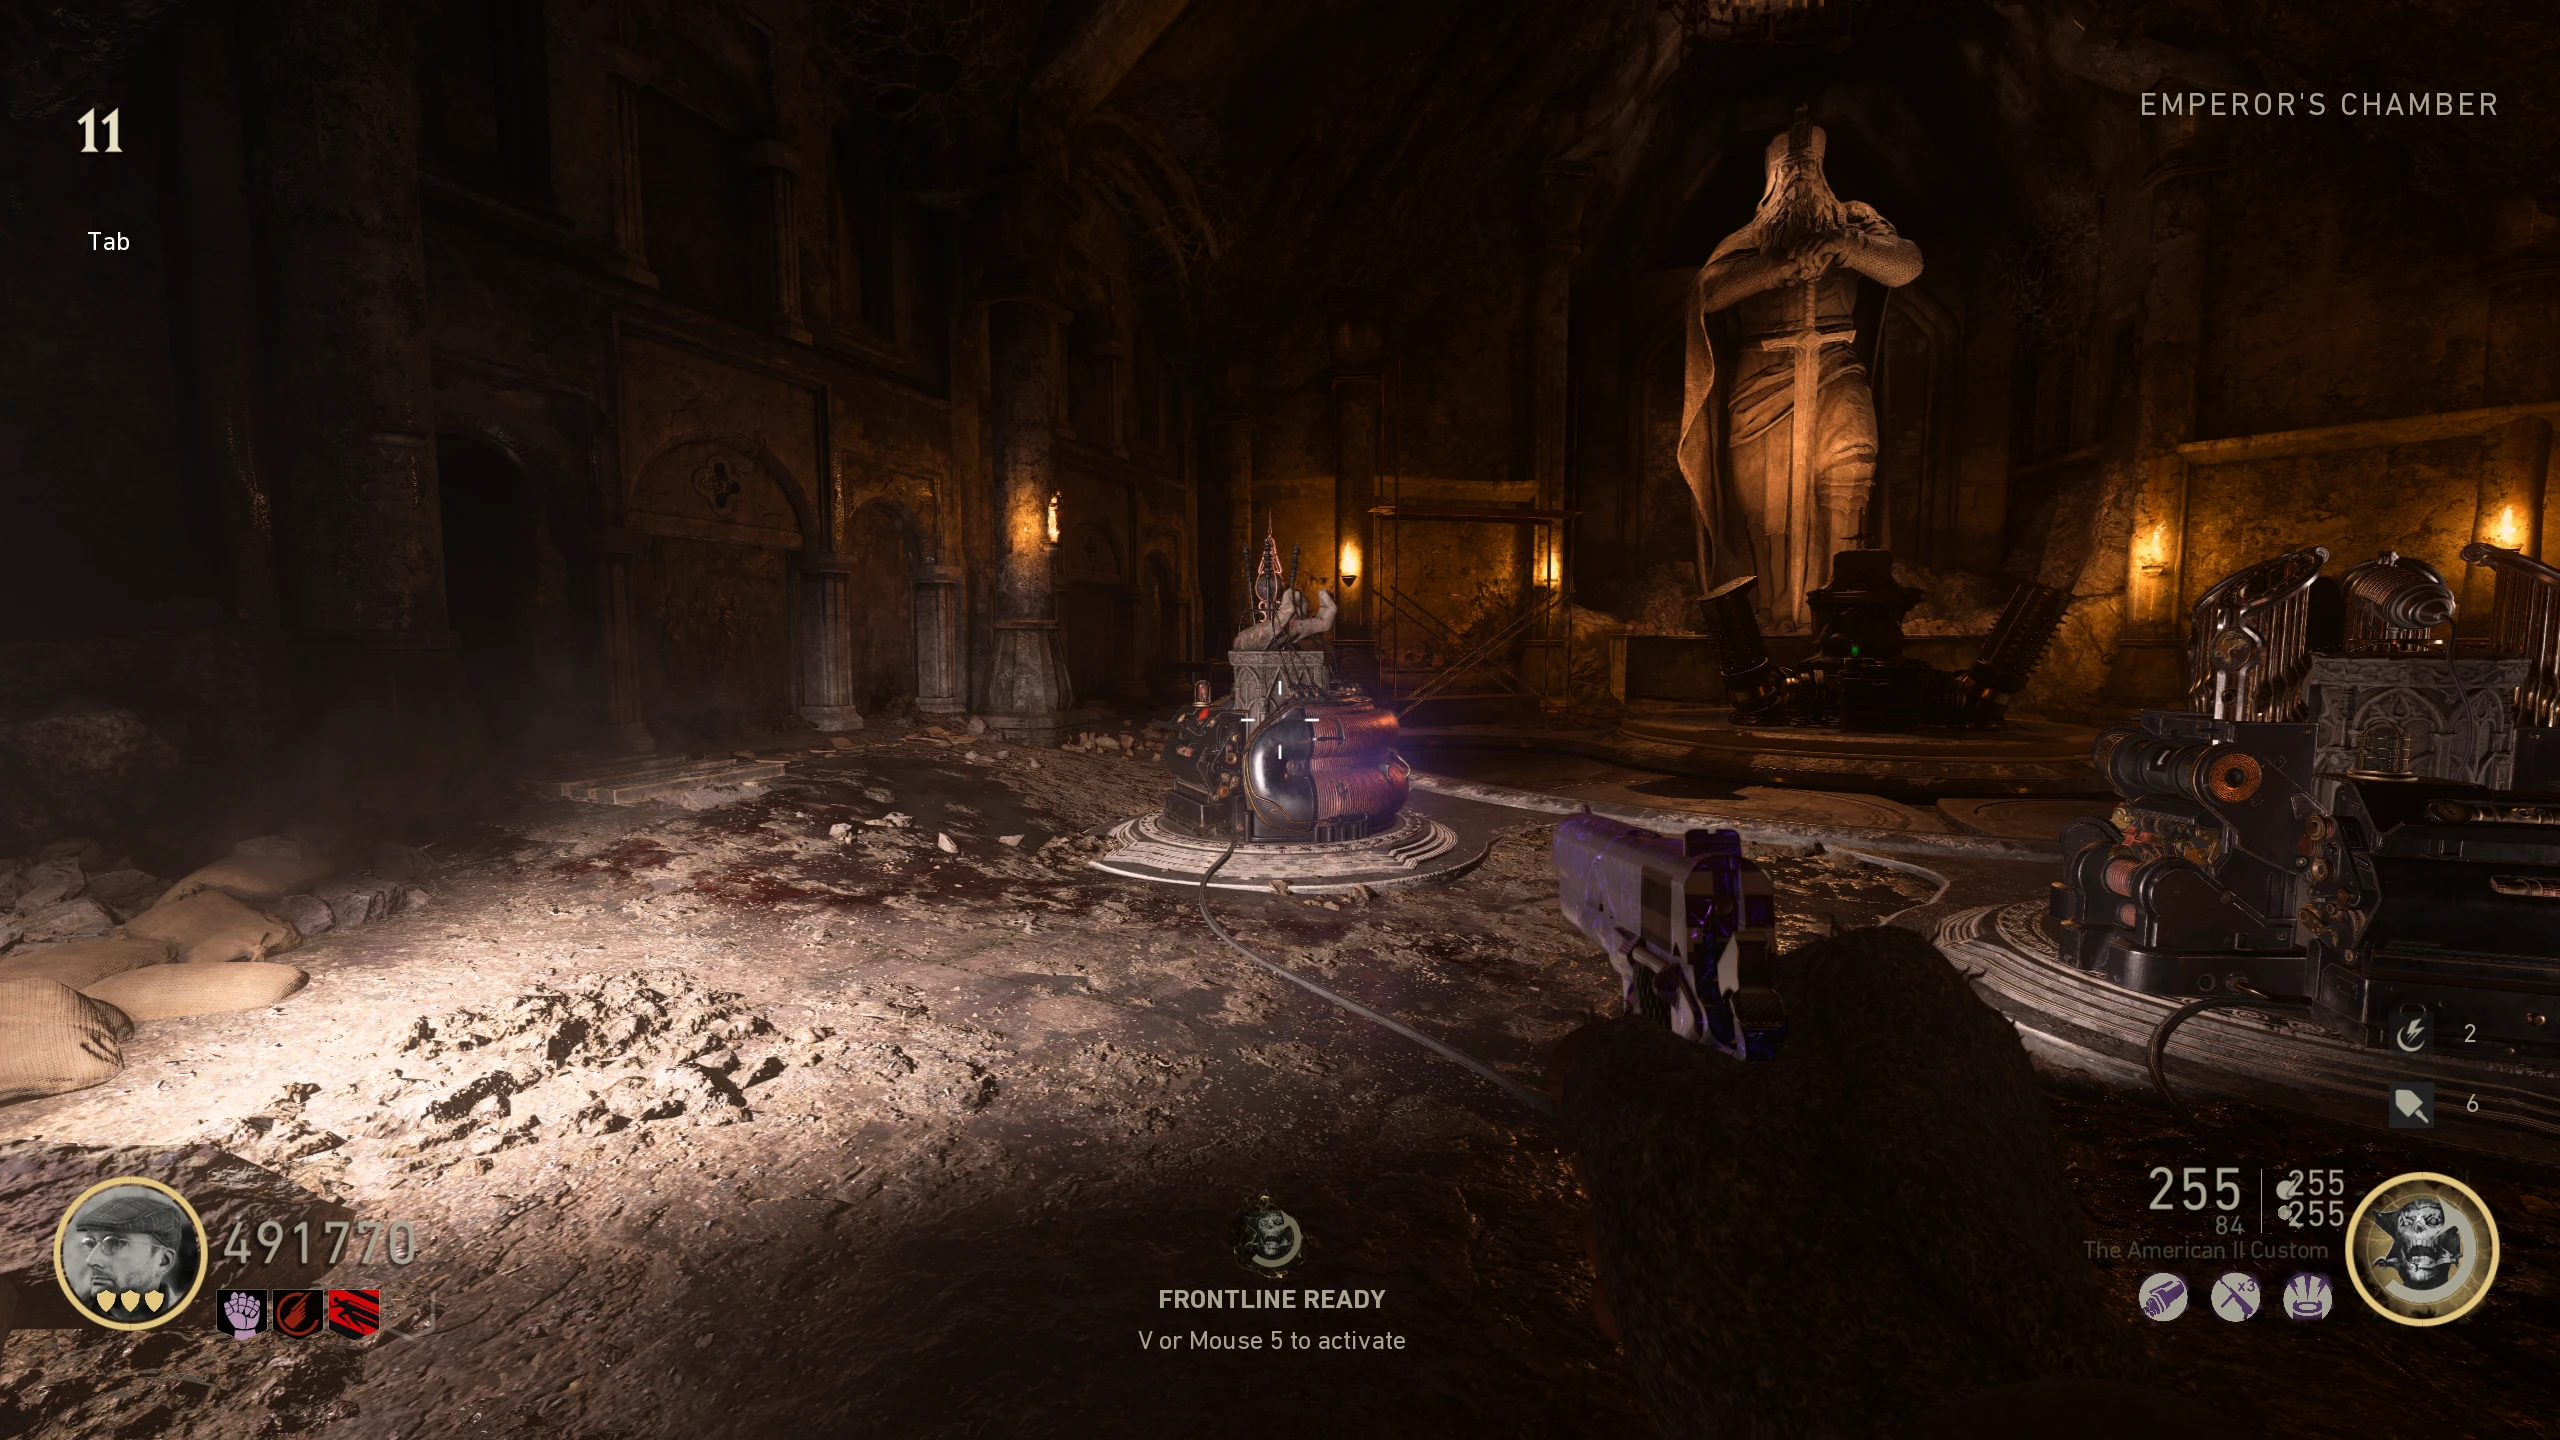
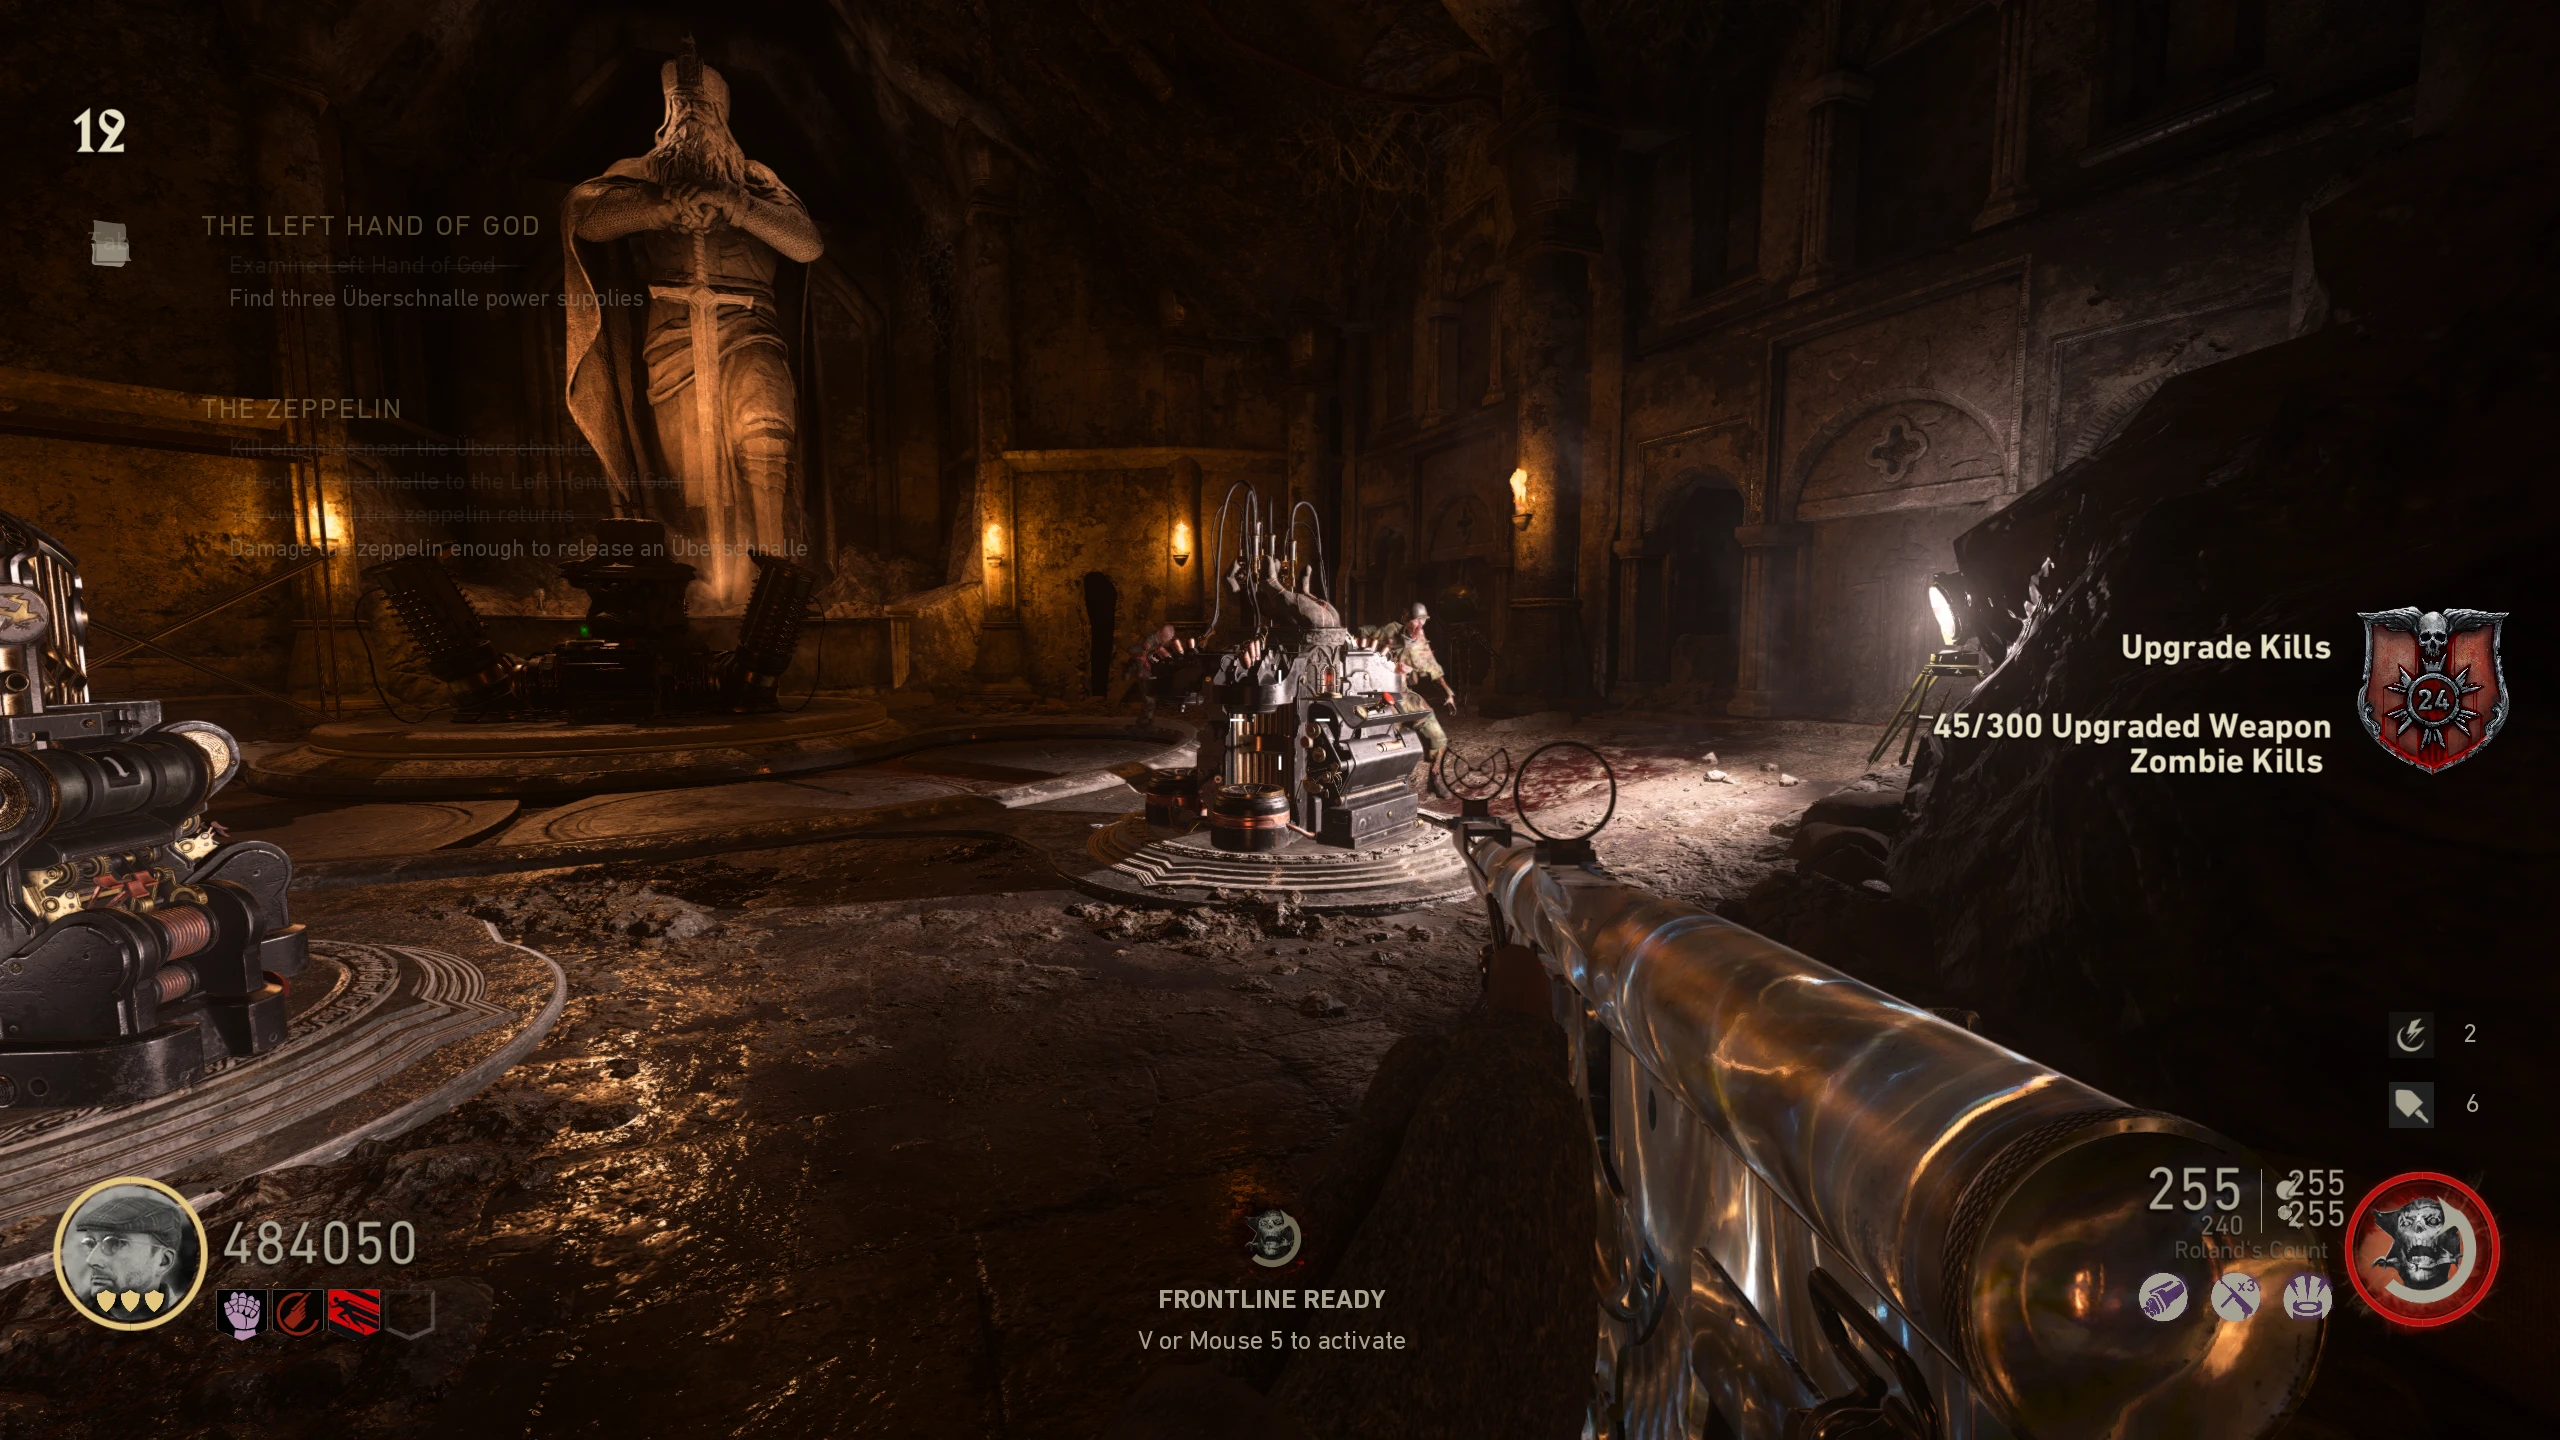
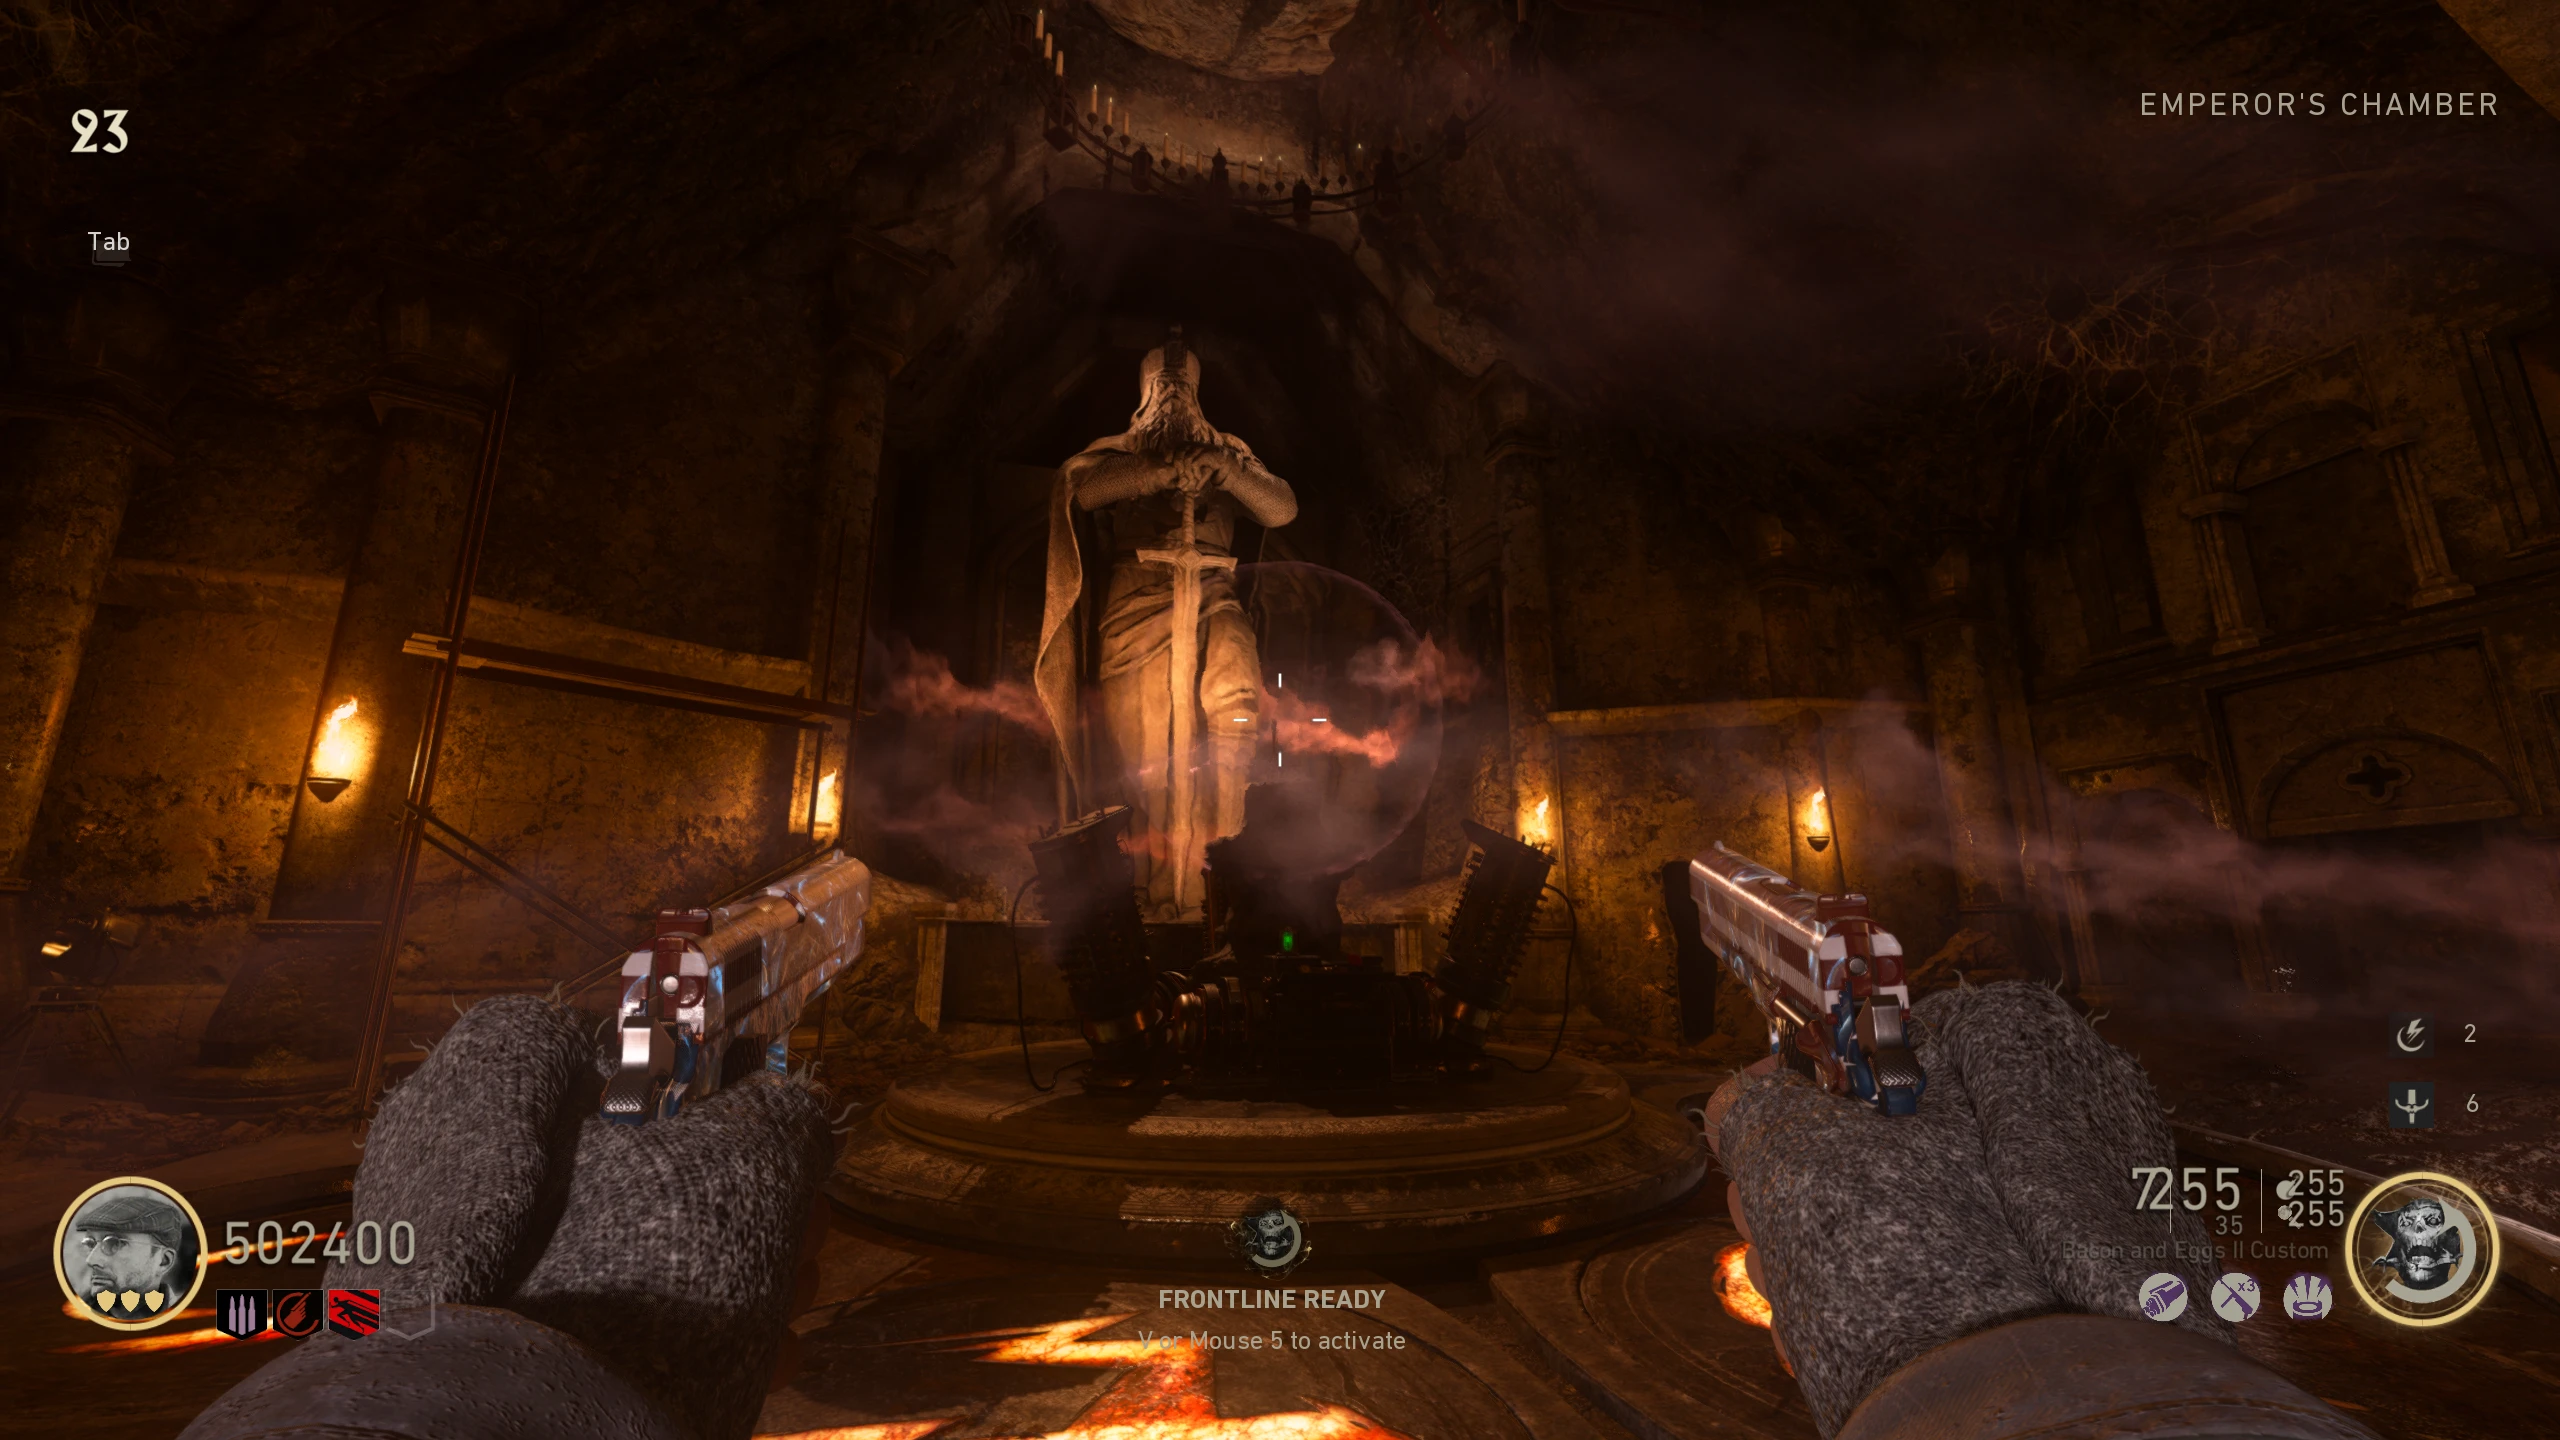
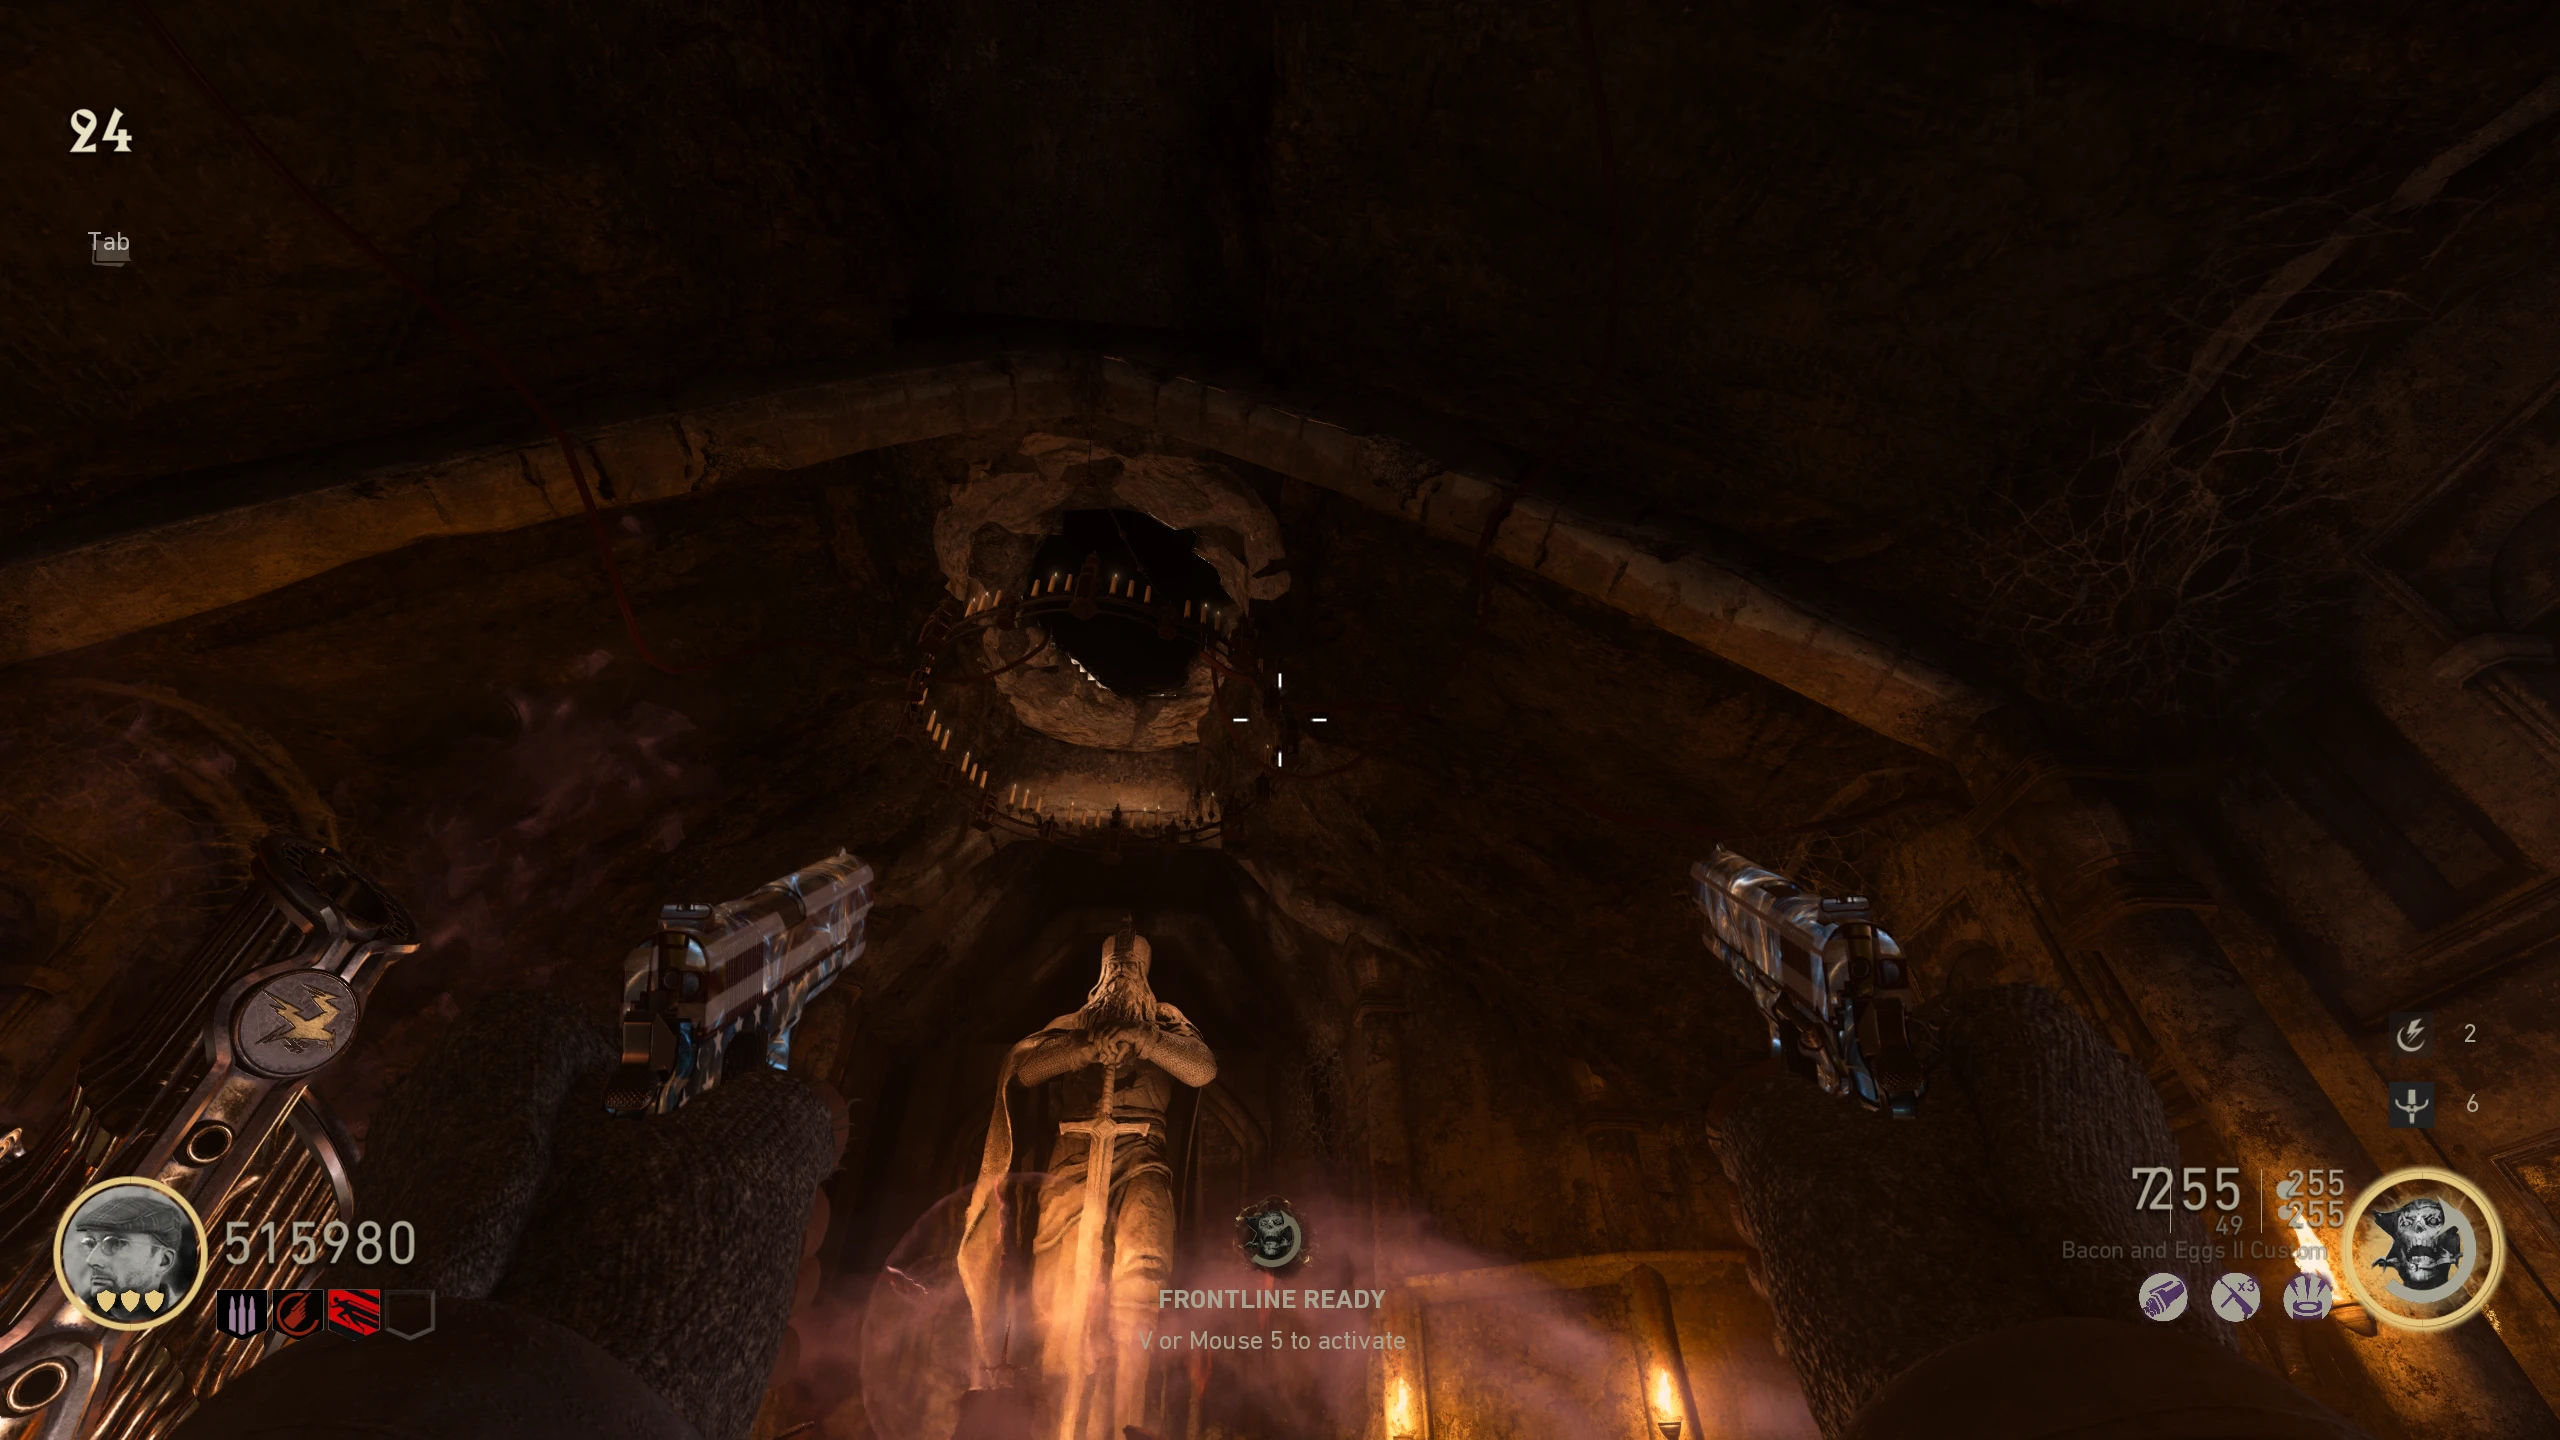
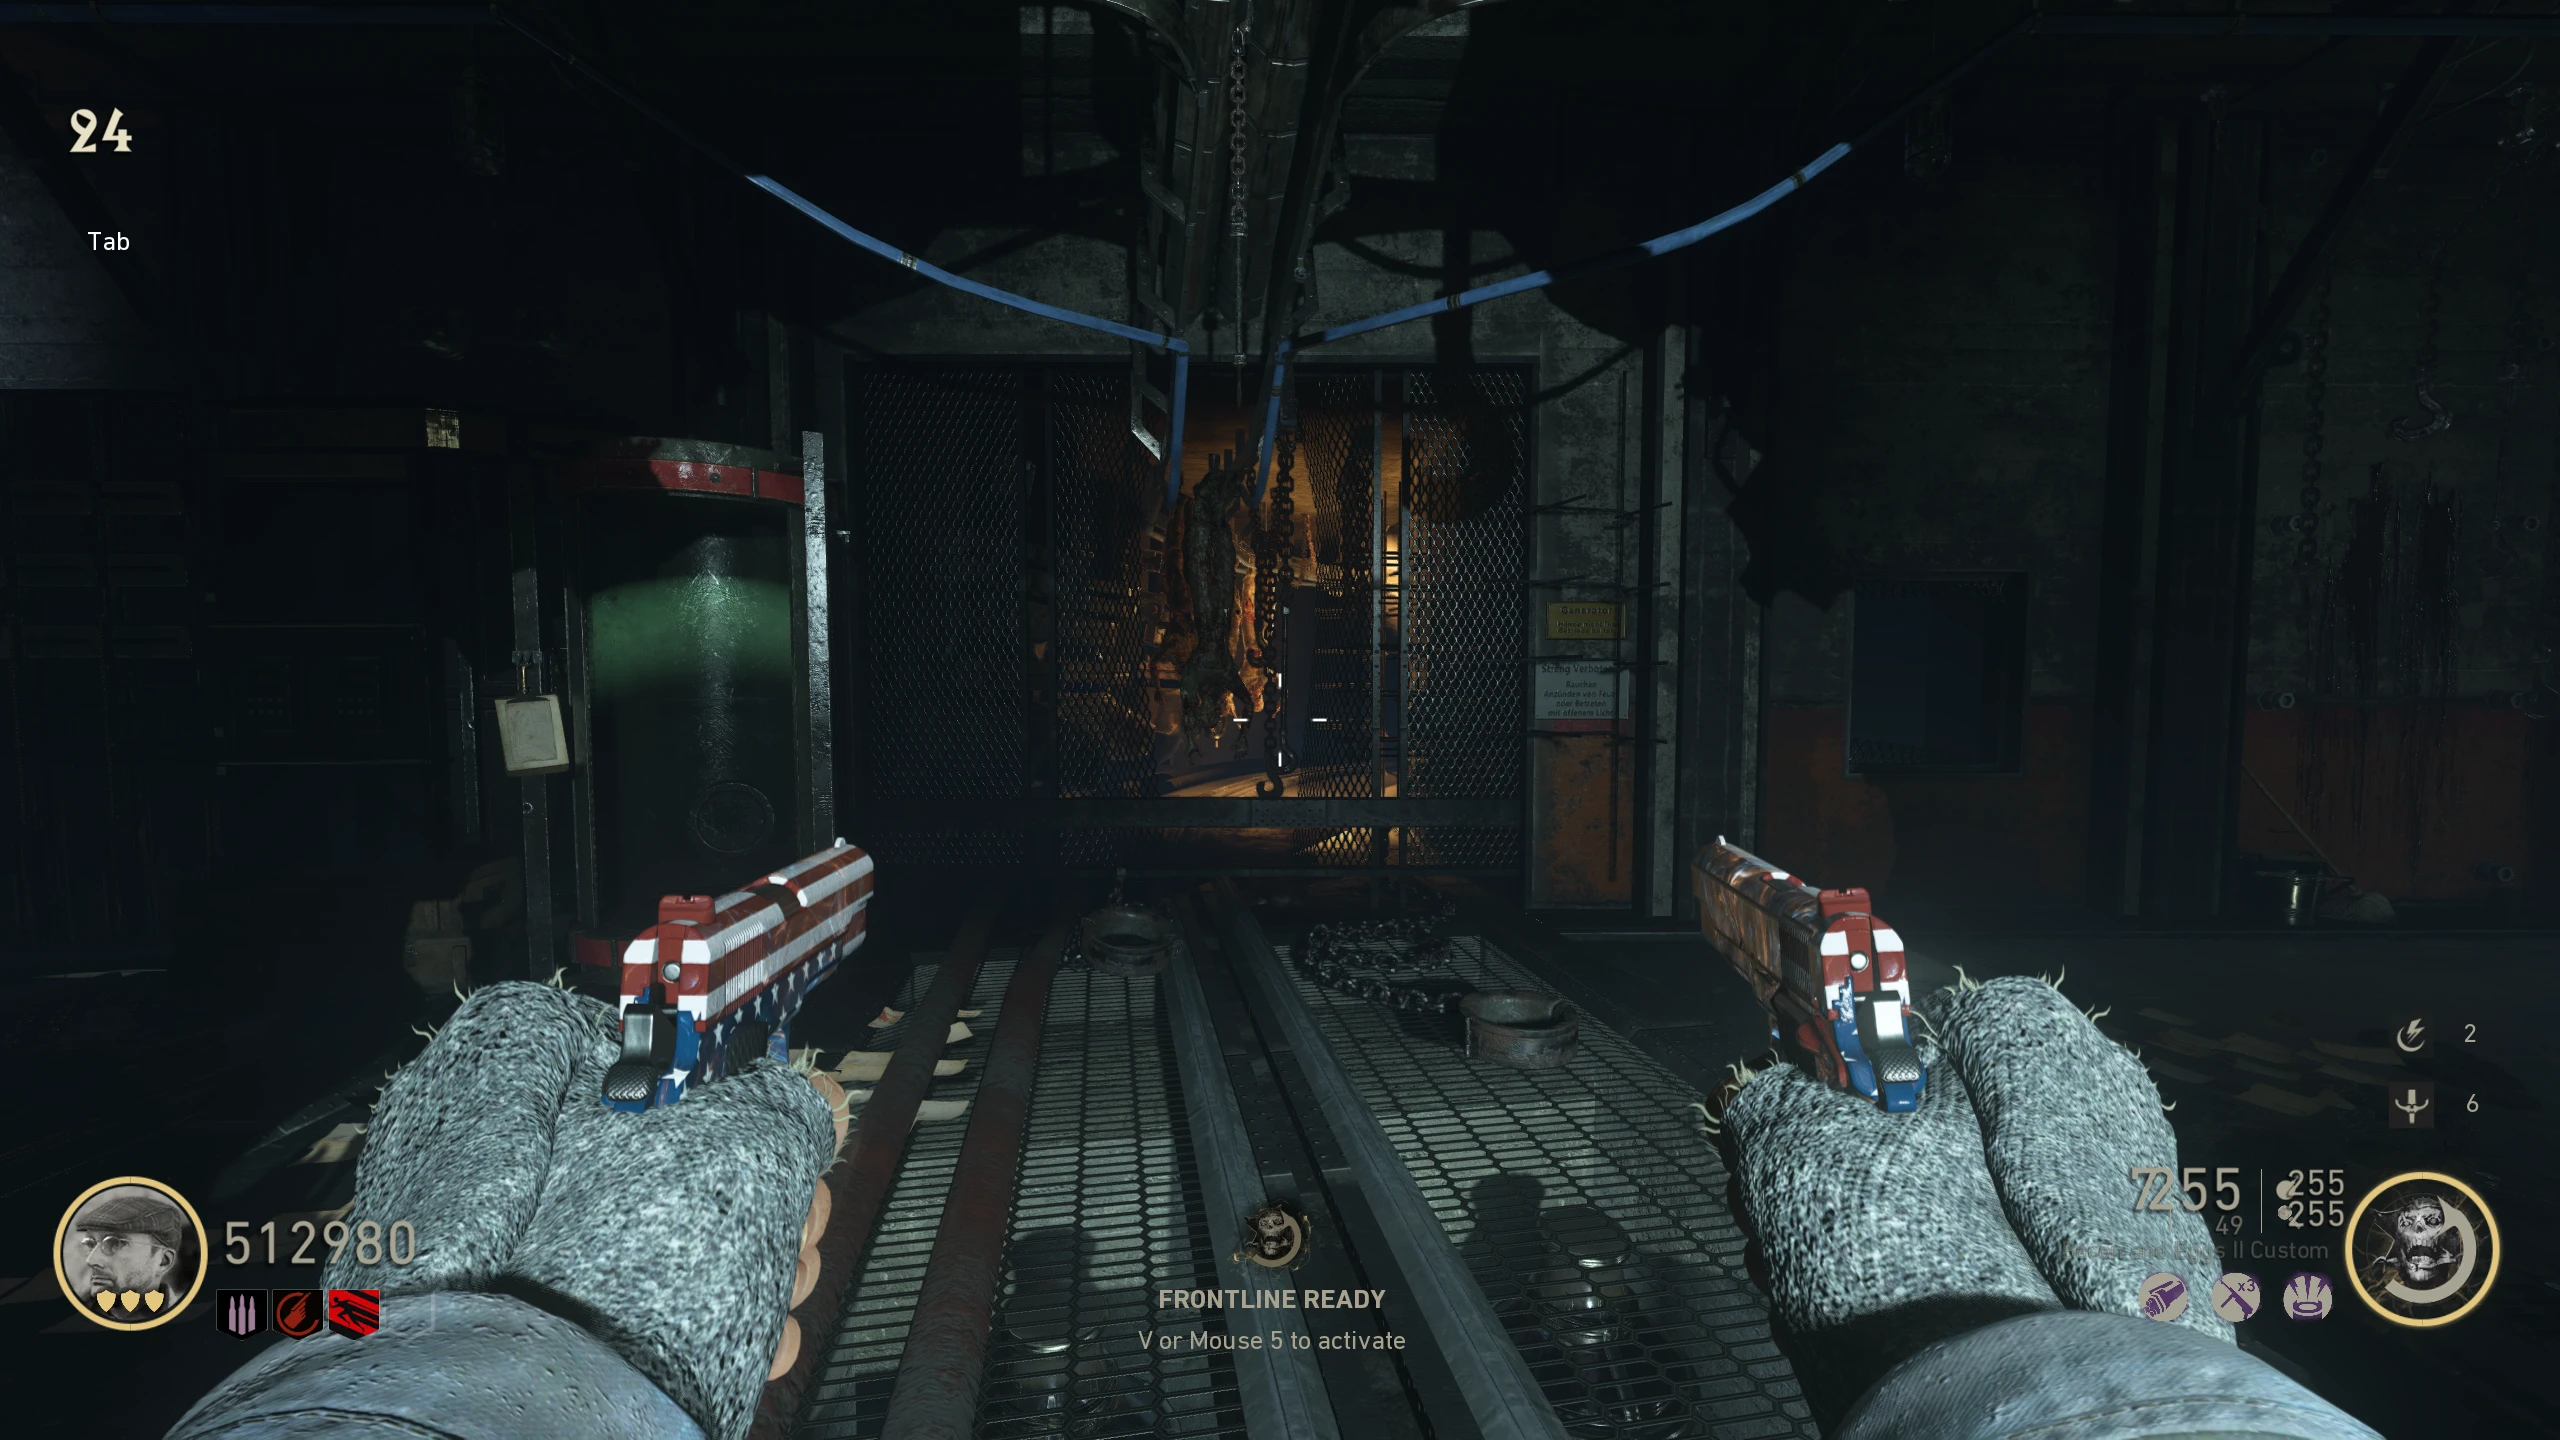
- Head to the "Emperor's Chamber" at the bottom of the Salt Mine and interact with the Hilt in the machine in front of Barbarossa's statue. Kill Zombies in the circle on the ground to charge the machine.
- Once you've gotten enough kills, the Geistkraft device will rise into a hole in the ceiling.
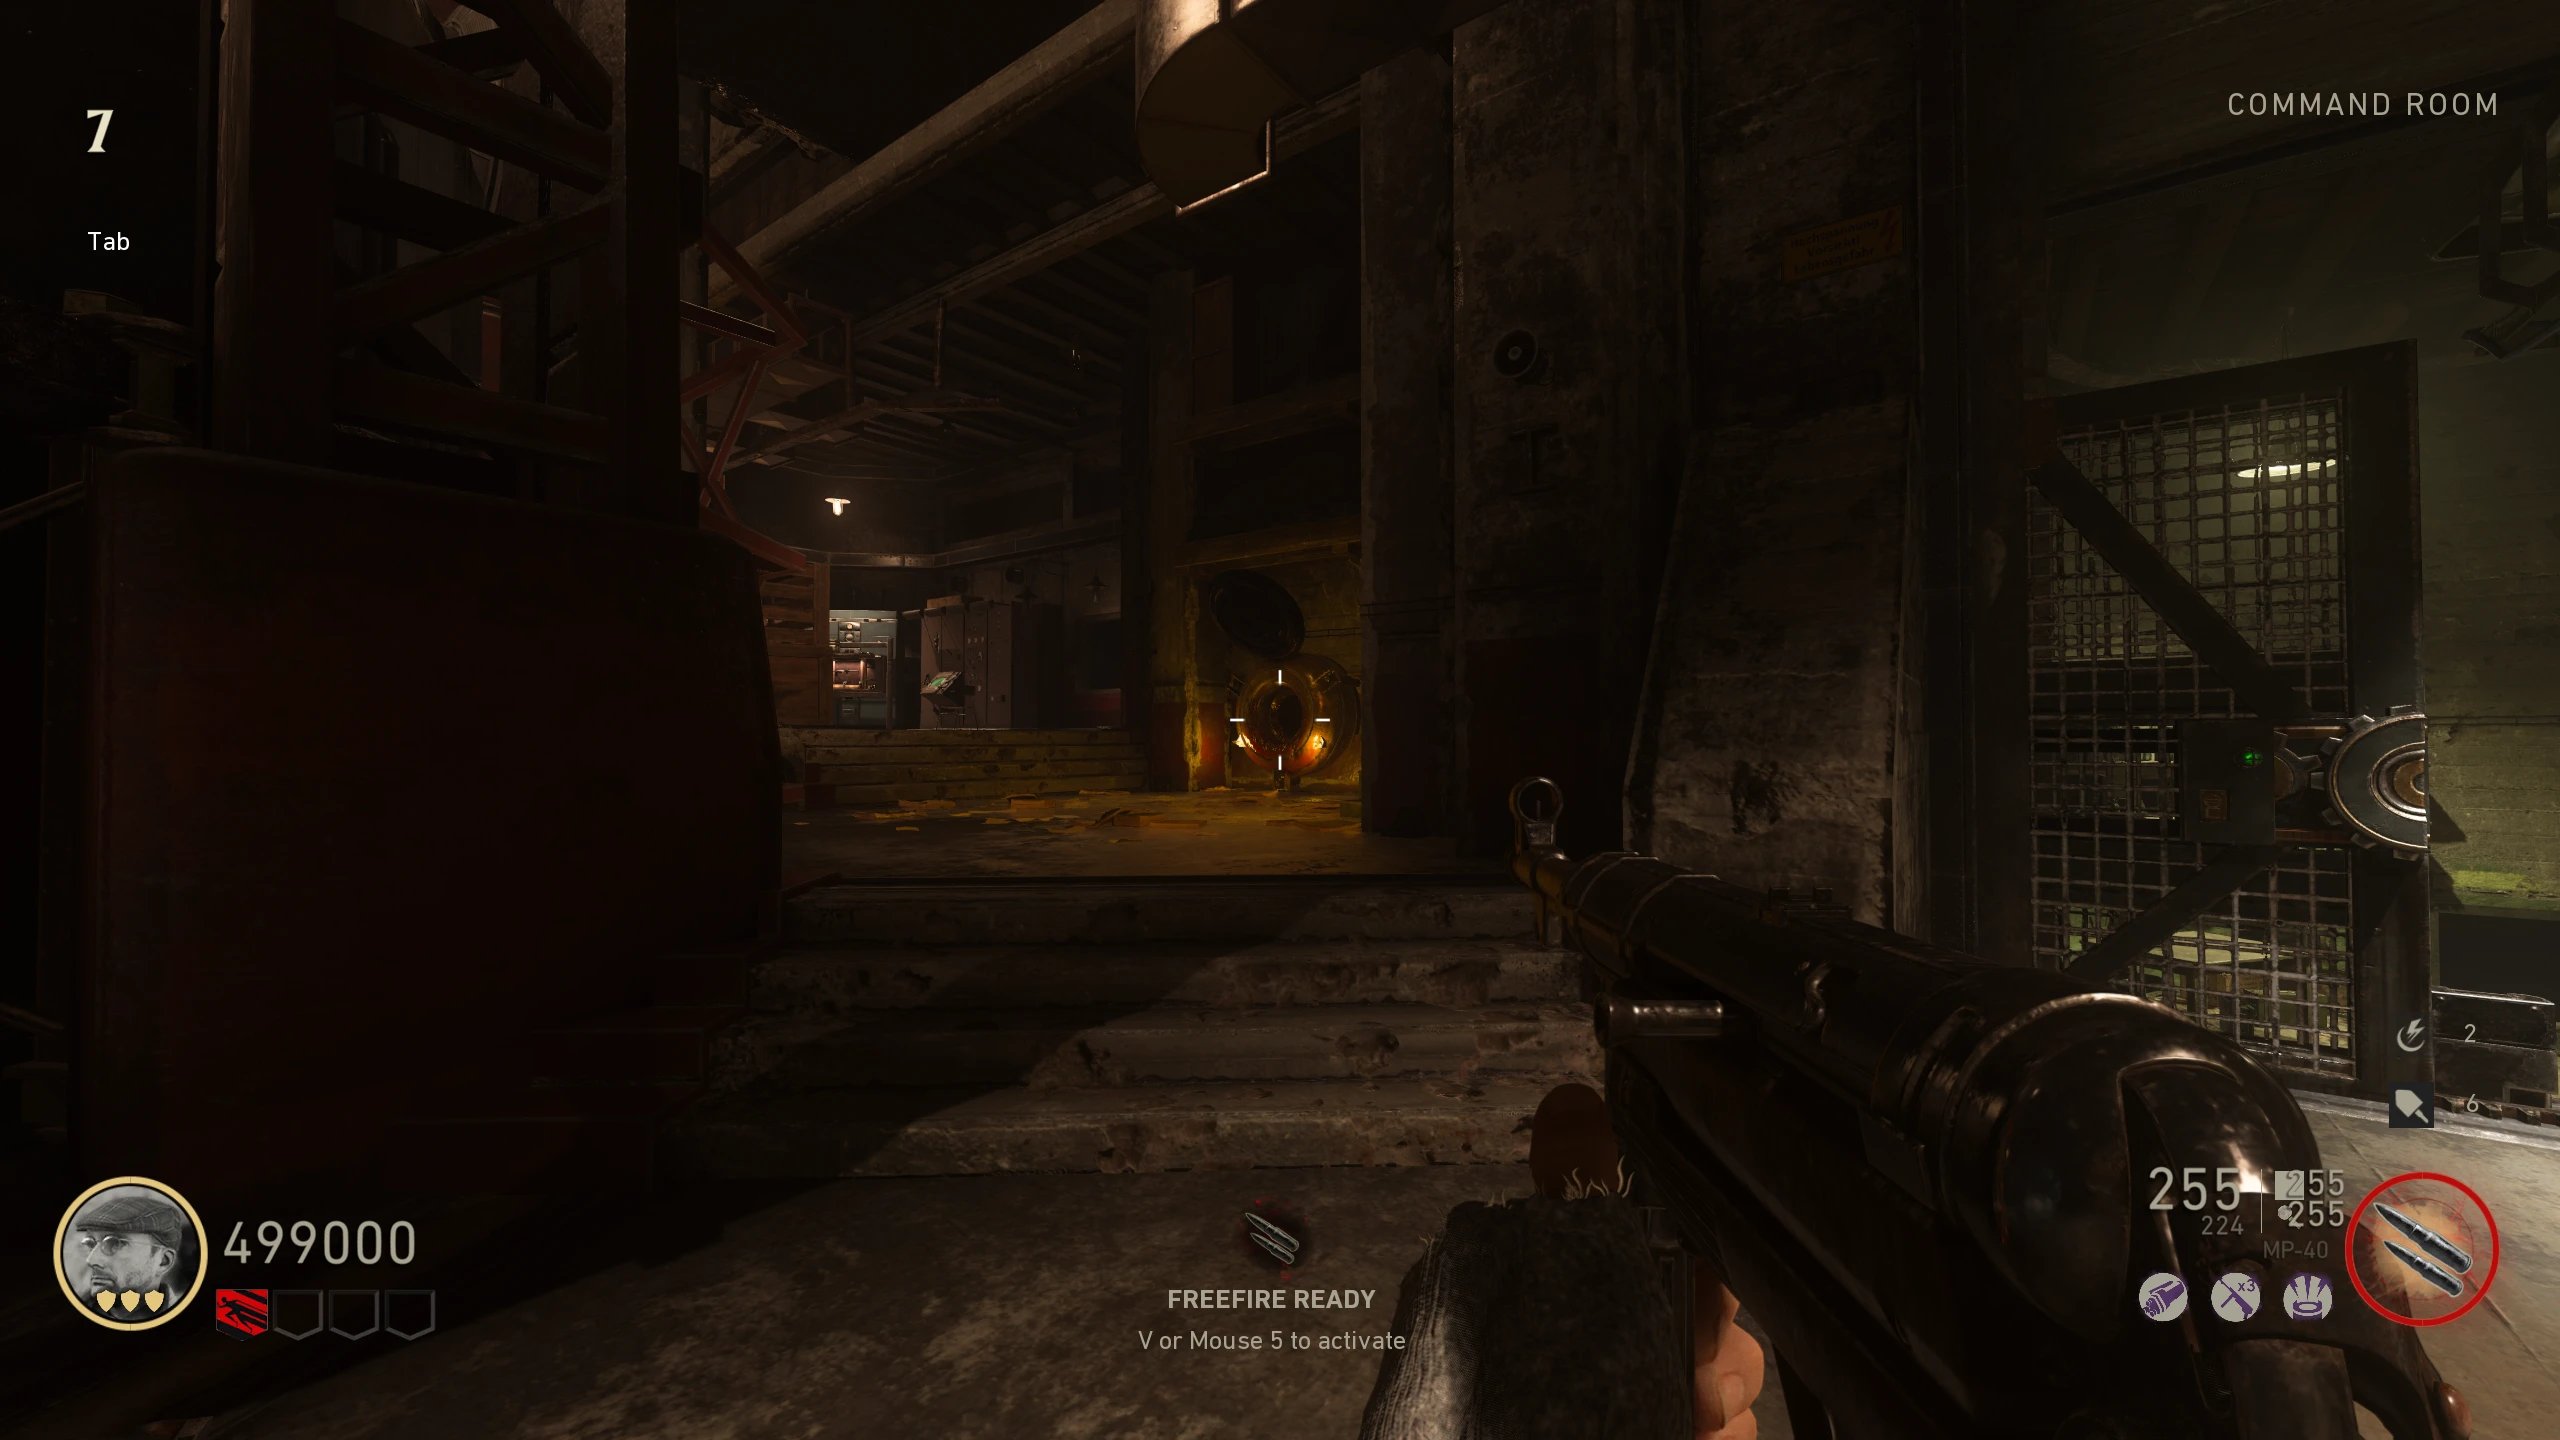
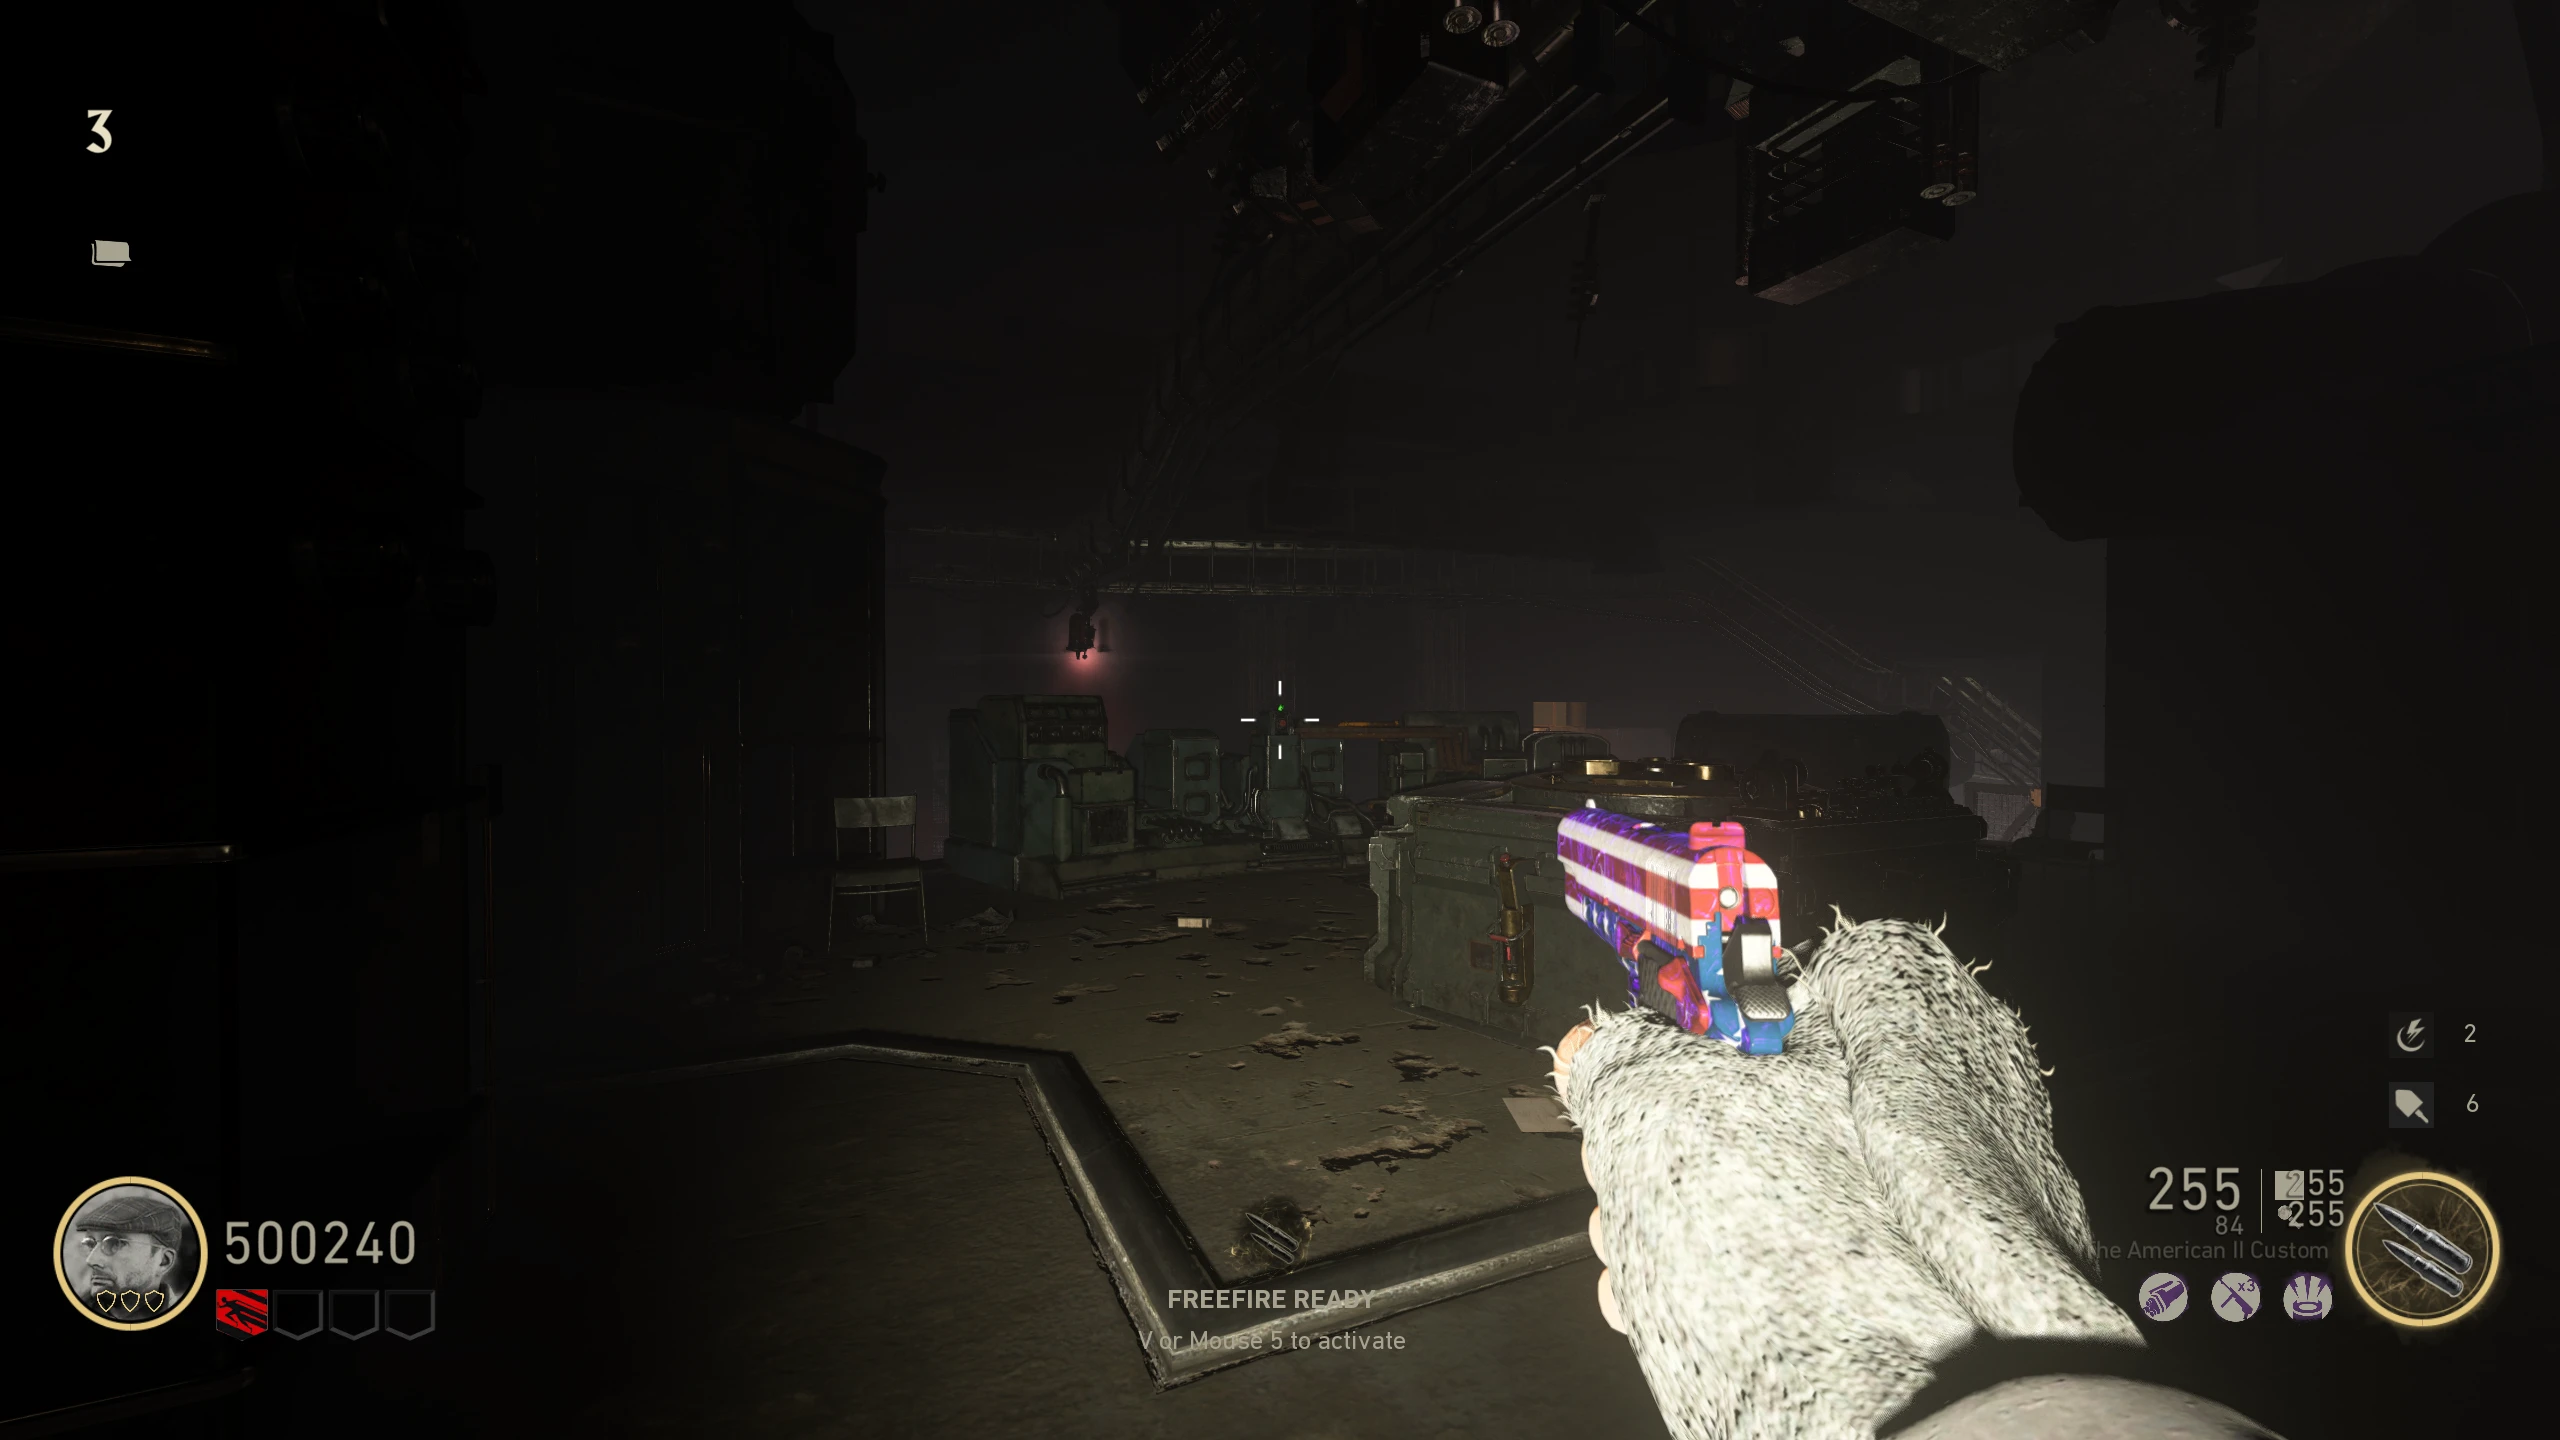
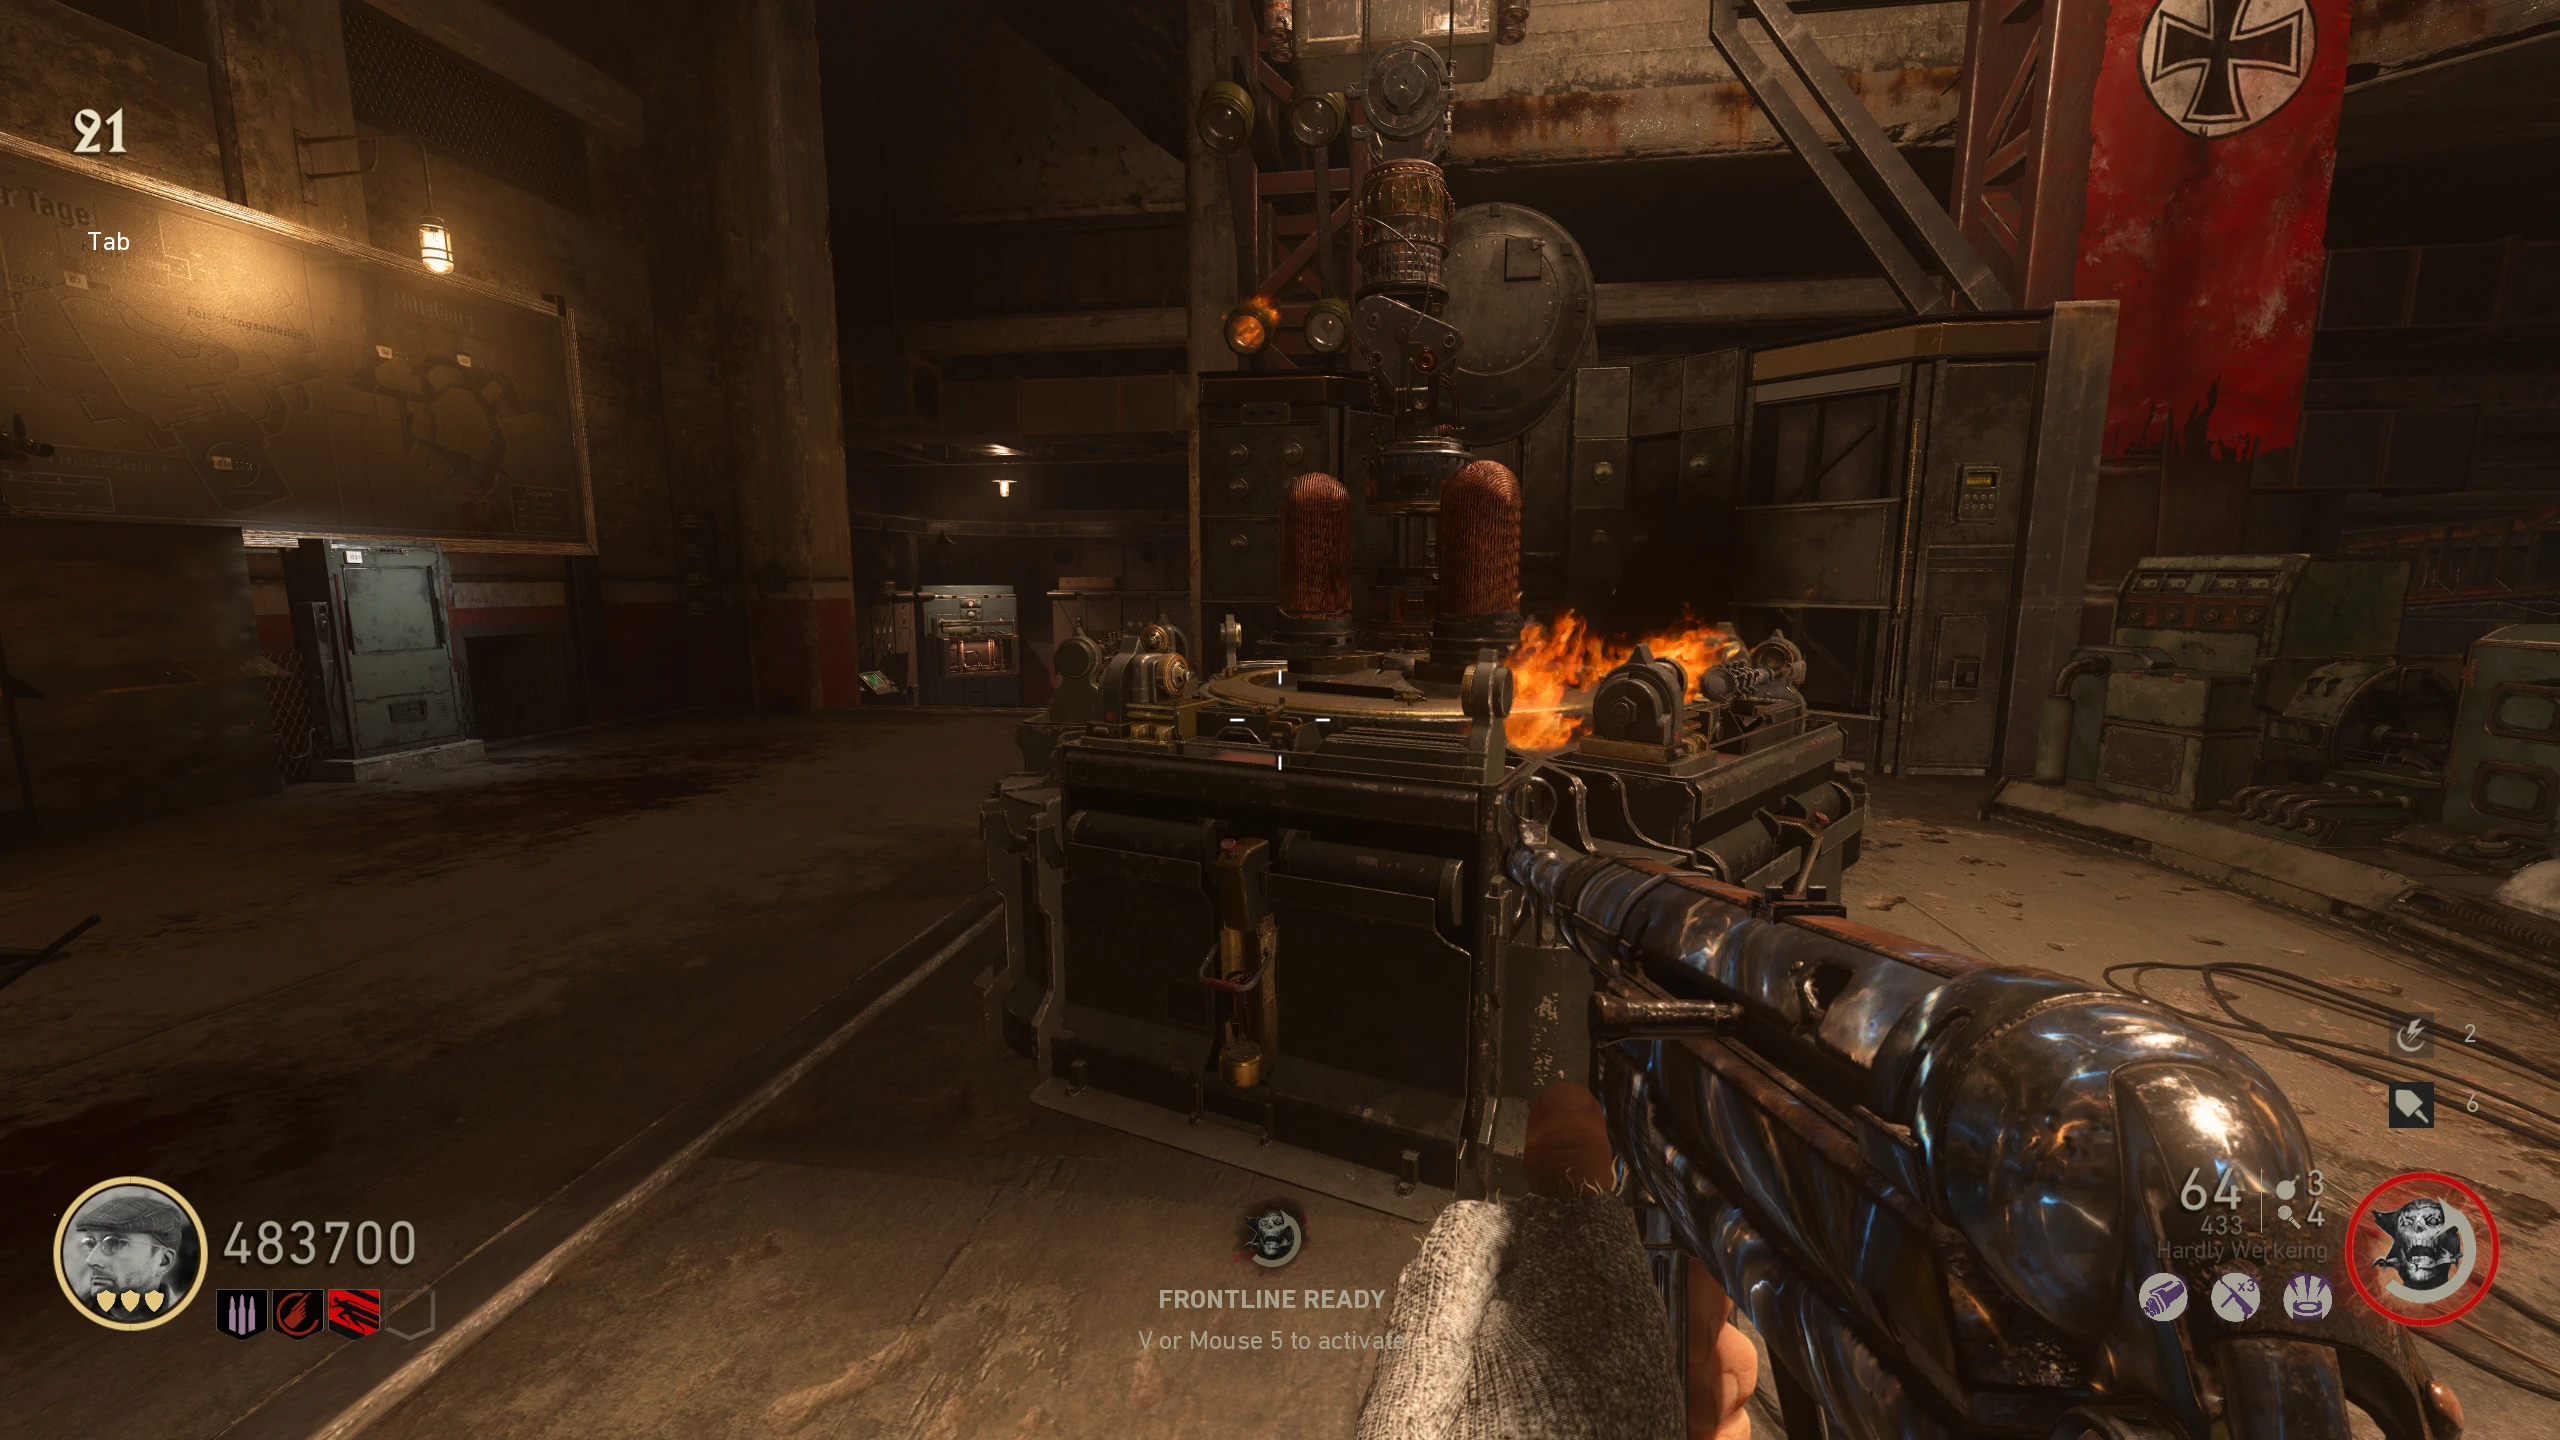
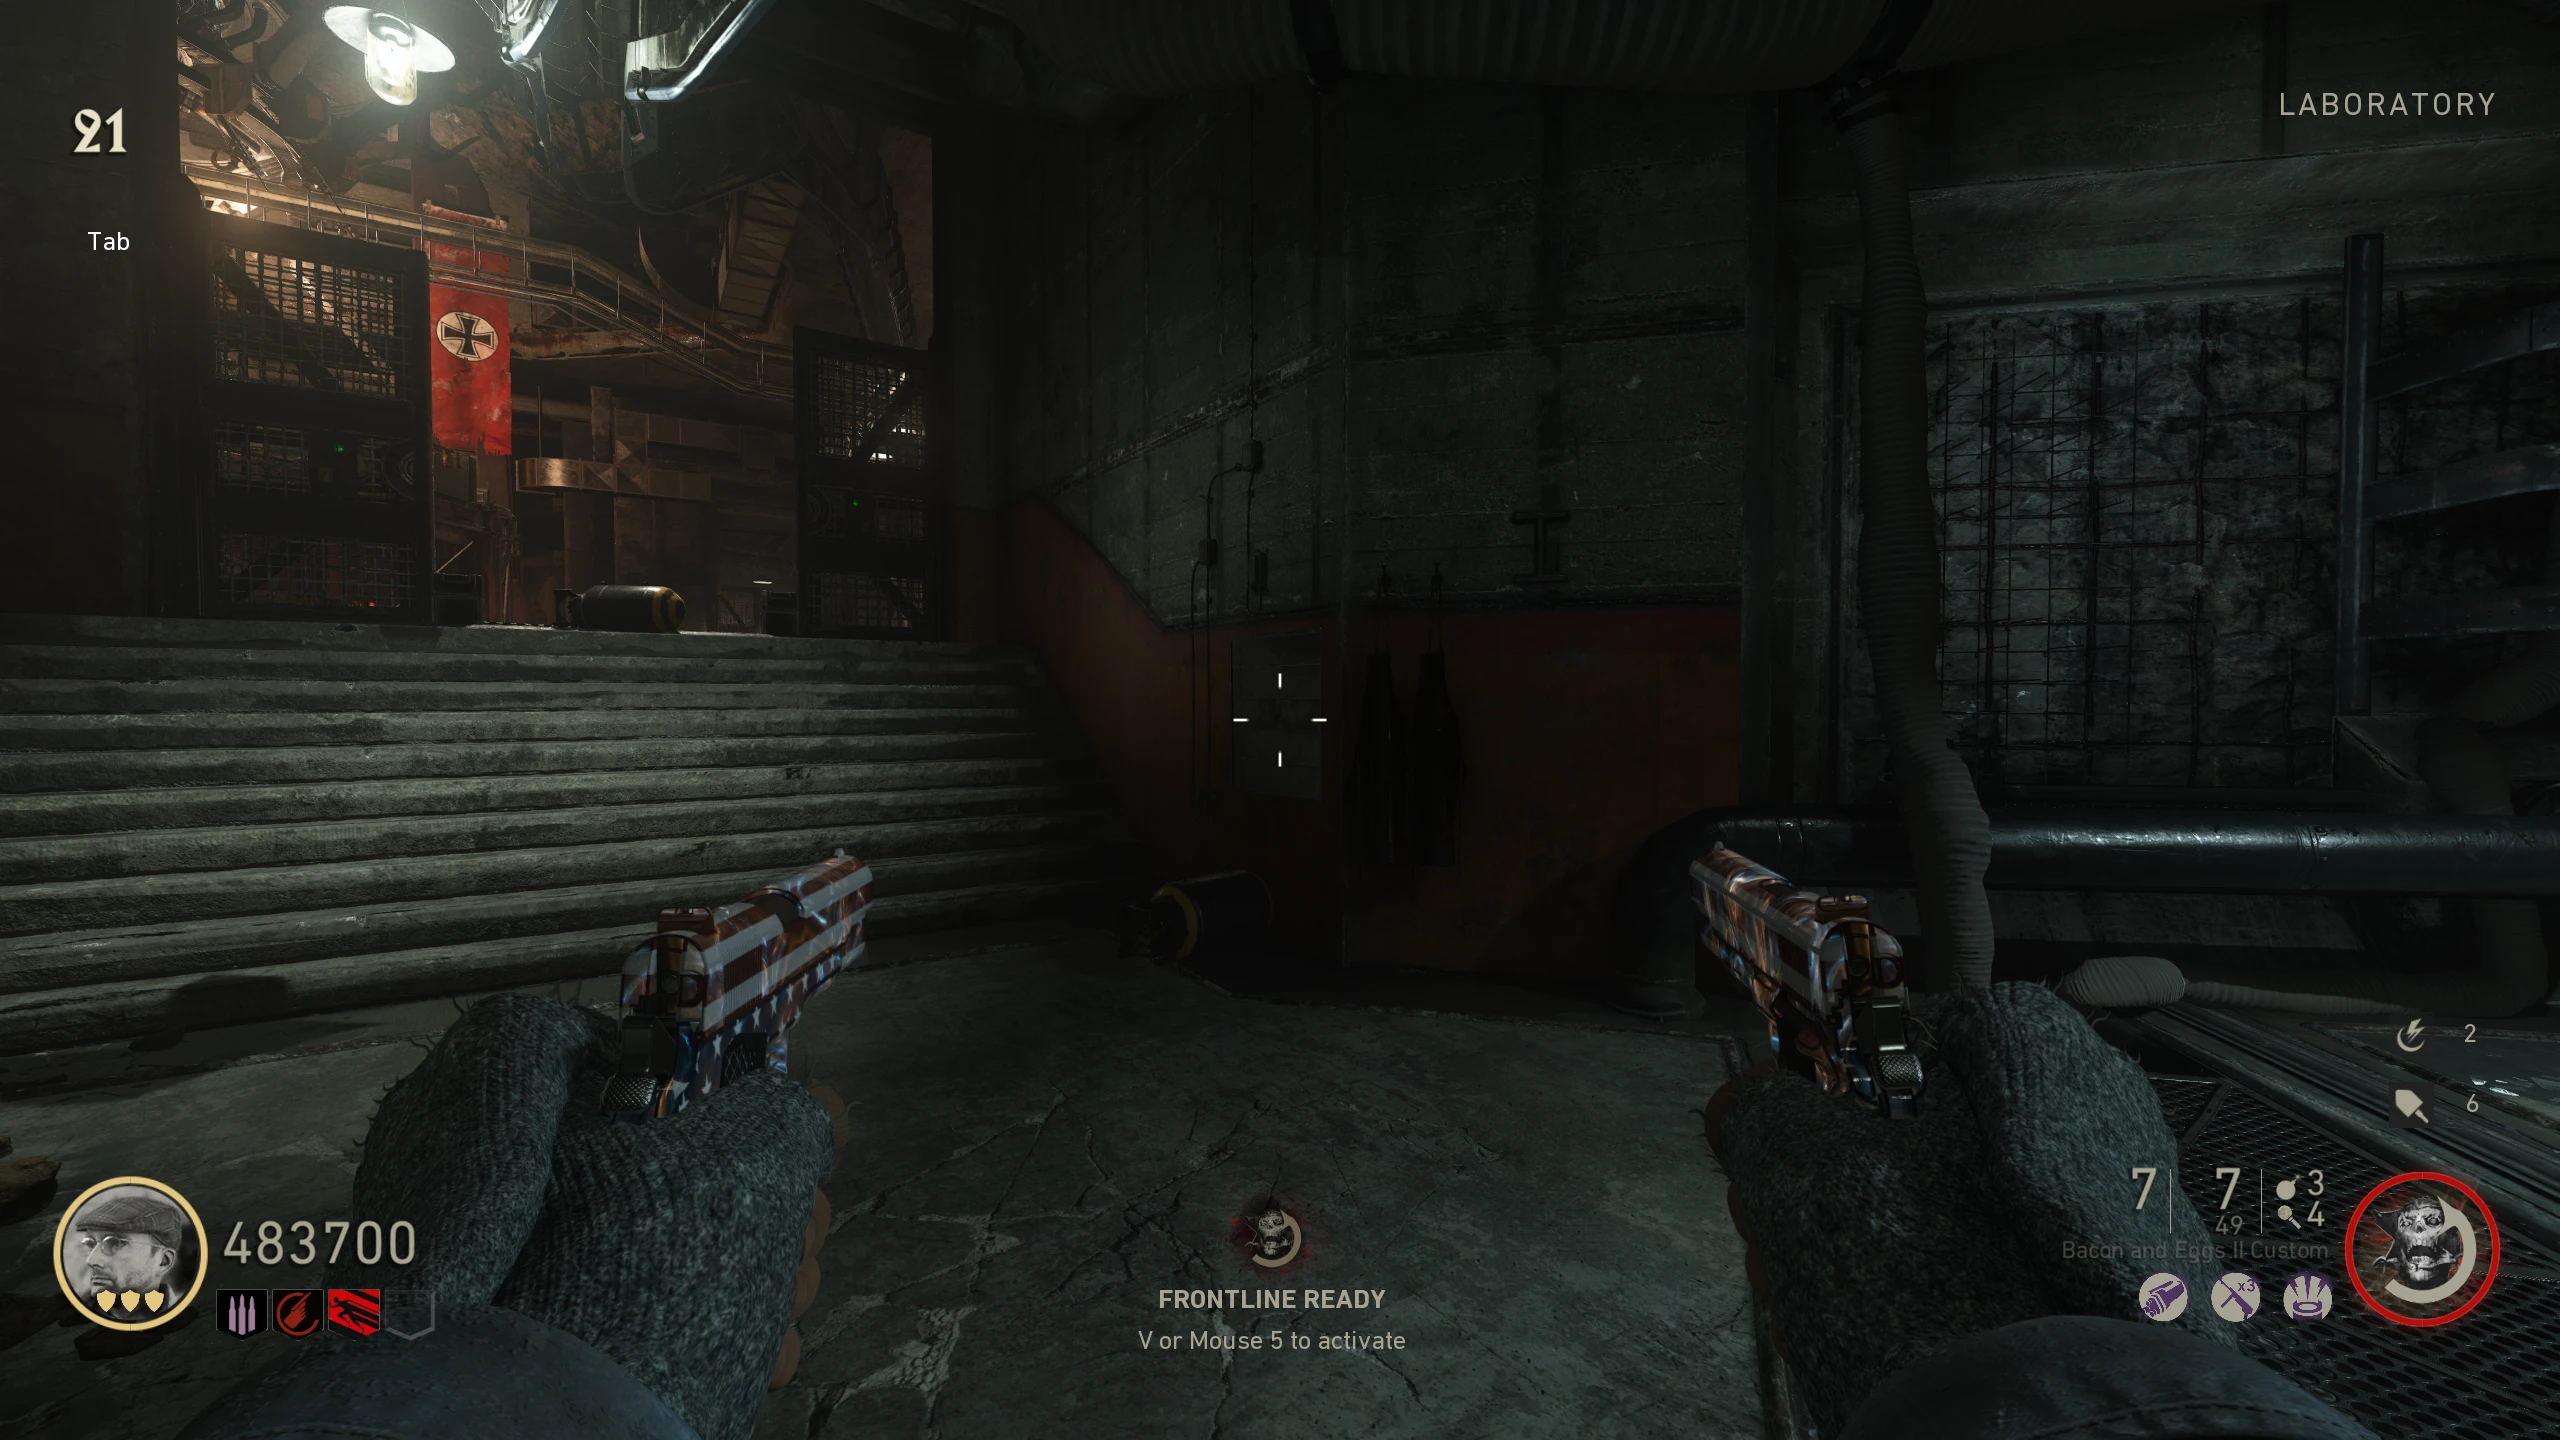
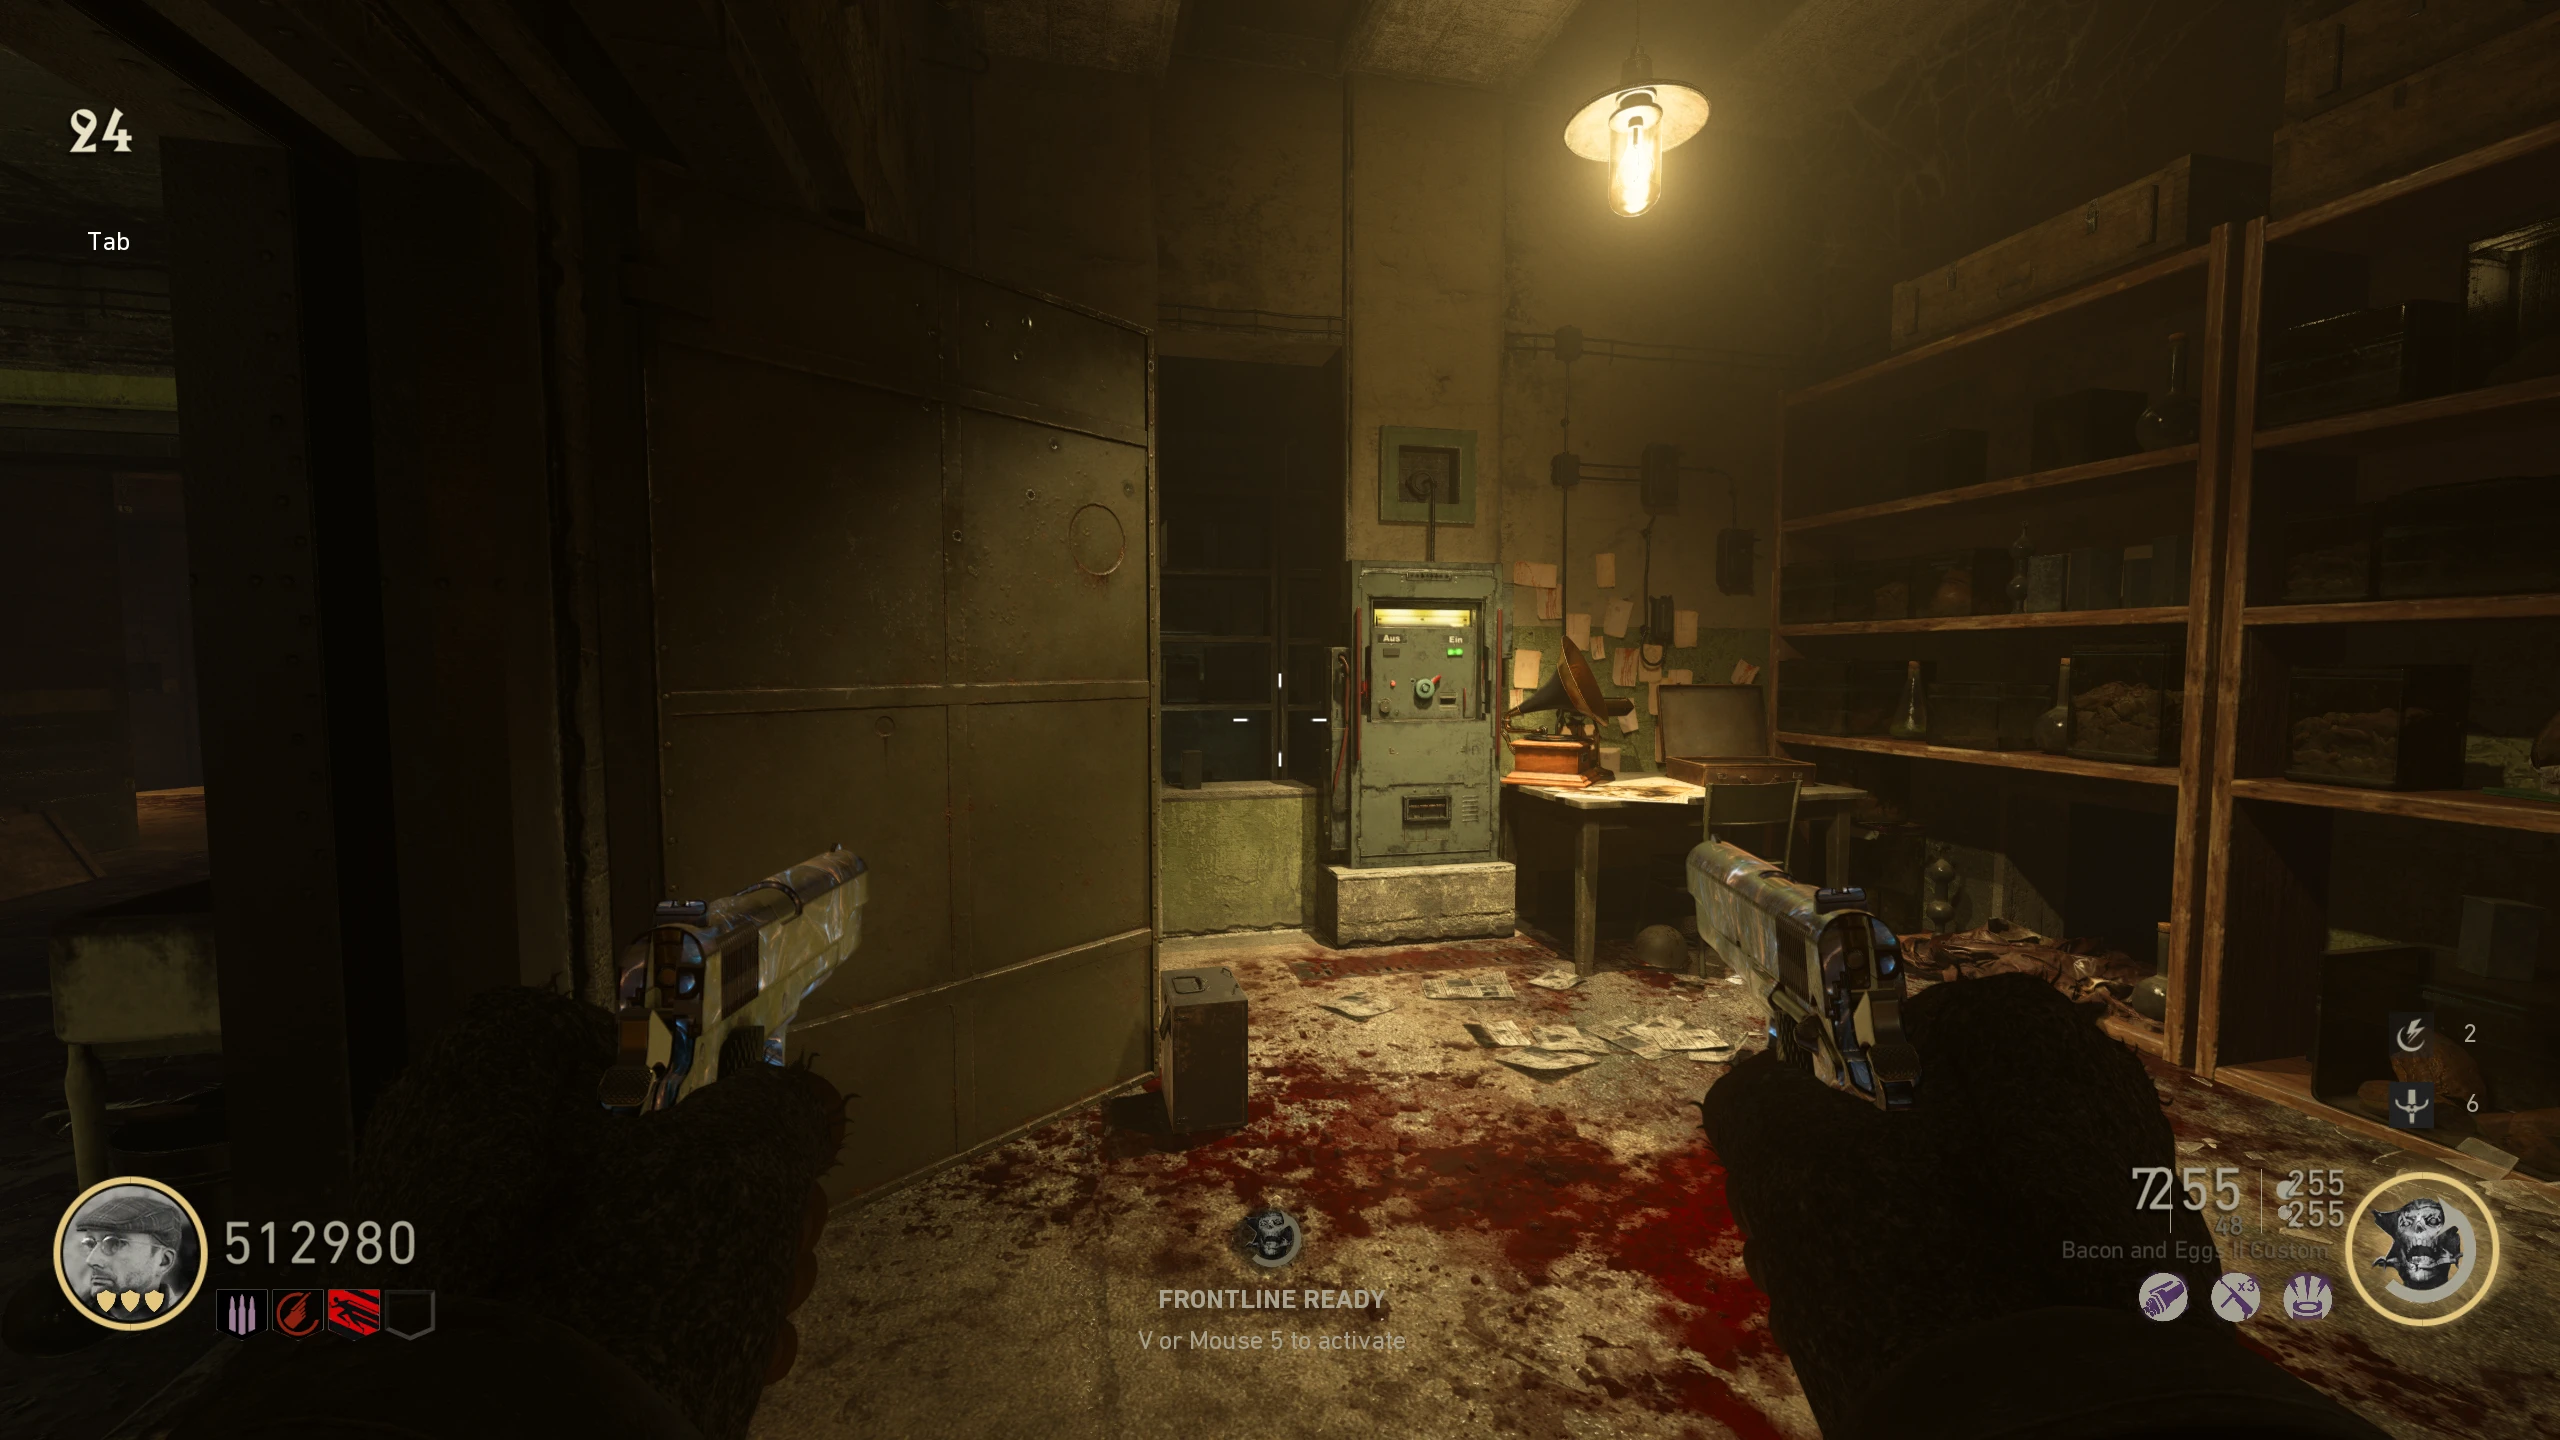
- Return to the 'Command Room' and interact with the button on the upper platform. The Geistkraft device will begin to move into the 'Laboratory.' It will periodically stop at various locations. To get it moving again, kill zombies within the red circle on the floor to charge it with energy.
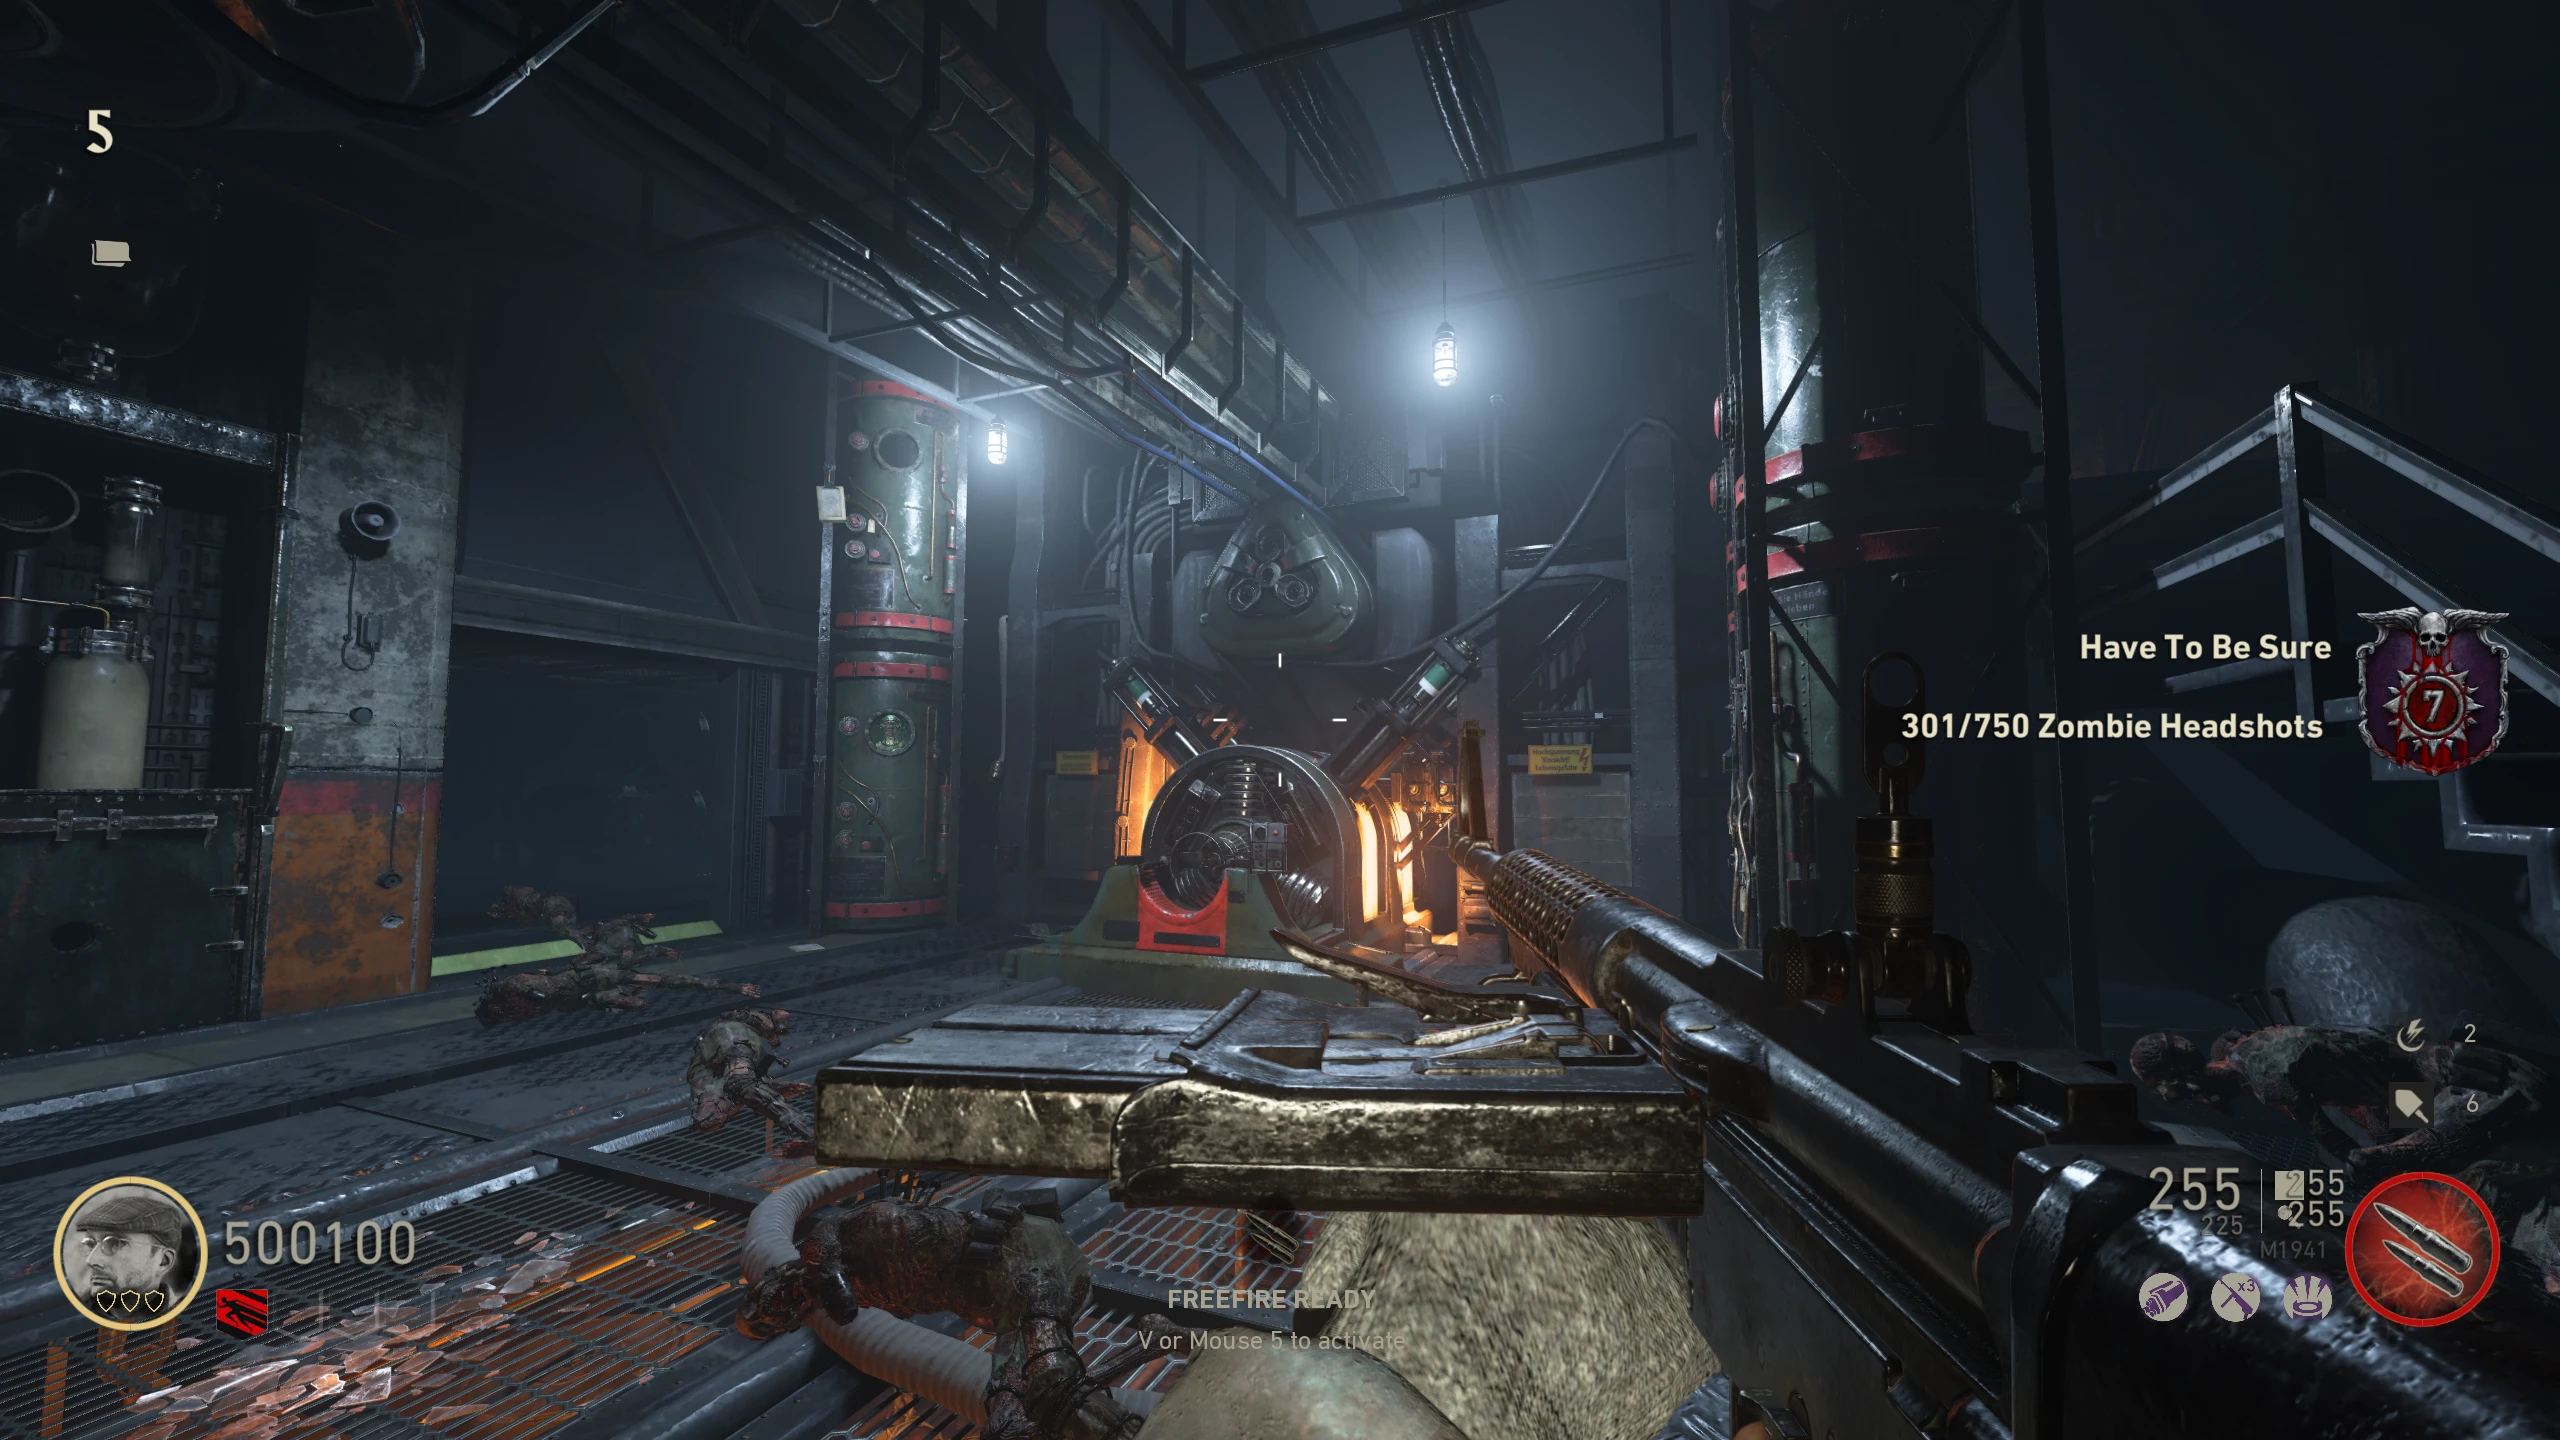
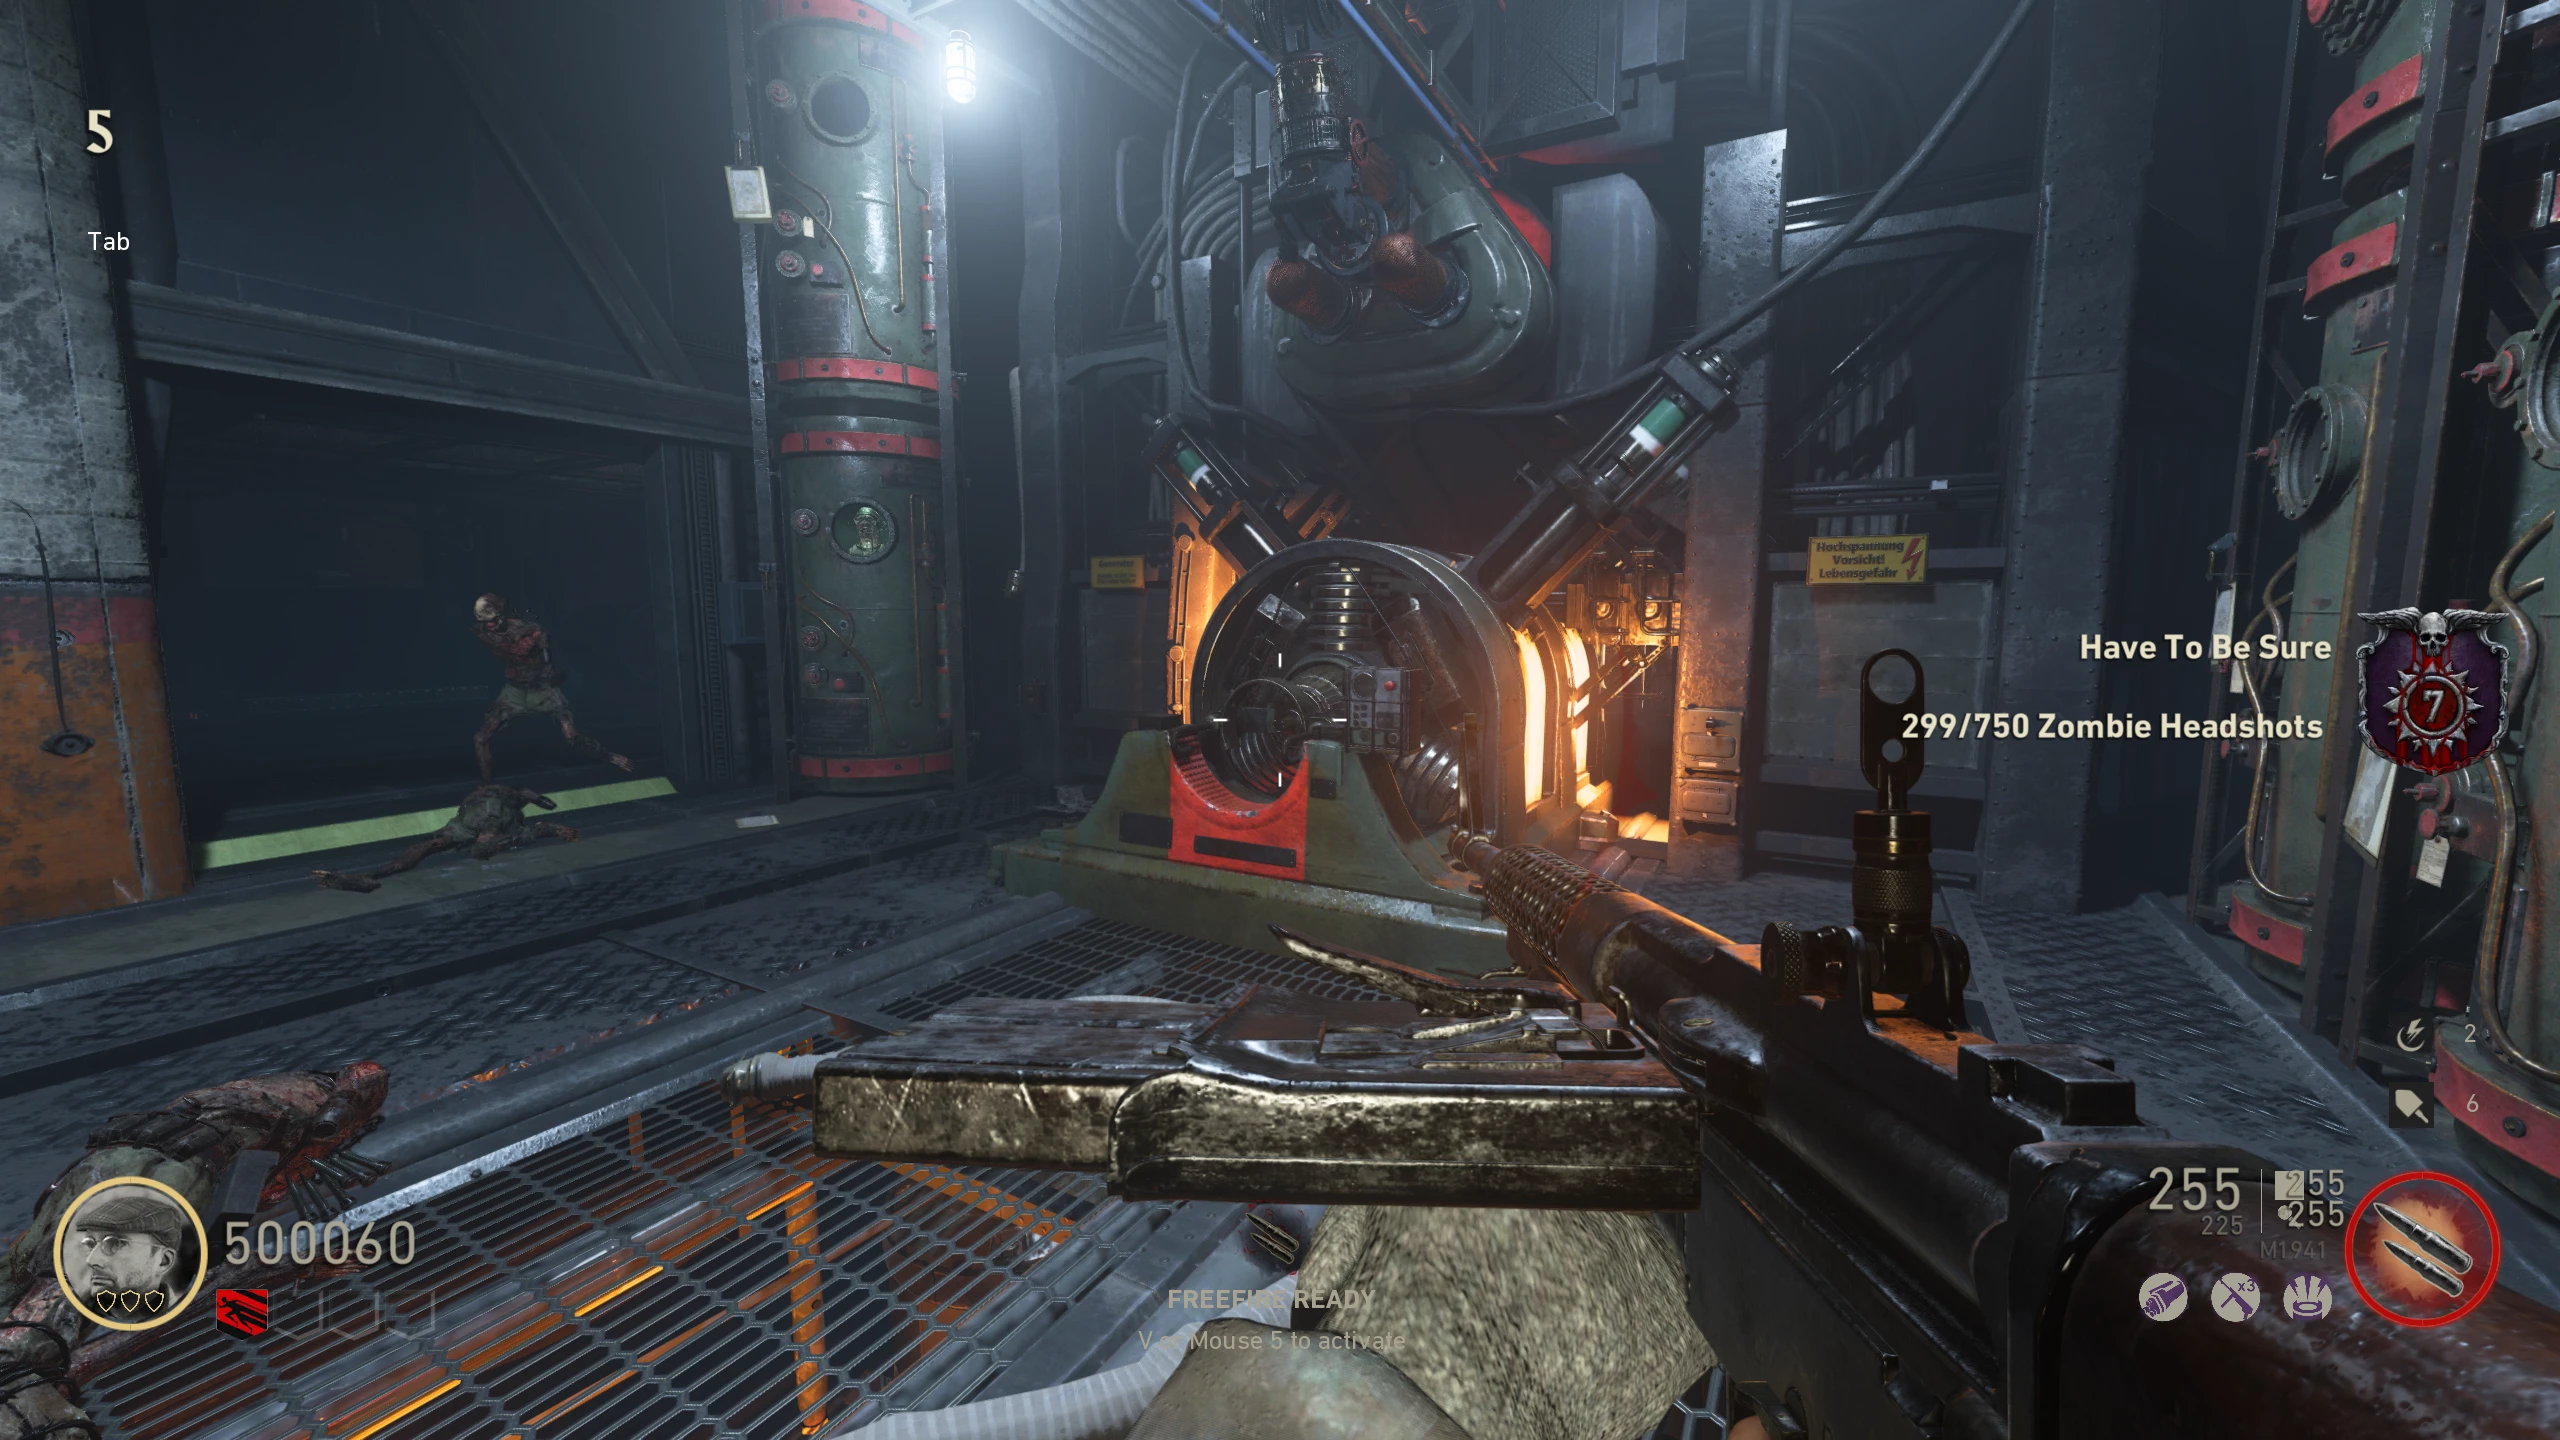
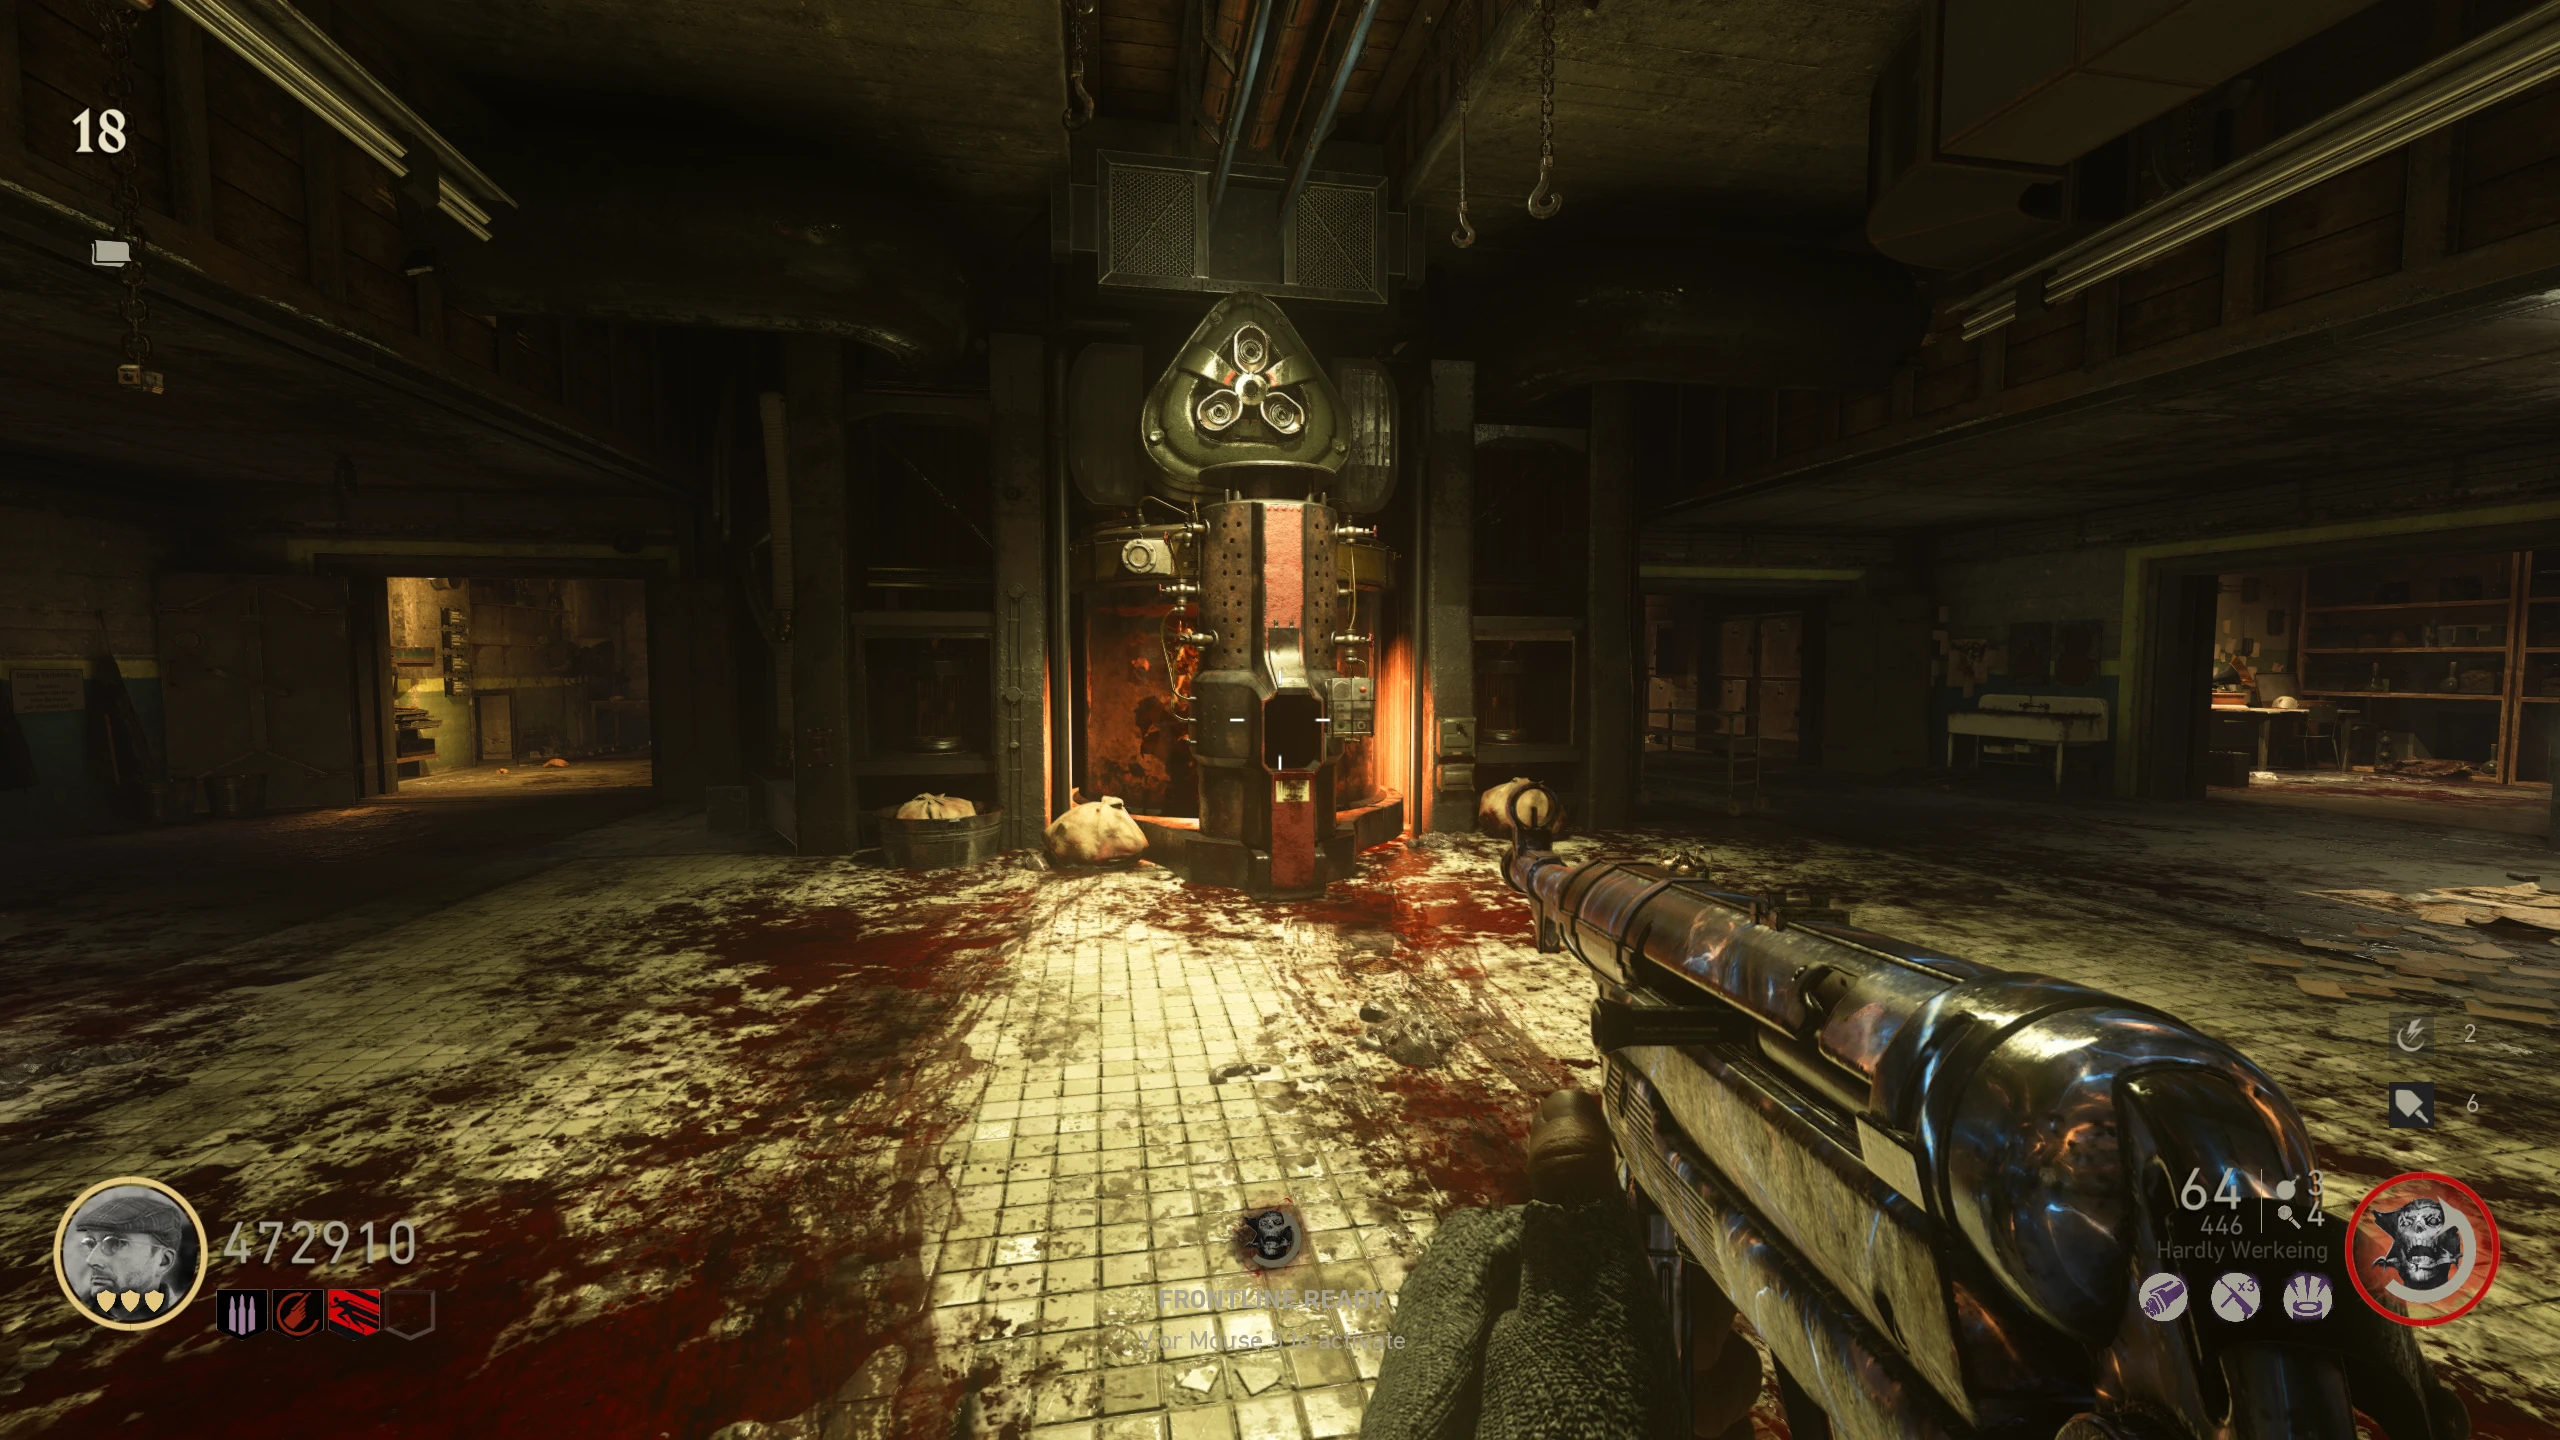
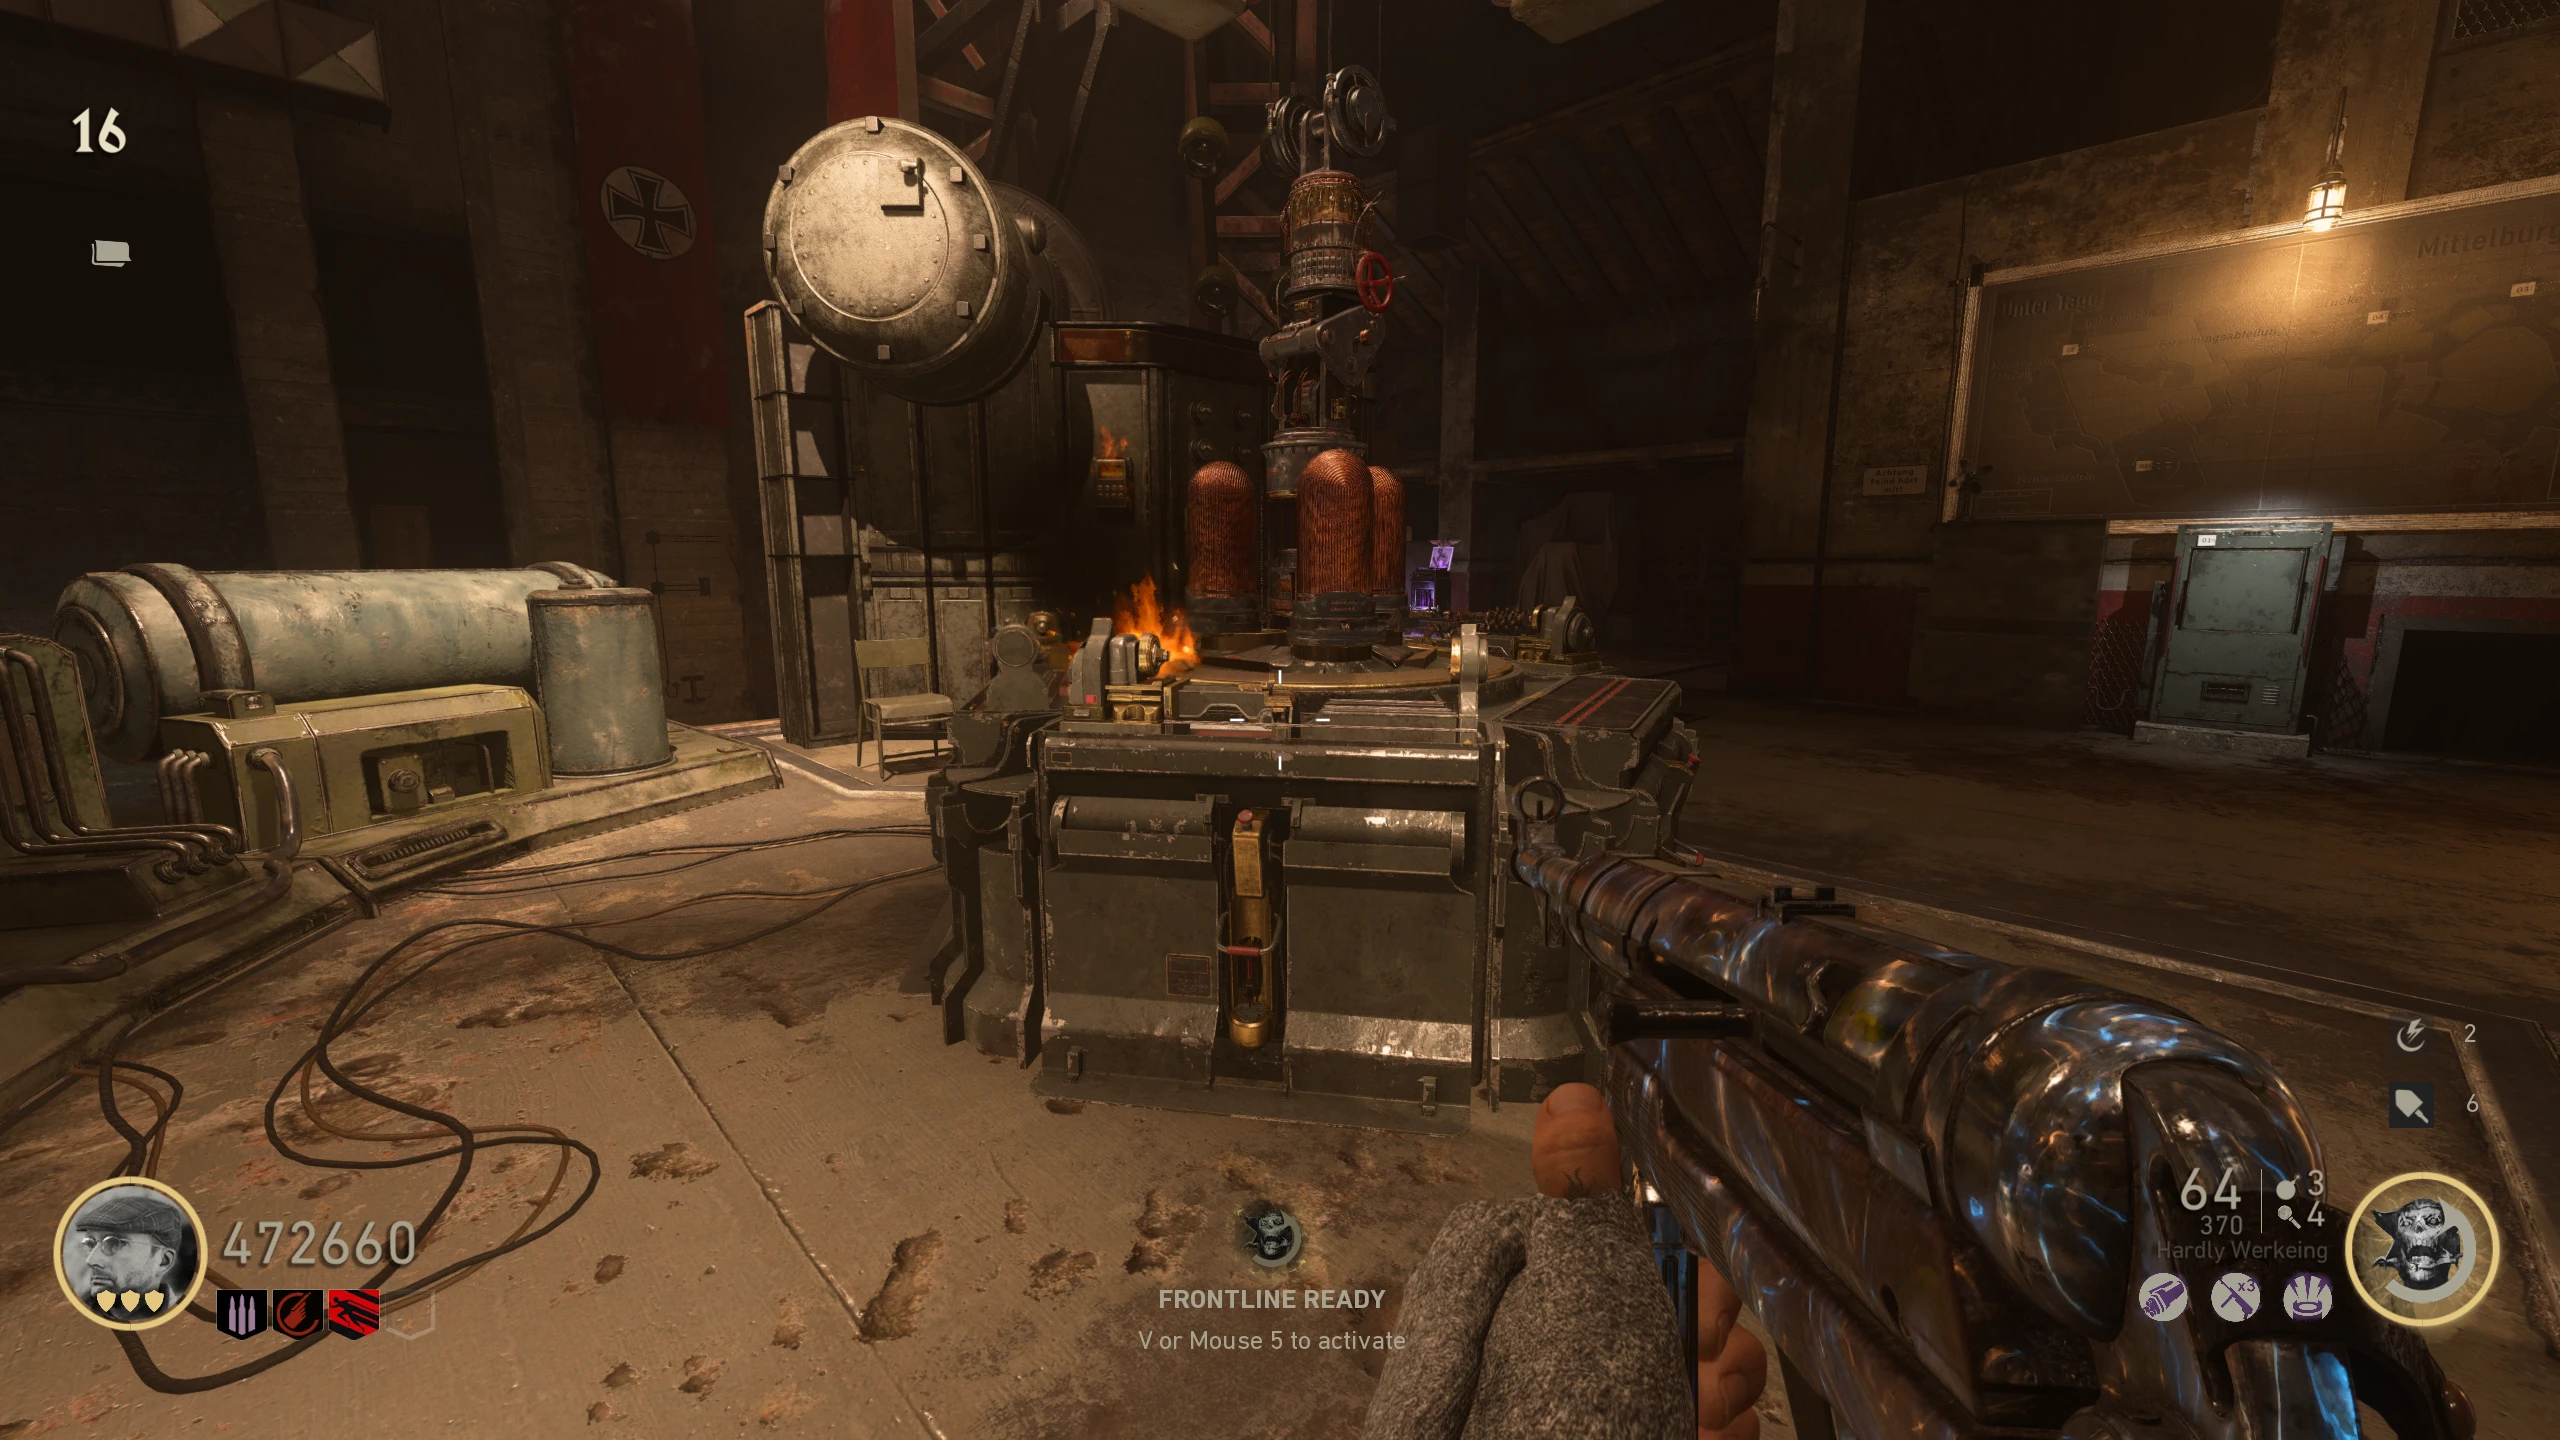
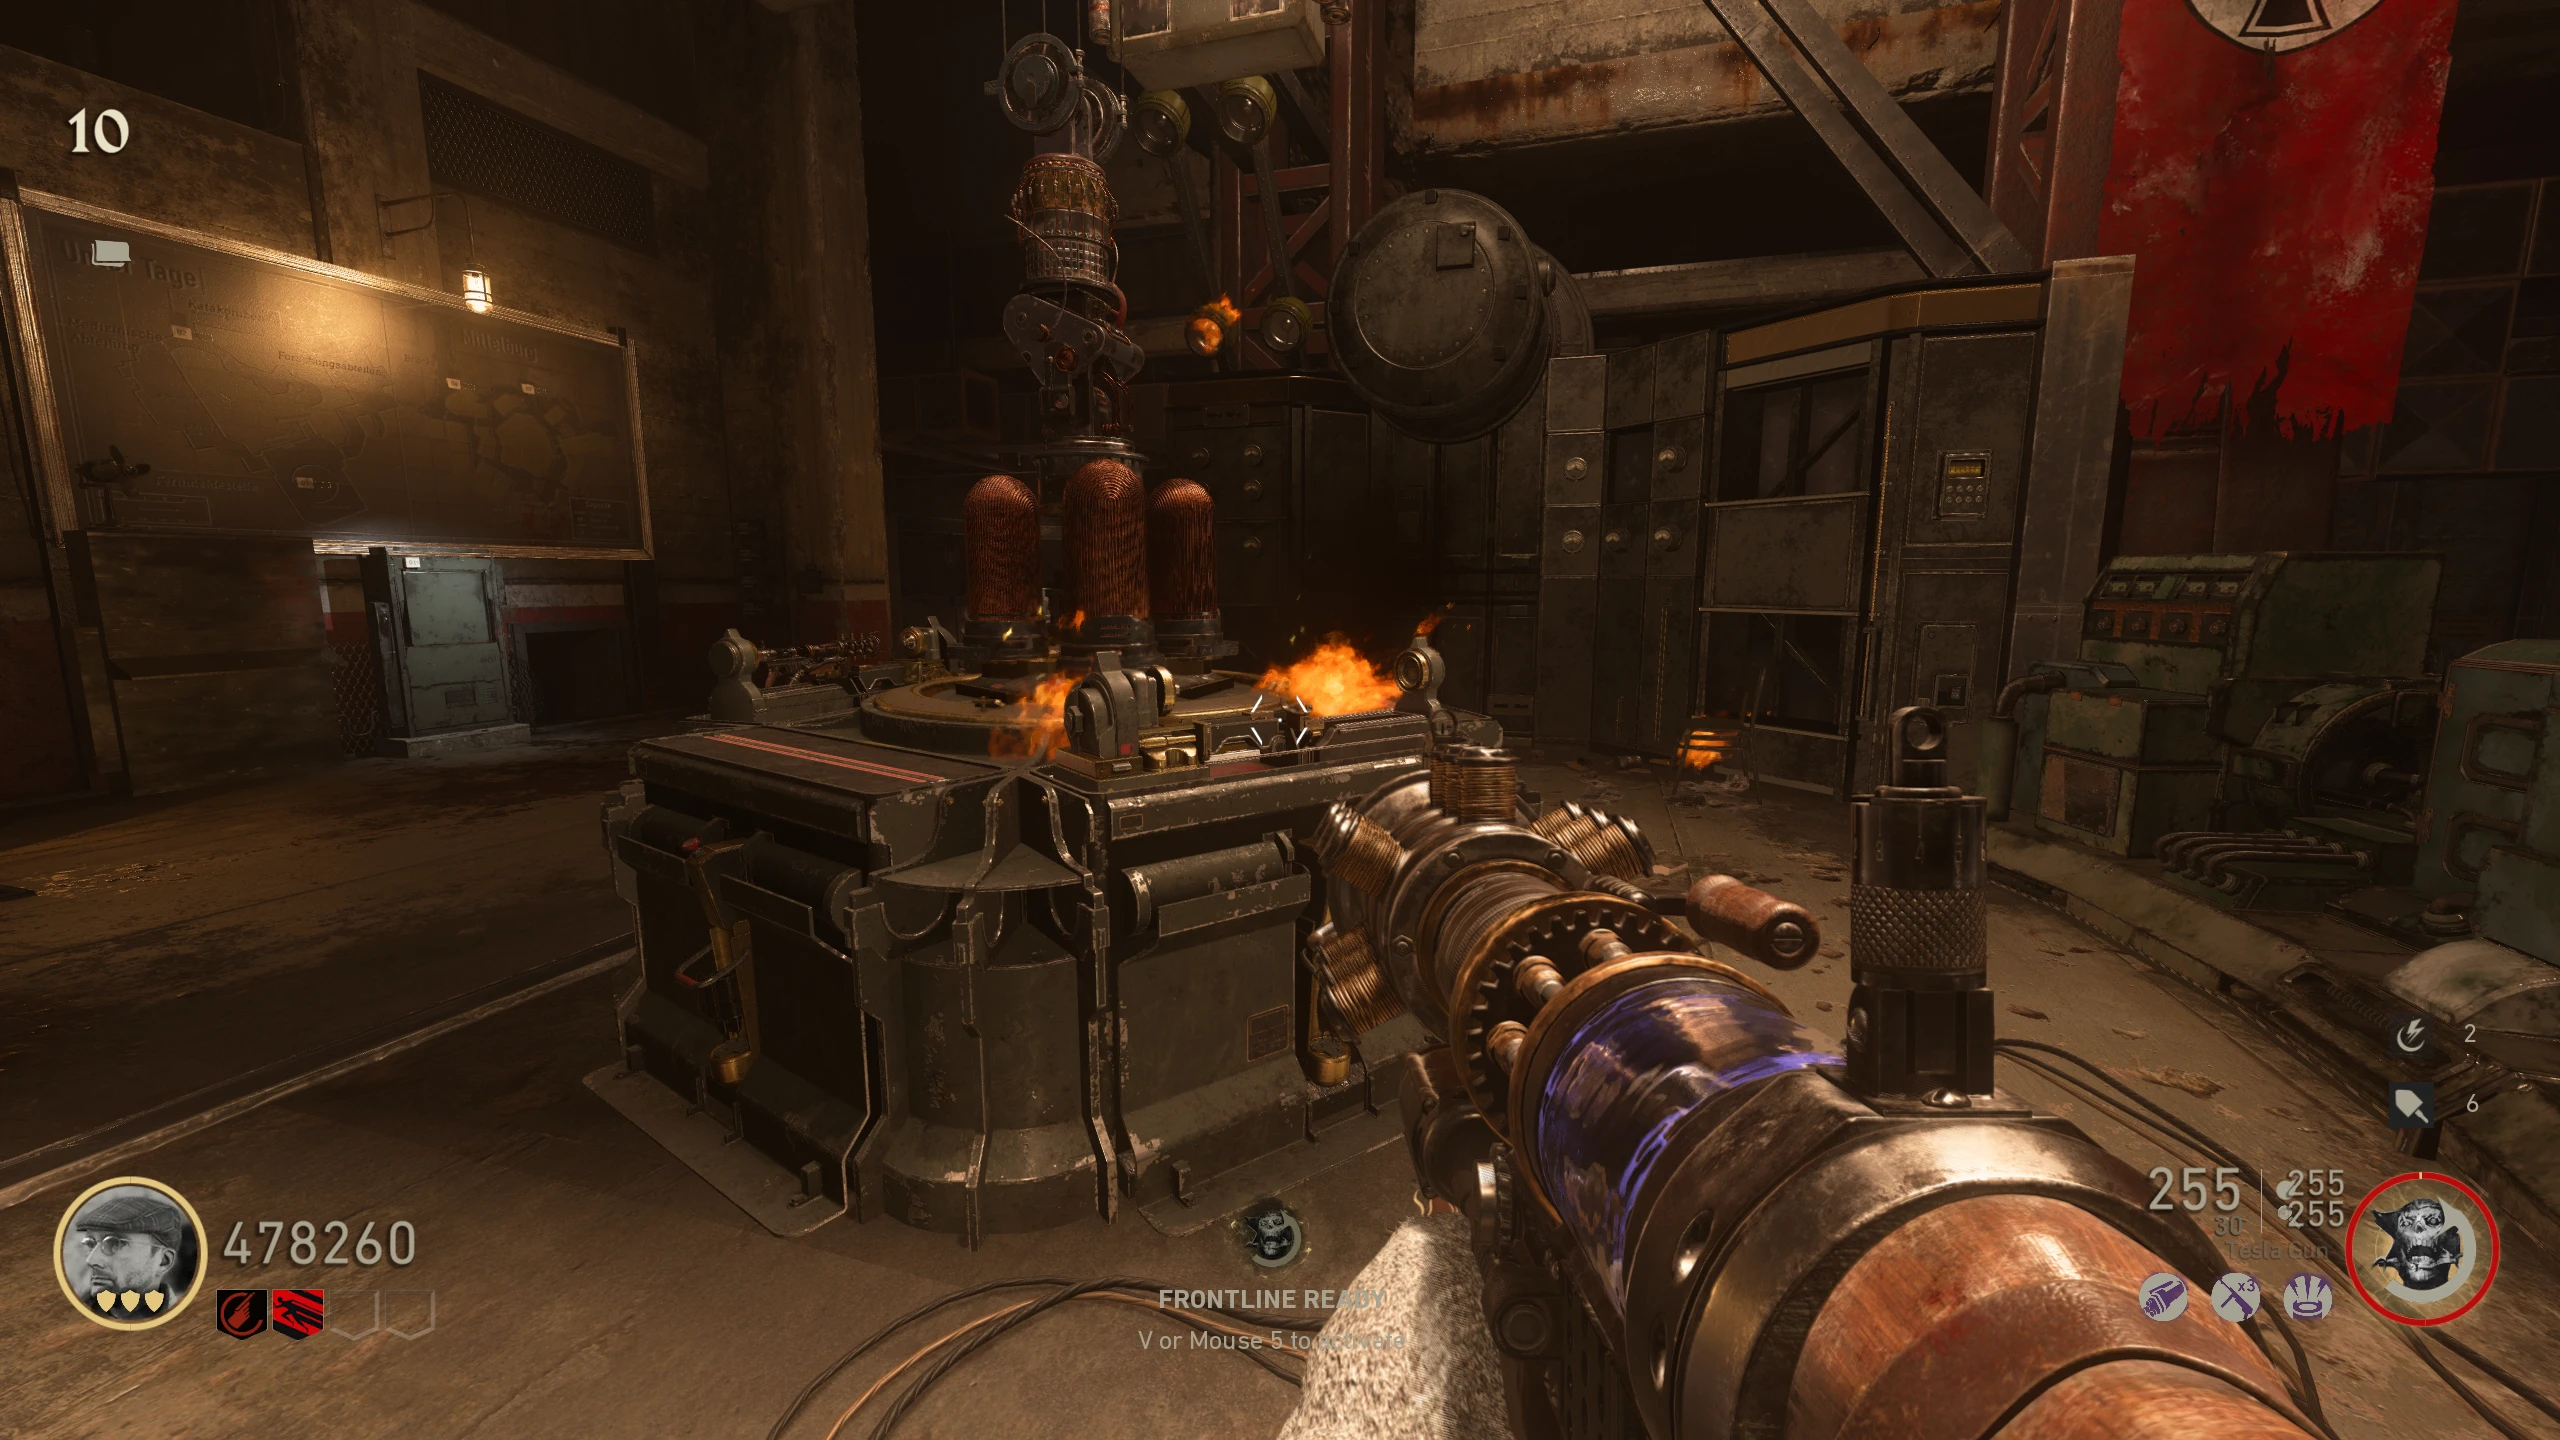
- Once the device reaches the electrical generator near the Schnellblitz (Speed Cola) machine, it will enter the generator. After about 15-20 seconds, the generator will eject a piece of the Tesla Gun for you to pick up.
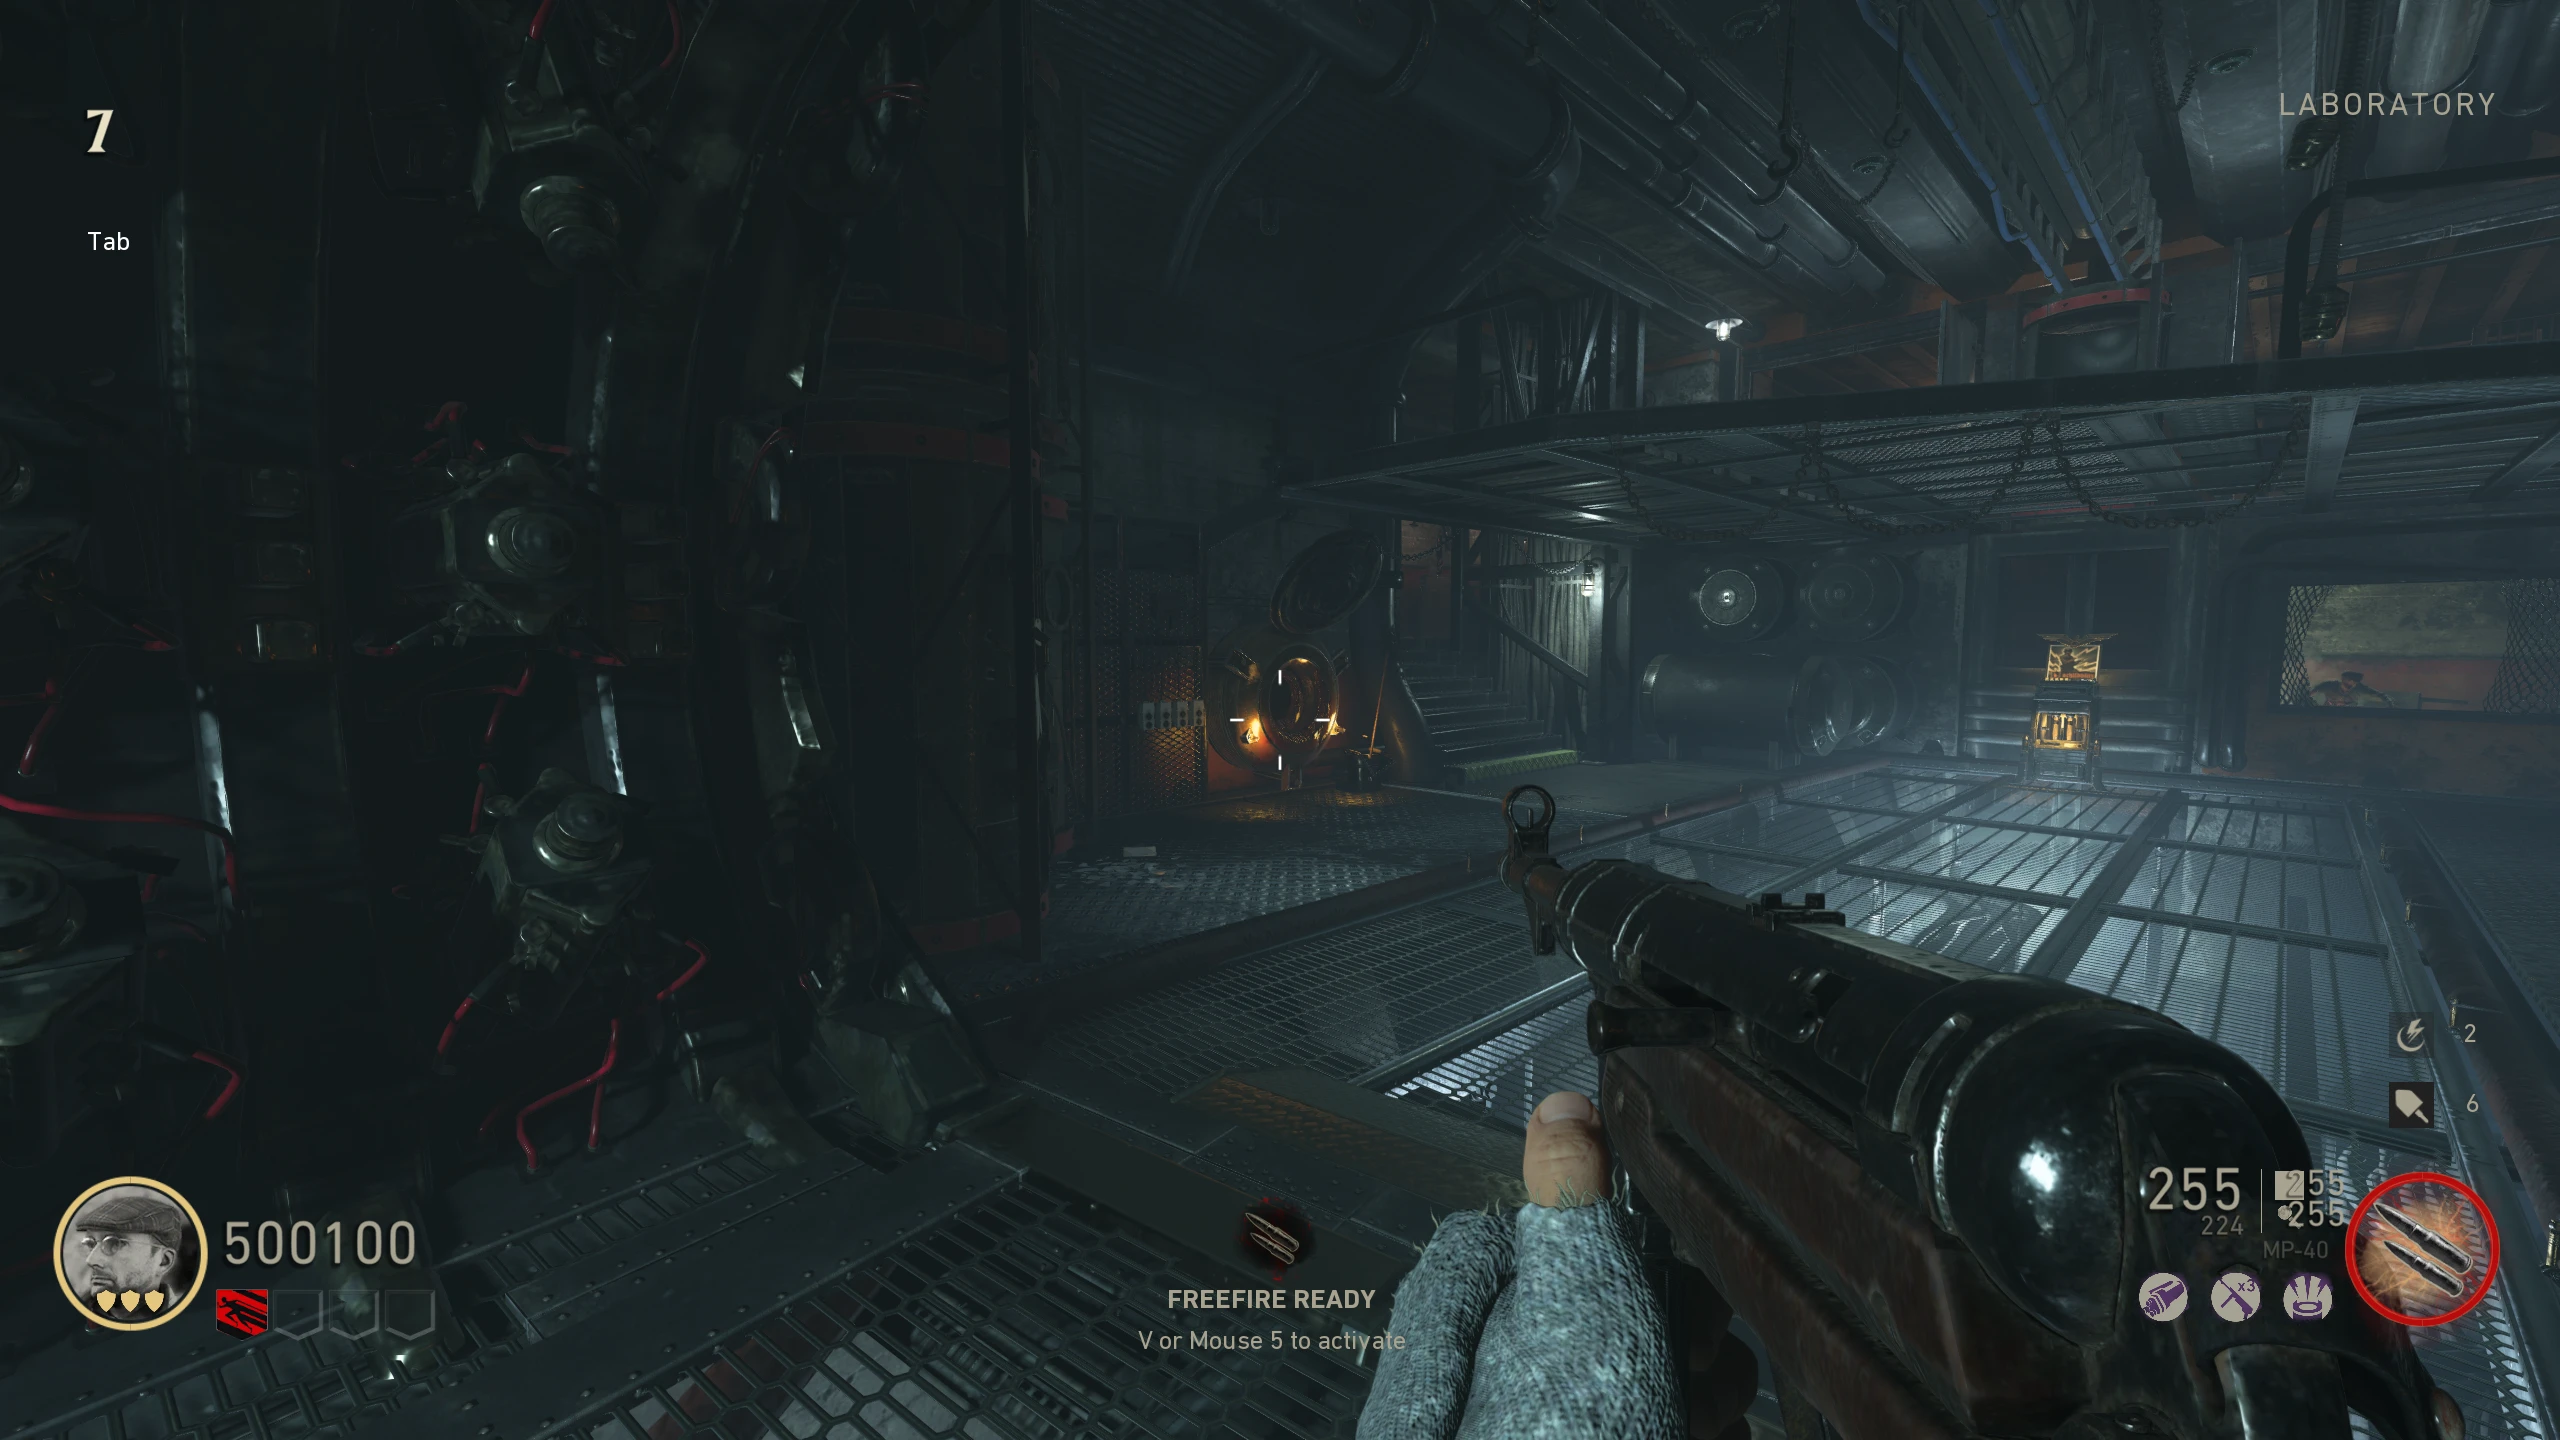
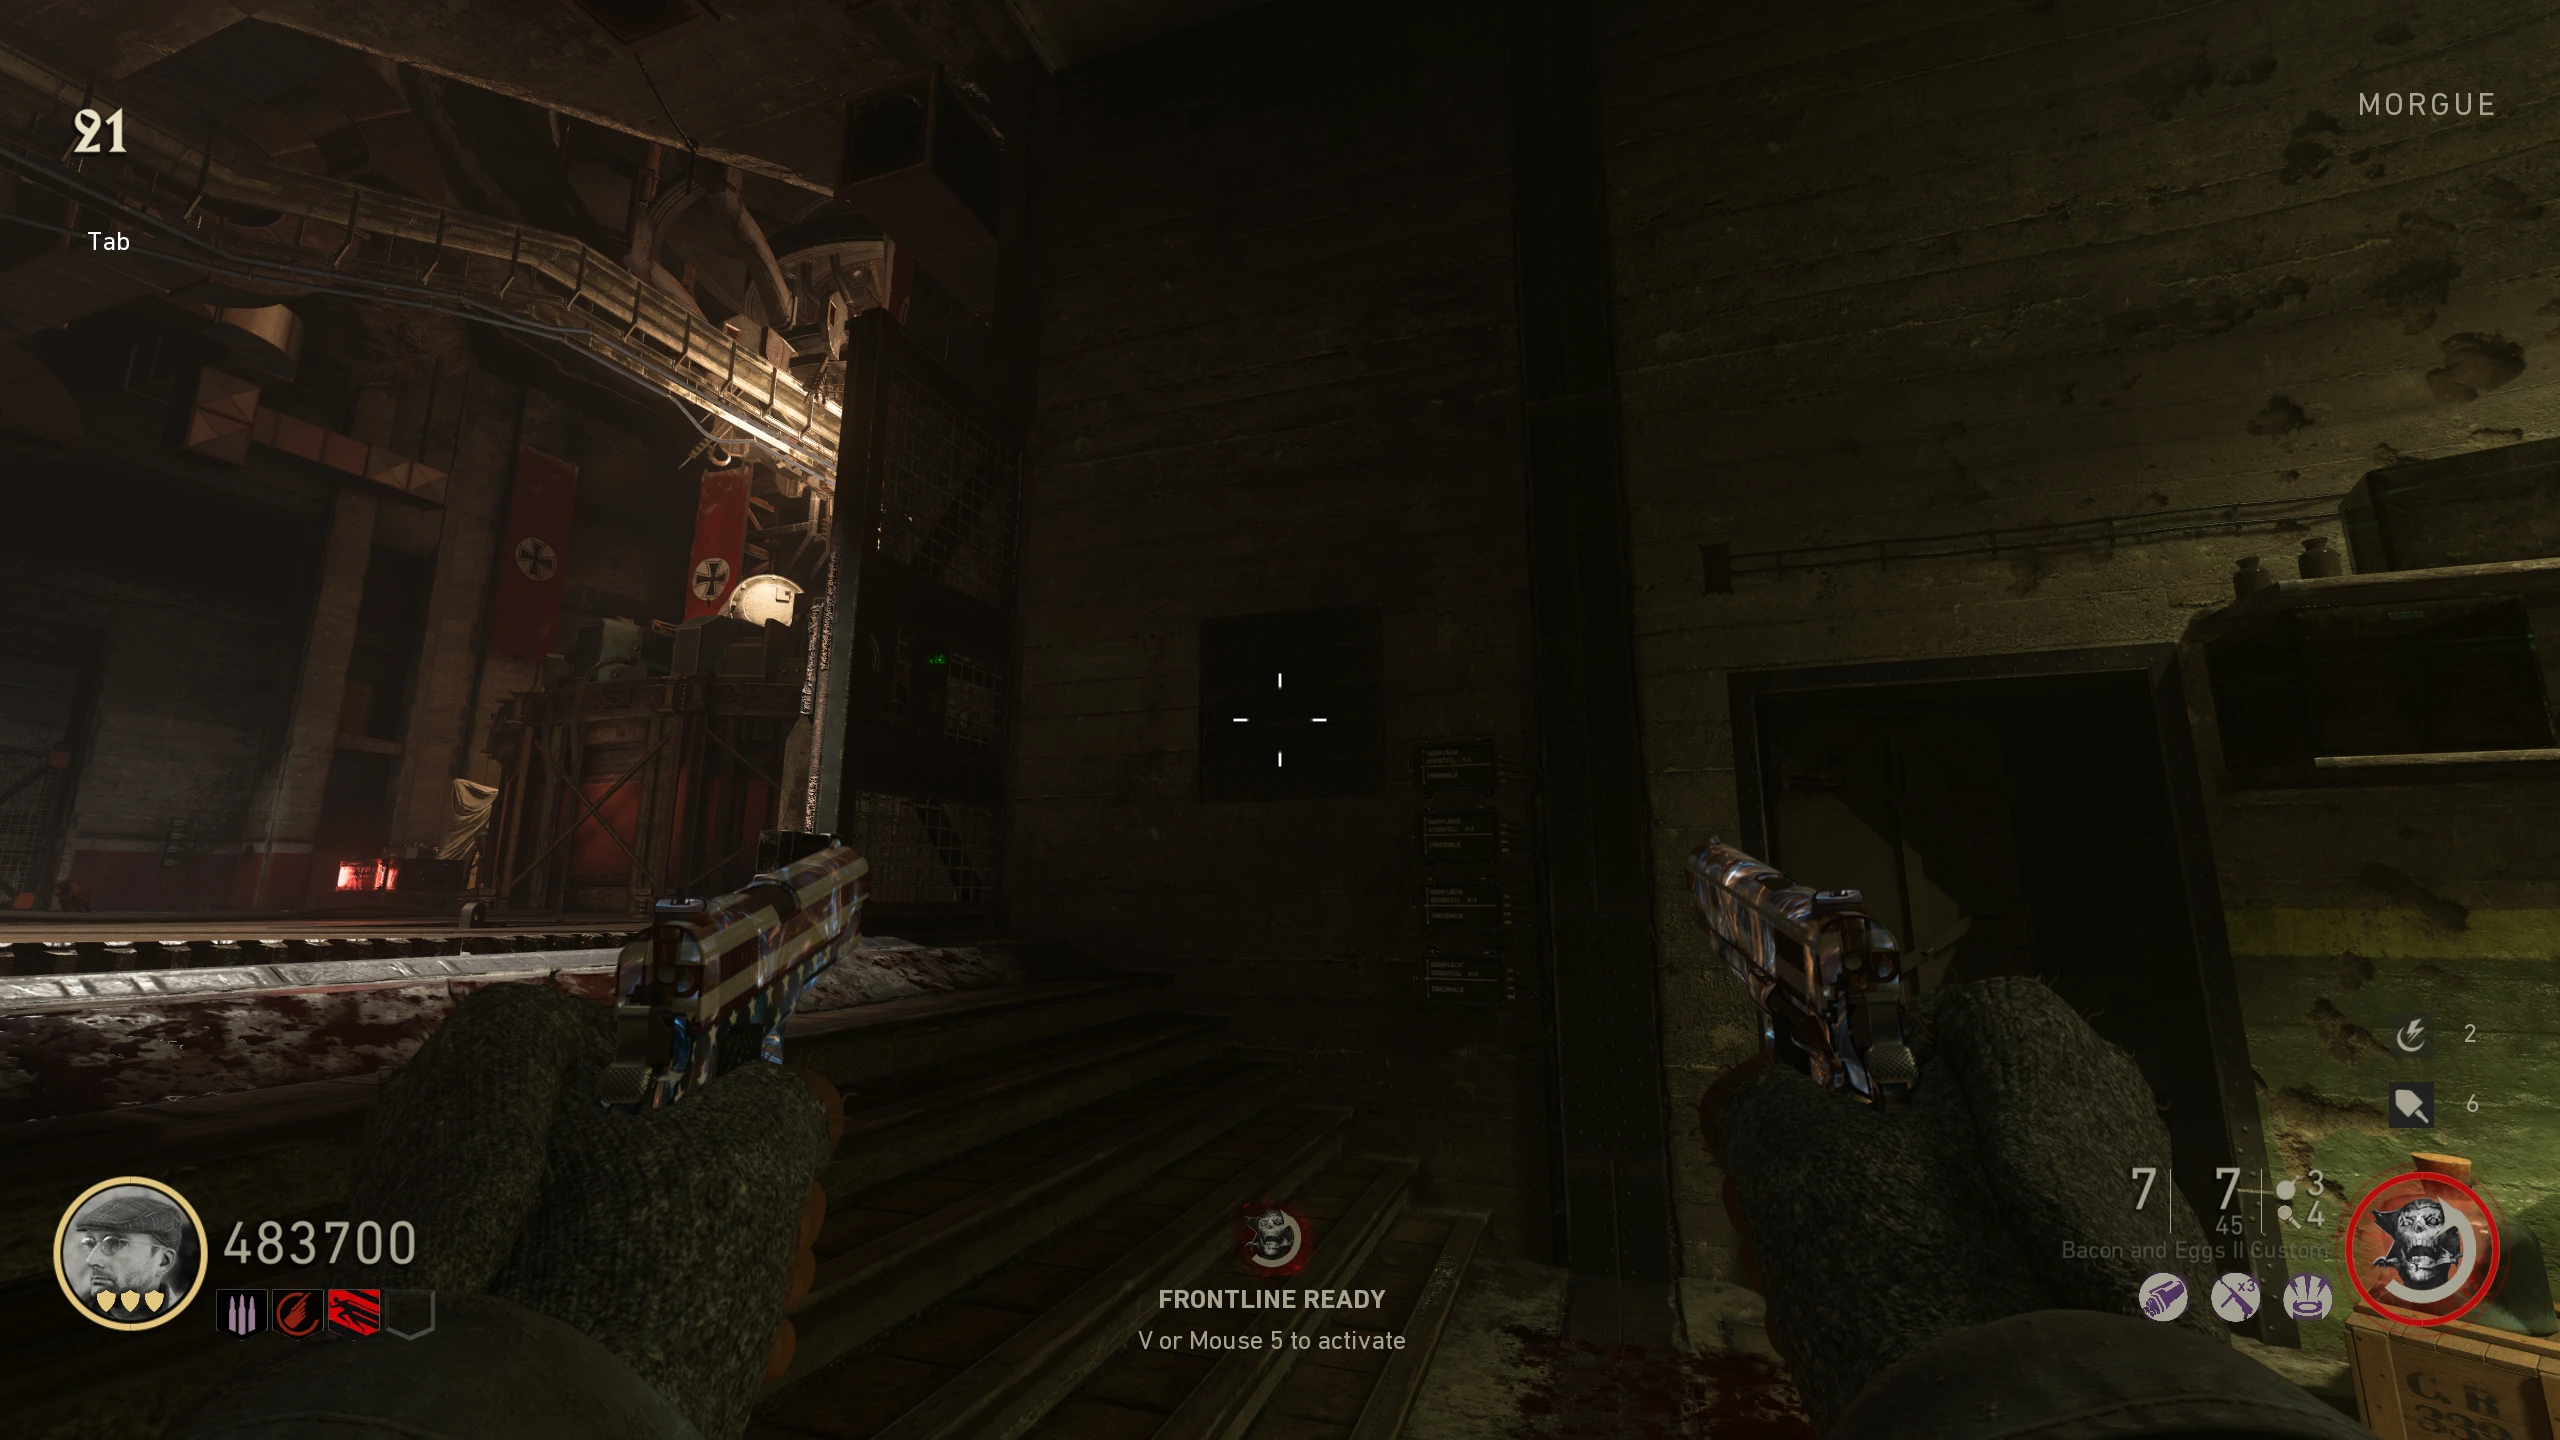
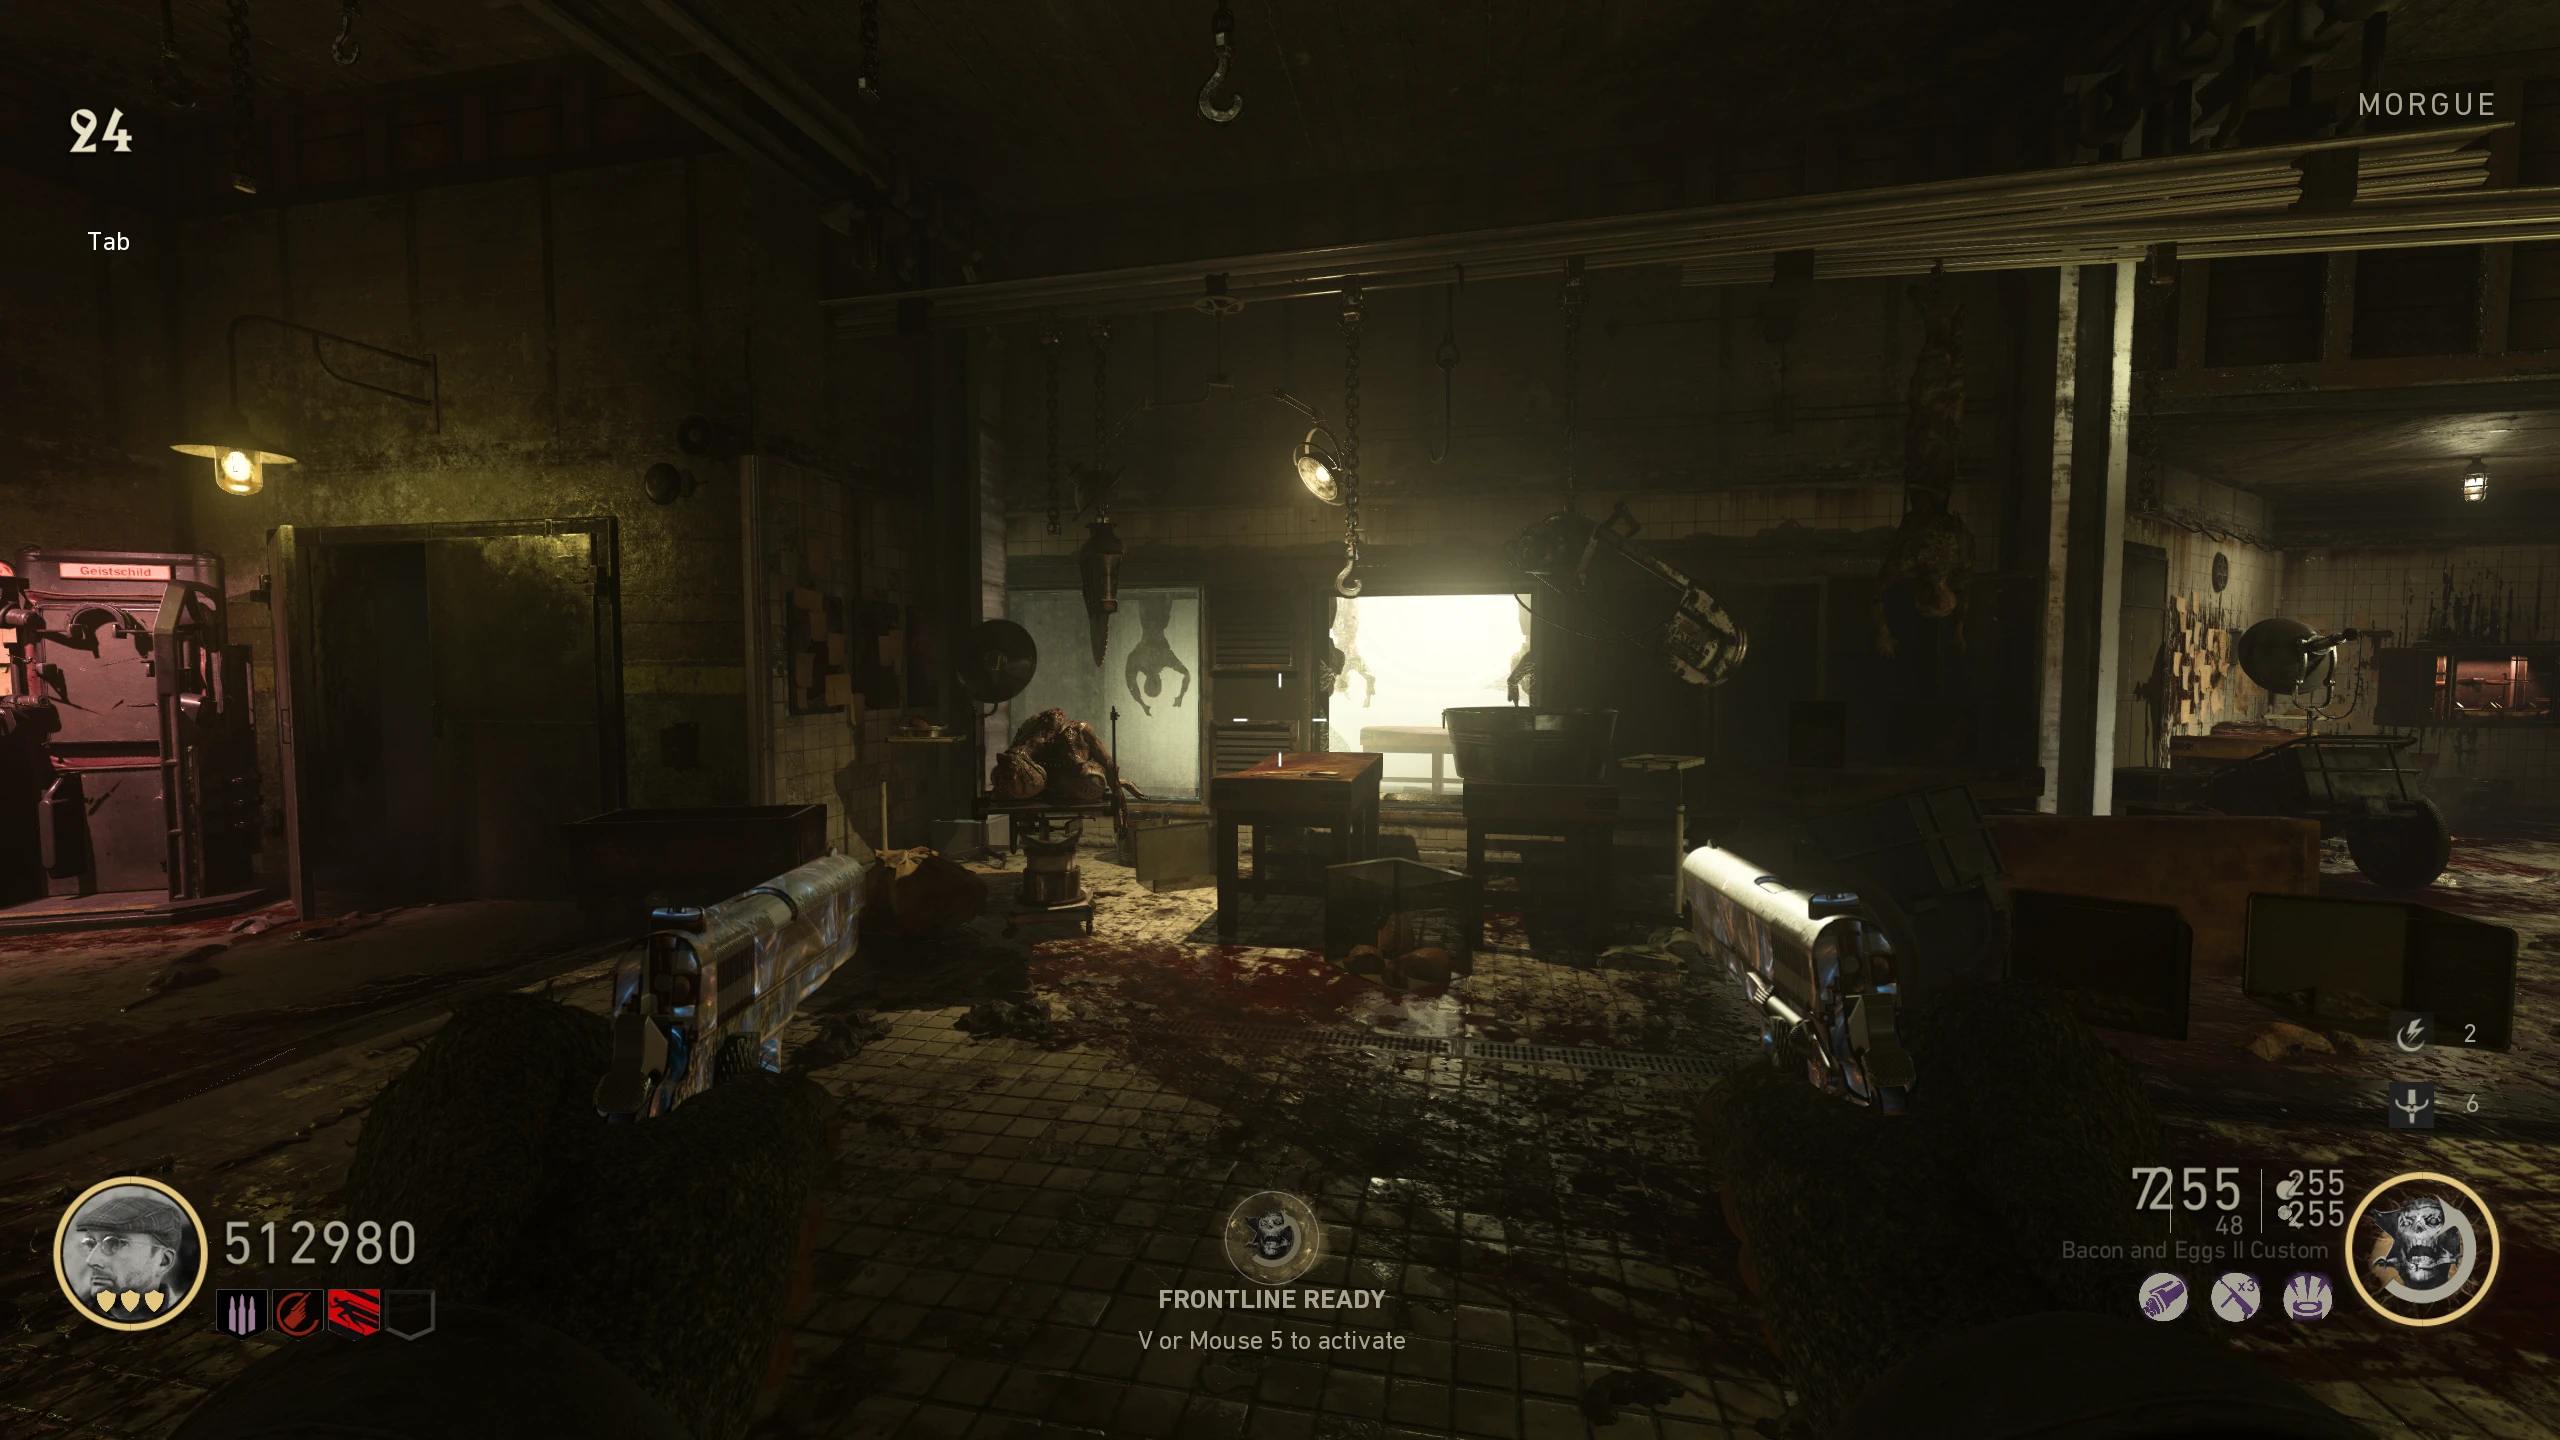
- The device will now move into the 'Morgue.' Follow it, and continue killing zombies inside the red circle on the ground to charge it. Once it reaches the Morgue generator, wait about 30 seconds, and a piece of the Tesla Gun will appear inside the generator for you to pick up.
- When you return to the Command Room, a Brenner Zombie will spawn on the upper platform where you first activated the Geistkraft device.
- After defeating the Brenner, go back to the upper platform. In the center of that area, you'll be able to place the Tesla Gun parts. Once both parts are placed, wait for the machine to finish assembling the weapon. When it's done, you can pick up the Tesla Gun.
Bloodthirst (Red Tesla Gun)
The Bloodthirst variant of the Tesla Gun fires red electrical bolts that stun nearby zombies and cause them to explode after a few seconds, dealing area-of-effect damage to surrounding enemies.
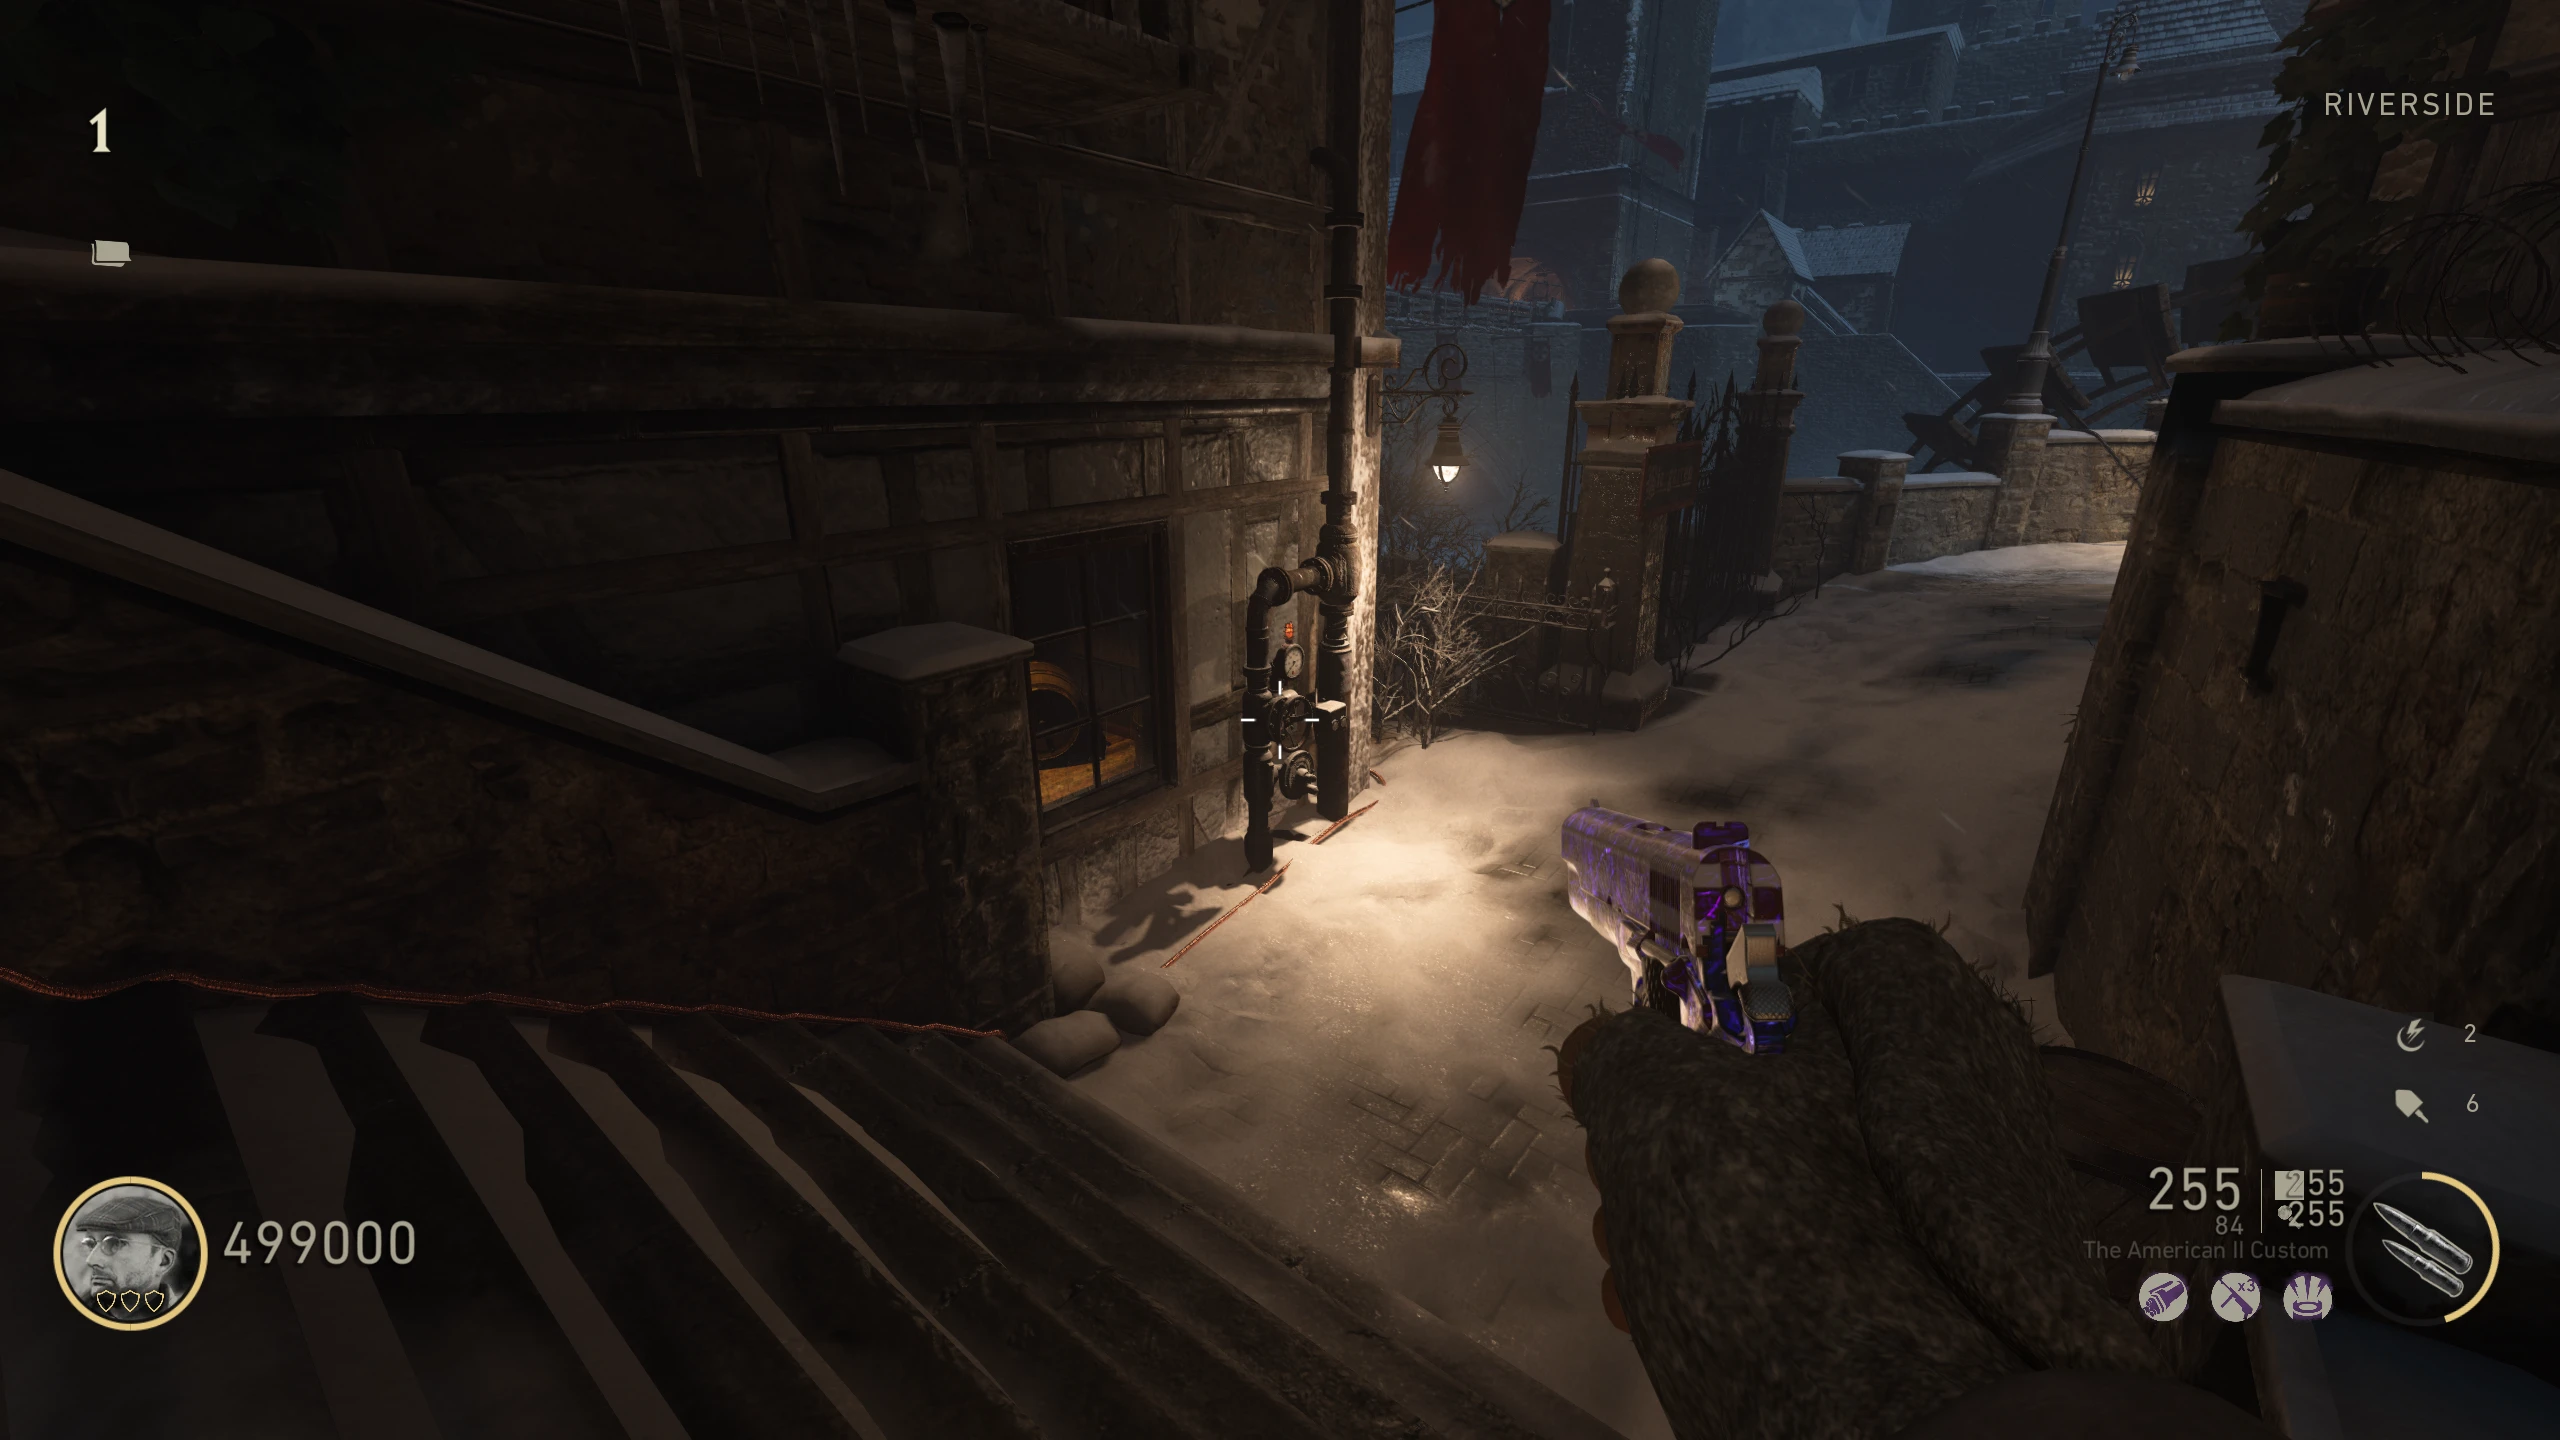
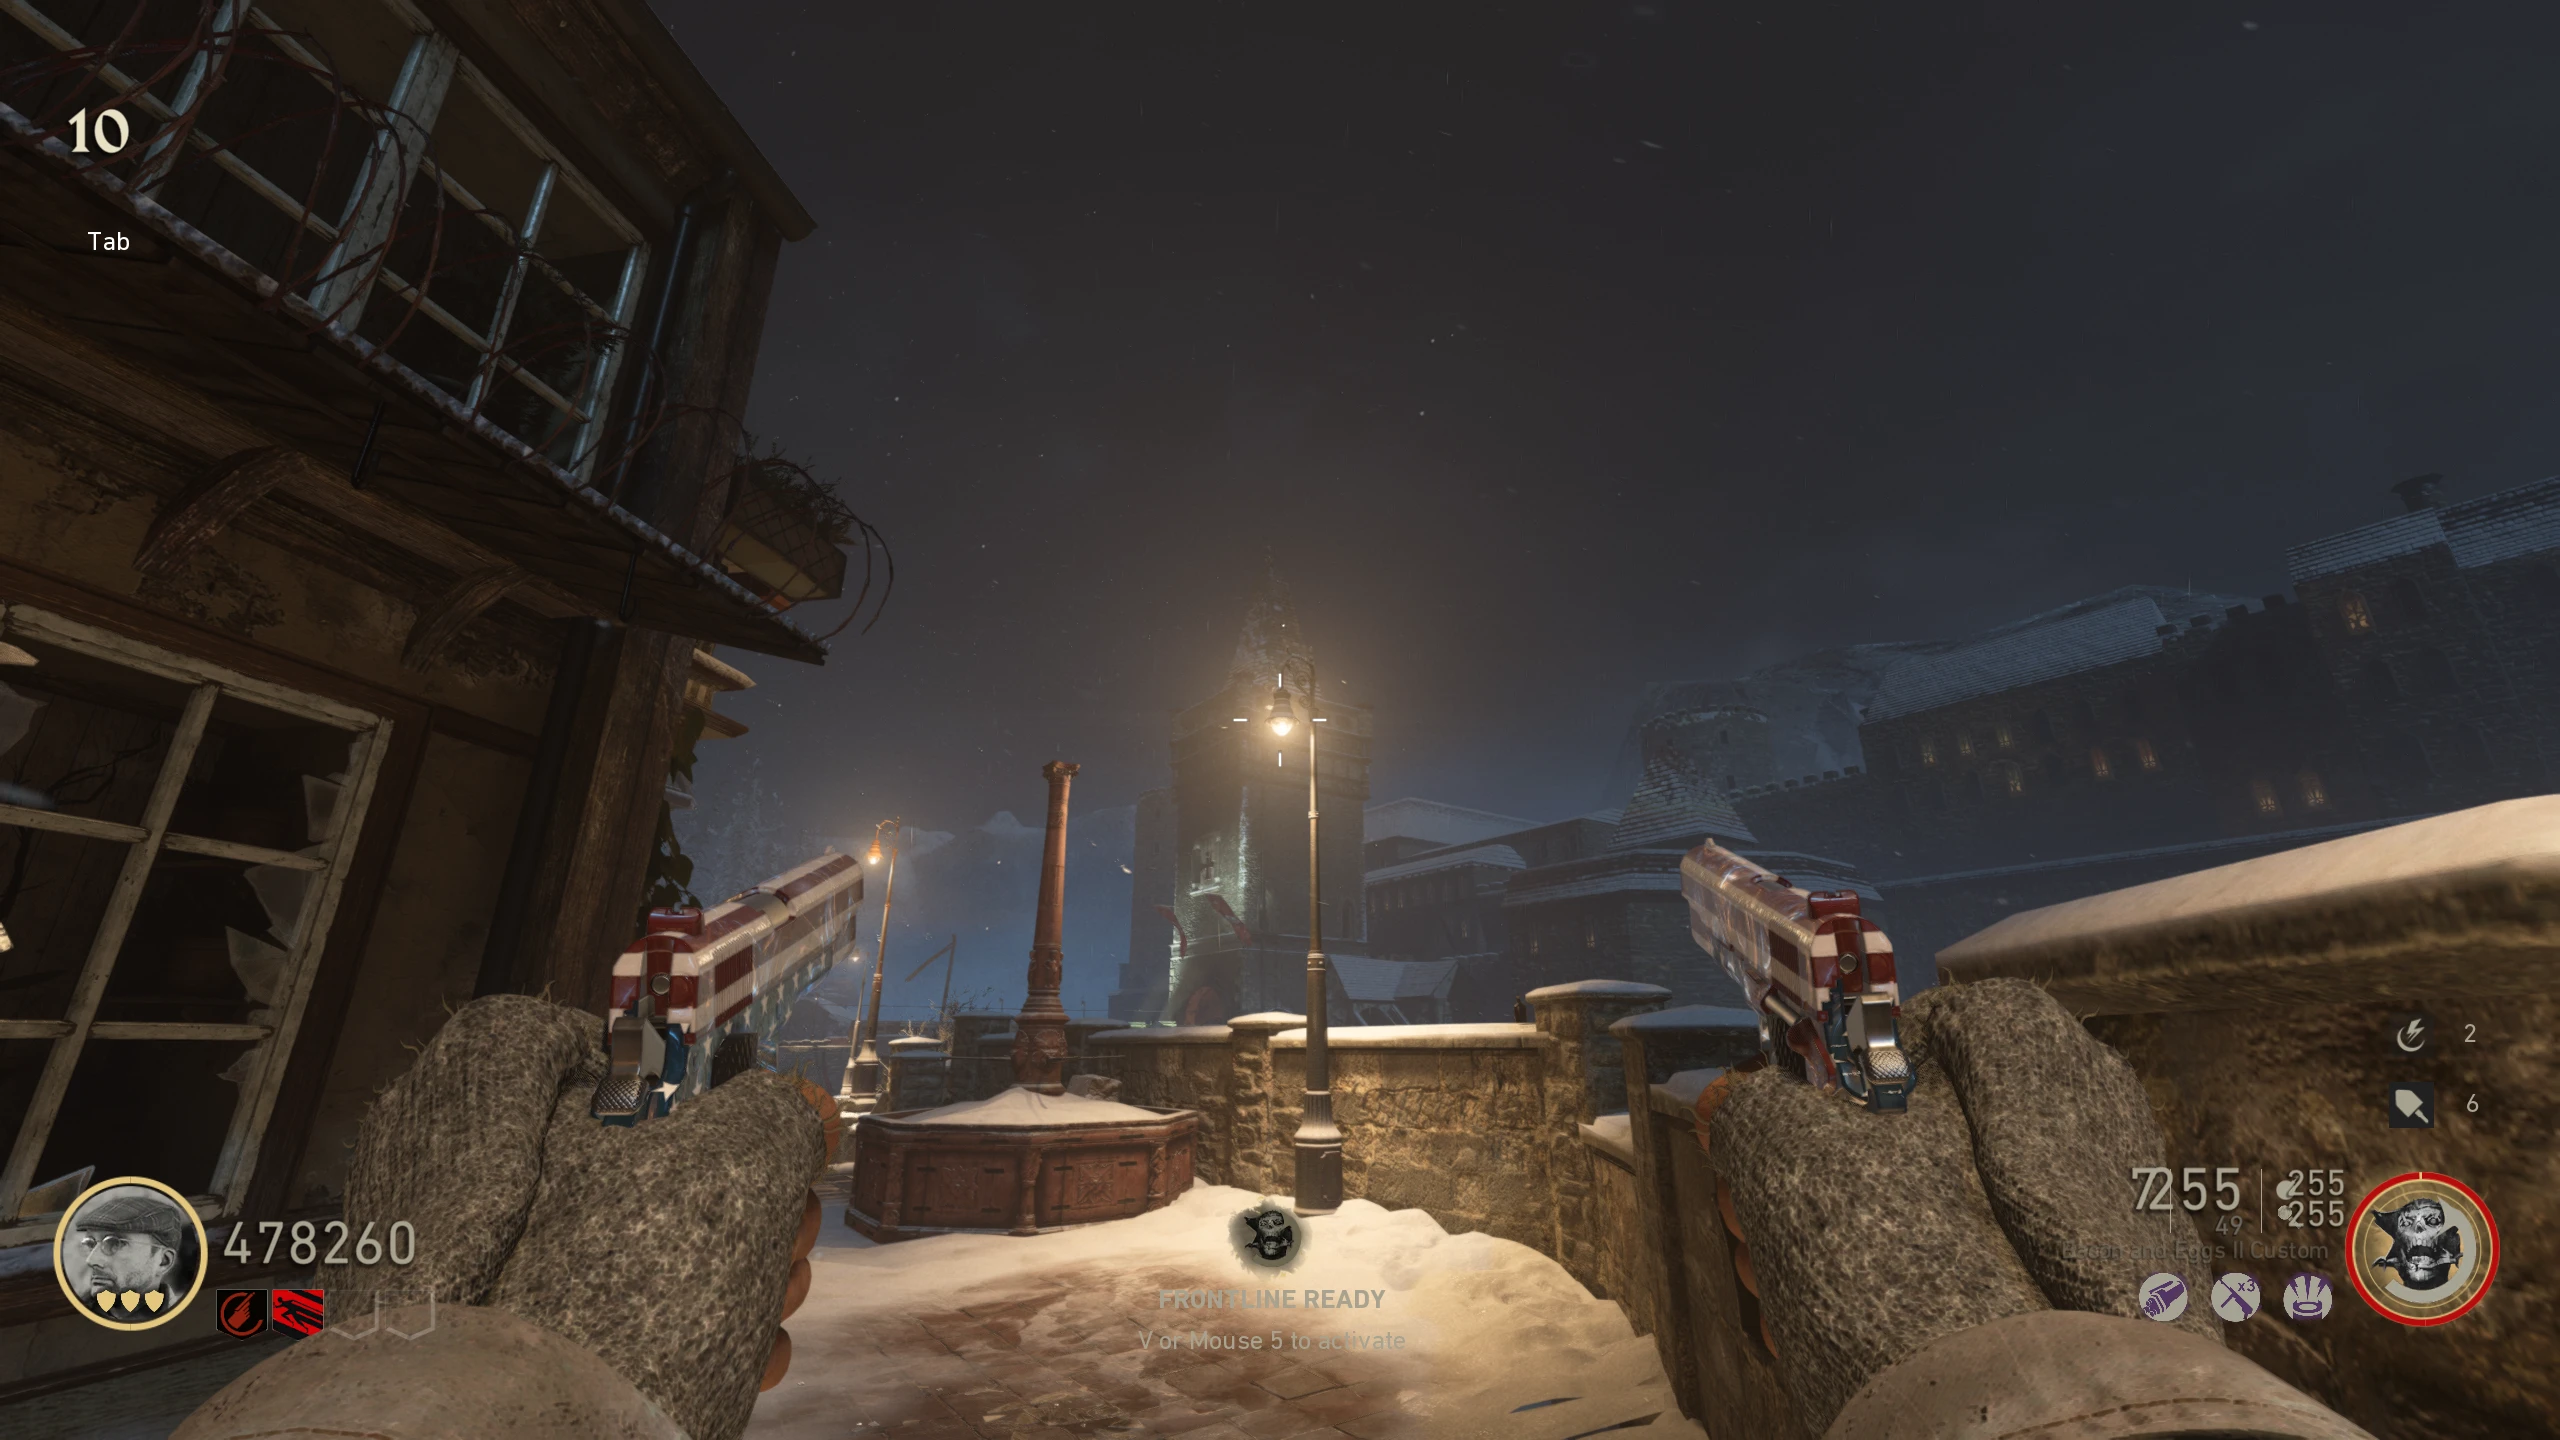
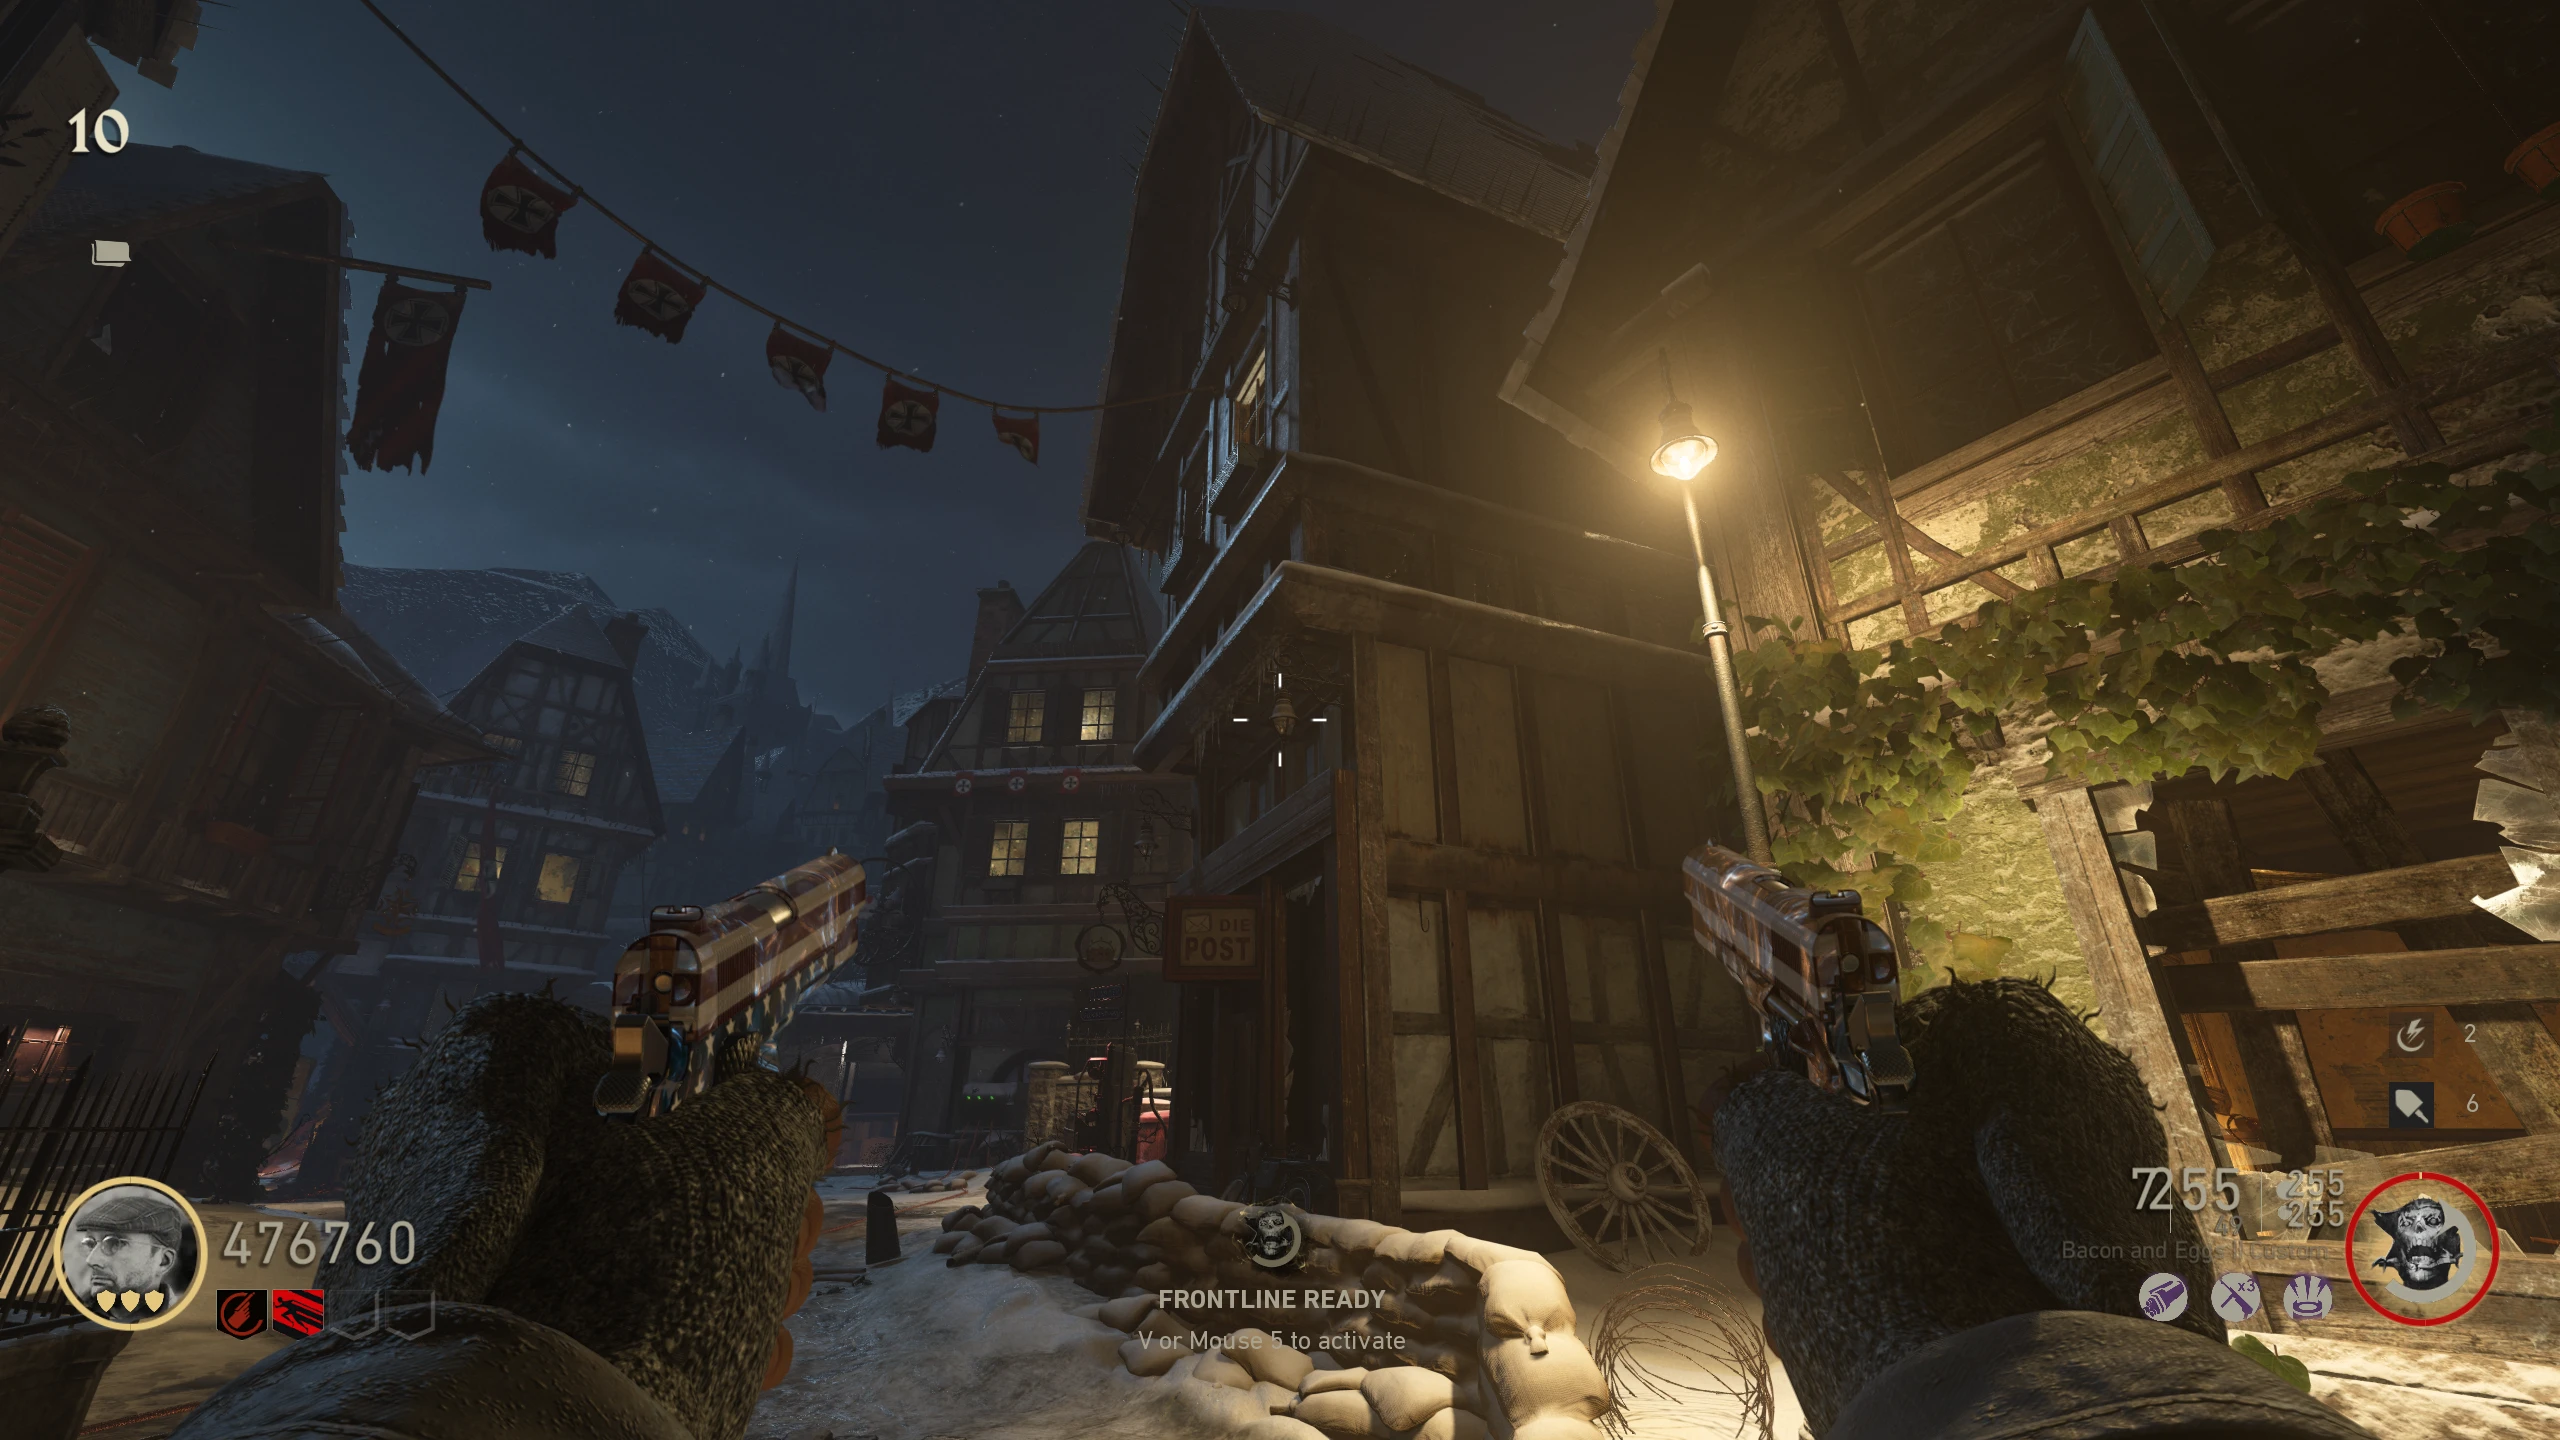
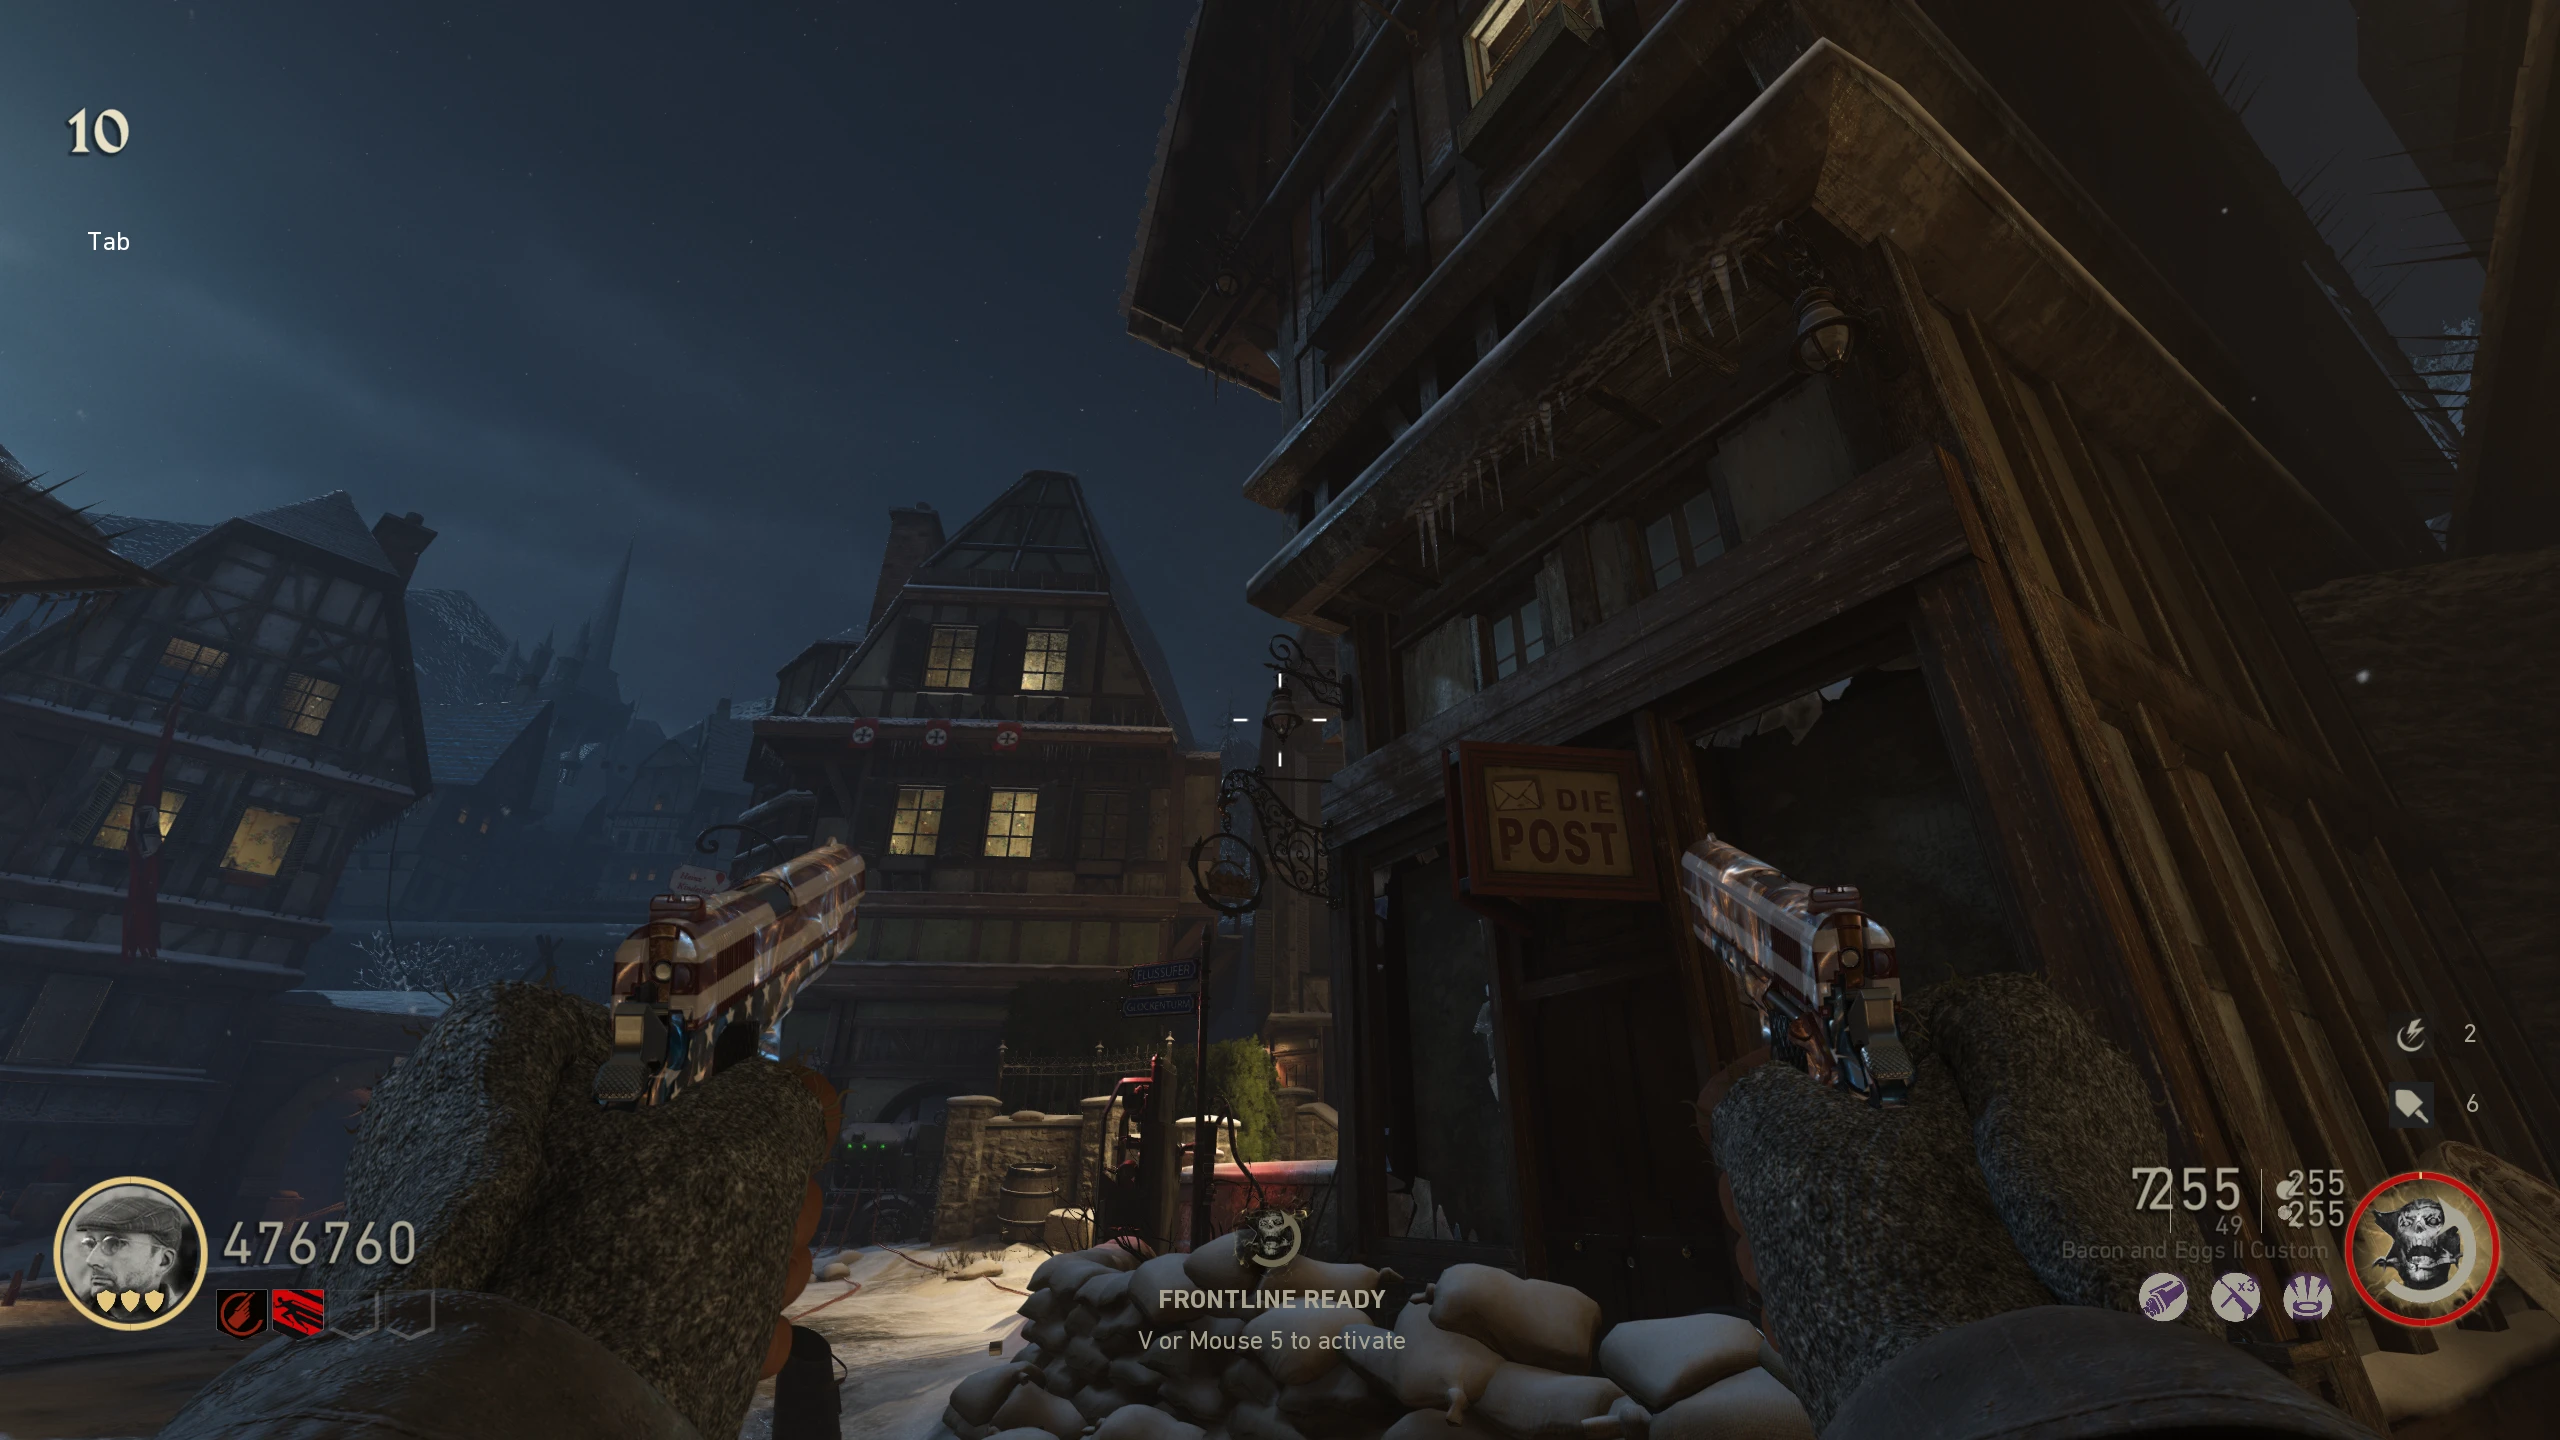
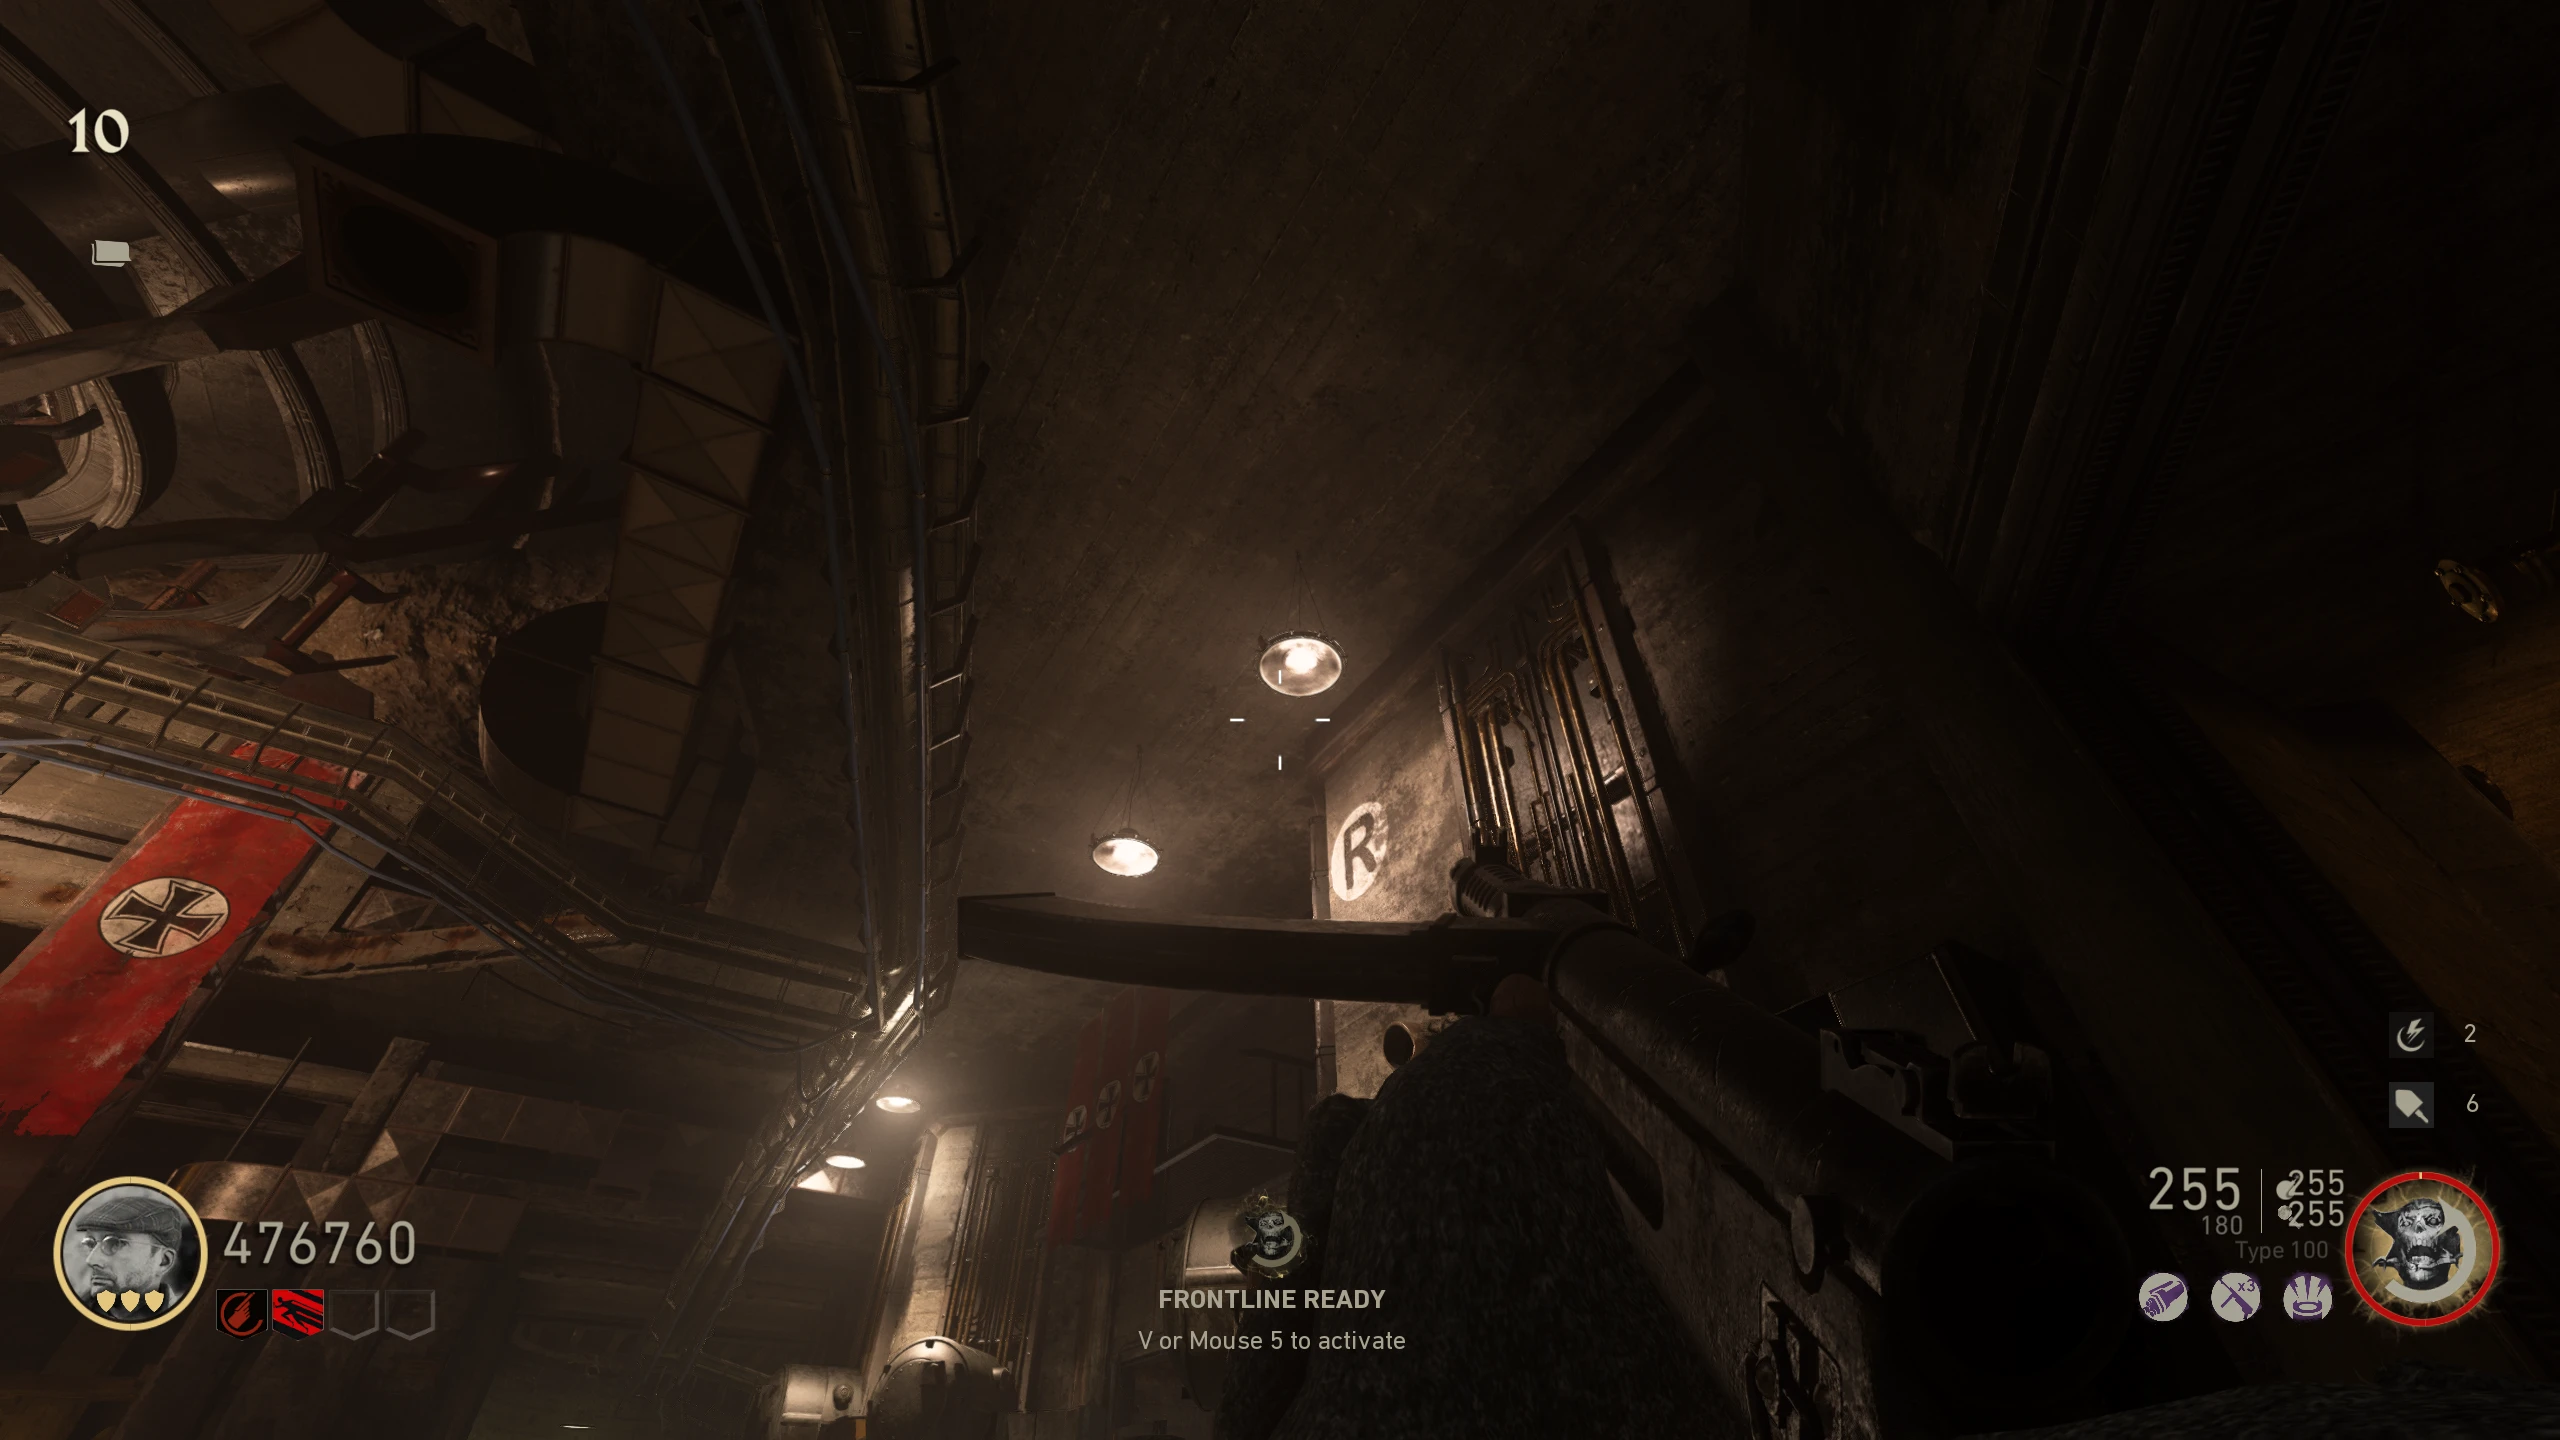
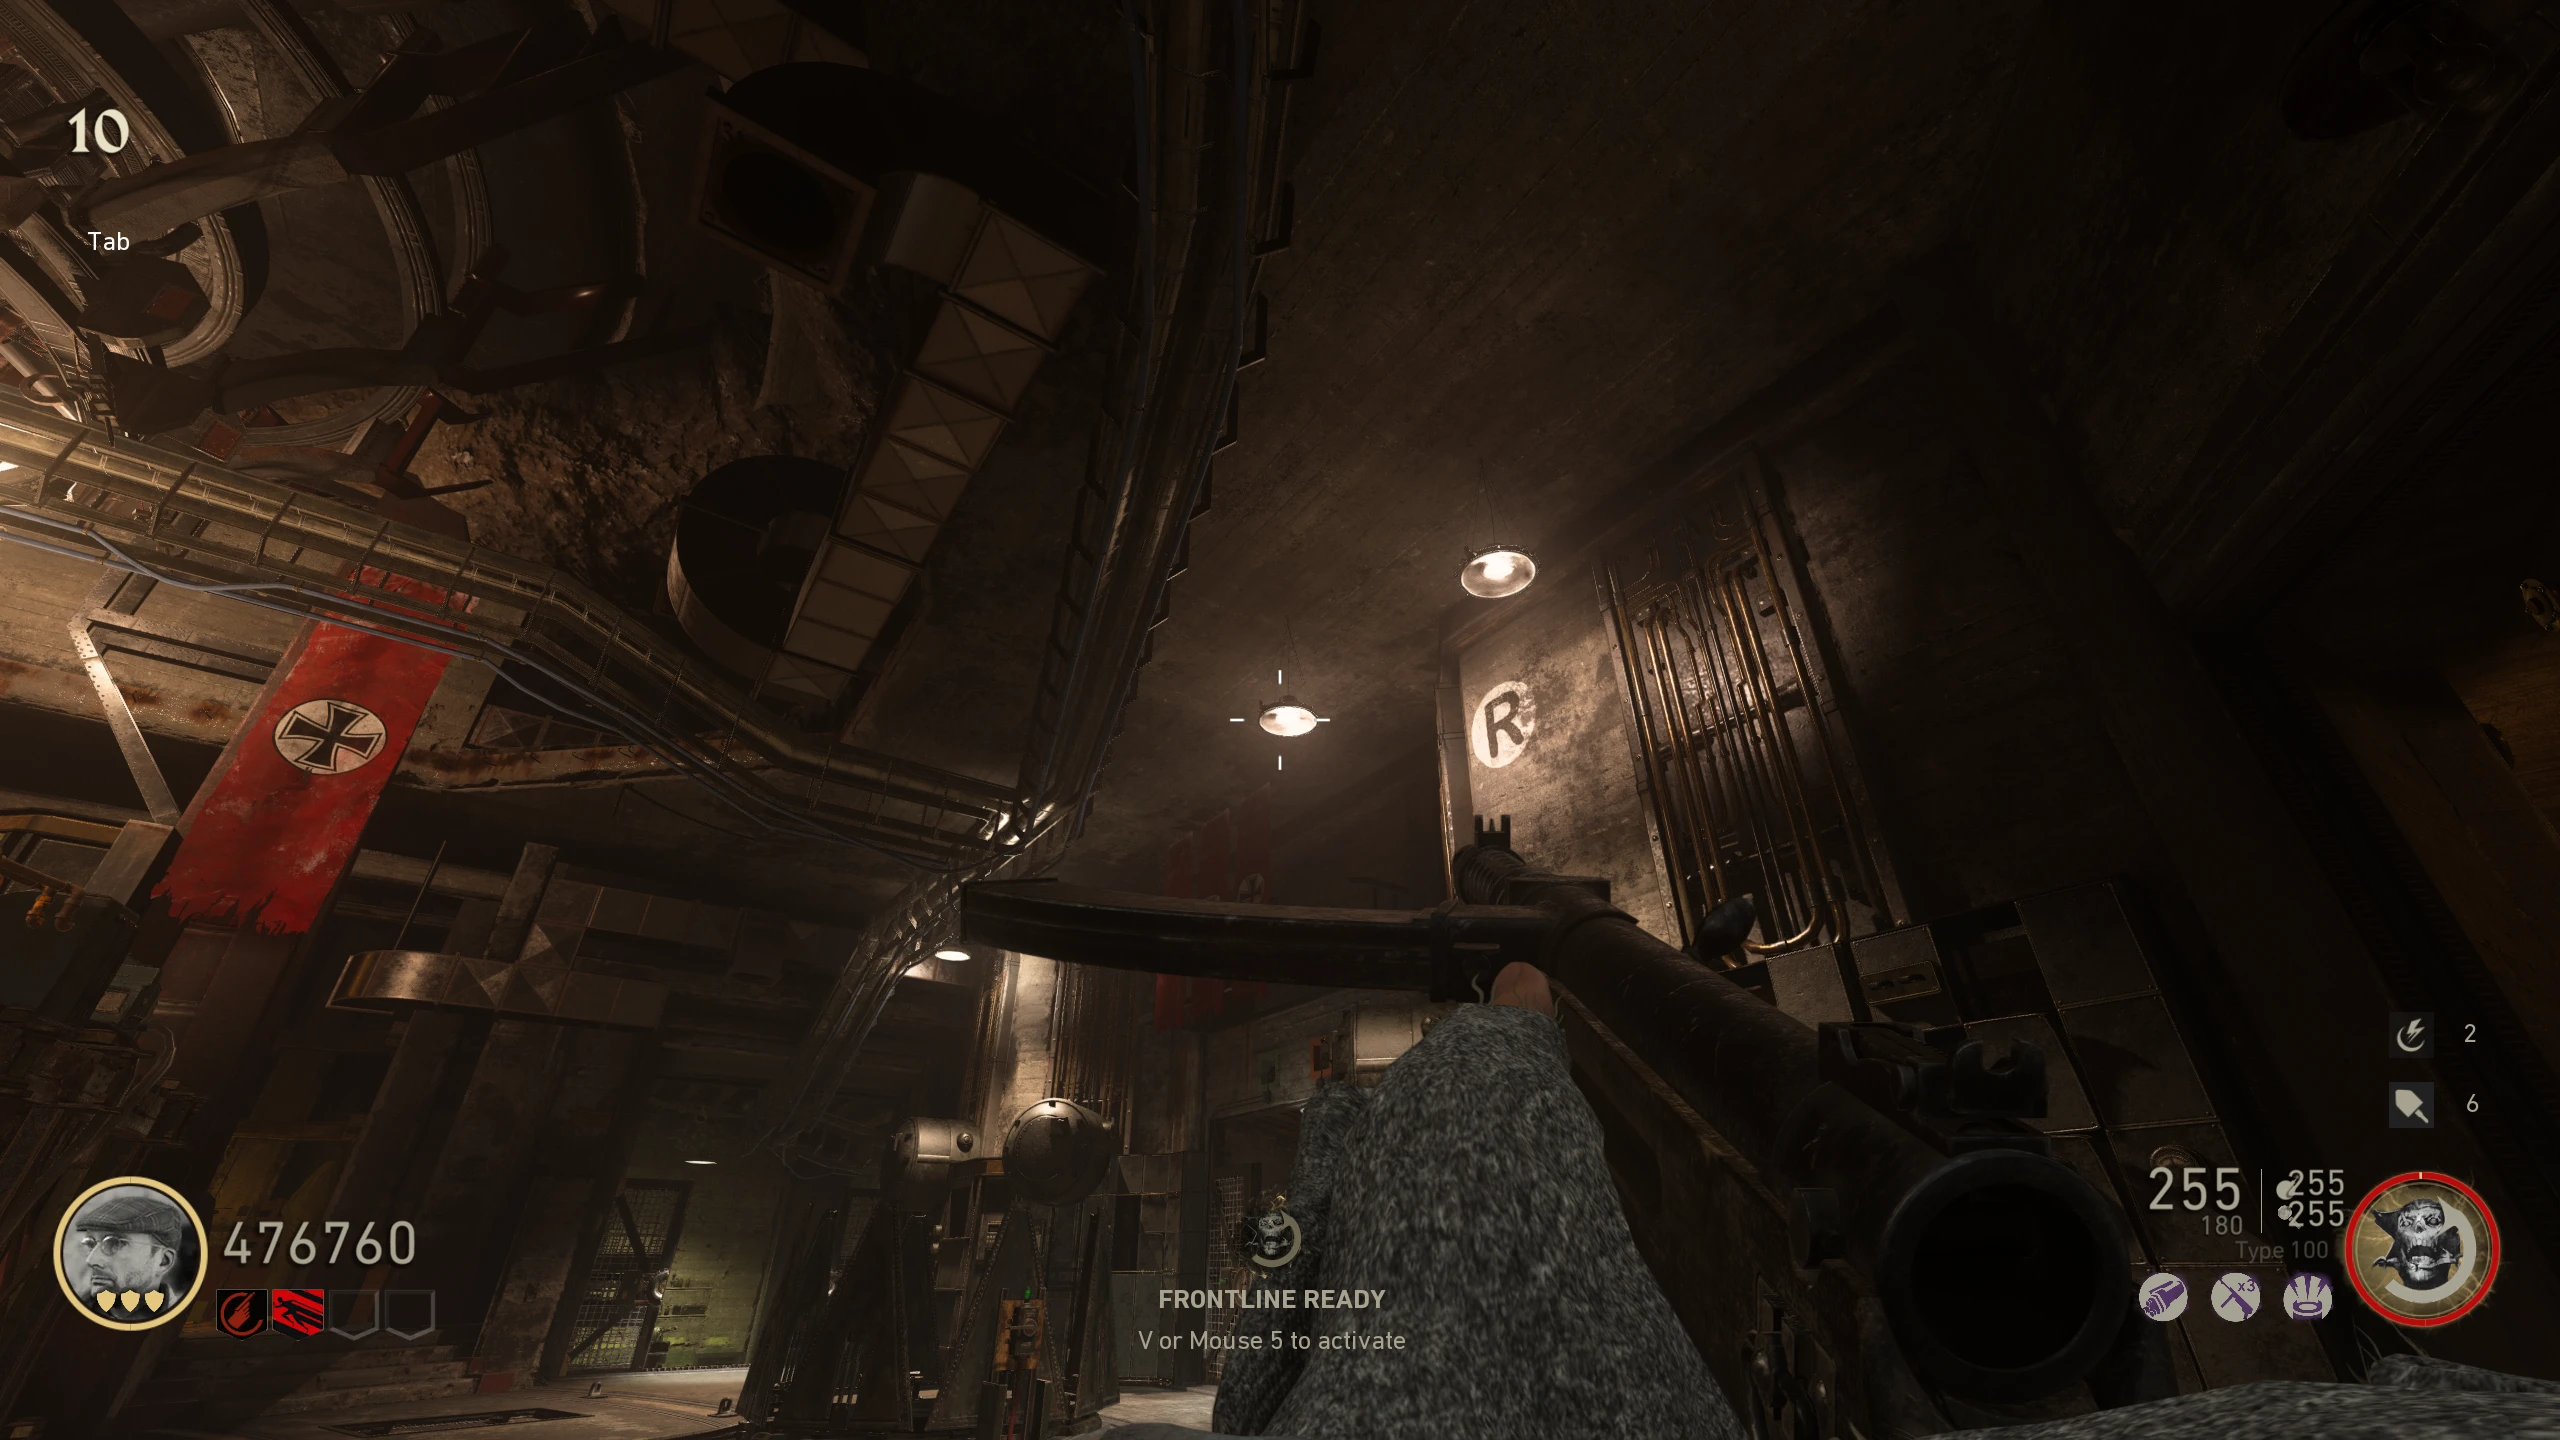
- In 'Riverside,' shoot a streetlamp with the Tesla Gun near the M1928 wallbuy. The streetlamp will begin sparking.
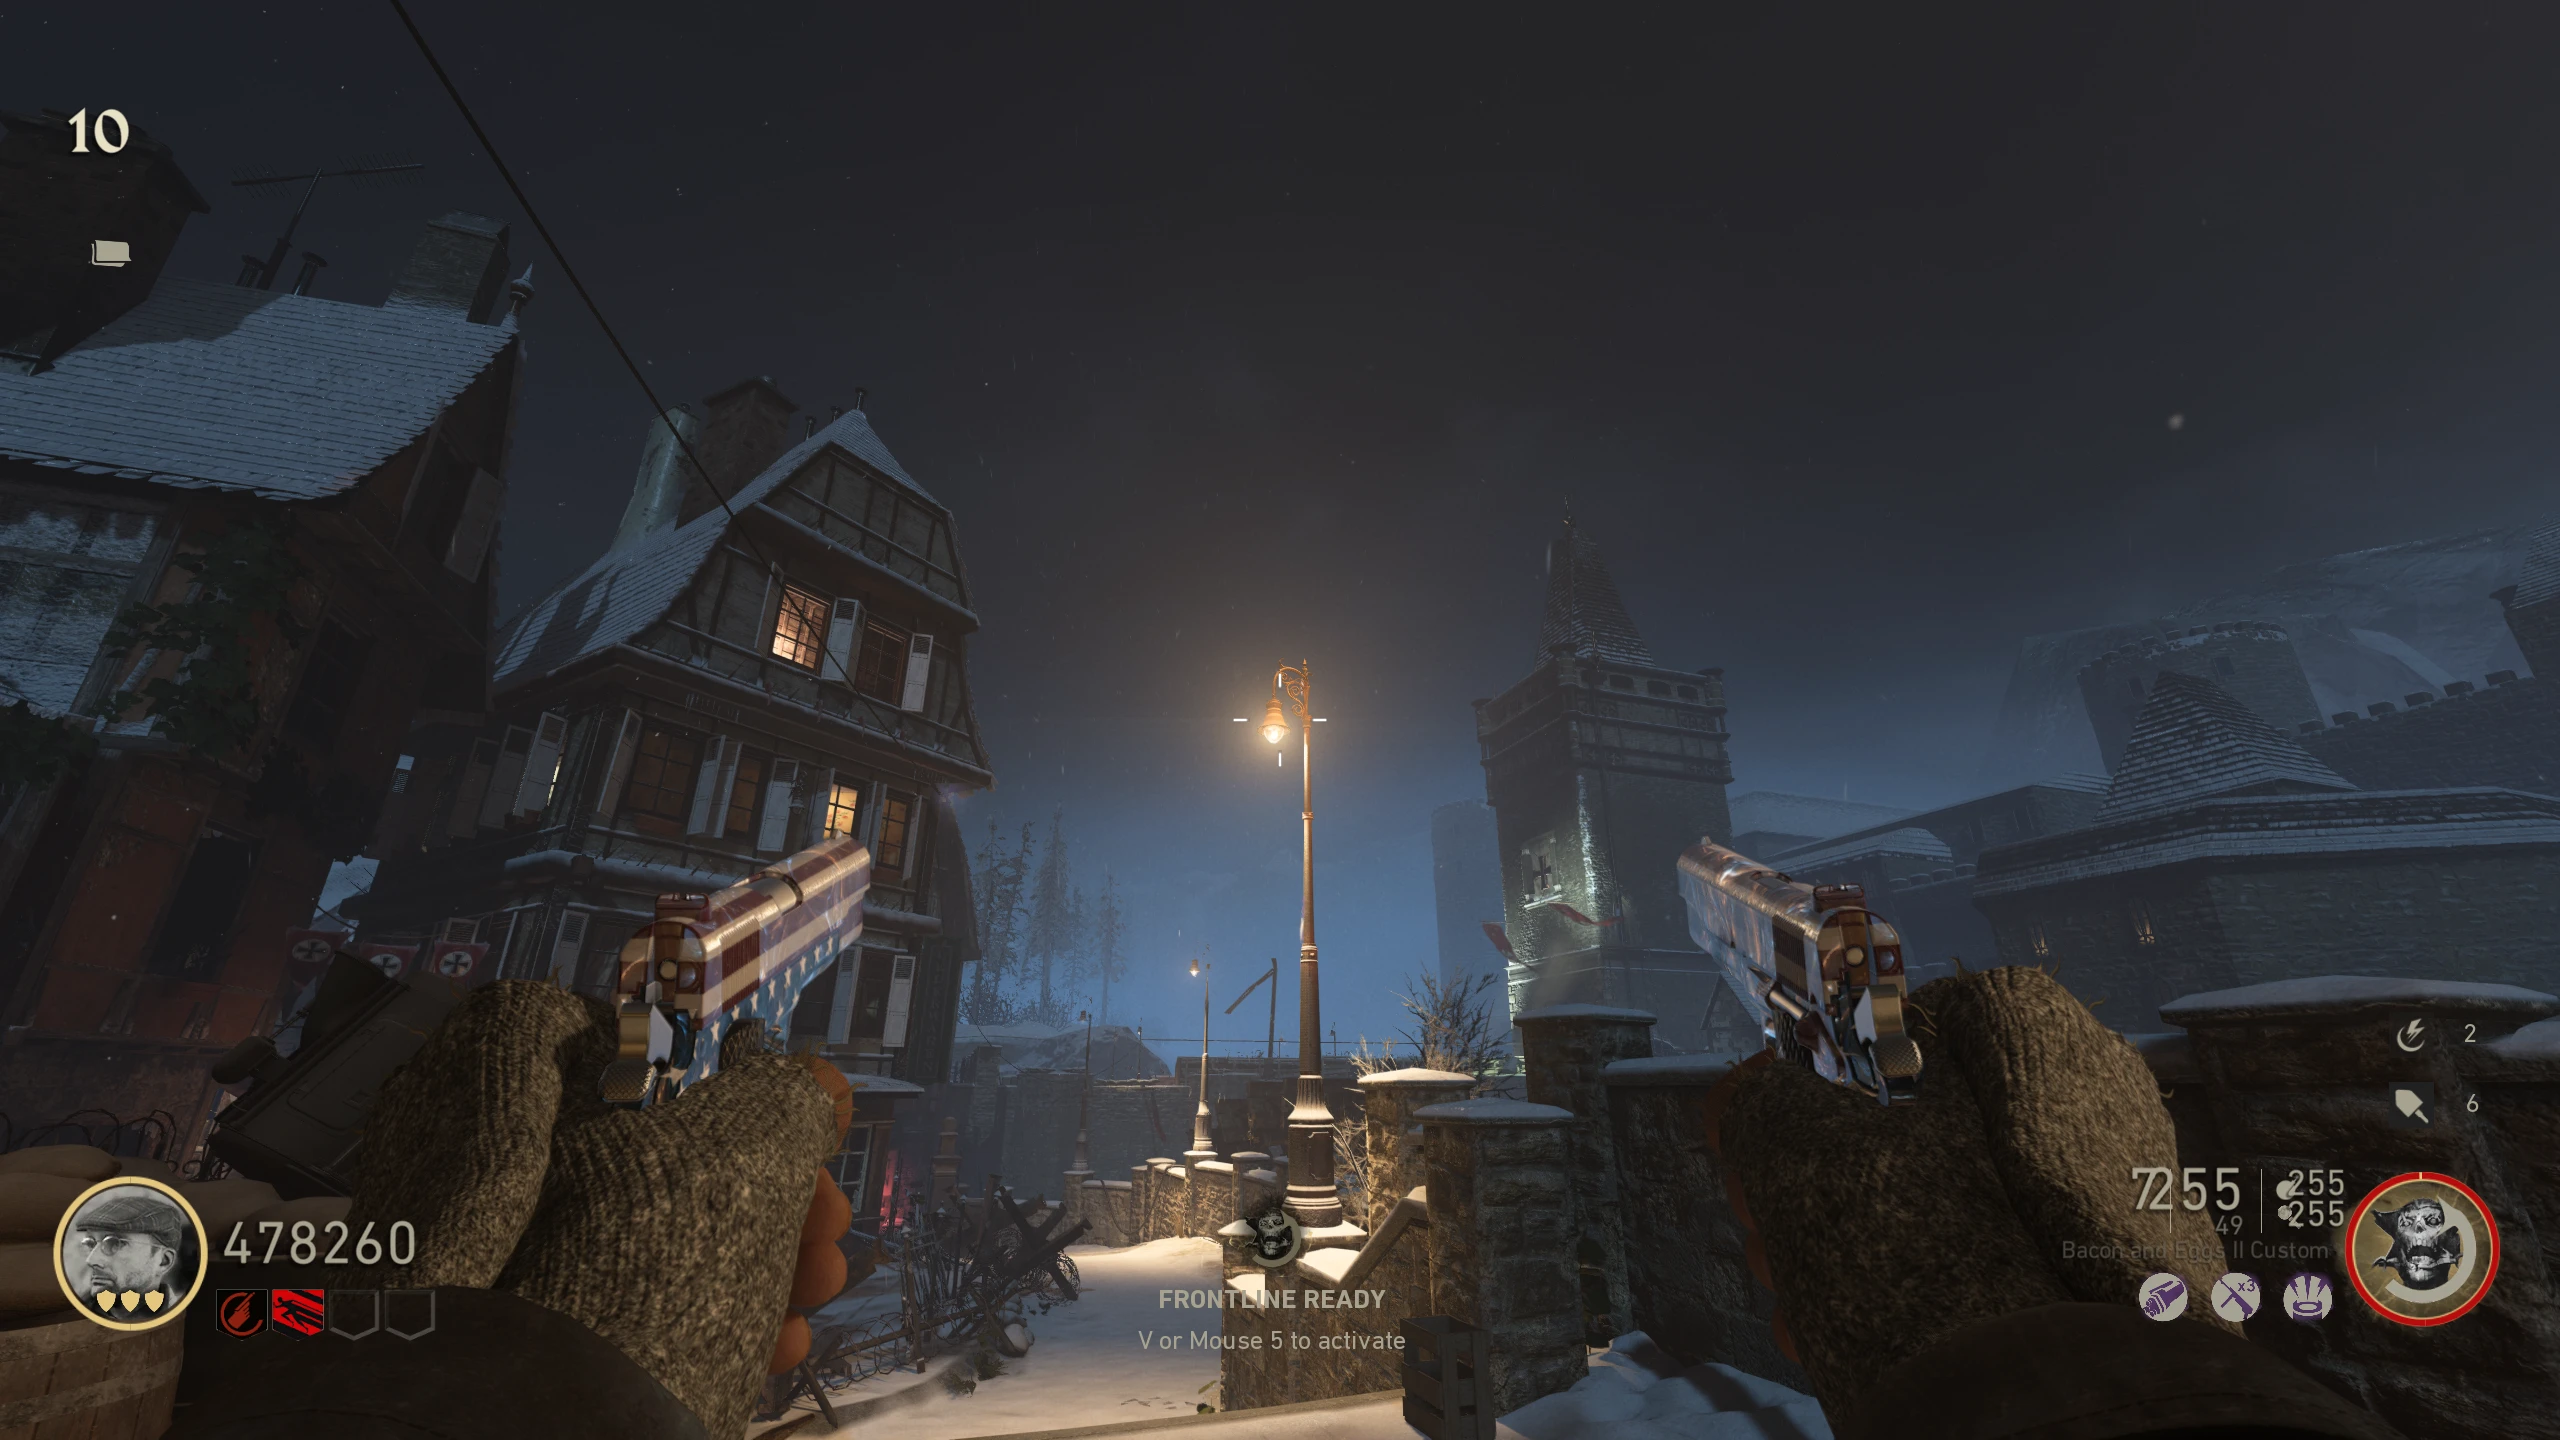
- Shoot the sparking streetlamp with a regular bullet gun to make the spark move to another lamp. Quickly, continue shooting the spark as it moves from lamp to lamp. Follow it as it makes its way toward the 'Morgue.' When it reaches the final lamp, a battery will drop near the spike trap.
- Pick up the battery and place it in the charging station beside the spike trap.
- You need to charge the battery three times. The battery will "charge" with every group of about five Pest Zombies killed in one Spike Trap use (if you get four kills and the trap ends, you will be set back to 0, but if you get 9, you will be set back to 5; one charge). You'll know the battery is being charged when you see it flash with electricity.
- Complete the Casual Main Quest Path (indicated by the "Notebook" on the Scoreboard screen) up to the step where you’ve defended the lightning rods and the Zeppelin spawns.
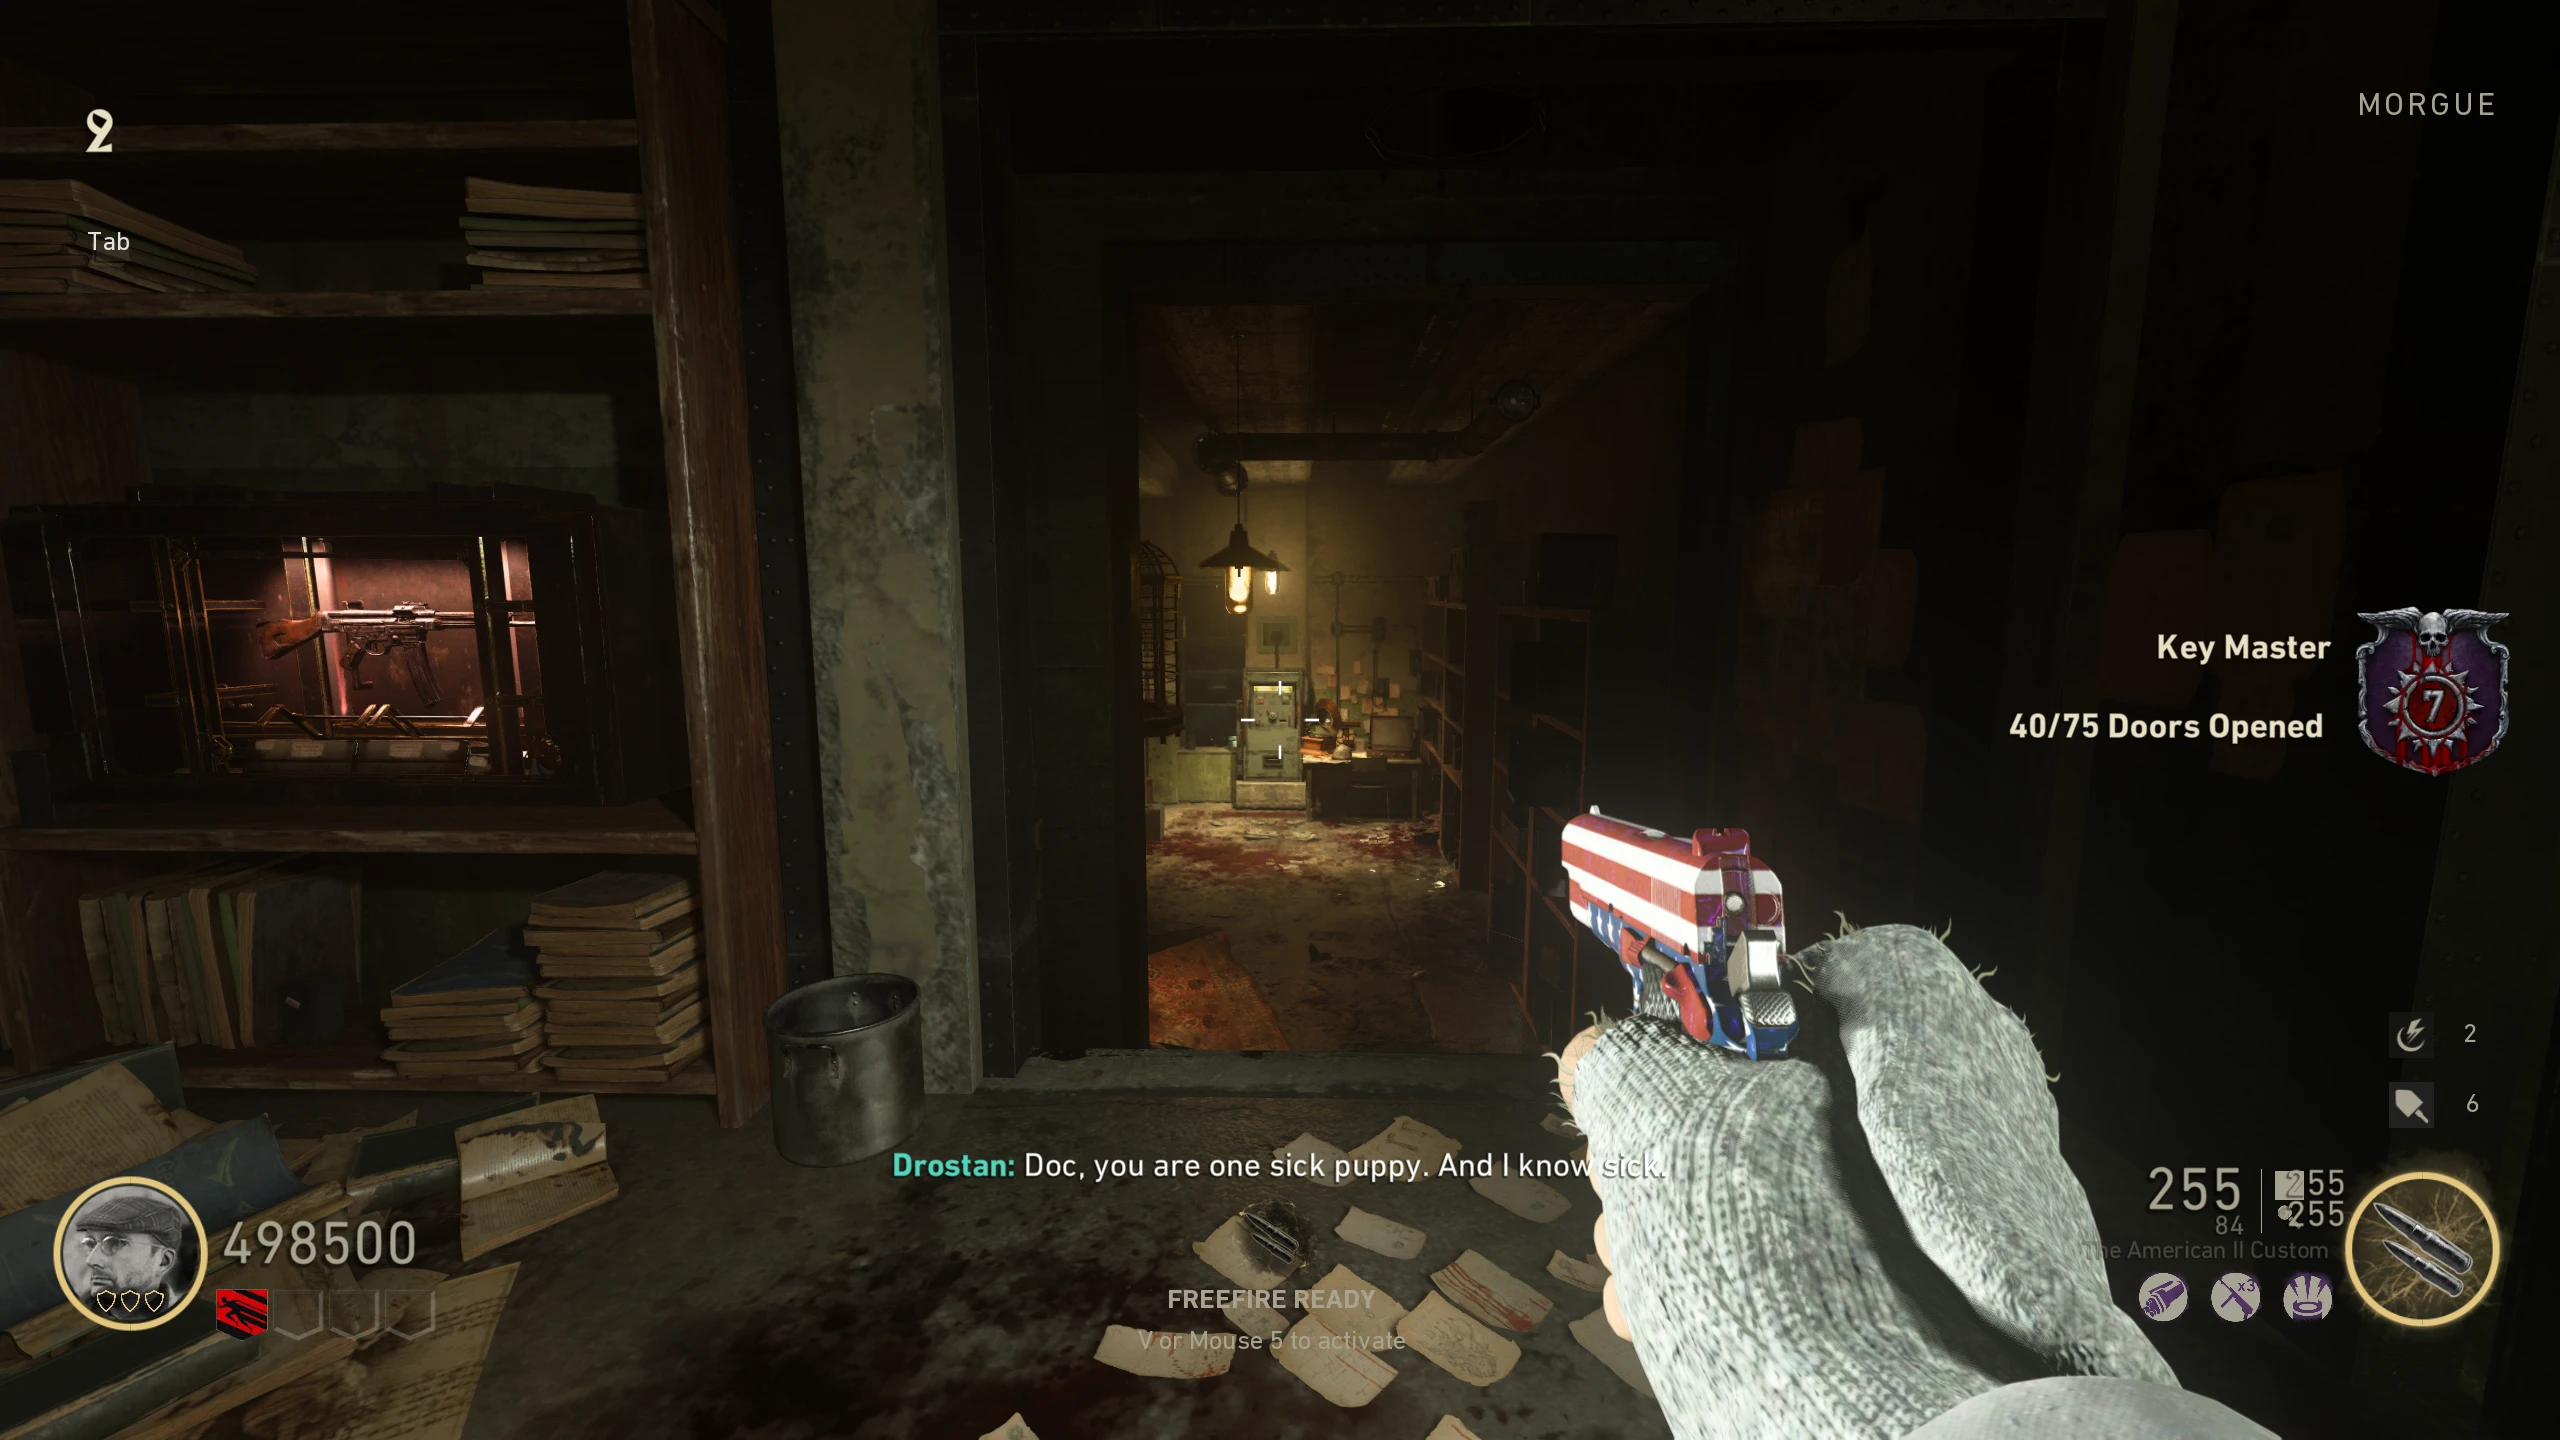
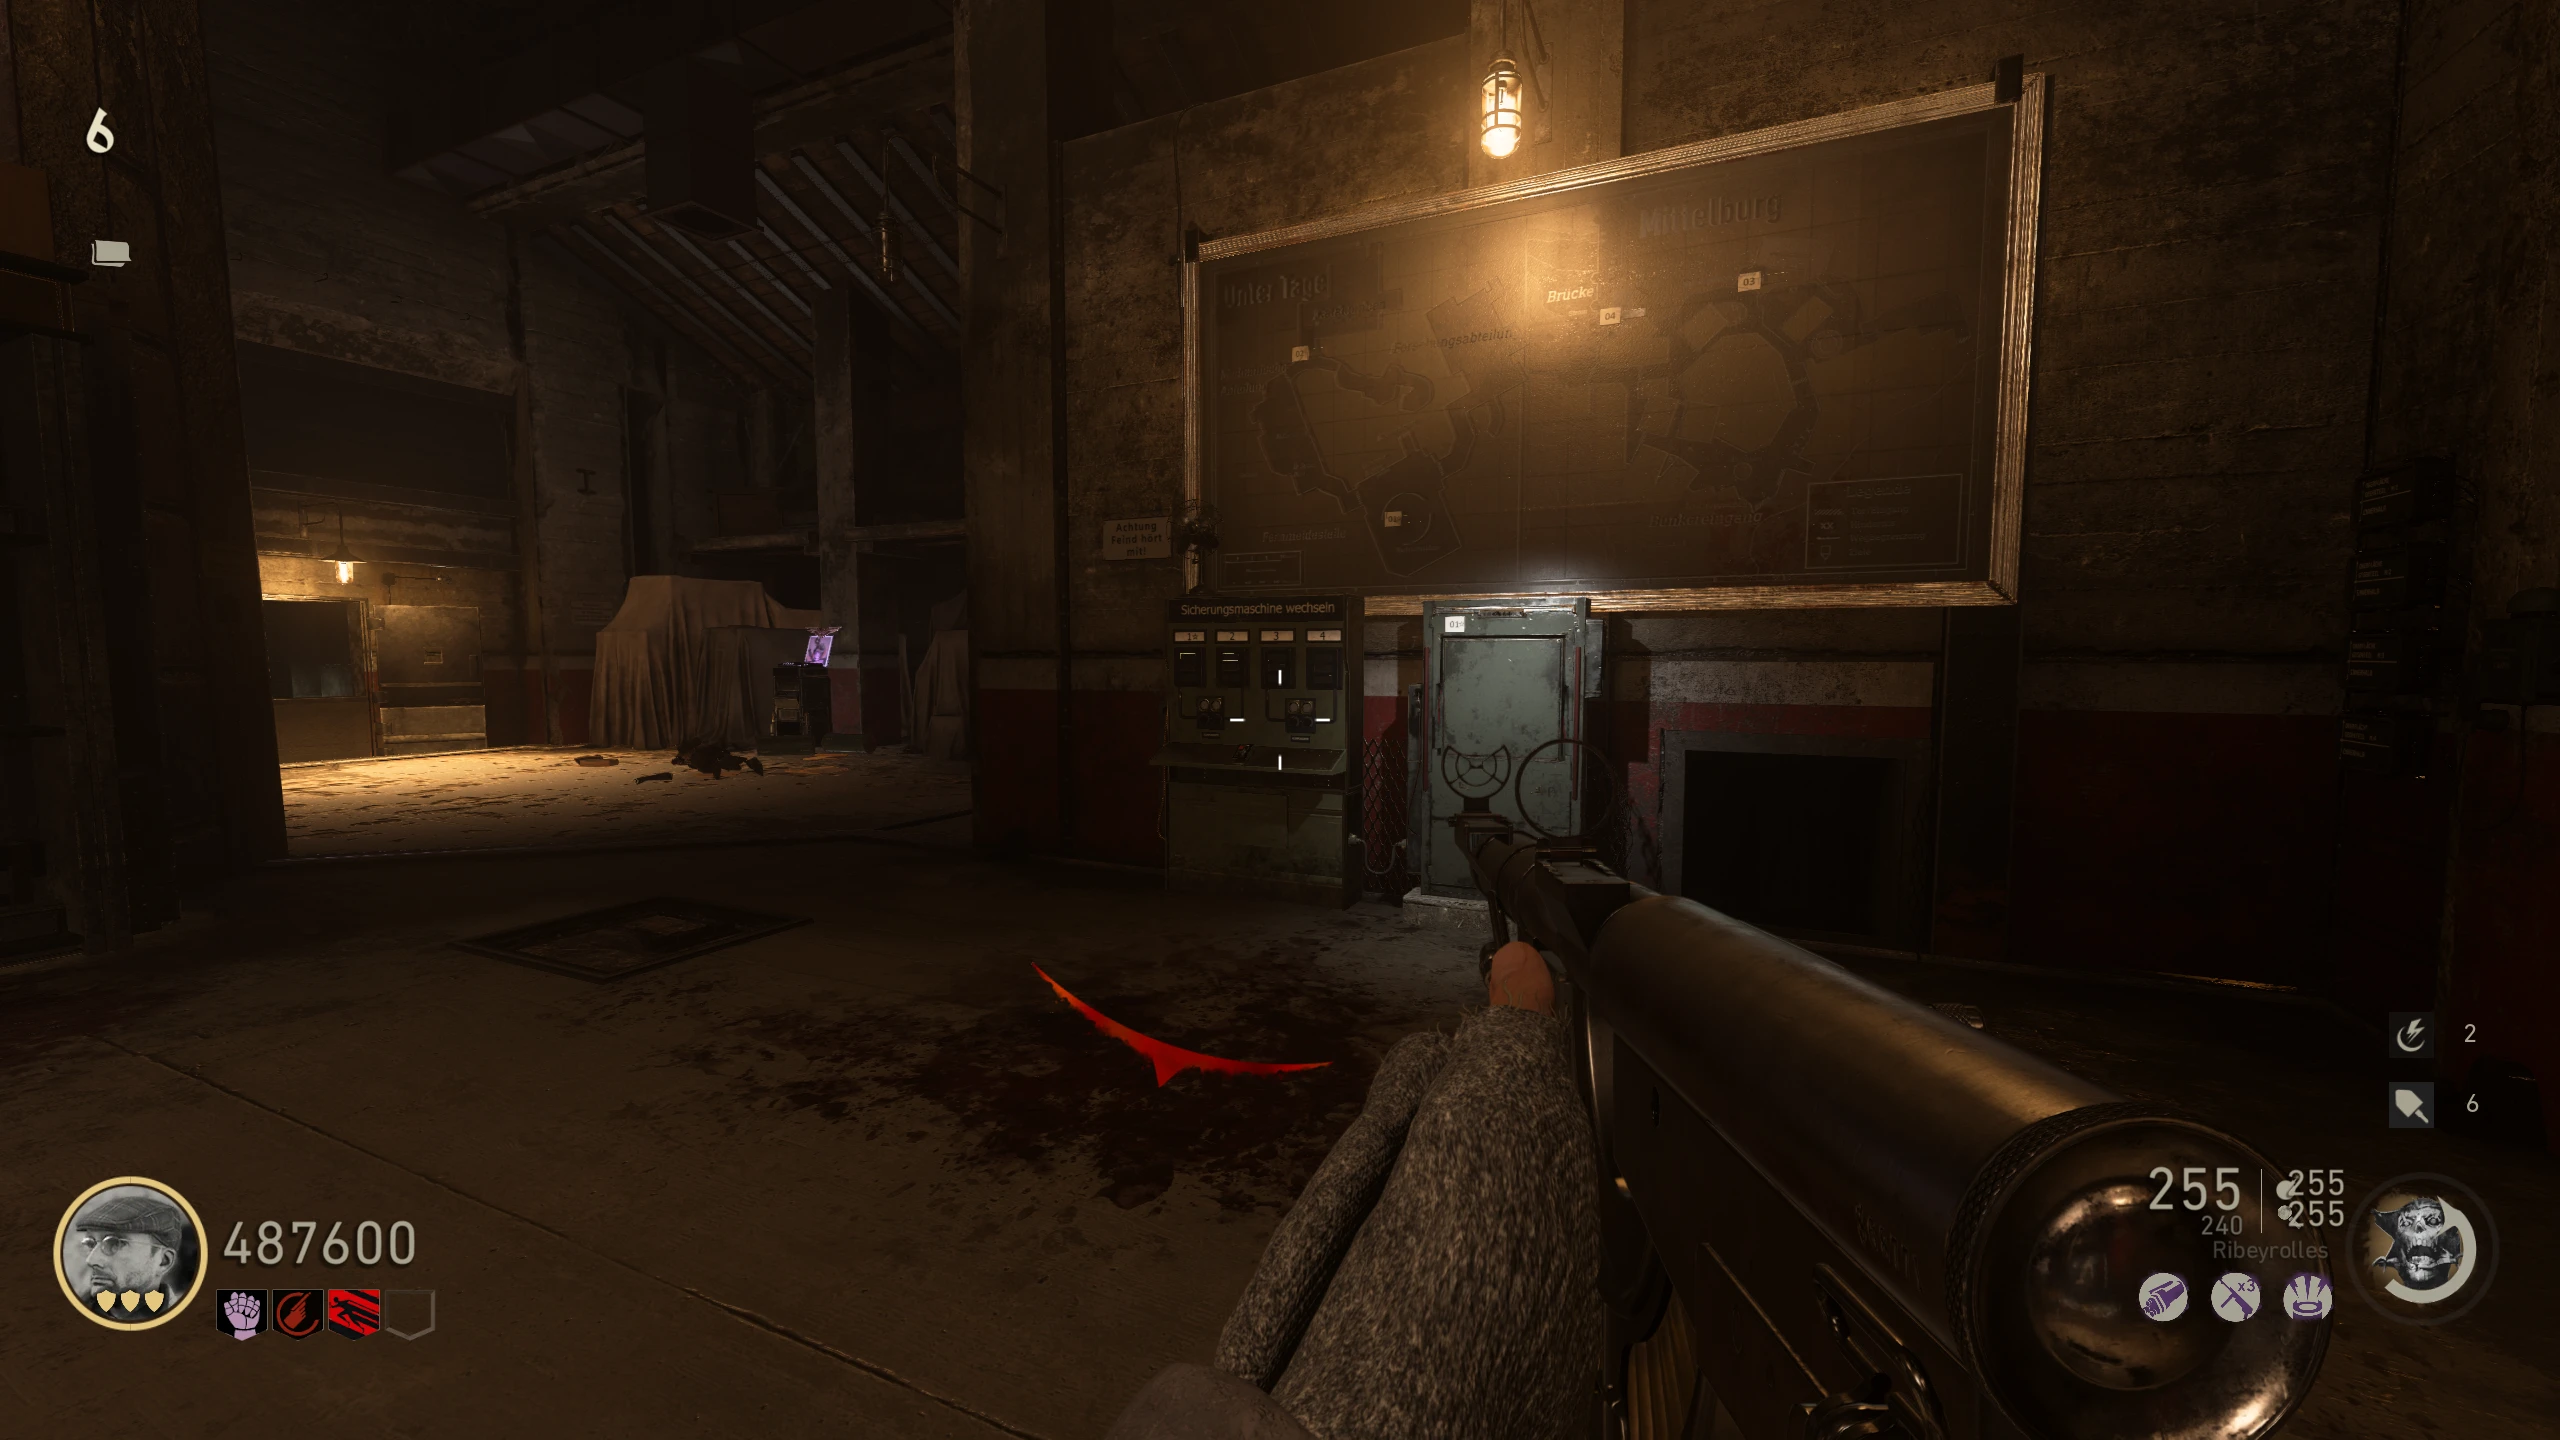
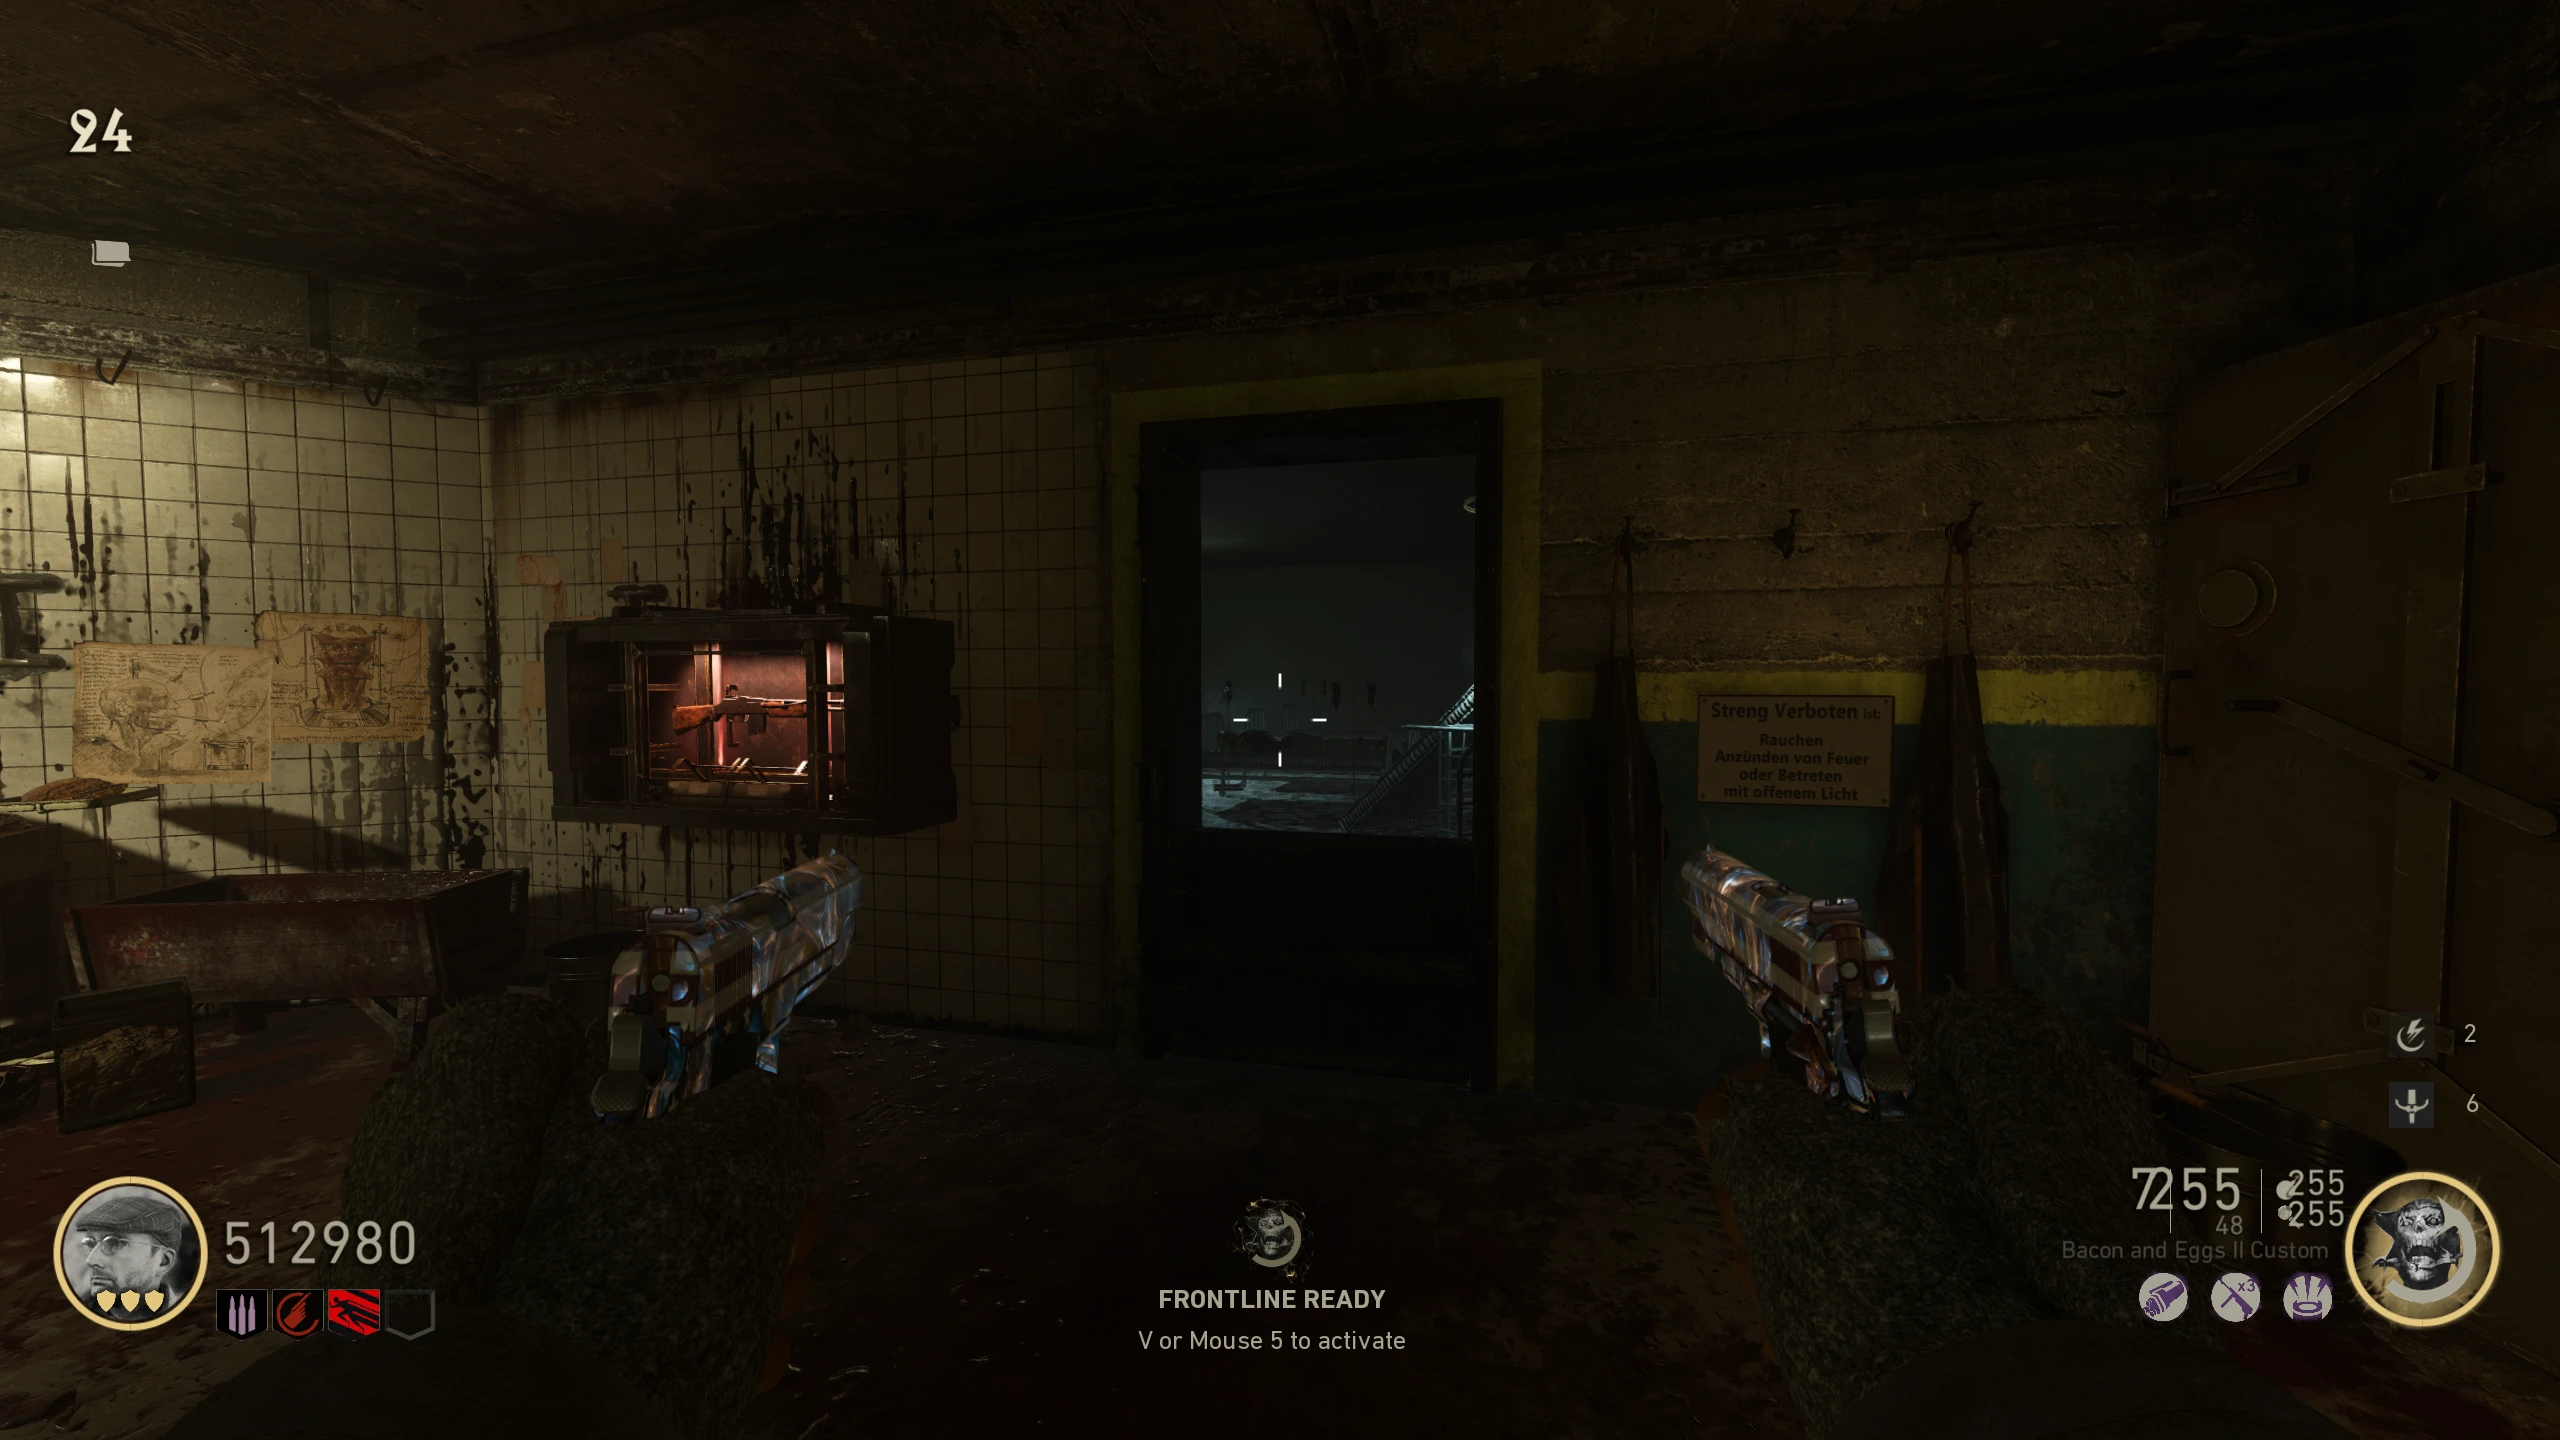
- Take the charged battery to the machine in the 'Morgue' where you received one of the original Tesla Gun pieces. A slot on both the left and right sides of the machine will open.
- Insert the battery into the left slot and interact with it again to start the power transfer. You’ll now need to protect the machine until the health bar on screen goes away, and the machine starts working quickly.
- Once the process is complete, pick up the new part. Head back to the machine where you originally built the Tesla Gun. When you get close, a pedestal for the Tesla Gun will come out of the machine. Interact with it to upgrade to the Bloodthirst variant.
Reaper (Orange Tesla Gun)
The Reaper variant of the Tesla Gun shoots orange electricity that turns a single Zombie into a bomb that will go off after a couple of seconds, damaging any nearby Zombies.
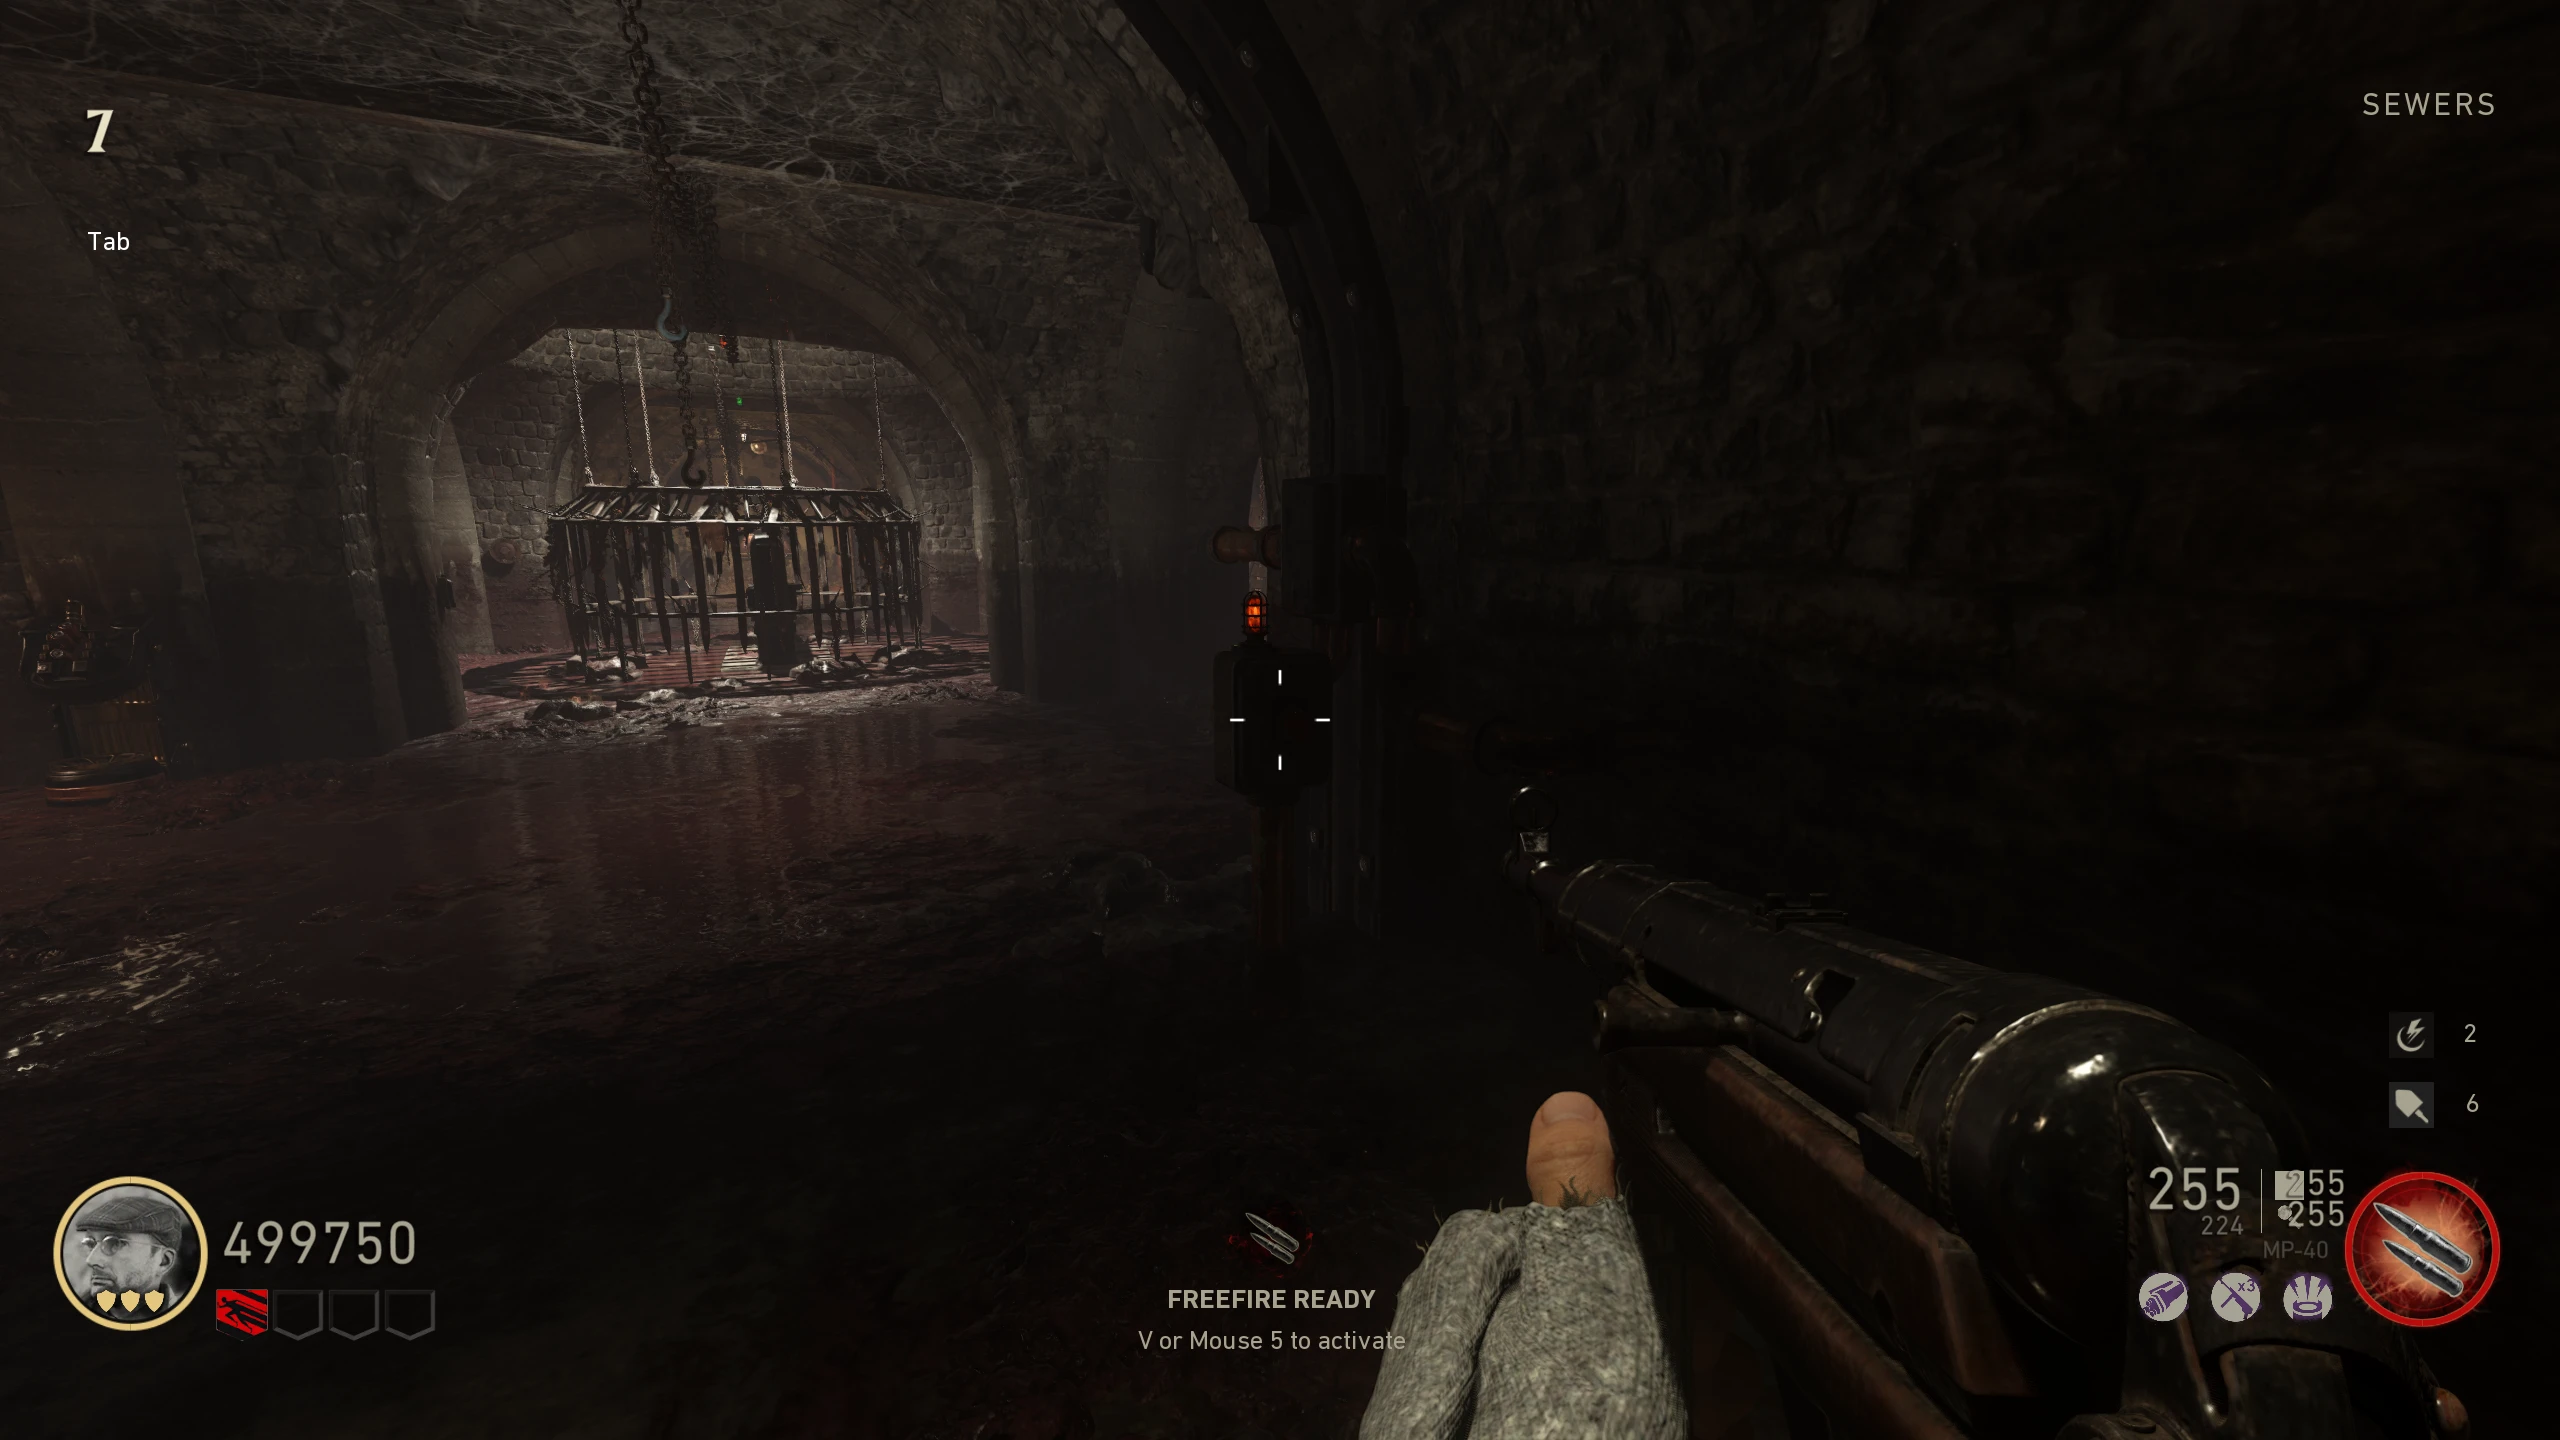
- In the 'Sewers,' there is a metal door on the wall left of the door out to the Pilot Light trap. Lure a Wustling into charging at the door to break it open and reveal a battery. Place the battery in the nearby charging station next to the broken door.
- You need to charge the battery two times. The battery will "charge" with every group of two Bomber Zombies killed in one Saw Trap use (if you get 1 kill and the trap ends, you will be set back to 0) near the battery. If the Bombers are close enough to the battery, it will glow green. You'll know the battery is being charged when you see it flash with electricity.
- Tip: To make this easier, shoot the bomb off the Bomber by shooting the head of the Zombie holding the bomb on the Bomber's back.
- Complete the Casual Main Quest Path (indicated by the "Notebook" on the Scoreboard screen) up to the step where you’ve defended the lightning rods and the Zeppelin spawns.
- Take the charged battery to the machine in the 'Morgue' where you received one of the original Tesla Gun pieces. A slot on both the left and right sides of the machine will open.
- Insert the battery into the right slot and interact with it again to start the power transfer. You’ll now need to protect the machine until the health bar on screen goes away, and the machine starts working quickly.
- Once the process is complete, pick up the new part. Head back to the machine where you originally built the Tesla Gun. When you get close, a pedestal for the Tesla Gun will come out of the machine. Interact with it to upgrade to the Reaper variant.
Hurricane (Purple Tesla Gun)
The Hurricane variant of the Tesla Gun fires a slow-moving, large pink electrical orb that expands as it travels, killing Zombies that it touches.
- To the left of the Schildblitz (Electric Cherry) machine in the 'Laboratory,' you'll find a staircase. In the middle of that staircase is a metal door. Lure a Bomber Zombie and have it explode next to the door. If done correctly, a battery will drop from the door.
- Place the battery in the charging station inside the Electric Trap.
- You need to charge the battery two times. The battery will "charge" with every group of two Wustling Zombies killed in one Electric Trap use (if you get one kill and the trap ends, you will be set back to 0). If the Wustlings are in the trap's area, the battery will glow green. You'll know the battery is being charged when you see it flash with electricity.
- Wustlings don't need to be killed to end the round, so make sure to keep them alive through rounds until you have 2/4 at a time.
- Complete the Casual Main Quest Path (indicated by the "Notebook" on the Scoreboard screen) up to the step where you’ve defended the lightning rods and the Zeppelin spawns.
- Take the charged battery to the machine in the 'Laboratory' where you received one of the original Tesla Gun pieces. A slot on both the left and right sides of the machine will open.
- Insert the battery into the right slot and interact with it again to start the power transfer. You’ll now need to protect the machine until the health bar on screen goes away, and the machine starts working quickly.
- Once the process is complete, pick up the new part. Head back to the machine where you originally built the Tesla Gun. When you get close, a pedestal for the Tesla Gun will come out of the machine. Interact with it to upgrade to the Hurricane variant.
Midnight (Green Tesla Gun)
The Midnight variant of the Tesla Gun fires a fast-moving, small orb of green energy that flies forward, damaging any Zombie in the way.
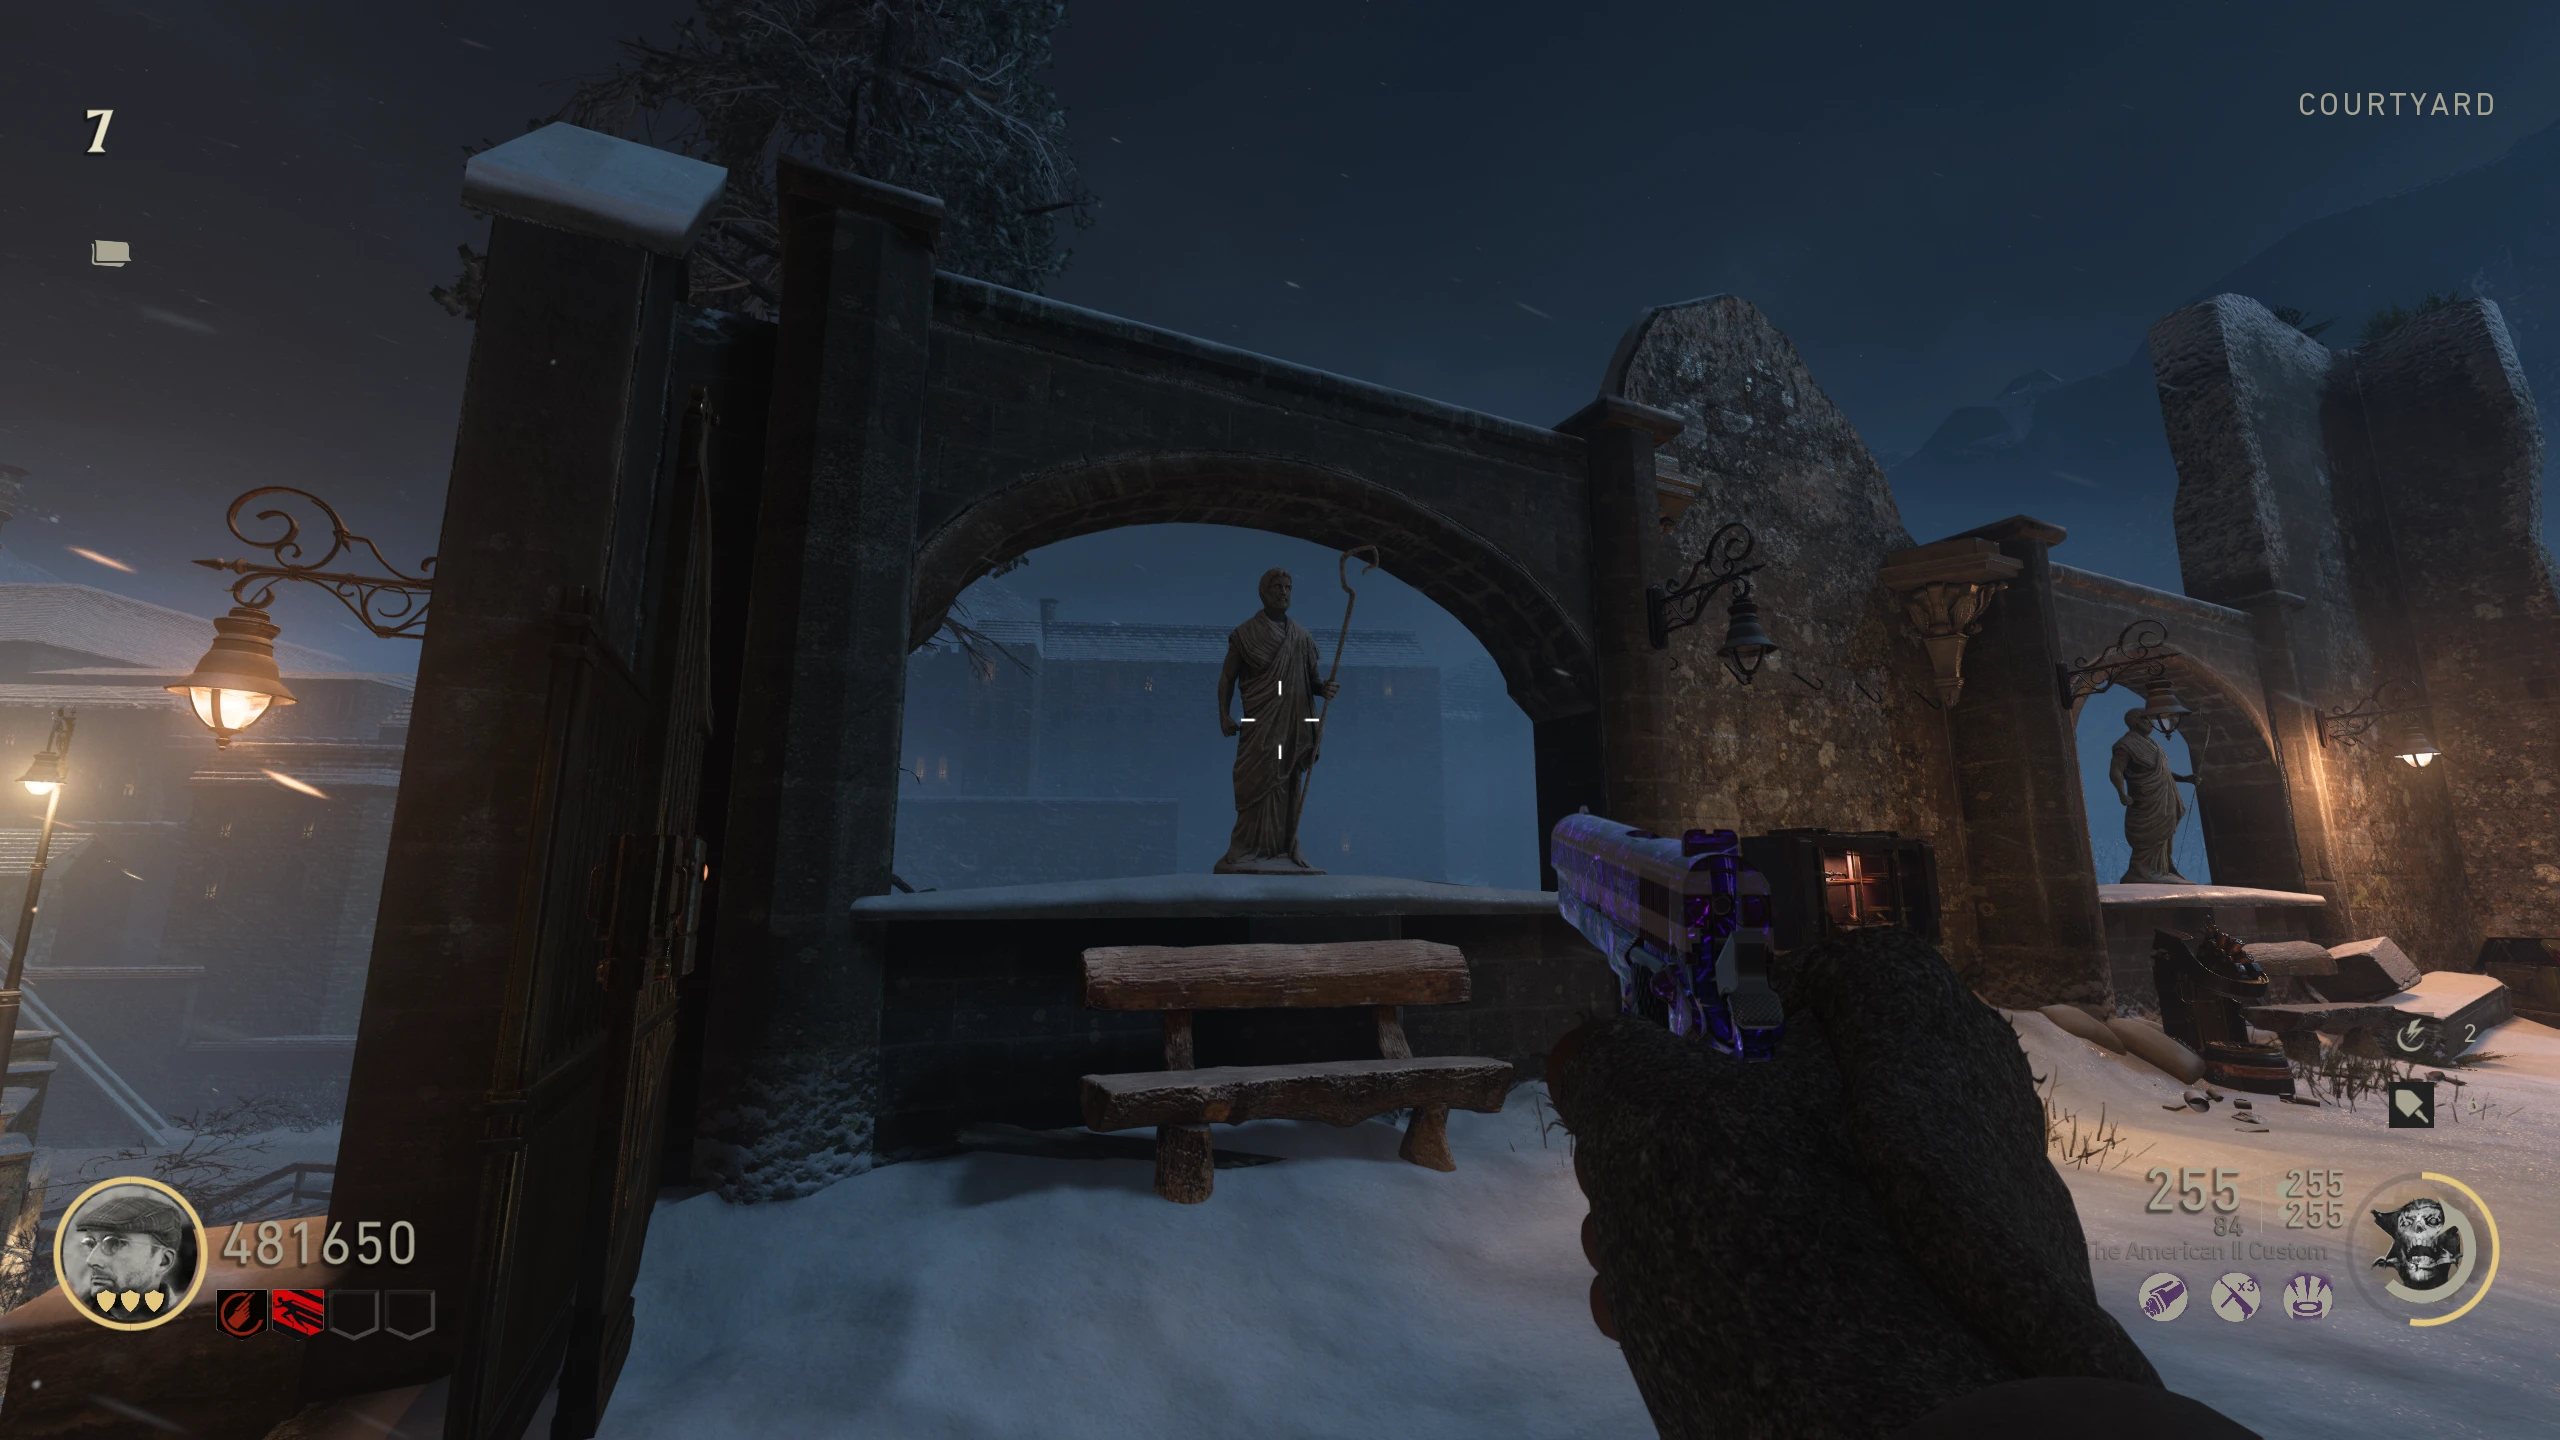
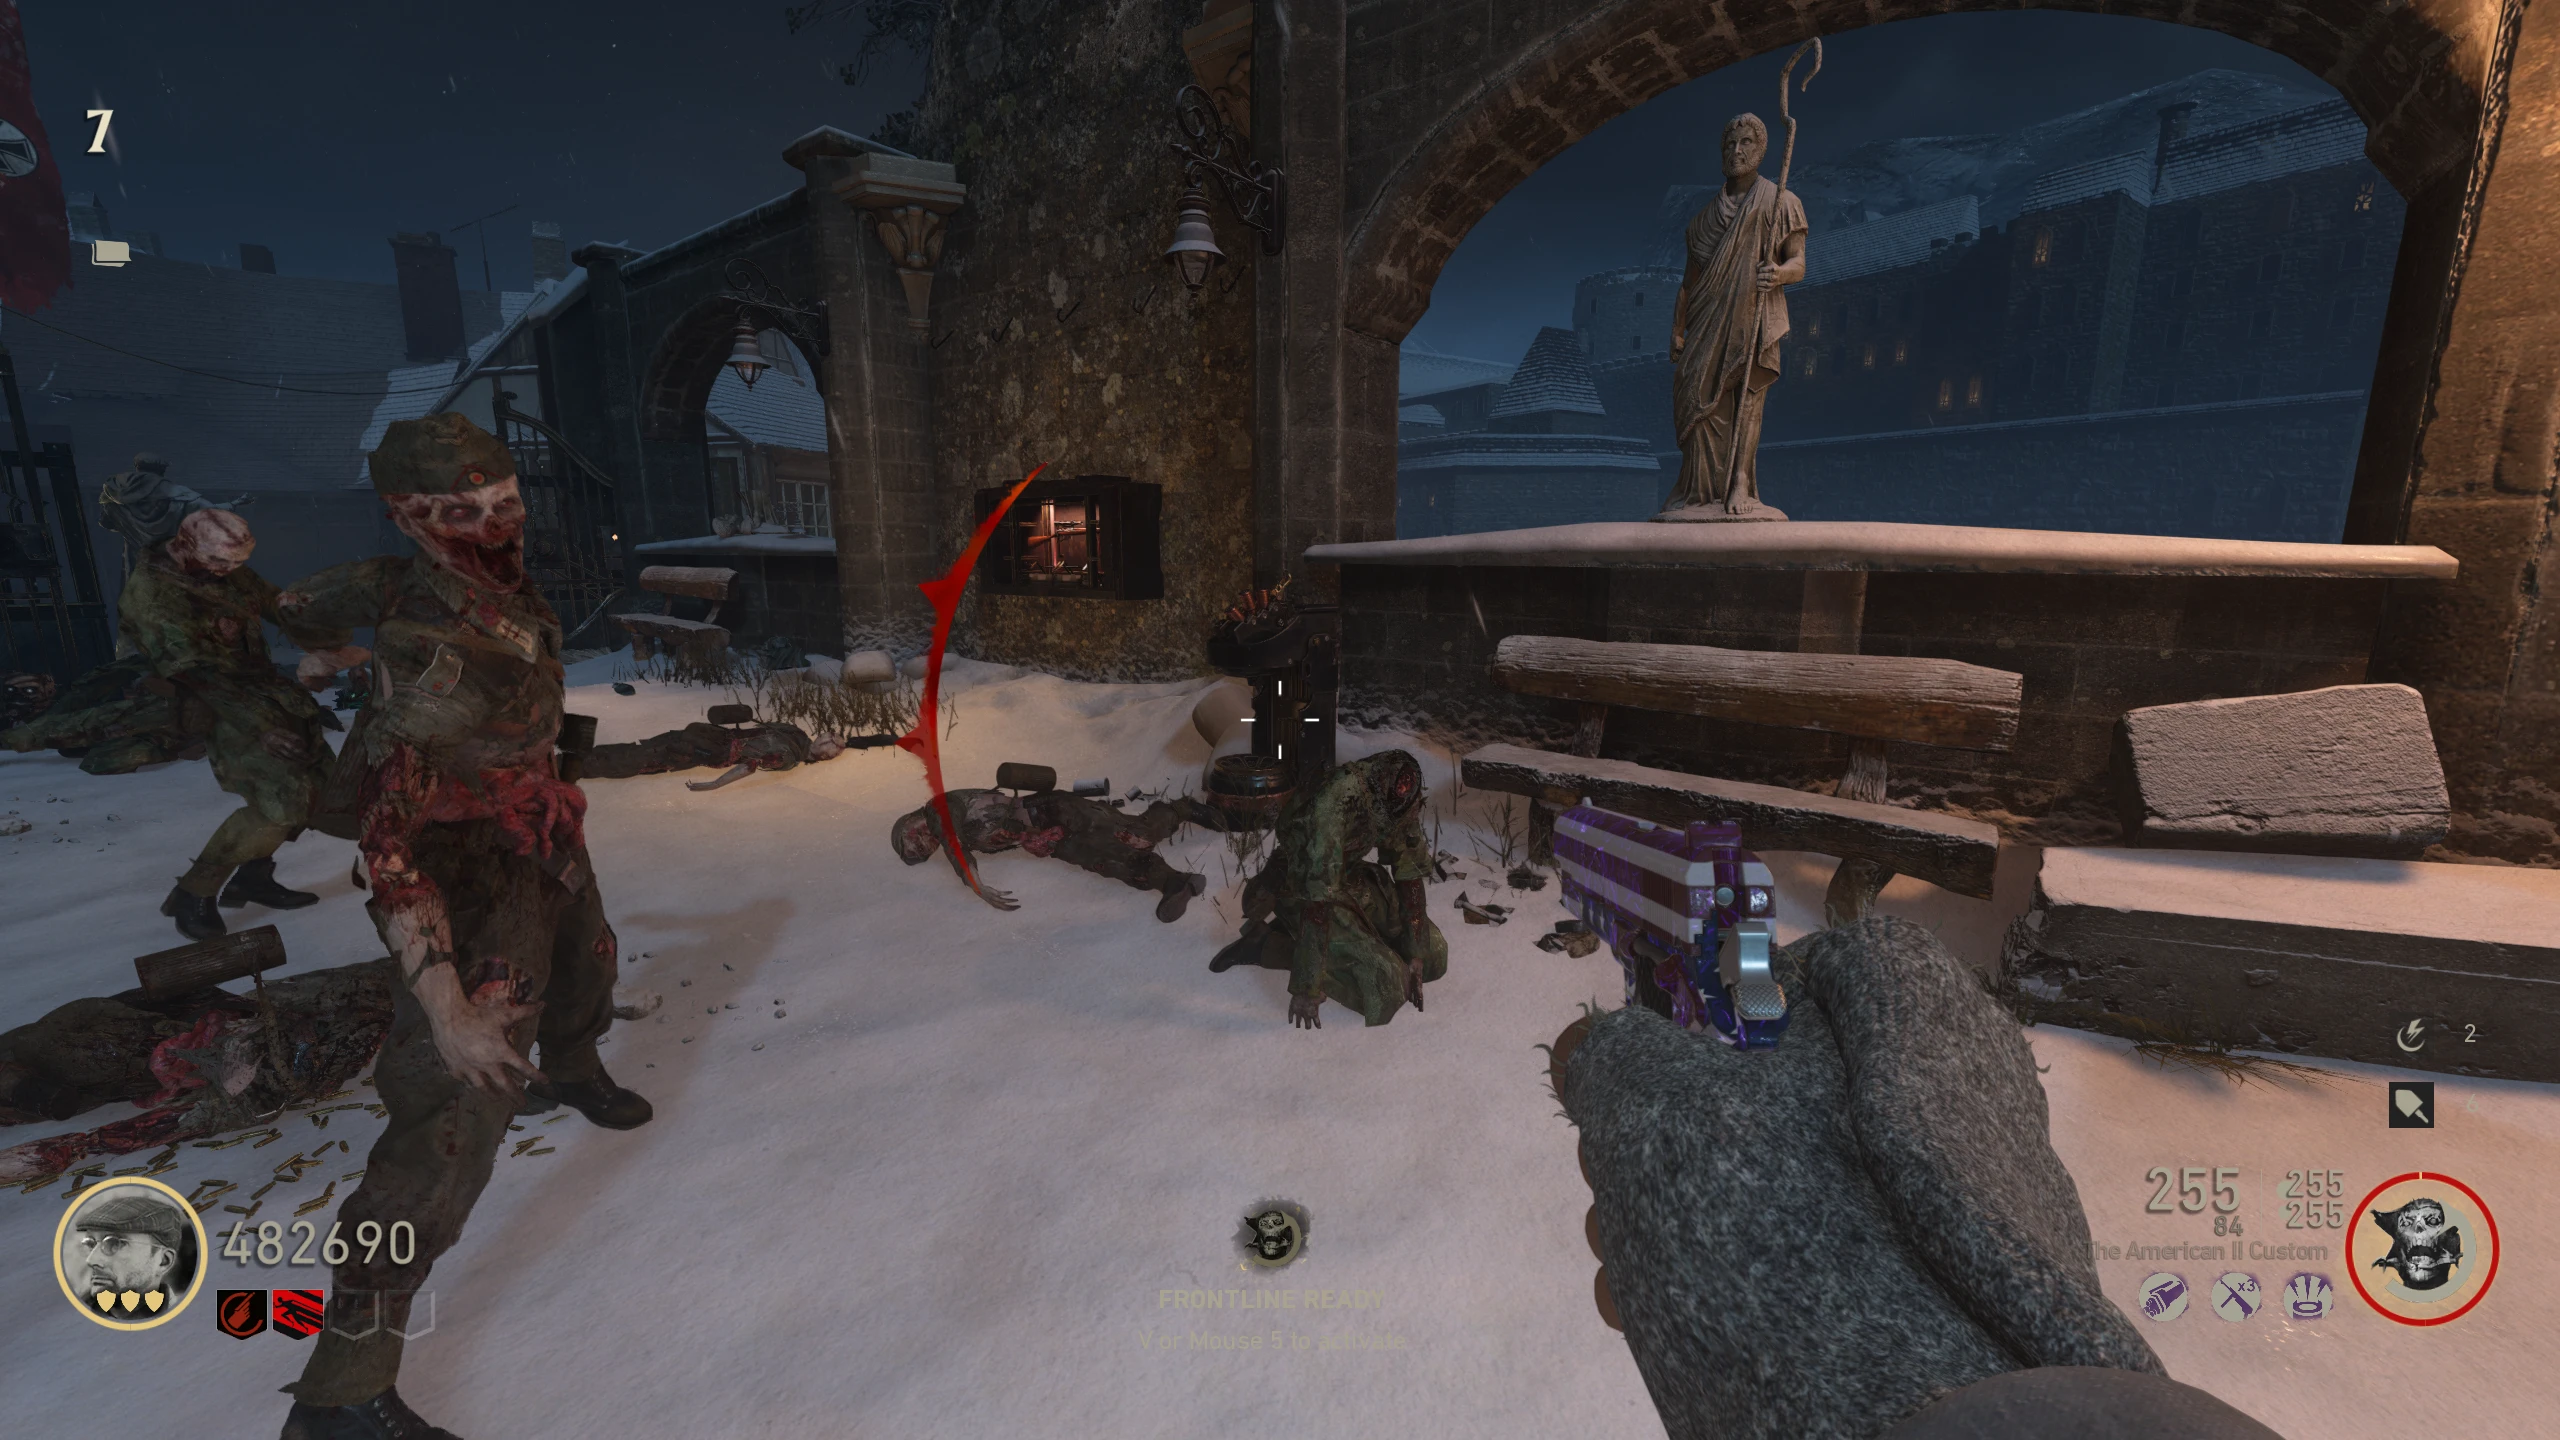
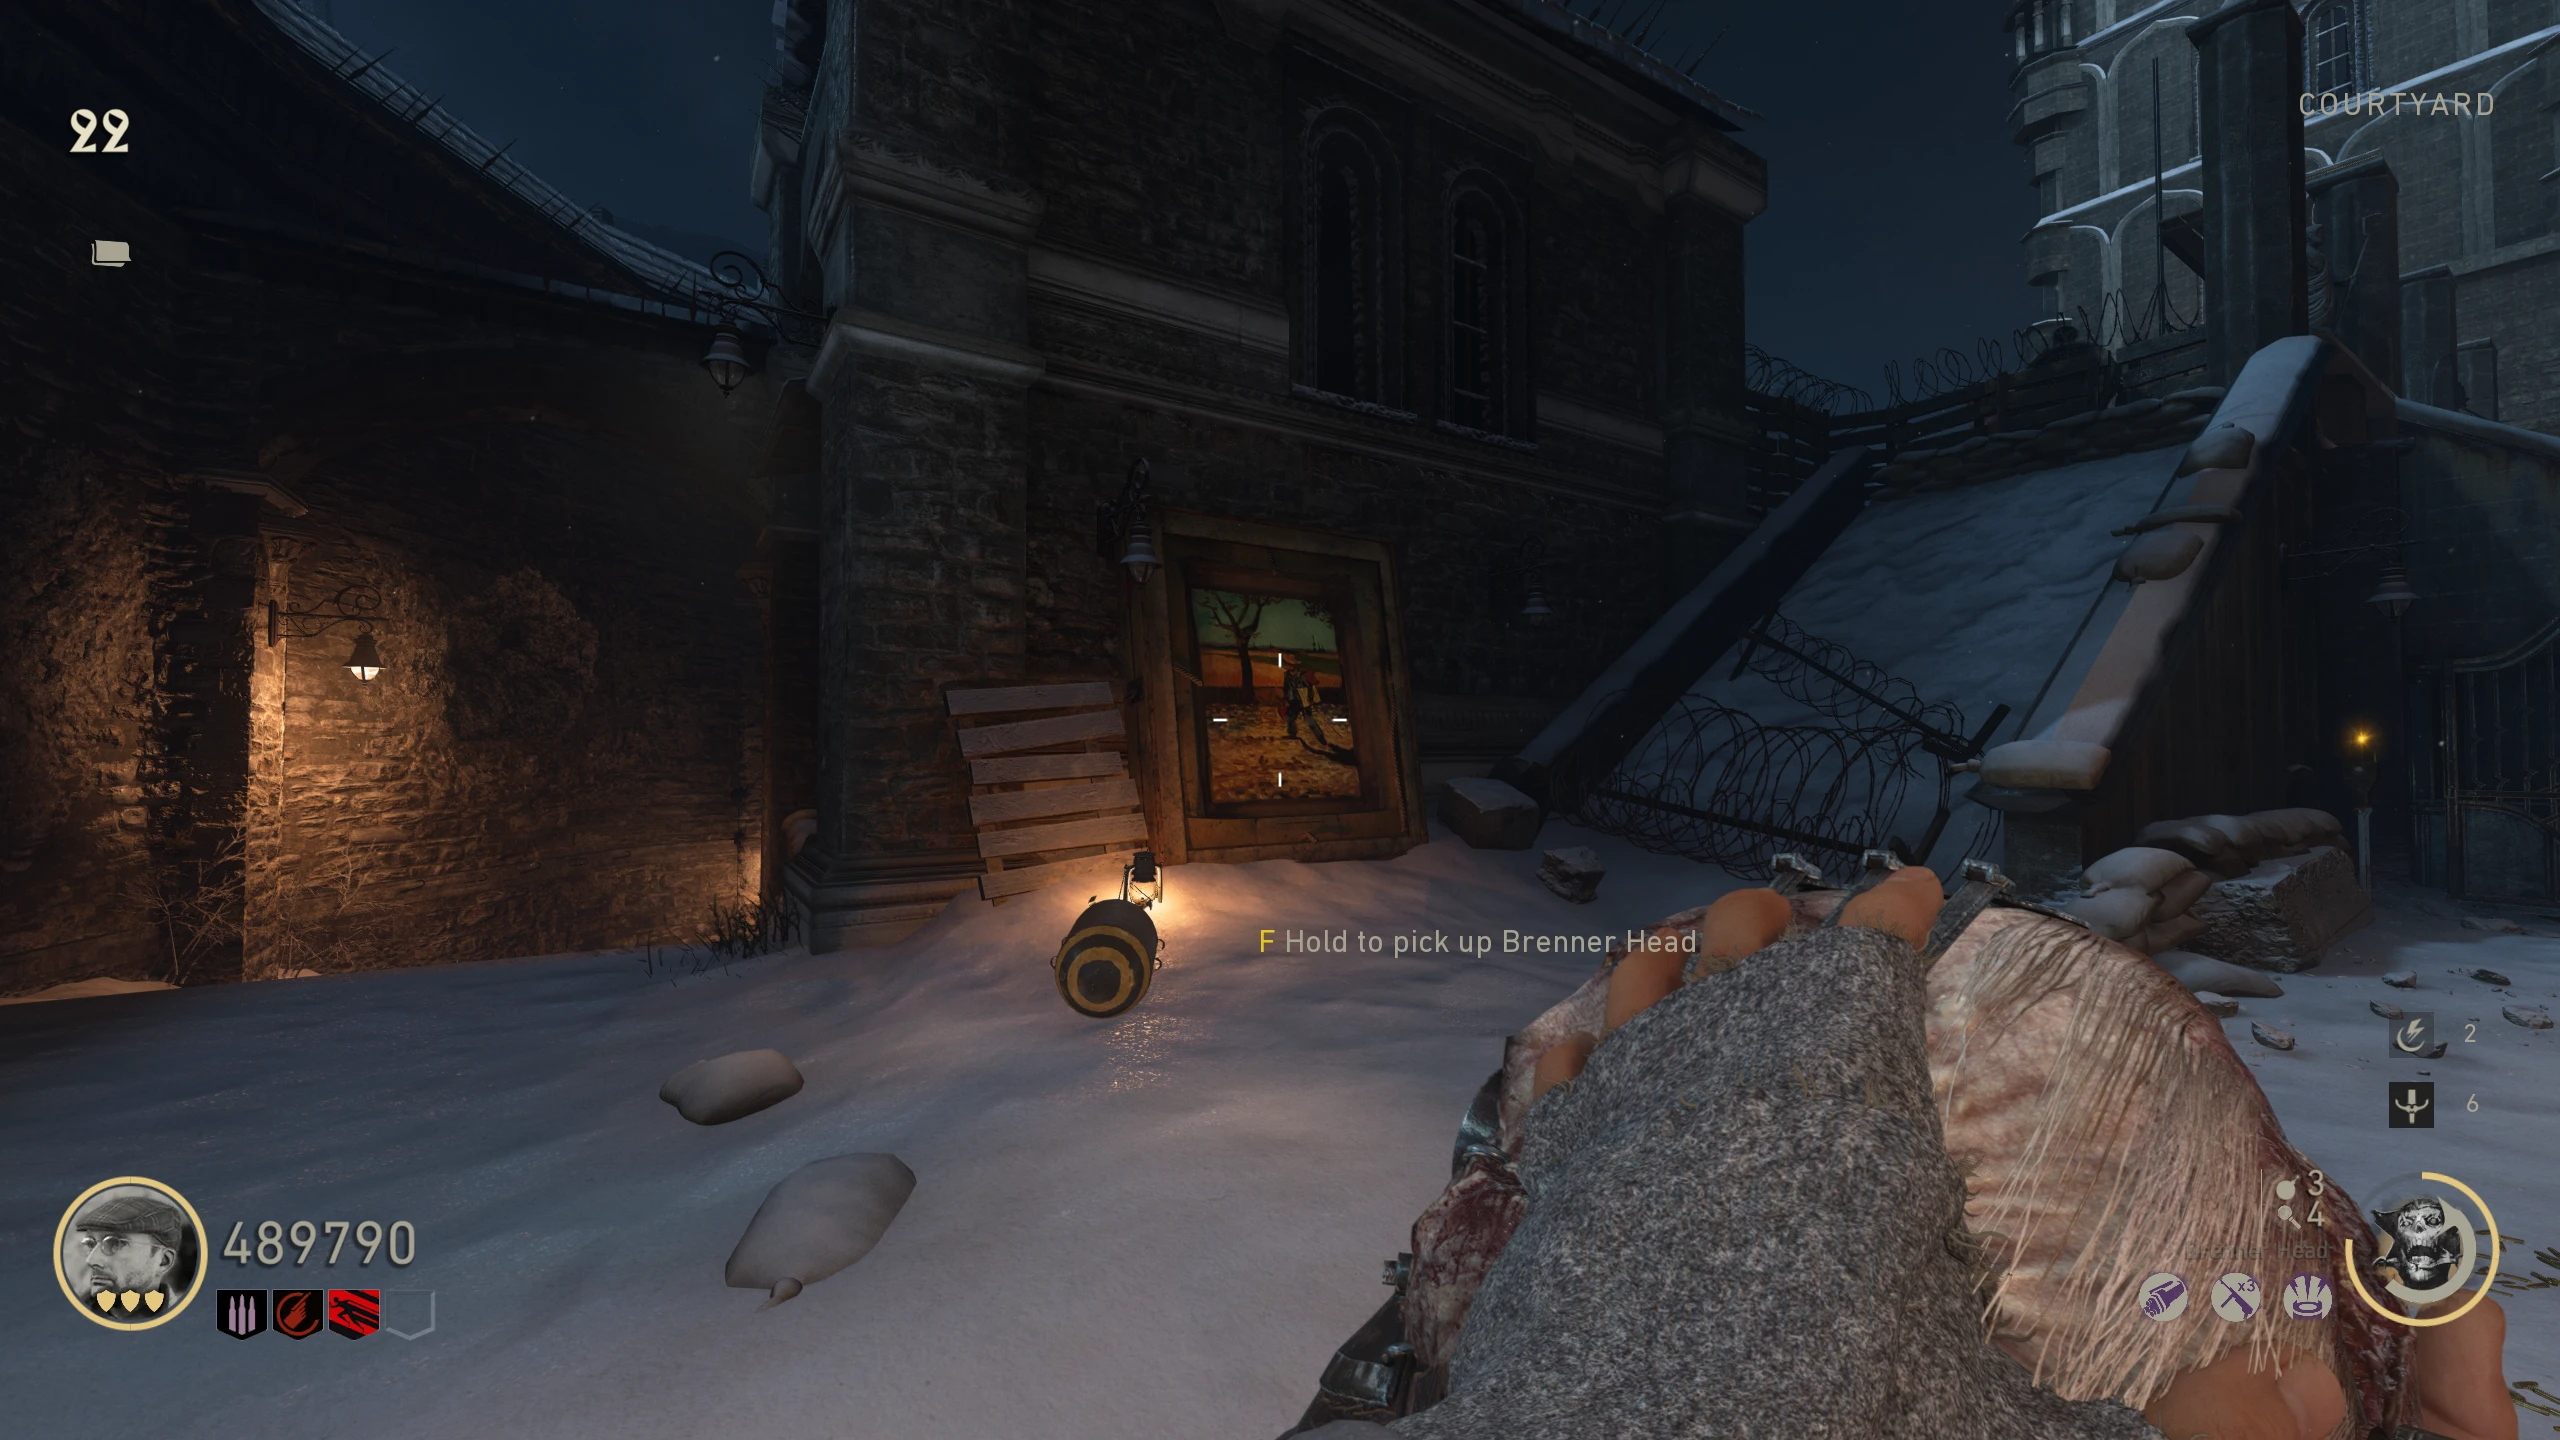
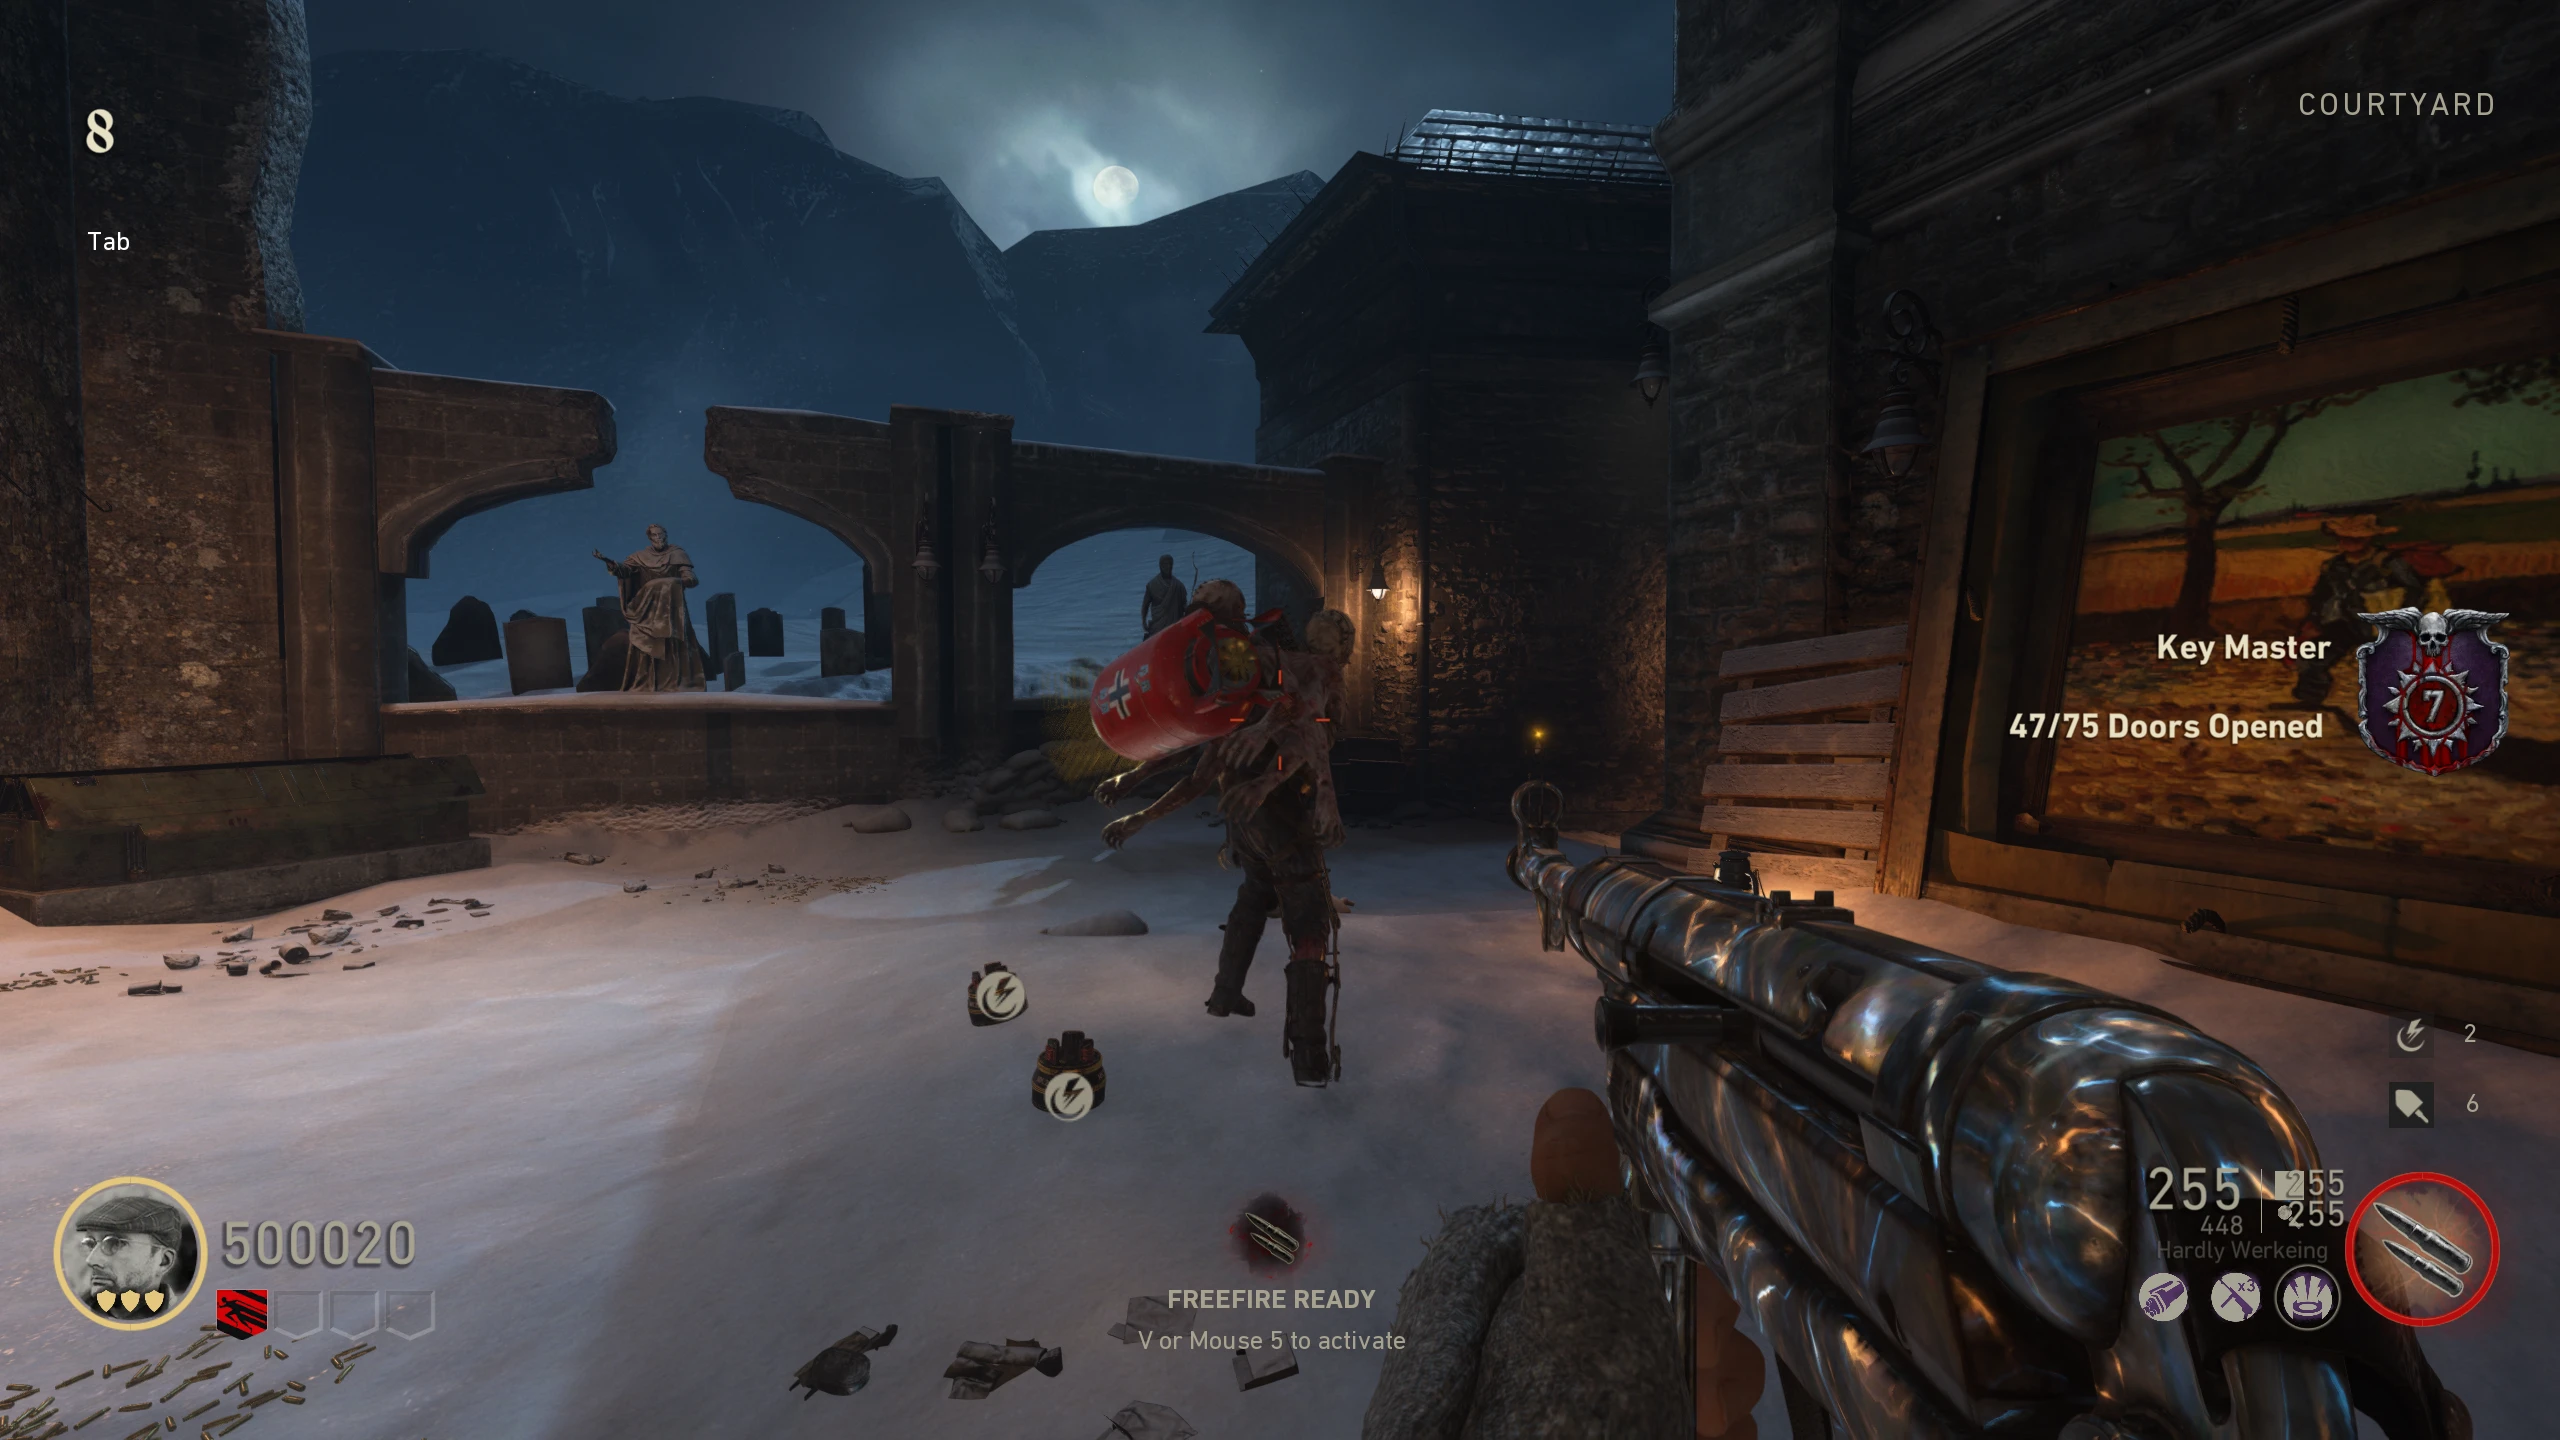
- In the 'Courtyard,' scan (aim) at the statue, left of the Lee Enfield wallbuy, with a Brenner head to make it explode, revealing a hidden battery.
- Shoot the battery with the Tesla Gun to make it fall to the ground.
- Pick up the battery and place it in the charging station to the right of the statue.
- You need to charge the battery two times. The battery will "charge" with every group of about 10 Zombies killed in one S-Mine Trap use. Once there are enough Zombies in the trap's area, the battery will glow green. You'll know the battery is being charged when you see it flash with electricity.
- Complete the Casual Main Quest Path (indicated by the "Notebook" on the Scoreboard screen) up to the step where you’ve defended the lightning rods and the Zeppelin spawns.
- Take the charged battery to the machine in the 'Laboratory' where you received one of the original Tesla Gun pieces. A slot on both the left and right sides of the machine will open.
- Insert the battery into the left slot and interact with it again to start the power transfer. You’ll now need to protect the machine until the health bar on screen goes away, and the machine starts working quickly.
- Once the process is complete, pick up the new part. Head back to the machine where you originally built the Tesla Gun. When you get close, a pedestal for the Tesla Gun will come out of the machine. Interact with it to upgrade to the Midnight variant.
Red Talon Sword
The Red Talon is a melee Wonder Weapon that one-shots zombies high up into the rounds. Getting kills will charge it, allowing you to do an area-of-effect attack, allowing you to kill multiple Zombies at once.
- Complete the Casual Main Quest Path (indicated by the "Notebook" on the Scoreboard screen) up to the step where you’ve defended the lightning rods and the Zeppelin spawns.
- After defending the lightning rods, interact with power switches in both the 'Morgue' and 'Laboratory' (the same ones used to turn on the power).
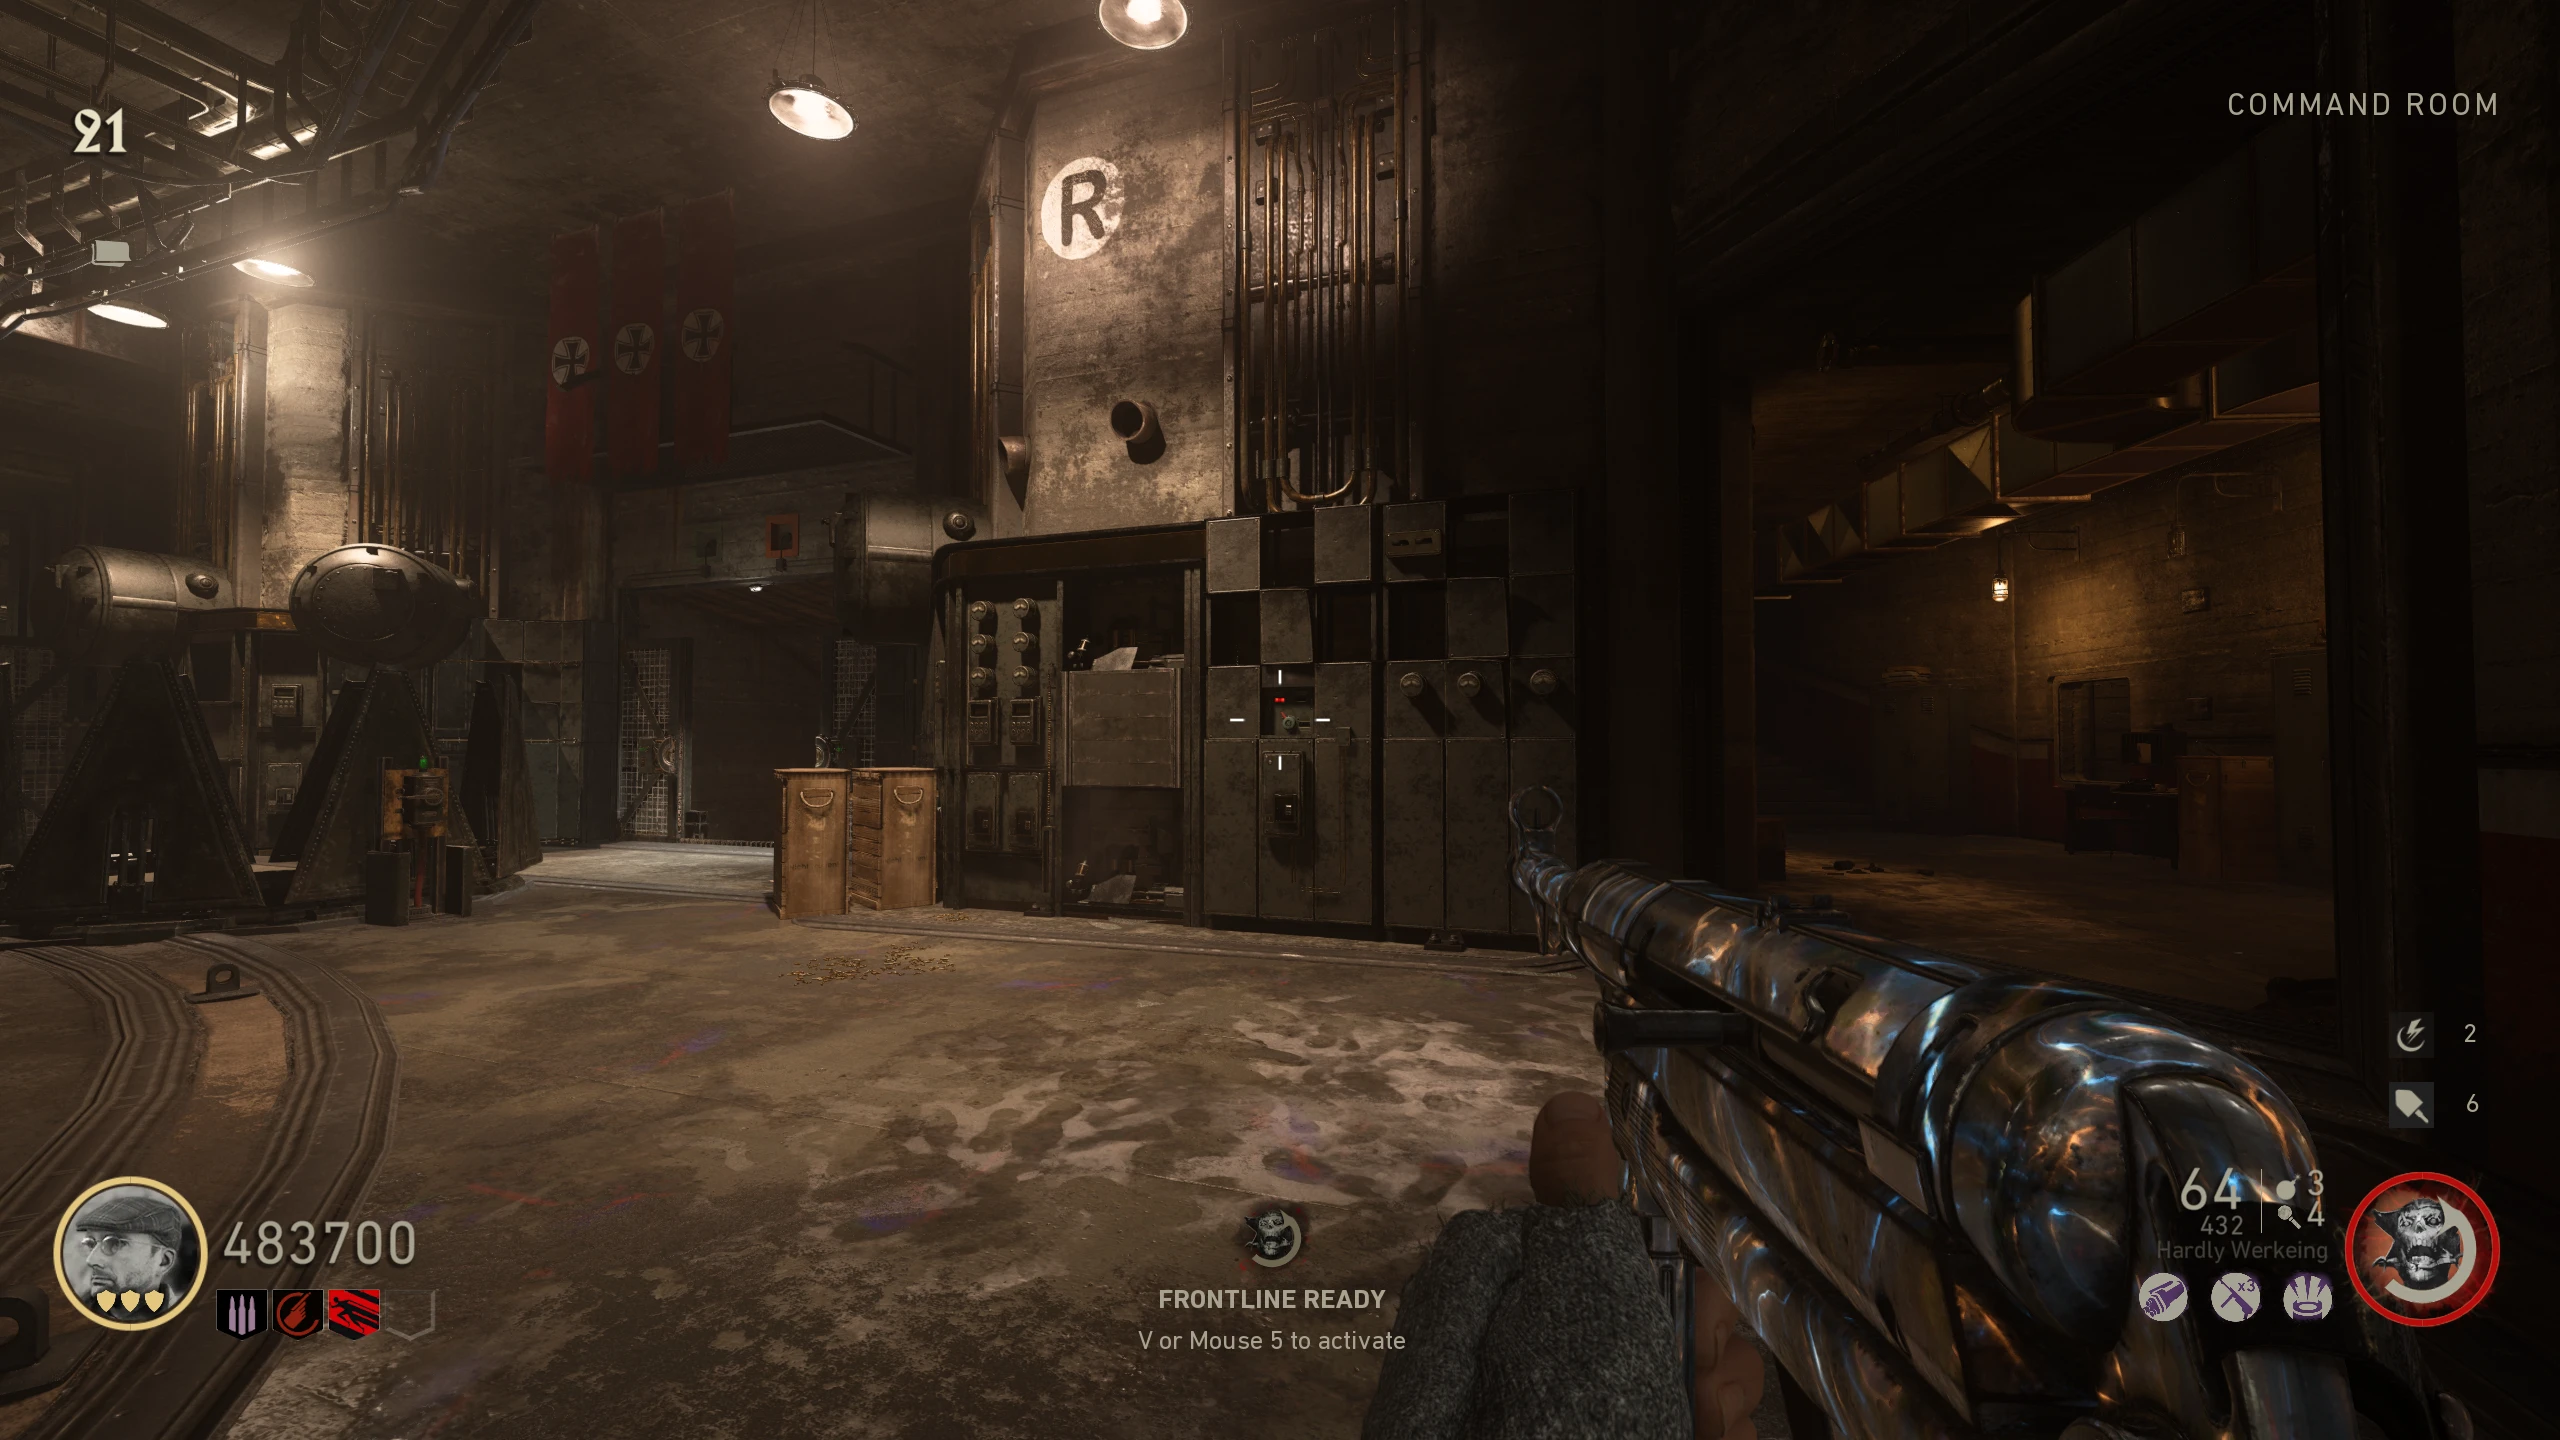
- In the 'Command Room,' to the right of the Salt Mine door, you'll find another power switch; activate it to reveal a set of coils.
- Bring a Brenner head to the 'Command Room.' When ready, shoot the coils with the Tesla Gun. This will turn off the lights for a couple of minutes.
- With the lights off, head to the 'Laboratory.' Just as you enter, on the left a wall slot will be open, with a safe inside. Scan it using a Brenner head. This will allow you to spin the dials on the safe by interacting with them.
- You must interact with the dials on the safe until they're all showing fingerprints. This will open the safe, revealing a piece of a coin for you to pick up.
- There are numbers written on the safe in red. These are red herrings and do not indicate the correct code.
- Repeat this process in the 'Morgue' with the safe to the left when you enter. Scan it with the Brenner head and set the dials. The safe has another piece of the coin inside.
- If the lights come back on before you complete both safes, you can retry the next round, picking up where you left off.
- Once you have both pieces, take them to the base of the Barbarossa statue in the "Emperor's Chamber" and interact with the "hole" in the wall to receive the Red Talon sword.
'Fireworks' Main Quest (Casual Path)
Stats (Solo): Difficulty - 5/10, Est. Completion Time - 40 Mins to 55 Mins
At anytime during this quest, open the scoreboard menu, and, you will see what step you're on at the top left of the screen. The game will also highlight your objective through walls. The guide will be split into these sections, indicated by the bold section headers.
THE WEAPON FORGE
- Craft the Tesla Gun.
THE RIGHT HAND OF GOD
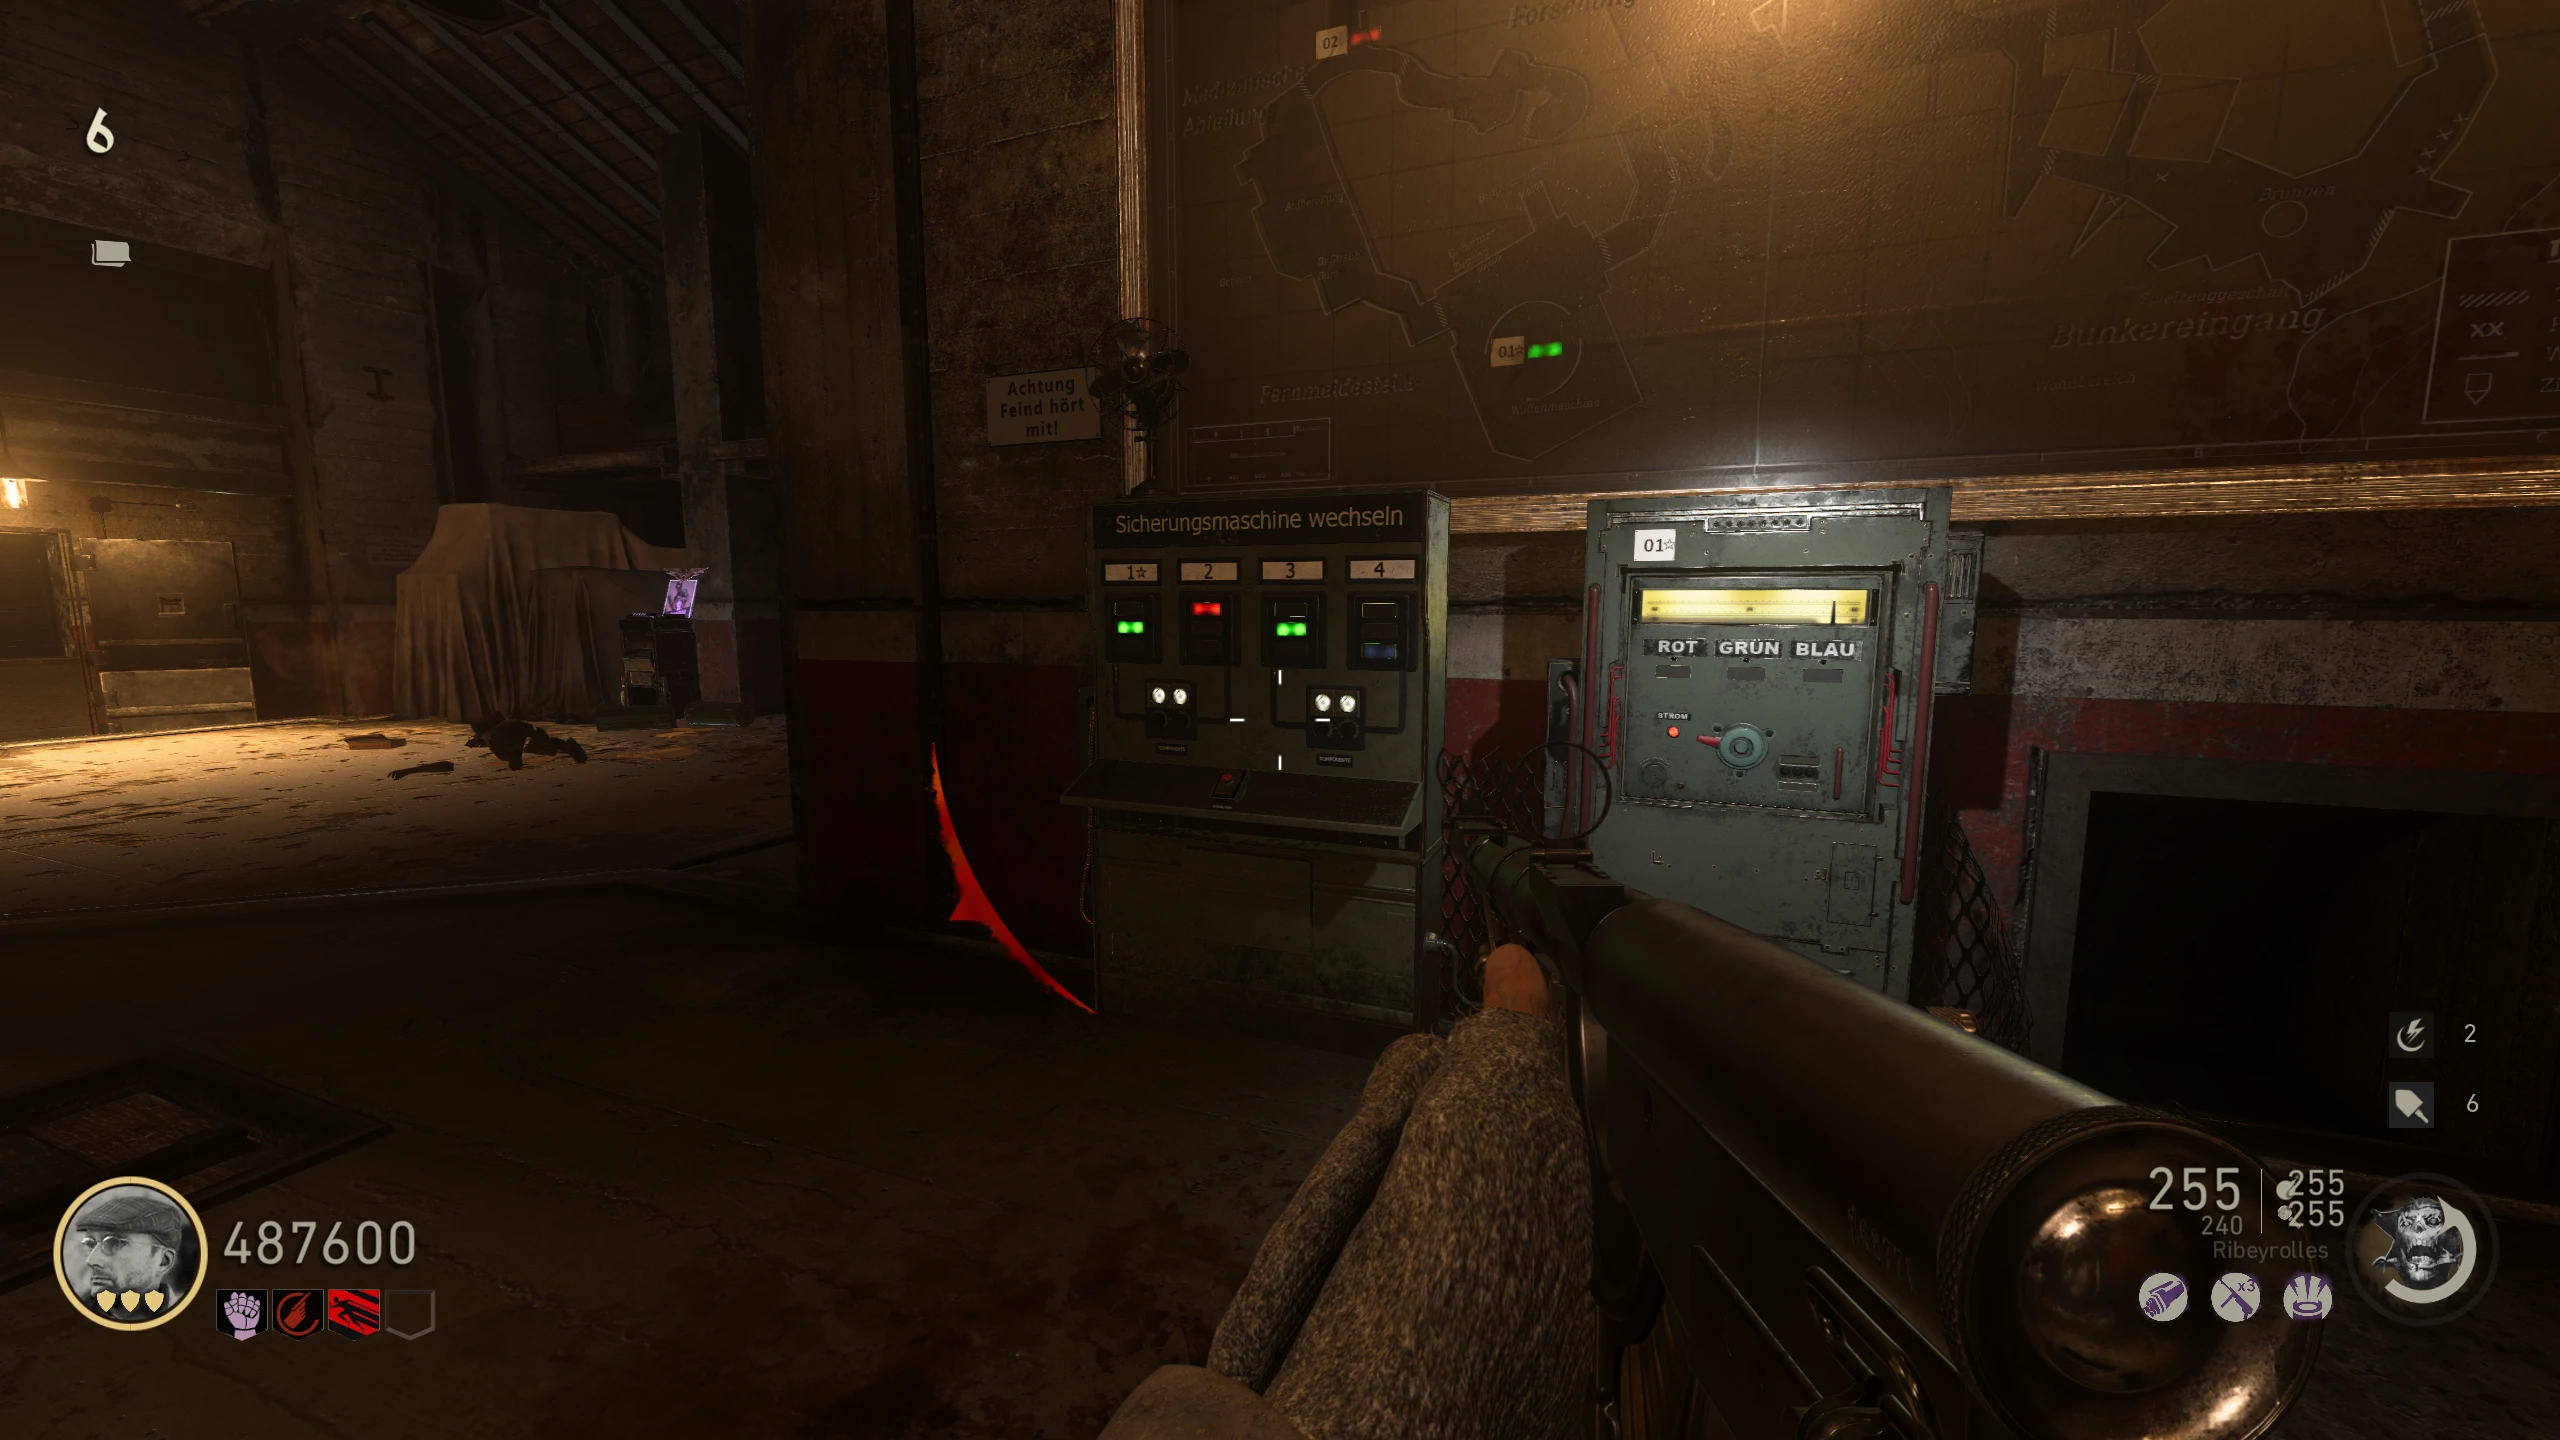
- Behind where the Tesla Gun is built, interact with this machine (Power Grid machine) to activate the power grid. One light in the four columns will turn on (red, green, or blue); note these down, in order.
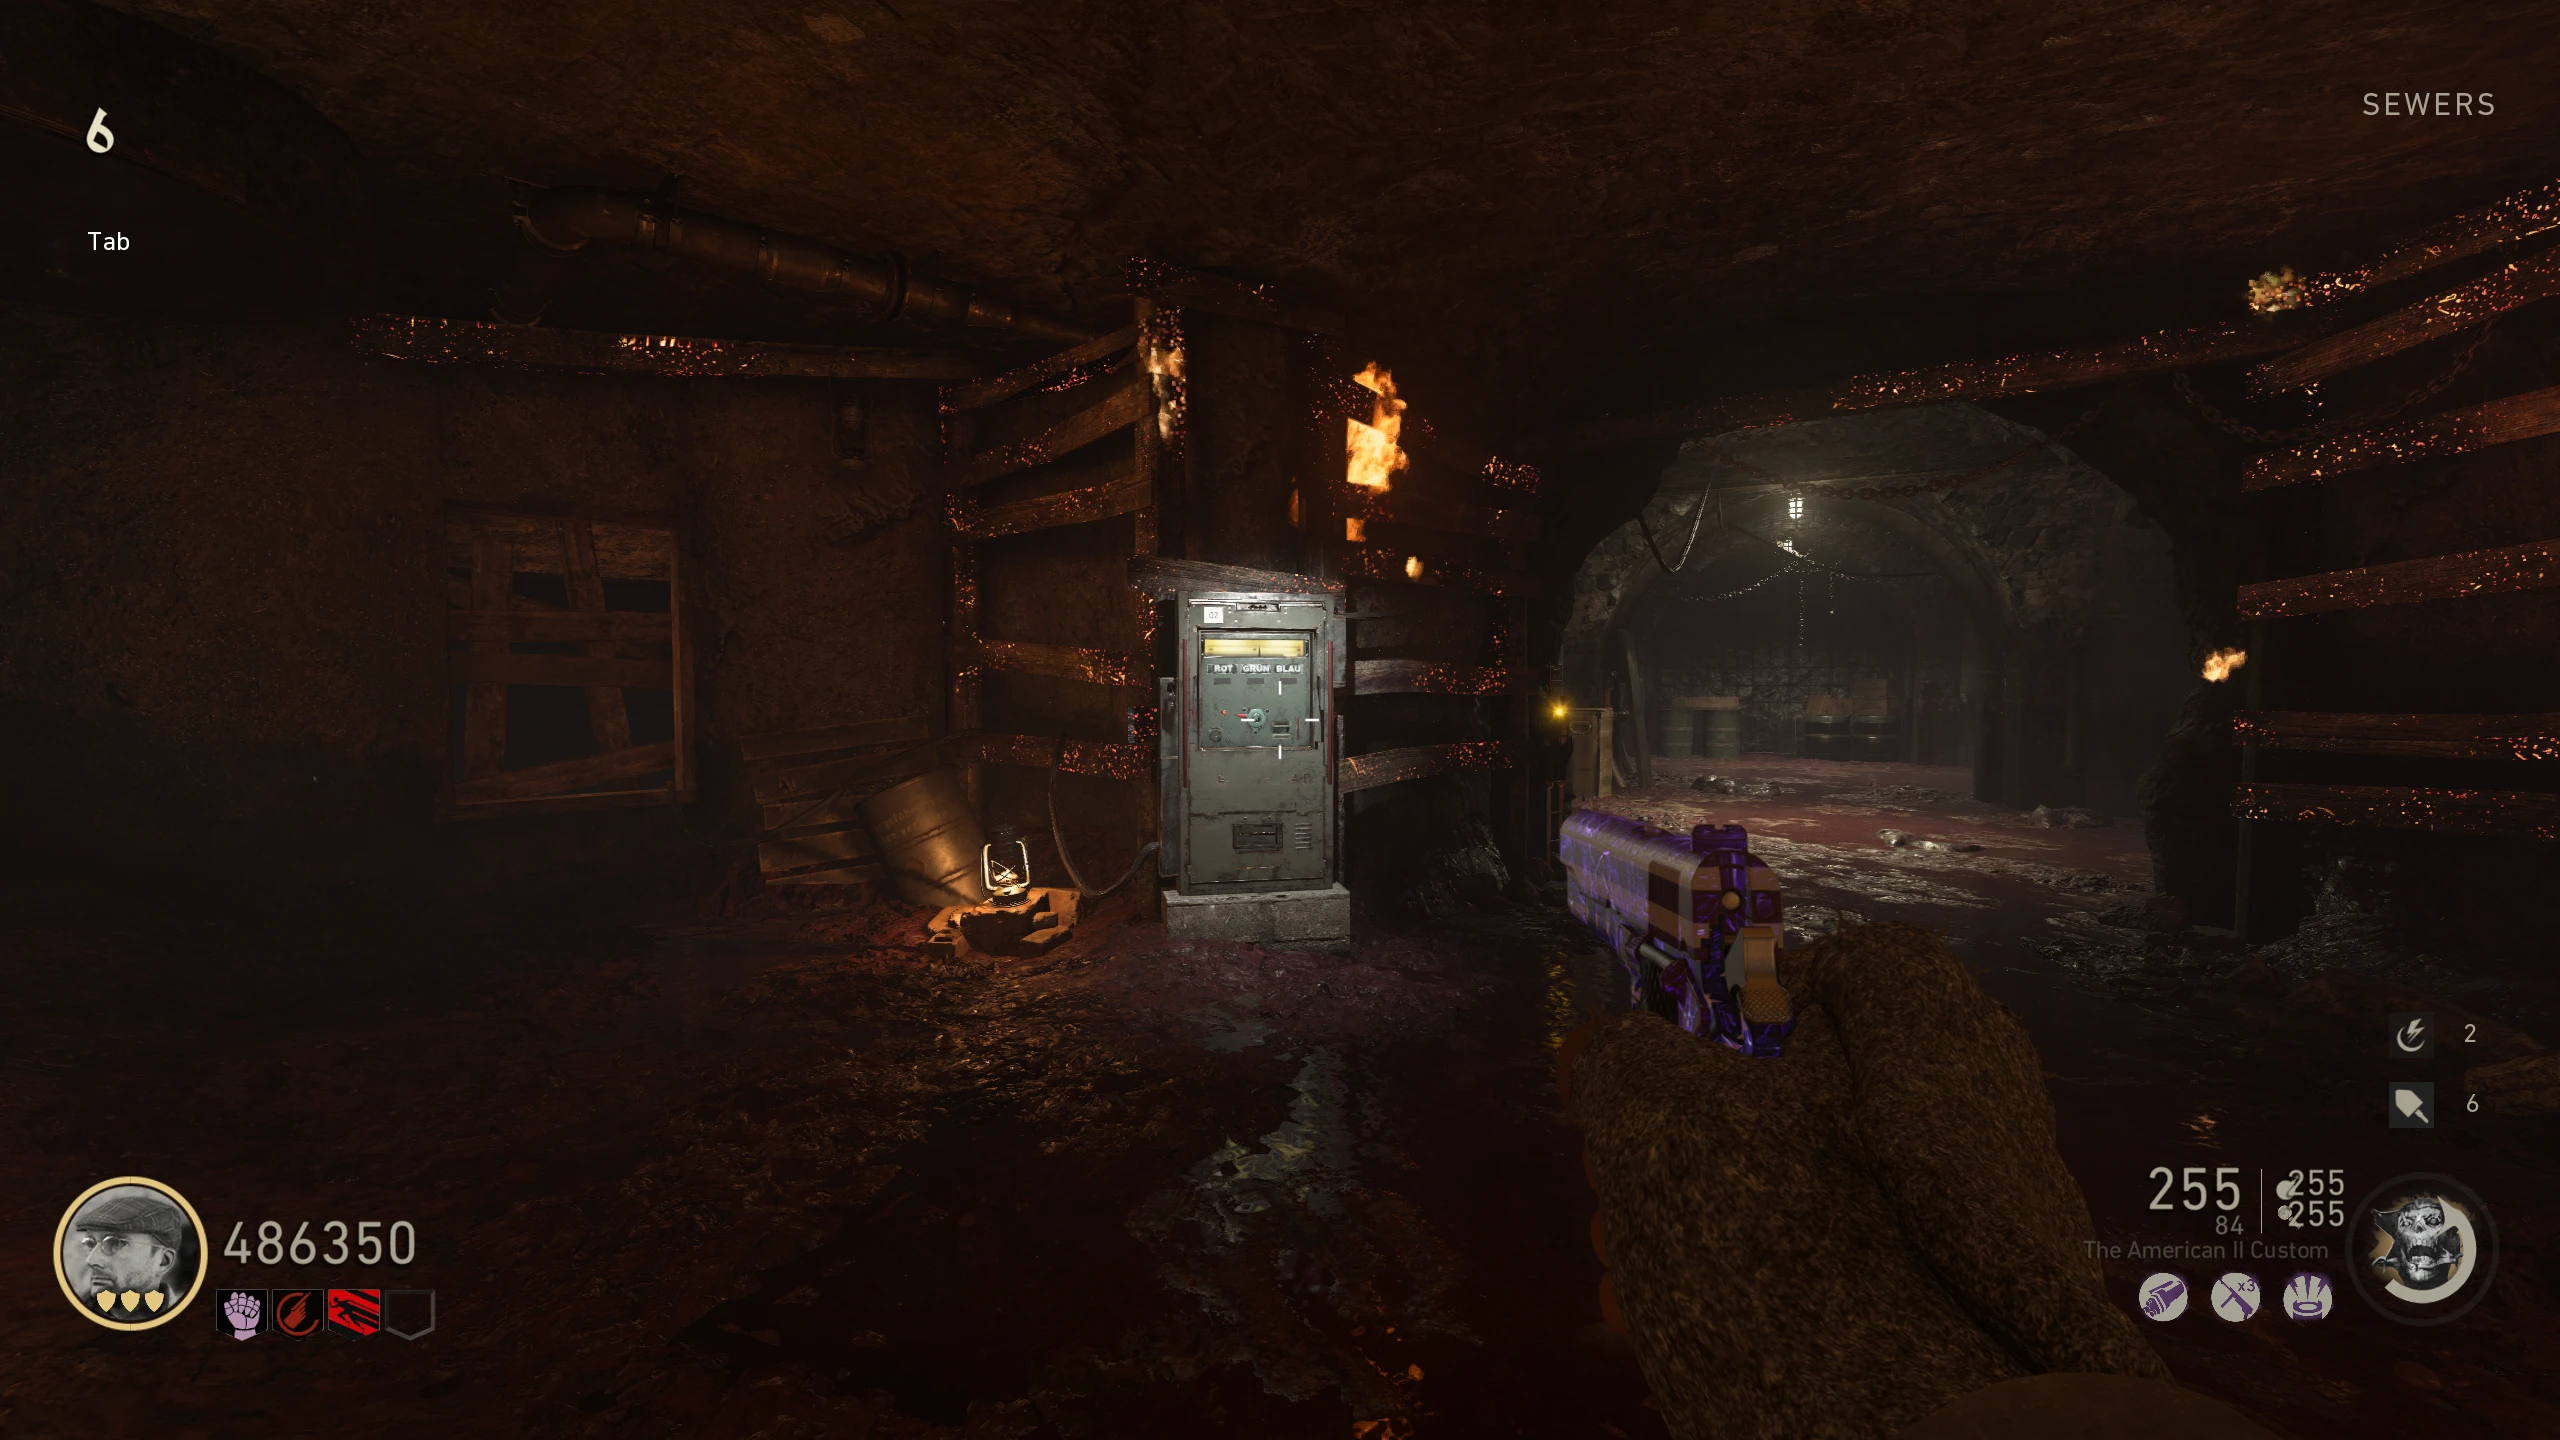
- Around the map, four power boxes need to be set to the correct colour under a time limit. On the power boxes, you will see three options: Rot, Grun, and Blau. These are German for Red, Green, and Blue, in that order. You need to set the power boxes to the indicated colour in the following order. Power box locations:
- Command Room – Right of the Power Grid machine
- Sewers – On the fire trap side of the PAP room
- Sewers – At the other end of the PAP room, through the door to 'Riverside'
- Pub - Beside the door to the 'Tower,' at the back of the 'Pub'
- Go to the 'Tower' and interact with the lever under the middle of the Tower to start slowly raising a lightning rod. A new wave will begin, and you'll need to defend the lever from infinitely spawning Zombies for about 70 seconds. You'll know the step is complete when the on-screen health bar goes away (assuming you didn't fail).
- If the lever takes too much damage, you can restart as soon as the Lightning Rod resets back to the bottom.
- This (and the next) step can be cheesed with the Frontline special ability because when activated, all Zombies anywhere around the map will go after the Player who used Frontline. This means you can activate the lever, run to the Bunker Door, and when the Lightning Rod's Health Bar gets red activate Frontline. This will draw all the Zombies away from the Lightning Rod, and if you activate Frontline at the right time, the Lightning Rod should finish before the Zombies can get back to it.
- After defending the first lever, you must now defend two other levers on either side of the Tower.
- Once all three Lightning Rods are raised, interact with the "Right Hand of God" (the hand on the left) in the "Emperor's Chamber."
THE ZEPPELIN / THE LEFT HAND OF GOD
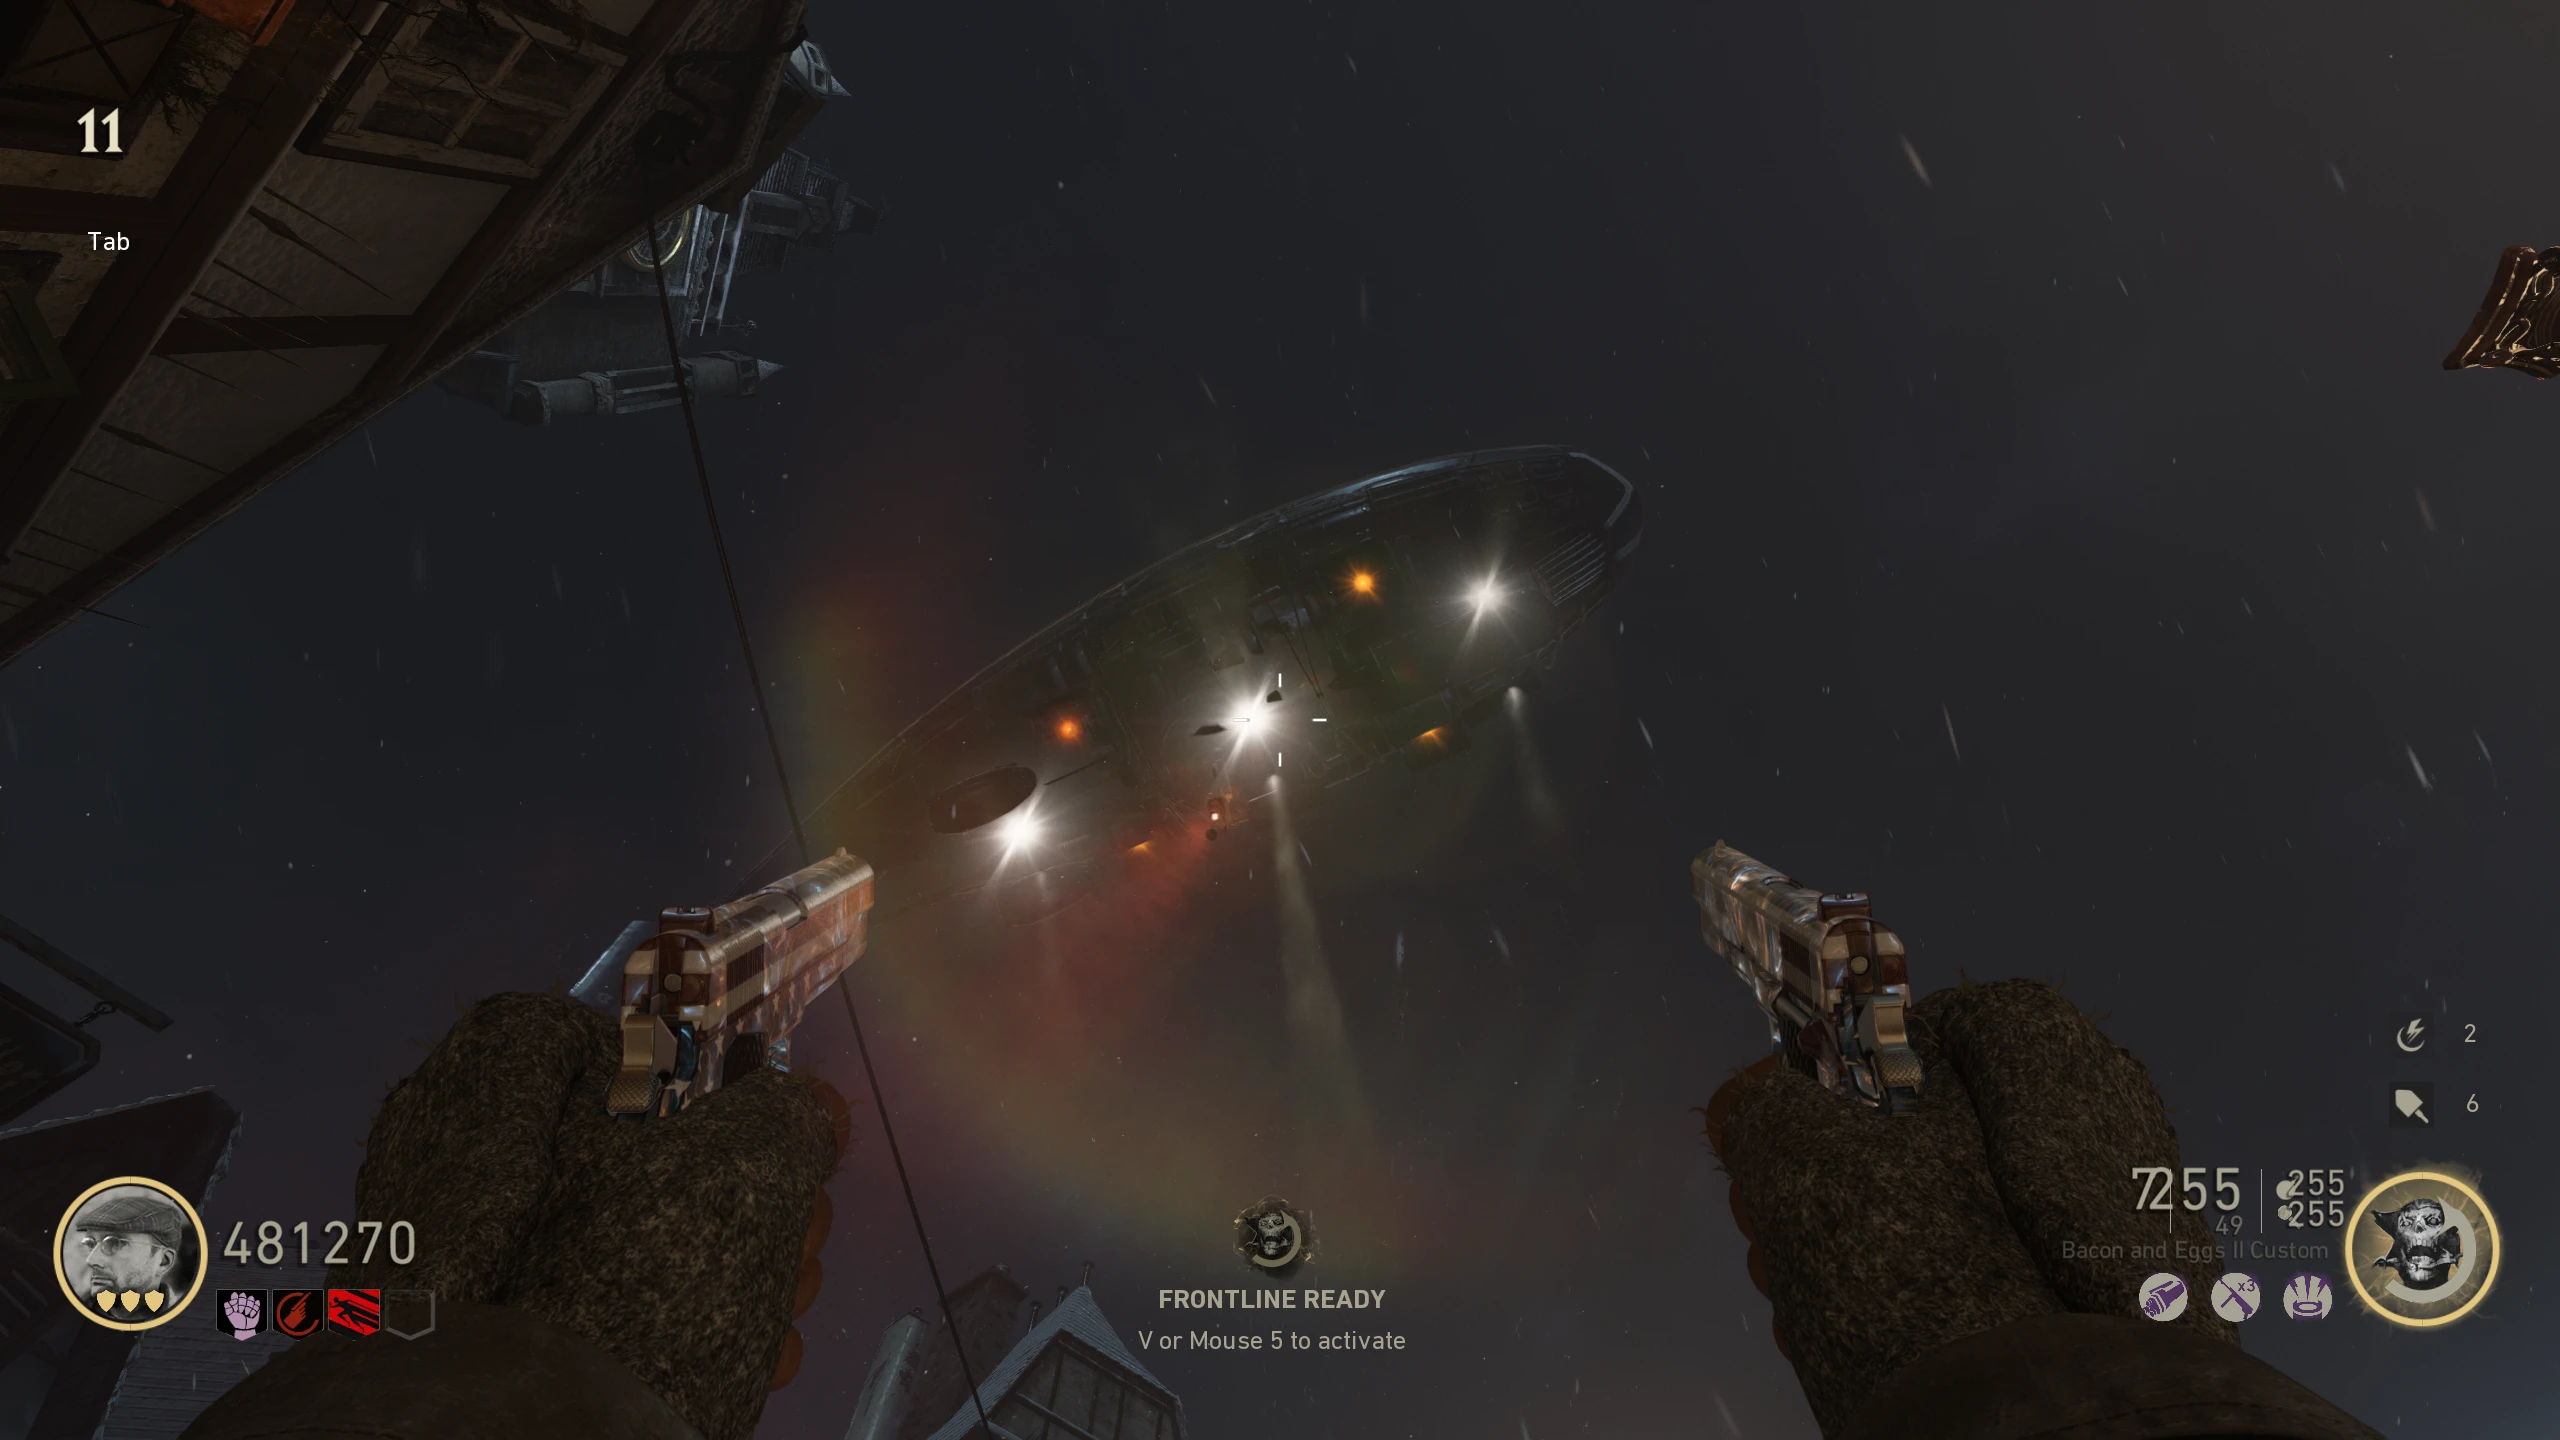
- Outside, there will be a Zeppelin flying around above the Village. When it shoots electricity at you, four yellow lights will appear on the bottom. Shoot one of the lights until the Zeppelin drops a generator. As you do damage to a light, it will go from Yellow to Red, indicating the level of damage taken. Watch for where the generator is falling to.
- Once the generator lands, kill the zombies near it to charge it. When fully charged, the generator will explode, leaving behind a battery. Take the battery to the "Left Hand of God" (the hand on the Right) in the "Emperor's Chamber." The Battery can be dropped and picked up at any time, so drop it if you need to.
- Repeat the previous step two more times; the Zeppelin will respawn as soon as you give the battery to the Left Hand. On the third battery, the Zeppelin will suck the generator back up, and you will have to shoot the lights again to get another generator.
- Once the three batteries are in the Left Hand, interact with it.
THE VOICE OF GOD
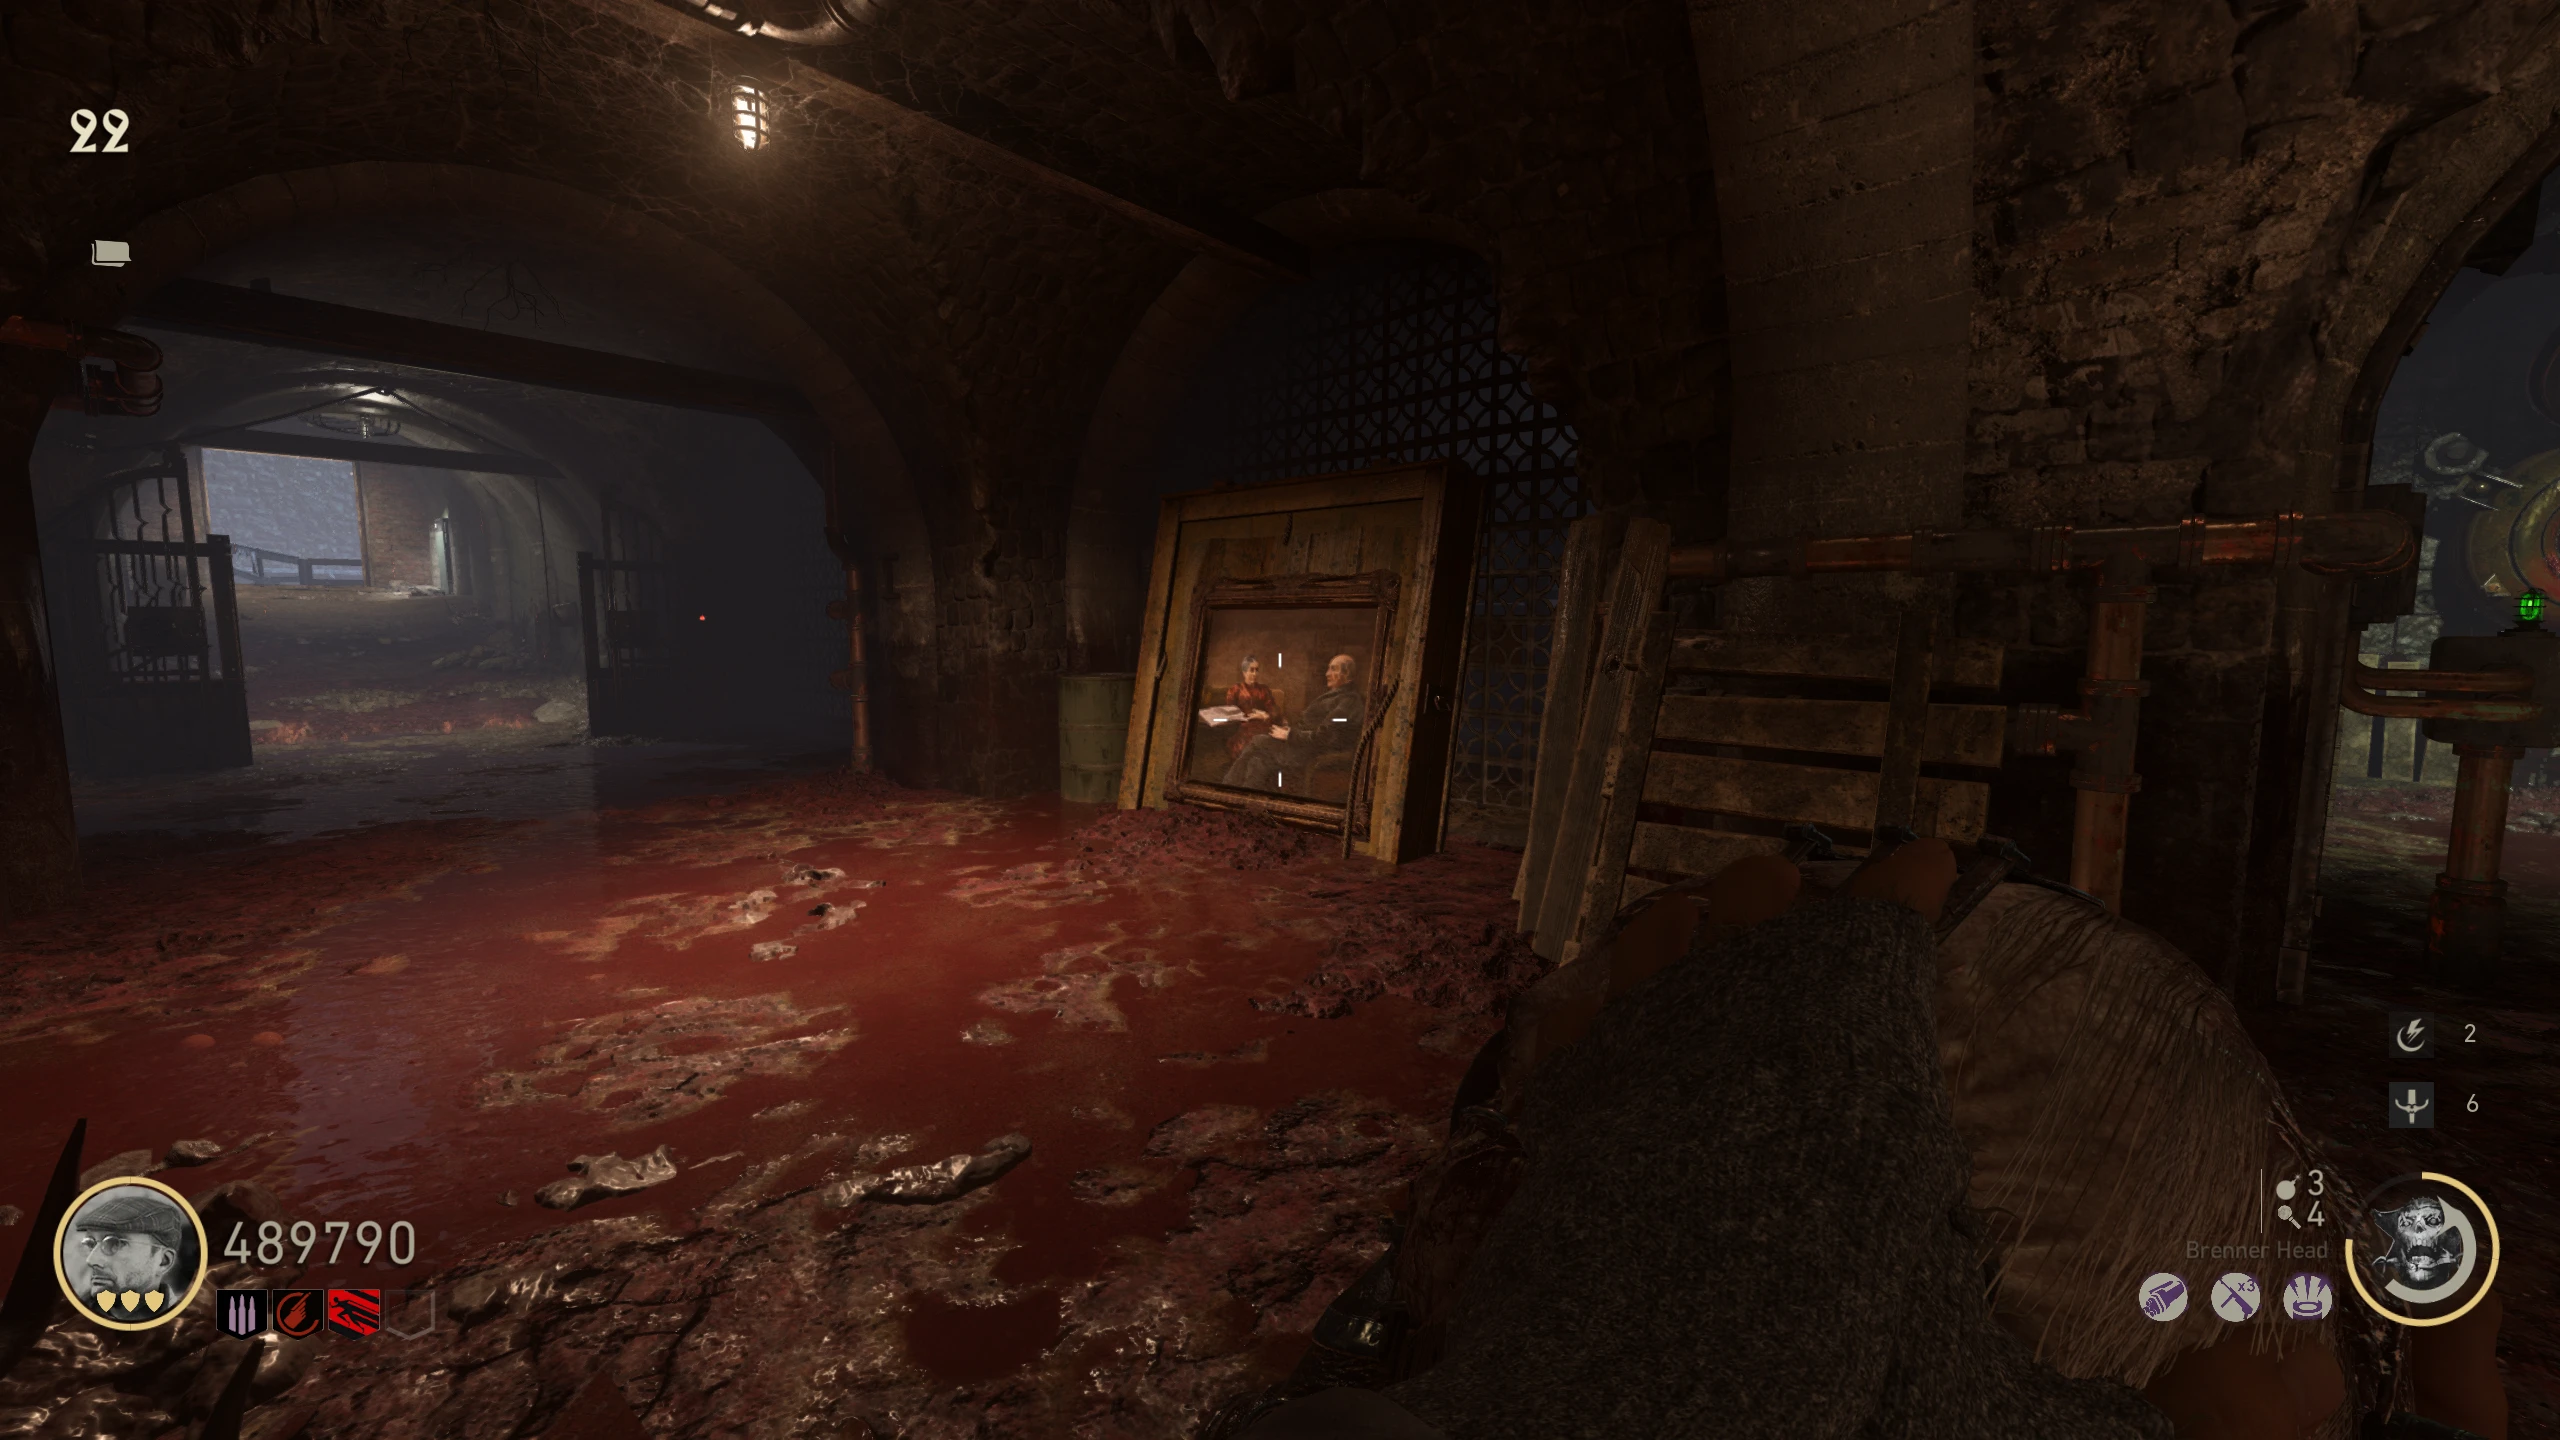
- Around the map, there are four paintings. Using the Brenner's Head, shine the purple light (ADS) on each painting. A bird symbol and a Roman numeral will appear. Record which numeral corresponds to which bird. Painting Locations:
- Once you've recorded all the symbols, go to the machine in front of Barbarossa’s Statue in the "Emperor's Chamber." There are four "pillars" on the machine, each marked with a bird symbol on the top. Set each one to match the Roman numeral associated with its bird.
- Once all pillars are correctly set, press the big red button on the front of the machine.
THE HILT
- If done correctly, sound effects will play and an energy orb will surround the Hilt. Shoot the orb with the Tesla Gun, which allows you to pick up the Hilt.
- Interact with the Hilt to start the Panzermörder boss fight.
Boss Fight / THE PANZERMÖRDER
- All players will be teleported to a slightly modified version of the Village, with the Panzermörder slowly chasing you around, and the Zeppelin flying overhead. The Panzermörder can occasionally charge at you, swinging its arms, dealing massive damage.
- You will need to shoot a generator down from the Zeppelin (same way as during the Main Quest), and charge it.
- Once you have a charged battery, lure the Panzermörder near it. Shoot the Panzermörder to stun it. While stunned, it will drop to one knee, and you can attach the battery to it.
- After you attach a battery, the Panzermörder will leave the arena, and Zombies will start spawning. You don't need to kill the Zombies, just wait for the Panzermörder to return after a few minutes.
- Repeat until three batteries are attached. This will end the Boss Fight.
'Dark Reunion' Main Quest (Hardcore Path)
Stats (Solo): Difficulty - 6/10, Est. Completion Time - 1:30 to 1:45 Hrs
The "Hardcore Path" is an altered, more complicated version of the "Casual Path." The Hardcore path consists of multiple sections that (for the most part) can be done at the same time/anytime. These sections being the (entire) Casual Path up until just before the boss fight, obtain the four upgraded Tesla Guns, and obtain the Red Talon Sword/get the second set of voices. I will place these section in the guide where I think you should start them, but you can do whatever, whenever.
THE WEAPON FORGE
- Craft the Tesla Gun.
THE RIGHT HAND OF GOD
- Behind where the Tesla Gun is built, interact with this machine (Power Grid machine) to activate the power grid. One light in the four columns will turn on (red, green, or blue); note these down, in order.
- Around the map, four power boxes need to be set to the correct colour under a time limit. On the power boxes, you will see three options: Rot, Grun, and Blau. These are German for Red, Green, and Blue, in that order. You need to set the power boxes to the indicated colour in the following order. Power box locations:
- Command Room – Right of the Power Grid machine
- Sewers – On the fire trap side of the PAP room
- Sewers – At the other end of the PAP room, through the door to 'Riverside'
- Pub - Beside the door to the 'Tower,' at the back of the 'Pub'
- Go to the 'Tower' and interact with the lever under the middle of the Tower to start slowly raising a lightning rod. A new wave will begin, and you'll need to defend the lever from infinitely spawning Zombies. You'll know the step is complete when the on-screen health bar goes away (assuming you didn't fail).
- If the lever takes too much damage, you can restart as soon as the Lightning Rod resets back to the bottom.
- This (and the next) step can be cheesed with the Frontline special ability because when activated, all Zombies anywhere around the map will go after the Player who used Frontline. This means you can activate the lever, run to the Bunker Door, and when the Lightning Rod's Health Bar gets red activate Frontline. This will draw all the Zombies away from the Lightning Rod, and if you activate Frontline at the right time, the Lightning Rod should finish before the Zombies can get back to it.
- After defending the first lever, you must now defend two other levers on either side of the Tower.
- Once all three Lightning Rods are raised, interact with the "Right Hand of God" (the hand on the left) in the "Emperor's Chamber."
Tesla Gun Upgrades
- Start working on obtaining all four Tesla Gun upgrades, Bloodthirst, Reaper, Midnight, and Hurricane. These aren't required until the end of the Quest, but you should start now.
THE ZEPPELIN / THE LEFT HAND OF GOD
- Outside, there will be a Zeppelin flying around above the Village. When it shoots electricity at you, four yellow lights will appear on the bottom. Shoot one of the lights until the Zeppelin drops a generator. As you do damage to a light, it will go from Yellow to Red, indicating the level of damage taken. Watch for where the generator is falling to.
- Once the generator lands, kill the zombies near it to charge it. When fully charged, the generator will explode, leaving behind a battery. Take the battery to the "Left Hand of God" (the hand on the Right) in the "Emperor's Chamber." The Battery can be dropped and picked up at any time, so drop it if you need to.
- Repeat the previous step two more times. On the third battery, the Zeppelin will suck the generator back up, and you will have to shoot the lights again to get another generator.
- Once the three batteries are in the Left Hand, interact with it.
THE VOICE OF GOD
- Around the map, there are four paintings. Using the Brenner's Head, shine the purple light (ADS) on each painting. A bird symbol and a Roman numeral will appear. Record which numeral corresponds to which bird. Painting Locations:
- Once you've recorded all the symbols, go to the machine in front of Barbarossa’s Statue in the "Emperor's Chamber." There are four "pillars" on the machine, each marked with a bird symbol on the top. Set each one to match the Roman numeral associated with its bird.
- Once all pillars are correctly set, press the big red button on the front of the machine. If done correctly, sound effects will play and an energy orb will surround the Hilt.
Record Player / Second Set of Voices
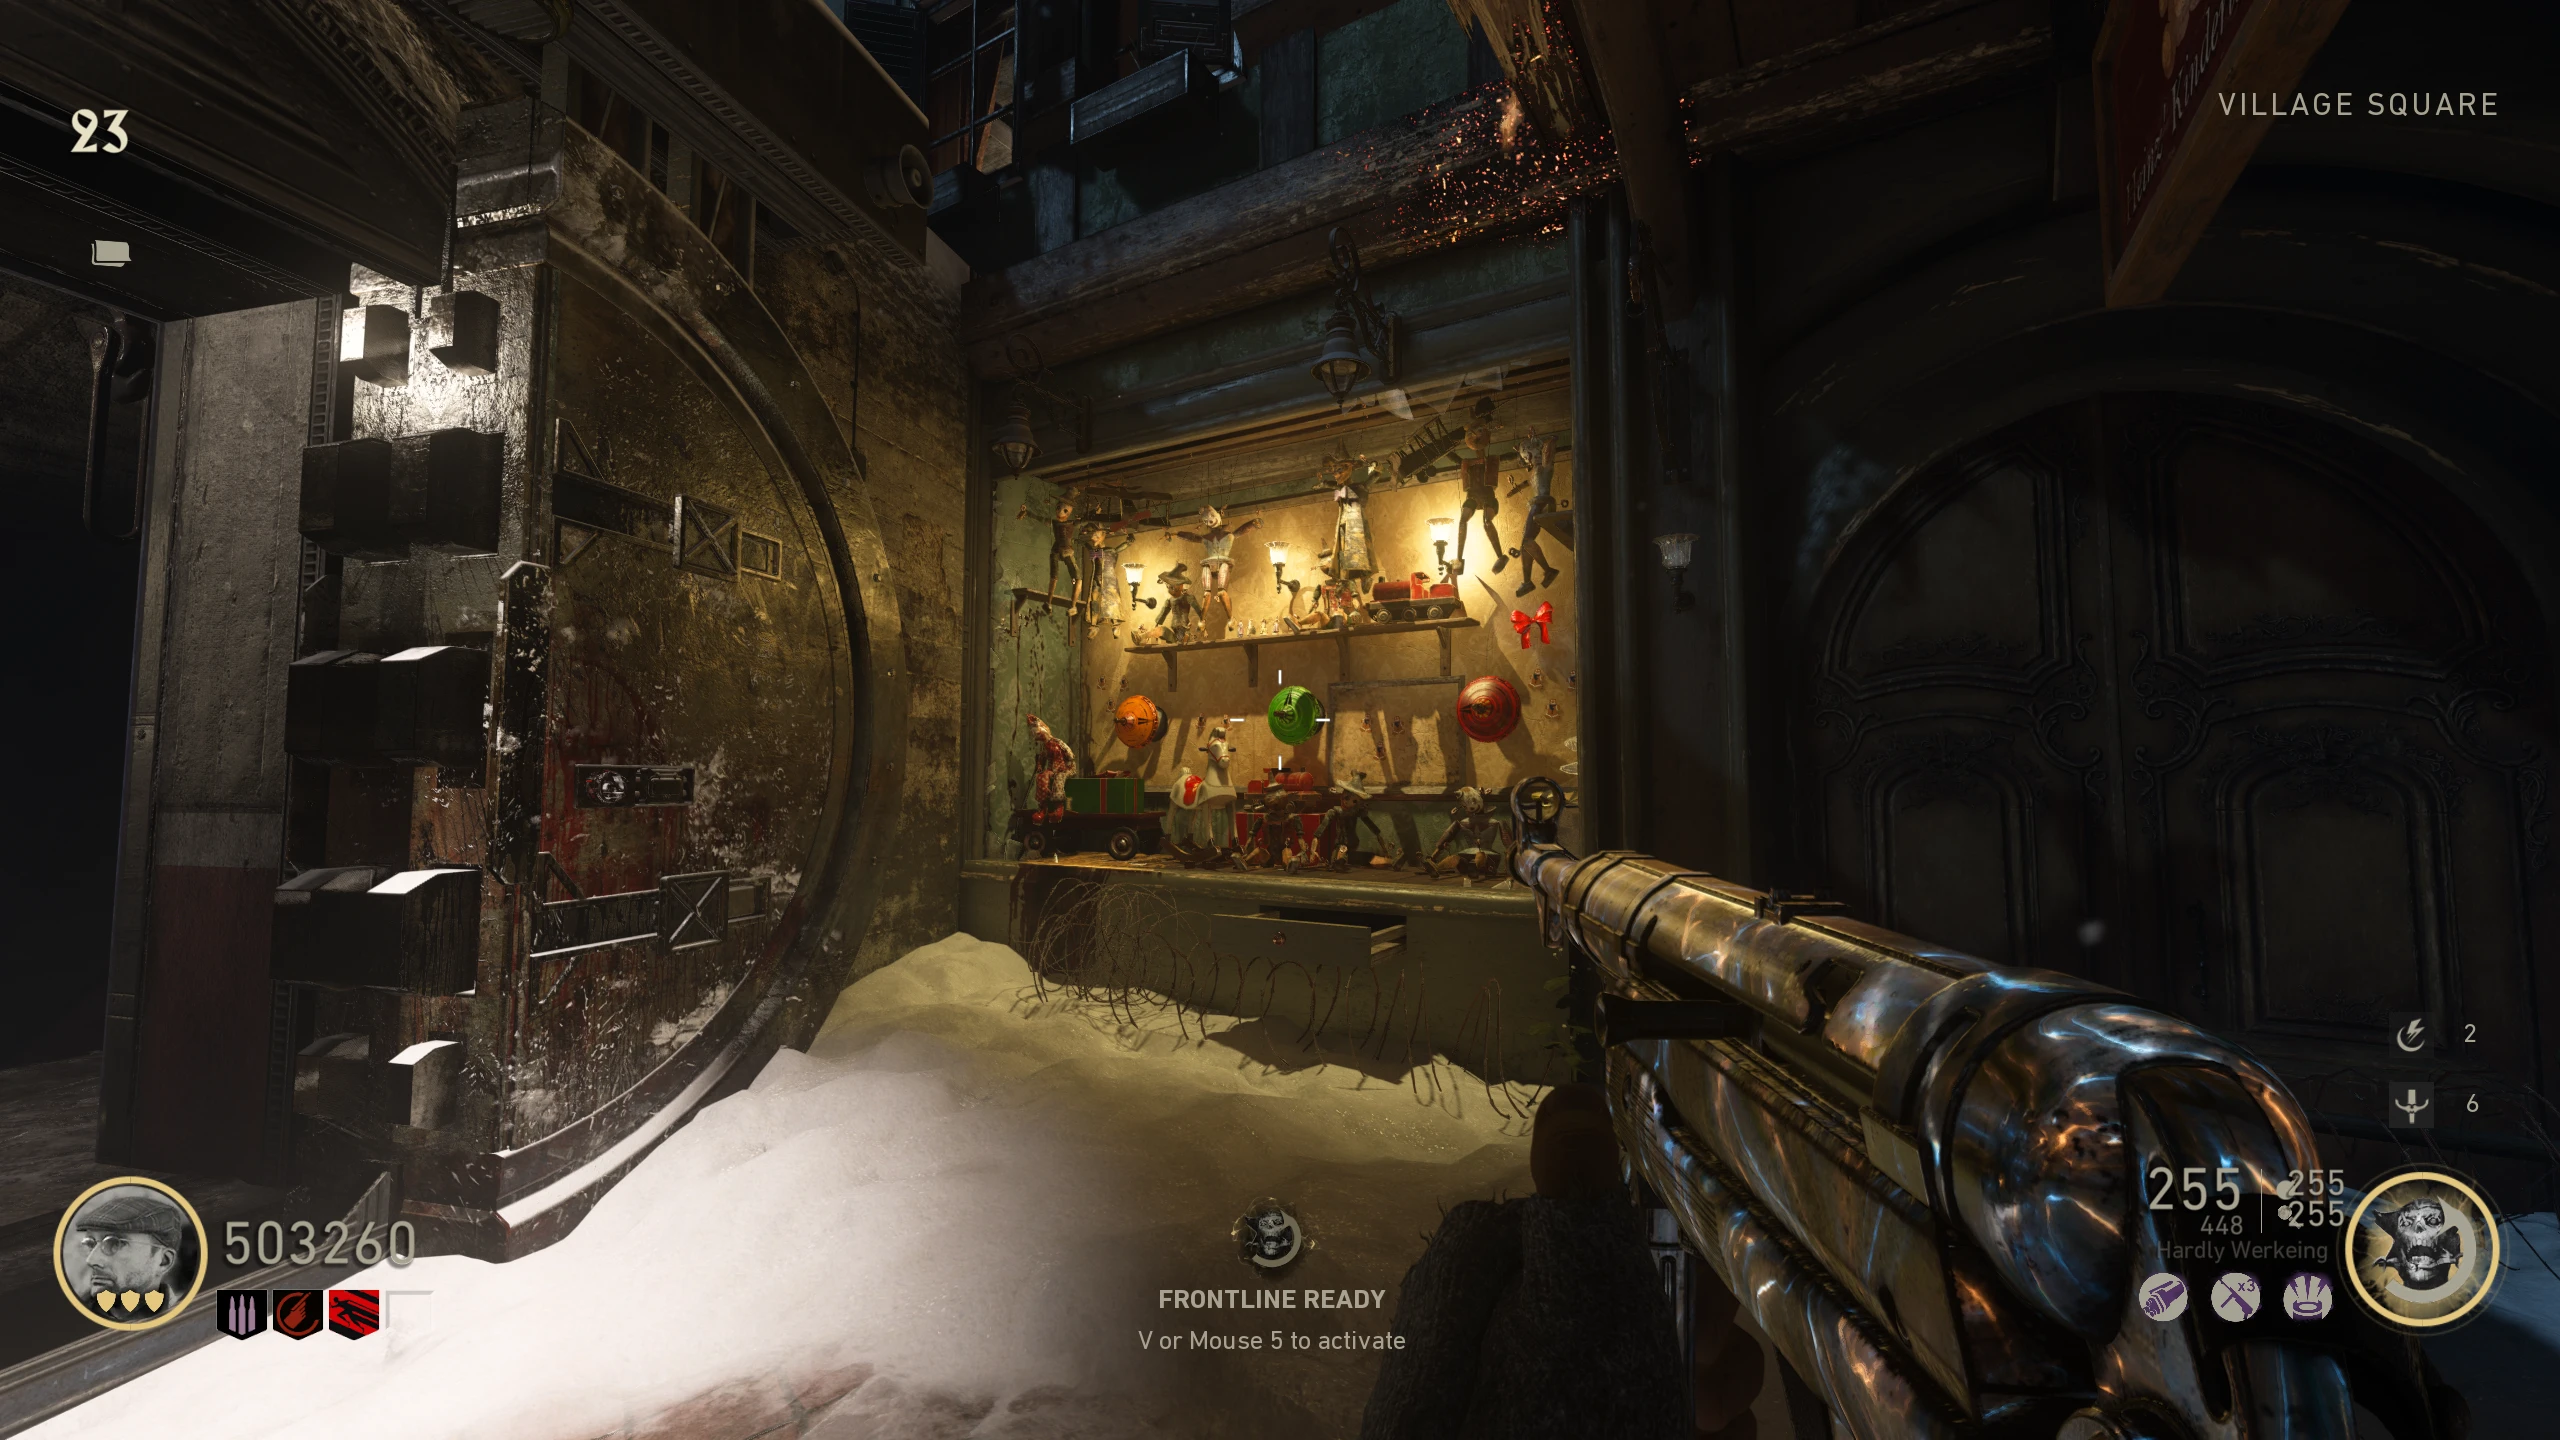
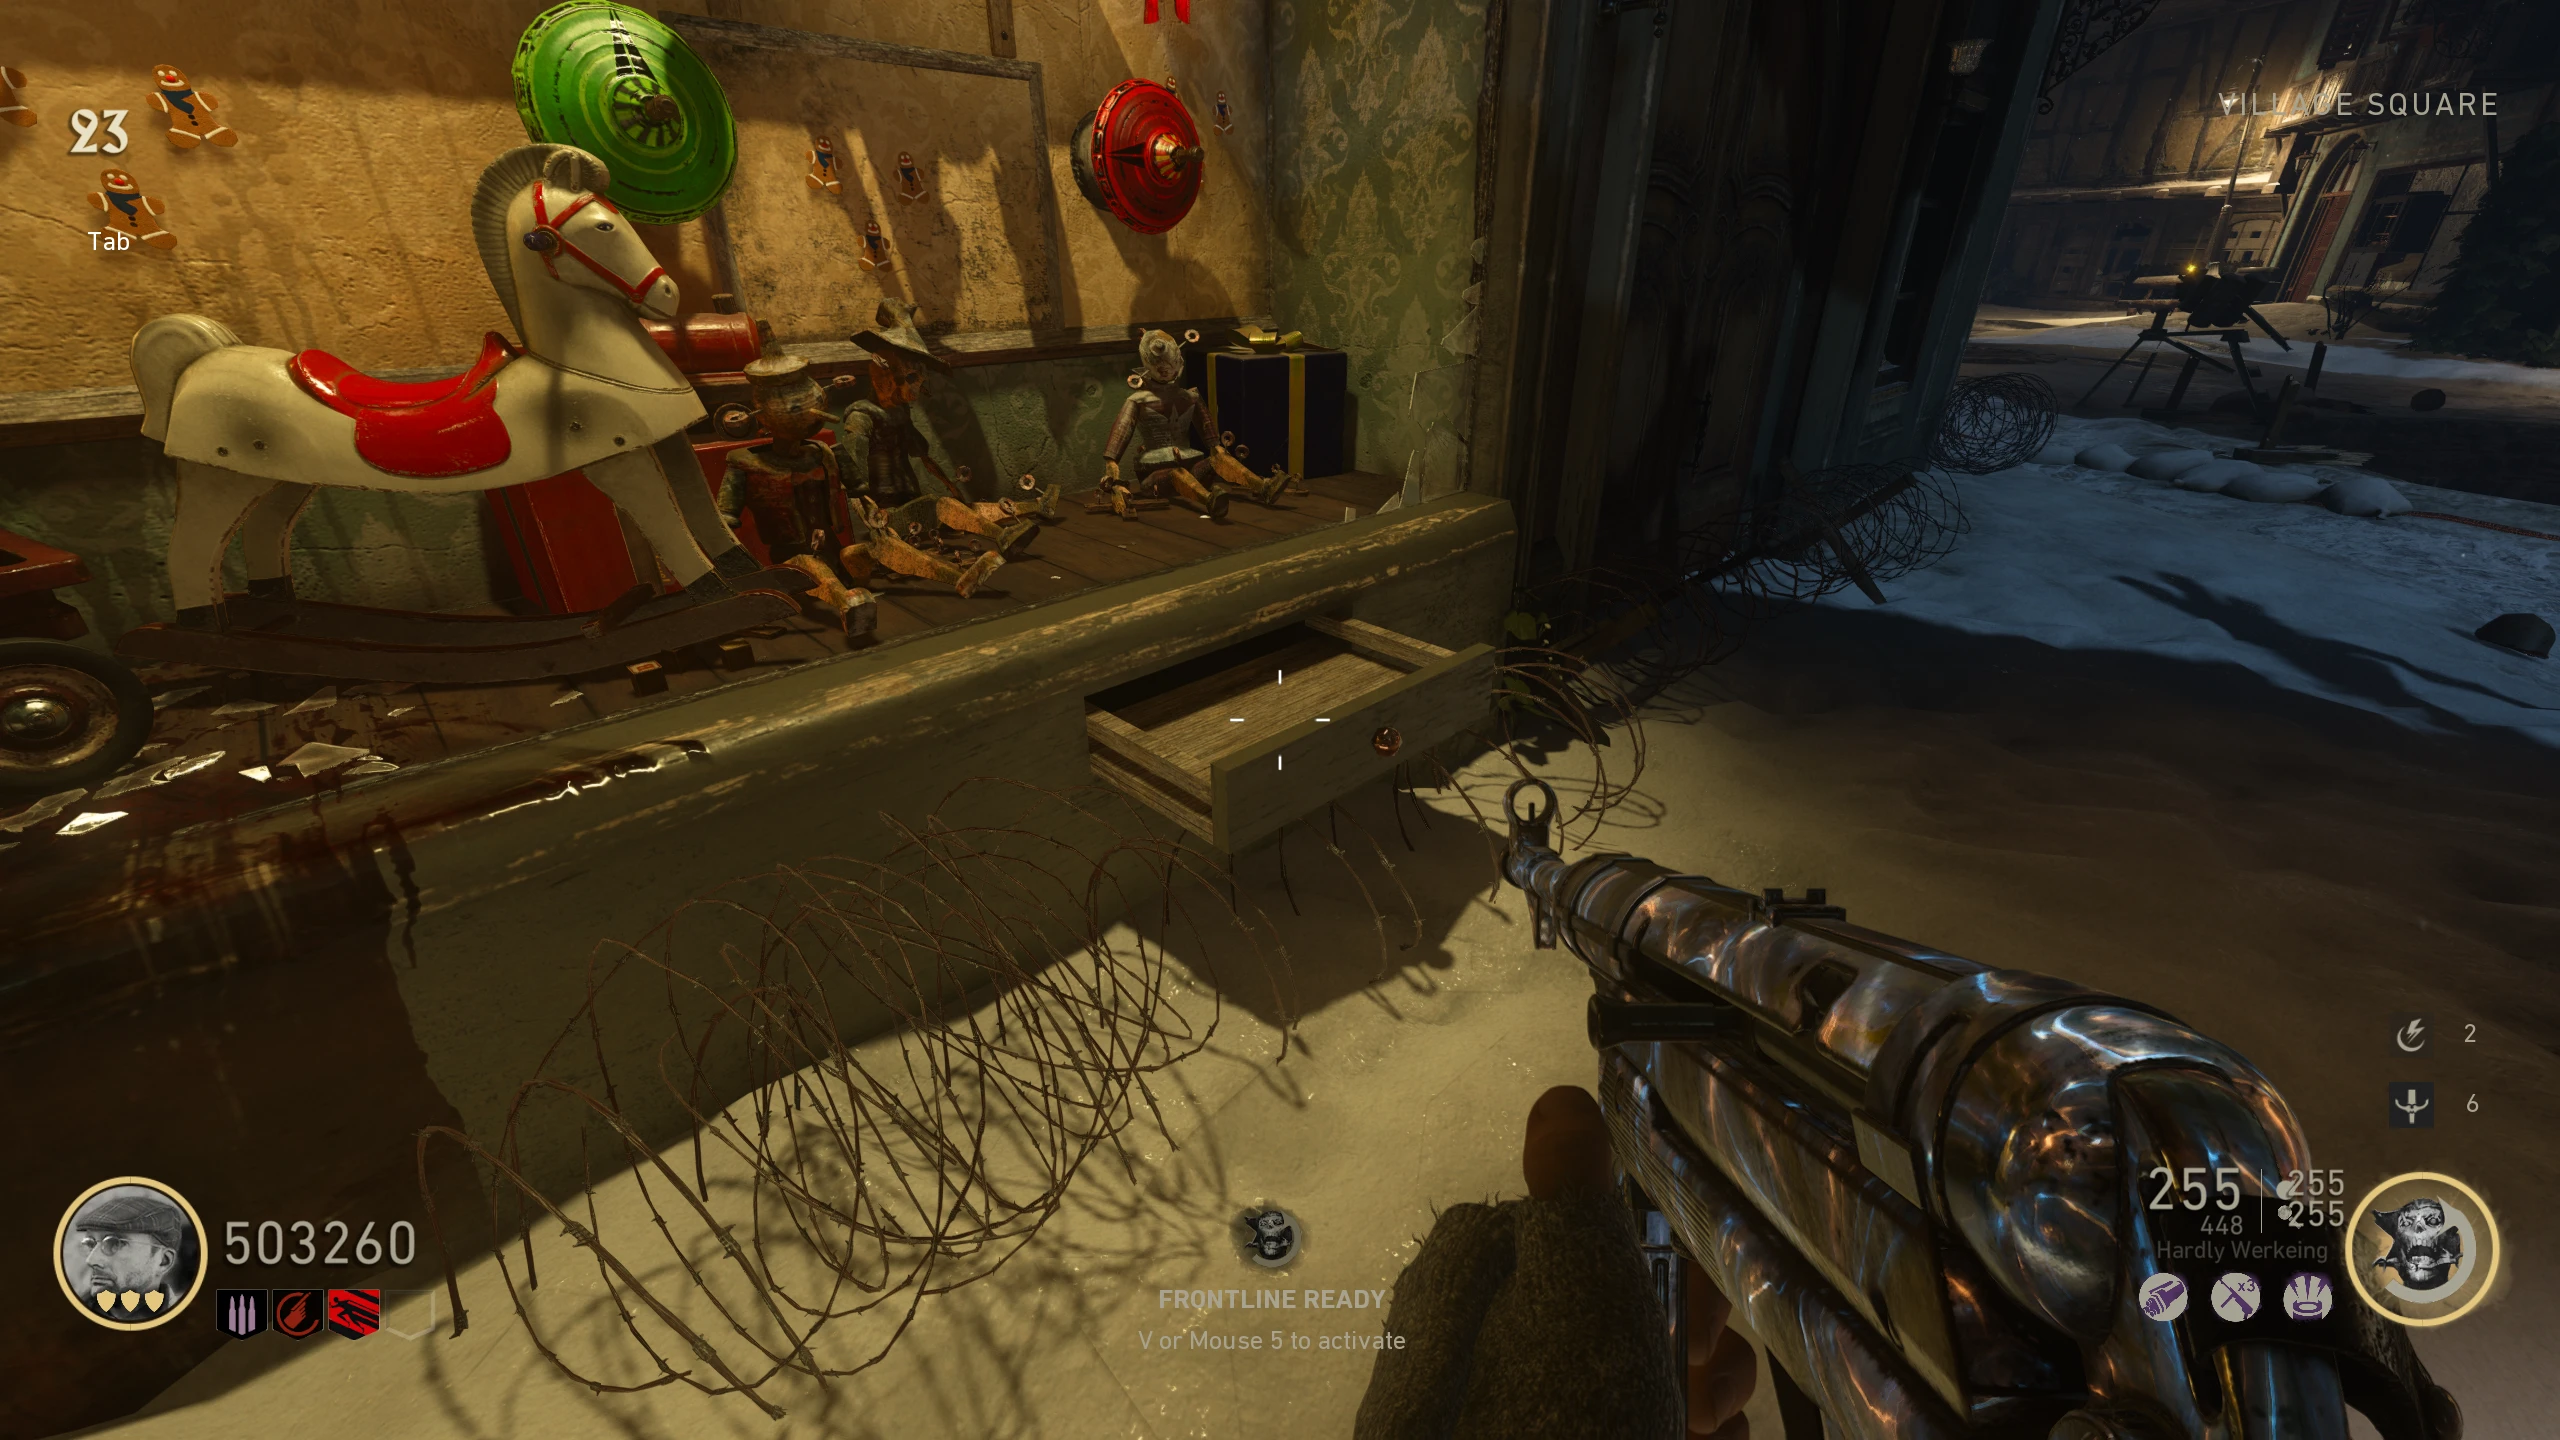
- Around the Village, there are three different colour "keepsakes" up on buildings. These keepsakes look like large wooden spinning tops. You need to shoot them to make them fall, so you can pick them up. Spawn locations:
- Once you have all three keepsakes, you must find two code machines around the Village/Bunker. There is a third code machine, the green one, but it is annoying to get and not required since you can guess the green number easily. These machines display a number and have a coloured bow on them. This indicates the number associated with that colour keepsake. Locations:
- Yellow
- Red
- Green (not required)
- Activate the Pilot Trap, jump in, and wait for it to launch you at Klaus' shop. Hold the interact button on the wall. If done correctly, the green (it has a blue bow for some reason) machine will fall to the ground beside the trap activation machine.
- Once you have two of the three codes, place the keepsakes on the wall left of the Bunker Door in the 'Village Square.' The black arrow on the keepsakes indicates a number, with the top being 0/12 (it's a clock).
- Spin the keepsakes till they're on the numbers indicated by the code machines. Once you set two of the keepsakes (and if you didn't get the third code), keep spinning the last one till it doesn't spin anymore.
- If the last one keeps spinning, it means one of the others wasn't set properly.
- Once all three keepsakes are set properly, a drawer should open below the keepsakes with a Record inside; pick it up.
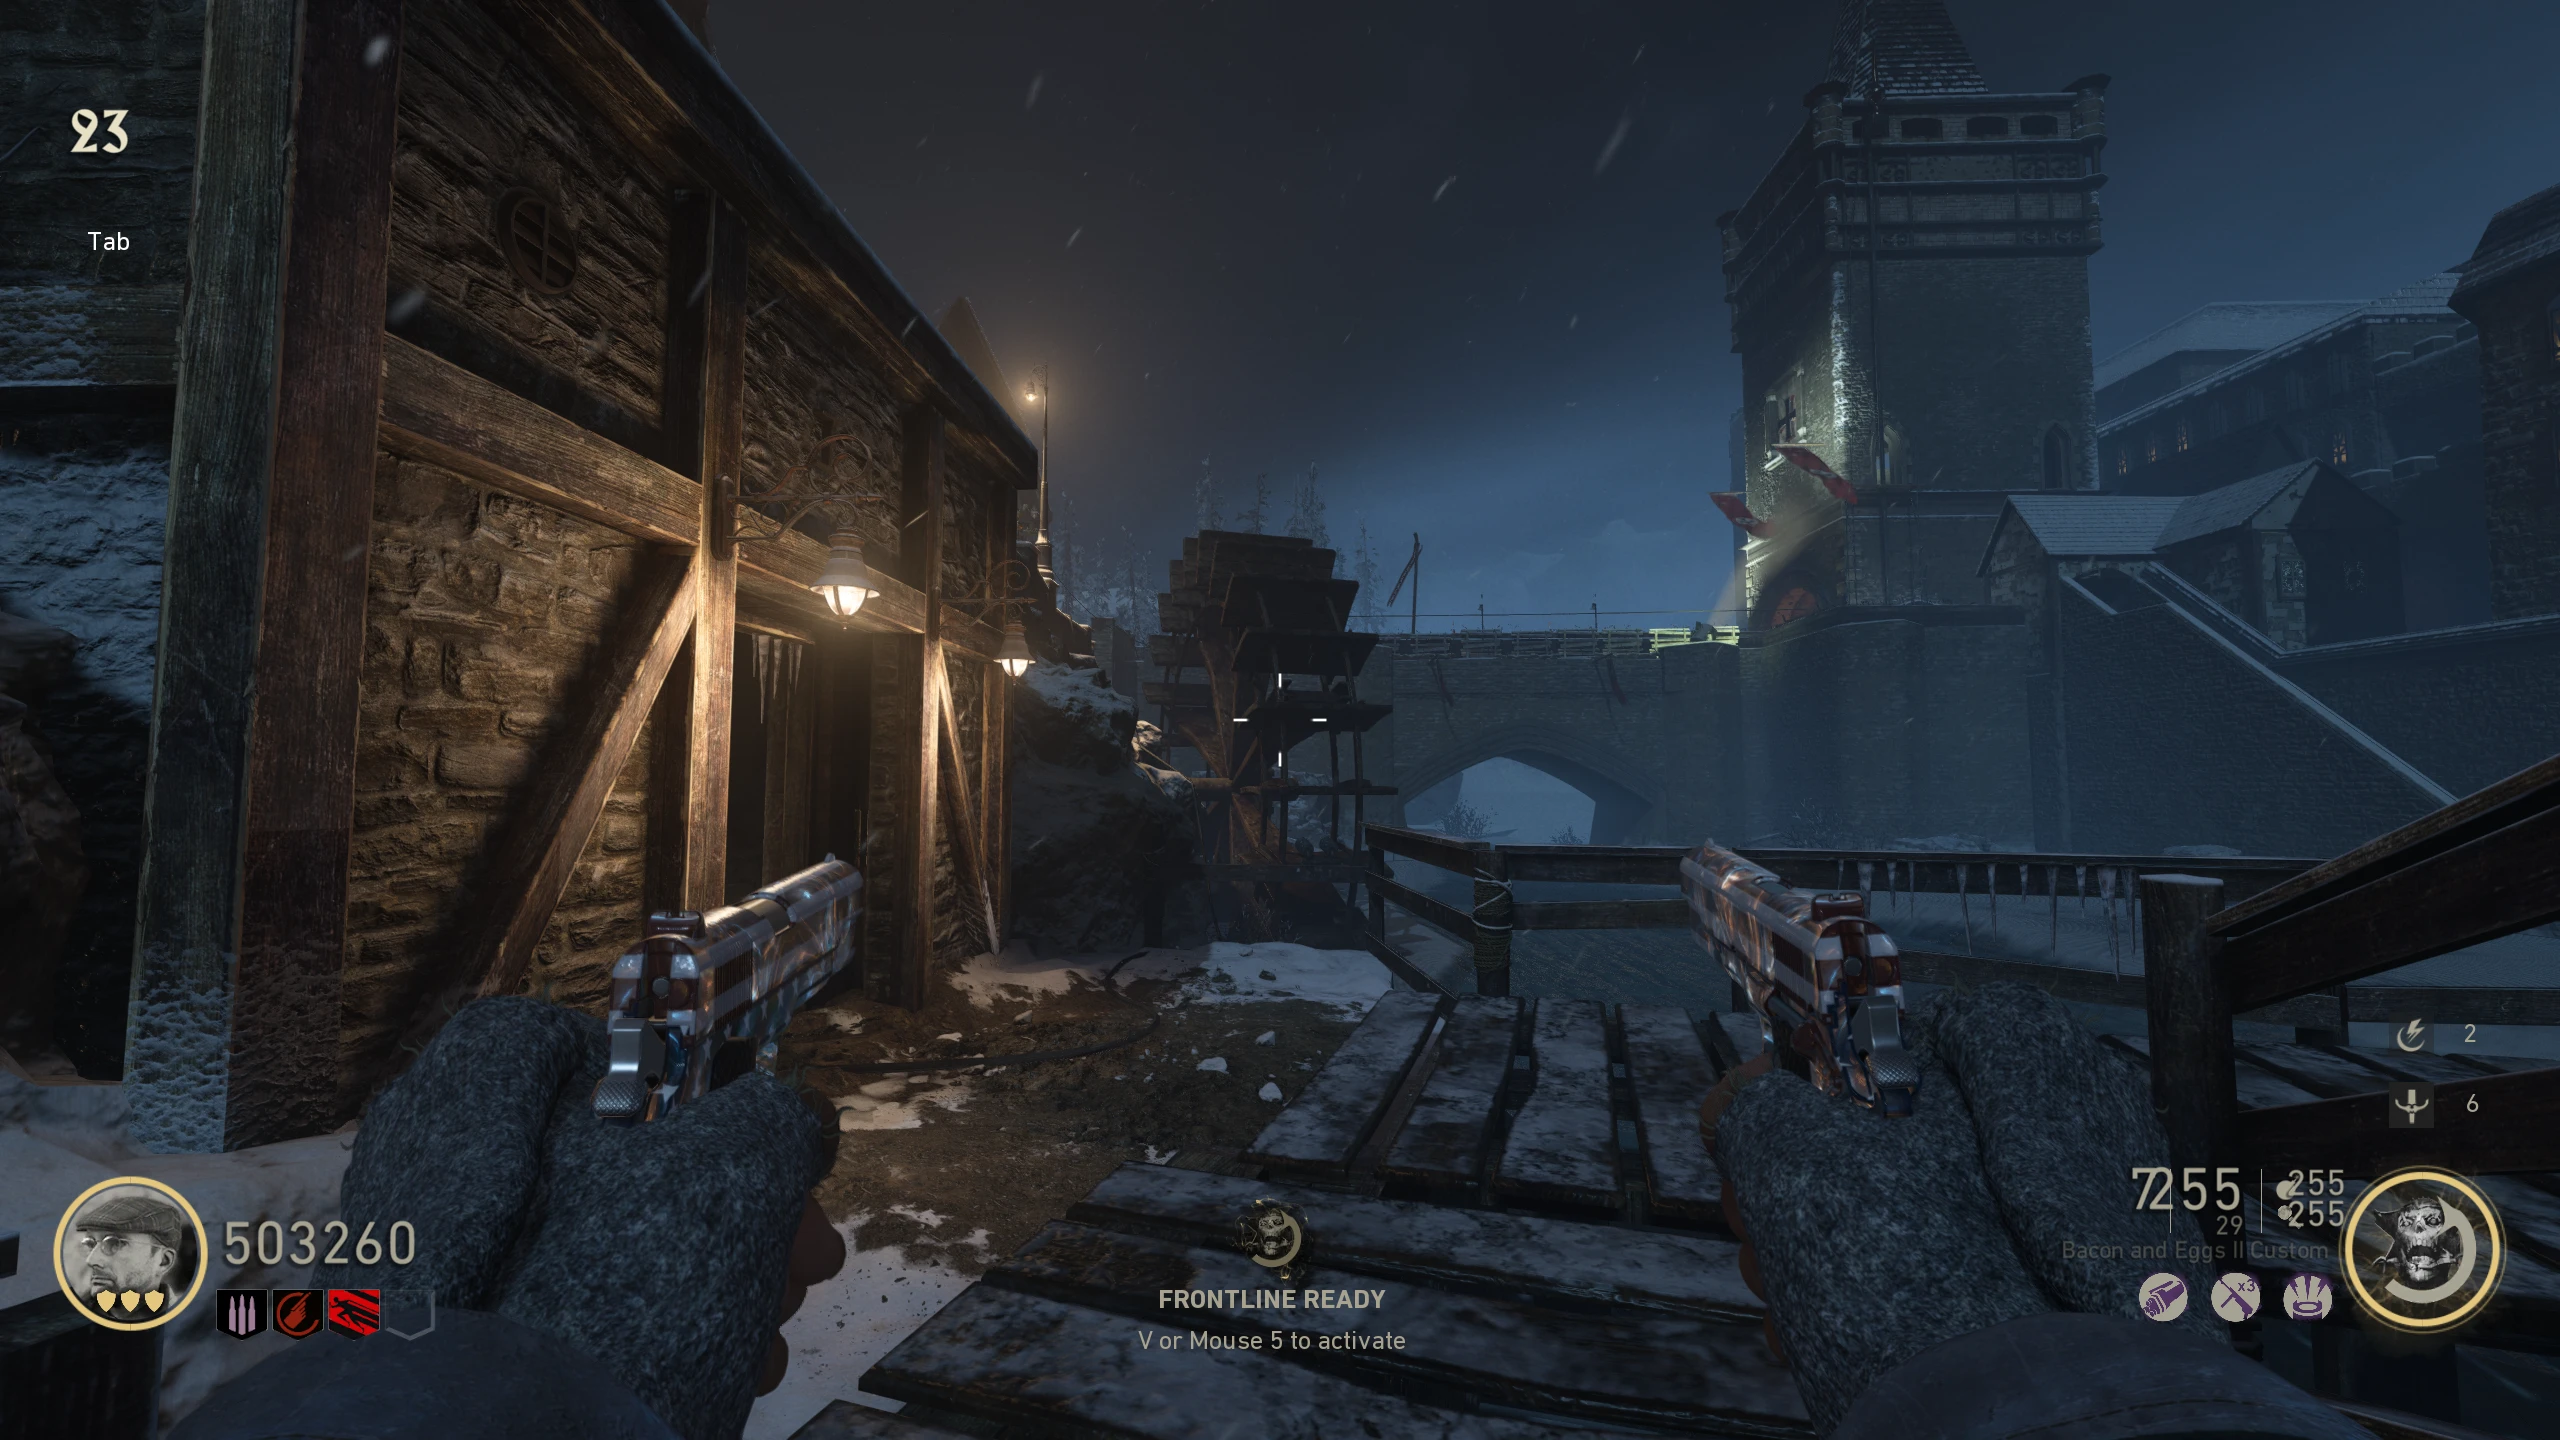
- Interact with the Weather Vane on the wall in the 'Riverside.' It will spin, eventually stopping, pointing in a direction. In the direction the vane is pointing there will be a tiny yellow button that you need to shoot. Locations:
- Once shot, the water wheel in the river will spin. When it stops, there will be coils visible; shoot them with a Tesla Gun.
- Obtain the Red Talon Sword.
- Place the Record on the Record Player on the second floor of the 'Pub.' It will start playing this song (YouTube) on repeat.
- You will need to get 25-30 kills using the Red Talon Sword in one play through of the song, so wait till you hear the song restart (indicated by the record static) then start to get your kills. The record head will accurately indicate how far into the song you are, with it starting on the edge and moving in.
- If you don't get enough kills by the time the song is over, your kills will reset, and you will have to try again.
- If you get enough kills, the record player will stop accepting Zombie energy, the light on the side will start flashing green and red, and the player will make a clicking sound.
- You must watch the light on the player, and count the number of green flashes. There will be four sets of green flashes followed by a red flash to indicate the sequence will repeat. There will be a dead space between green flashes that indicated that the set of green is over.
- Once you have the set of numbers from the Record, go the "Emperor's Chamber" and input the numbers into the middle machine (the Voice of God) in this order. When done correctly, your character will stay something about a sound getting louder.
Obtain the Rabenherz (Gem)
- Shoot the Chandelier above the hilt with each of the four upgraded Tesla Guns. The Chandelier will "shock" the Hilt with every shot, indicating you did it correctly.
- Once the Chandelier is shot with the fourth Tesla Gun, you will be given the Rabenherz.
THE HILT
- Shoot the energy orb around the Hilt with a Tesla Gun, which allows you to pick up the Hilt.
- Interact with the Hilt to start the Panzermörder boss fight.
Boss Fight / THE PANZERMÖRDER
- All players will be teleported to a slightly modified version of the Village, with the Panzermörder slowly chasing you around, and the Zeppelin flying overhead. The Panzermörder can occasionally charge at you, swinging its arms, dealing massive damage.
- You will need to shoot a generator down from the Zeppelin. However, there will only be one of the four lights lit on the Zeppelin. Once the generator falls, find it and charge it.
- Once you have a charged battery, lure the Panzermörder near it. Shoot the Panzermörder to stun it. While stunned, it will drop to one knee, and you can attach the battery to it. In the Hardcore boss fight, it will not be stunned for as long as in the casual version.
- After you attach a battery, the Panzermörder will leave the arena, and Zombies will start spawning. You don't need to kill the Zombies, just wait for the Panzermörder to return after a few minutes.
- Repeat until three batteries are attached. This will end the Boss Fight.
Escort Klaus
- After the Boss Fight, the Hilt will revive Klaus. He will slowly walk to the Pilot Trap in the 'Village Square.' While standing near him, all players have infinite ammo. You don't have to defend Klaus from Zombies, but you should stay near him.
- Once he reaches the Pilot Trap, he will scream some story dialogue and explode.
The Classic (Special PPSh-41)
The Classic is a special PPSh-41 variant with a bigger 70-round mag, more reserve ammo, and a faster fire rate.
- Around the map, there are four bowls you can place Jolts in (through the Drop Jolts game mechanic; the button to drop jolts is on the HUD above the shovel on the right side of the screen). When you place Jolts, it will take the jolts and spew money out at you. Locations:
- After placing Jolts in all the bowls, The Classic will enter the Mystery Box's weapon pool (you aren't guaranteed to get it).
Dr. Straub Locations ("Lurking Around" Trophy/Achievement)
Not very much is known for sure about how to get Dr. Straub to spawn, or all the locations, so some information might be inaccurate. Sorry.
- Randomly around the map, Dr. Straub (a man in a lab coat) will spawn in one of the locations. He will probably just stand there, but he could do other actions. Shooting him will get you the "Lurking Around" Trophy/Achievement. Potential spawn locations:
Unlockable Characters
New playable characters can be unlocked through the completion of various challenges. Your progress can be checked on the Lobby Menu → Soldier → Dossier → Challenges.
Hunter (On the Hunt) --- Character Model
| Challenge Hint Text / Riddle |
Challenge |
Strategy / Notes |
| "Catch me if you can." |
All parts (A to E) are obtained randomly by killing Treasure Zombies. |
Treasure Zombies are non-hostile Bomber Zombies that carry red bombs and drop Jolts. They can only start spawning once you open the Salt Mine Door (and maybe the Tower door as well), then every 1 hr and 15 mins after one spawns. You can know when a Treasure Zombie spawns when you see random jolts drops across the map. There is no (known) way to get the parts to drop, they seem entirely random. |
Mountaineer (Roughing it) --- Character Model
| Challenge Hint Text / Riddle |
Challenge |
Strategy / Notes |
| "We're safer in here.. right?" |
Survive Wave 20 with no open doors in The Final Reich. |
N/A |
| "Right... nothing will even tough us." |
Survive Wave 20 with no open doors and with no downed players in The Final Reich. |
N/A |
| Back to where it all started. |
Survive Wave 25 in the Prologue. |
Video Guide (YouTube) by AC OMEGA |
| Back then, everything was perfect. |
Survive Wave 25 without going down in the Prologue. |
Video Guide (YouTube) by AC OMEGA |
| Things were simpler back then. |
Survive Wave 25 without unlocking the secret room in the Prologue. |
Video Guide (YouTube) by AC OMEGA |
Survivalist (Survival Guide) --- Character Model
| Challenge Hint Text / Riddle |
Challenge |
Strategy / Notes |
| No slacking off, on your feet. |
Survive Wave 30 with no downed players in The Final Reich. |
N/A |
| Don't trust this newfangled medicine. |
Survive Wave 30 without any players using Blitz (Perks) in The Final Reich. |
N/A |
| "Back in my day..." |
Survive Wave 30 without generator power in The Final Reich. |
You can turn on the valves to get the Pilot Trap opened and even get down to the Stamin-Up. However, you can only leave the pit by activating the trap itself and having it fling you out. |
| Only what you brought with you. |
Survive Wave 30 with only each player's starting weapon in The Final Reich. |
You can Pack-a-Punch it. |
| Roll the dice. Take what you can get. |
Survive Wave 30 with only weapons from two Mystery Box uses per player in The Final Reich. Starting weapons are allowed but can’t be upgraded. |
It doesn't matter when you hit the box, and you can use box consumables (e.g. Jack-in-the-Box guaranteed) |
B.A.T. Agent (On Assignment) --- Character Model
| Challenge Hint Text / Riddle |
Challenge |
Strategy / Notes |
| Survive. |
Kill a Treasure Zombie in The Final Reich. |
Open the Salt Mine Door to allow the Treasure Zombie to start spawning. |
| Rest in pieces. |
Defeat the Panzermörder in The Final Reich. |
Complete the Casual Main Quest Path. |
| Power up. |
Survive Wave 25 in The Final Reich. |
N/A |
| "Oh, I know this part." |
Unlock the Ubersprengen in The Final Reich. |
How to unlock the Ubersprengen (Pack-a-Punch). |
| "After that... thing!" |
Assemble the Tesla Gun by Wave 6 in The Final Reich. |
How to Craft the Tesla Gun. |
B.A.T. Elite (Off Record) --- Character Model
| Challenge Hint Text / Riddle |
Challenge |
Strategy / Notes |
| "I'll save you, brother, even if I have to do it myself." |
Save Klaus while playing solo. |
Complete the Hardcore Main Quest Path. |
| Save your bullets. Take your time. Do this right. |
Save Klaus by wave 16. |
This is extremely difficult to do Solo, so I recommend you get at least one other player to do it with, but four players are recommended. This can be done solo if you follow this guide (YouTube) by AC OMEGA to the letter. |
| "We must hurry, he may not have much time!" |
Save Klaus within 75 minutes. |
N/A |
| No man left behind. |
Save Klaus with no downed players. |
N/A |
| No school like old school. |
Save Klaus without any player using Special Abilities, Mods, or Consumables. |
Make you don't equip/unequip any mods. You can't unequip the Special Ability, so you have to focus on not using it. Do not use self-revives if you go down. Geistschild (Armour) is allowed. |
Slayer (Big Game) --- Character Model
| Challenge Hint Text / Riddle |
Challenge |
Strategy / Notes |
| "We're professionals." |
Defeat the Panzermörder by wave 12. |
Complete the Casual Main Quest Path. |
| No fancy German engineering. |
Defeat the Panzermörder without any player upgrading weapons using the Ubersprengen. |
N/A |
| No fancy German medicine. |
Defeat the Panzermörder without any player using Blitz. |
N/A |
| No mistakes. |
Defeat the Panzermörder with no downed players. |
N/A |
| No helmet either. |
Defeat the Panzermörder without any player using Special Abilities, Mods, or Consumables. |
Make you don't equip/unequip any mods. You can't unequip the Special Ability, so you have to focus on not using it. Do not use self-revives if you go down. Geistschild (Armour) is allowed. |
Wicht Warden (Cold Blooded) --- Character Model
| Challenge Hint Text / Riddle |
Challenge |
Strategy / Notes |
| Search and rescue |
Complete the Hardcore Main Quest on The Final Reich |
See the Hardcore Main Quest section for how to complete it. |
| They can swim now? |
Complete the Main Quest on The Darkest Shore |
See the Main Quest section of The Darkest Shore Guide for how to complete it. |
| Mechanized abomination |
Complete the Main Quest on The Shadowed Throne |
See the Main Quest section of The Shadowed Throne Guide for how to complete it. |
| The road ahead |
Complete the Main Quest on The Tortured Path |
See the Main Quest section of The Tortured Path Guide for how to complete it. |
| Descend... |
Complete the Main Quest on The Frozen Dawn |
See the Main Quest section of The Frozen Dawn Guide for how to complete it. |
Rookbane (Level 1000 Reward) --- Character Model
| Challenge |
Strategy / Notes |
| Reach Level 1000 in the Zombie Mode |
See this post (reddit) for some XP farming strategies. |