'I Have the Power' Main Quest
Stats (Solo): Difficulty - 7/10 (Annoying Rating - 10/10), Est. Completion Time - 1:20 to 1:35 Hr, RNG Rating - 1/5 (Runes on Map 3 are random and can be guessed)
- Due to the nature of this "map," the Quest is split across three maps. You need to complete one map's quest, then immediately go to the next. Once you complete a map, you'll be sent back to the lobby, where you need to manually select the next map. You can edit loadouts, change characters, etc. before you start the next map. If you leave the lobby, you'll need to restart with Into The Storm (Map 1).
- Also, the Quests have strict wave requirements, meaning steps need to be completed on specific waves, or you'll fail or won't have enough waves left to complete them.
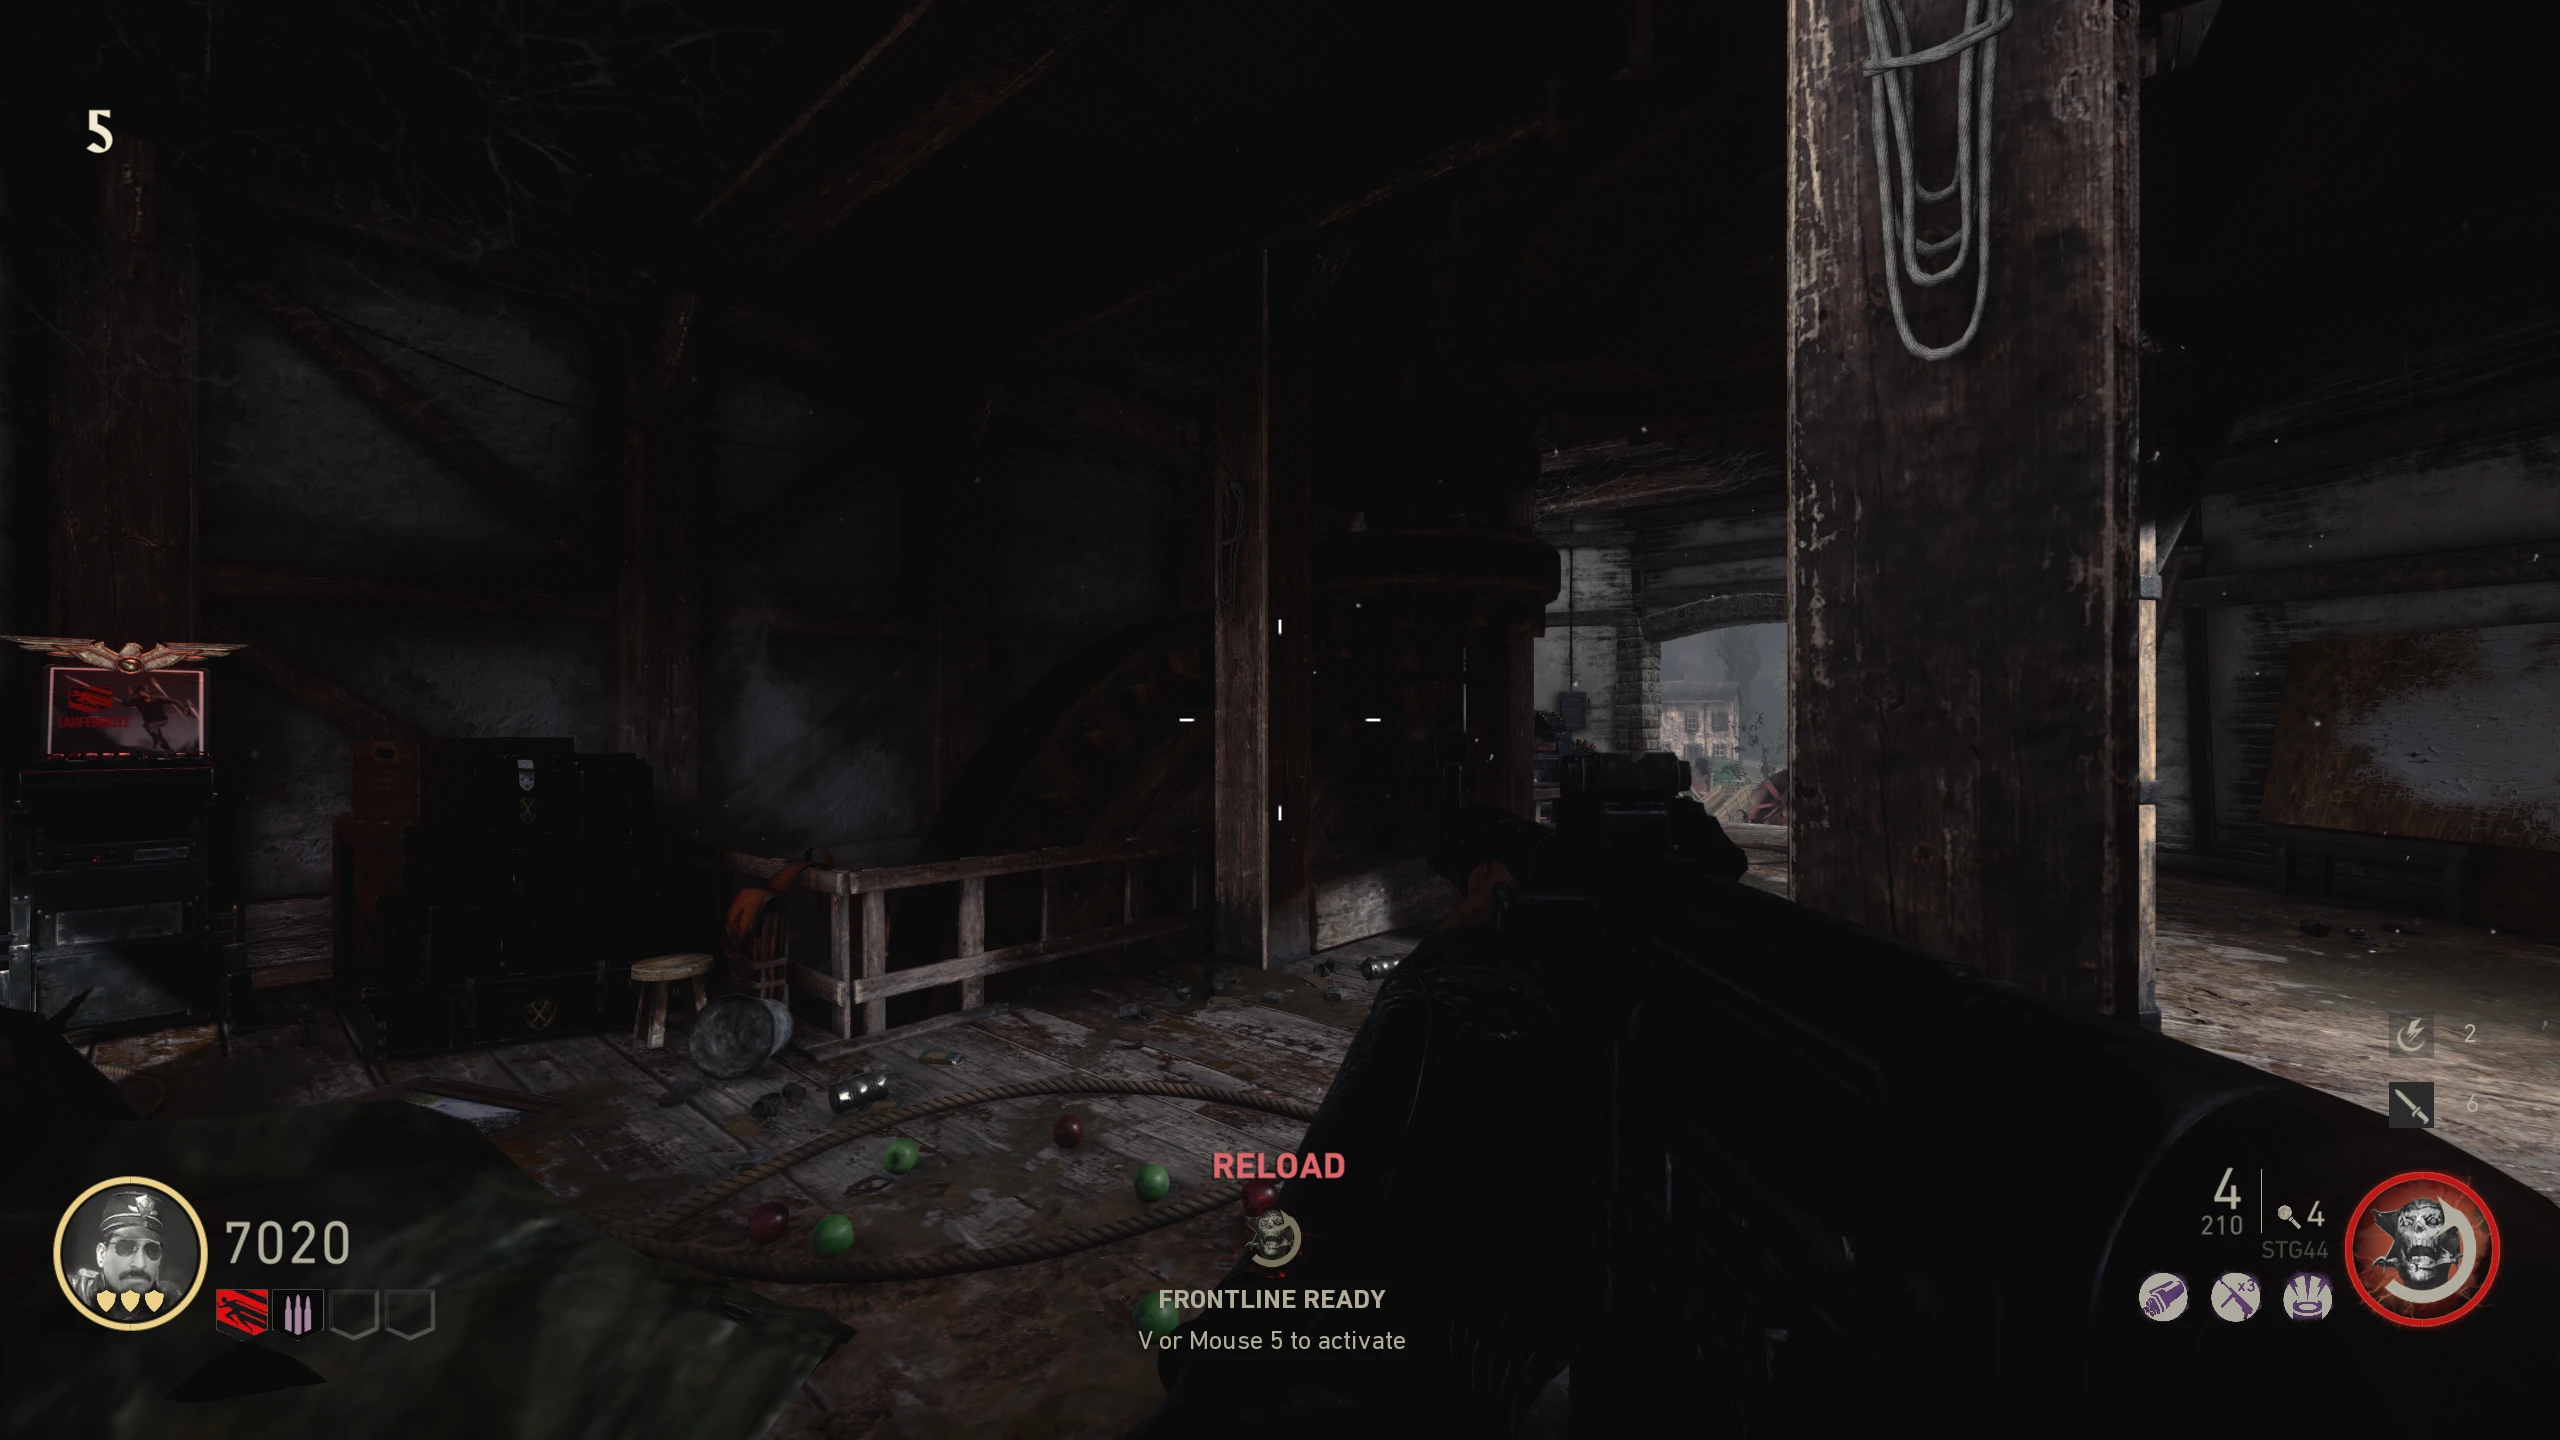
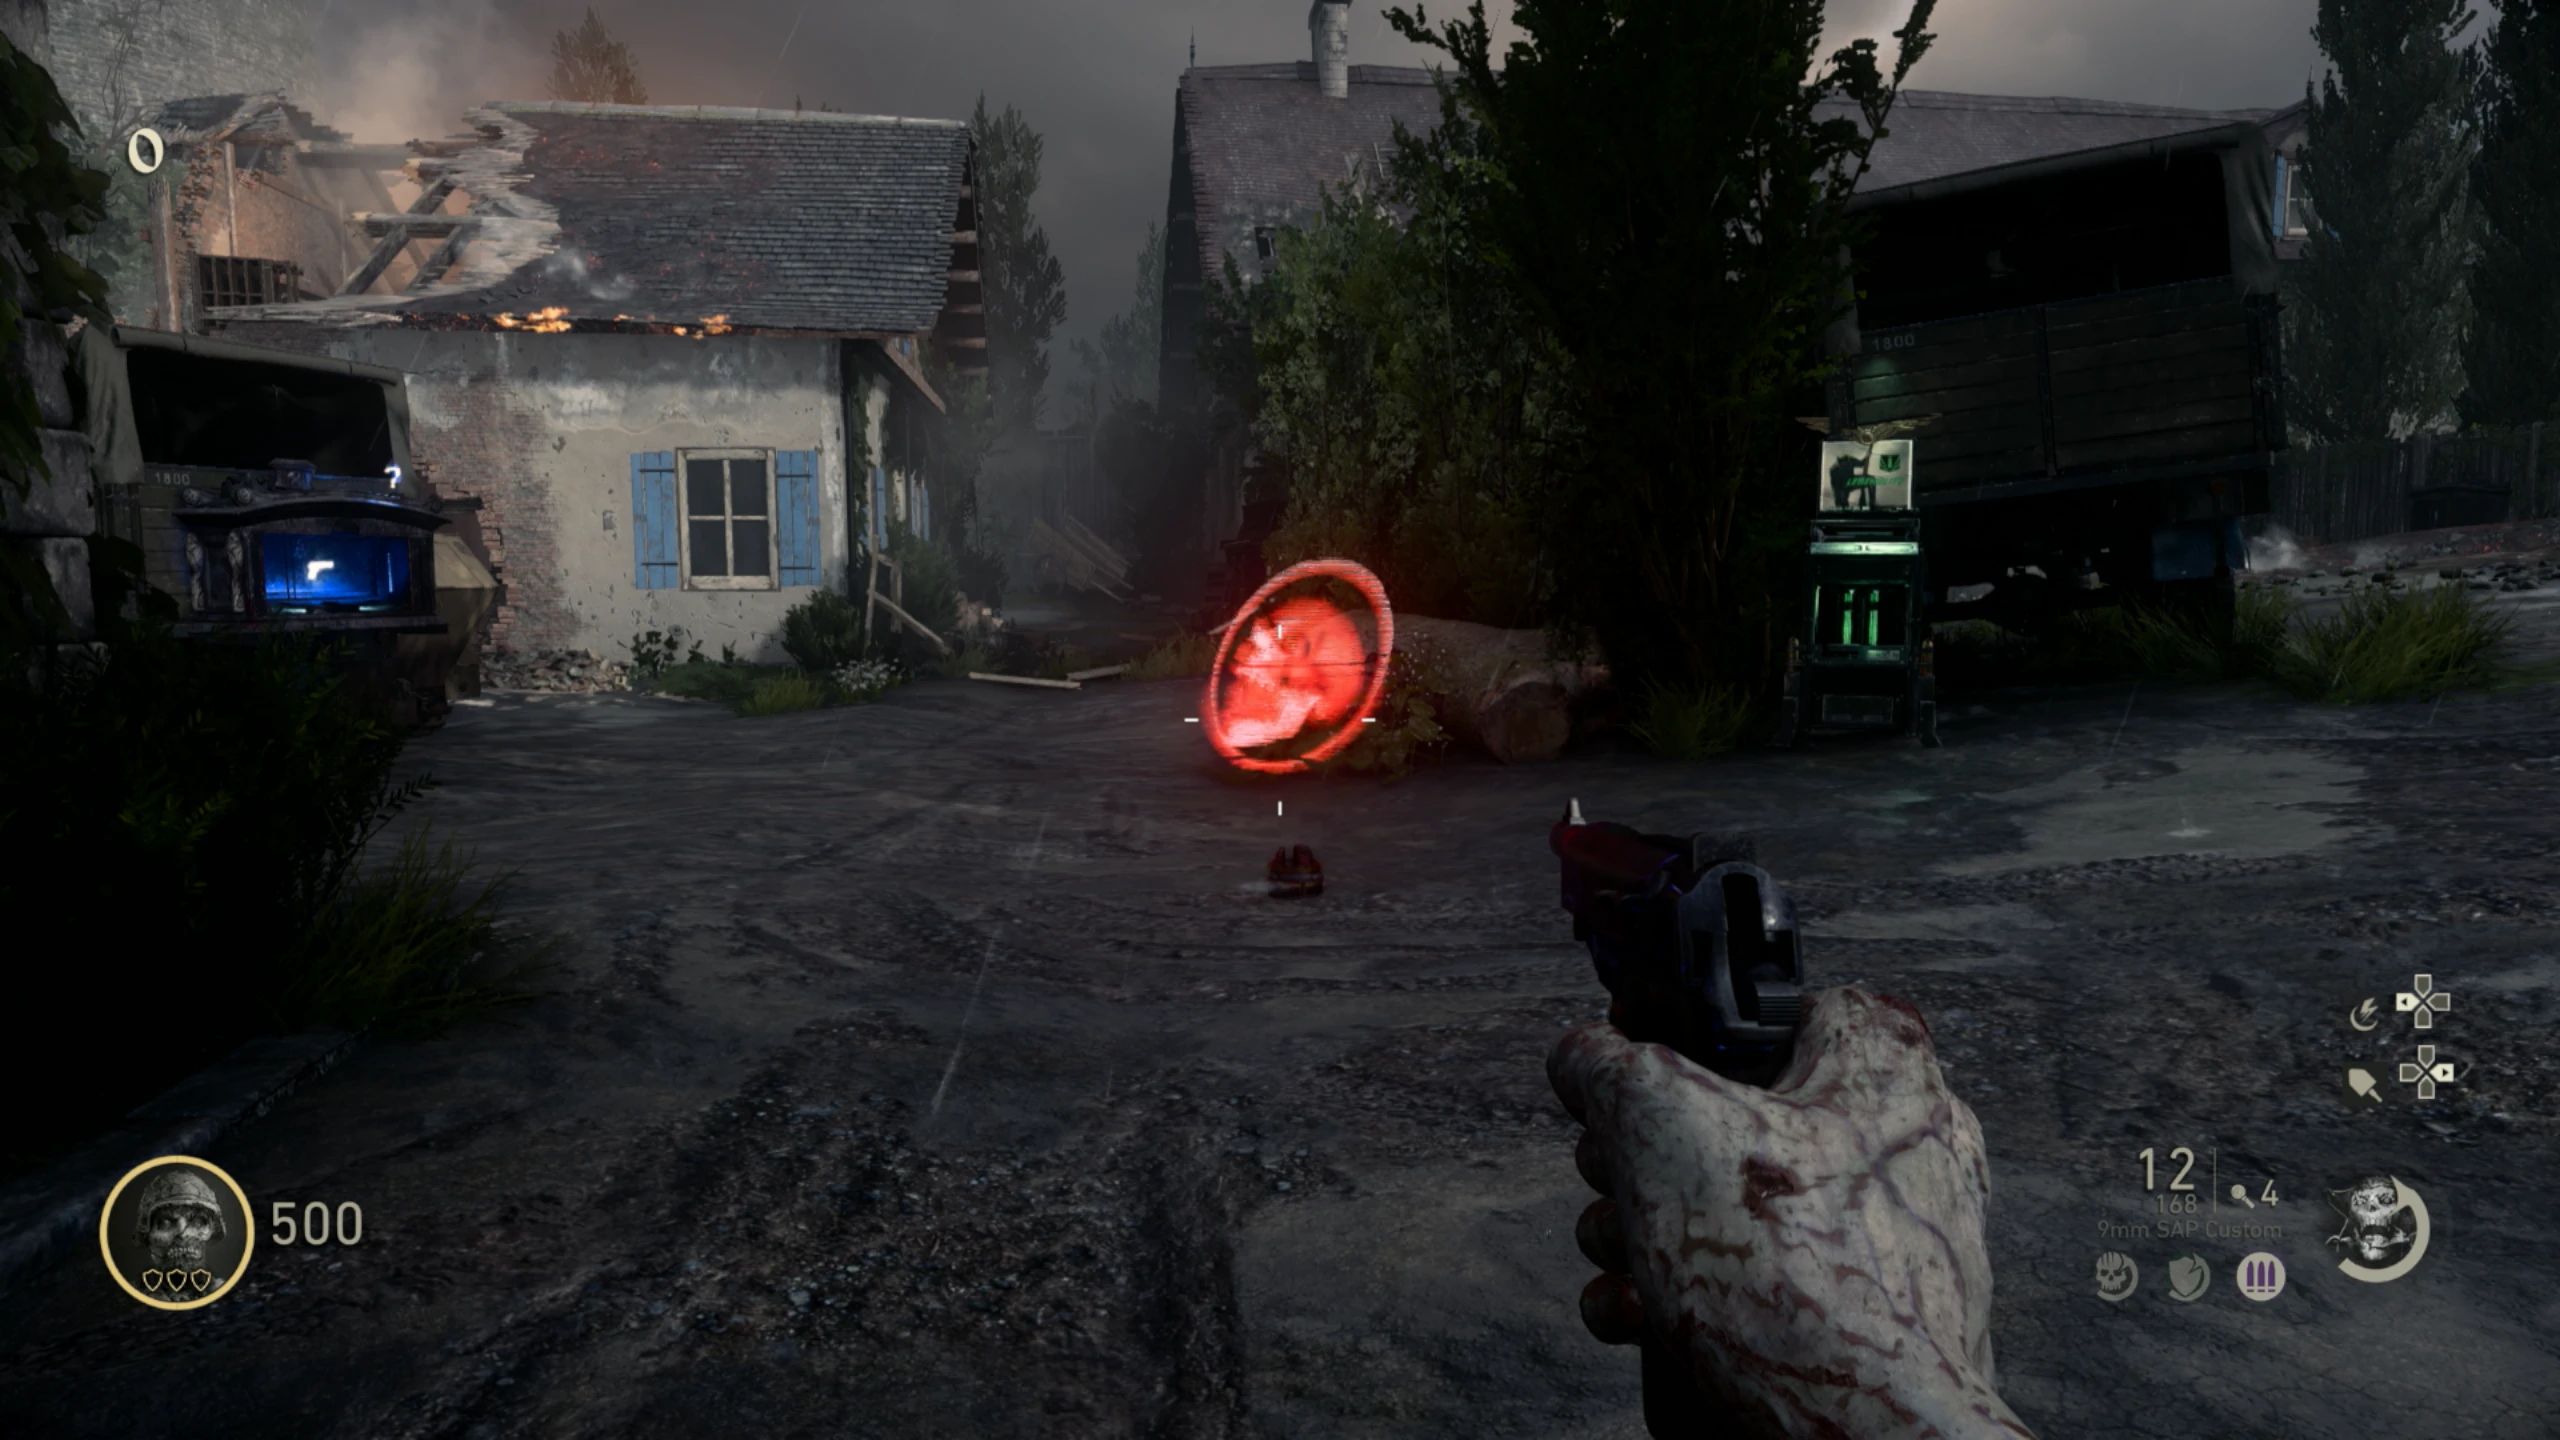
- Shoot the rope hanging from the tree left of the battery behind the Windmill.
- You'll need to find a torso, head, two arms, and two legs of a Zombie lying around the map. Locations:
- Head
- On the fence behind the Windmill, left of the Battery
- In a cabinet next to the blown open wall, in the SMG wallbuy house
- In a pot in the kitchen sink of the intact house
- On the back of the truck, beside the Lebenblitz (Quick Revive) Machine
- On a bookshelf in the broken house
- Torso
- On the overturned cart in front of the Windmill
- In a wheelbarrow in the backyard of the broken House
- In a crate left of Sniper wallbuy in front of the broken House
- In the window above the Pack-a-Punch Machine
- In the living room fireplace of the intact House
- Arm
- In a wooden pallet under the stairs in the Cellar
- In the plant box in front of the broken House
- On a crate of canned goods behind the Windmill
- Holding a basket in the living room of the intact House
- Left of the radio table in front of the Windmill
- Right of Laufenblitz (Stamin-Up) Machine in the Windmill
- Debris to the right of the fireplace in the broken House
- In the fireplace in the broken House
- On top of the logs behind the broken House
- In the fireplace of the house with the SMG wallbuy
- Leg
- Under the wooden "sheet" left of the Pack-a-Punch machine in the Windmill
- Hanging from the ceiling in front of the front doorway in the broken House
- On top of the fence right of the battery behind the Windmill
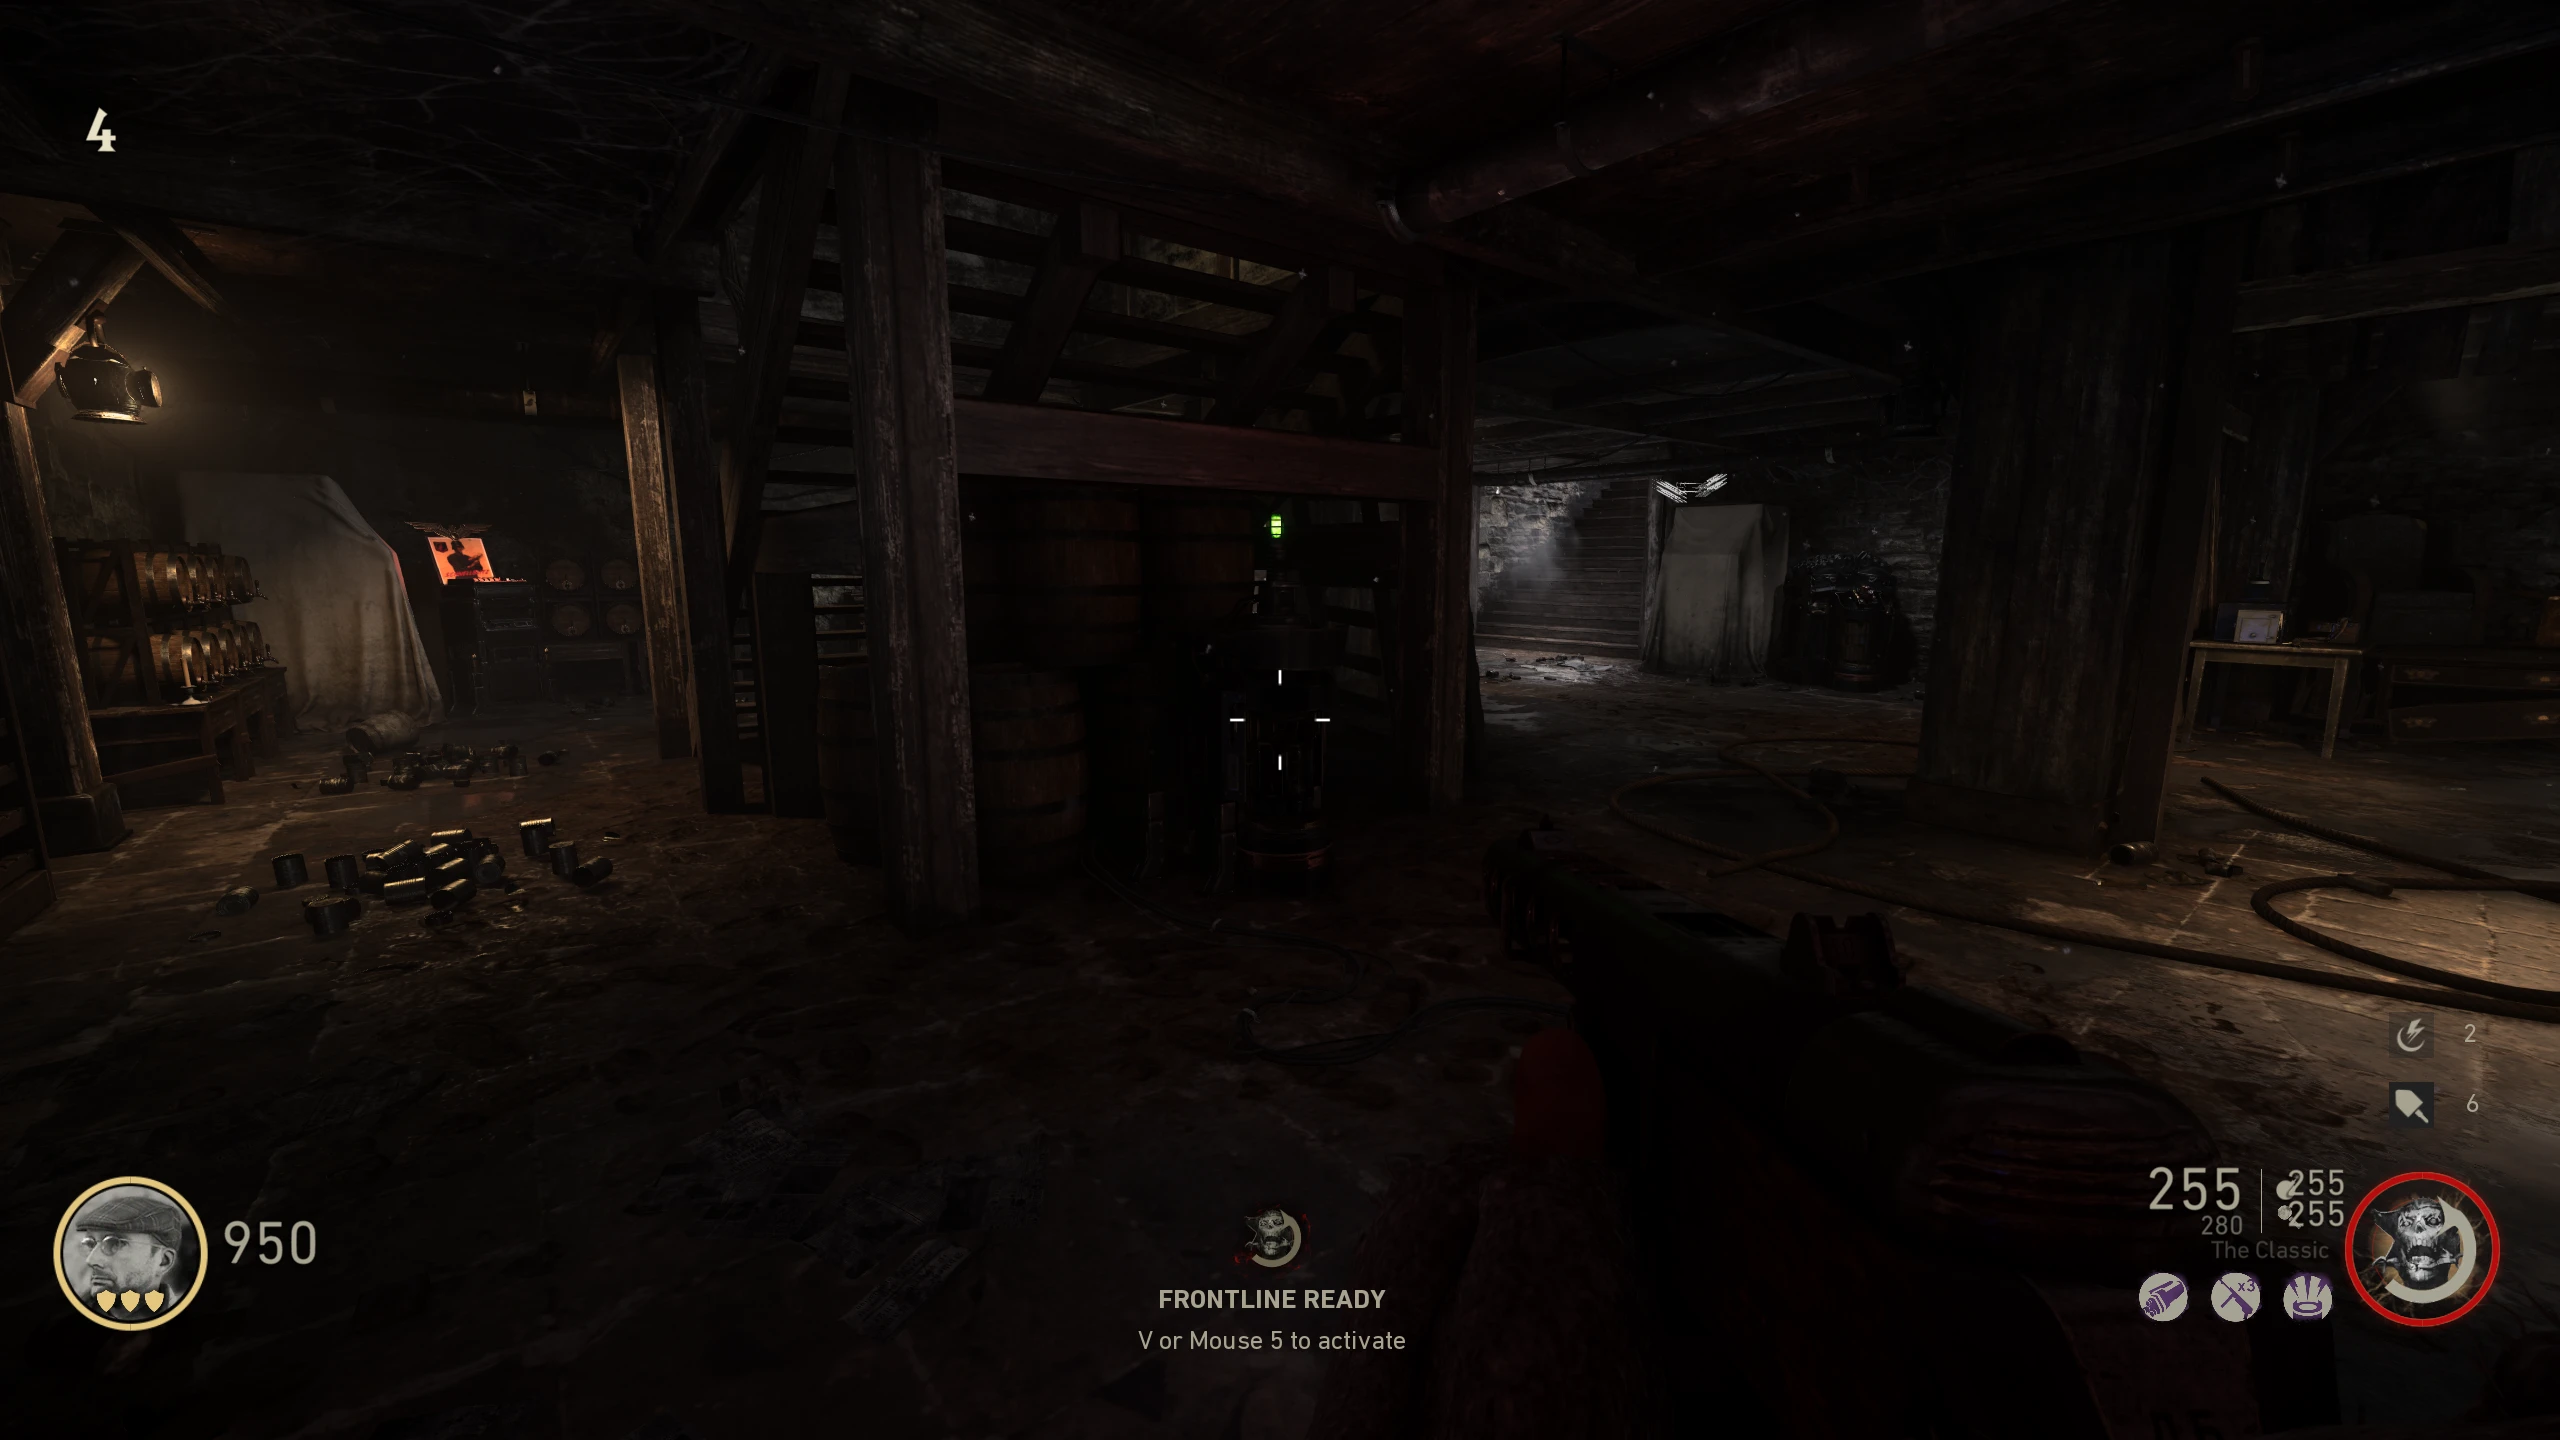
- On the Wine Rack in the Wine Cellar
- In the hanging potted plant in front of the broken House
- On the driver-side fender of blue truck
- On the ground beside the fence left of Double Tap
- In the hanging potted plant right of the broken House back door
- In the hole in the wall left of Schildblitz (Electric Cherry) Machine
- On the floor in front of the painting, right of Schildblitz (Electric Cherry) Machine
- Hold interact on the branch in the river, left of Kugelblitz (Double Tap) Machine. The branch will slowly rise out of the water. Once it's all the way up, it'll stop, and you'll be able to pick up the rope on the branch.
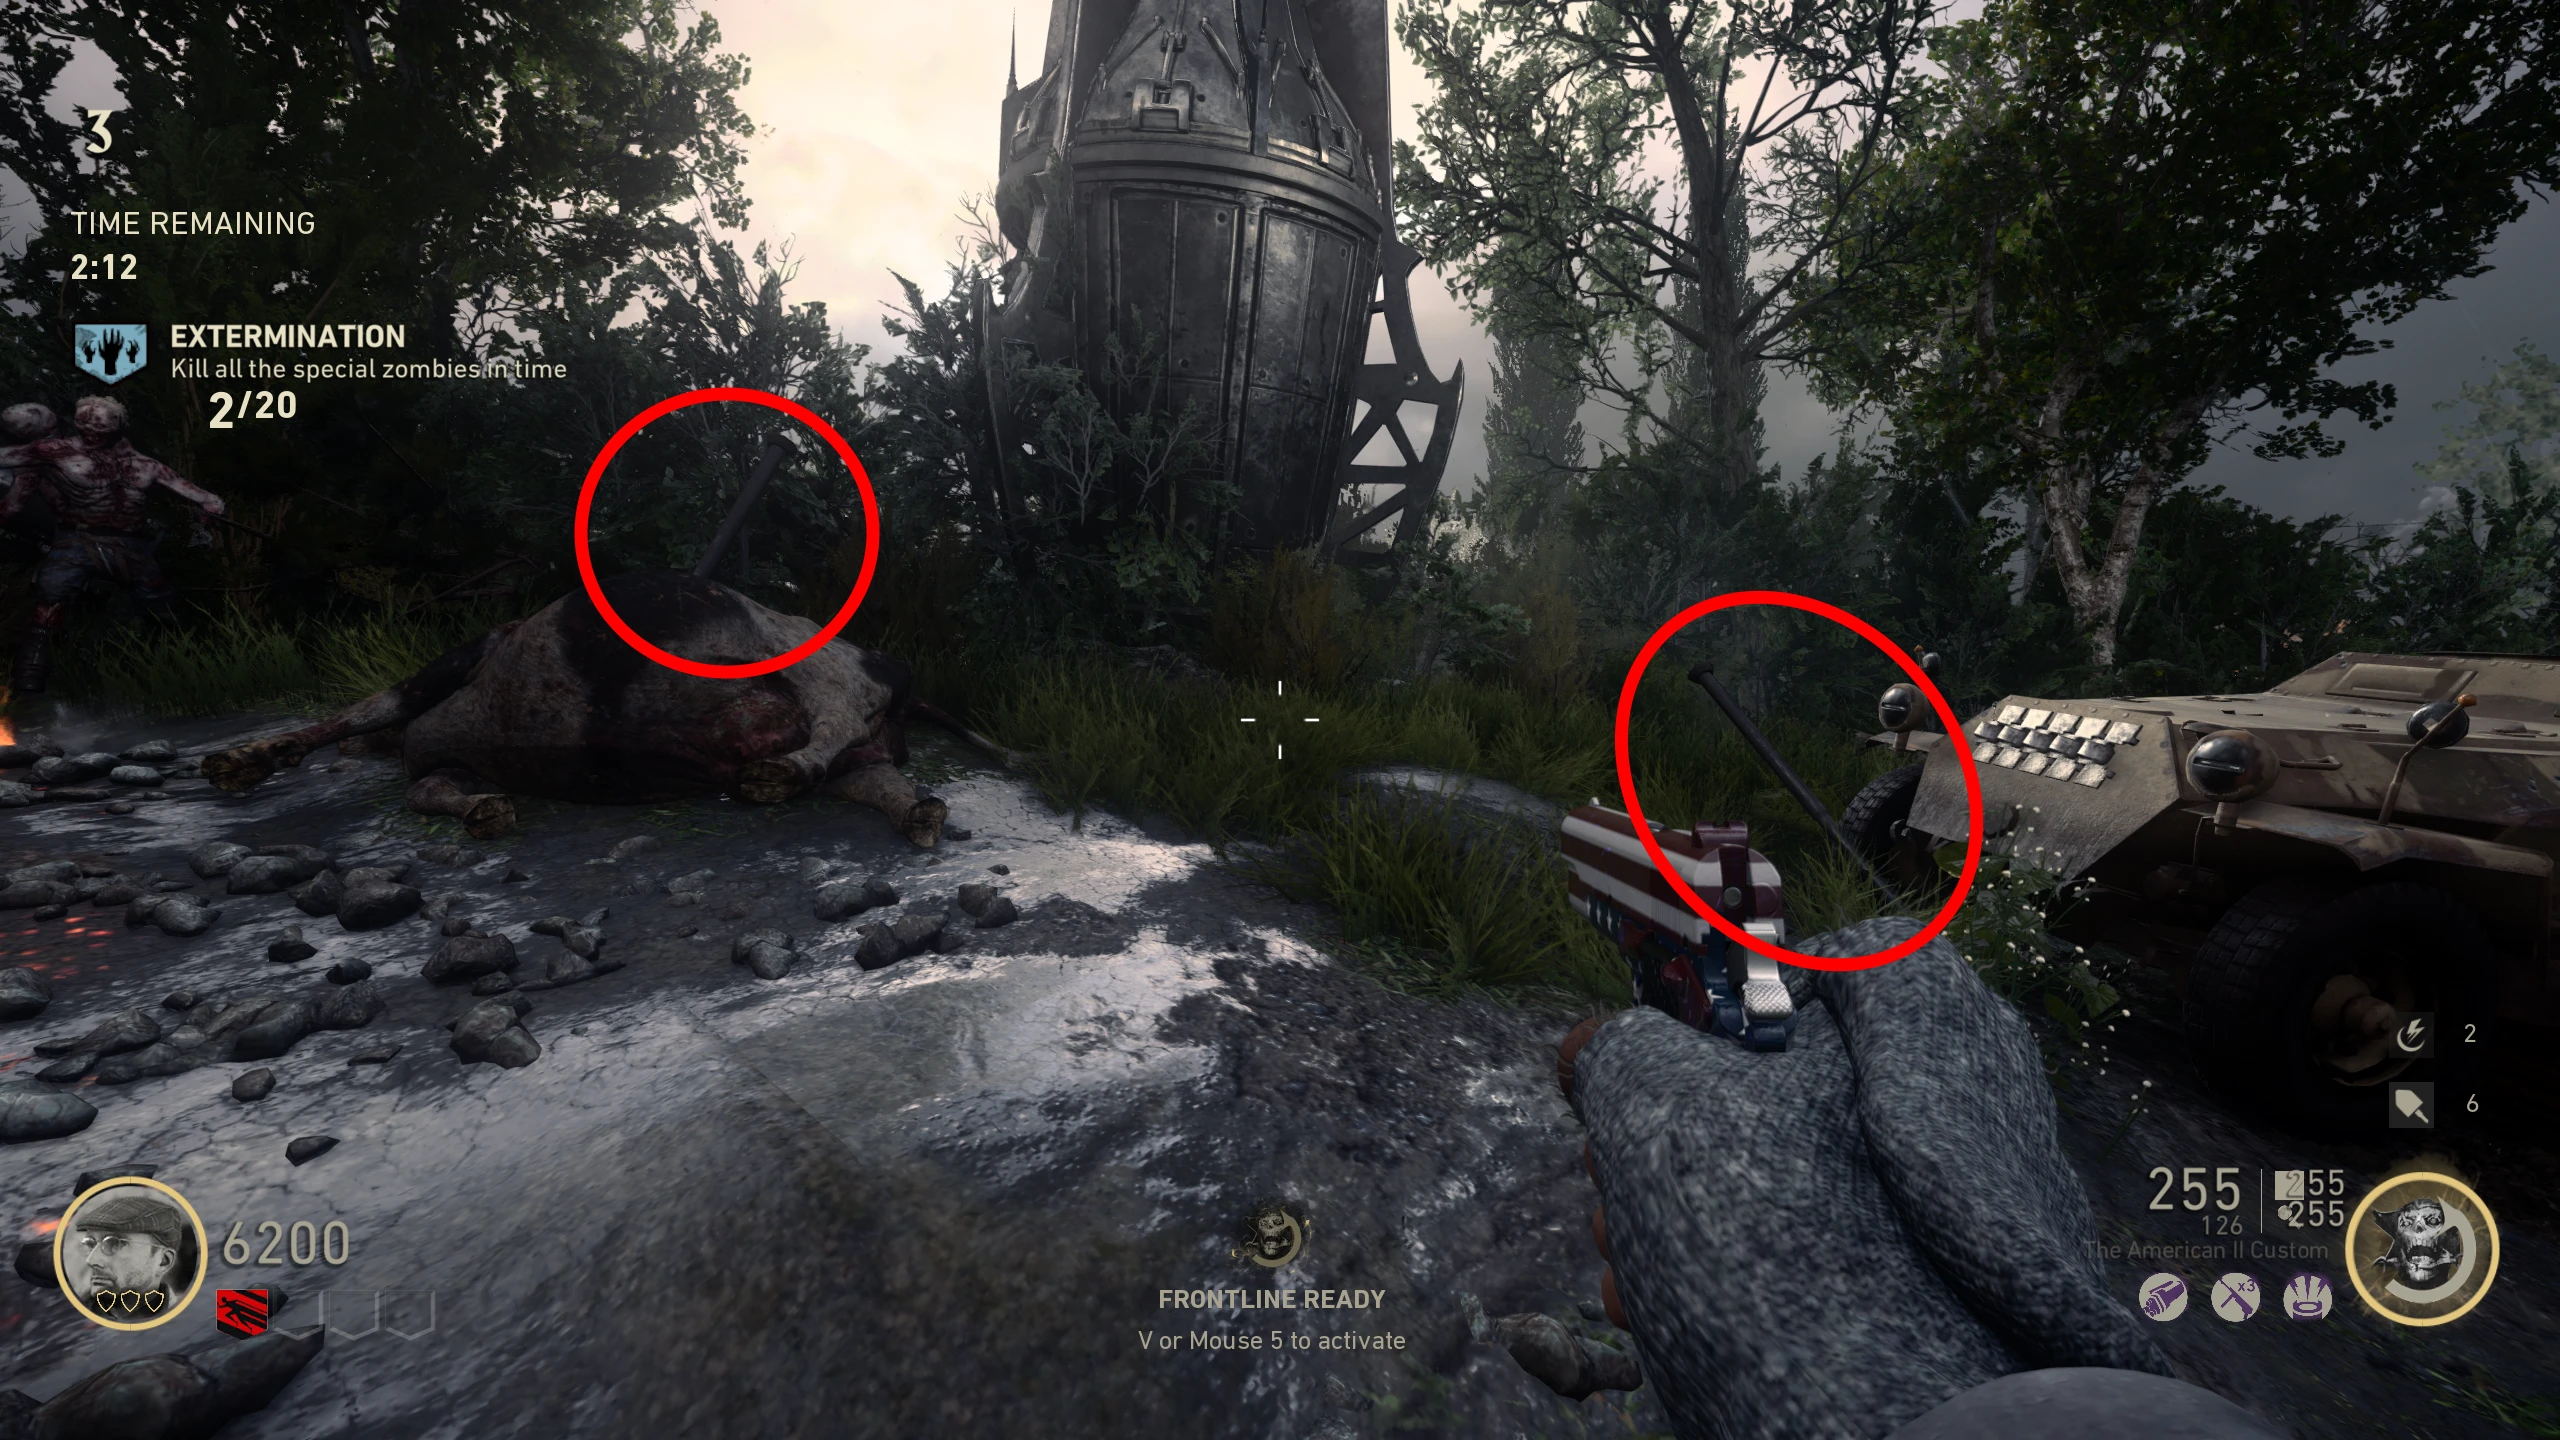
- A Drop Pod will fall near the dead cow, left of the Lebenblitz (Quick Revive) Machine. Two rods will drop near the pod, one behind the cow, and one in front of the truck. Pick up the rods.
- Progress the waves till you get two Wustlings to spawn. If you don't get it by wave 5, you need to restart.
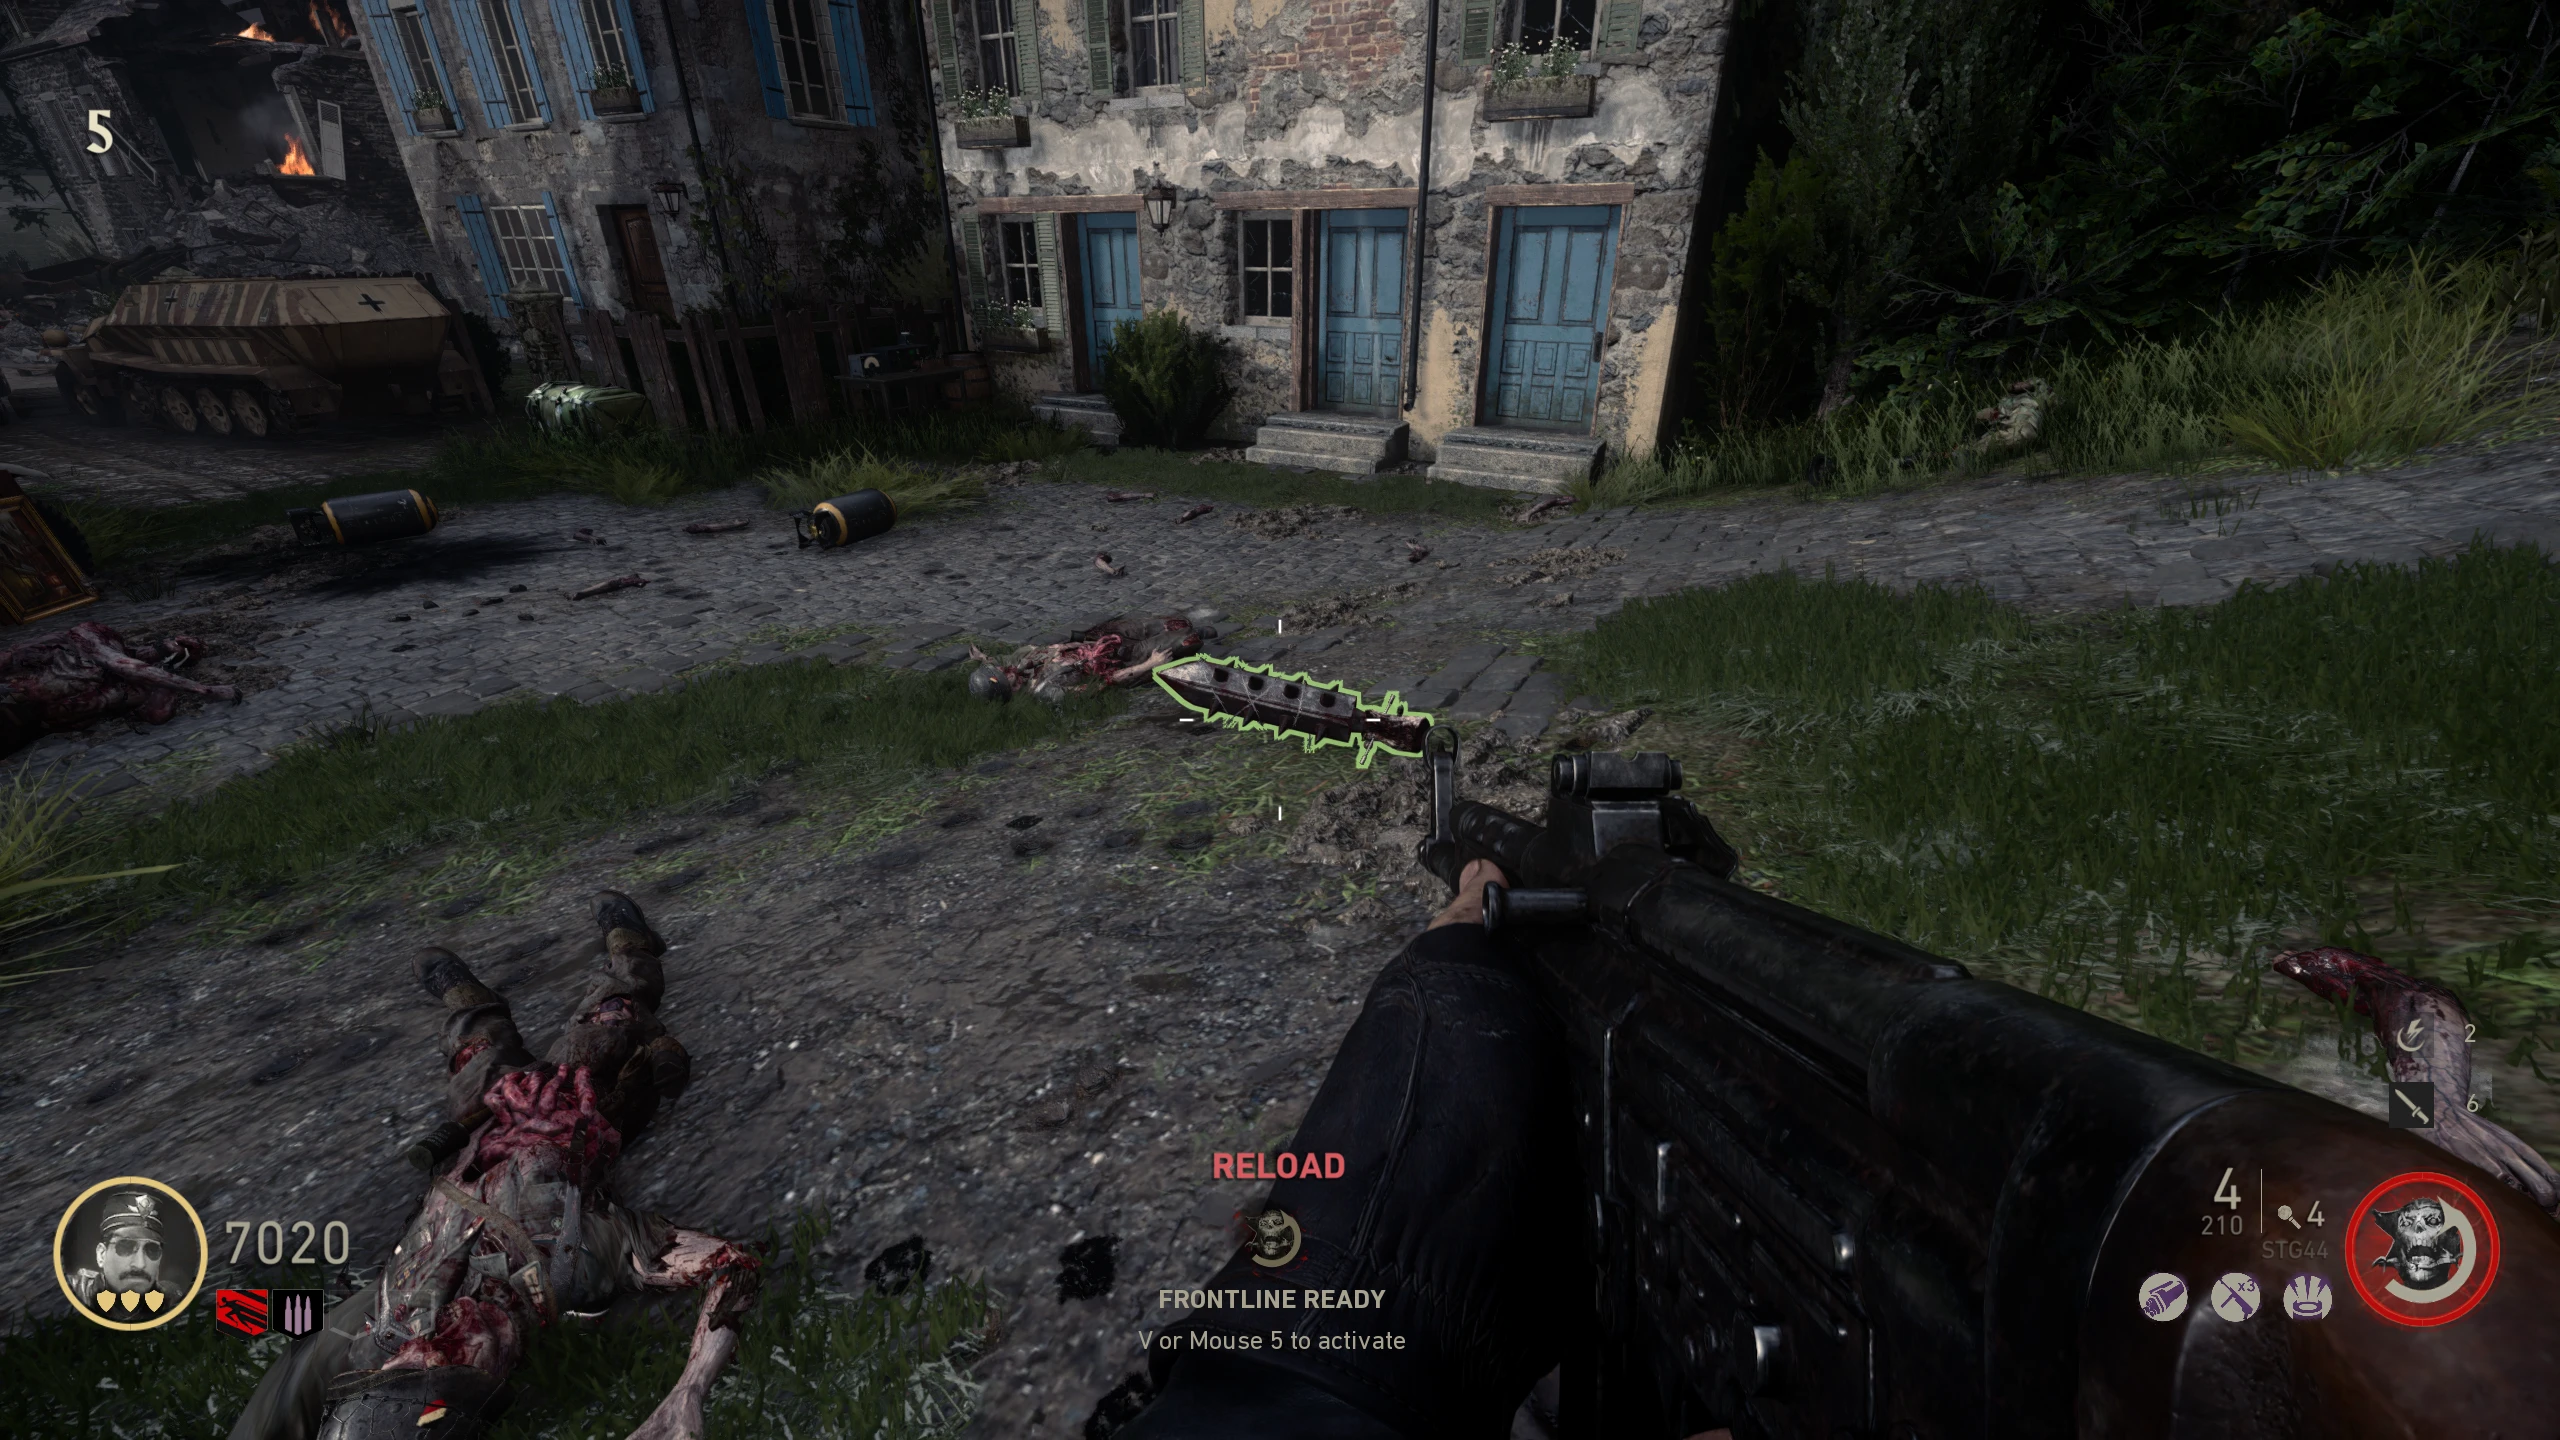
- Once you have two Wustlings, line them up with one behind the other. Shoot the one in the back so it charges the one in front. If done correctly, the front one will die, dropping his arm club. Pick it up.
- If you can't get two wustlings to spawn on wave 5, make sure you've beaten each map at least once. This is what I did before it fixed it, but whether this is what fixed it or not, I don't know for sure.
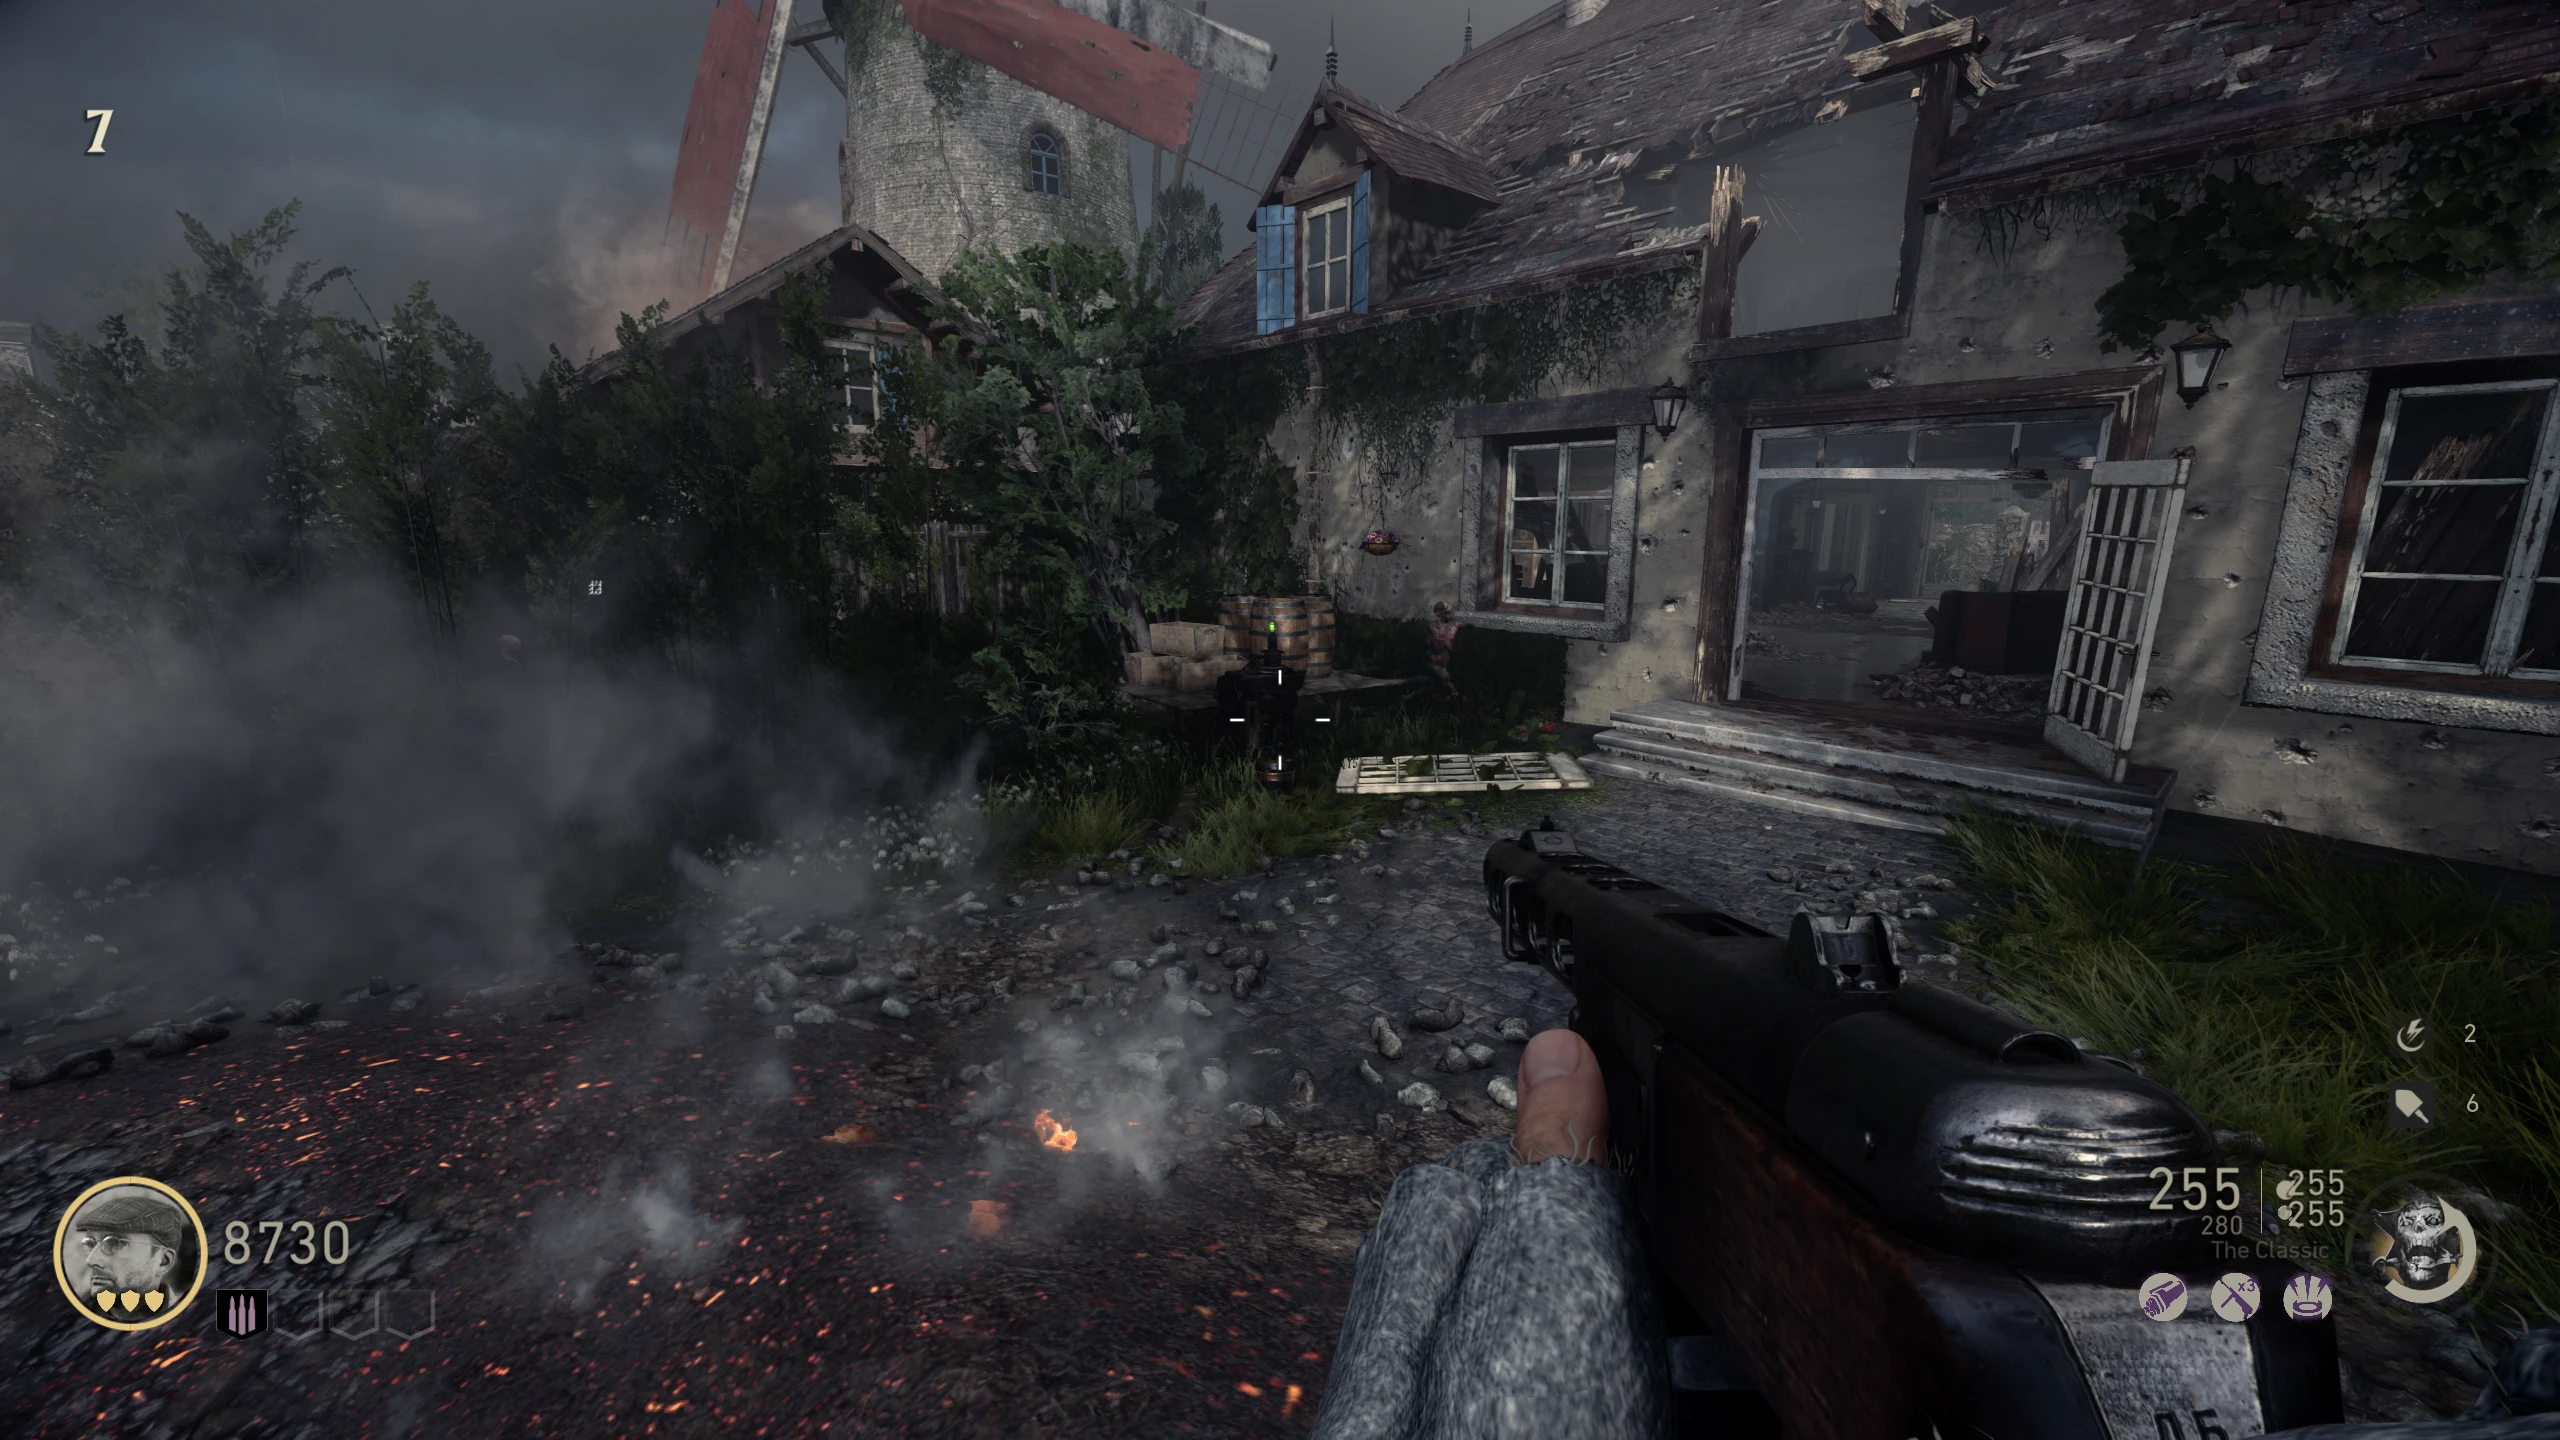
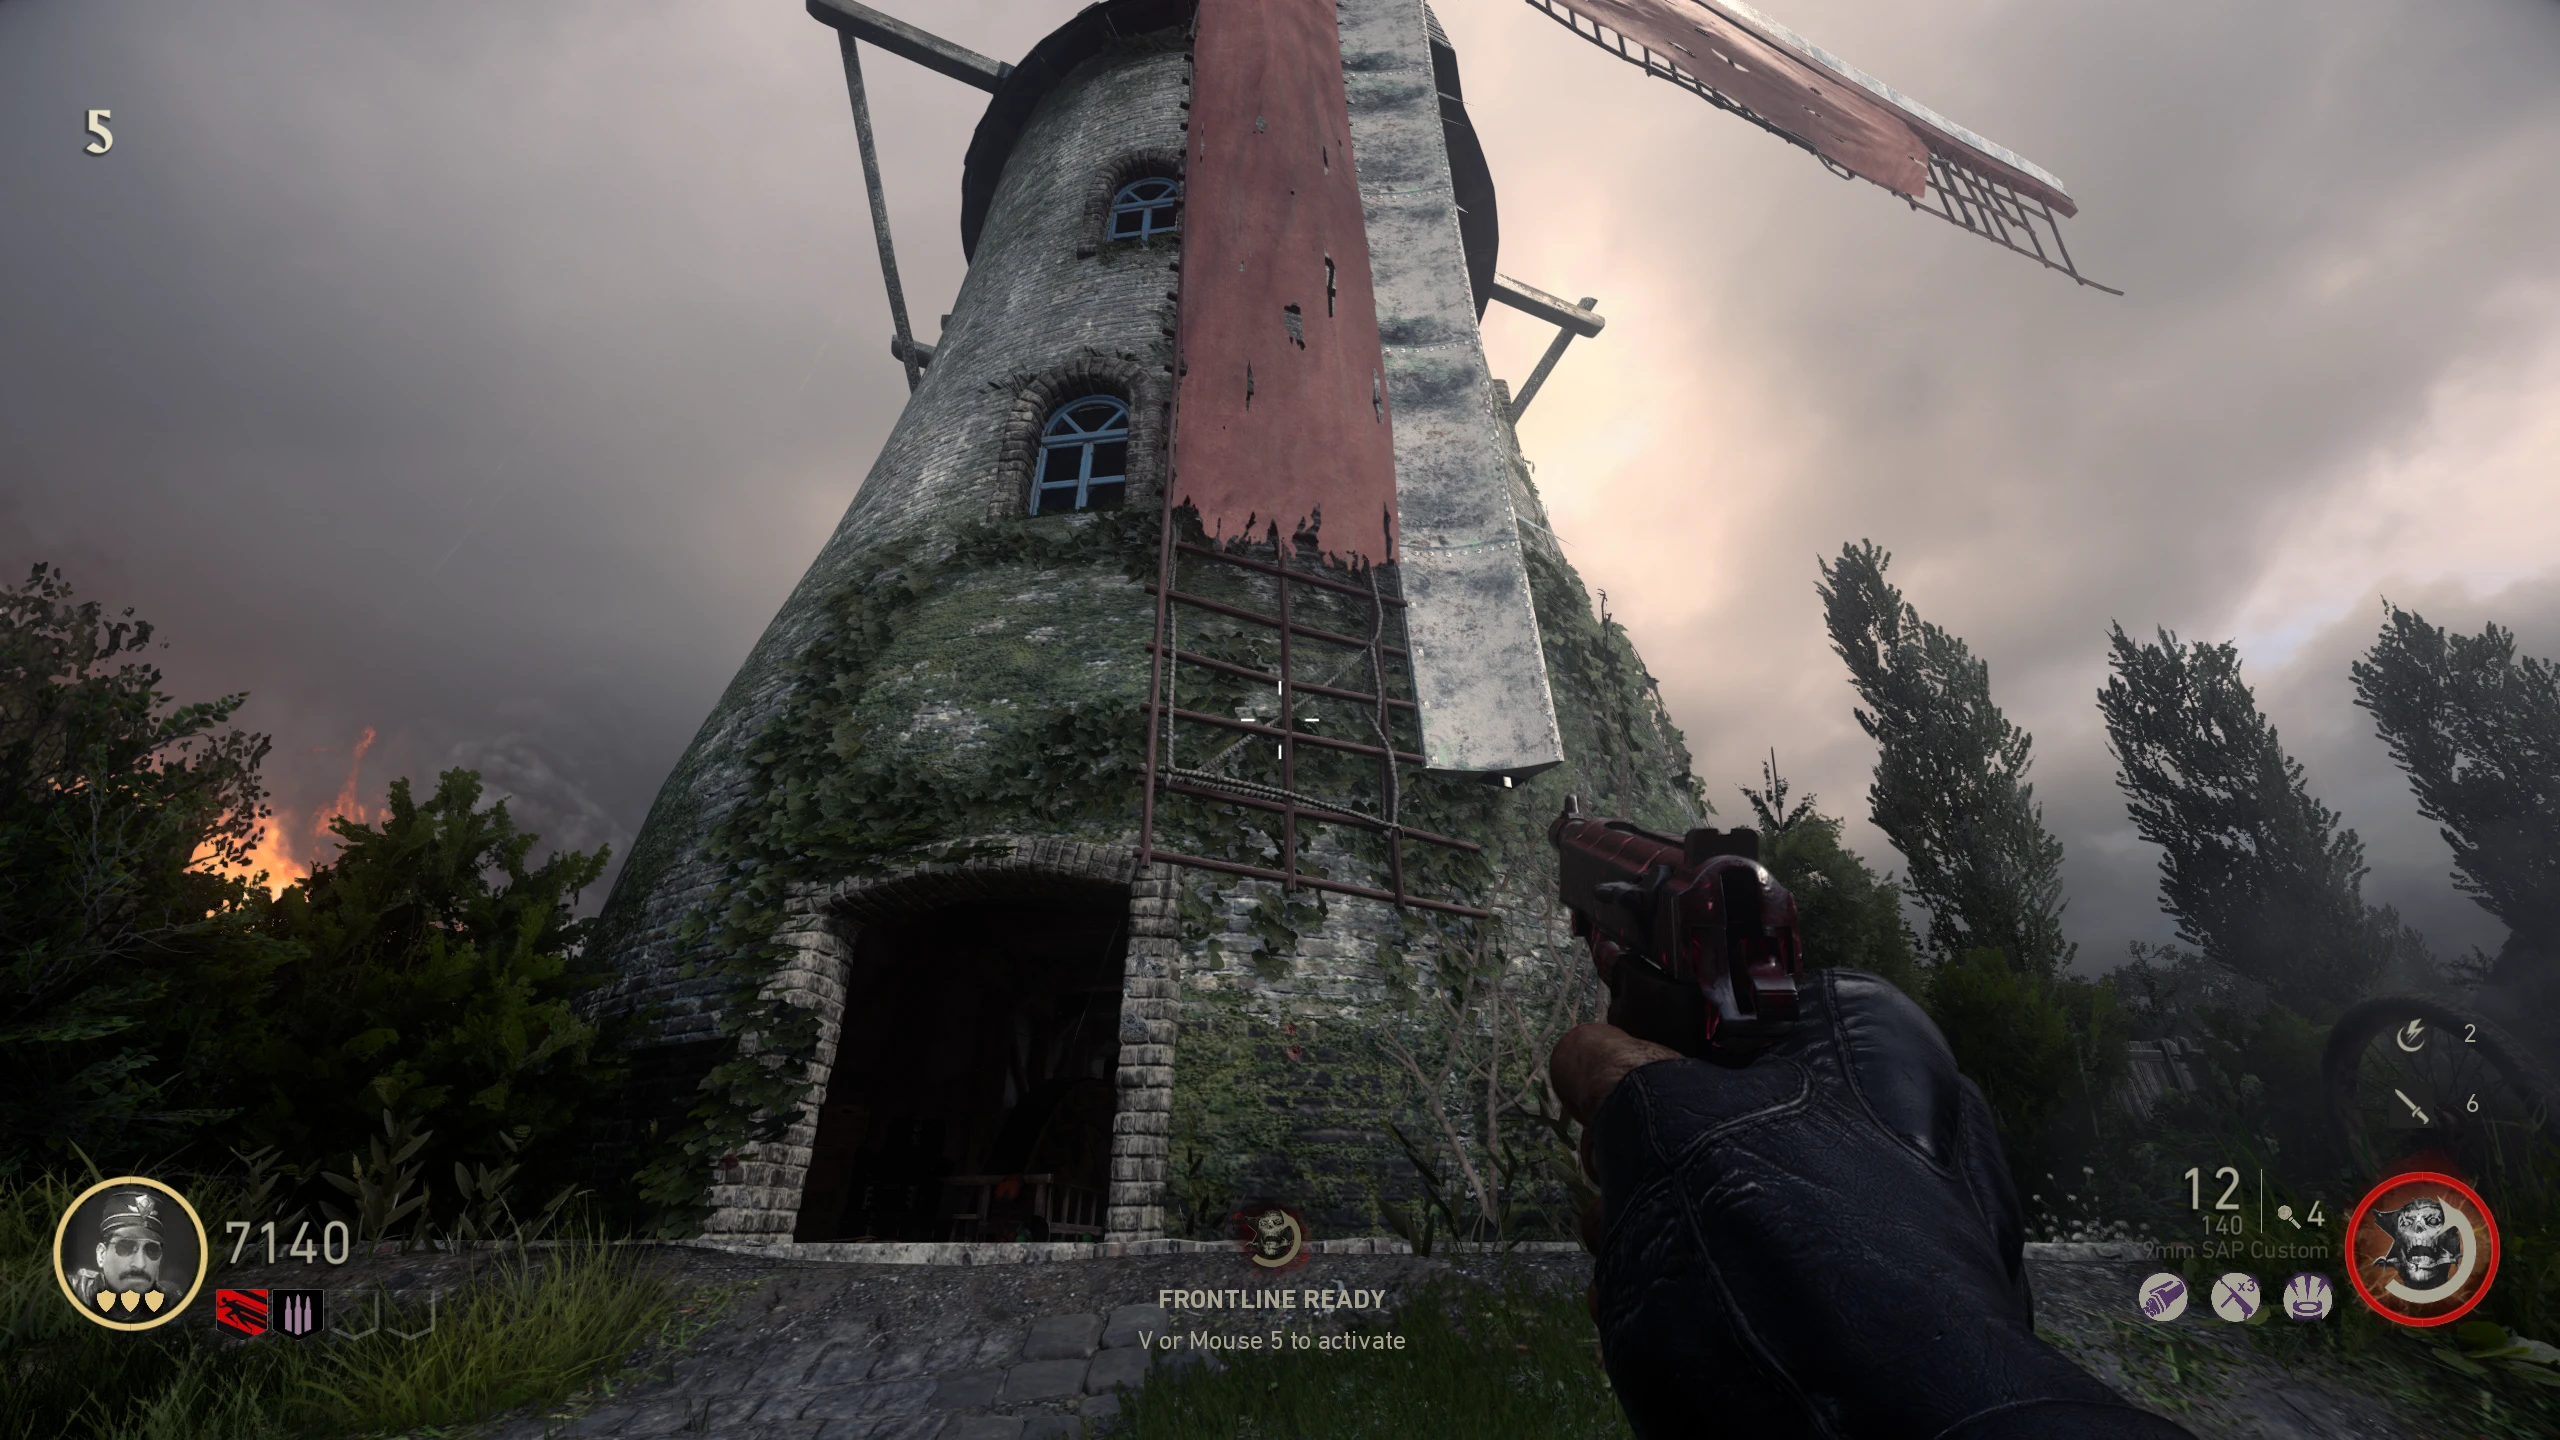
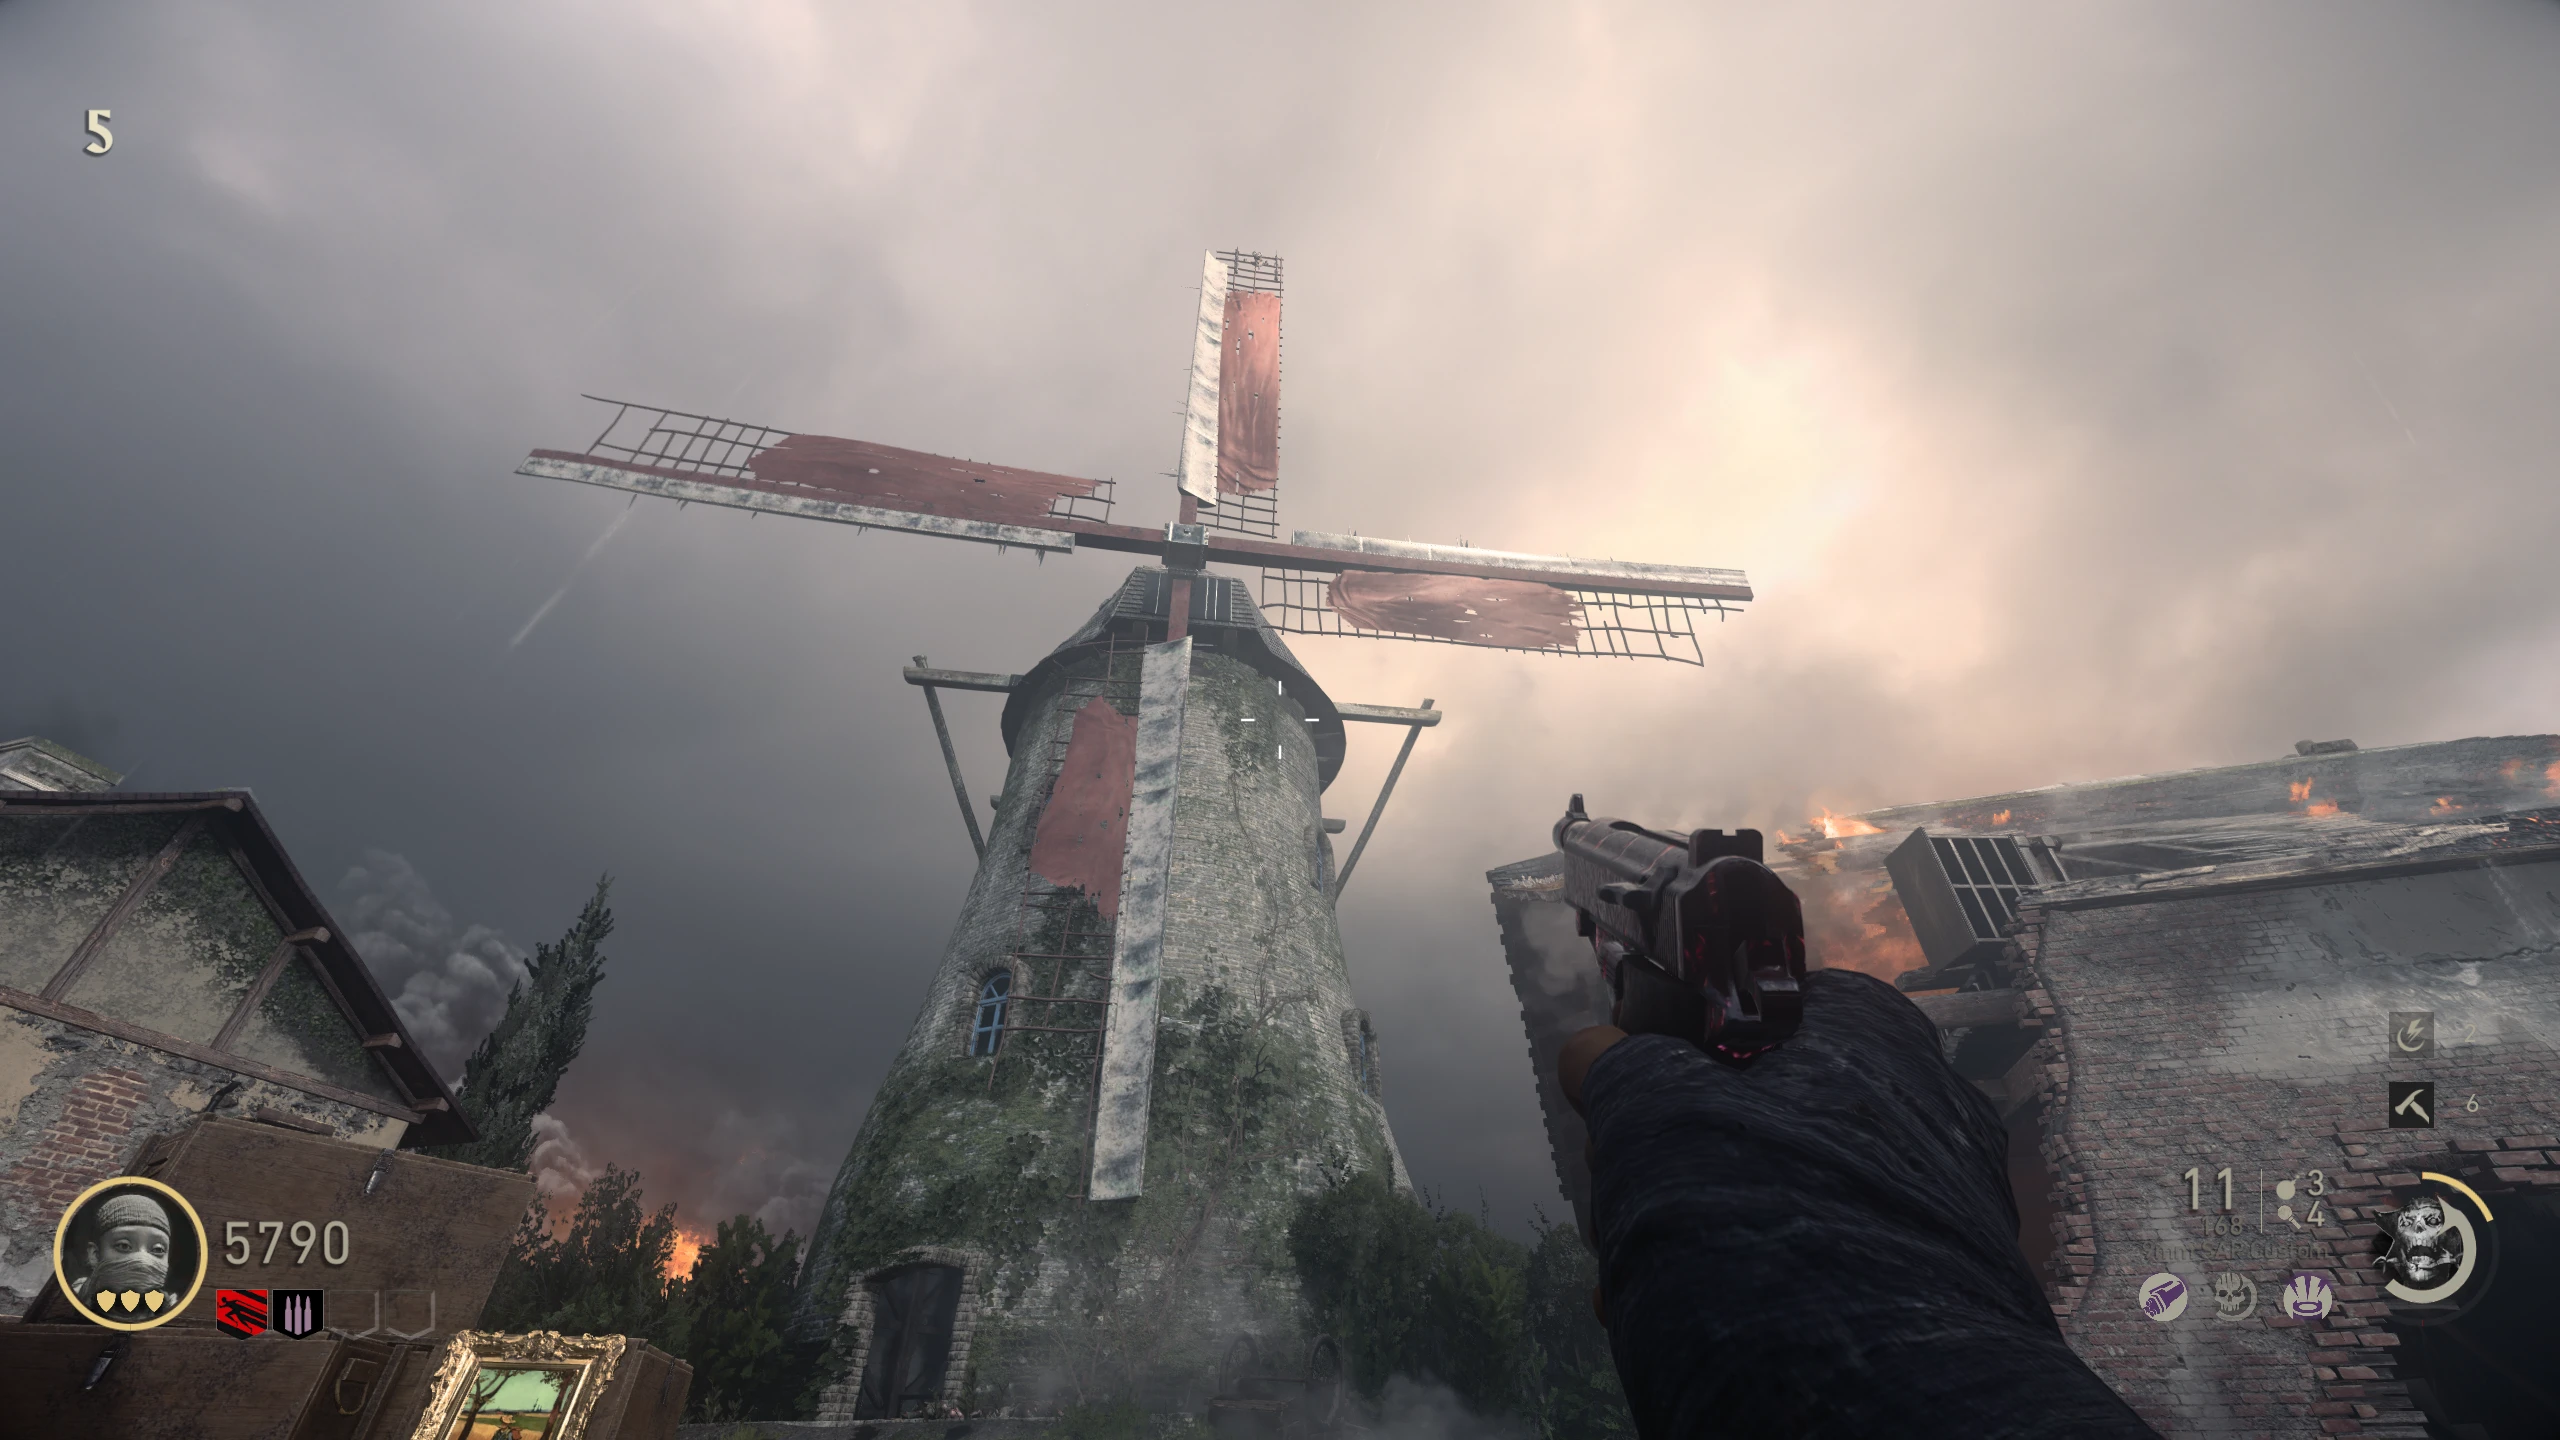
- Place the club in the gears inside the windmill when the longest blade is pointing straight down. If it's in the right place, you'll be able to interact with it to place the Zombie parts. Otherwise, you will need to try again by picking up the club.
- The position of the Windmill Blade to place the body needs to be very precise, and it is quite annoying to do Solo. You can see it pass in front of the doorway right before you need to stop it. Watch this video (YouTube) by CienkaRentaFX for a good example of the timing on this.
- Once the Zombie is on the blade, pick up the club from the gears. Stop the windmill when the Zombie Blade is at the highest point. If you count 20 seconds from when you pick up the club, then stop it at 20, you should have it in the right place.
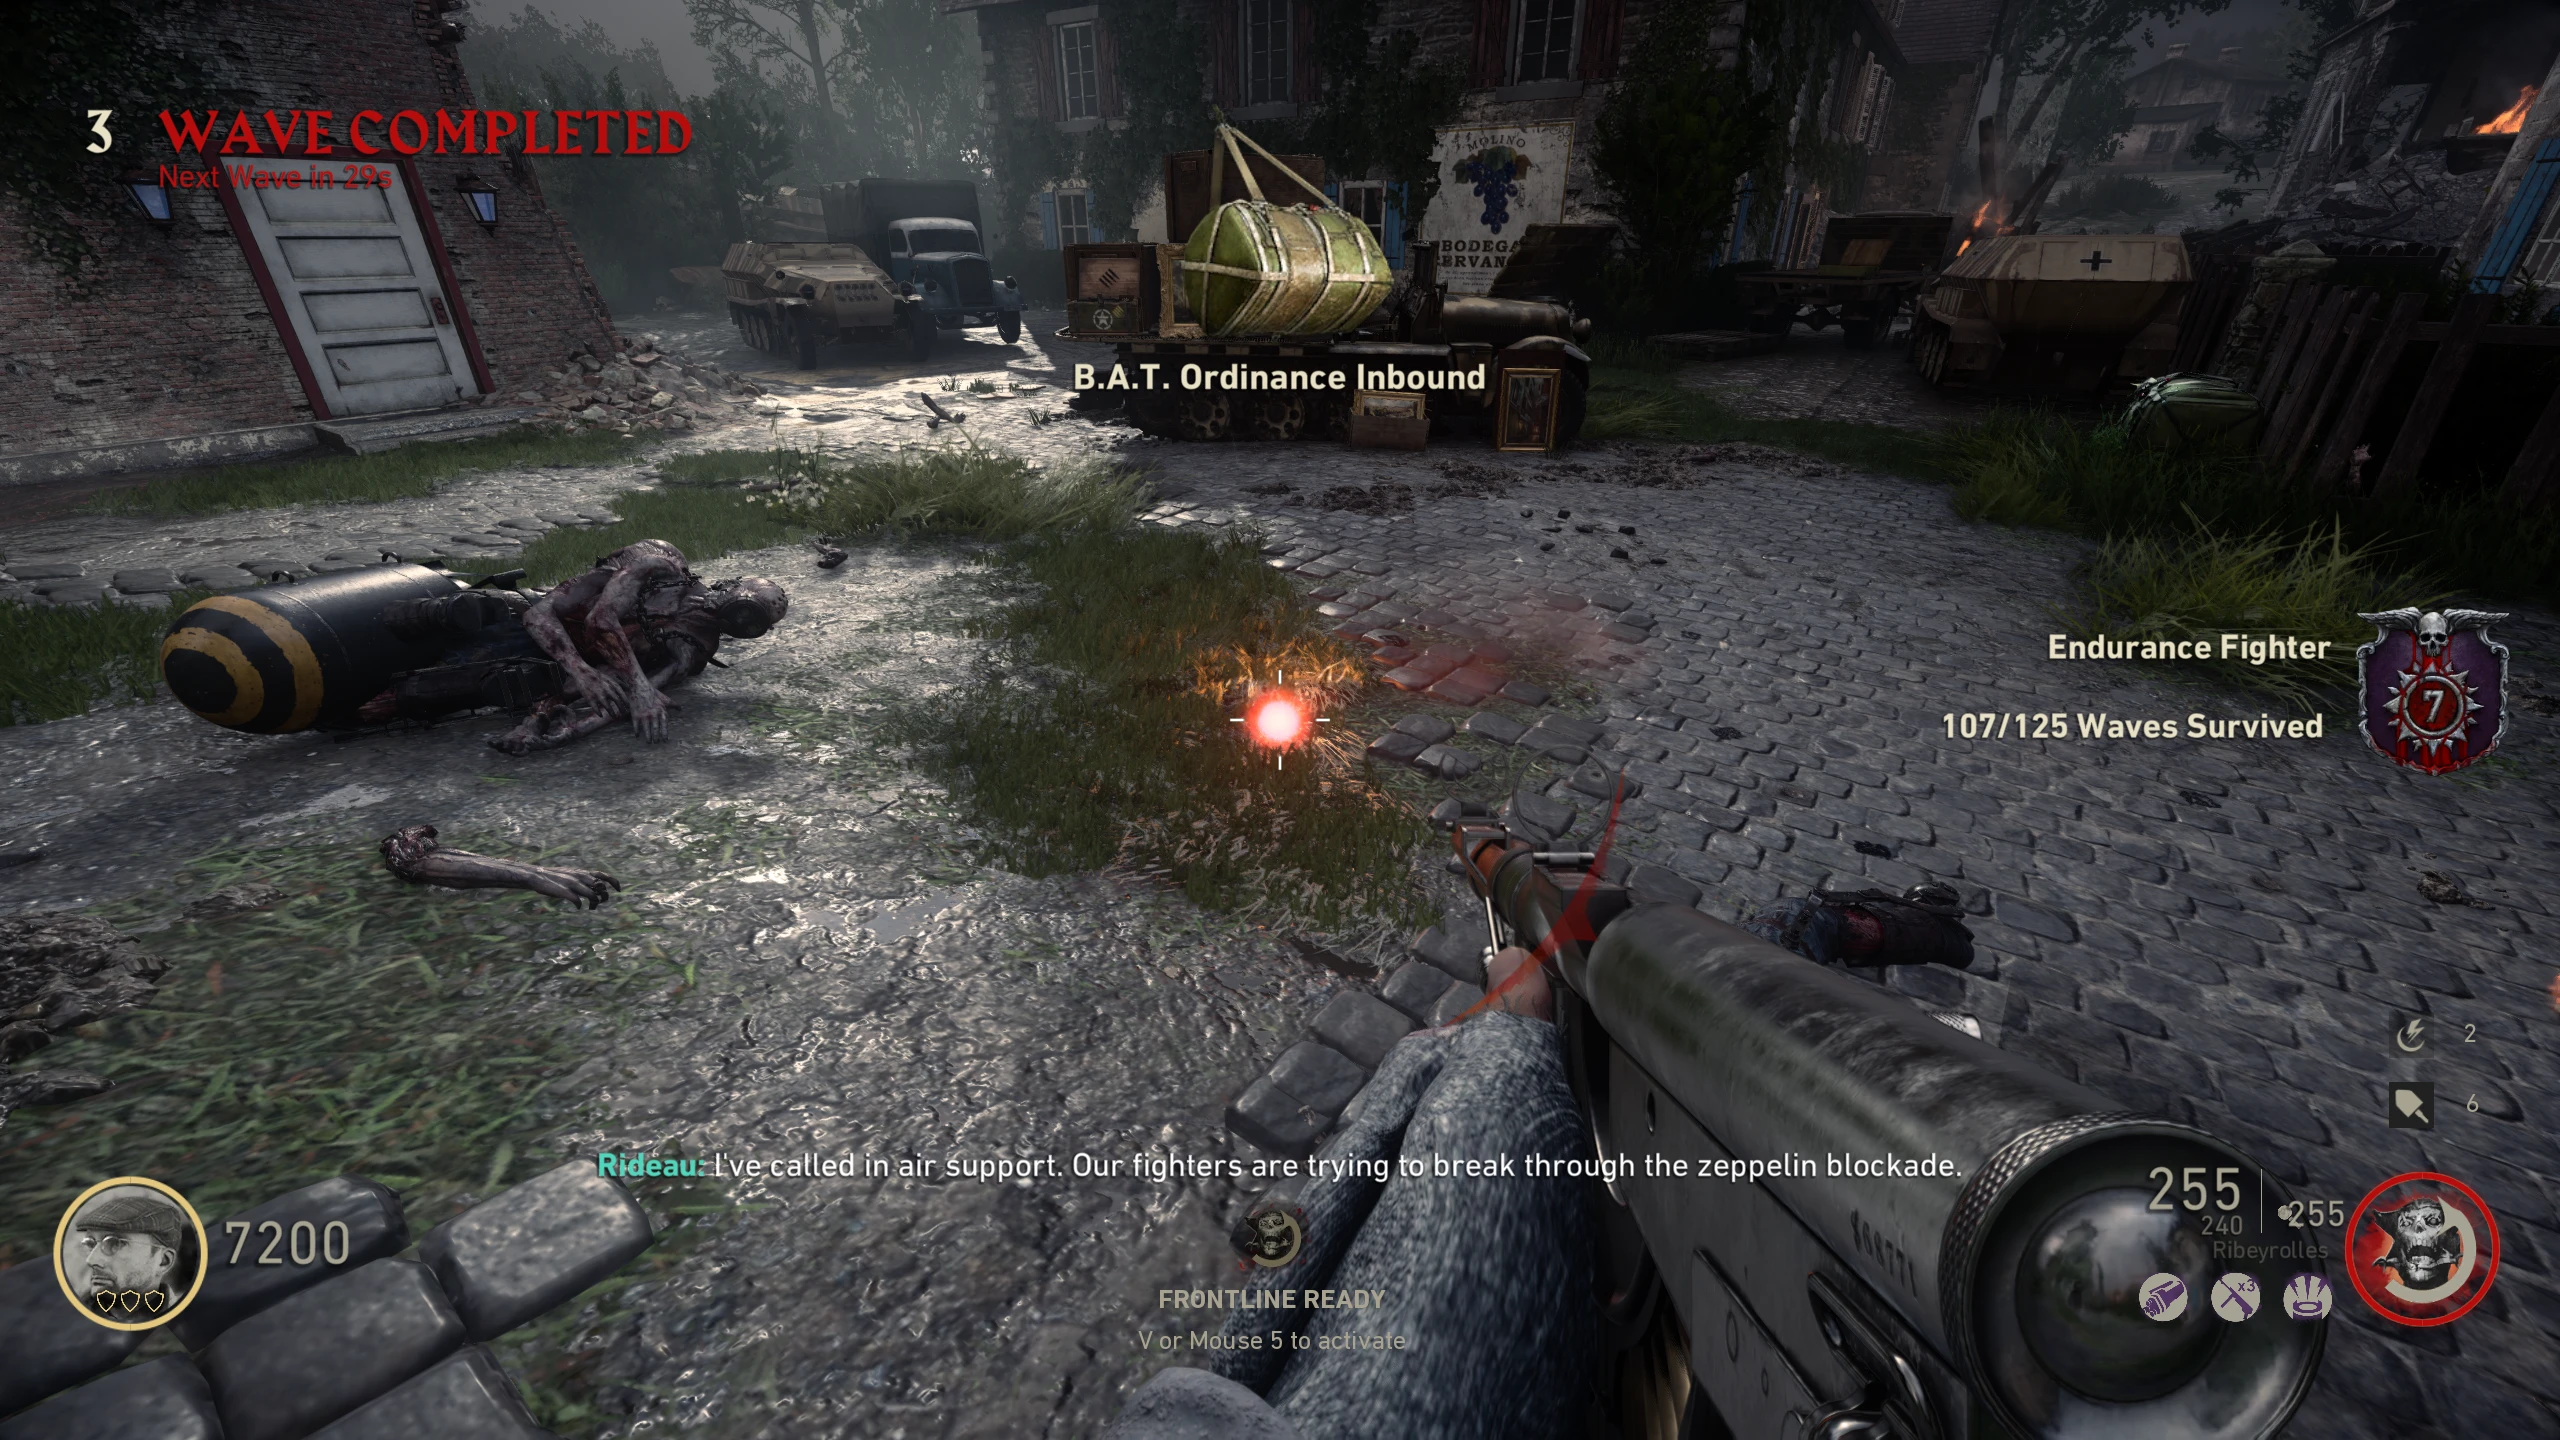
- During the transition from Wave 5 to 6, lightning will strike the Zombie, and it will fall to the ground.
- During Wave 6, you'll need to get kills near the body to charge it. The charge the Zombie takes will make him stronger when you have to defend him later. The Zombie will not stop taking charge, so feed as many Zombies as you can just to be safe. Wave 6 will be a challenge round, so don't finish the challenge (if possible) until the last minute.
- For example, if you get the Repair challenge, repair 2/3 of the items, then spend the rest of the round charging the Zombie. Then, with 20-30 seconds left (or when comfortable), finish the challenge.
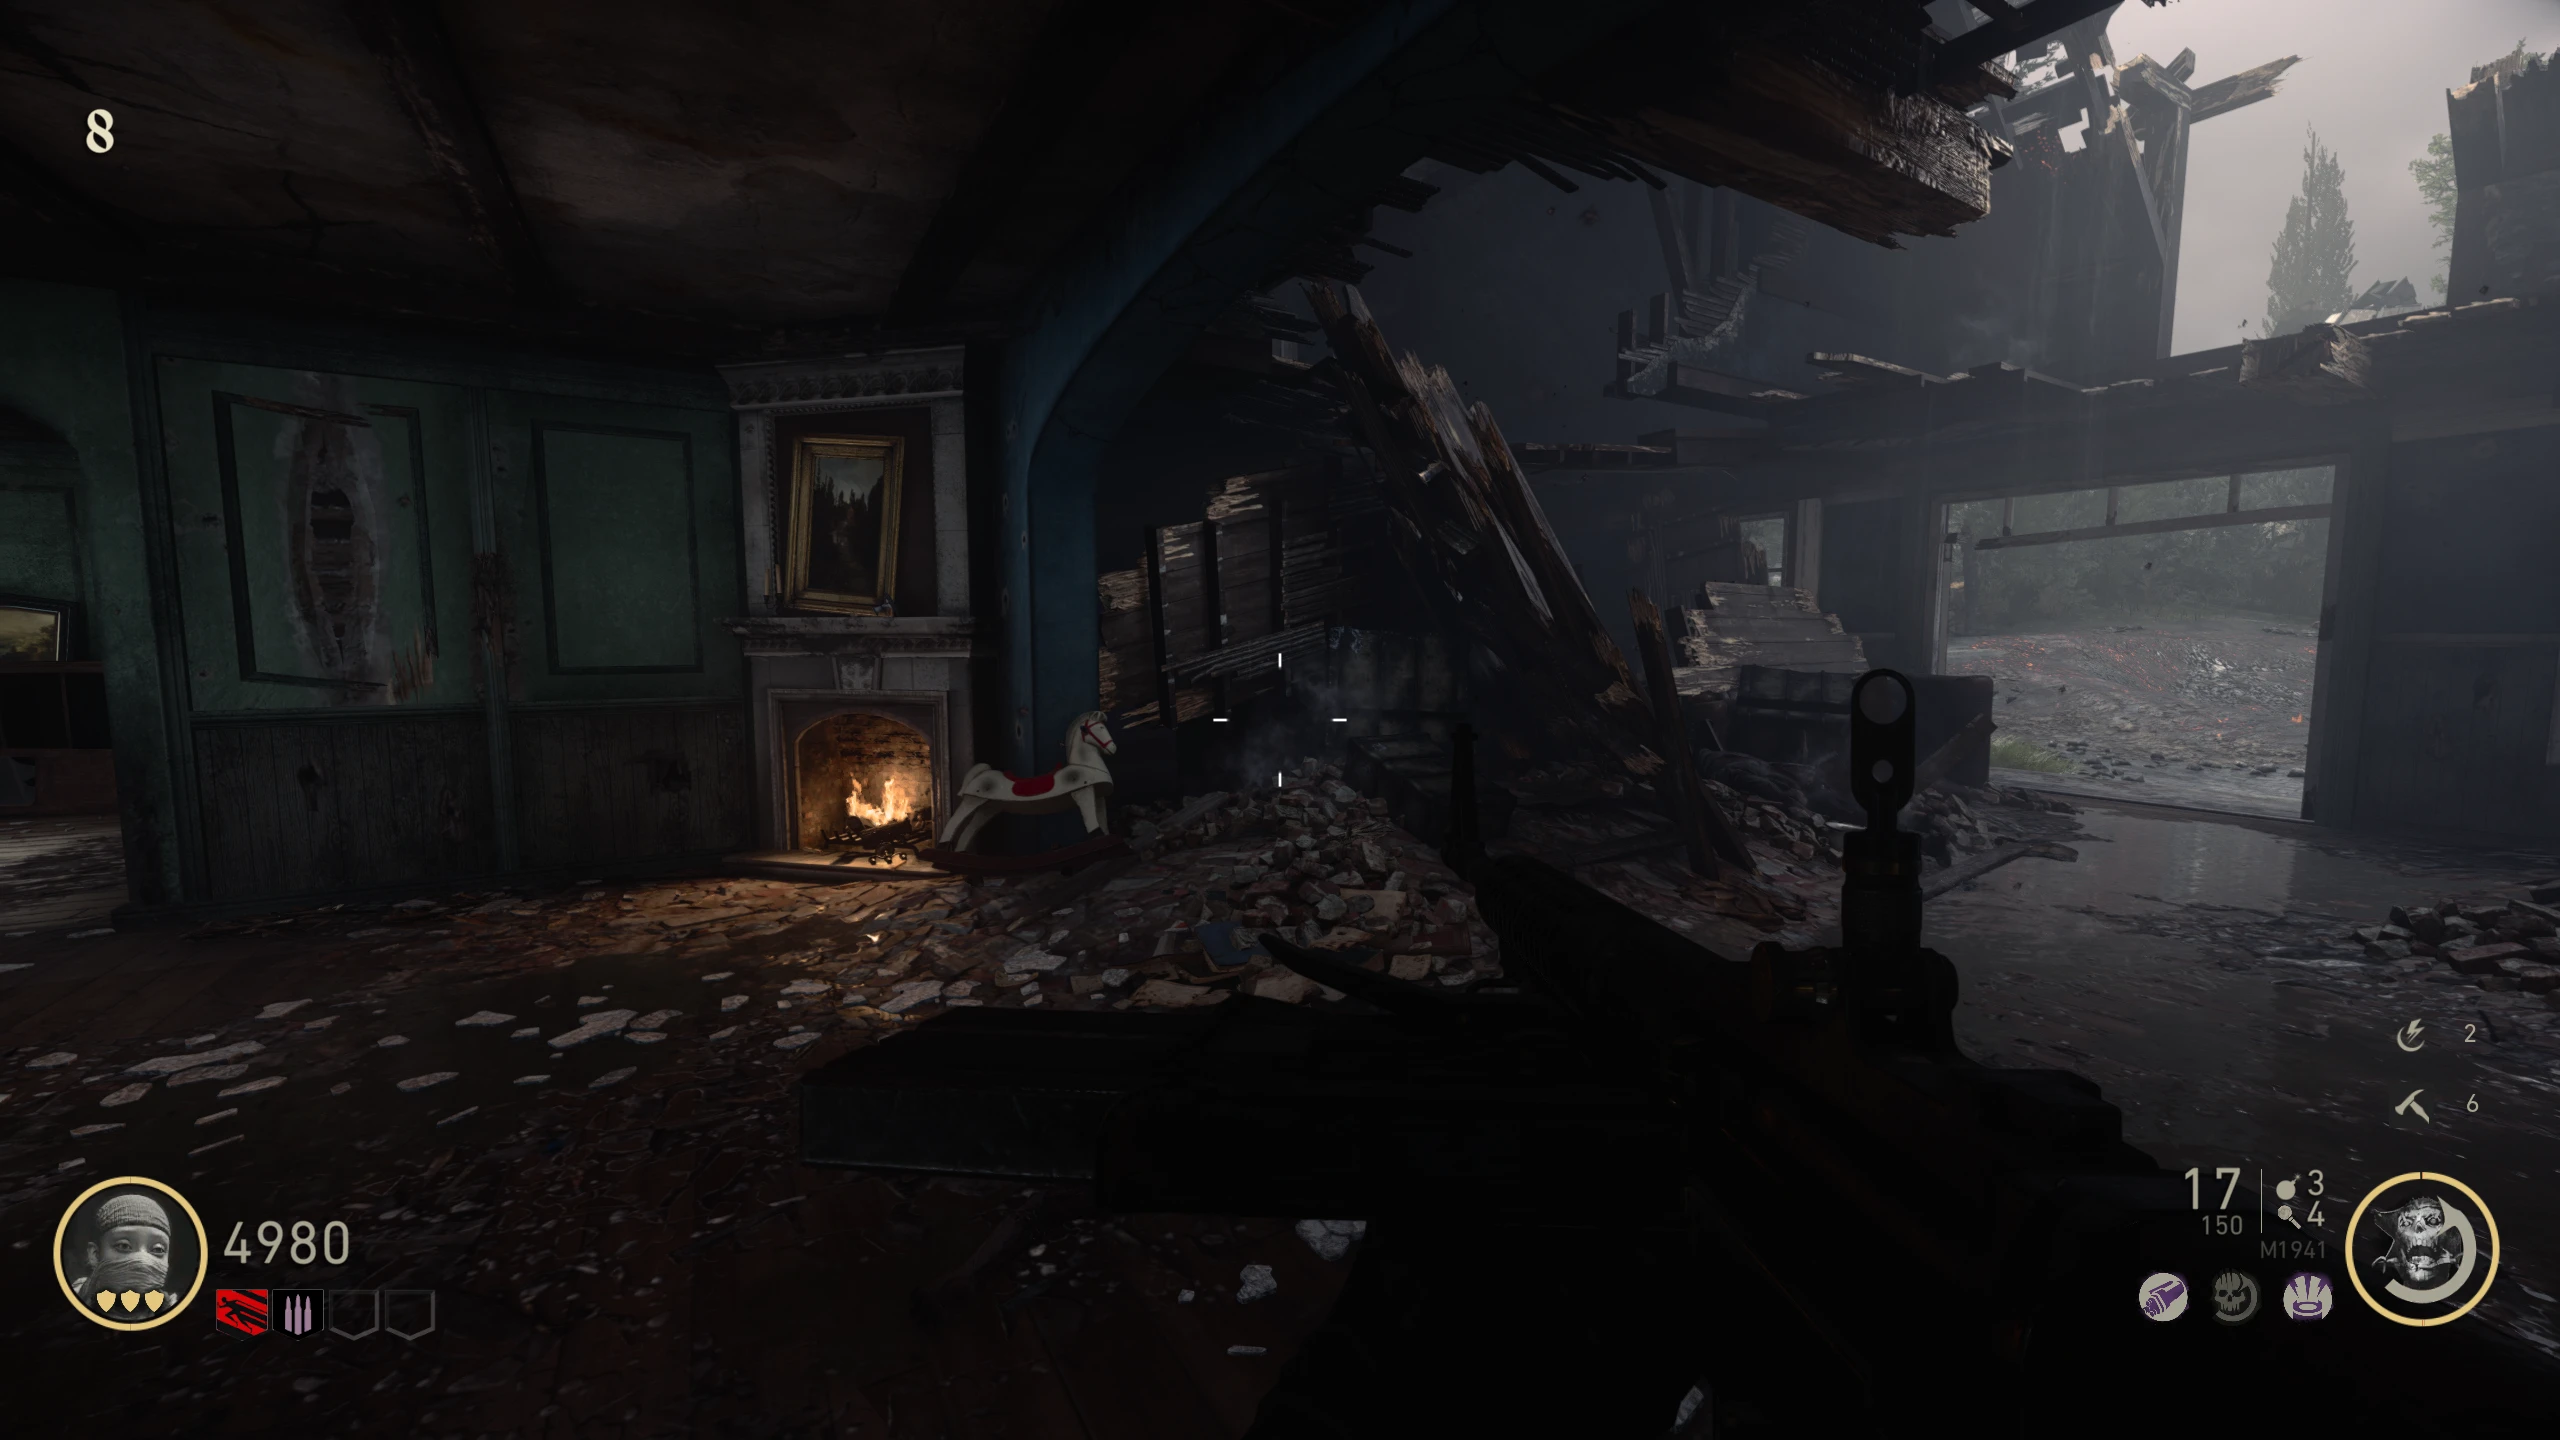
- At the start of the wave, the Zombie will get up and start walking to the broken House, through the Windmill. Defend the Zombie from other Zombies, till it crawls into the debris beside the fireplace.
- It seems Wustlings will still go after the Zombie even if you have Frontline active, so make sure you take care of them.
- The Zombie will emerge from the debris with a battery in one hand. Get kills near the Zombie till the battery is charged and glowing green. Let the Zombies kill the battery Zombie.
- If the Zombie dies before the battery is charged, you need to restart the map to try again.
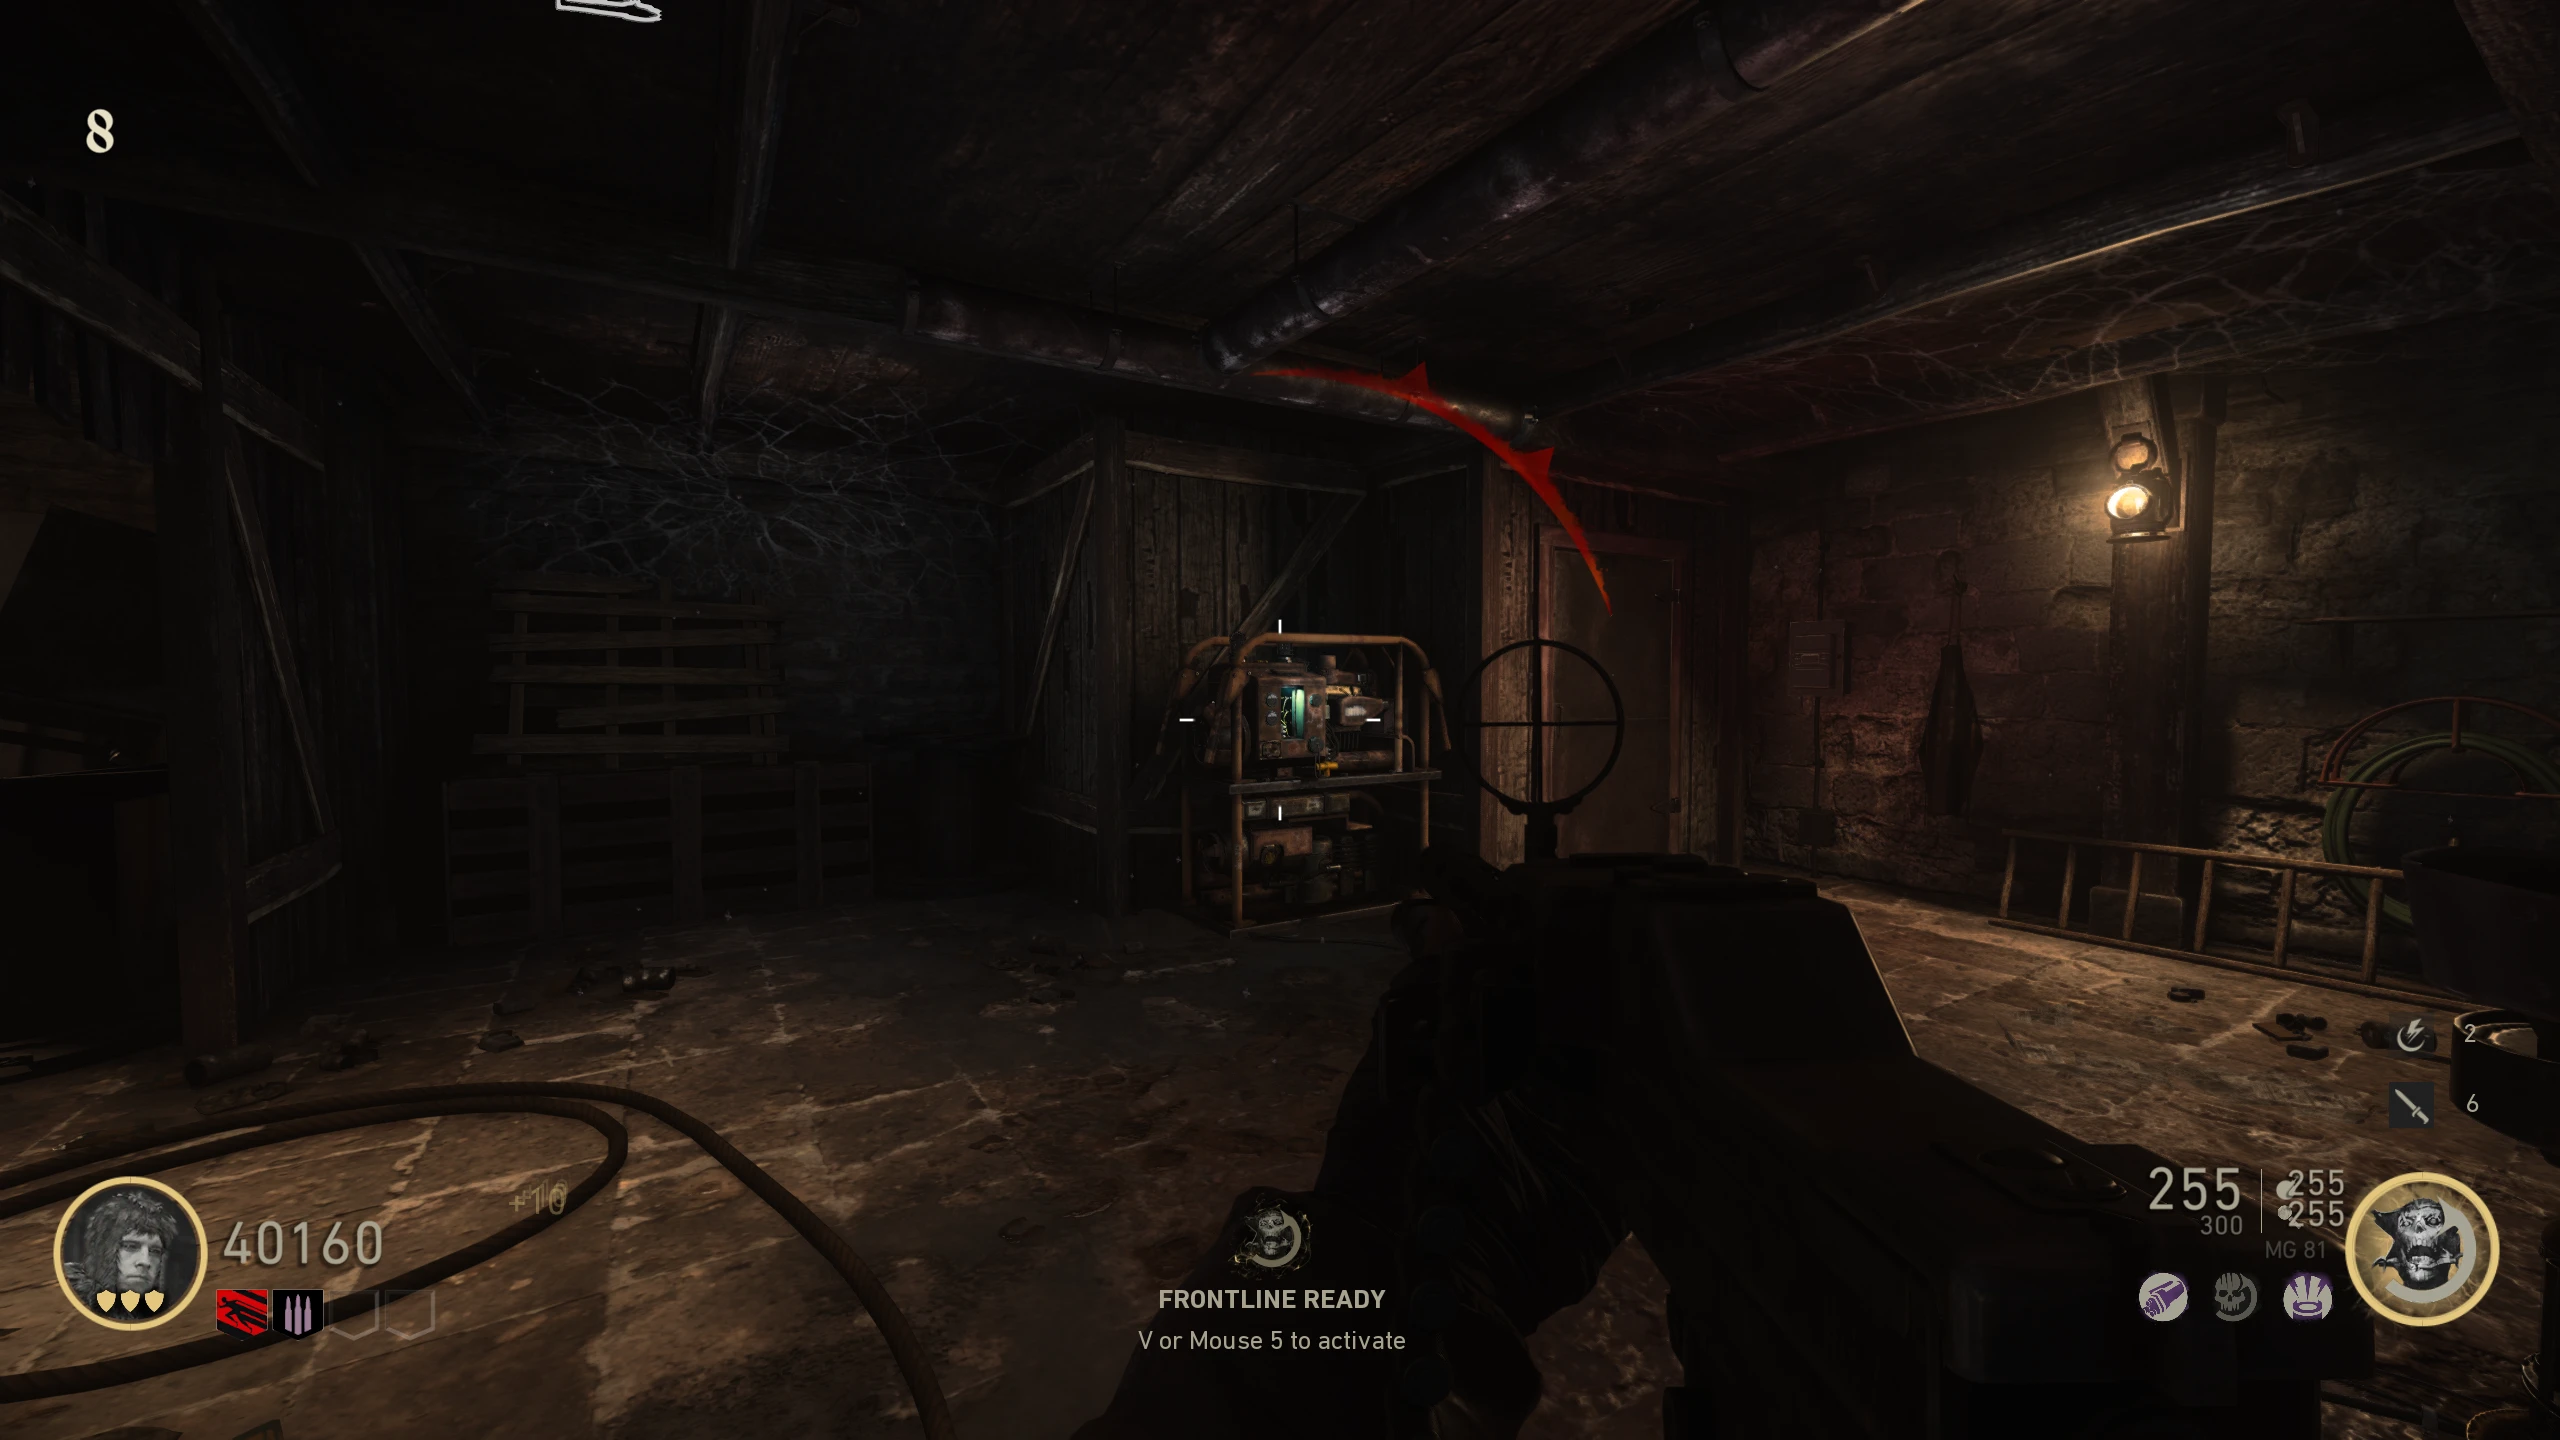
- Pick up the battery the Zombie dropped, and place it into the generator in the Wine Cellar.
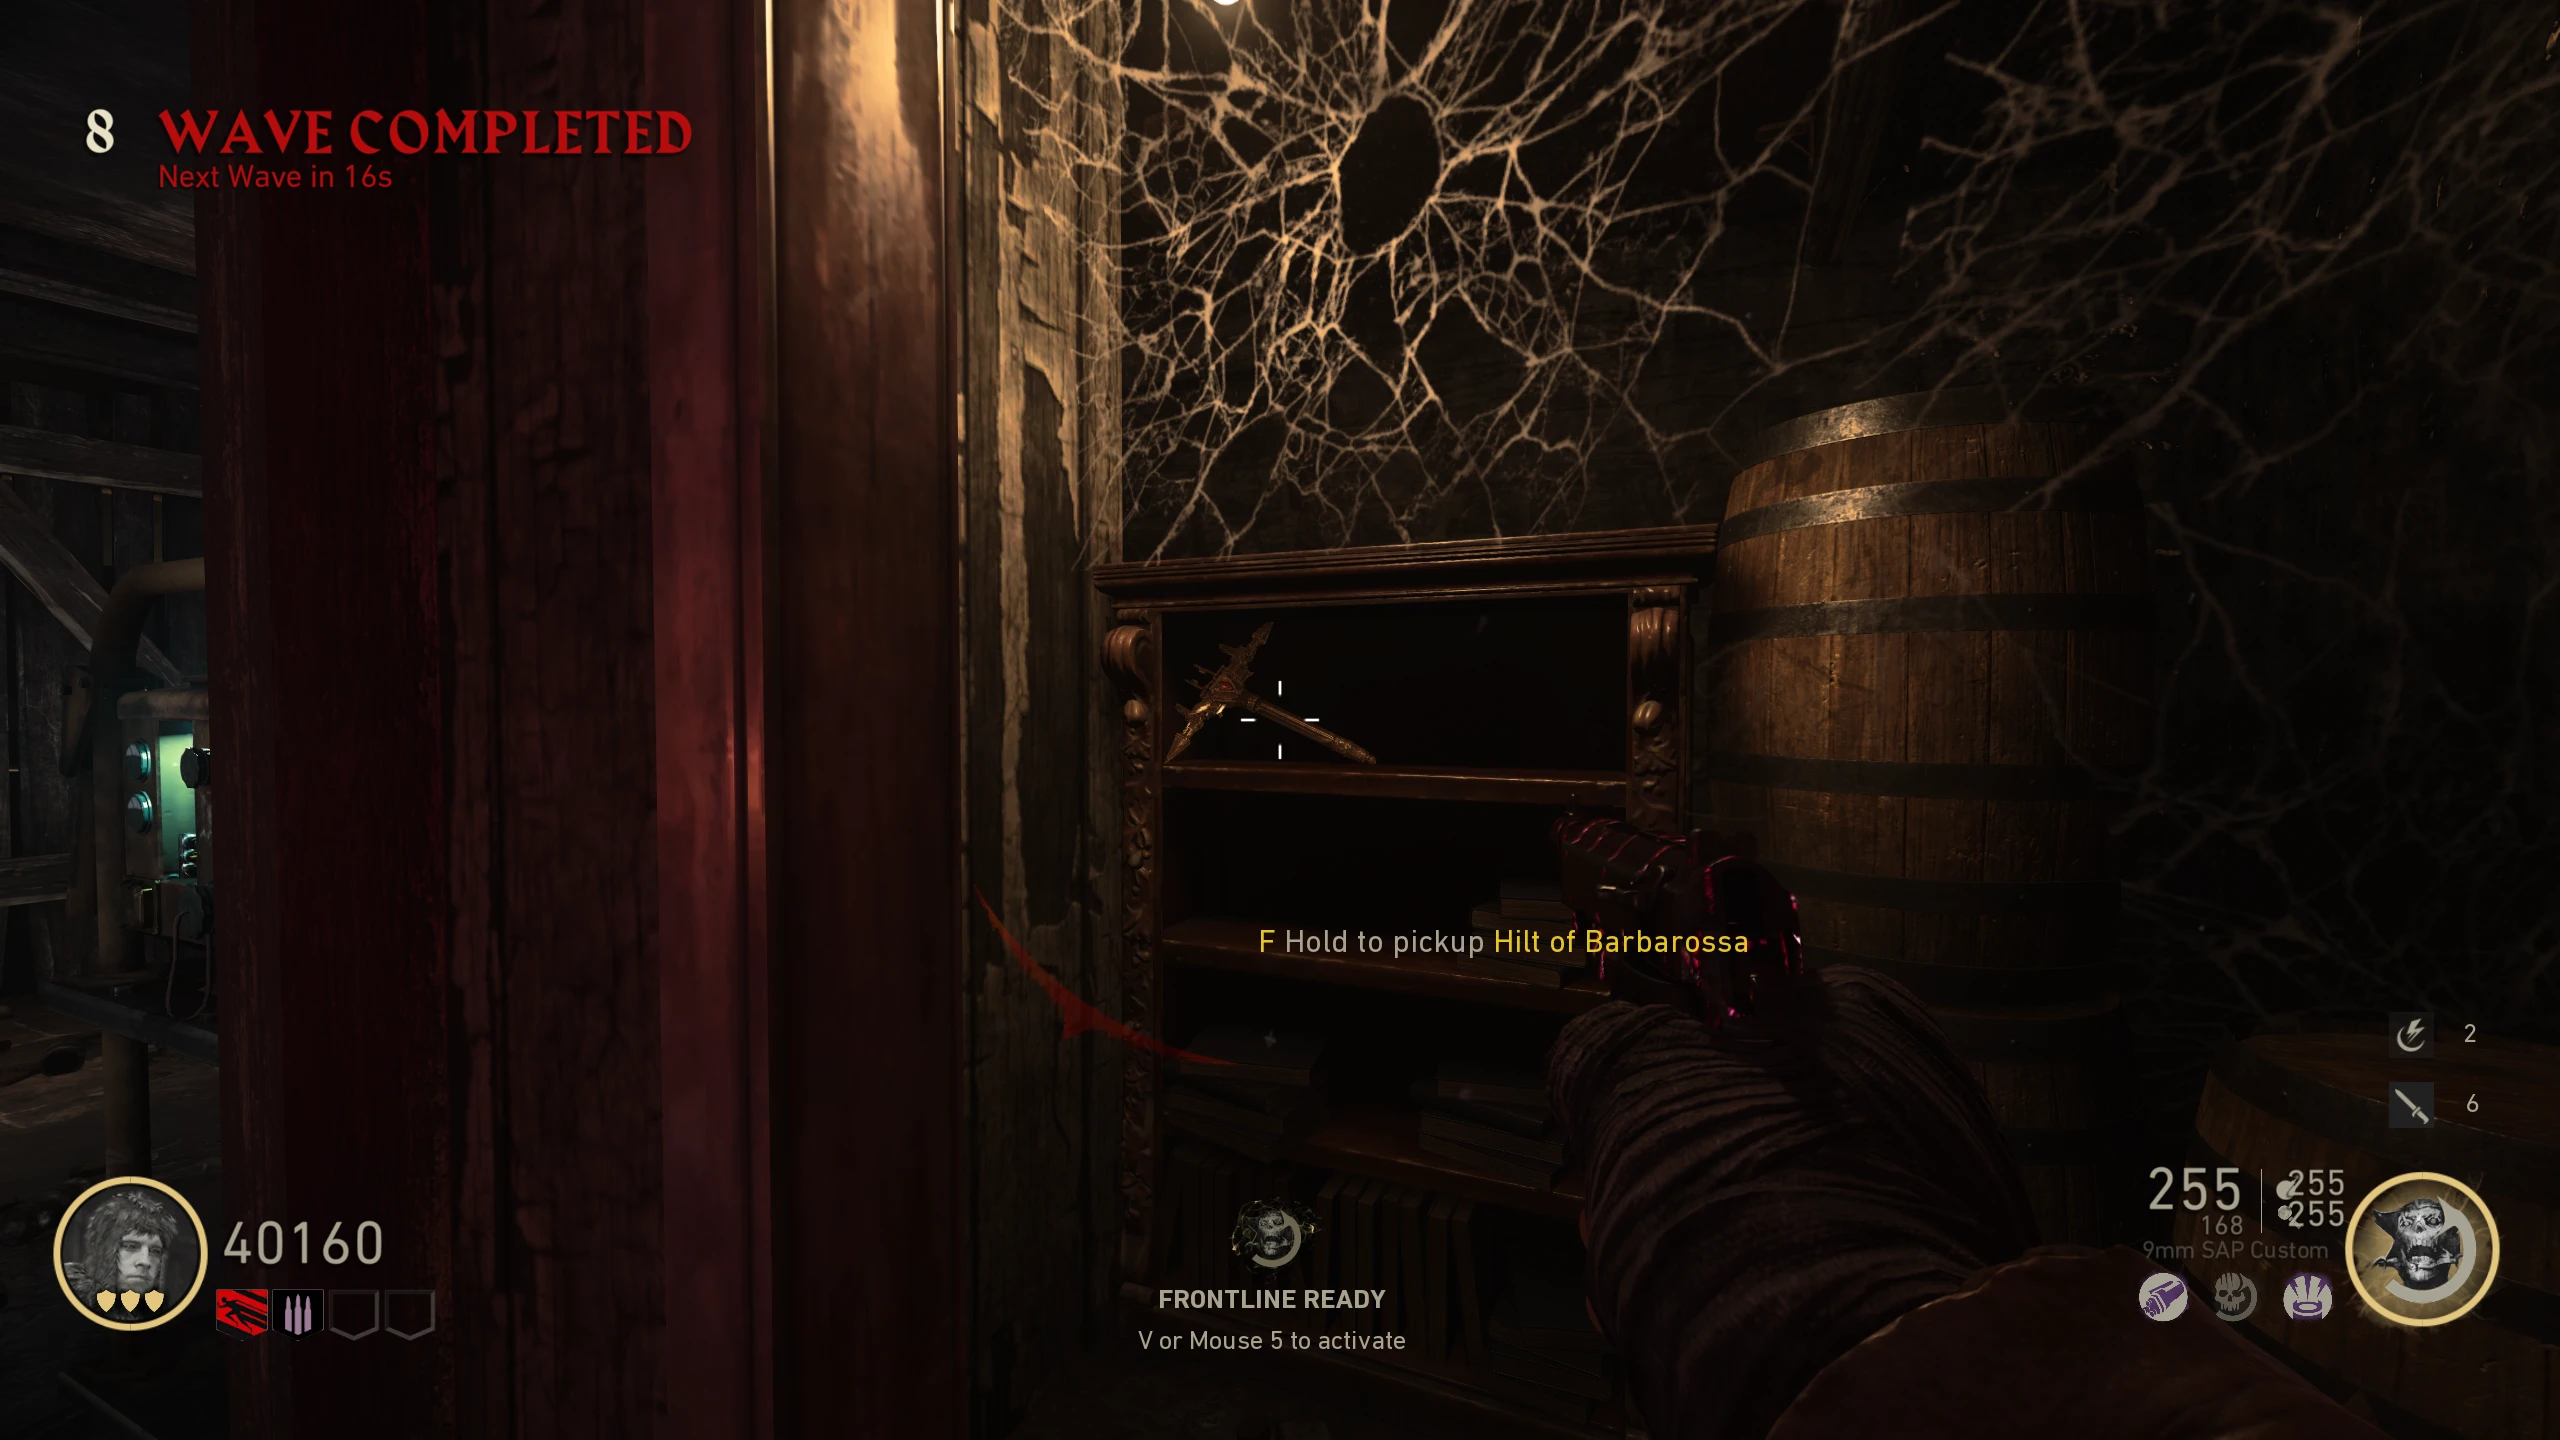
- This will open the door, revealing the Hilt for you to pick up (and the Sword if you've already completed the Main Quest). Picking up the Hilt will give you all Blitz perks for the remainder of the game.
- You're now free to complete the map.
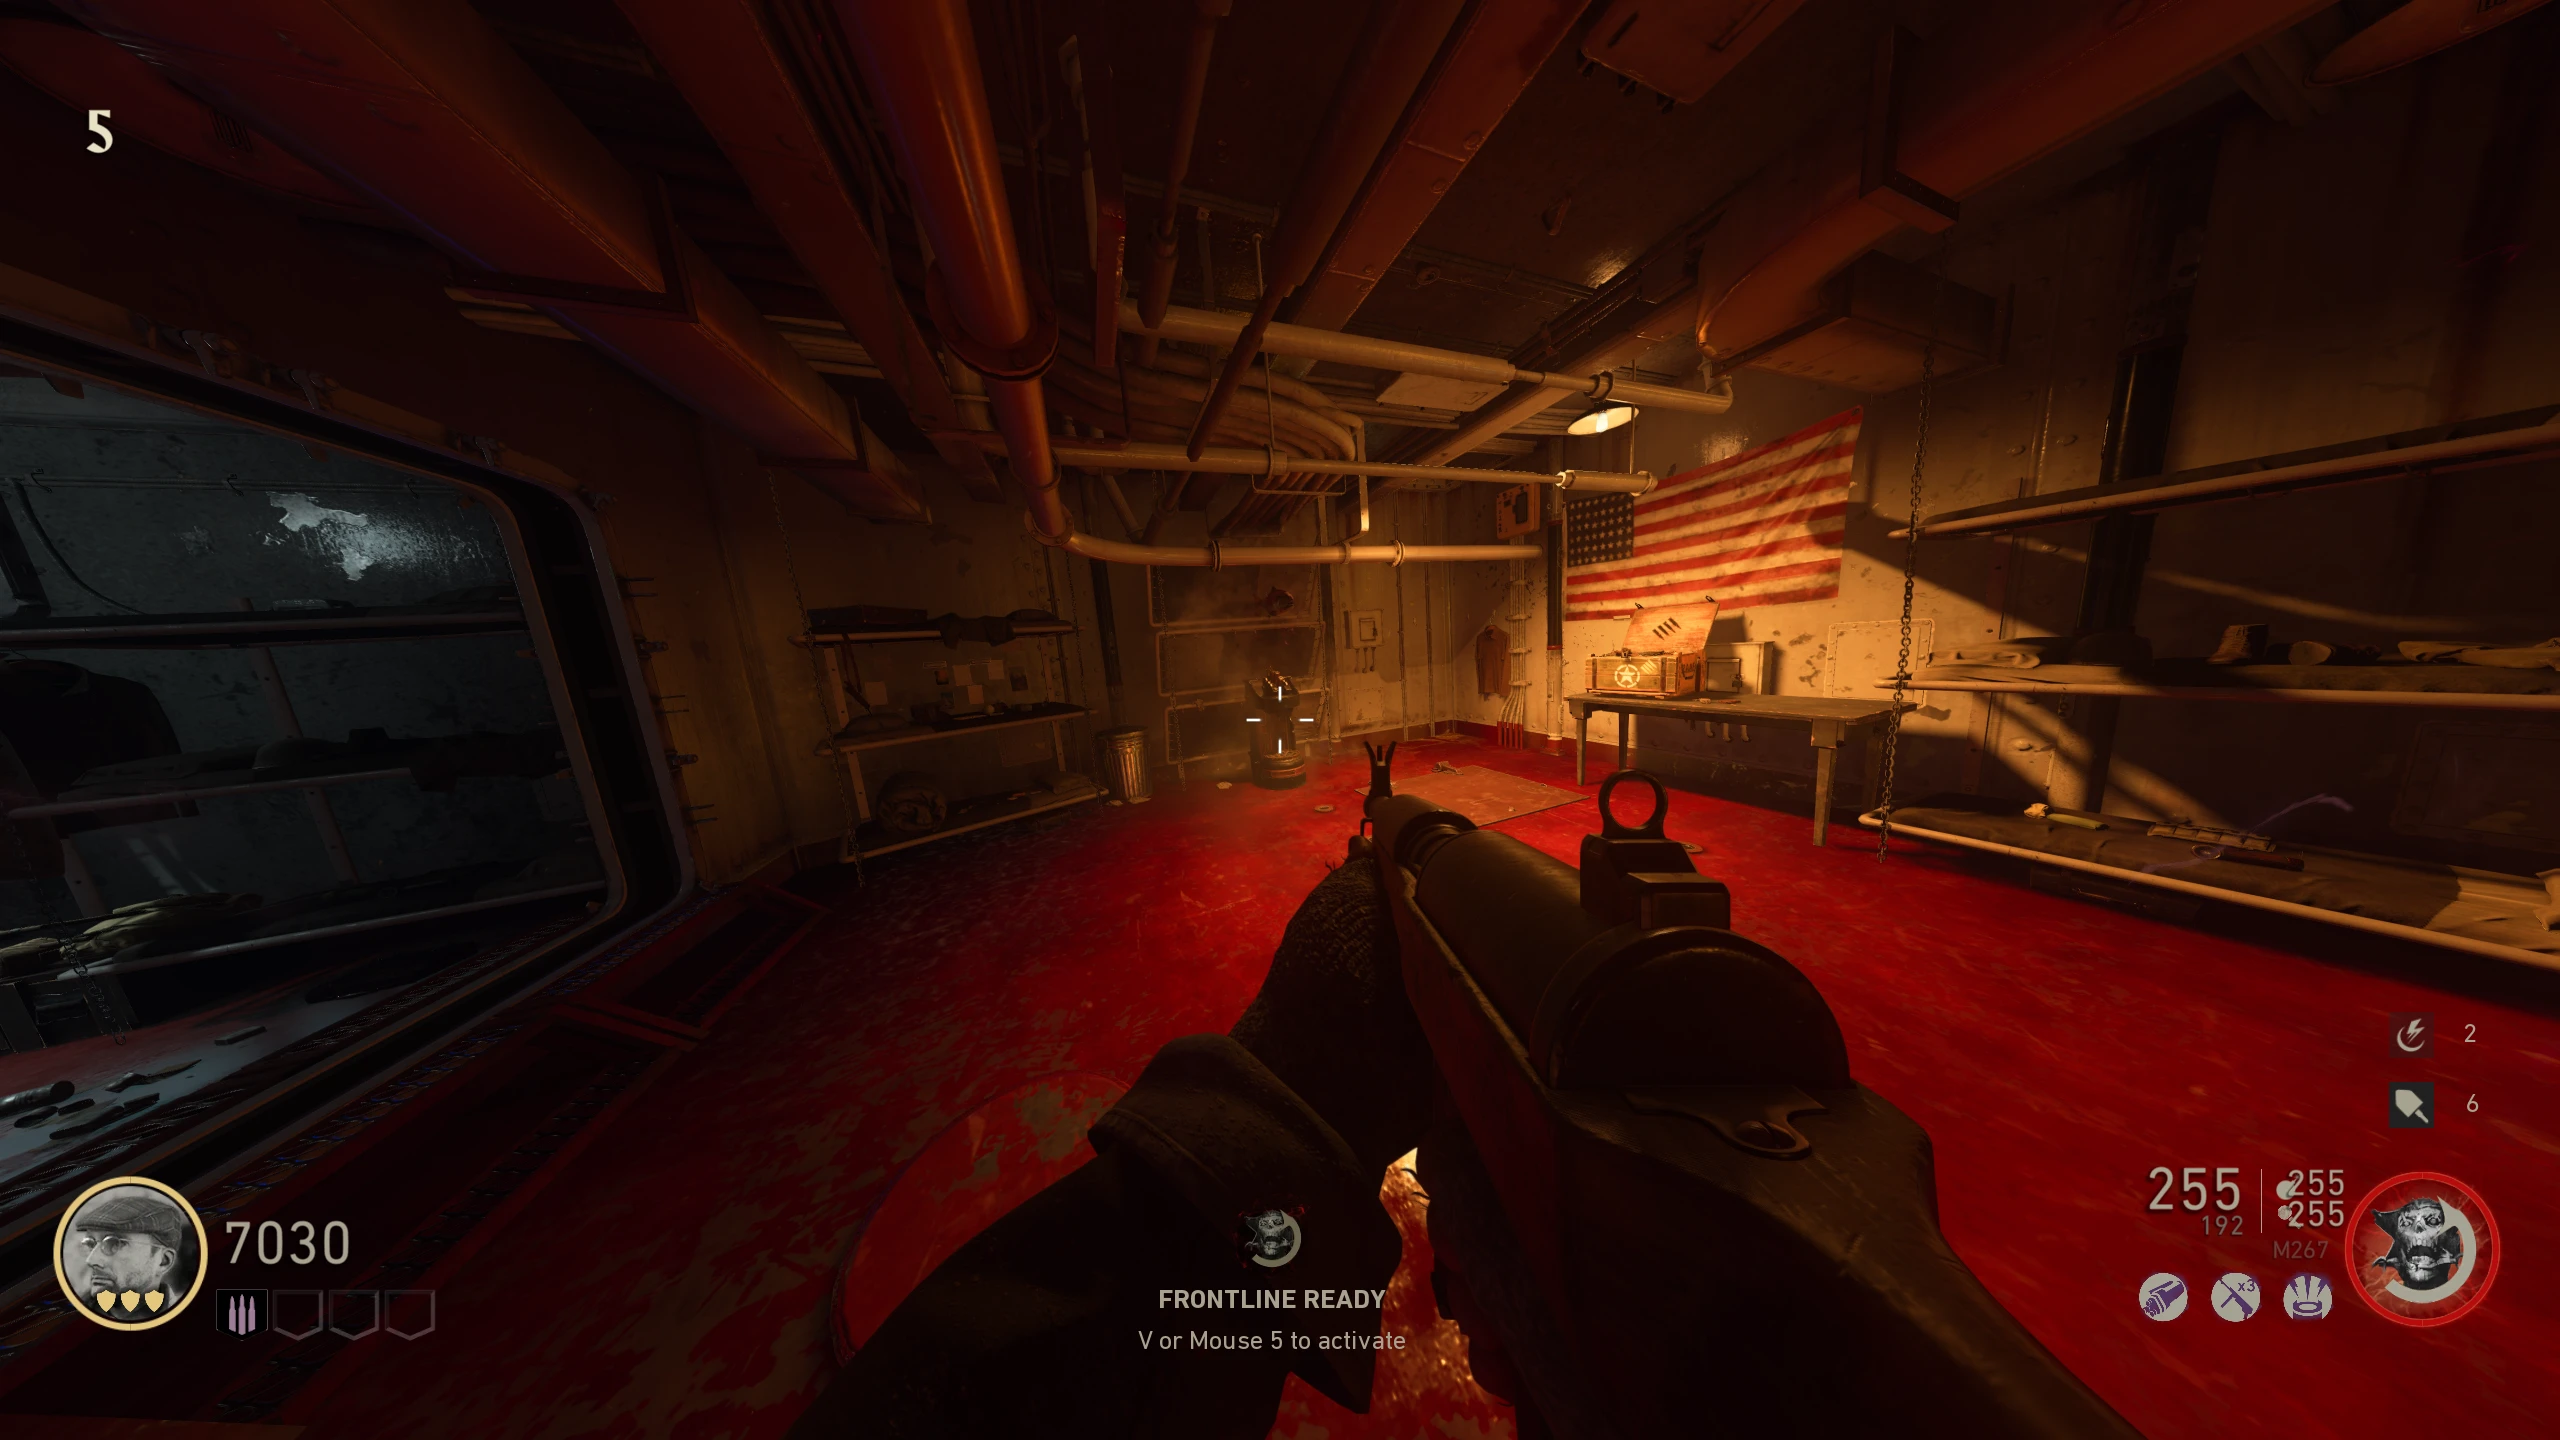
- In the back left corner of the Barracks, there's a battery sitting on a box. Melee it to enter "easter egg vision" mode. While in this mode, electricity will surround your screen, your FOV will increase, and Zombies will occasionally go invisible. All players must go to the battery to enter the mode.
- Around the map, nine fish will spawn that you need to shoot. They can only be seen in the vision mode. Locations:
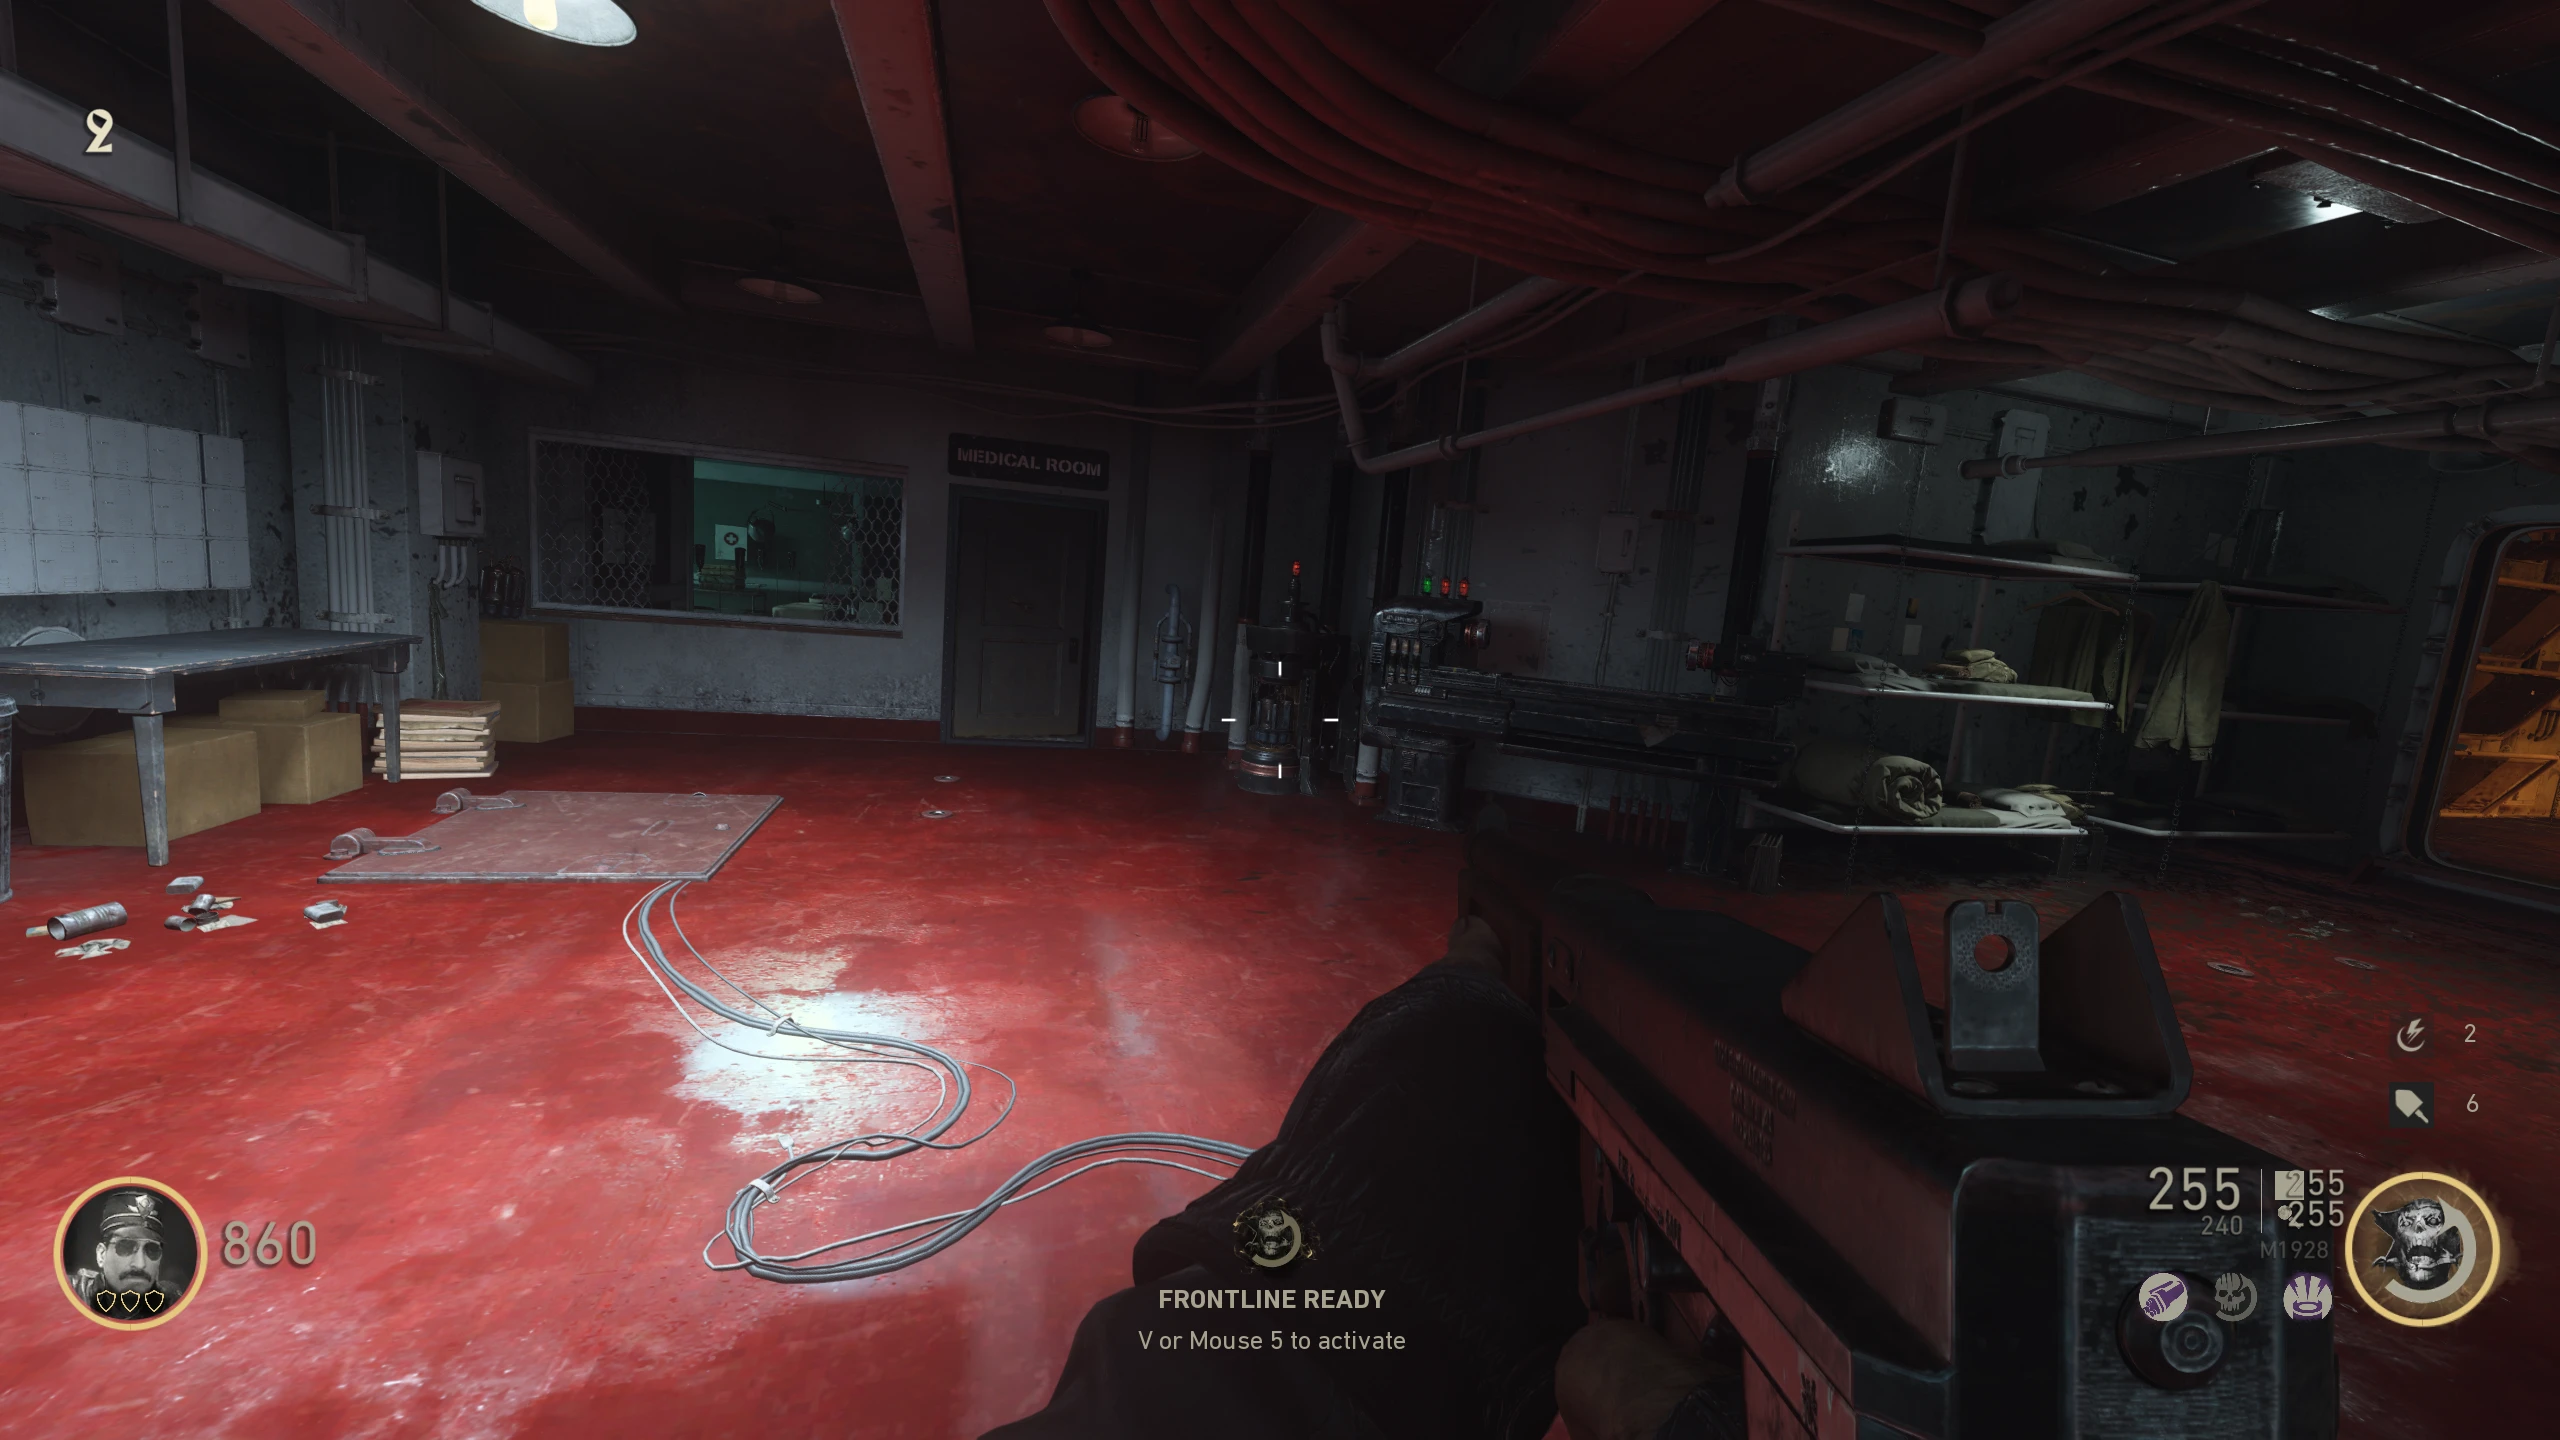
- On a bed in the Medical Bay (Zombie spawn in PAP room)
- In the Pack-a-Punch room on some lockers across from the PAP machine
- On a trash can, left of folded-up beds in the Barracks
- In the Barracks right of the stairs to the Cafeteria
- On the left side of the Buffet table in the Cafeteria
- On a cabinet, in the room between the Cafeteria and the Barracks
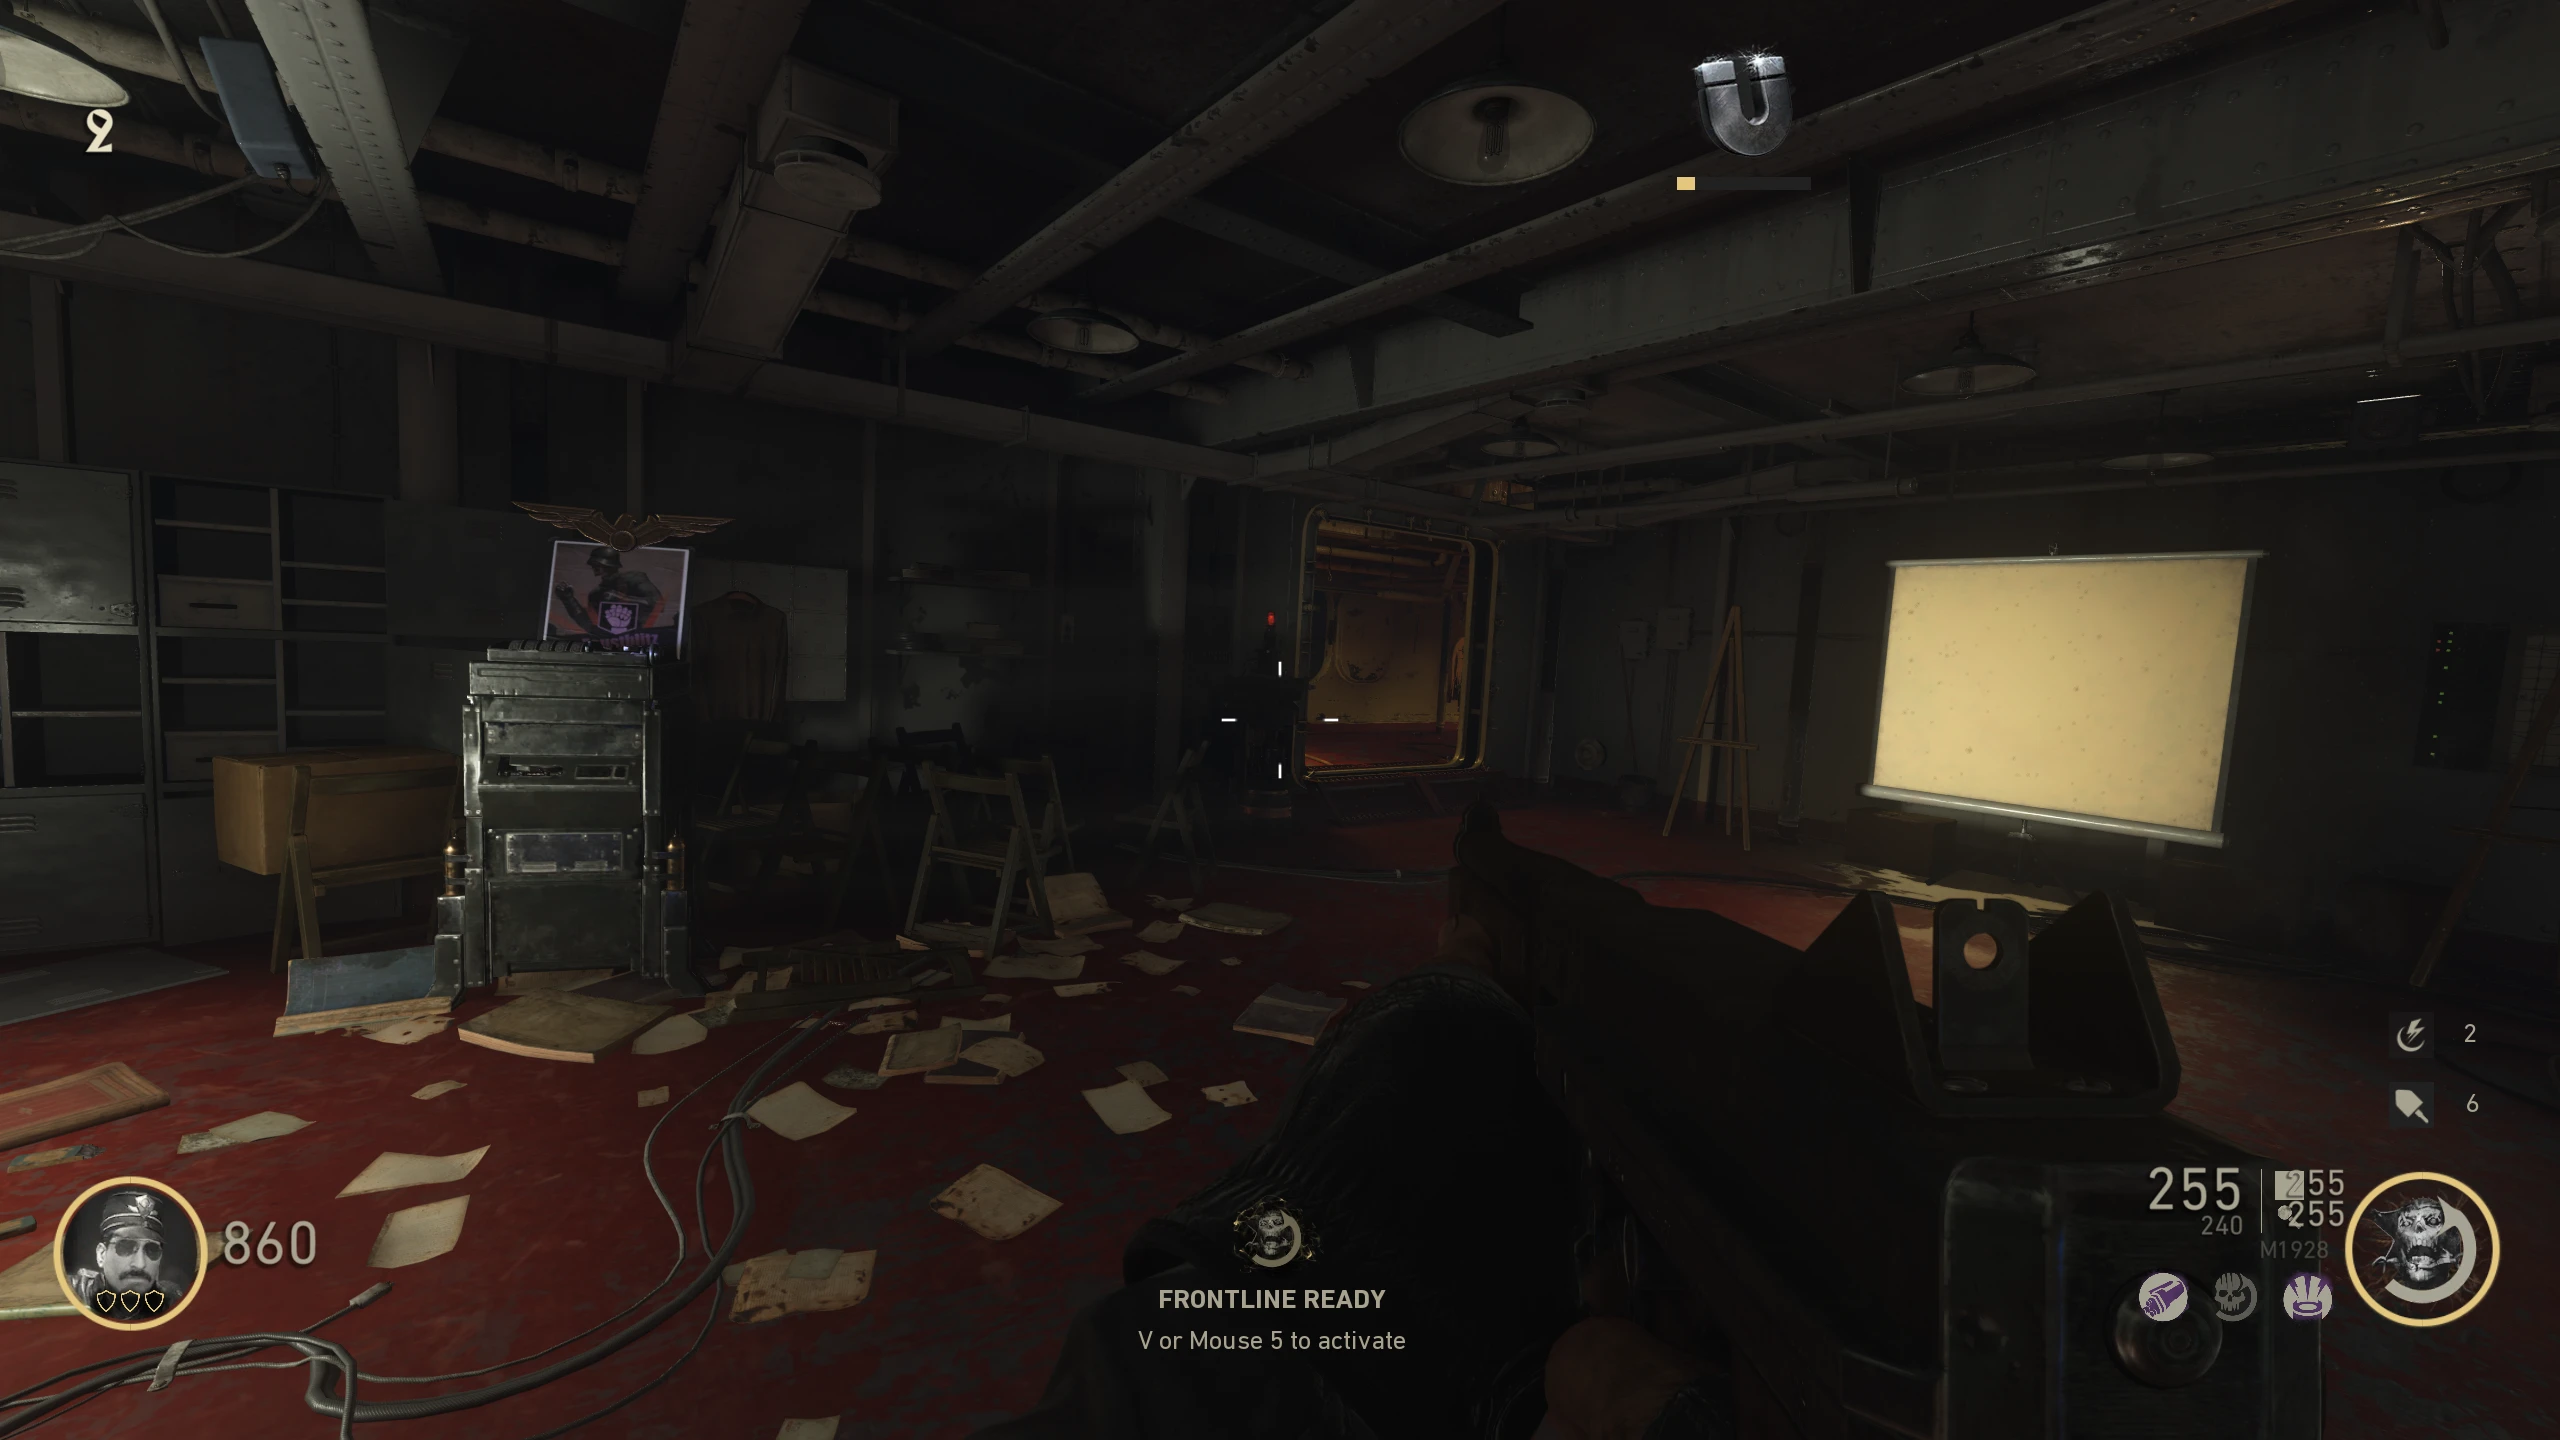
- In a corner in the room with the red floor outside the Projector Room
- On an air duct right of the projection screen in the Projector Room
- In a crate right of the Shotgun wallbuy in the Projector Room
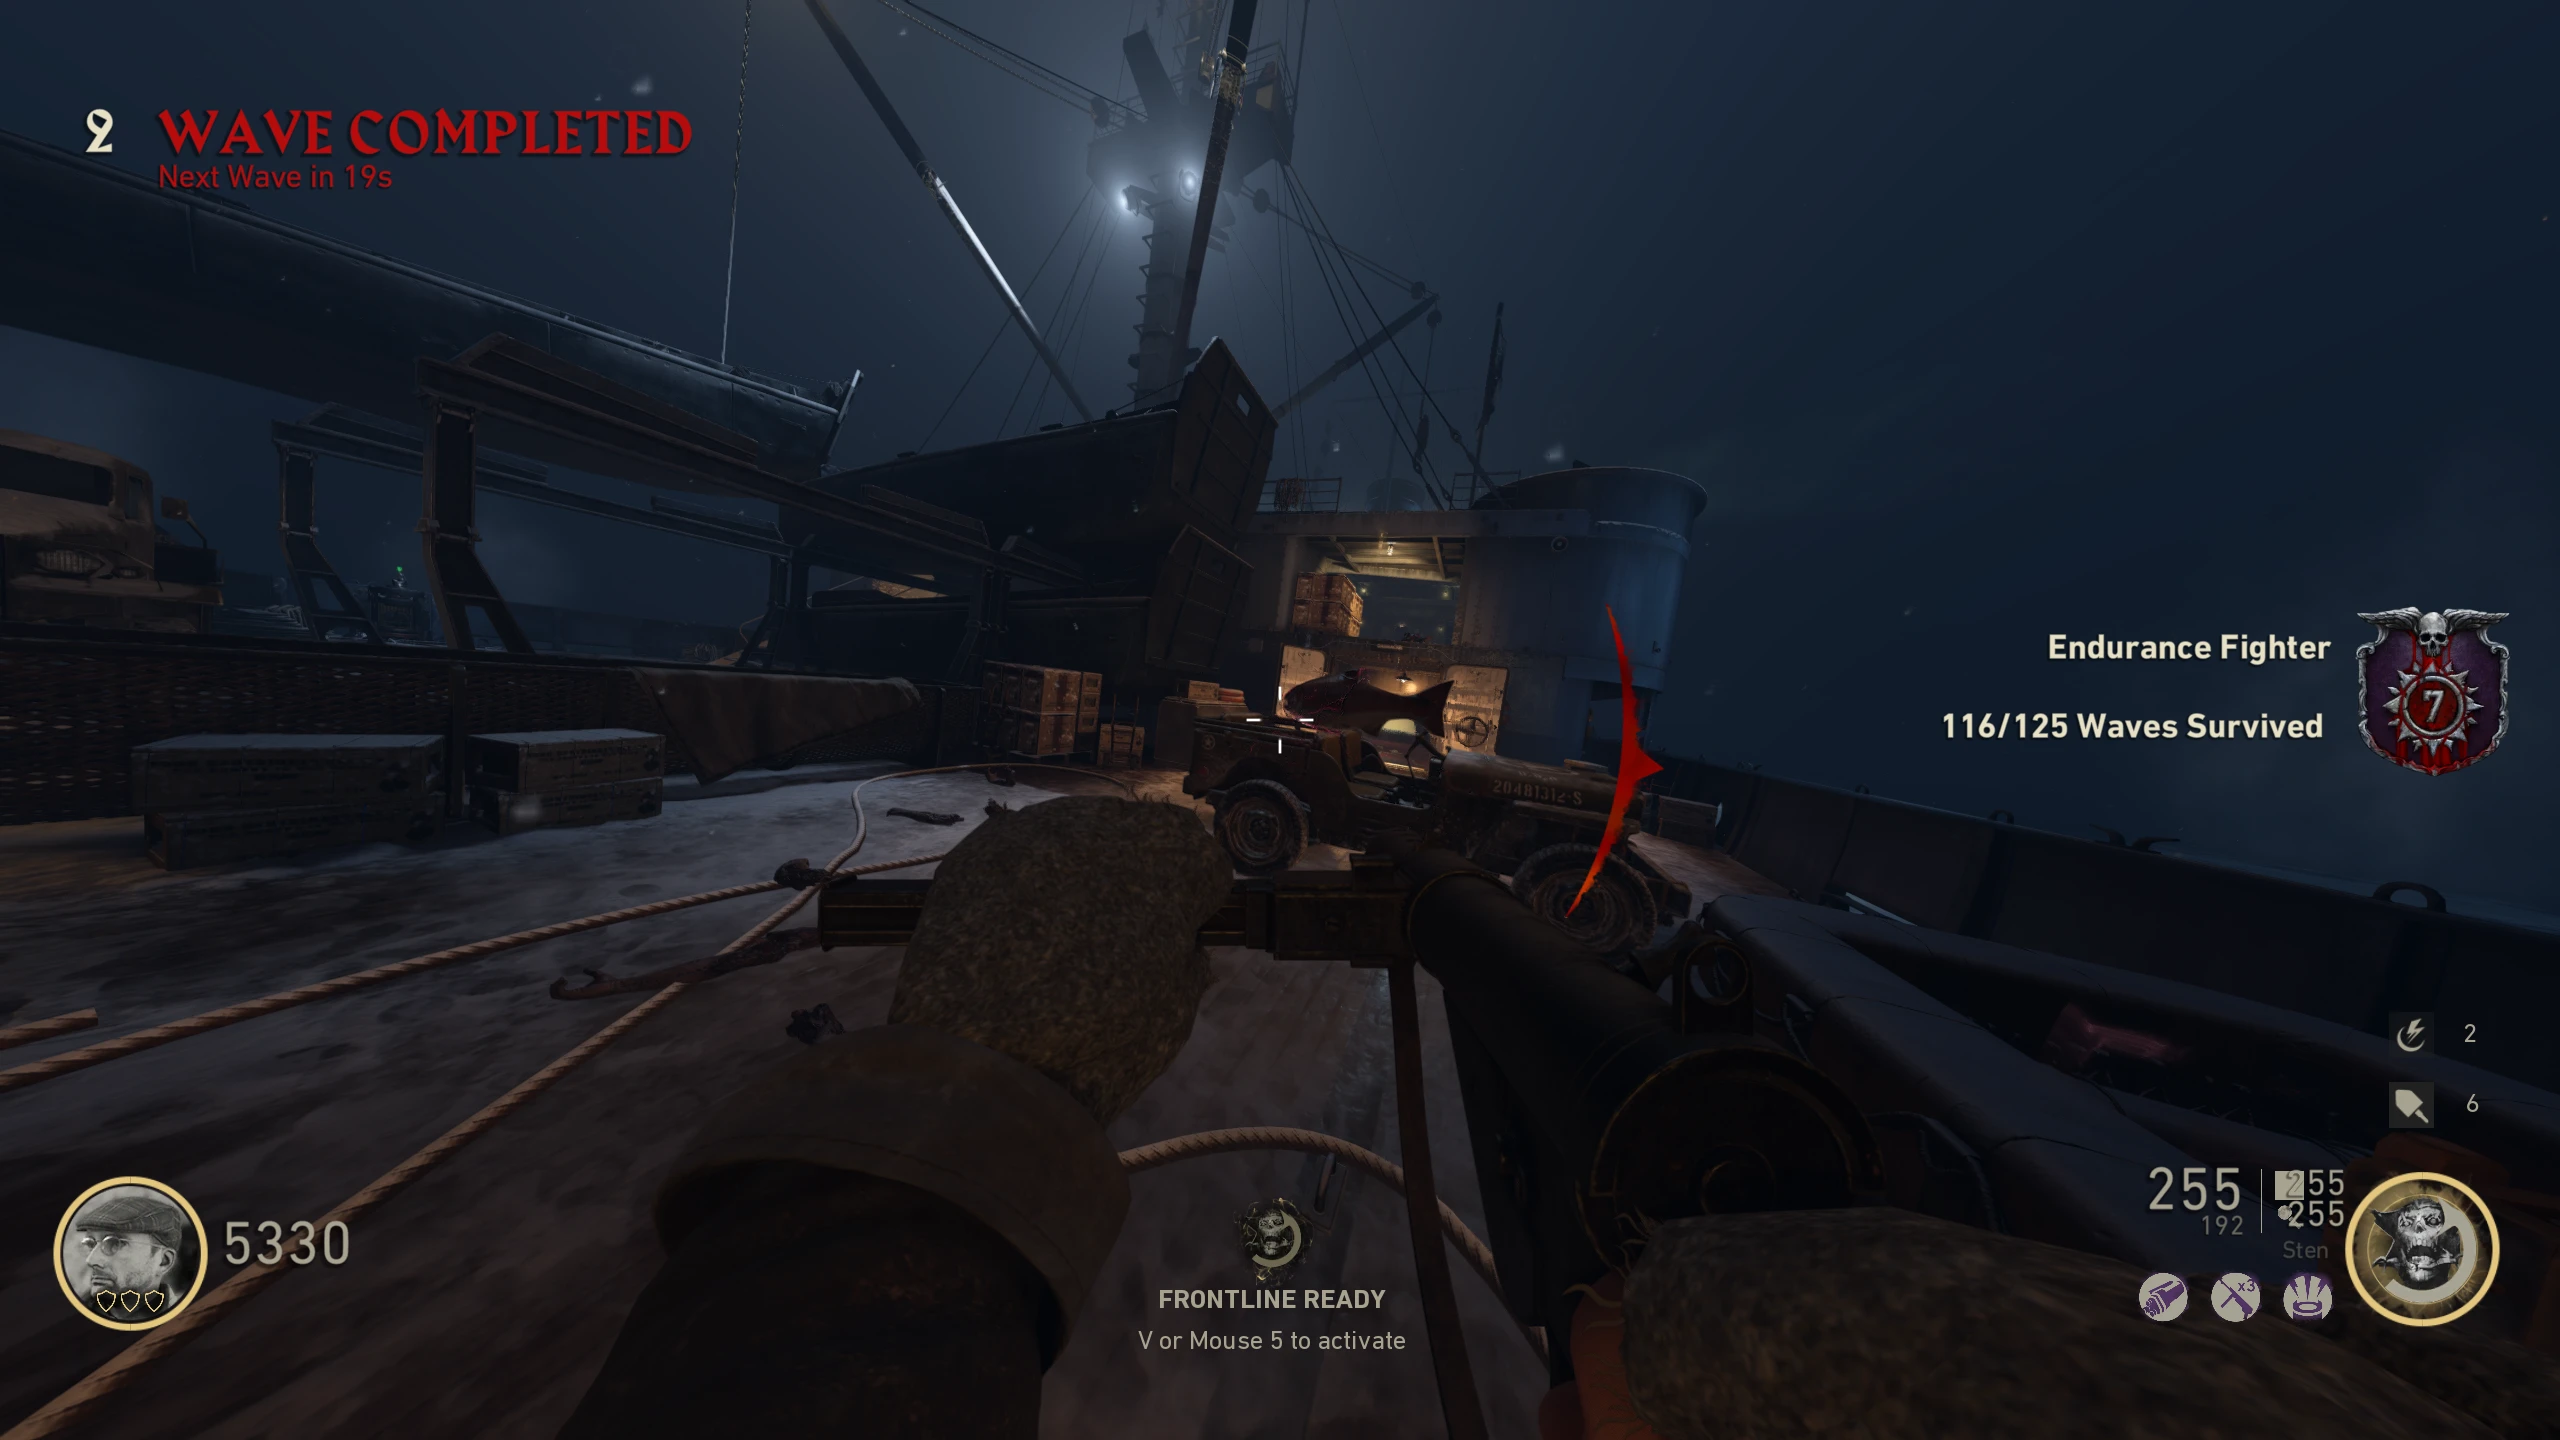
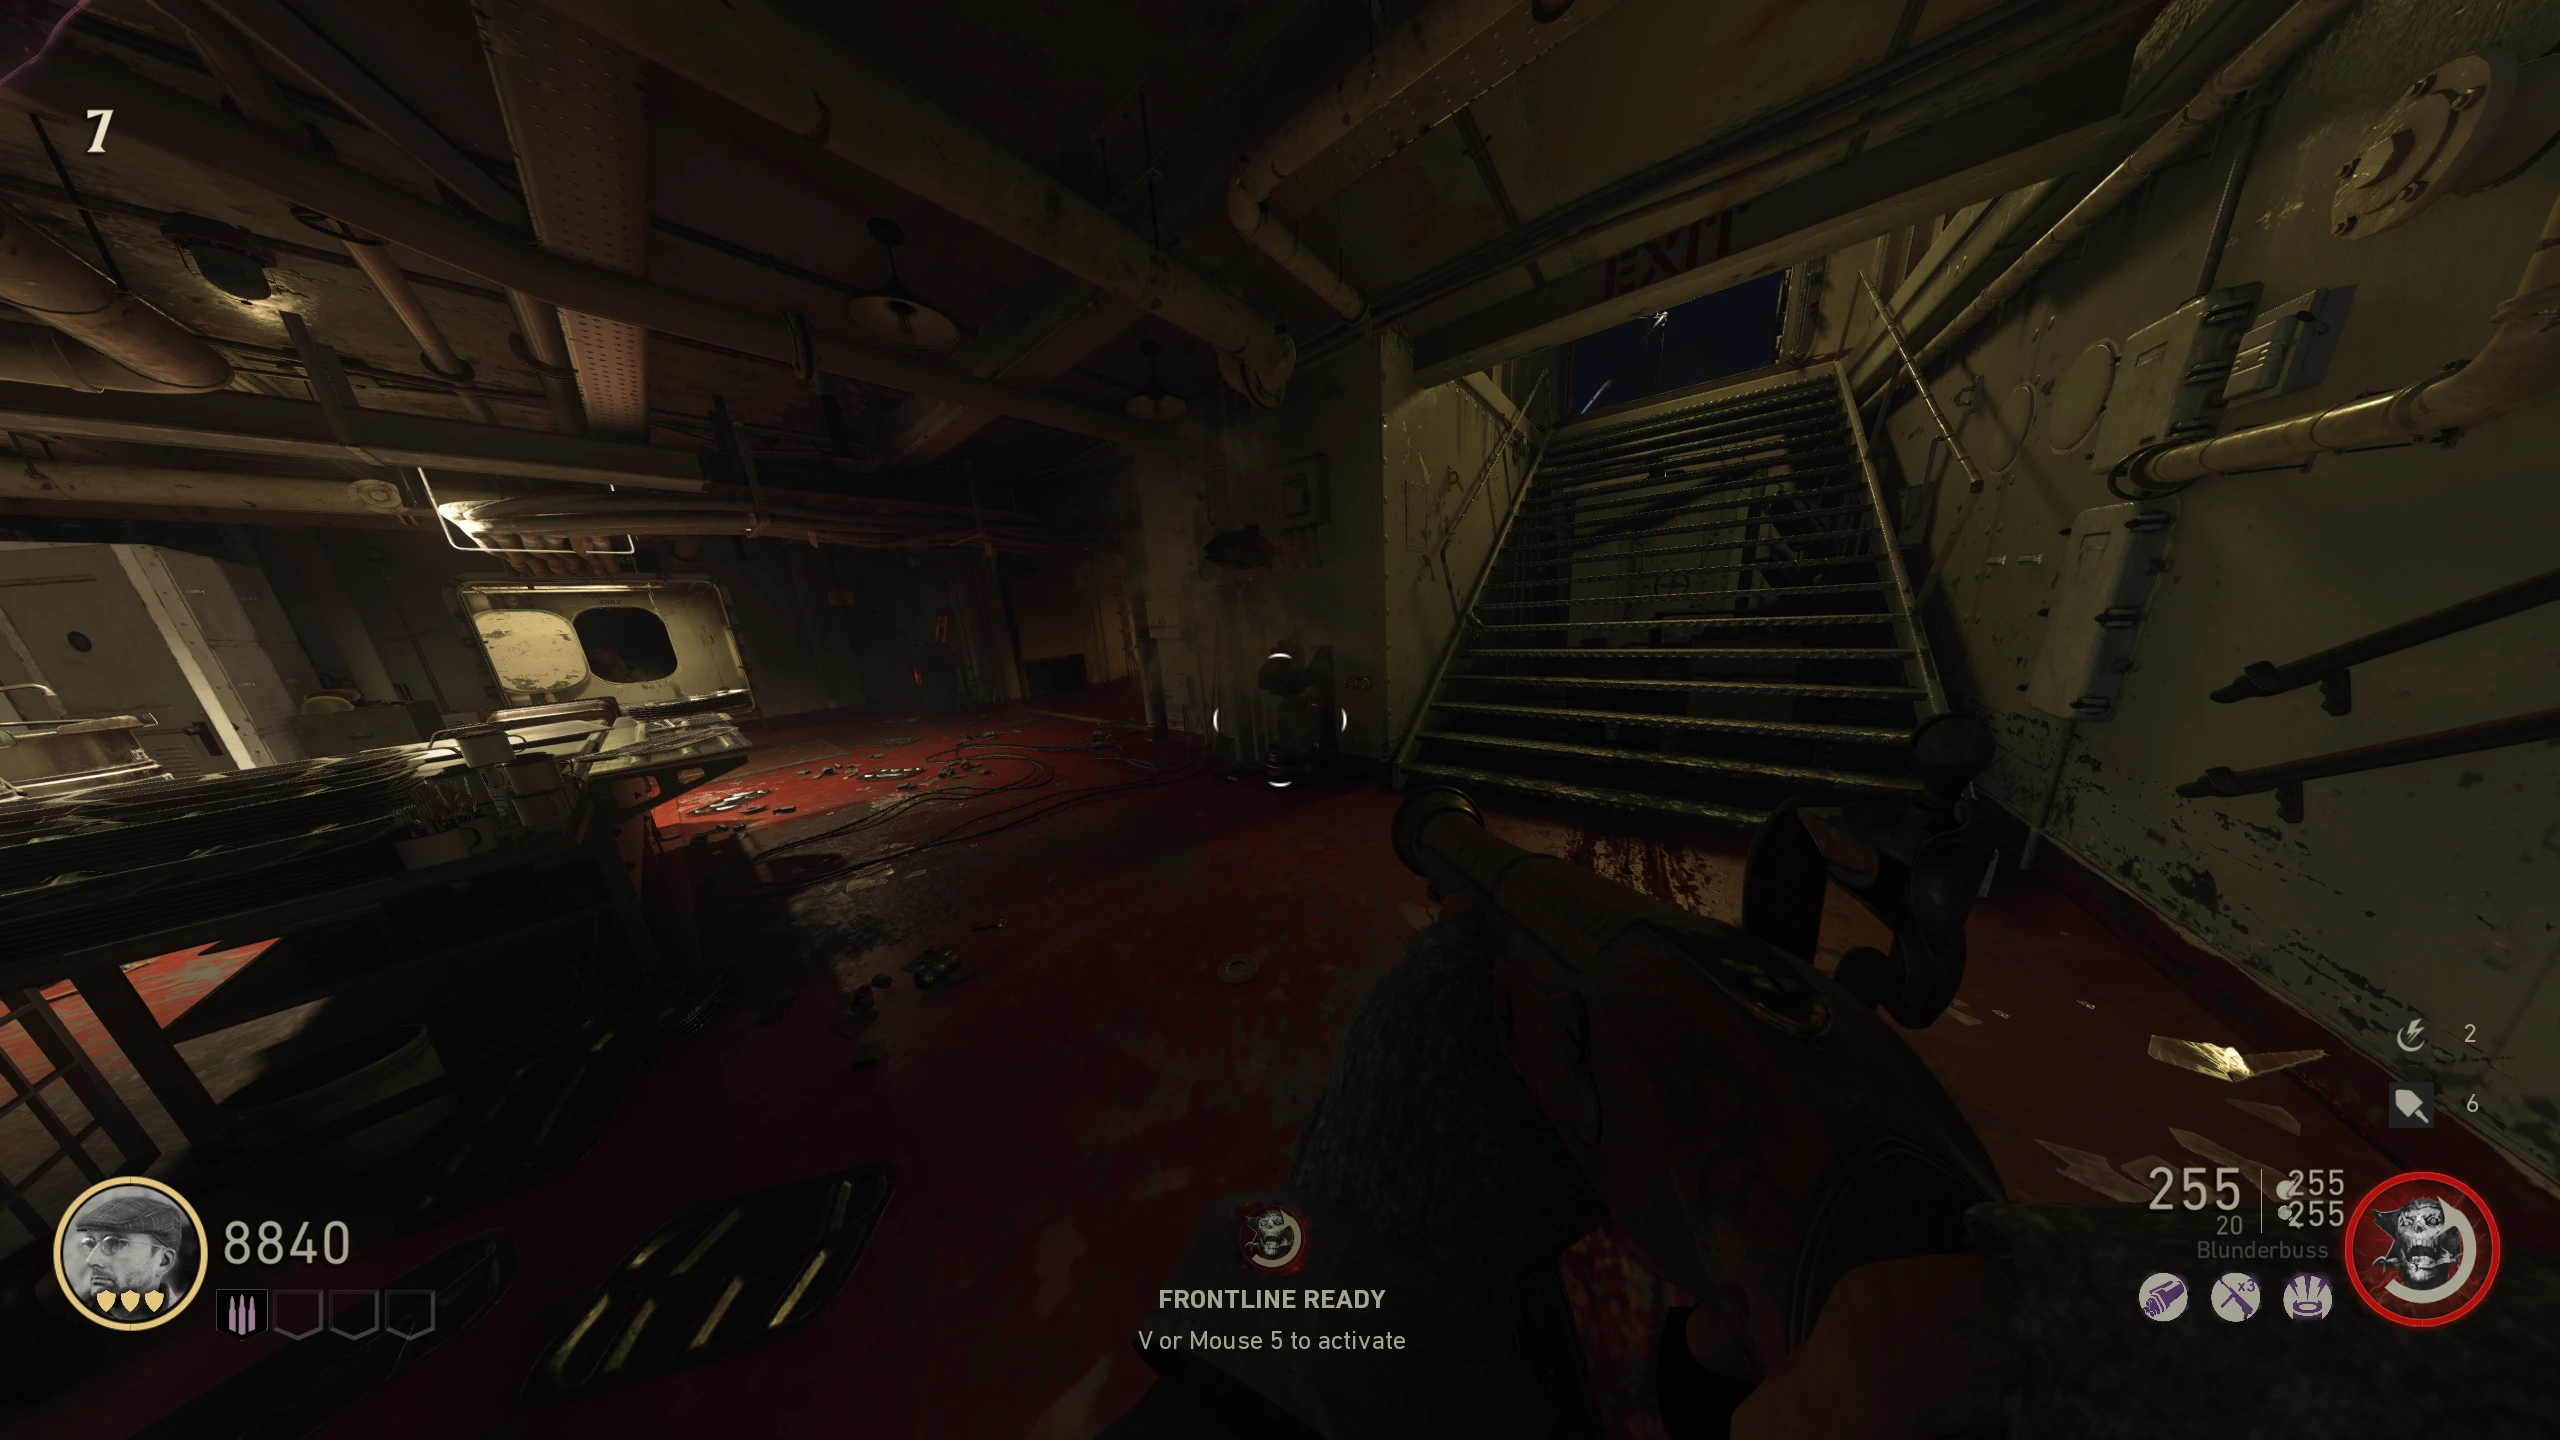
- Once you've shot all nine fish, go to the lower deck outside and wait near the Jeep. Once you're there, end the round.
- Right when you end the round, a Red Herring will spawn in the air. Follow it to the red floor room. It'll stop and create a battery charging station.
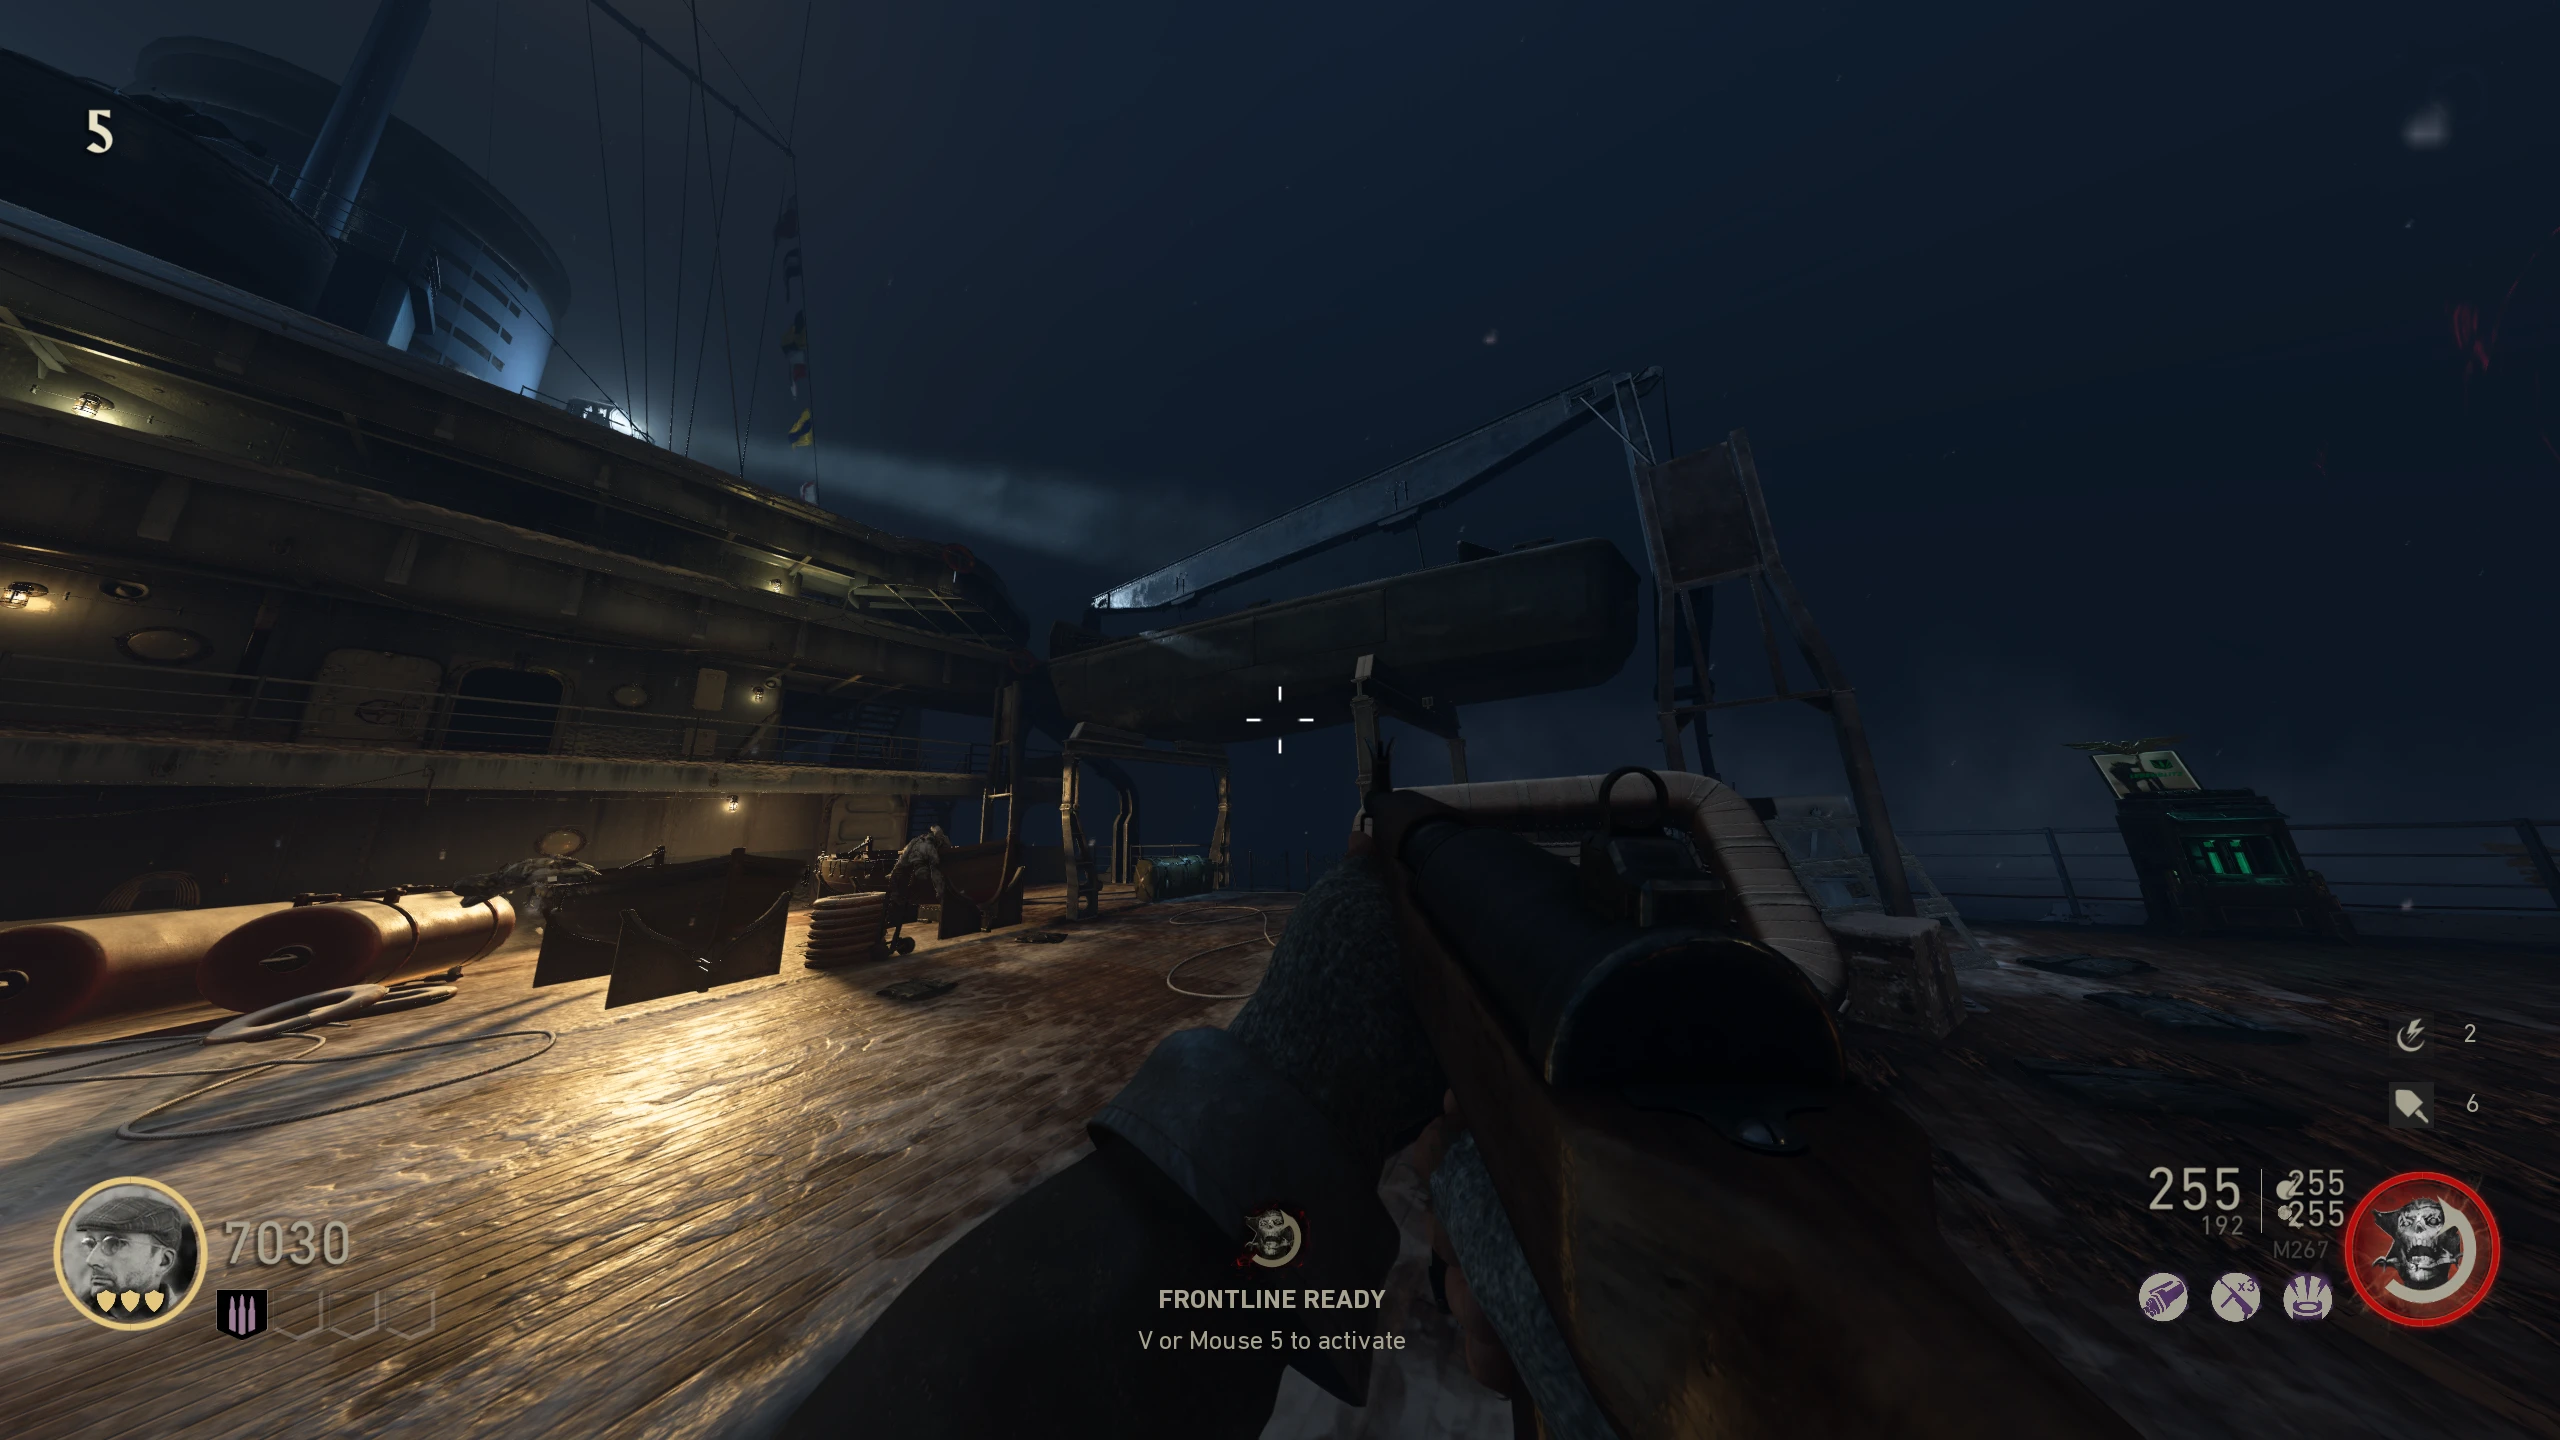
- Around the map, a battery wallbuy will spawn. You need to buy a battery for 3000 jolts, and place it in the charging station. Wallbuy Locations:
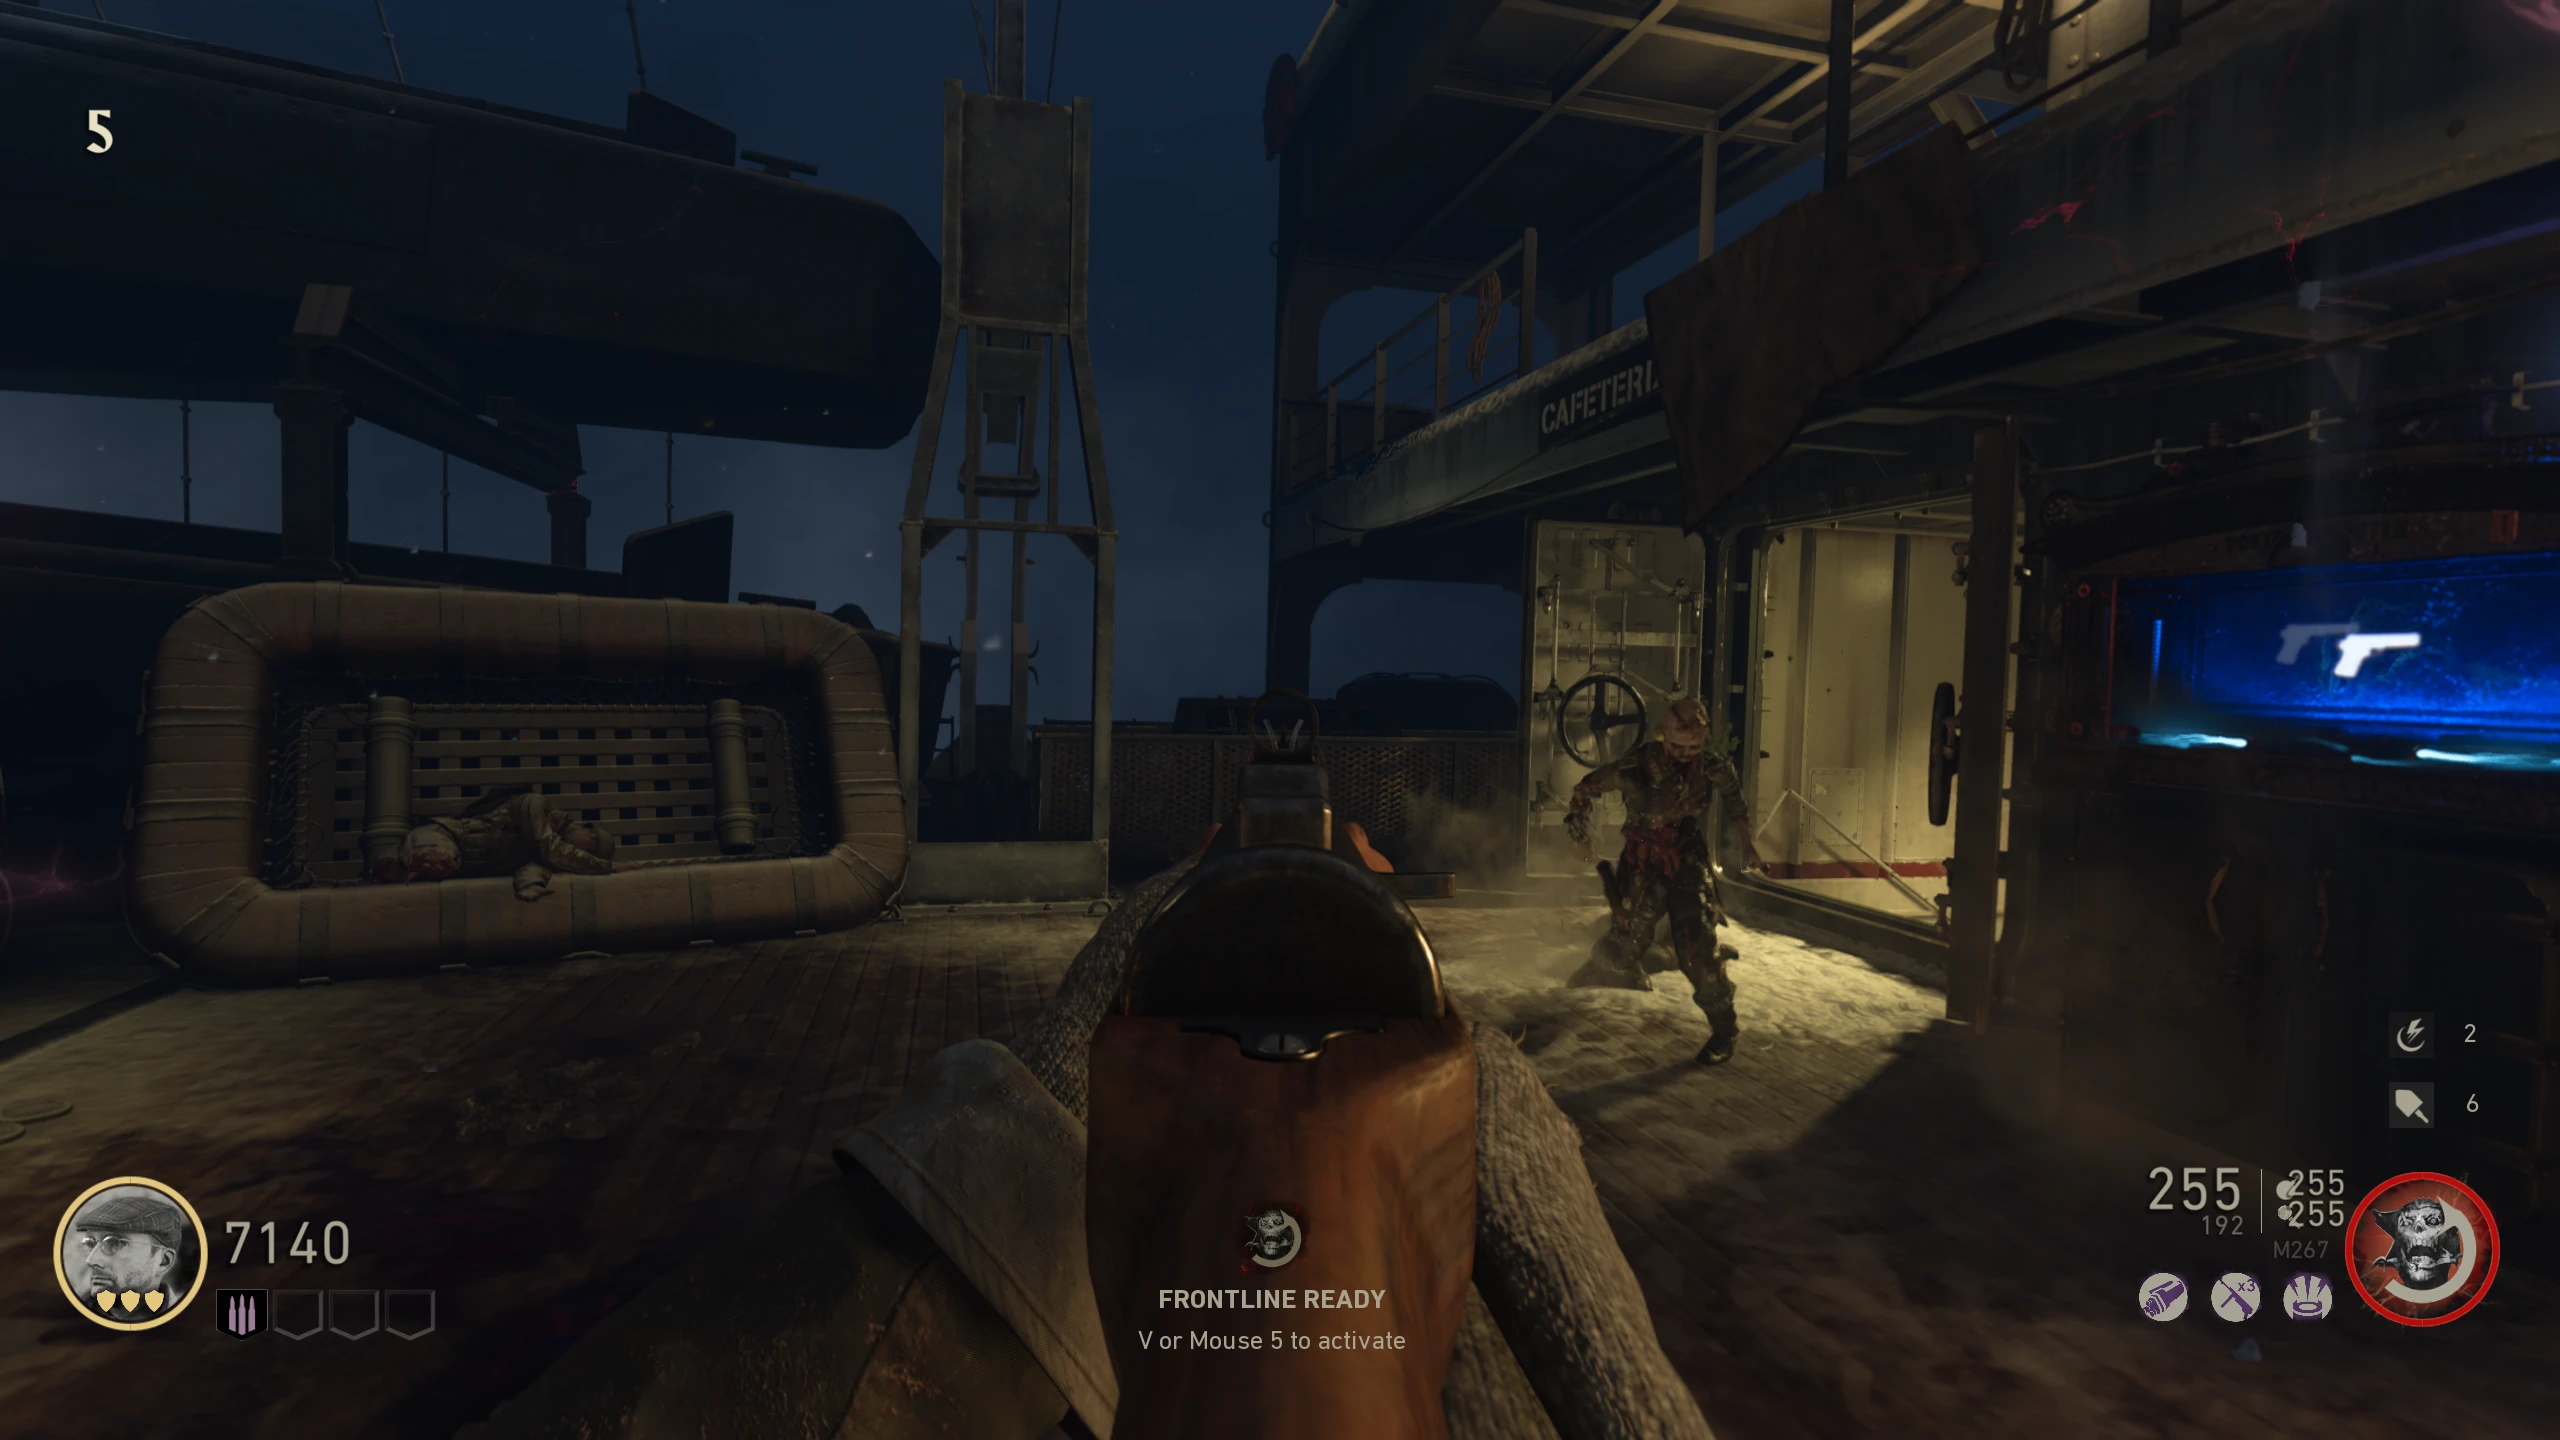
- Underneath the Boat you spawn under (left of Quick Revive)
- In the metal tub, left of the Pistol/Starter weapon wallbuy
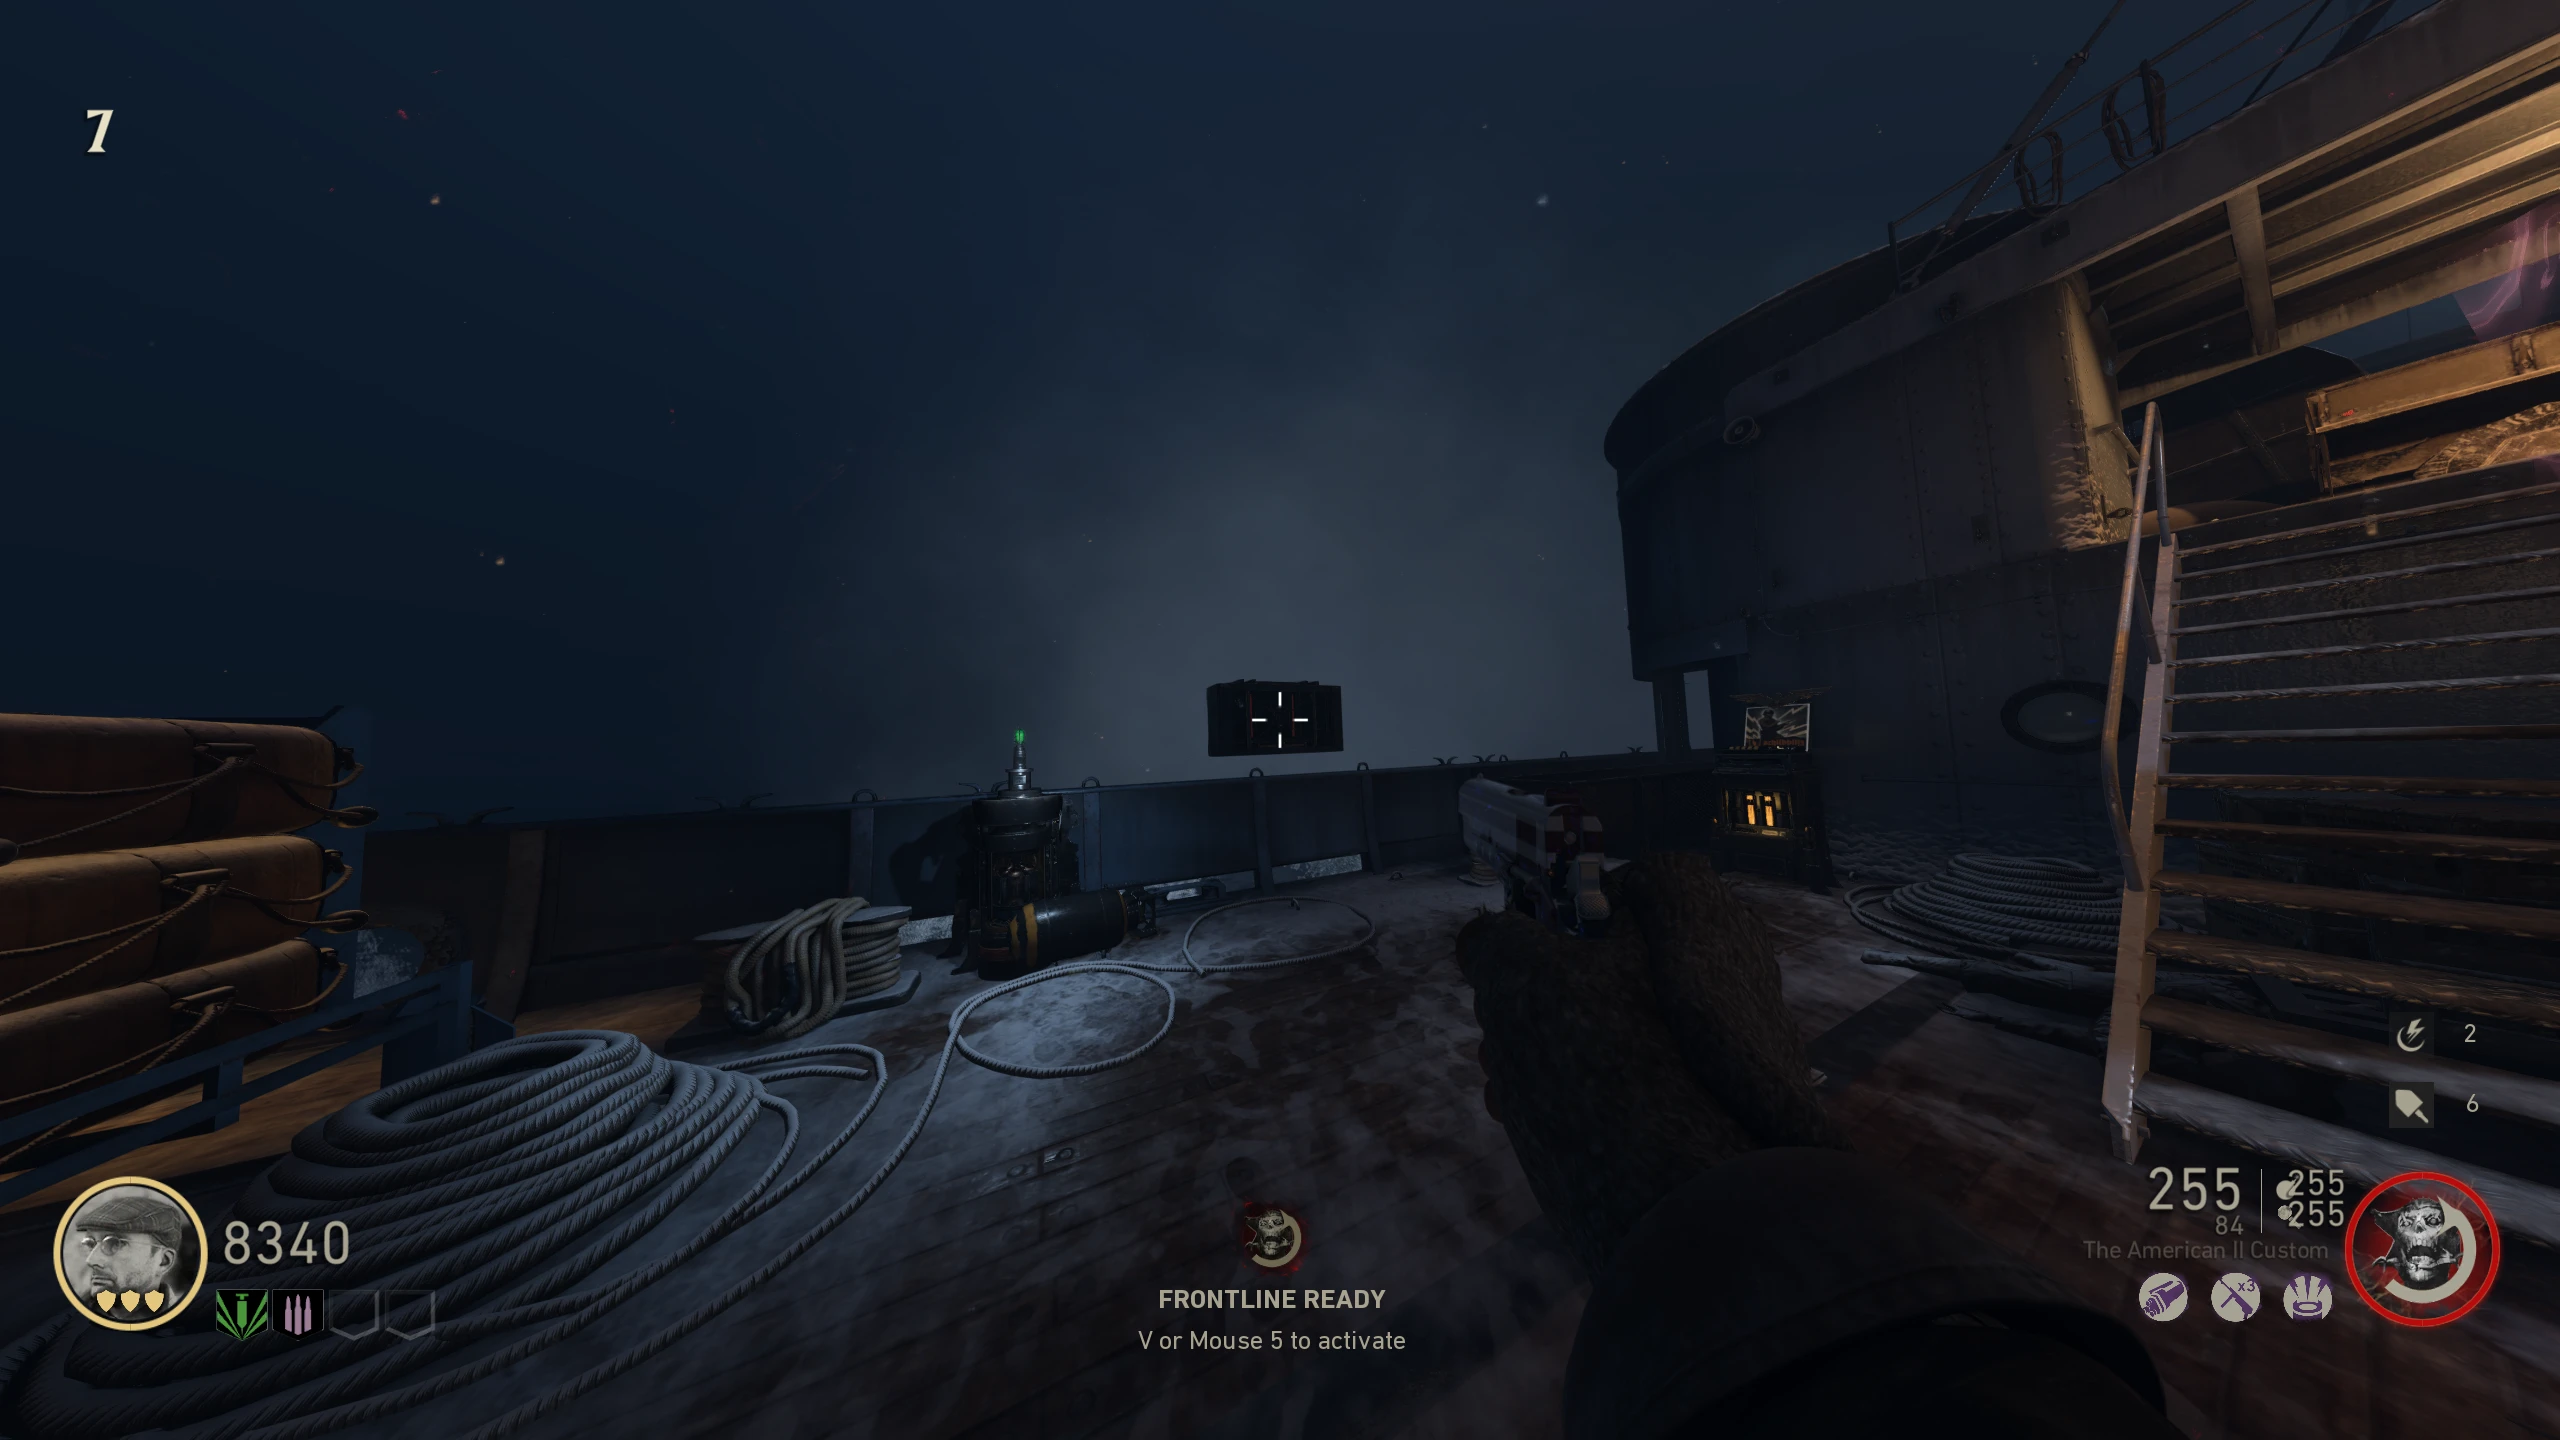
- Floating above the side of the ship left of Schildblitz (Electric Cherry)
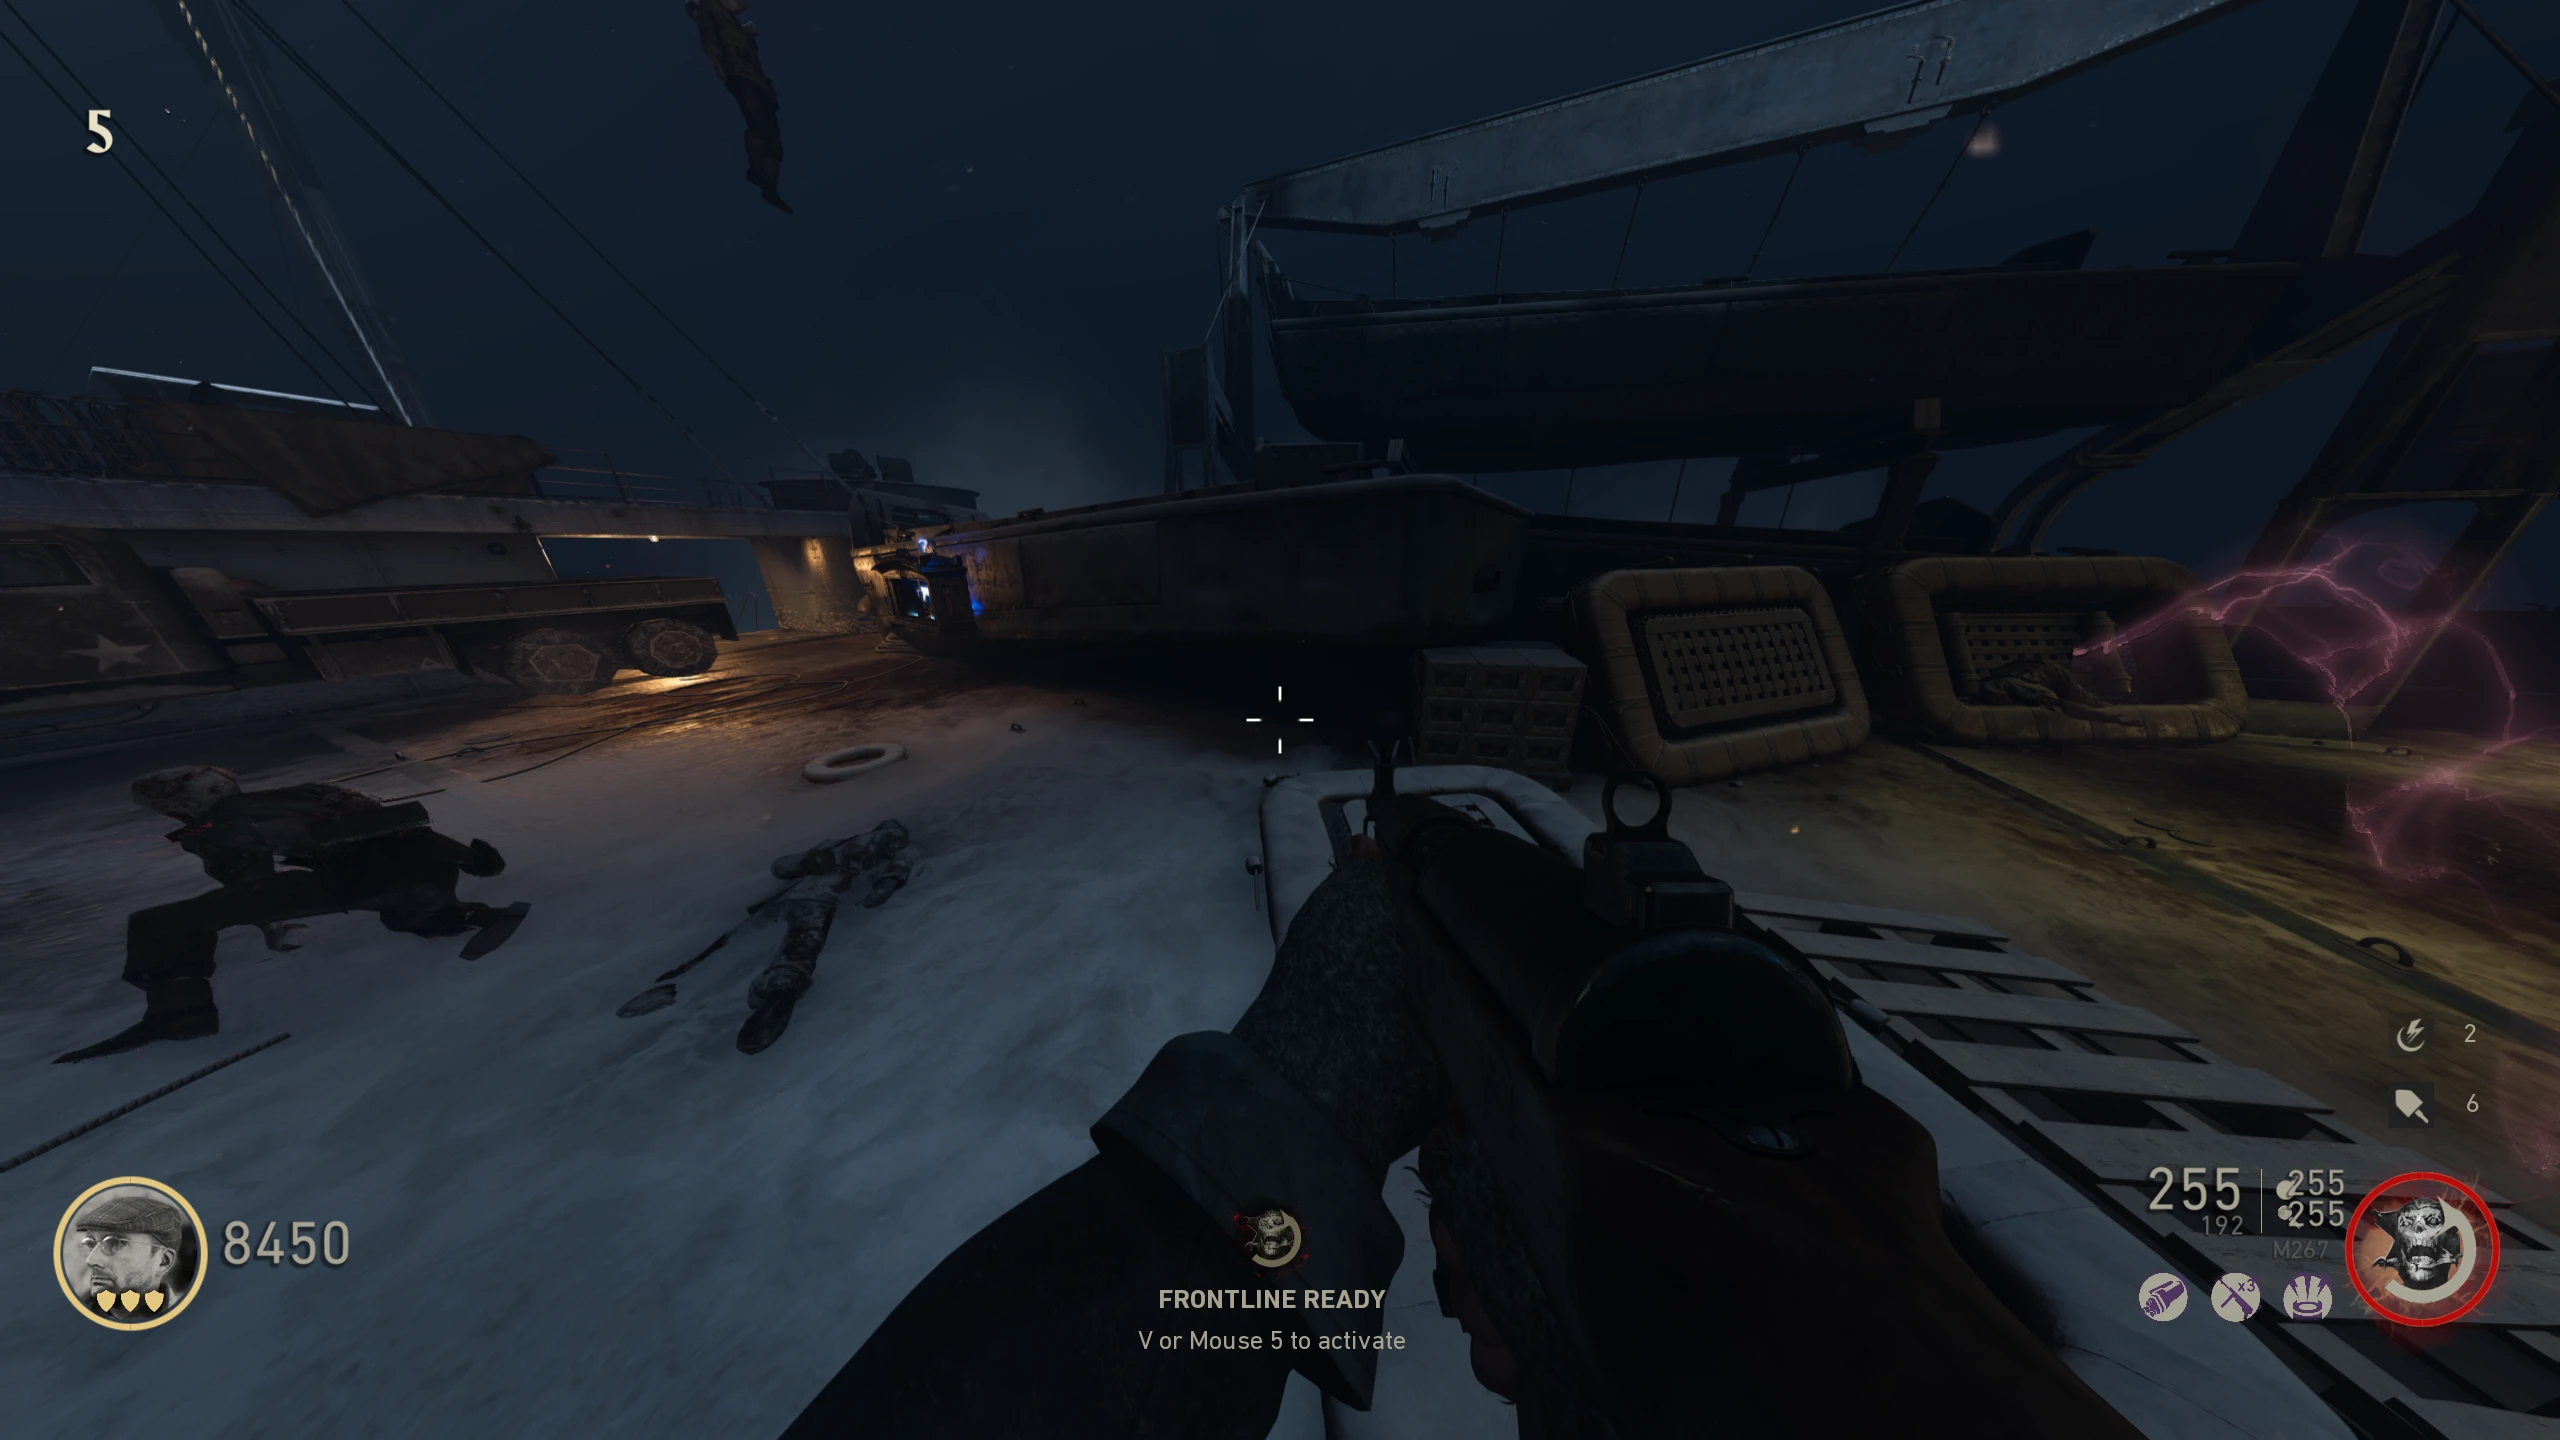
- In the metal tub on Lower Deck
- Under a "boat" right of the SMG wallbuy
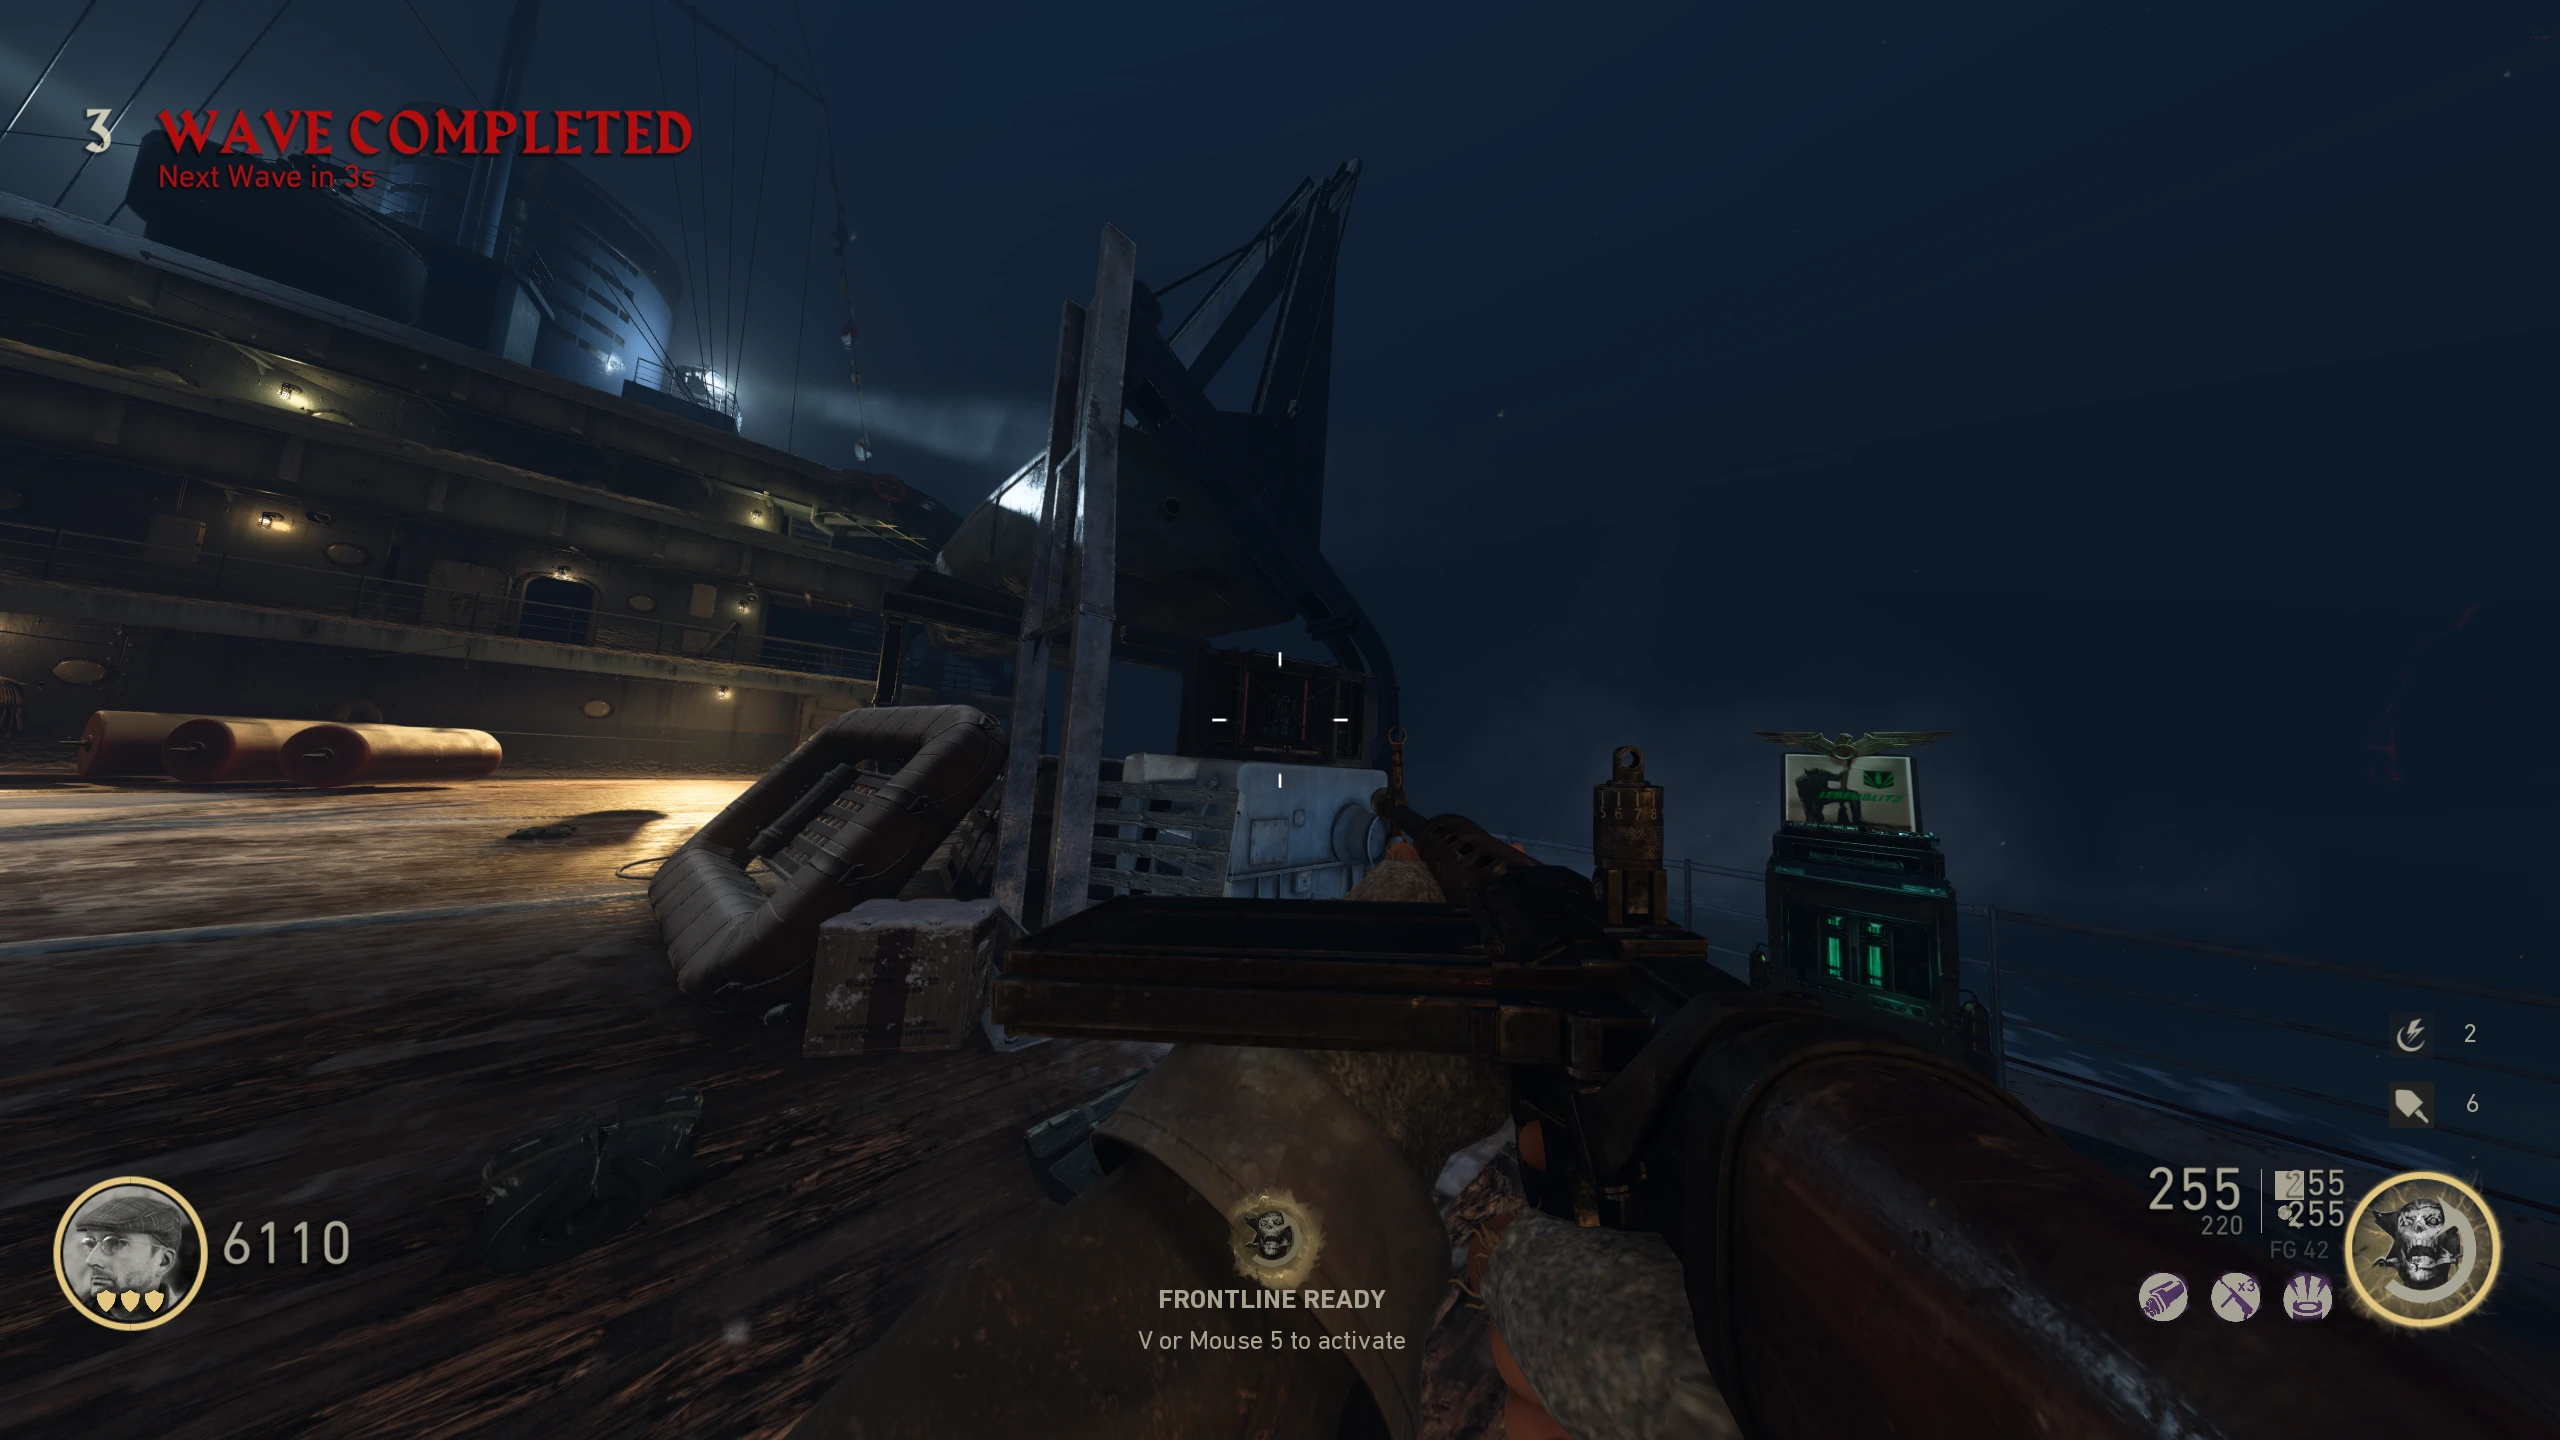
- Left of Lebenblitz (Quick Revive)
- After about 8-10 kills, the fish will spawn above the charging station, and start moving again to the Barracks.
- Buy a new battery and repeat at the new location.
- Once the battery is filled, the fish will move to the bottom of the stairs in the Cafeteria.
- Don't place the battery in the new location yet. Once you finish this battery, you'll be teleported to an "easter egg arena" (not a boss fight). I recommend you progress the waves to unlock Pack-a-Punch. Do whatever, as long as you charge the battery before the end of Wave 8.
- Once you fill the battery, you'll be teleported to an island resembling The Final Reich. After Straub is done talking, a Wustling and some Zombies will spawn.
- Once you kill the Zombies, small islands will spawn that will allow you to jump to the next island.
- If you fall off an island, you'll be teleported to the previous island, and downed.
- The new island resembles The Darkest Shore, and after Straub is done talking, a Meuchler and some Zombies will spawn.
- Next is the Shadowed Throne island, with a Sizzler and some Zombies.
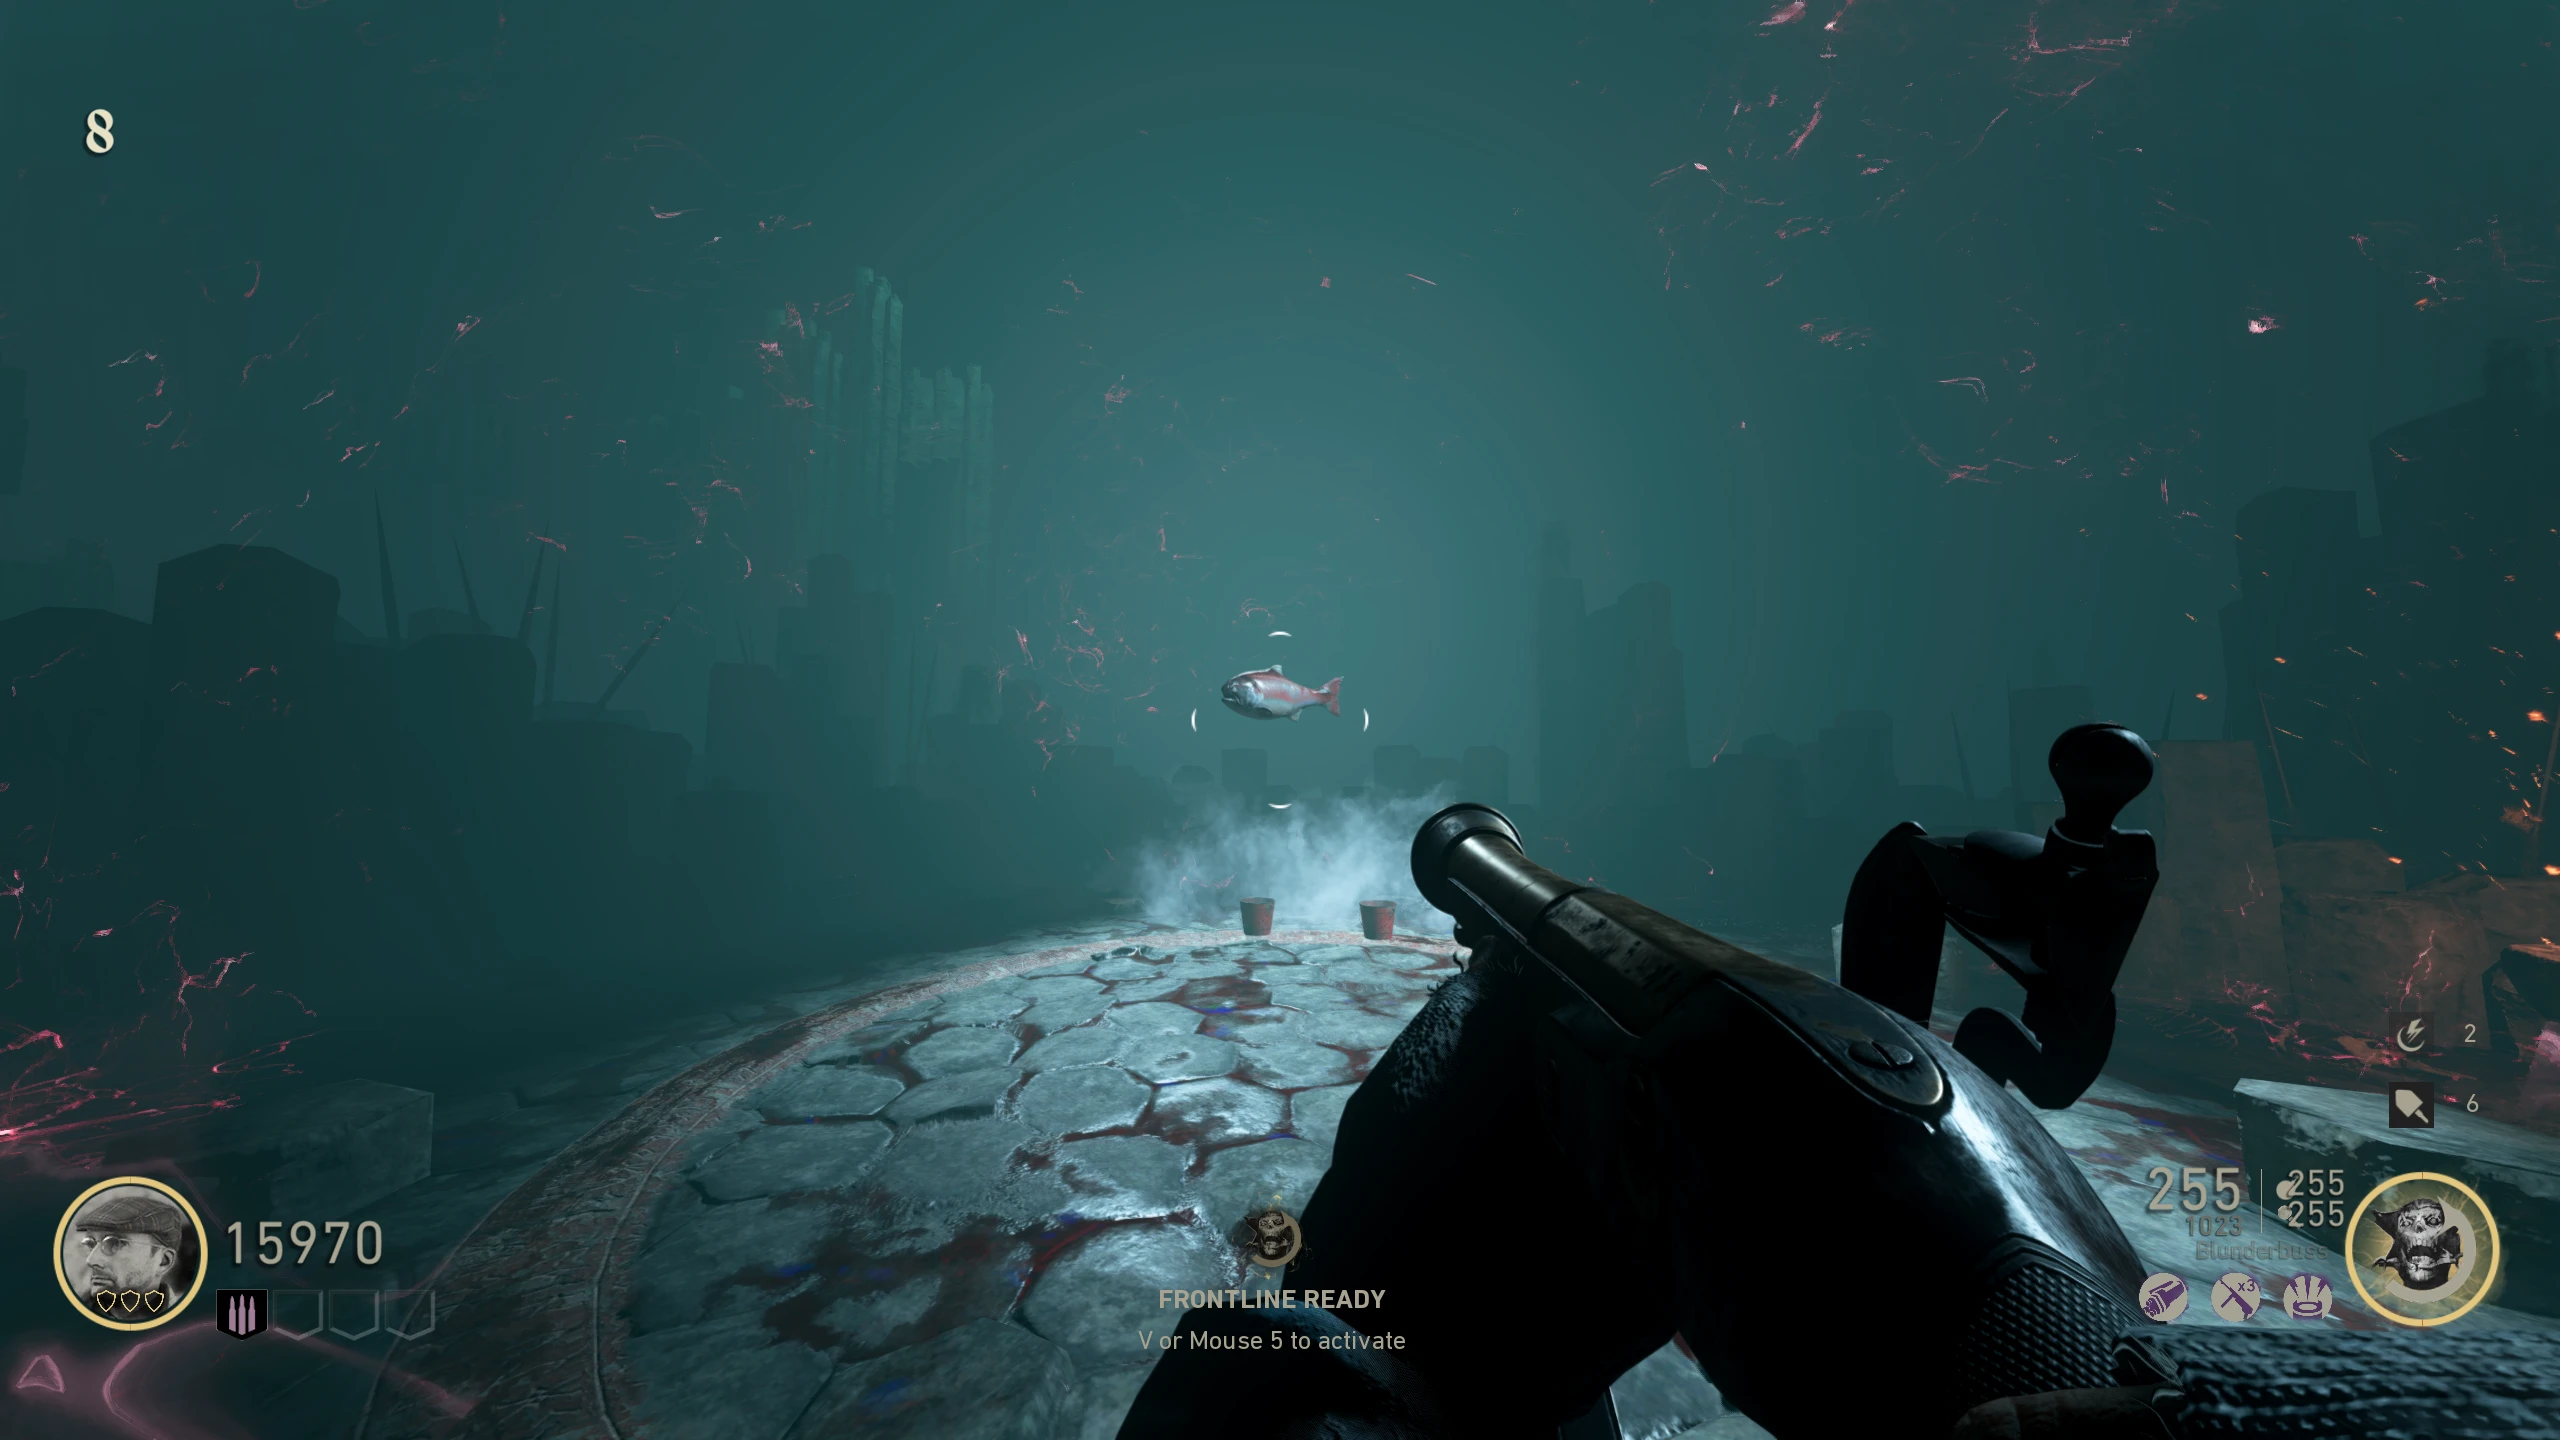
- On the final island, a fish will appear above the circle on the floor, and multiple cups will be on the floor. The fish will enter one of the cups, and they'll start moving around.
- You must shoot the fish cup, and shoot it once it stops. Shooting the right cup will start the next round of the game with more cups.
- If you shoot the wrong one, a Meuchler and/or Wustling will spawn.
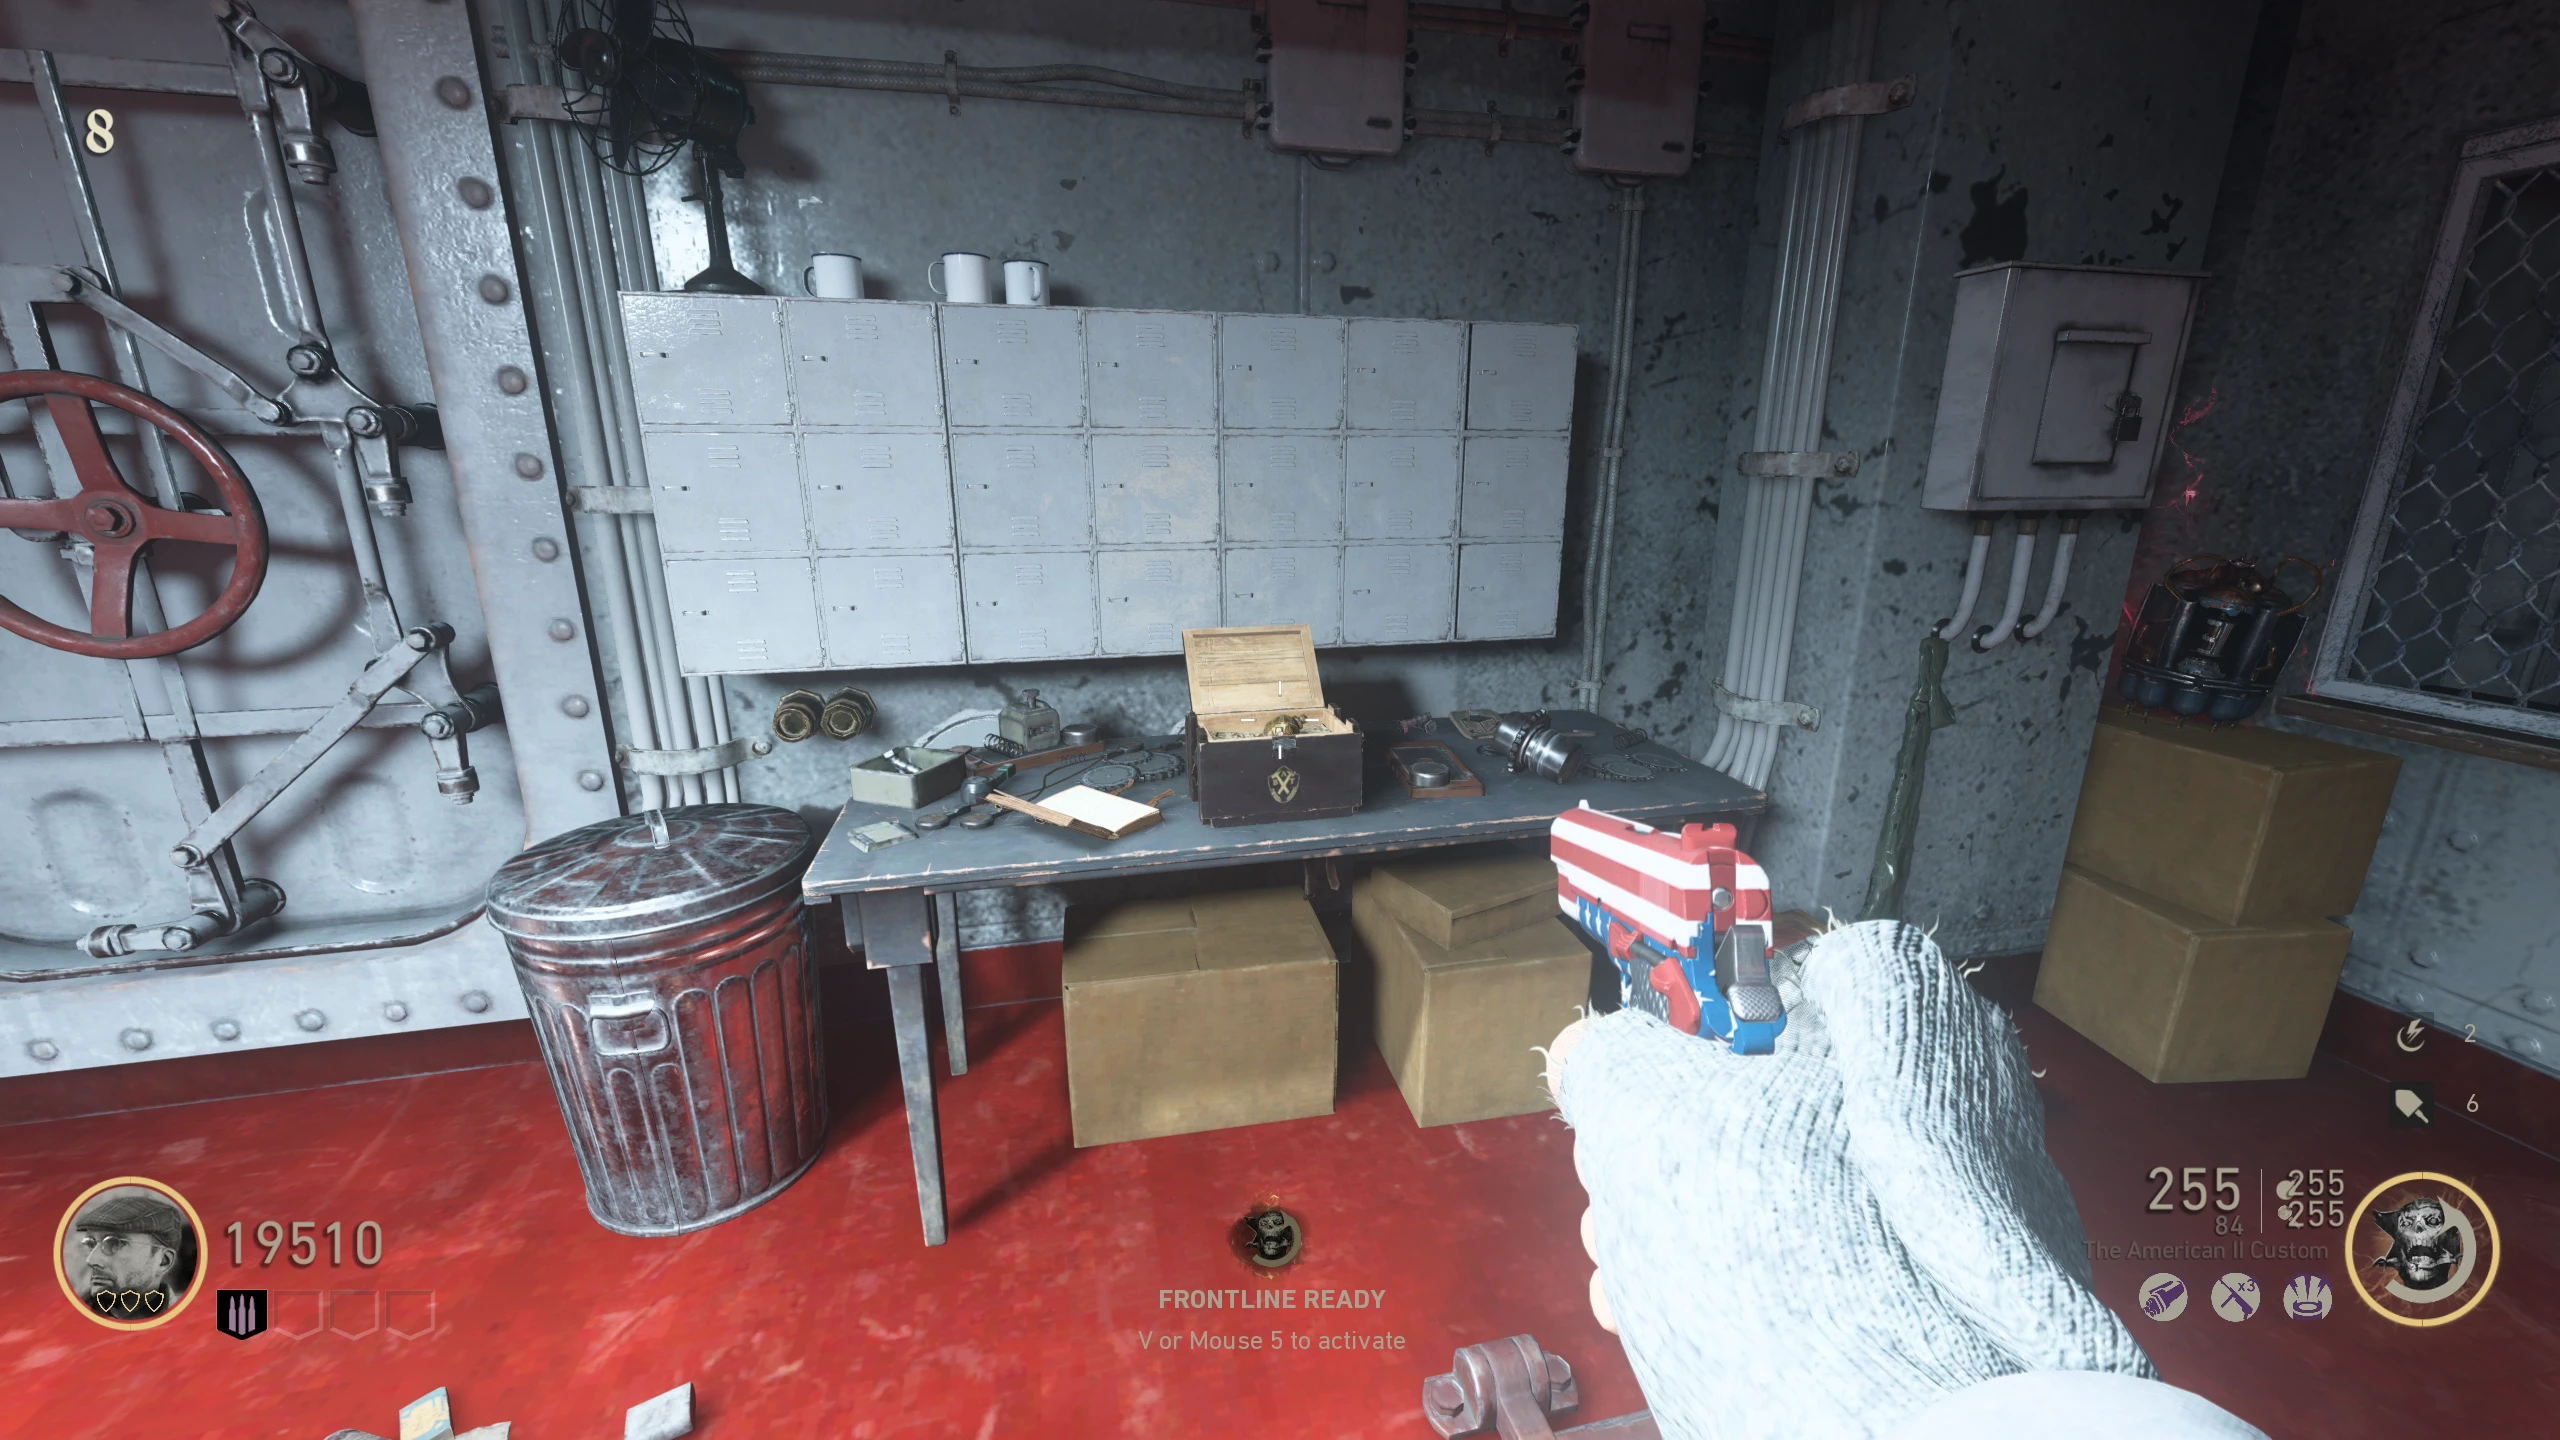
- Once you complete three rounds, you'll be teleported back to the ship. The Pommel will be in a crate on the table in front of you (along with the Sword if you've completed the Quest already). Picking up the Pommel will give you all the perks, and give you the Pommel as your tactical grenade. You're now free to finish the map.
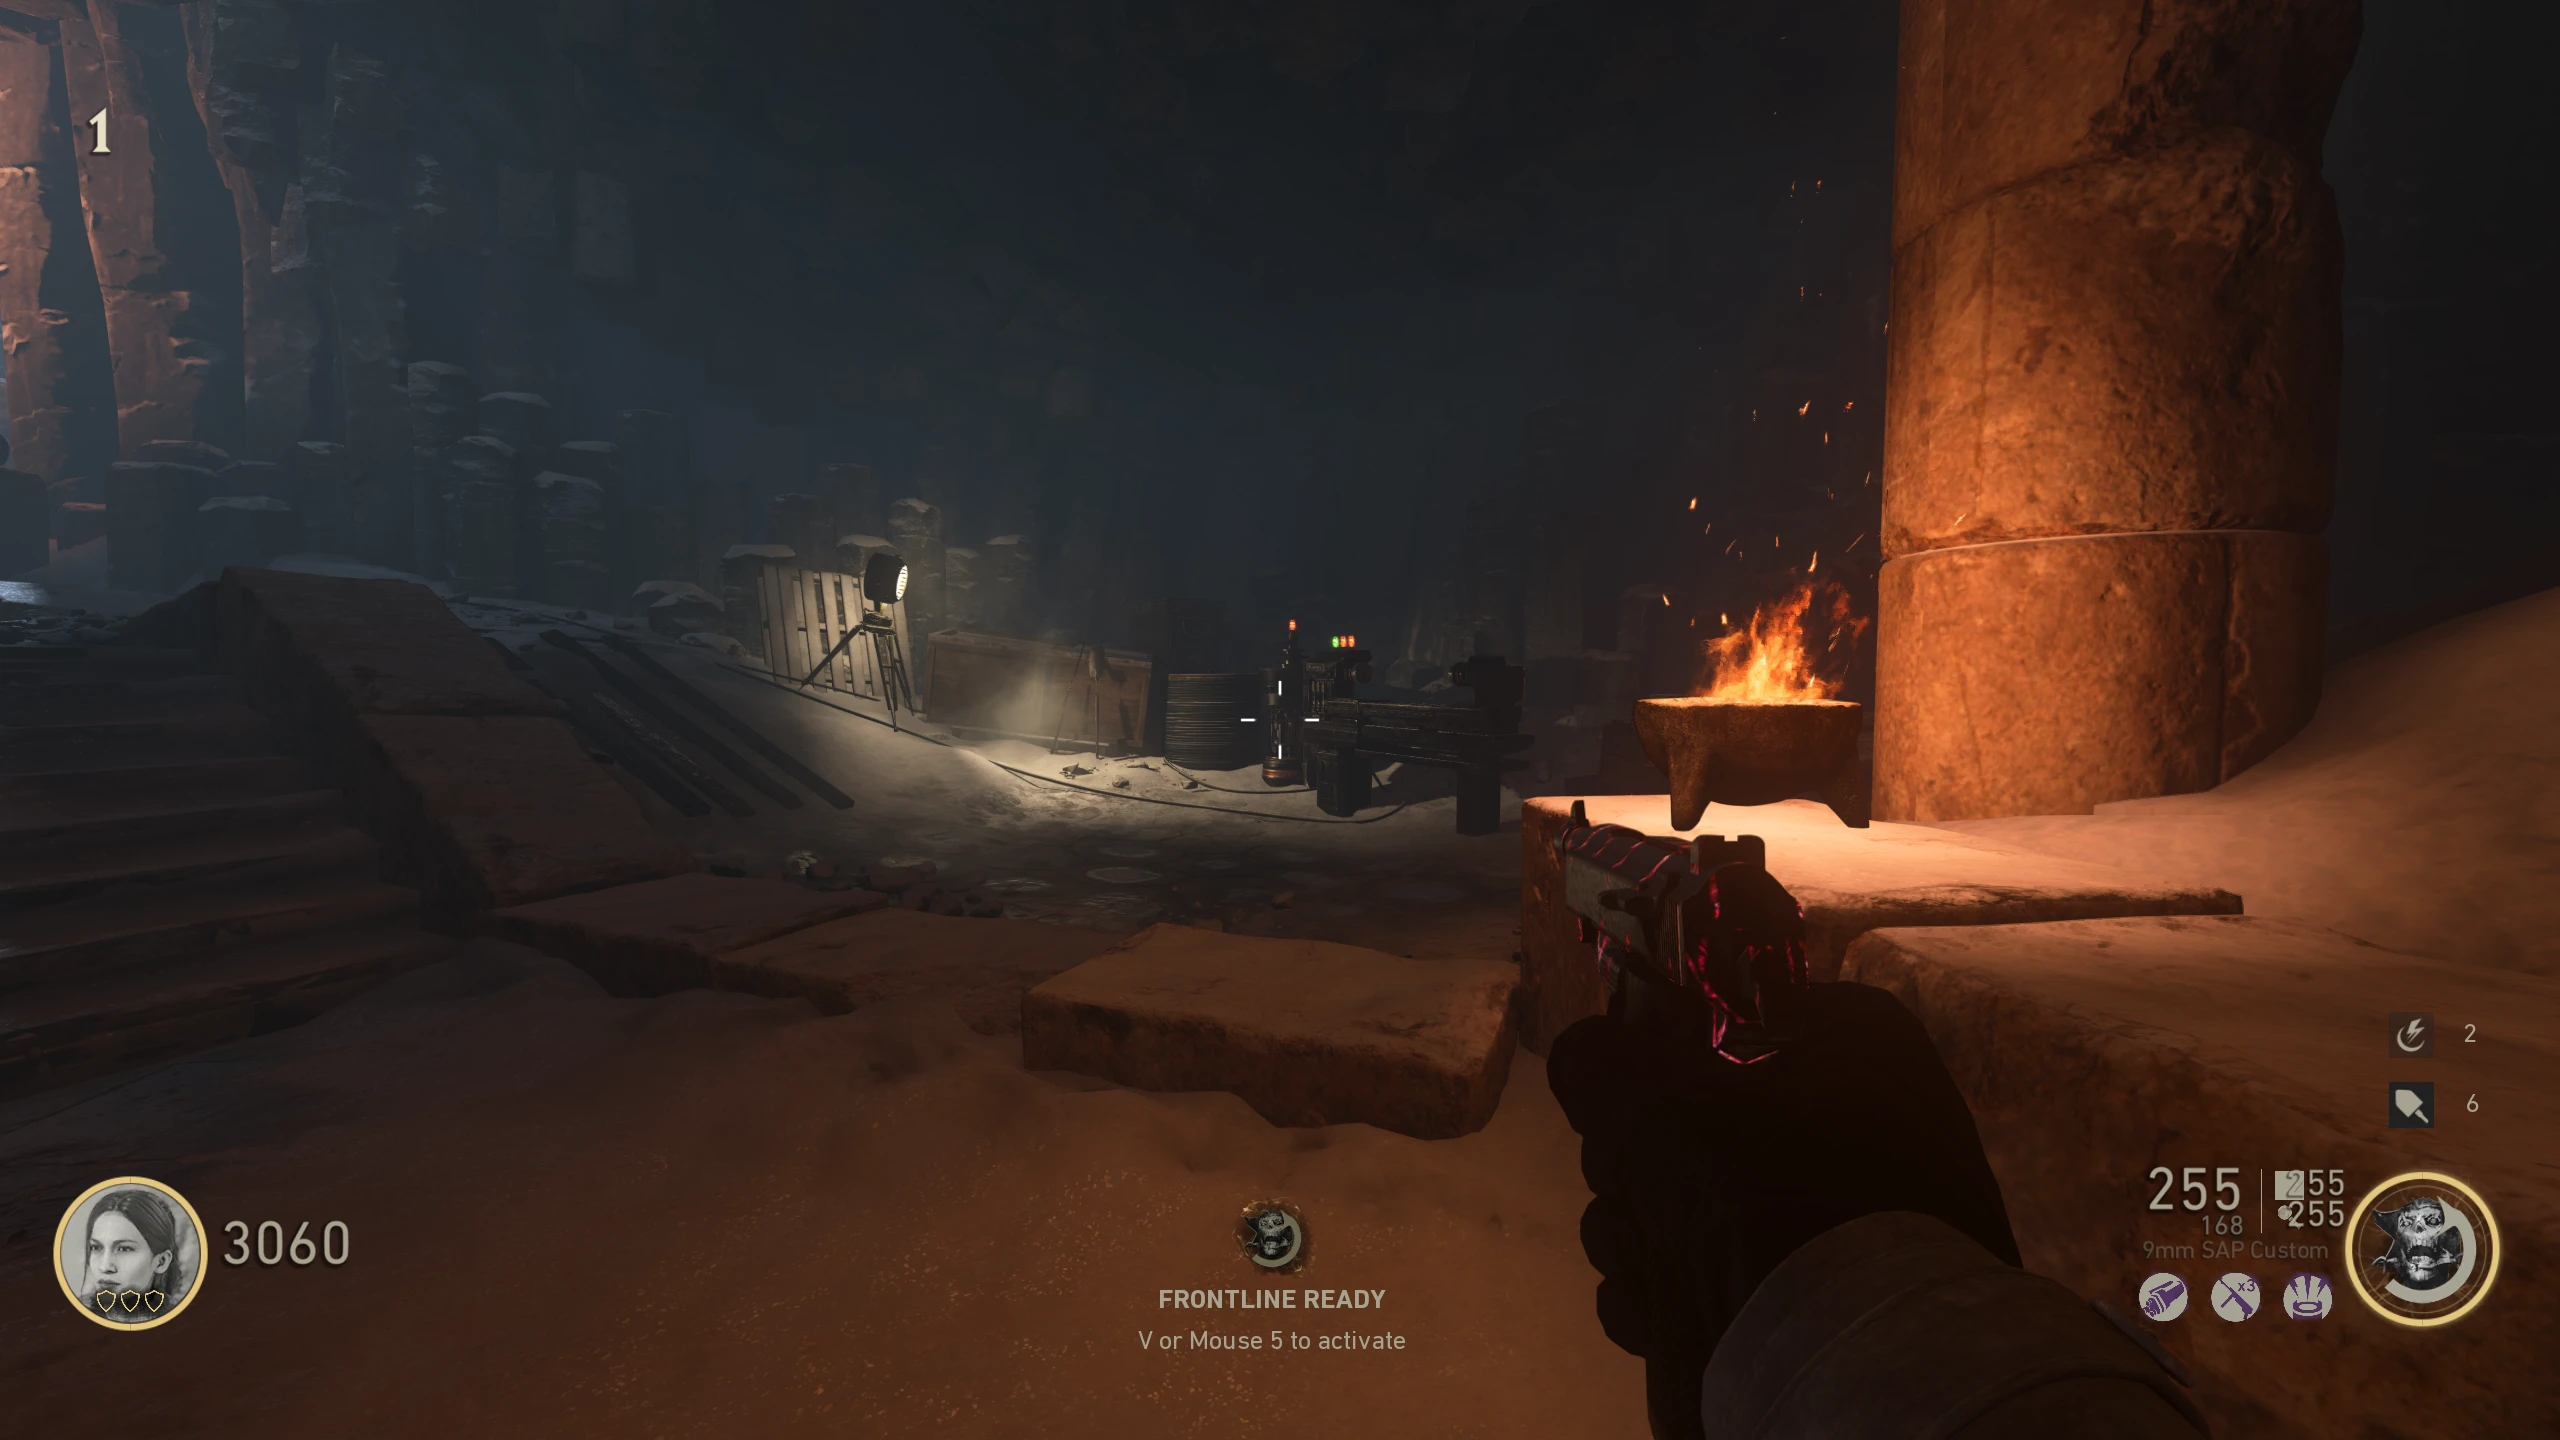
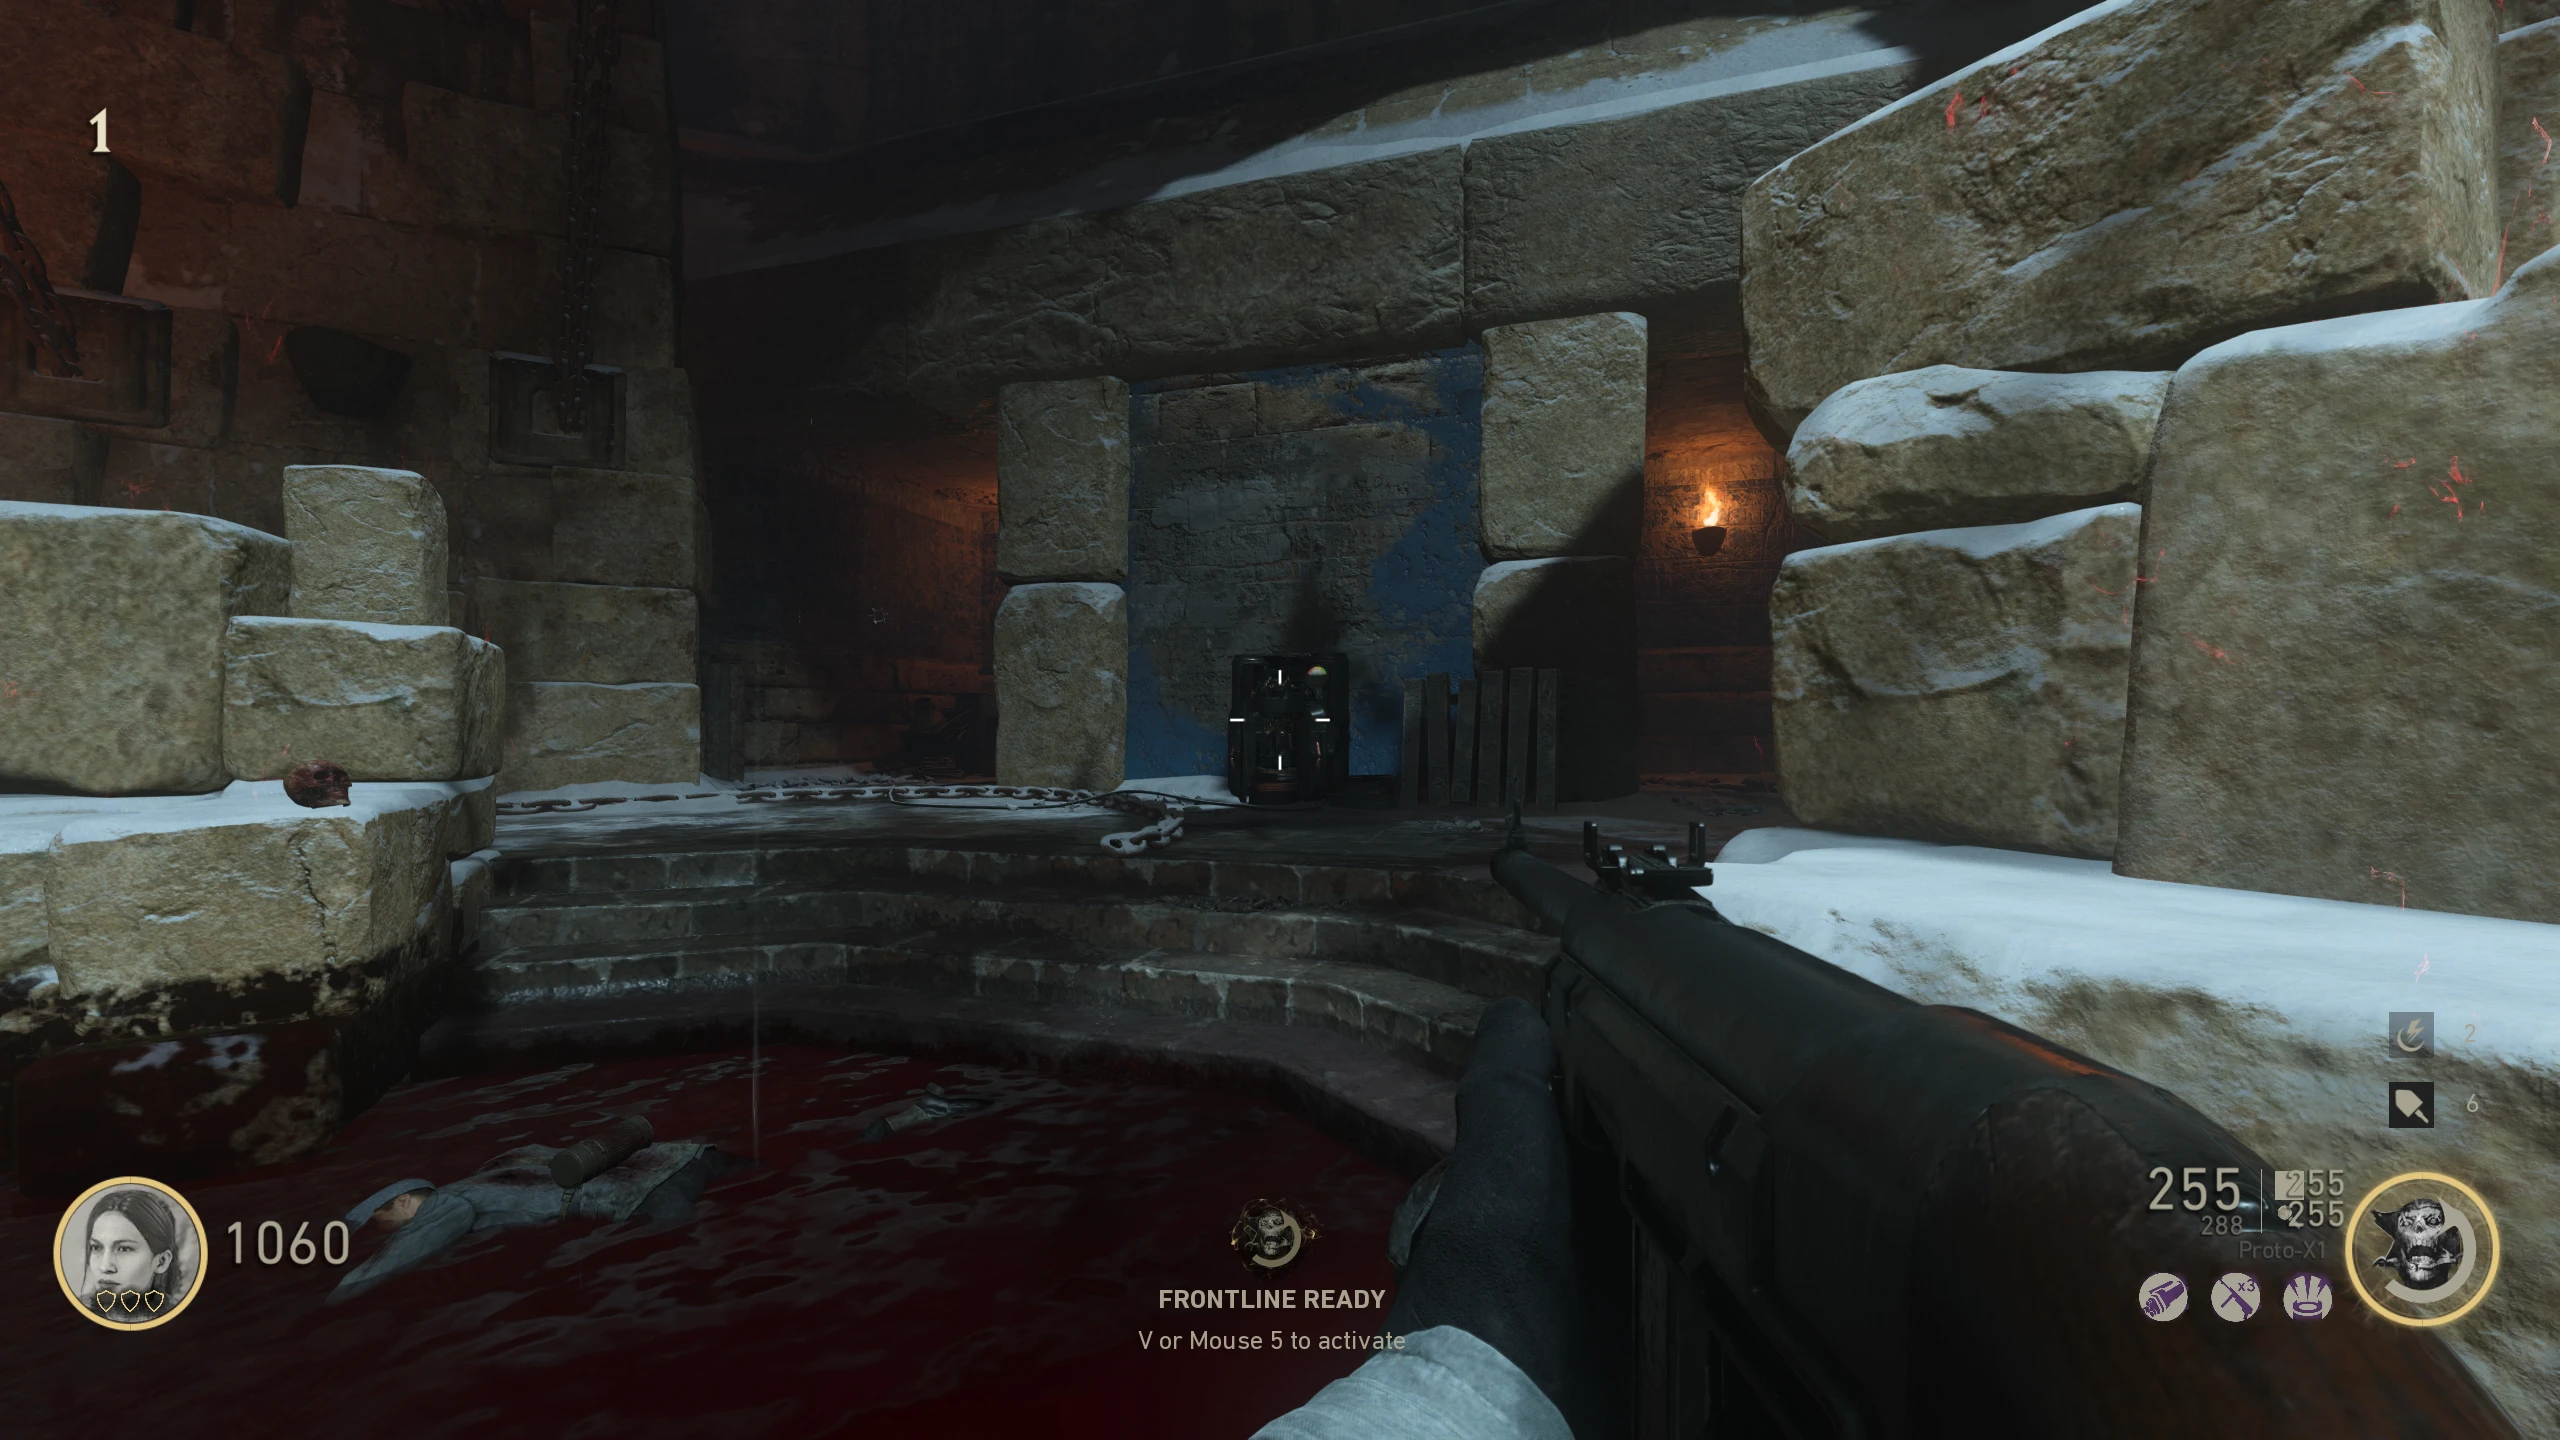
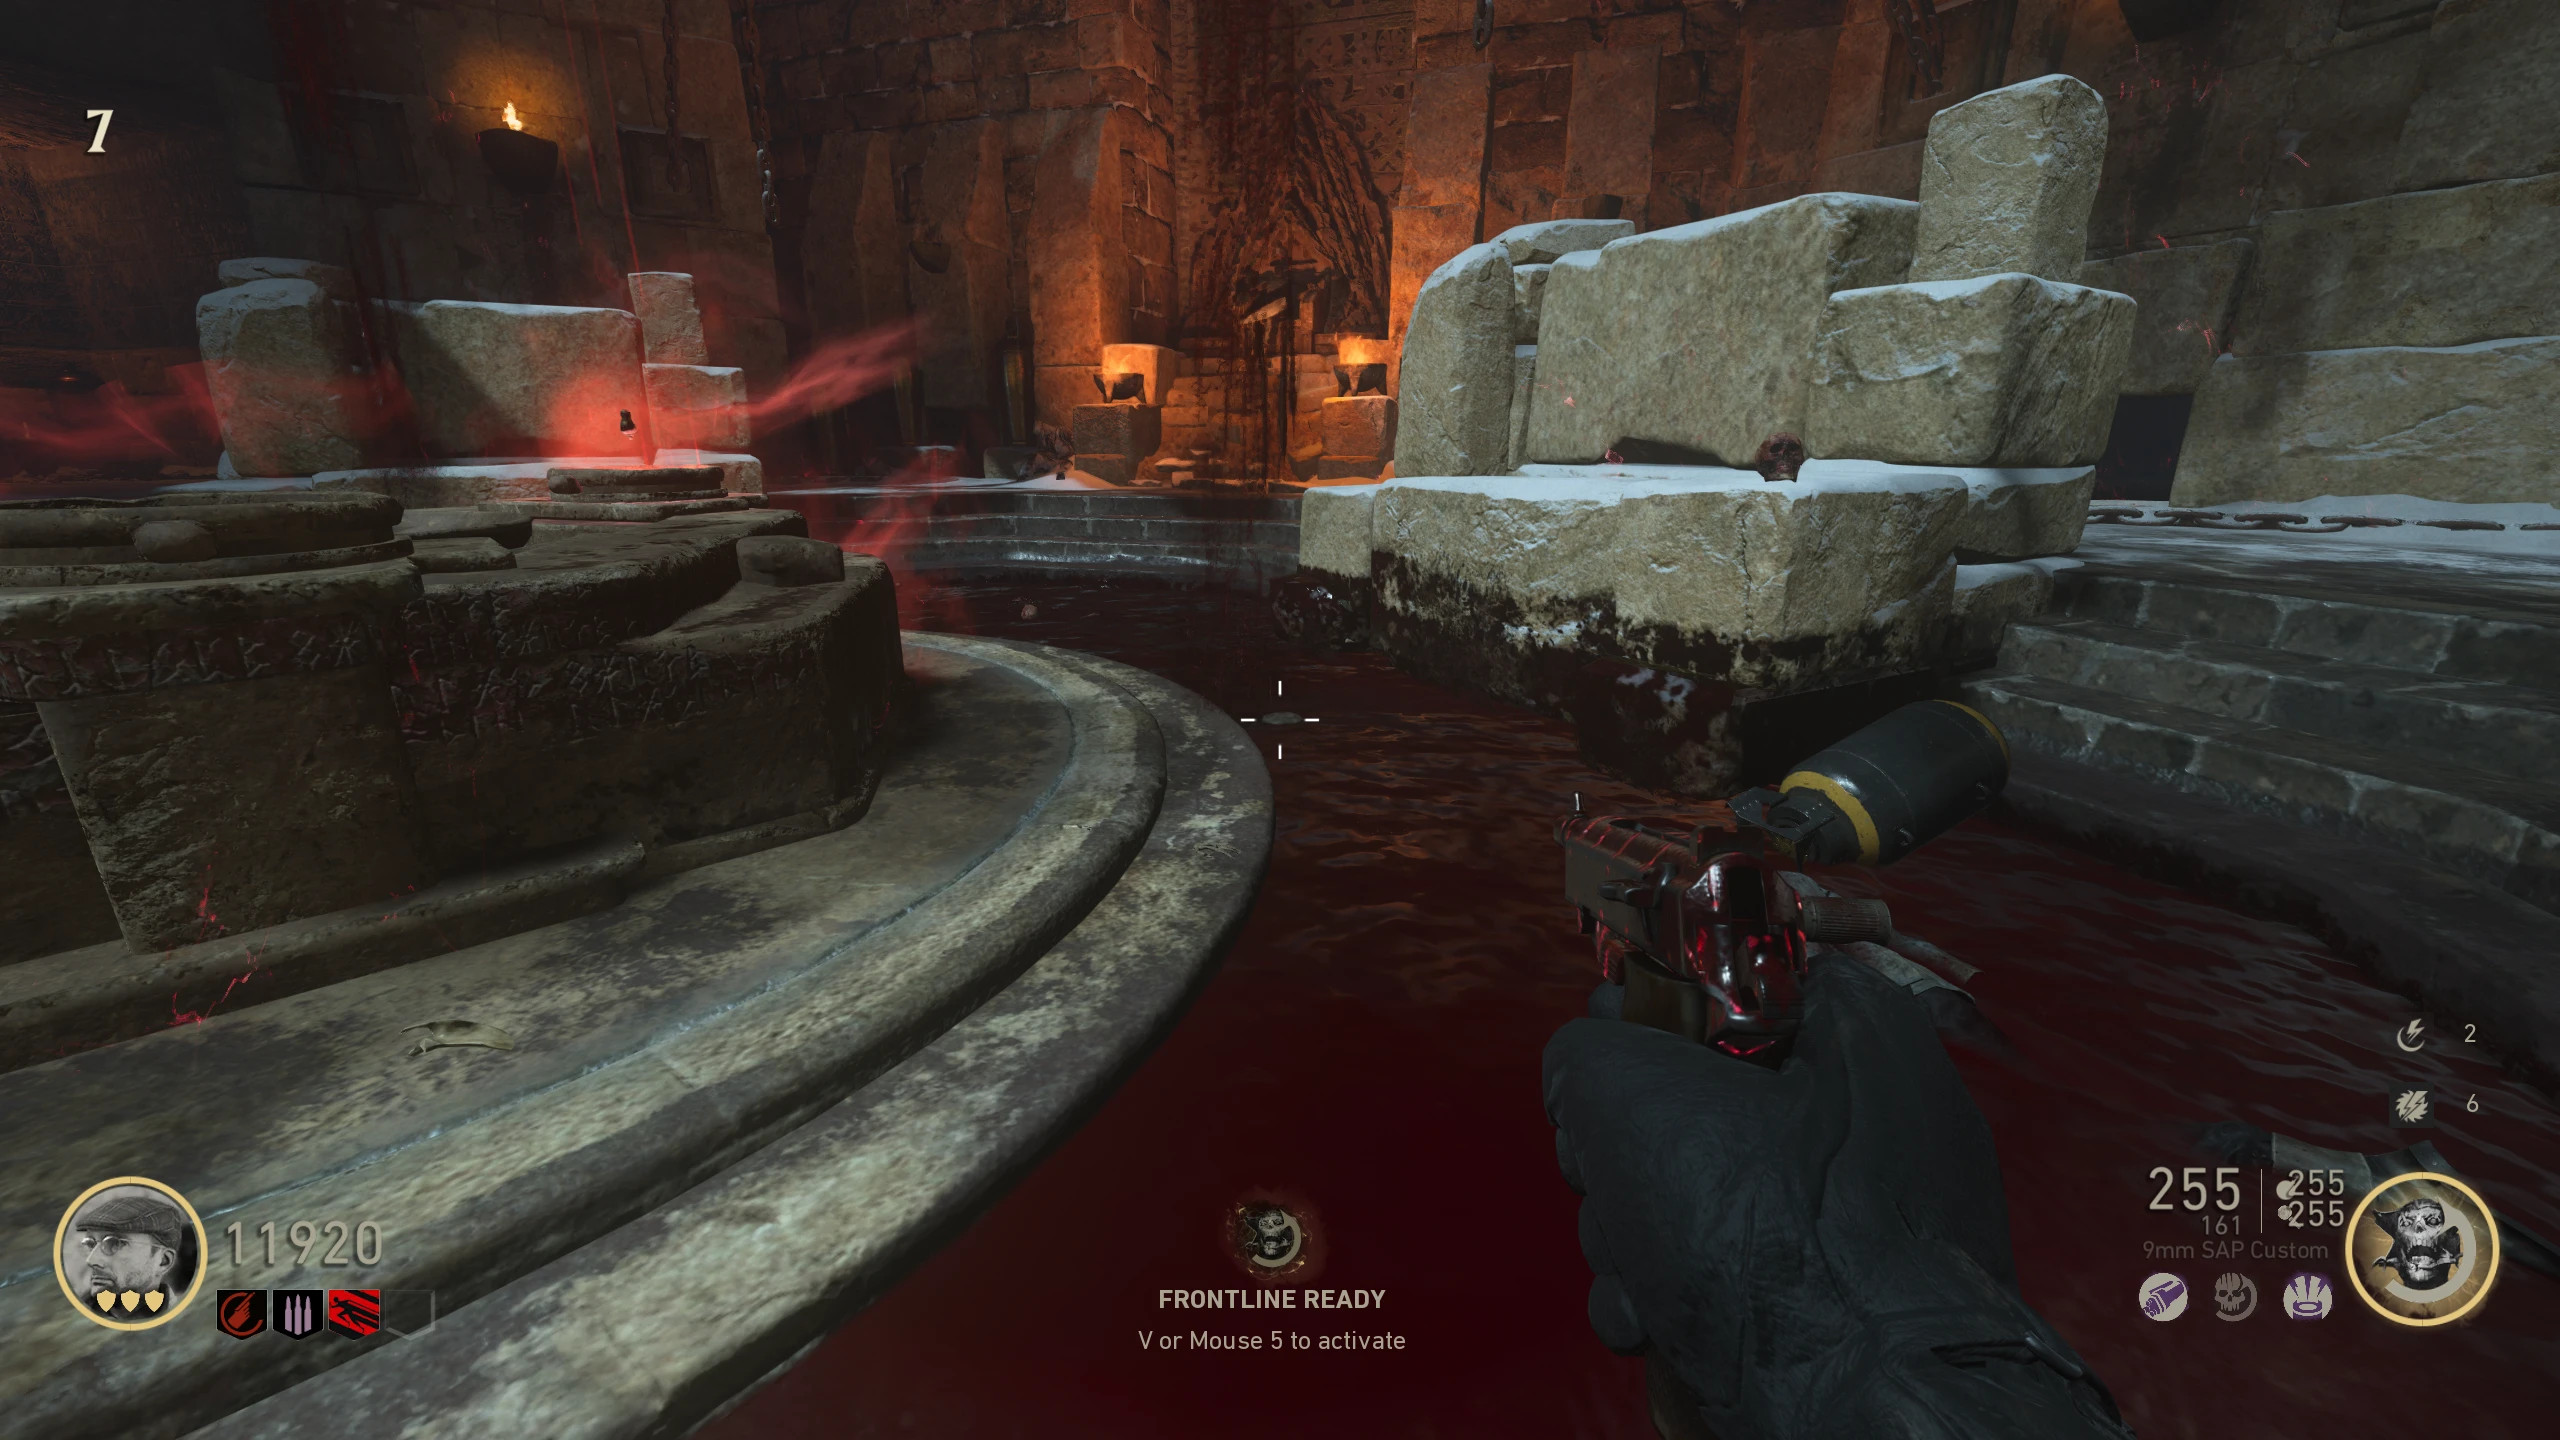
- Melee the battery in the Forge Room three times to break it. You'll now be able to interact with the battery on the wave after you broke it, and every two waves after that. Example: If you broke on wave 1, then you can interact on even waves.
- At the top of the map, there's a wall of runes. You'll need to enter the correct sequence. This can either be done by guessing all the rune combinations on this list, or the intended way of finding the code. If you plan on guessing, go to the next step, otherwise, read below for how to find the code.
- Interact with the battery in the Forge Room to enter the vision mode.
- If you run out of battery time before you find the rune, interact with the battery again to re-enter the battery vision.
- Using this video (YouTube) by Mystery HQ or the images below, check these locations for the runes:
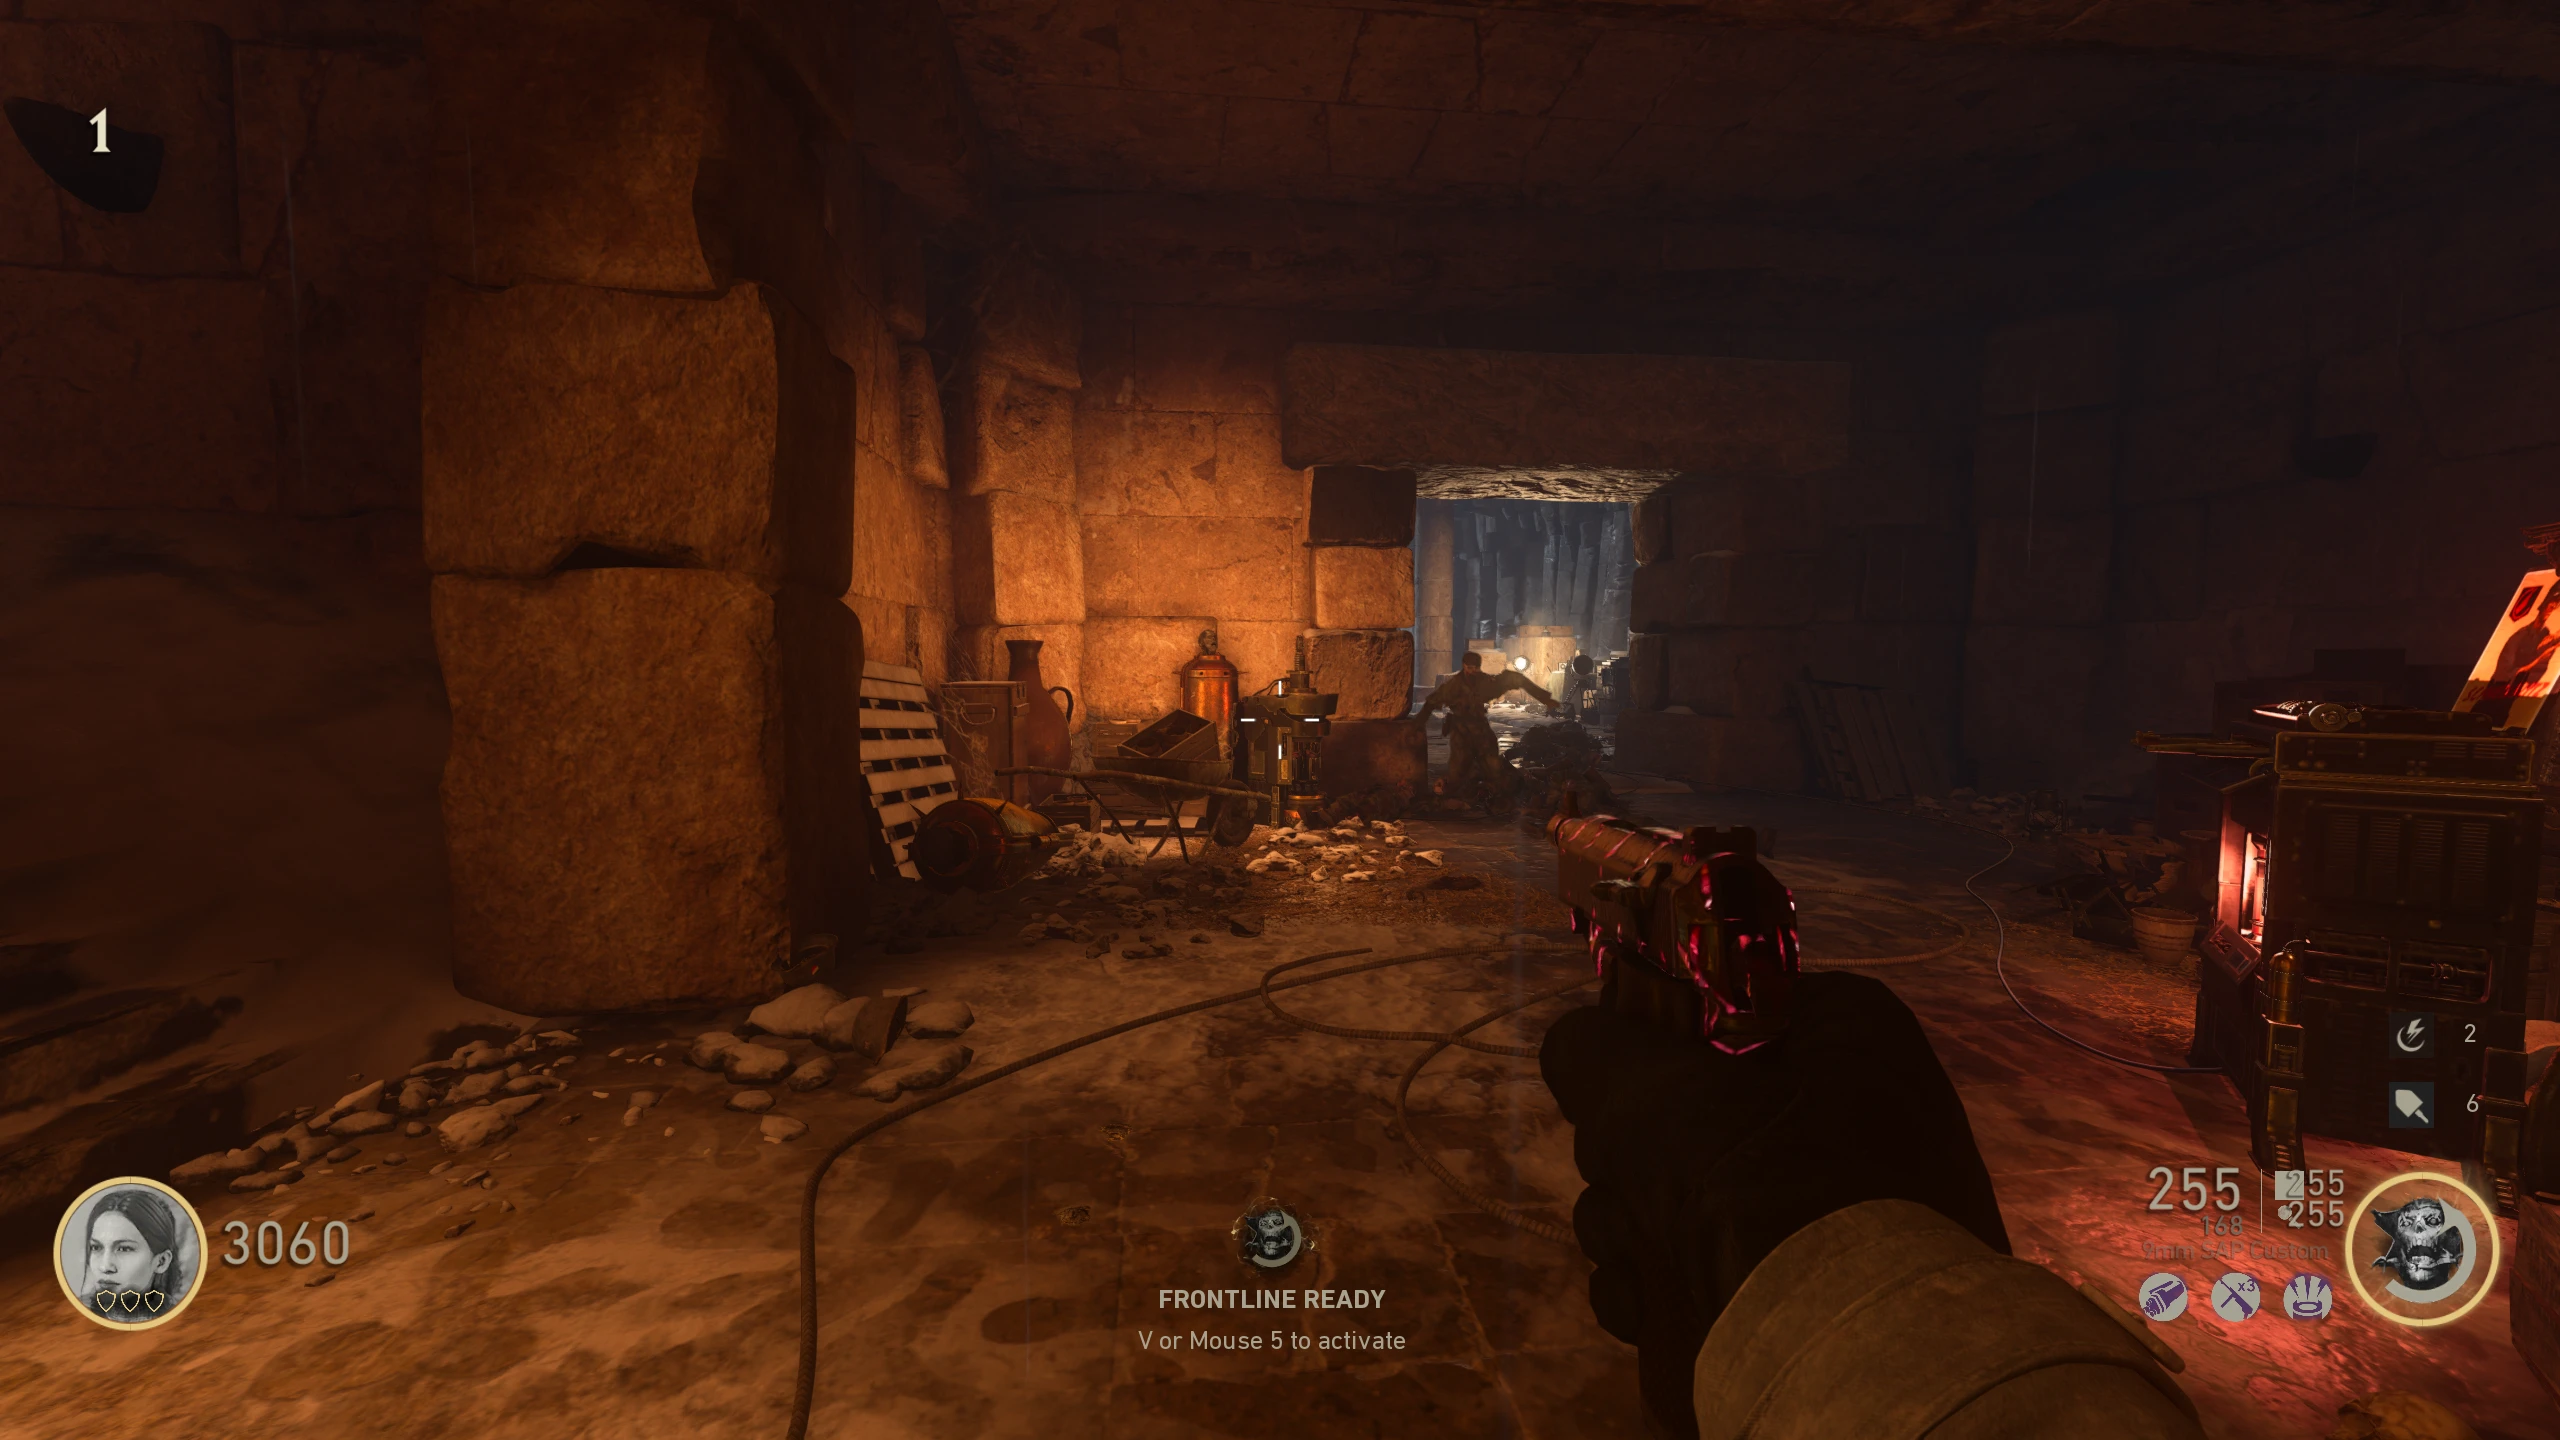
- Forge Room - On the underside of the face statue, left of the battery
- Forge Room - Above the LMG wallbuy on the left side of the room
- Left Side (of the map) - Above the doorway to the Forge Room
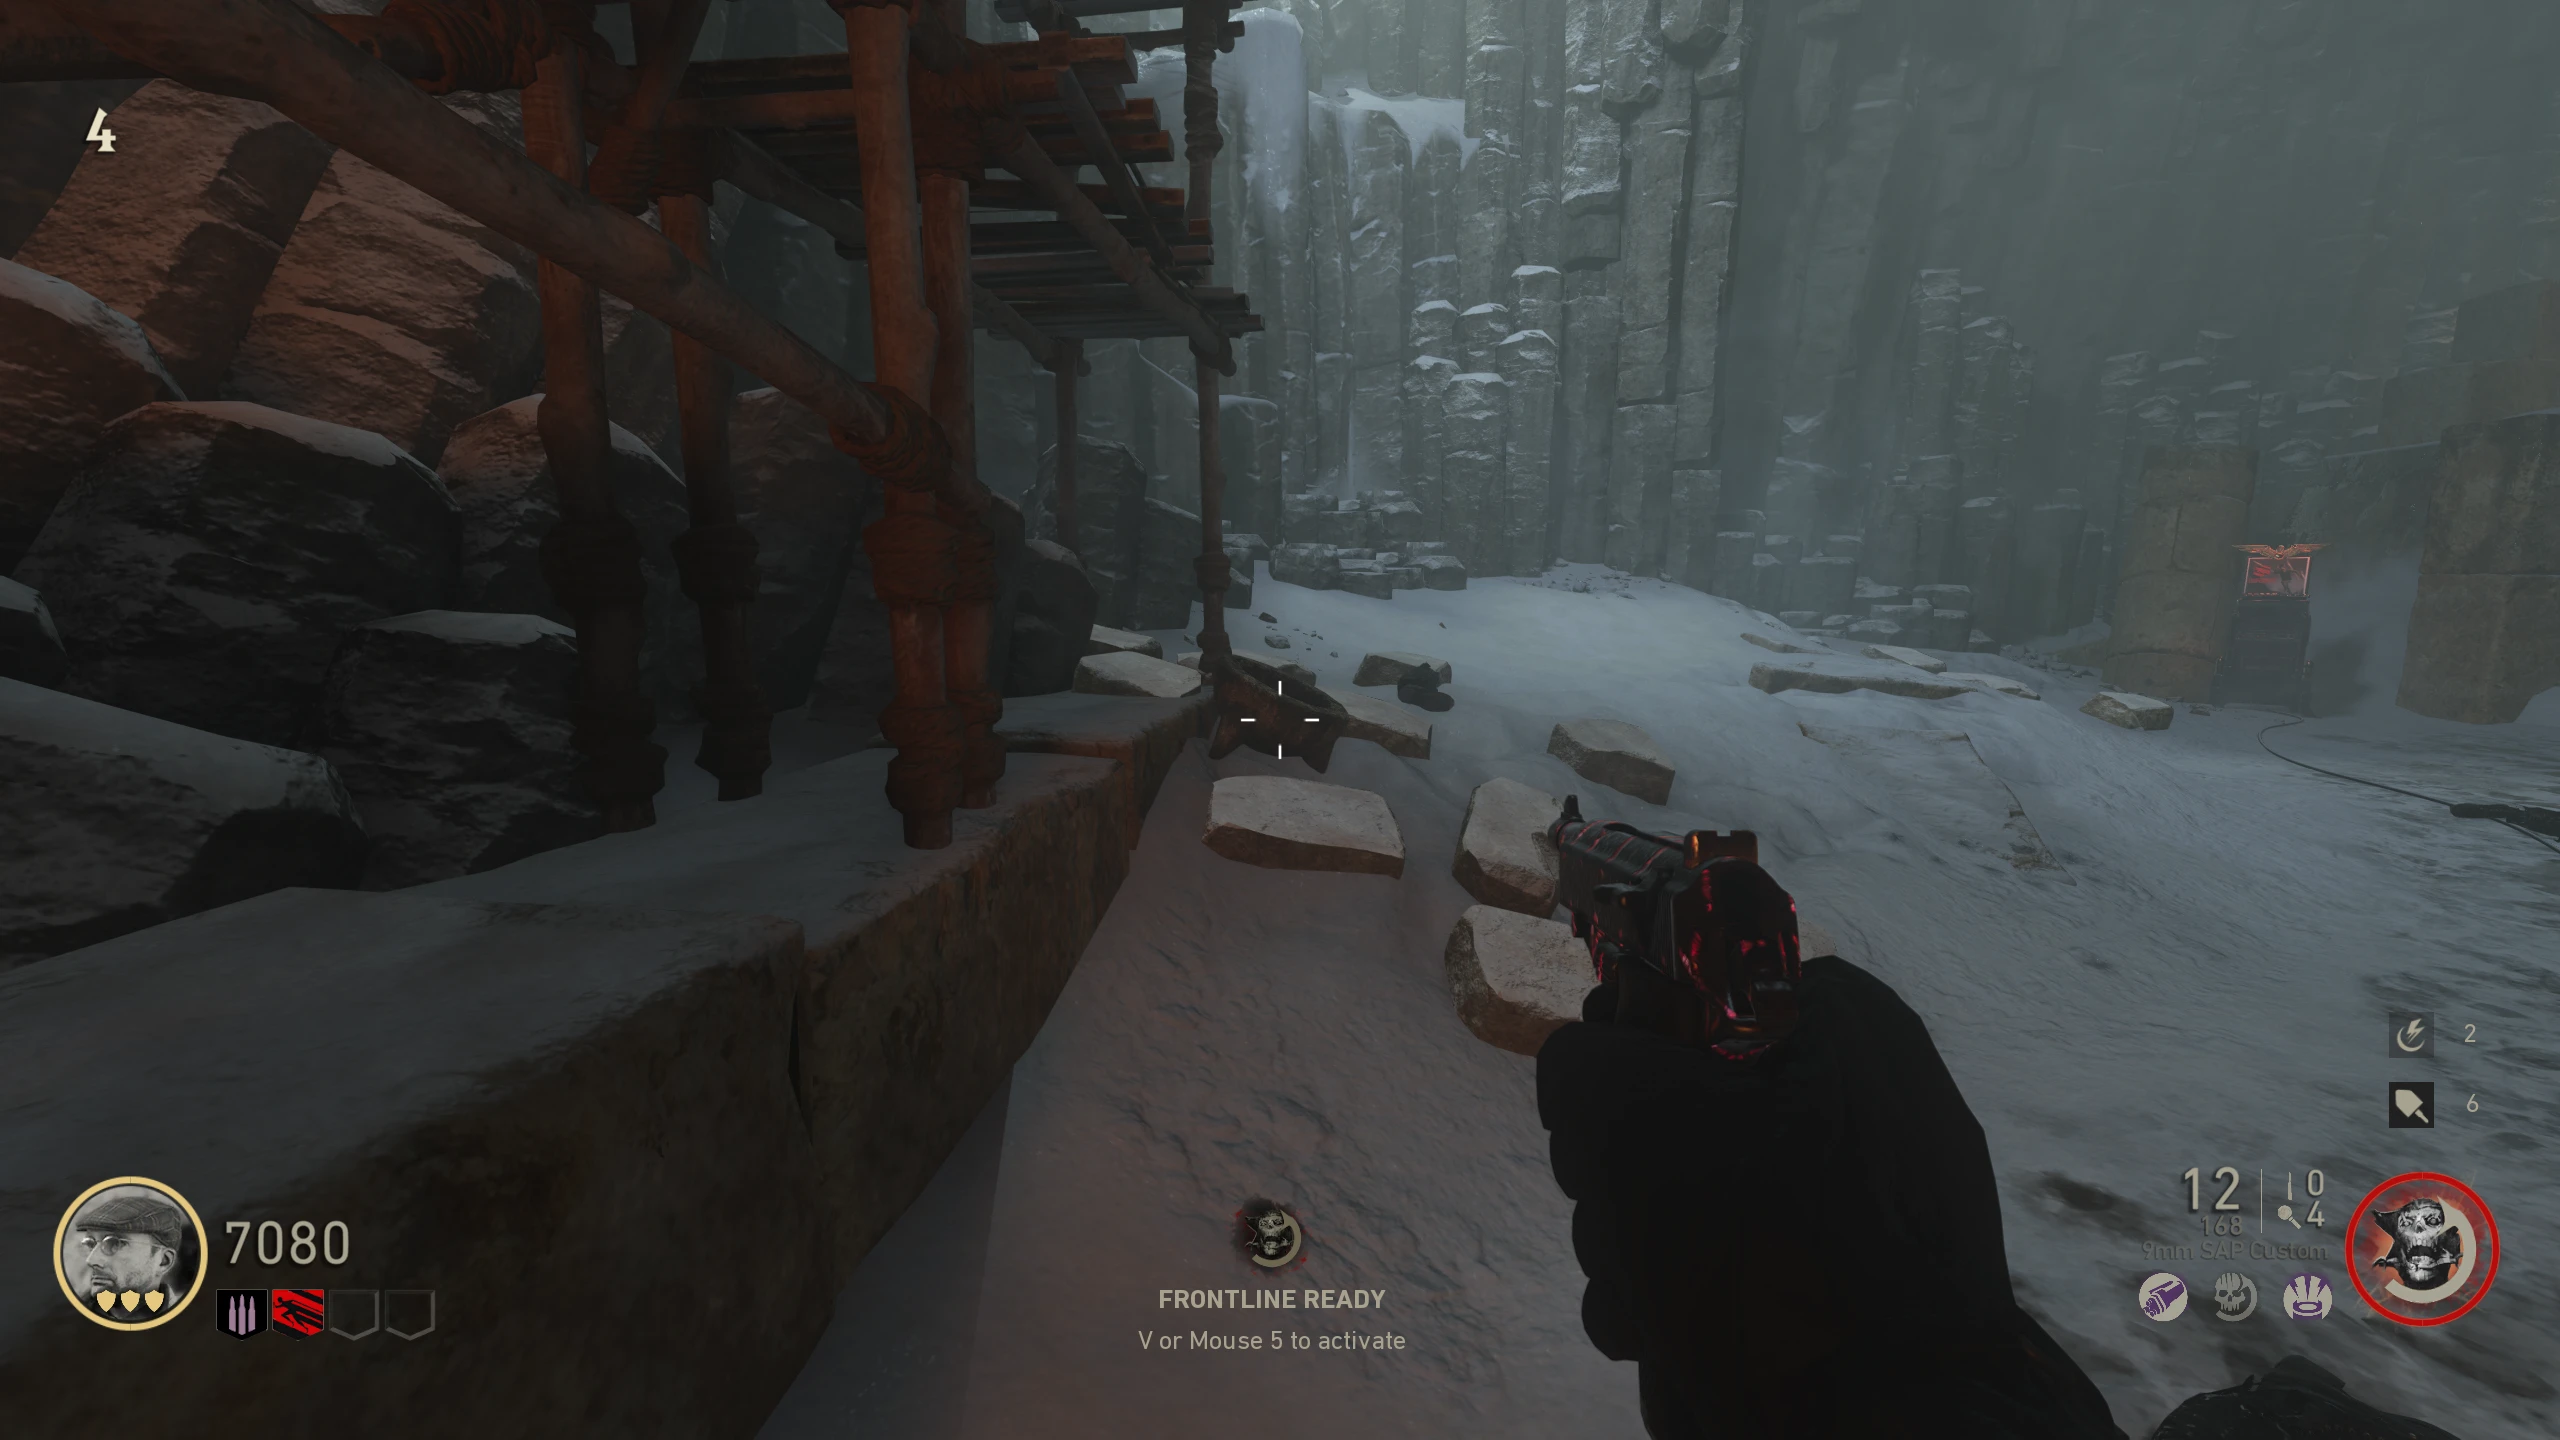
- Left Side - At the top right of the stairs from Laufenblitz (Stamin-Up), behind some scaffolding
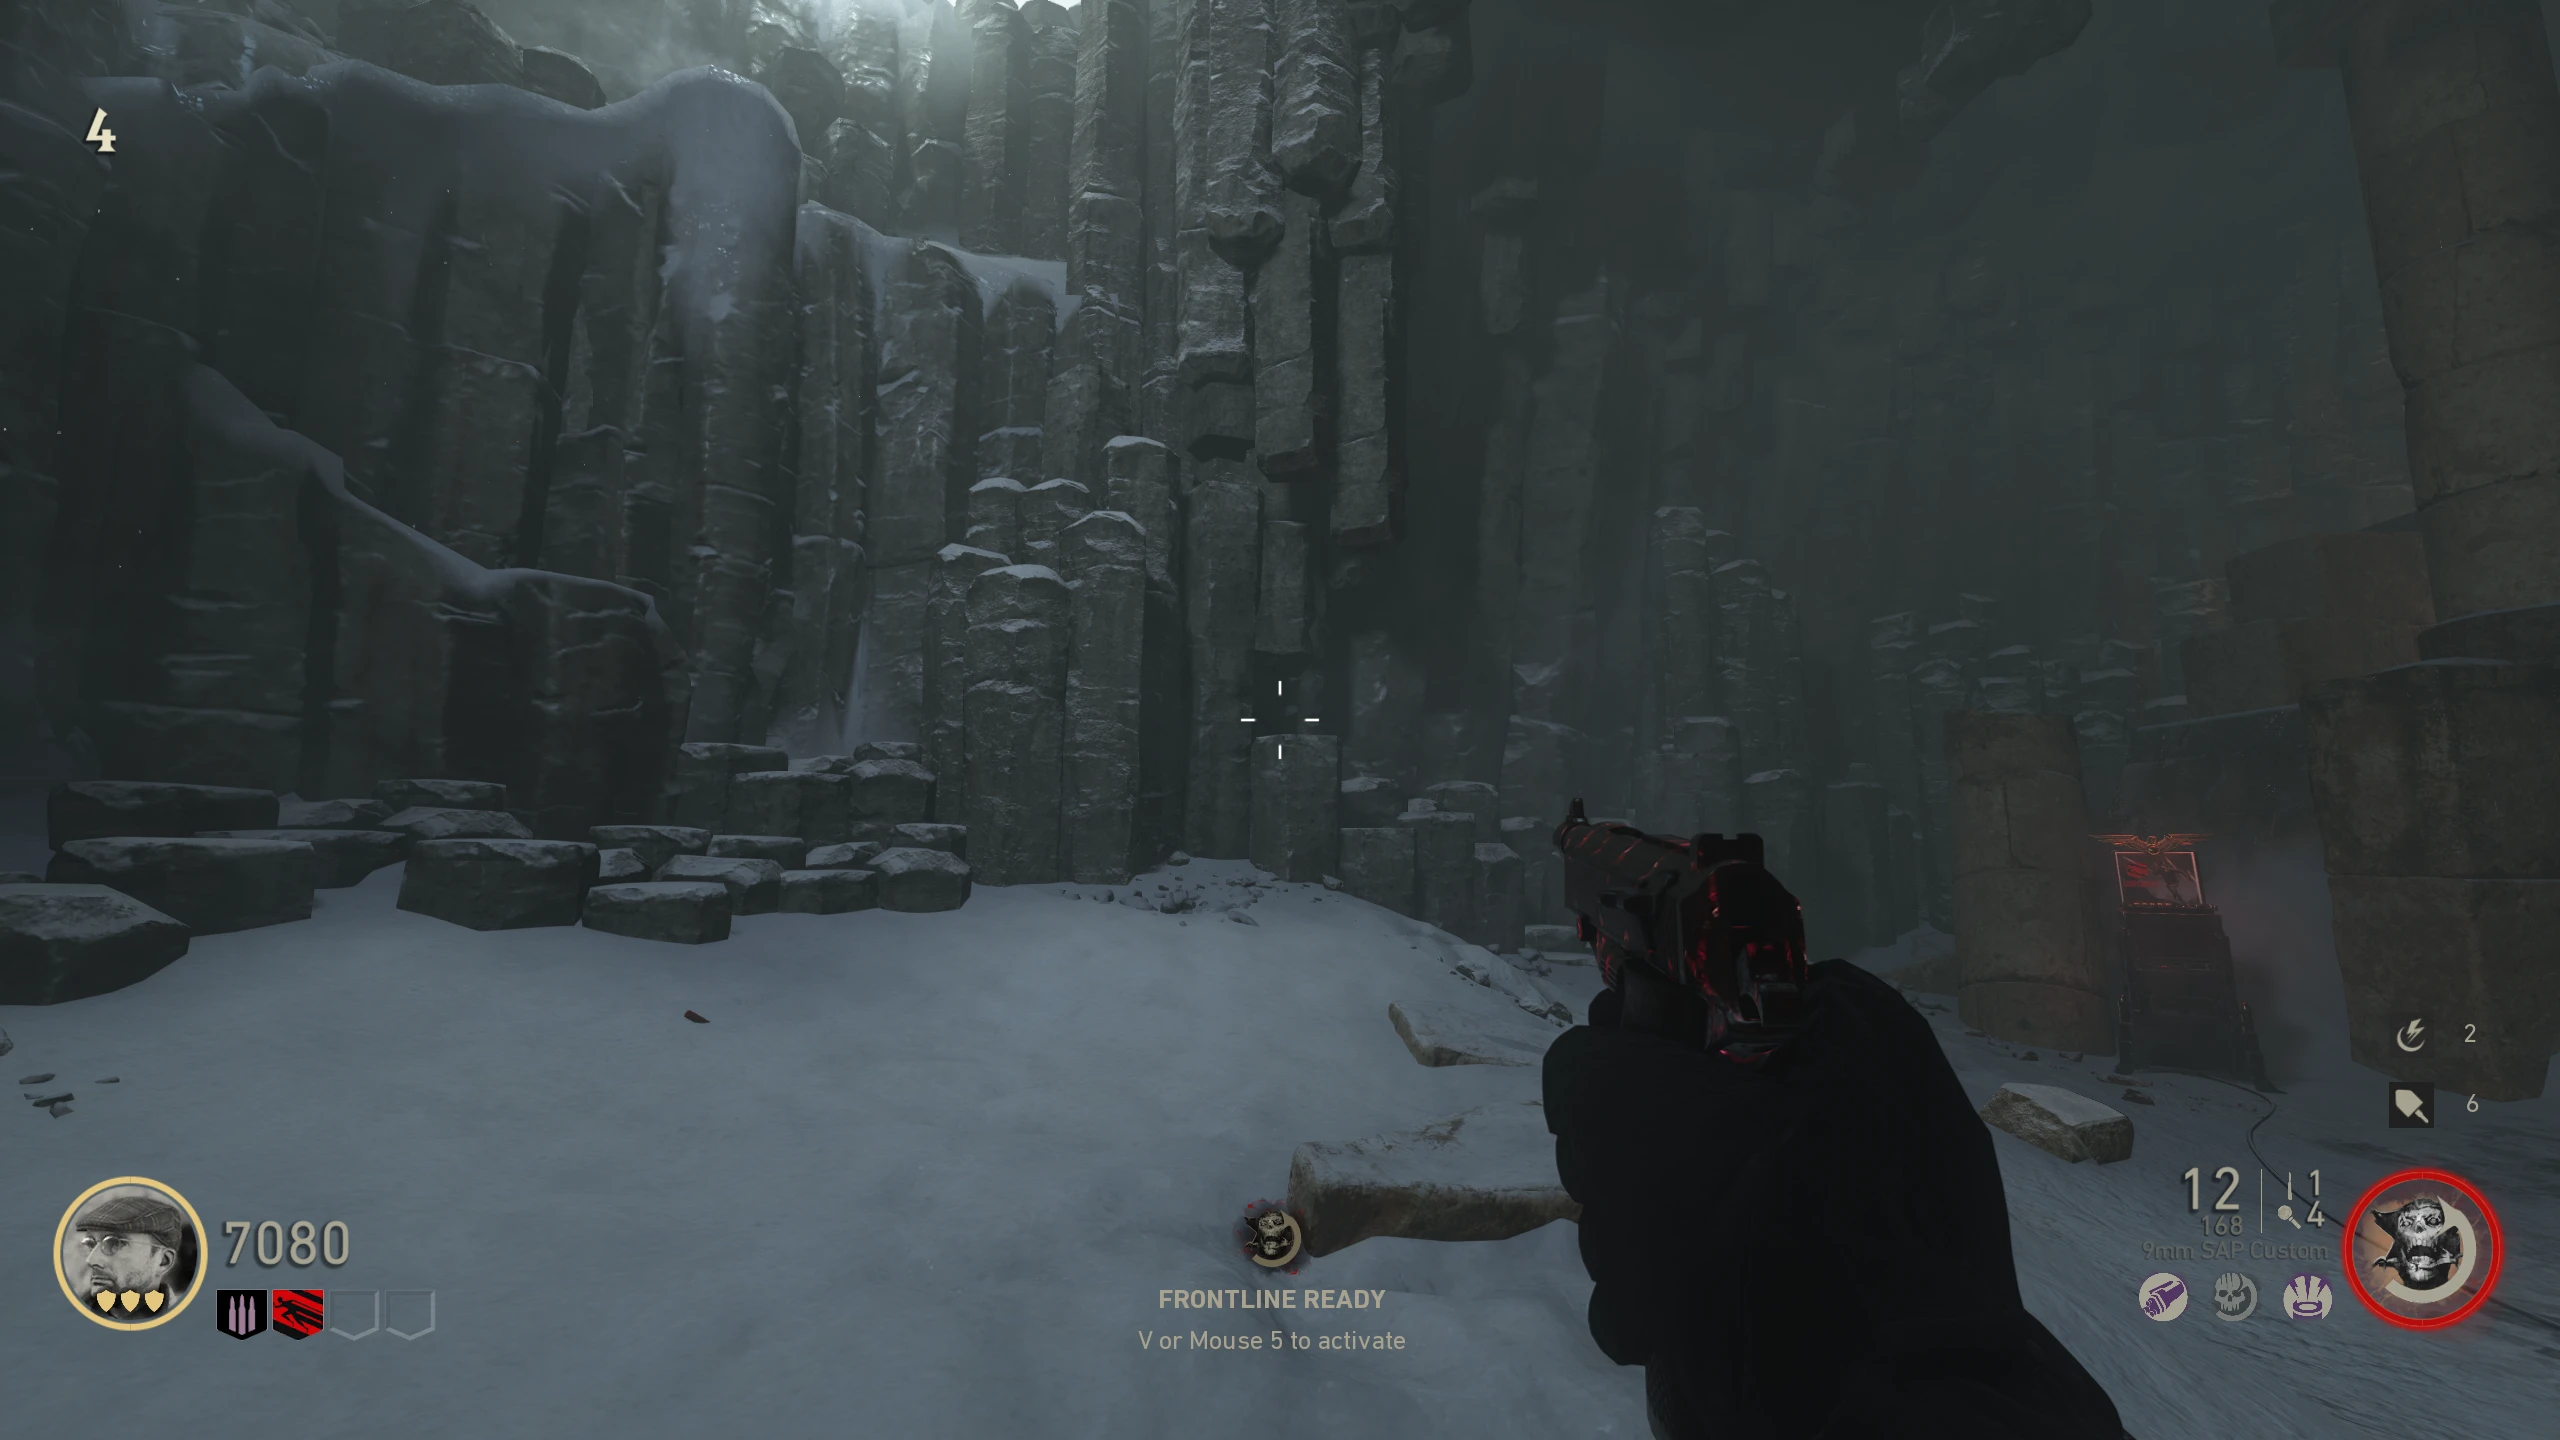
- Left Side - At the top left of the stairs from Laufenblitz (Stamin-Up), on a large rock behind the light
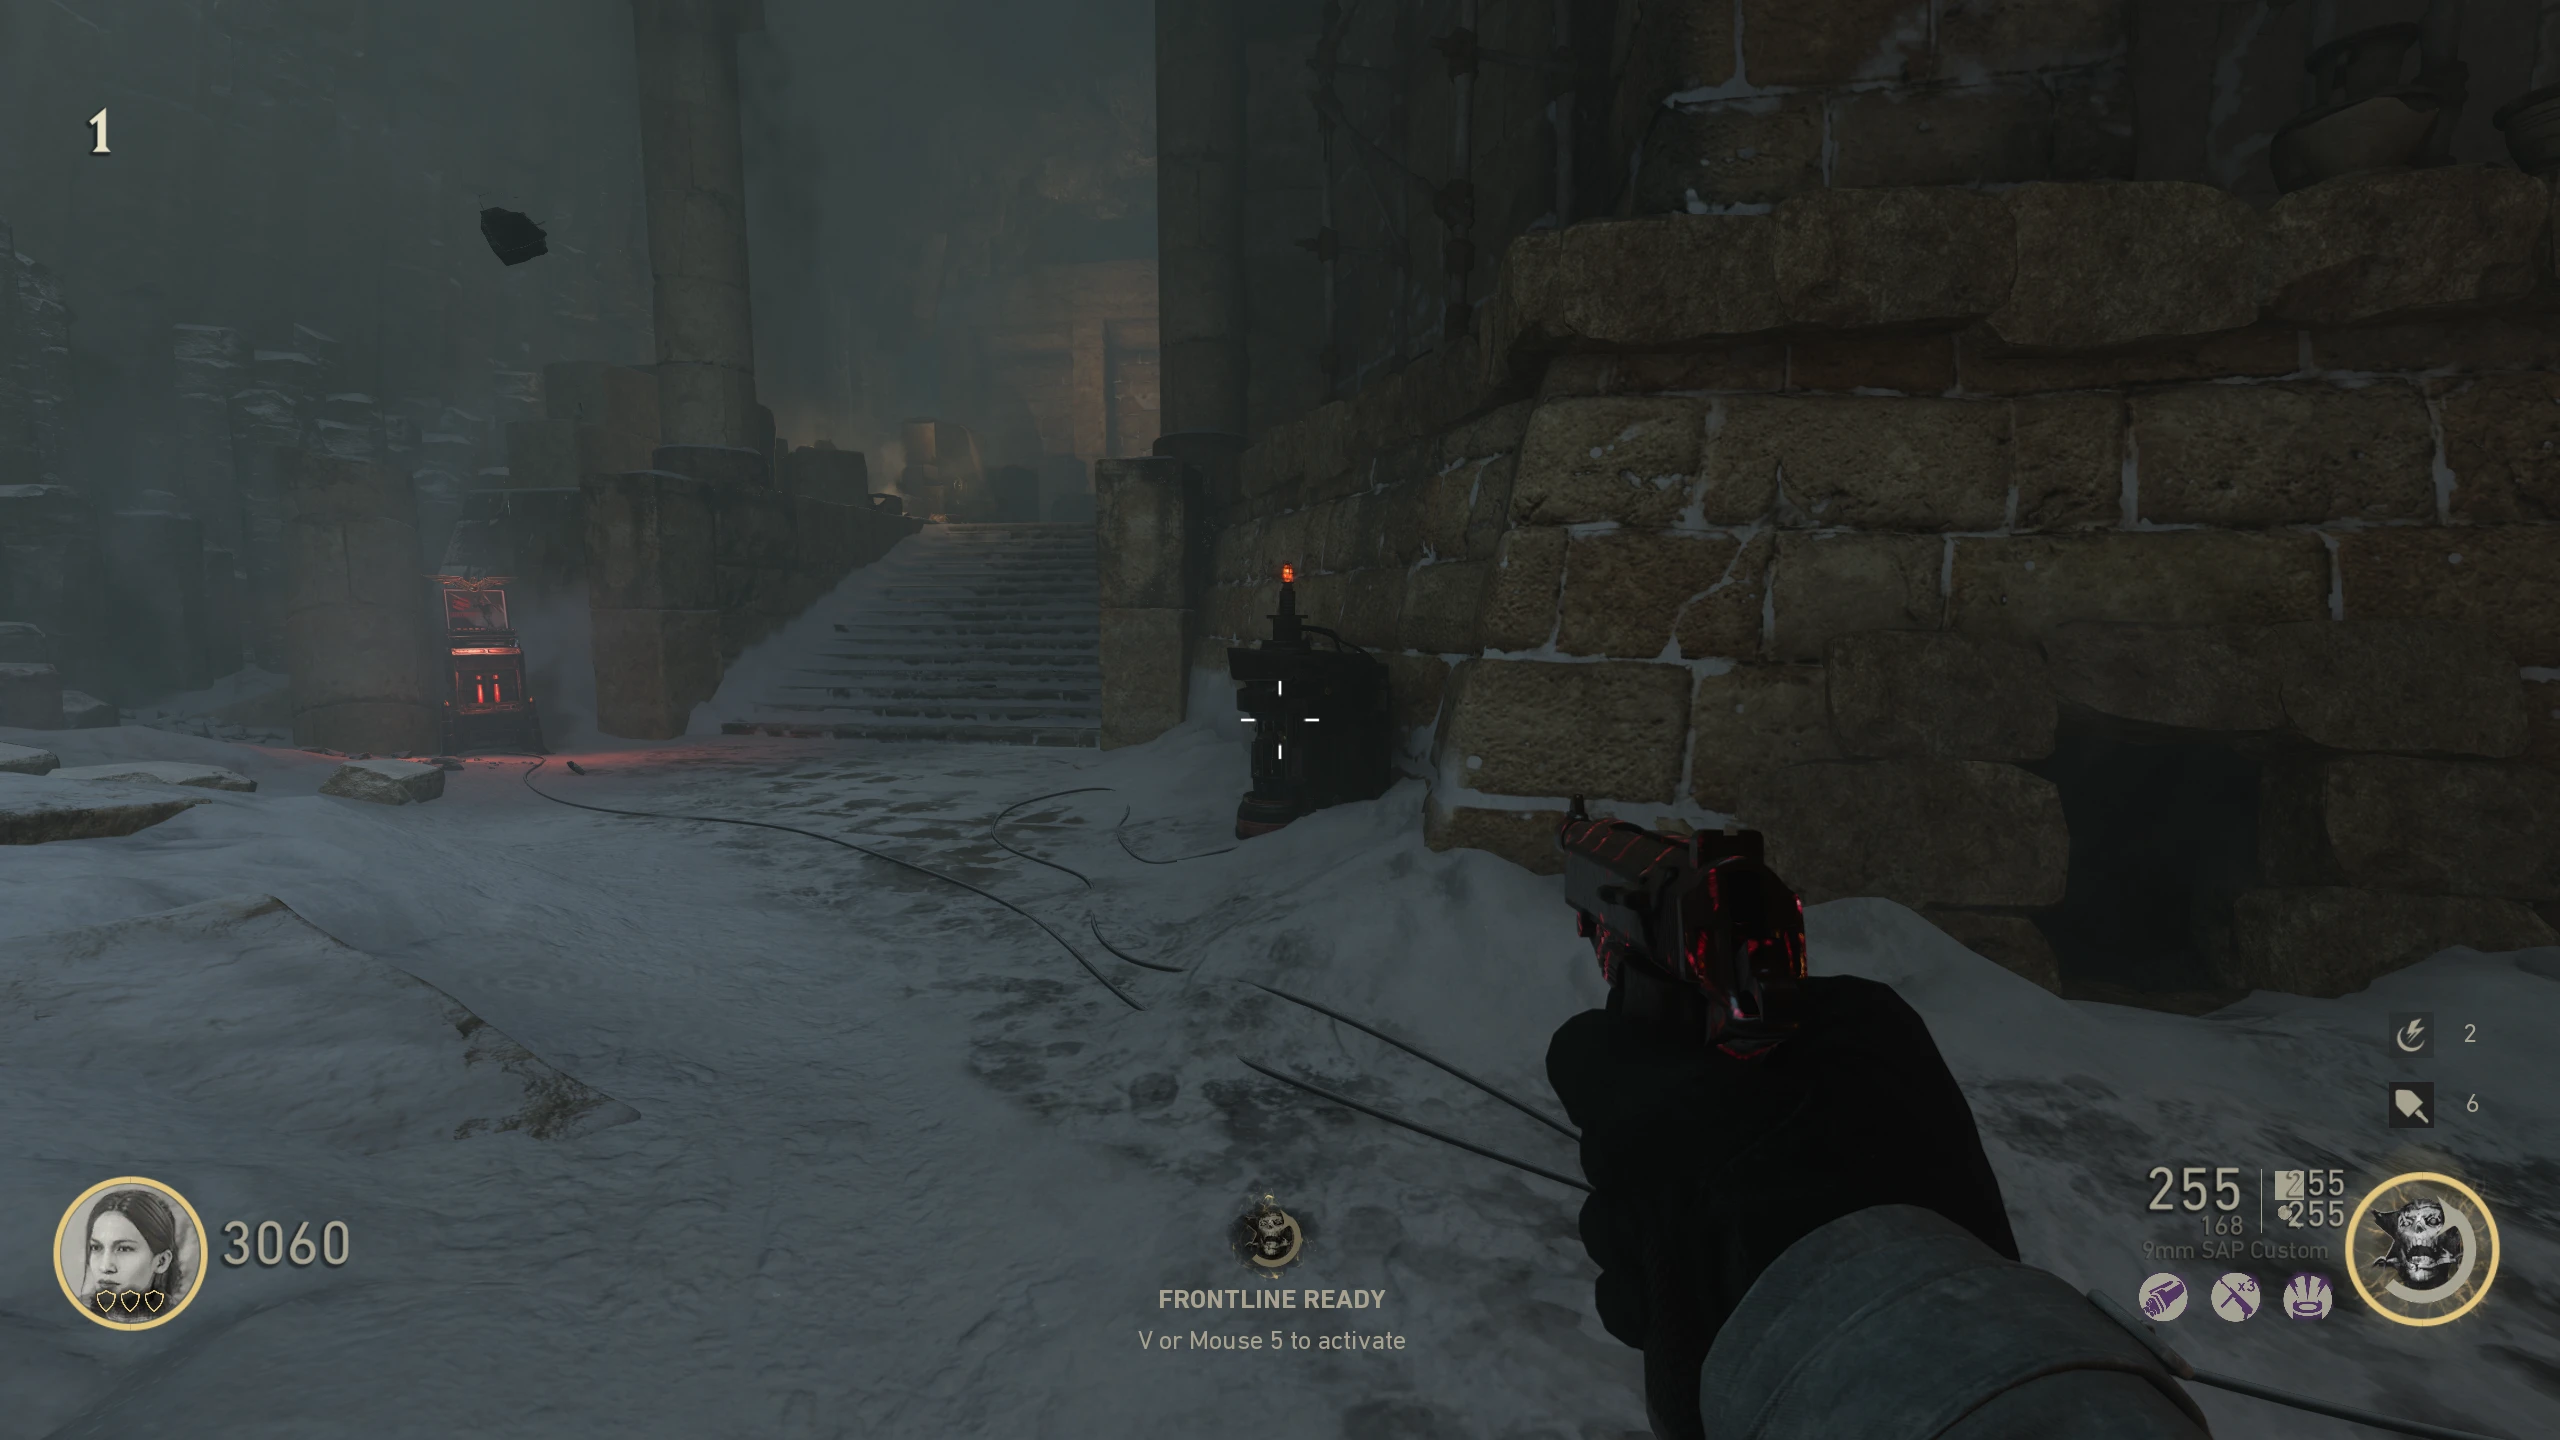
- Left Side - Above the first PAP battery, in the Schnellblitz (Speed Cola) room
- Left Side - Just up the stairs from the Schnellblitz (Speed Cola) room on the ceiling
- Rune Room - At the top of the stairs from the Schnellblitz (Speed Cola) room, right of the Assault Rifle wallbuy, beside a head
- Rune Room - On the left wall at the top of the stairs from Schildblitz (Electric Cherry)
- Right Side (of the map) - Halfway up the stairs from Schildblitz (Electric Cherry), on the right wall
- Right Side - On the wall behind Schildblitz (Electric Cherry)
- Right Side - On the ceiling of the doorway to the Forge Room
- Right Side - On the wall above the SMG wallbuy
- Spawn - On the wall left of the stairs to the Forge Room
- Once you have your code (or you plan on guessing), go to the Rune Room at the top of the map. Interact with the runes on the wall in order. If done correctly, the wall will glow with electricity, and a sound will play.
- If you enter the code wrong (or the wrong one if you're guessing), repeatedly interact with any rune until they all depress into the wall for a few seconds, then comeback out. This will reset the input.
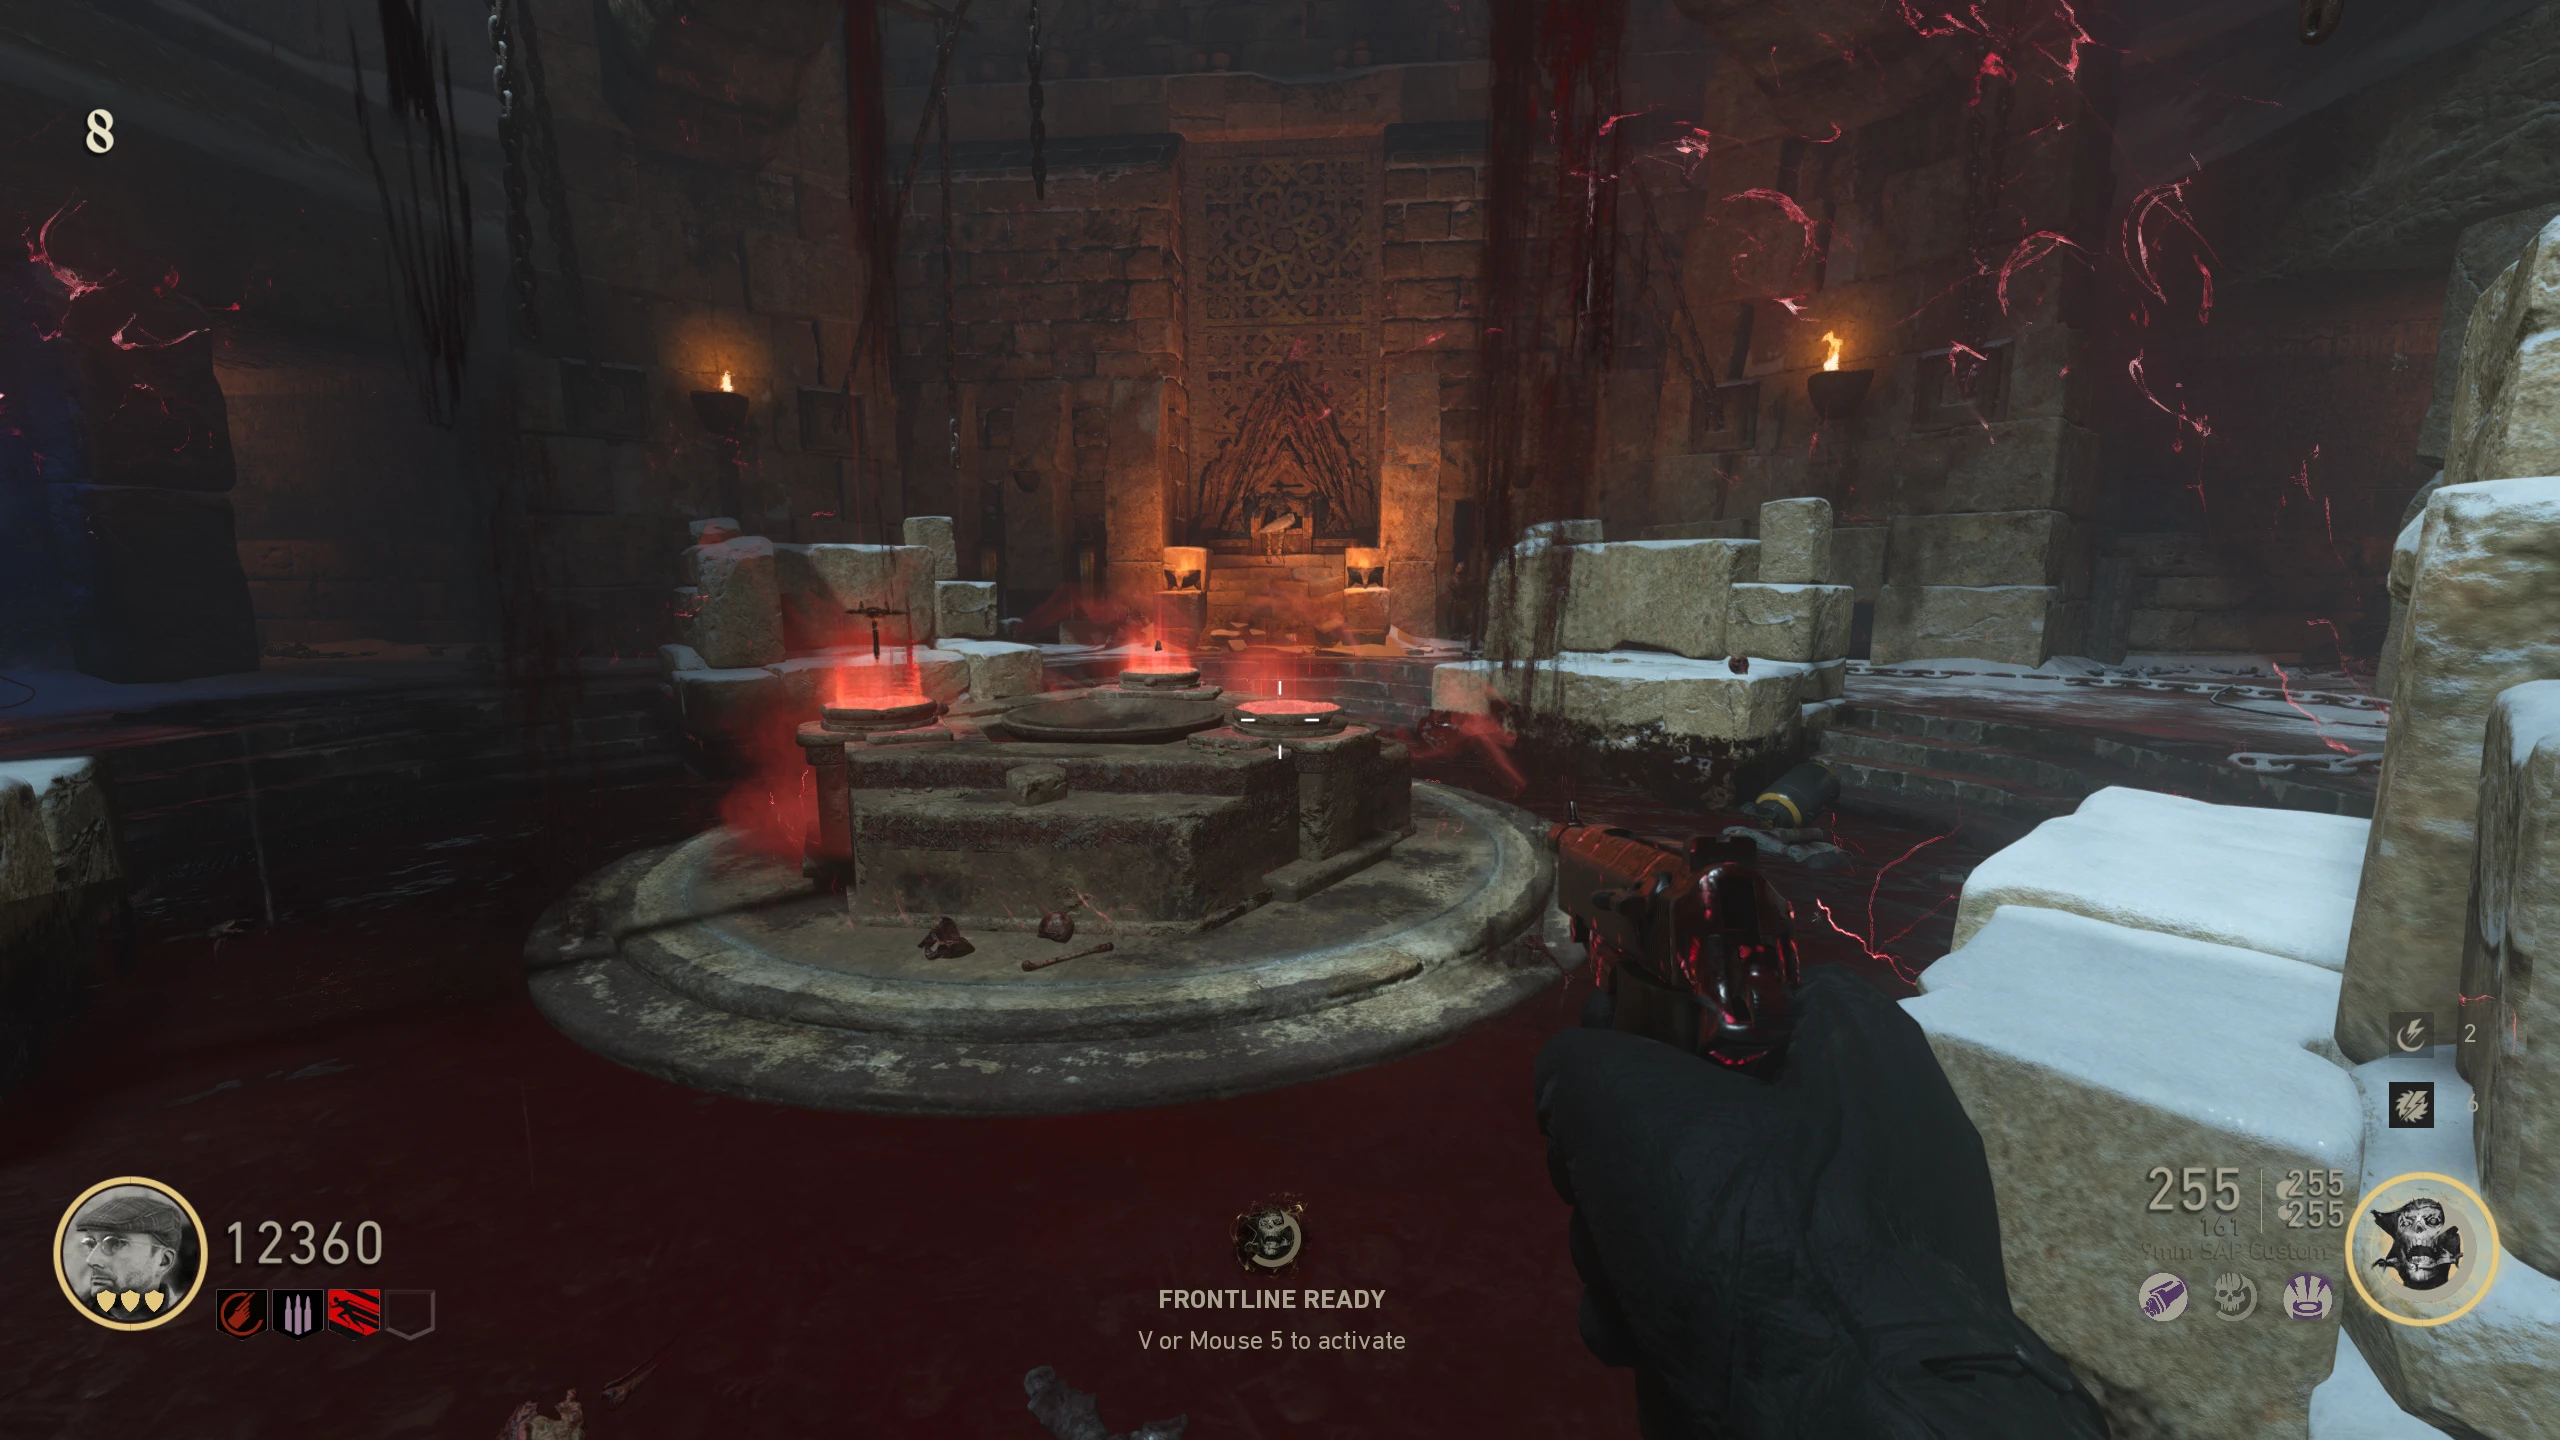
- On the transition between rounds, a supply crate will drop through the hole in the ceiling in the Rune room. Inside is the Hilt for you to pick up. Place the Hilt in the glowing bowl in the Forge Room.
- A box of flares will spawn on the stairs between the Forge Room and Spawn. Pick up the flares; they'll replace your tactical grenade.
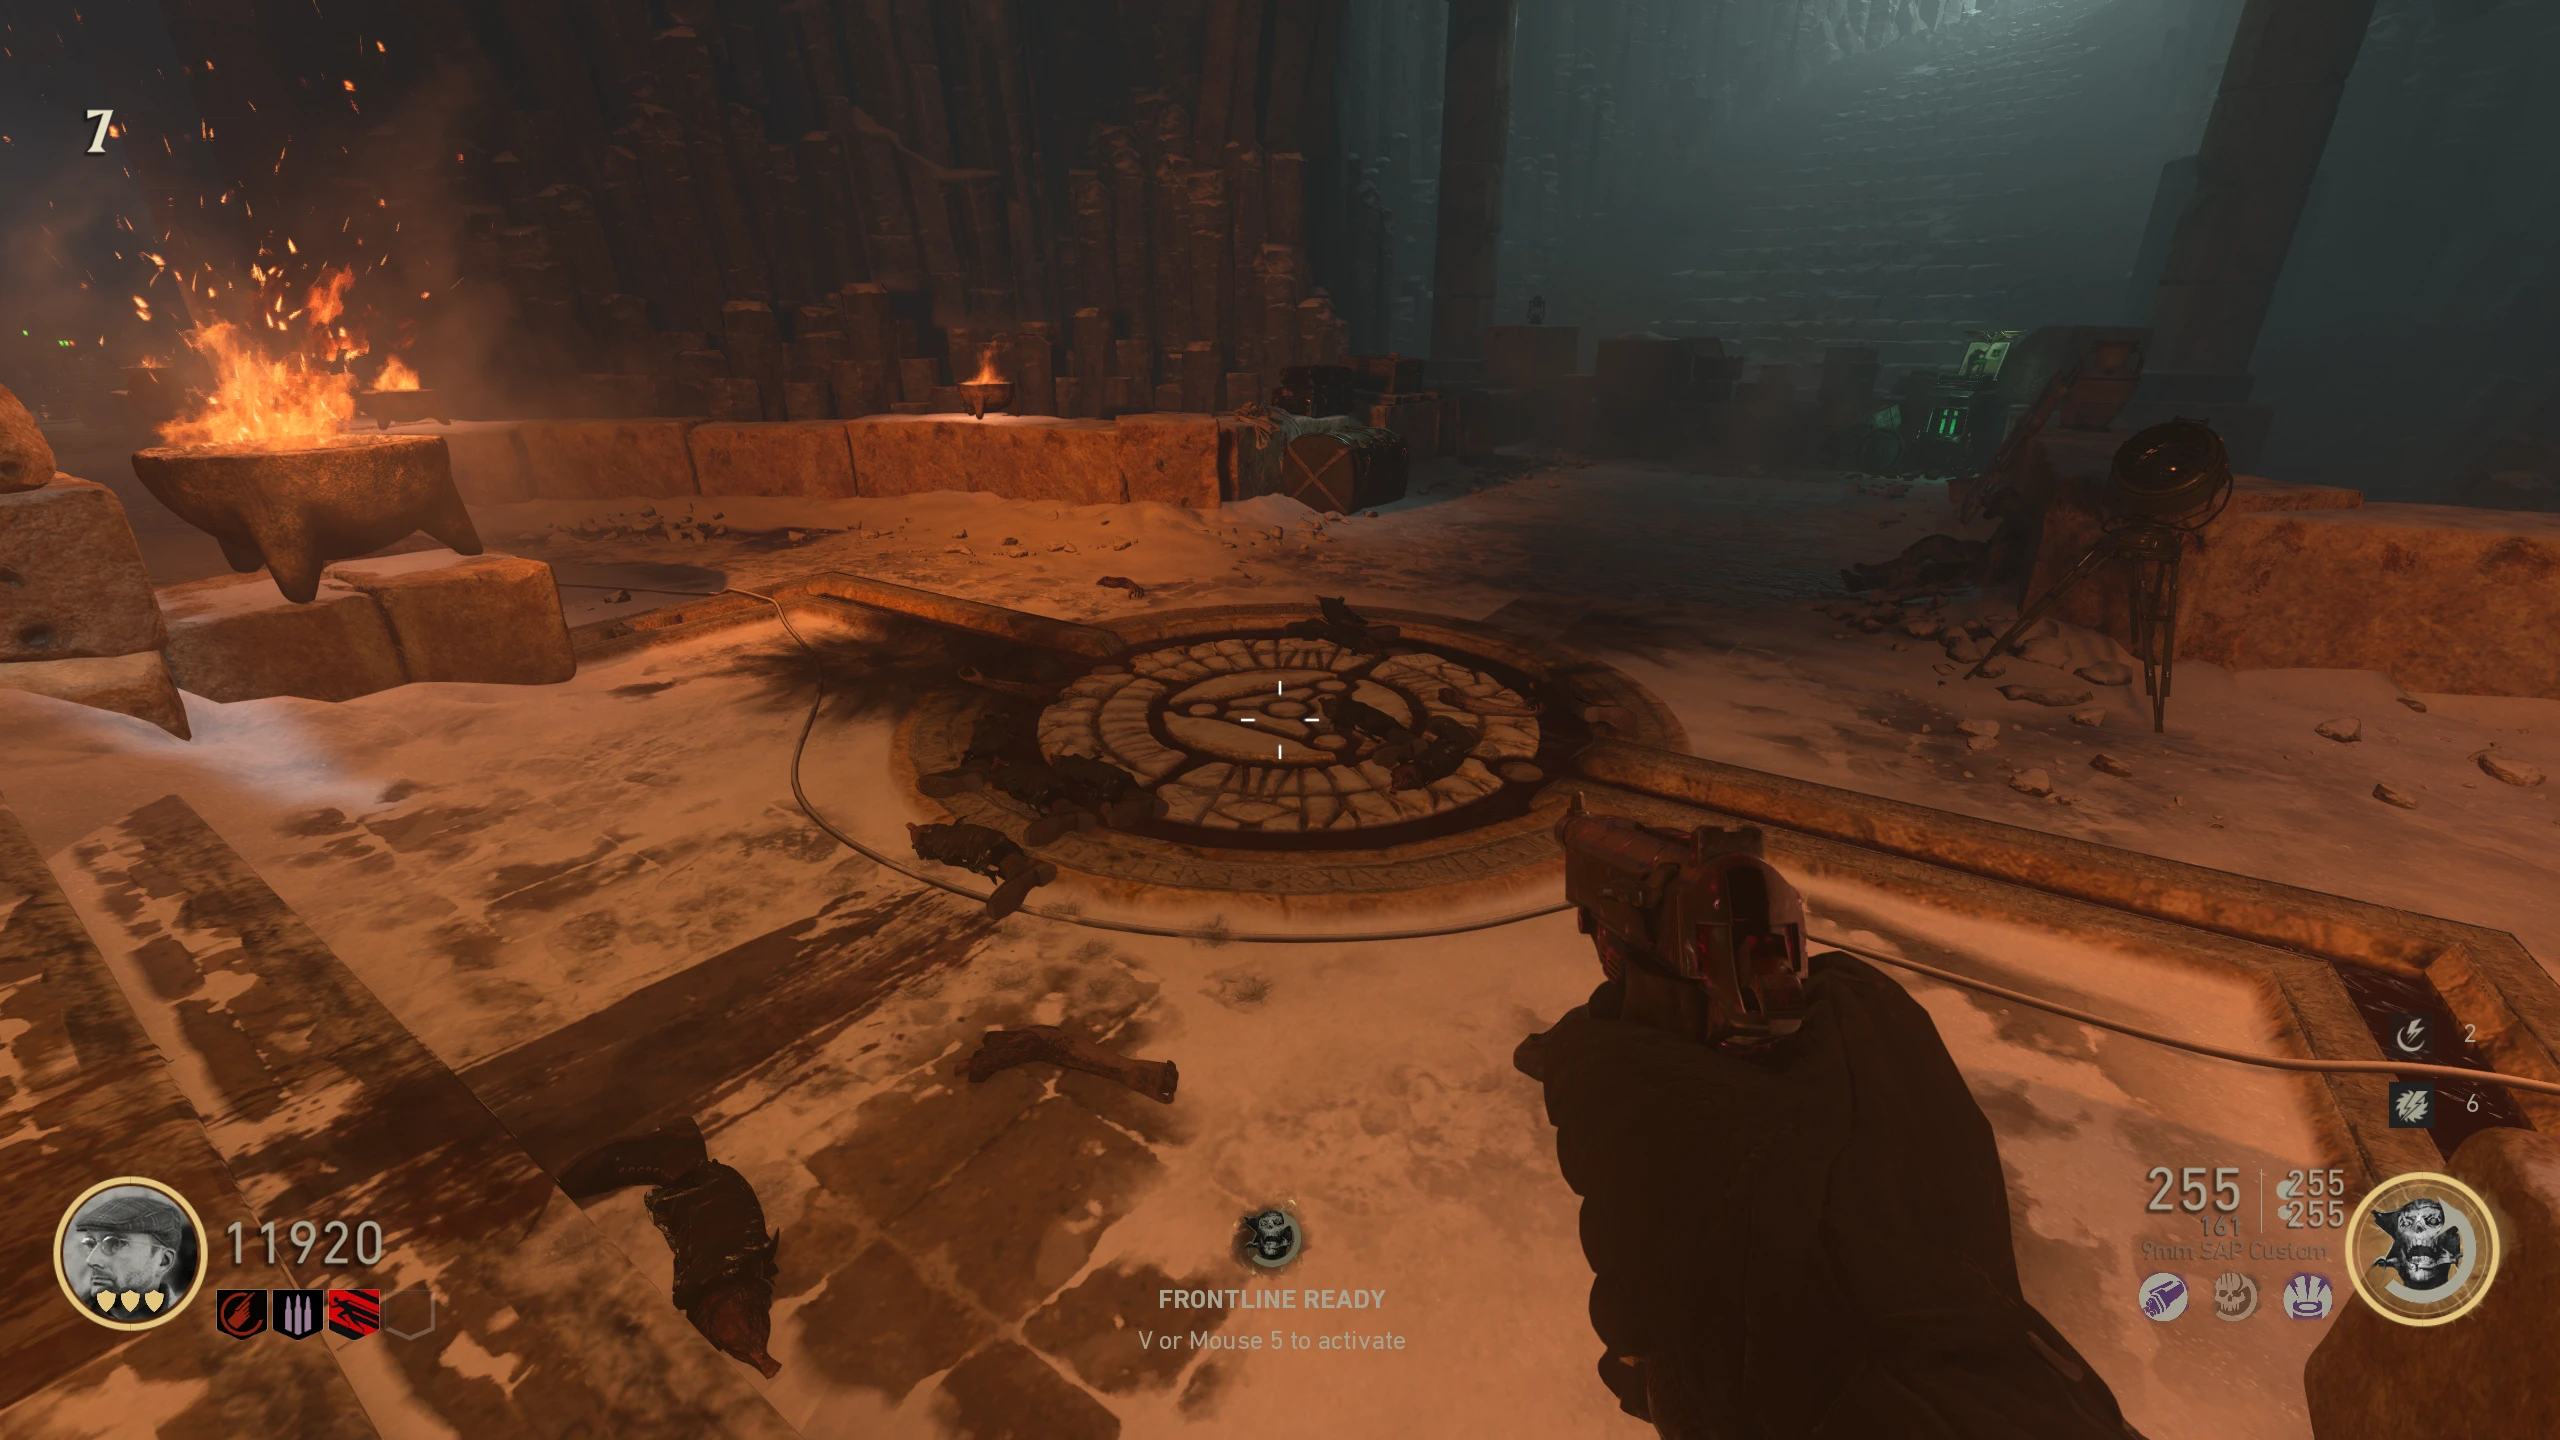
- Throw a flare into each of the four stone bowls on the walls below each of the face statues in the Forge Room. You'll need to grab more flares, since you only have two at a time.
- Once all bowls are lit, there will be a fire bowl on the ground, left of where the Supply Crates drop near Laufenblitz (Stamin-Up). Throw a flare into it; a wall left of Laufenblitz will open, revealing a rune for you to pick up.
- Place the new Rune on the Rune wall. You must now find (or guess) a new rune code in the same way as before. The old set of runes will still be visible in the same location as before, so make sure you don't reuse these.
- On the transition between rounds, another supply crate will drop through the hole in the ceiling in the Rune room with the Pommel inside. Place it in the glowing bowl in the Forge Room.
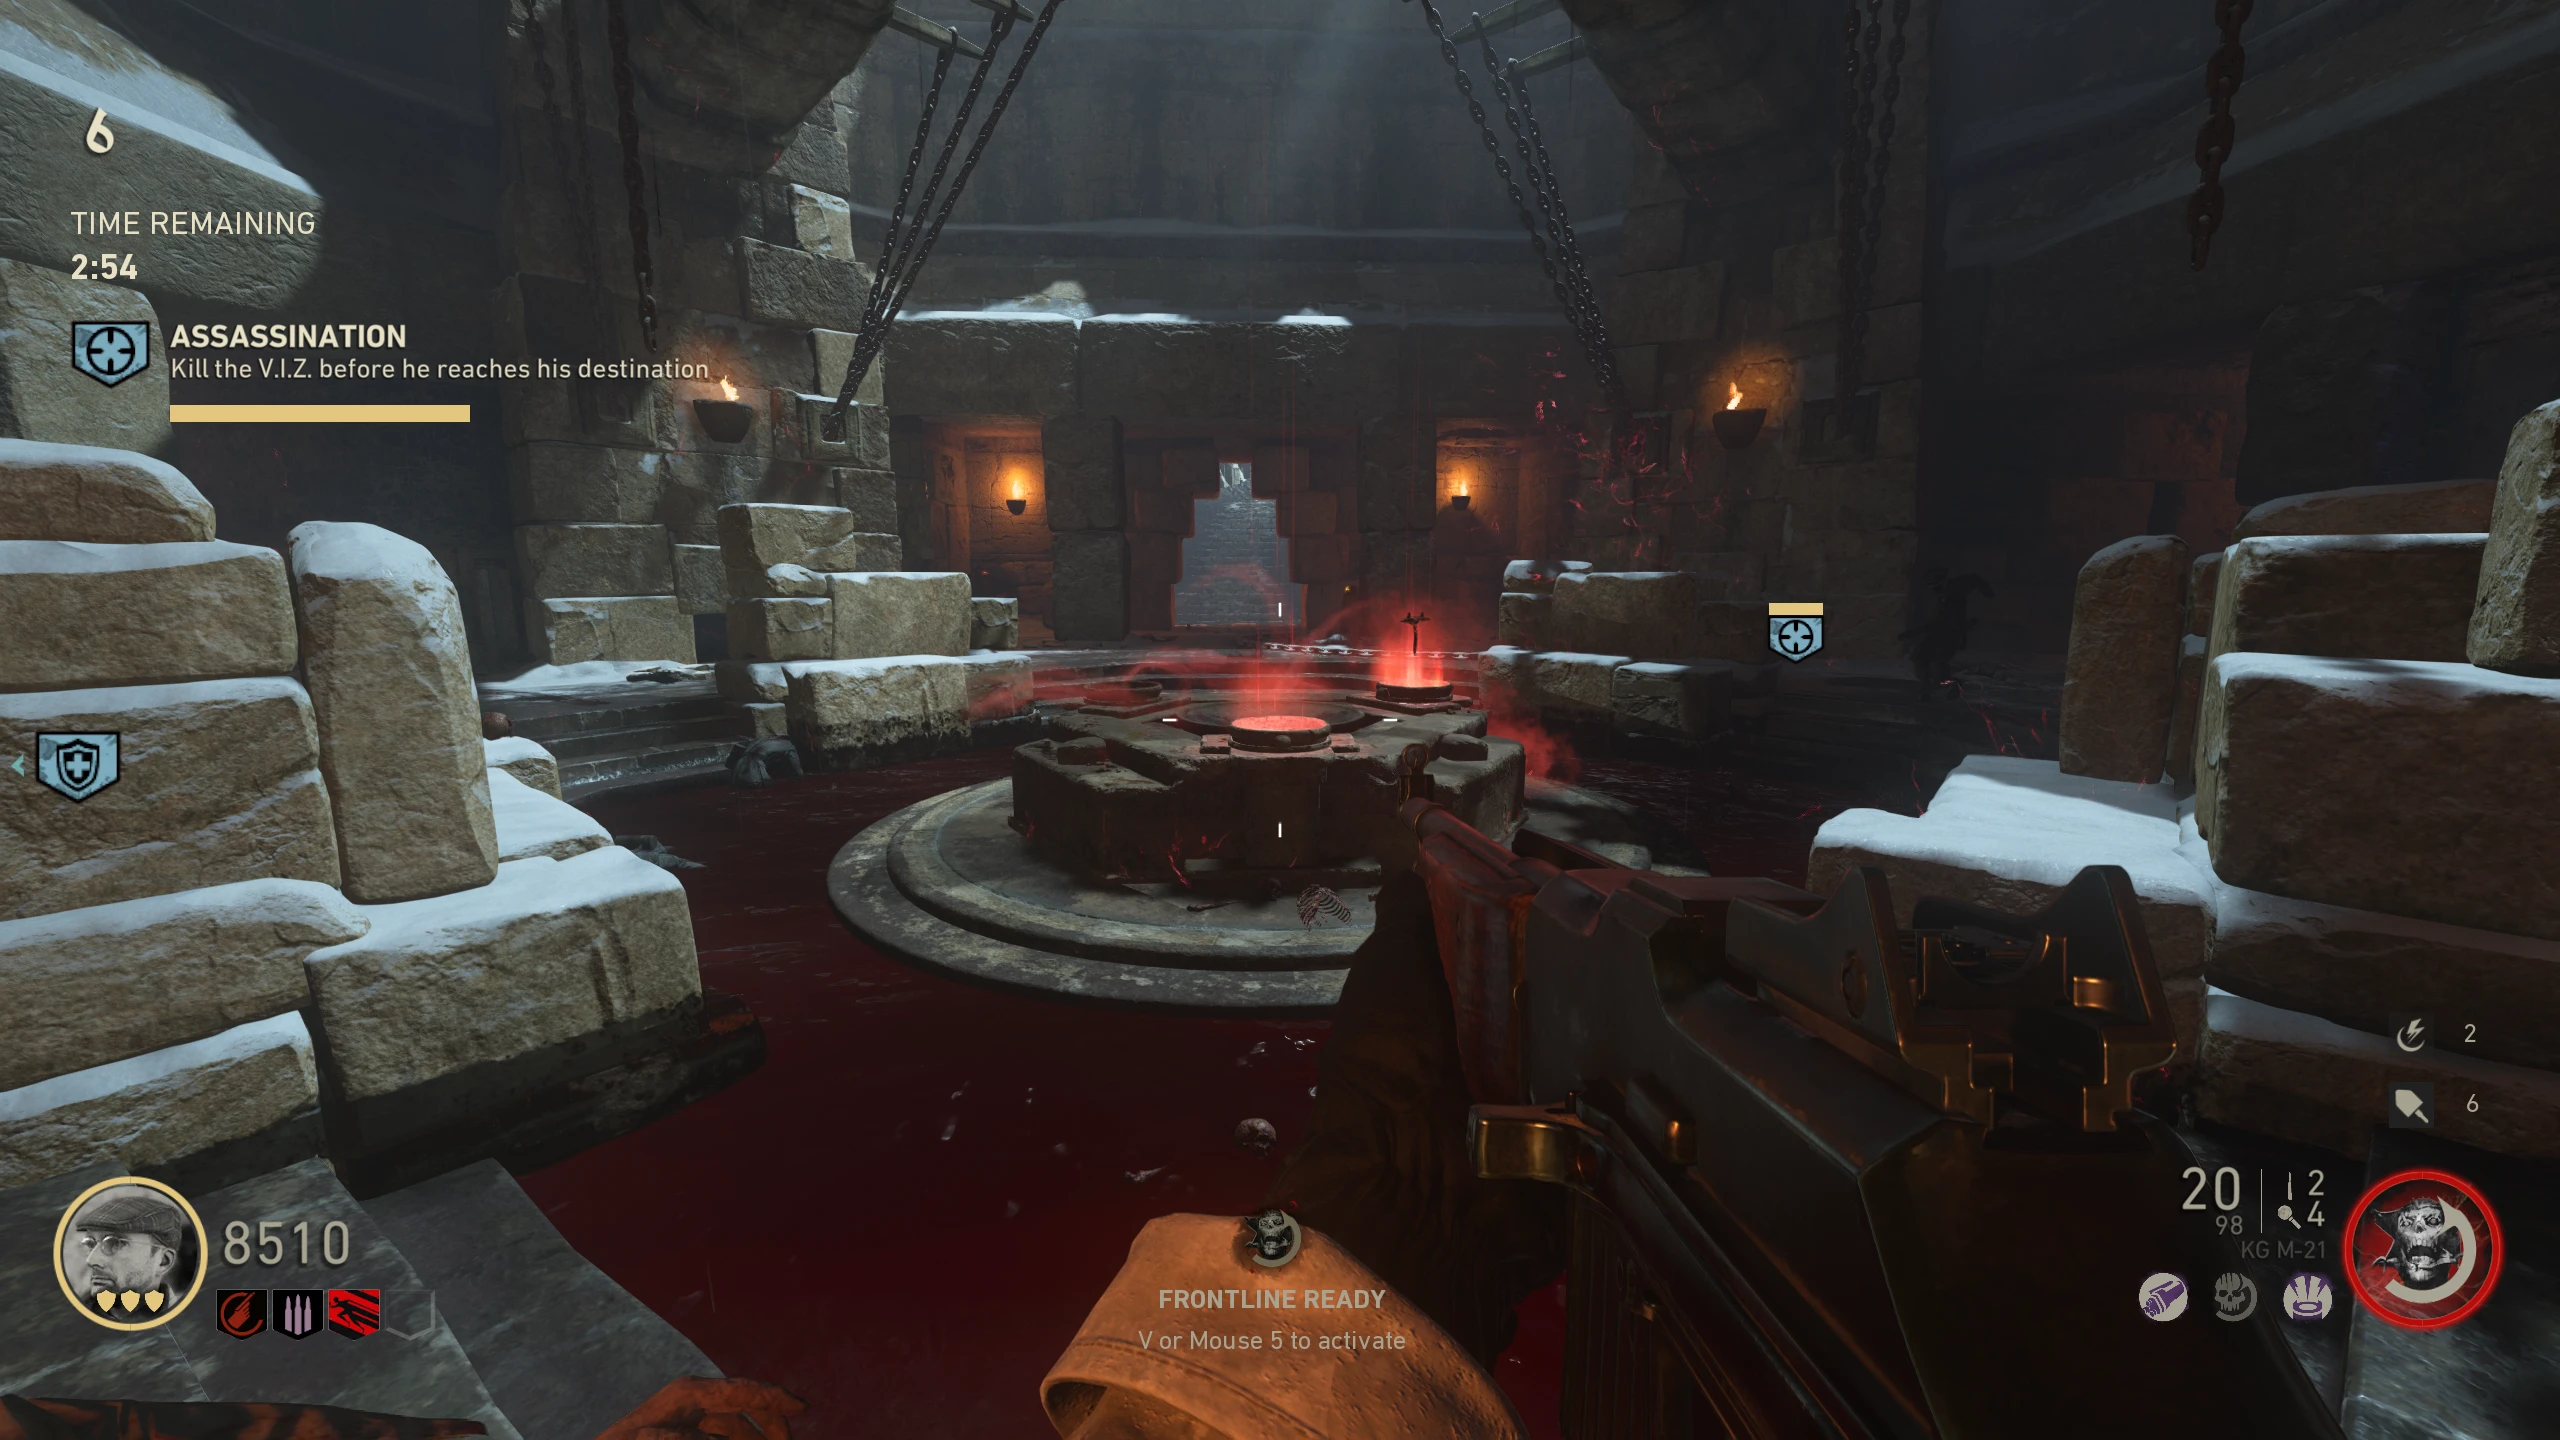
- Around the map, there are four Sacrificial Stones on the floor. All players must stand together on any of the stones at the same time and get kills. Once you get enough kills, a sound will play.
- There's no indication you're "filling" or have filled the stone (other than the completion sound), so make sure you listen for it.
- In the Forge Room, a rune will be in the blood pool for you to pick up (it will fall from one of the face statues that's dropping blood into the pool).
- Place the Rune on the wall and find/enter the new code.
- On the transition between rounds, another supply crate will drop with the Blade inside. Place it in the glowing bowl in the Forge Room.
- Interact with the Forge to assemble the Sword. After a couple of seconds, you'll be able to pick up the sword.
- You're now free to complete the map. Upon completion, the cutscene will play, the Sword will be present when you do the Main Quest on any other Tortured Path map, and you'll be able to play on each of the maps in the round-based format.
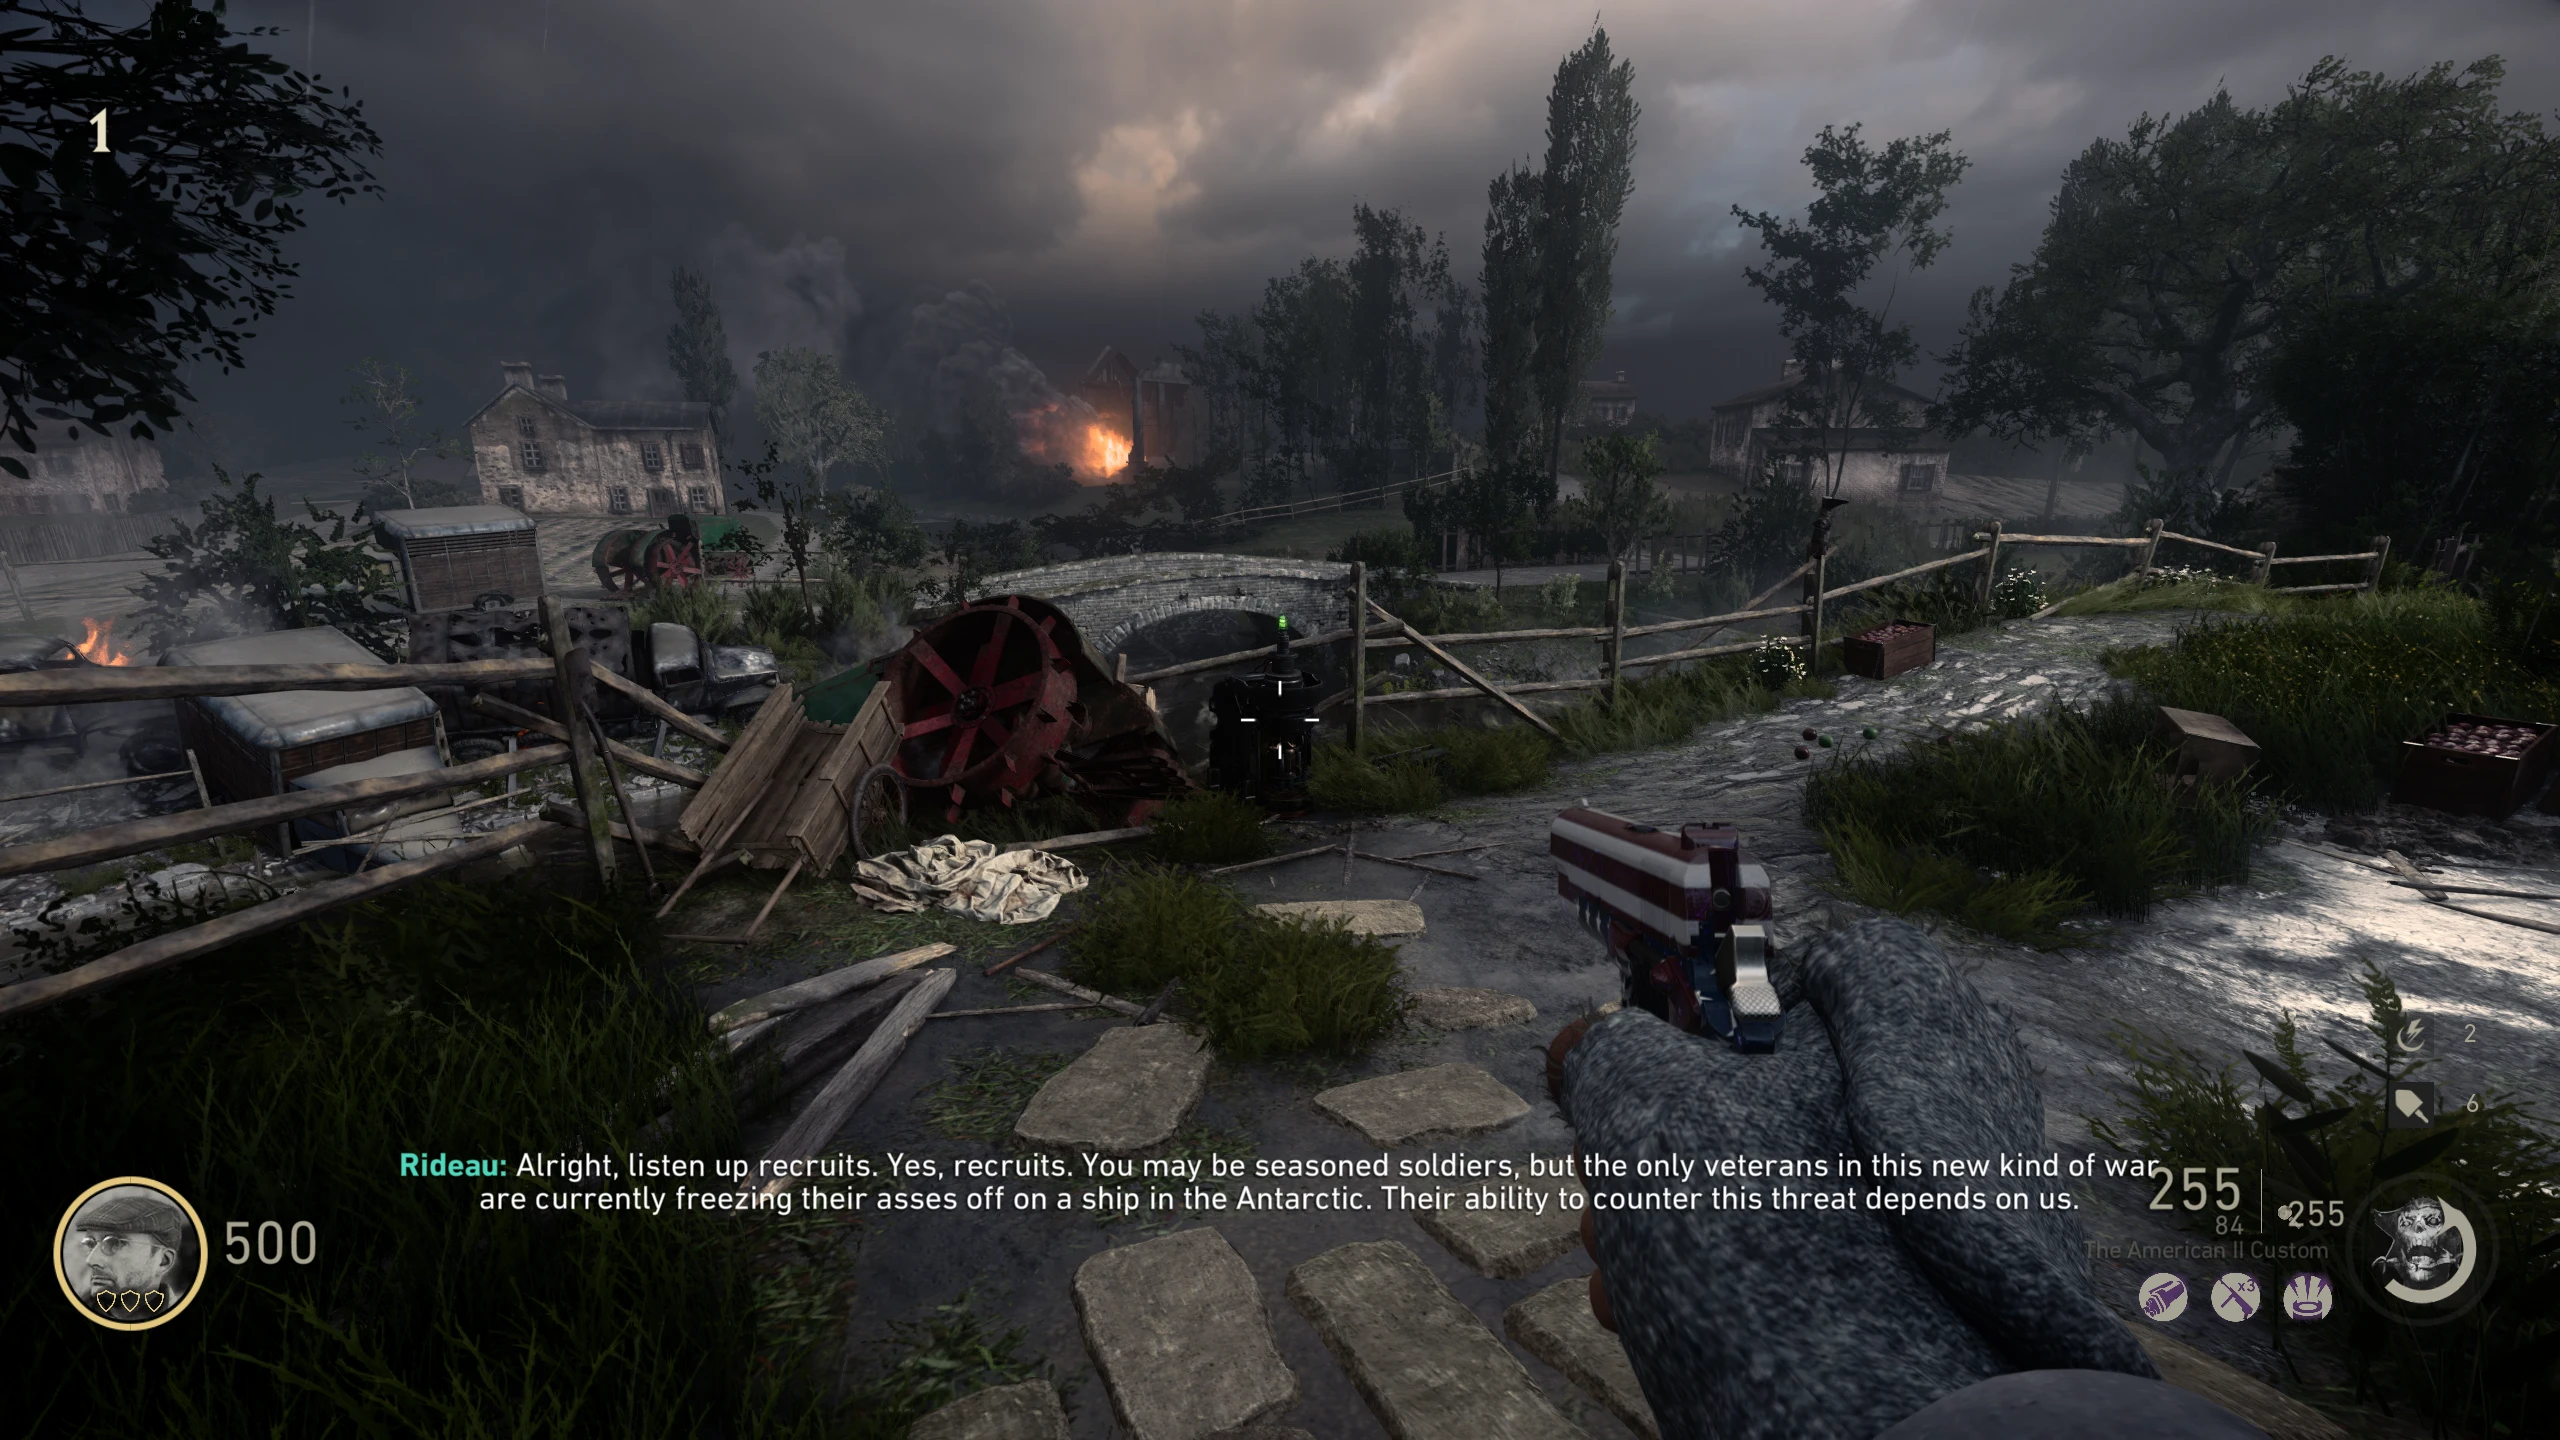
Into The Storm (Map 1)
Wave 1
Wave 2
Wave 3
Wave 5
Wave 6
Wave 7
Wave 8
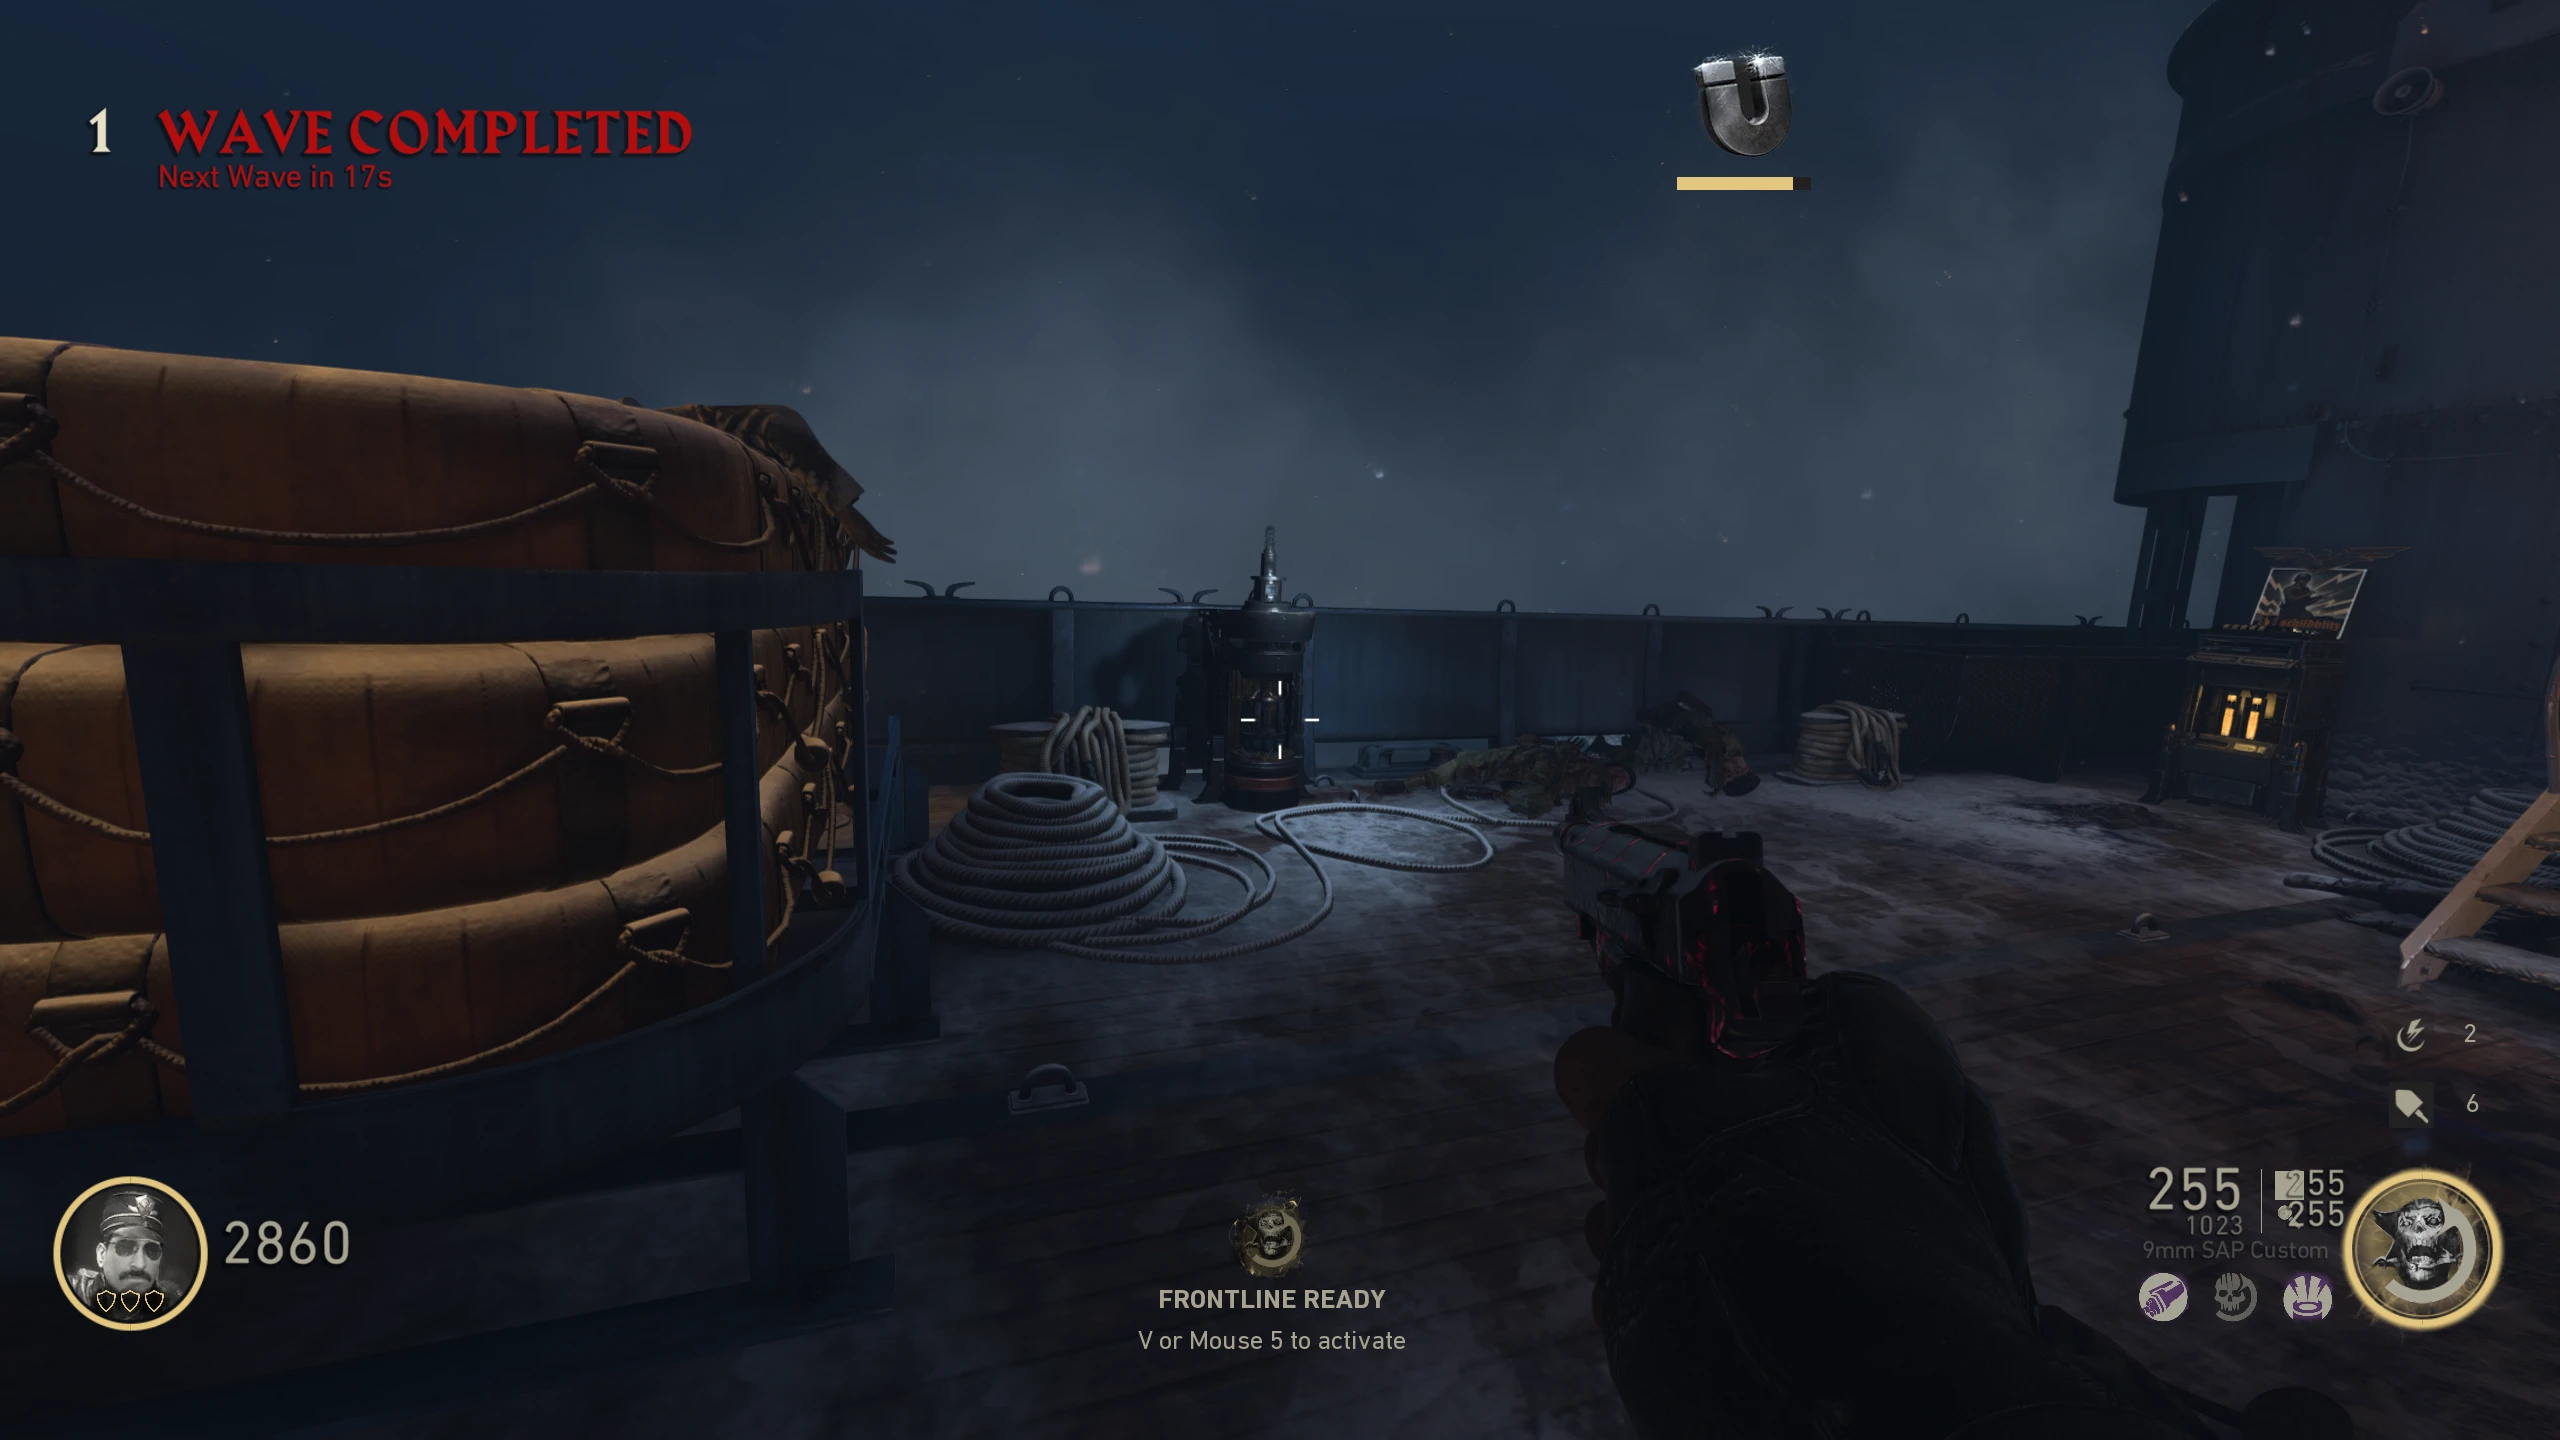
Across the Depths (Map 2)
Wave 1
Wave 2
Wave 3-4
Wave 4-5
Wave 5-6
Wave 8
Beneath The Ice (Map 3)
Wave 1
Wave 2
Wave 3
Wave 4
Wave 5
Wave 6